Citrus Churn Dash Table Quilt

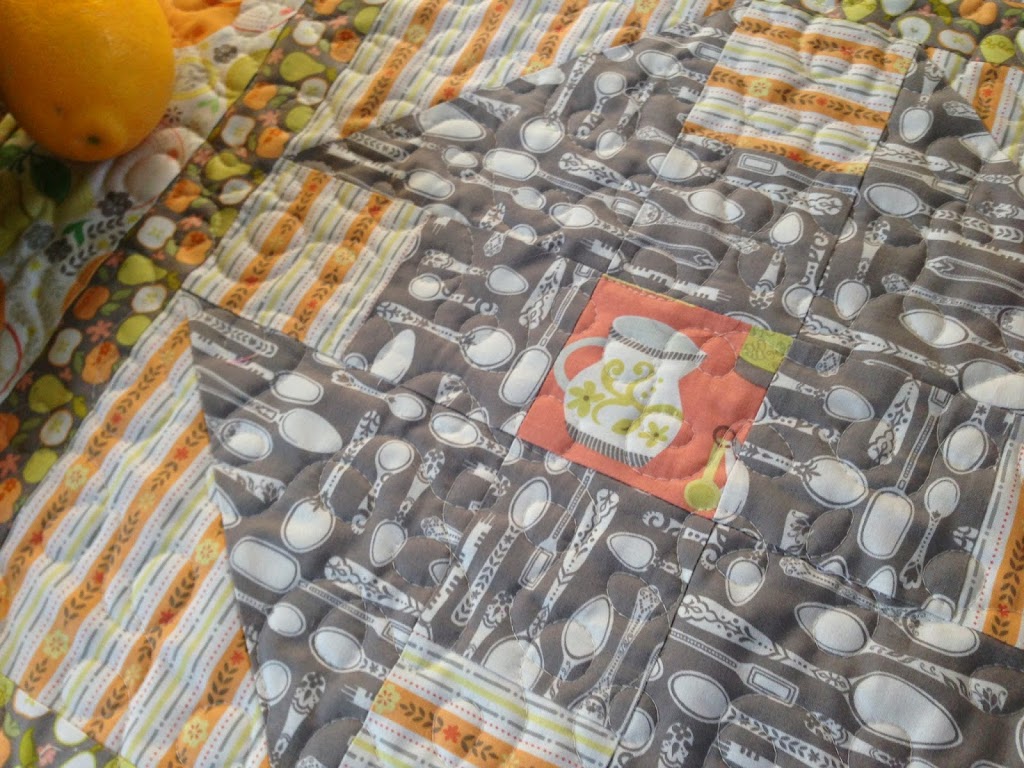
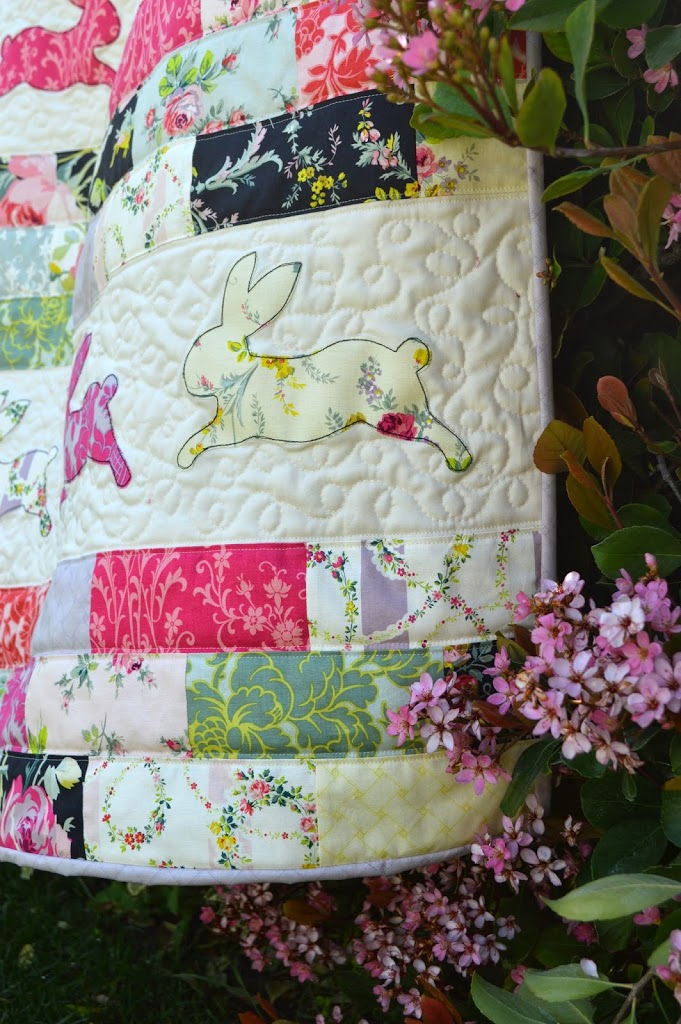
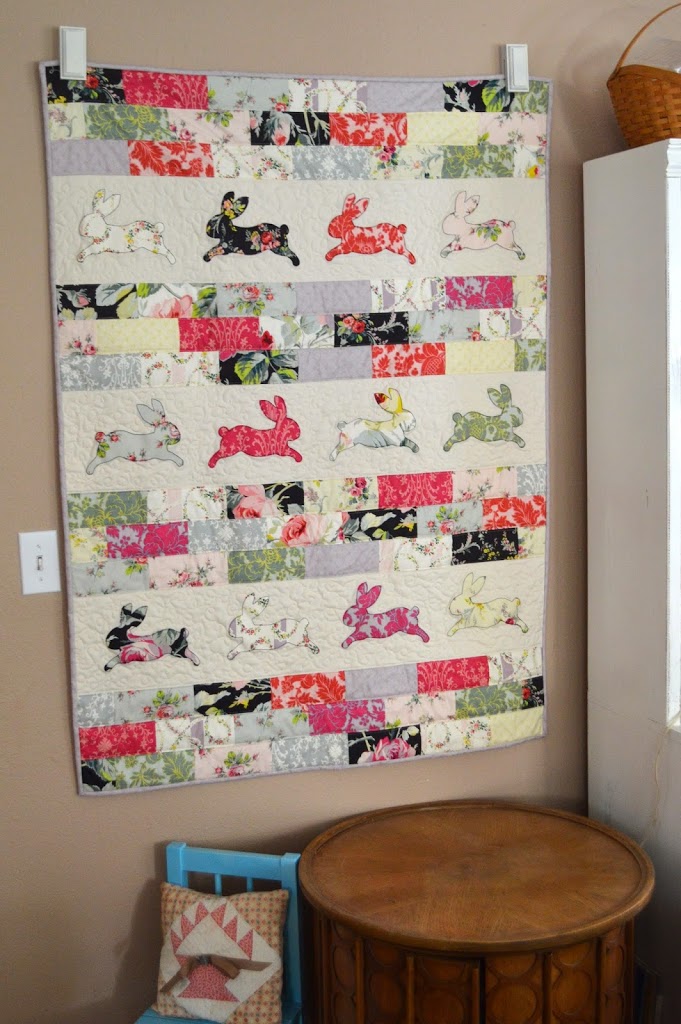
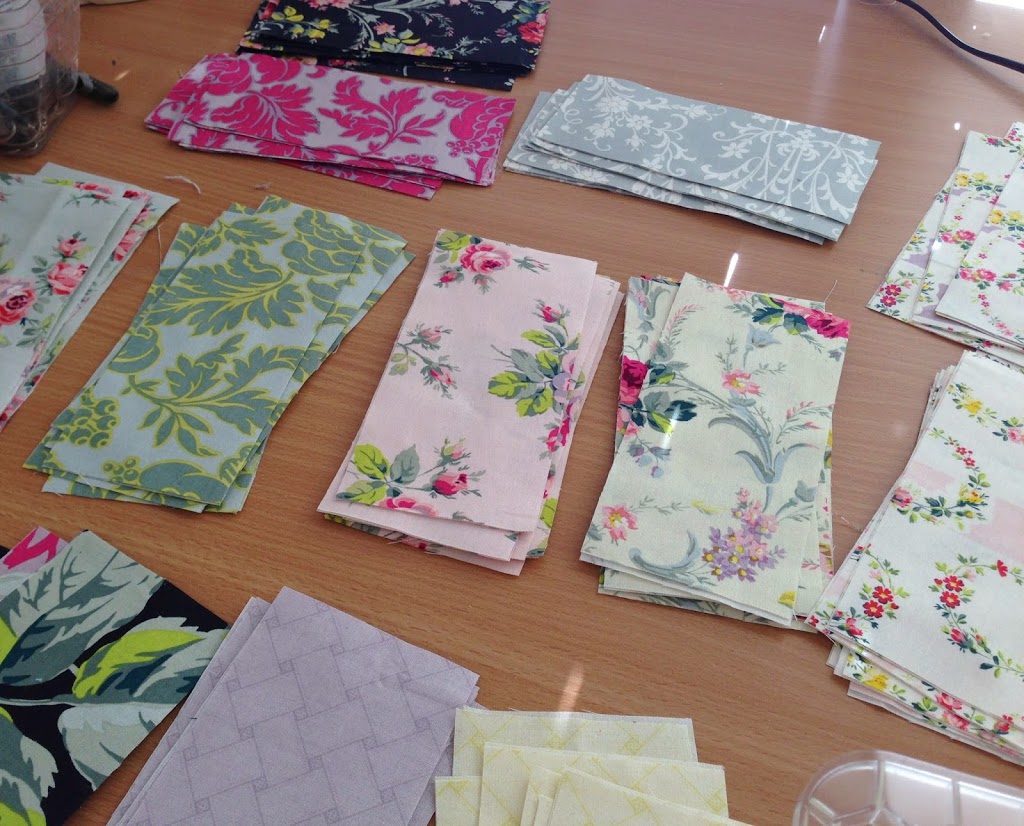
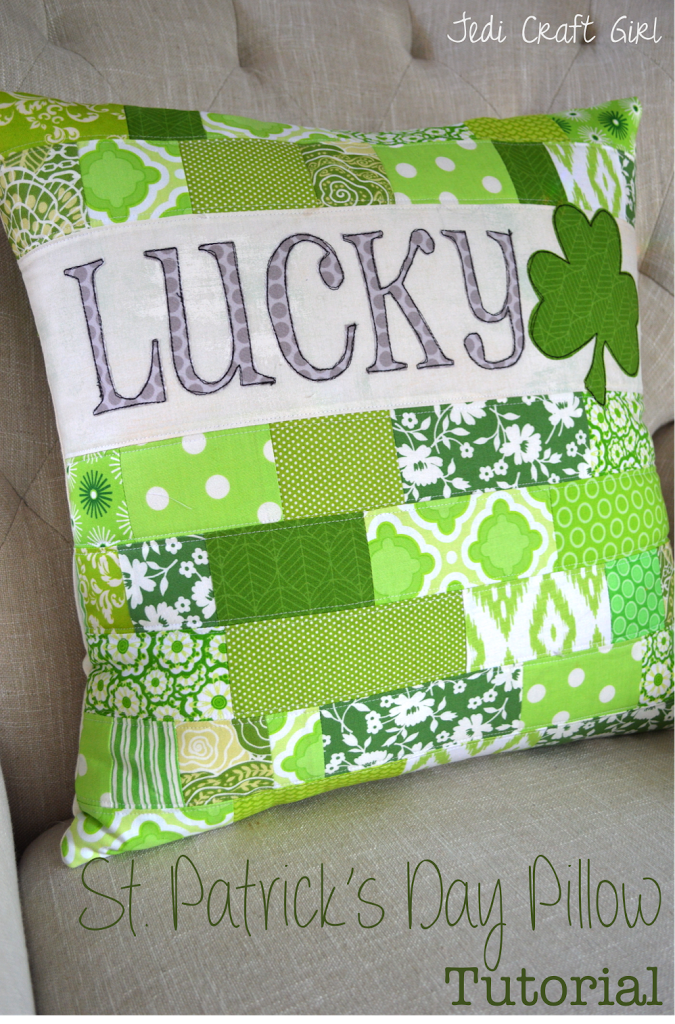
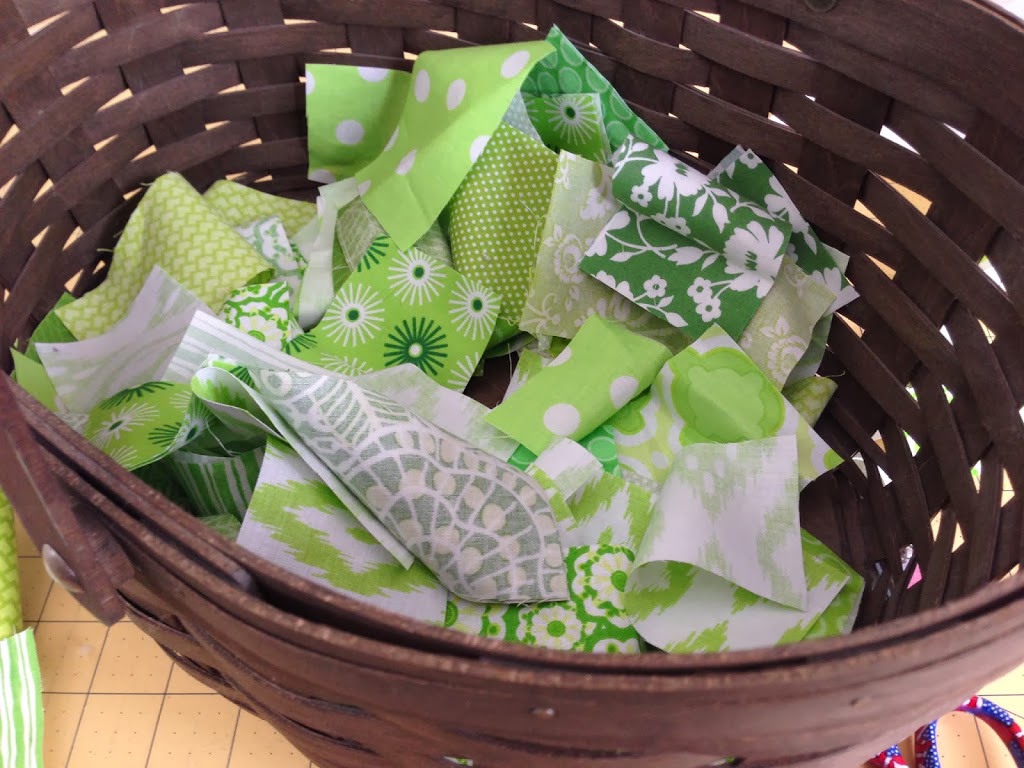
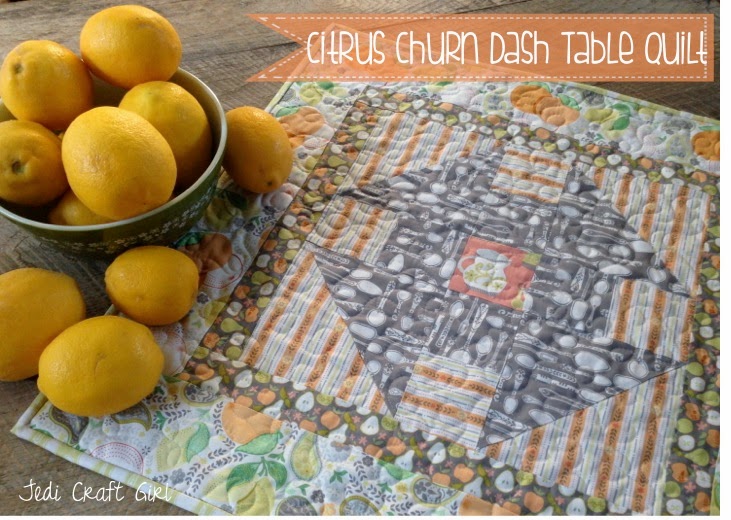
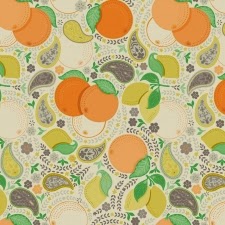
Today’s Mother’s Day Tutorial is this cute Citrus inspired Churn Dash Table Quilt.  I made this little quilt for my mom (I hope she doesn’t read my blog between now and Mother’s Day!)  My mom is always asking me if I have a little quilt she can put on her table to decorate with and in my parent’s backyard are lemon, orange, and lime trees – sooooo when I saw this Clementine fabric from Blend I freaked out!!
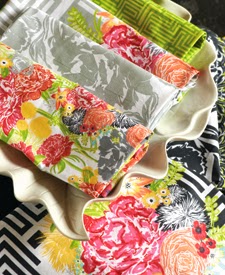
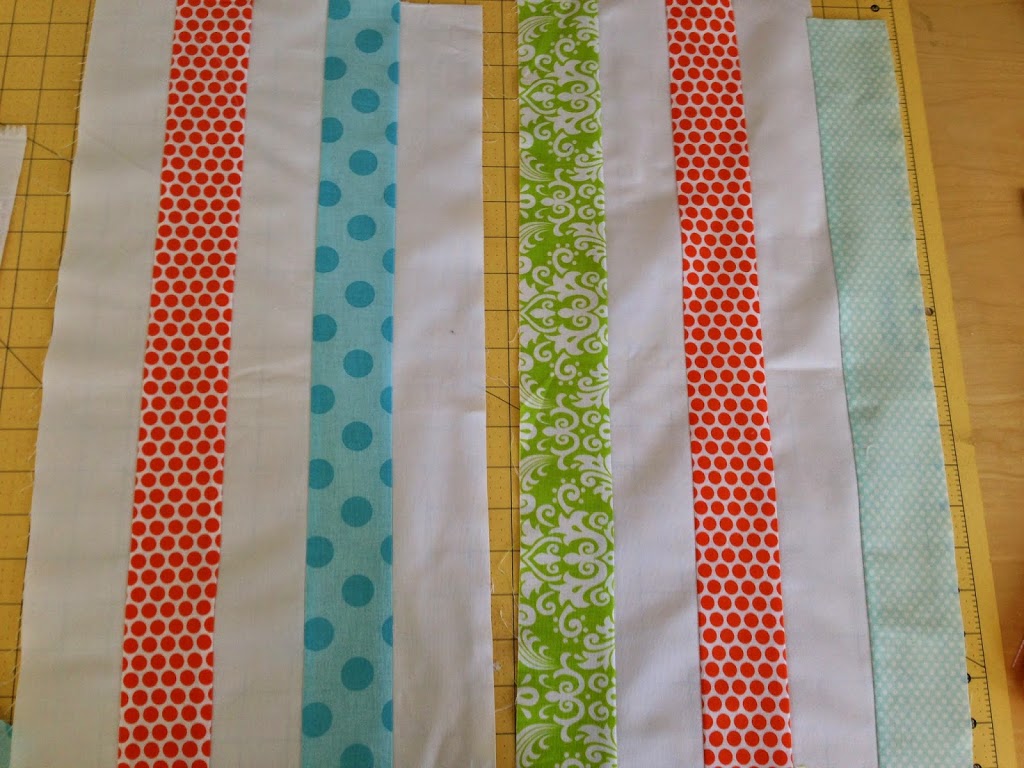
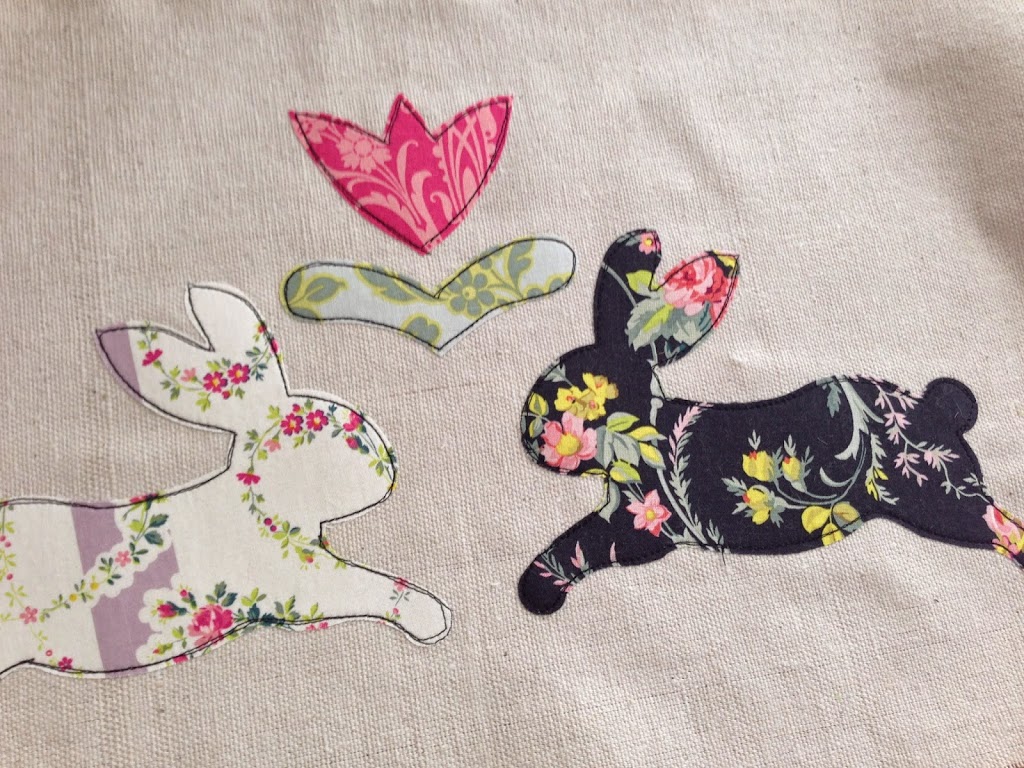
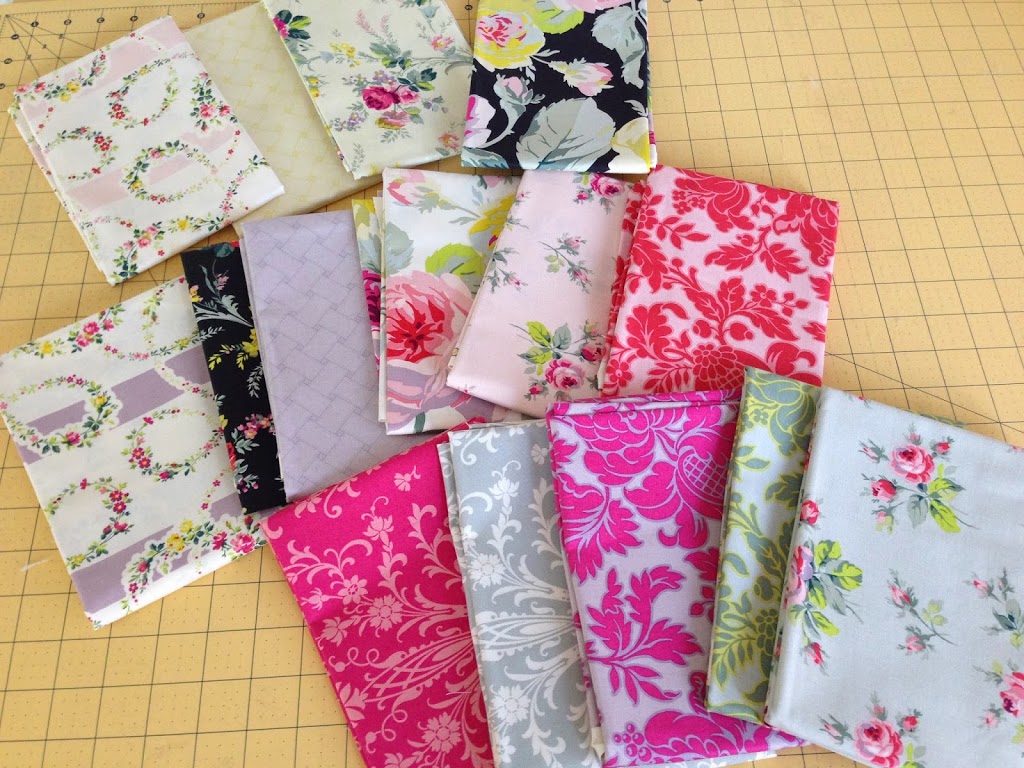
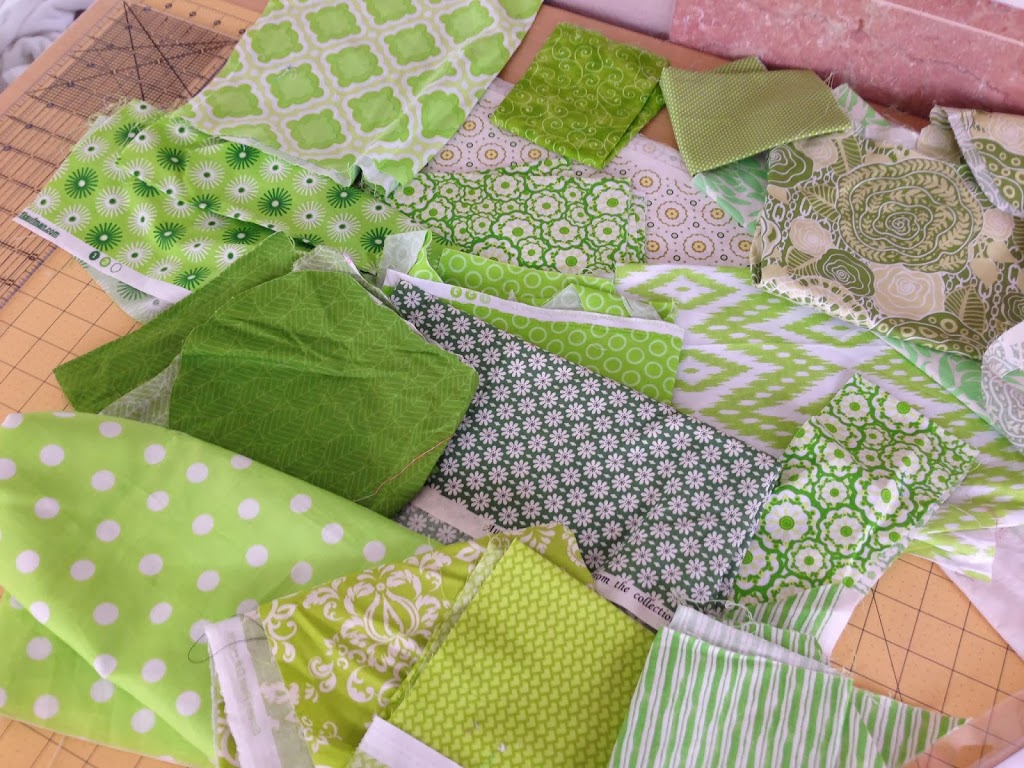
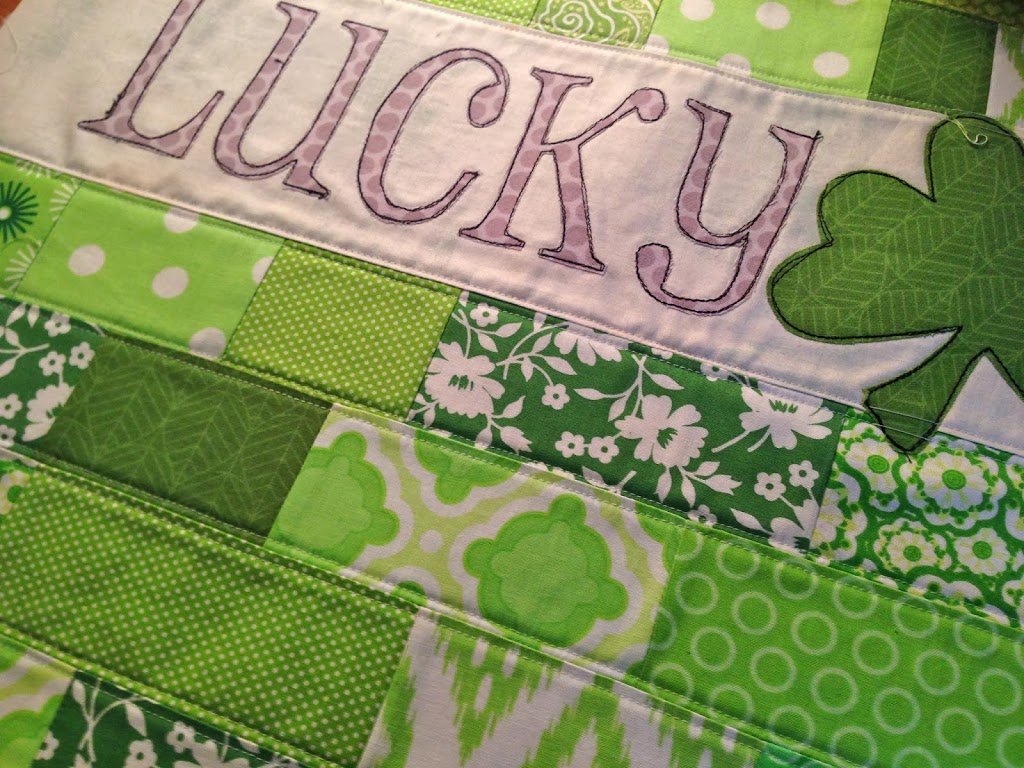
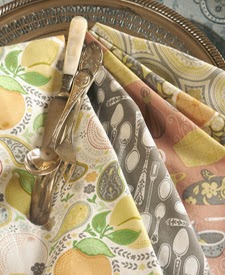
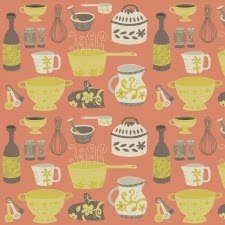
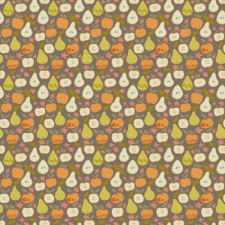
I am so in love with this fabric – I want to rip out all my kitchen decor and replace with these fabrics.  Here is a little close up of some of the prints I used in this quilt.
Let’s get started – you can make this project in a few hours.
Supplies:
fat quarters of spoon print, stripe print, and small fruit print
1/4 yard large citrus print
1/4 yard for binding
3/4 yard for back
batting
Finished Quilt: 25″
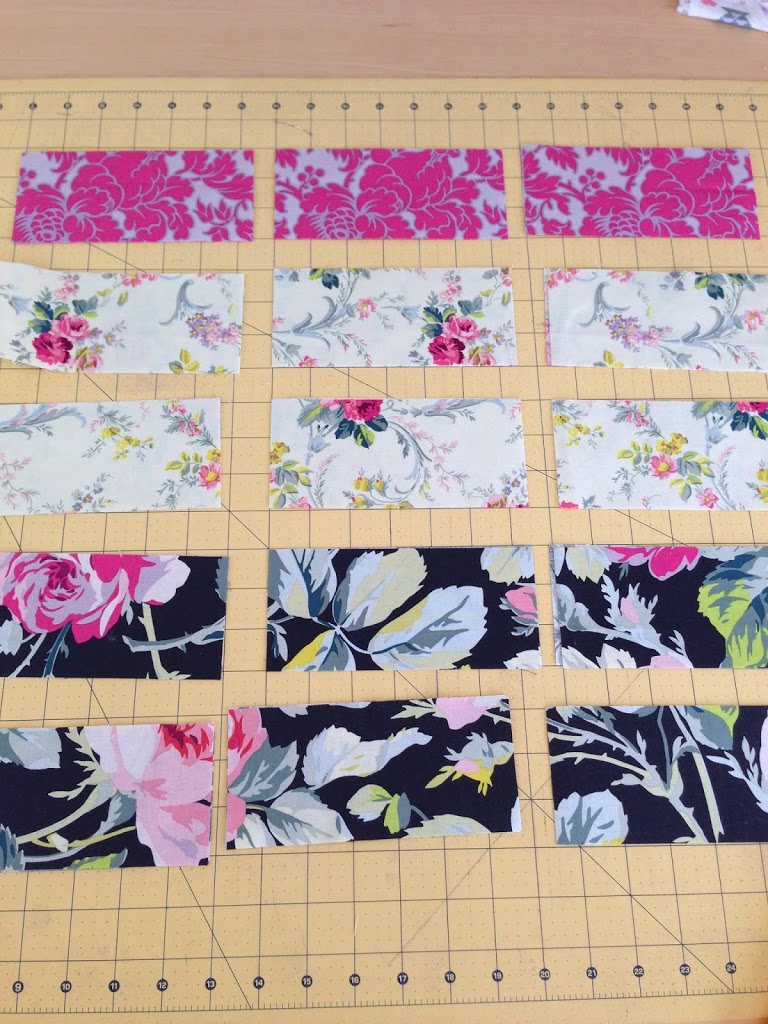
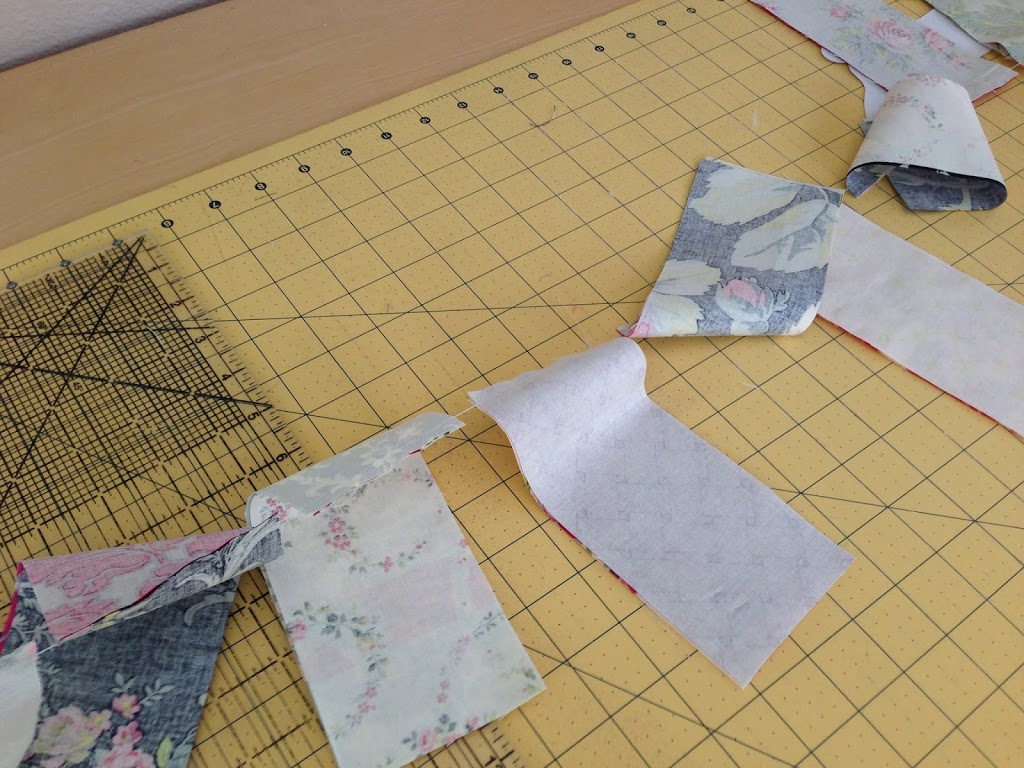
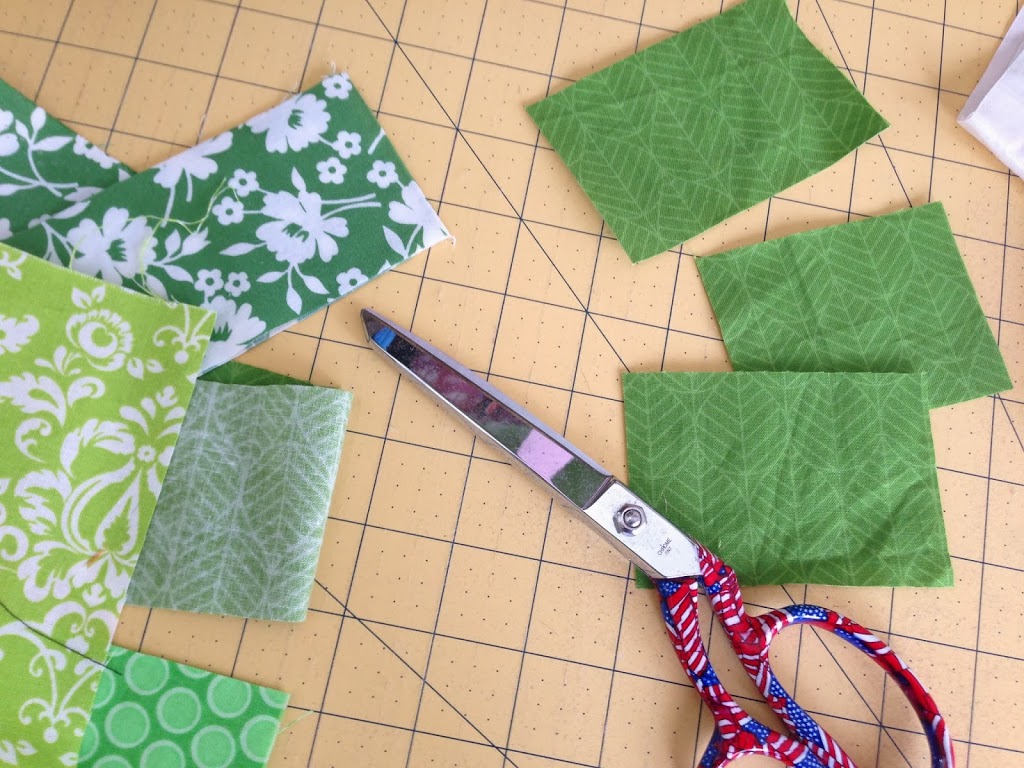
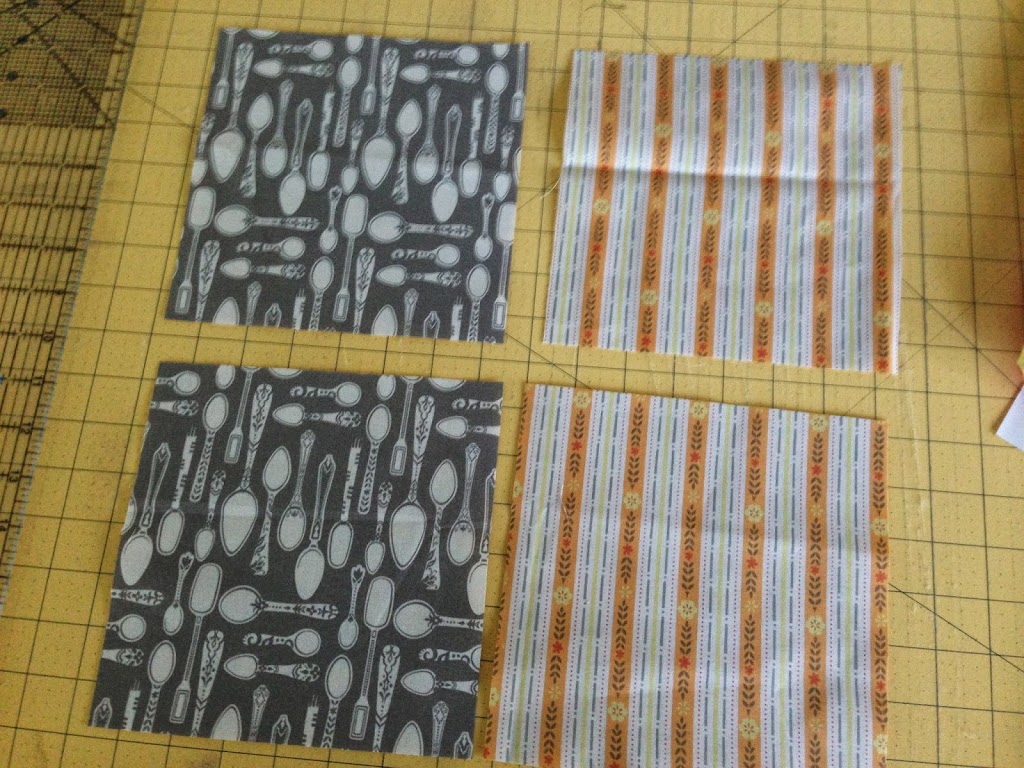
Cut (2) 7 1/4″ squares of the gray
Cut (2) 7 1/4″ squares of the stripe
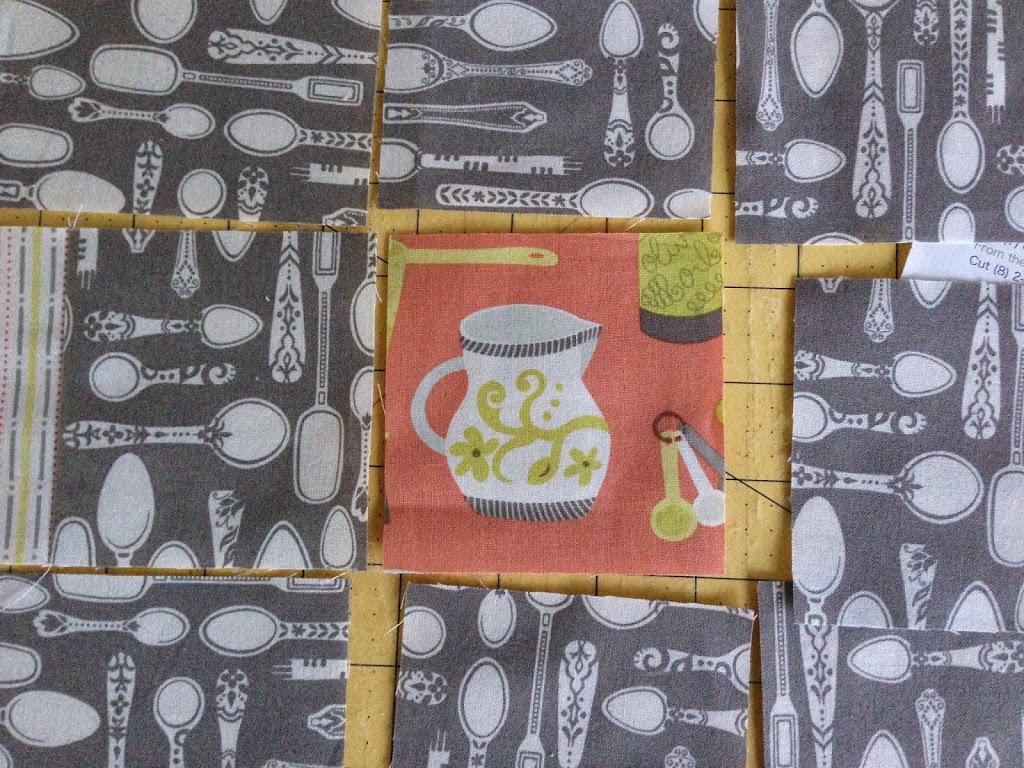
Cut (4) 3 1/2″ squares of the gray
Cut (4) 3 1/2″ squares of the stripe
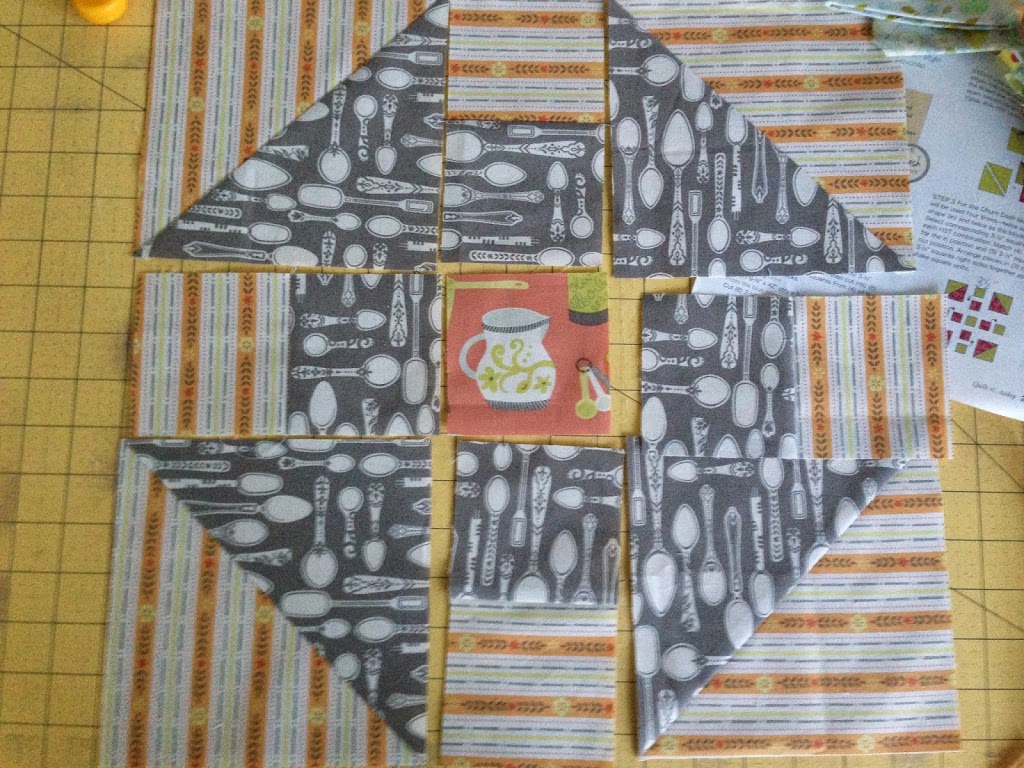
Cut (1) 3 1/2″ square of the center square, fussy cut if desired
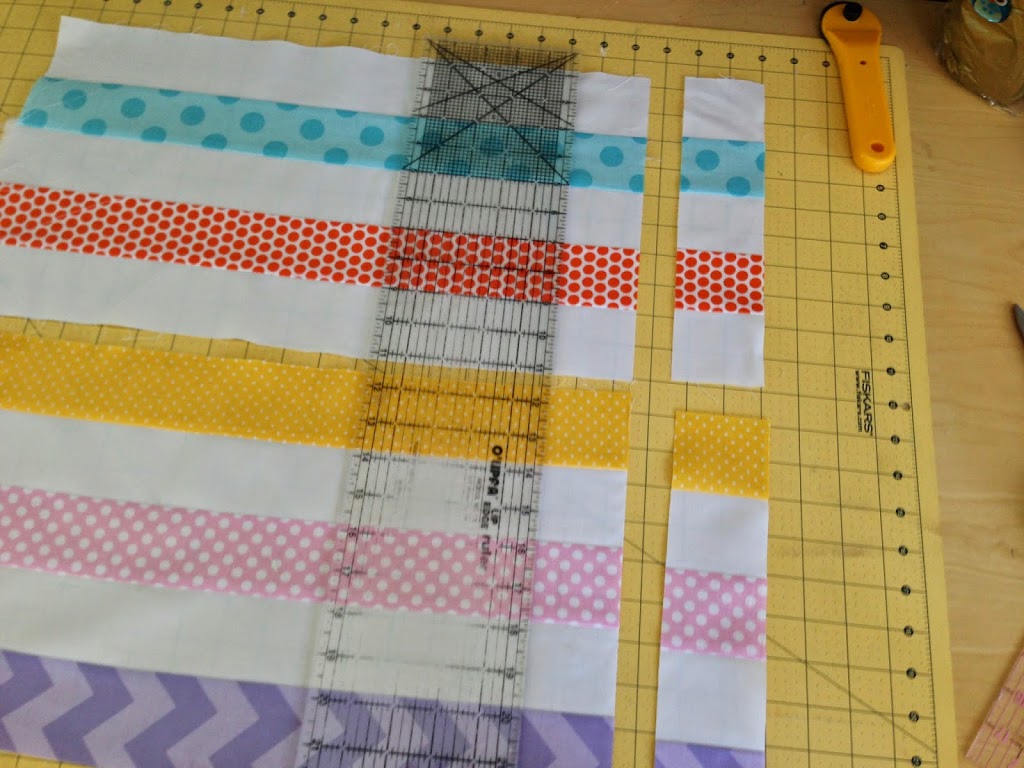
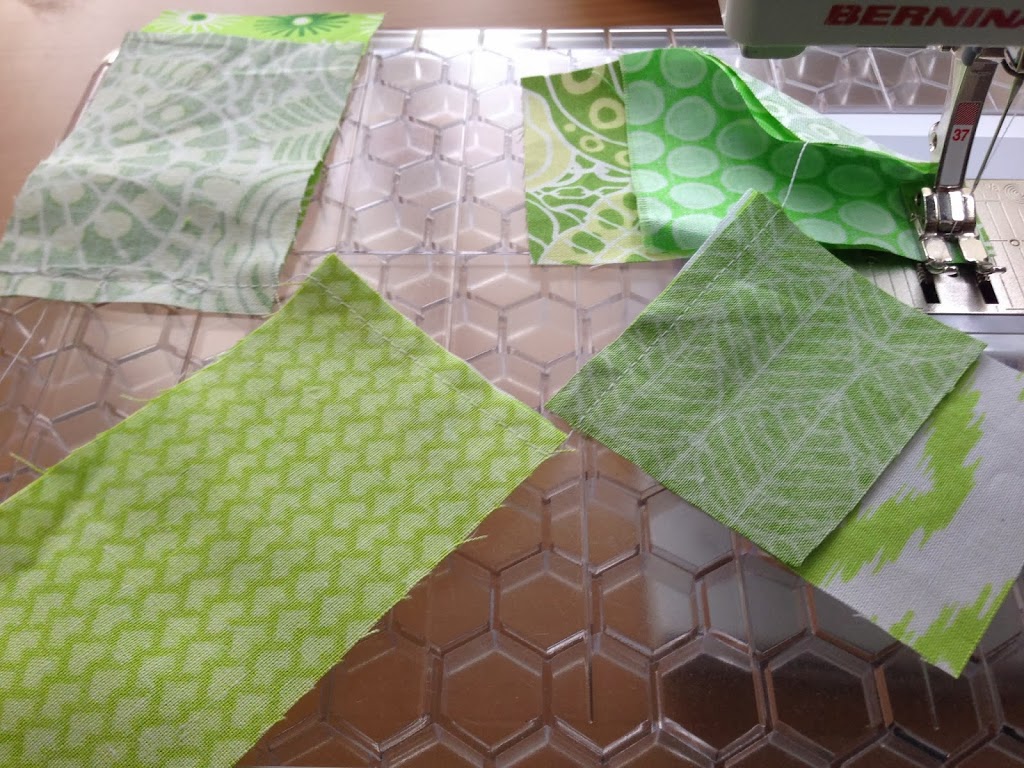
Draw a diagonal line on the back of the 2 stripe 7 1/4″ squares
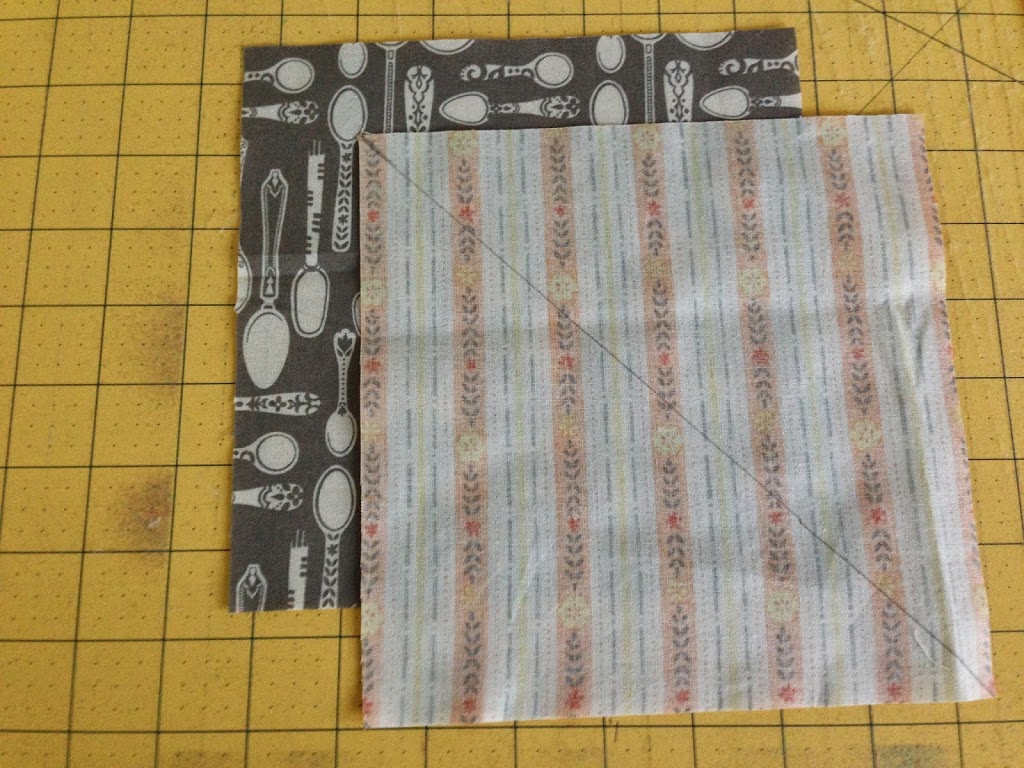
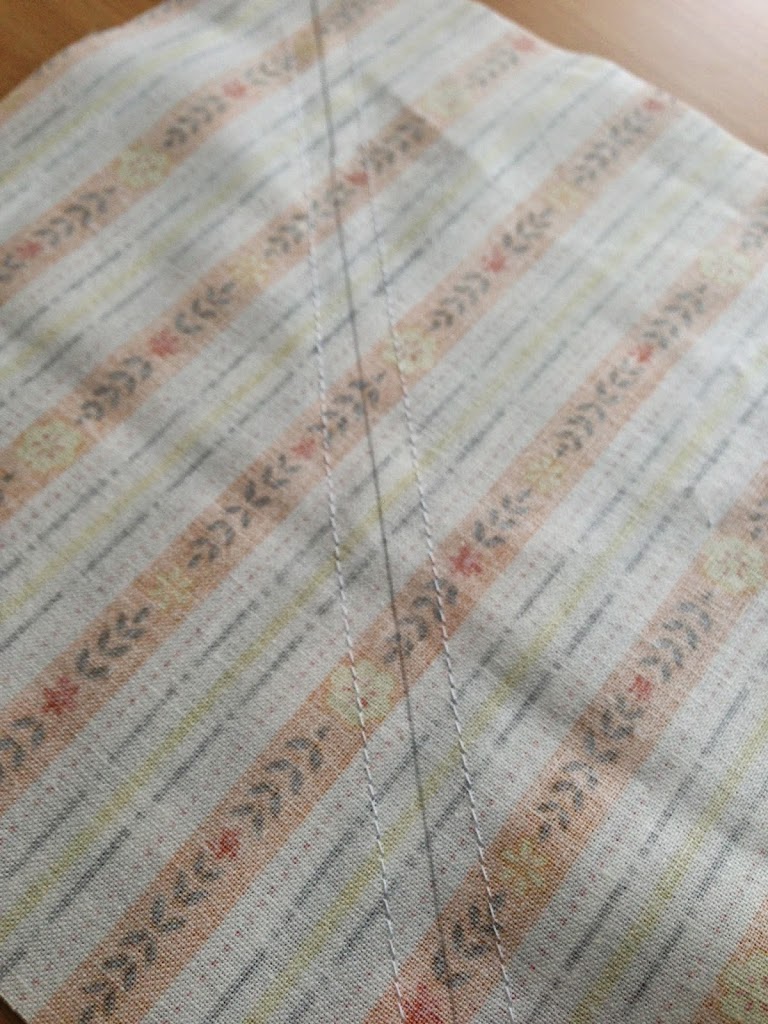
Layer them right sided together and sew 1/4″ along both sides of the diagonal line.  Cut on pencil line.
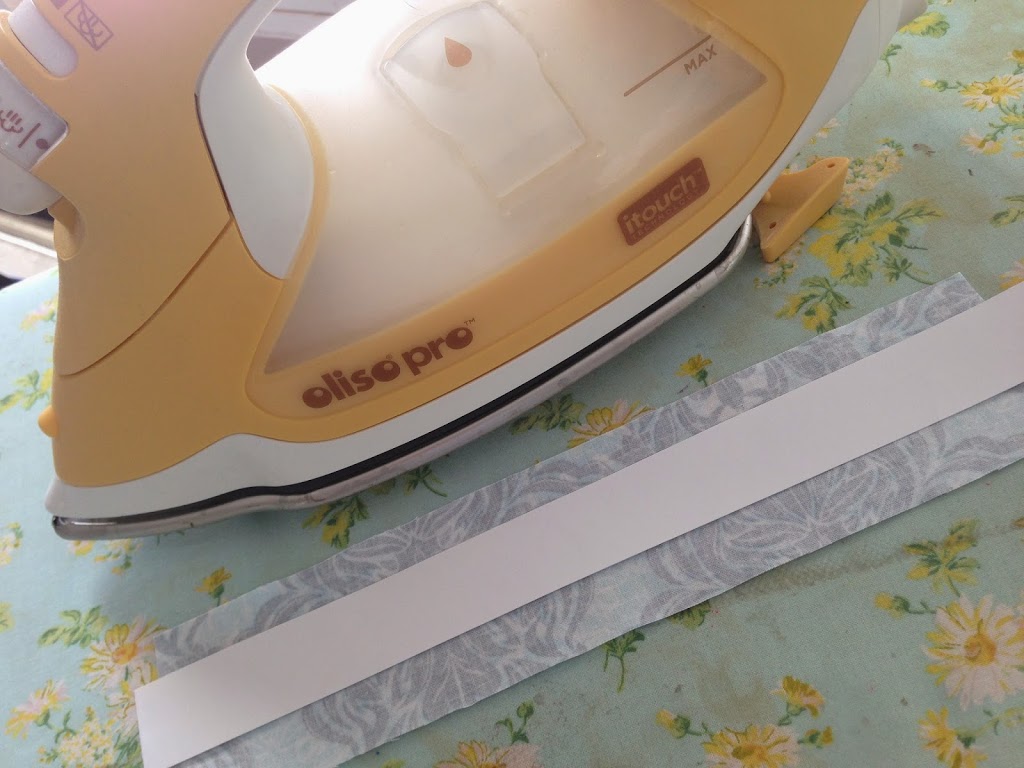
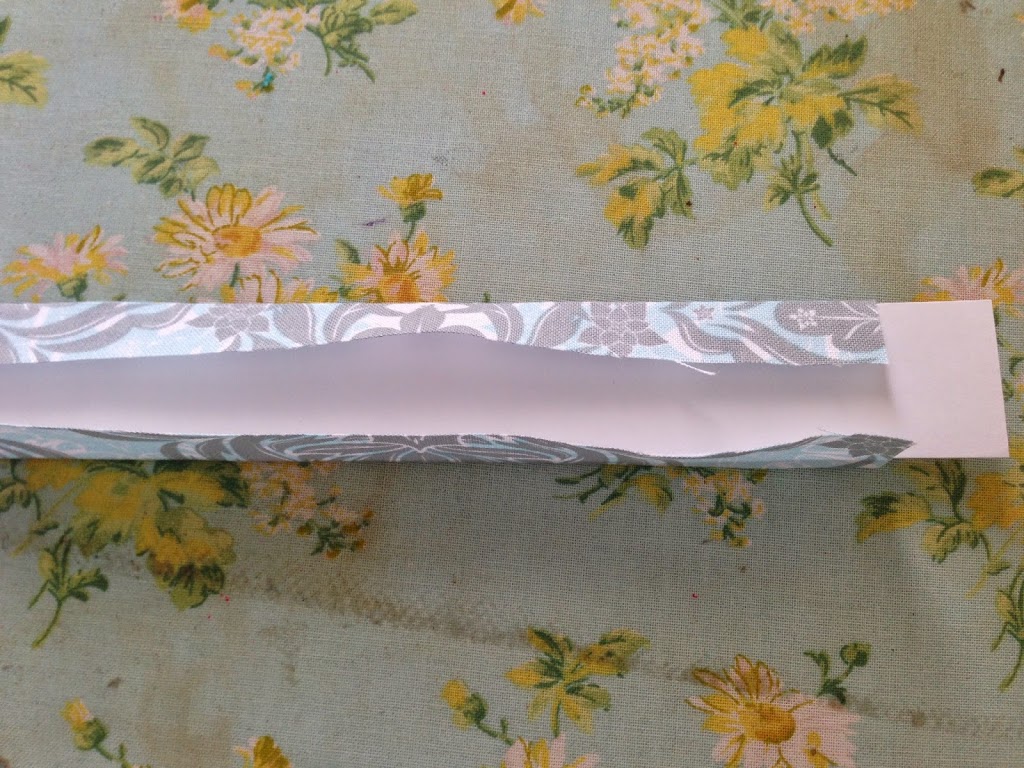
Press toward the dark.  These half square triangle blocks finish slightly larger than the desired 6 1/2″.  This is so you can square the block up and it is nice and even.  Lay it on a rotary mat and align the diagonal with the diagonal line on the mat and cut so it measures 6 1/2″ square.  Do this to each of the 4 blocks.

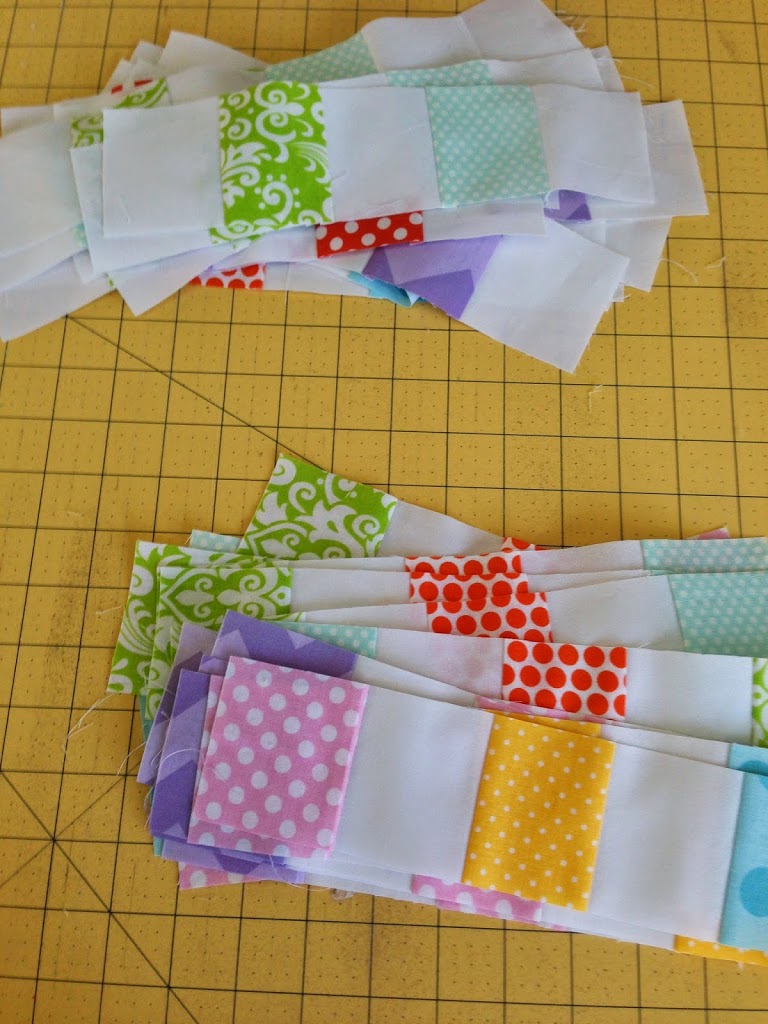
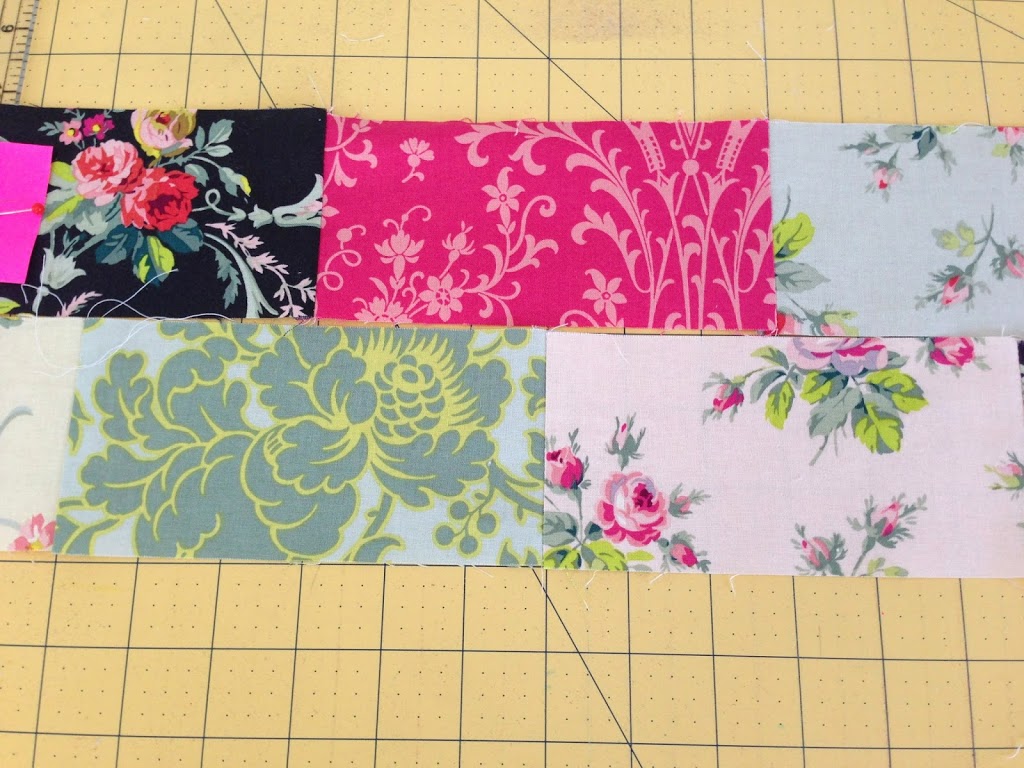
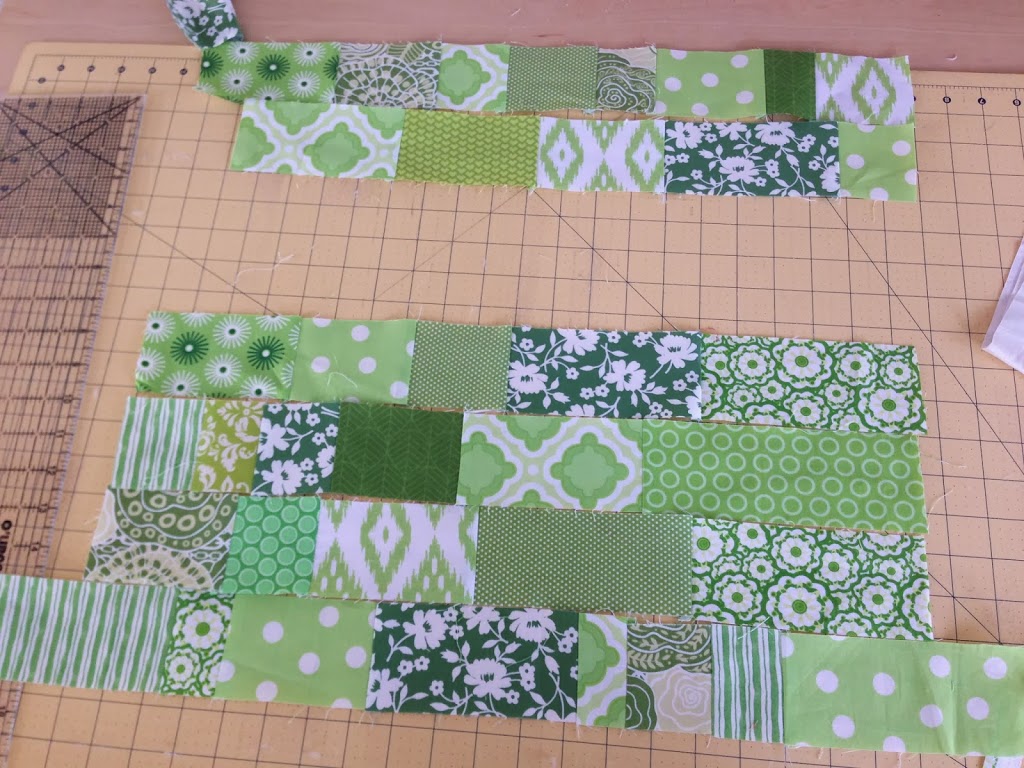
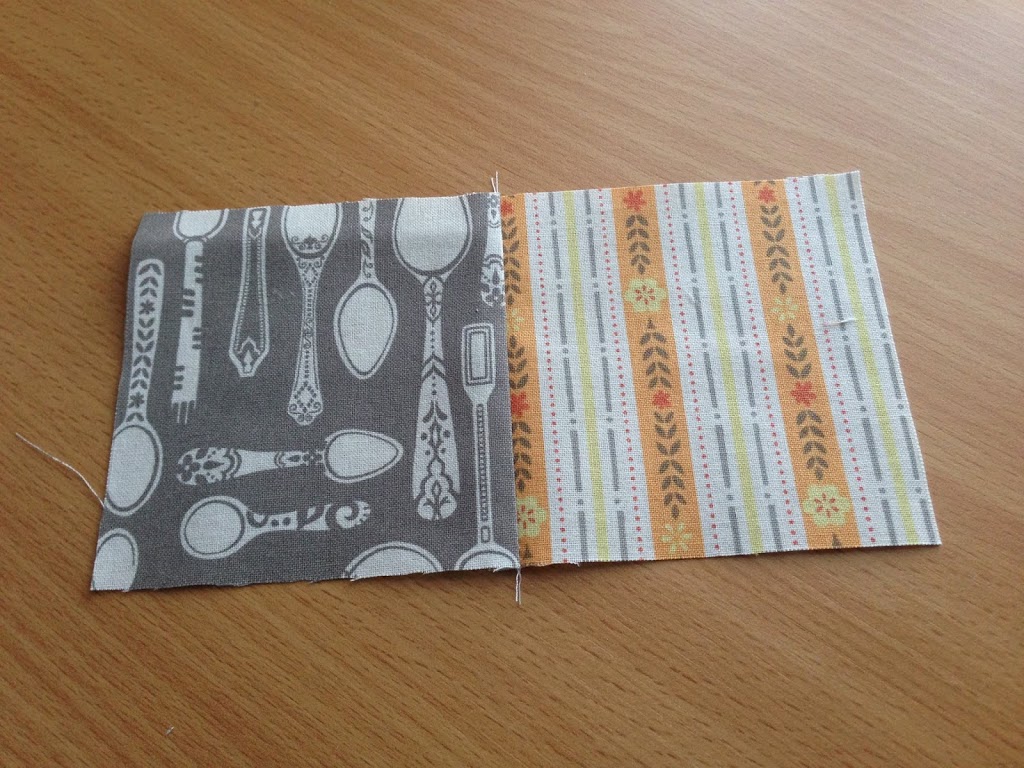
Sew the 3 1/2″ squares in (4) sets like this:  Press toward the dark.

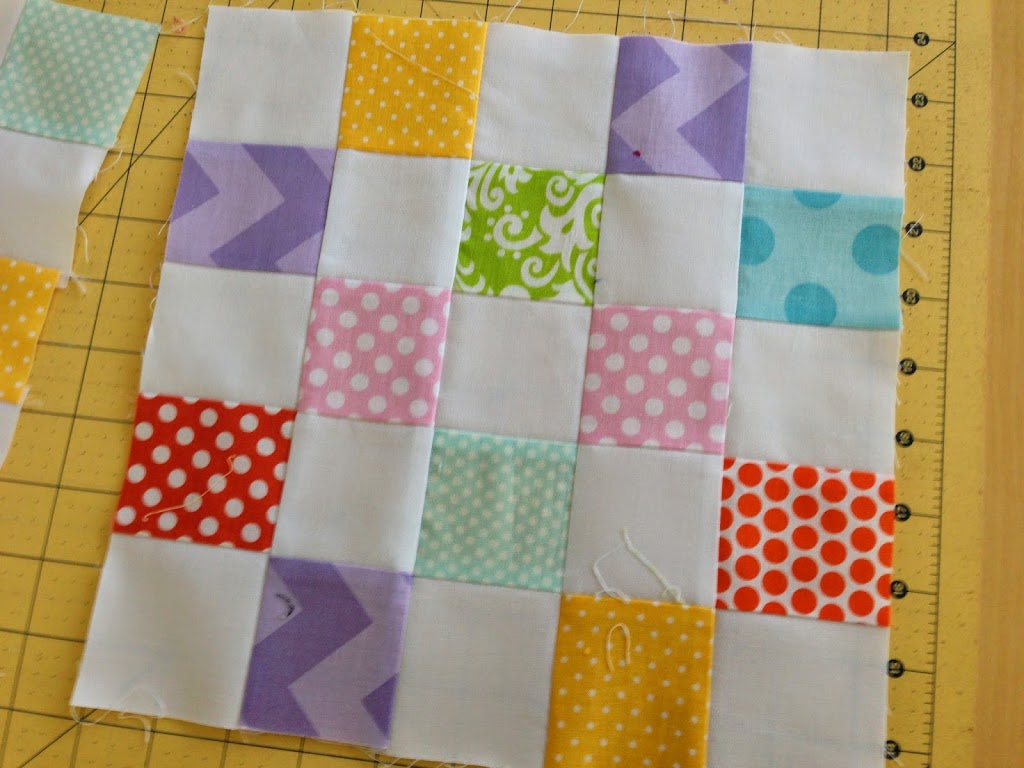
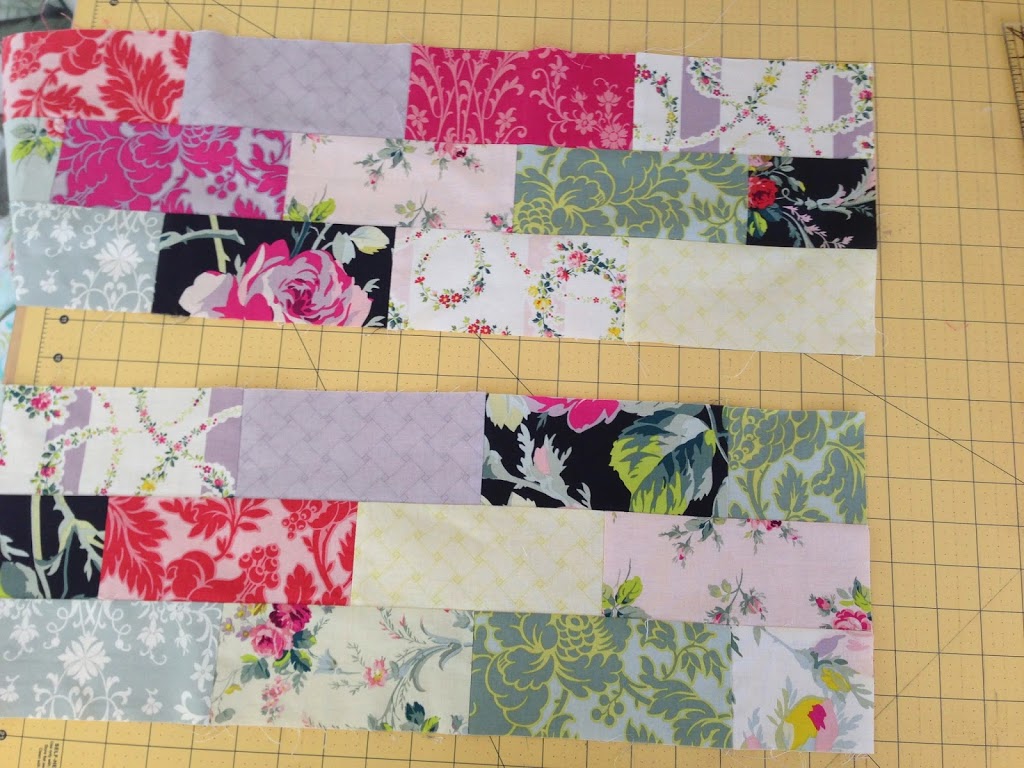
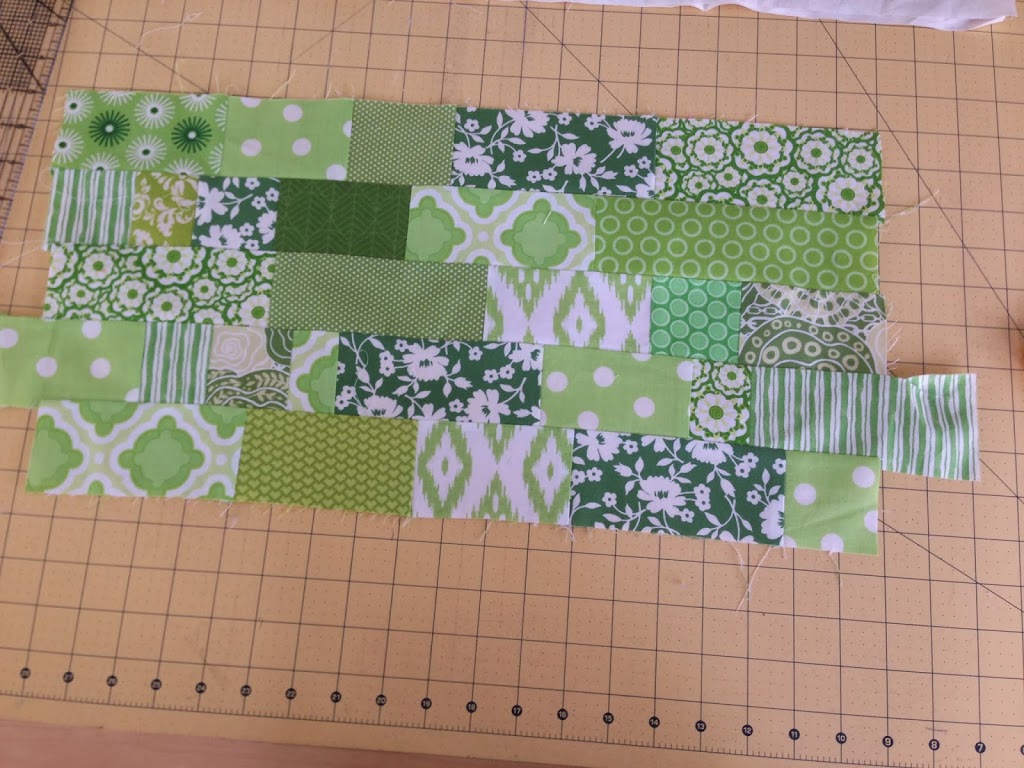
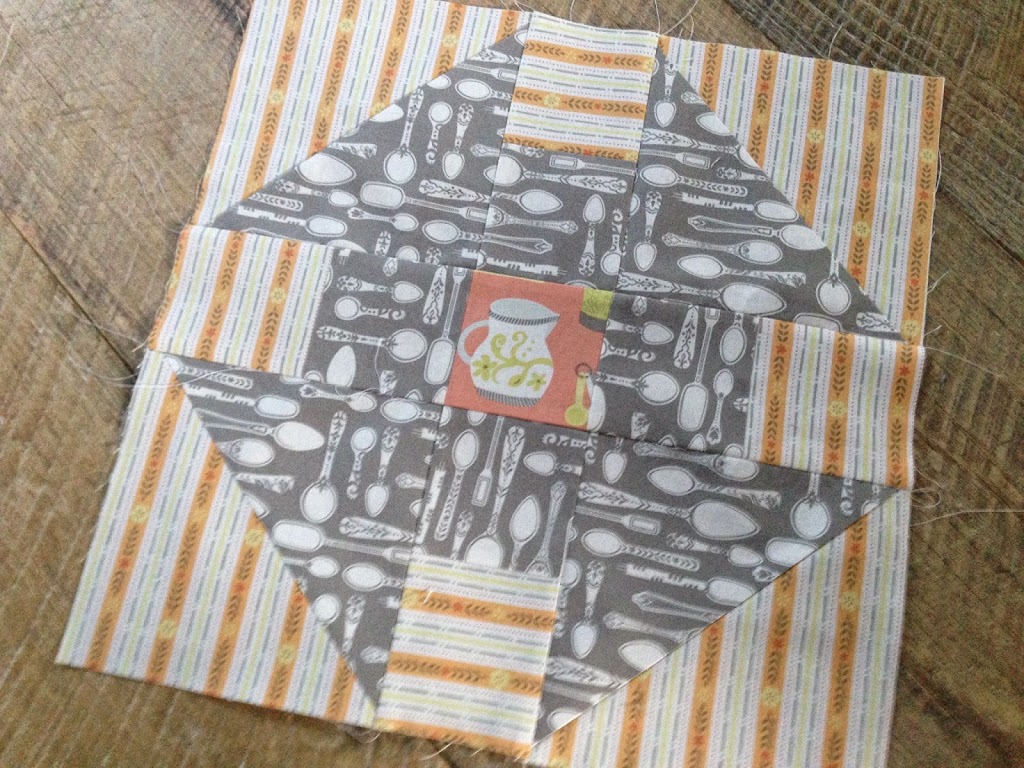
Lay out the churn dash block and sew together in rows.  Press seams.
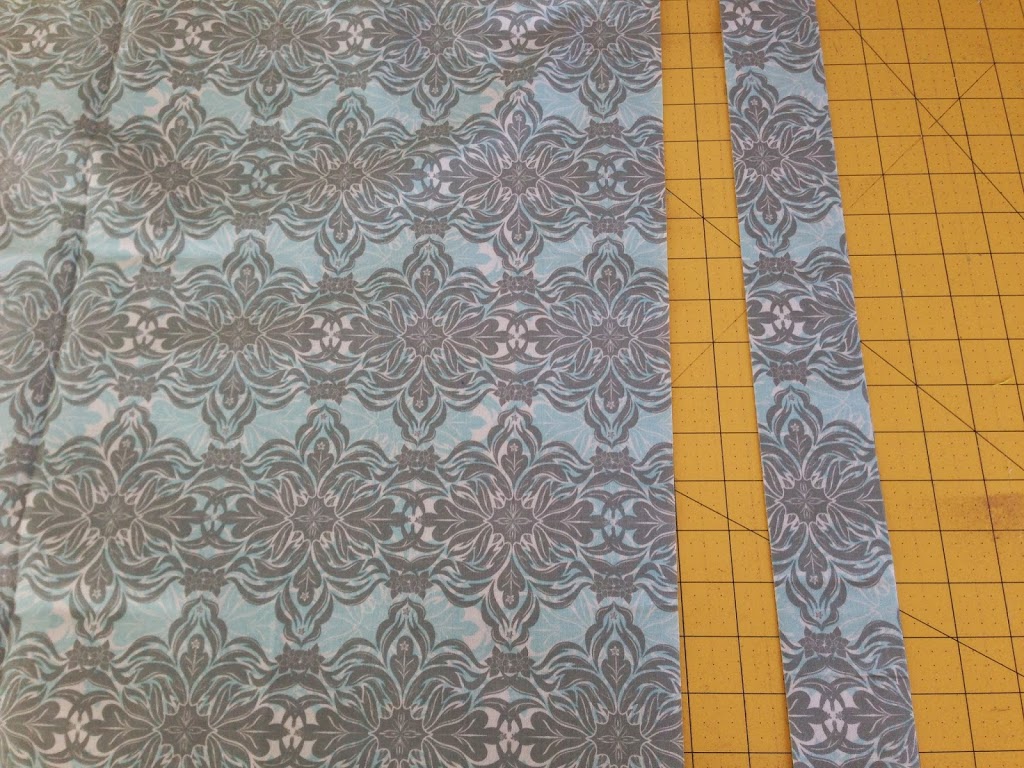
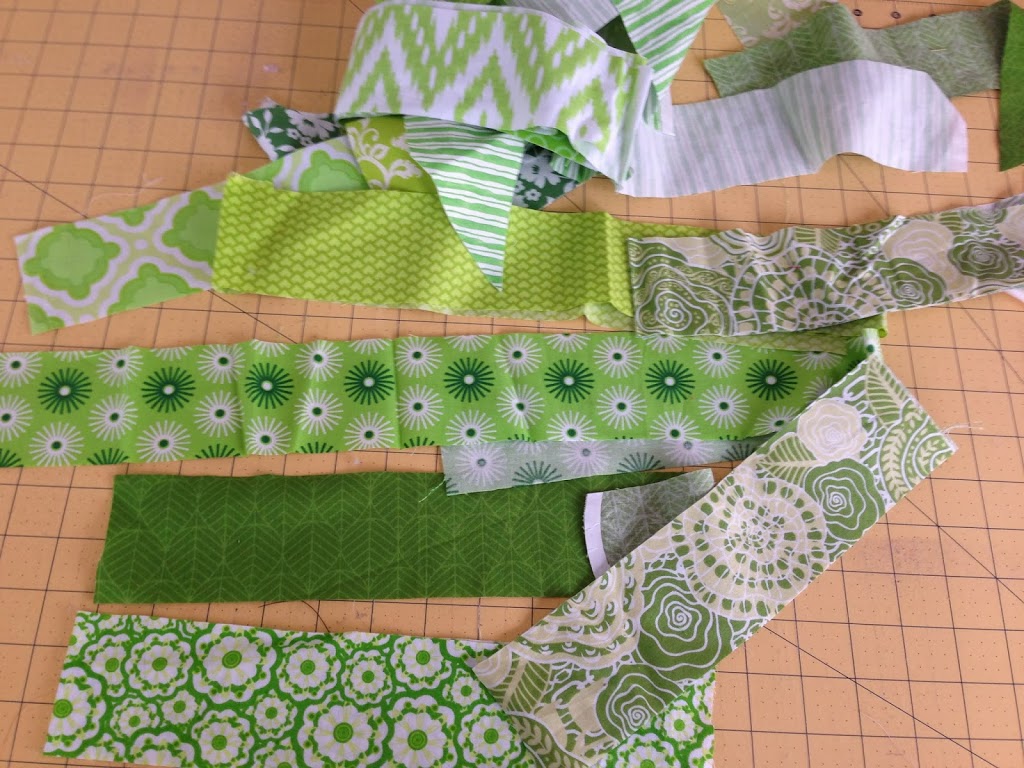
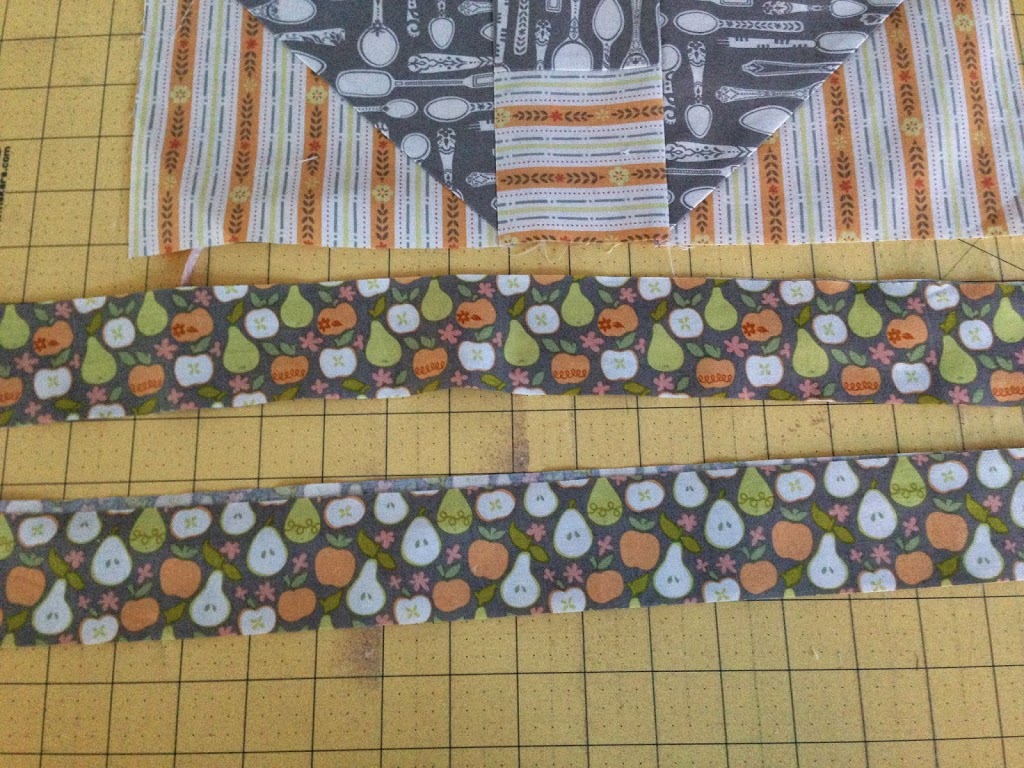
Now all that’s left is to sew the boarders on.  Cut the small fruit into 2″ strips.  Sew sides, then press, then sew top and bottom.  You don’t need to measure on this part.  Use the block as your guide.
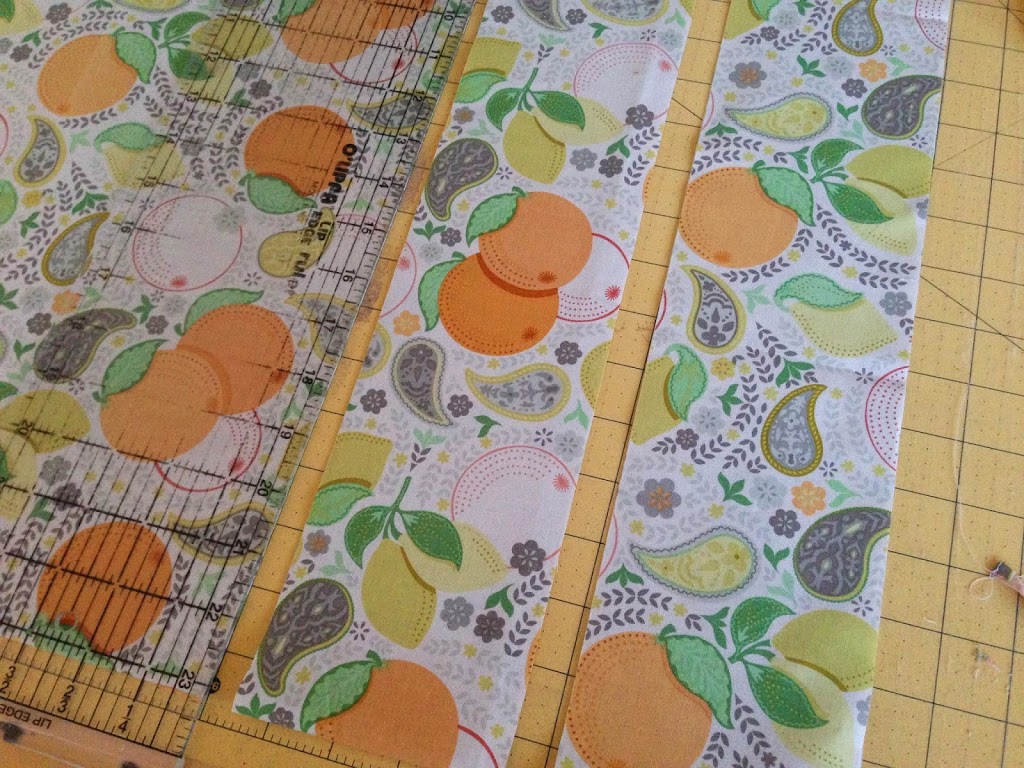
The large citrus print is cut in 4″ strips.  Sew those on in the same manner as the small fruit strips.
Quilt as desired and bind.
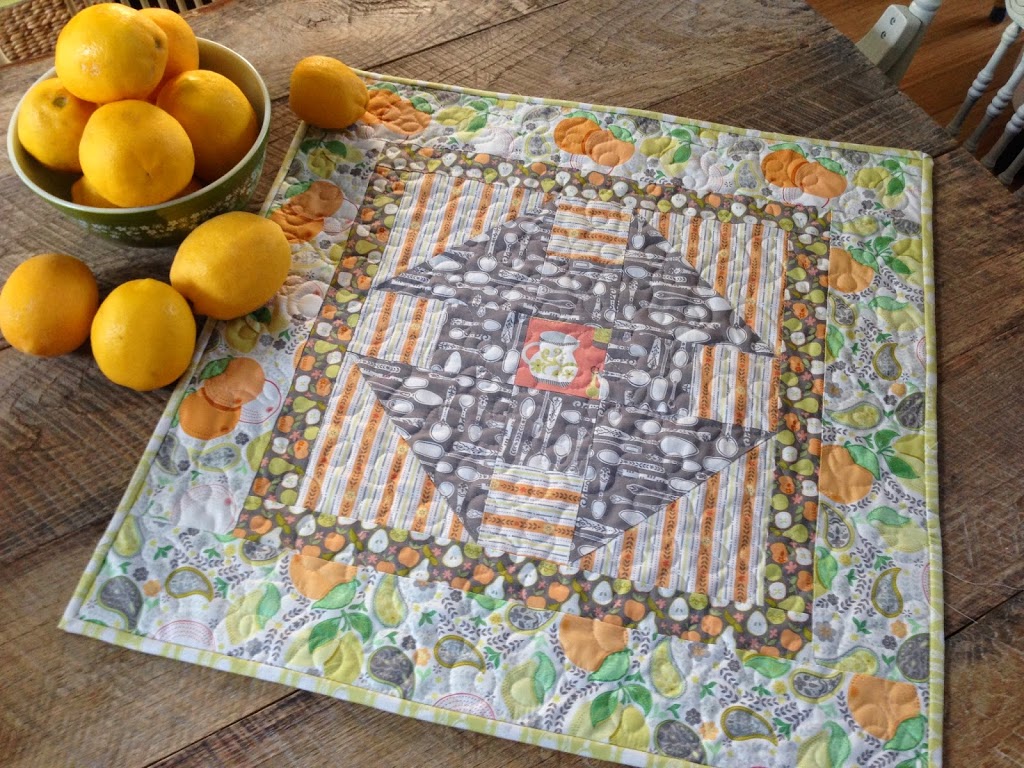
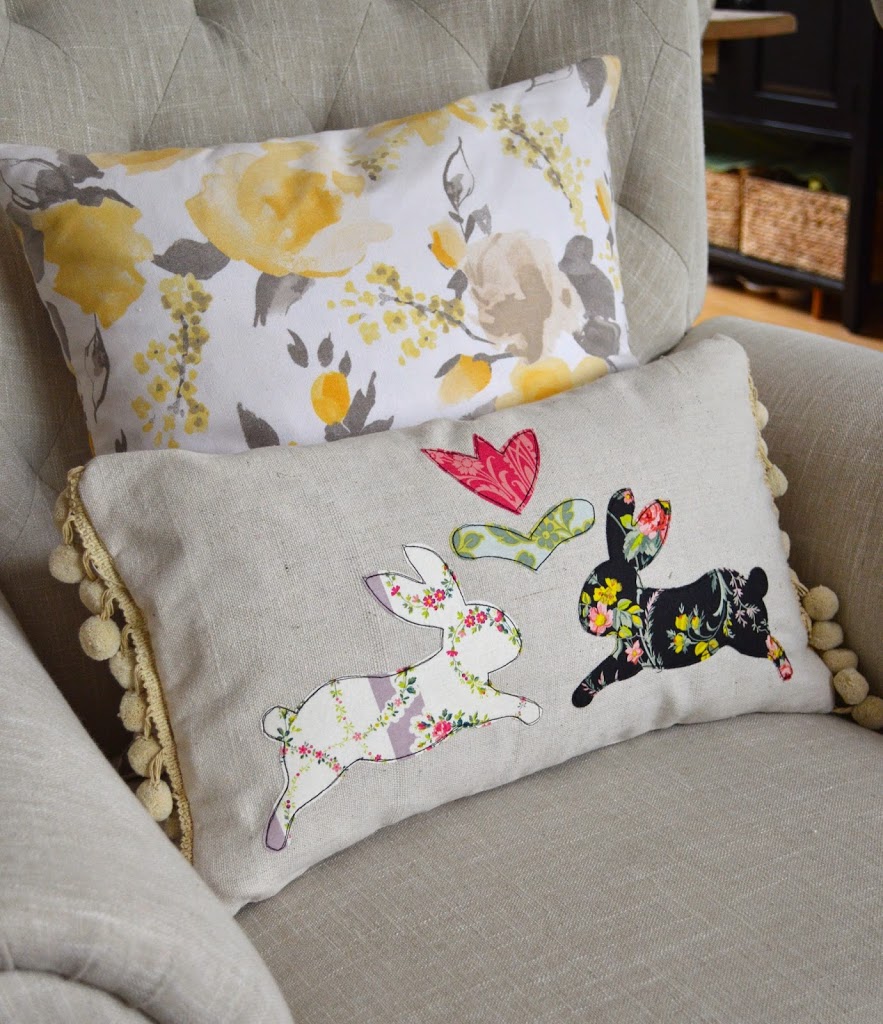
I love it!!!!!

Amanda

Mother’s Day Gifts: Zipper Pouch Set

These cute zipper pouches are a darling gift to give someone special this Mother’s Day.  This tutorial is written by my good friend Jennifer.  Jennifer is the one who takes me on crazy adventures to find fabric all over Southern California.   She is an amazing sewist and writes a blog called Jennifer Sews Again.
Her tutorial for these zipper pouches is great – I followed each step and my pouches turned out perfect!  These amazing fabrics are from Blend’s Modern Eclectic line.  I love the prints!!!

I love the lining!  What’s great about these zipper pouches is they unzip all the way so you can have full access to your items.  I always take mine when I travel.

I love that they nest too!

And they make a nice set when paired with a fabric keychain!

Amanda

Fabric Key Chain Tutorial

Everyday this week I will be featuring a Mother’s Day Gift sewing tutorial!!
I like to give my “Mom Friends” a little give on Mother’s Day.  I have seen these fabric keychains, or “Key Fobs”  all over blogland and I finally decided it was my turn to have a go at them.  They are a perfect little gift!  These yummy fabrics are Modern Eclectic by Khristian Howell for Blend Fabrics.

Supplies
Cotton belting or webbing – I purchased mine from the Etsy Shop, Everything Ribbons
Key Fob hardware – purchased from the same Etsy Shop
2″ strips of fabric
Therm o Web Heat n Bond Hem Tape
Cardstock
Fray Check
Pliers
Cut the fabric into 2″ x 10″ strips
Cut the cotton webbing 10″

Cut a piece of card stock 1″ wide.  This will be the pressing guide.  Center the card stock strip in the center of the wrong side of the fabric.  Press the sides in using the card stock to keep the folds nice and straight.

Using the hem tape, place a 10″ piece in the center of the webbing.
Place the pressed fabric piece on top of the fusible hem tape like this:
Press in place
Top stitch the fabric along both sides.  I like to use this Bernina foot #5 and move my needle over 3 or 4 spaces.  It works like a charm!

I took one of those sticky discs that you put on the bottom of chairs and cut it in half and adhered it to my pliers – this will prevent scratching on the hardware.  Fold the Keychain in half matching raw ends. Center the hardware and use the pliers to press in place.

Use the fray check on the sides to prevent fraying.

I think they are so cute!!  And also handy!!

Amanda

Riley Blake Union Jack Quilt Tutorial

Cheers!  I am so excited to be participating in Riley Blake’s Union Jack Blog Hop!  I am in love with the fun colors of this Union Jack panel!  My friend, Karen, loves all things British: Jane Austen, Charlotte Bronte, the Royal Family, Sticky Toffee Pudding, Fish ‘n Chips, Beef Wellington, The Cure & Adele….her husband served a mission in England, AND here is Harper, their adorable baby girl with a trendy British name!  Harper is the cutest baby ever and this quilt is for her.  
This quilt is the perfect size for a wallhanging or baby quilt
Finished quilt 38.5″ x 30.5″

Here’s how you can make your own “Harper Girl” quilt.
Supplies:
1 Union Jack print
assorted jelly roll strips of prints and white – or yardage to cut strips
Heat n Bond Lite Printable sheets
batting
1 yard backing fabric
1/3 yard binding
Cut the white fabric and assorted prints into 2.5″ strips x WOF
I used 1 strip of each of the 8 colors, cut 16 white strips
Now cut each WOF strip in half
Sew into strip sets of (5) total.  I just picked random colors and didn’t try and lay out the pattern.  Make 3 sets with white beginning and ending and 3 sets with prints beginning and ending as pictured:
Press toward the prints.
Cut the strip sets into 2.5″ sub sets:
Make 2 piles: one with the white on the outside and one with the patterned fabric on the outside:
Now comes the fun part – grab and sew!  Once again, I didn’t try and lay out a pattern, I just grabbed 2 strip sets and sewed together.  Make sure the intersections of the seams sandwich together nicely.
Make 9 of these blocks: 5 blocks with patterned corners, 4 blocks with white corners.
Fussy cut one of the Union Jack blocks, leaving a 1/4″ seam allowance around the print.
Find a font you like and print it in reverse on one of these Heat n Bond EZ print sheets – you could also use a silhouette, but I am not that advanced!  
 Cut out the letters and peel off the backing paper.  Cut a piece of white fabric 9.25″ wide (the width of the Union Jack) x 19.5″   Place the letters and iron in place.  Straight stitch around each letter twice.  
Sew the Union Jack to the white fabric.
Lay out your blocks in this pattern: 2 rows of 3 blocks, then the Union Jack strip, then 1 row of 3 blocks.  Square up the white fabric if there is a little excess on the end.

Quilt as desired

Amanda

Bunny Love Pillow

I guess there is no stopping the bunny projects!  Meet my newest bunny creation – Bunny Love pillow! This is a fast and easy project that will add a Folk Art Easter feel to your home.

Supplies:
Backing fabric, 3/4 yard
Scraps of fabric for appliqué – I used Anna Griffin’s Grace line
Pom Pom trim
22″ zipper
Pillow form or fiber fill
Heat n Bond lite

Begin by cutting the pillow front 20″ x 12″
Iron the Heat n Bond lite to the back of your appliqué fabric.  I used the Sizzix bunny die for the bunnies.  The folk art tulip pattern can be downloaded here.

Once you have cut out your appliqué pieces, center them on the pillow front.  Iron to set in place and stitch around each piece twice with black thread.

Cut the pom poms the width of the pillow and baste them into place.

For the pillow back…..
There are a few options to finish the pillow:
1.  You can cut the back piece the same size as the front, sew it, turn it, stuff with fiber fill and hand stitch the opening closed.
2.  I used a pillow form and put an invisible zipper in the bottom portion of the back.  I cut 2 pieces for the back:  20″ x 2″ and 20″ x 2.  Set the invisible zipper joining the two pieces.  For invisible zipper tutorial, click HERE.
Pin the back to the front with right sides together, making sure zipper is open.  My back was a touch larger then the front, so I just trimmed off the excess.  Make sure to tuck those pom pons in so they don’t get caught in the seam.
Sew all the way around the pillow using 1/2″ seam.  Turn and insert pillow form.
OK, now this is my favorite thing in my house 🙂

Amanda

Vintage Bunny Skirt Tutorial

The bunnies keep multiplying!  I knew they would make a darling skirt (what’s next, throw pillows & tote bags??) This is a simple tutorial for a girls skirt size 6/7 that sews up in no time!  The tutorial is being featured over at the Therm o Web blog.  Click HERE to check it out!!

Amanda

Burlap Bunny Pillows

I can’t get enough of these appliqué bunnies in the Anna Griffin Grace fabrics!!  I had some left over from my Bunny Bricks Quilt so I thought I would make a few burlap pillows for gifts.  They are so cute and sew up really fast.  
Here’s how you can make one:
  • Cut 2 pieces of burlap 8″ x 11″
  • I already had the Heat n Bond Lite fused to the bunny, so I just ironed it to the center of the burlap.
  • Stitch around the bunny twice using brown thread.
  • Pin the two pieces of burlap wrong sides together.  
  • Cut a 17″ piece of lace and pin in place, tucking the raw edges inside the pillow.
  • Sew 1/2″ seam around the pillow leaving an opening at the bottom to stuff.  Stuff with fiber-fill and top stitch the opening closed.

They are so cute, and did I mention I love bunnies?  They are the cats of Easter 🙂

Amanda

Bunny Bricks Quilt Tutorial

I am so excited for spring and Easter and flowers and bunnies and sunshine!  I am a cat person by nature, but when spring rolls around my obsession with cats turns into an obsession with rabbits.   I have rabbit “nick-nacks” all over the house!!!  A new bunny wall quilt is long over due!  When I came across this amazing line of fabric from Anna Griffin, called Grace, I fell in love.  It feels like vintage spring!!!!  I paired the rectangle “bricks” with a bunny silhouete appliqué from Sizzix.  I’m in love!  

Here’s how you can make one:

Supplies: 15 assorted prints, fat quarters or 1/4 yard cuts
1 yard of cream solid cotton
Heat n Bond Lite by Therm O Web for appliqué
1/2 yard fabric for binding
1 1/3 yard fabric for quilt back
cotton batting

Assemble the Bricks:
Cut the 15 assorted prints into 3″ strips x WOF
Sub cut the strips into 6.5″ bricks

The bricks measure 3″ x 6.5″ each.  Stack them into piles.

Begin making pairs out of the bricks and chain piecing them;  leave about 12 single bricks.  Pair up 12 of the pairs with 12 pairs, and so on.  The goal is to have 12 rows of 7 bricks.  I went pretty random and did not lay the pattern out ahead of time.

Here you can see my 12 rows.  The rows will be sewn into sets of 3’s.

Press the seams of the bricks to one side.  To sew the rows together the bricks need to be offset just like in real masonry work.  Align one of the rows on your cutting mat.  Each brick should measure 6″ (except for the end ones.)  Align both seams of the brick with the 6″ marks on the cutting mat.  Take the next row and align the seam along the 3″ mark which is the center of the first brick.  Put right sides together, pin, and sew using 1/4″ seams.

Continue sewing the rows together in sets of 3’s.  The ends of each row will be uneven because we are offsetting the rows.  Once the rows are sewn, press seams to one side and “square up” the edges (below).

Cut the cream cotton into (3) strips 8″ x 39.5″.  This will be the bunny appliqué pieces.
Prepare the appliqué:

Cut the bunny fabric and Heat n Bond roughly the size of the Sizzix Die.  Iron Heat n Bond Lite to the wrong side of the fabric.  Run the fused piece through the Sizzix to cut the bunny.  I cut 2 at a time.

I was completely in love with each and every bunny that I cranked out!!

Peel the backing off the Heat n Bond Lite and position the bunnies as desired.  I alternated the direction of the bunnies in each row.

Iron the bunnies into place and top stitch twice around each bunny using black thread.

Once all the bunnies are finished, lay out the quilt and sew the rows together.  (I have little papers pinned to number my rows.)

Now that the quilt top is finished, quilt as desired!  I quilted straight lines in the “brick” part and “loop-de-loos” in the bunny part.

I am so happy every time I see it!

Amanda

Gracie Girl Quilt Tutorial

These Gracie Girl fabrics from Riley Blake are the cutest!  I created this quilt to give to a dear friend who recently adopted a baby girl.  The quilt should really be called “Harper Girl” because that is the sweet baby’s name.  She is a doll.  The tutorial can be found on the Riley Blake Website.  It’s a super fun pattern and I love how it shows off the wonderful fabrics!

Amanda

LUCKY St. Patrick’s Day Pillow Tutorial

I can’t believe it’s almost St. Patrick’s Day!  Of course a St. Patrick’s Day pillow is in order.  I hope you get a chance to make one – you will be so LUCKY!!!
Supplies:
19″ pillow
Assortment of green fabrics
1/8 yard white fabric
Scrap of Gray fabric for letters
3/4 yard backing fabric
zipper – 20″ or longer
Heat n Bond EZ Print appliqué sheets
Heat n Bond Fusible Fleece
Dig out all your green fabrics and toss it into a pile!!

Cut into 2.5″ strips – it doesn’t matter how long they are, just get a nice assortment.

Cut the strips into random lengths – using your scissors, gasp!!  You can use a rotary cutter – I am all about speed when I sew and the scissors seemed faster!

Put all the pieces in a basket.  Pull out 2 pieces and sew them together (1/4″ seams) end to end, continue doing this by grabbing 2 pieces at a time.  I dare you to not even look at the fabrics and just be totally random!!!
Here is the chain piecing.  Once you have a fair amount of pairs sewn, pair up the pairs, then pair up those strips.  The goal is to have 7 strips that are 19″ long.

I went pretty random and did not pay attention to the pattern – I like how it’s scrappy.

Once you have laid out the strips, sew them together using 1/4 inch seams.  There are 5 strips on the bottom and 2 strips on the top.  Don’t worry about the fact they don’t line up.  Sew them together, then square them up to 19″ long.

Cut a piece of white fabric 5″ x 19″.  This is for the appliqué.  Sew all pieces together like this:
Prepare the appliqué by downloading the pattern HERE.  I used these EZ print sheets from Therm o Web.  You put them in your printer and then you don’t have to draw the pattern by hand!  They are great!  Make sure to print it in reverse.
Once the pattern is printed, cut around the words and shamrock.  Iron to the WRONG side of your fabric.   I choose to use a gray dot for the letters.  Then cut out the letters and shamrock.  The letters are a little bit tedious, I was almost tempted to try the Cricut, but me and the Cricut don’t get along very well!


Sew using a straight stitch in black thread twice around the letters and the shamrock.

Cut a piece of fusible fleece 19″ square and iron it to the wrong side of the lucky pillow top.


Sew straight lines 1/8″ from each seam.

Prepare the pillow back….
From your backing fabric cut (1) 4.5″ x 19″ and (1)16″ x 19″
Cut a 4.5″x 19″ strip from a green fabric
Lay the pieces out like this with the zipper.  Press the green piece in half lengthwise.

Turn the zipper over, align with the top of the large back piece and sew using a zipper foot along the edge:

Sew the opposite side of the zipper adding the green strip, layer like this:

My backing fabric was a heavy woven fabric, I choose to zigzag my seams because they were already starting to fray.  Press the seams away from the zipper.  Put the zipper pull in the center of the pillow and cut the excess zipper off both edges.

Place the pillow front on the pillow back with right sides together.  Pin all the way around.  Make sure the zipper is open so you can turn it after it’s sewn.  Sew all the way around the pillow using a generous 1/4″ seam.

Notice there is about an inch of extra backing hanging out – don’t freak out!!!!  I added a little extra in the measurement to account for variances in zippers.  Just cut it to size, making sure you line up the tops.  Turn and place the pillow inside!!!  Aren’t you LUCKY!!!!

Amanda