My Halloween Skirt & Shirt tutorial is up and running on the Therm O Web Blog. I can’t wait till it’s October so Sally can wear this!! Would it be too much if I make myself one??
Therm O Web fall advertising…that’s my projects!!
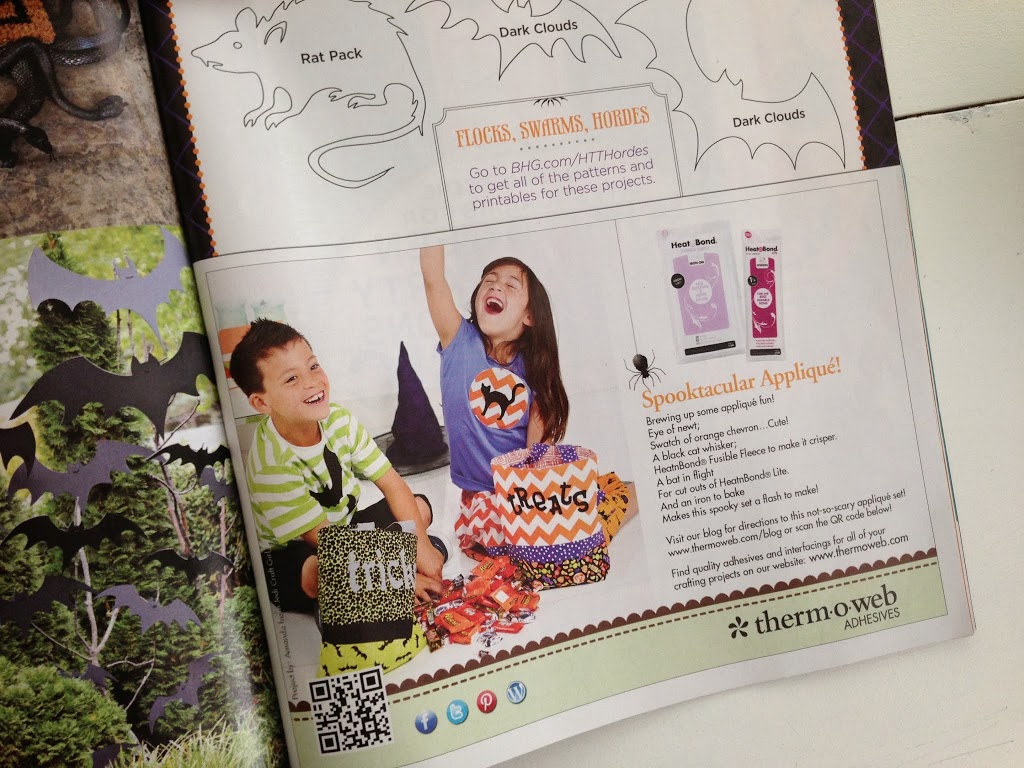
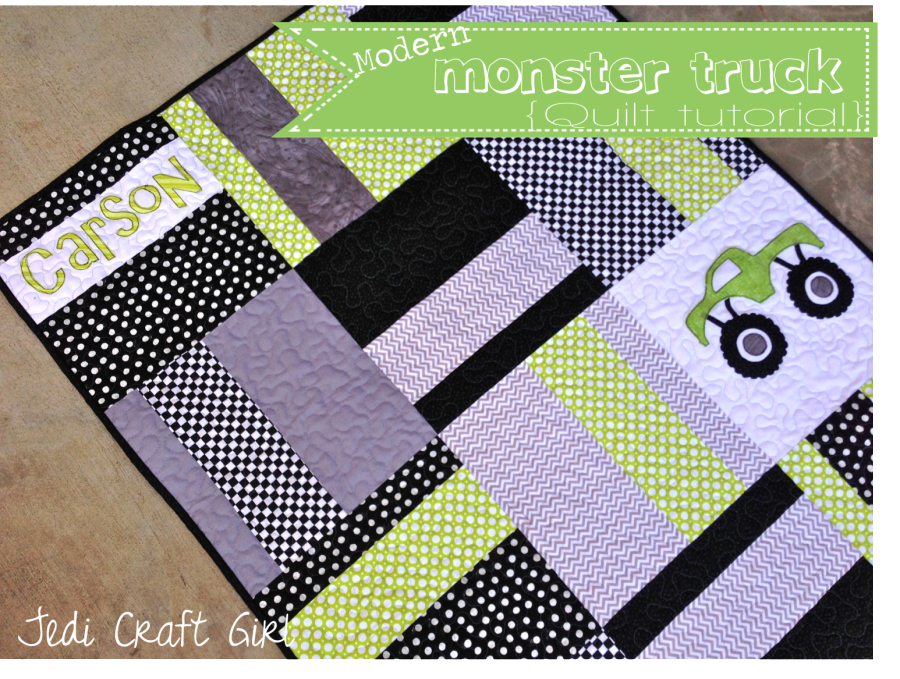
Love the bats! It’s nice to be able to sew something for a boy. Seems like everything is so girly!