Search Results for: kitchen towel make over

Kitchen Towel Makeover


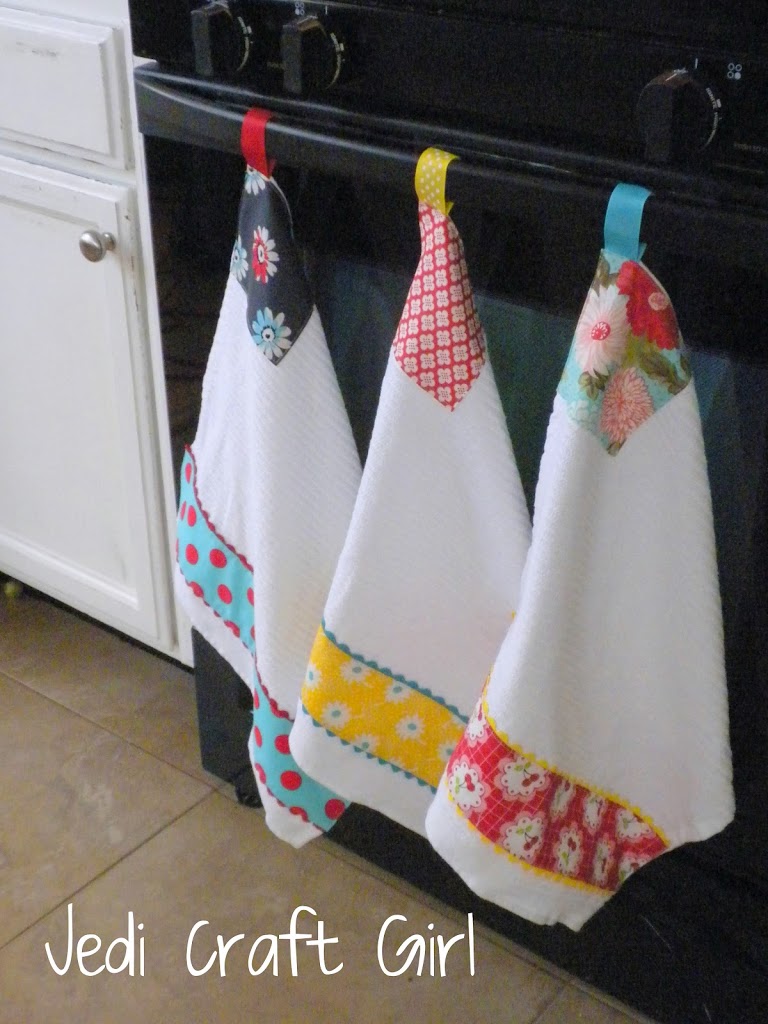
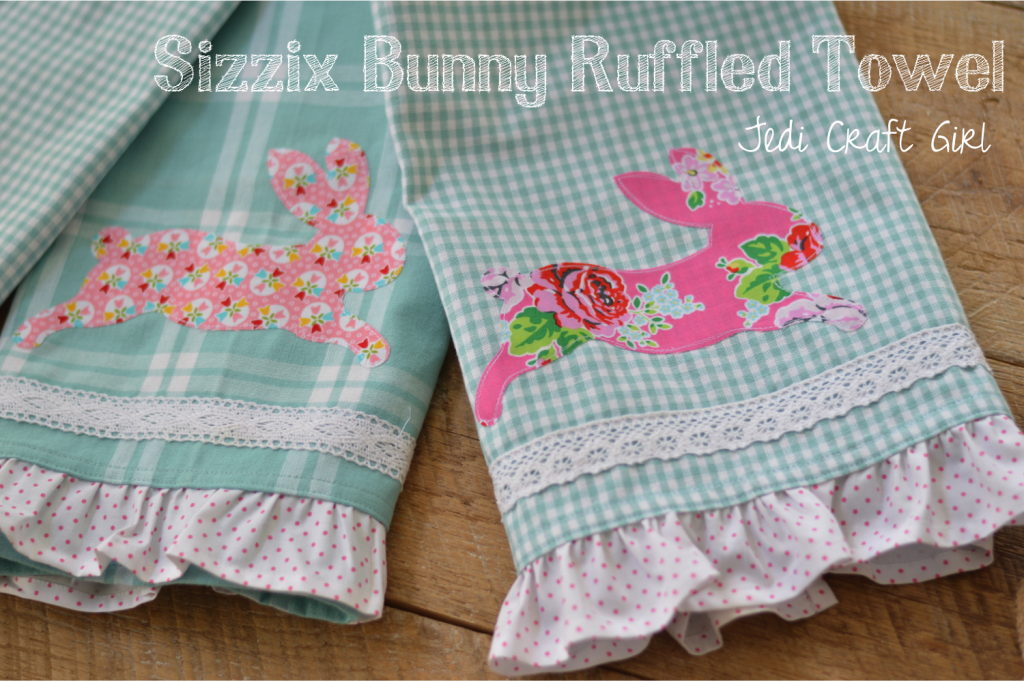
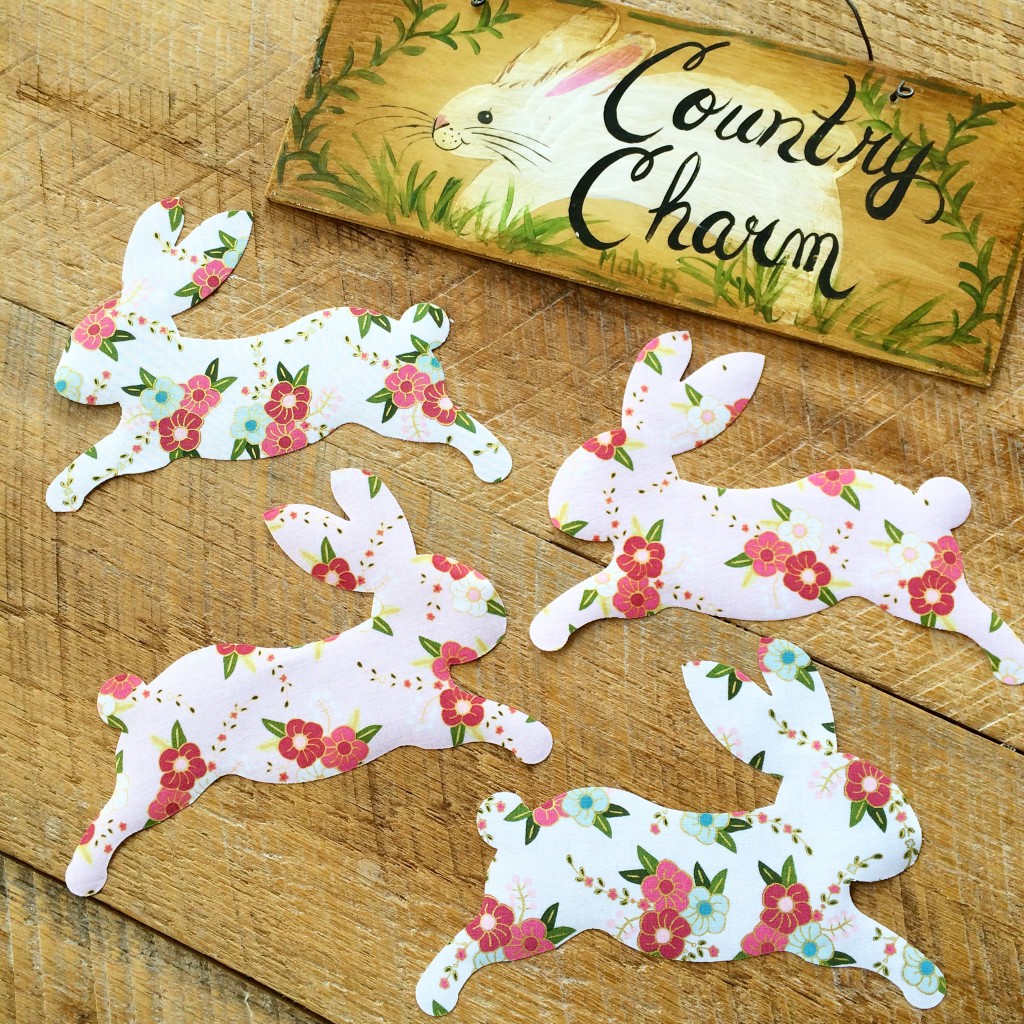
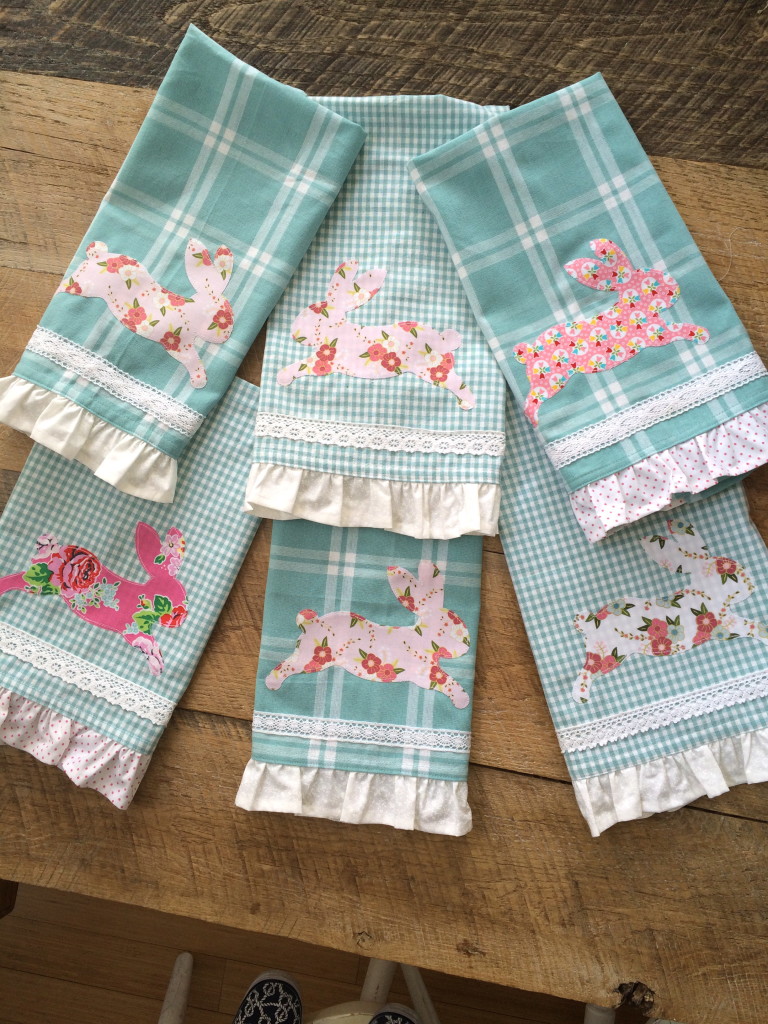
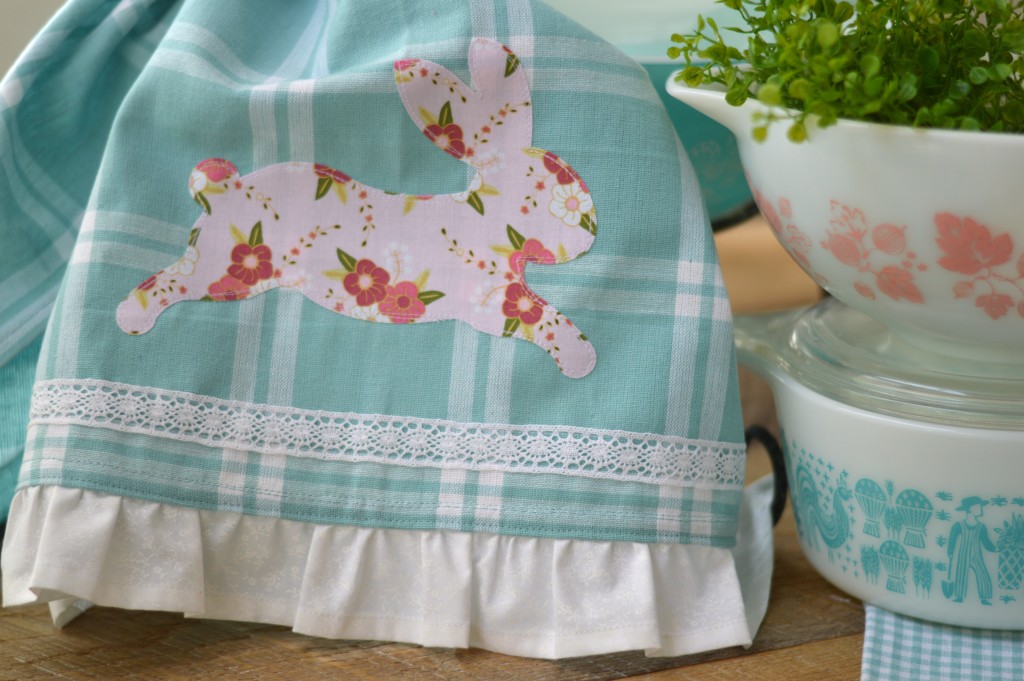
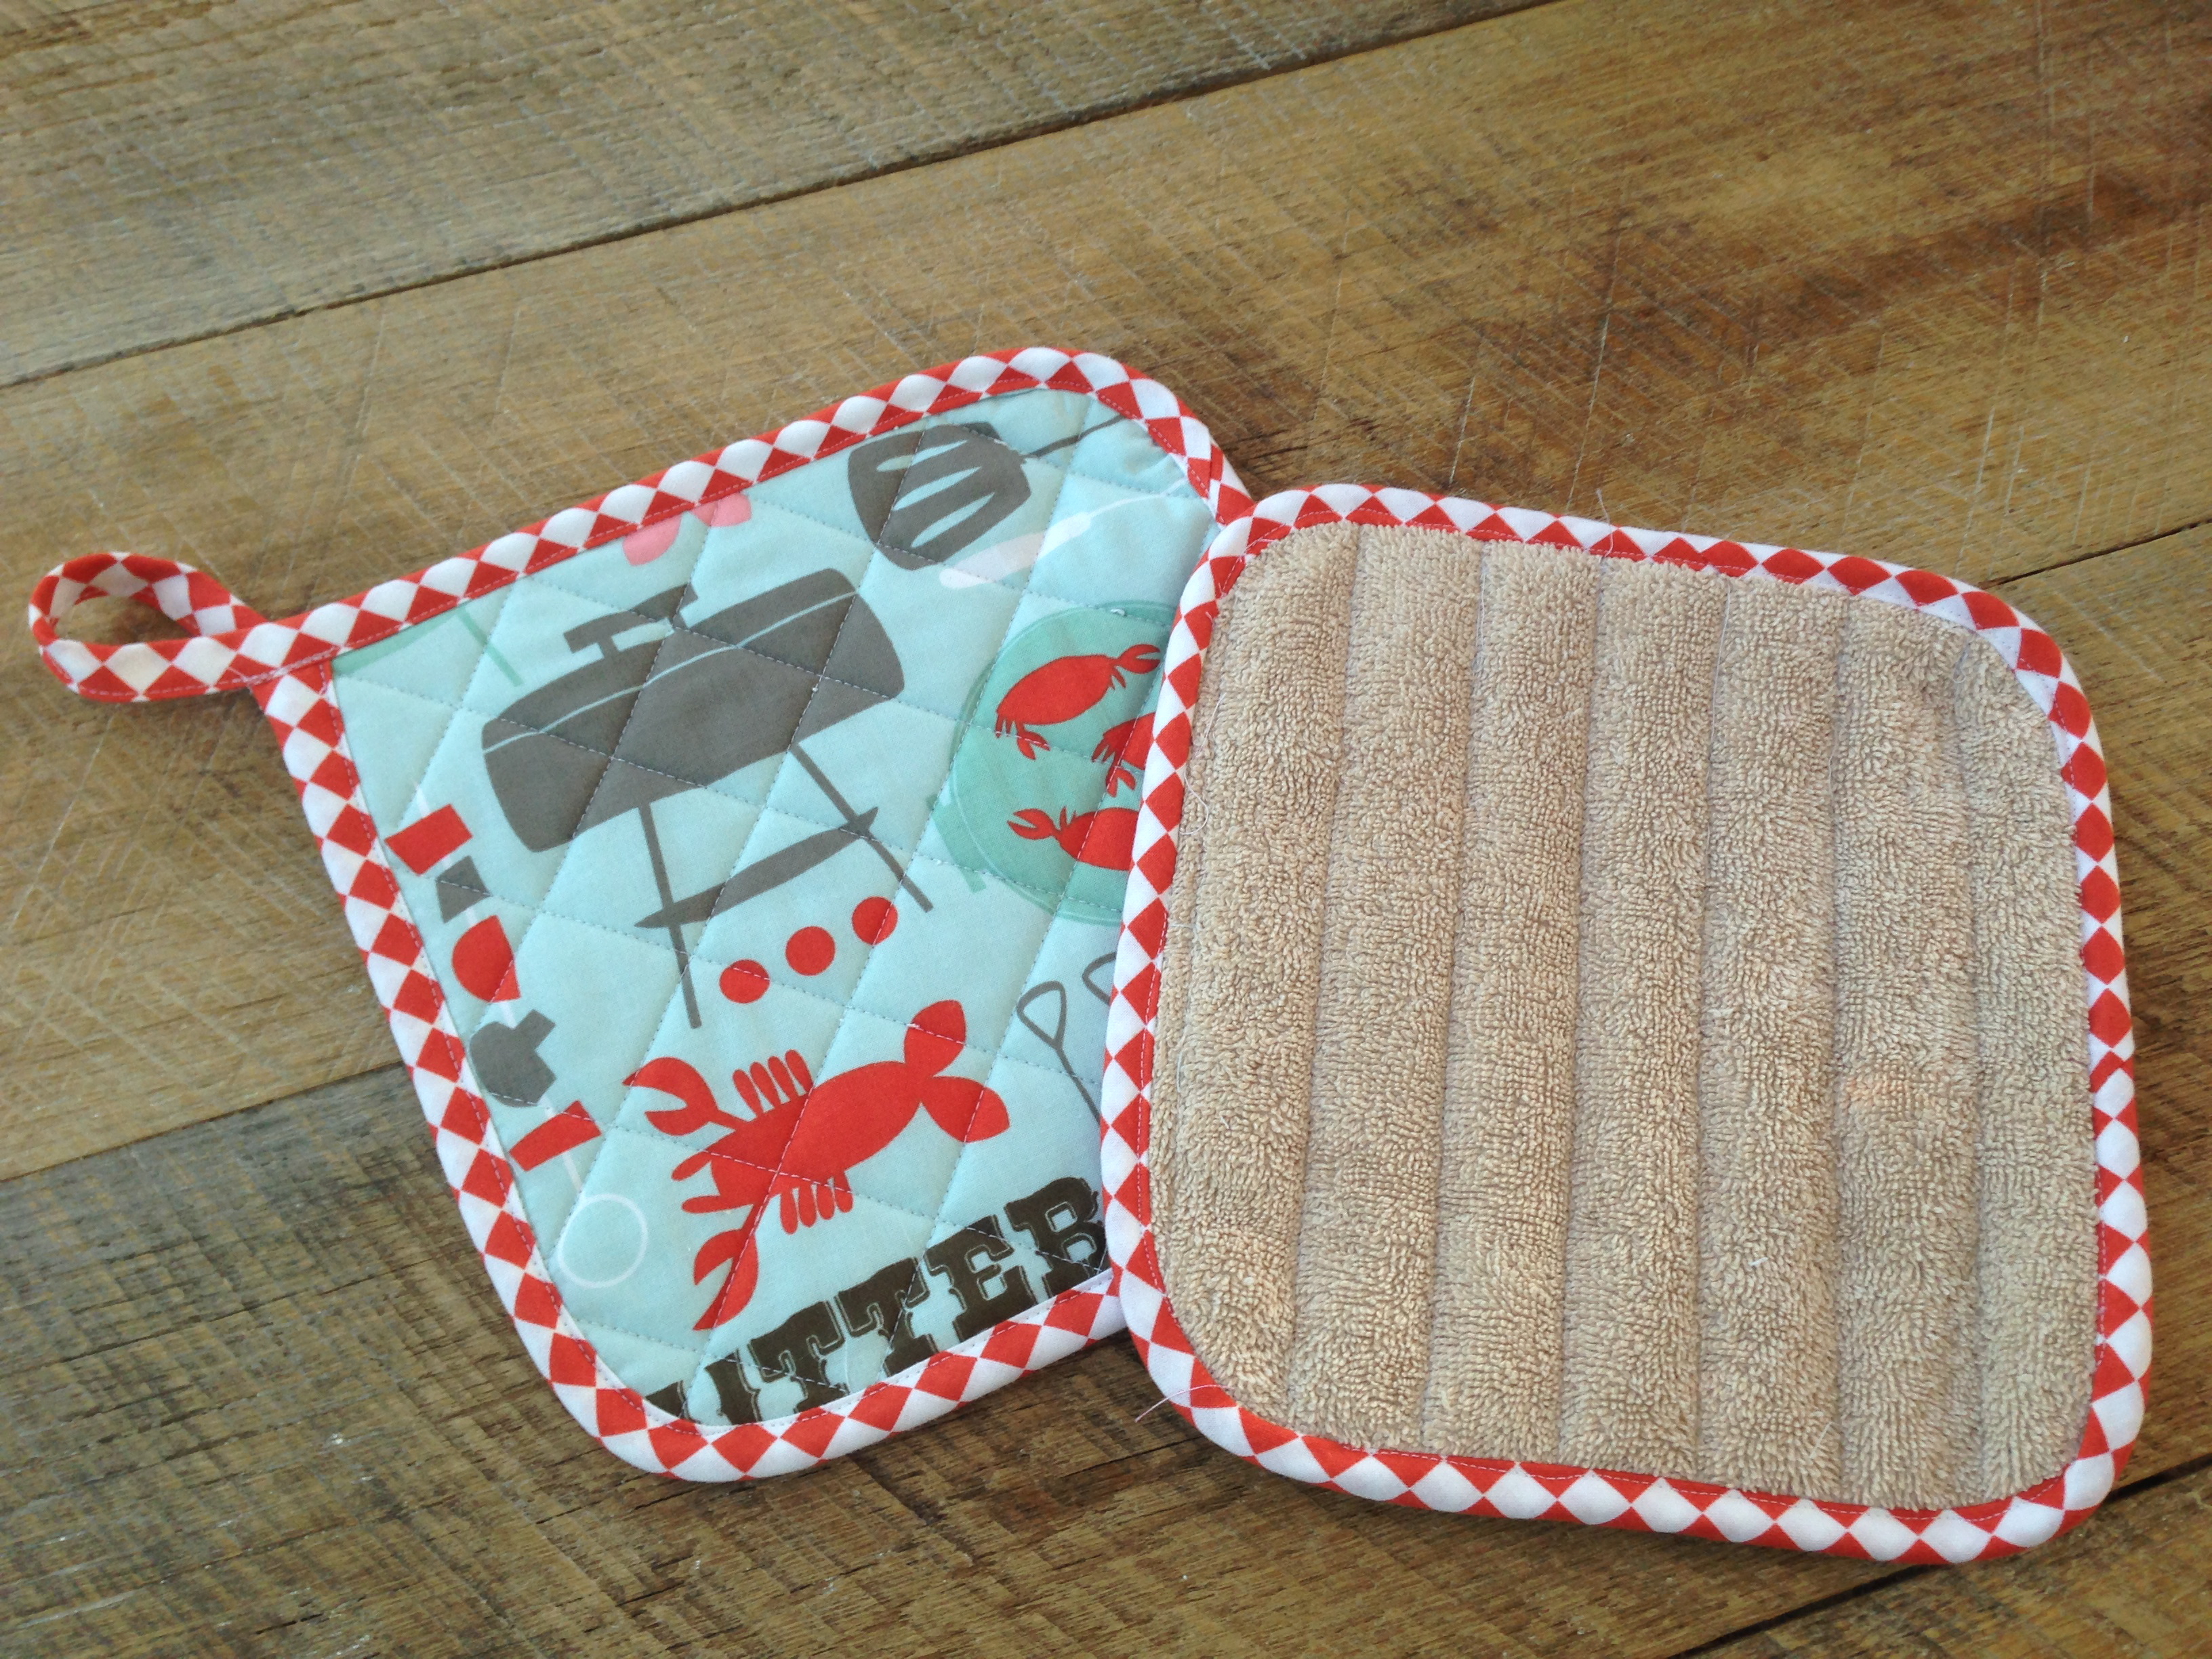
 I made these kitchen towels to go in my newly updated kitchen.  They are so much fun to make.  I love quick sewing projects like this because I get a “fabric fix” without a lot of mess!

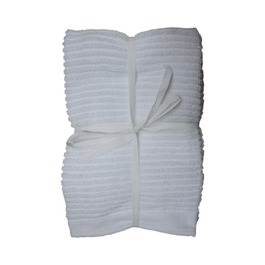
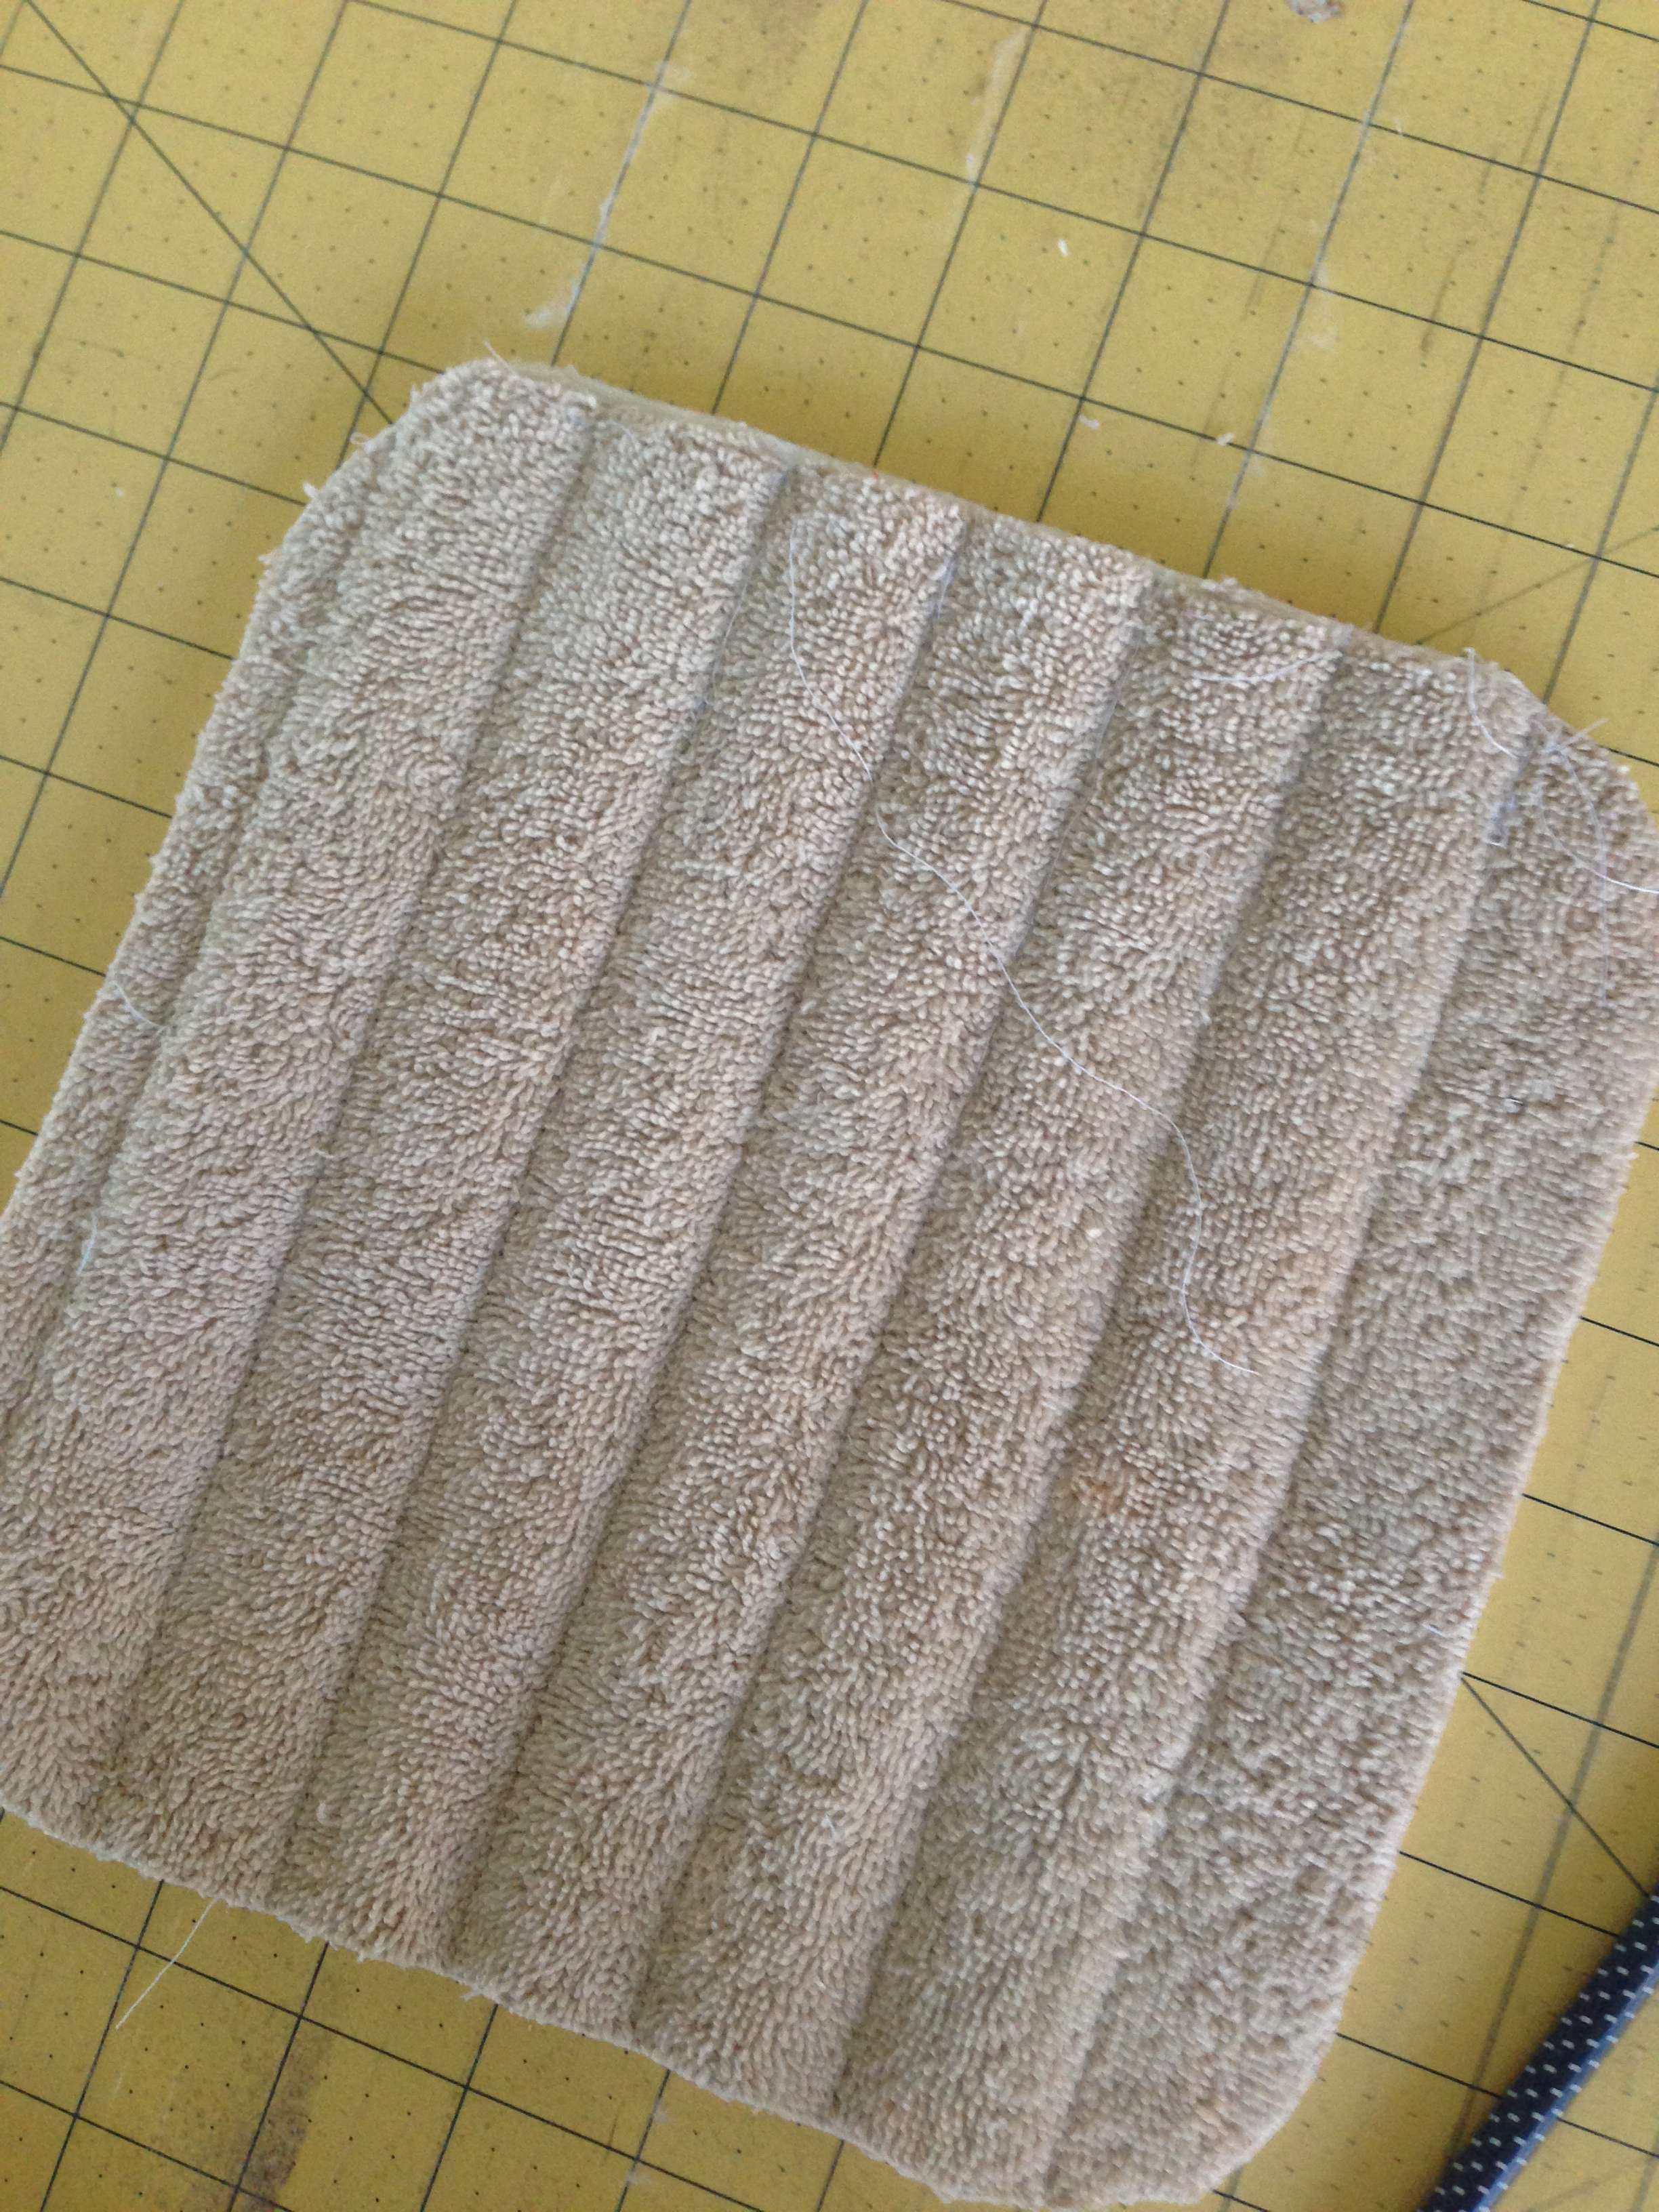
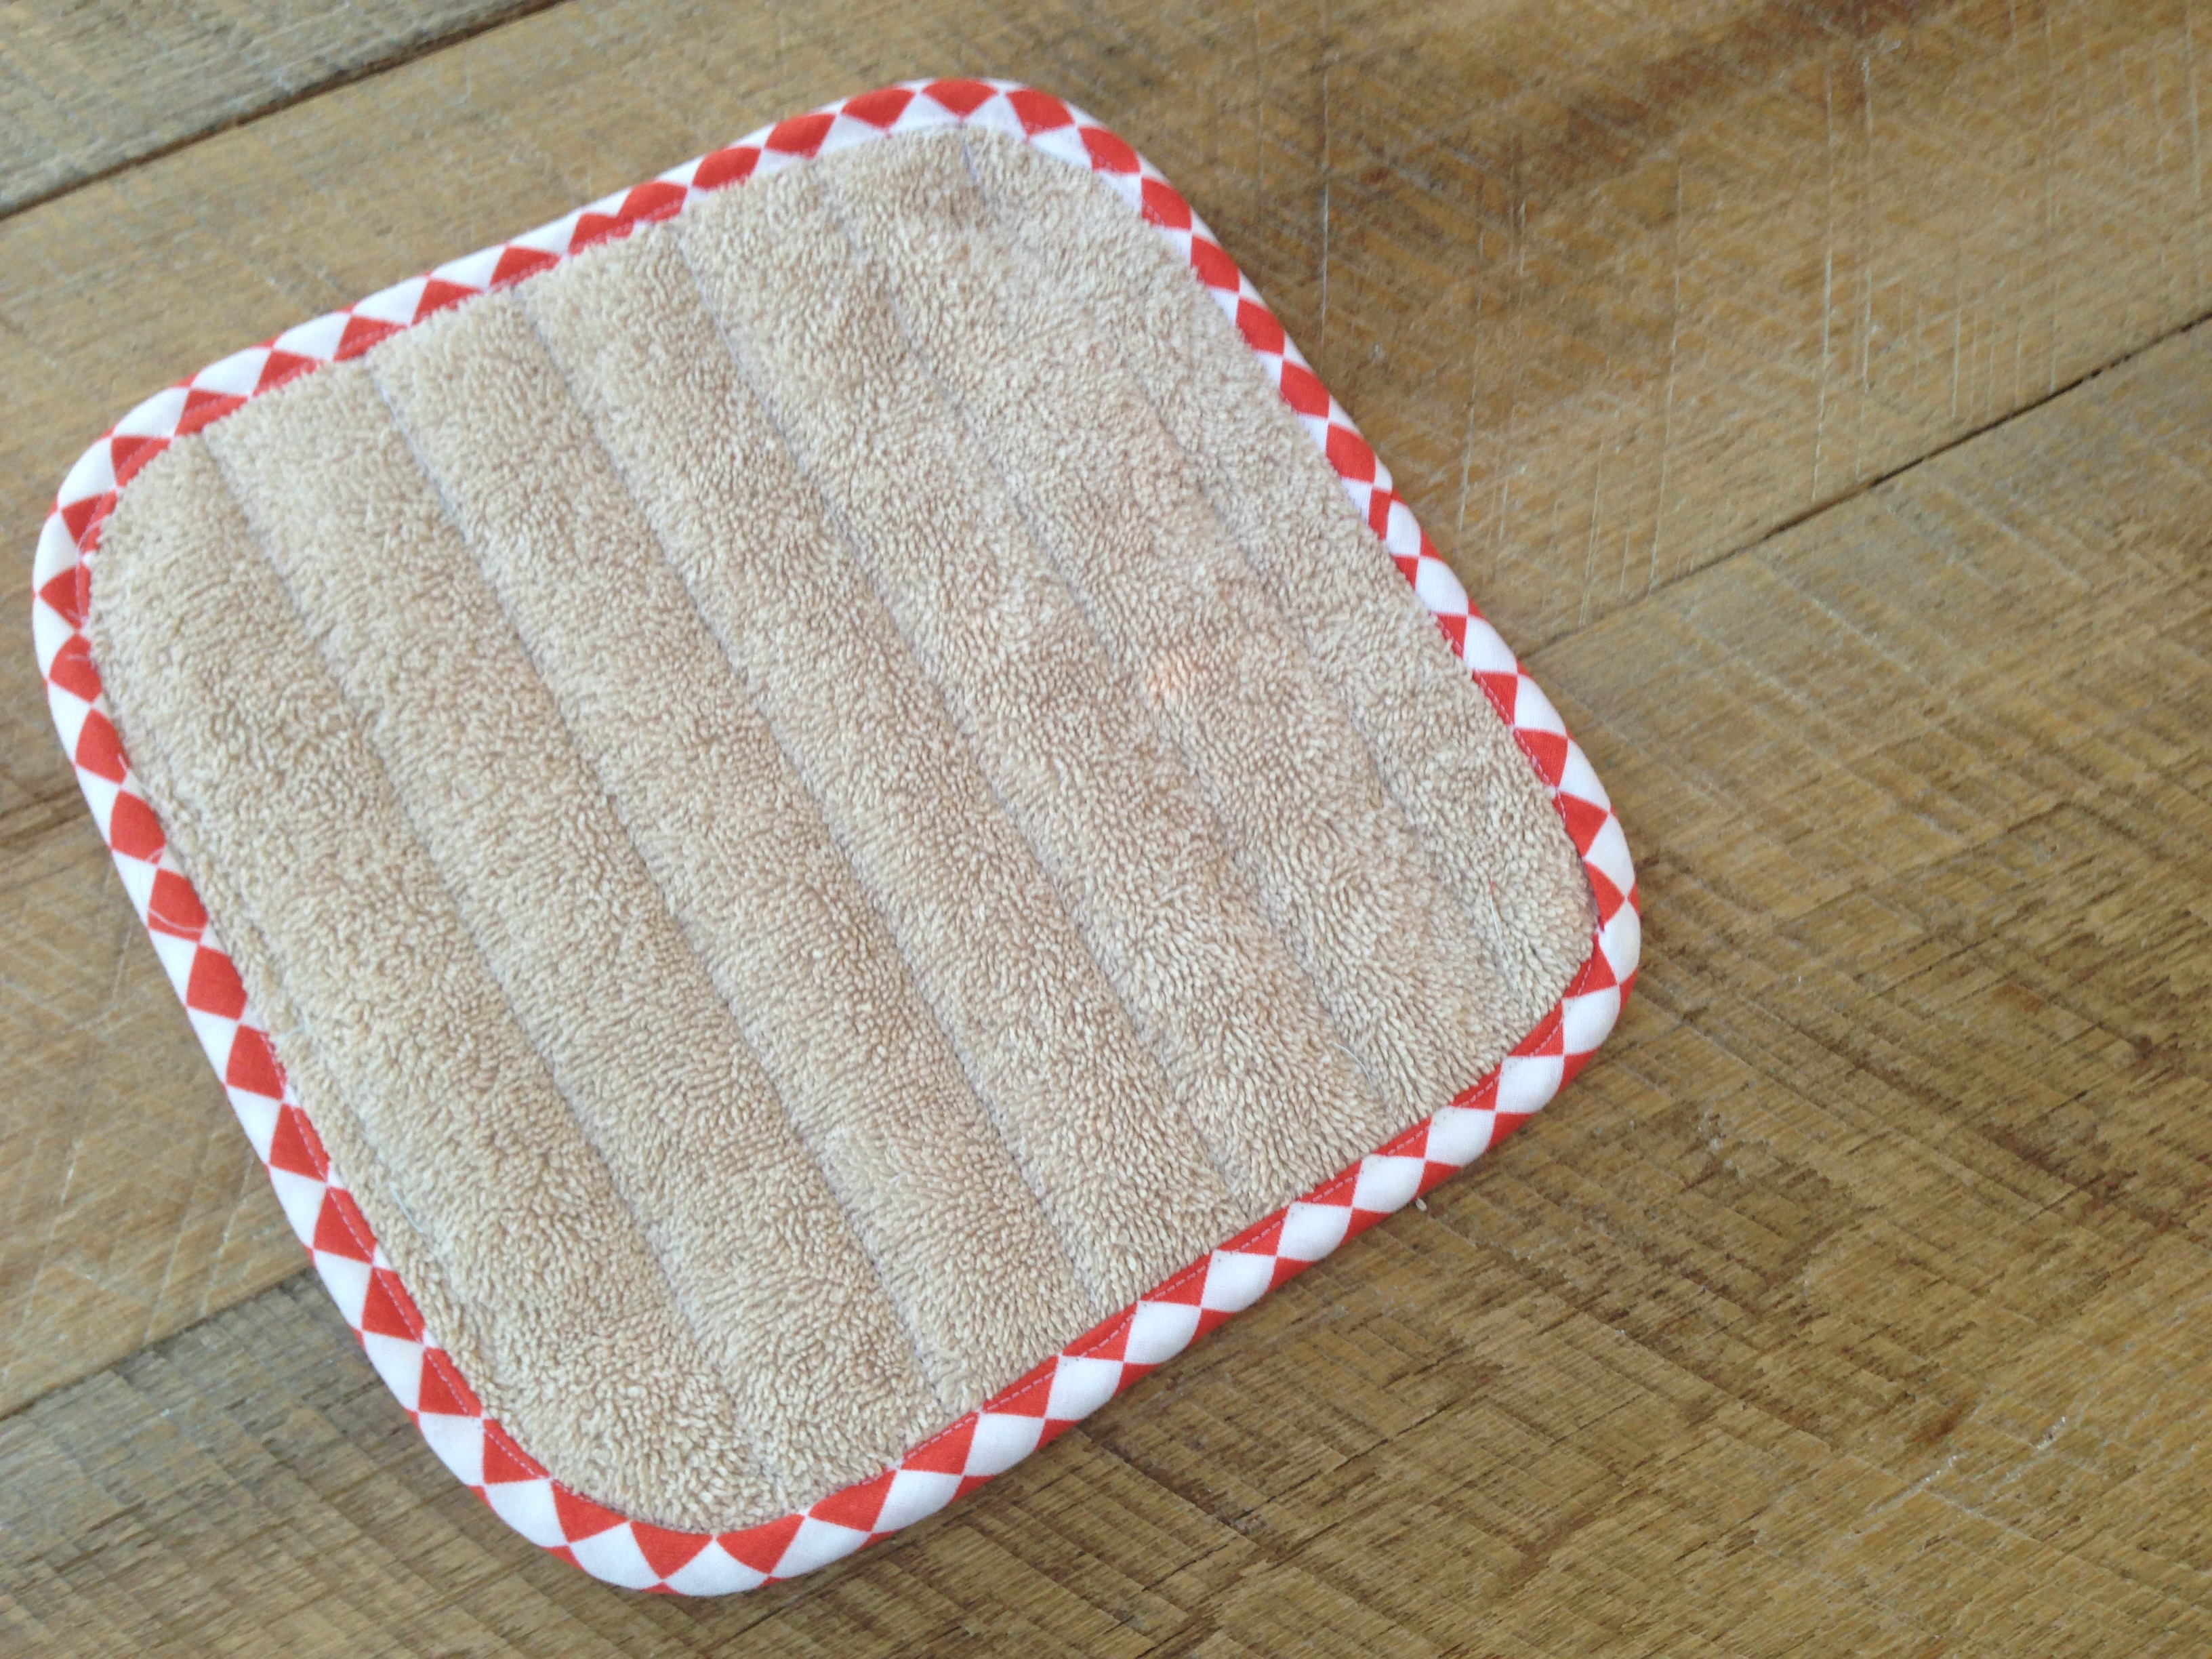
I made these towels using “bar mop” towels from Target – they are $4 for a set of 4.  I recommend washing them – they turn all different kinds of shapes in the dryer!


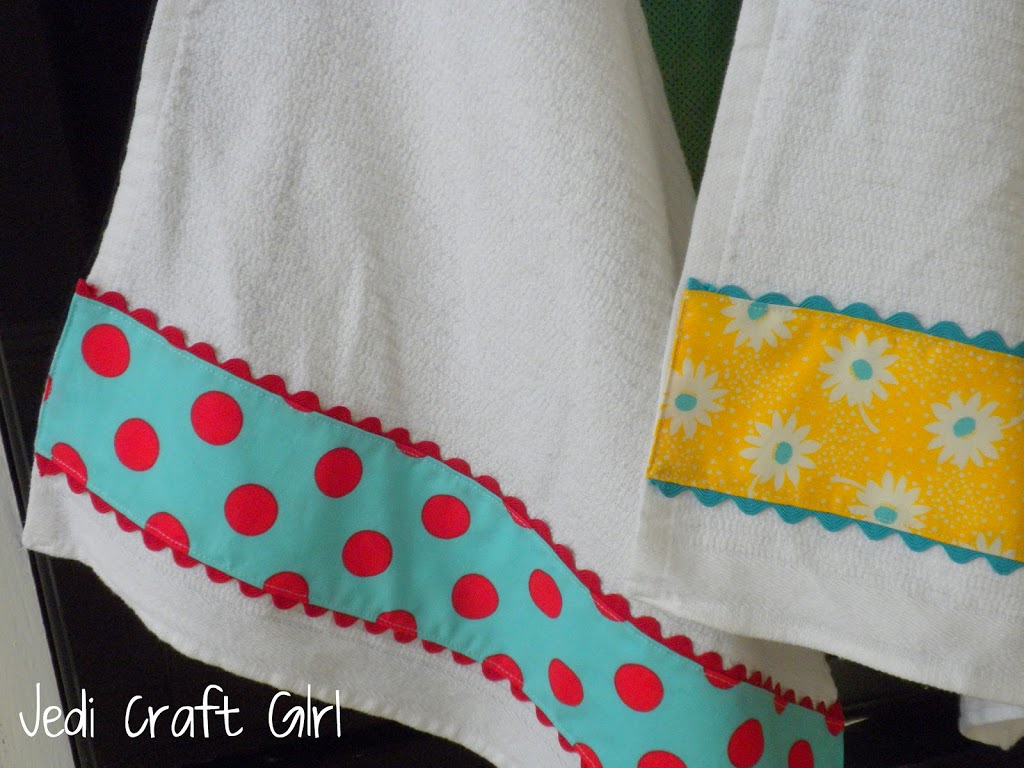
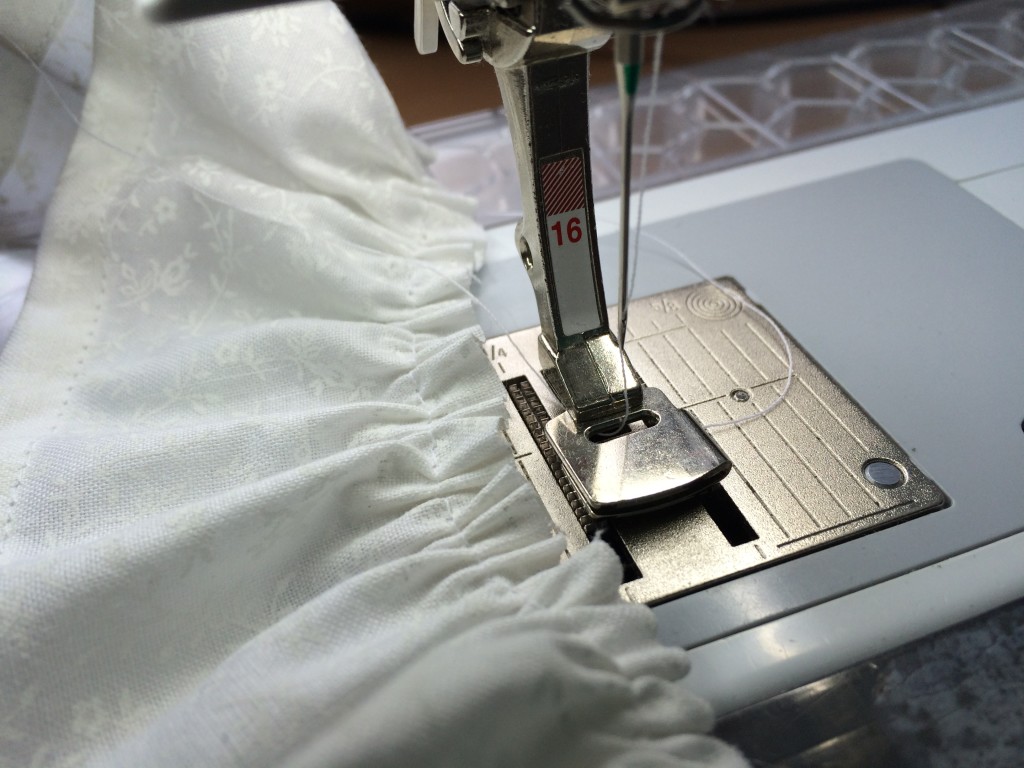
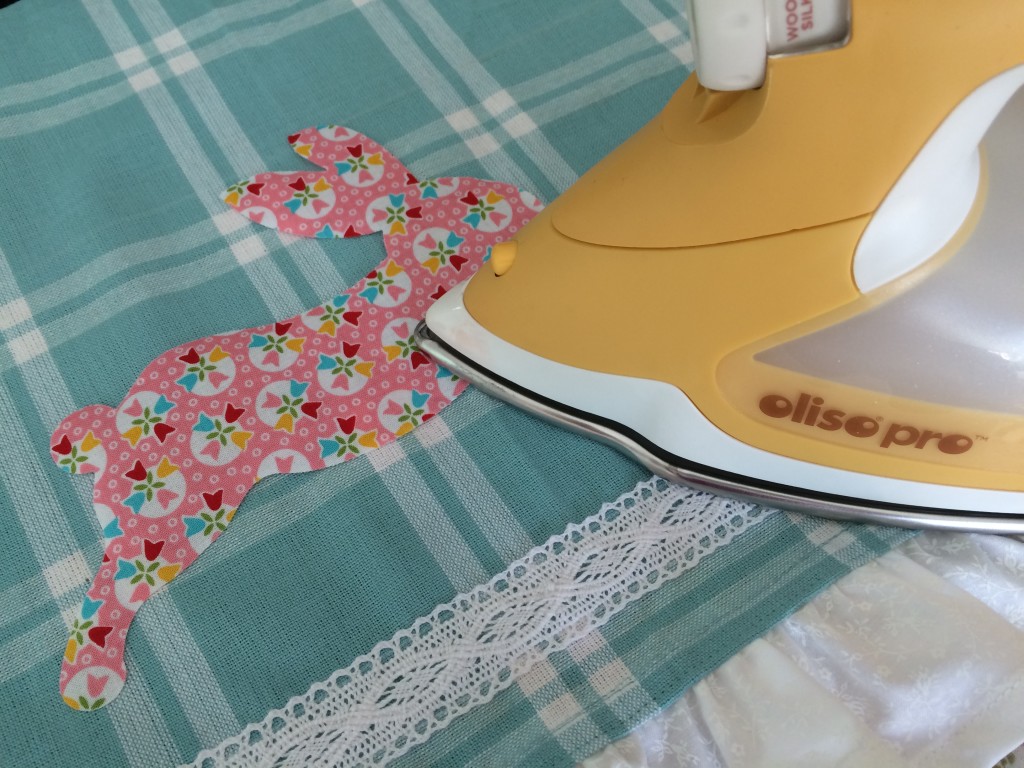
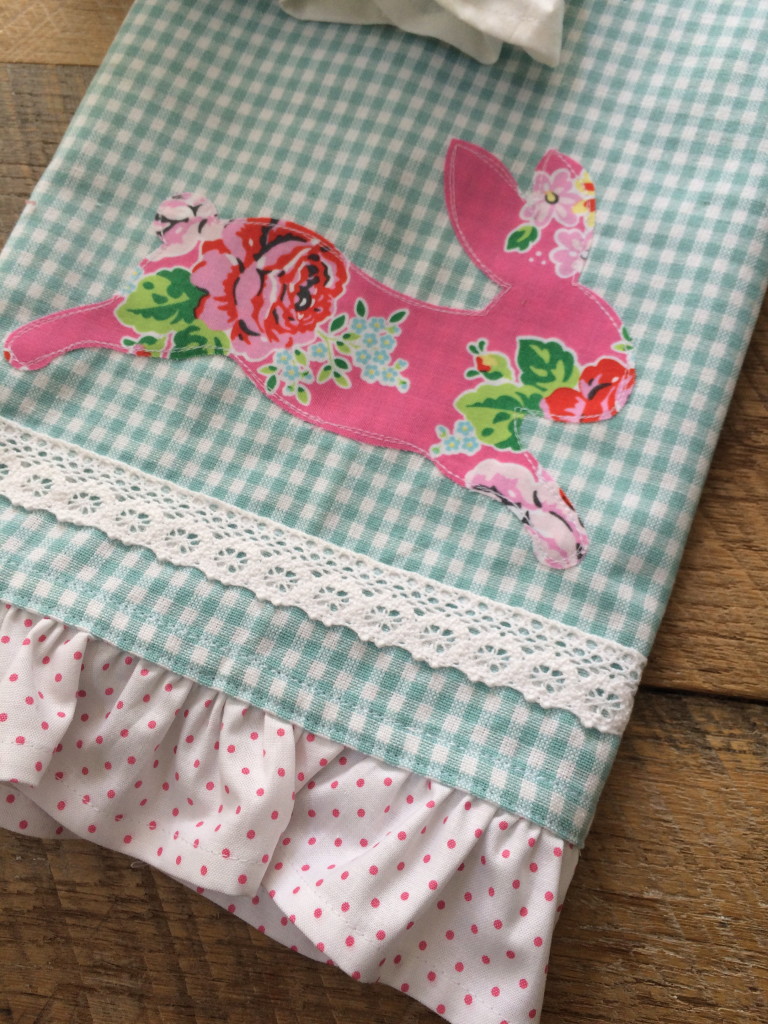
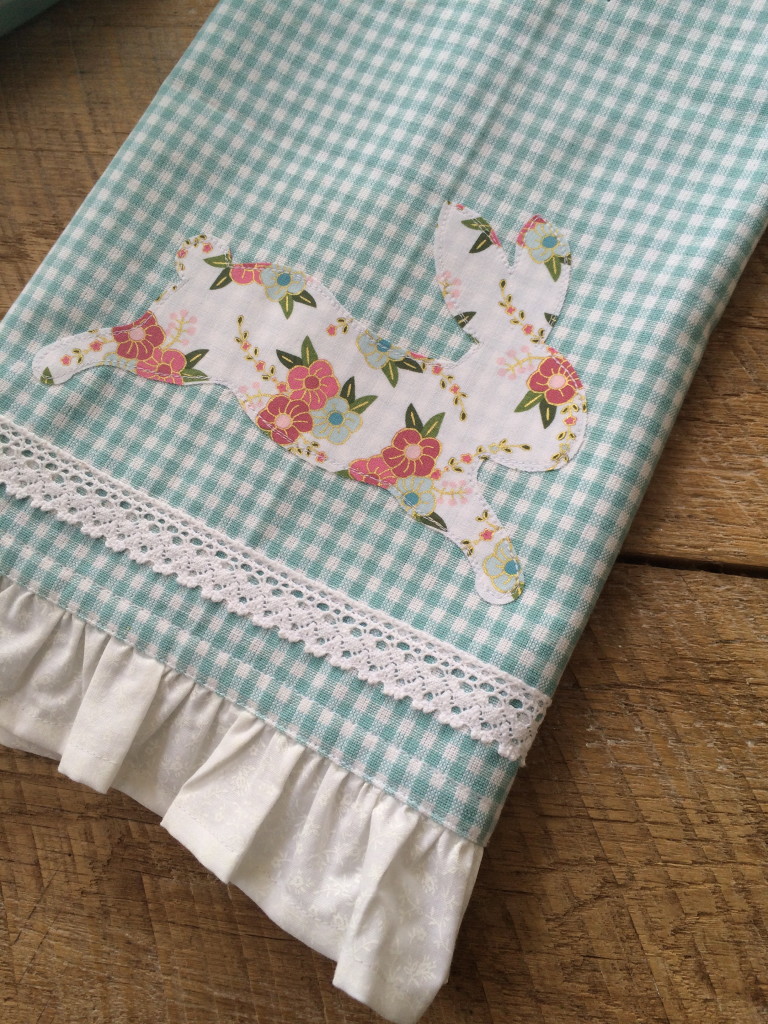
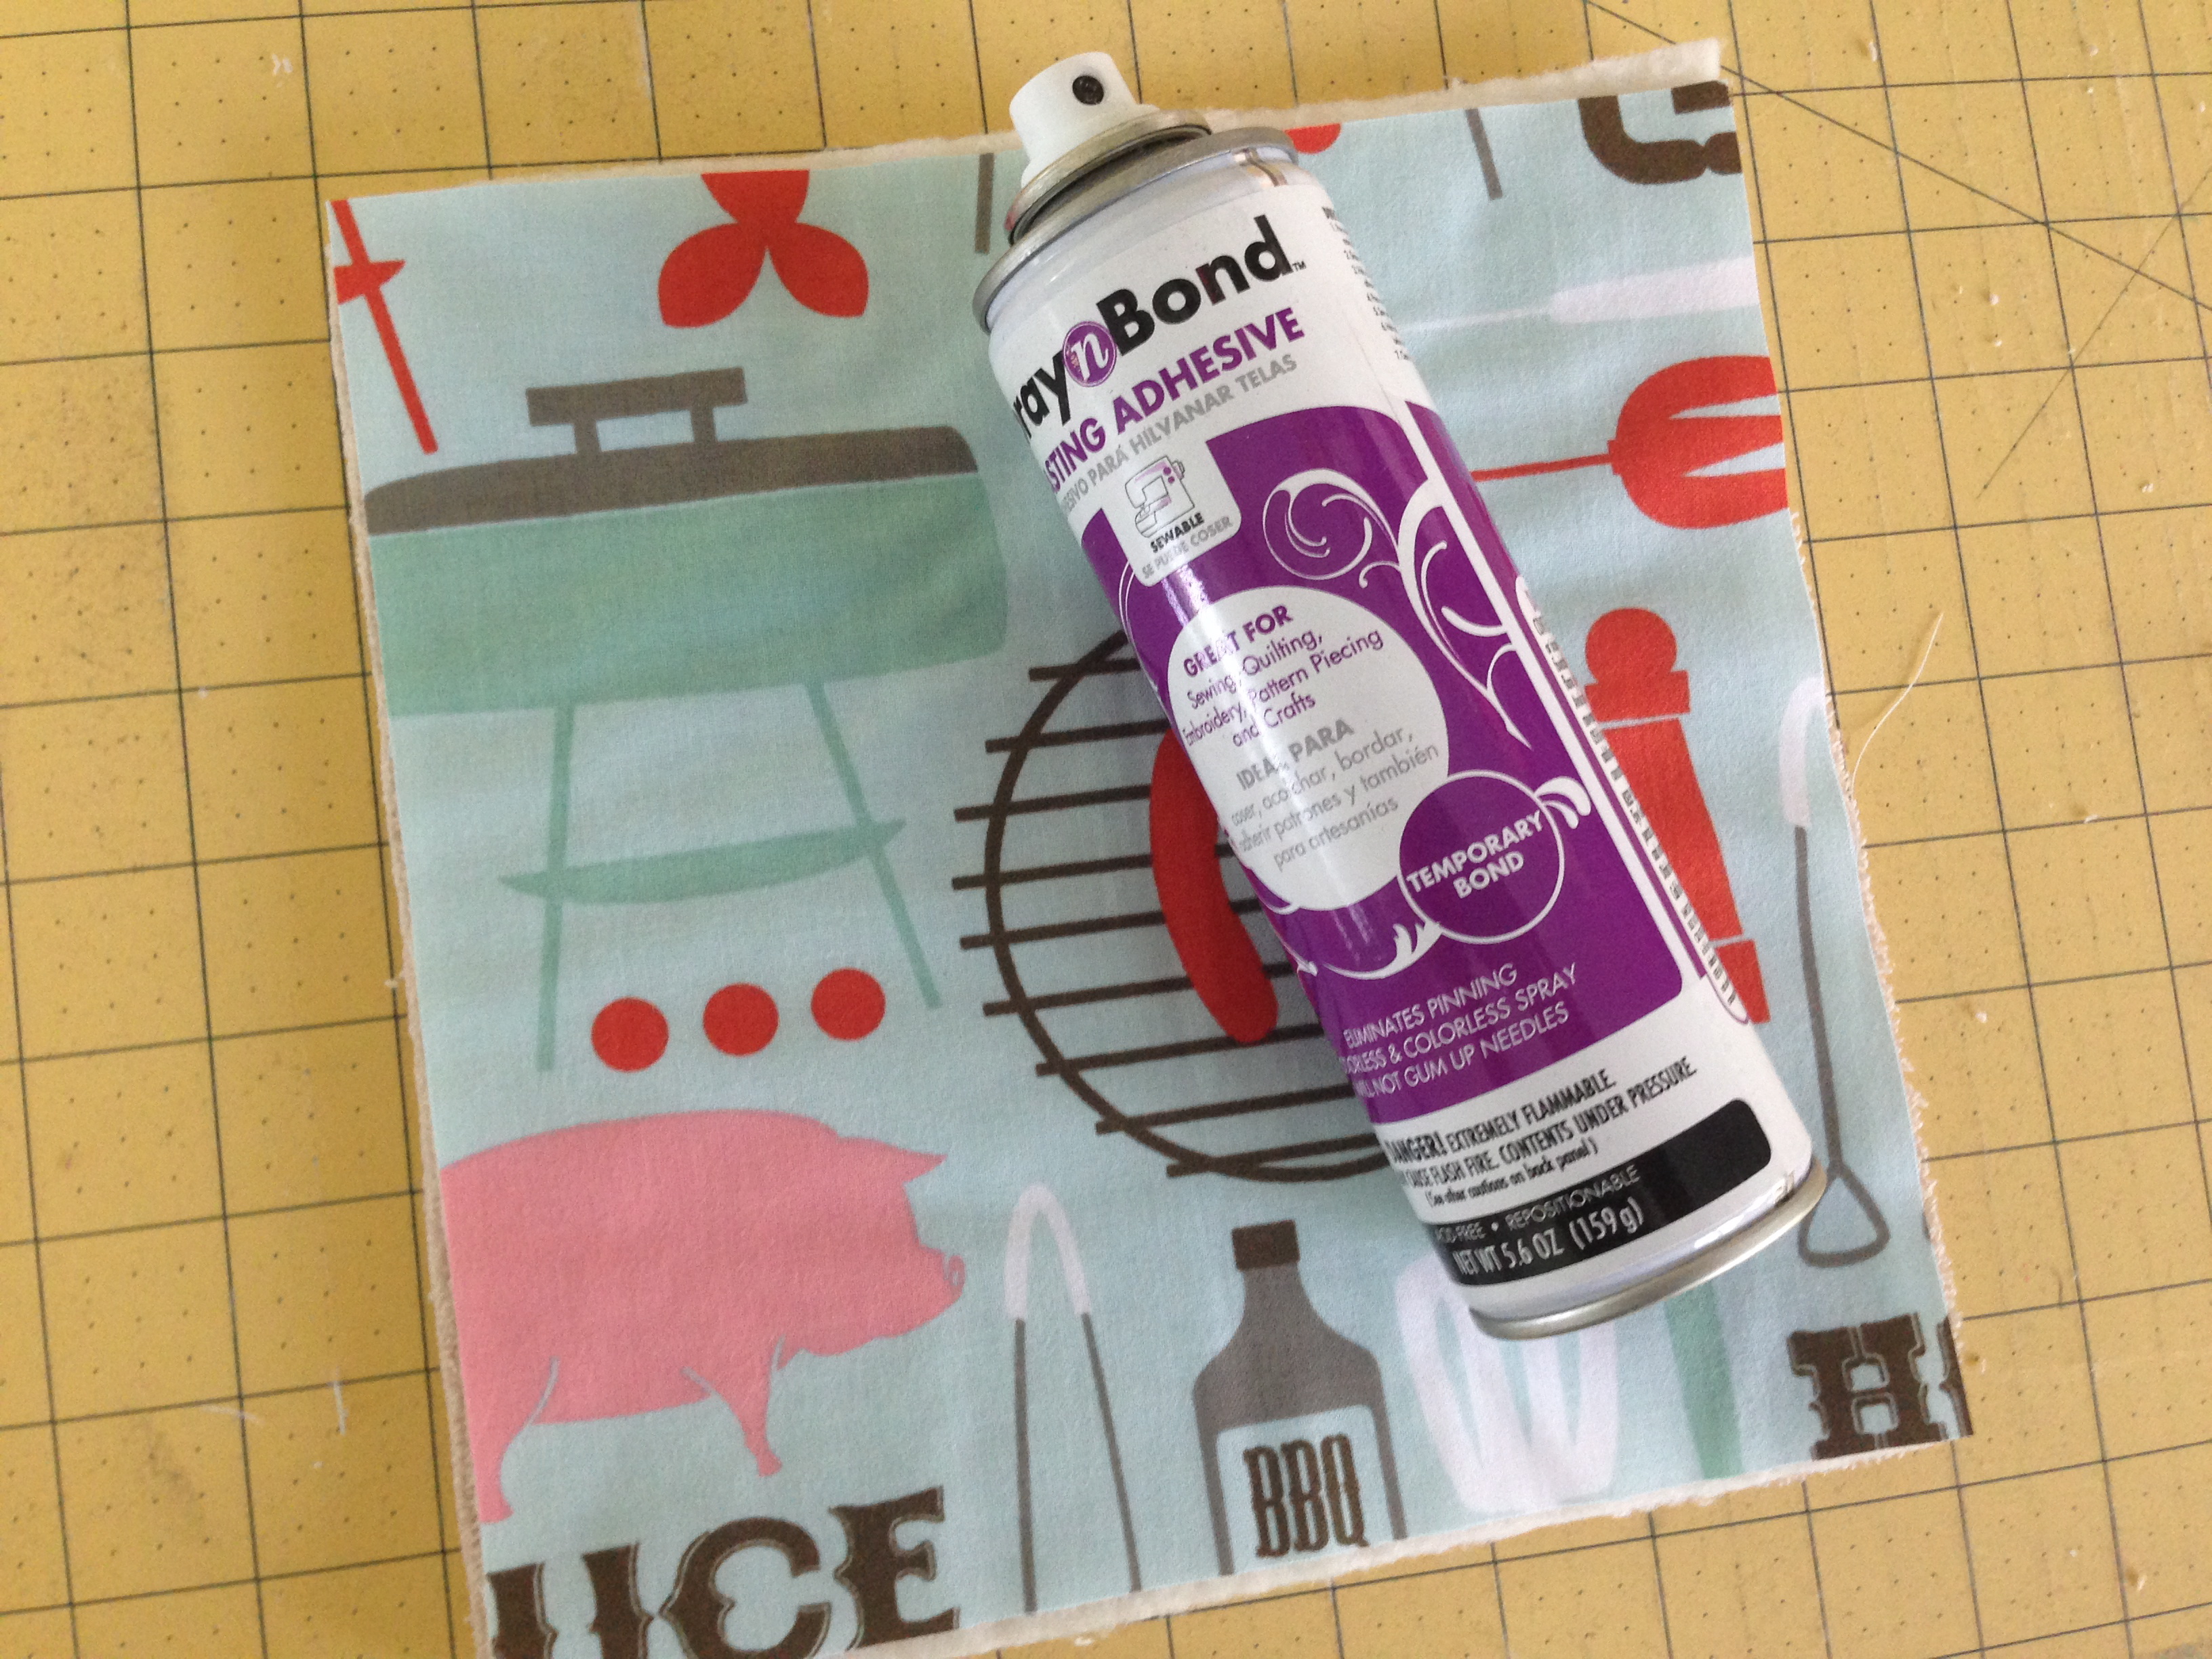
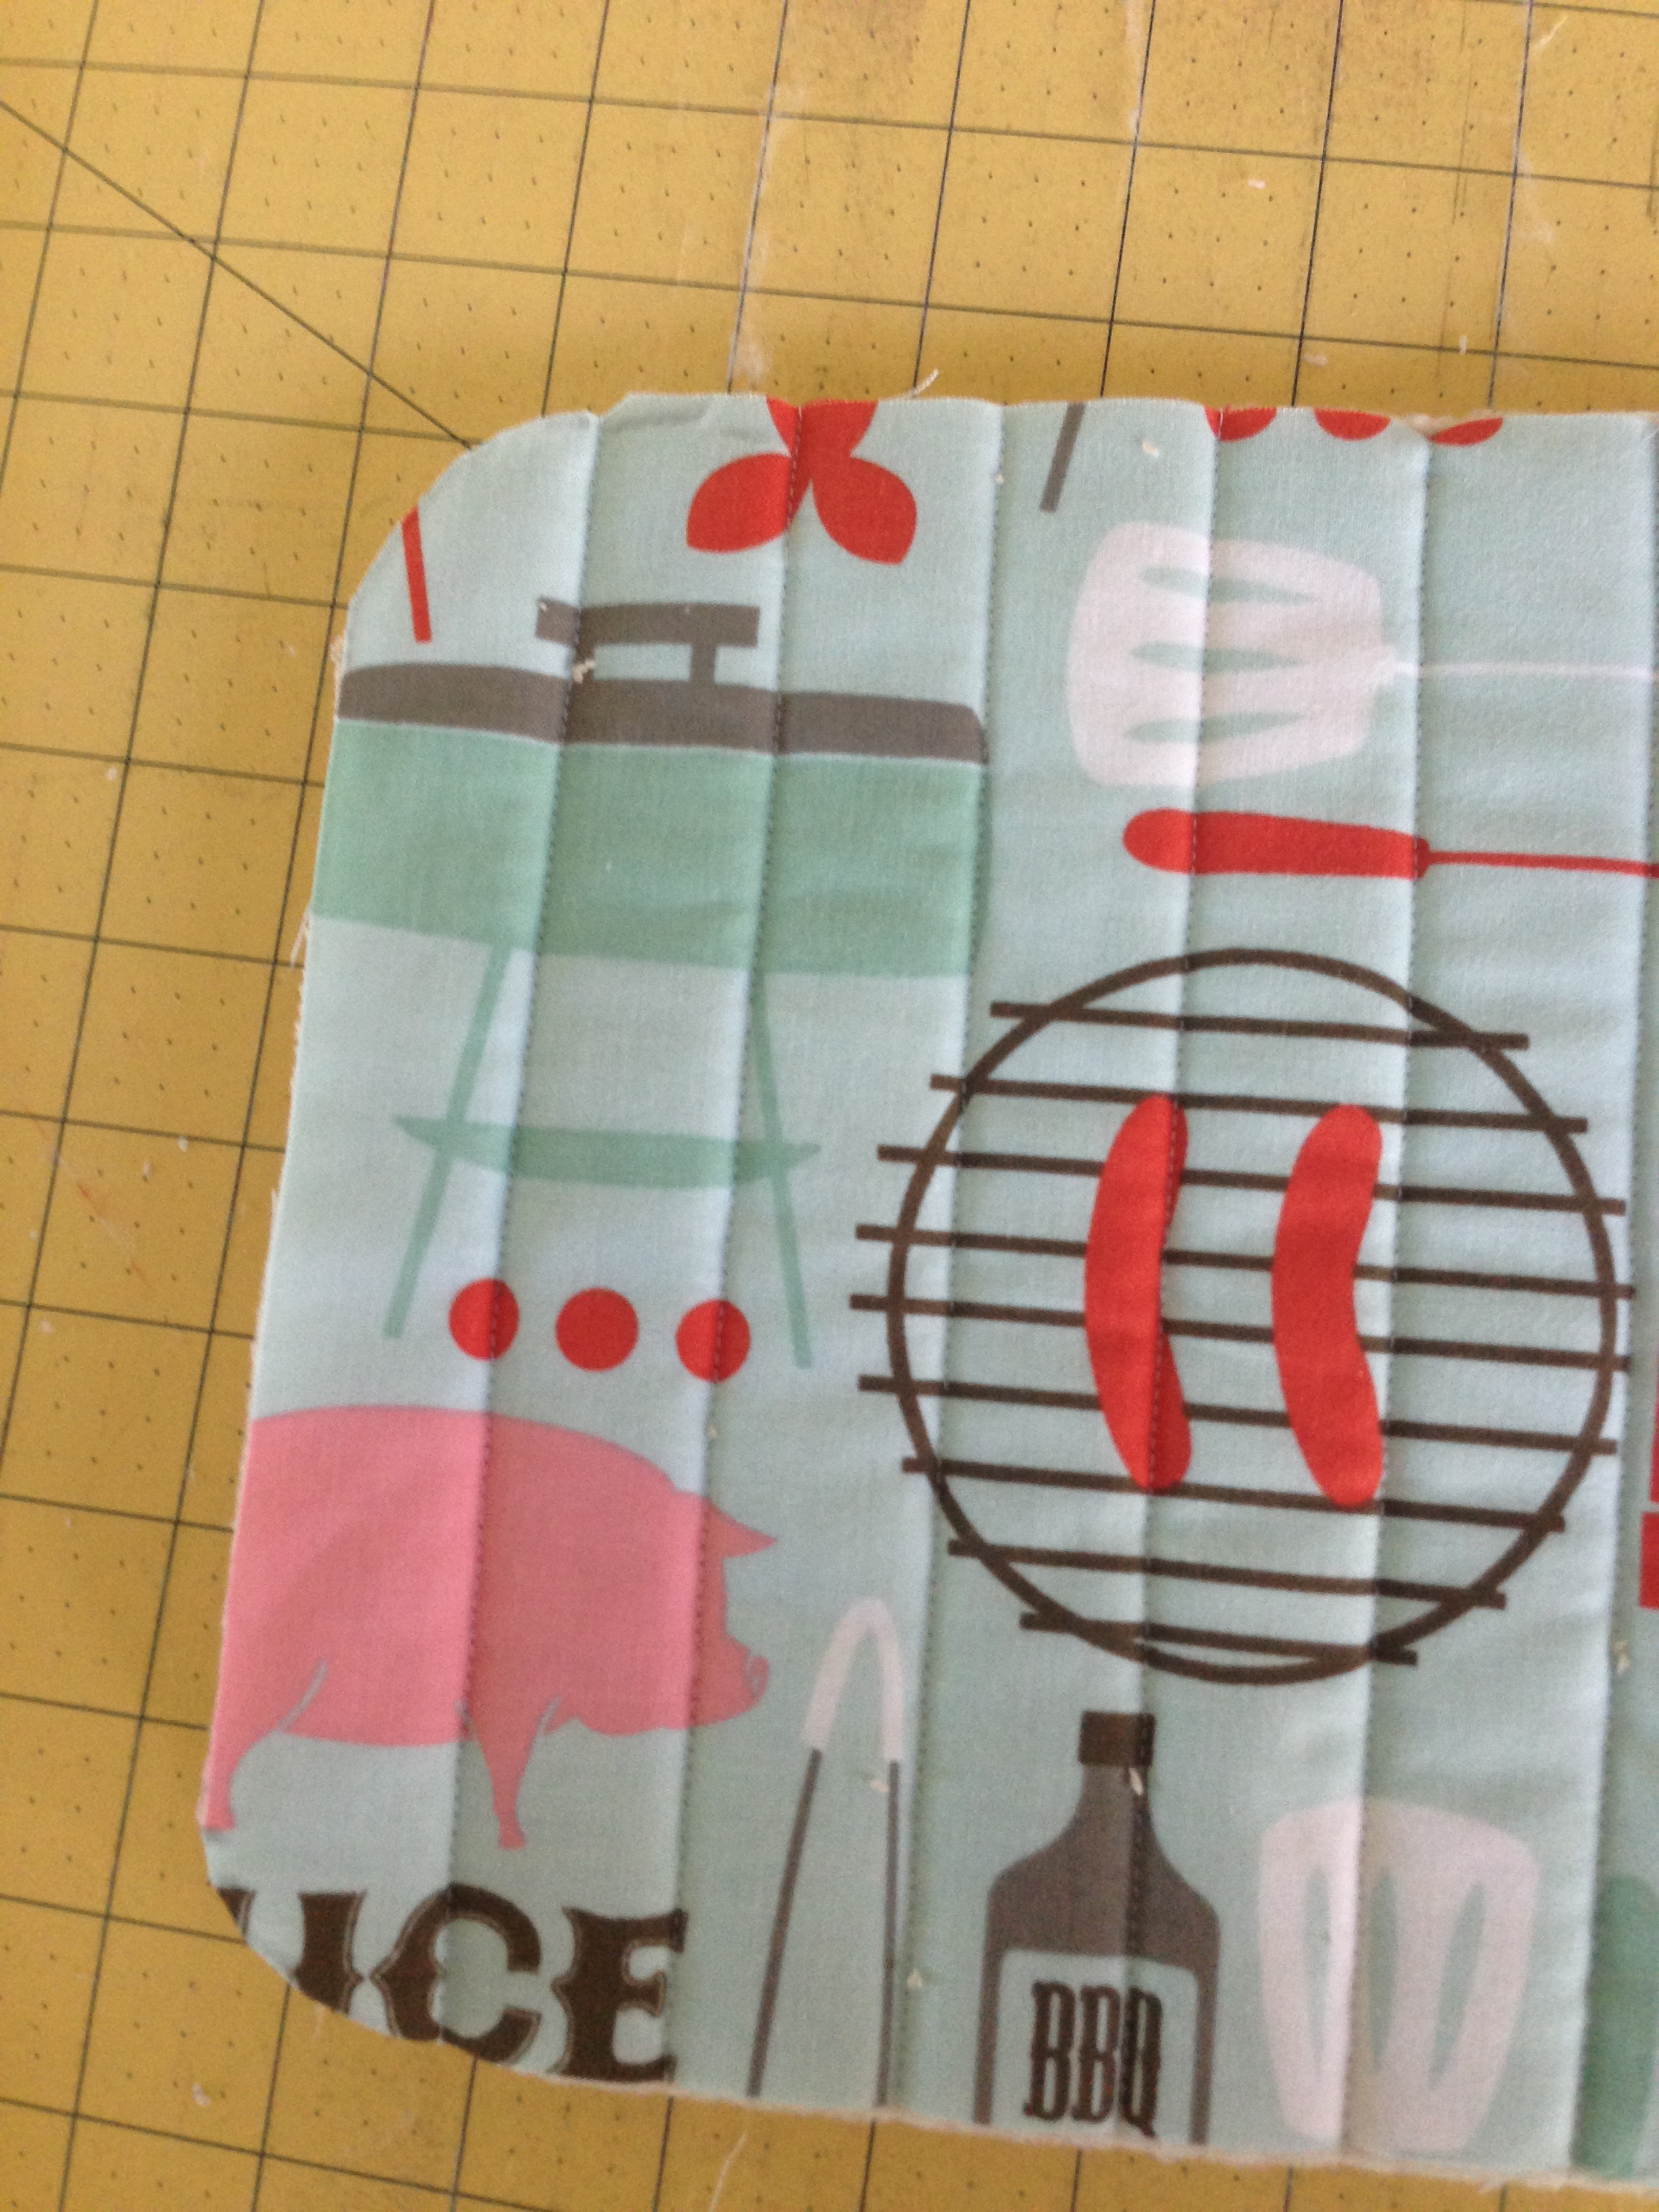
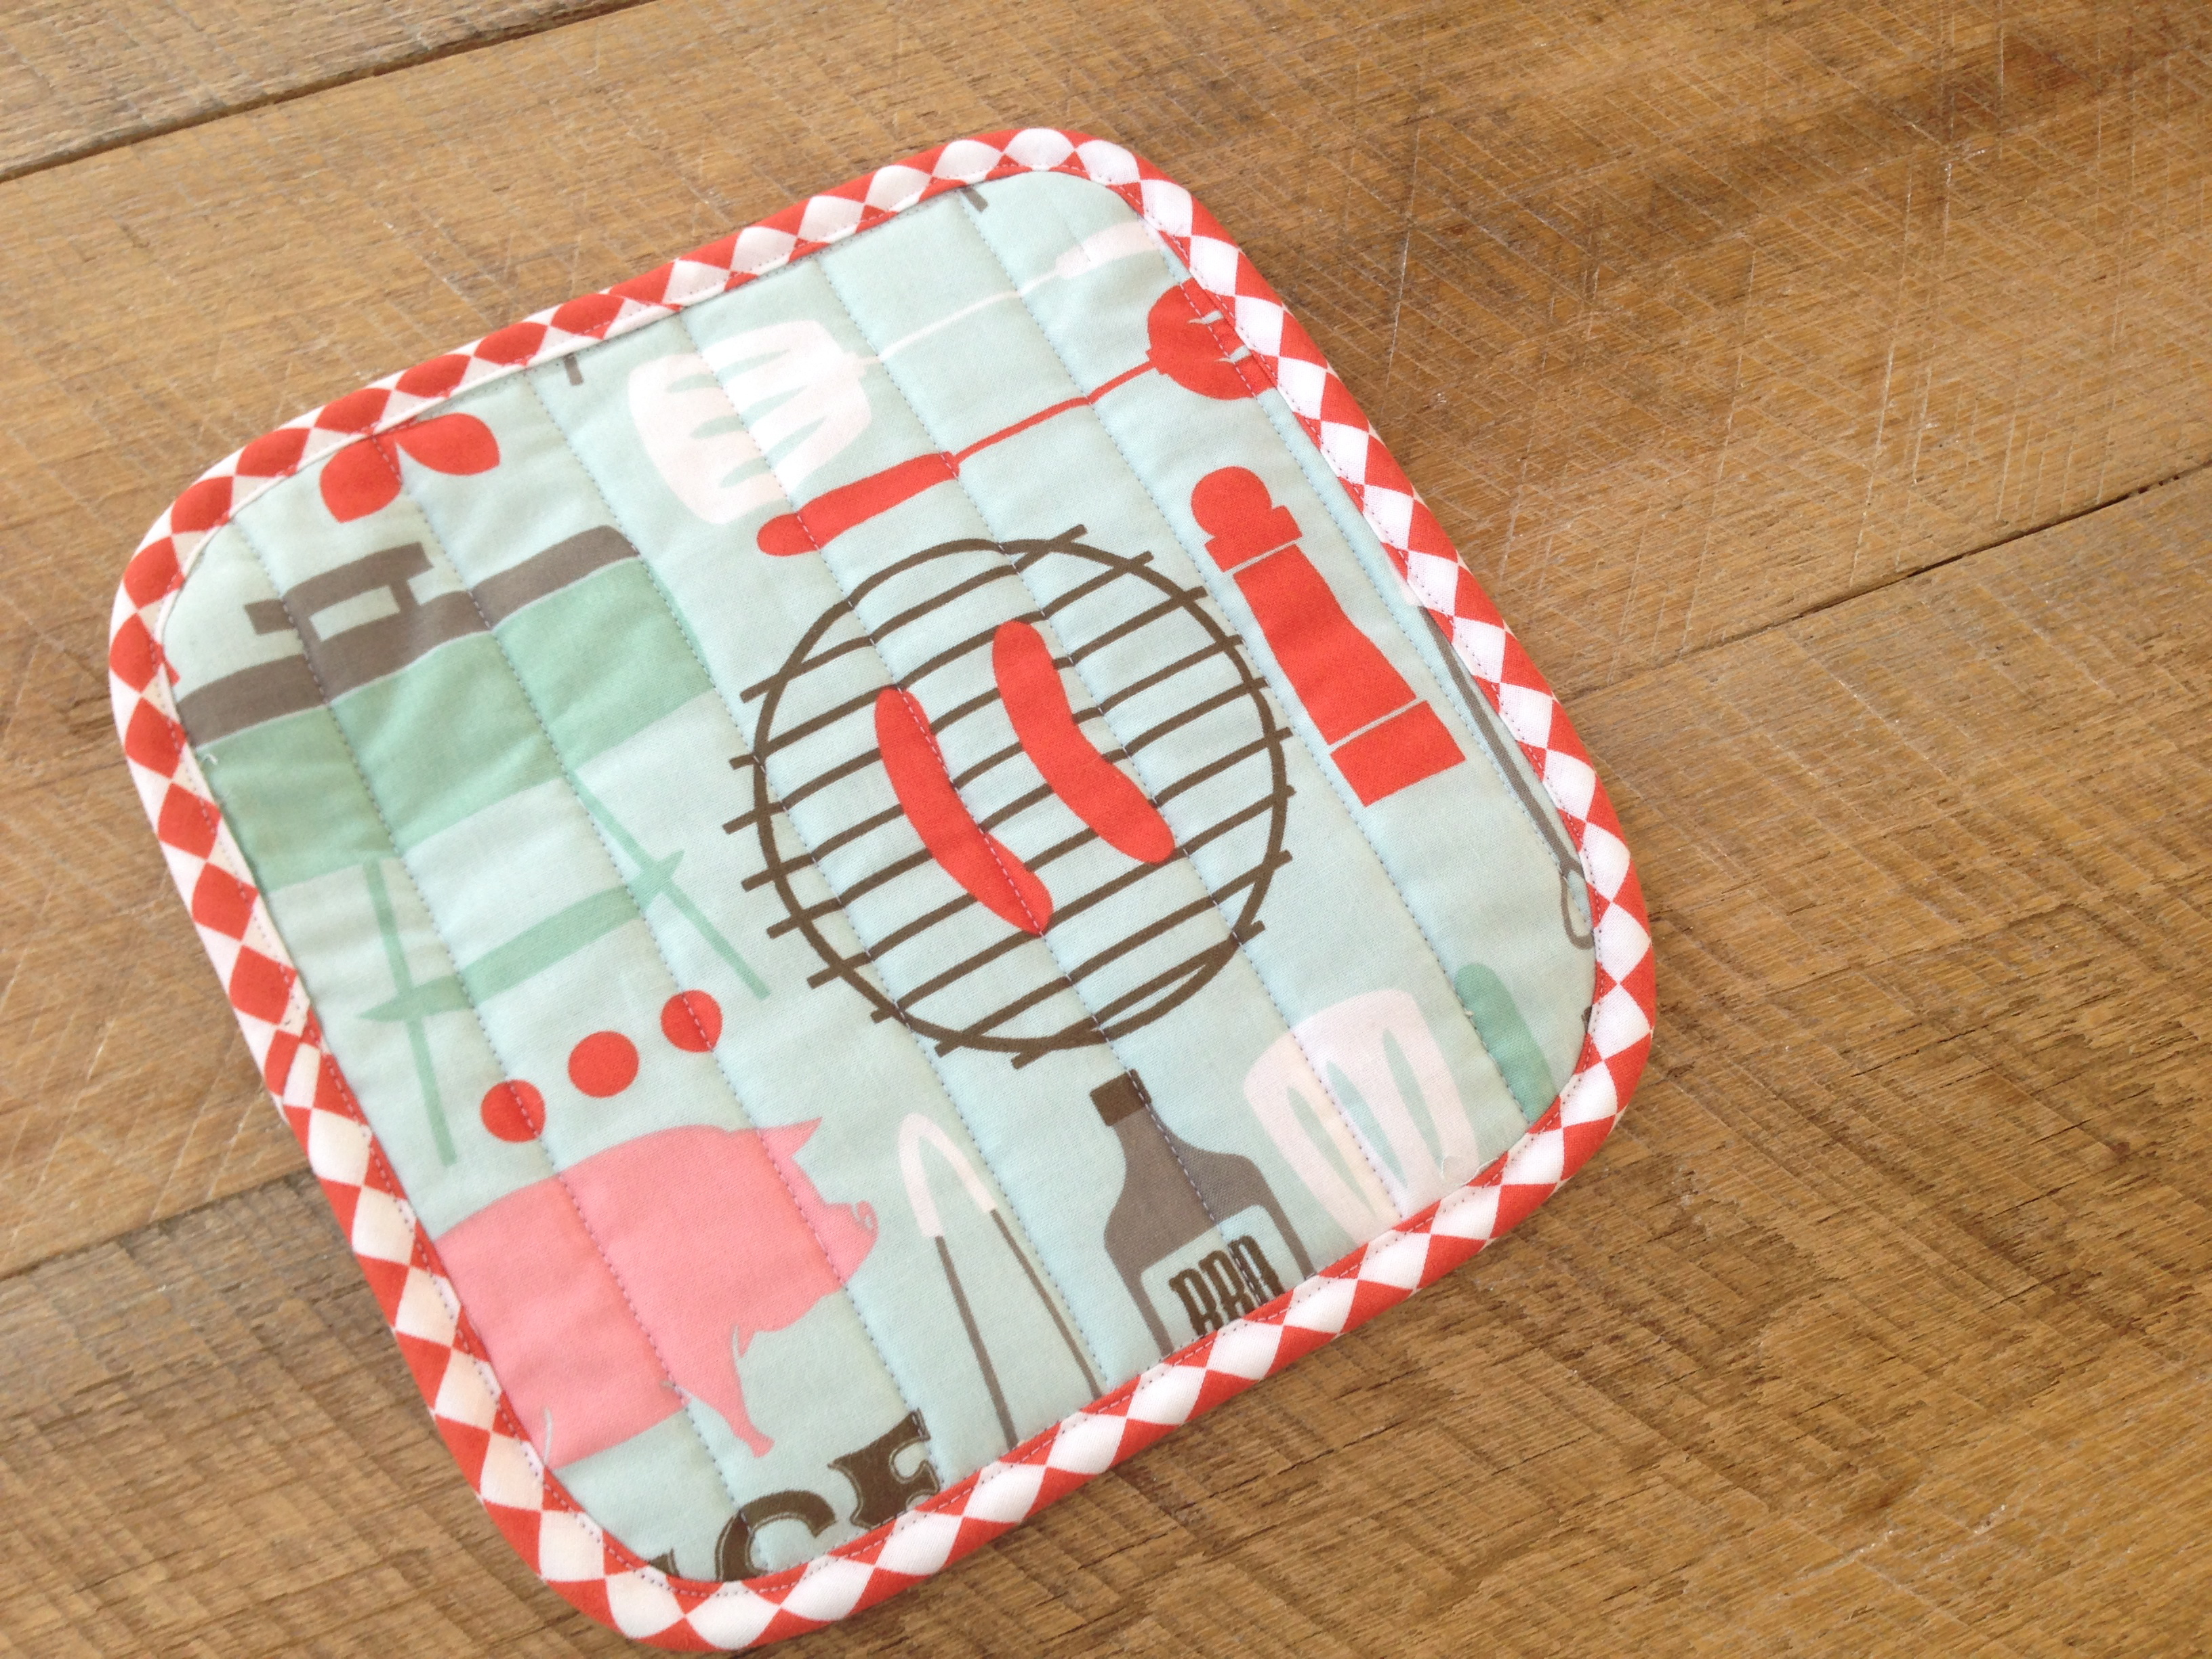
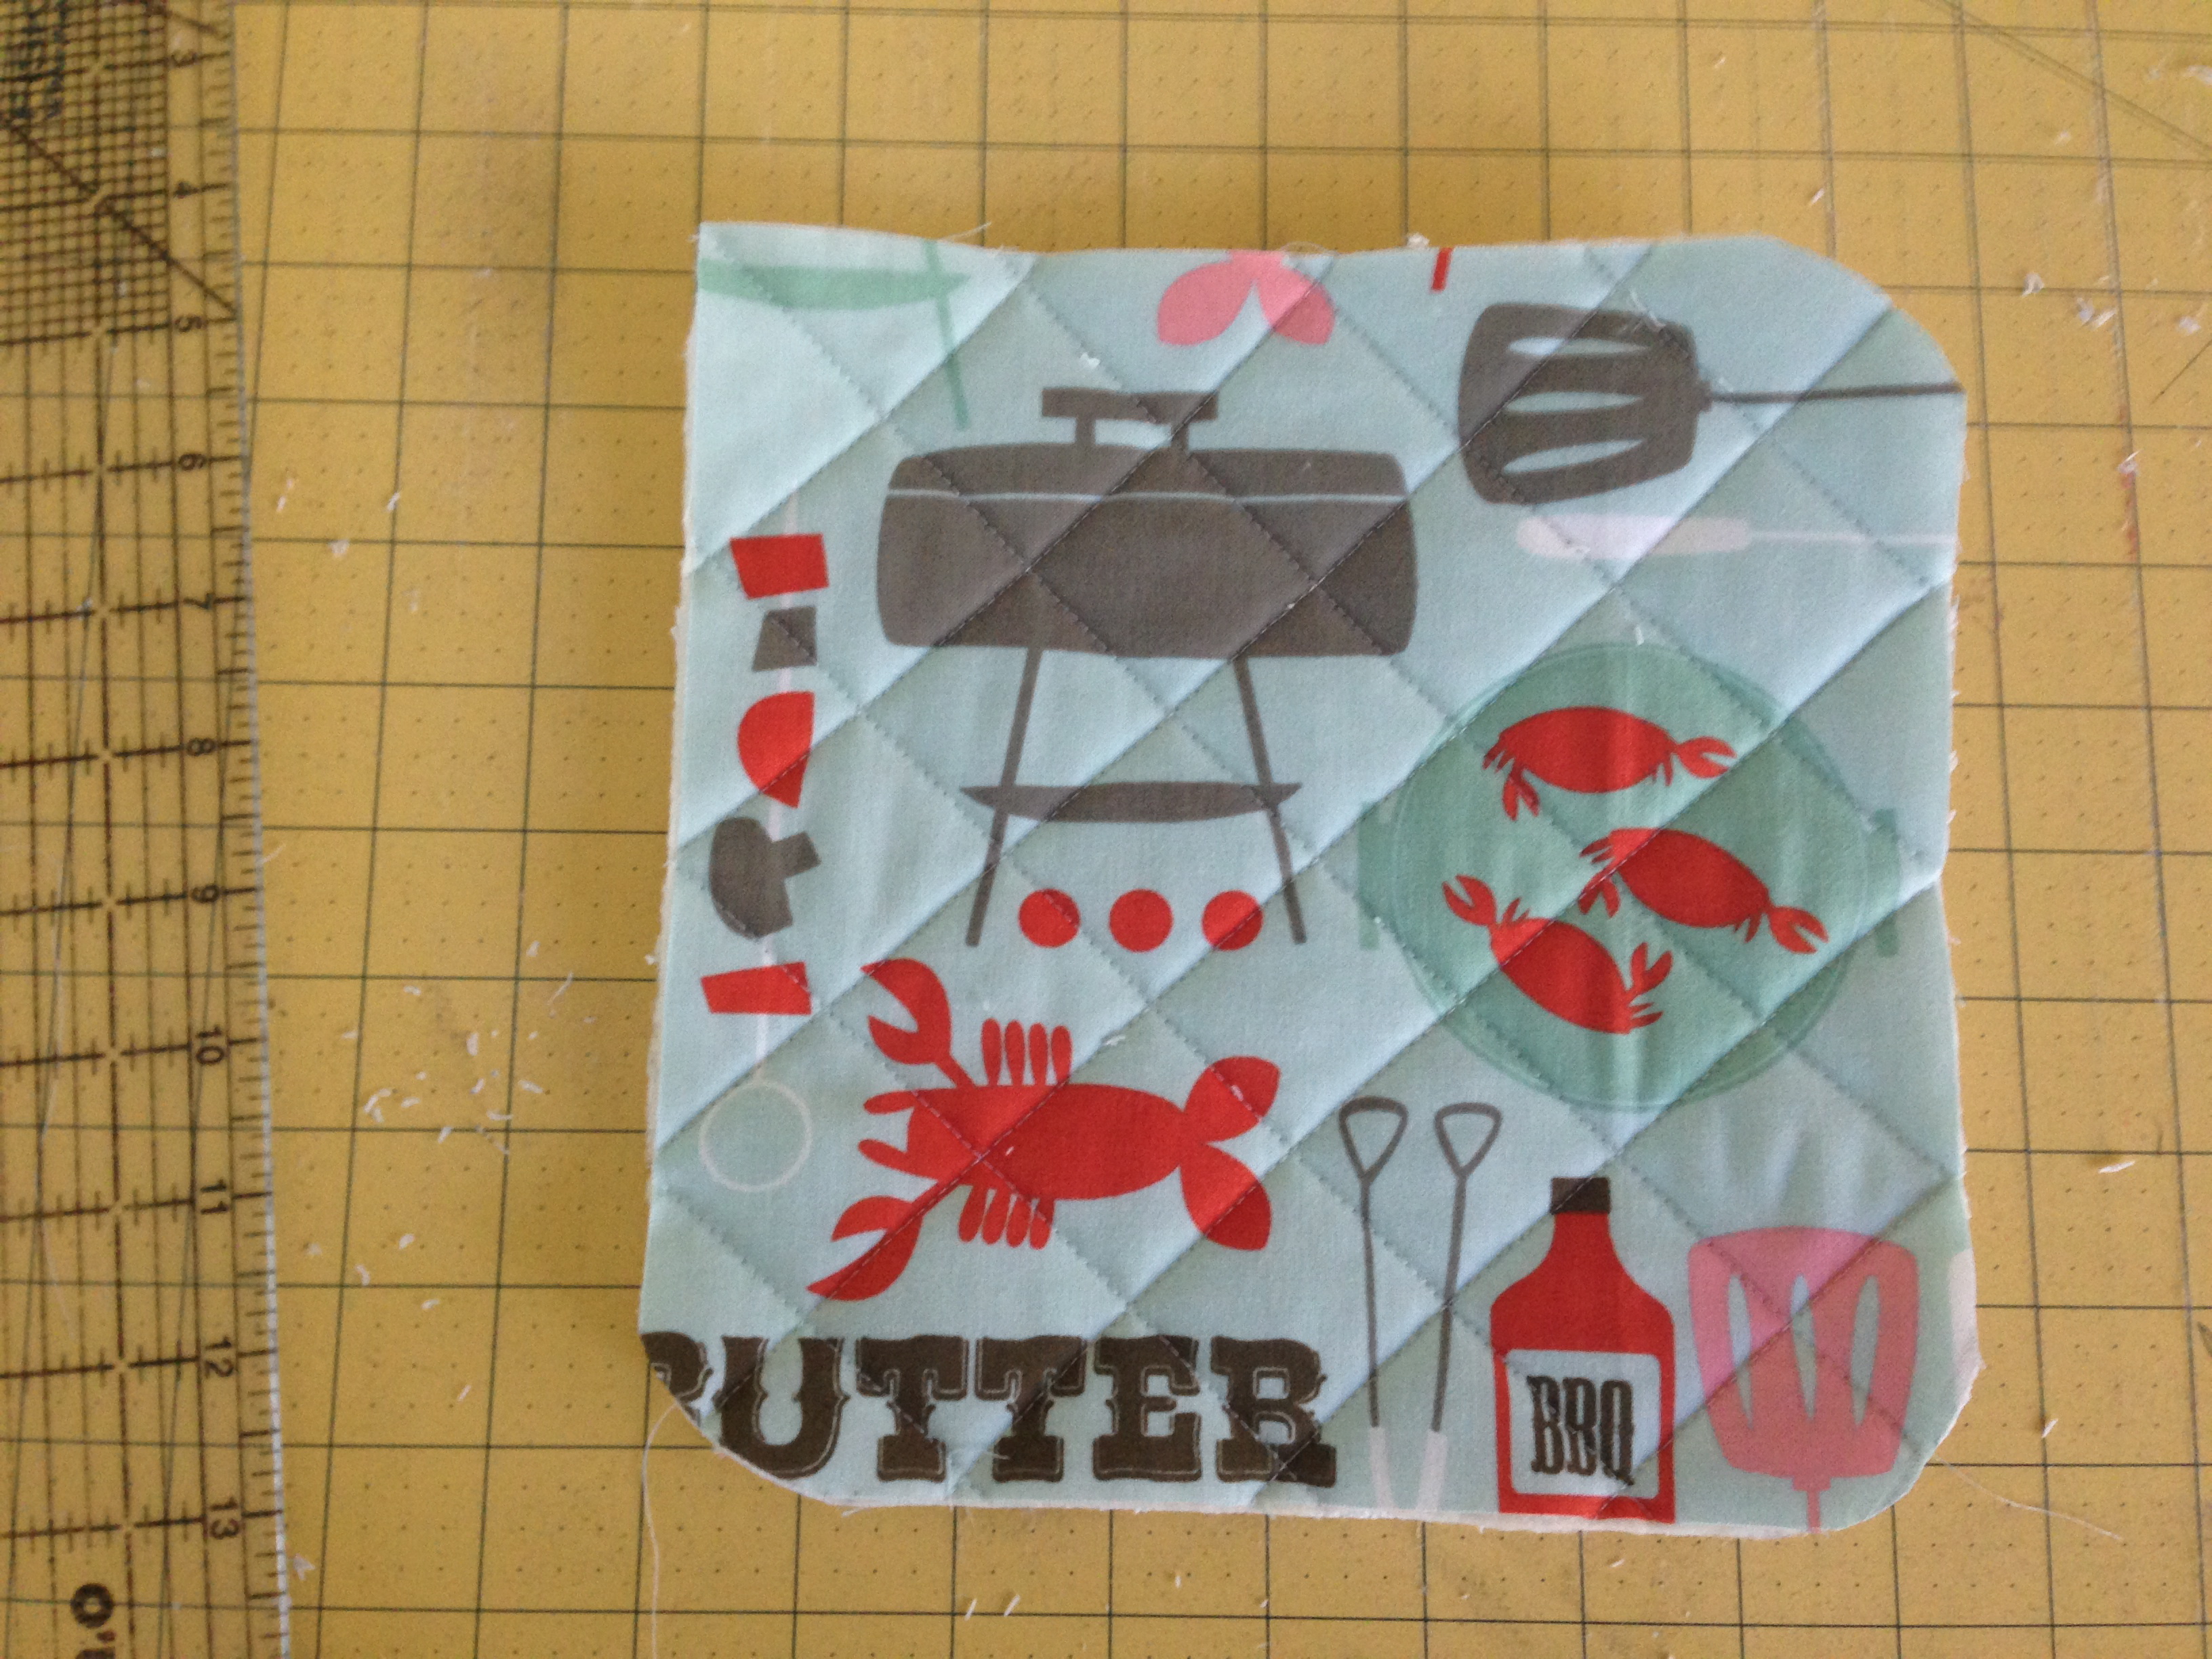
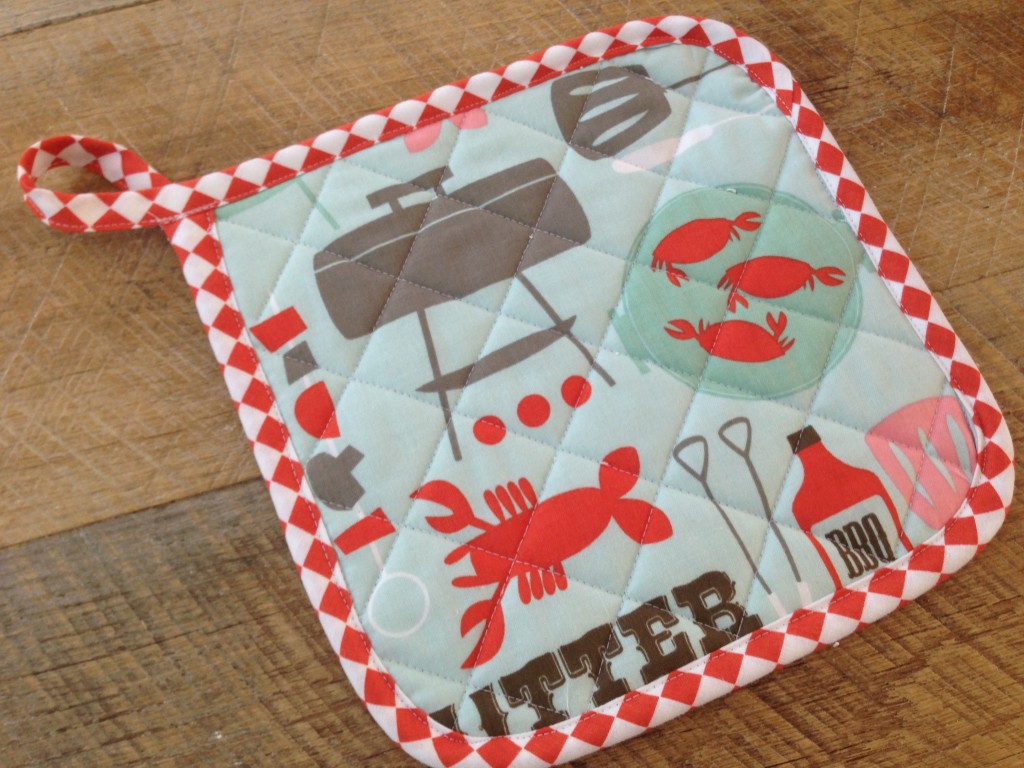
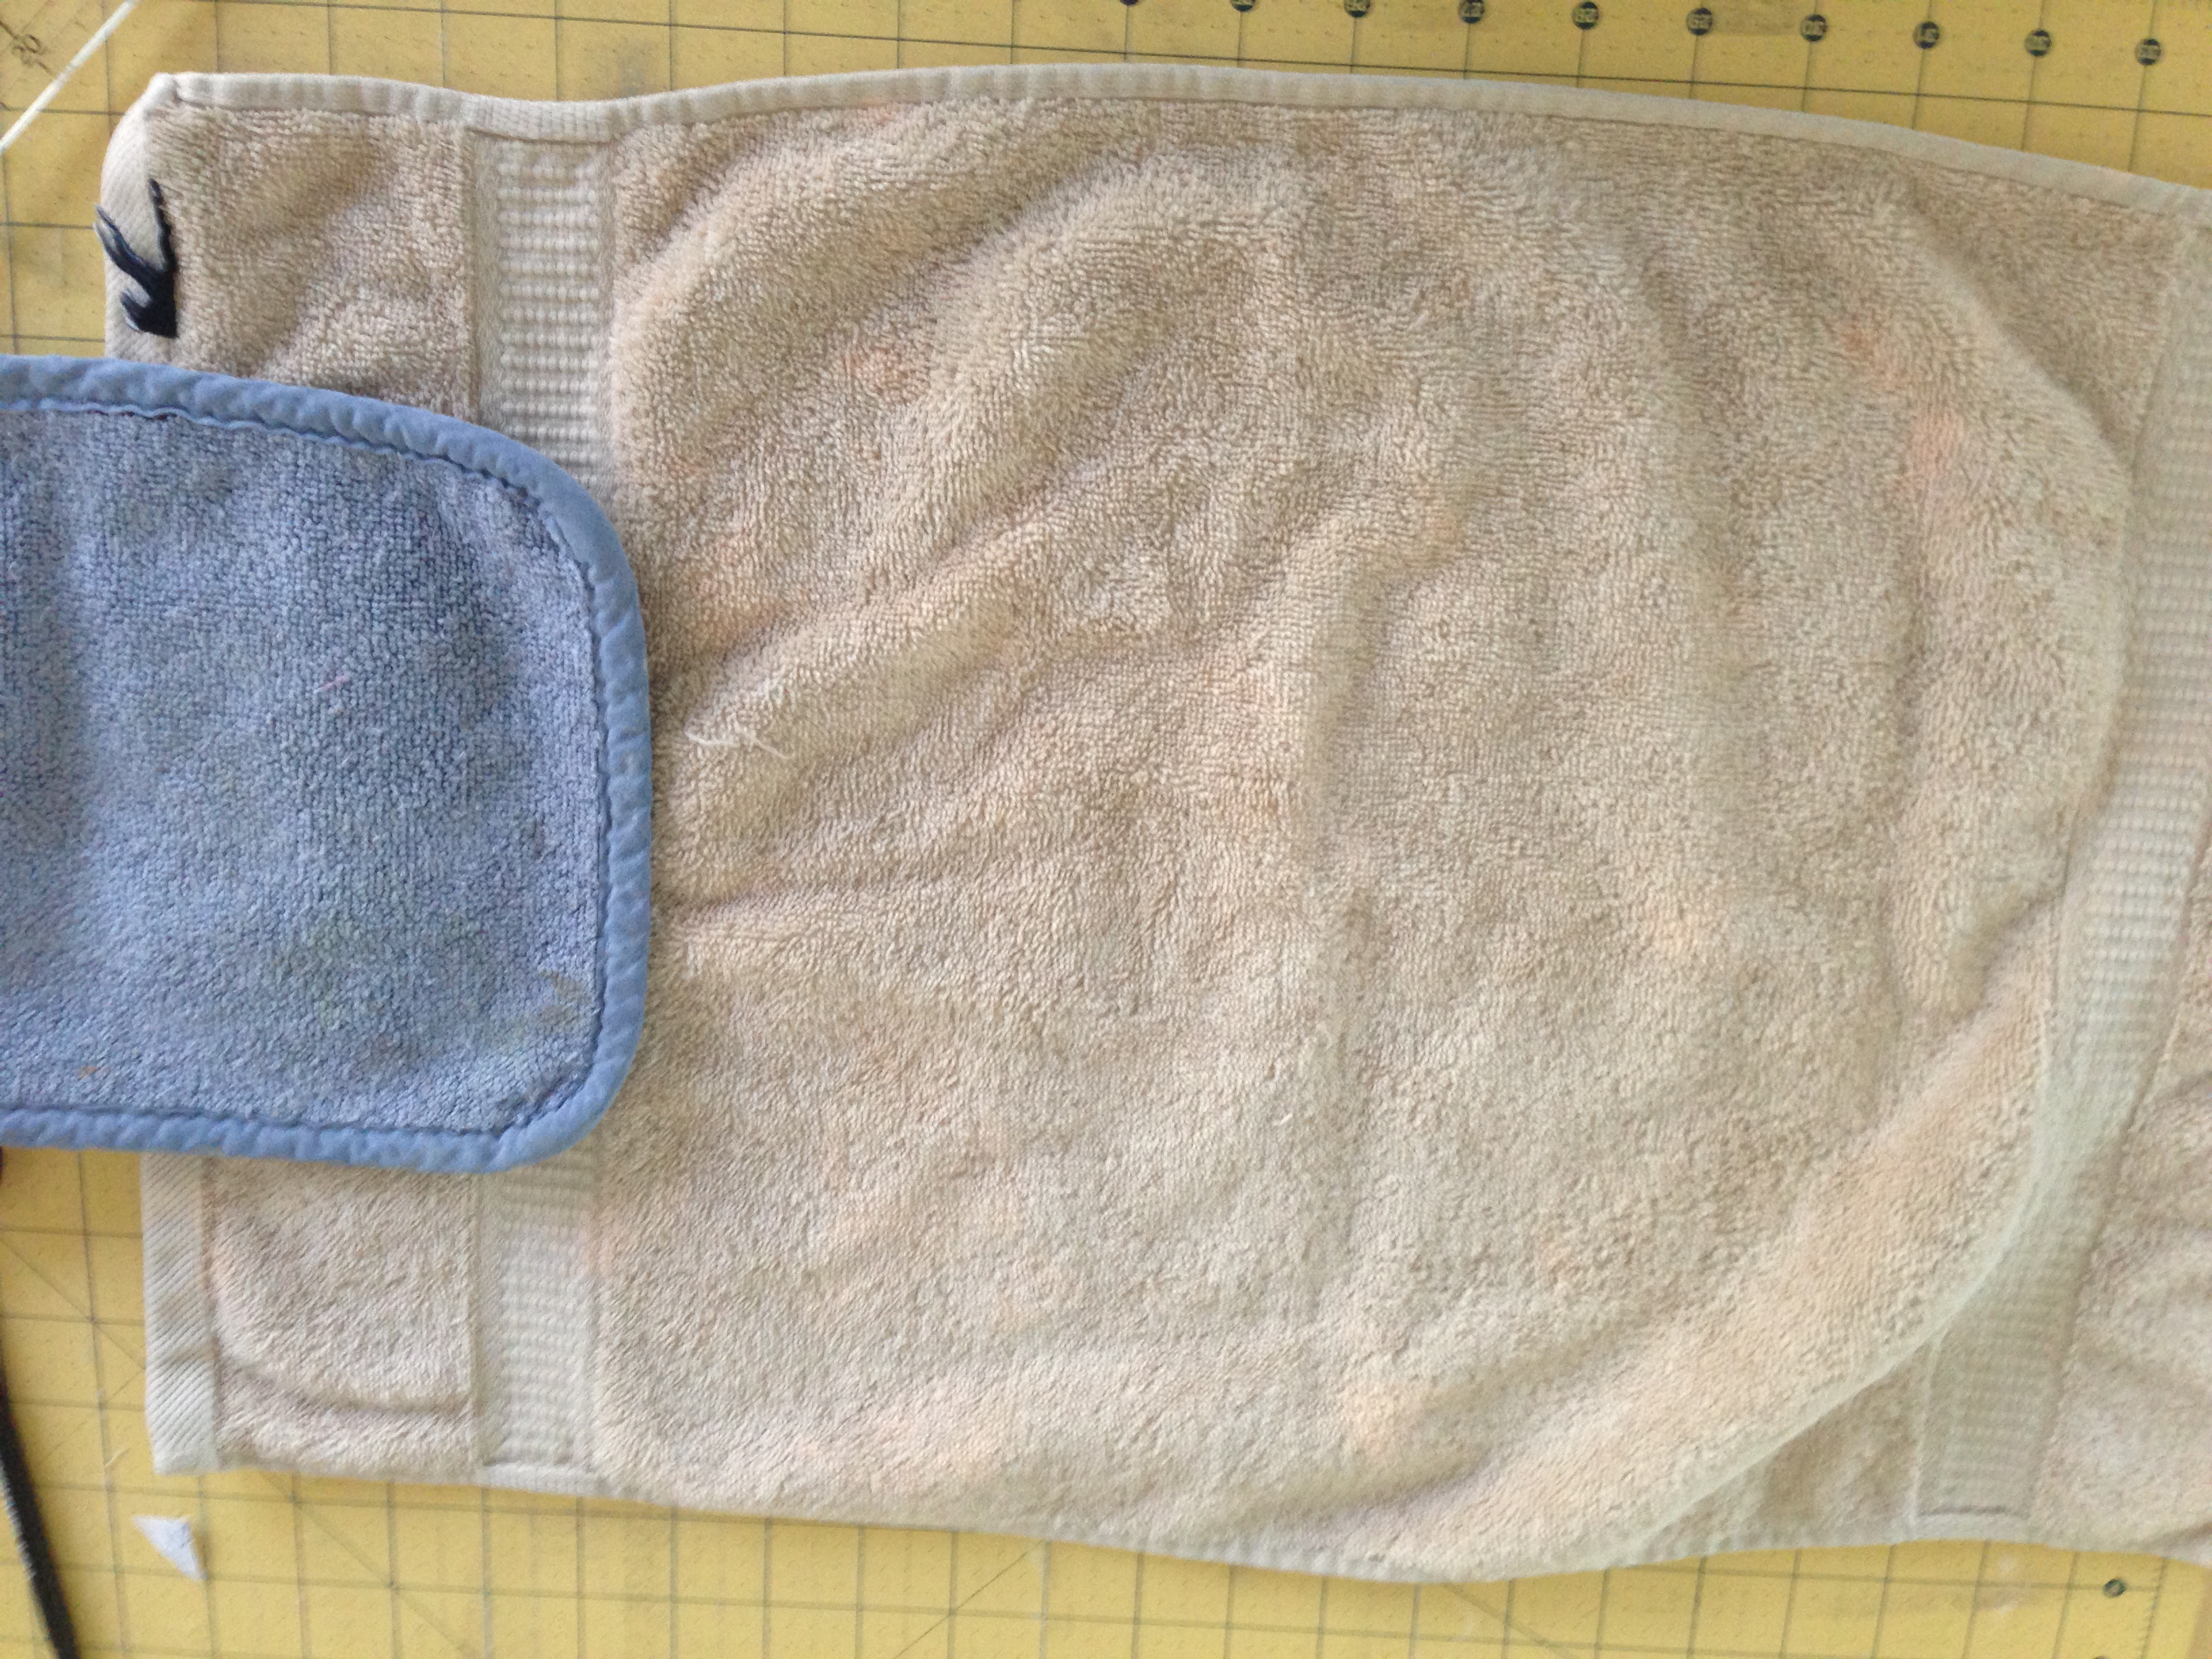
I sewed a band of fabric with Ric Rac edges to the bottom.  I folded the raw edge in at the sides of the towel and top stitched the whole thing.  The top loop I made with ribbon and Velcro – that way I can get them on and off the handle of the oven.   I sewed an accent square out of a charm square (5″) in the corner to hide the ribbon ends.  Easy Peasy!!


Sizzix Bunny Kitchen Towel

bunny towel

Today, on the Sizzix blog, I am sharing one of my favorite little projects to sew: Kitchen Towels!  Hop on over there for the full tutorial!

sizzix bunny towel 5 
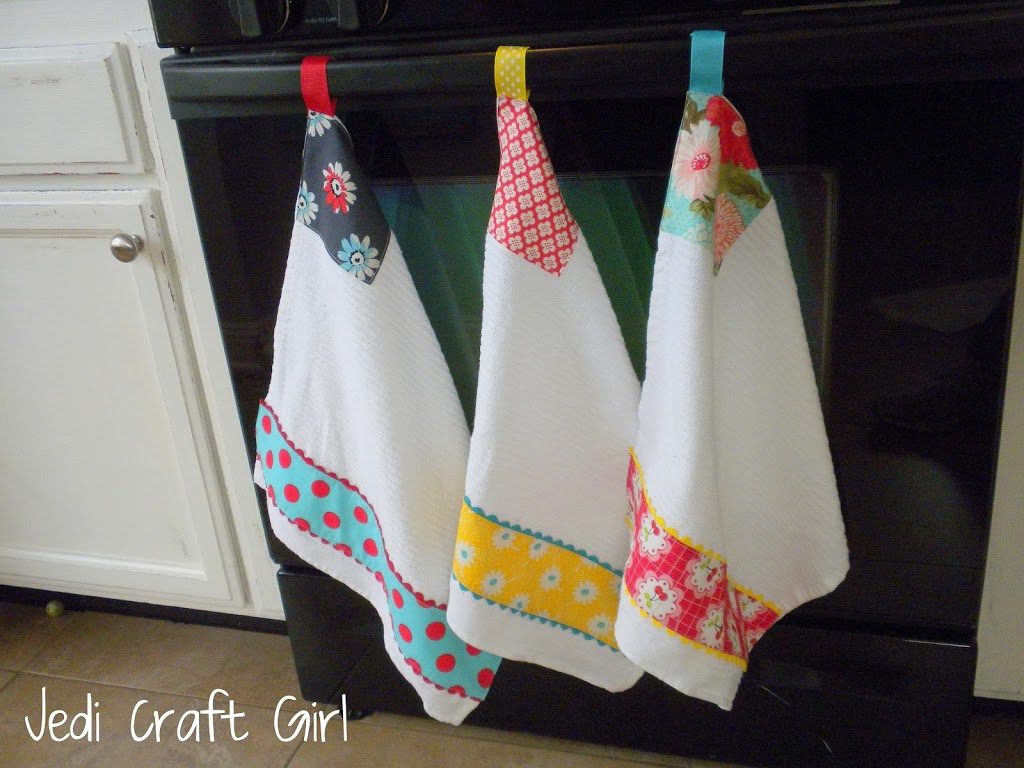
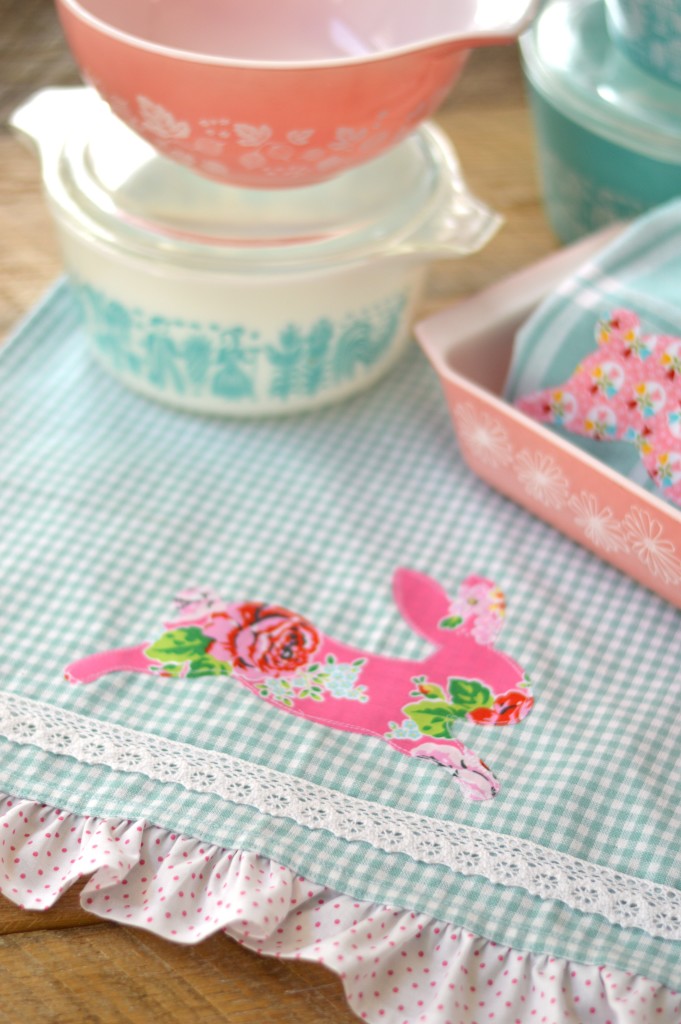
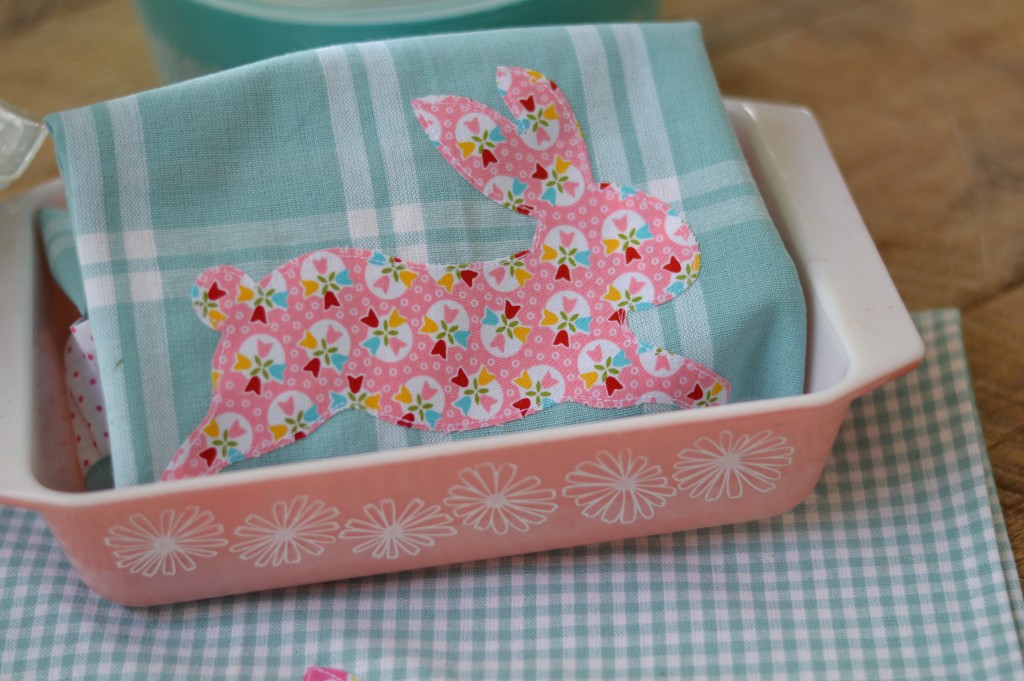
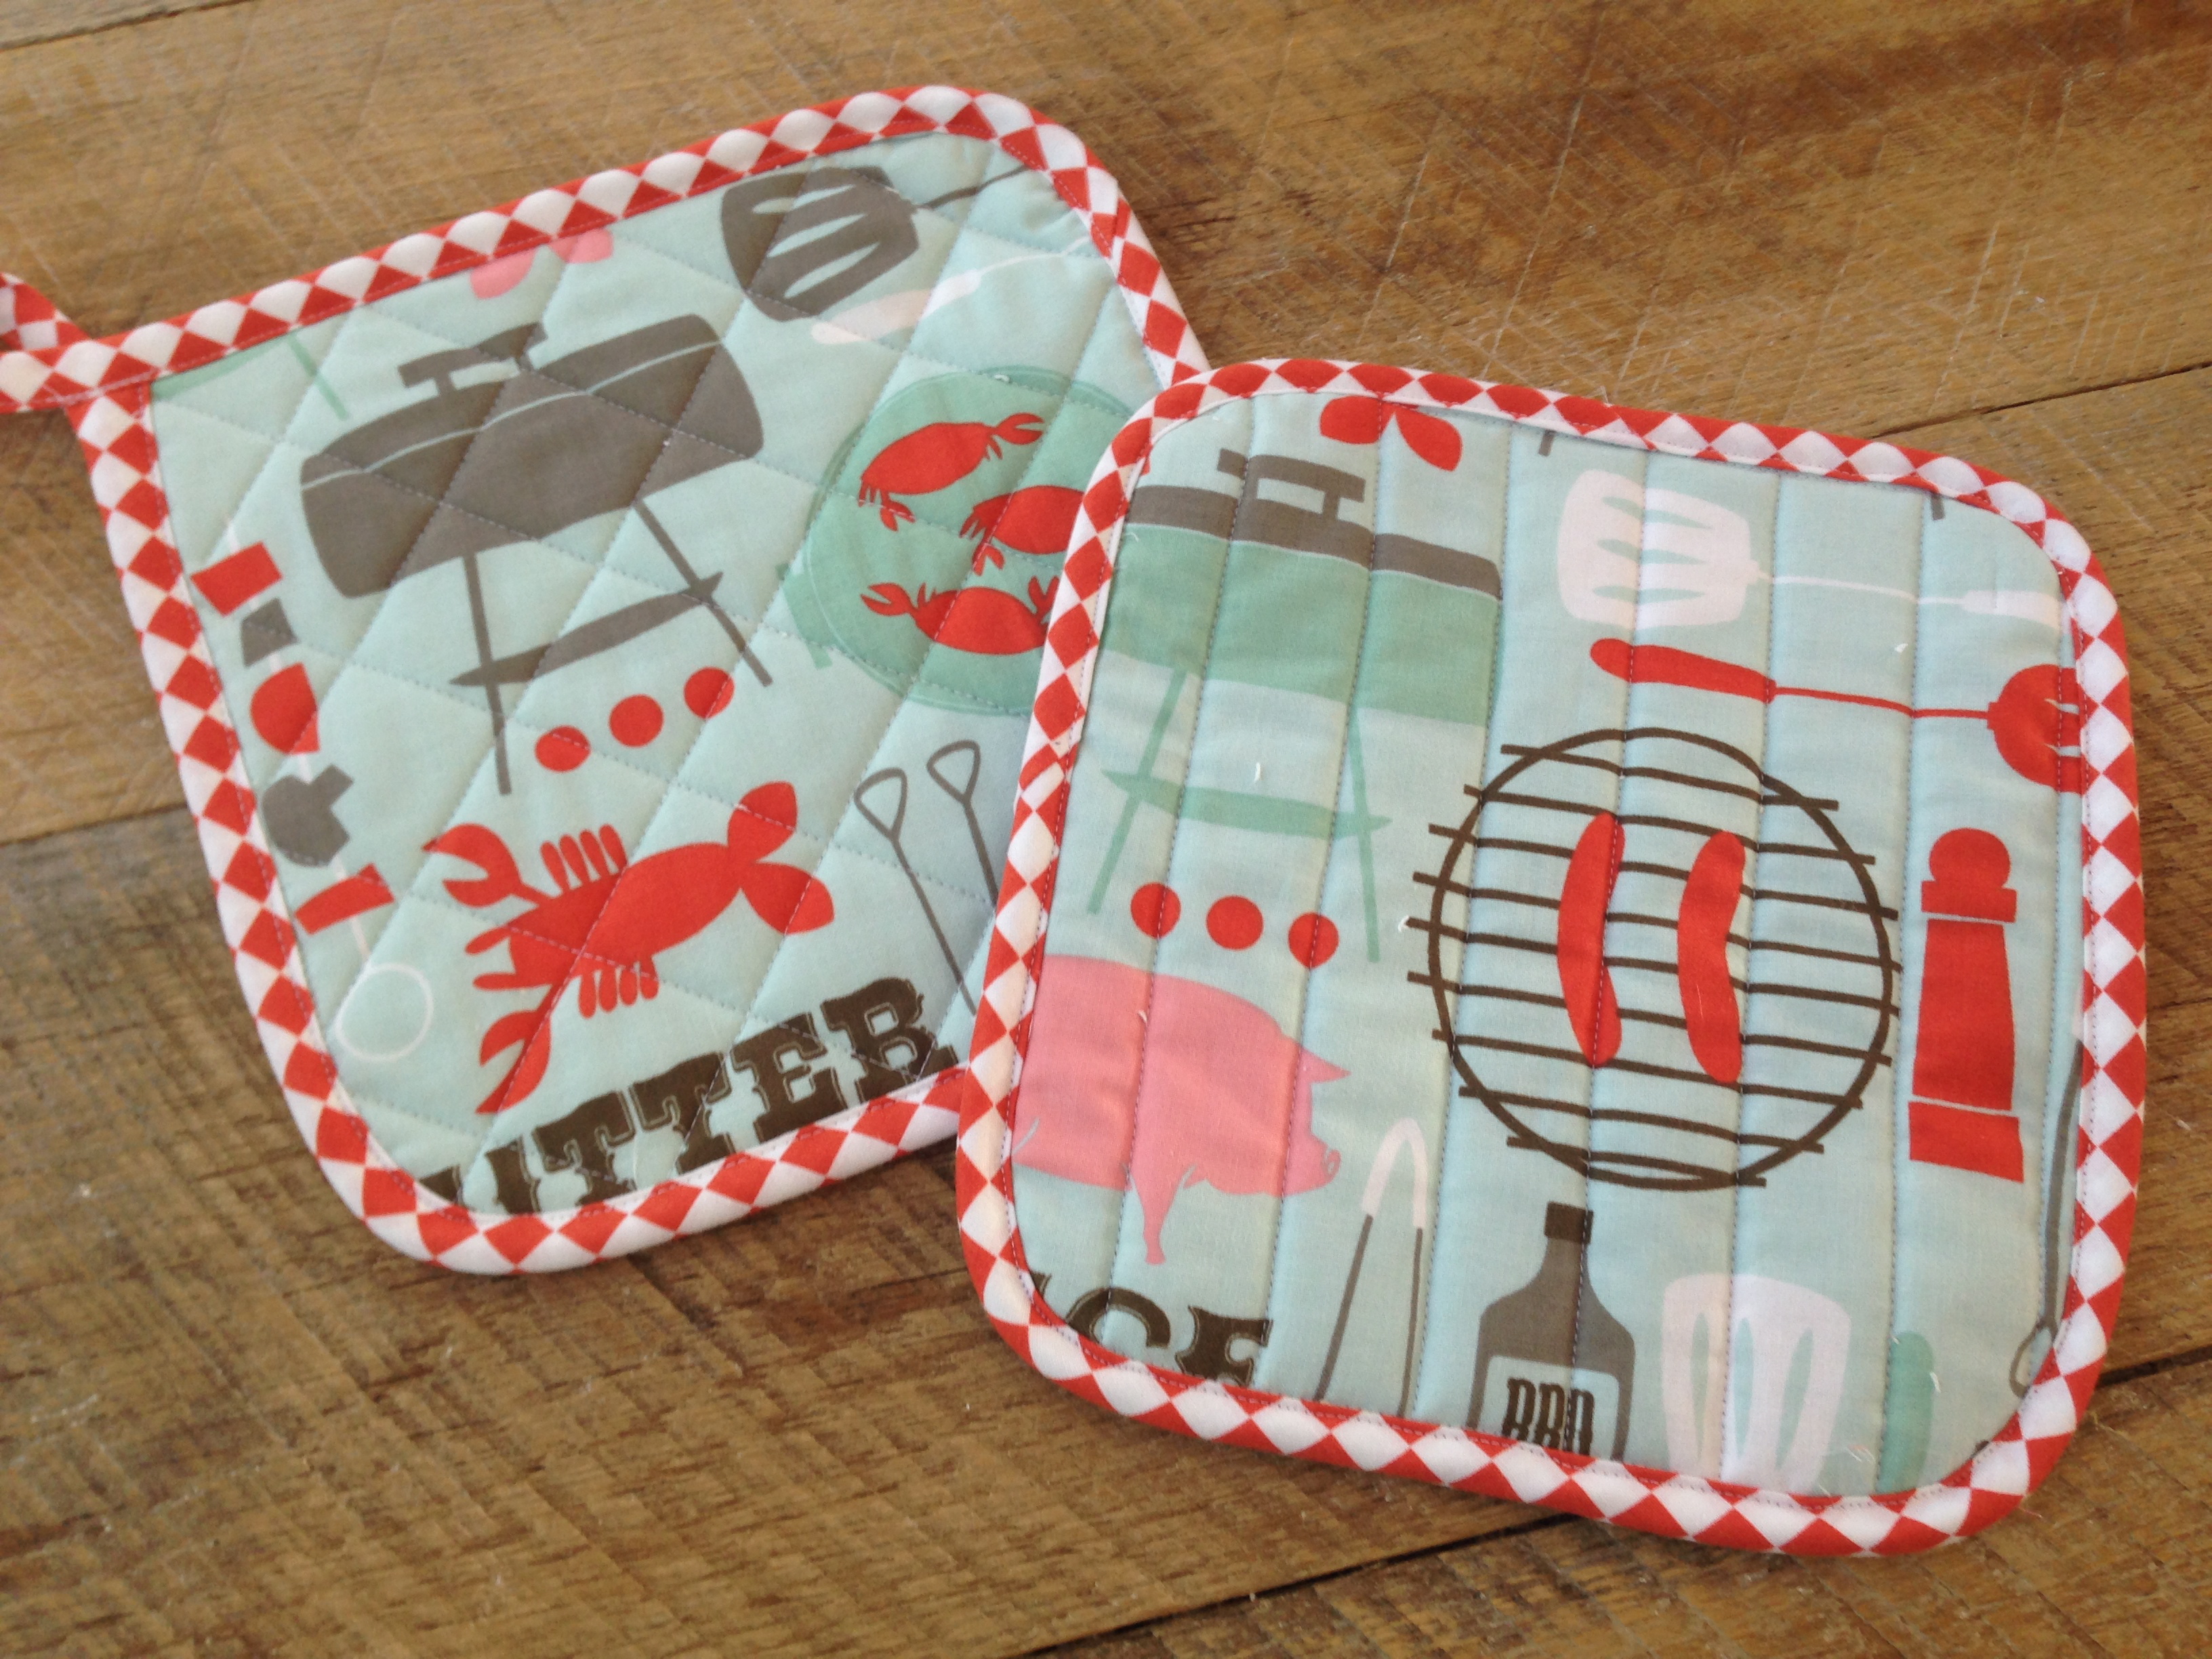
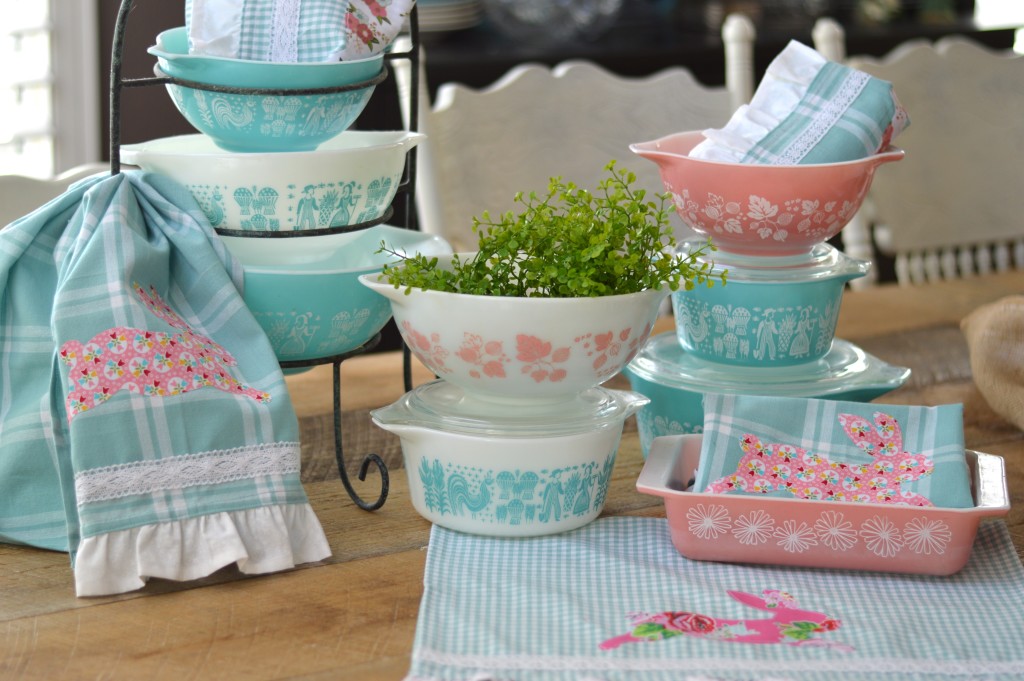
Kitchens usually don’t have a lot of wall space or places to hang quilts or cute crafty projects.  I love hanging home made towels on my oven, it gives the kitchen that cozy feeling!  Theses sweet towels also make the perfect gift!  Who wouldn’t want one of these!  I choose some of my favorite Riley Blake Fabric Prints from some of my favorite designers.  sizzix bunny towel 10

I am also using my most favorite Sizzix Bunny Die (I’m sure I’ve said that many times!!)  I love using my Sizzix Fabi to cut these bunnies!  It’s so fast and easy!

IMG_4954

And you can die cut several at one time!

IMG_4969

I could cut these bunnies out all day long!  They are so much fun and oh so cute when they are leaping all over!

IMG_4958

I used my ruffling foot to sew the ruffle – this is also a time saver!

IMG_4980

I used Heat n Bond Lite to fuse the bunny.  I also used my new Oliso Pro iron.  It’s a dream!!!

IMG_5041

I love how sweet they are with the soft colors!

IMG_5042

IMG_5039

I want to keep them all for myself!!     I love that these colors are perfect Pyrex colors!  I might just have a slight Pyrex obsession!!sizzix bunny towel 3

sizzix bunny towel 7

sizzix bunny towel 6        sizzix bunny towel 4

Patchwork Acorns

patchwork acorn potholdersI’m sharing my Patchwork Acorn Potholder tutorial over on the Therm O Web Blog.  You can download the pattern and read the instructions!!patchwork acorn potholder

These are cute to use as potholders or as decorations in the kitchen!  I used a kitchen towel for the backing and the inside is fusible fleece.

patchwork acorn potholder 22

I also used the same pattern for the acorn and appliqued it onto burlap for a quick fall pillow!IMG_1846

To make the pillow, use spray an bond basting spray to hold the acorn in place.  Top stitch a few times around the acorn.  Then sew a 1″ seam all the way around the pillow leaving an opening for stuffing.  Stuff, then sew closed.  Fray the edges of the burlap as desired.IMG_1836

The Perfect Potholder {Father’s Day Tutorial}

the perfect potholder

I know the claim “The Perfect Potholder” is pretty bold!!  I am a bit of a potholder snob.  I can’t stand silicone ones, I don’t like them if they are too stiff or puffy, I also don’t like them if they are too thin.  I love the cute quilty ones, but I am always afraid to use them.  So I resort to my trusty terrycloth potholders…..behold:

hot pad tutorial

Aren’t they beautiful!  haha!!  They’ve been used and washed at least a million times and I can never give them up…..until TODAY when I came up with a homemade version that is just as functional yet much more stylish.  The trick is that I cut up a hand towel (or bath towel), layered with batting and quilted it.  Are you ready for the tutorial?  Here we go:

Supplies:

1 bath or hand towel (not kitchen) the thicker the better!

Fat Quarter Bibs and Ribs fabric – still loving it!!

Scraps of cotton batting

fabric for the binding

Therm O Web Spray n Bond

Begin by cutting the towel 8.5″ square

hot pad tutorial_3


also cut the batting and fabric the same size, 8.5″ square.

hot pad tutorial_4

Use the basting spray to baste all the lawyer together with the batting in the middle.

hot pad tutorial_2_5
Quilt as desired.  I made 4 of these and did vertical lines, diagonal lines and then criss cross.  Using a cup, draw a rounded corner on each of the corners and trim along the line.

hot pad tutorial_6


hot pad tutorial_7

Cut the binding on the bias 2.5″ x WOF, or enough to sew around the potholder.  Sew the binding to the back of the  potholder then pull the binding around and machine sew the top of the binding down.hot pad tutorial_8

Seriously, tears of joy were shed over this project.  I cannot contain my excitement!!  It actually feels just like my old trusty potholders – YIPPEE!!!hot pad tutorial_9

Now that I knew they were a success, I got a little creative.  Try rounding all the corners but the top left corner like this:

hot pad tutorial_10


Then sew the binding like this:hot pad tutorial_11


Take the little tail and give it a twirl to make a loop to hang or to just be decorative or to just finish the binding nicely.

hot pad tutorial_14

They are the perfect addition to my collection of Father’s Day Gifts!!
hot pad tutorial_12