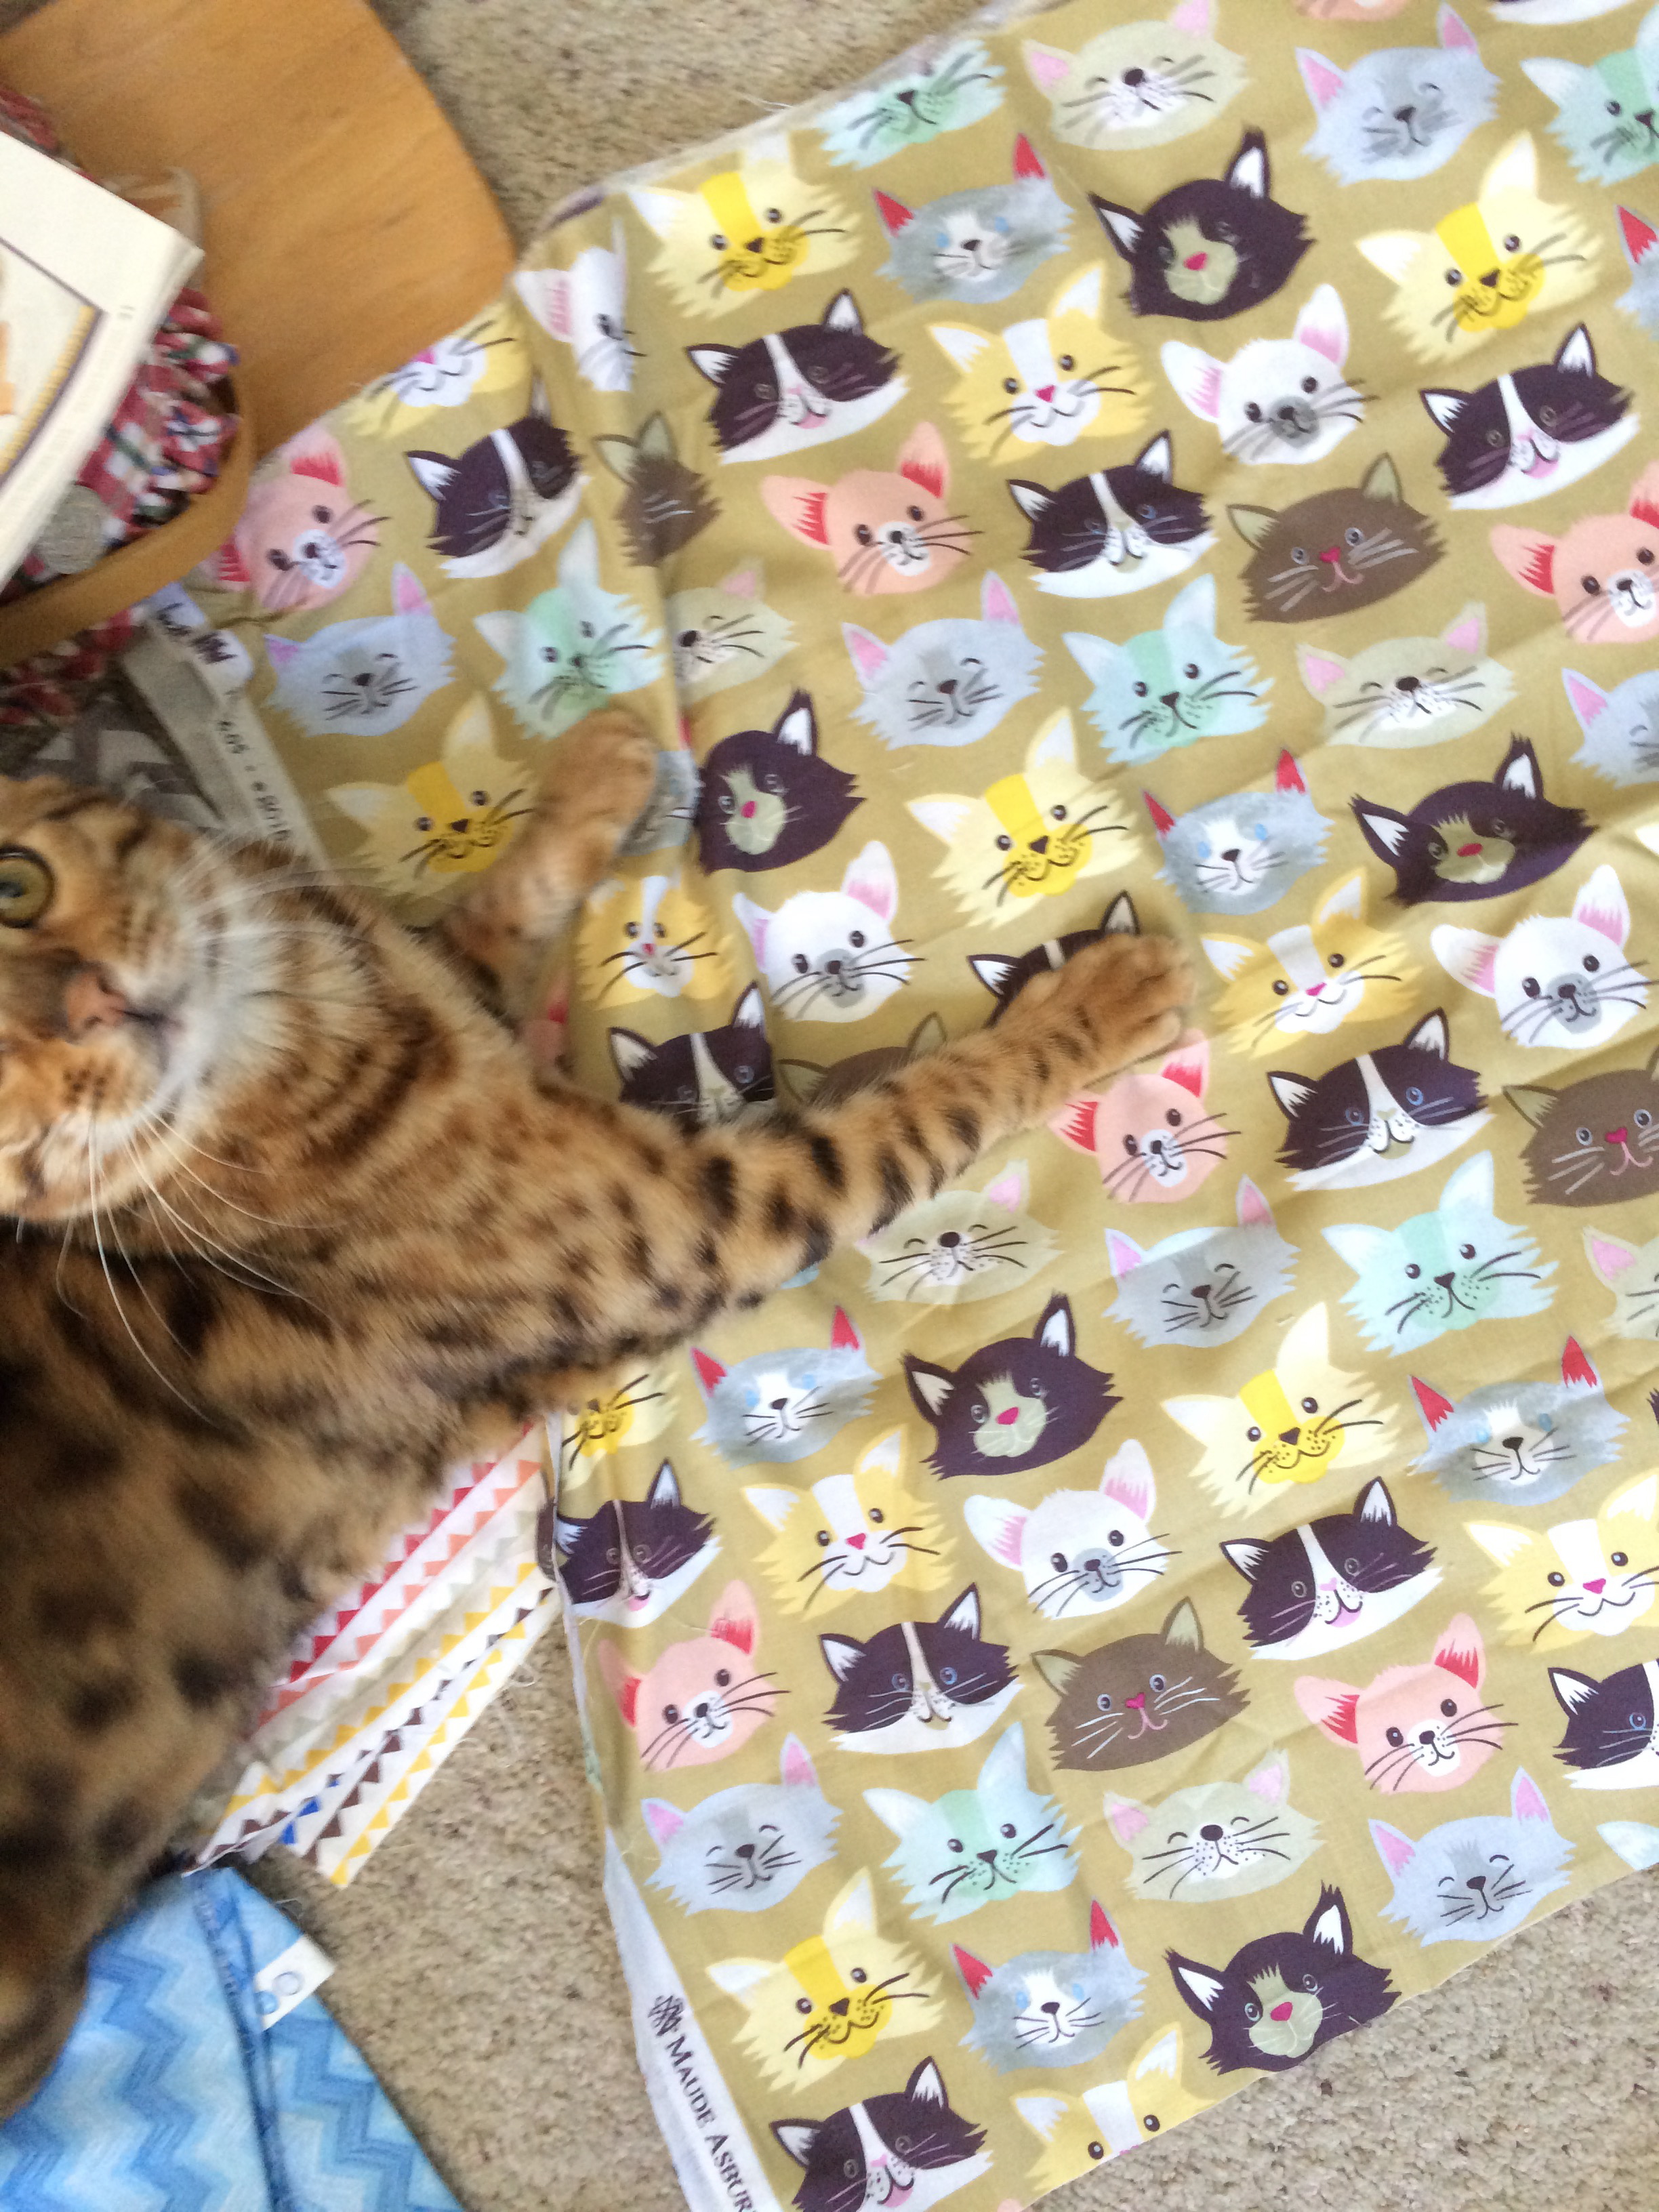
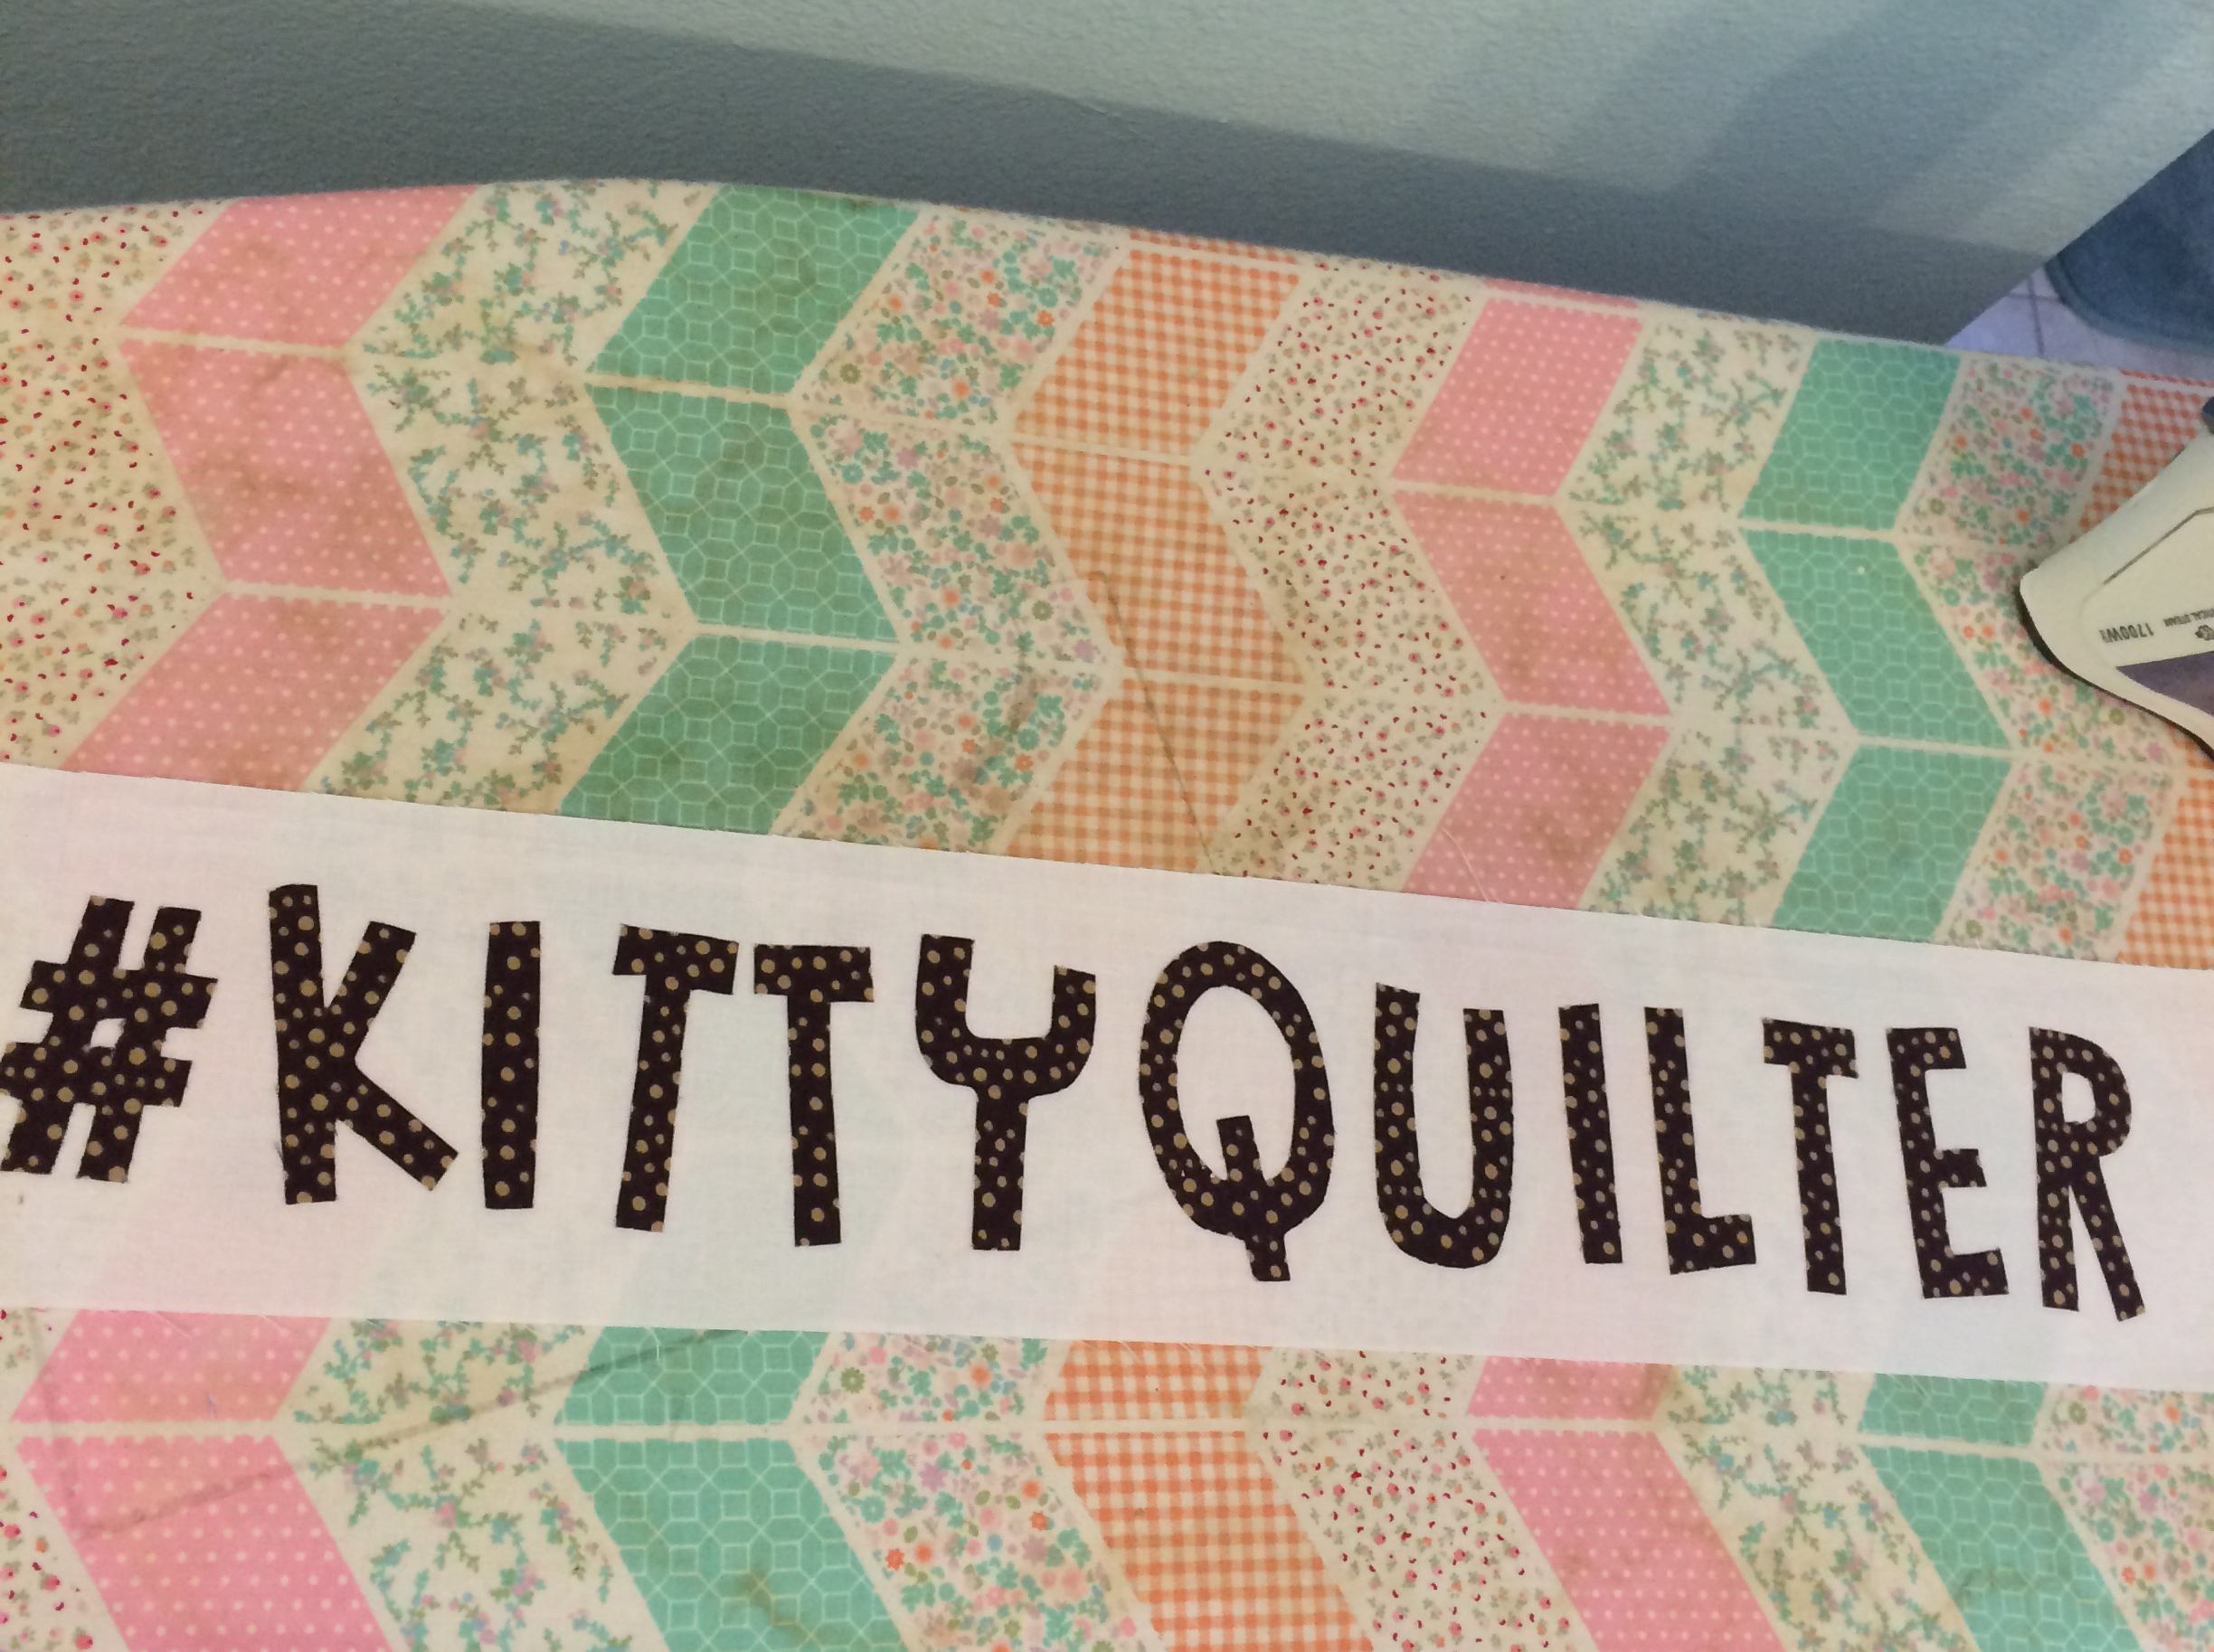
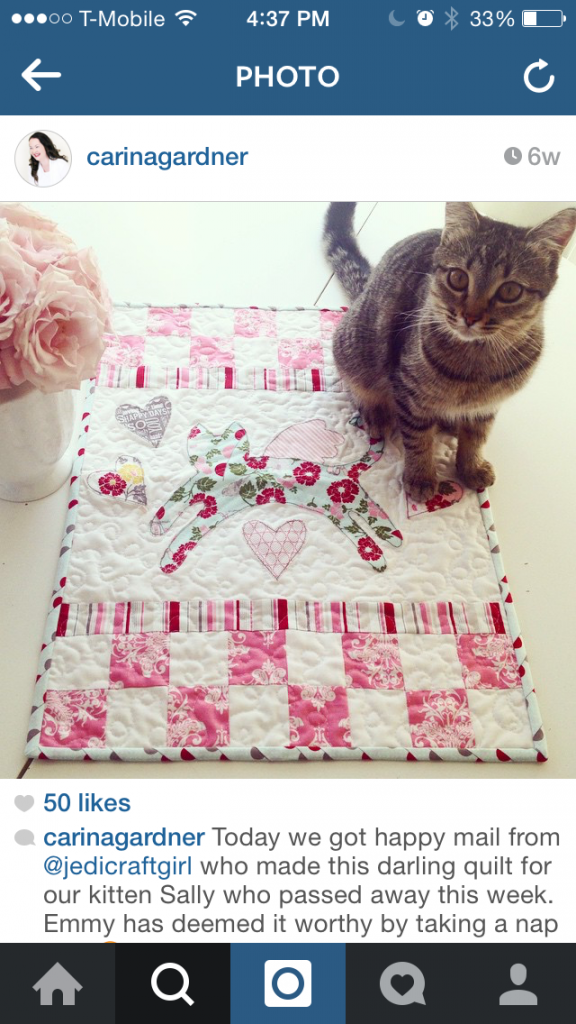
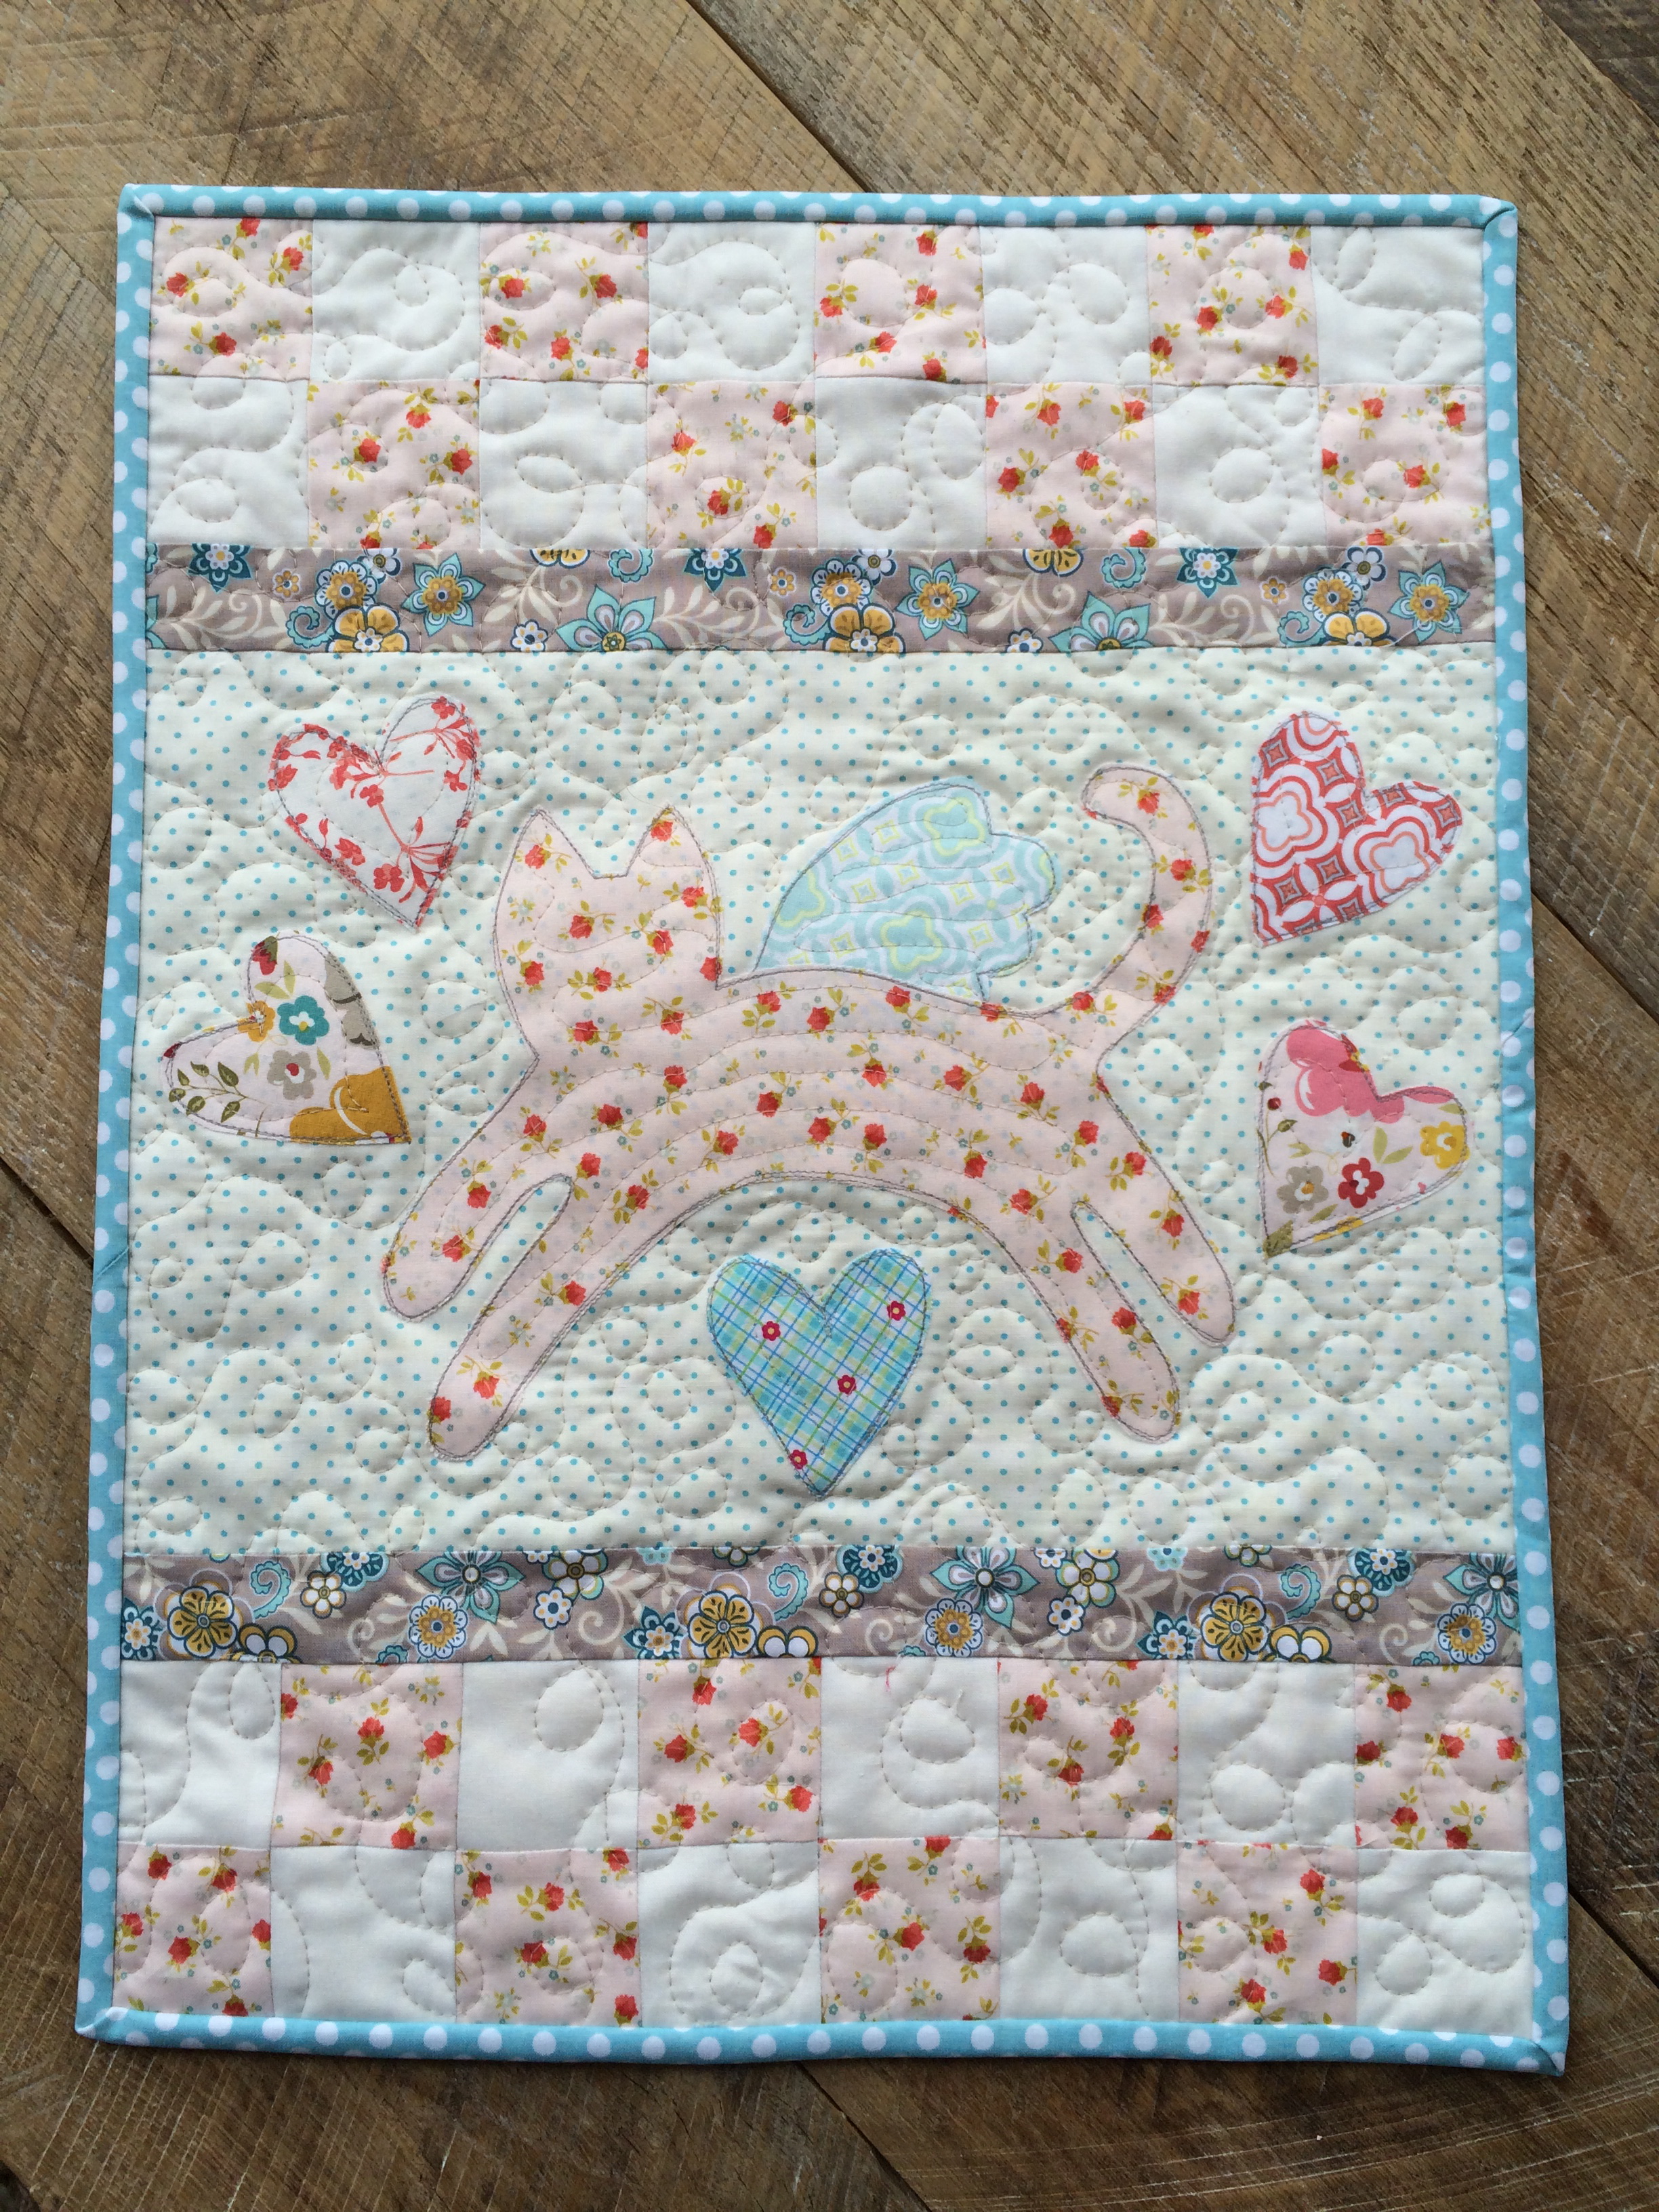
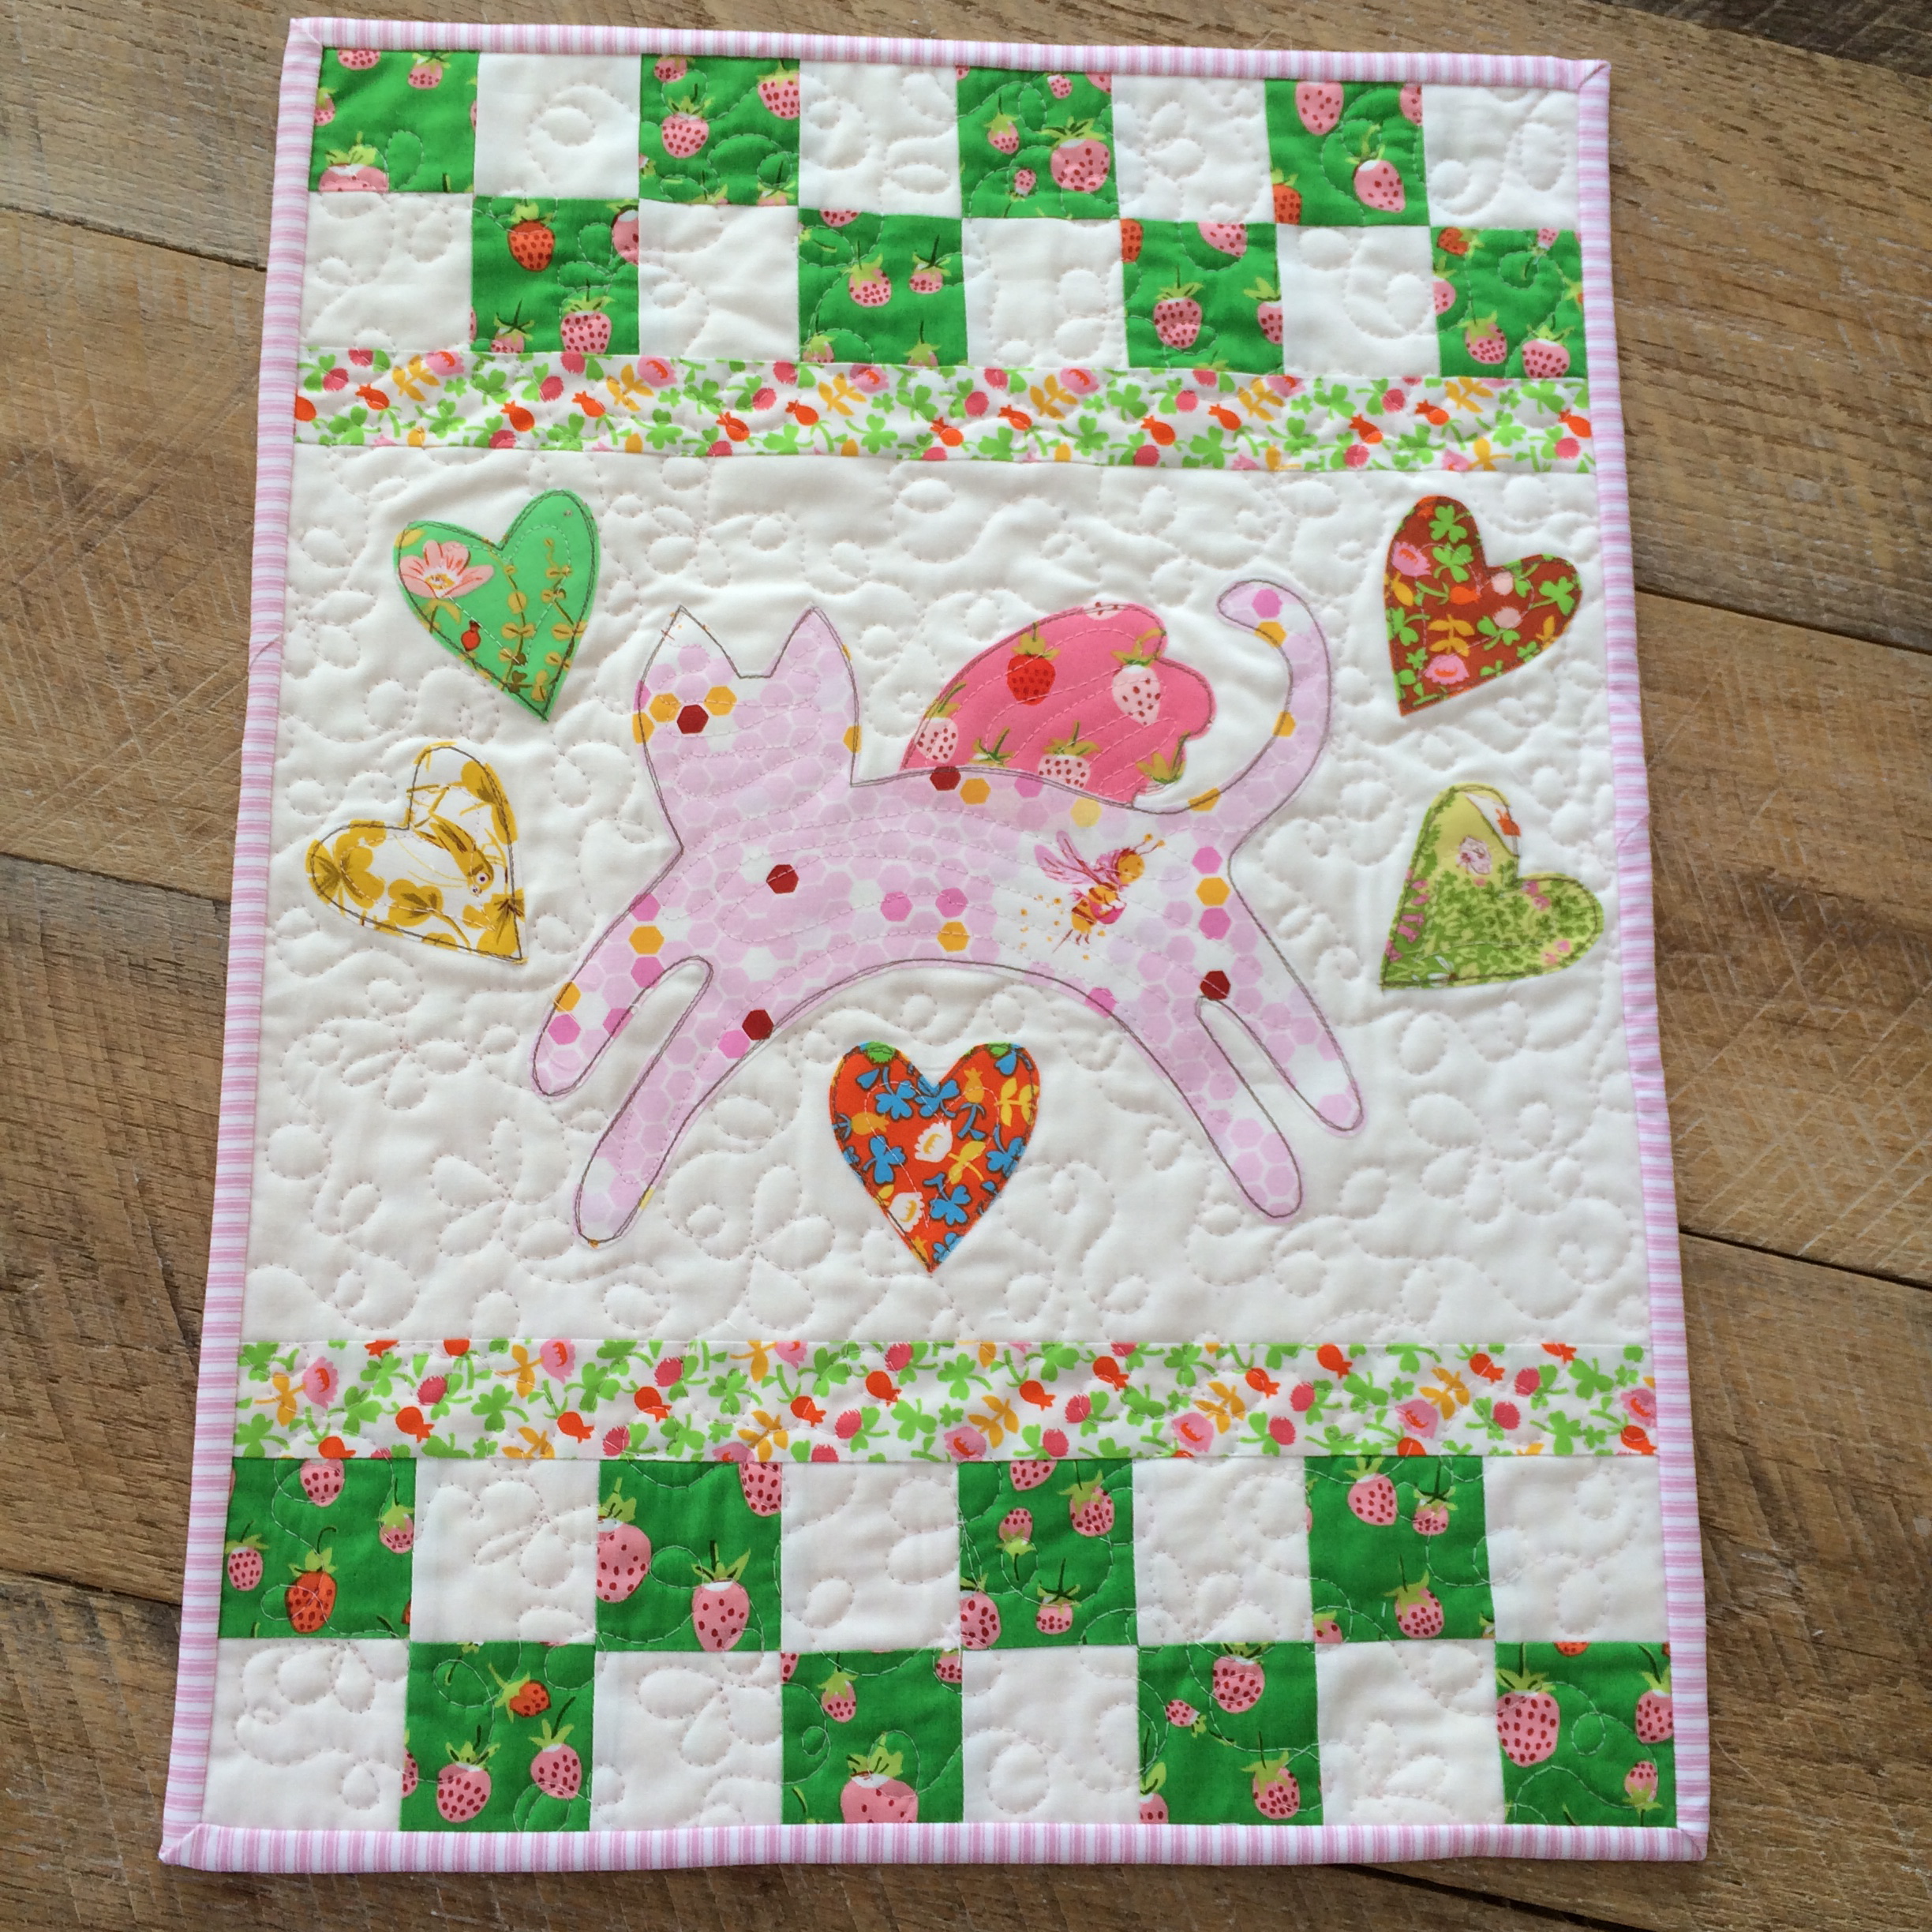
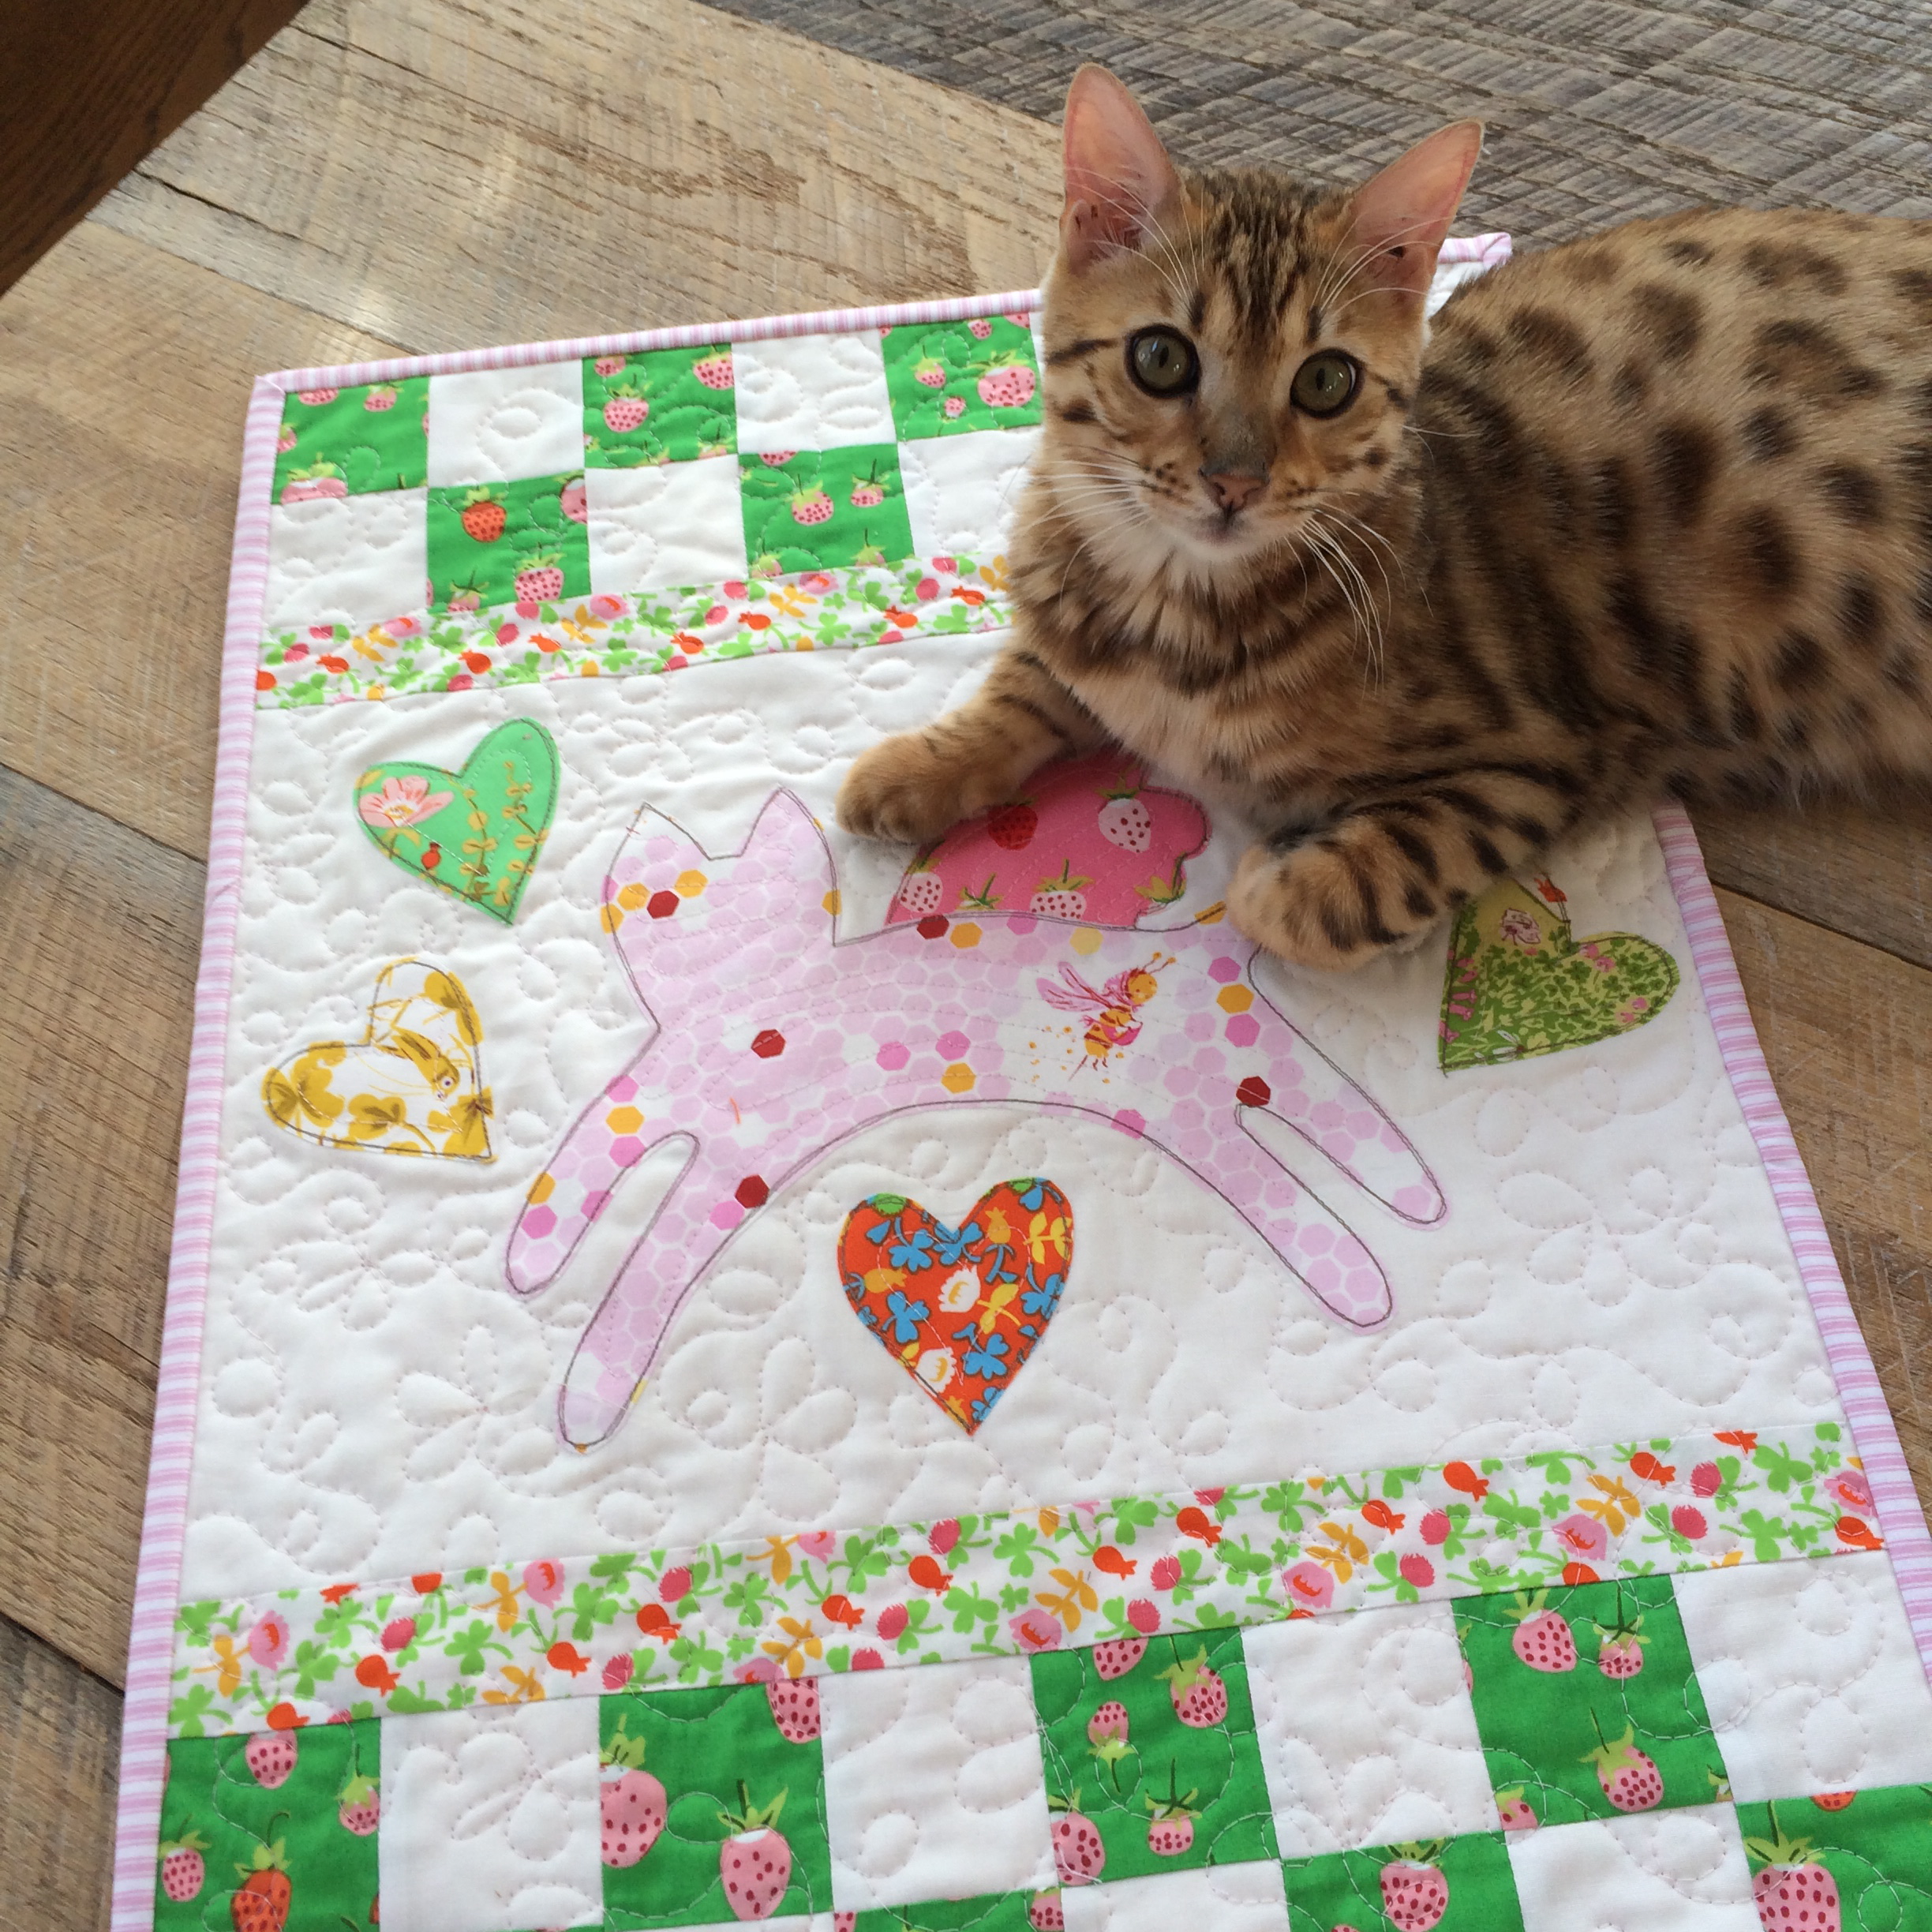
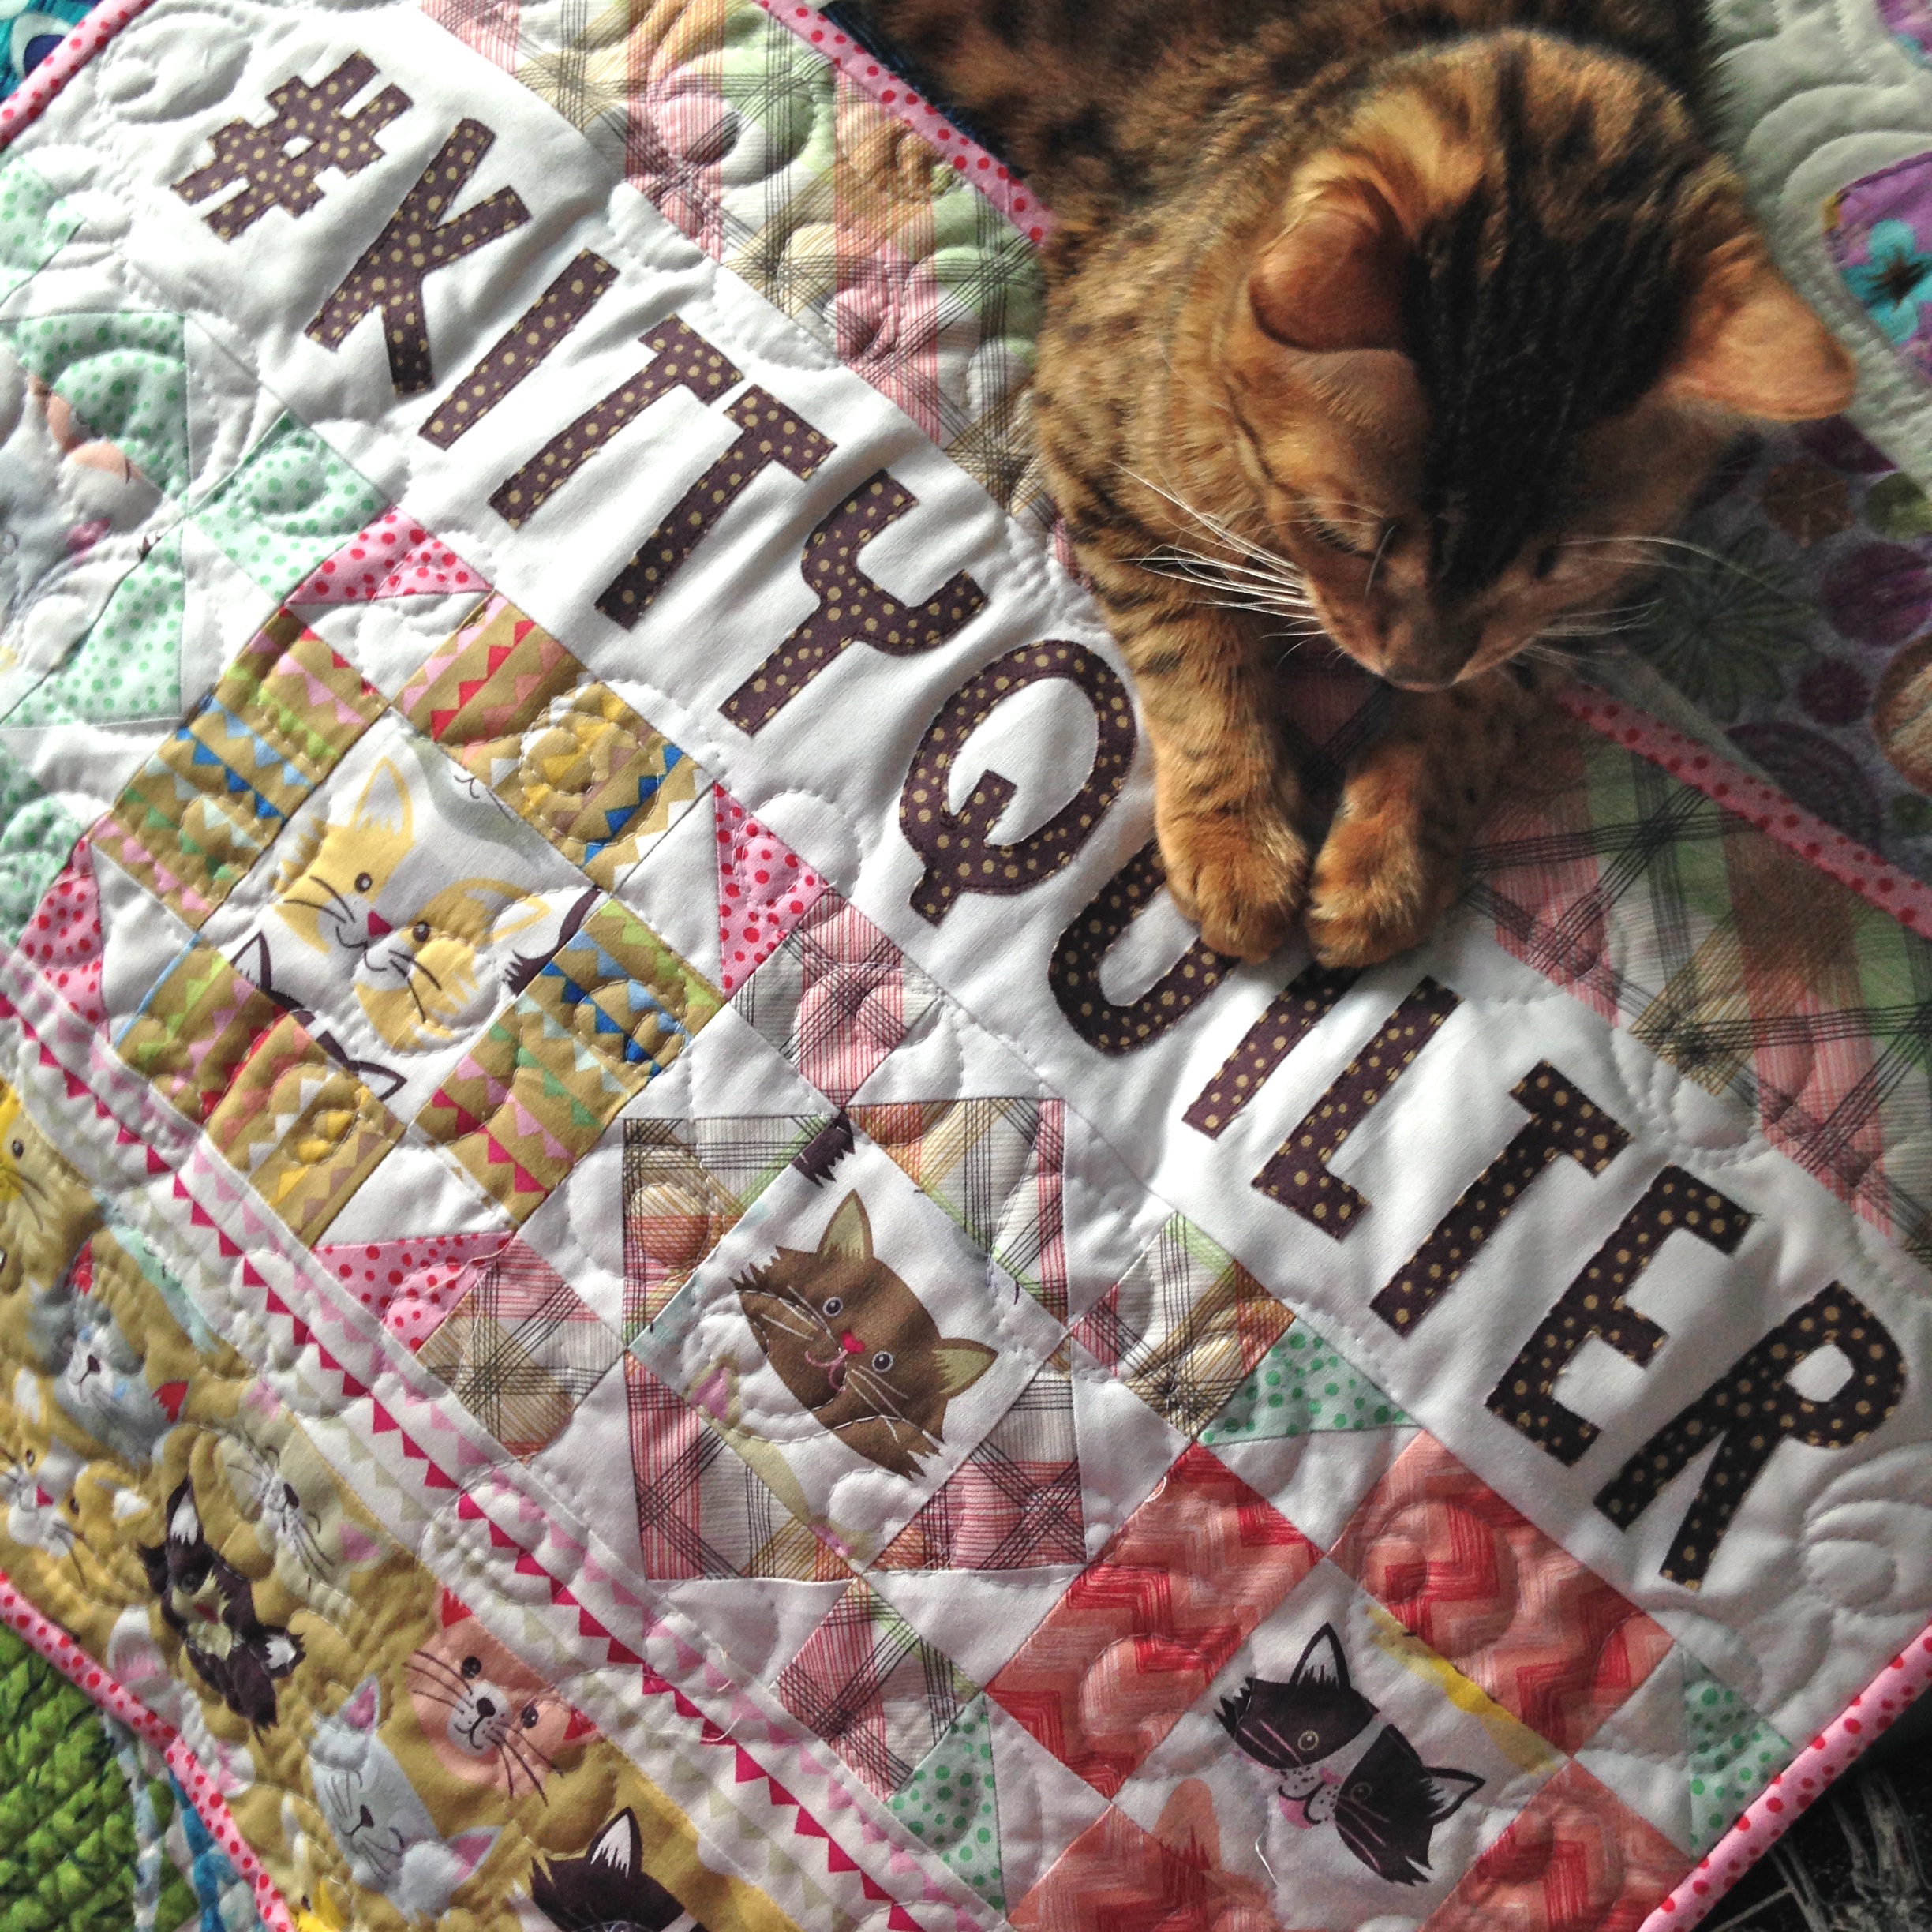
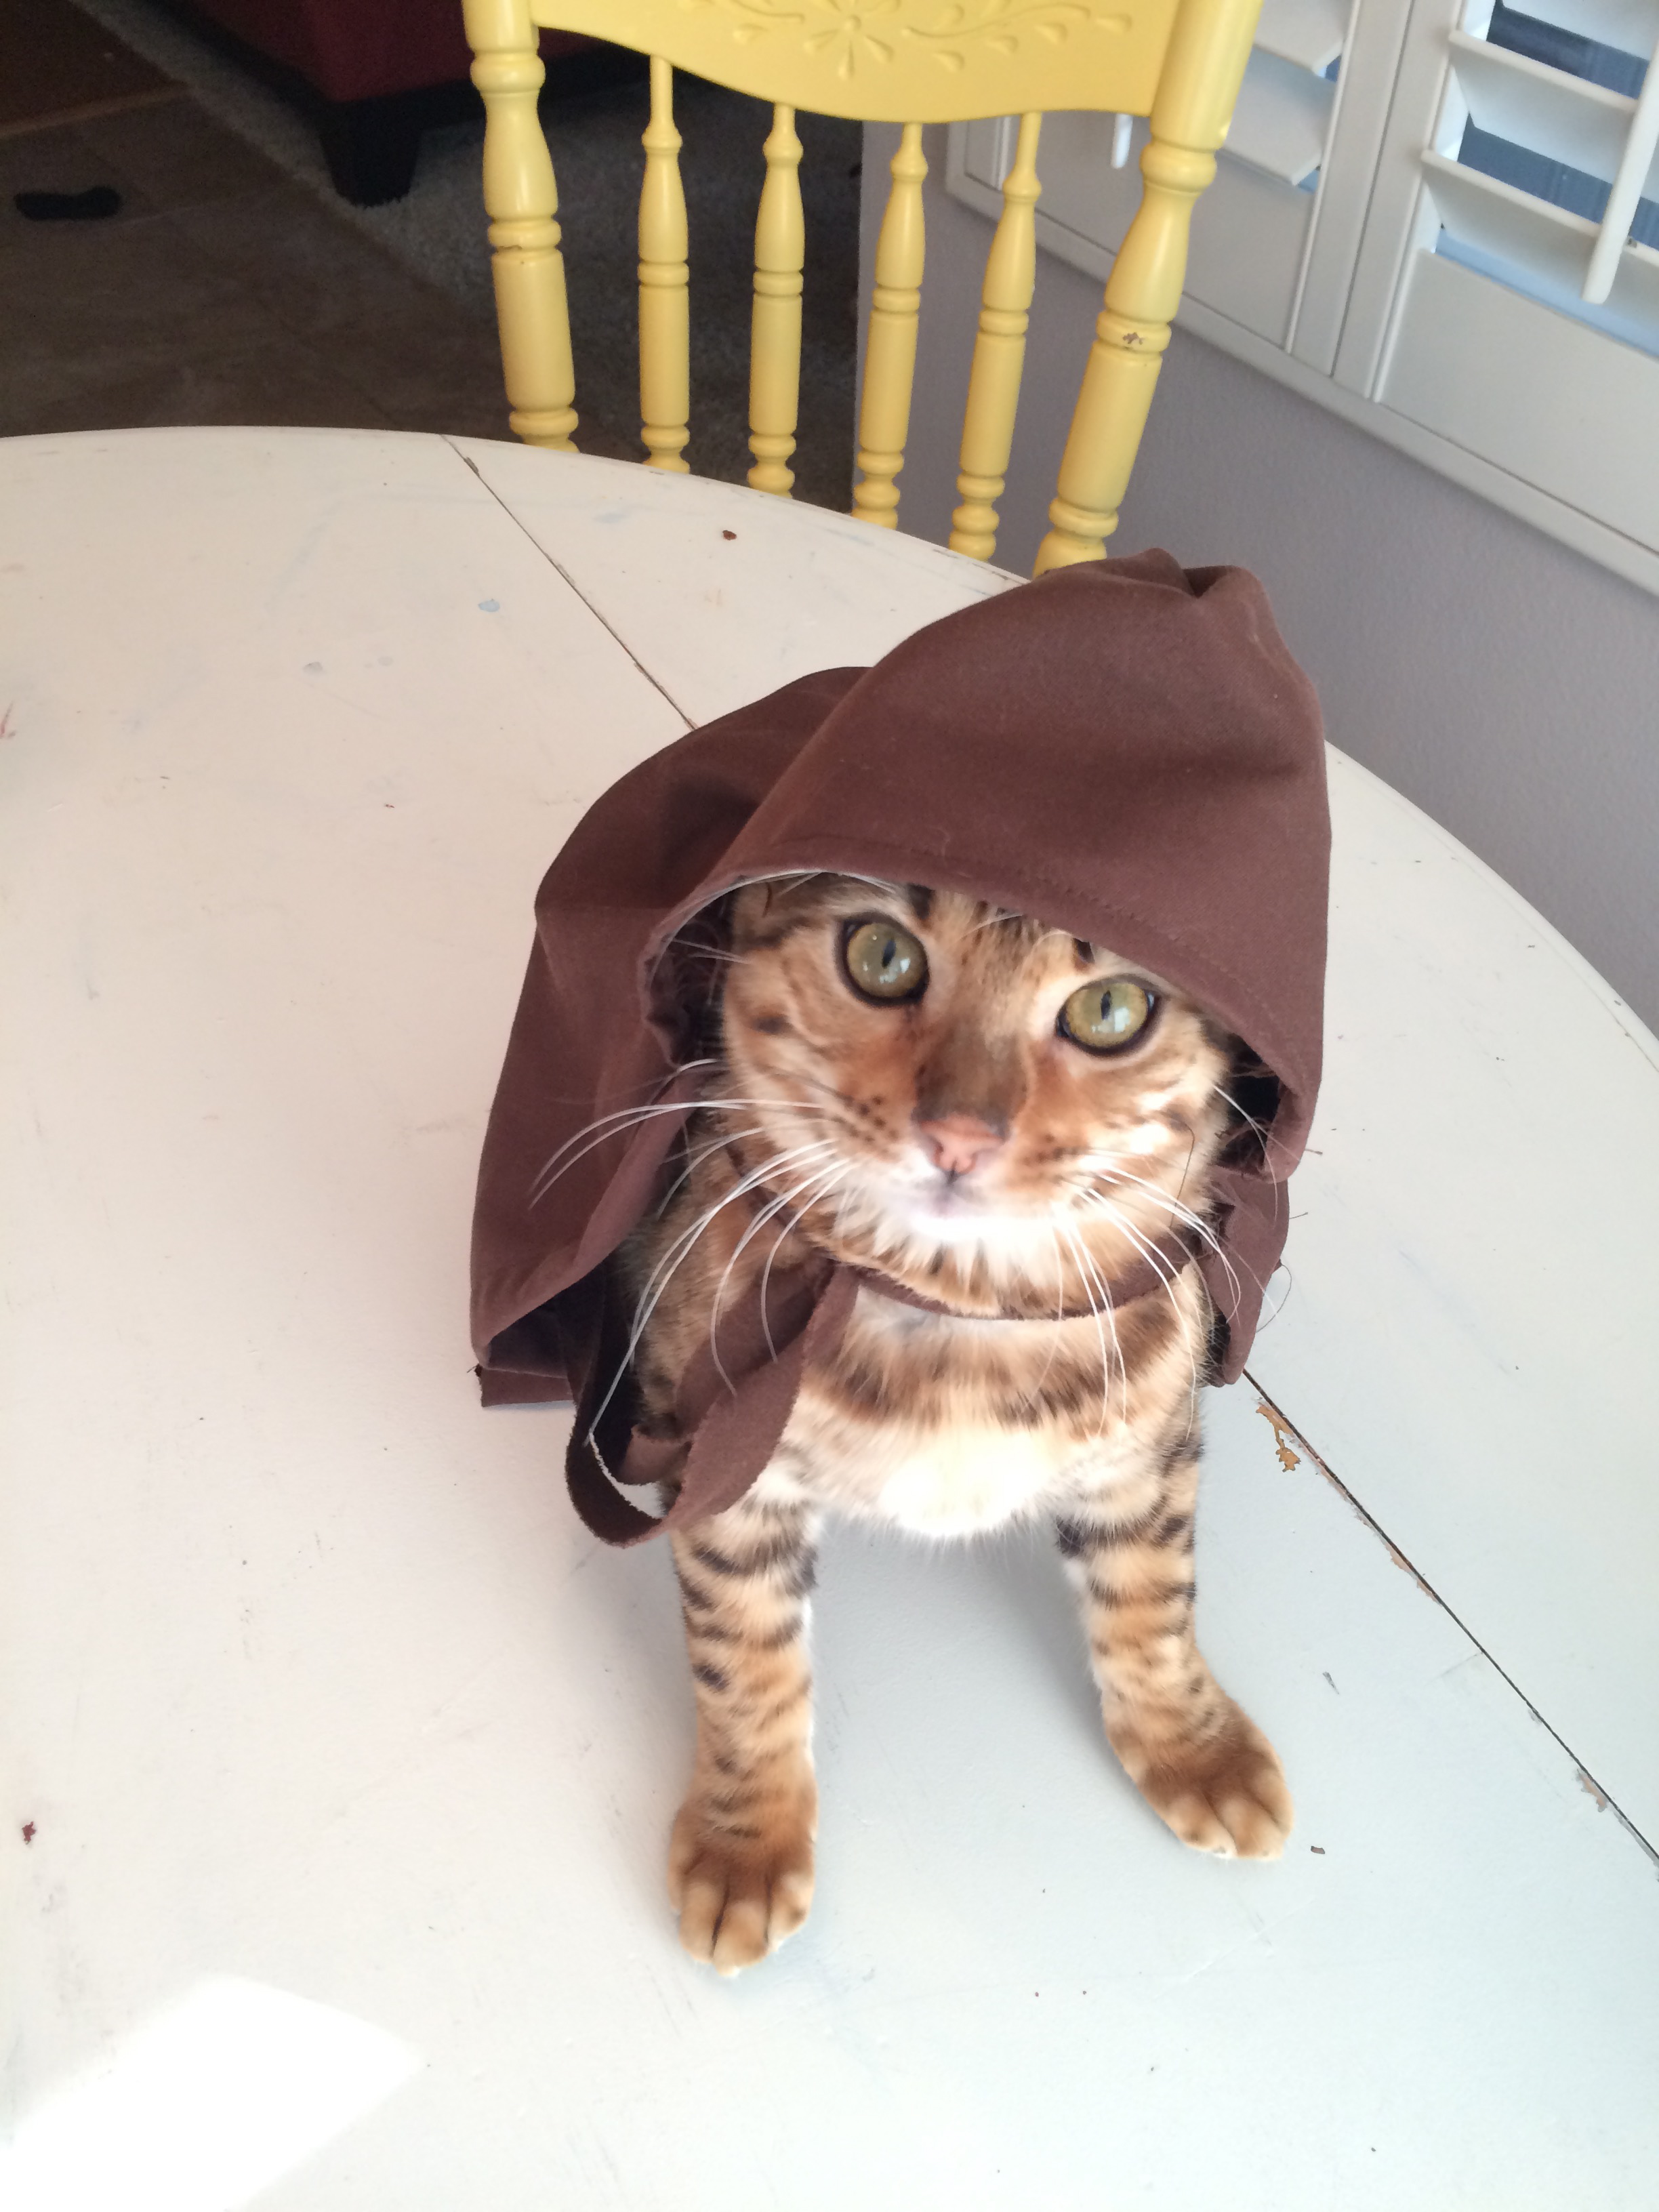
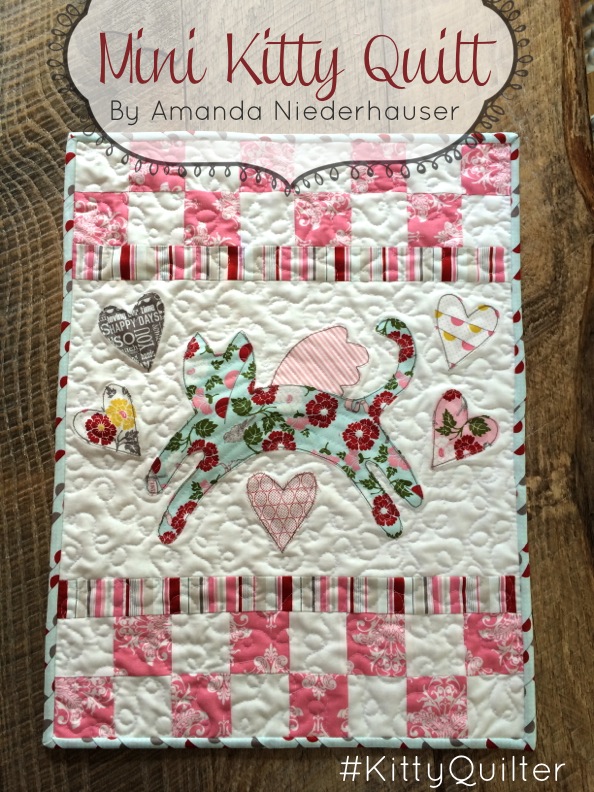
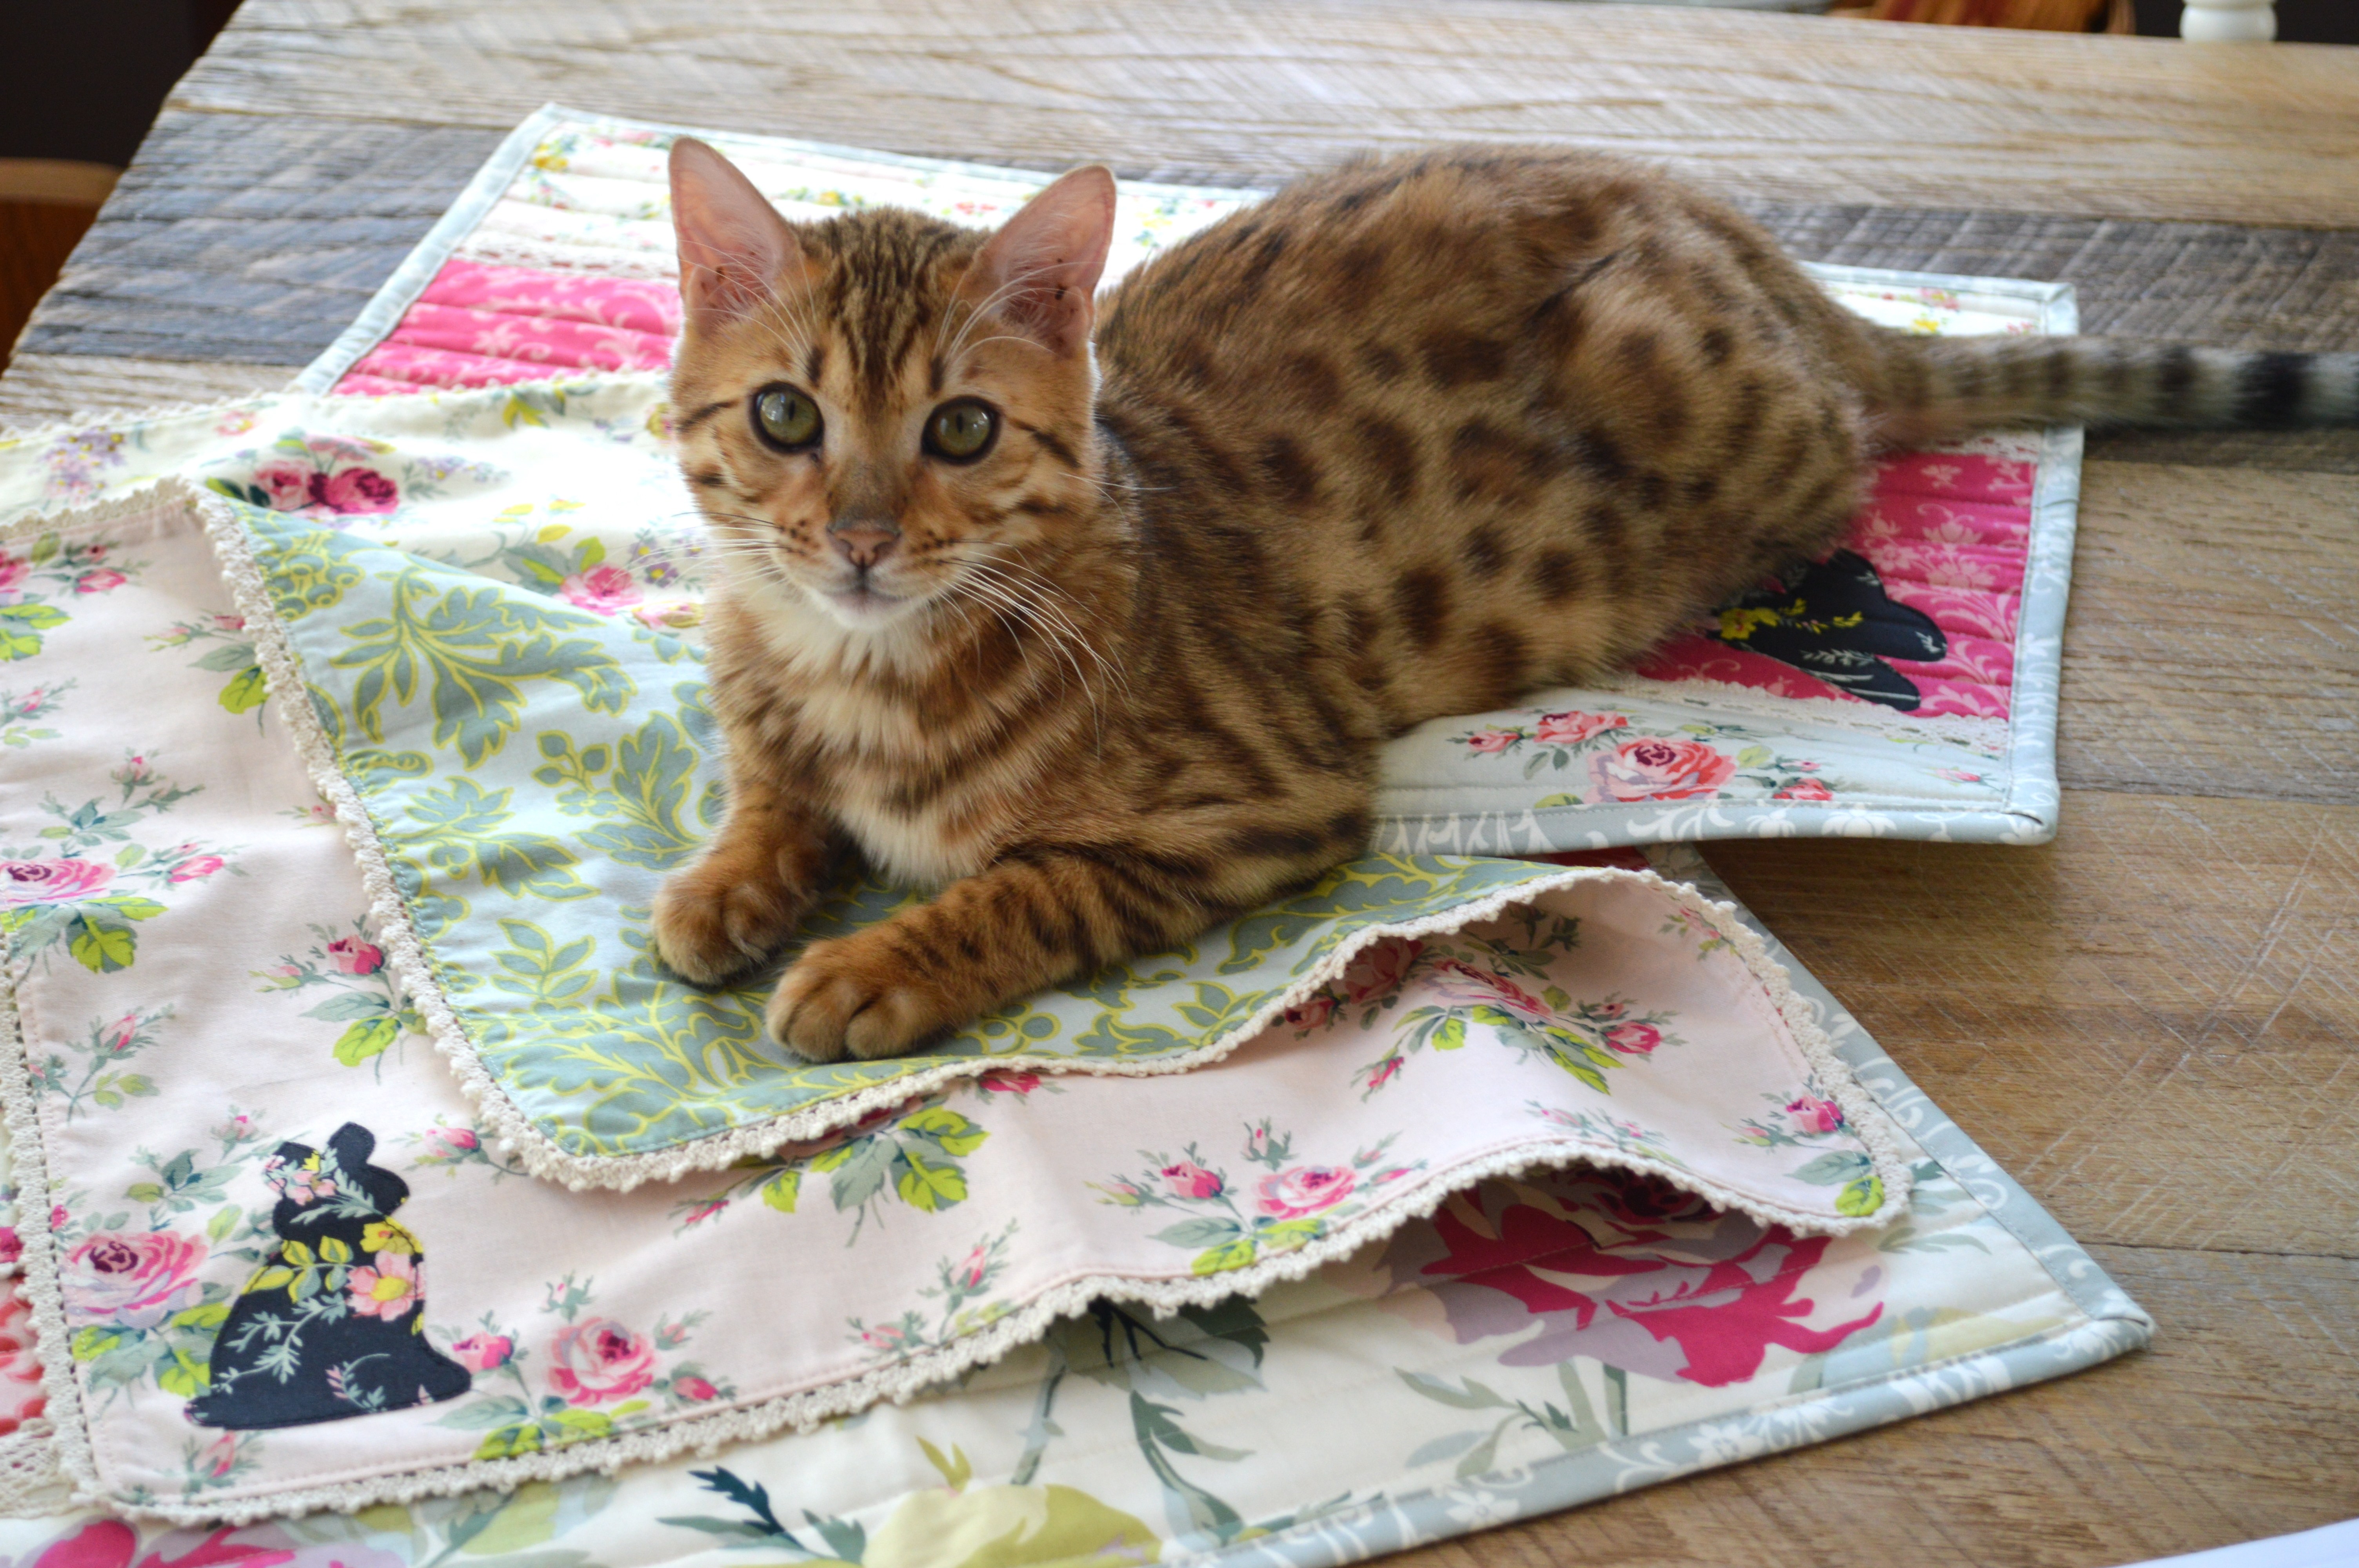
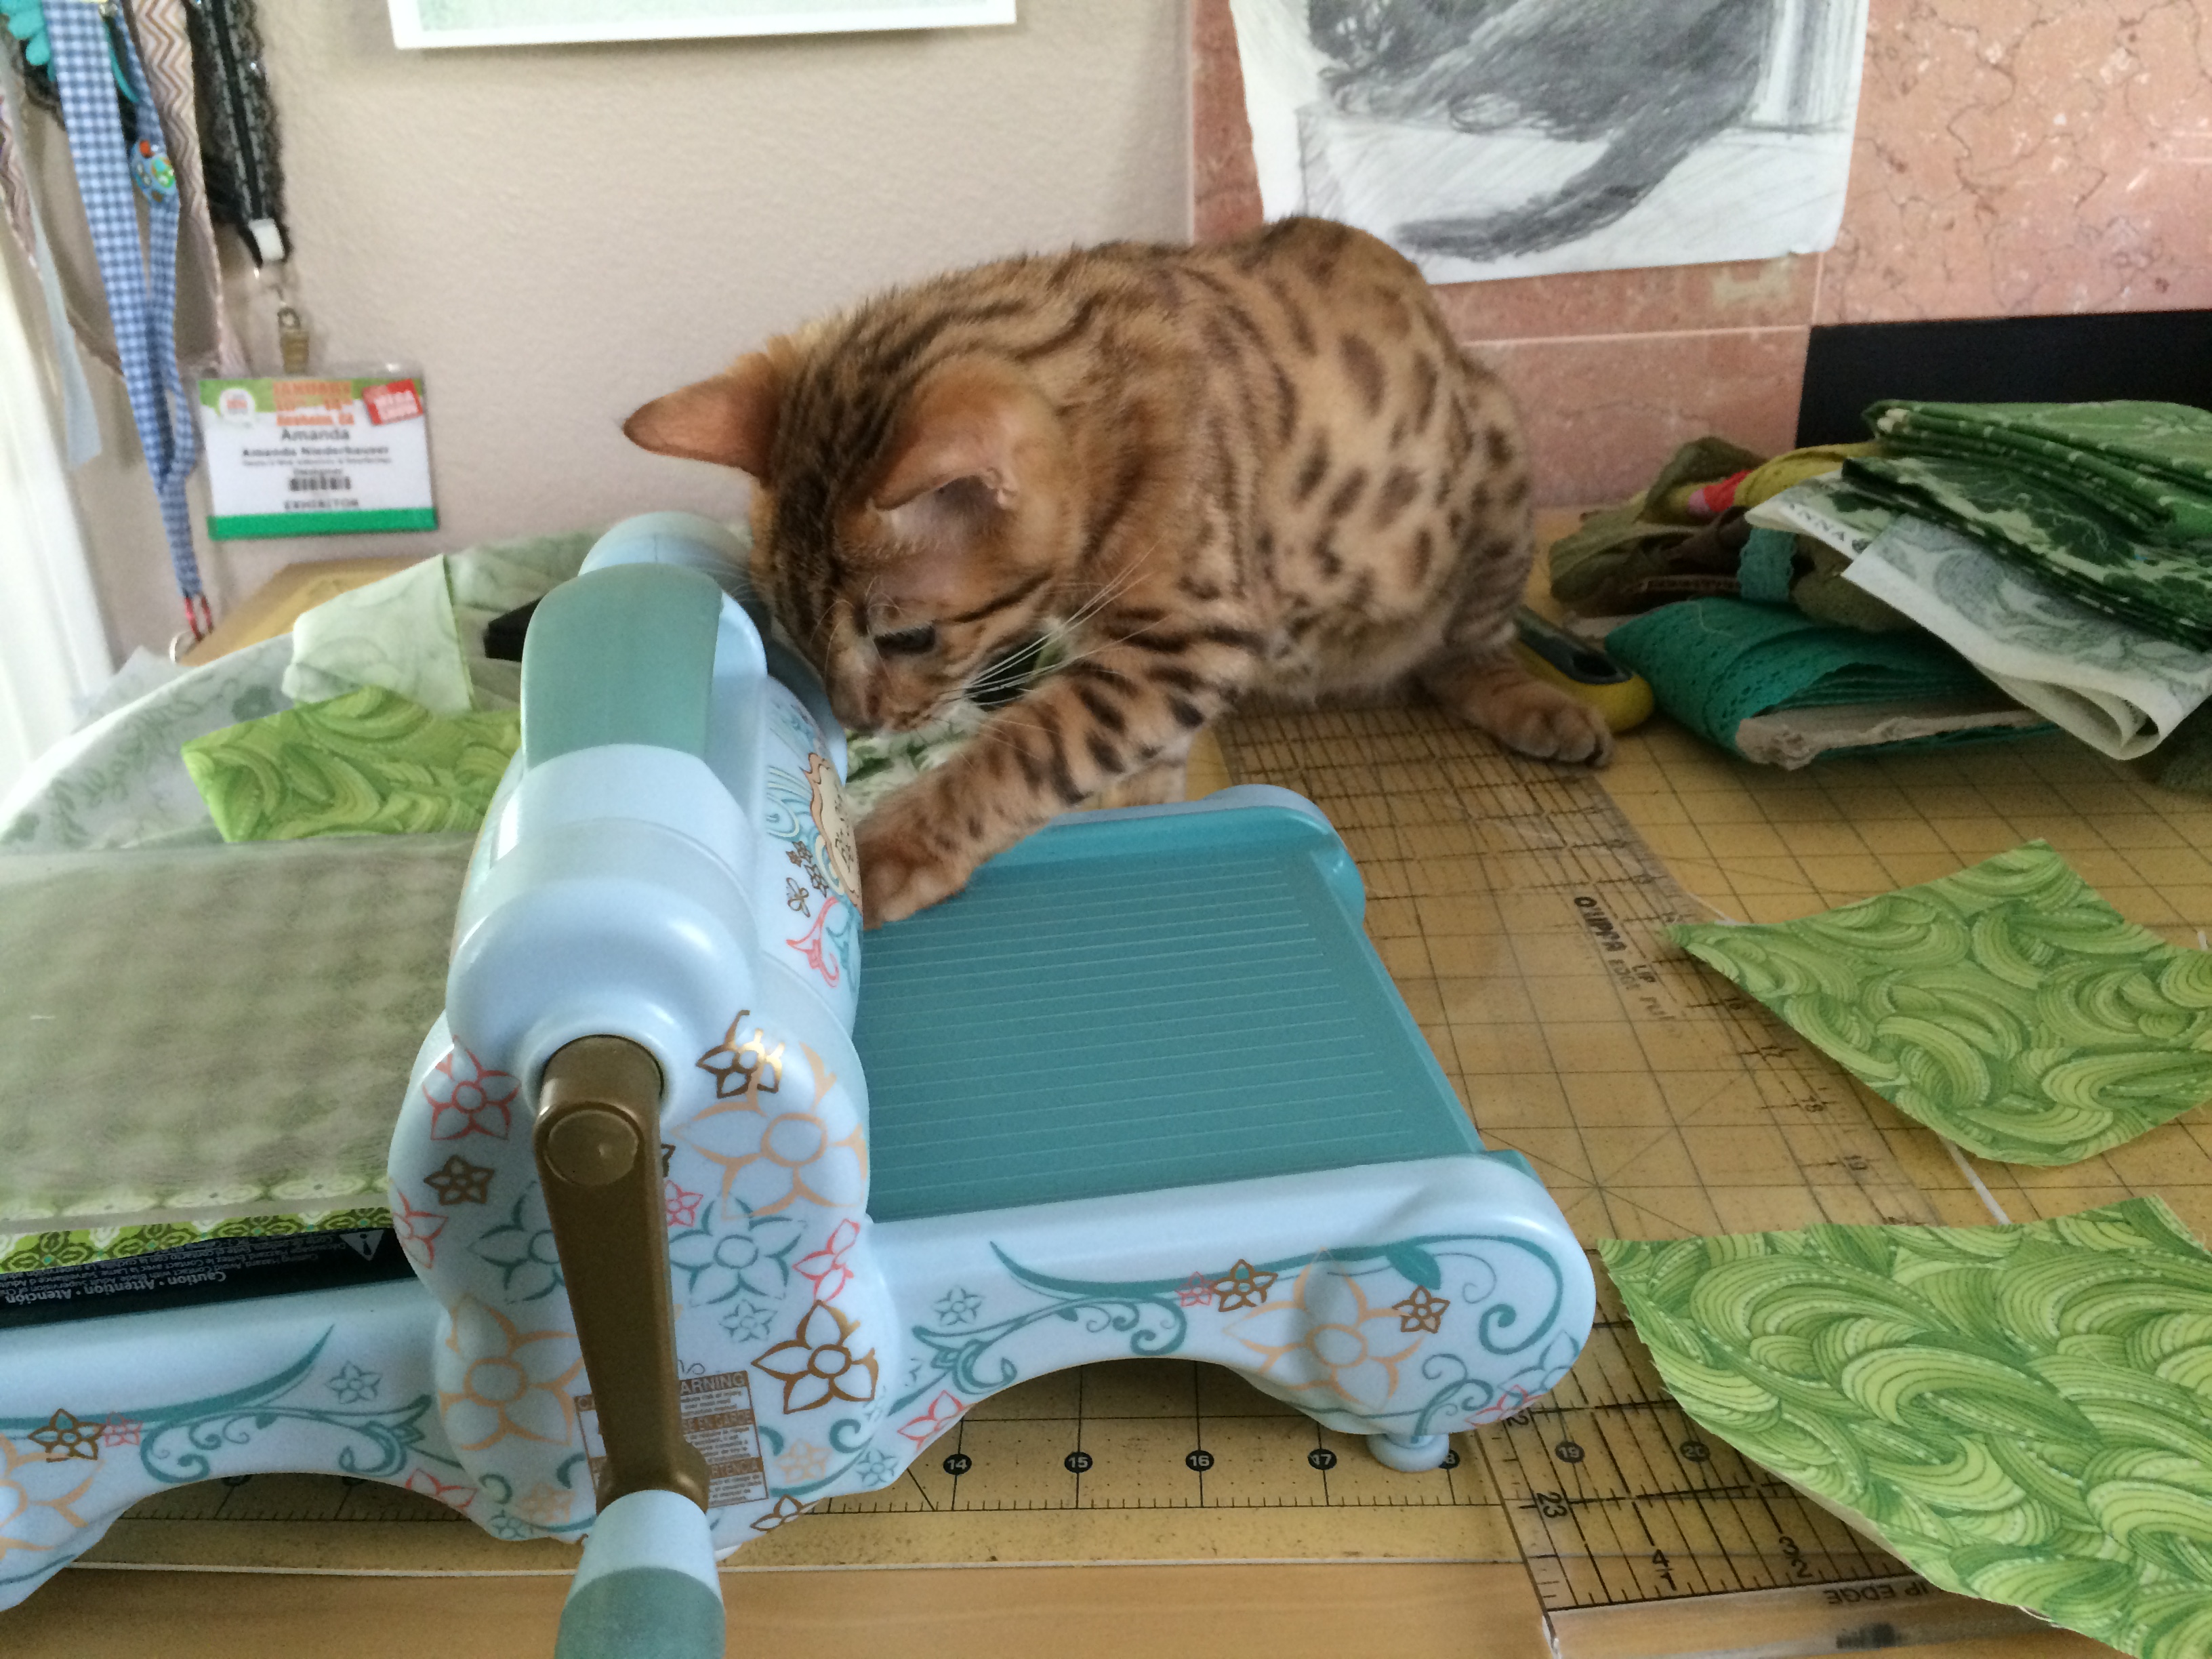
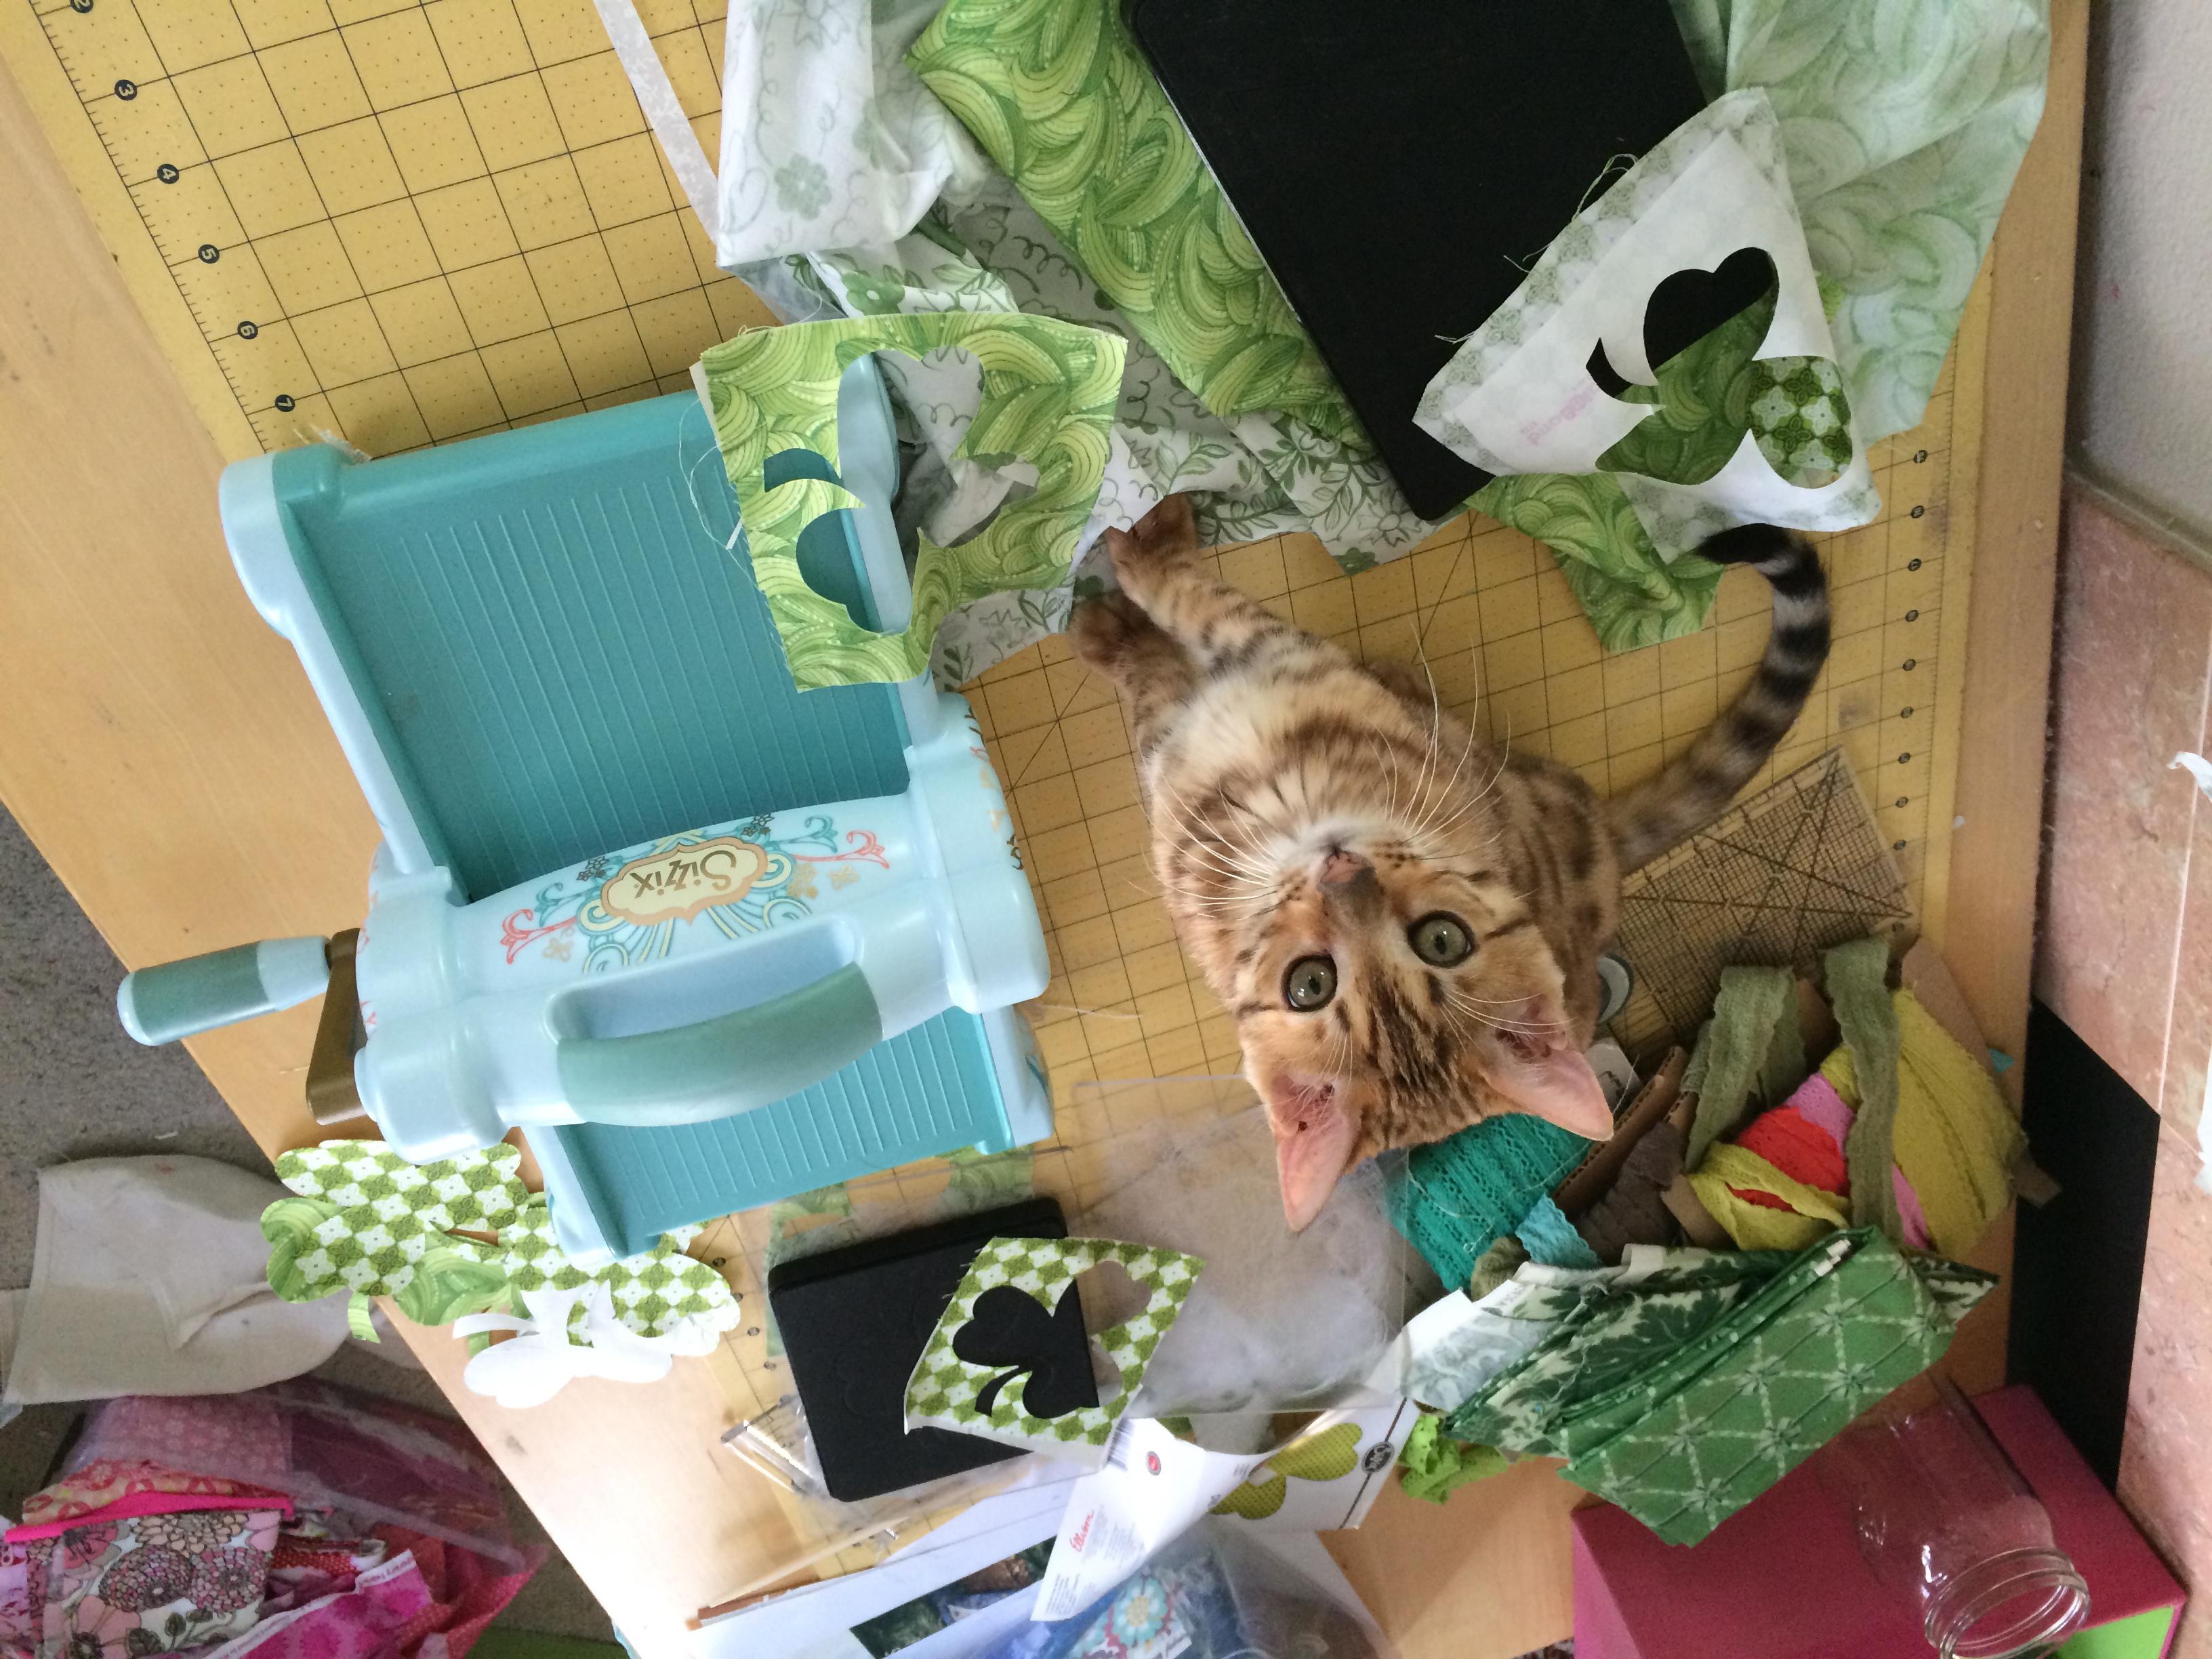
Hey there all you crazy cat quilter friends! I have a fun mini quilt for you!! I love using the hashtag #kittyquilter on Instagram. There is something about felines and quilting that just go so well together! Baby Mufasa is involved in every step of the quilting process: choosing fabric, cutting, basting, and binding – he’s right there!

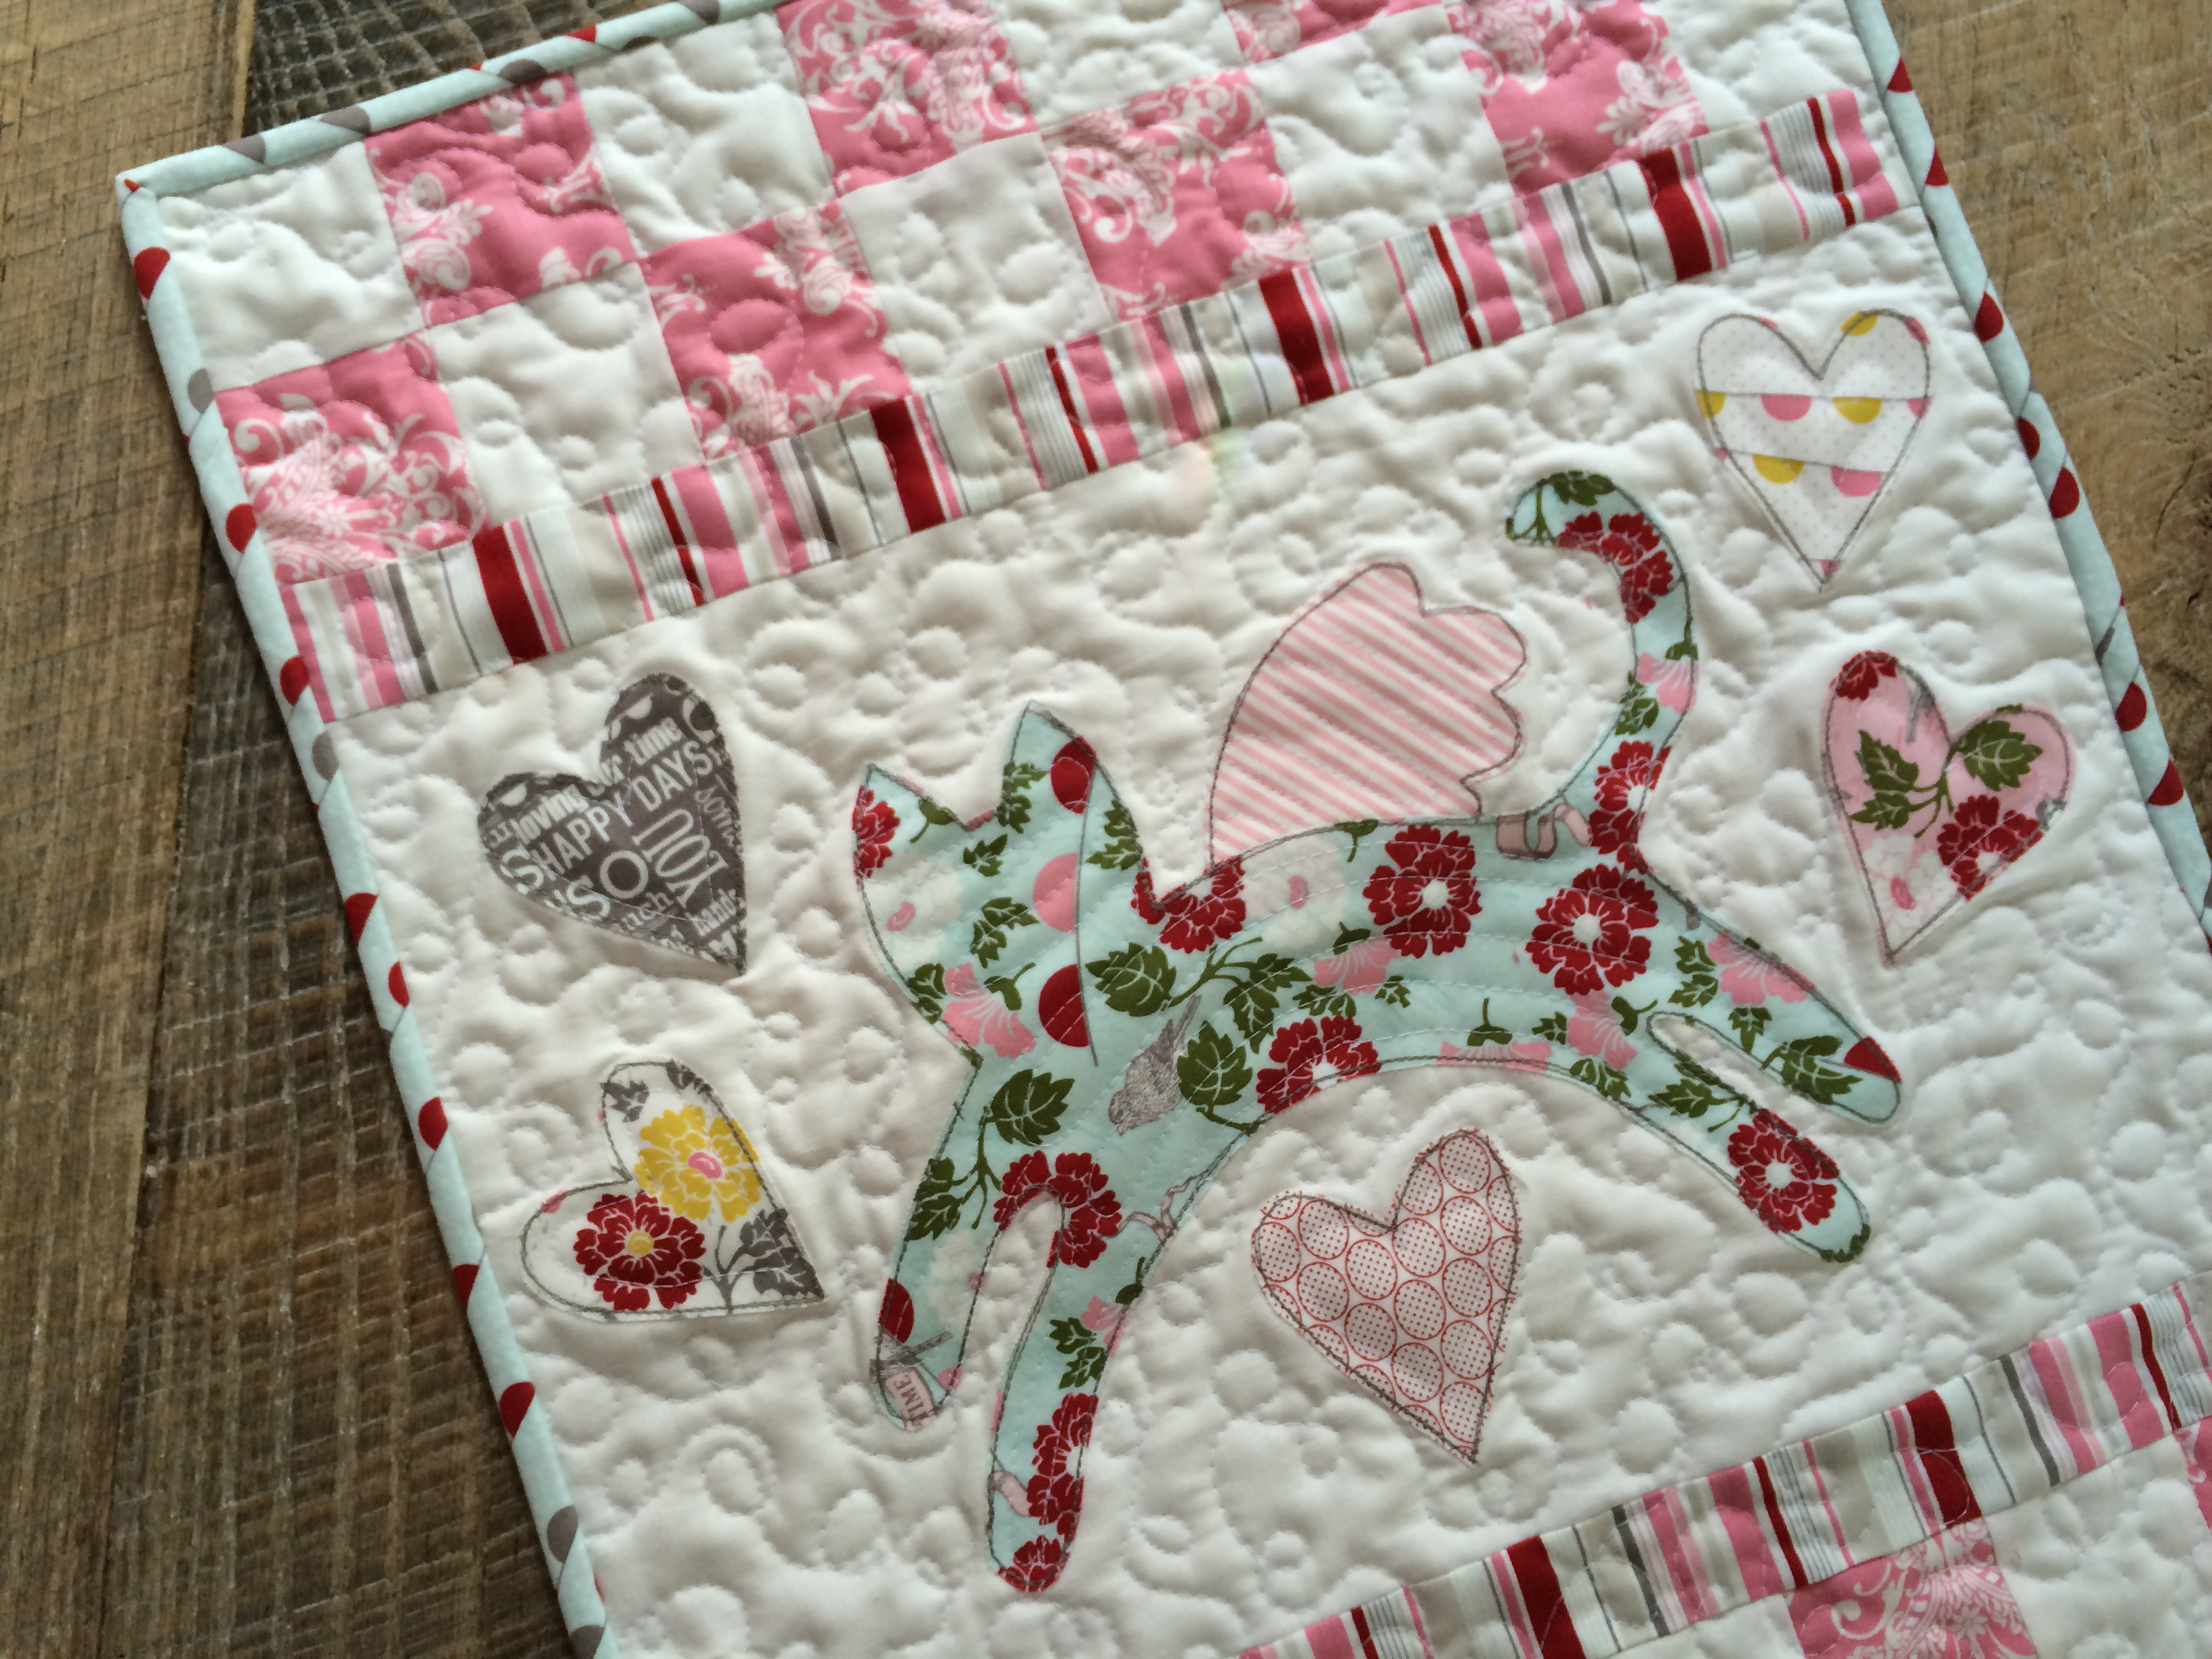
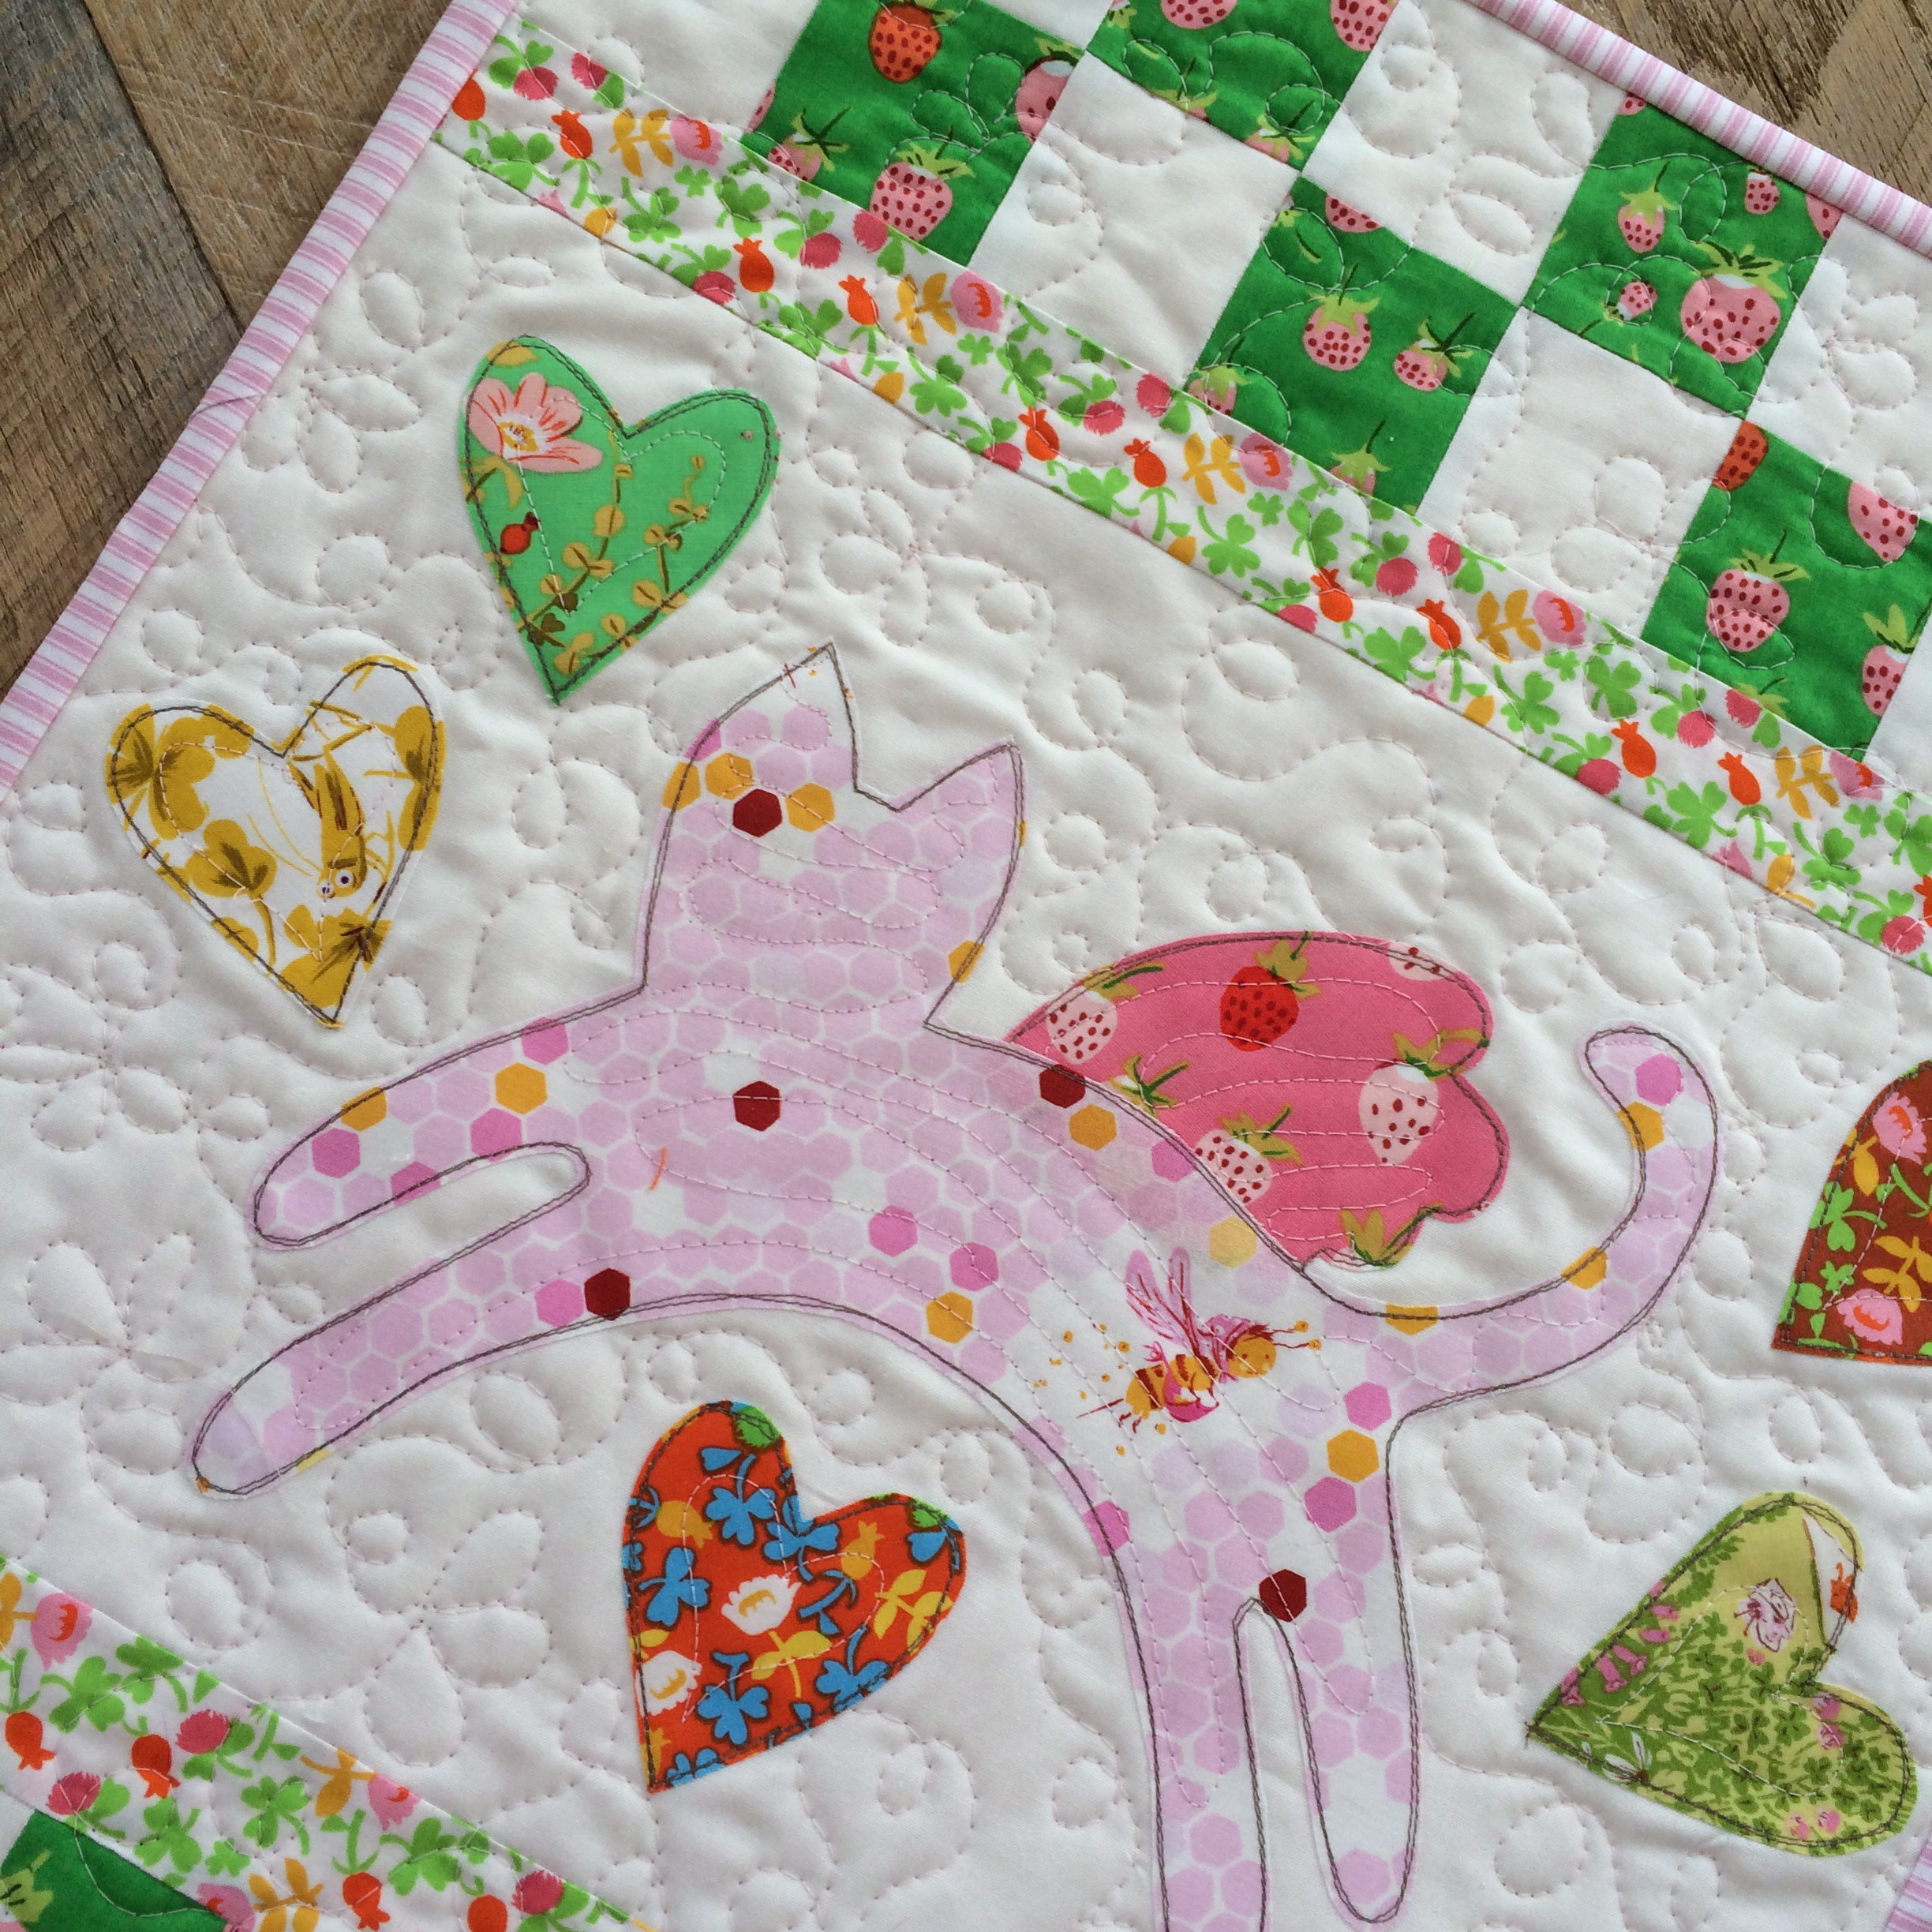
This fun little quilt sews up fast. The fabrics are from Blend Fabrics’ Best in Show fabric line. I am sew in love with the kitty faces fabric – I ordered more yardage to make a skirt!!! You could easily make this with your favorite cat theme print fabric.
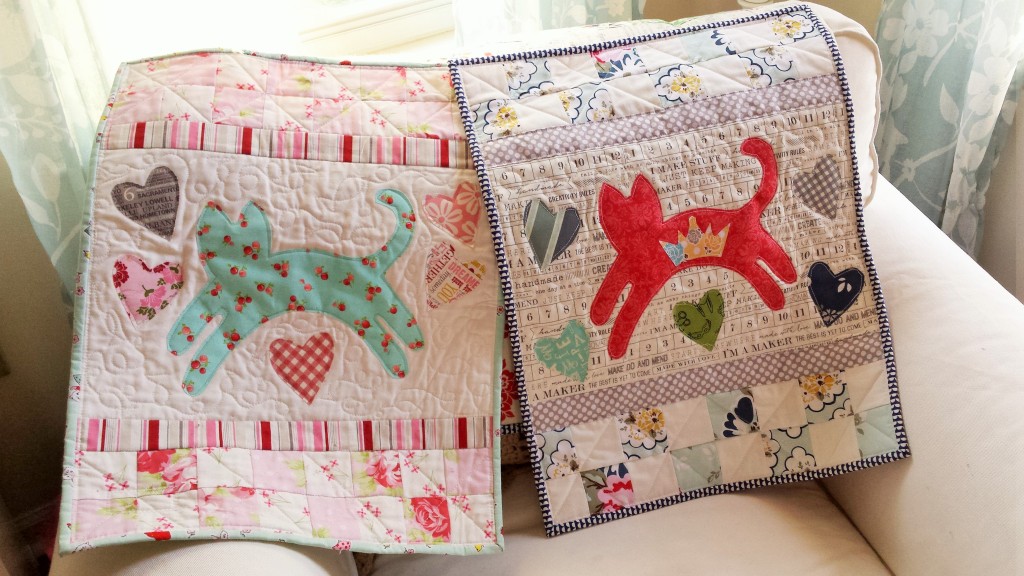
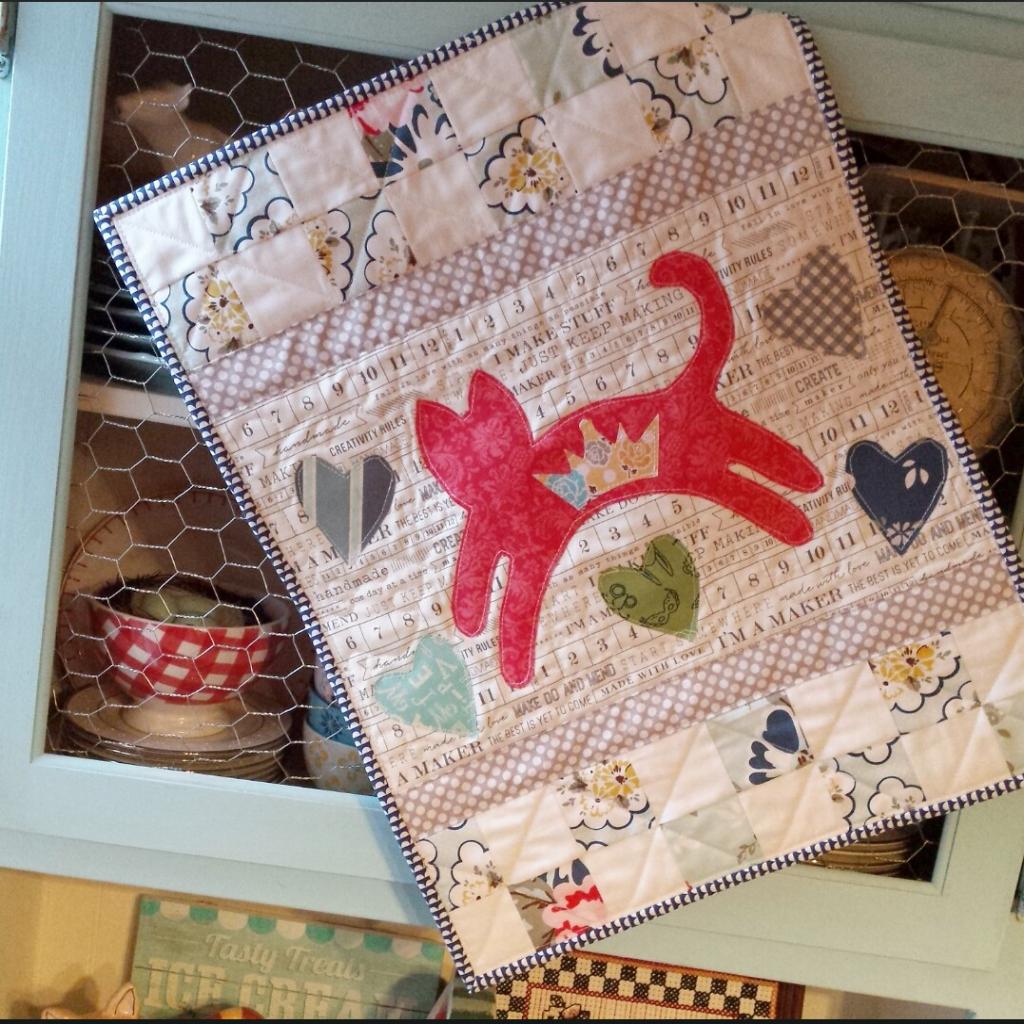
This quilt has 2 different traditional quilt blocks: Kitty in the Corner and King’s Crown. I choose kitty in the corner for obvious reasons and I choose King’s Crown because Mufasa means King! Isn’t that the cutest!! Let’s get started! (1/4″ seams throughout)
Supplies:
1/4 yard of a variety of coordinating fabrics including cat theme print
Heat n Bond Lite EZ print Sheets
batting
1/2 yard backing
1/4 yard binding
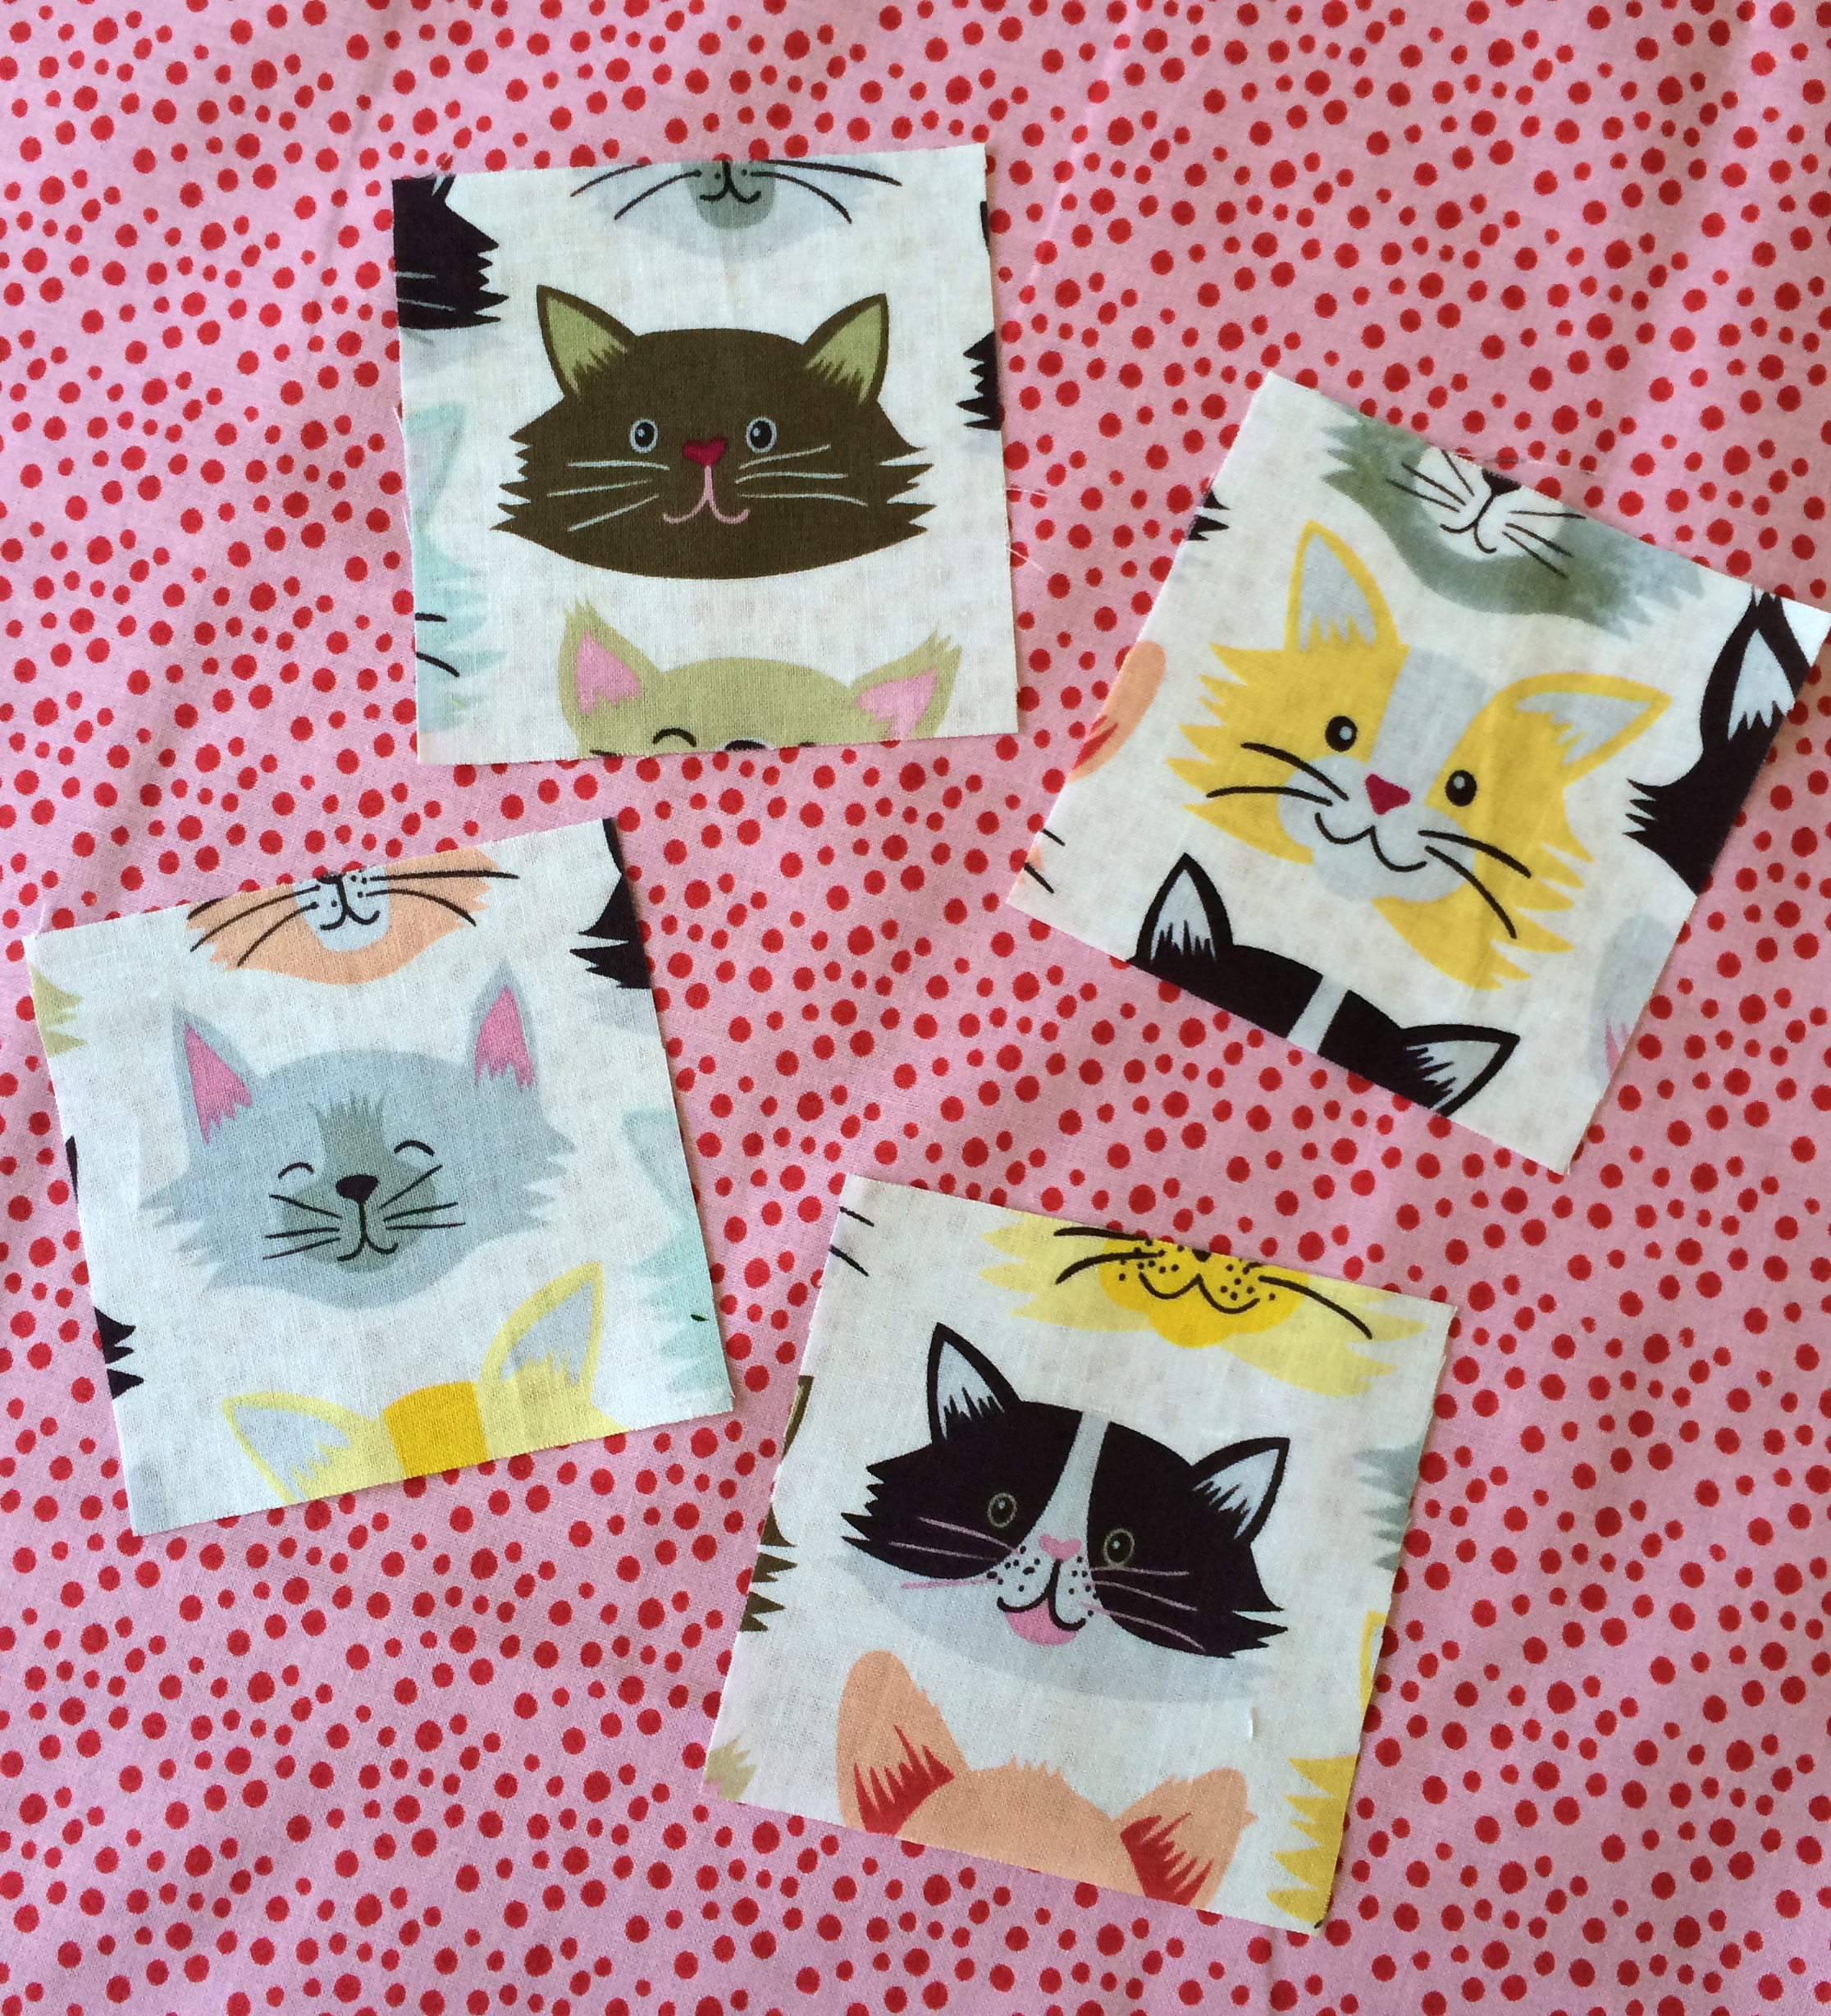
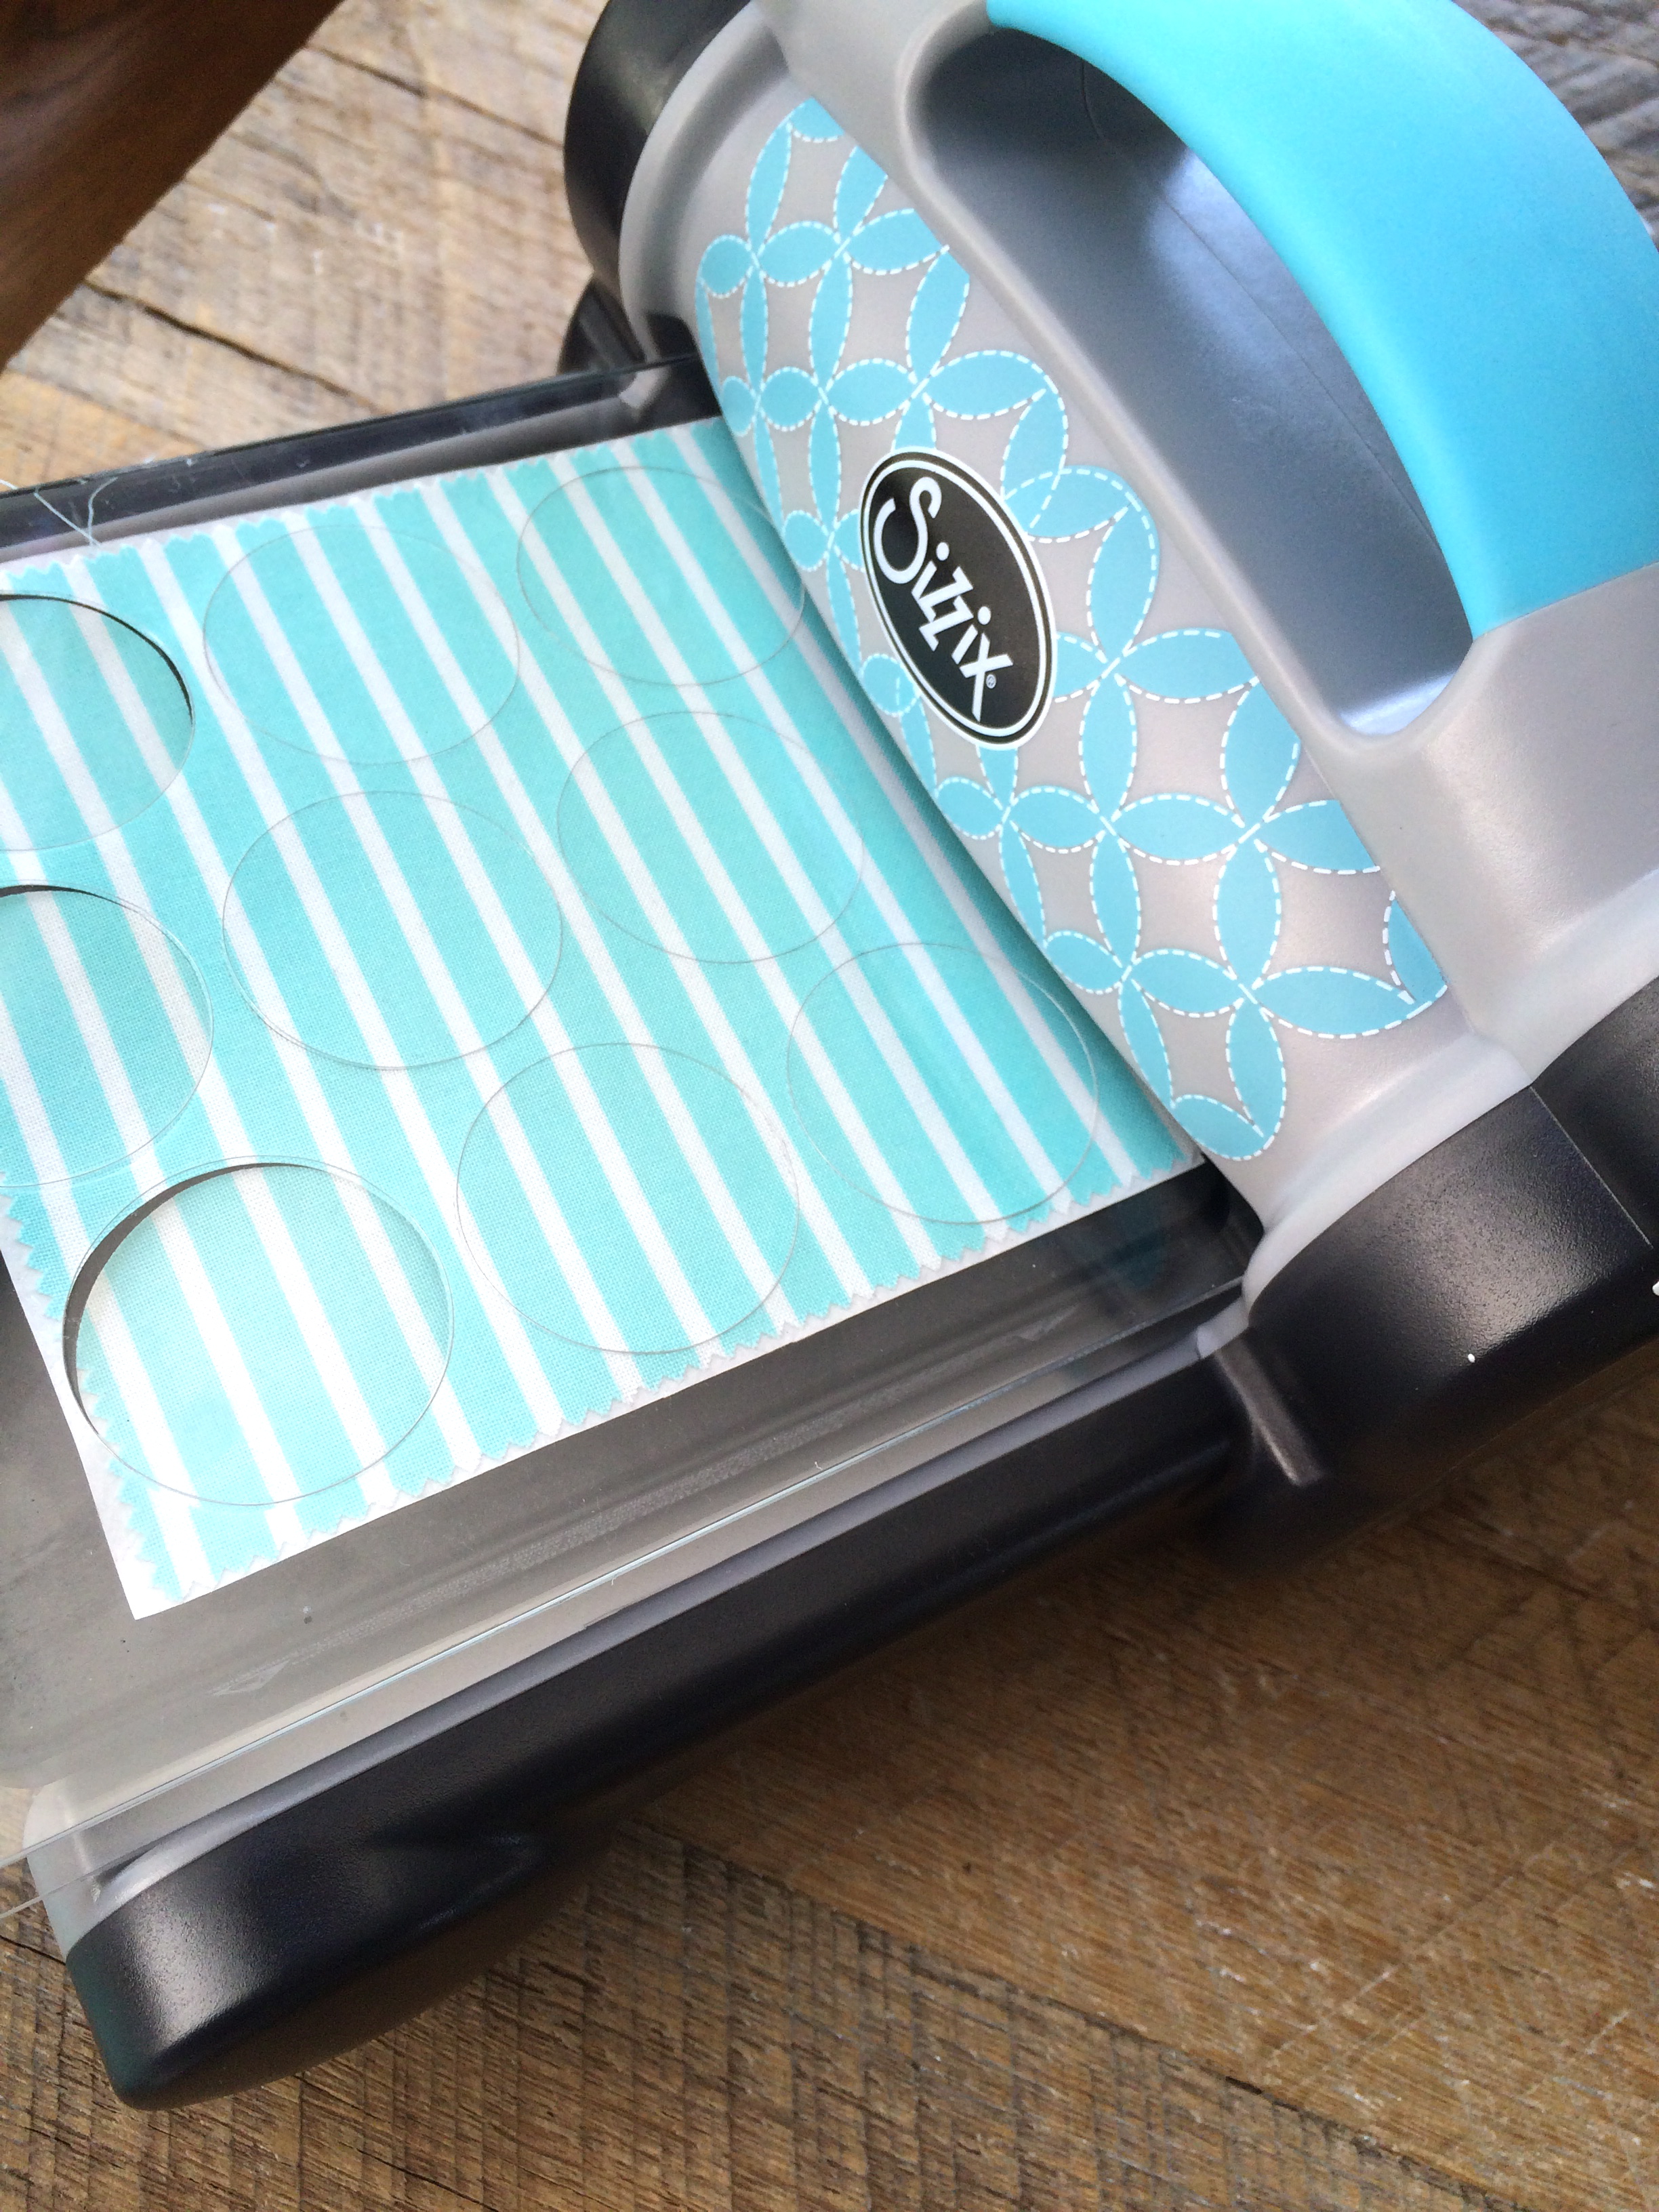
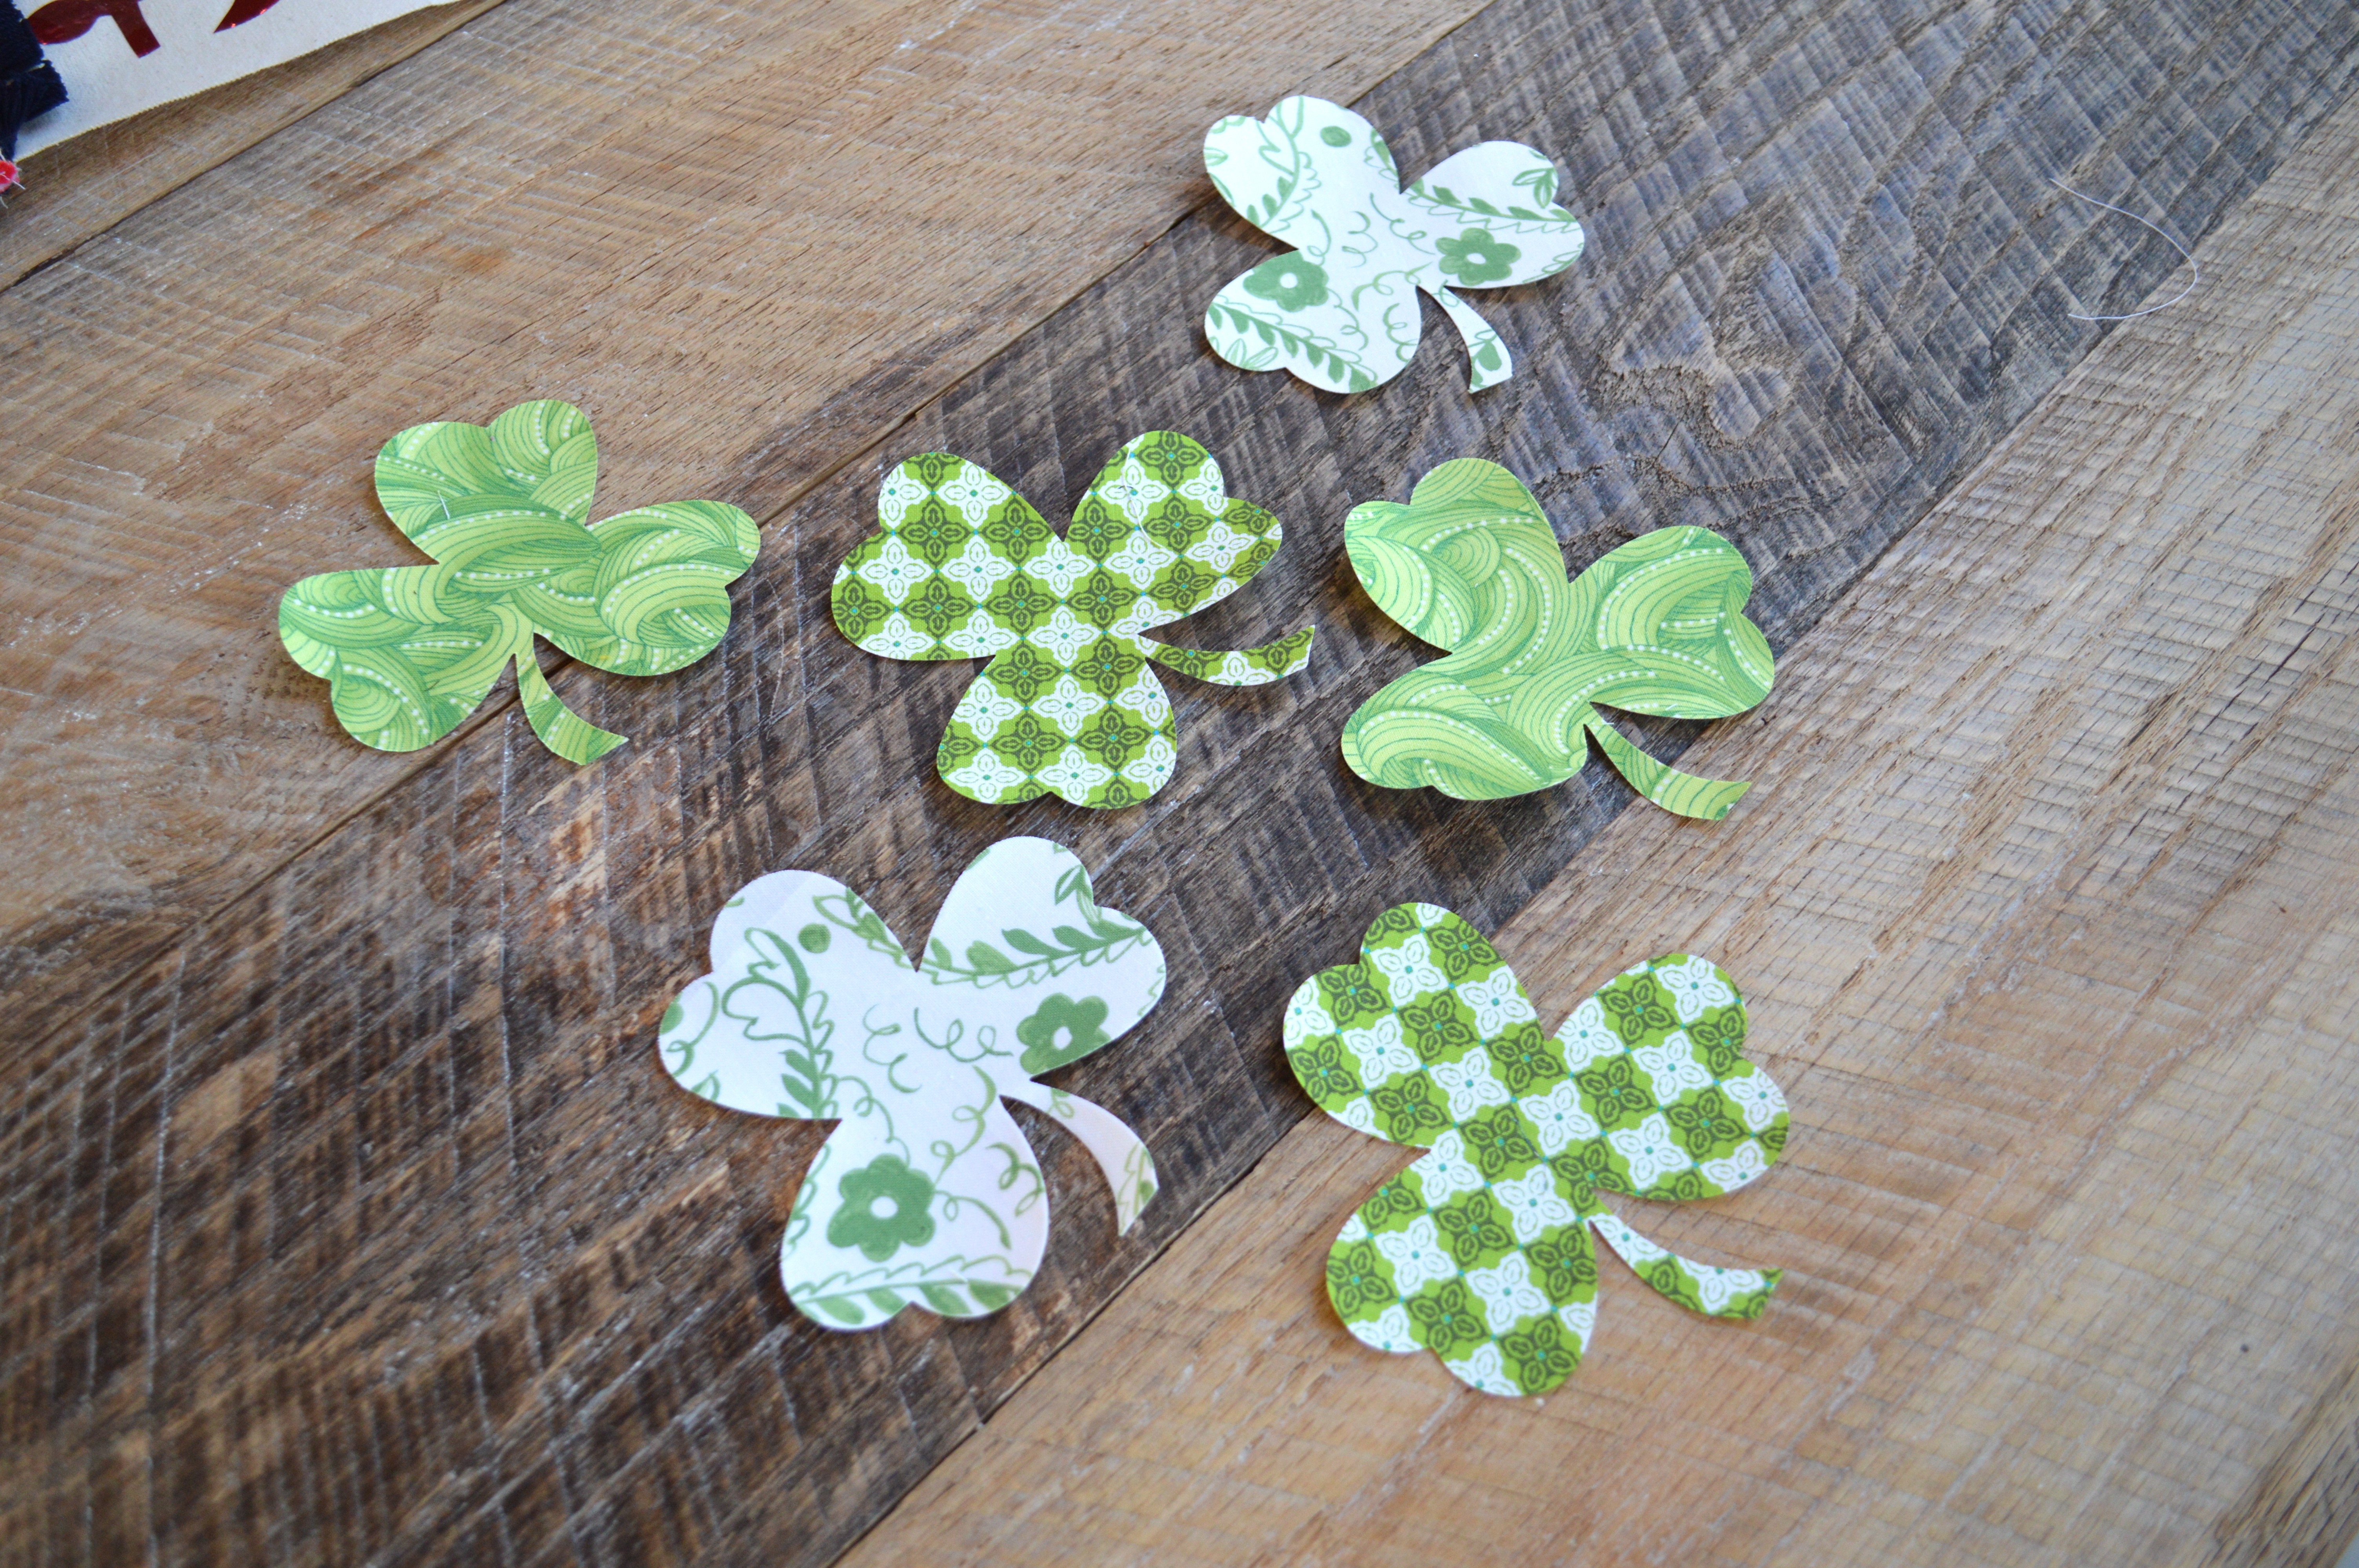
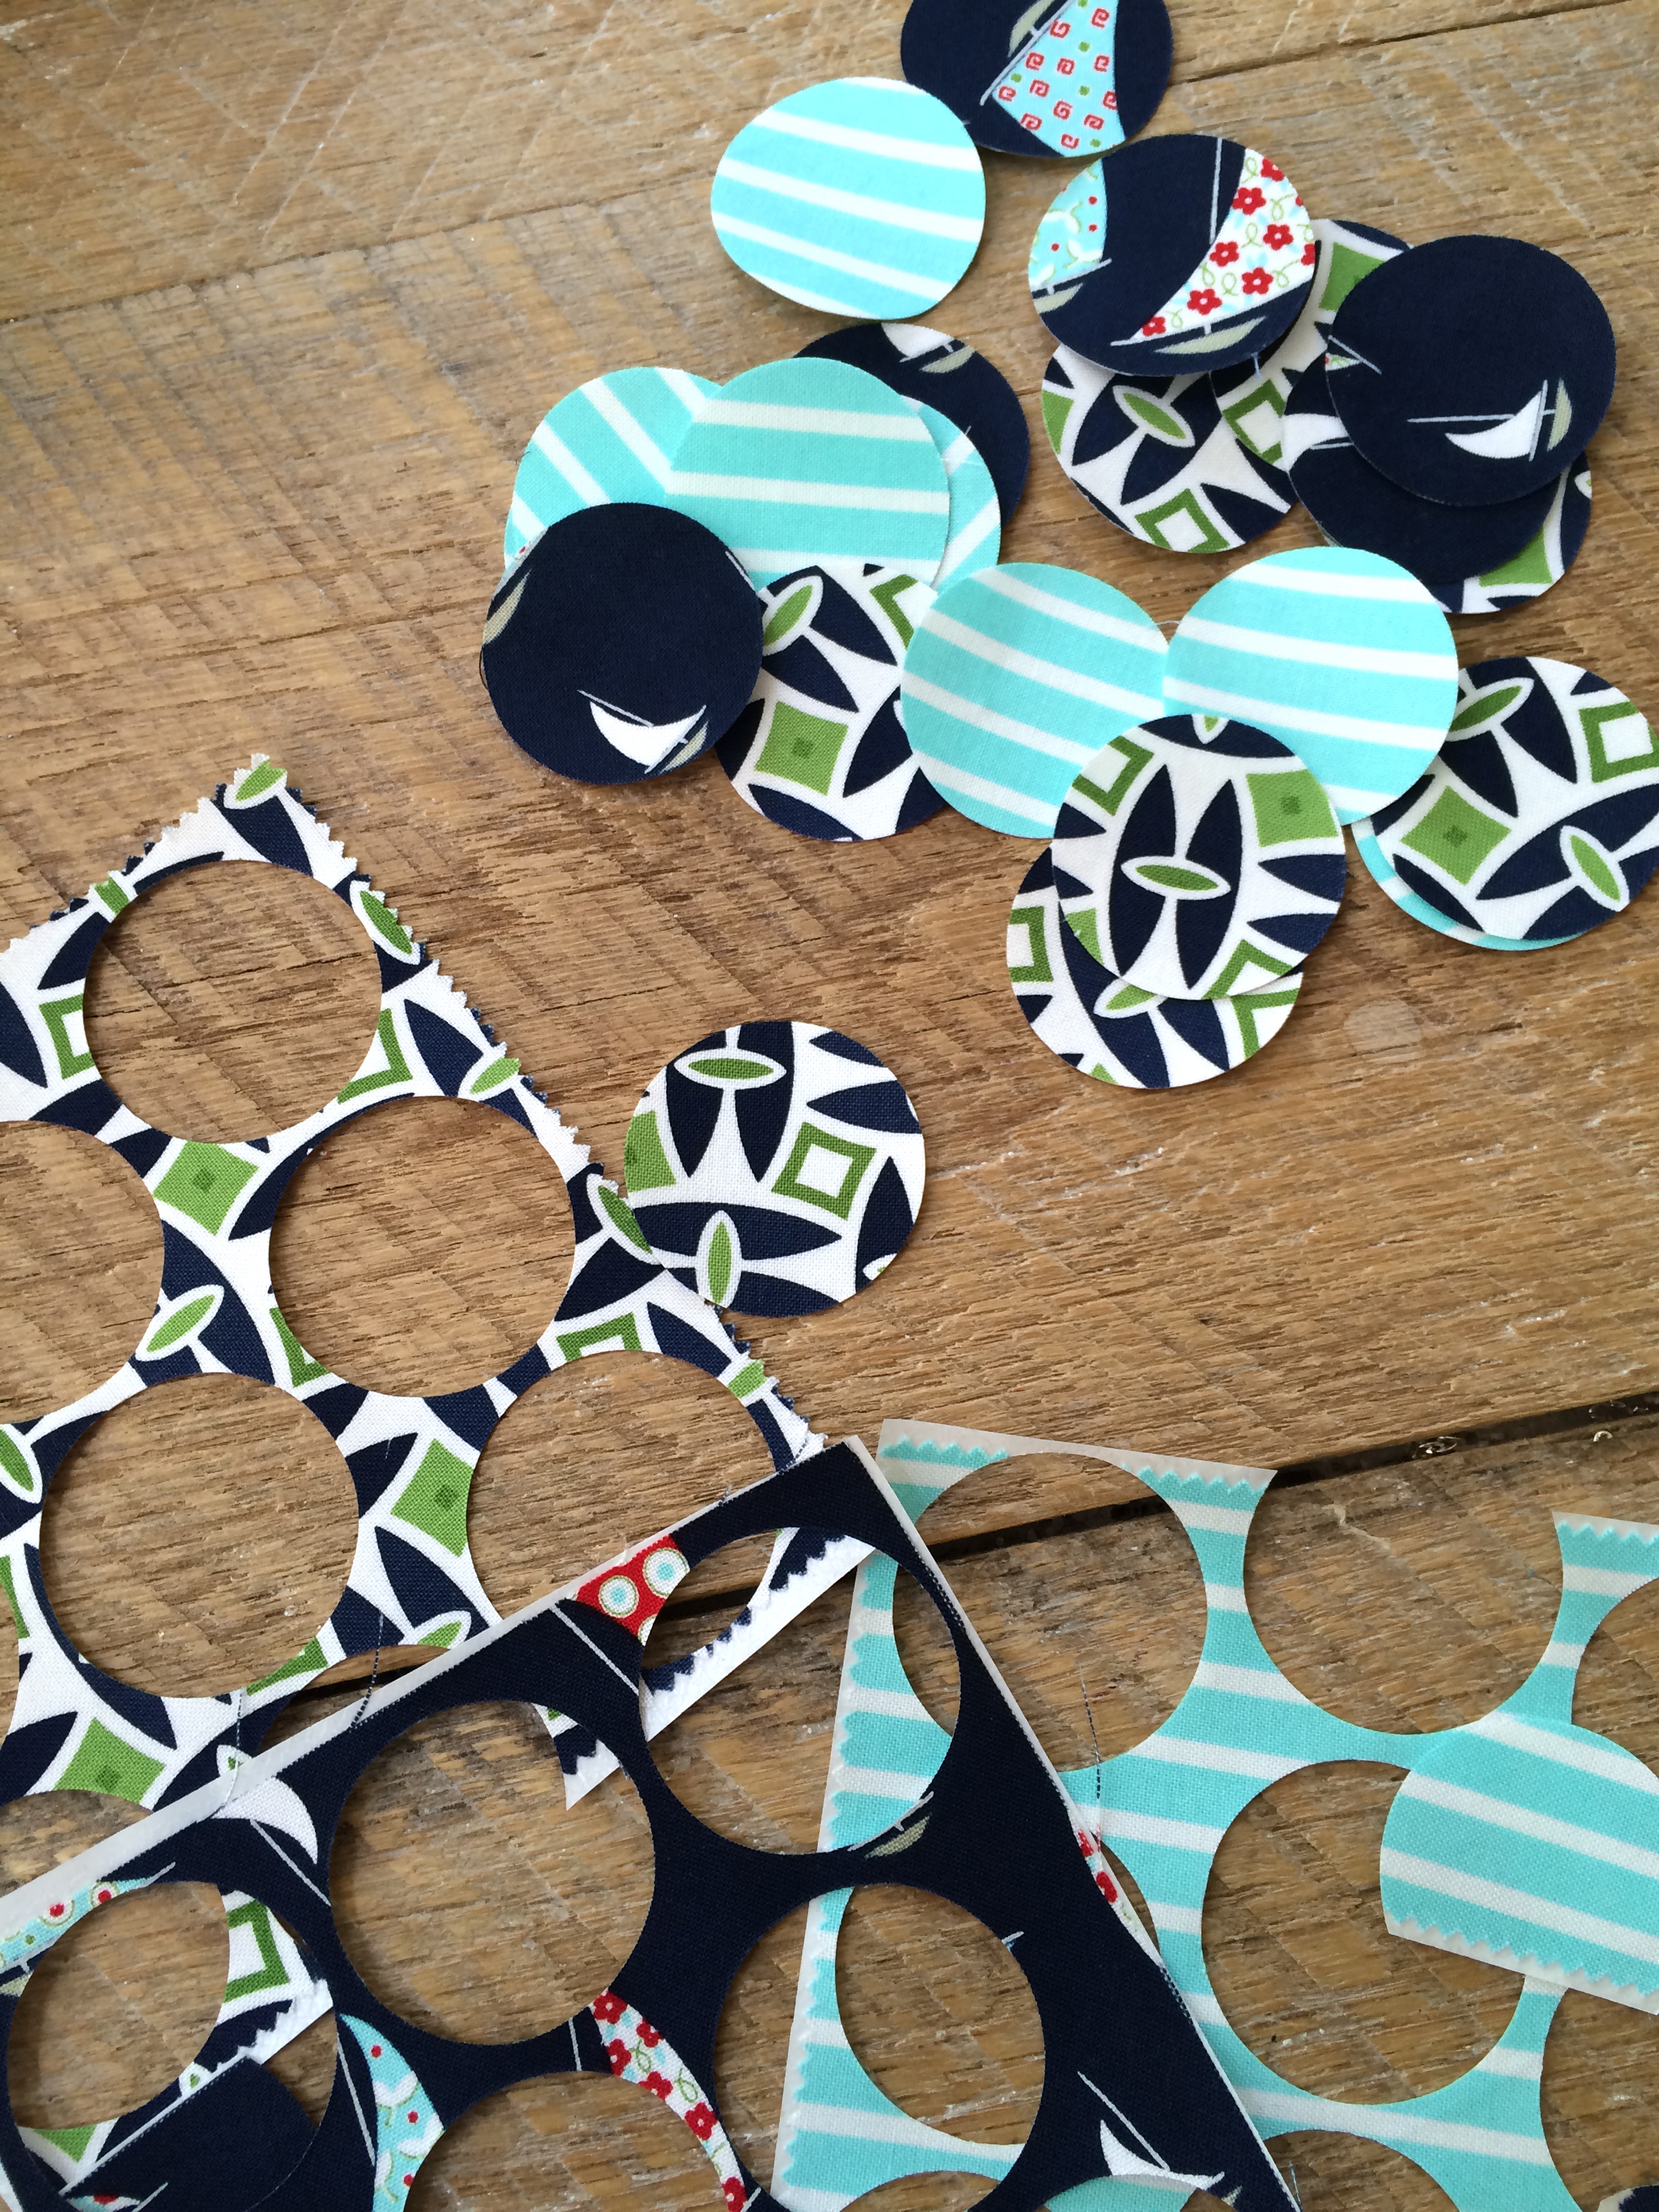
Fussy Cut (4) Cats
Choose the cats you want in the center of the blocks and cut them 3.5″ square.

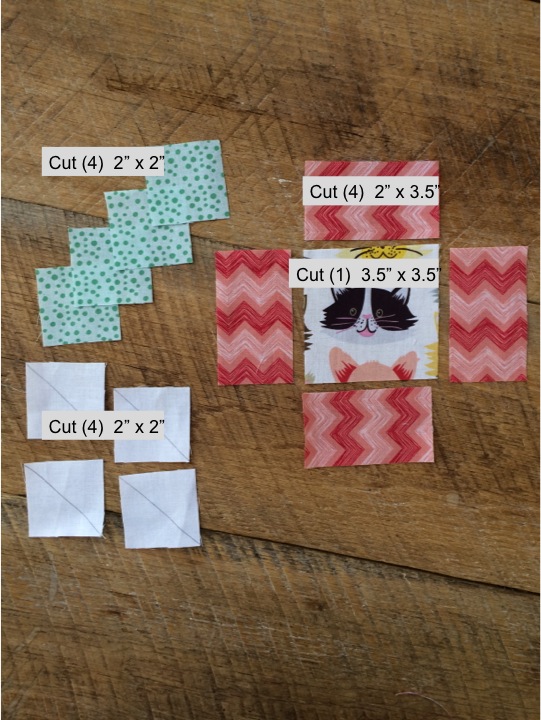
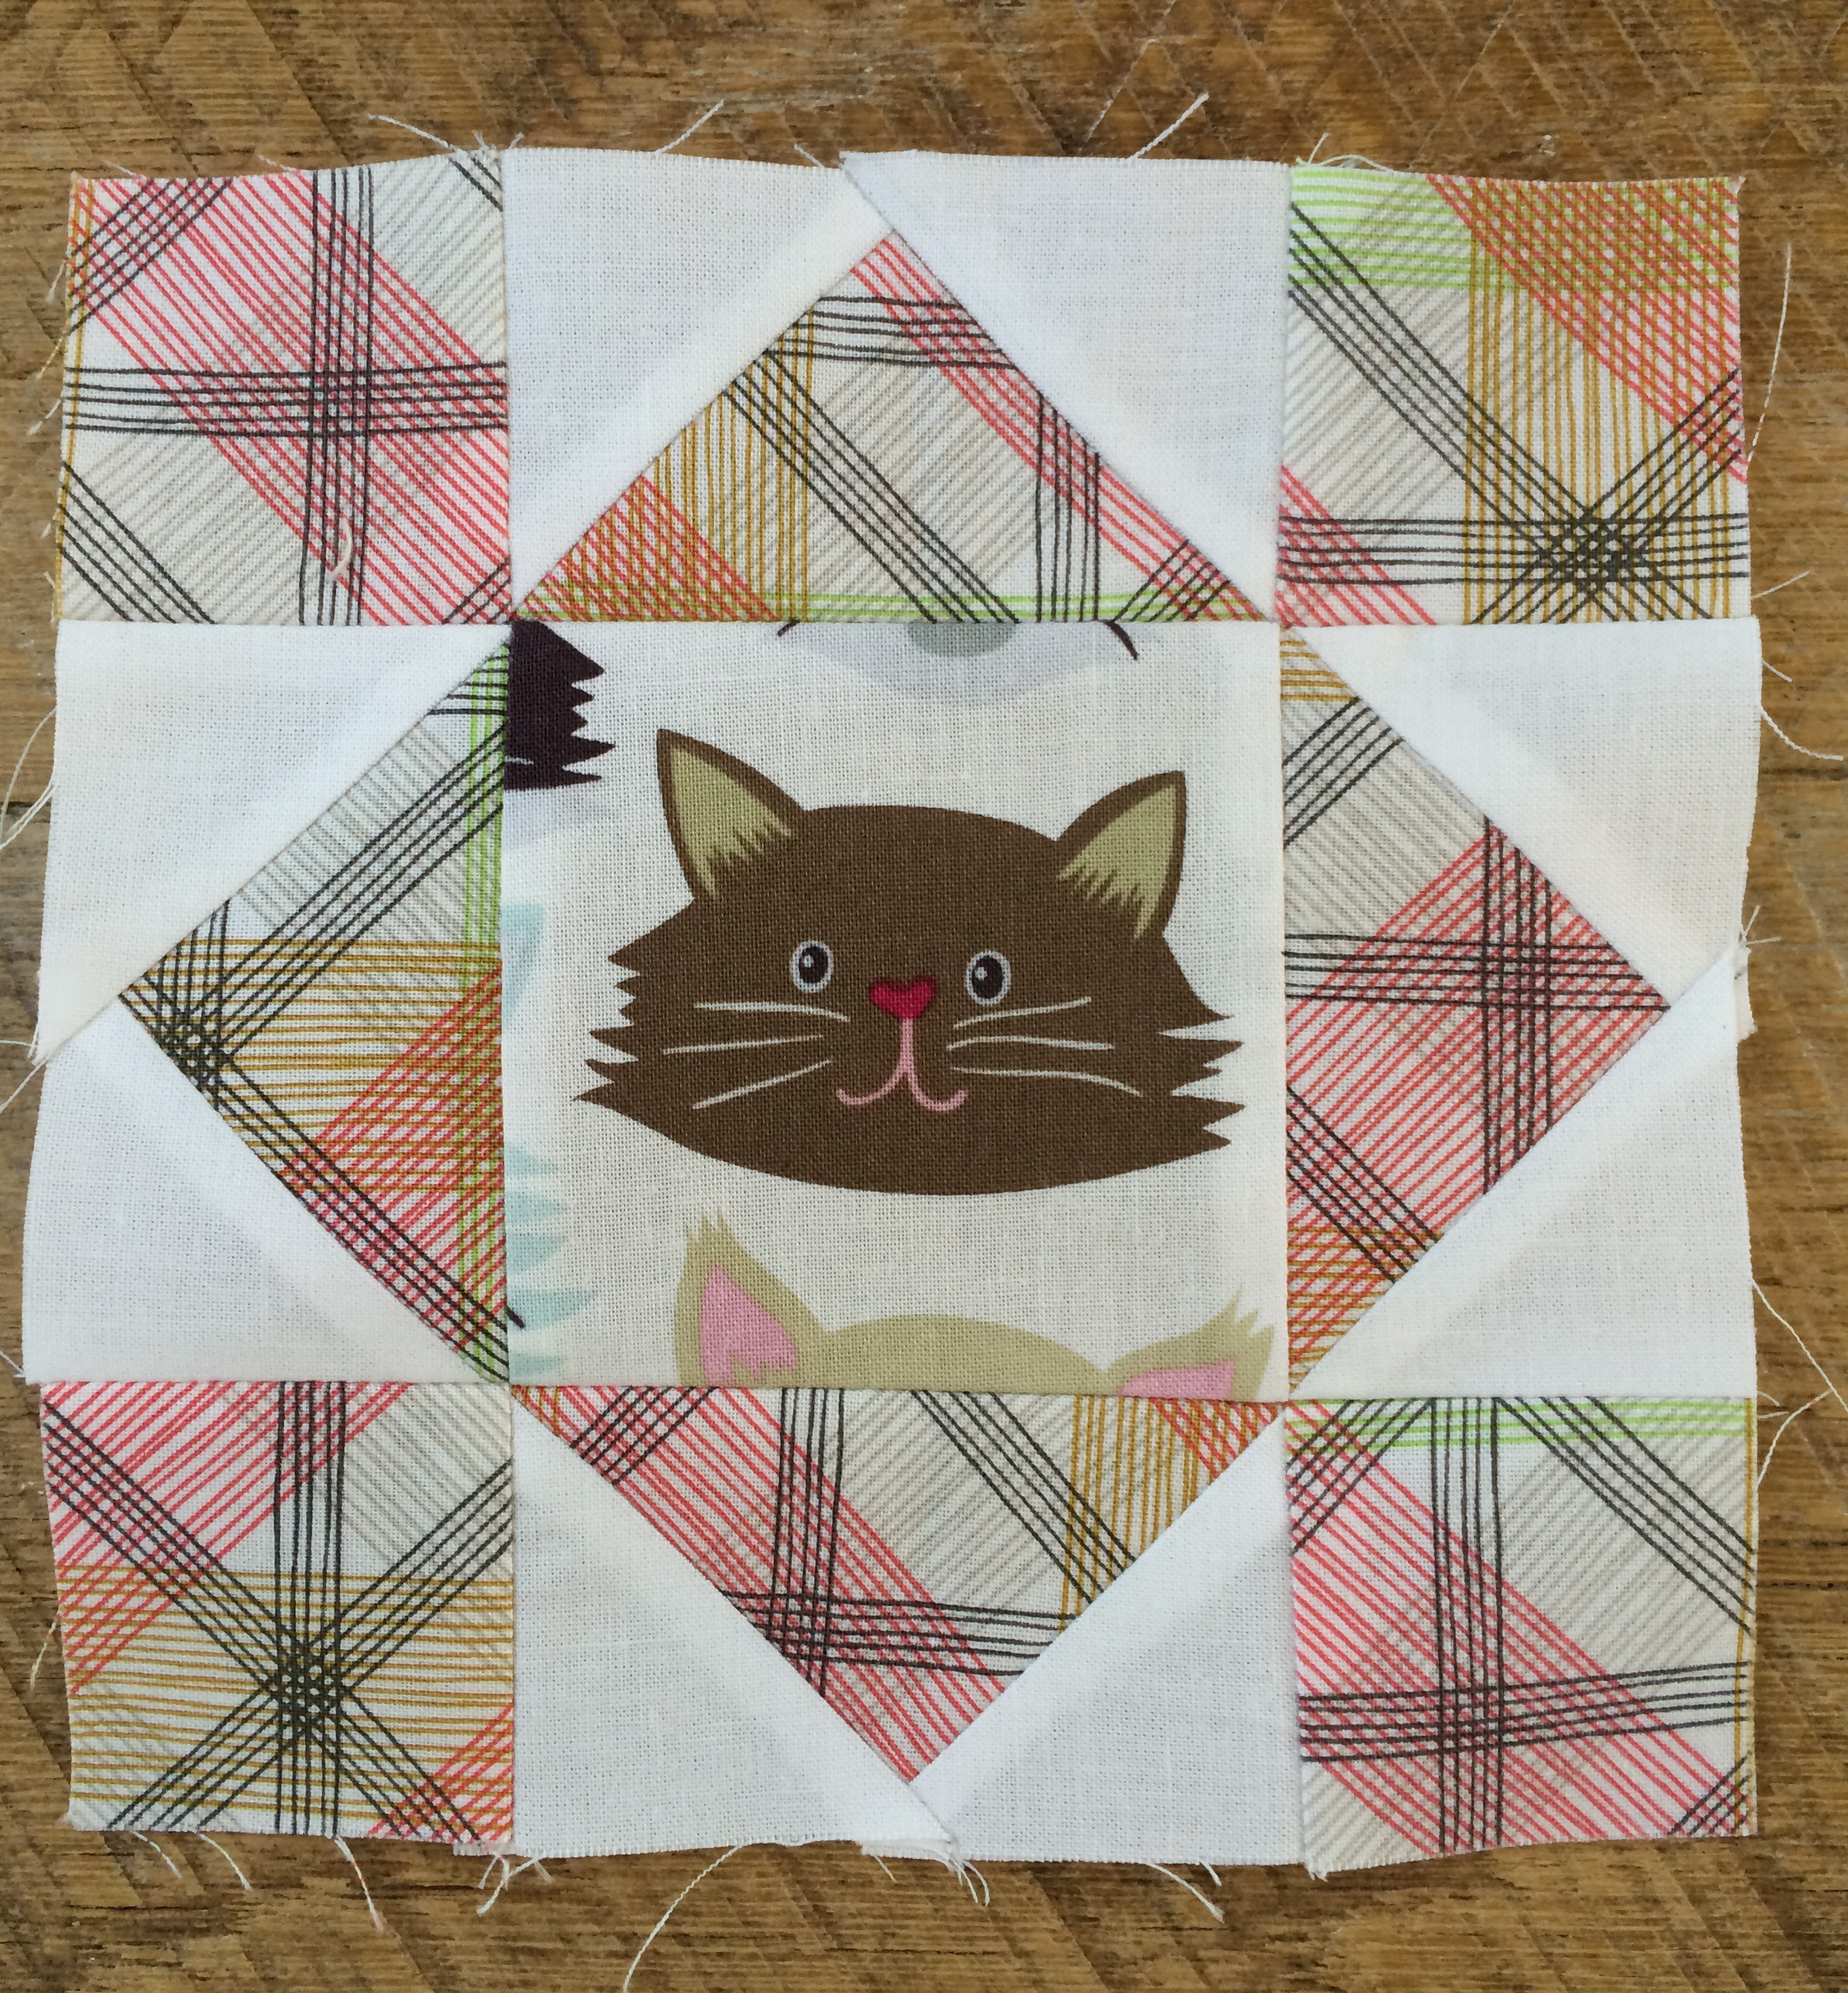
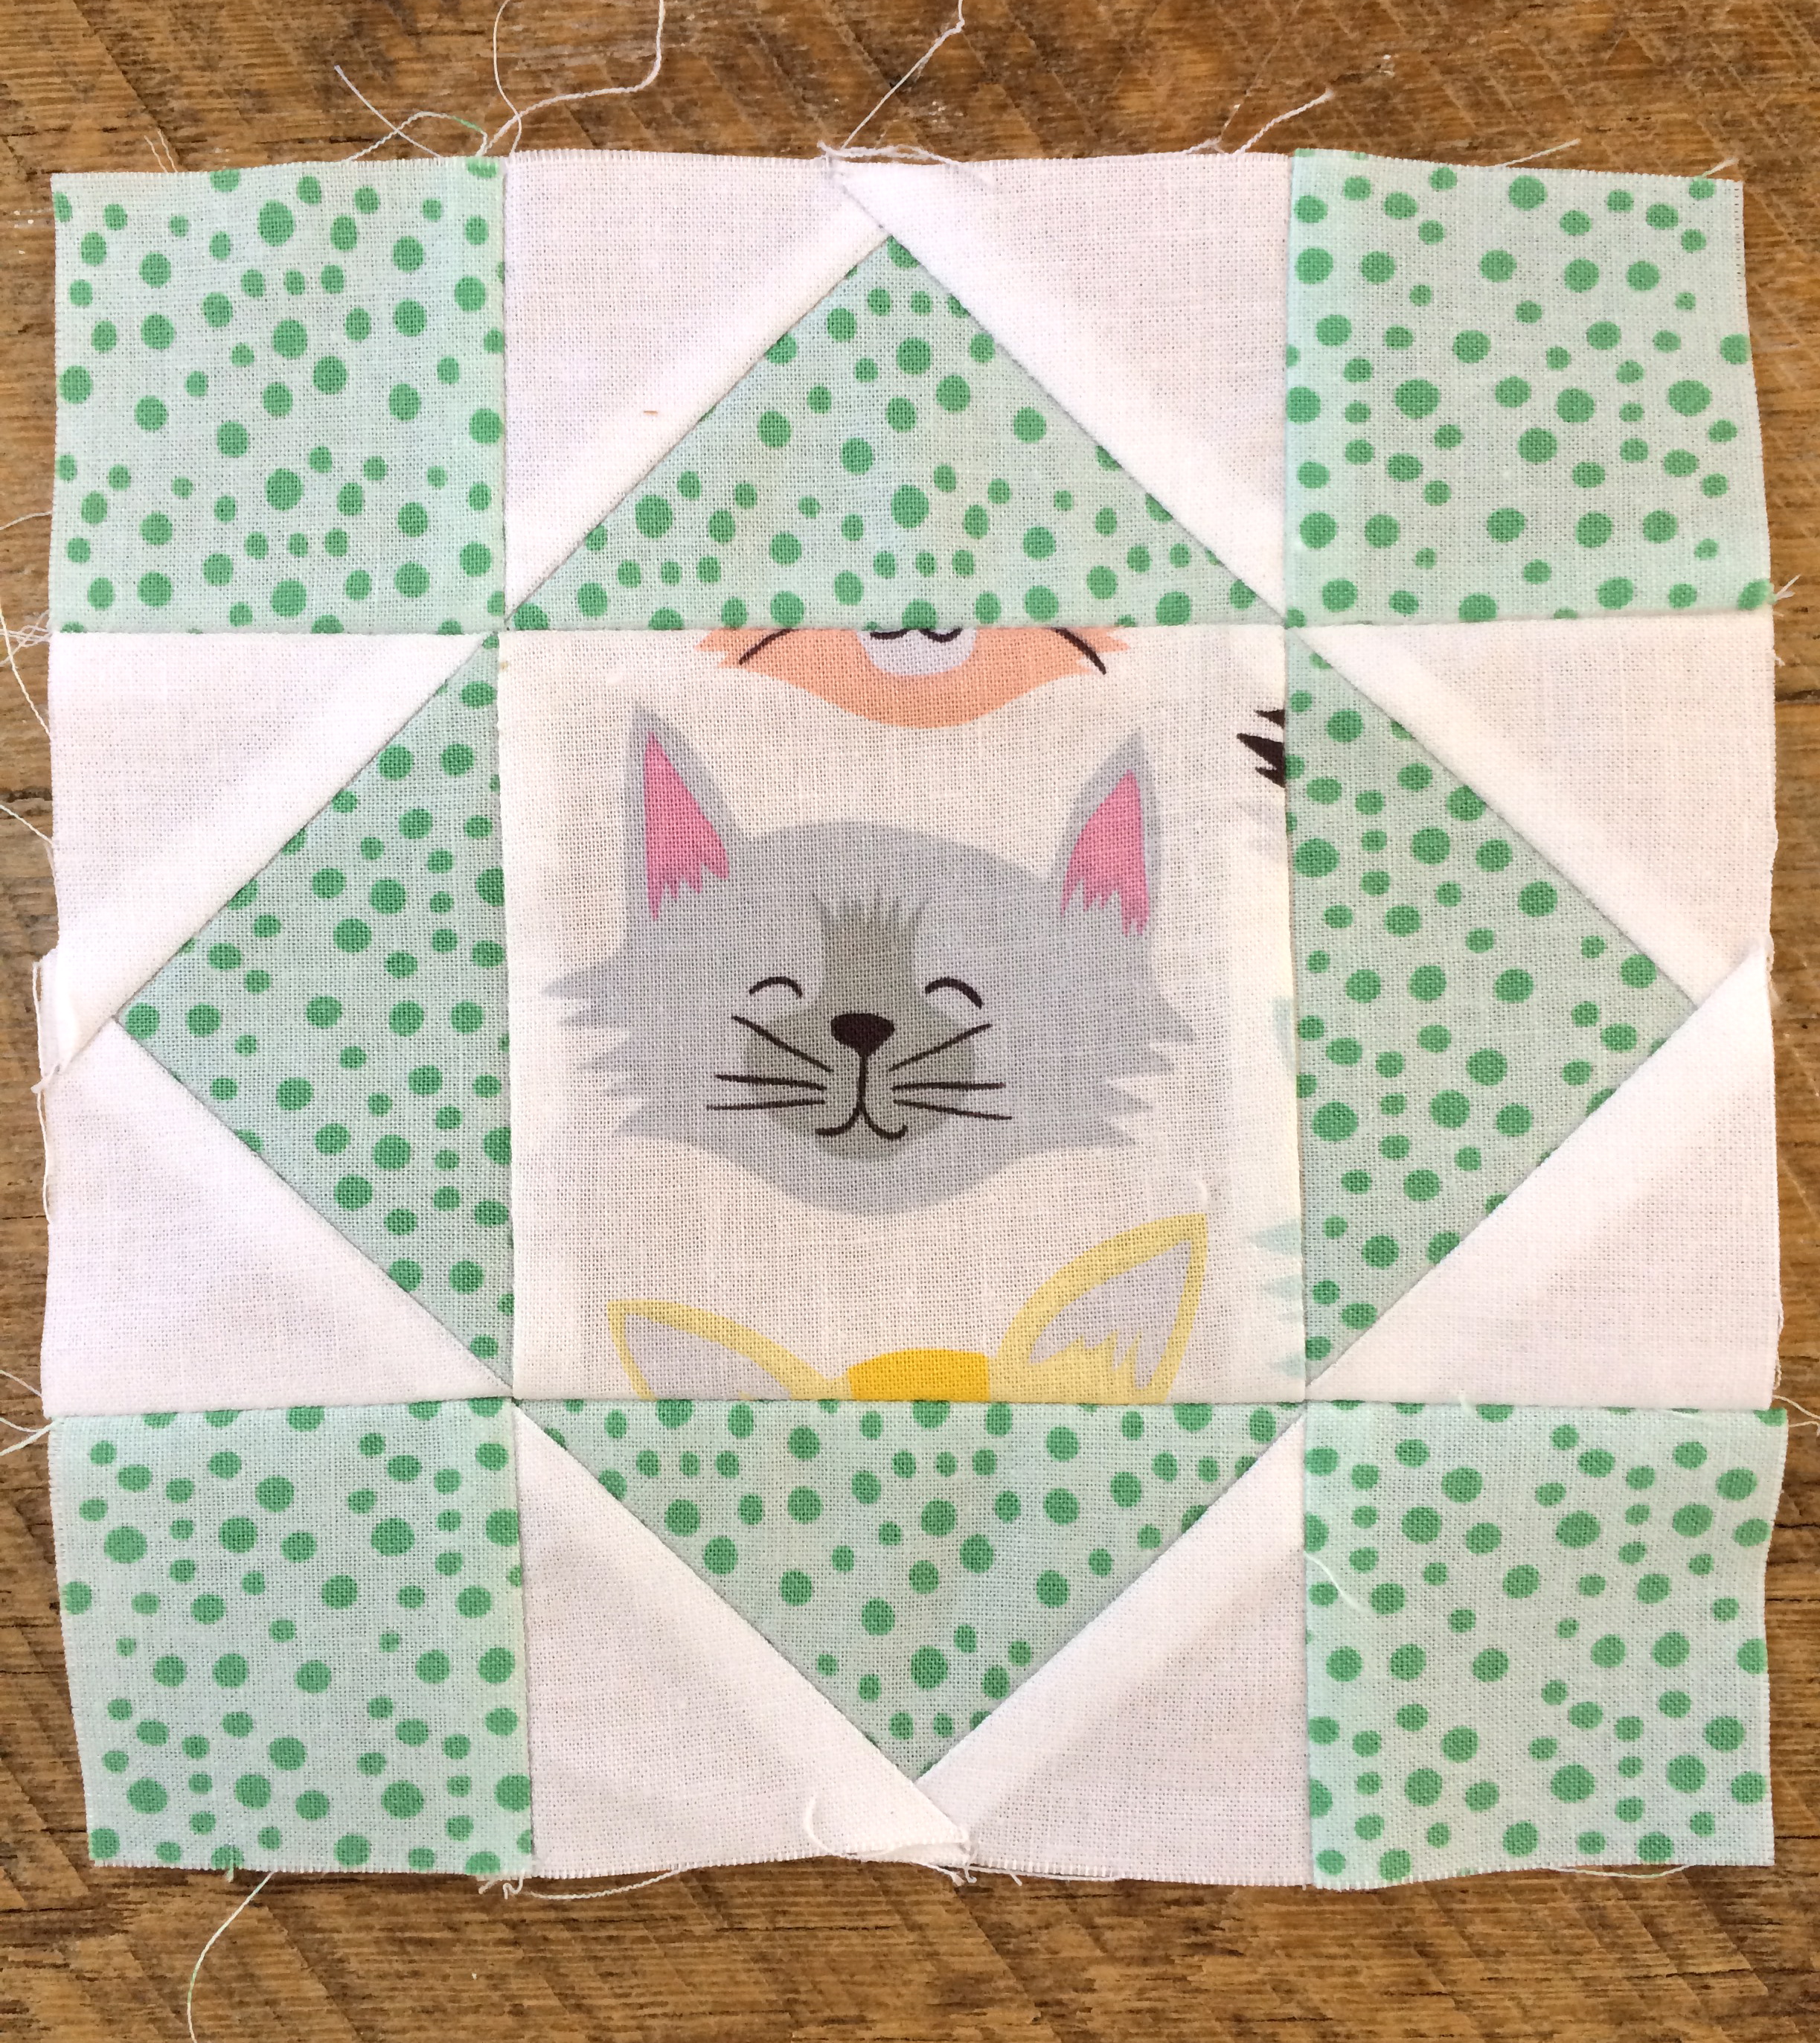
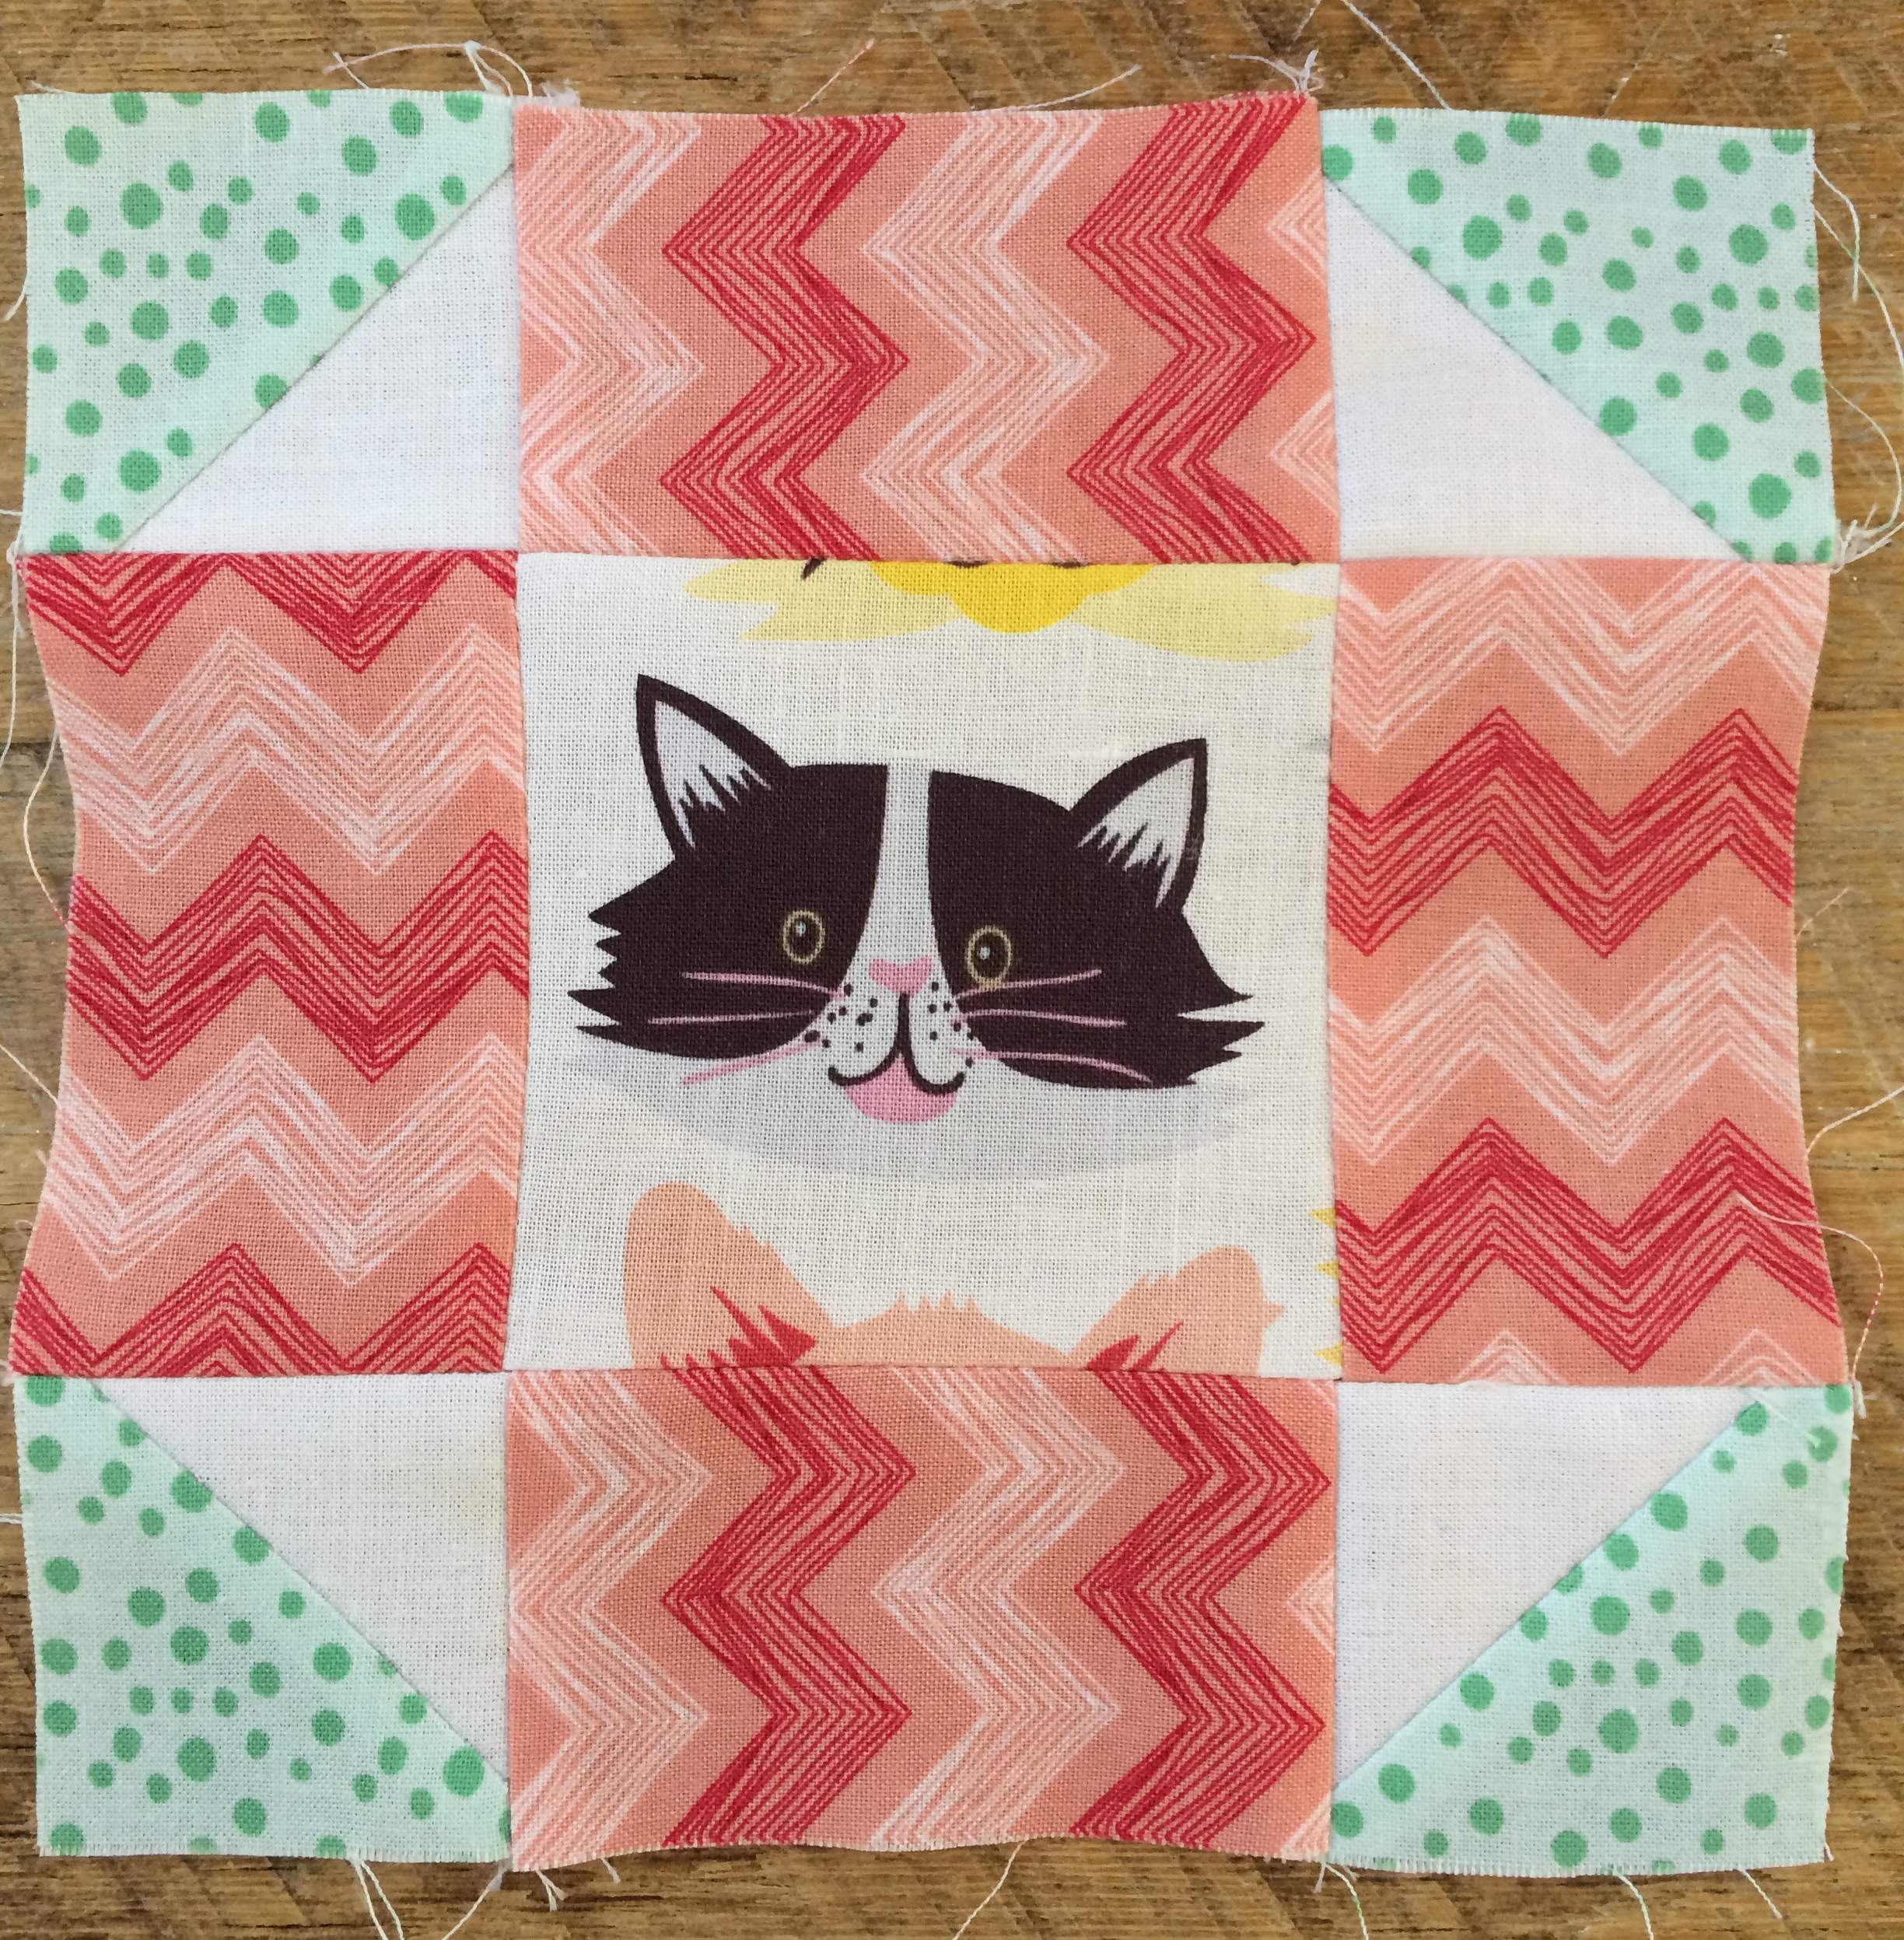
Kitty in the Corner Block 6.5″ finished
Make (2) of these
Cut the fabric according to the diagram pictured below. I don’t know about you, but I love when measurements are shown in pictures and not in a long list of cutting instructions.
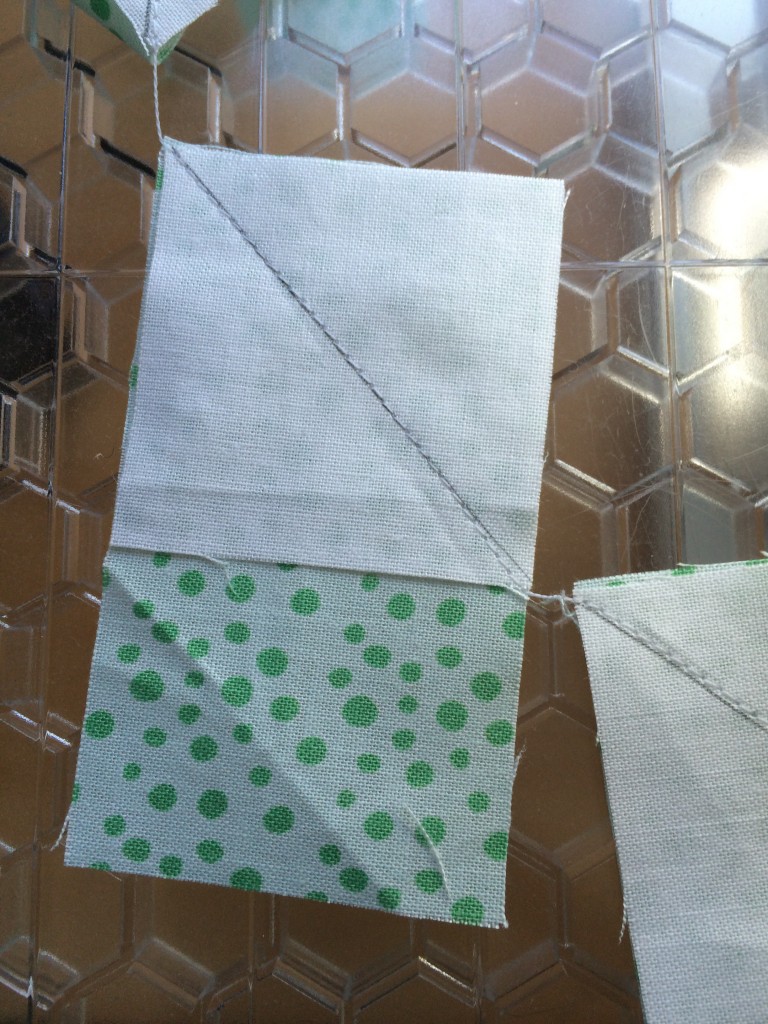
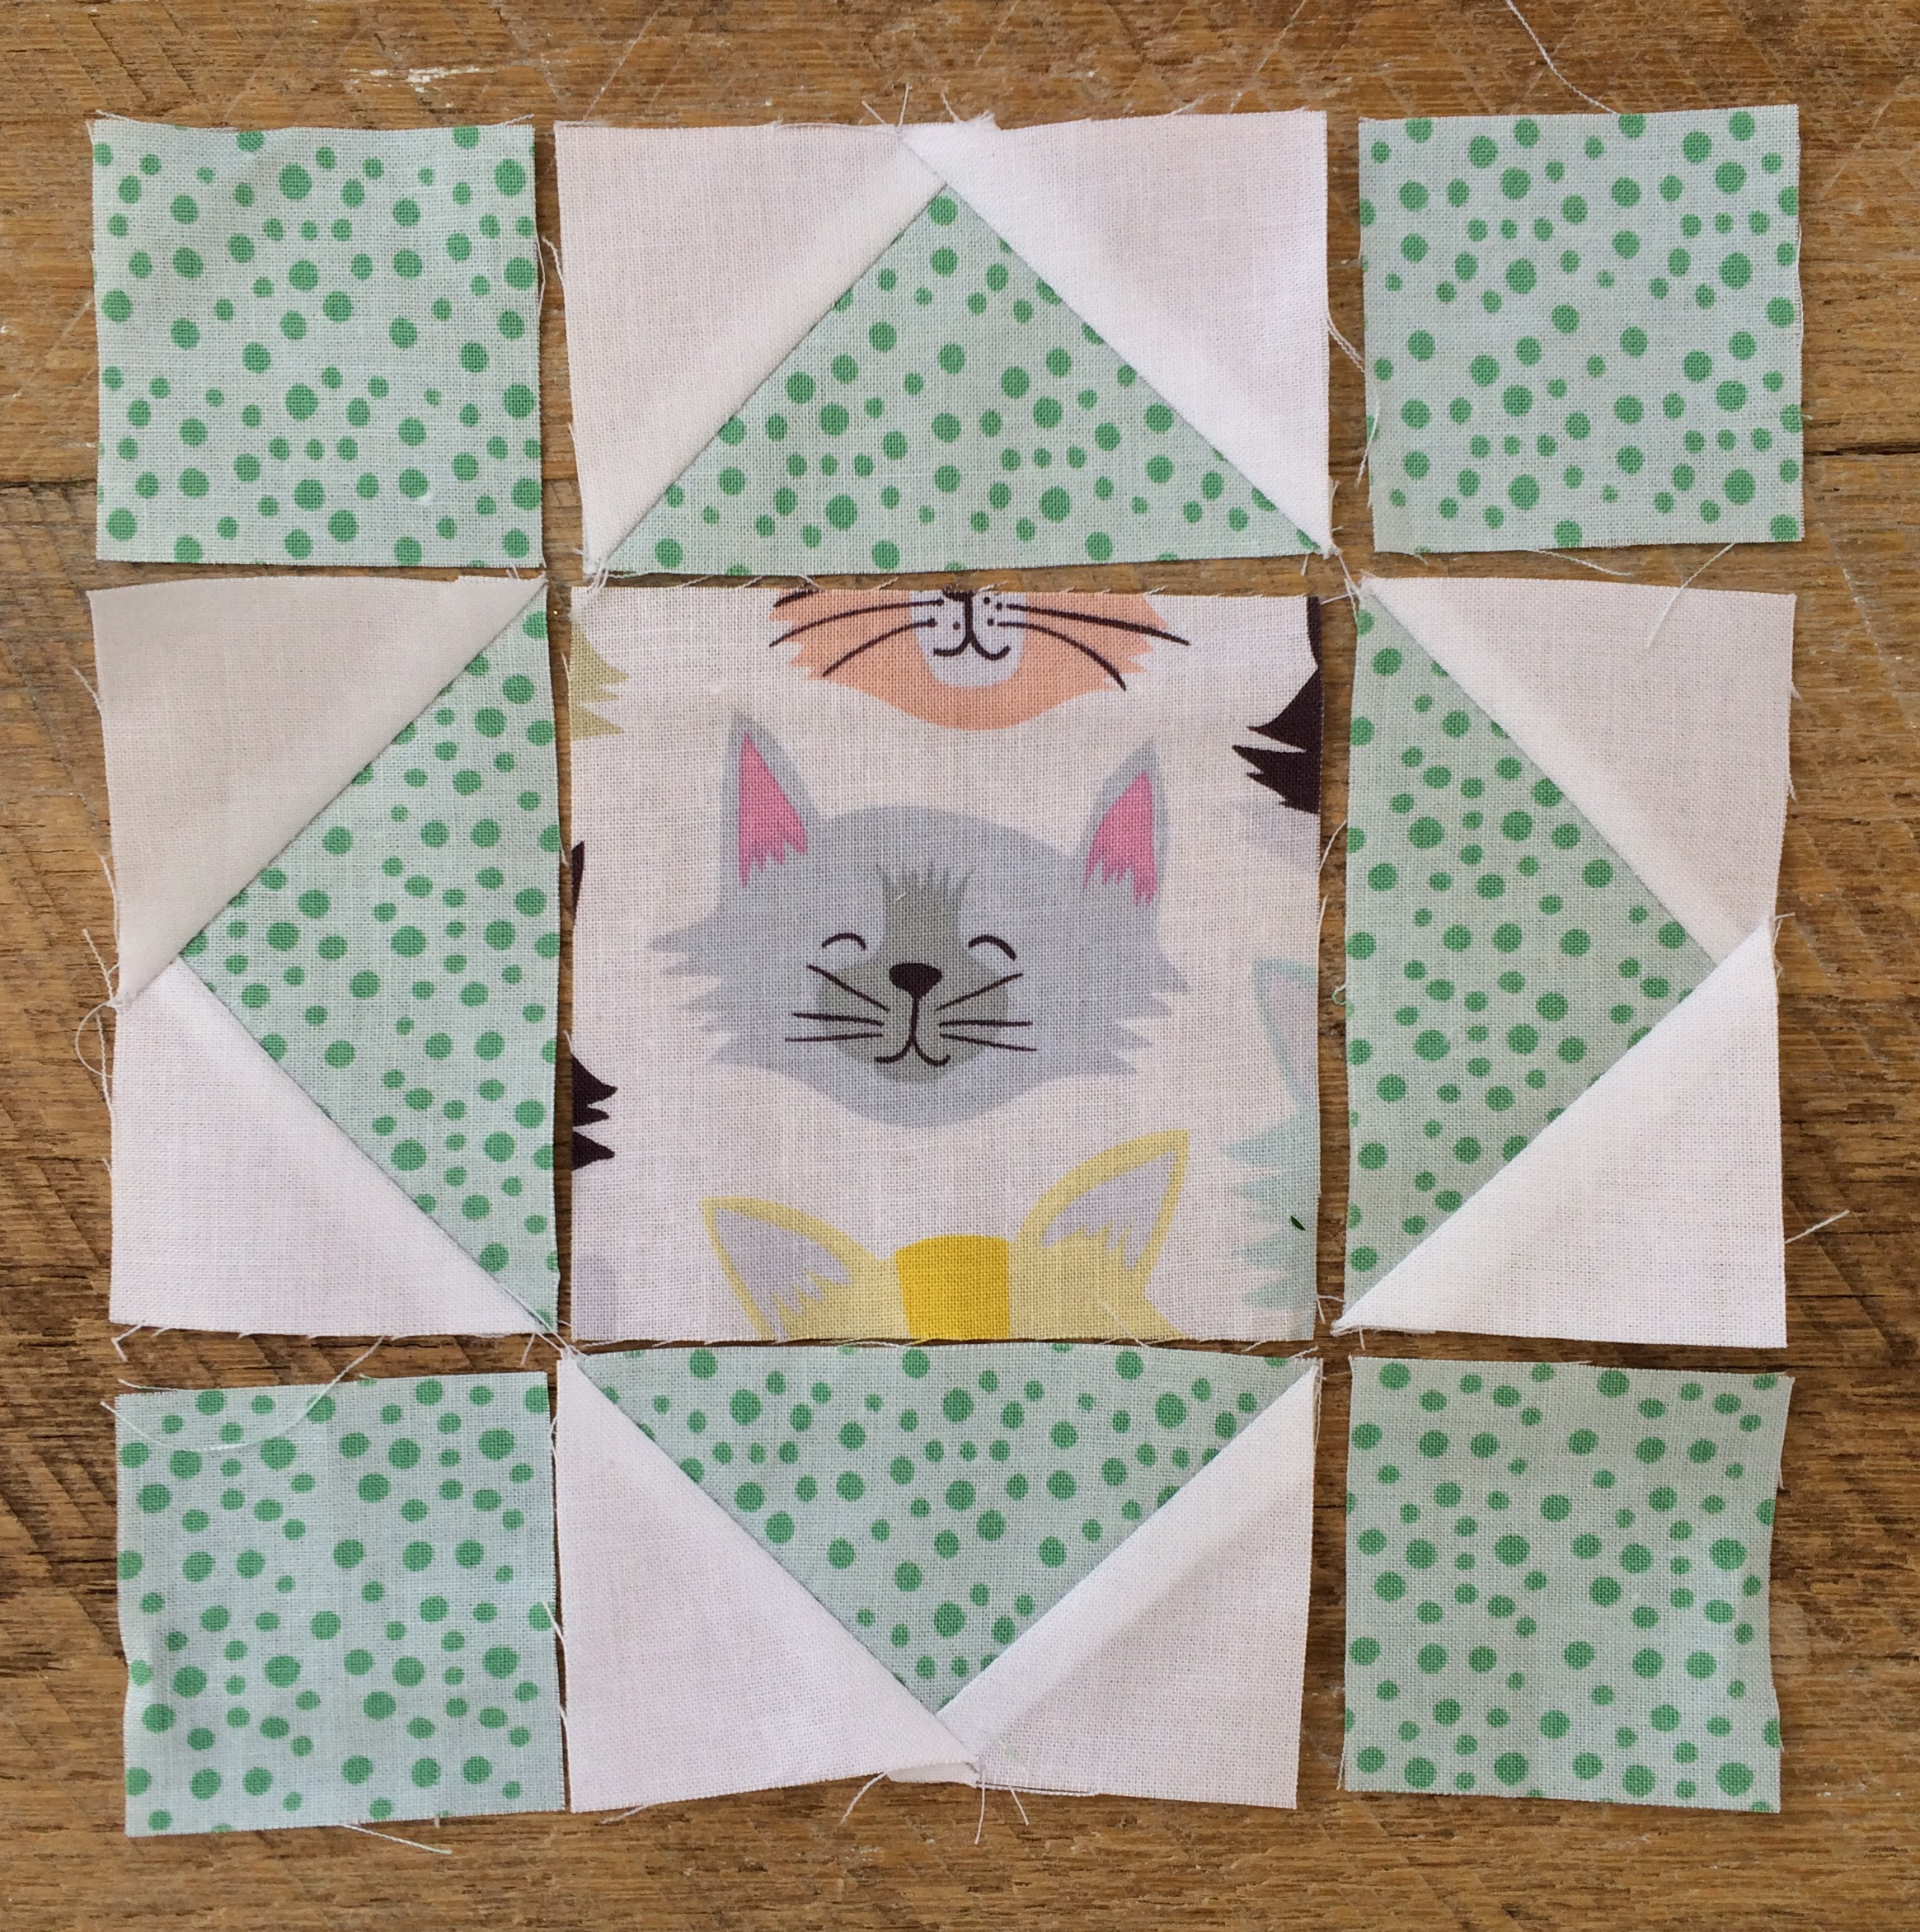
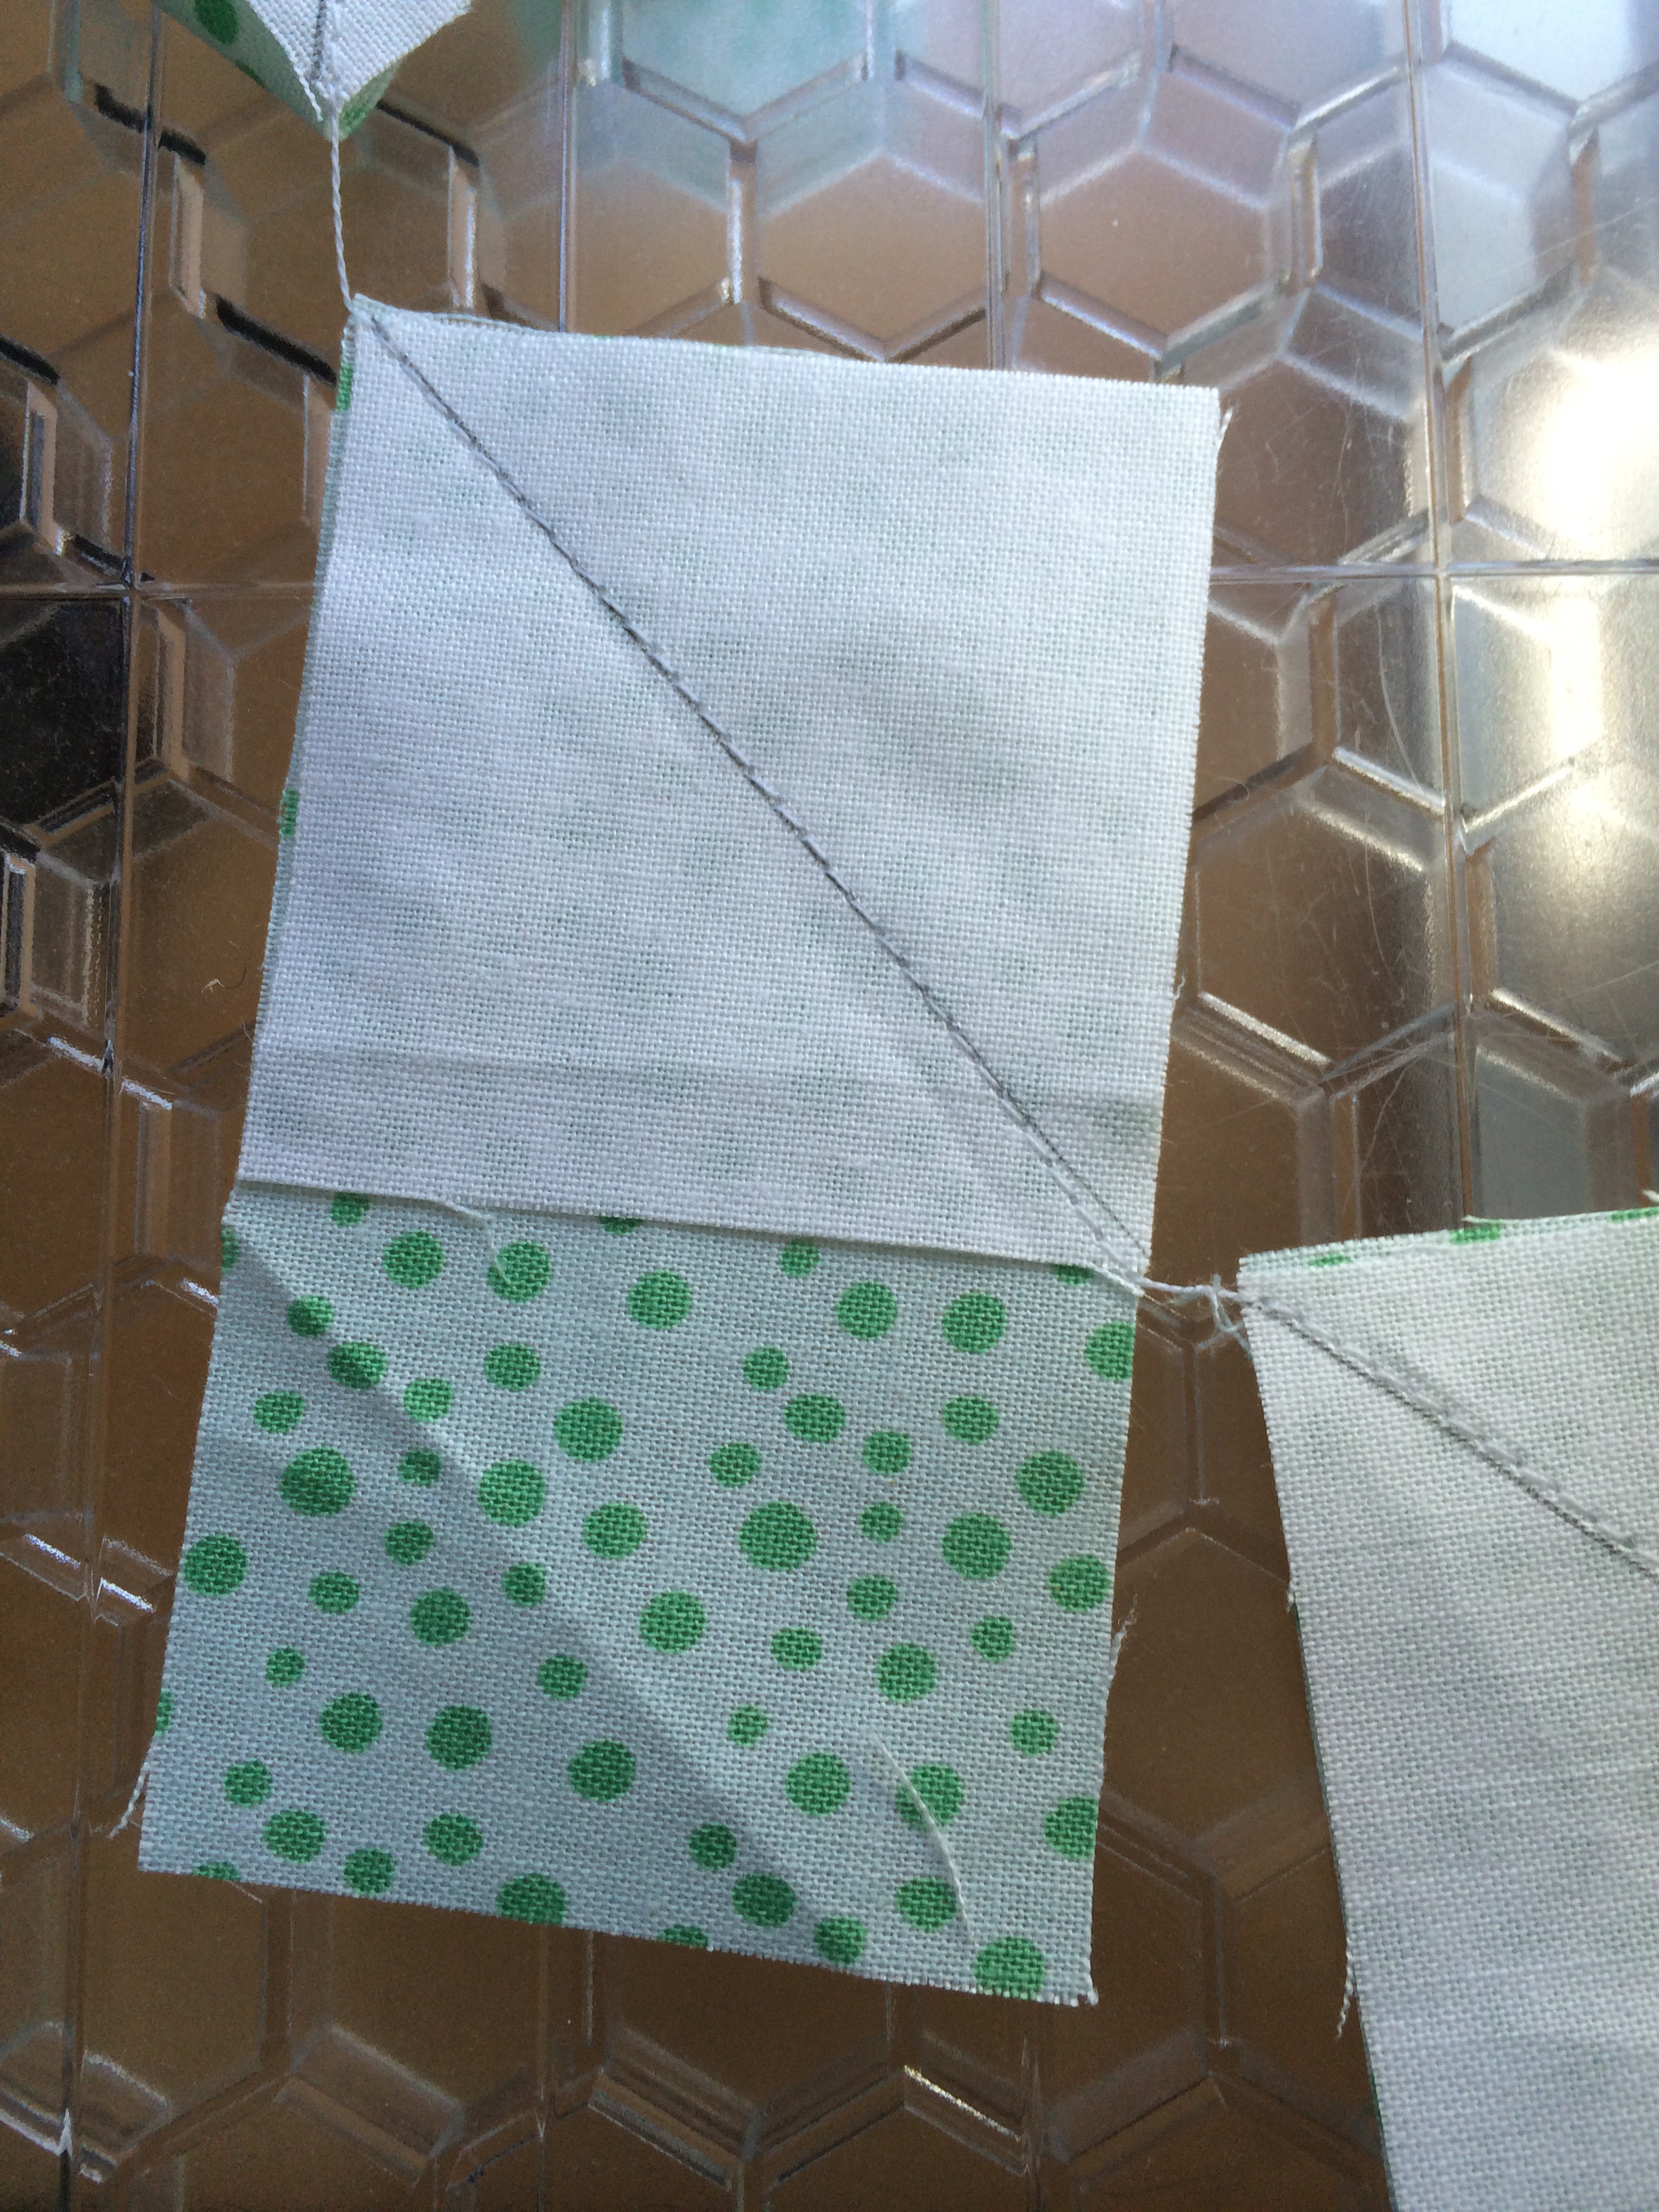
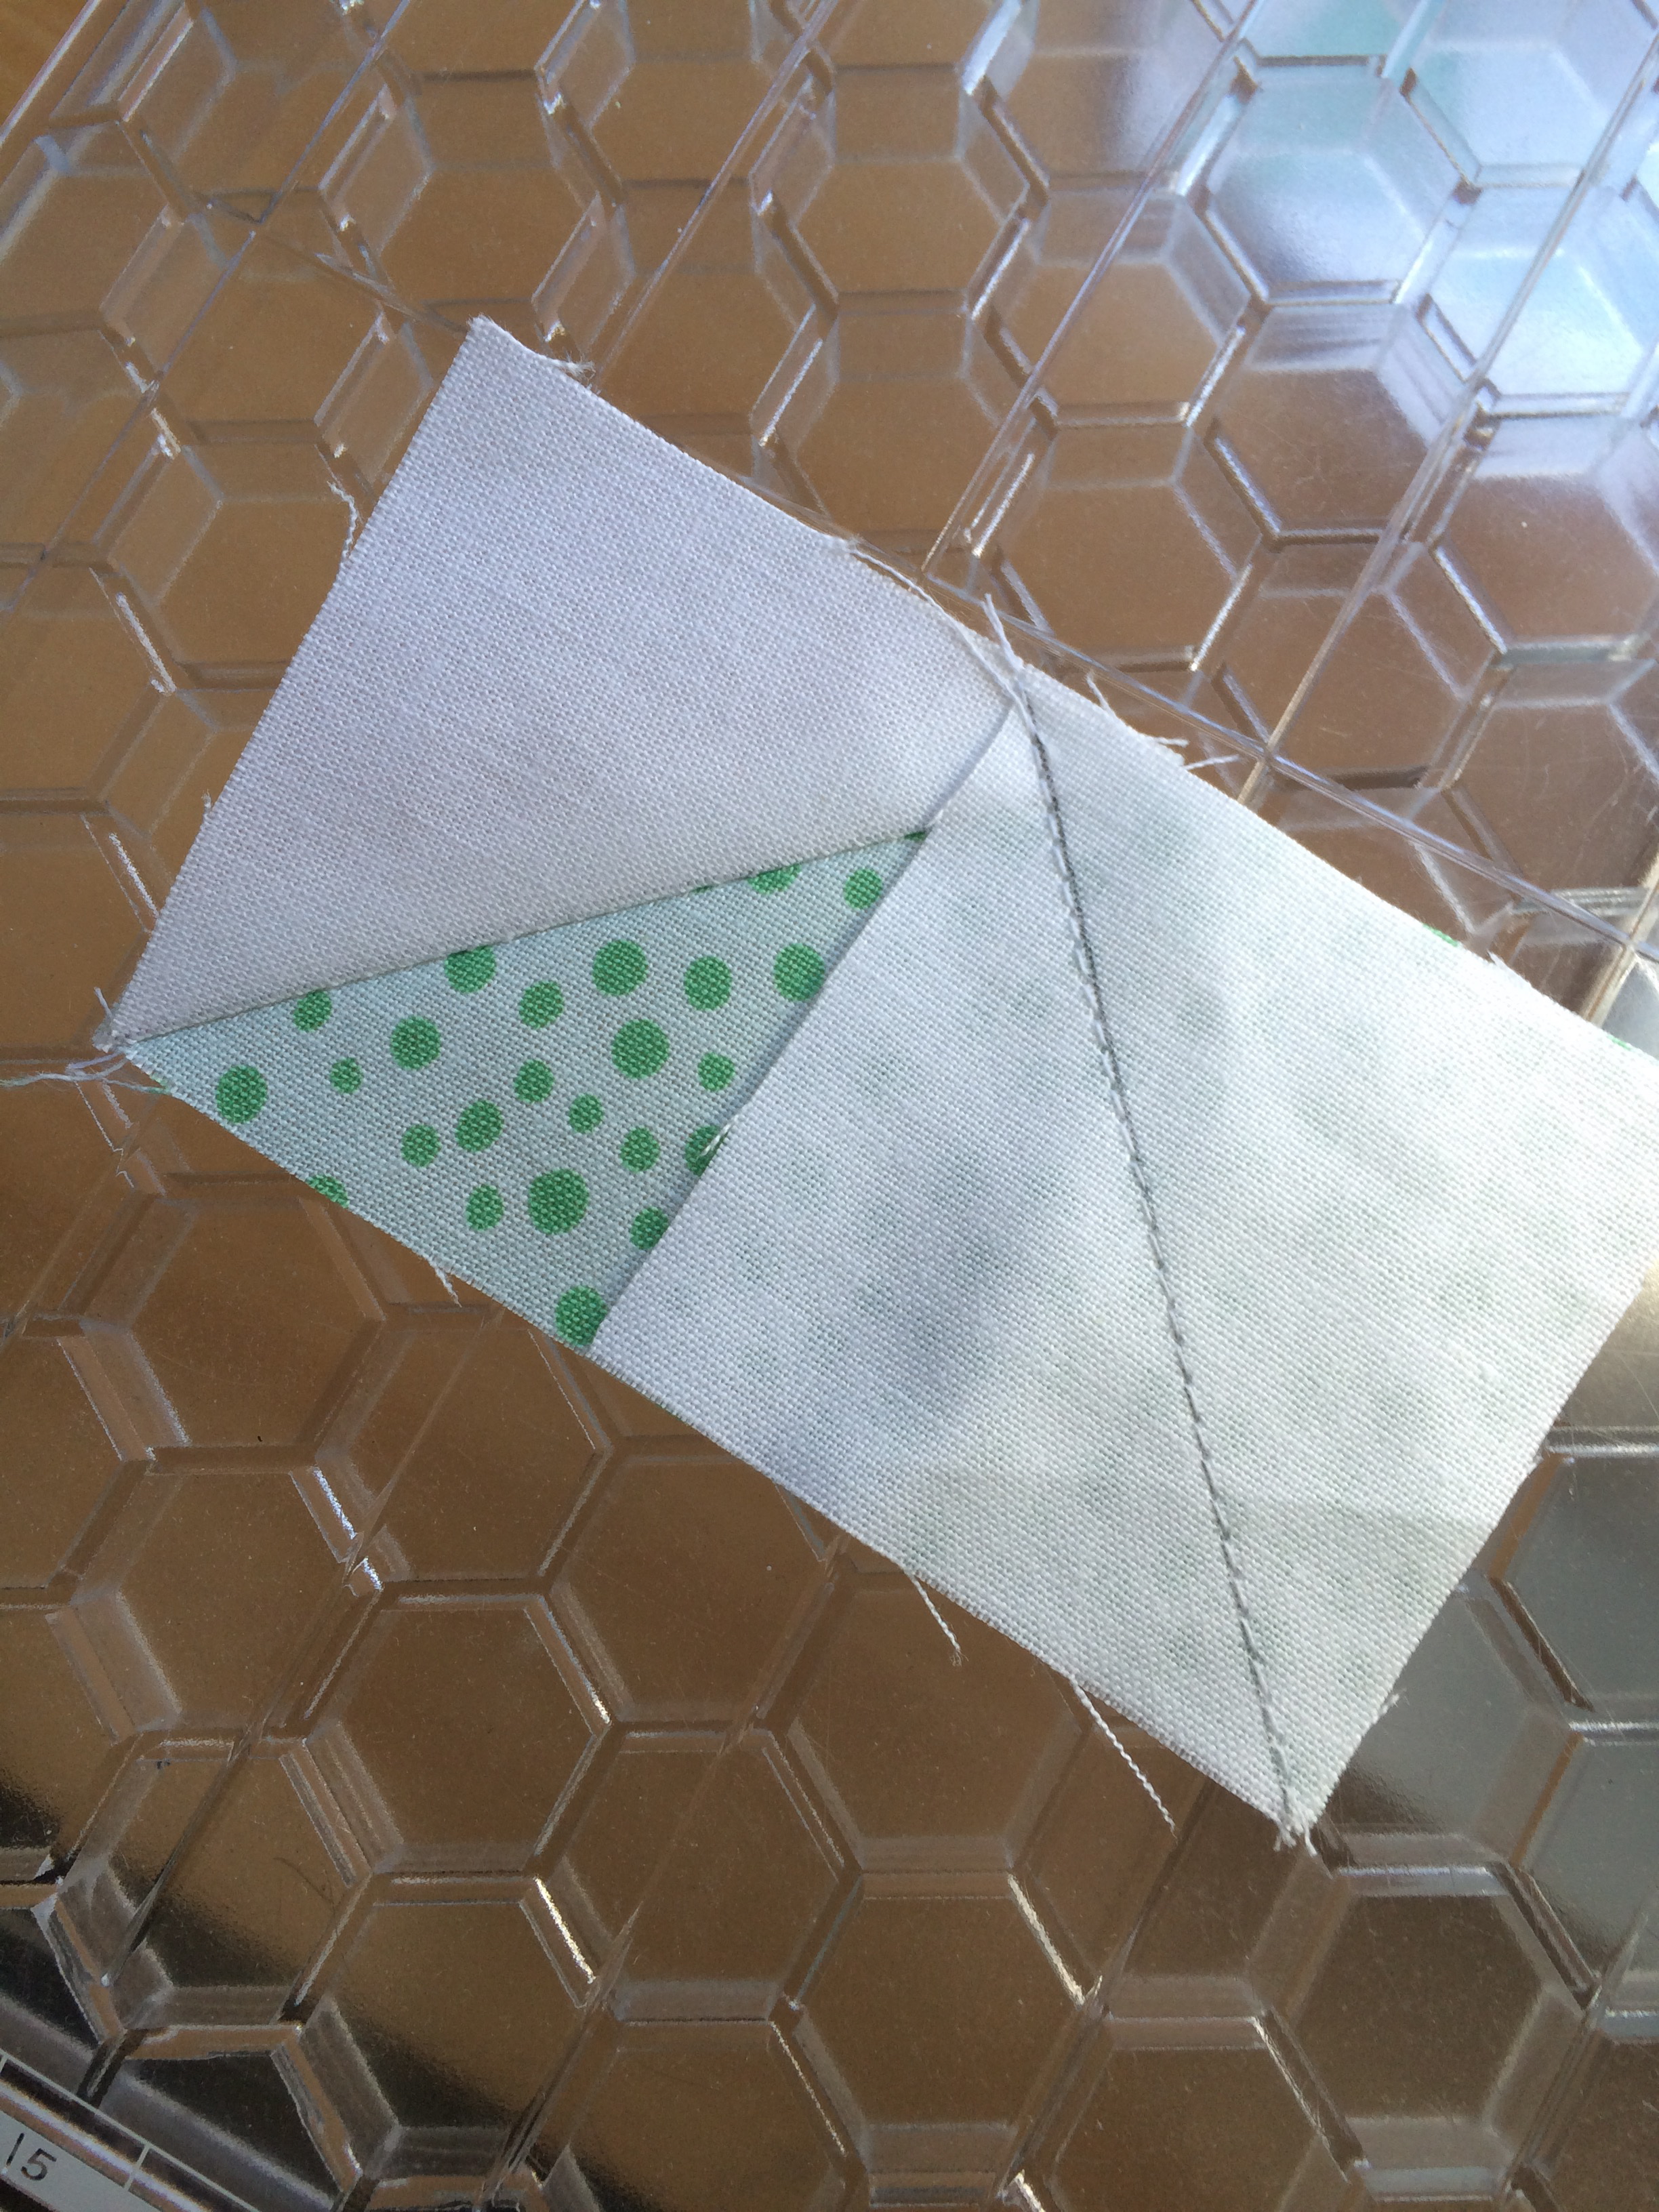
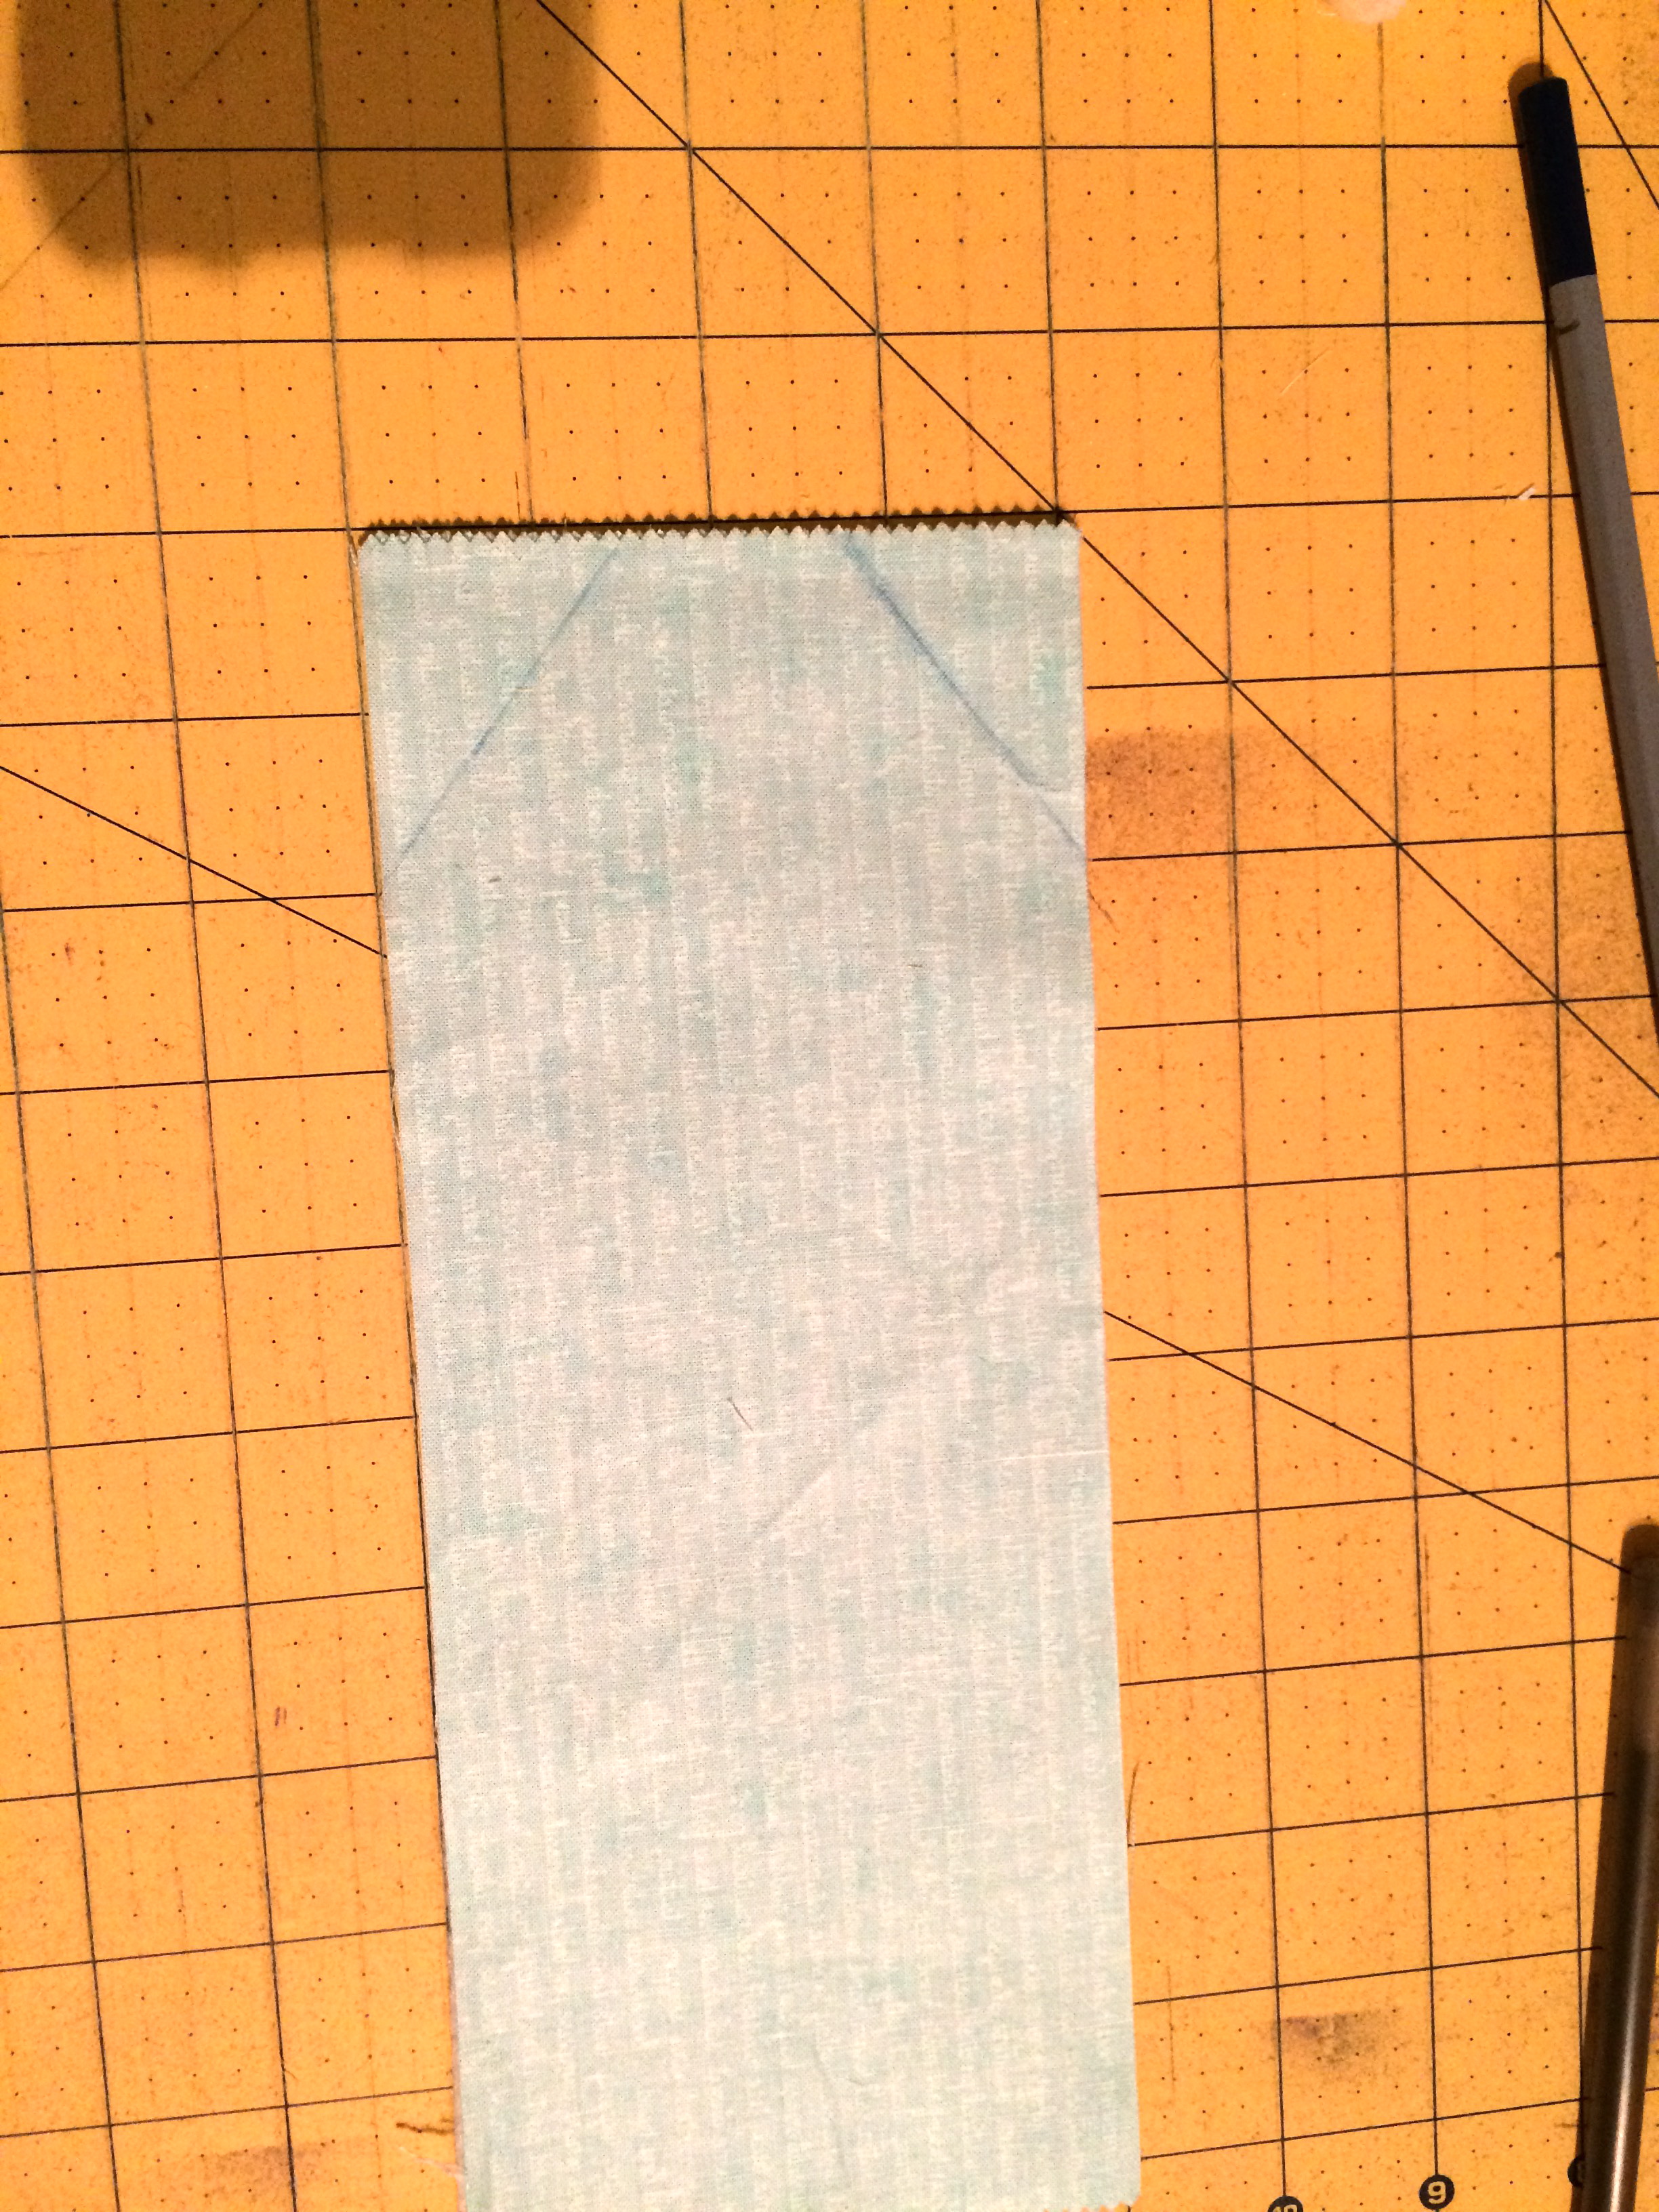
Draw a diagonal line on the wrong side of the (4) white squares. Match a white square and a patterned square right sides together and sew on the pencil line. Cut 1/4″ away from the seam. Press to the dark. Do this with each of the (4) white blocks and (4) patterned blocks. This makes (4) half square triangle (HST) units. Arrange them as pictured below and sew as you would a traditional 9-patch.

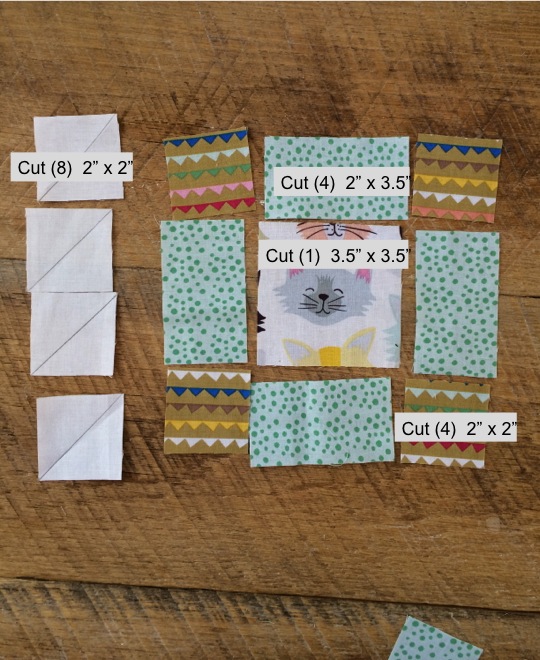
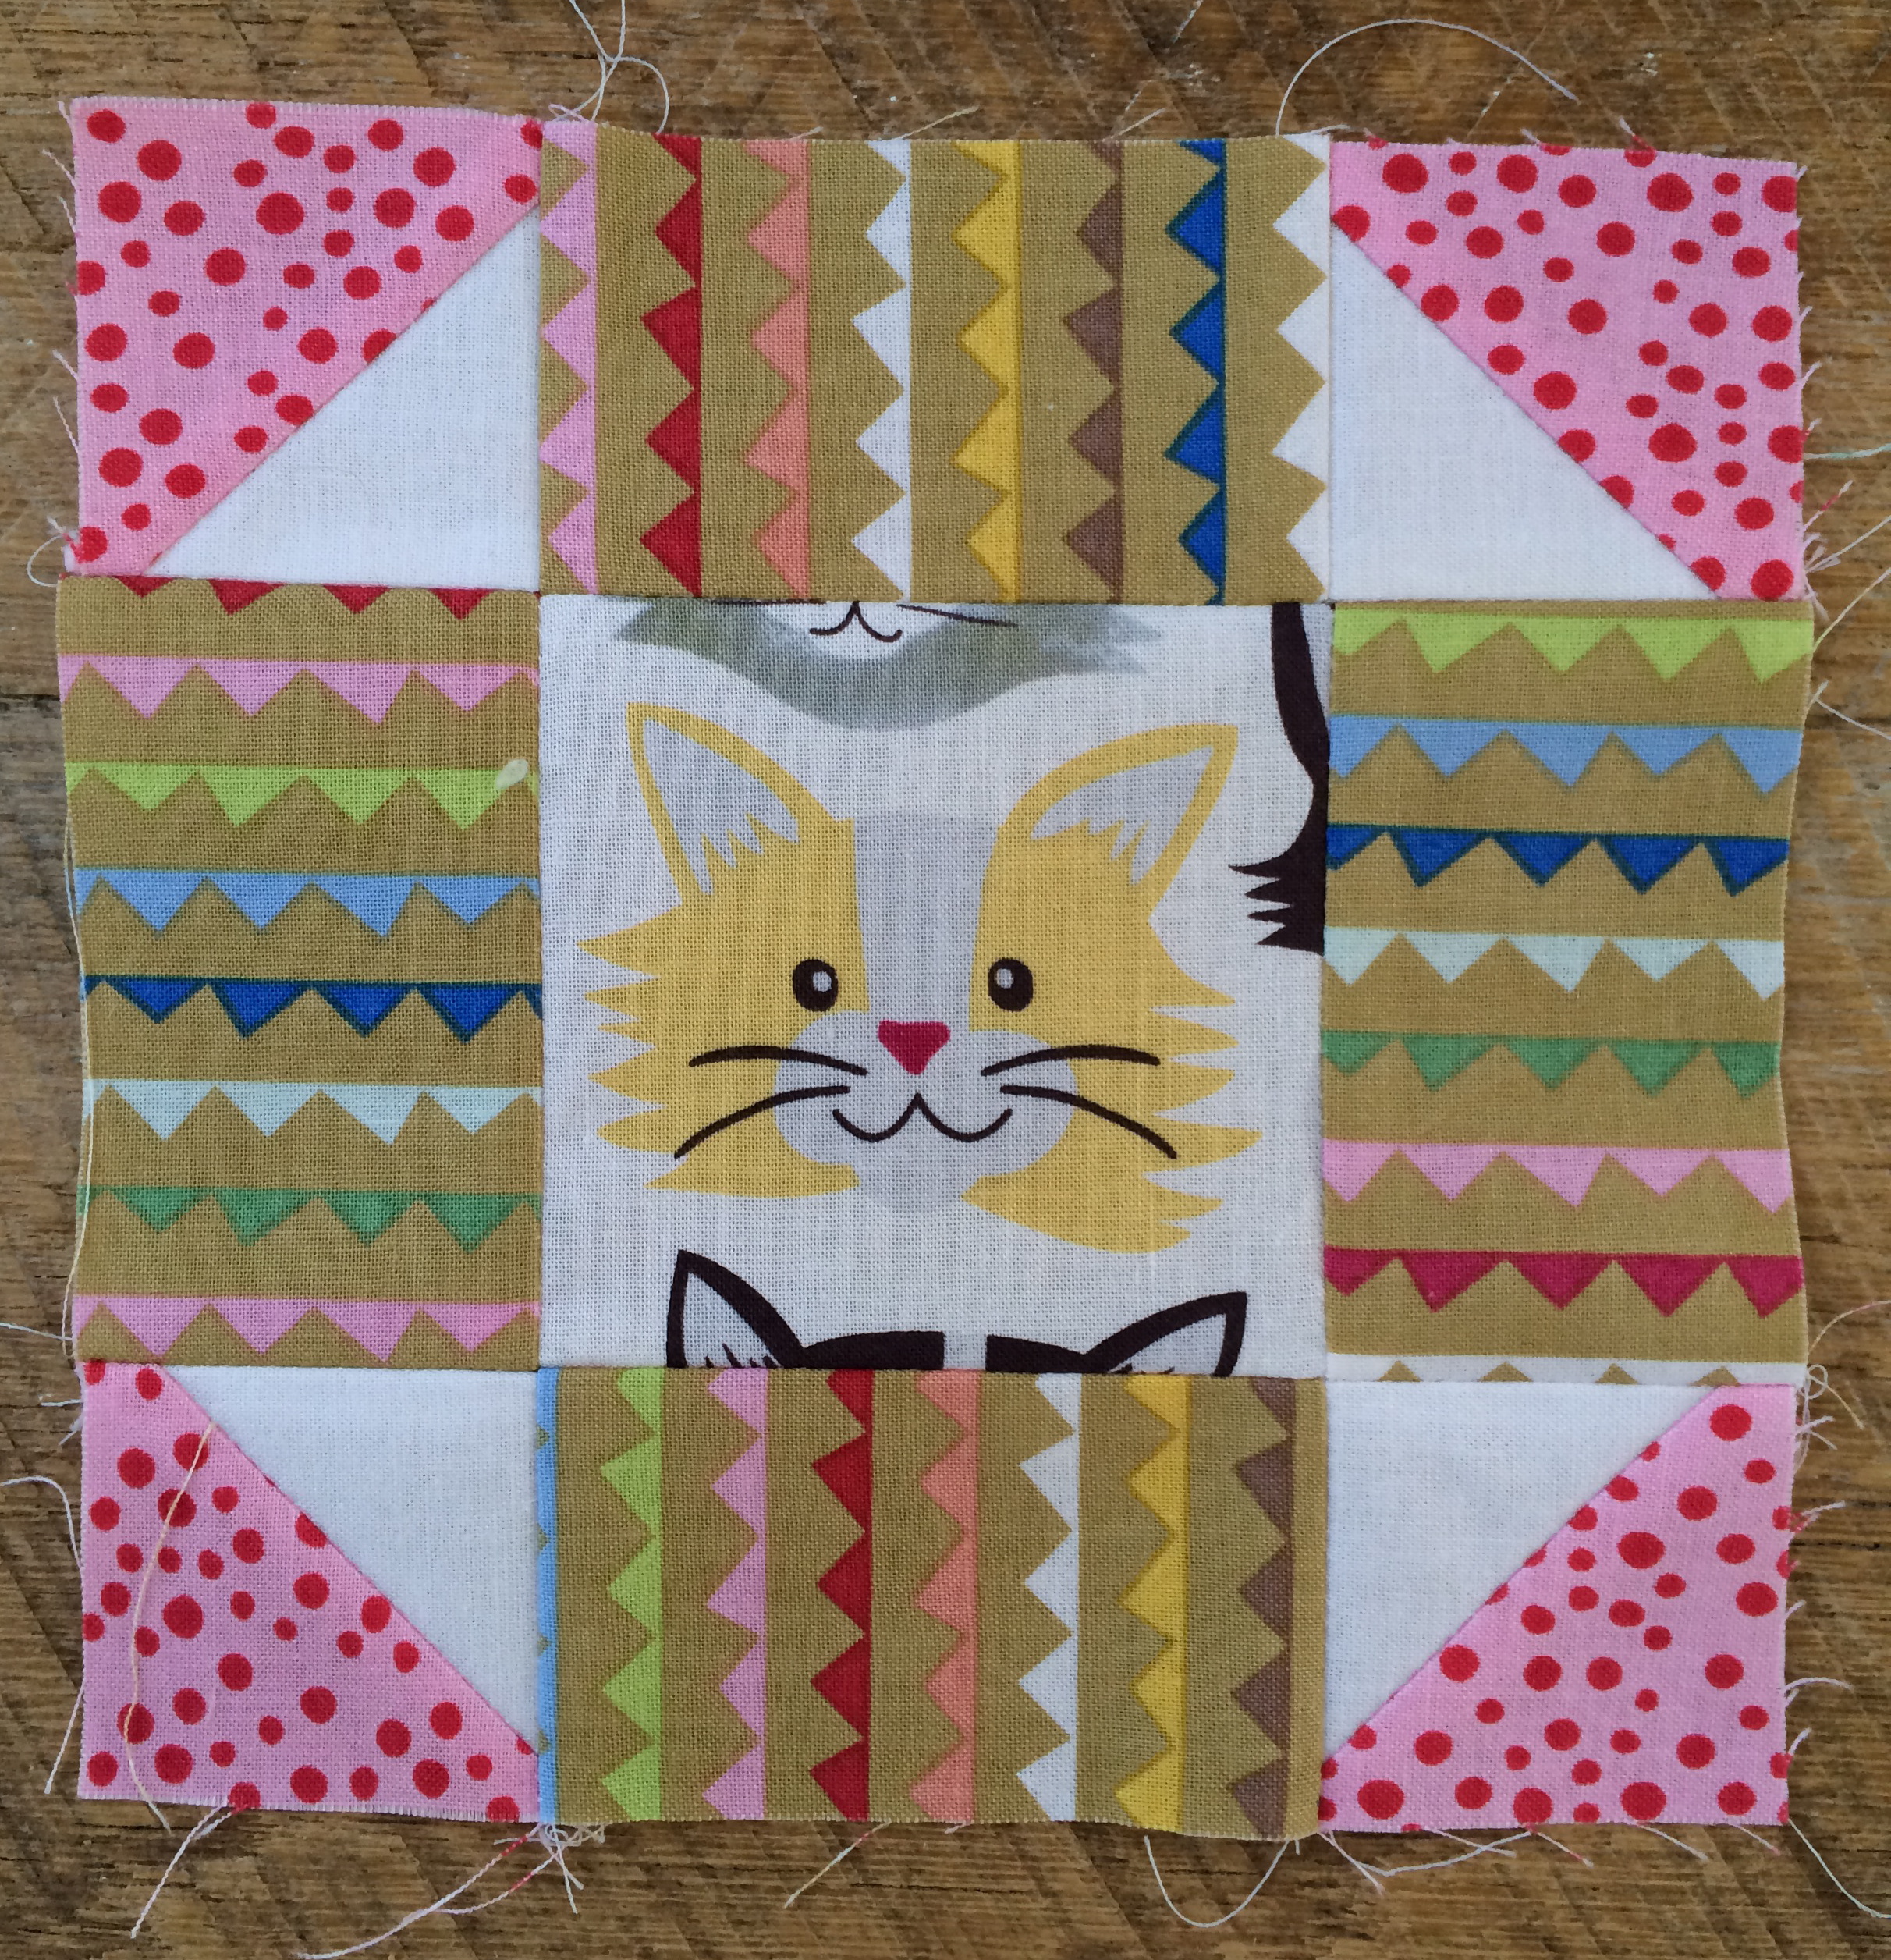
Kings Crown Block 6.5″ finished
Cut the fabrics according to the picture below. Make sure to cut (8) white 2″x2″ squares, I only have 4 in the picture.
Draw a diagonal line on the back of the (8) white squares. Next make (4) flying geese units by laying the white square right sides together with a patterned rectangle, matching up the 3 edges. Sew on the line as pictured below:
Trim 1/4″ next to the seam and press toward the dark. Place another white square on top of that unit and sew on the line, as pictured below:
Cut 1/4″ away from the seam and press again. The block should look like this:
If you turn the flying geese blocks around it makes a Sawtooth Star pattern. I love that each of these blocks has the same center measurement and only a variation on the 2″ sides!
Sew the block together and press seams open.
 Happy Cat blocks!!
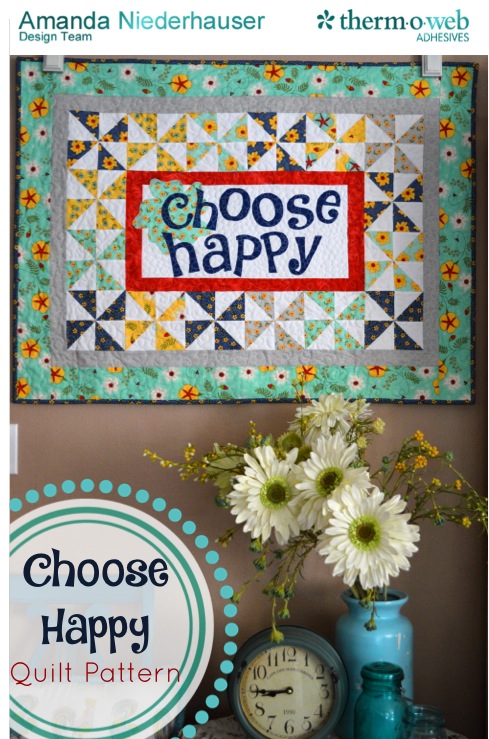
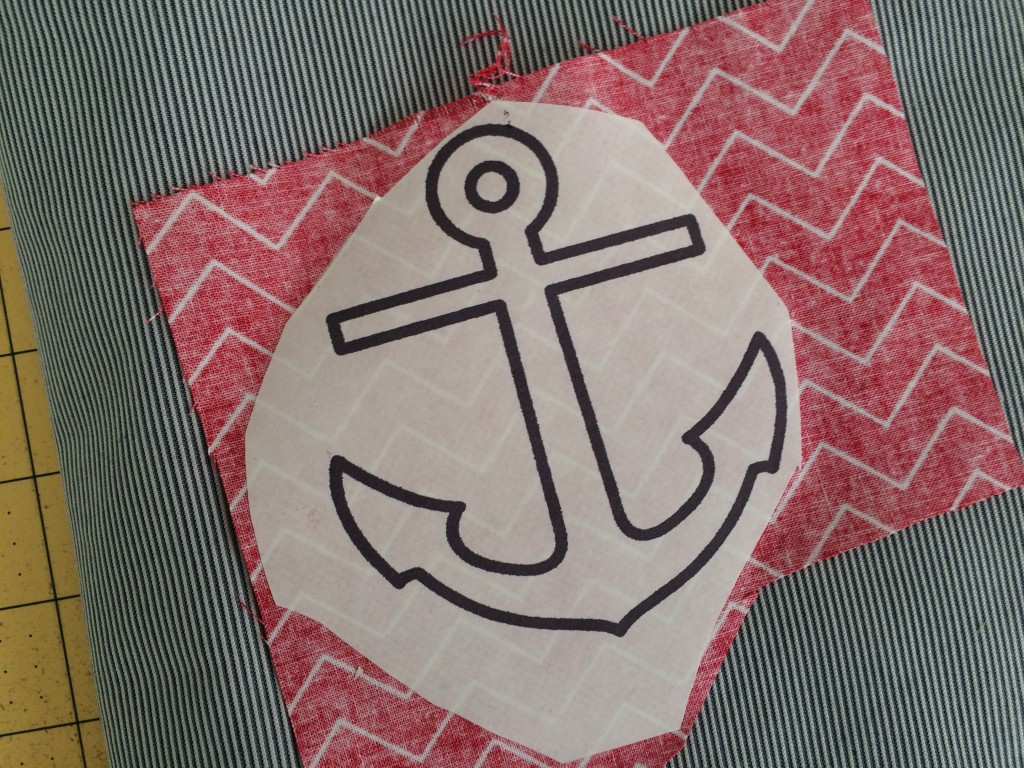
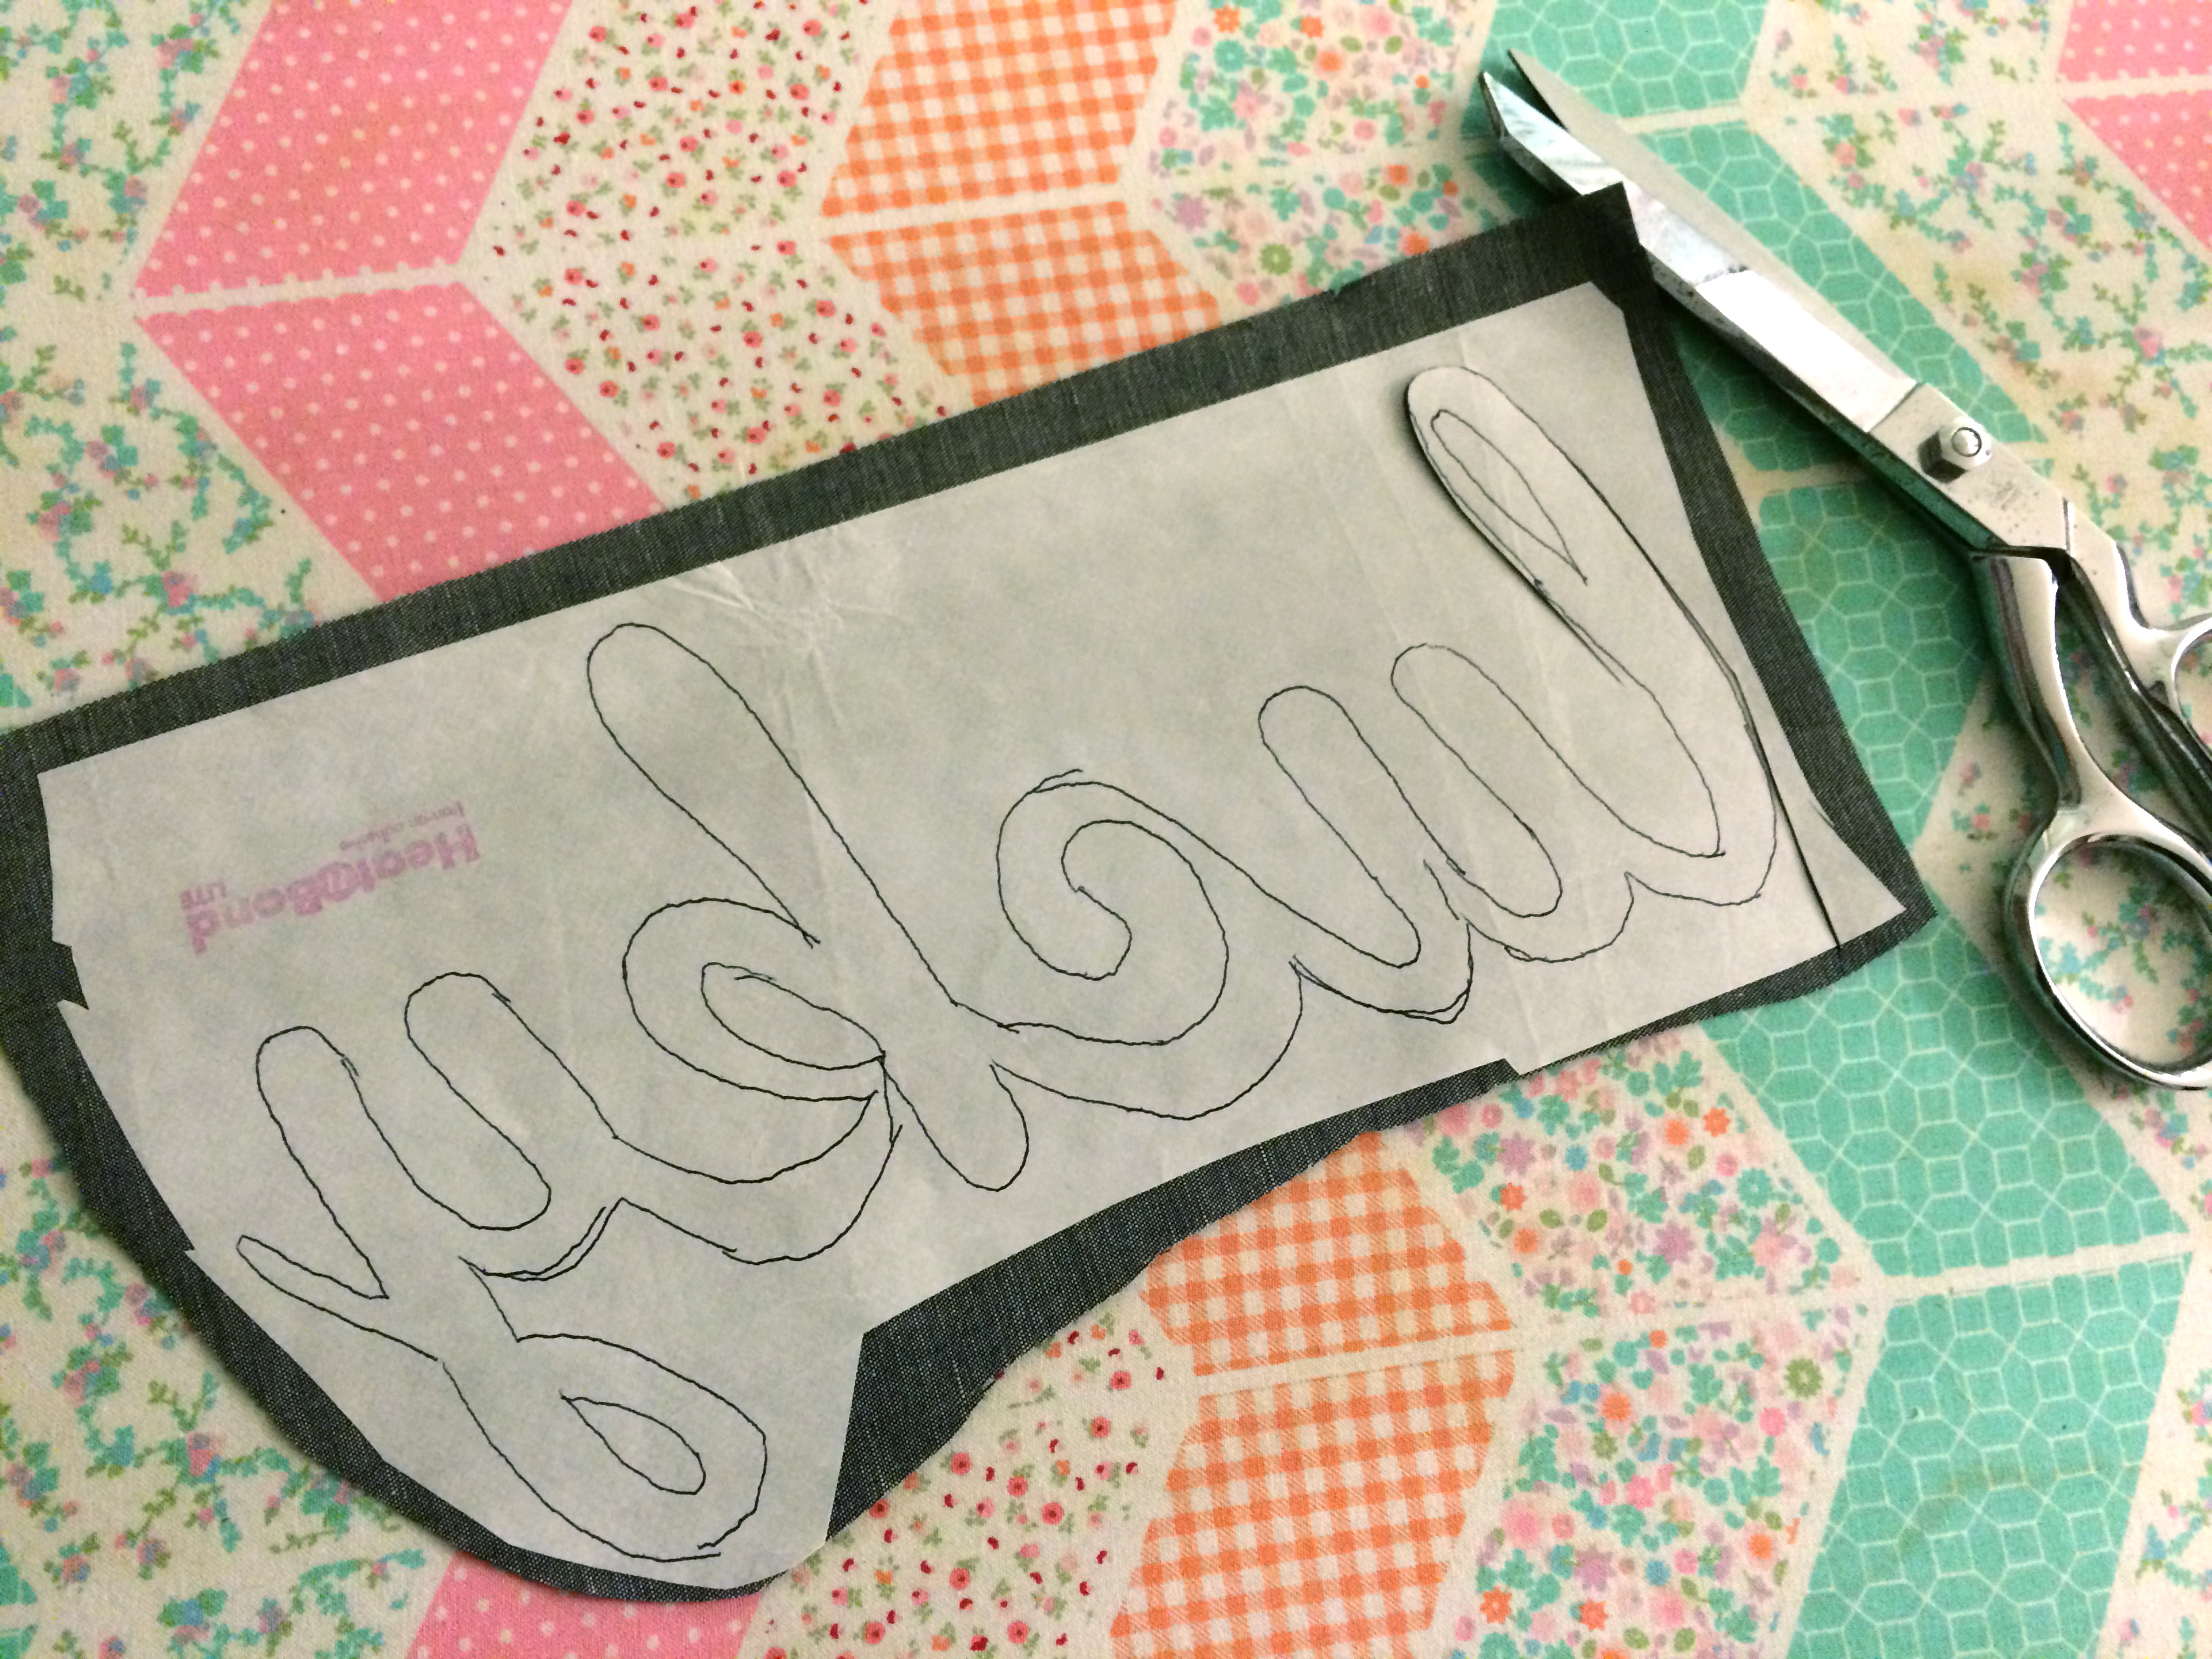
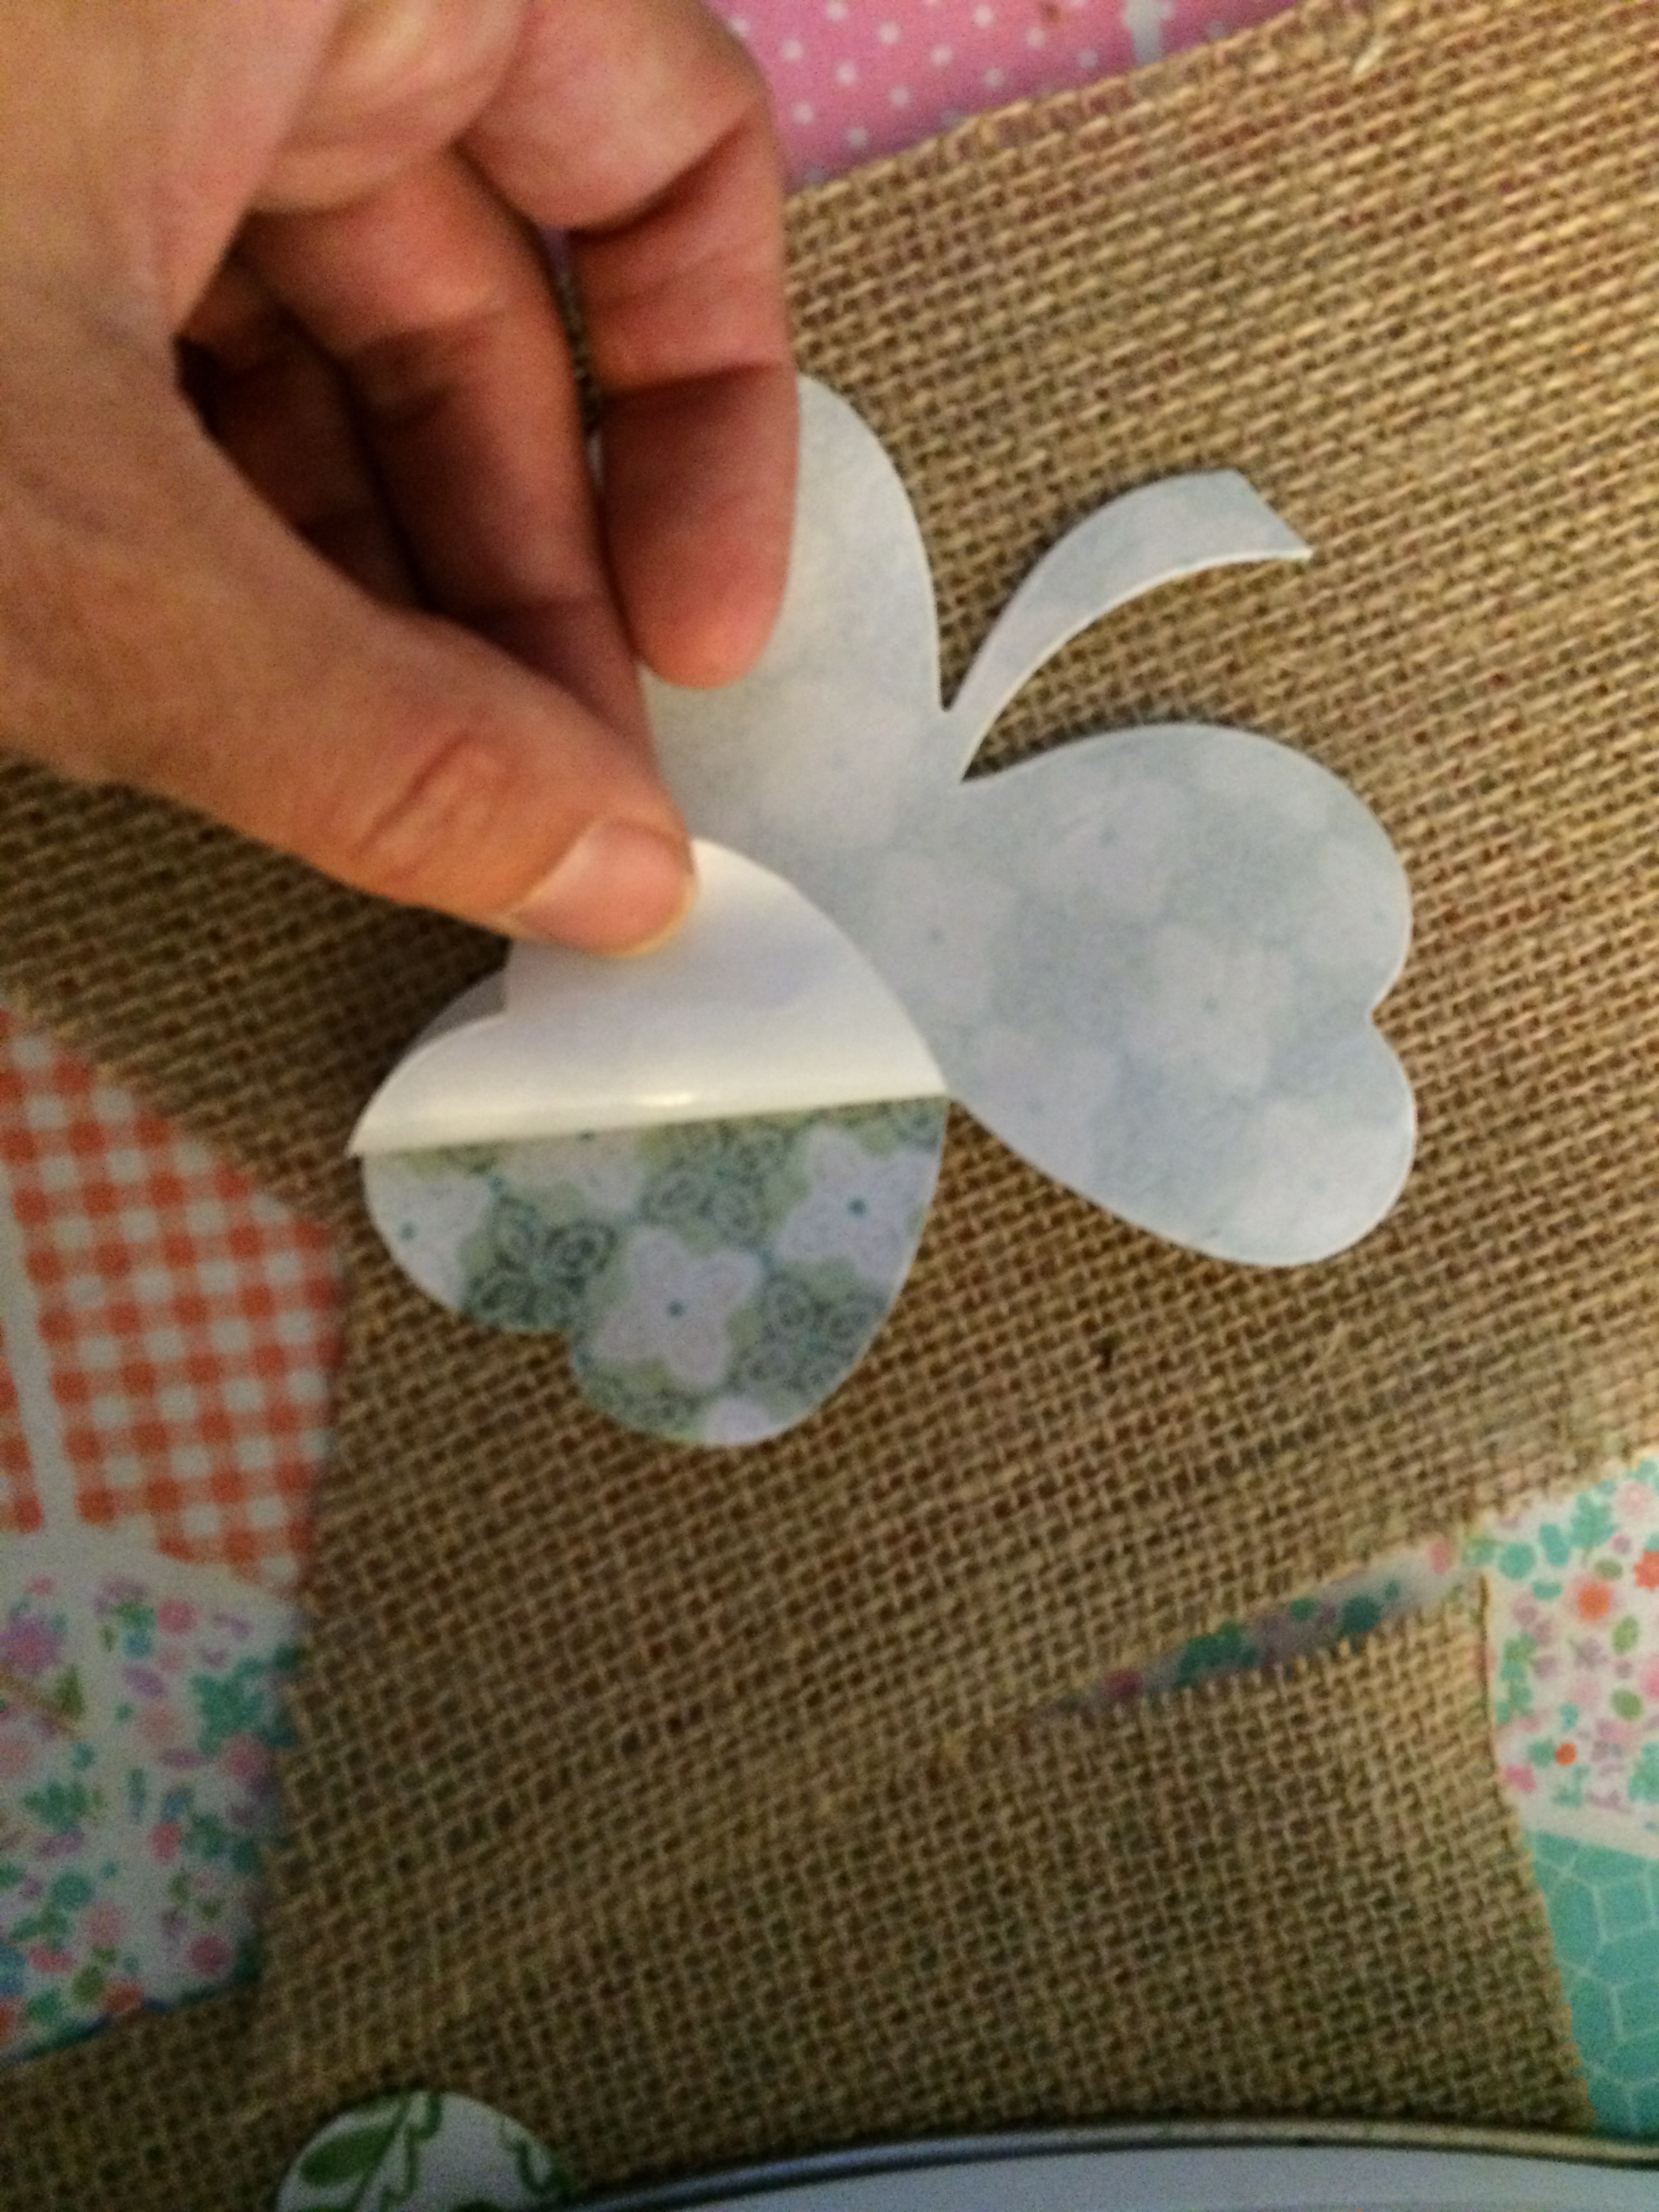
Print the letters on the EZ print sheets and iron them to the back of the desired fabric. Cut around each letter and peel off the backing paper.

Cut the remaining strips according to this cutting diagram:
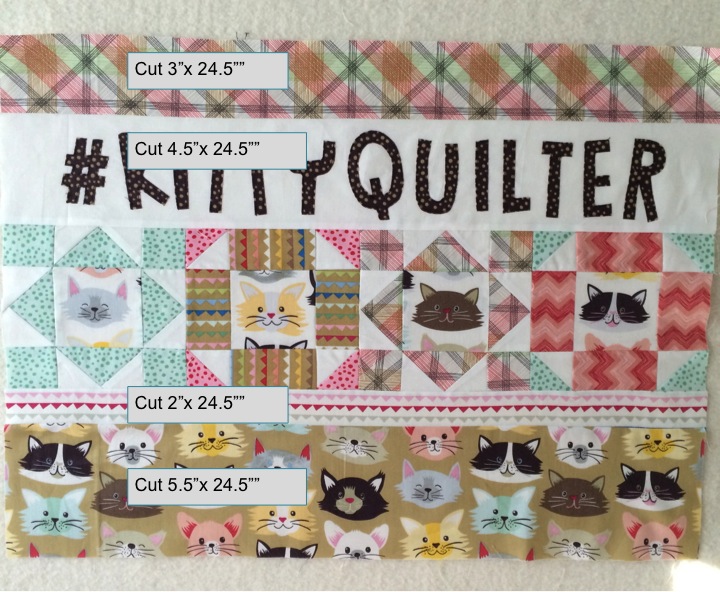
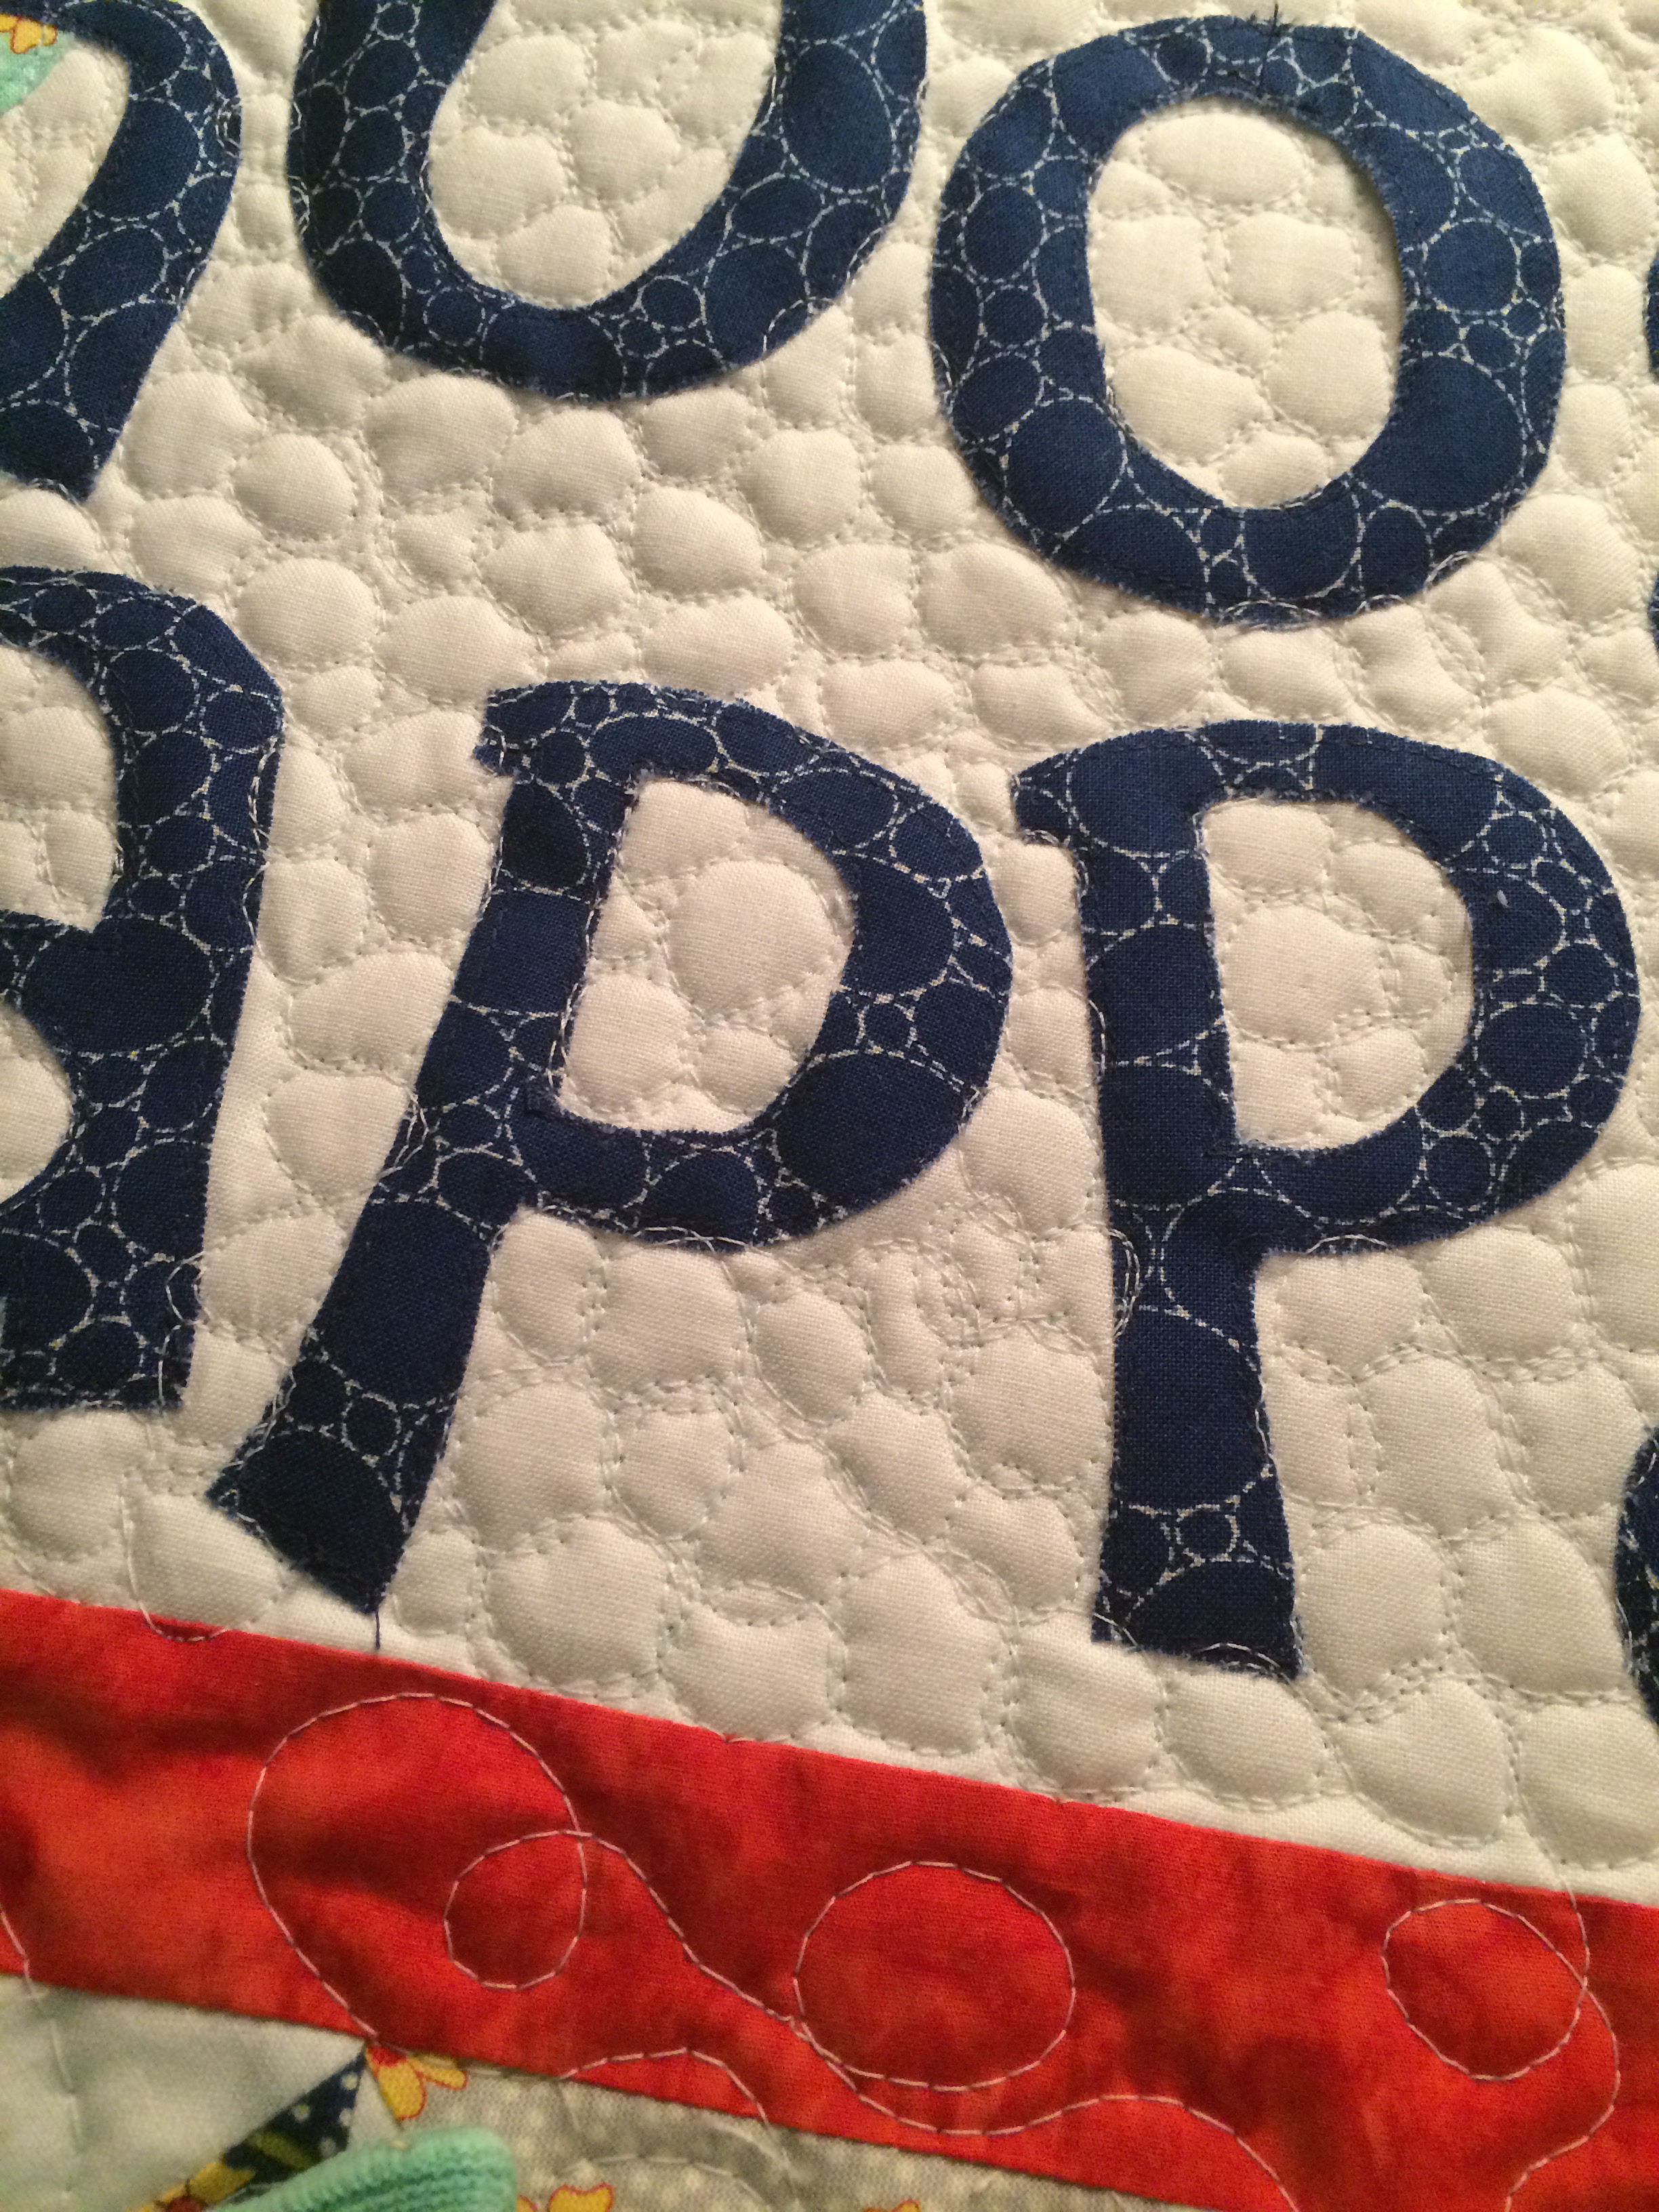
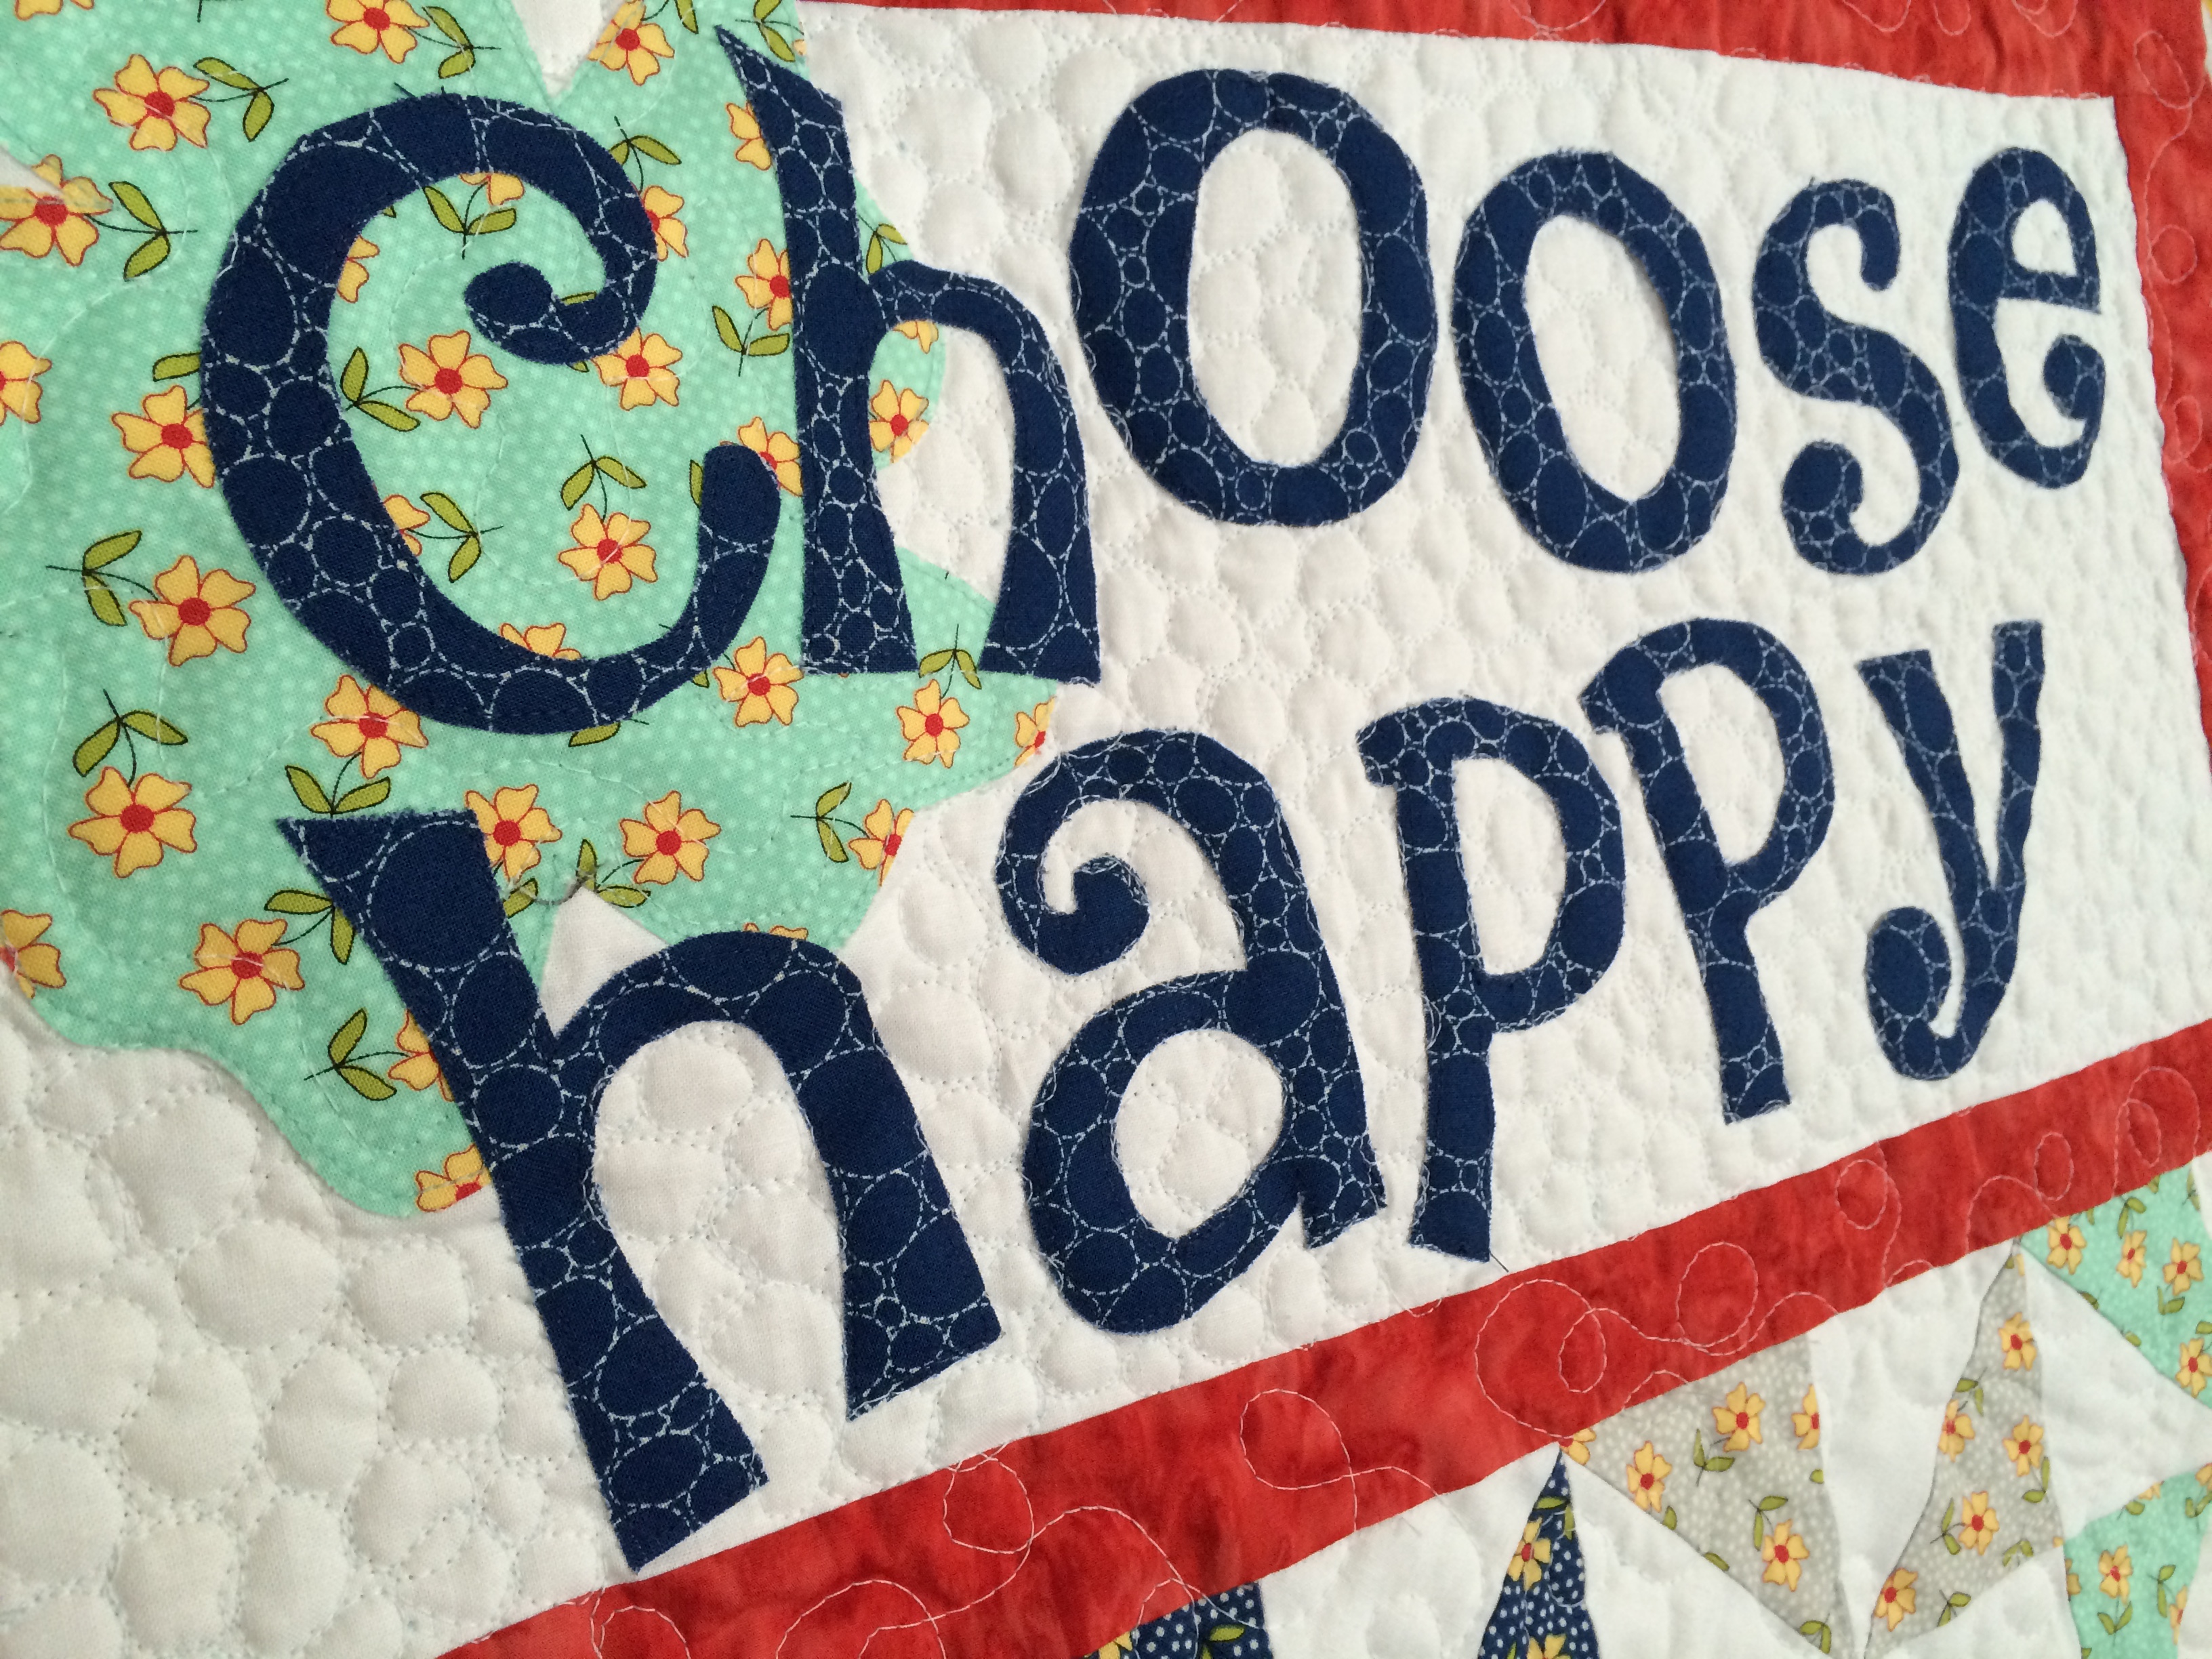
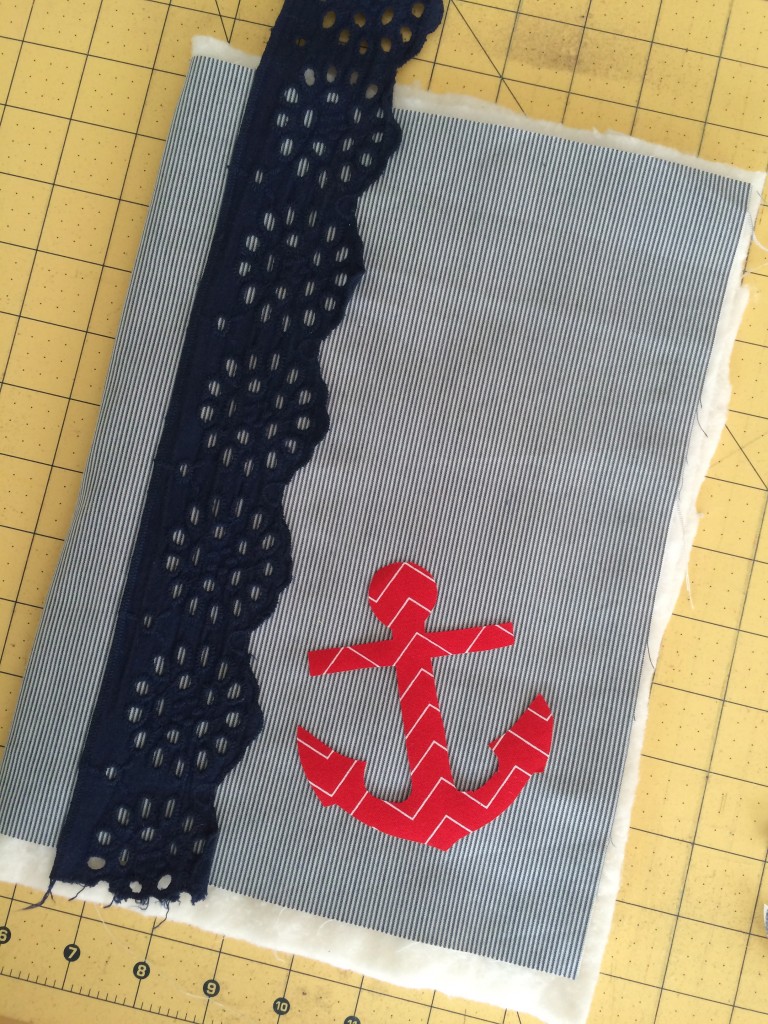
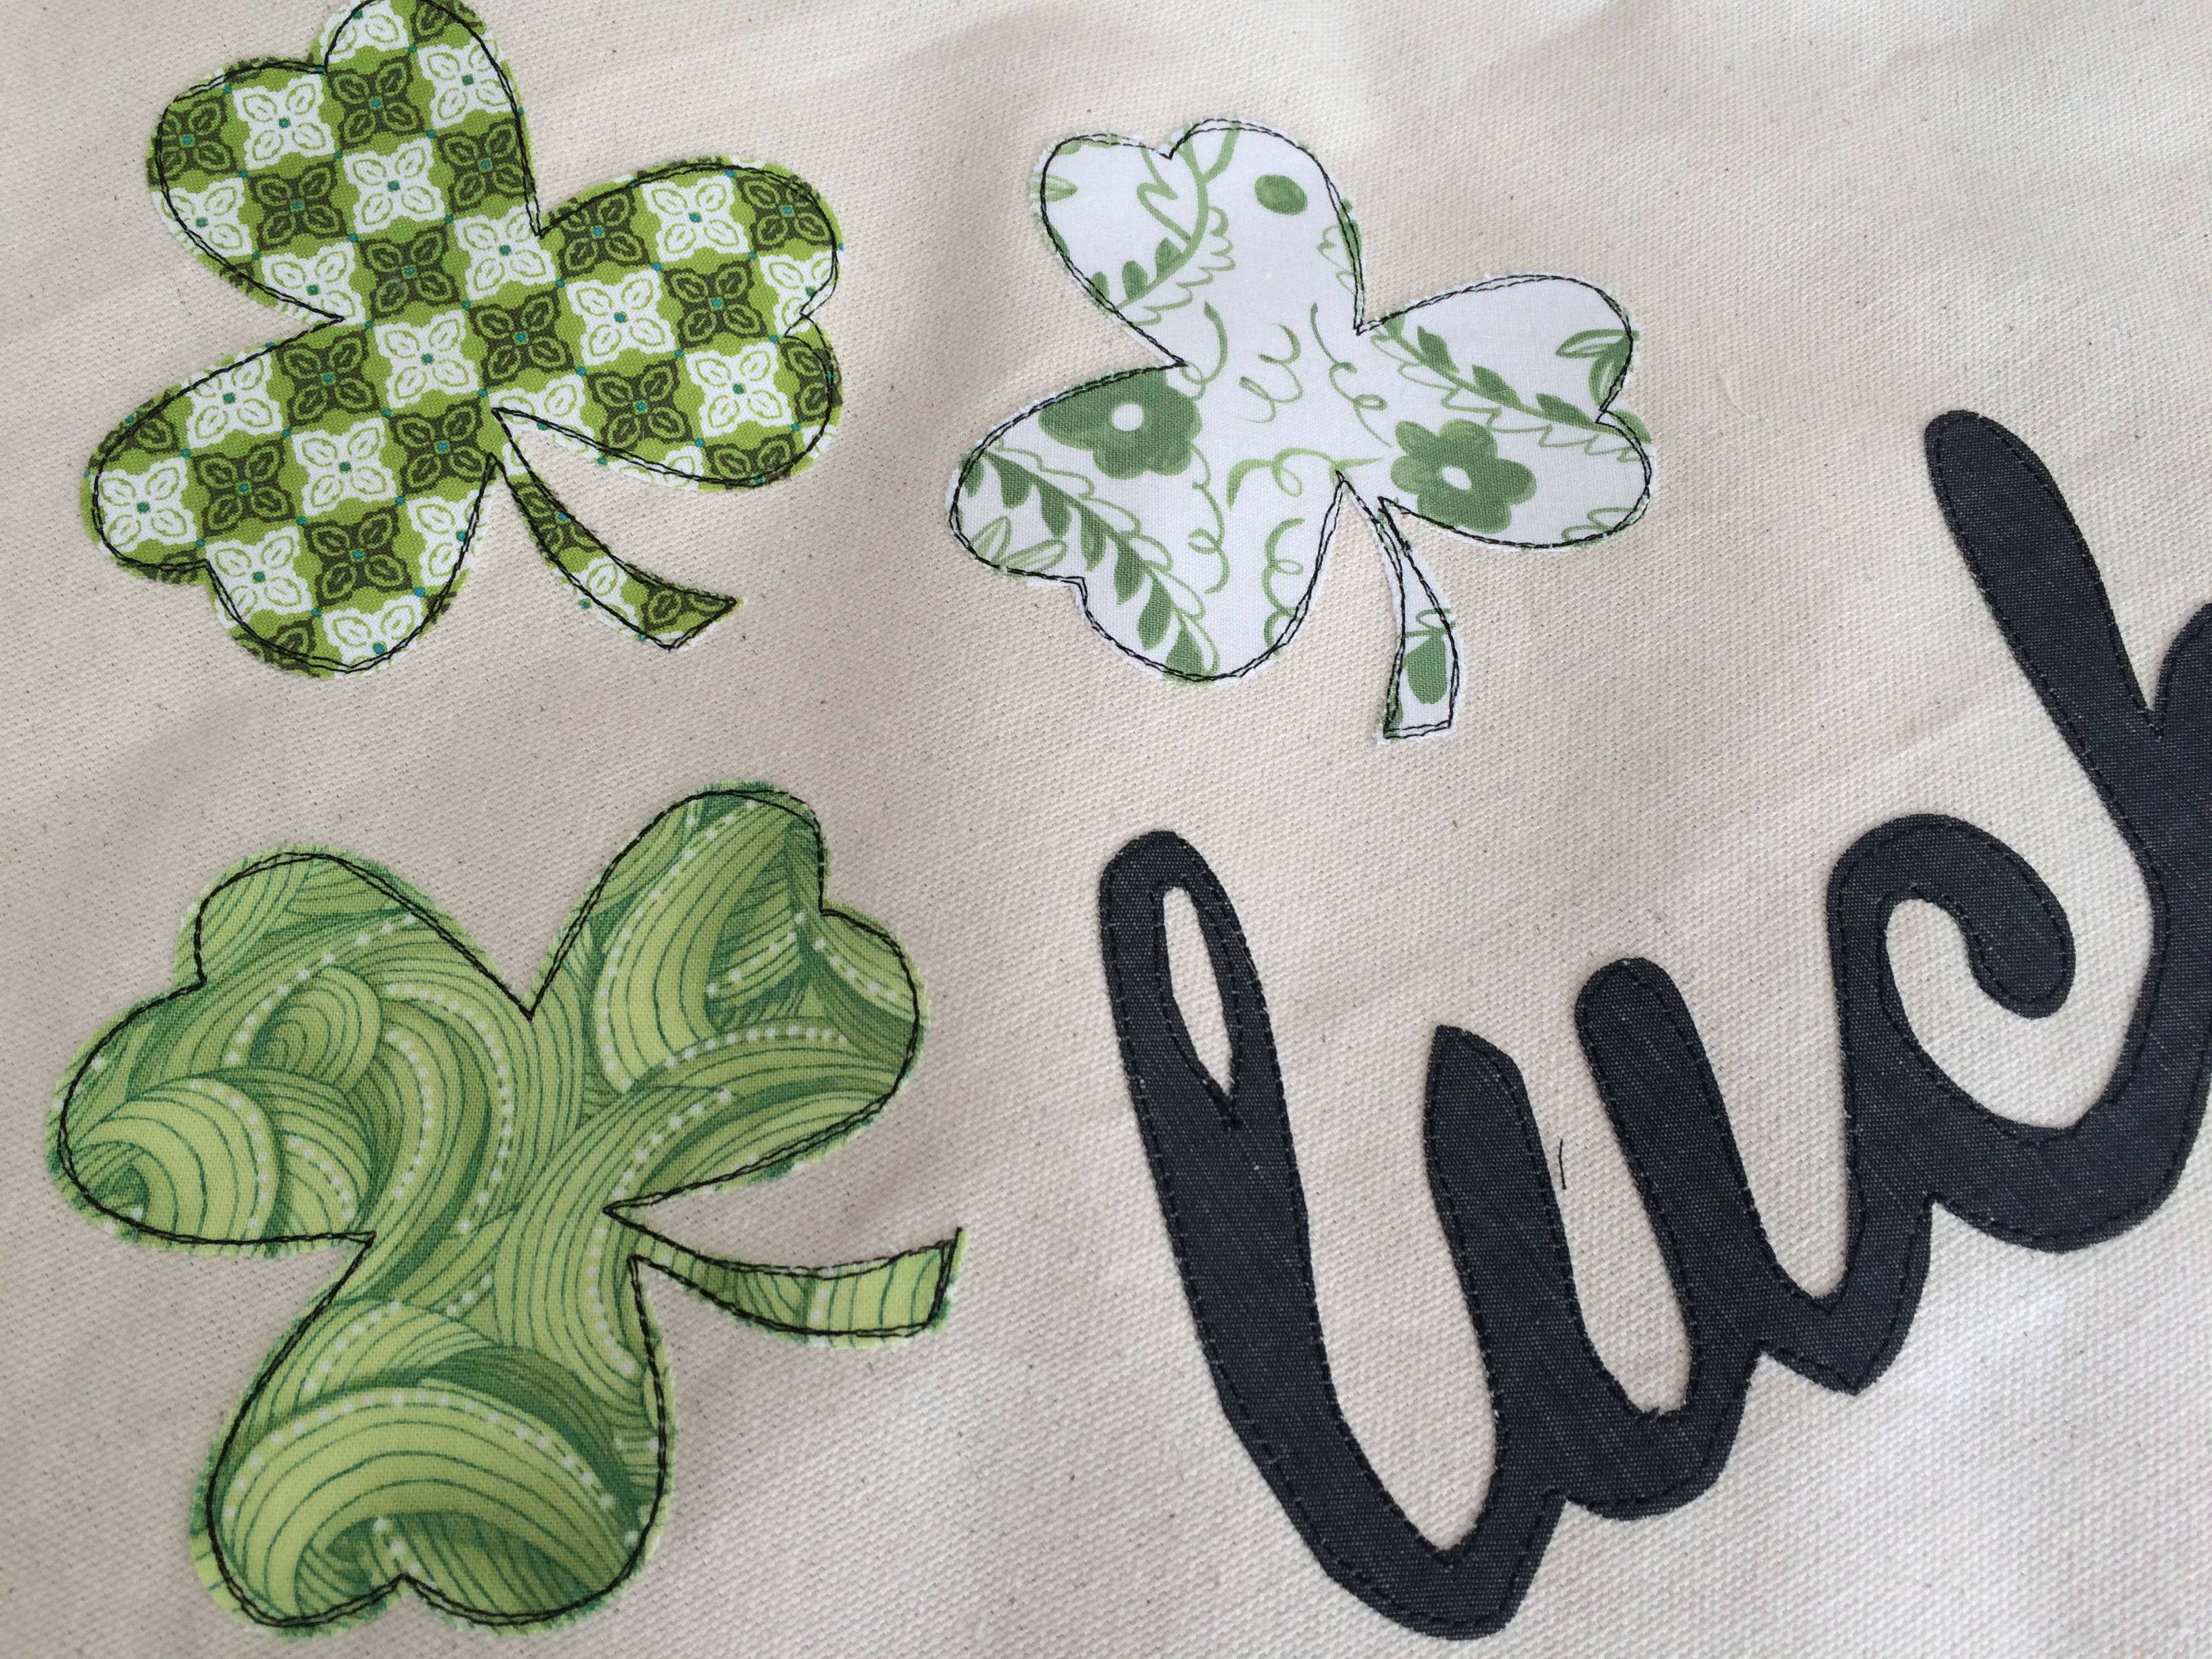
Position the letters on the white strip and press in place. Top stitch around each letter.
Sew the (4) blocks together and press seams open. Sew each of the rows together according to the layout diagram. Quilt, bind, and let the cat have a nap on it:)
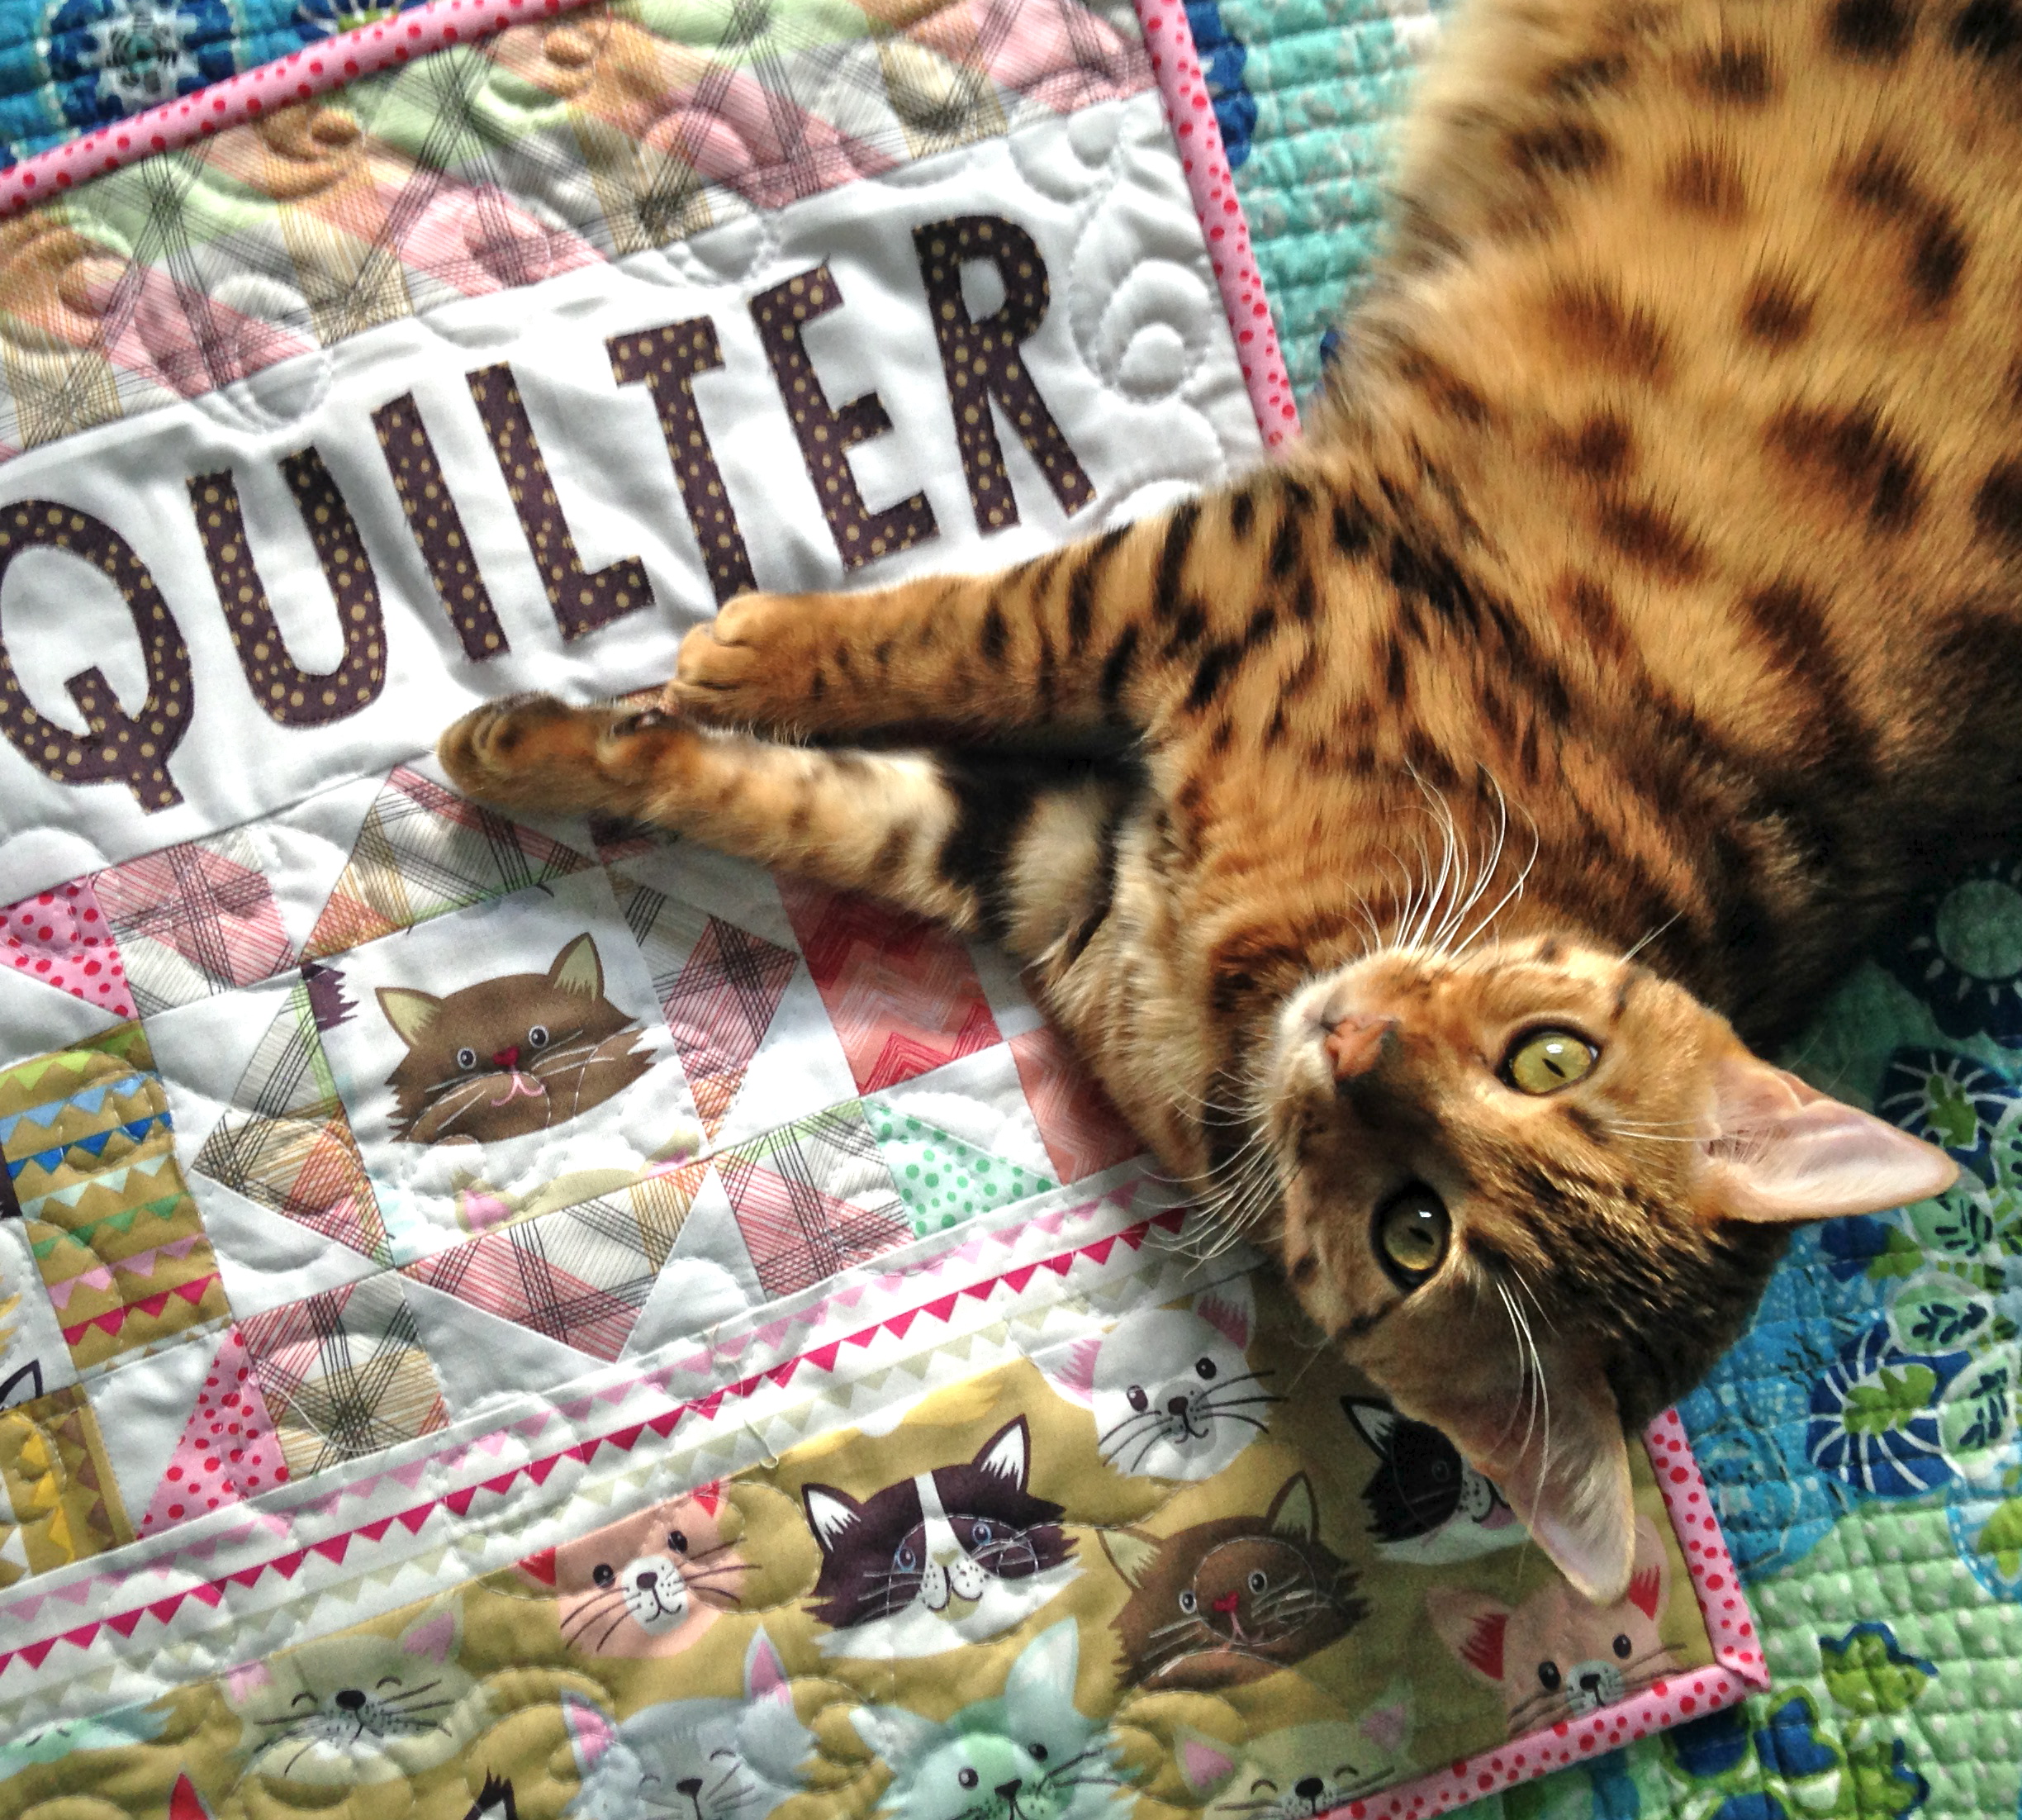
Mufasa loves it! and I hope you do too!!!


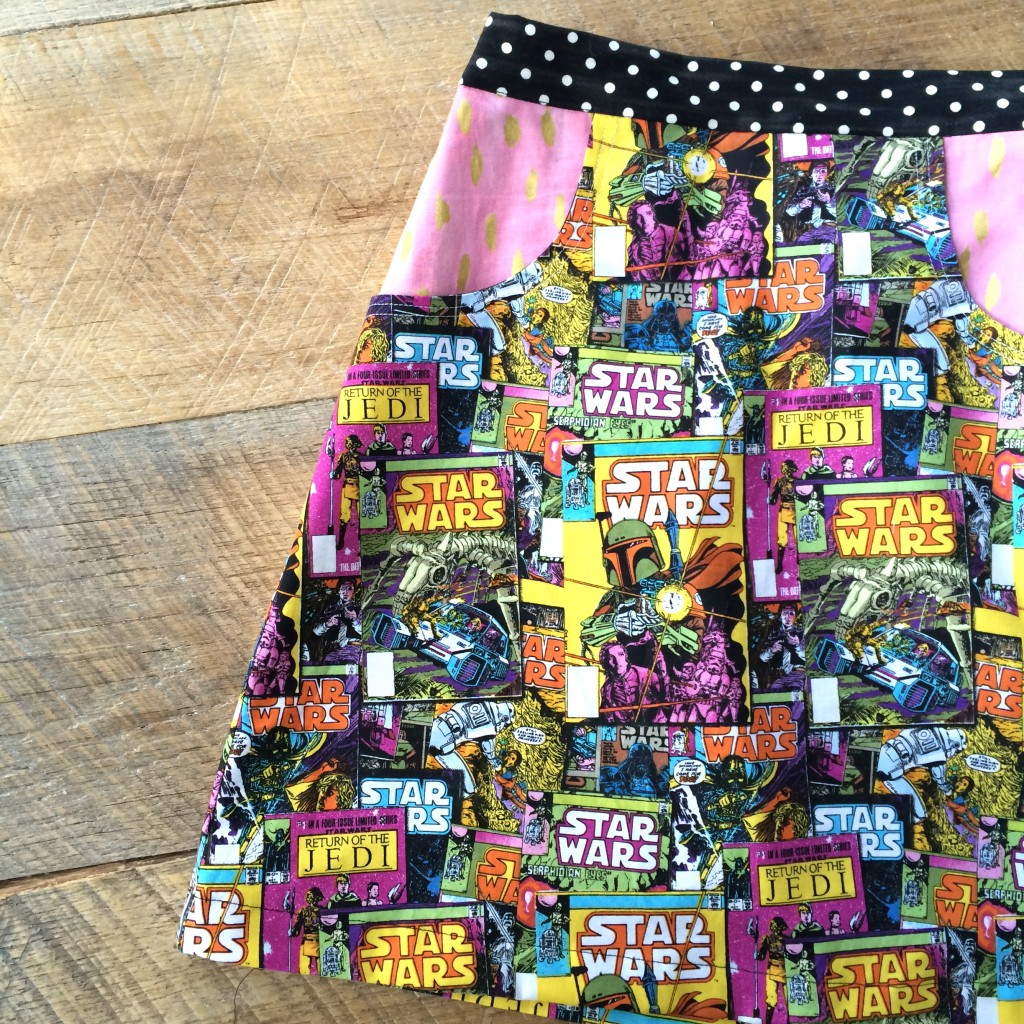
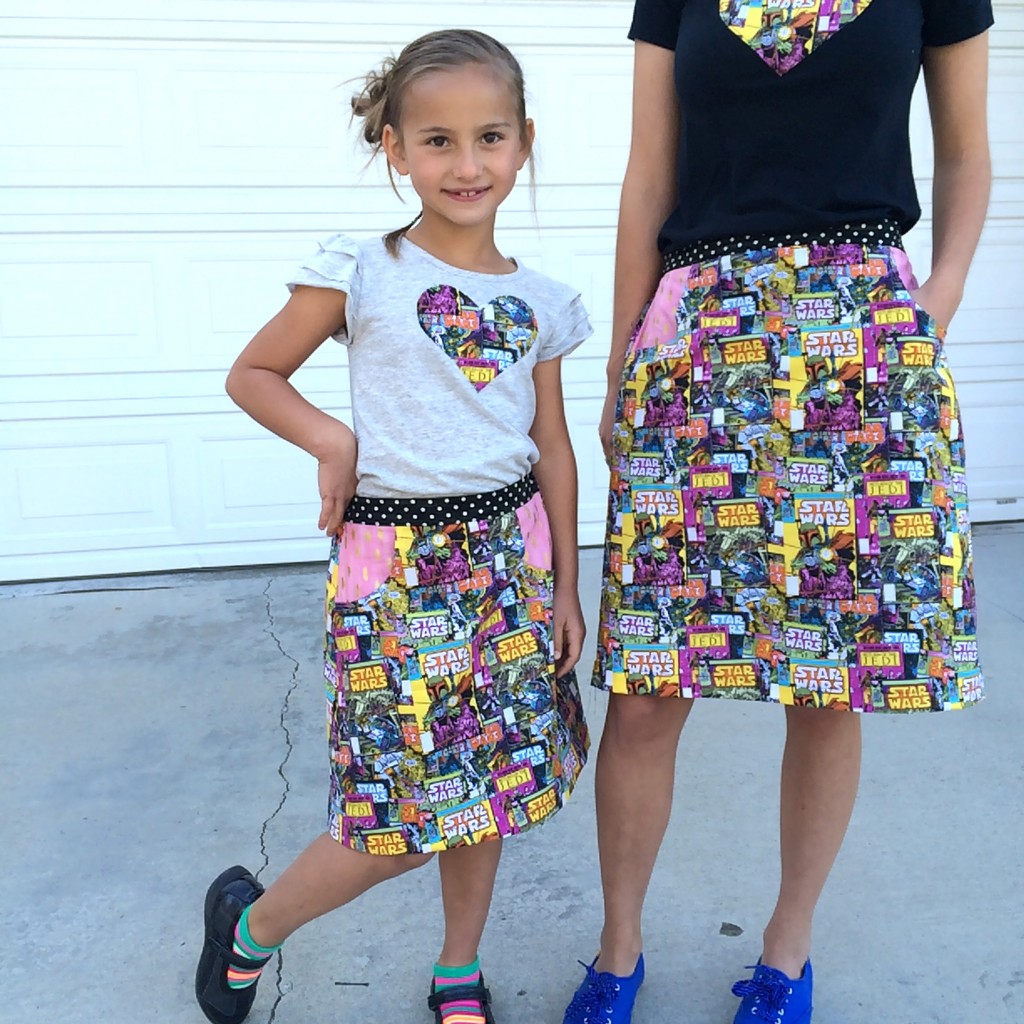
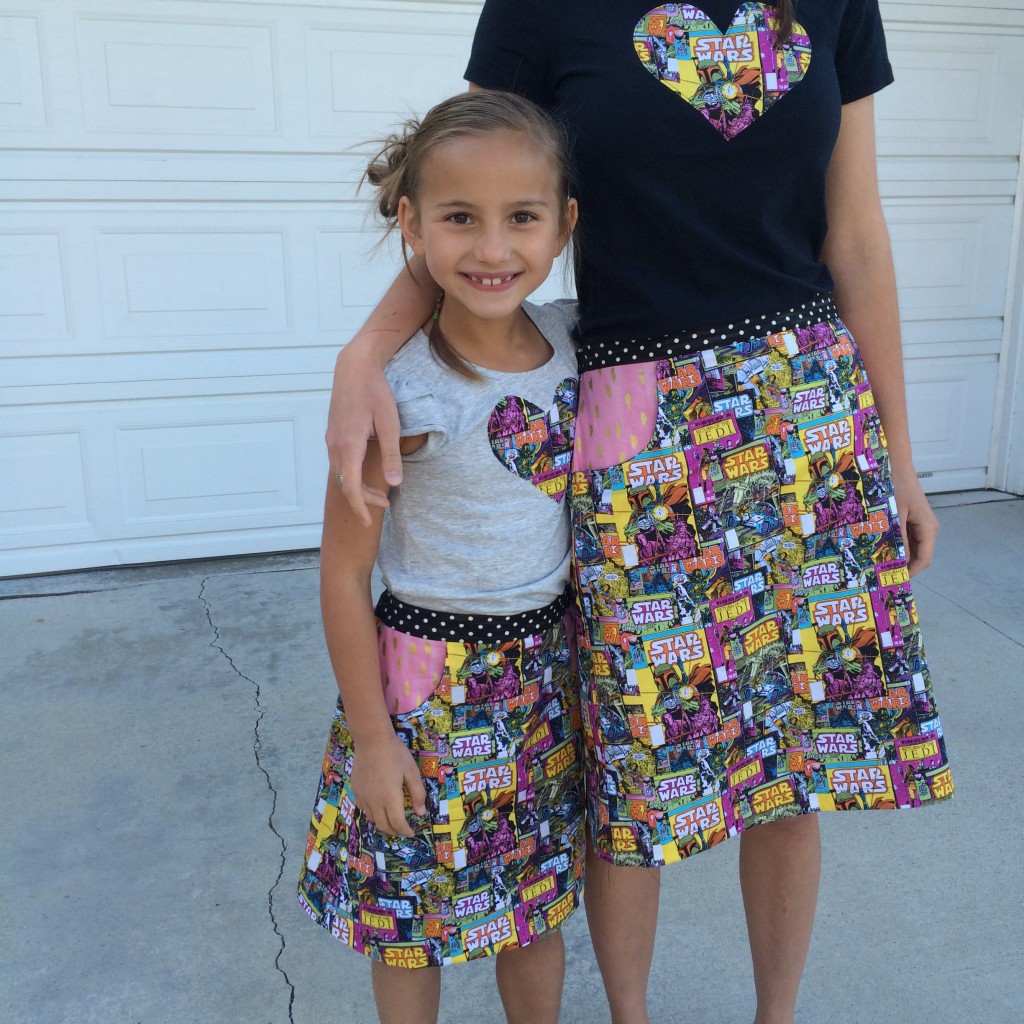
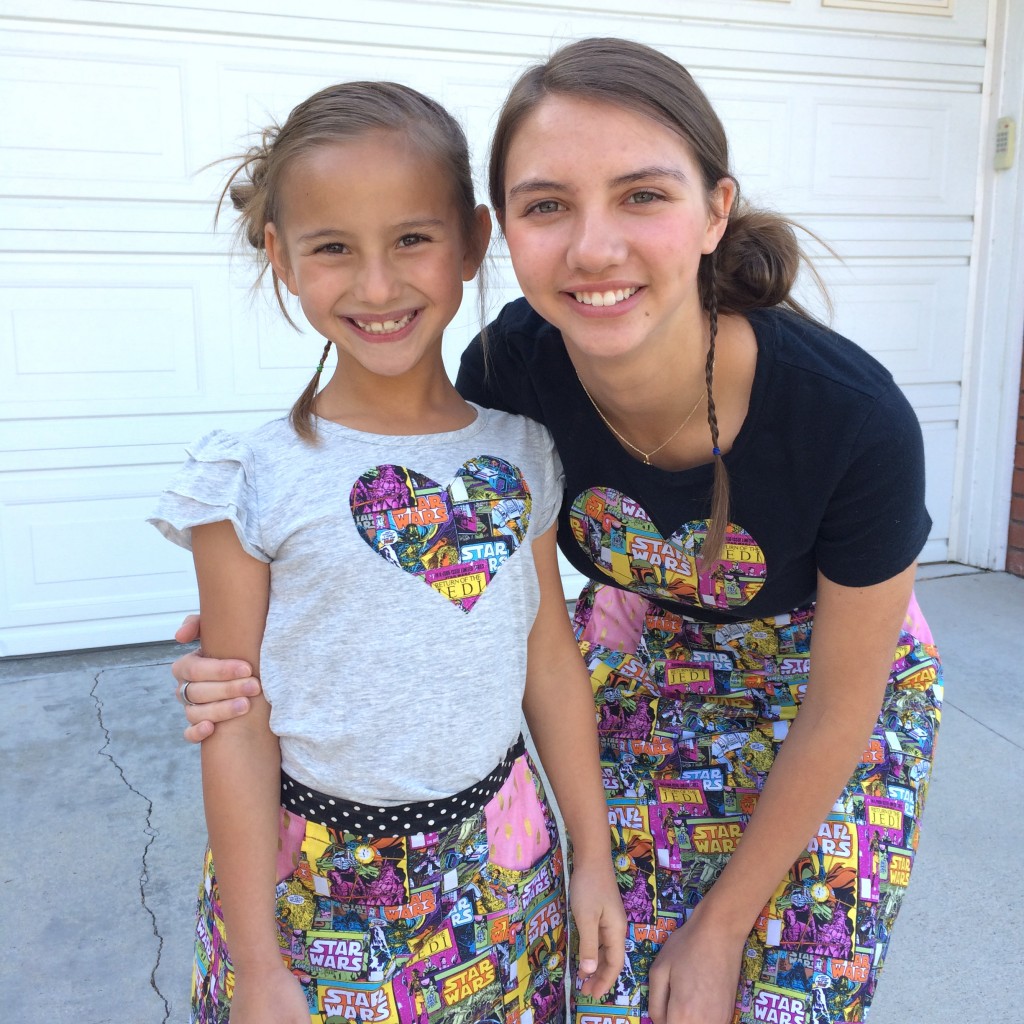
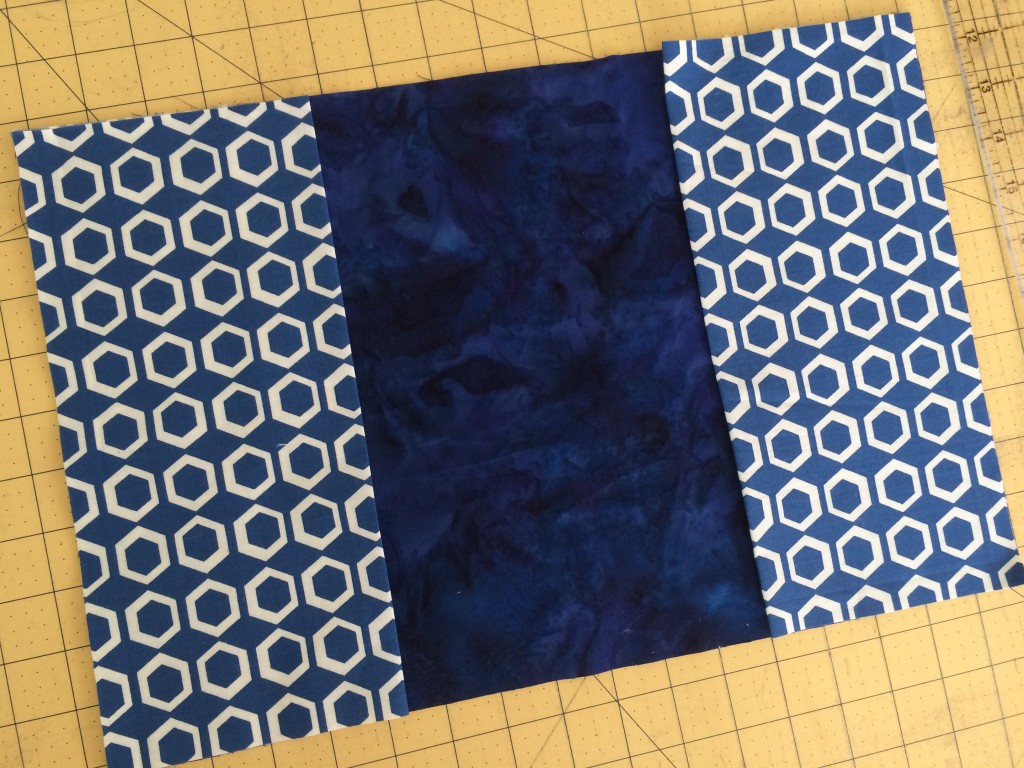
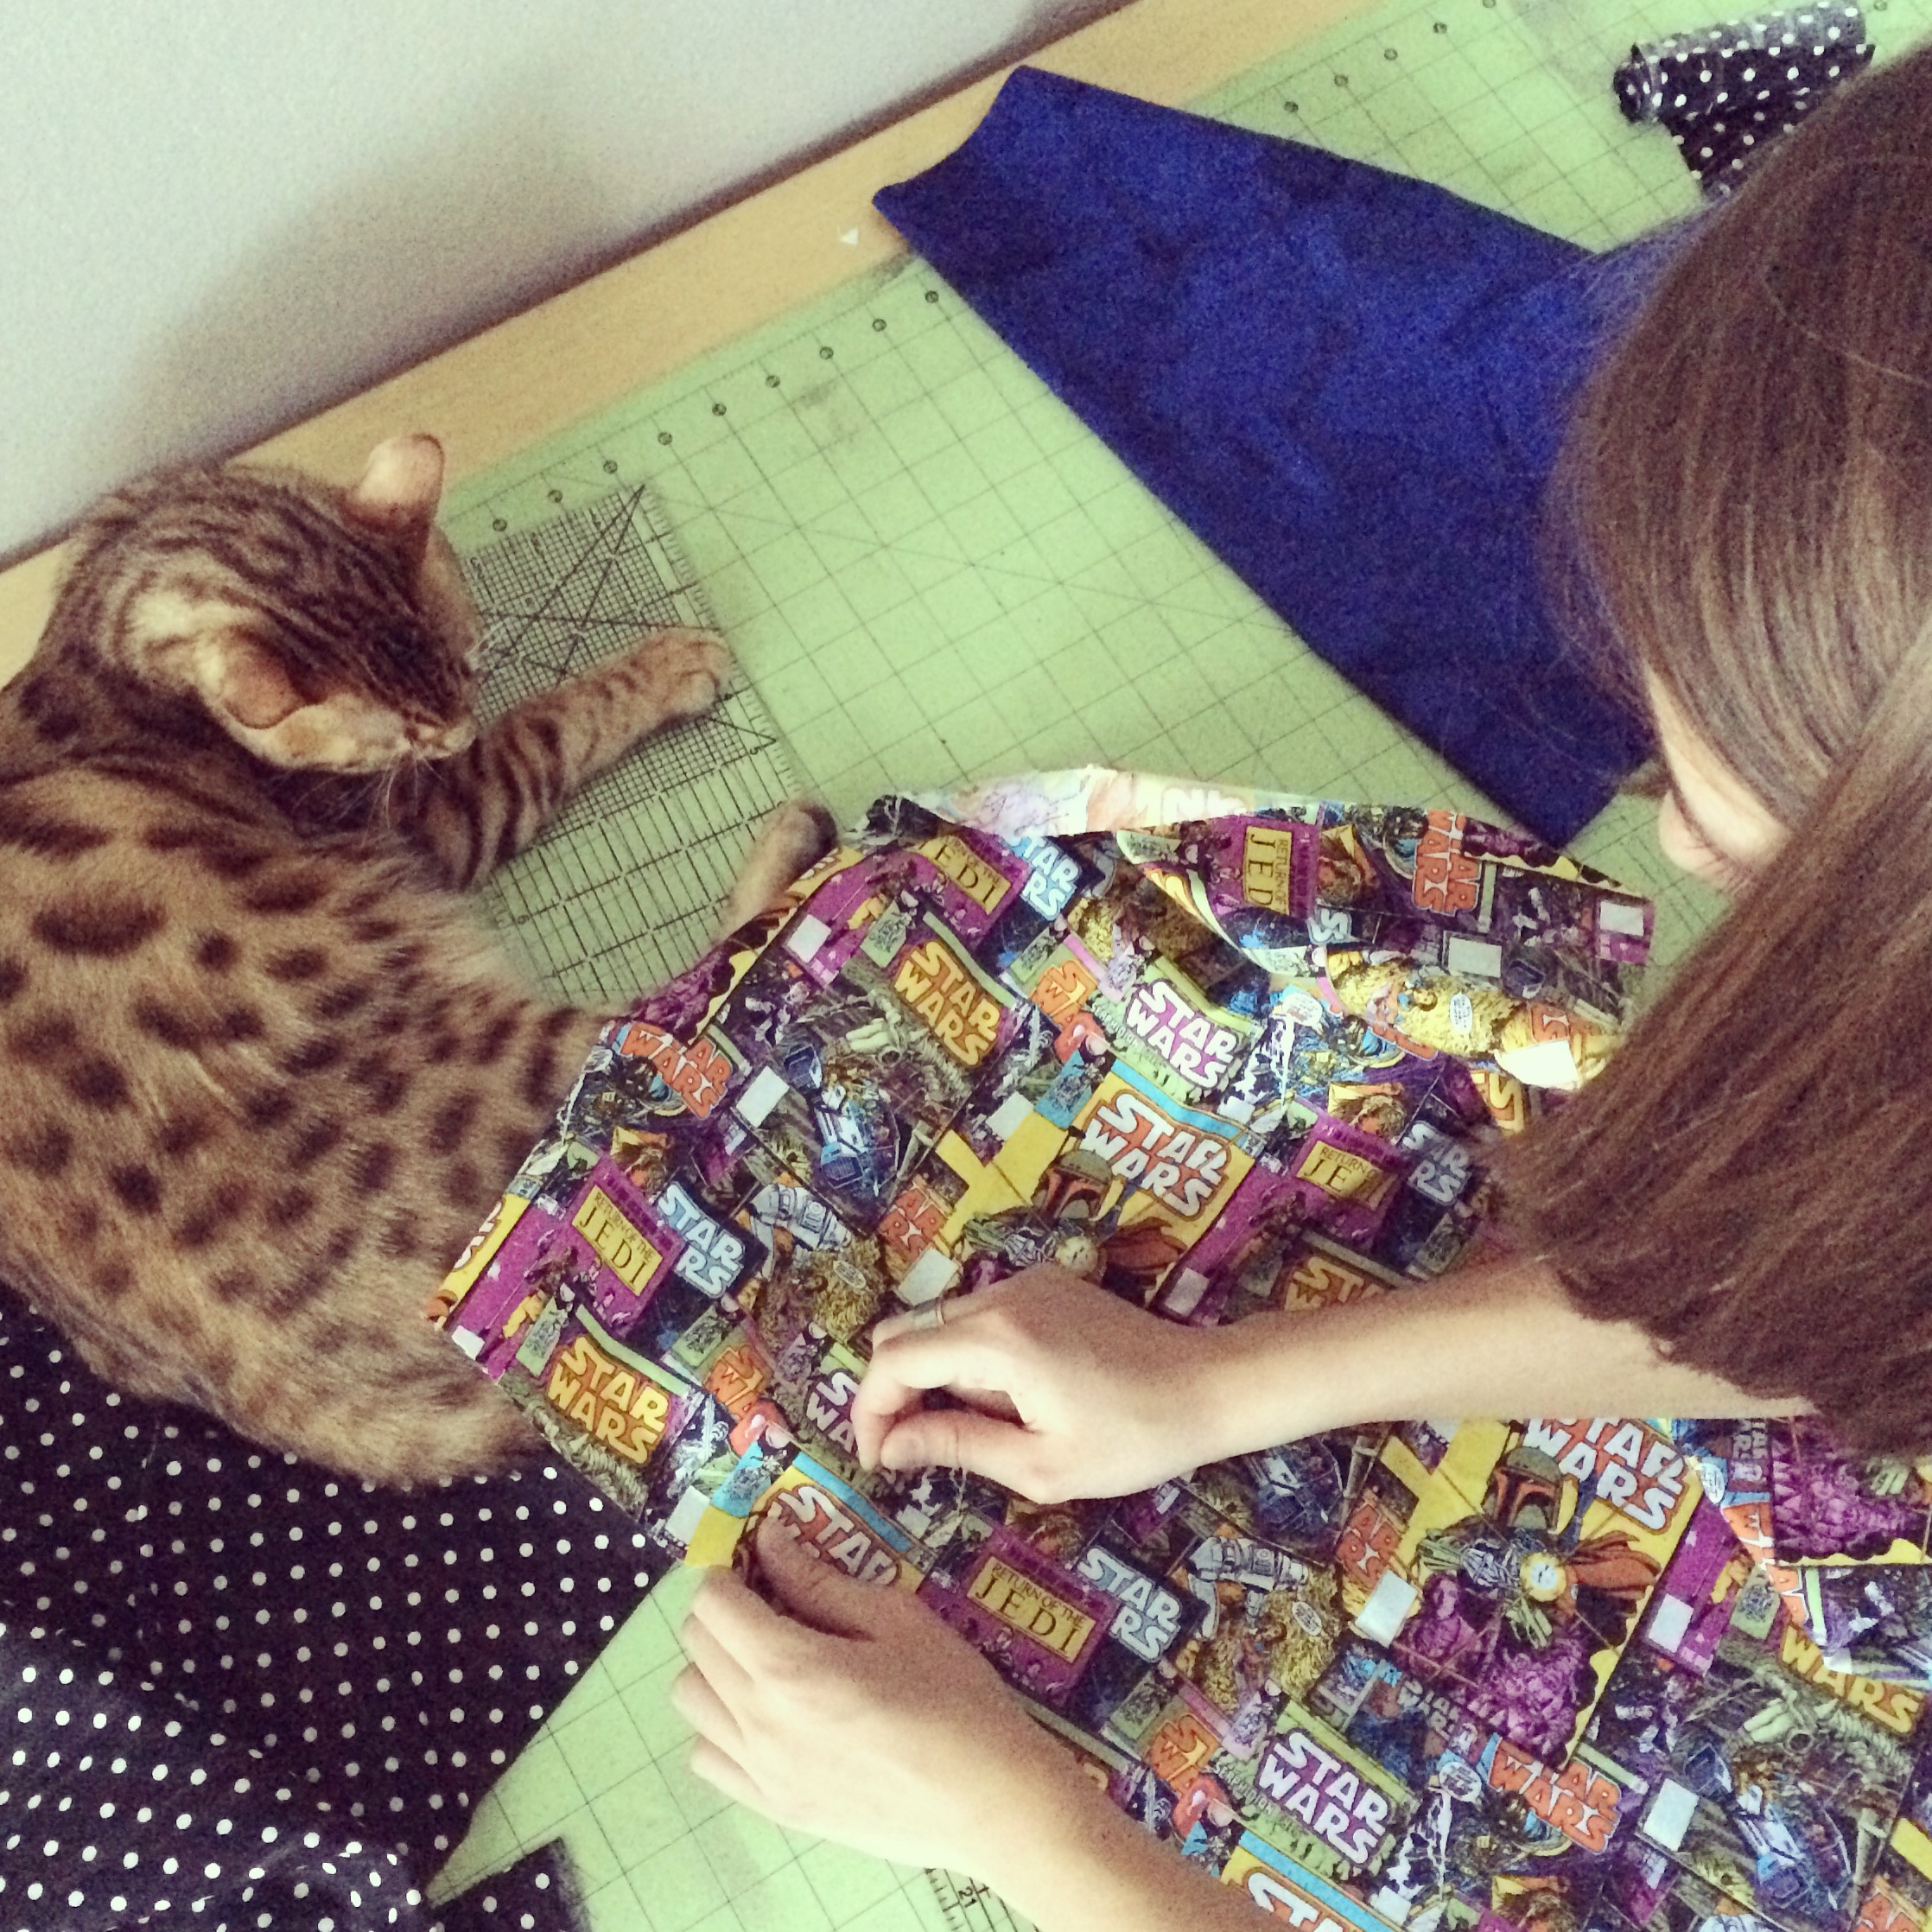
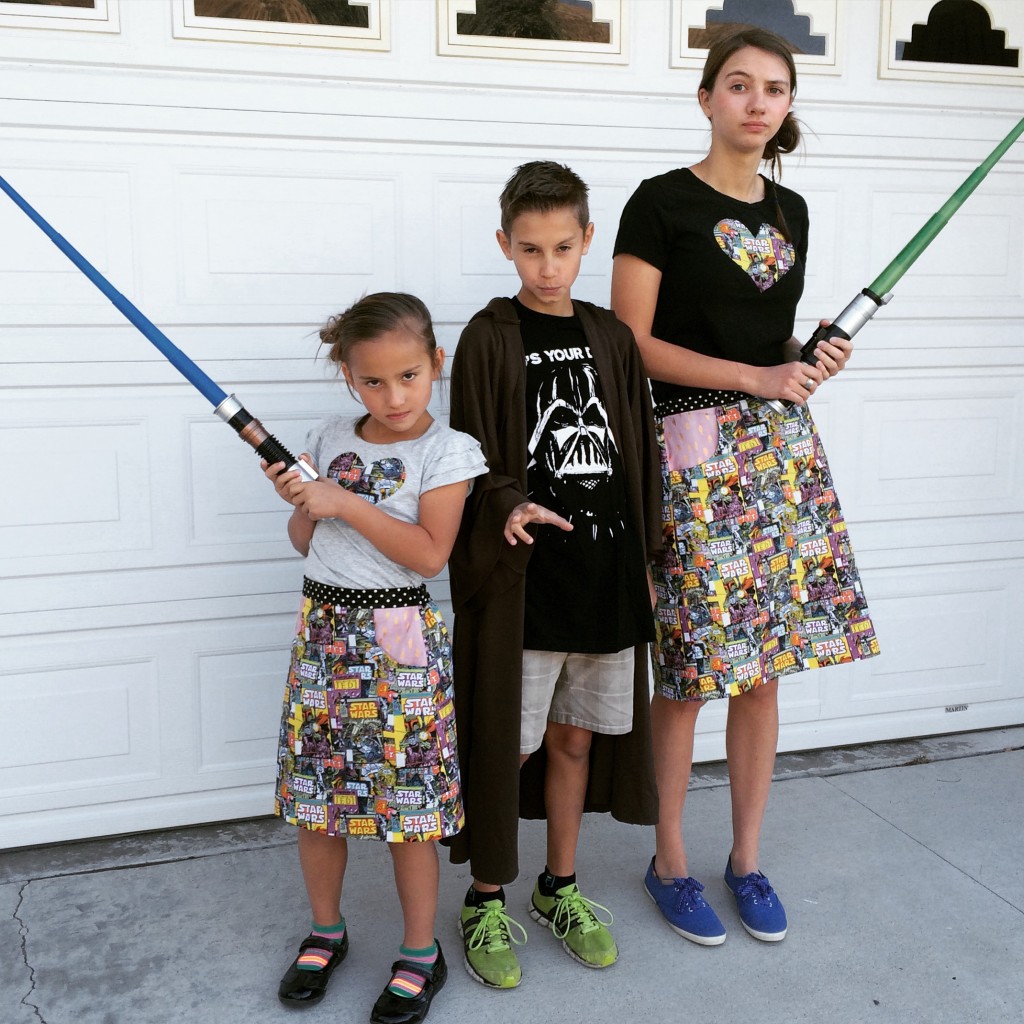 May the 4th is a HUGE holiday in our family – yes I said holiday!!!!! For some reason we are all Star Wars Nerds! We needed to do a little sewing to celebrate this totally awesome day and to show our true level of nerdiness! When I saw this fabric I knew it was perfect for skirts for the girls – I love that there is pink and aqua in it!
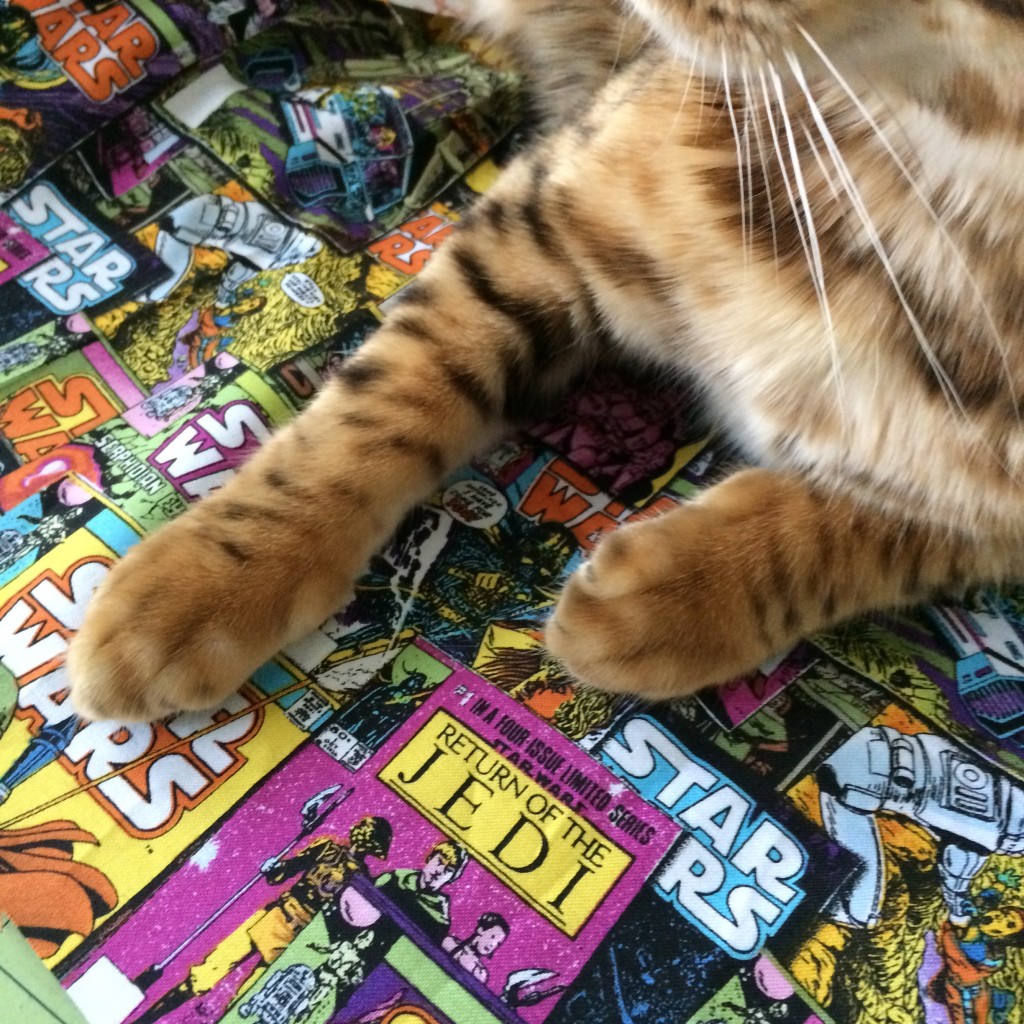 I immediately went to my
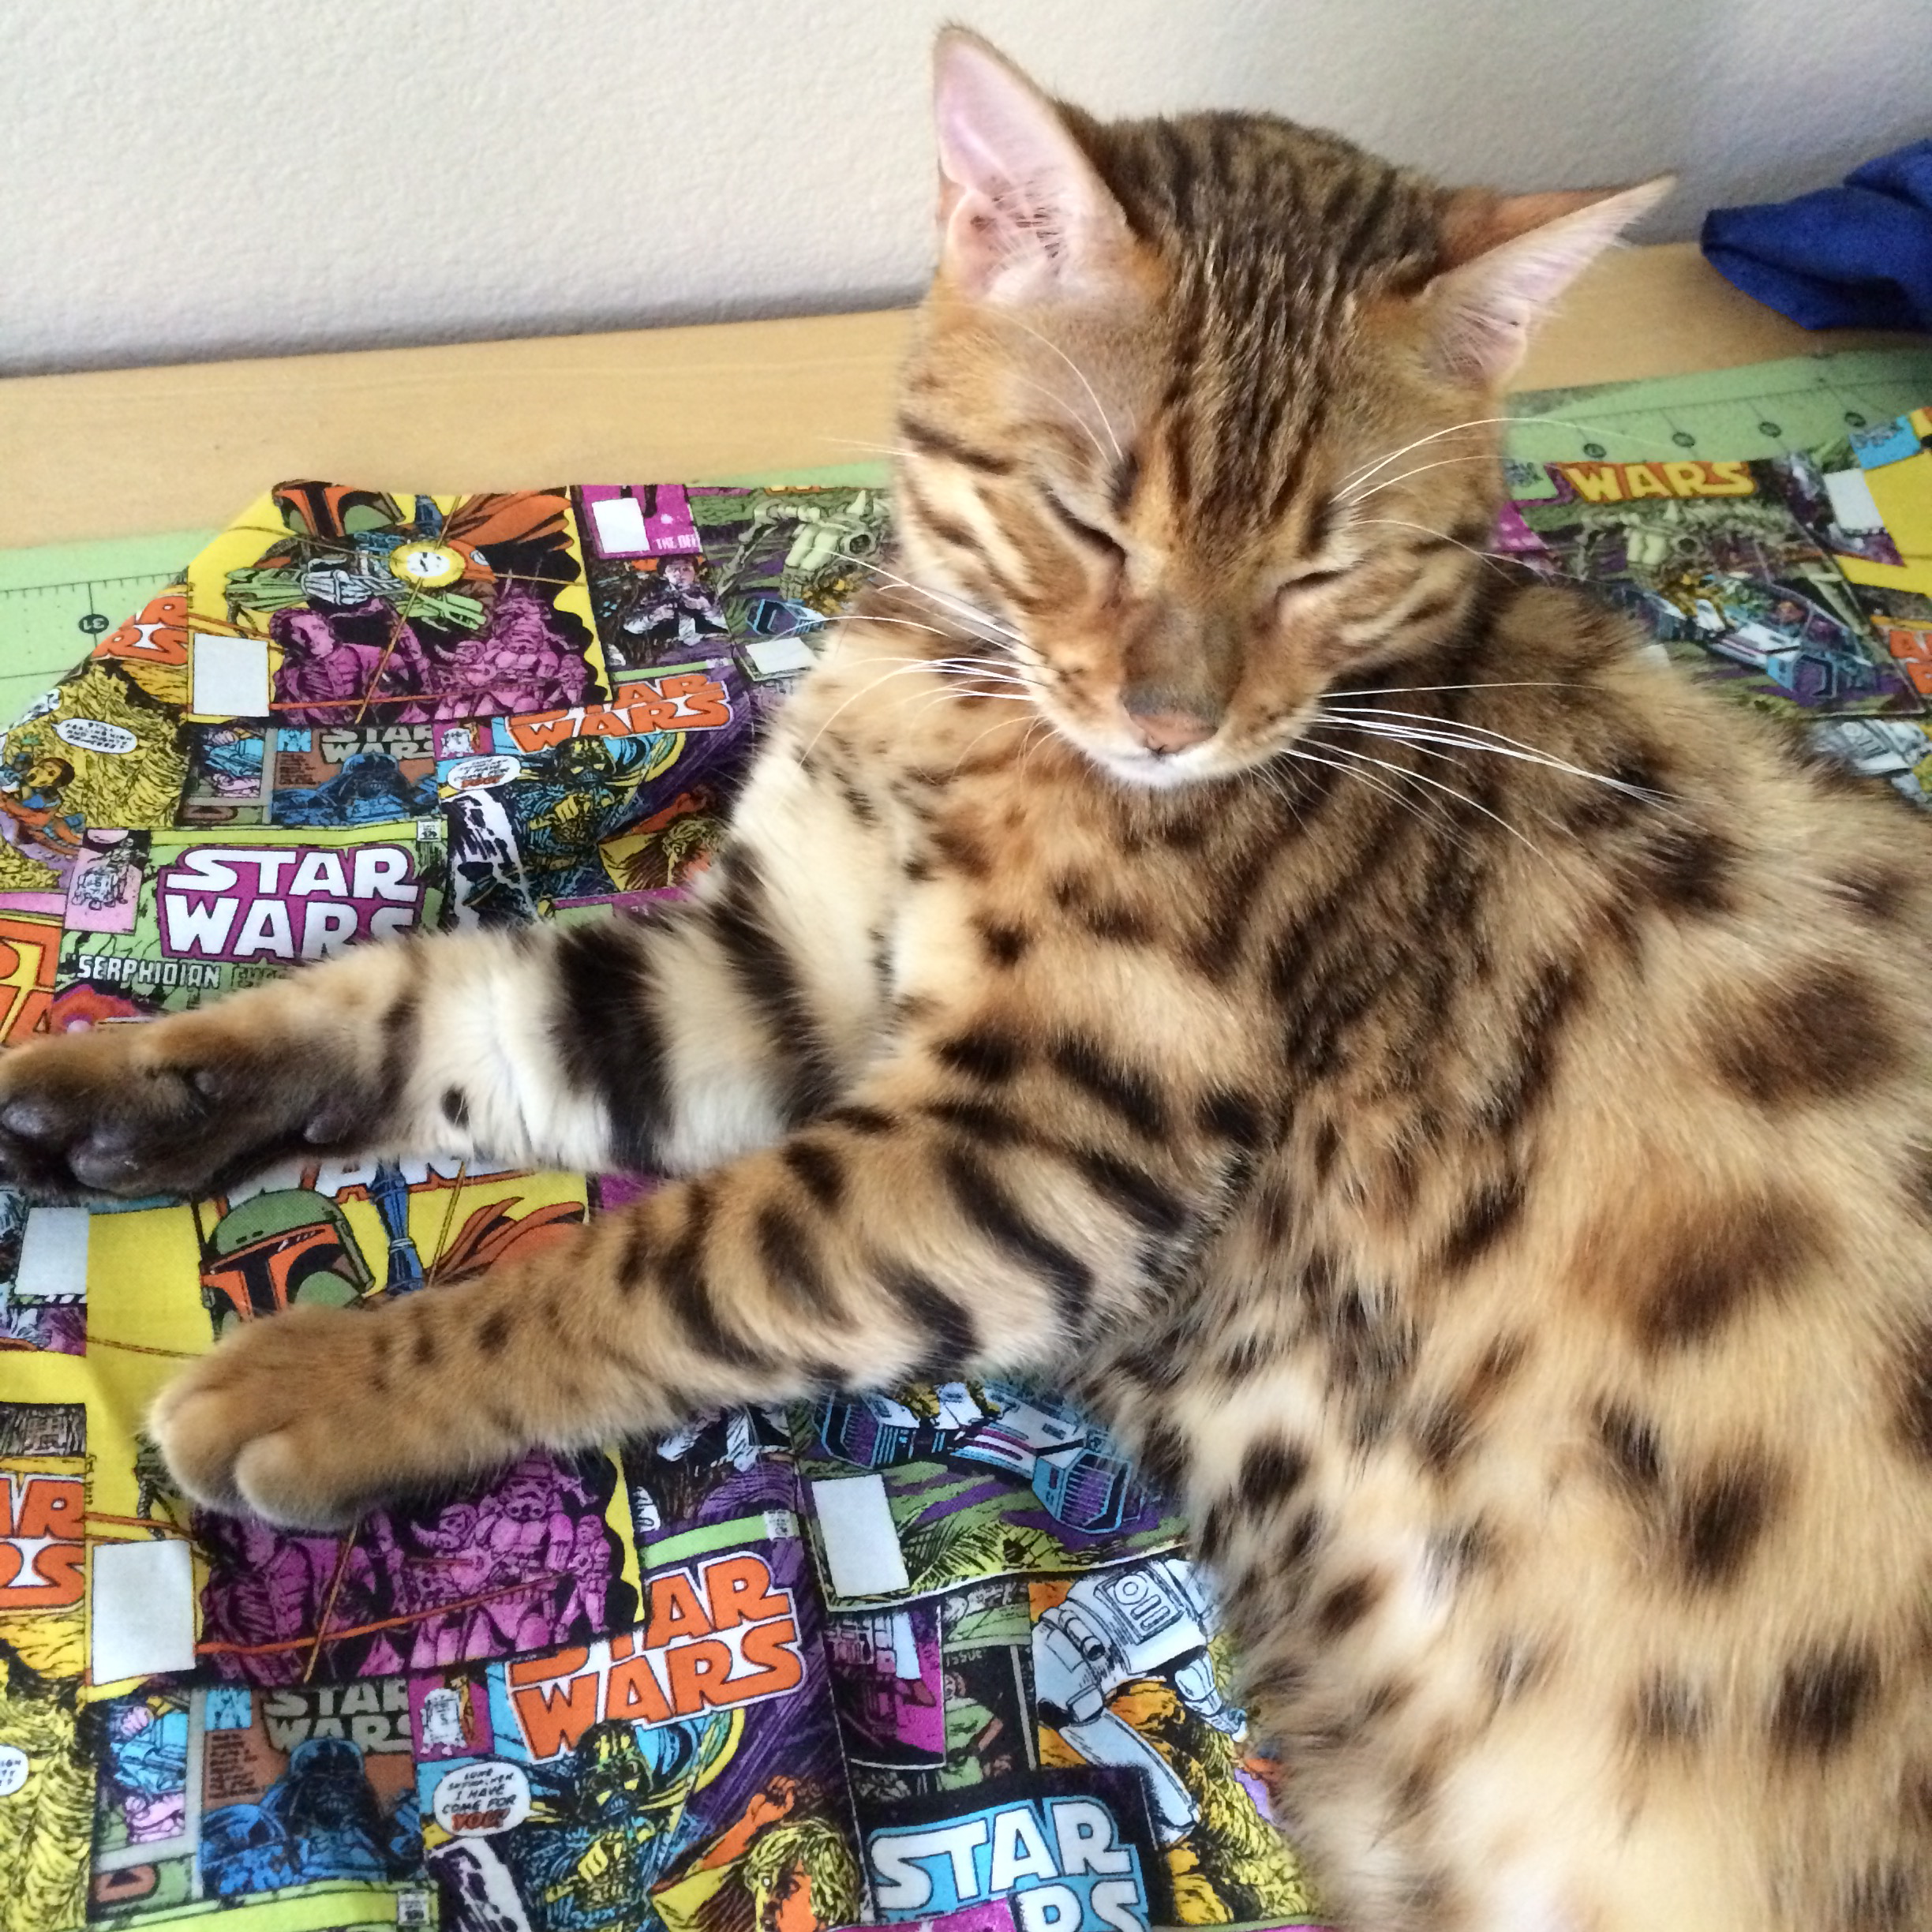


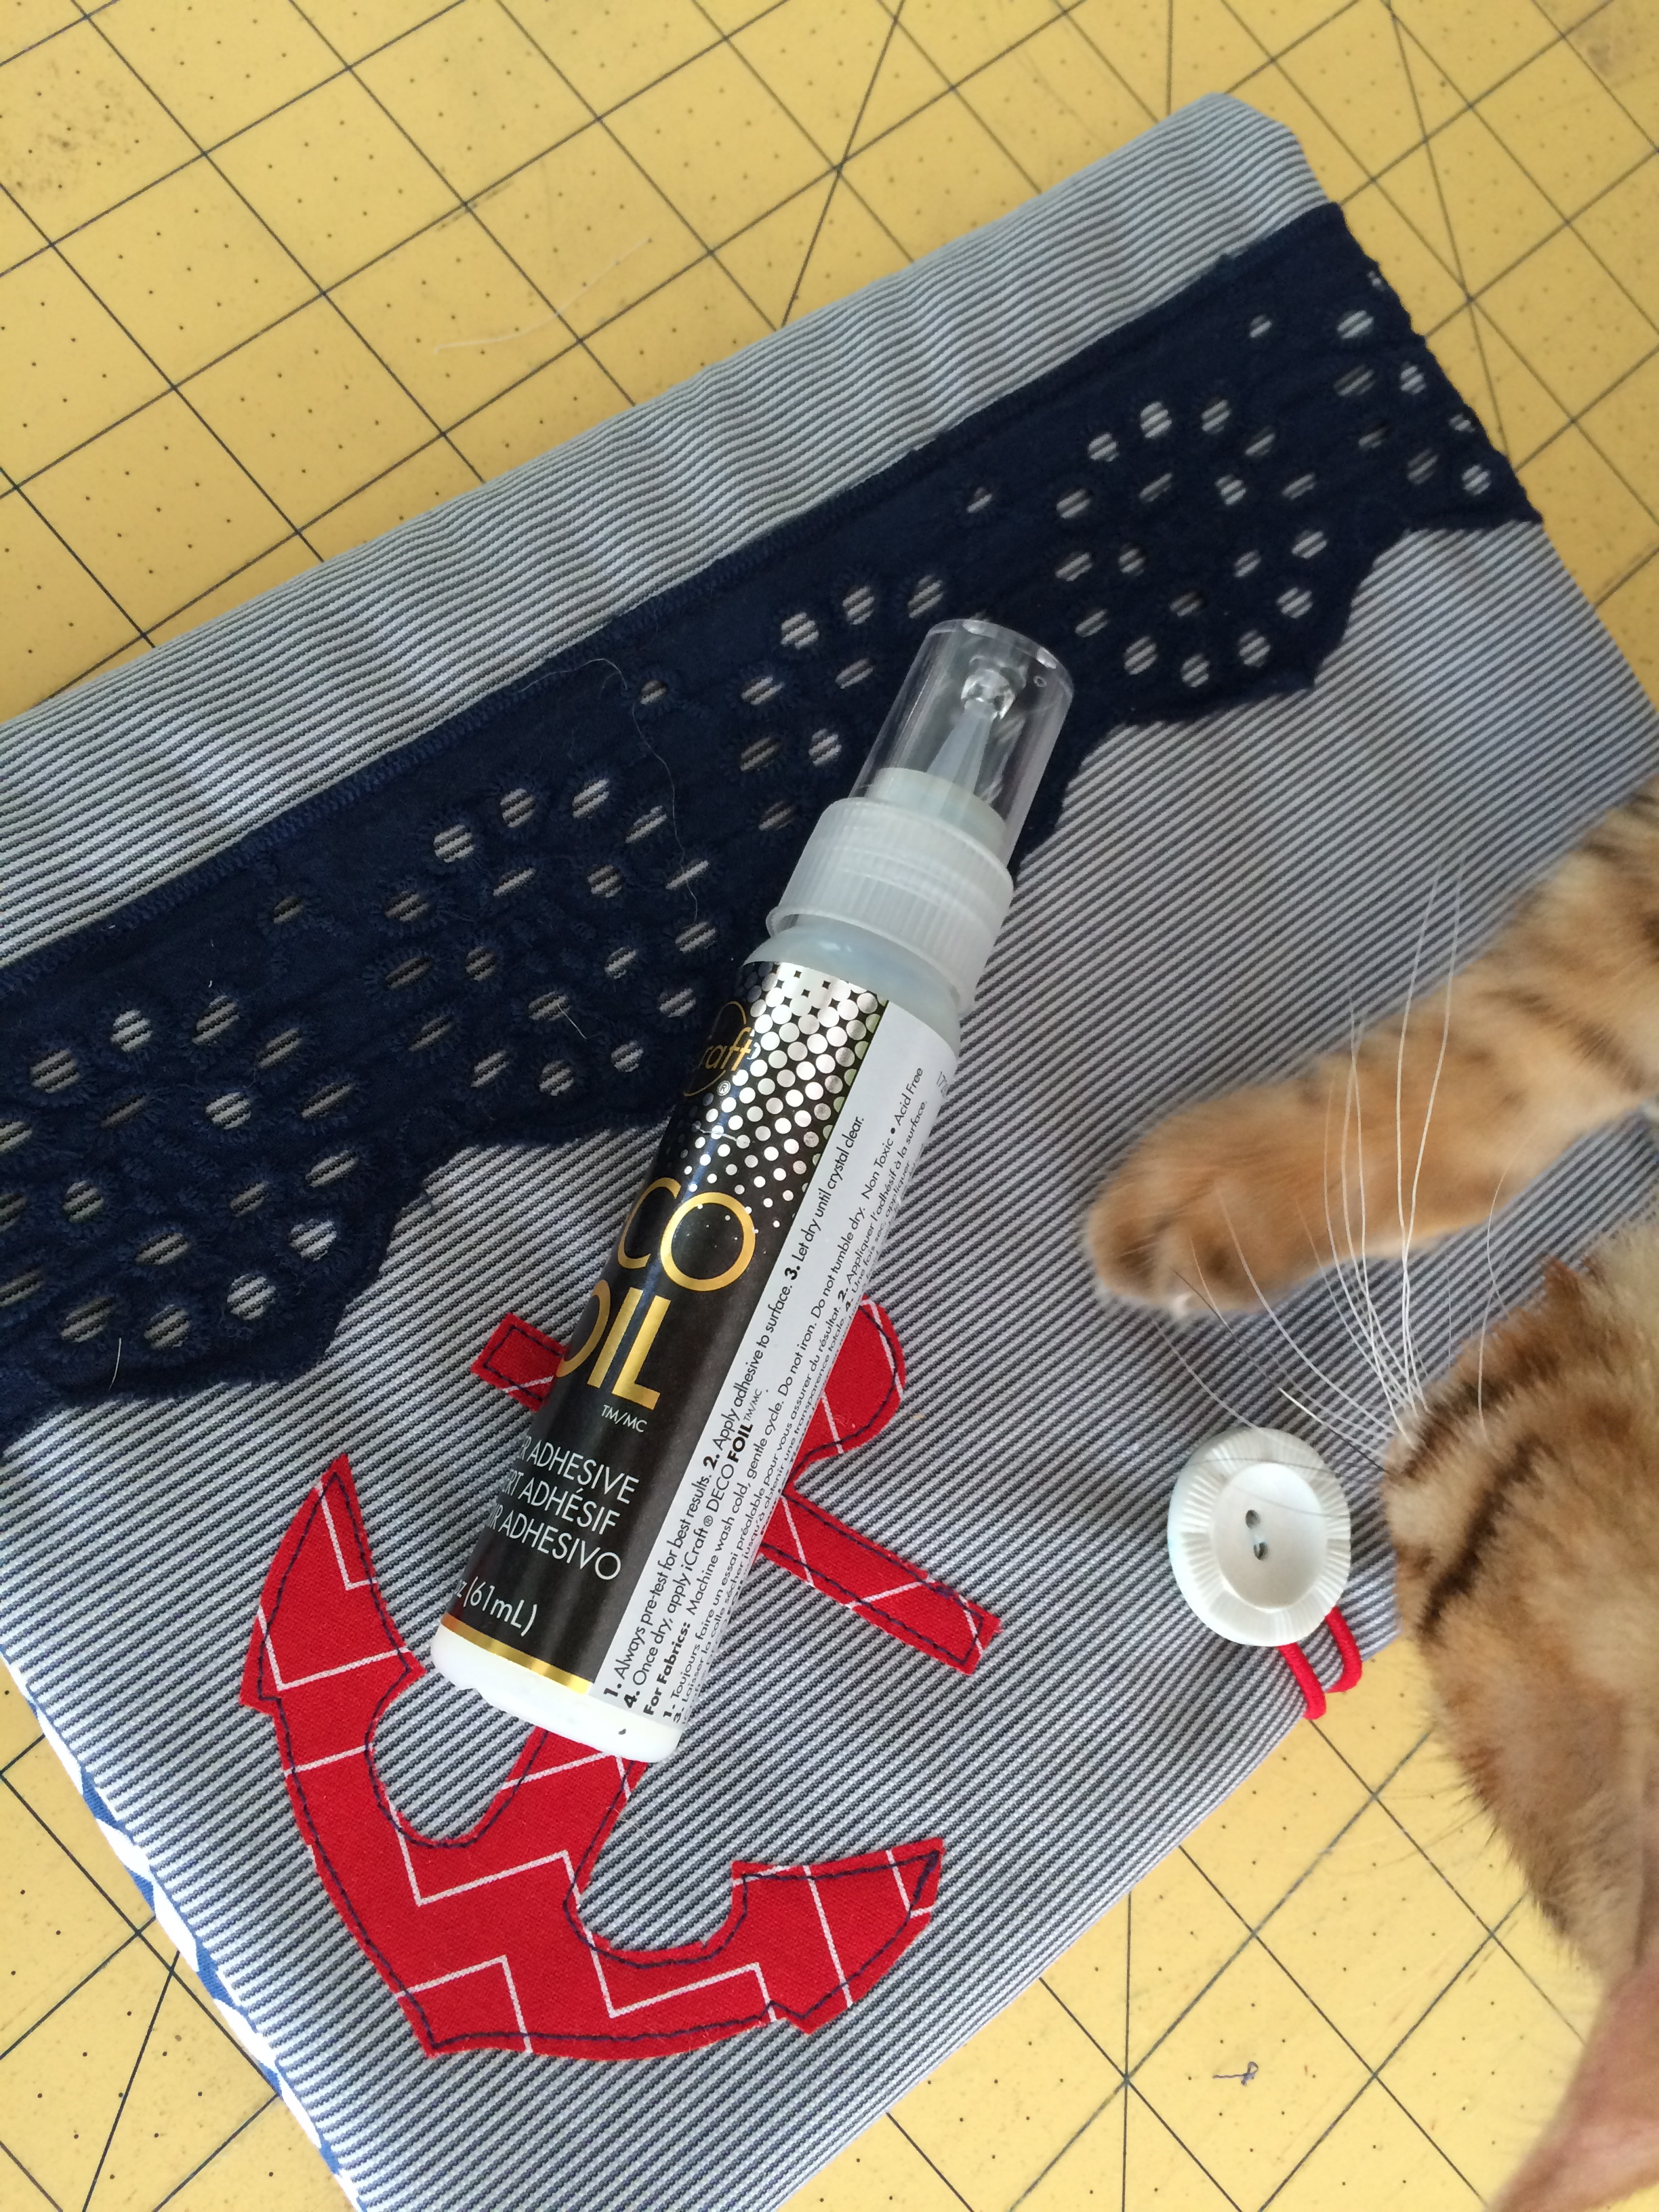

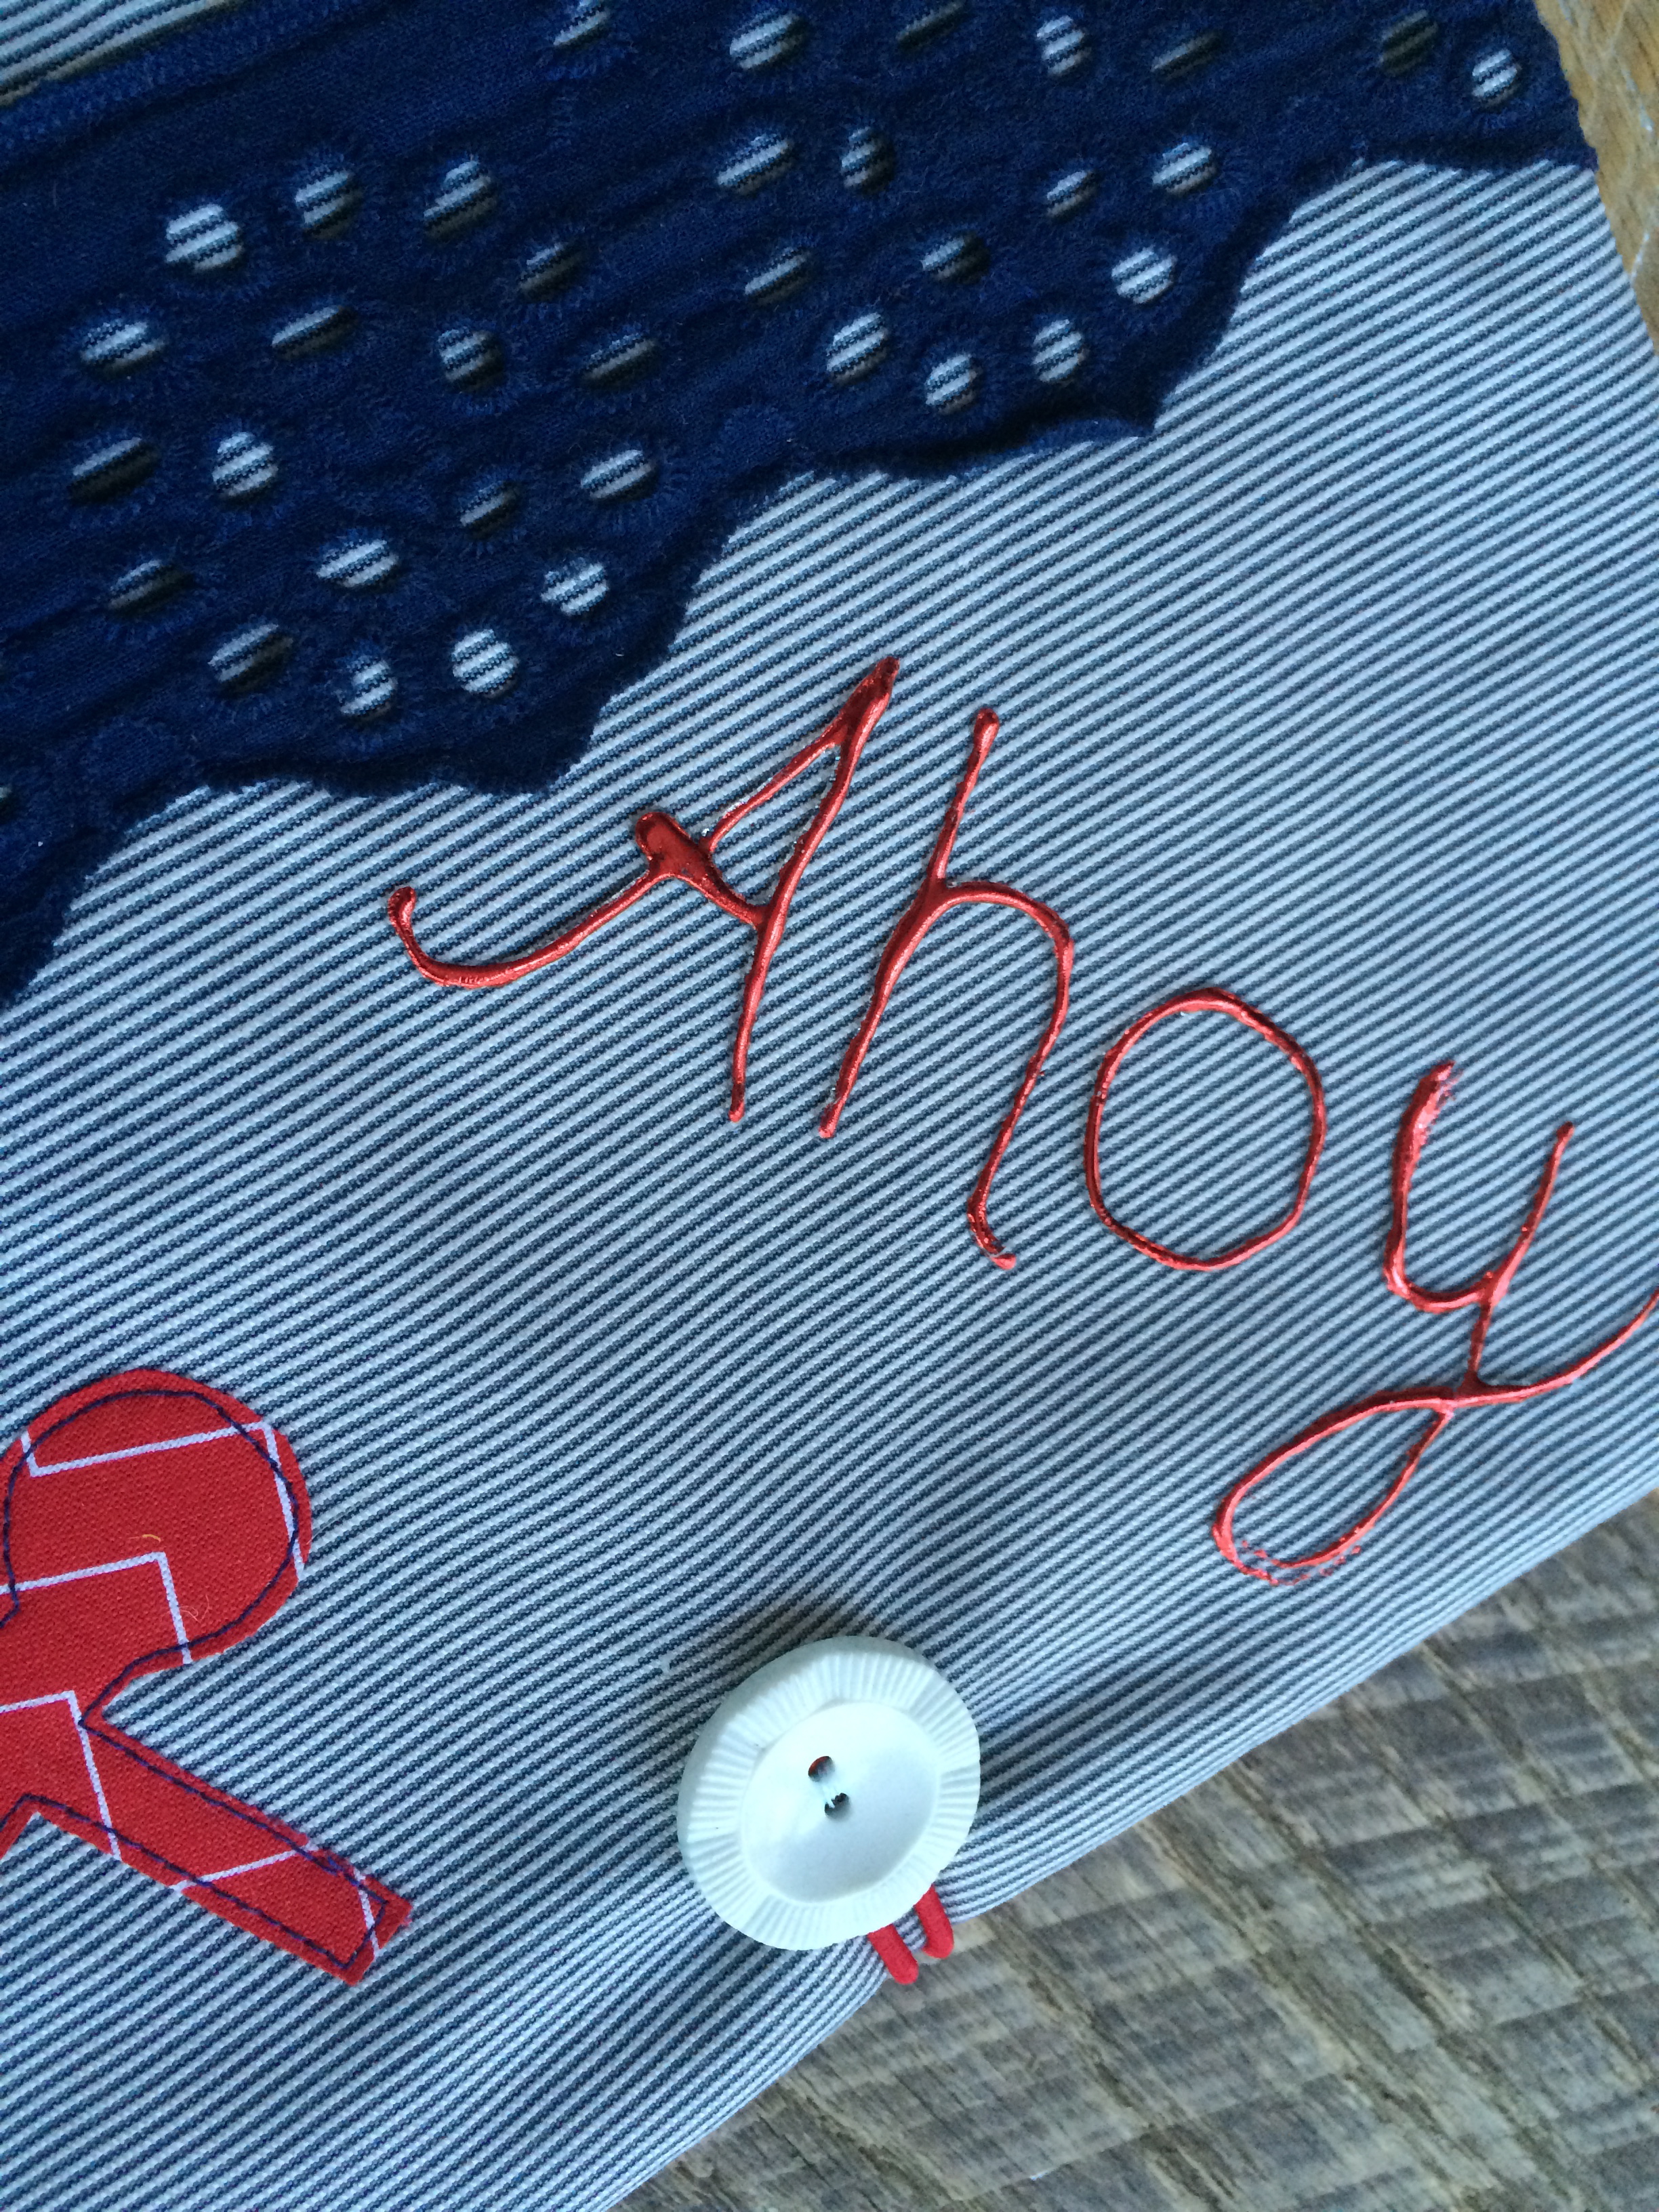
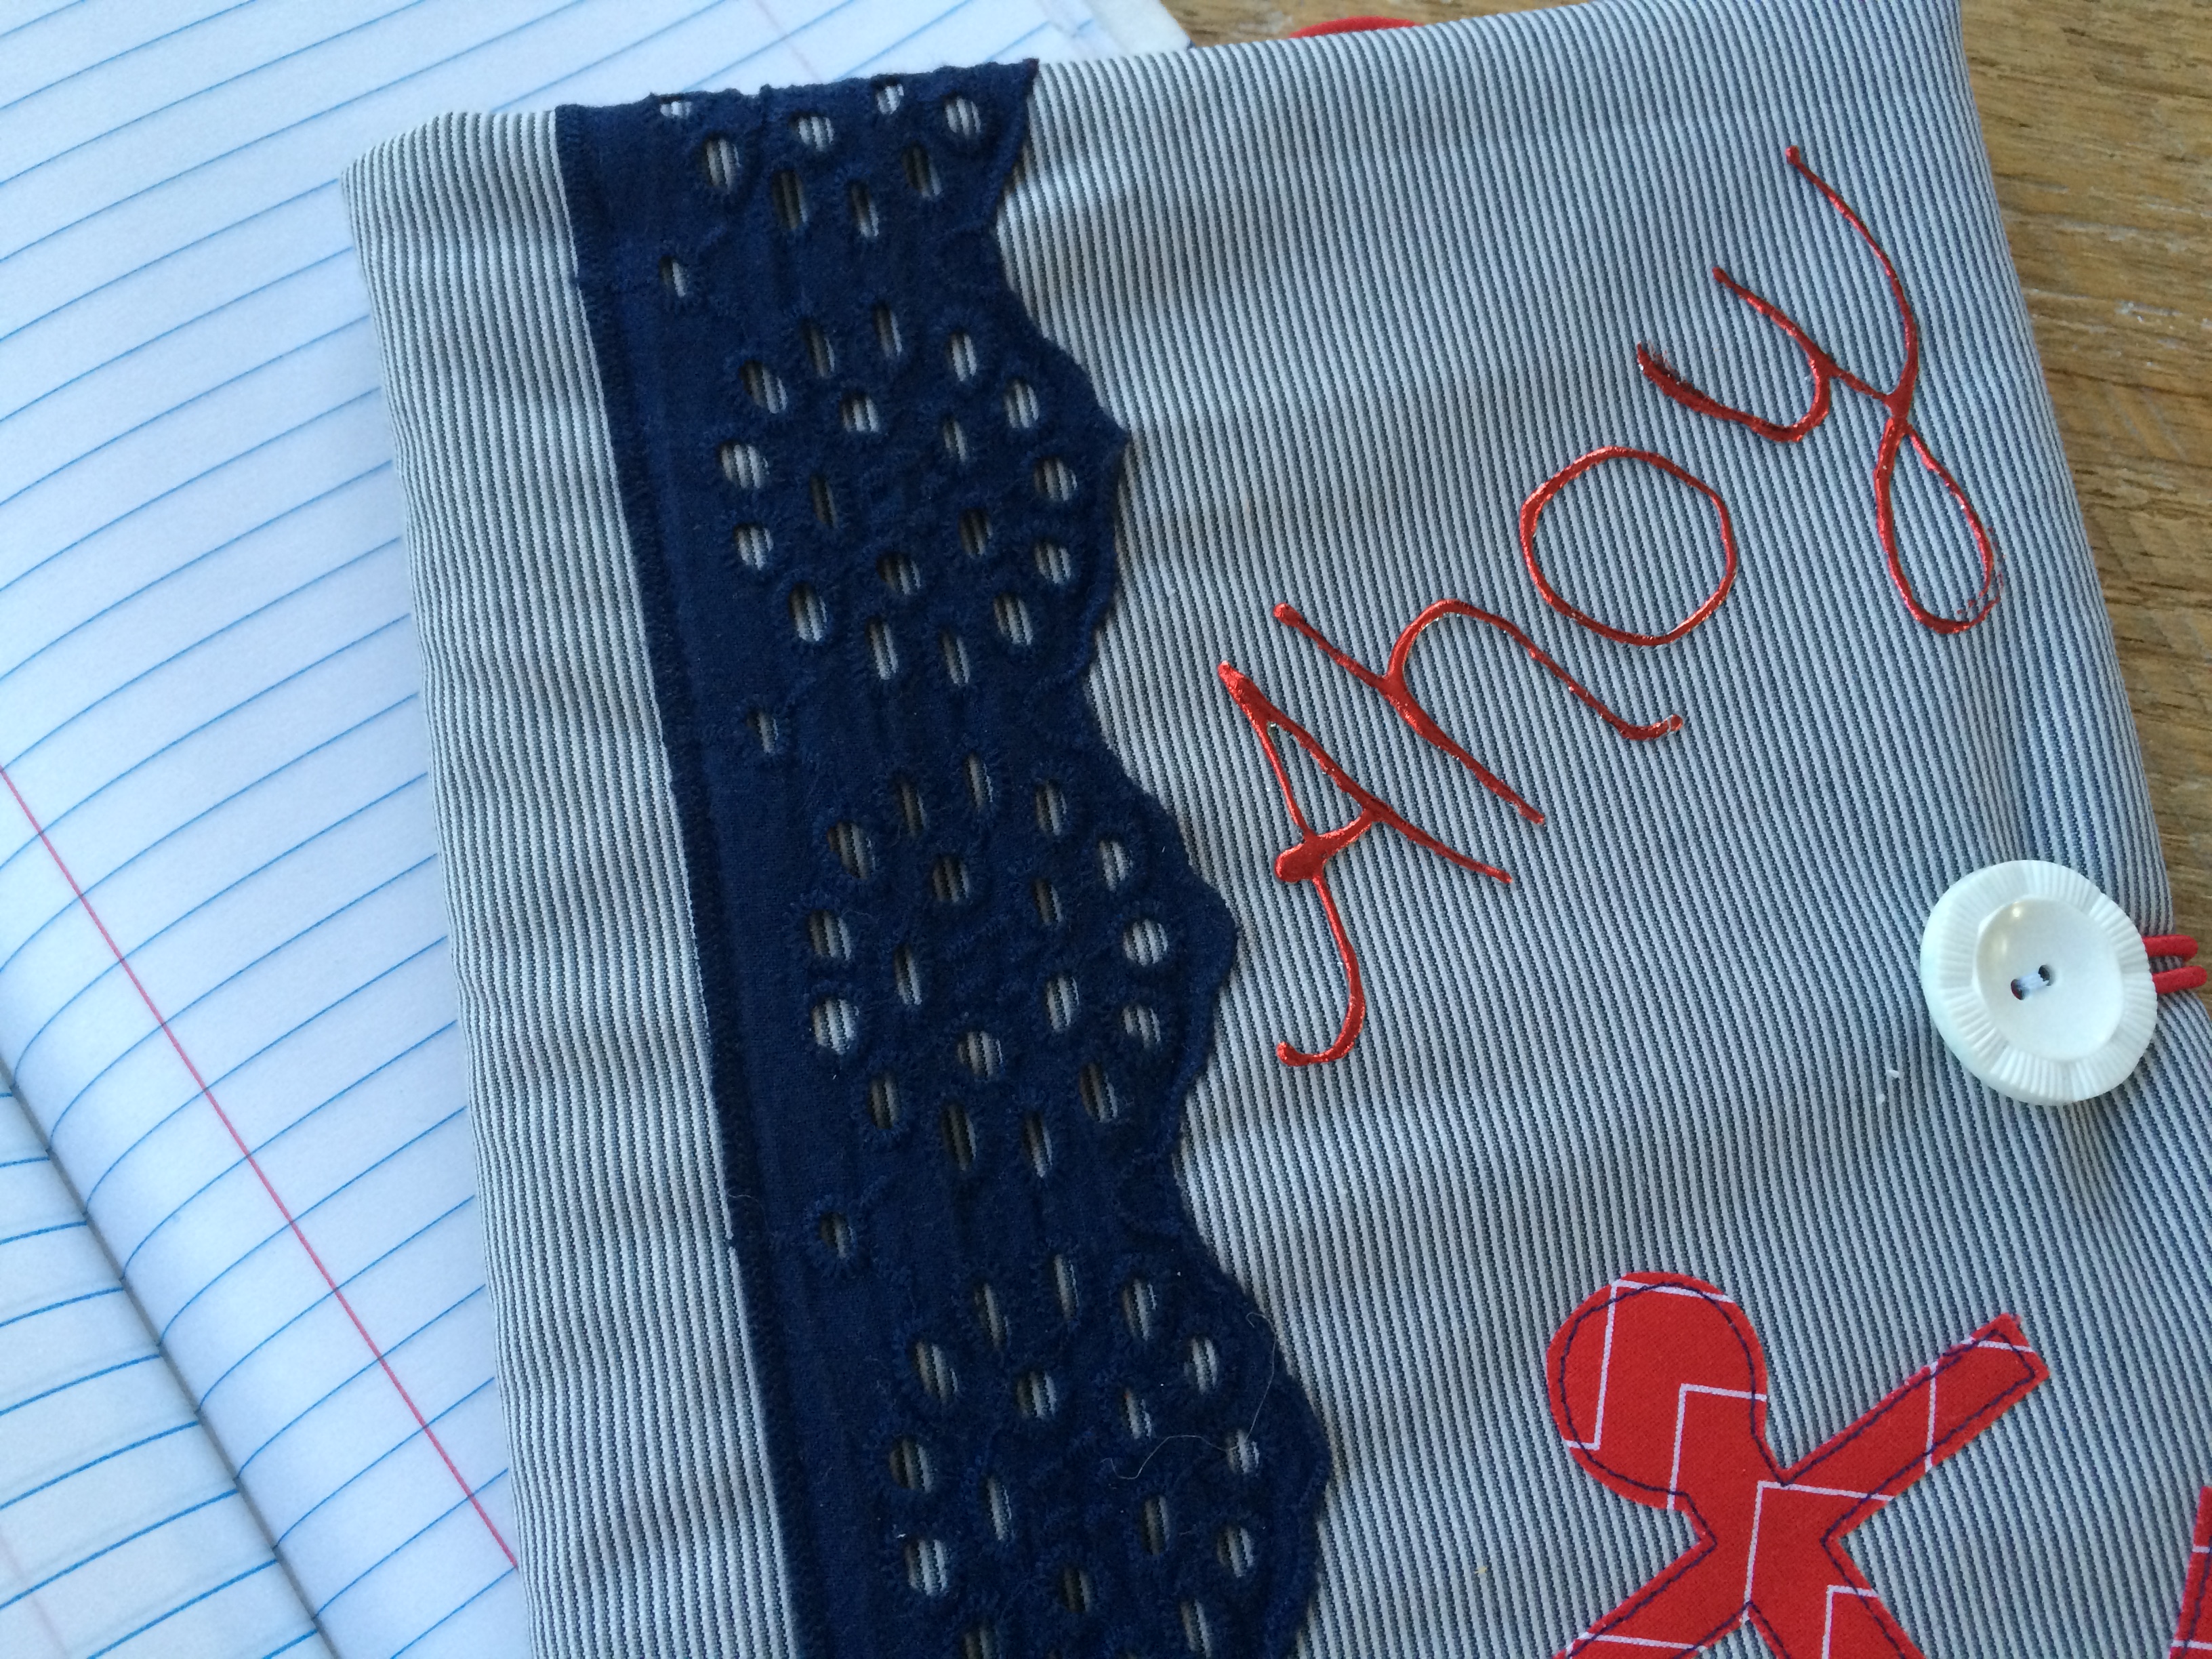
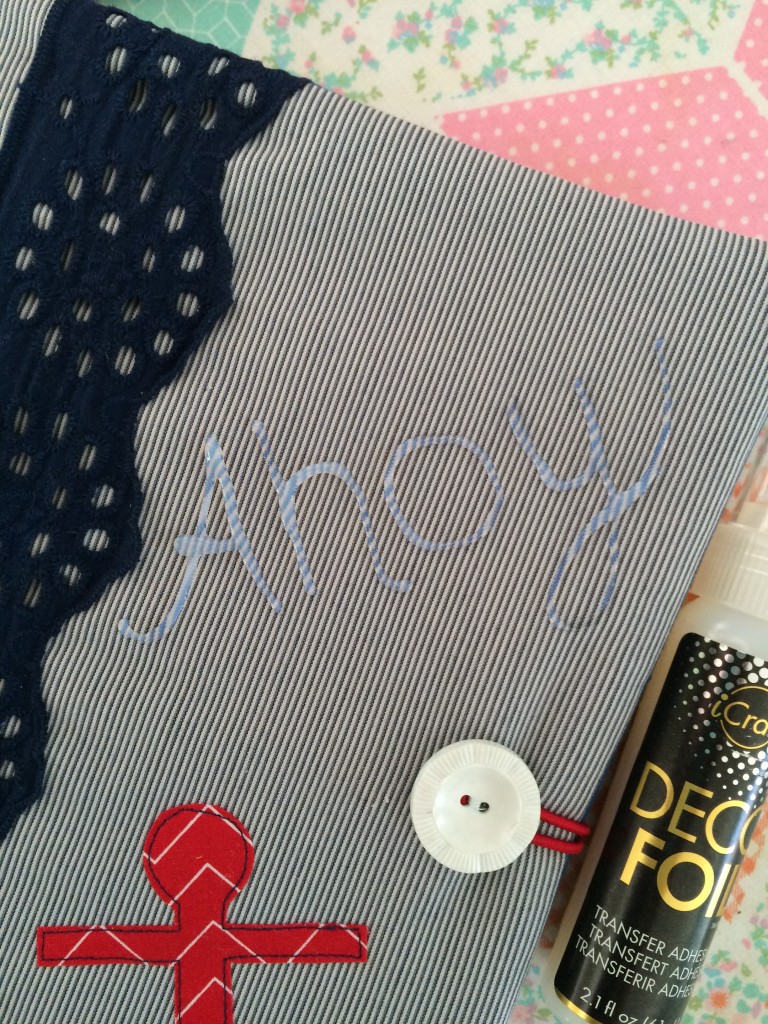 Once the adhesive is dry, rub the wrong side of the foil on the letters. This part feels super magical!! The foil sticks to the adhesive only! This stuff is awesome!!!
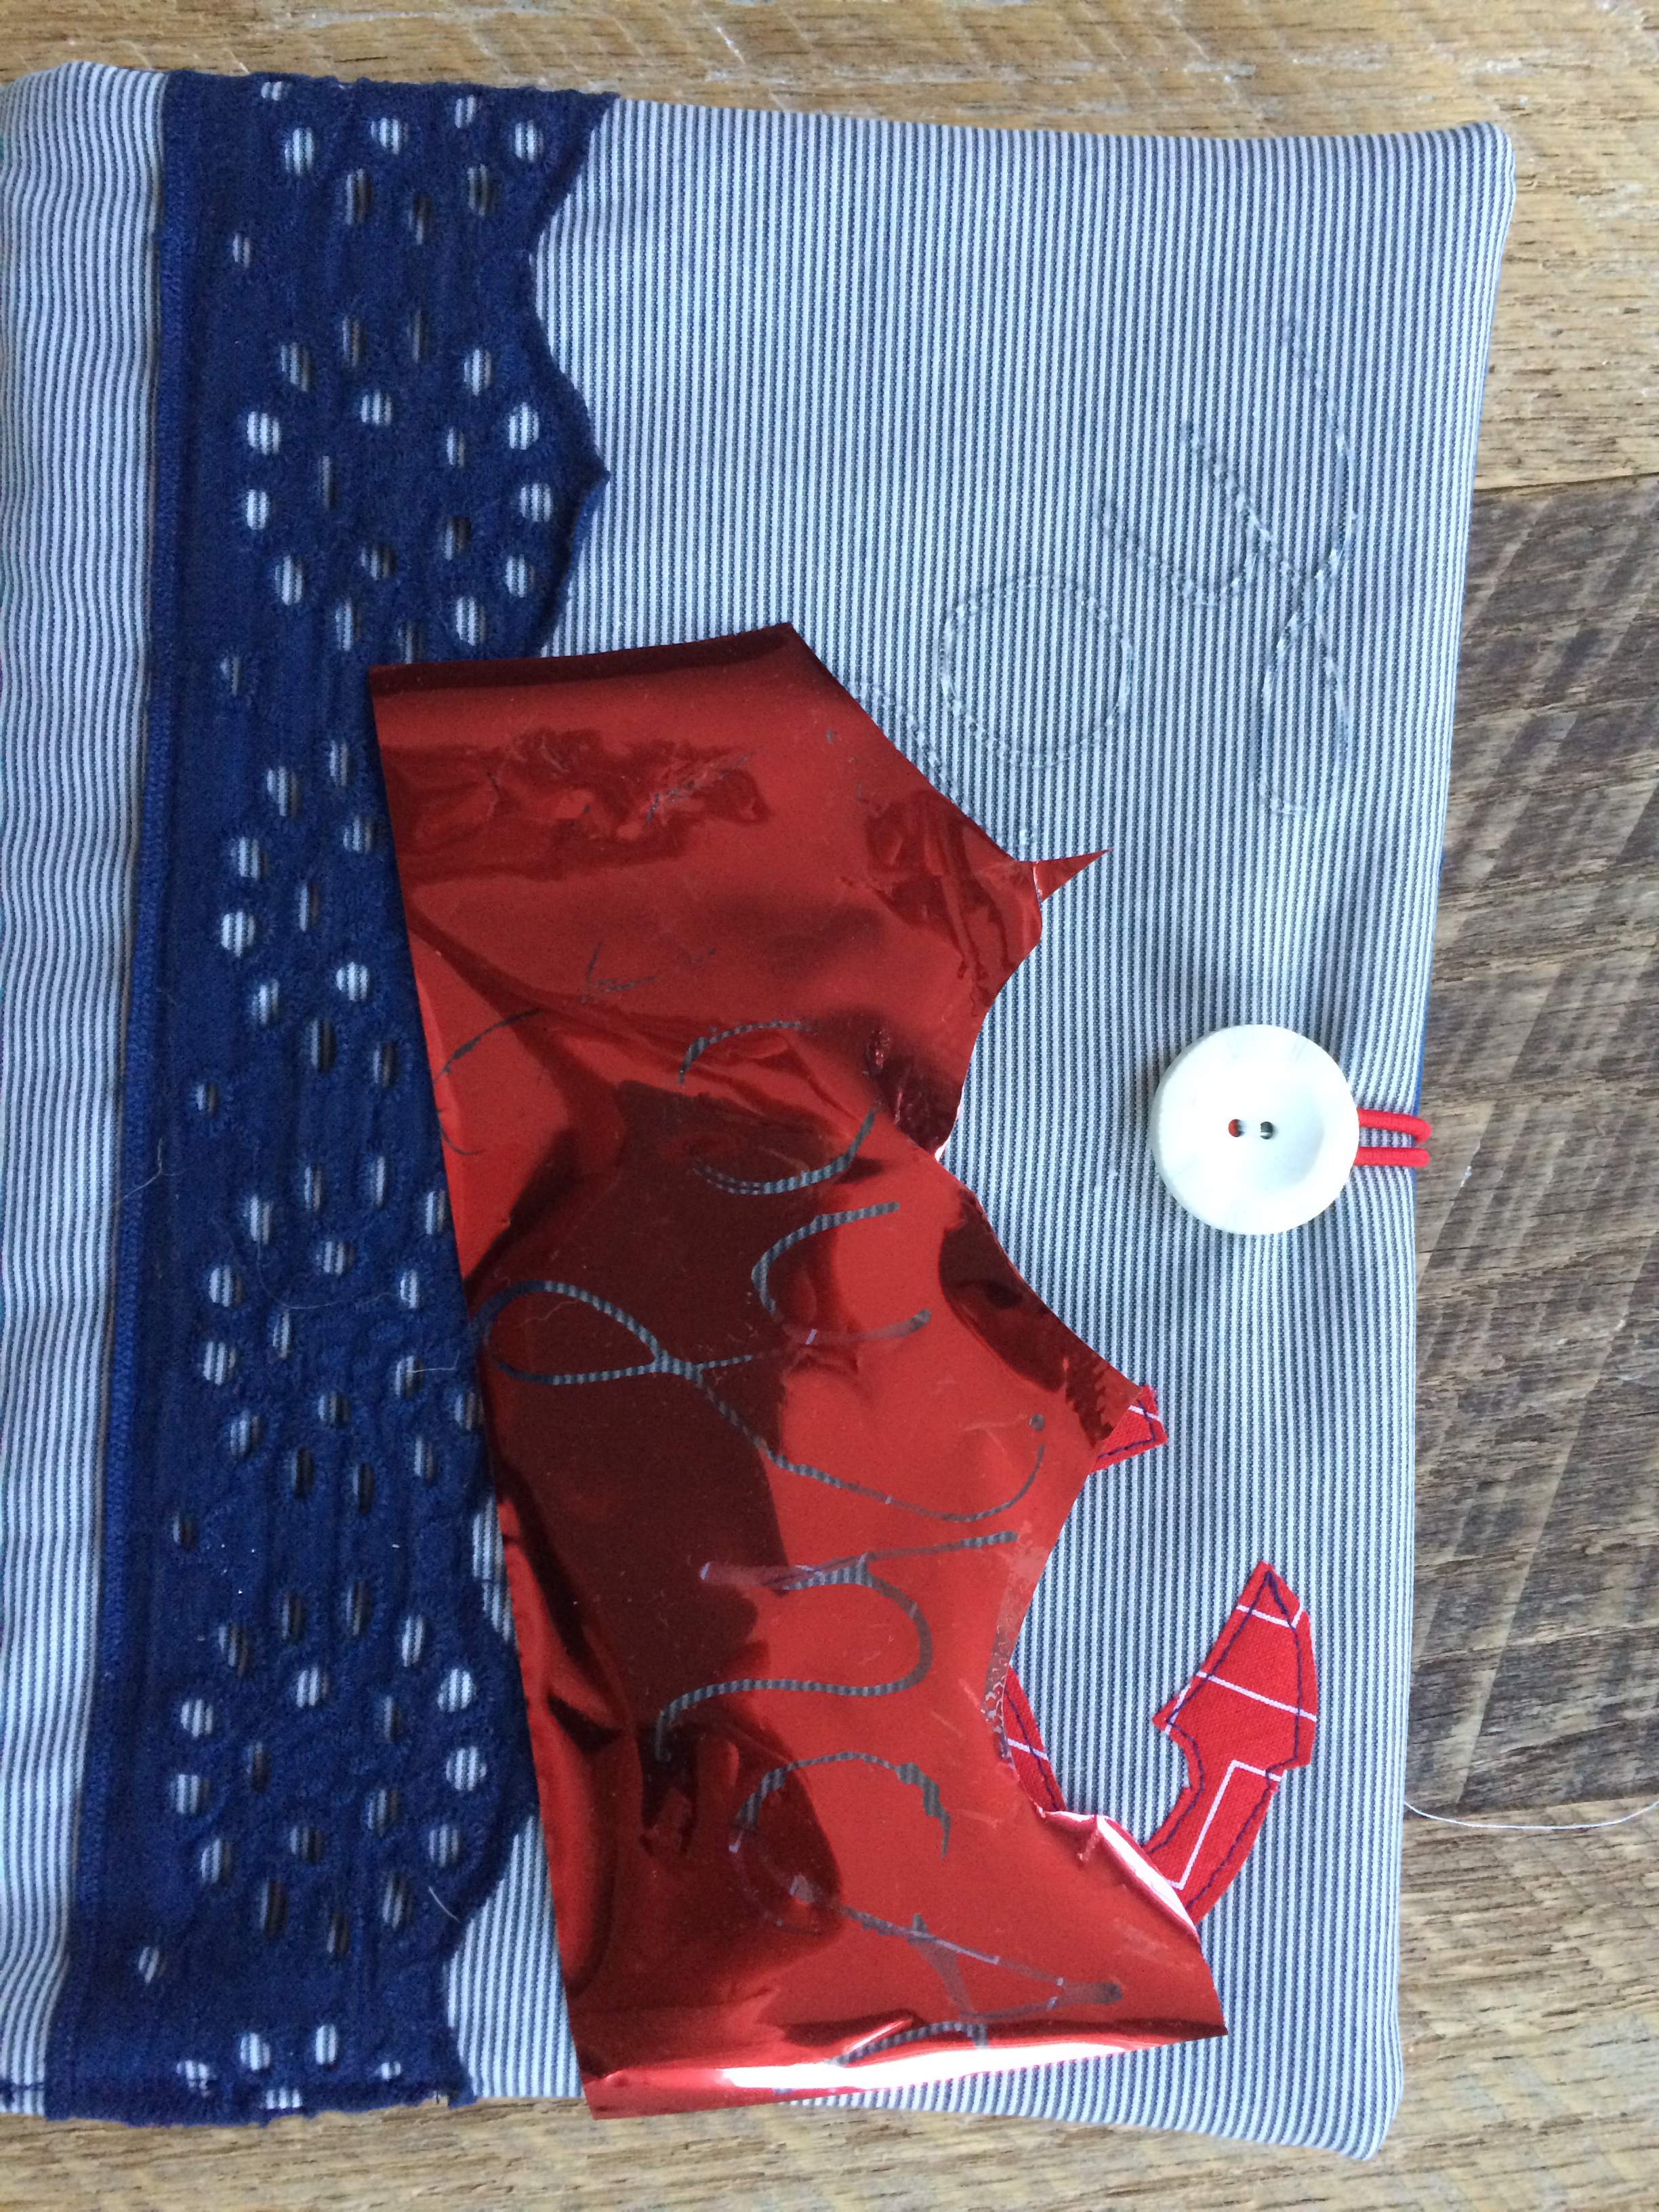
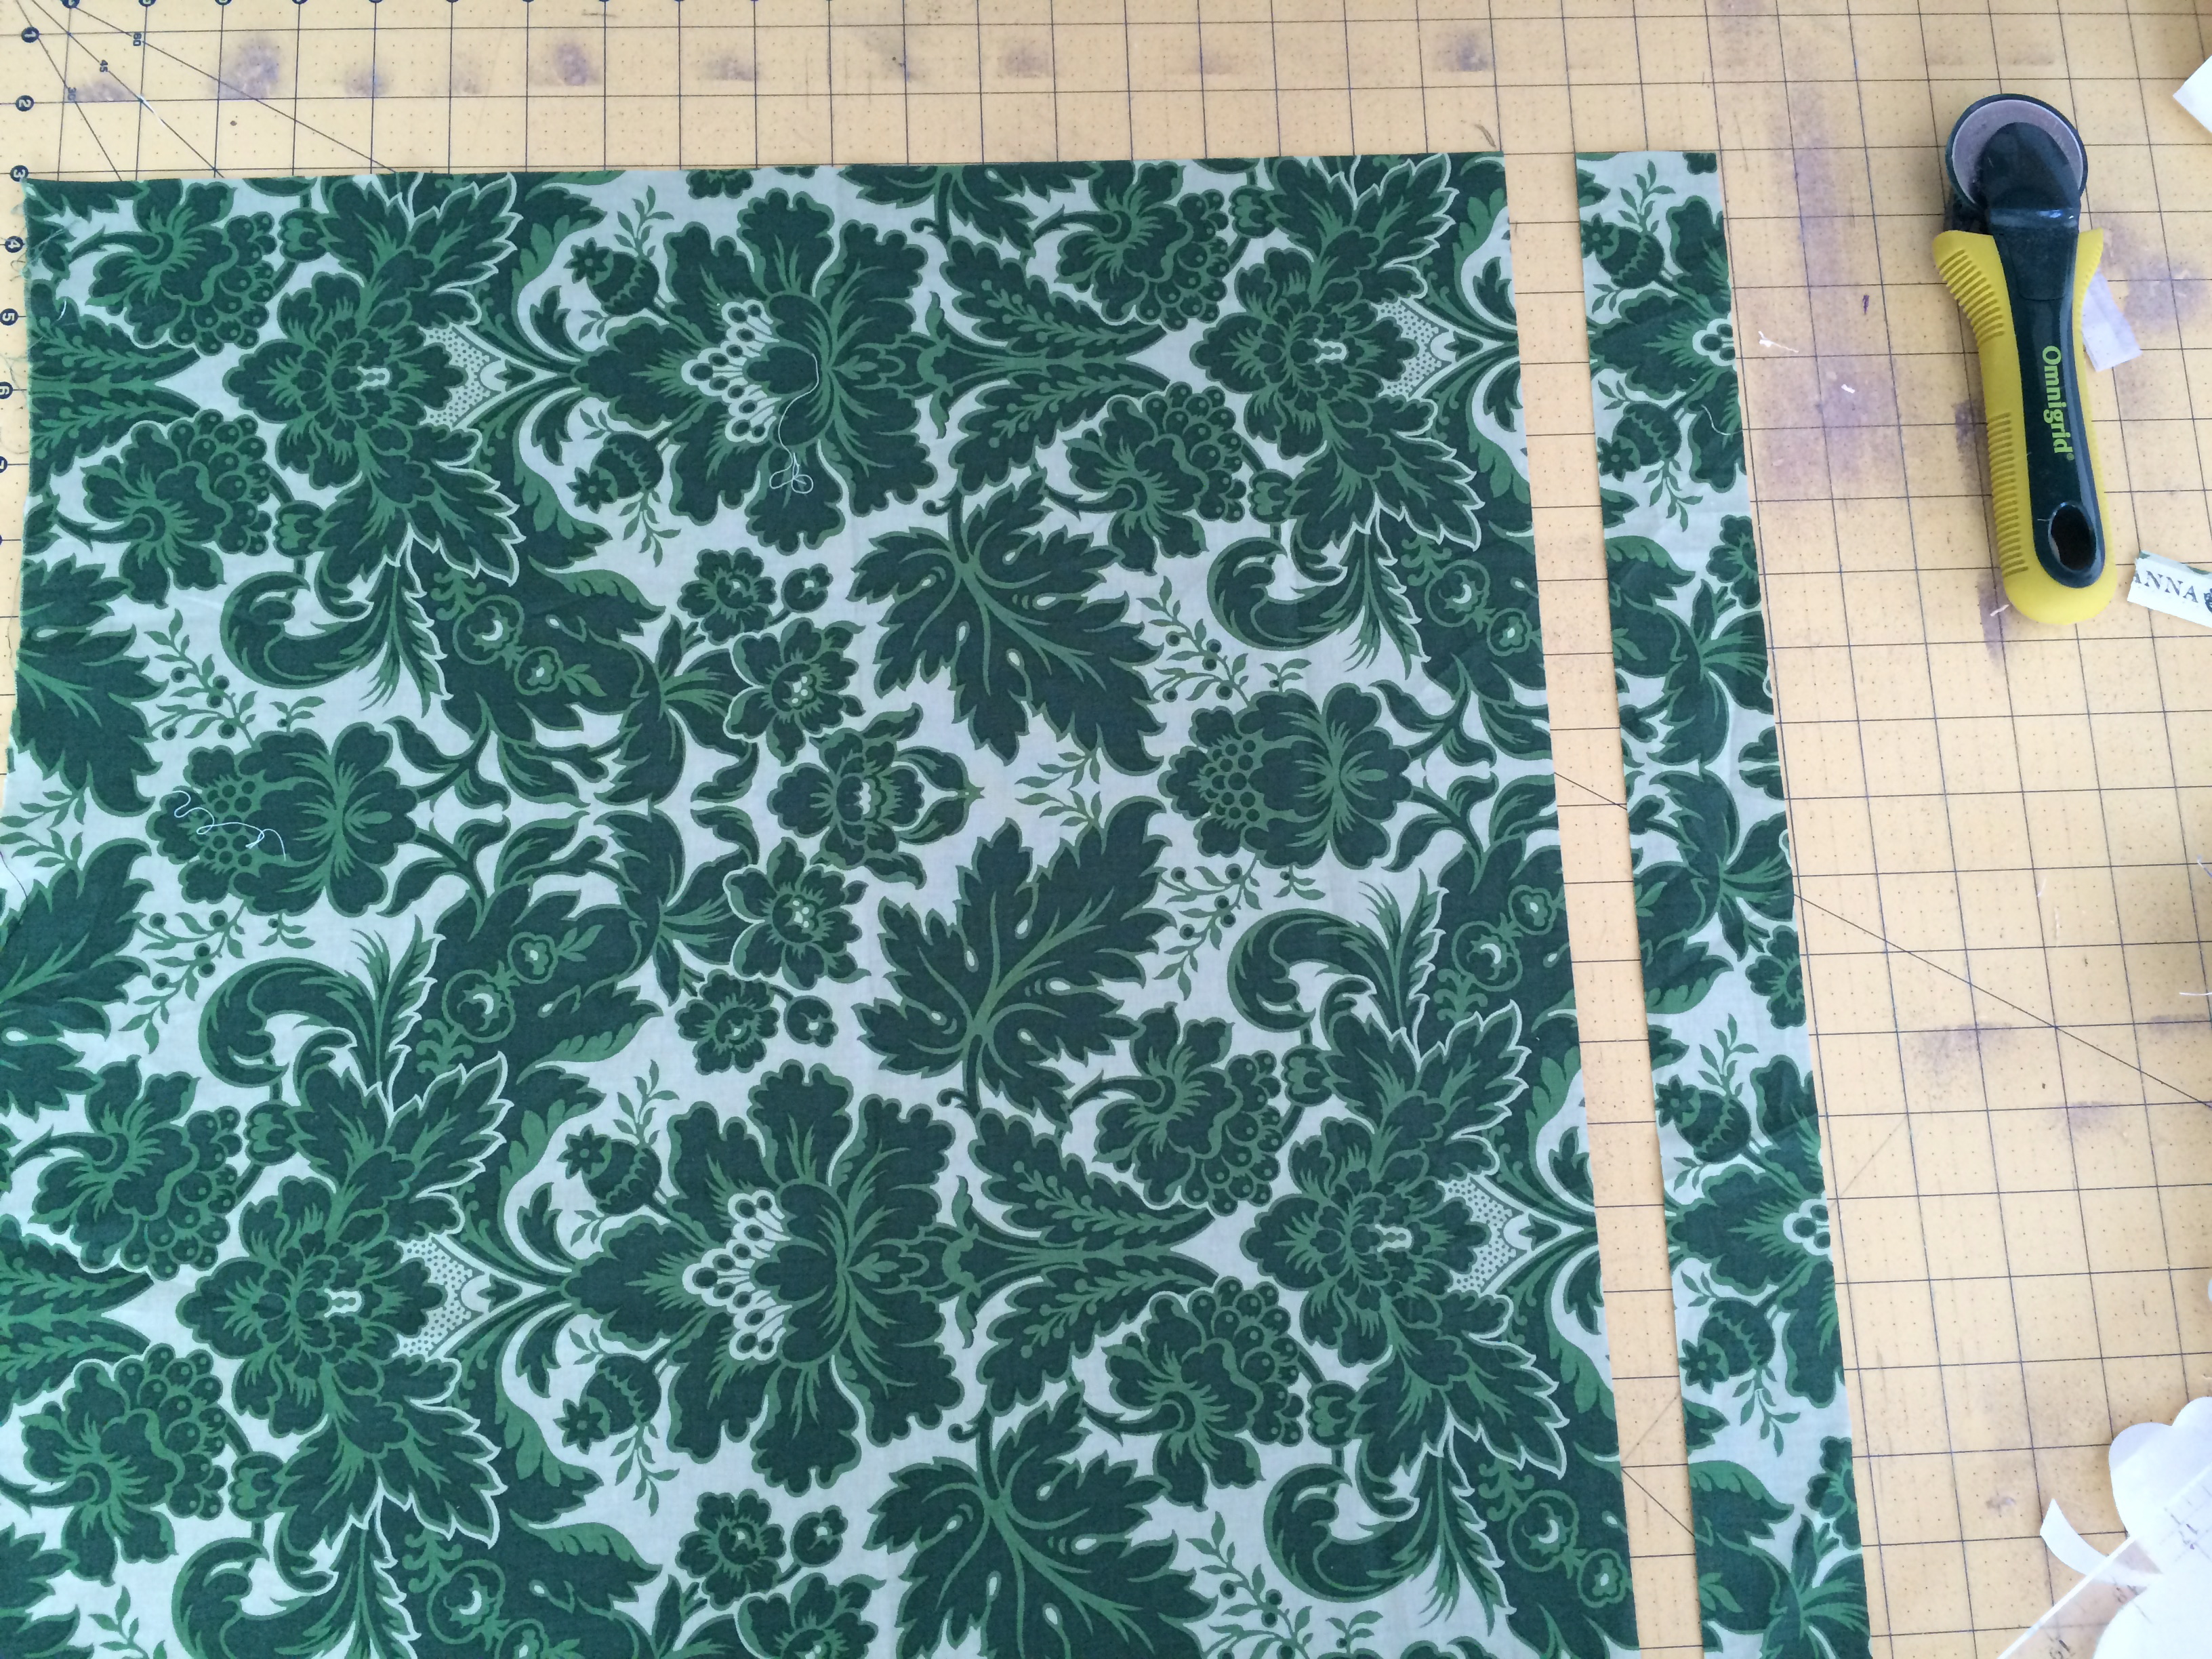
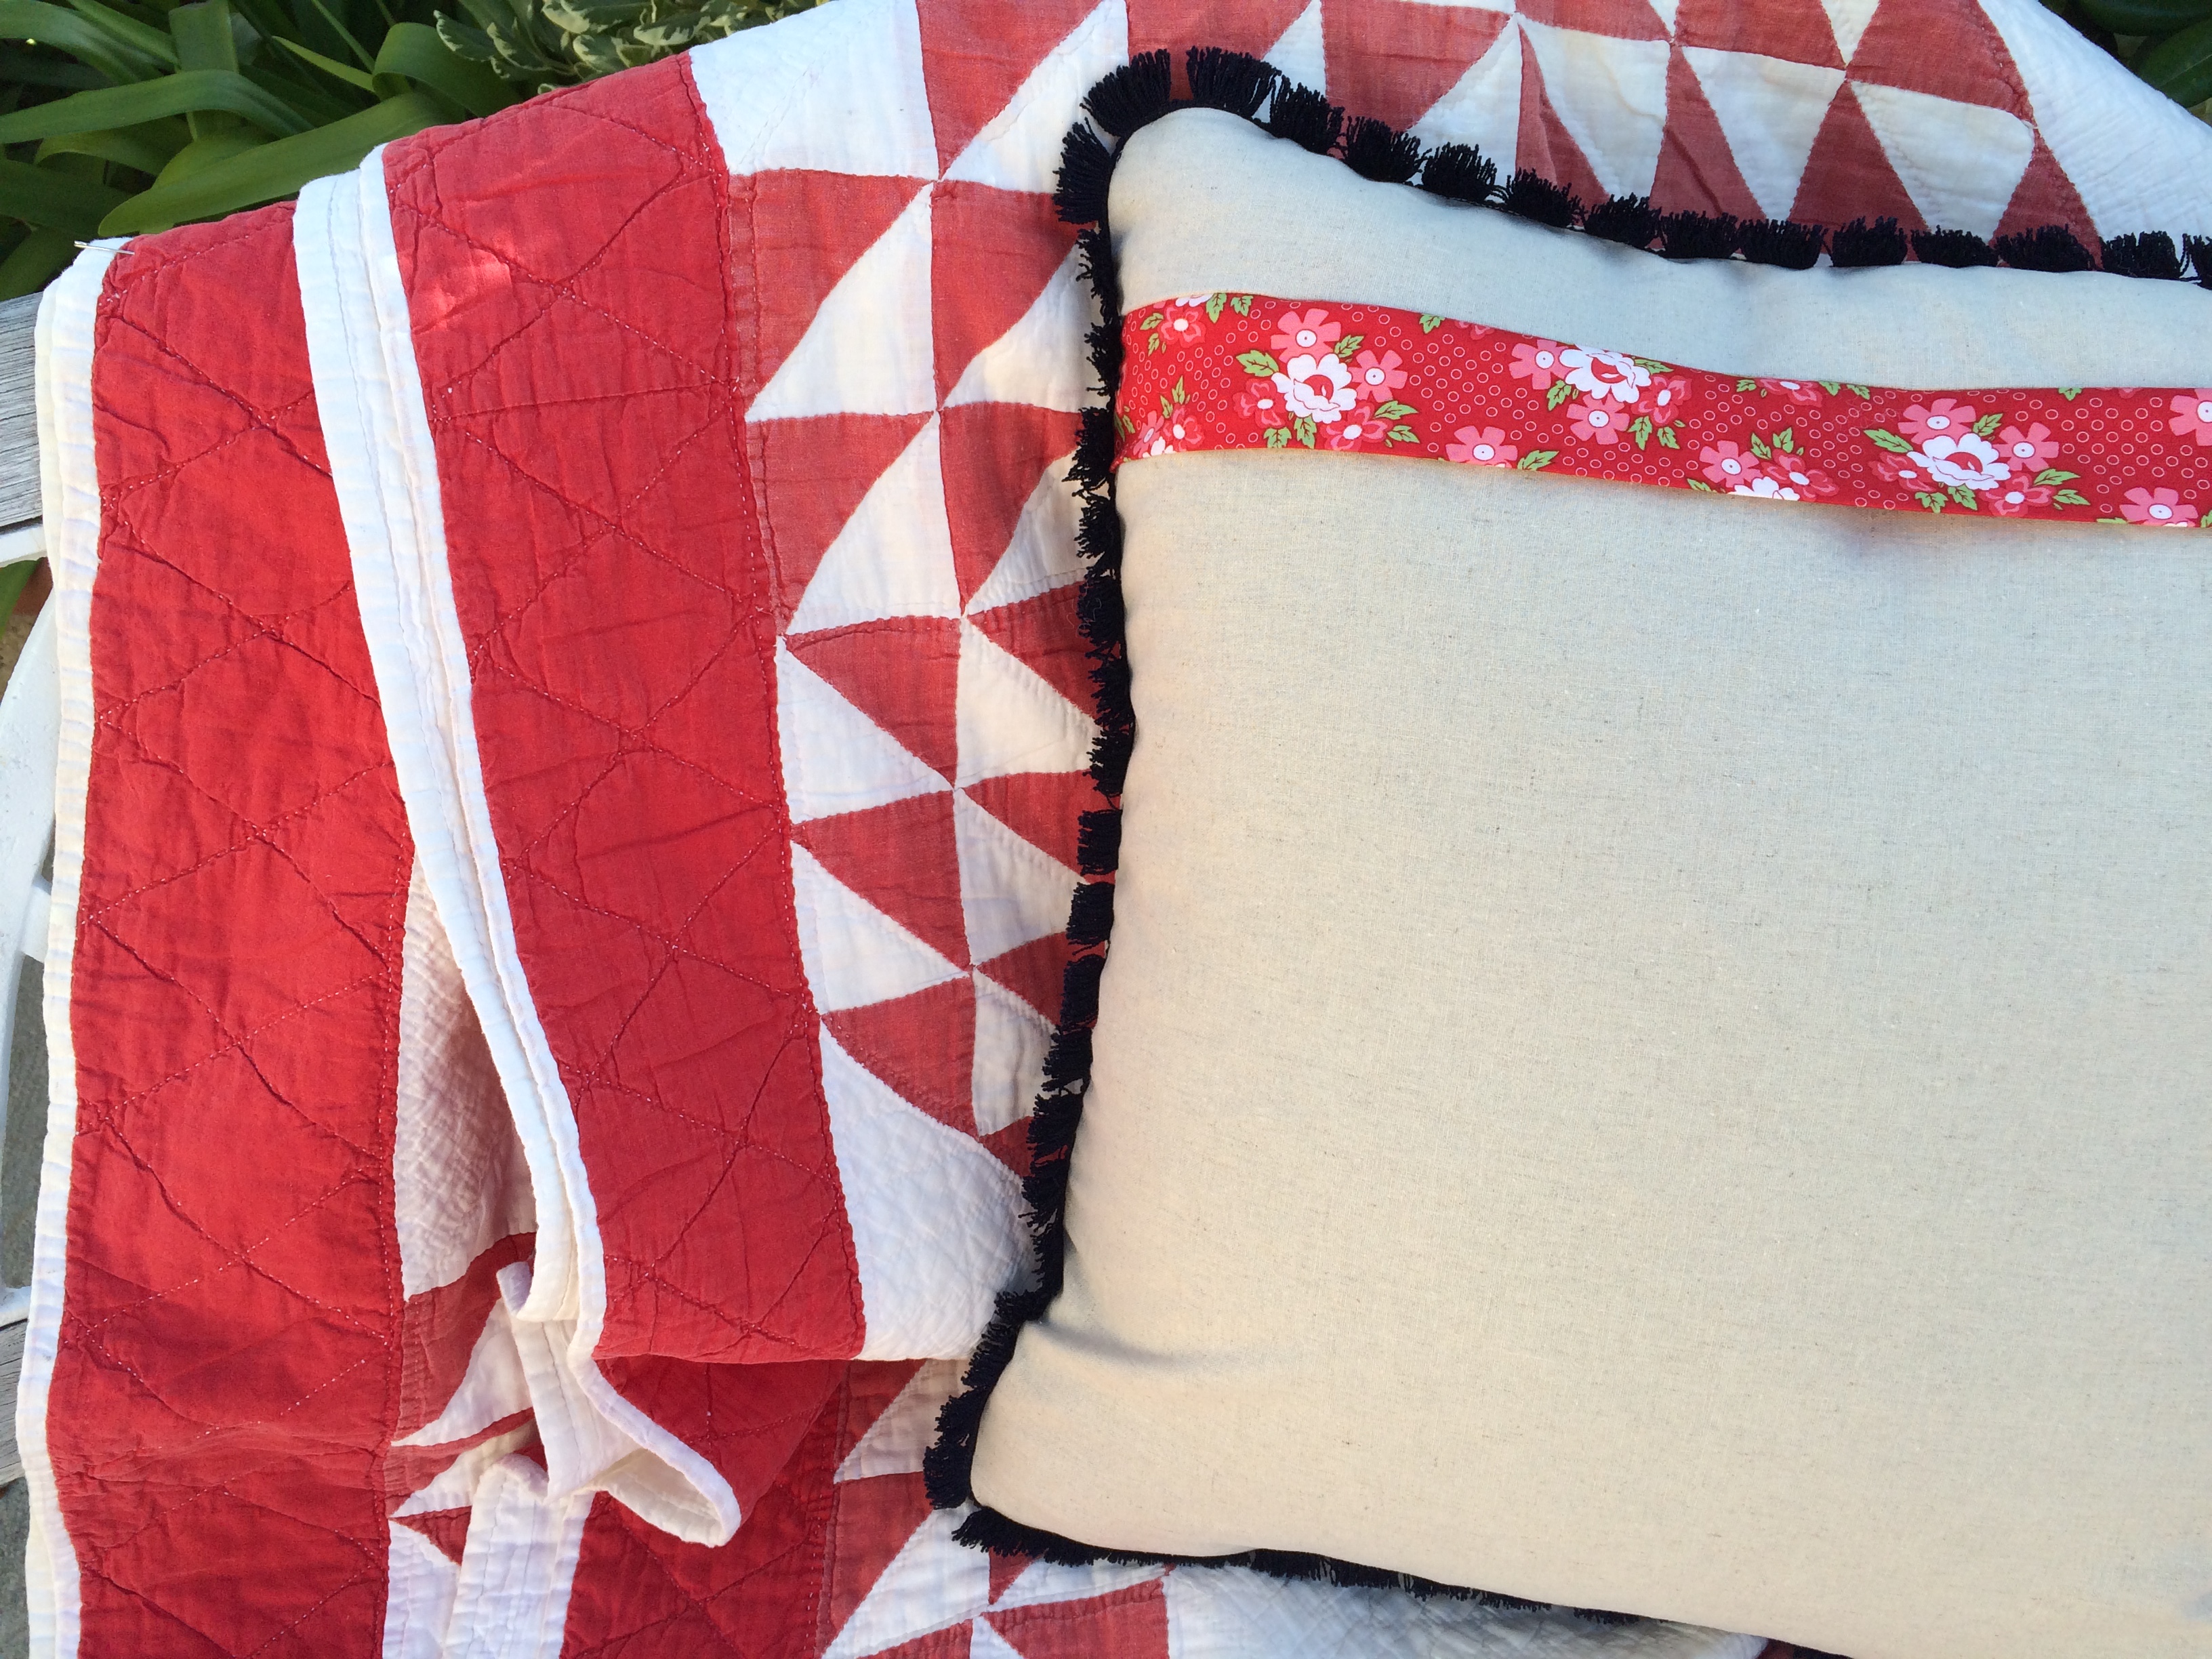
 Cut off the excess zipper ends. Partially open the zipper and place the pillow top and the pillow back, right sides together. matching and pinning all edges. Sew 1/4″ all the way around the pillow.
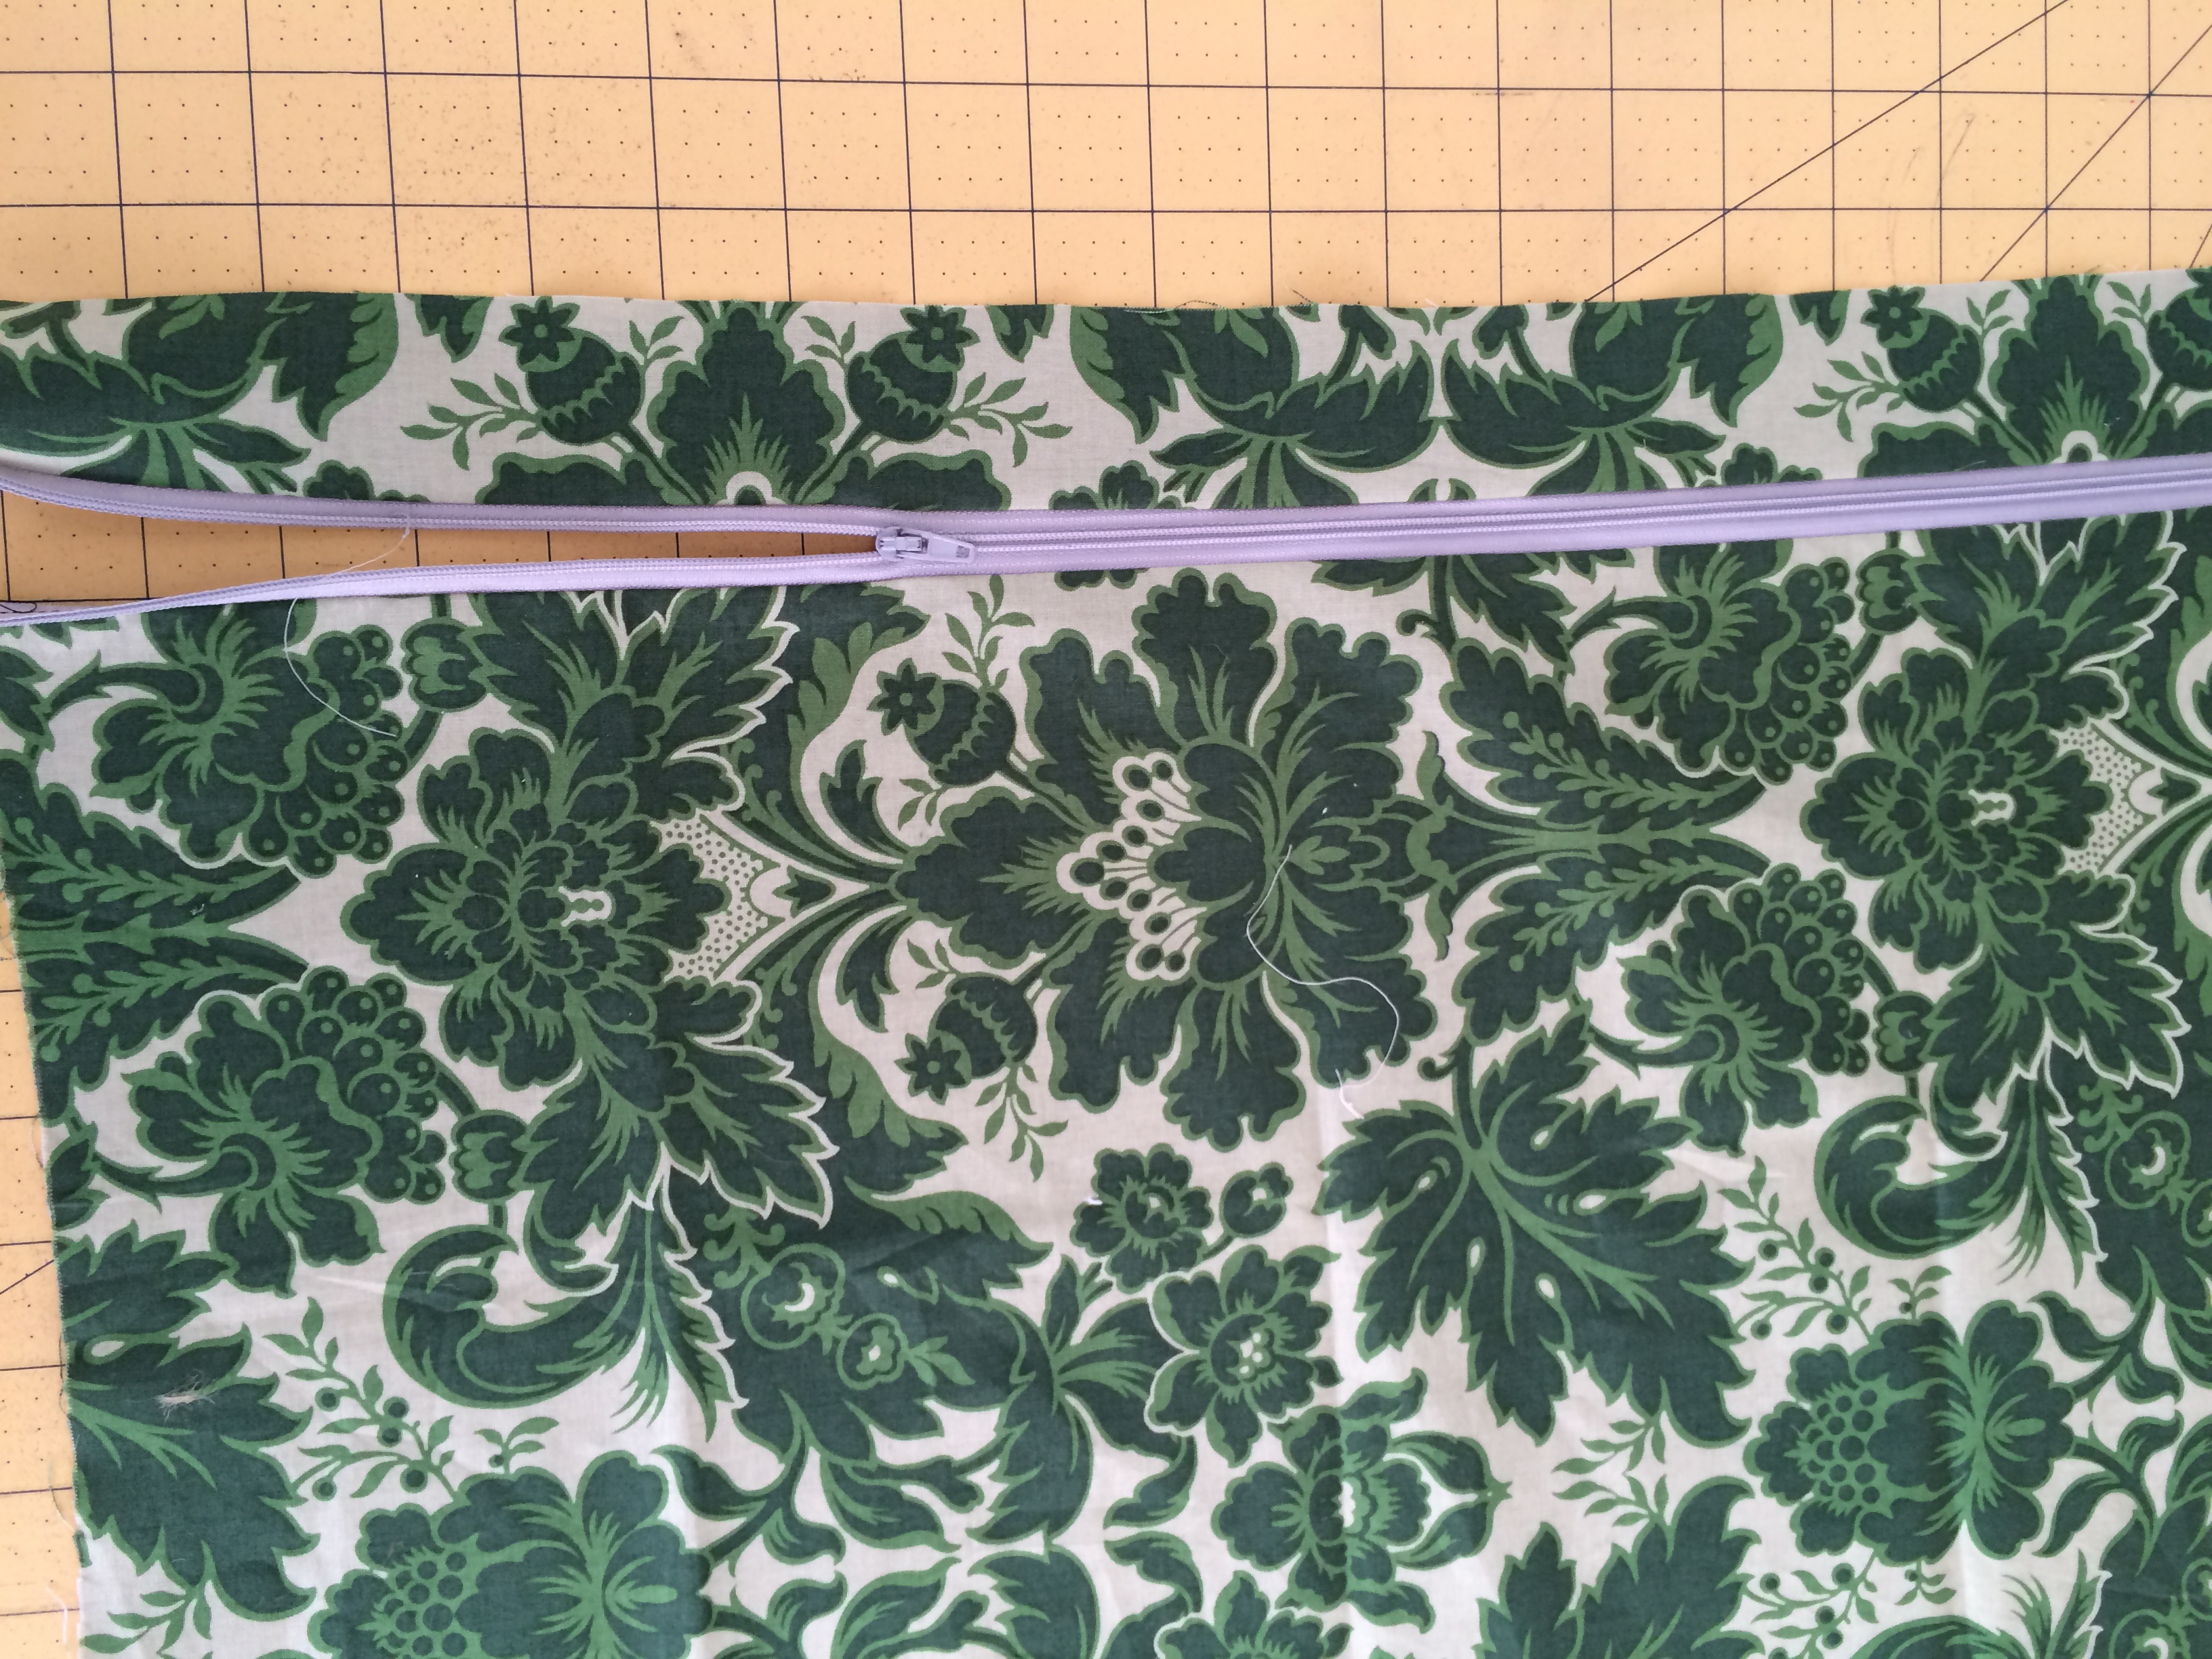
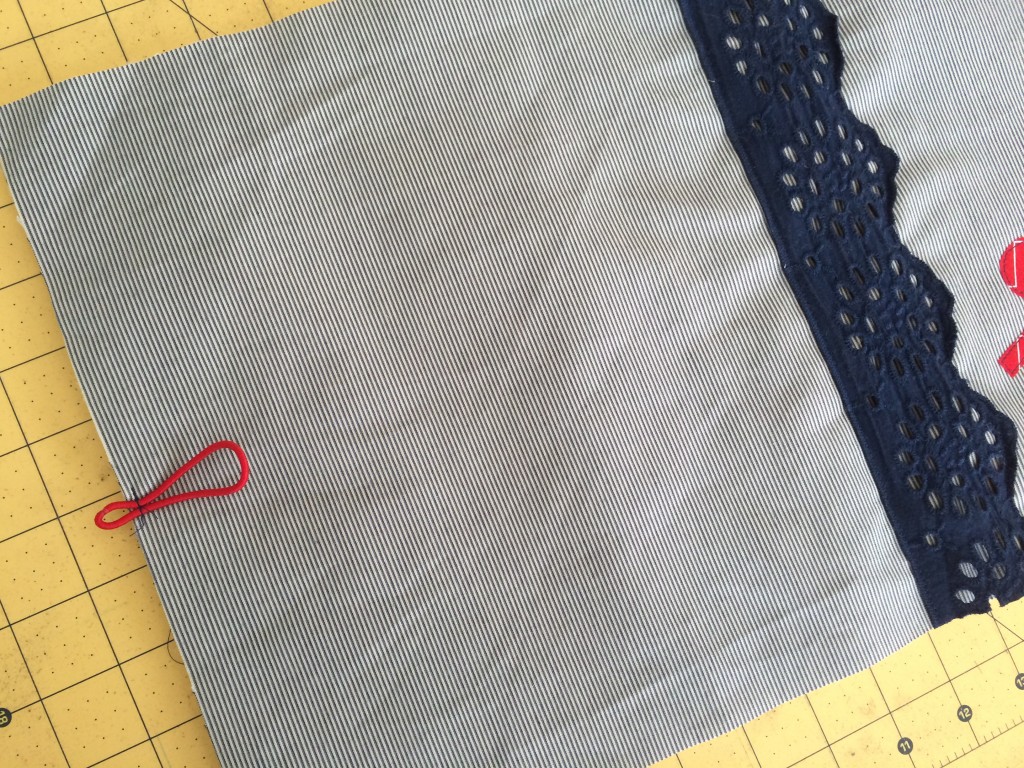
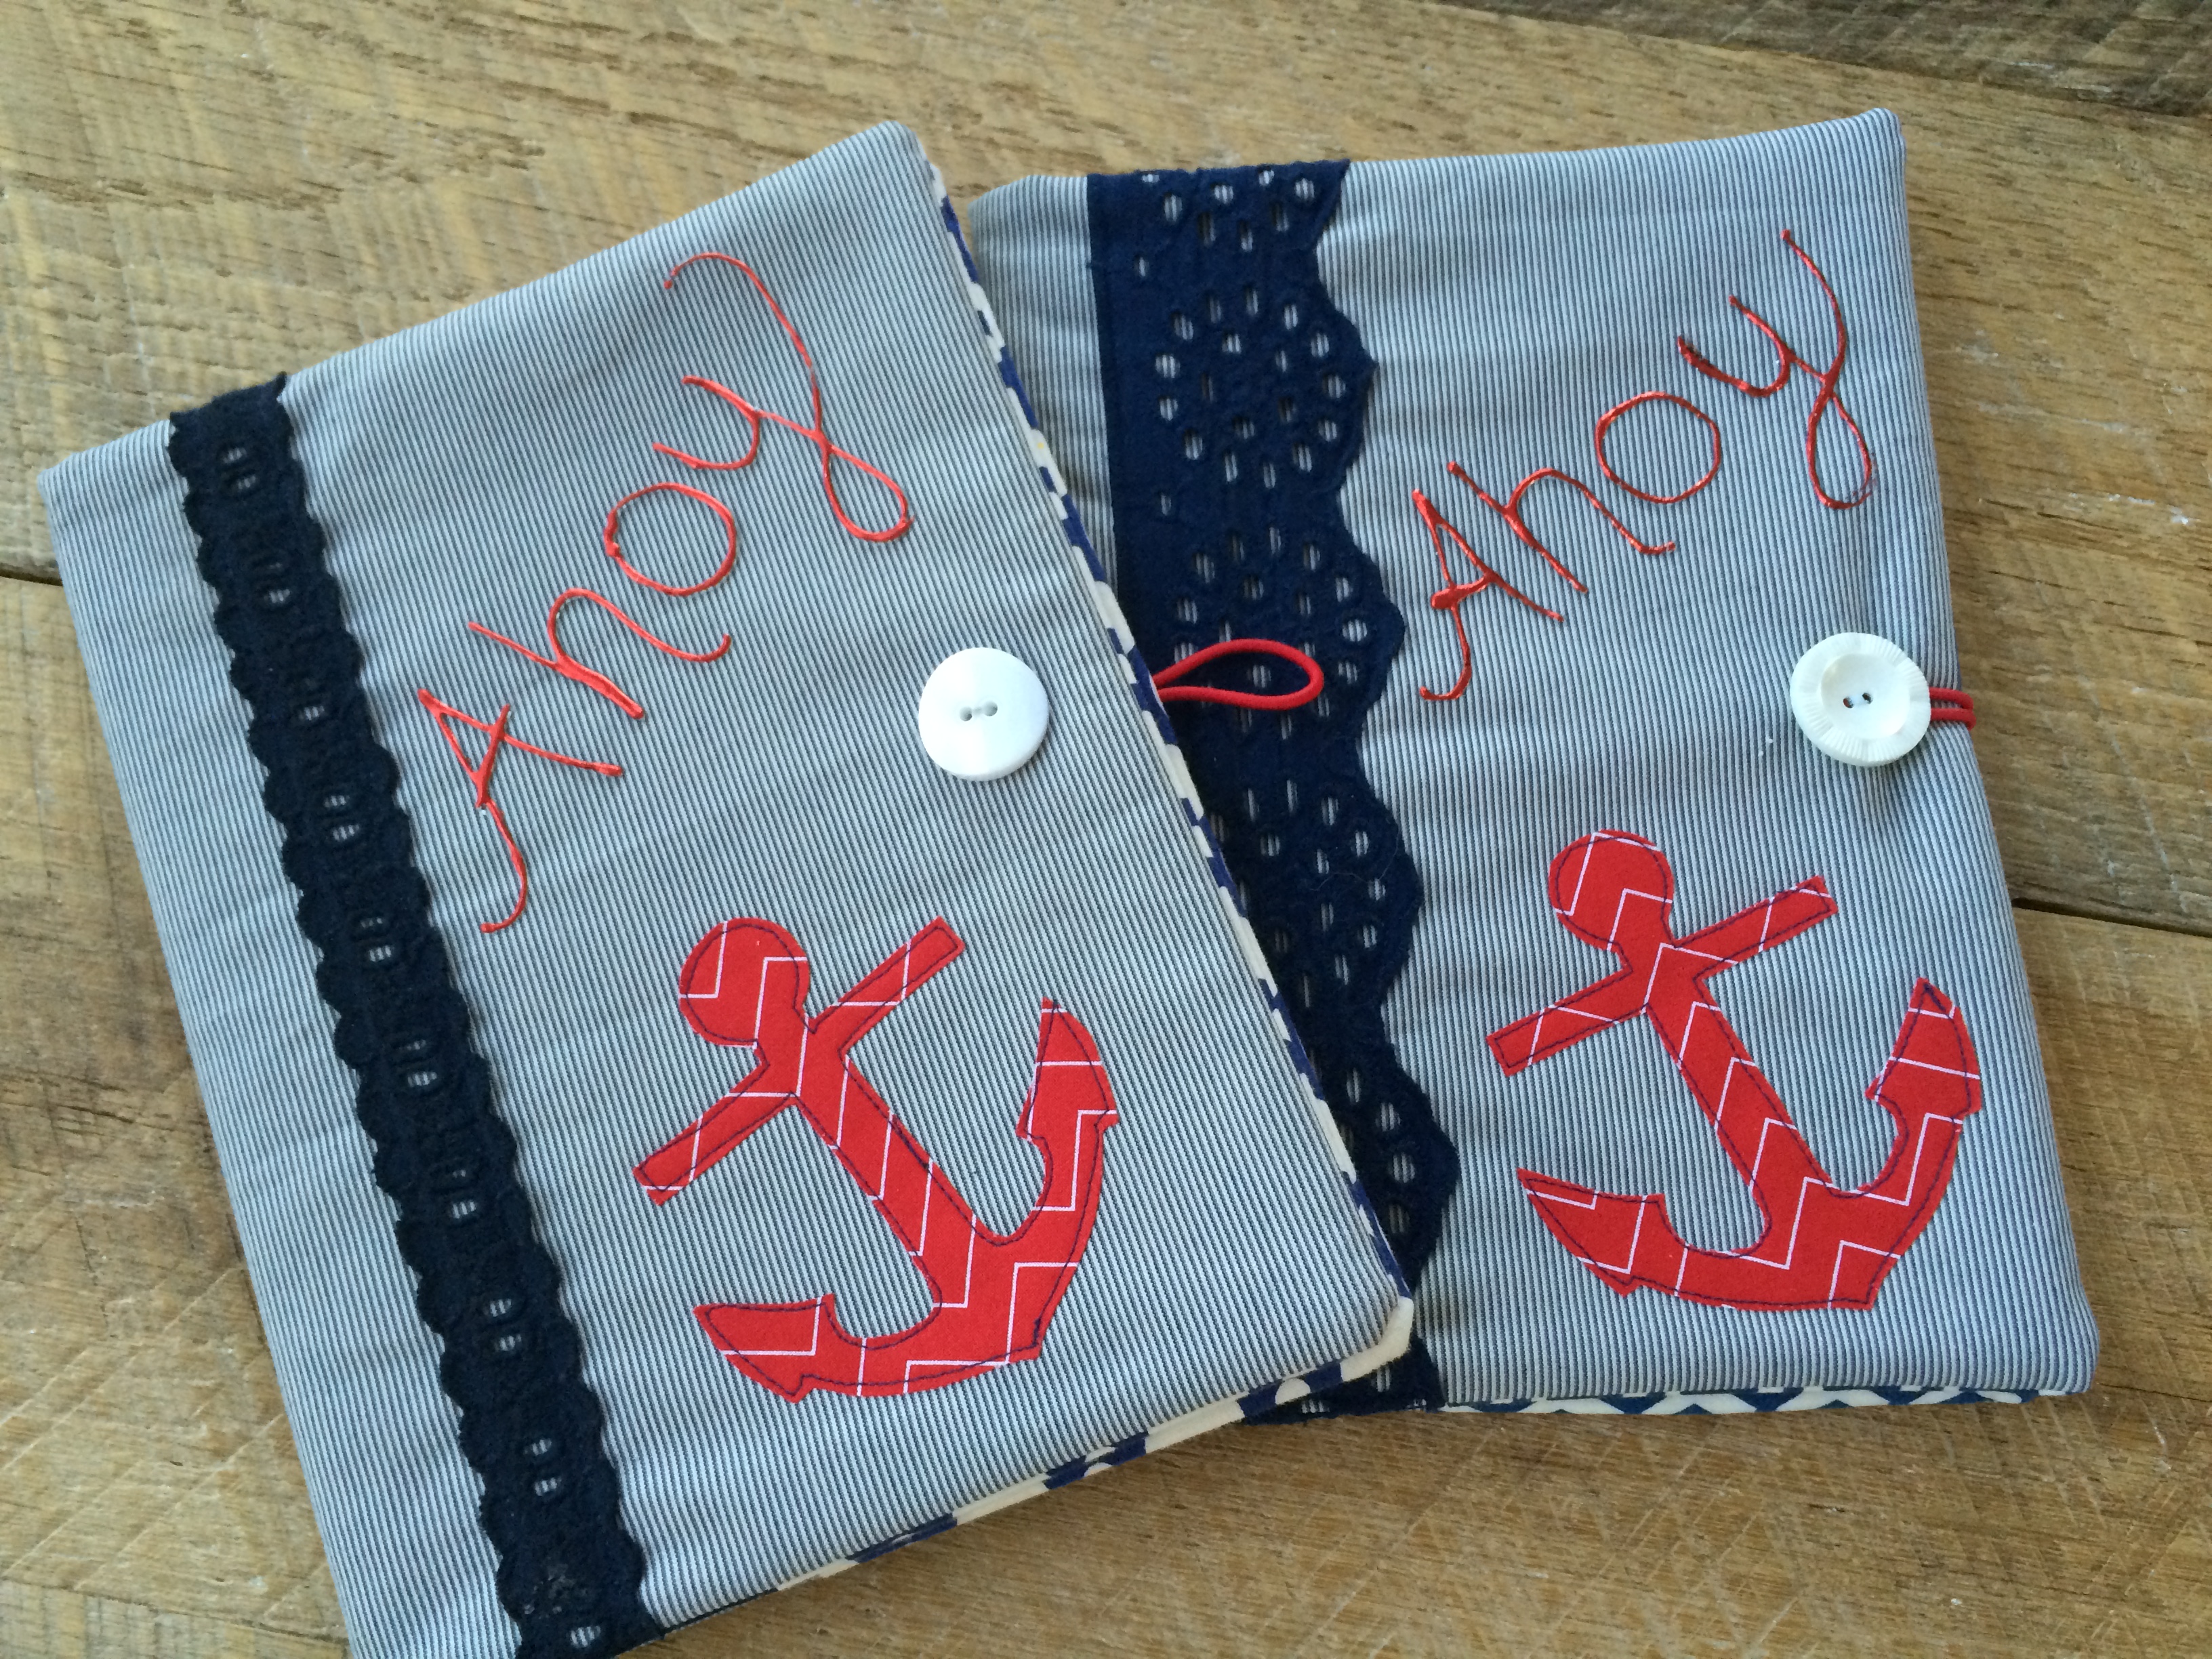
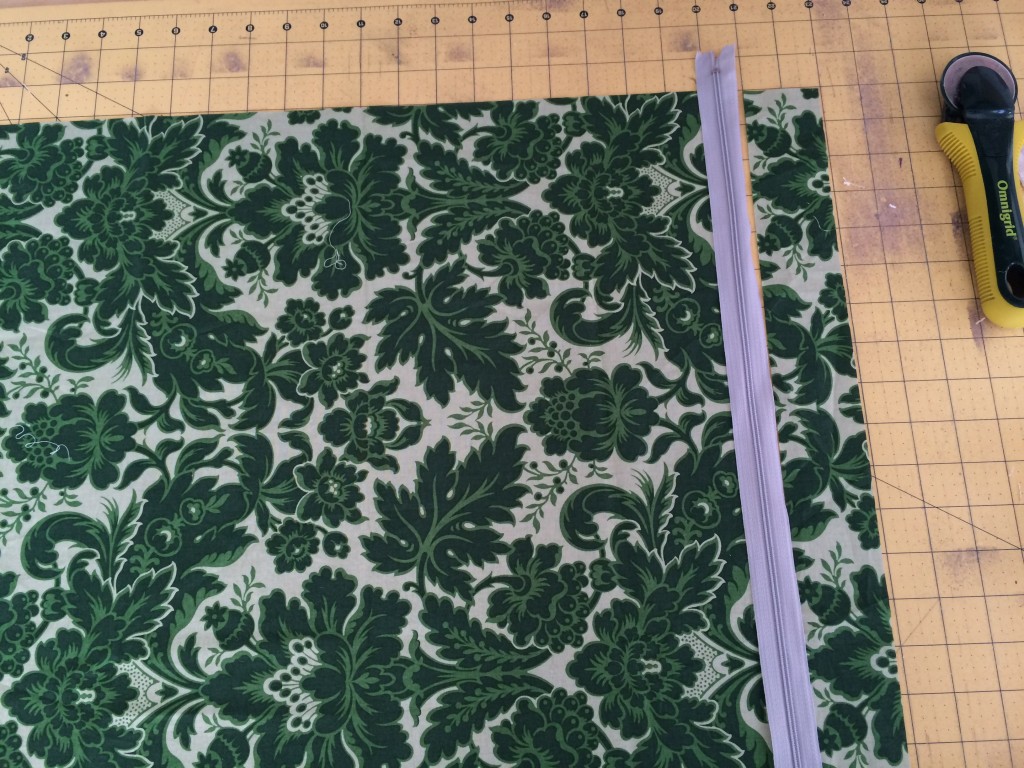
 I put the zipper in the bottom portion of the pillow. I like that you can see the zipper.
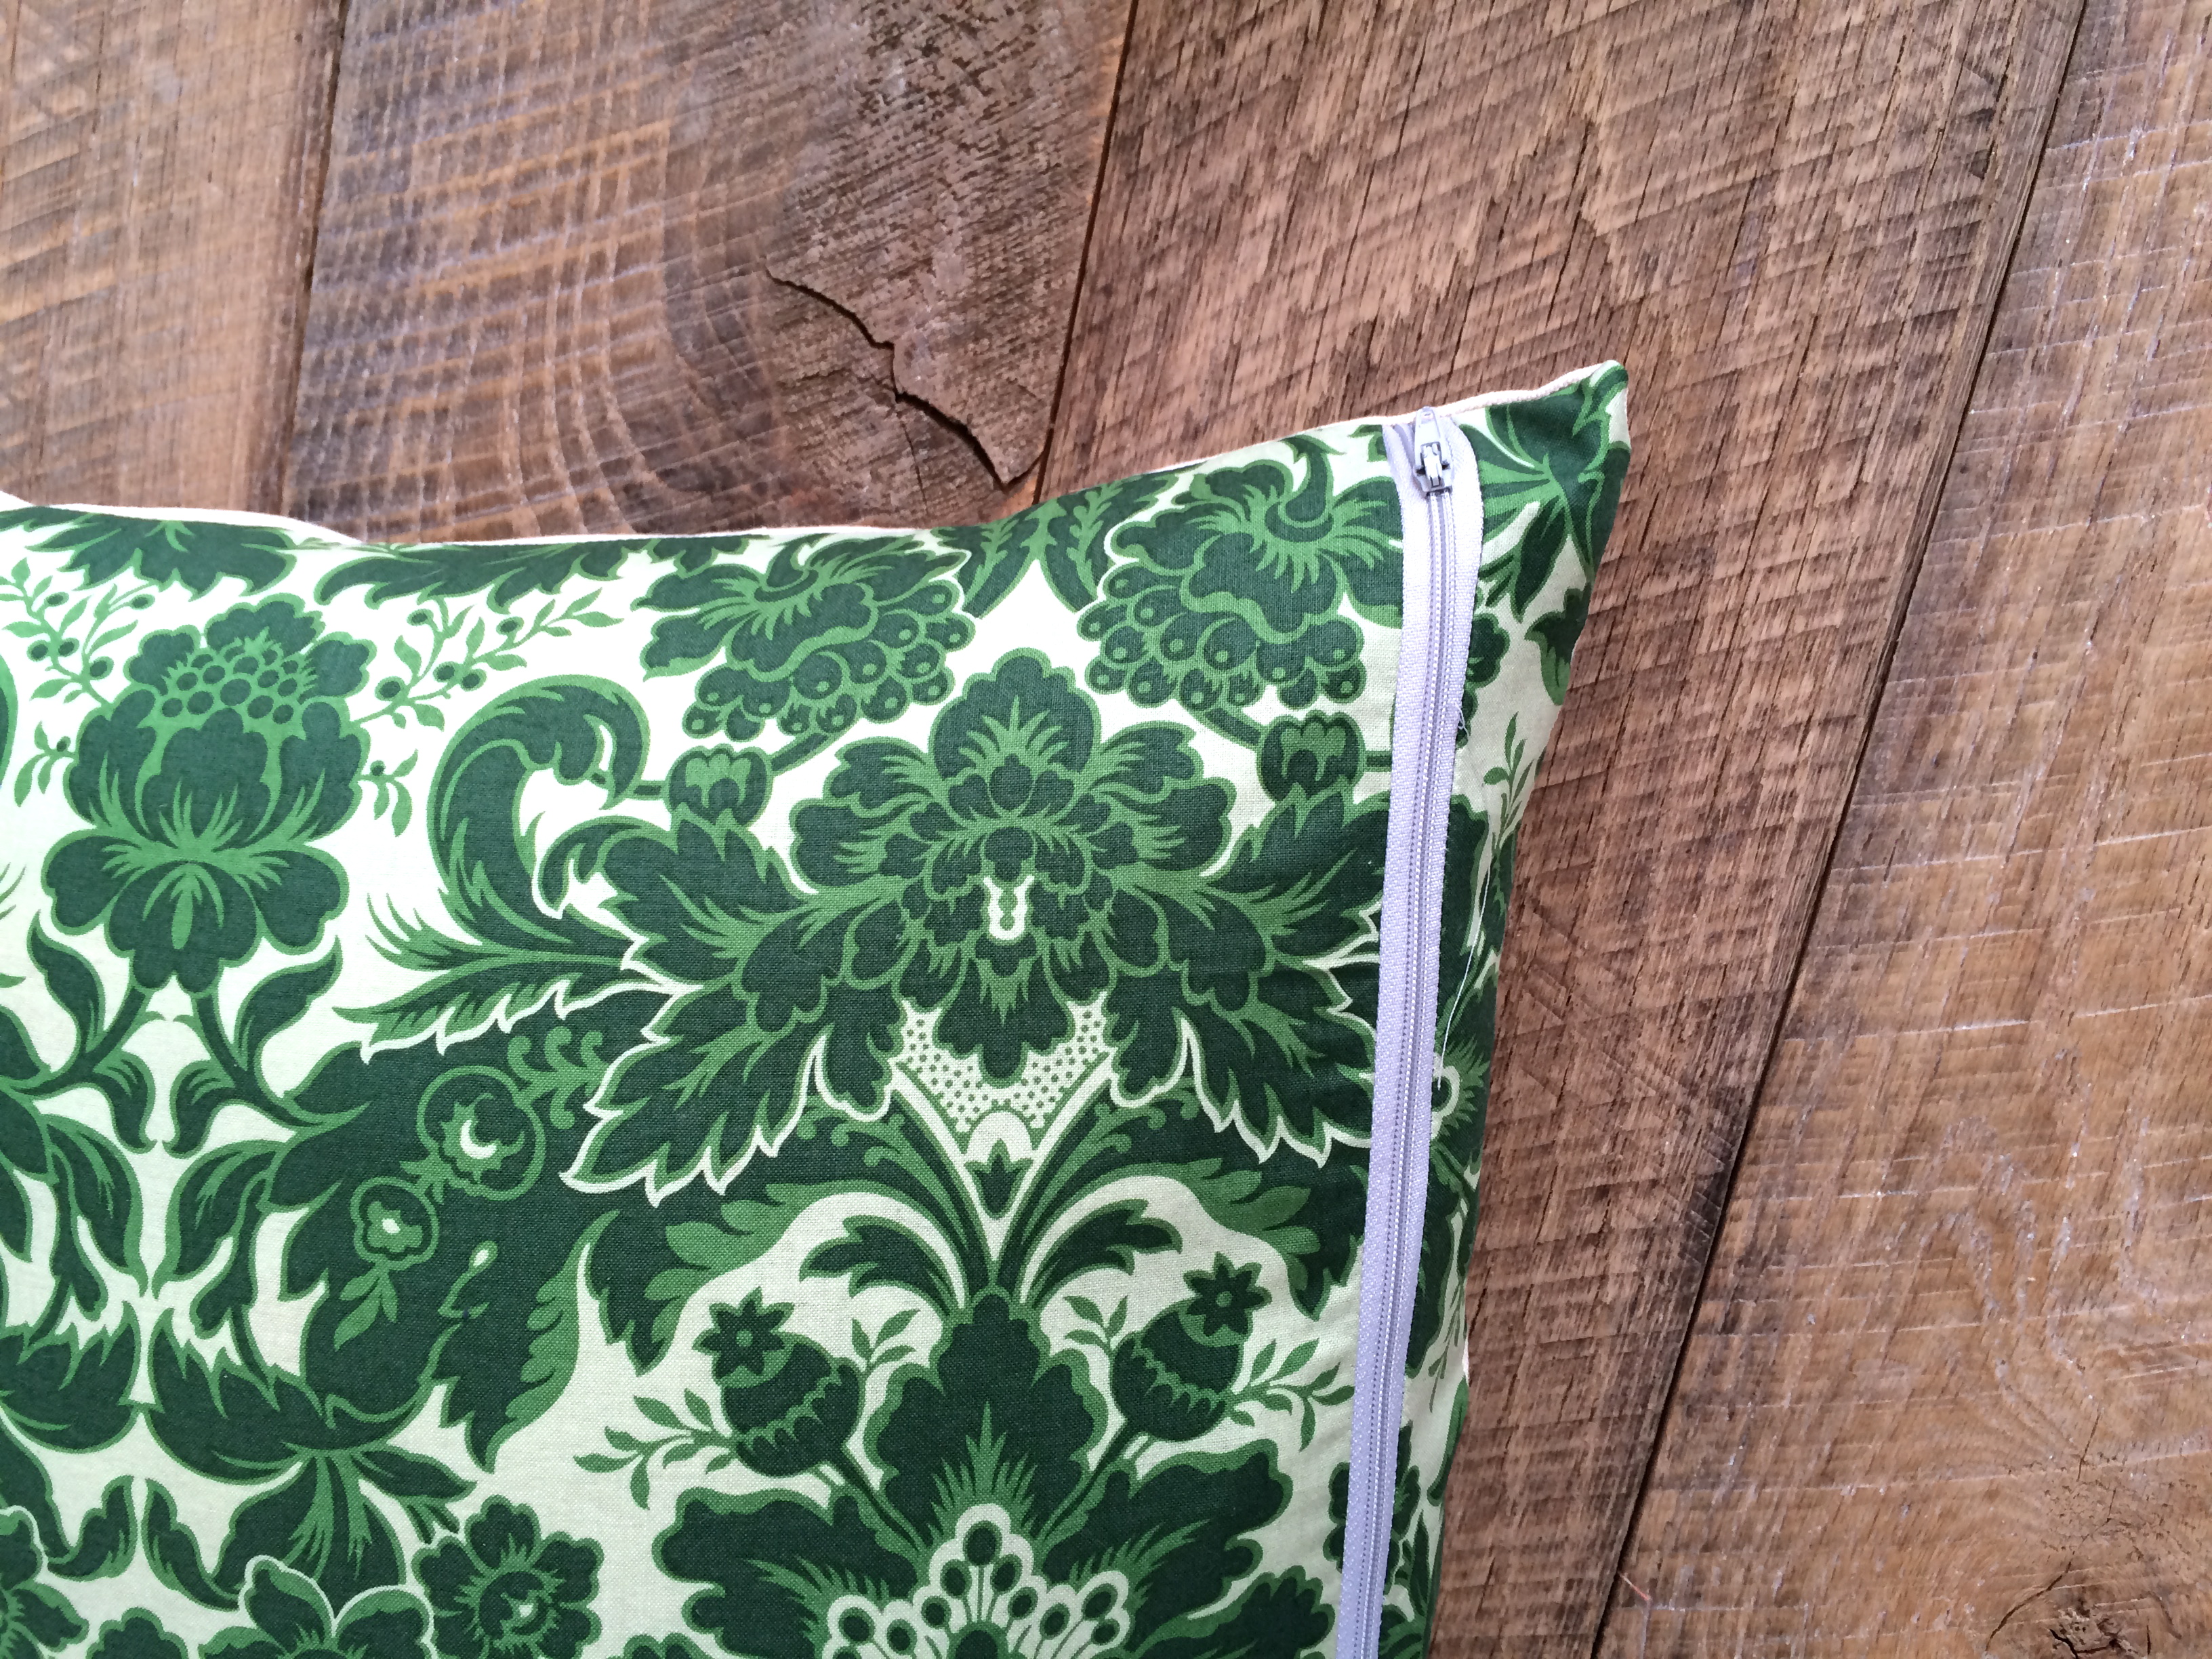


