![]()
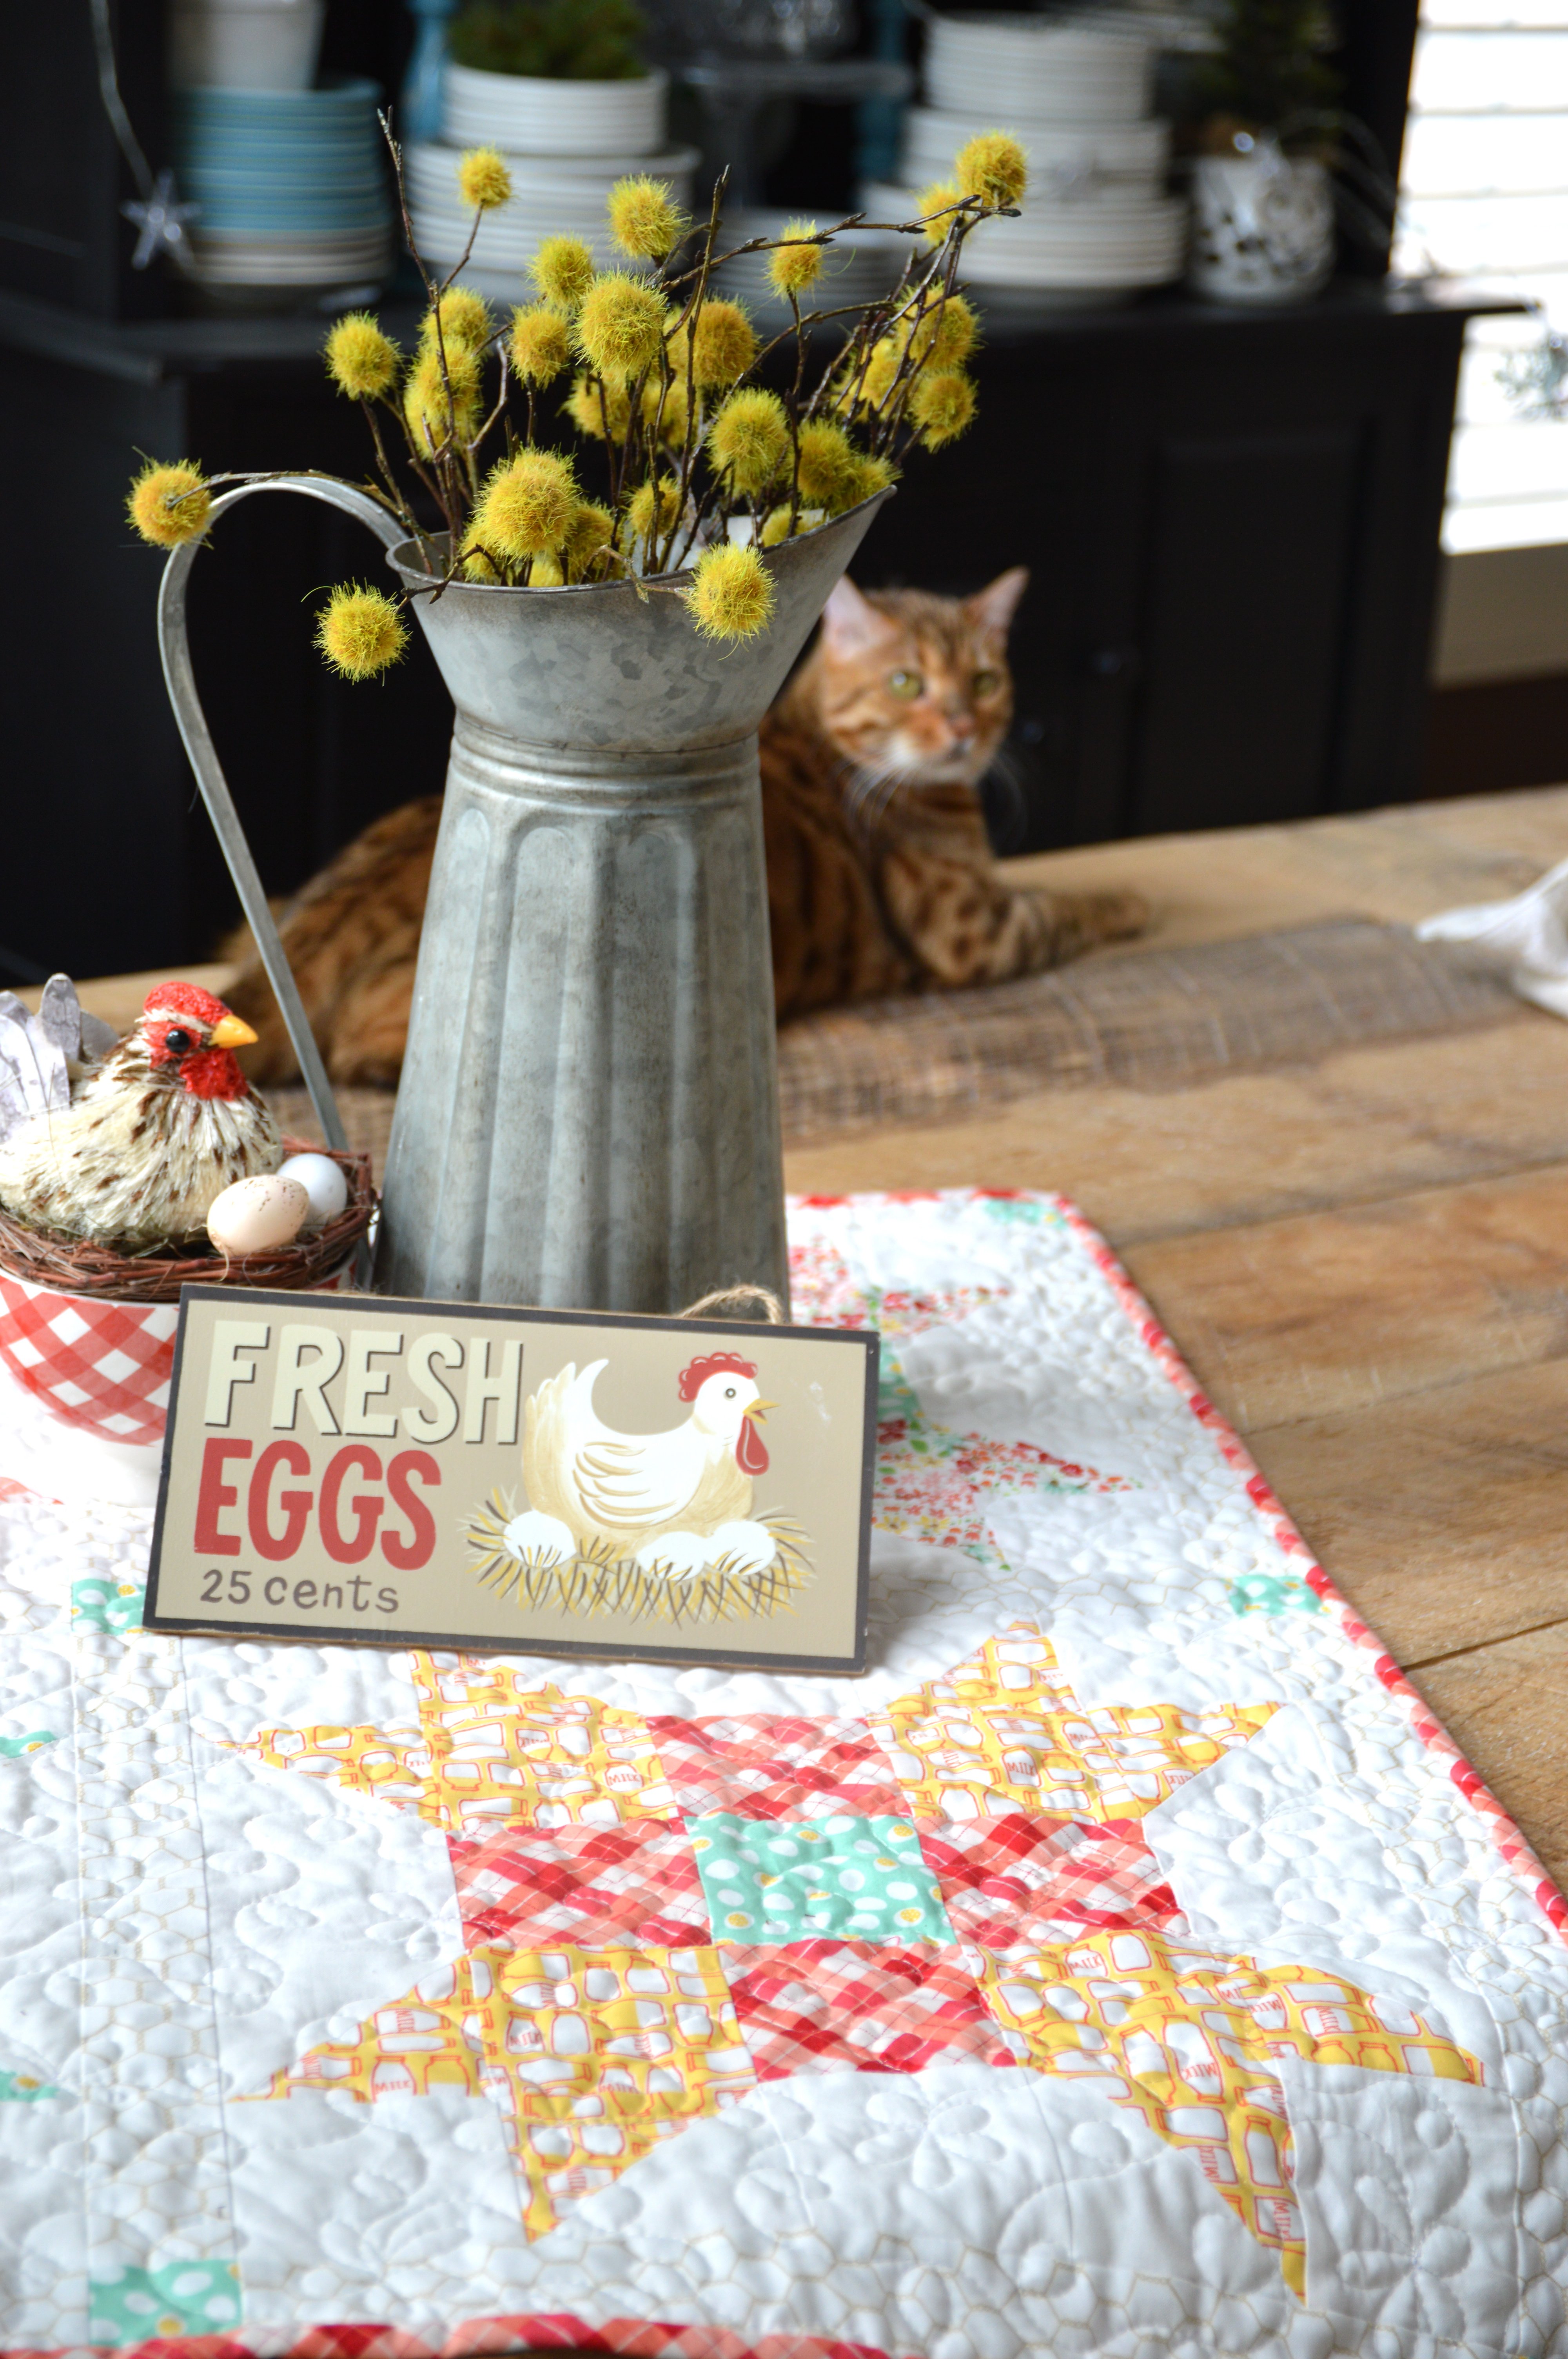
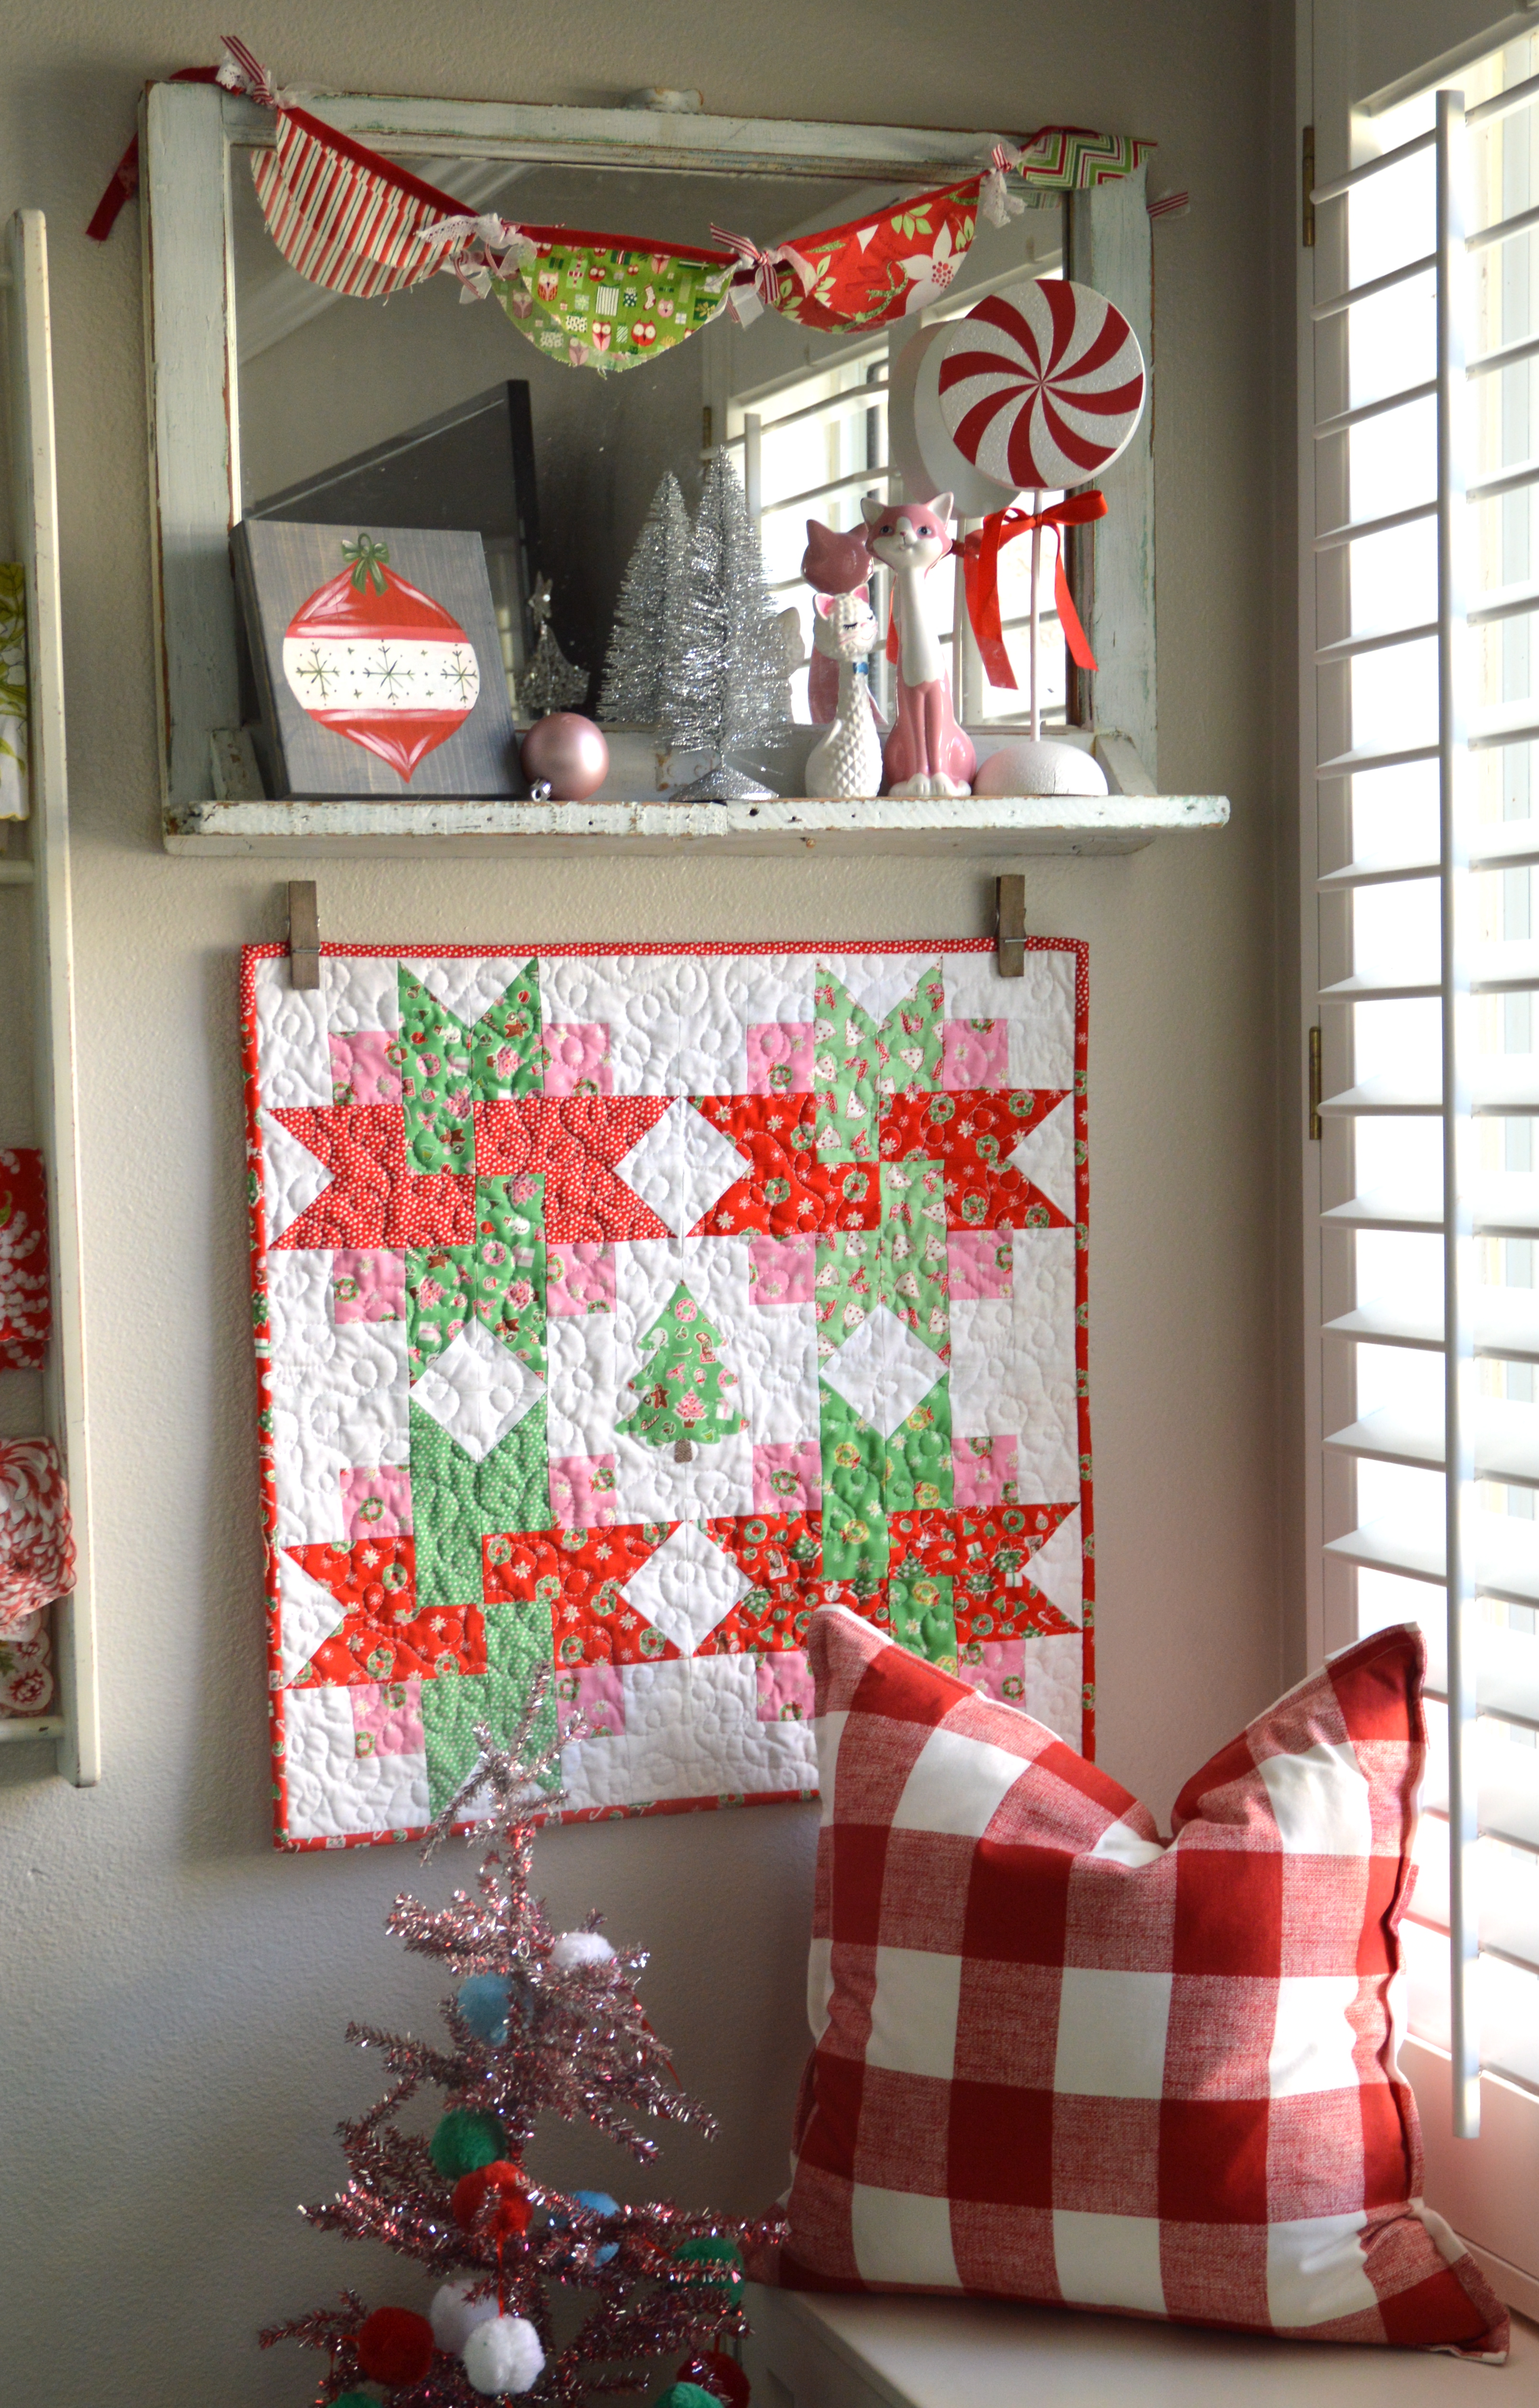
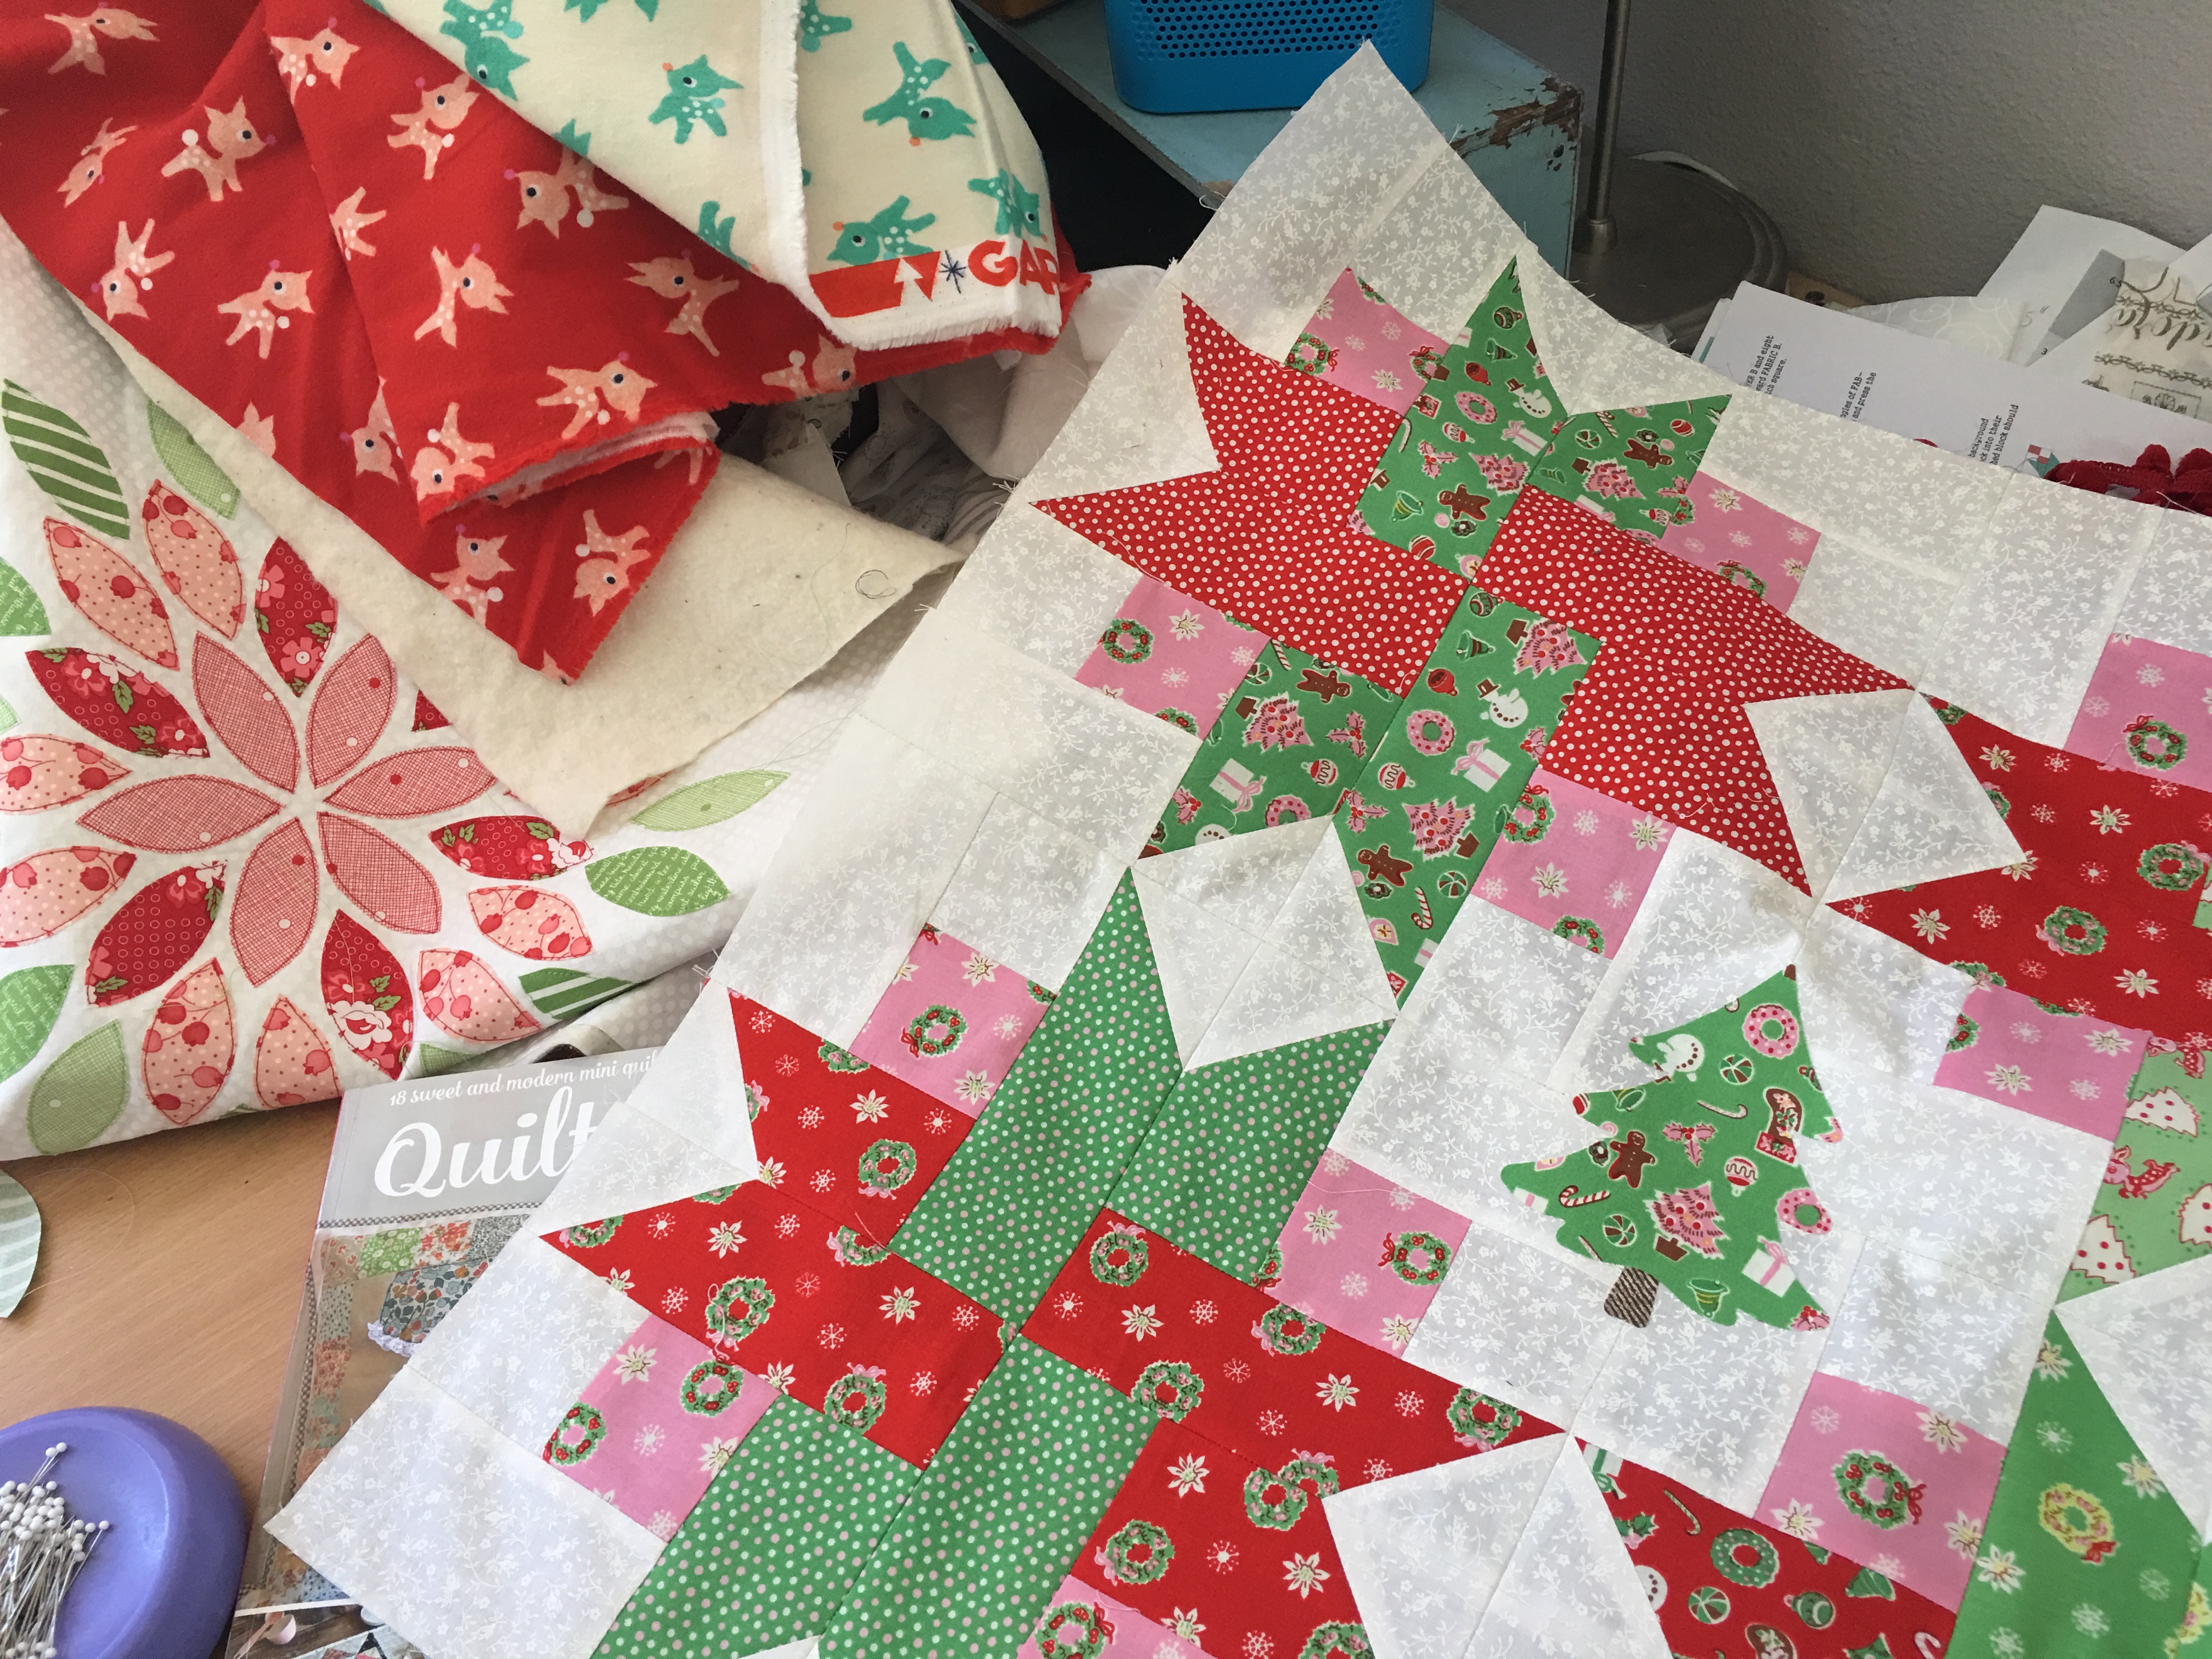
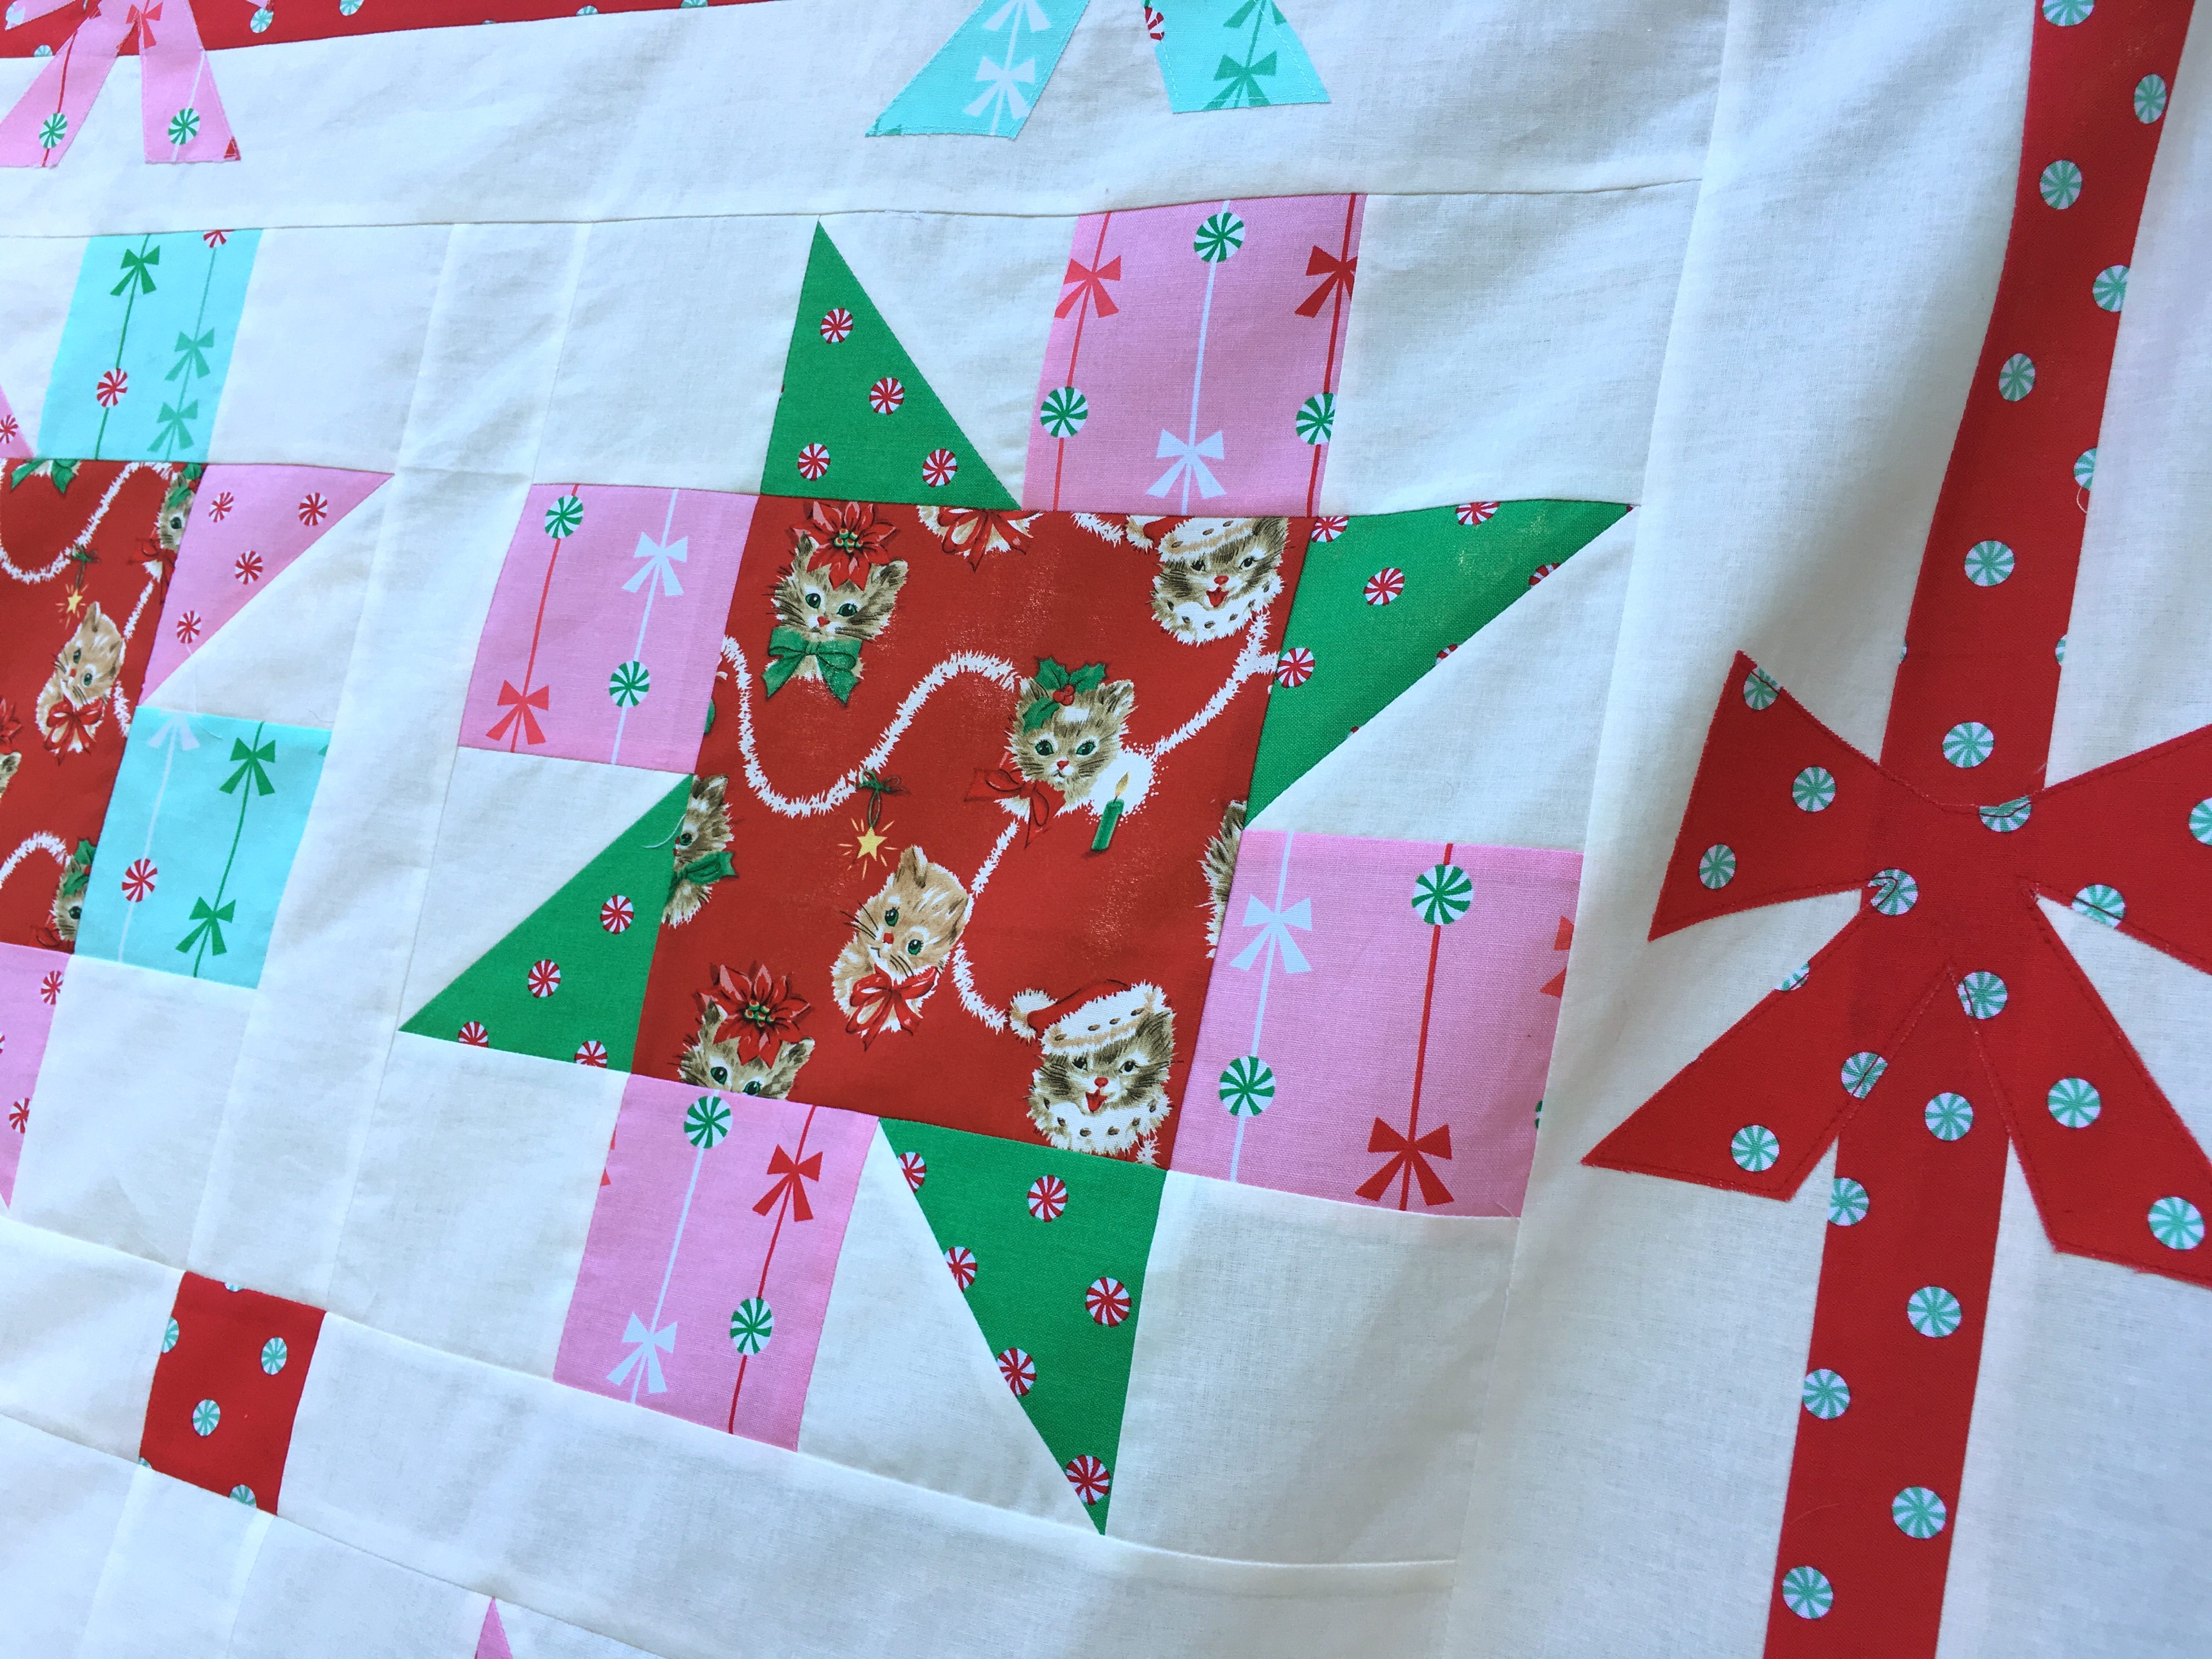
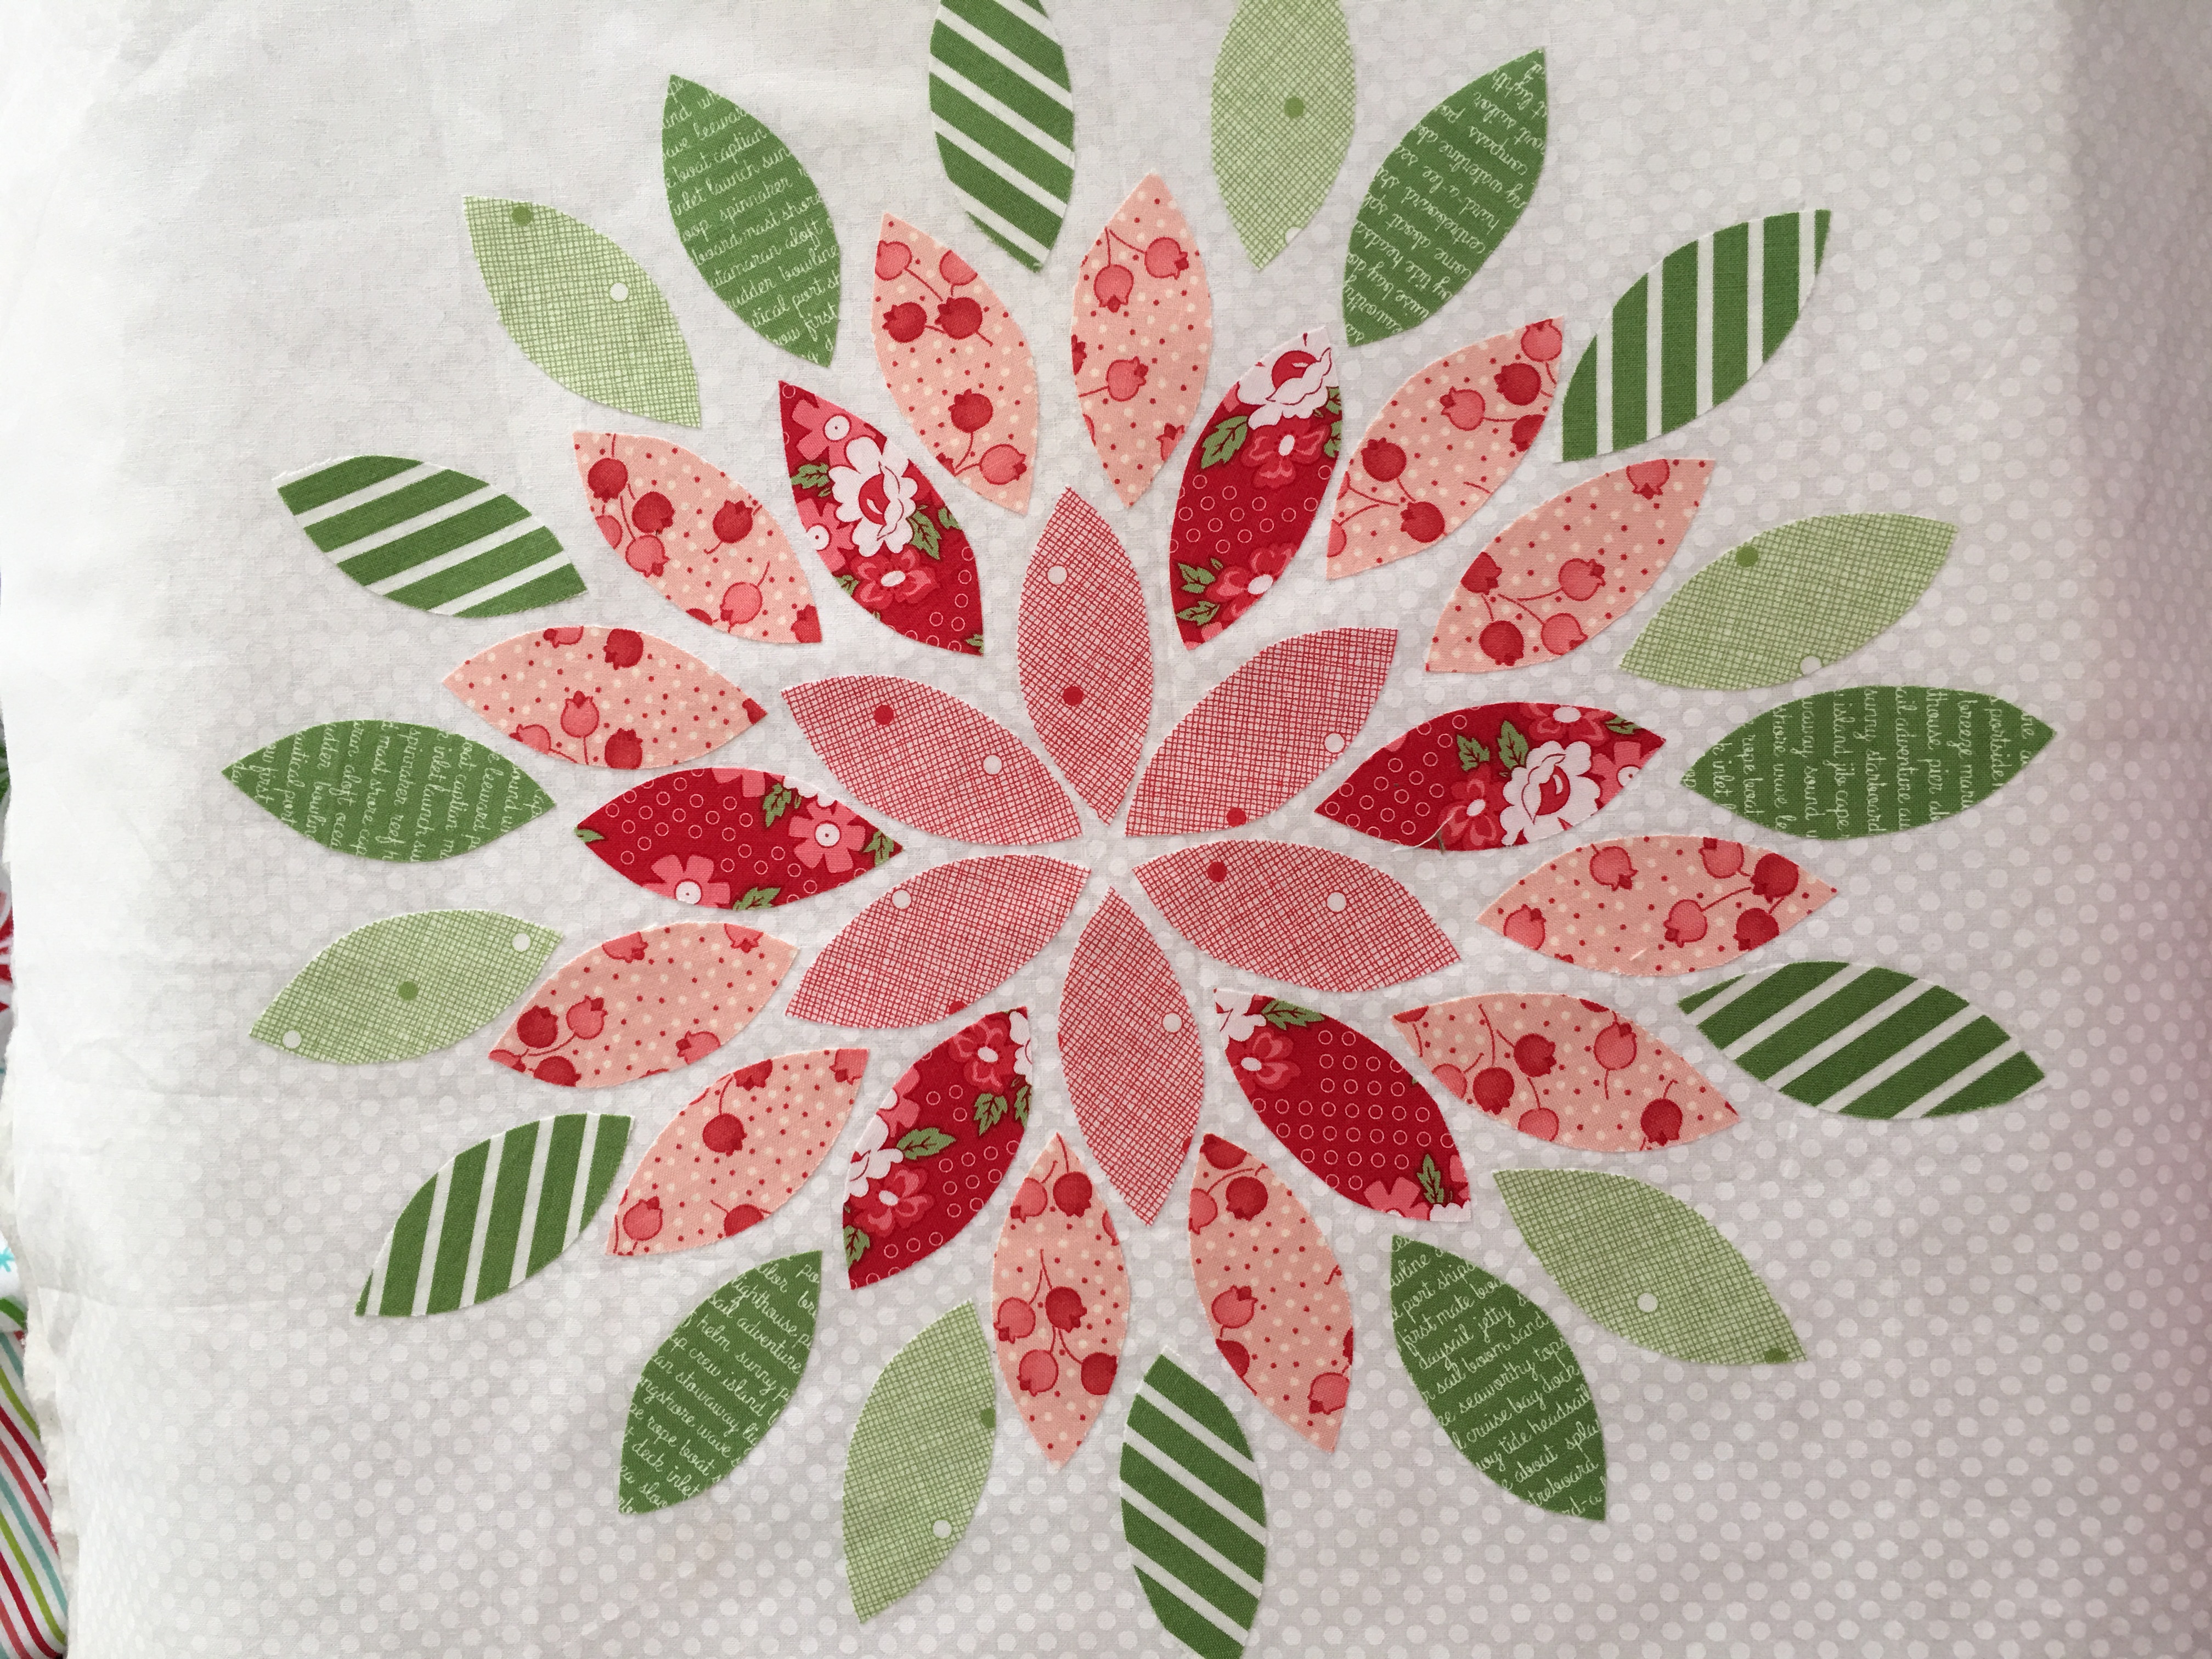
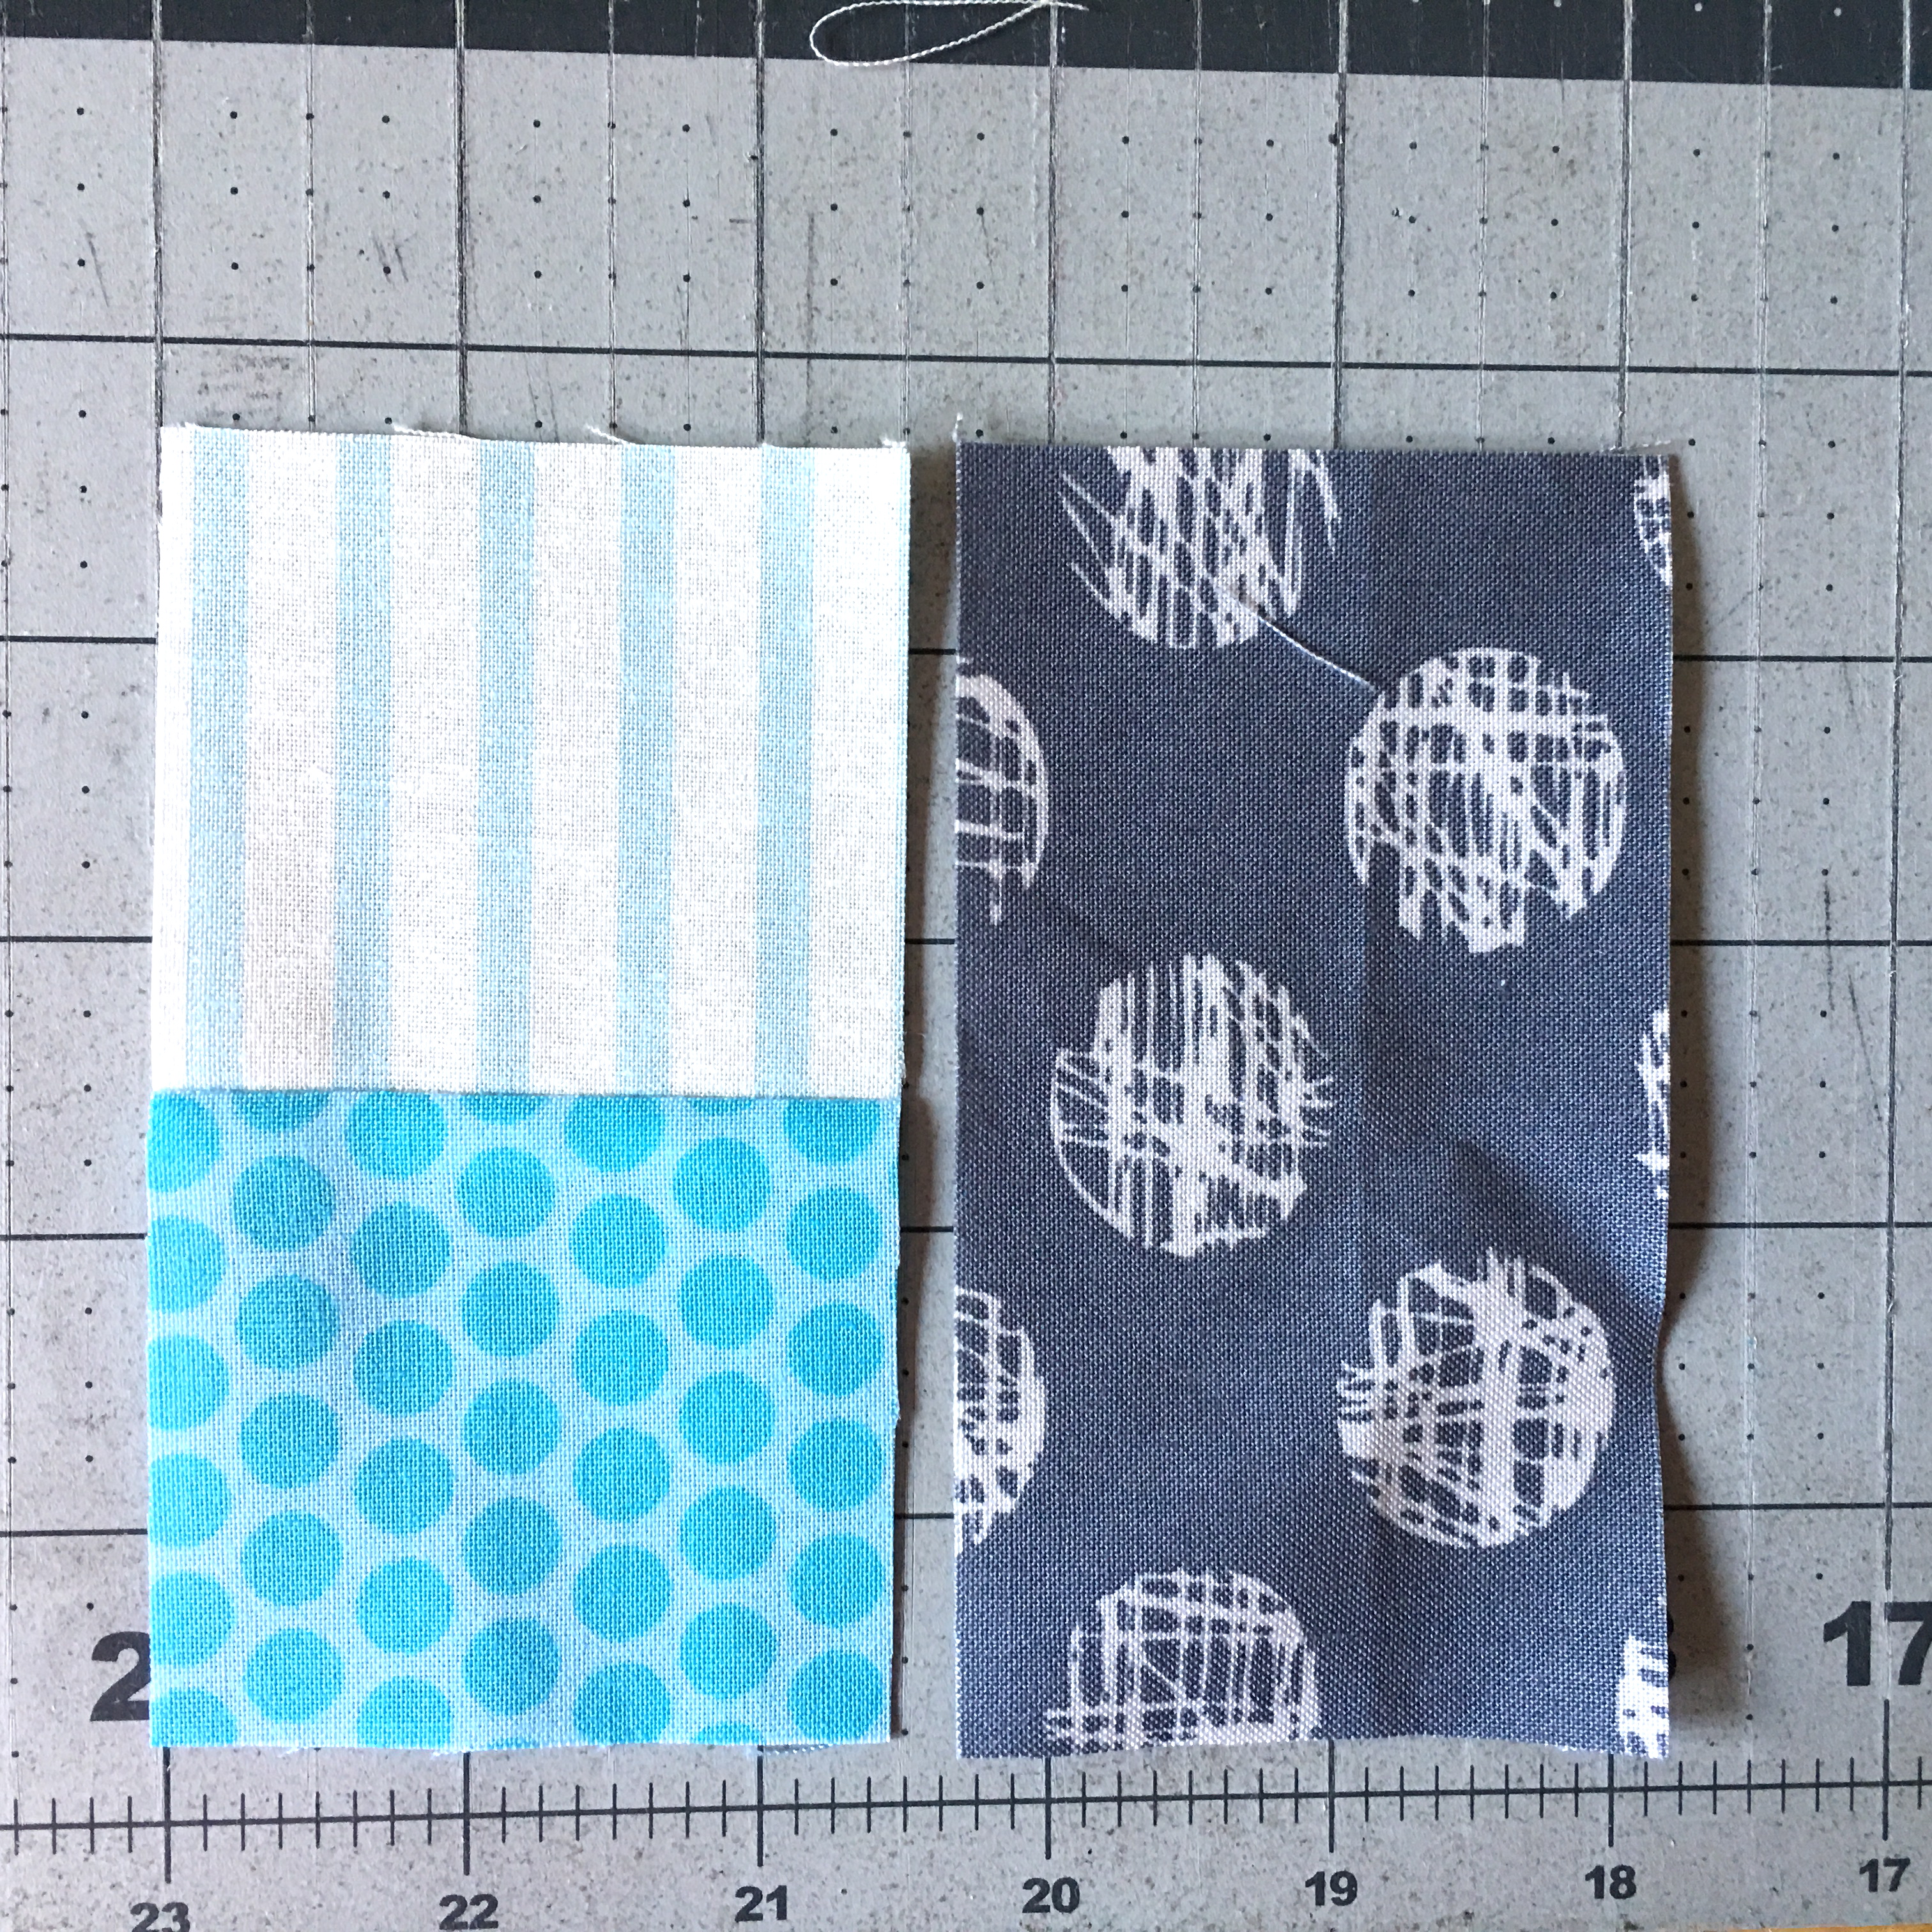
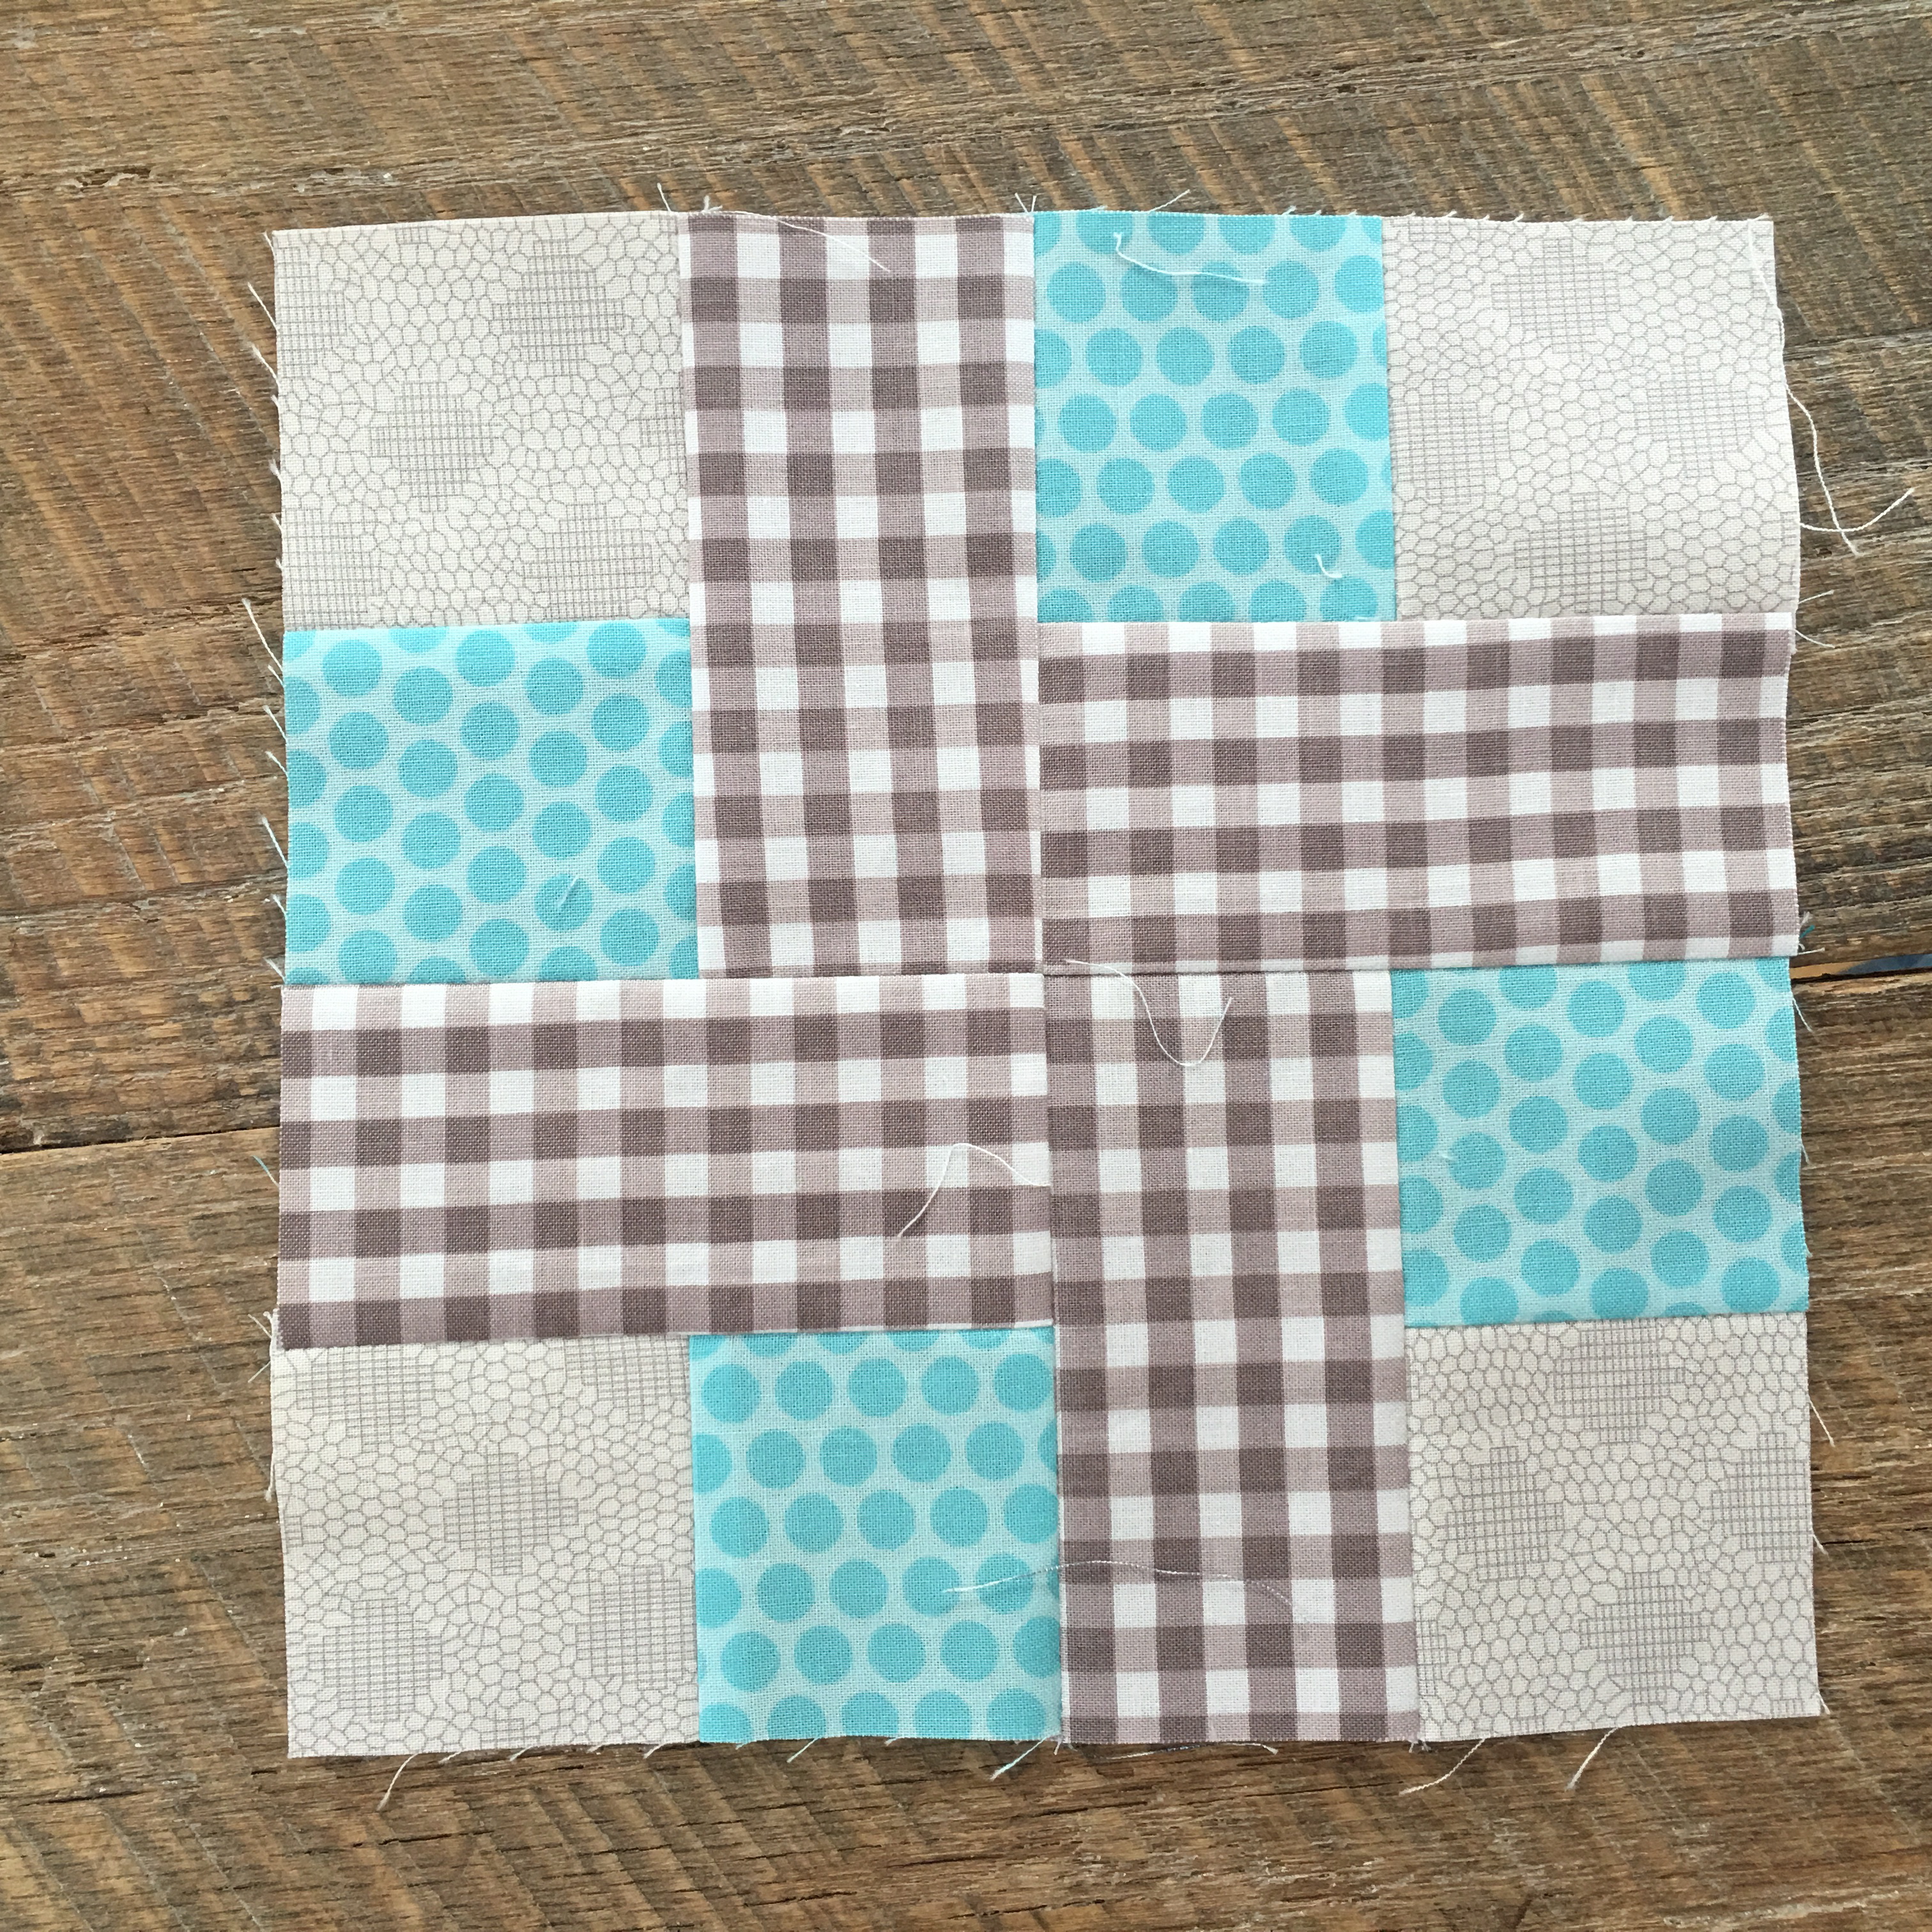
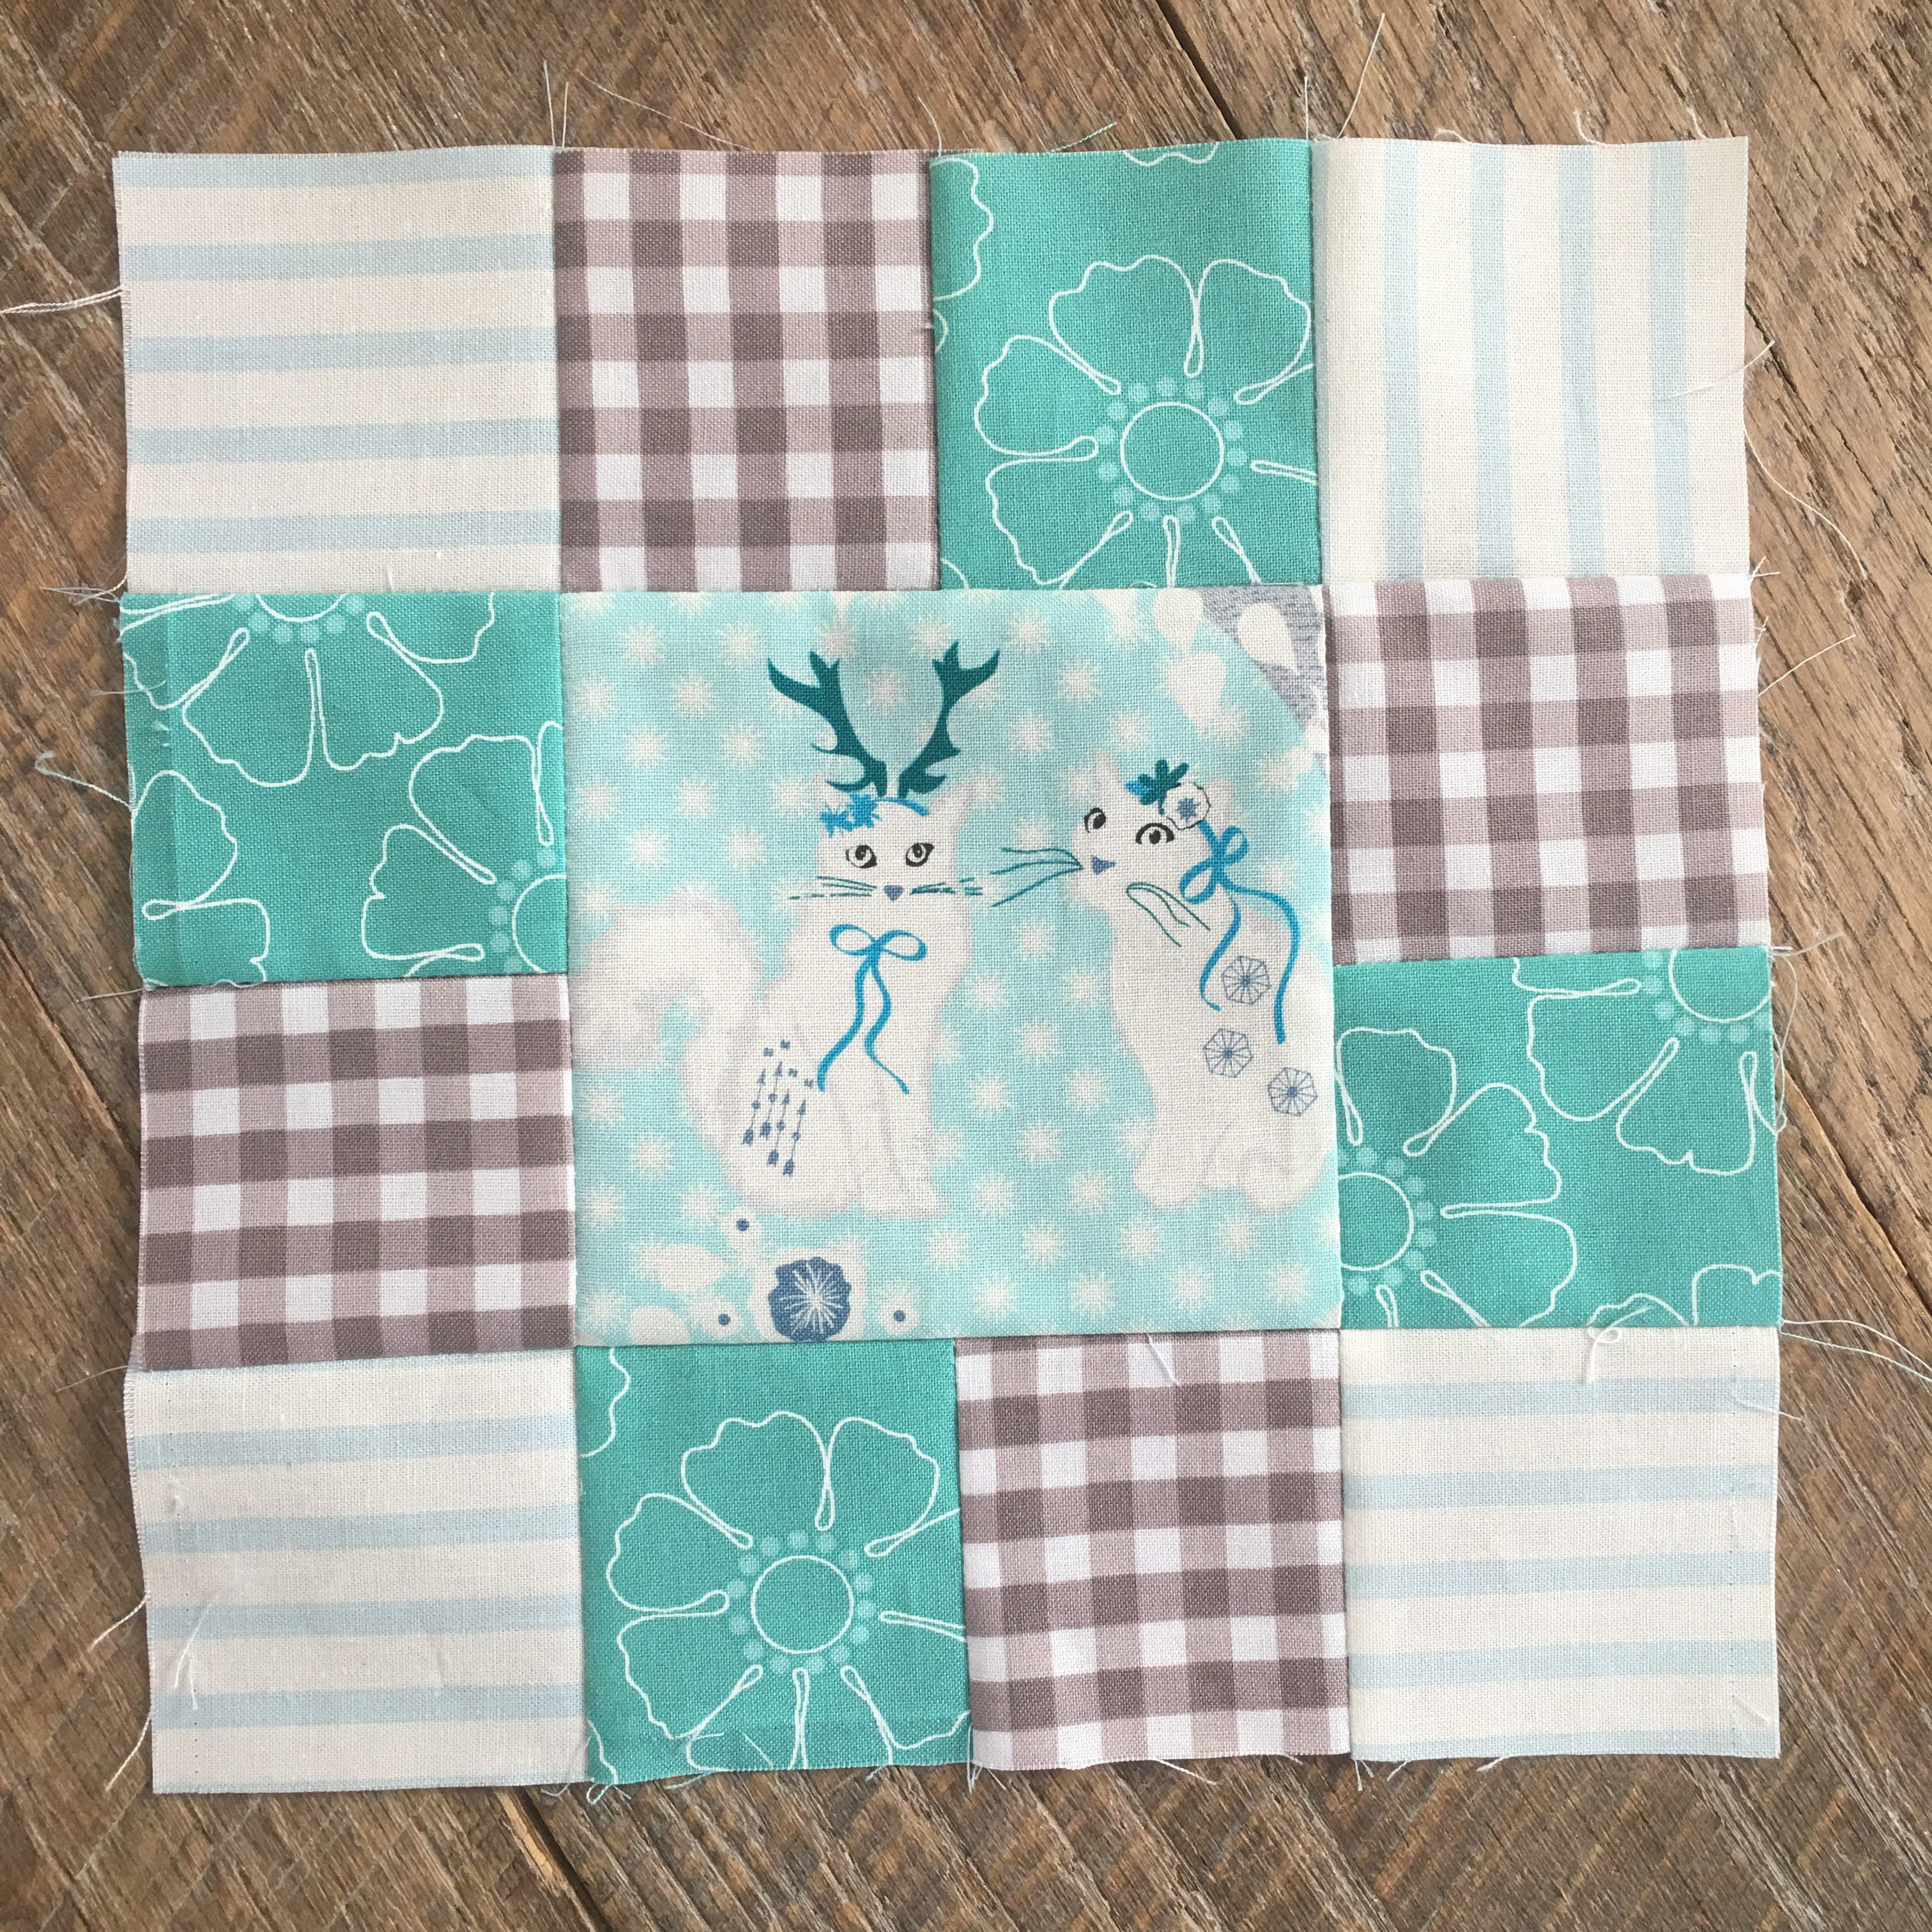
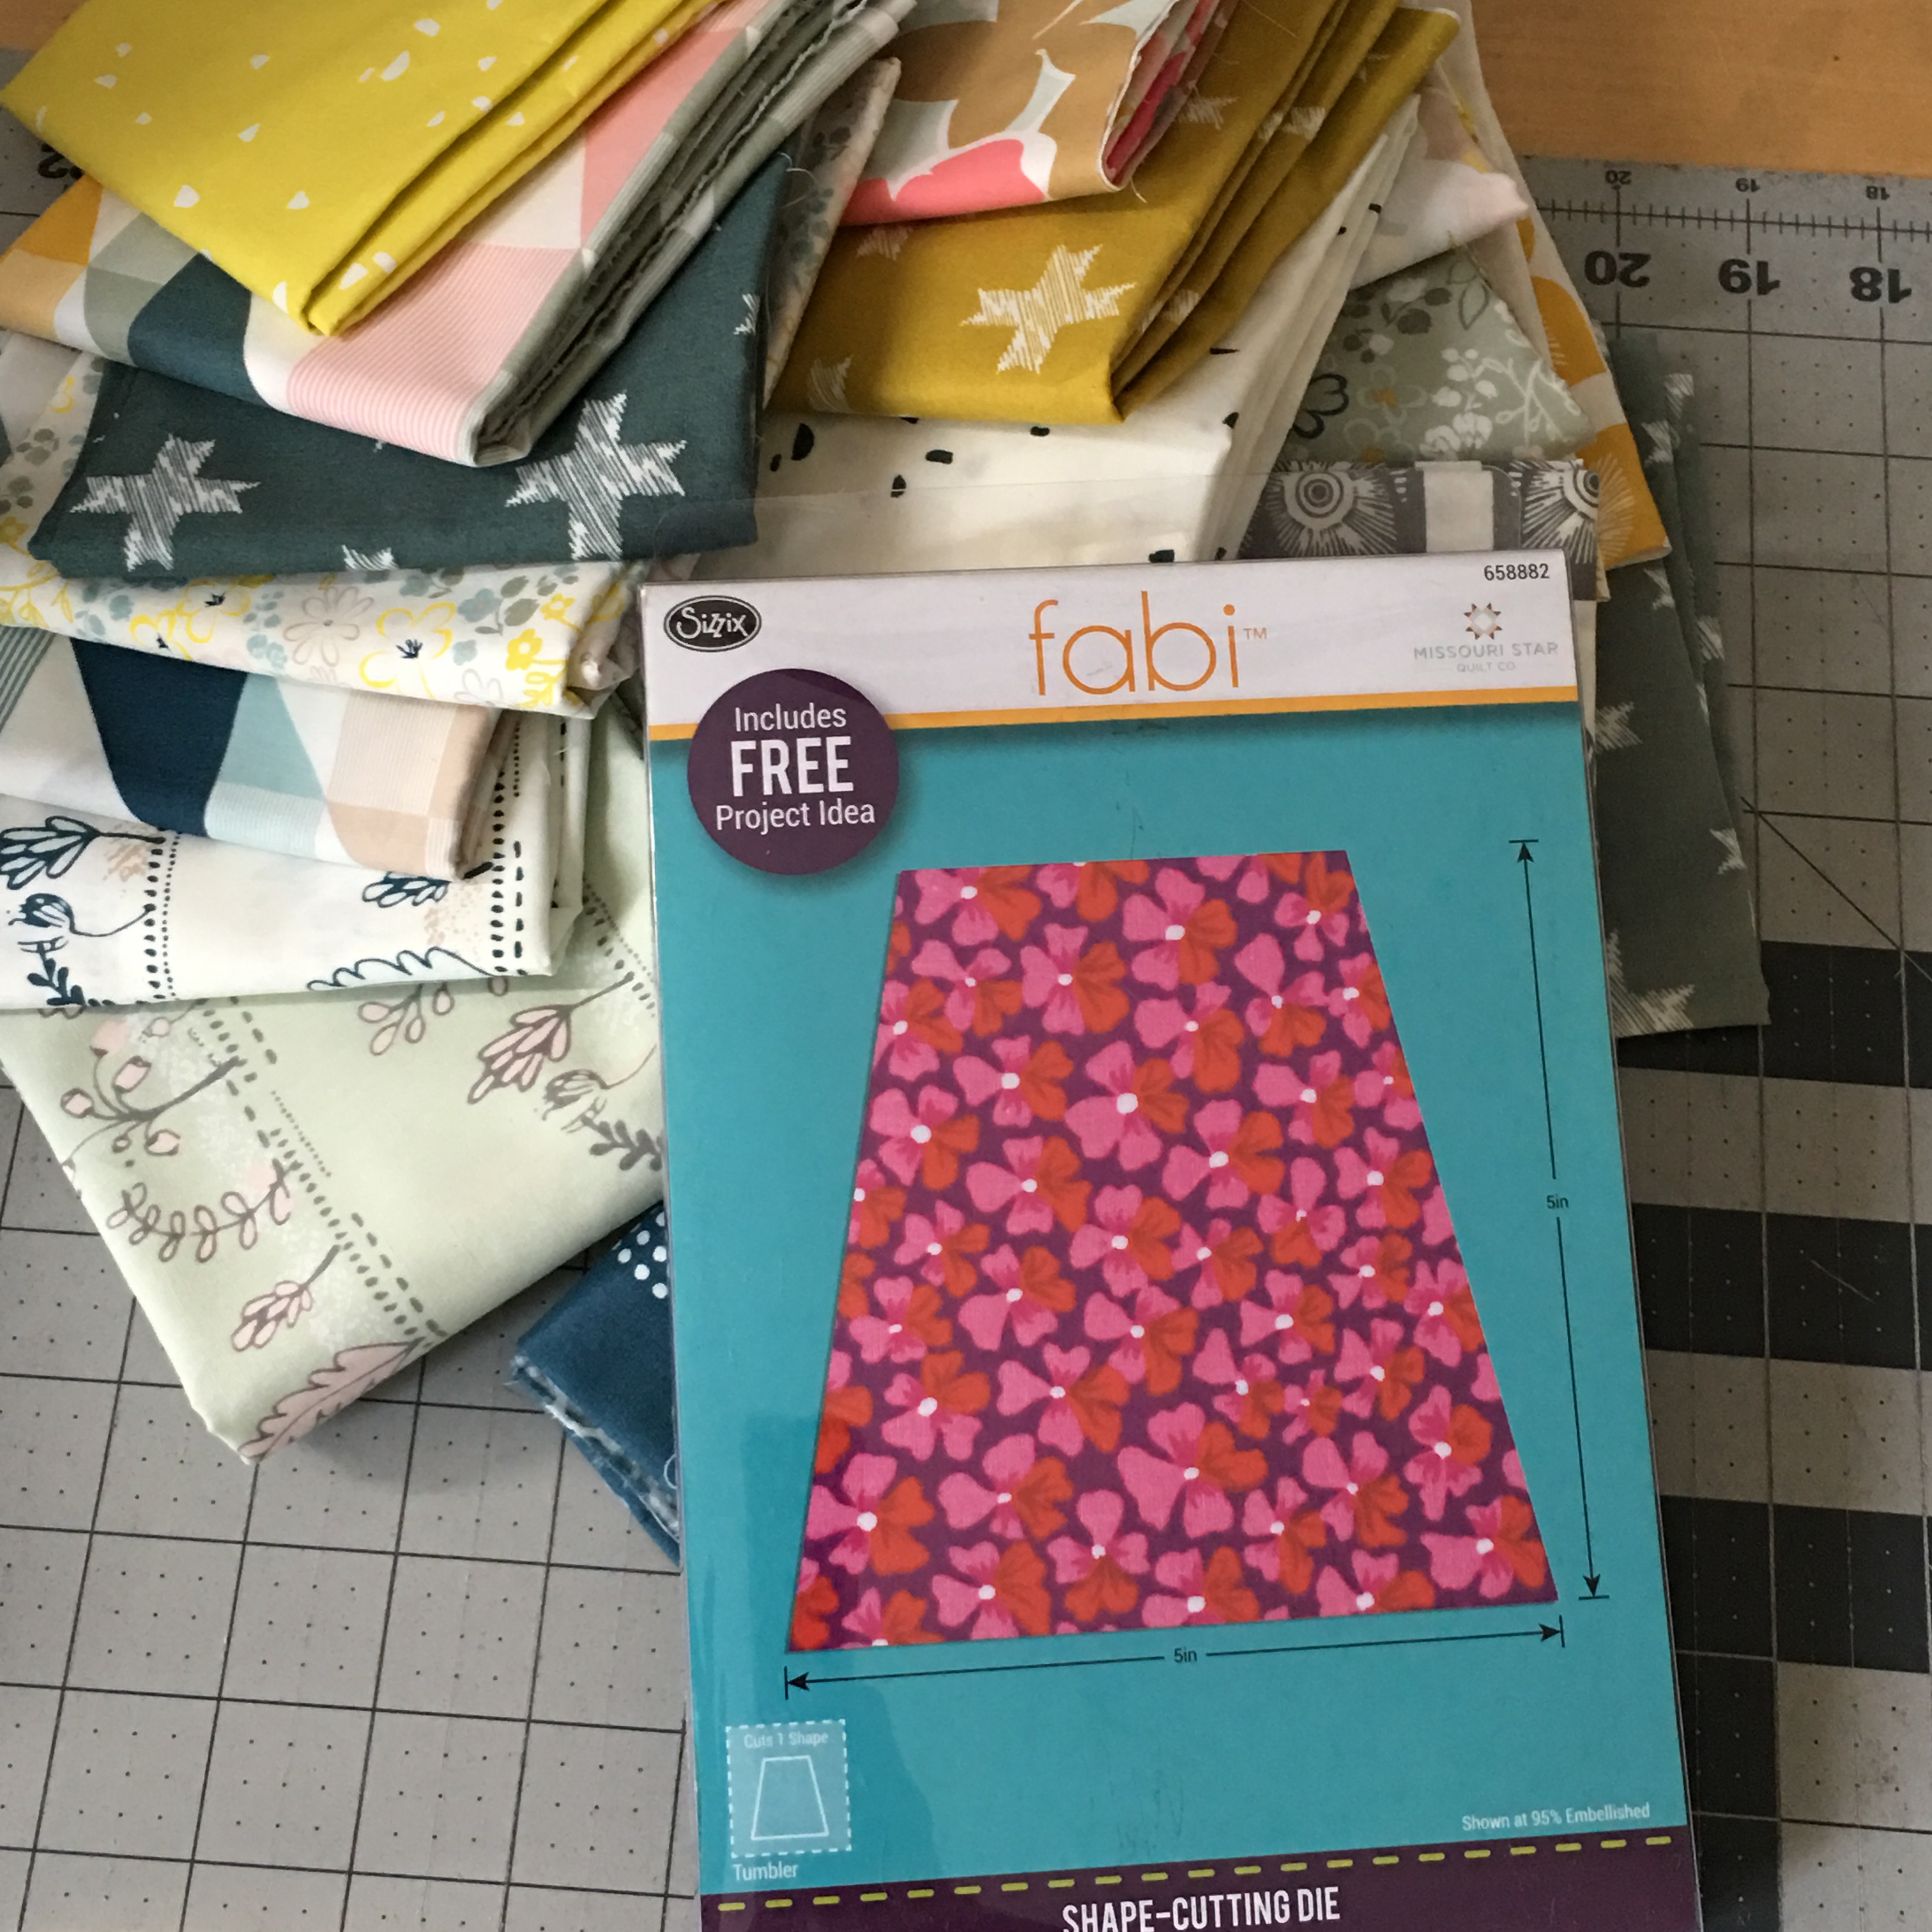
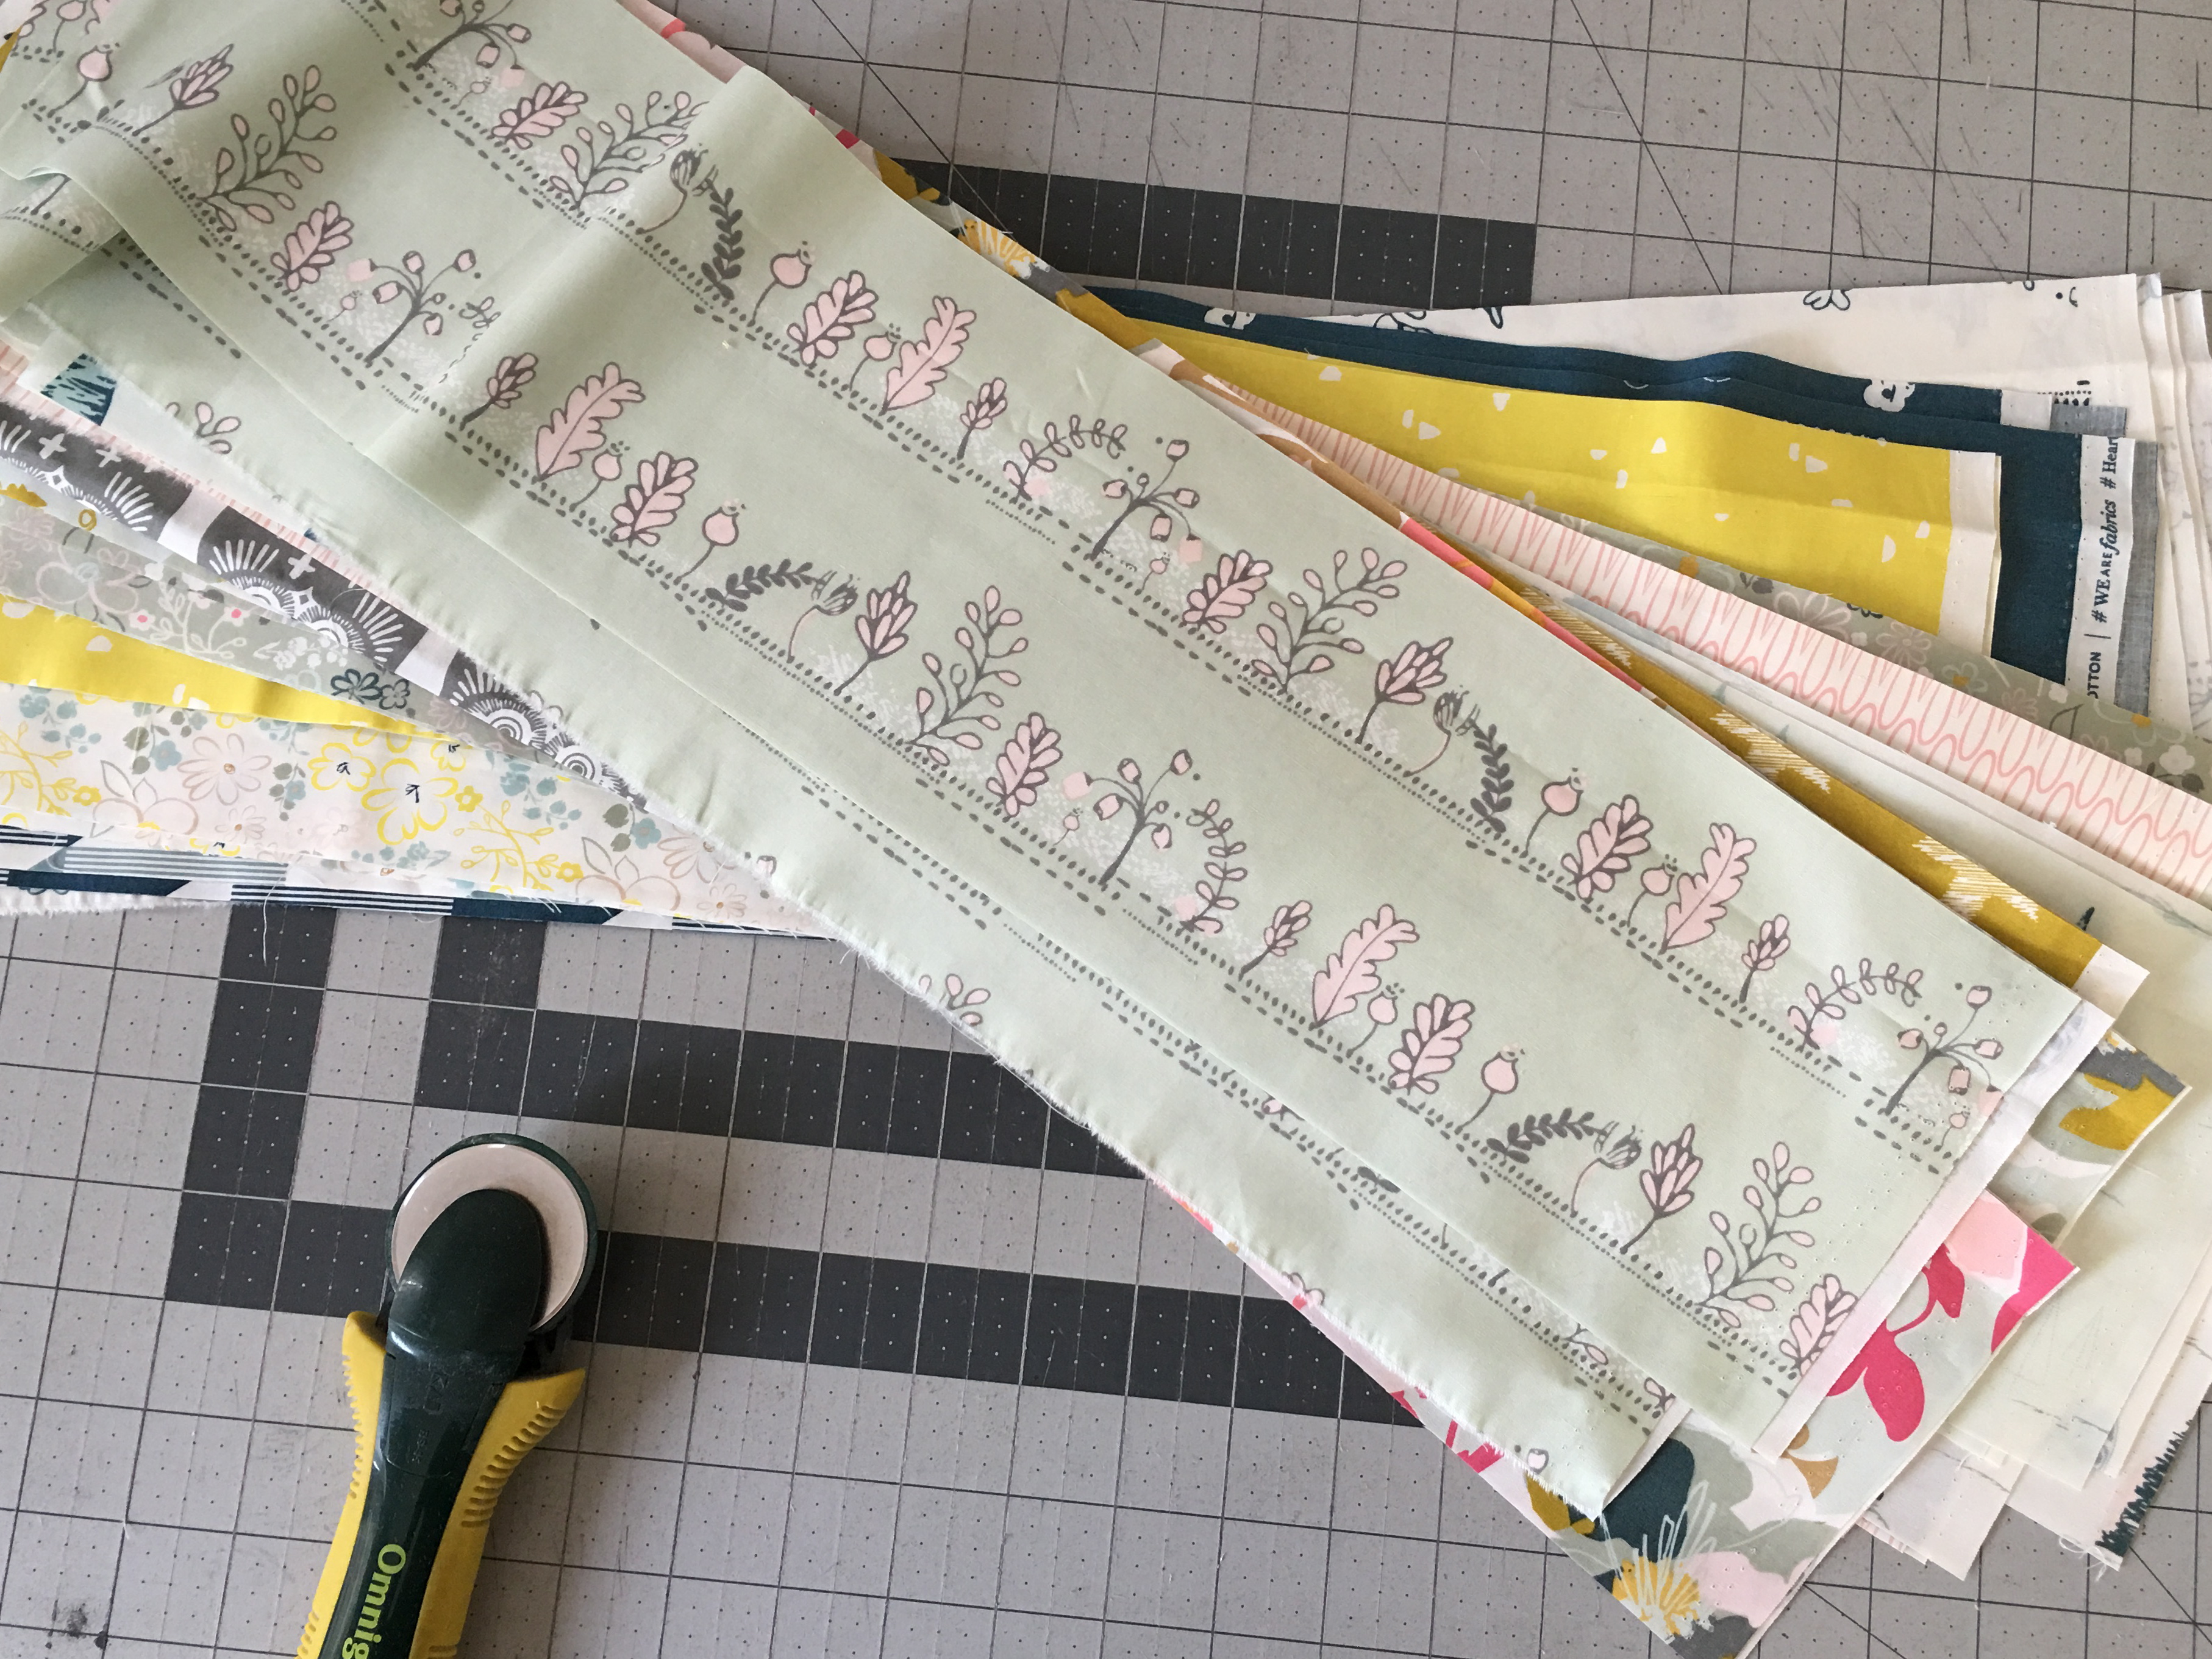
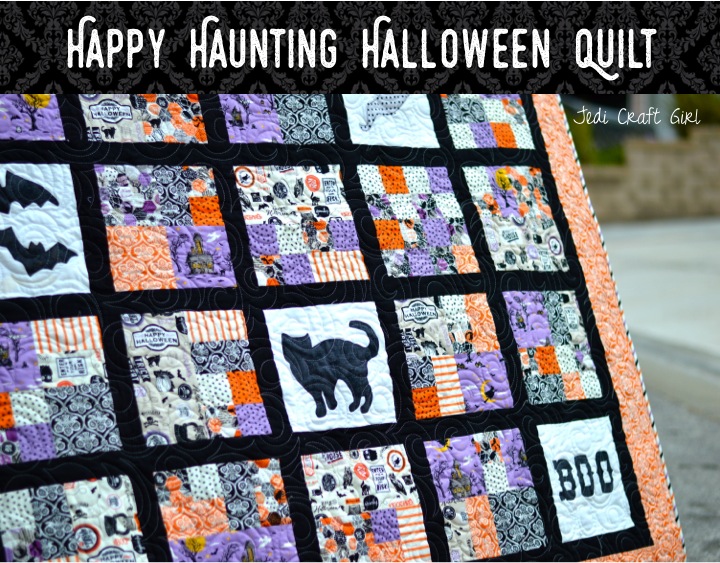
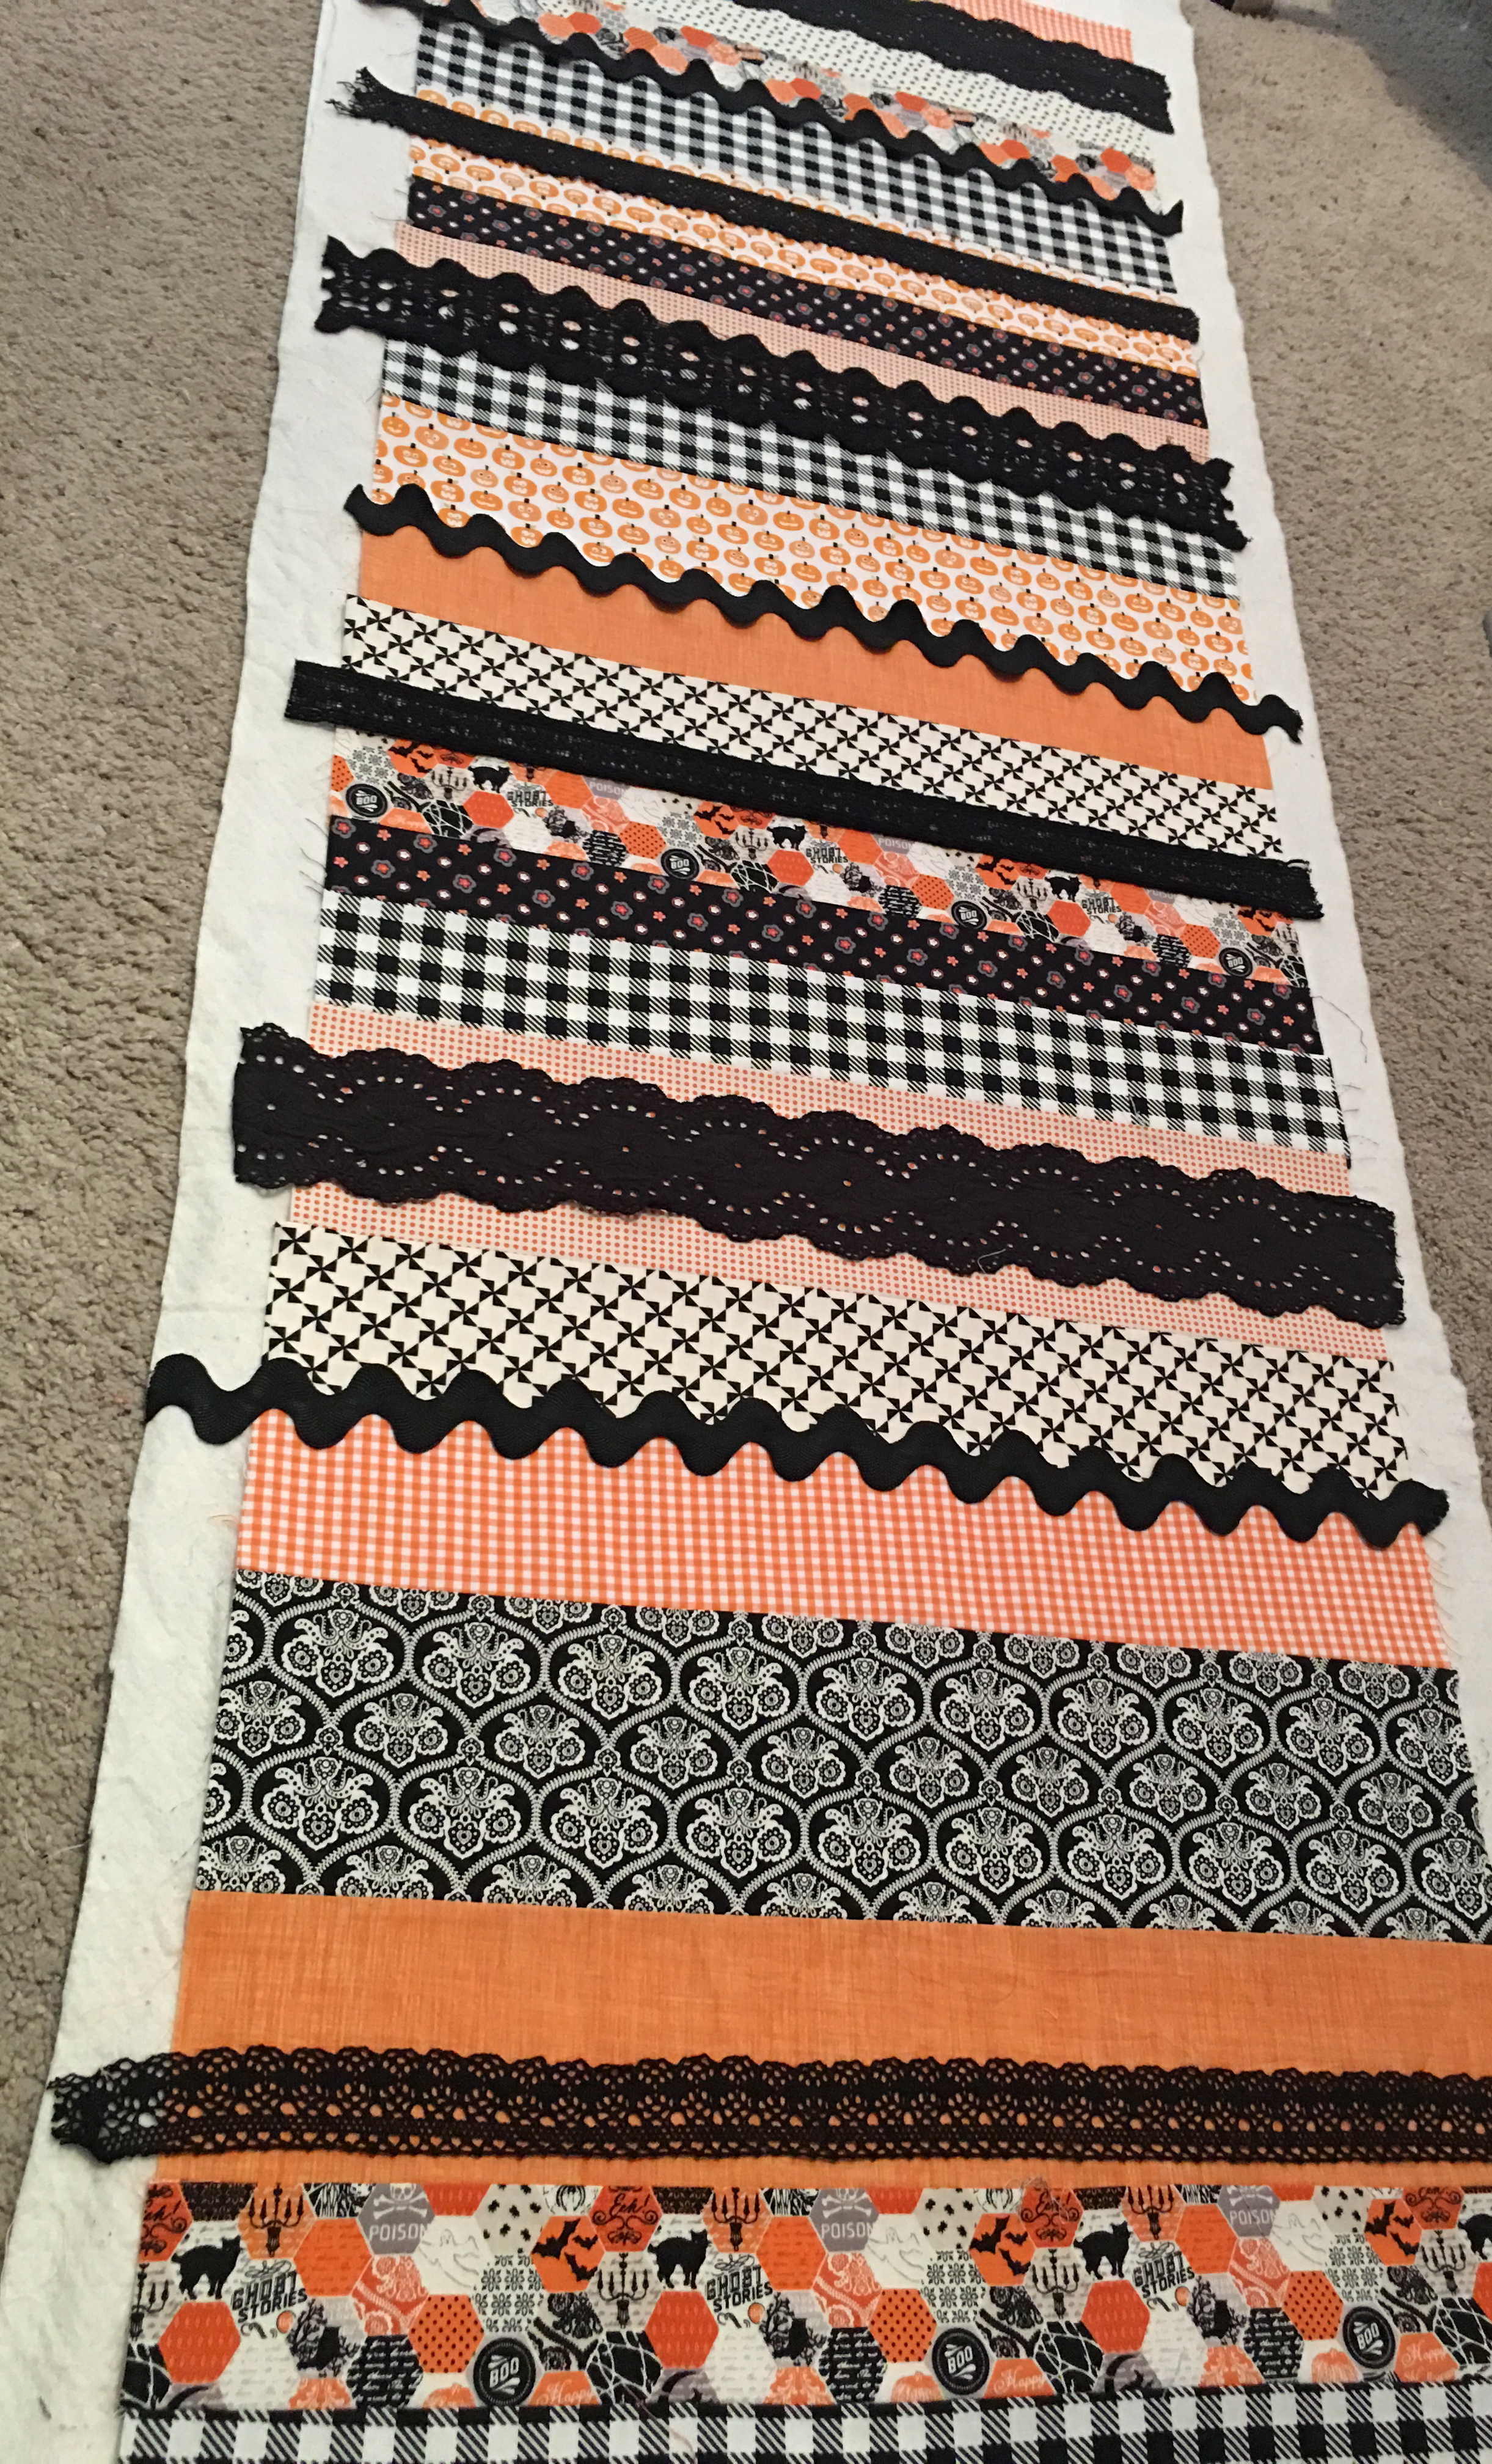
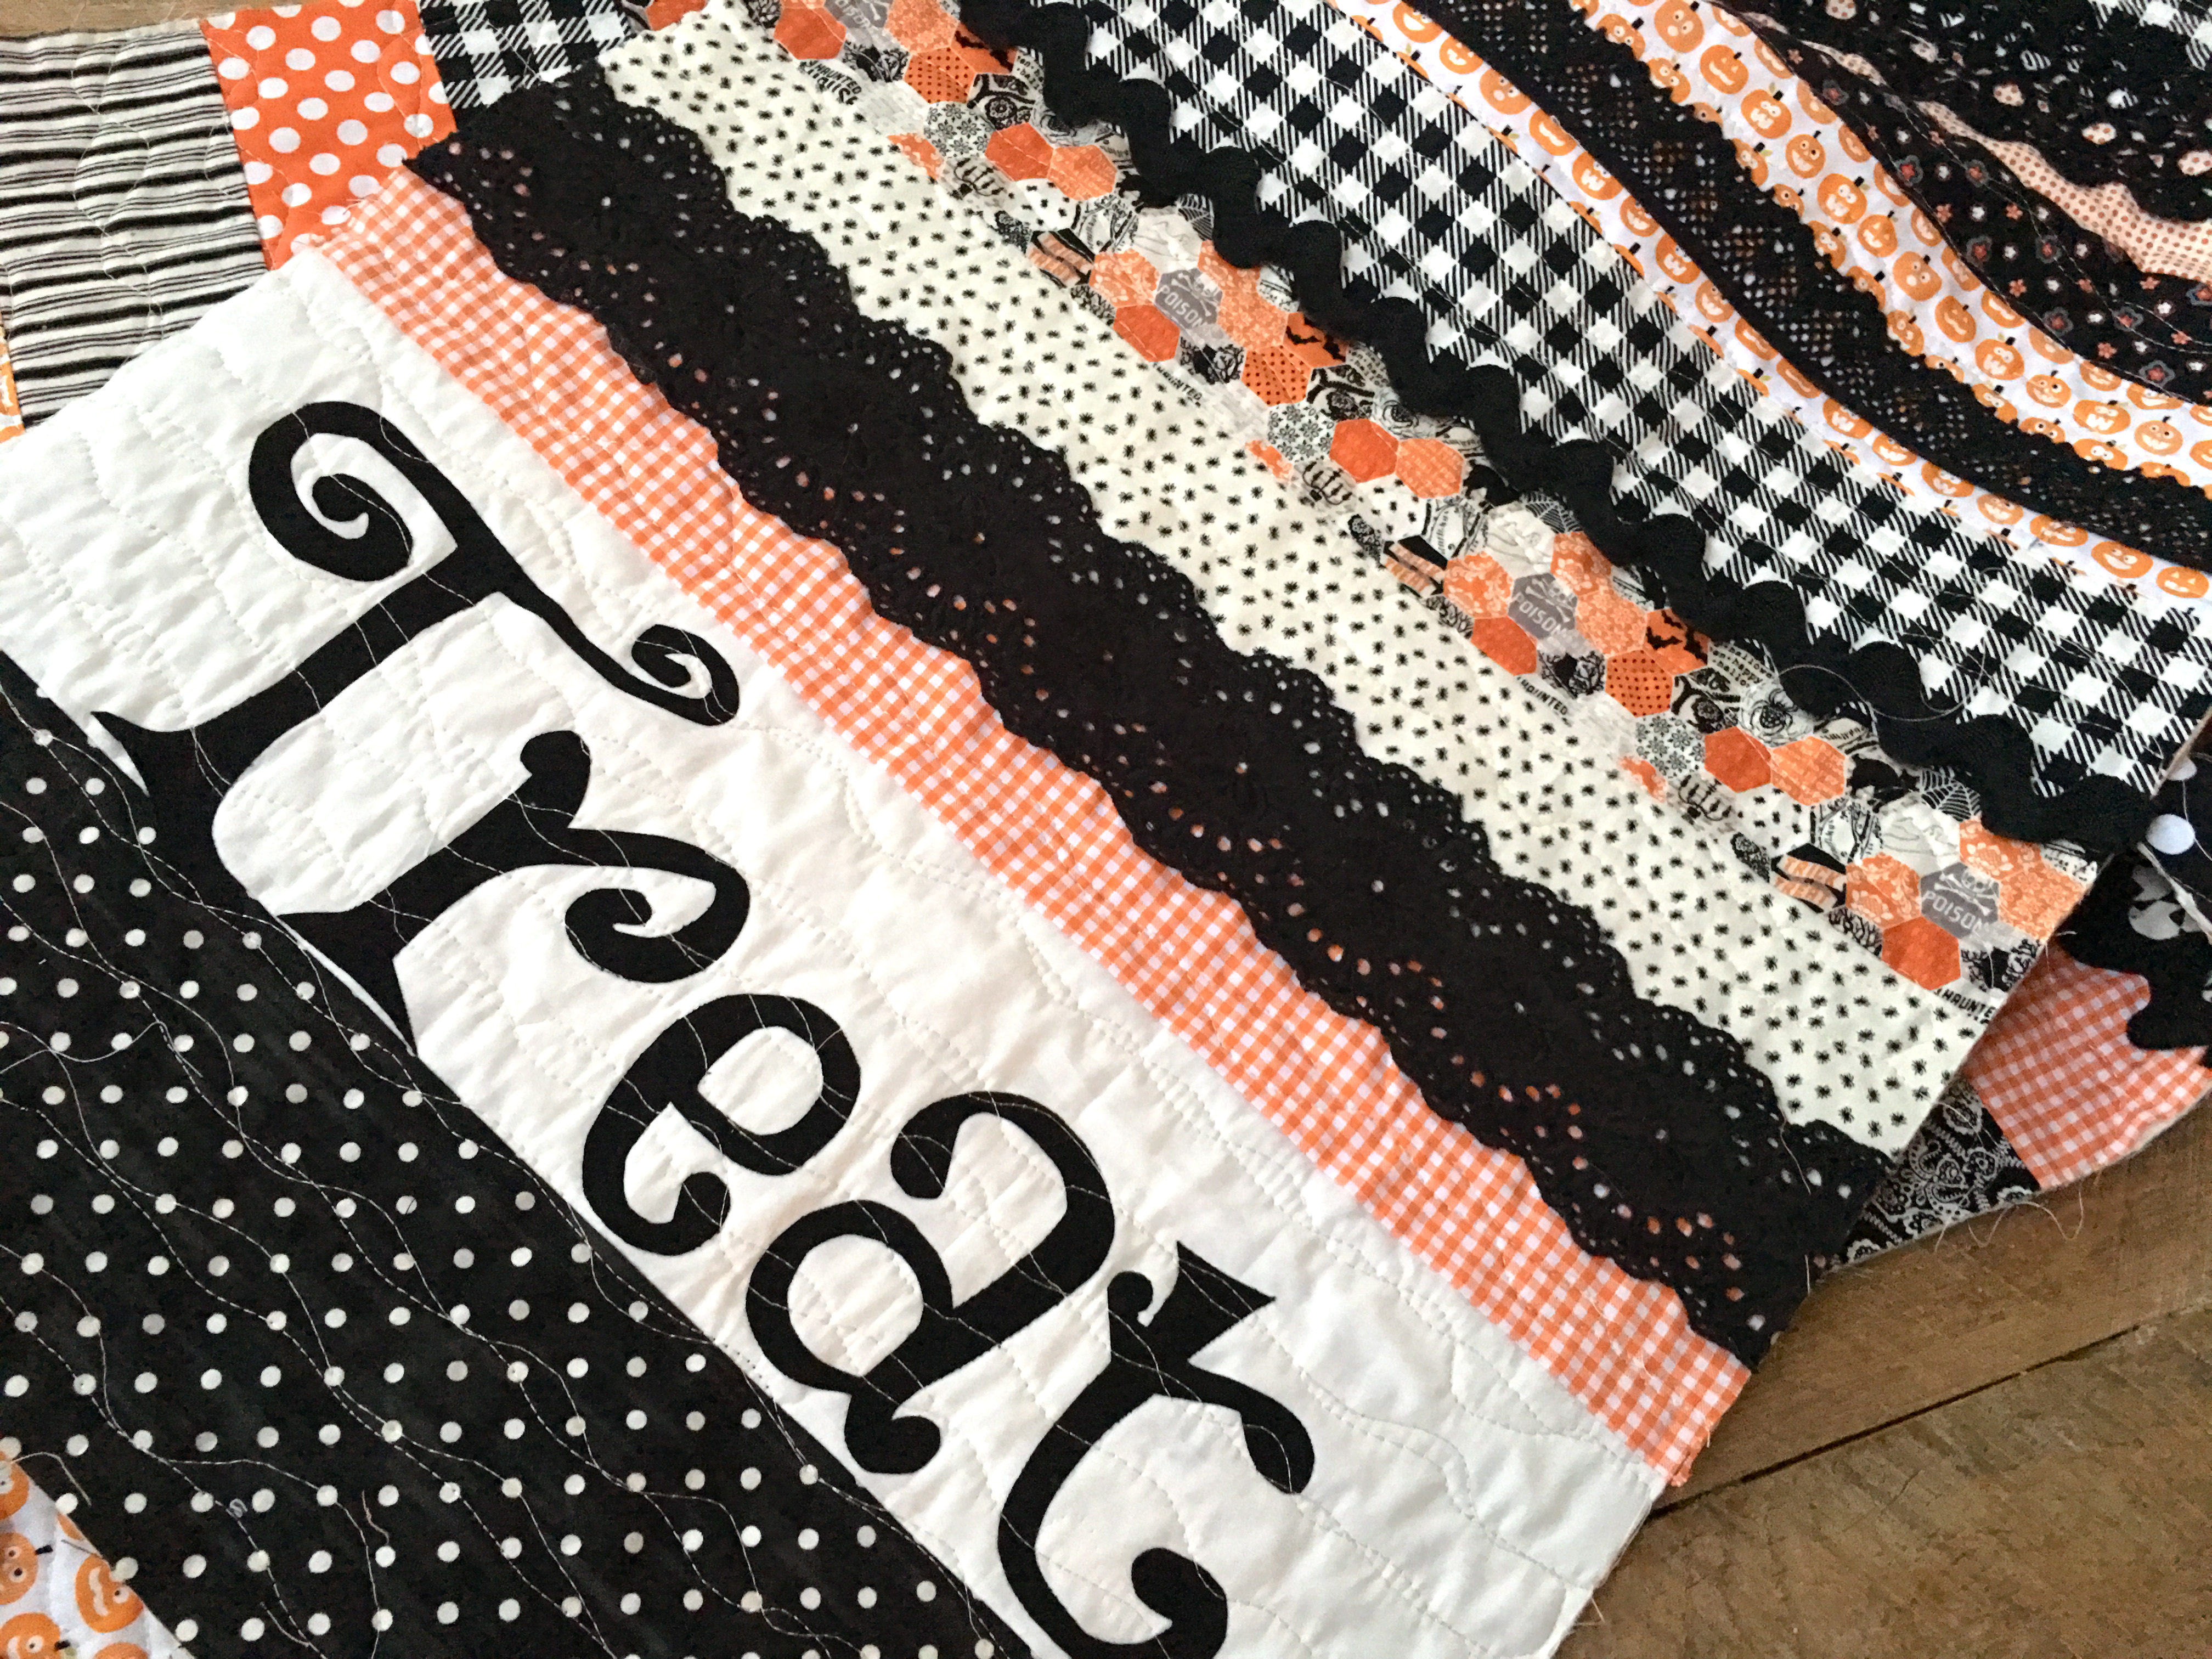
 It’s so fun to loose yourself at the local quilt shop!! Sometimes it’s hard to know what to buy with so many amazing choices! Fat Quarters are a fun way to bring a little sampling home with you! This pattern was created after Amber, from Gigi’s Thimble, and I met up at a quilt shop while in St. George, Utah. All you need is 5 fat quarters and some background fabric to put the top together! It’s even more fun when you shop and sew with friends!! You can download the PDF by clicking HERE.
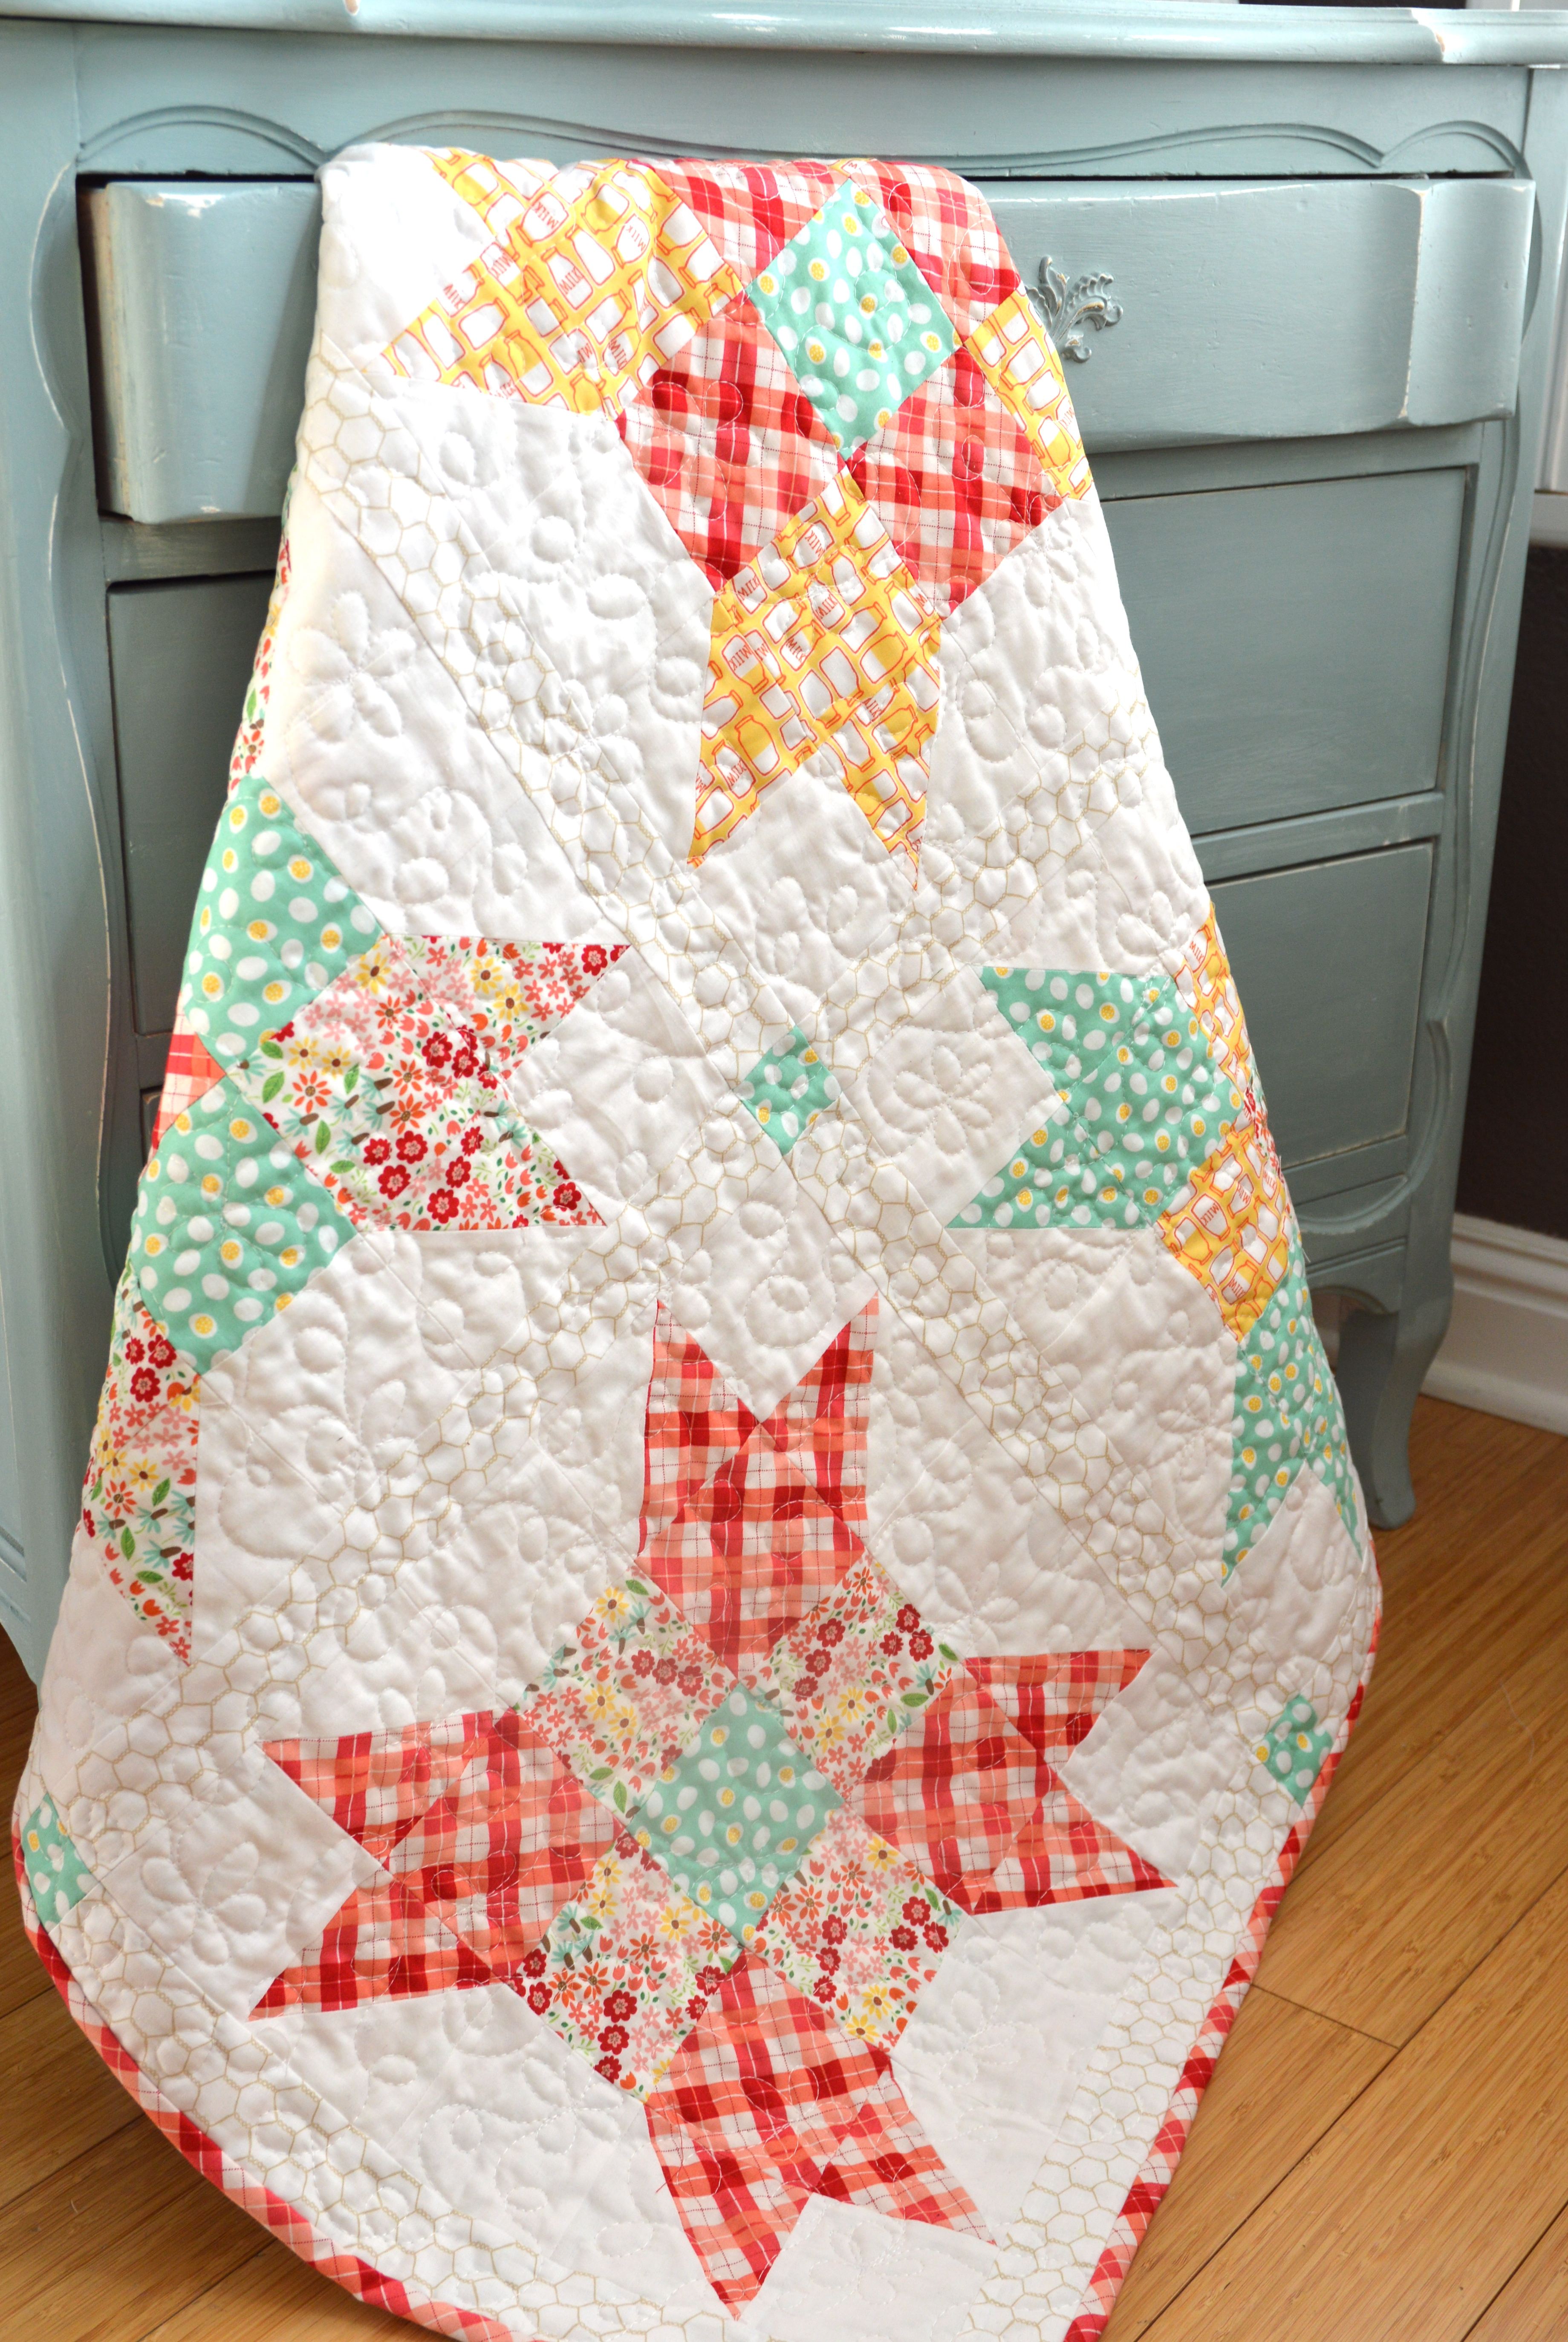
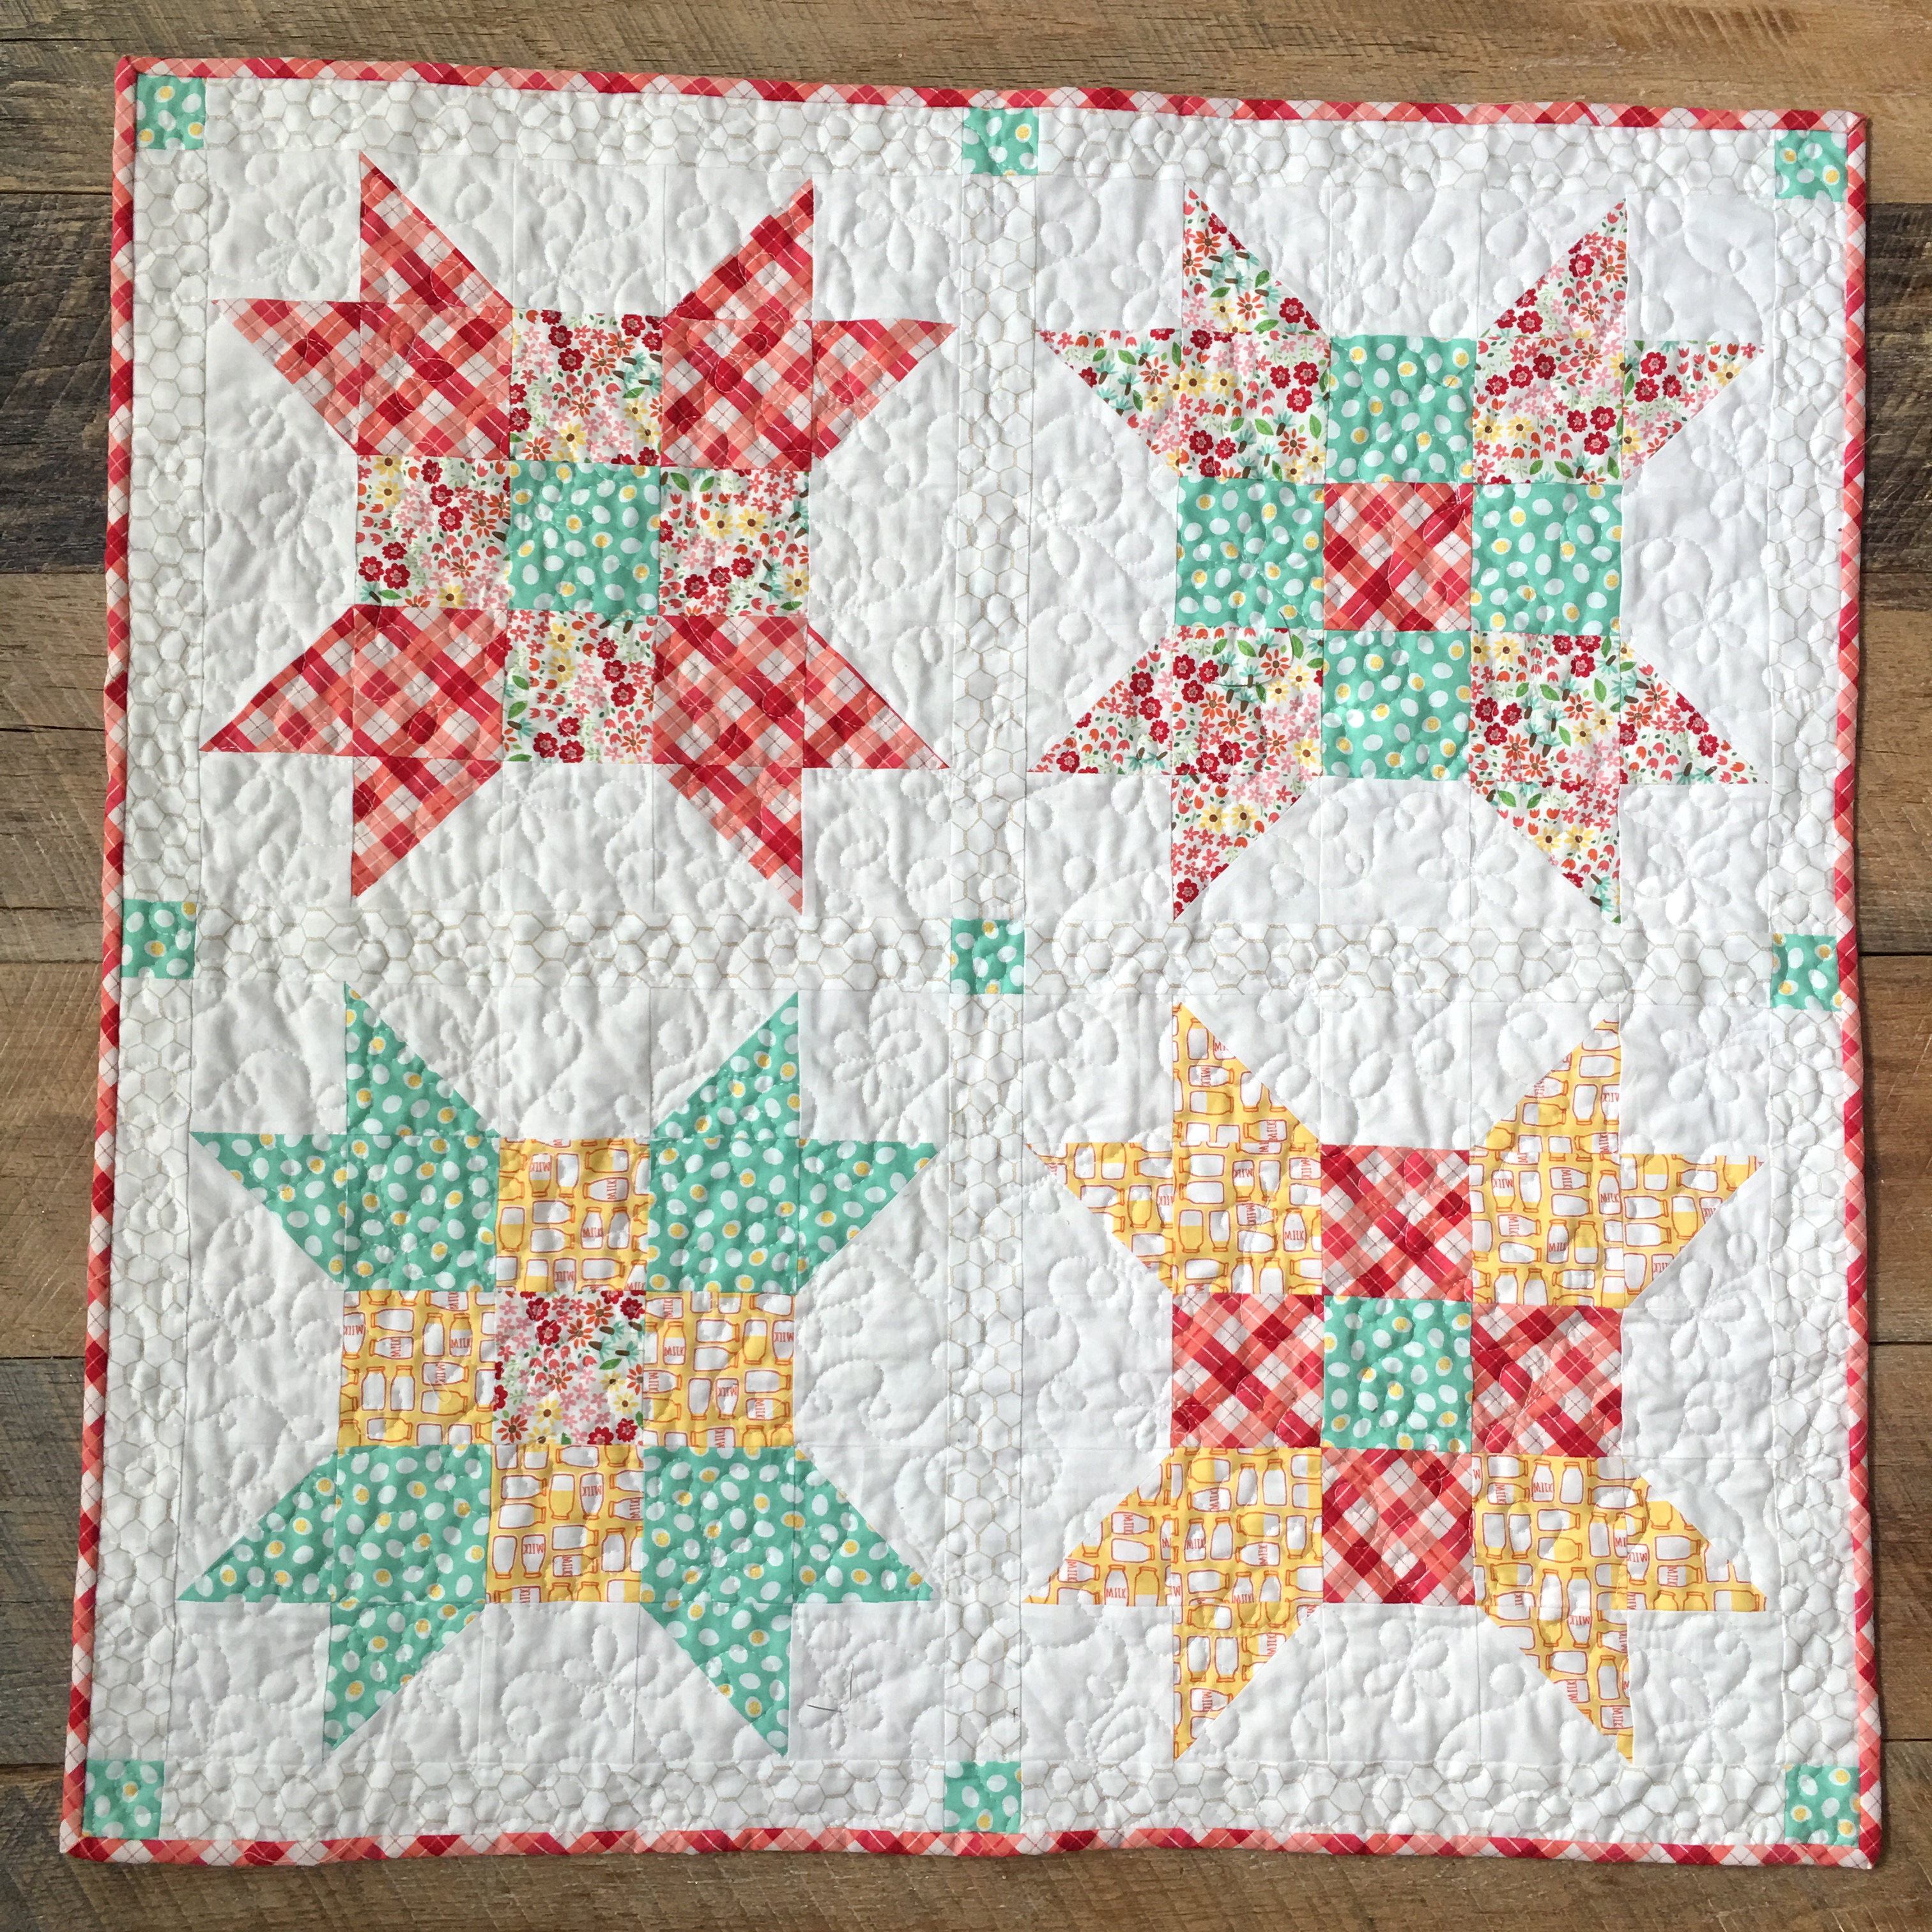
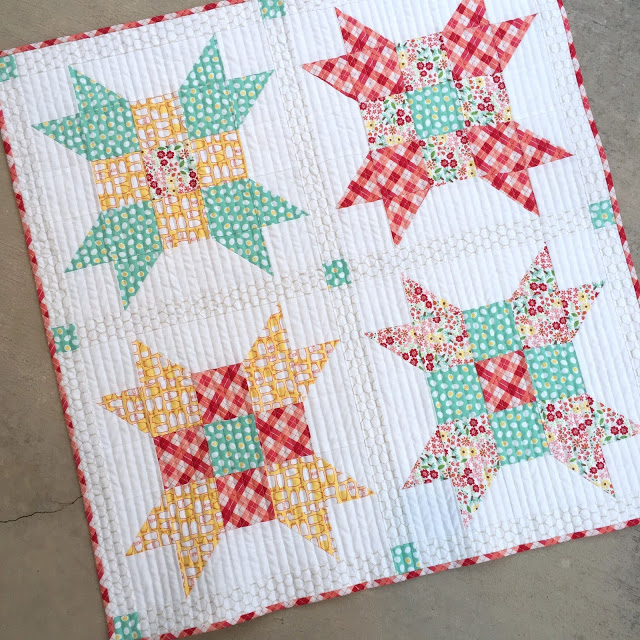
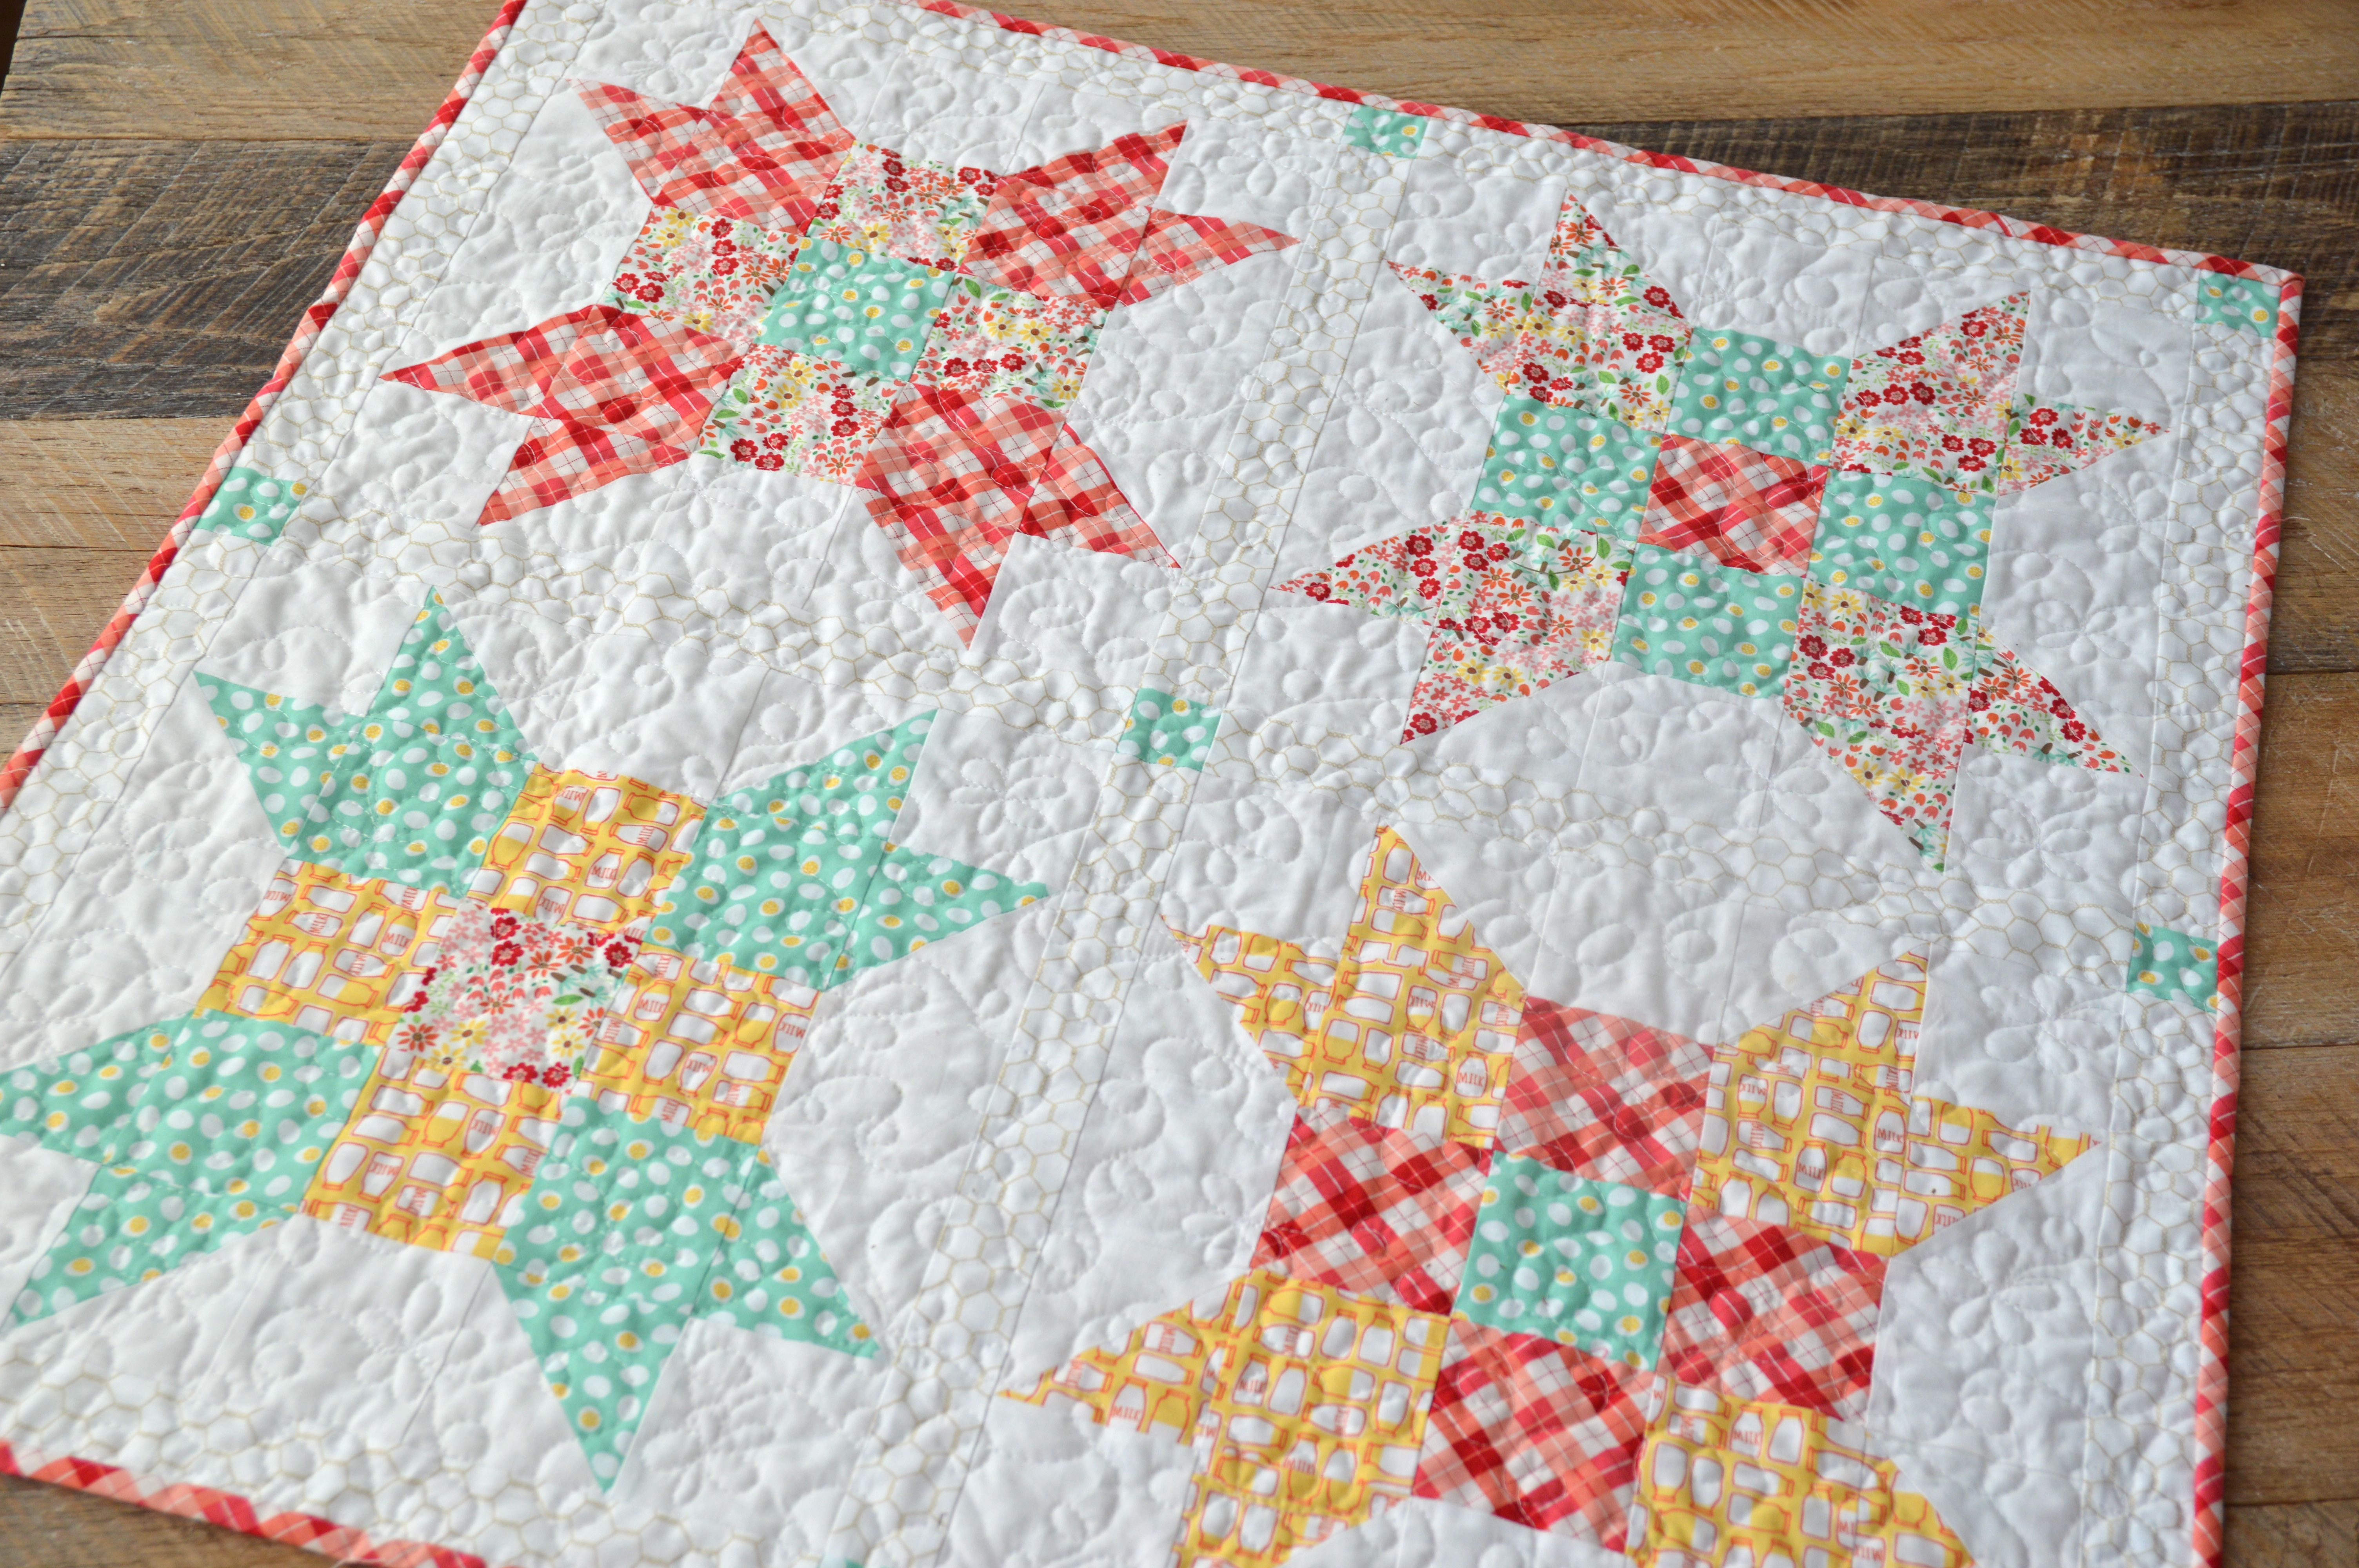
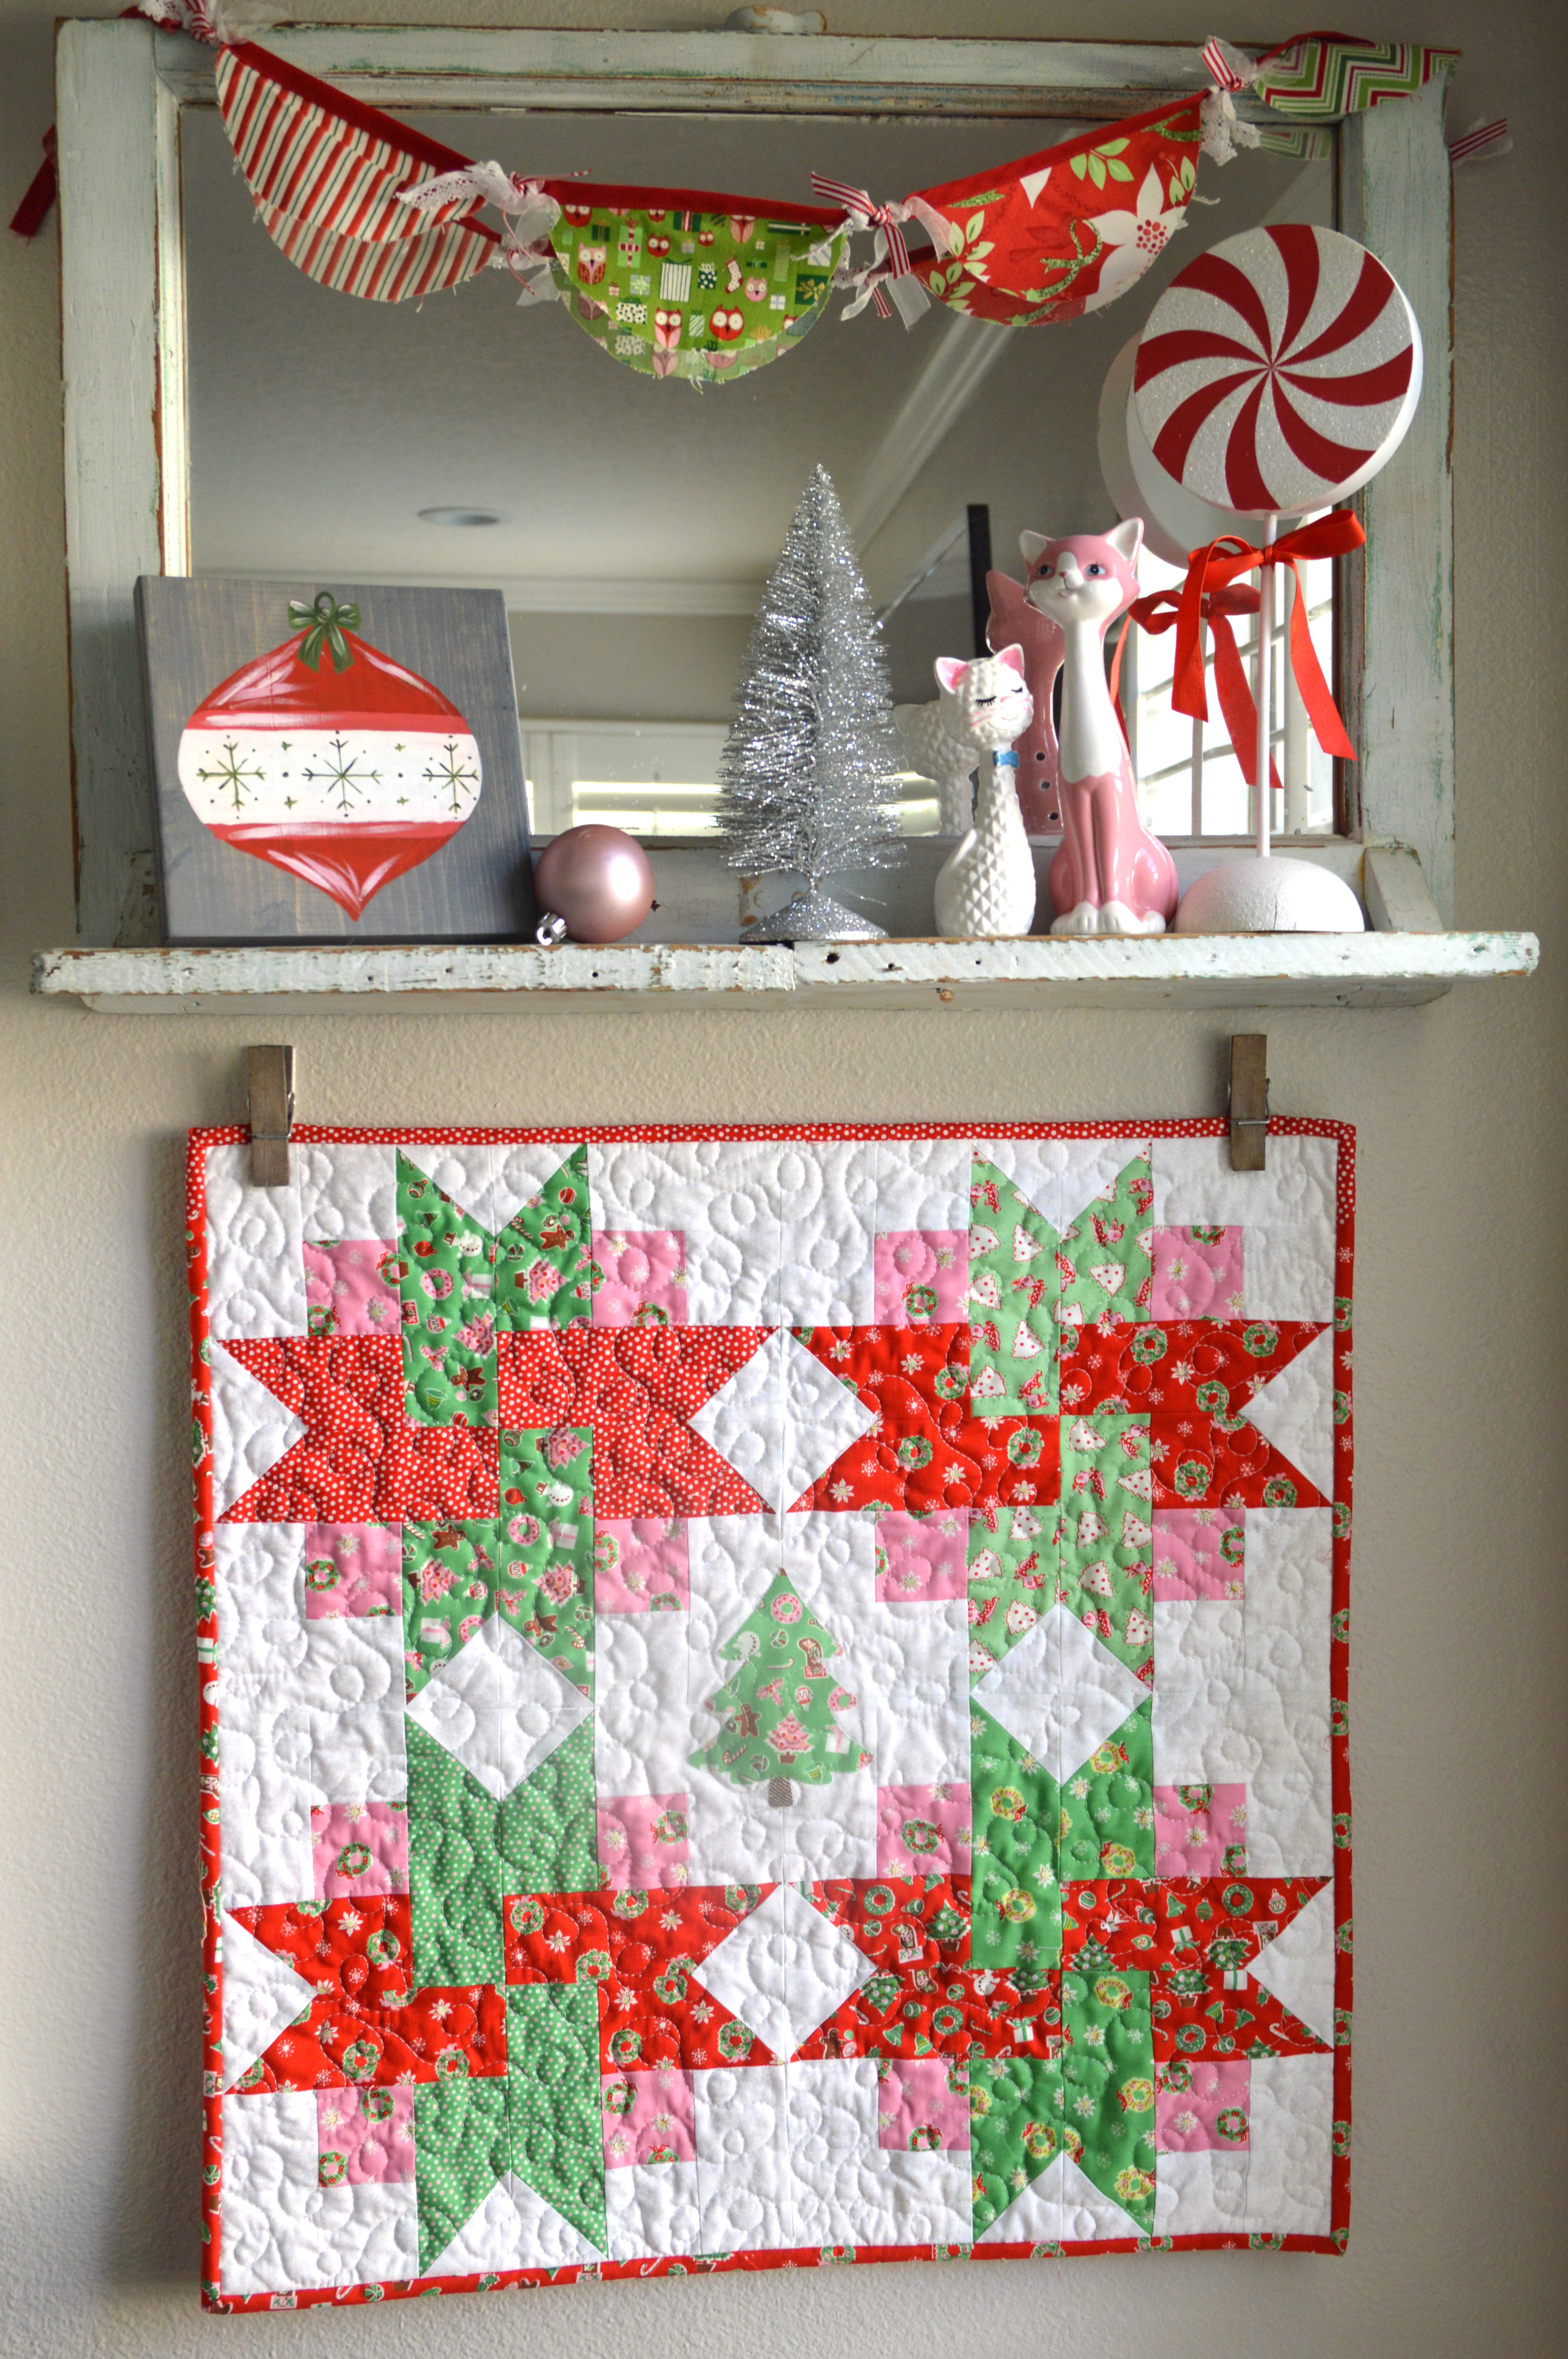
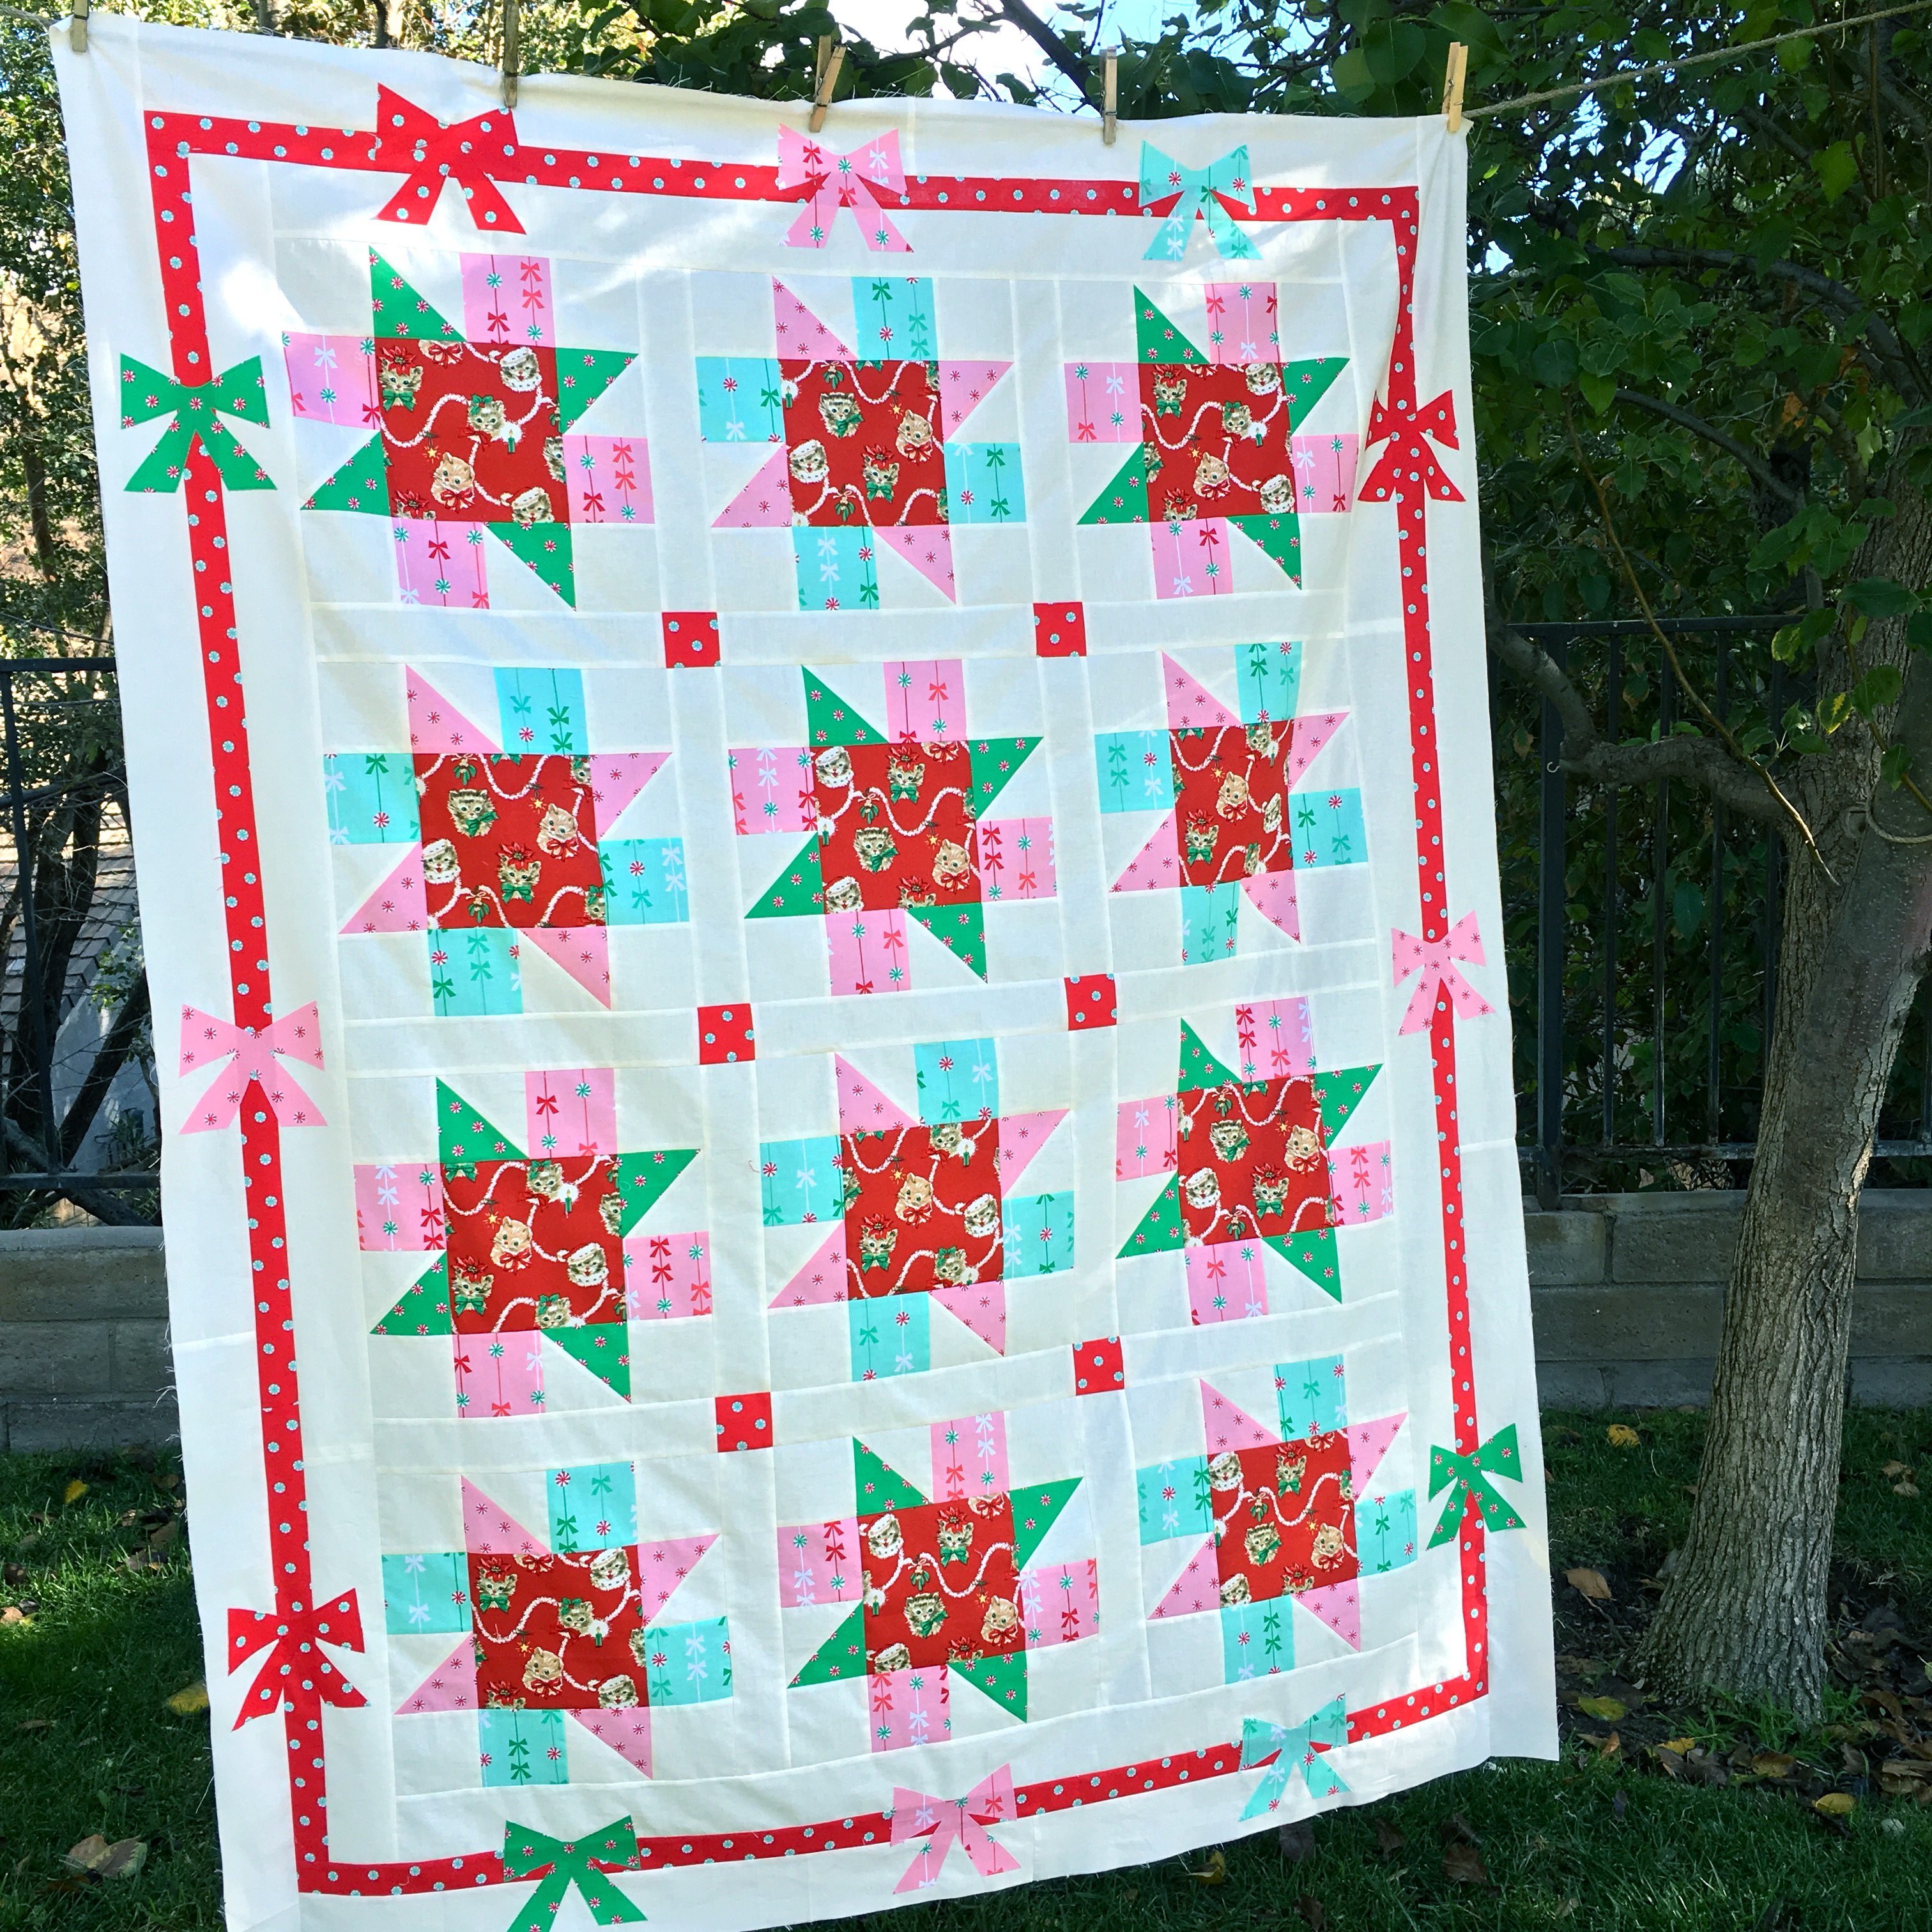
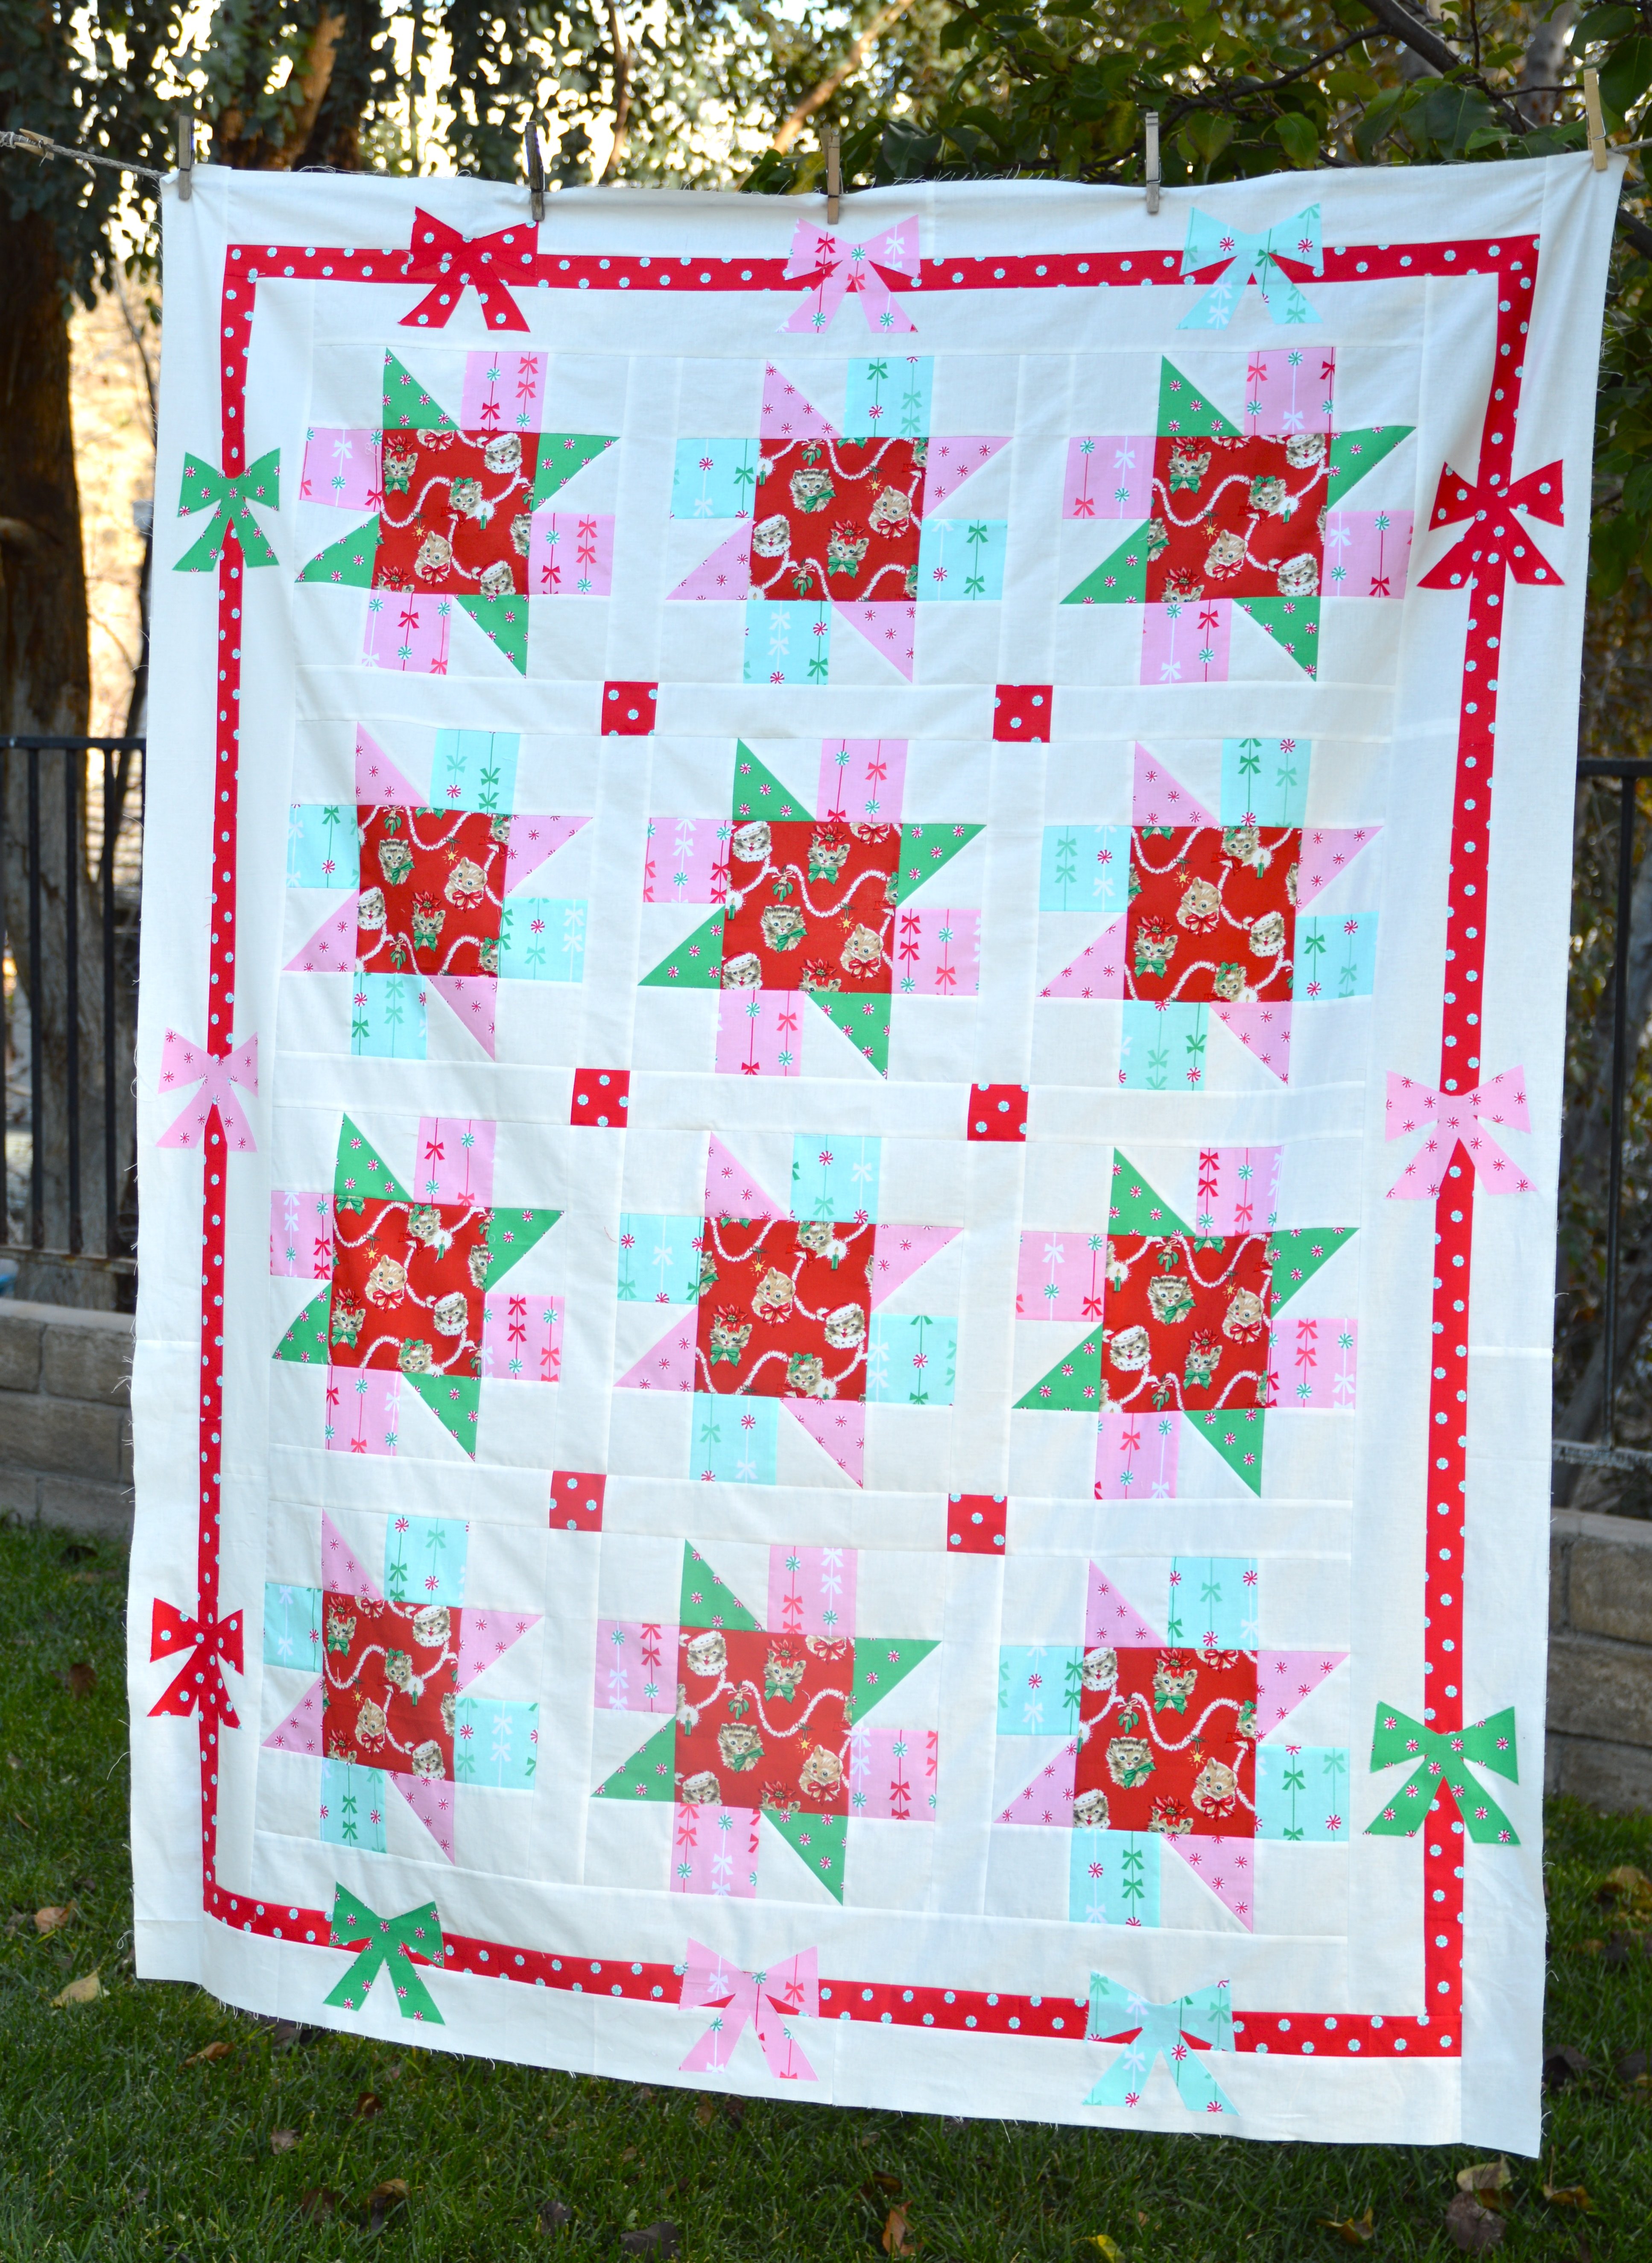
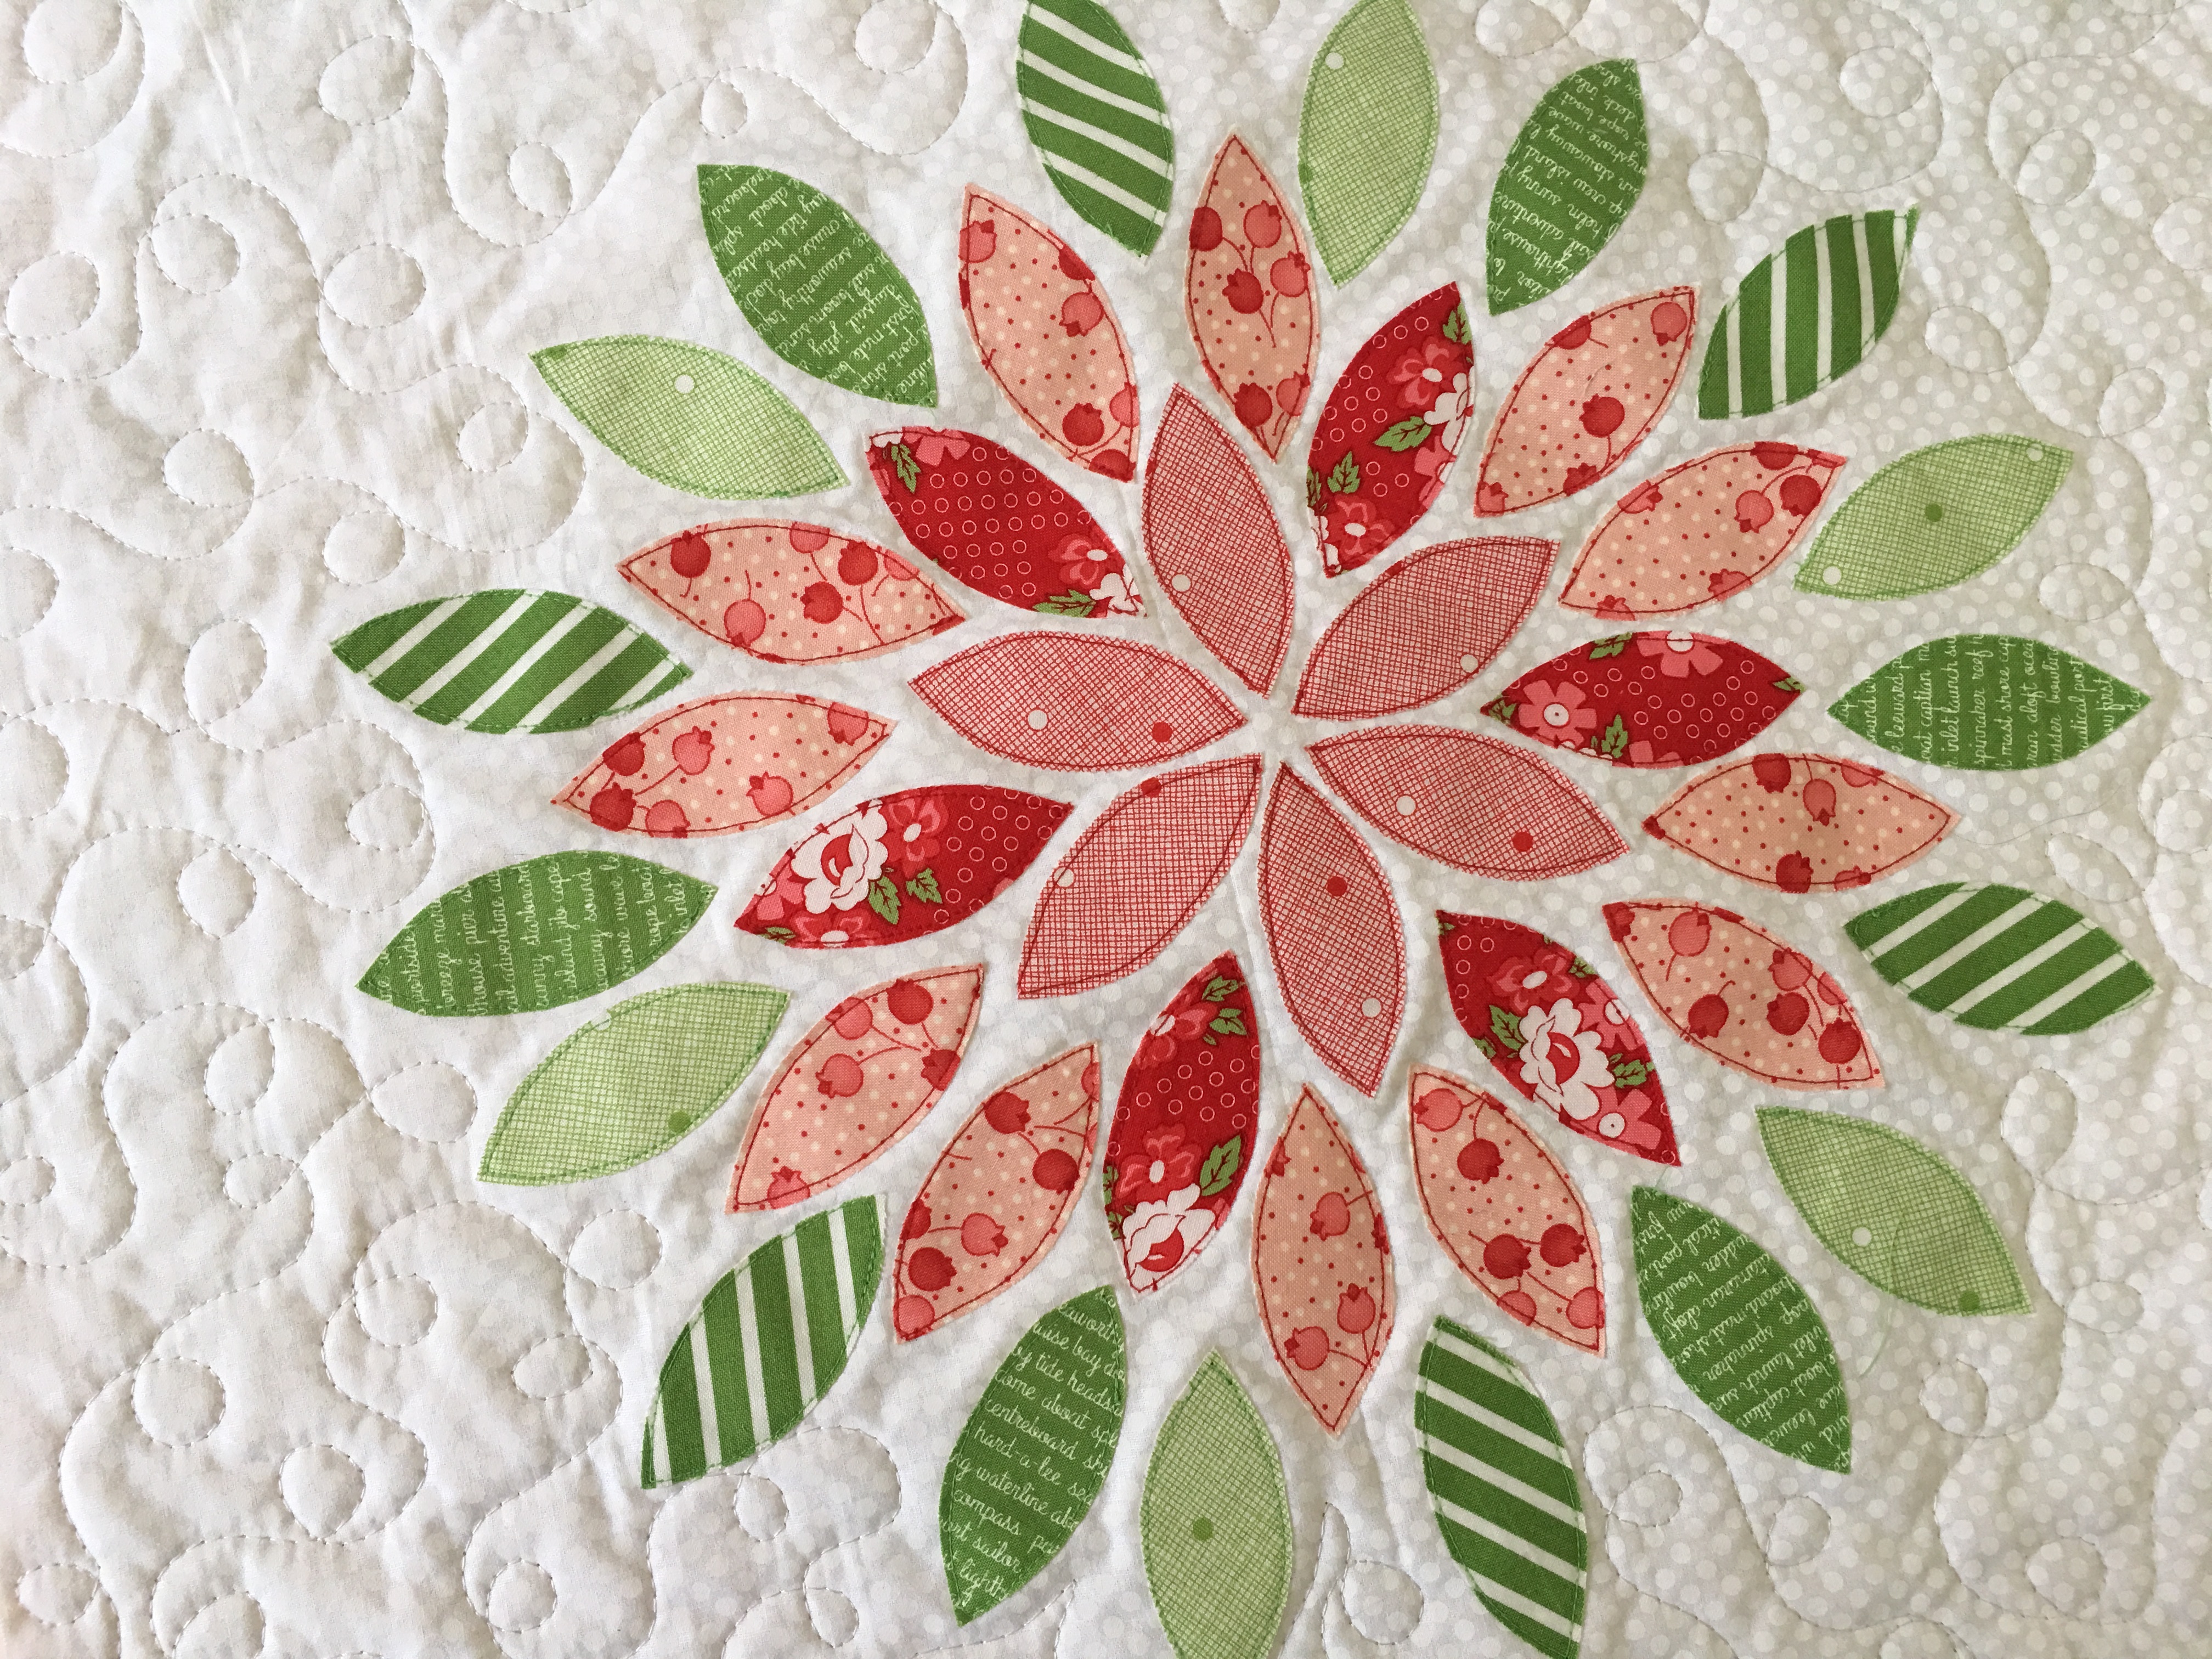
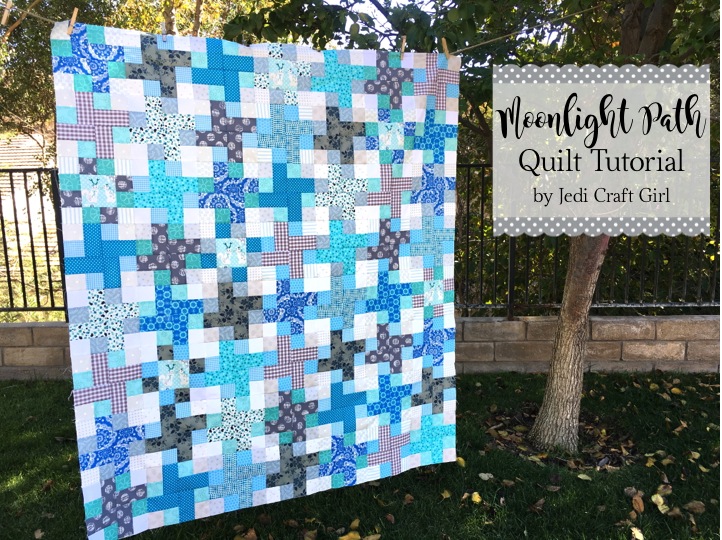
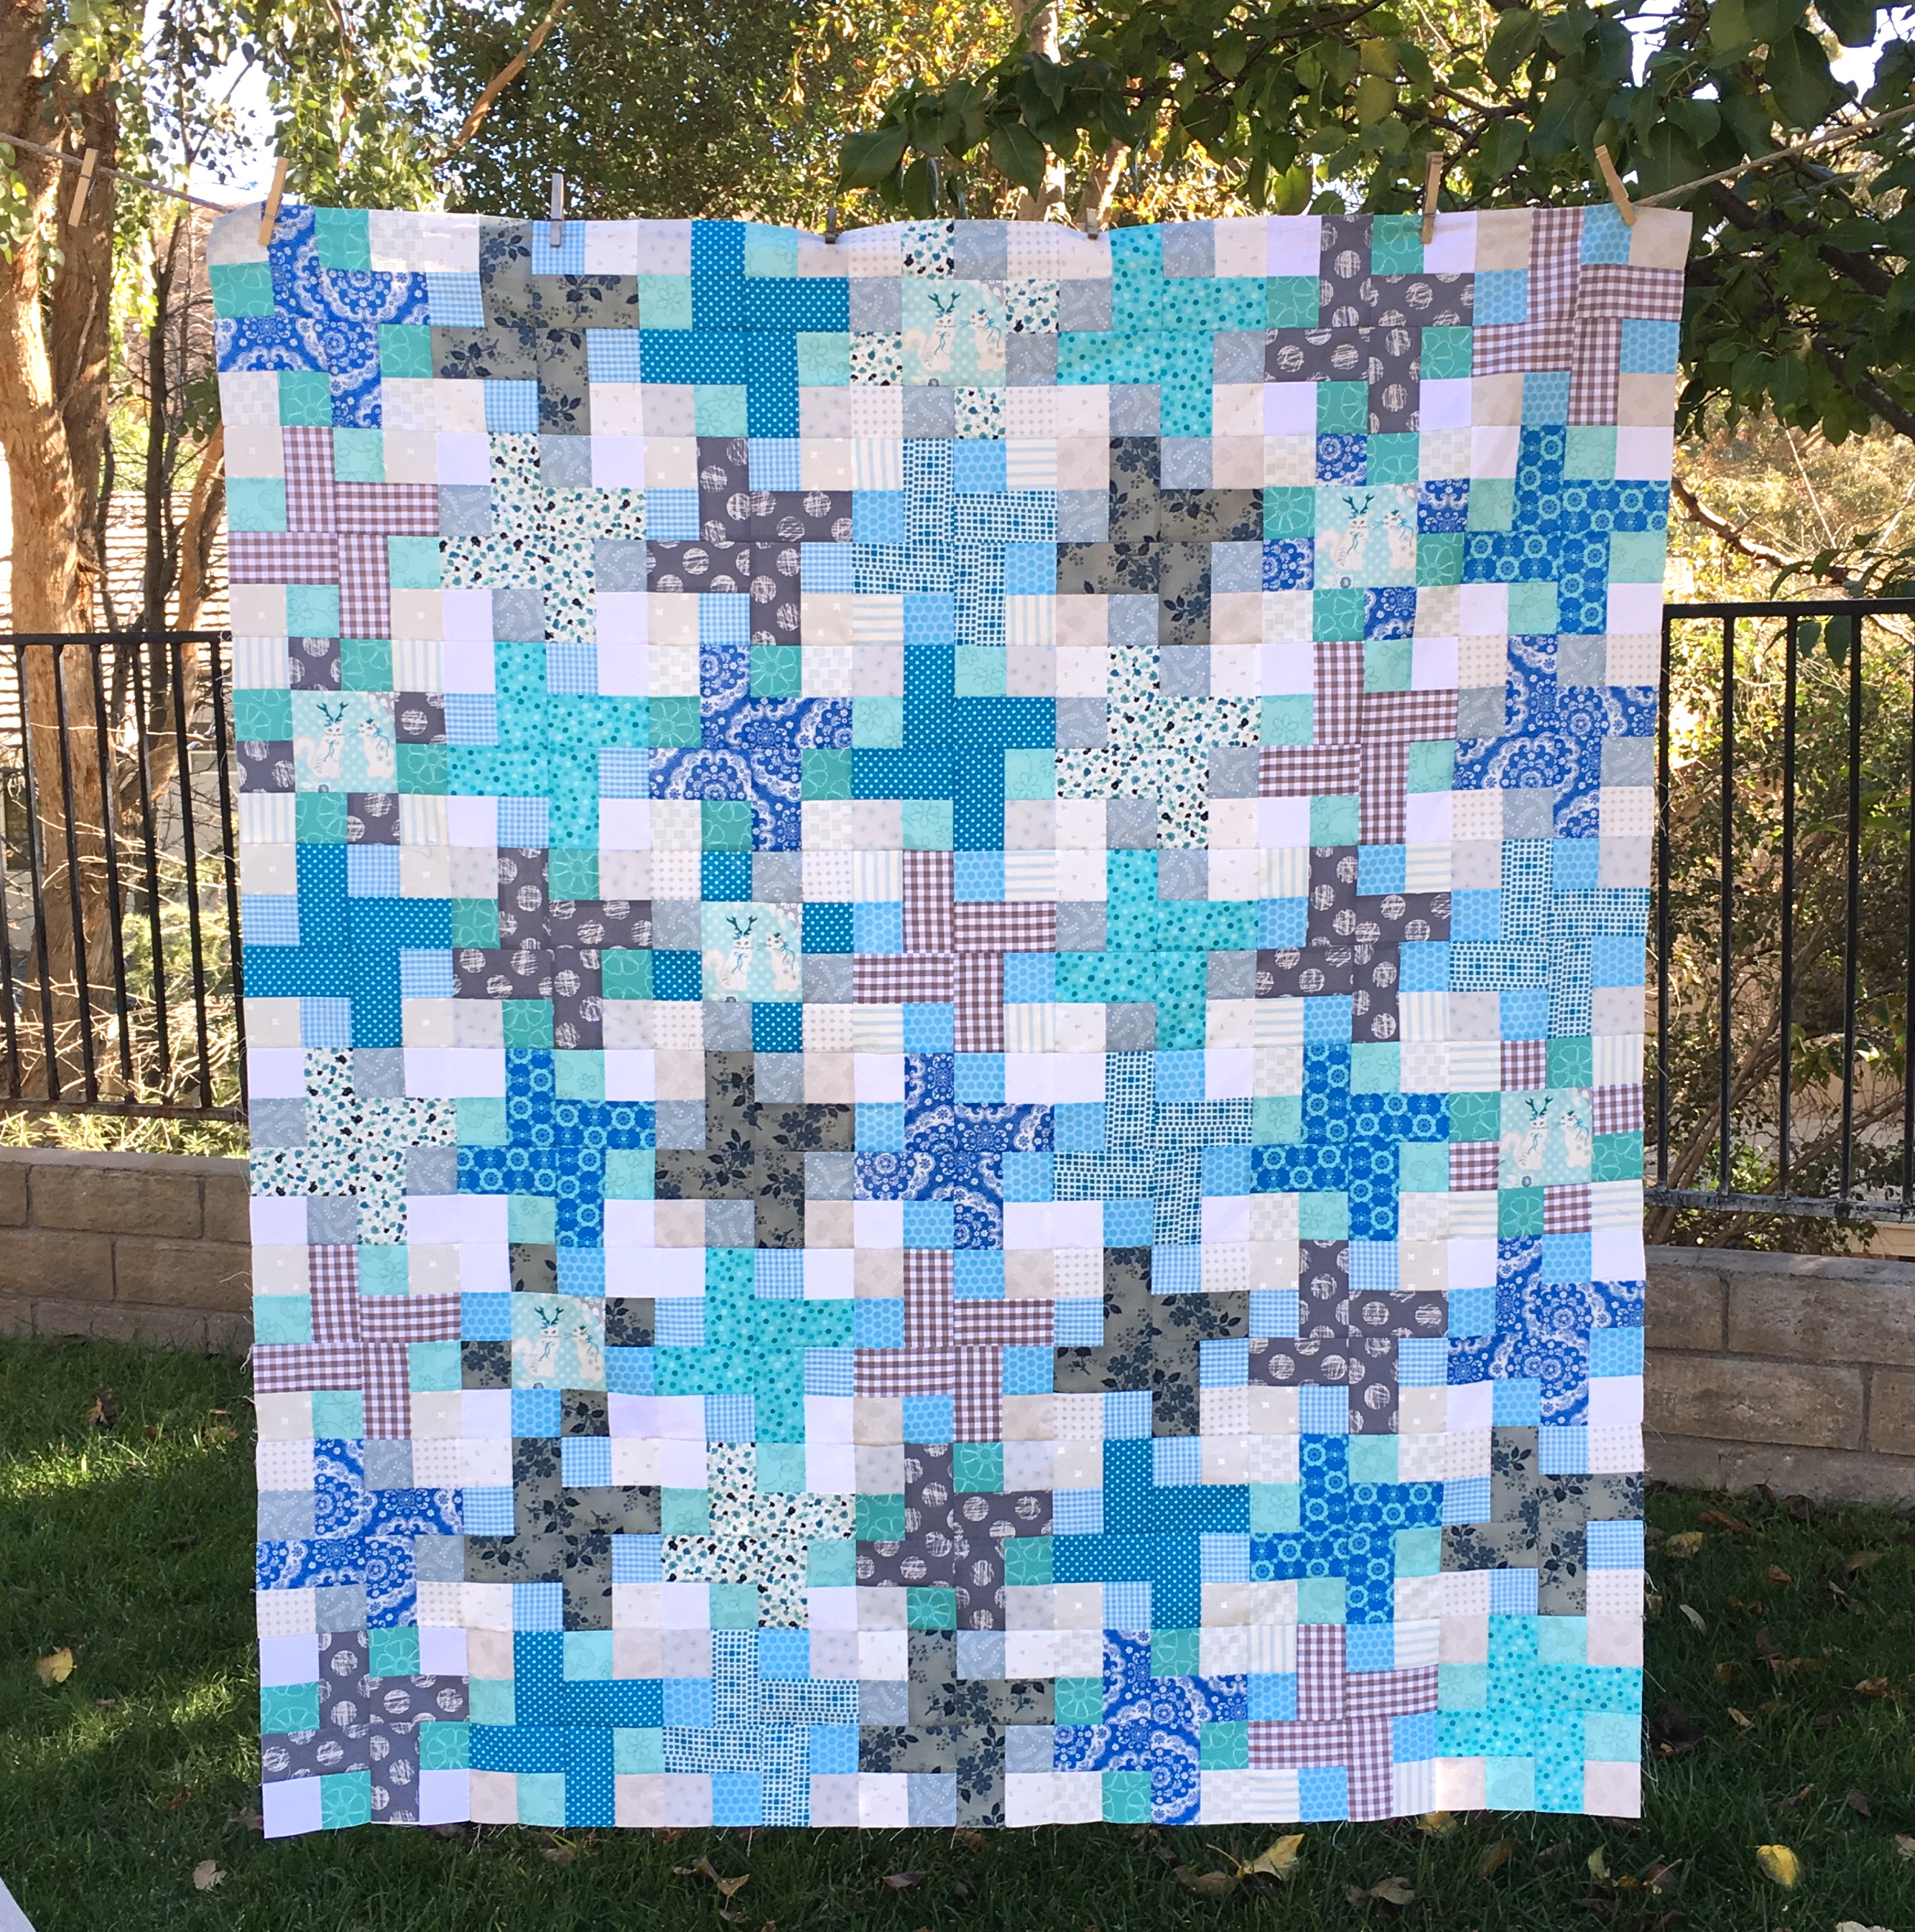
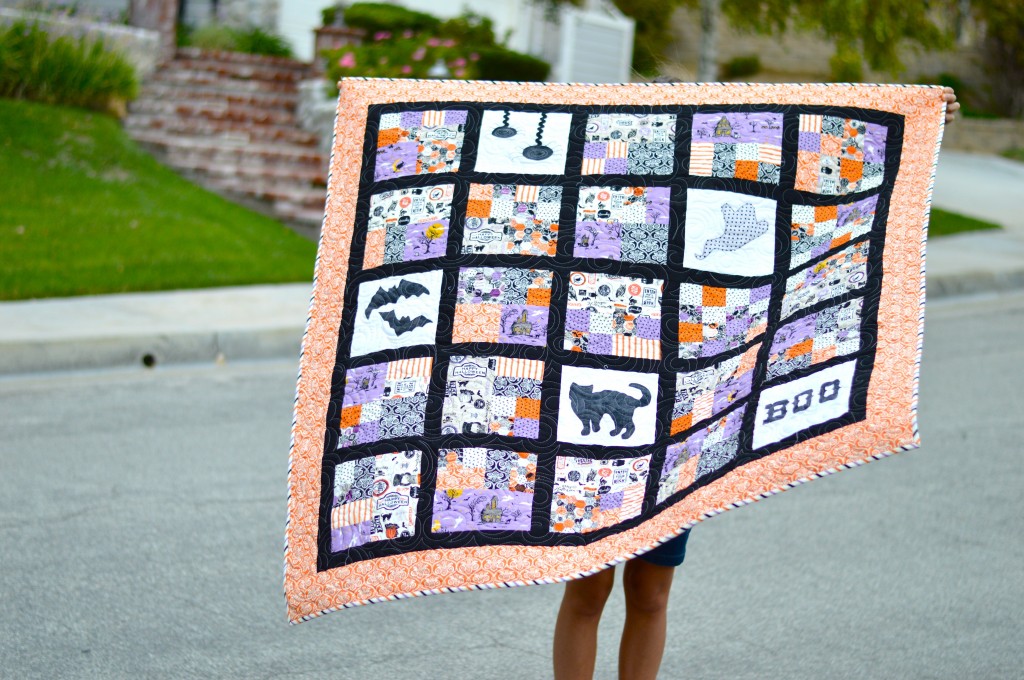
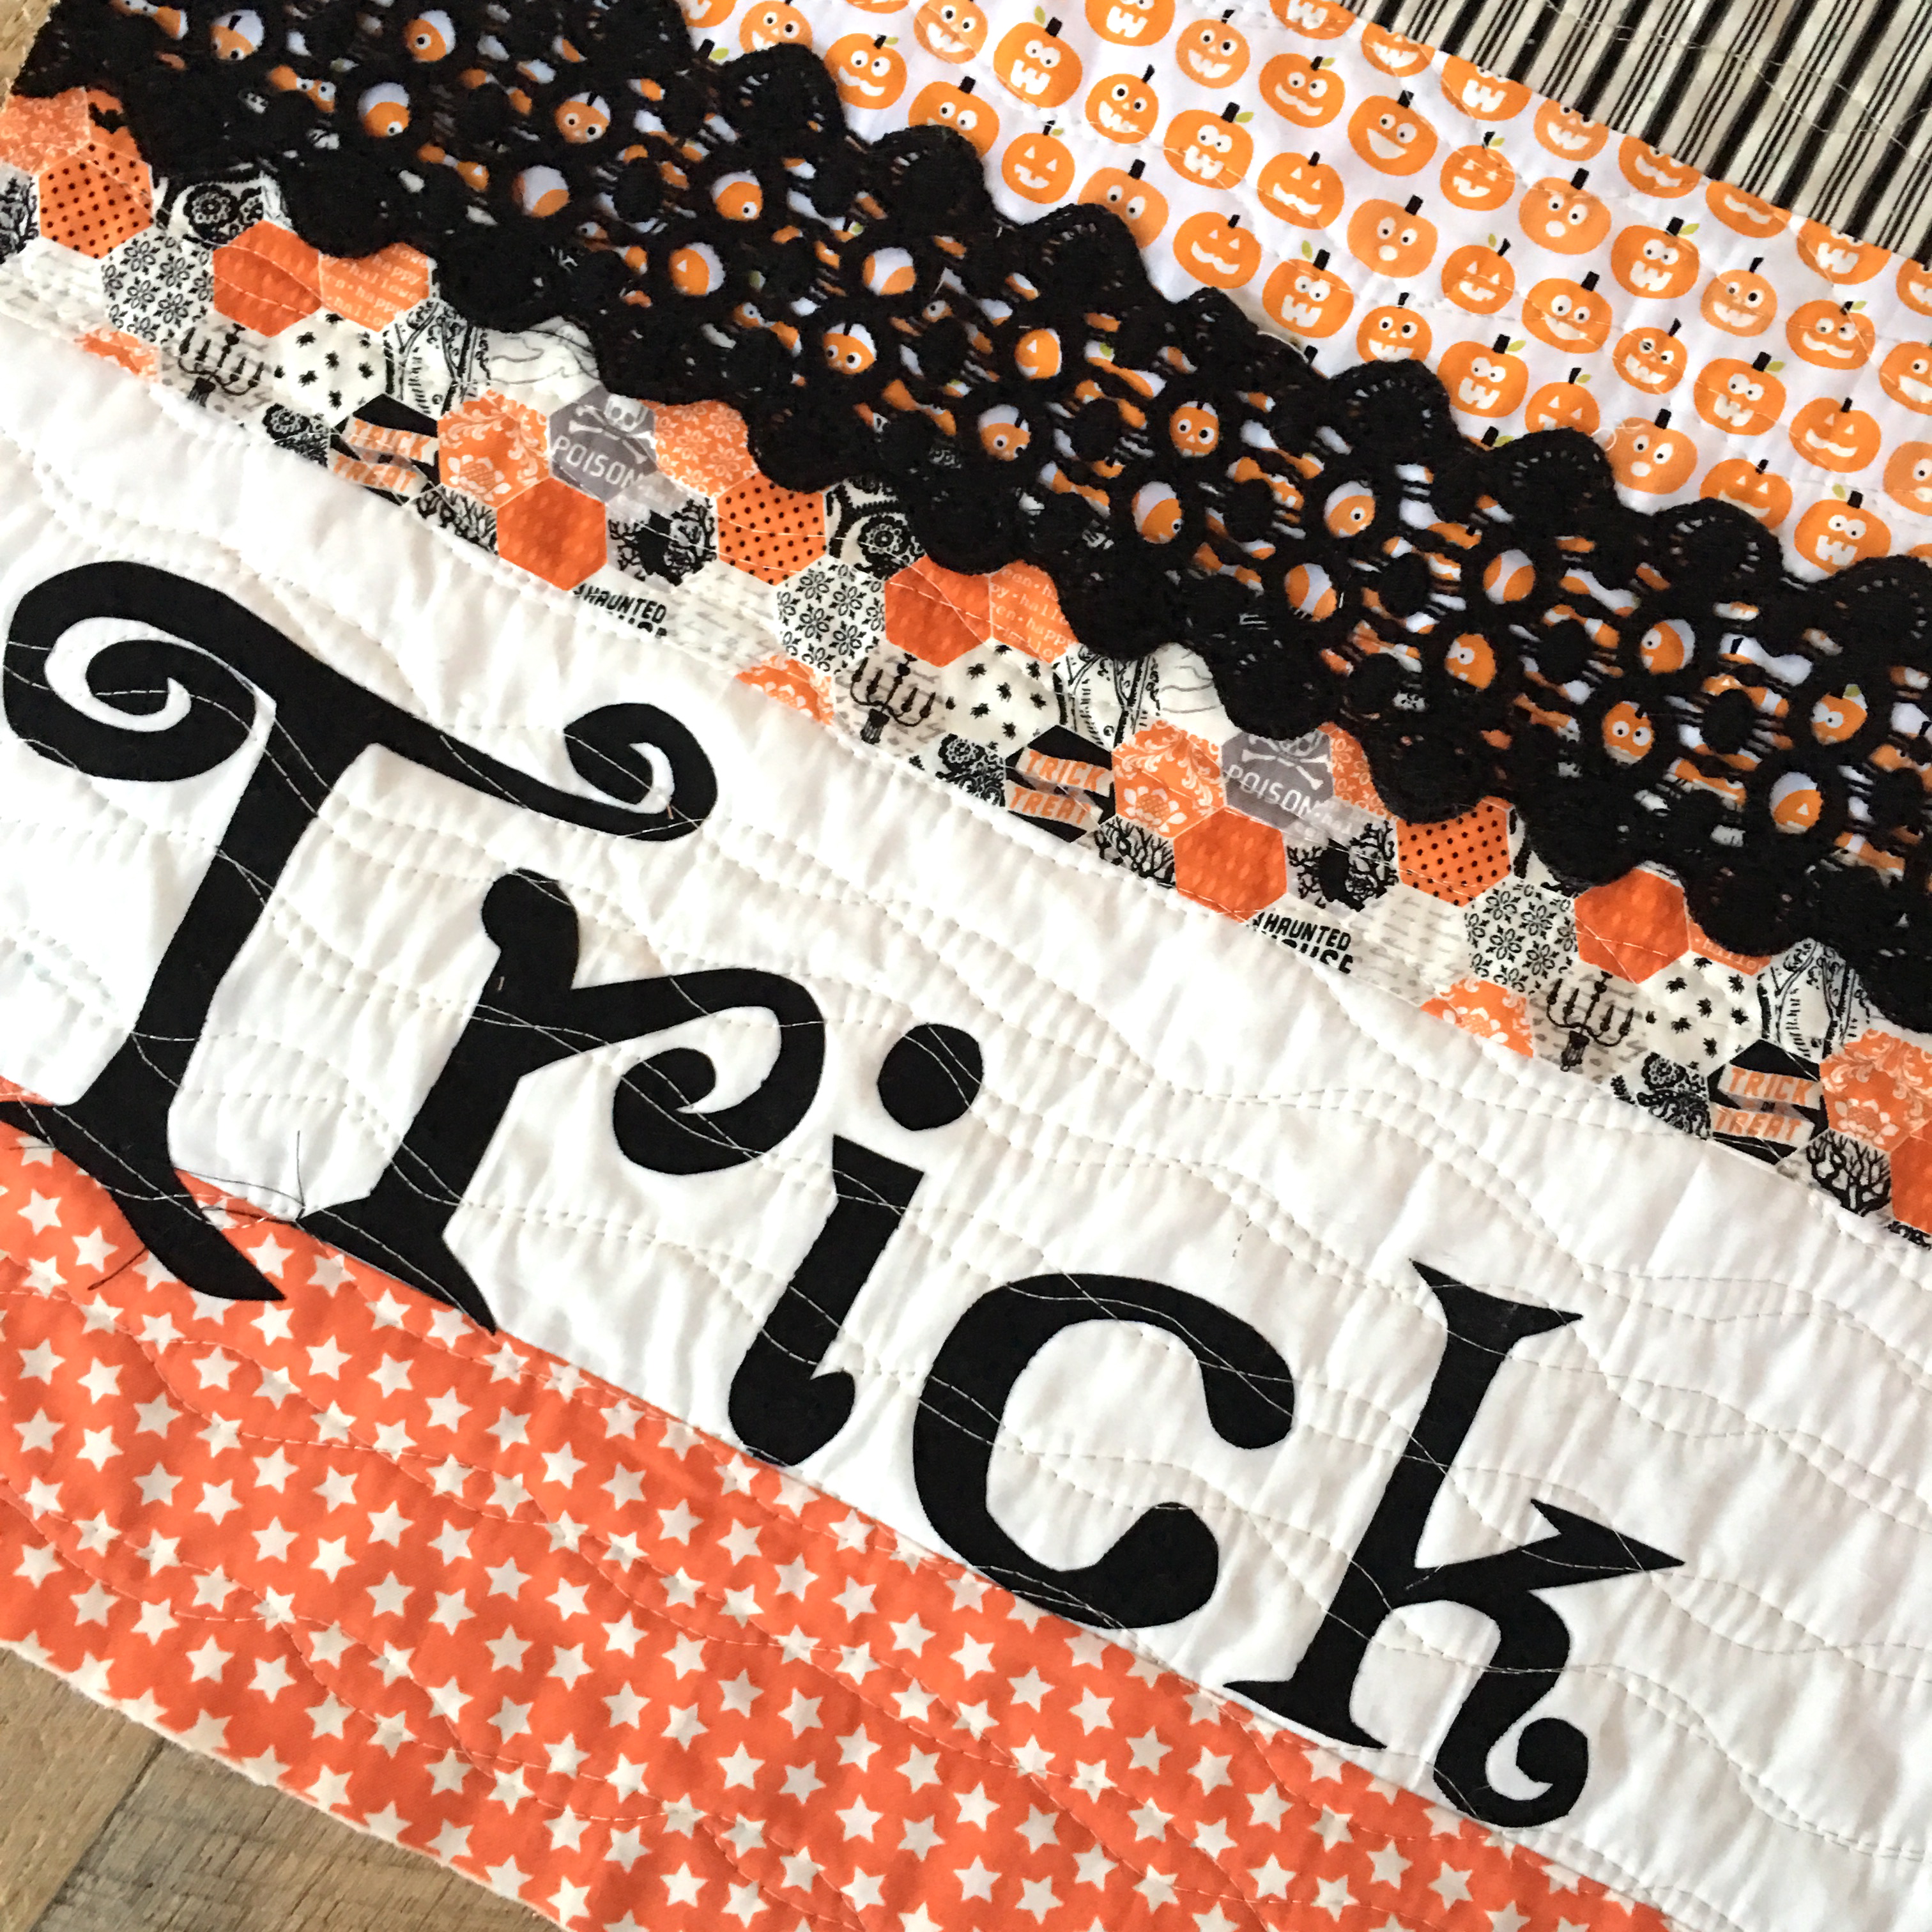
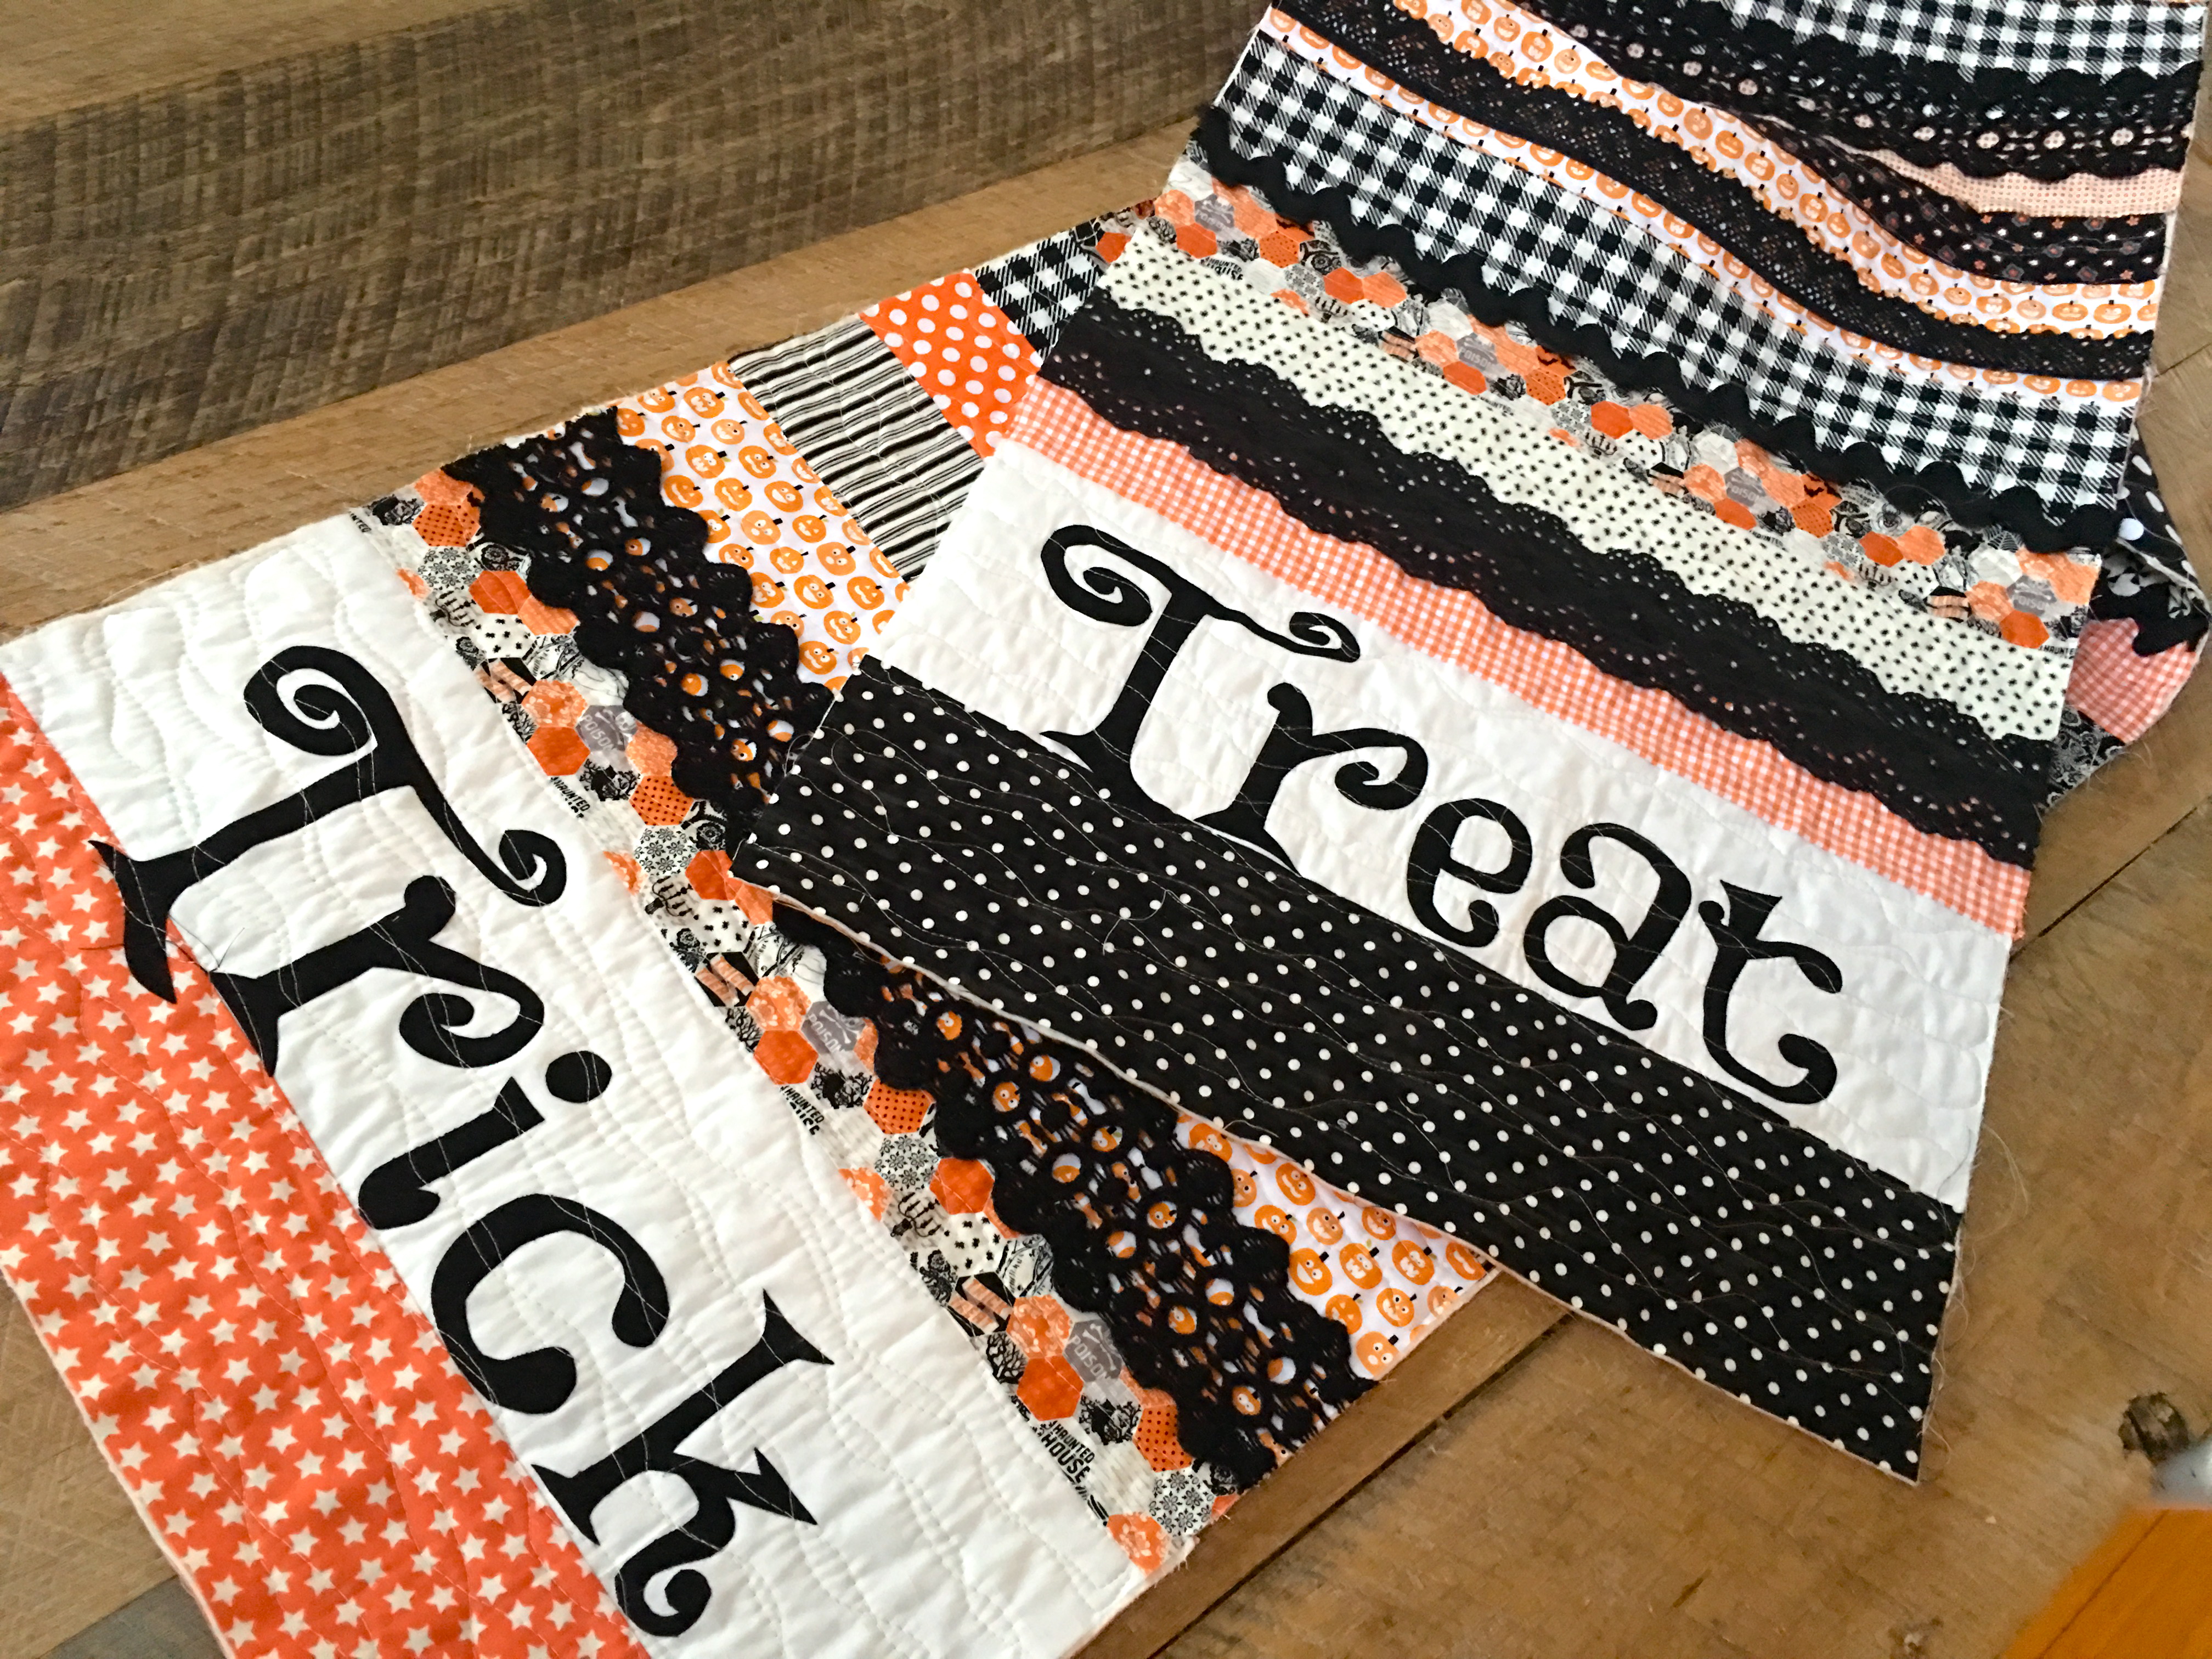
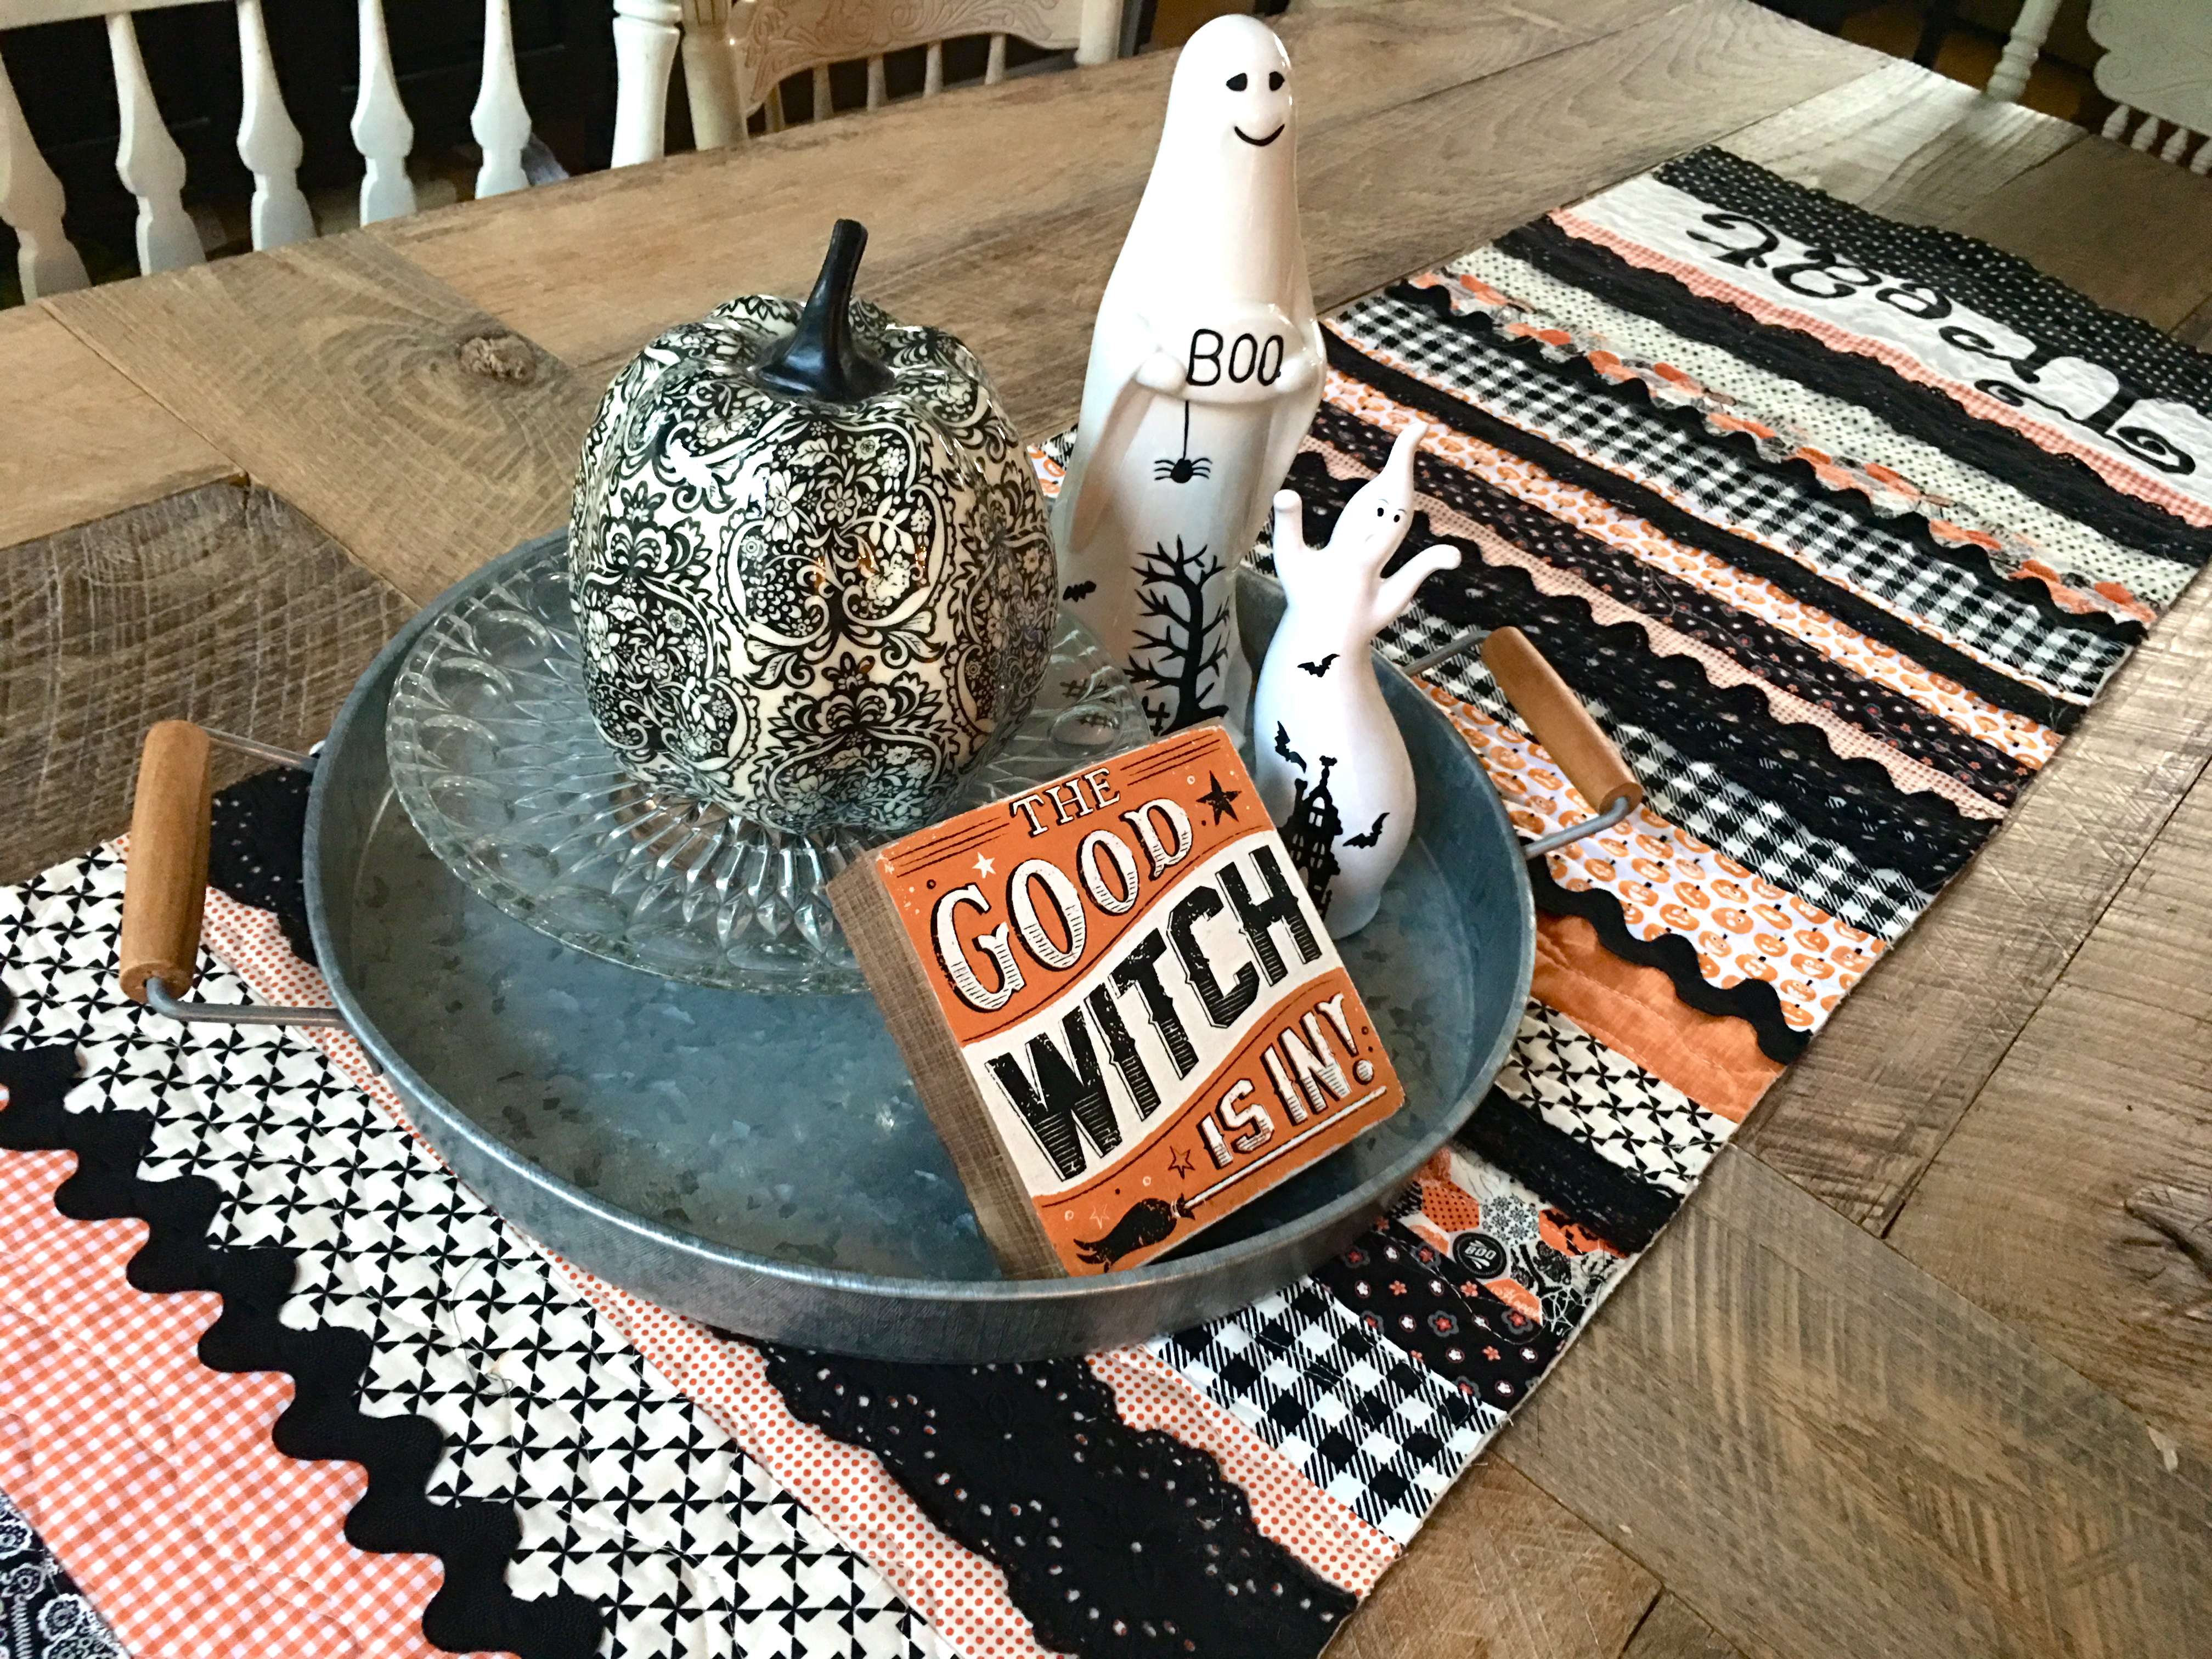
The finished quilt measures 34″ square and is perfect for a table or to hang on the wall!
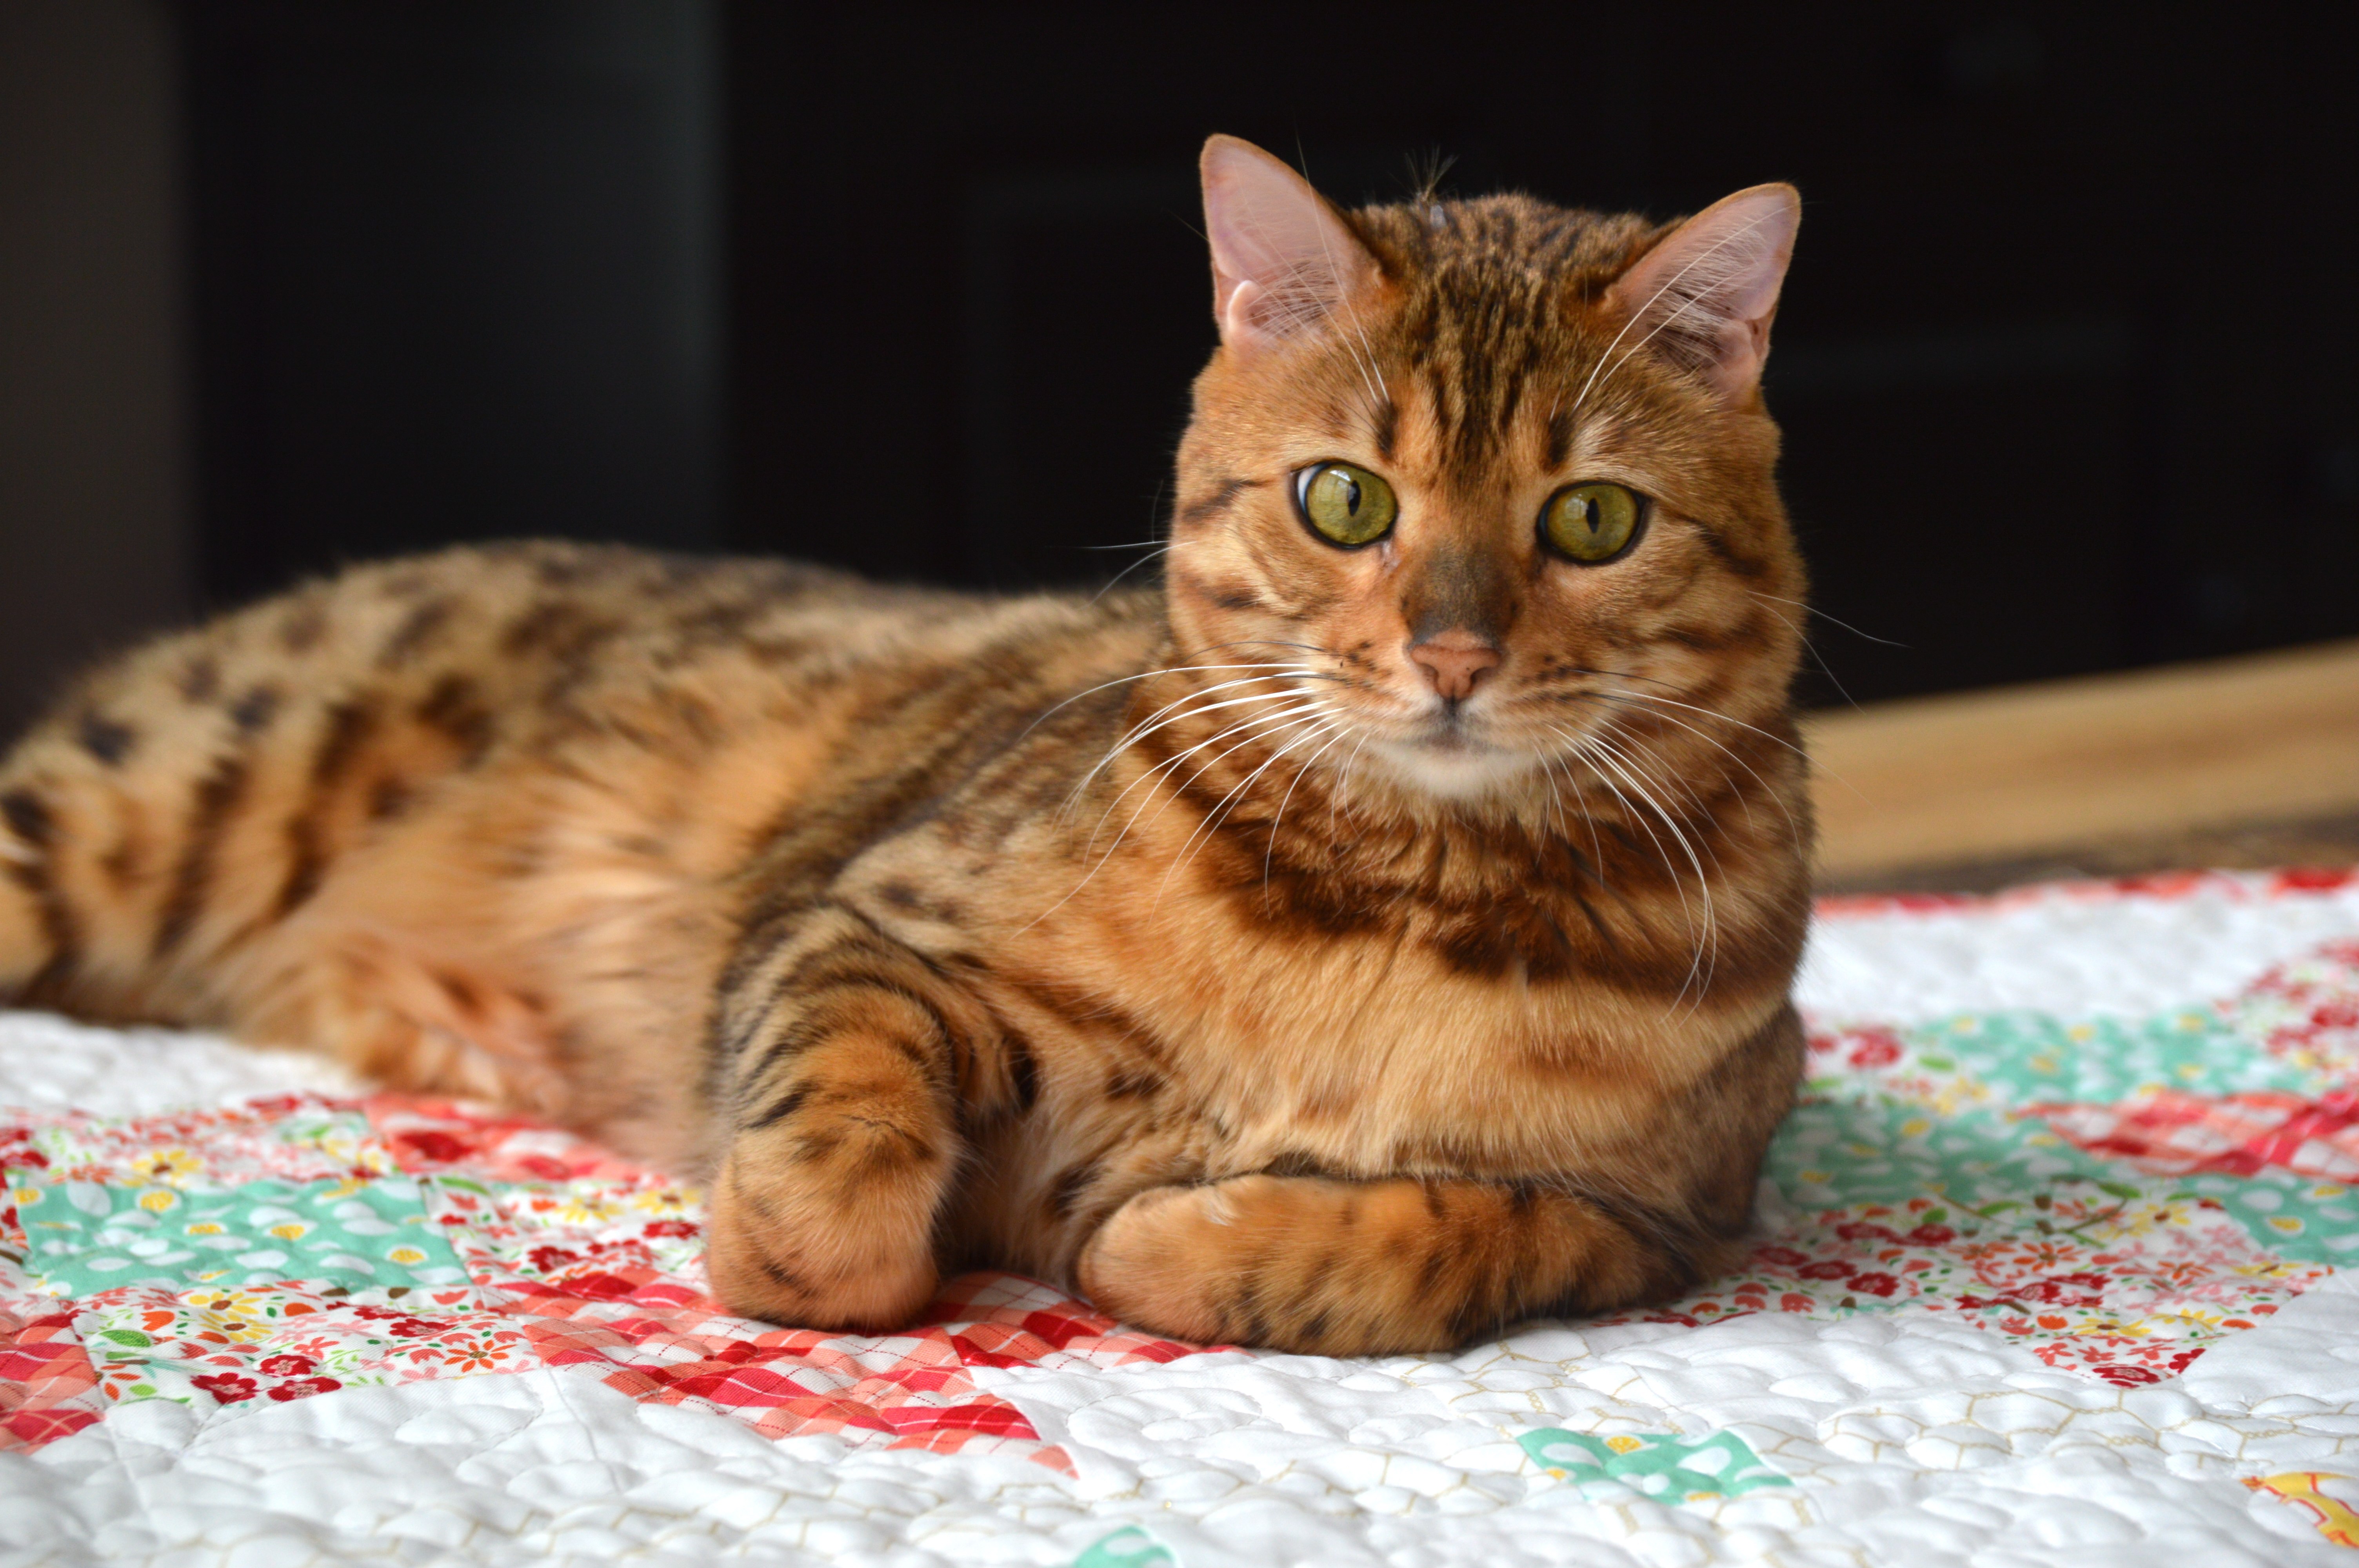
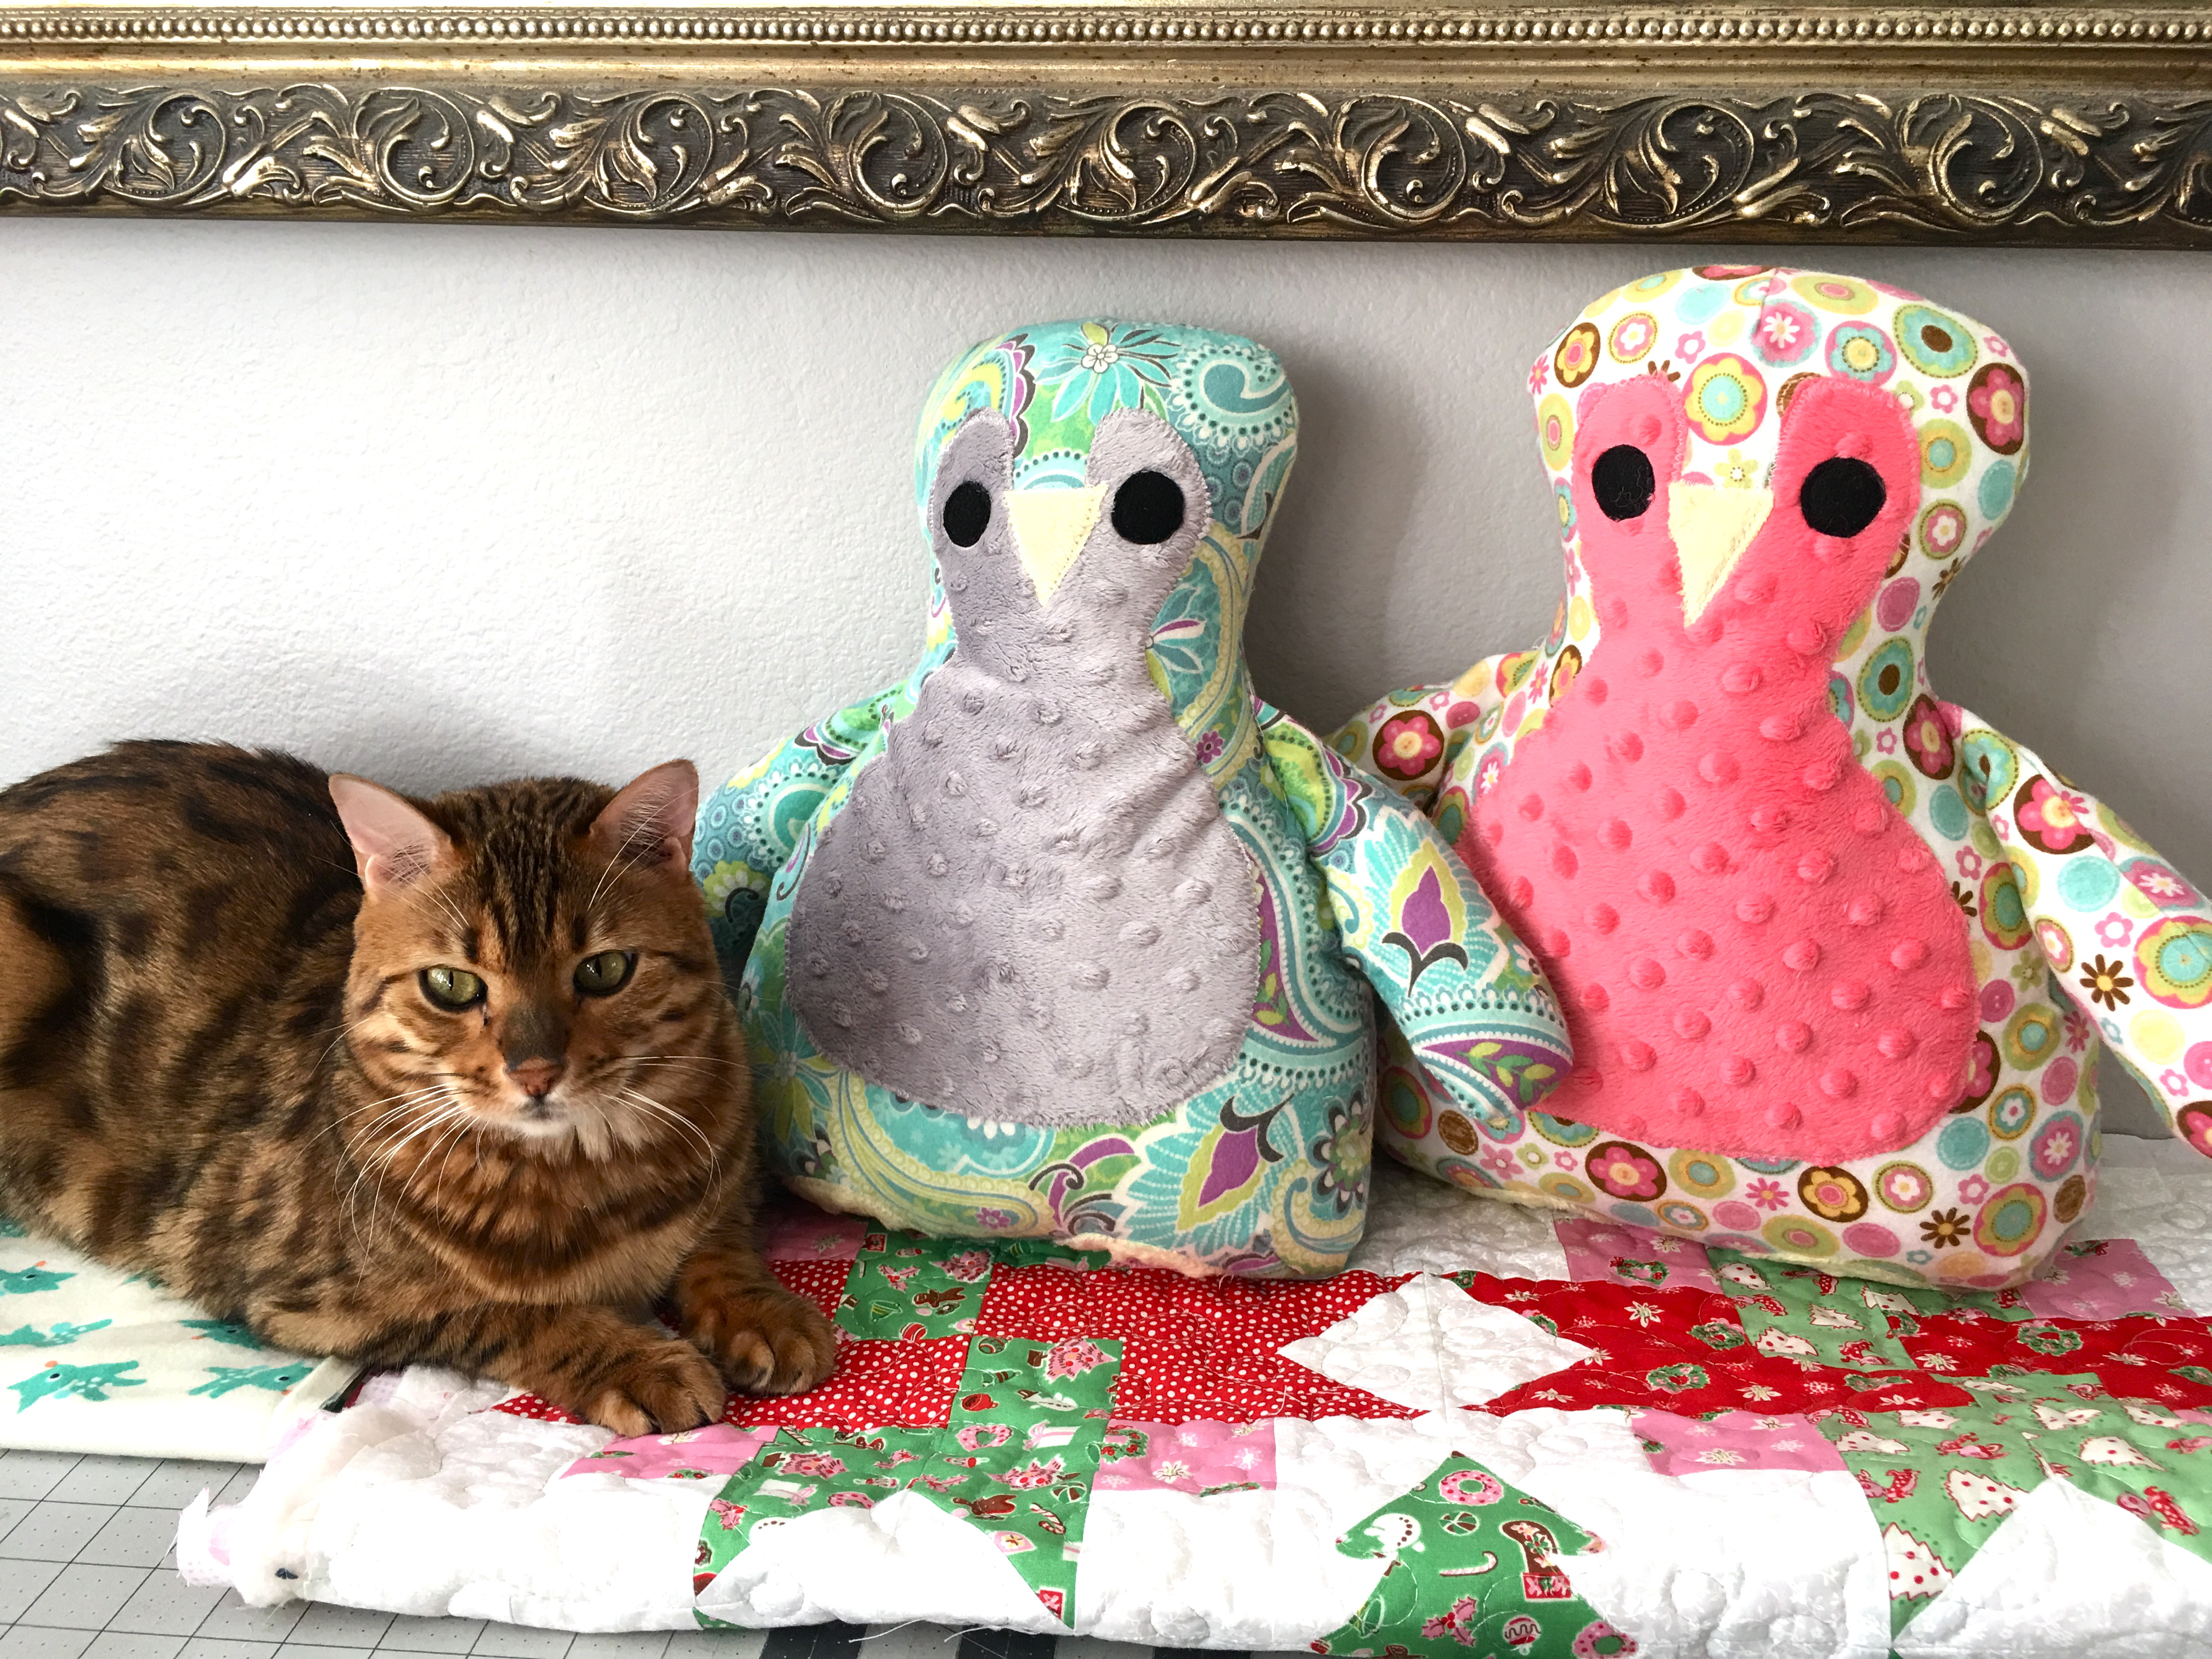
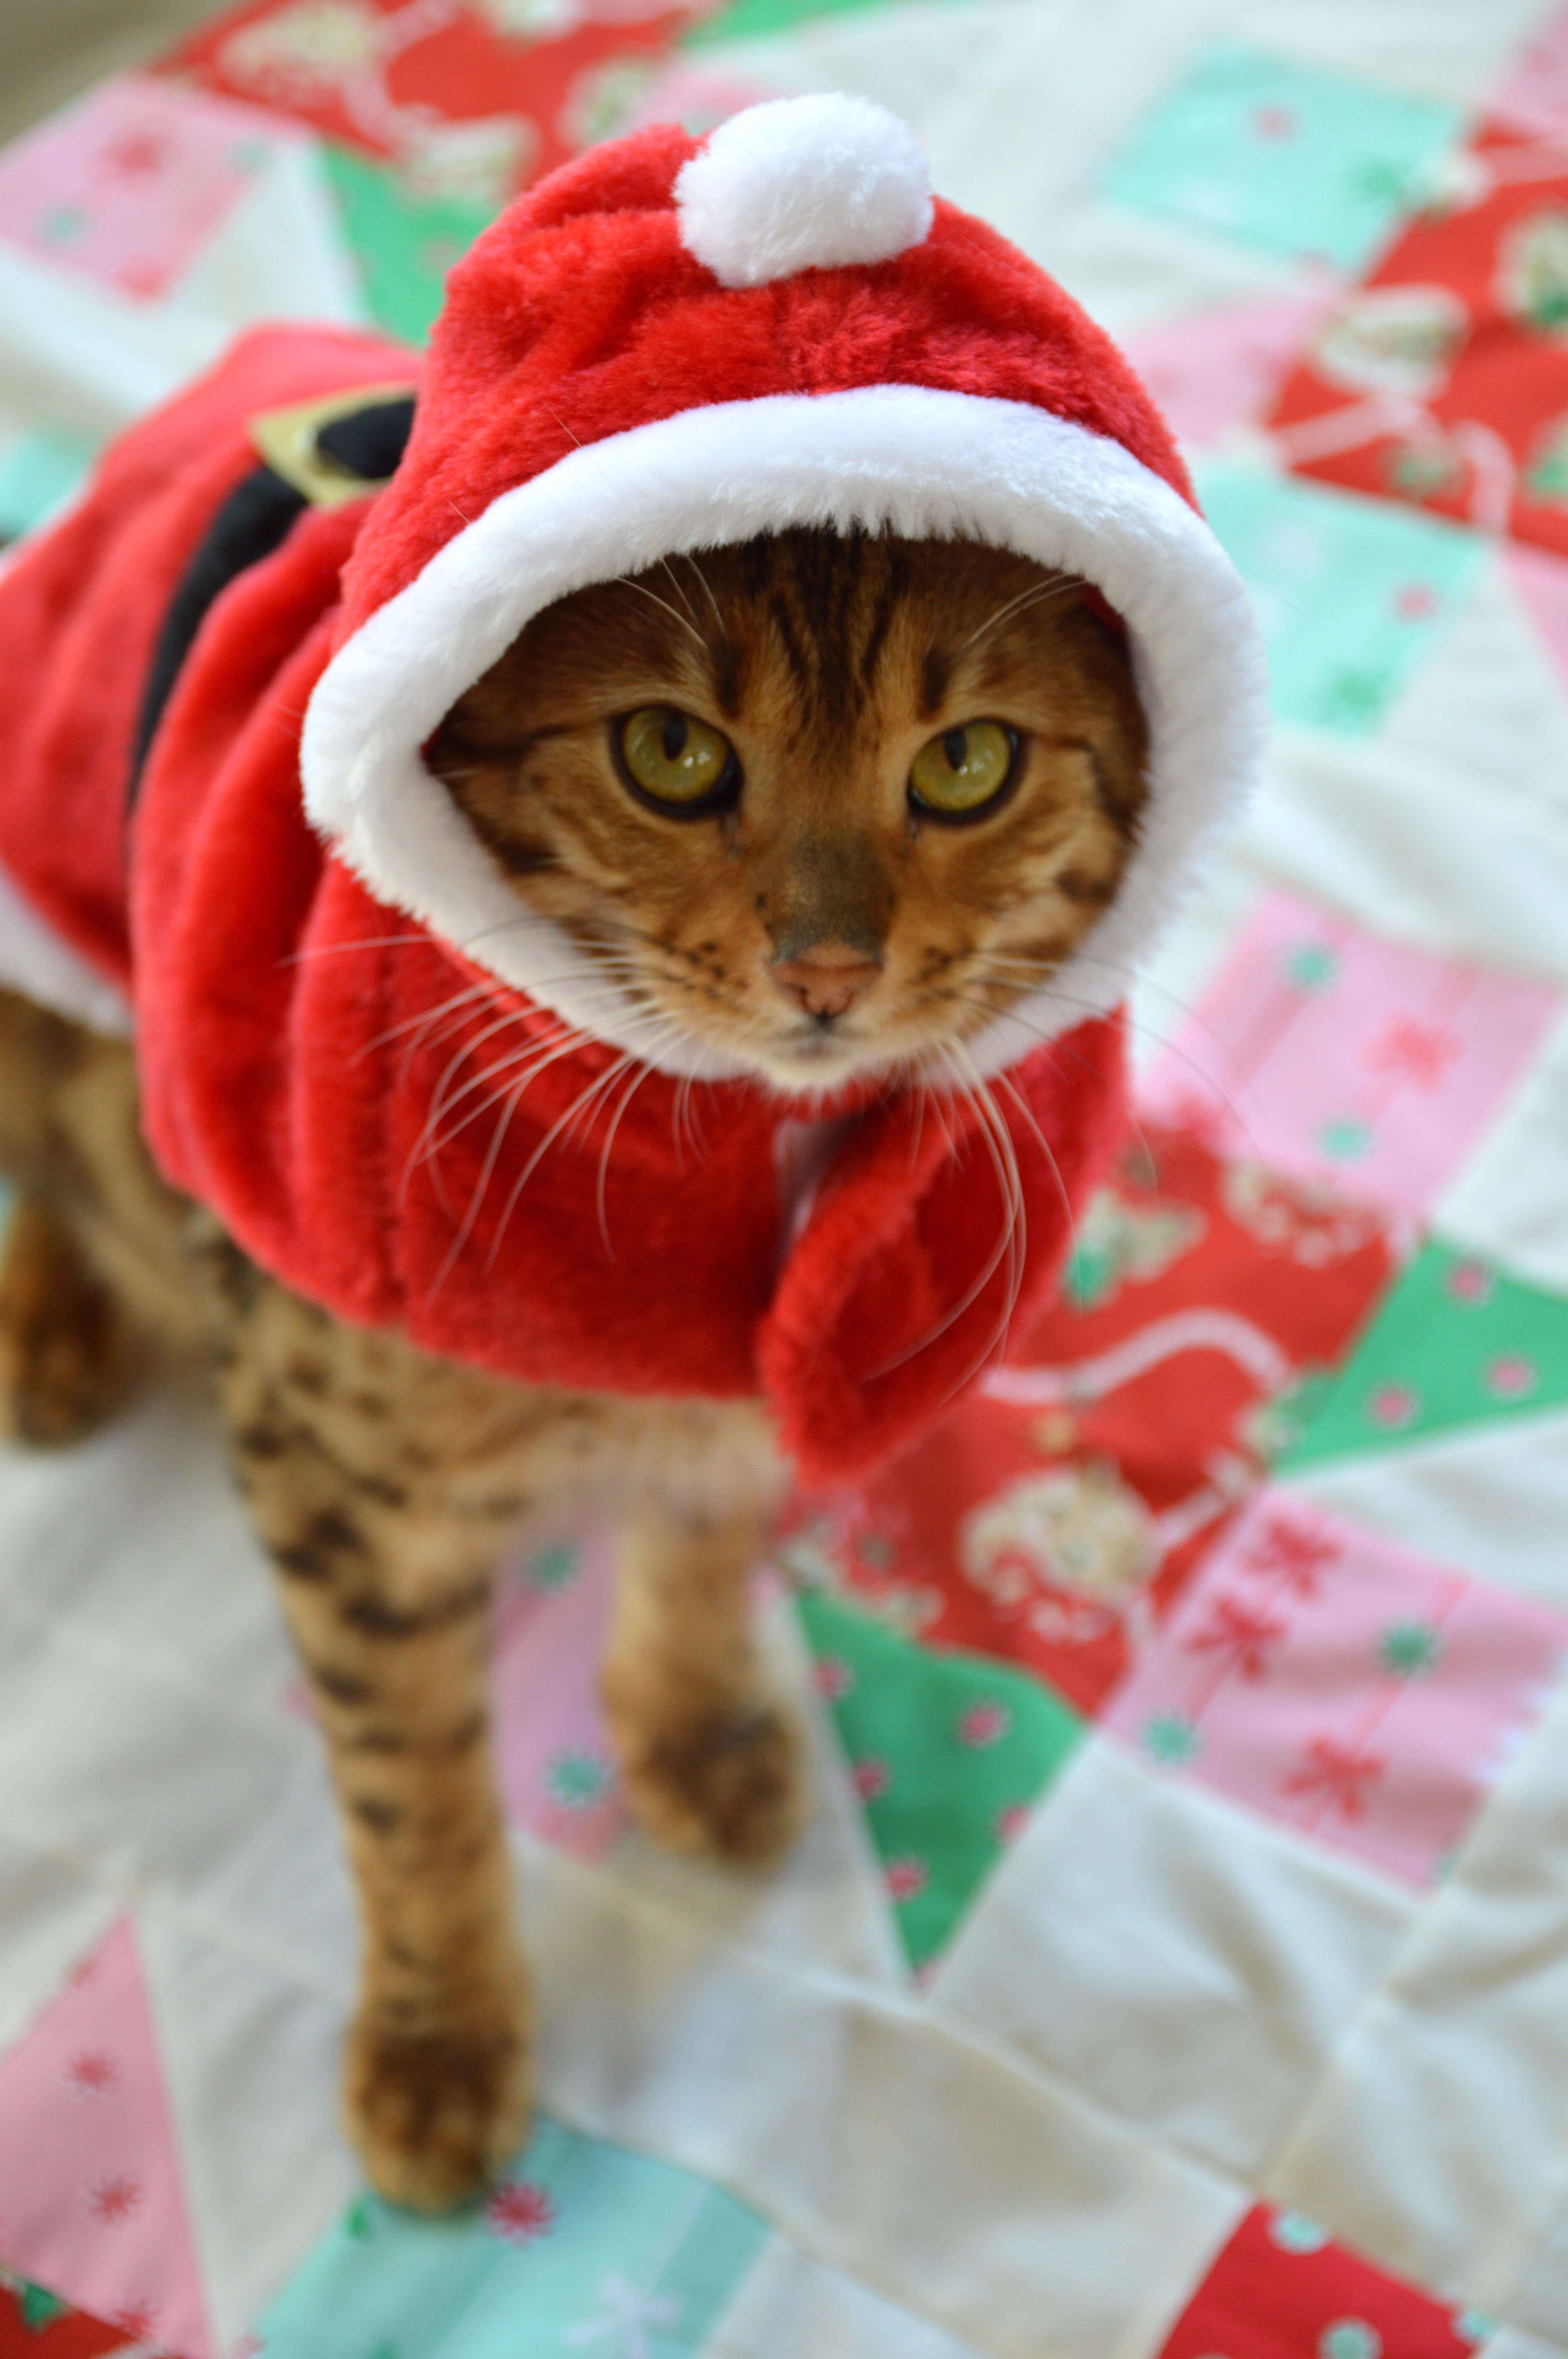
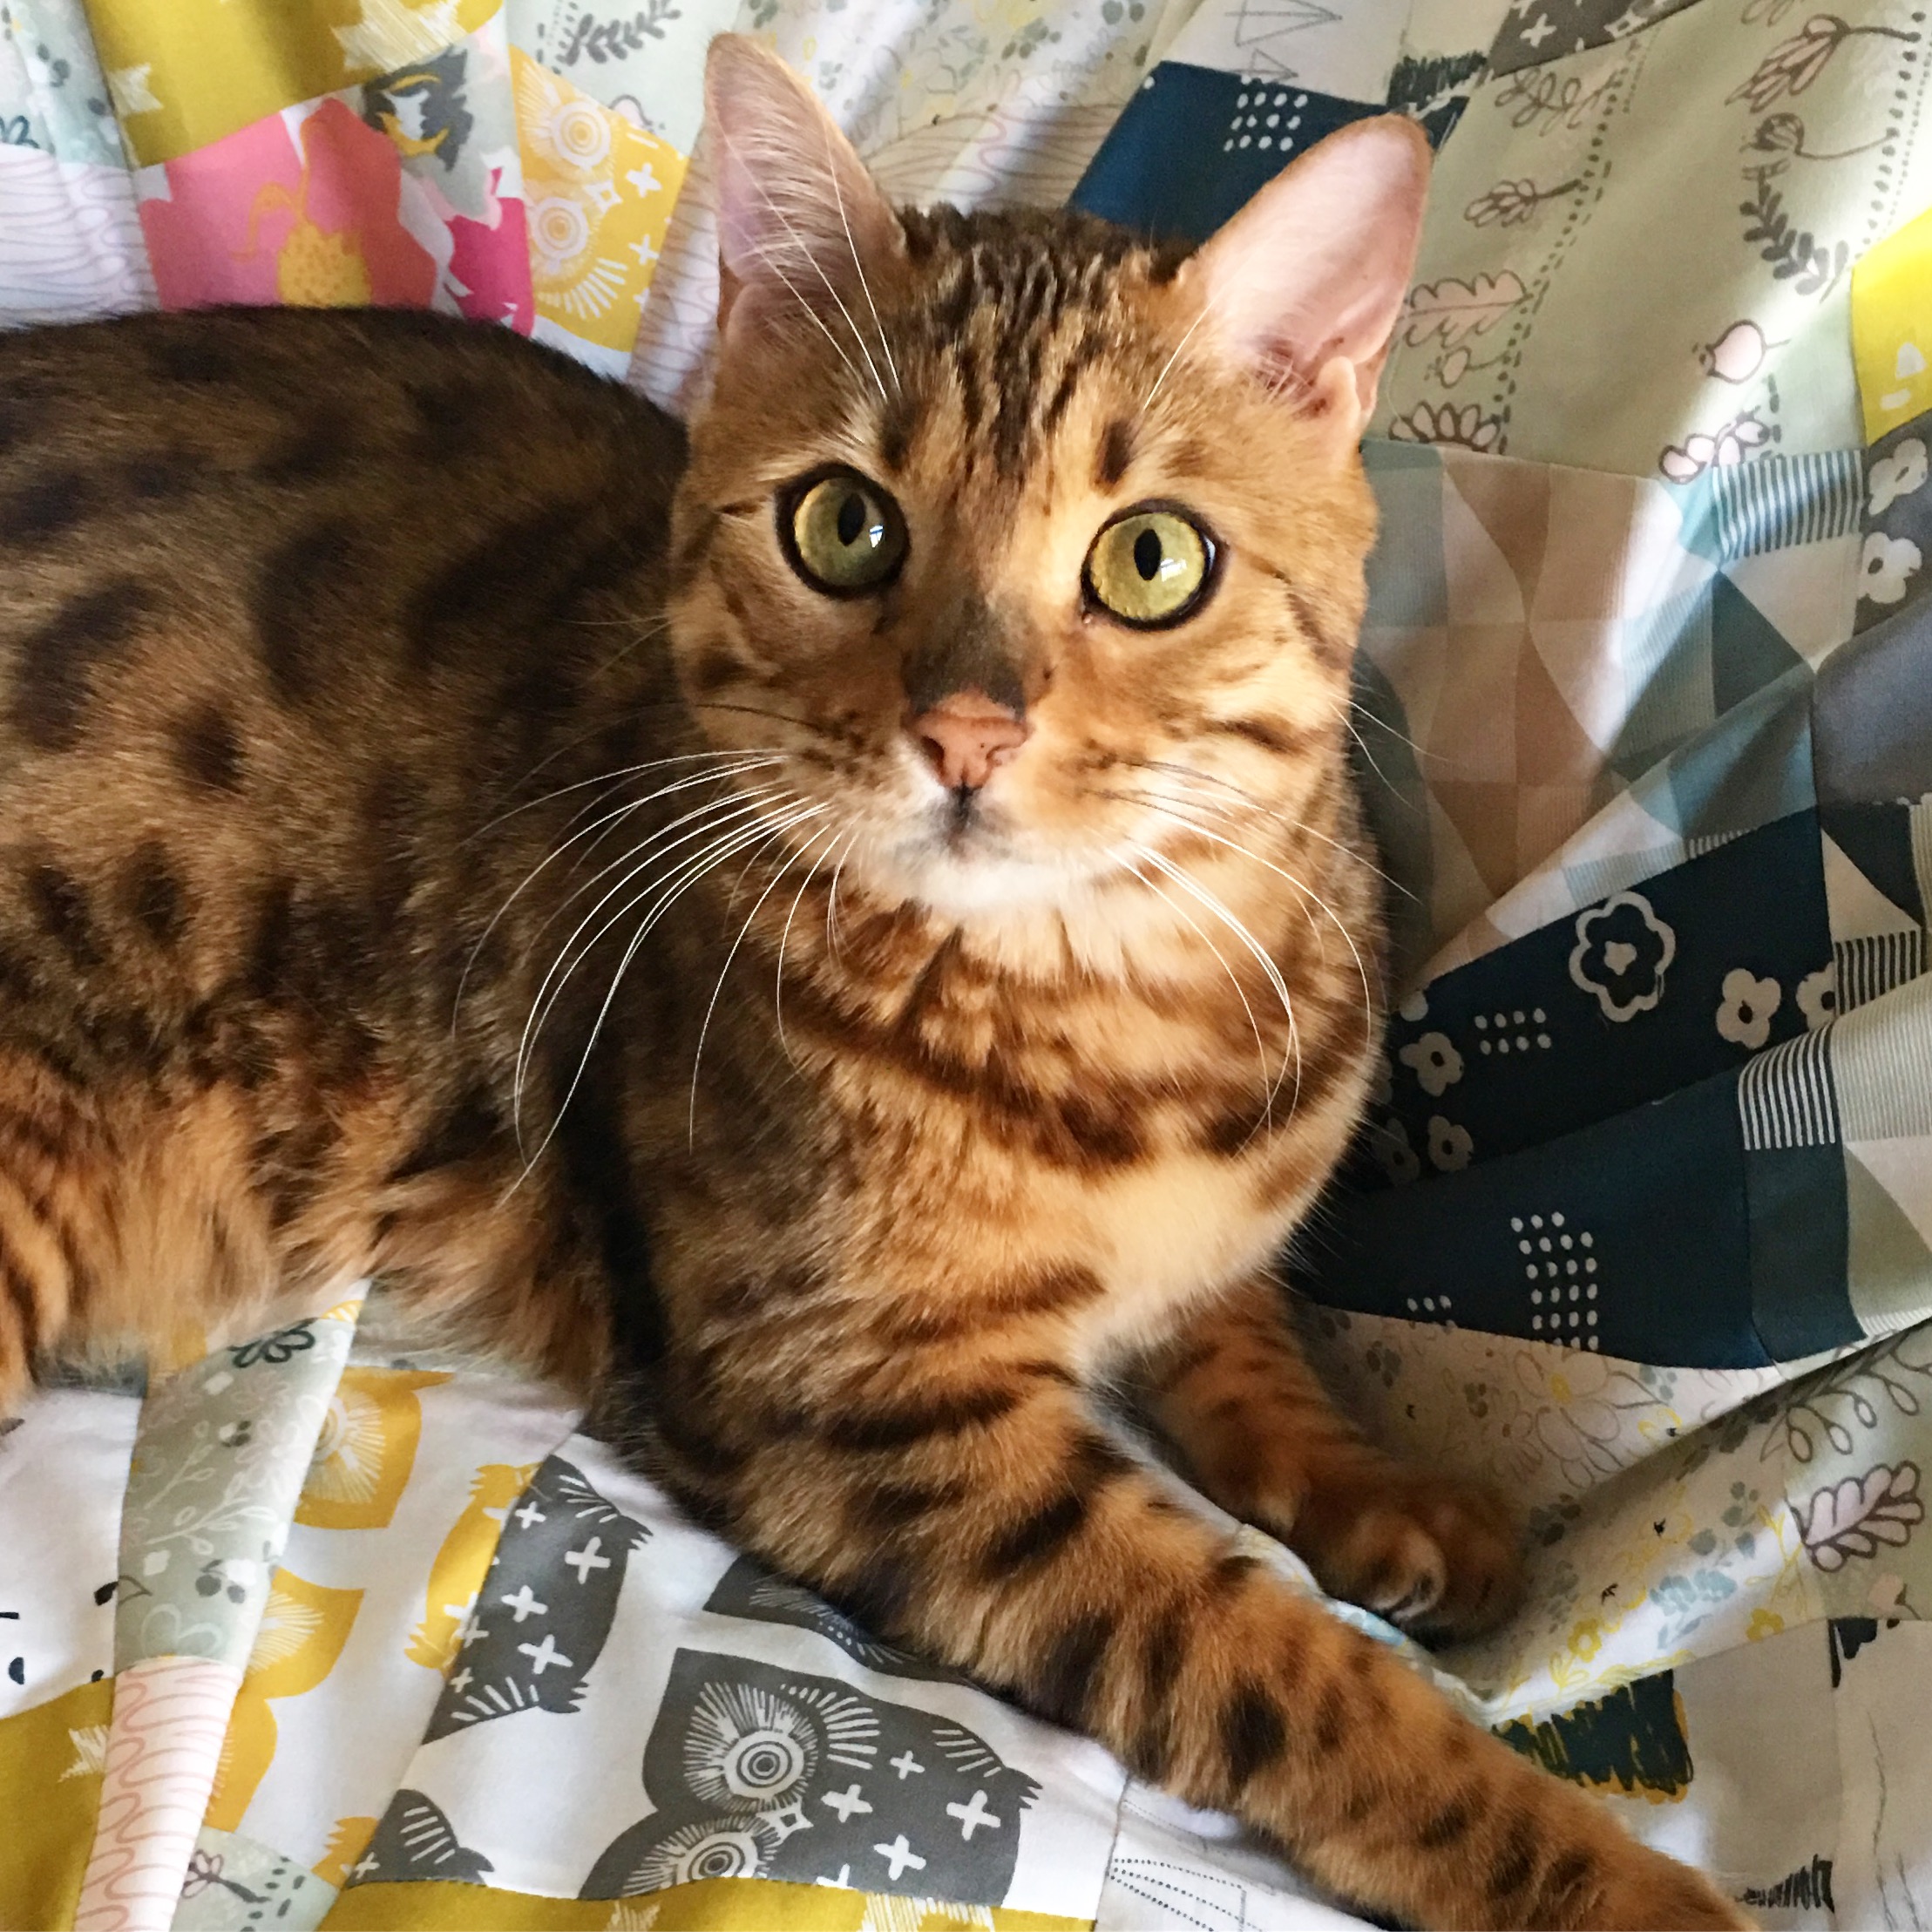
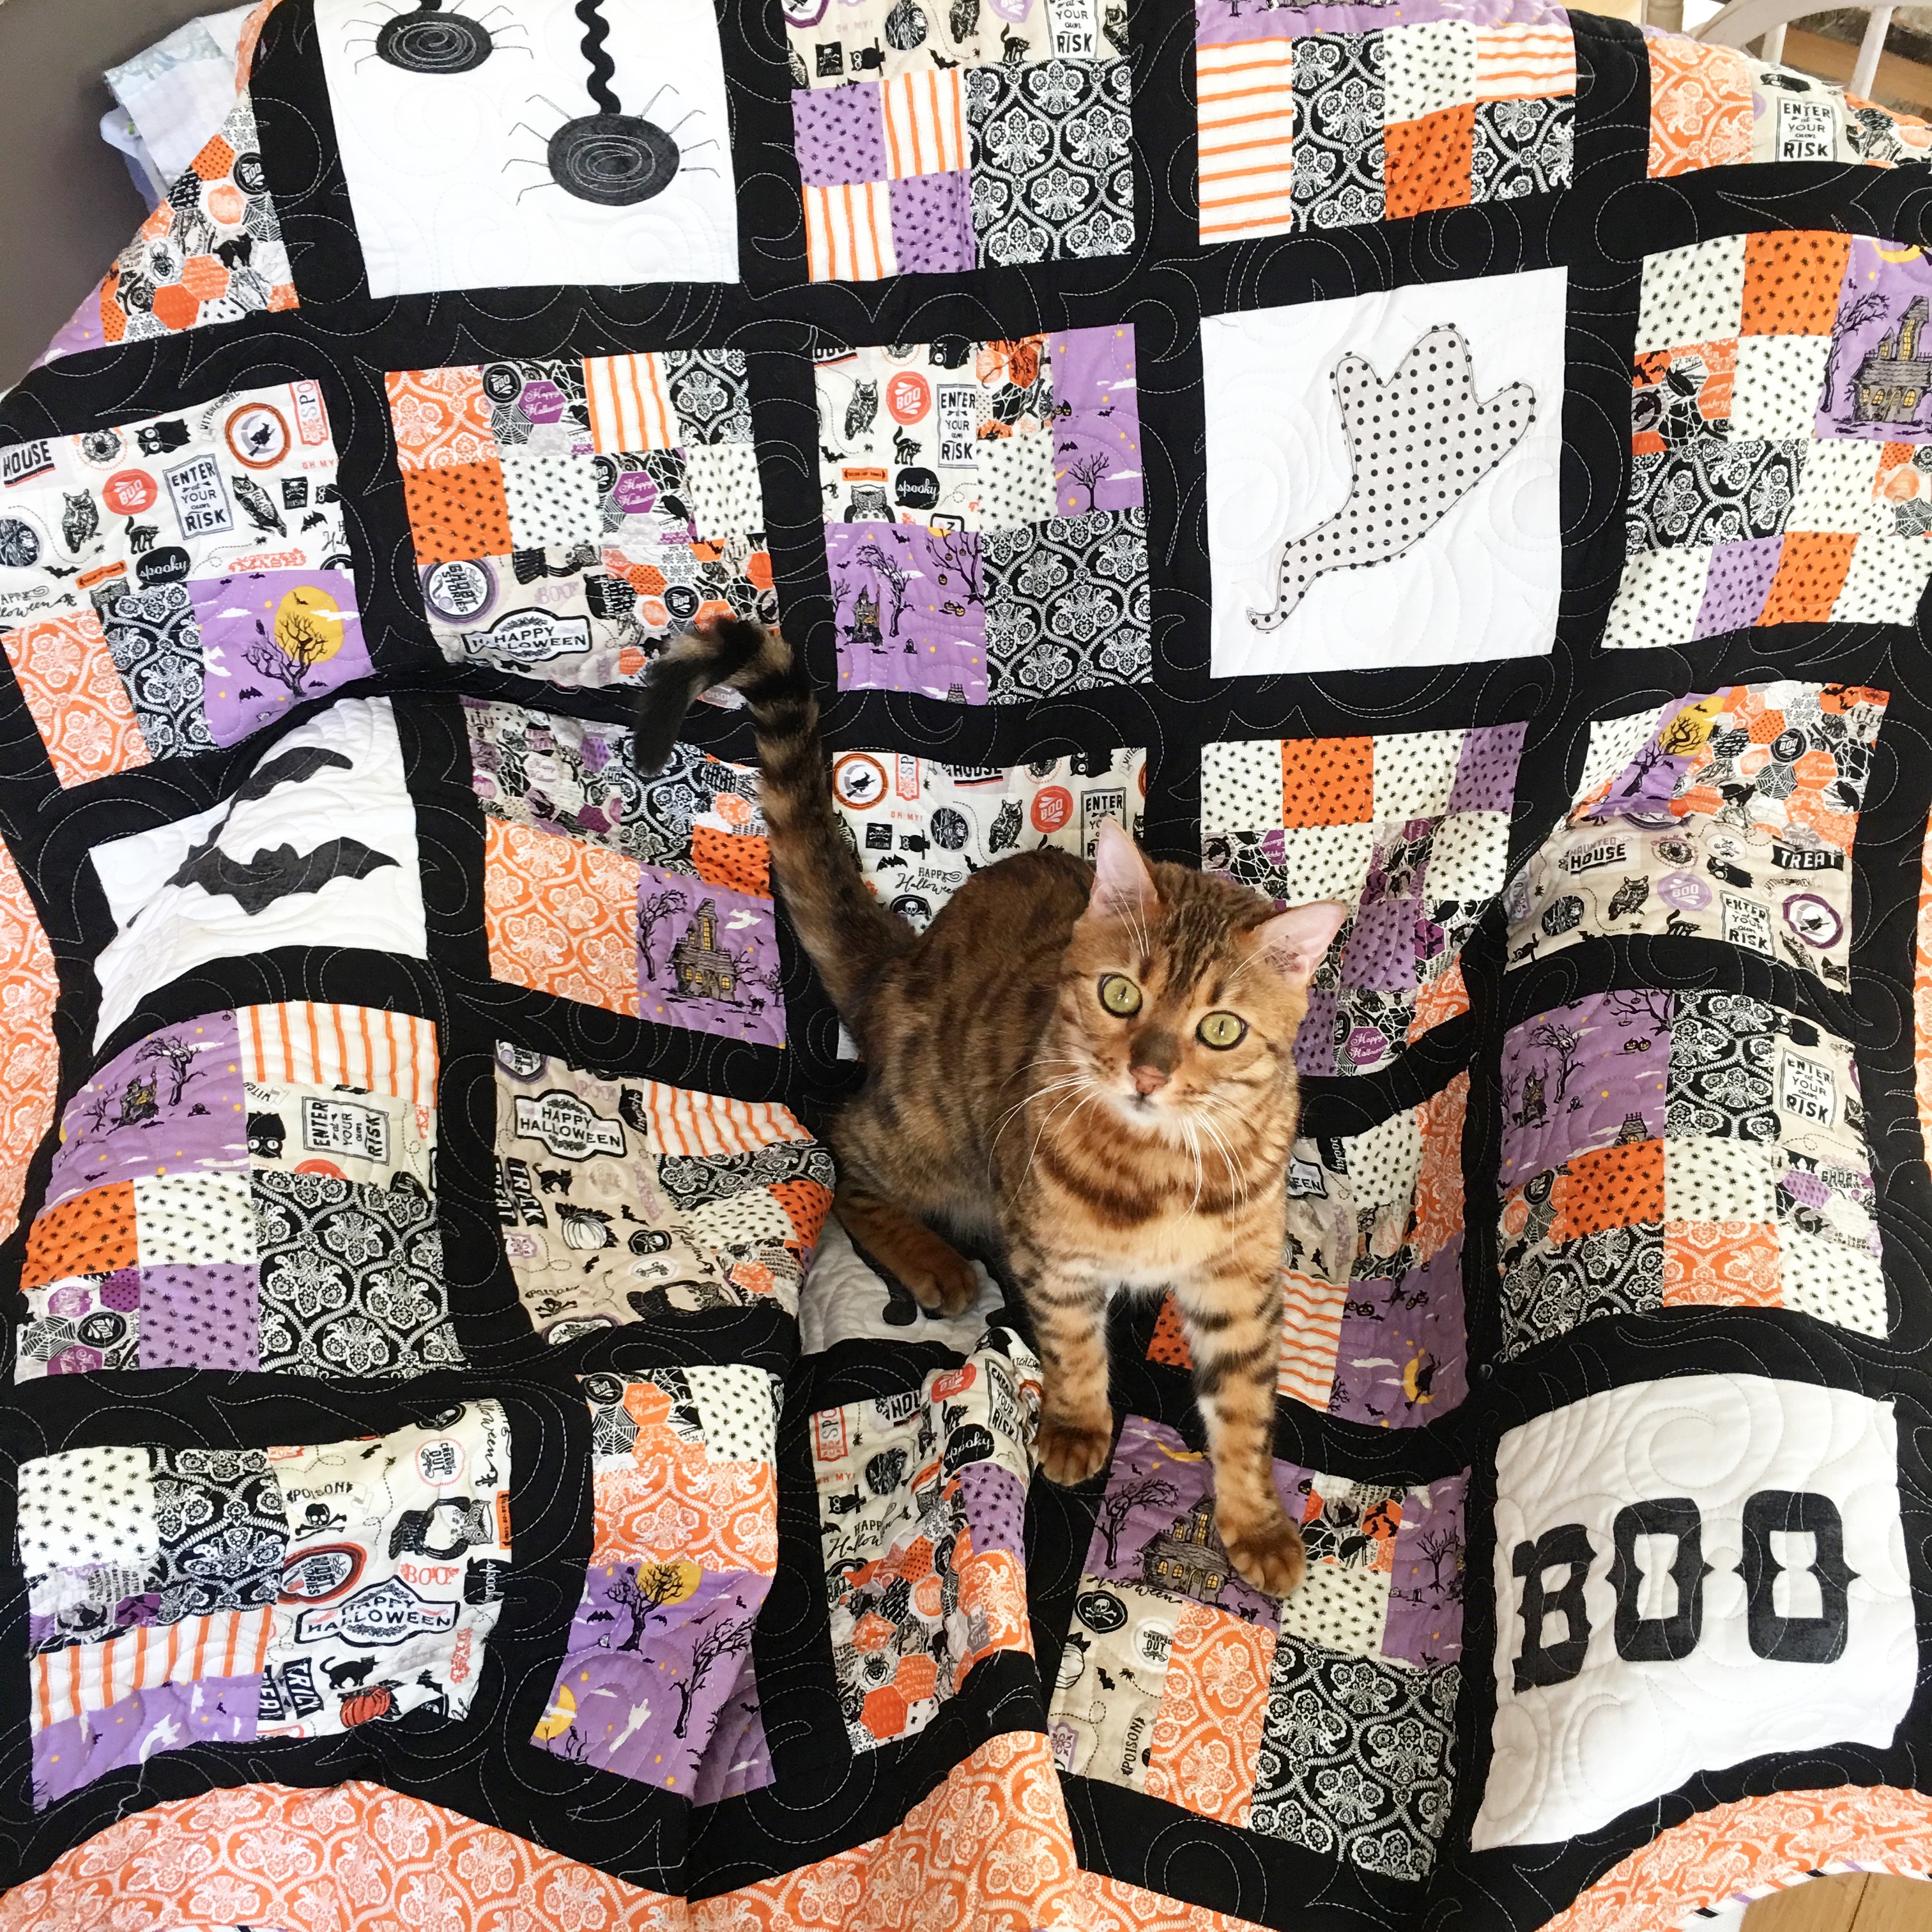
Or it makes a purrrrrfect cat bed 🙂
I love Amber’s version – she did straight line quilting 🙂
Click HERE for an index of all the Five Fat Quarter Fun Patterns!!
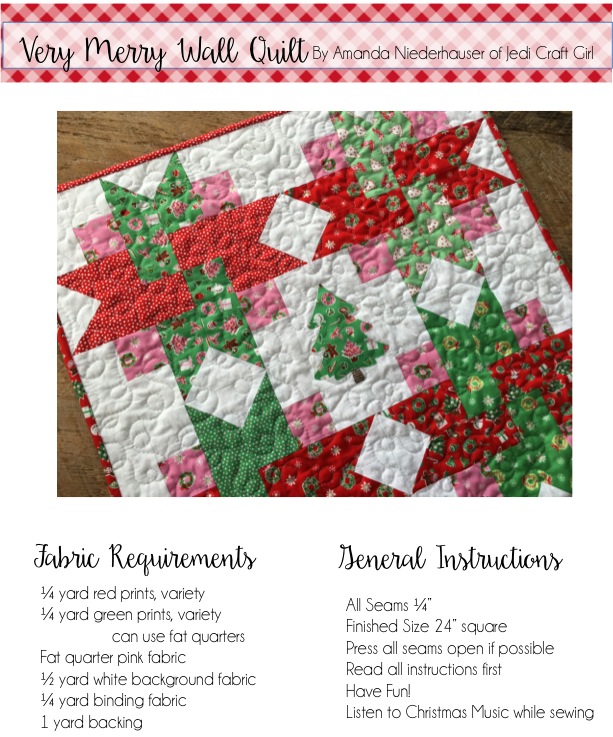


 Check out the other AMAZING designers who are participating in the Gingercake Holiday Gift Blog Tour!! Start making your lists and checking them twice!! Christmas is coming fast!!
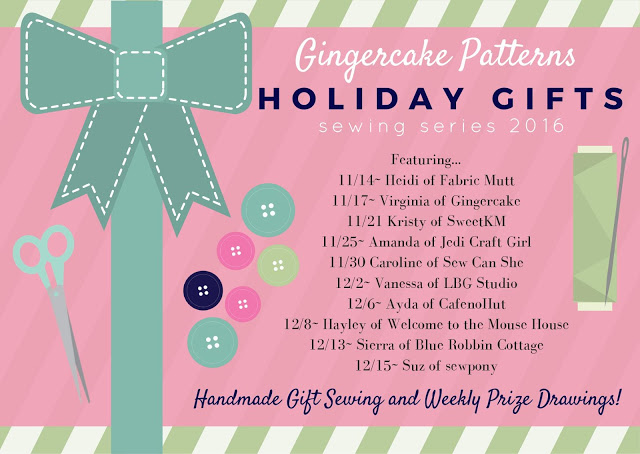

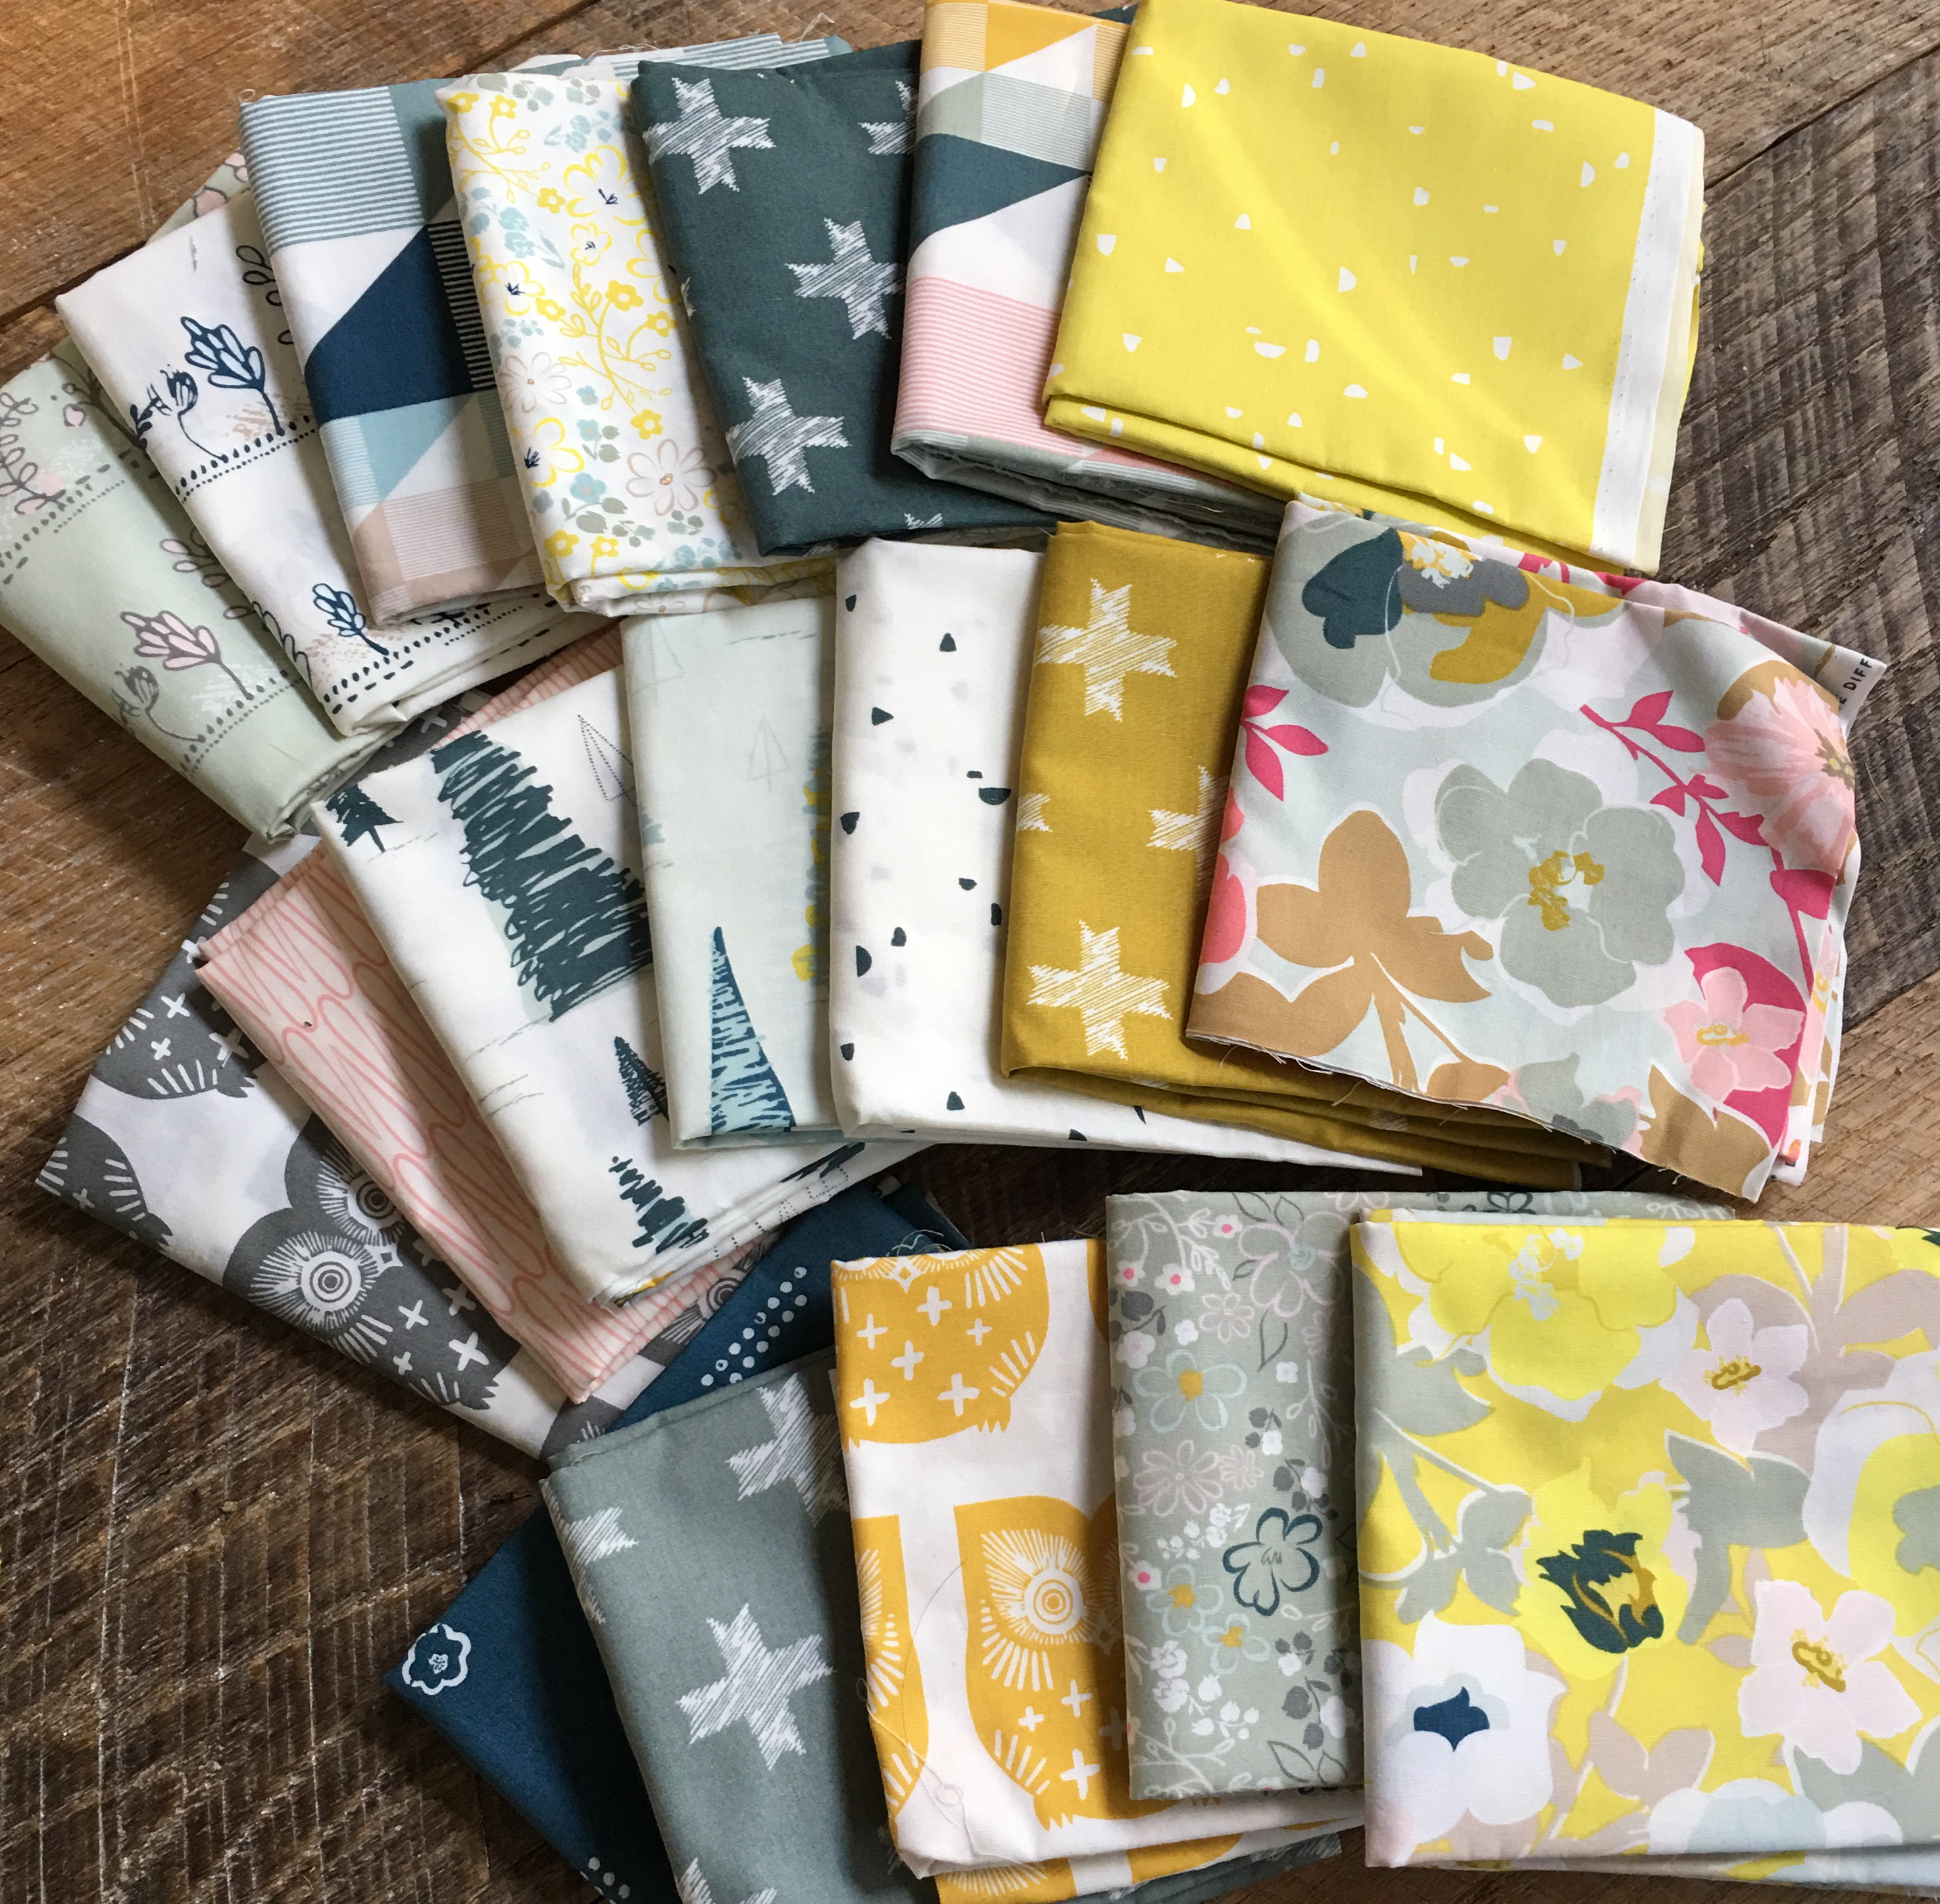
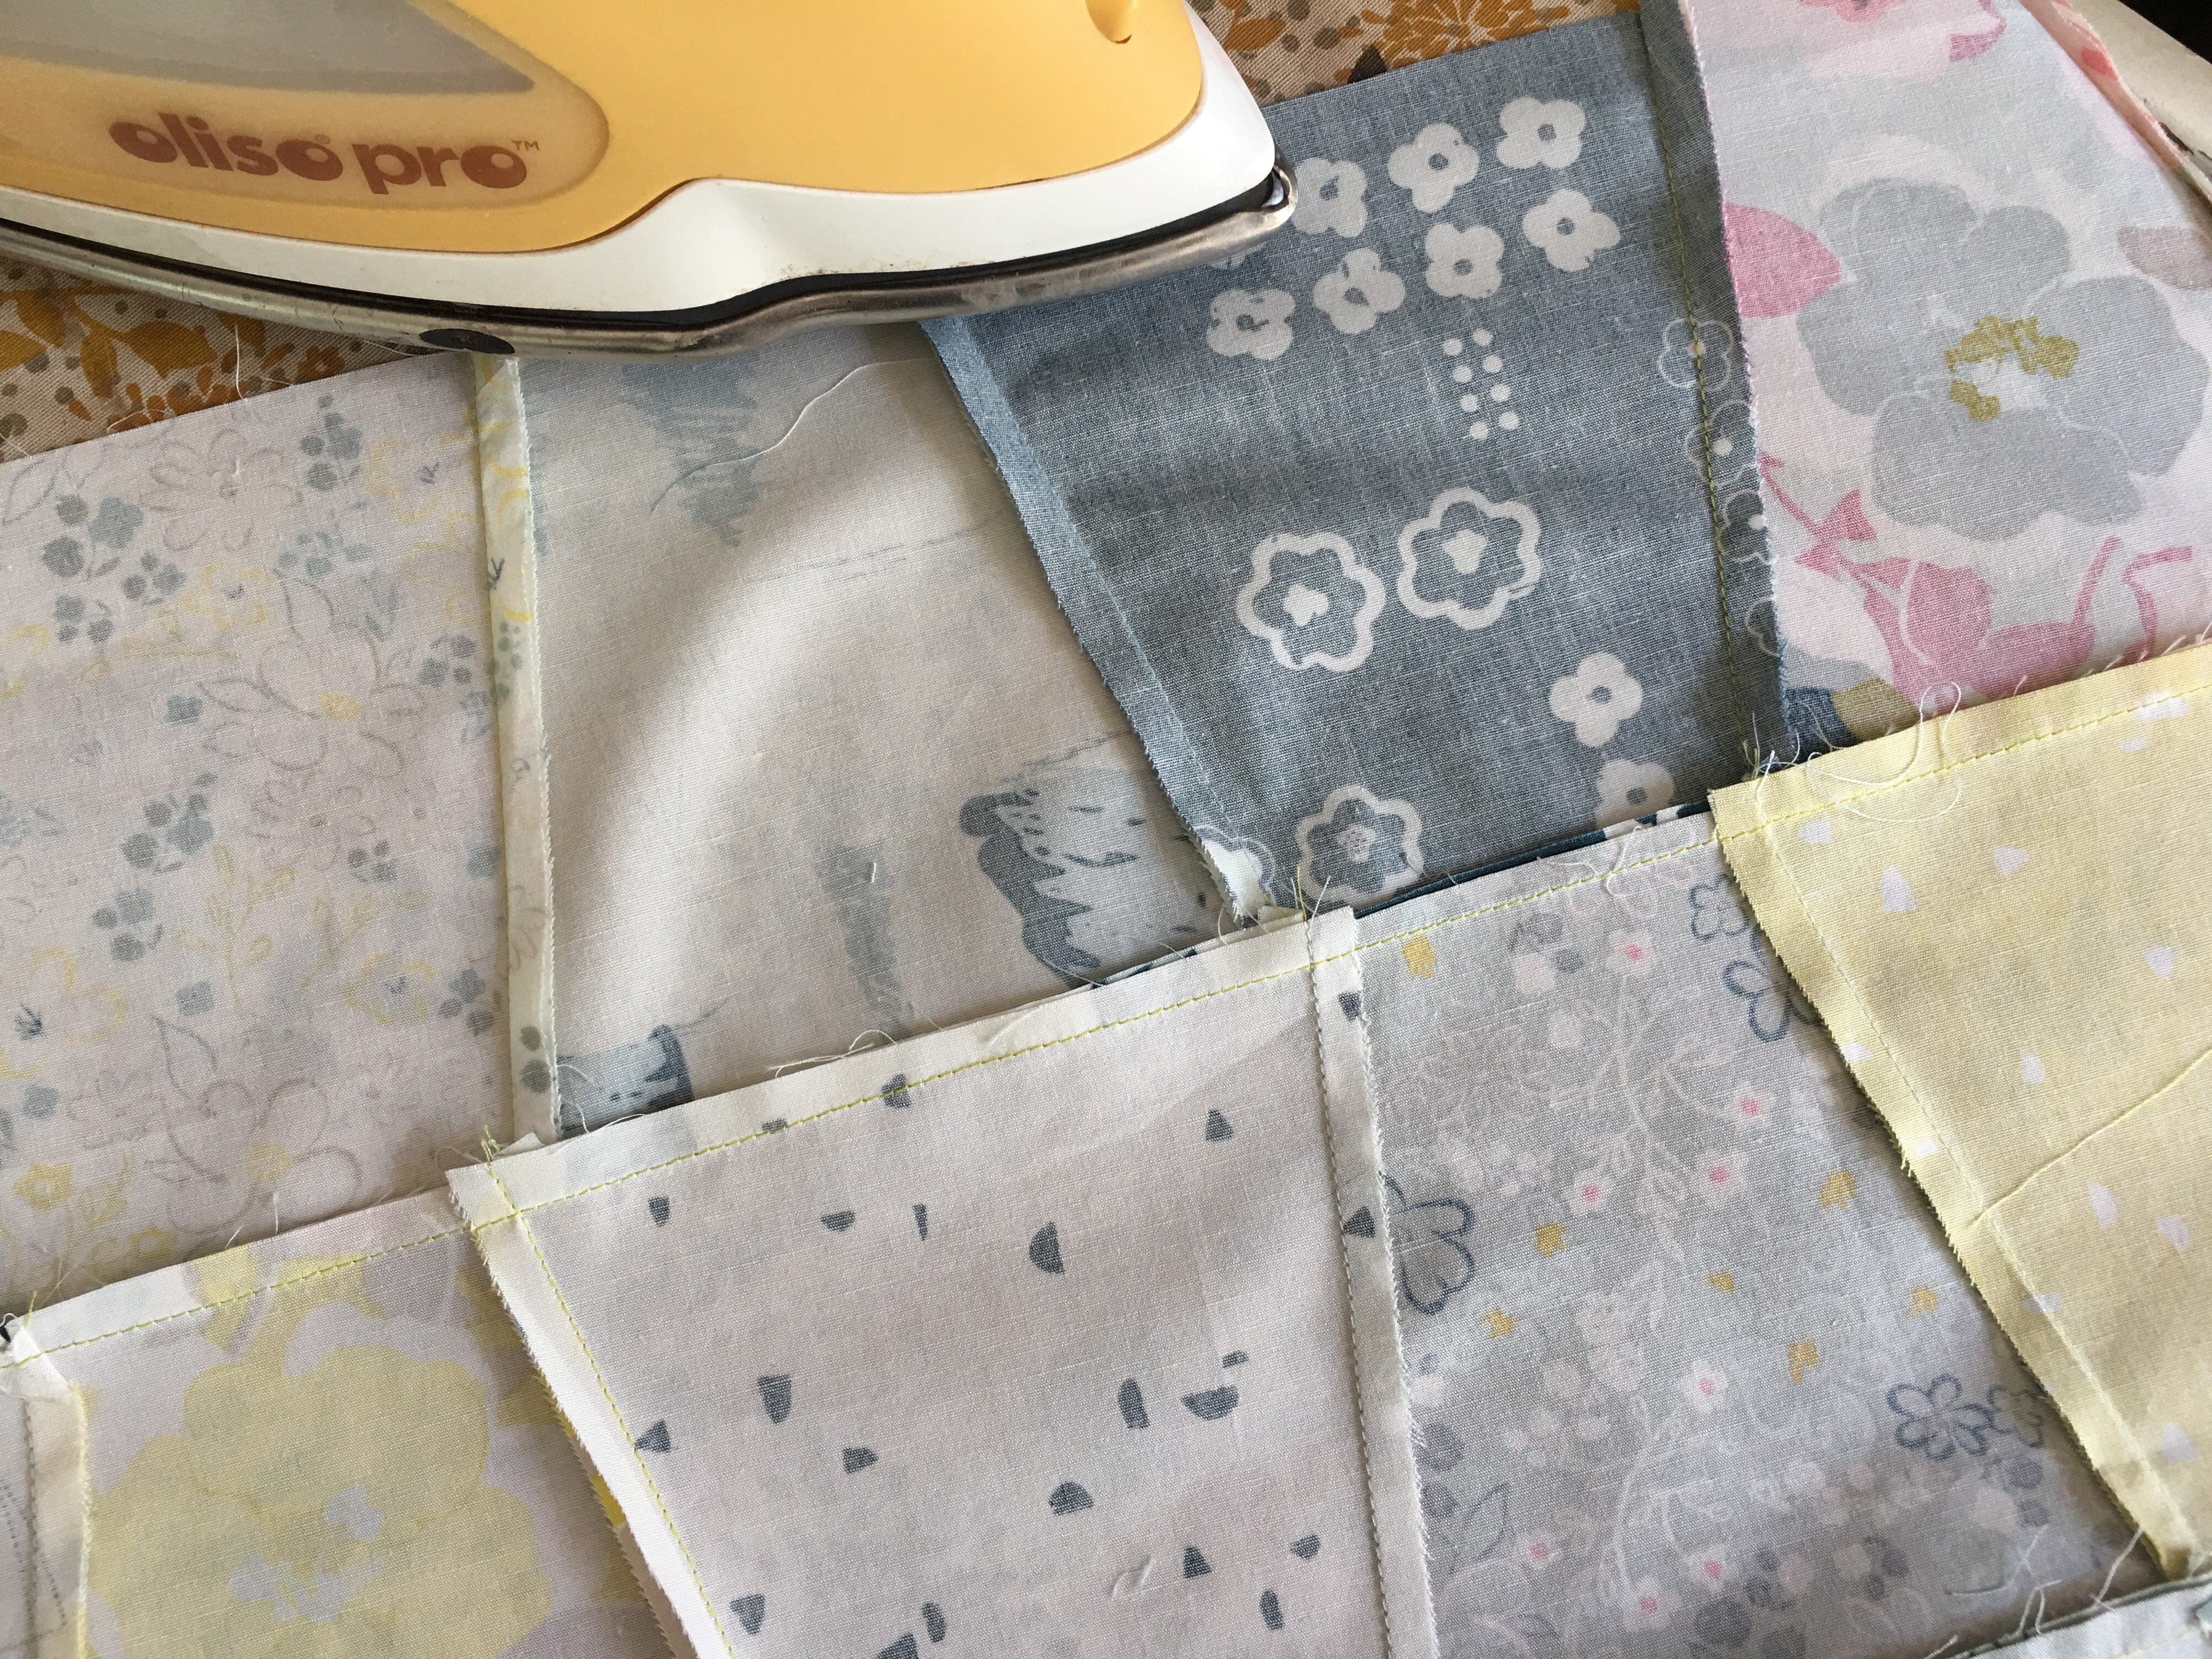
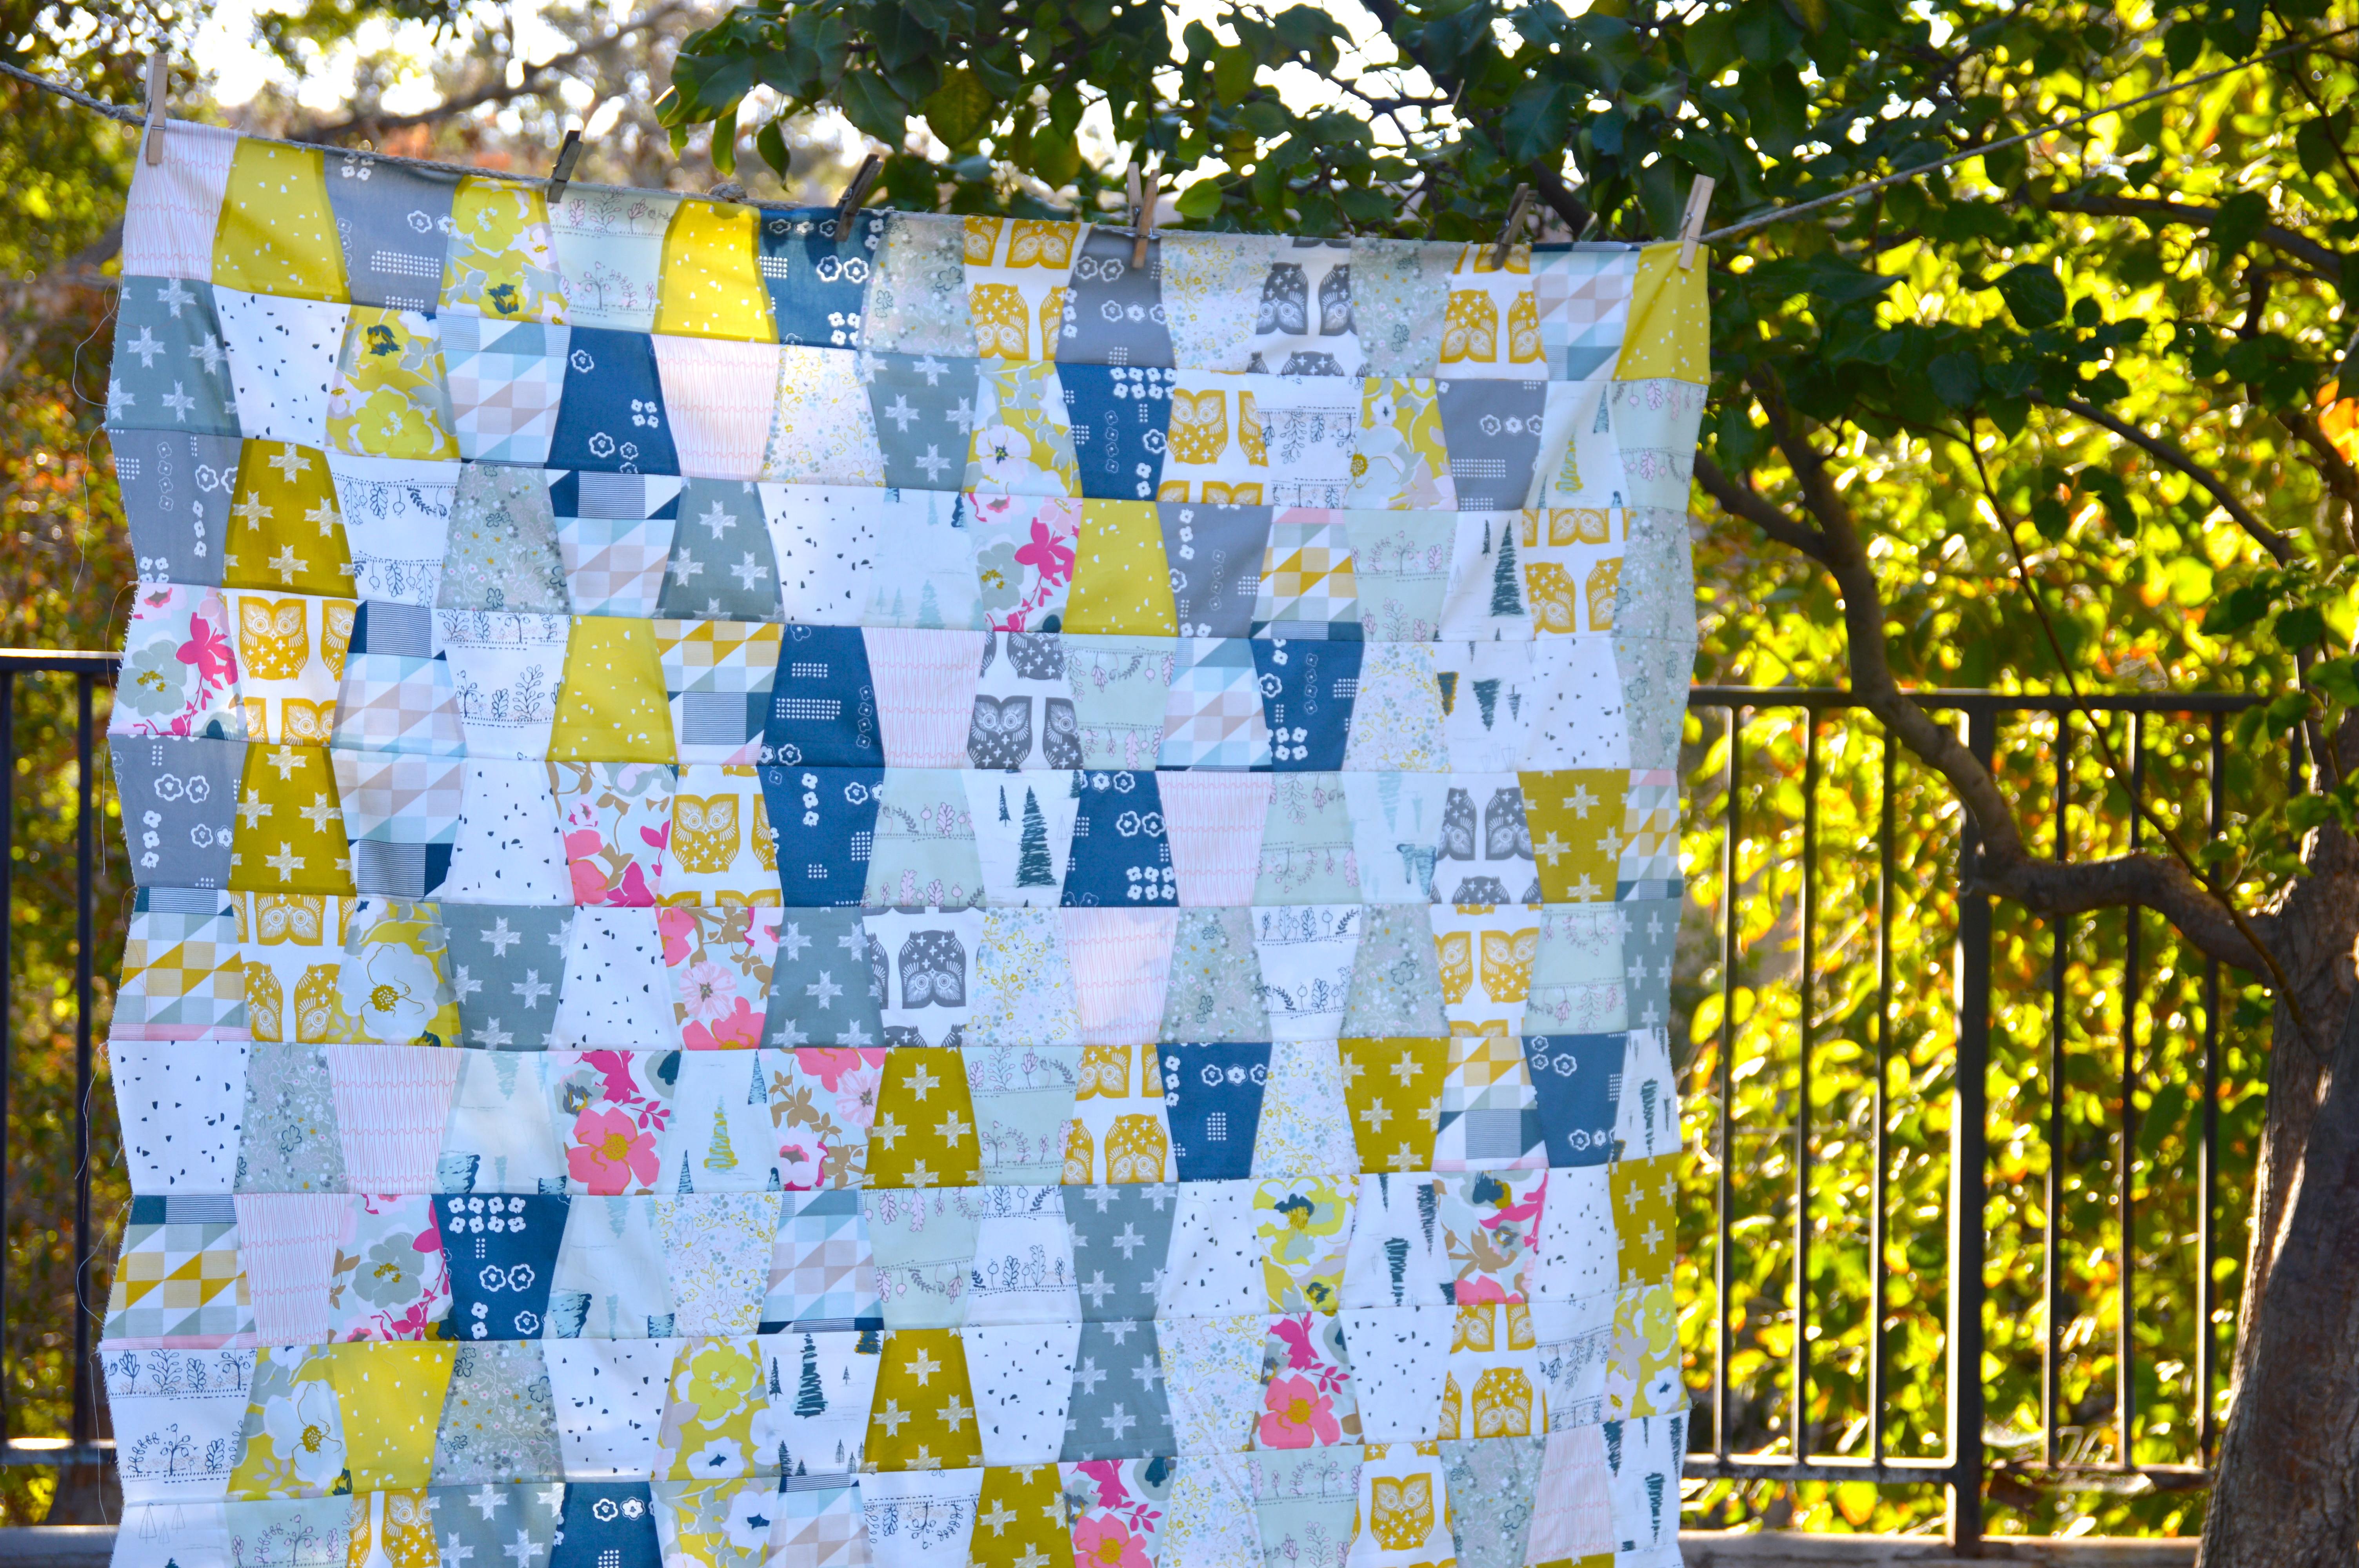
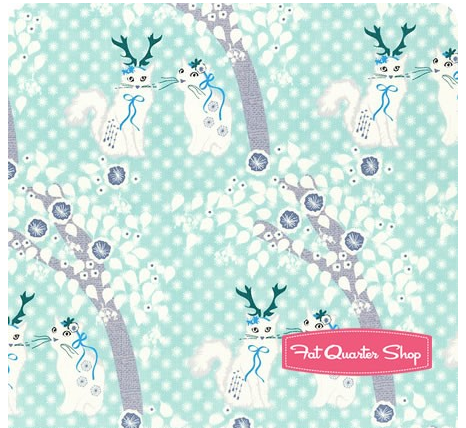 I’m so in love with it!!!!! I selected 22 prints to coordinate with this sweet little fabric to create the
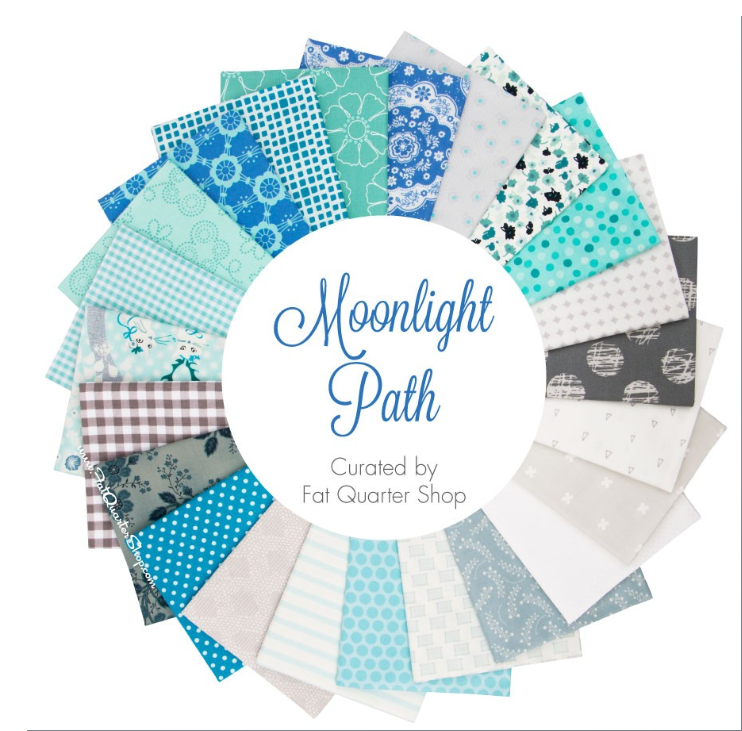
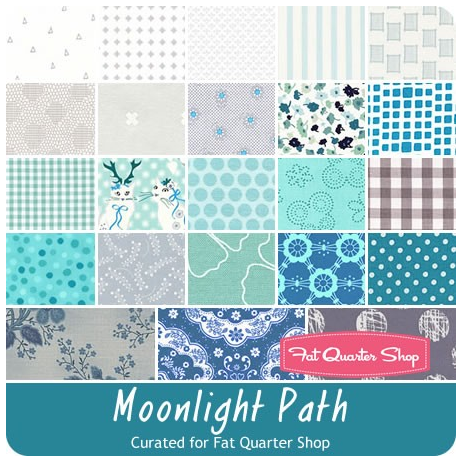
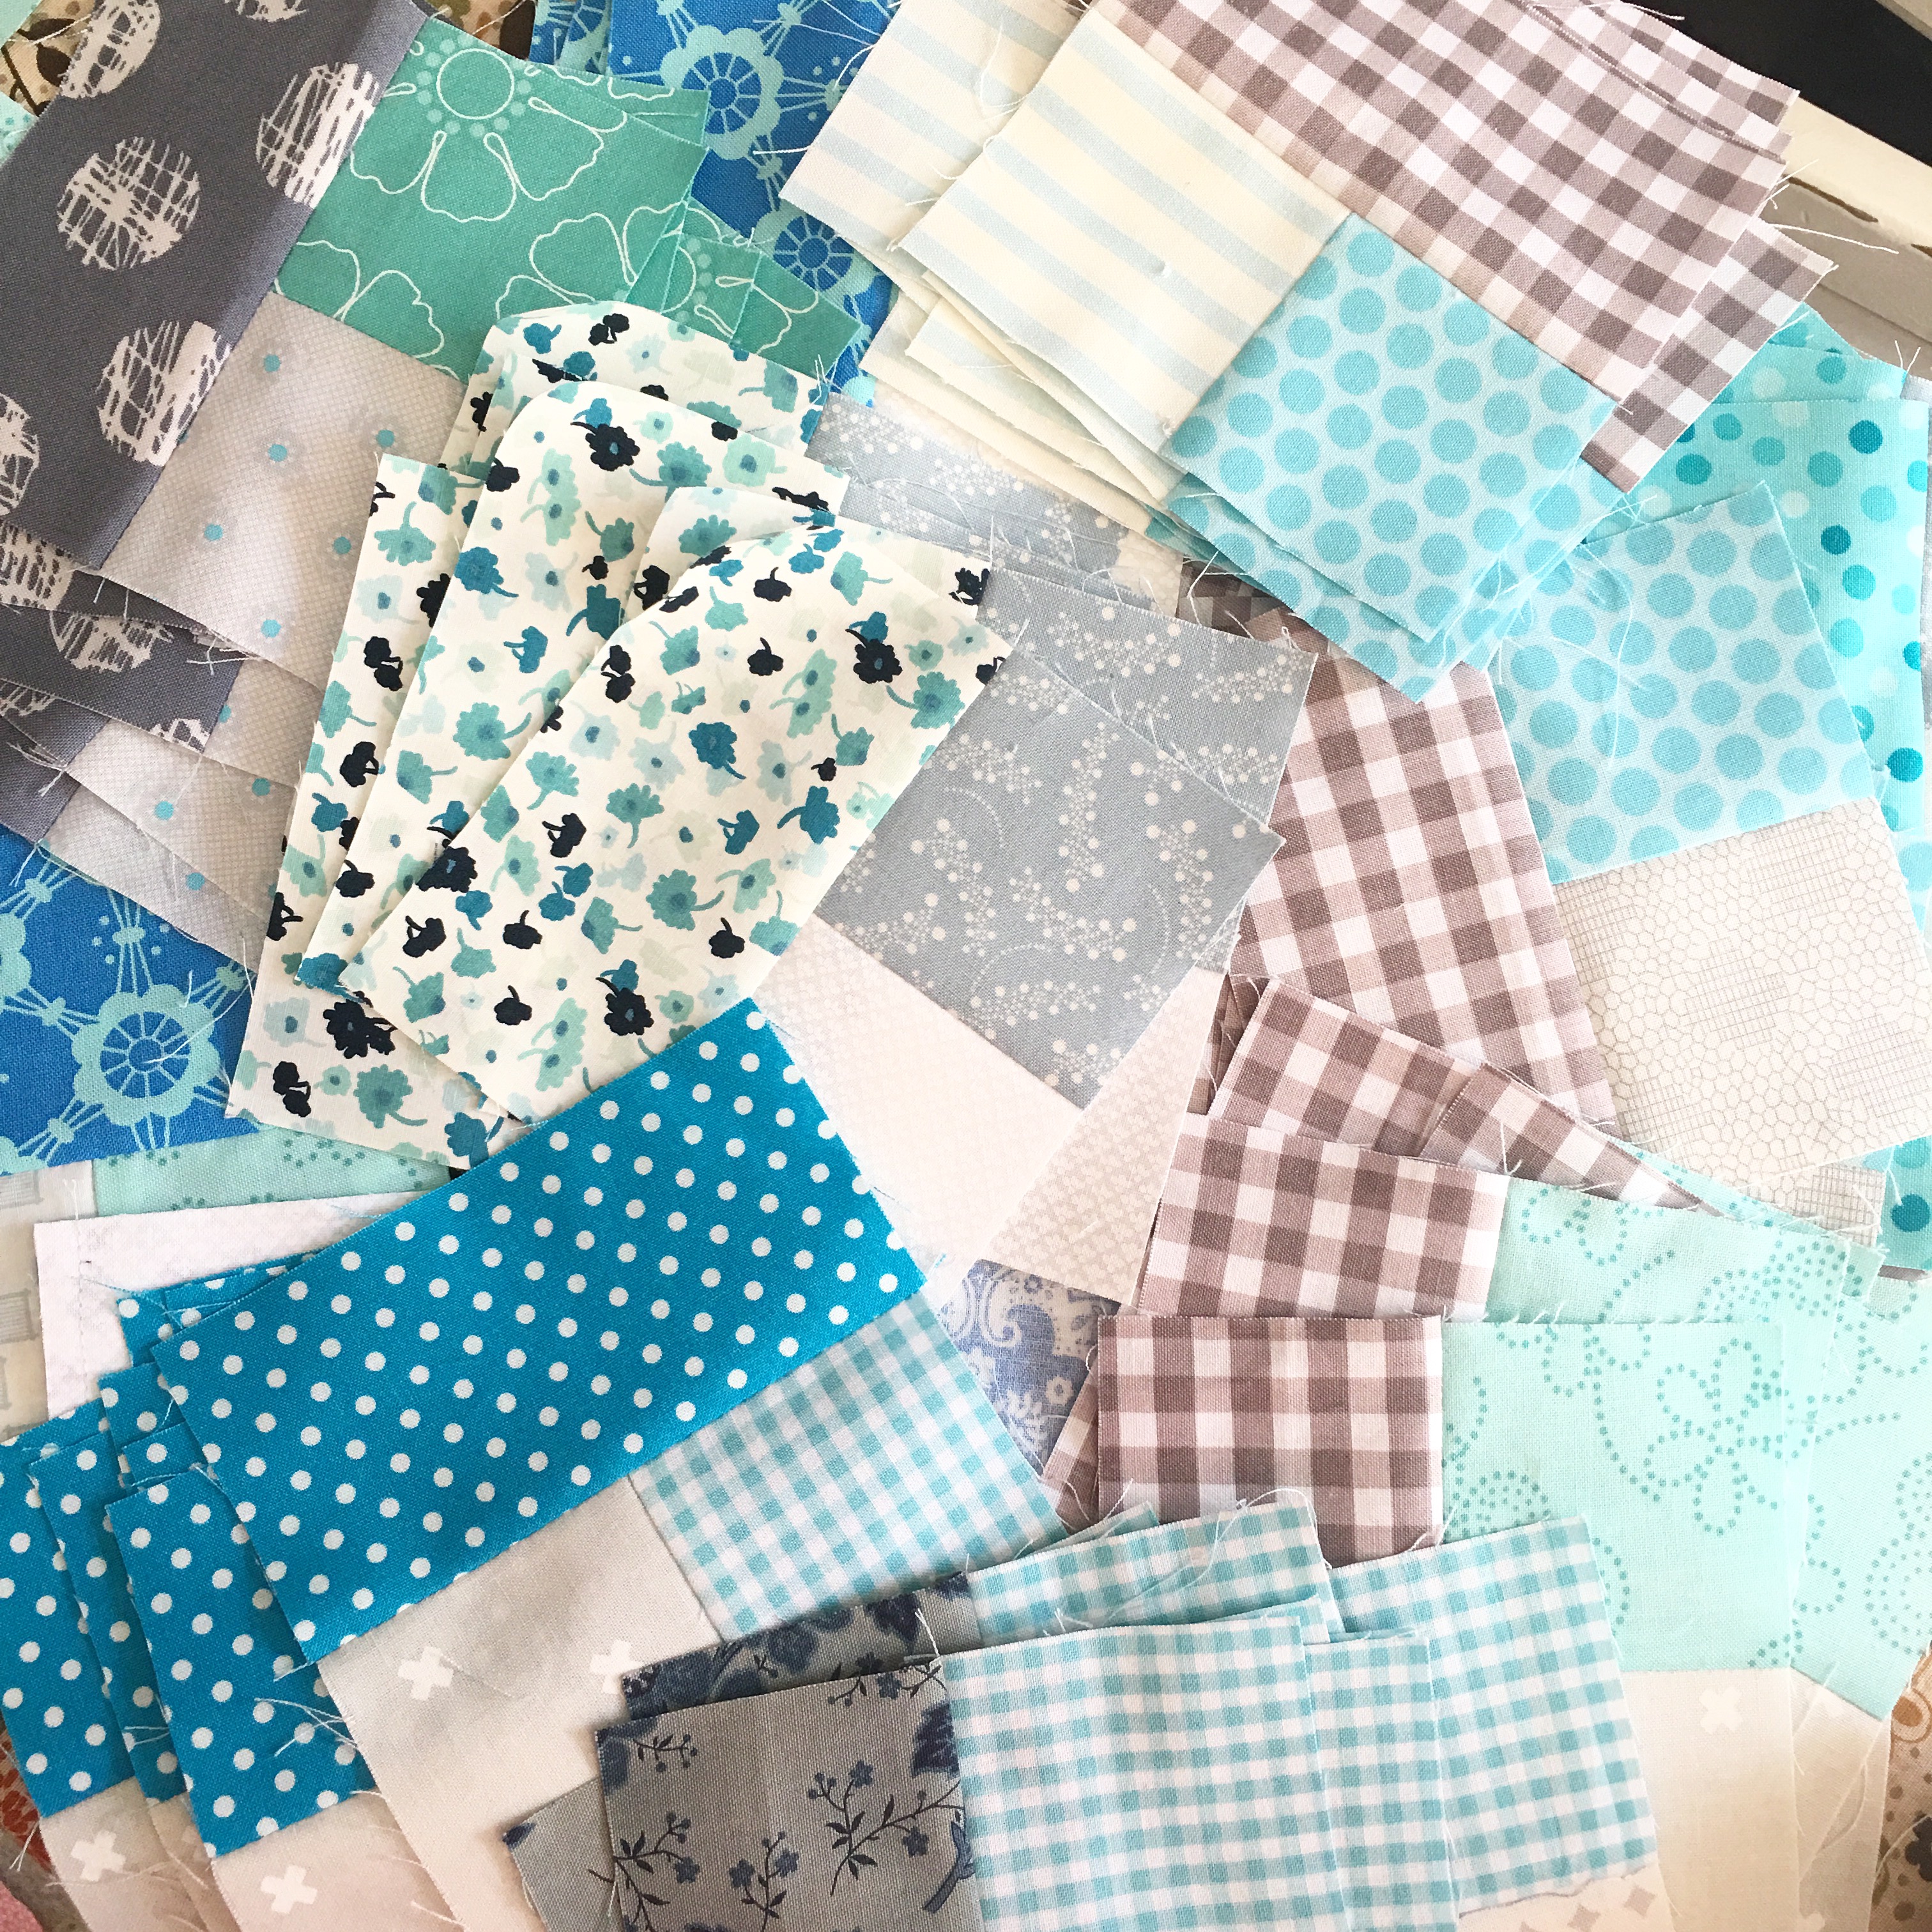
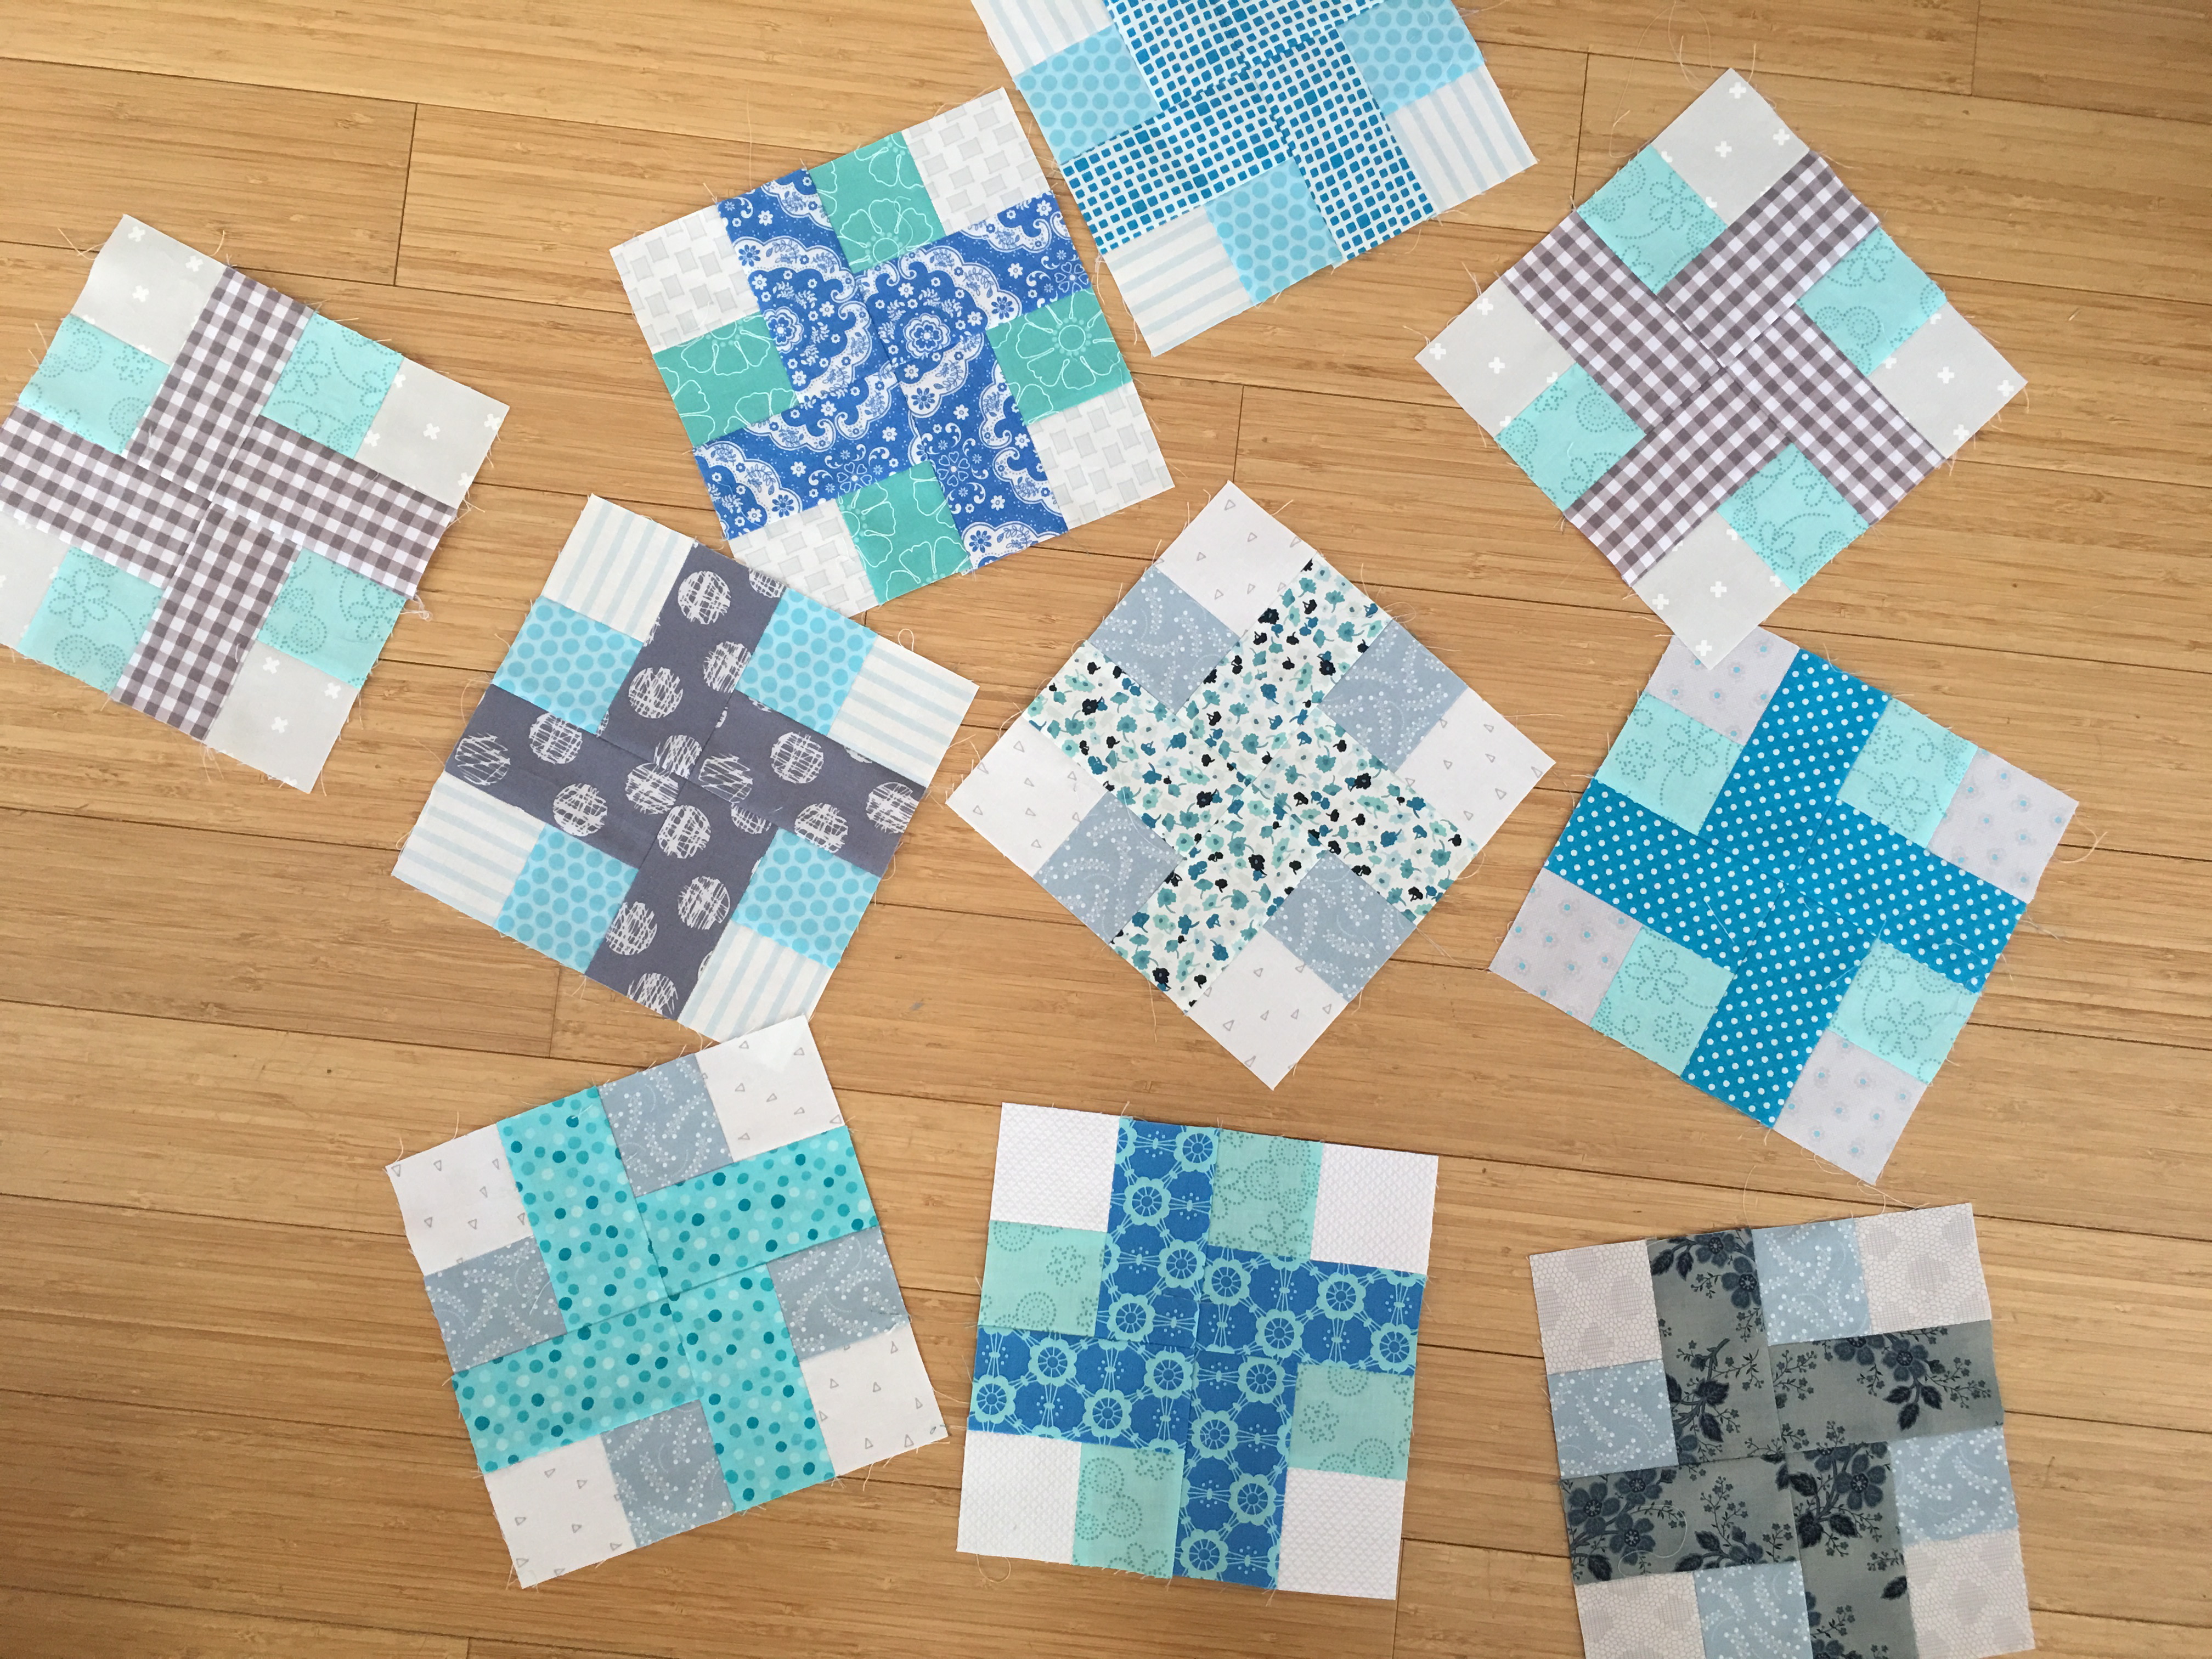
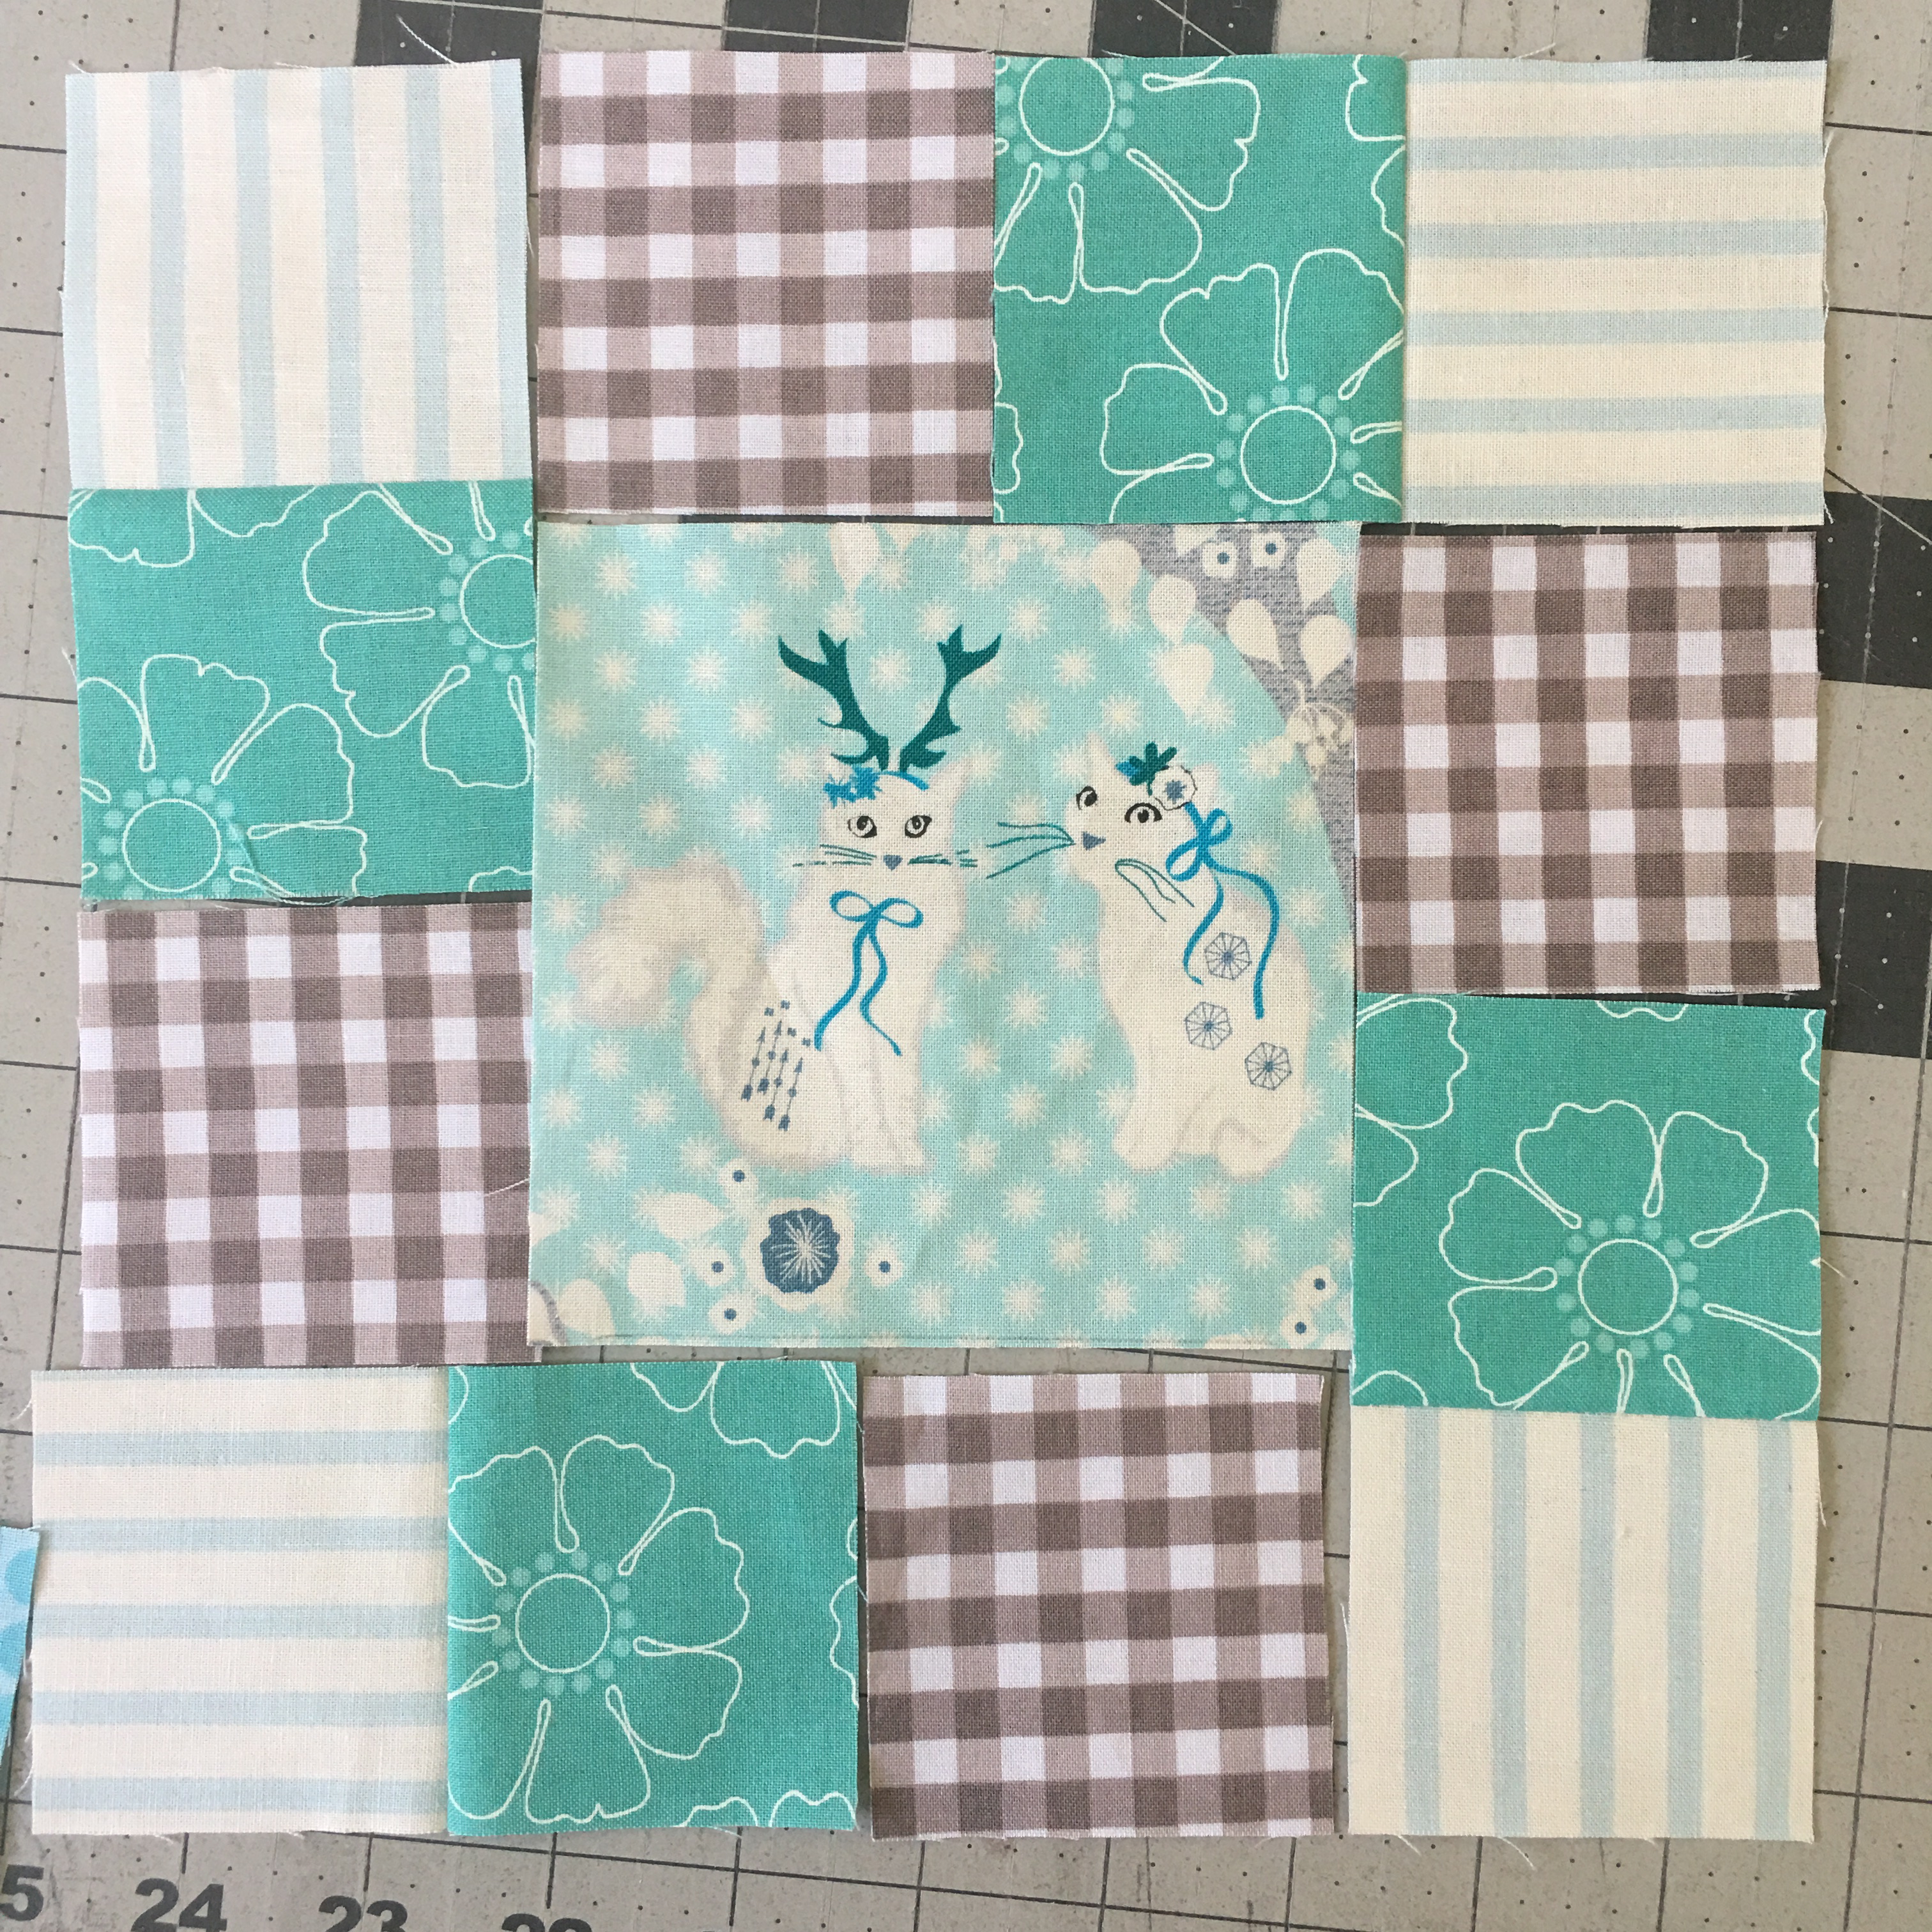
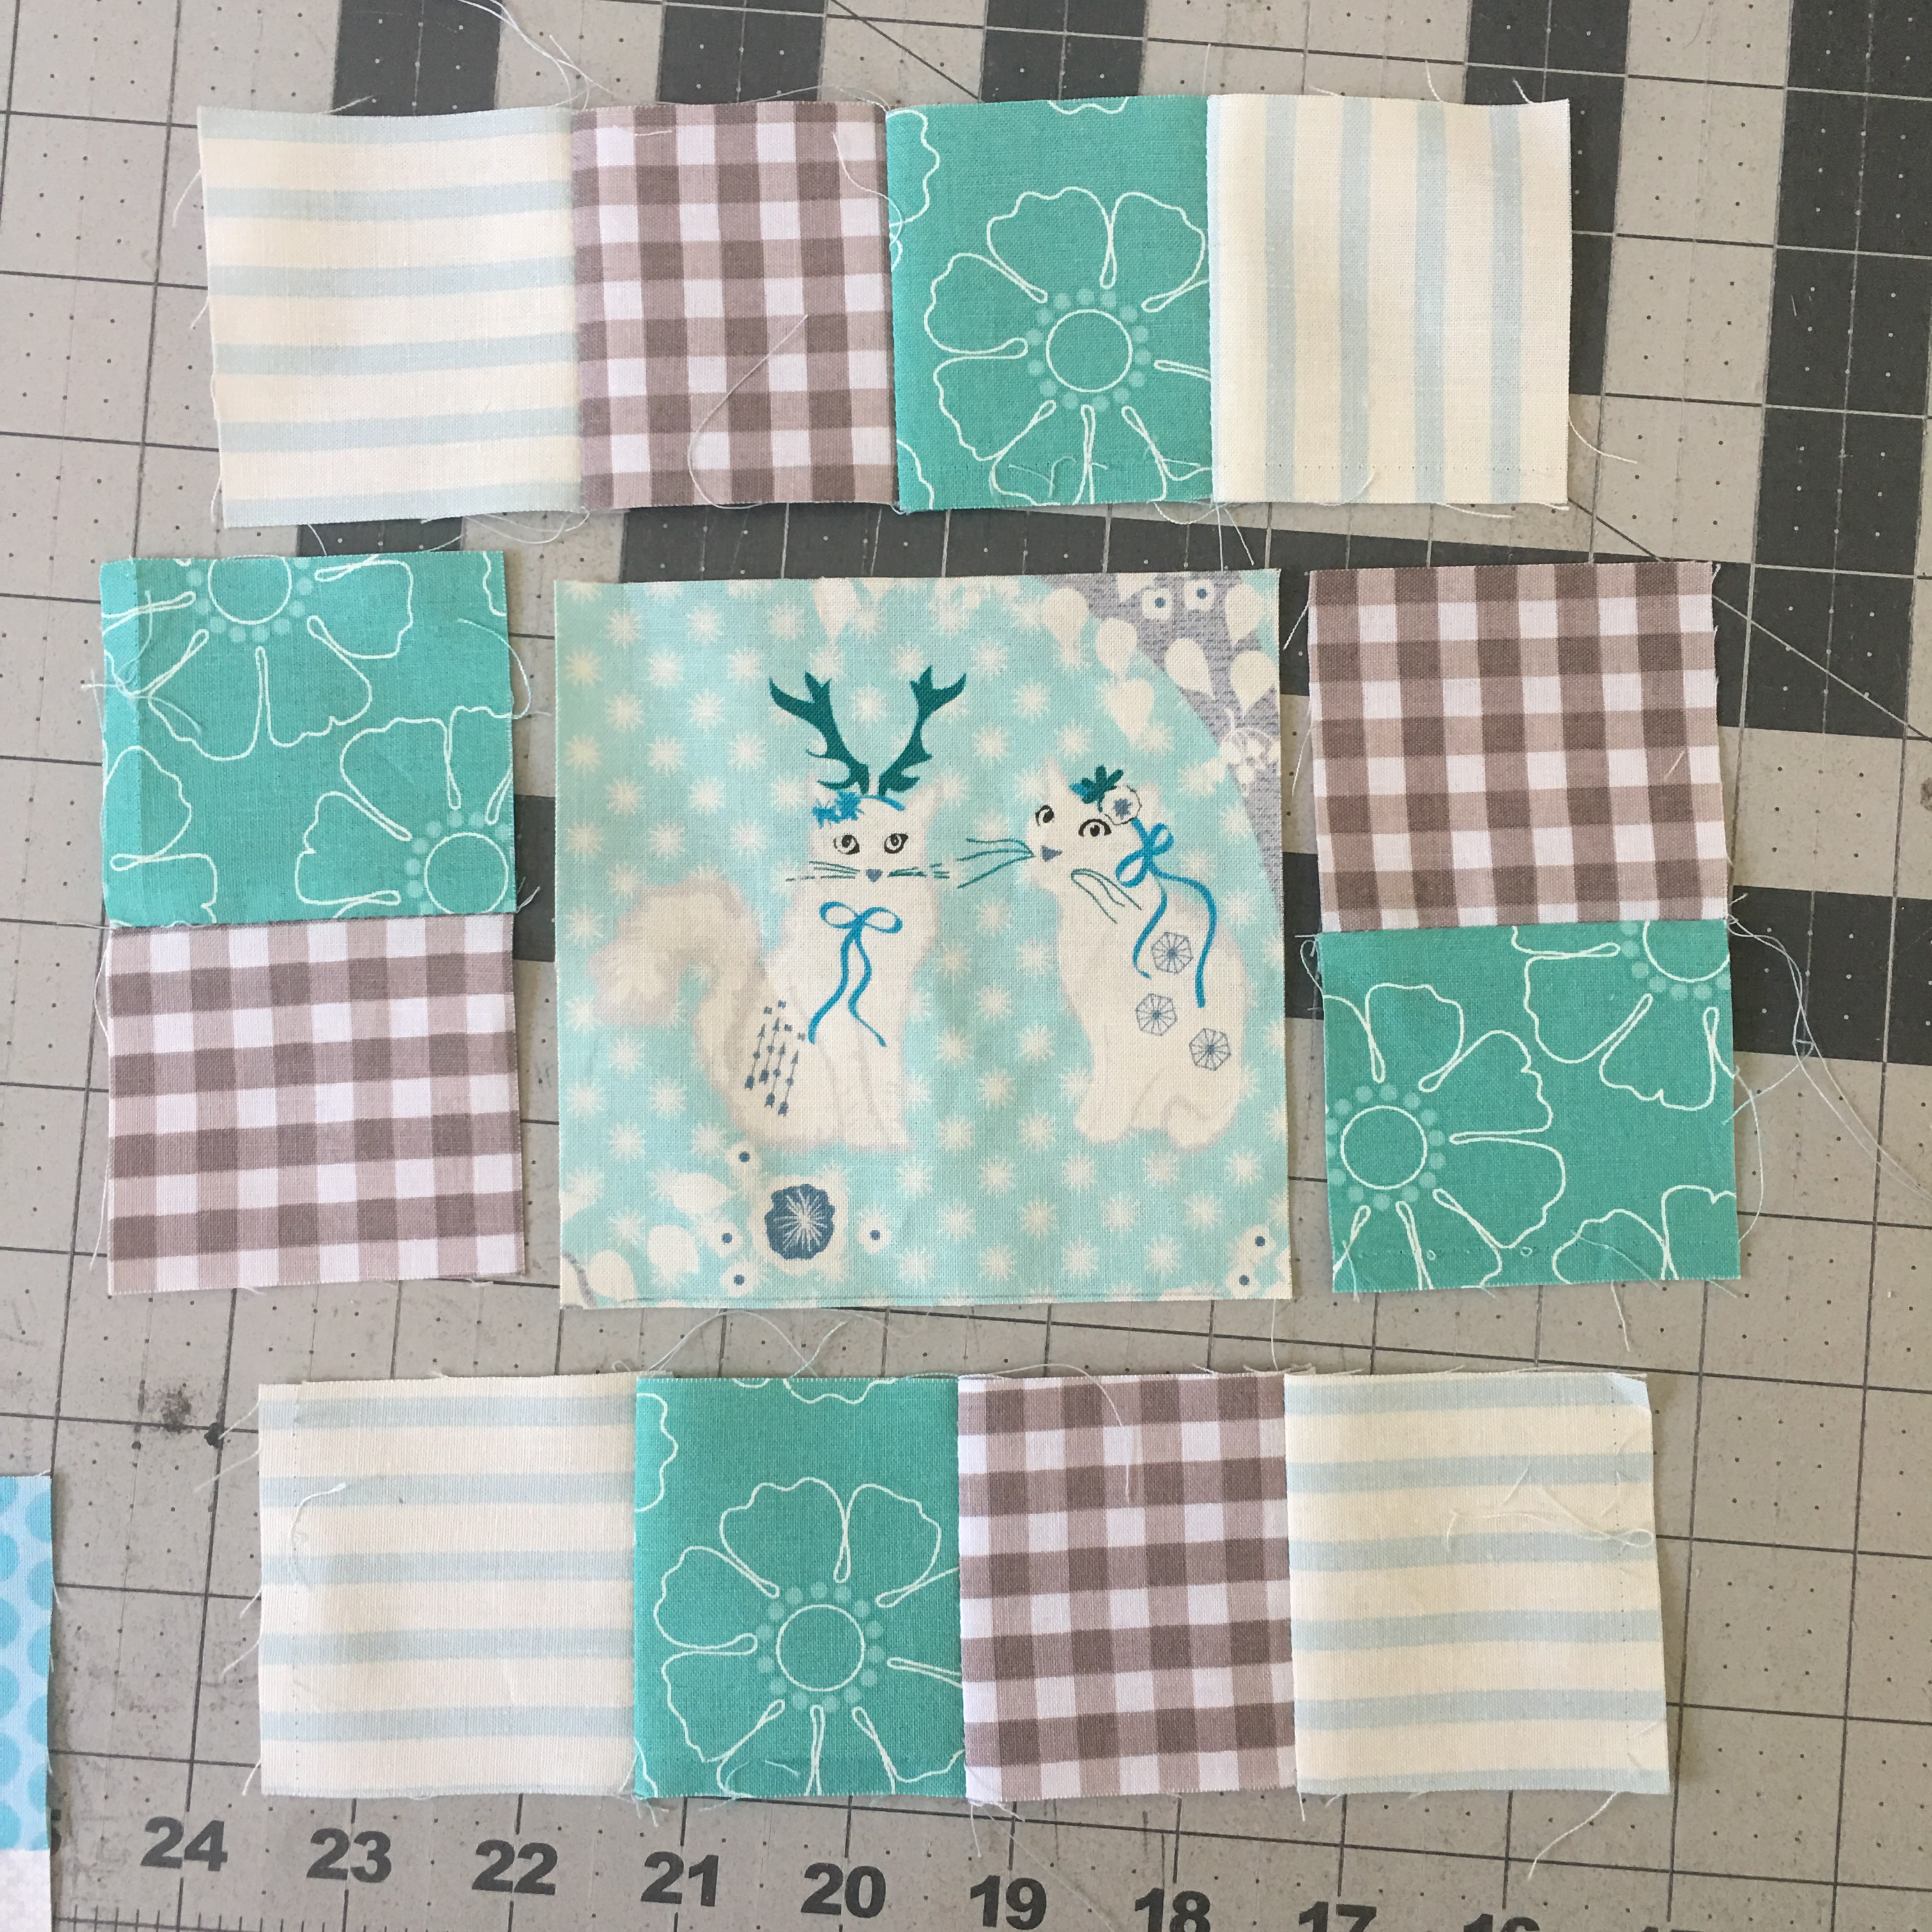
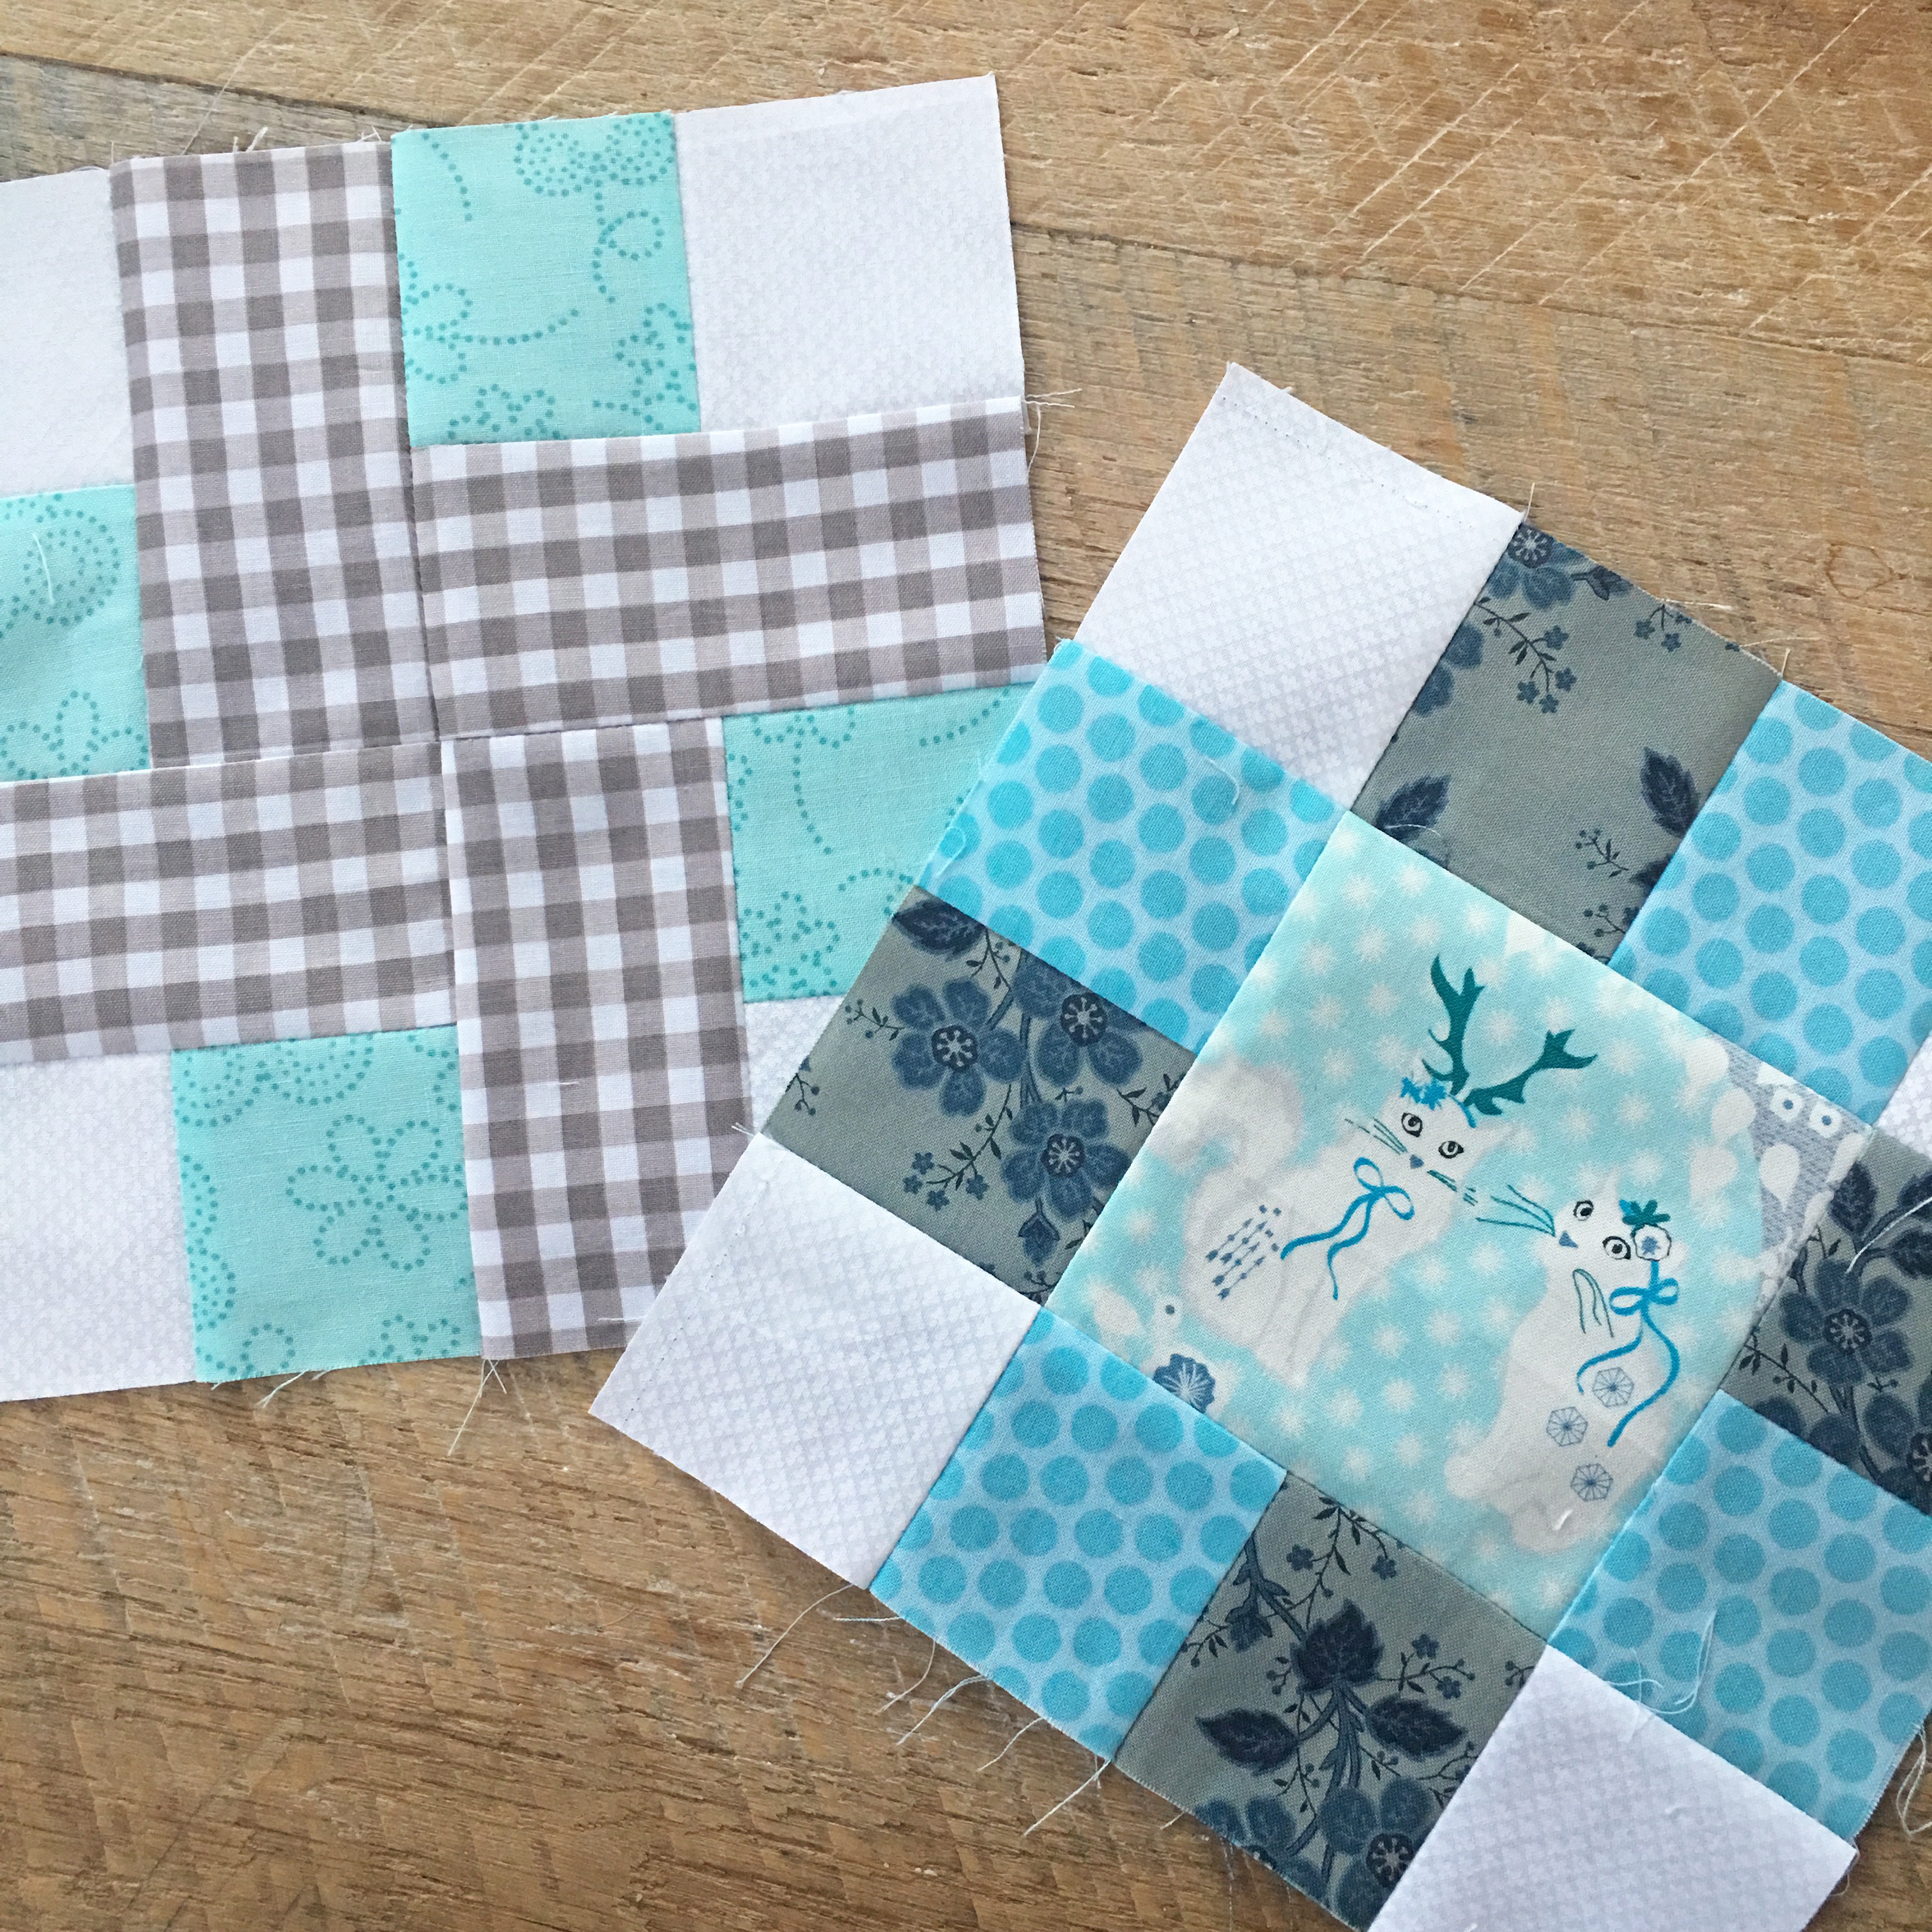
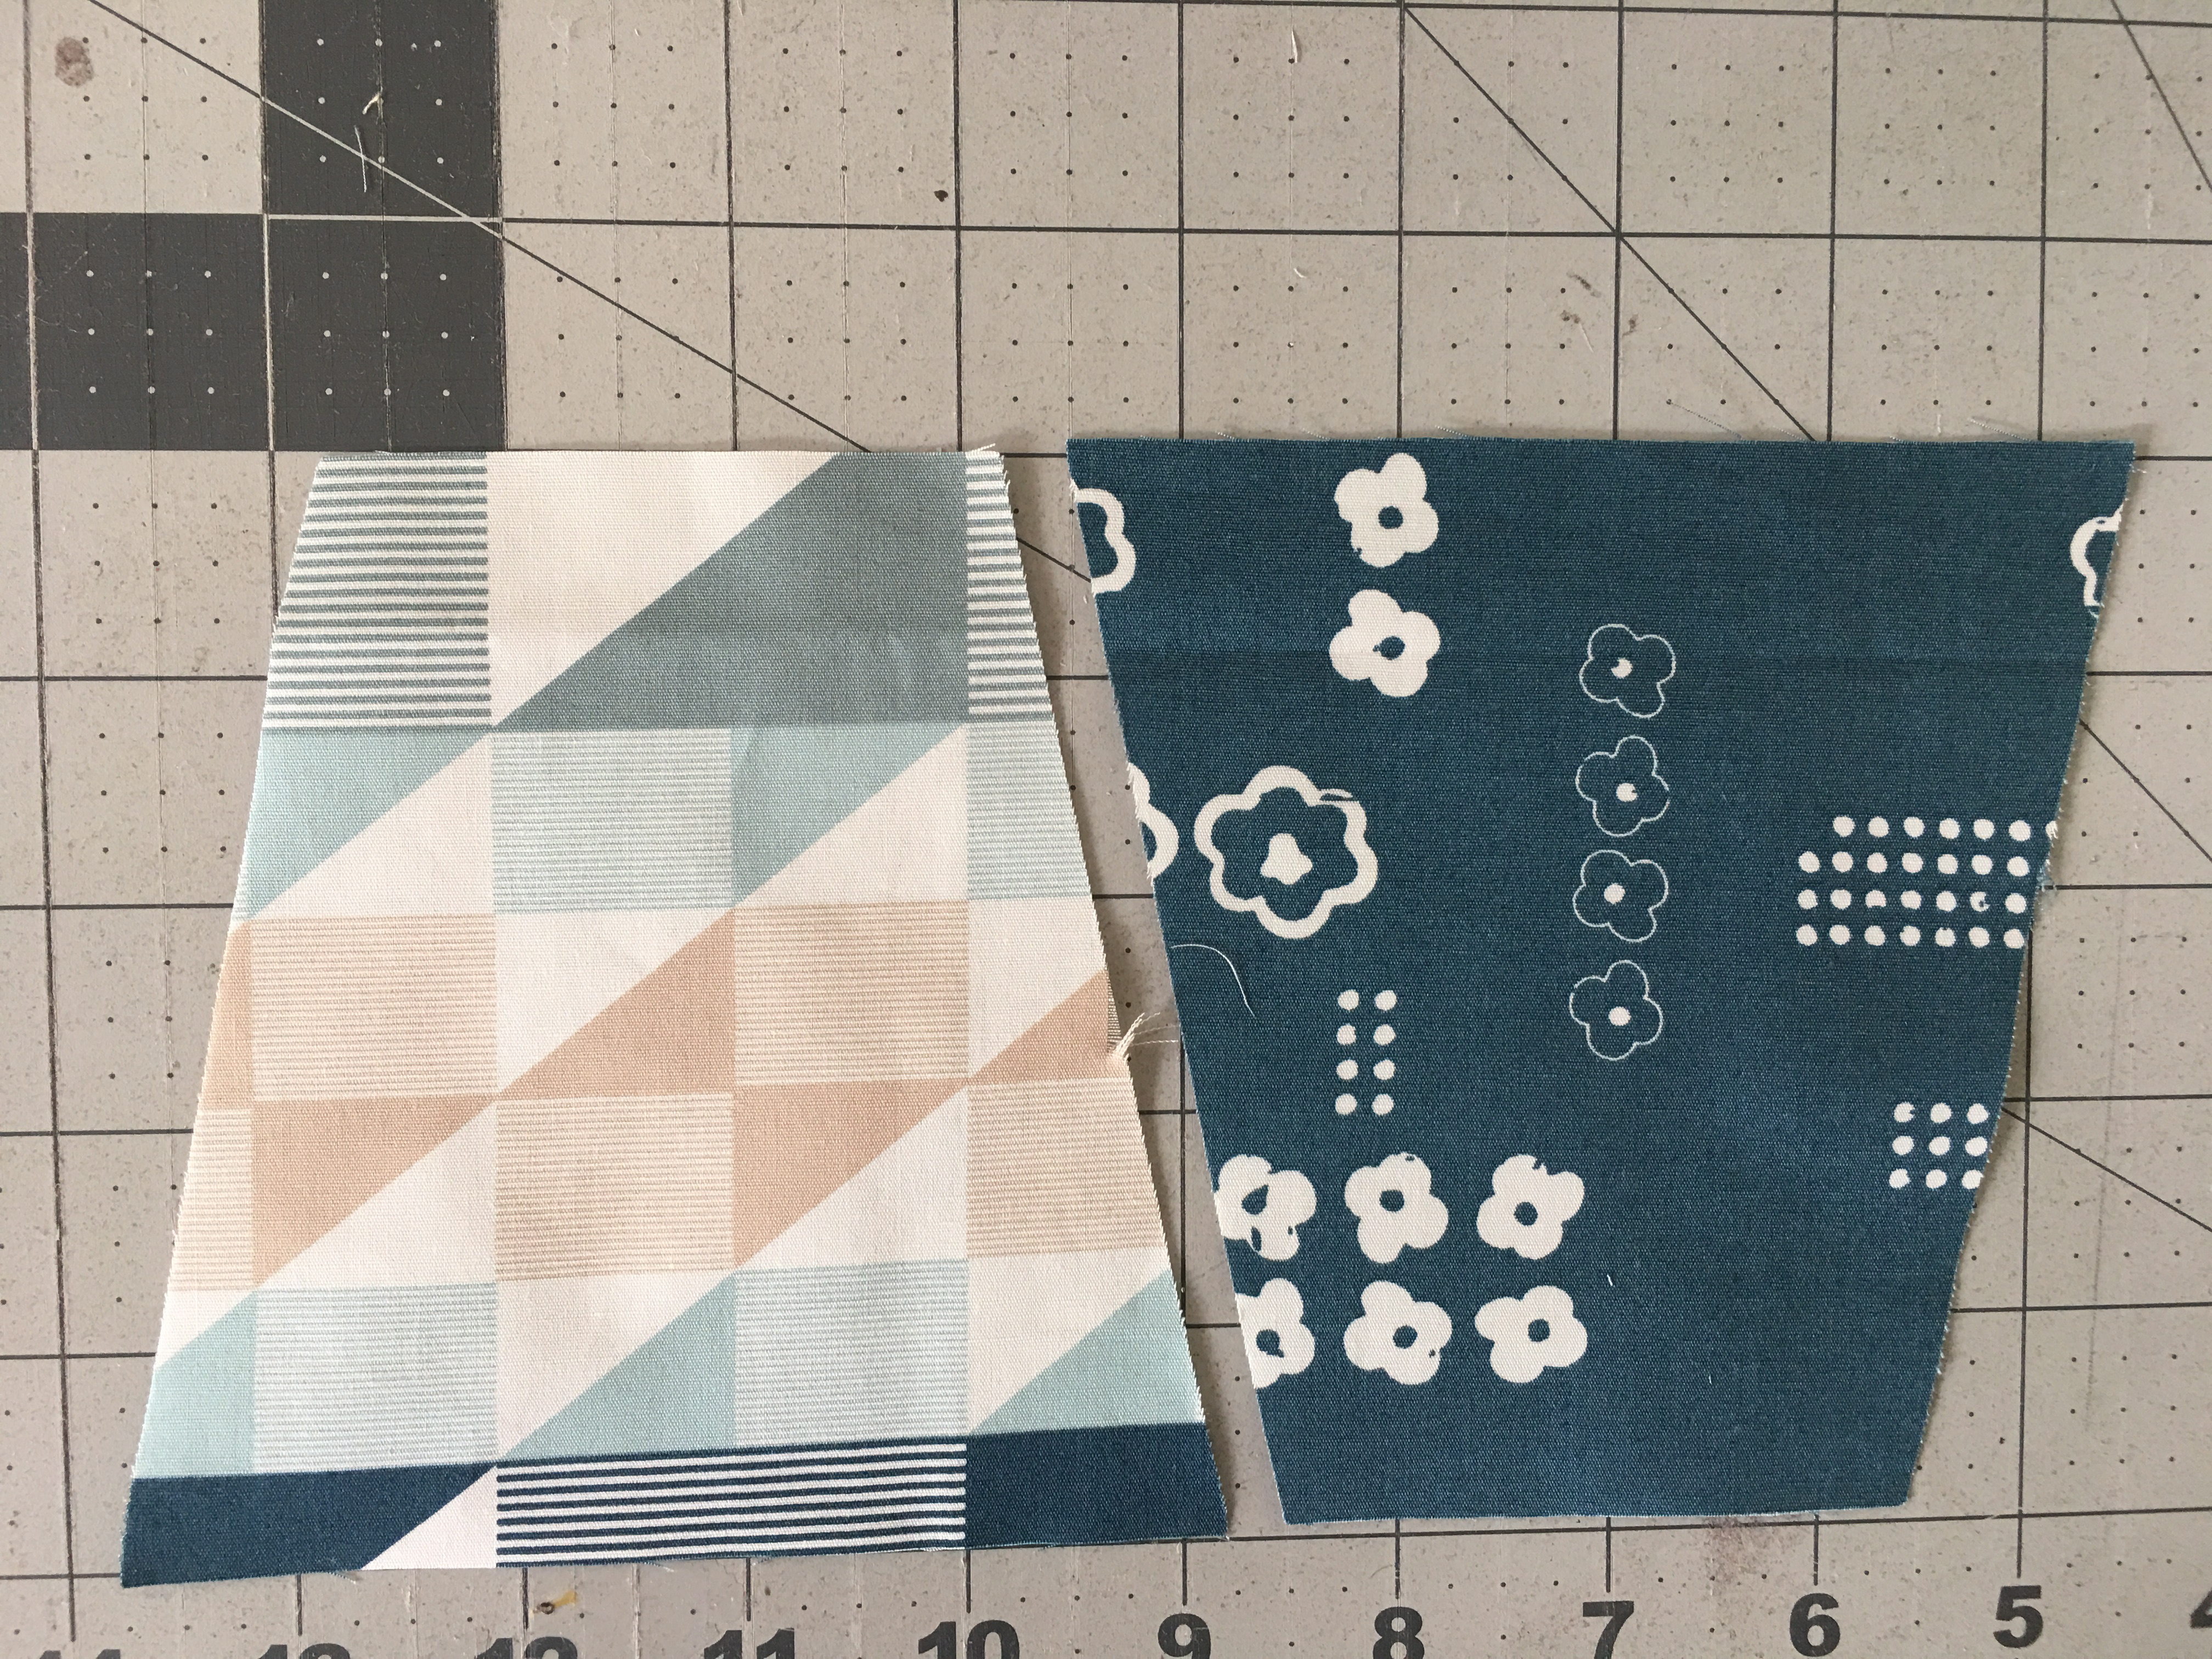
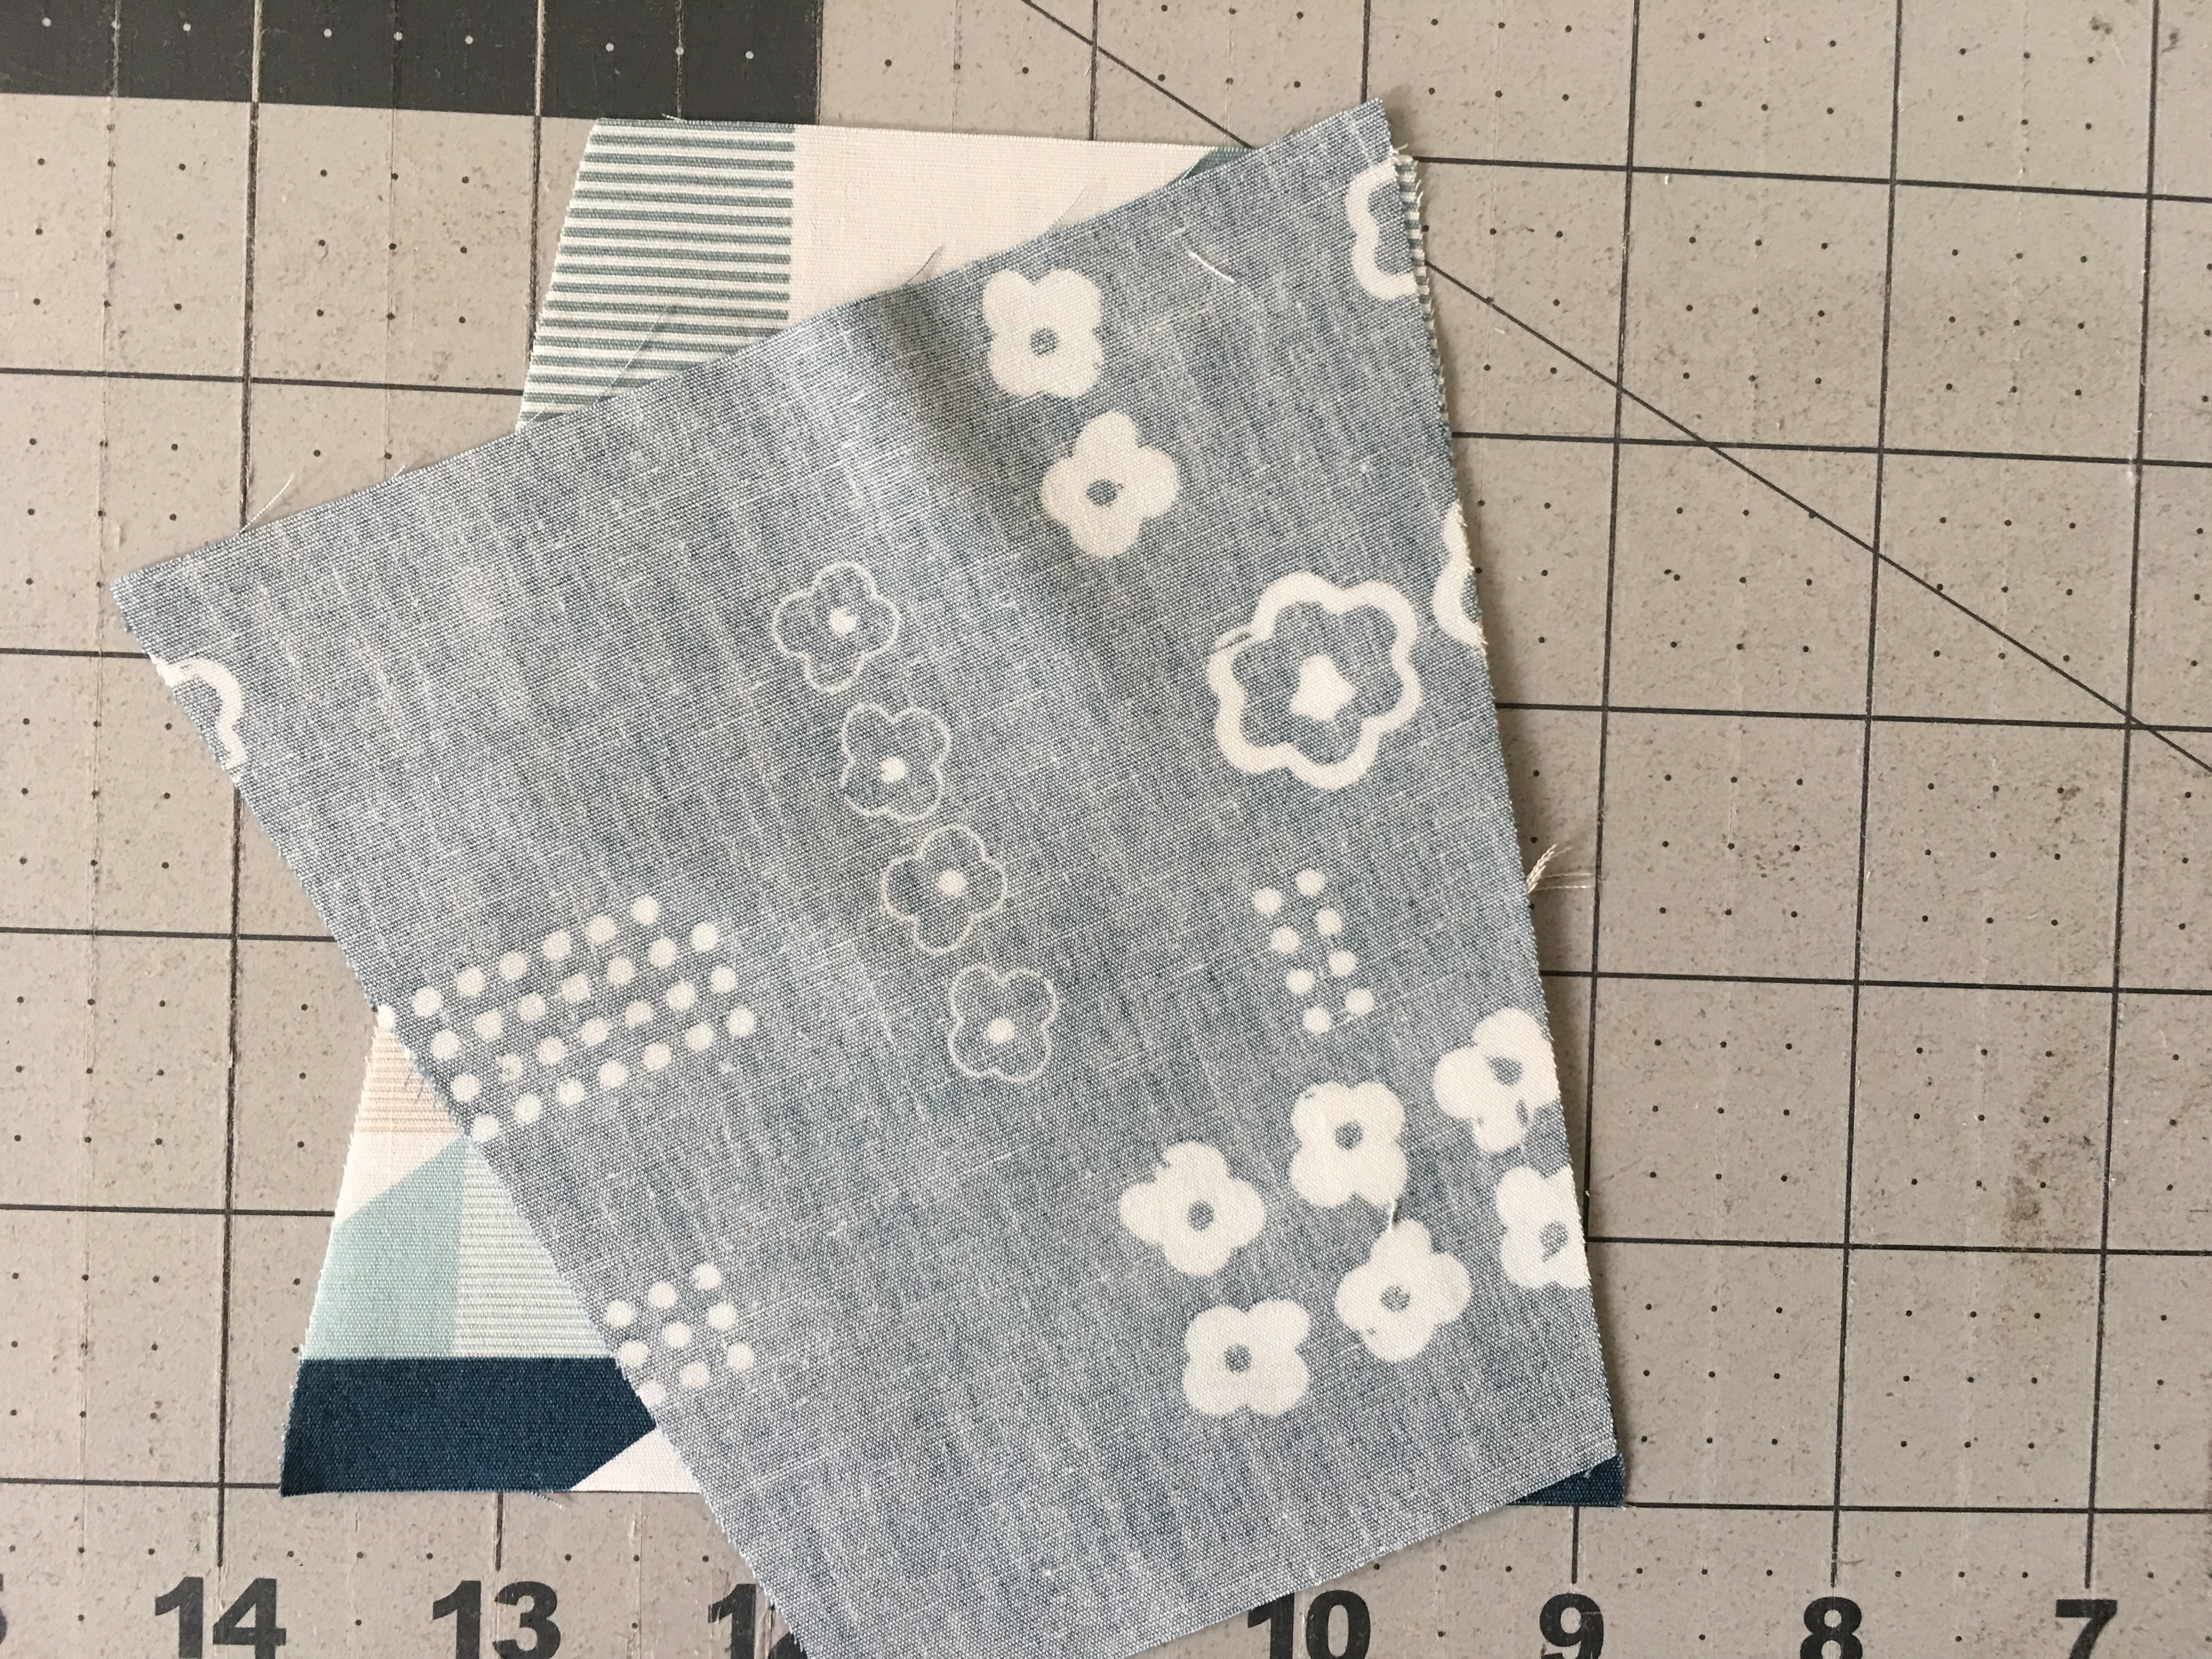
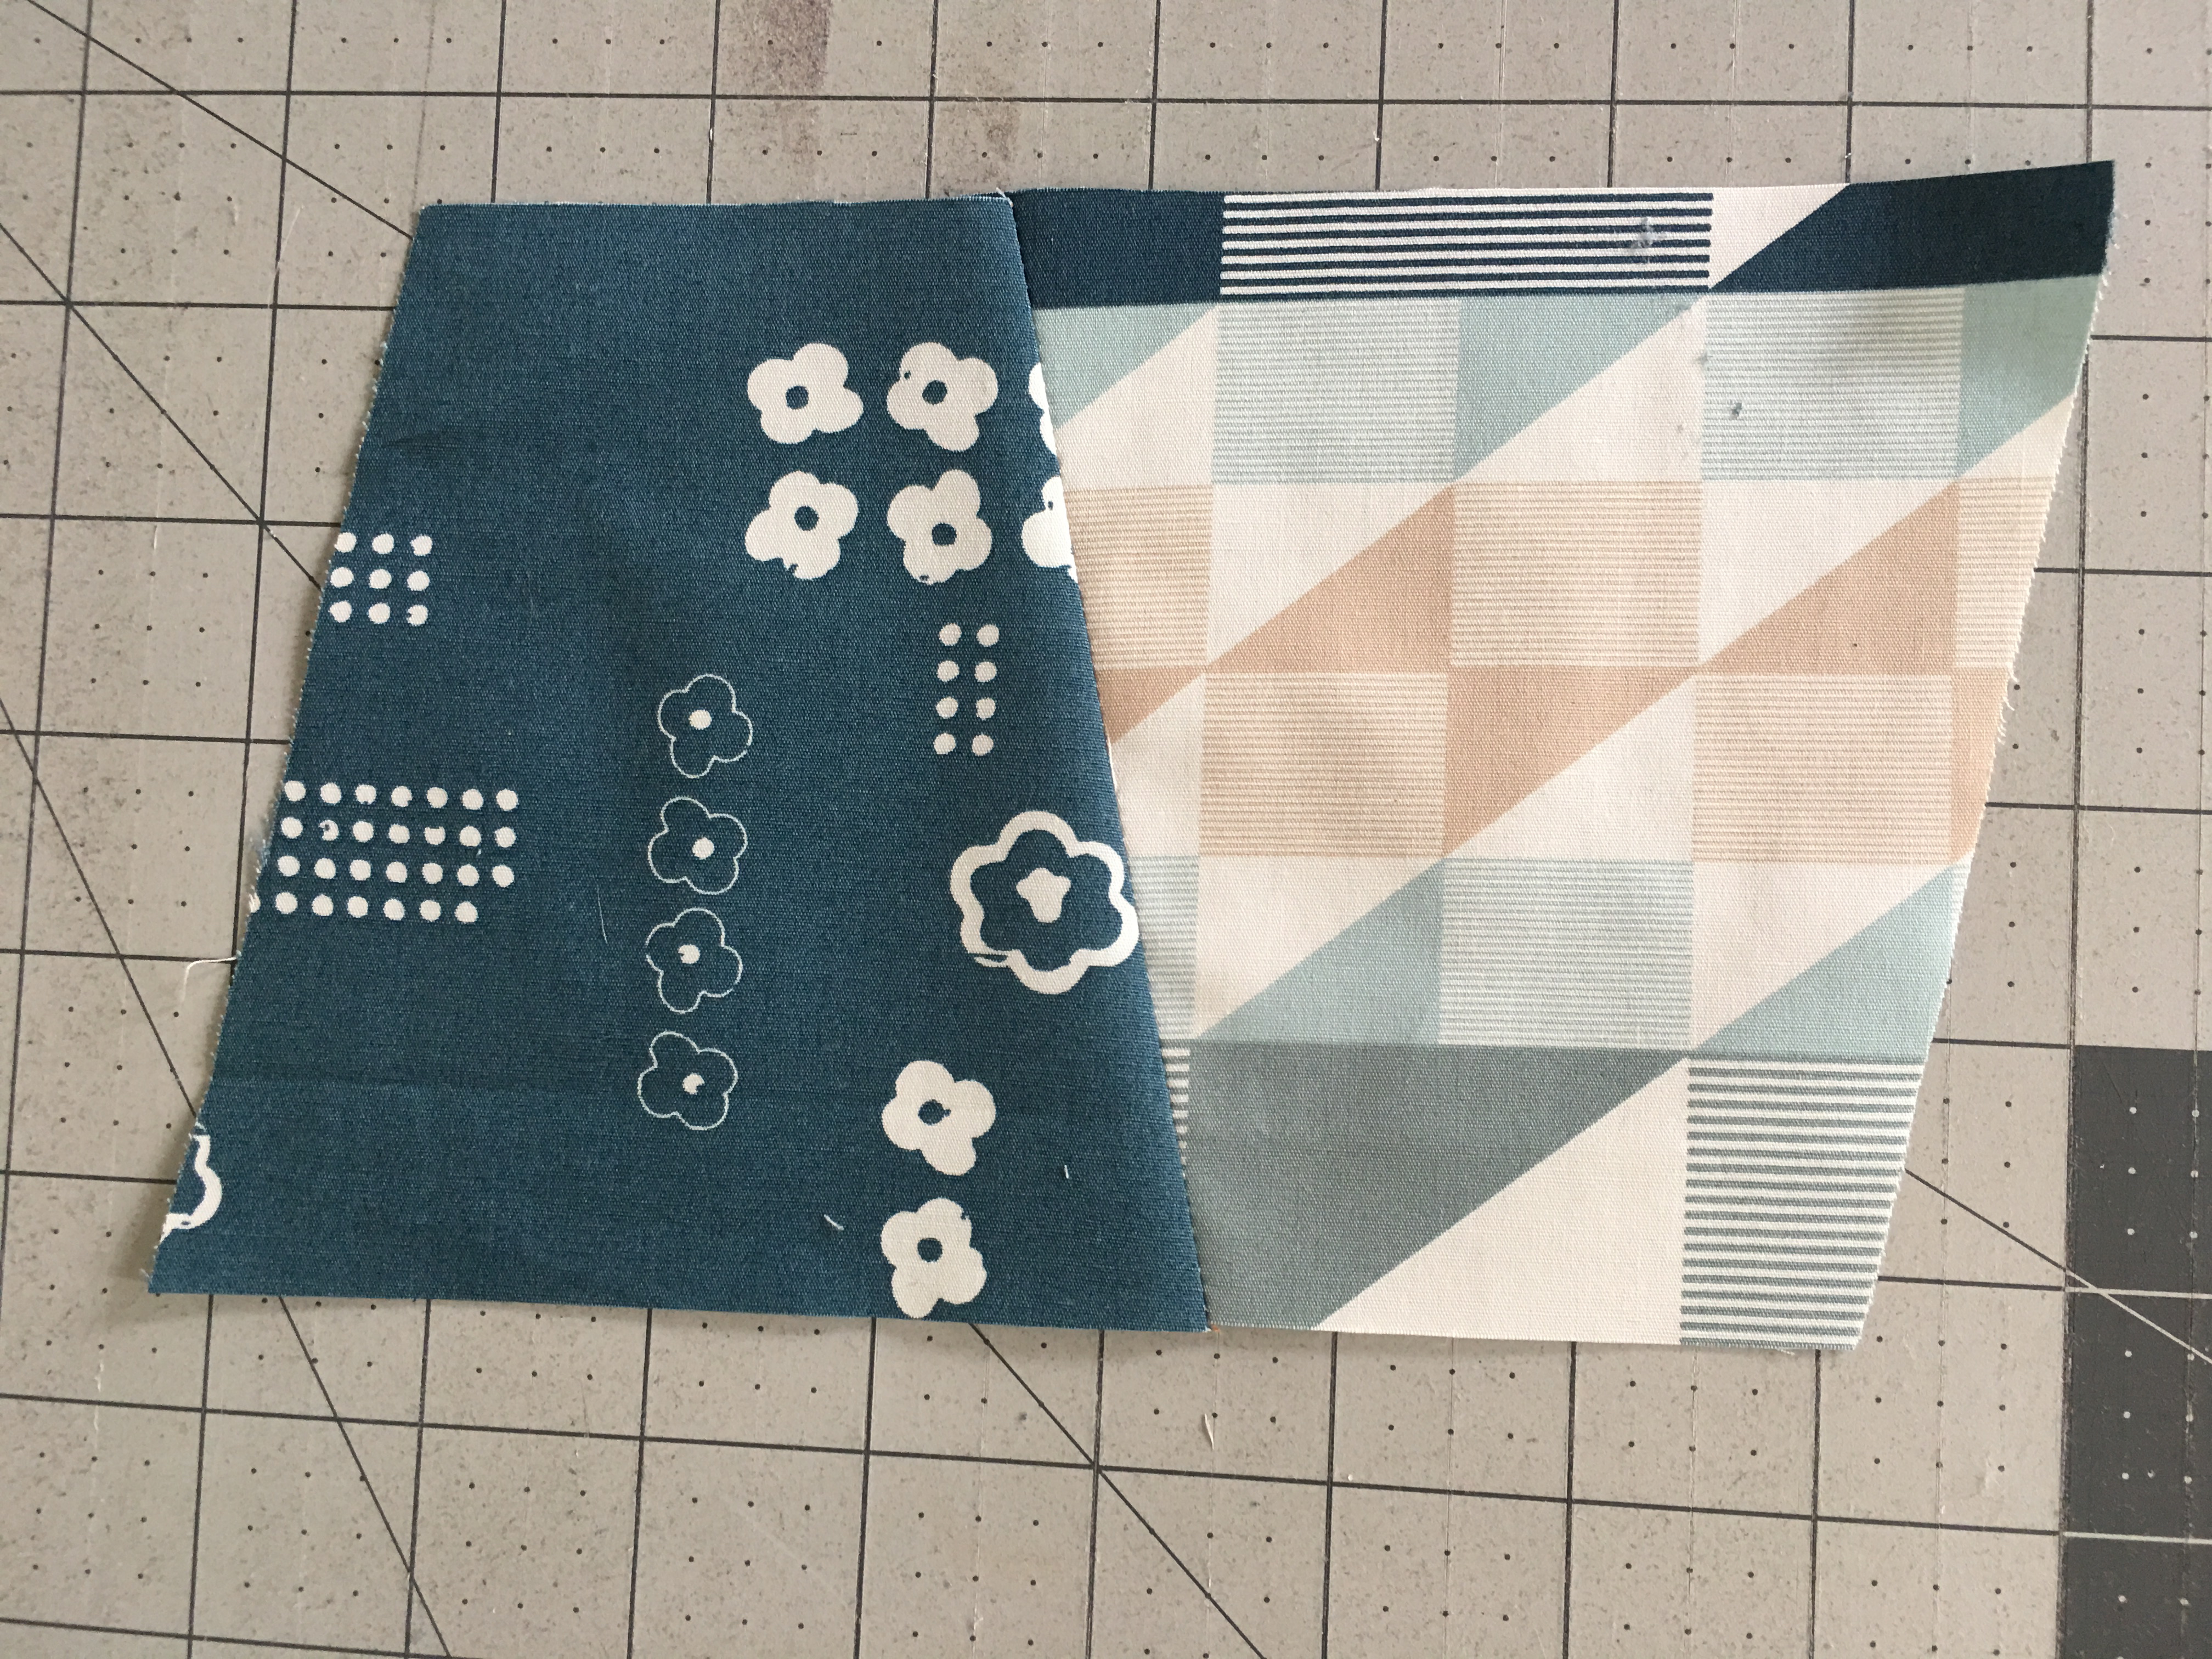
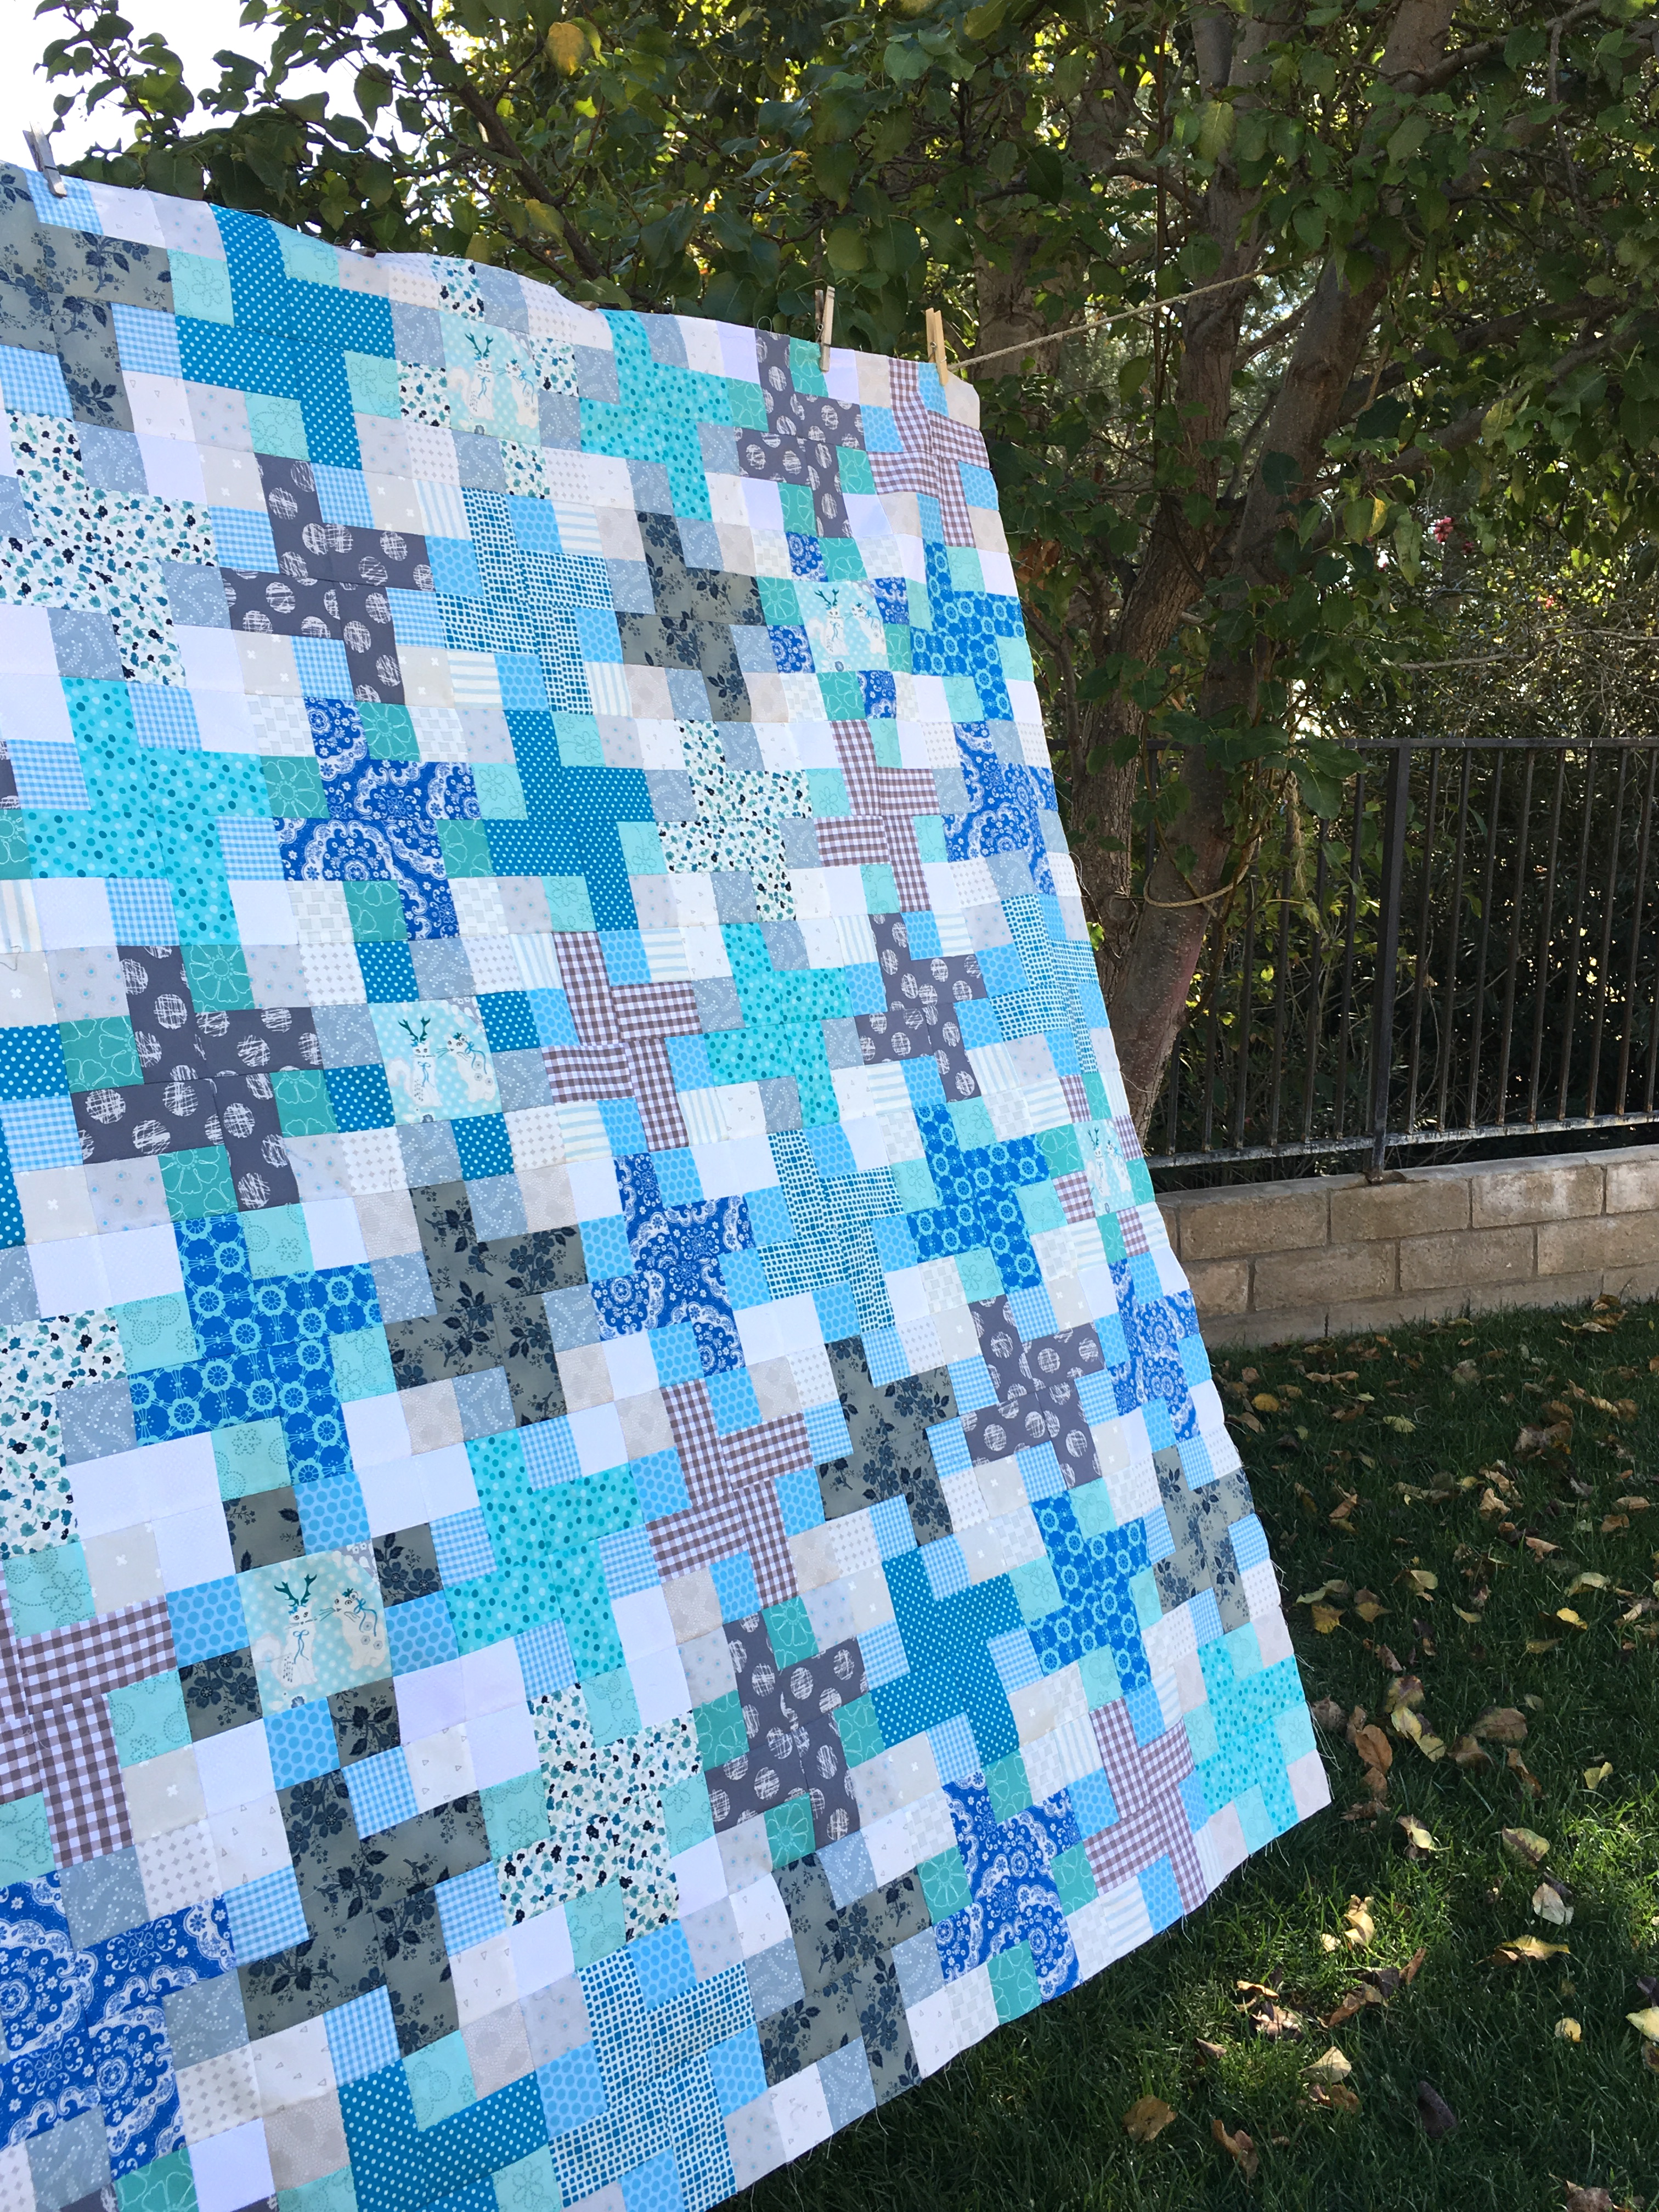 I love all the shades of blue with a few gray prints – I am a blue girl – can you tell! If you look closely there are a few fussy cut cat blocks hidden in the quilt. After all, they were the inspiration 🙂
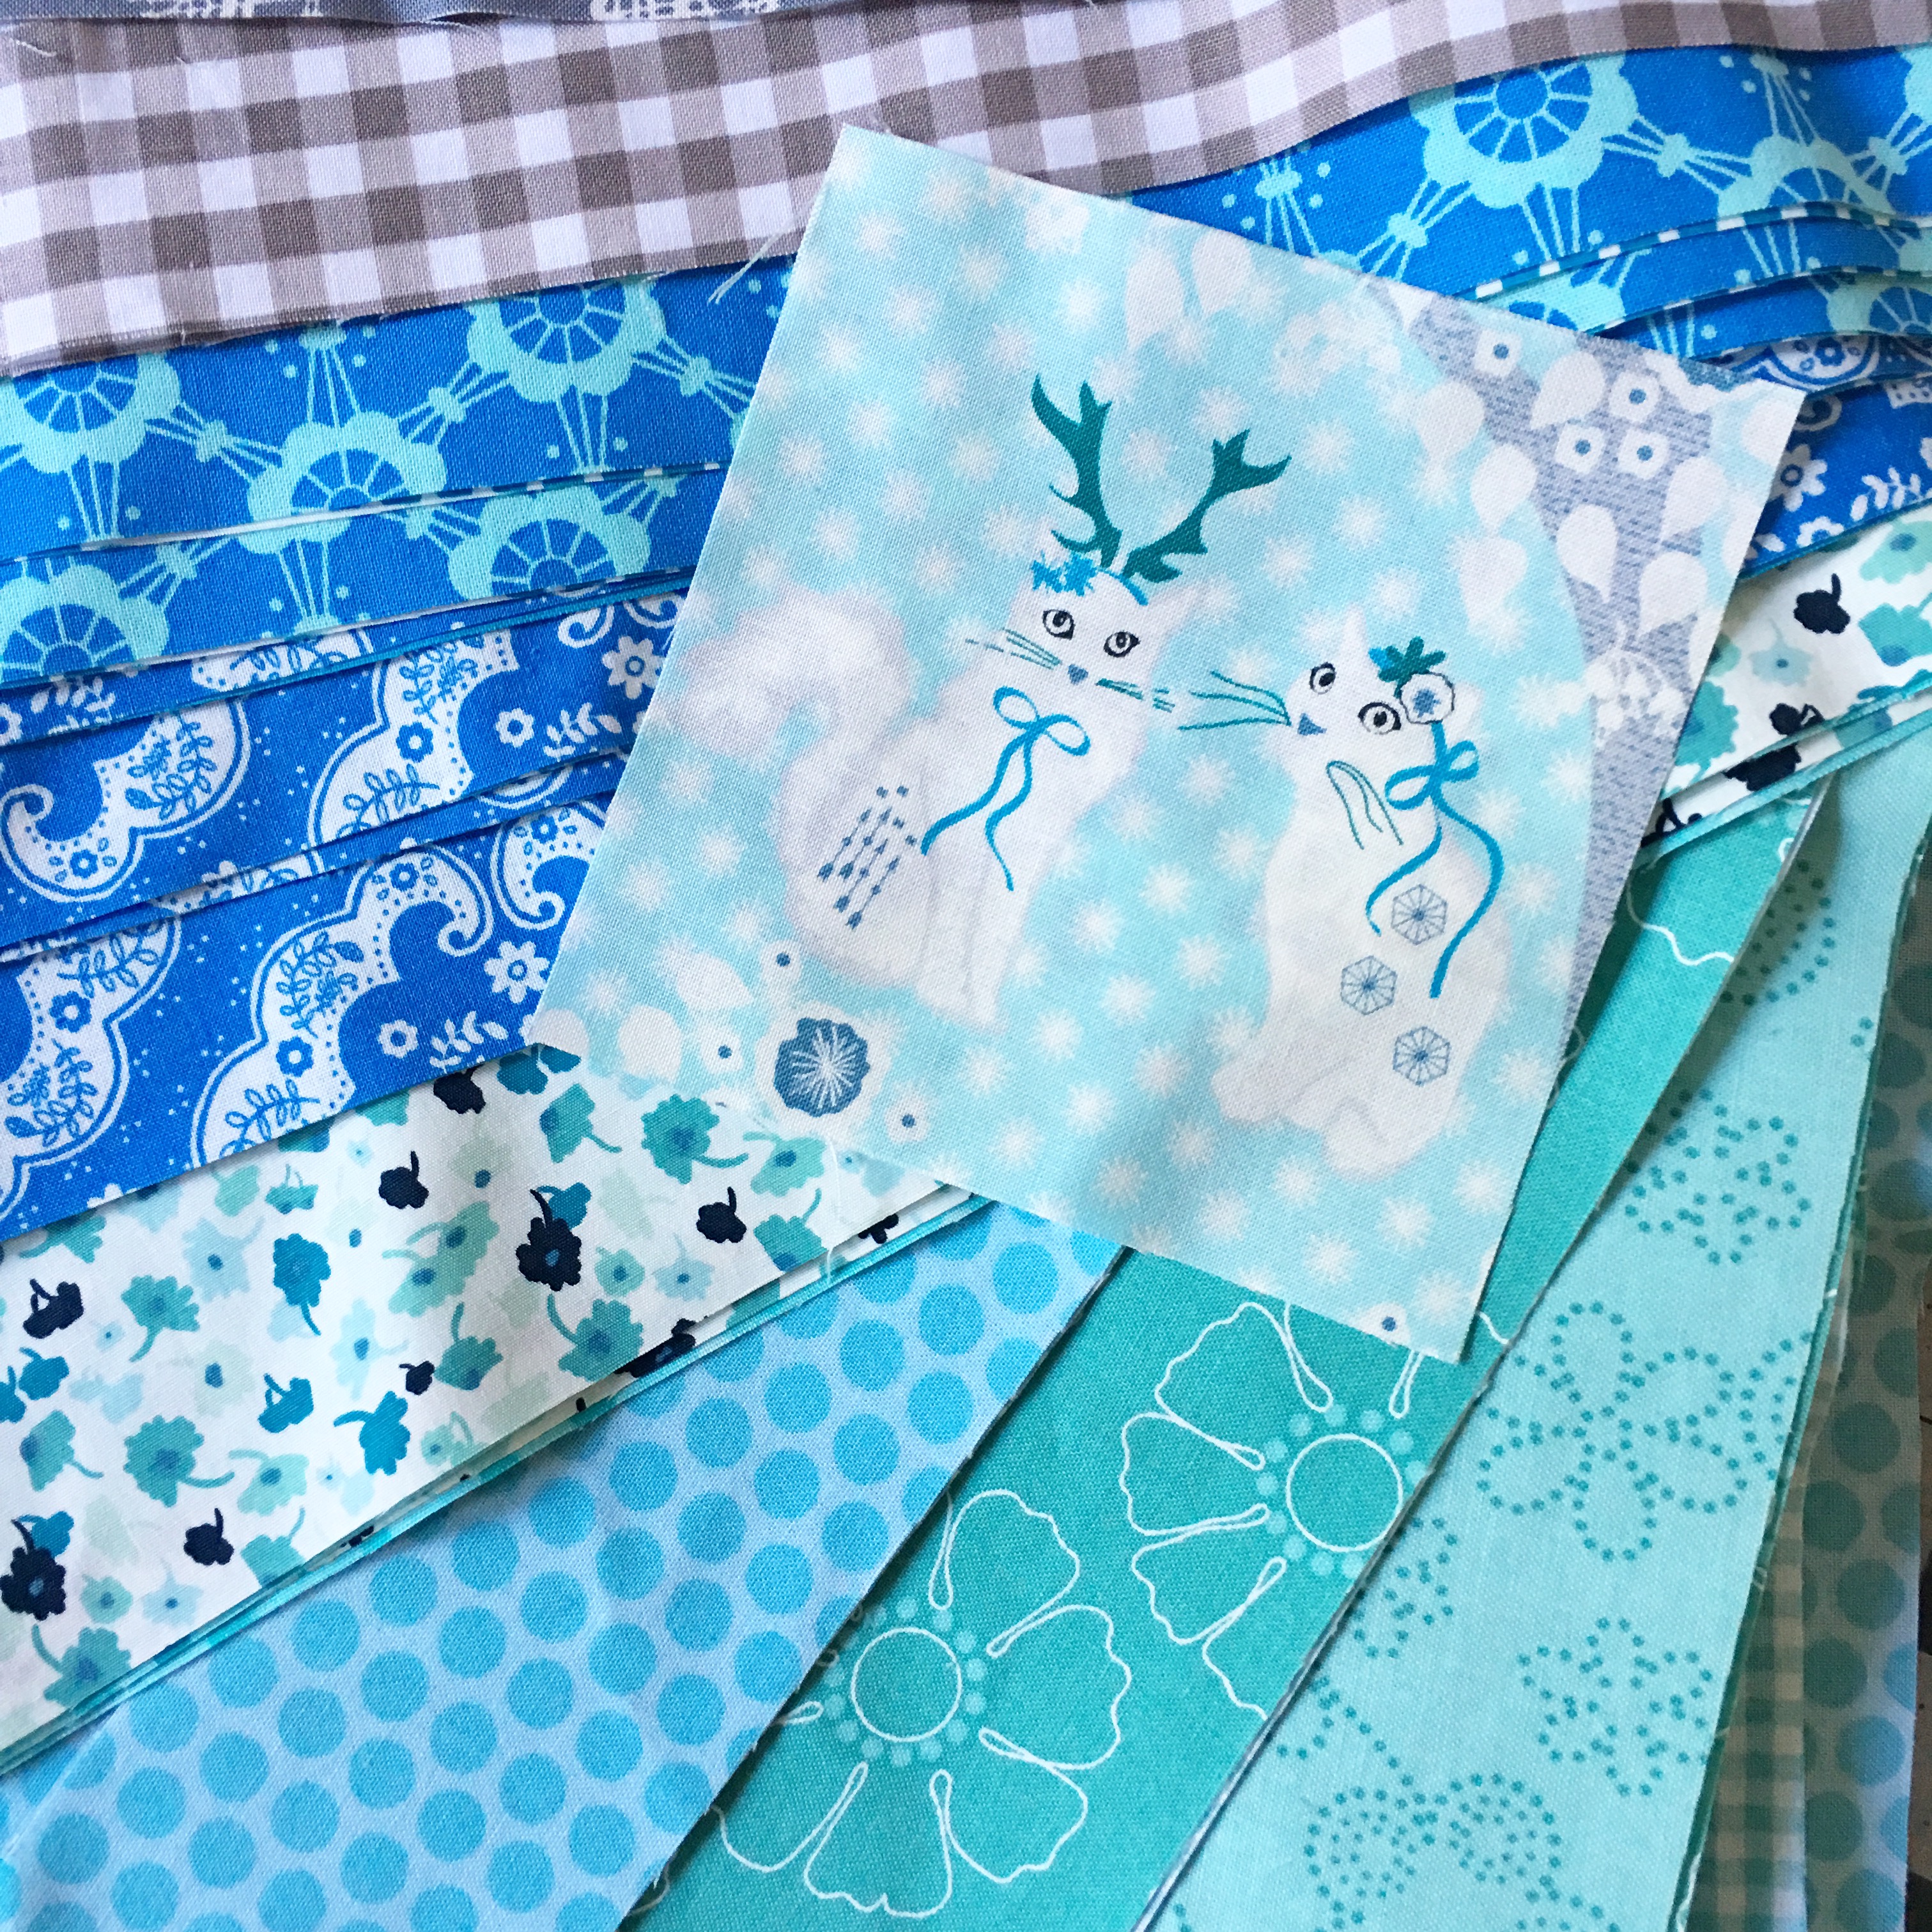
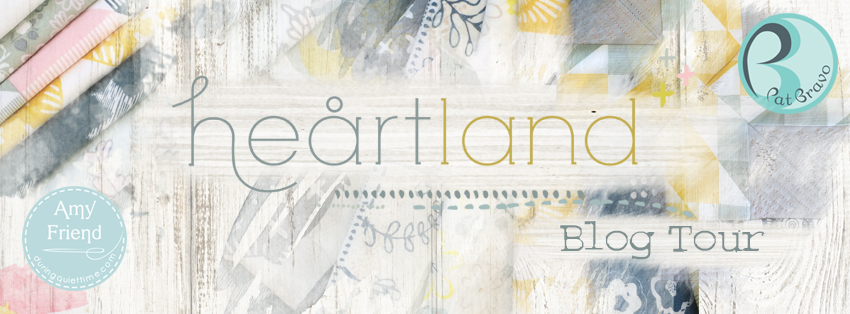
 I’m thrilled to be a part of Pat Bravo’s
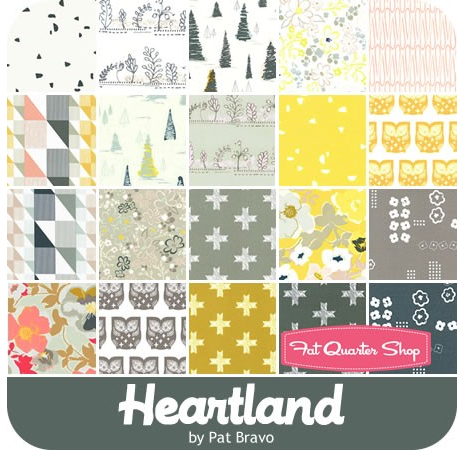
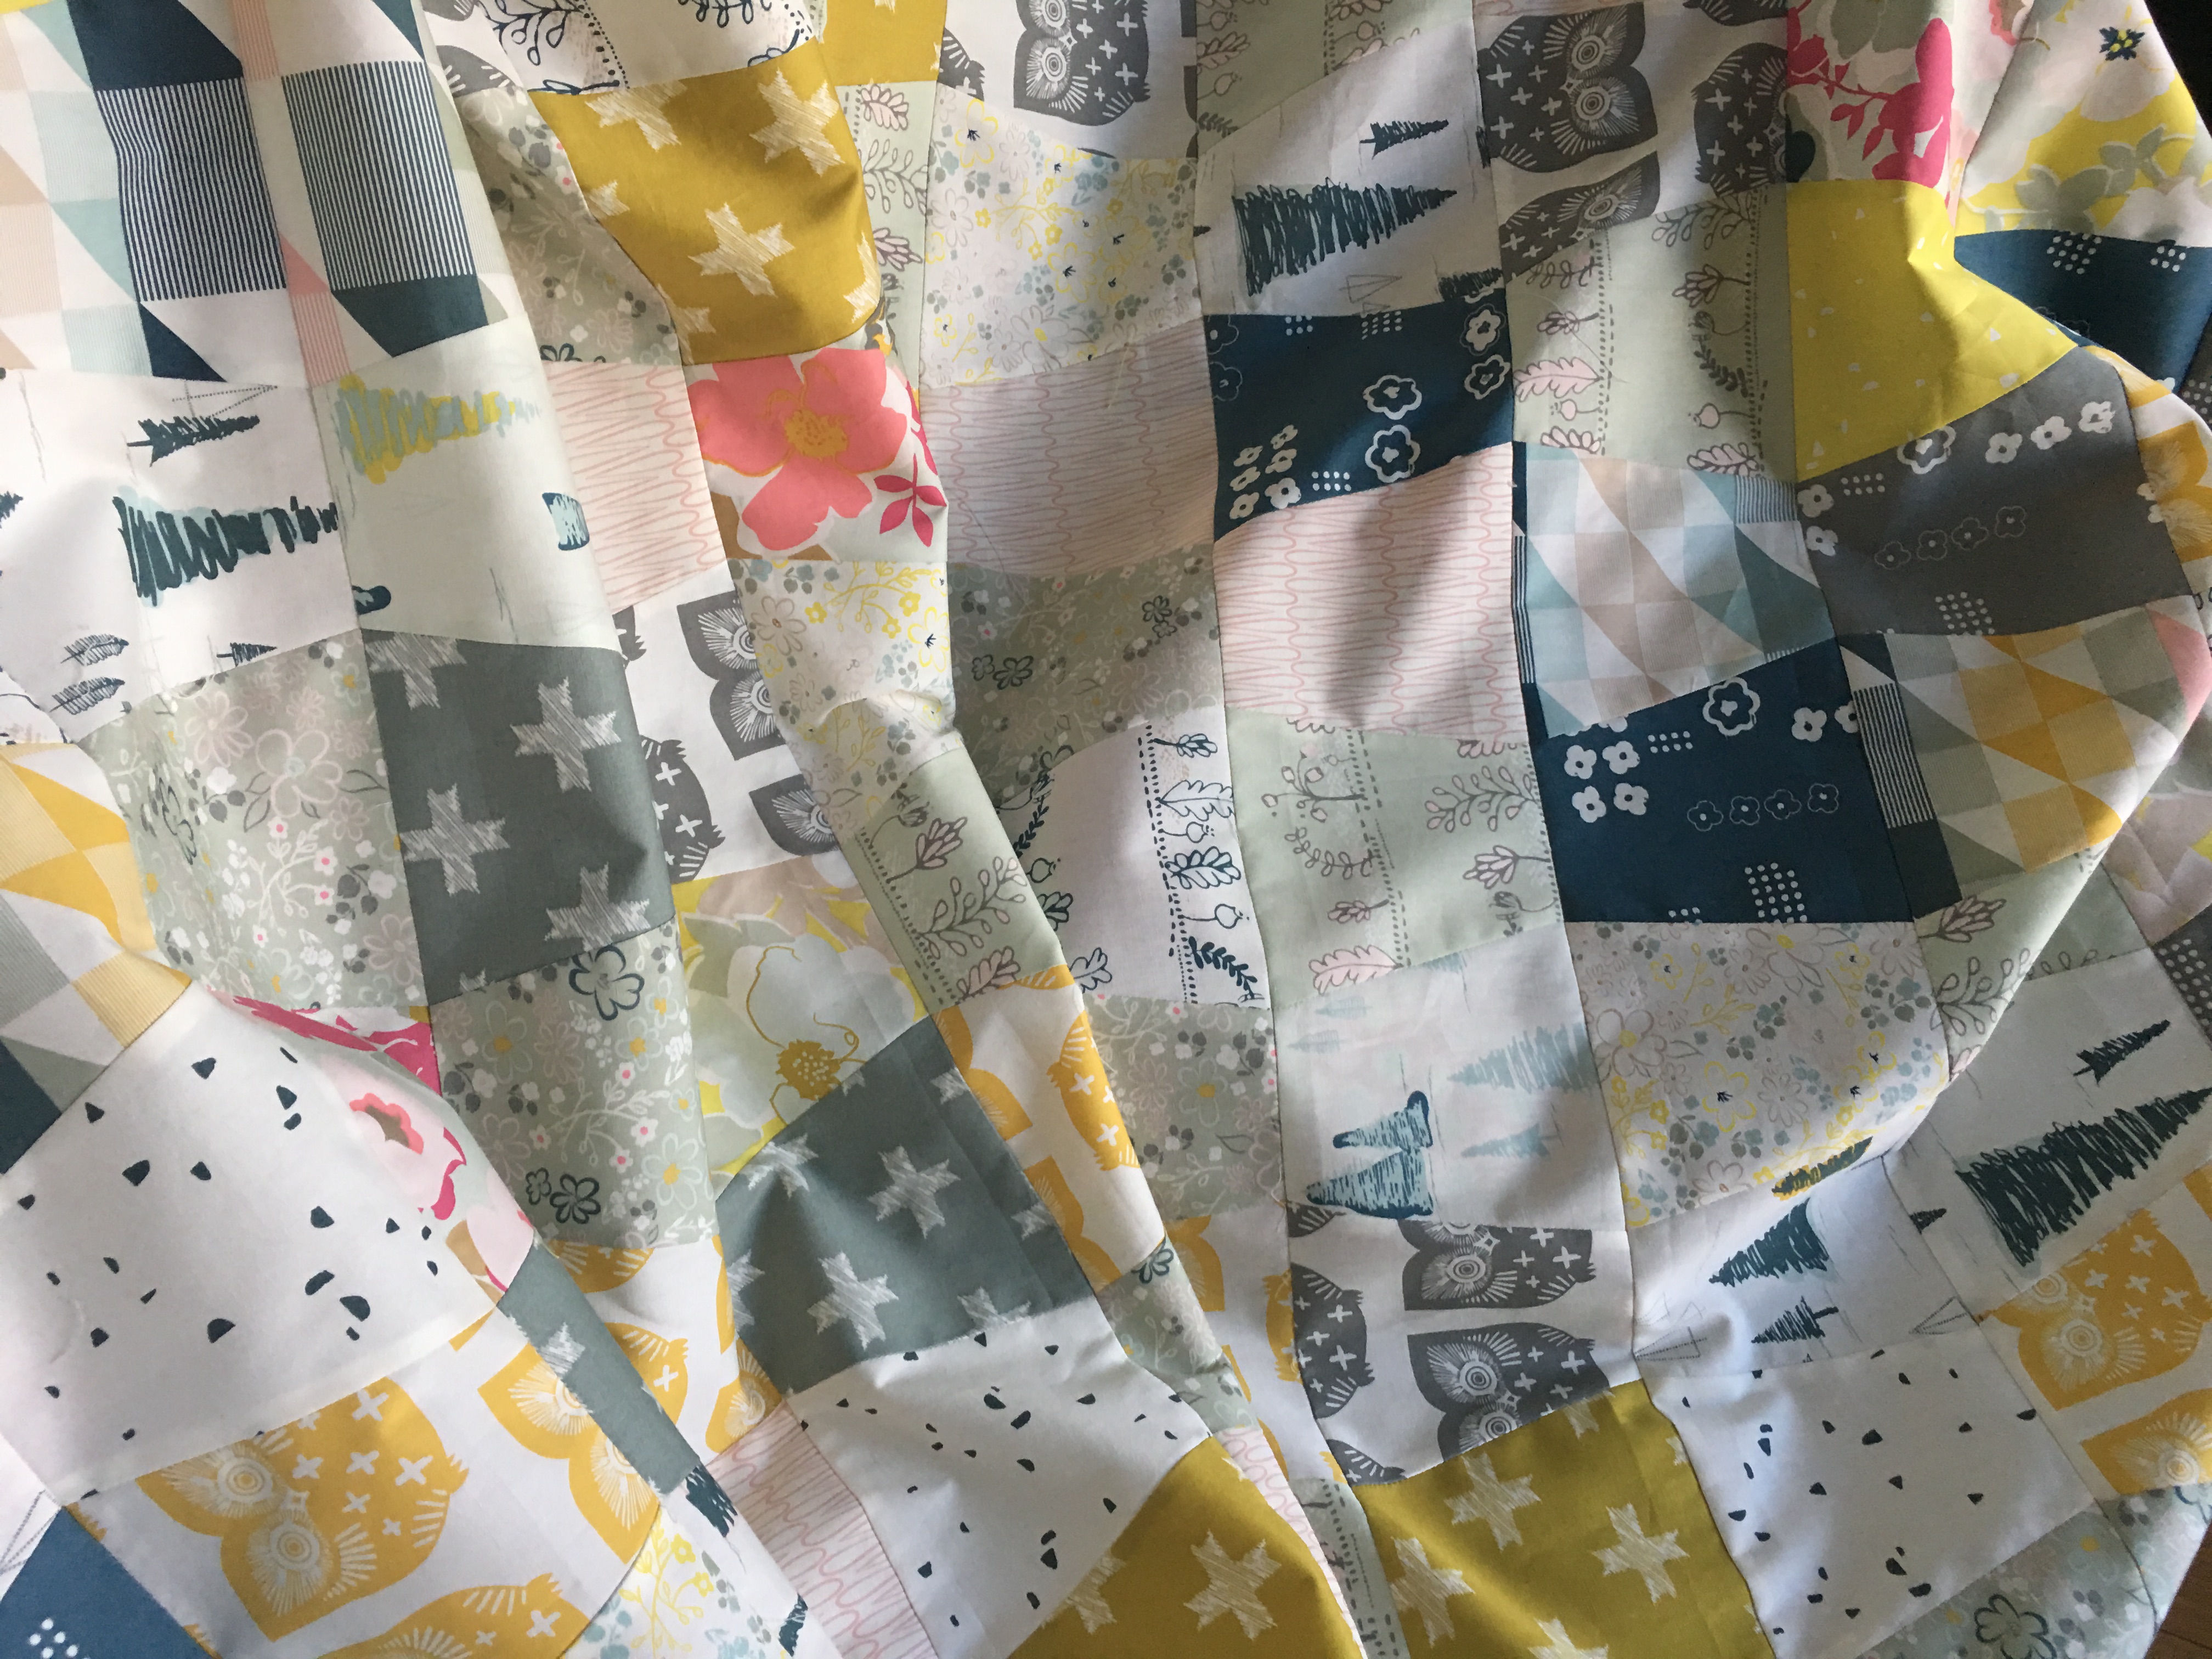
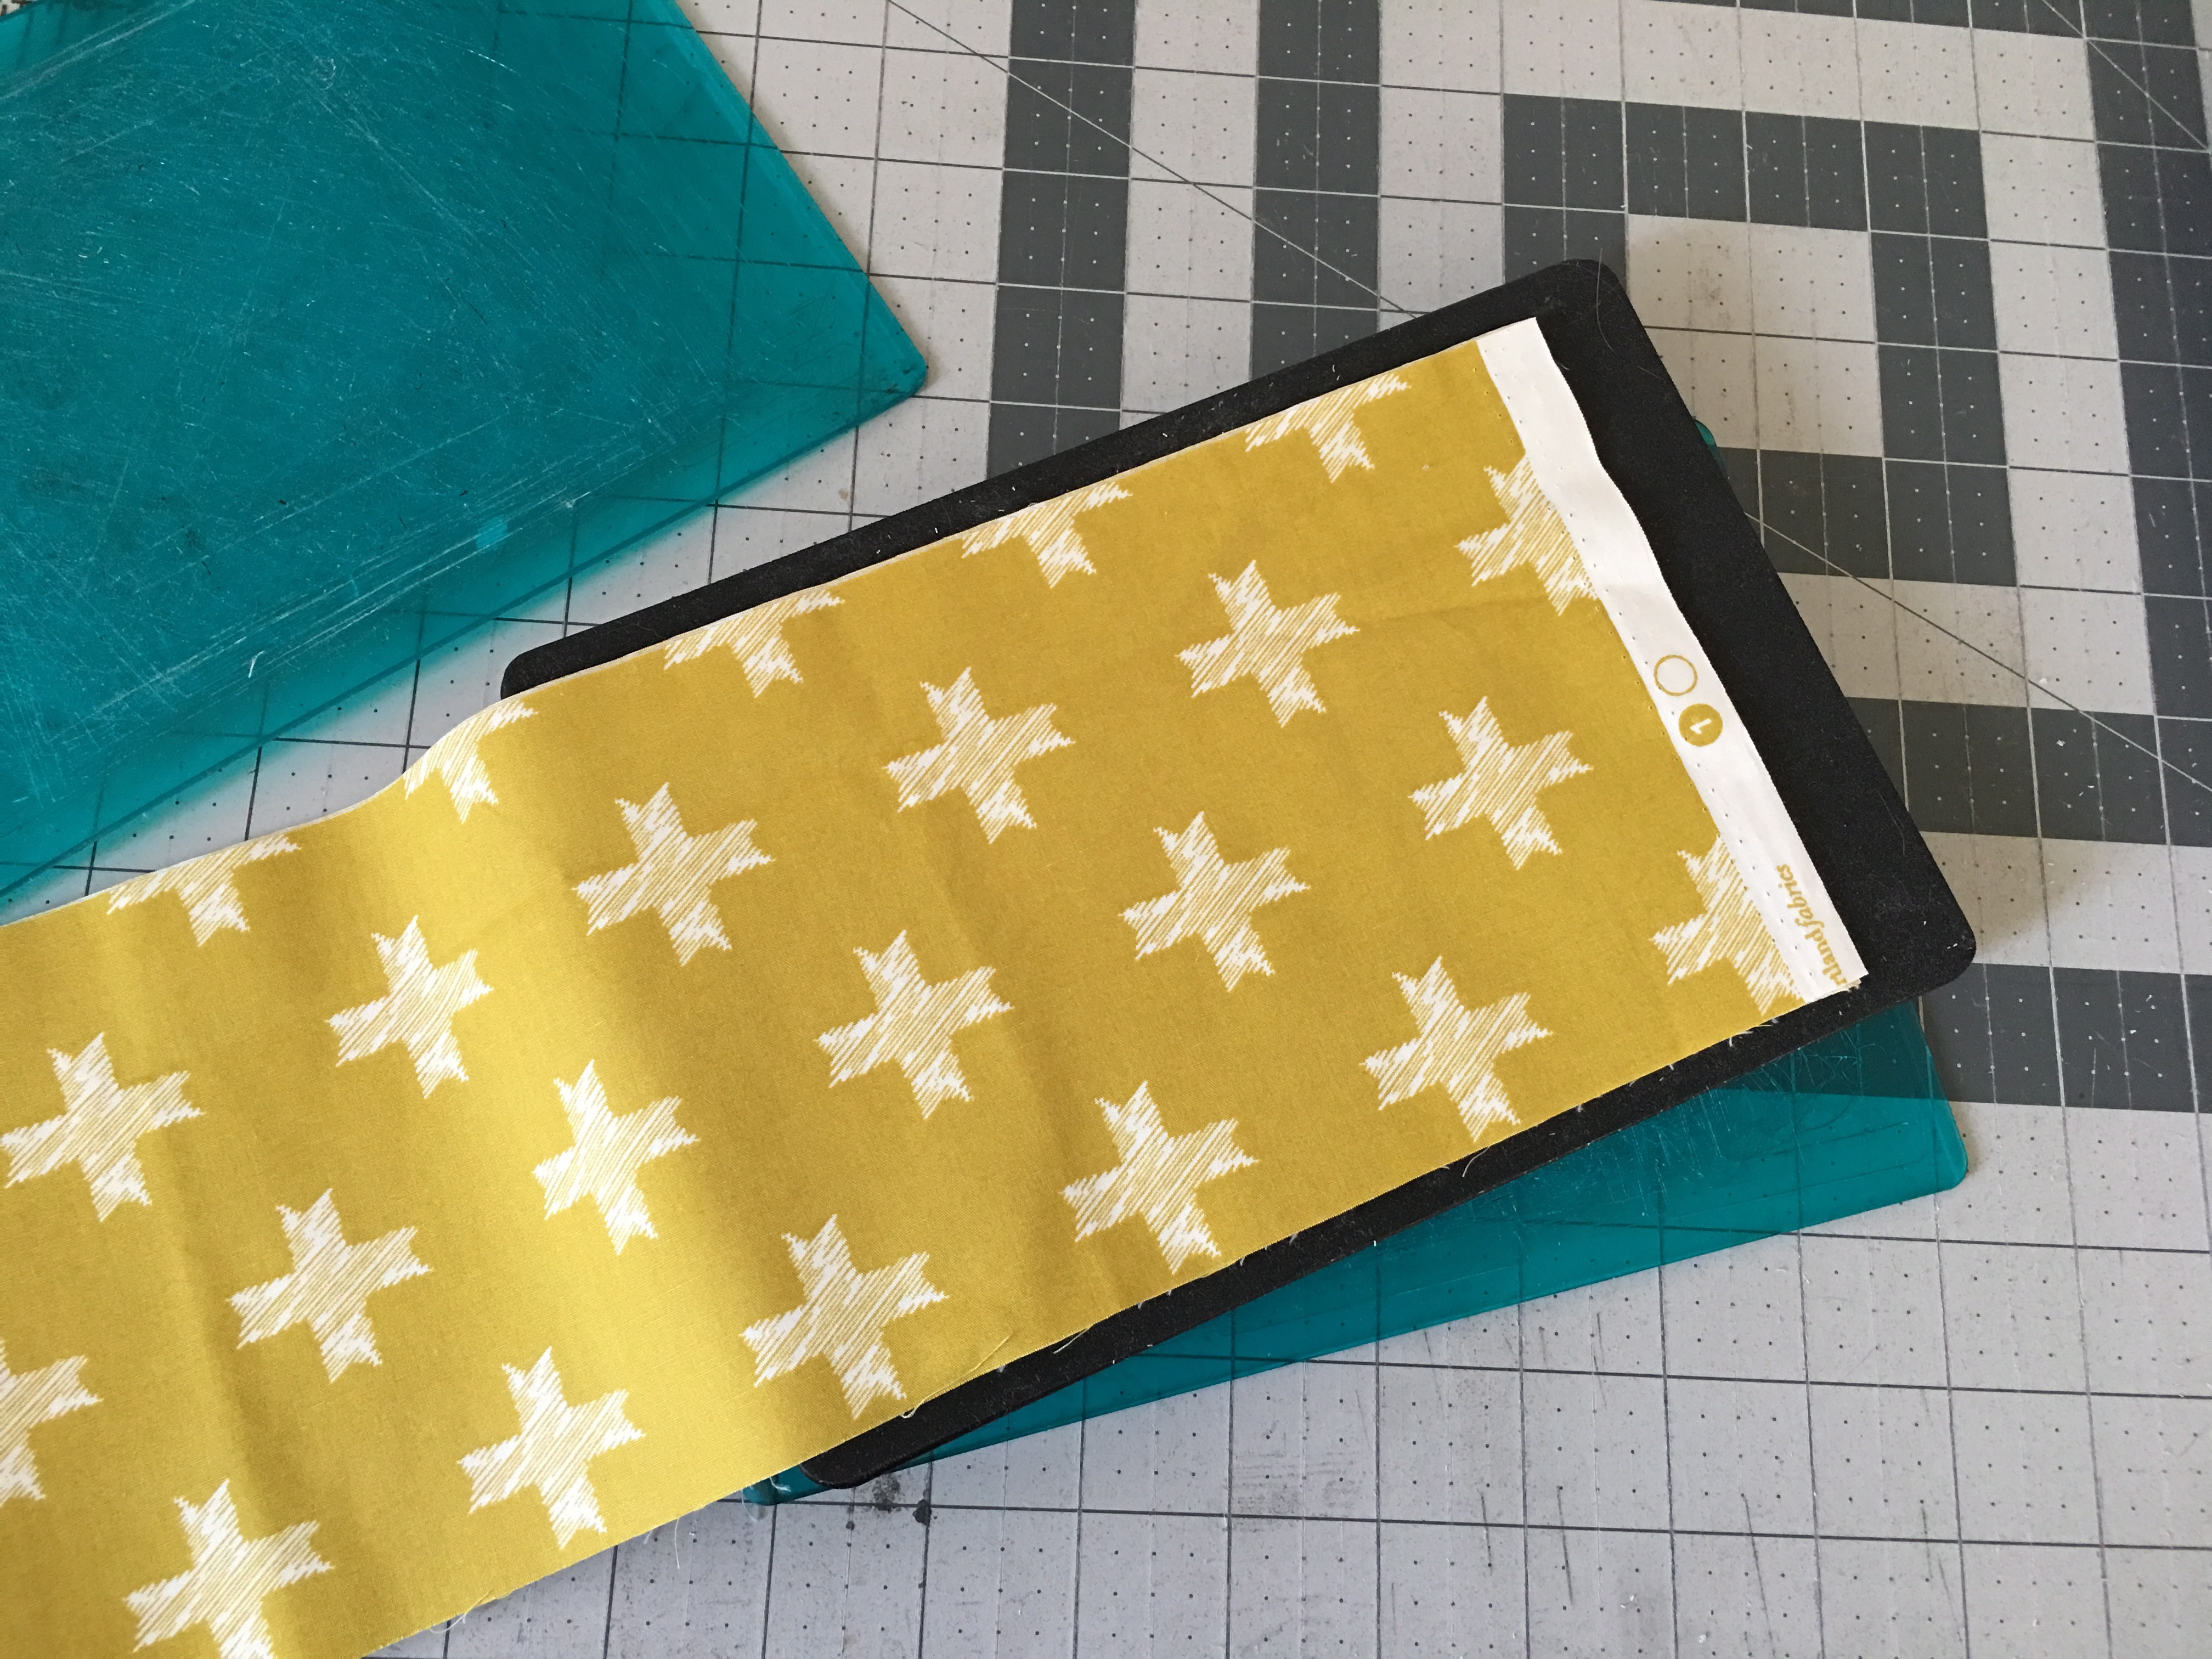

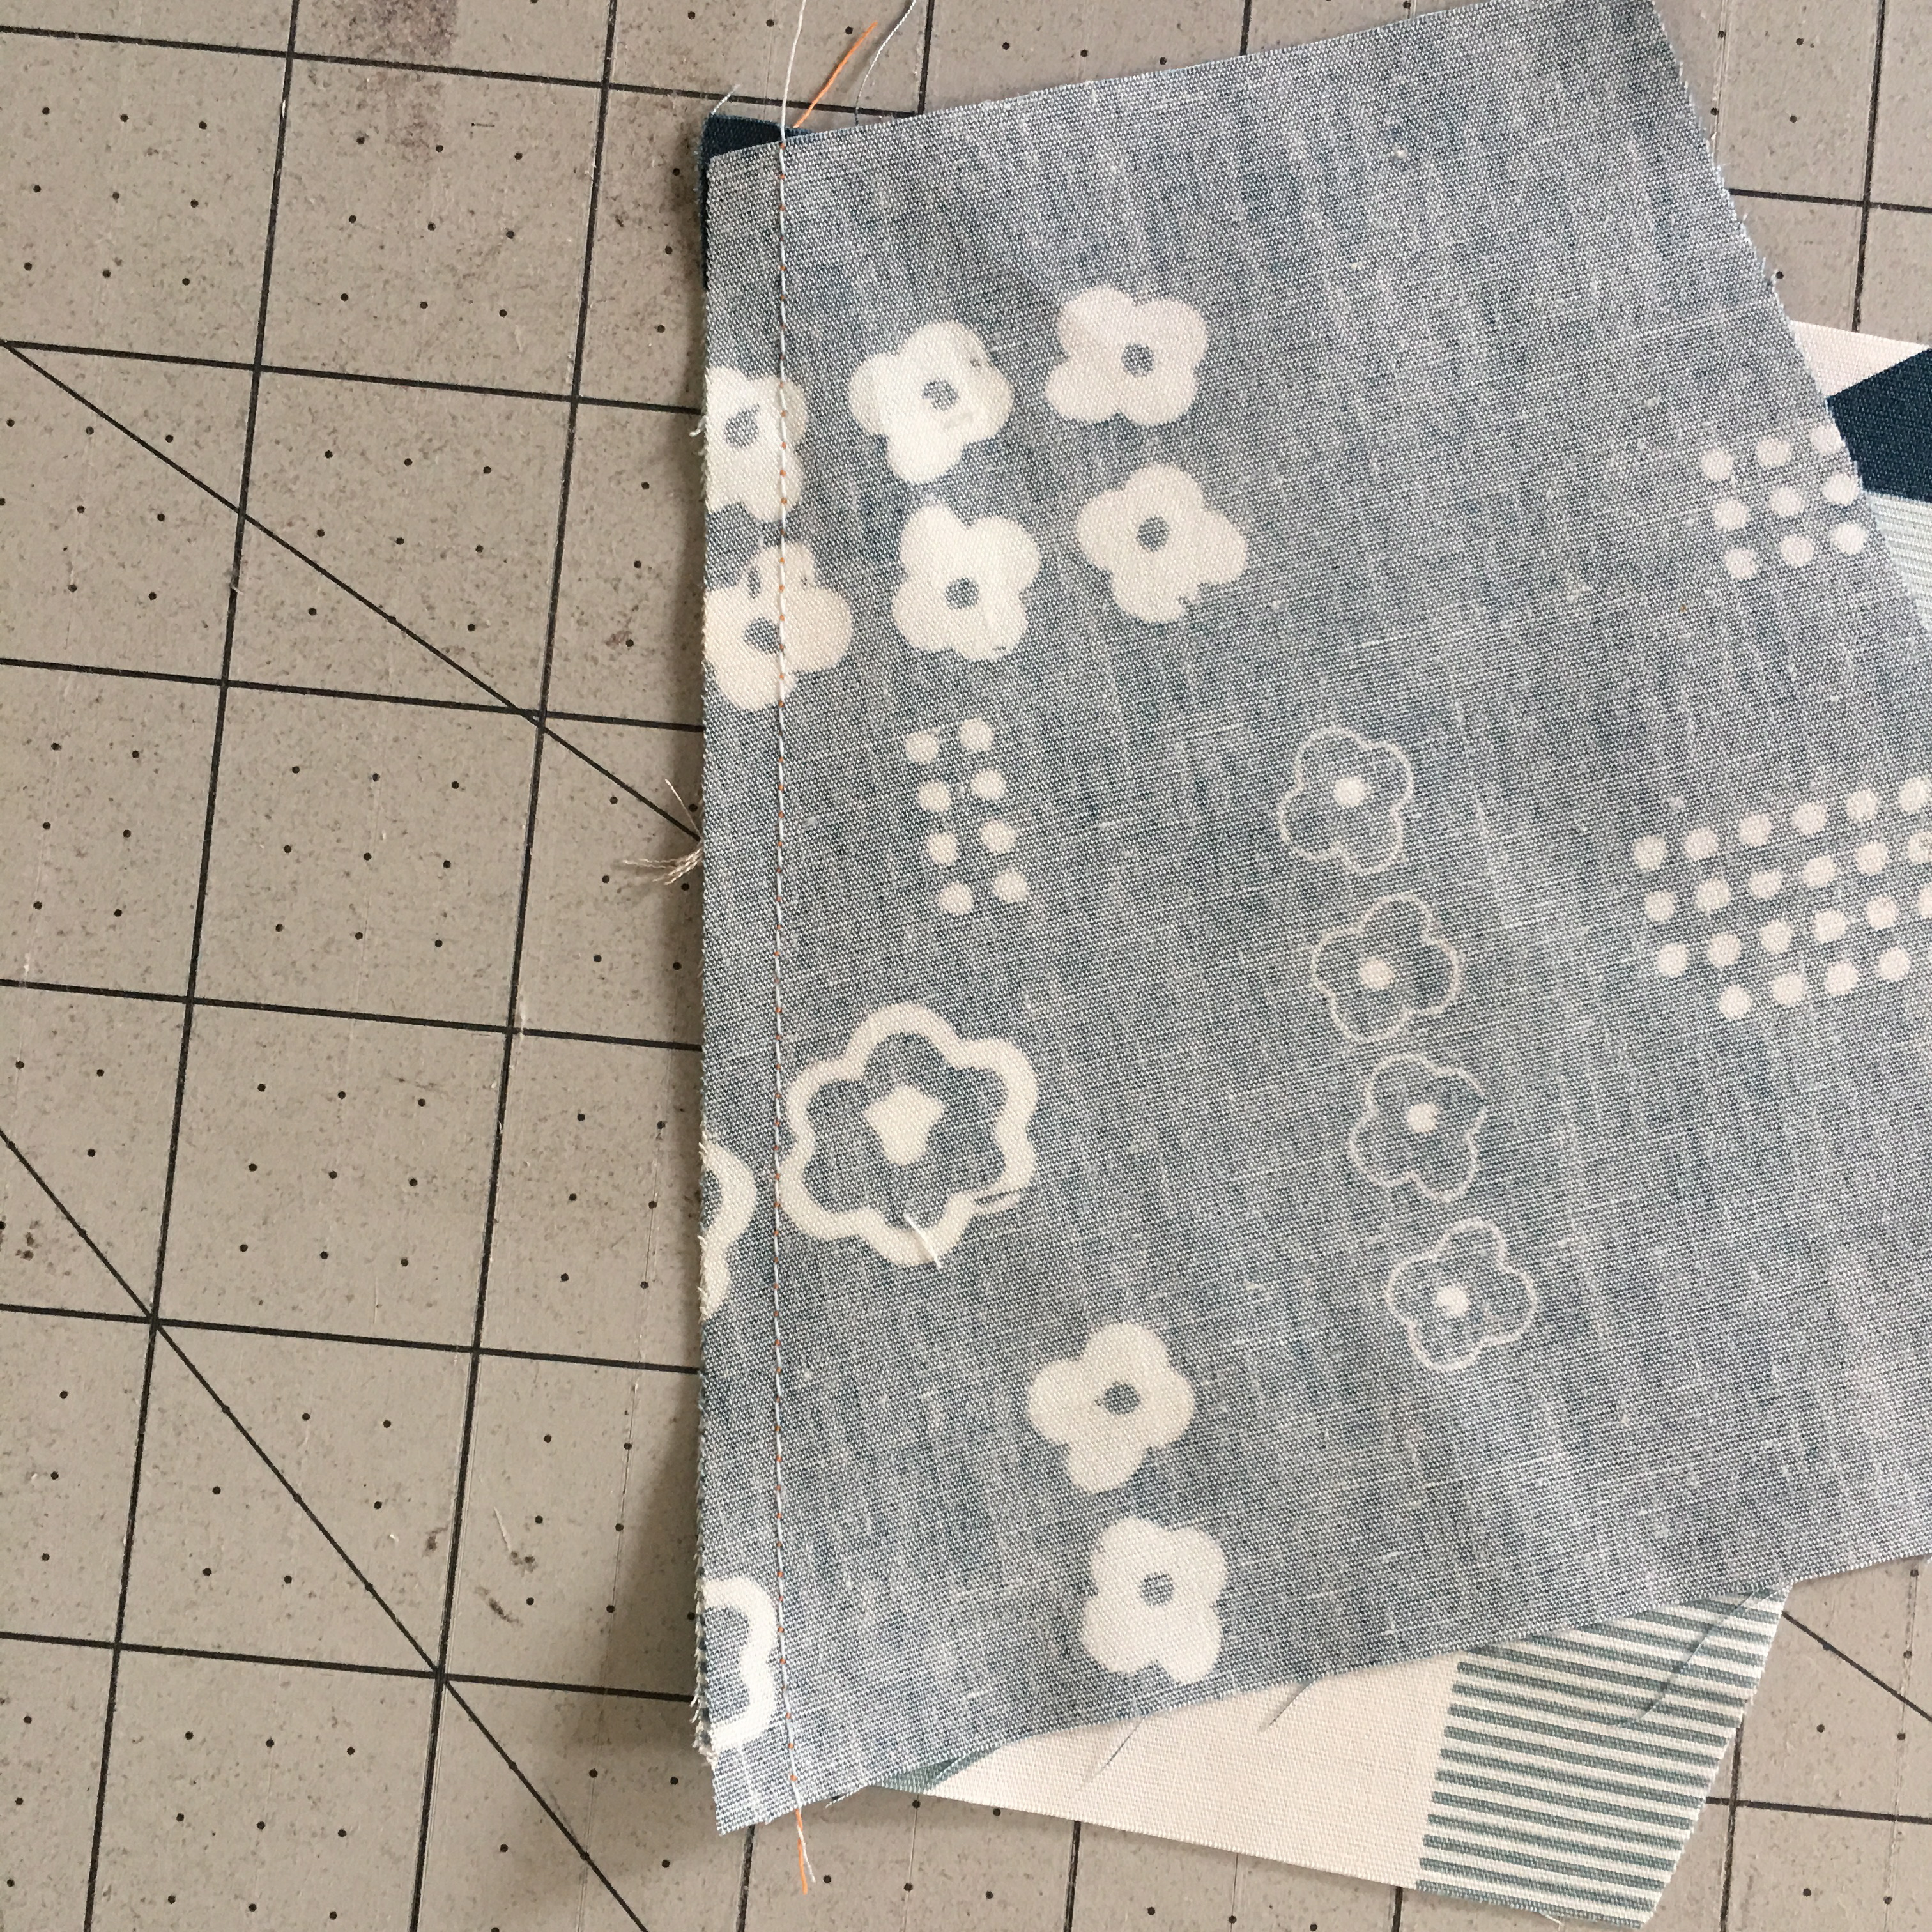
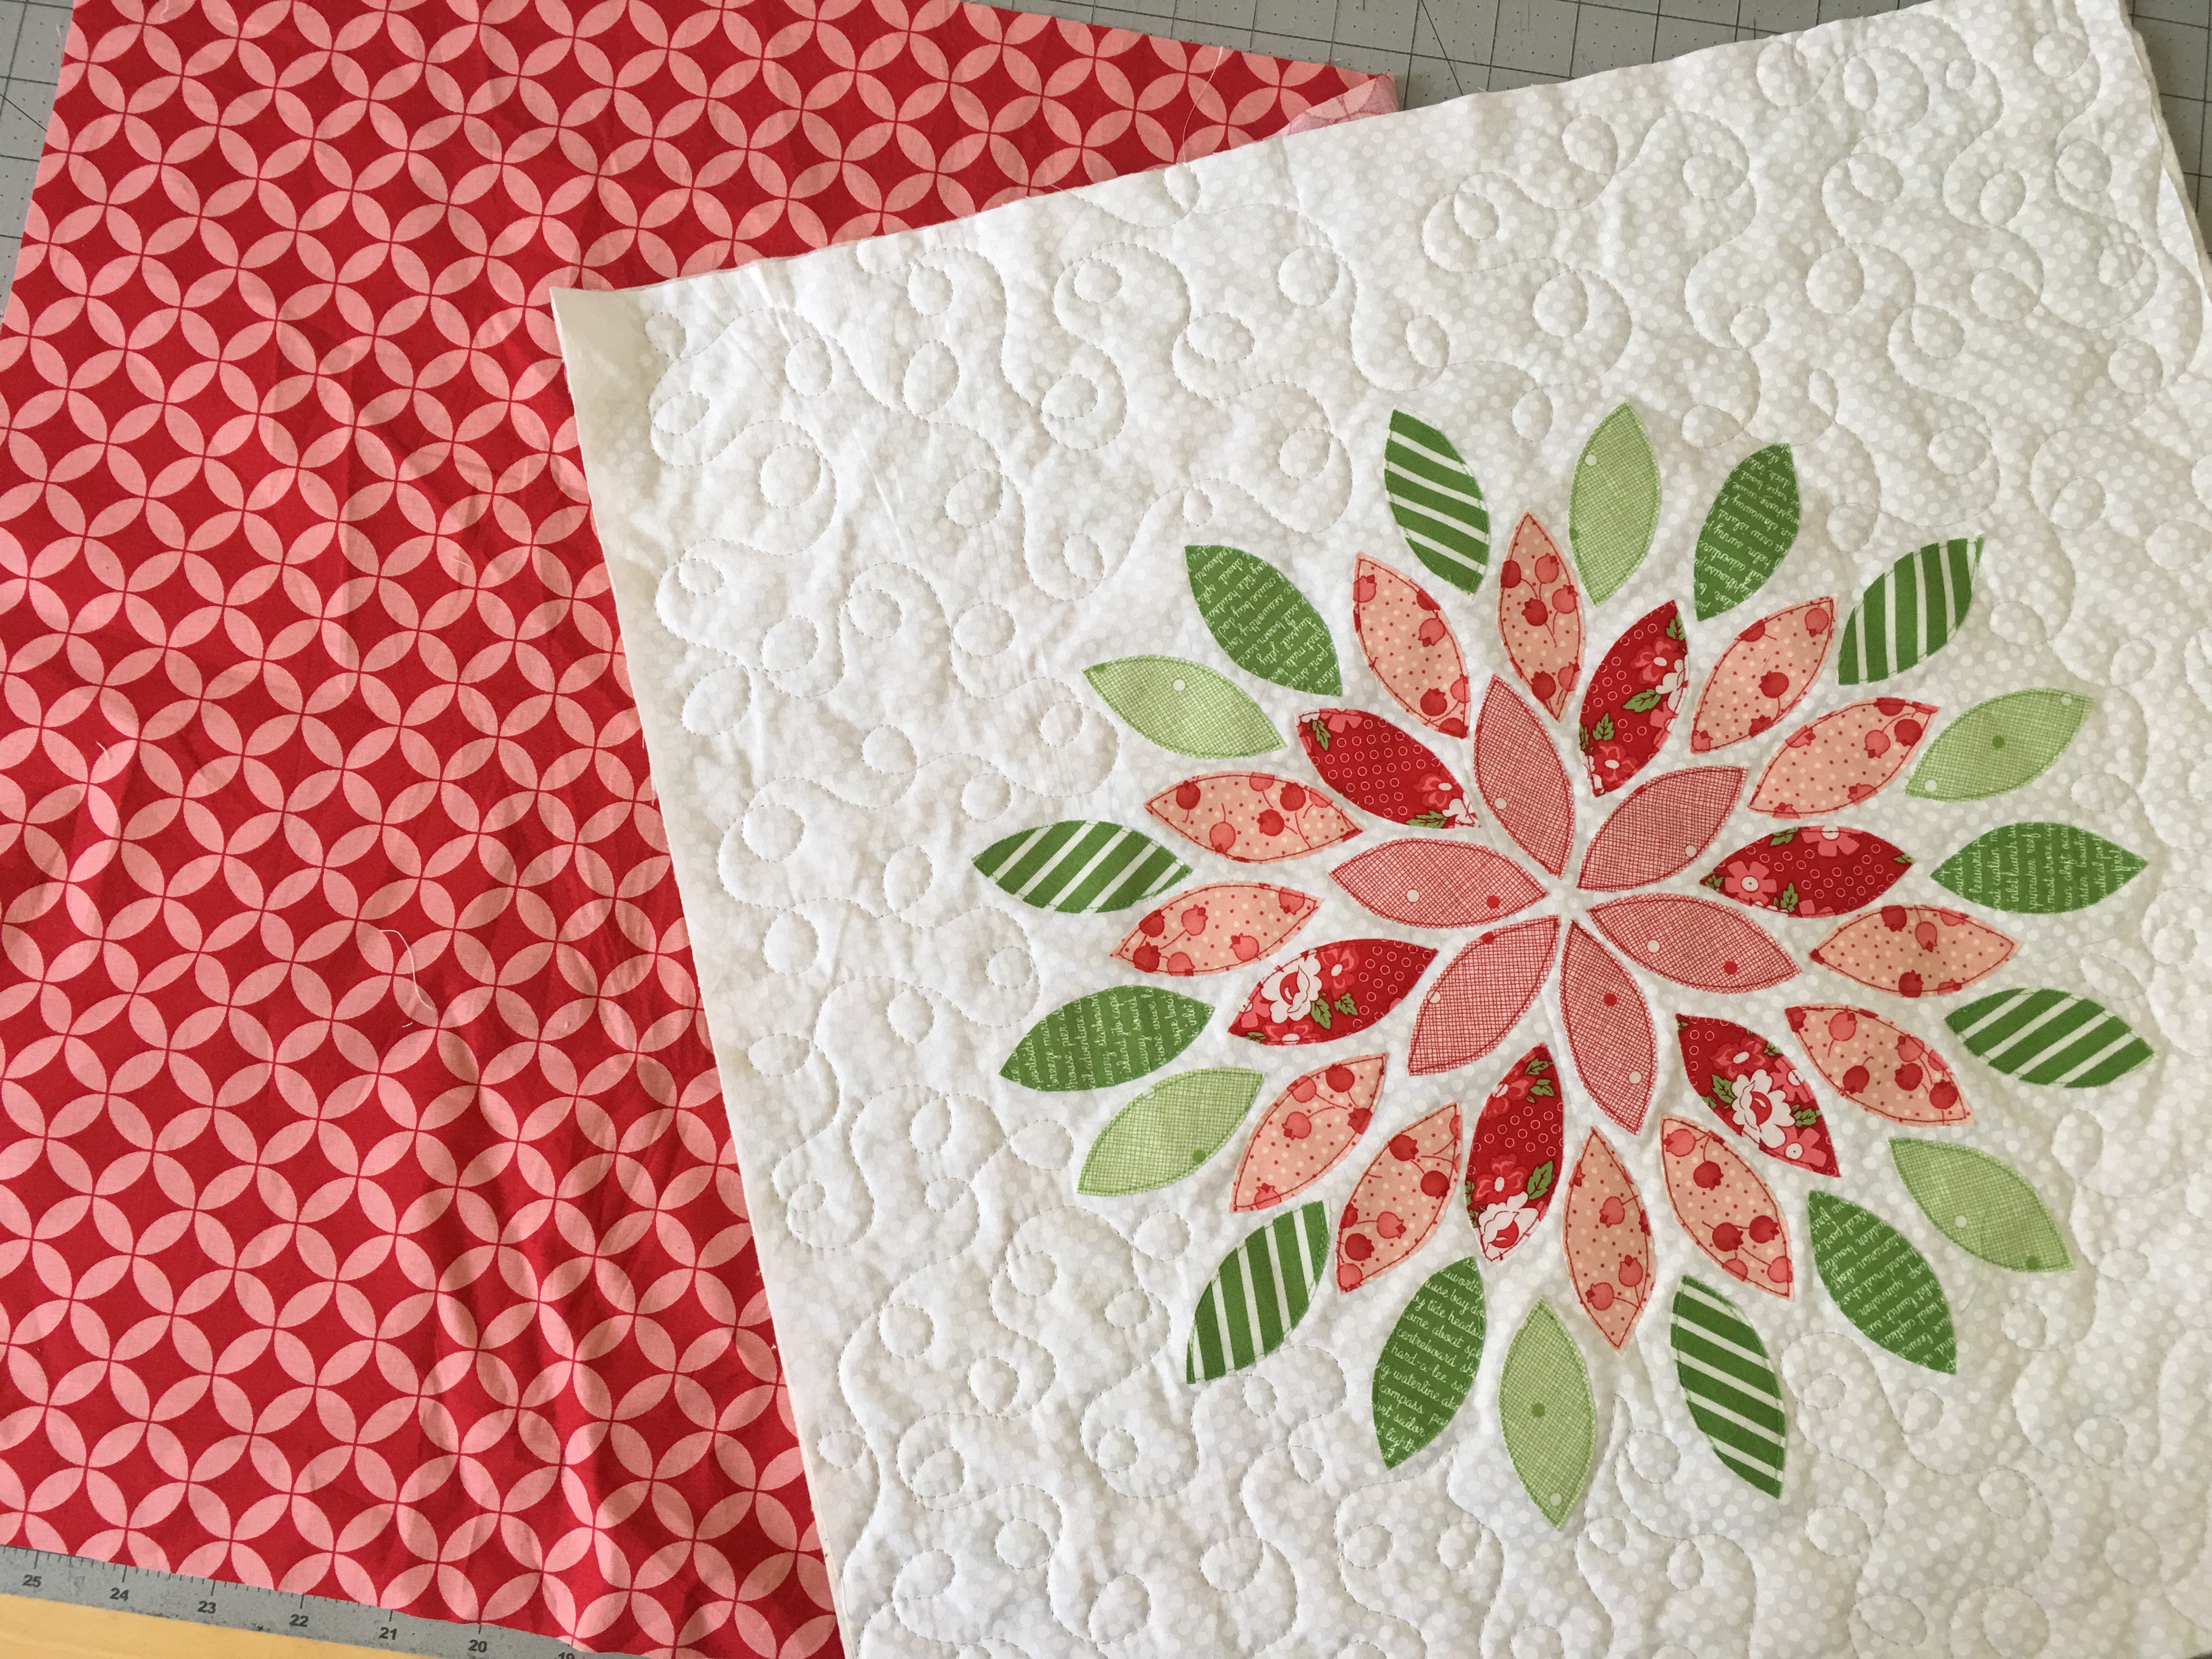
 I like to quilt the quilt without squaring up the edges. After quilting, square up the edges with a rotary cutter and bind.
 Here’s the rest of the schedule so you don’t miss a thing:
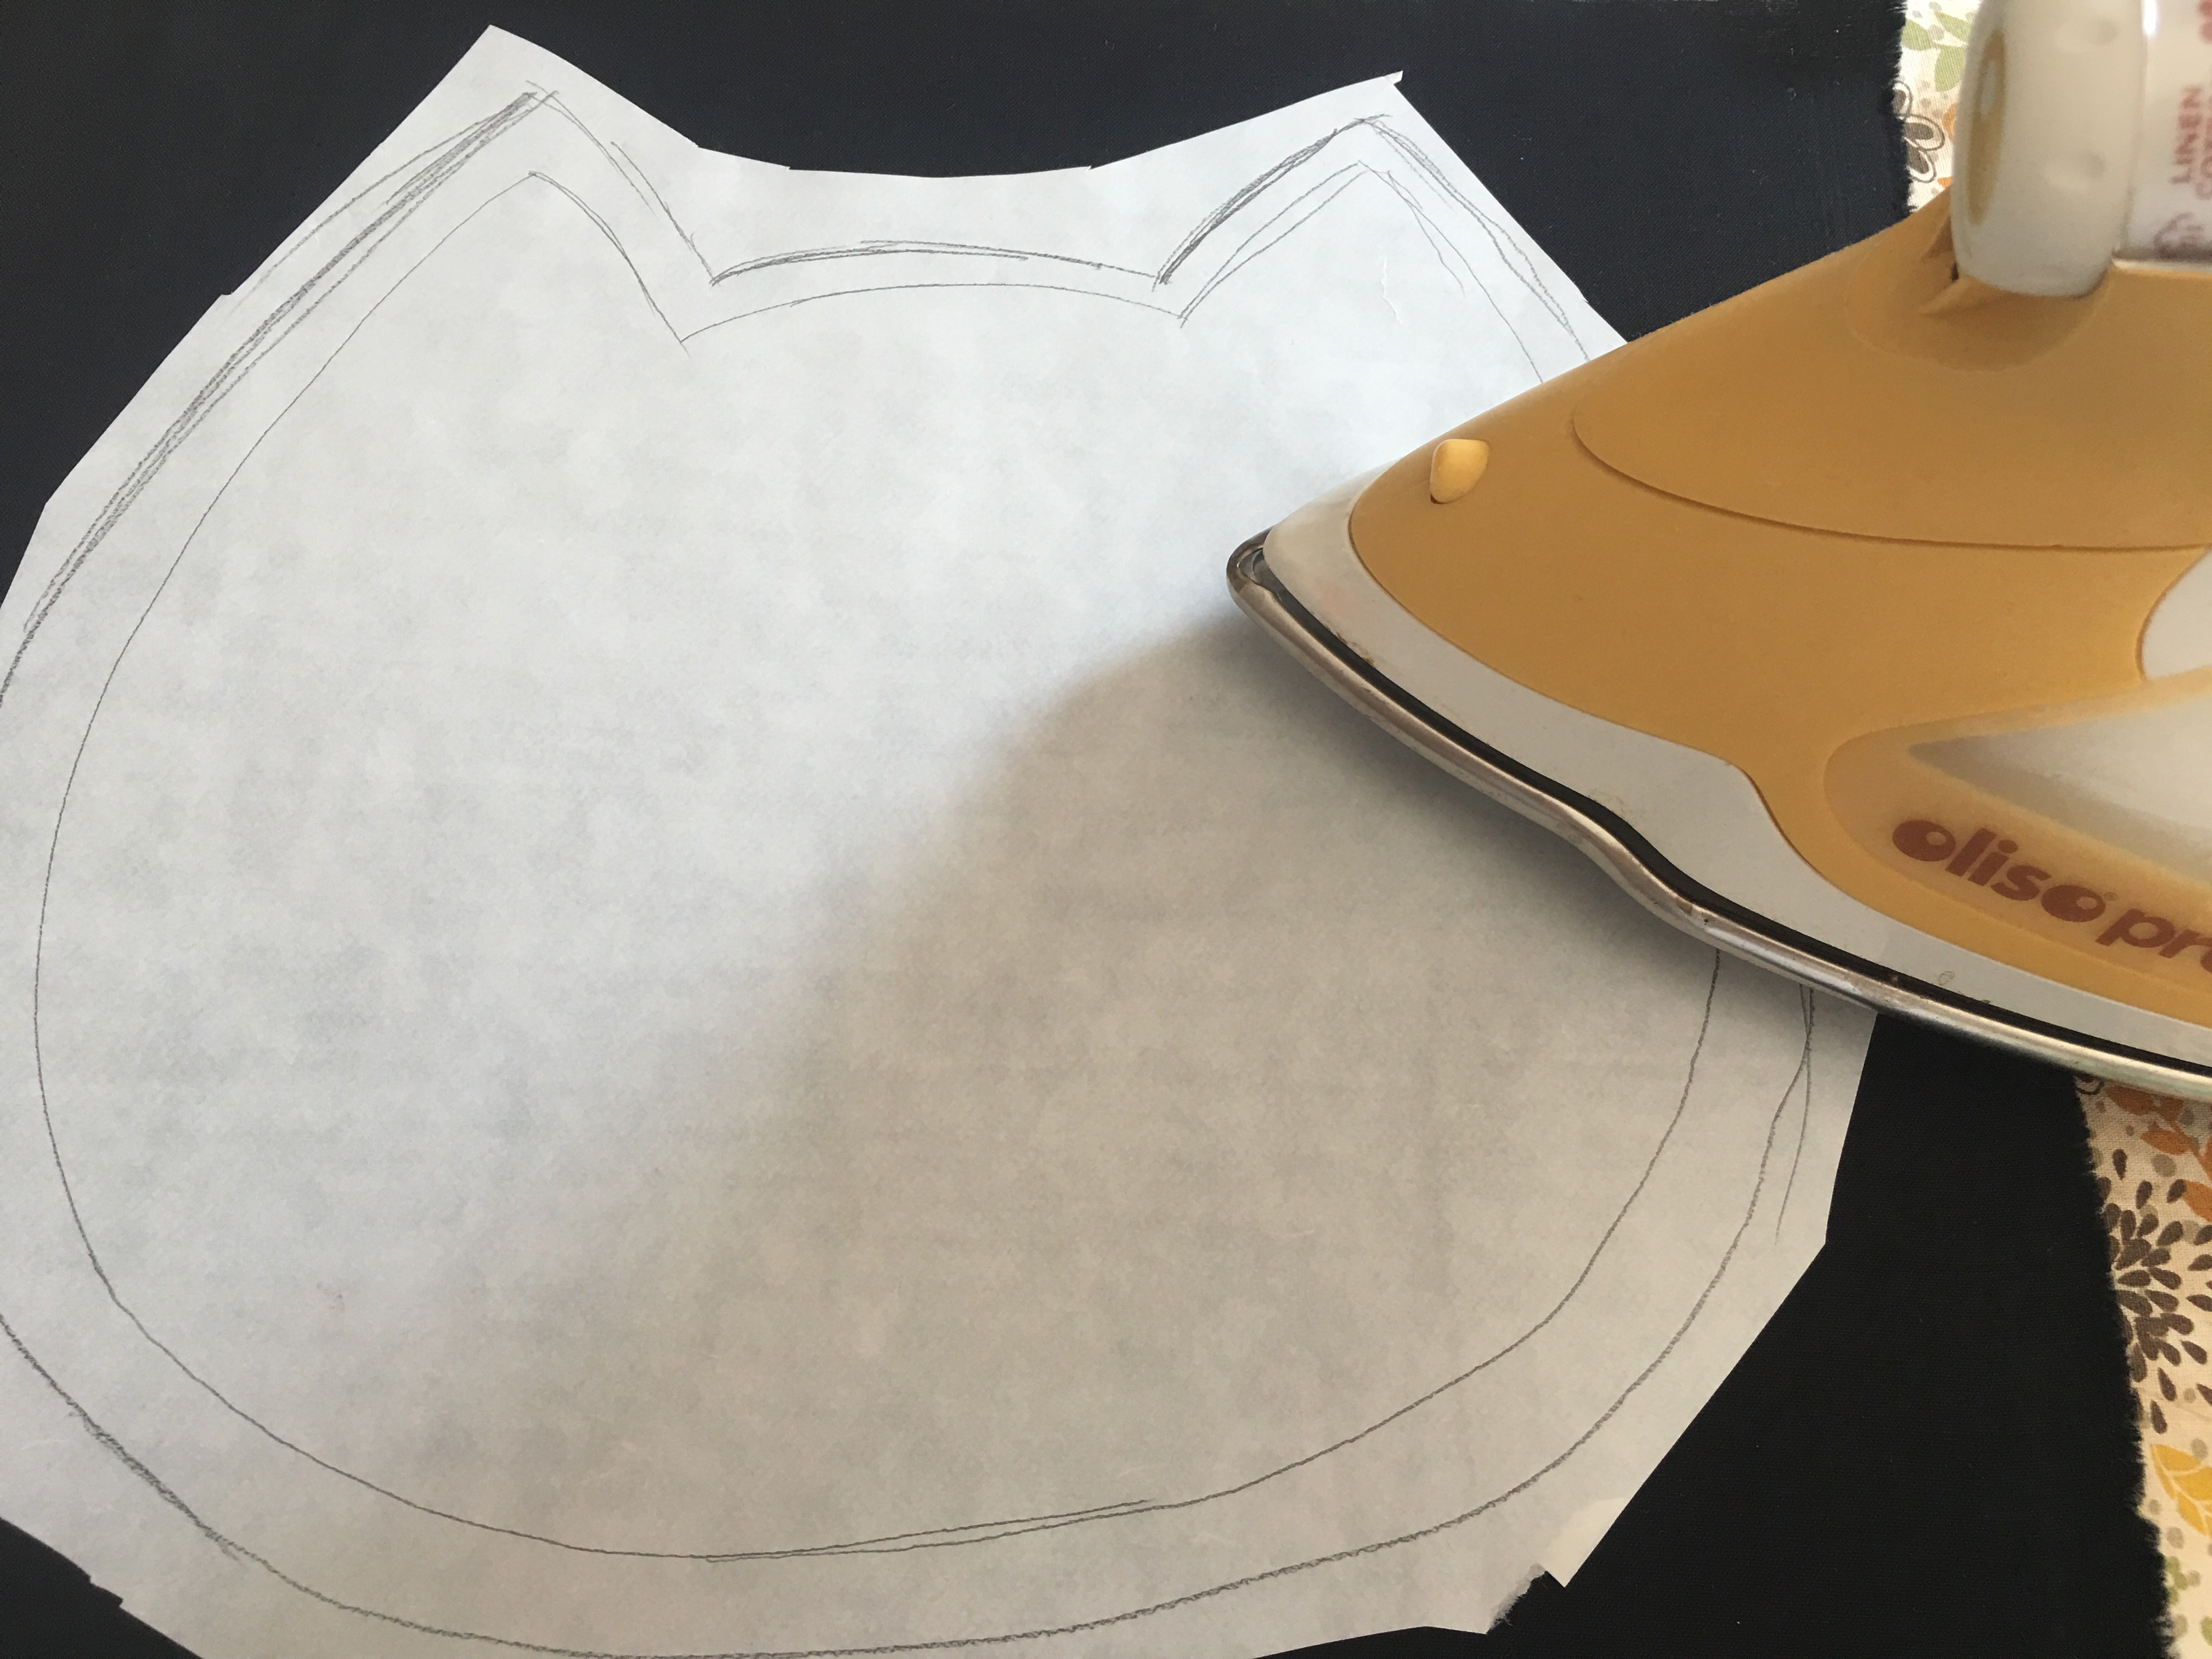
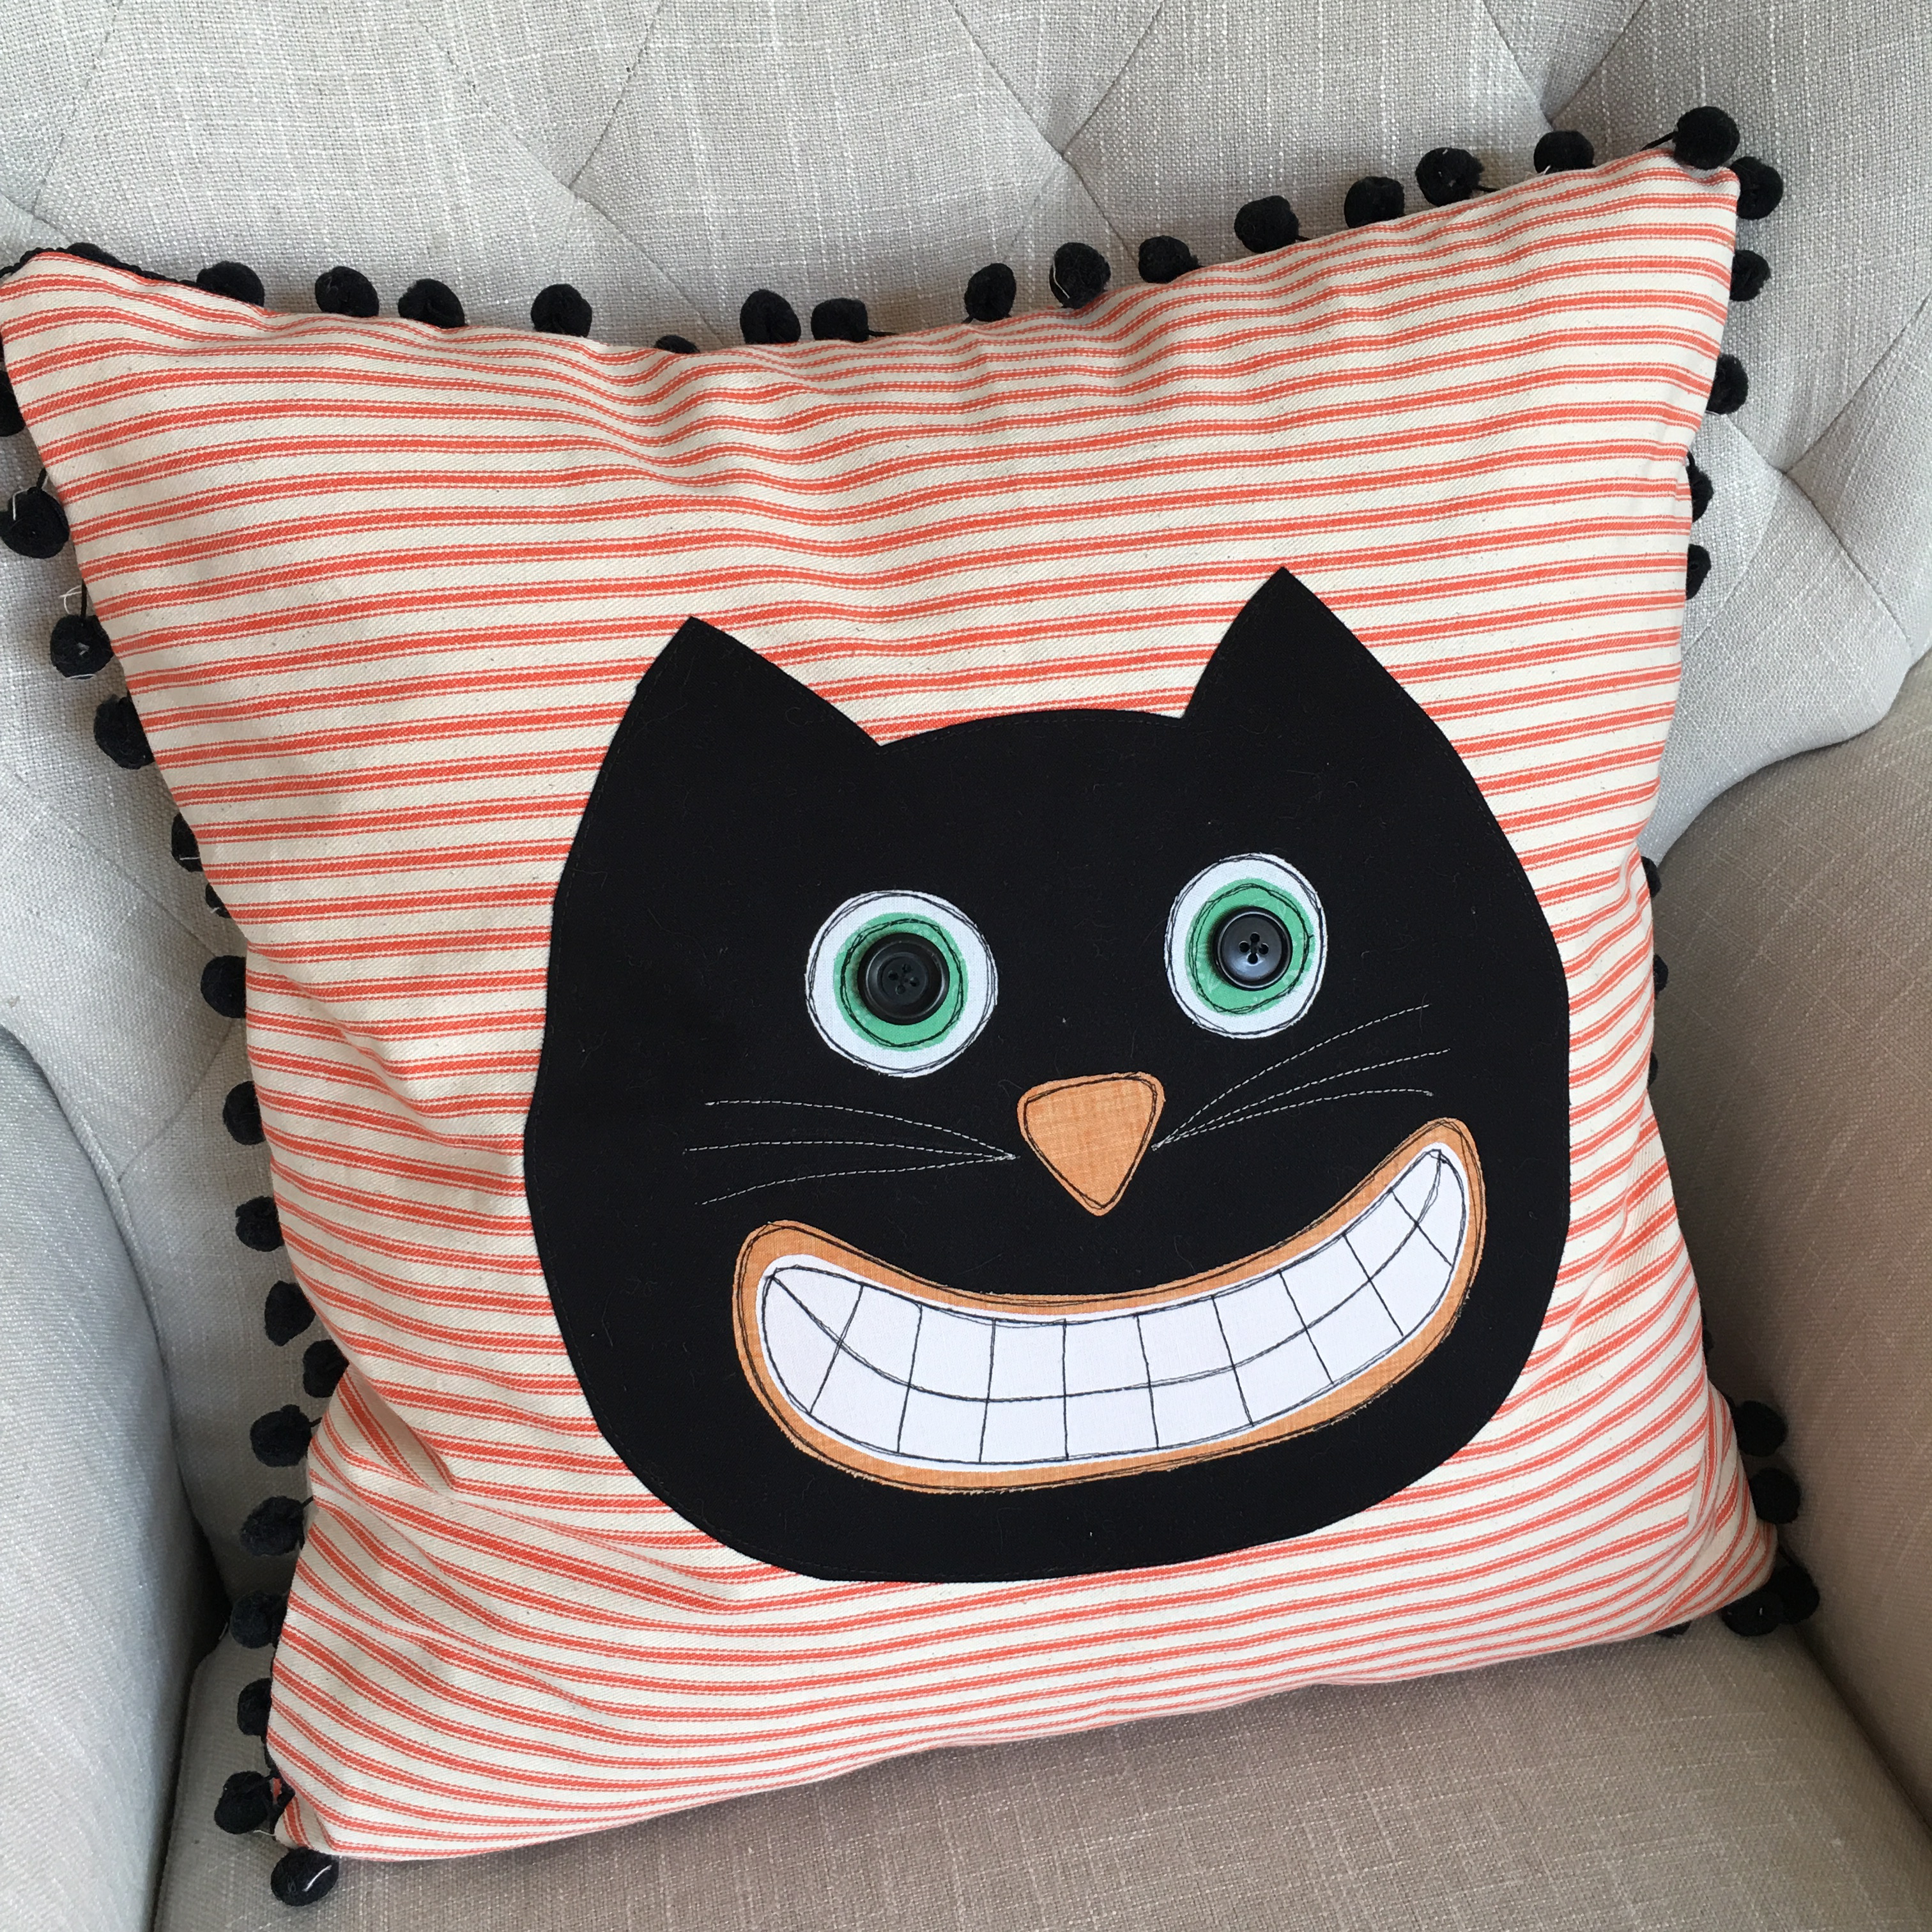
 I need another pillow like I need a hole in the head!! hahahaha!! Who doesn’t need this silly cat pillow on their couch during the month of October! I love looking into the family room and this kitty face is always smiling at me 🙂 Want to whip one up? You only need about 1 hour!!