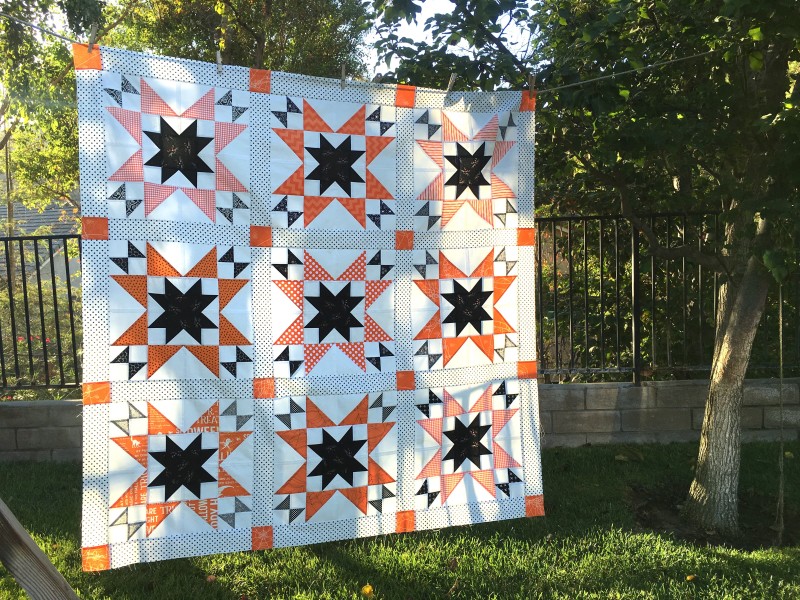
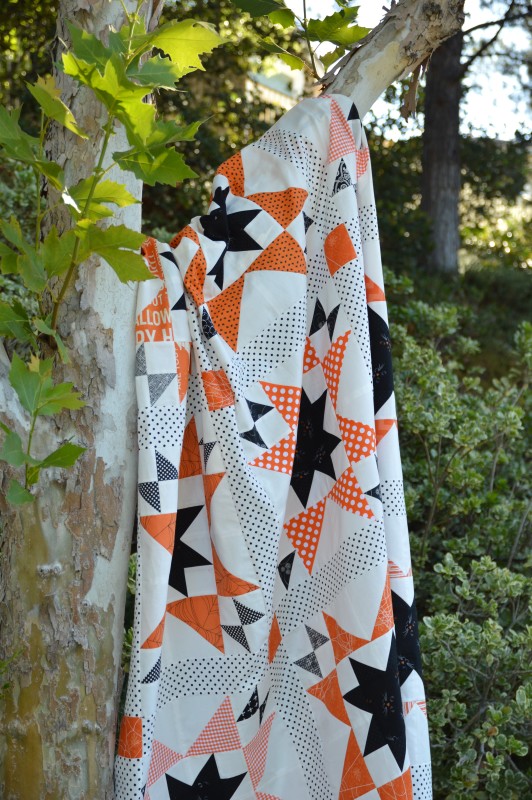
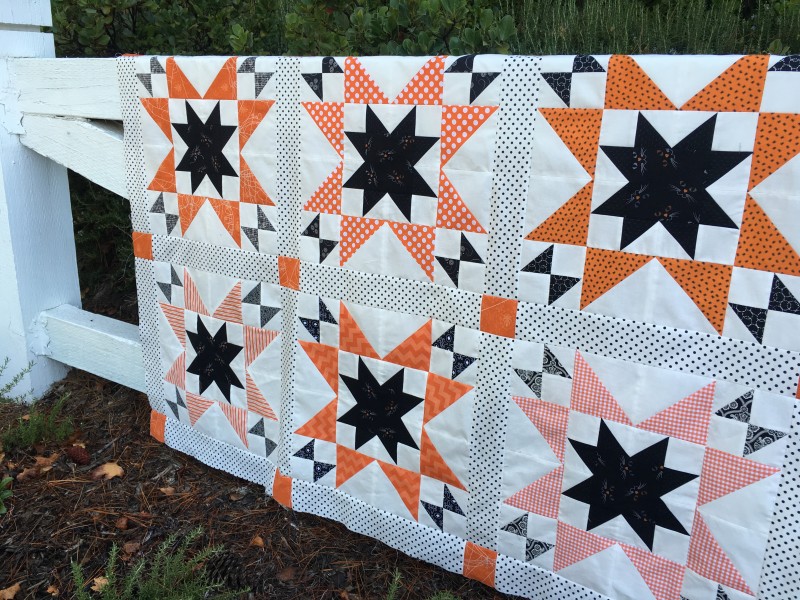
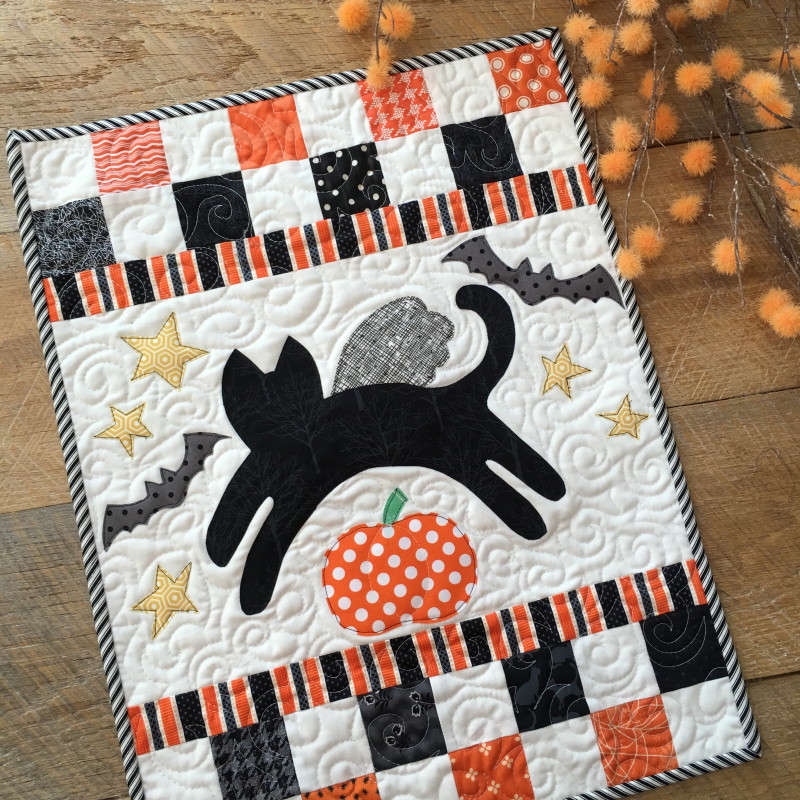
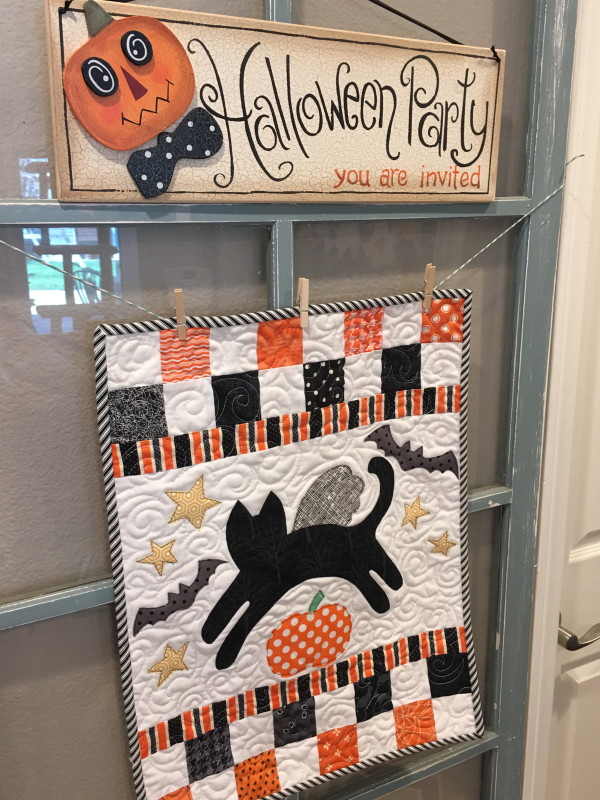
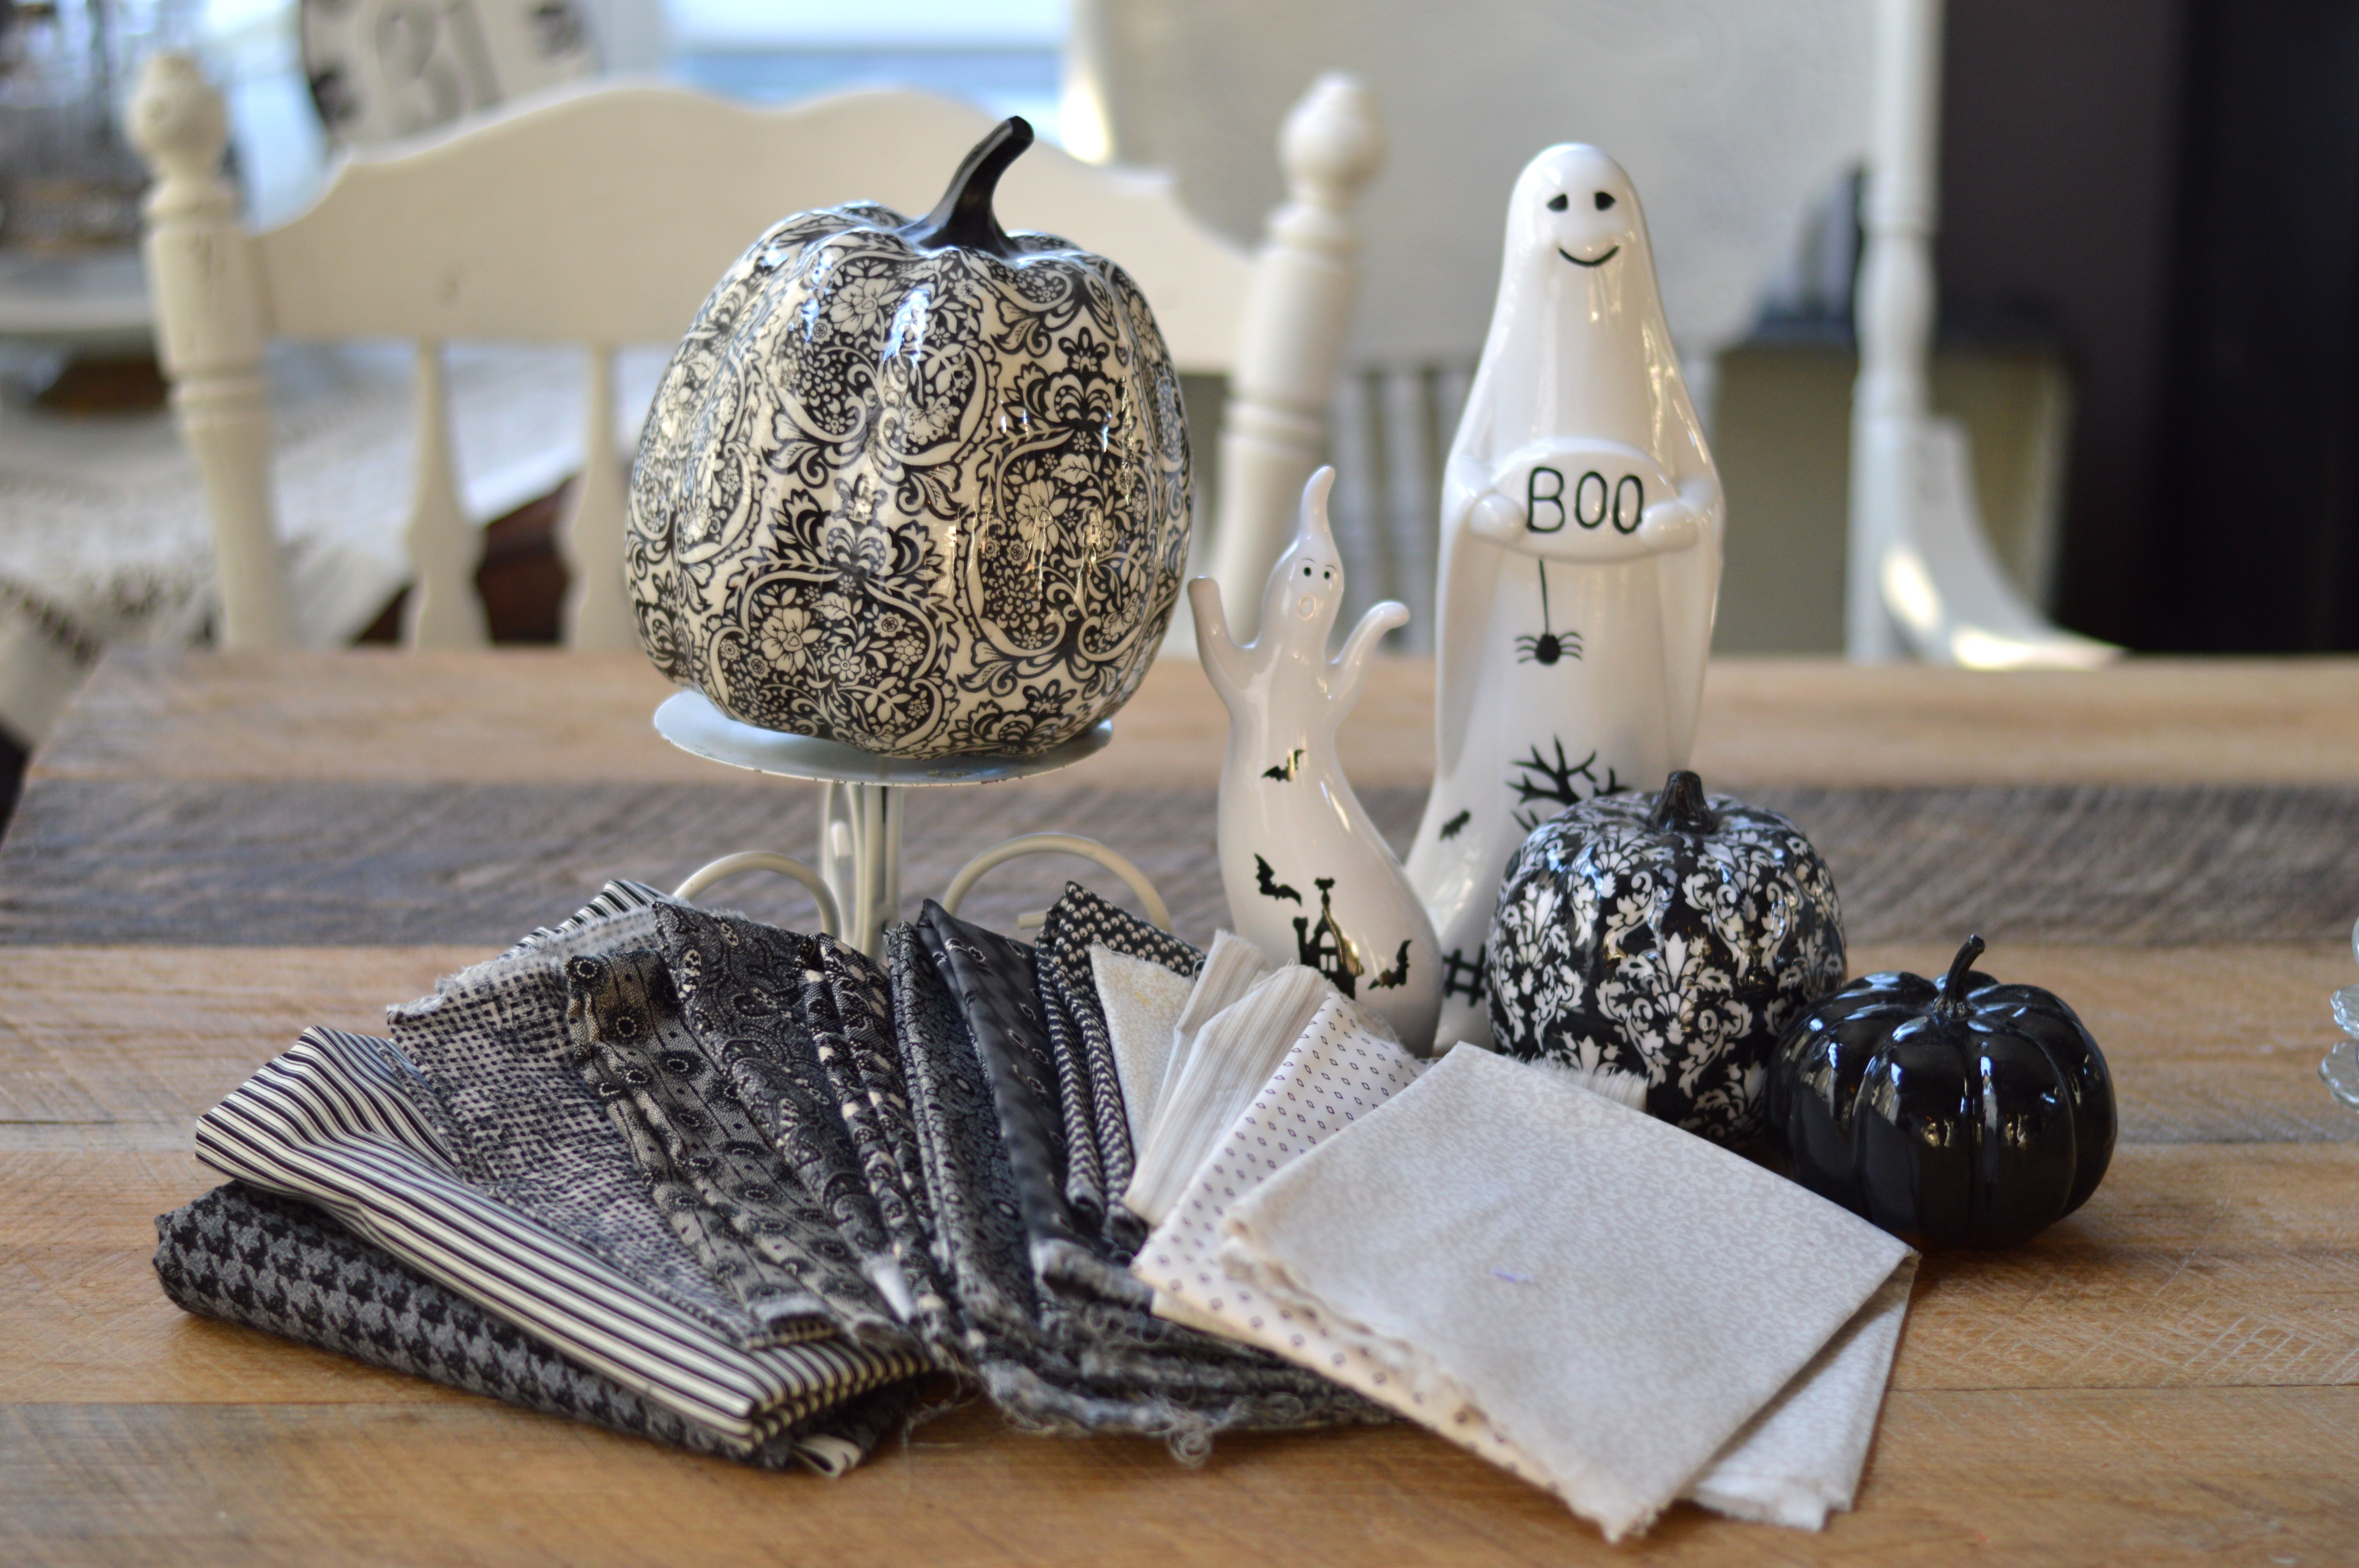
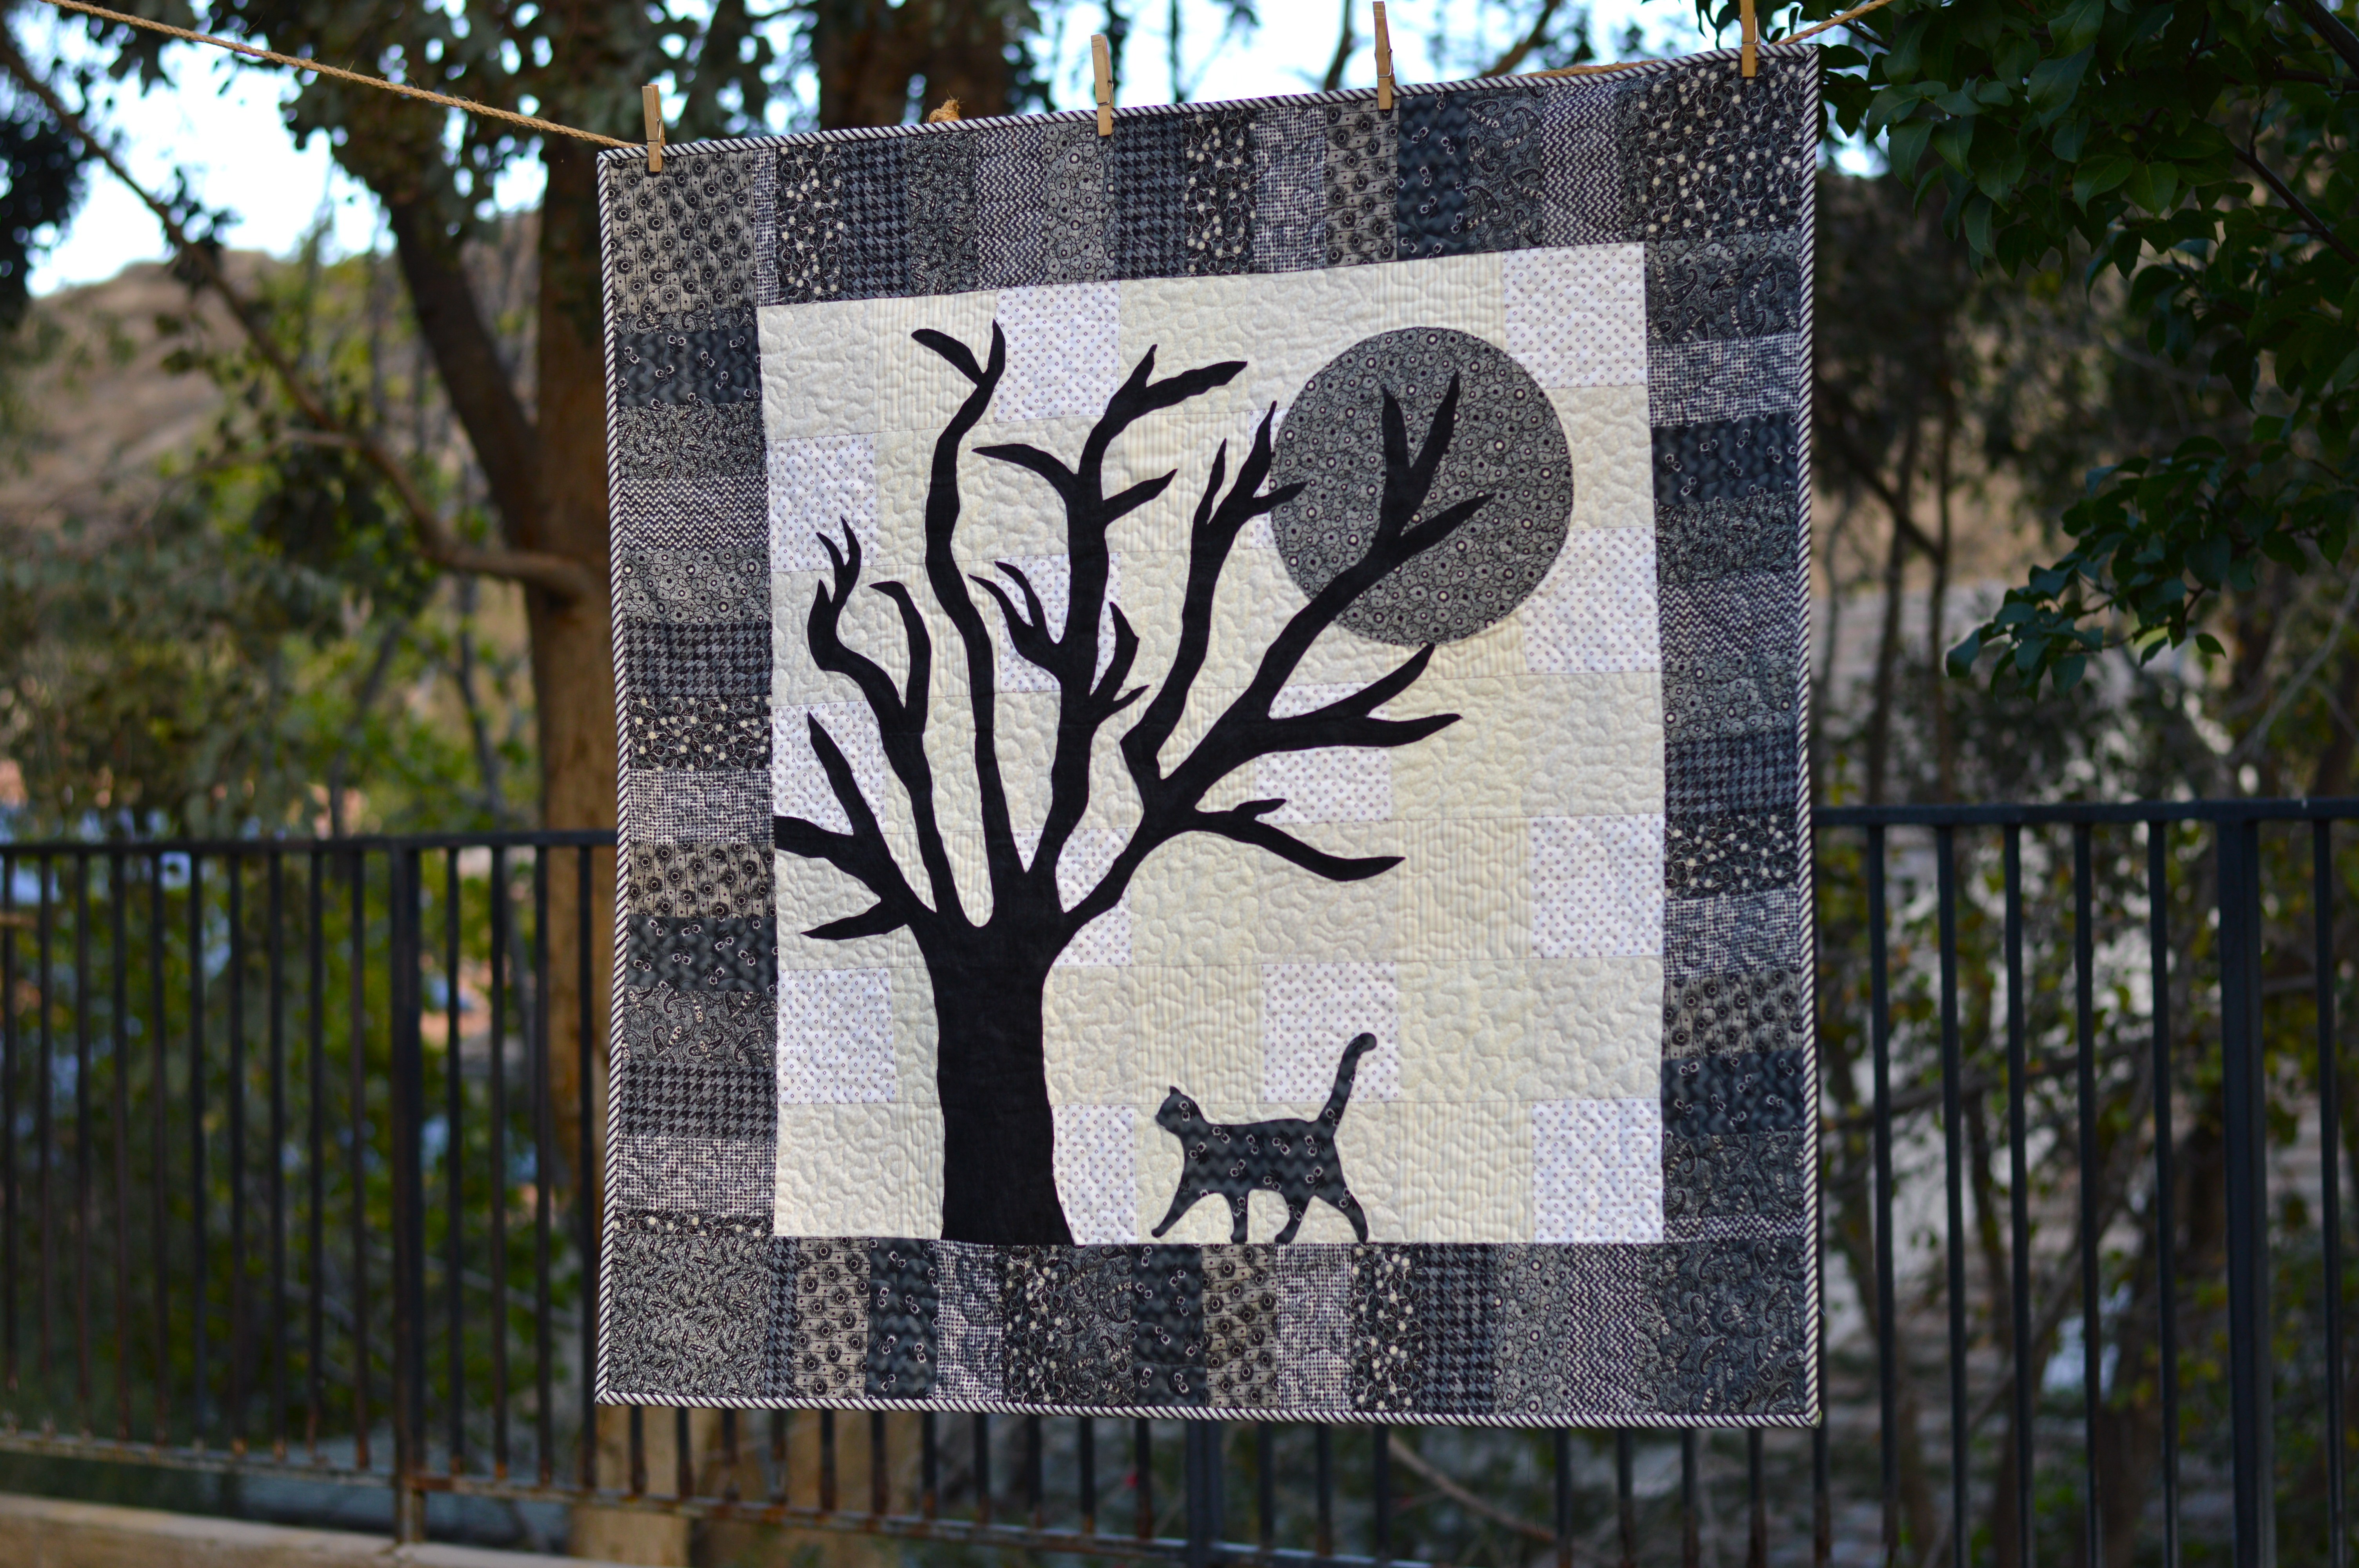
It’s almost October and I can’t get enough Orange & Black sewing! I love traditional Halloween colors! Meet October Stars, my newest quilt pattern! It’s available in my Etsy shop and I love everything about this quilt! 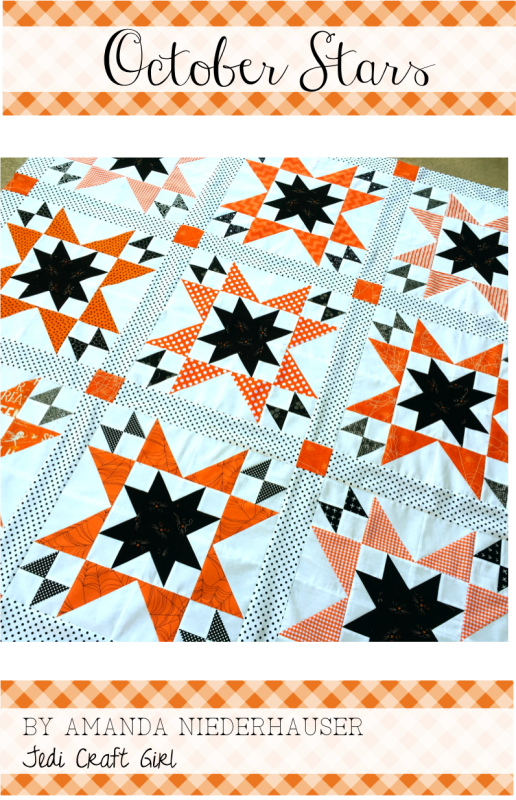
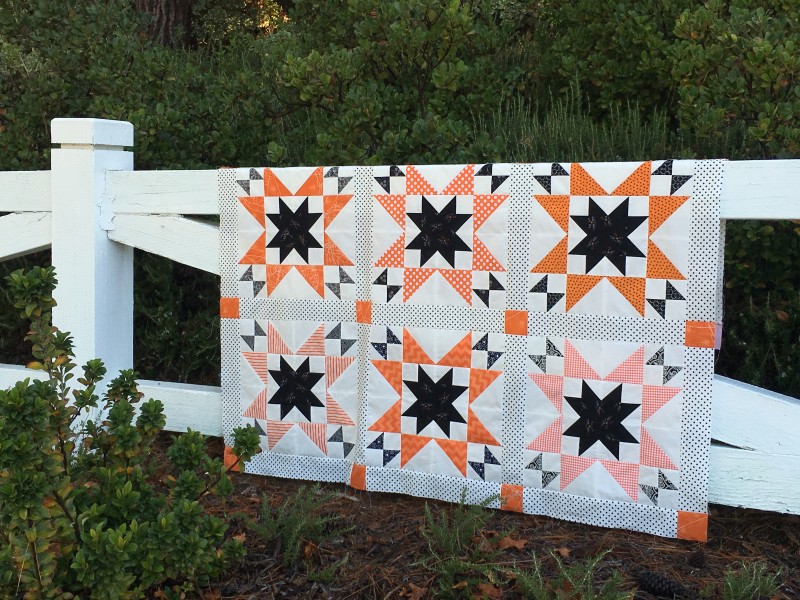
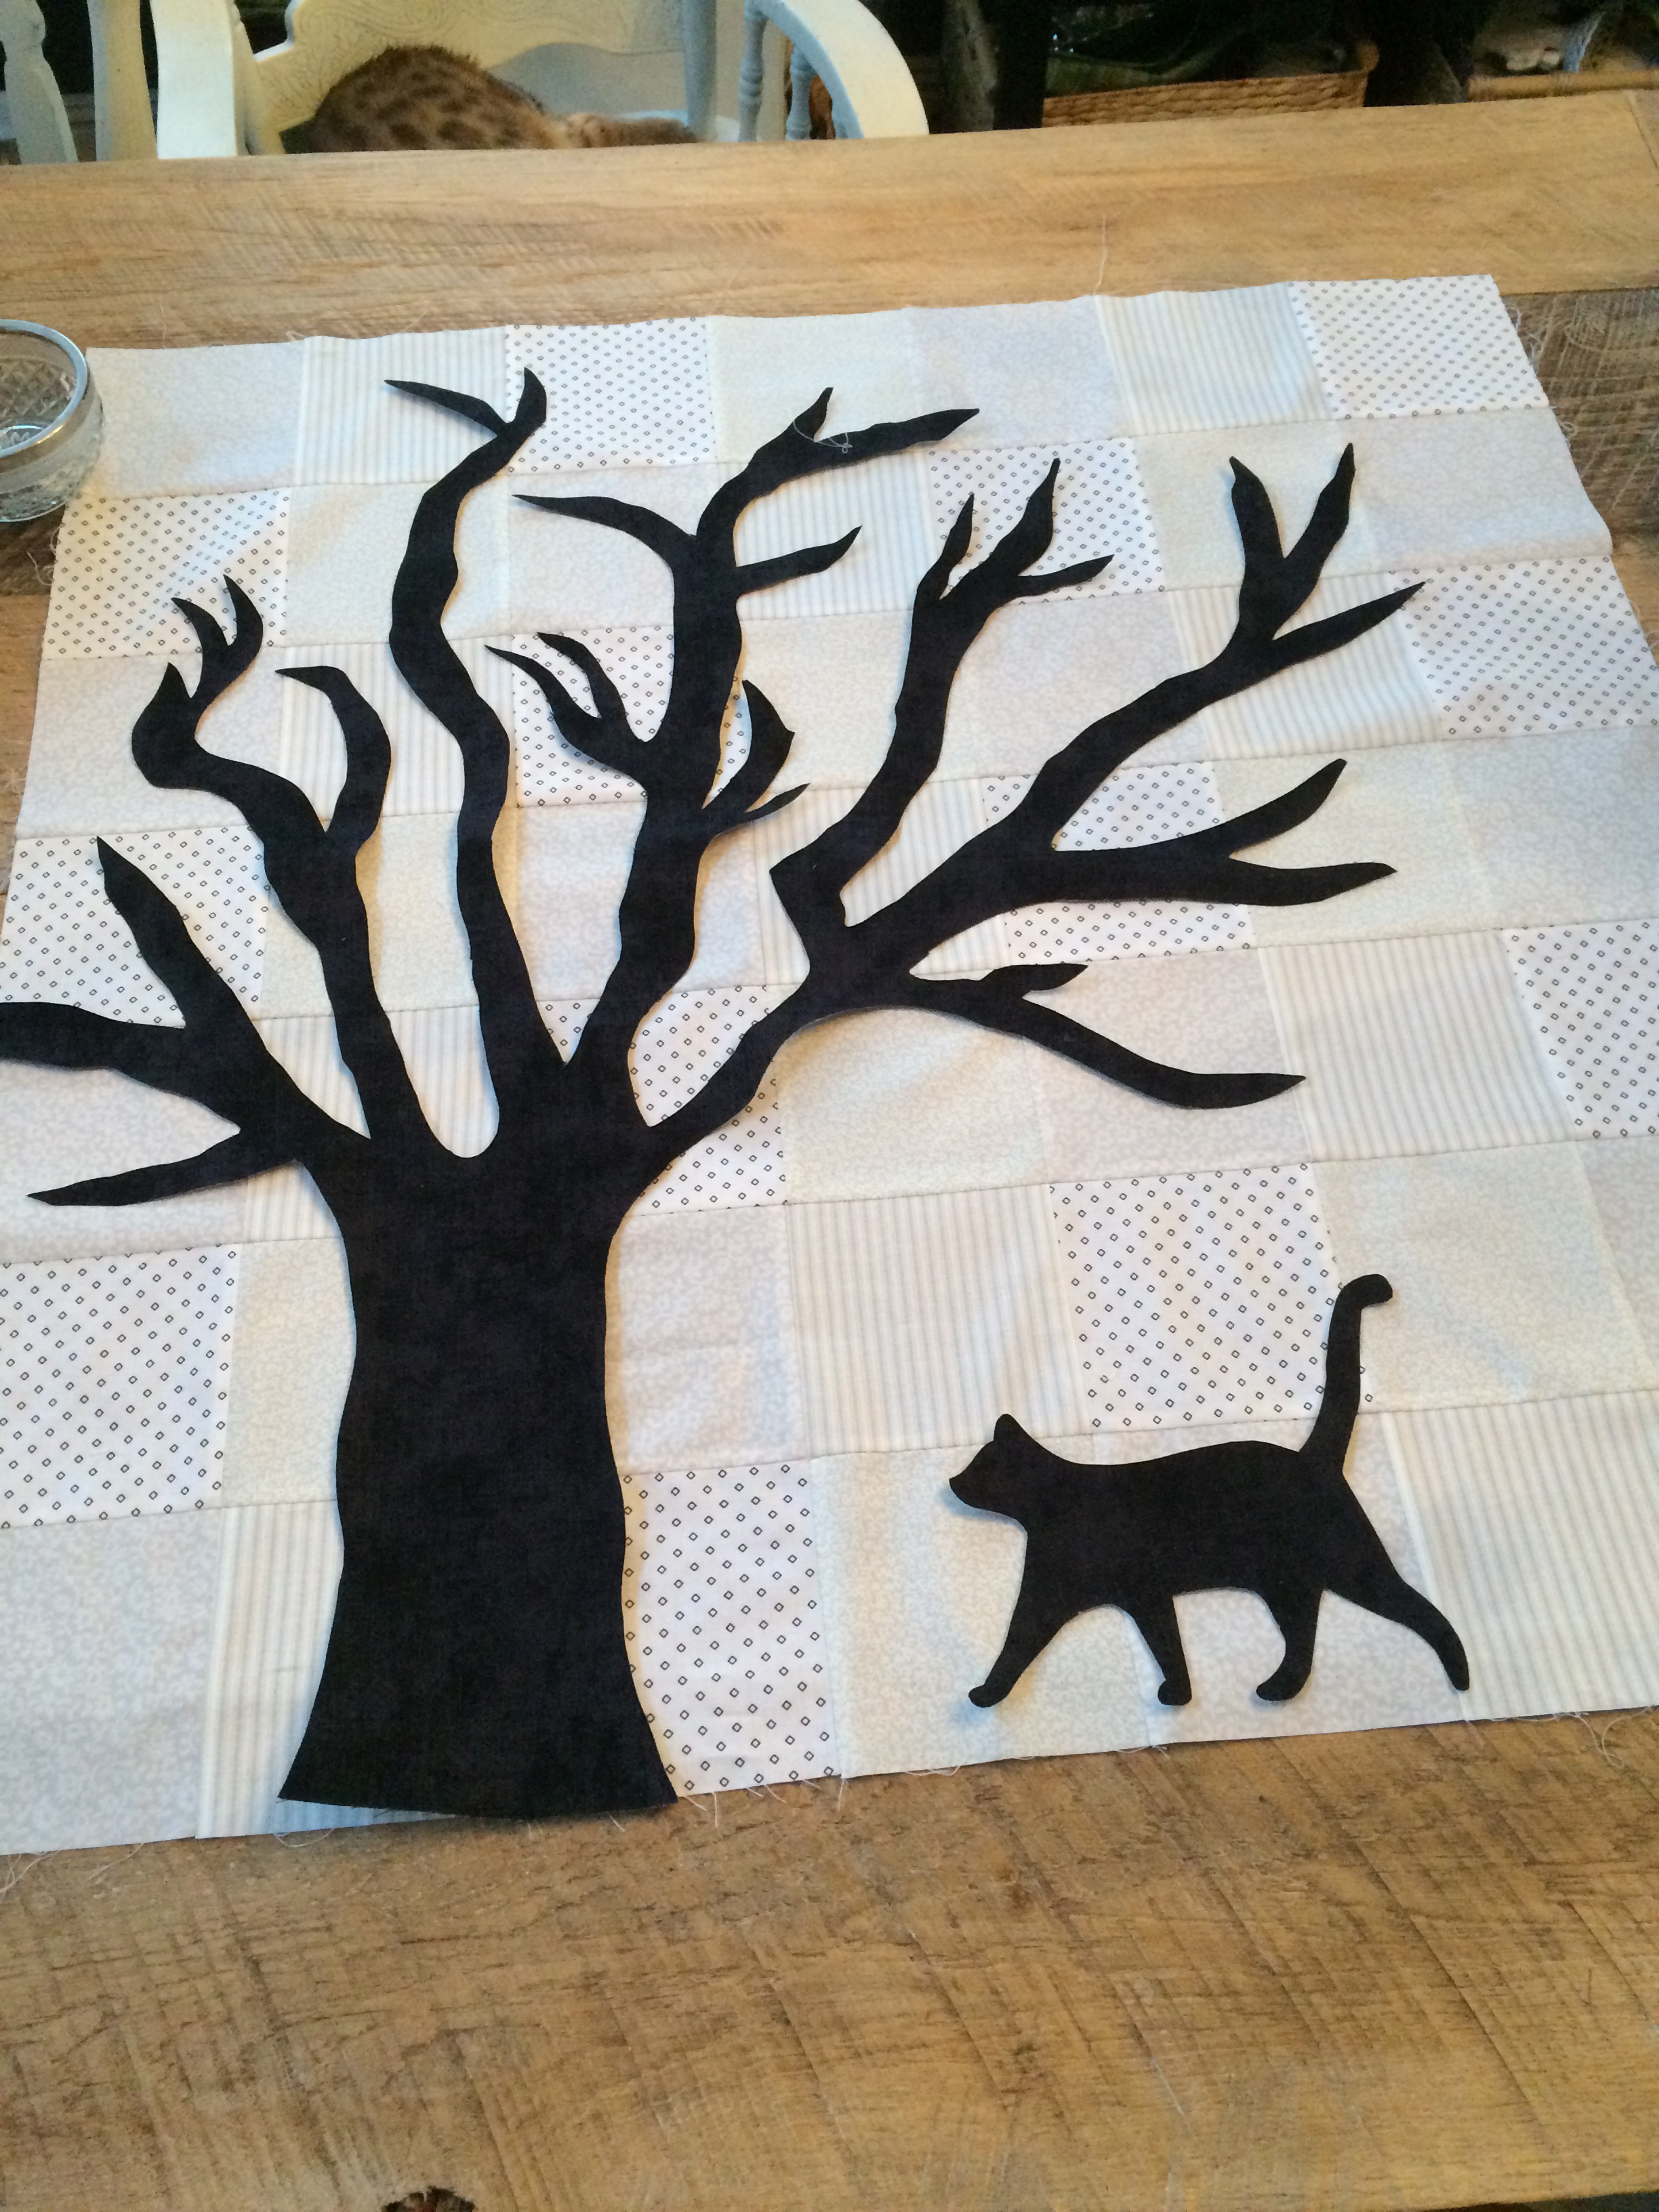
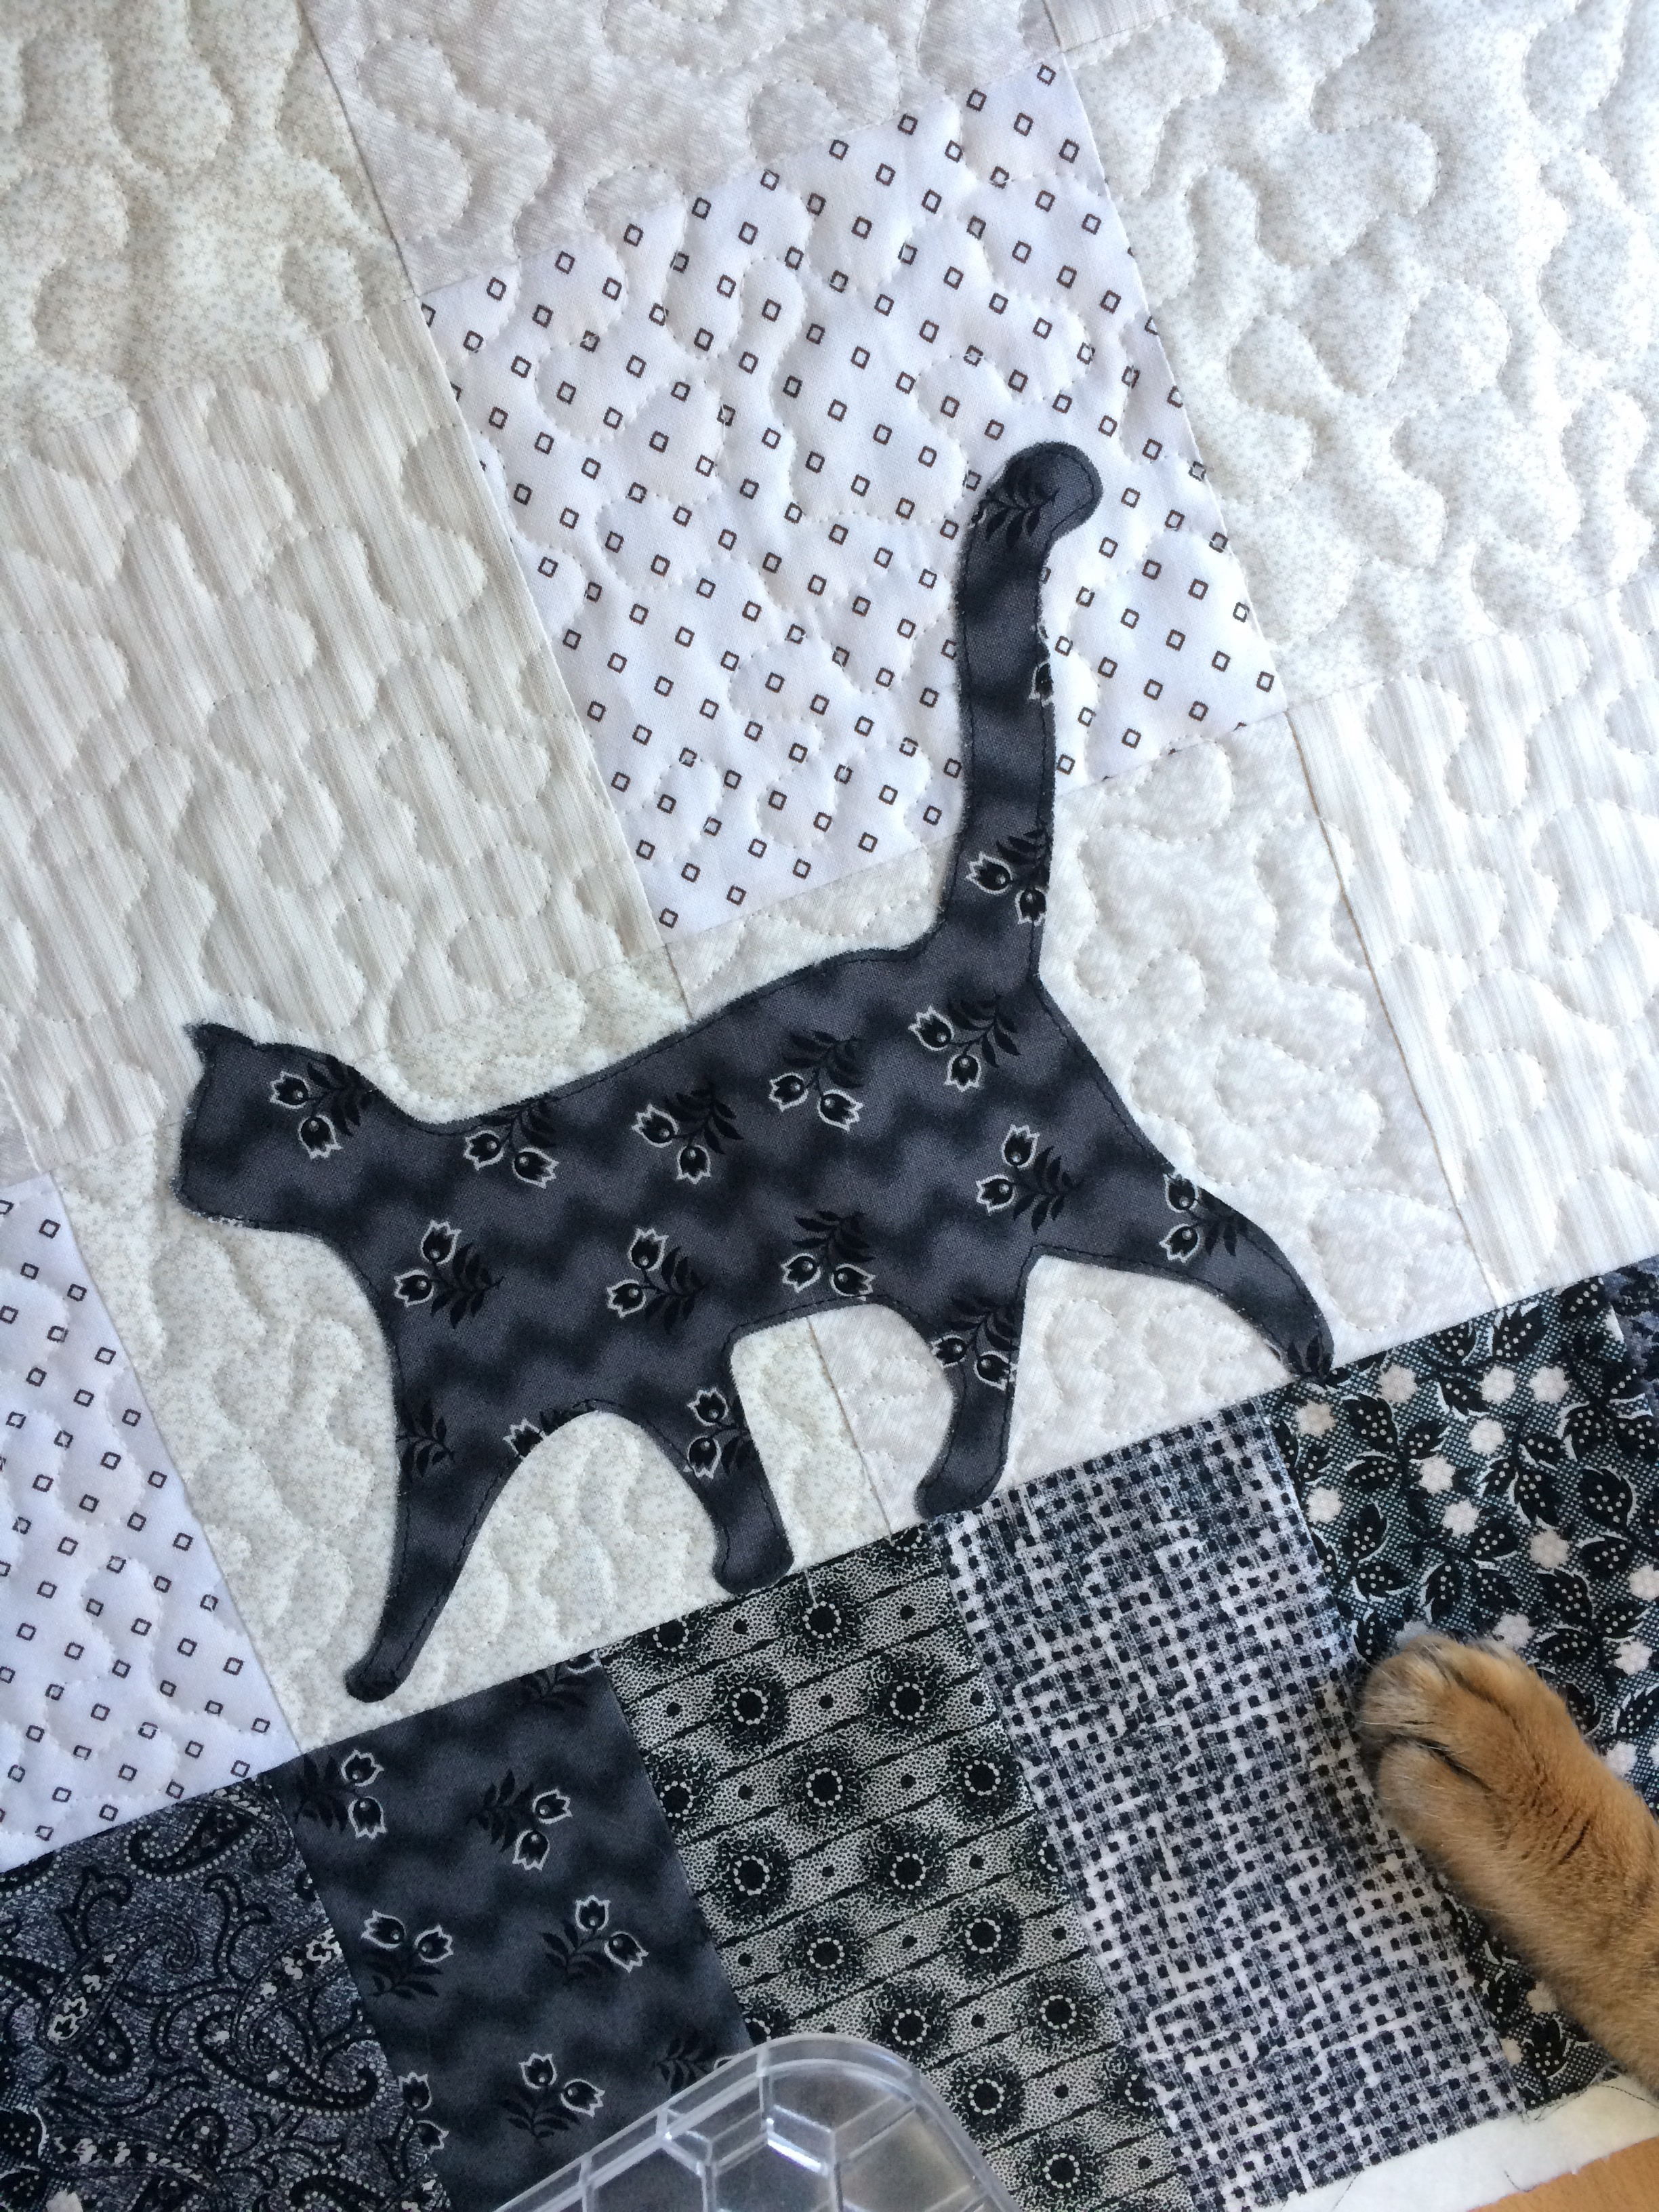
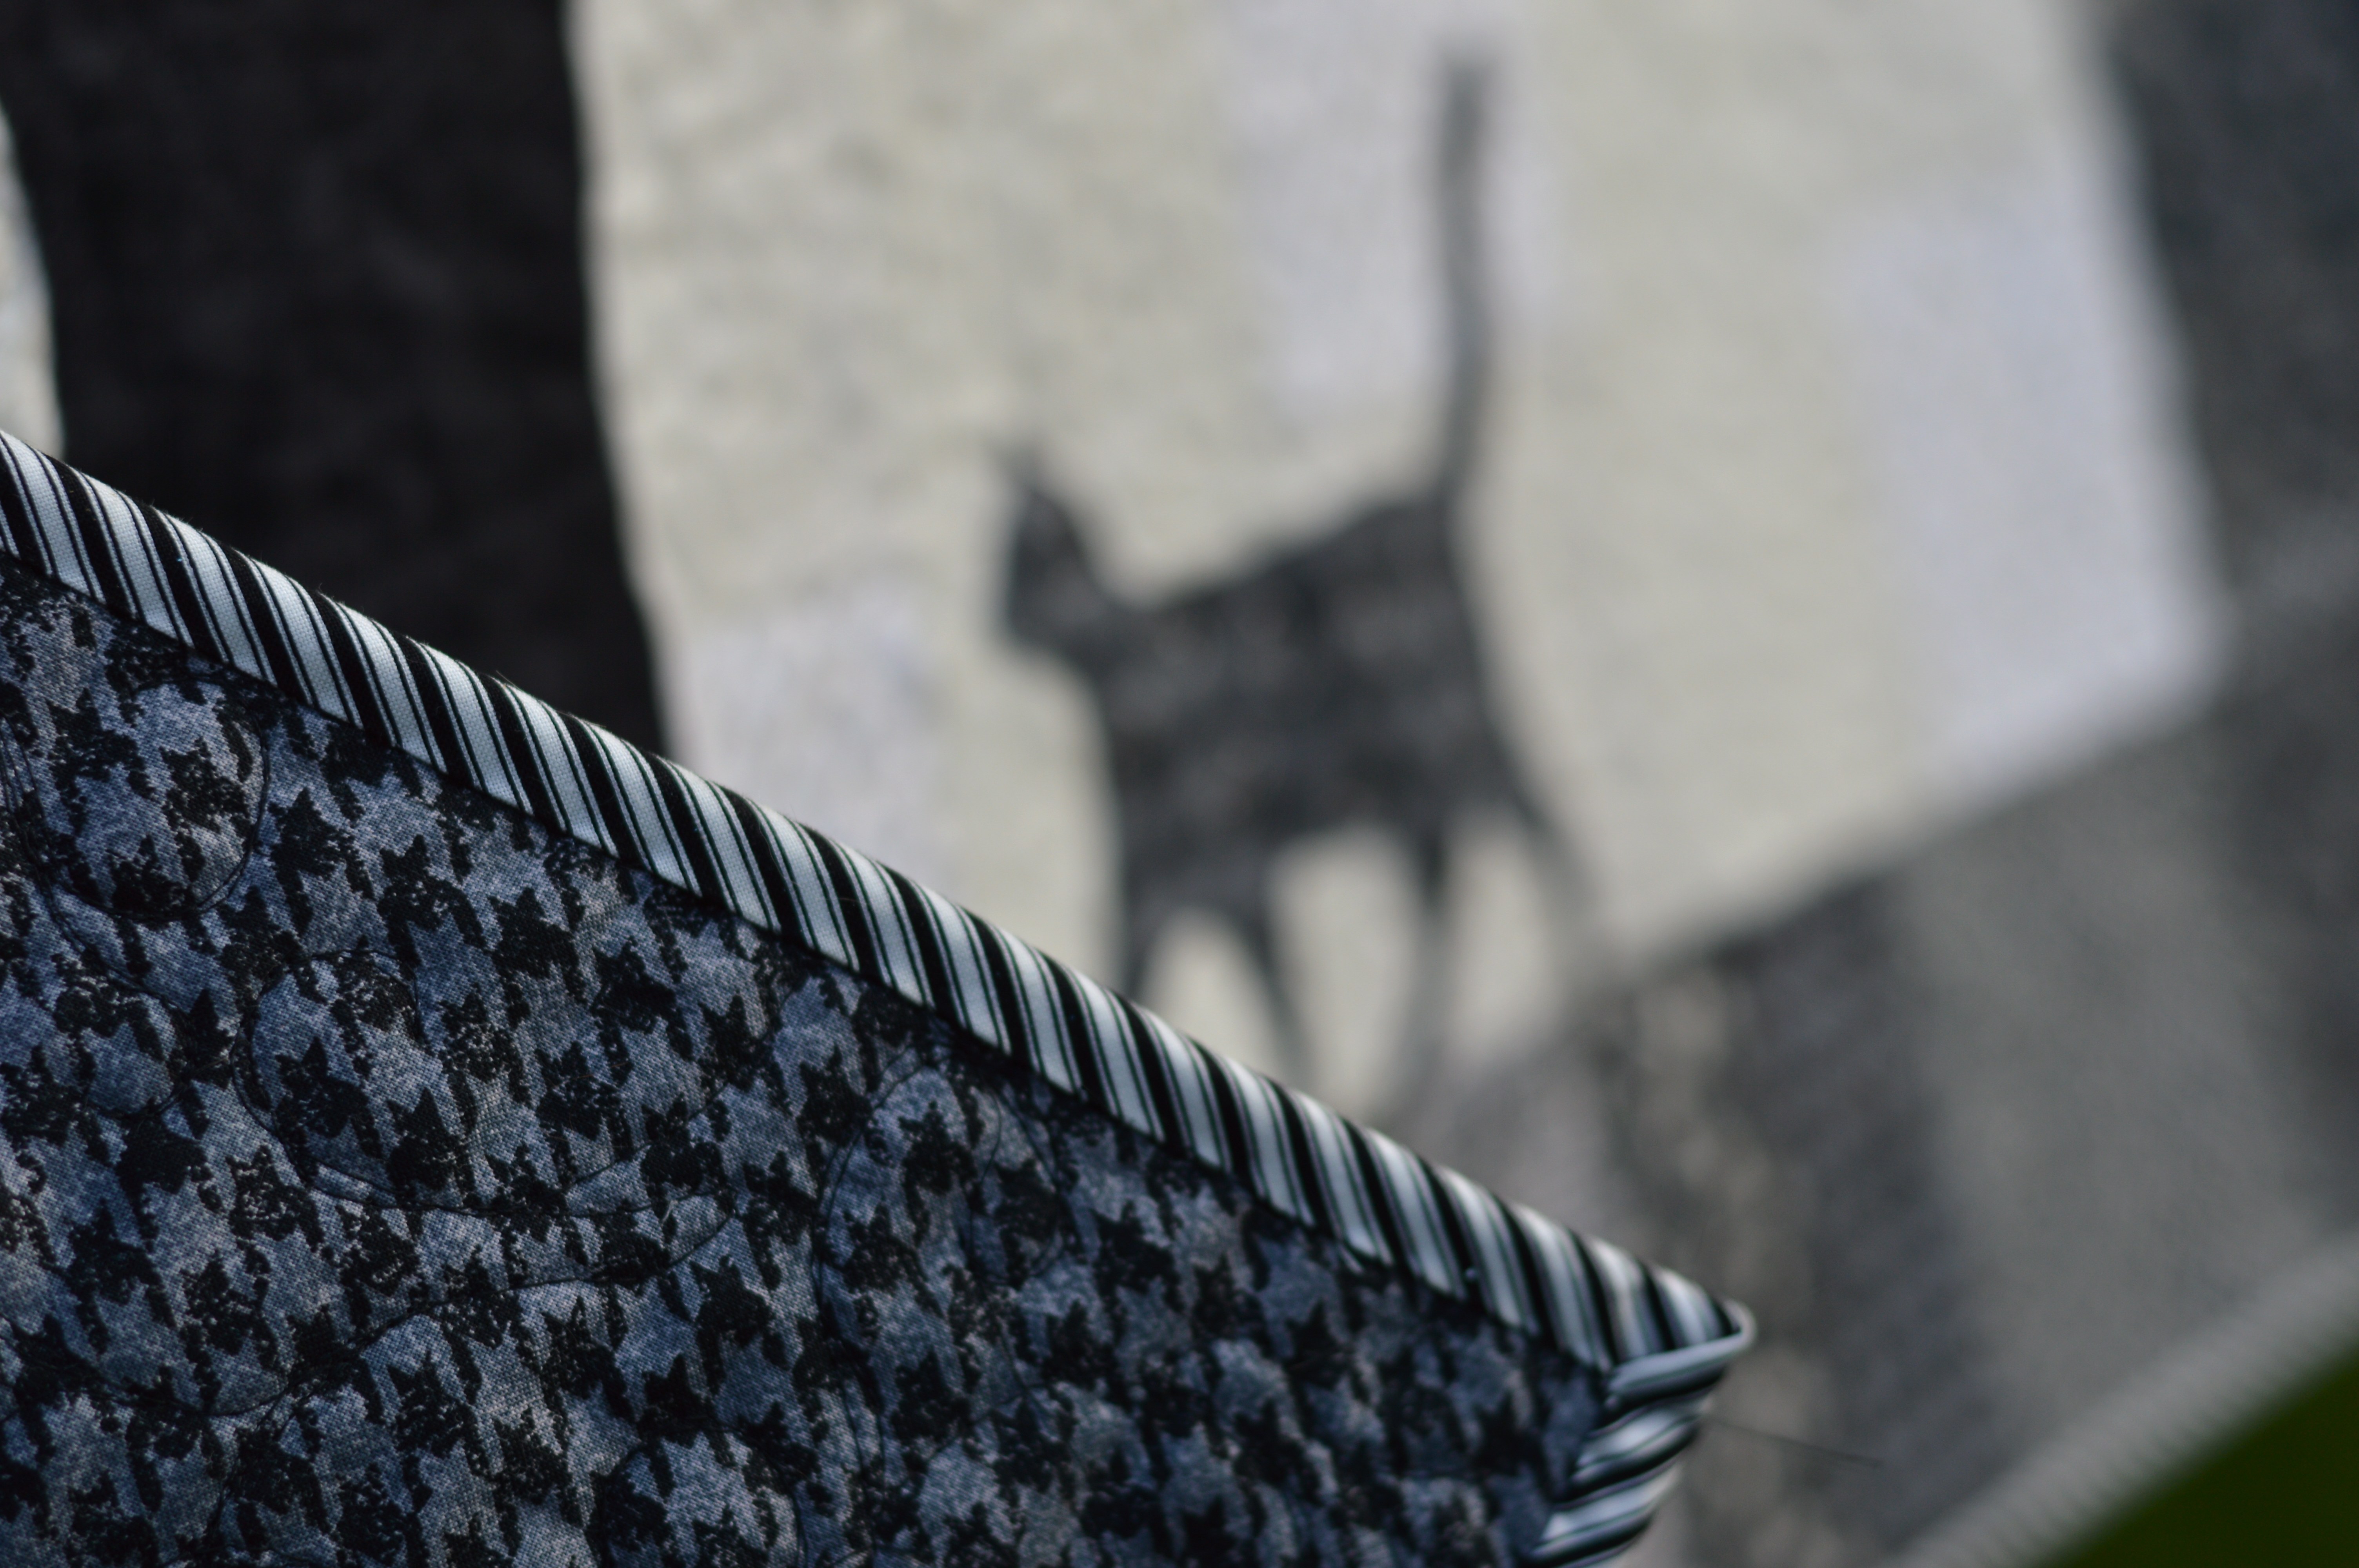
The quilt is made up of 9 large star blocks. The center fabric of each of the small black stars has kitty faces on it!

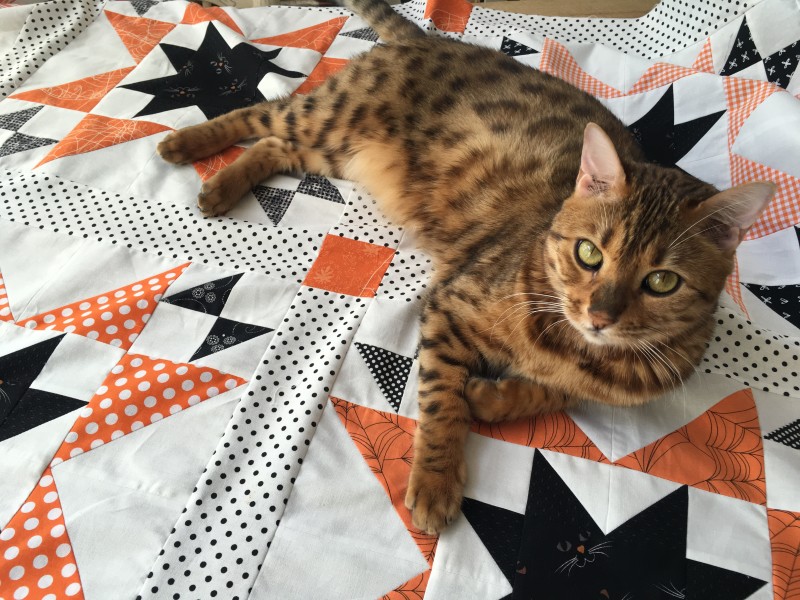
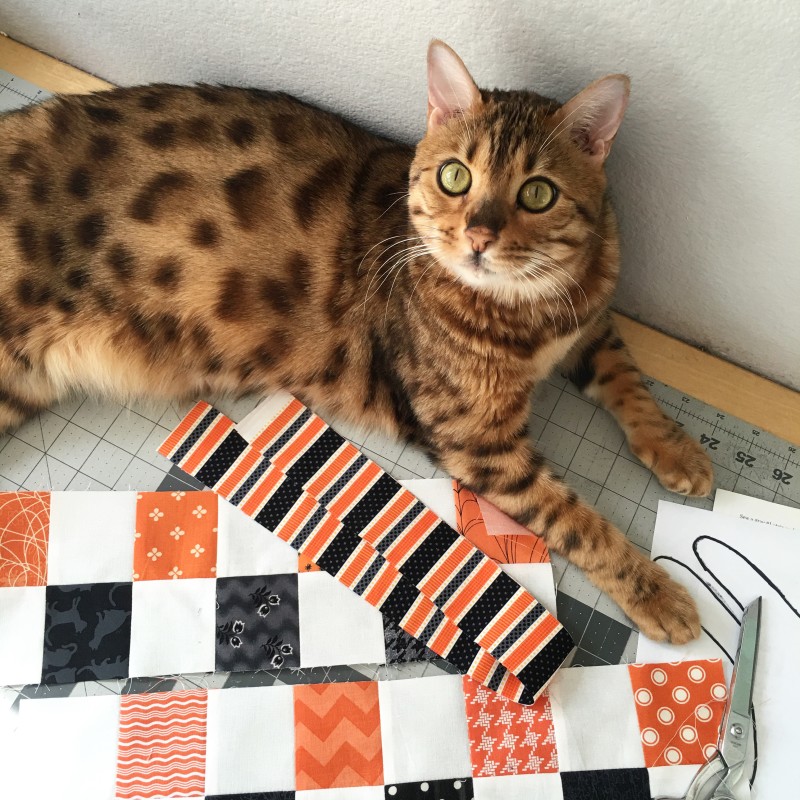
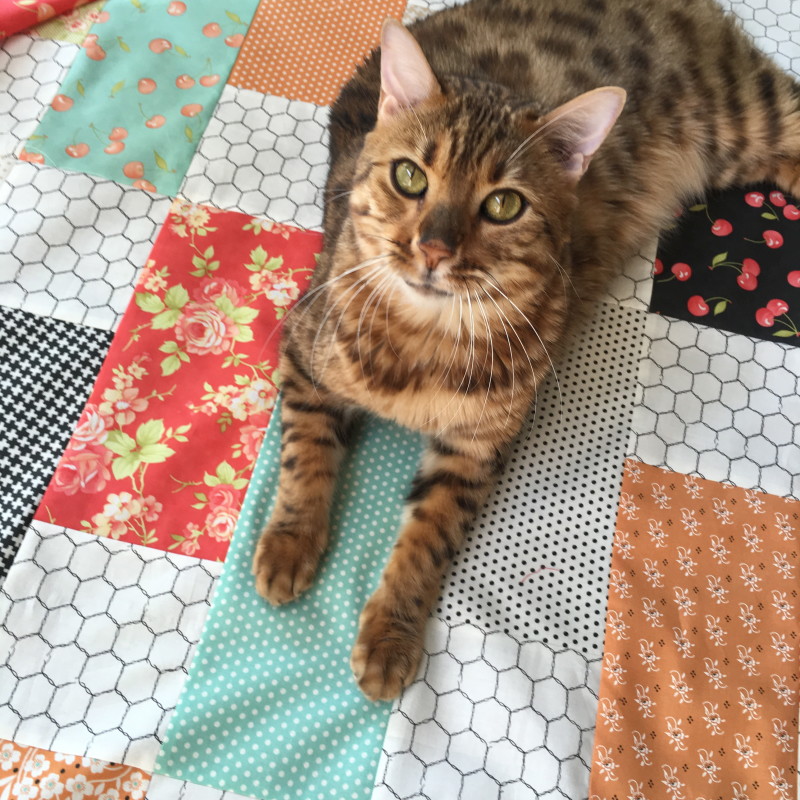
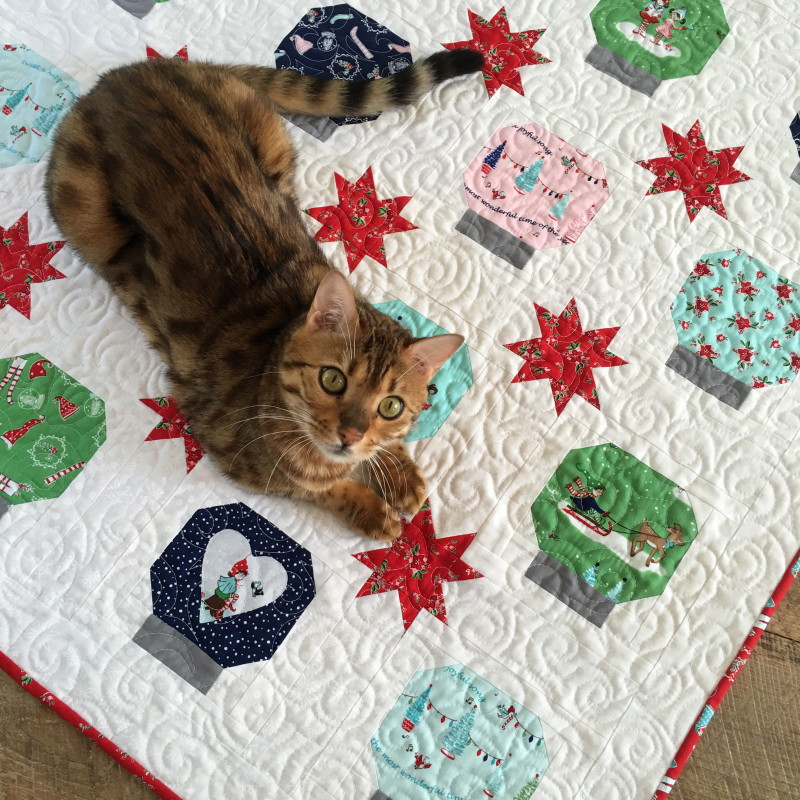
Mufasa totally approves!!
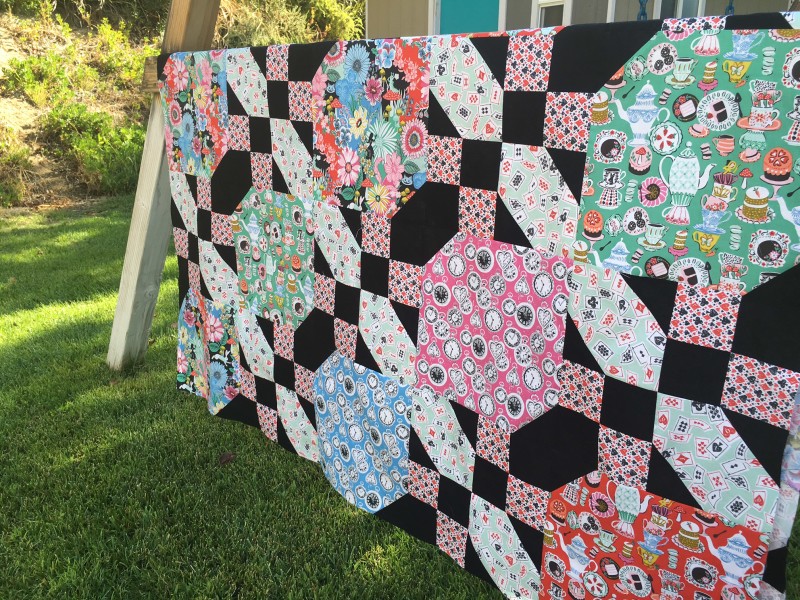
The quilt measures 58″ square which is such a great throw size.
This would also be fun to make in Christmas colors as well!
I hope you love it!

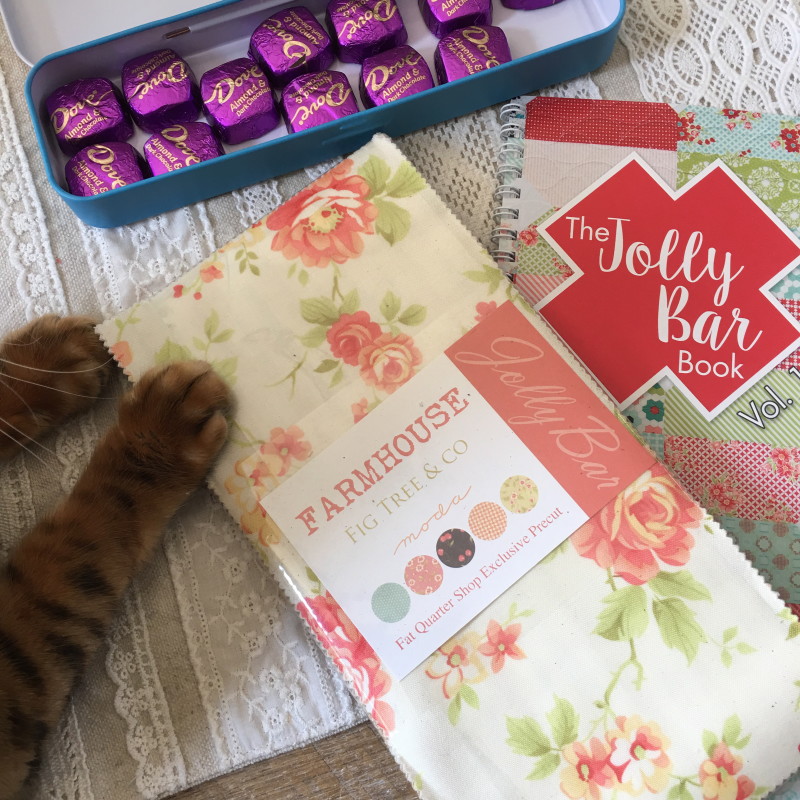
 Check out these wonderful designers to see what patterns they sewed up from the Jolly Bar Book!!!


 The finished quilt measures 60″ x 72″ and each block is 12″.
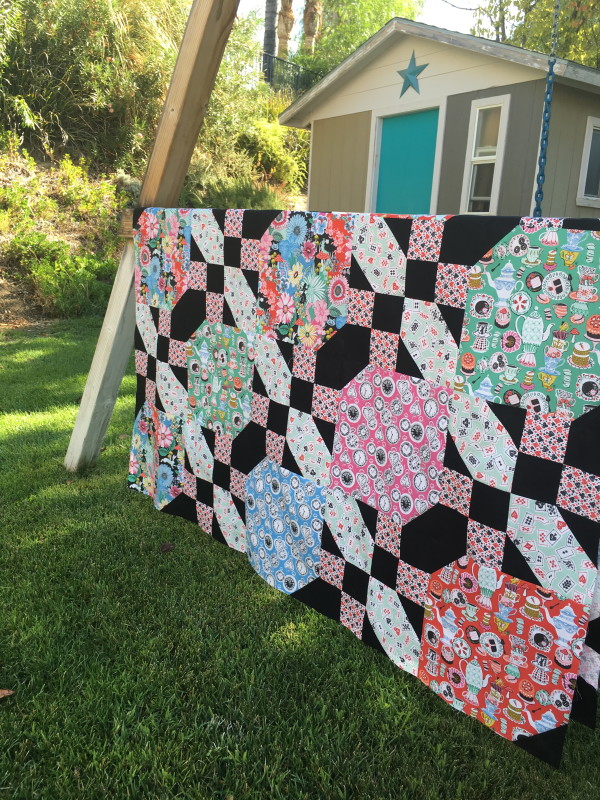

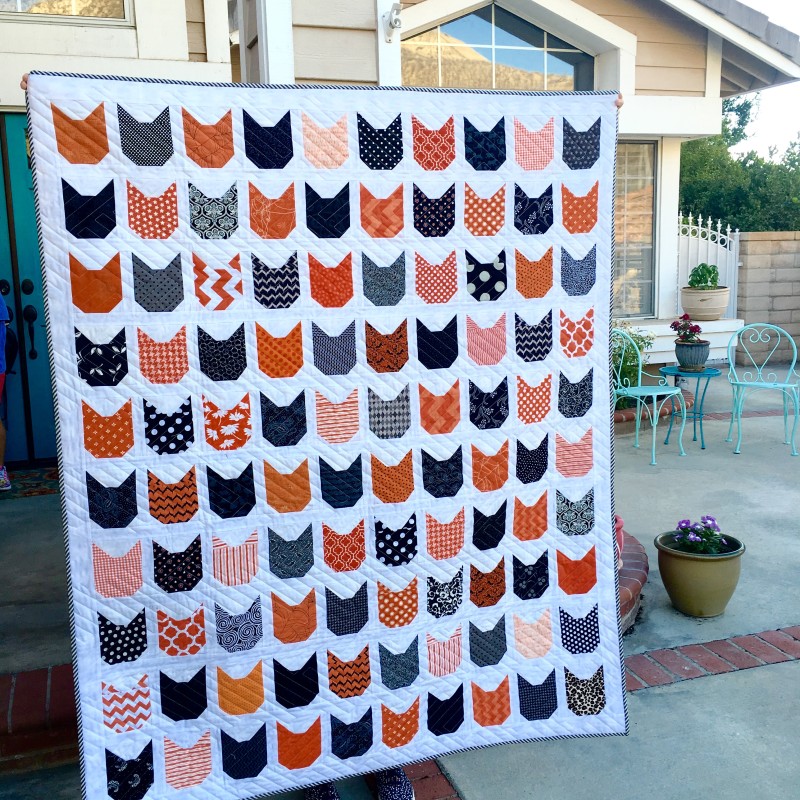
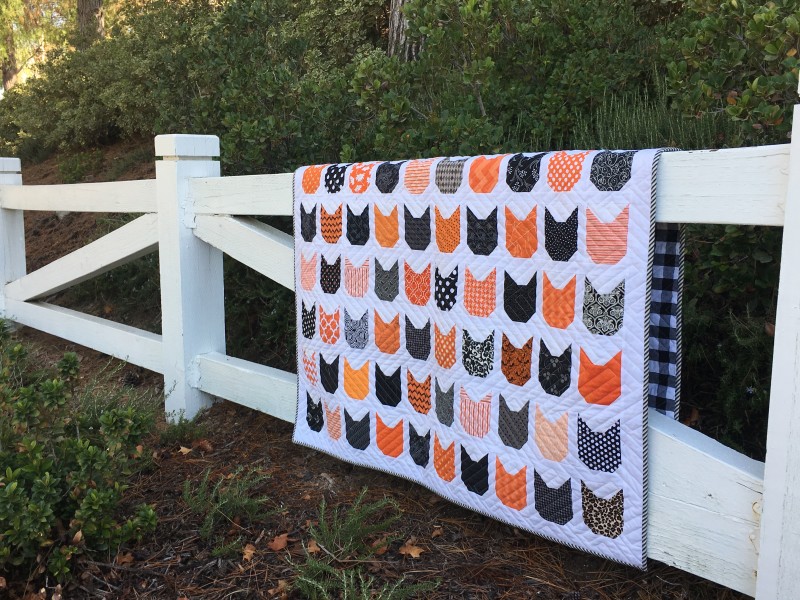
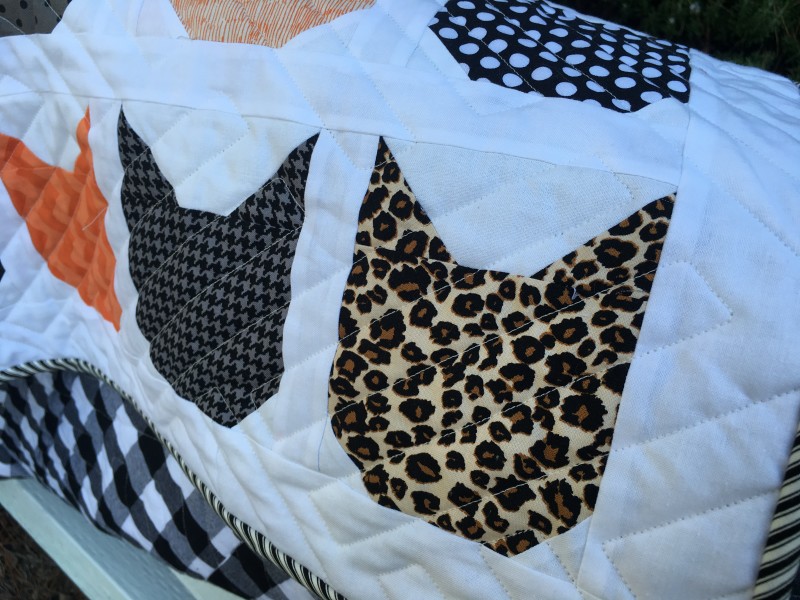 Each cat head is either black or orange print with the exception of the bottom right corner – it’s Mufasa!!!!
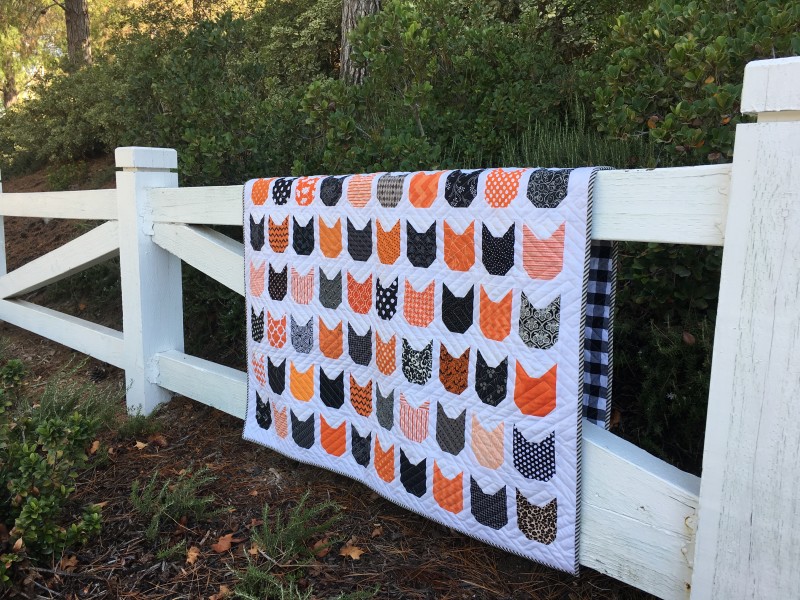
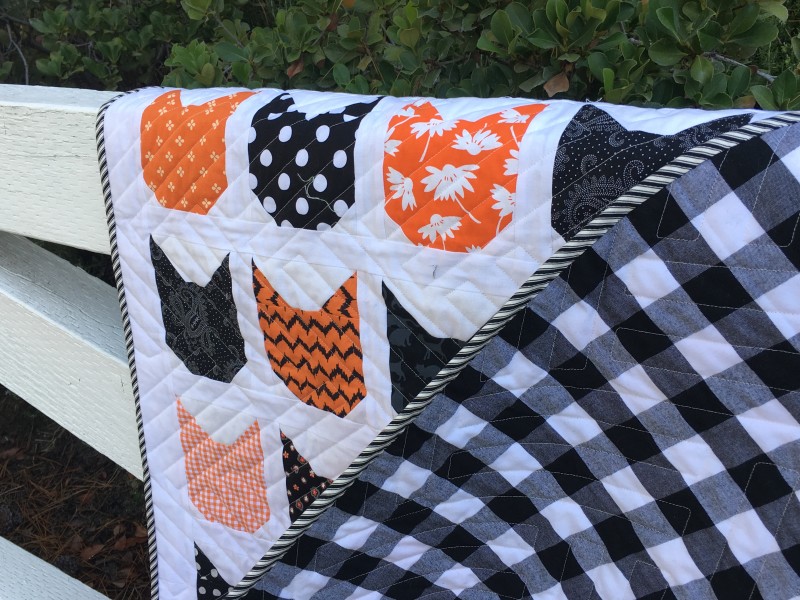
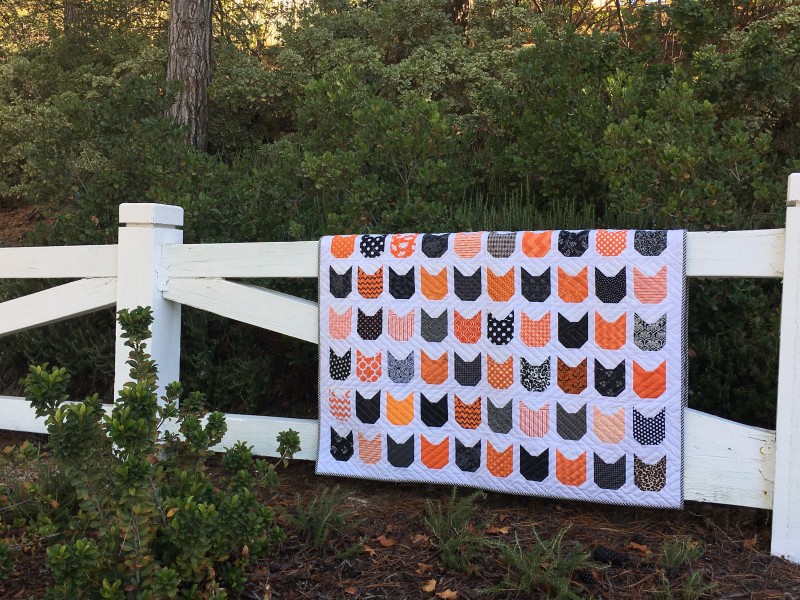 Oh my gosh – it’s too cute!!!!! 100 cat heads!!!
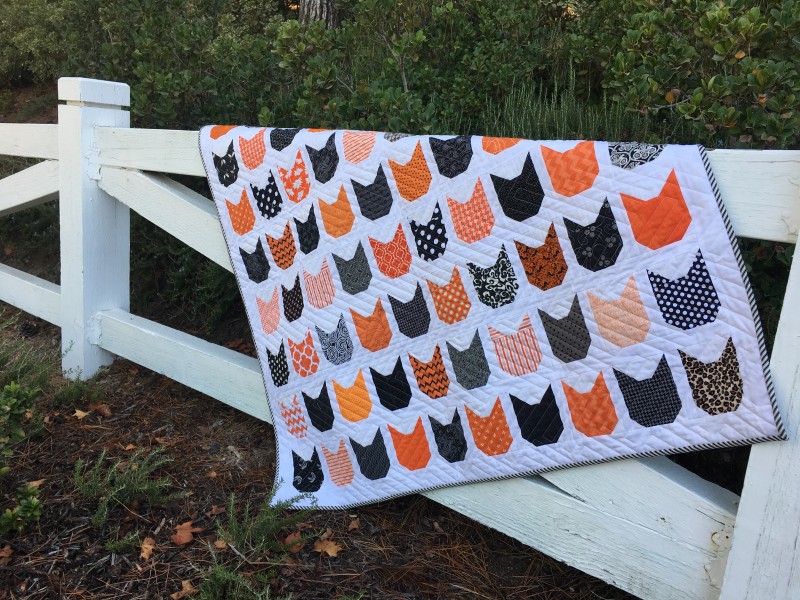
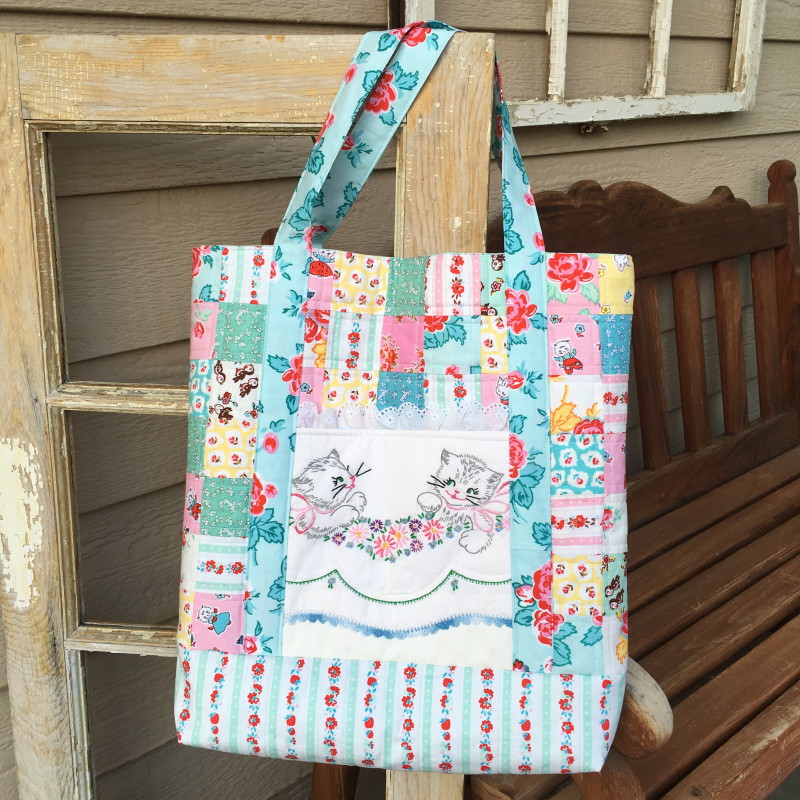
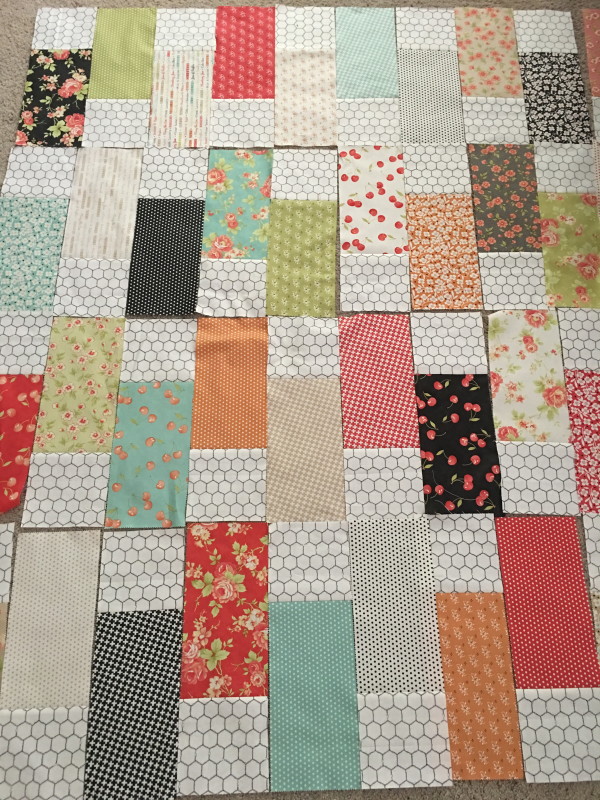
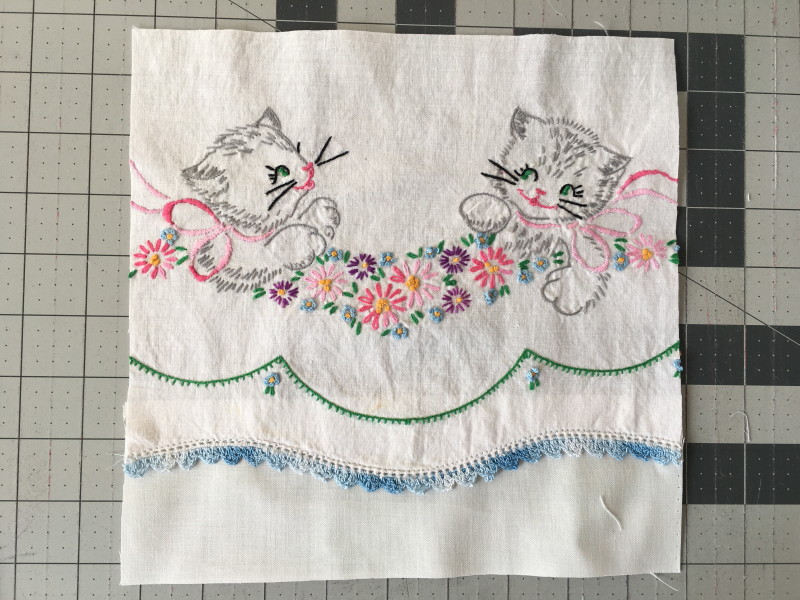
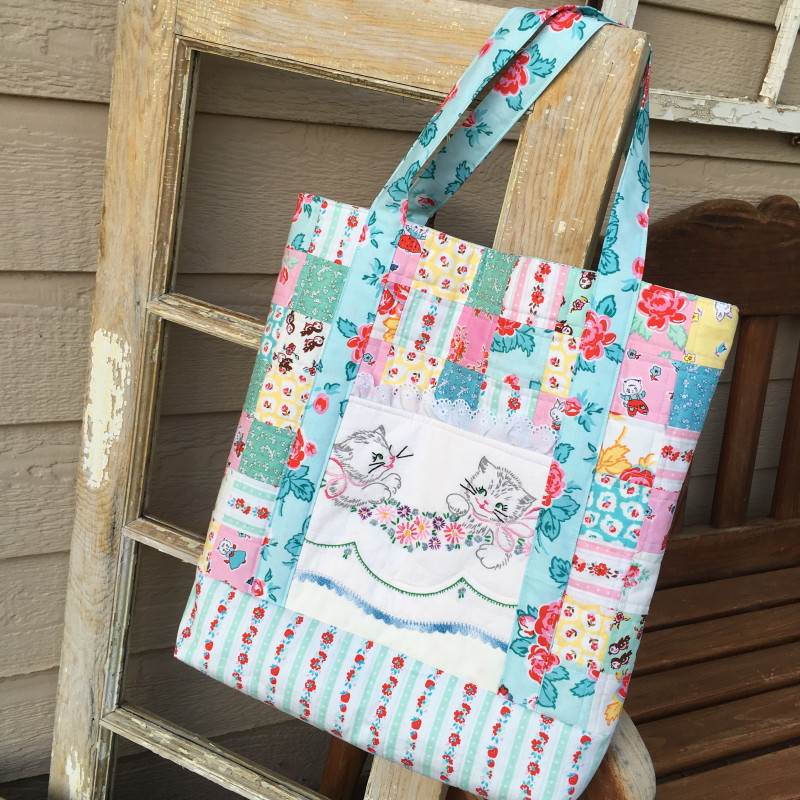
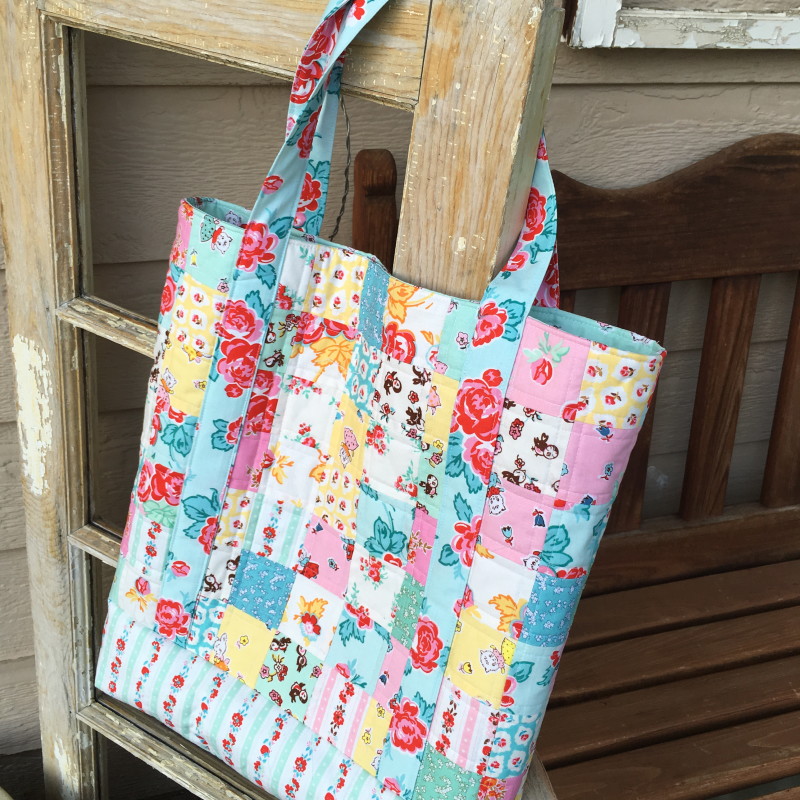
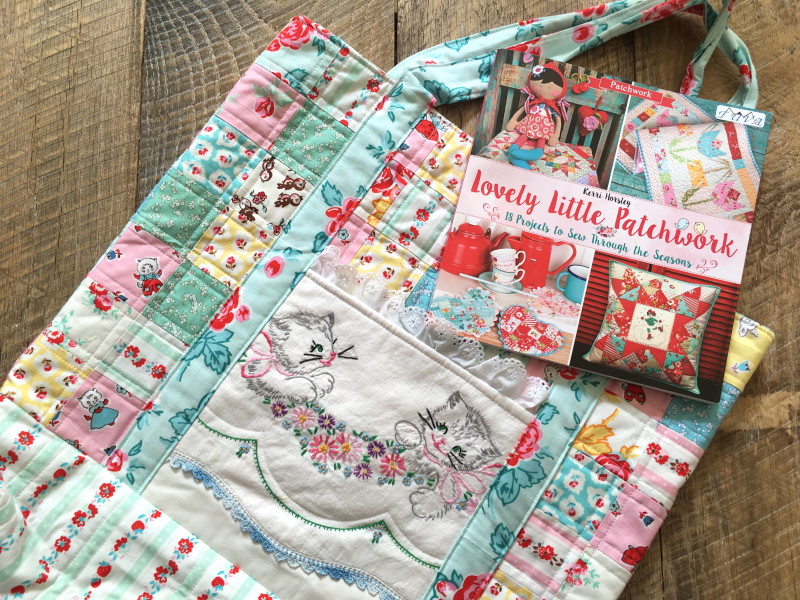 What I love about this book is that not only are the projects inspiring but the book is also fun to read and so pretty to thumb through! I choose to make her Patchwork Market Tote.
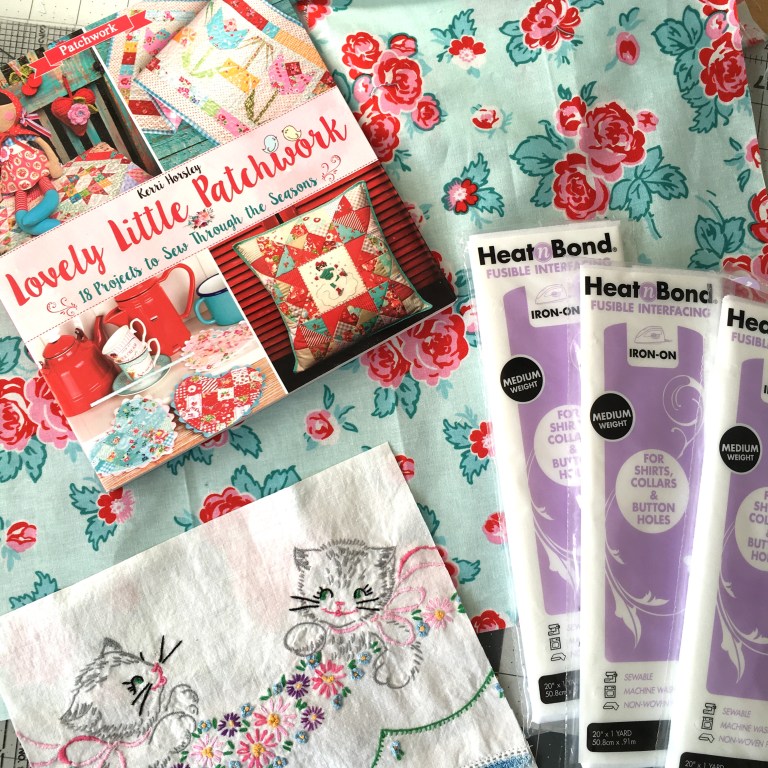


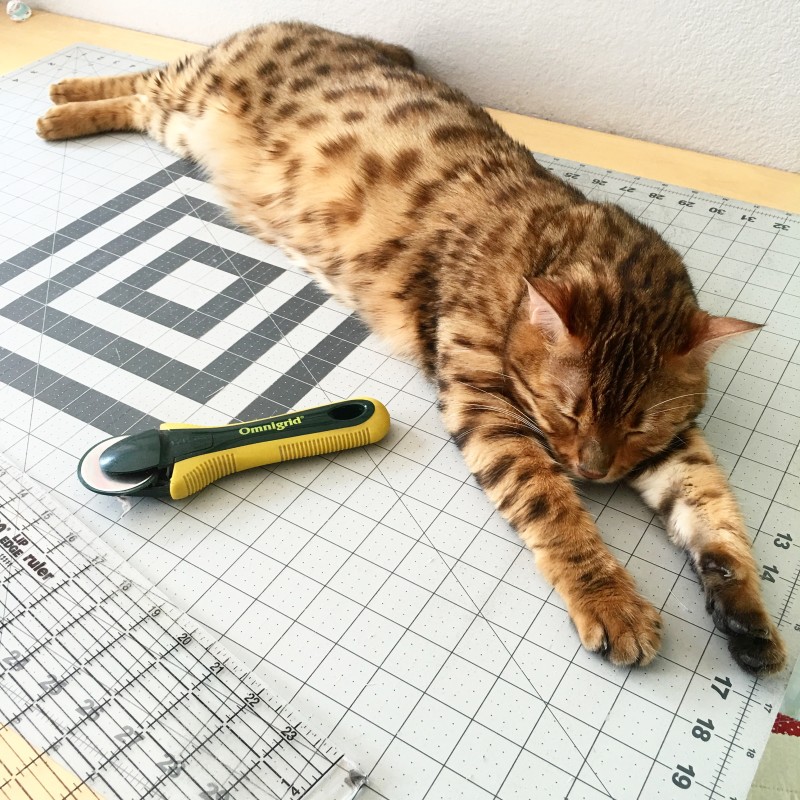
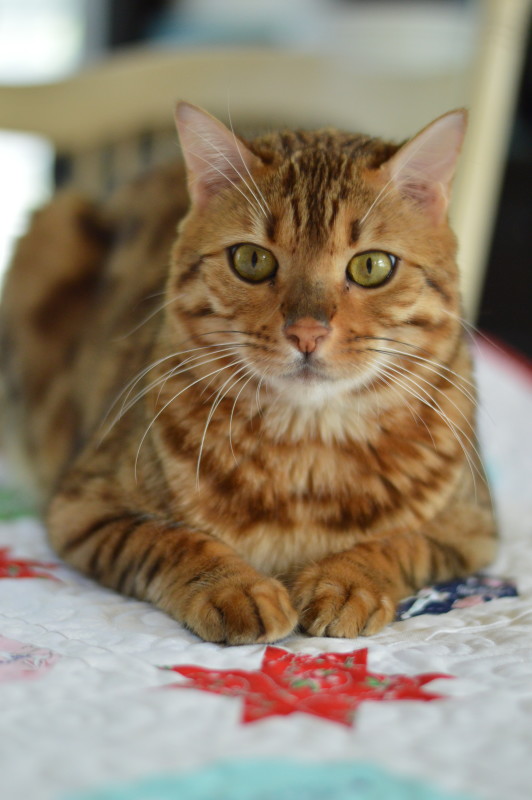 And one more picture of Mufasa just because he is so handsome and takes such great pictures!


