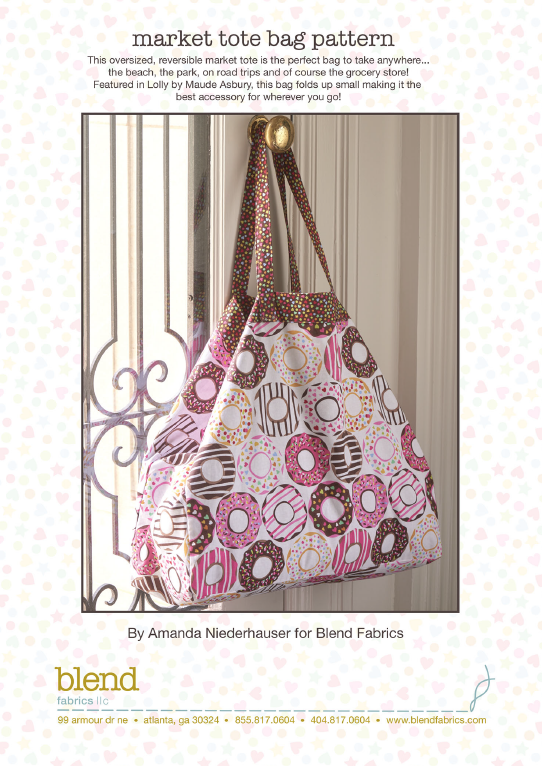
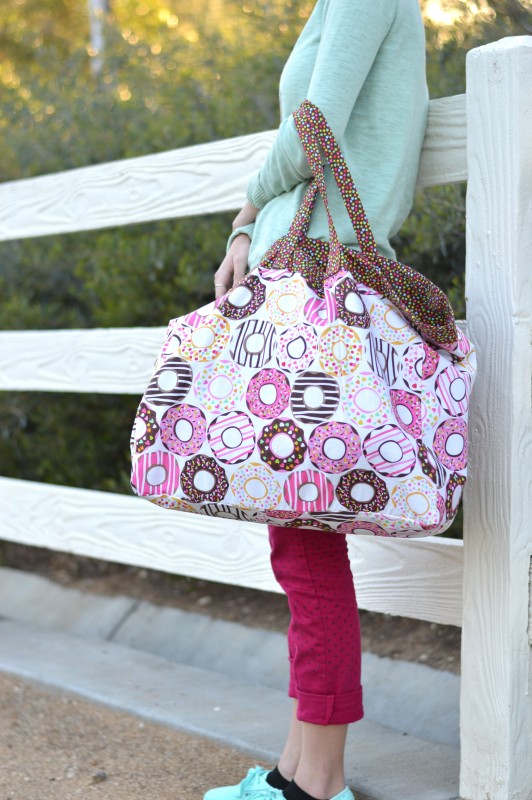
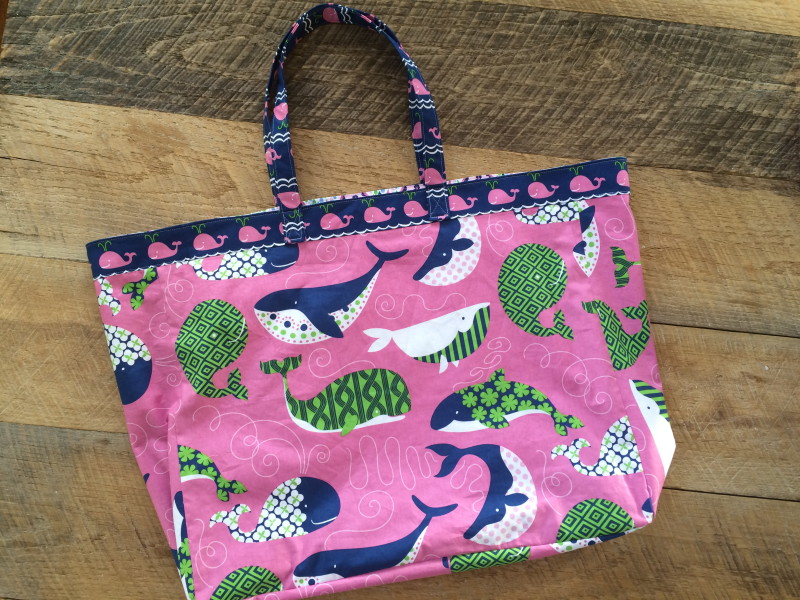
I created this fun and versitile tote bag for Blend Fabrics. It’s such a great tote because it folds up super flat but then you can fill it with tons of stuff! It’s perfect for beach towels and swimming stuff, goodies from the farmers market, or a fun day in the fabric district in LA! You can download the pattern by clicking HERE.
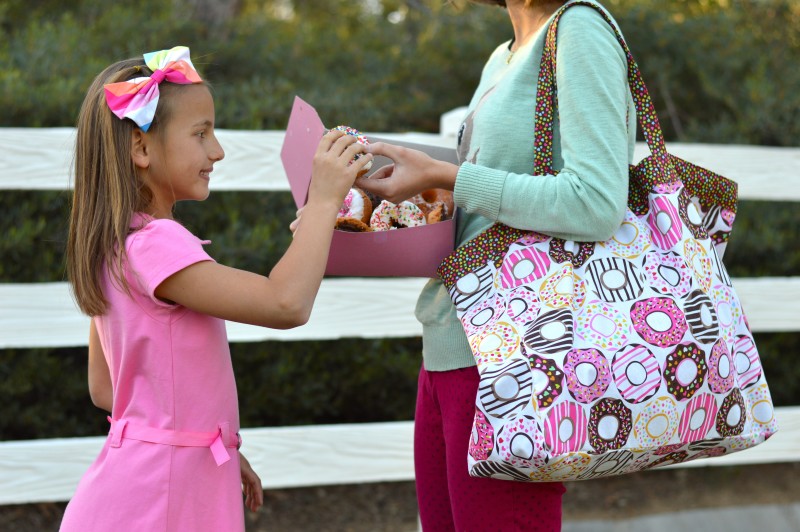
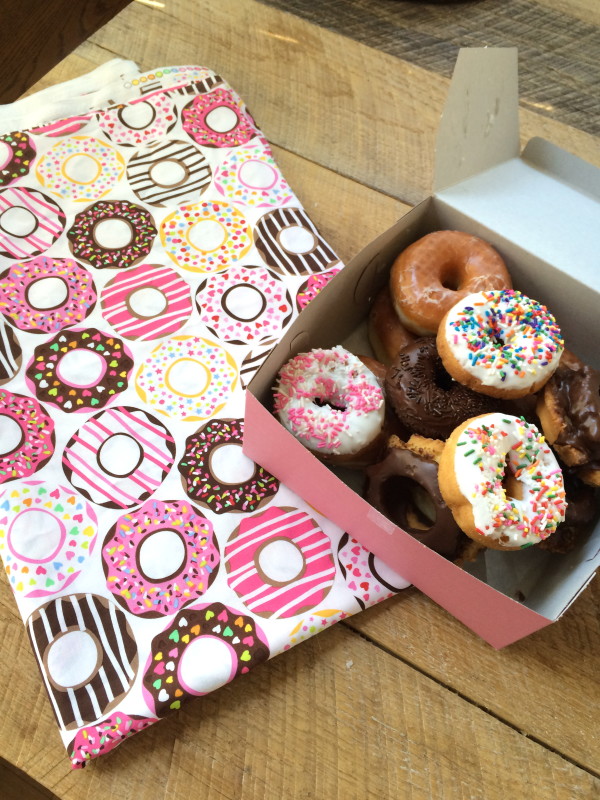
No really, it’s huge! Sally was thrilled to finally have a photo shoot that involved food!!! This fabric is called Lolly by Blend Fabrics.
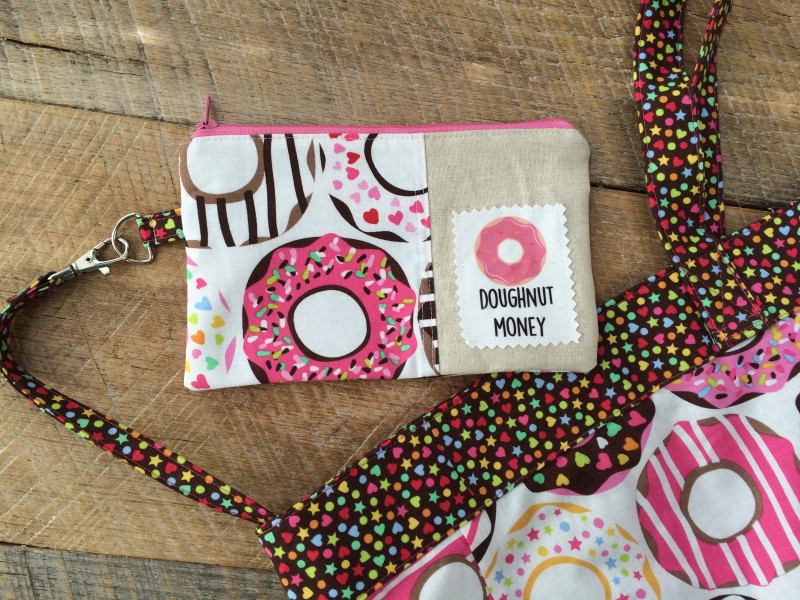
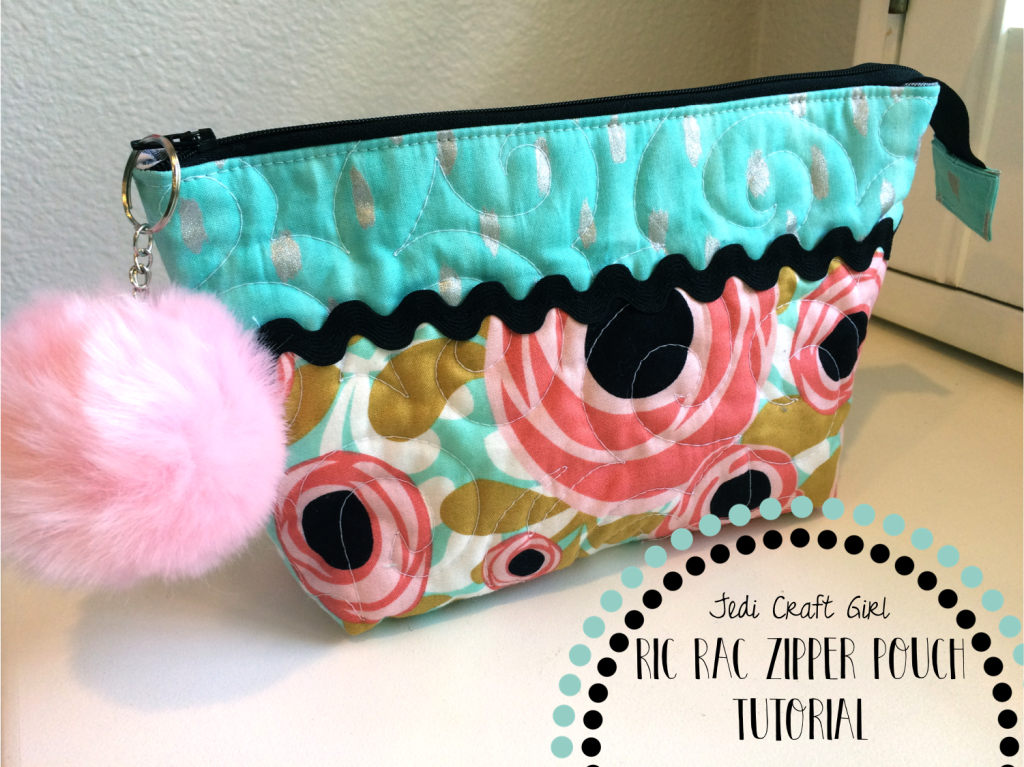
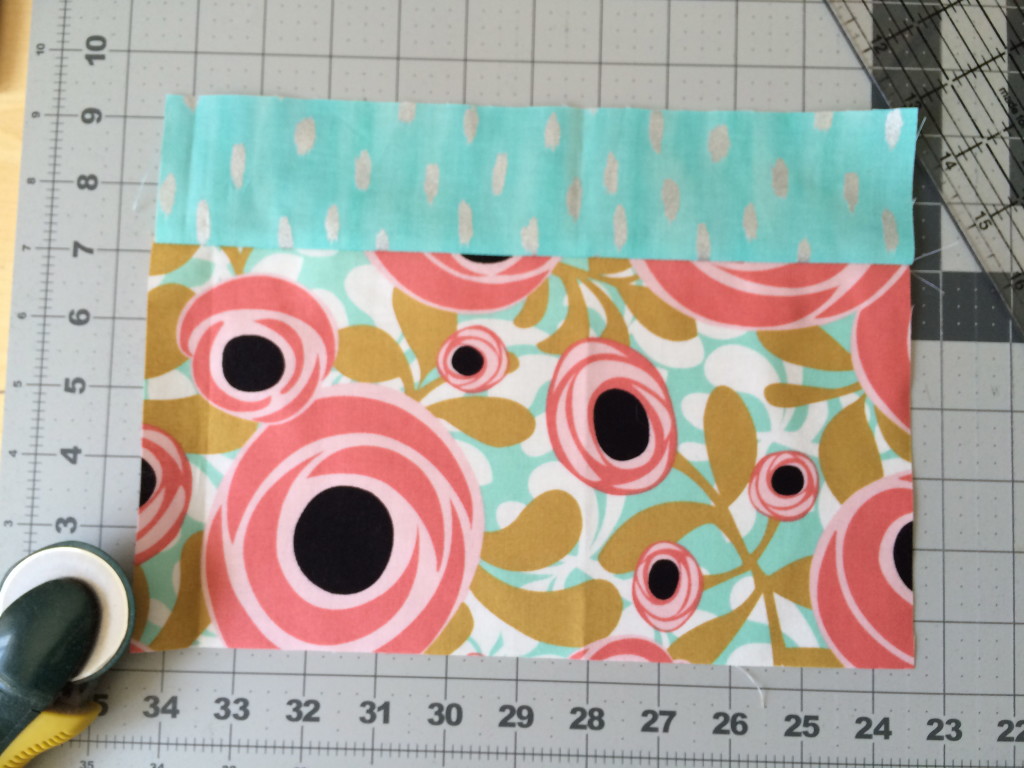
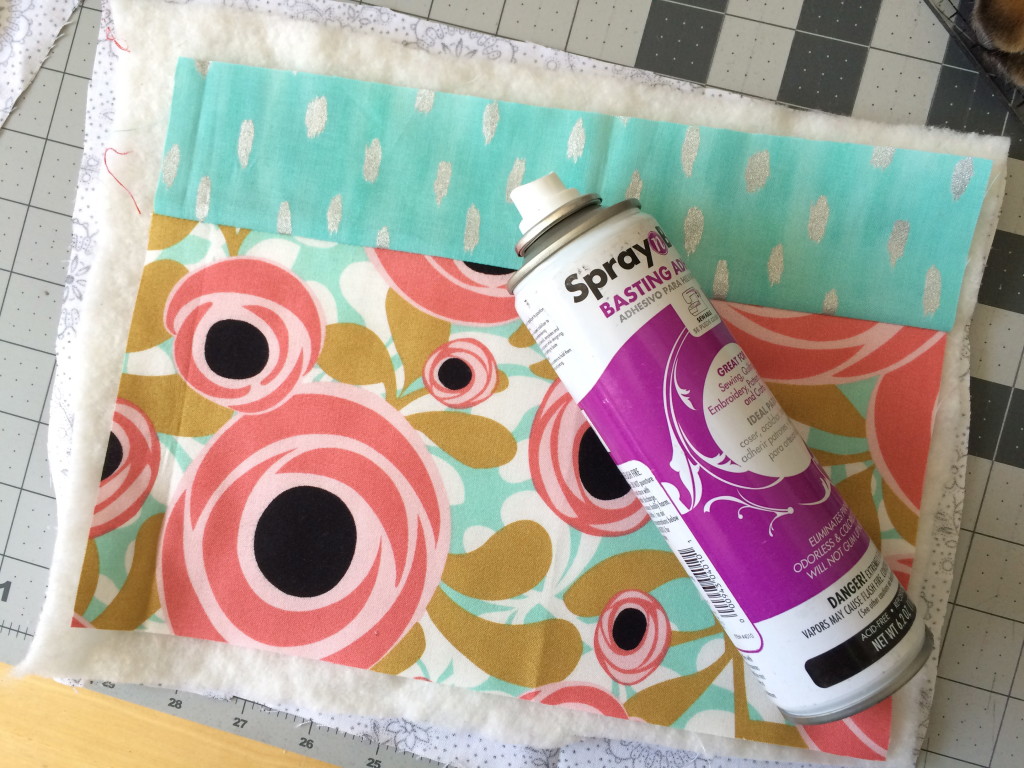
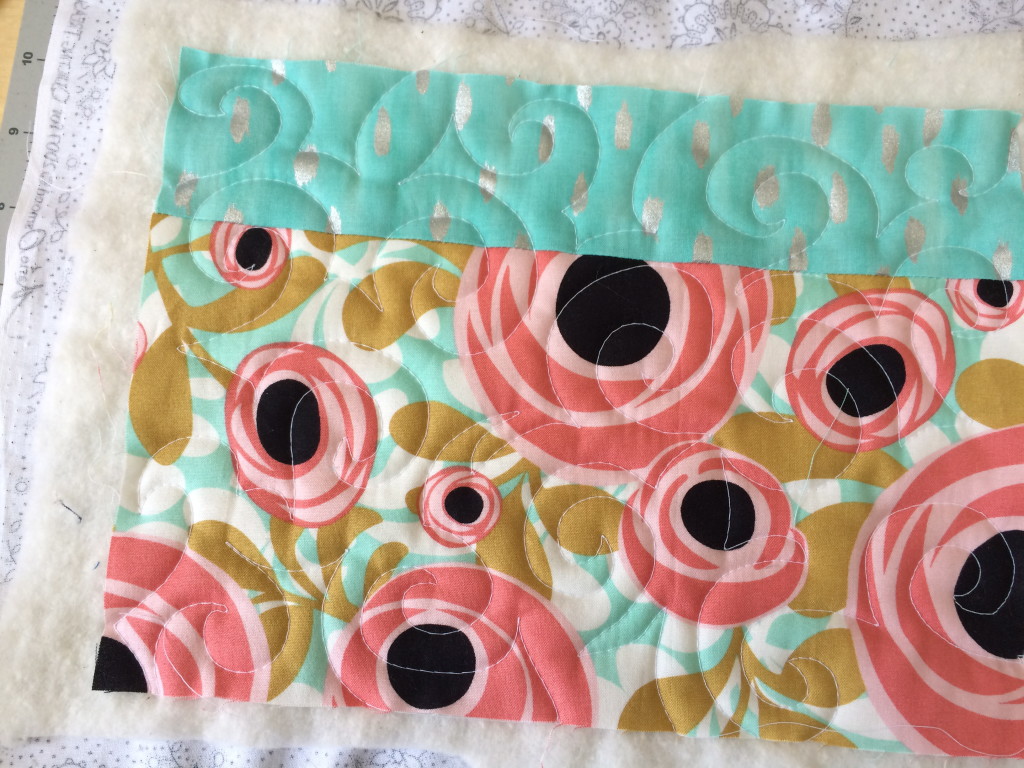
You can make this optional Doughnut Money Pouch. Download the instructions HERE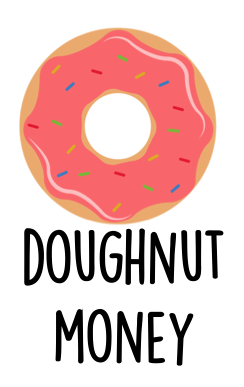 .
. 
I also made a True Blue version of this bag. 
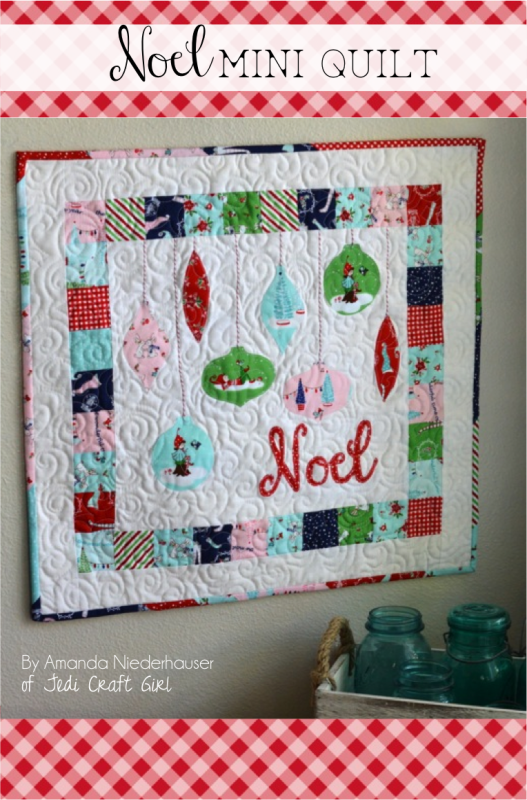
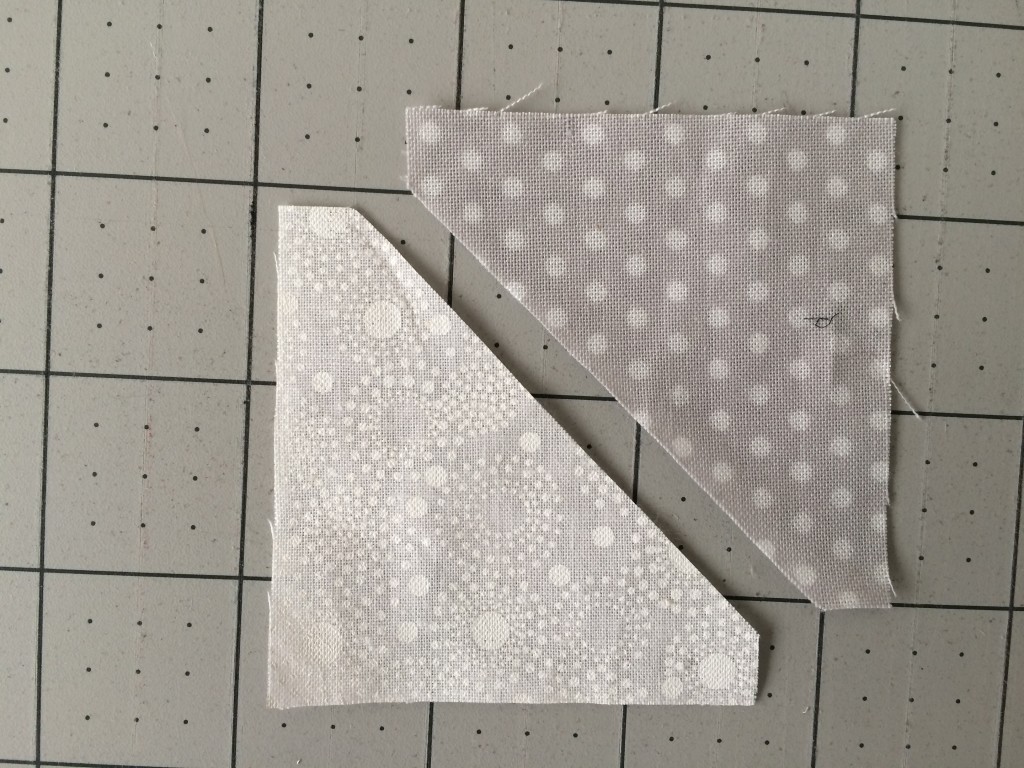
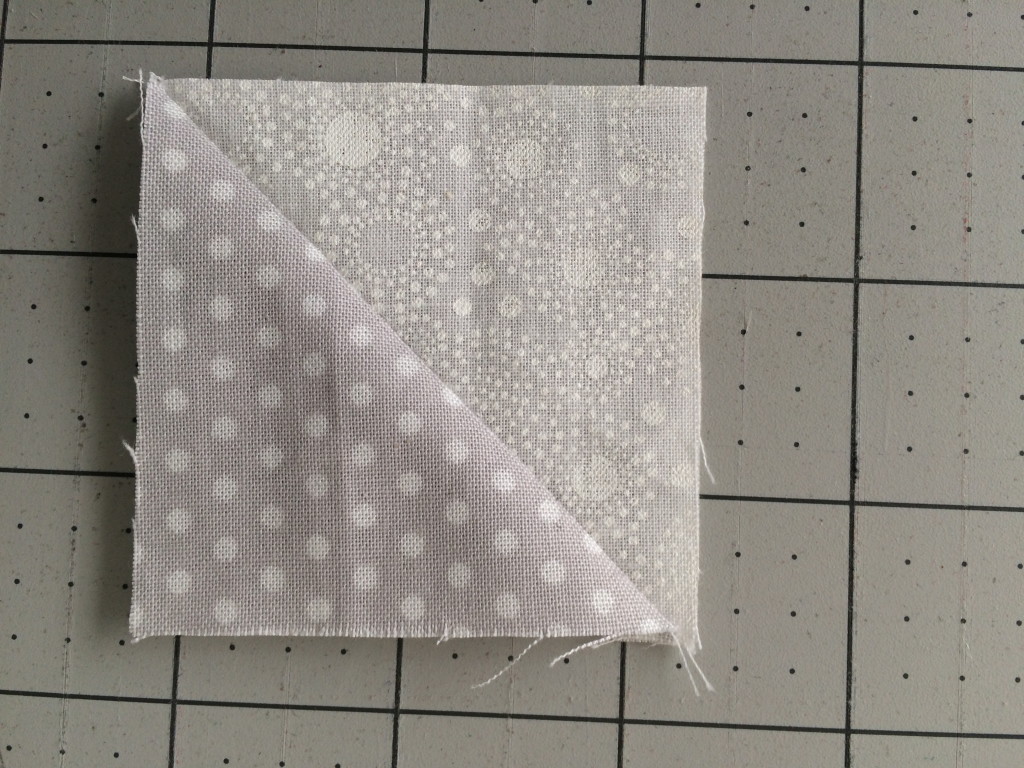
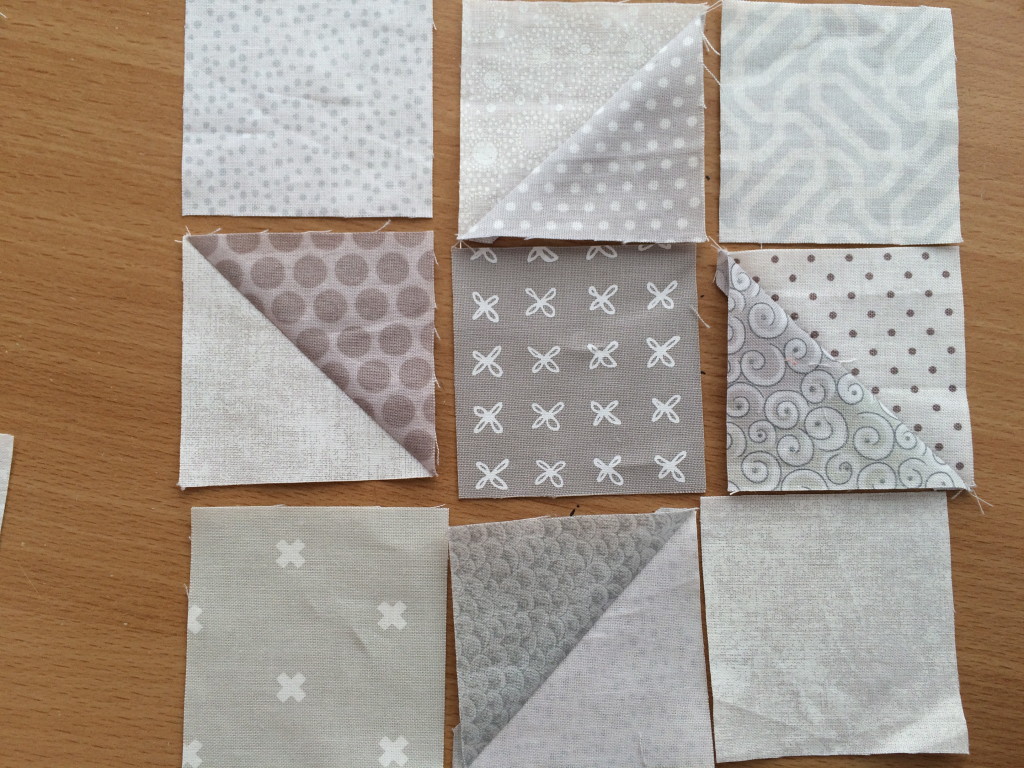
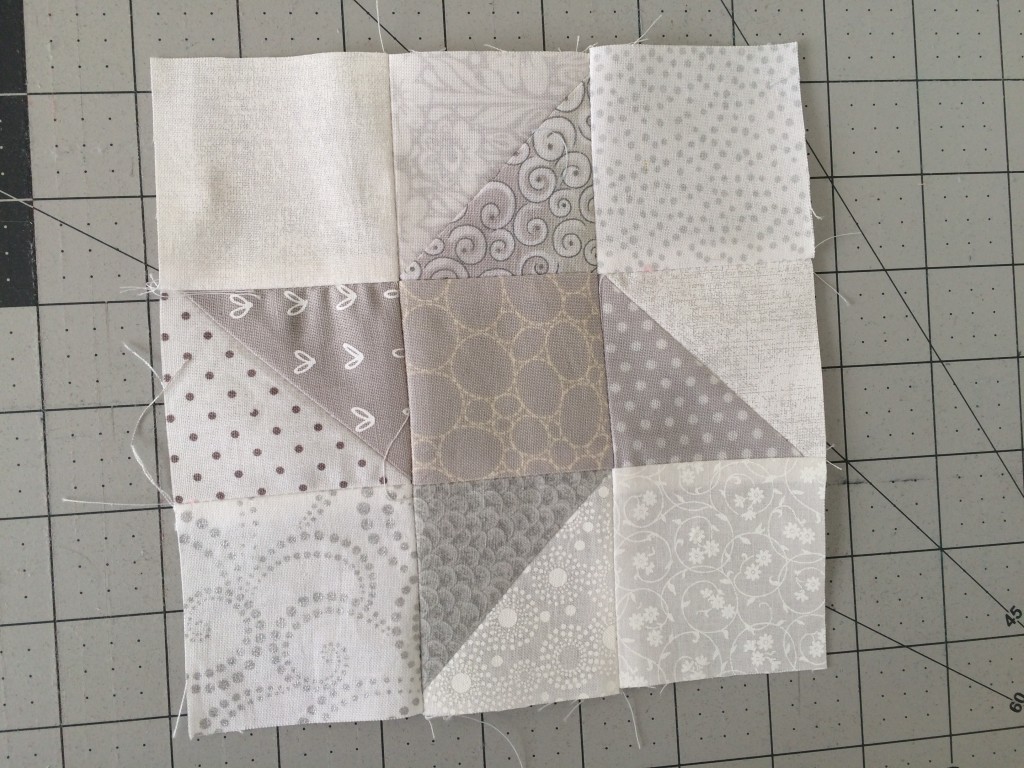
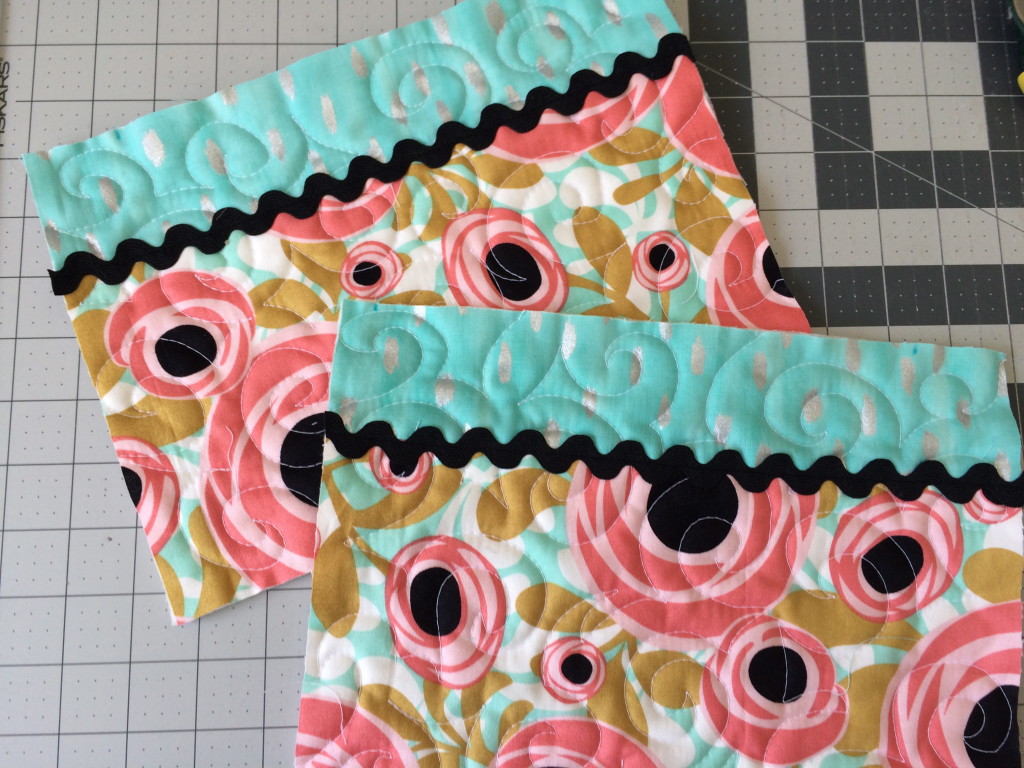
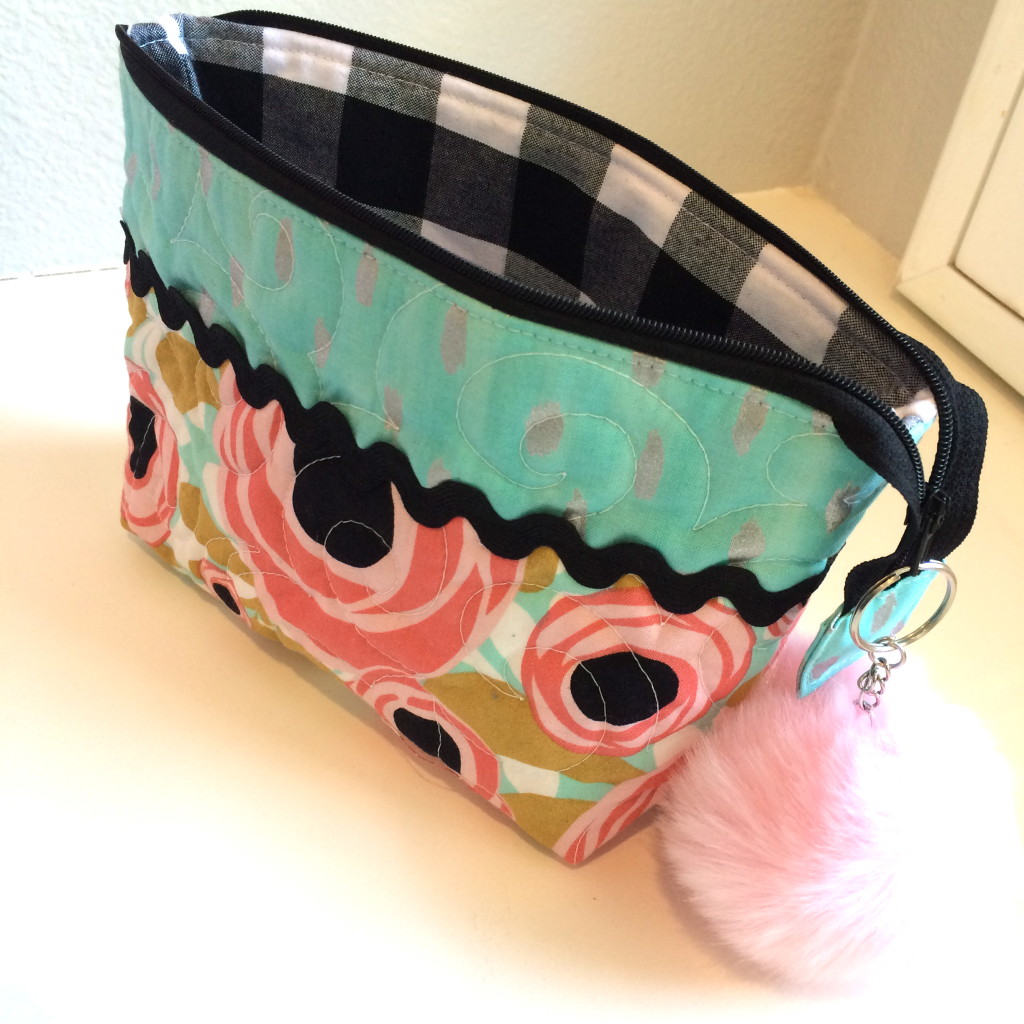
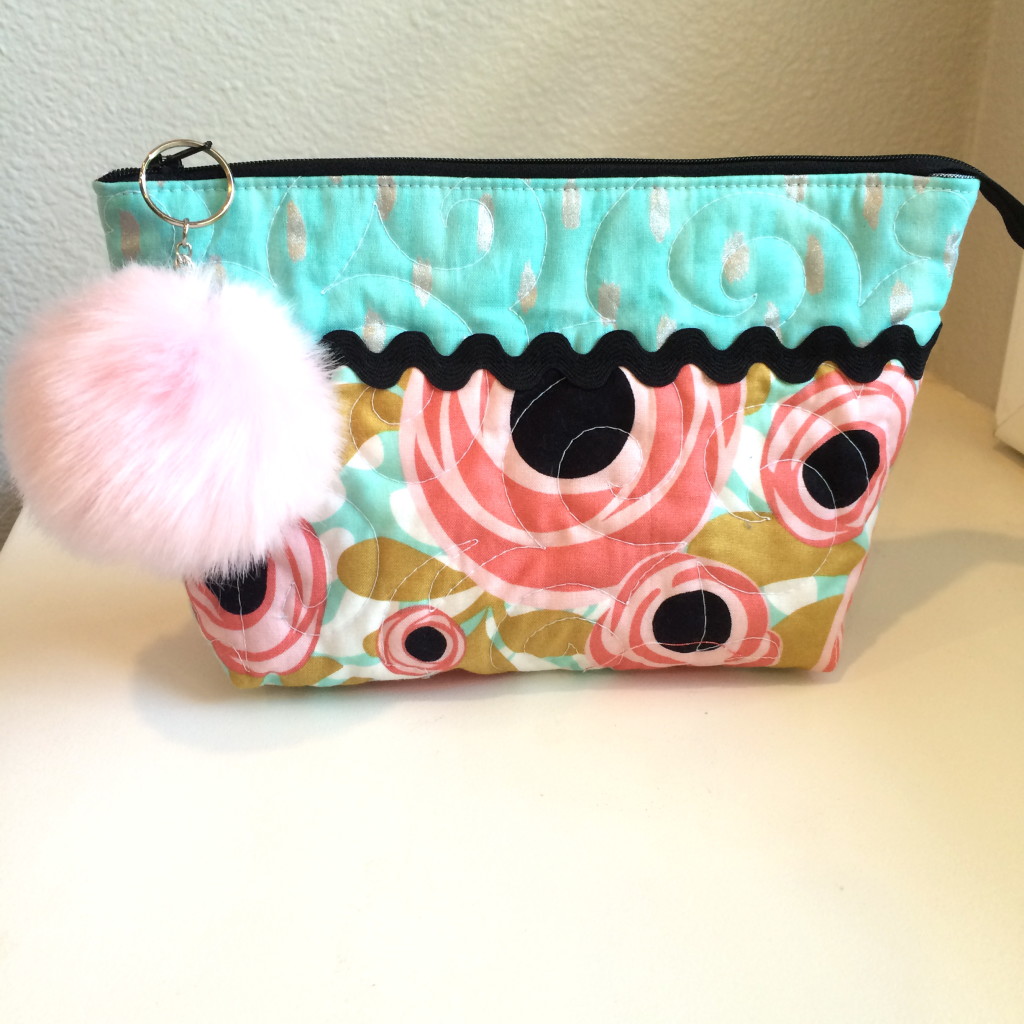
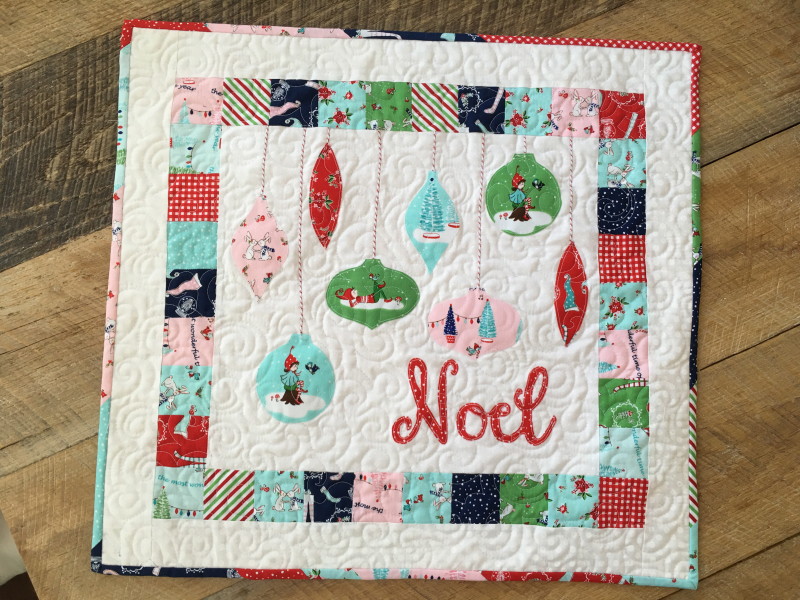
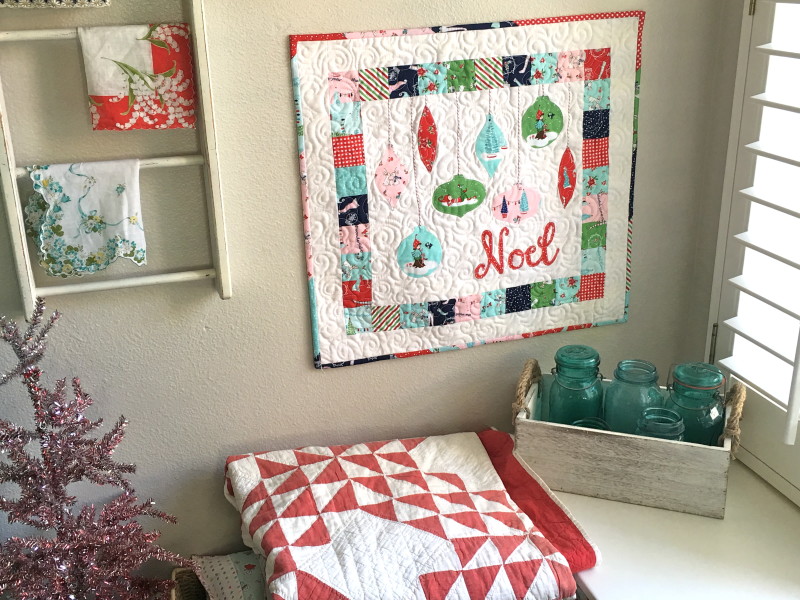
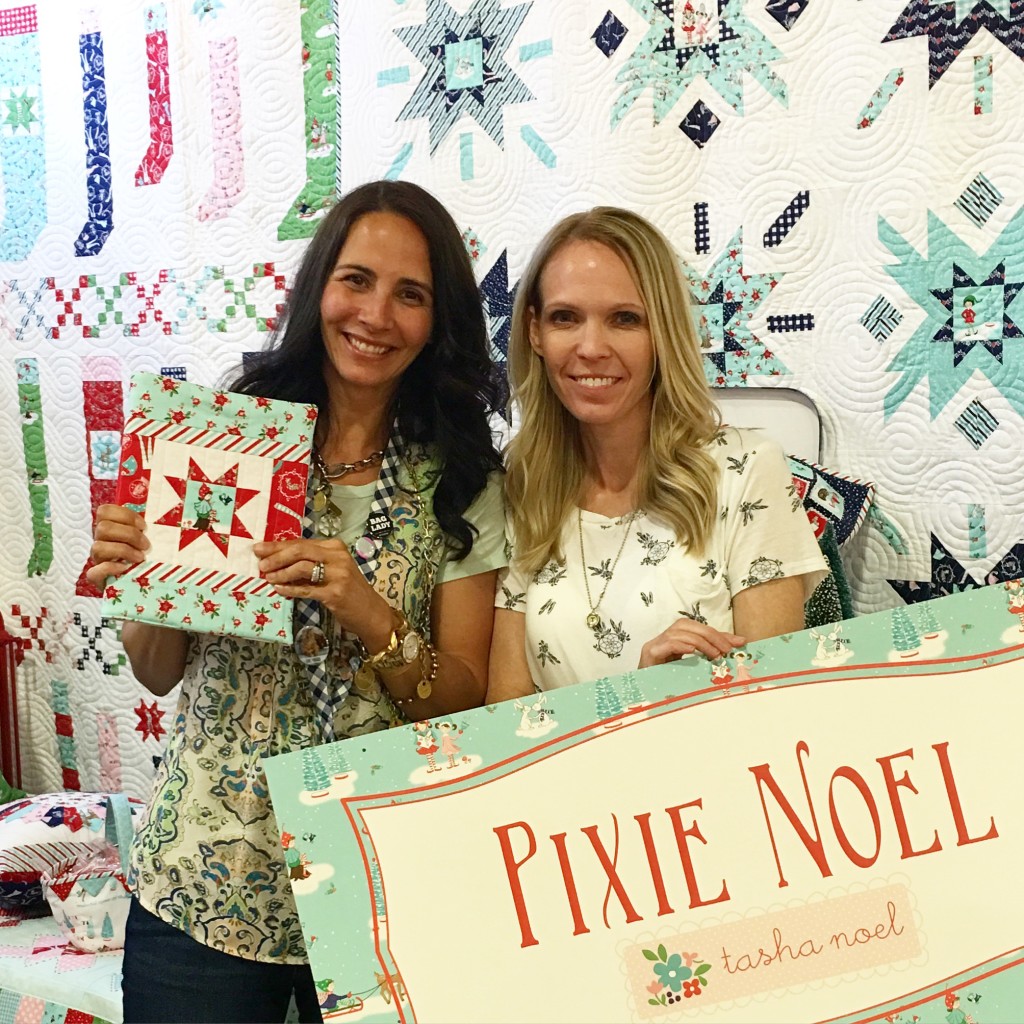
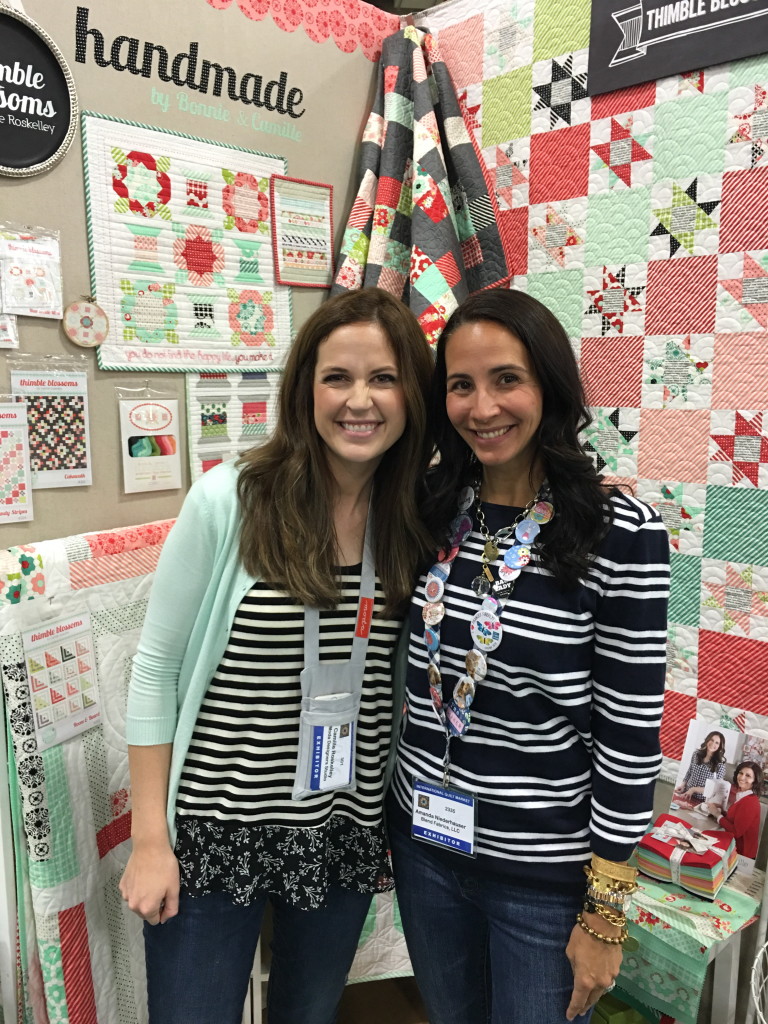
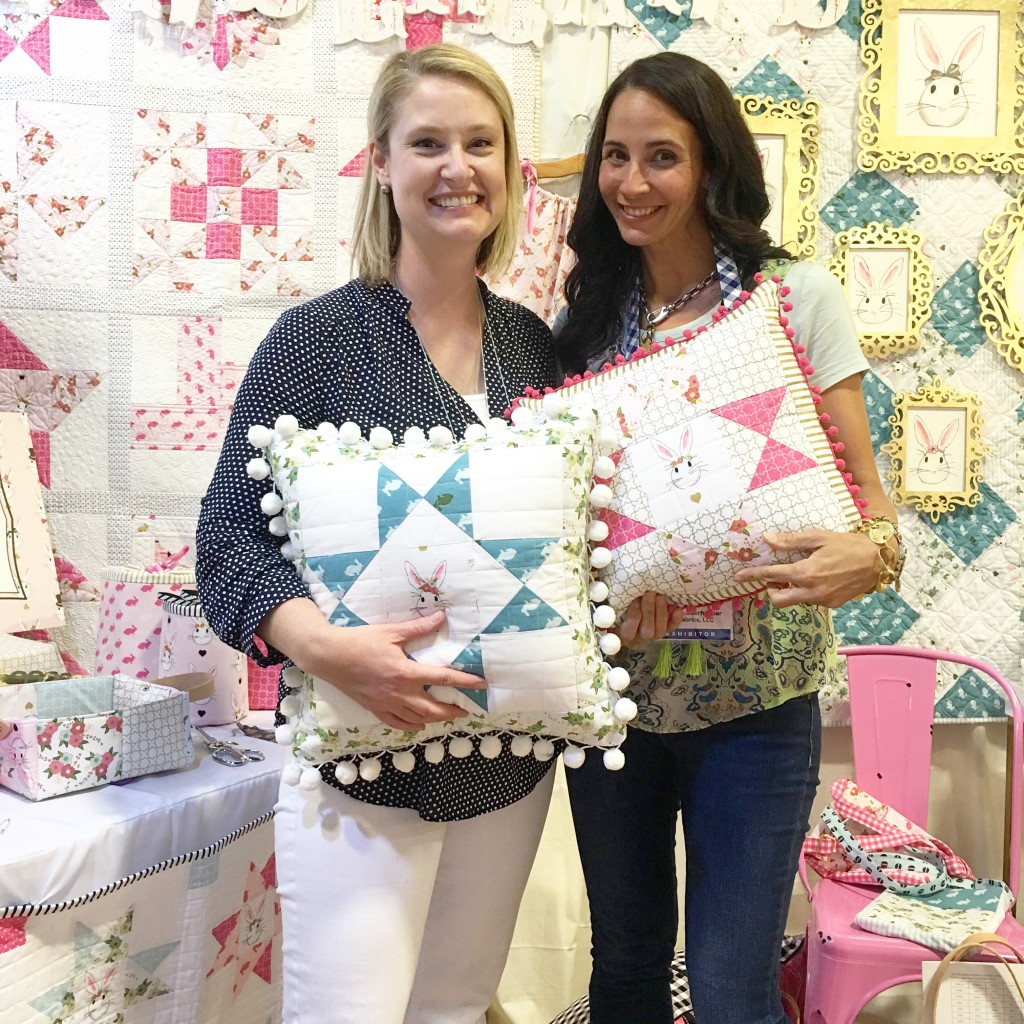
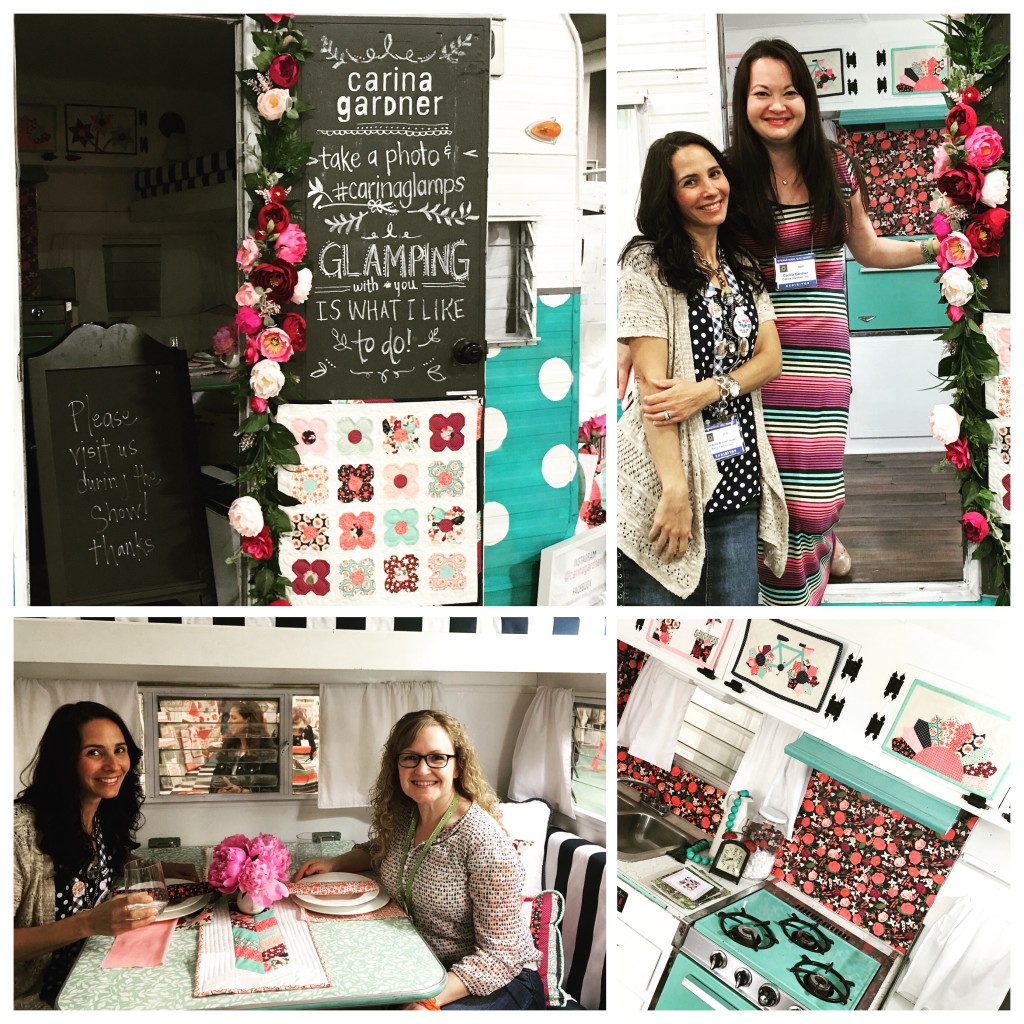
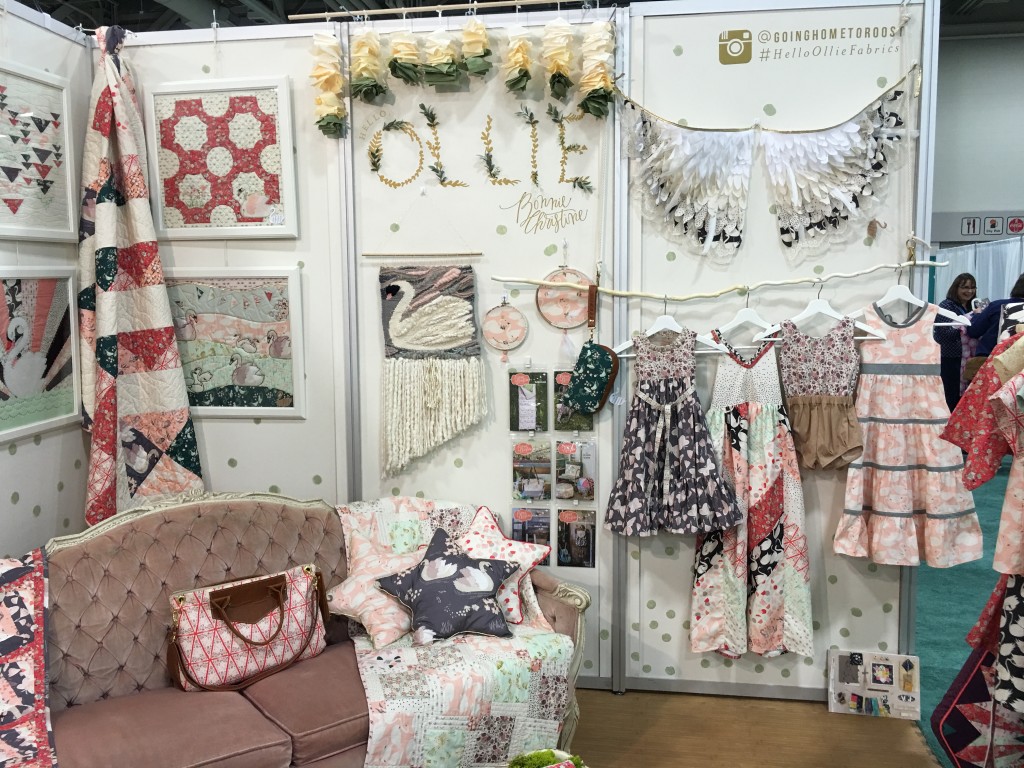
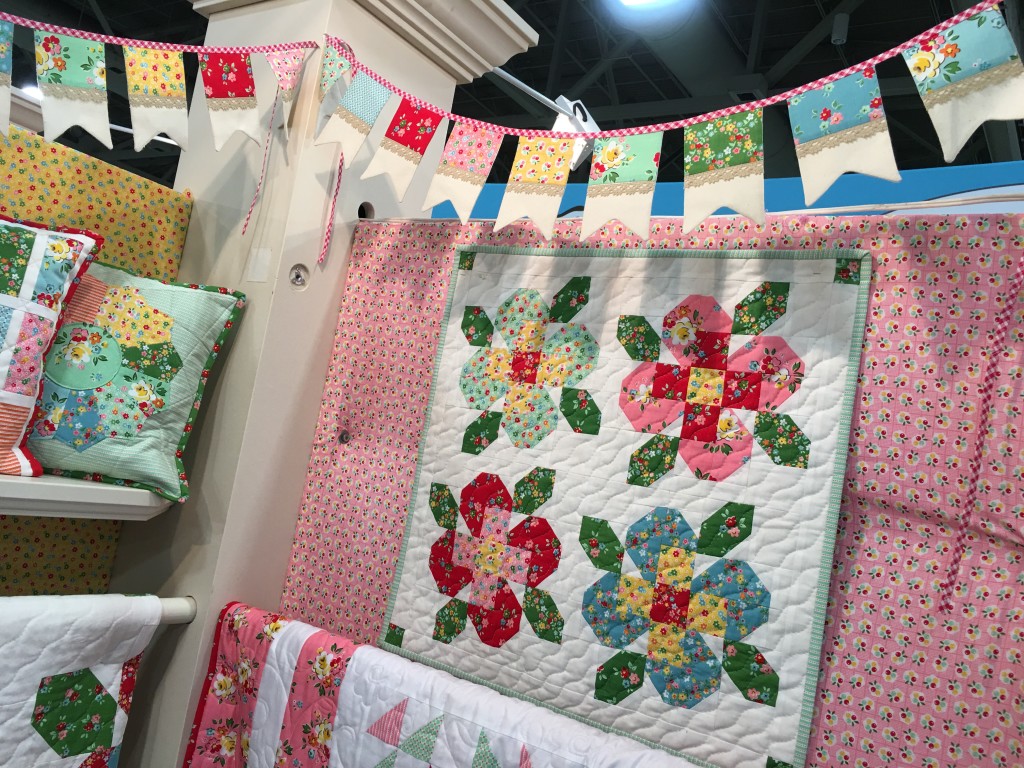
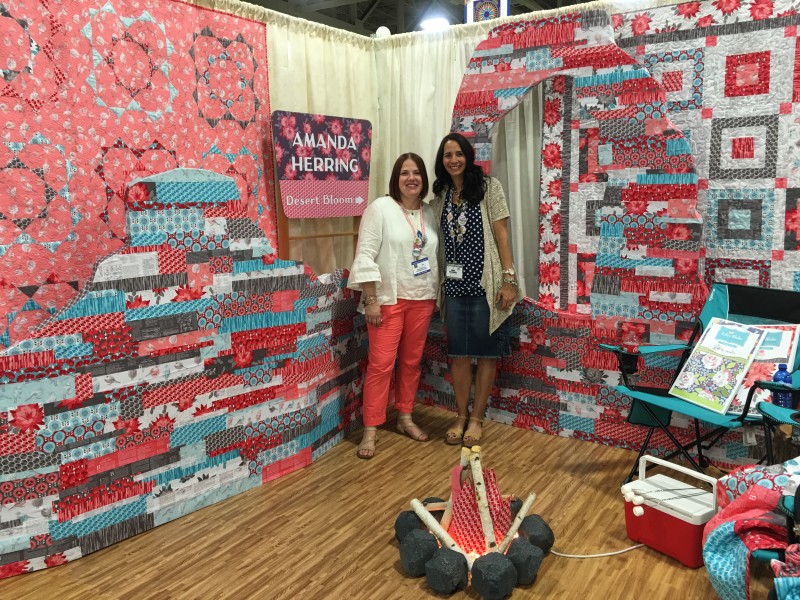
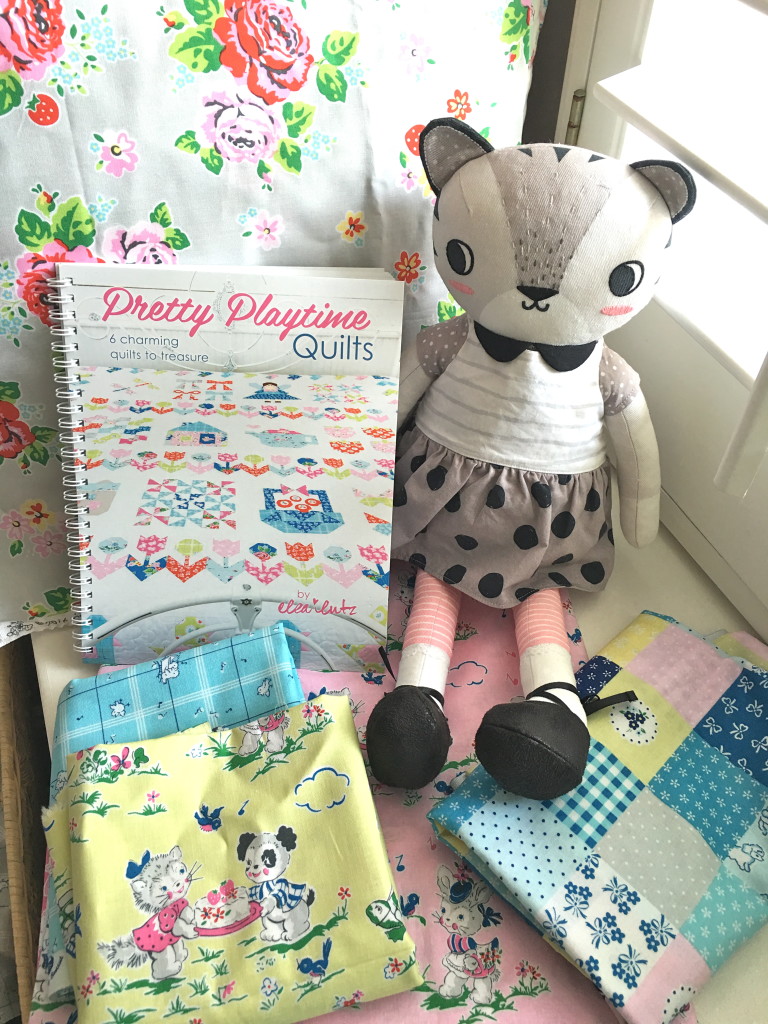
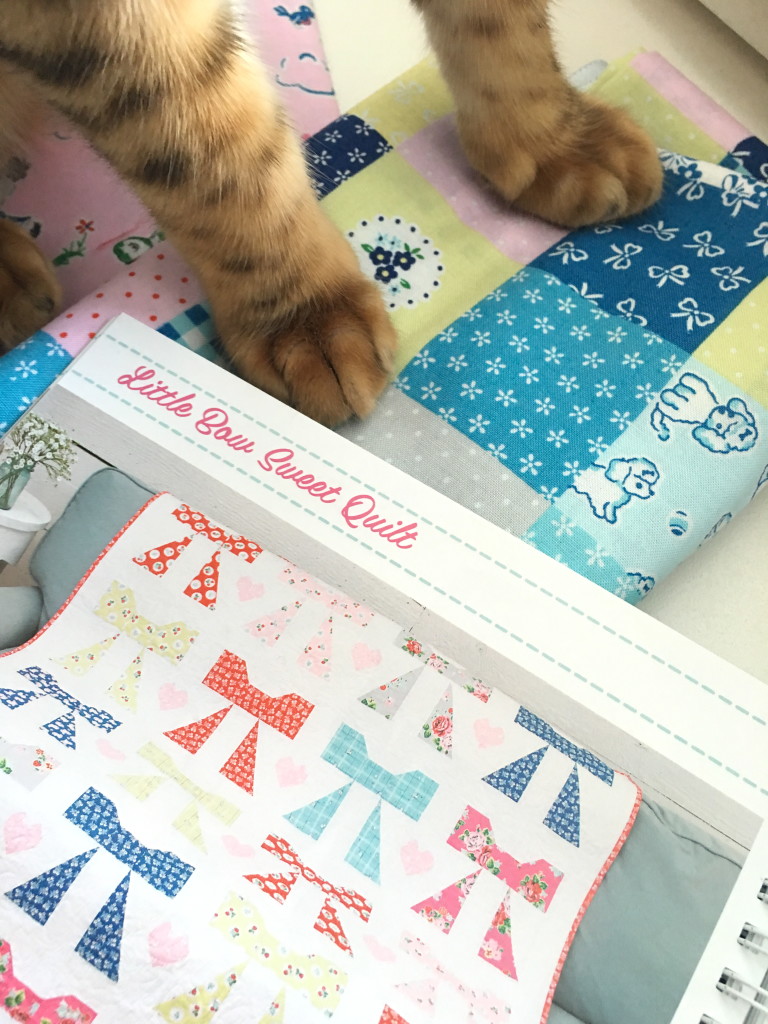
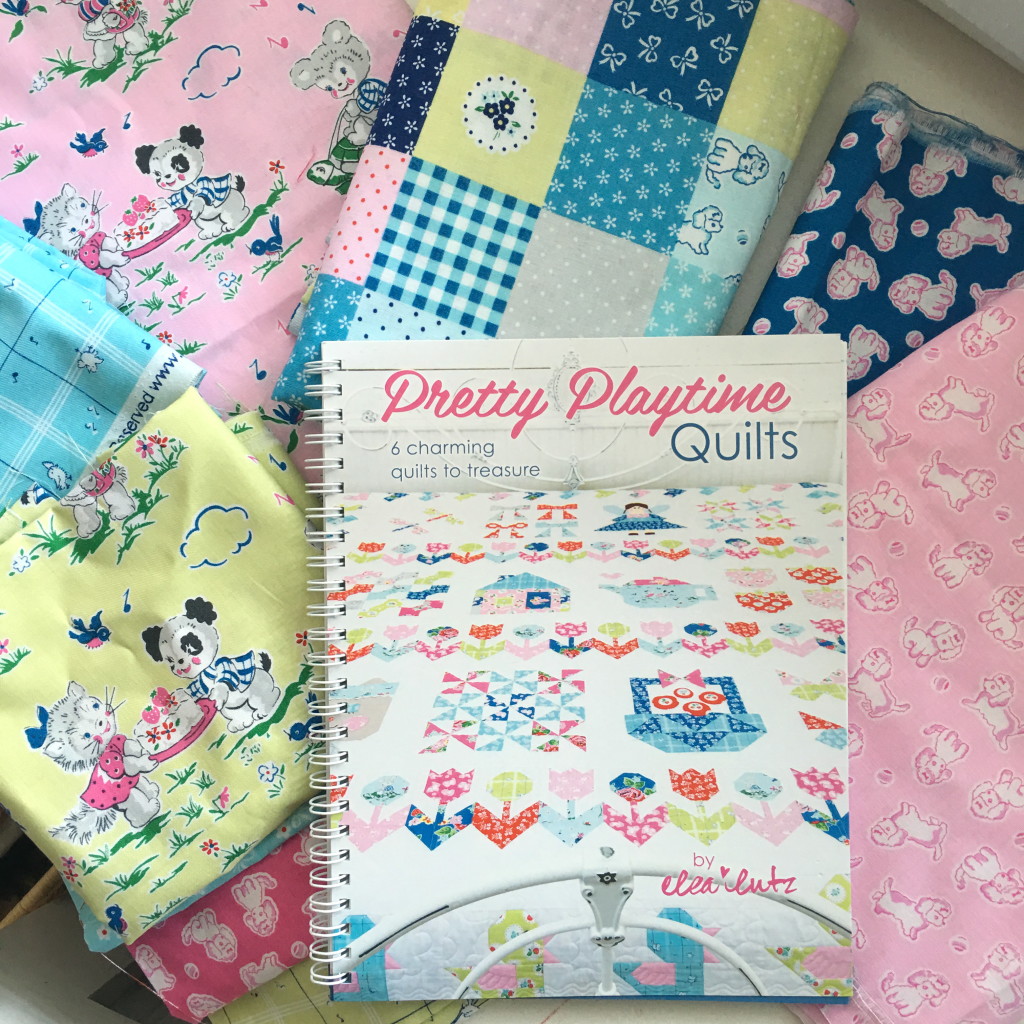
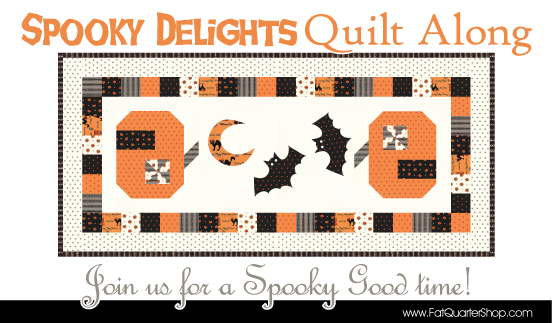
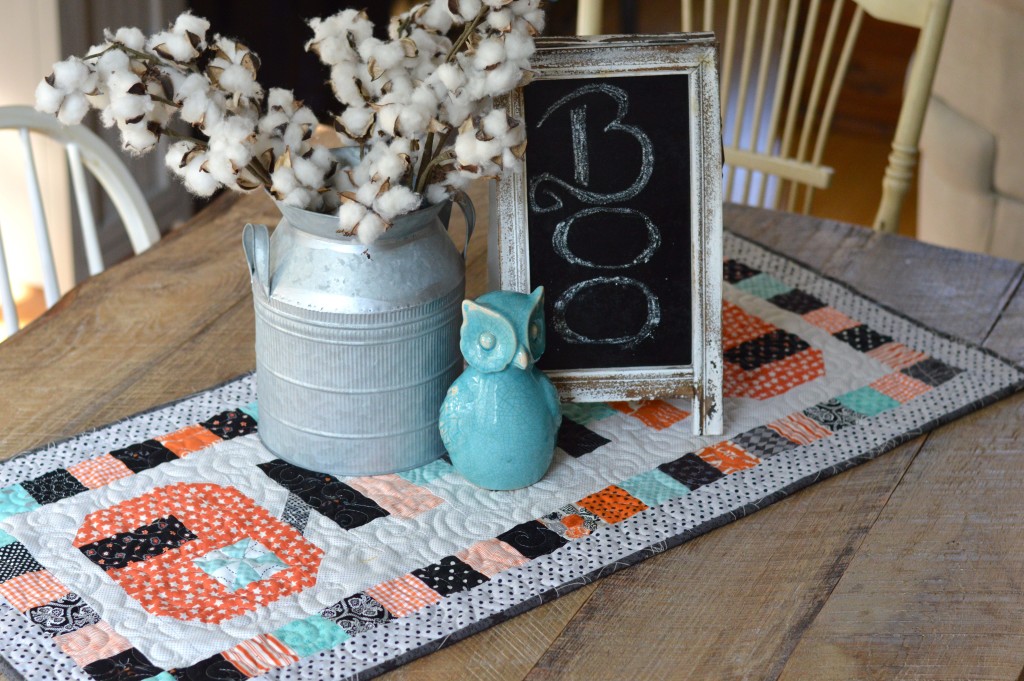
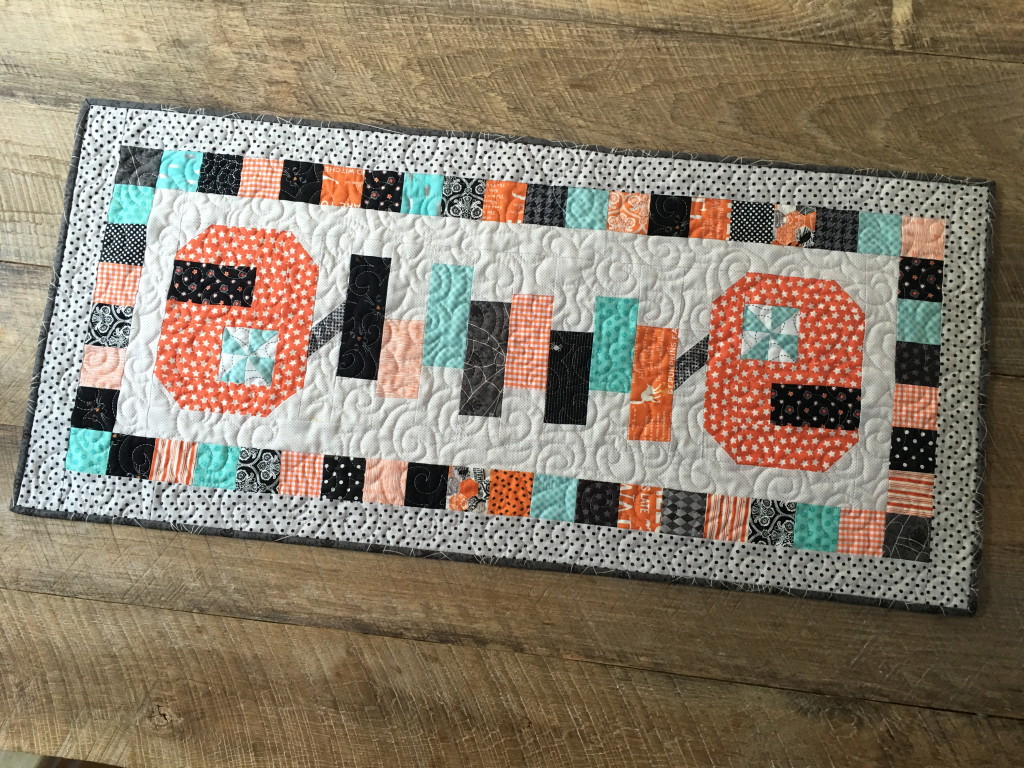
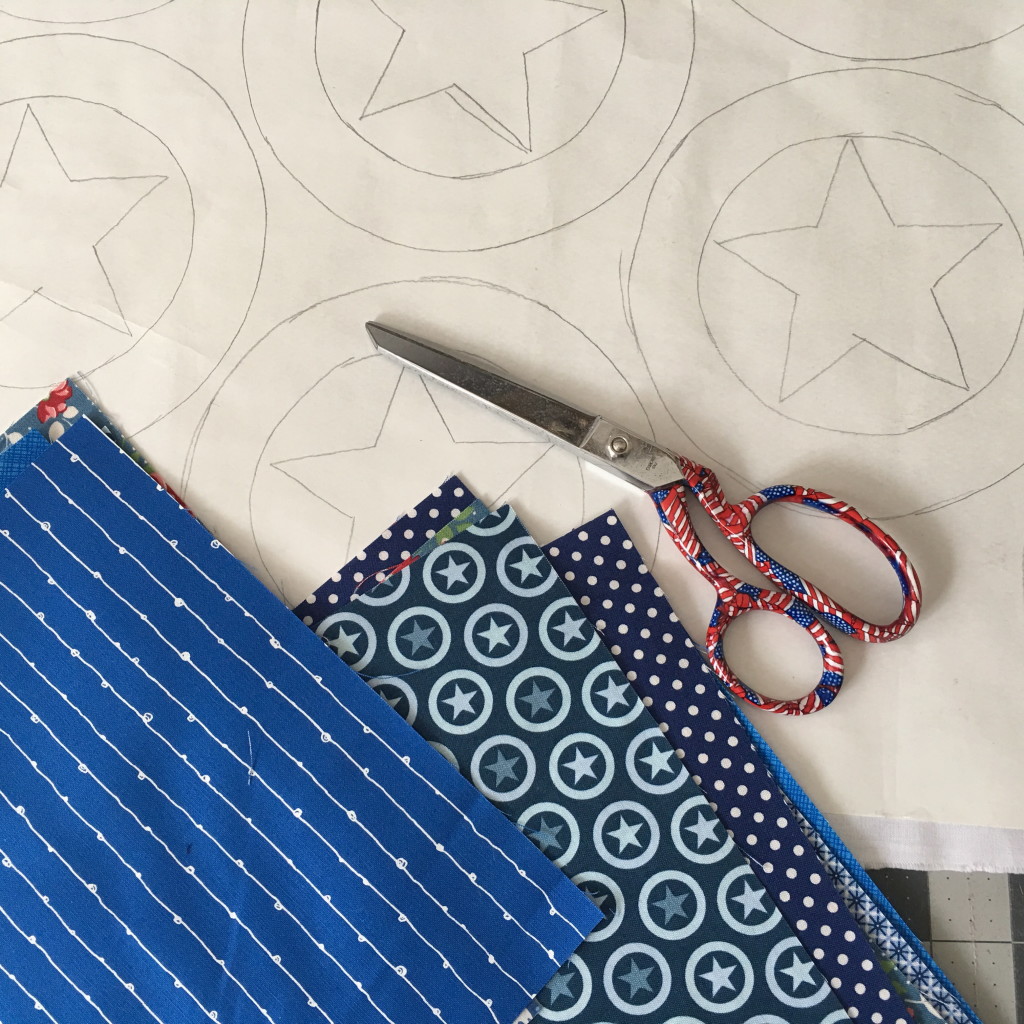
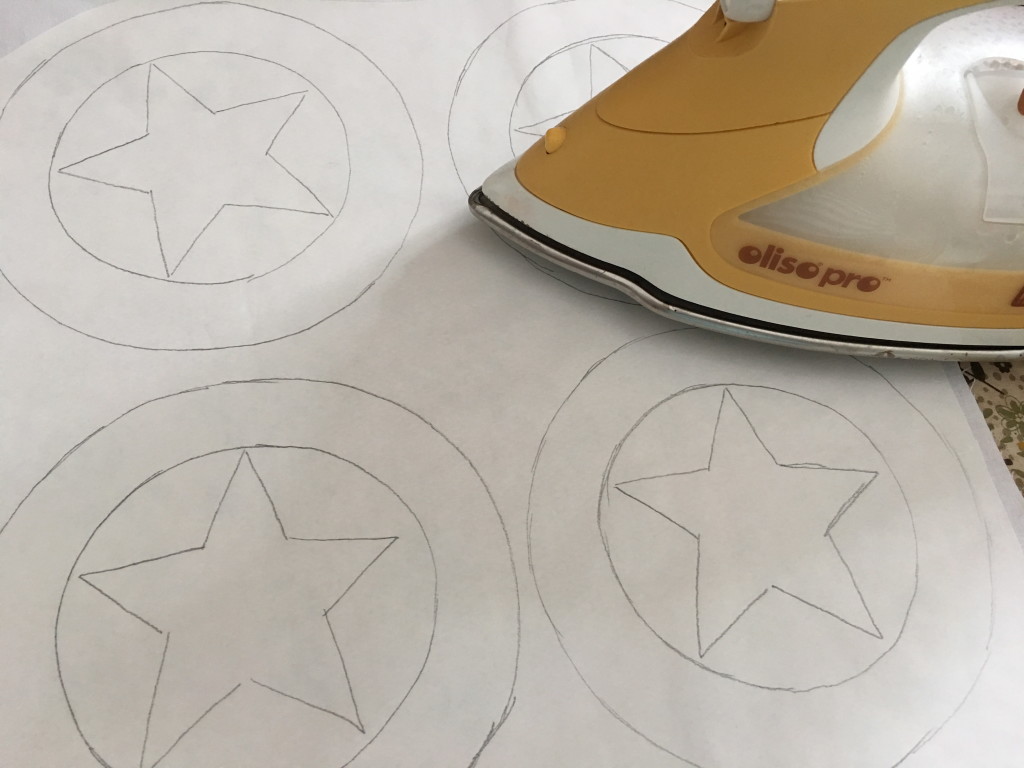
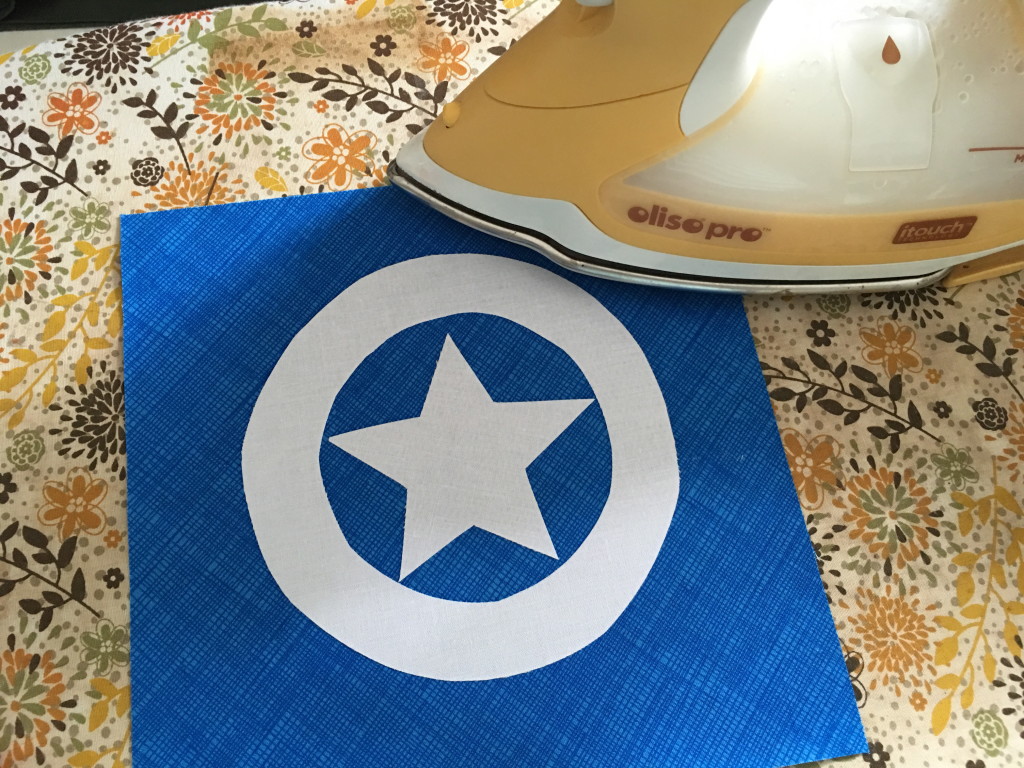
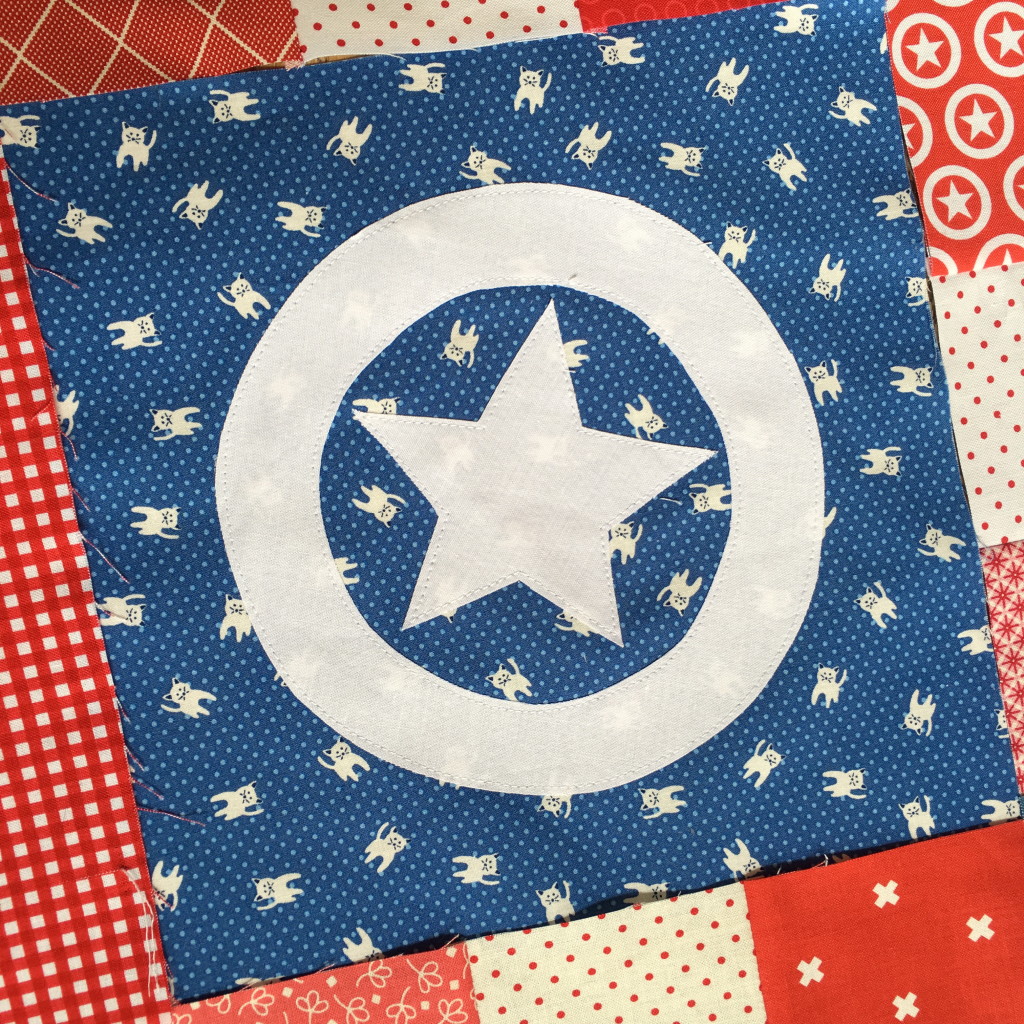
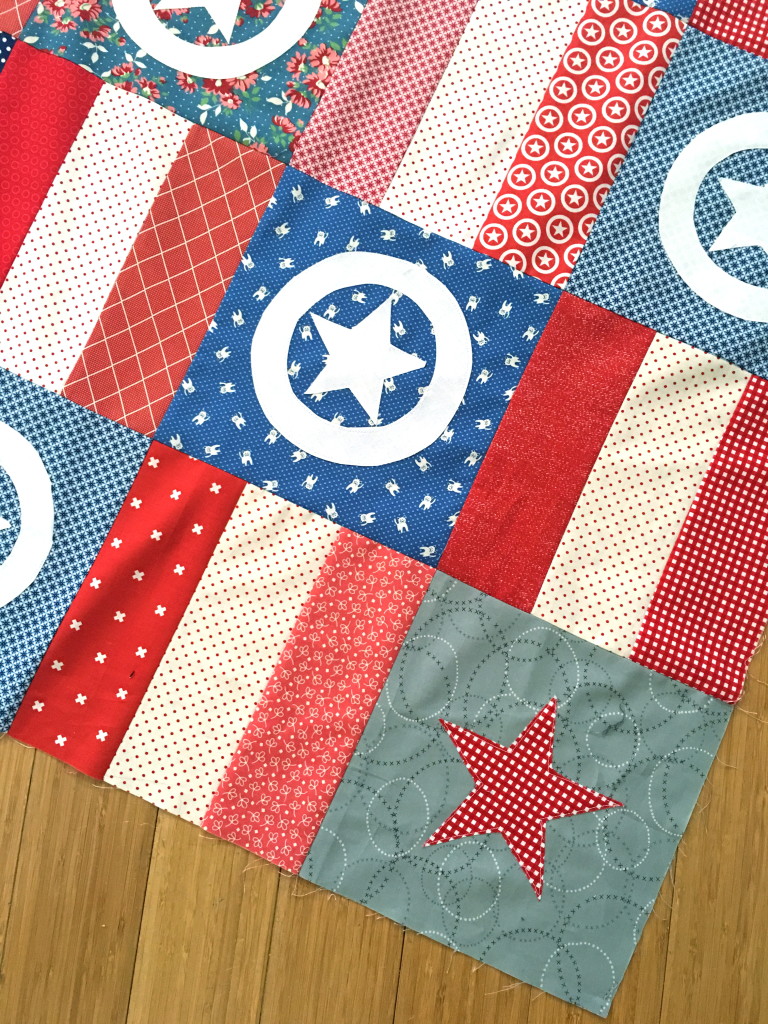
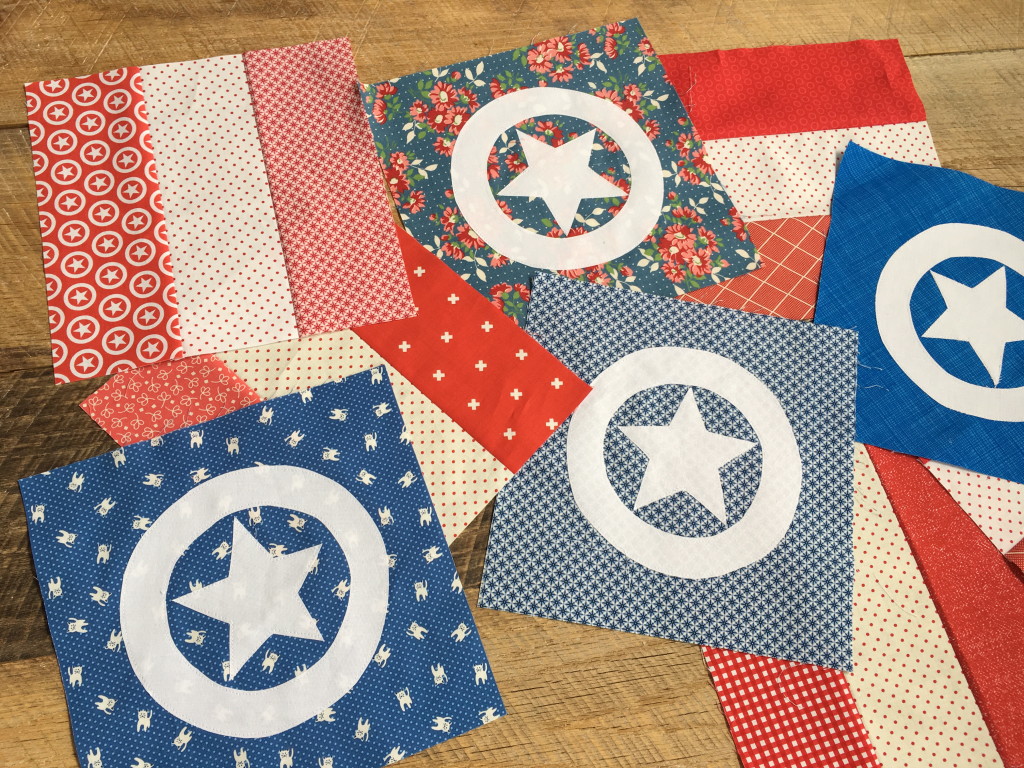
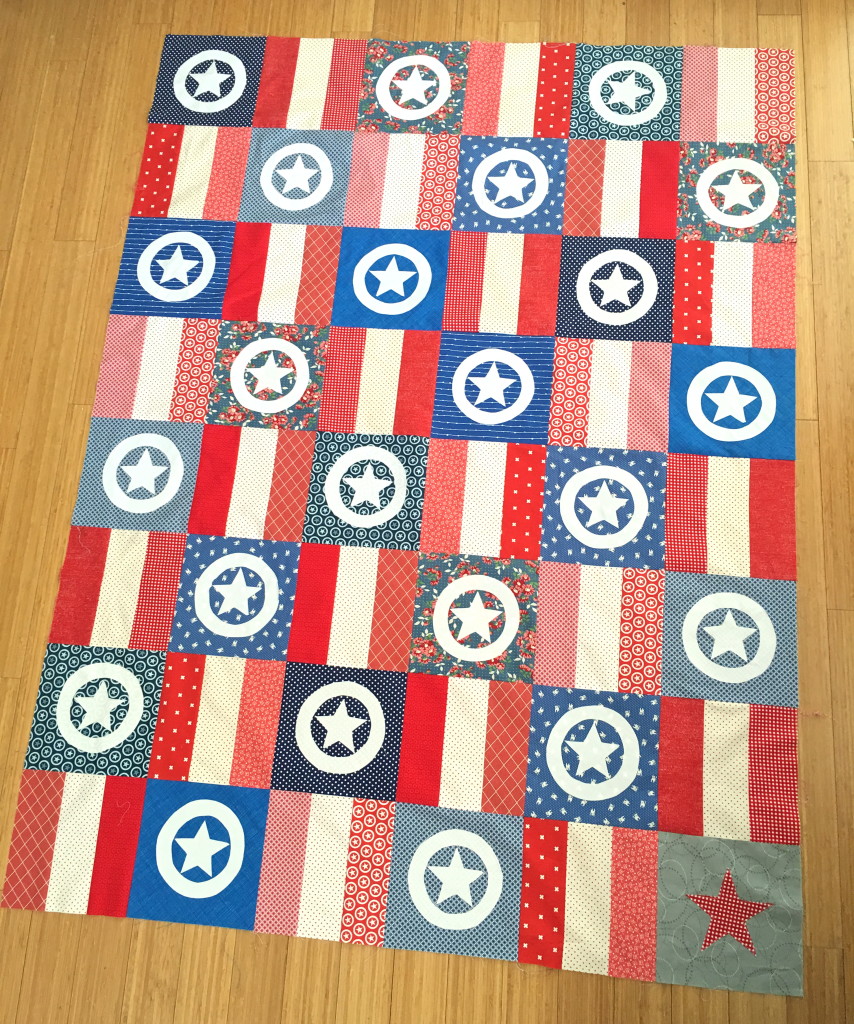
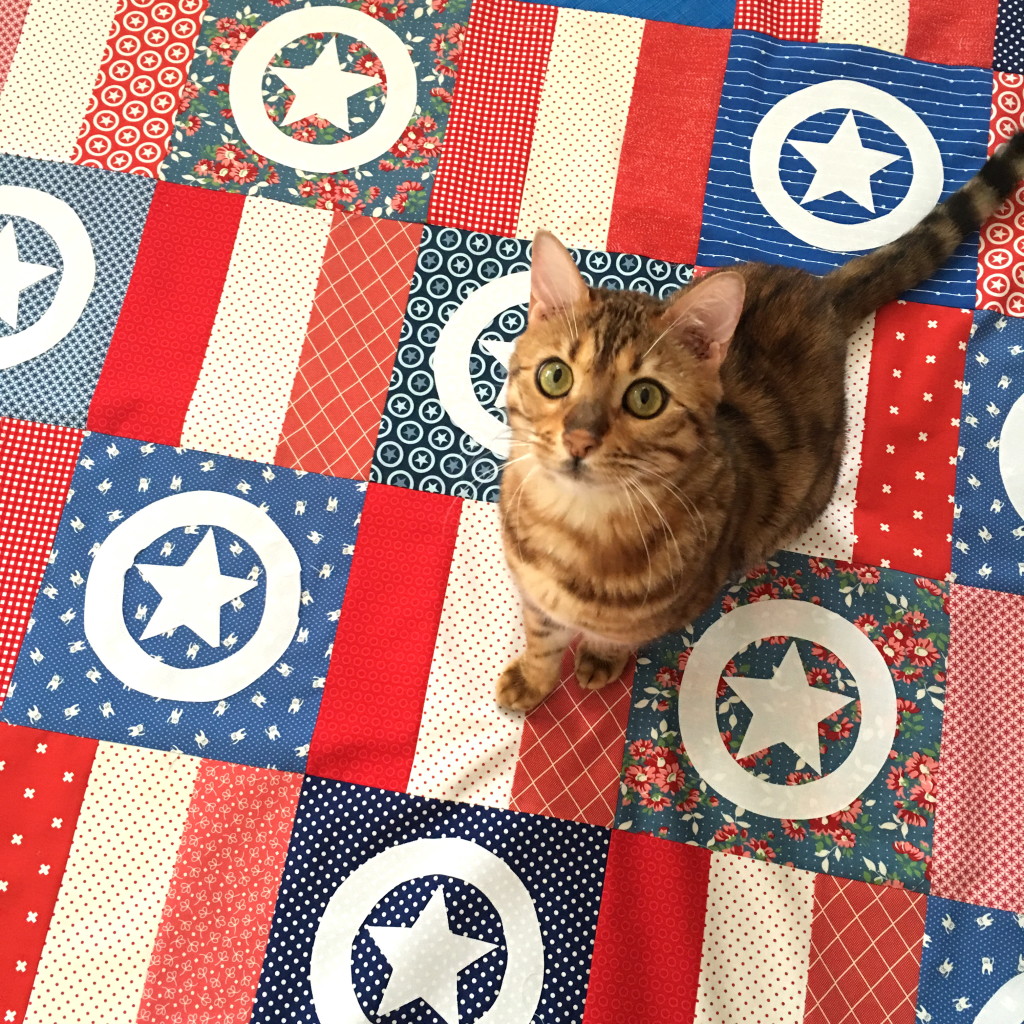
 I created this little mini quilt for her to hang in her Quilt Market booth. You can purchase this quilt pattern as a PDF download in my
  Her booth was the cutest!
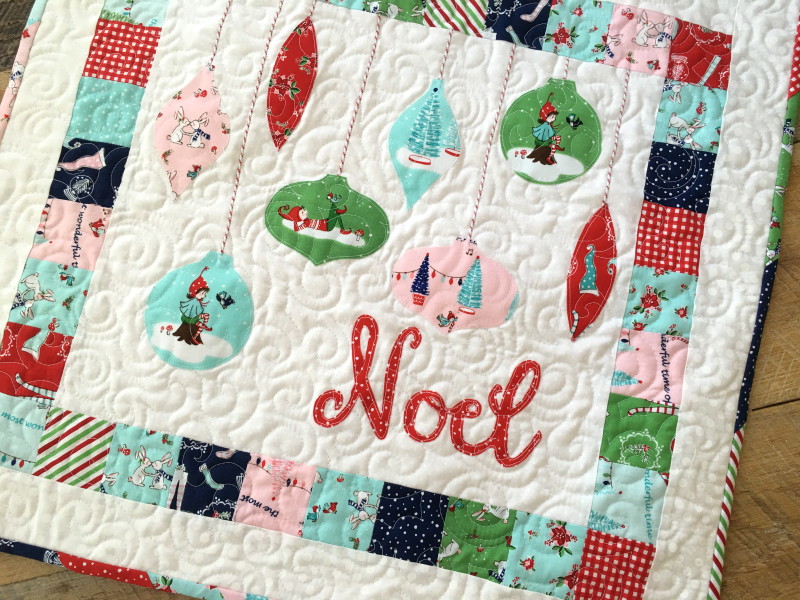

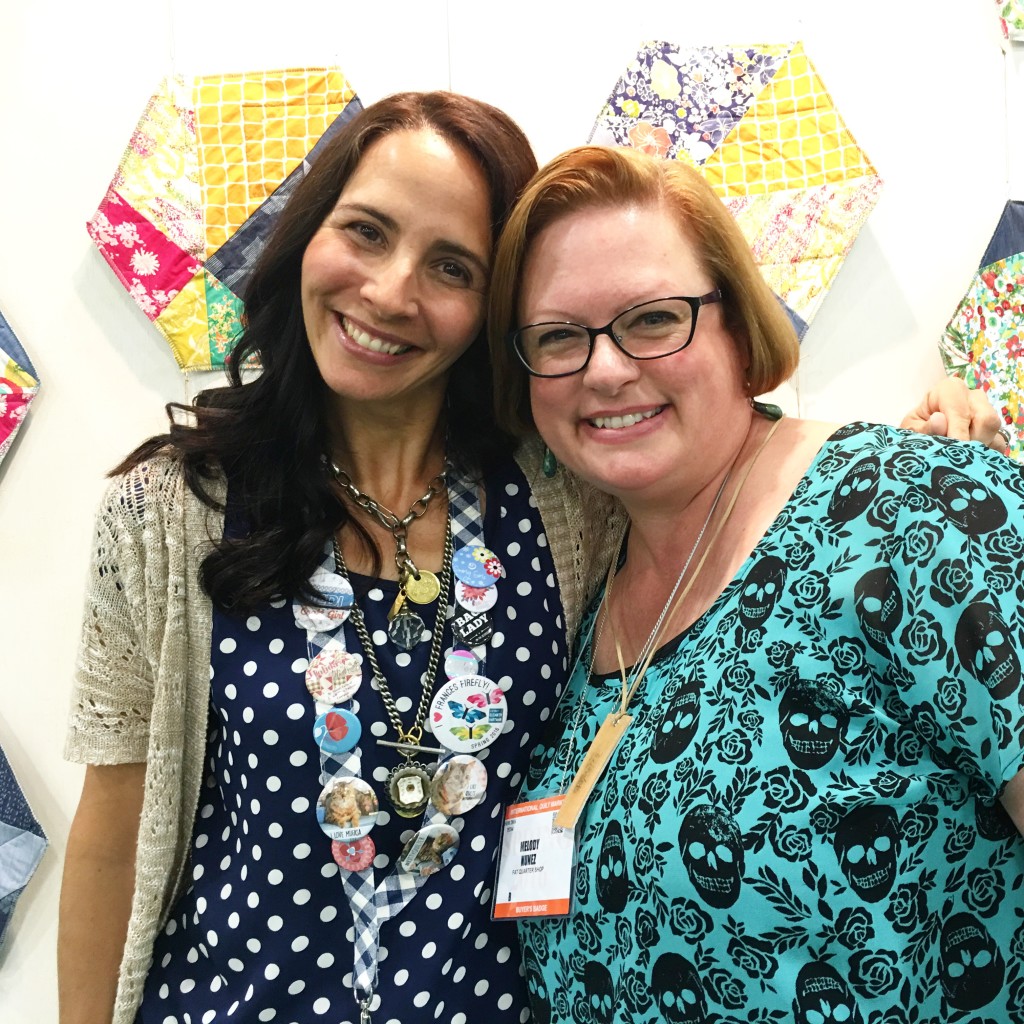
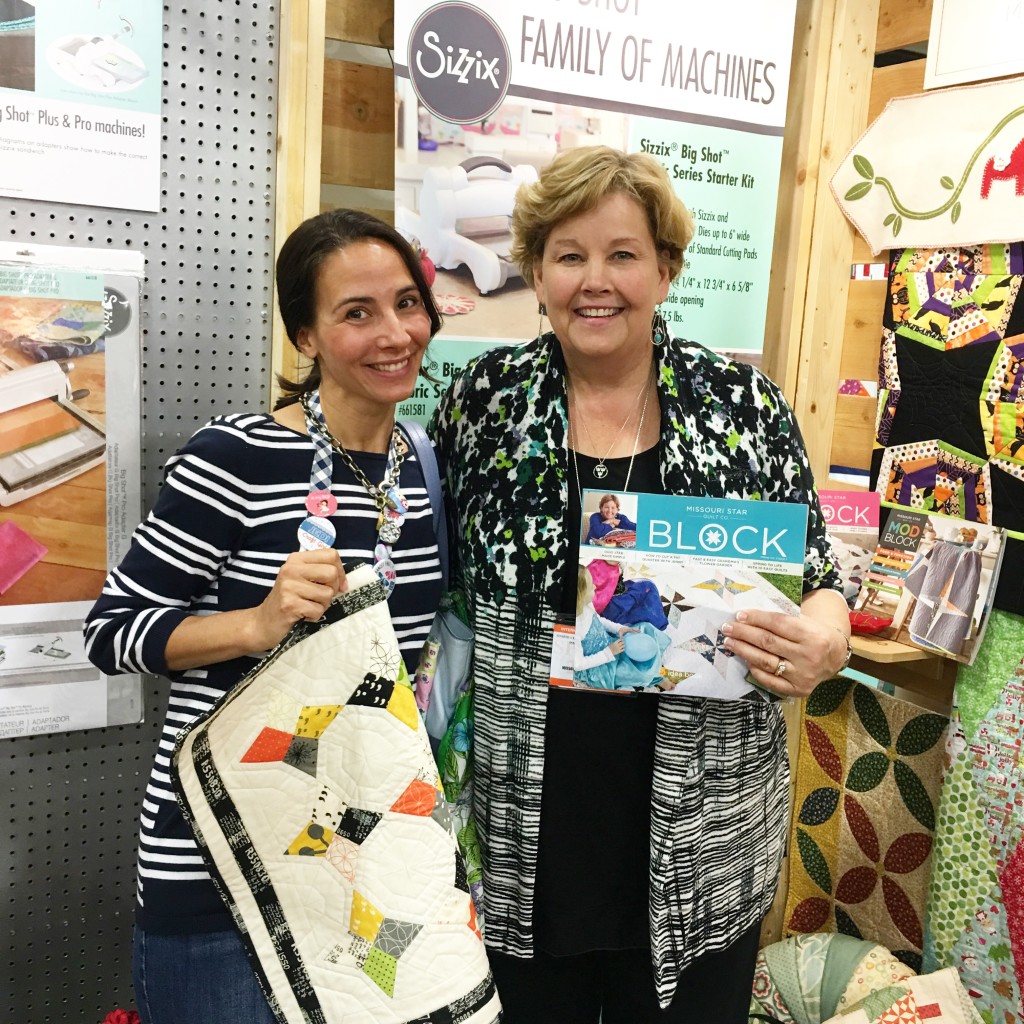
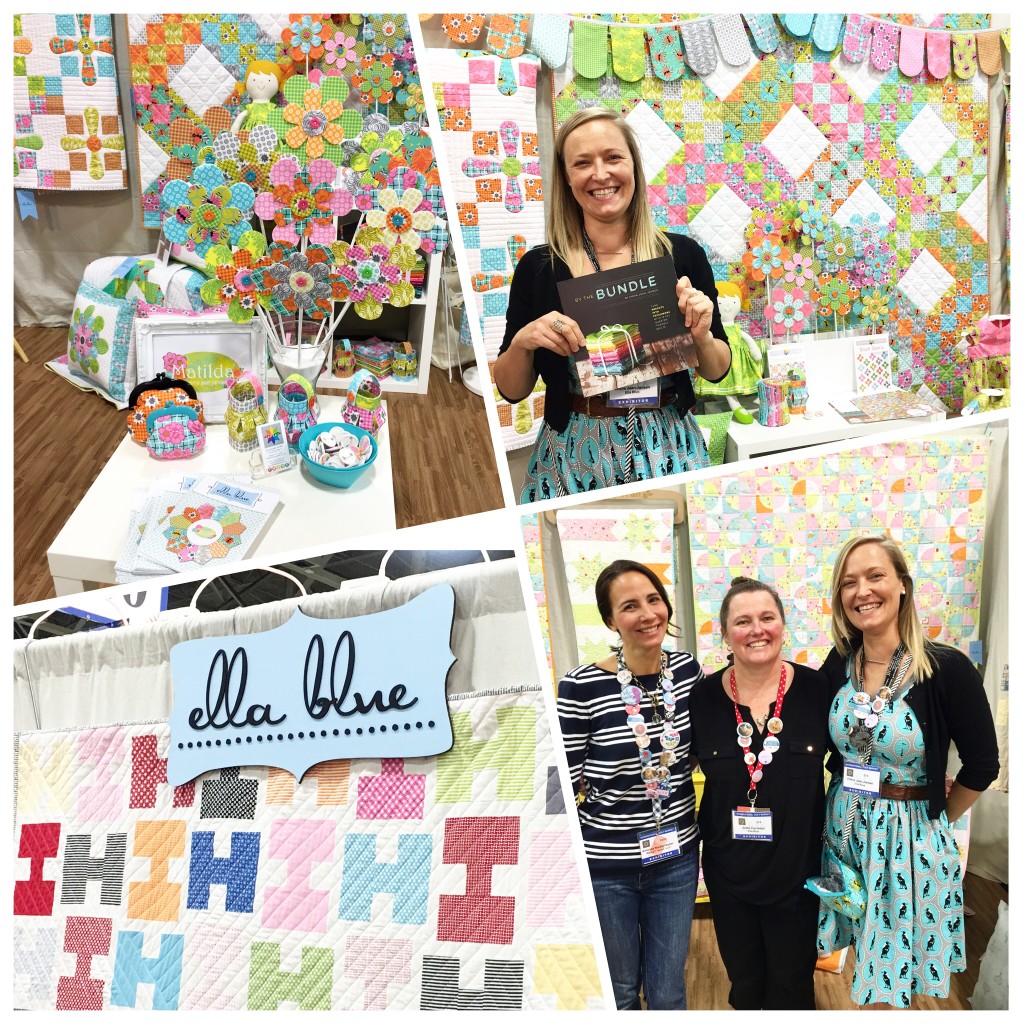
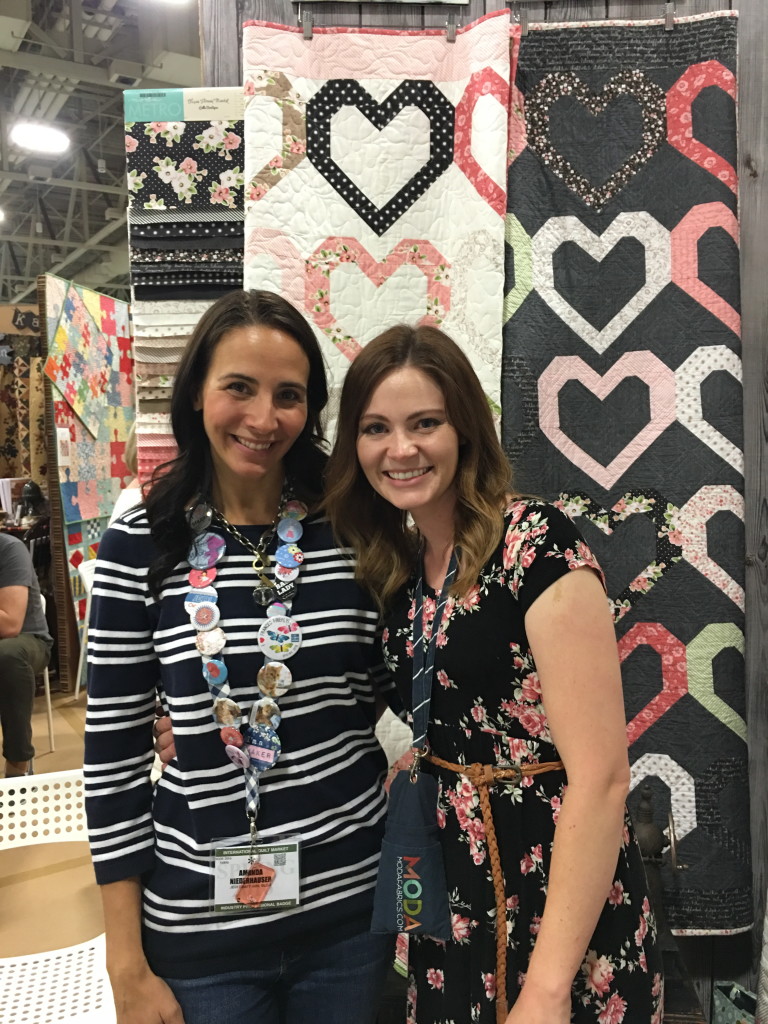
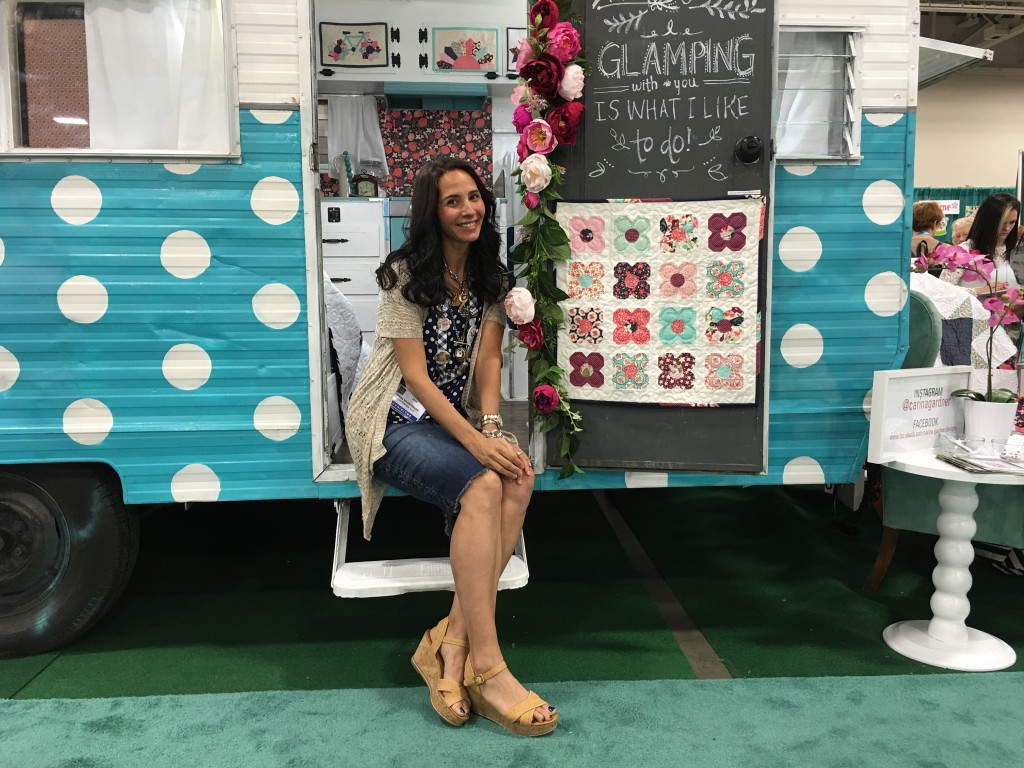
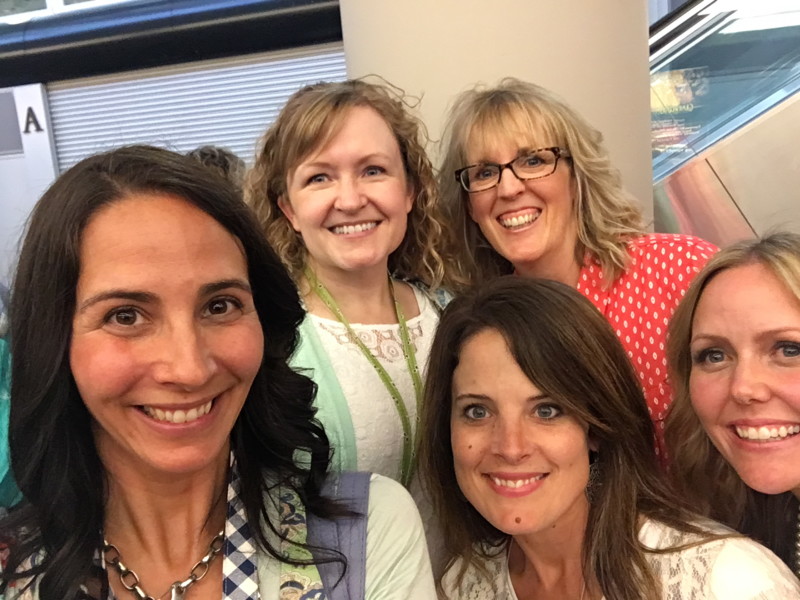
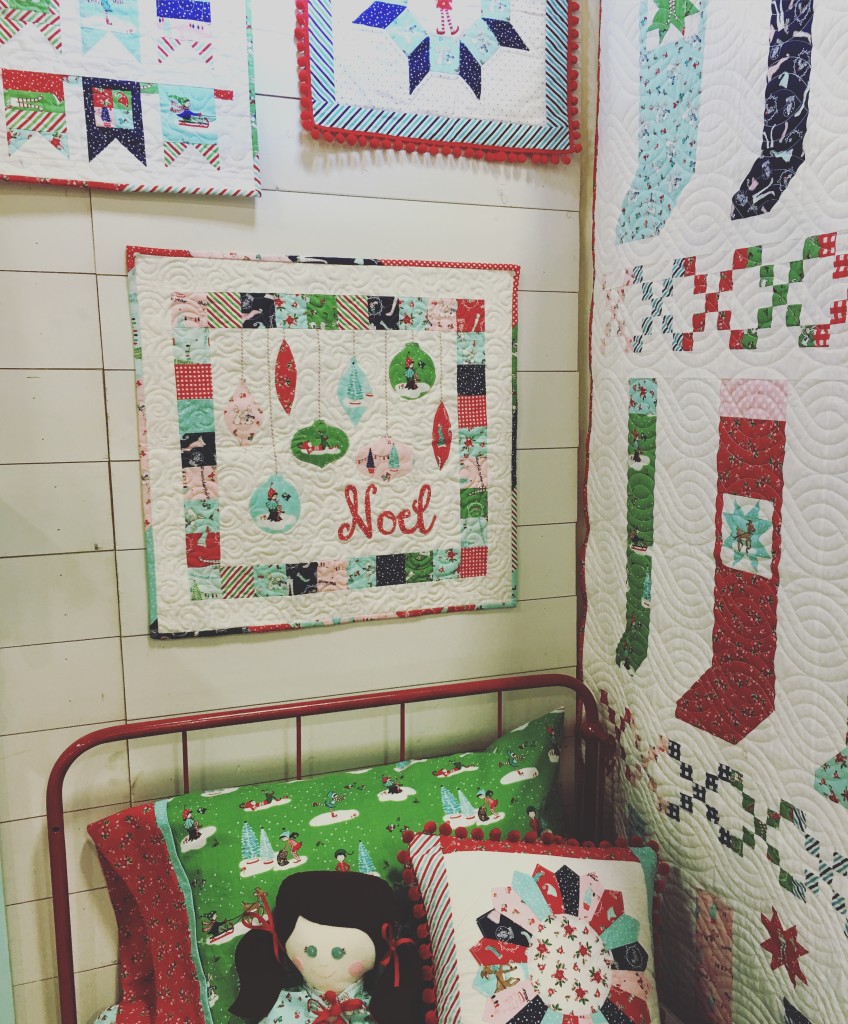 This was my first time EVER going to Quilt Market! For years and years I have watched and stalked peoples posts to catch a glimpse of what it might be like. The best way to describe it is Disneyland for Quilters! I have never had so much fun! That’s my little
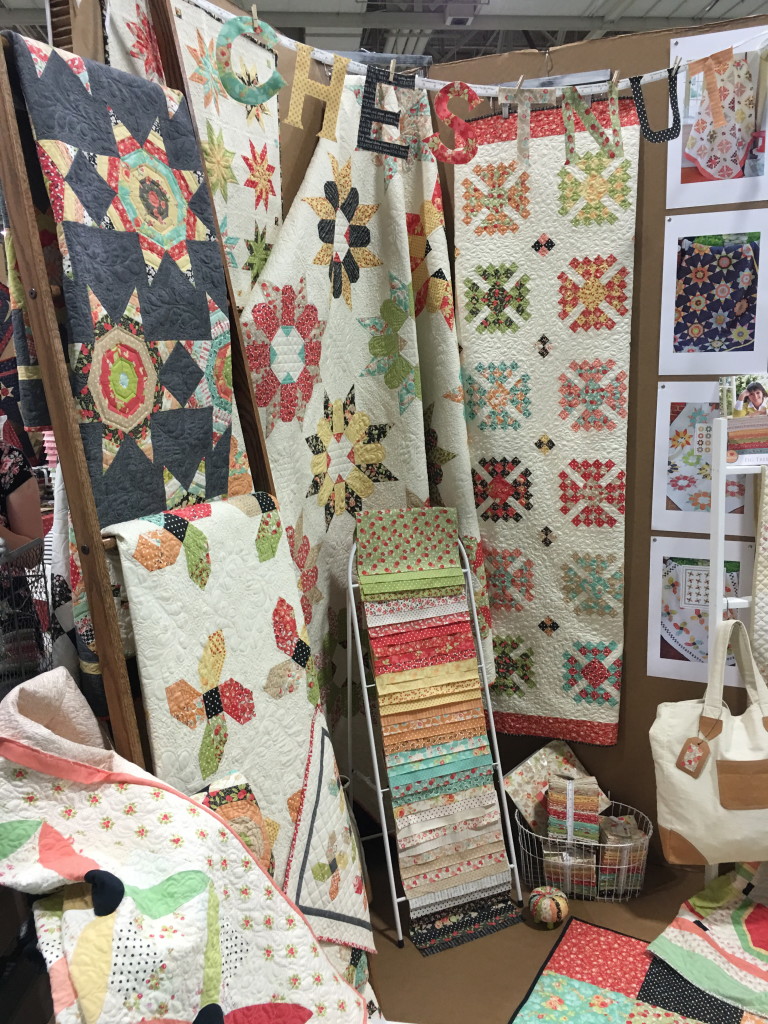
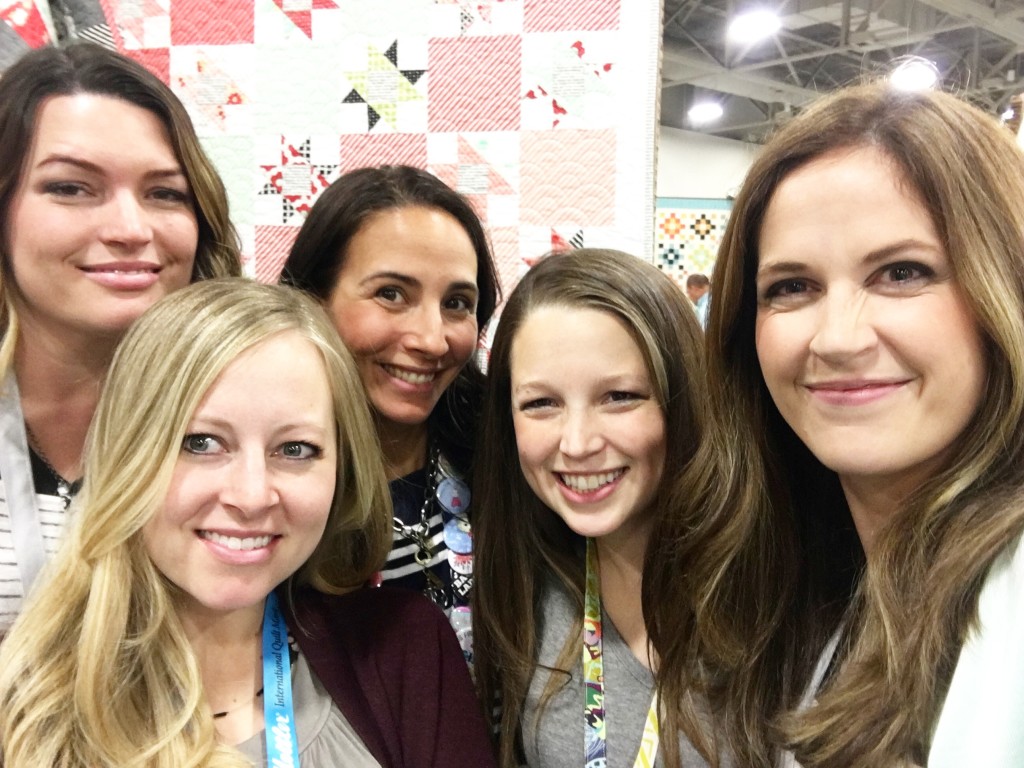

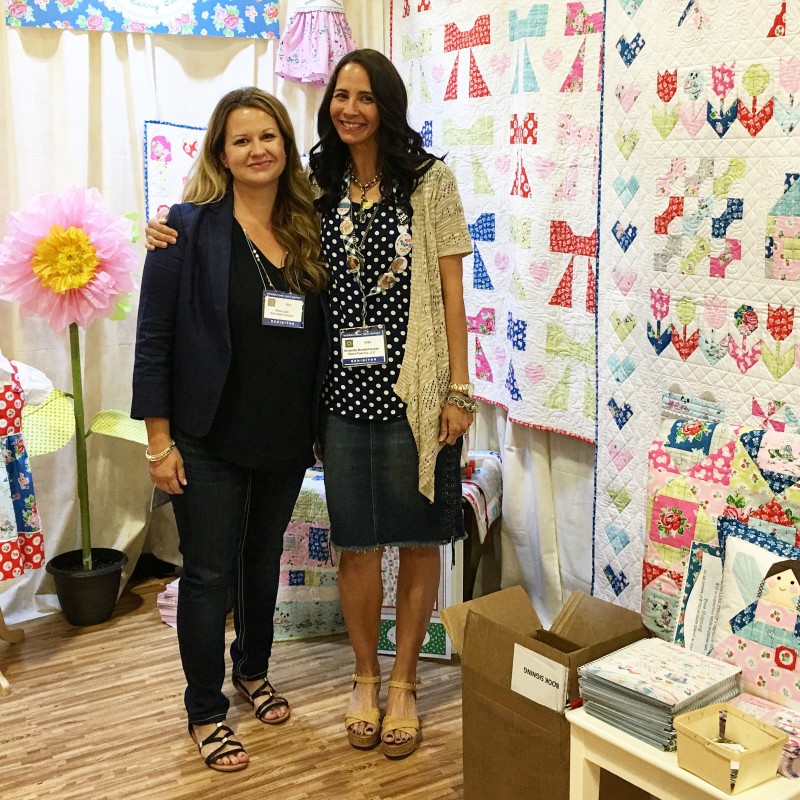
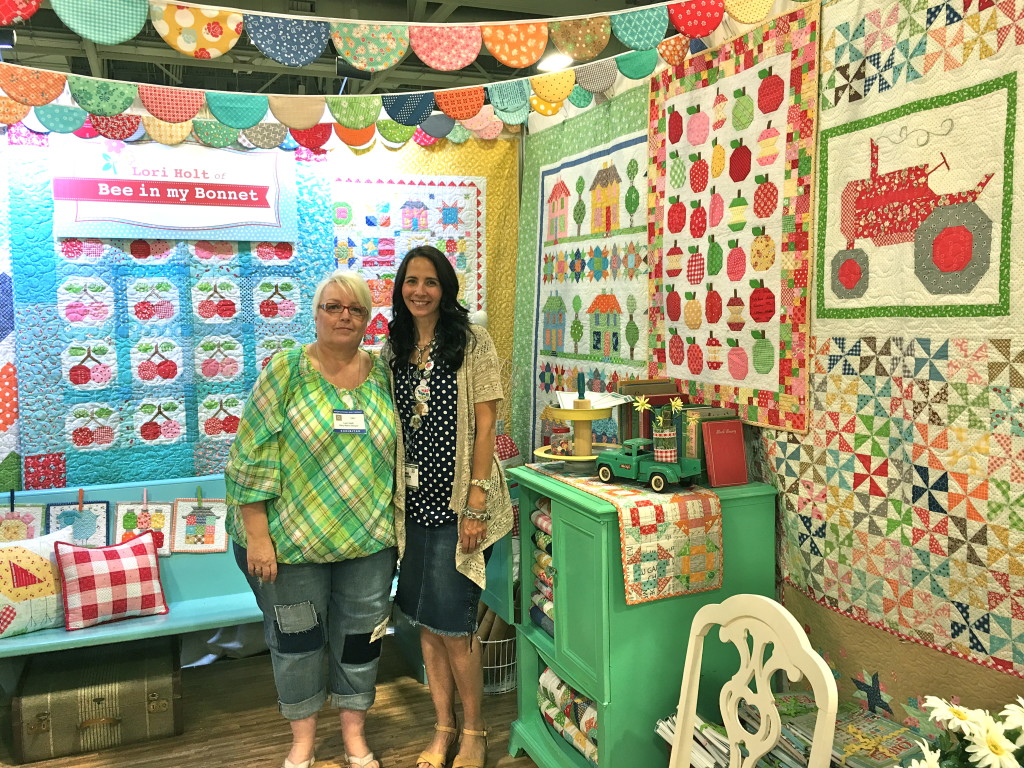
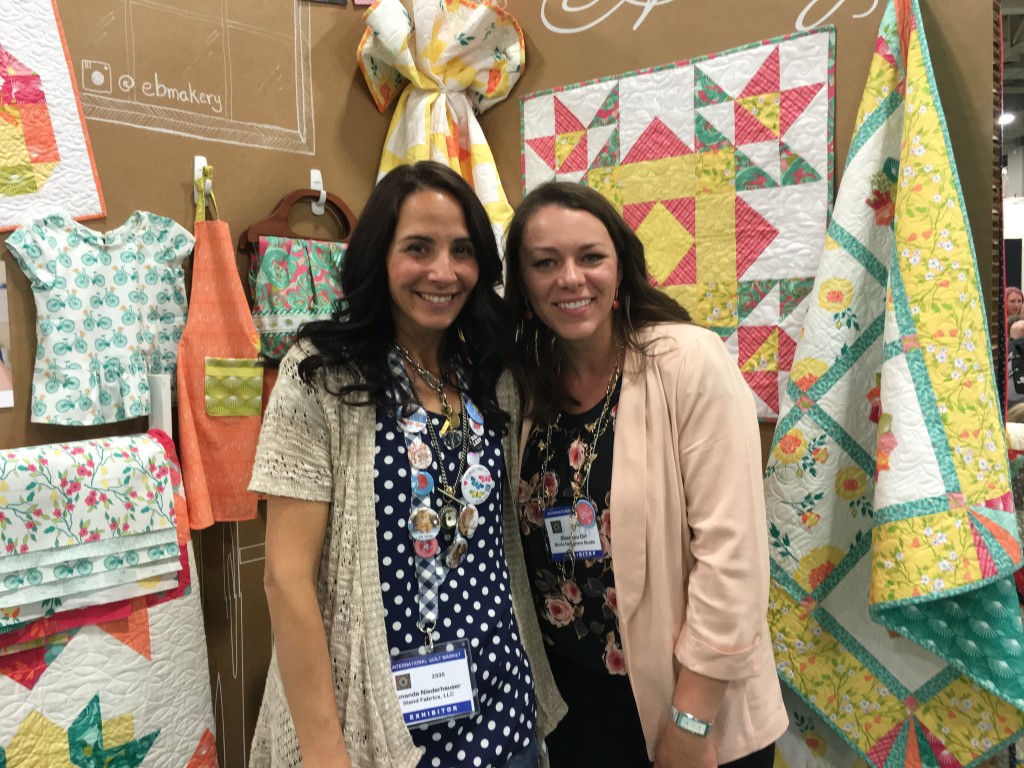
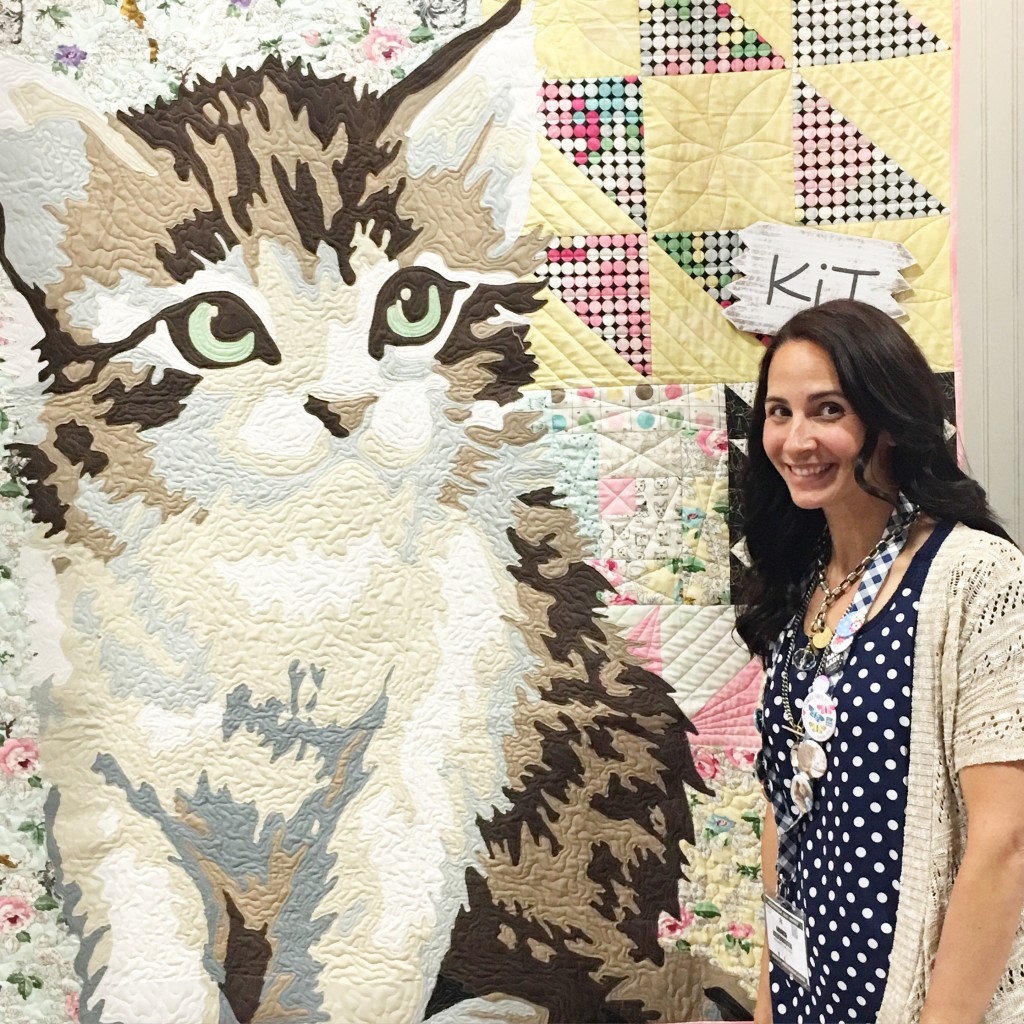
 I cried when I had to go home. Back to life, back to reality, but at least I have lots of fun memories and at least there’s Instagram to stay connected 🙂
 Now it’s your turn – get sewing!!!
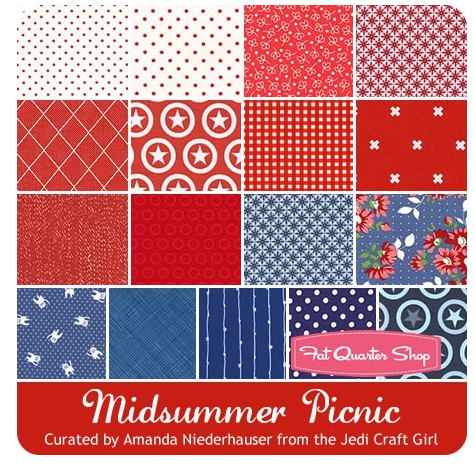
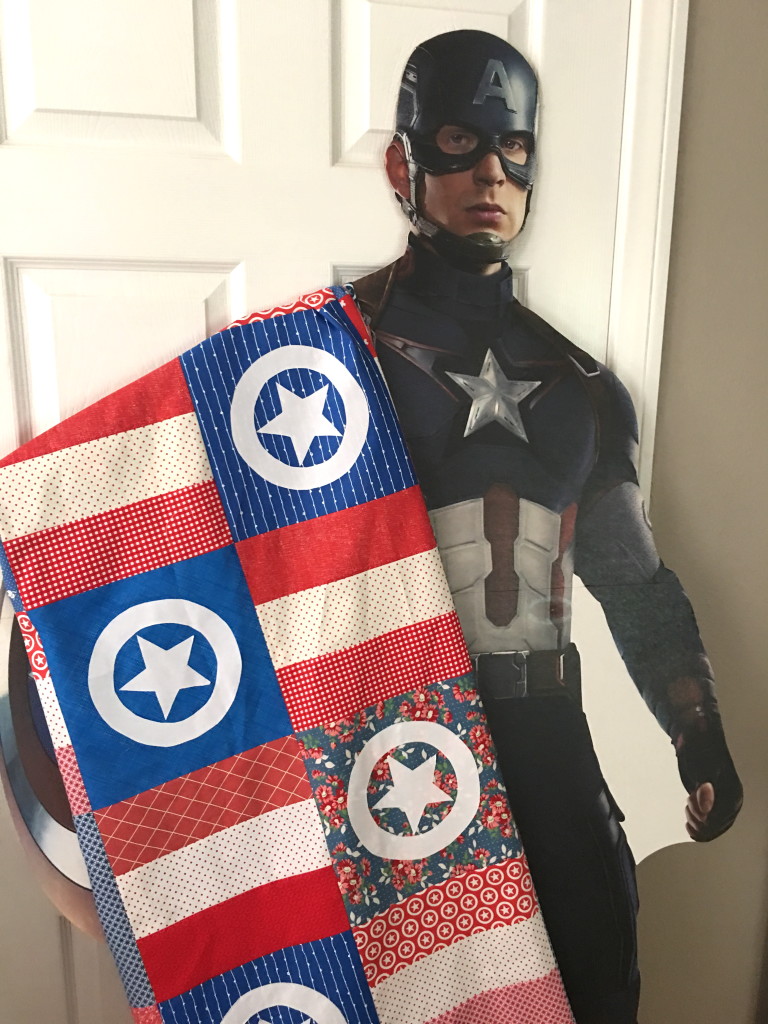
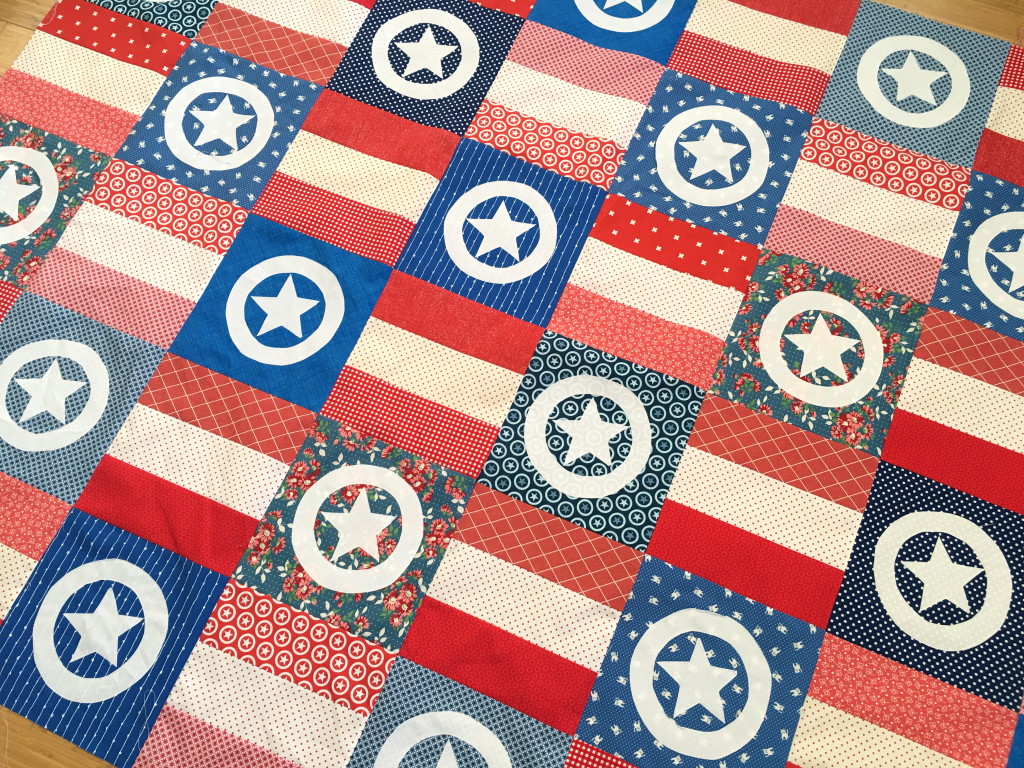
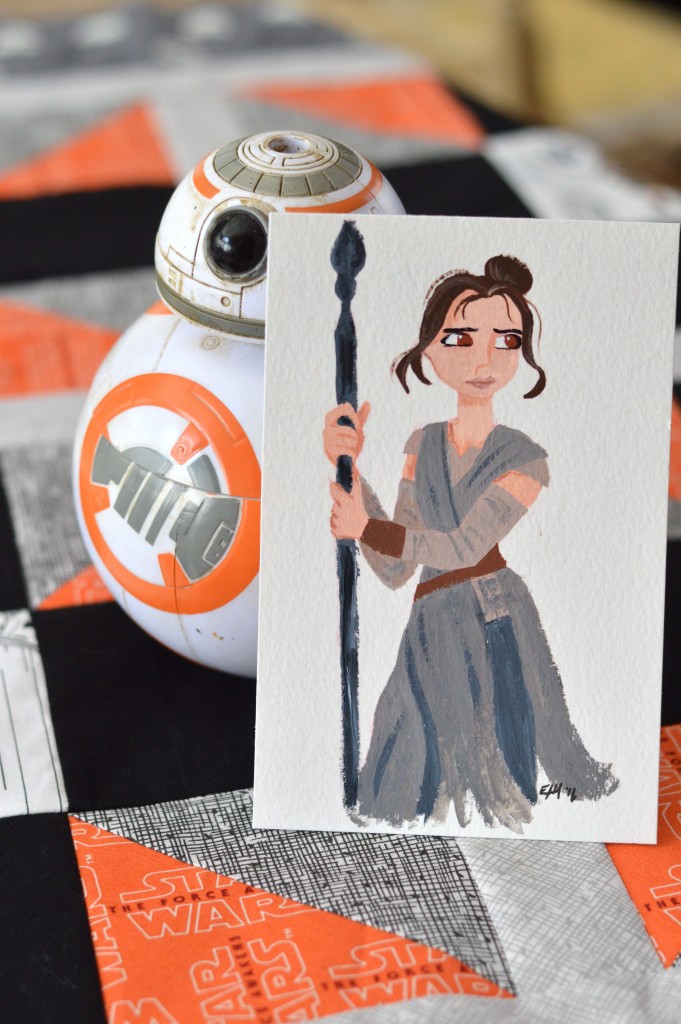
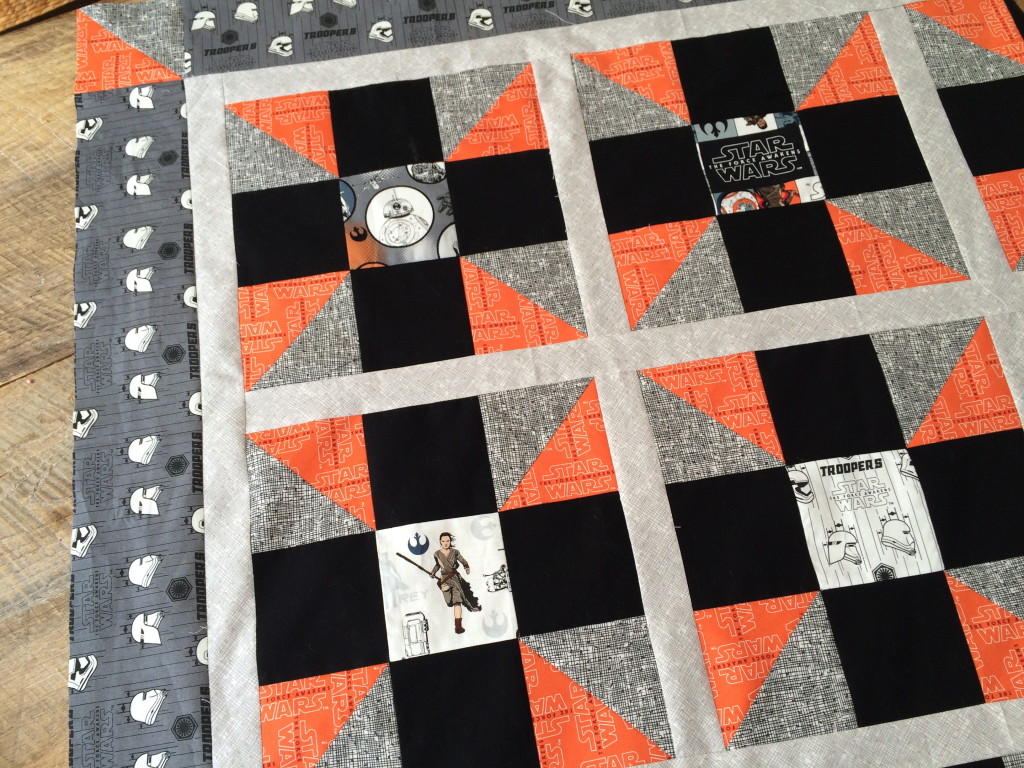
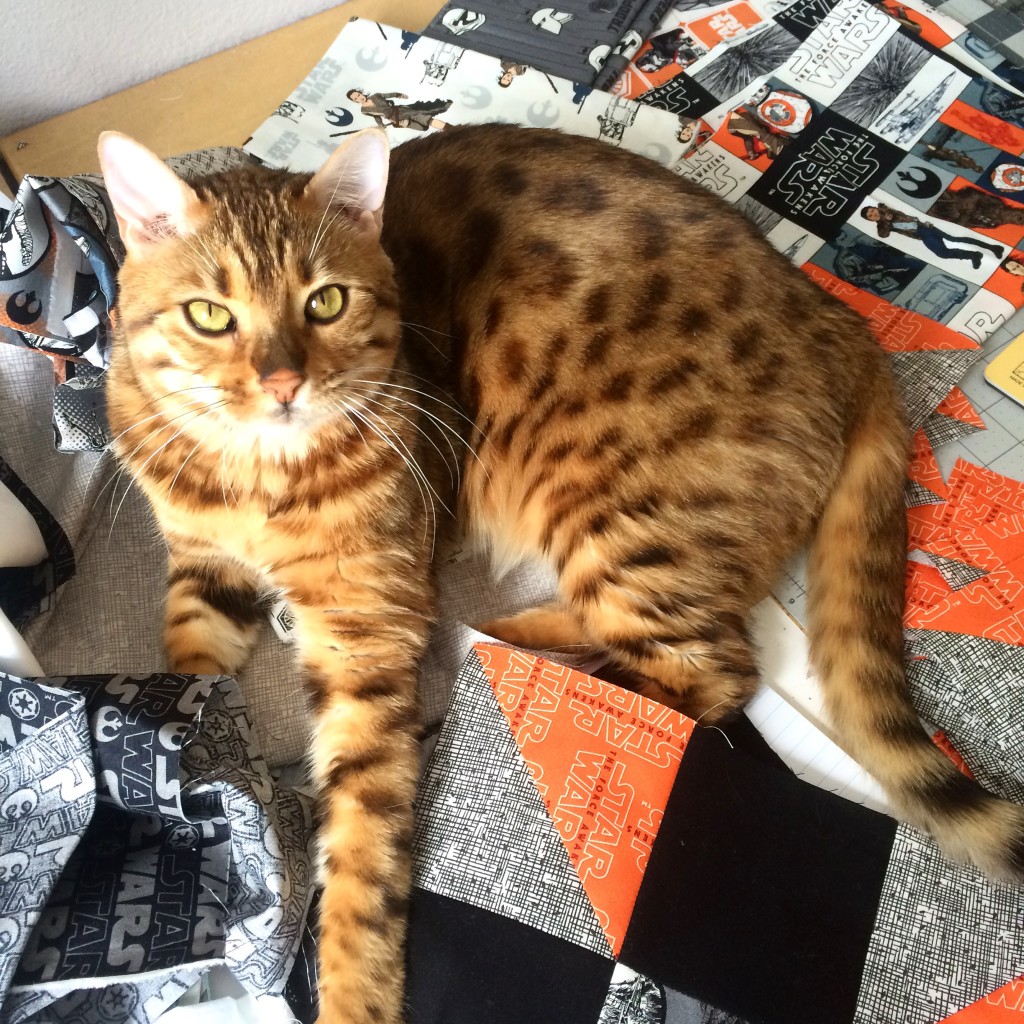
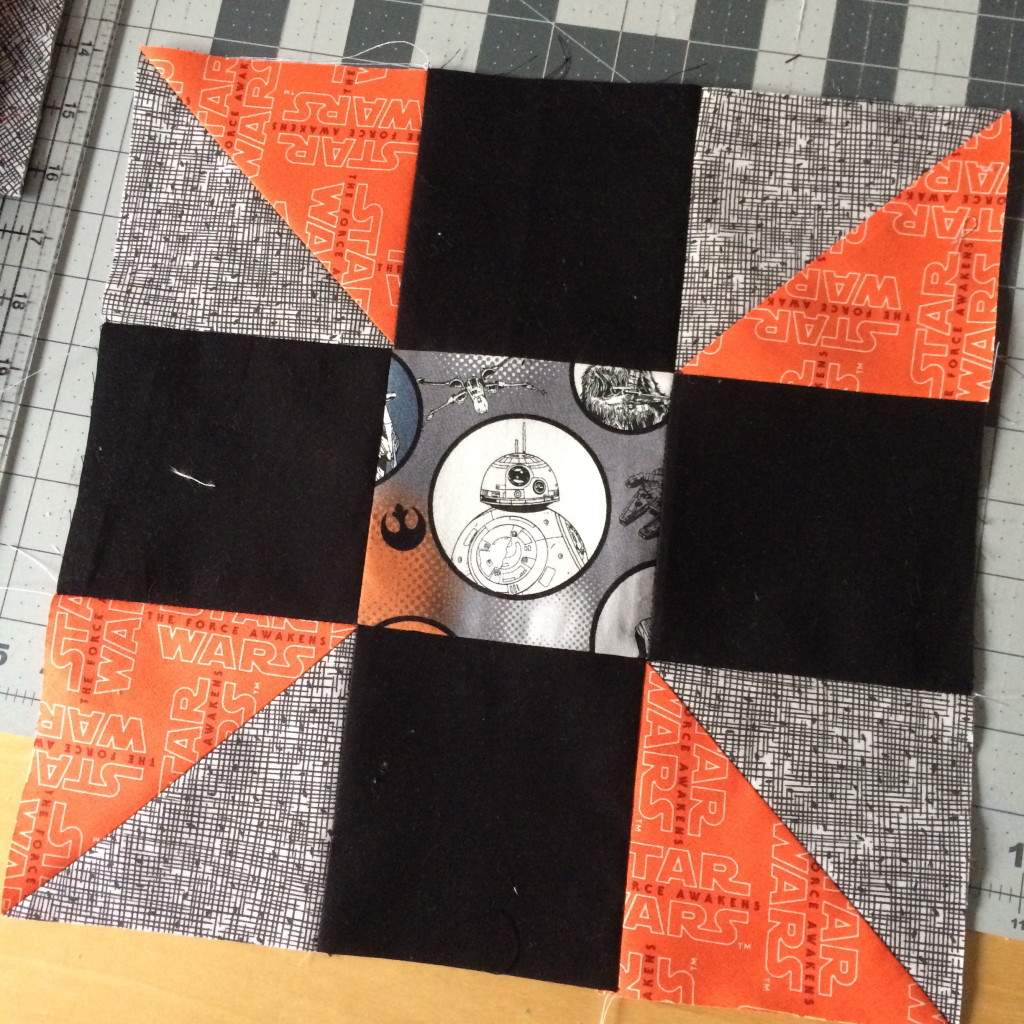
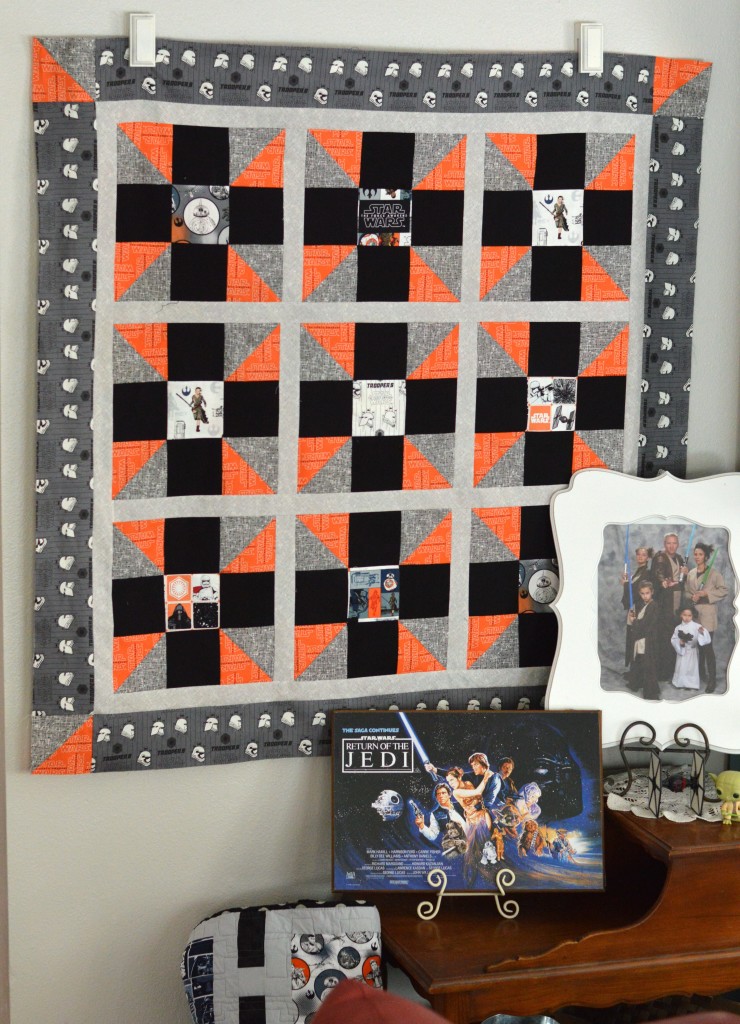
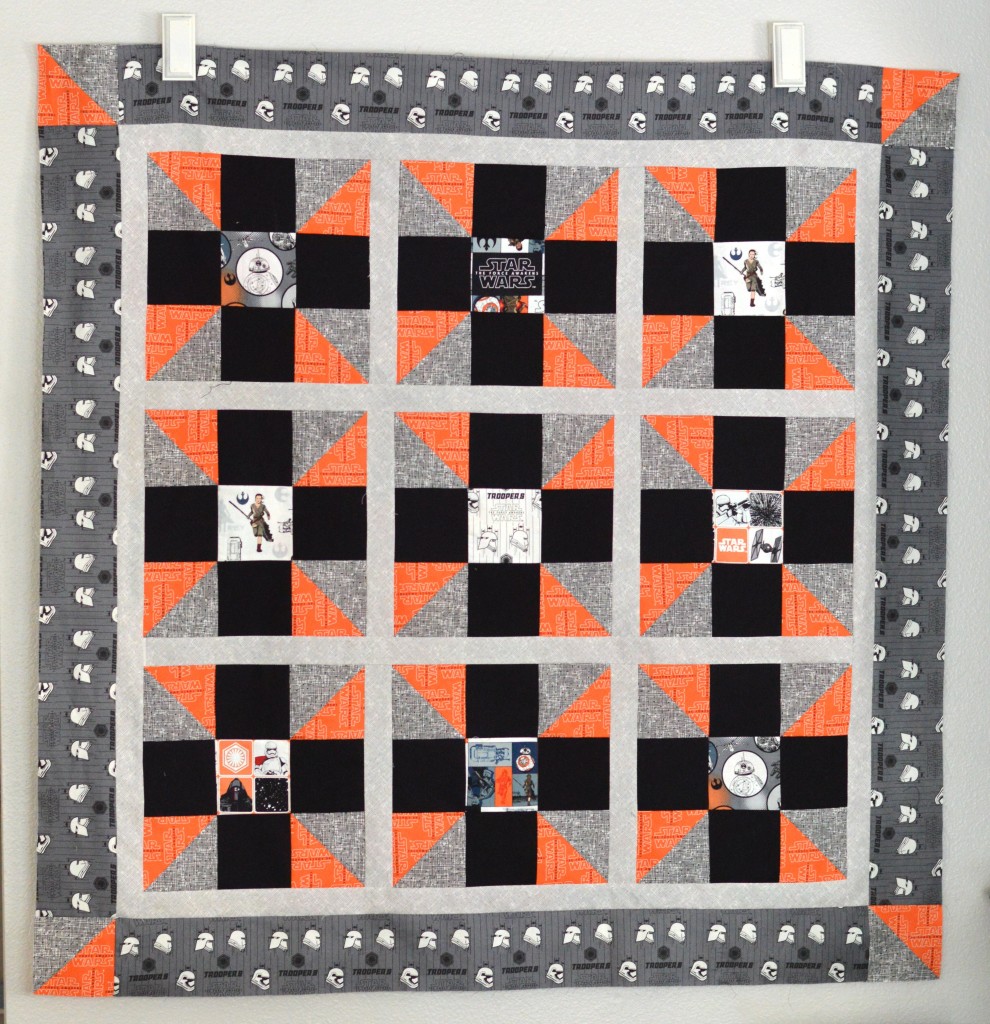
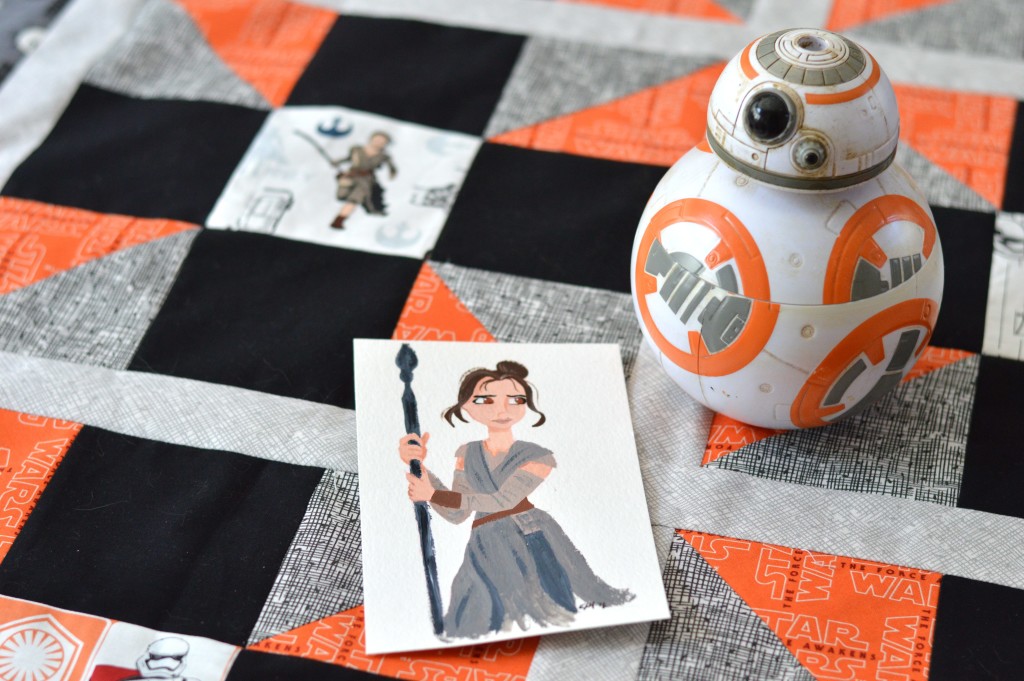
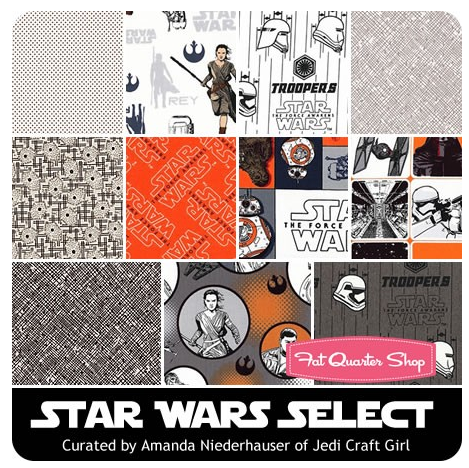 I choose fabrics that were inspired by the colors of BB8 and Rae – 2 of our favorite characters! I used all the fabrics in this collection and only added a yard of solid black fabric.
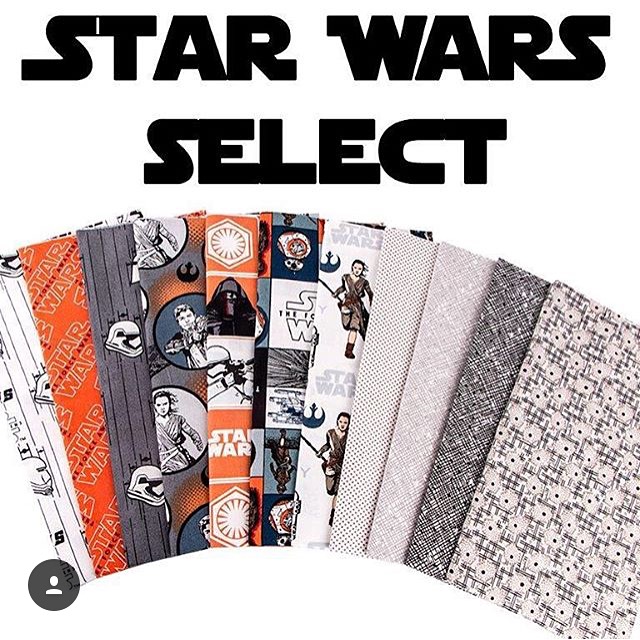
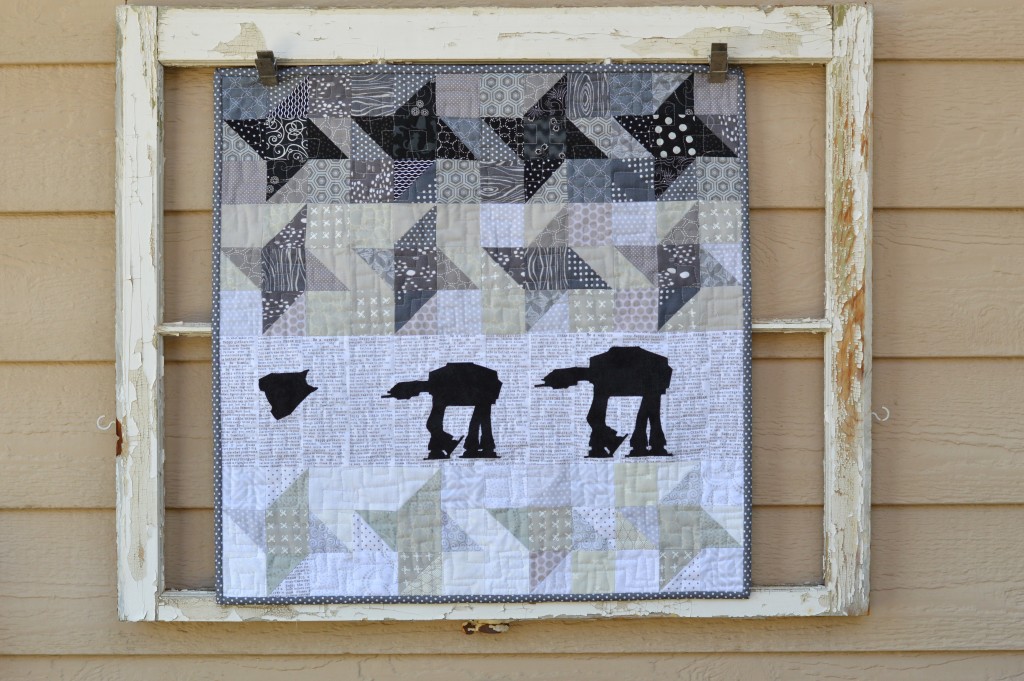
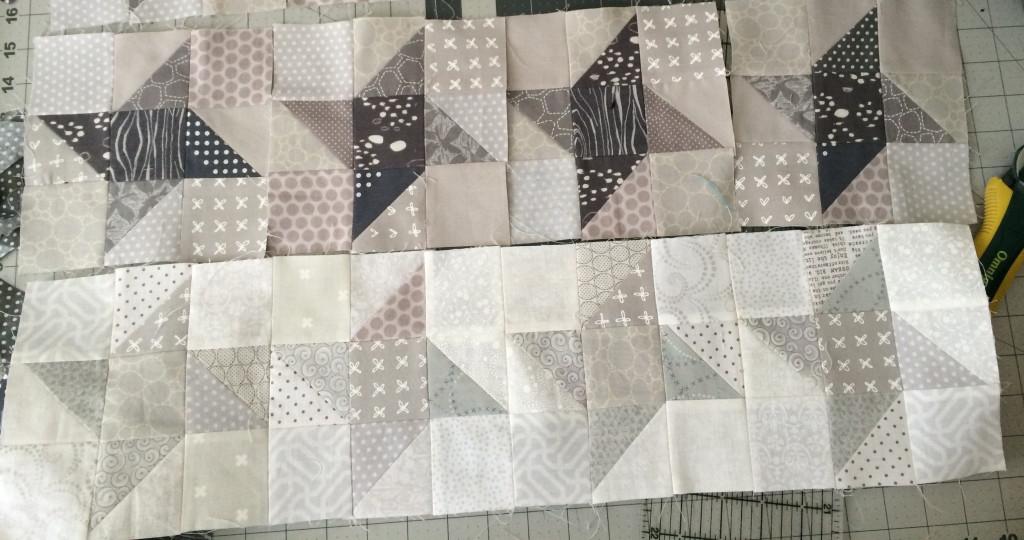
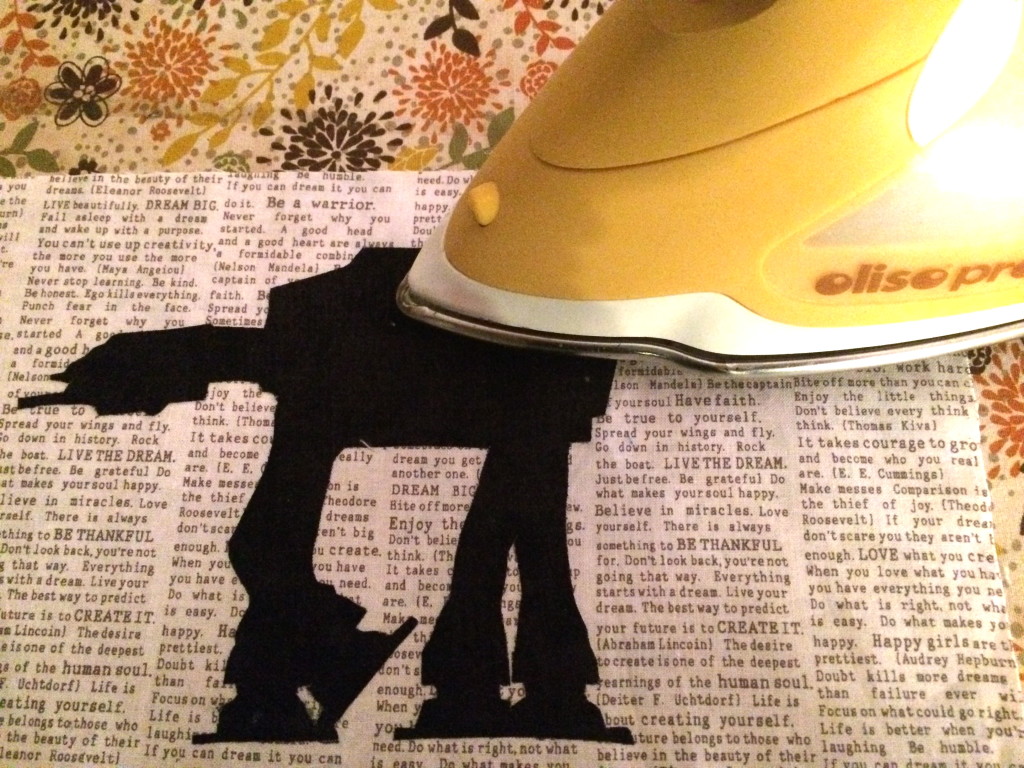
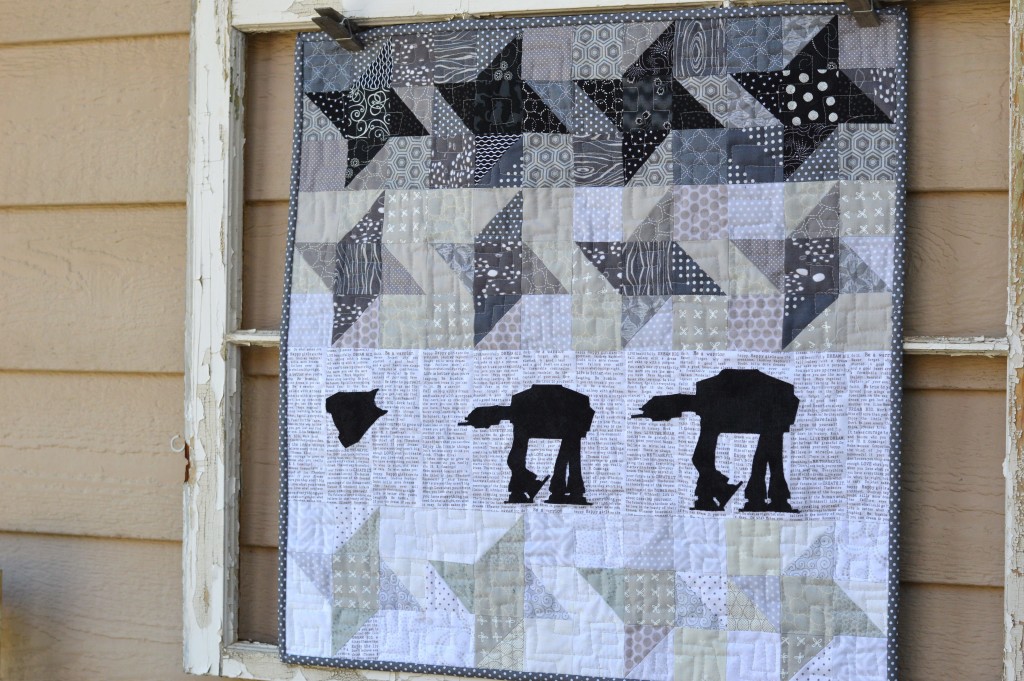
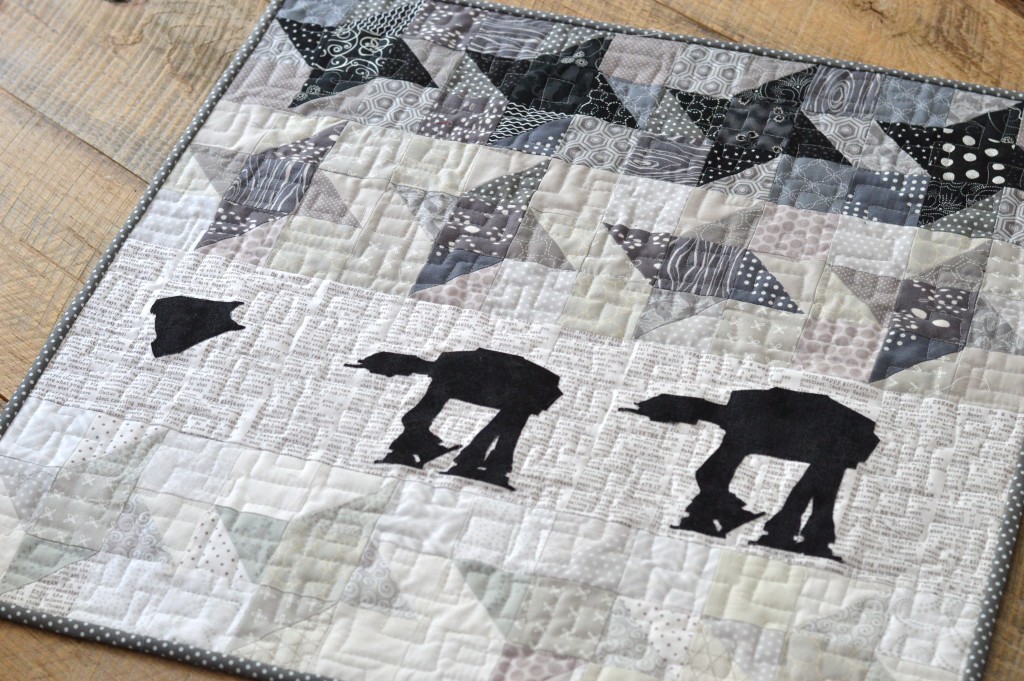
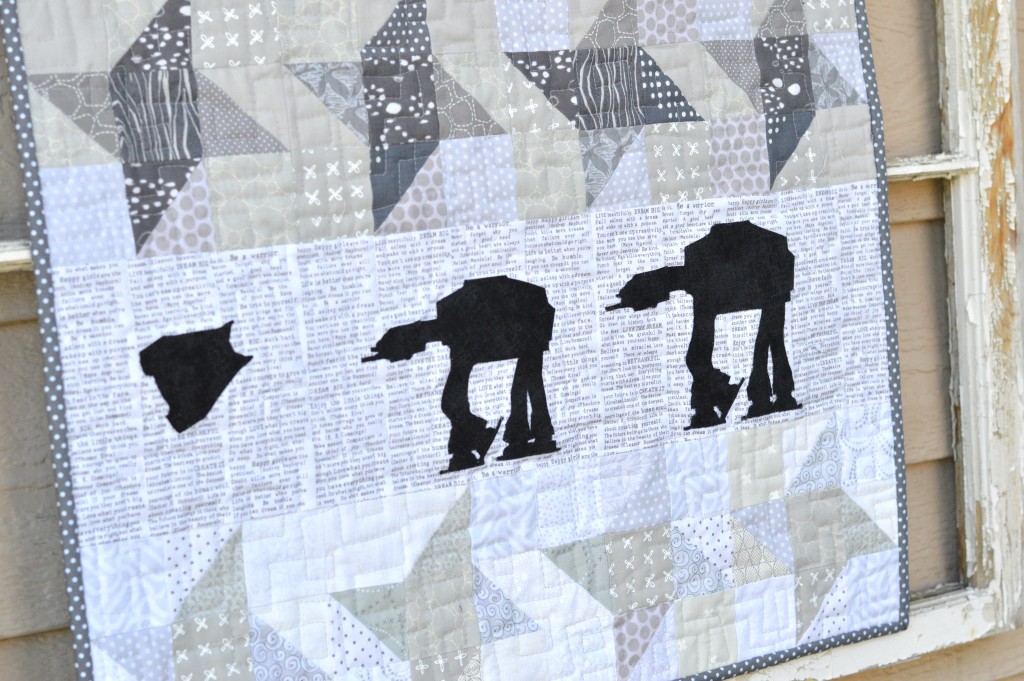
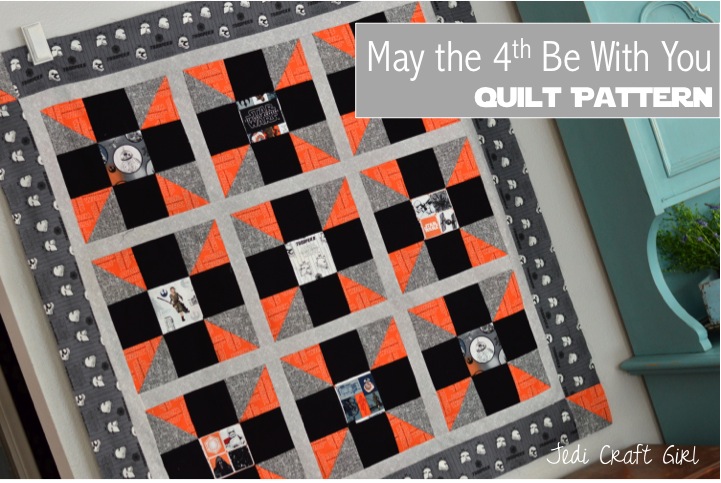
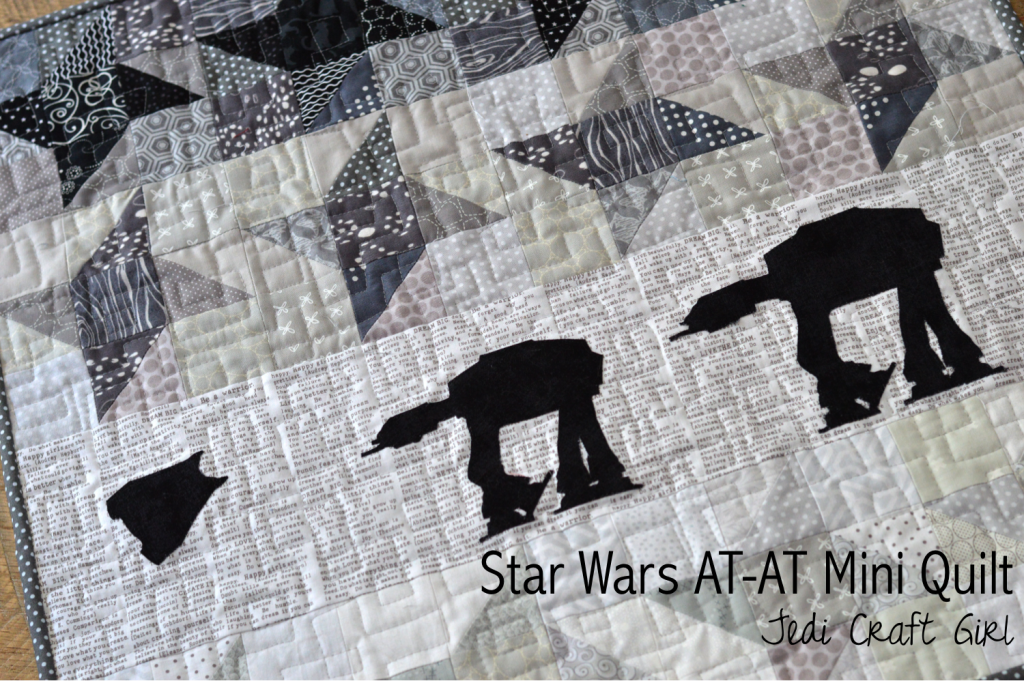 I recently participated in a May The 4th Mini Quilt Swap on Instagram. This is the quilt I made for my swap partner. I really wanted to bring out the feel of this scene in The Empire Strikes back. I am totally in love with it!