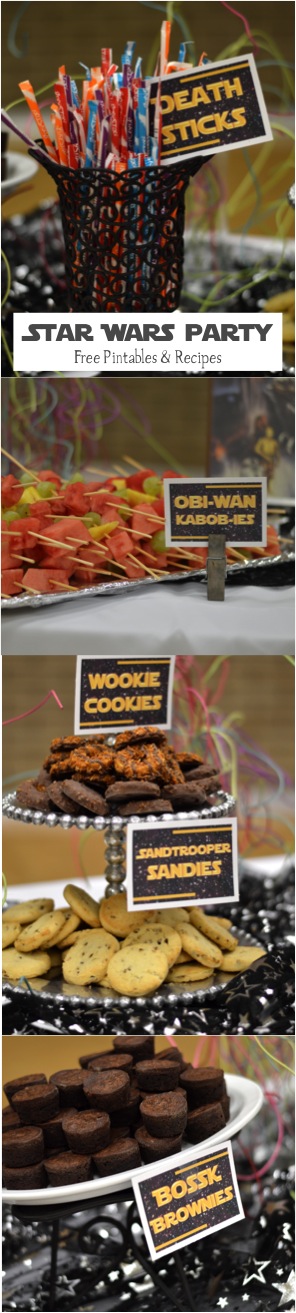
We love Star Wars! (In case you were wondering, hahahahah!!!) I helped out with our Stake’s Beehive-Deacon Day and we choose a Star Wars Theme! It was super fun! Click HERE to download all the files pictured in this post.
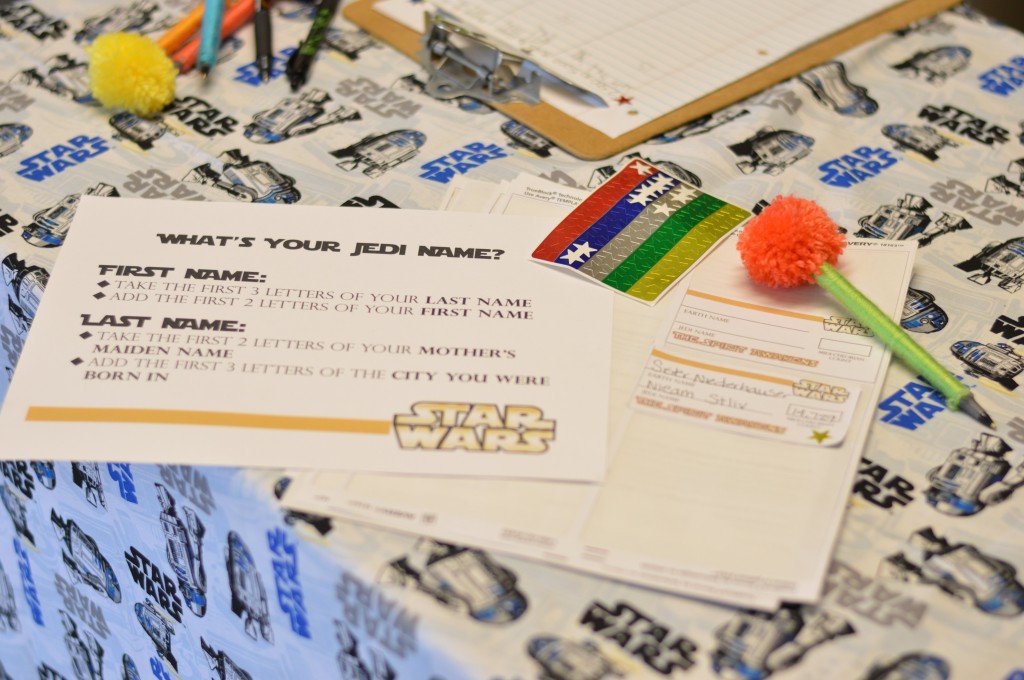
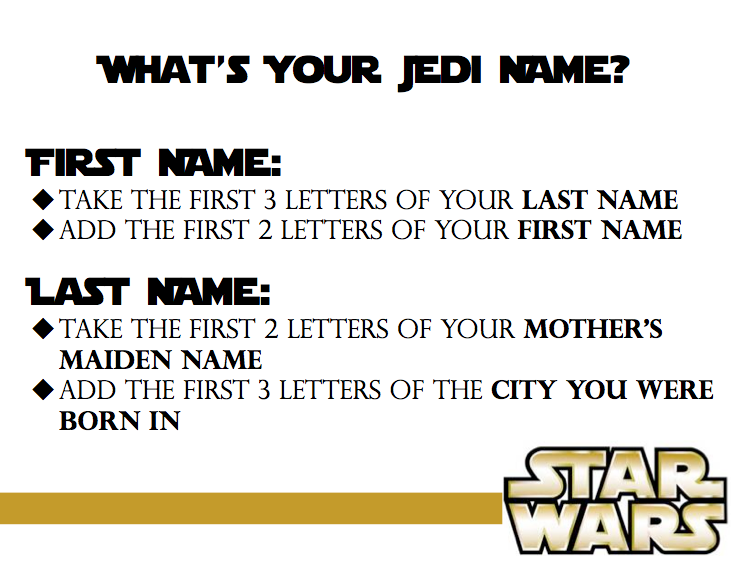
When the kids arrived, we had them fill out these name tags. They wrote their “Earth Name” and then determined their “Jedi Name”
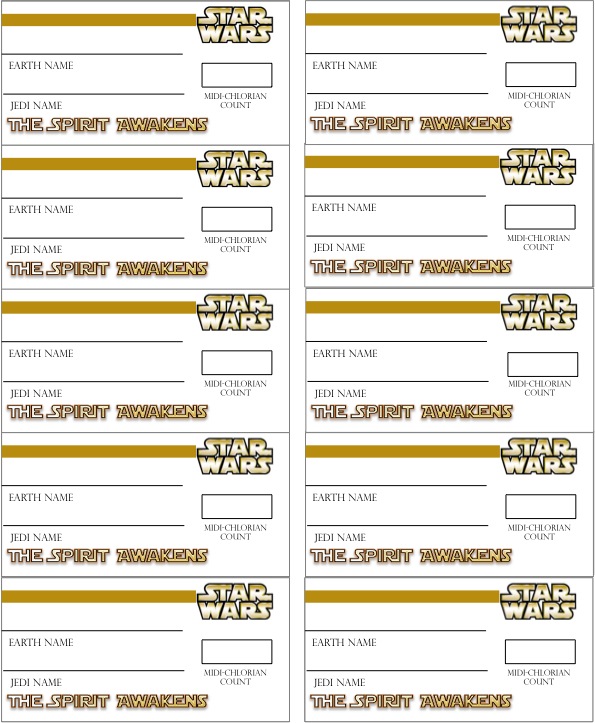
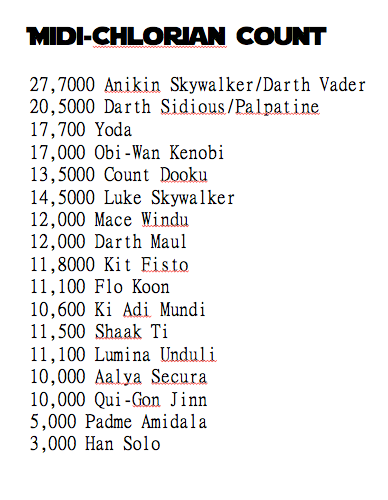
Then we asked them some silly questions involving numbers and pretended to do some hi-tech calculations to determine their Medi-Chlorian level. This is how we divided the youth into 3 groups.
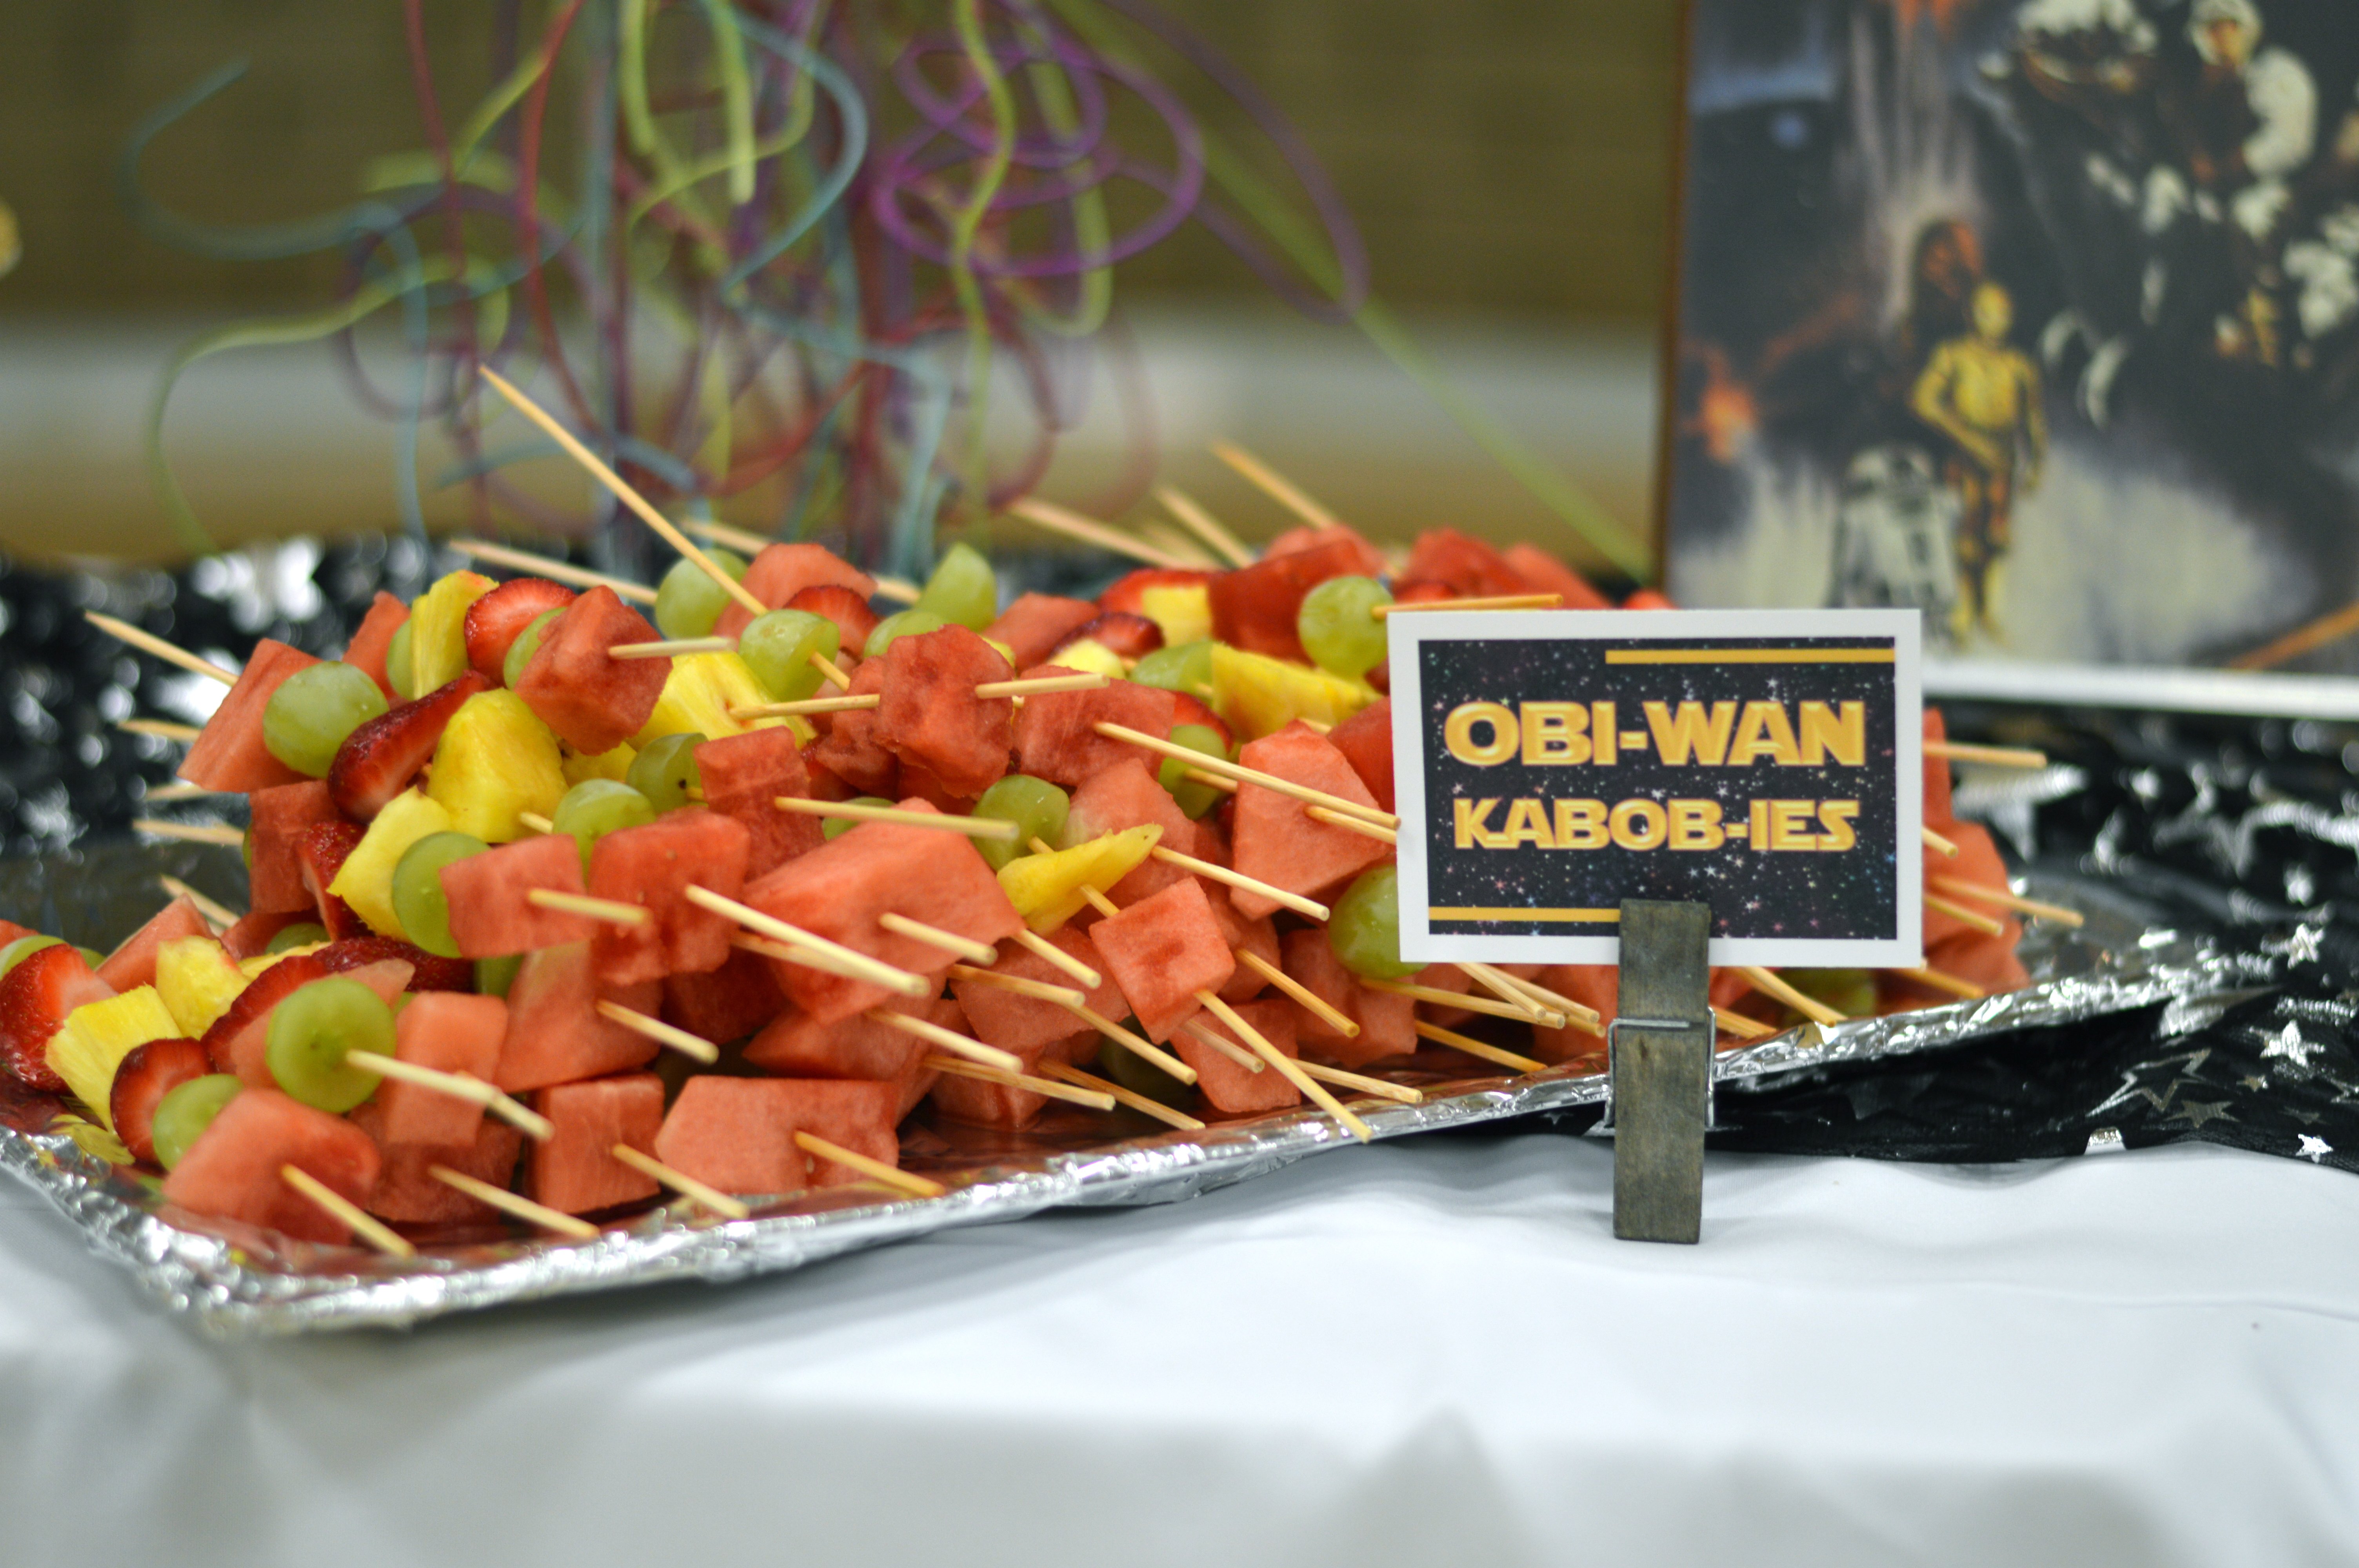
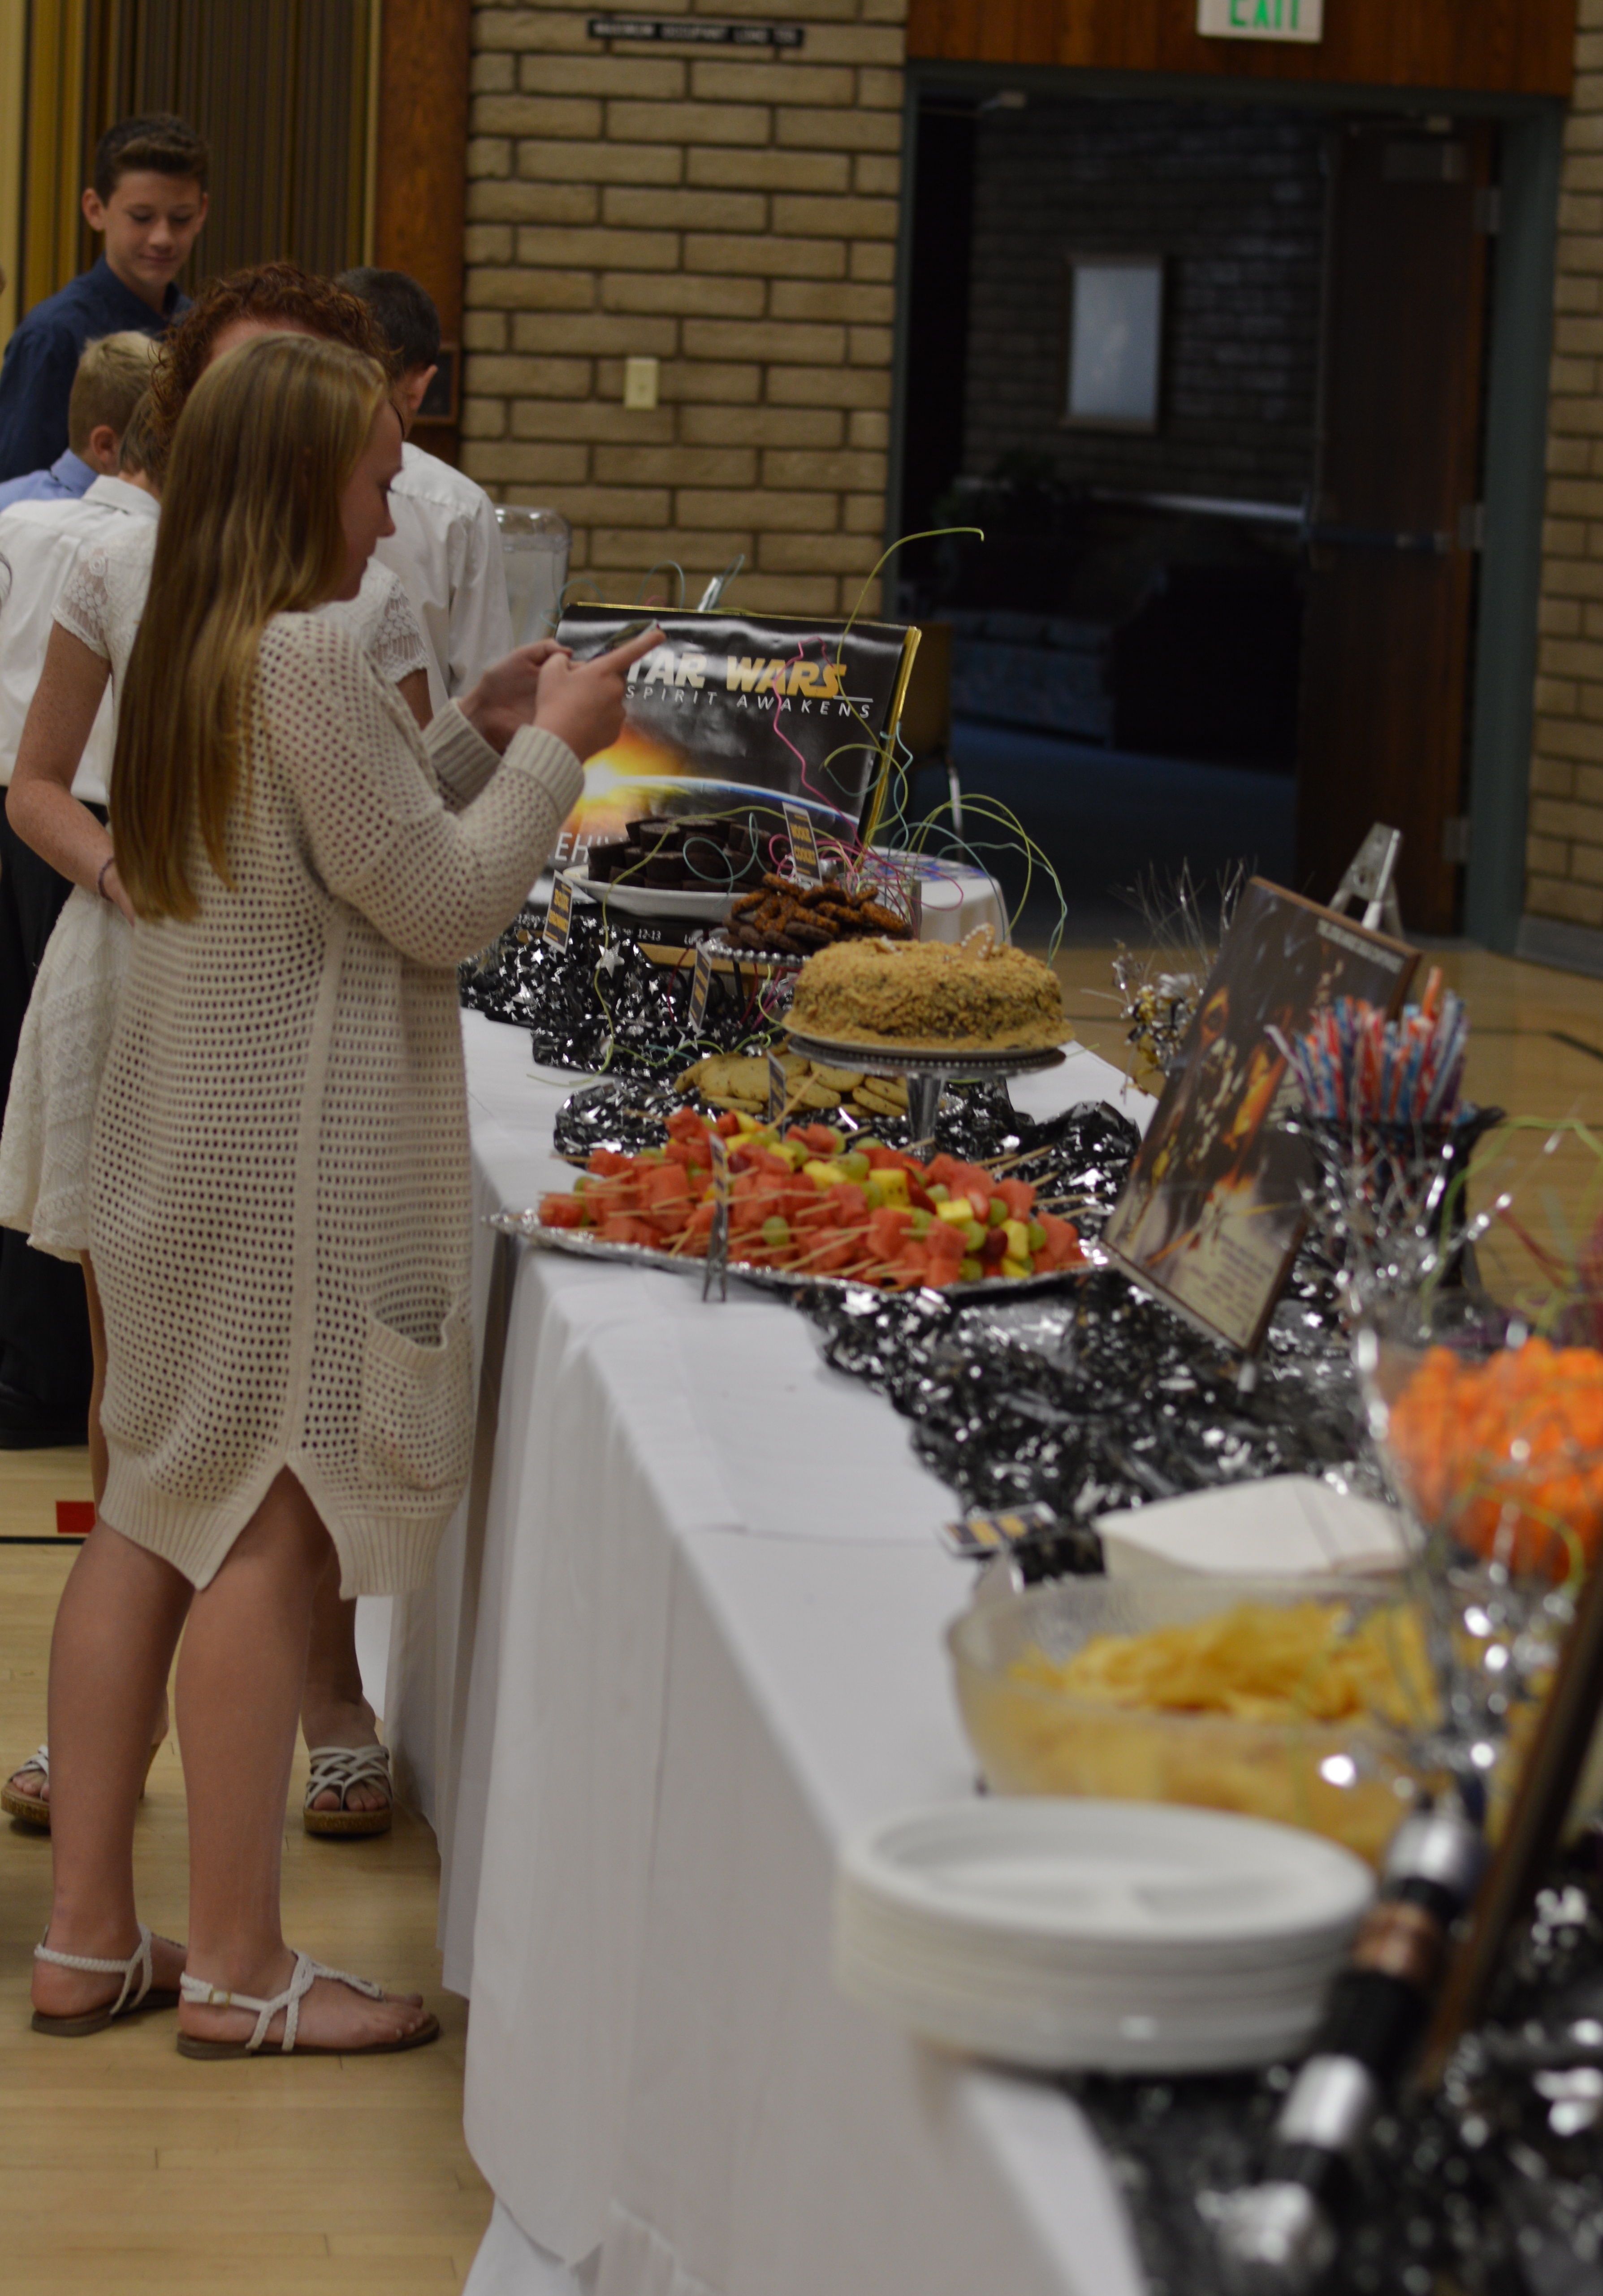
 We had 3 mini classes on friendship, social media, and etiquette. At the end all the youth ended up in the gym where we had a Star Wars Buffet. The main course was “Bantha Burgers” which was smoked pulled pork sandwiches.
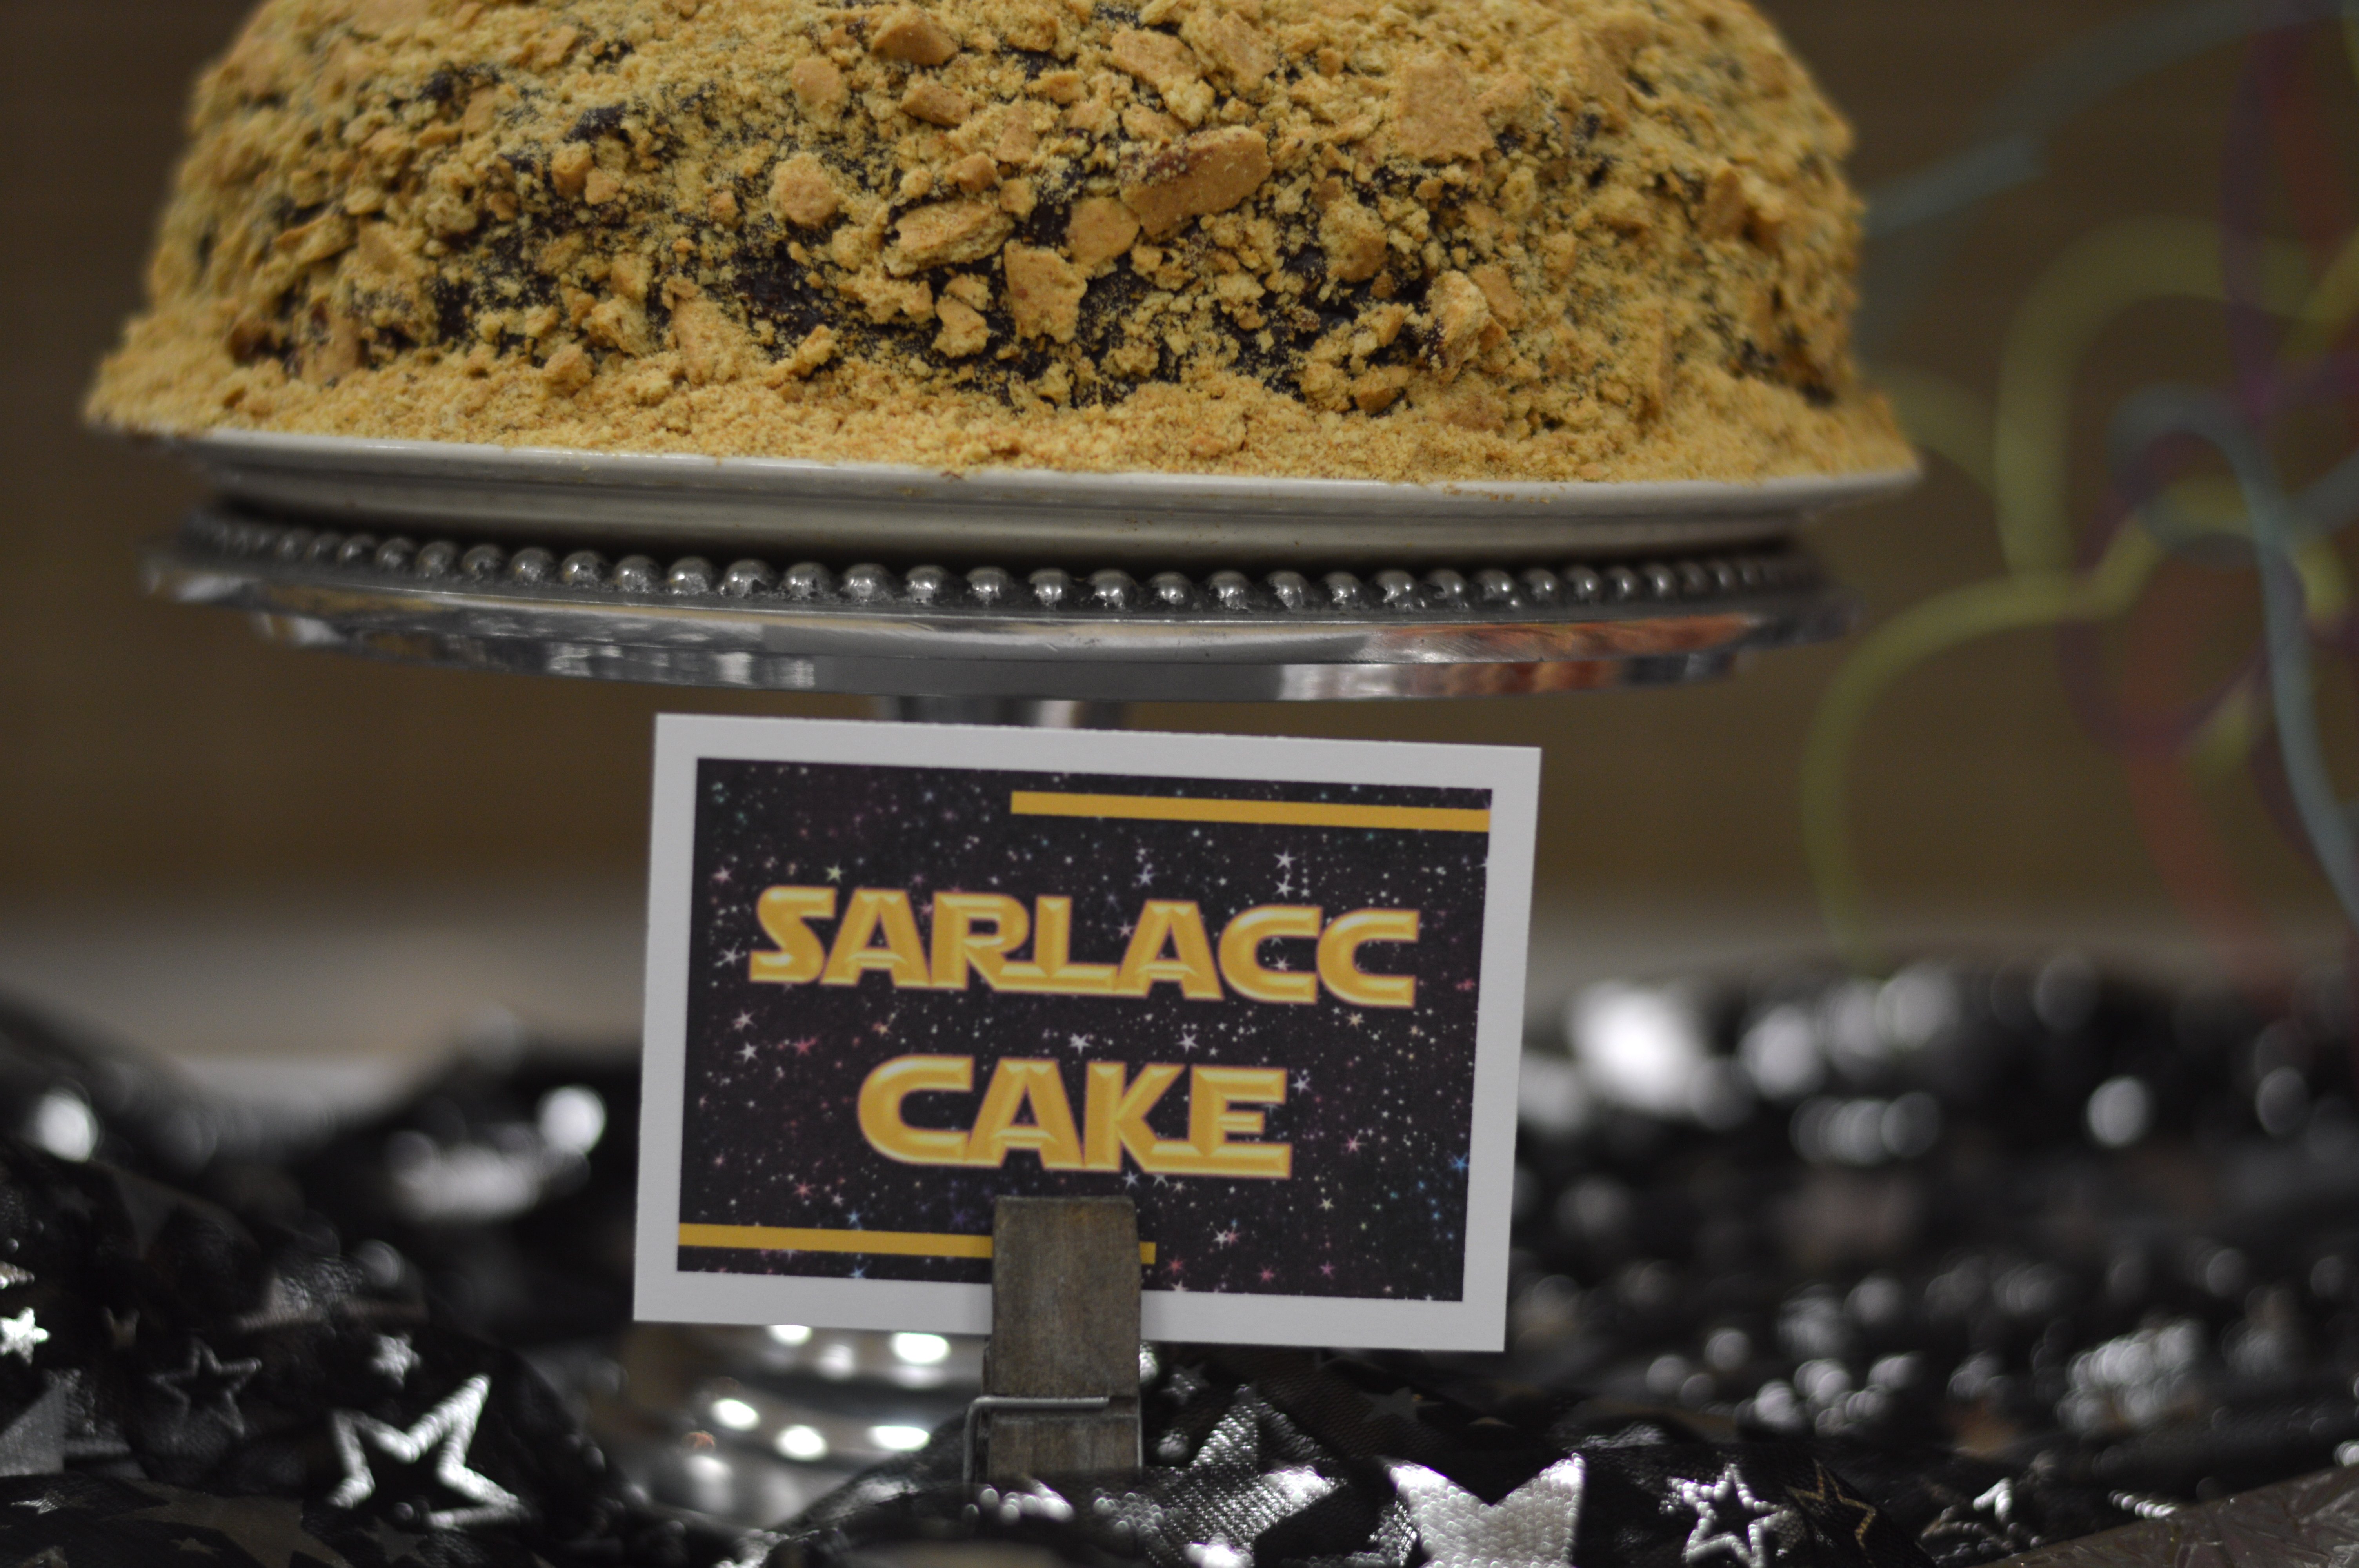
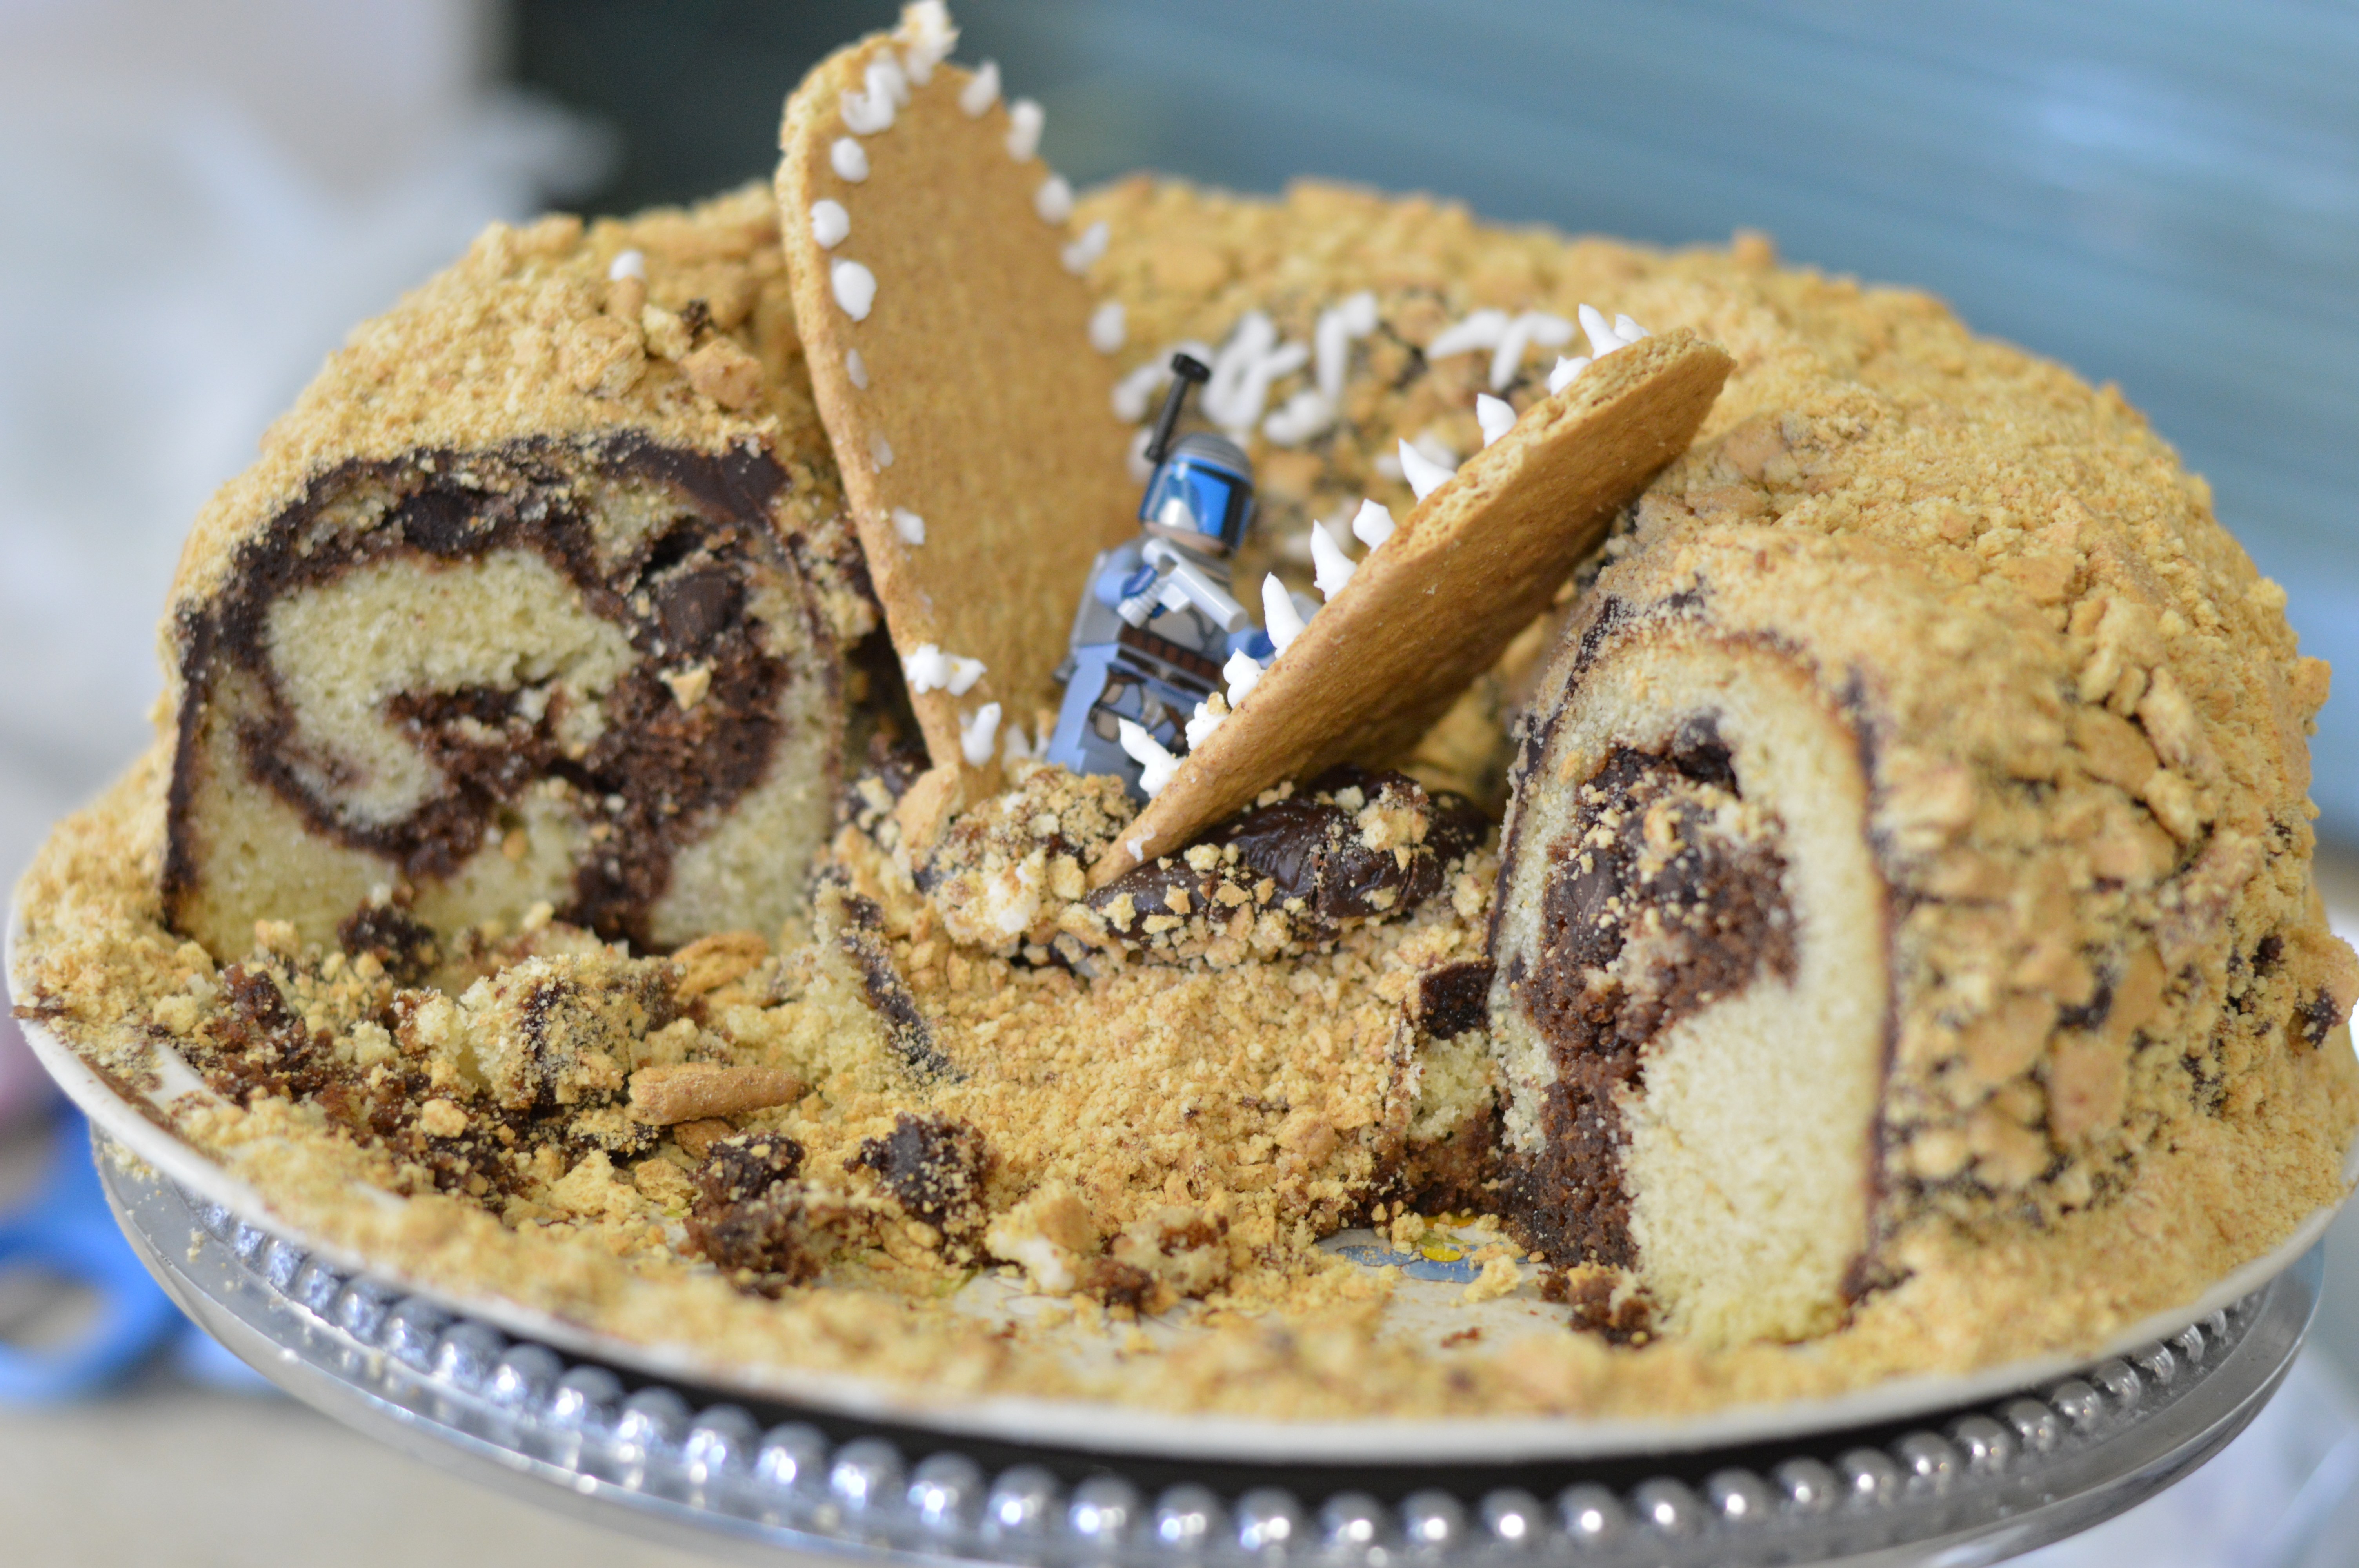
The Sarlacc Cake was a hit! I made this Magic Swirl Bundt Cake recipe which is one of my favorite cake recipes. I call it the Dark Side vs. the Light Side cake. The chocolate and vanilla are battling it out!! I covered the entire cake in chocolate ganache and put graham cracker crumbs over top for the sand. I cut 2 graham crackers to look like a mouth and piped some white frosting for “teeth”.
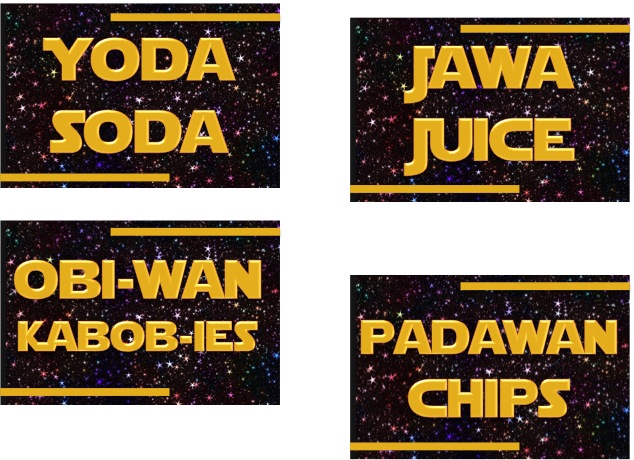
 The Jawa Juice was a HIT!!!! Teenagers + Dry Ice 🙂
1 container Blue Hawaiian Punch
(1) 2-litre bottle Lemonade
(1) 2-litre 7-up
Dry Ice
They also loved the Yoda Soda
(1) 2-litre 7 Up
(1) half gallon Lime Sherbet
5 limes juiced
Lime slices  Kids don’t really want water when you have Jawa Juice and Yoda Soda! But I still like the Anakin Sky-Water label 🙂
We had Star Wars music playing and the Party Rocker was blasting colored lights onto the ceiling. The kids loved it! 
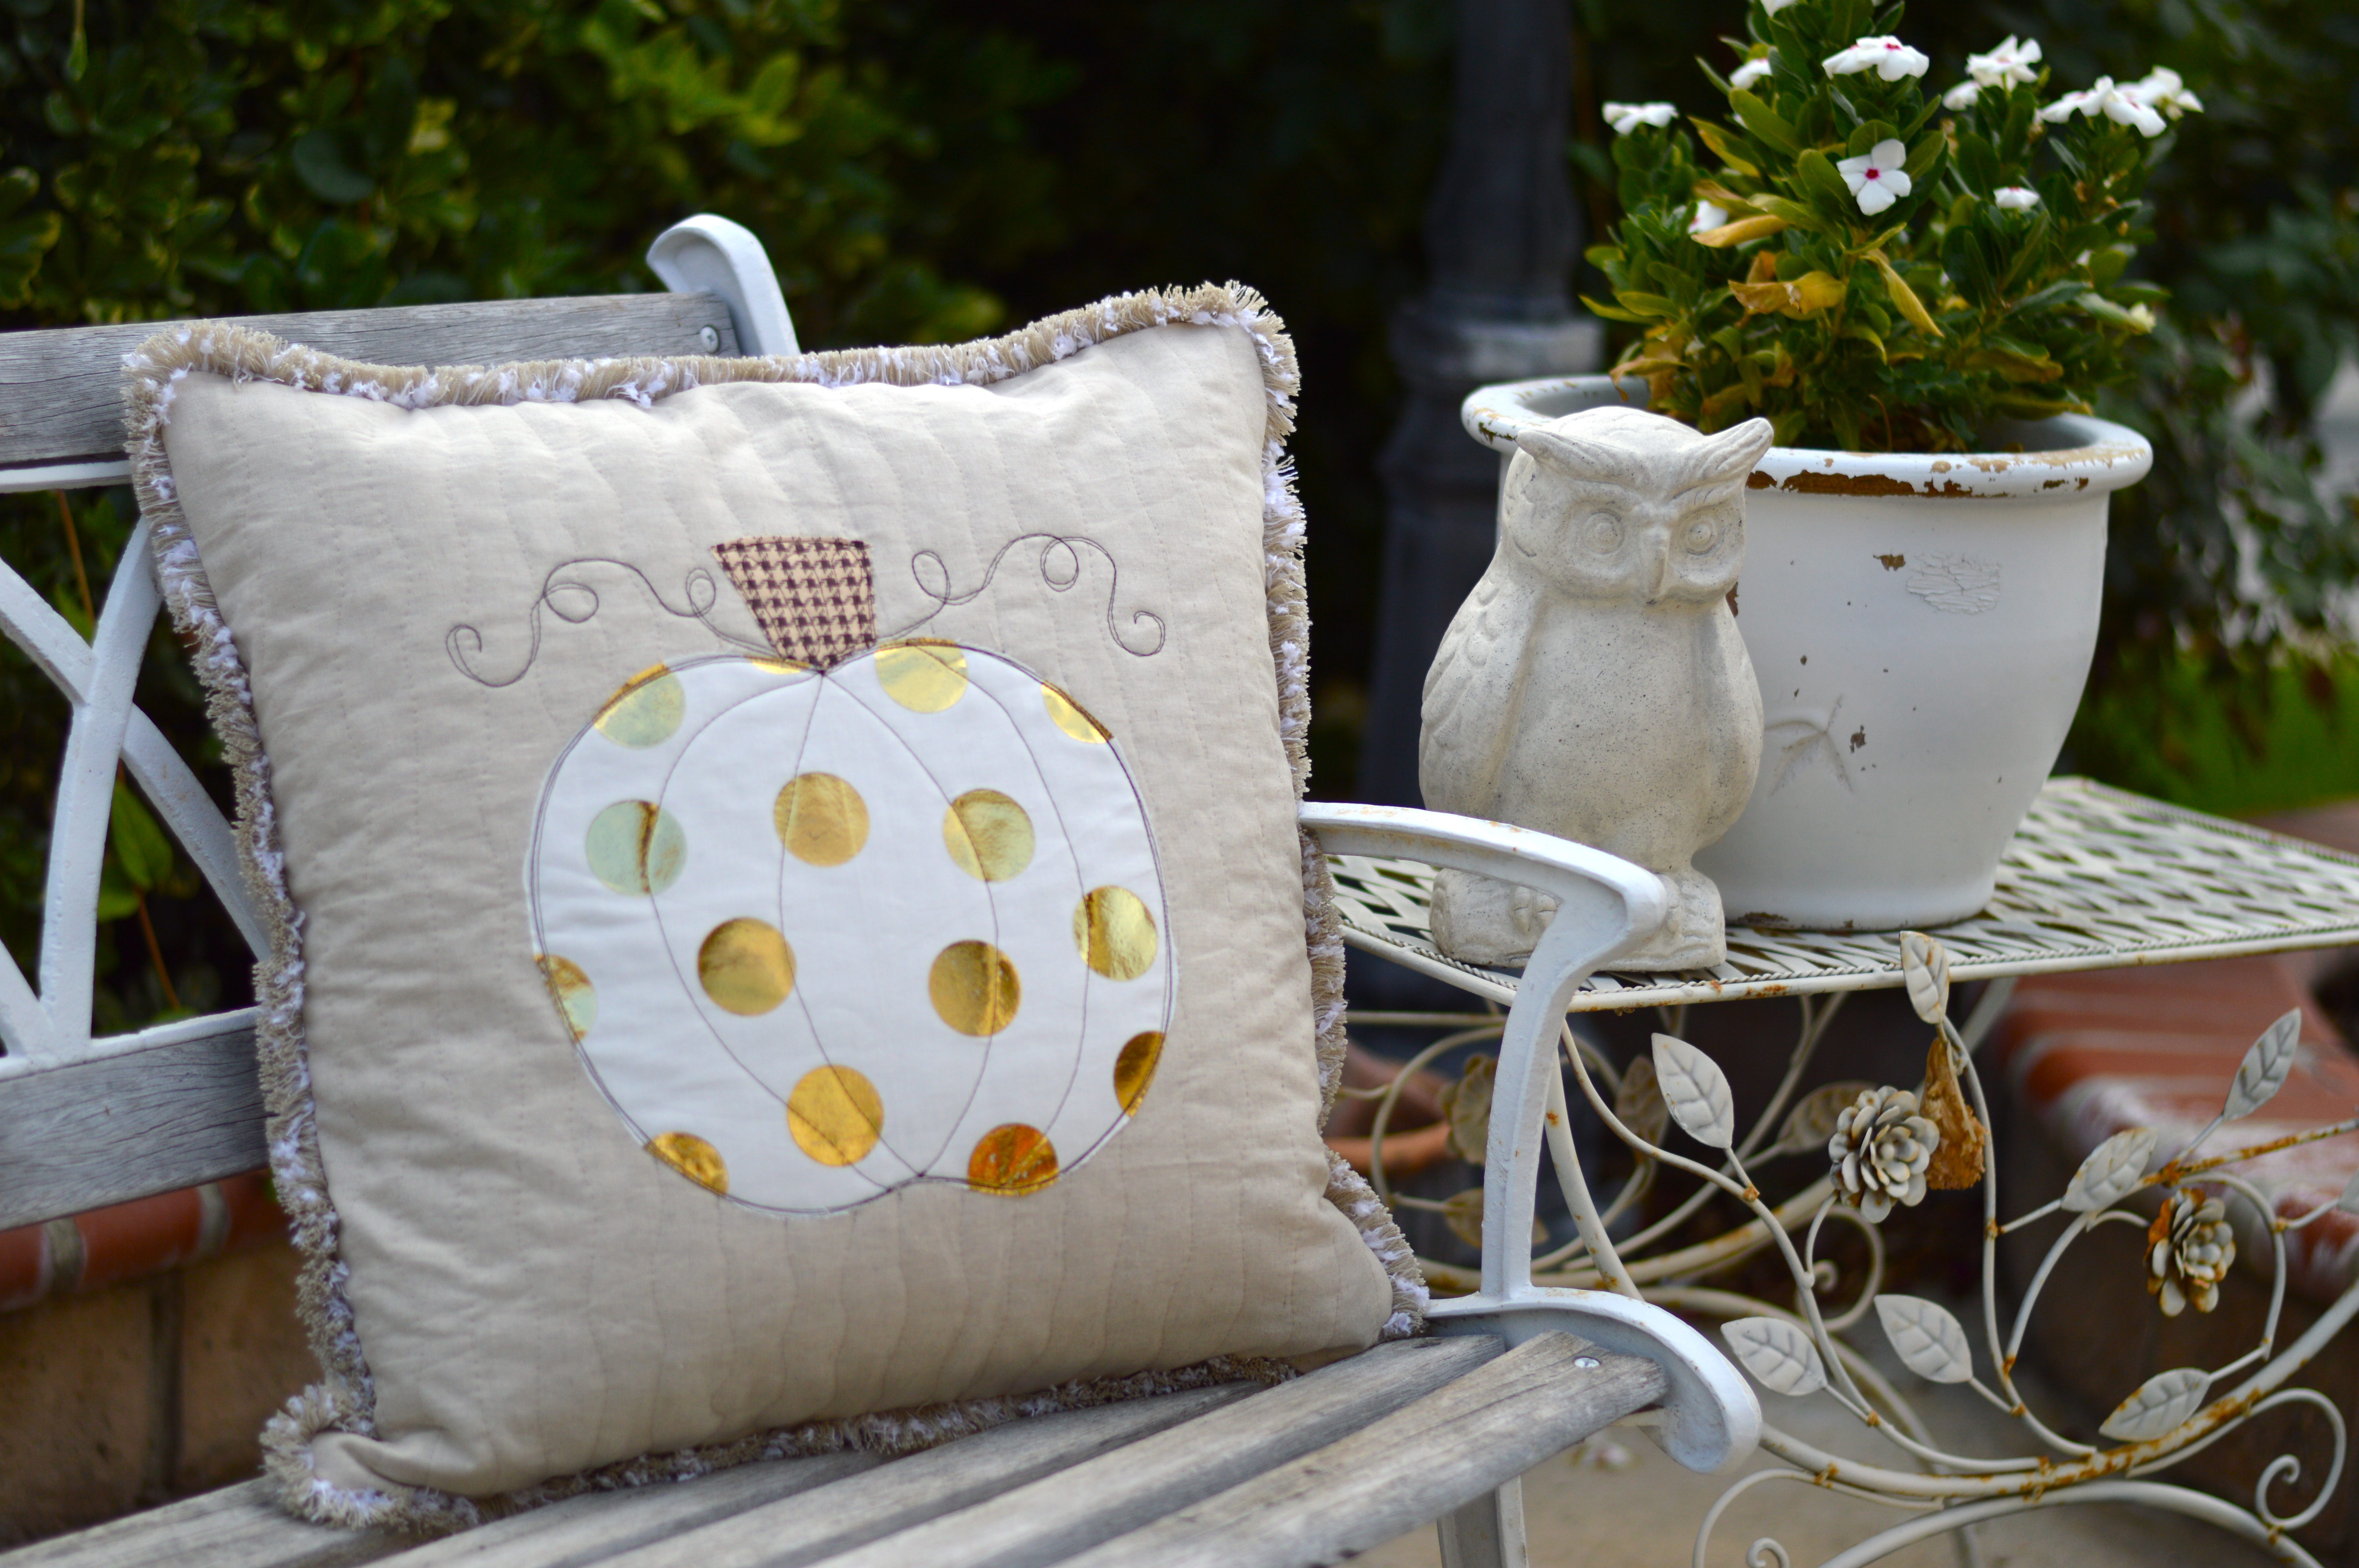
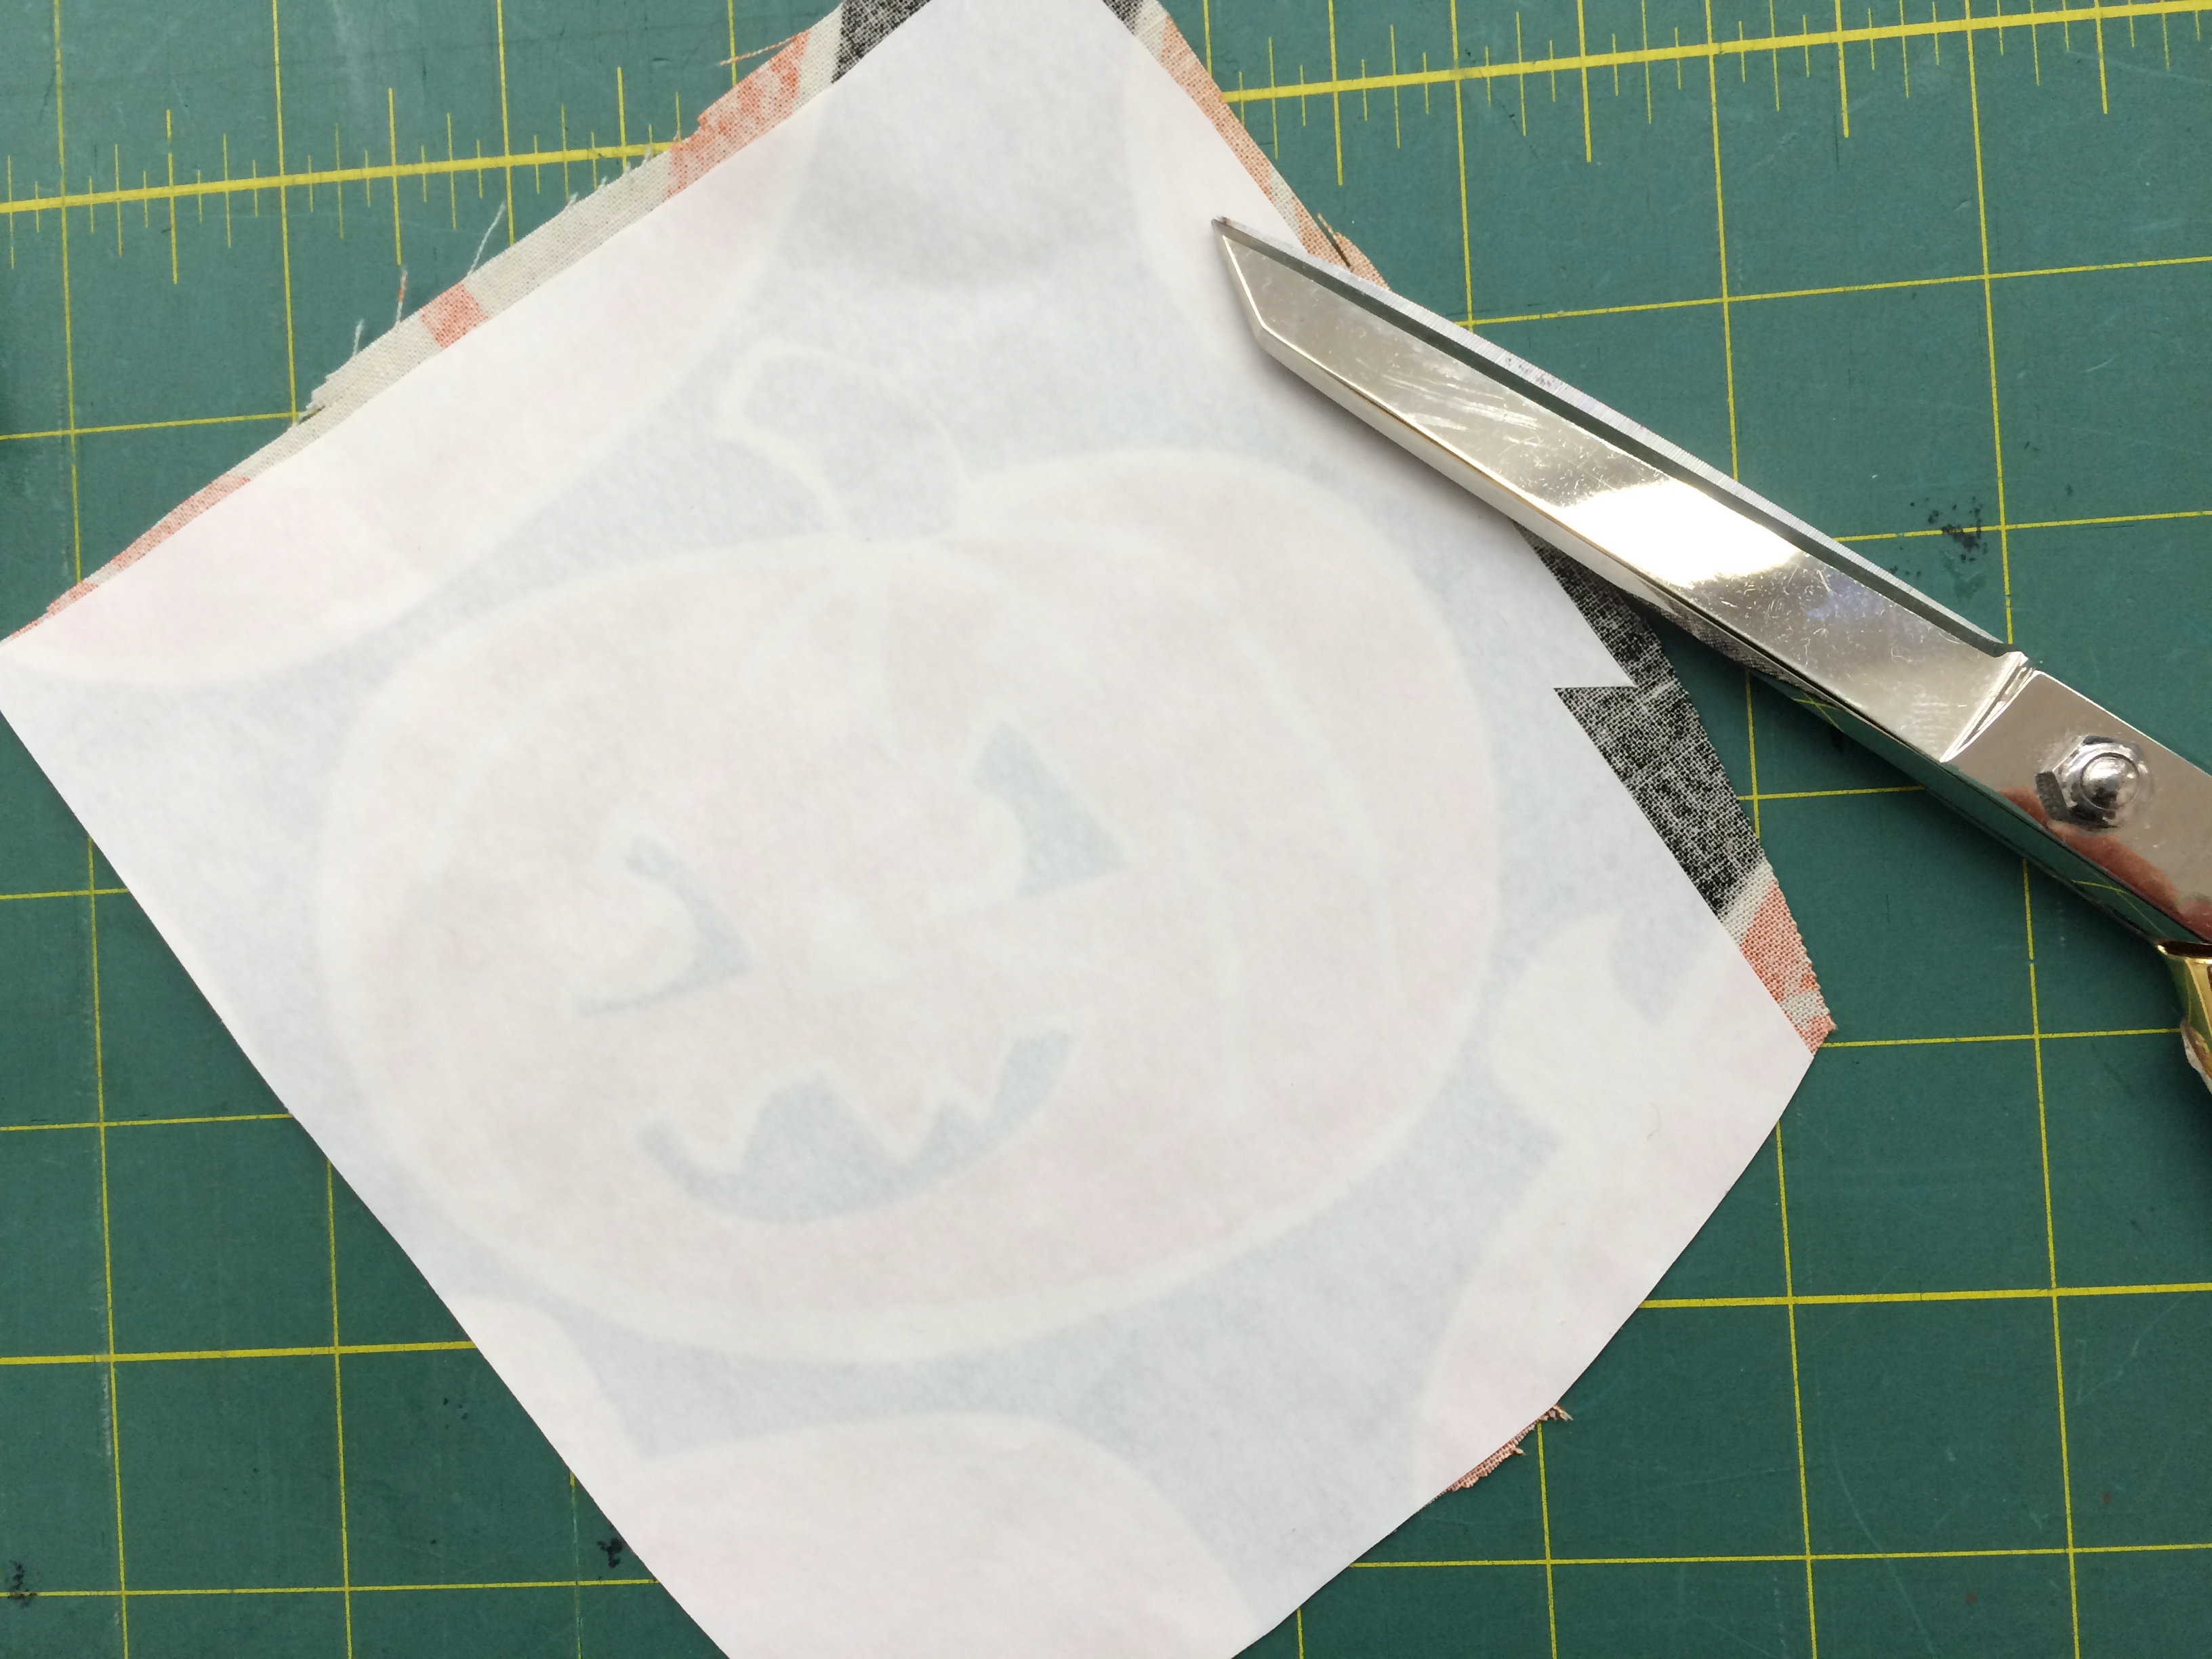
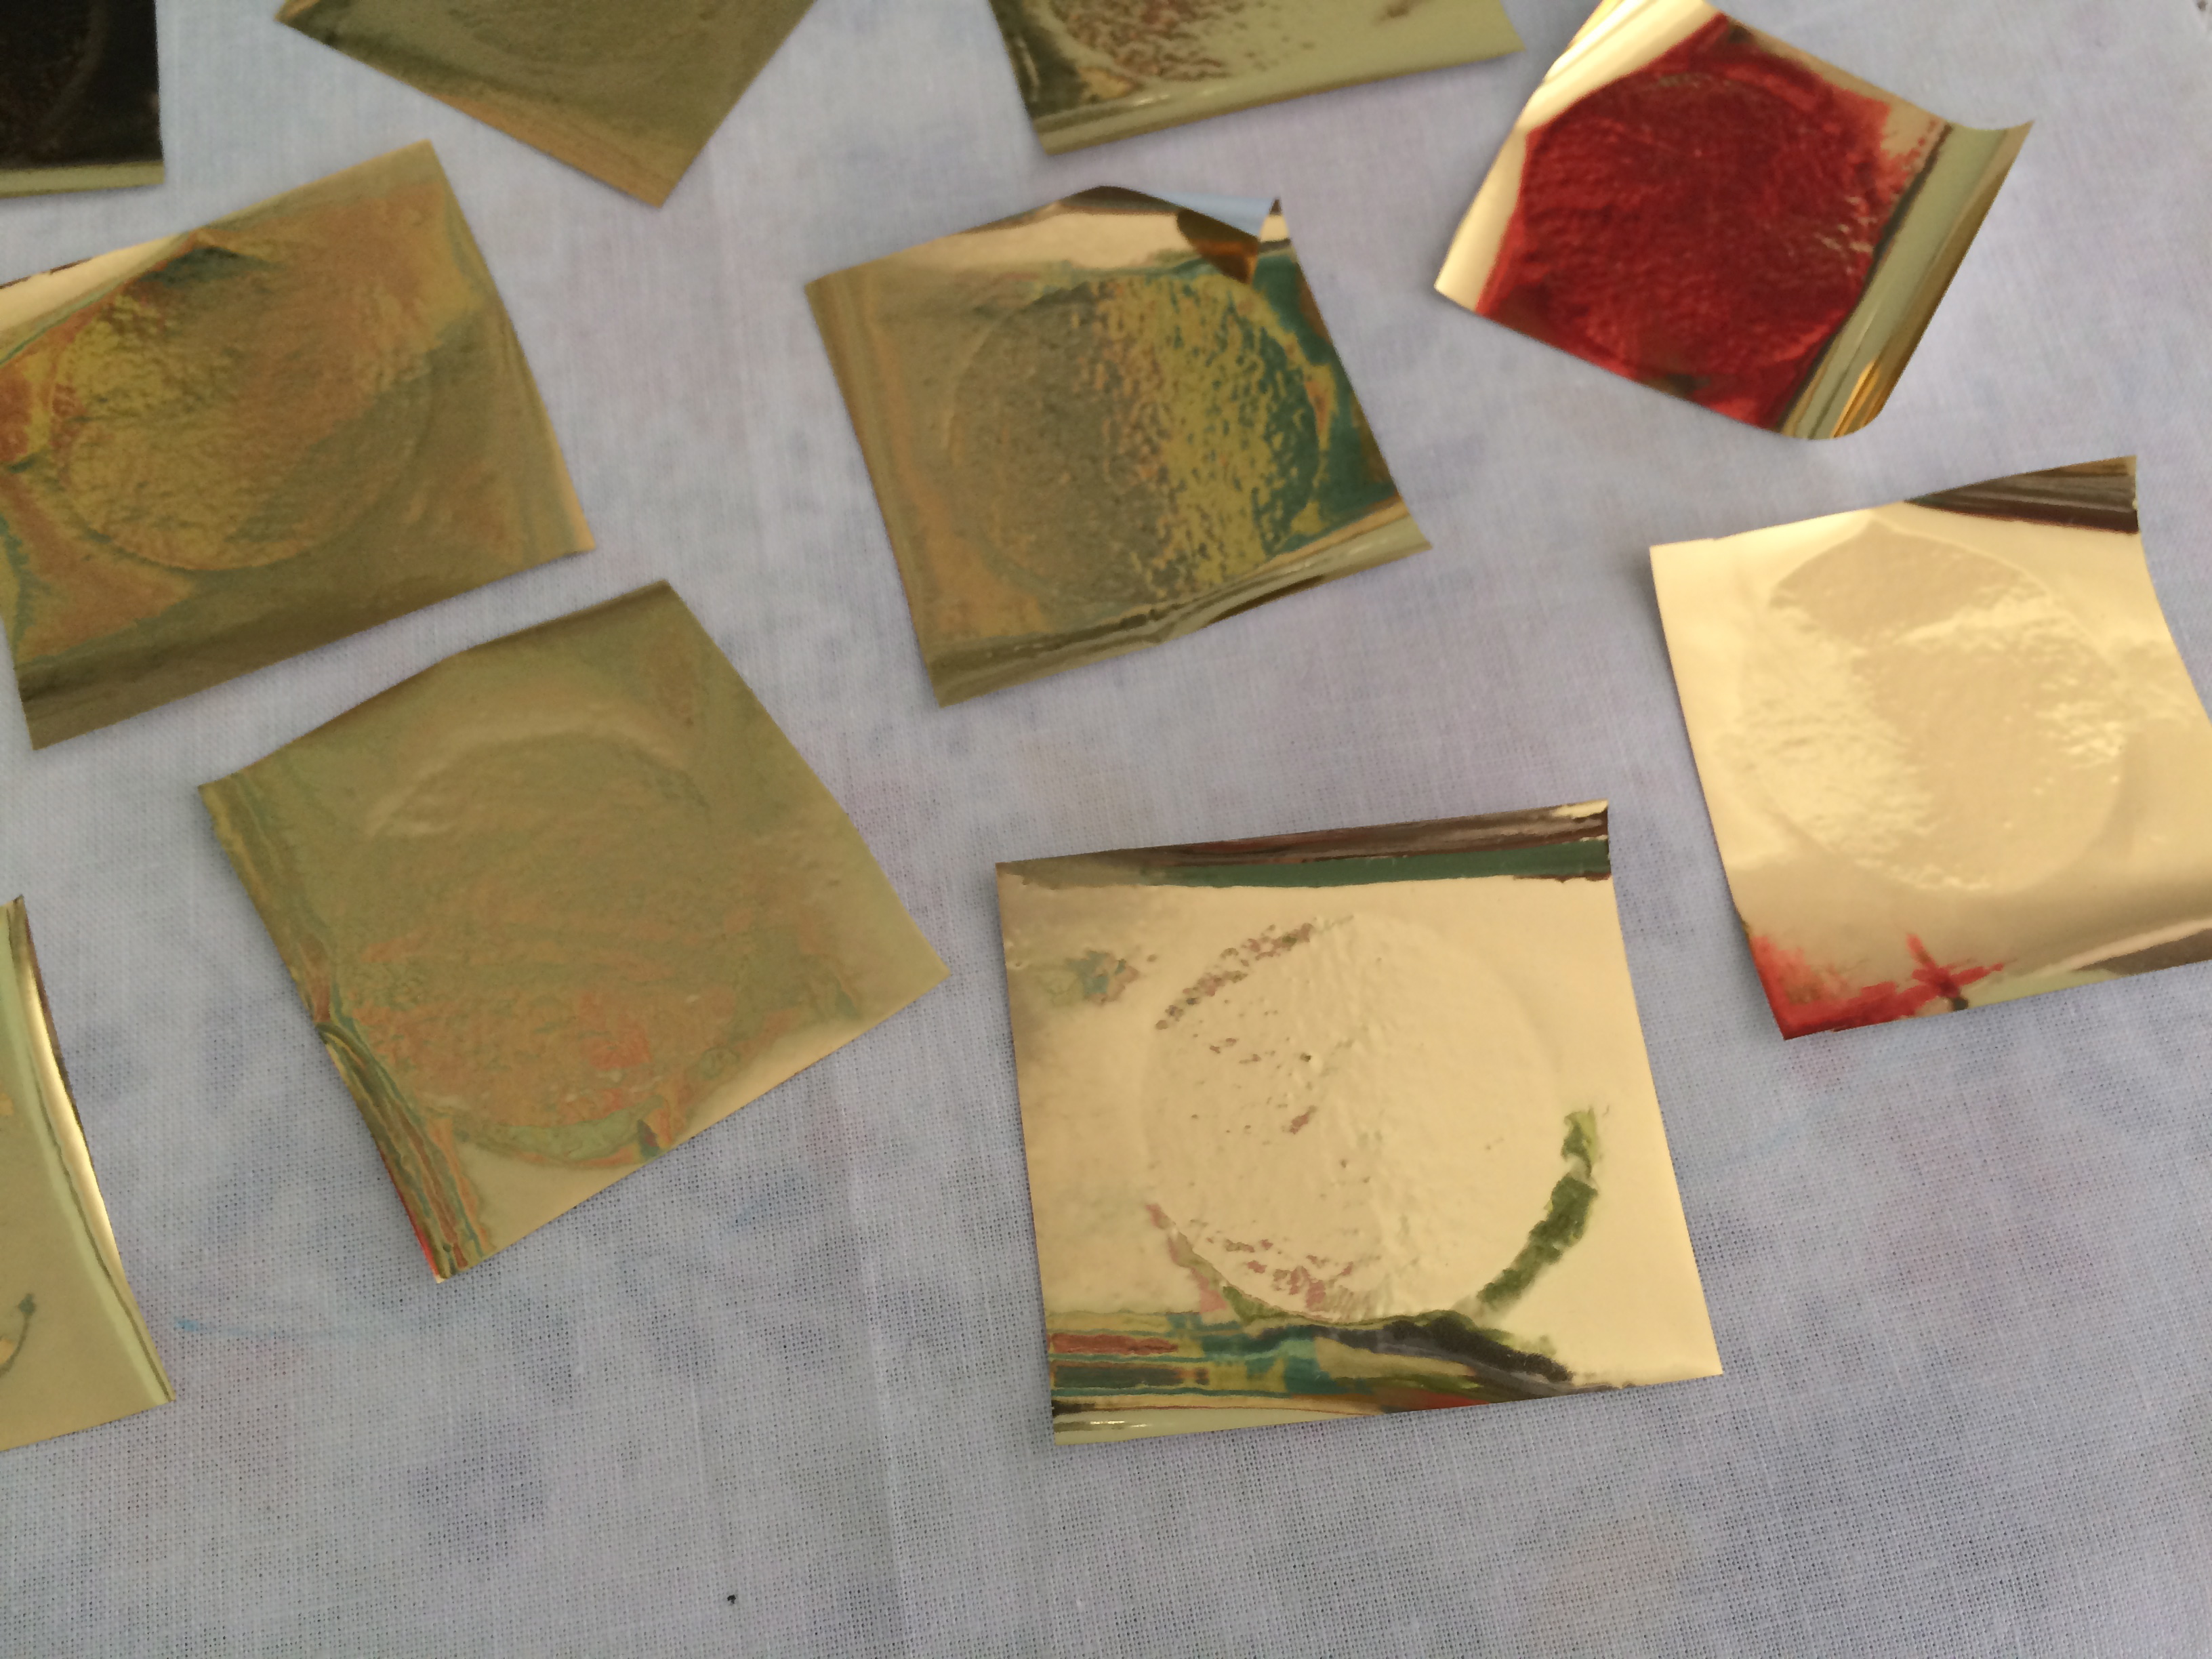
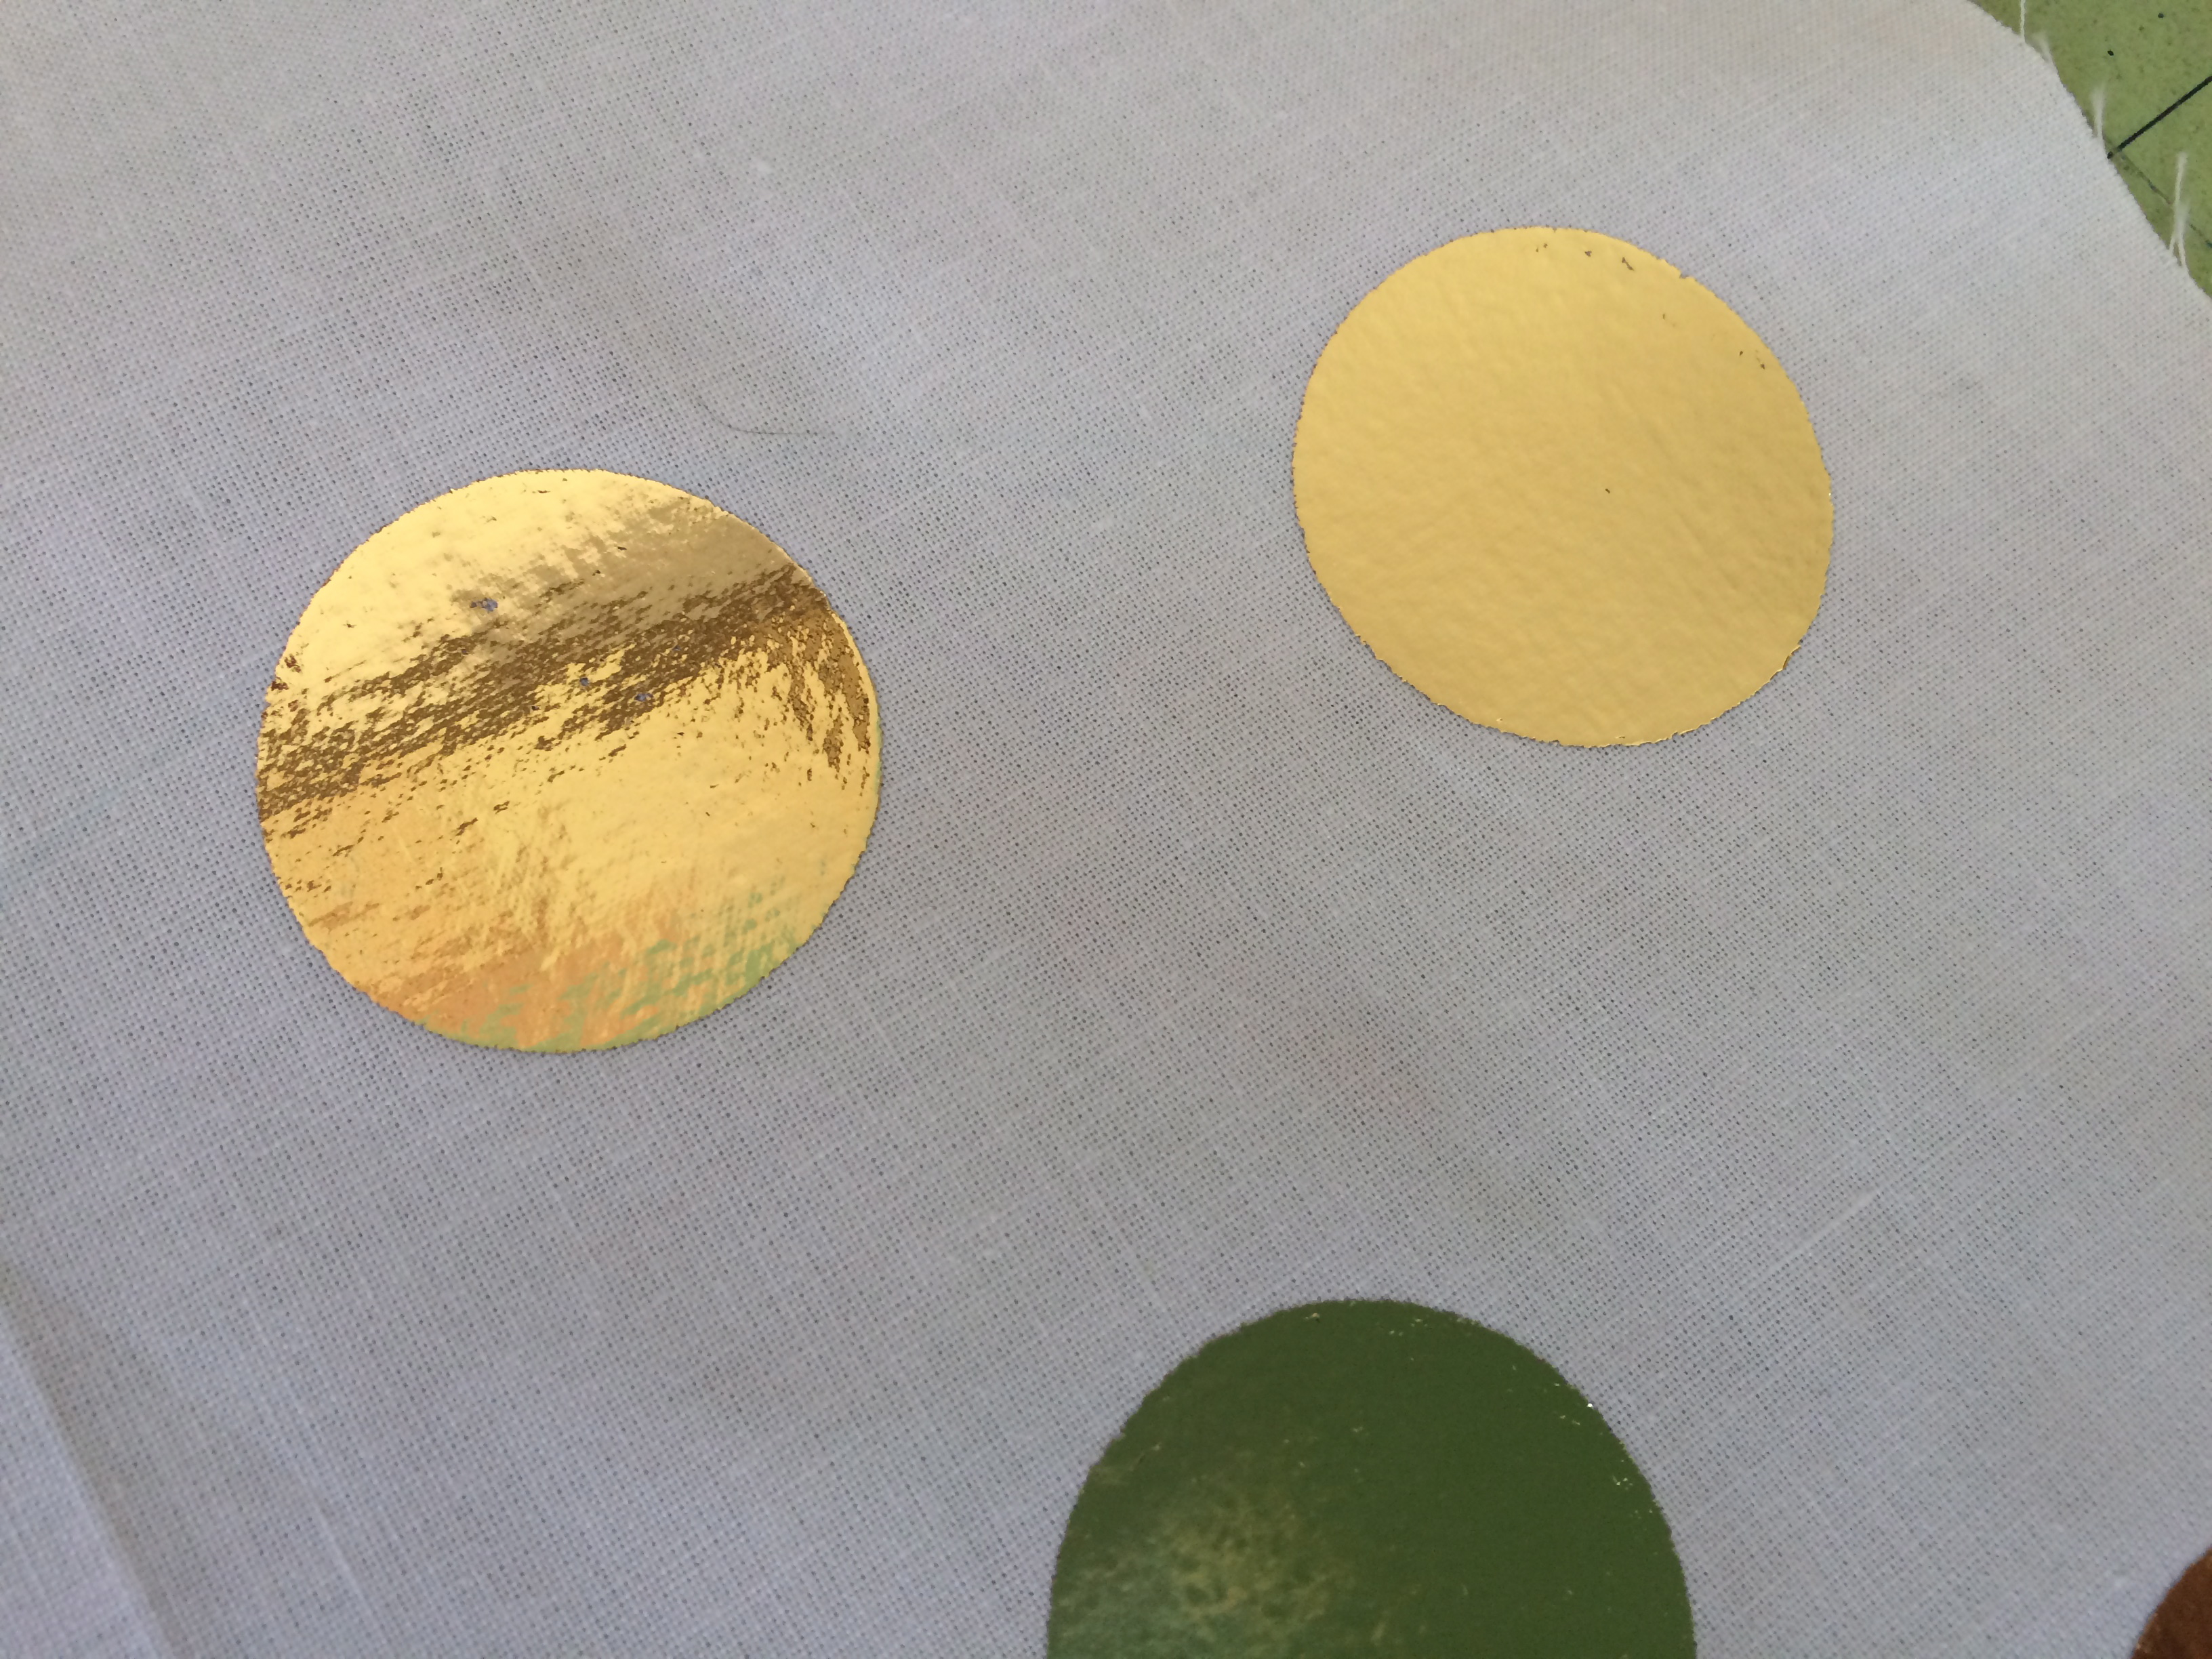
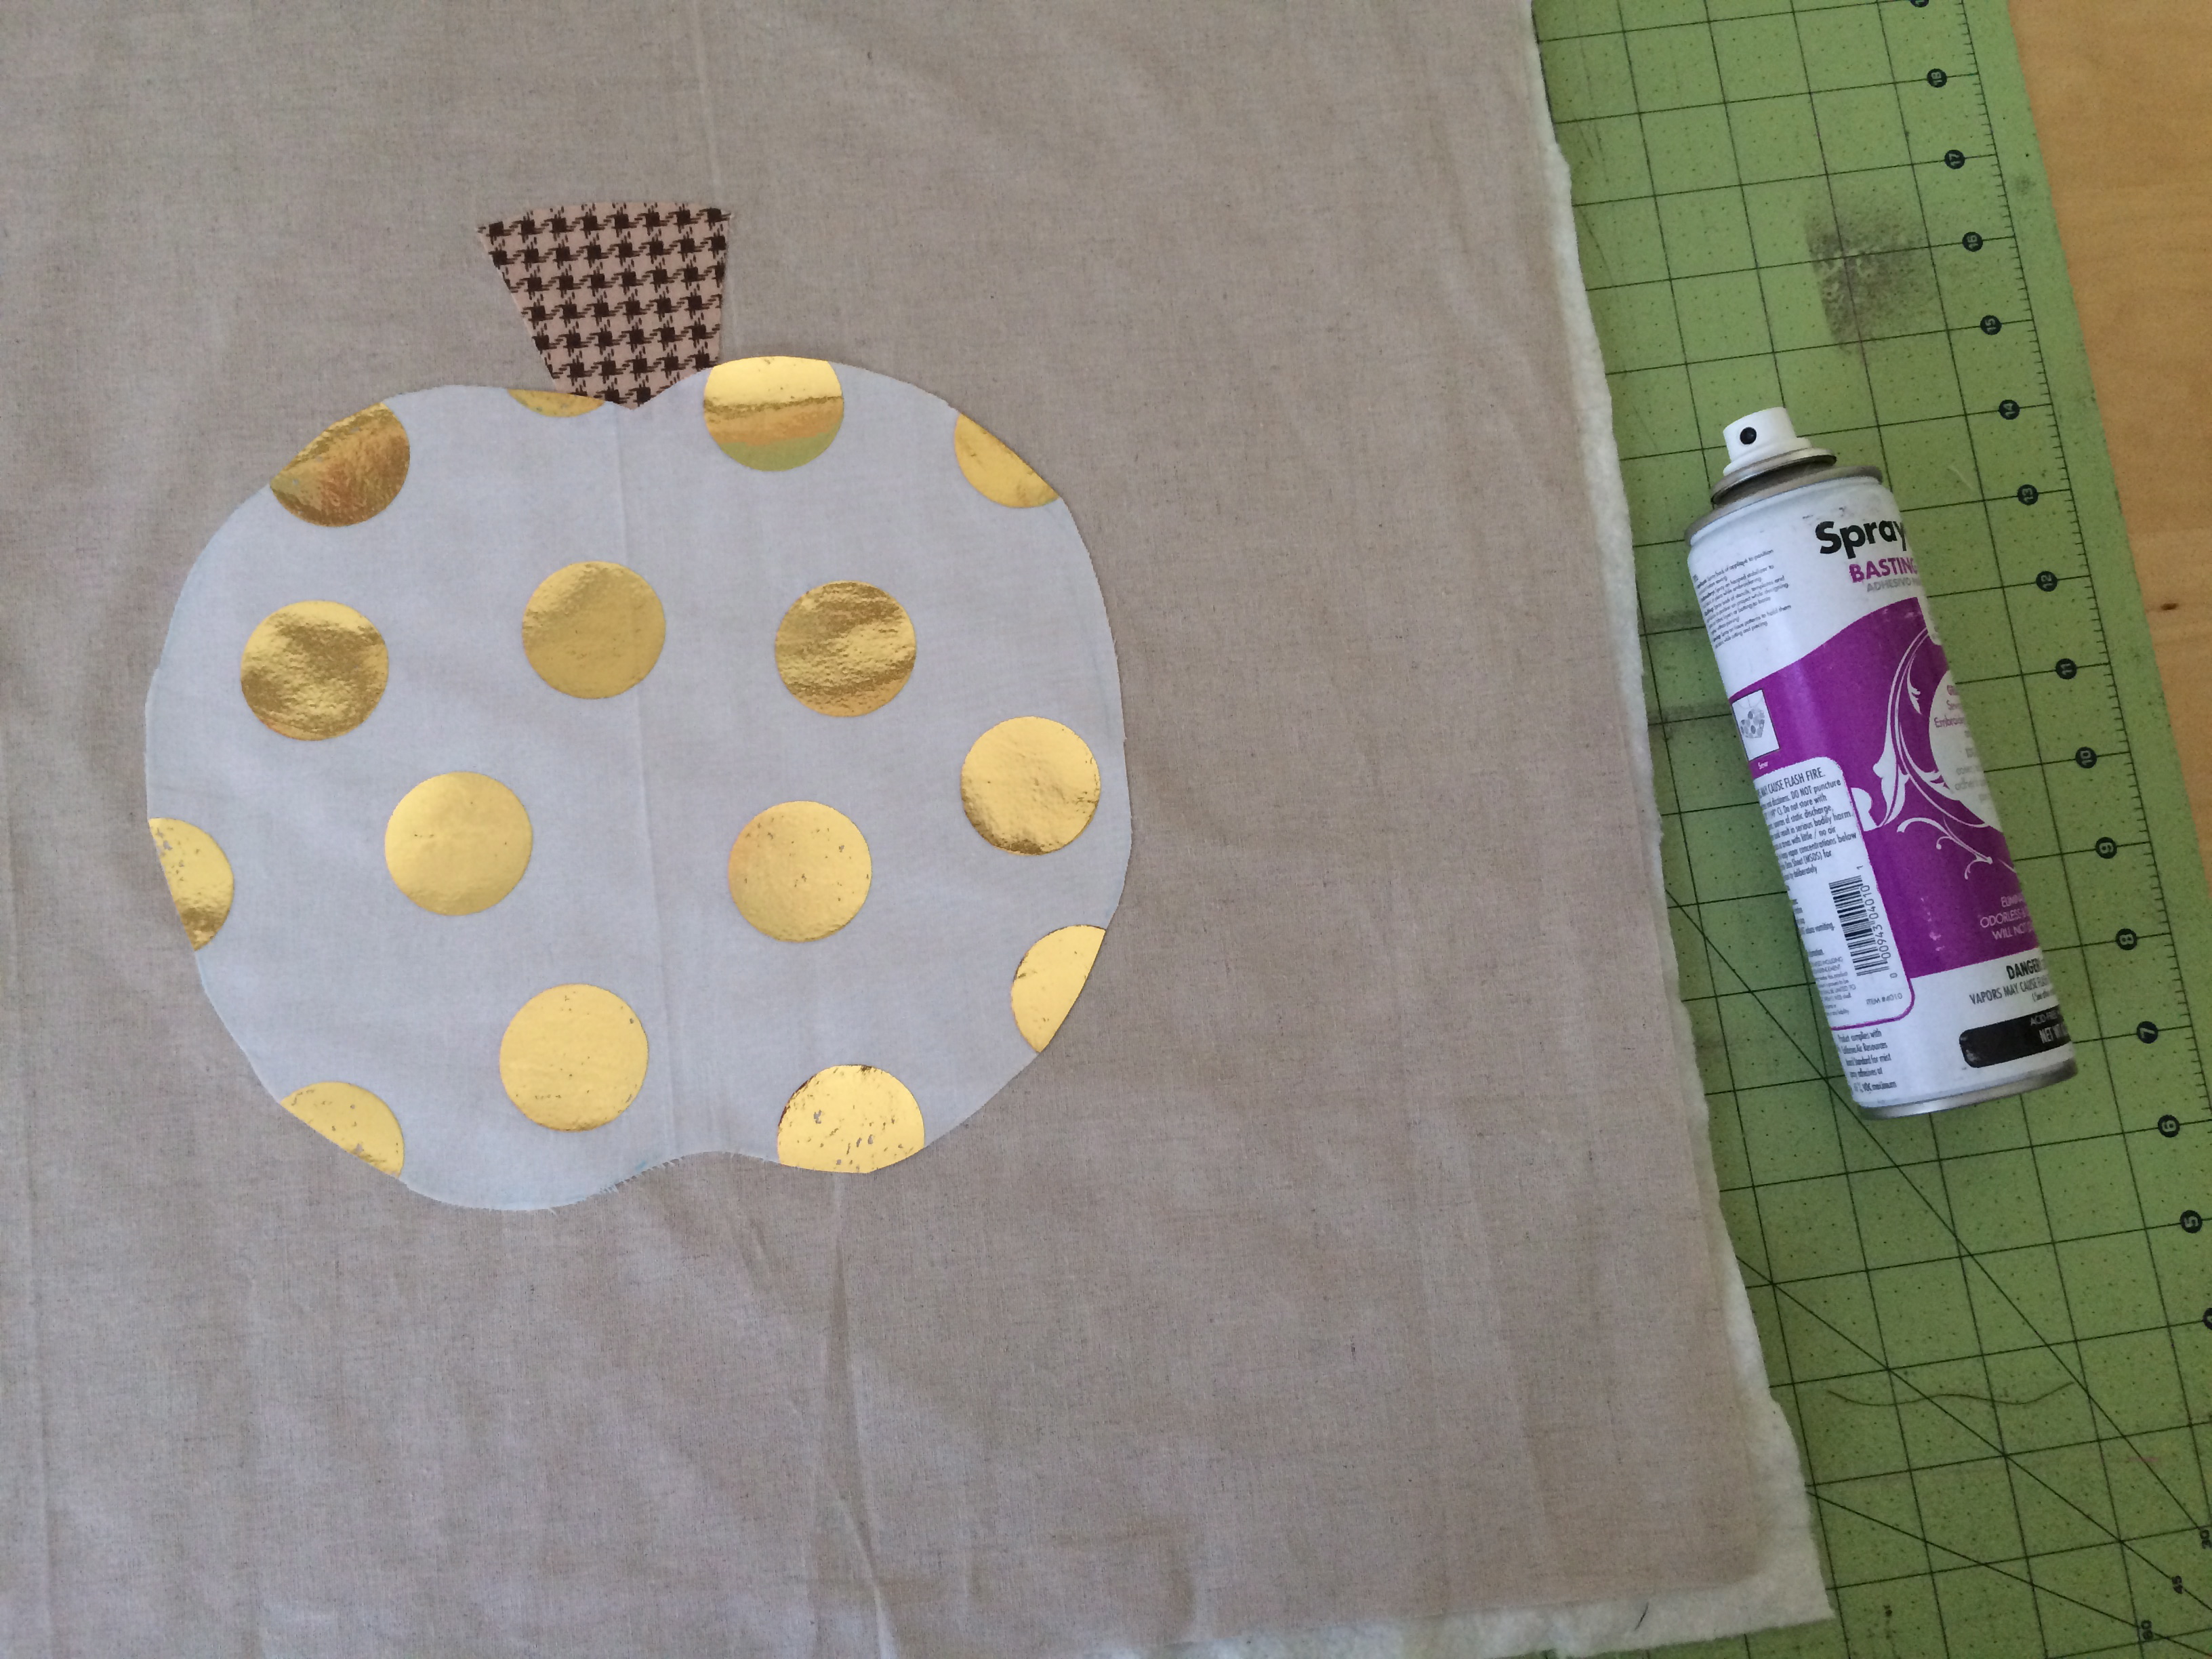
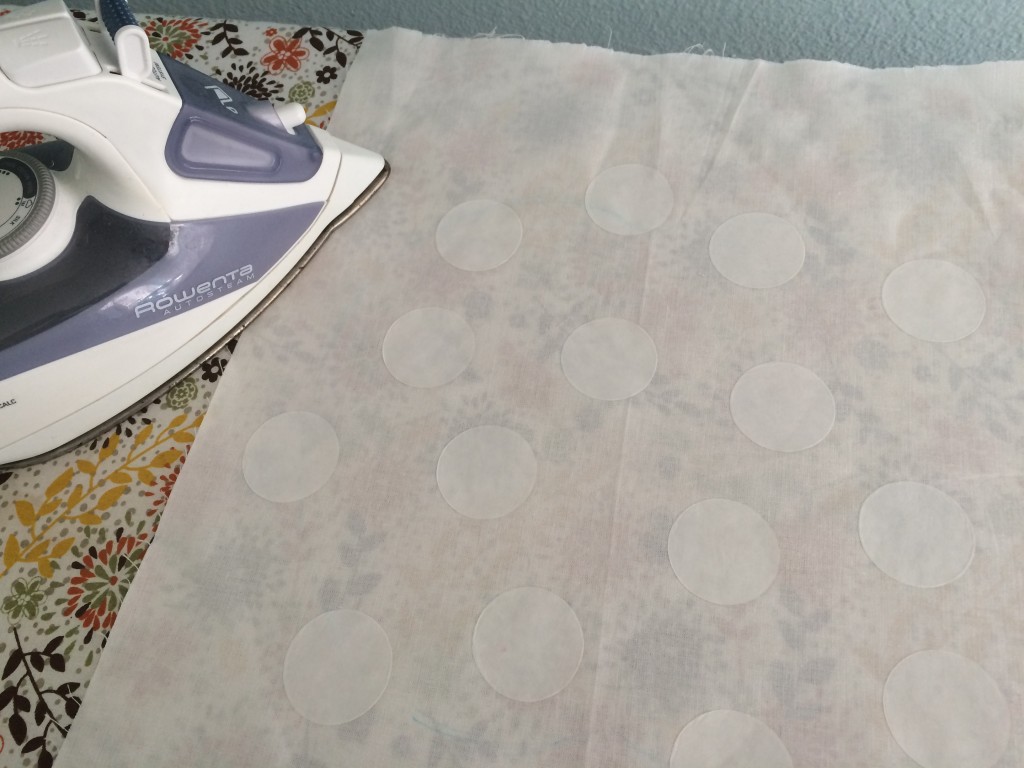 Cut the Deco Foil into squares that are slightly larger than the circles. Place on top of each hot melt circle. Cover with a pressing paper and press for about 15-25 seconds using medium heat. If I use the highest heat setting it singes the foil.
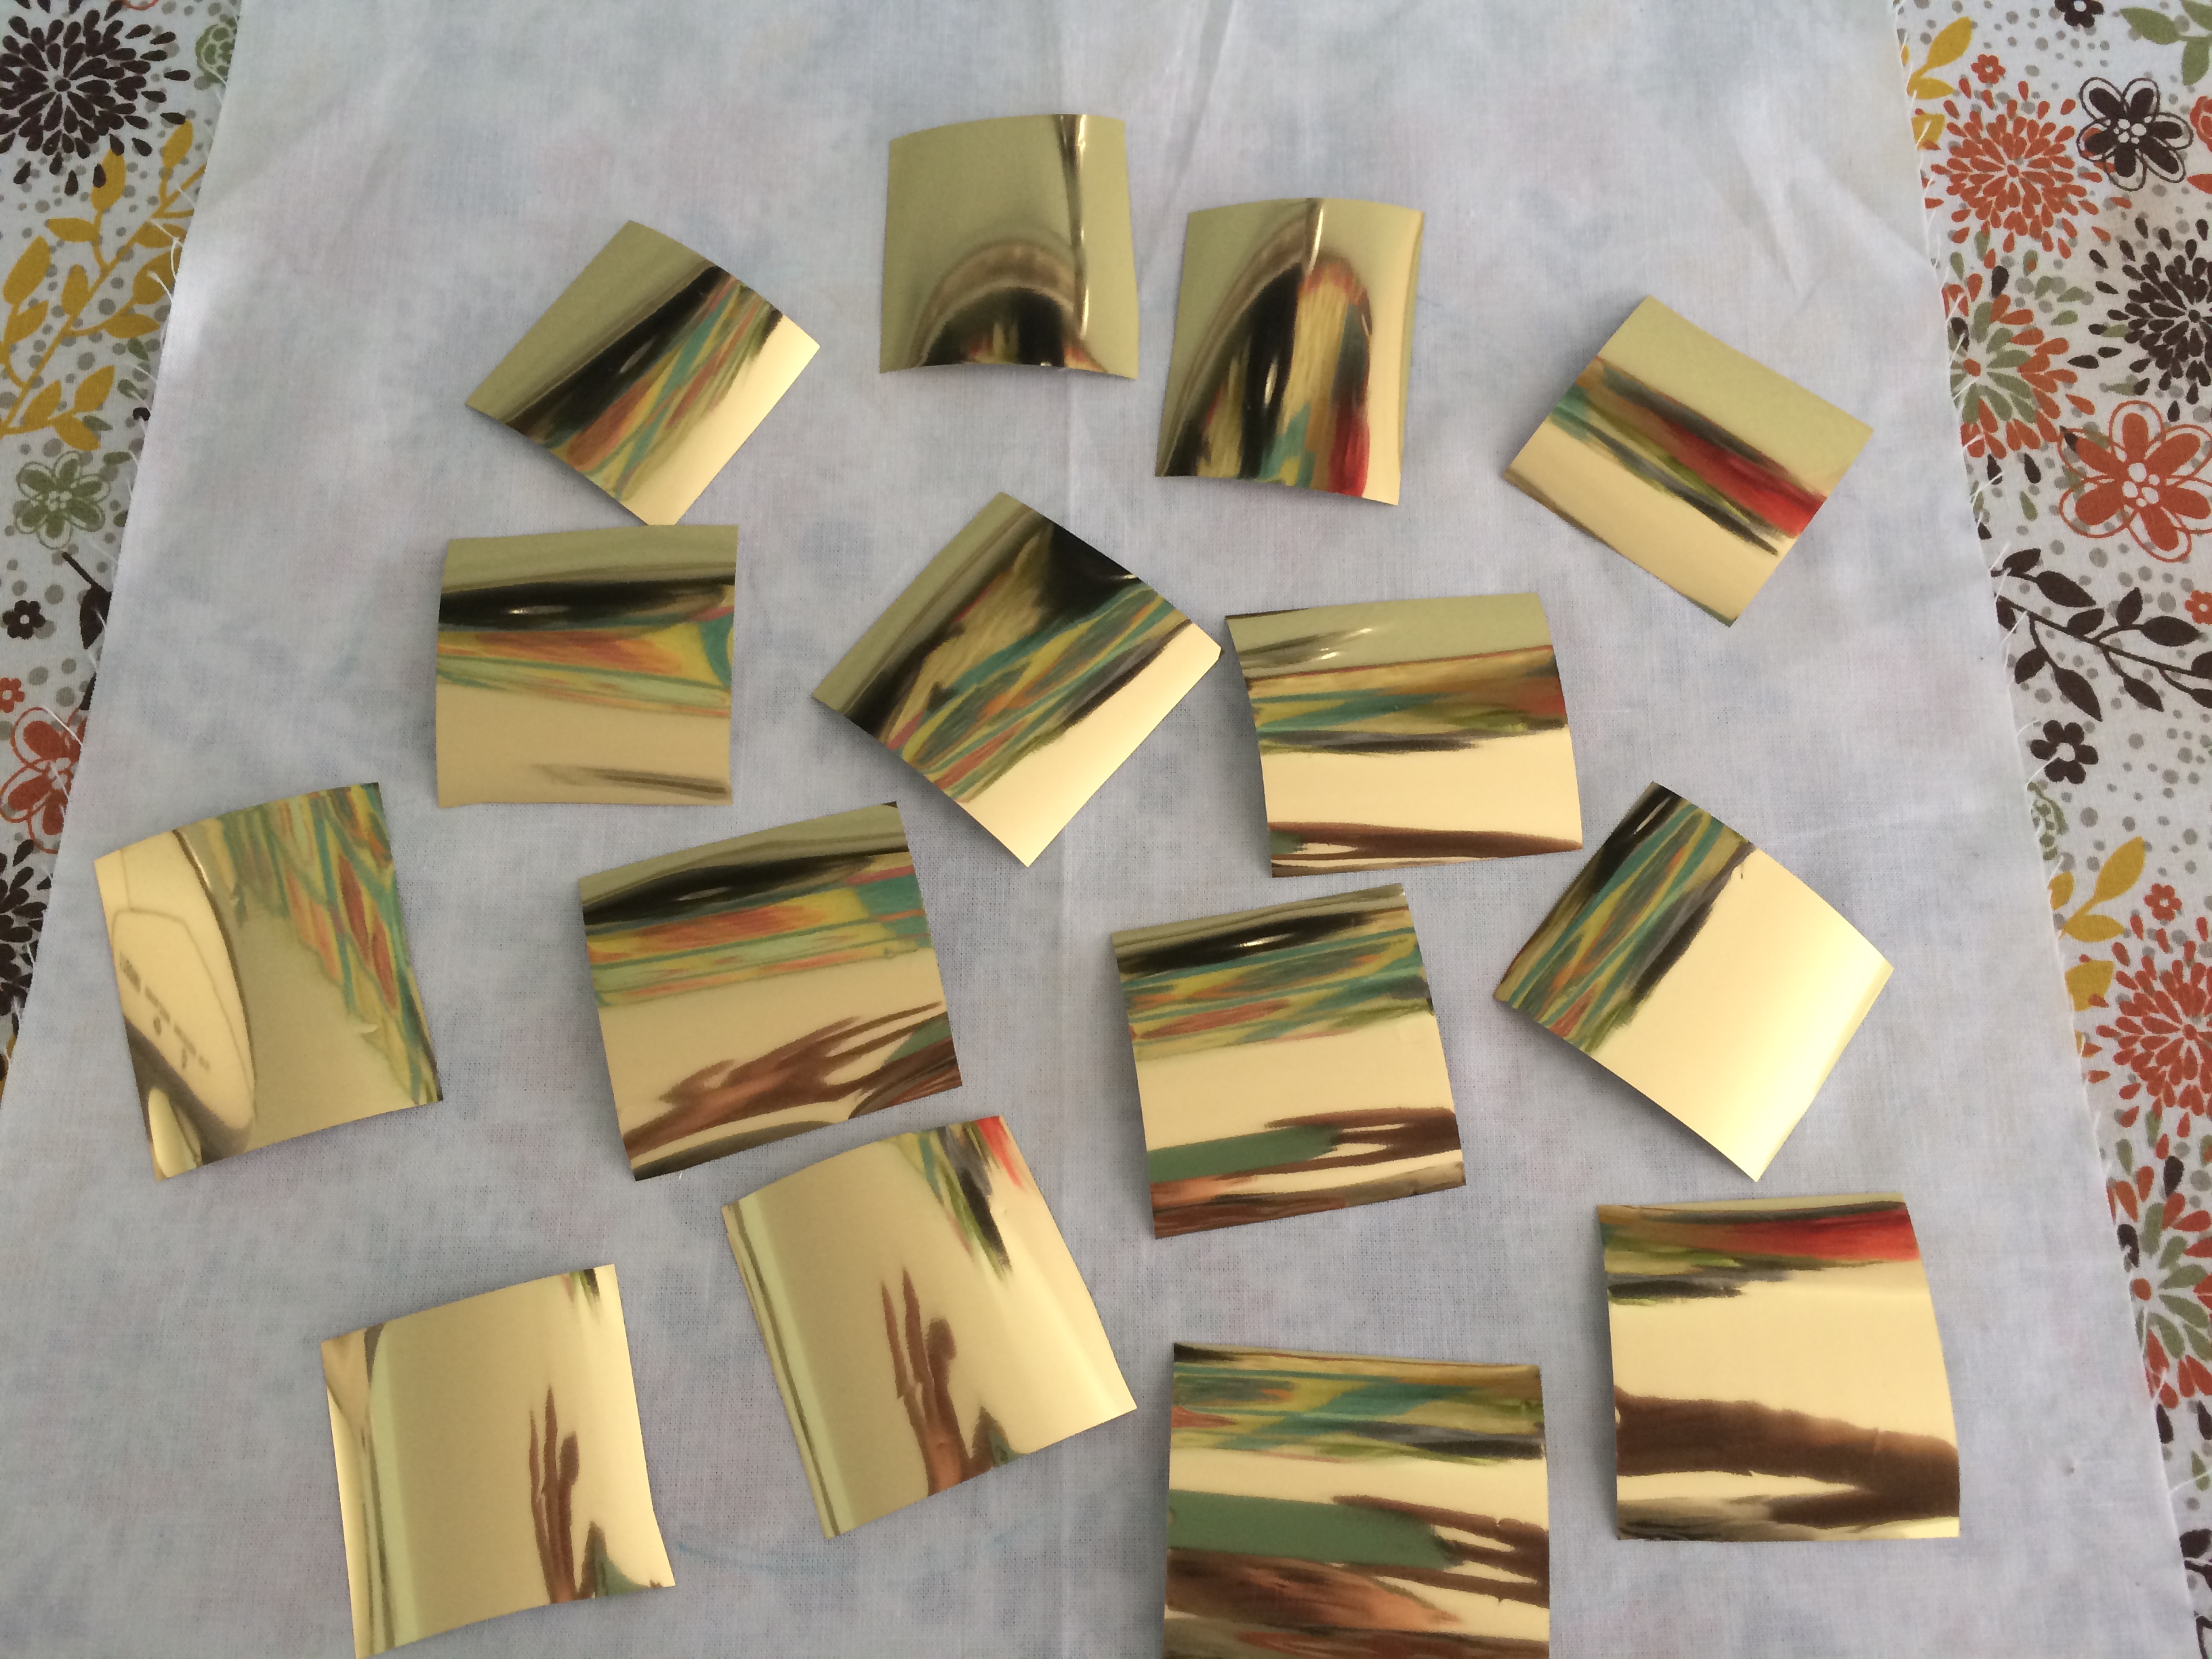
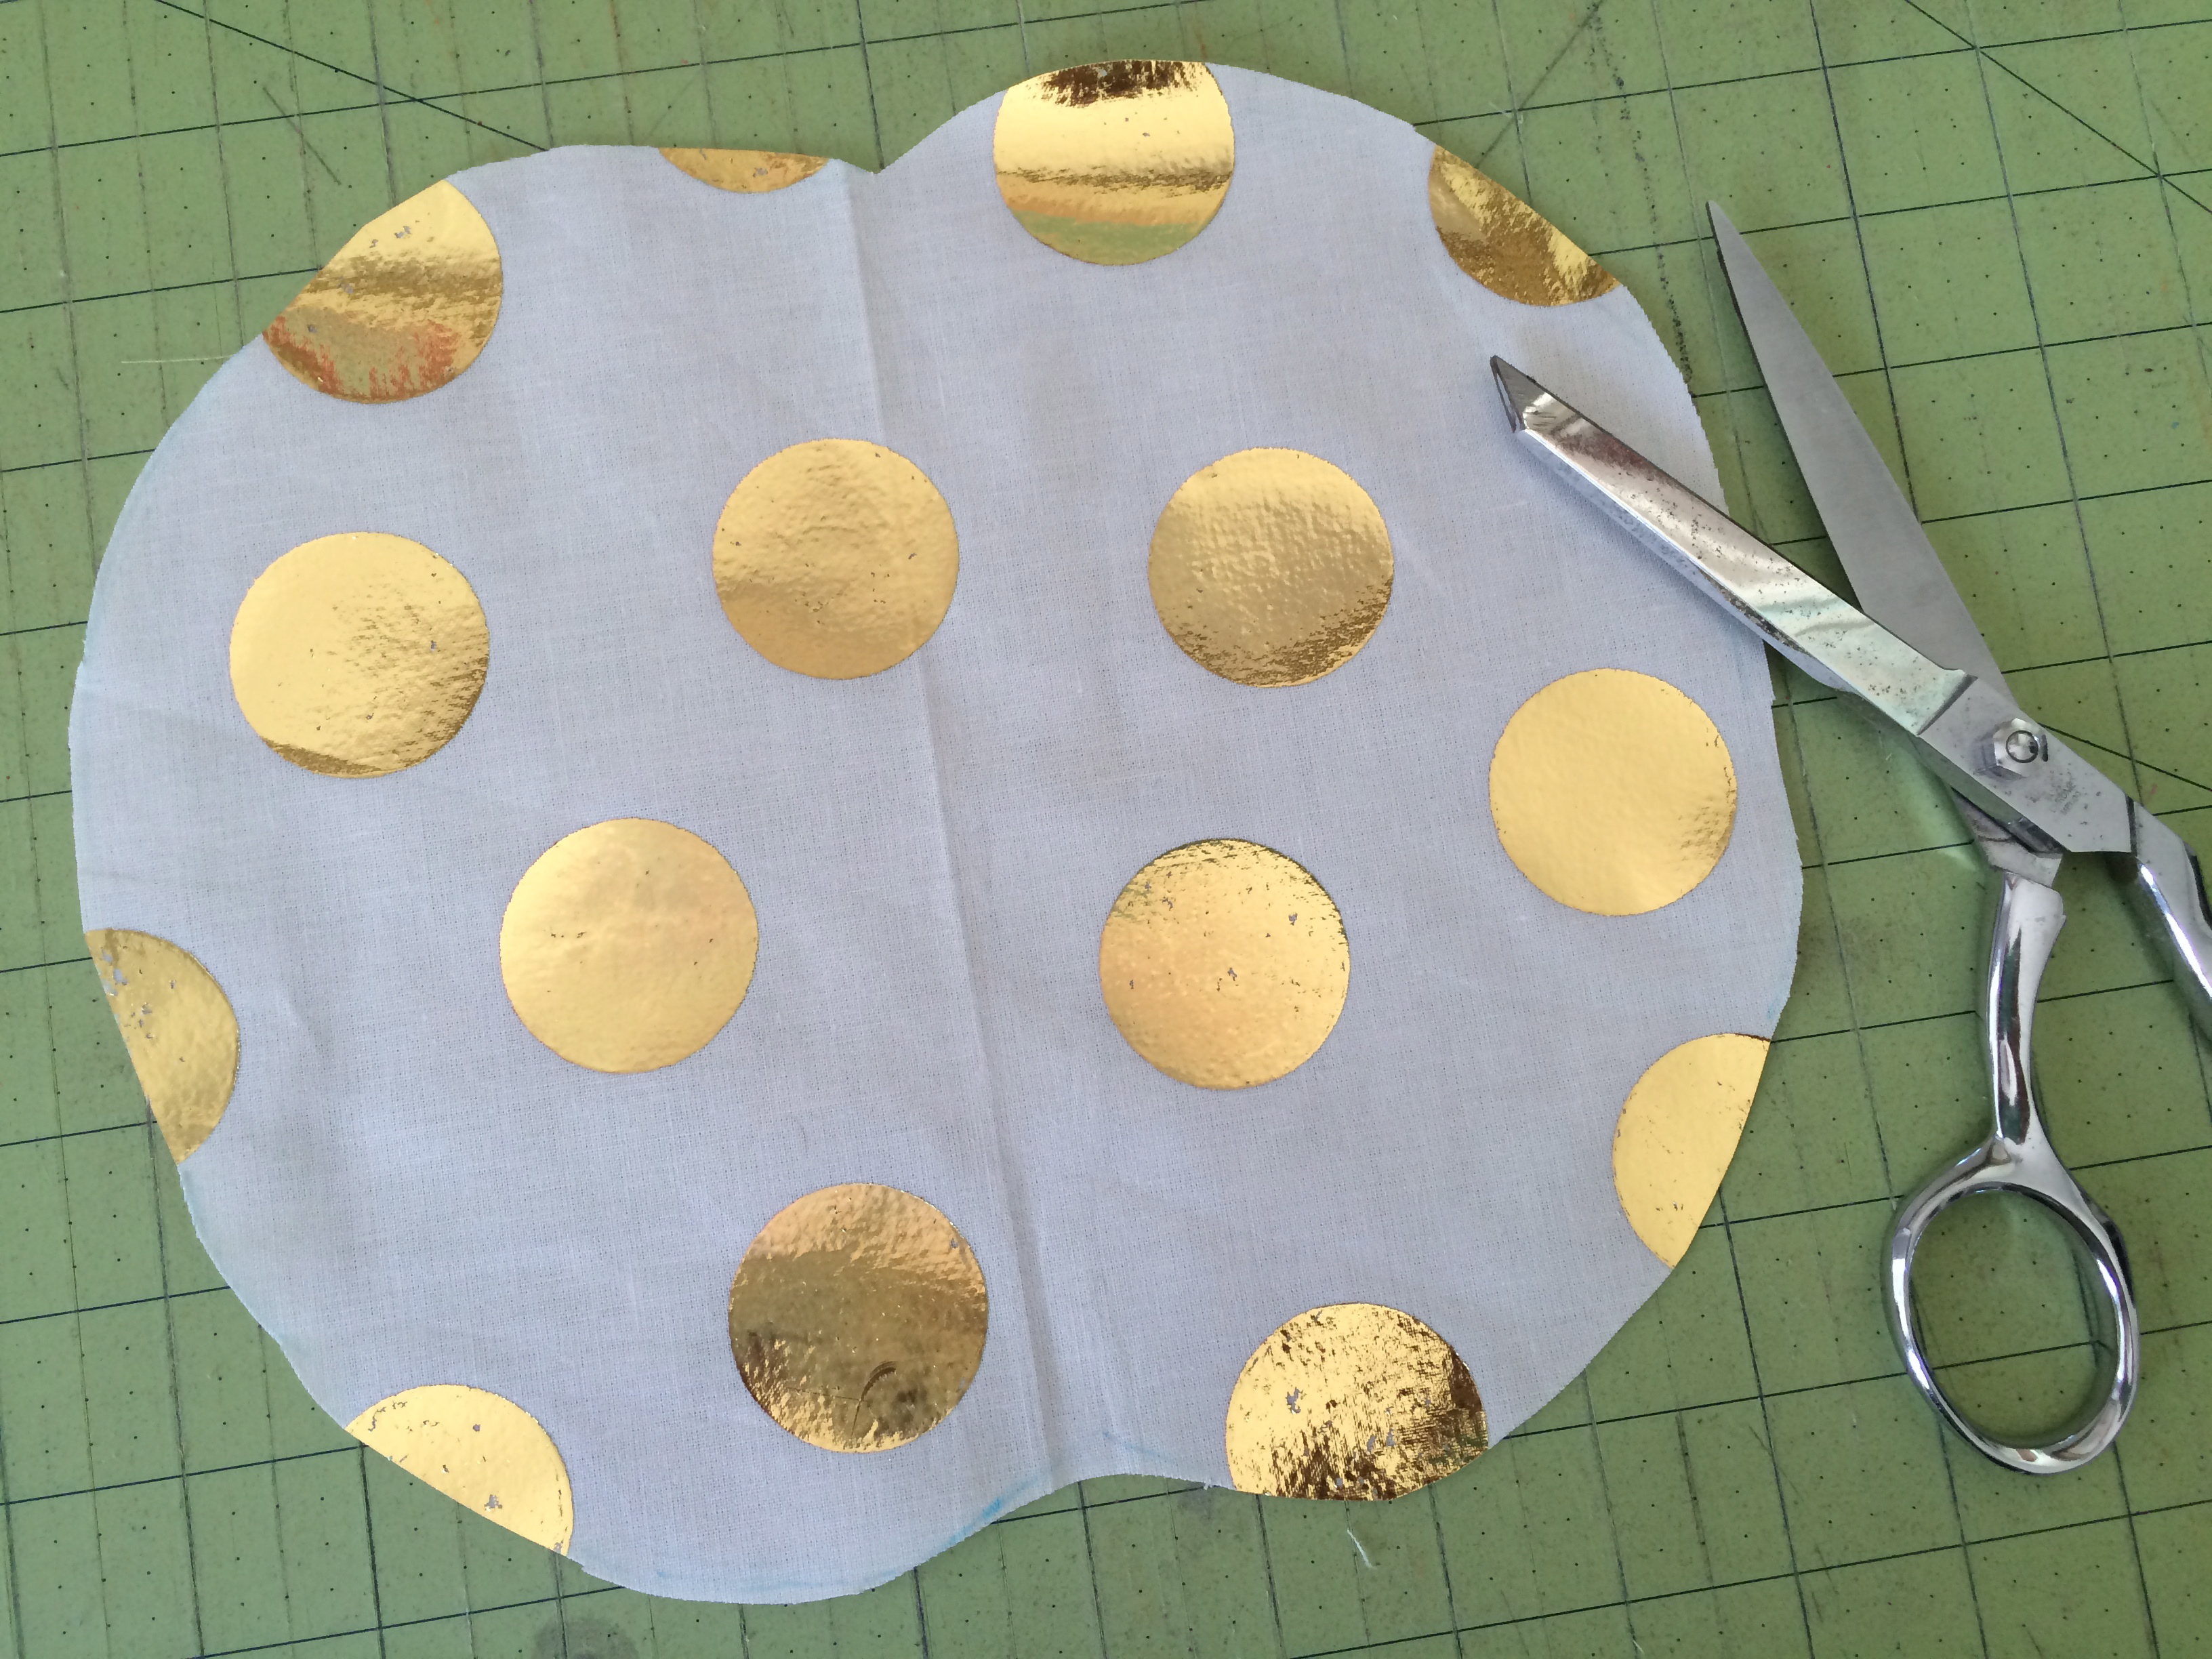
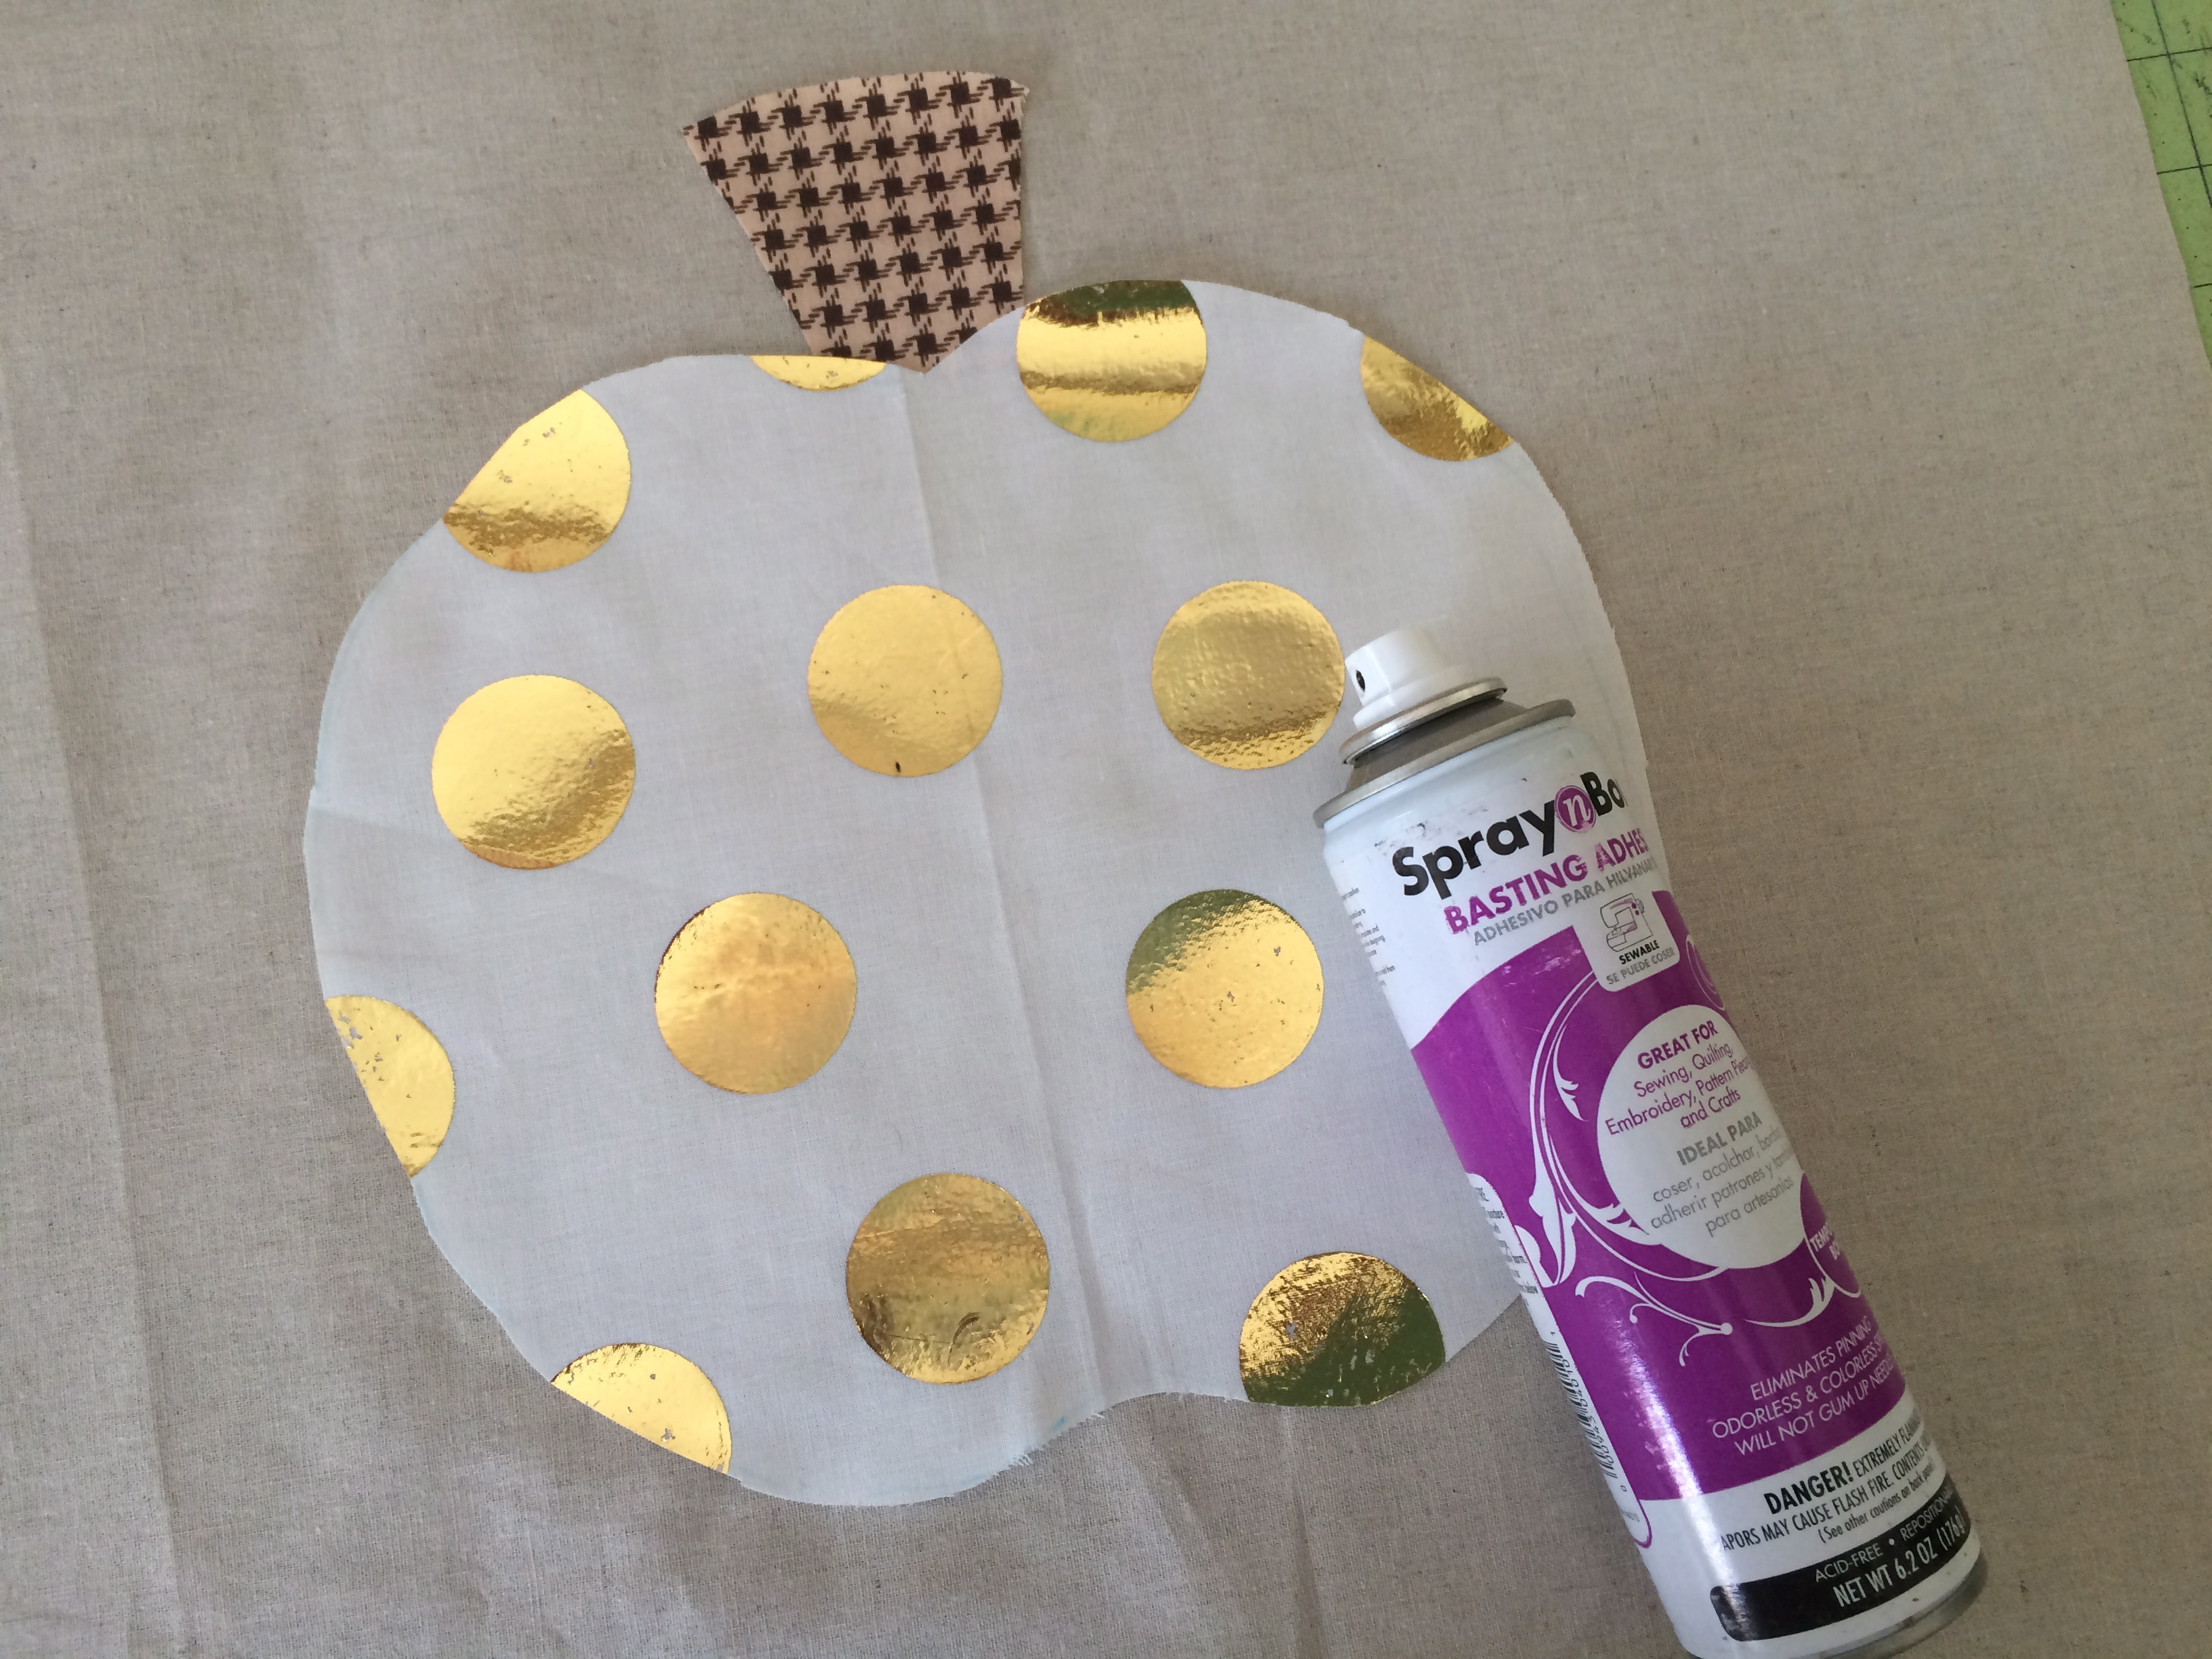
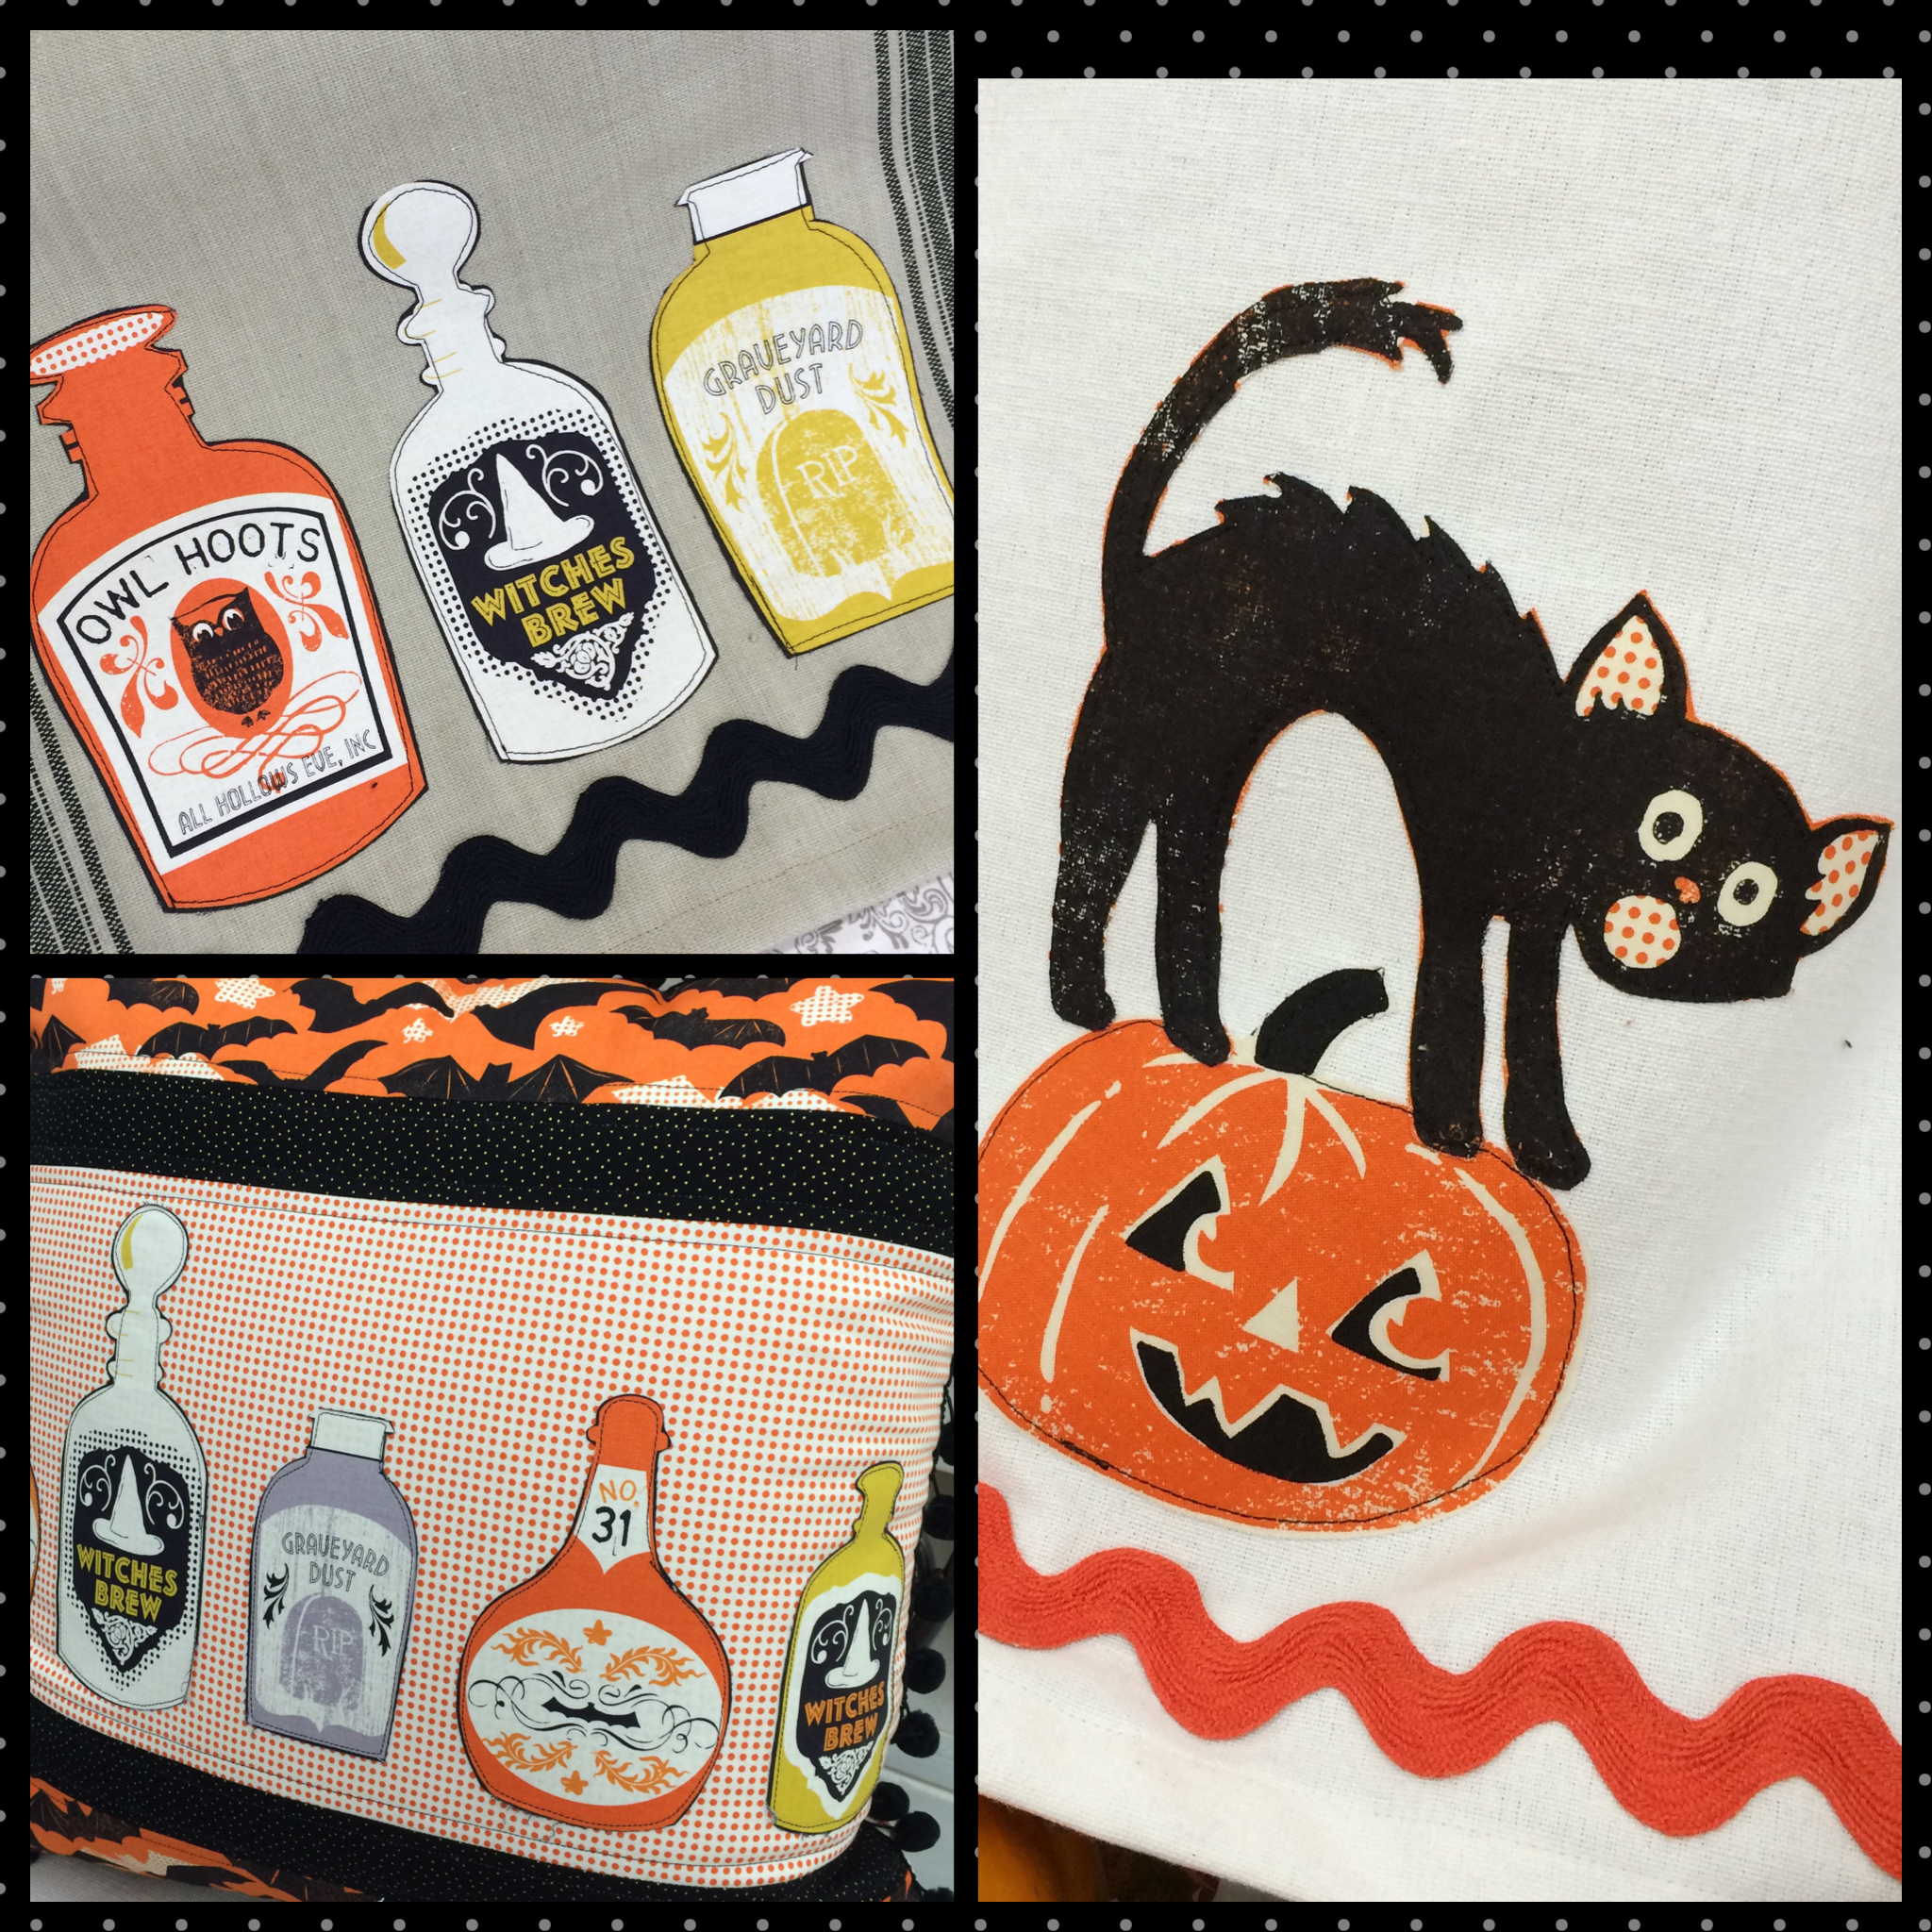
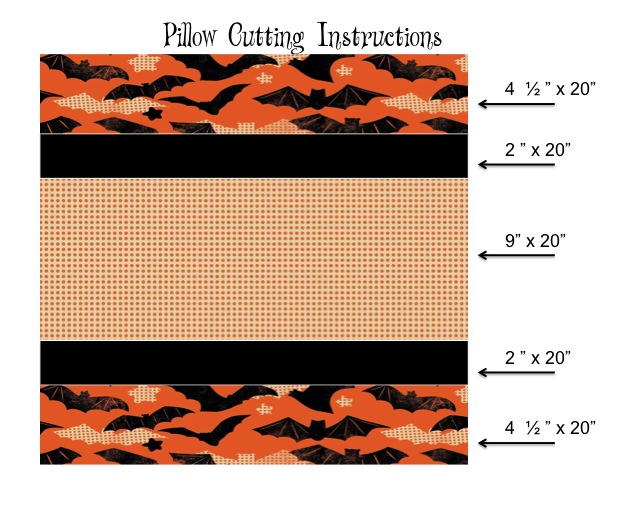
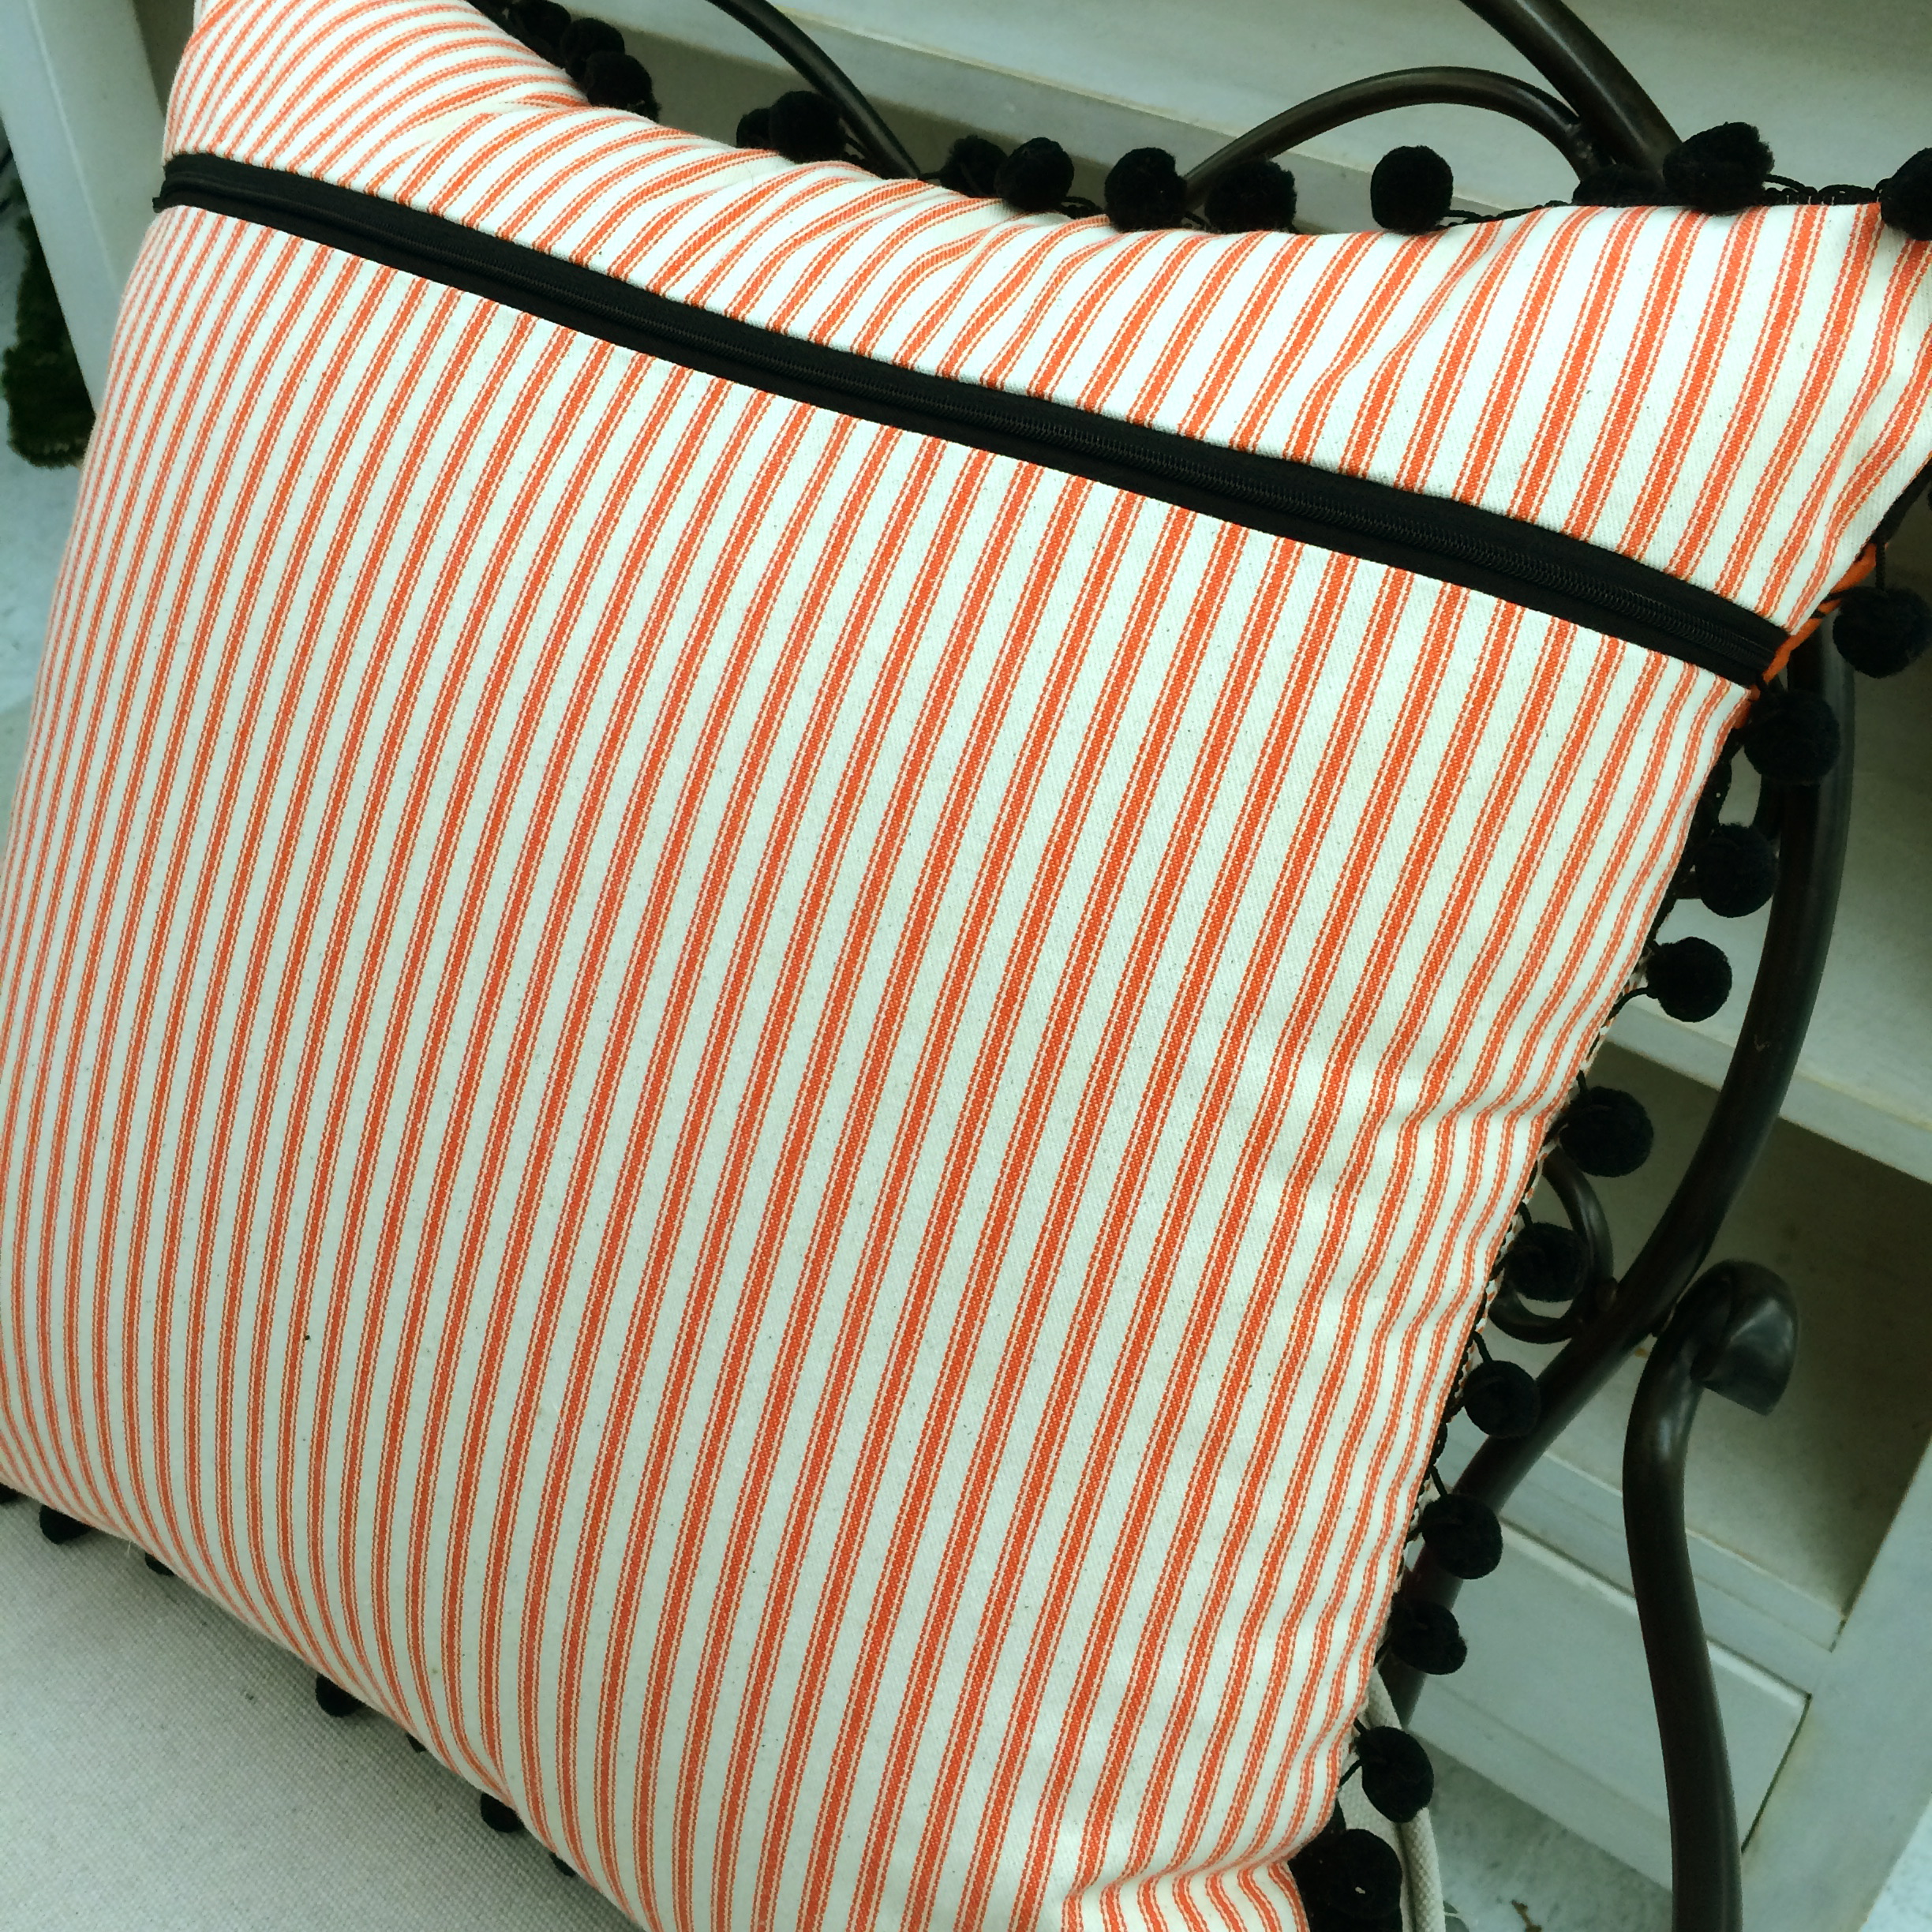
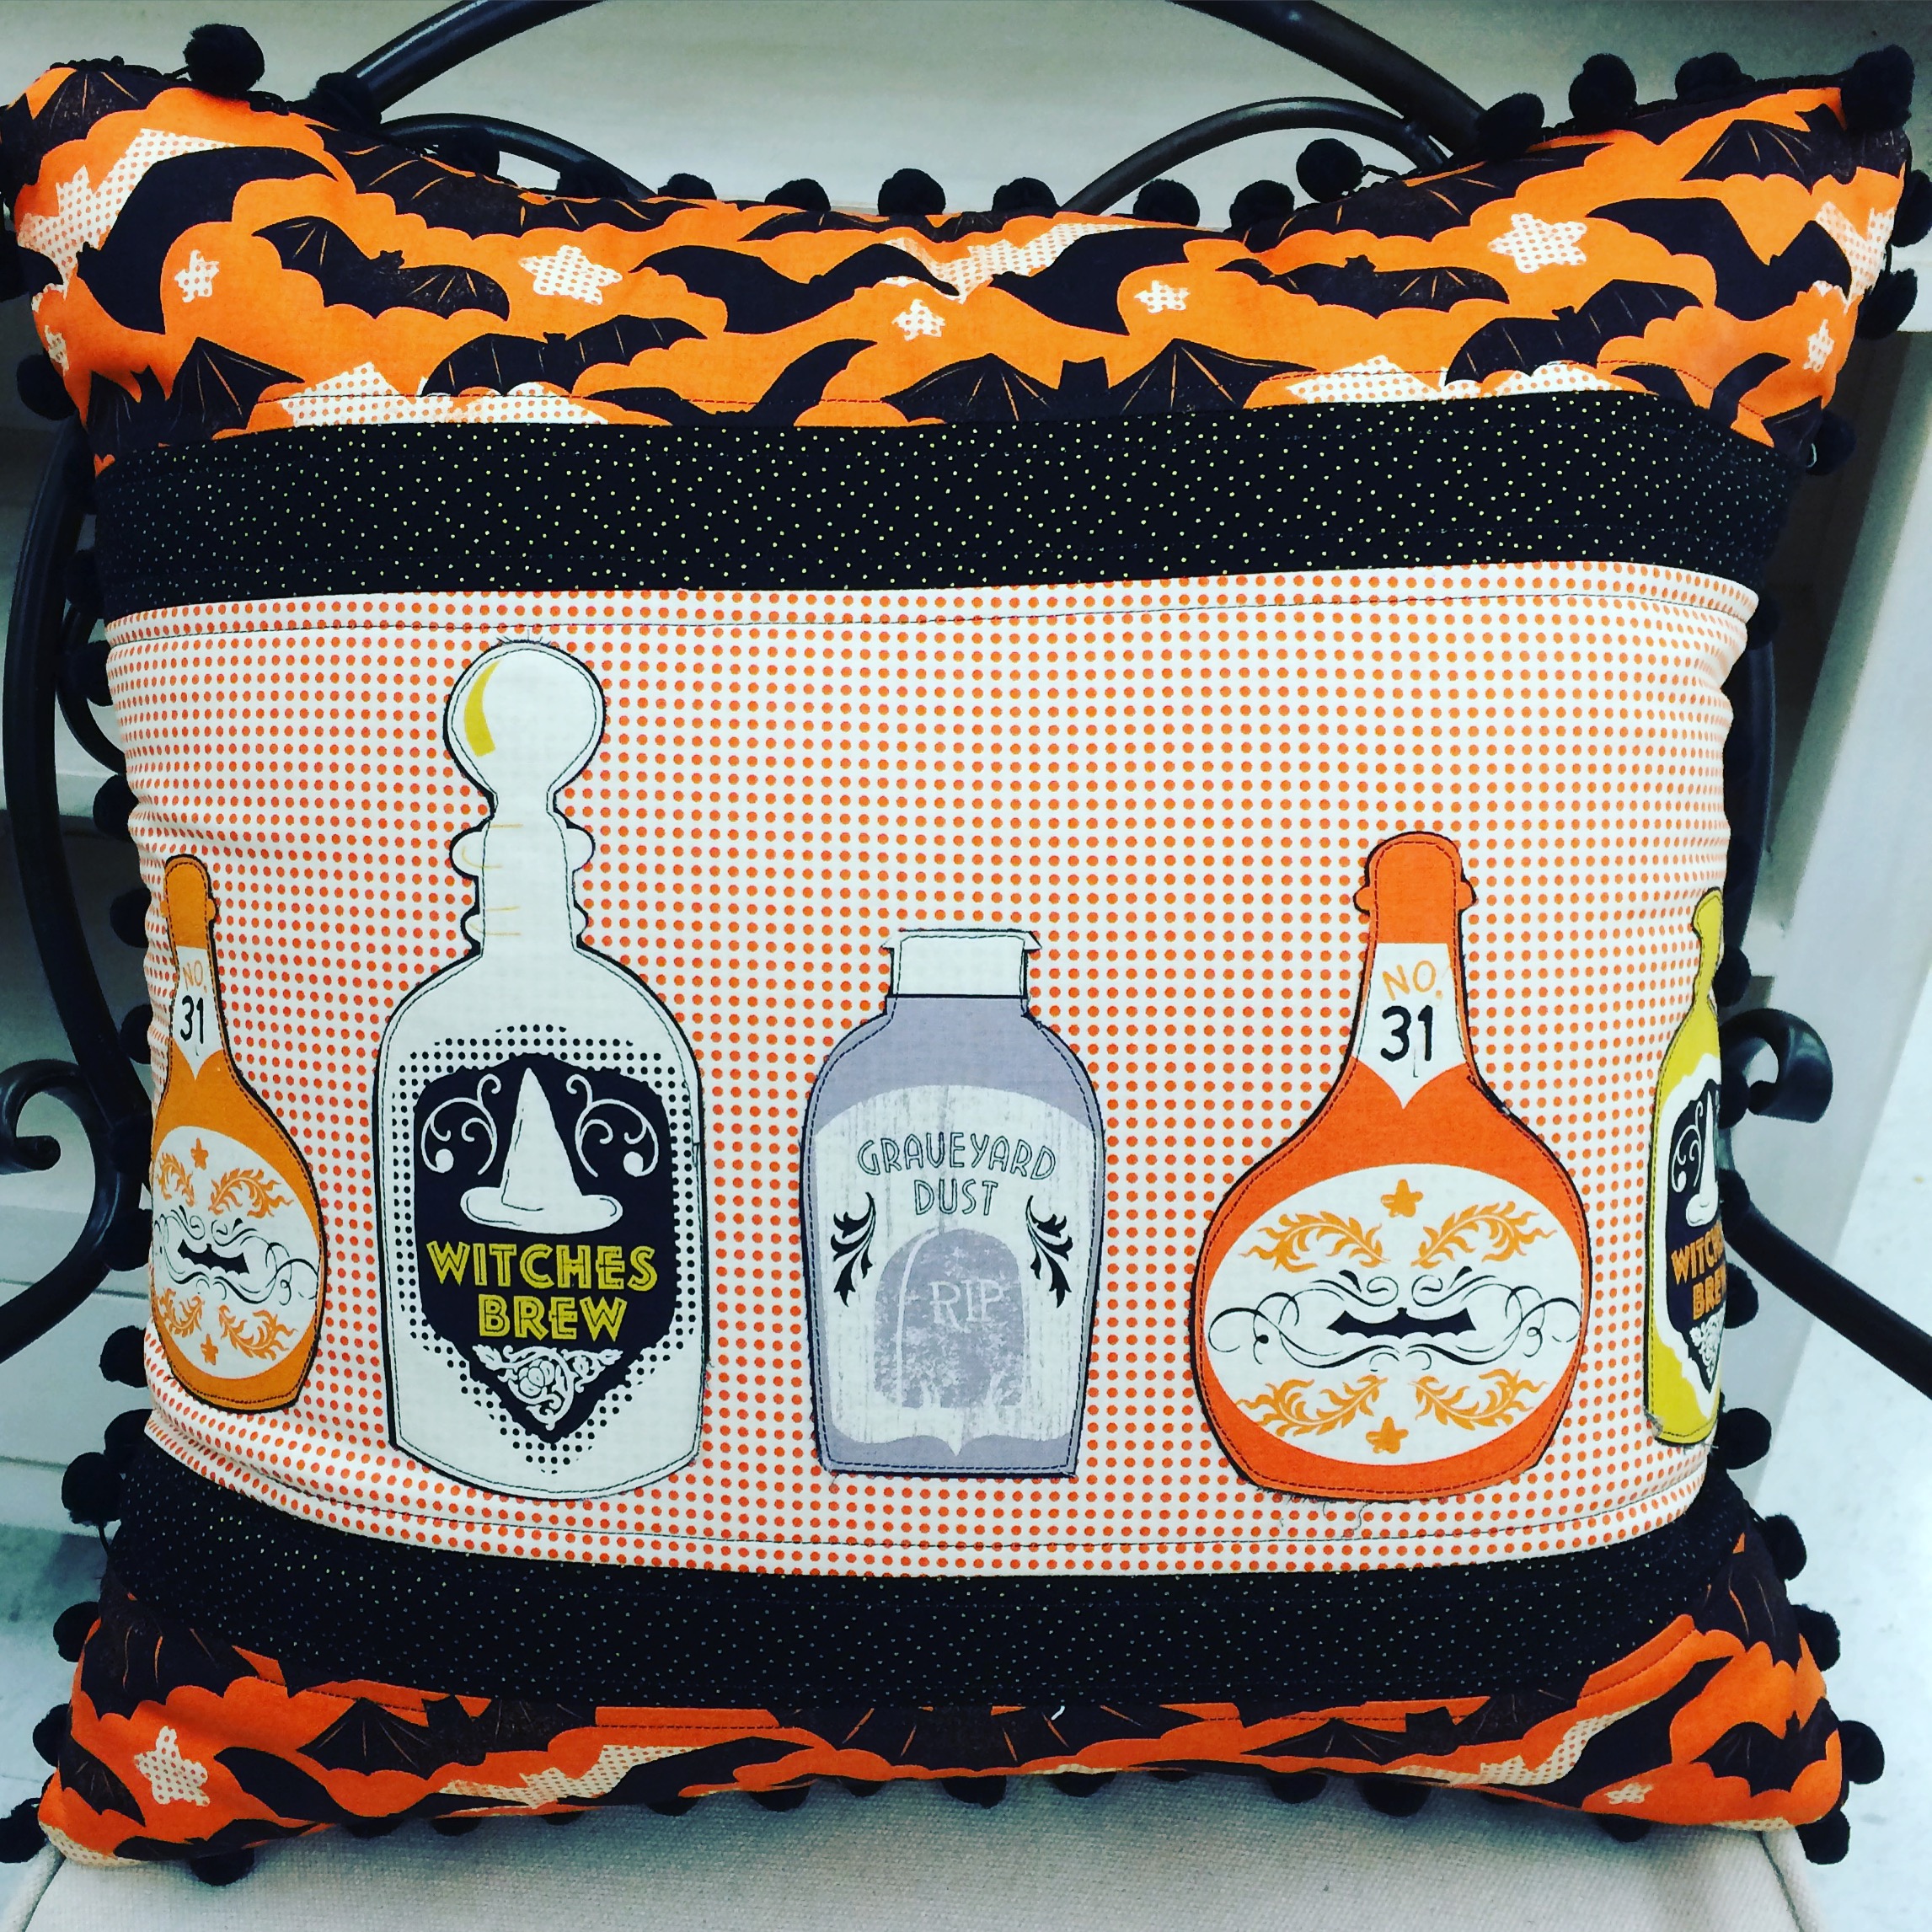
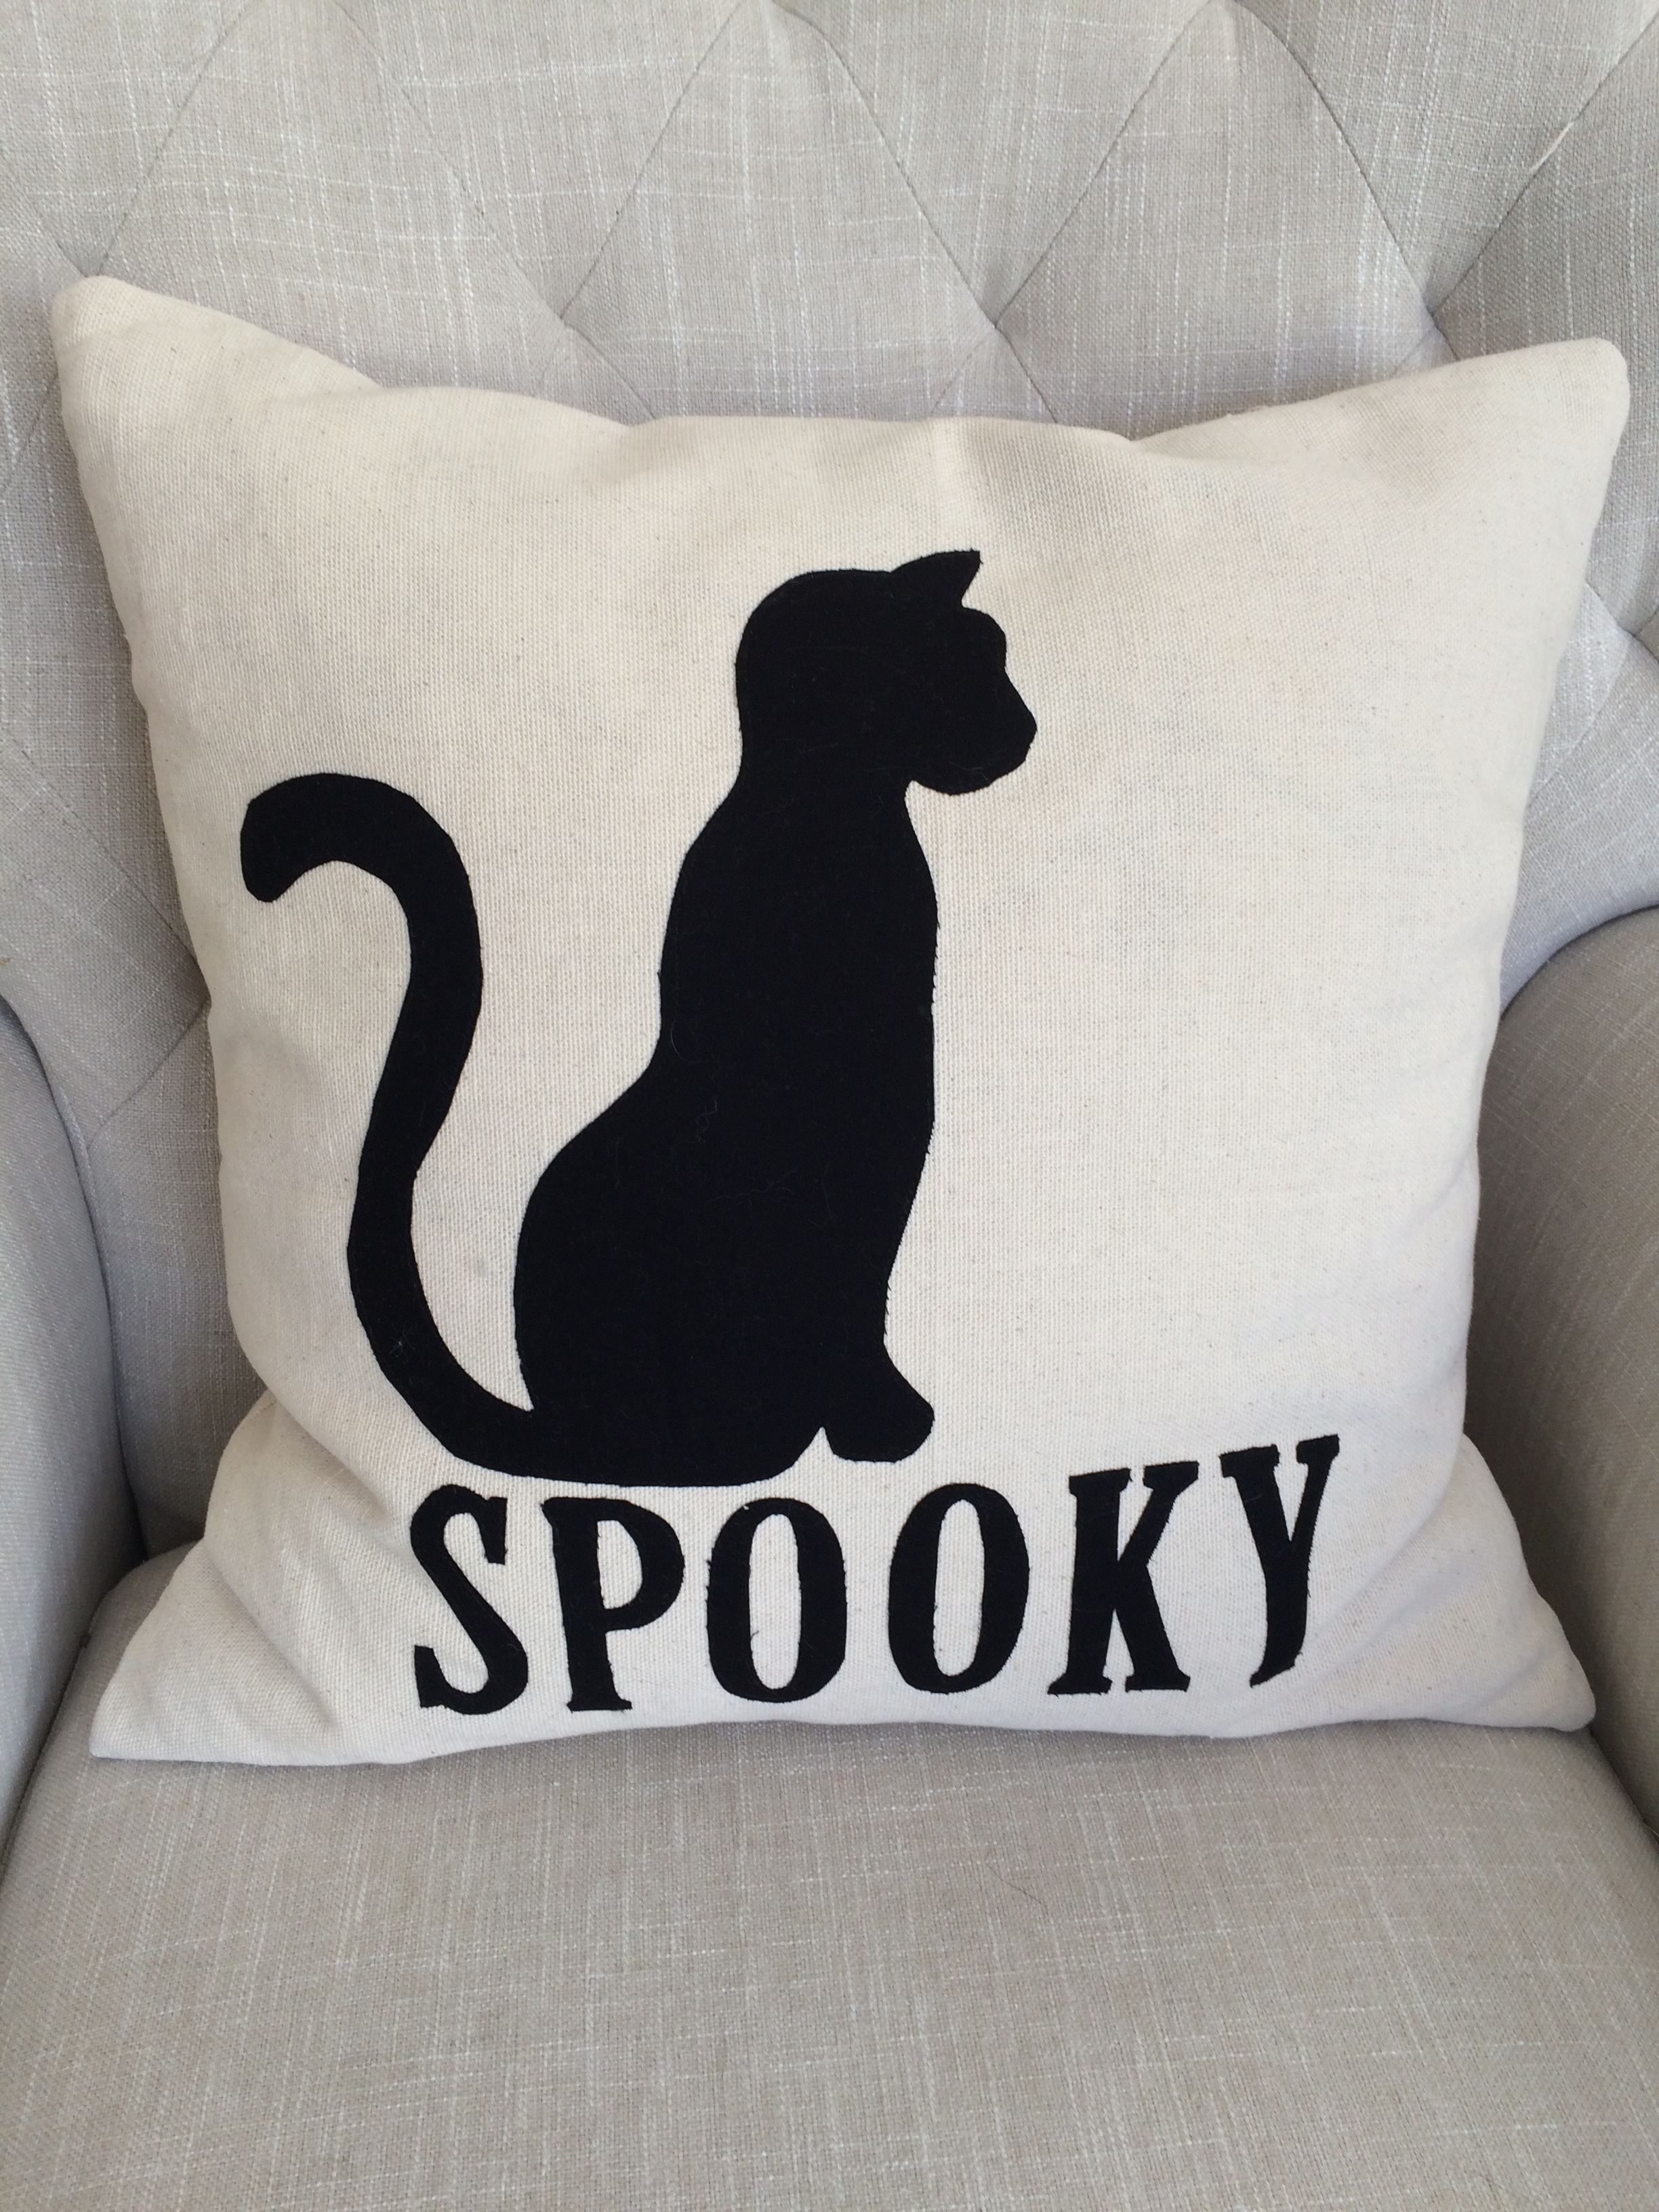
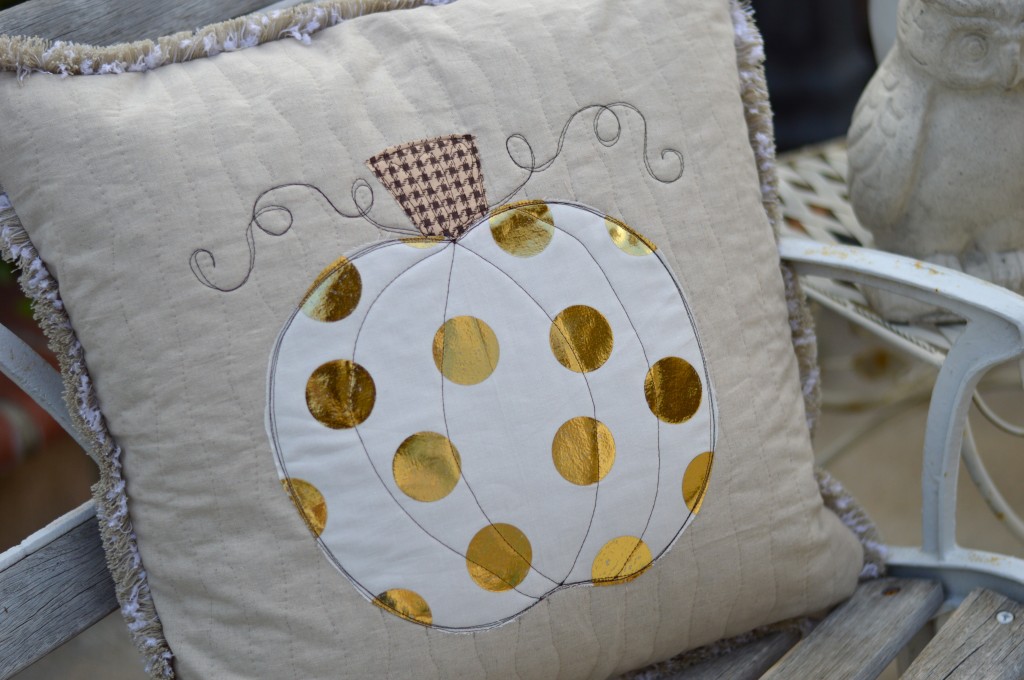 To finish the pumpkin, add a zipper in the back 20″ square. Baste in trim, and sew the pillow using 1/2″ seams.


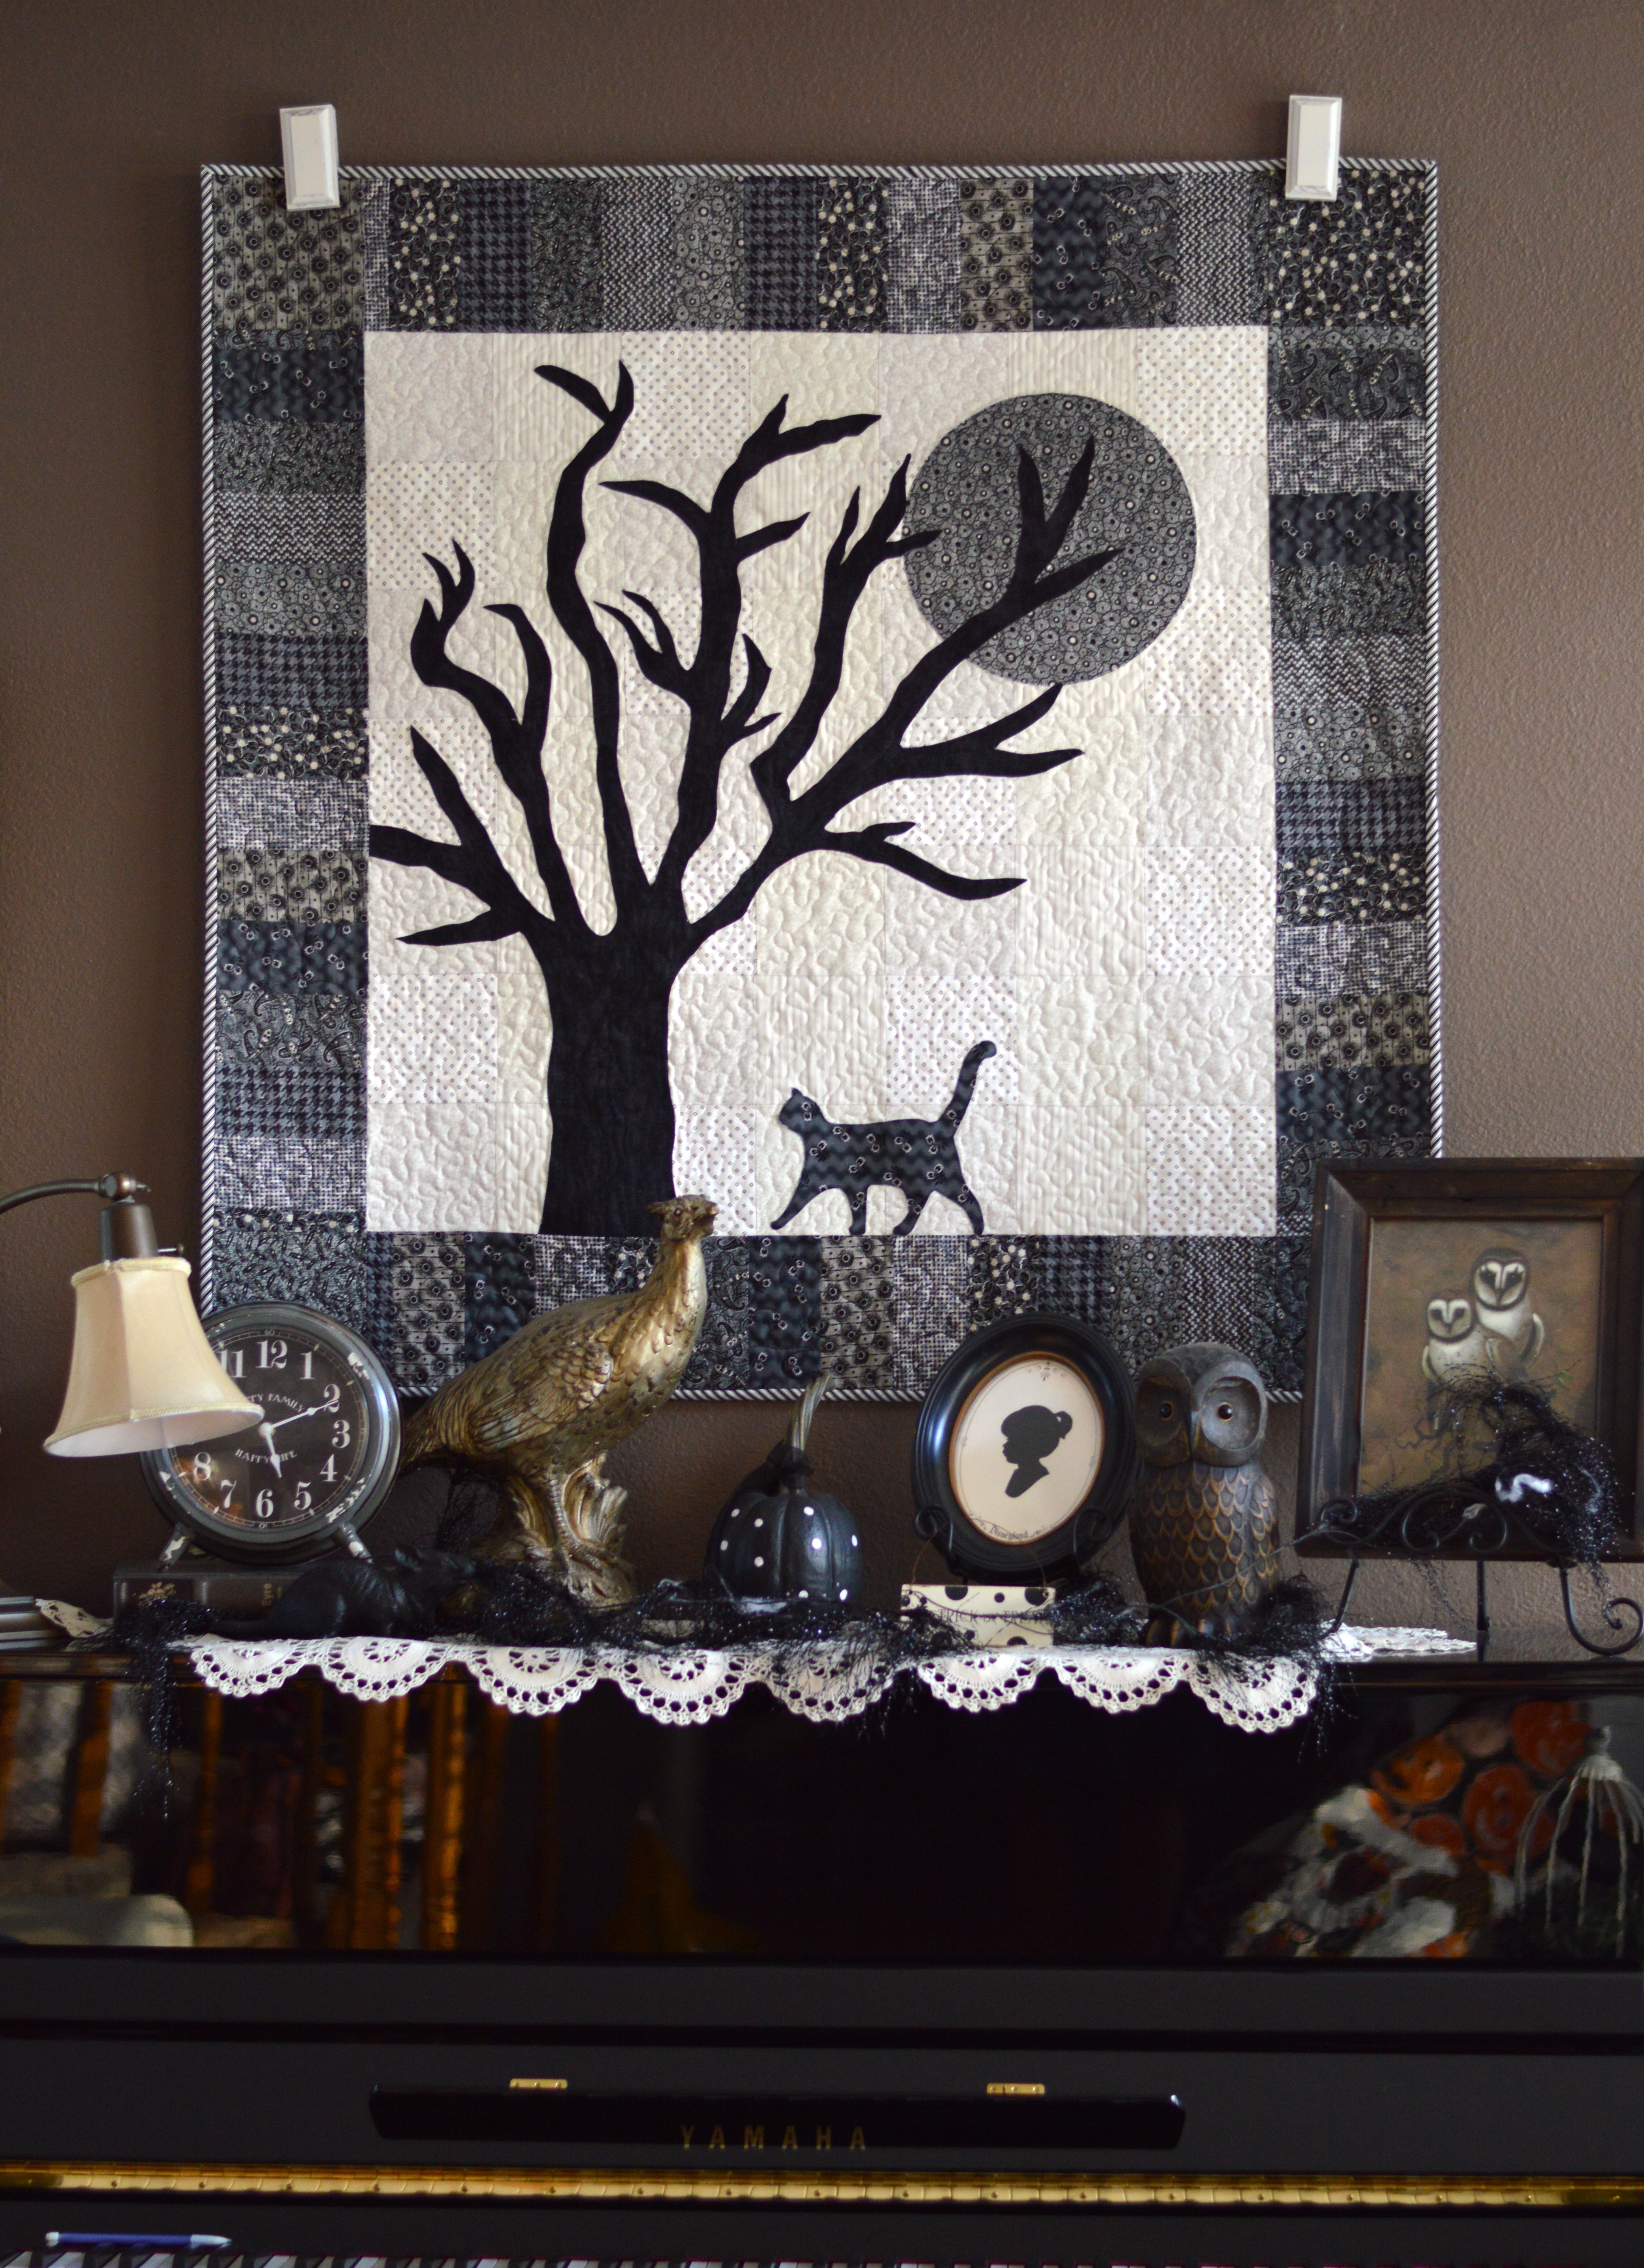
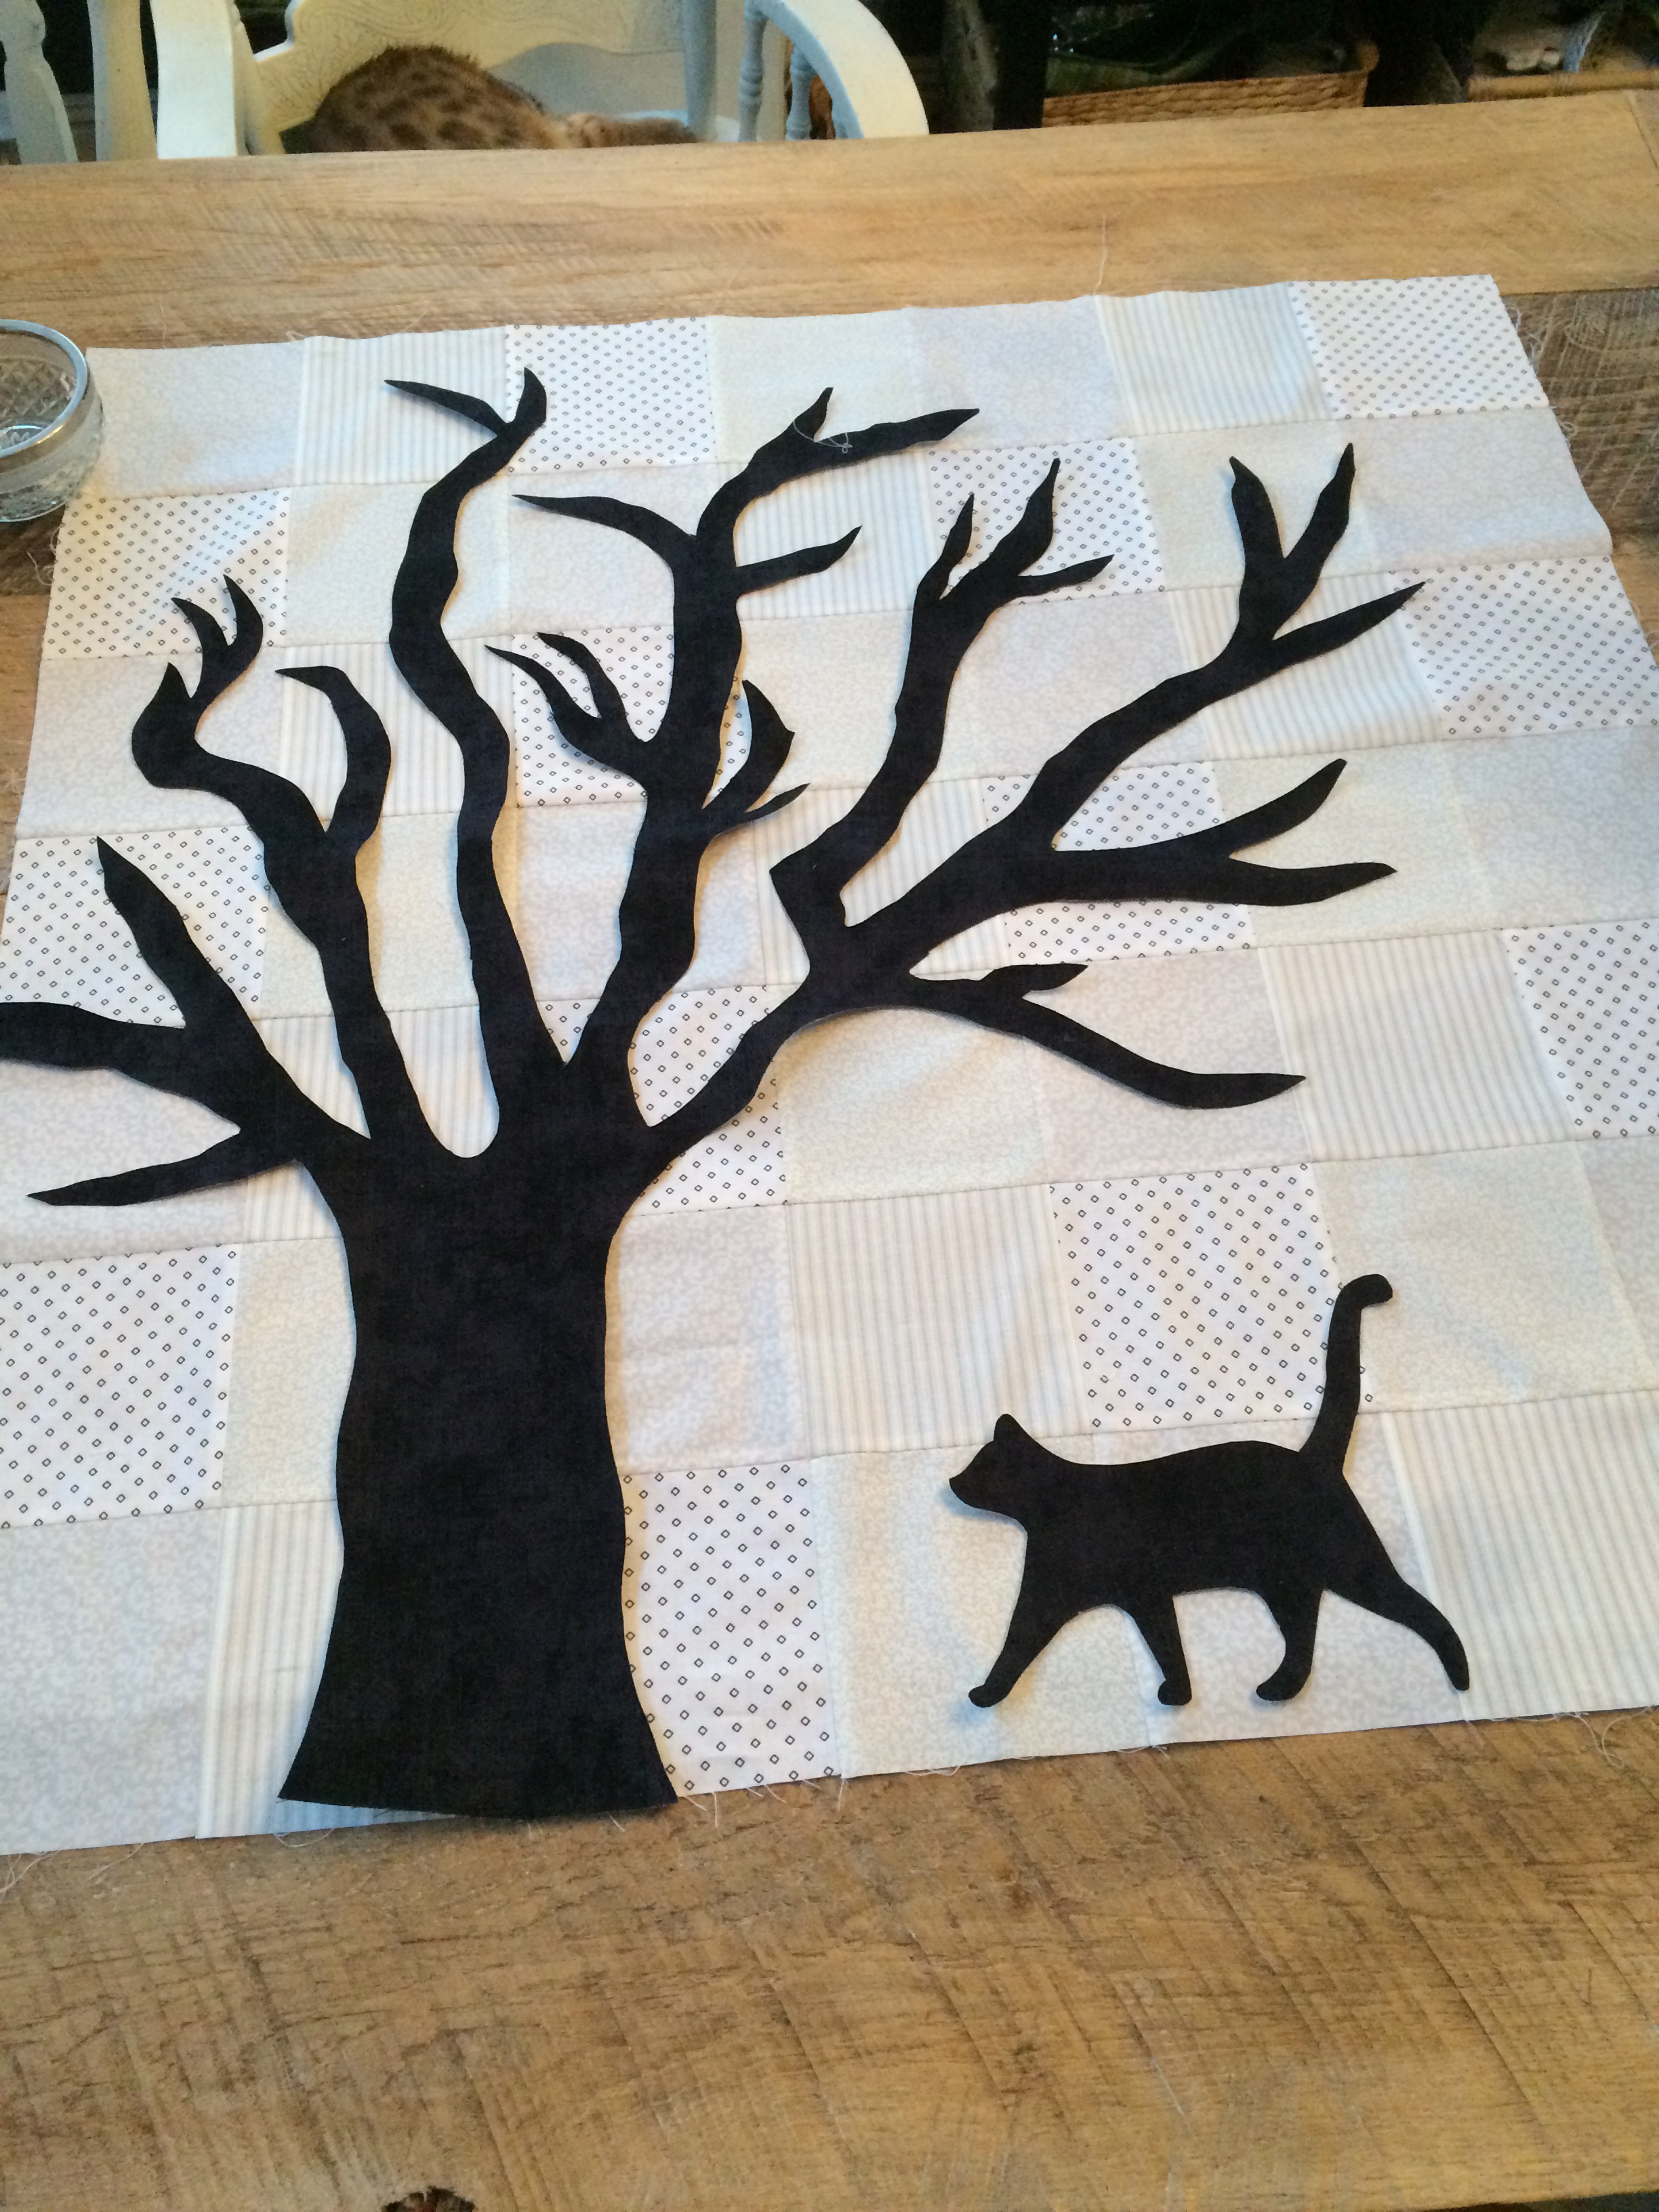

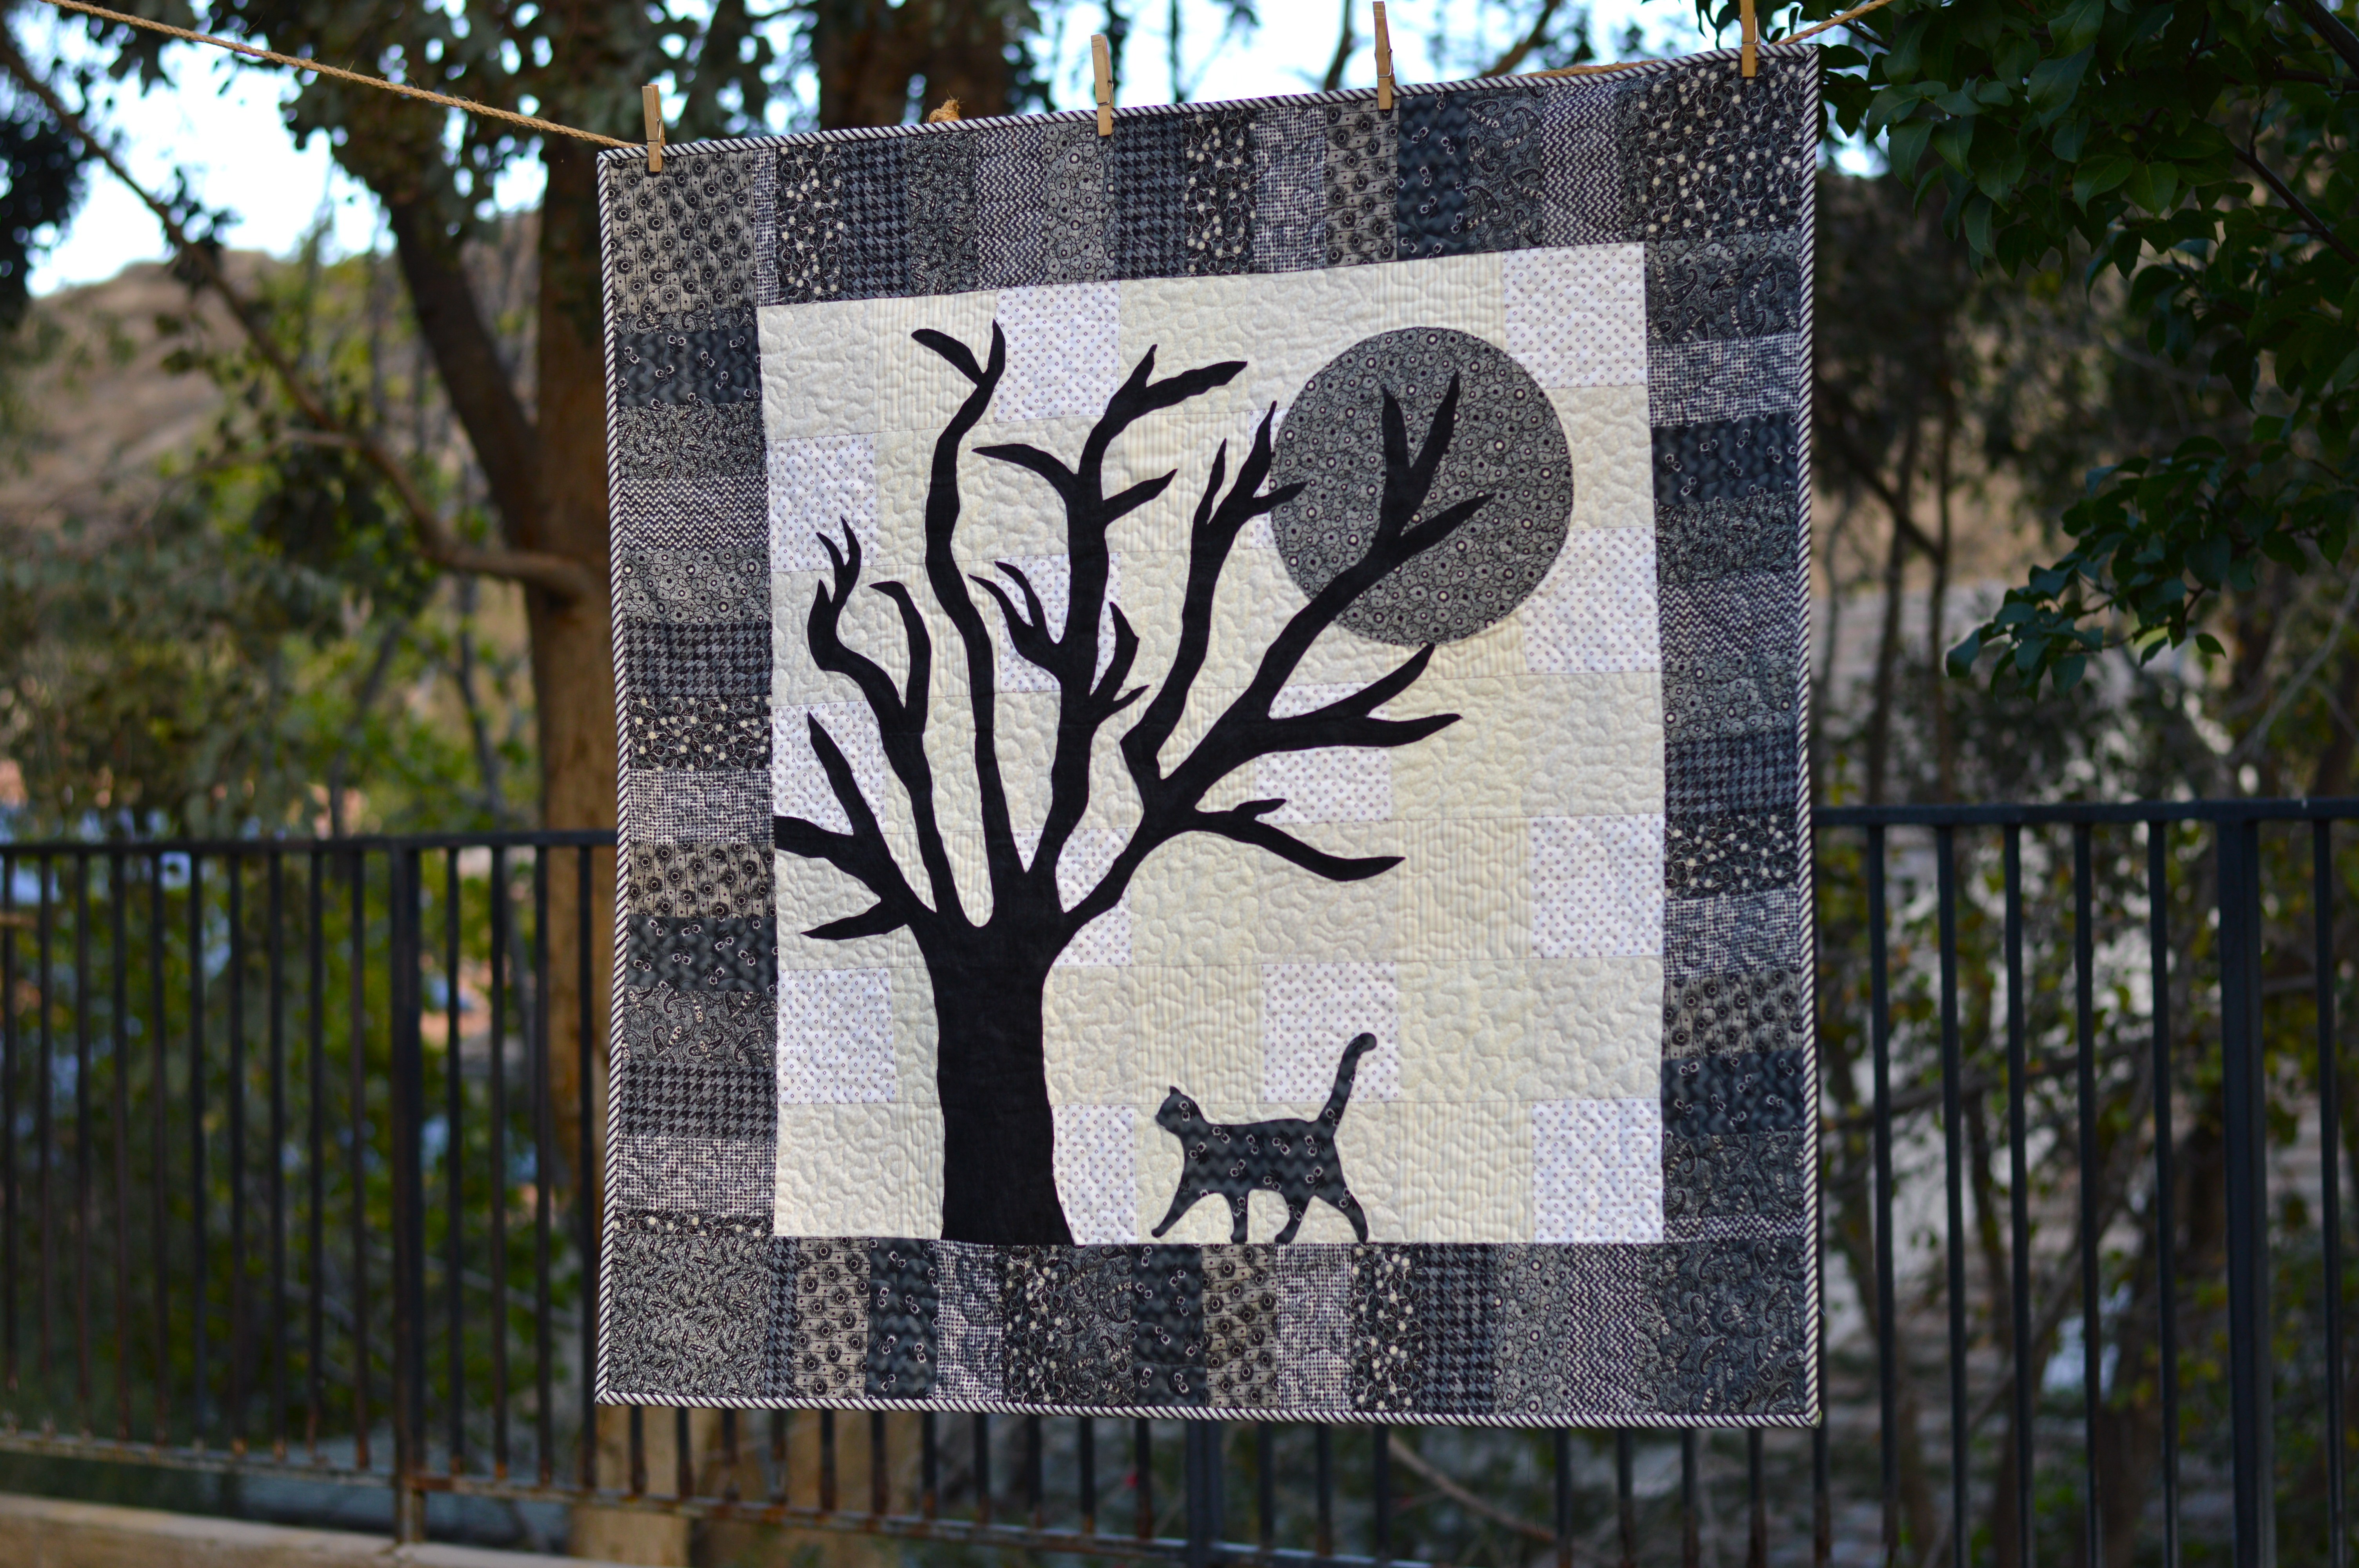

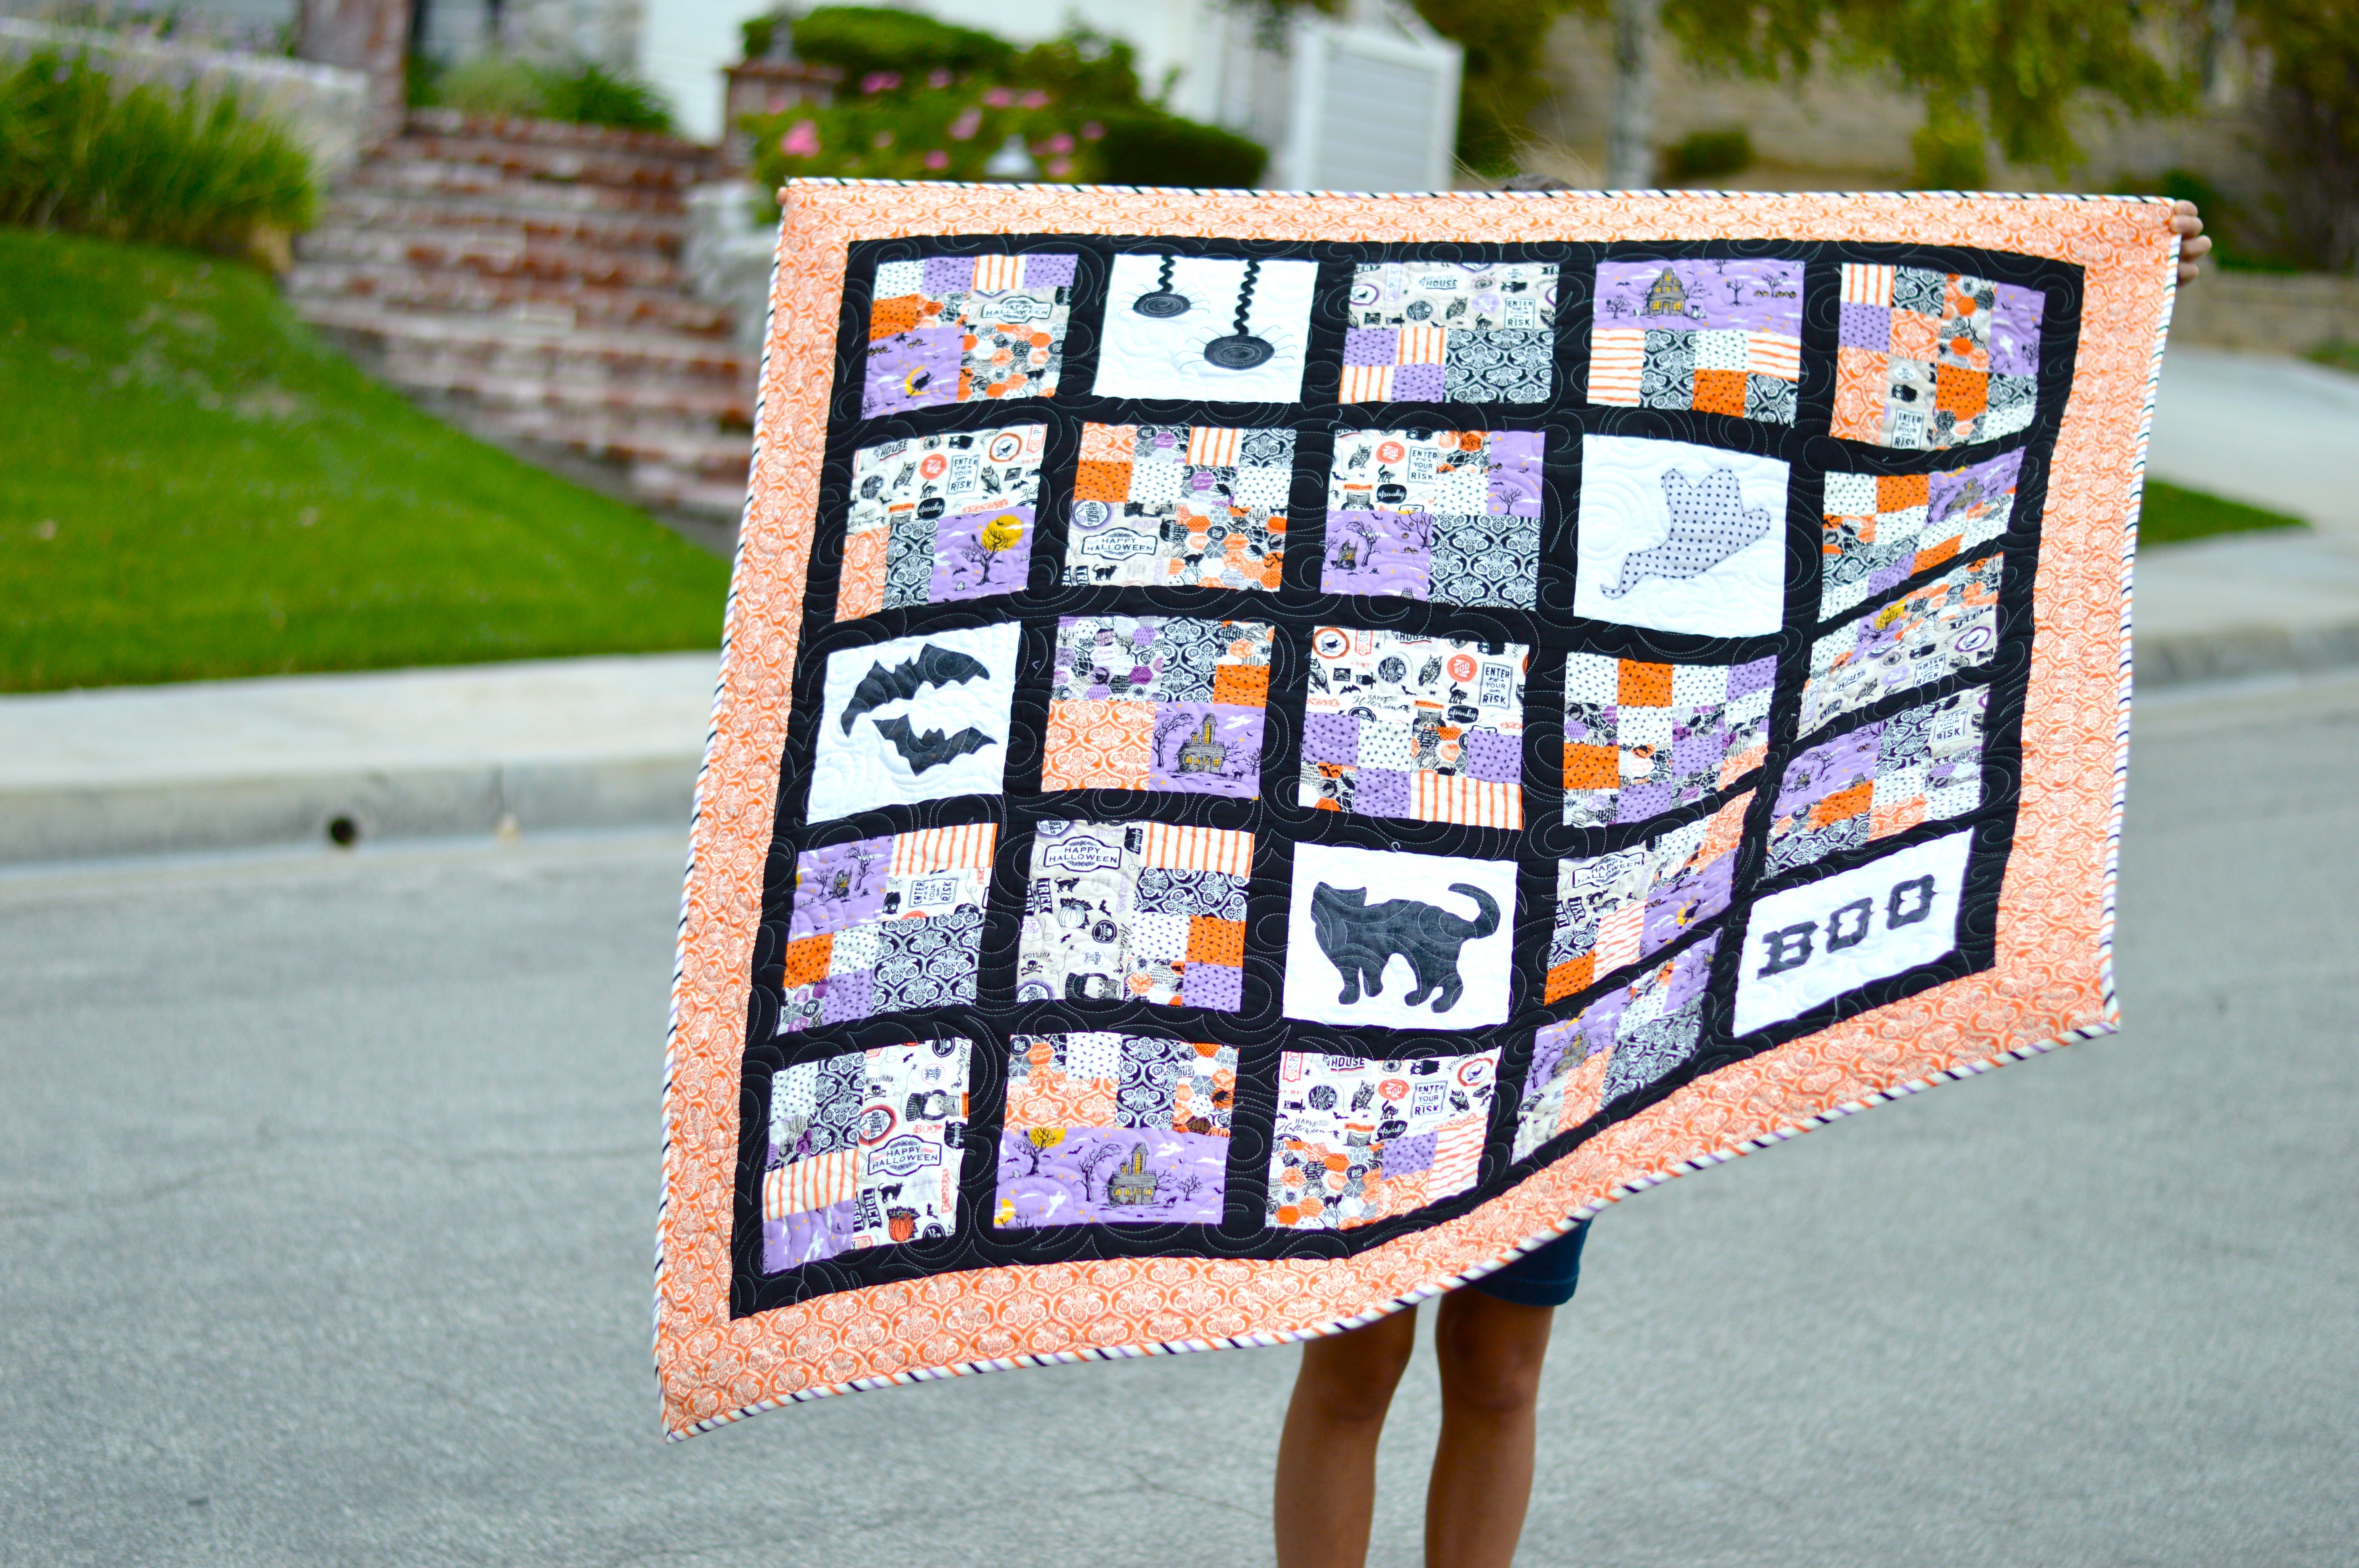
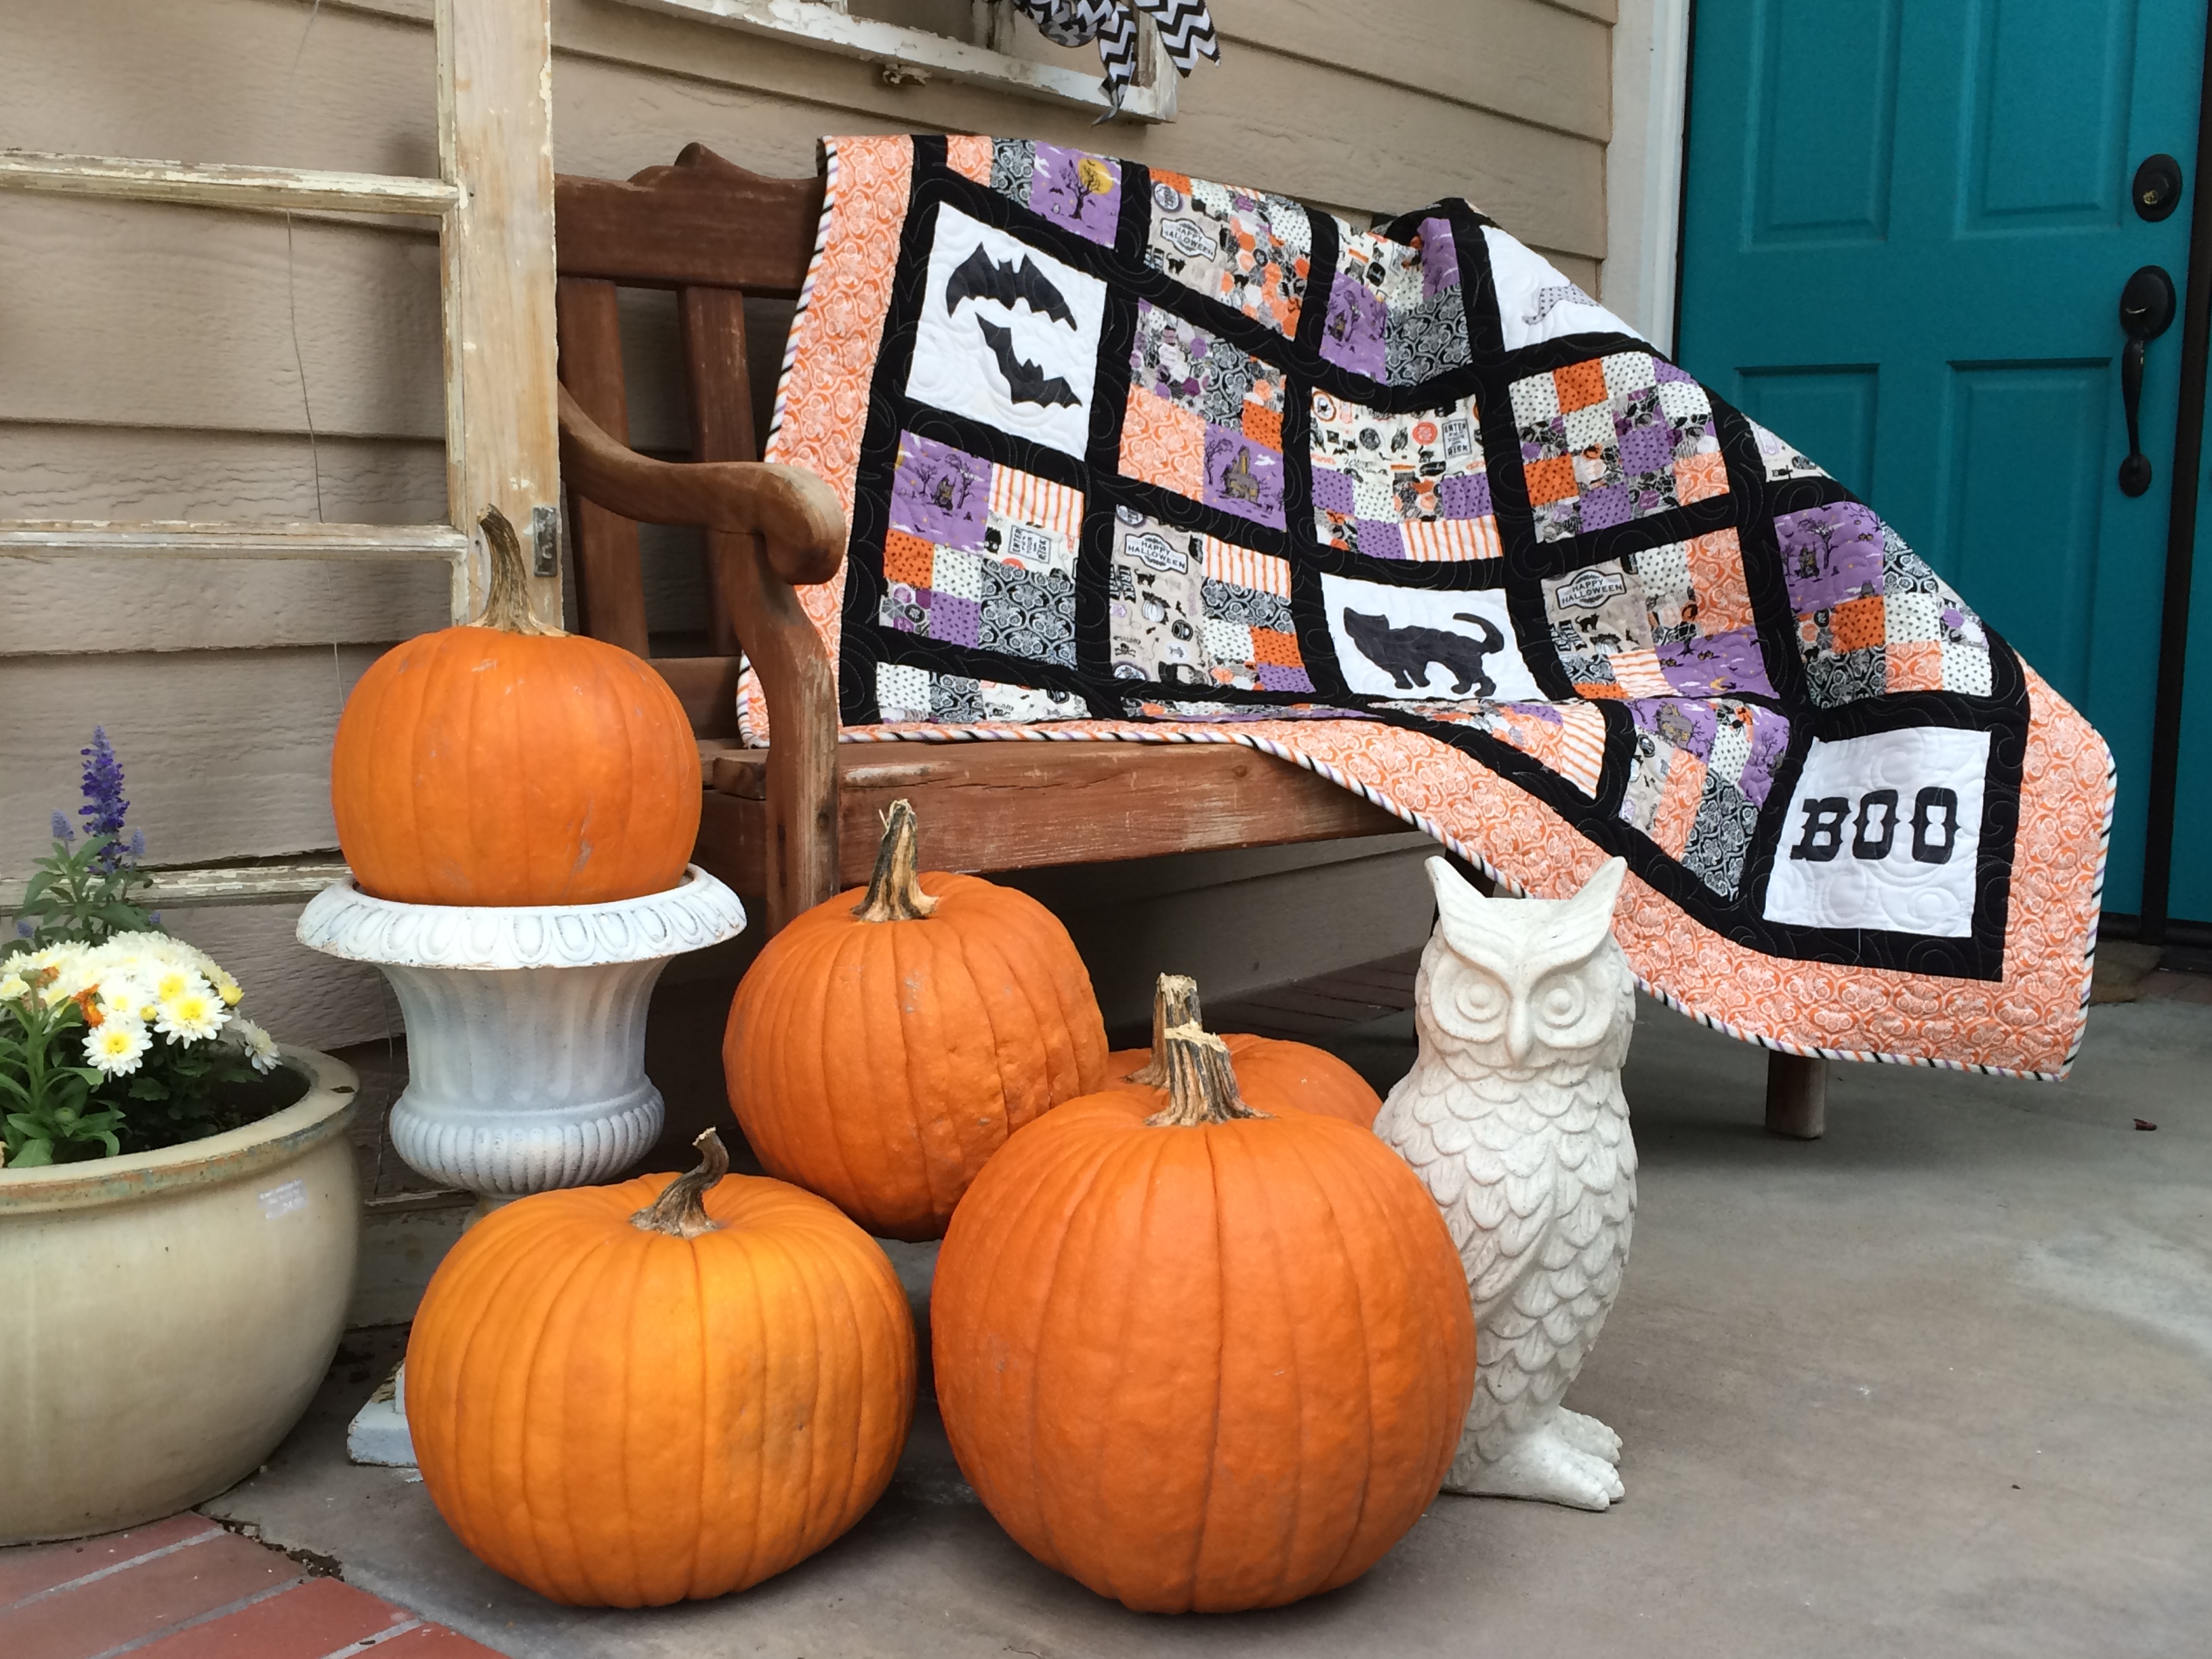

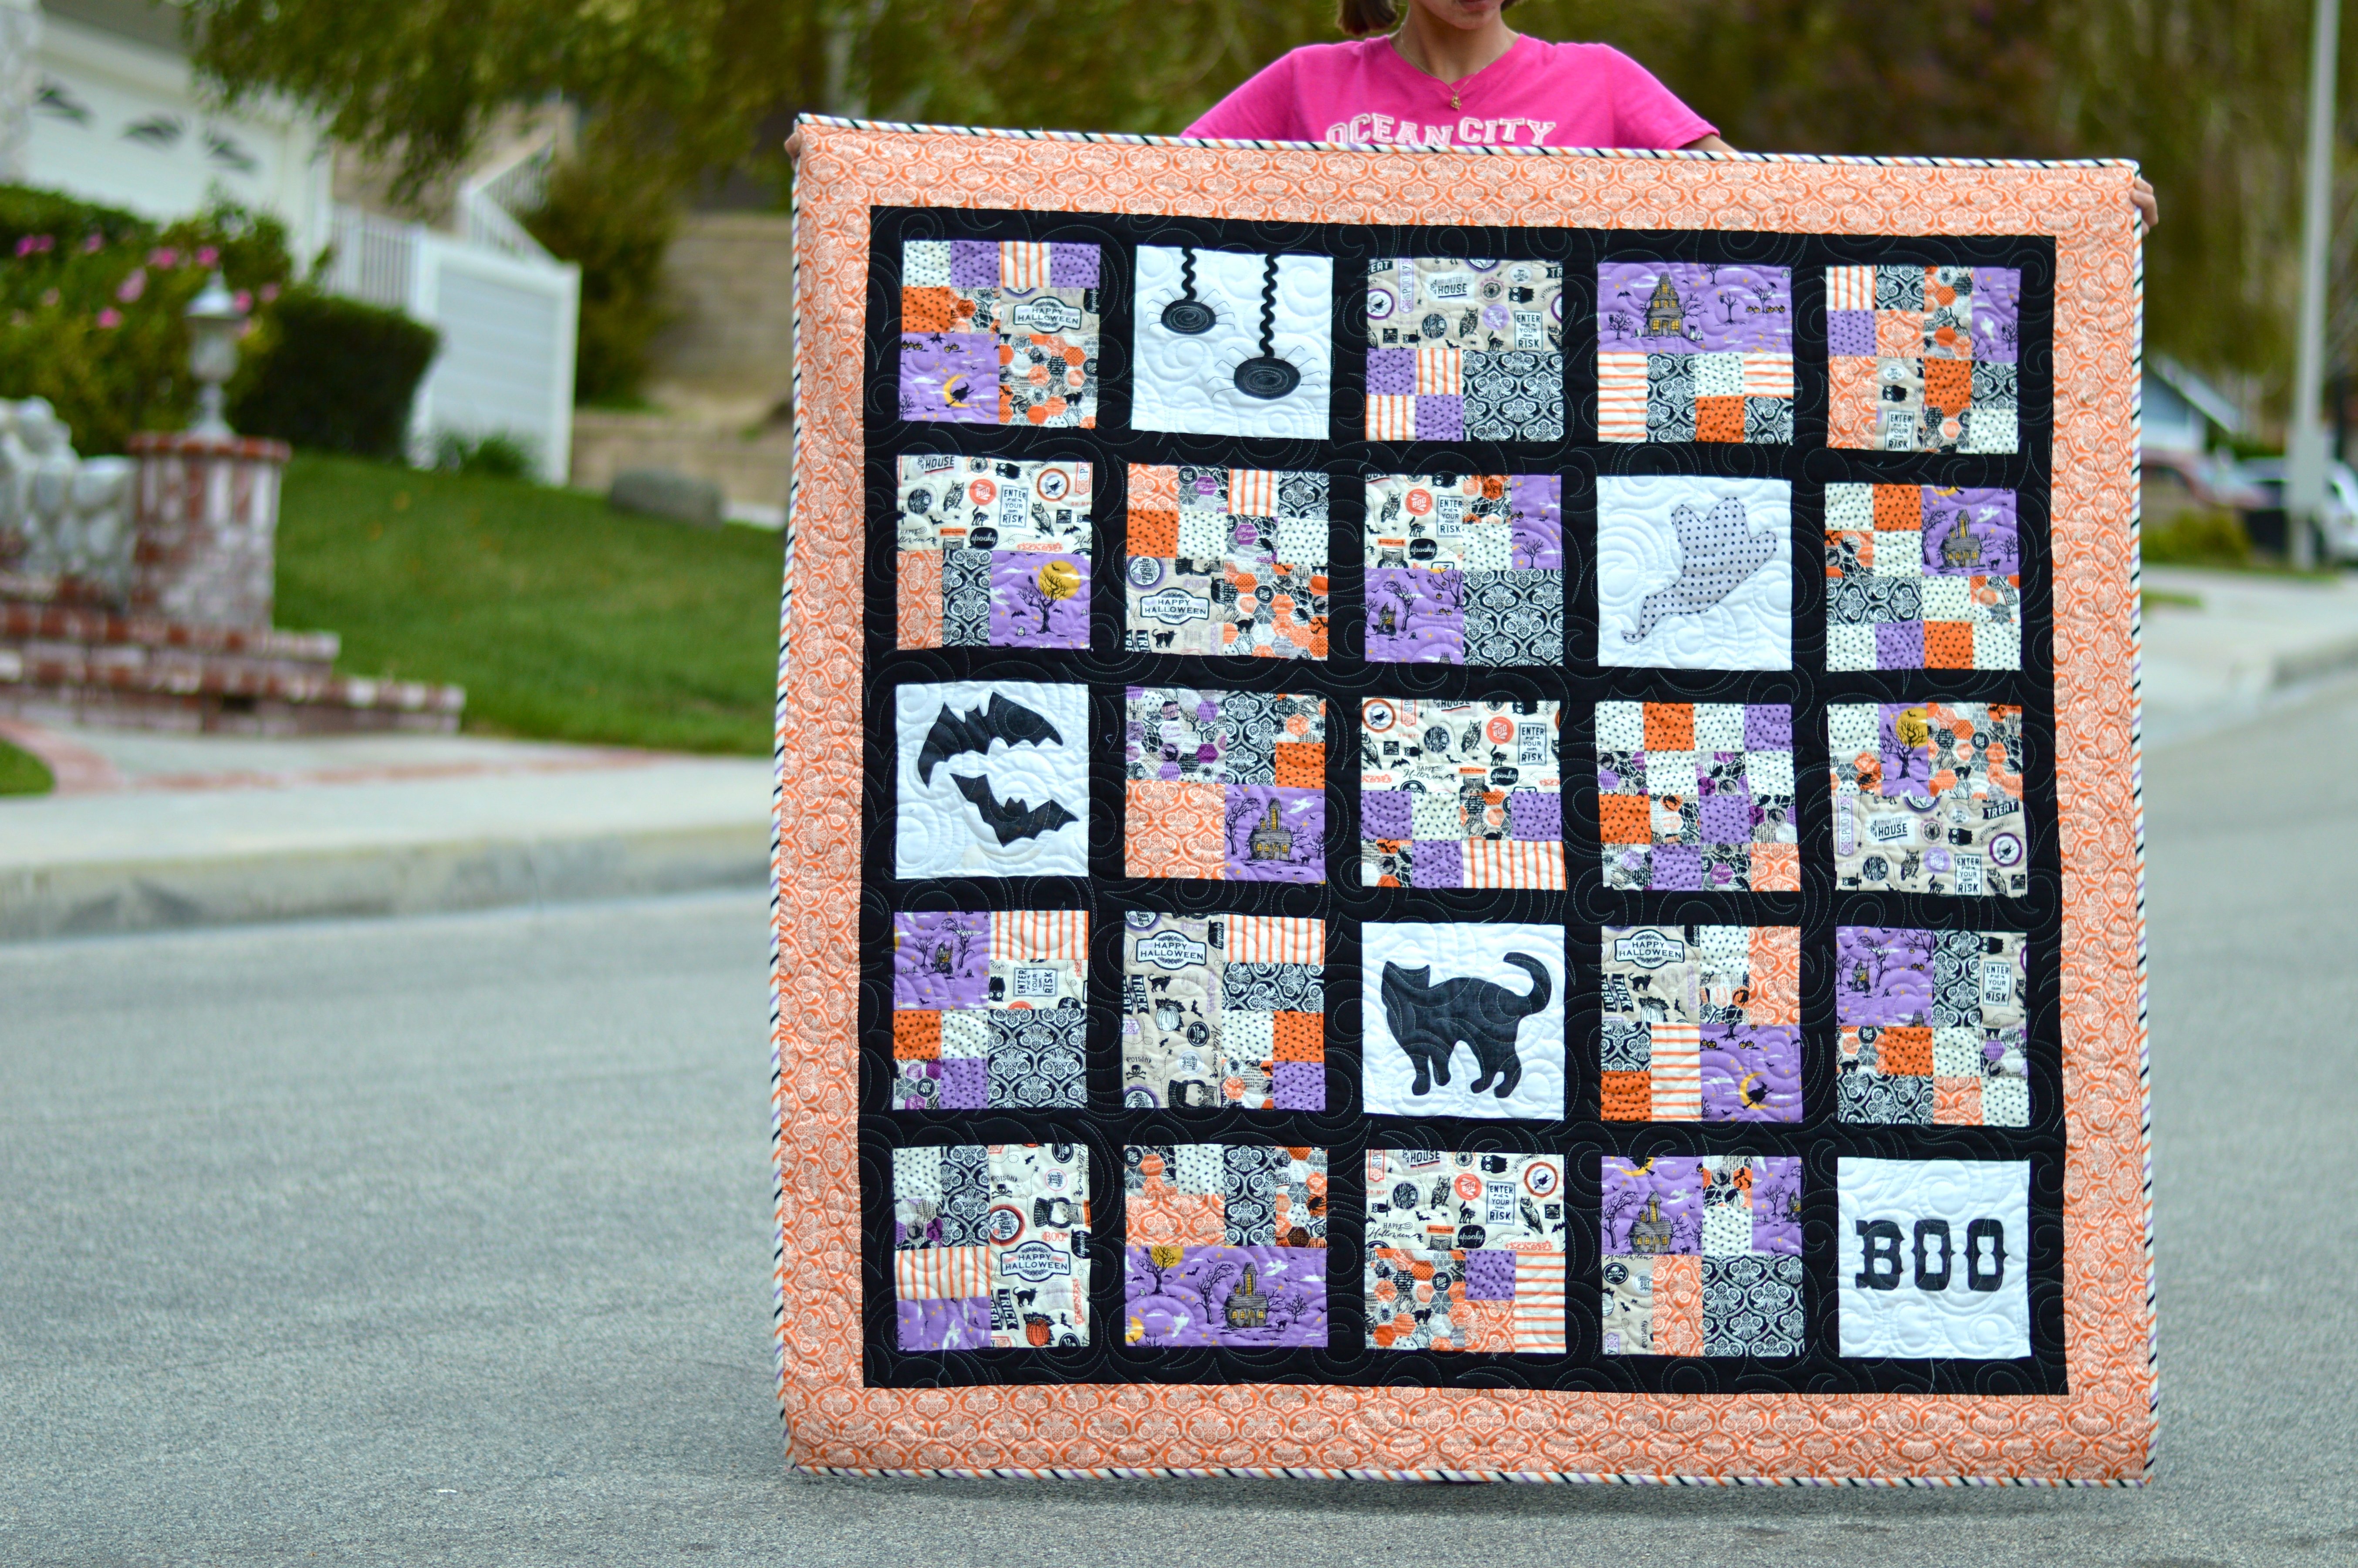

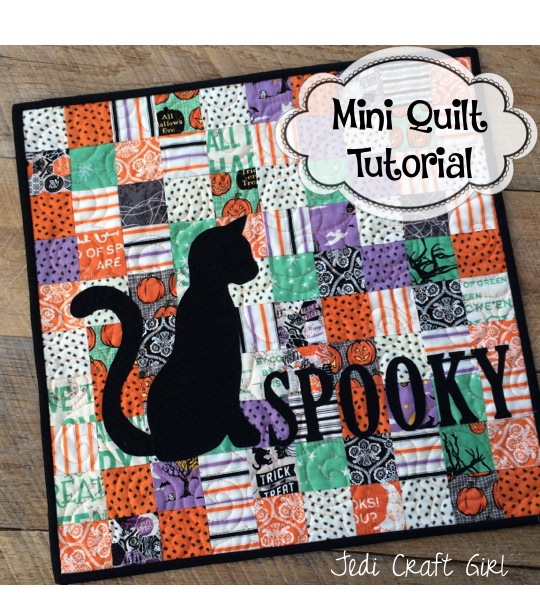

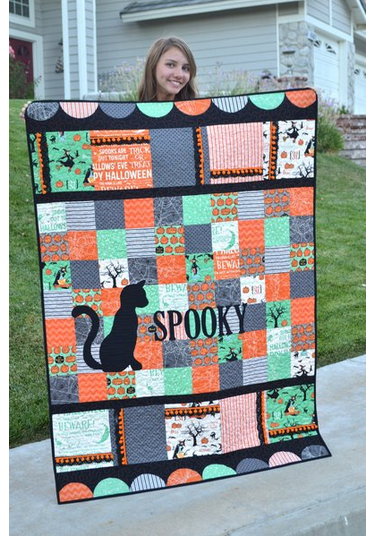
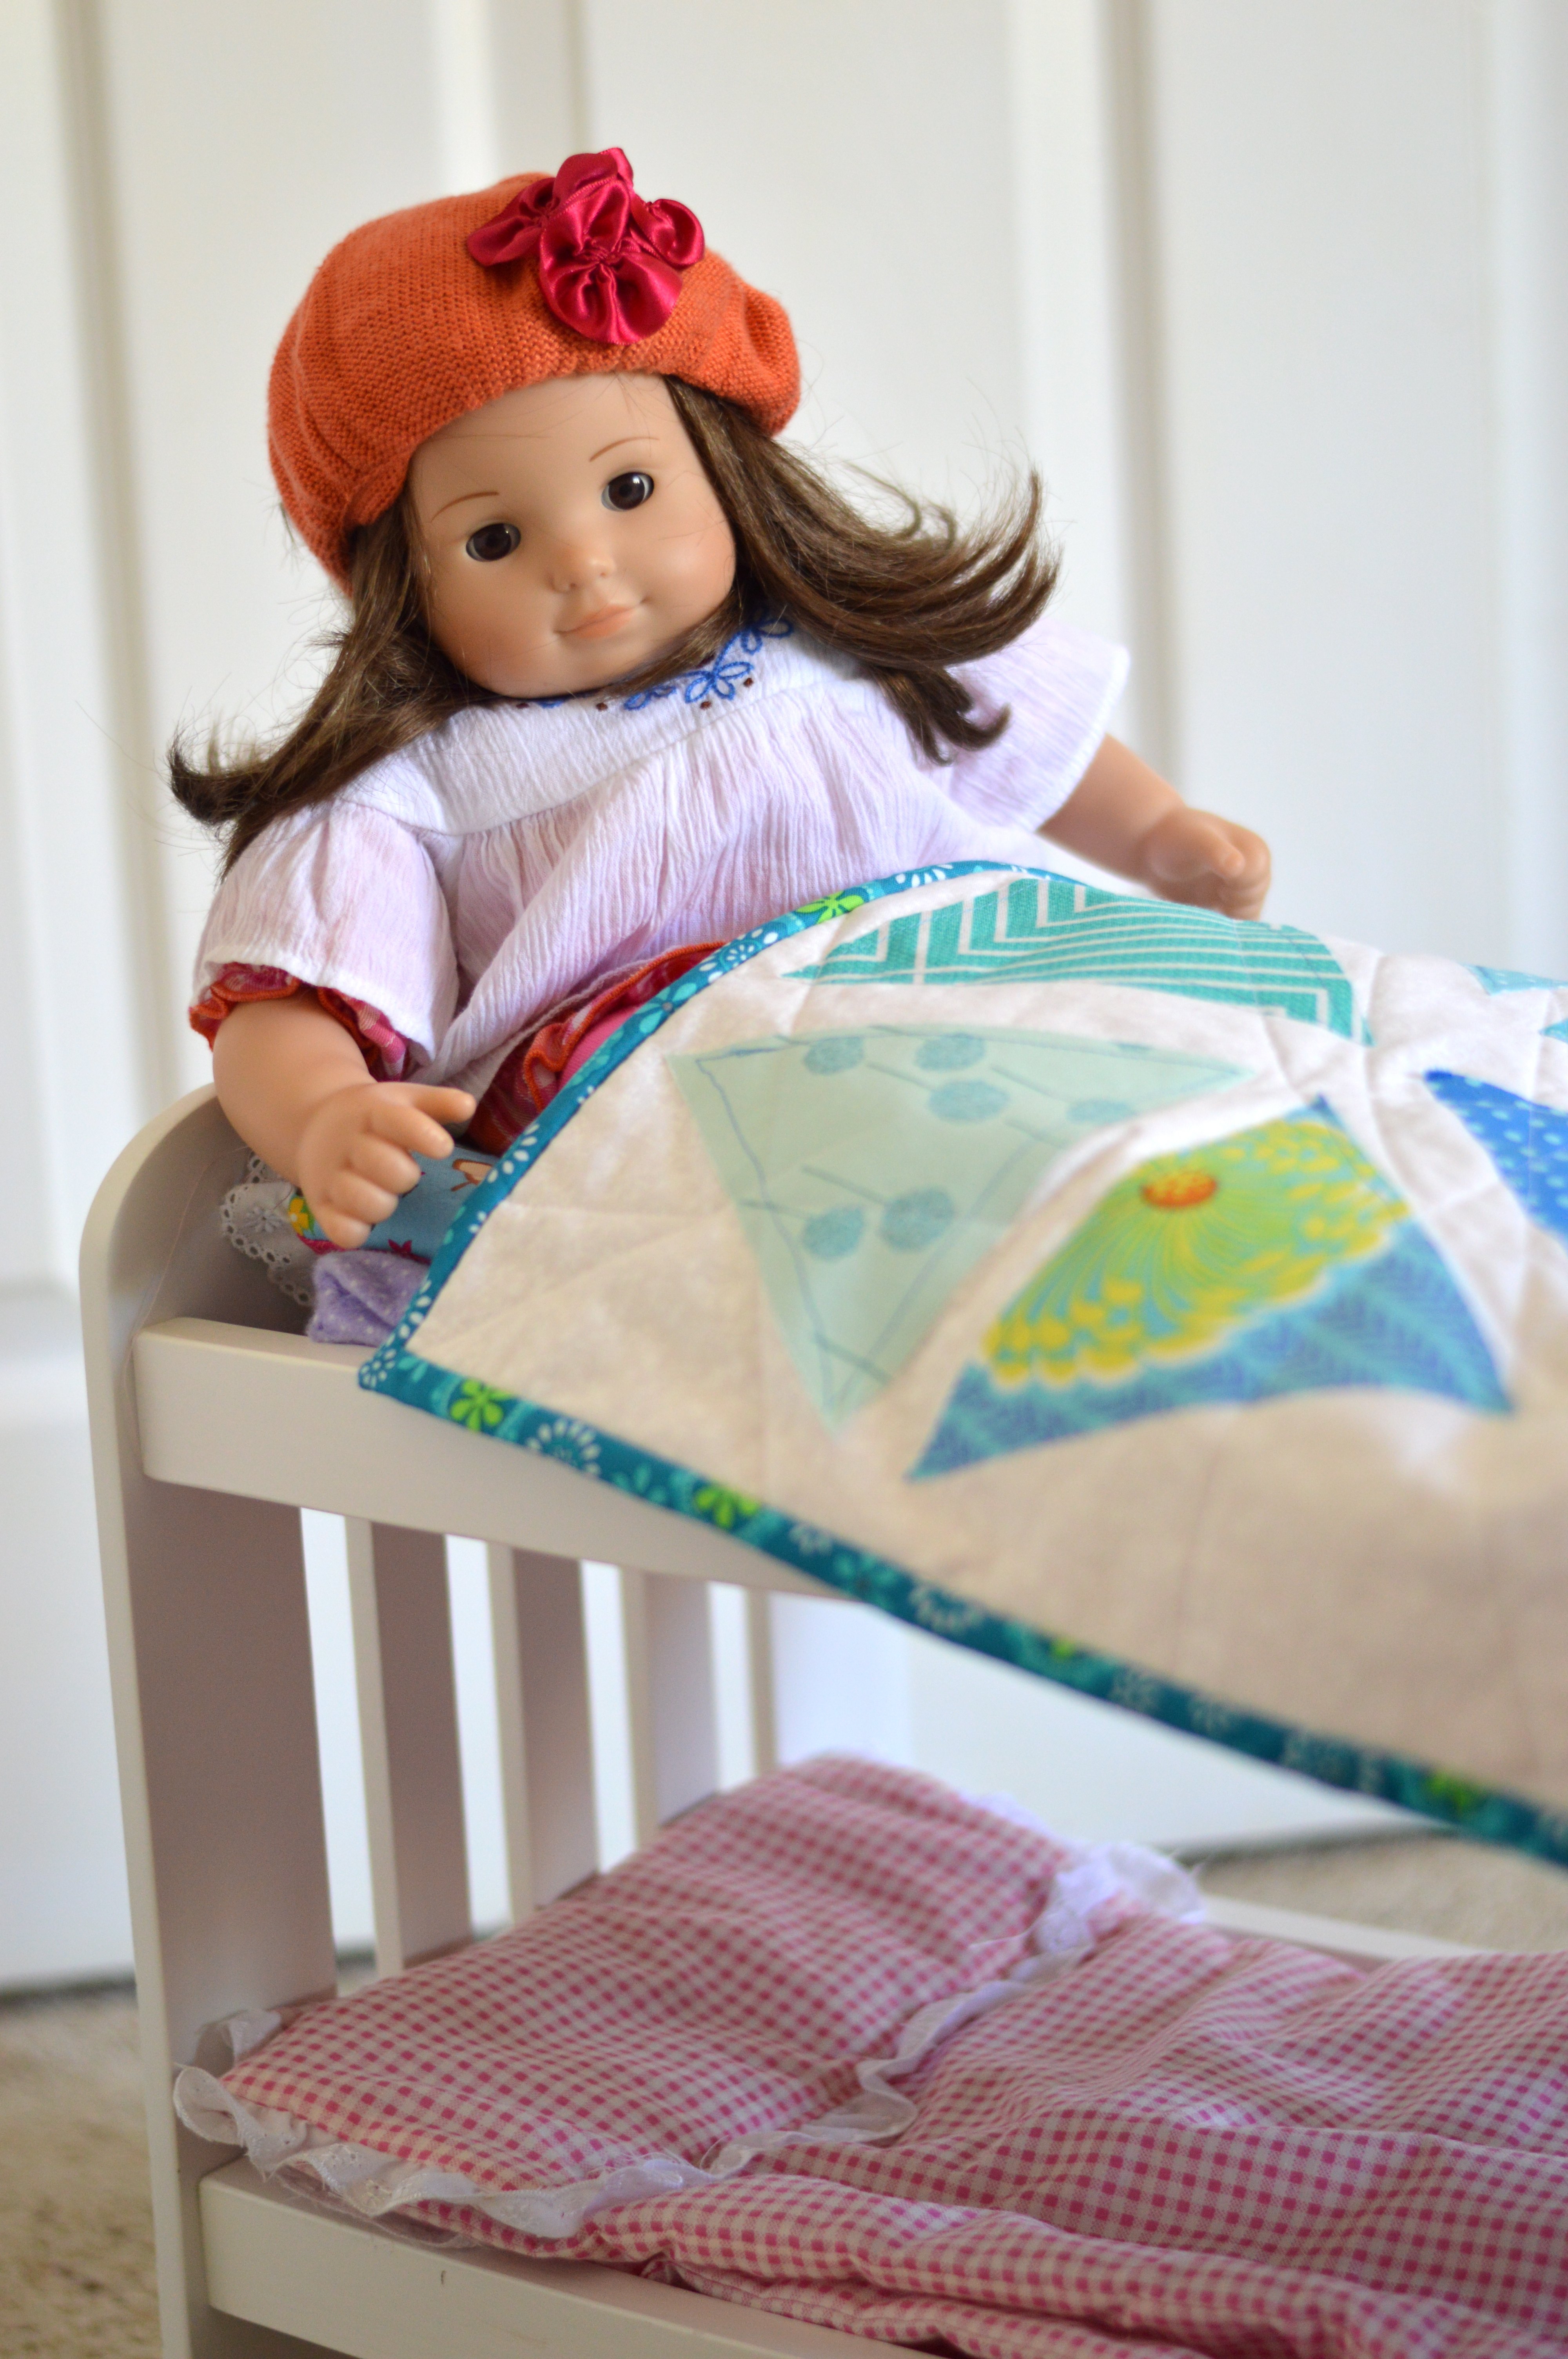
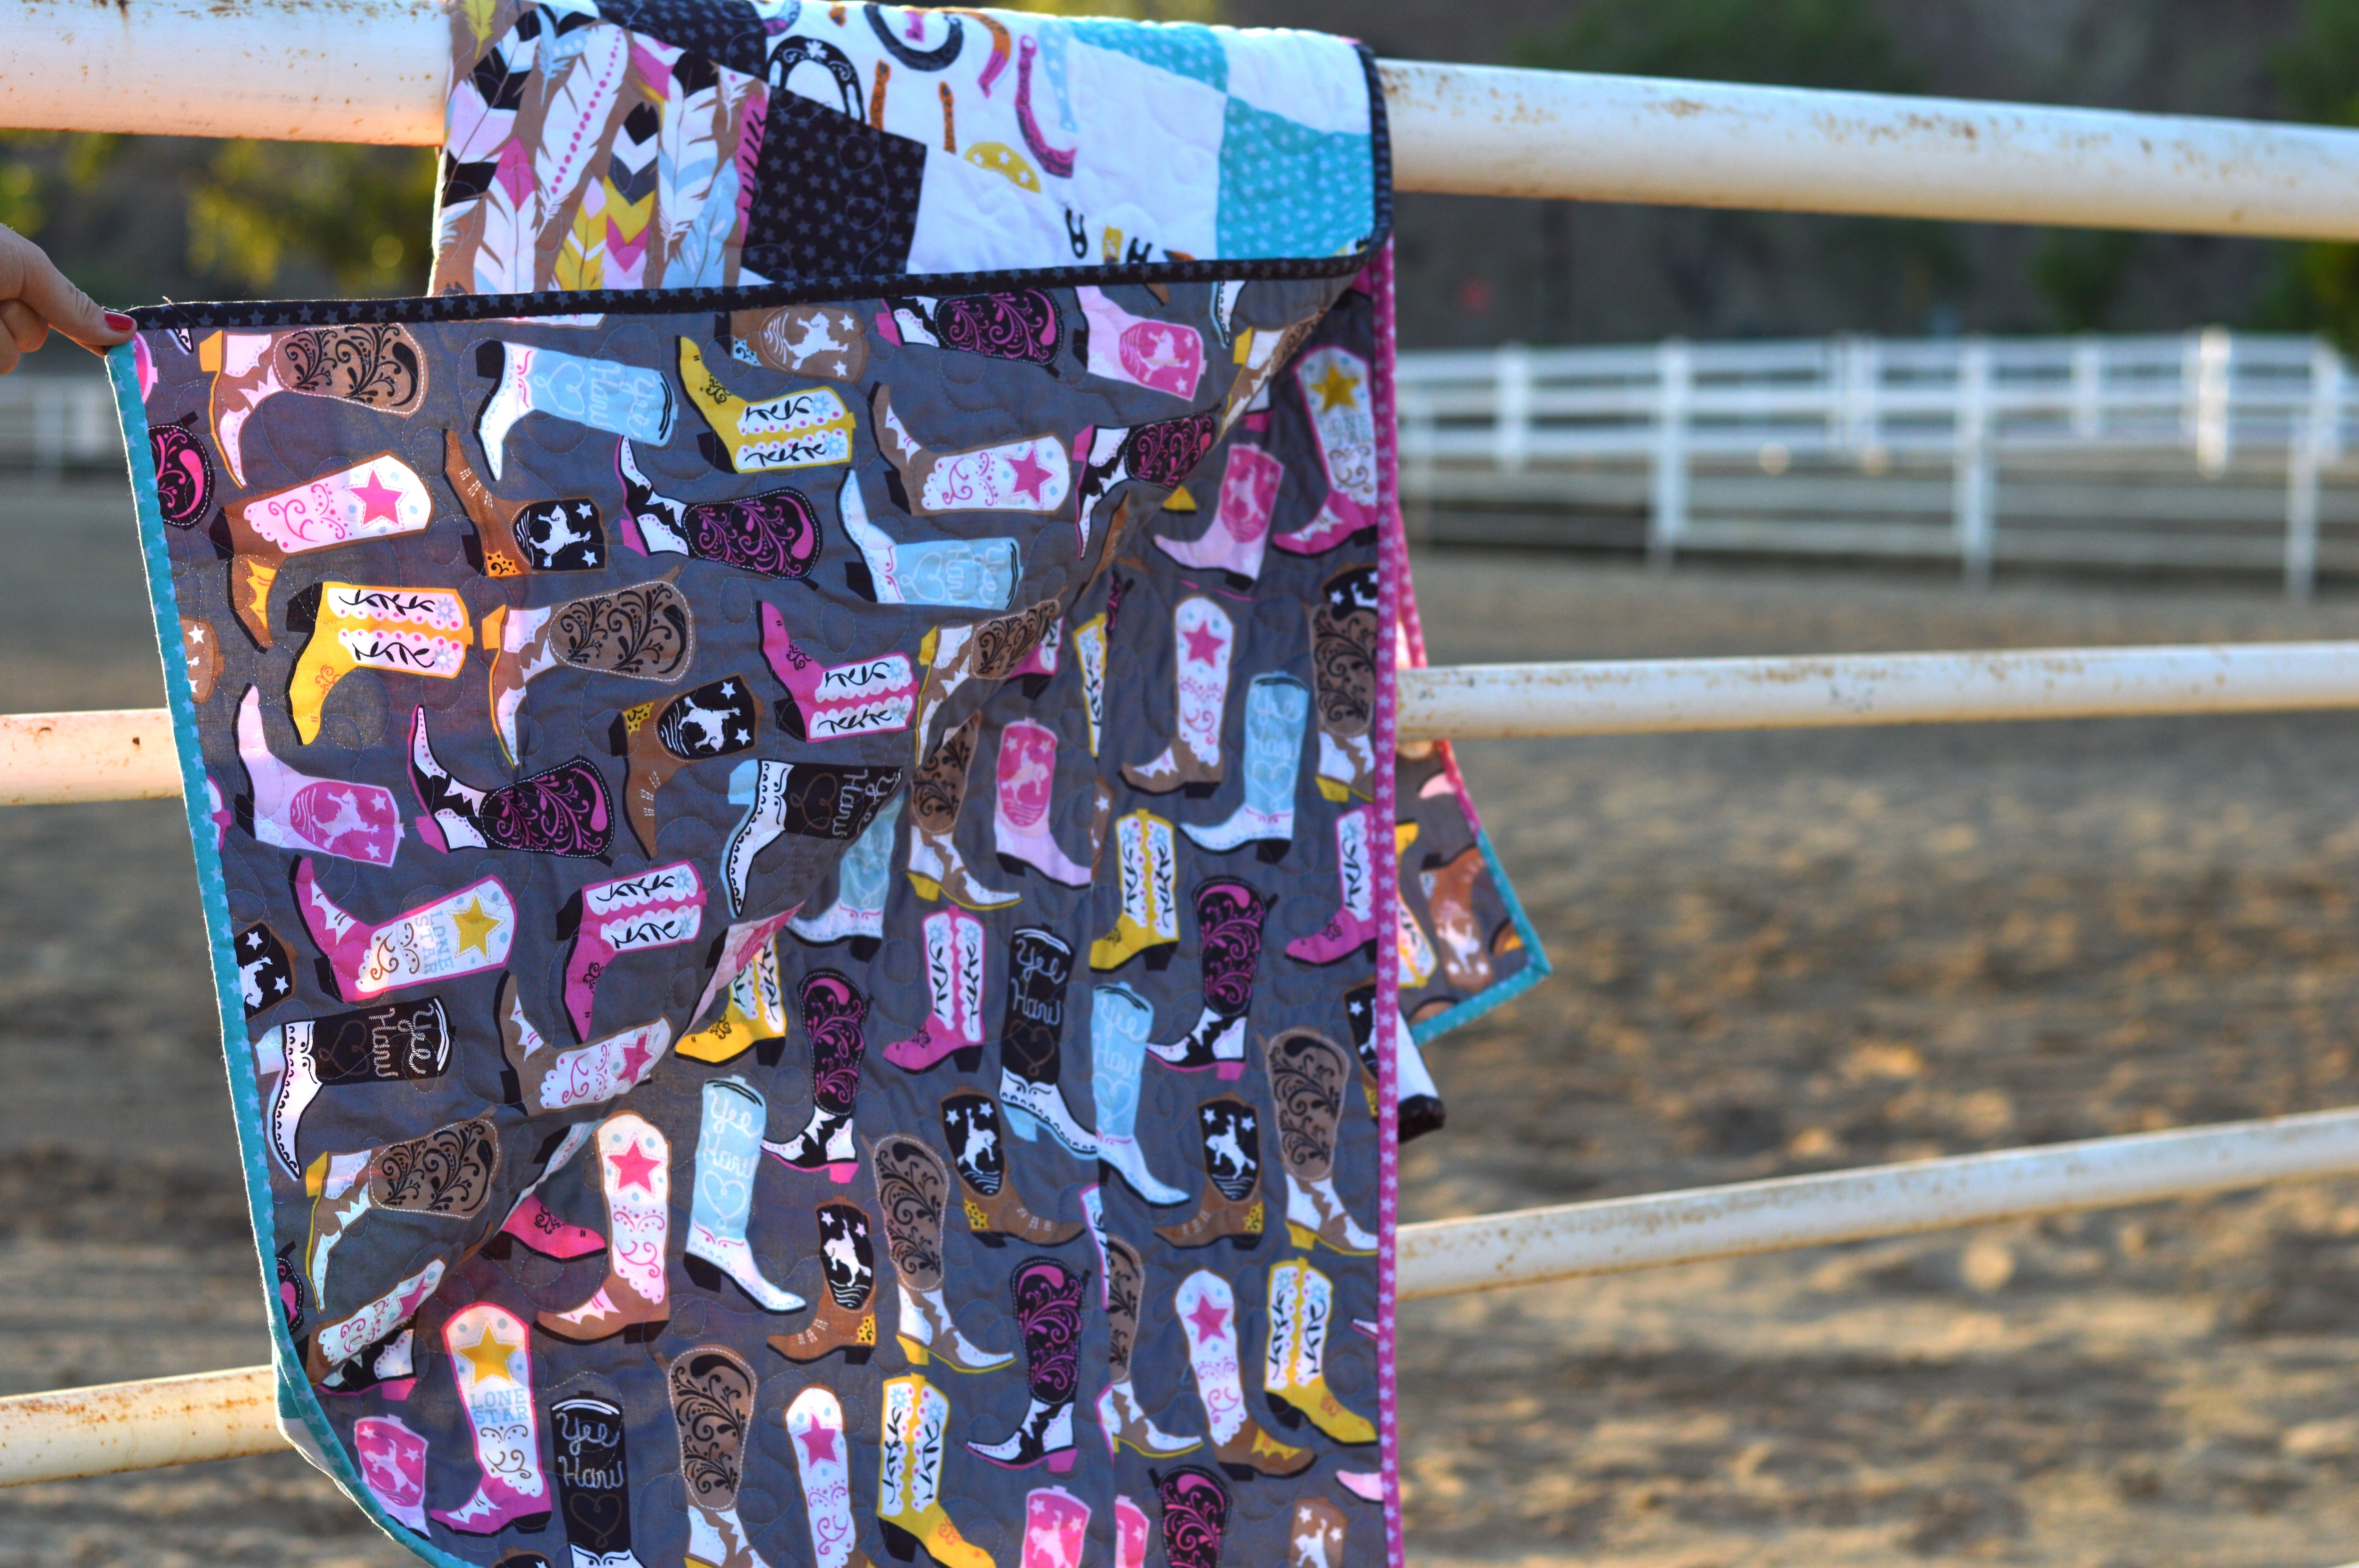
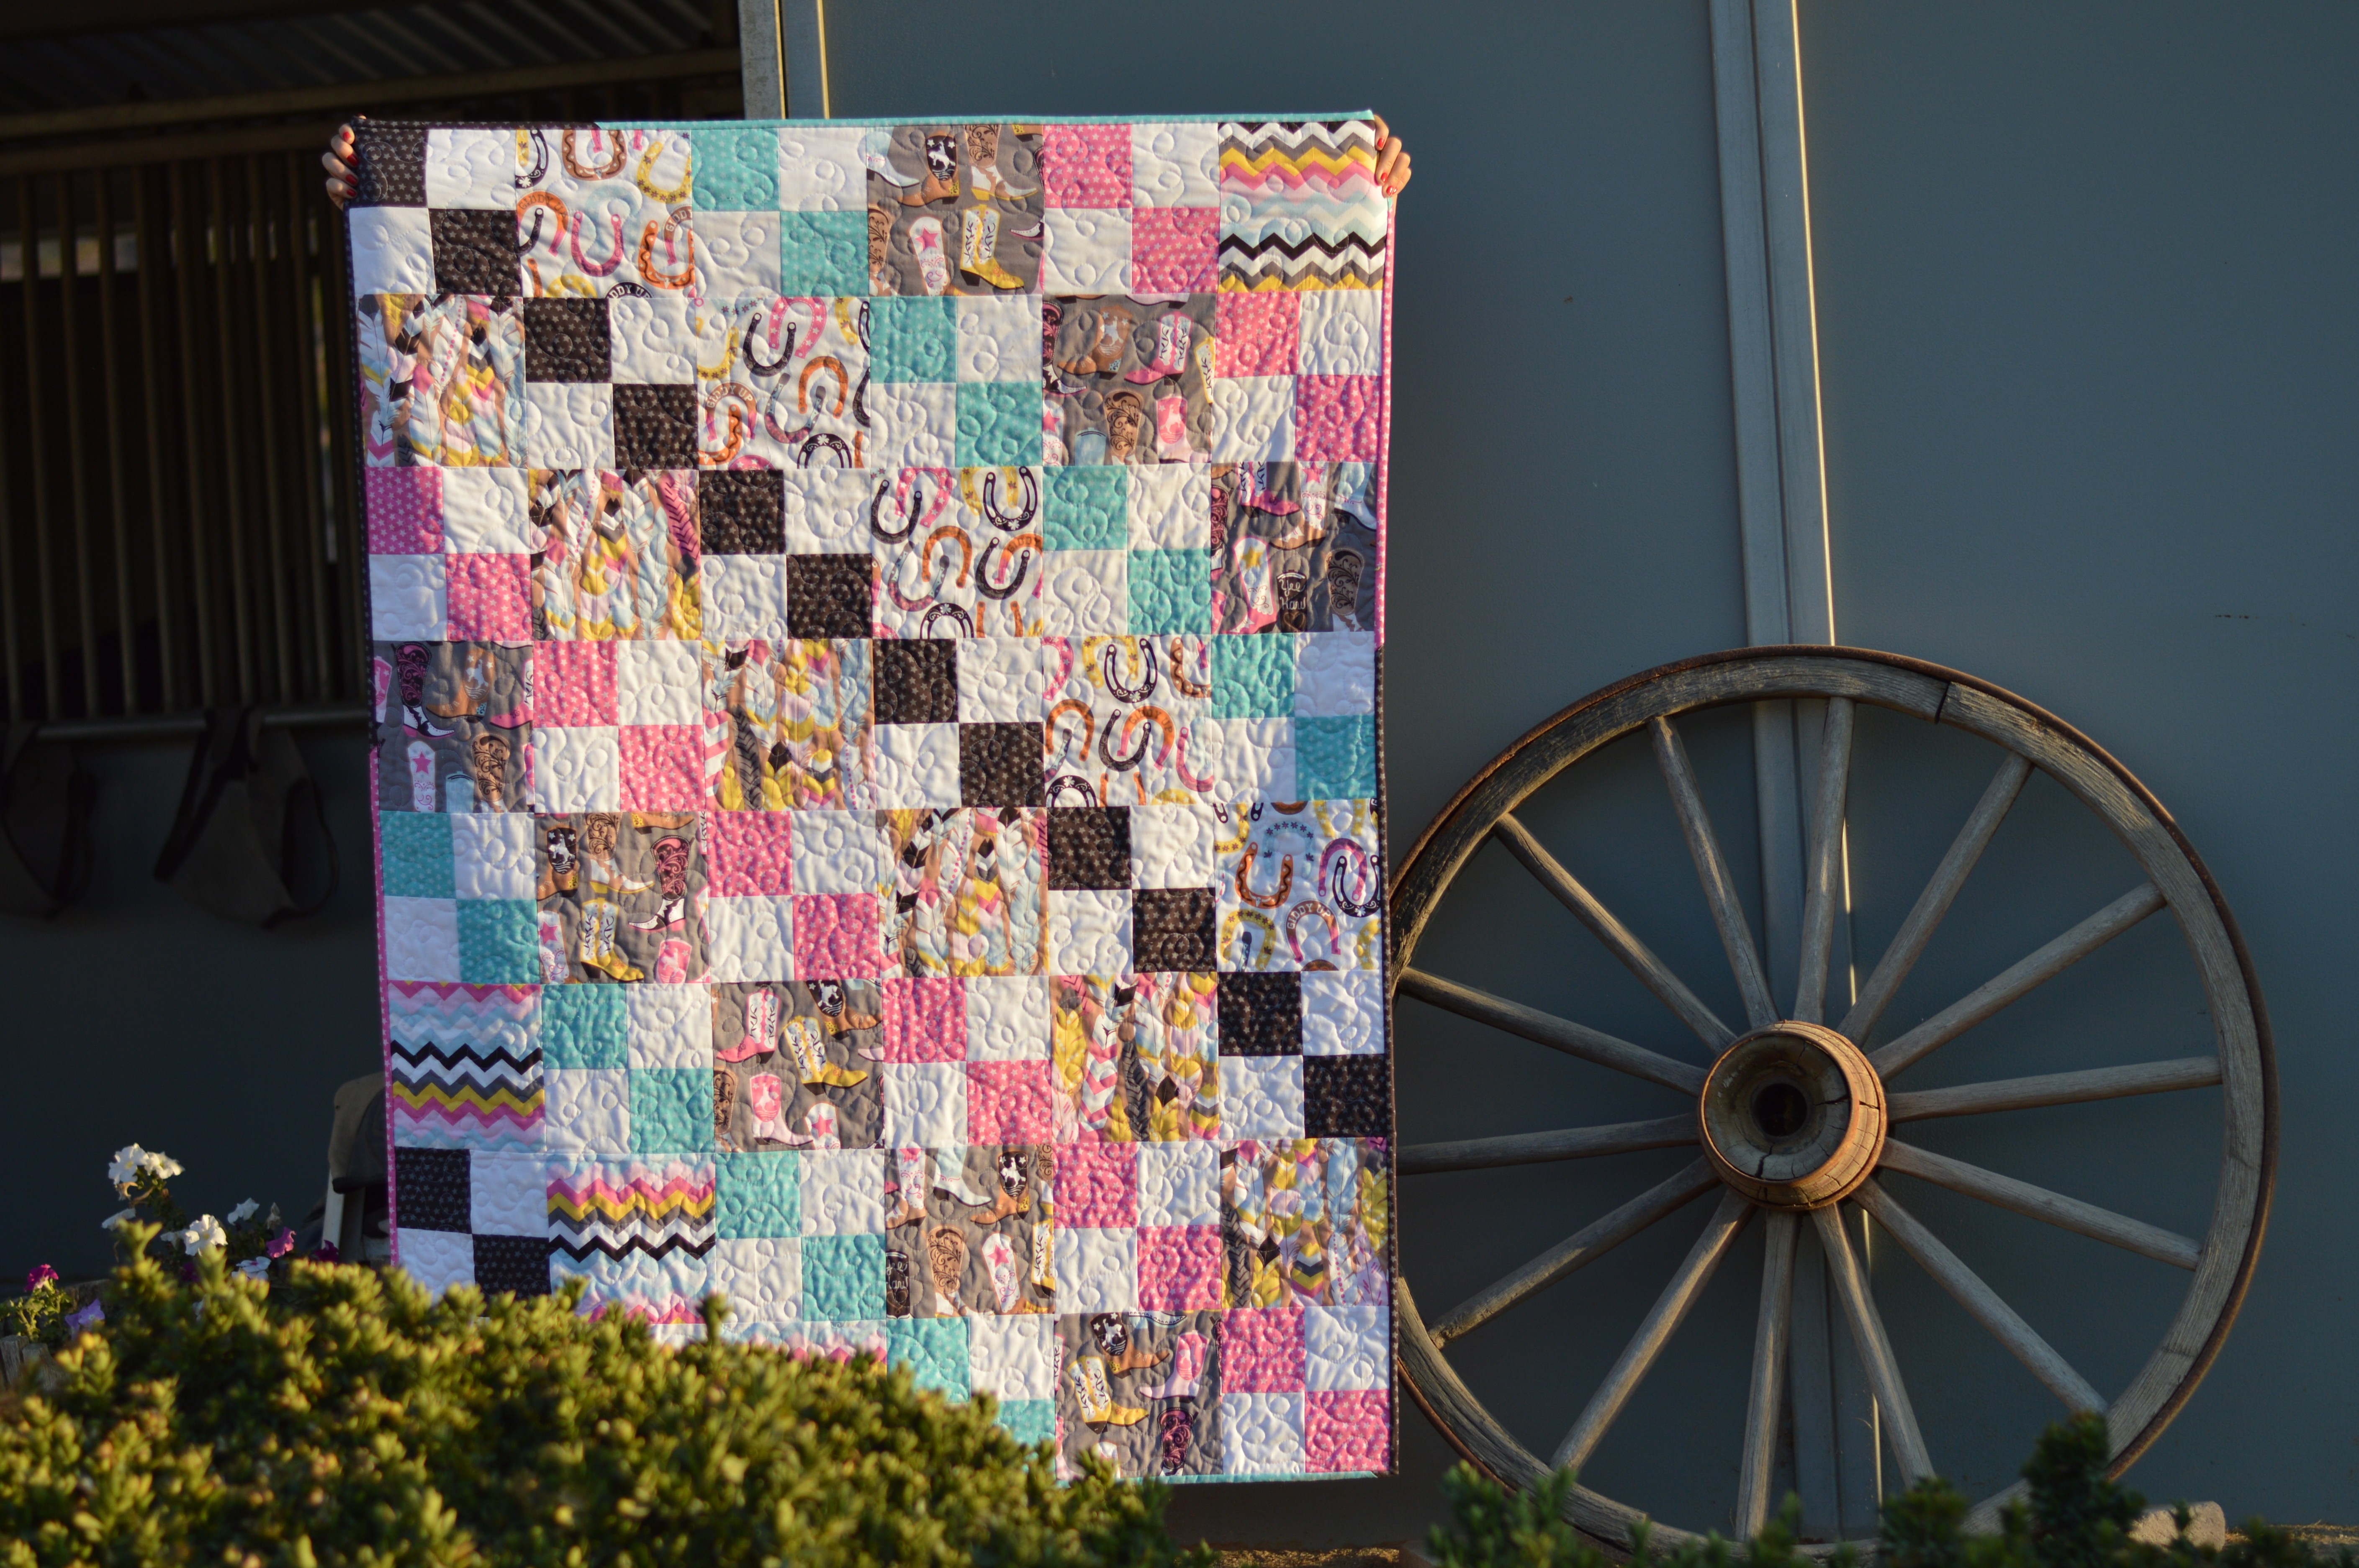
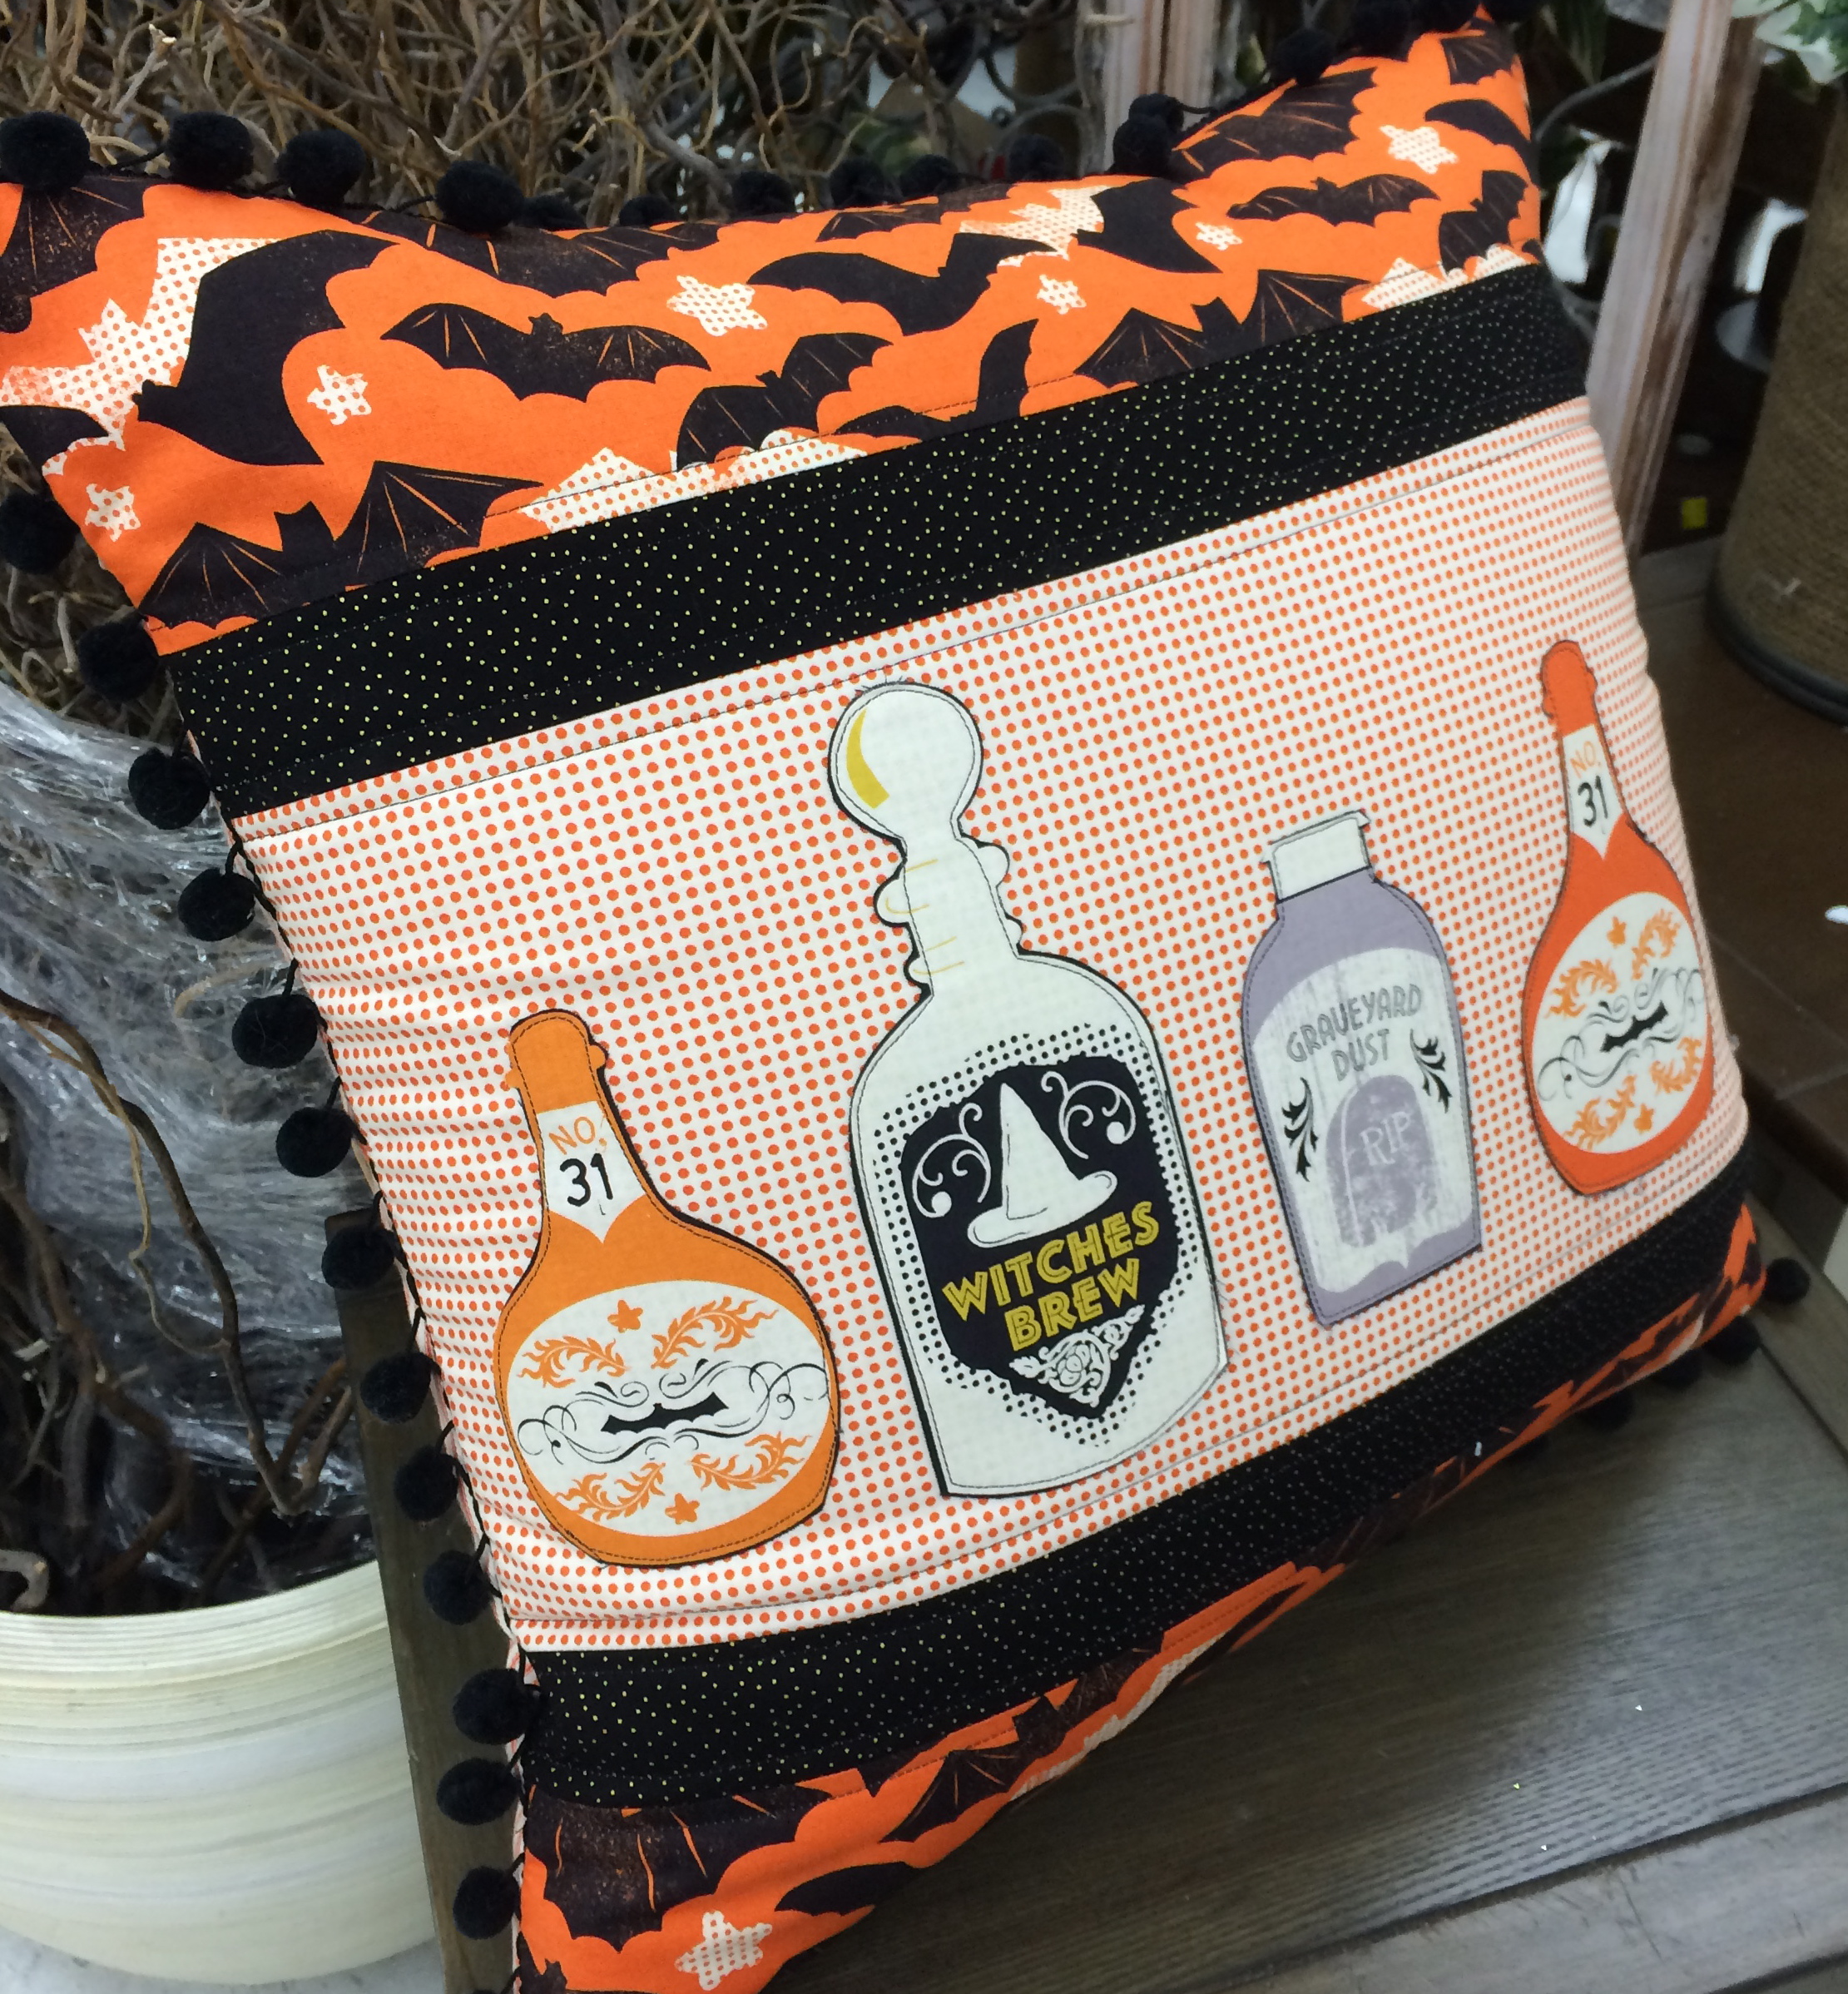
 I love it so much!!!!
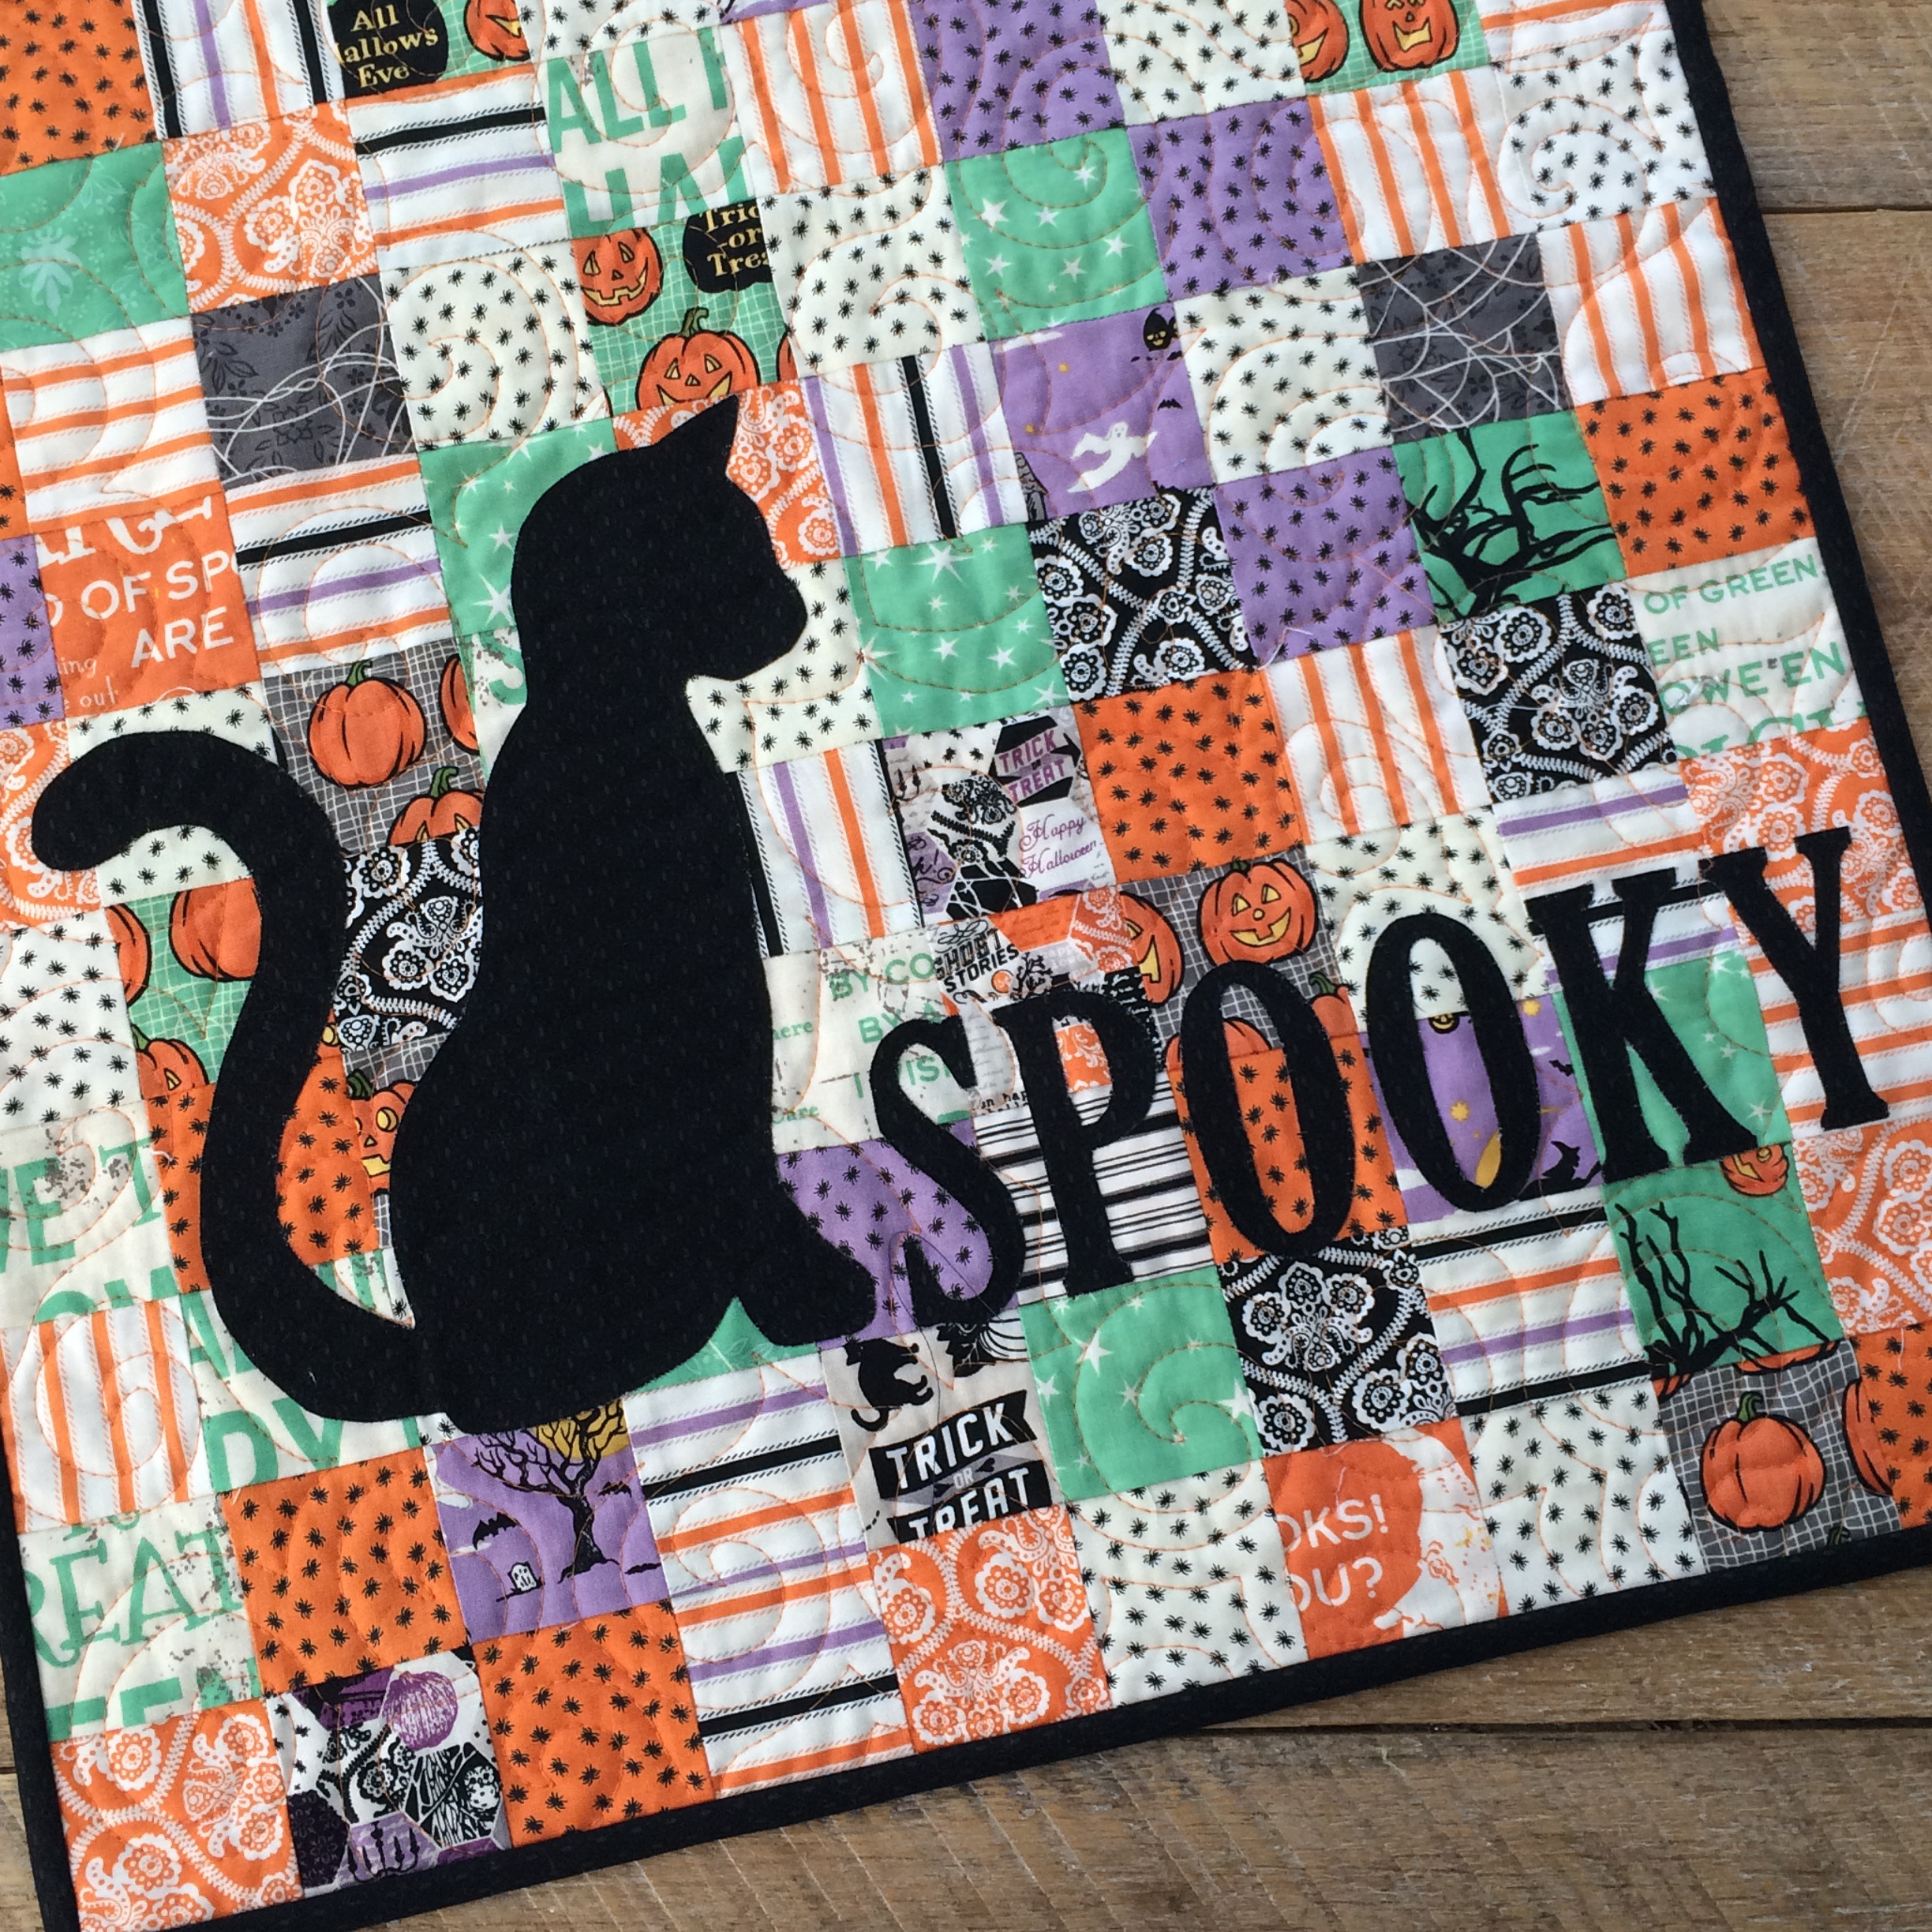

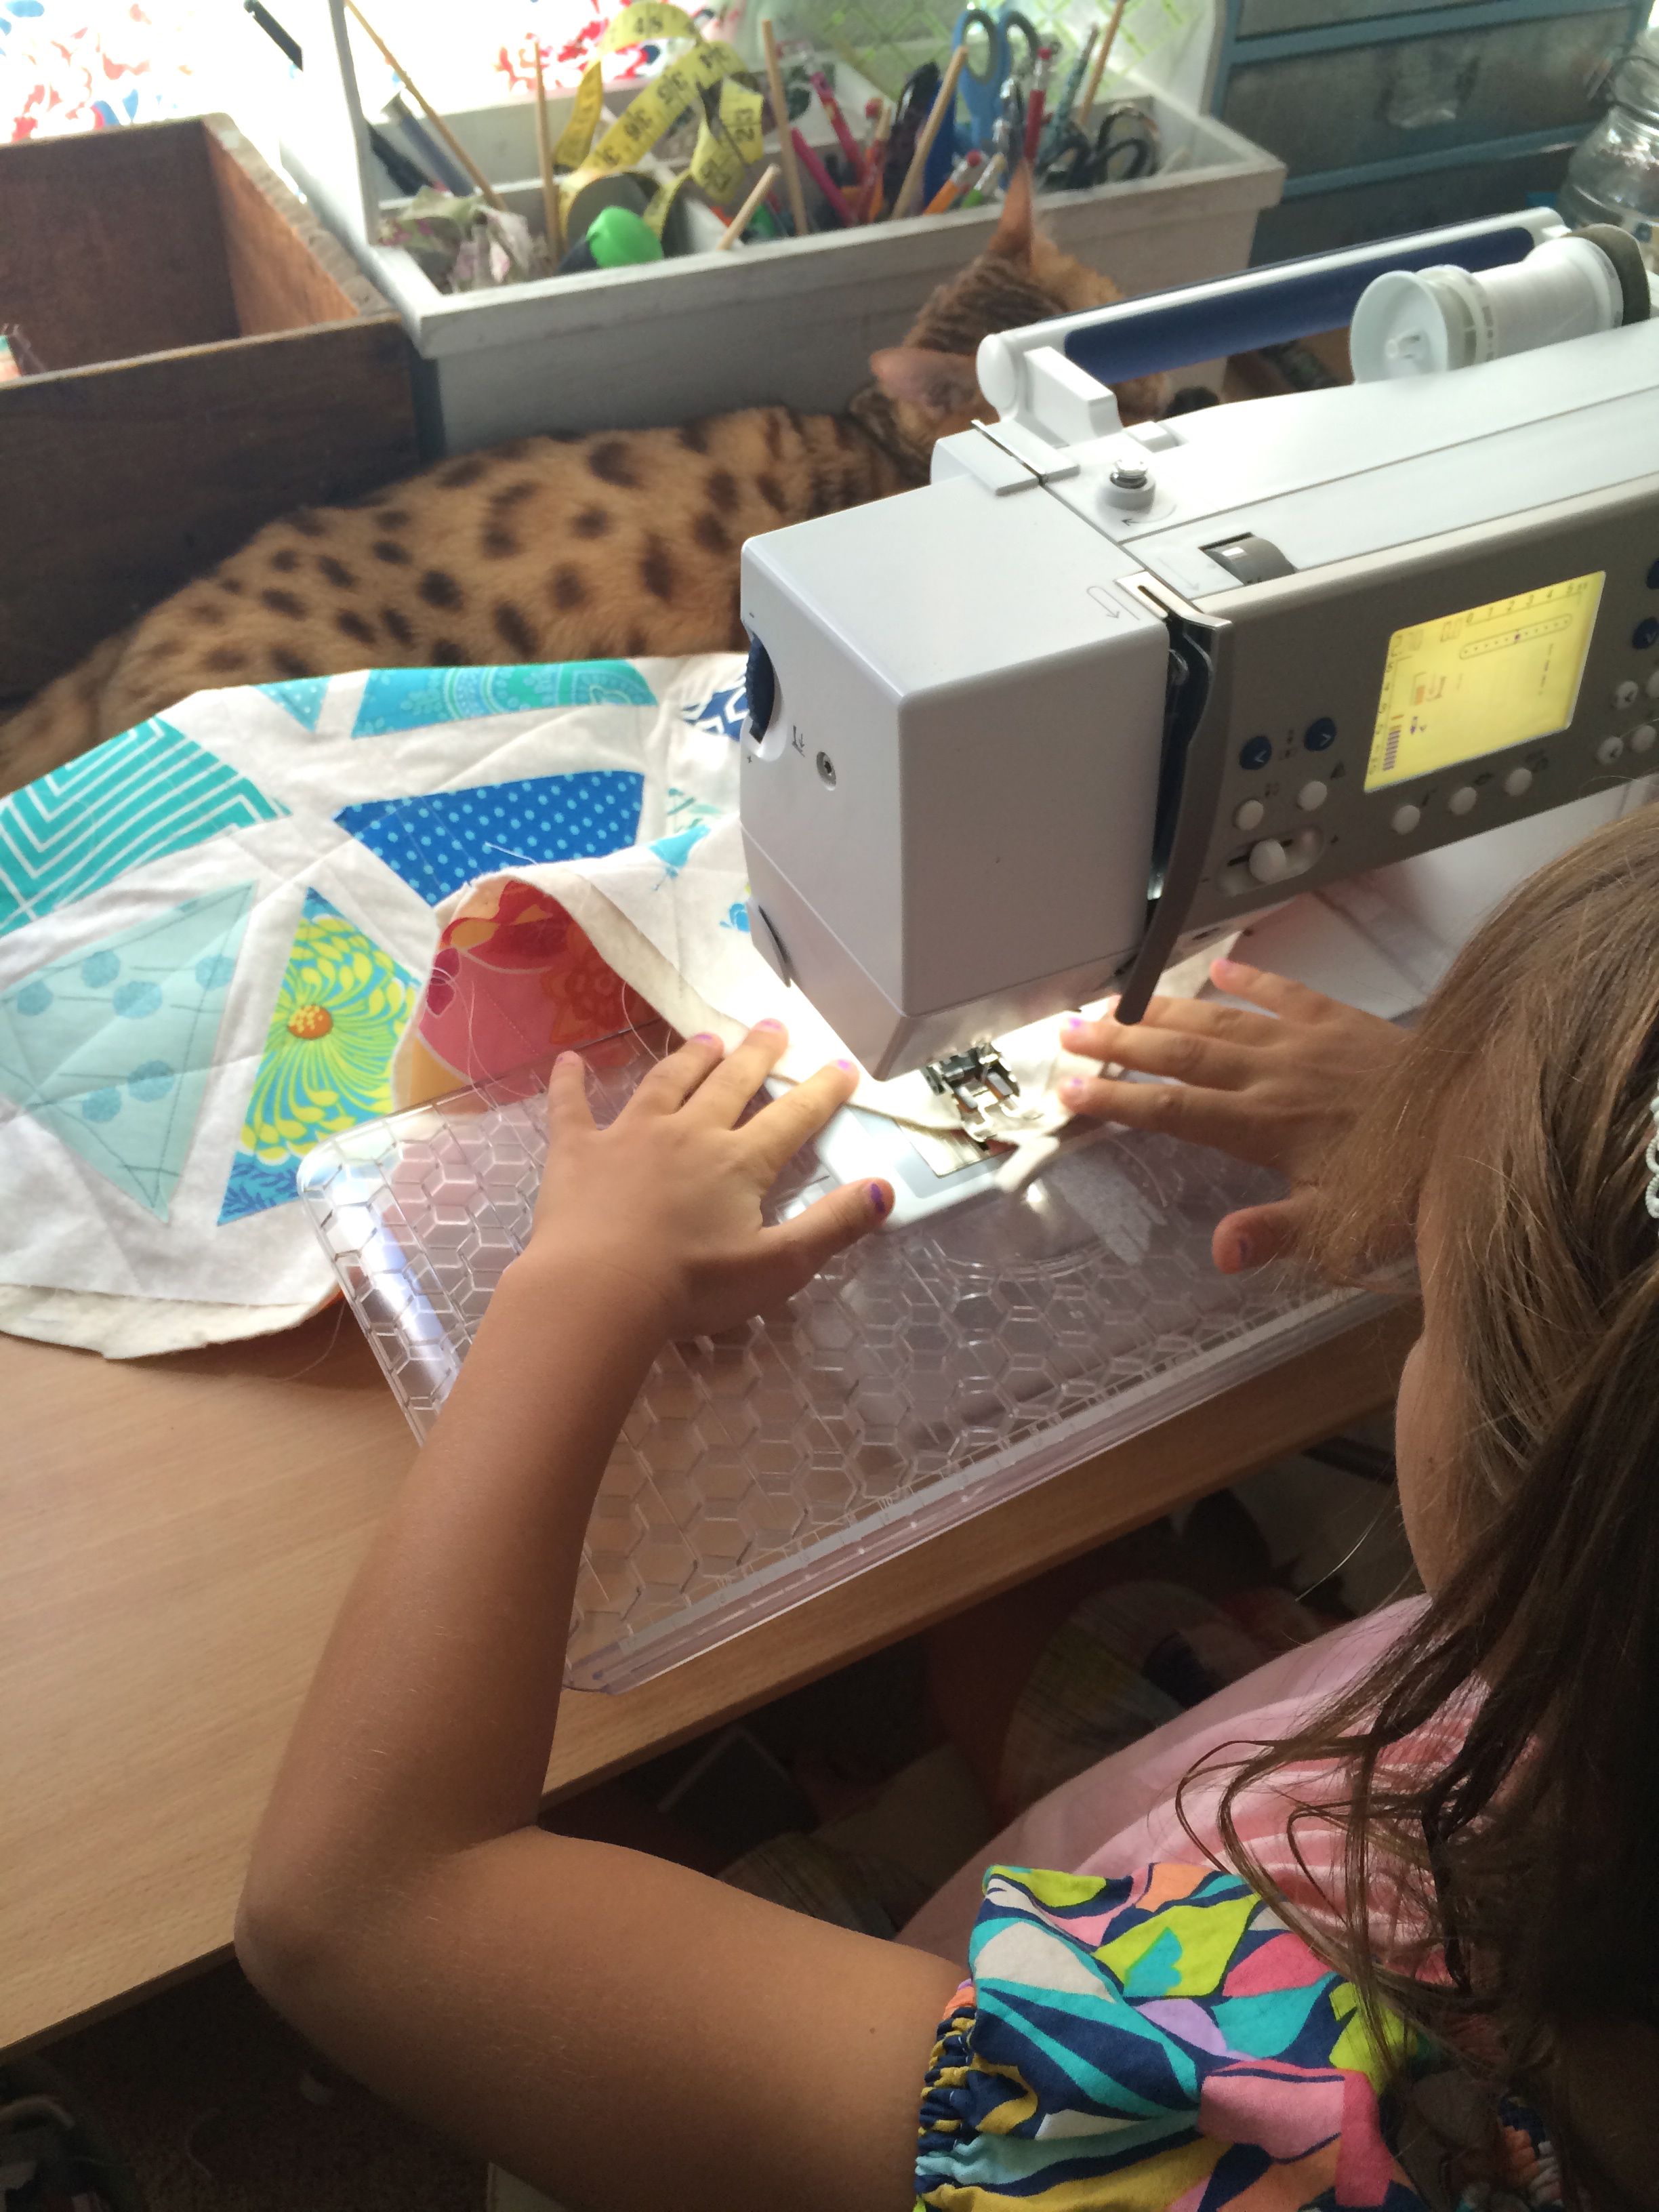
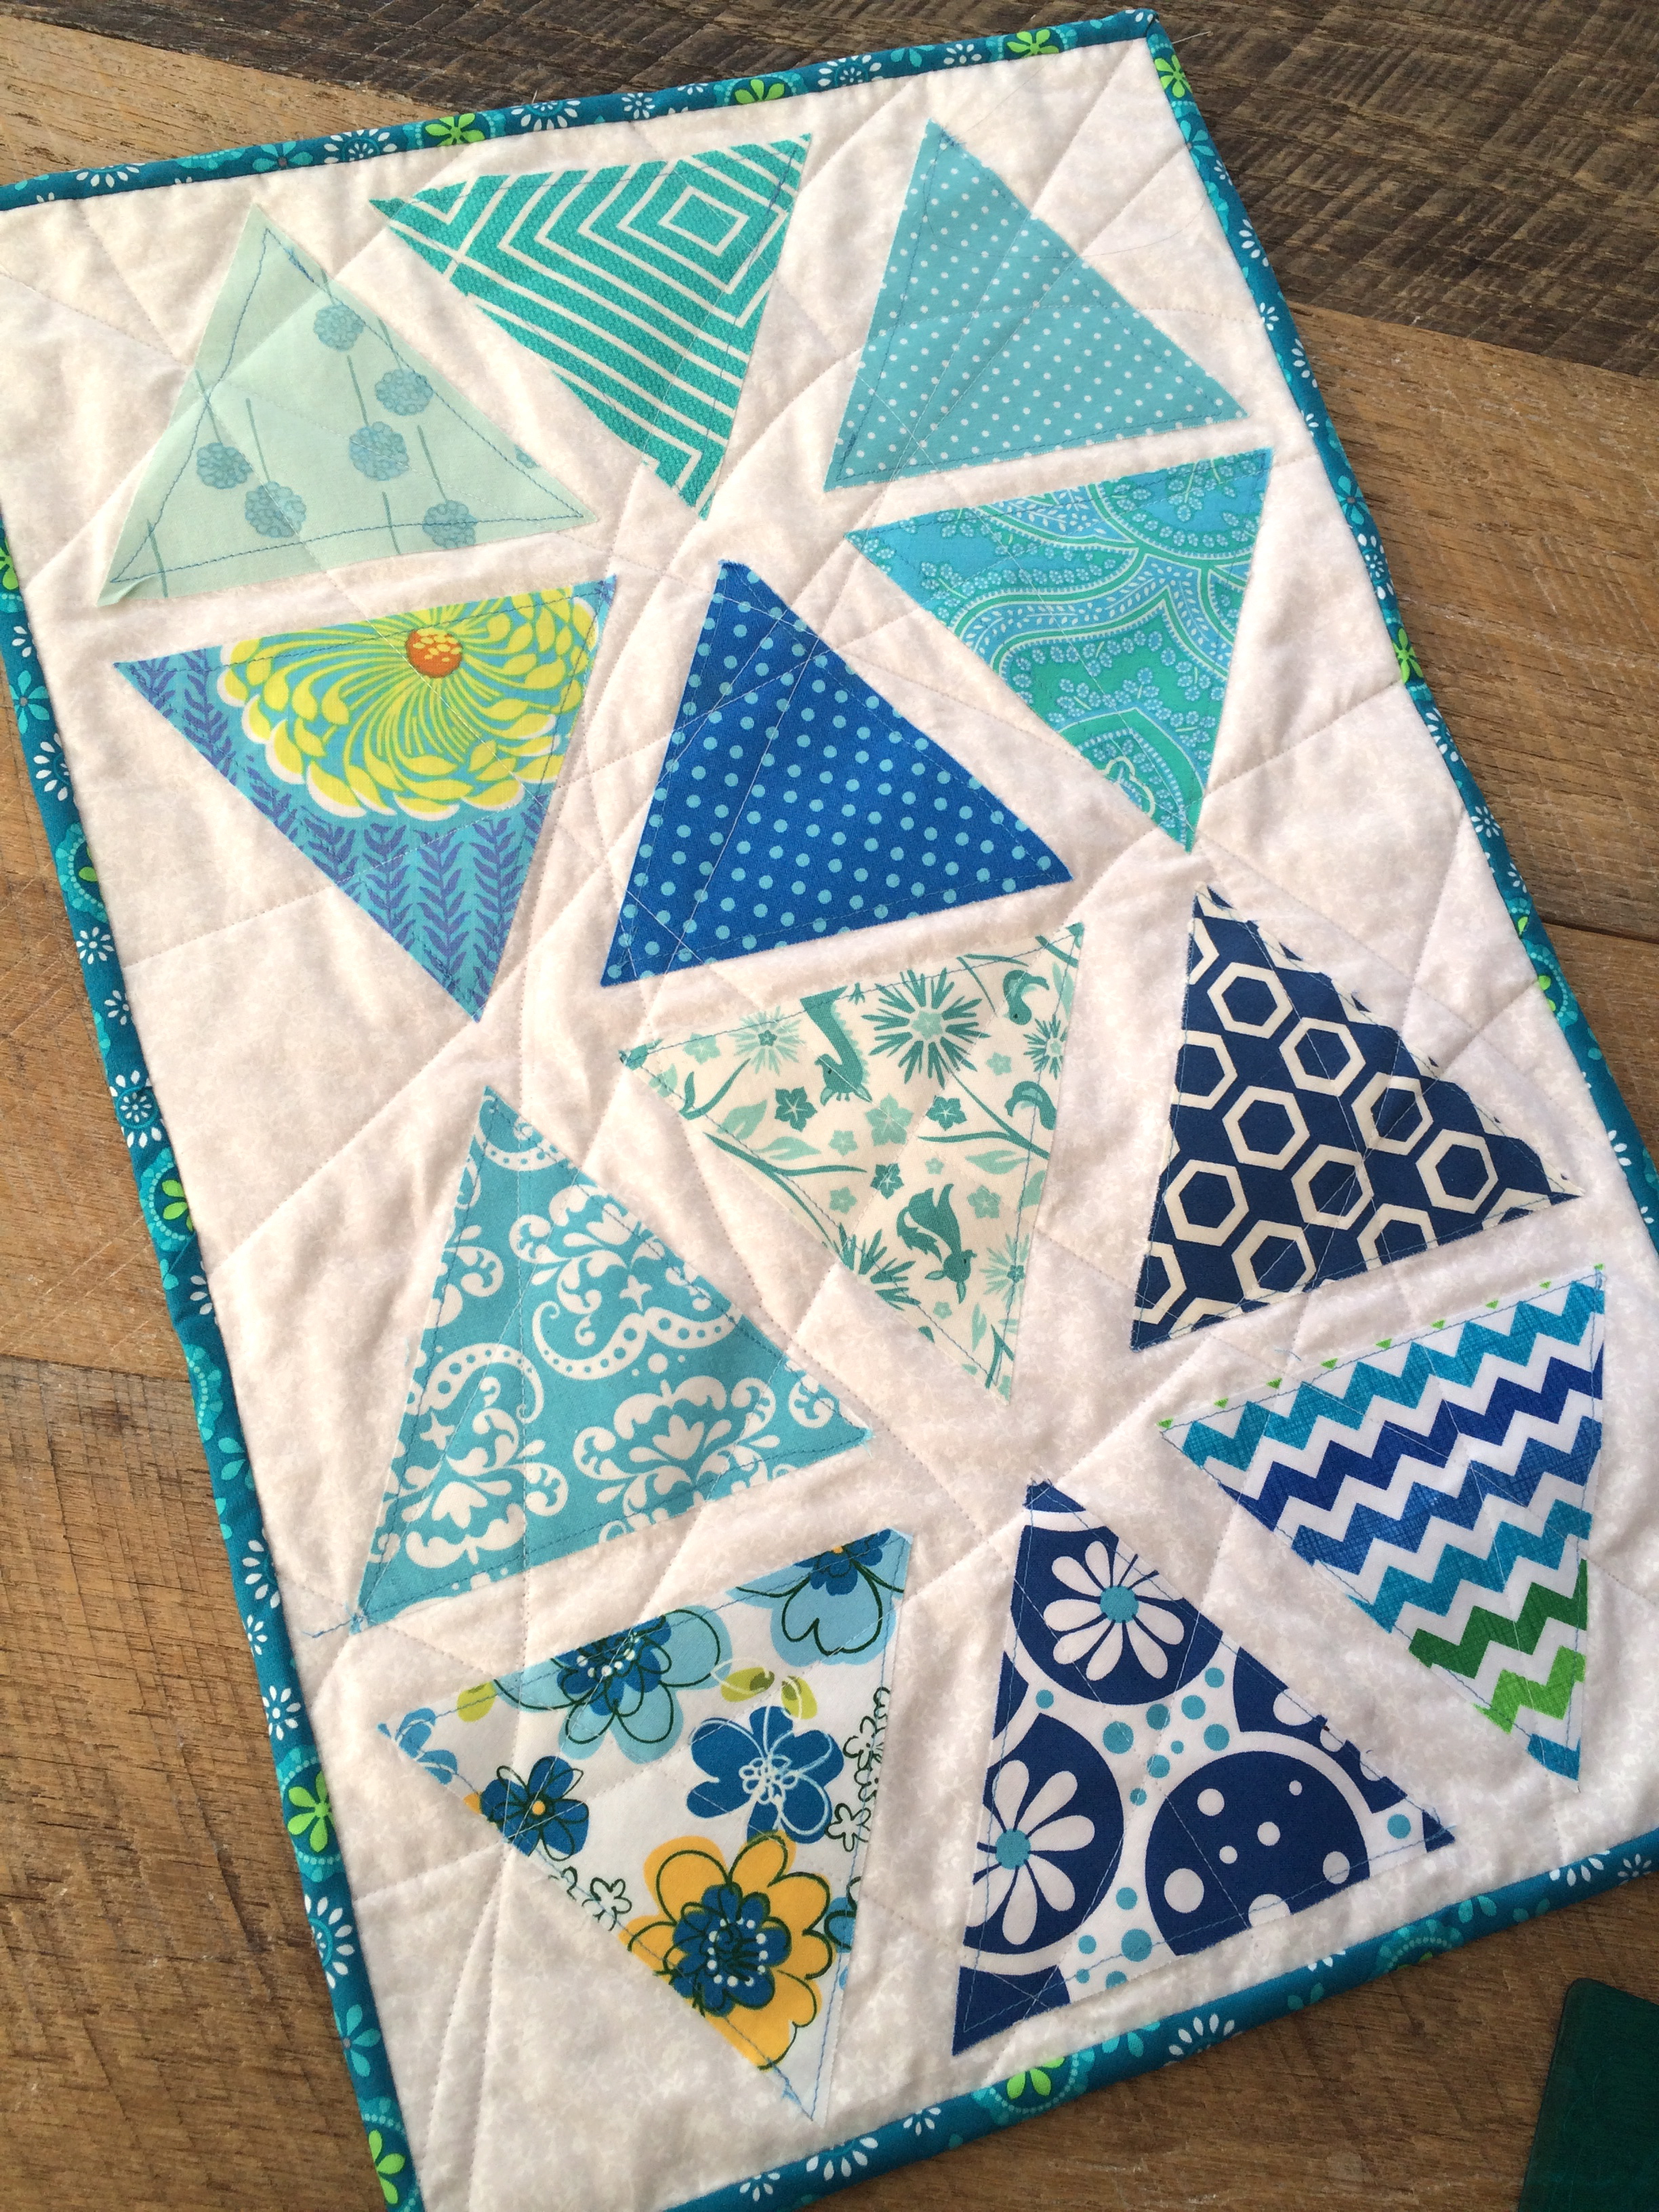
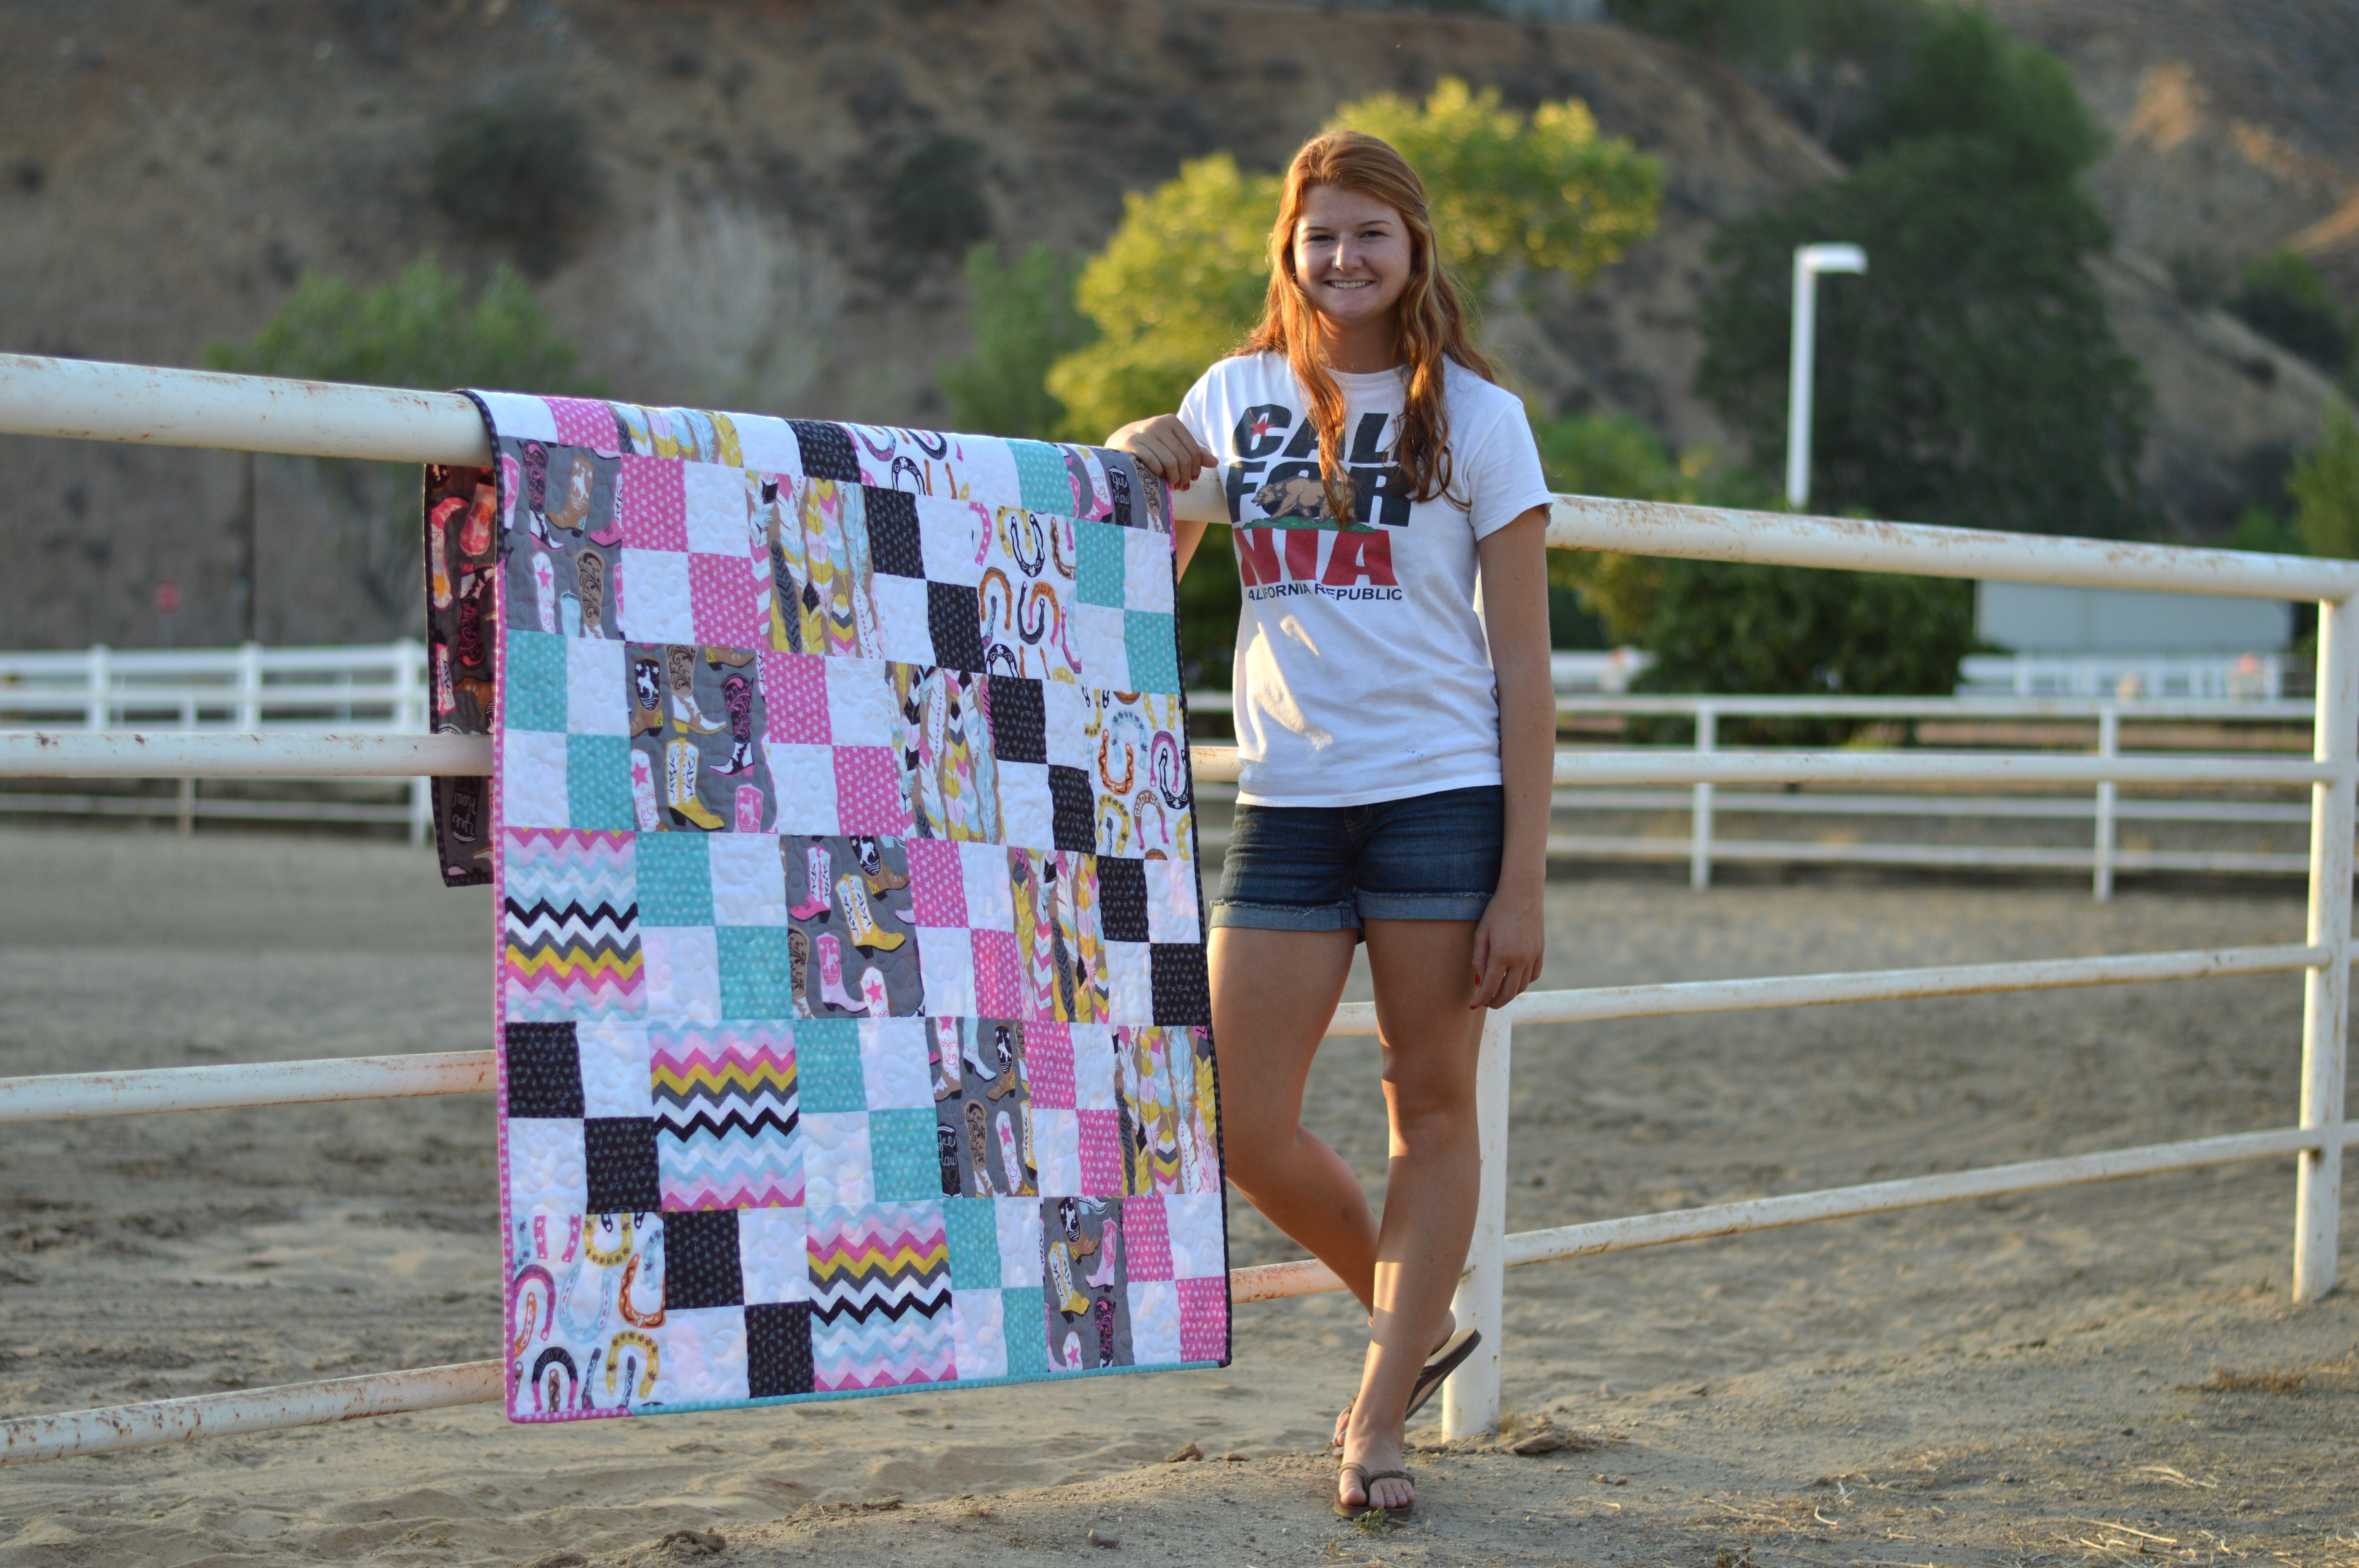
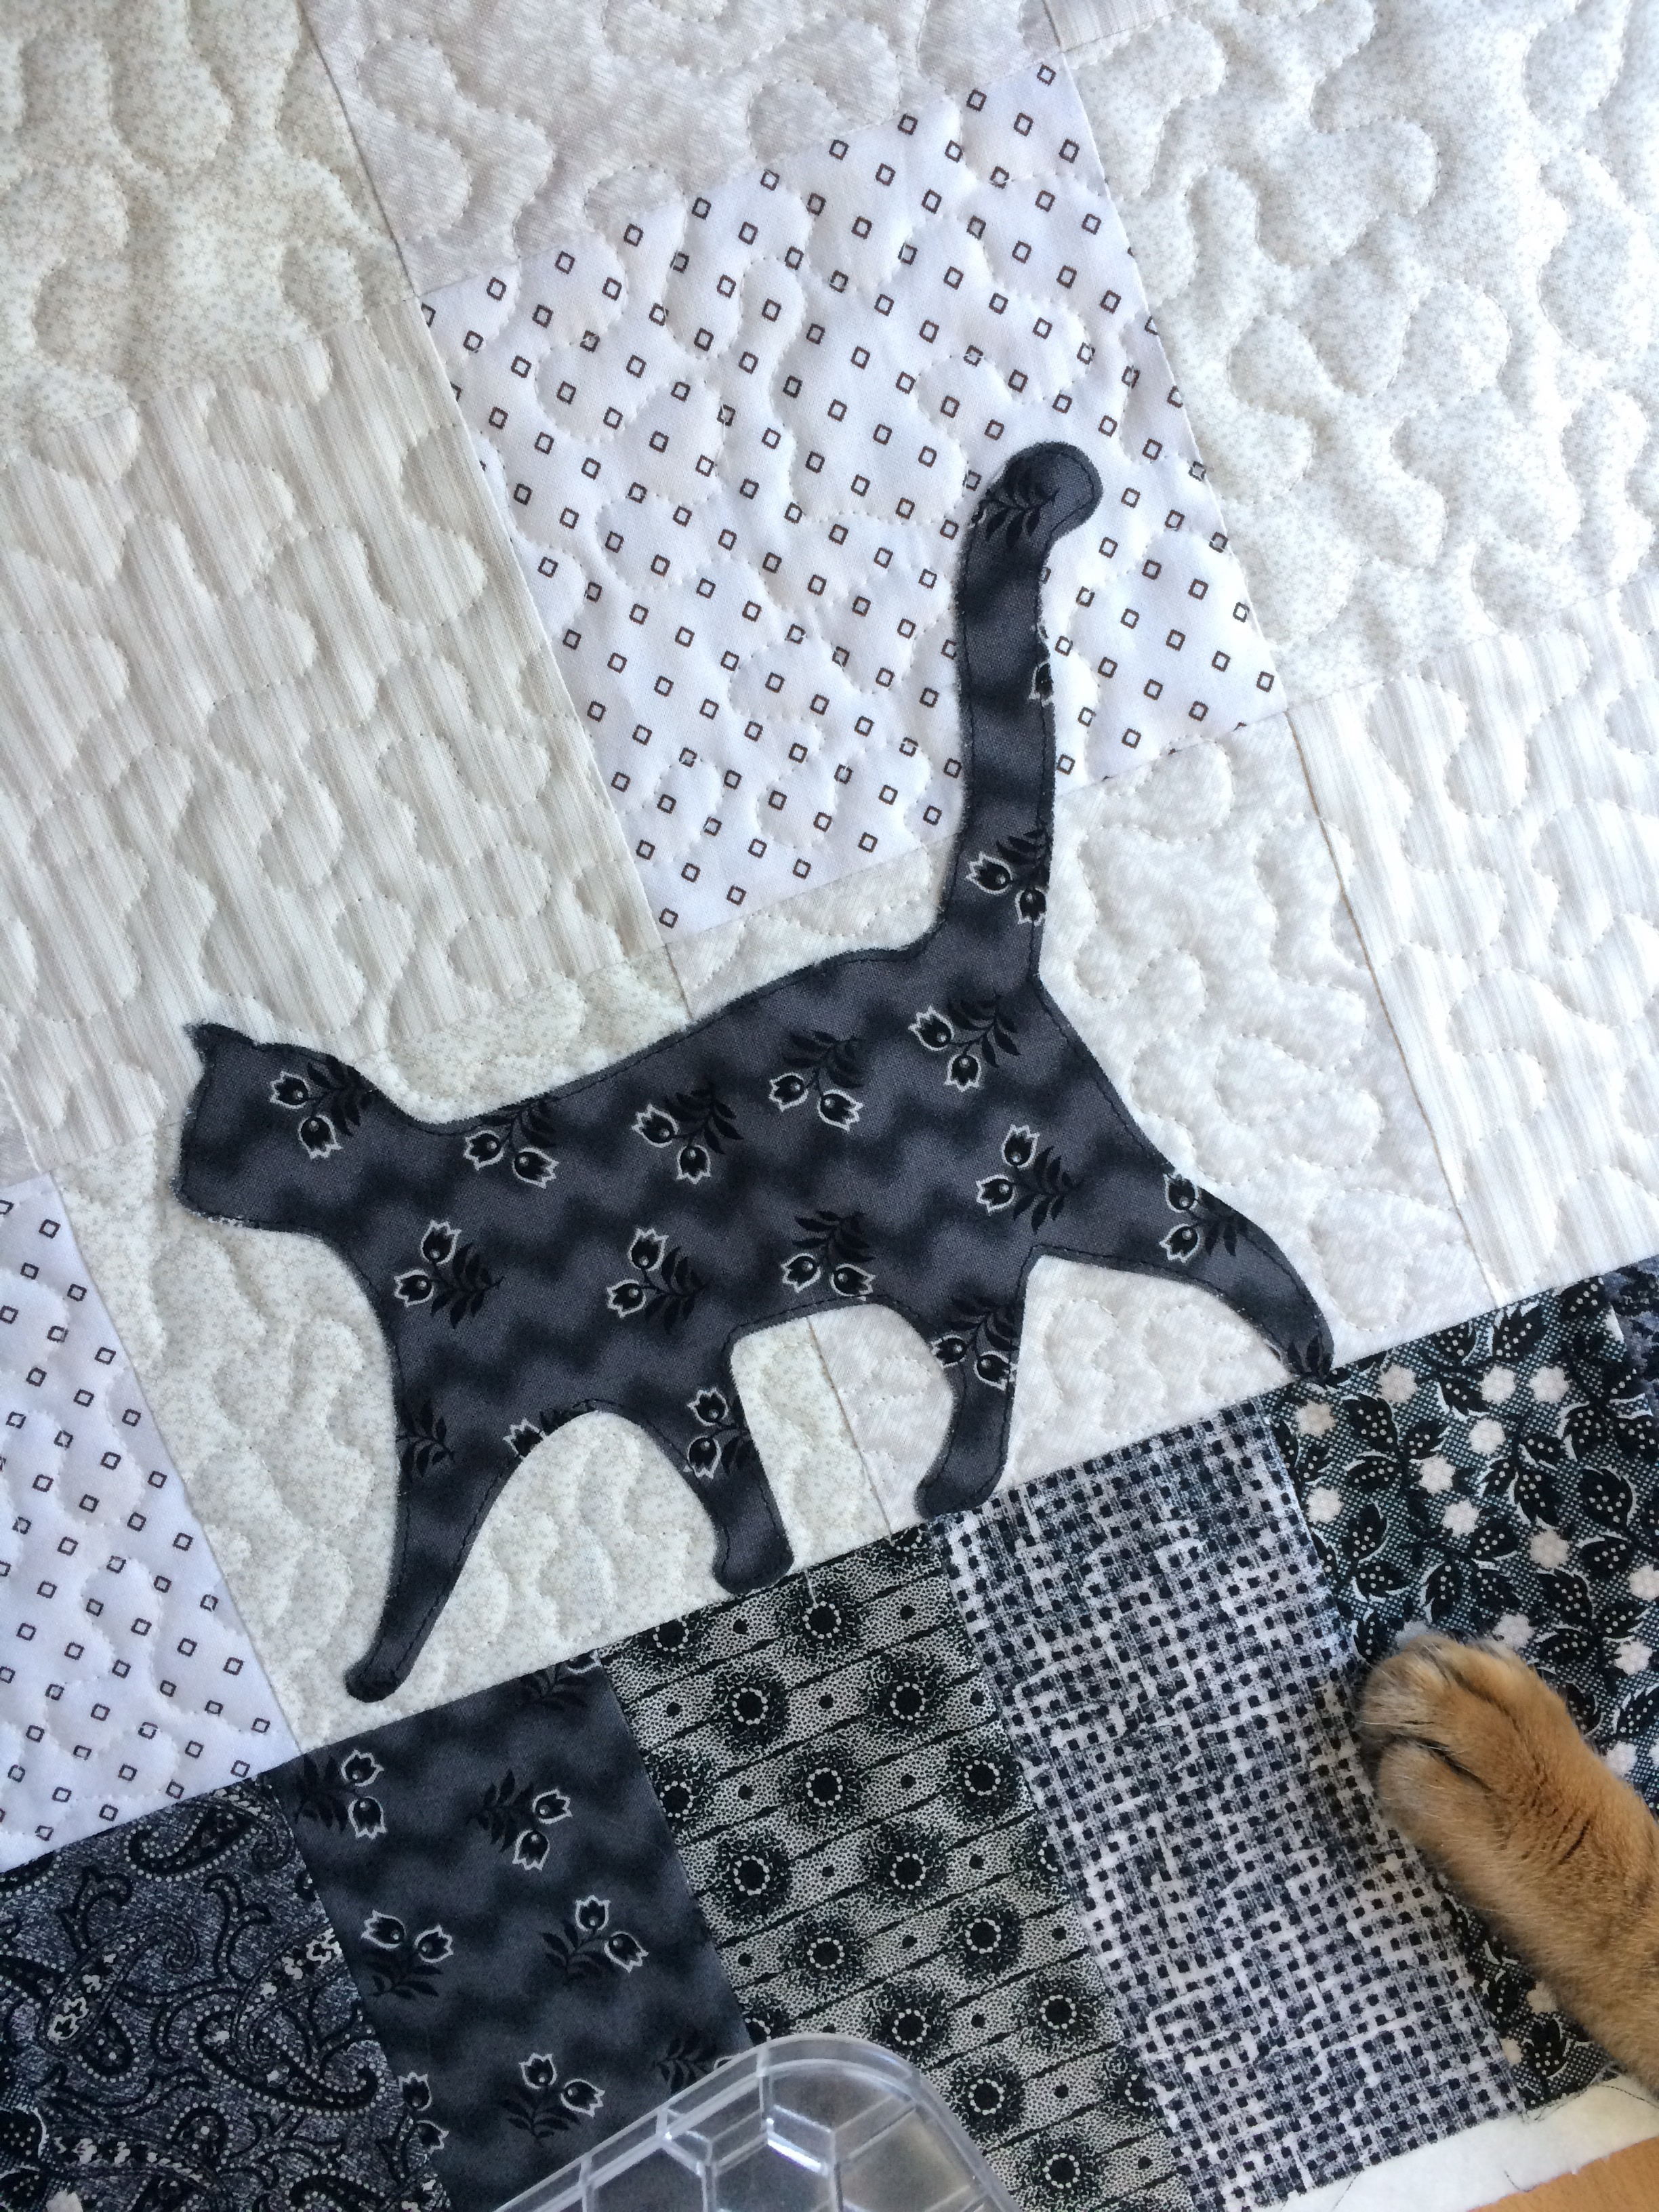
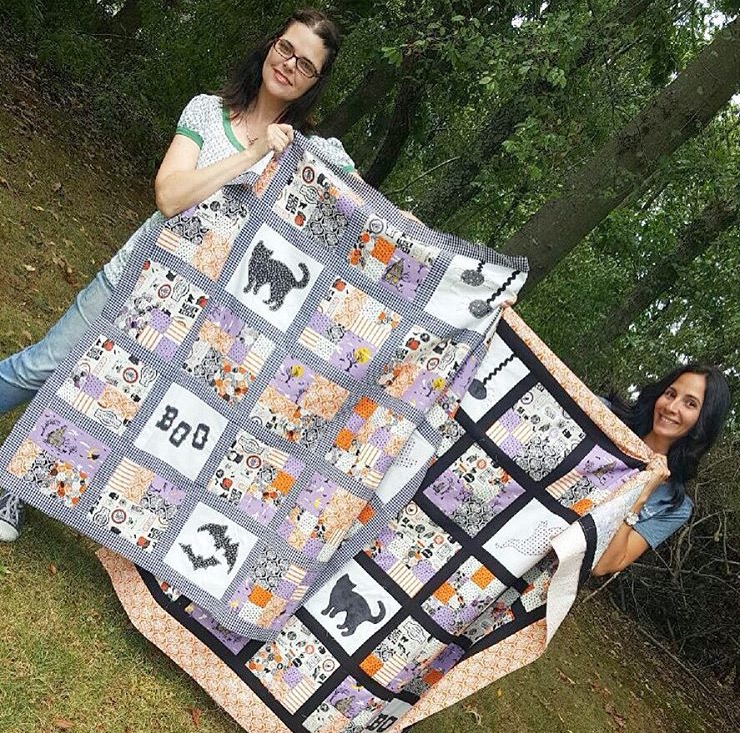
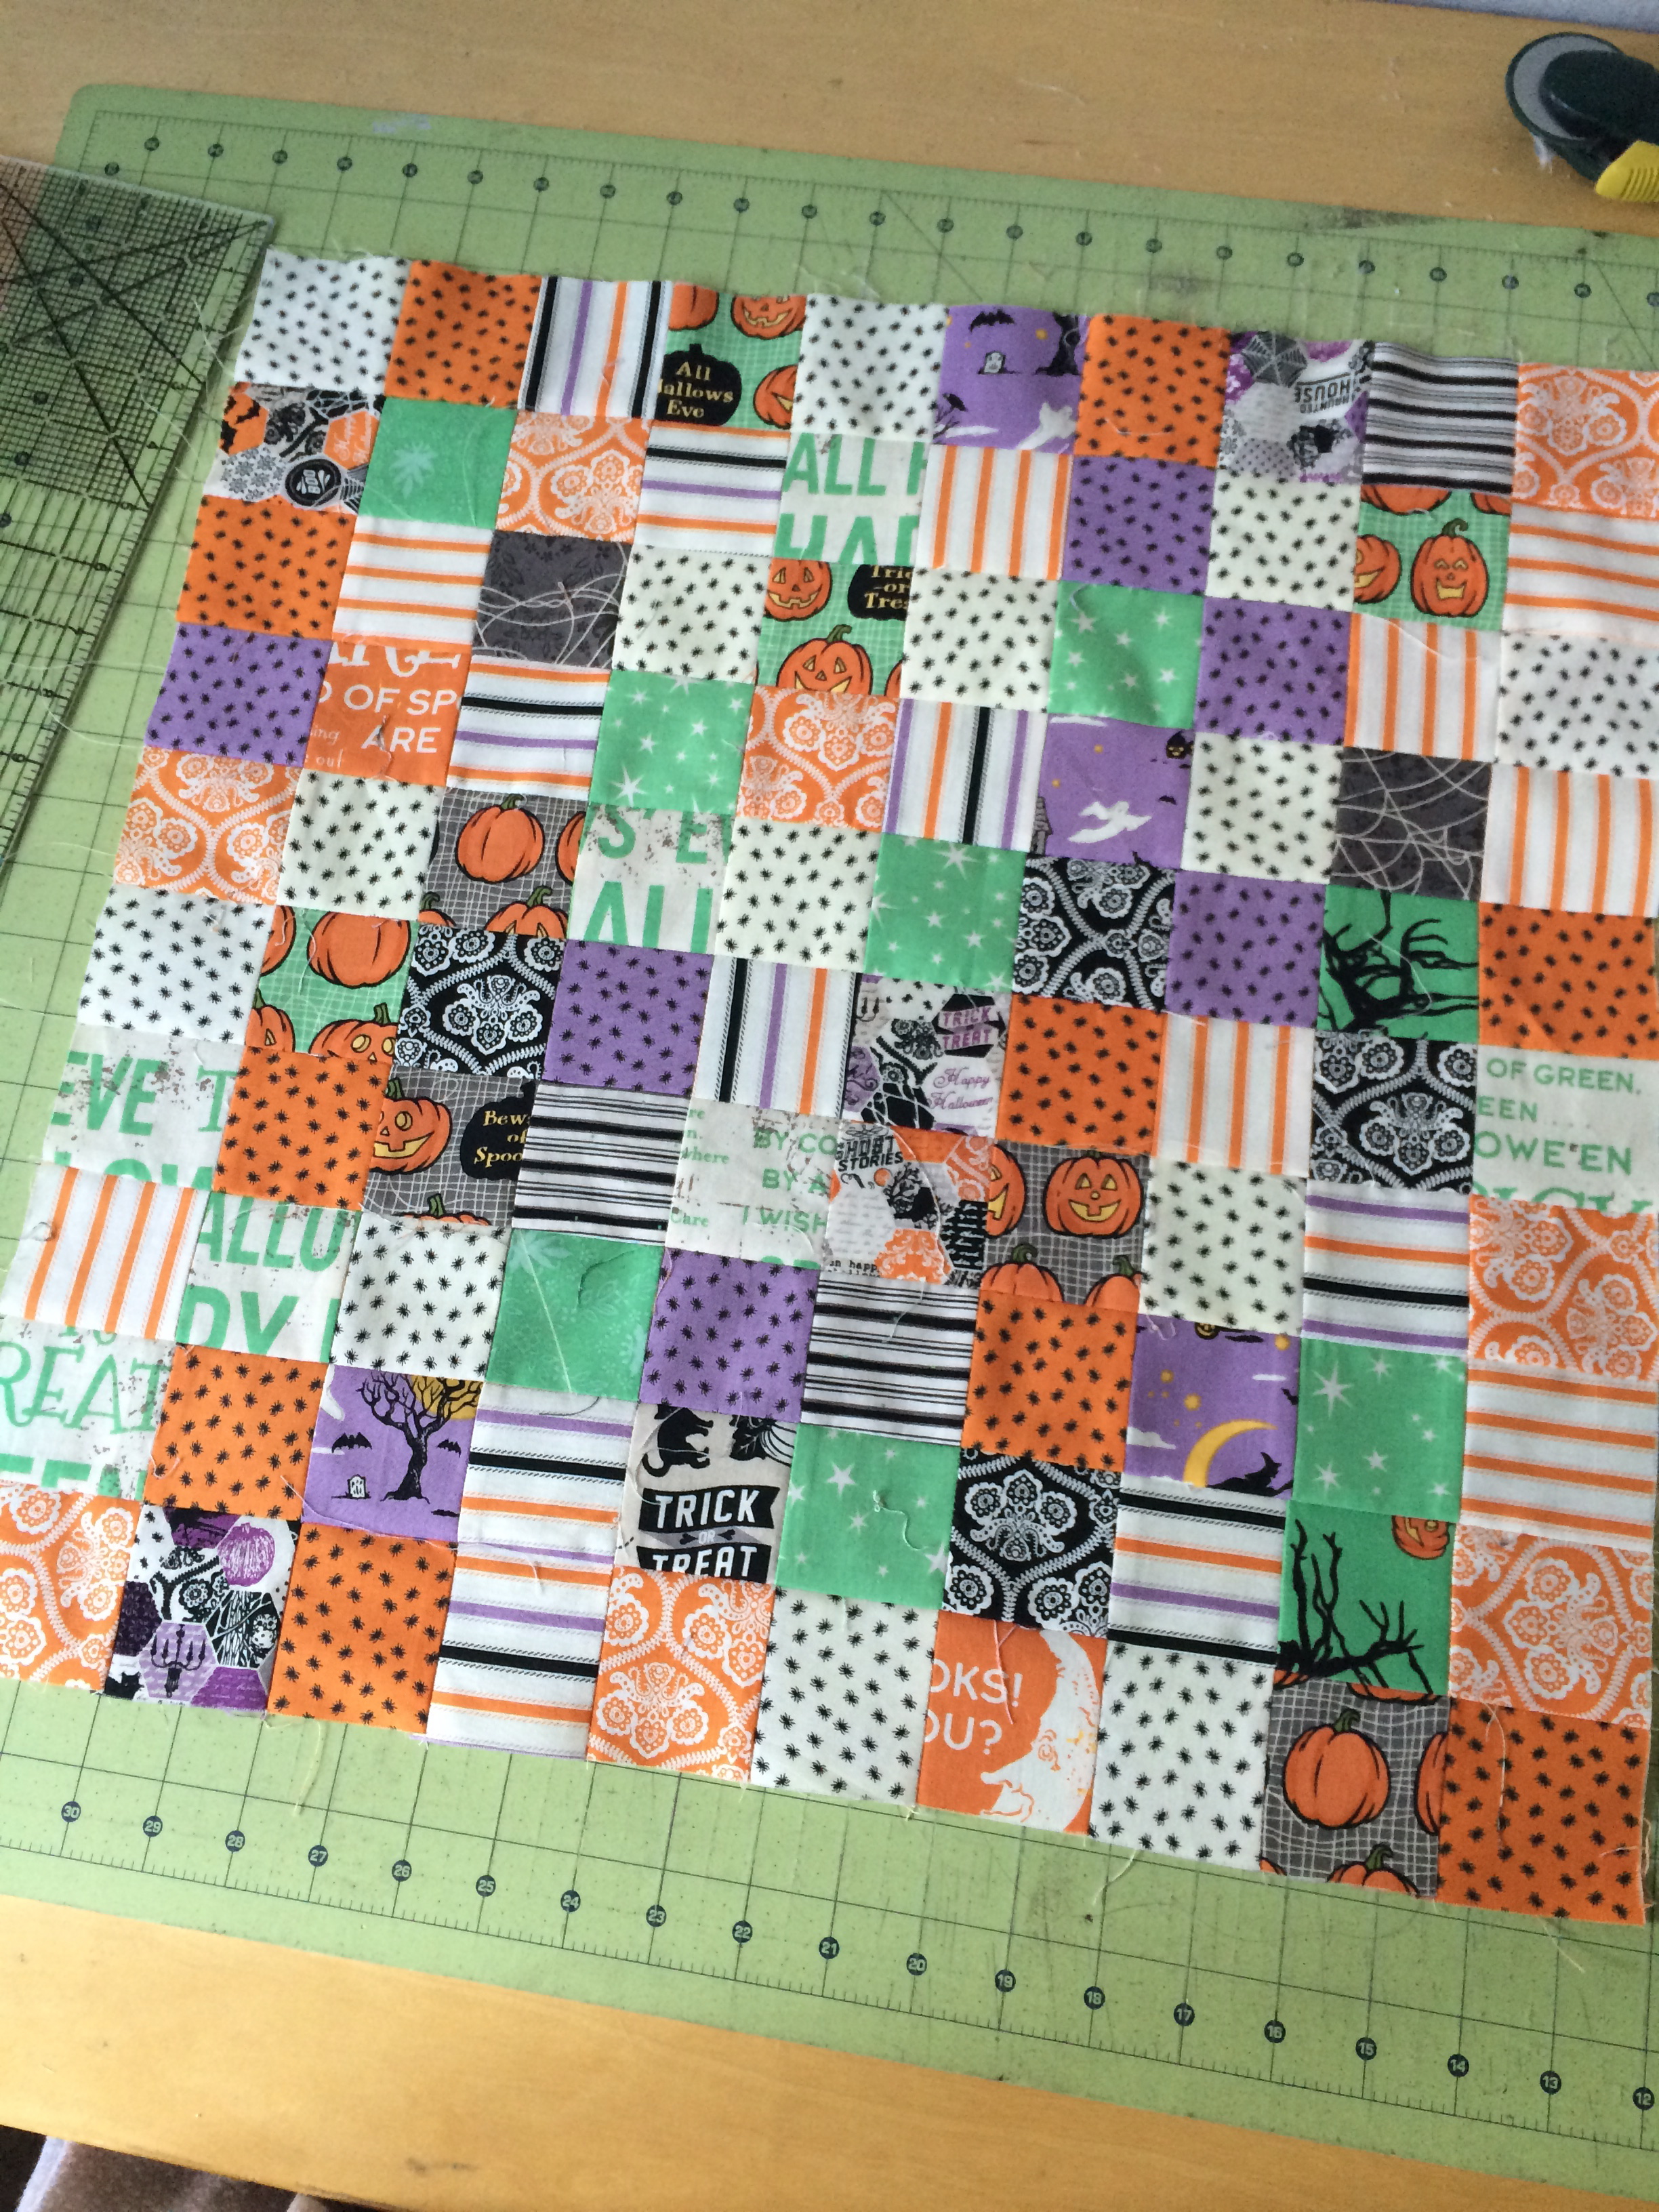
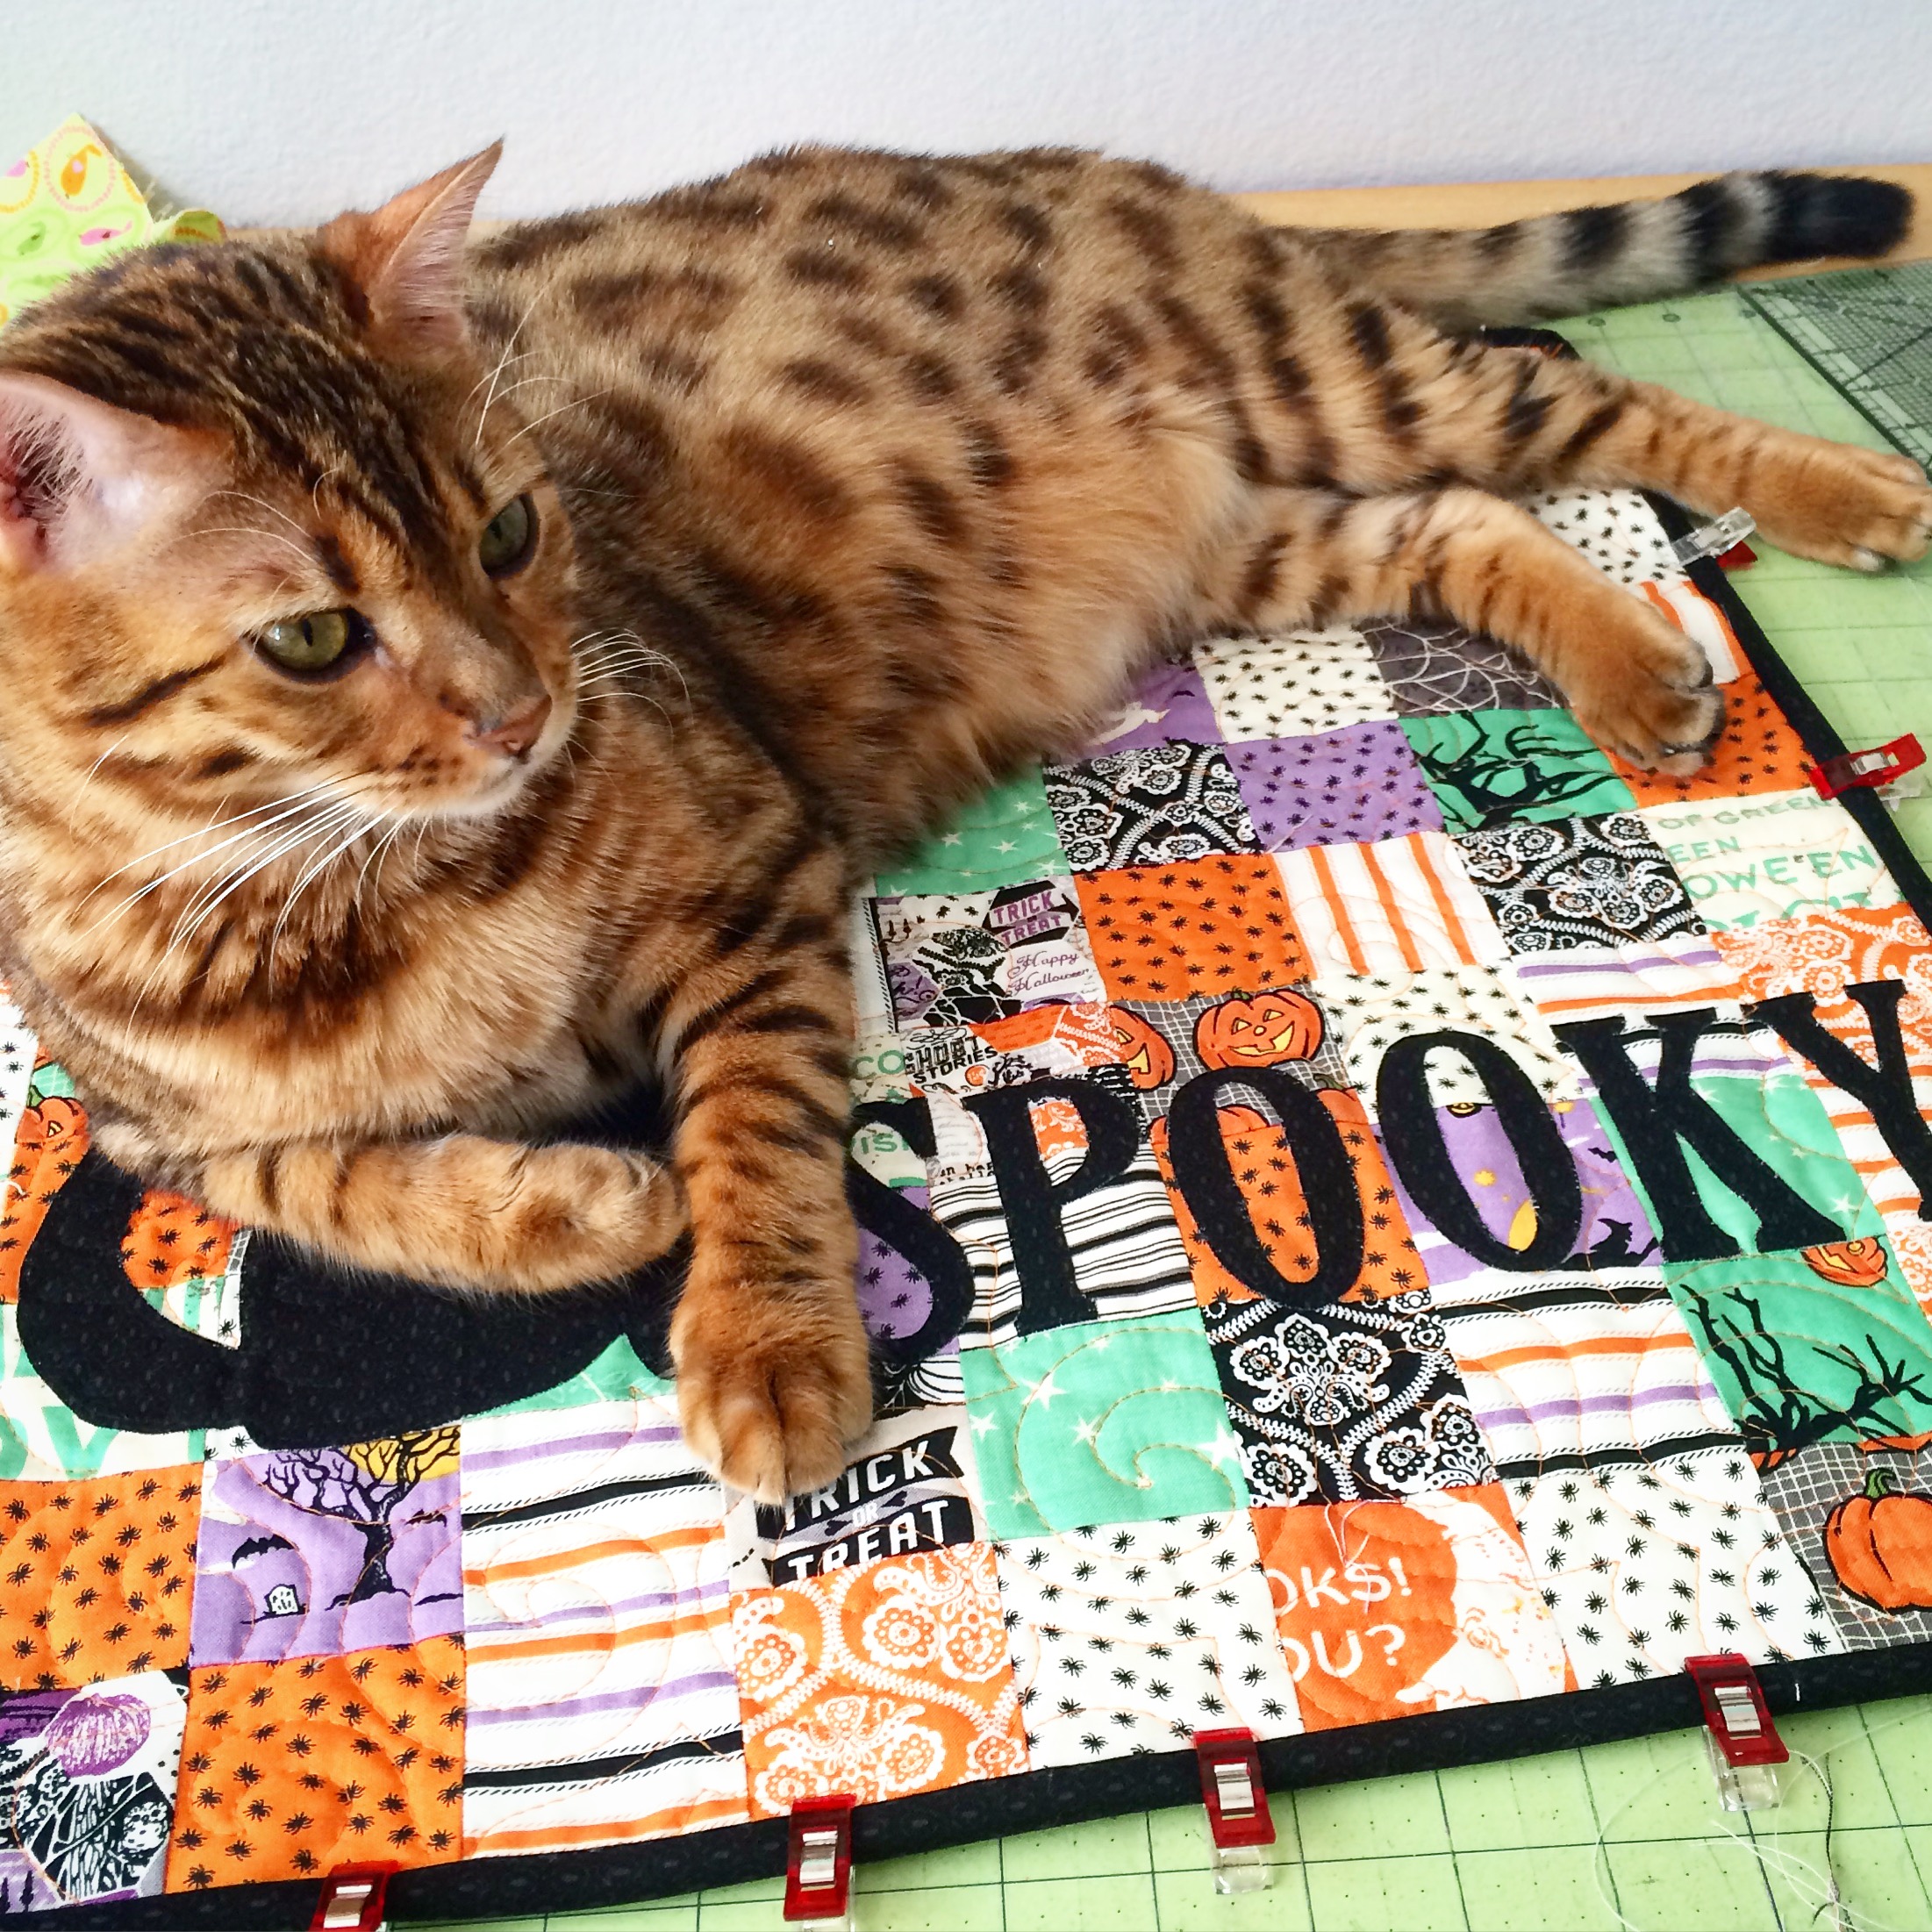
 I let her sew the binding on, and I helped with the corners. I then let her use the binding clips and clip the binding all the way around. Finally we got out the needle and thread and did some hand sewing. She did pretty good. I helped with the hand binding so we could finish sometime this year!