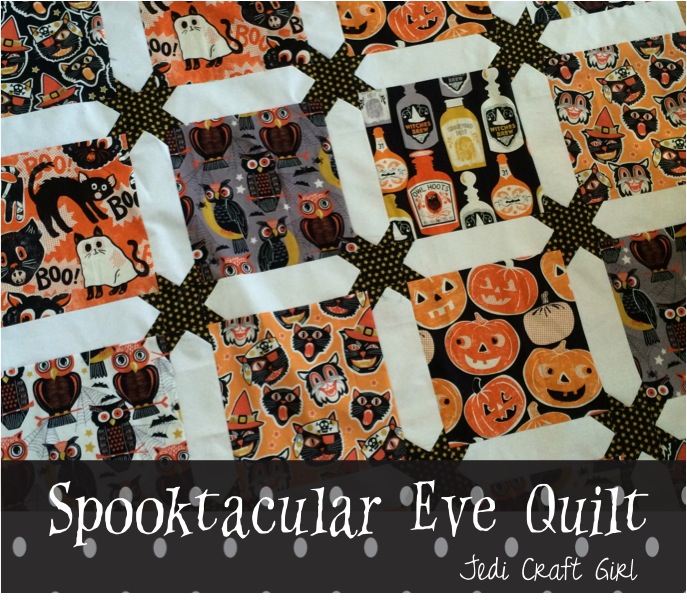
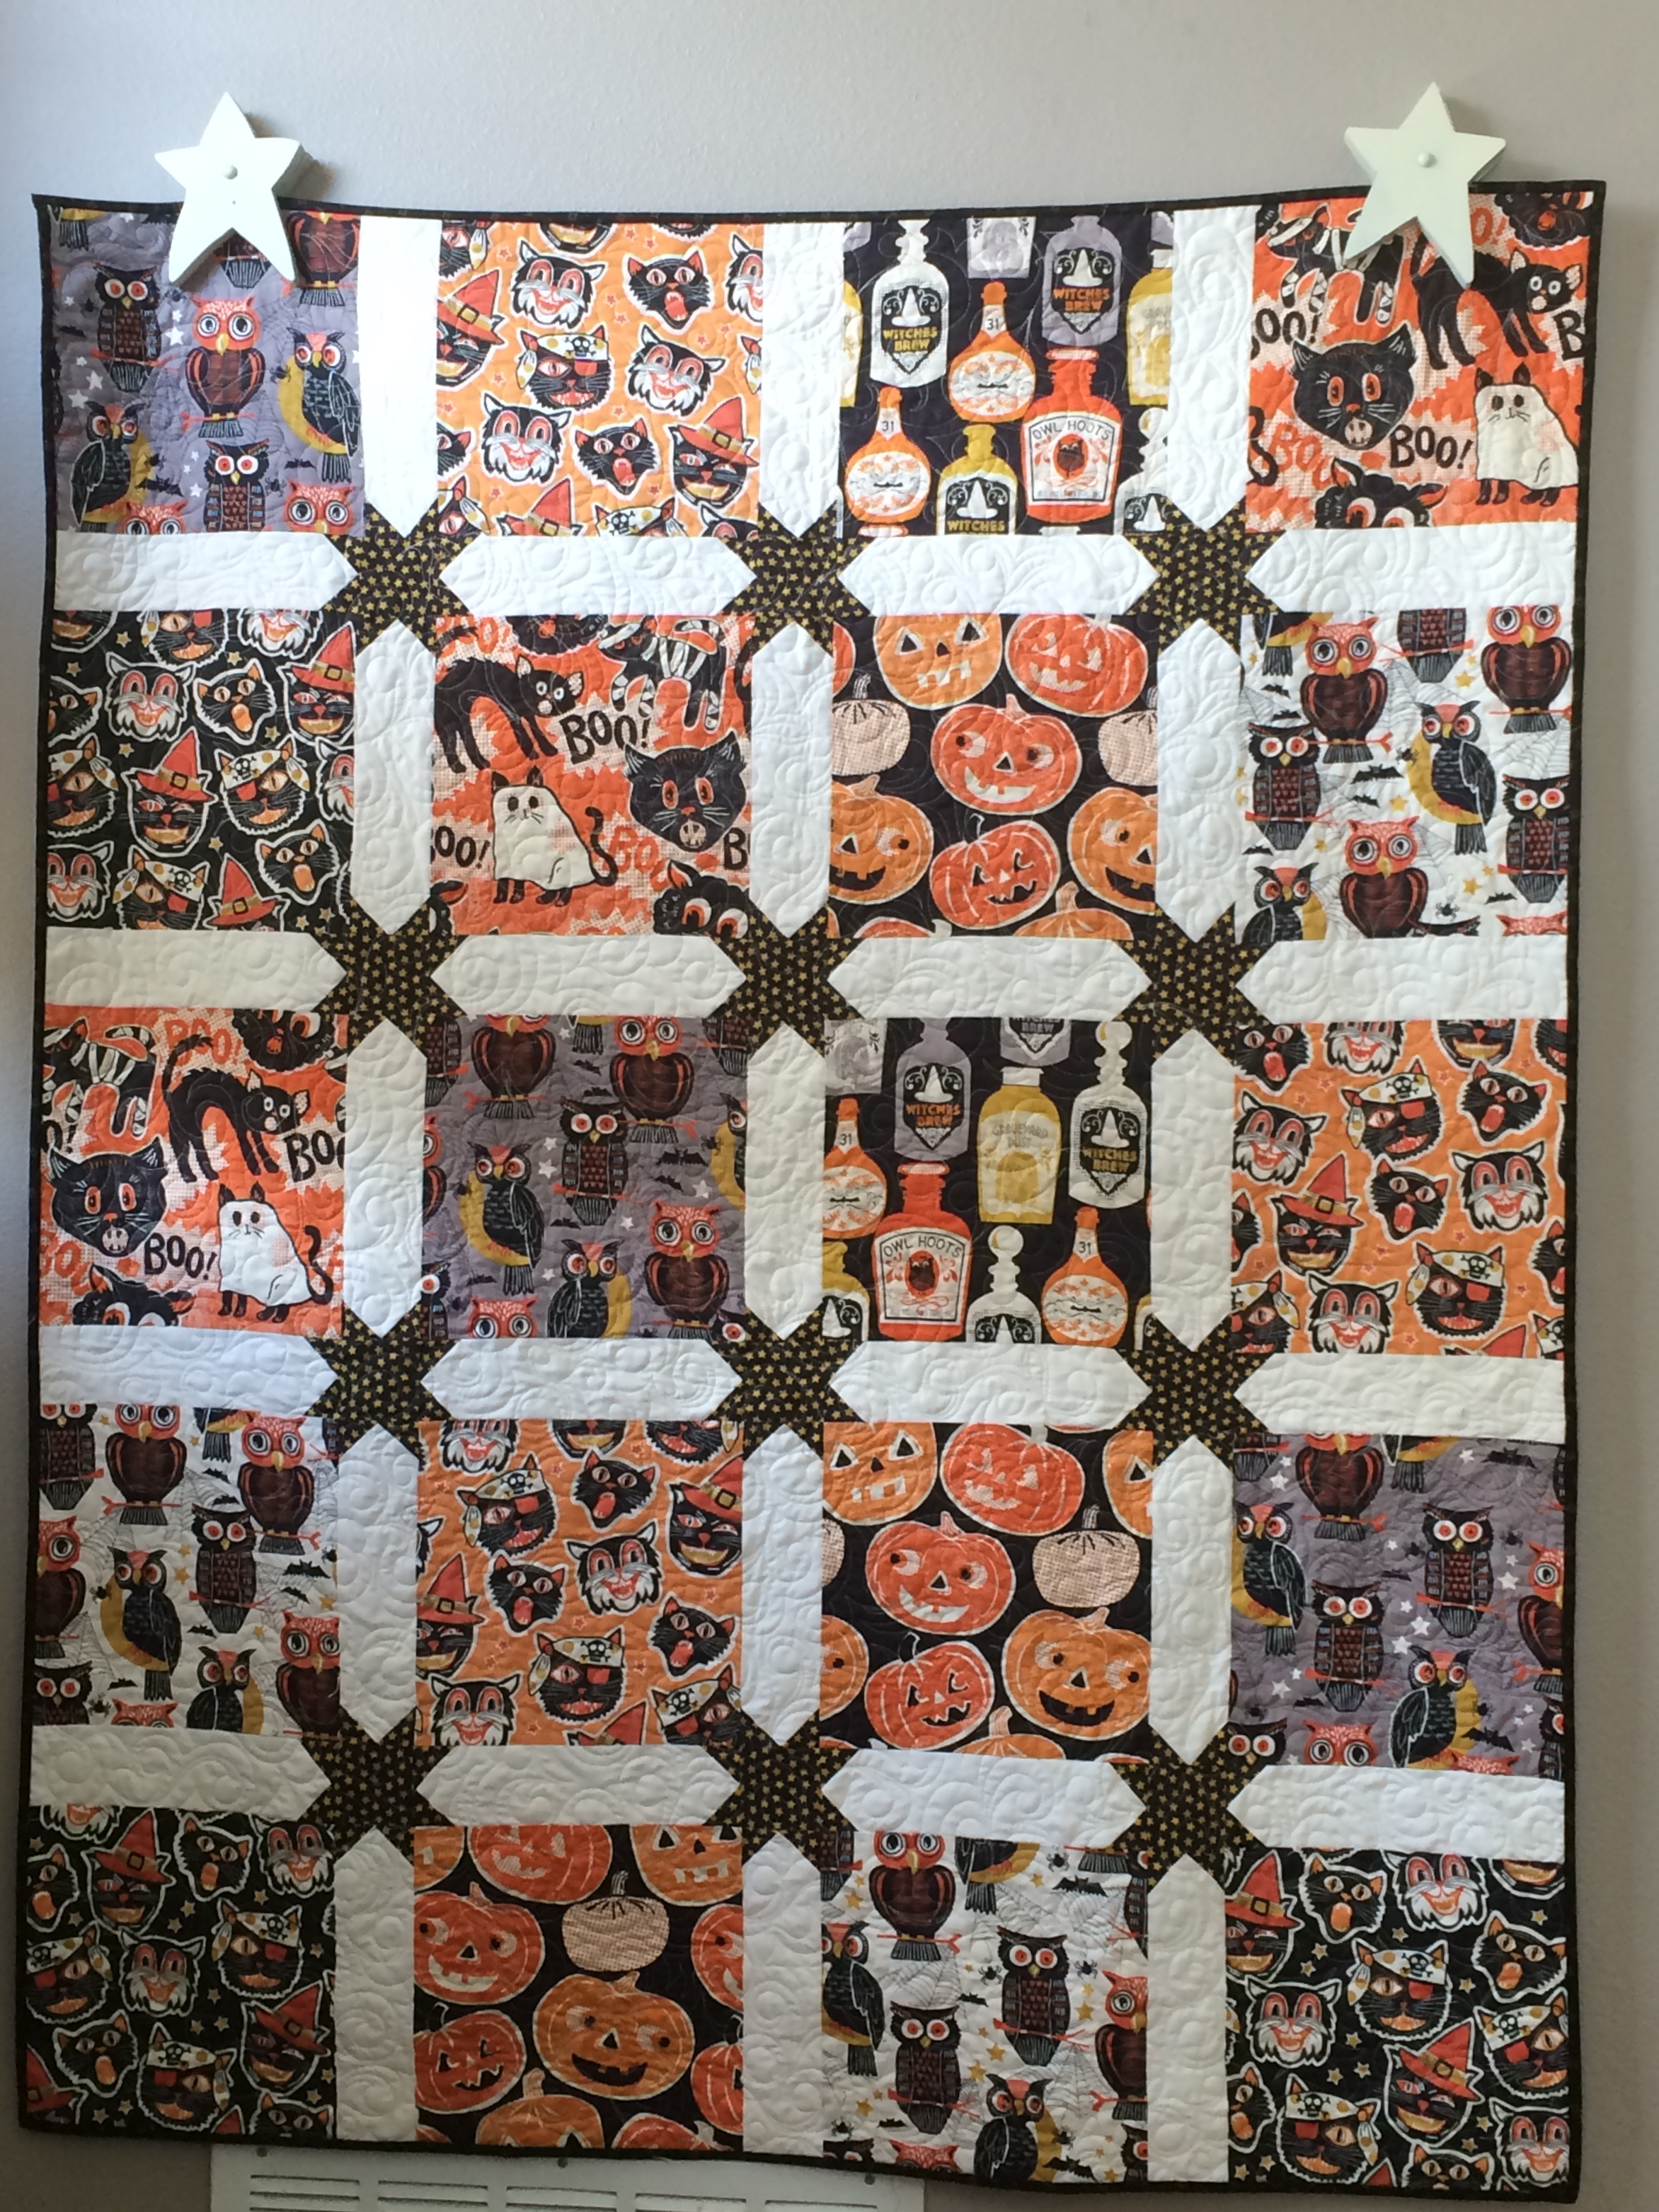
 I LOVE Halloween fabric!!! When I met Spooktacular Eve by Blend Fabrics it was Love at first sight! These patterns have a fun vintage feel which makes them timeless! I didn’t want to cut into the fabrics too much so I created this Big Block quilt pattern just for you!!! It’s a fast and easy way to show off those bold prints!
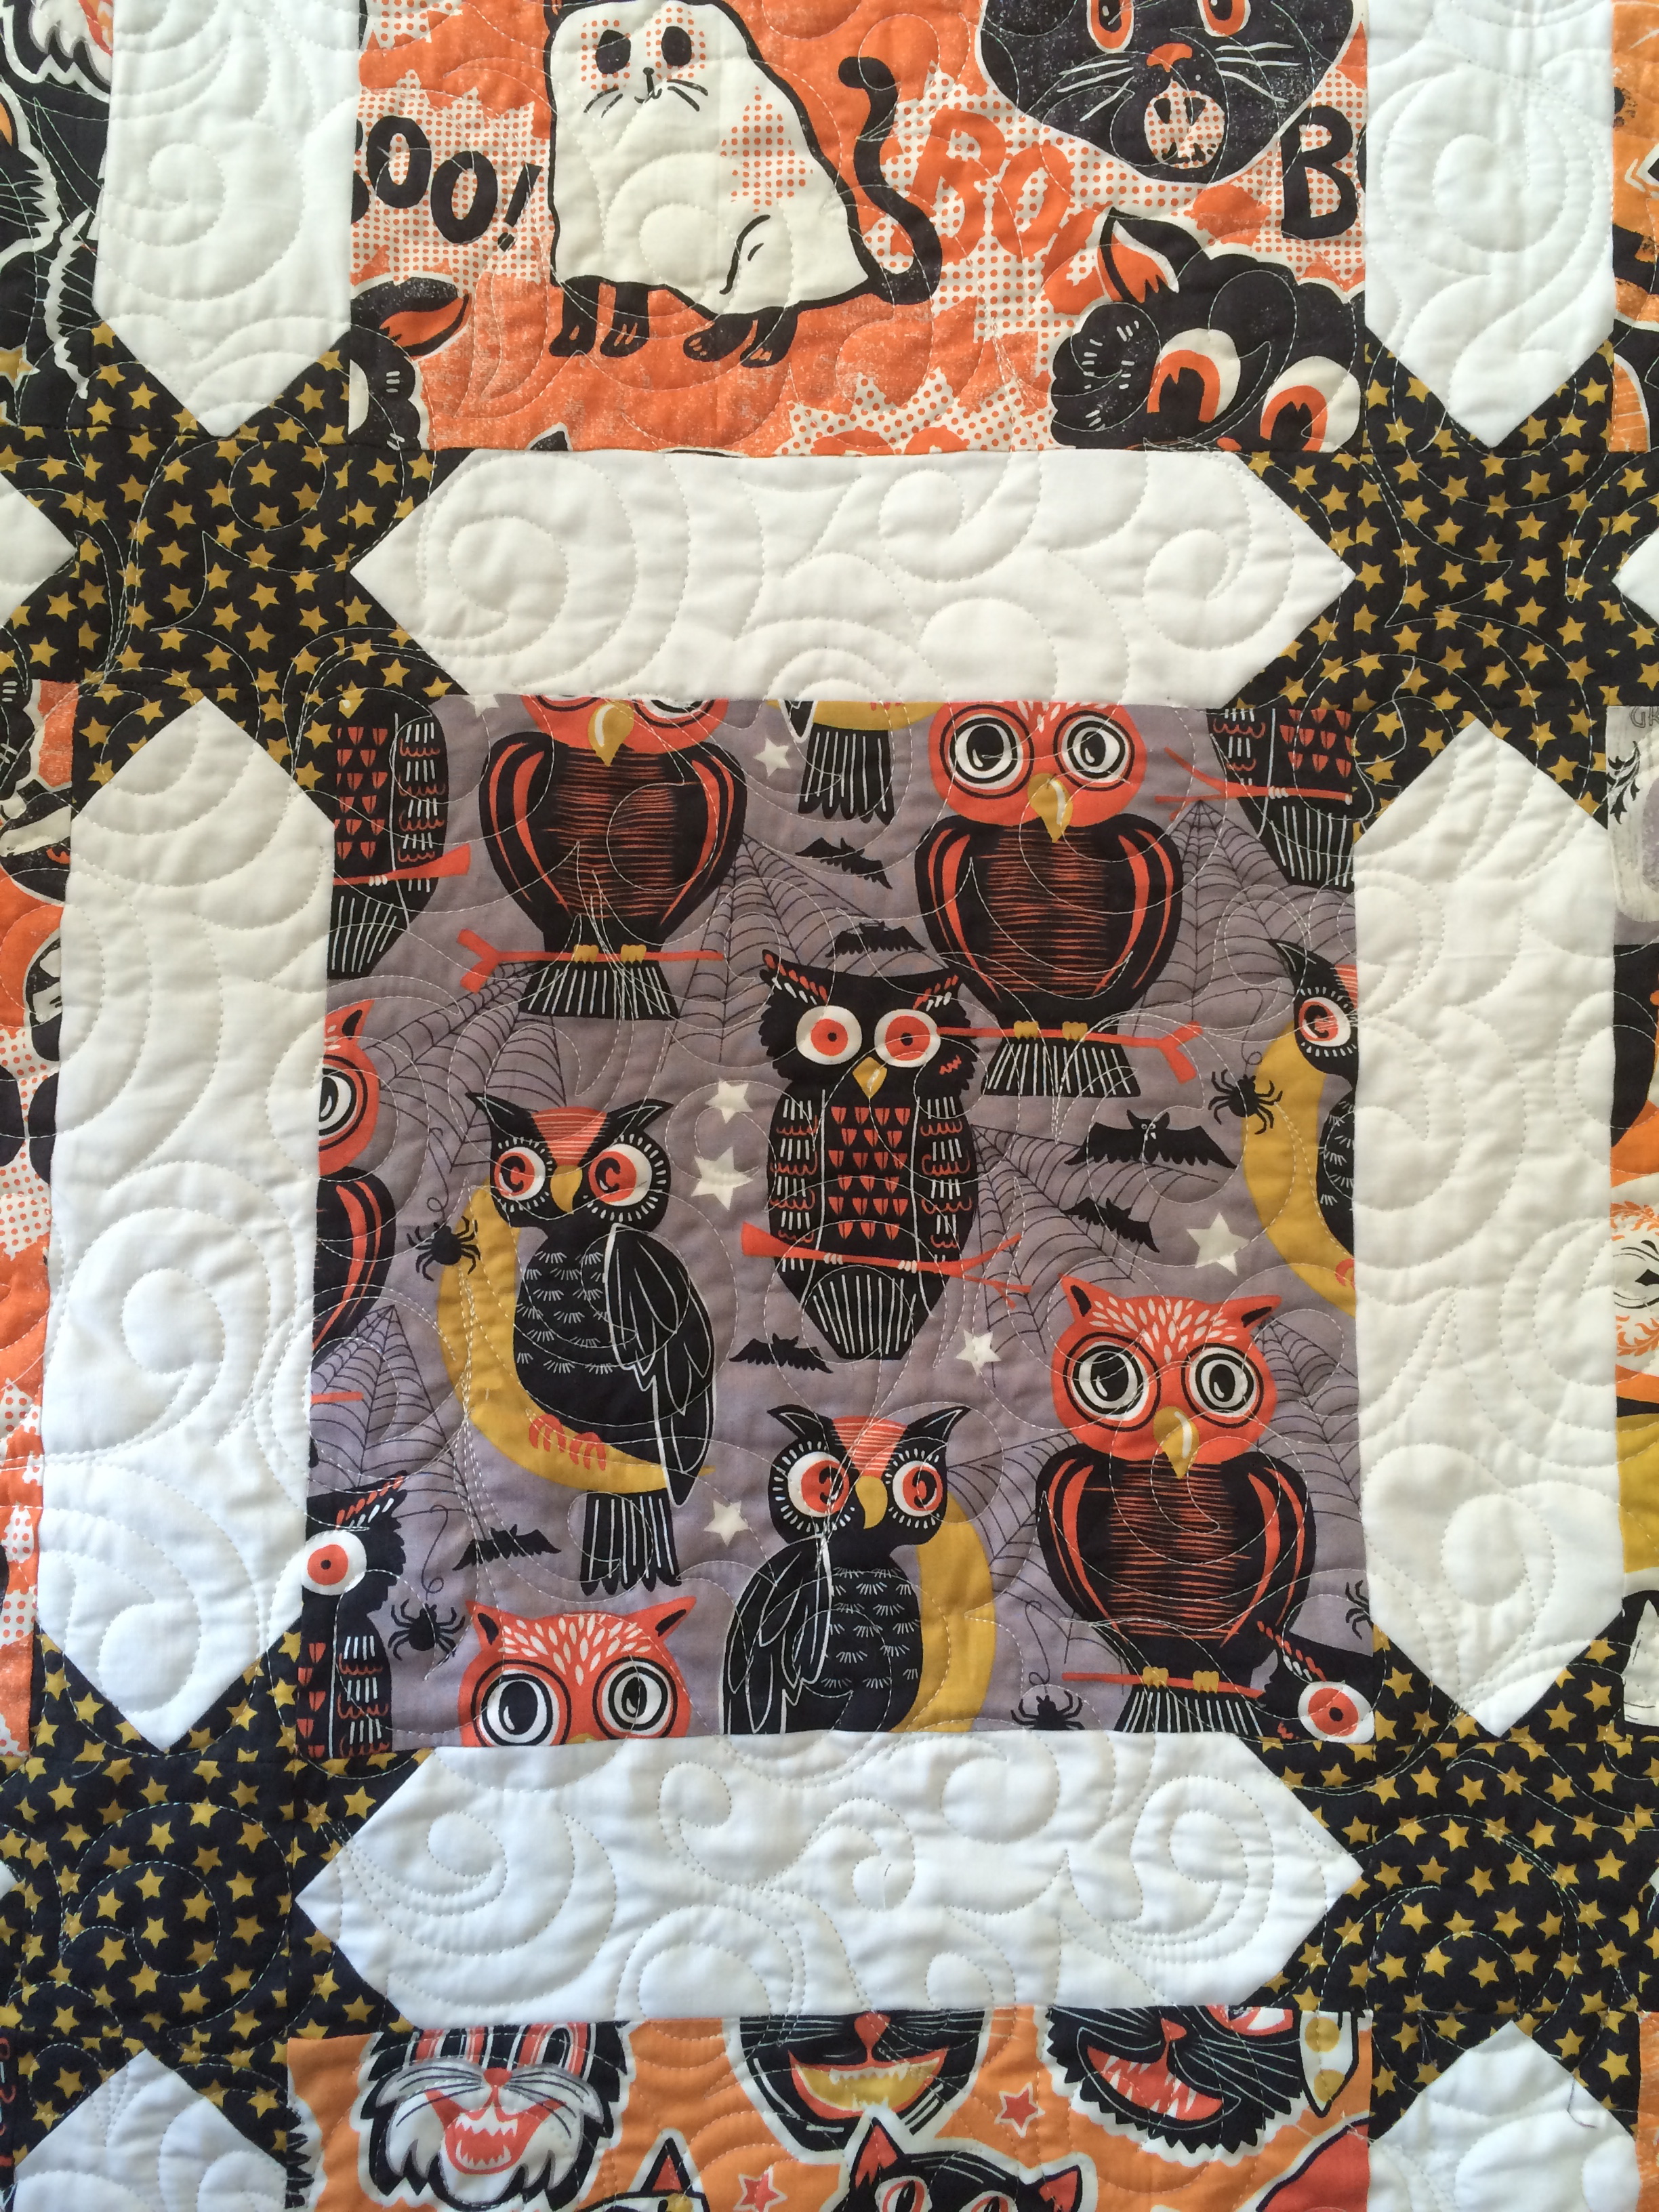 I can’t decide which print is my favorite! If you would like to make this quilt click HERE for the PDF download version.
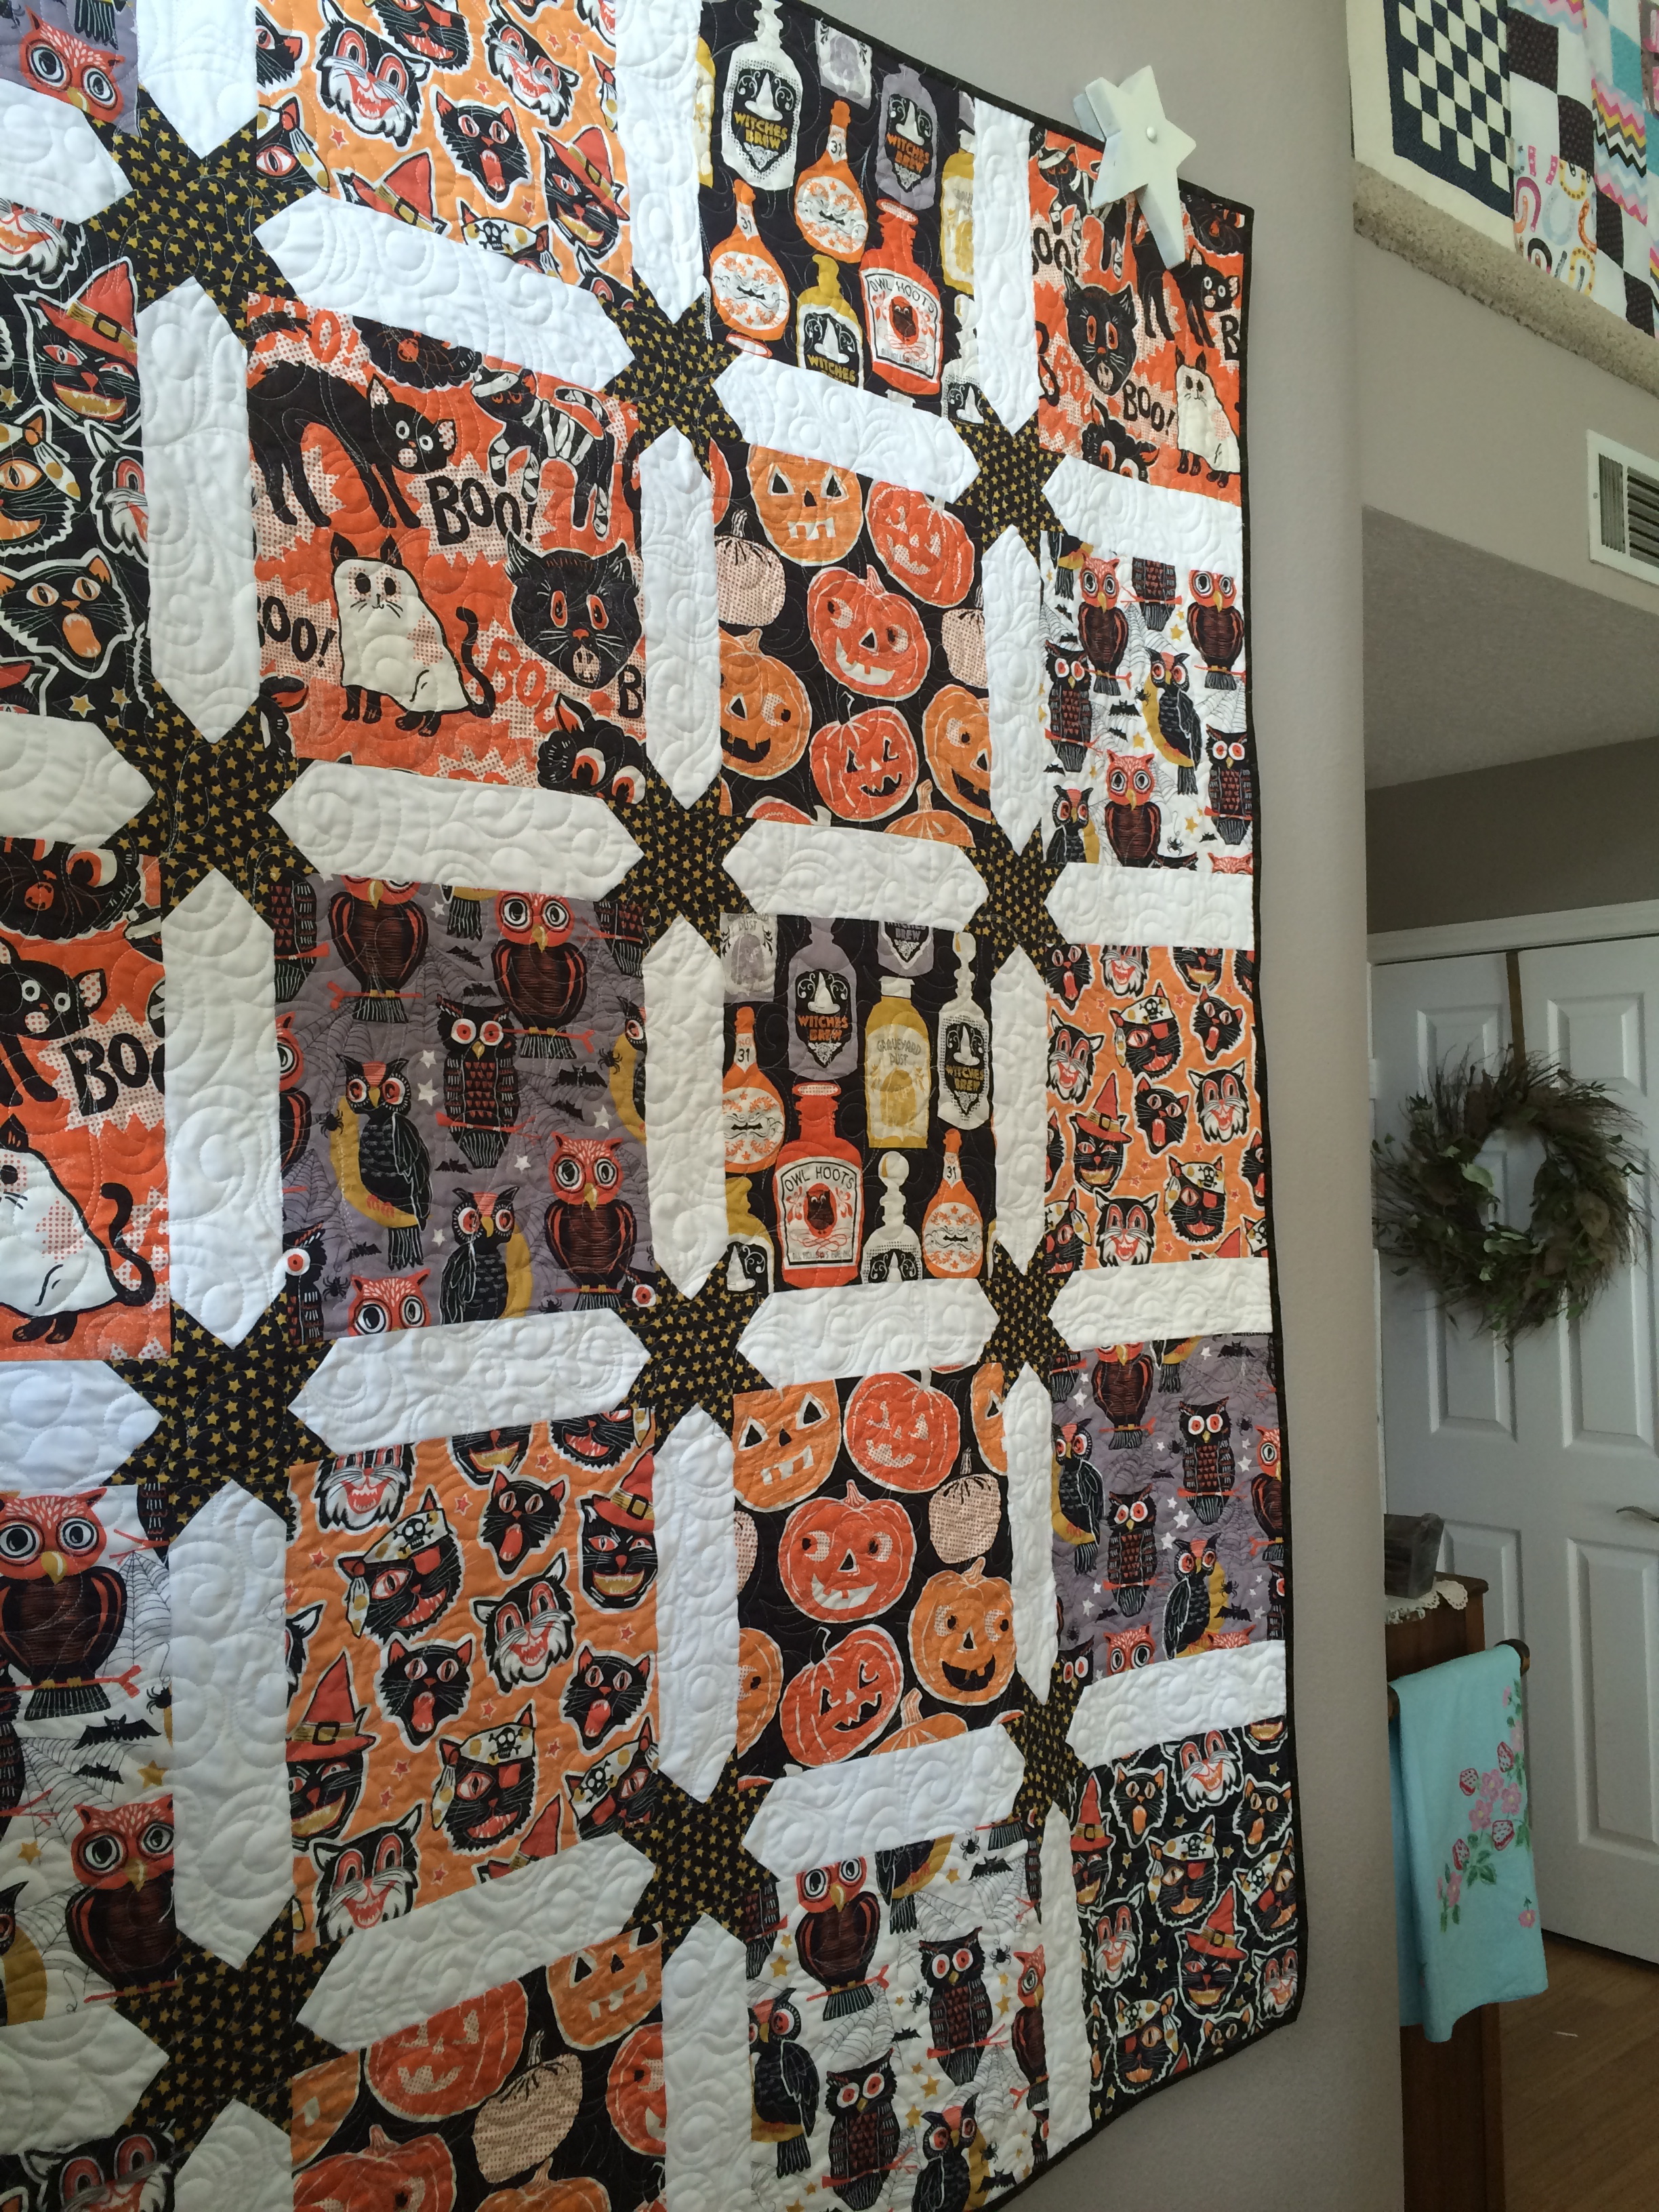 I have this quilt hanging in my entry way. The finished quilt measures 55″ x 70″ which also is a perfect throw quilt size!
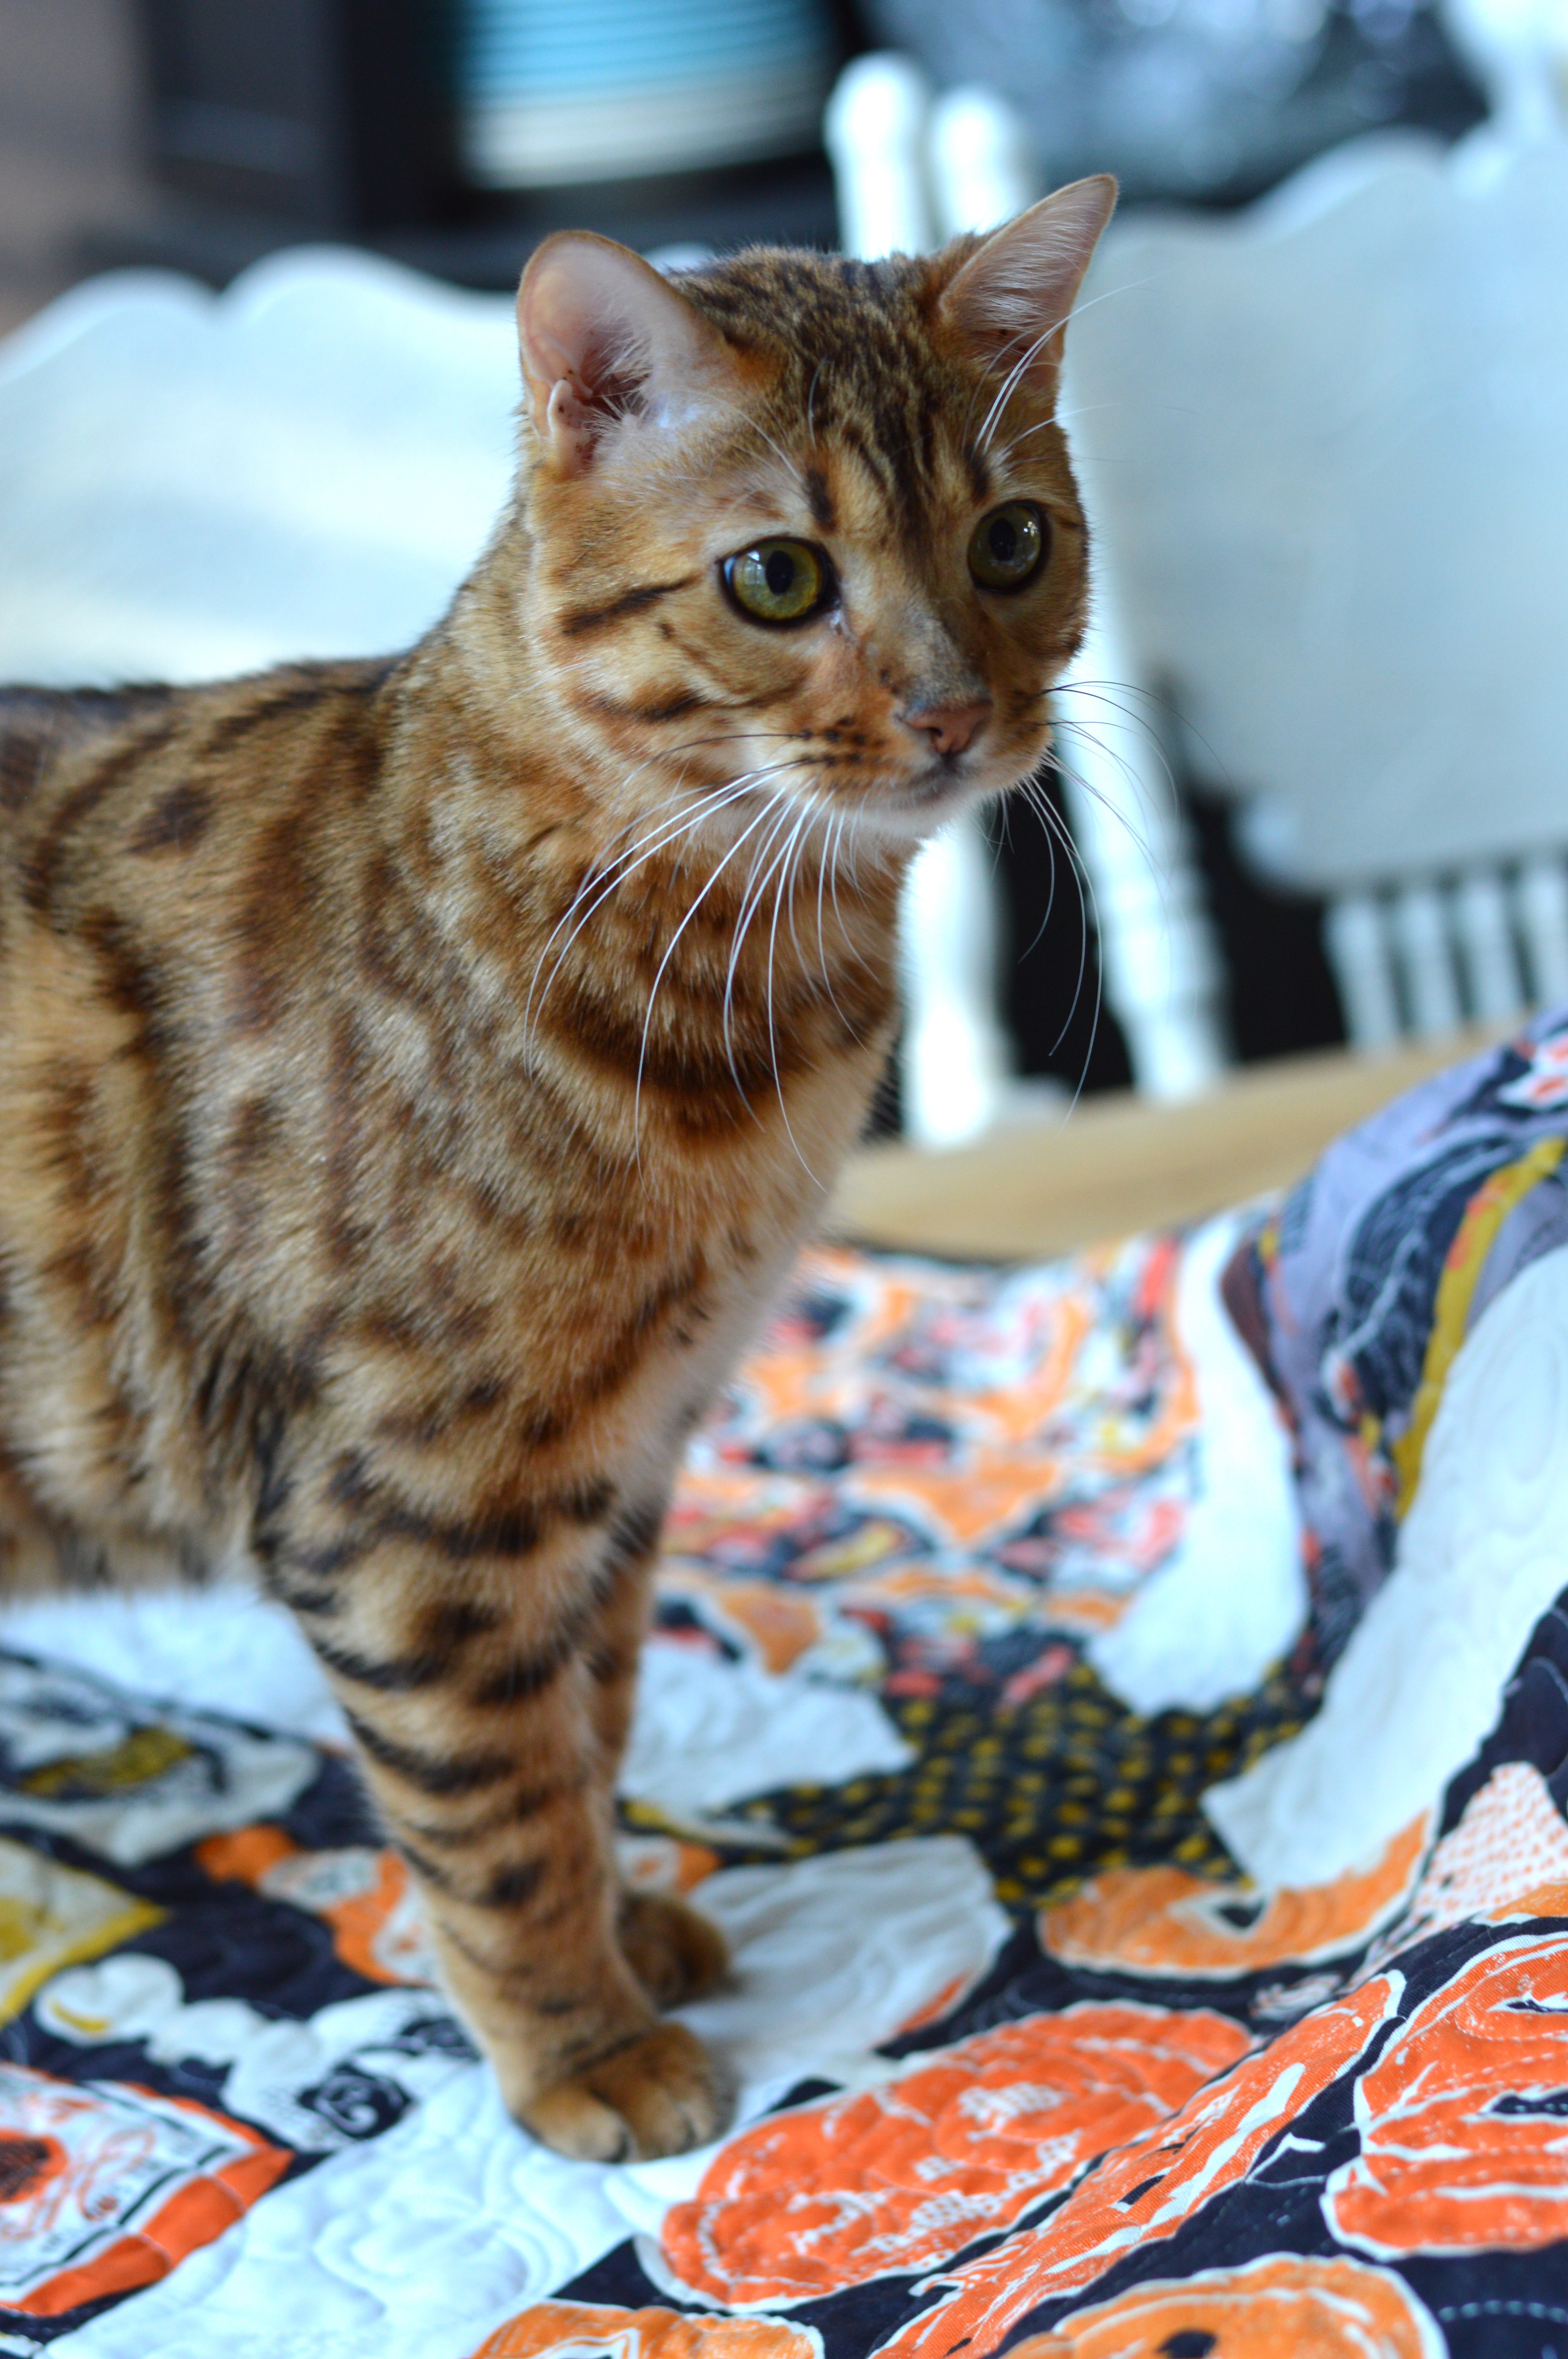 Even better – it’s Mufasa approved!!!
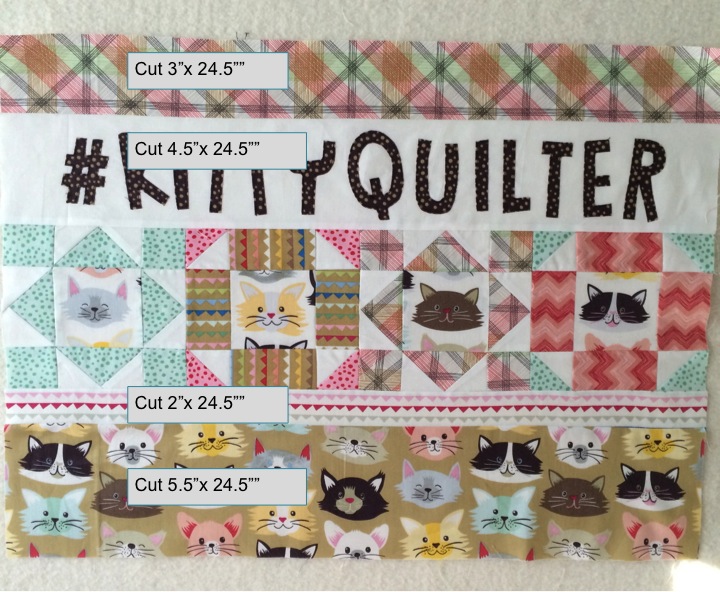
 I hope you love making this quilt!!!
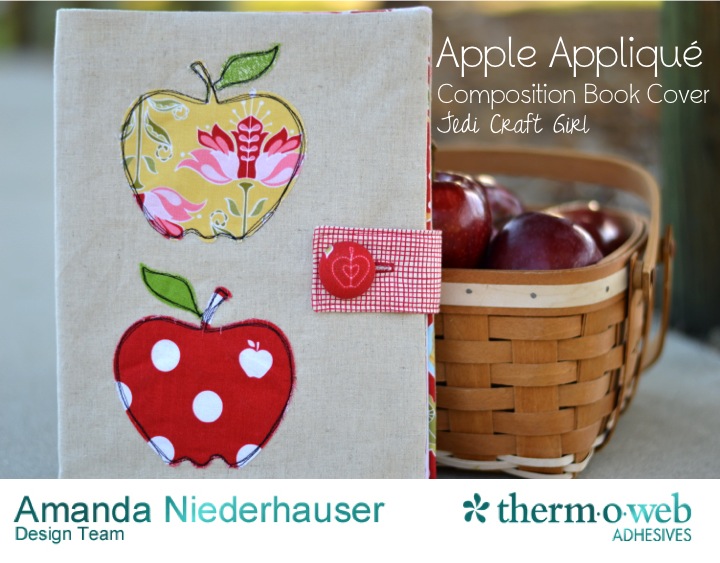
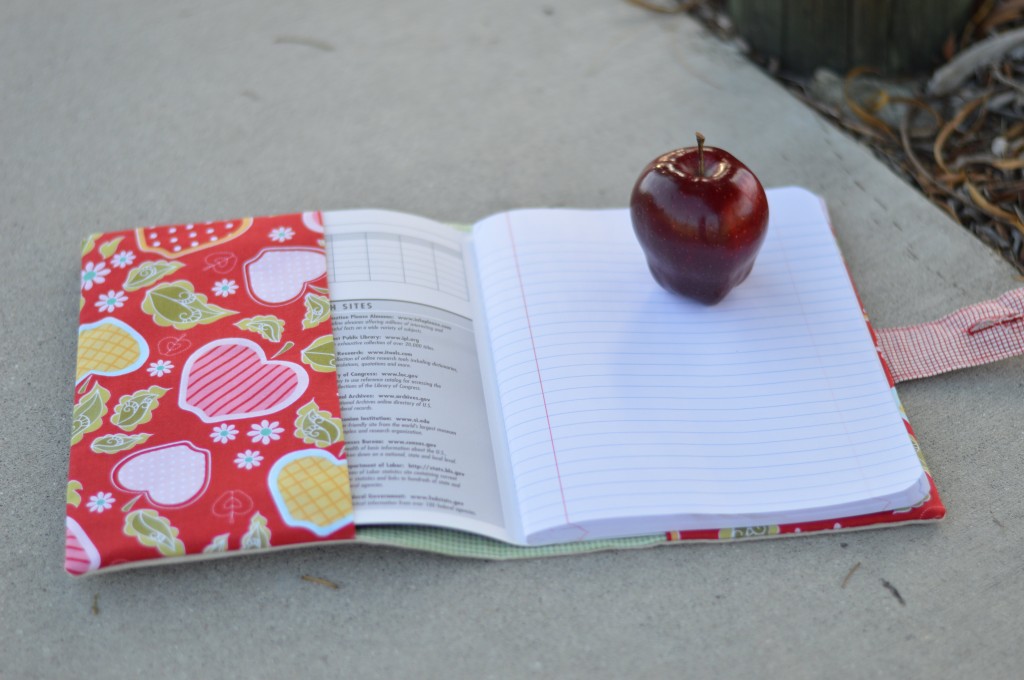
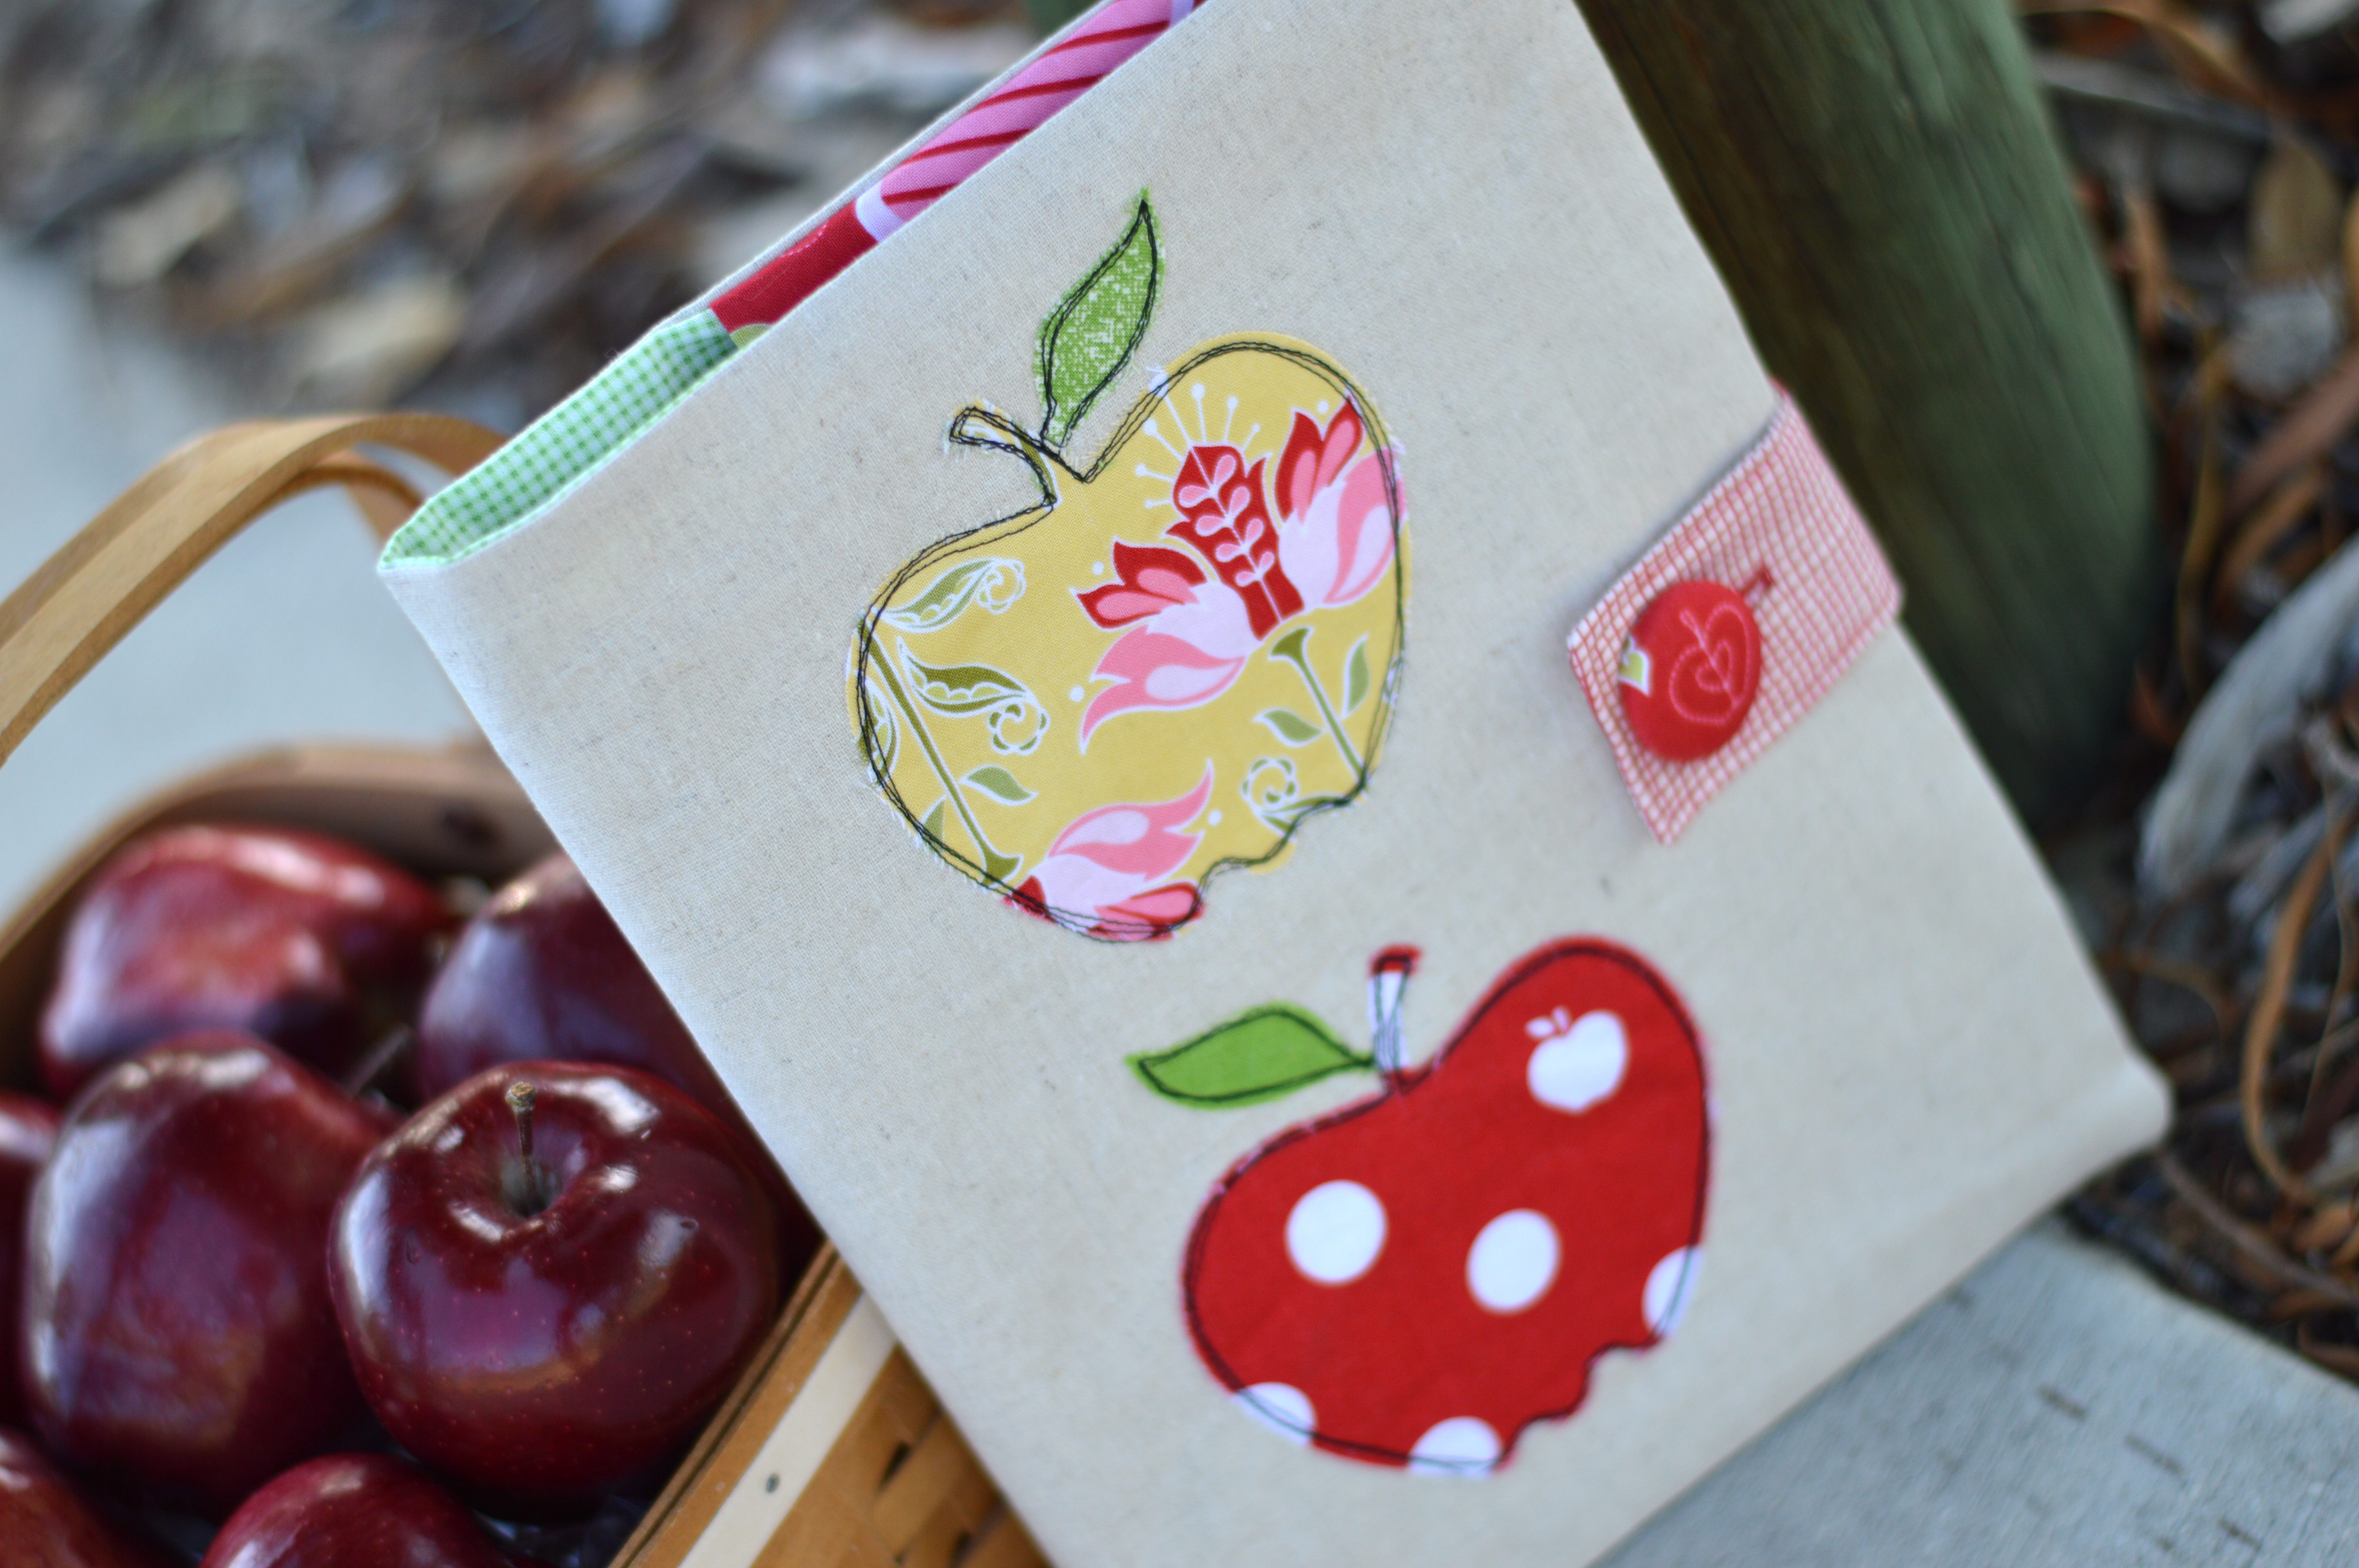
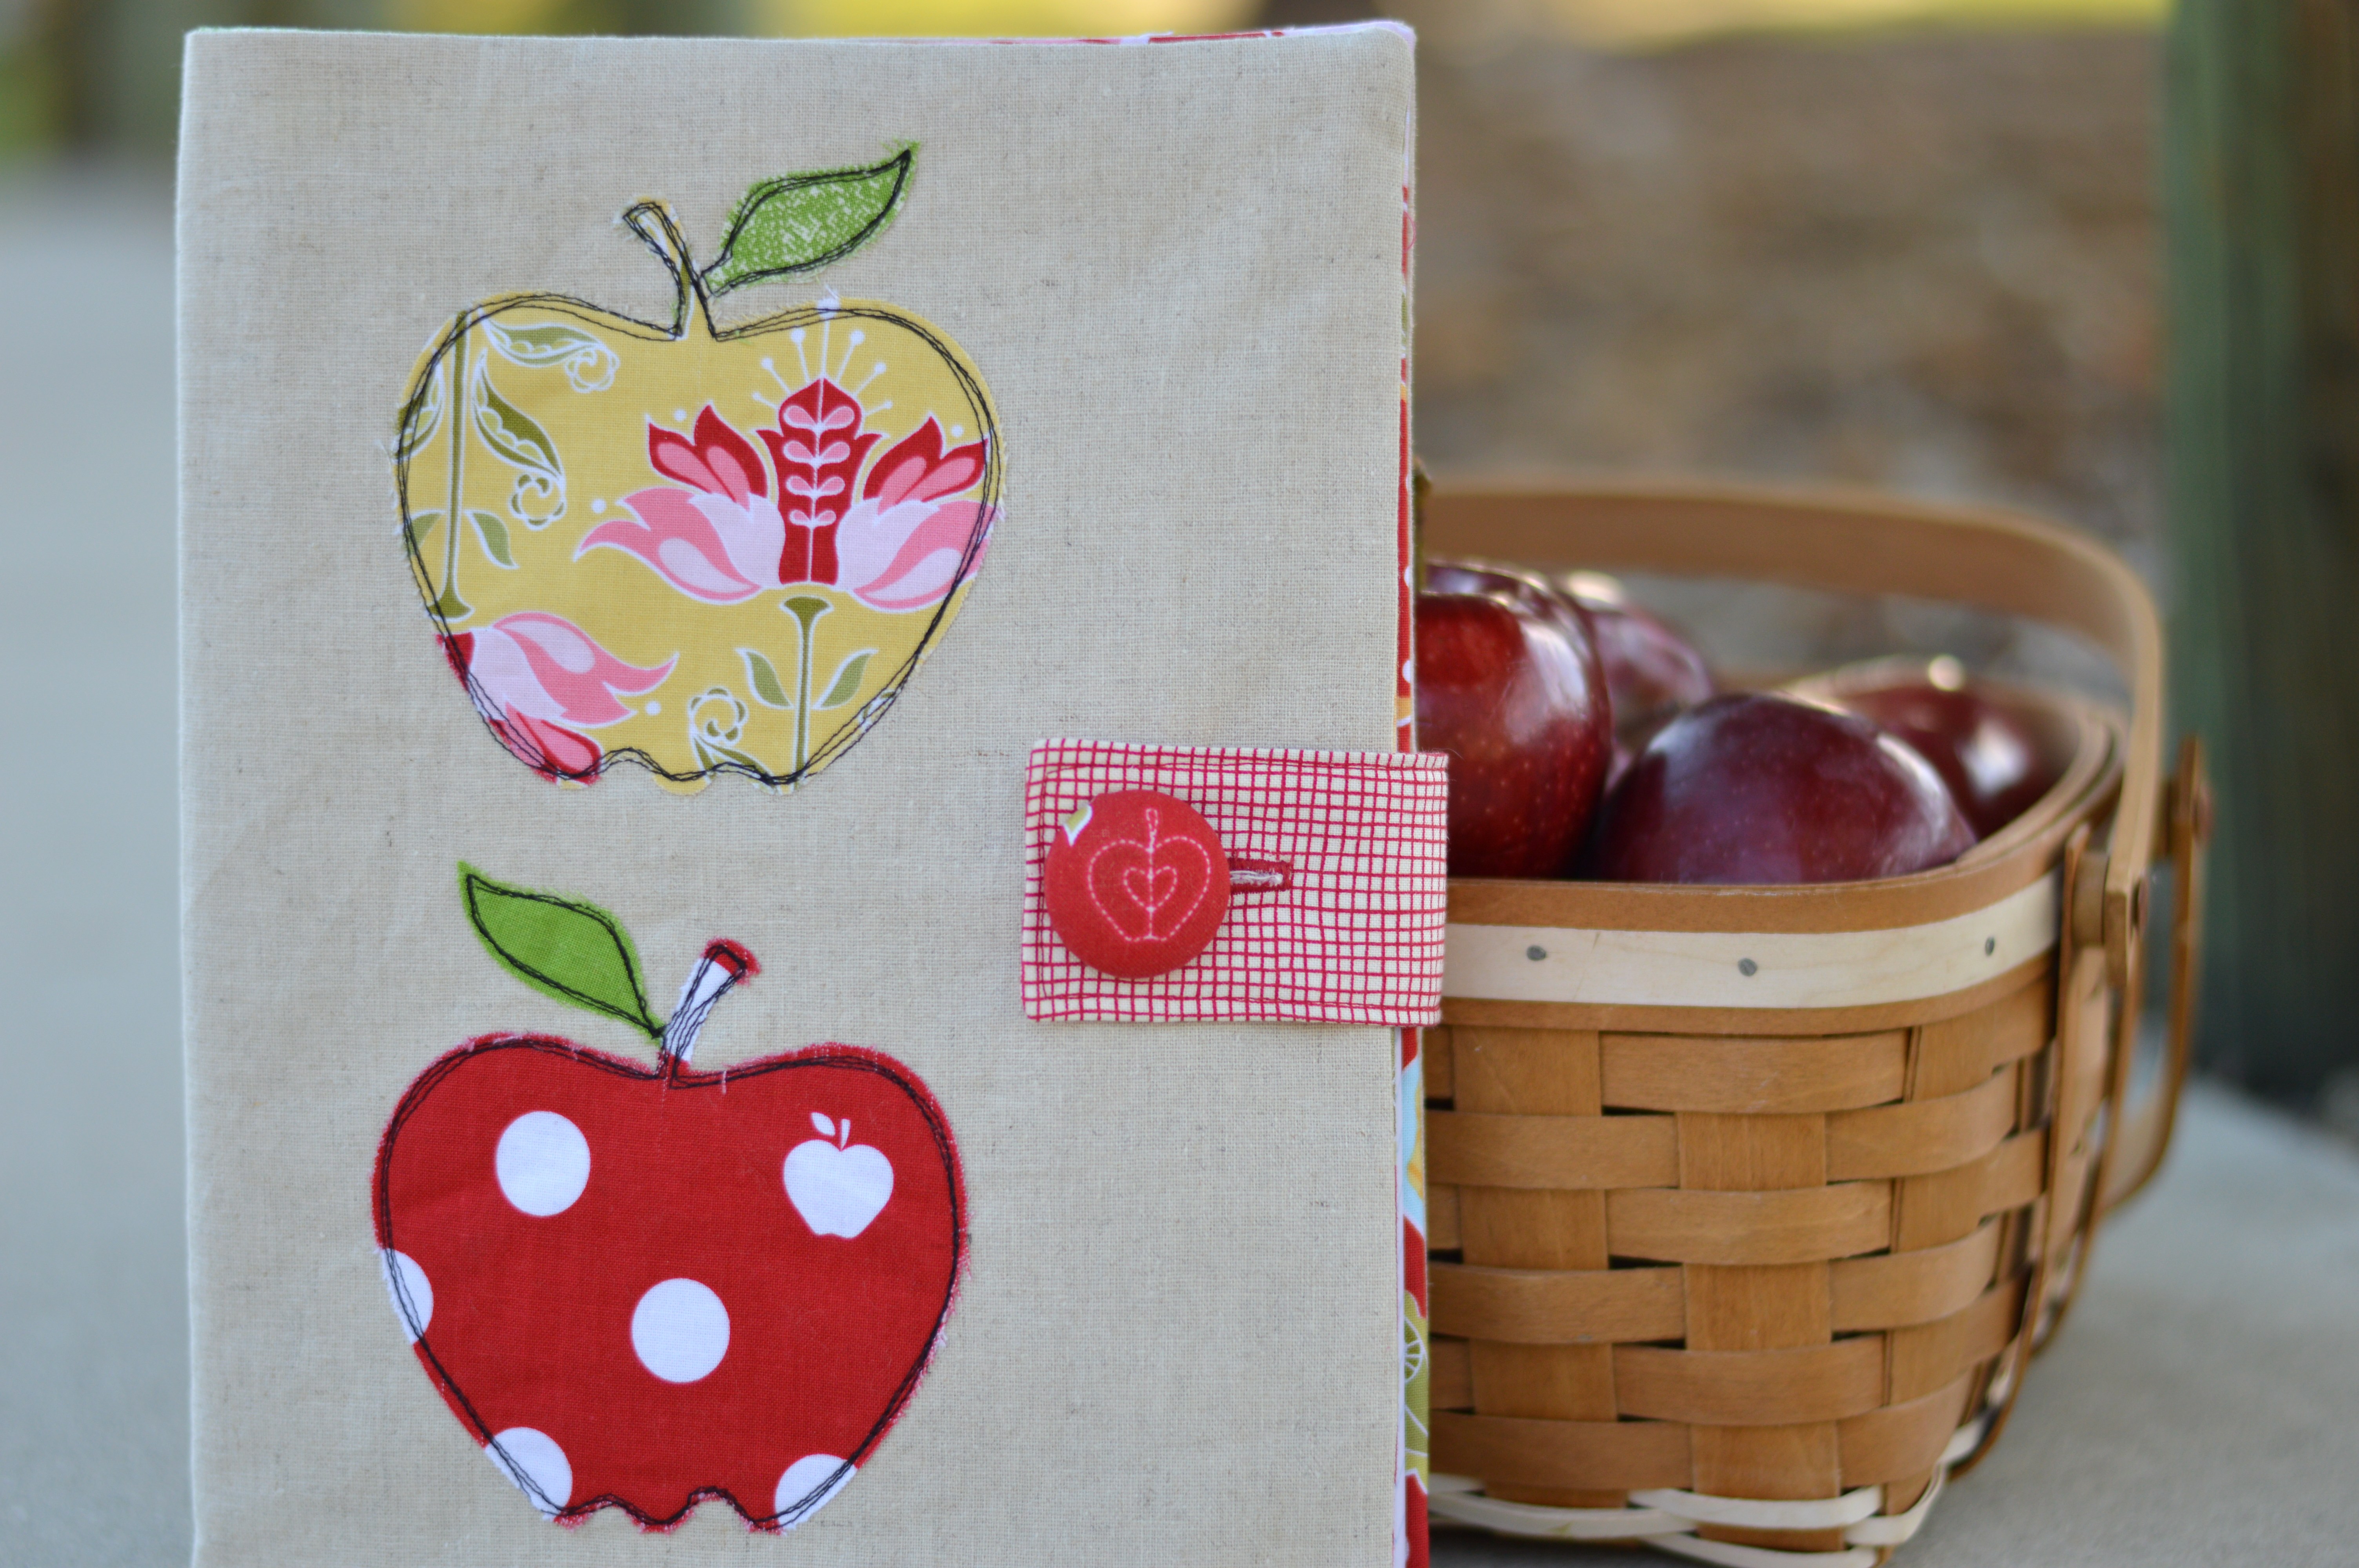
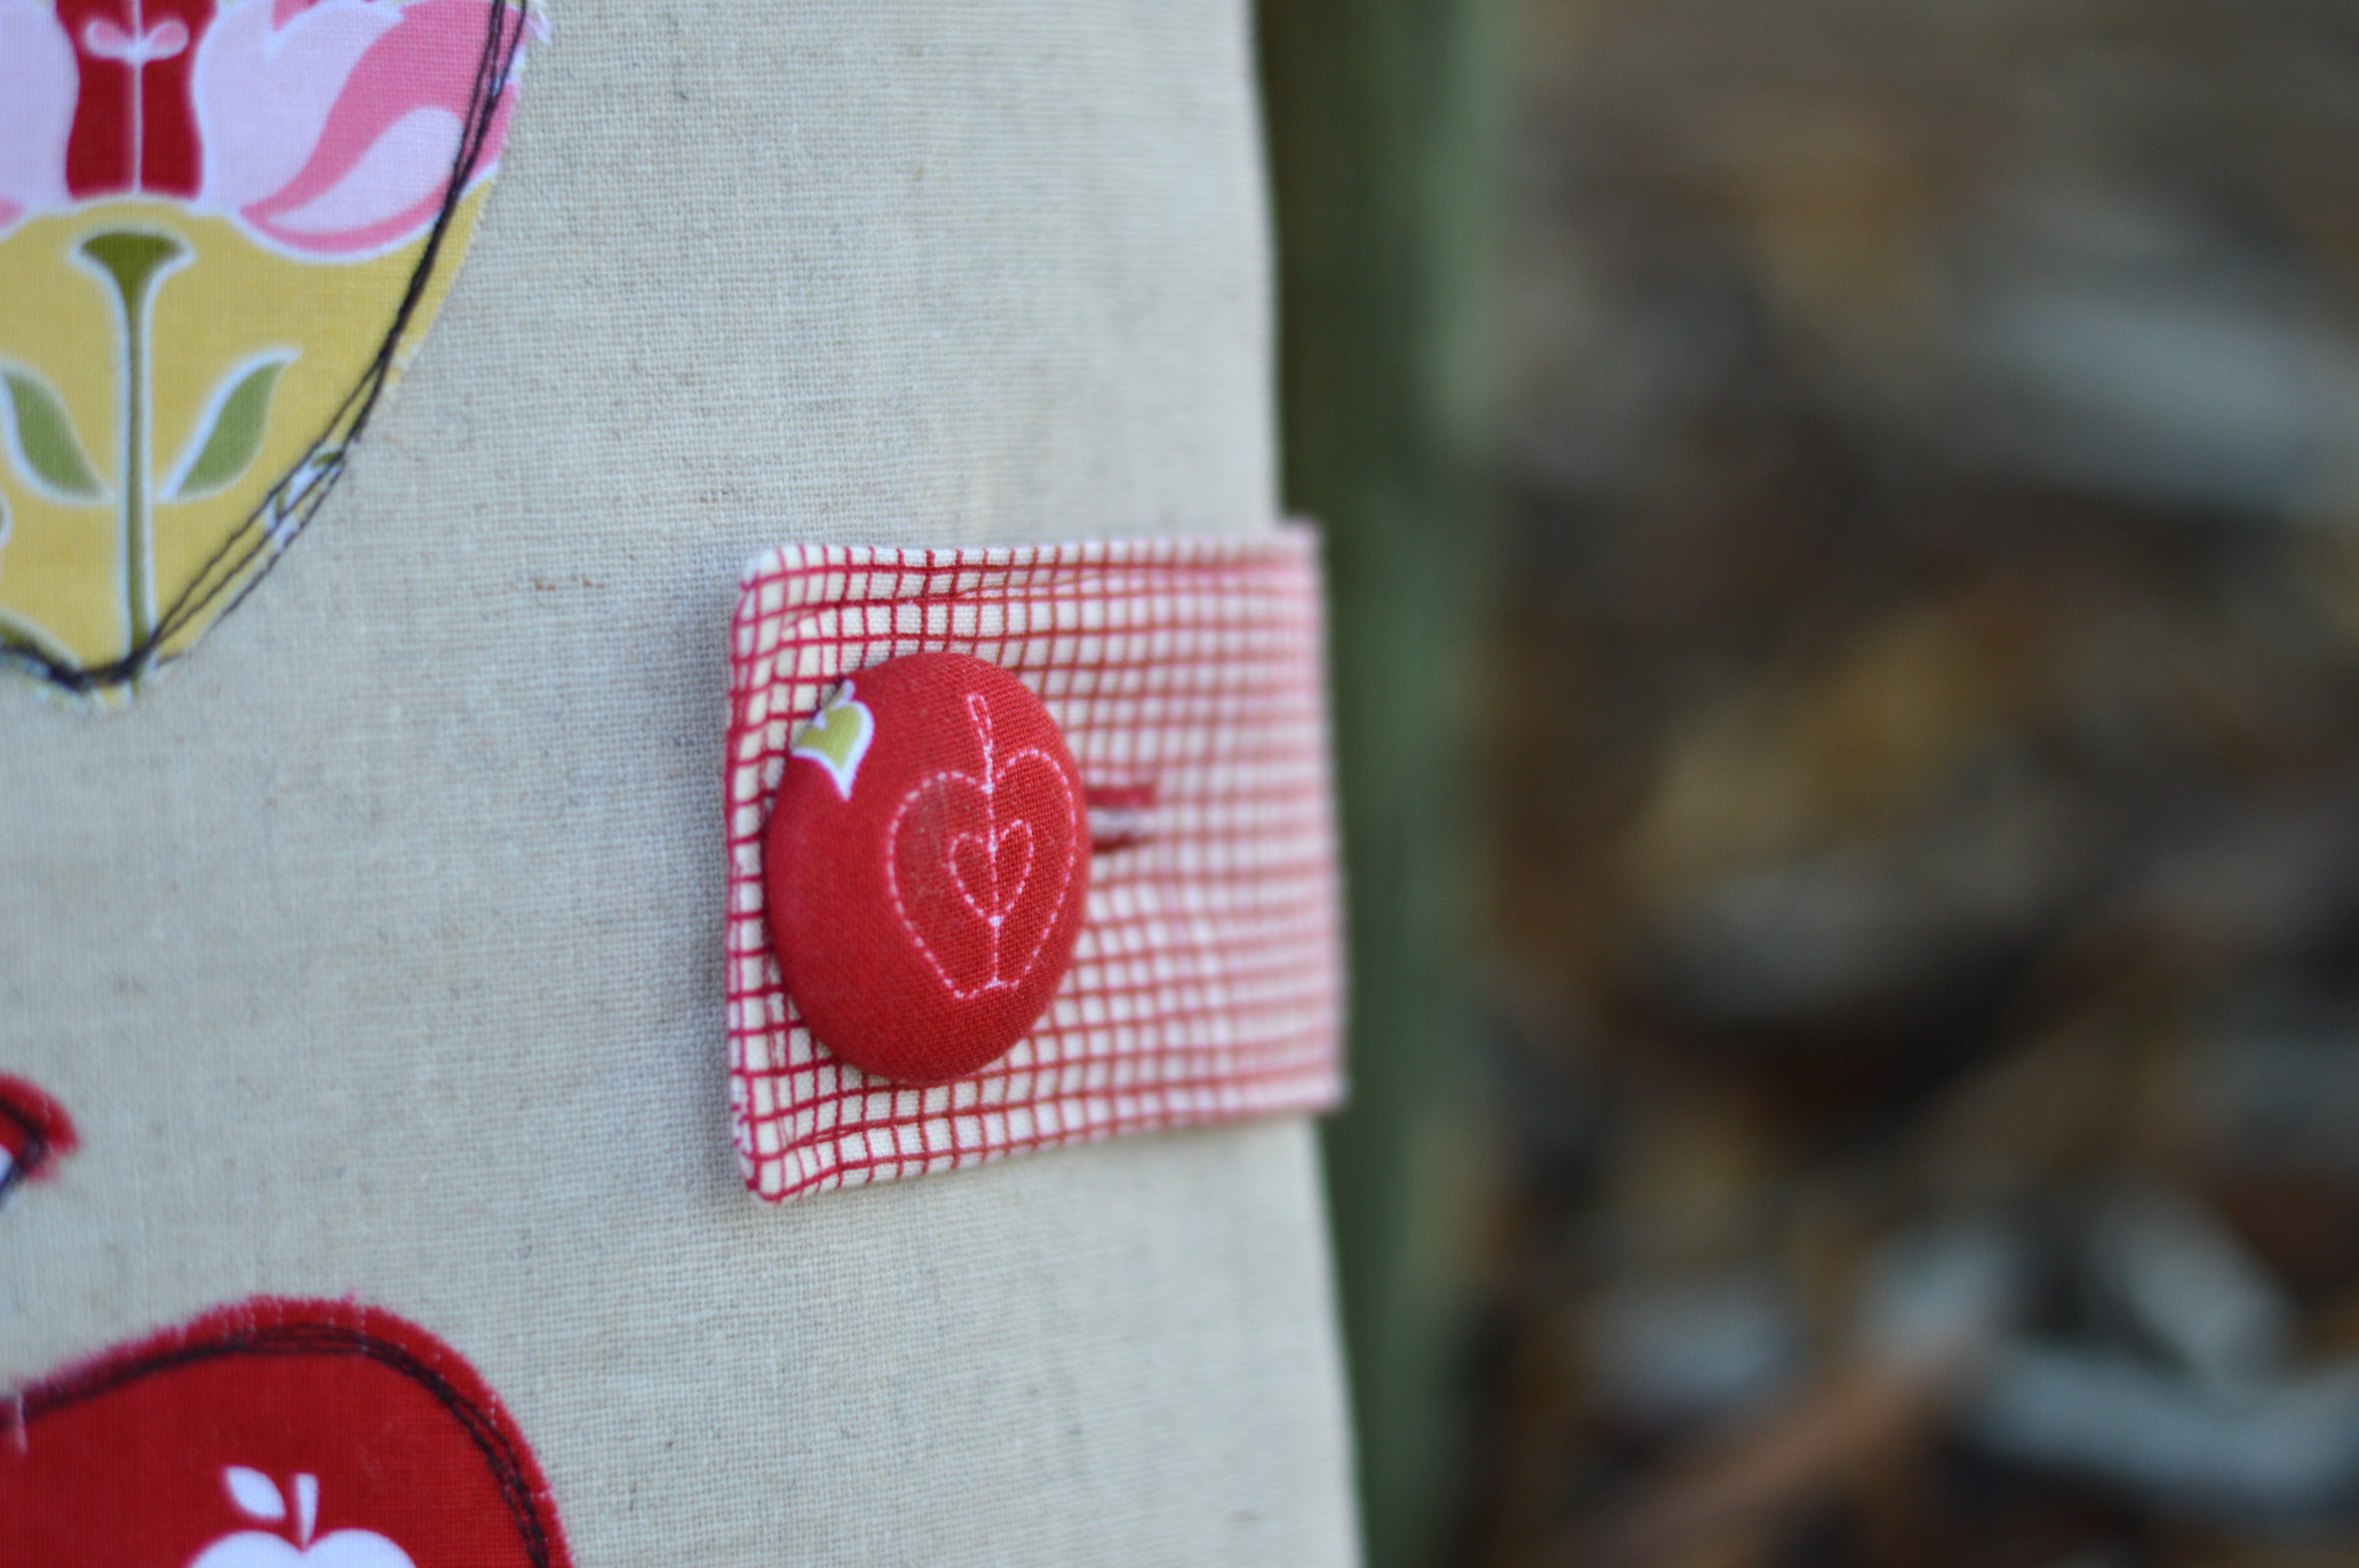
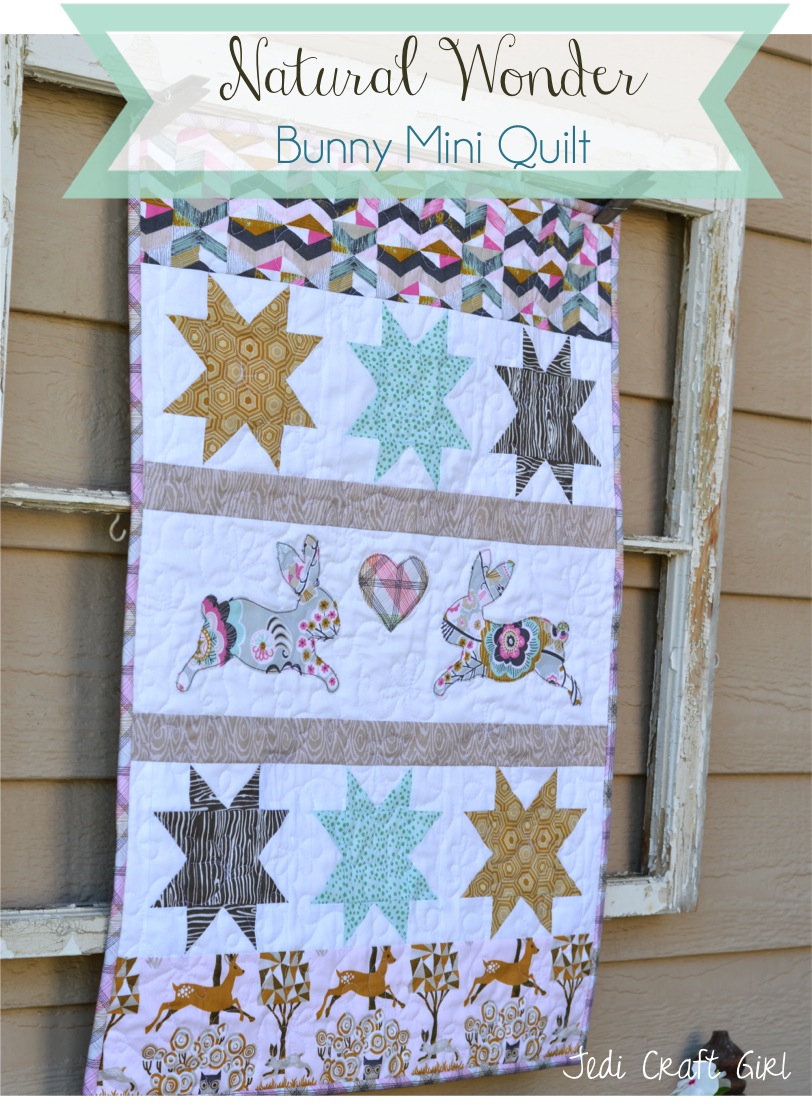
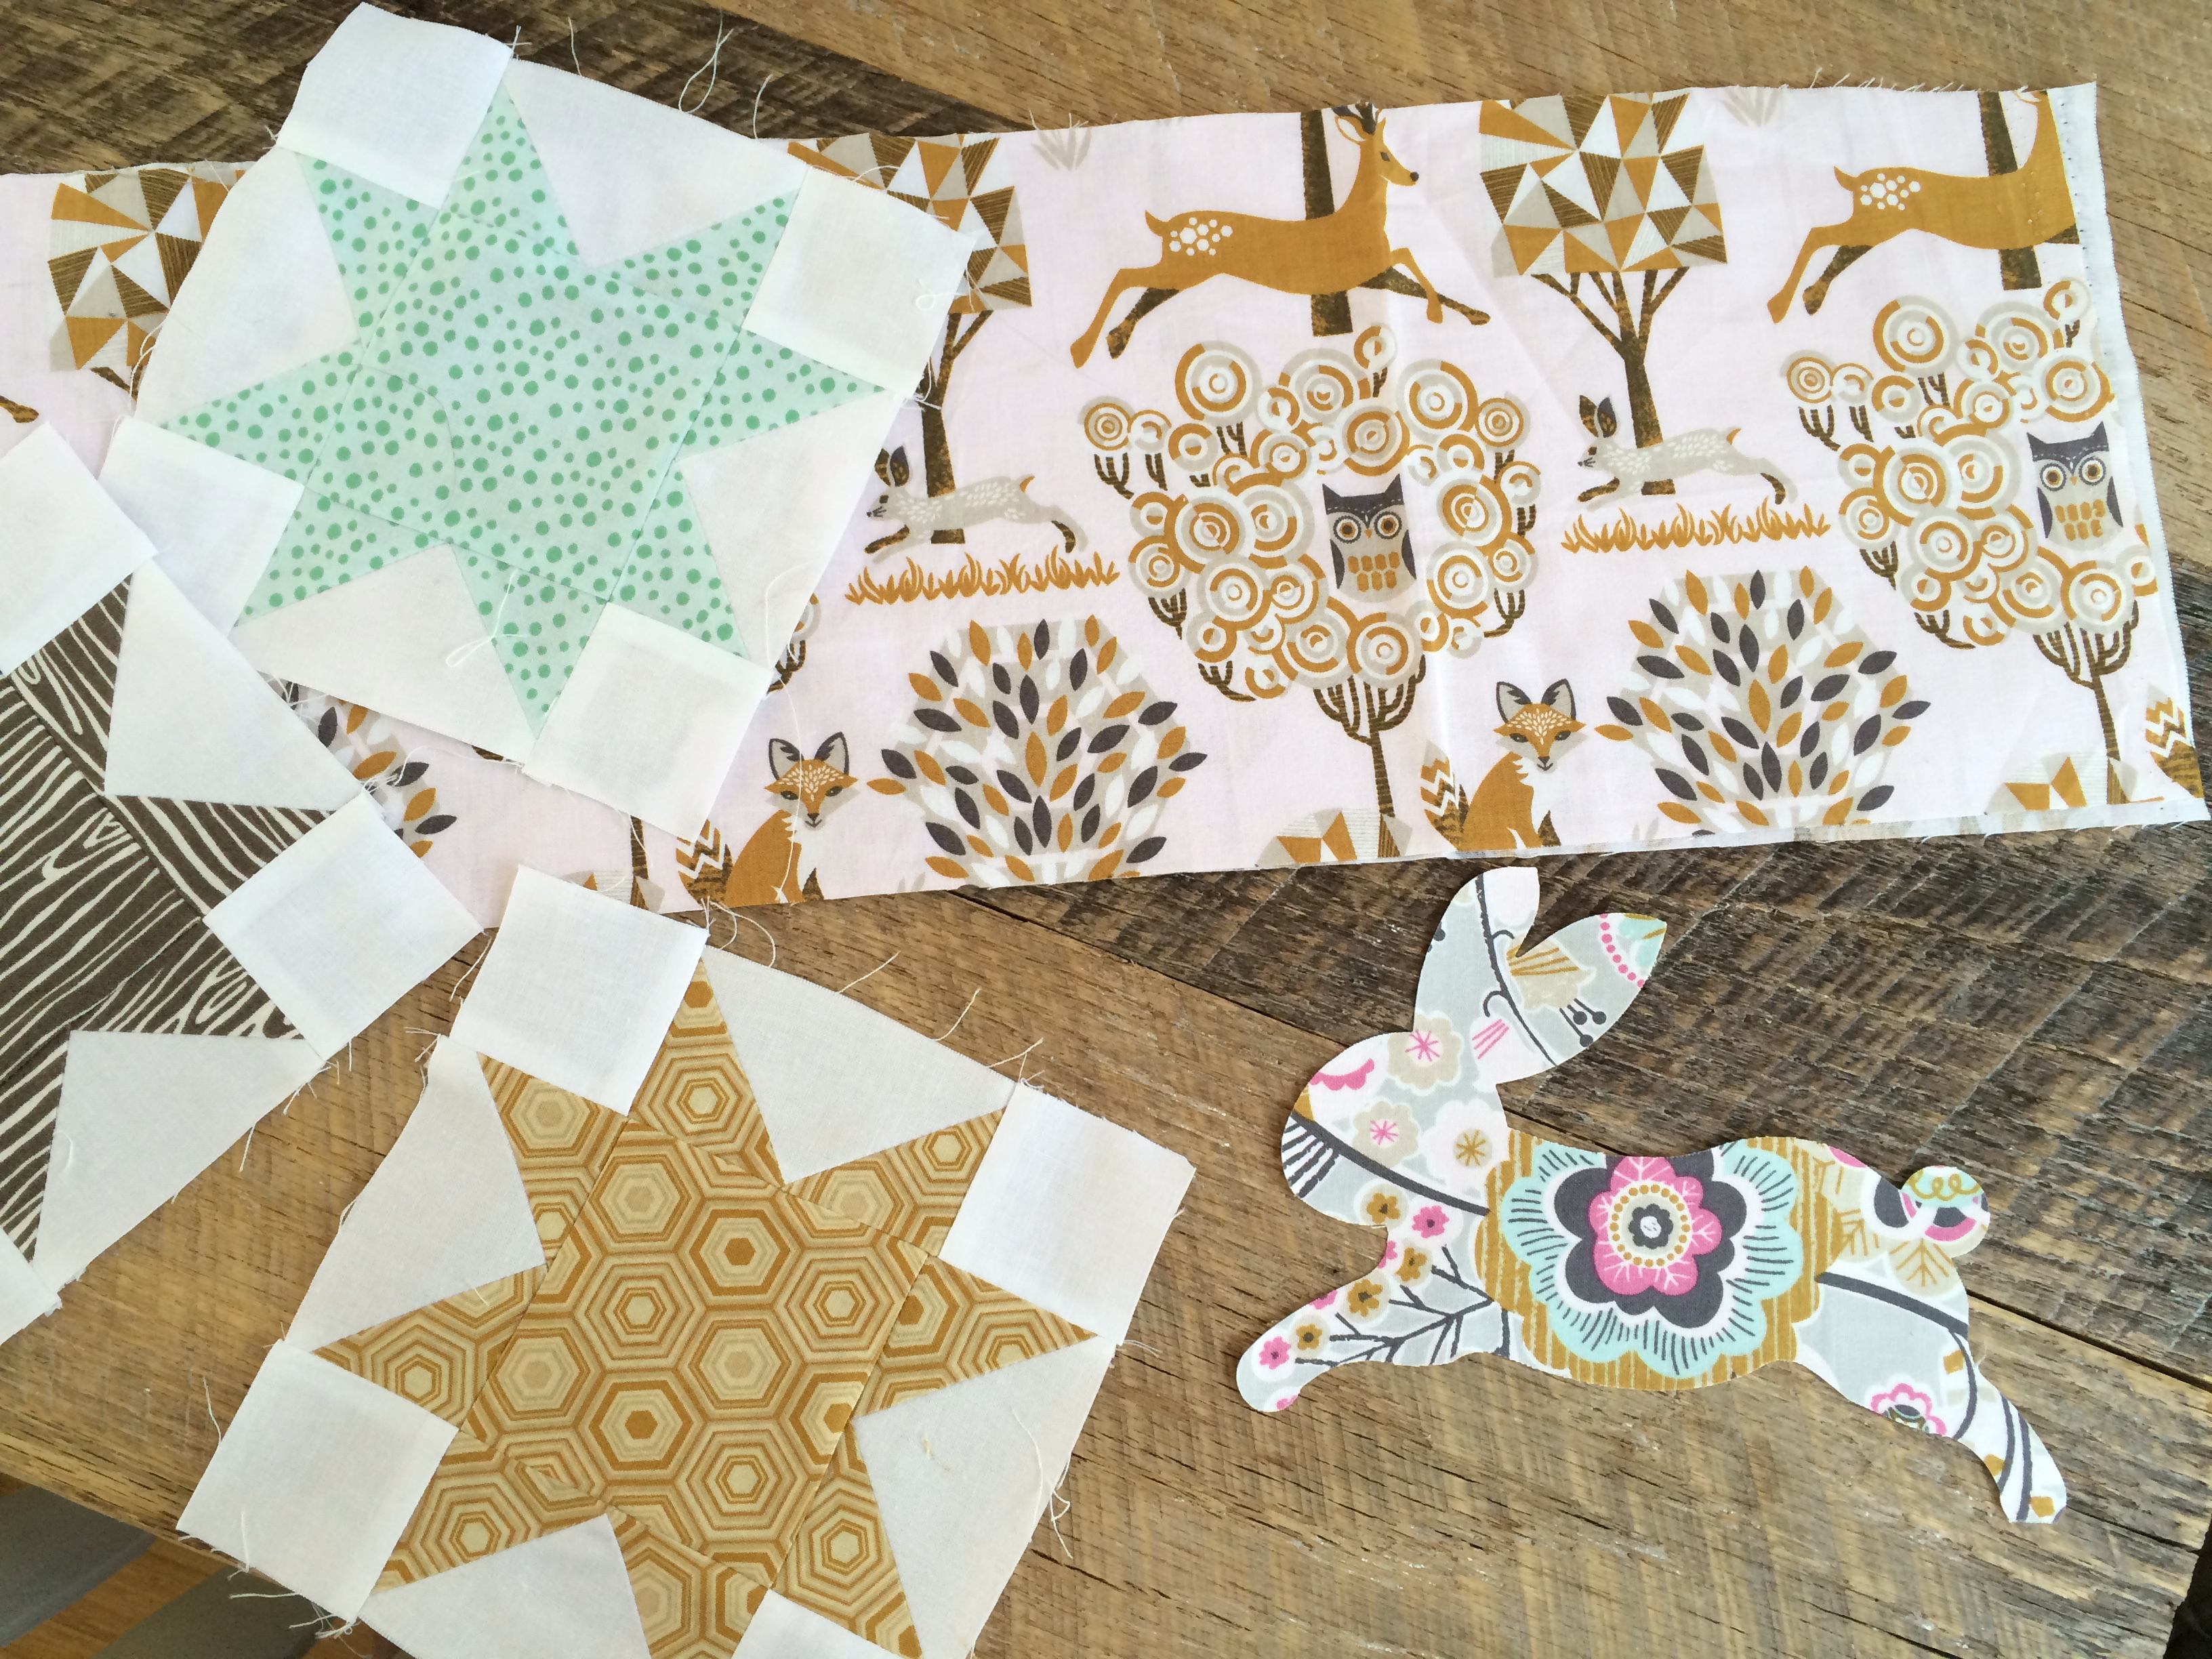
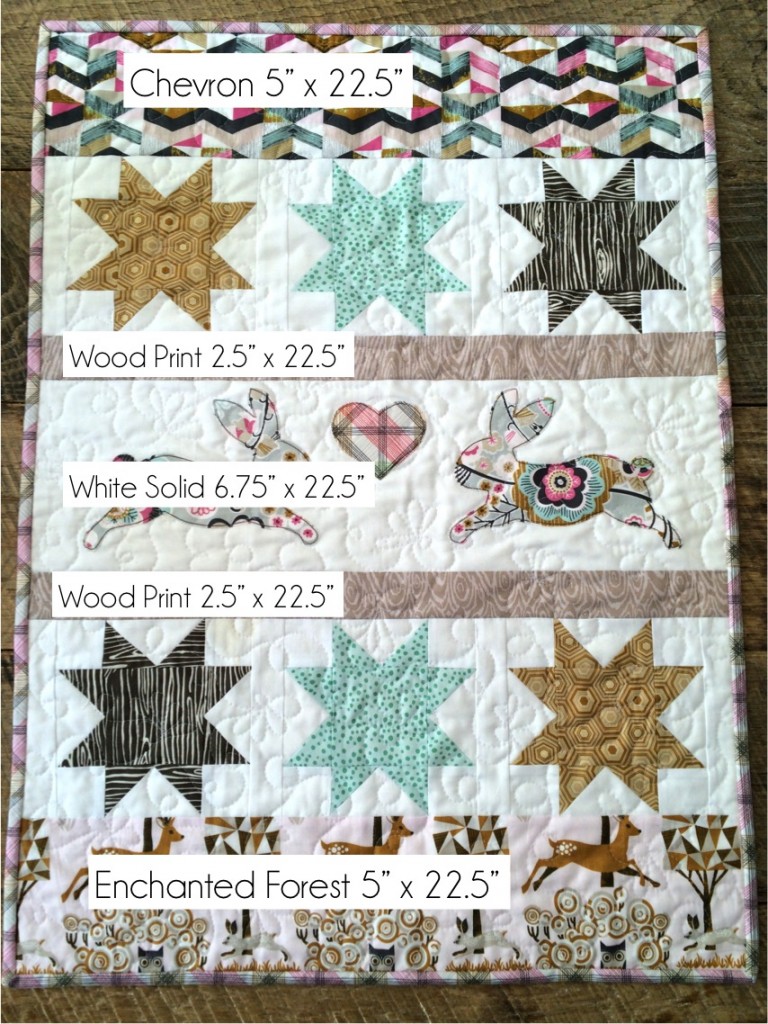
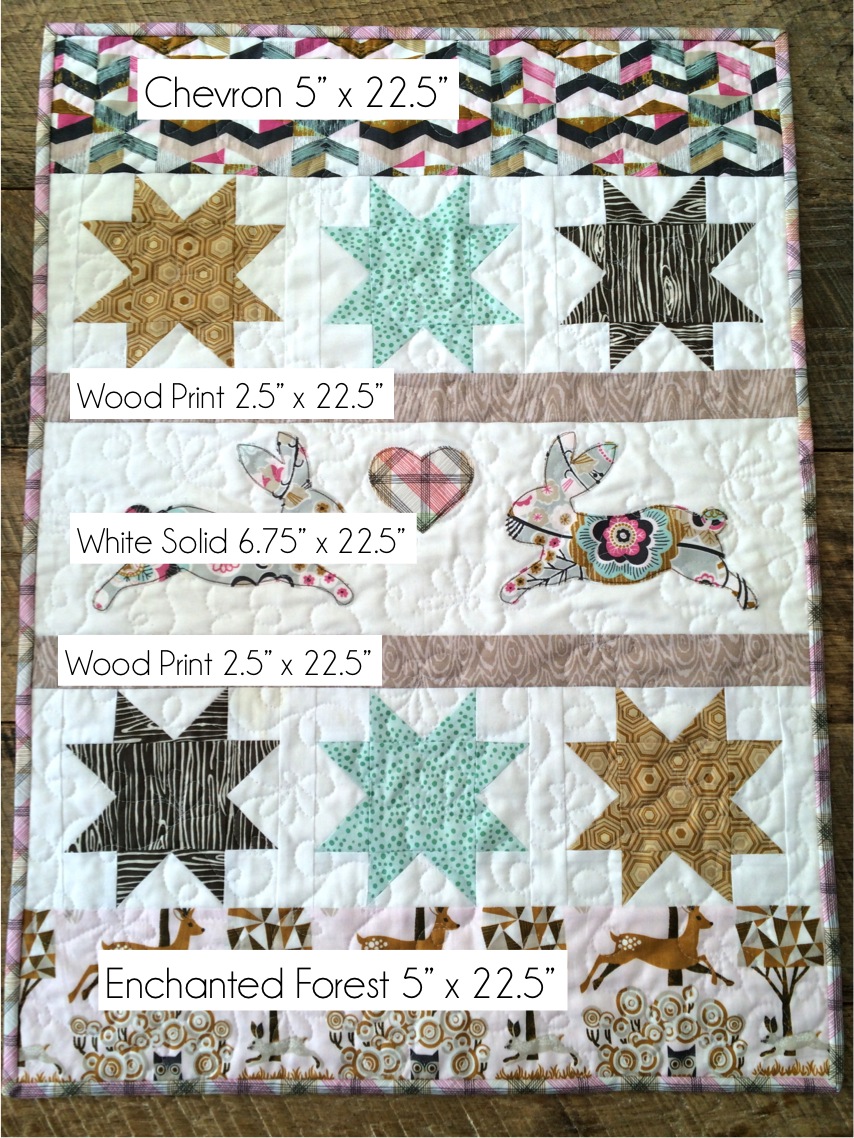
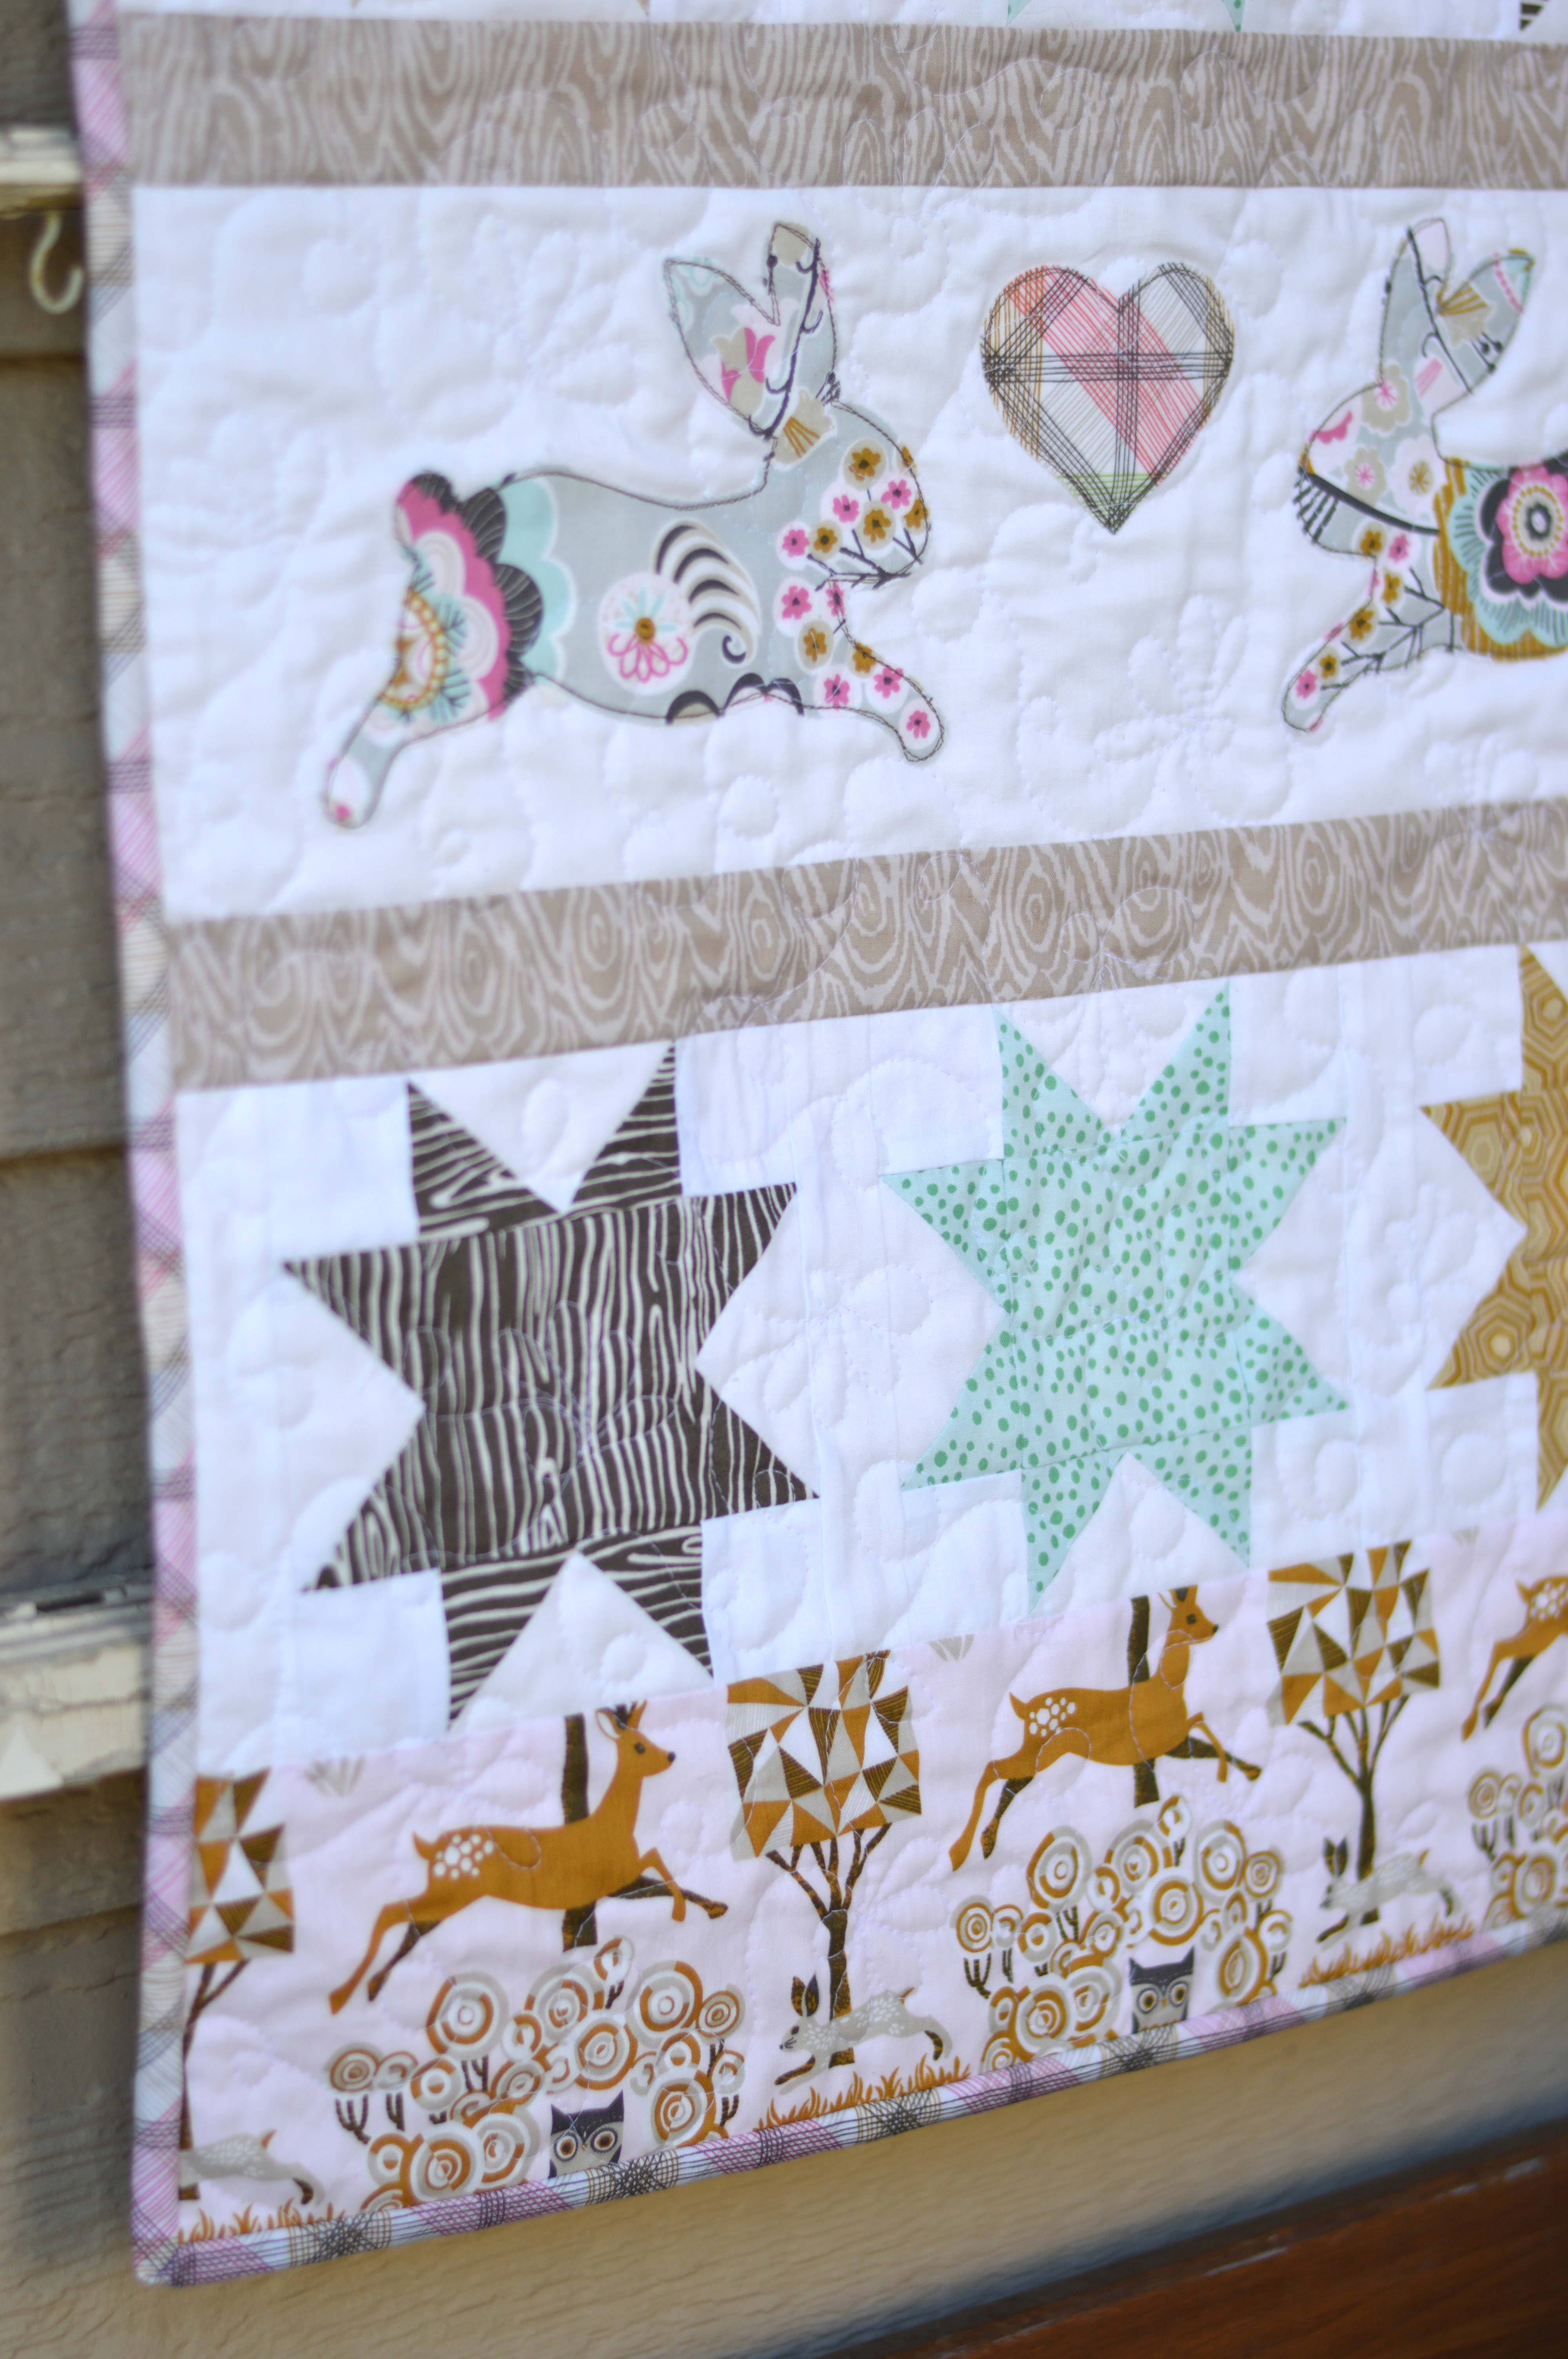
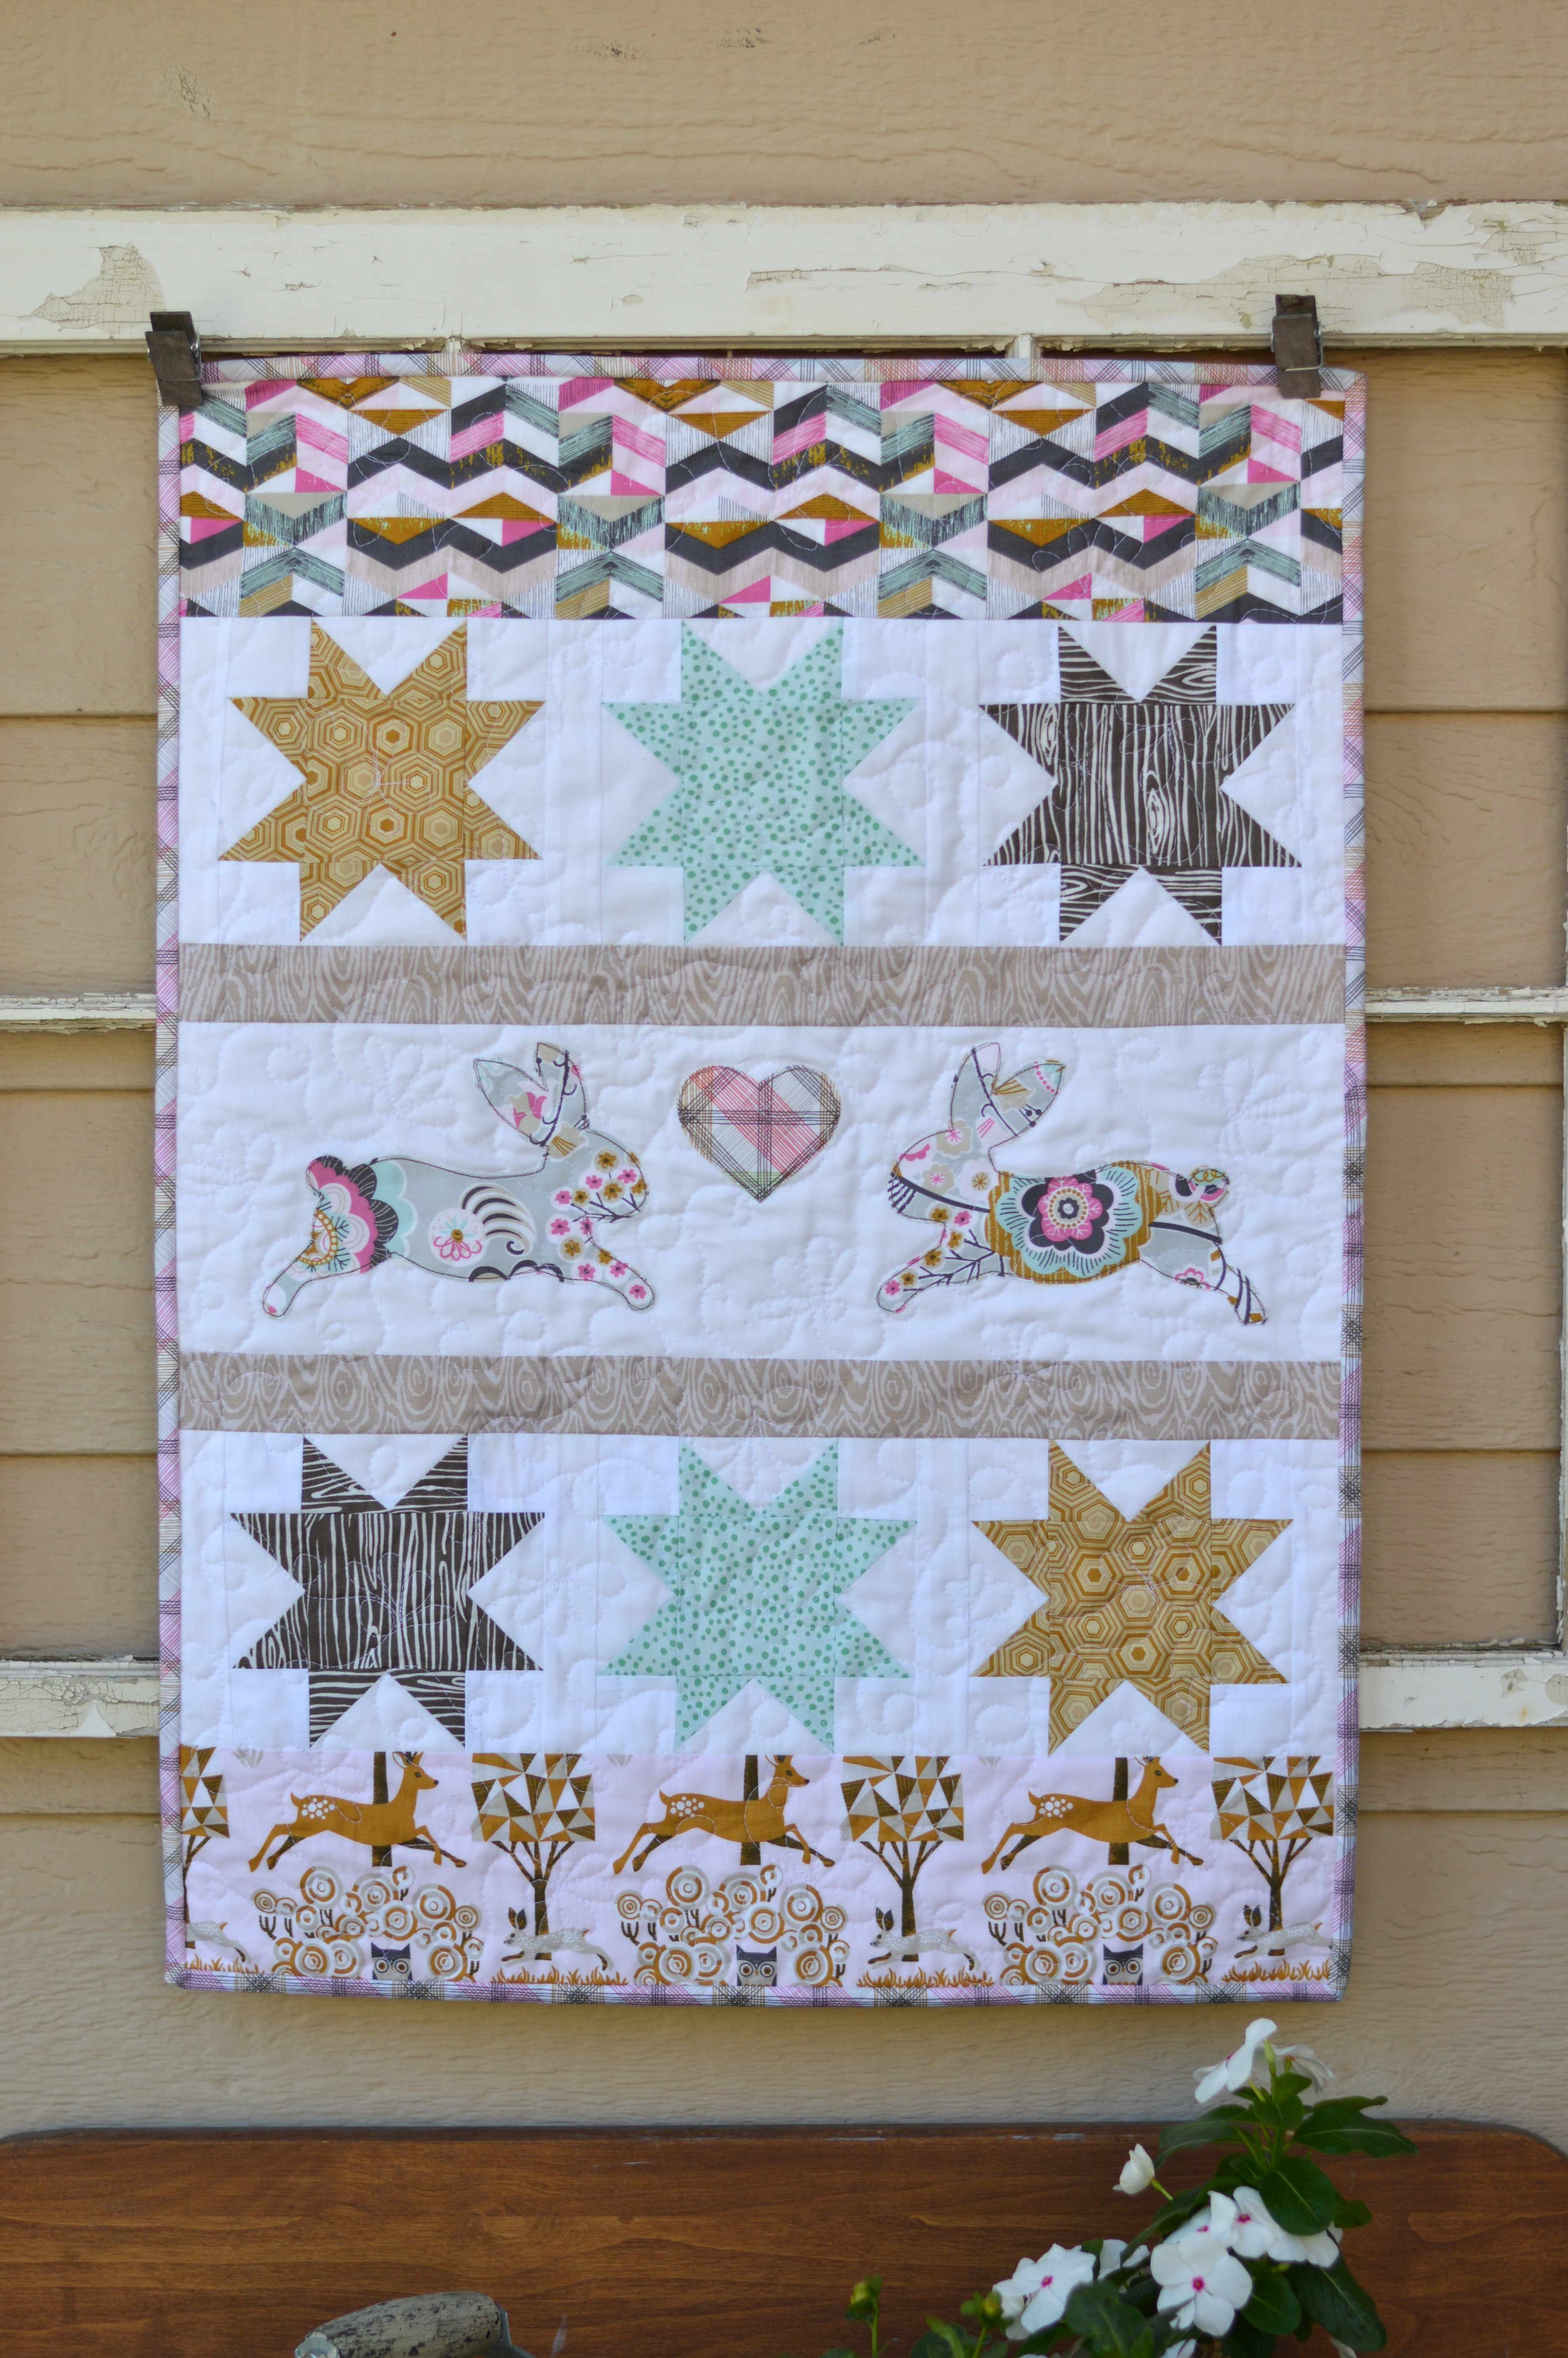
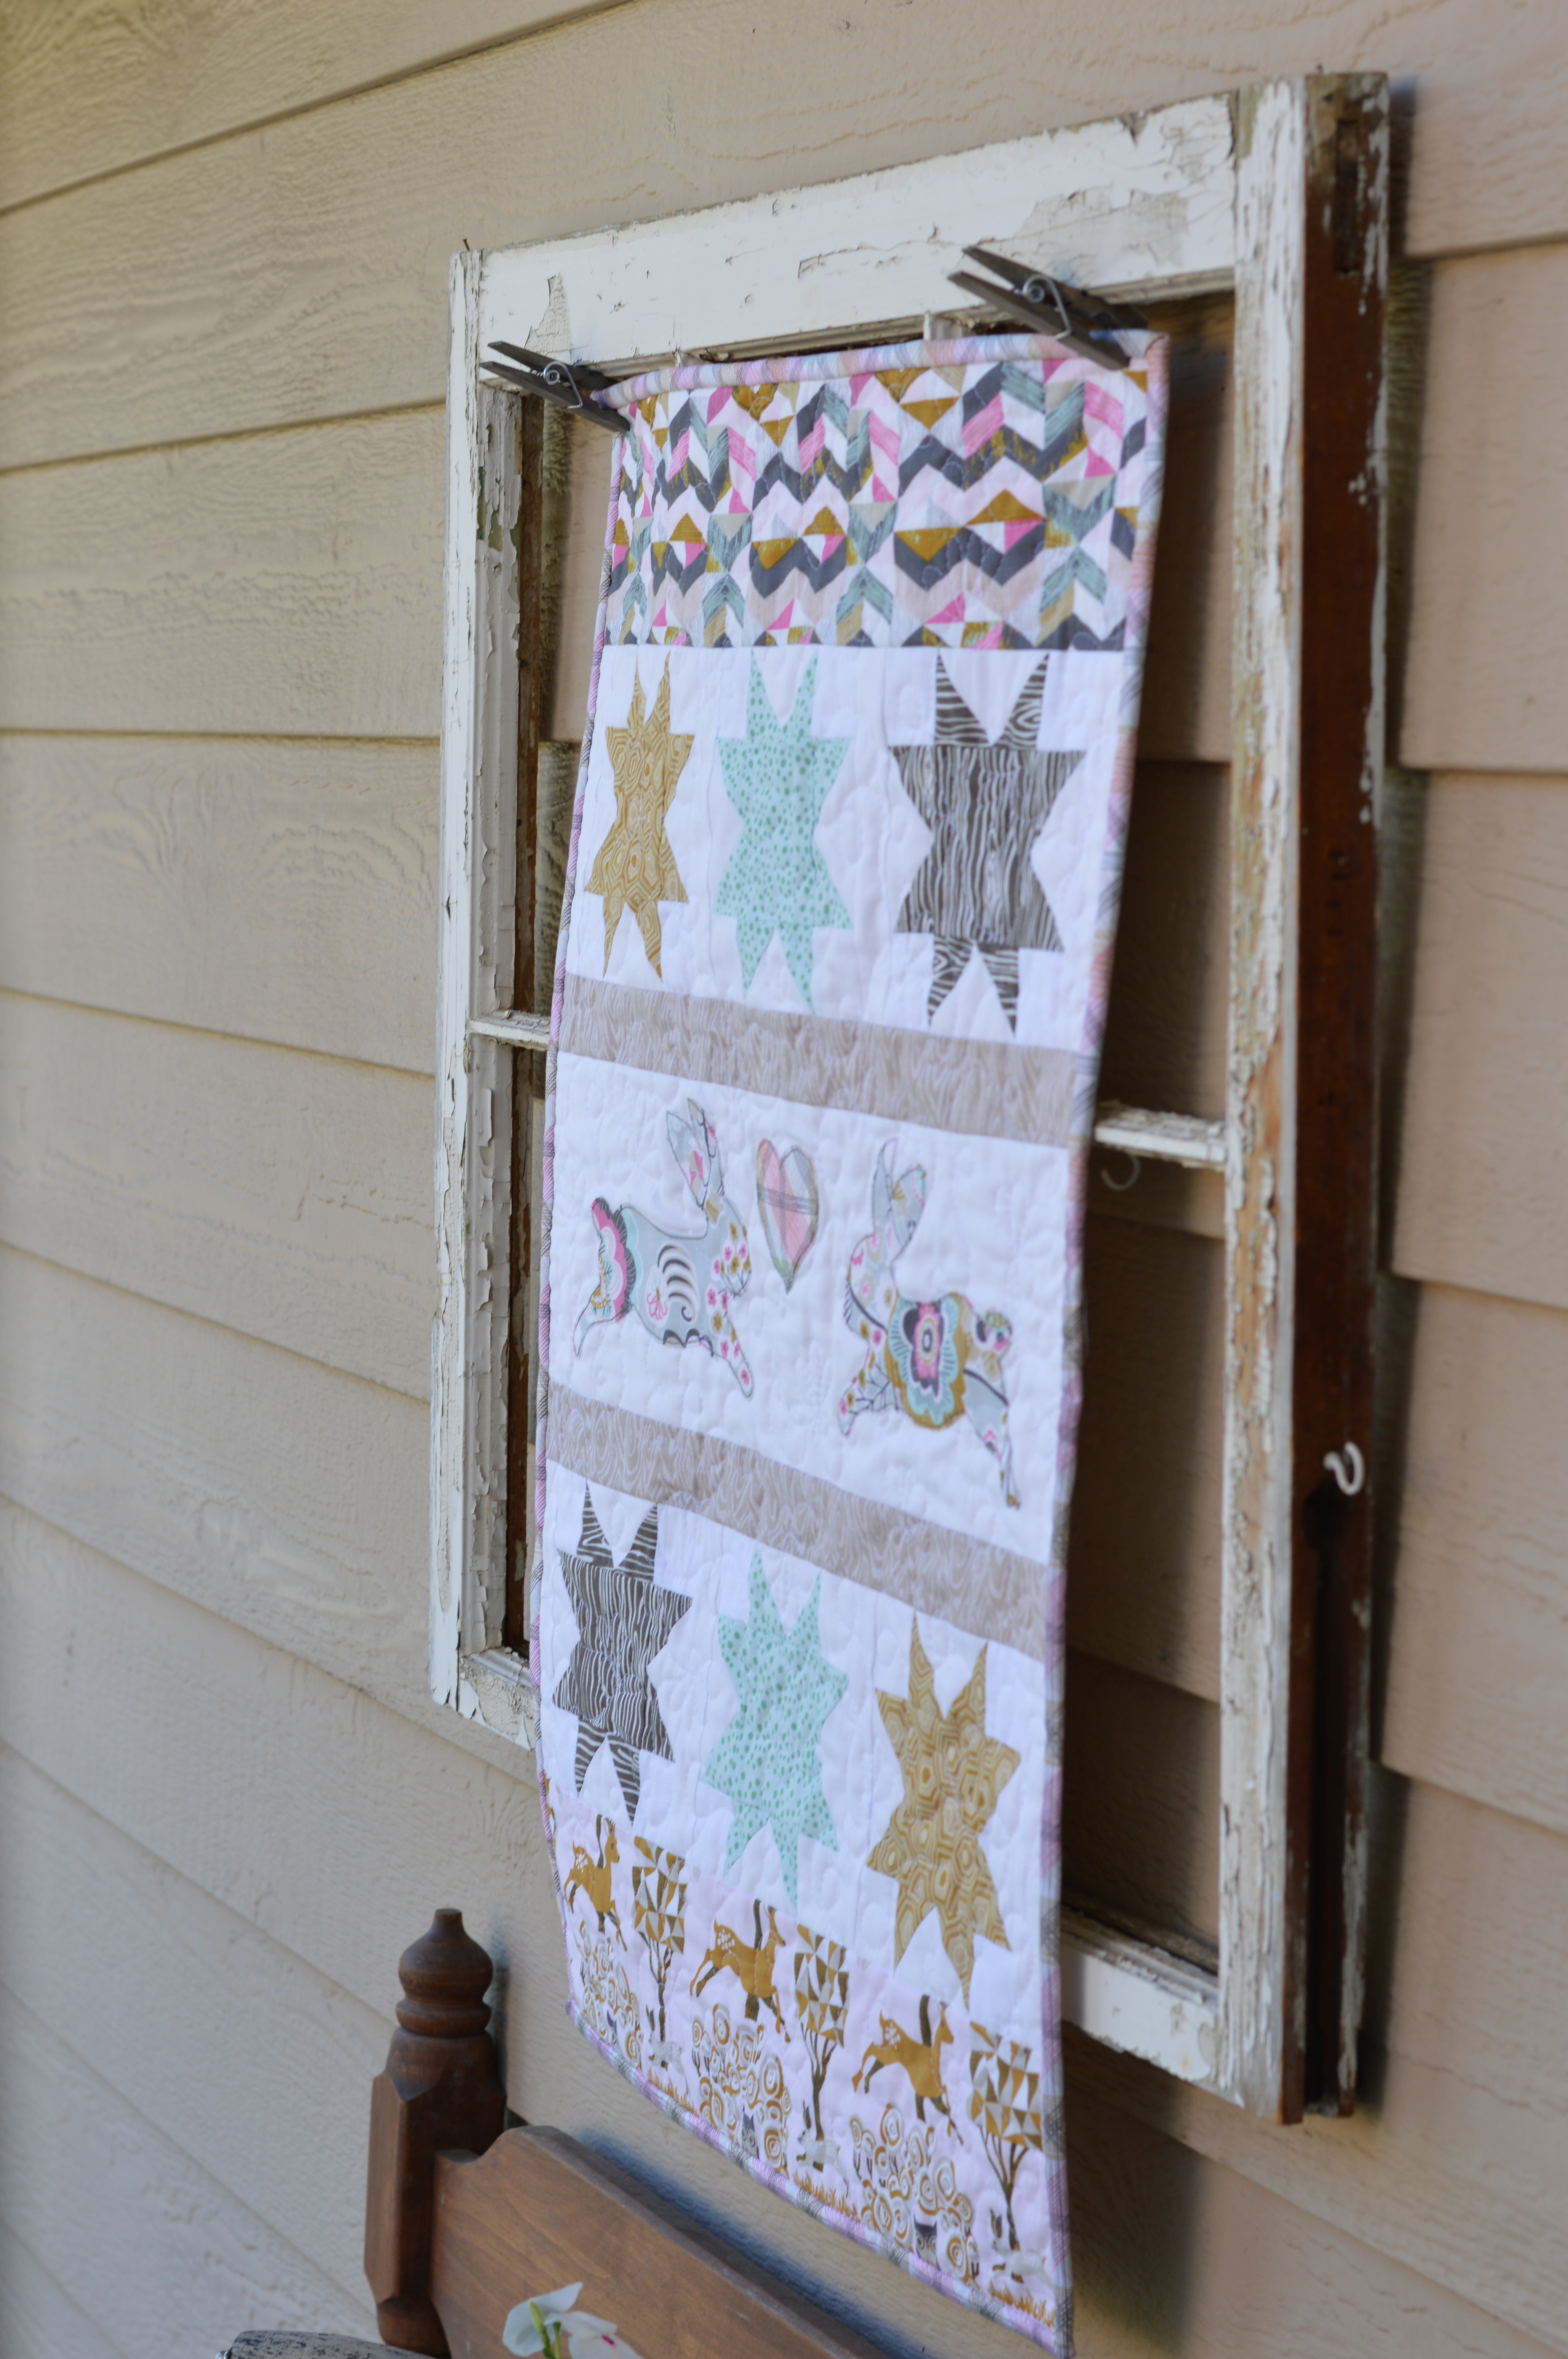
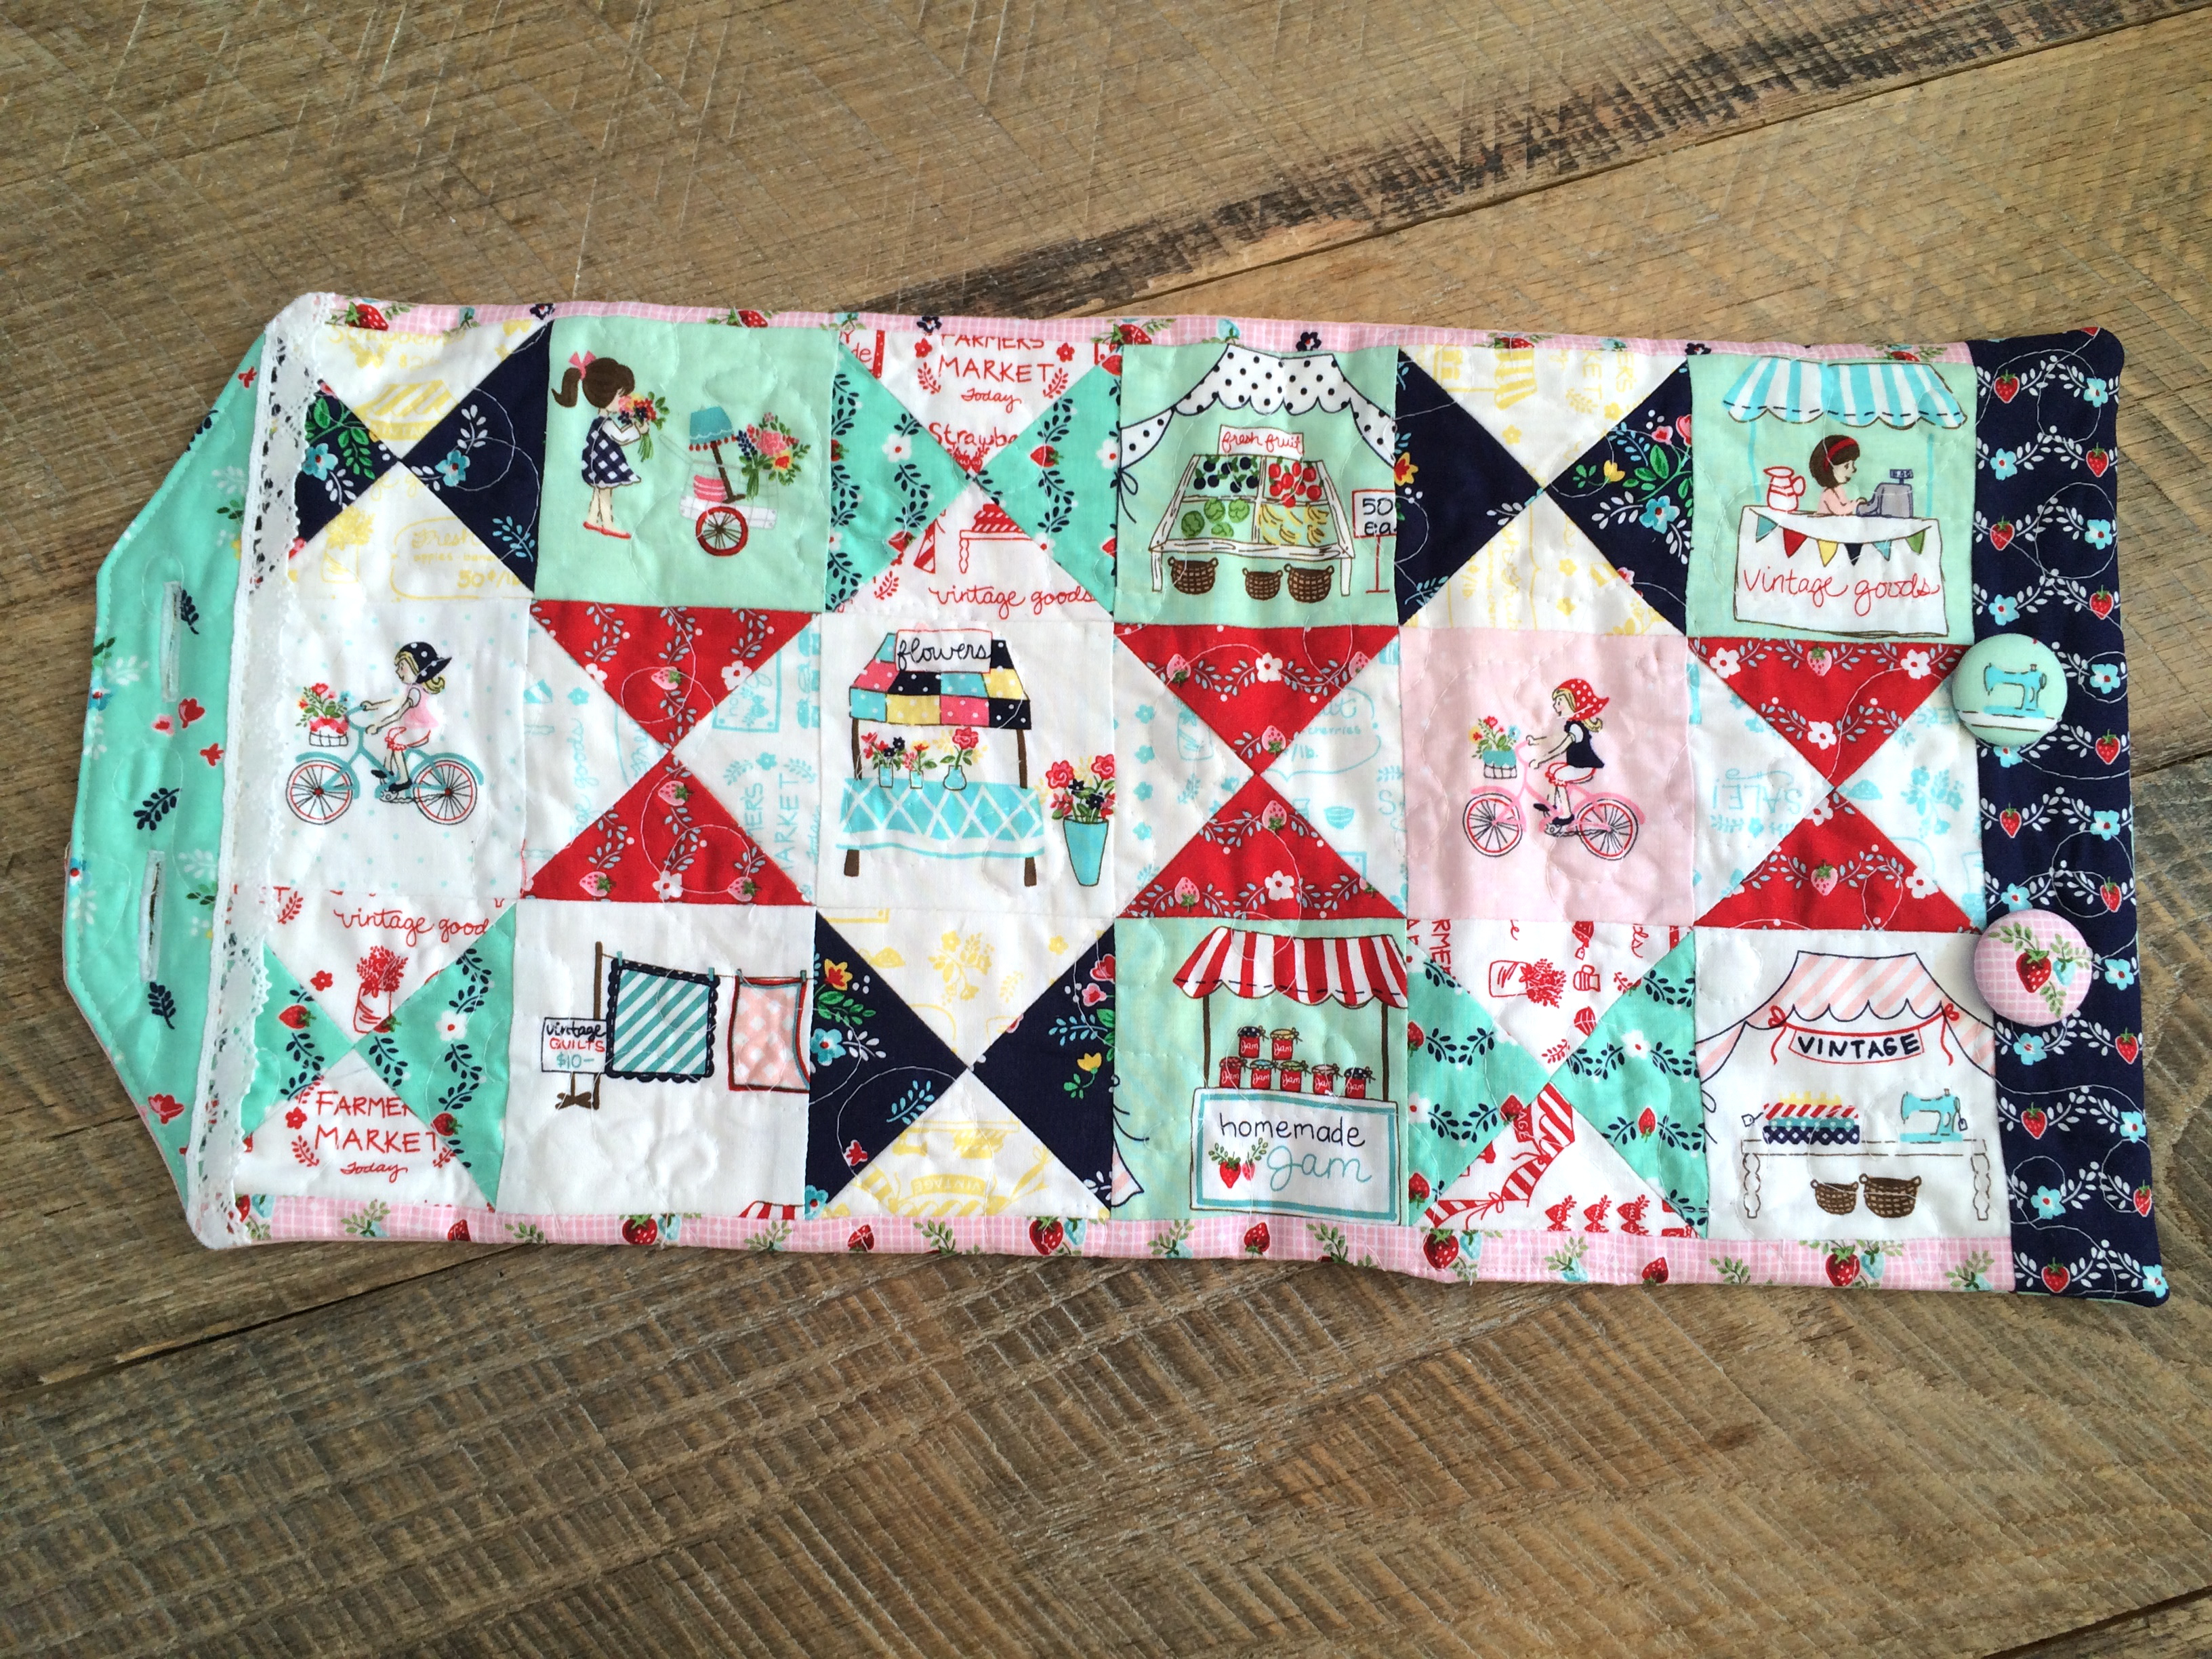
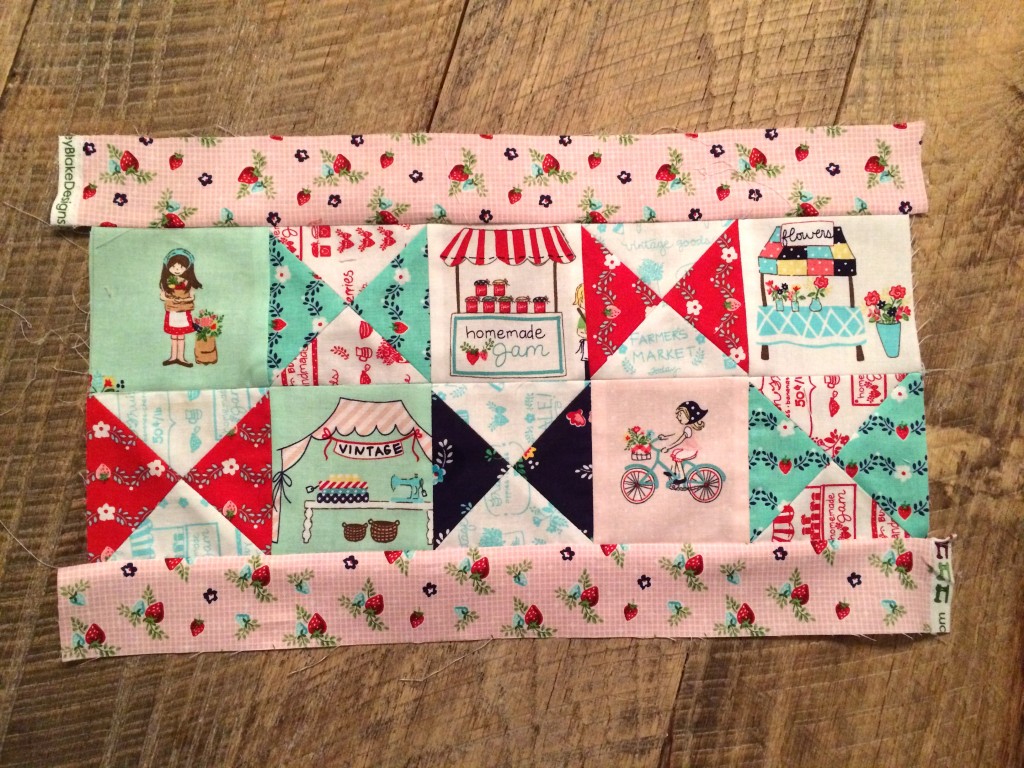
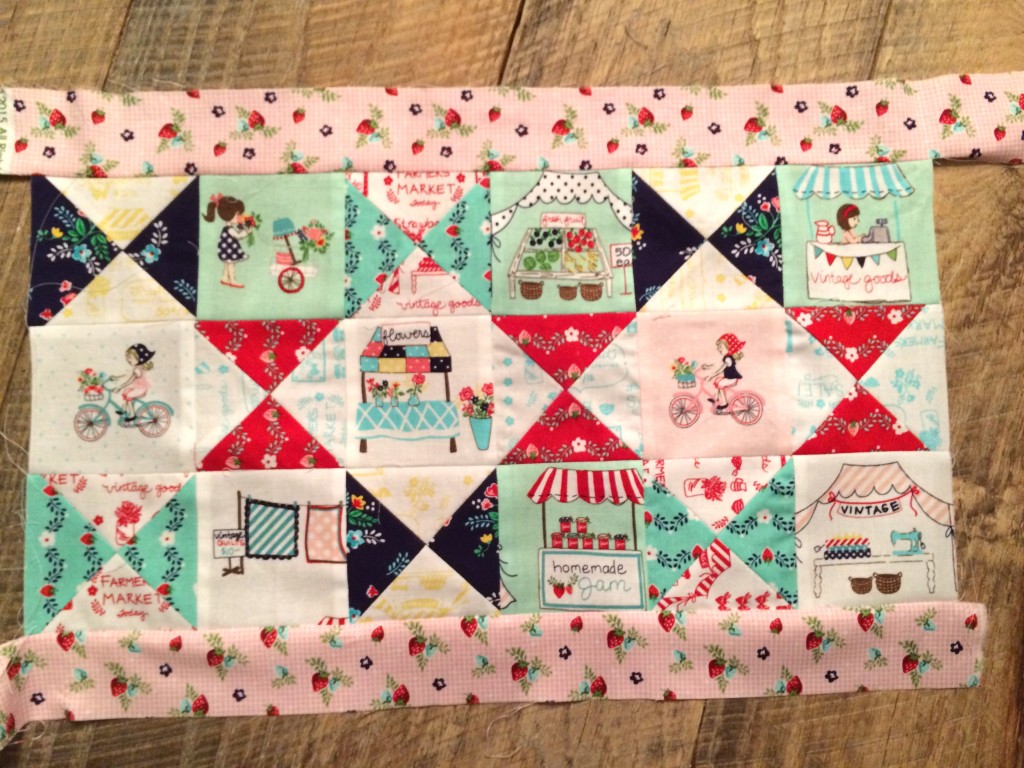
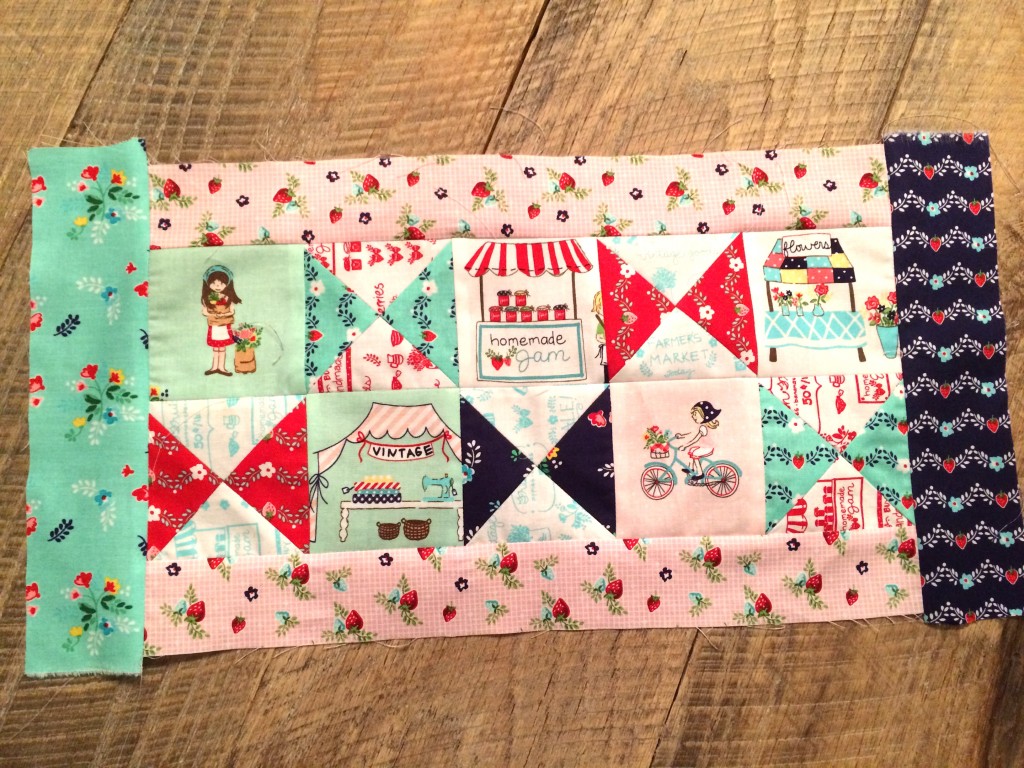
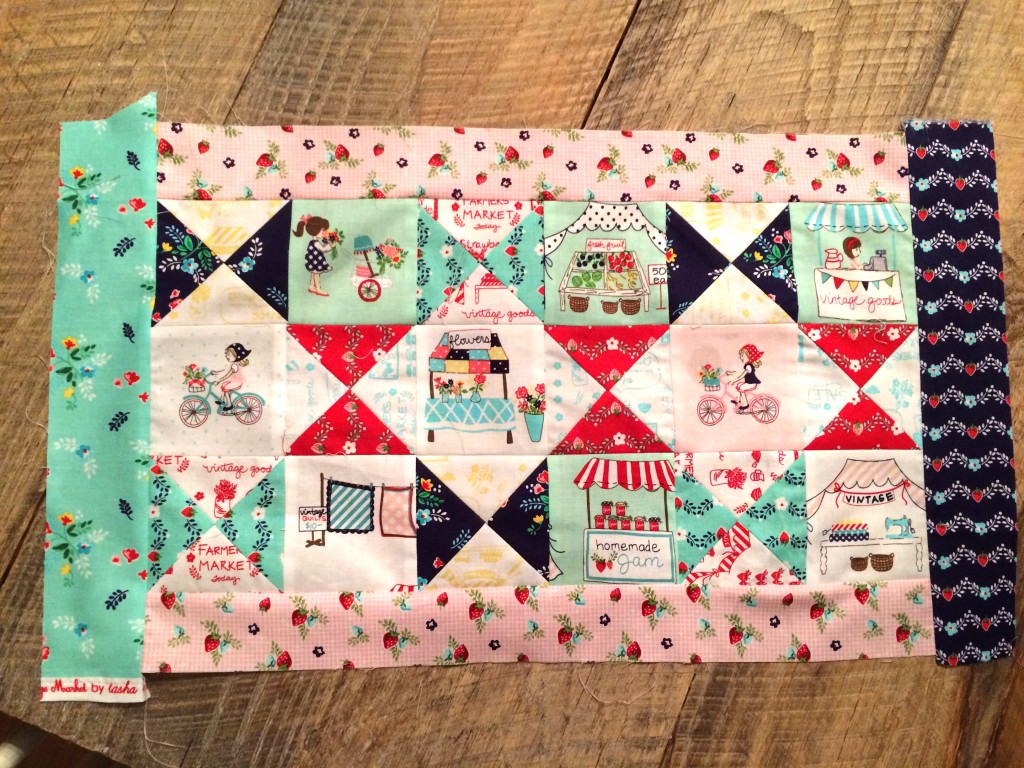
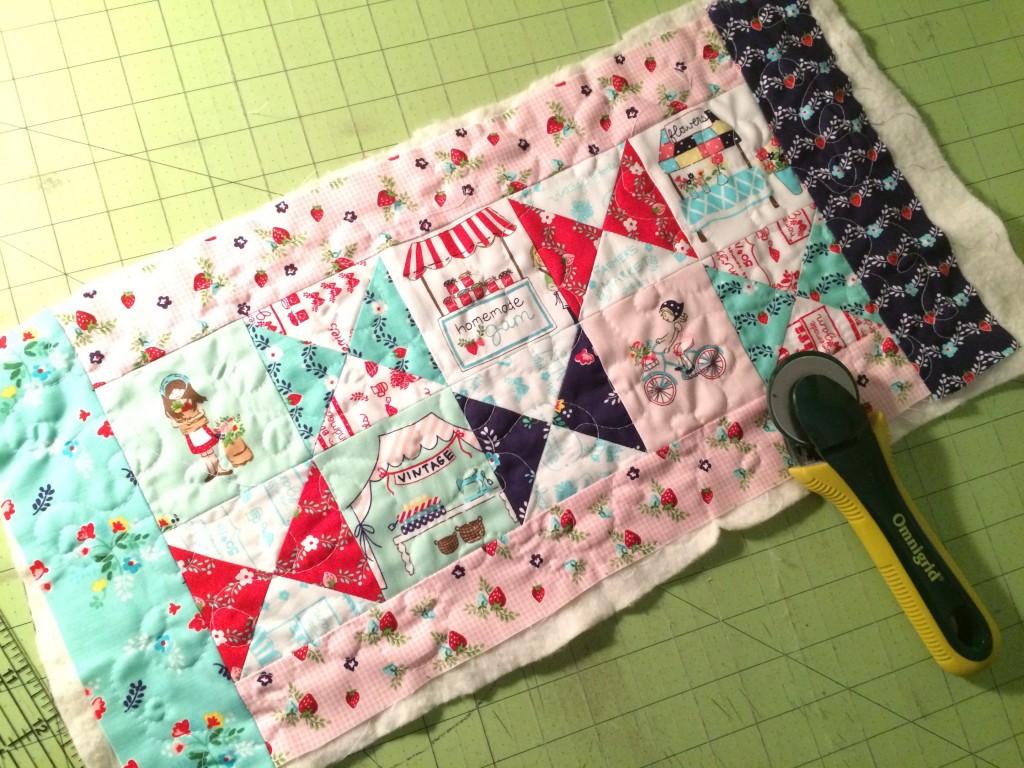
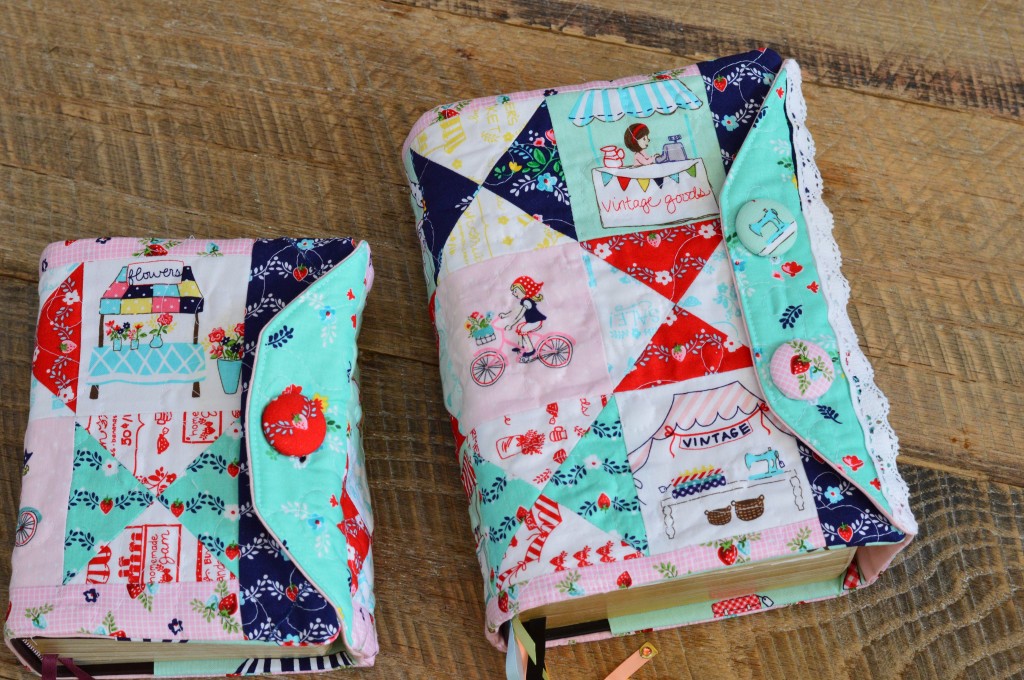
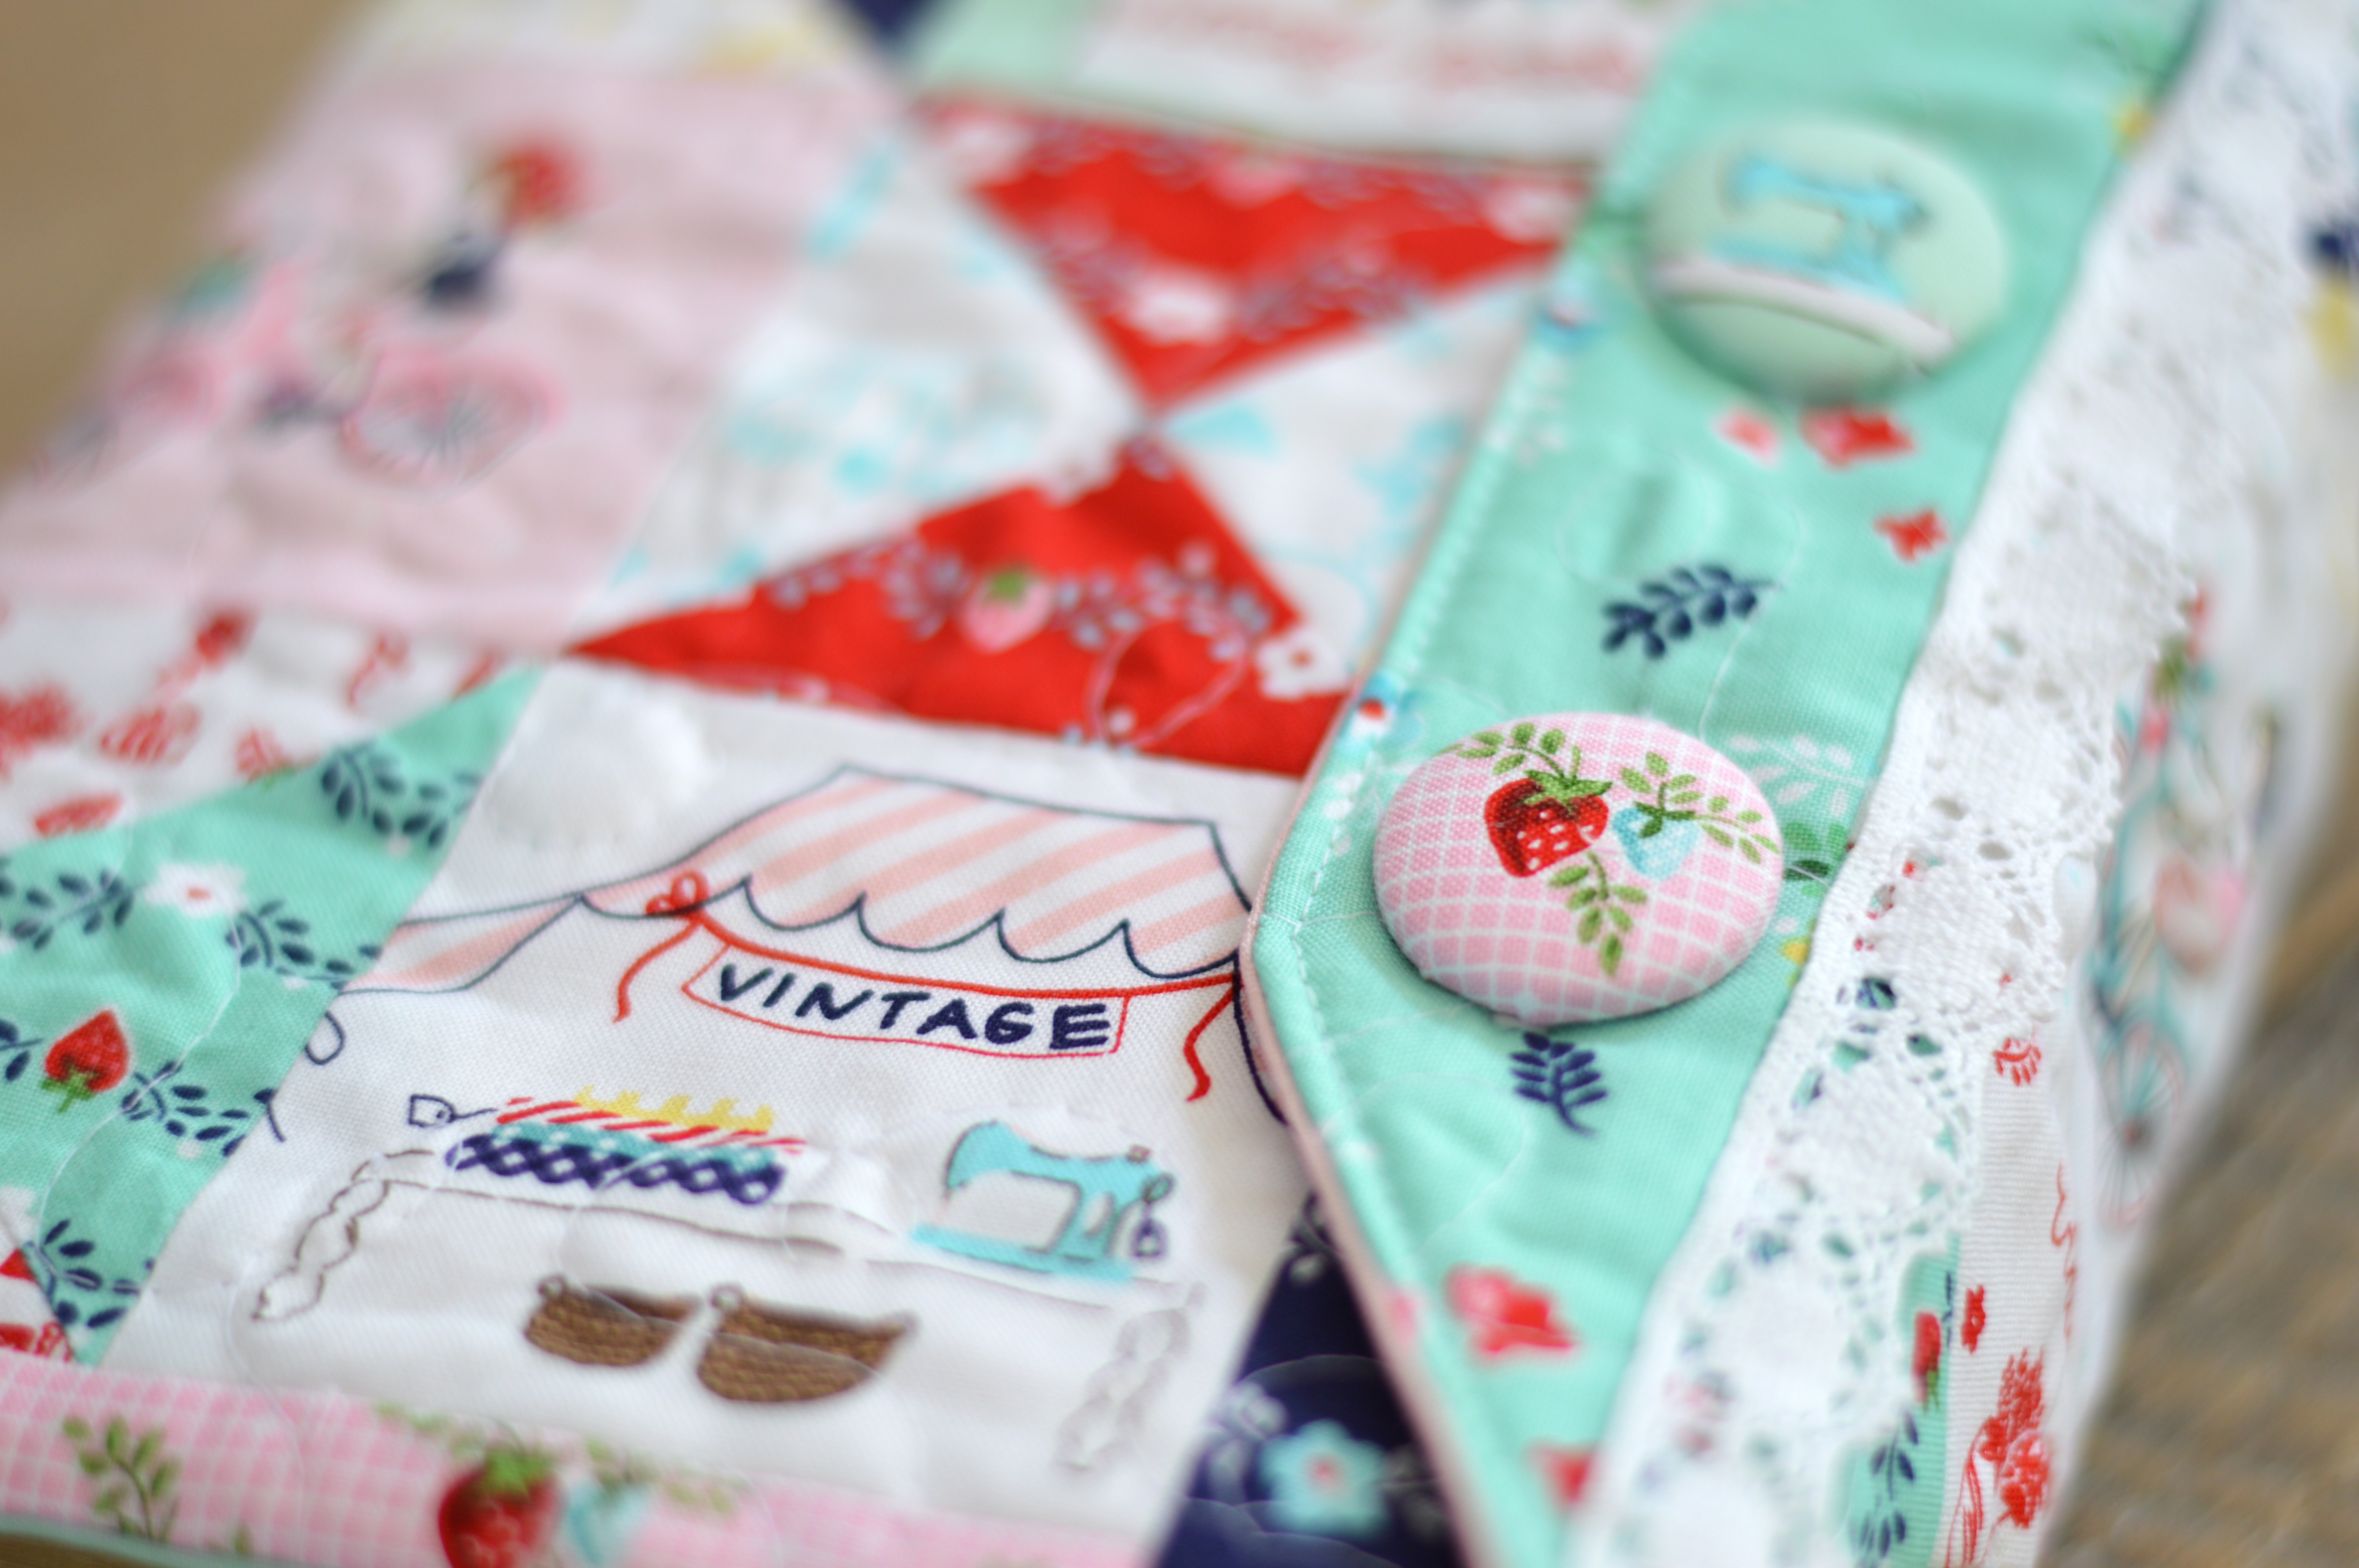
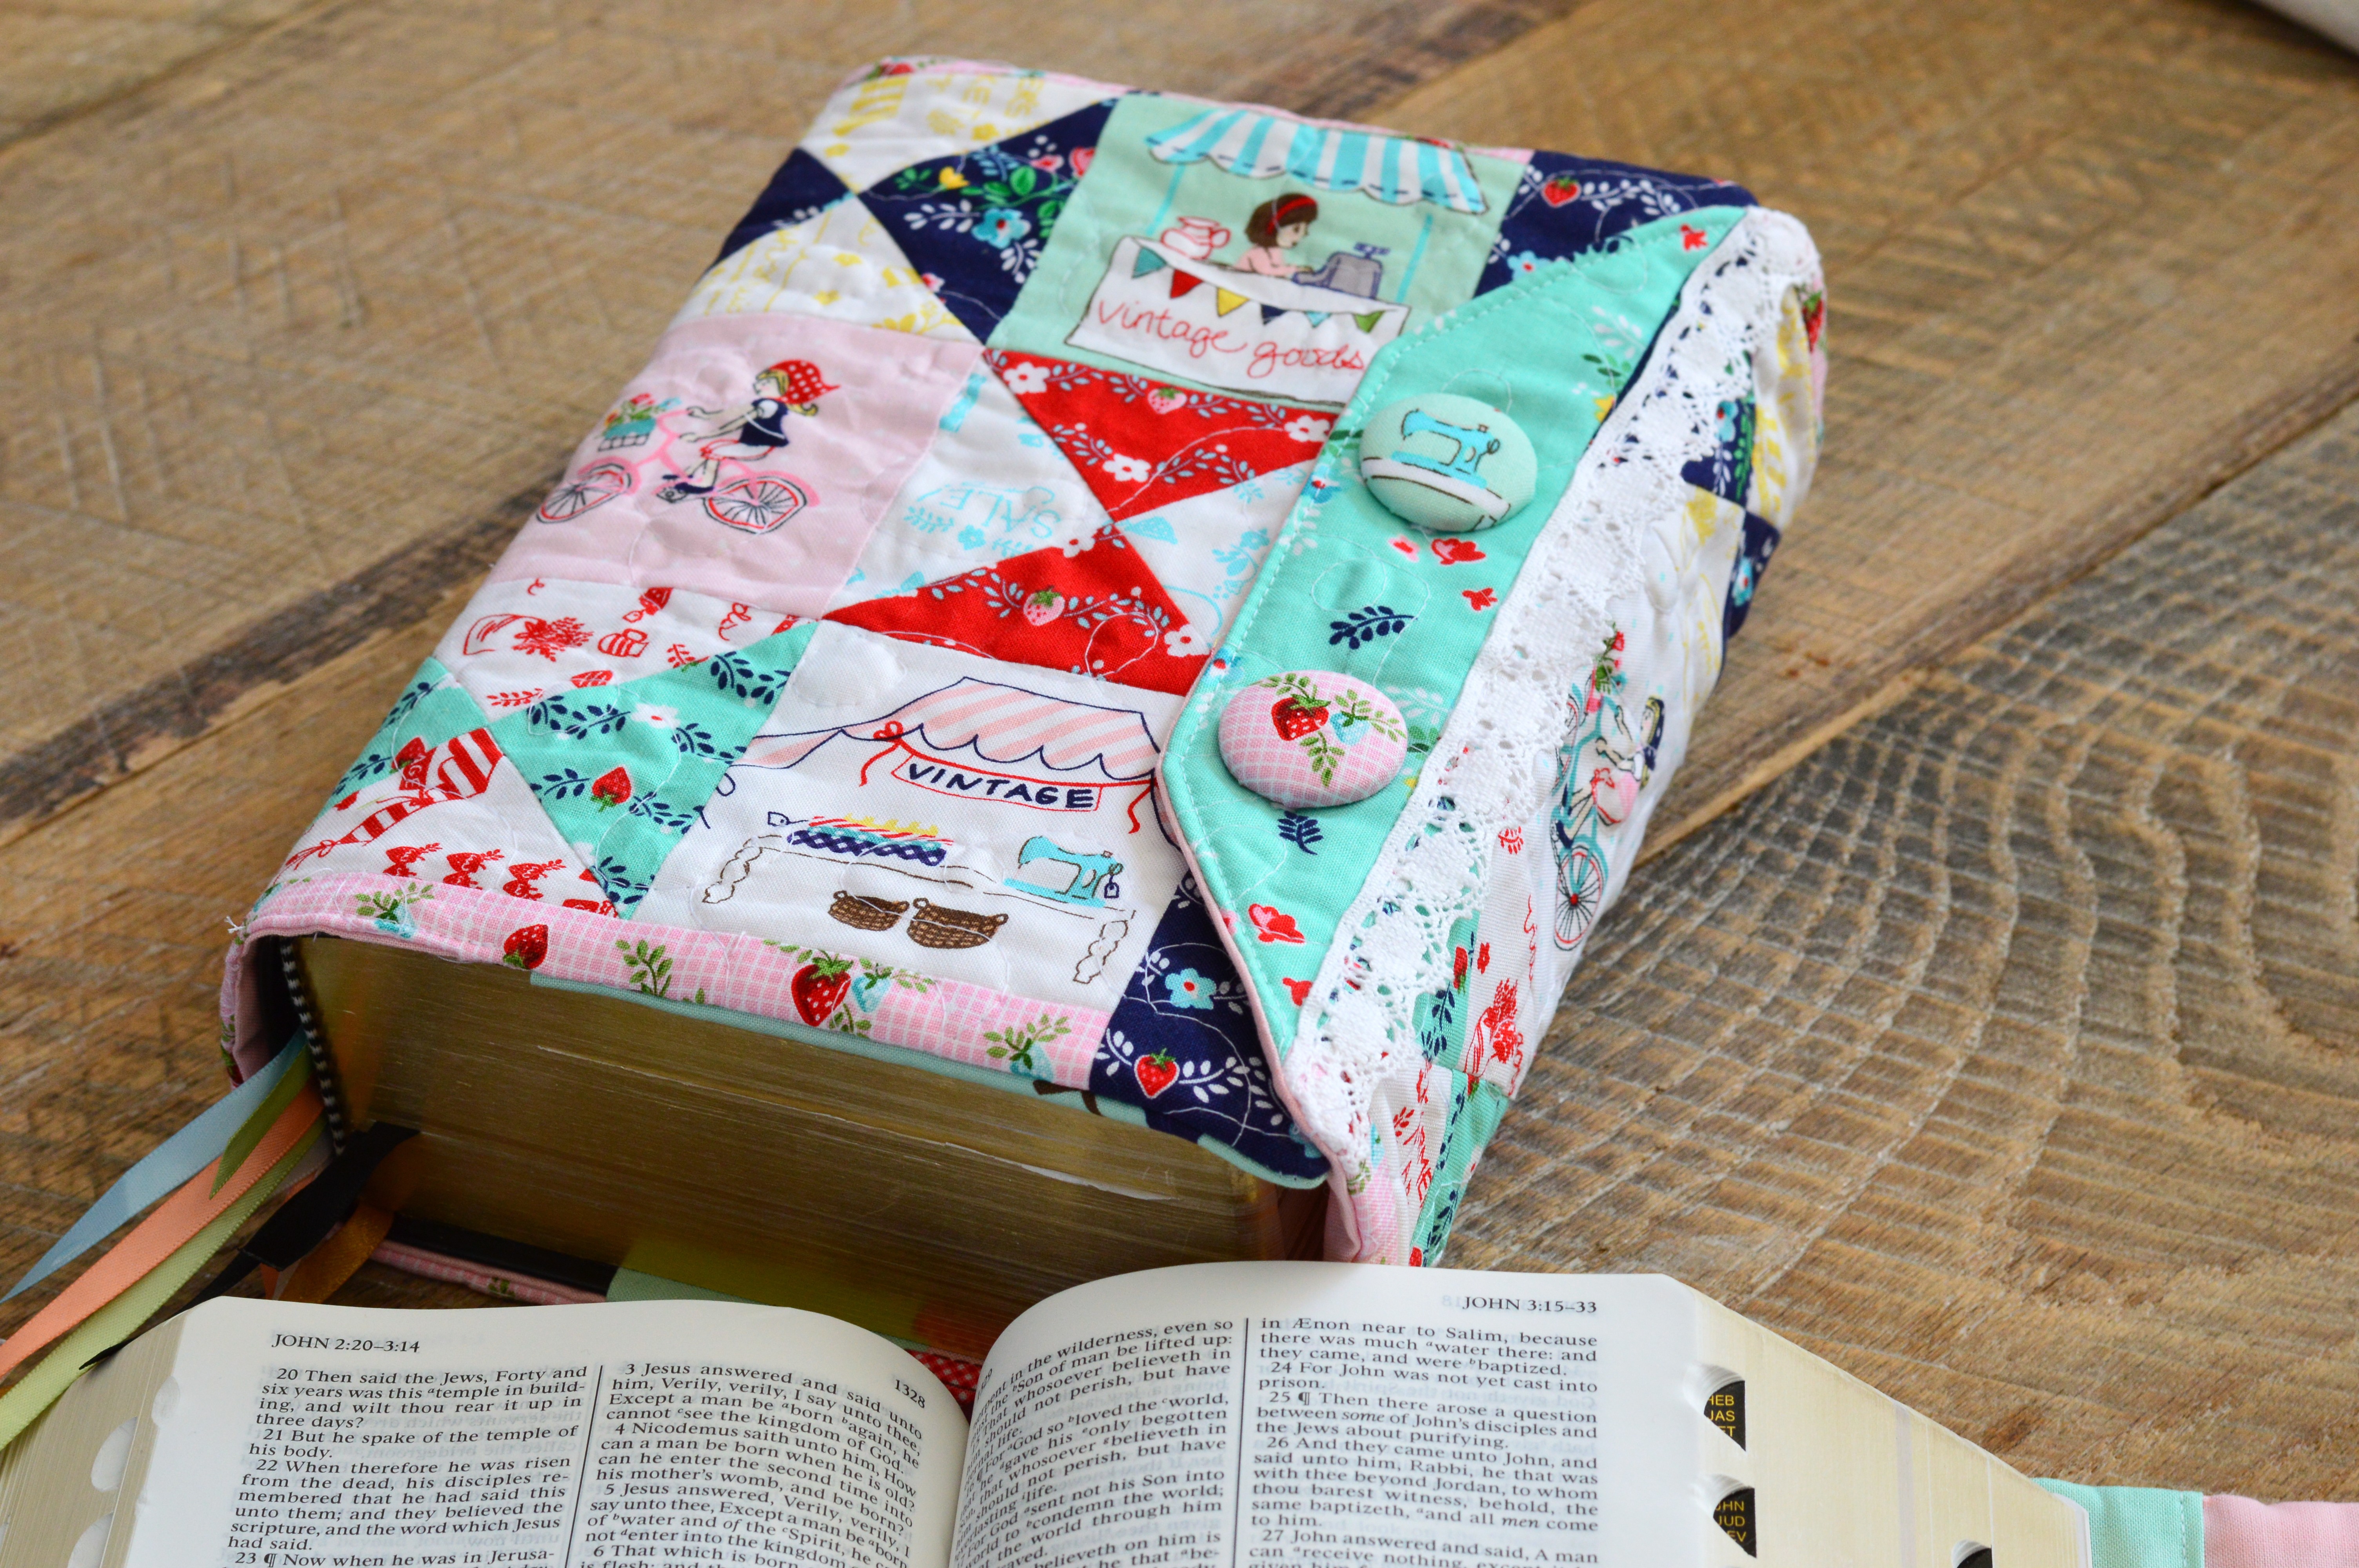
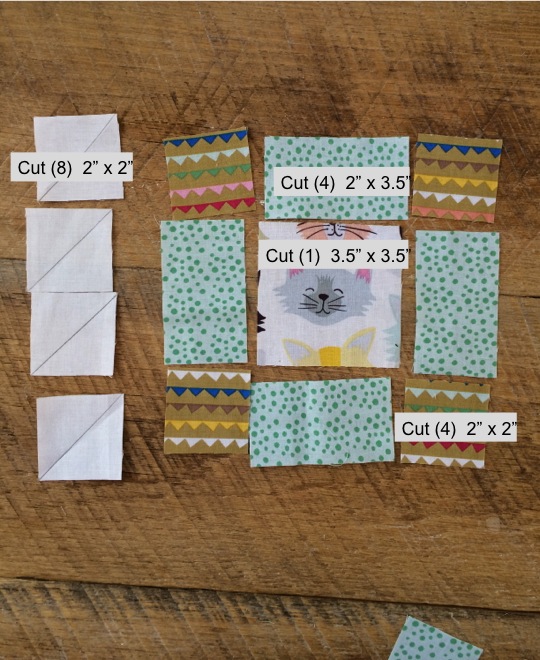
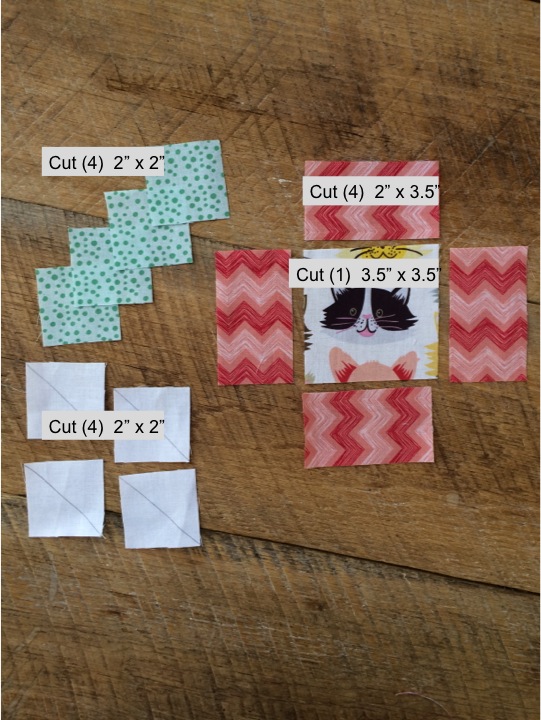
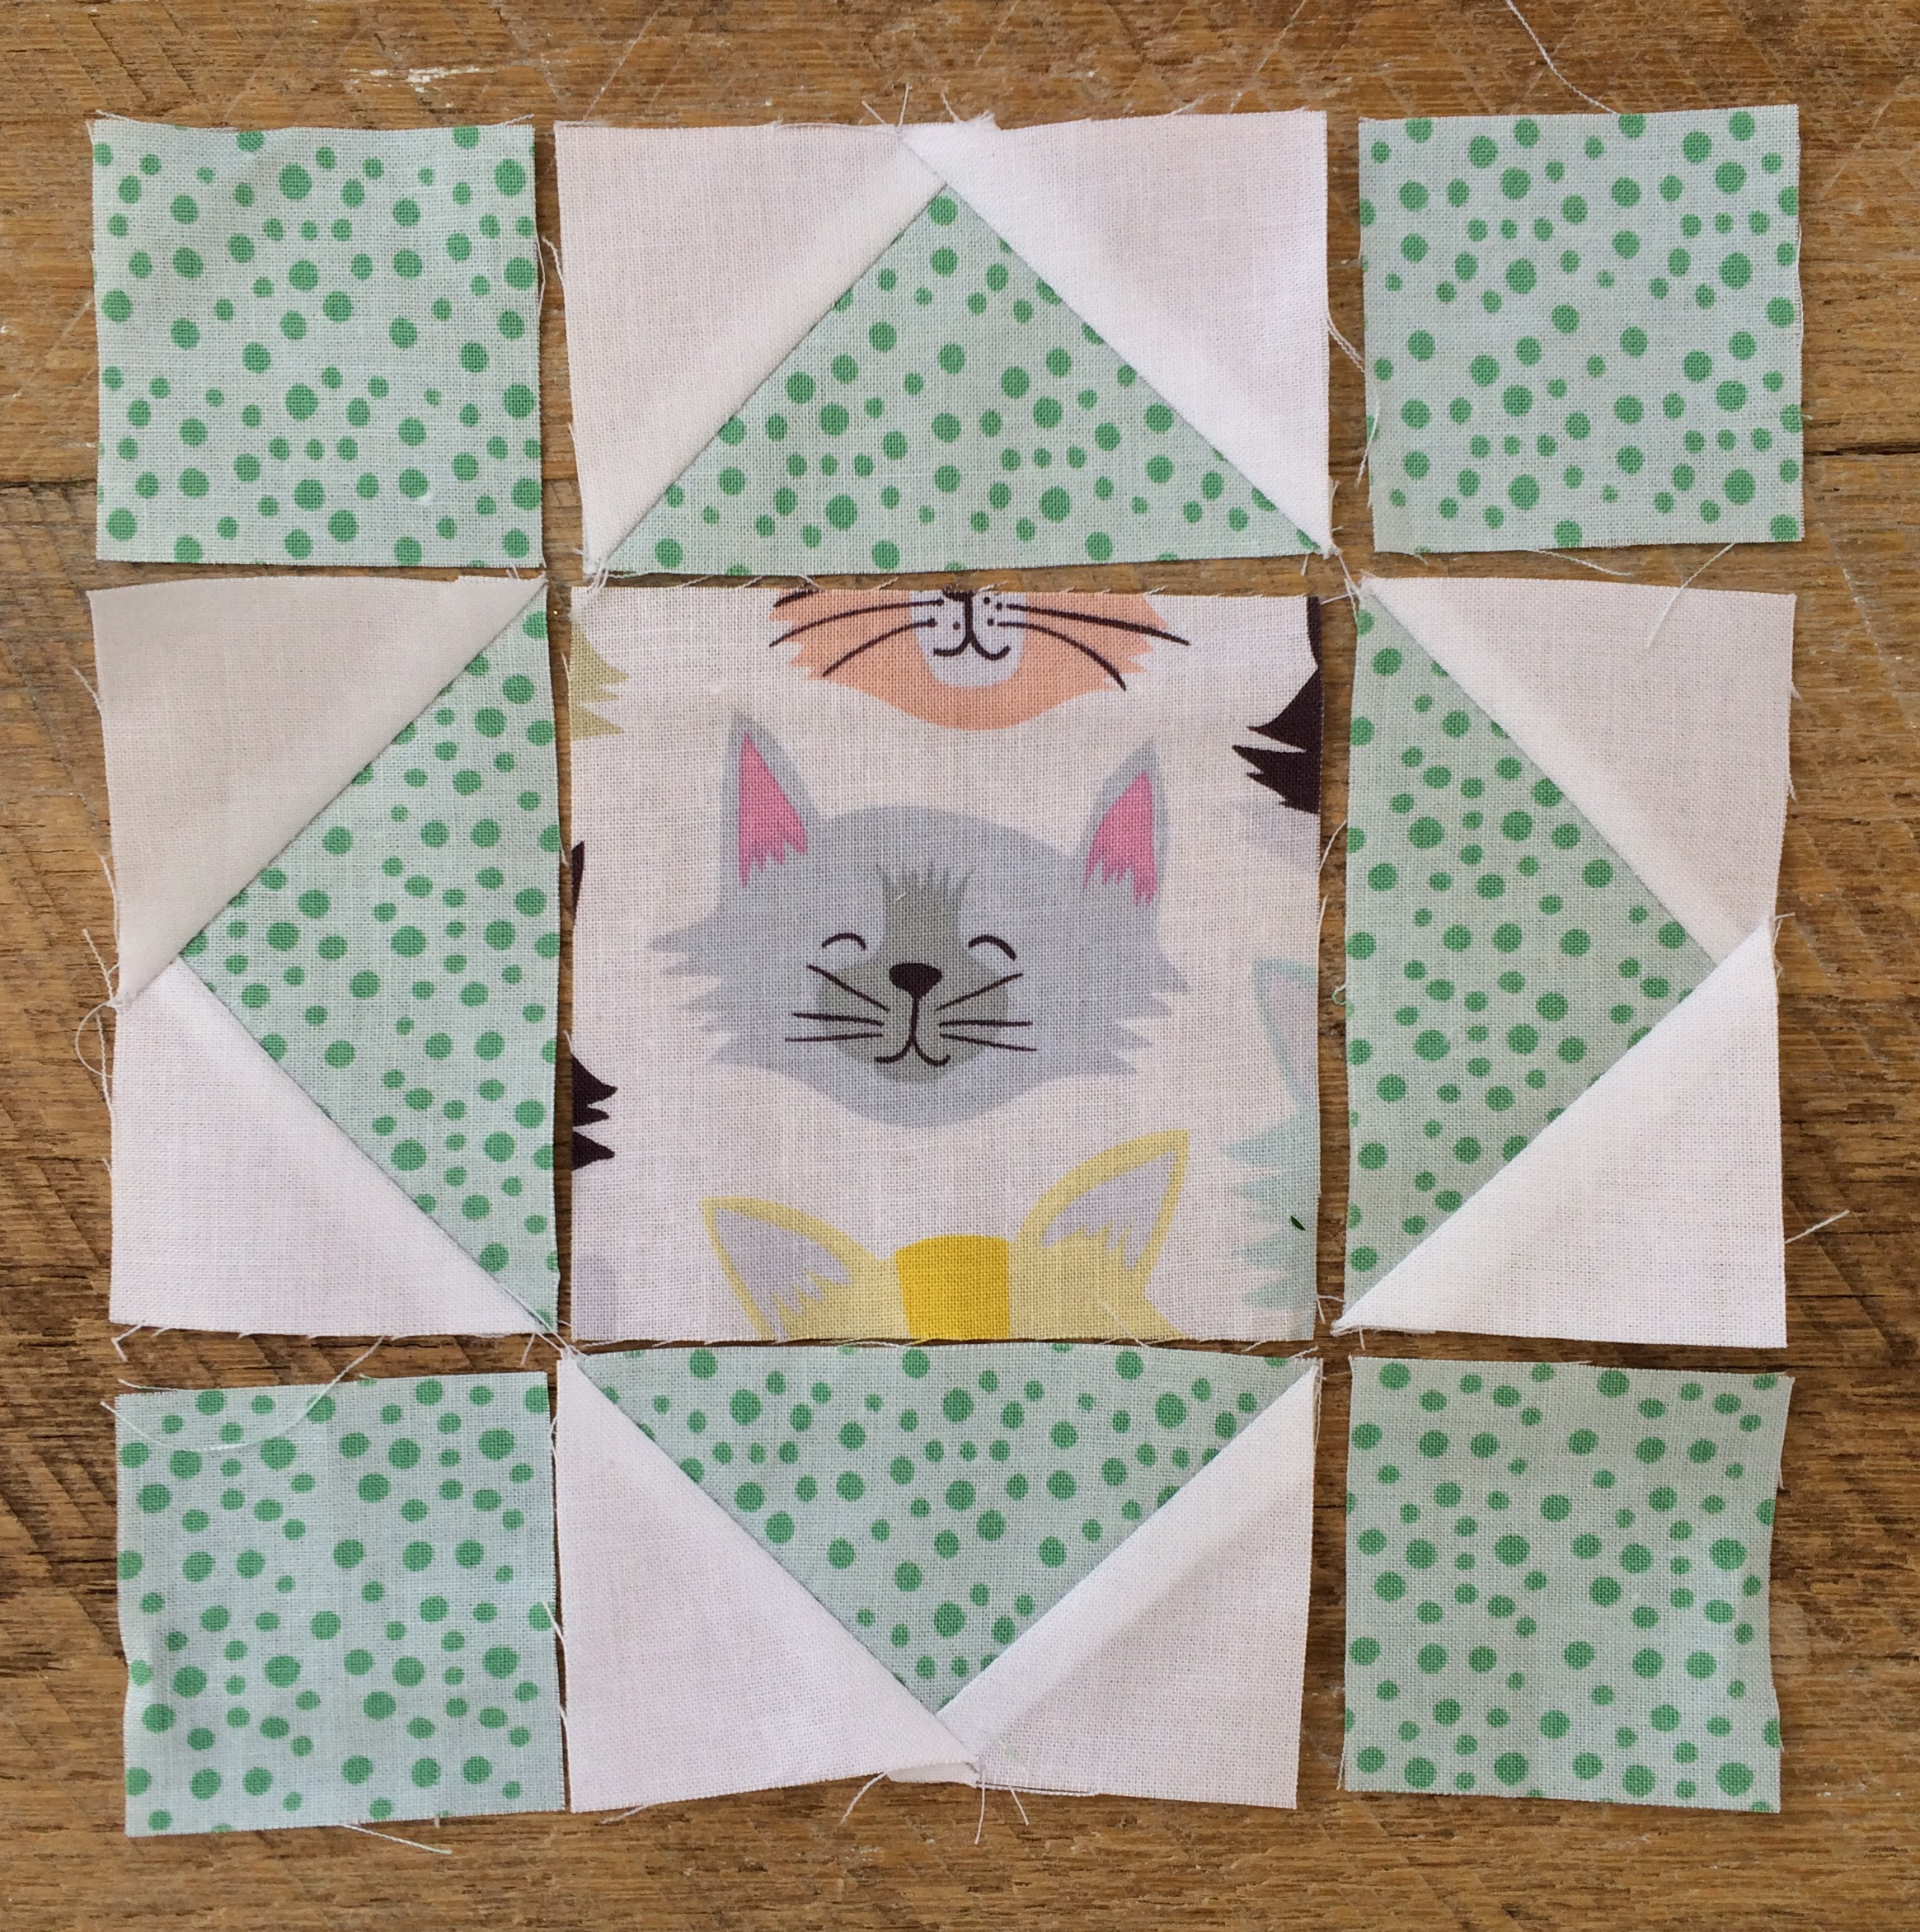
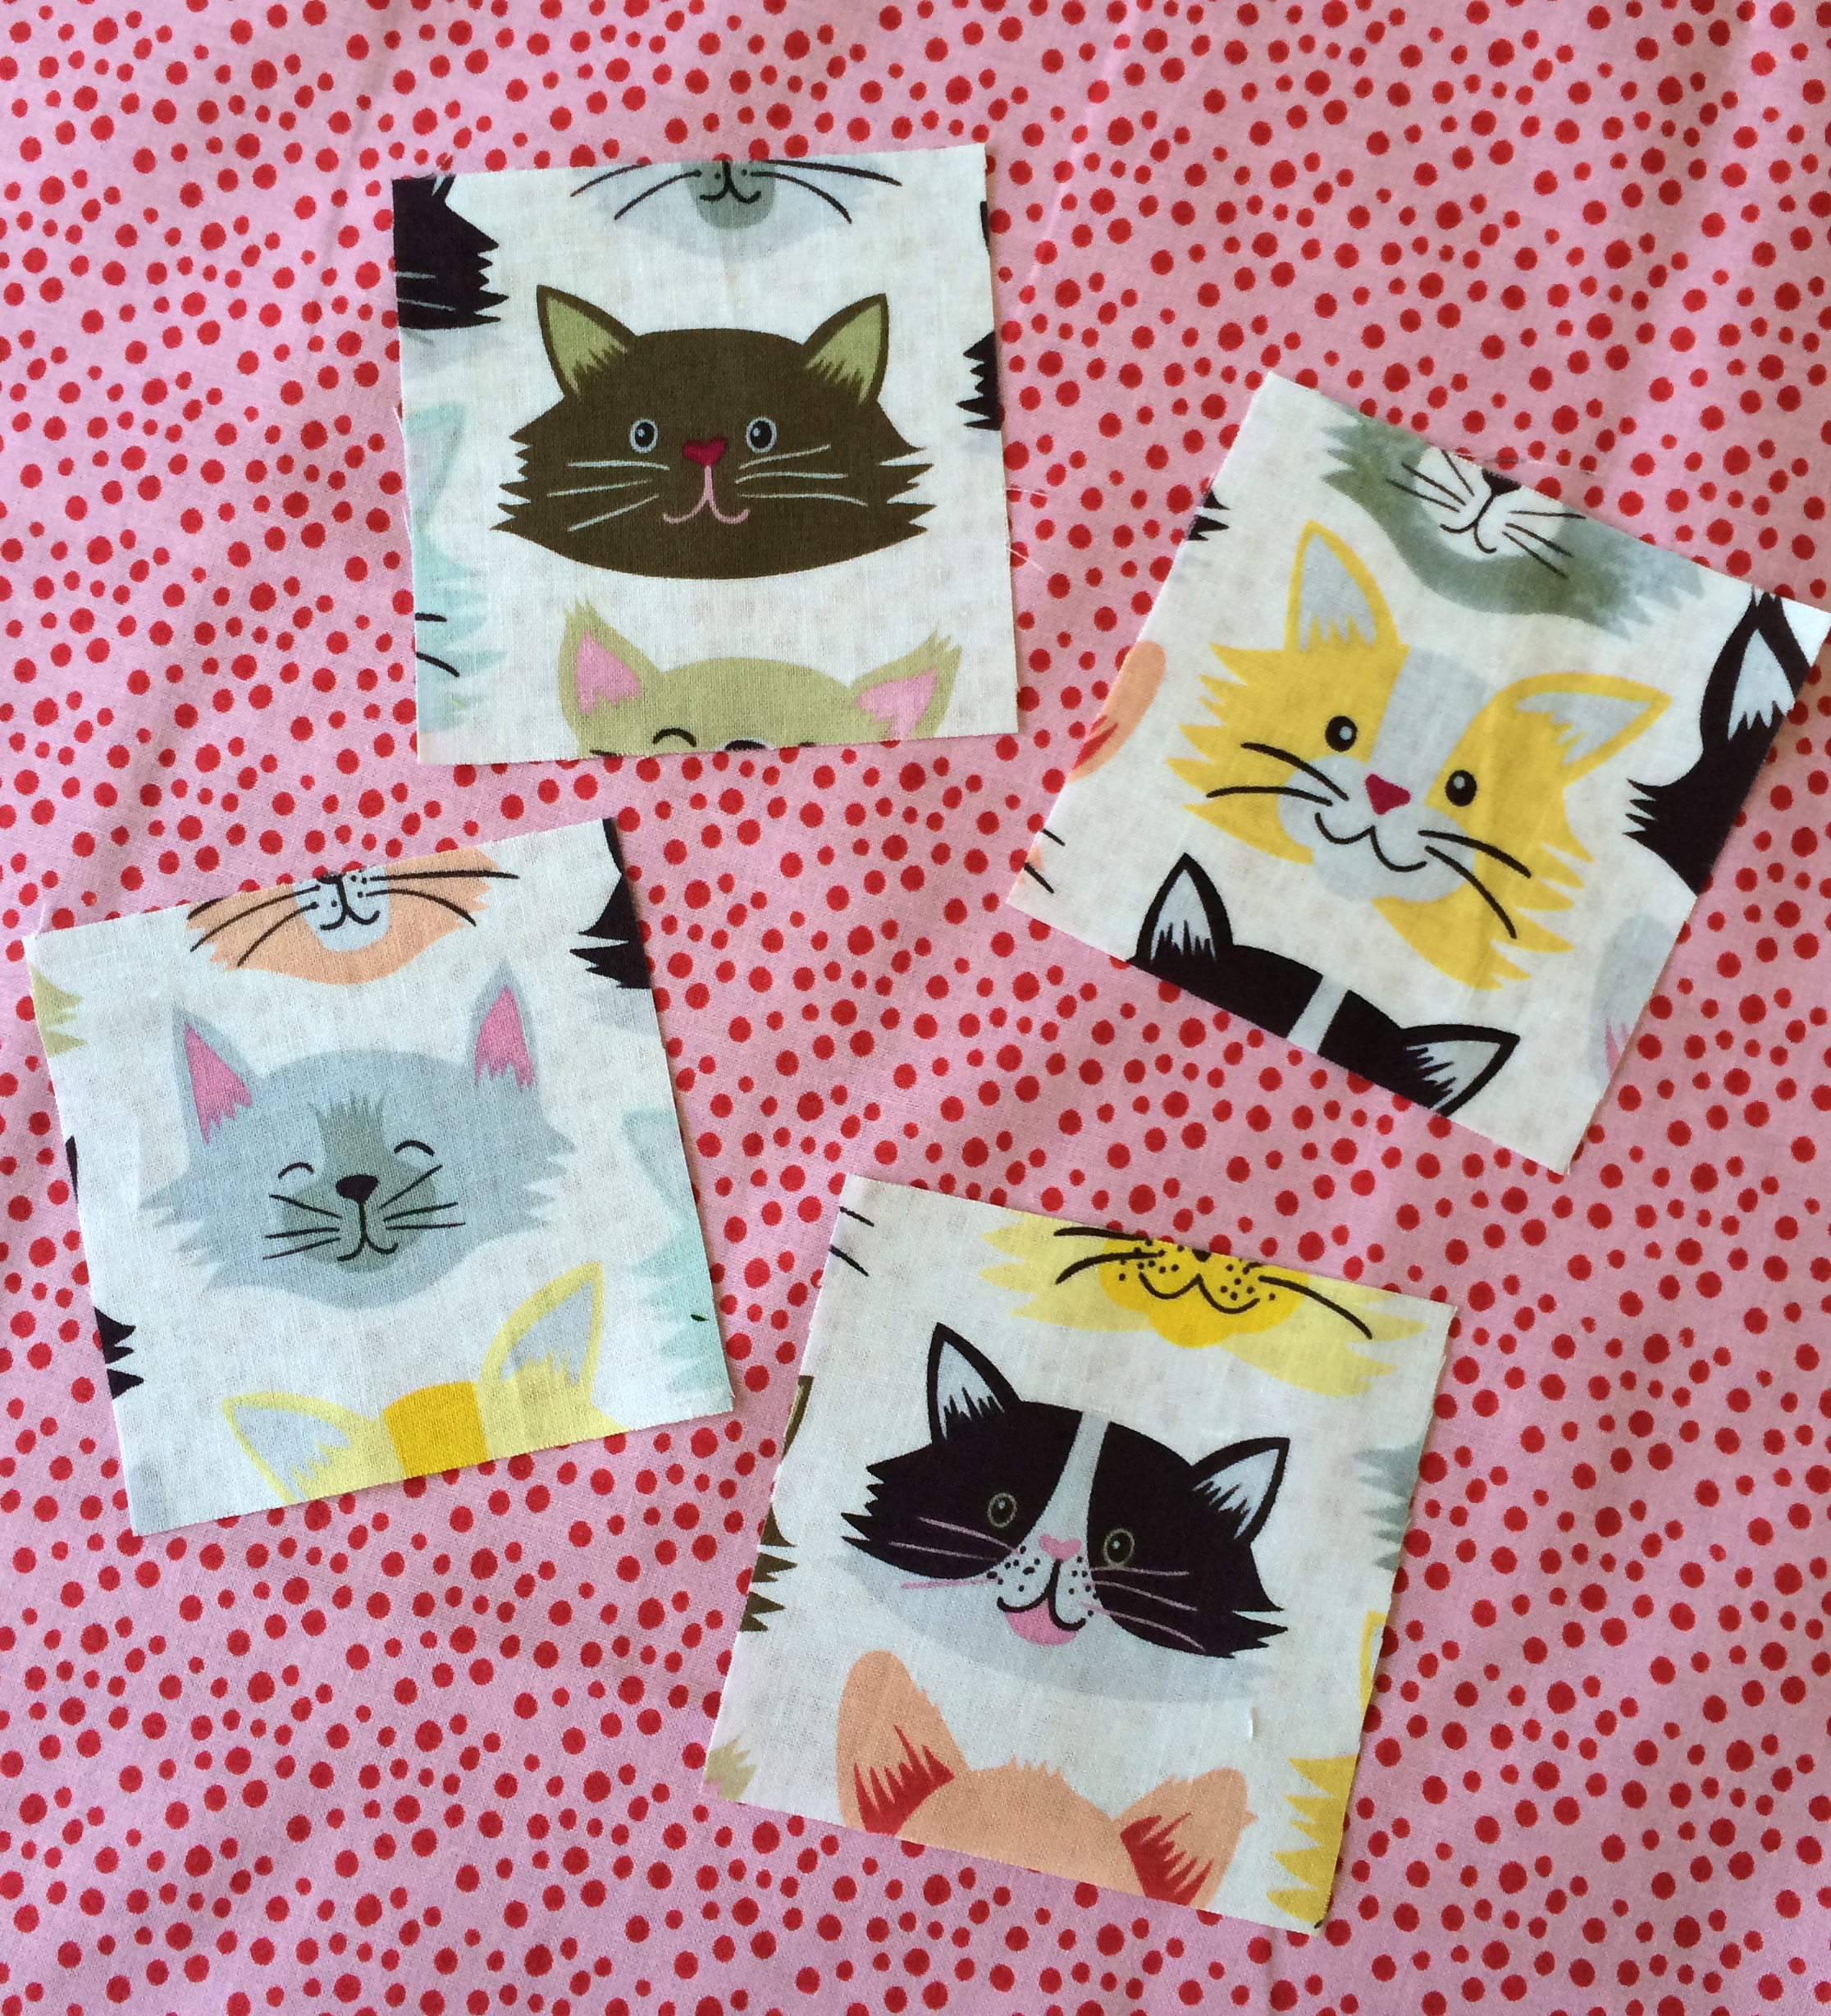
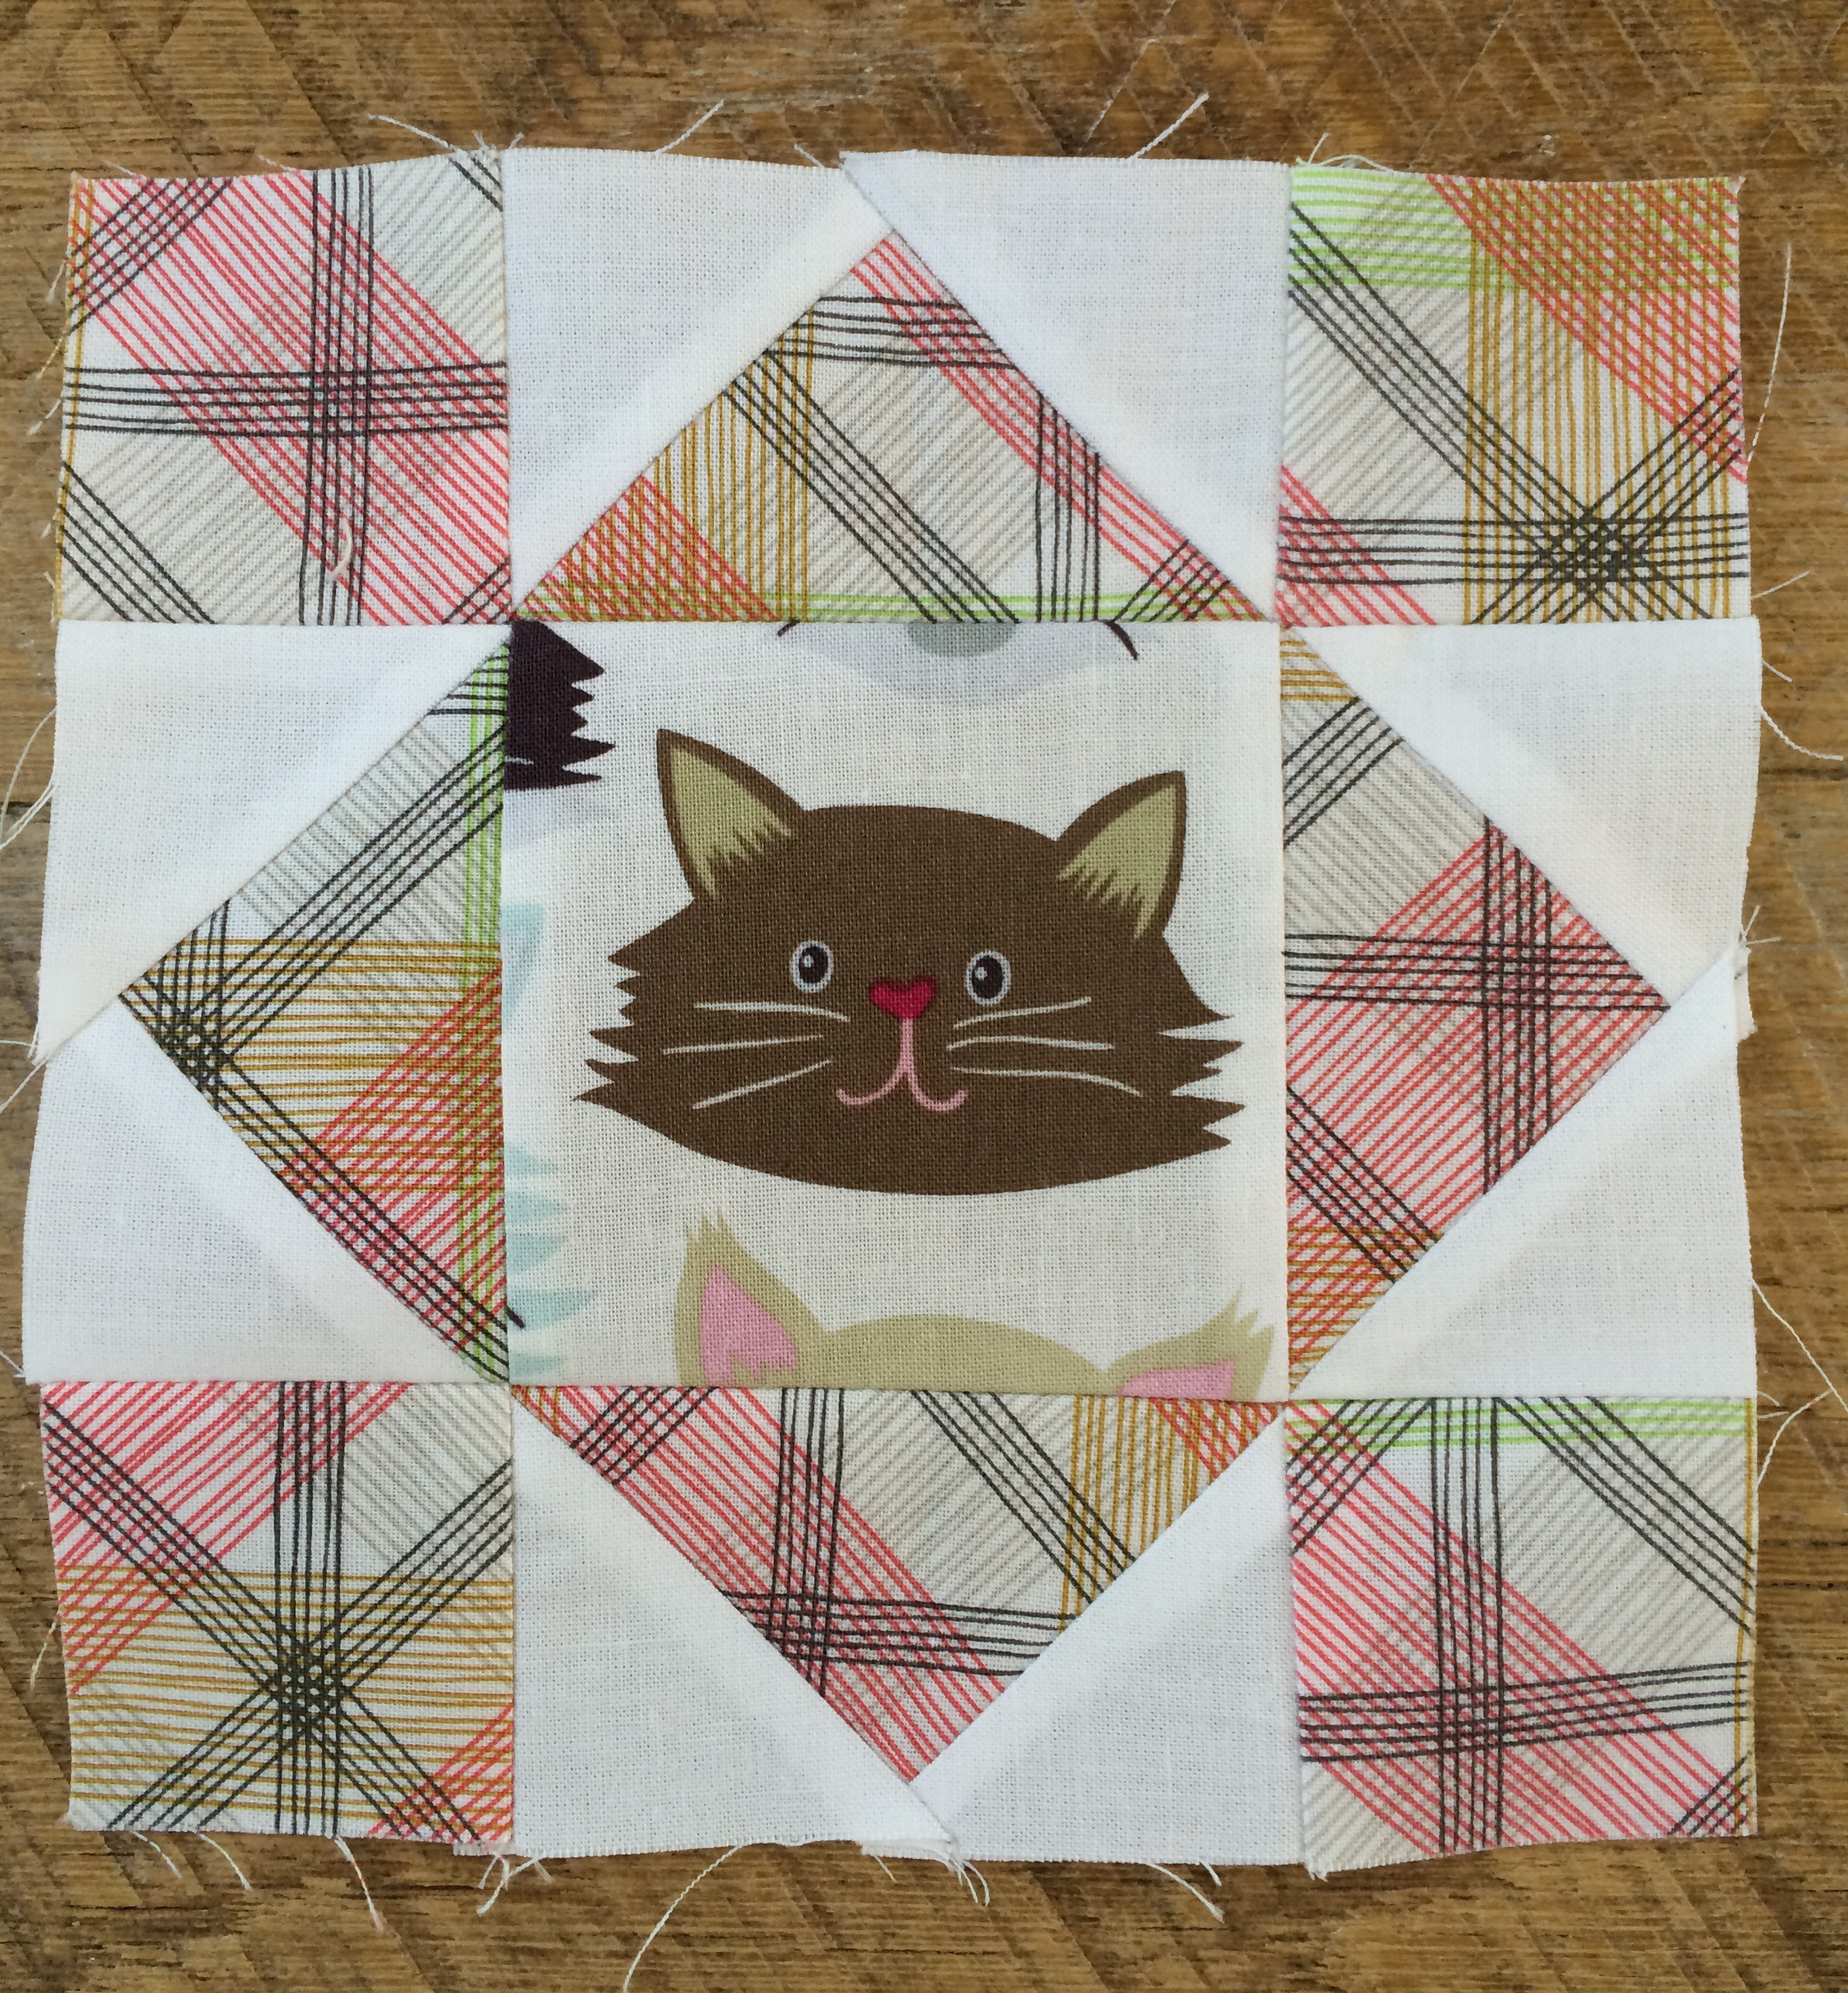
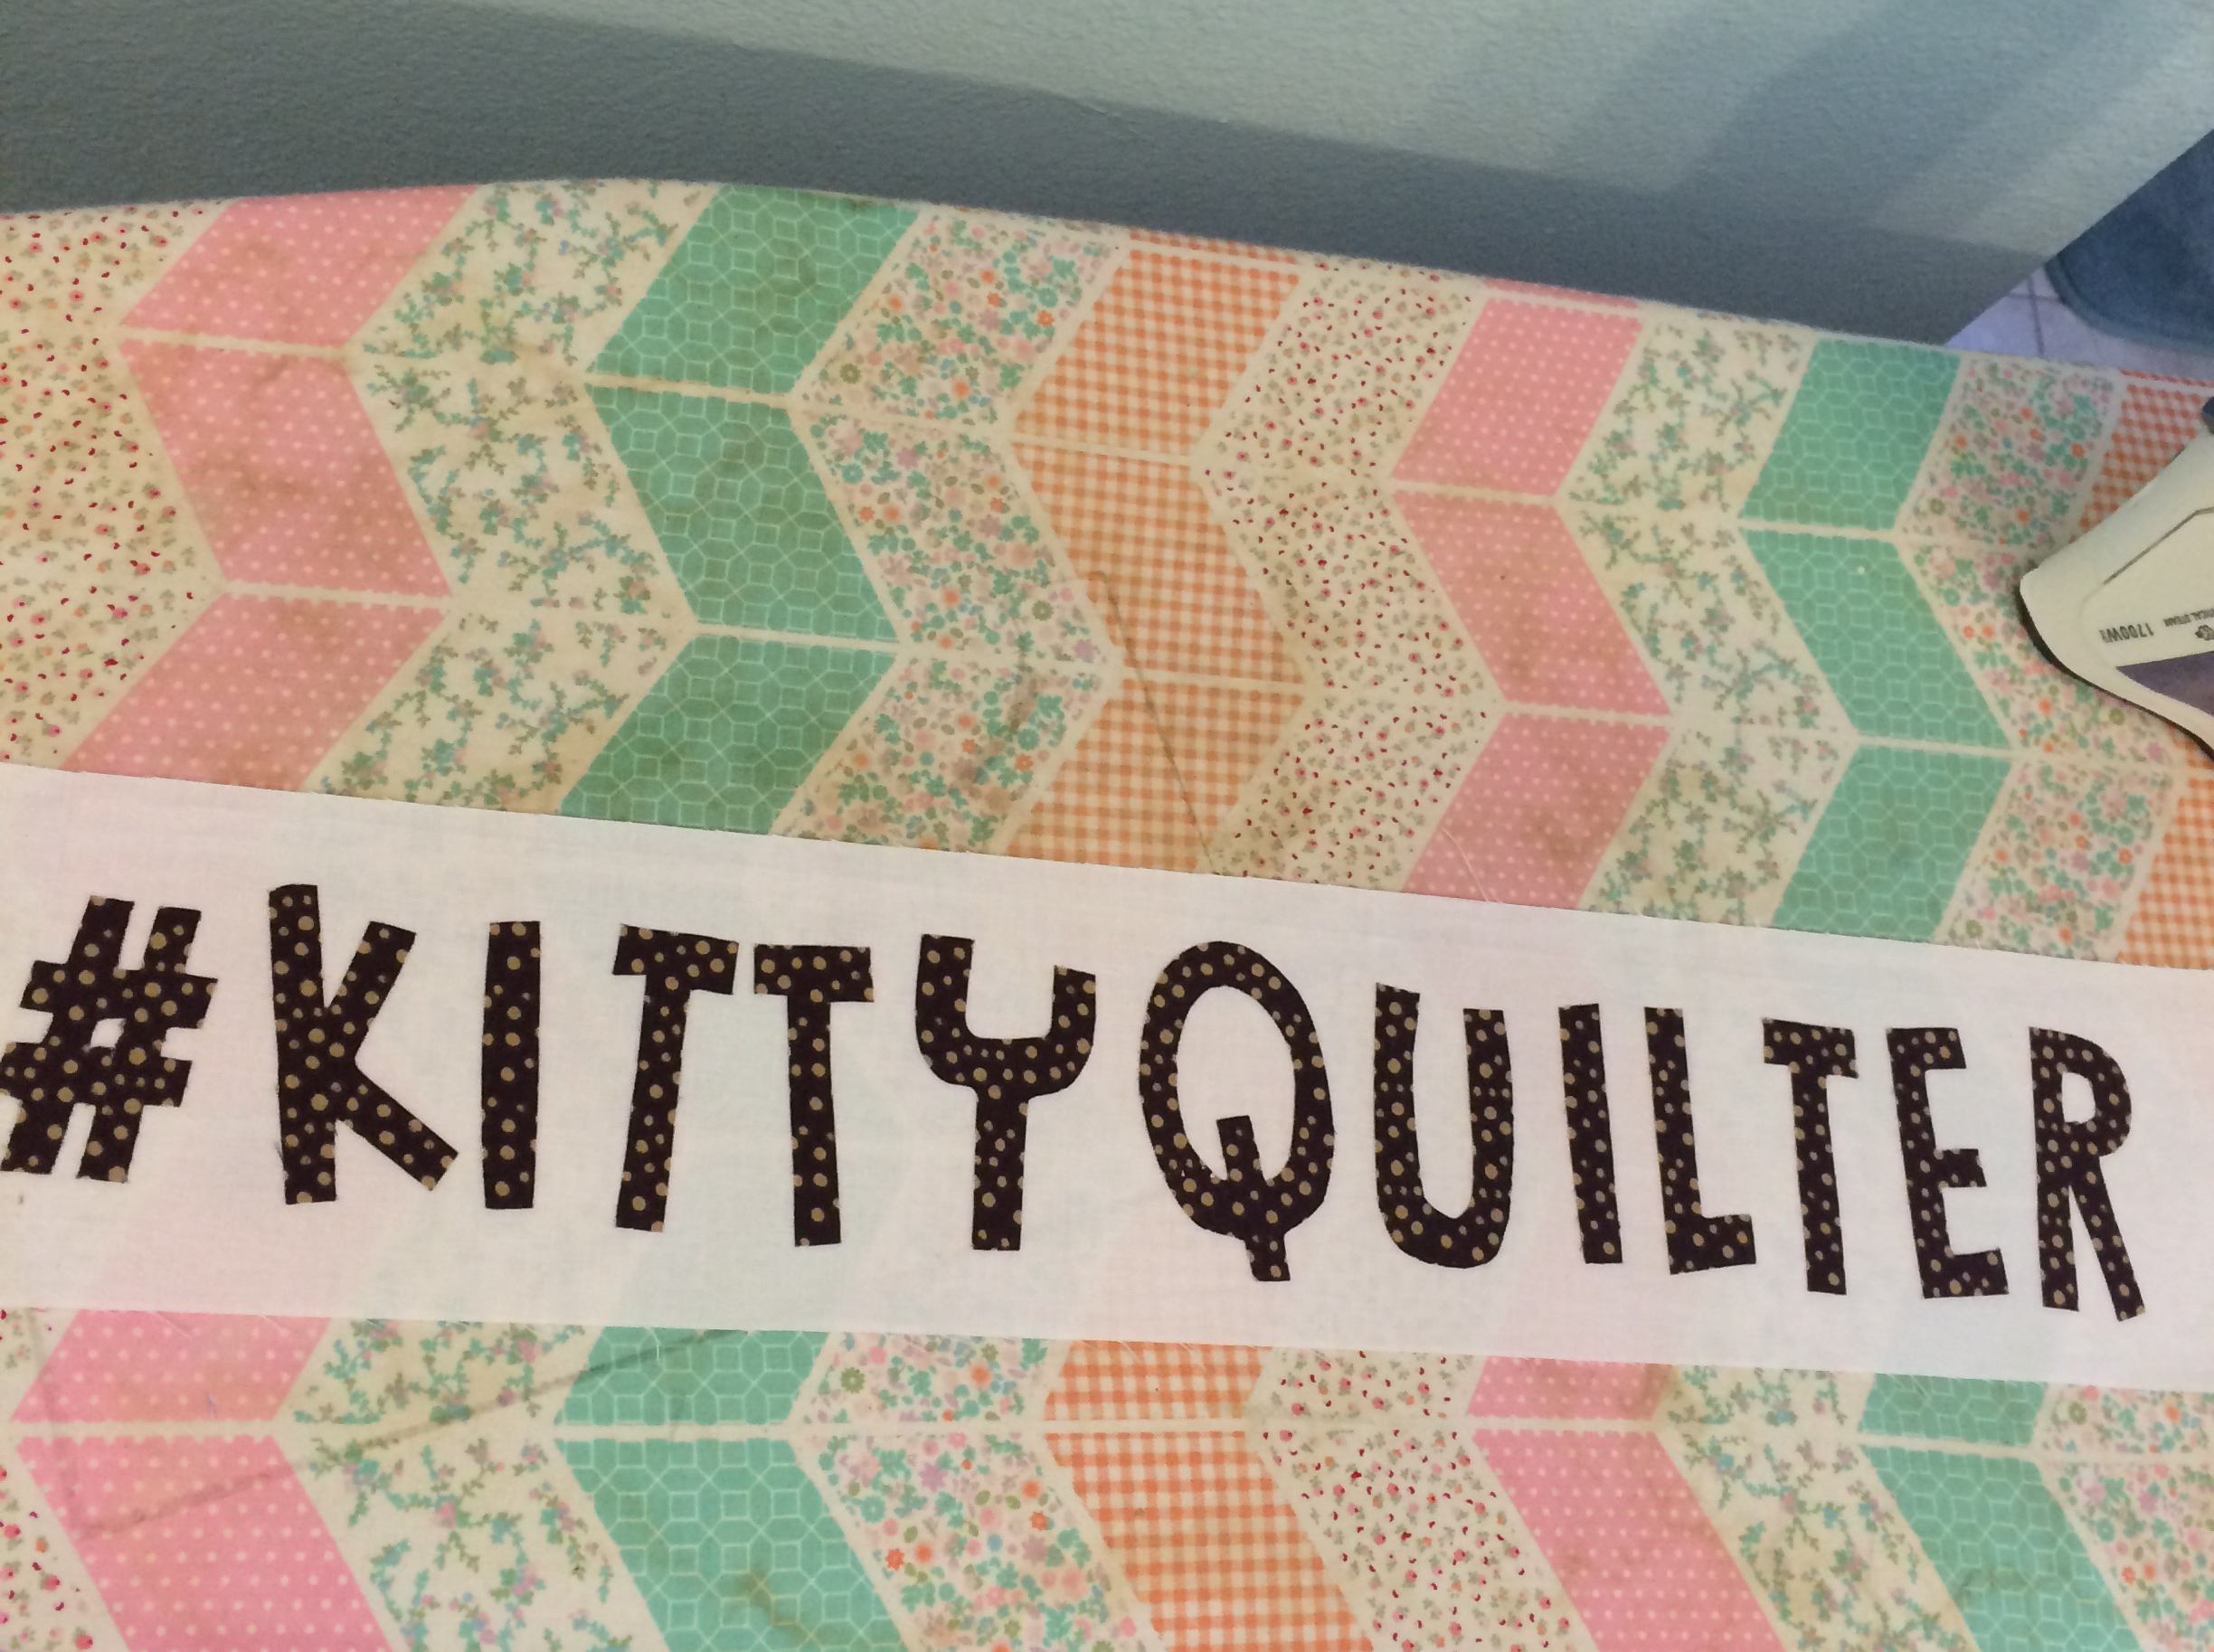
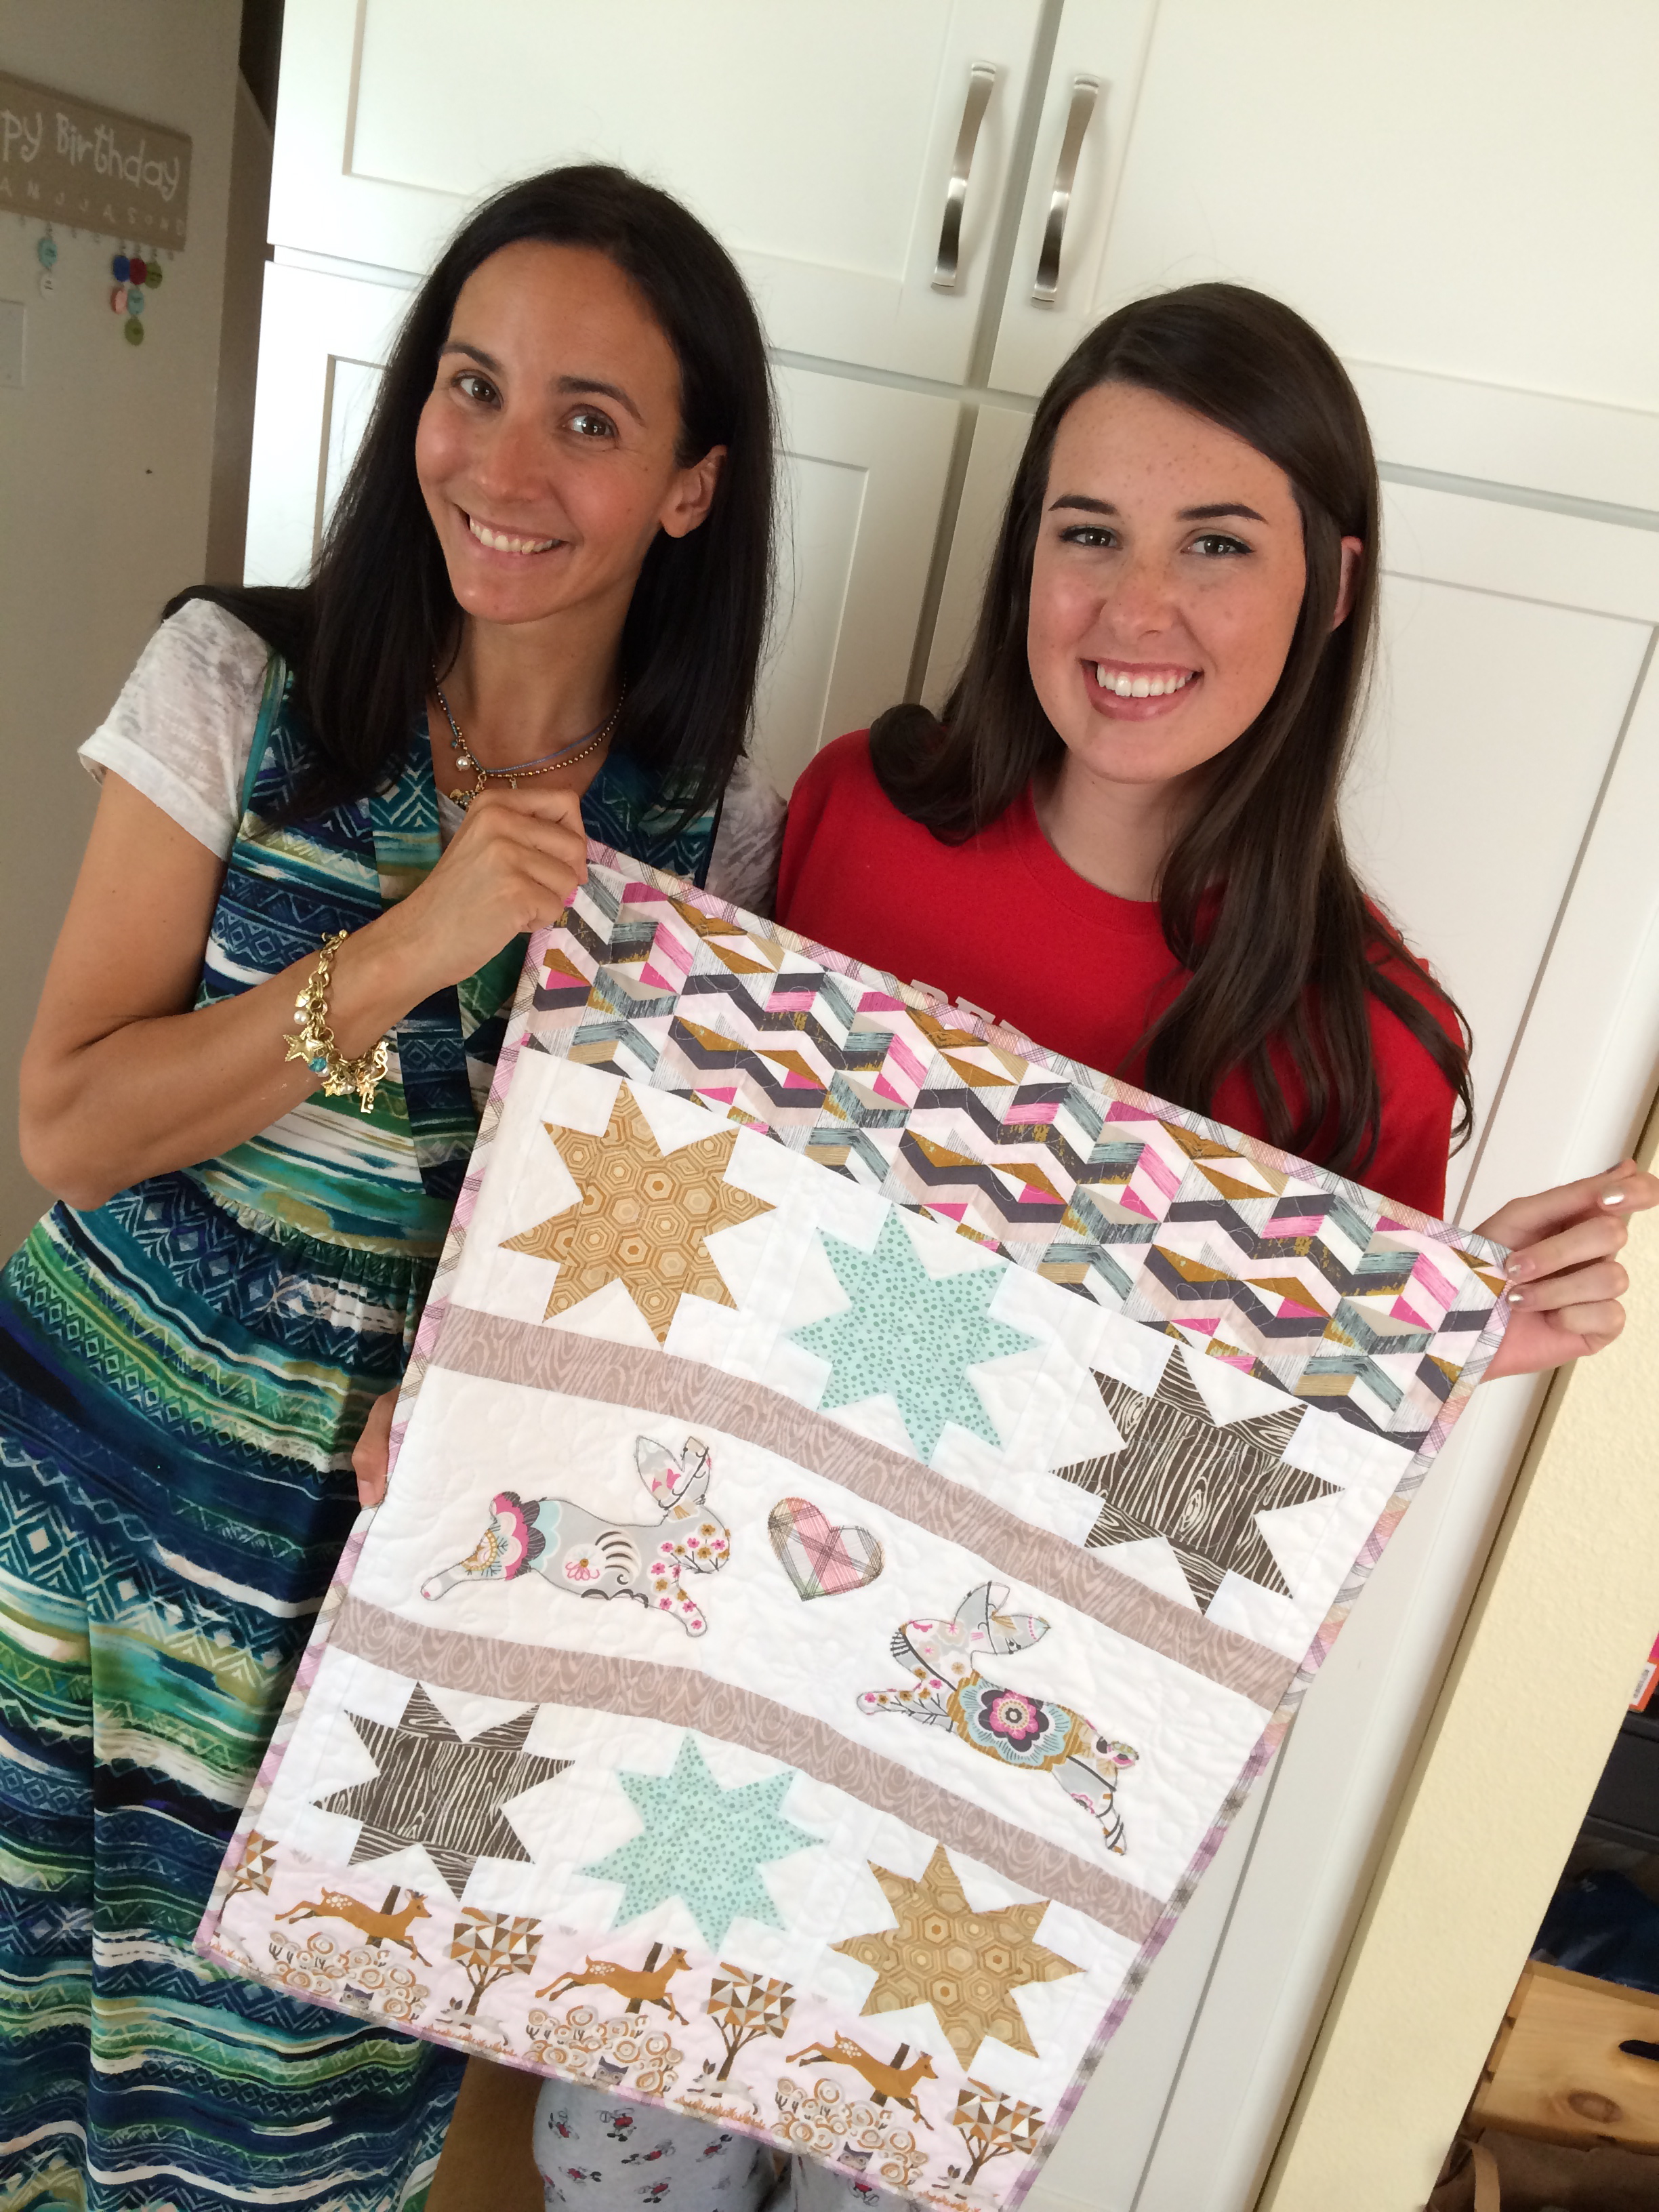
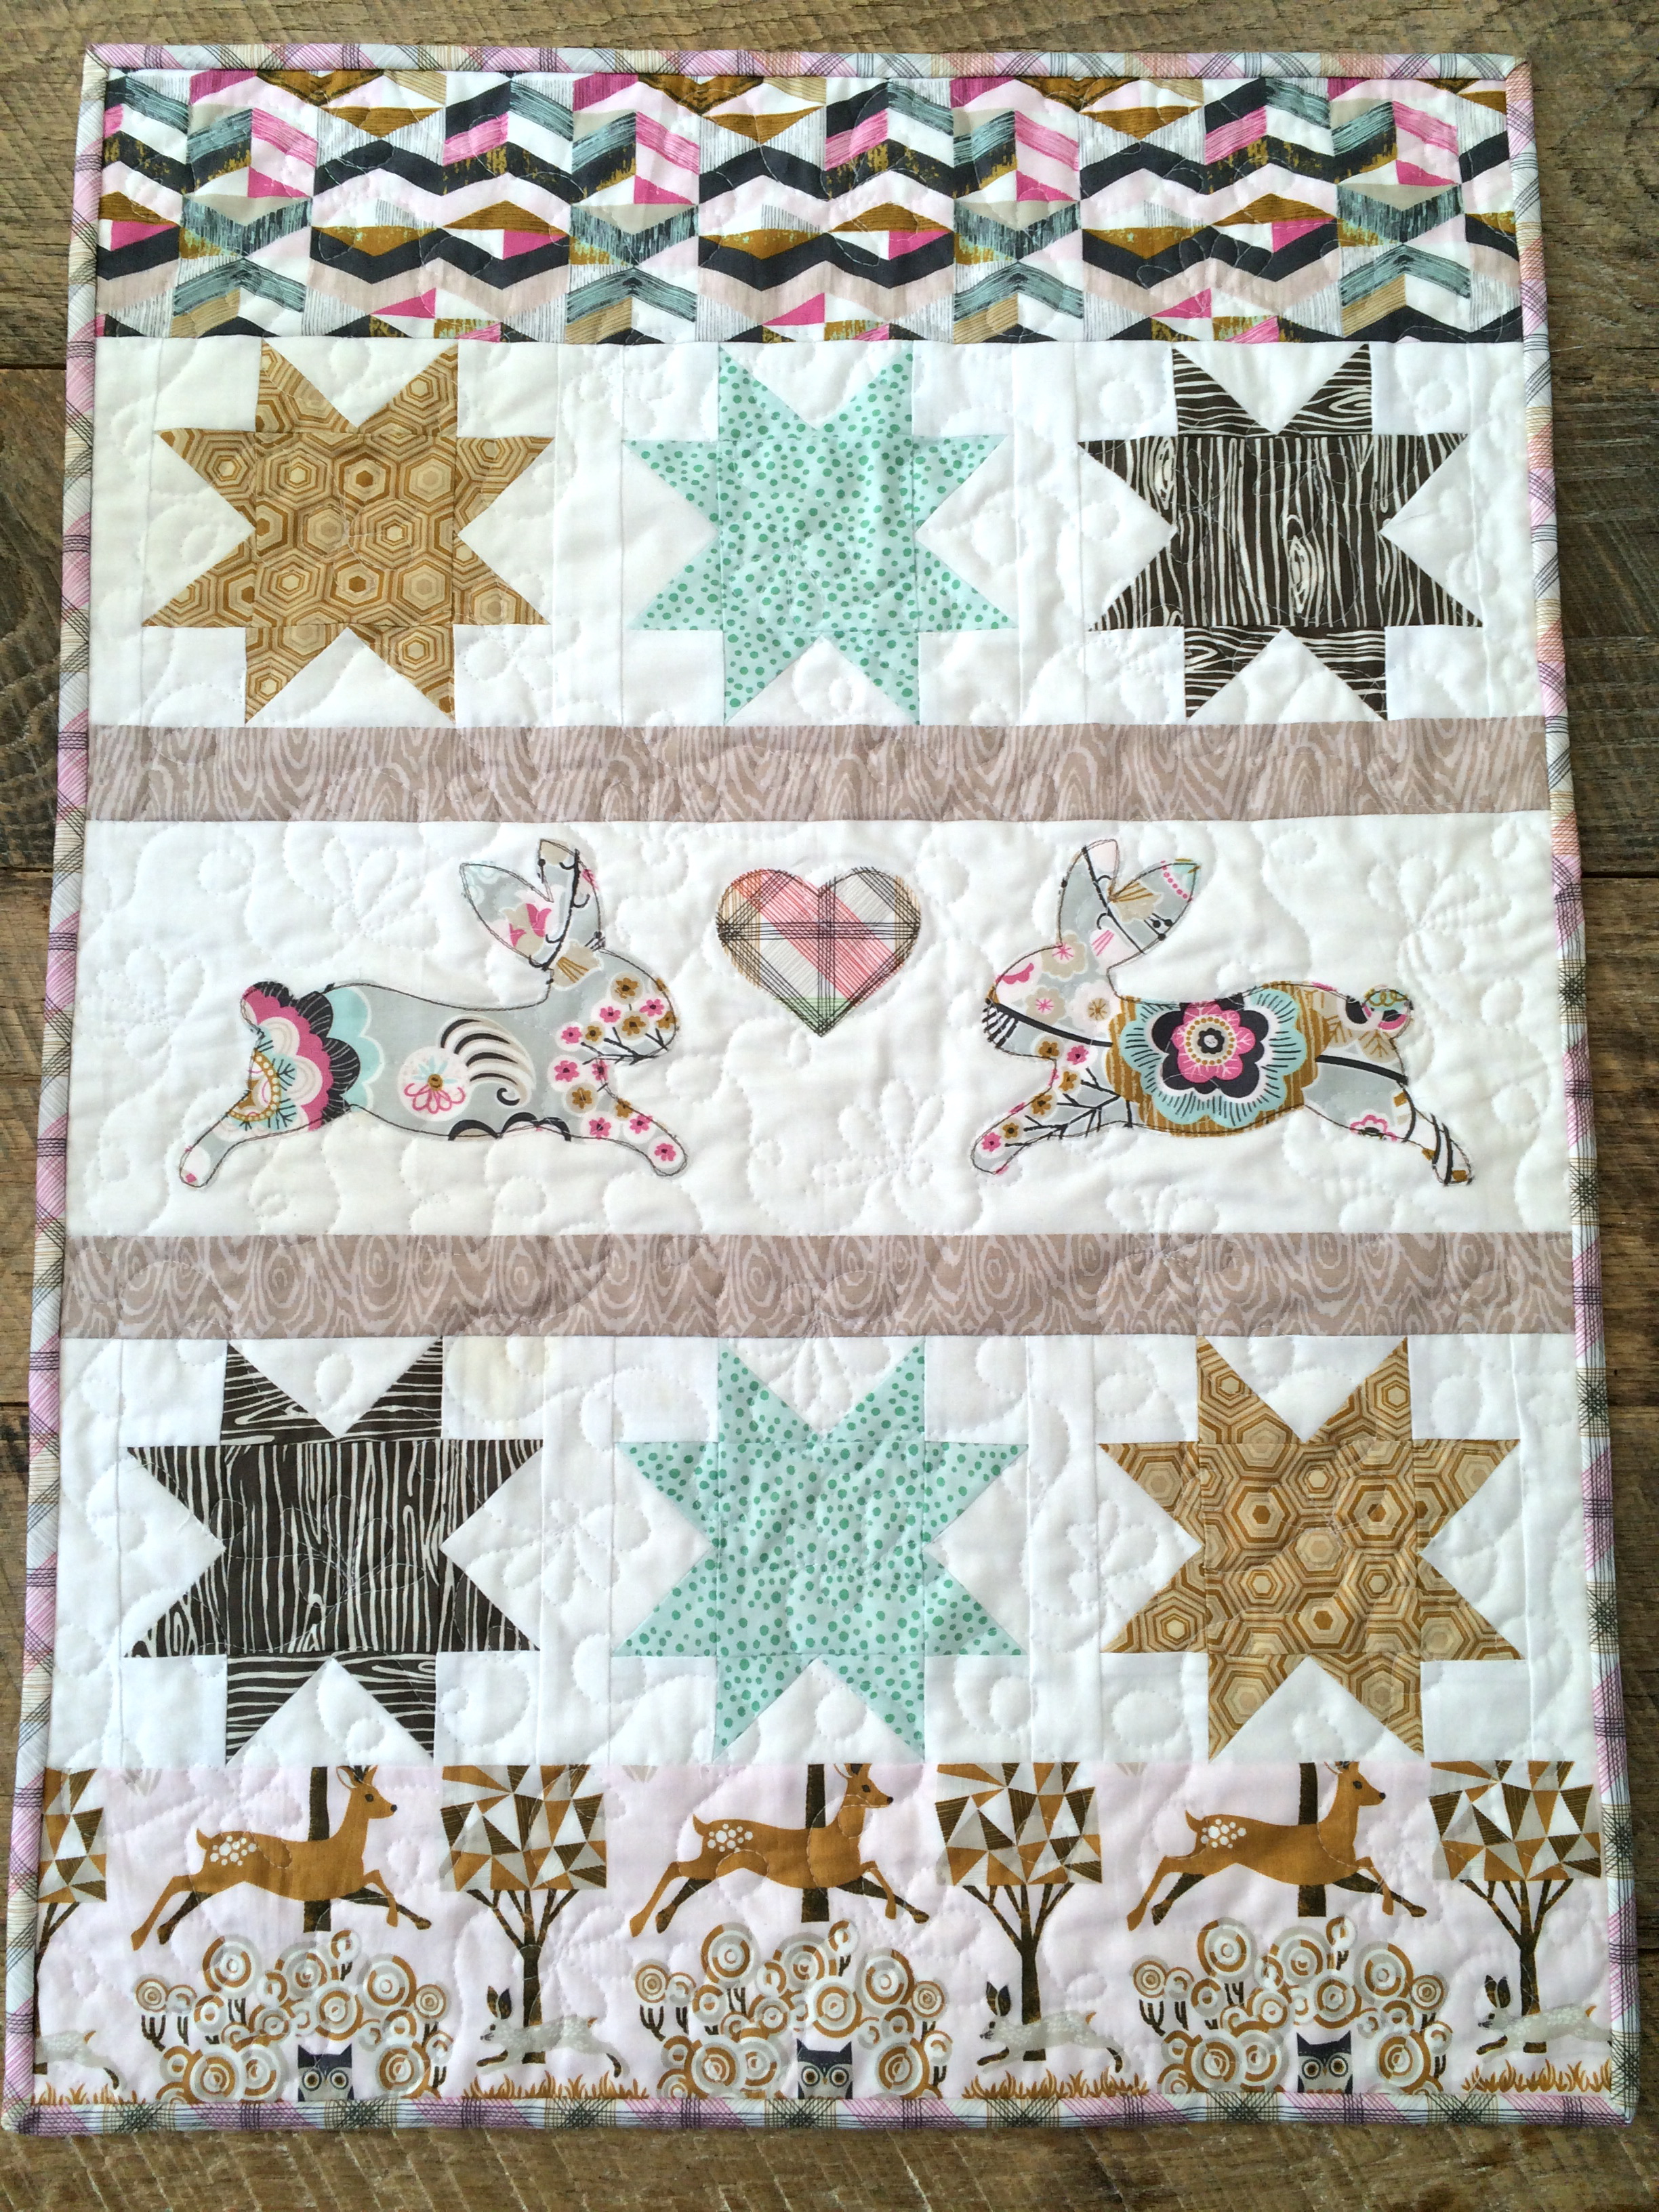
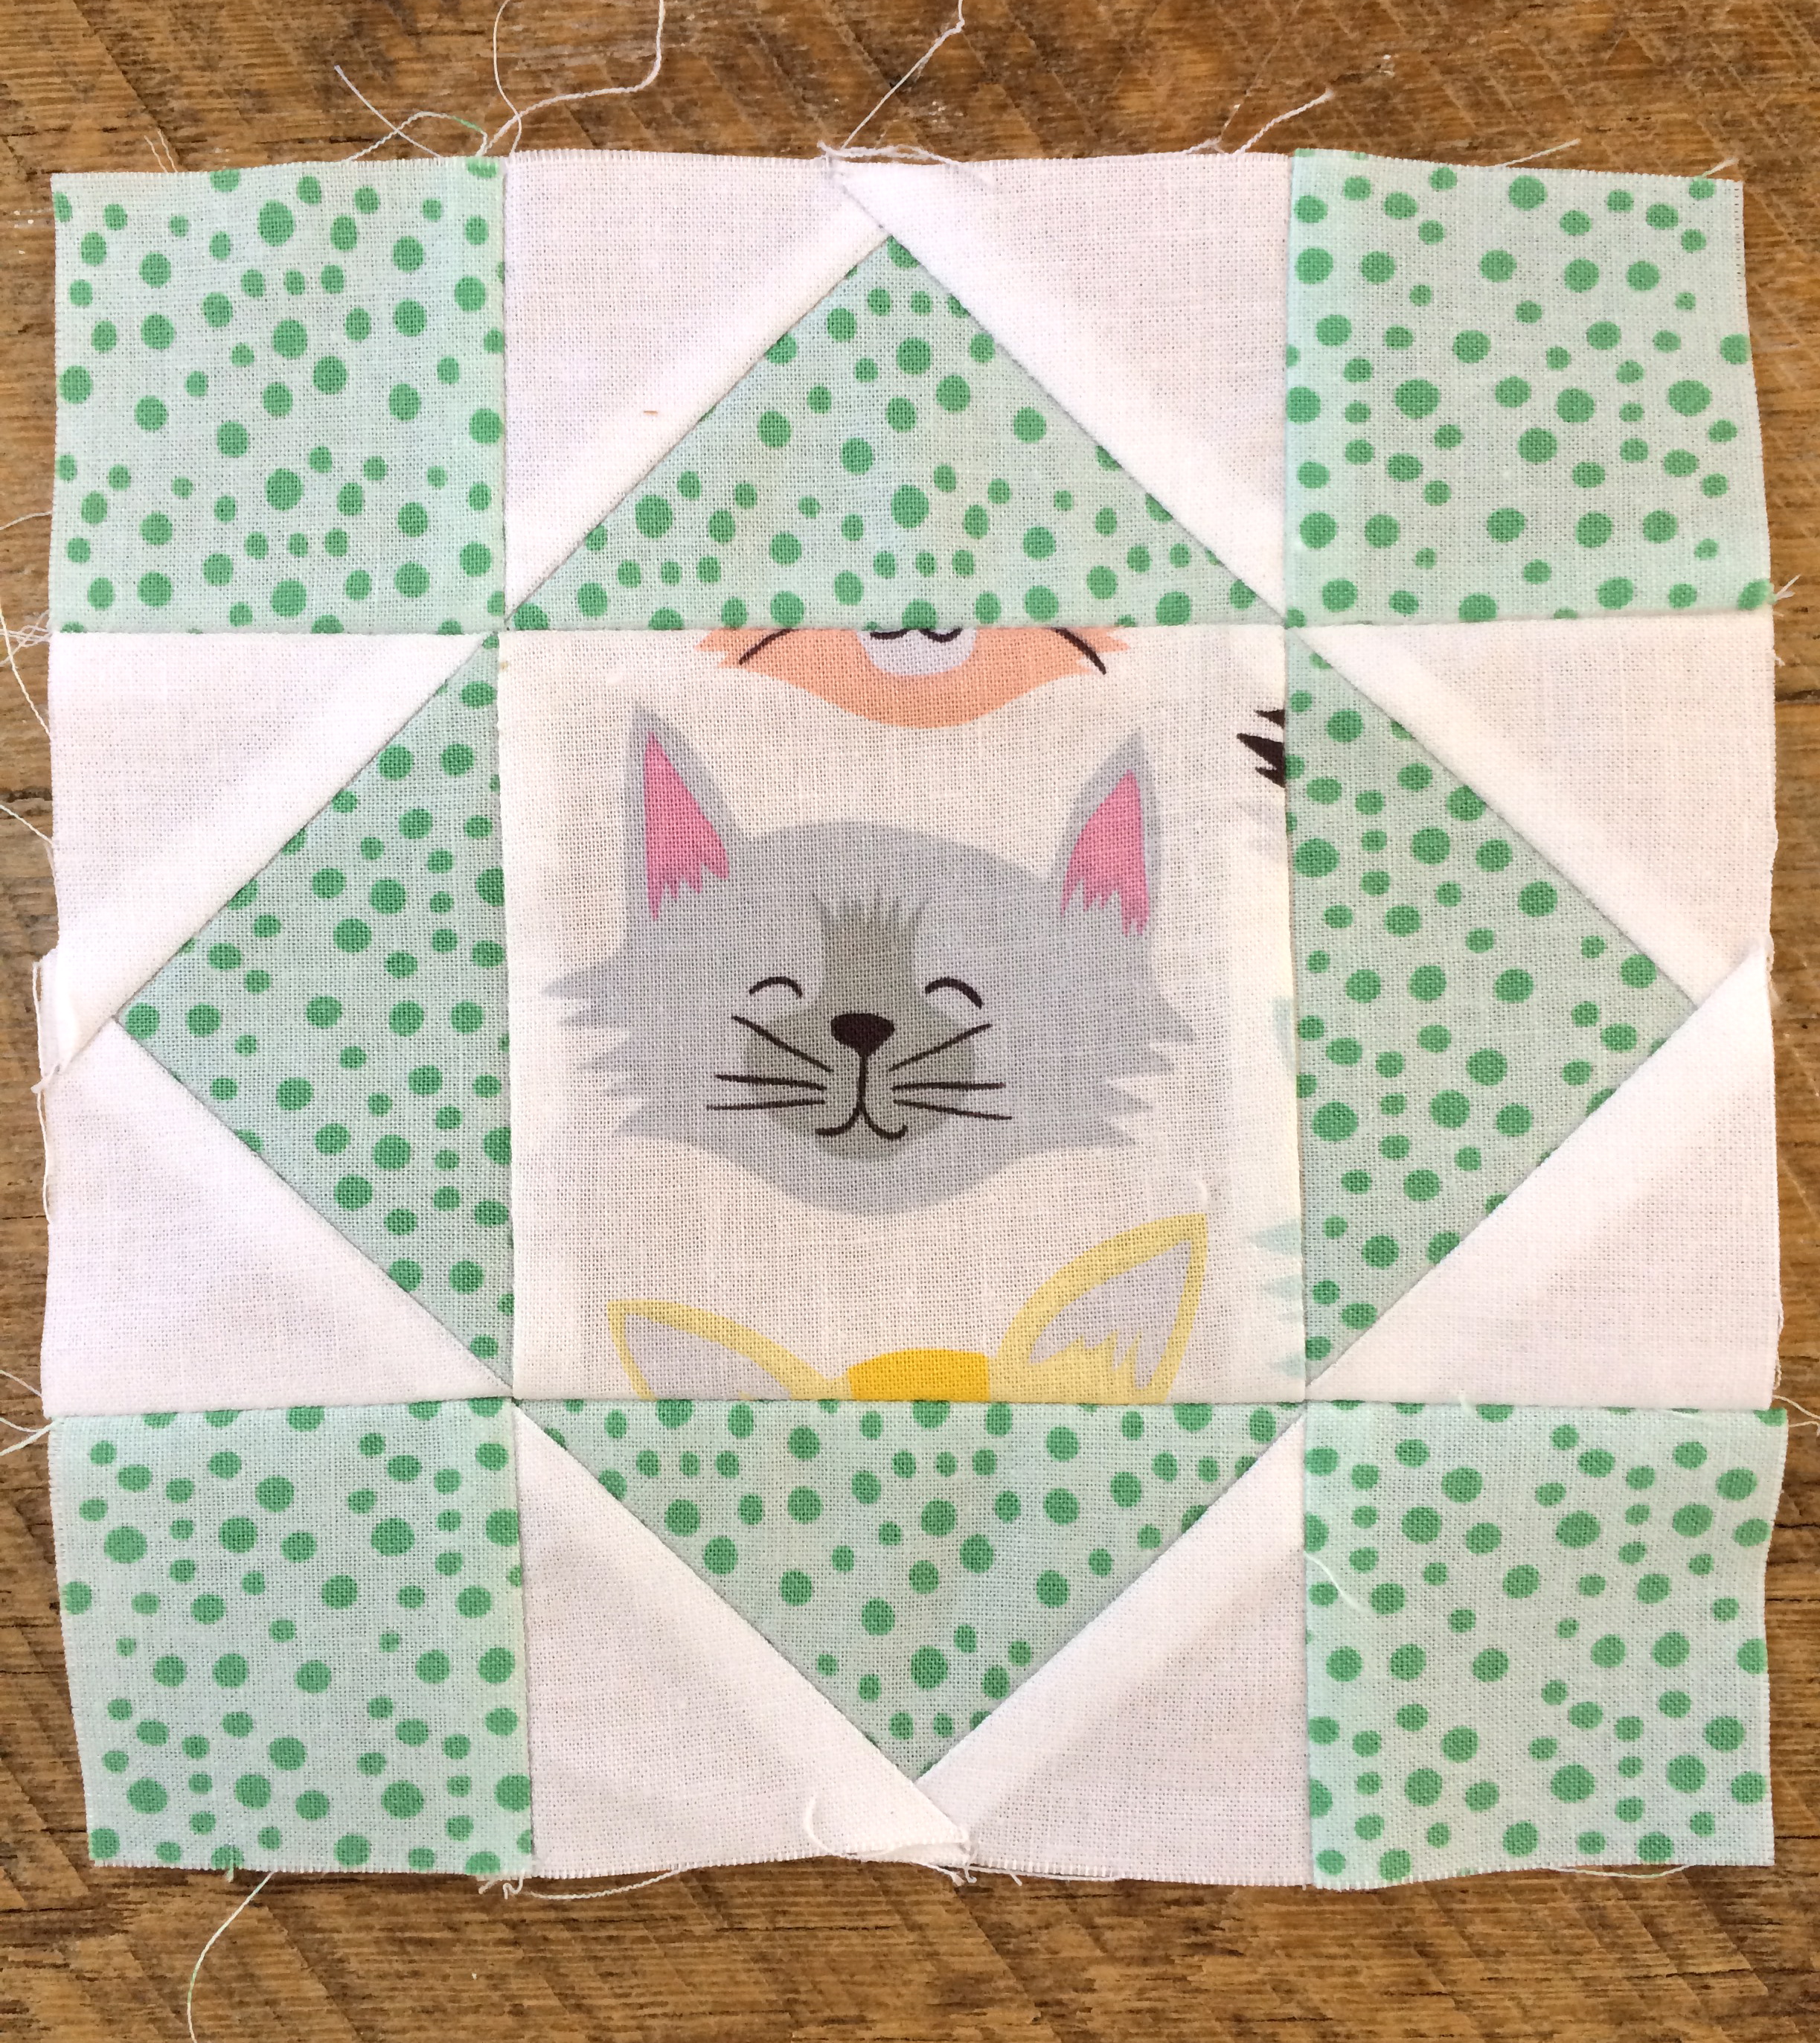
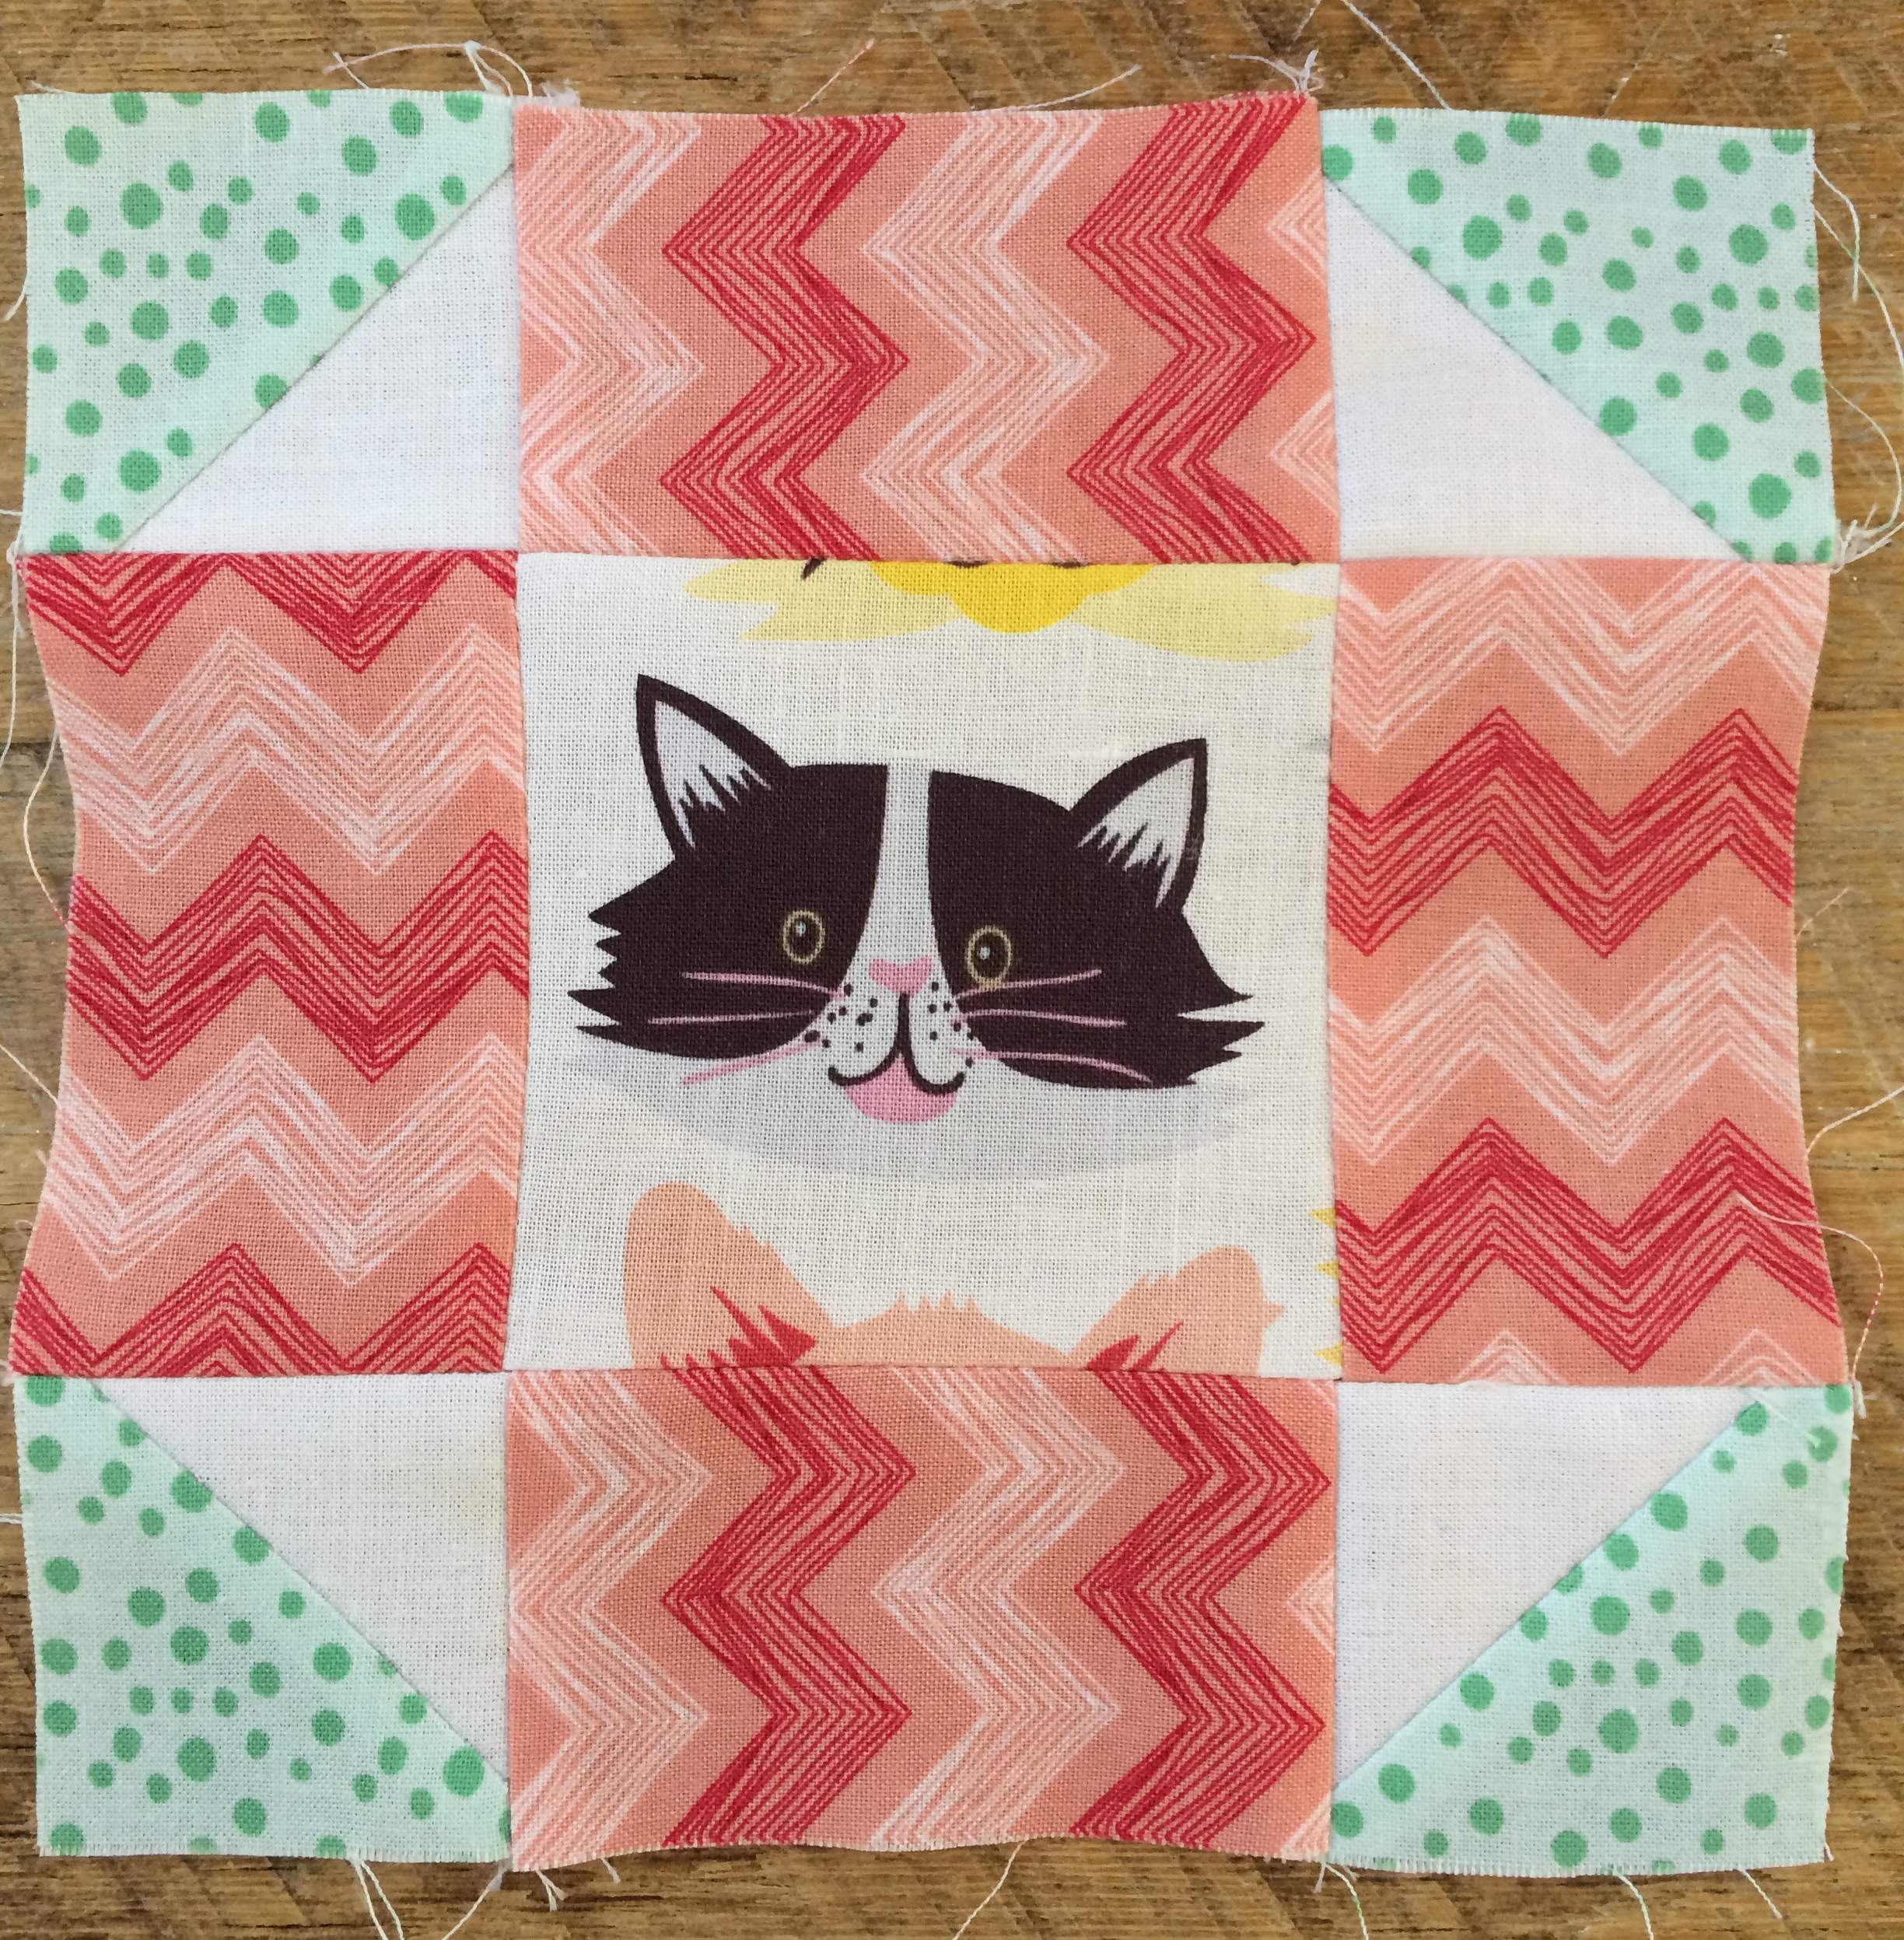
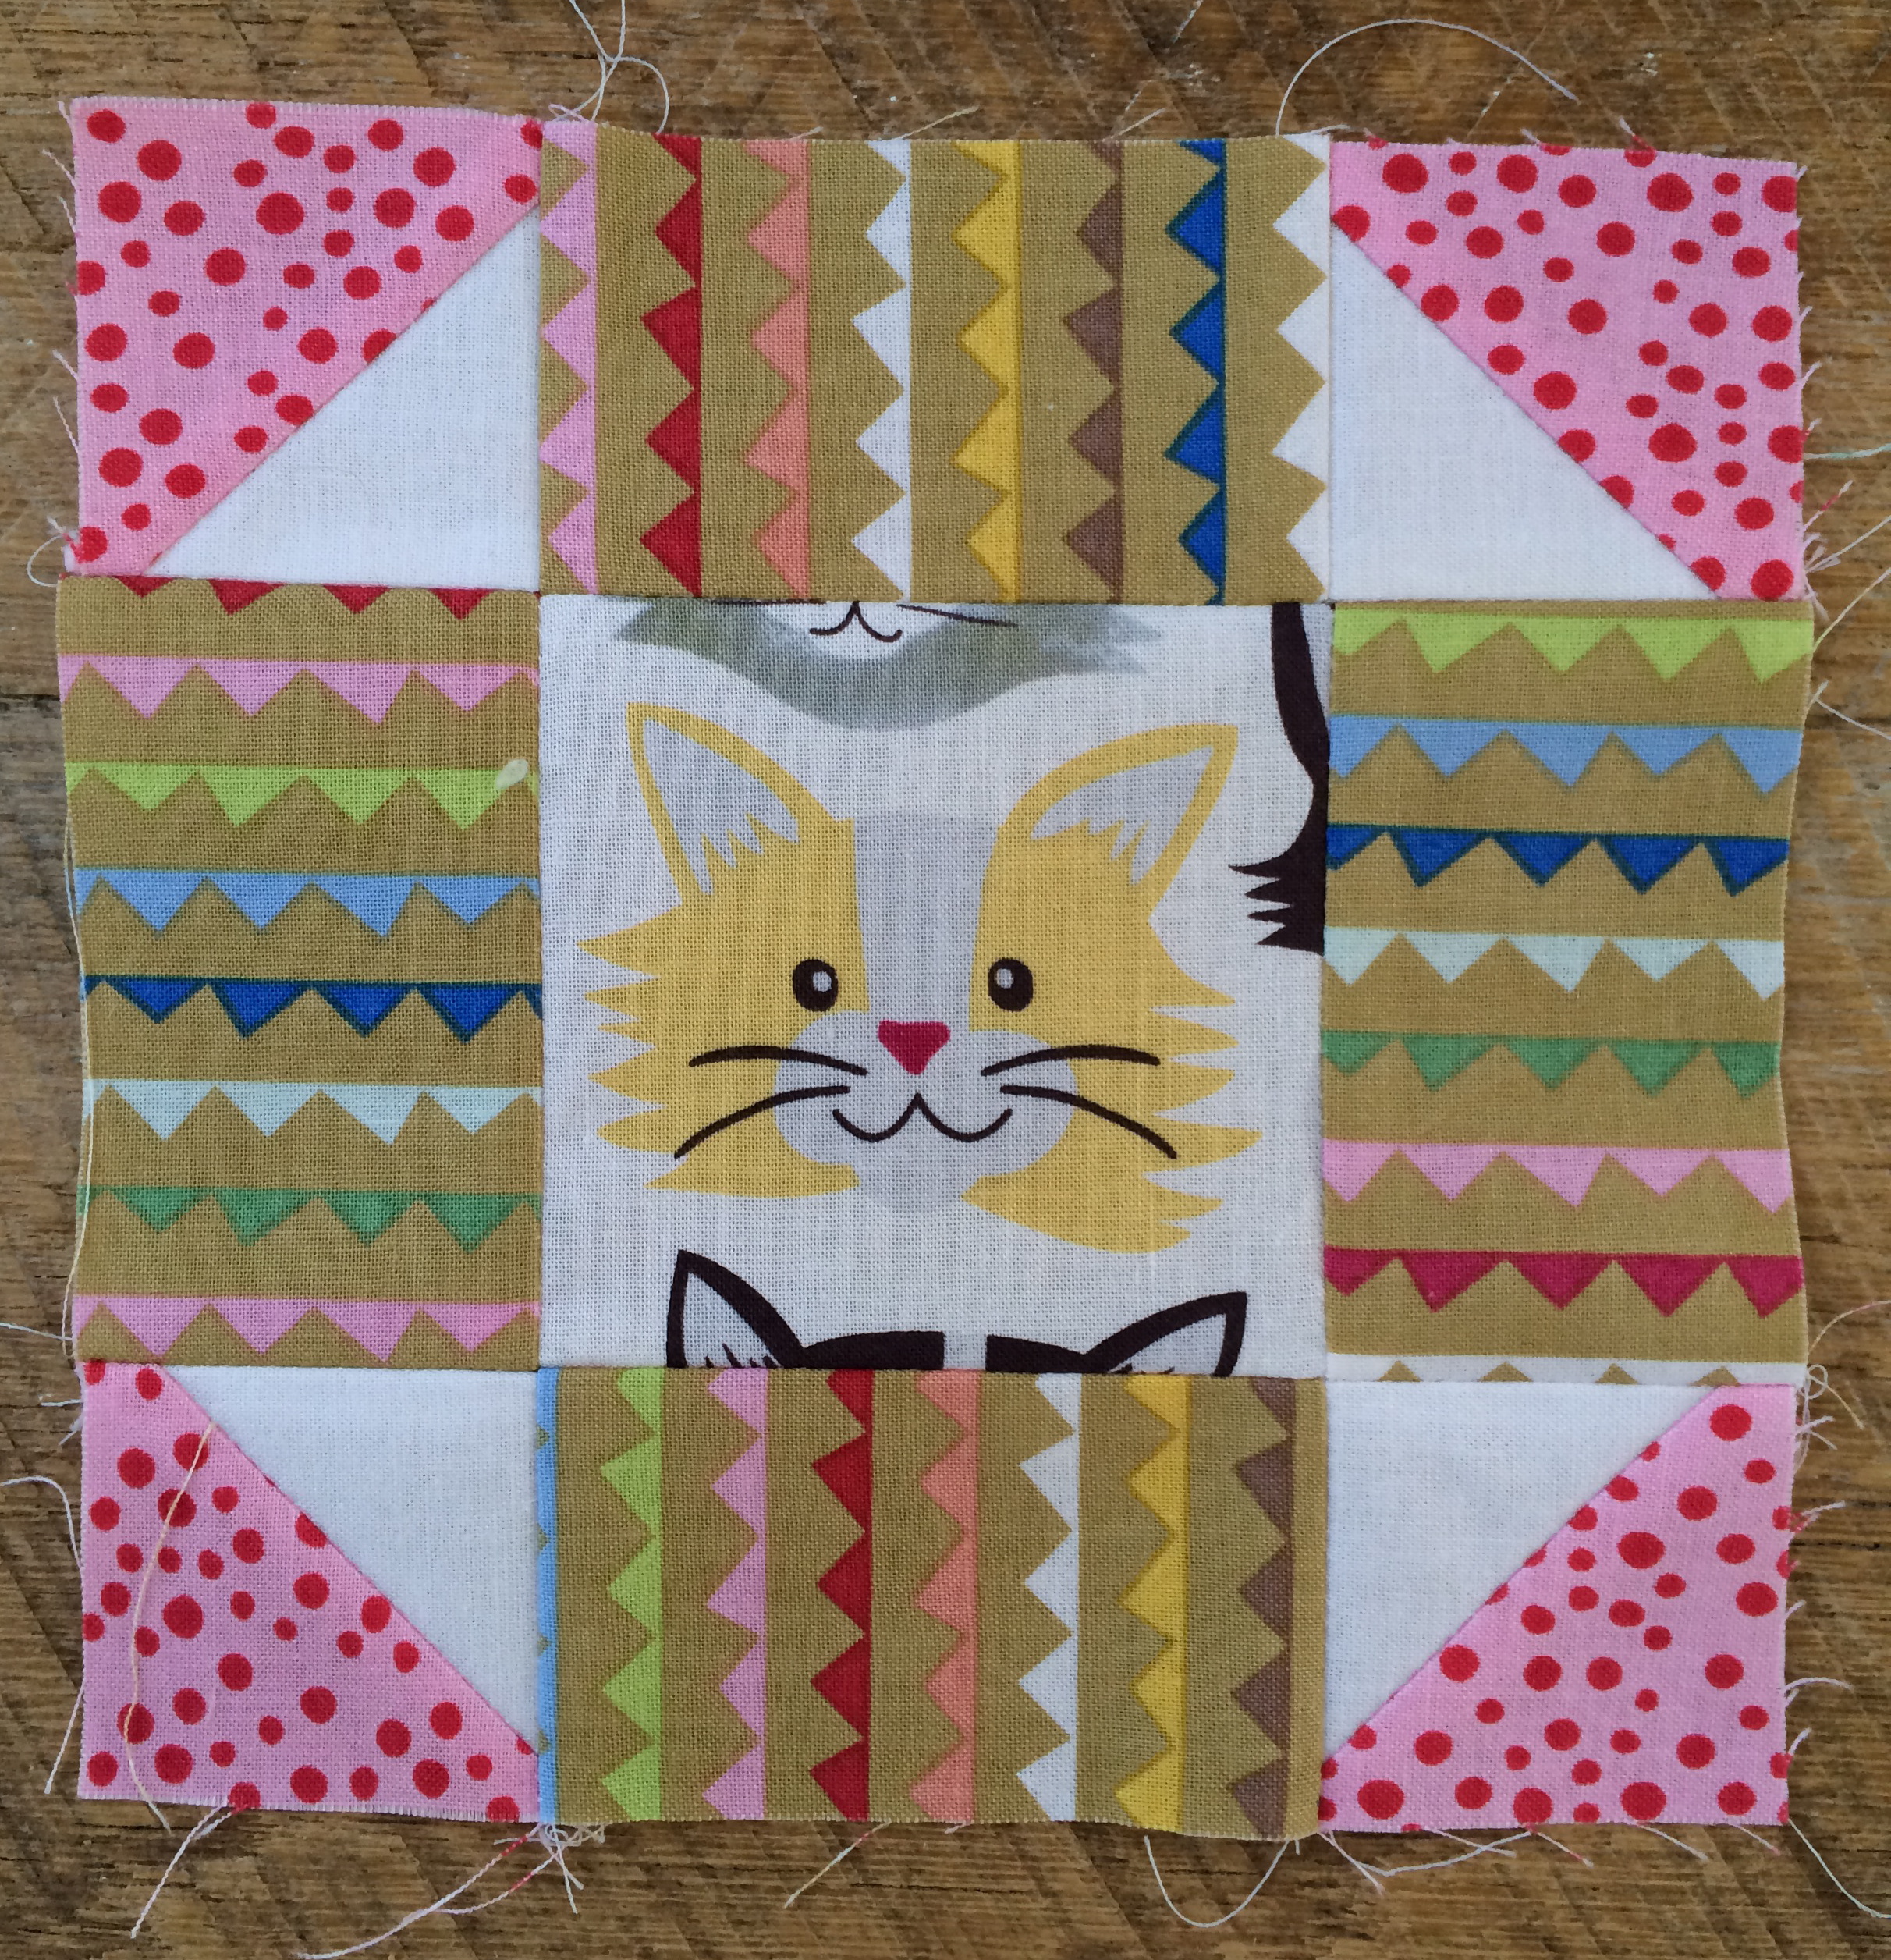
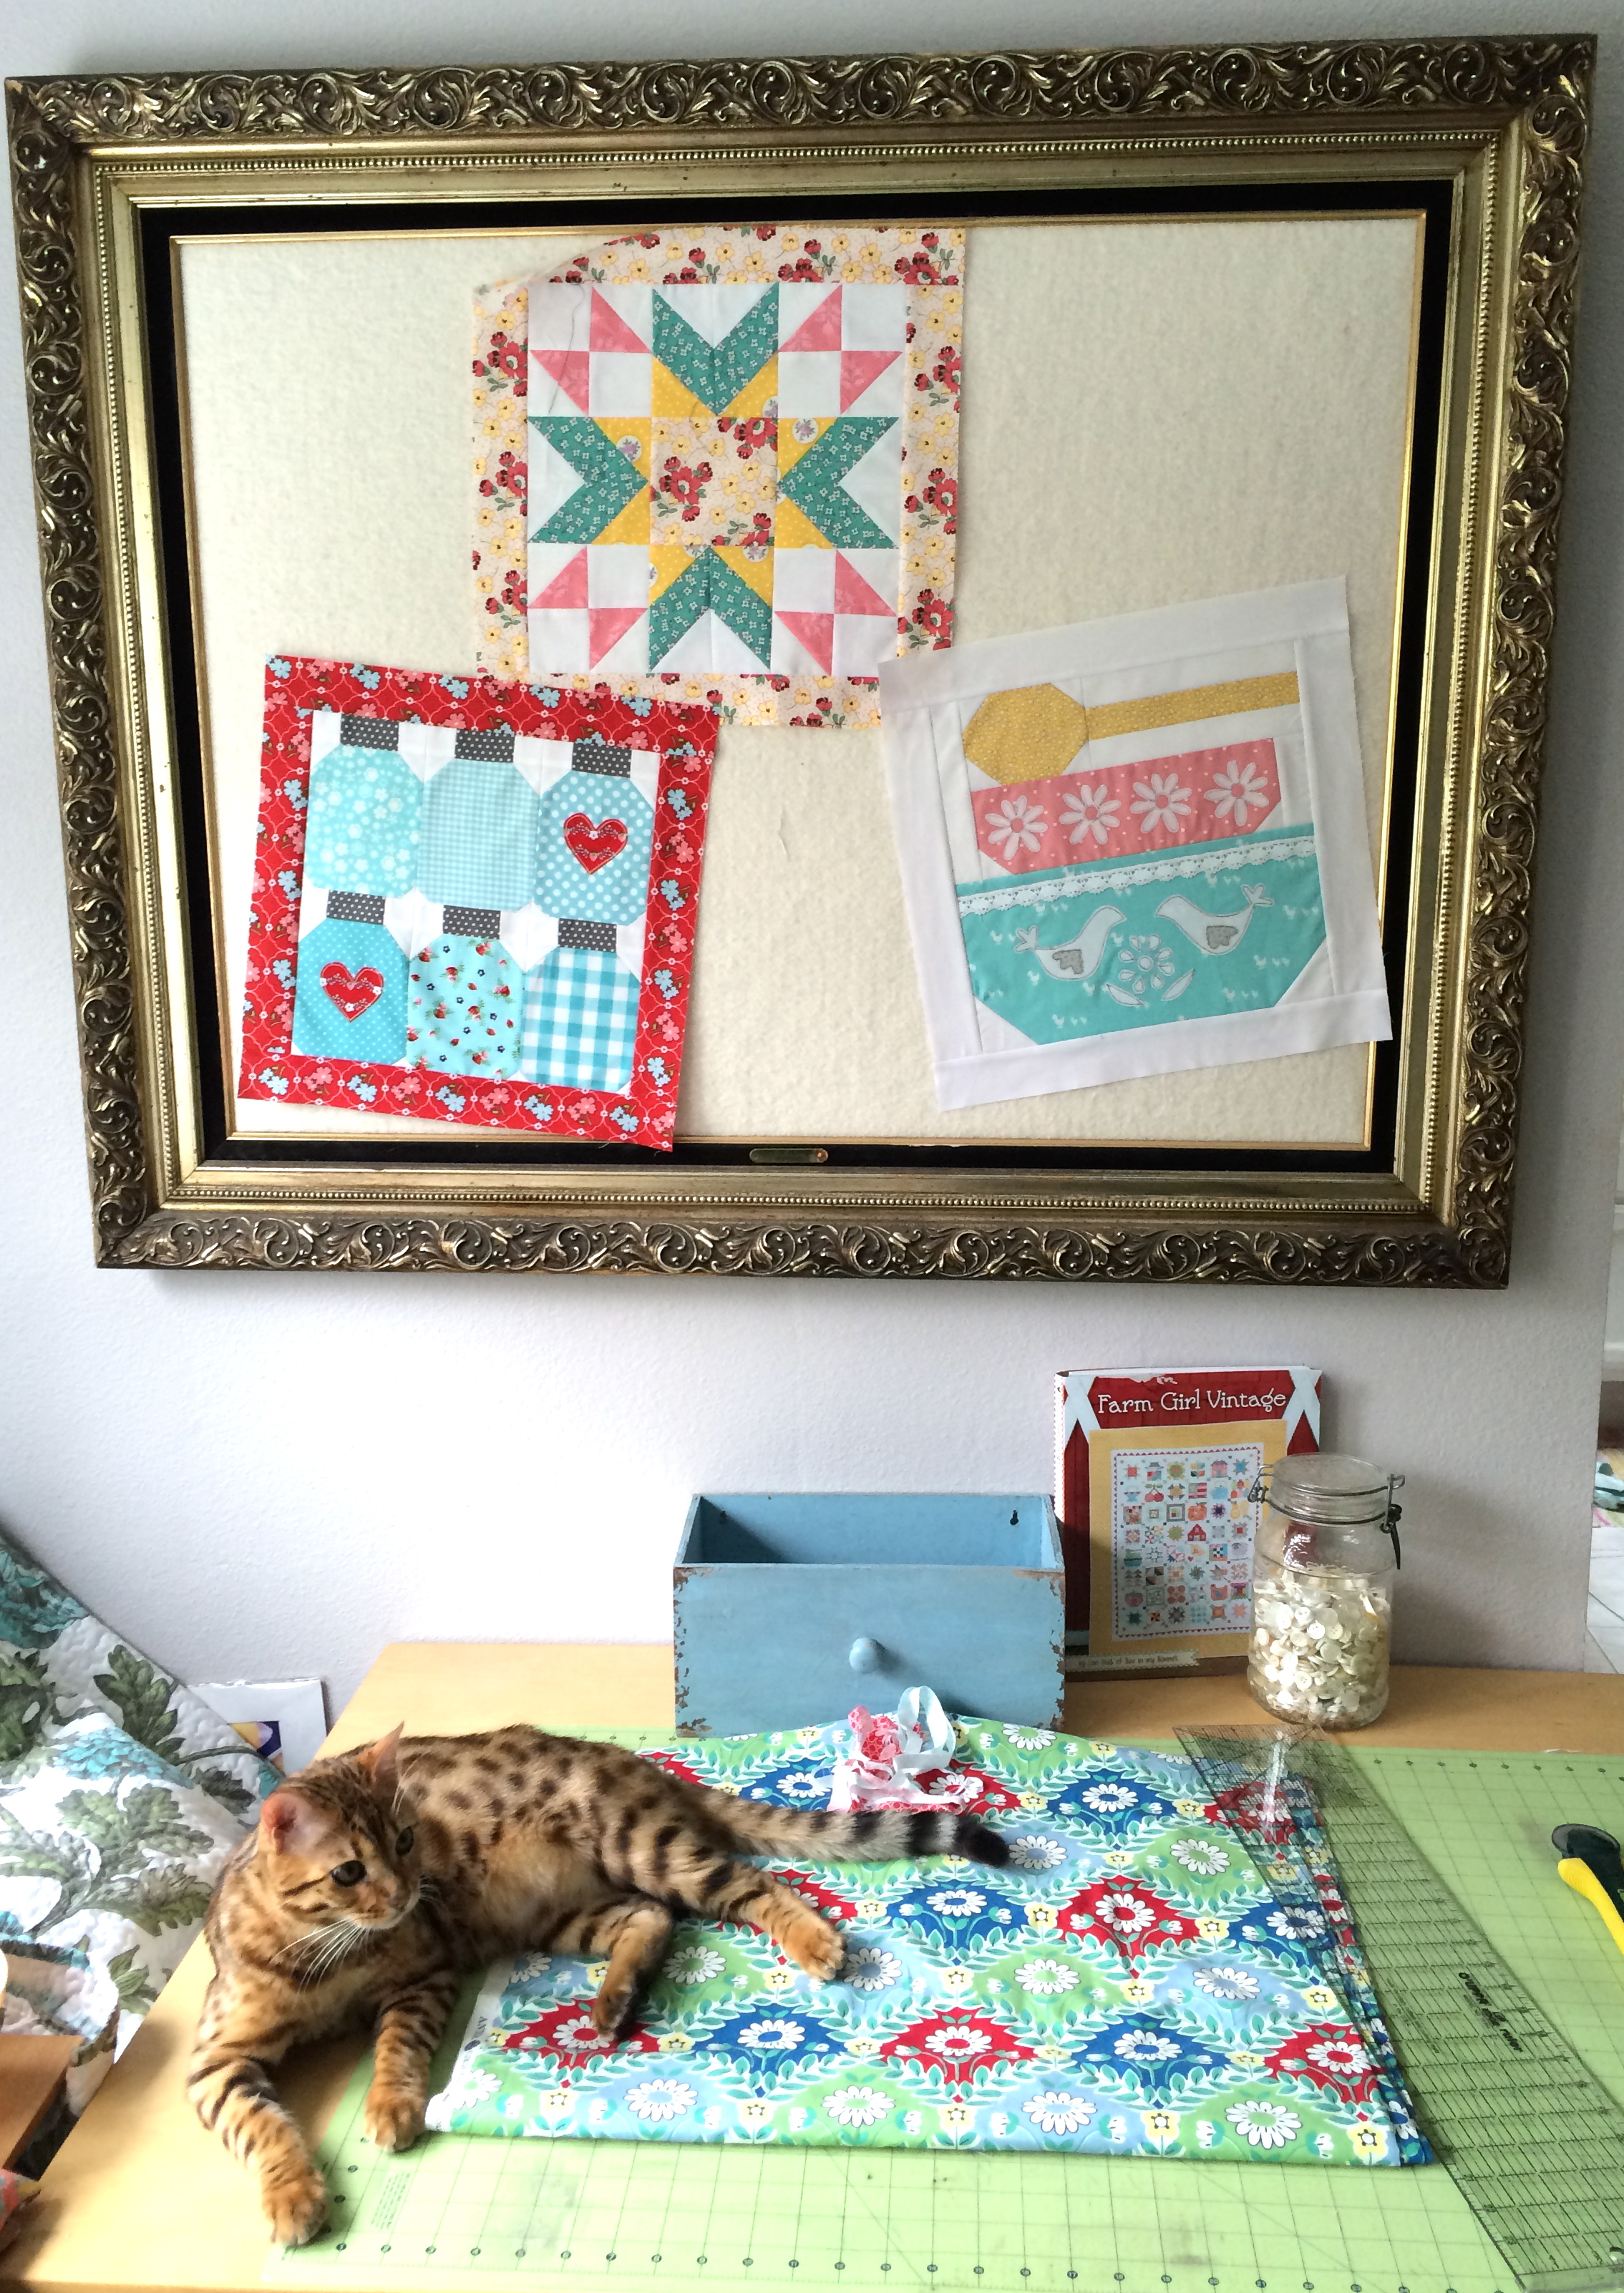
 This little quilt features sawtooth blocks and appliqué. The fabrics are from
  1/4″ seams used throughout
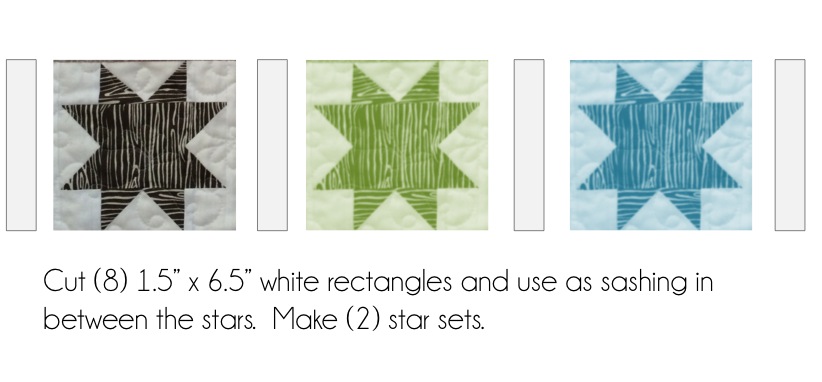
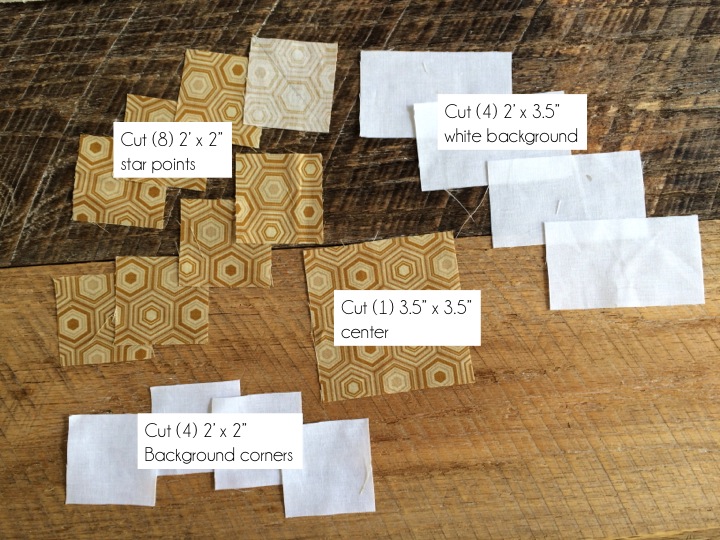
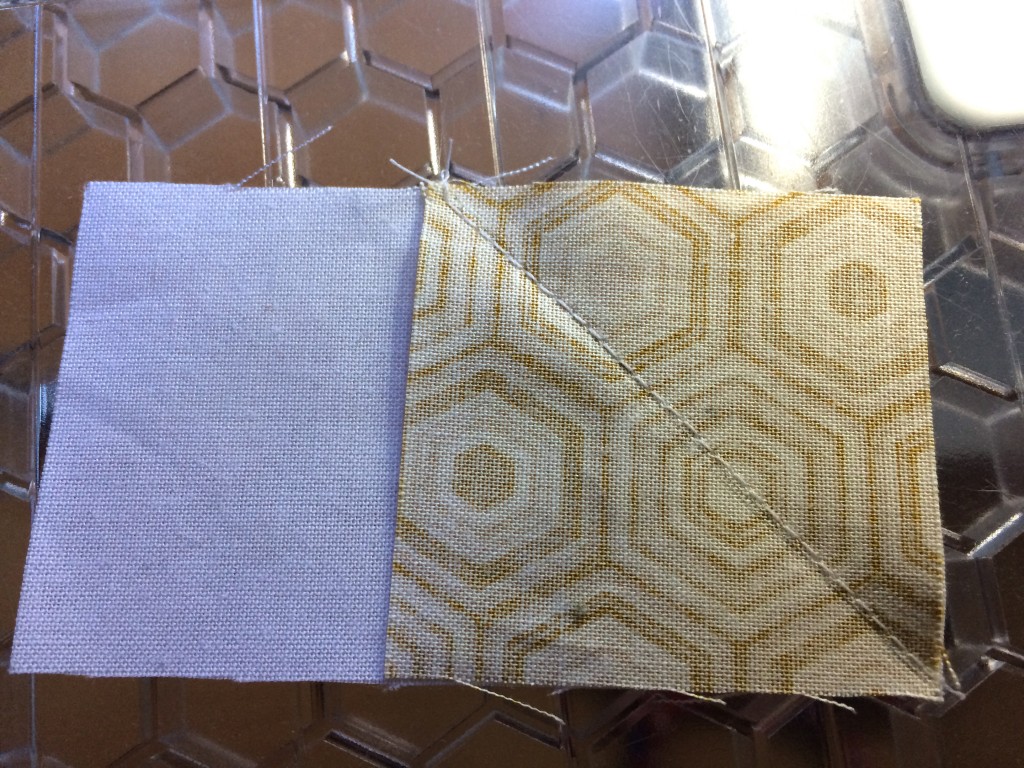

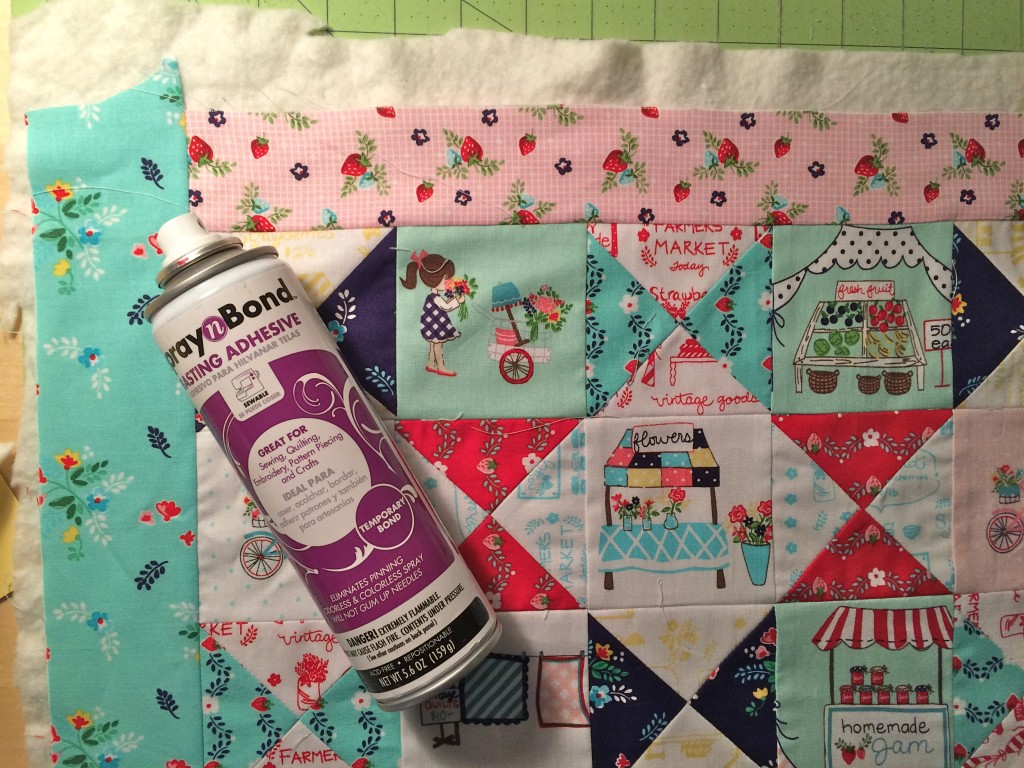
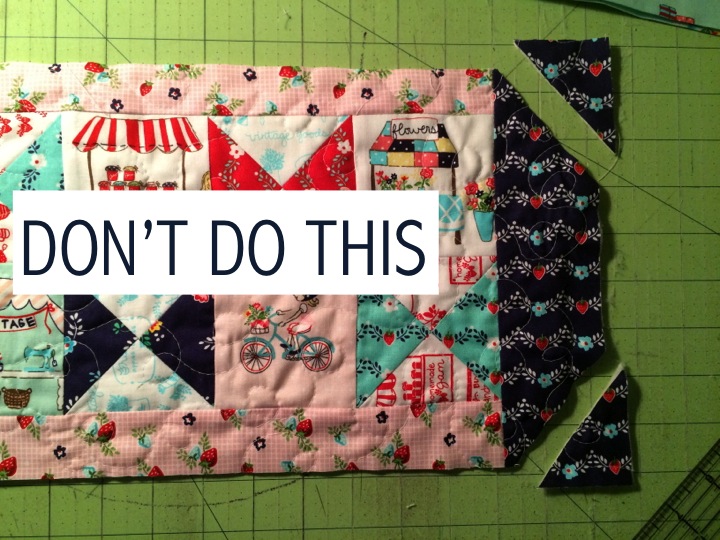
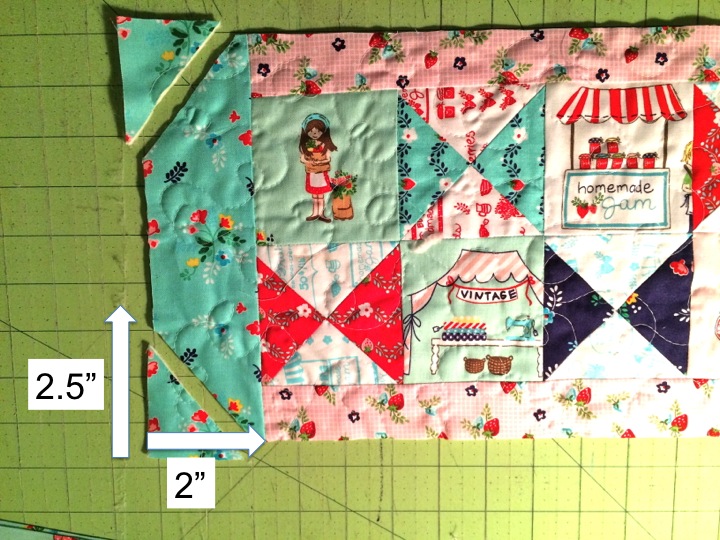
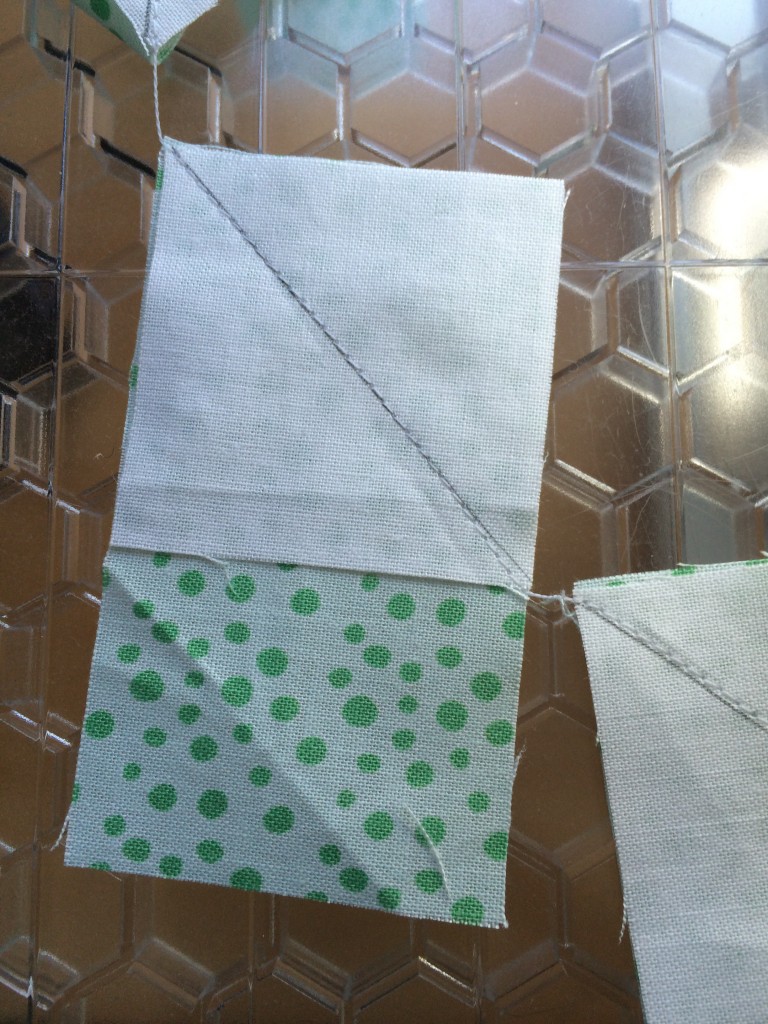
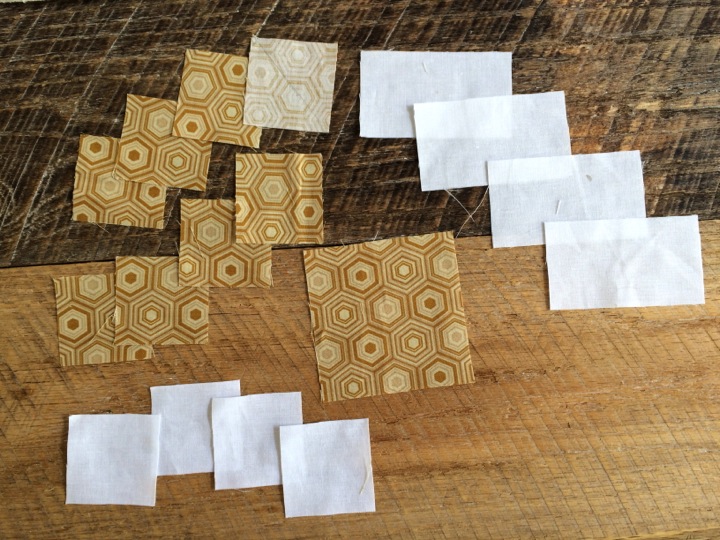
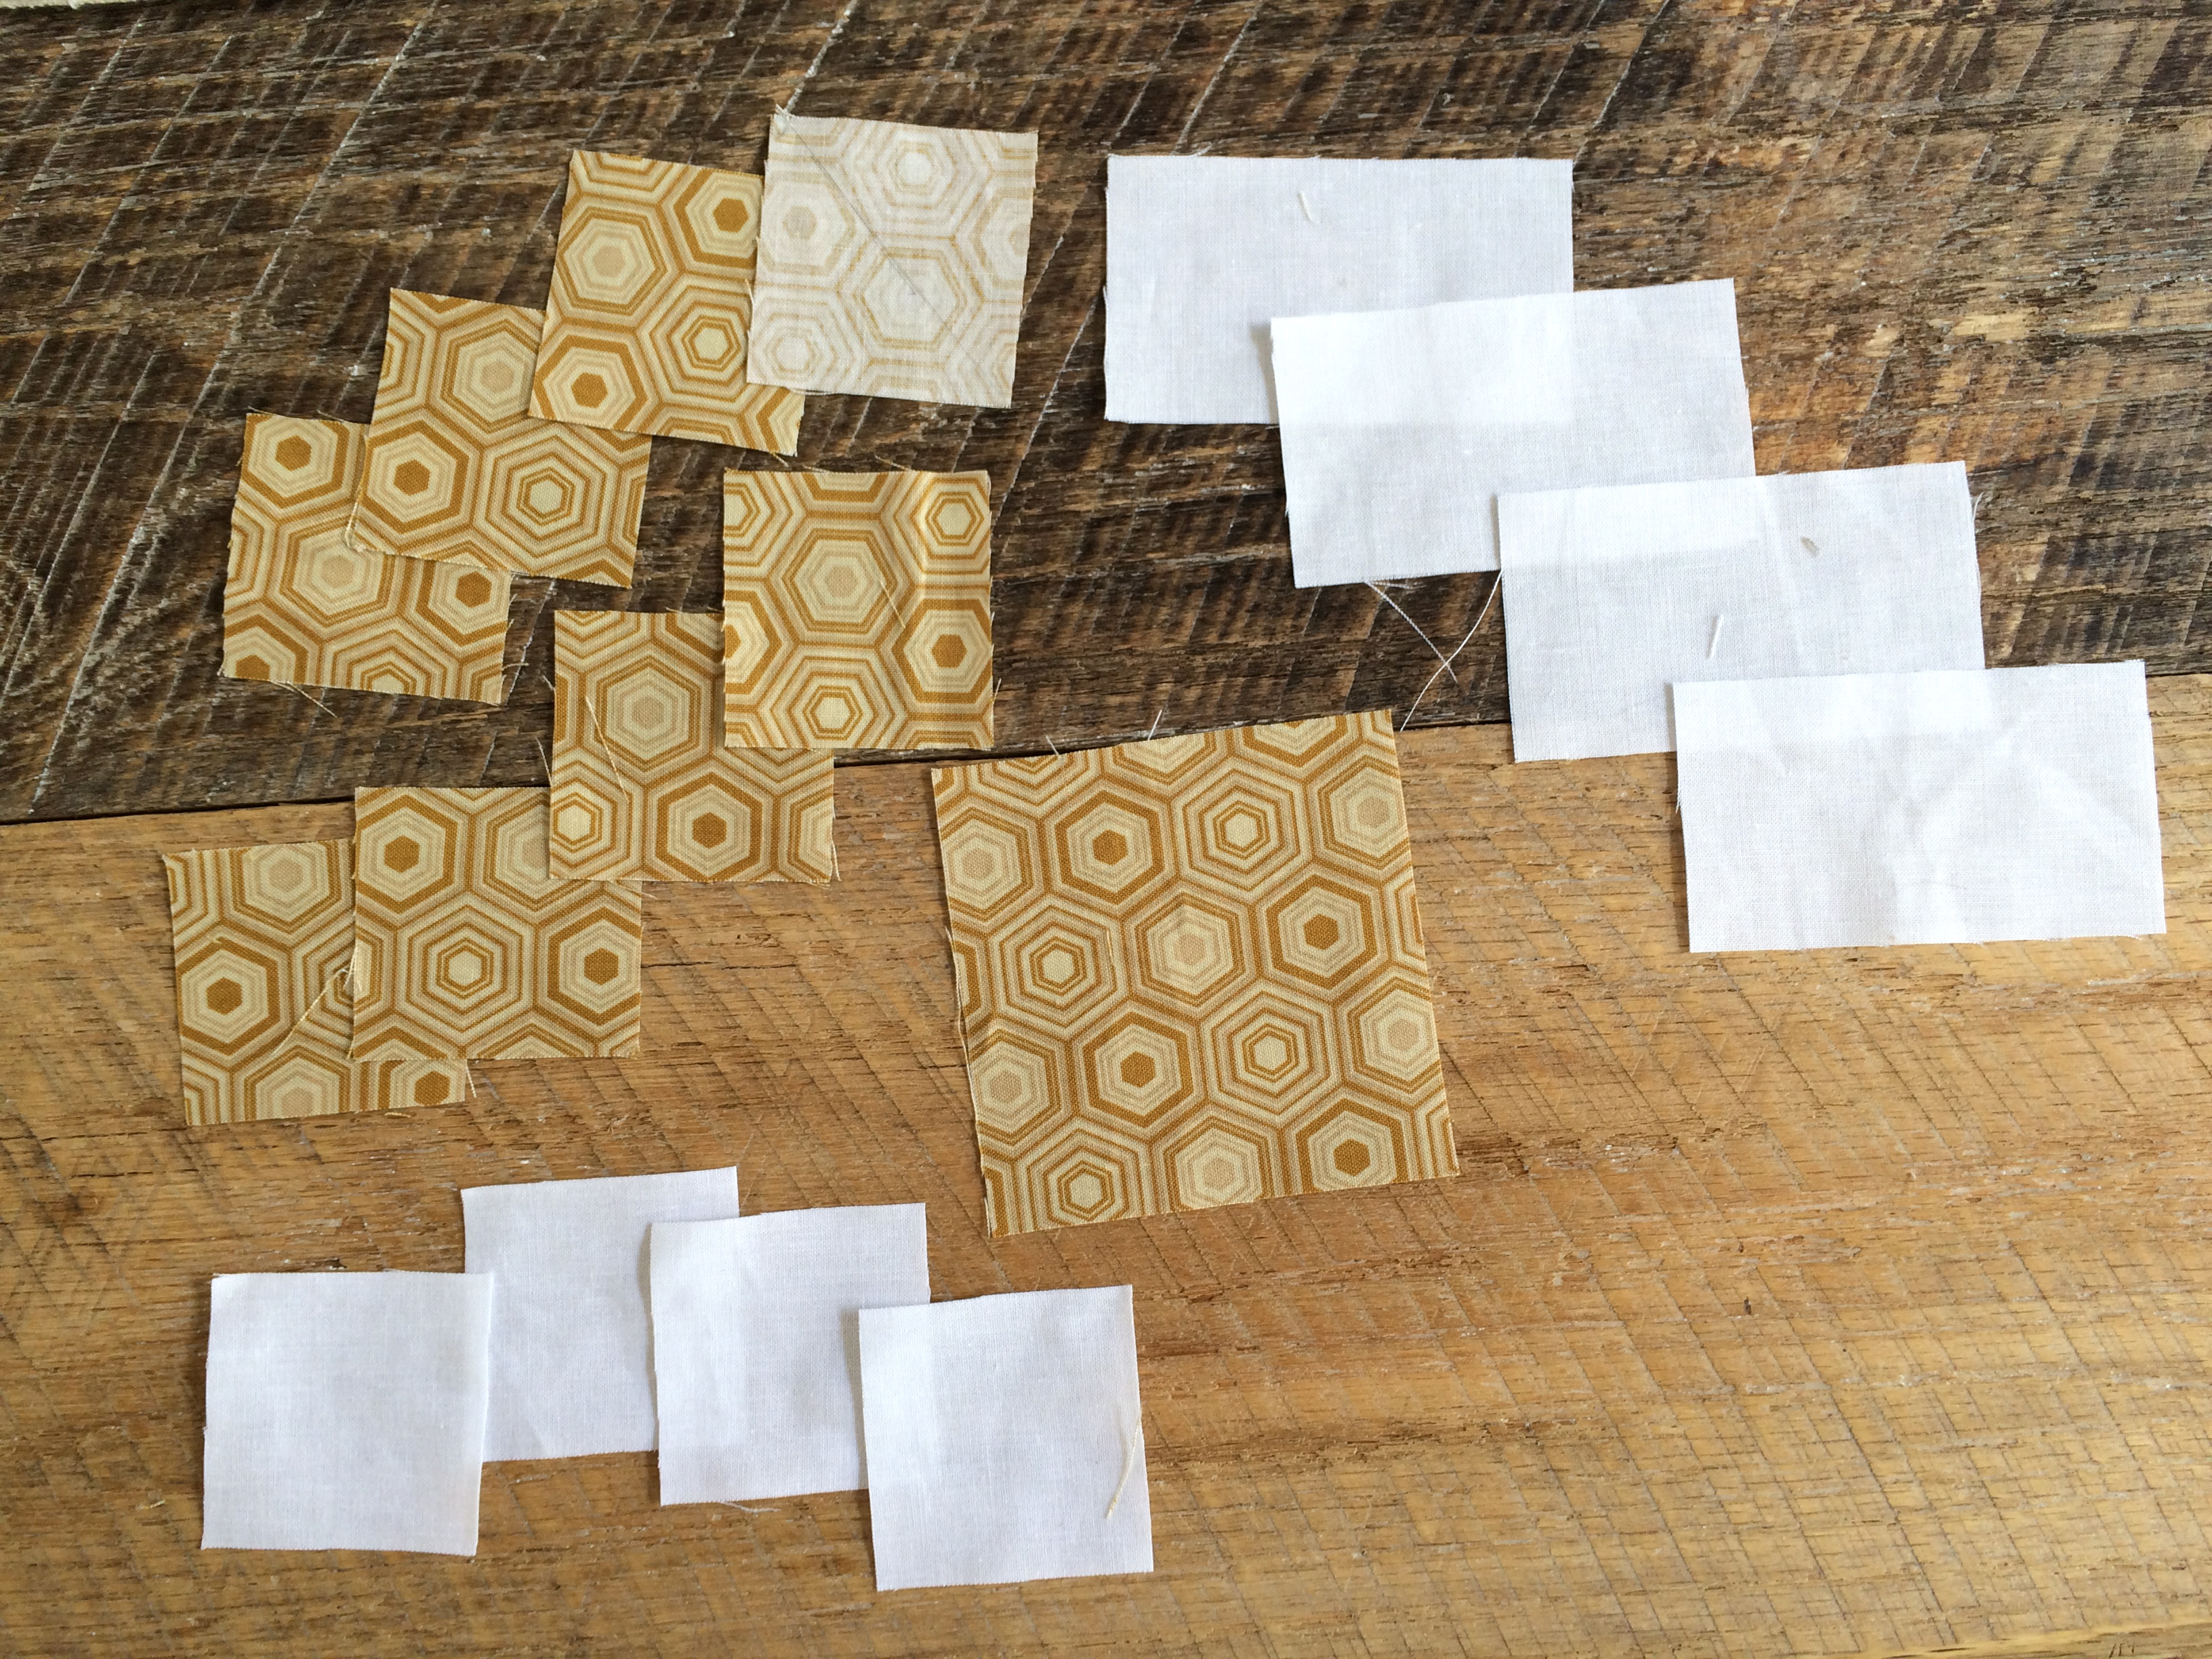
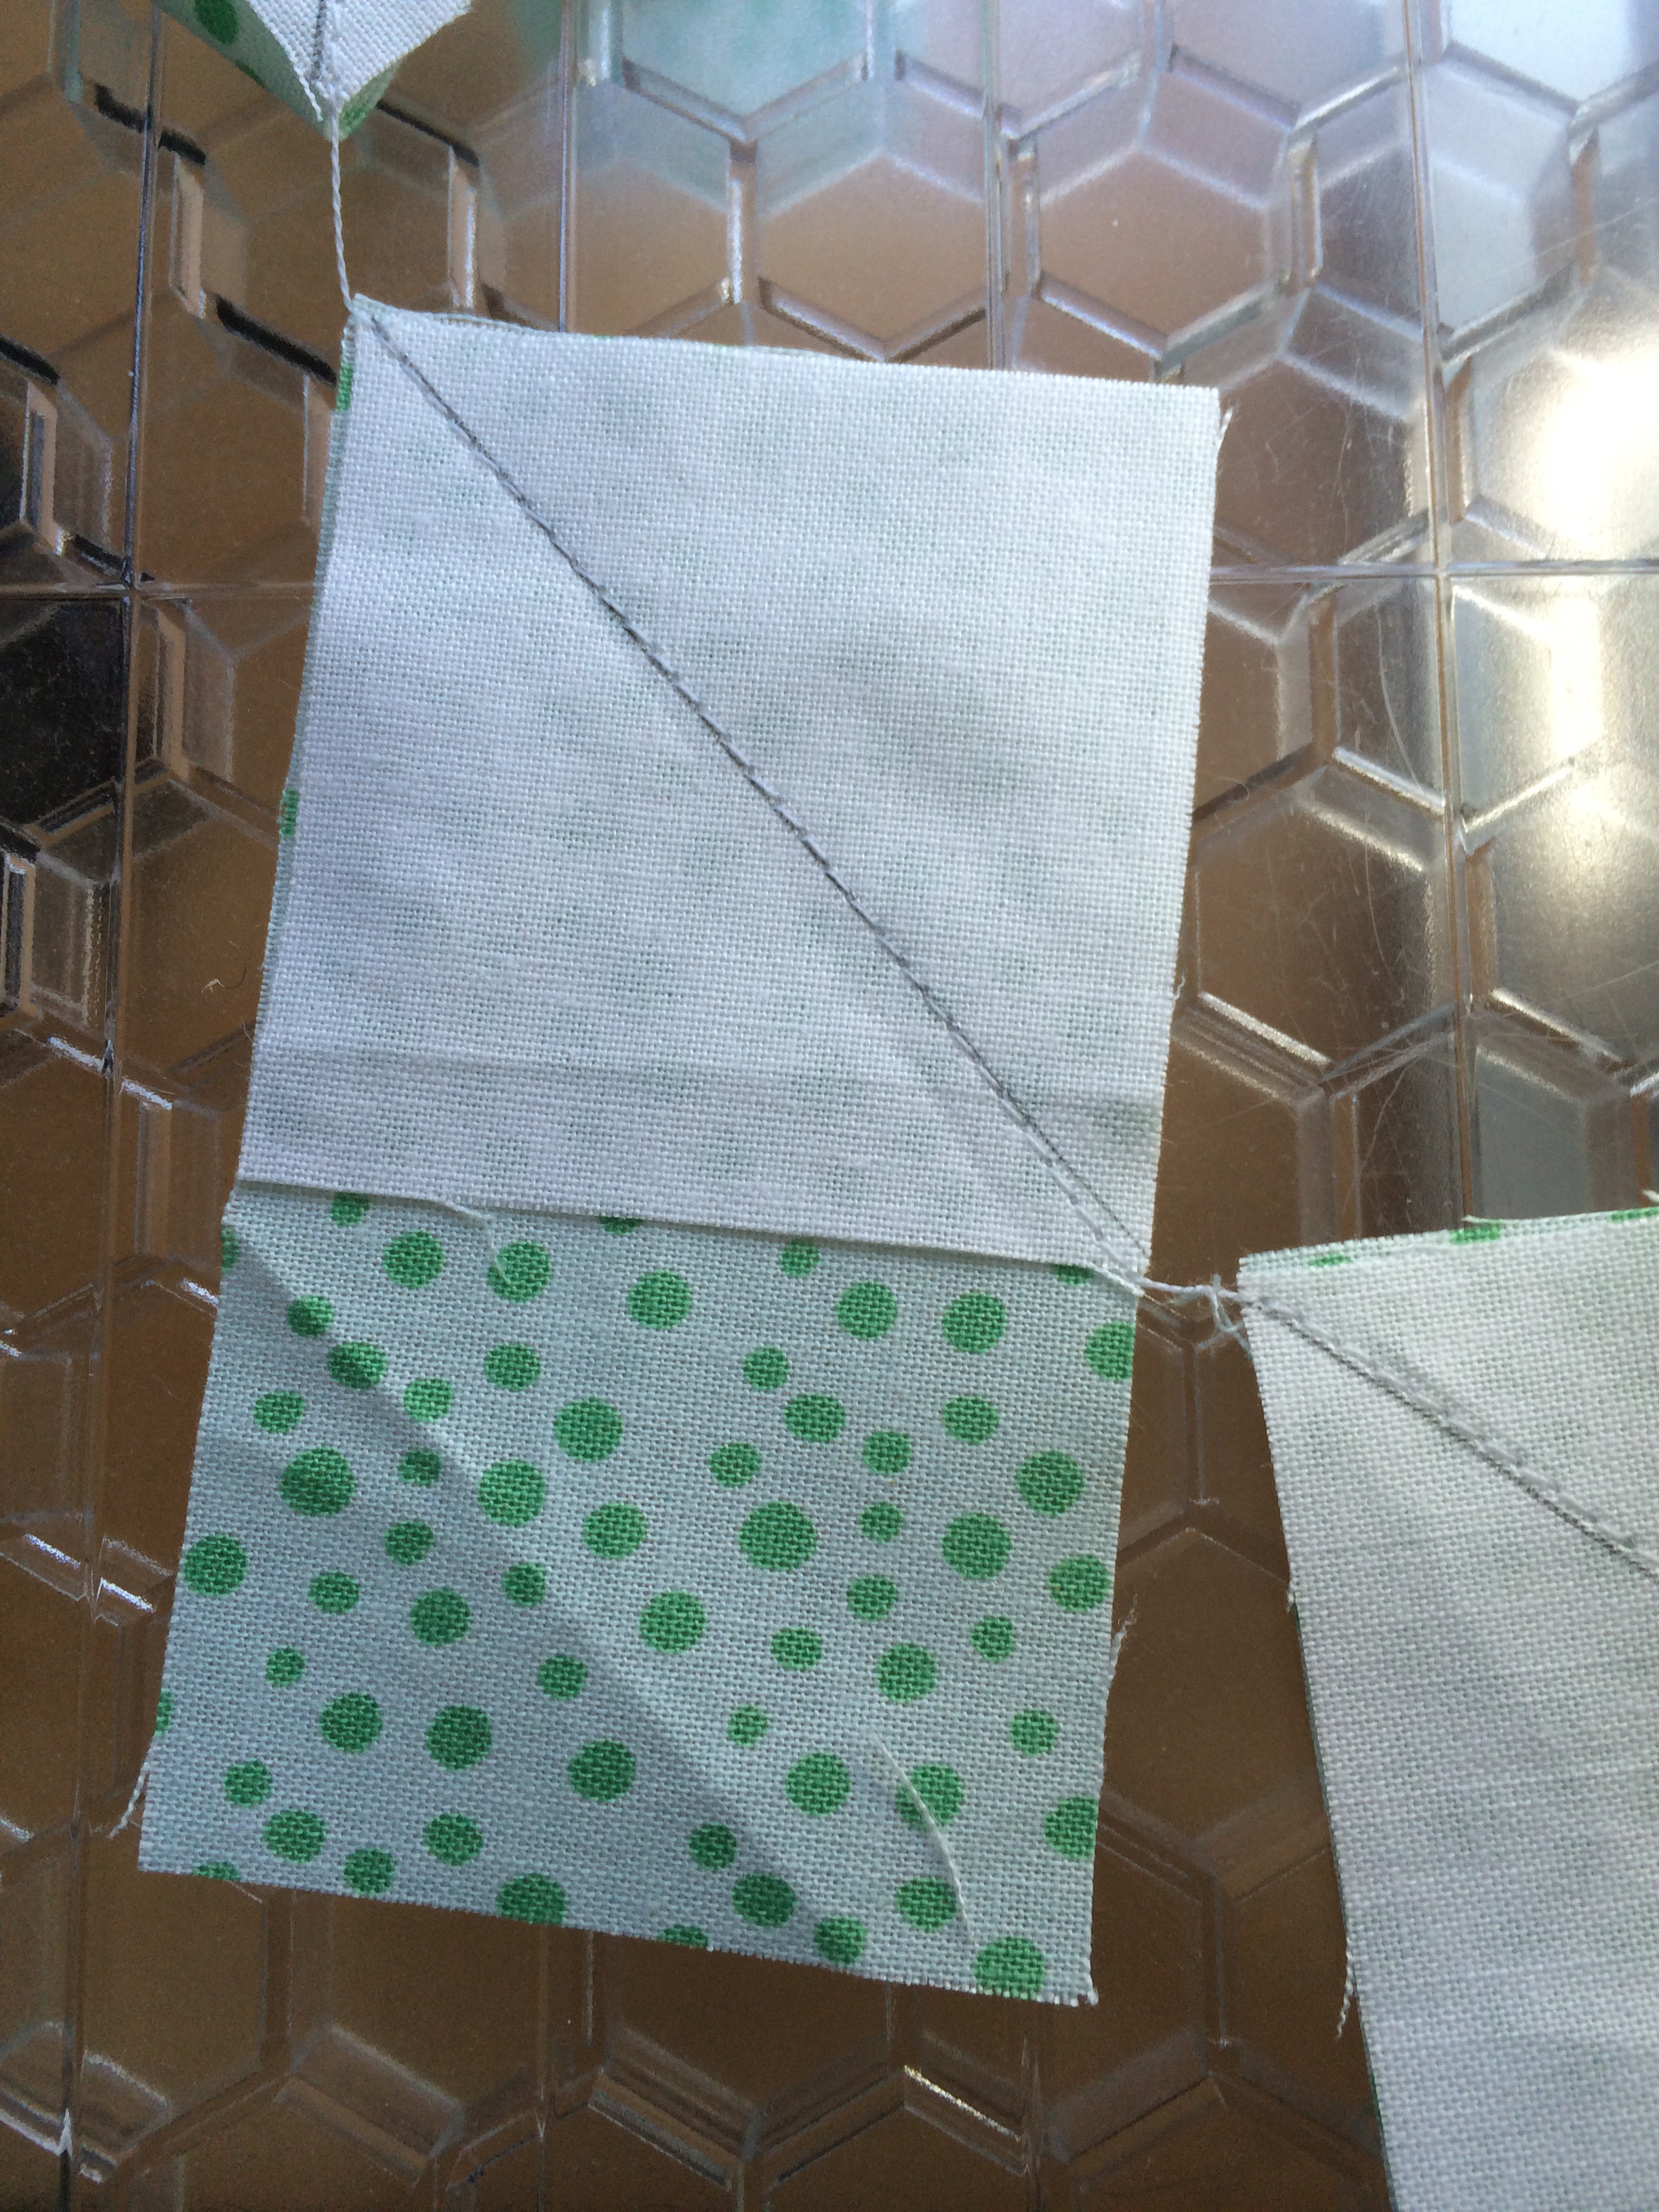
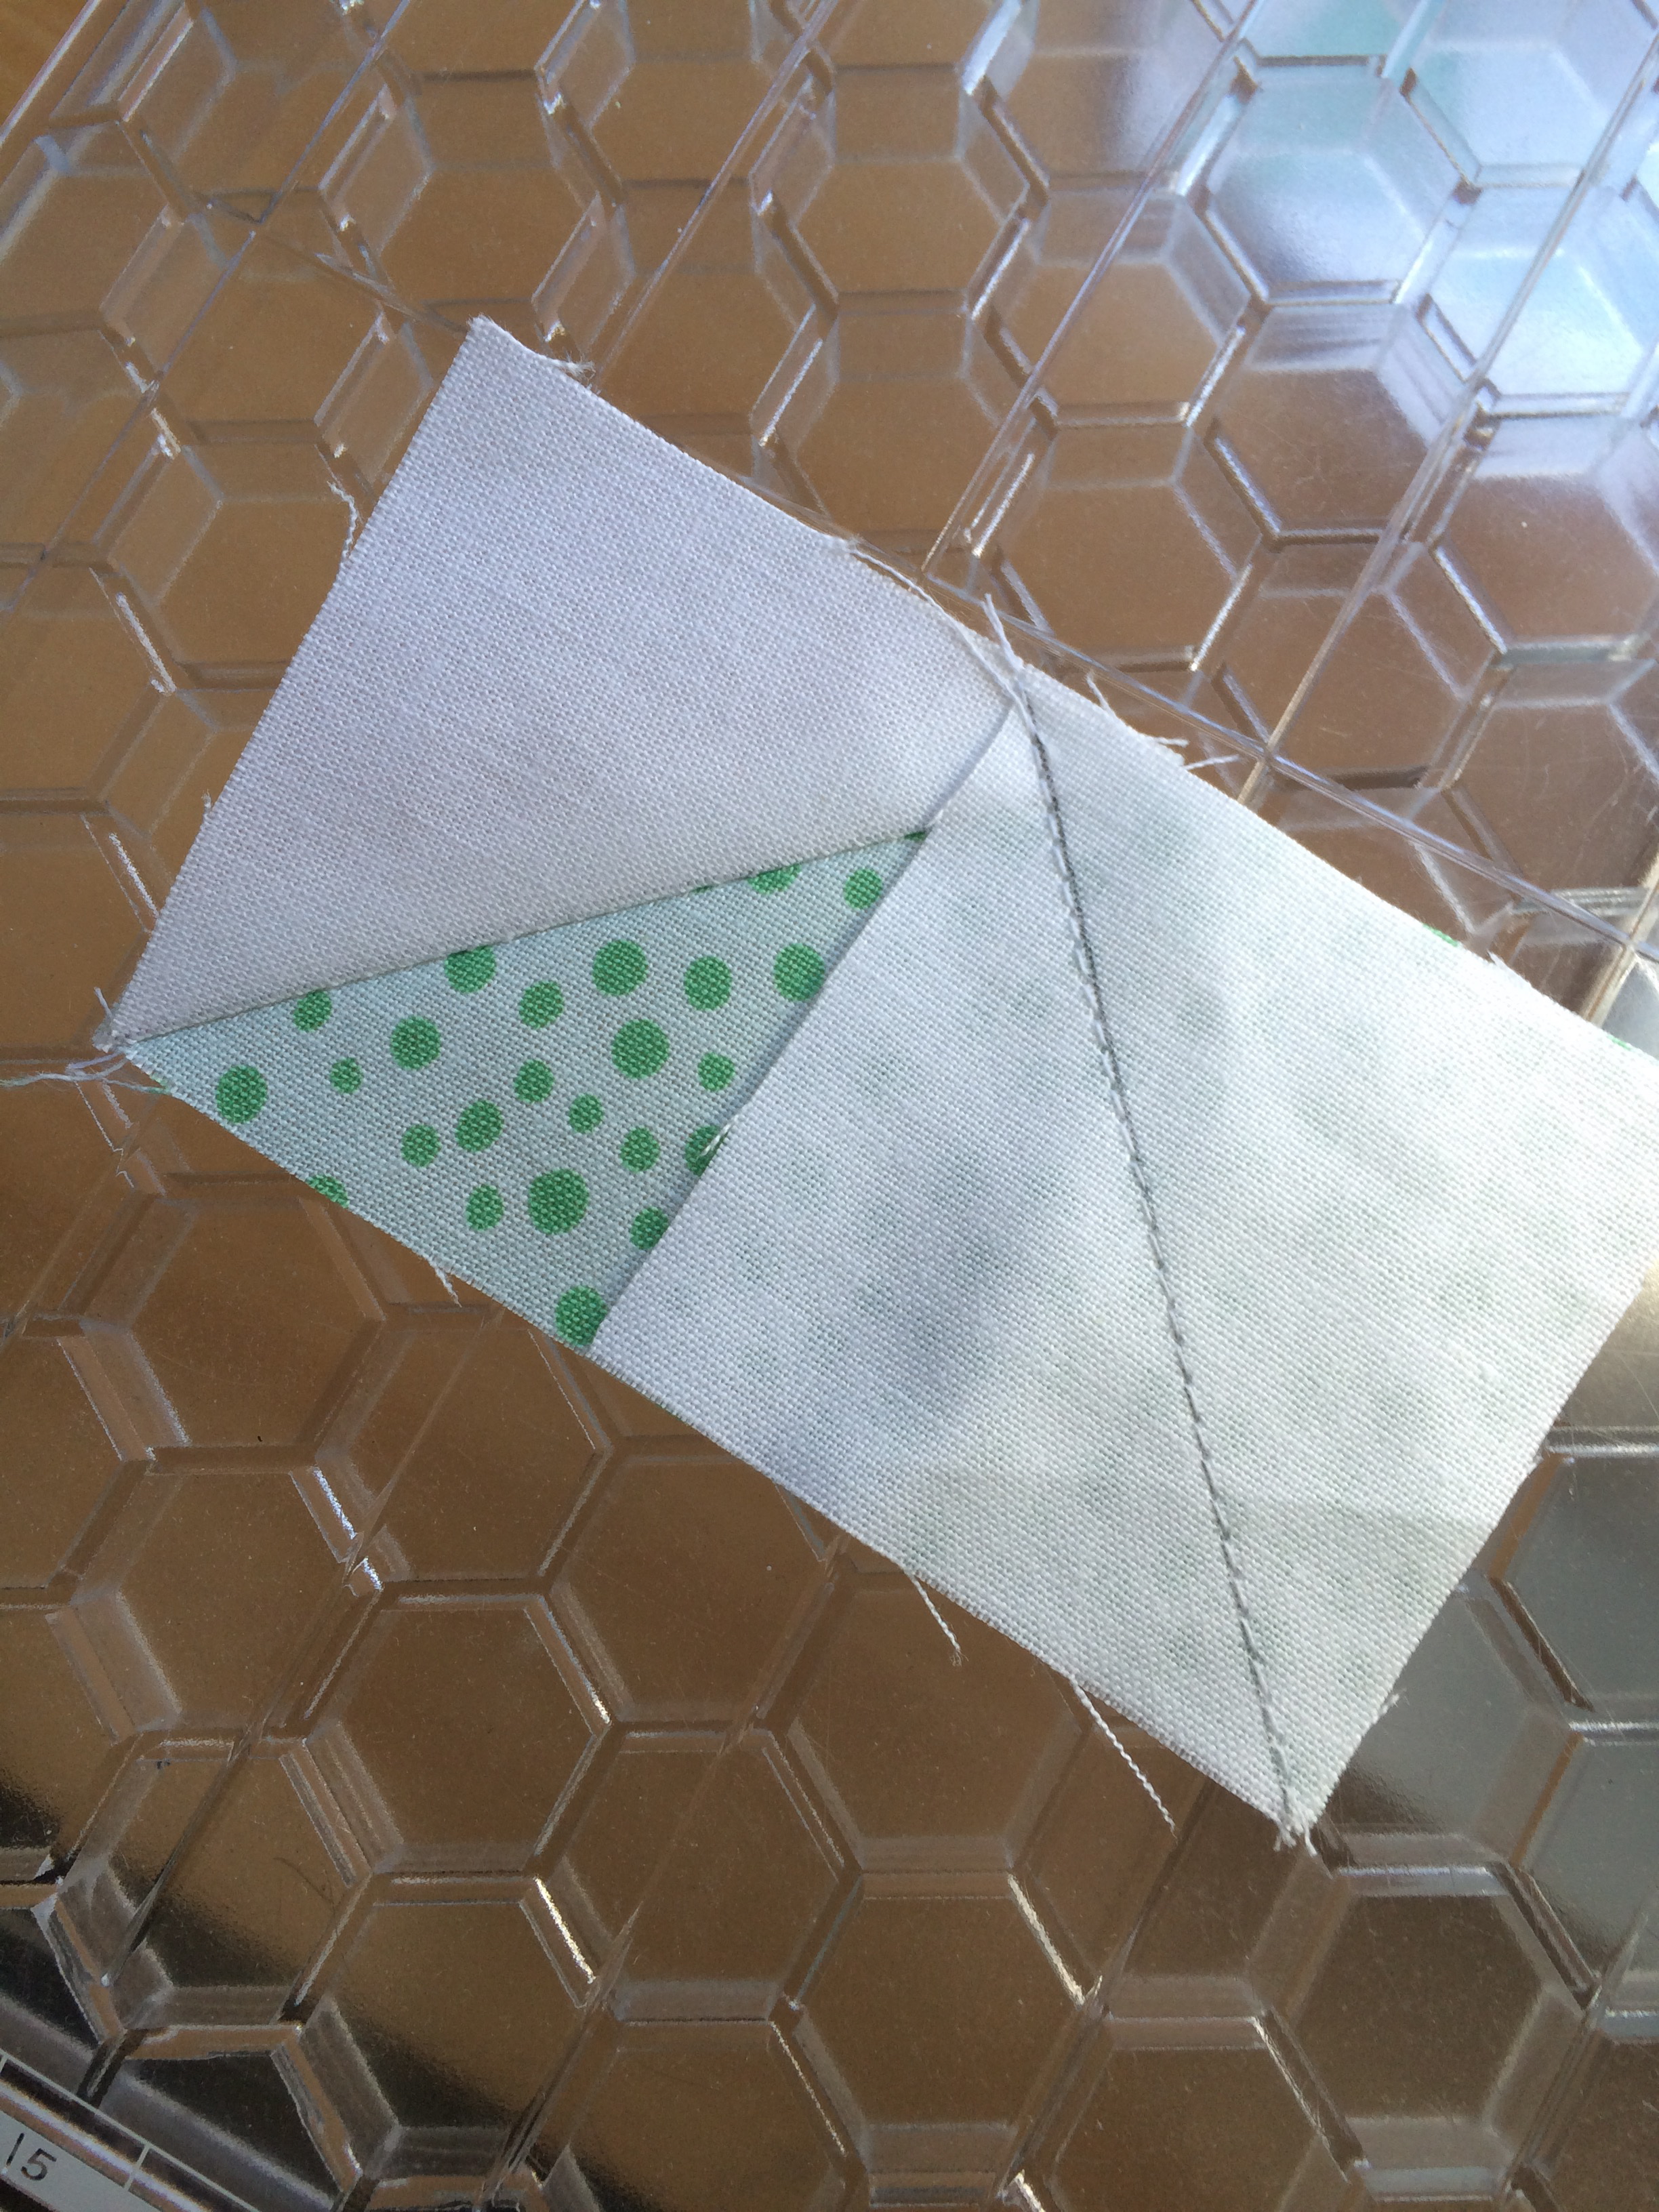
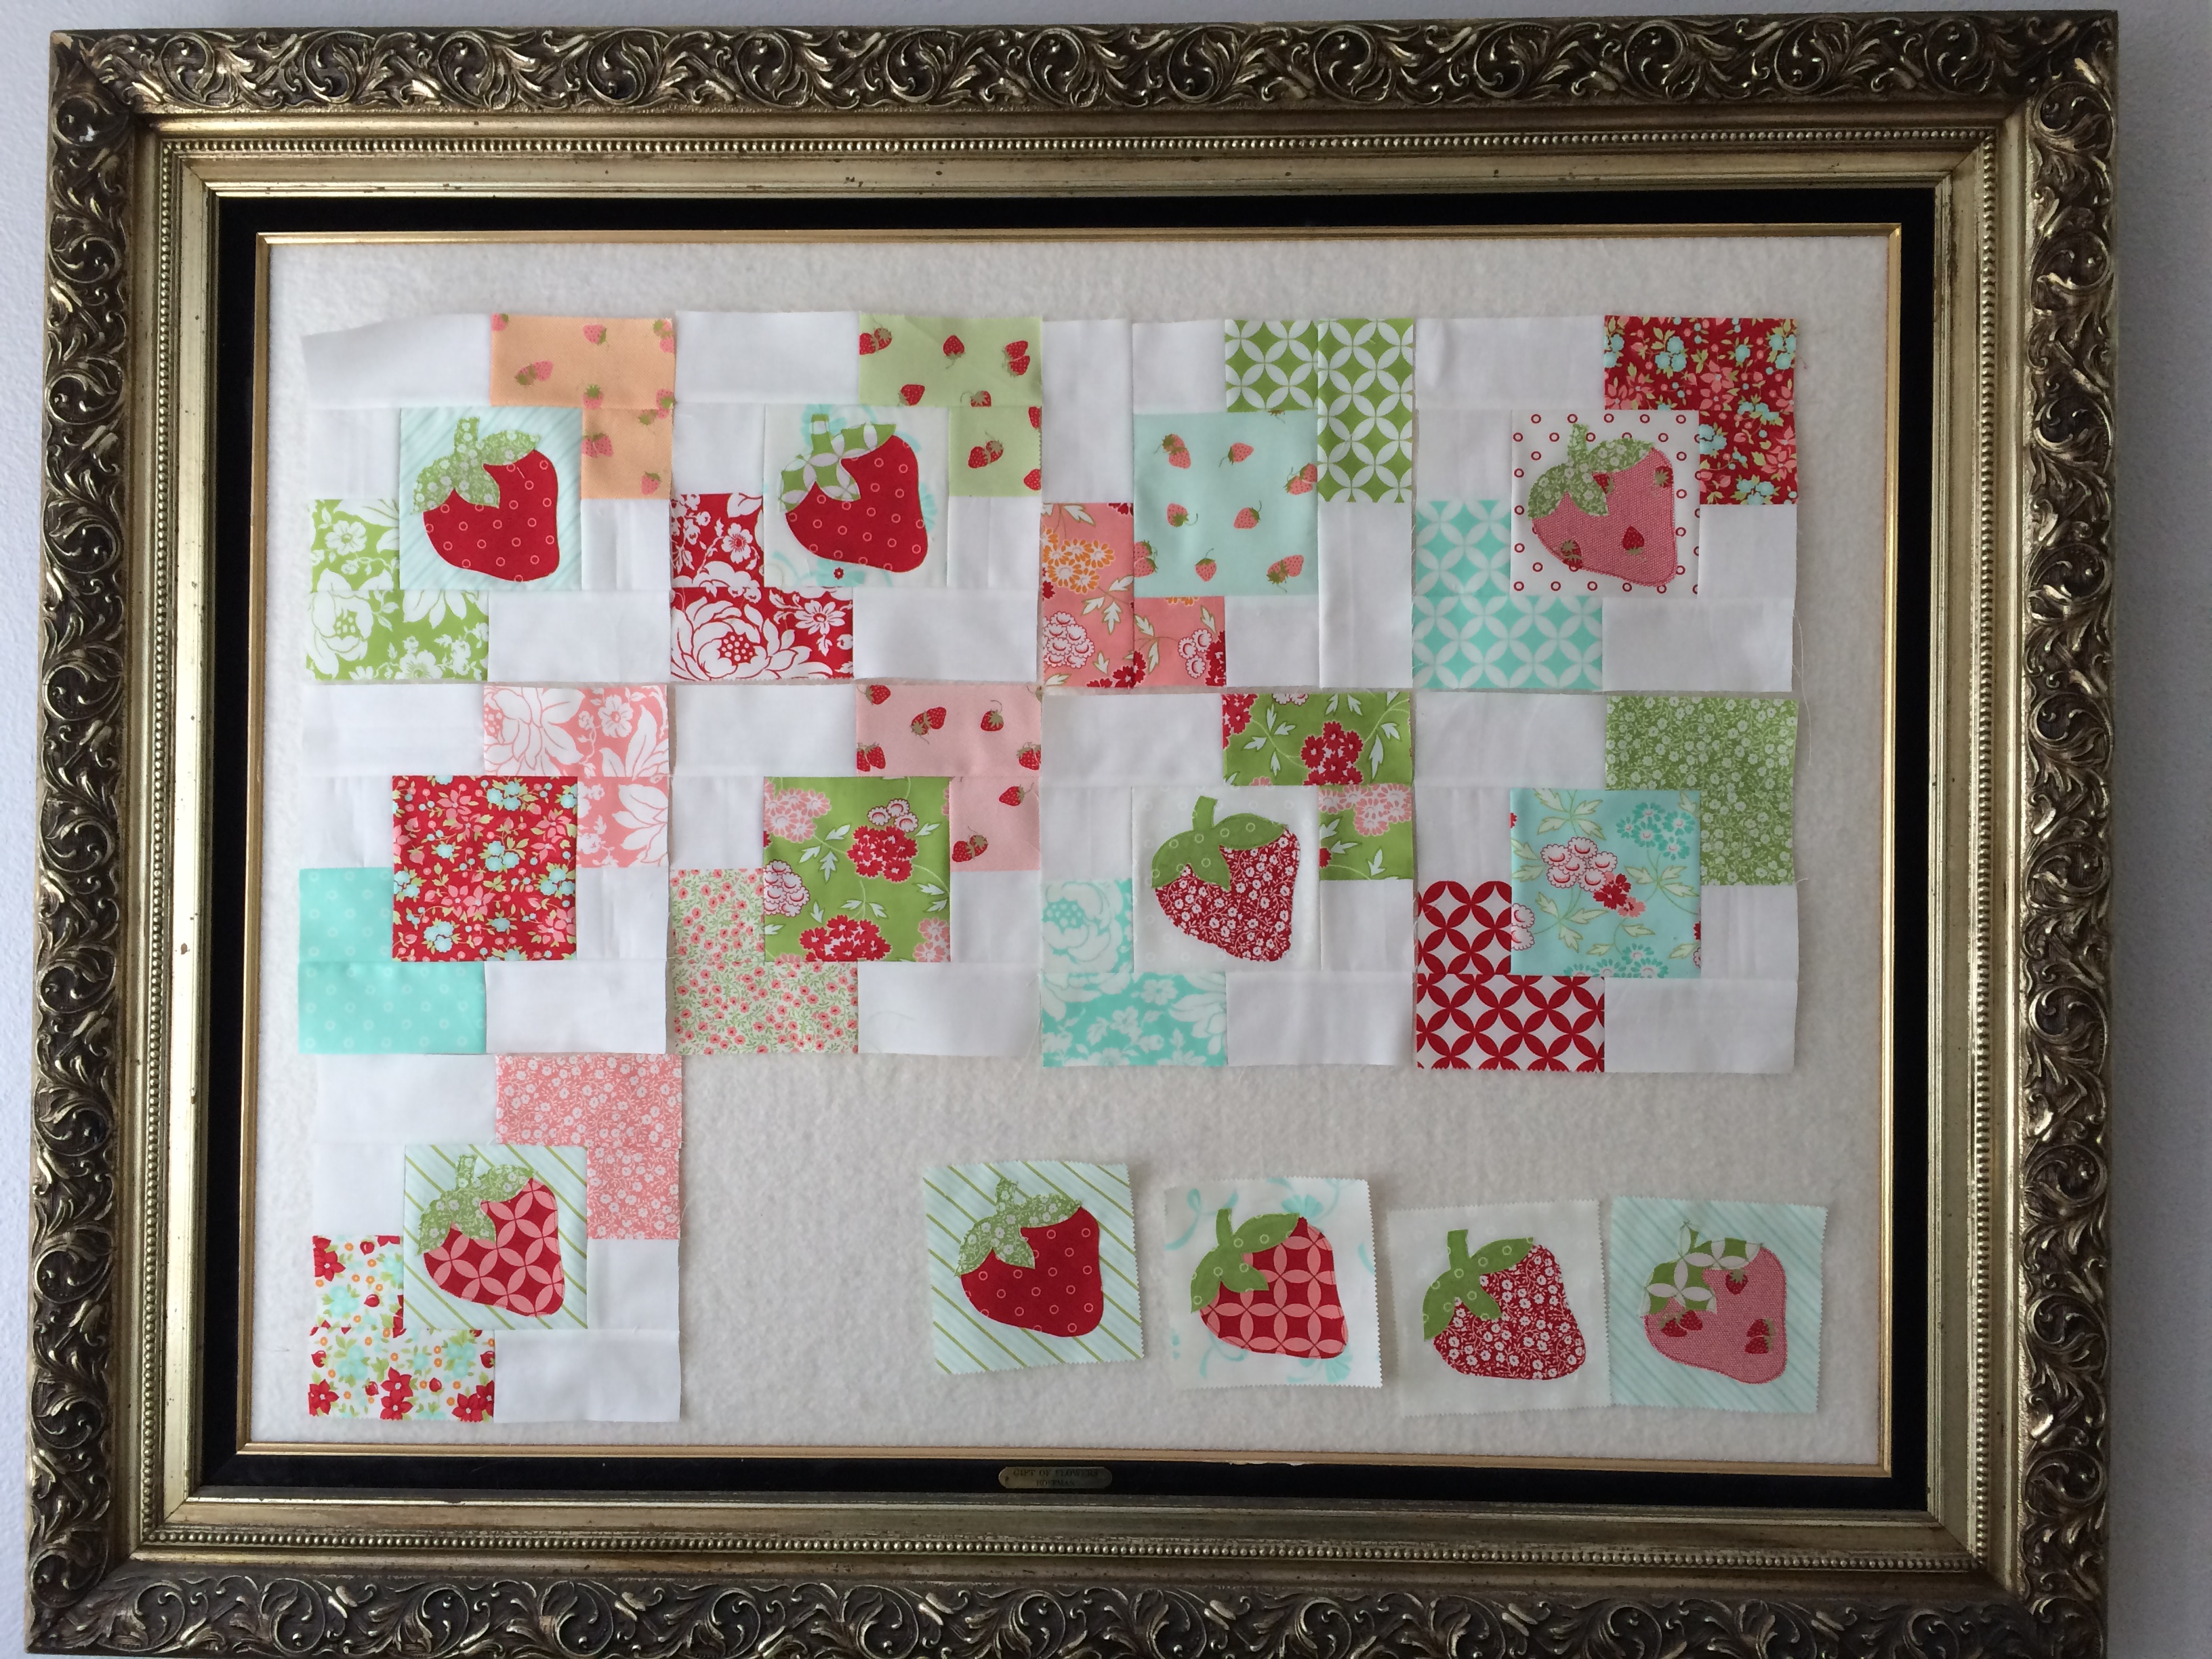
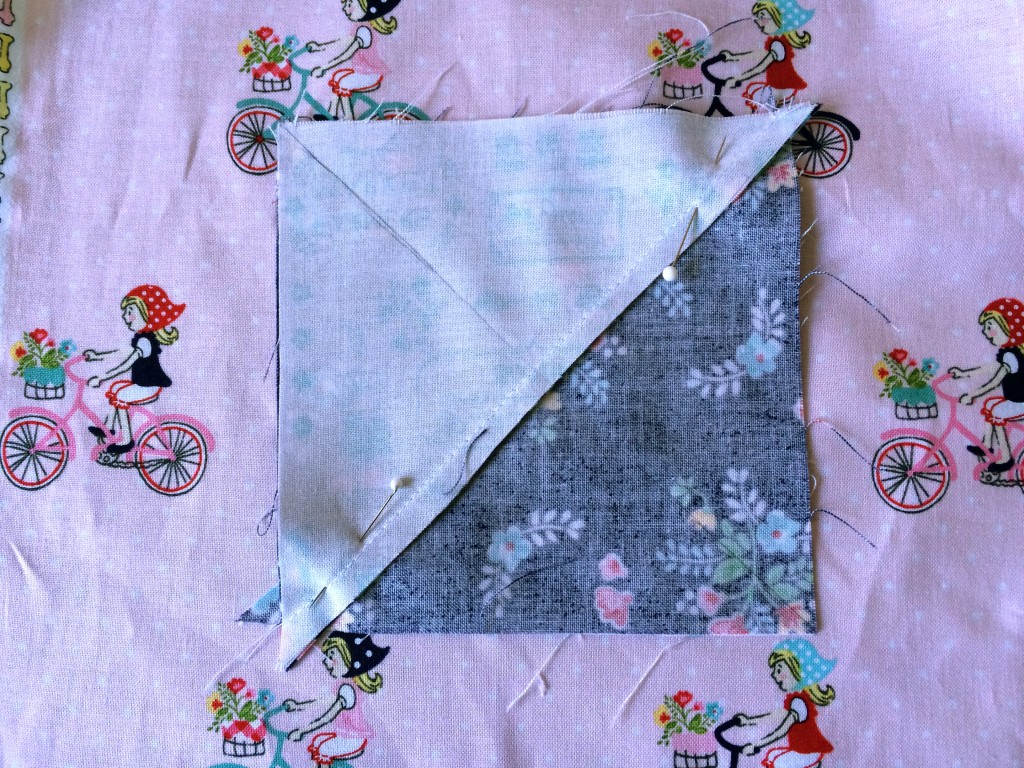 This will give you 2 hour glass blocks. Next, place the hourglass block on the cutting mat and “square up” to measure 3.5″. Make sure to align each diagonal seam with the 45 degree lines on the cutting grid.


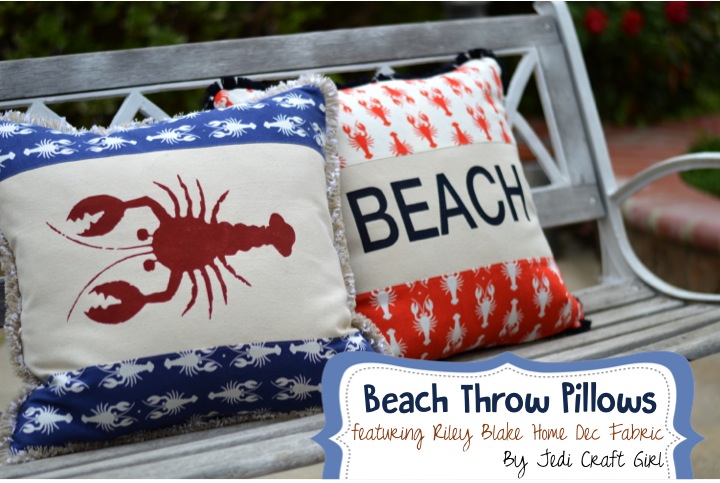
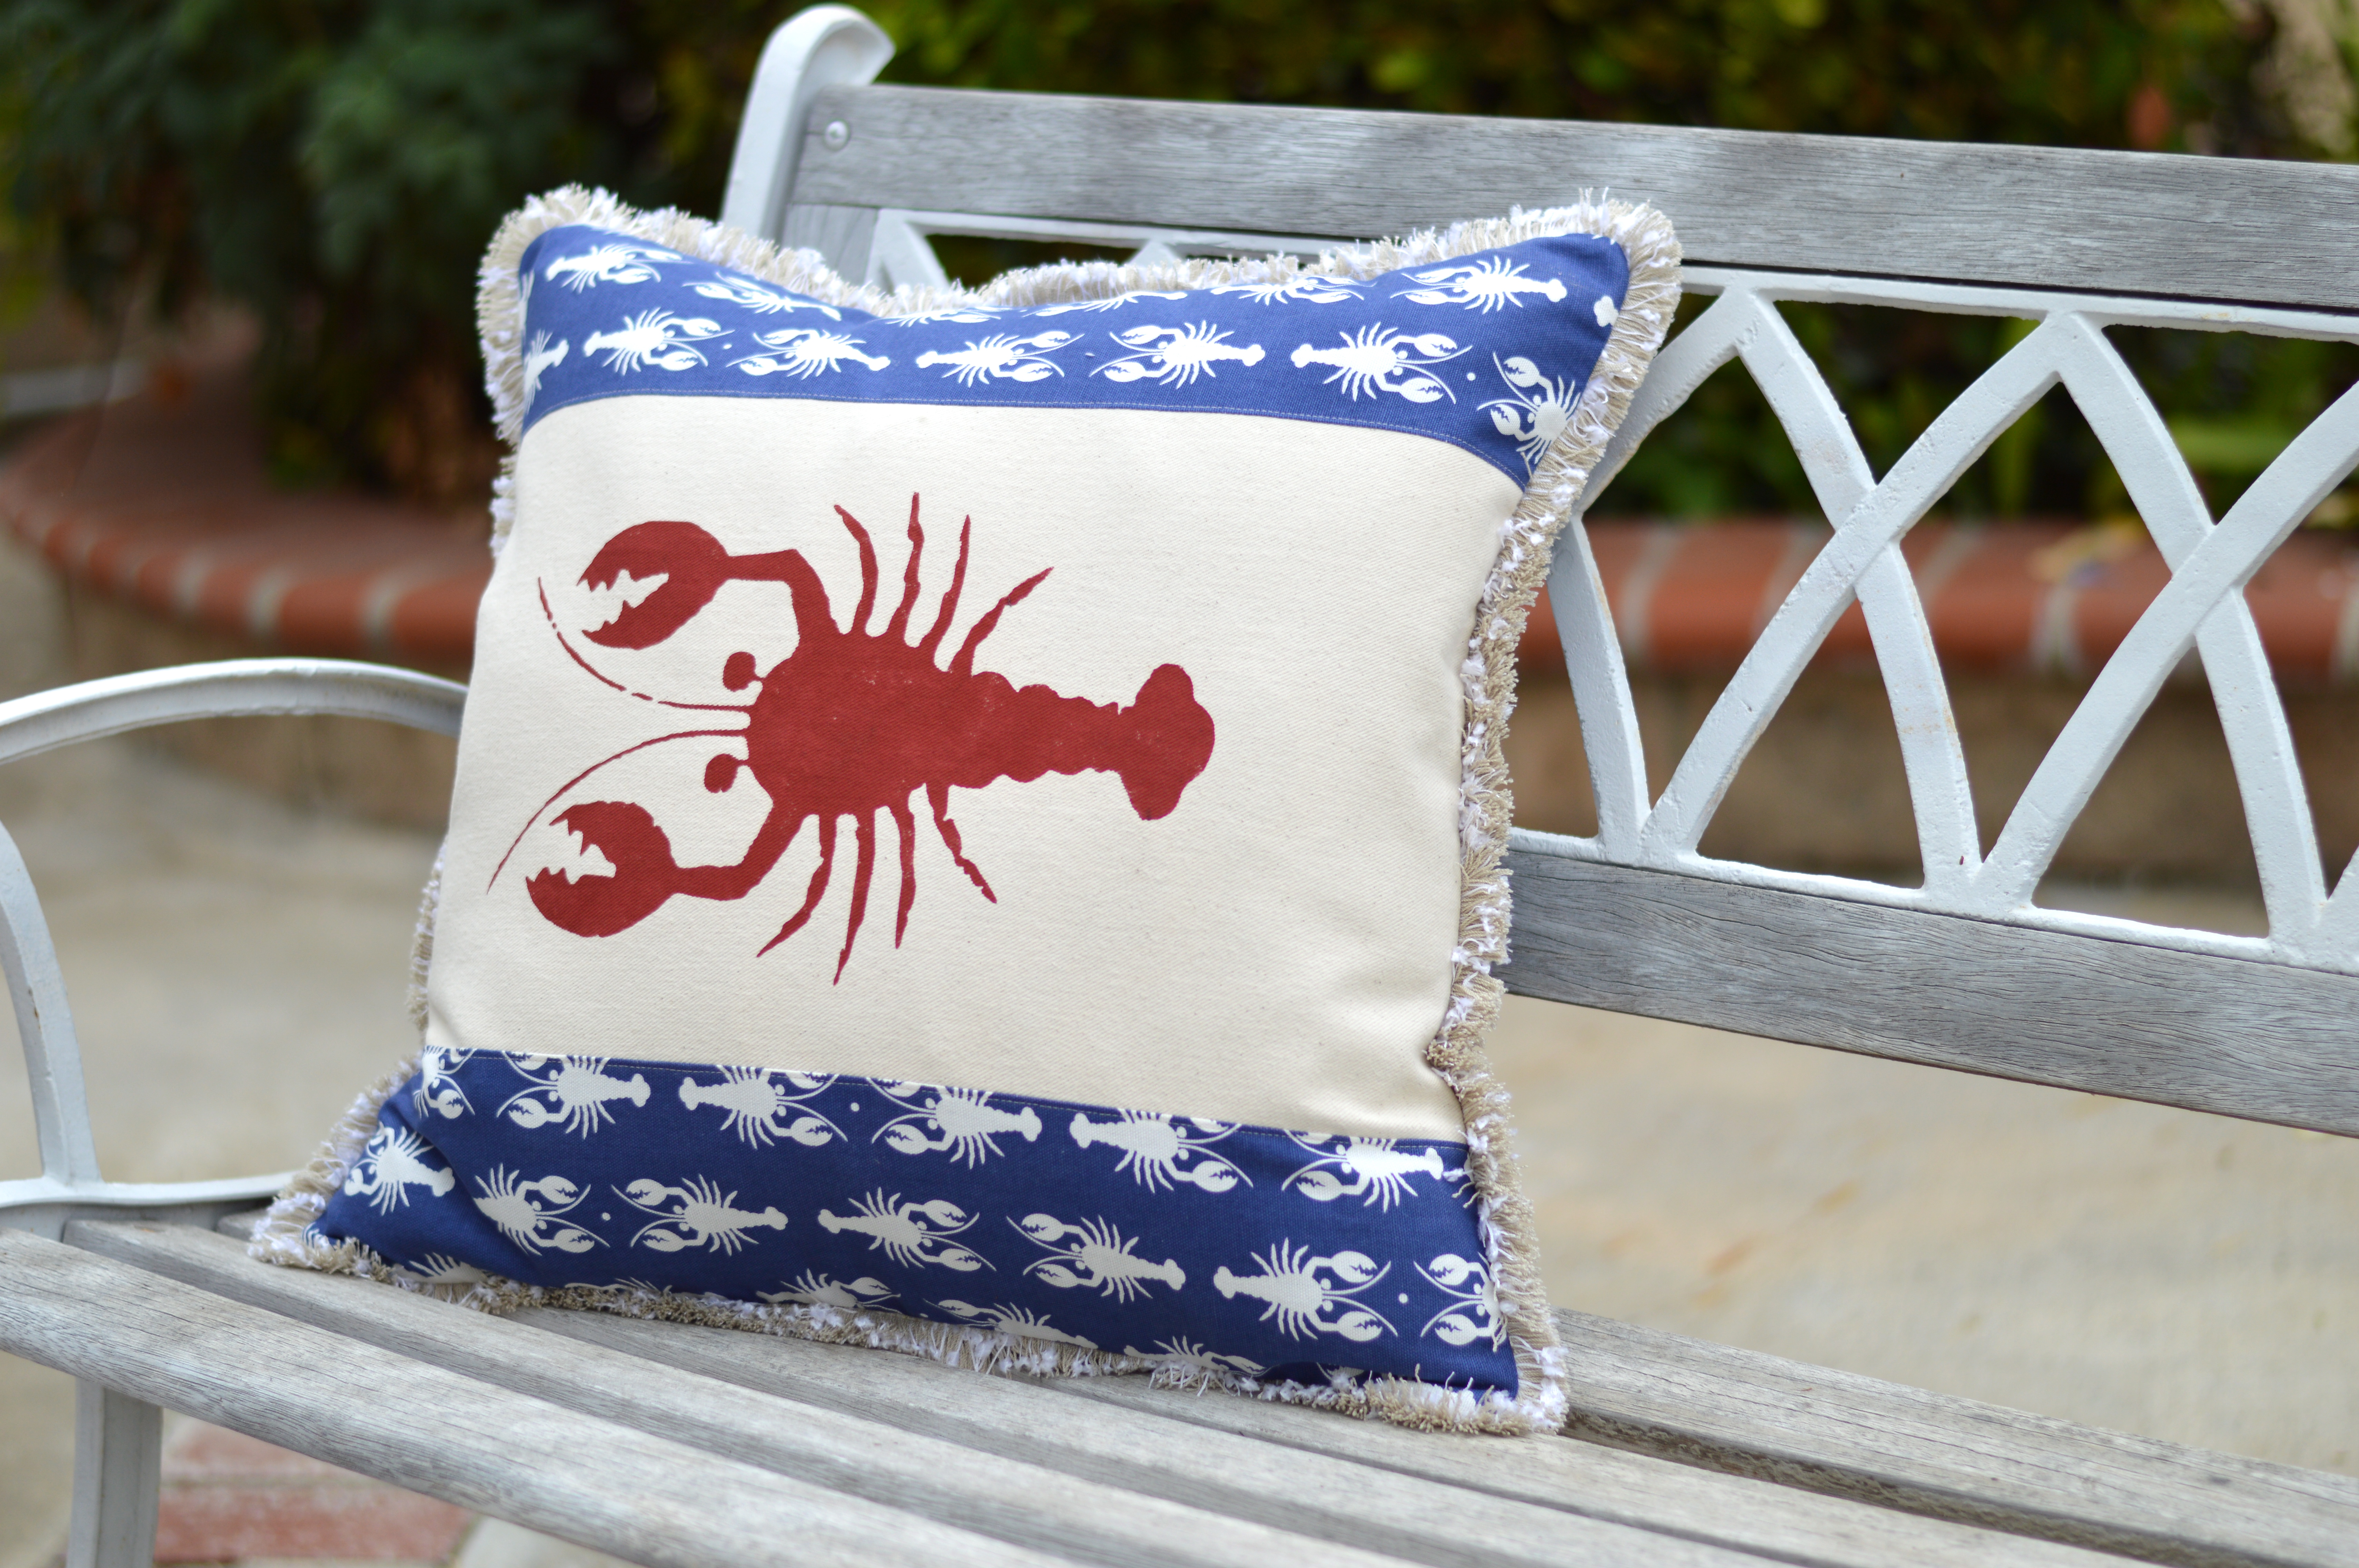
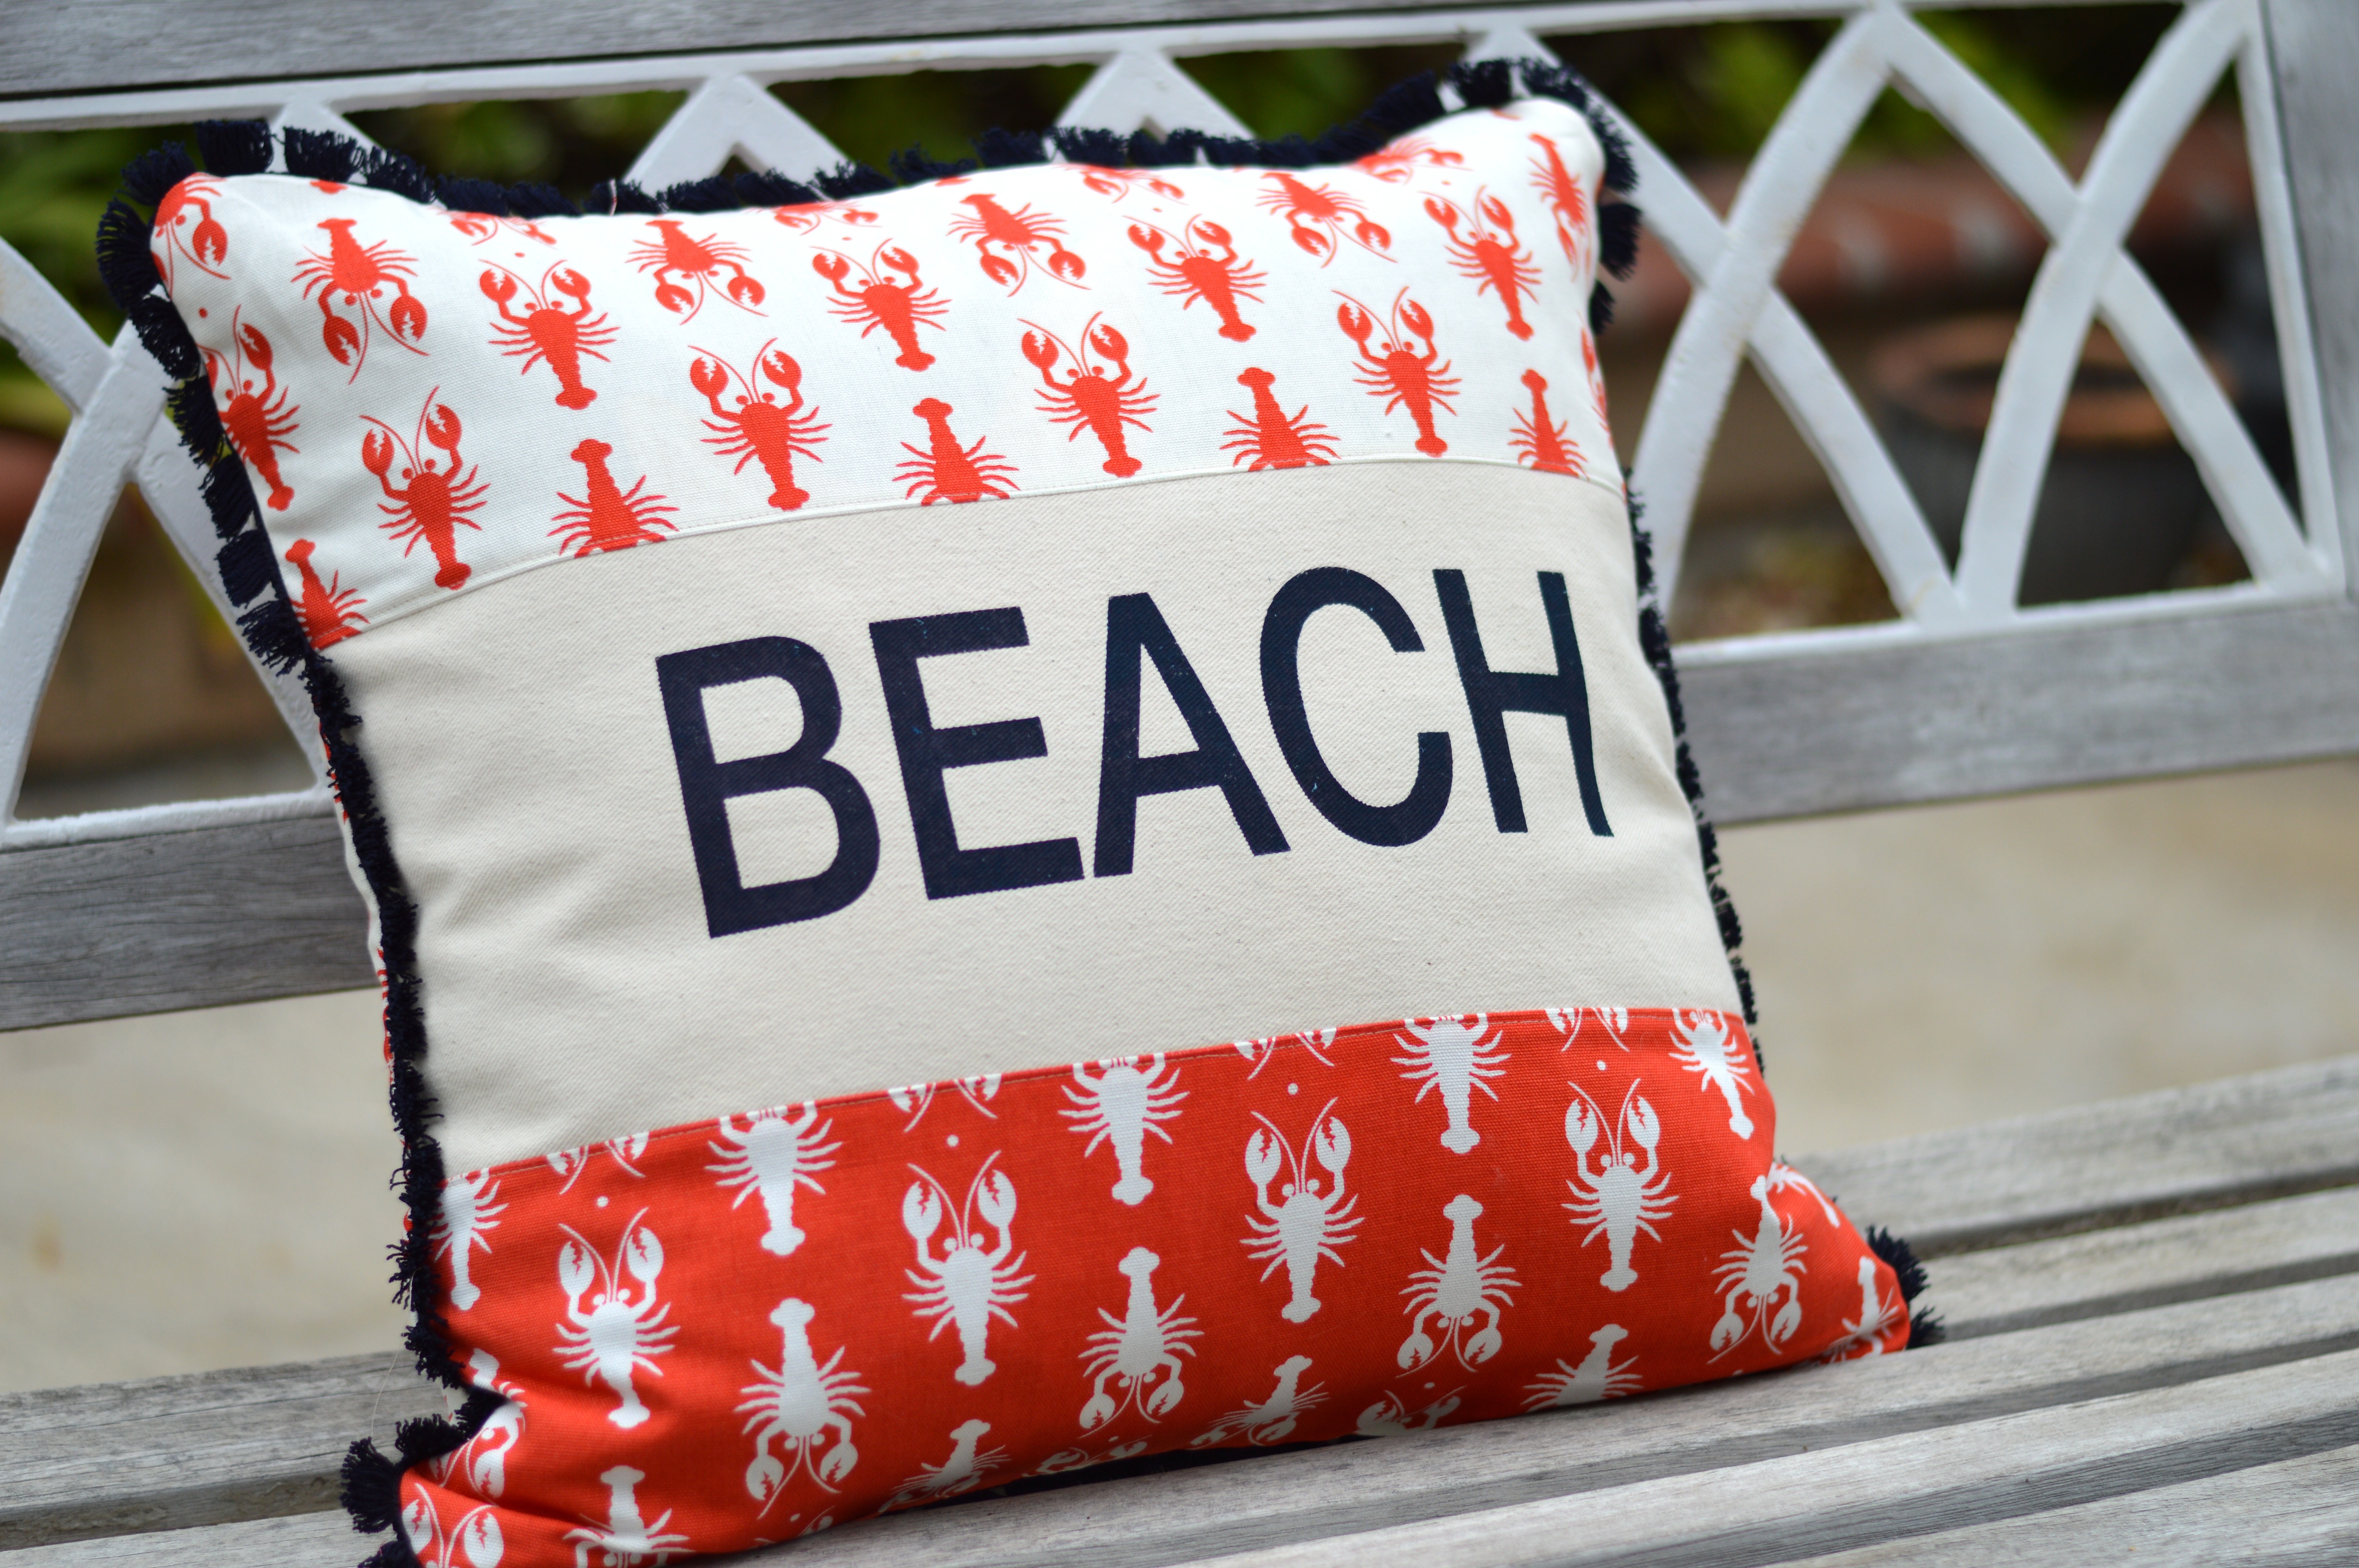
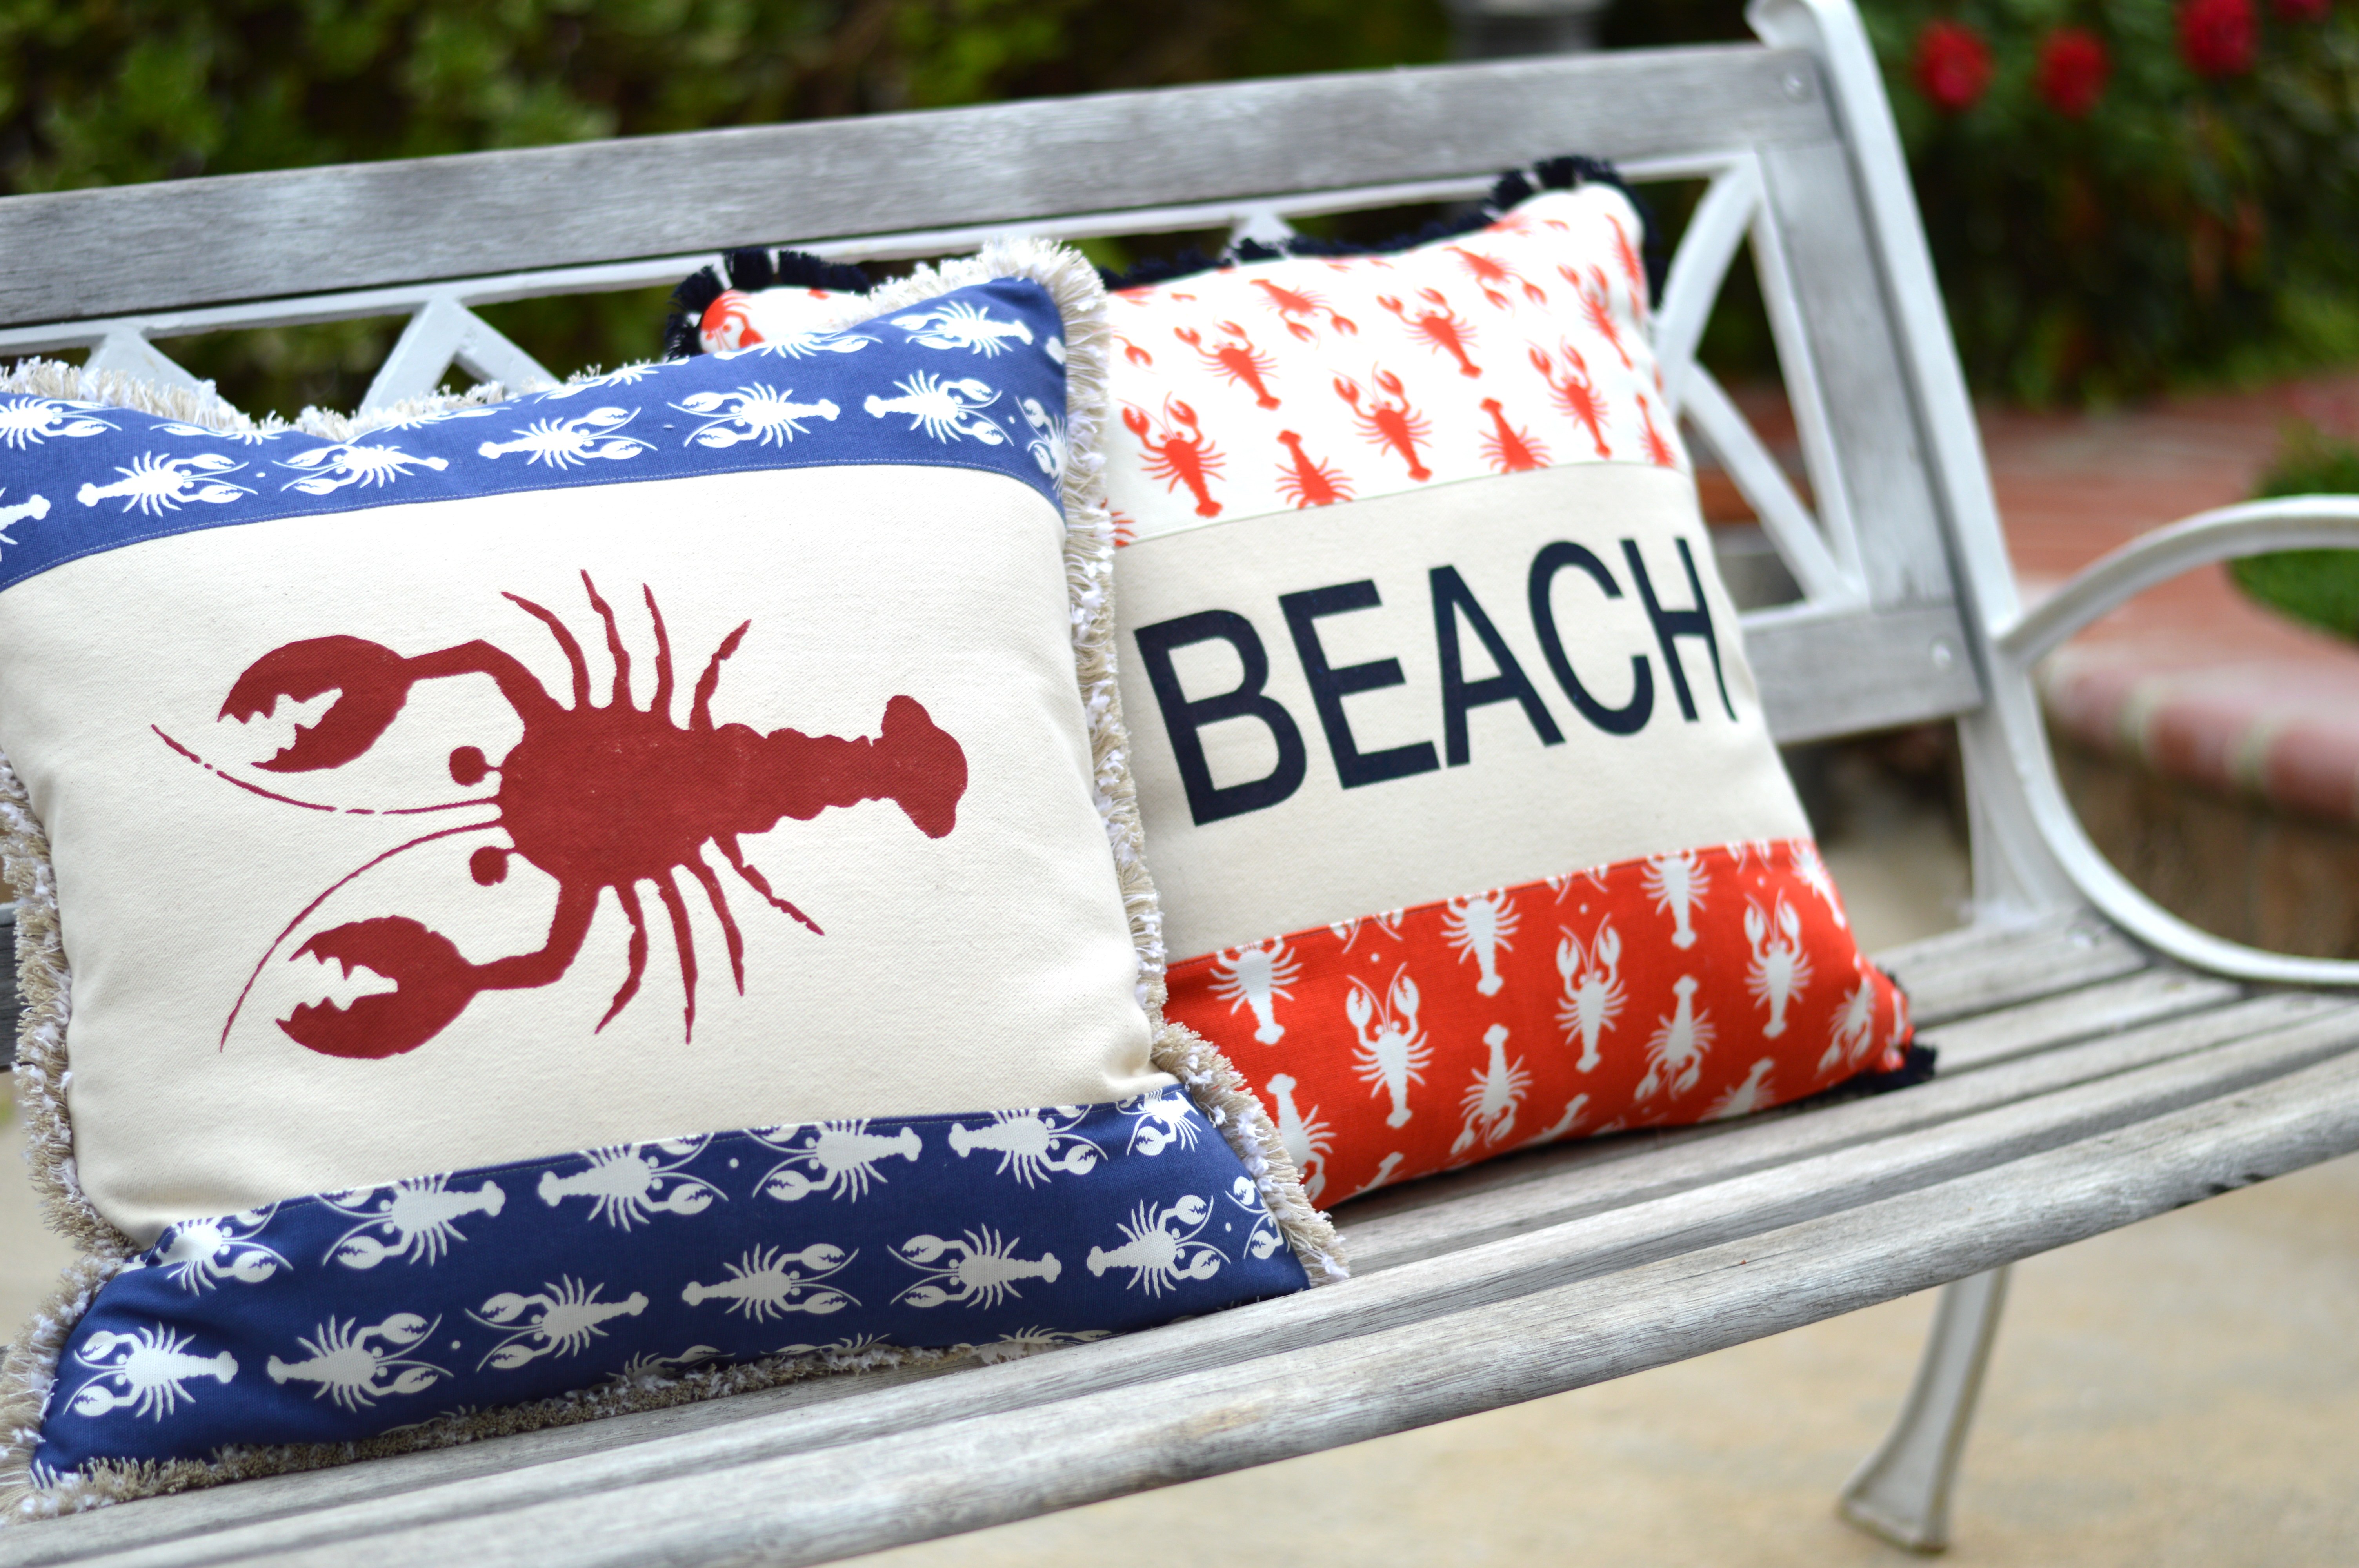
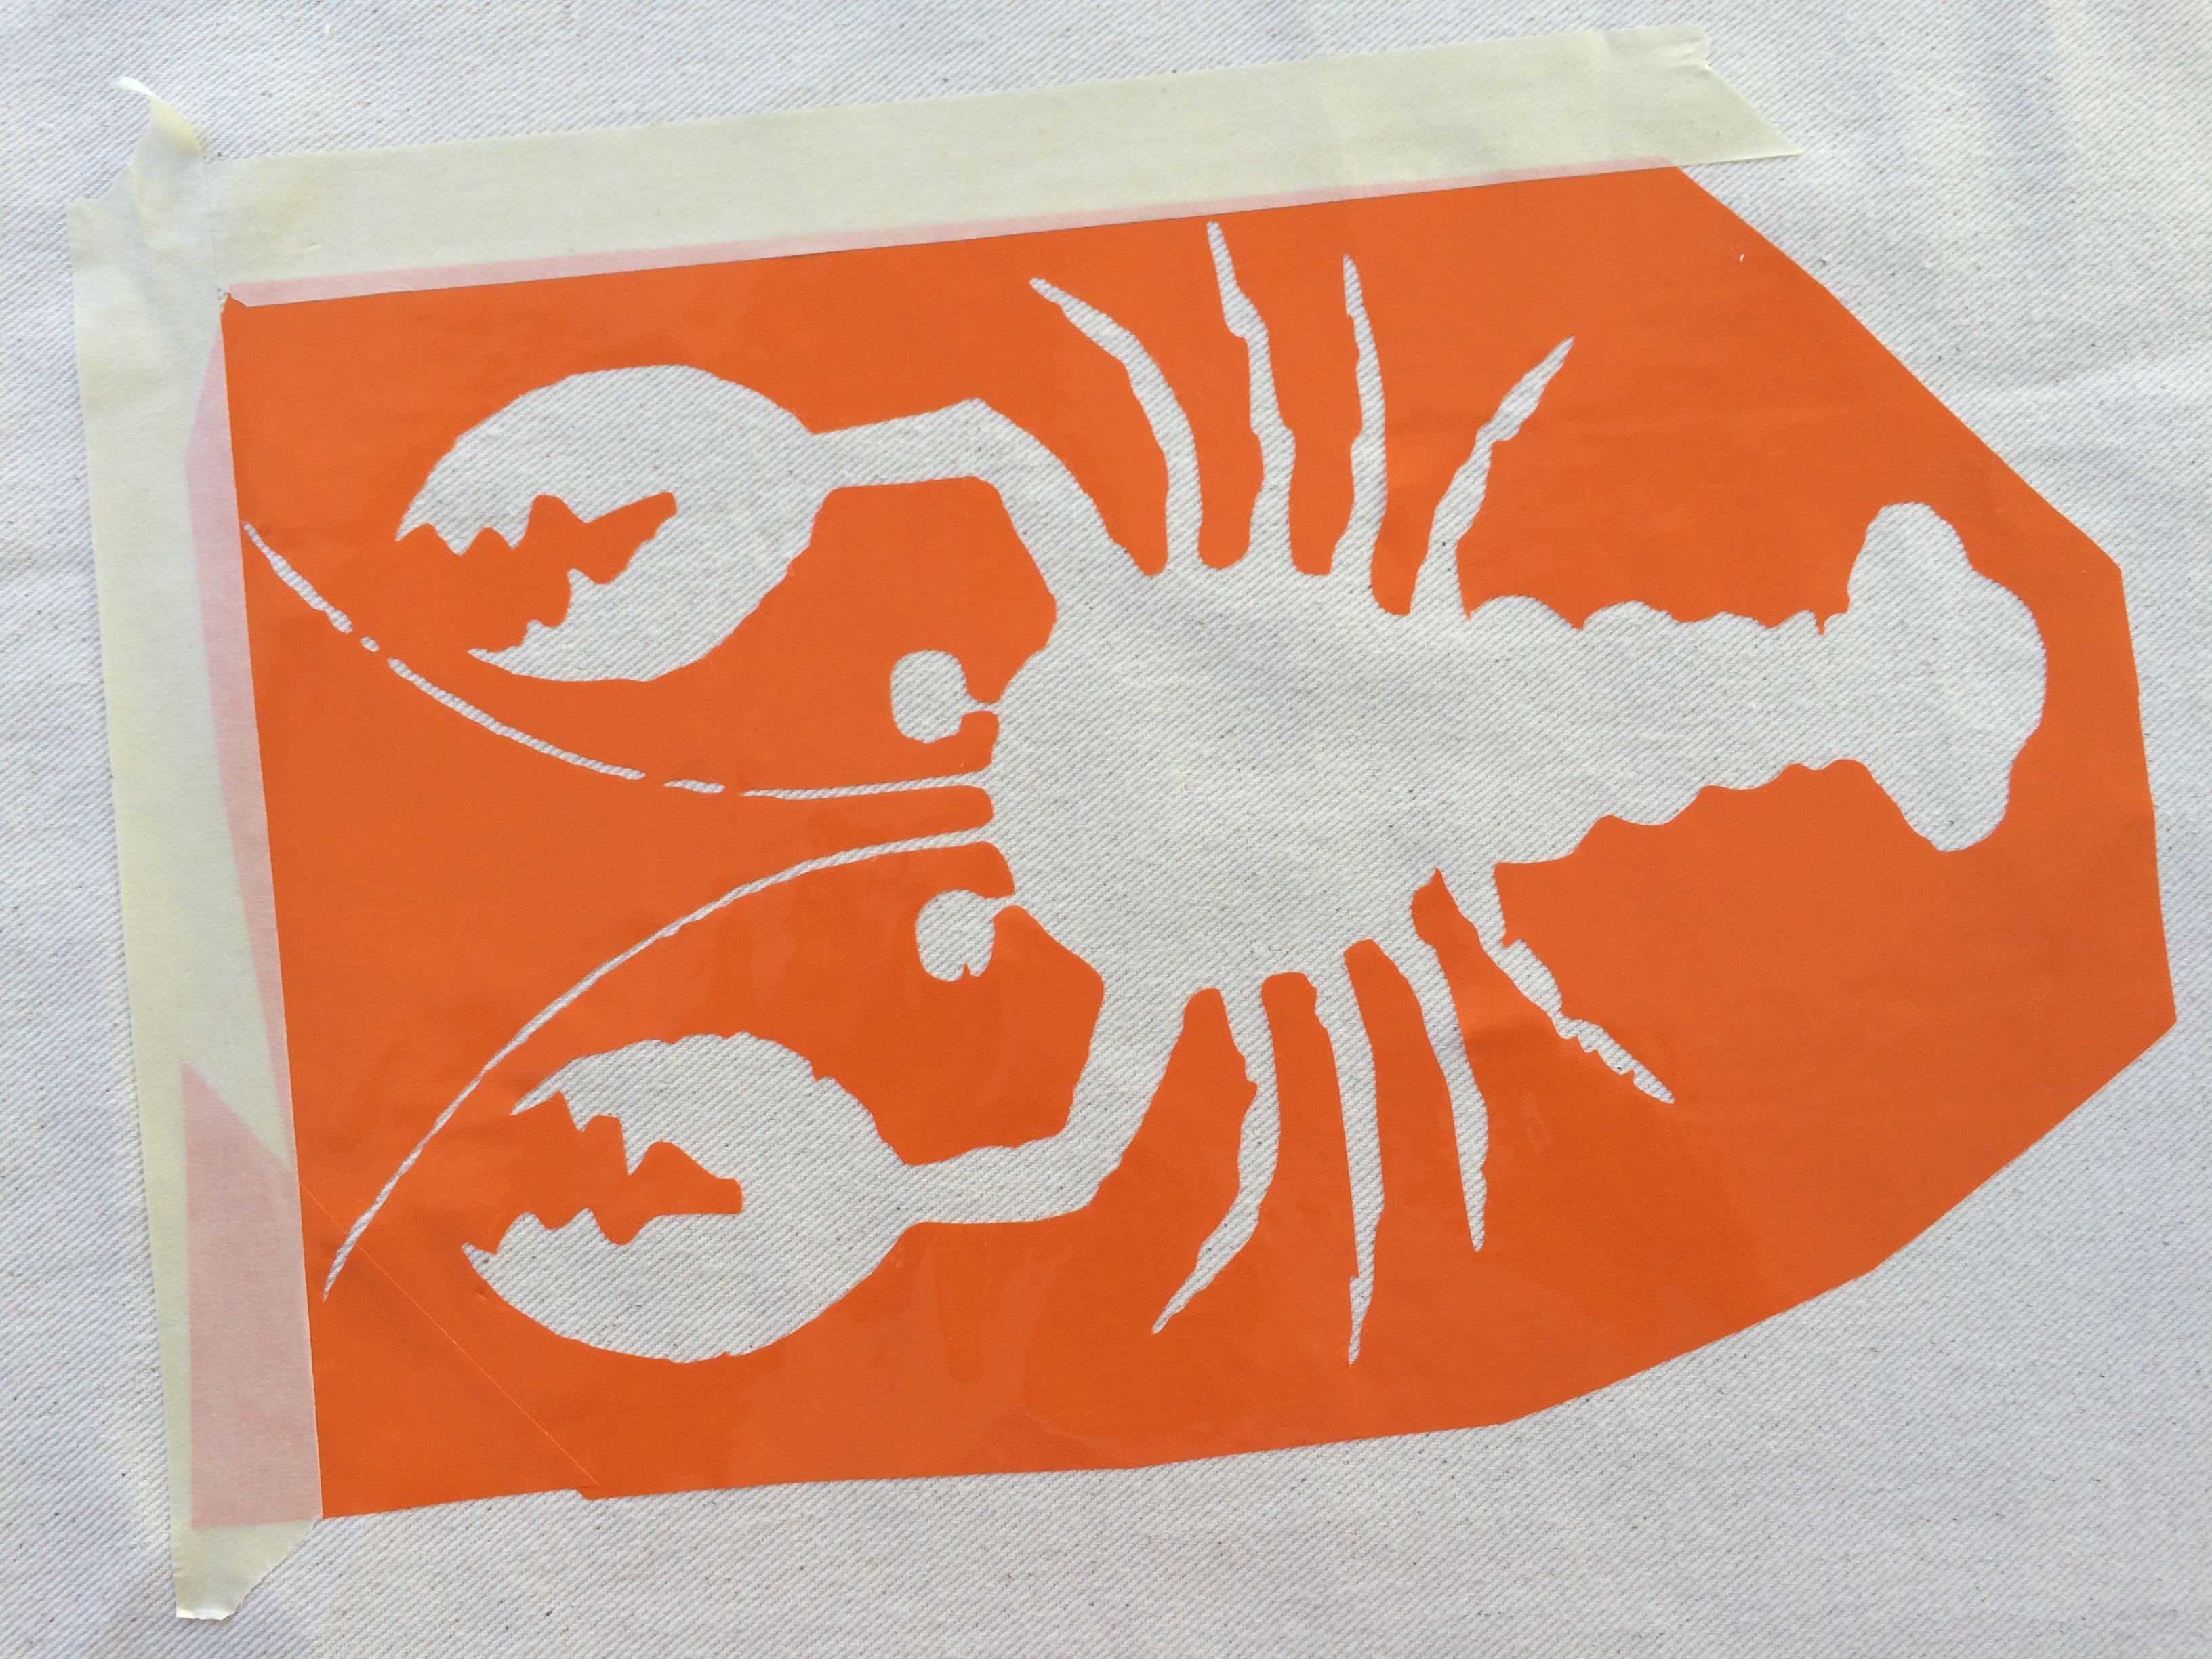
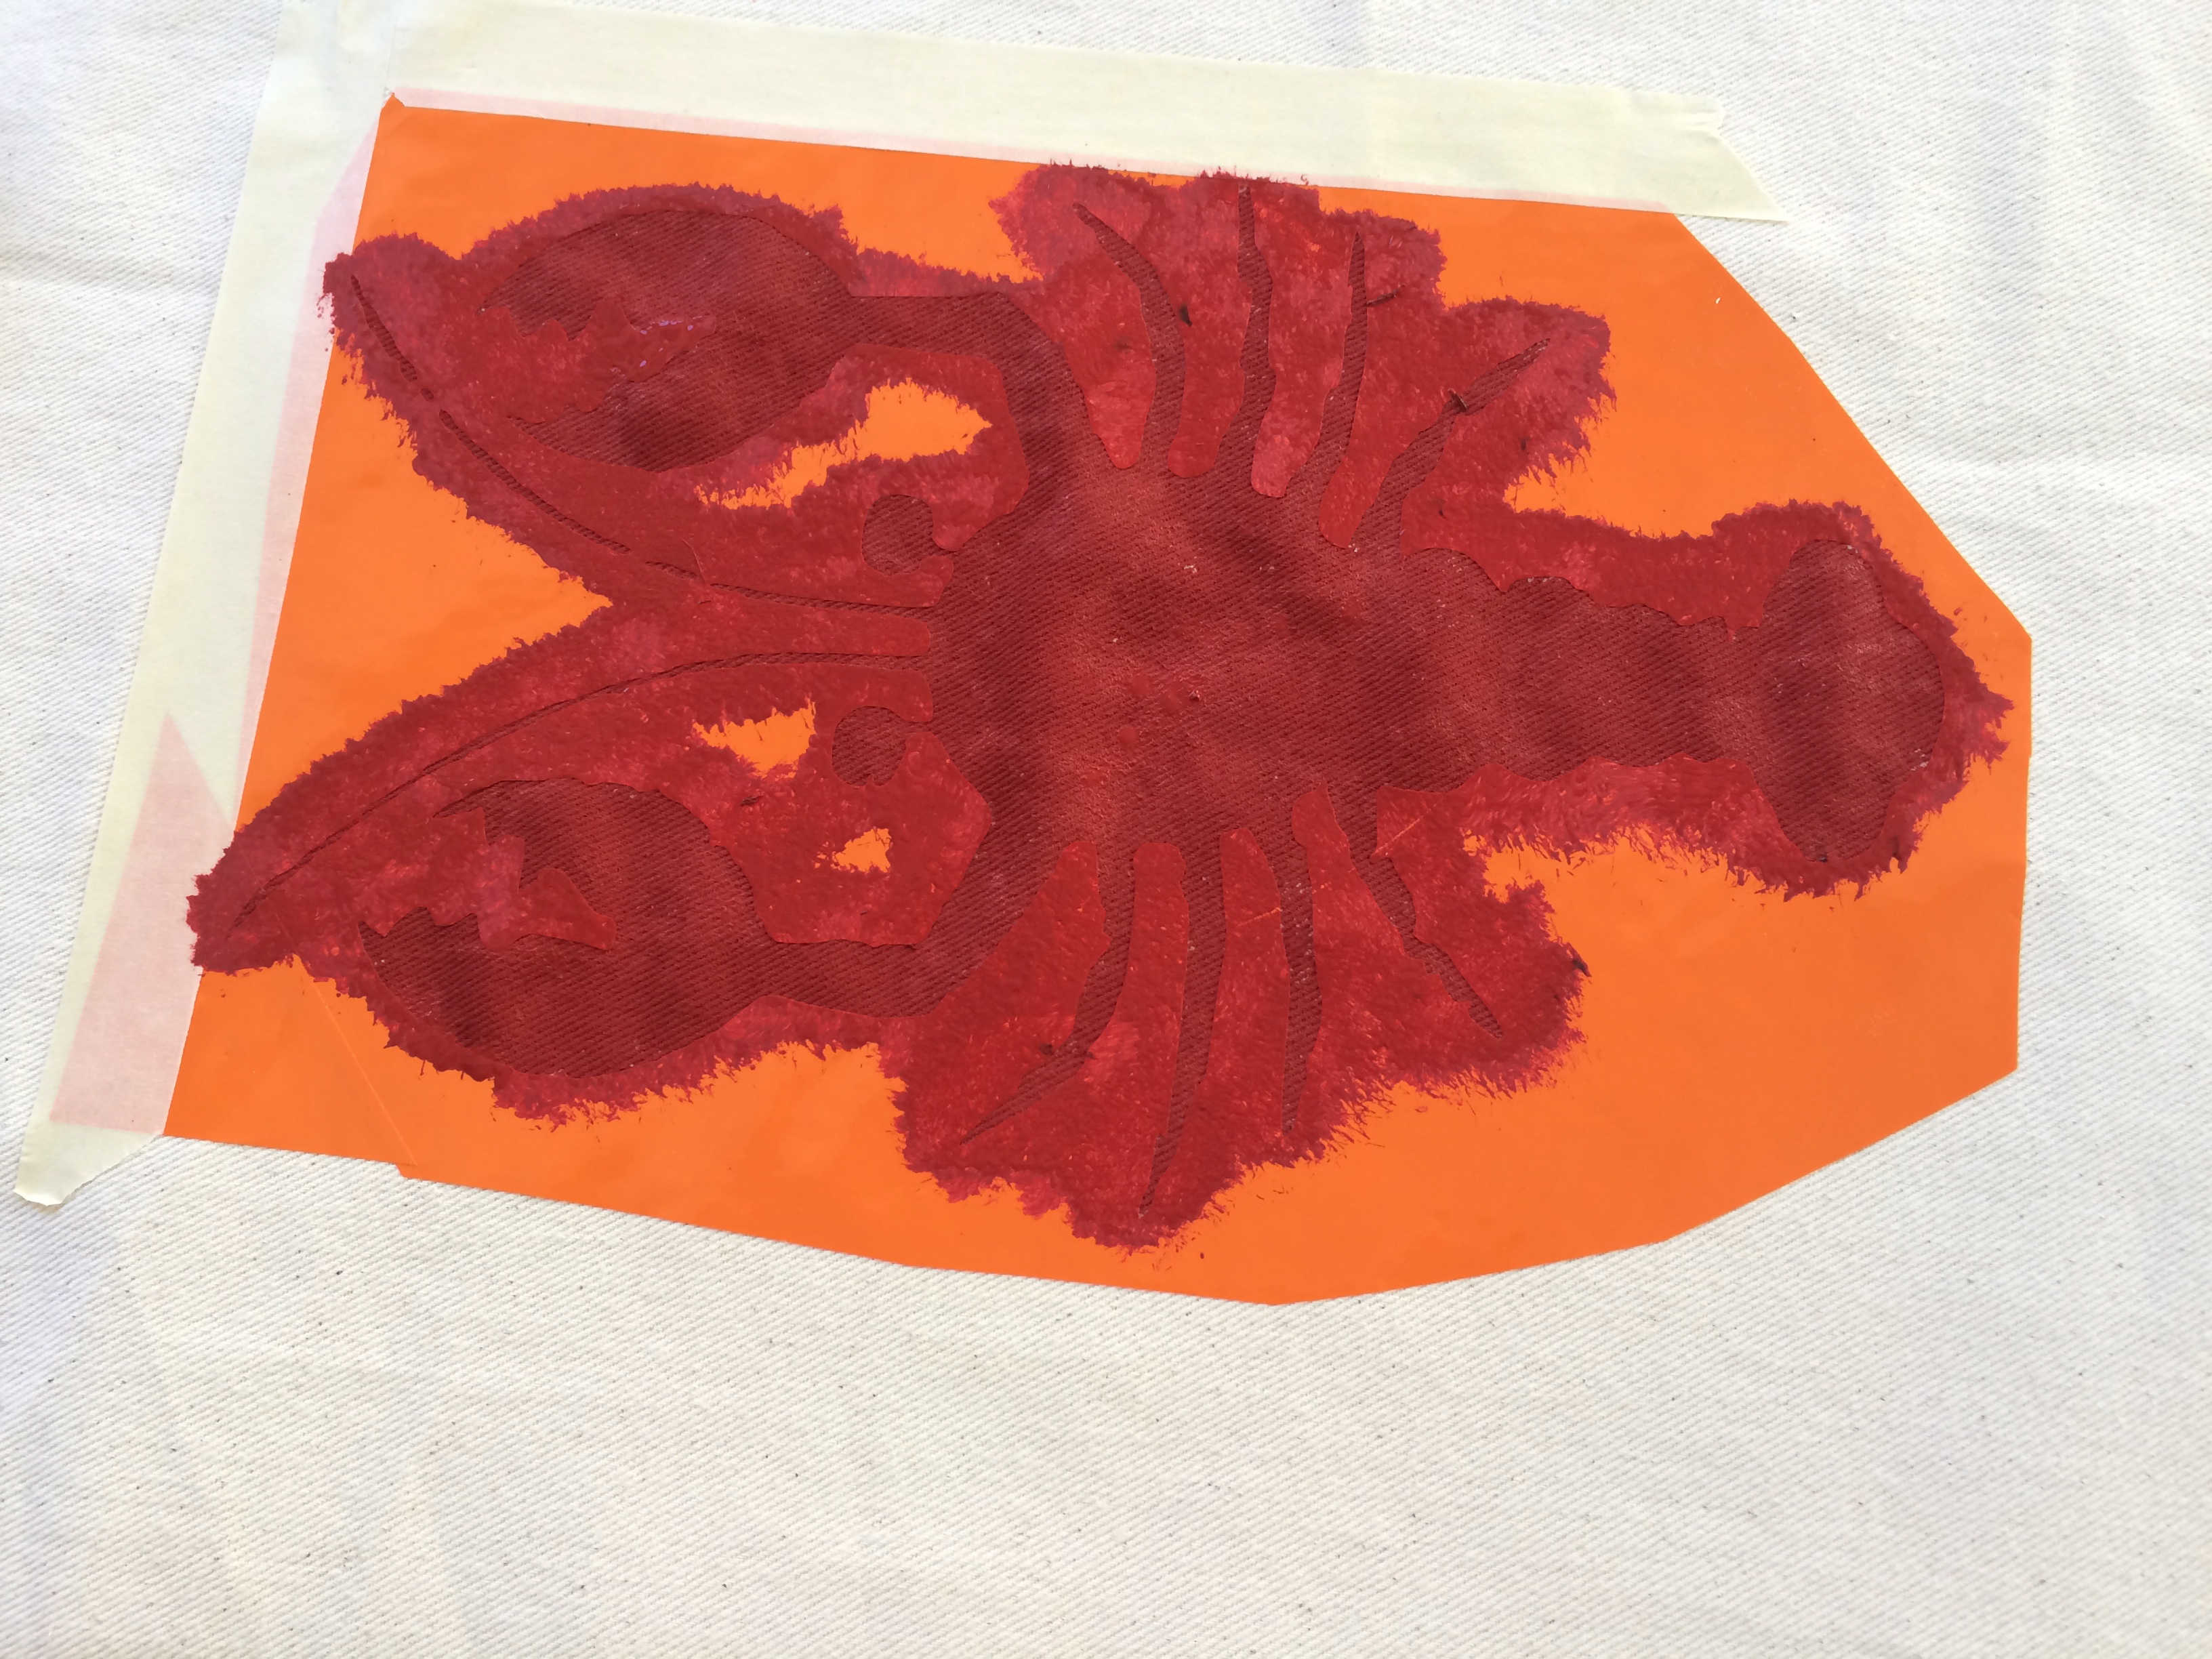
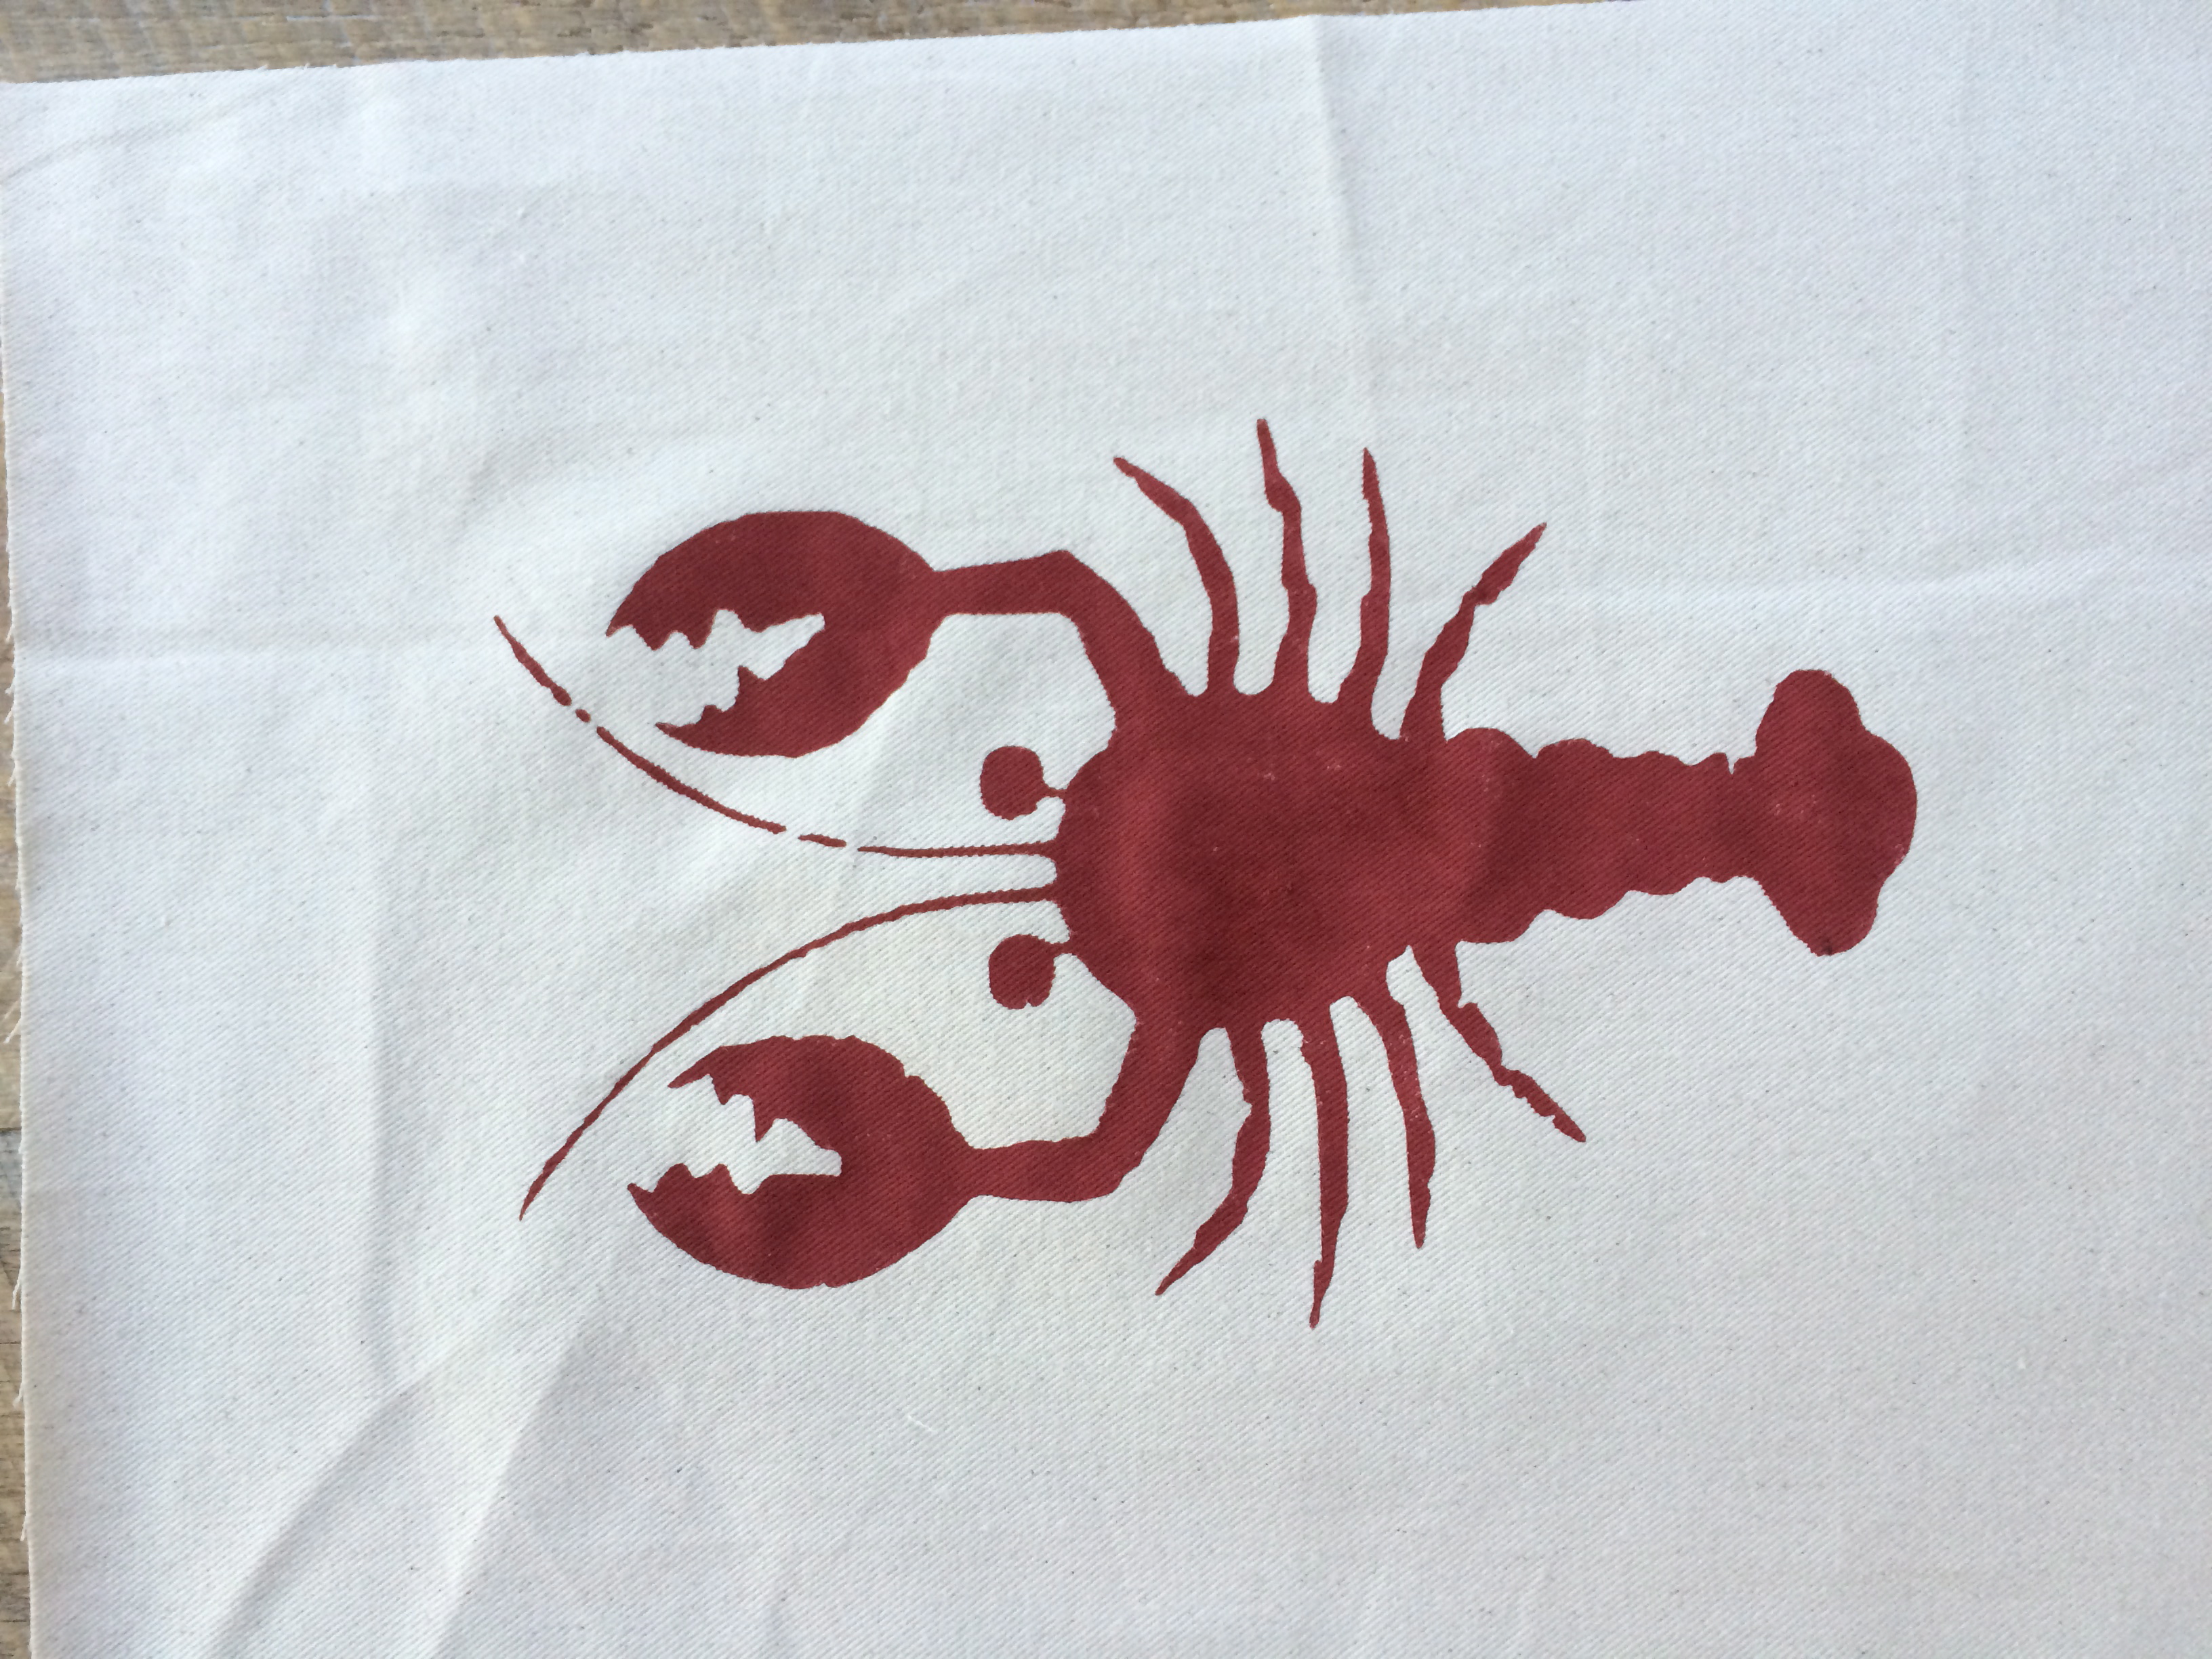
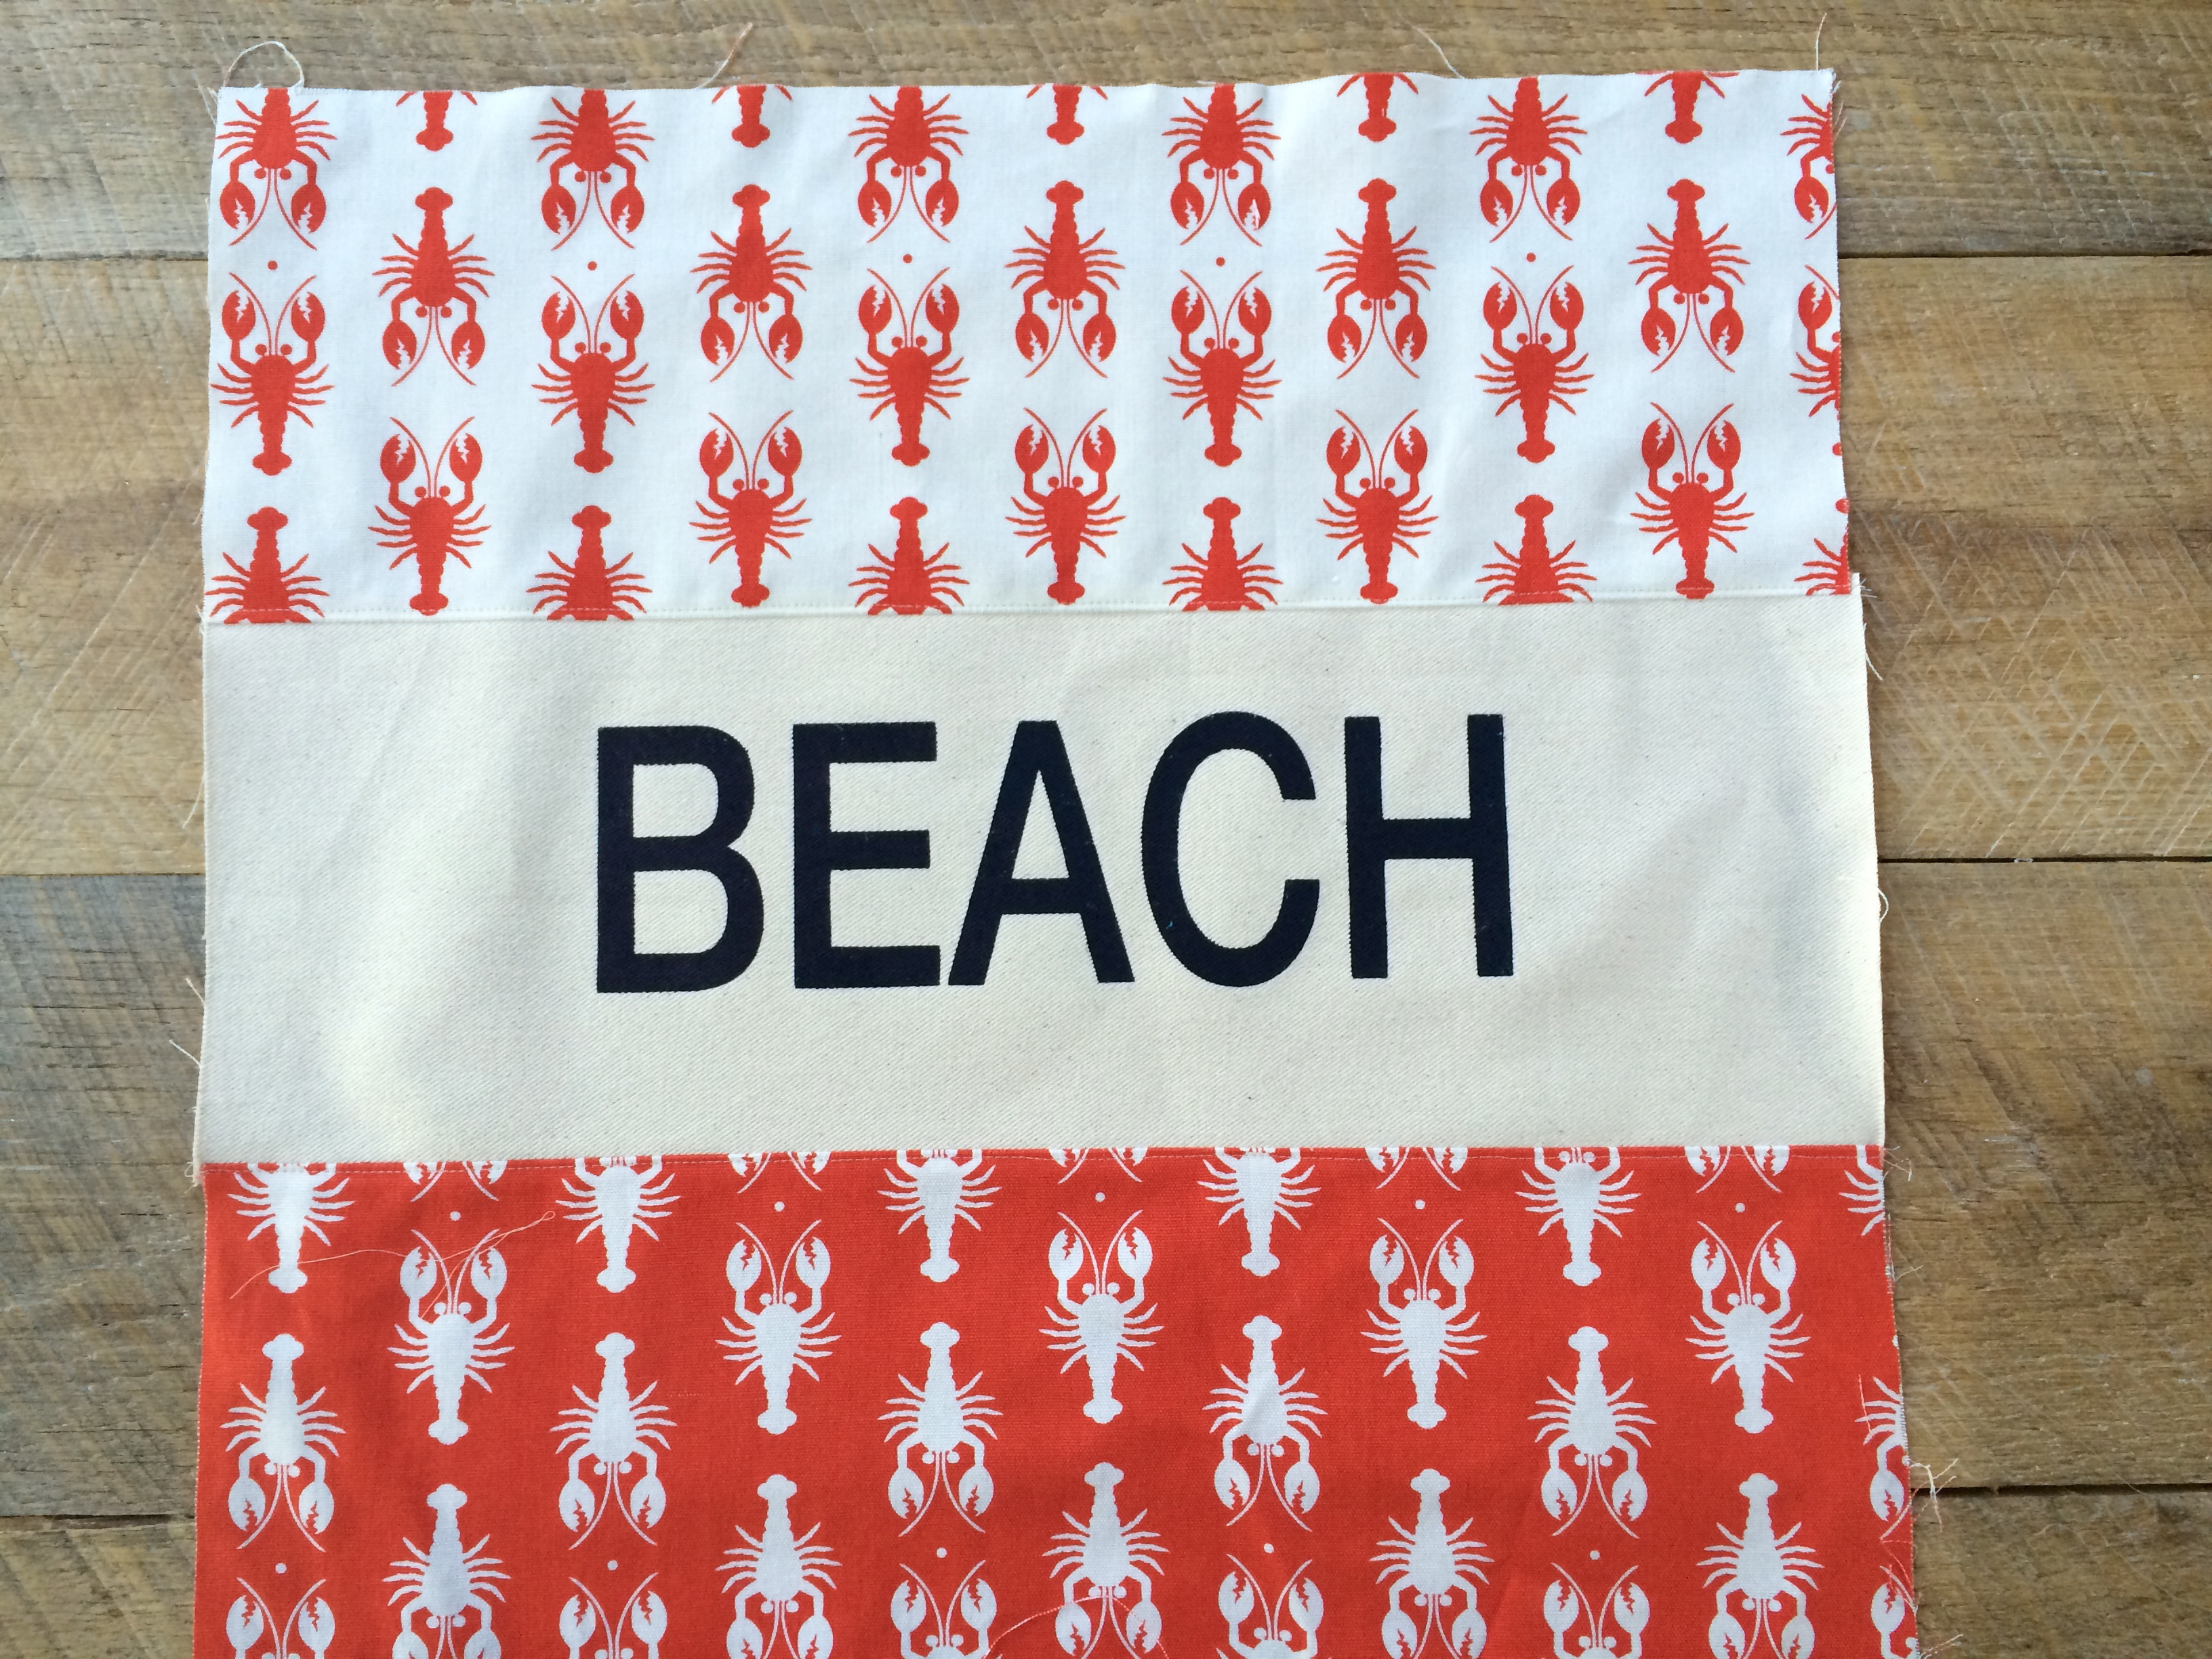
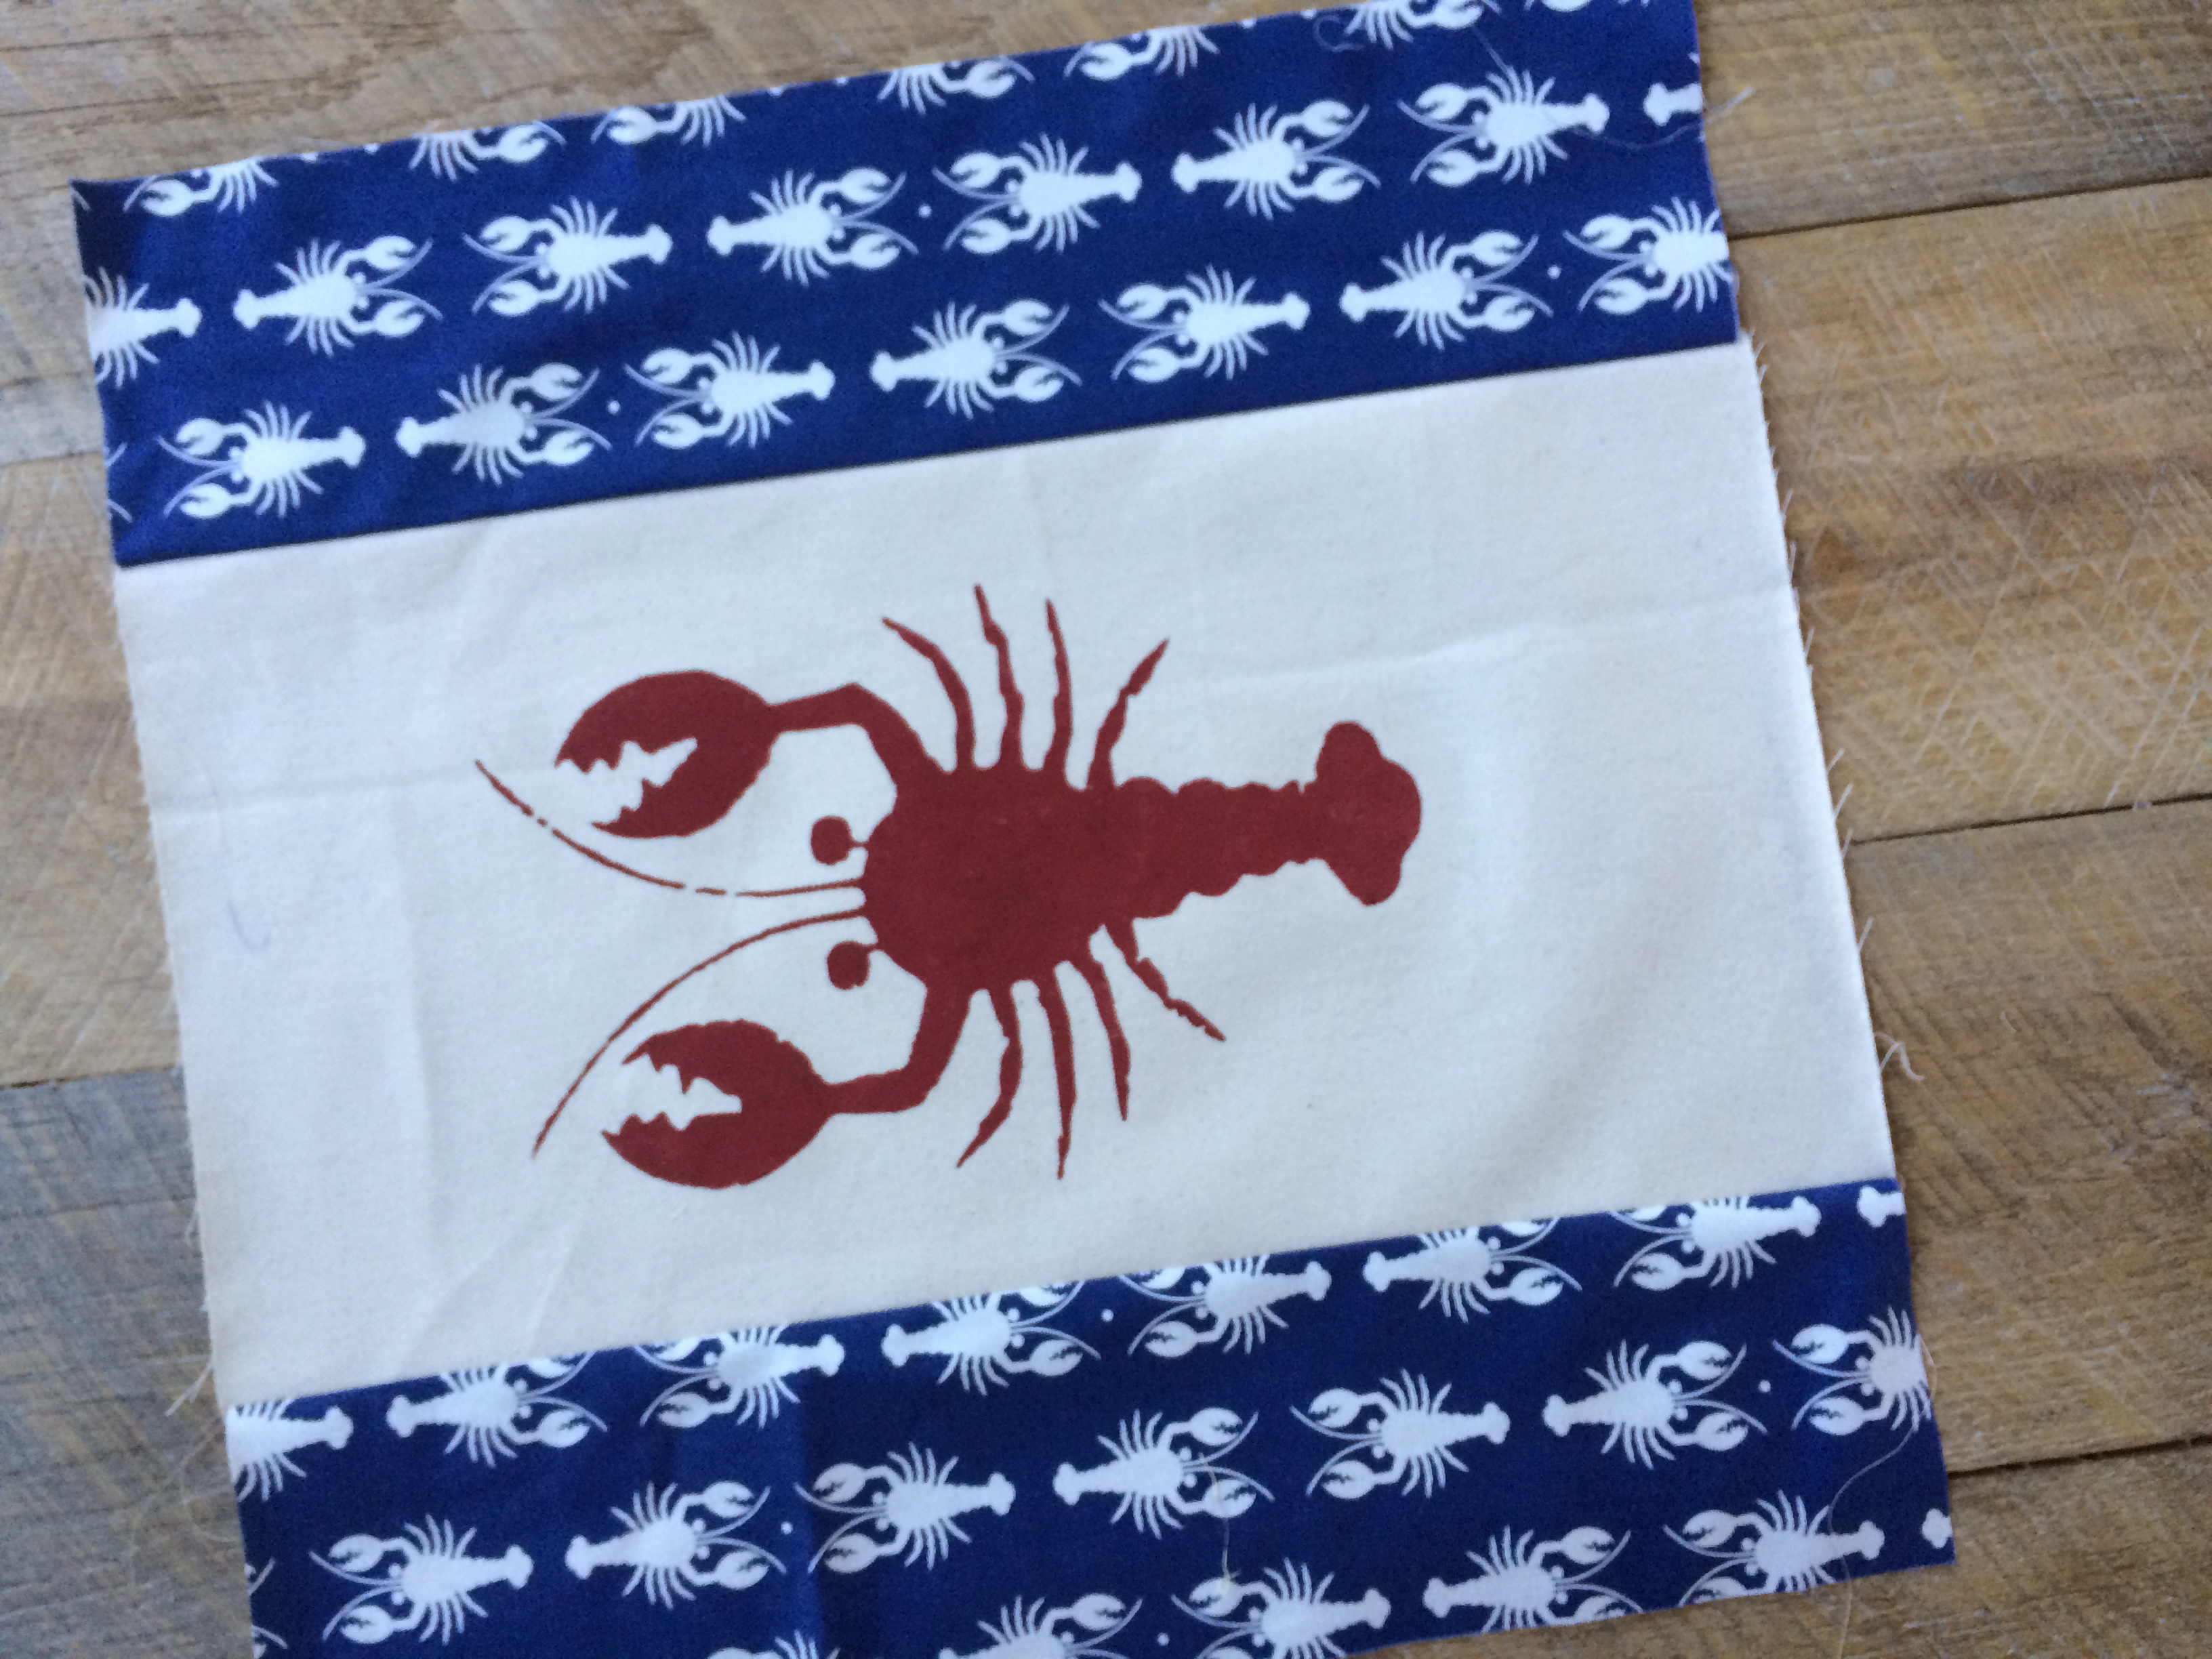
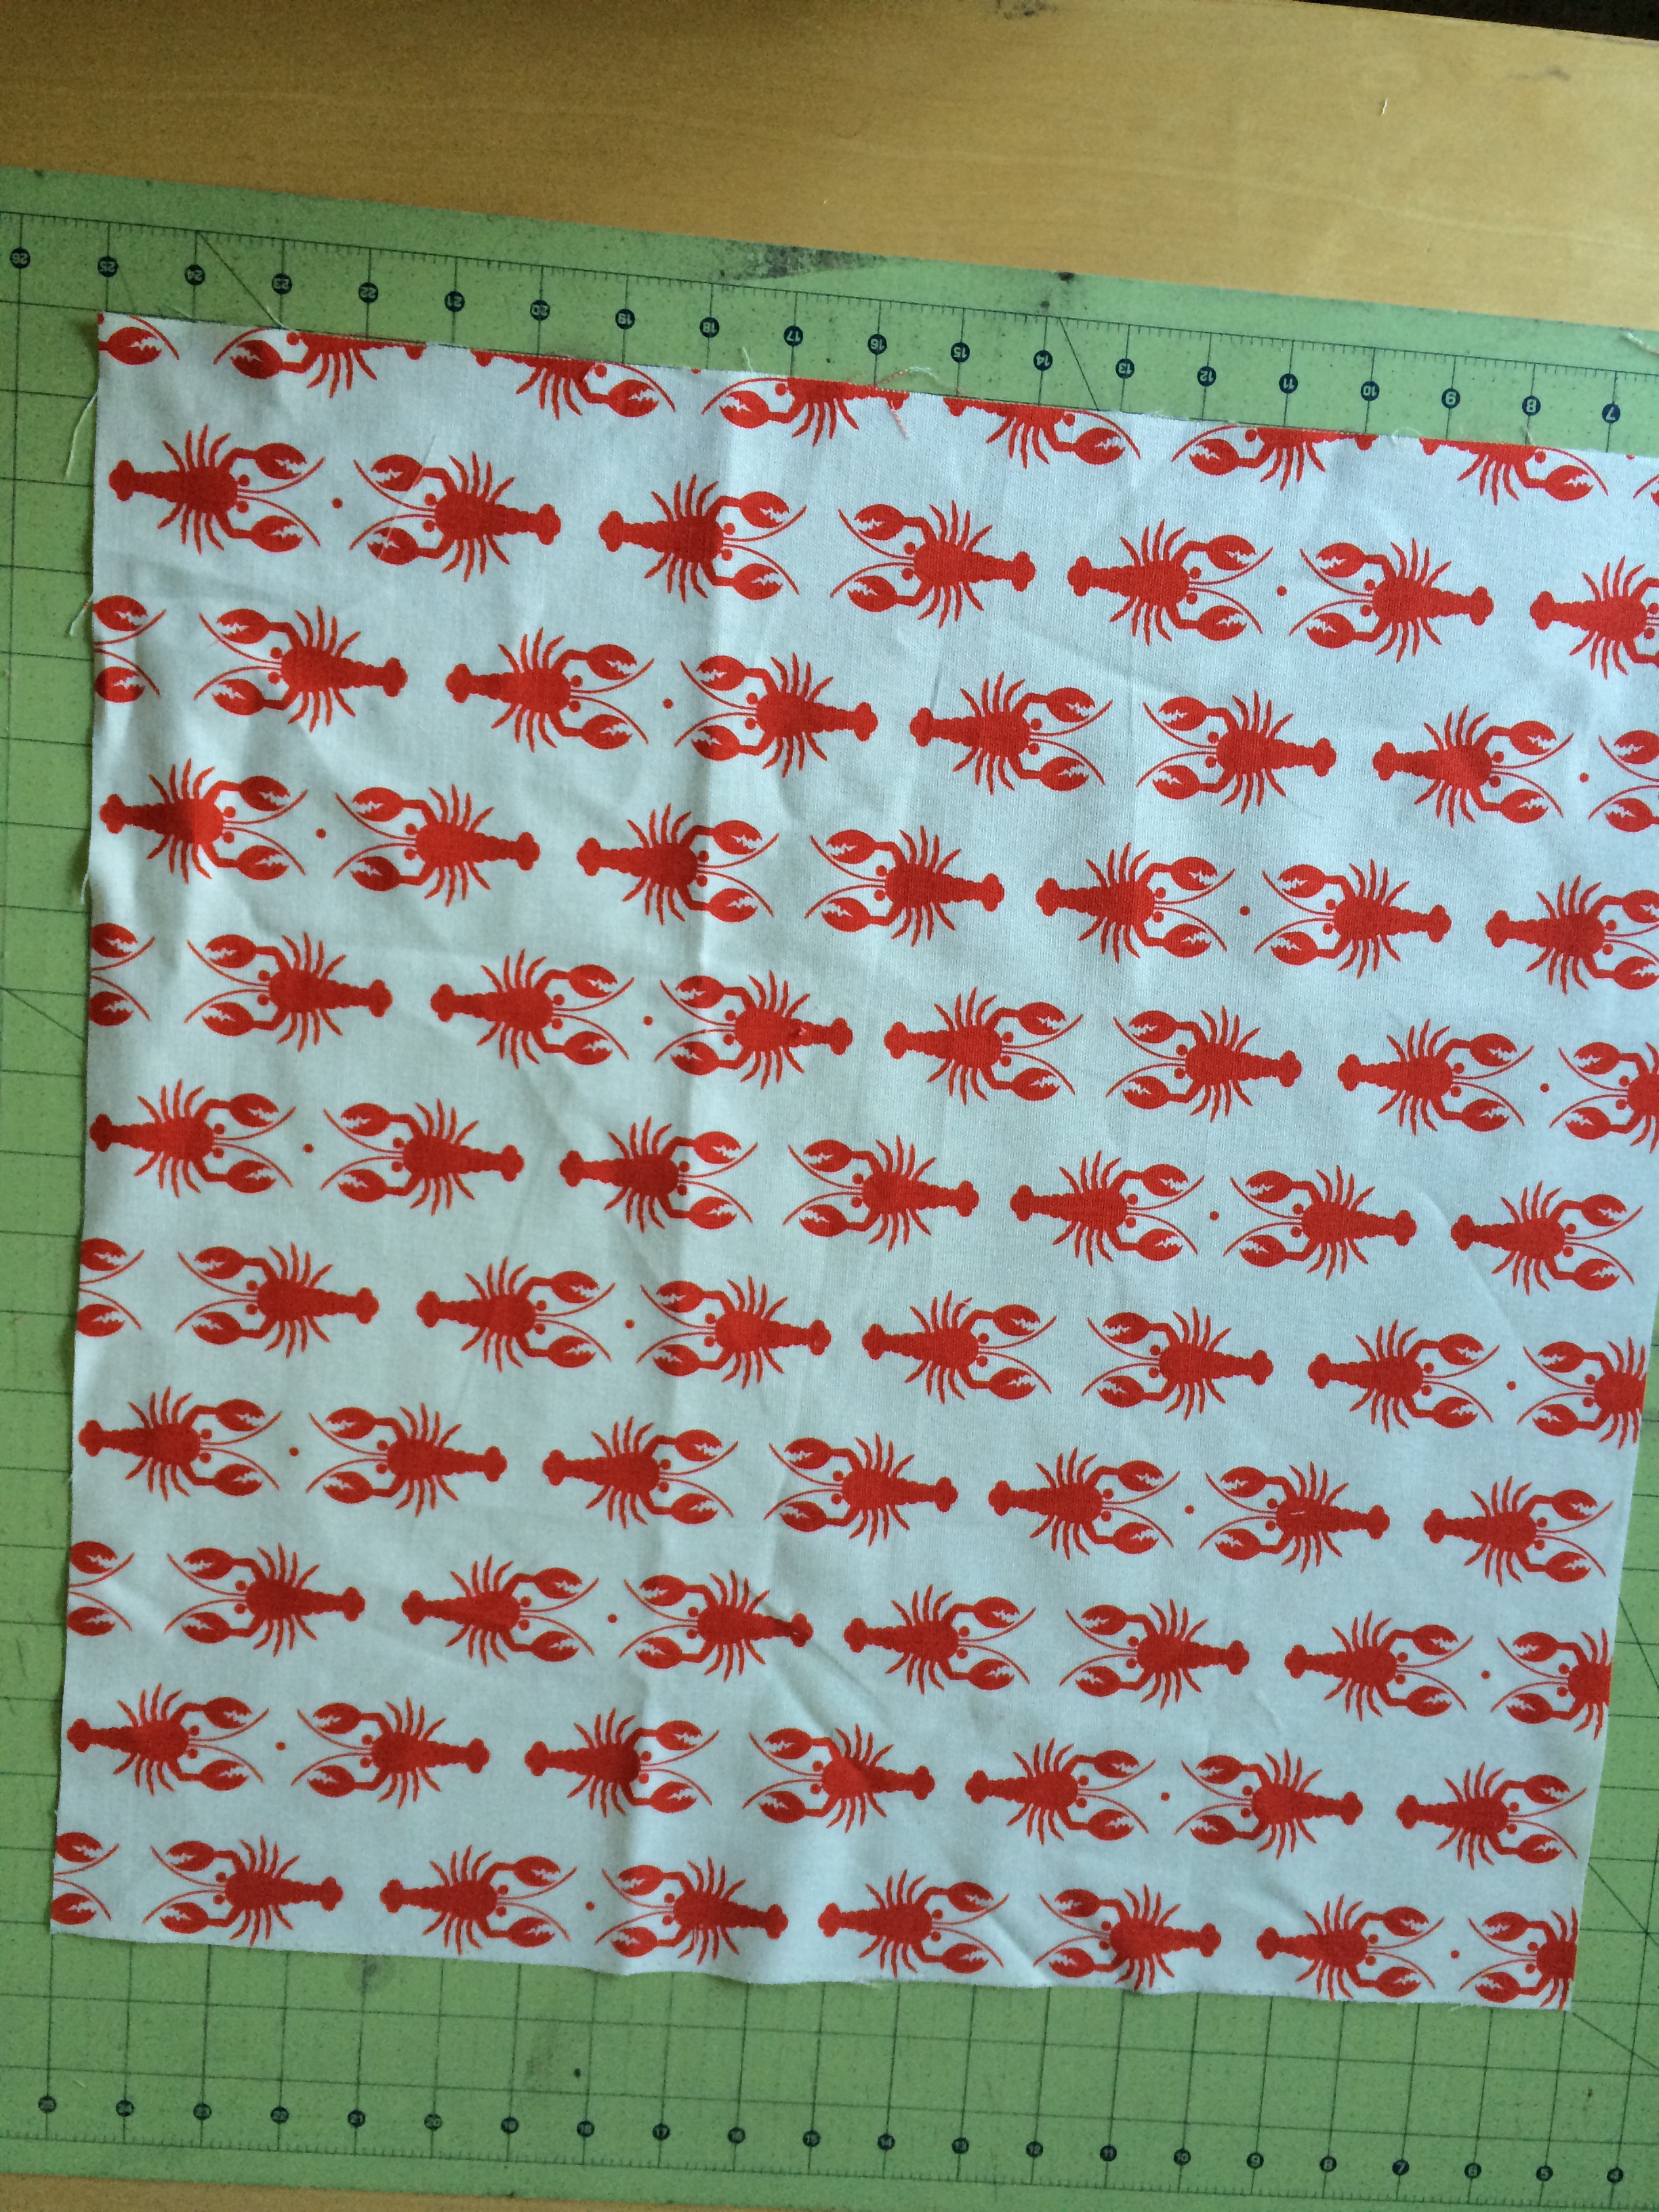
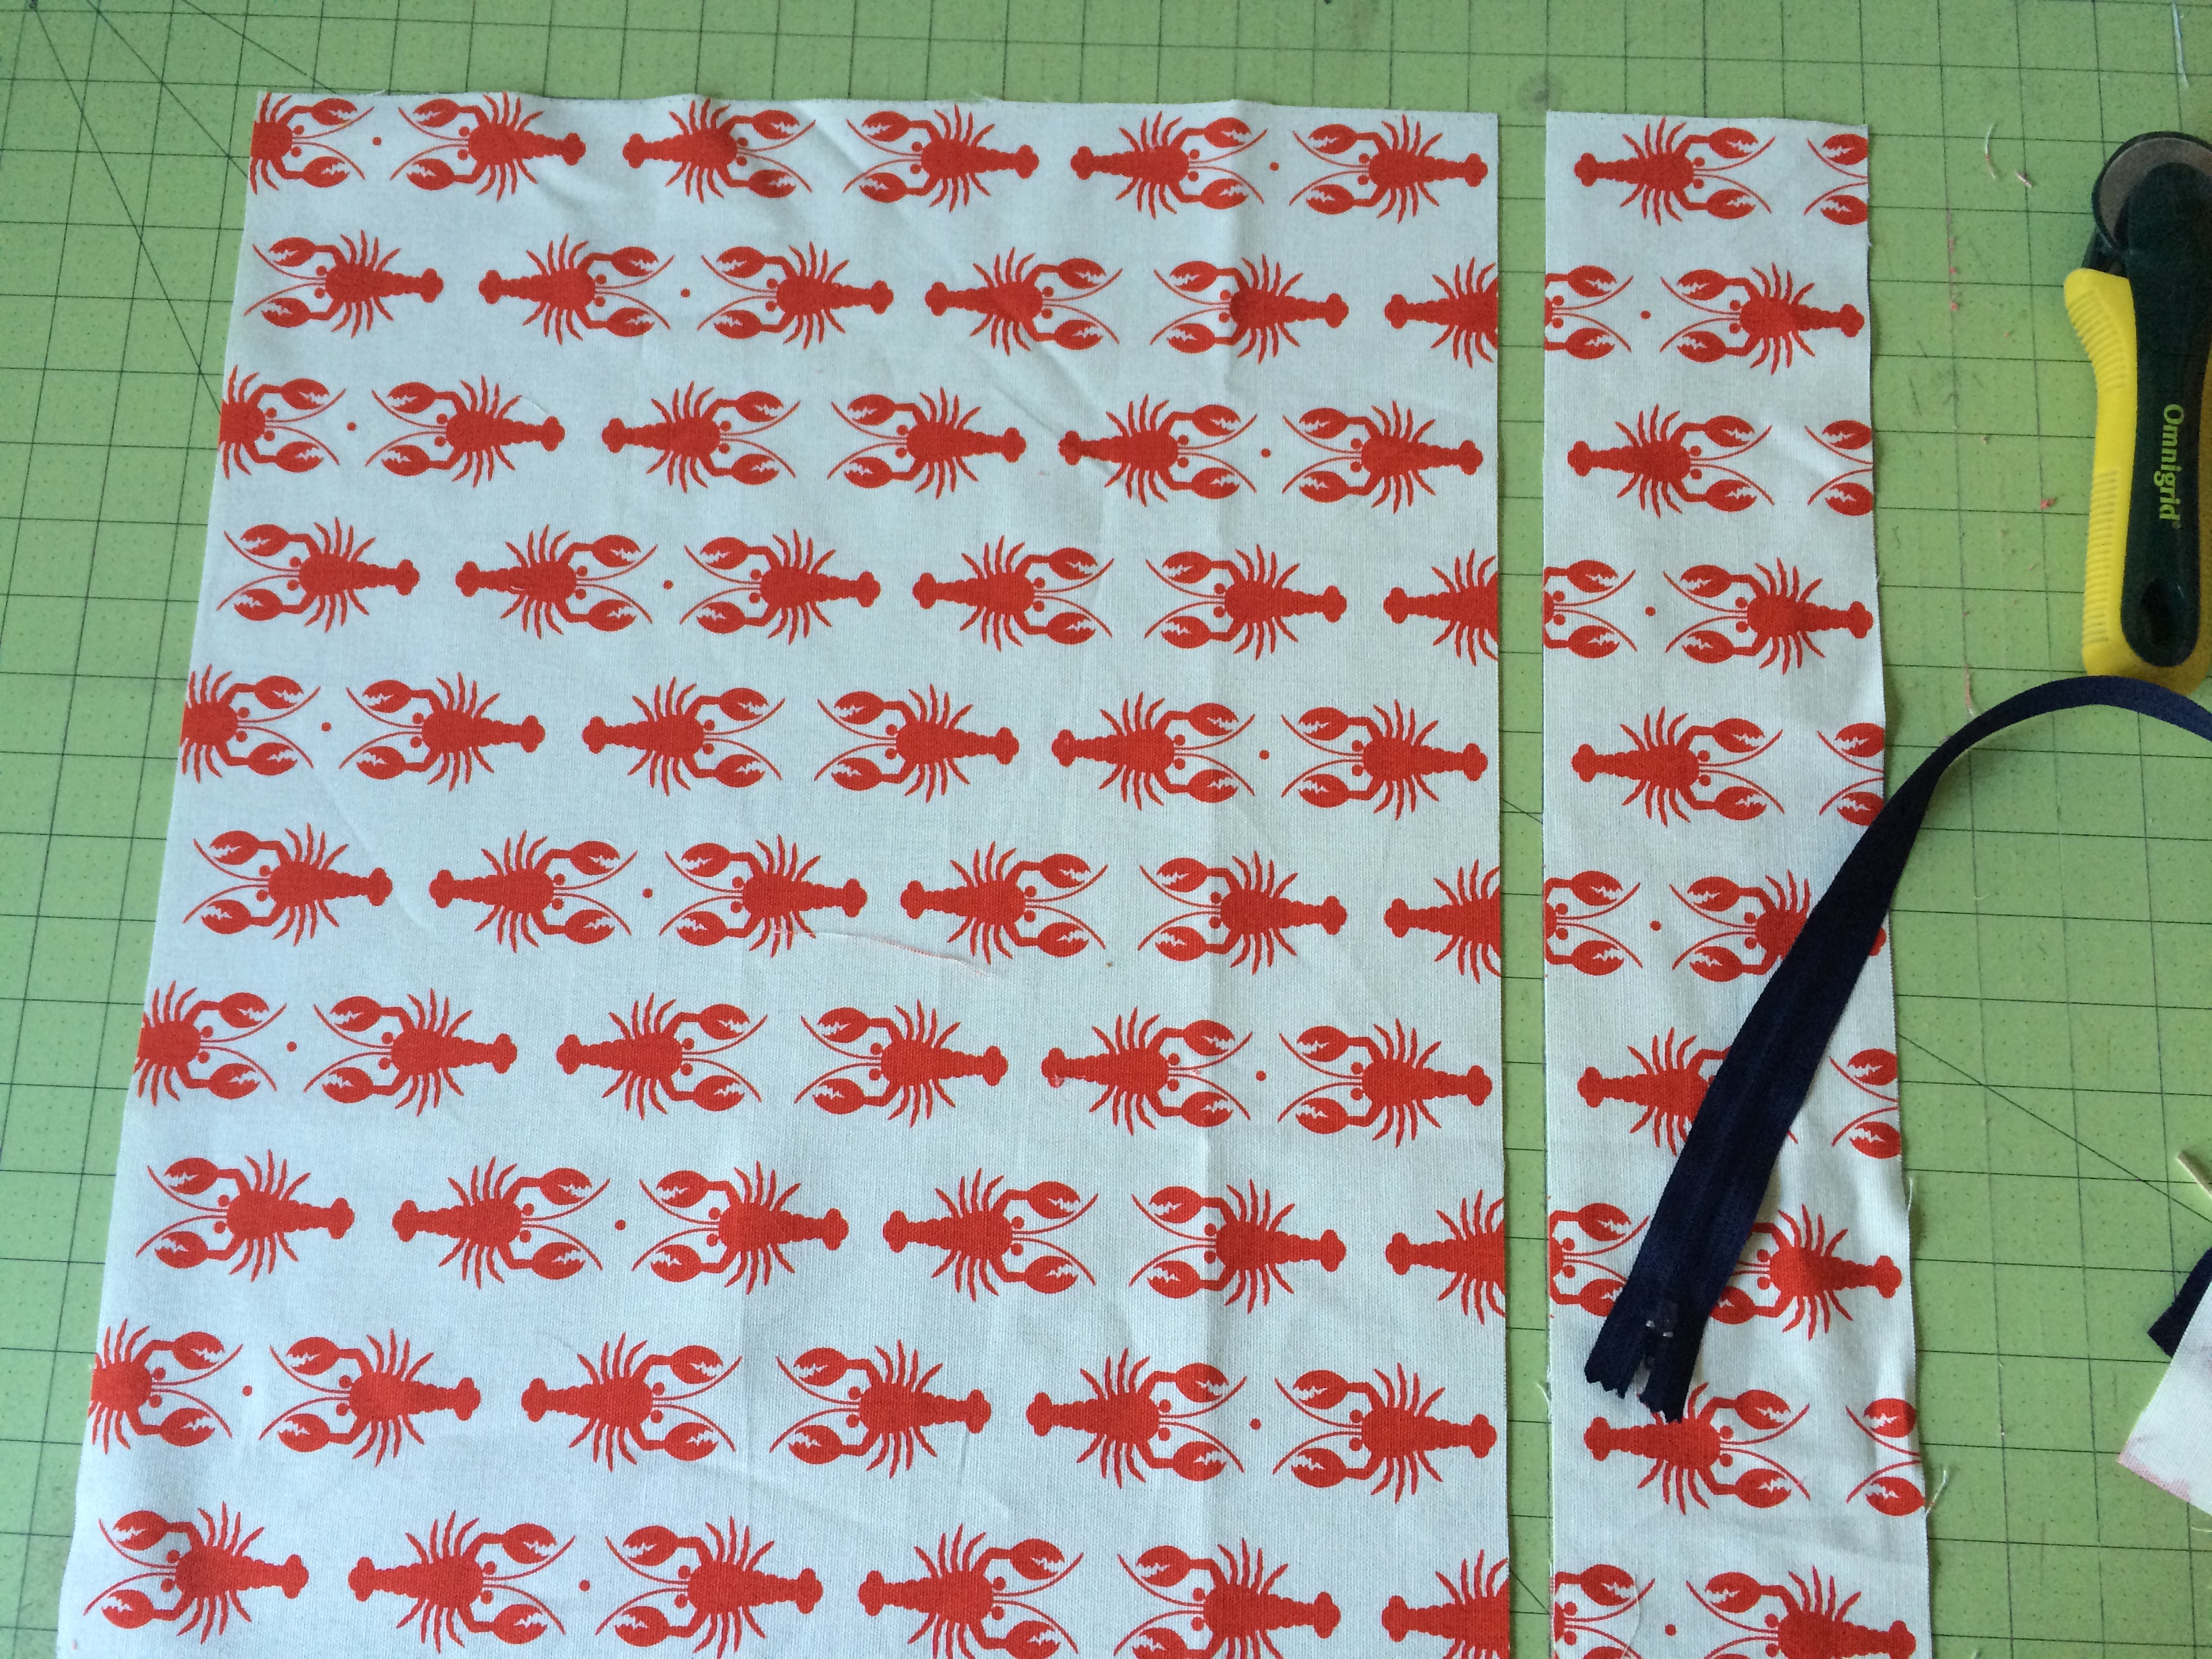
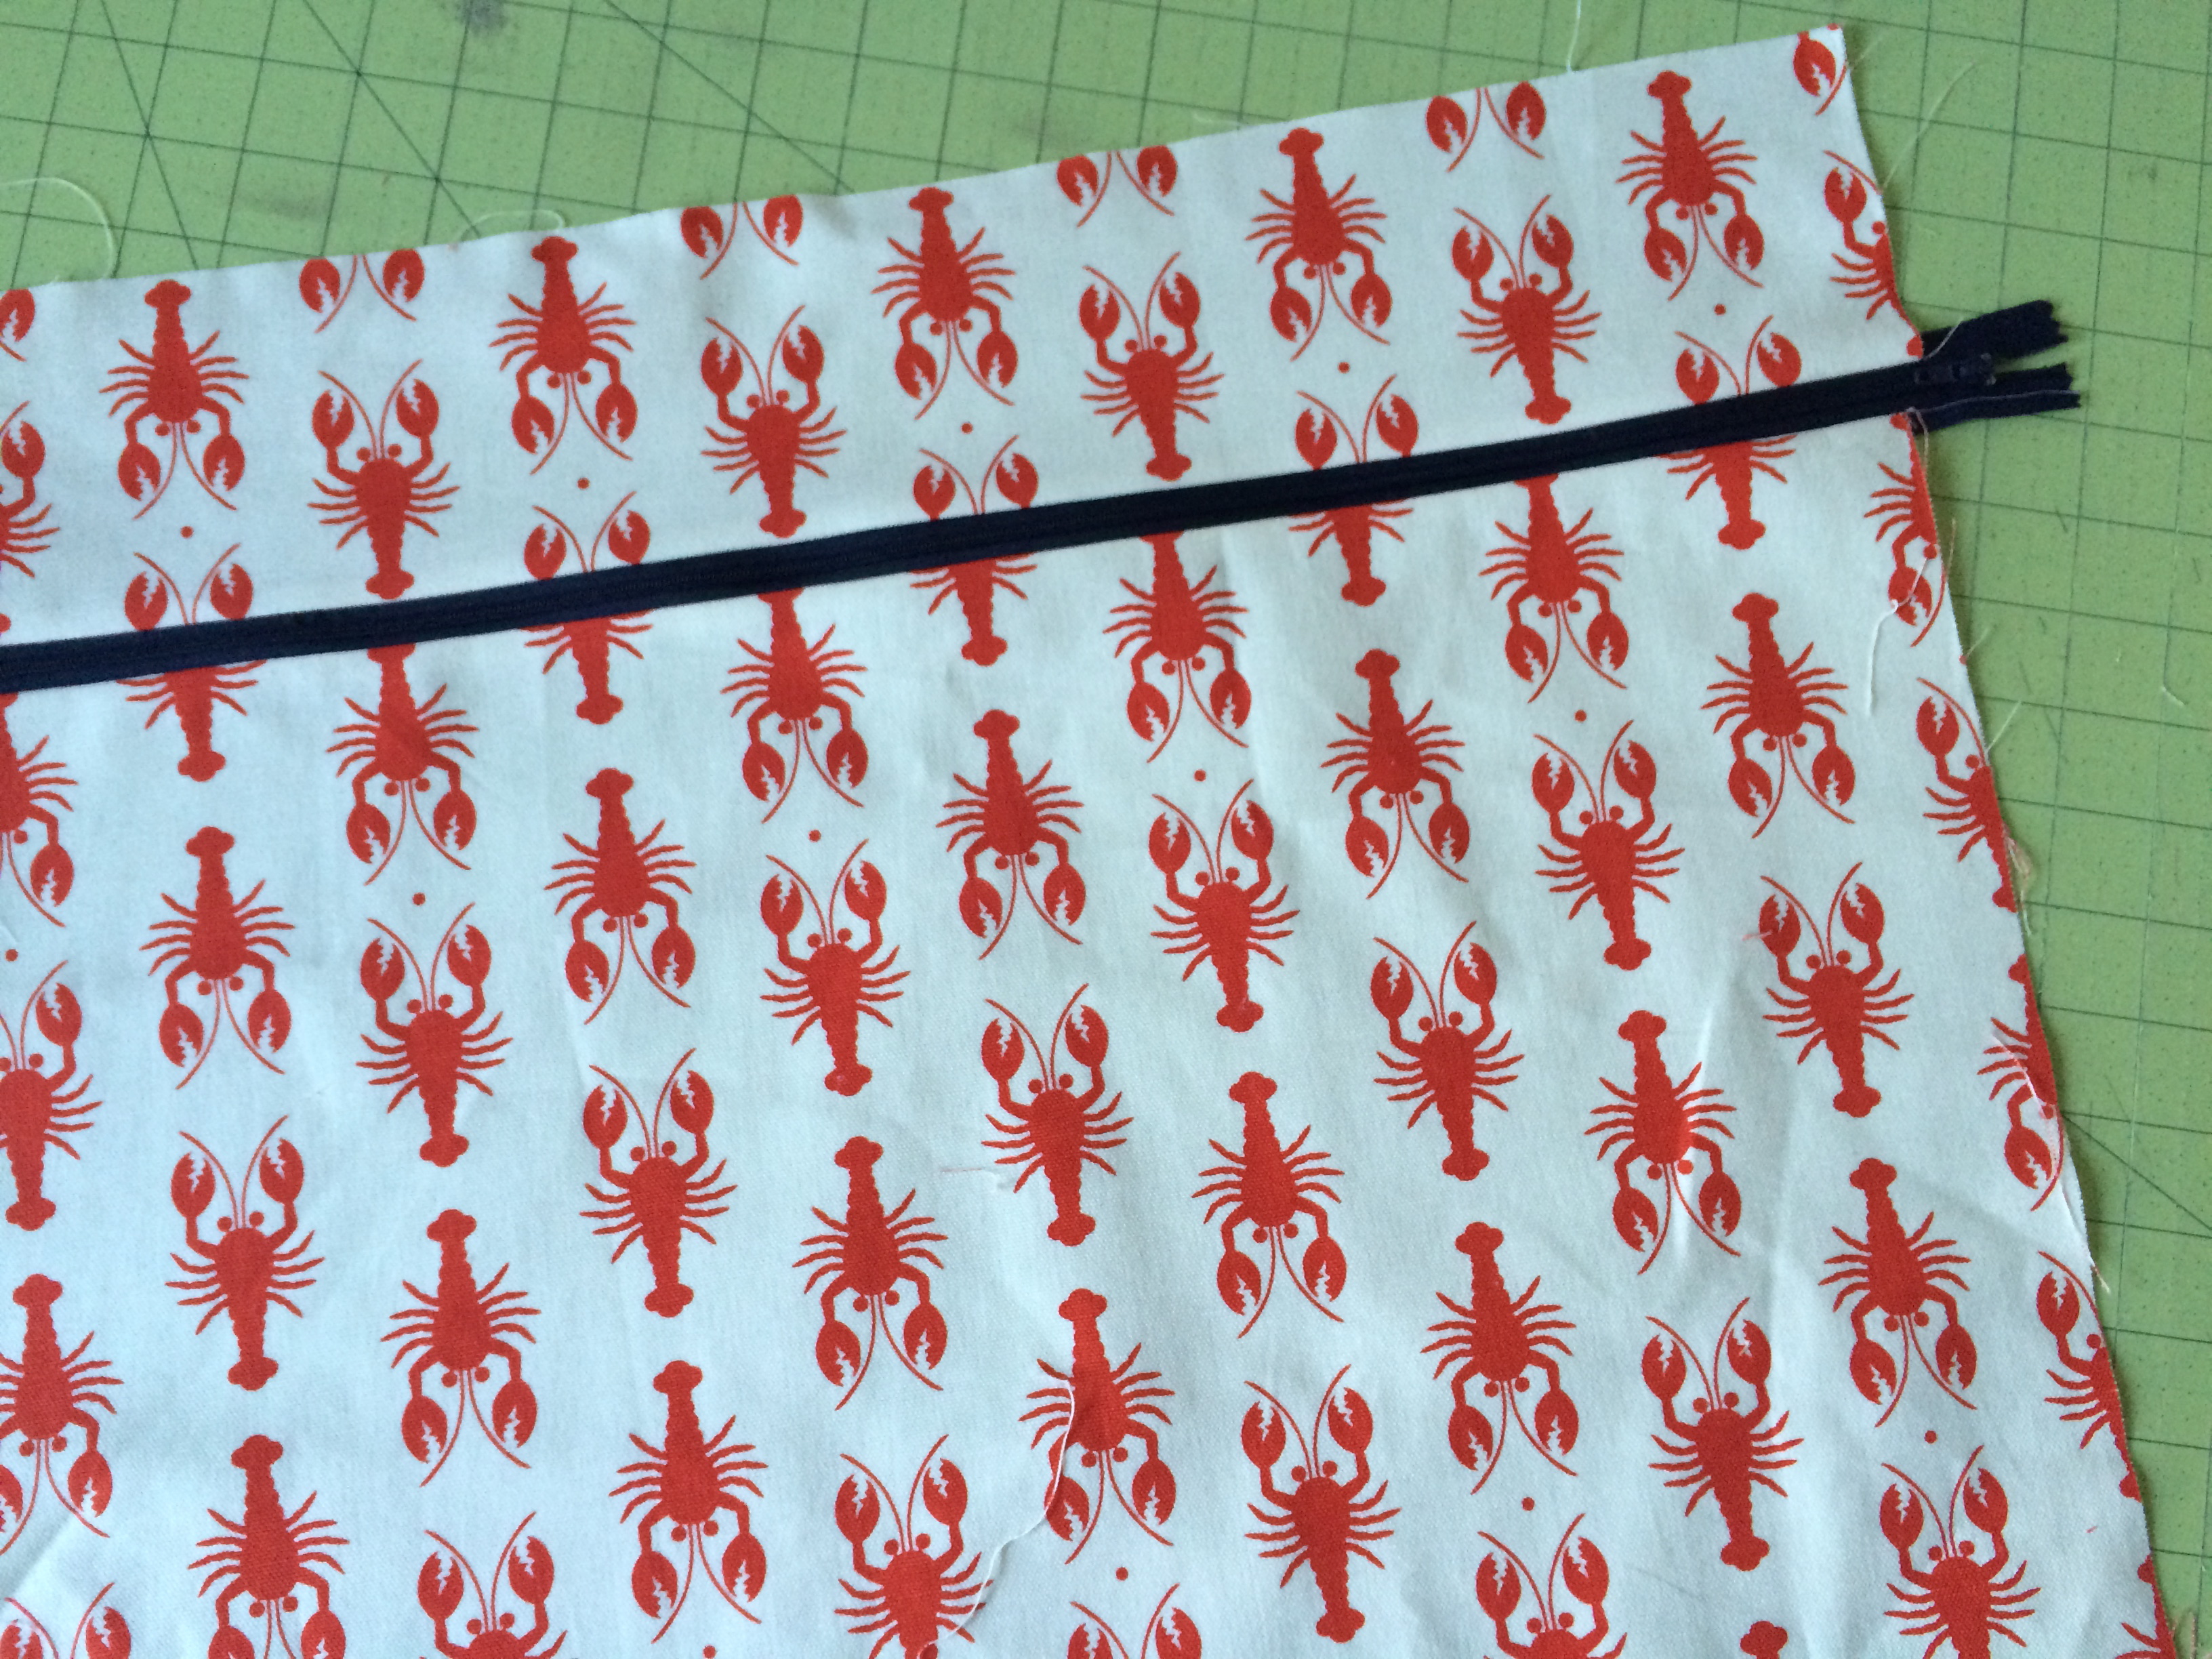
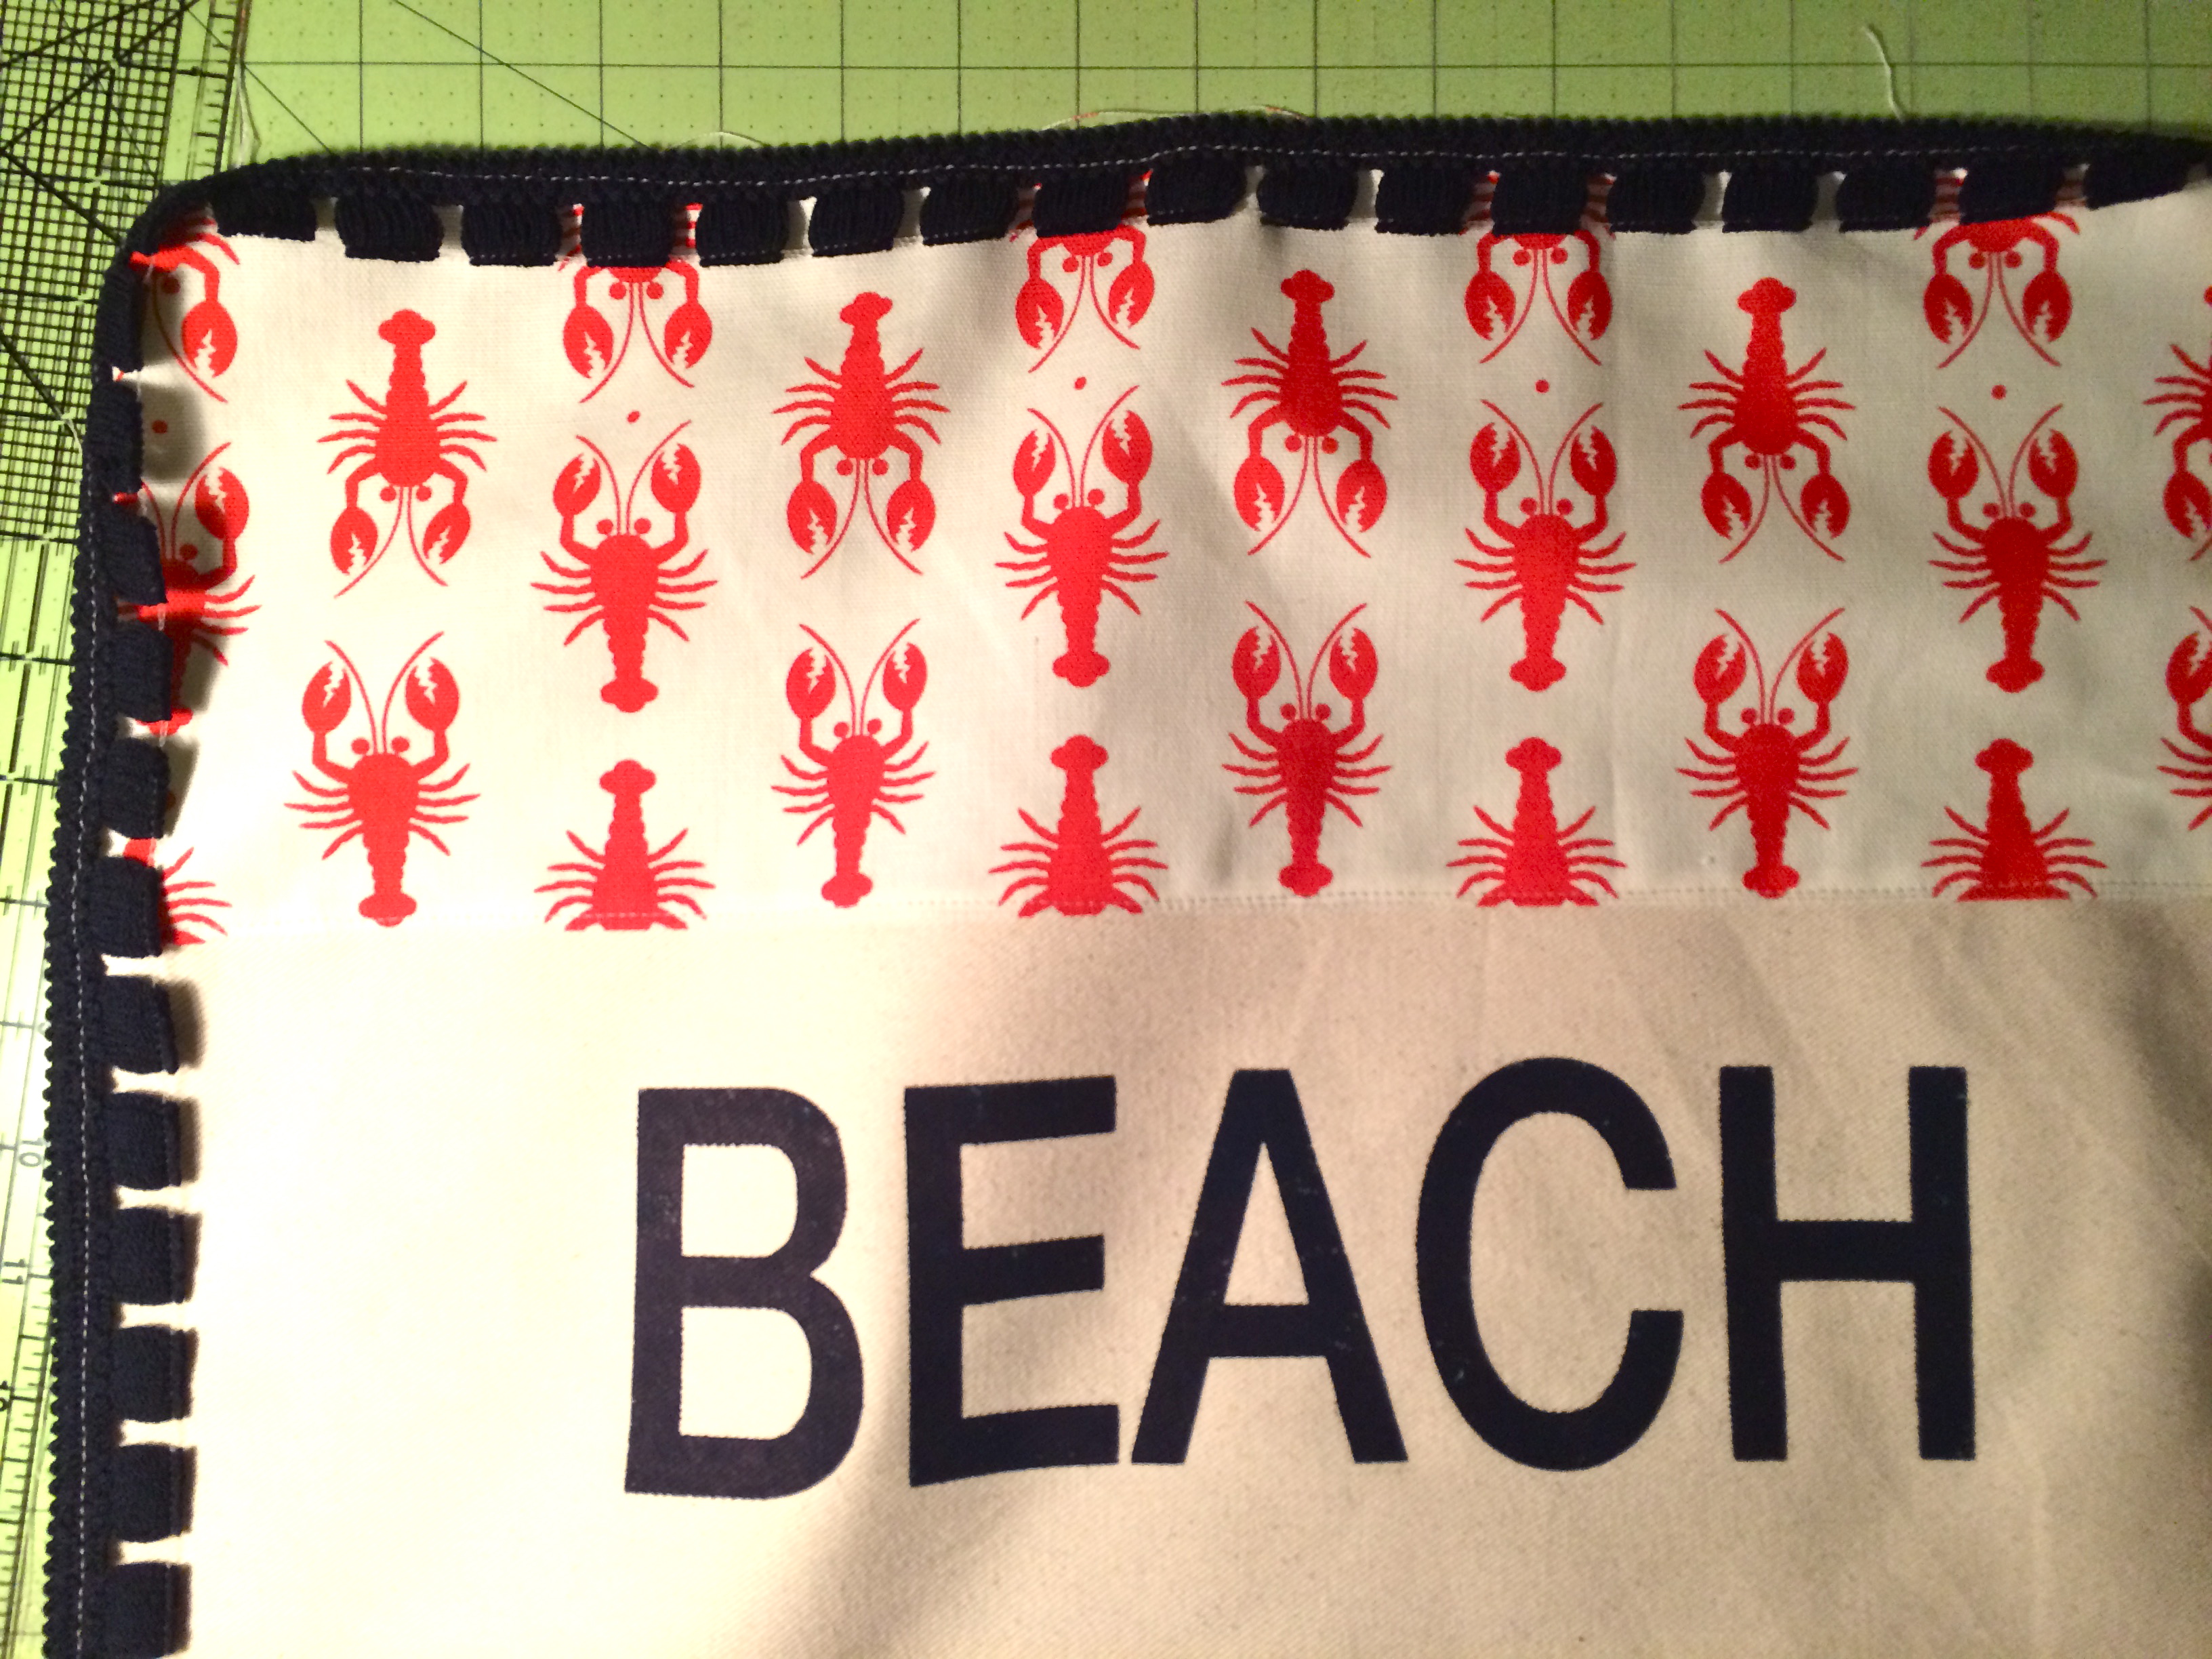
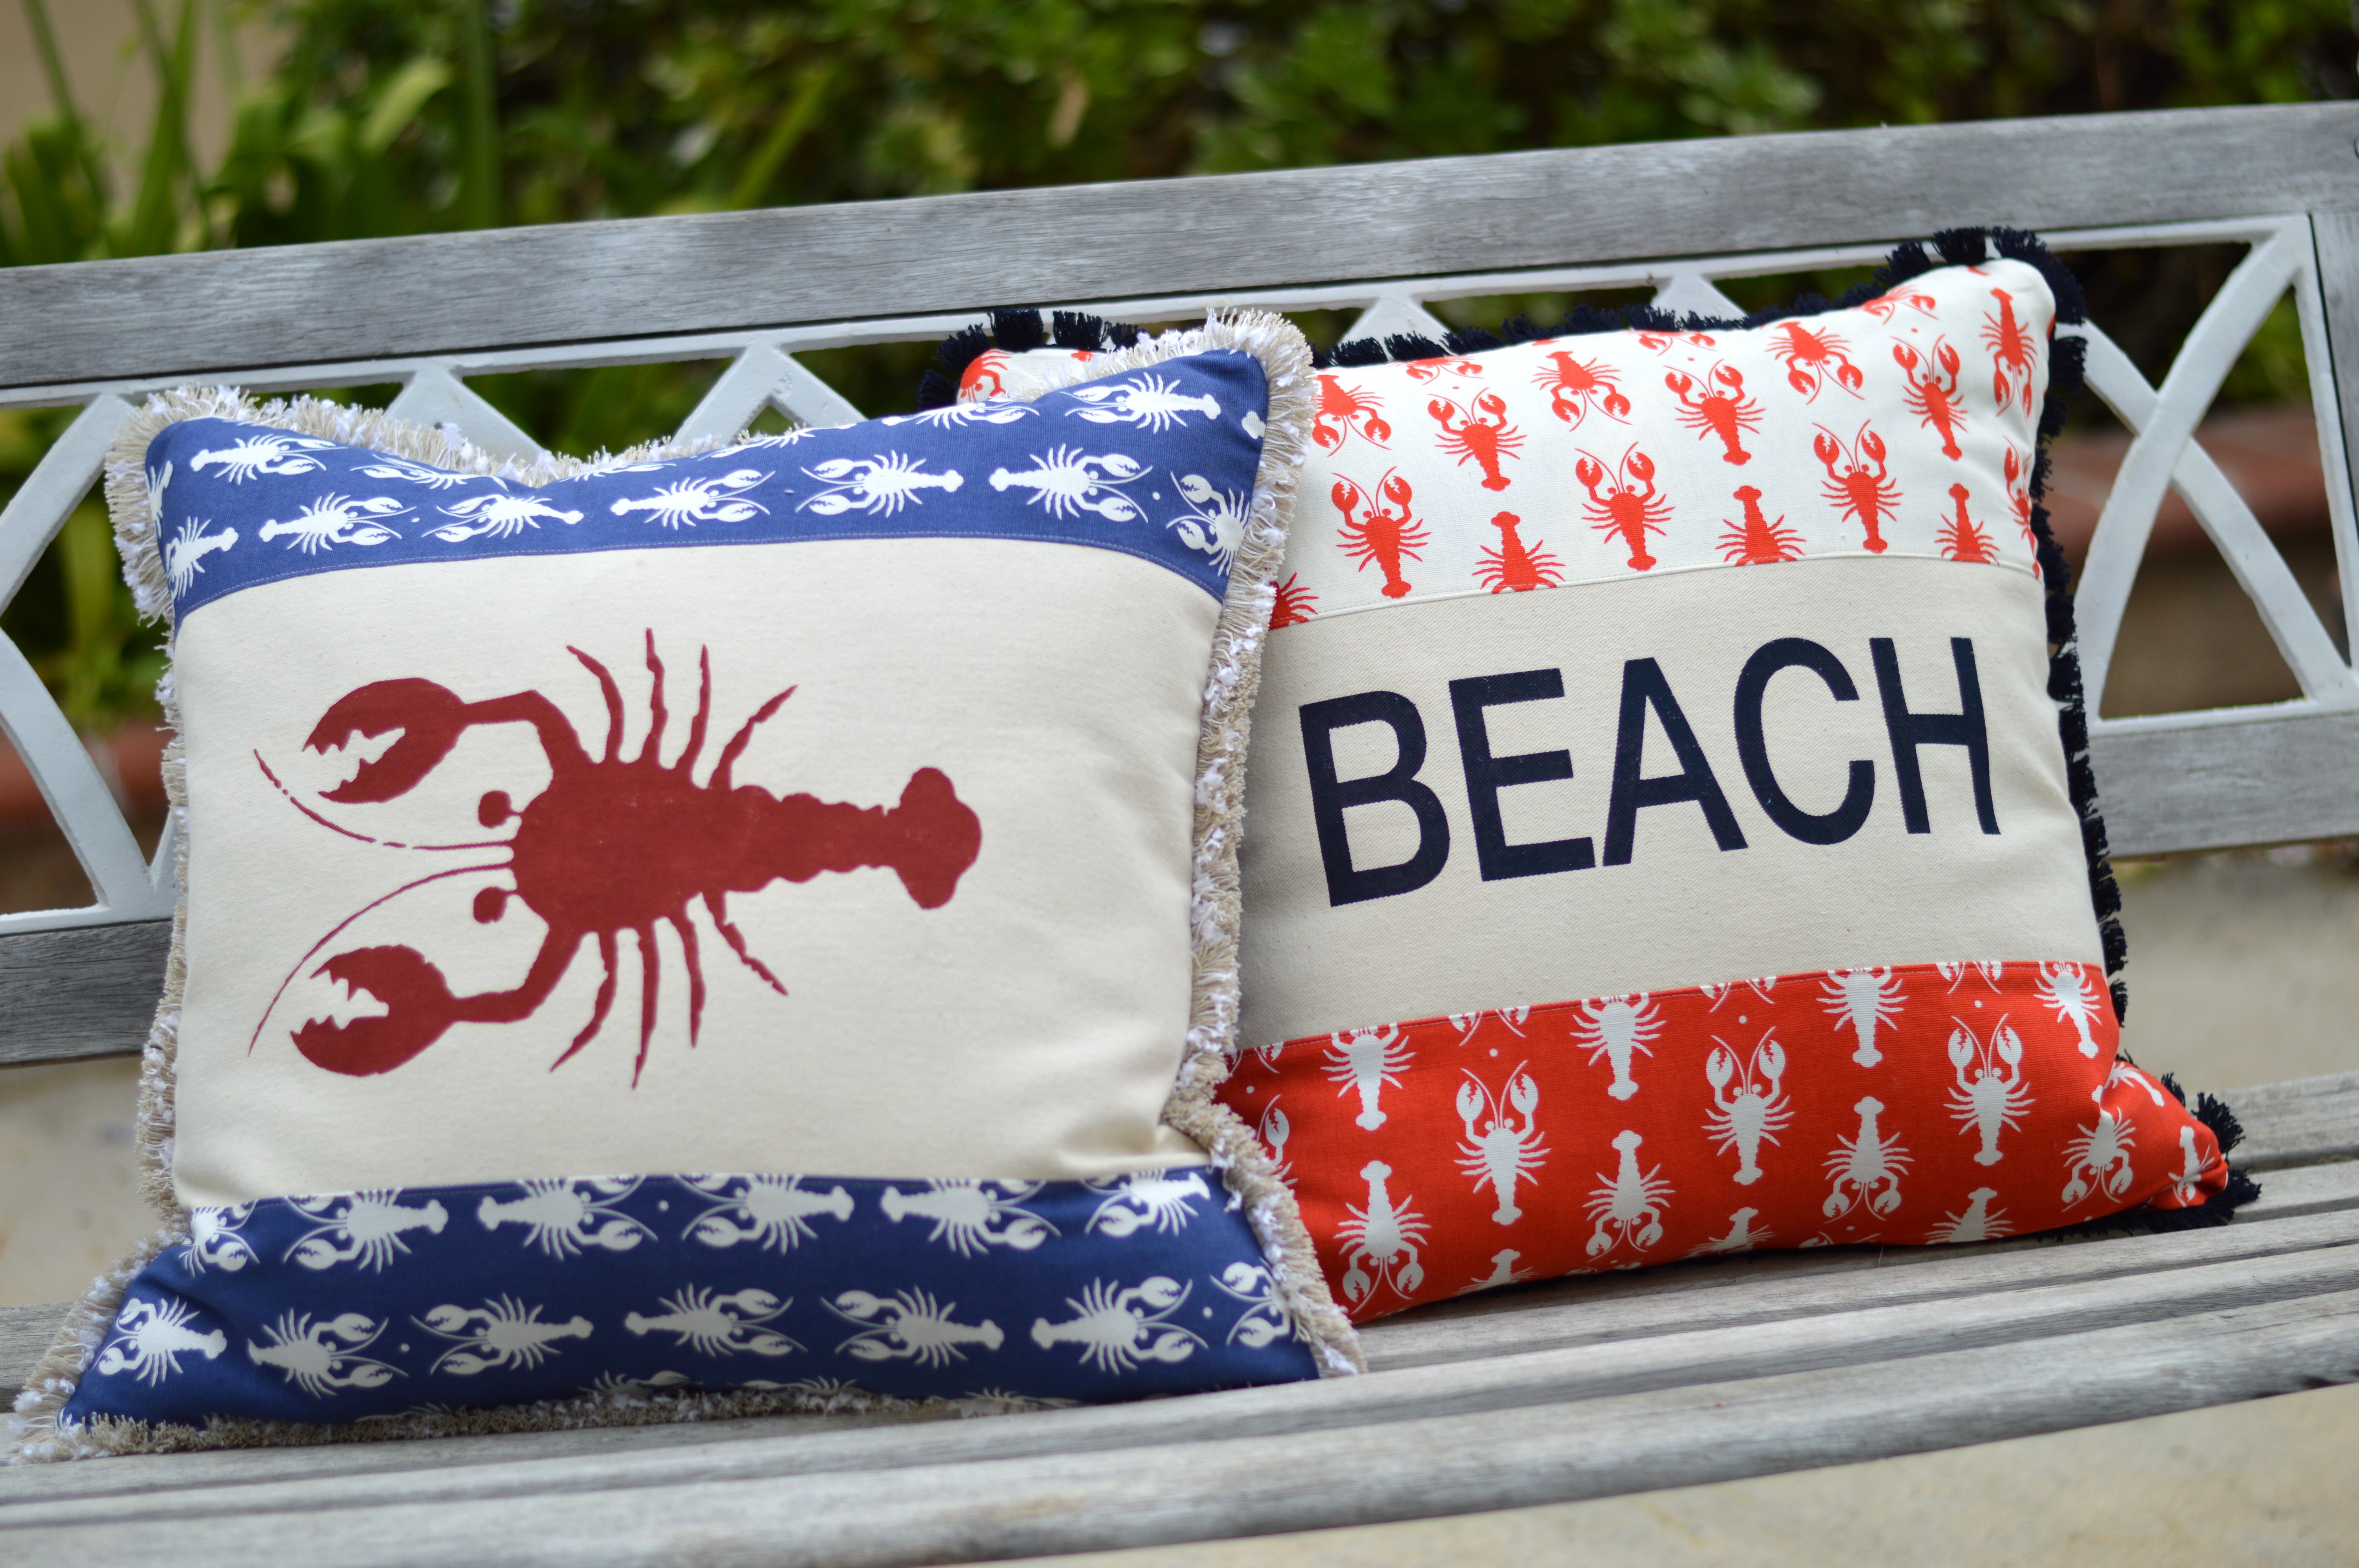
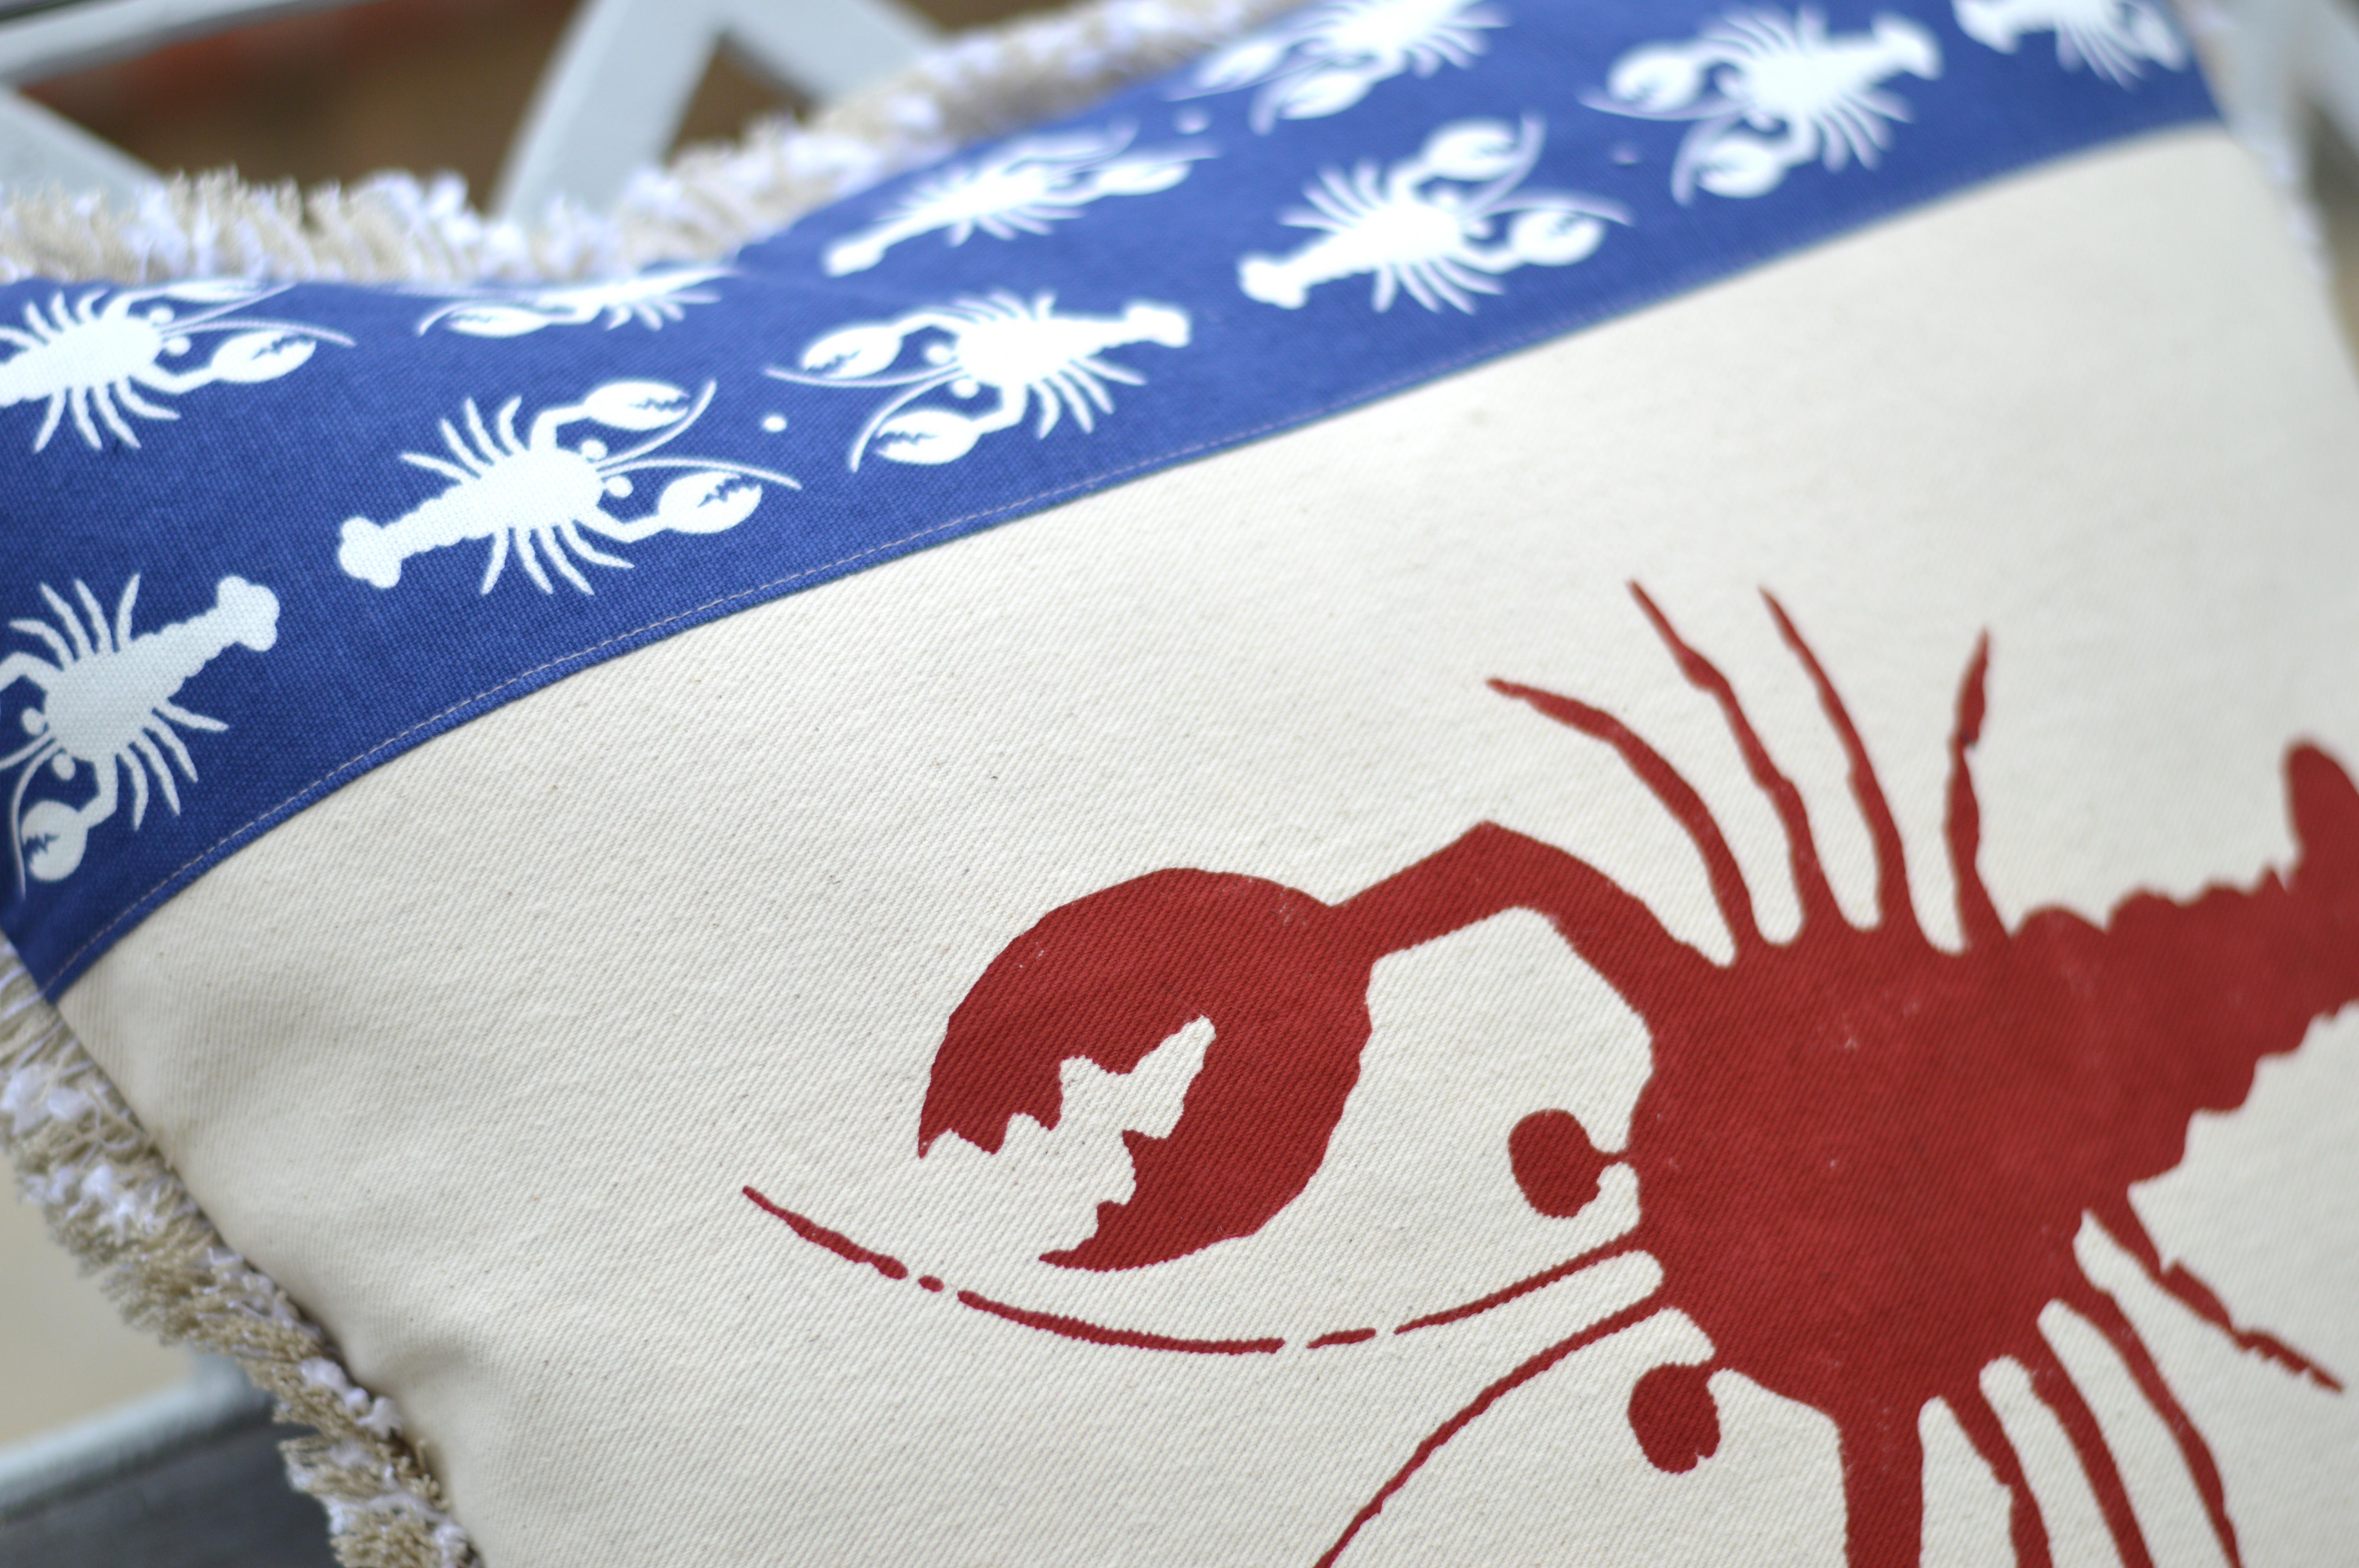
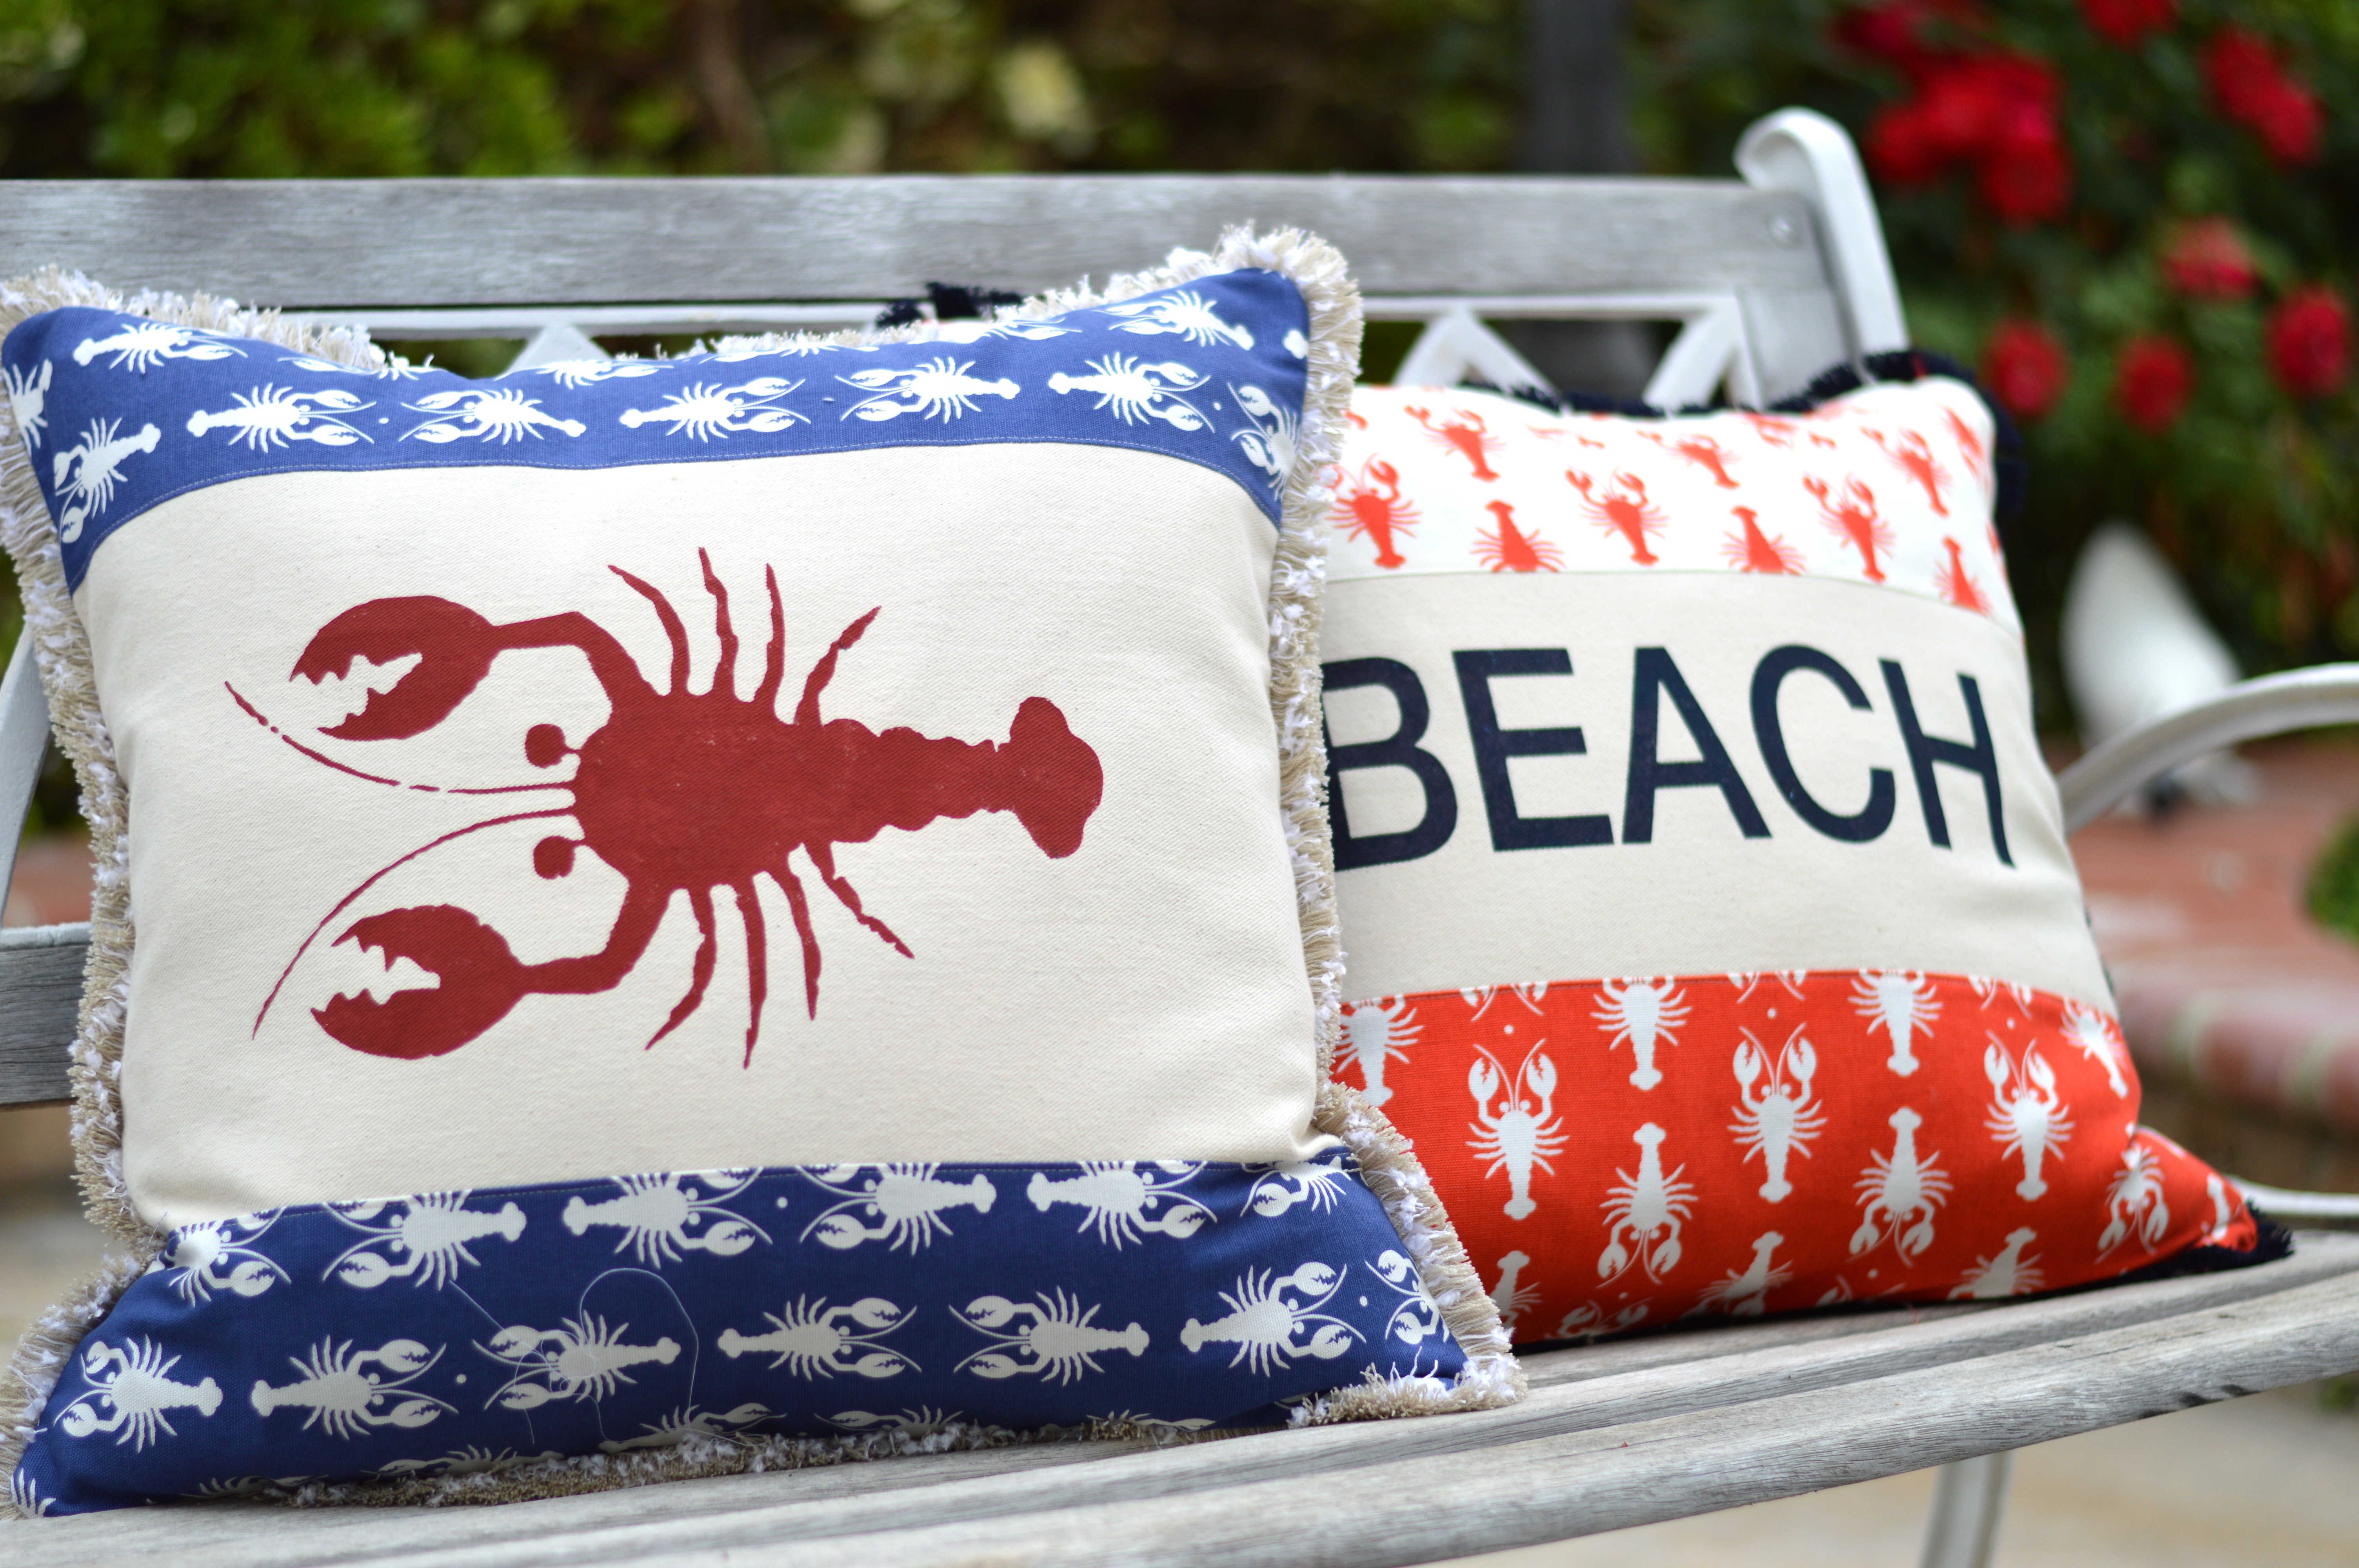
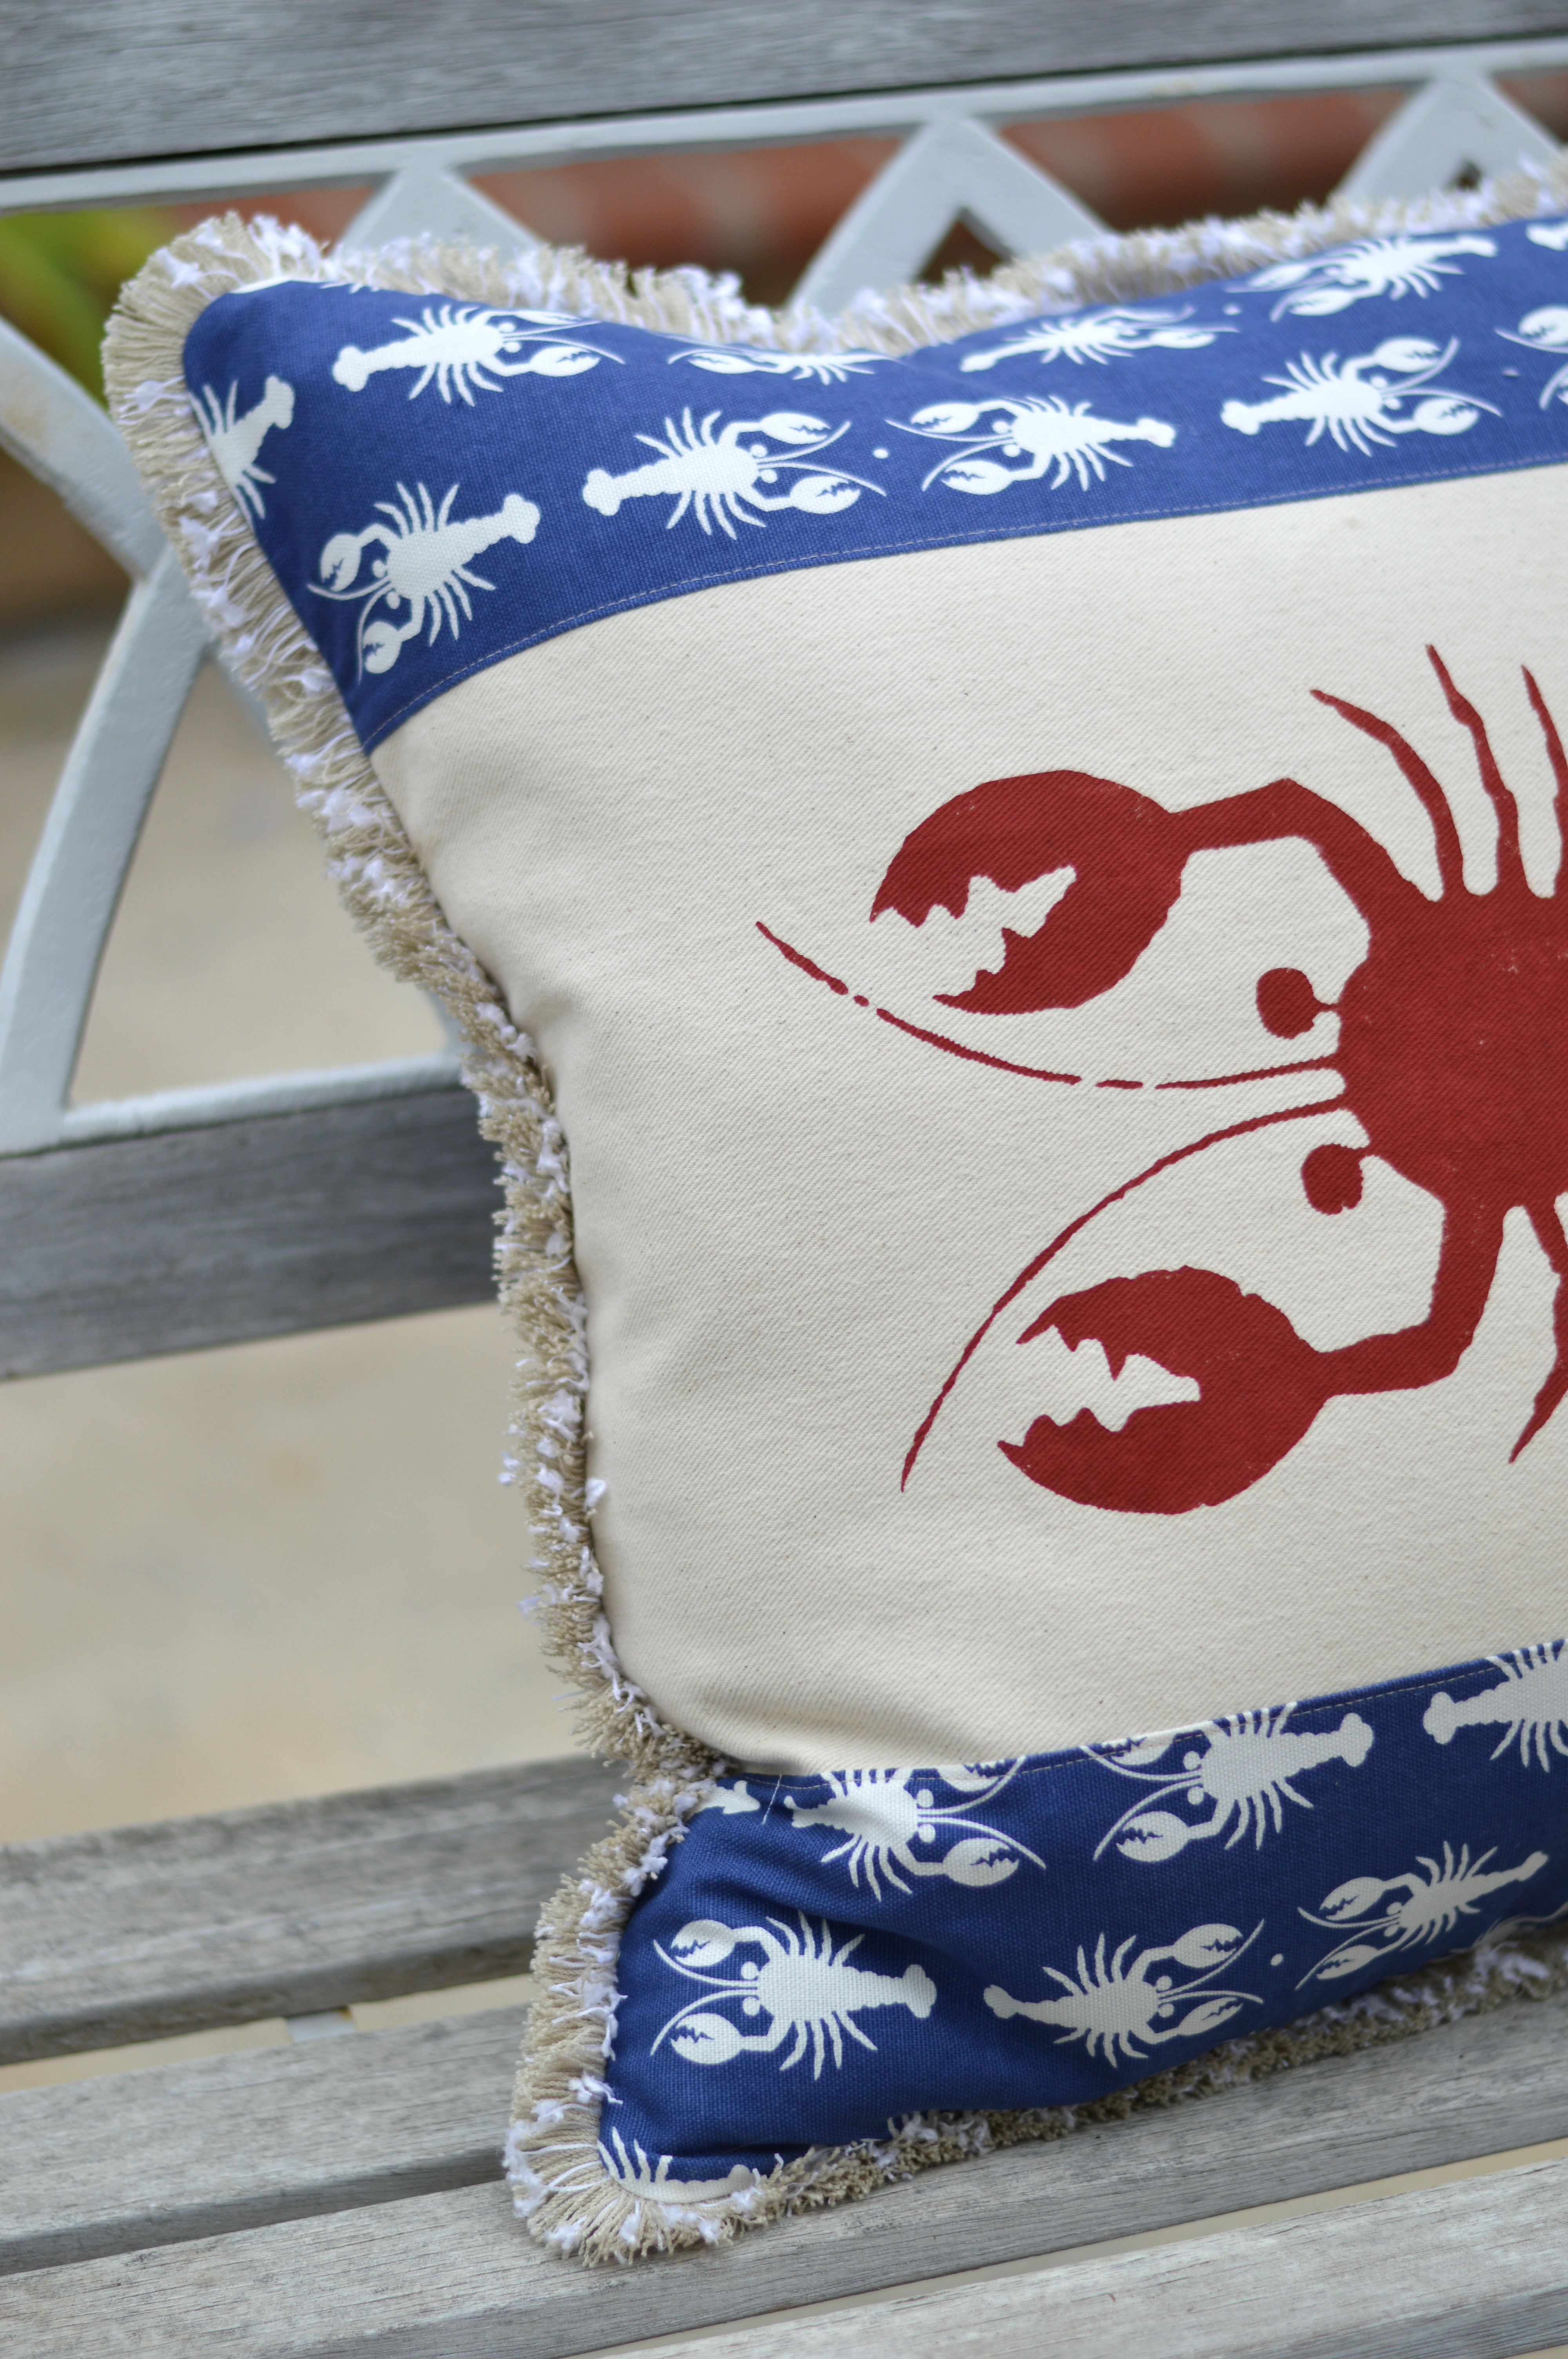
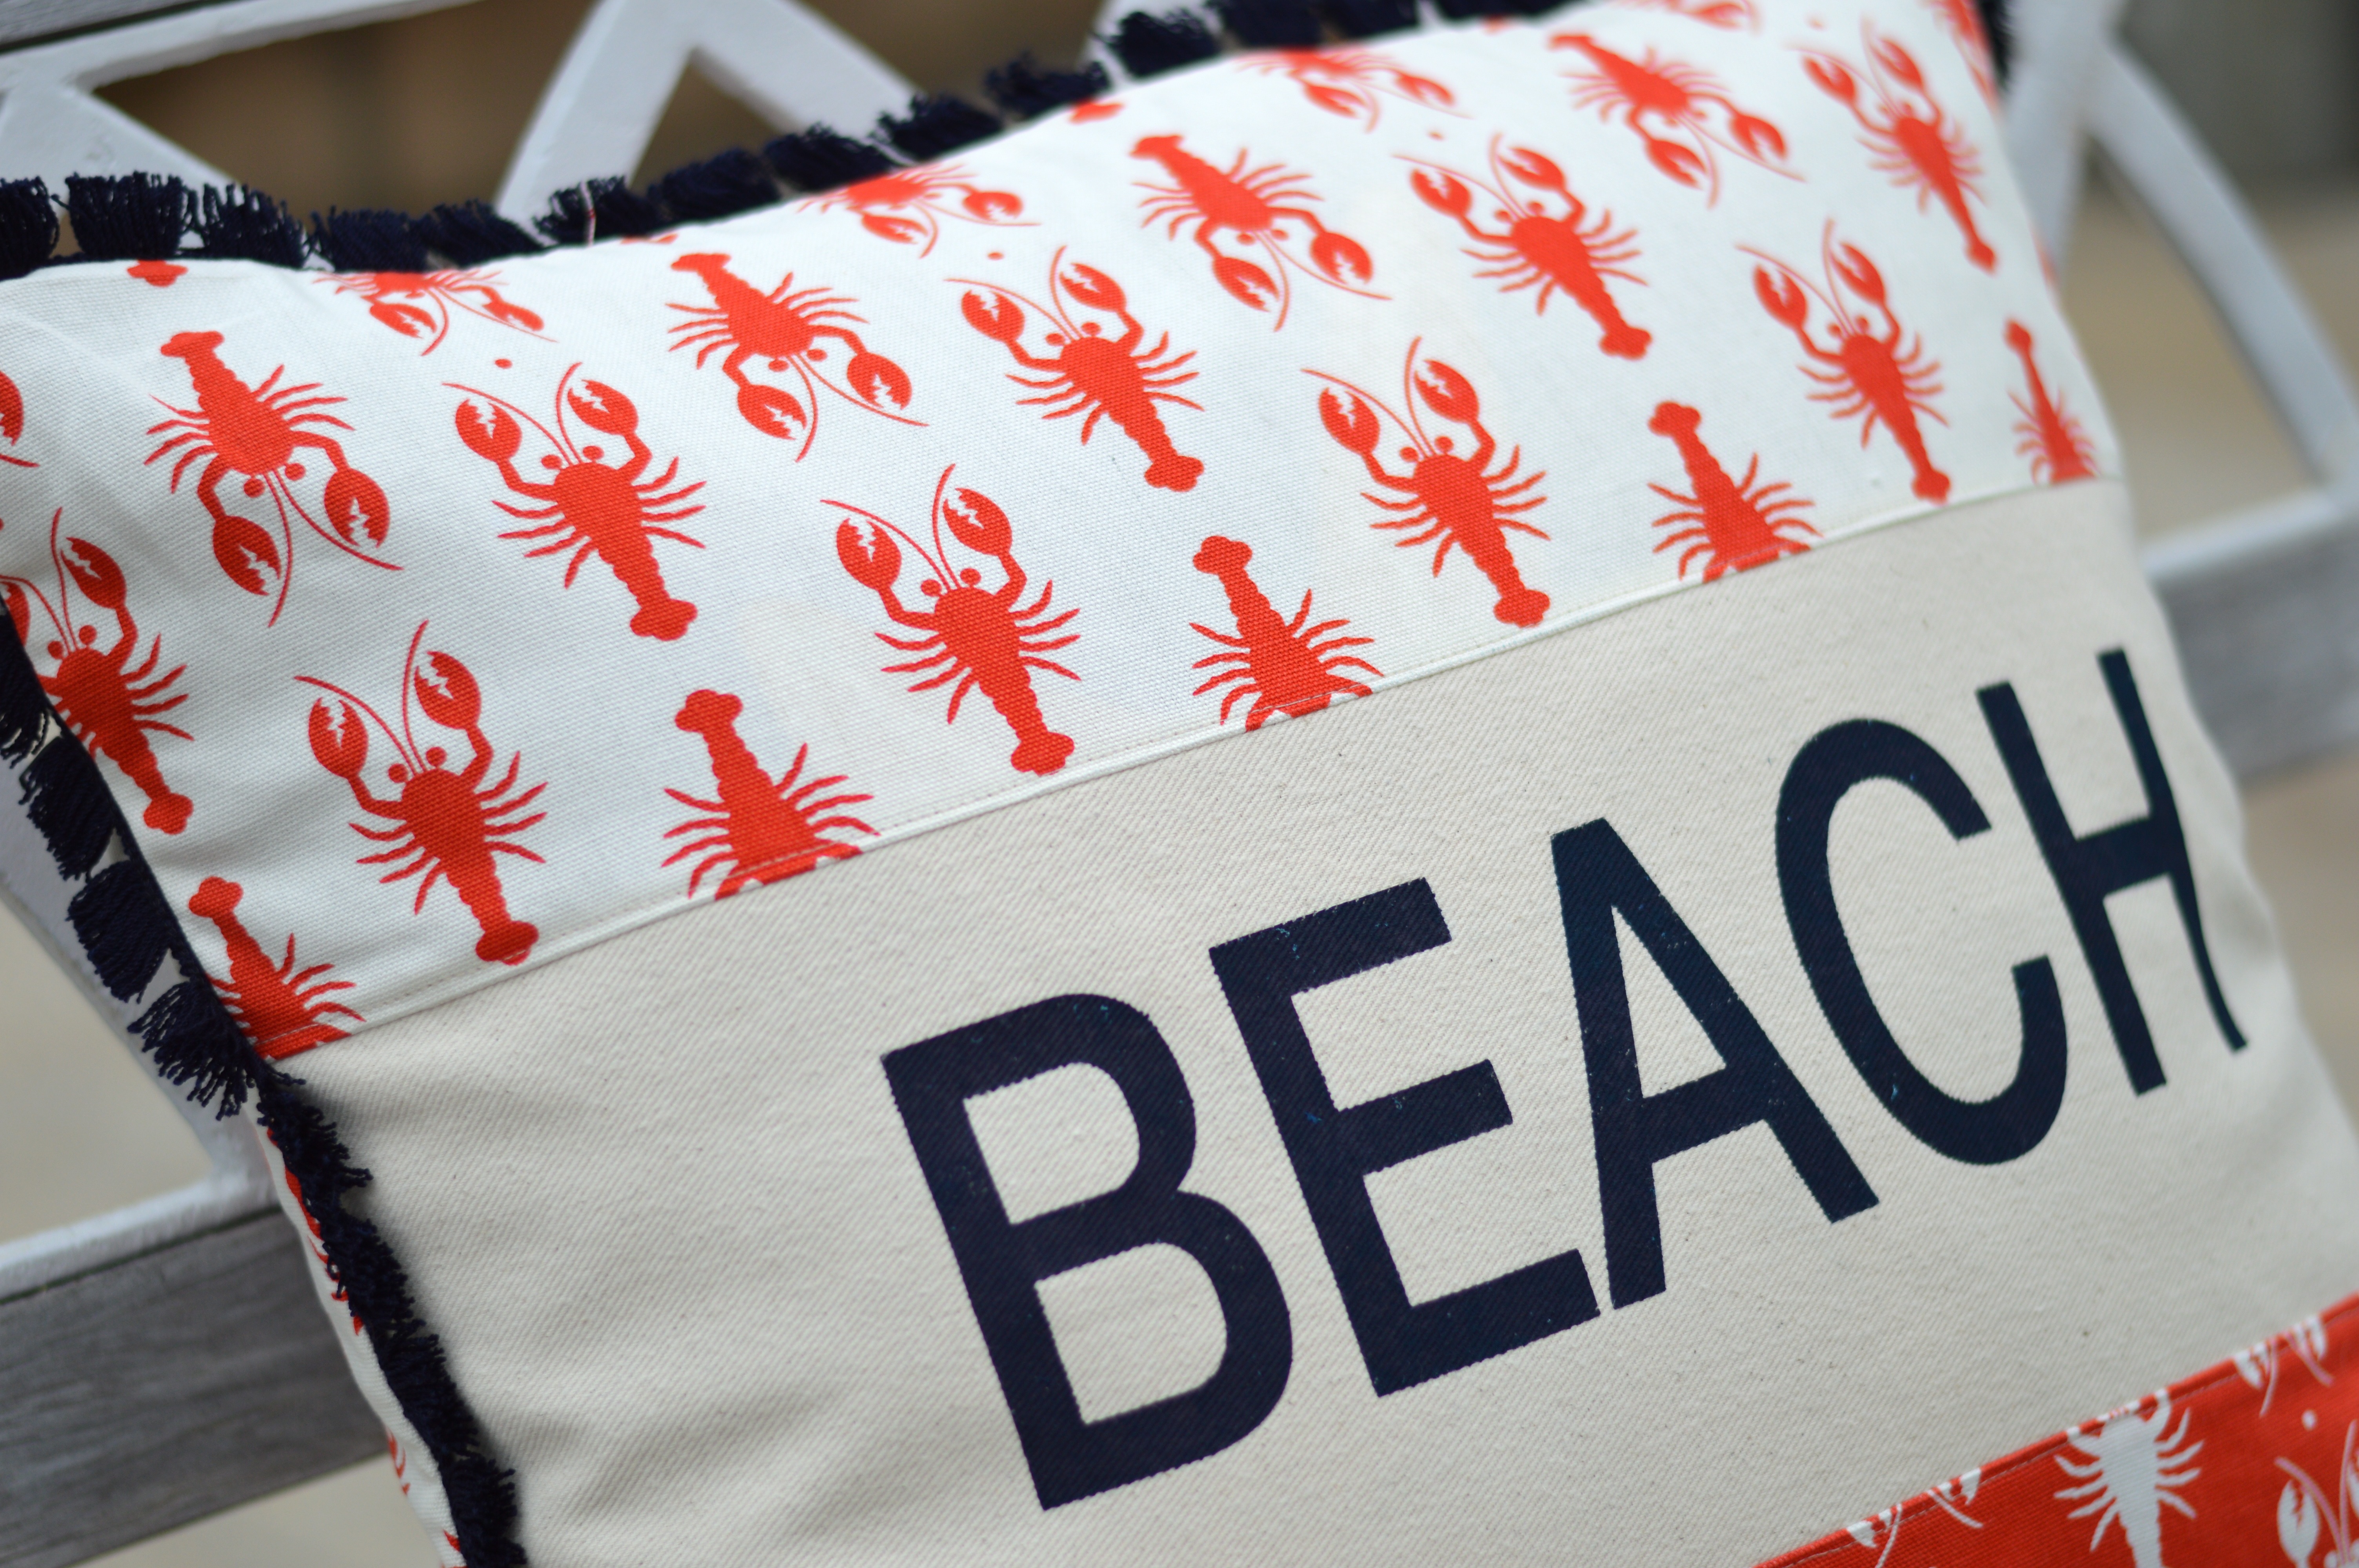
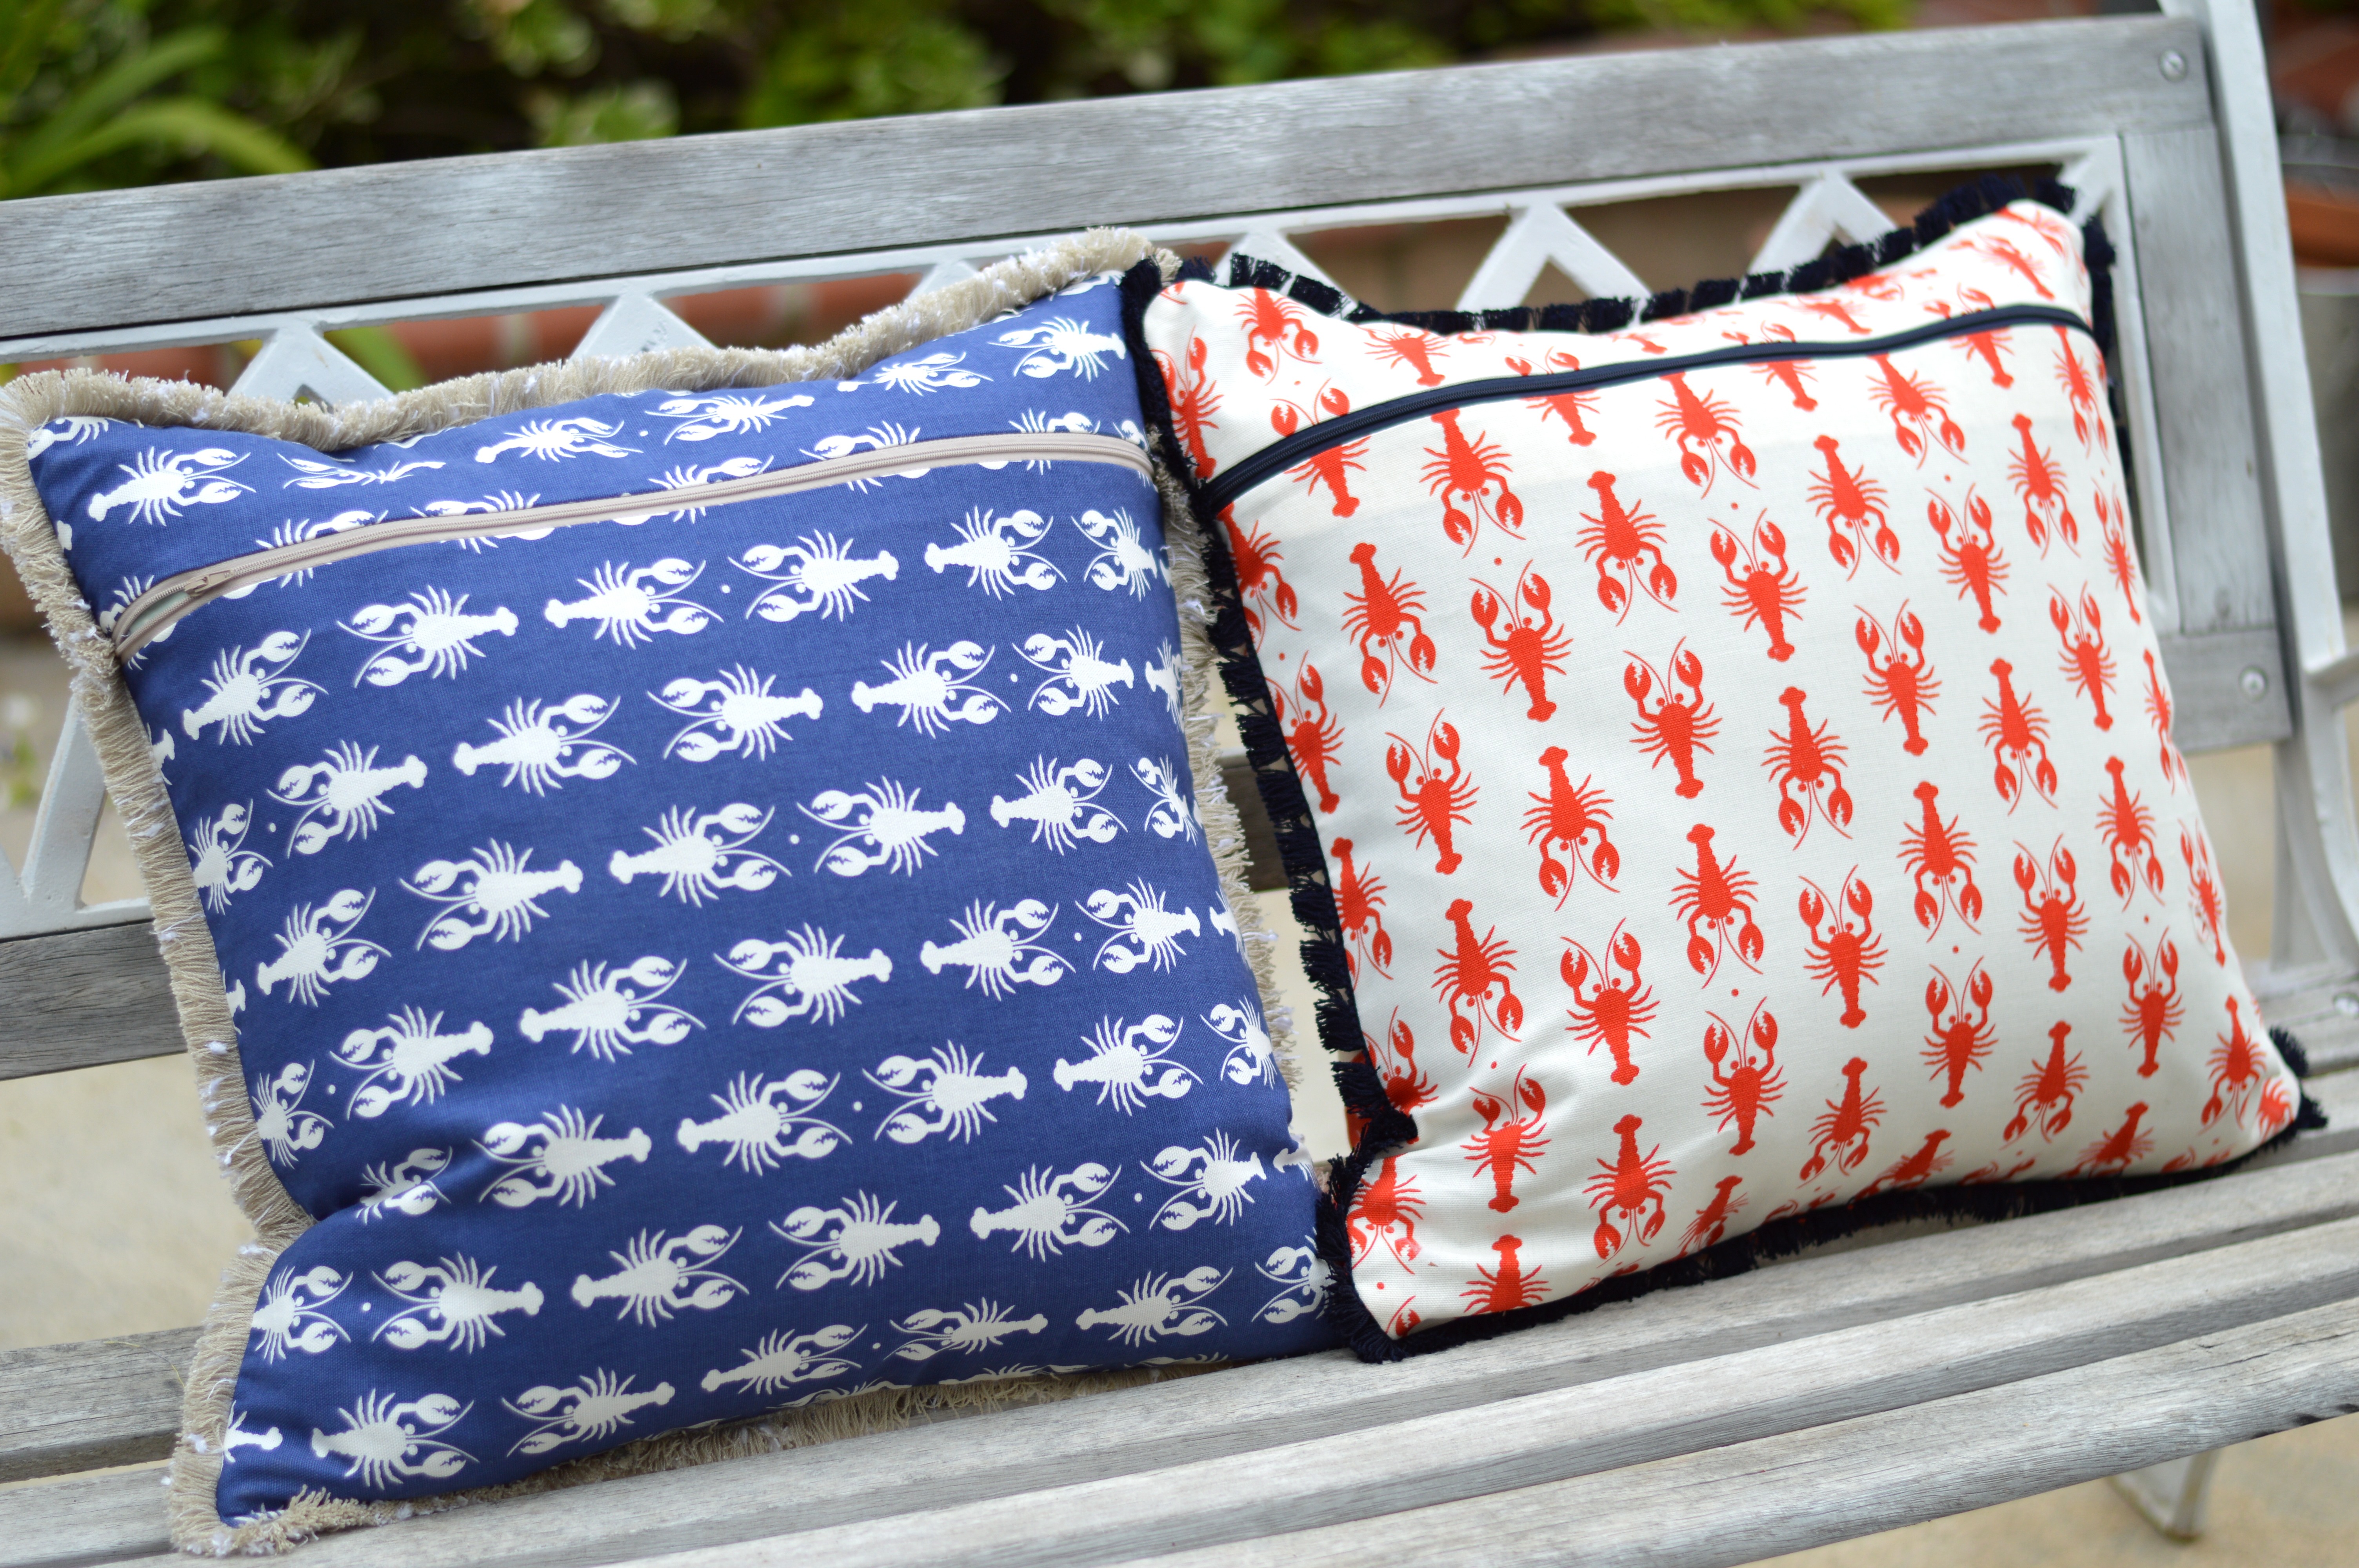
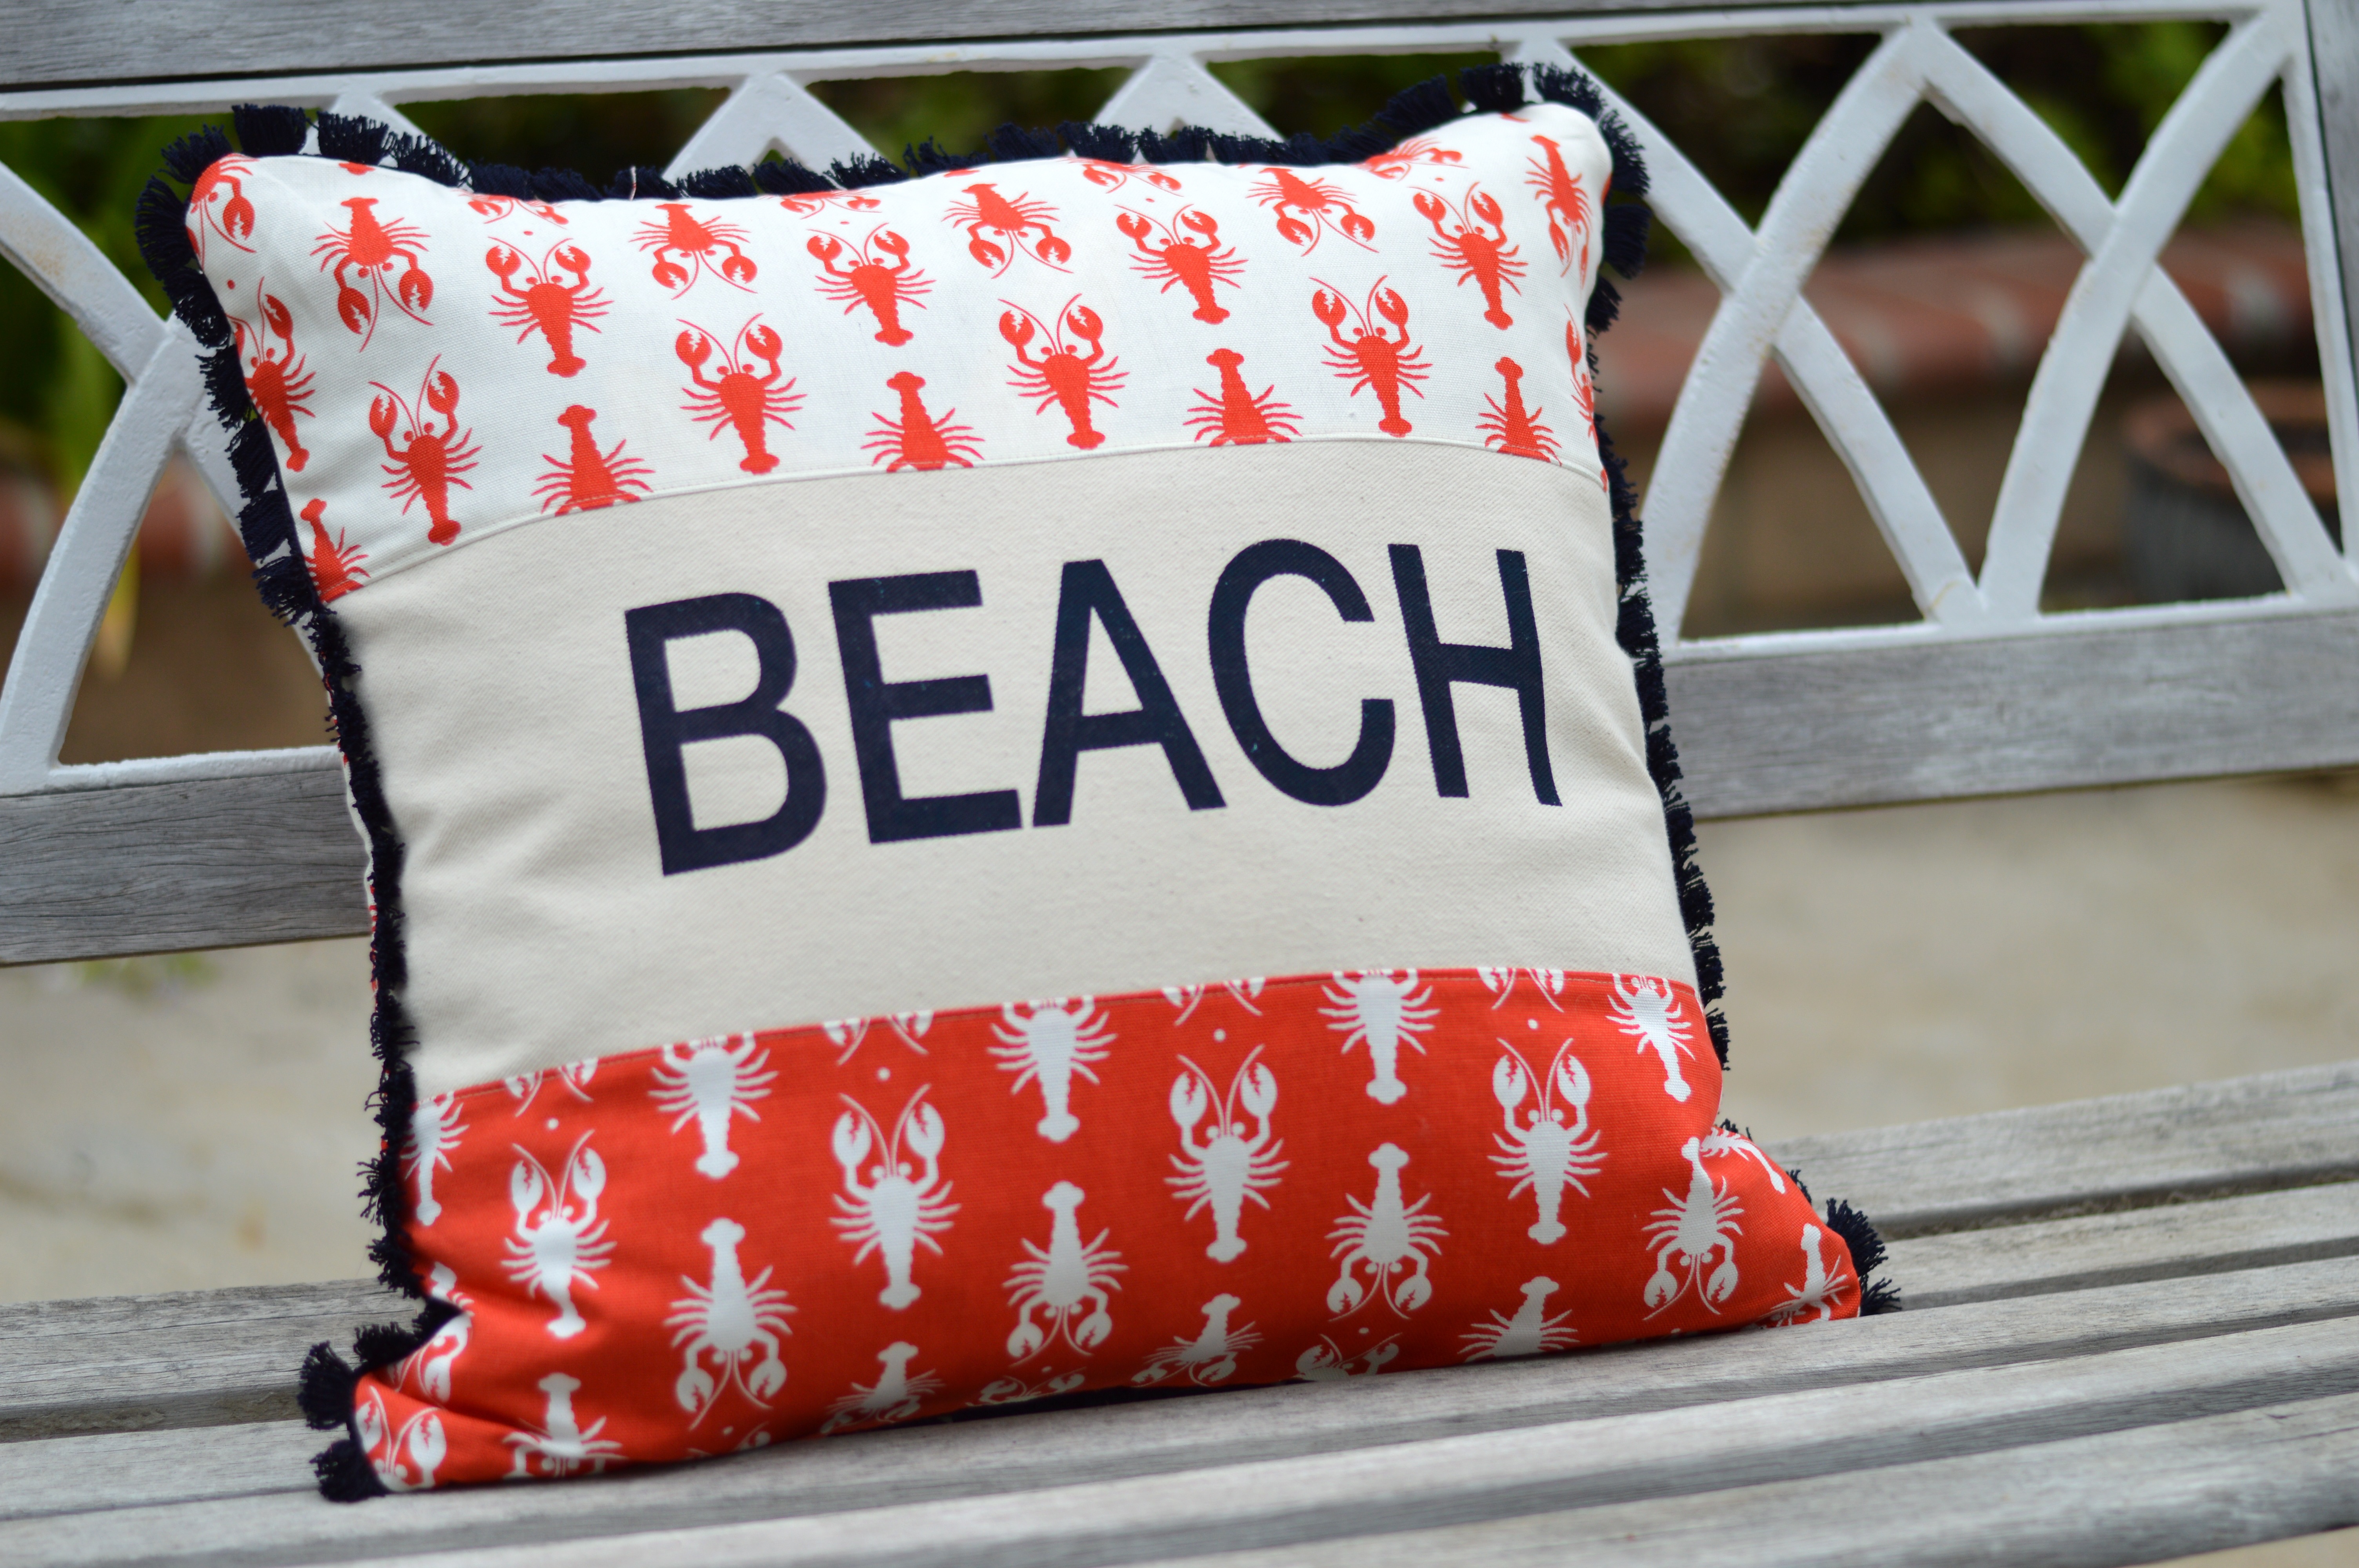
 I am so happy to be a part of the Riley Blake Designs Home Dec Love Blog Tour! If you are new to my blog WELCOME!!!! I love all things nautical and when I saw this RBD Lobster fabric it was love at first sight! These lobster pillows are the perfect addition to your indoor or outdoor summer decorating. I like to pretend I have a sailboat and these are the perfect pillows for a relaxing cruise around the bay 🙂 You can find the Lobster fabrics on RBD
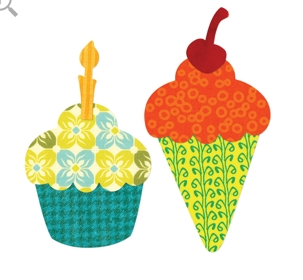
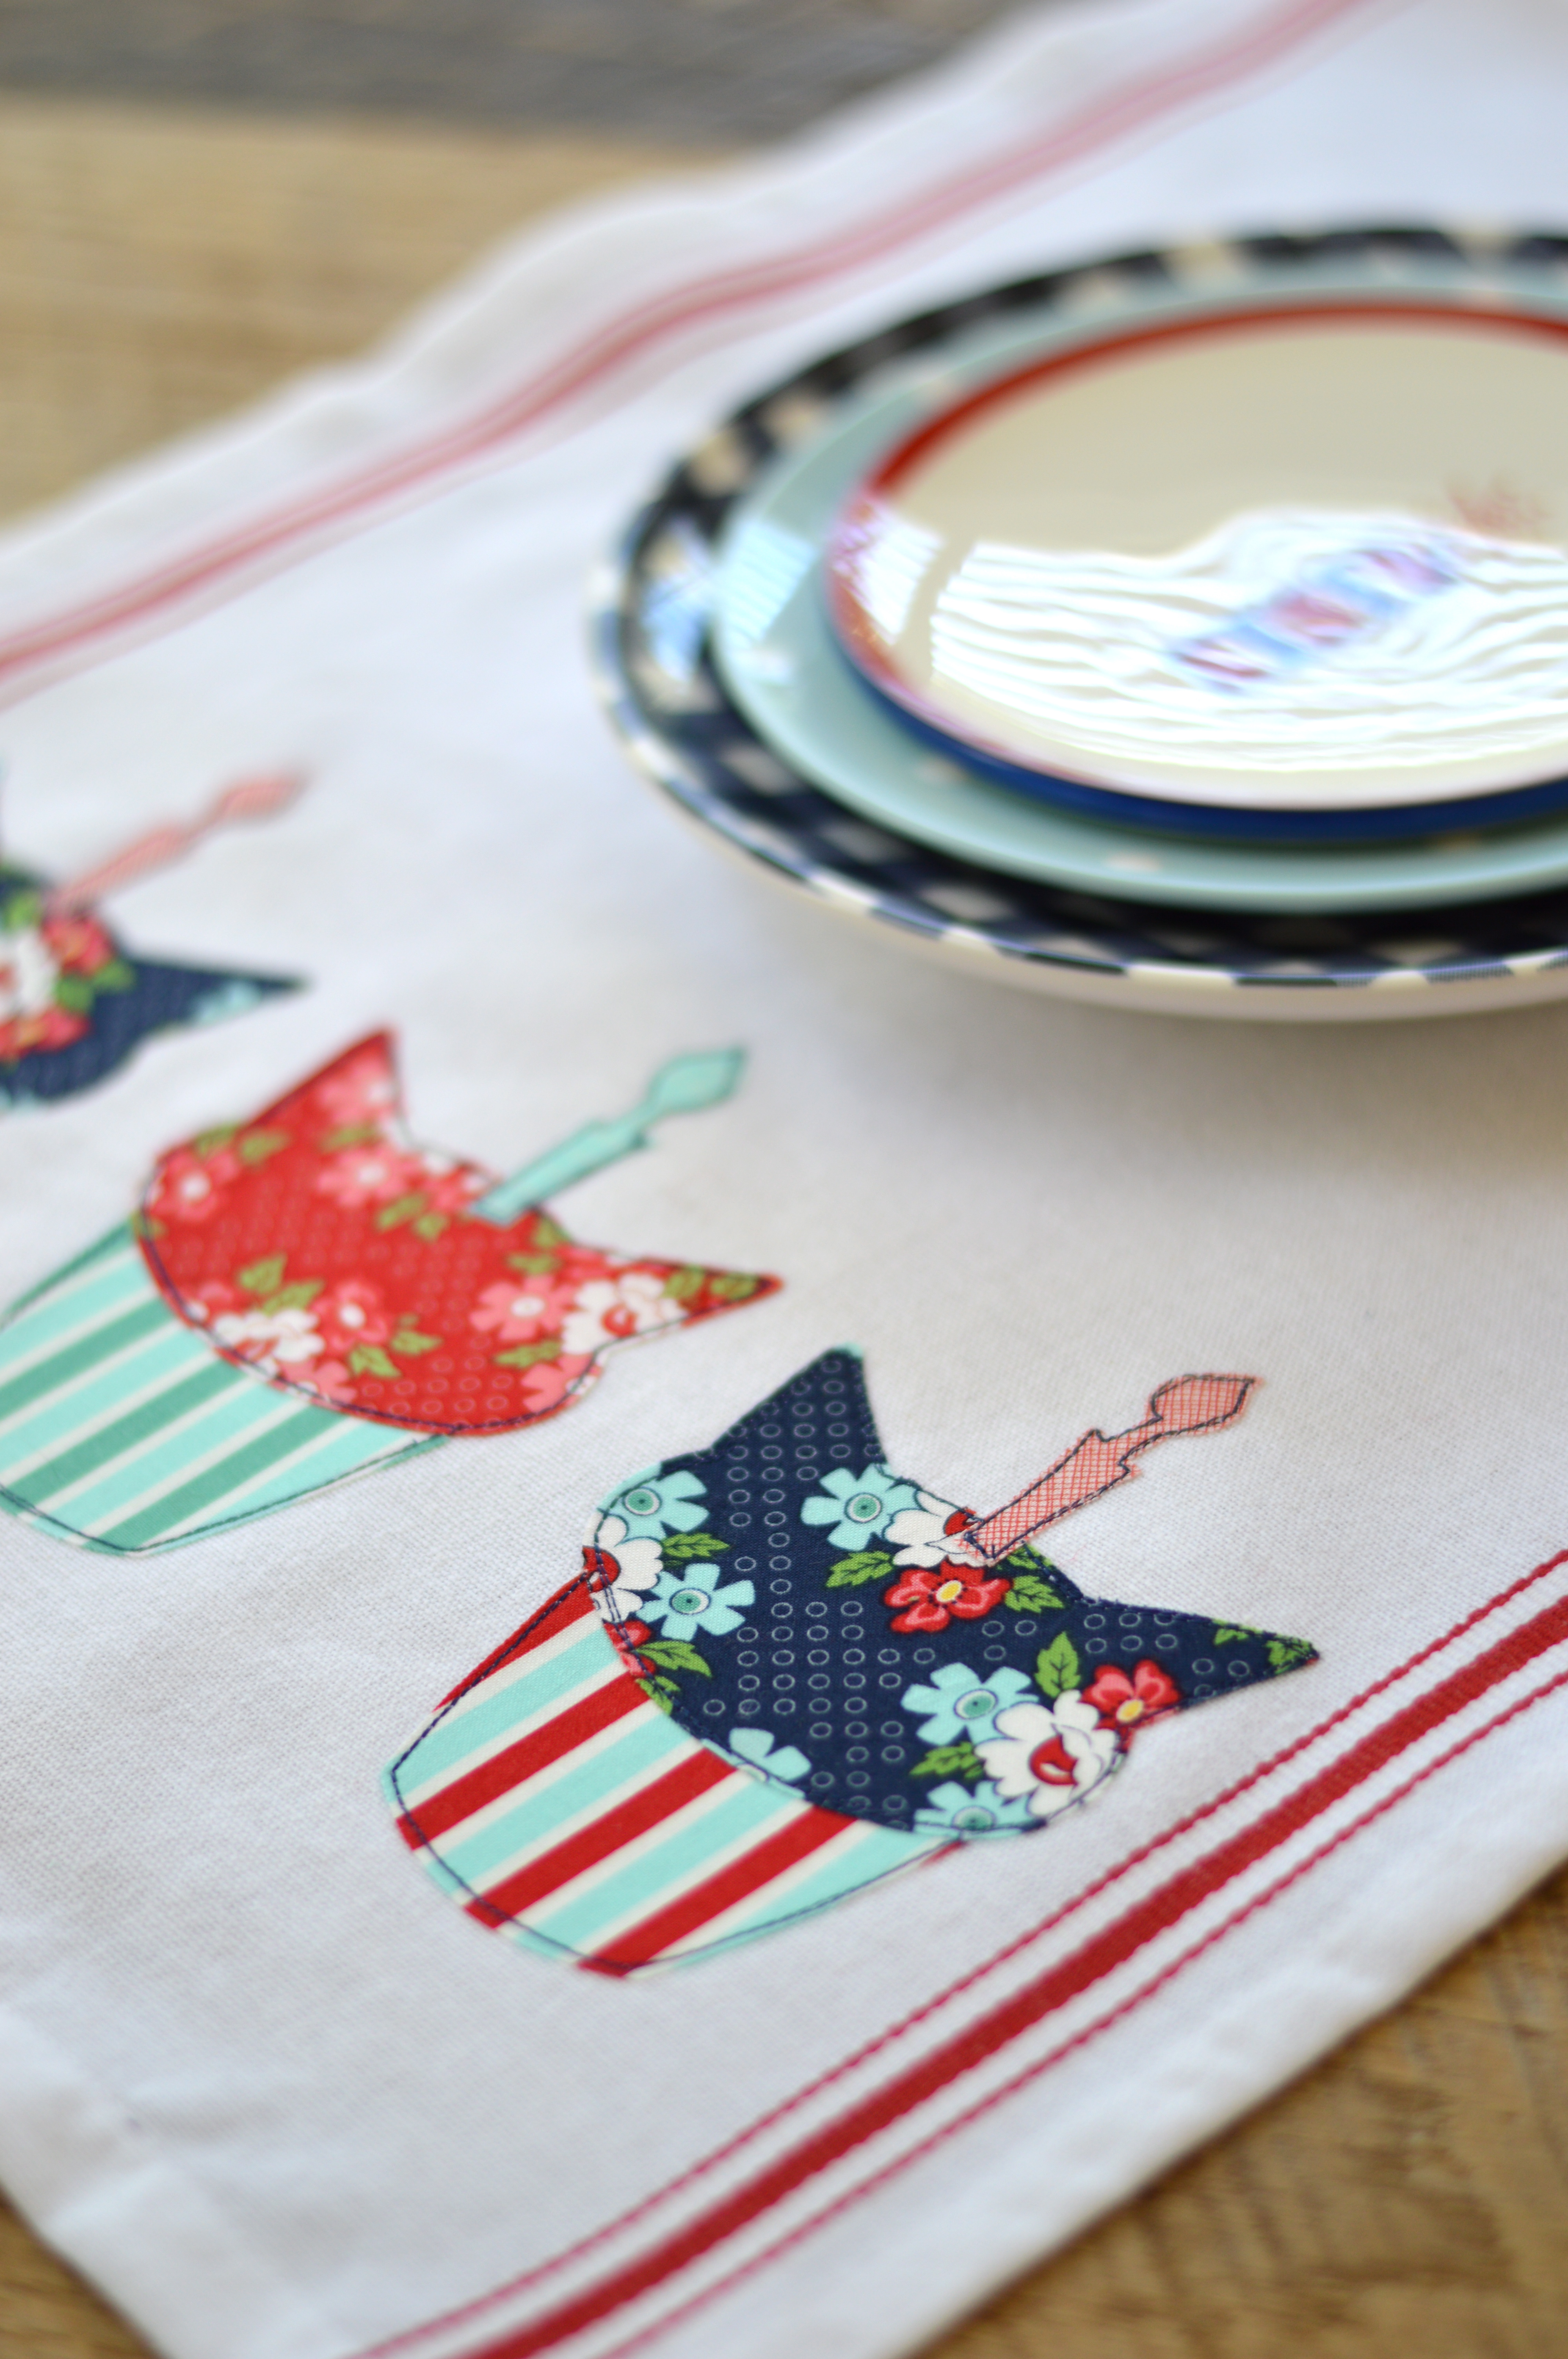
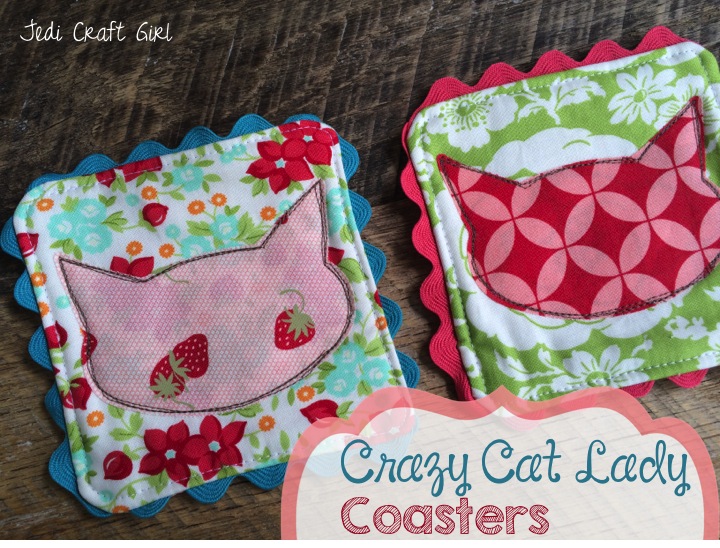
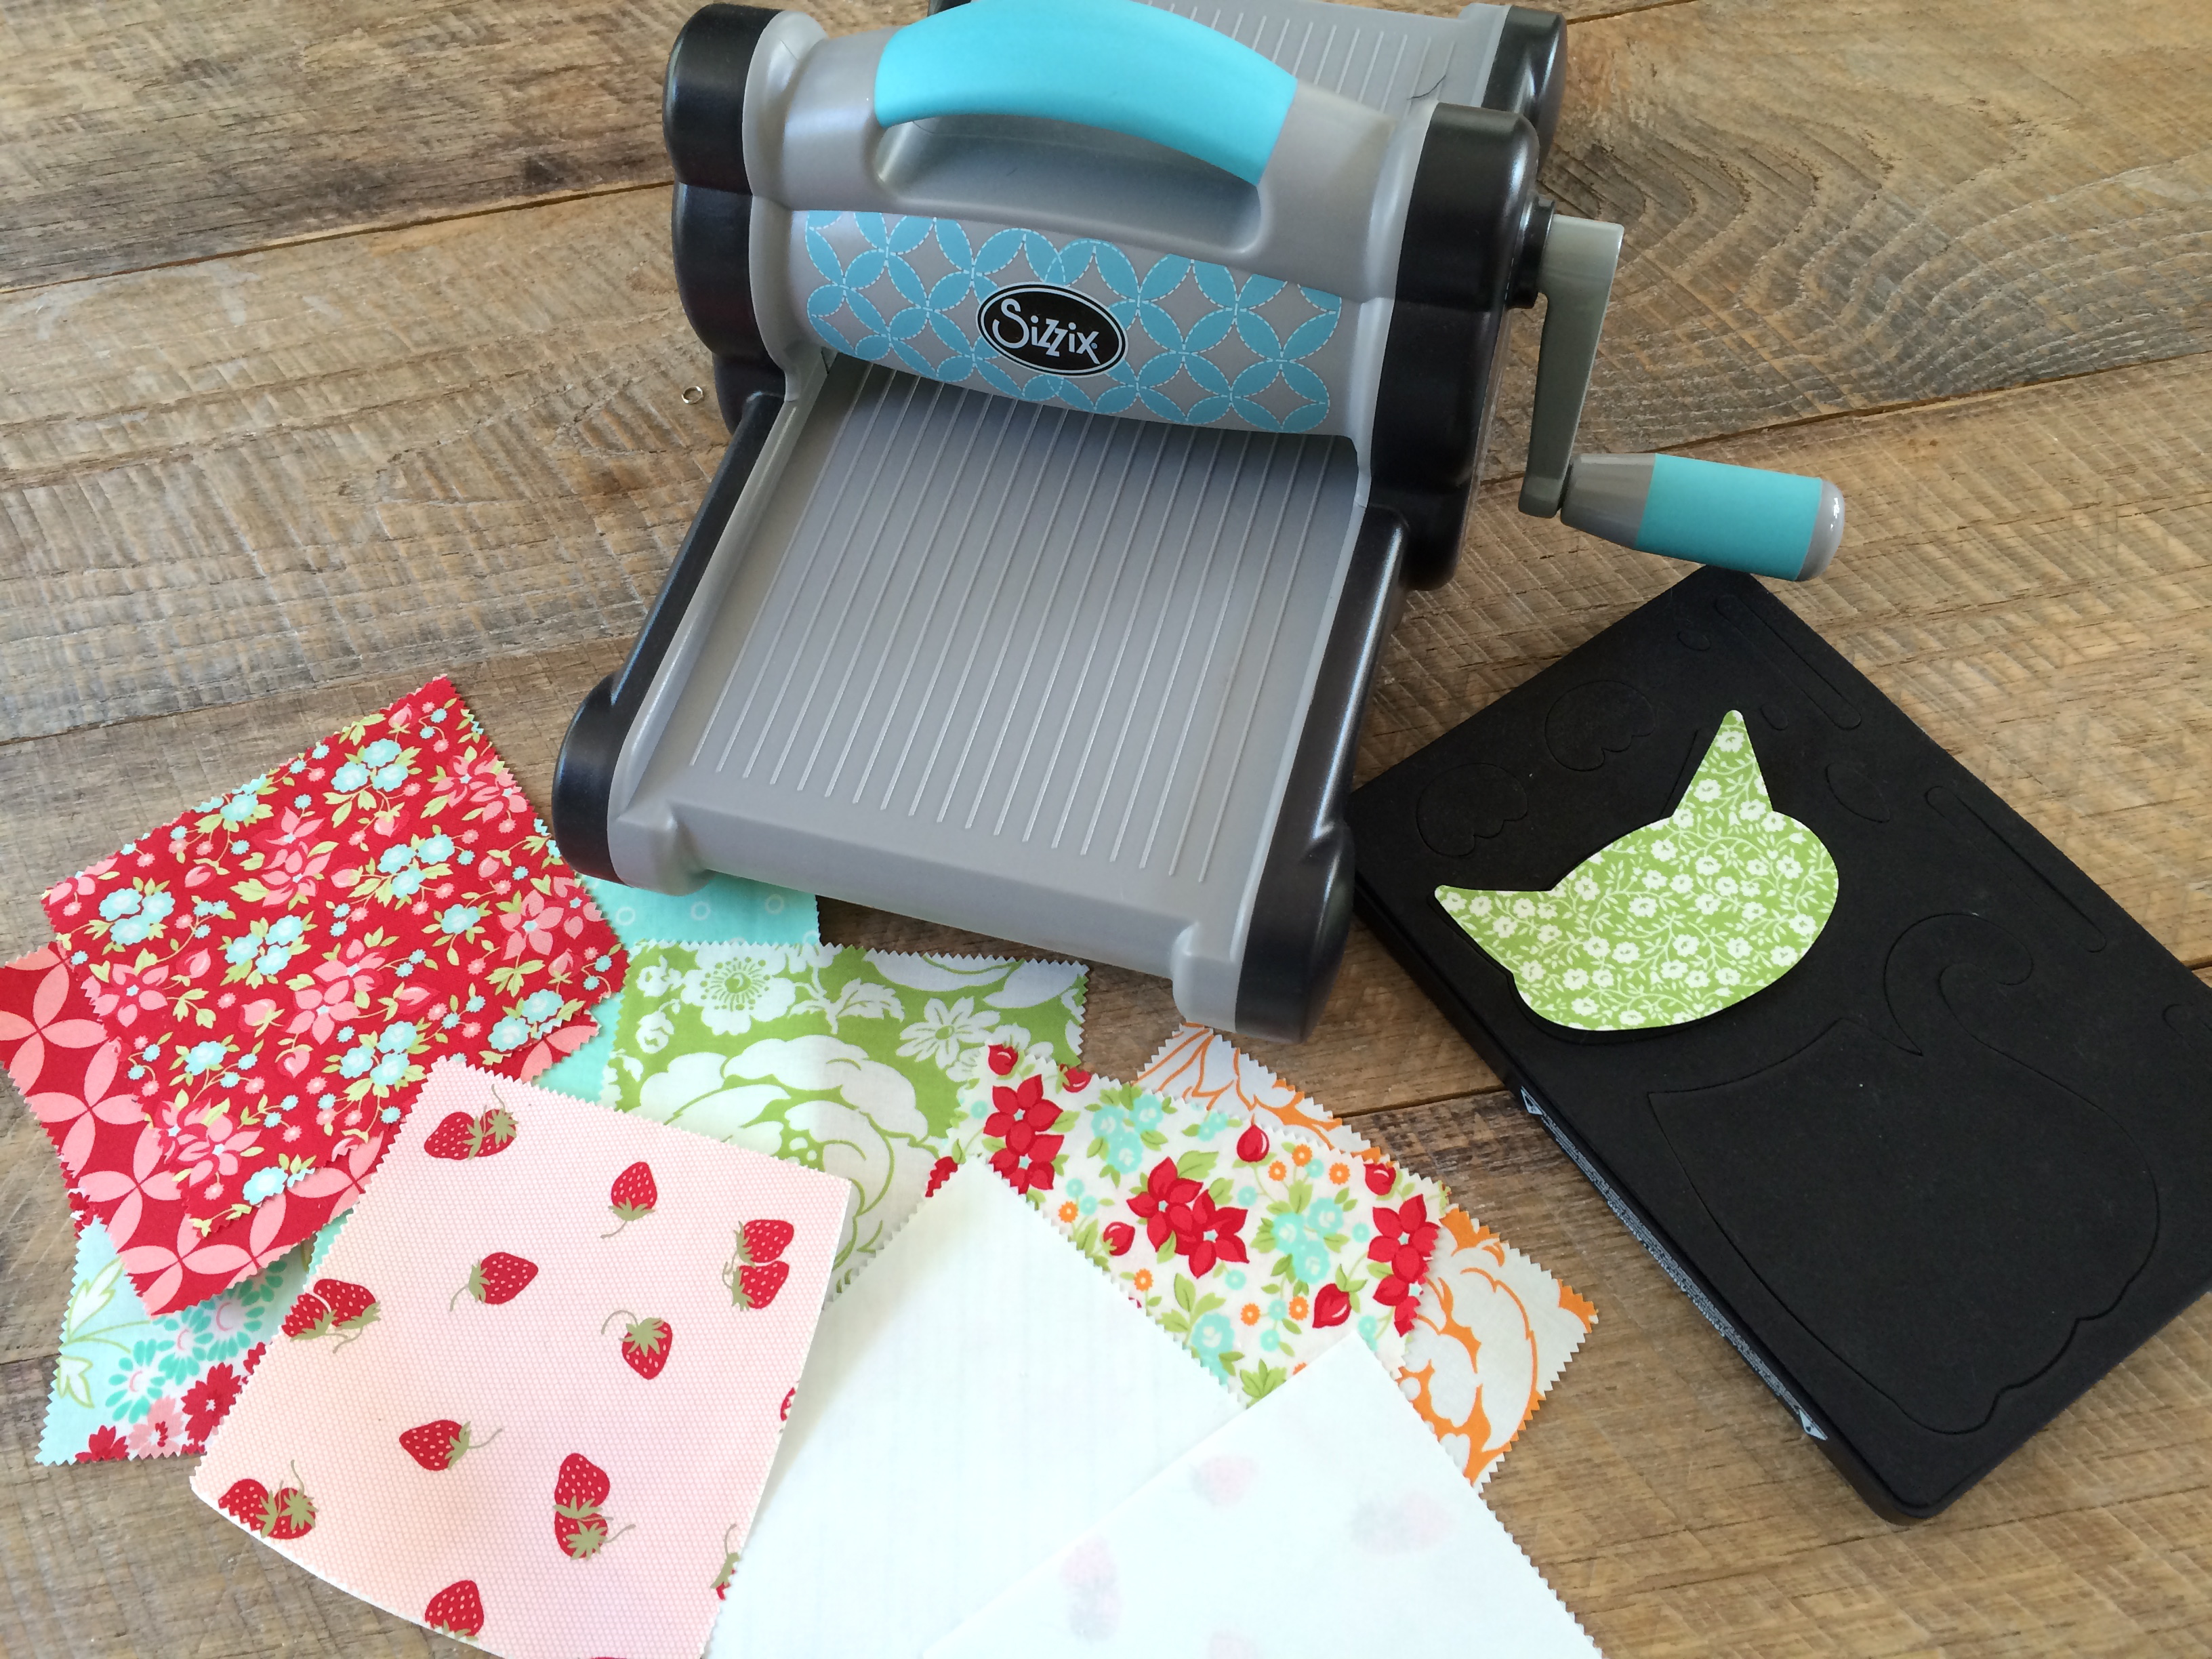
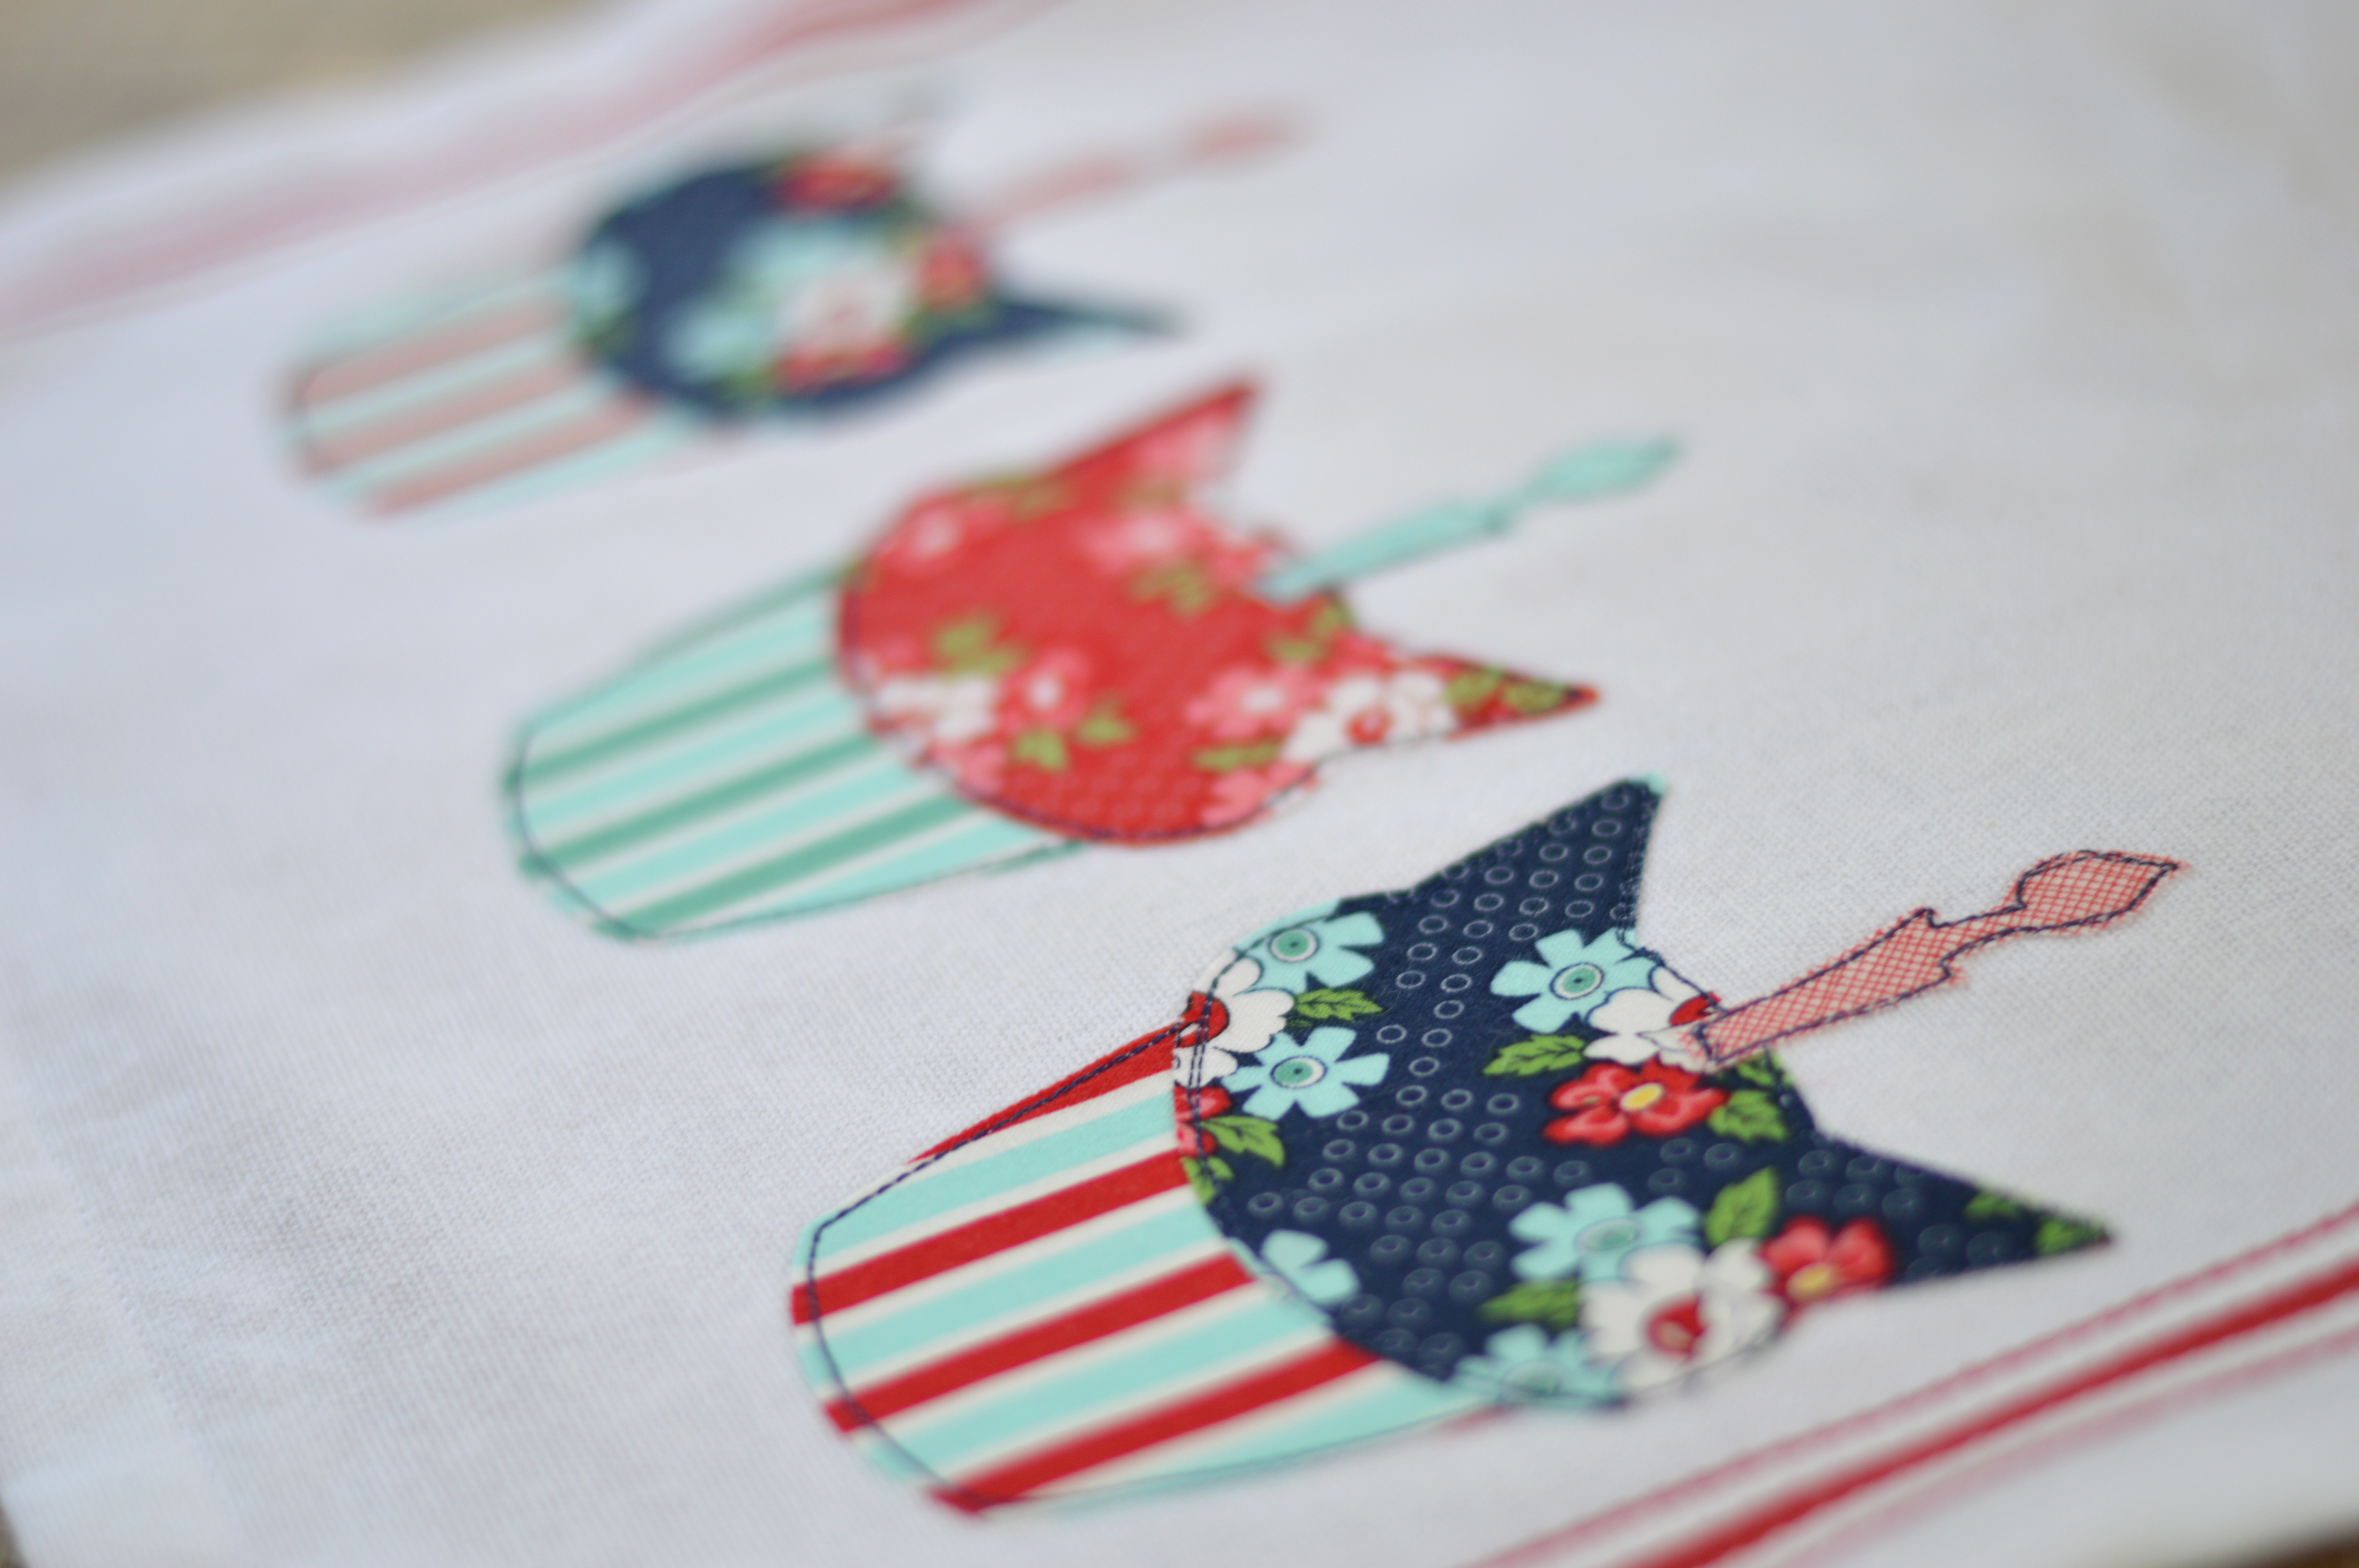
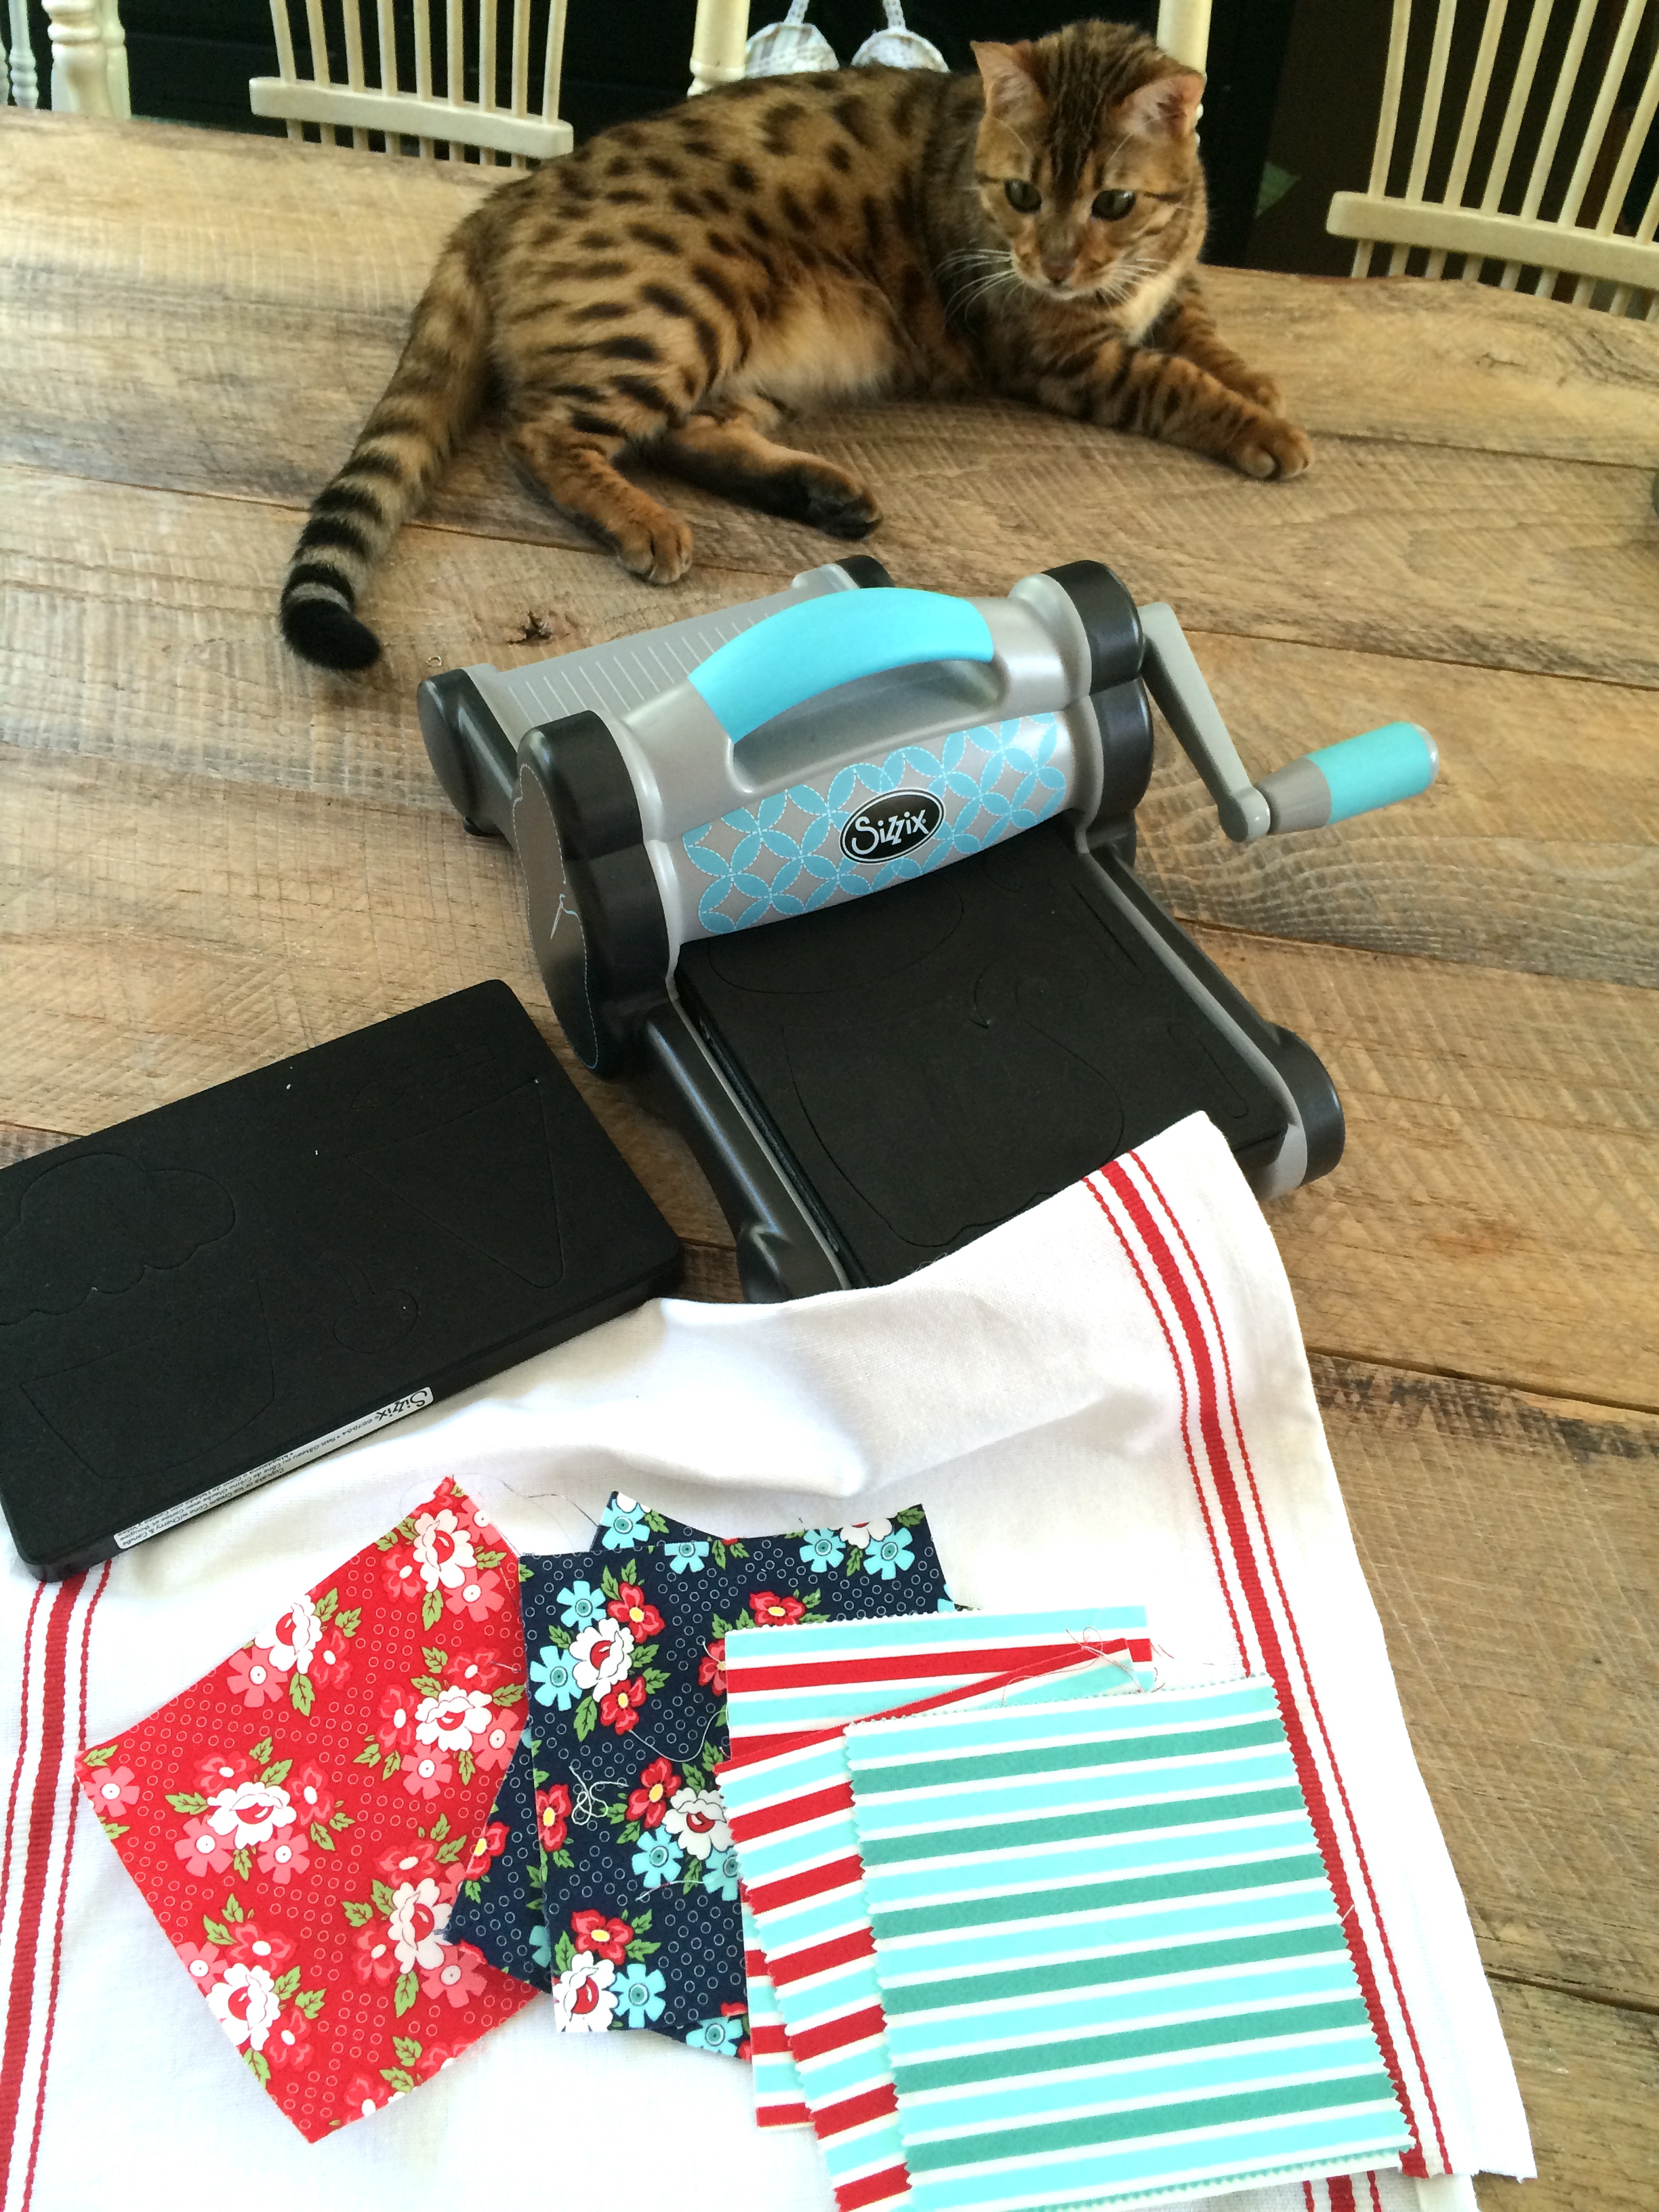
 I used the Sizzix cat head and the Sizzix cupcake bottom to create the Cat-Cakes.
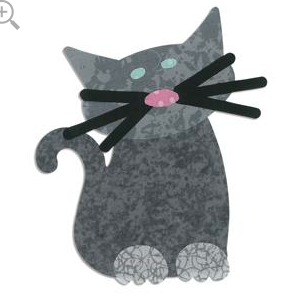


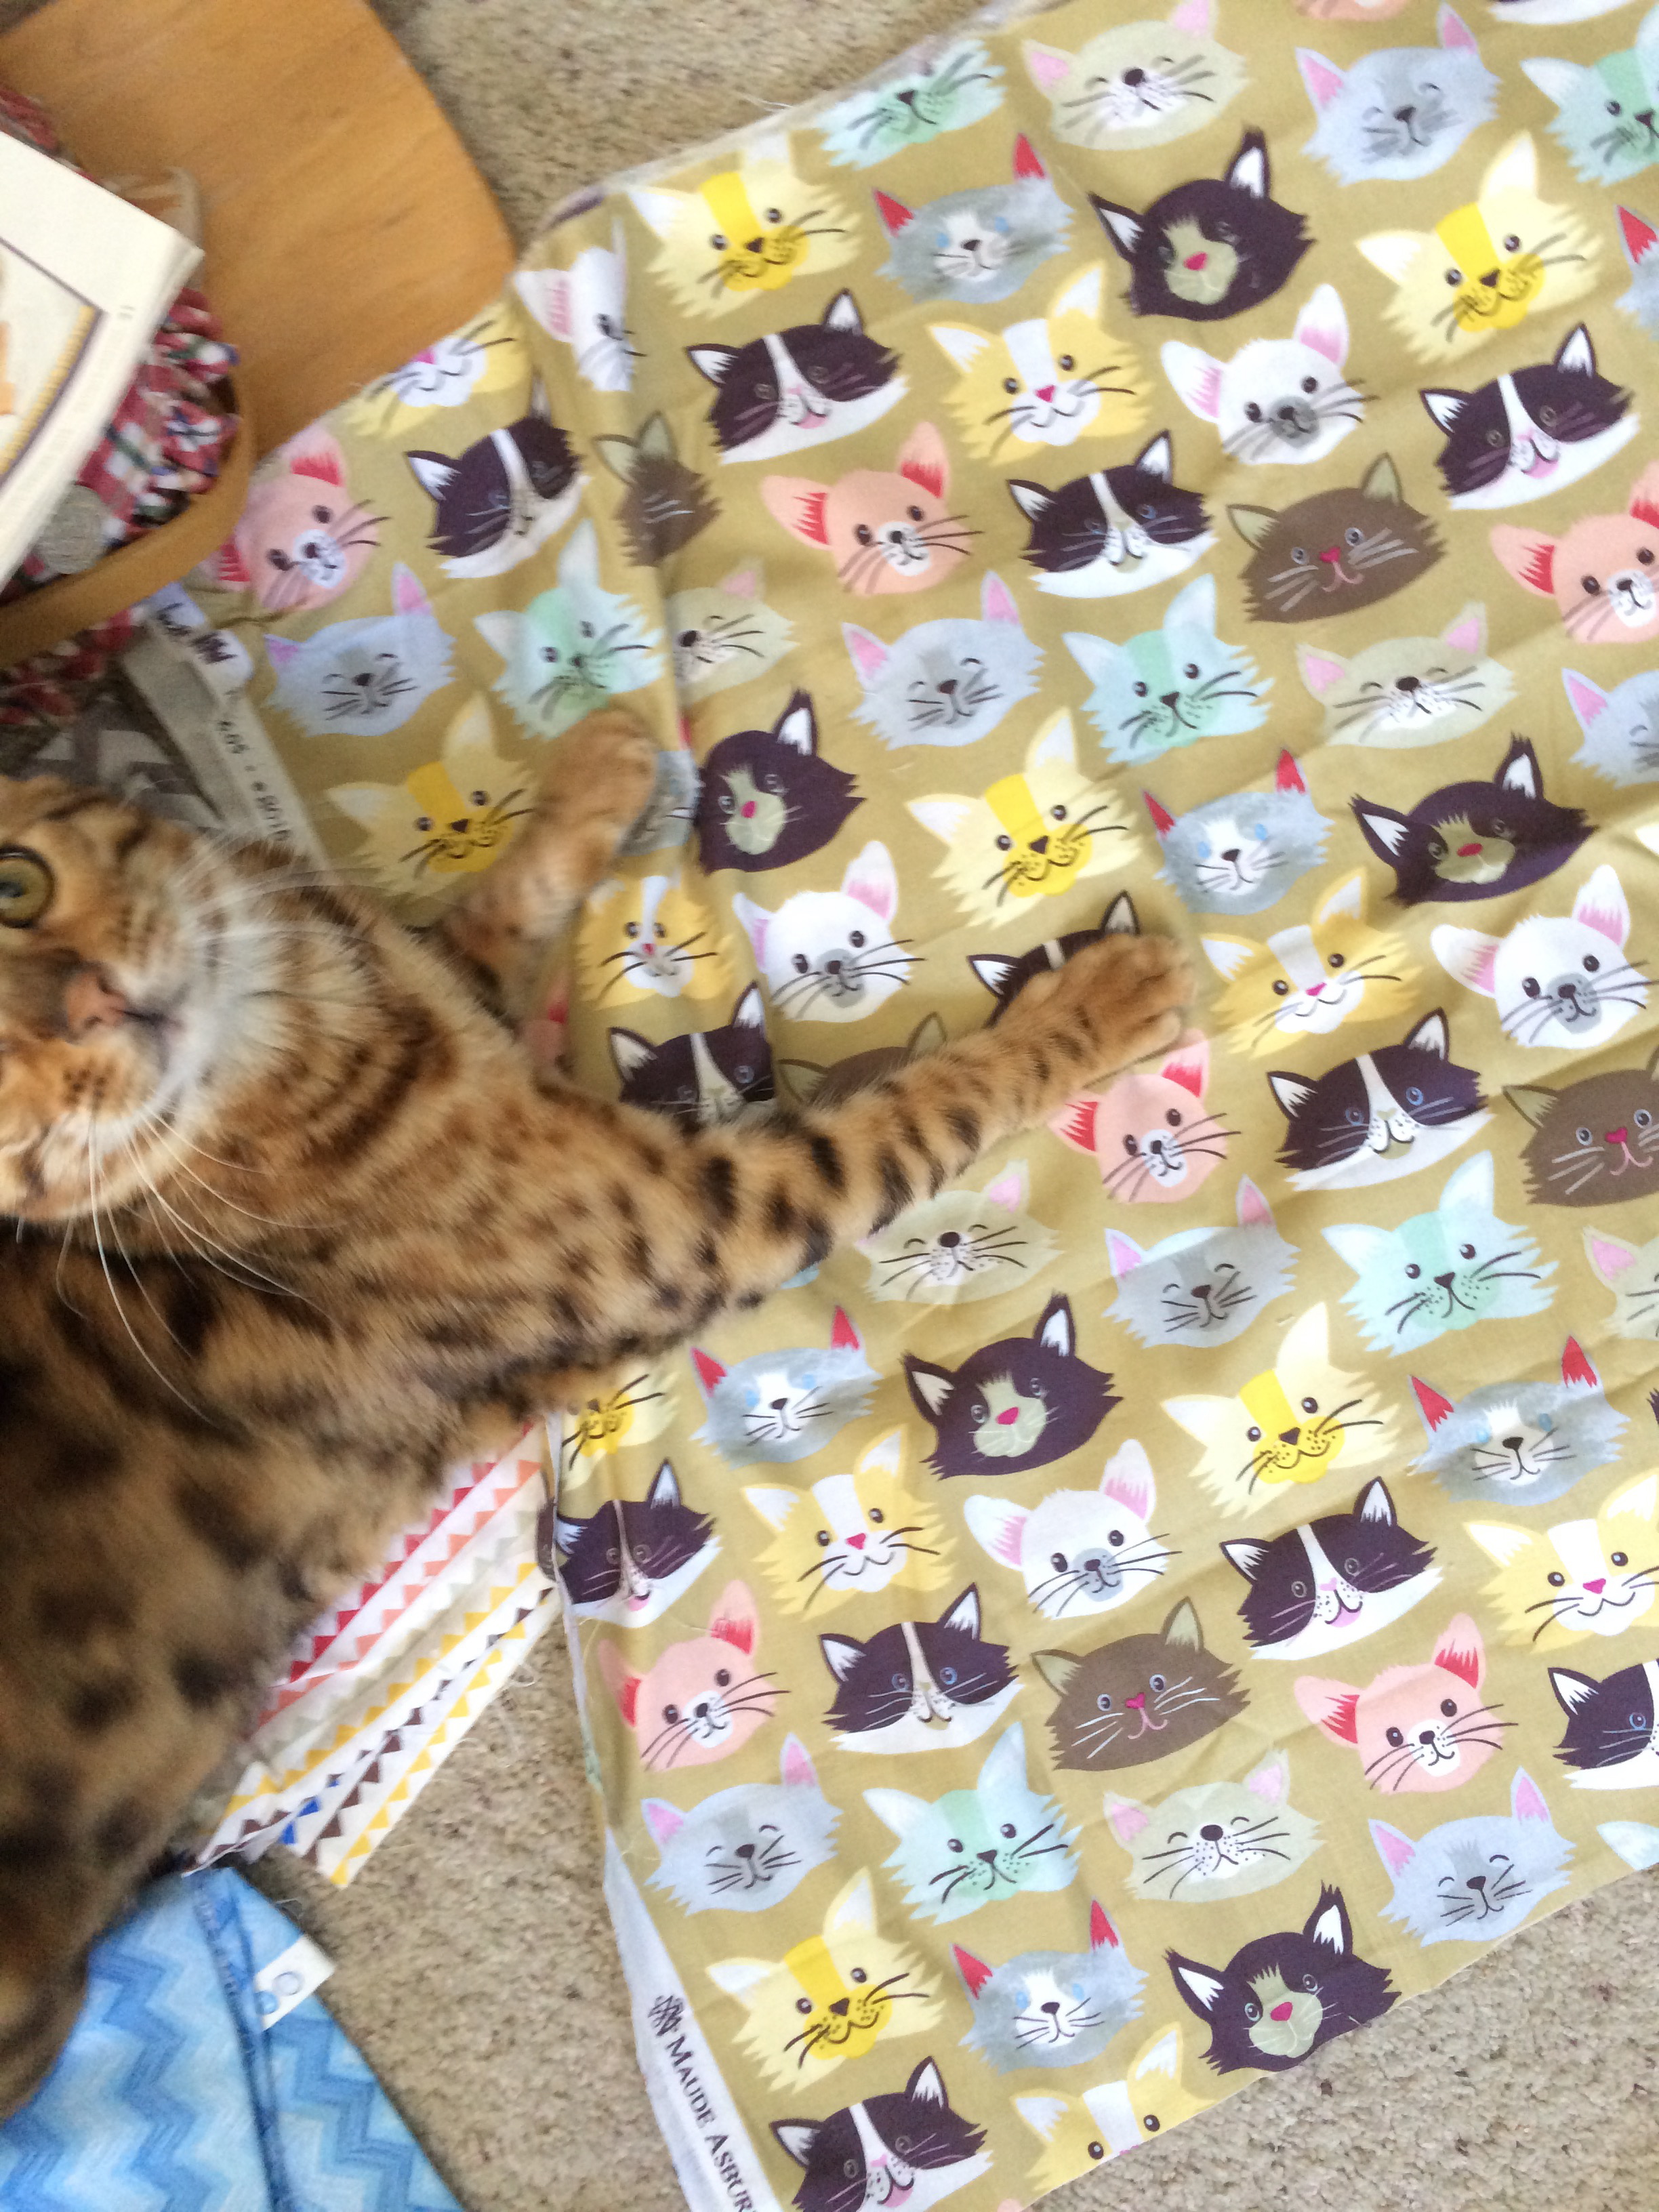

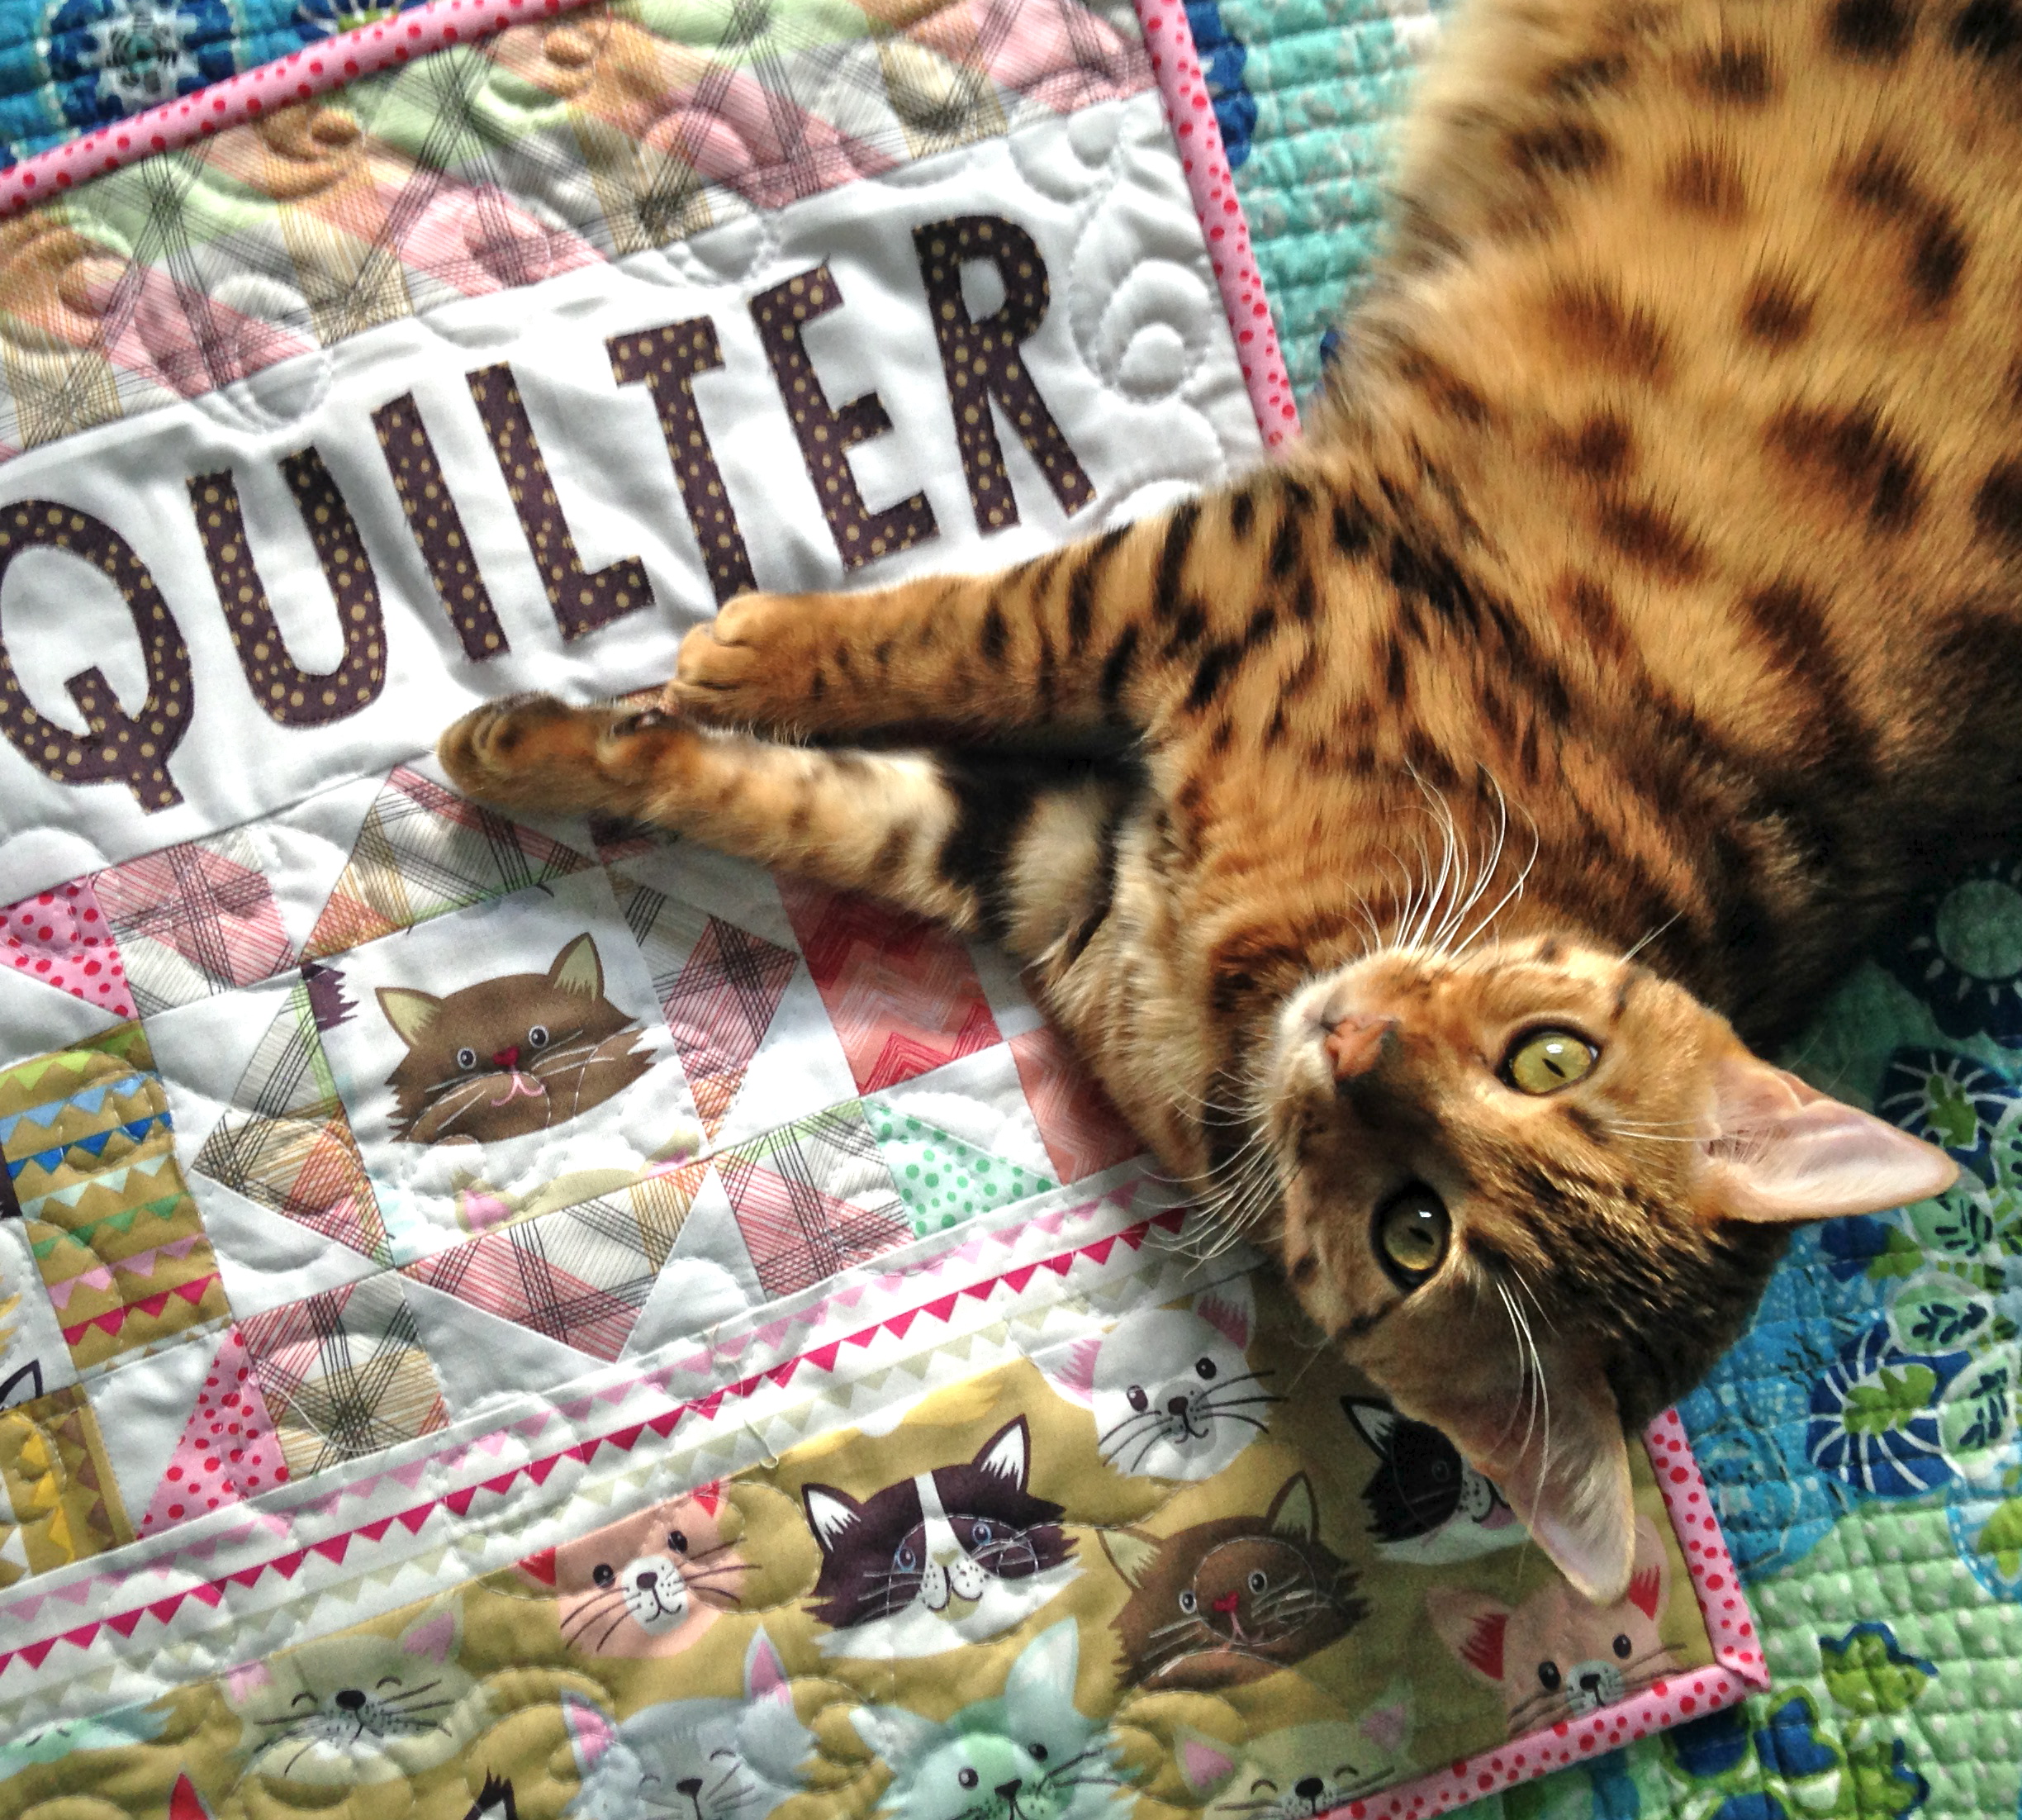

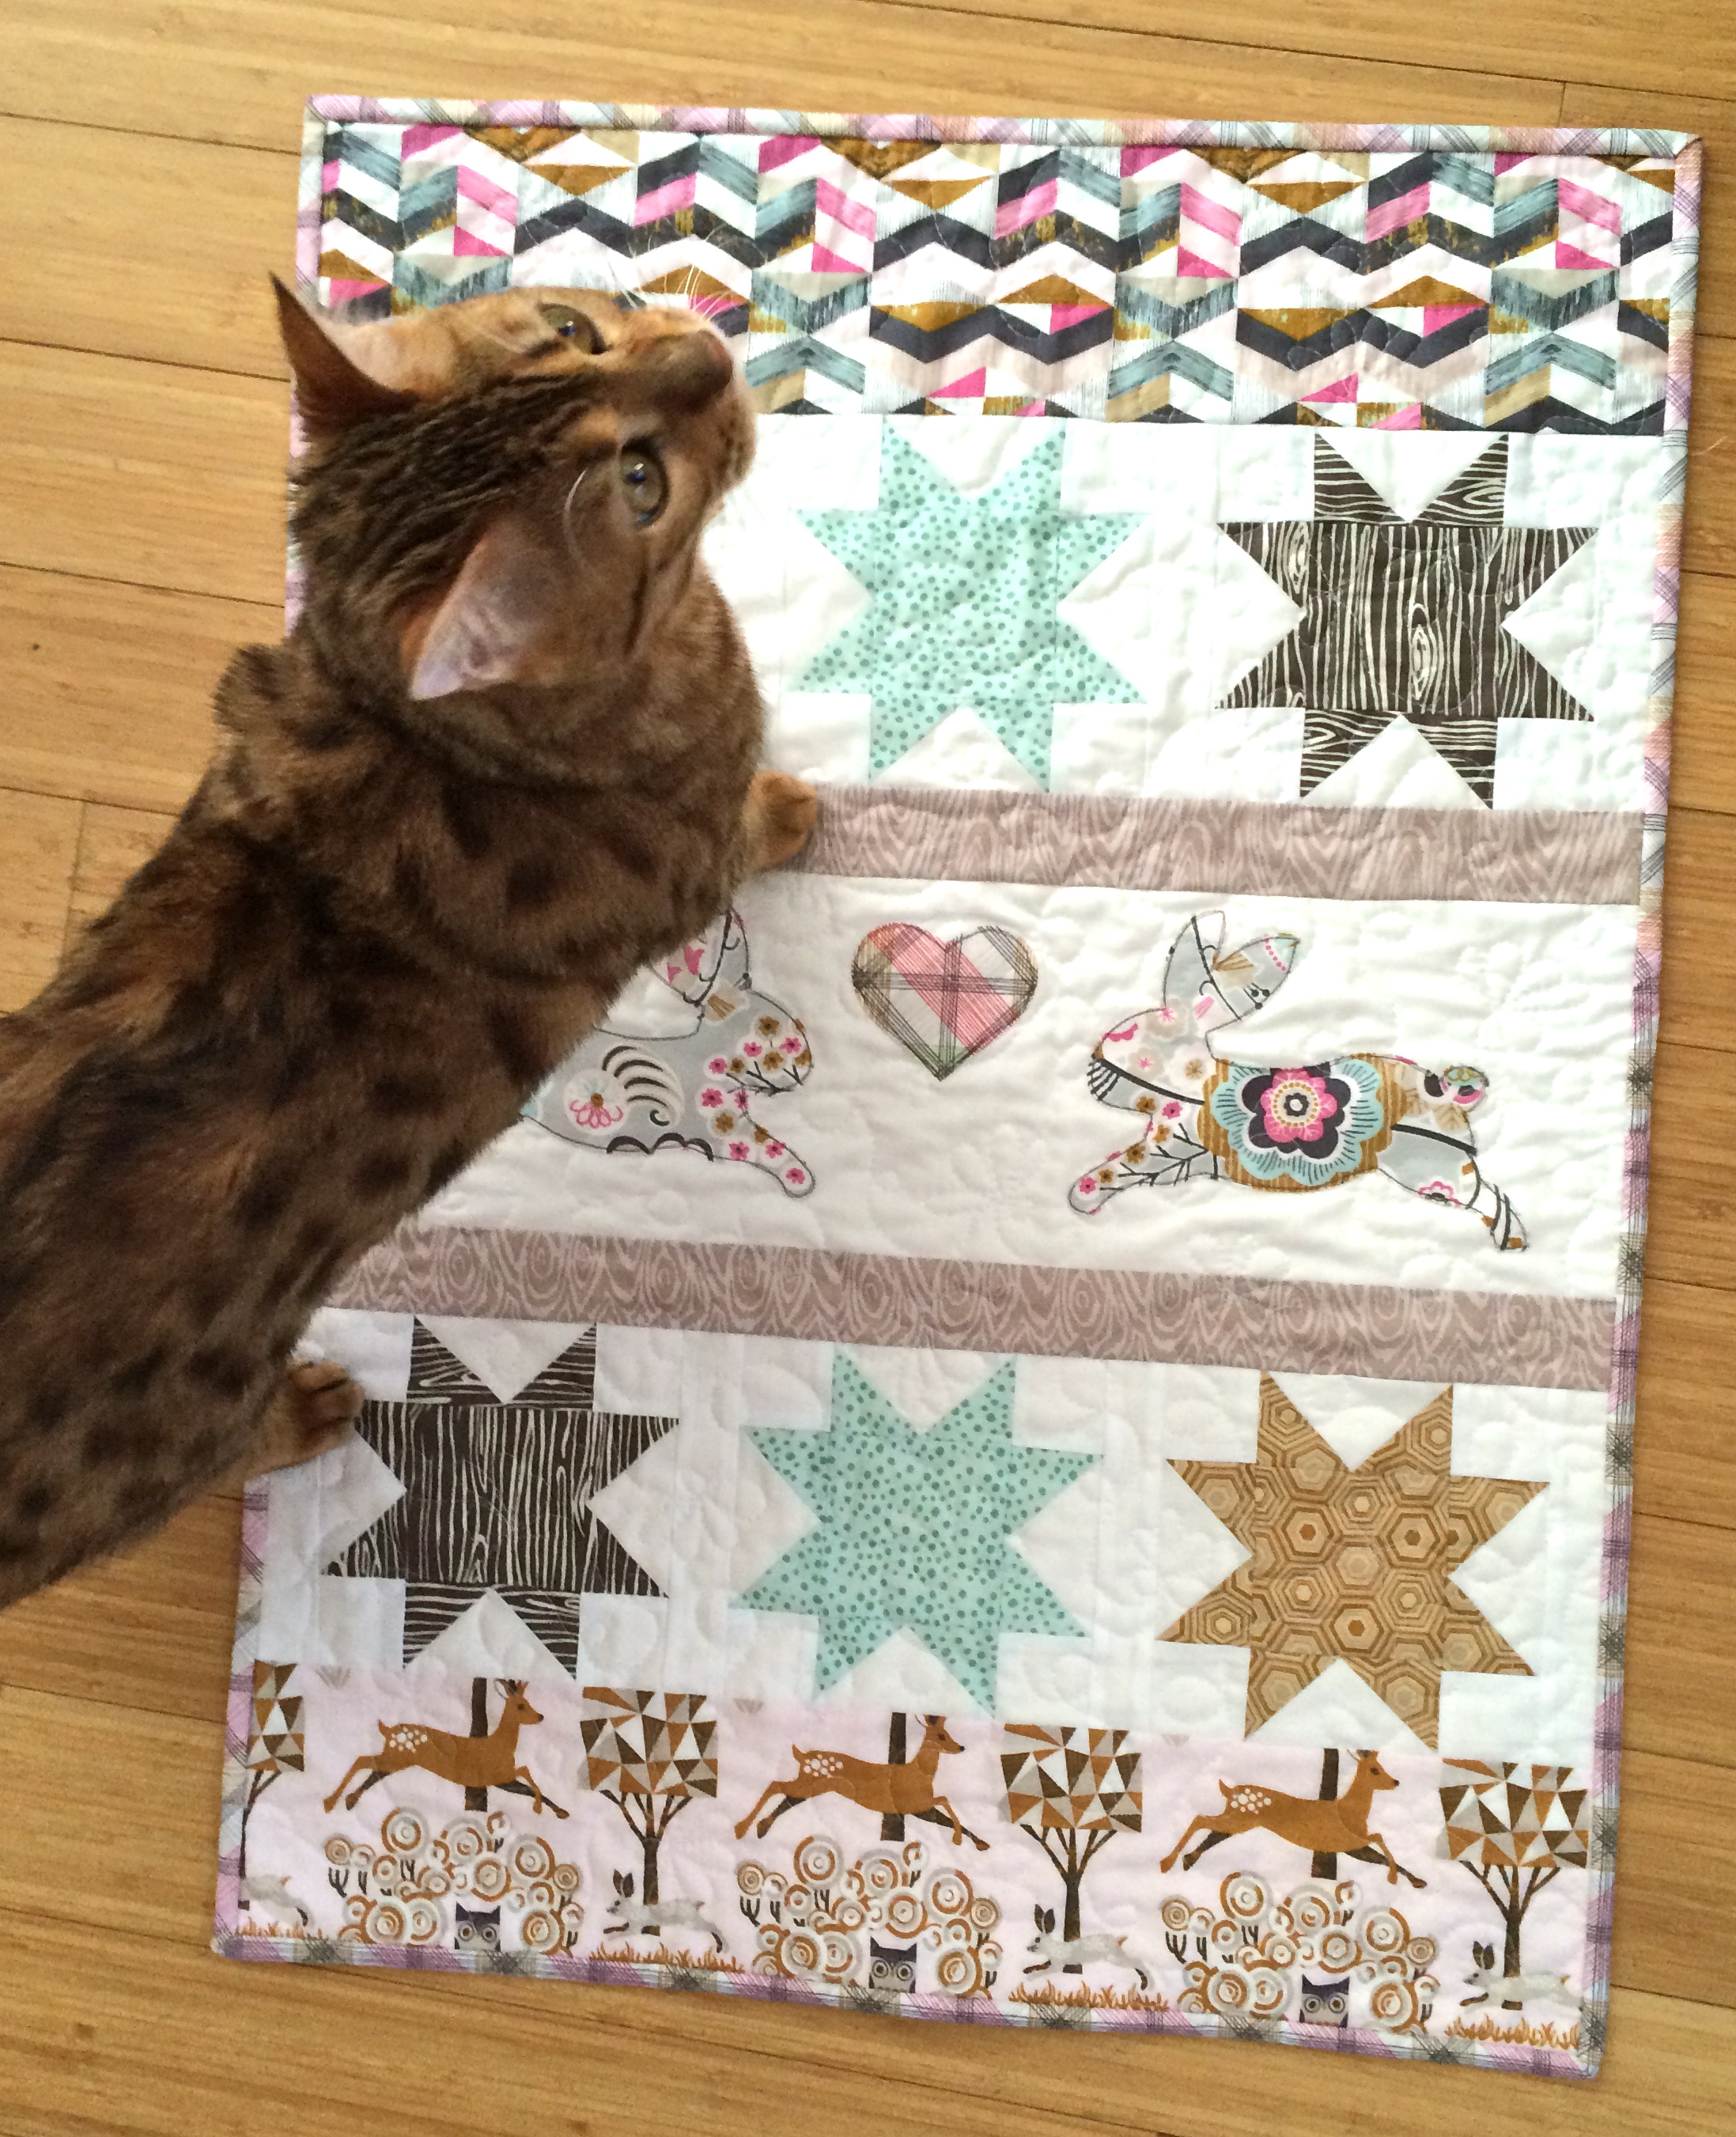
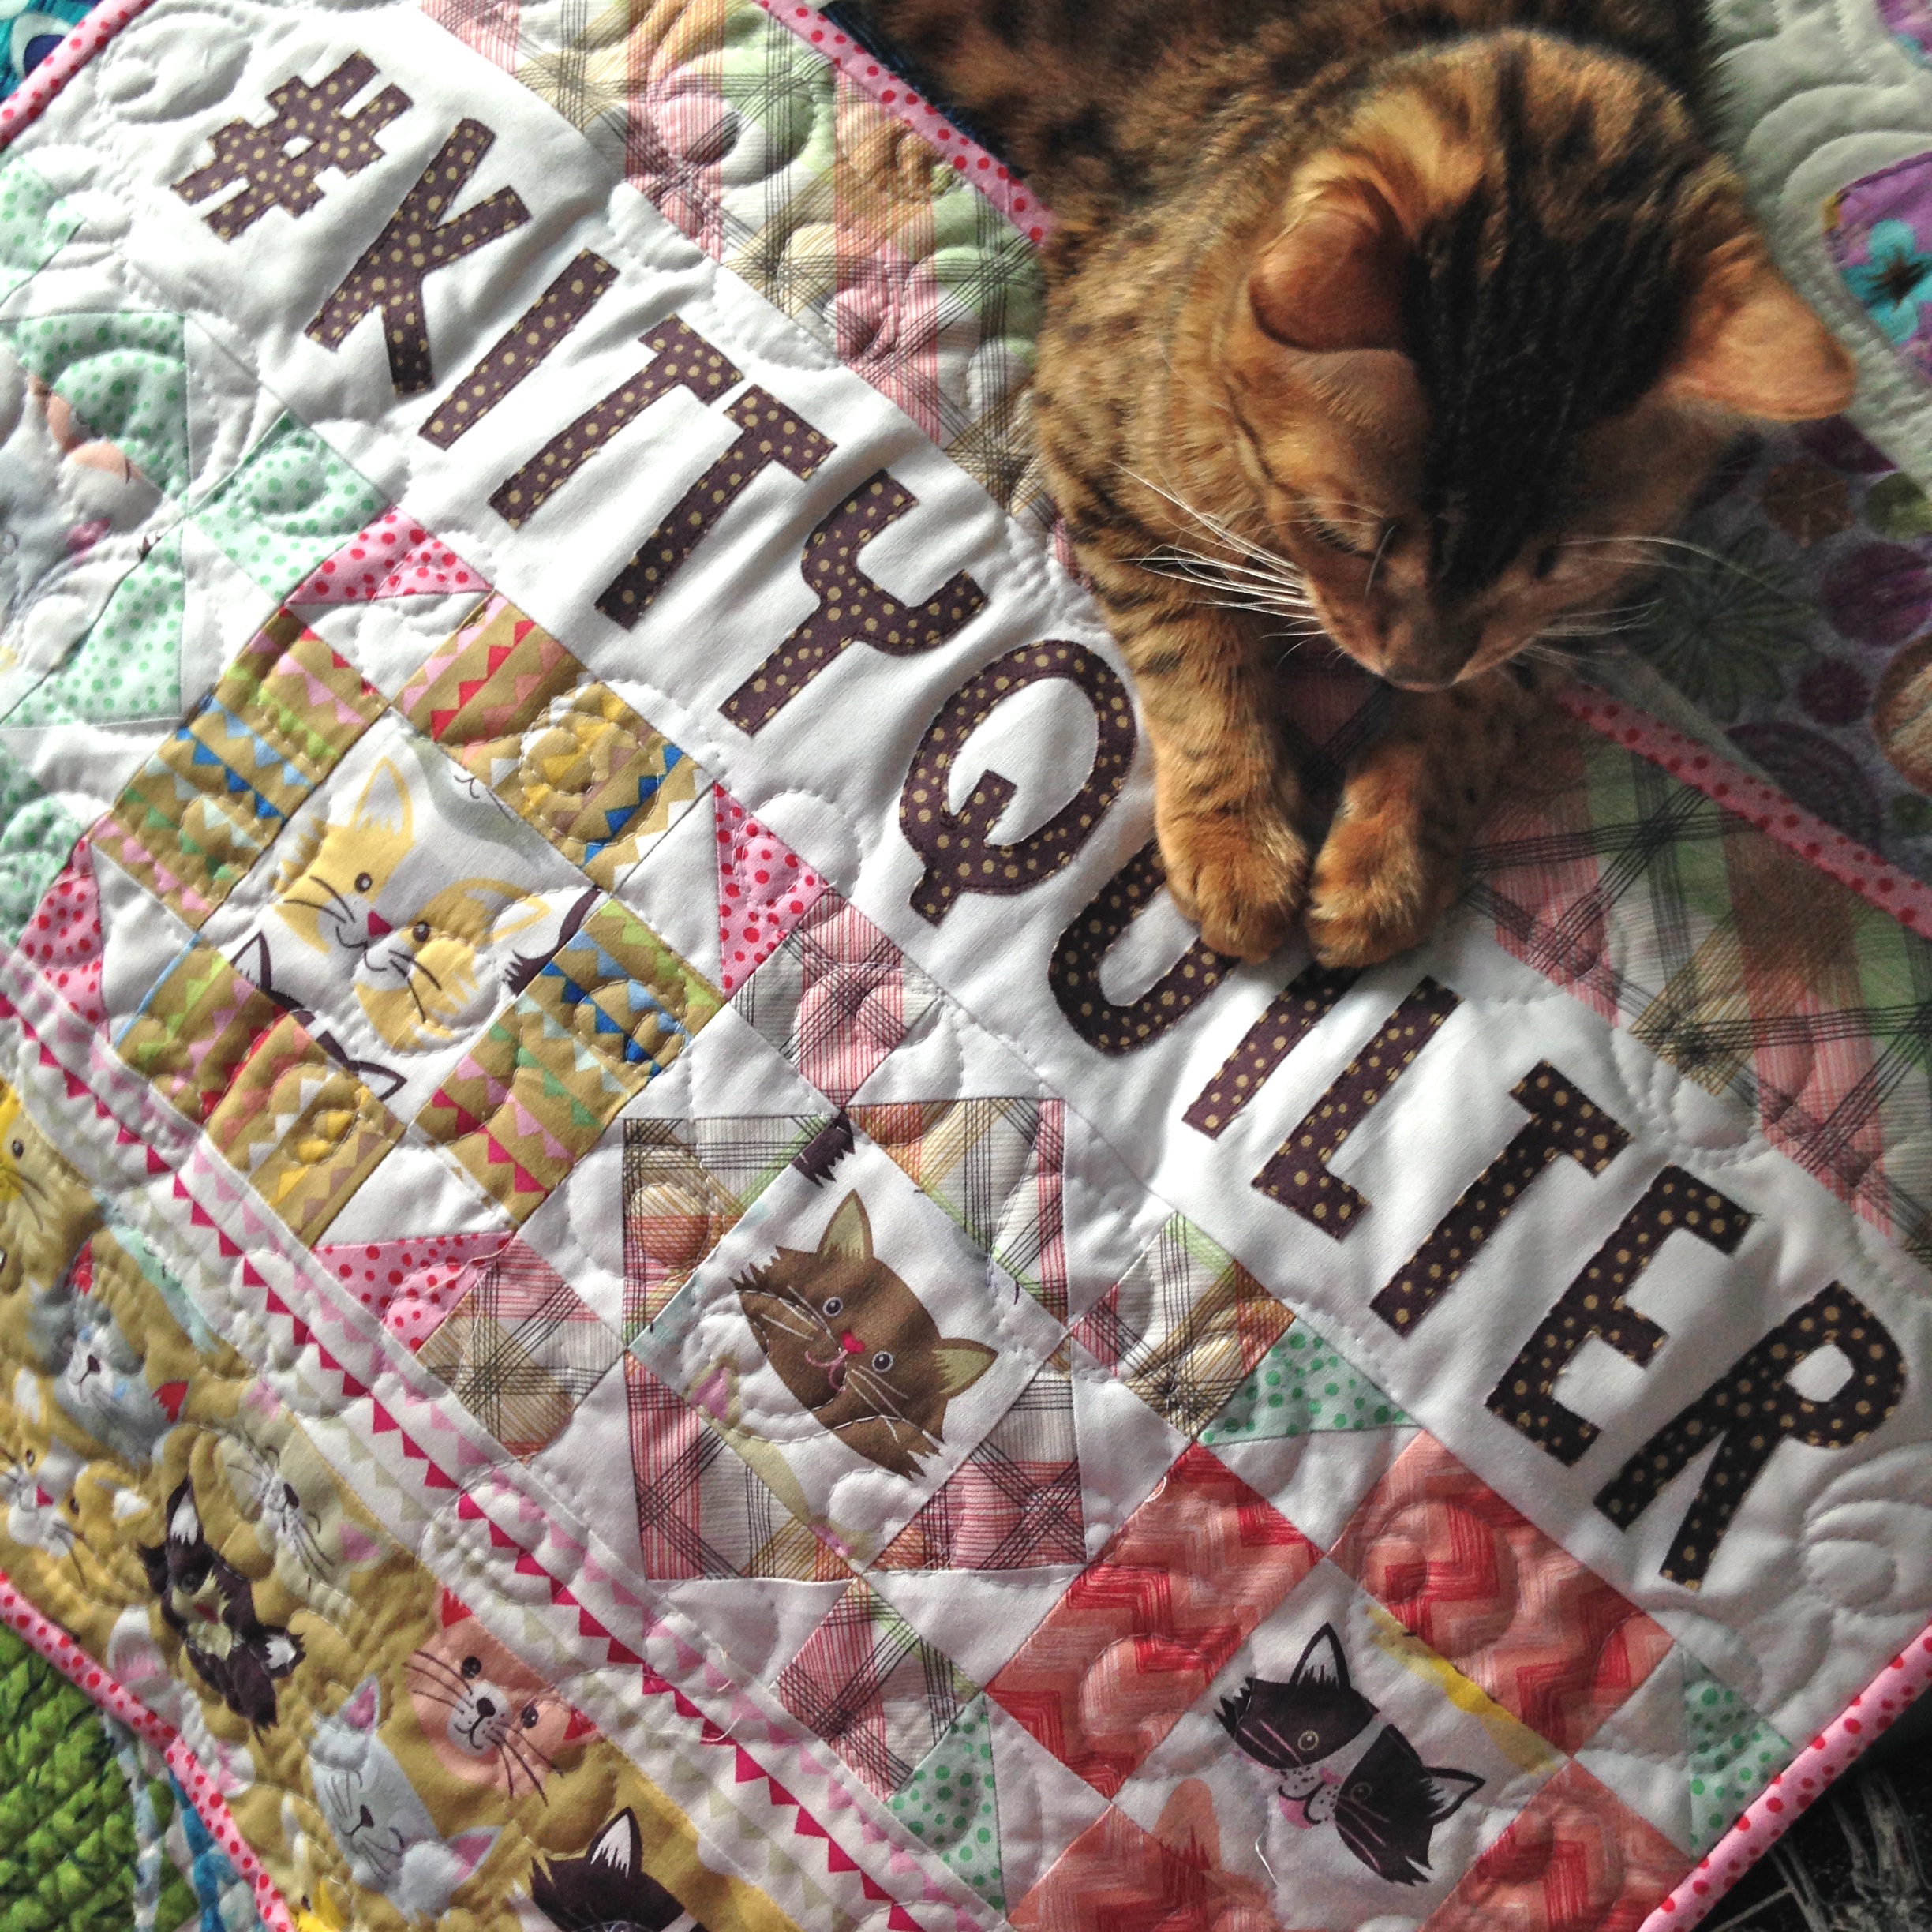
 Baby Mufasa approves! I had to hurry and hang it so he wouldn’t claw it!!
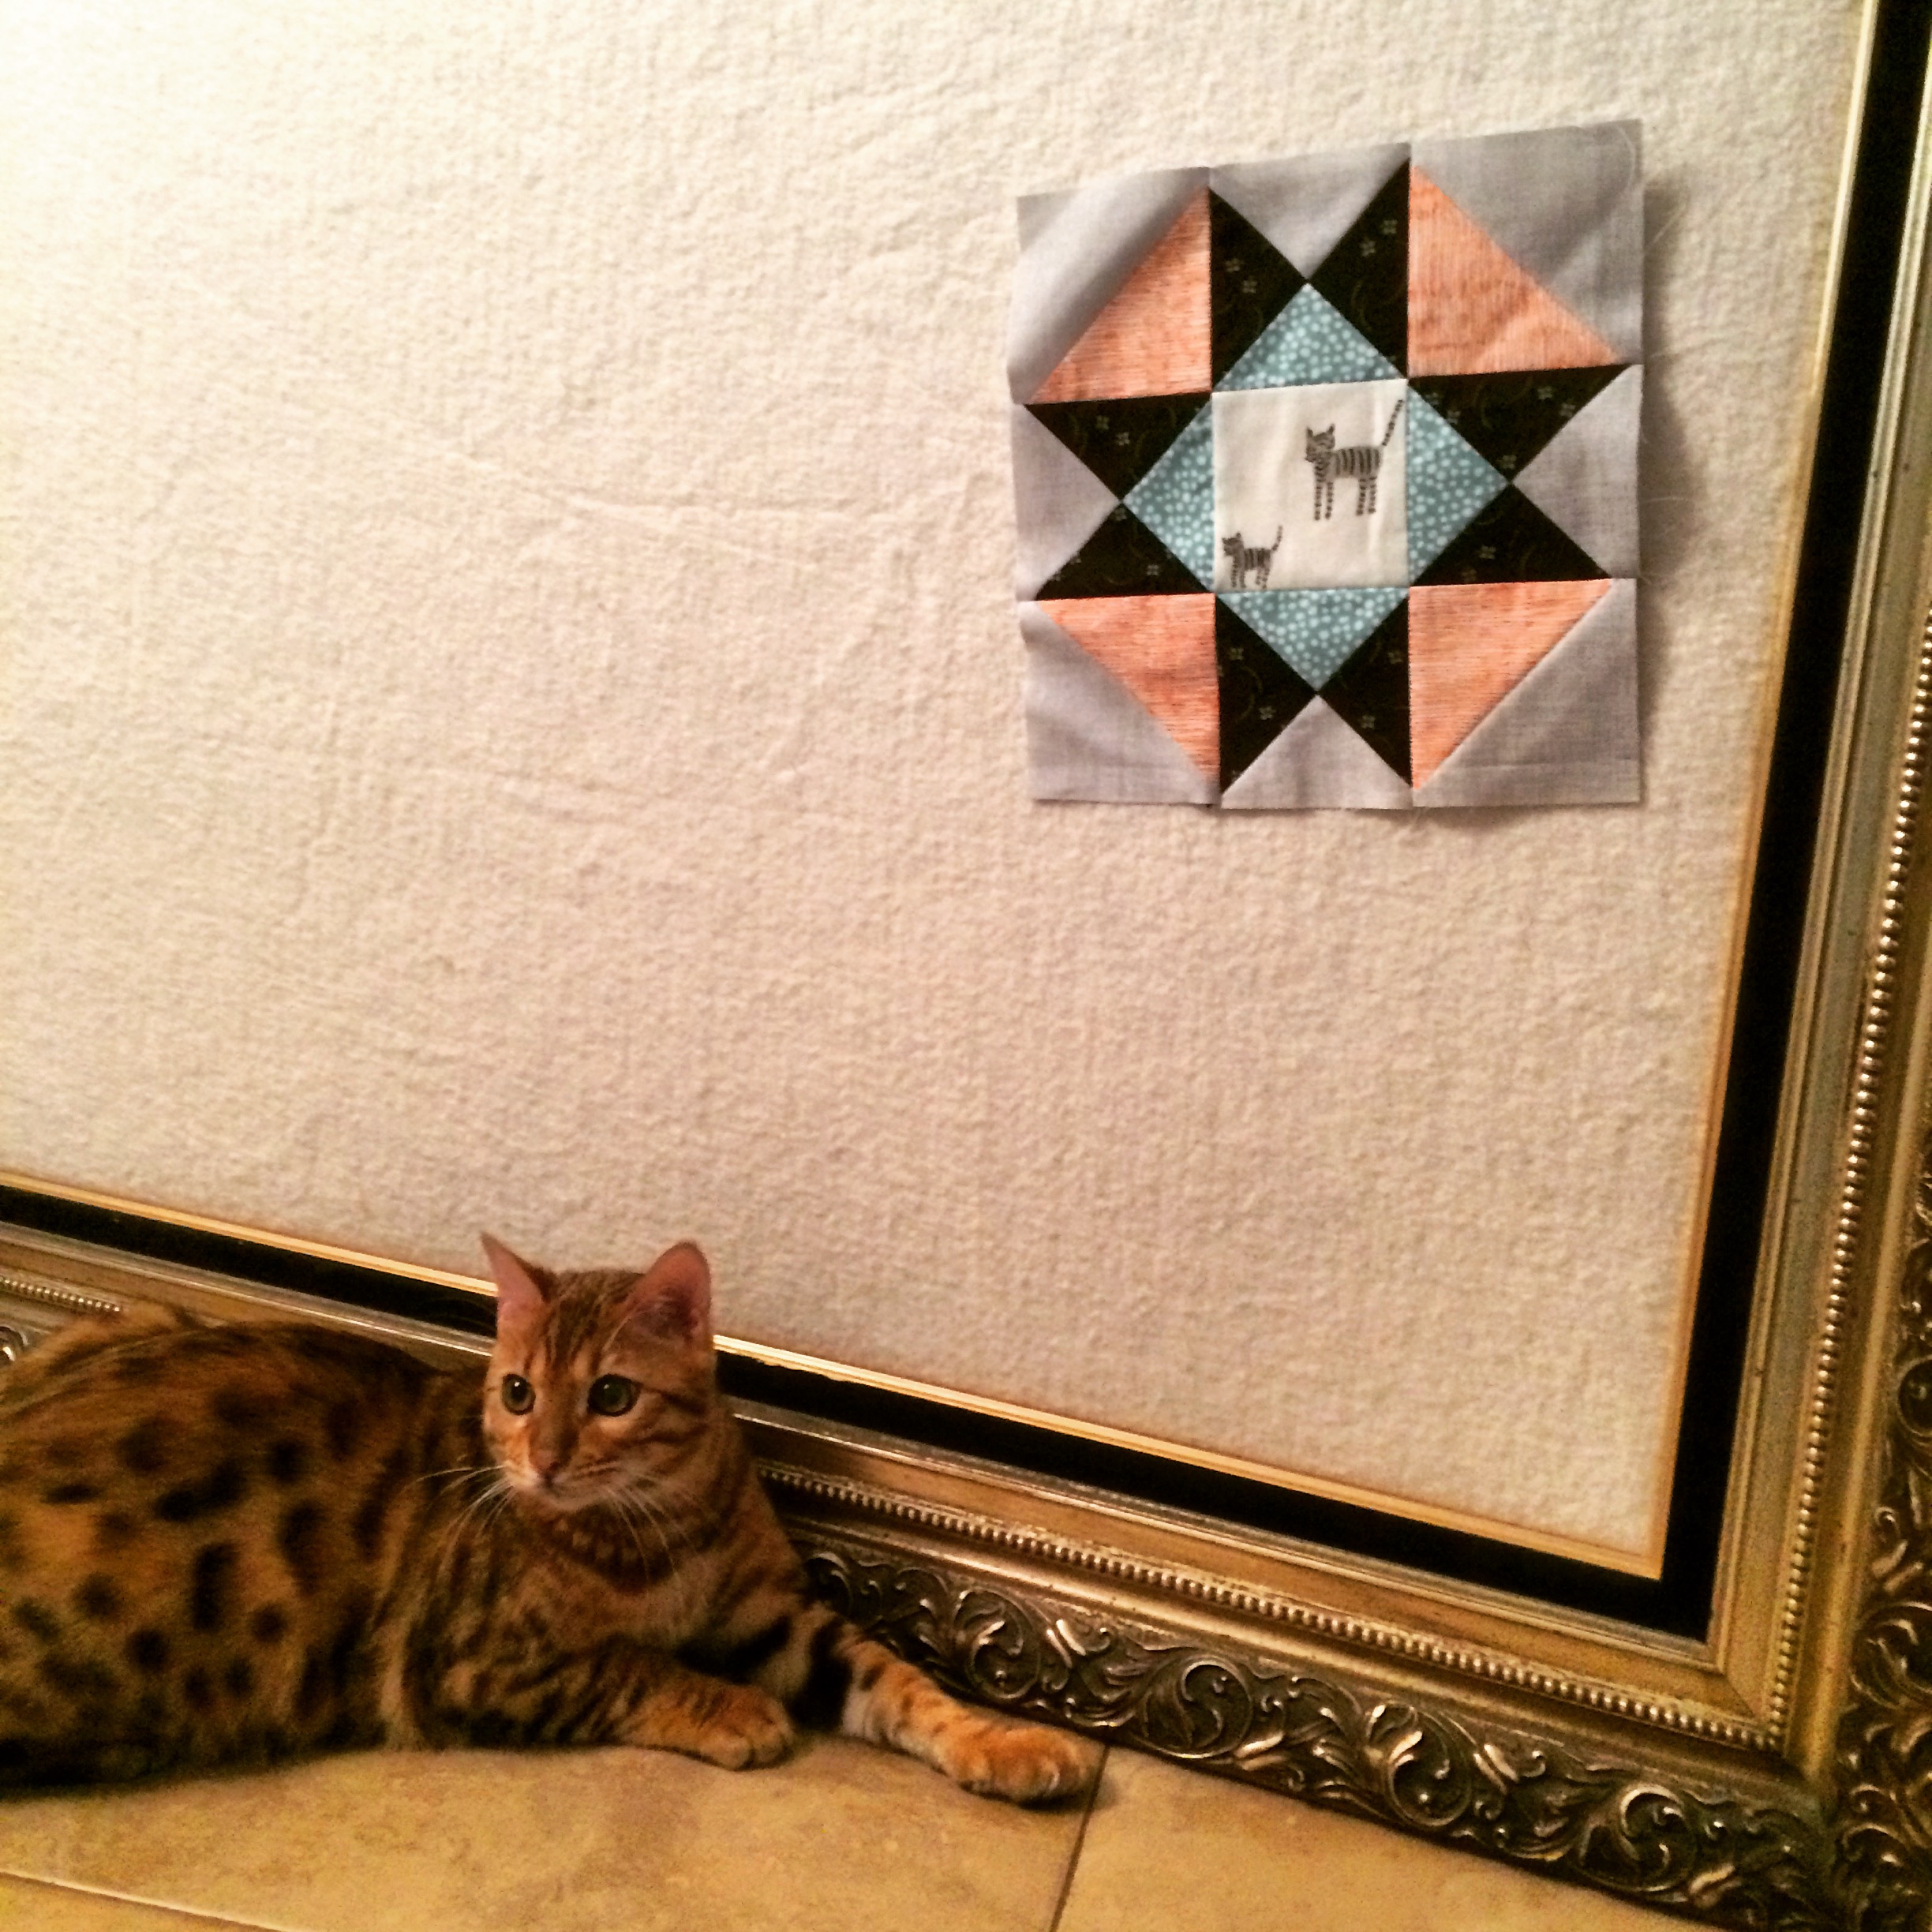


