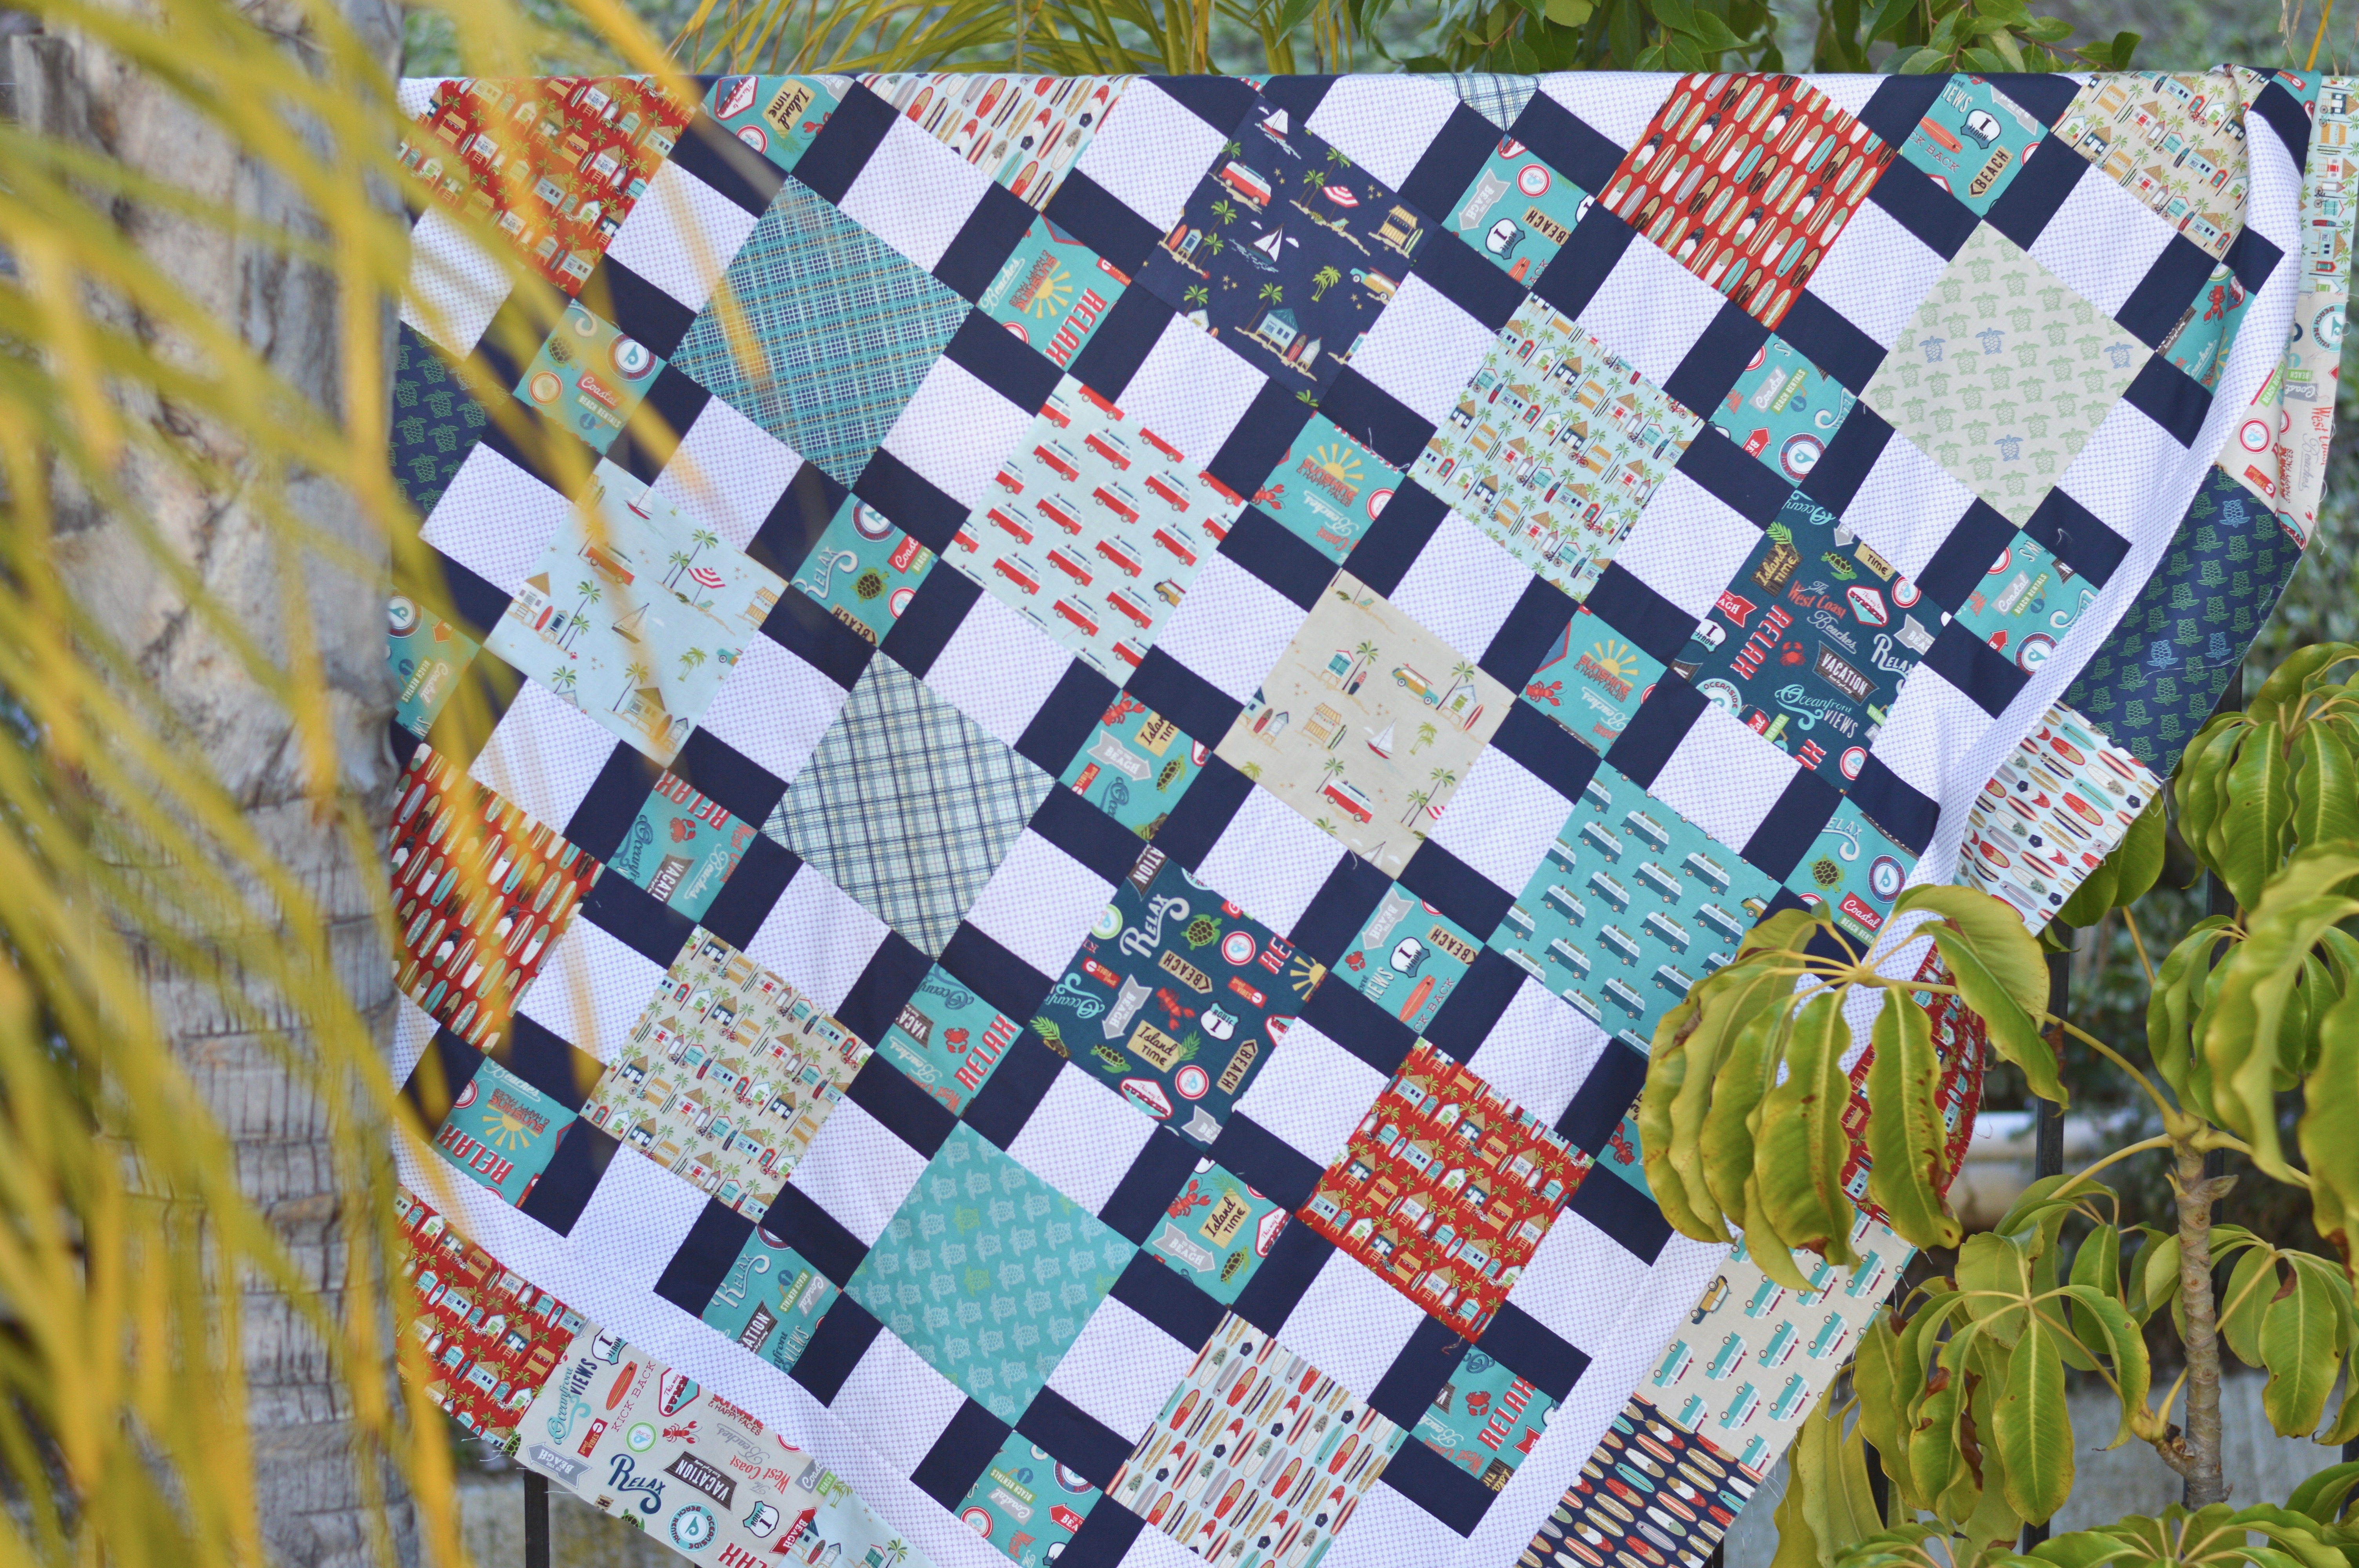
I am a California girl, born and raised which means I love the beach!!! I am so excited that Deena Rutter has a second version of her Off Shore surf fabric by Riley Blake Designs! I love the vintage beach vibe of these fabrics and the casual color tones. I designed this quilt as throw quilt that is perfect to take to the beach!
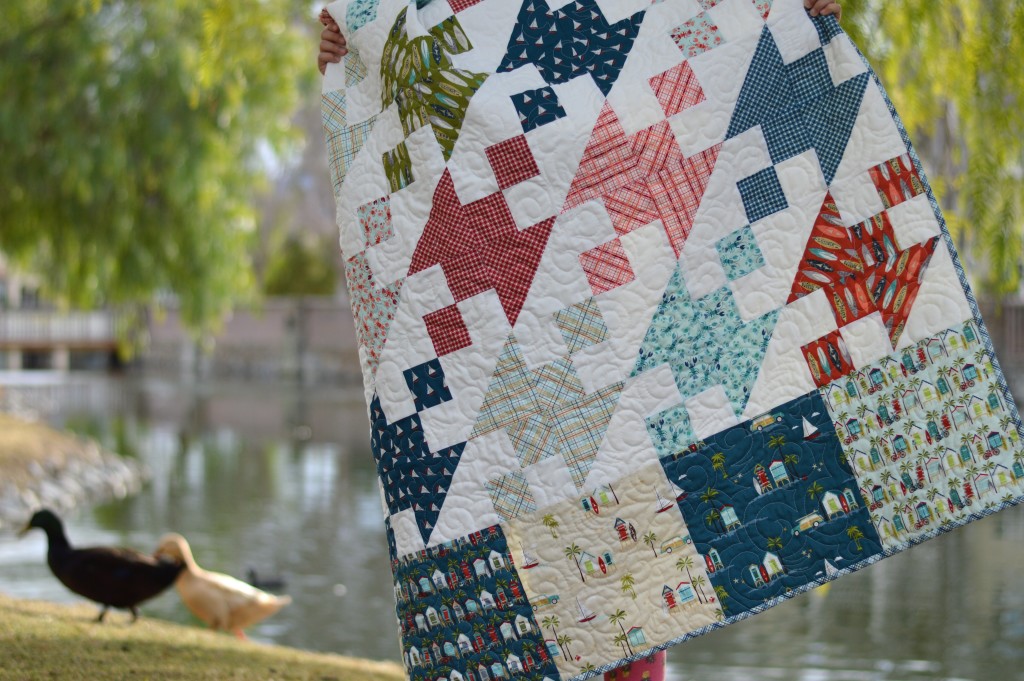
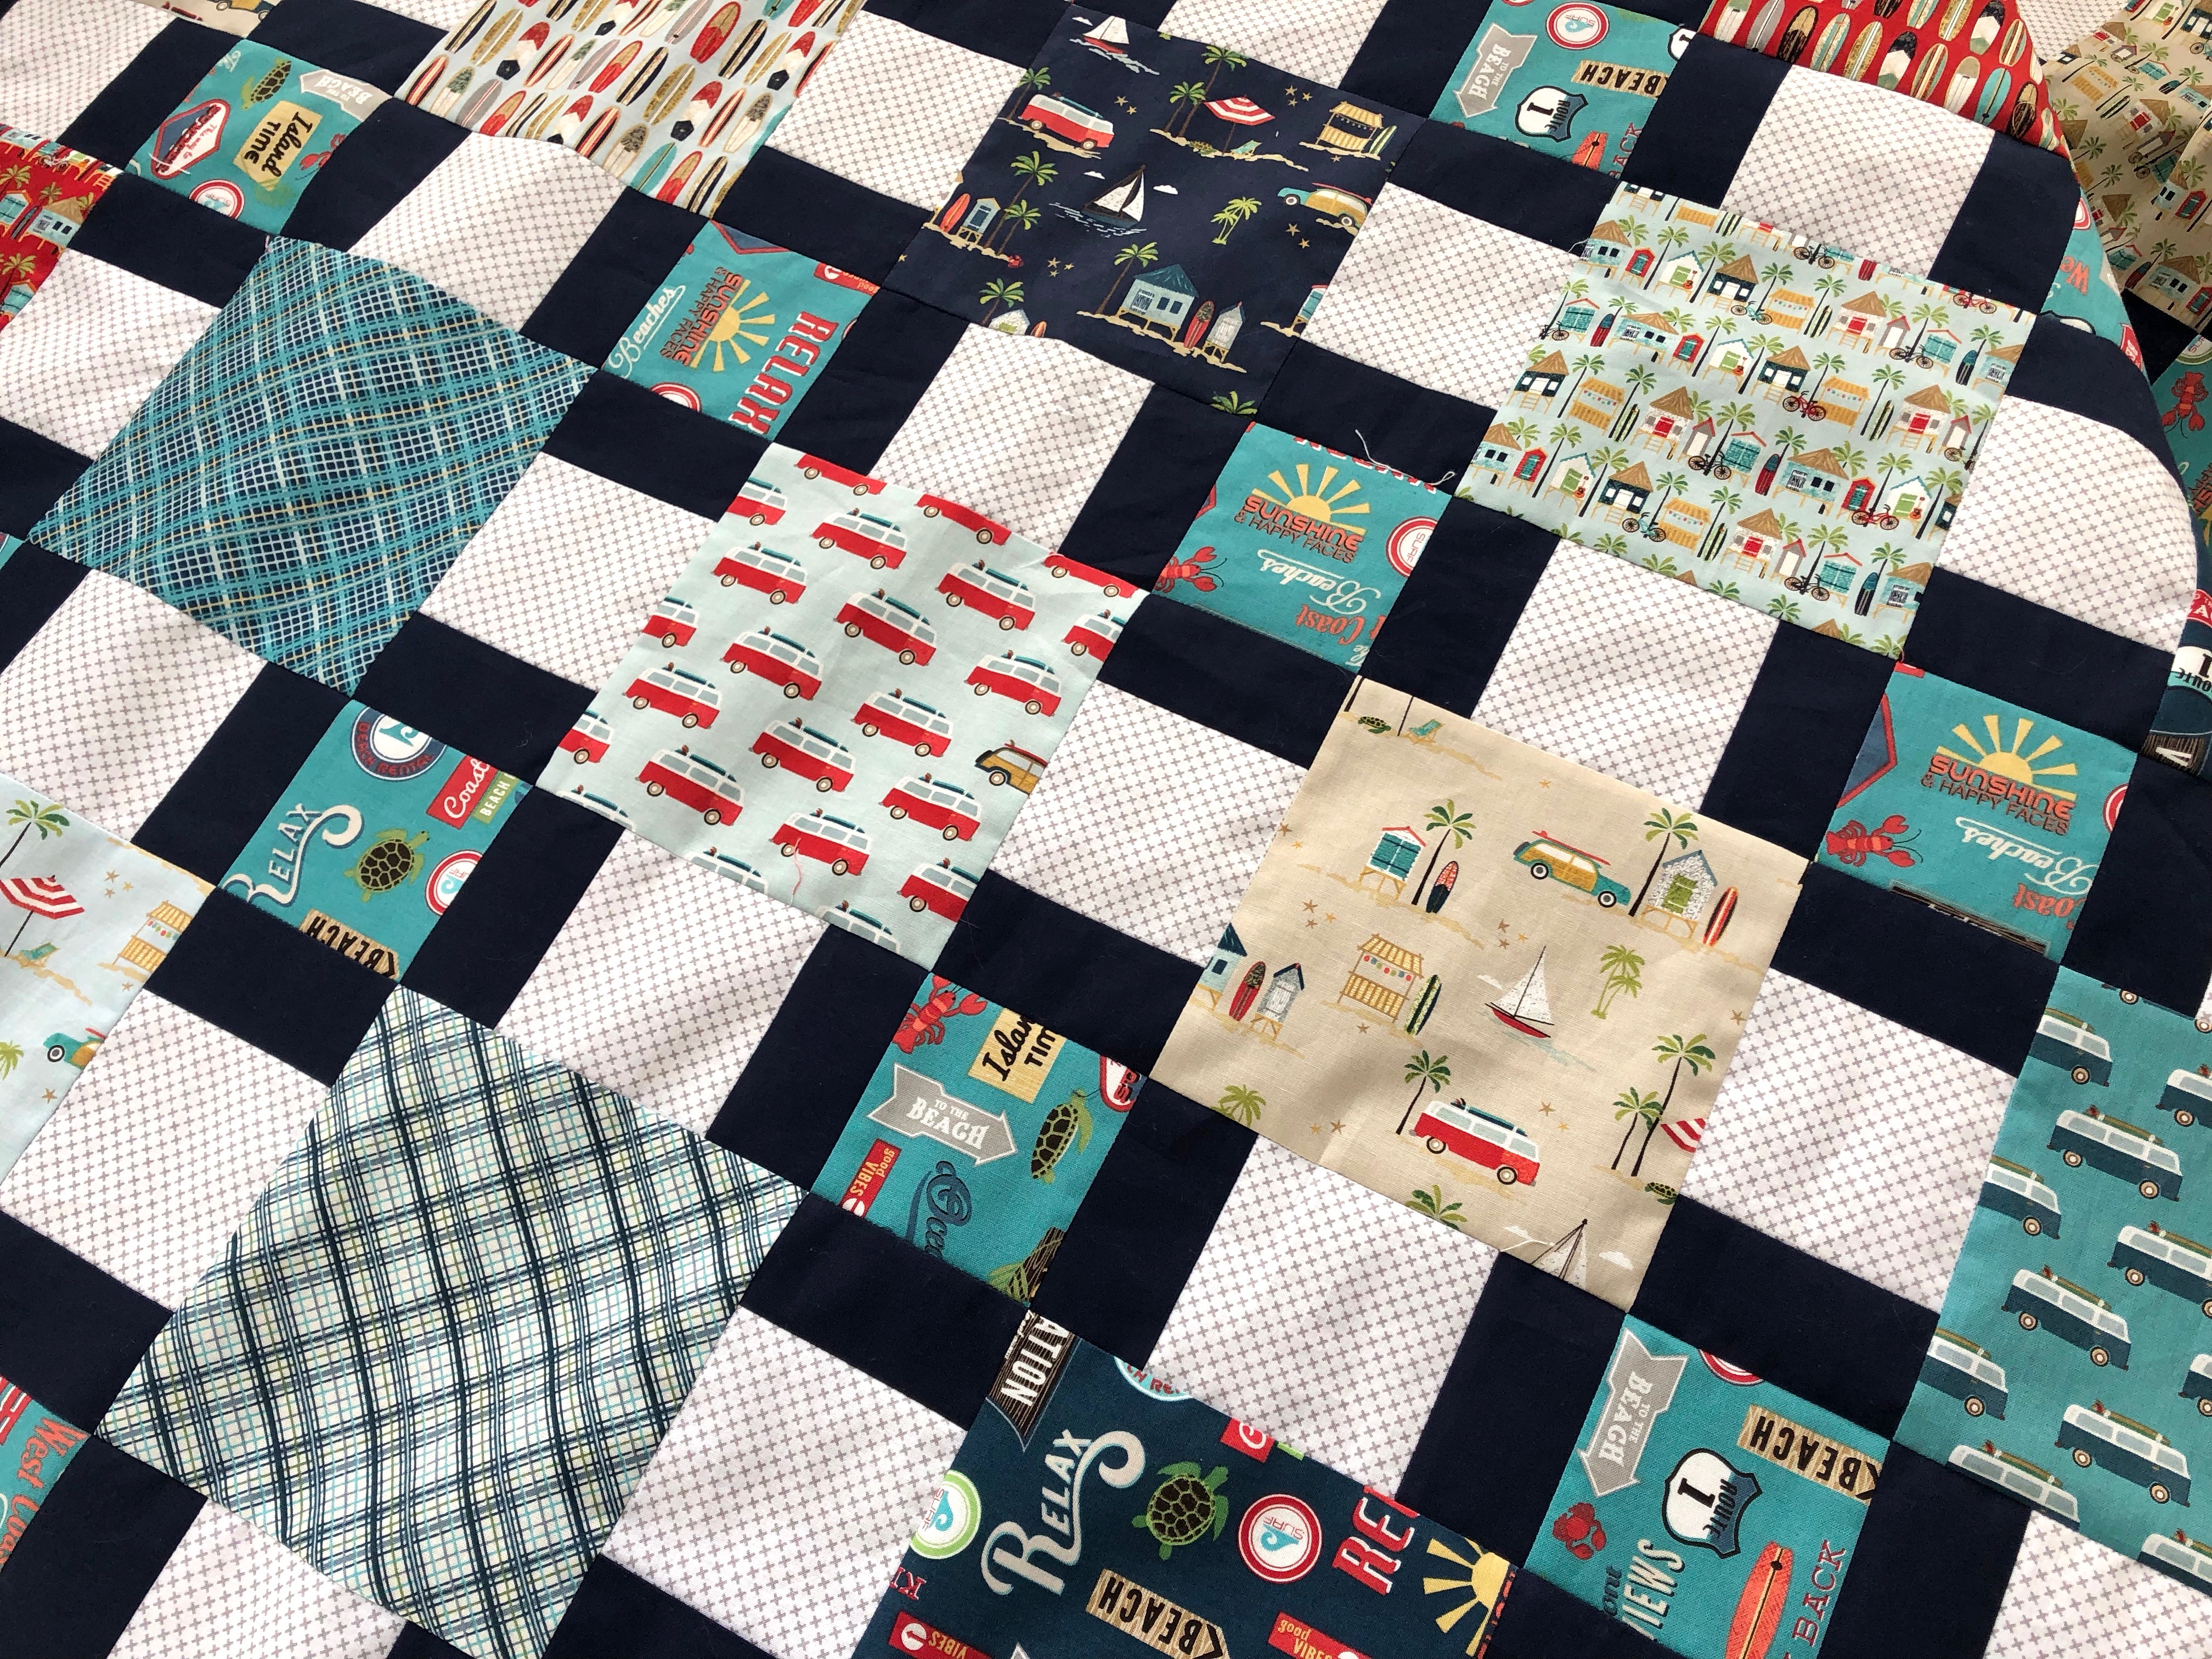
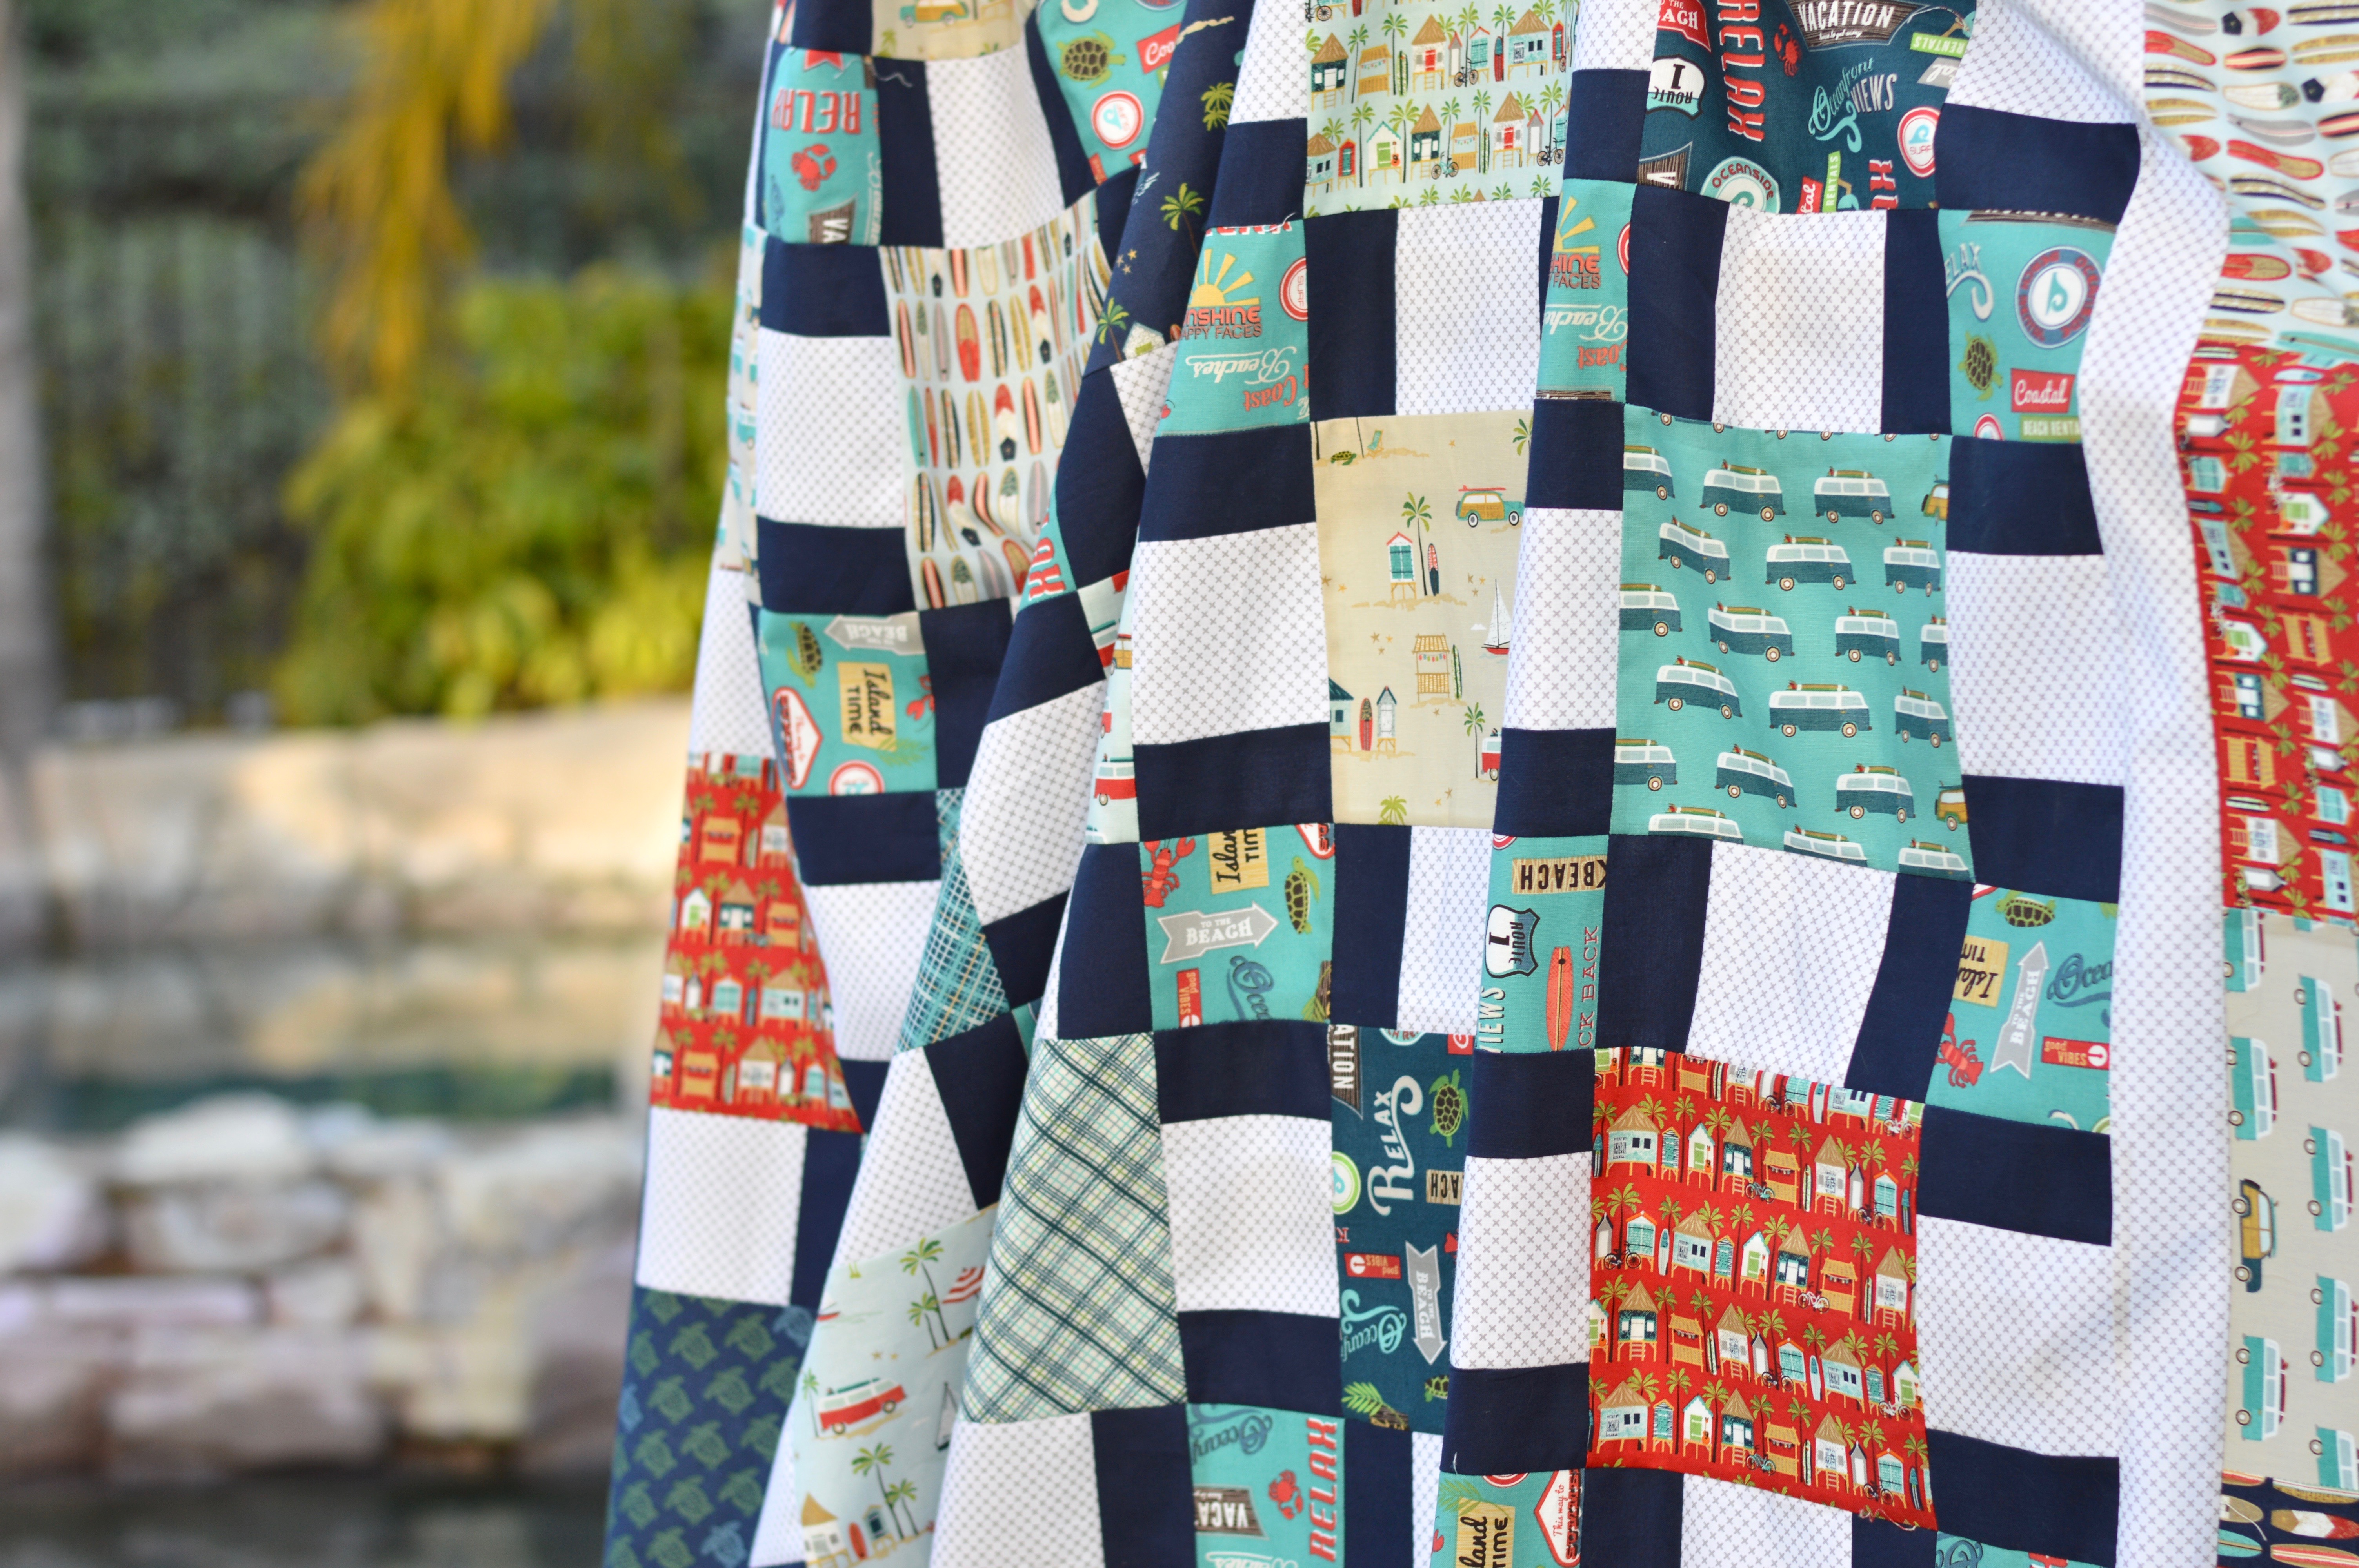
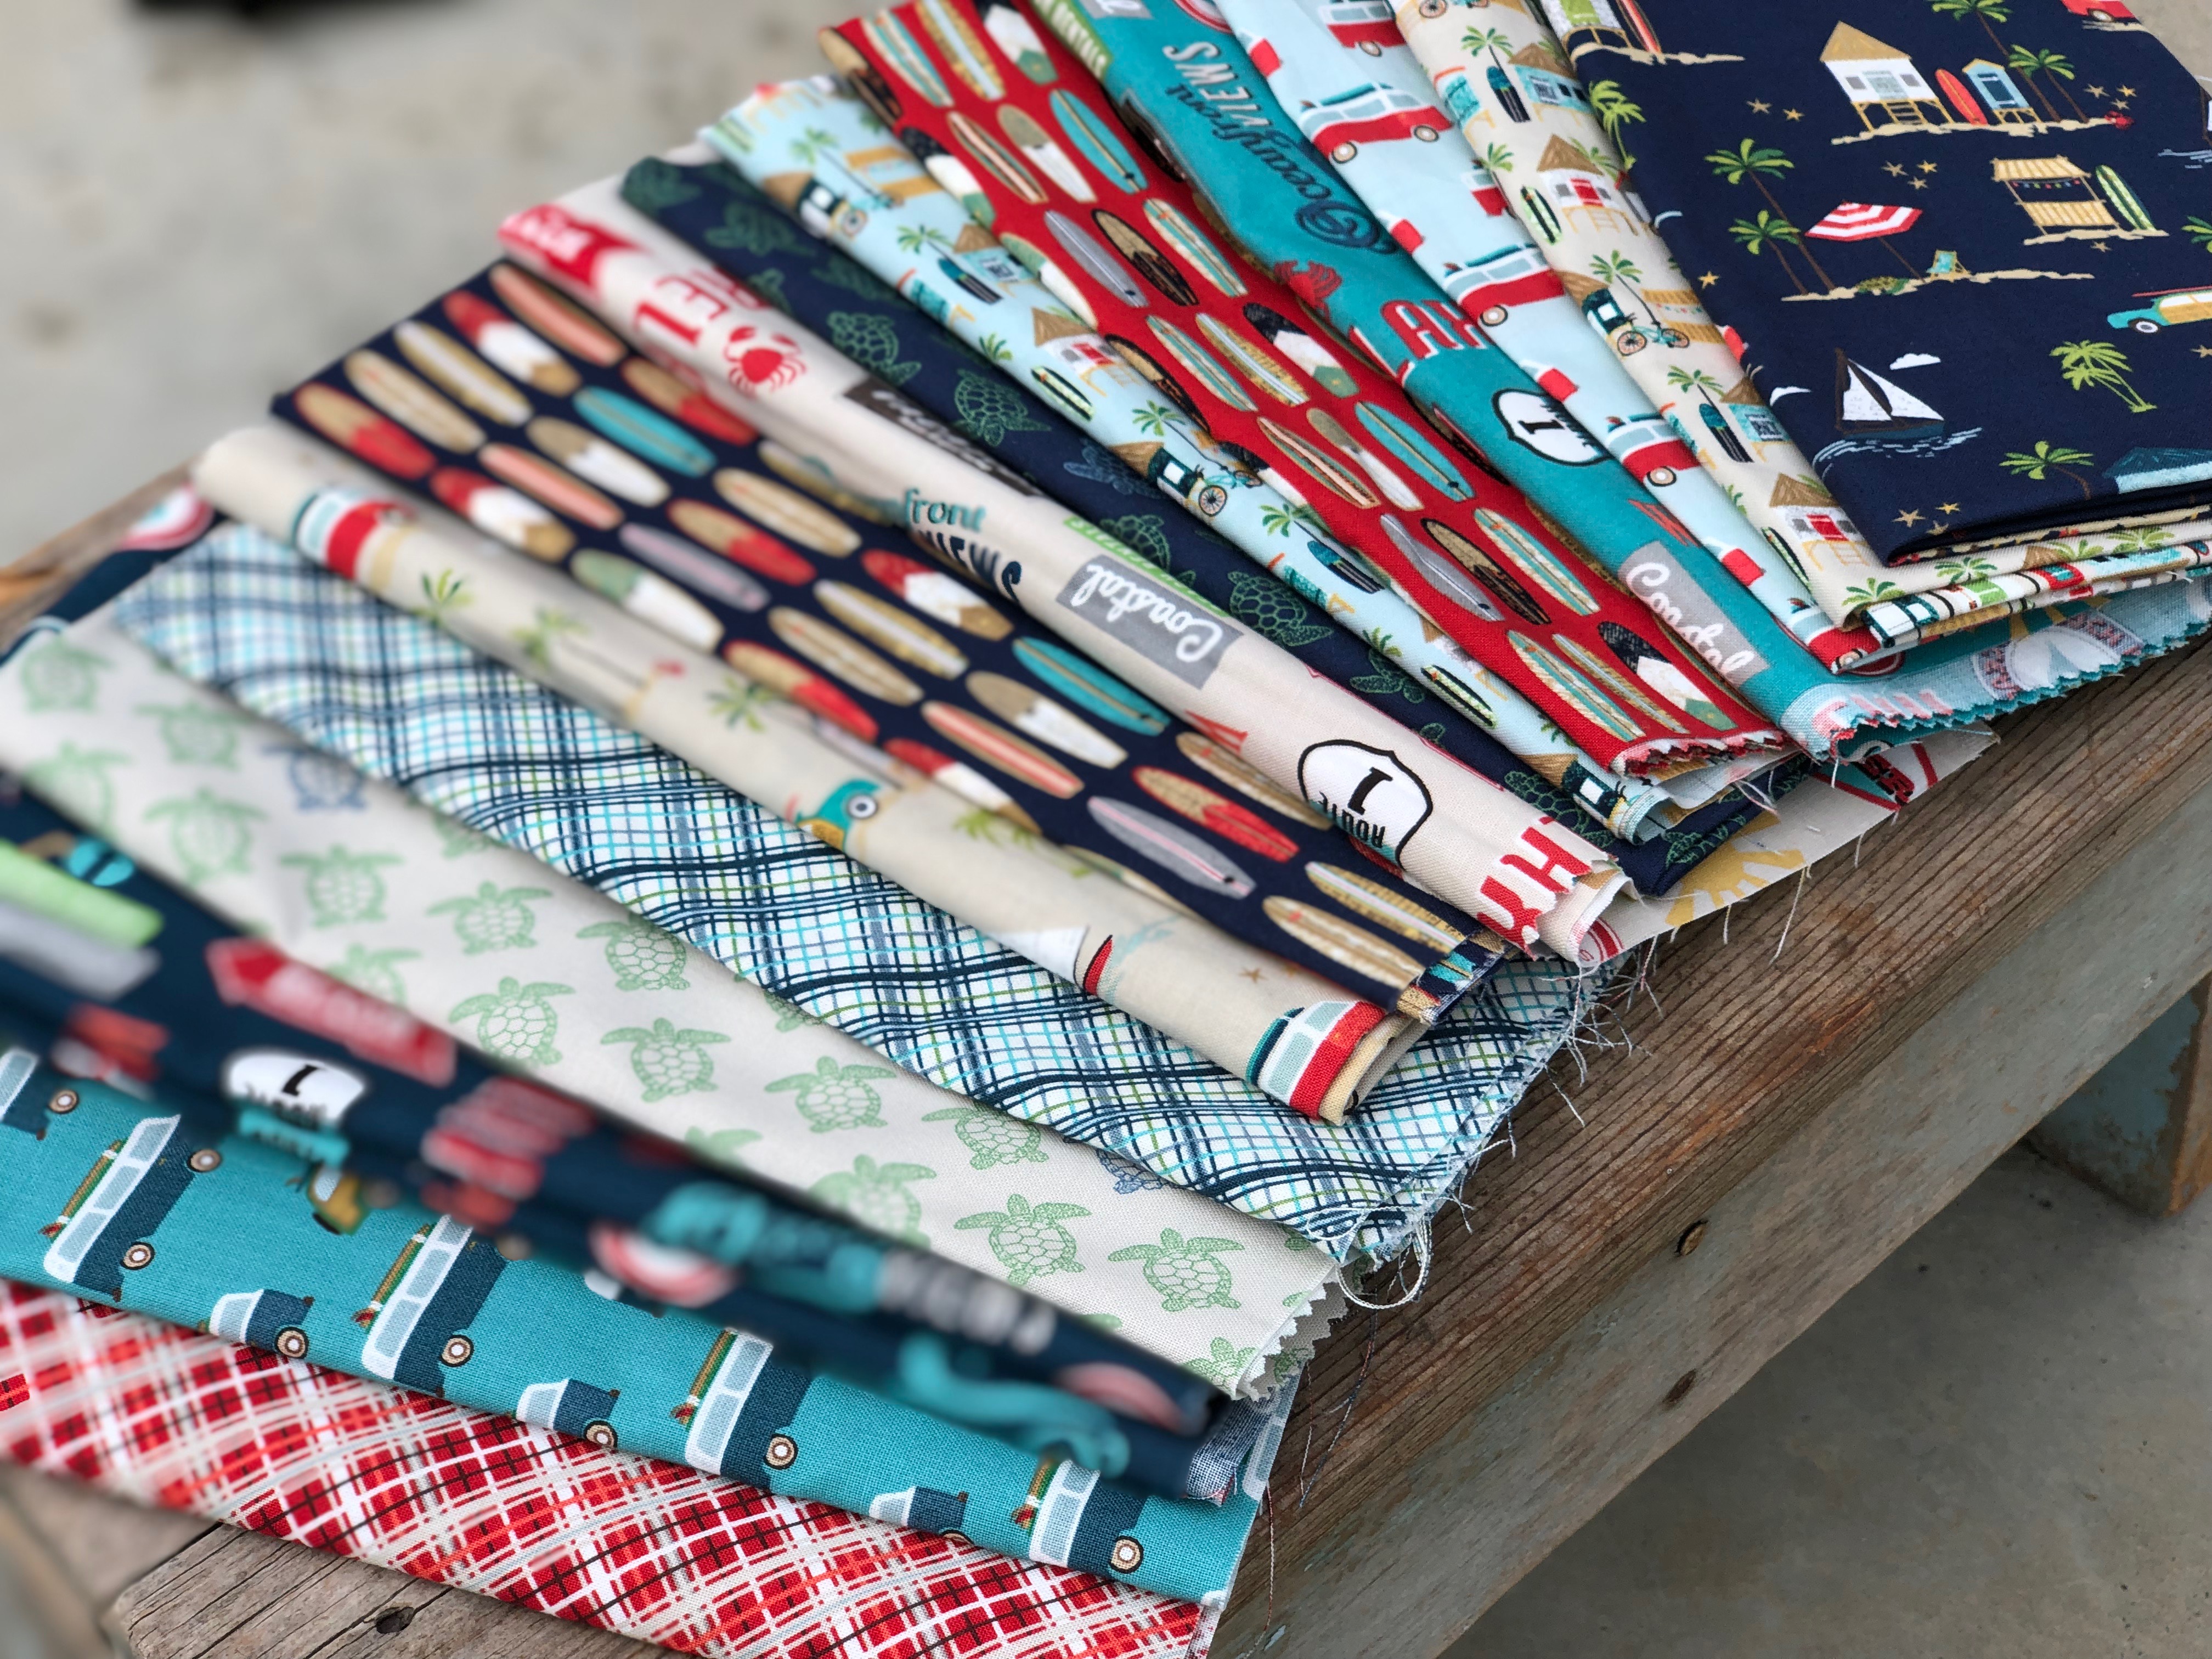
The fabrics have fun surf scenes, surf boards, VW busses, and plaids. I designed this quilt to use with theme print fabrics which I am always drawn to. I designed this quilt with the first Off Shore fabric line a few years ago. I love that these two quilts coordinate!
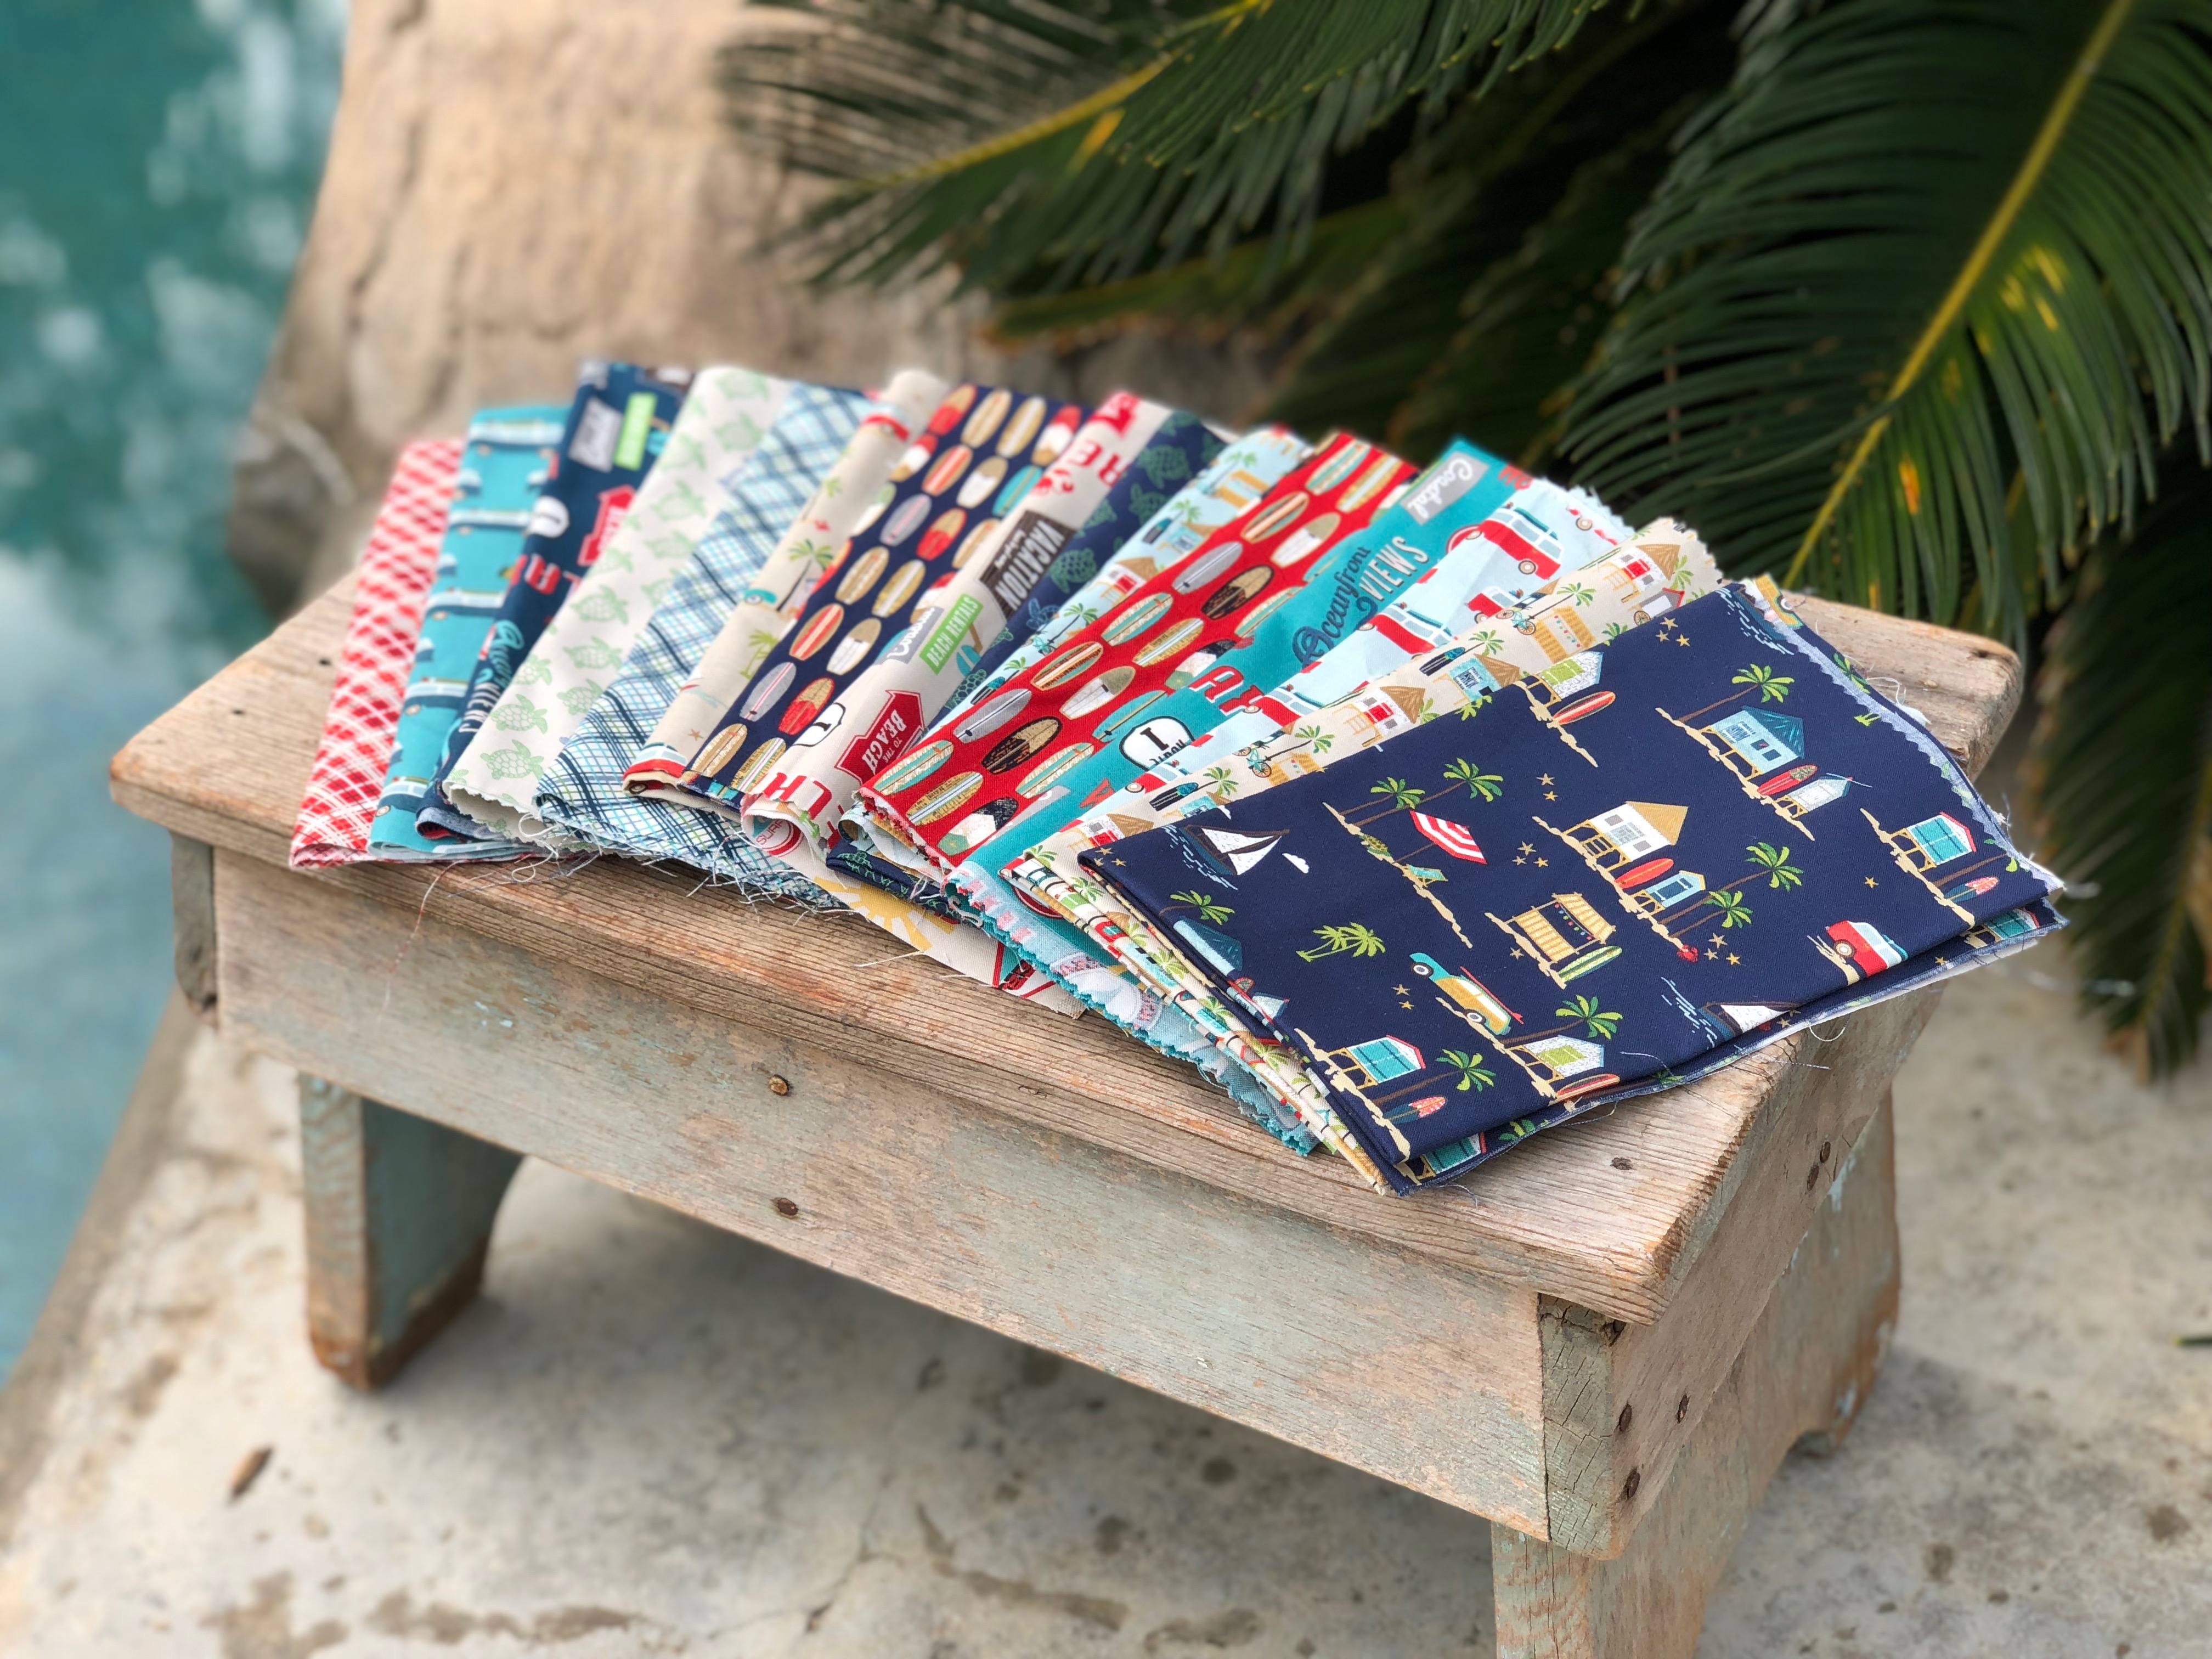
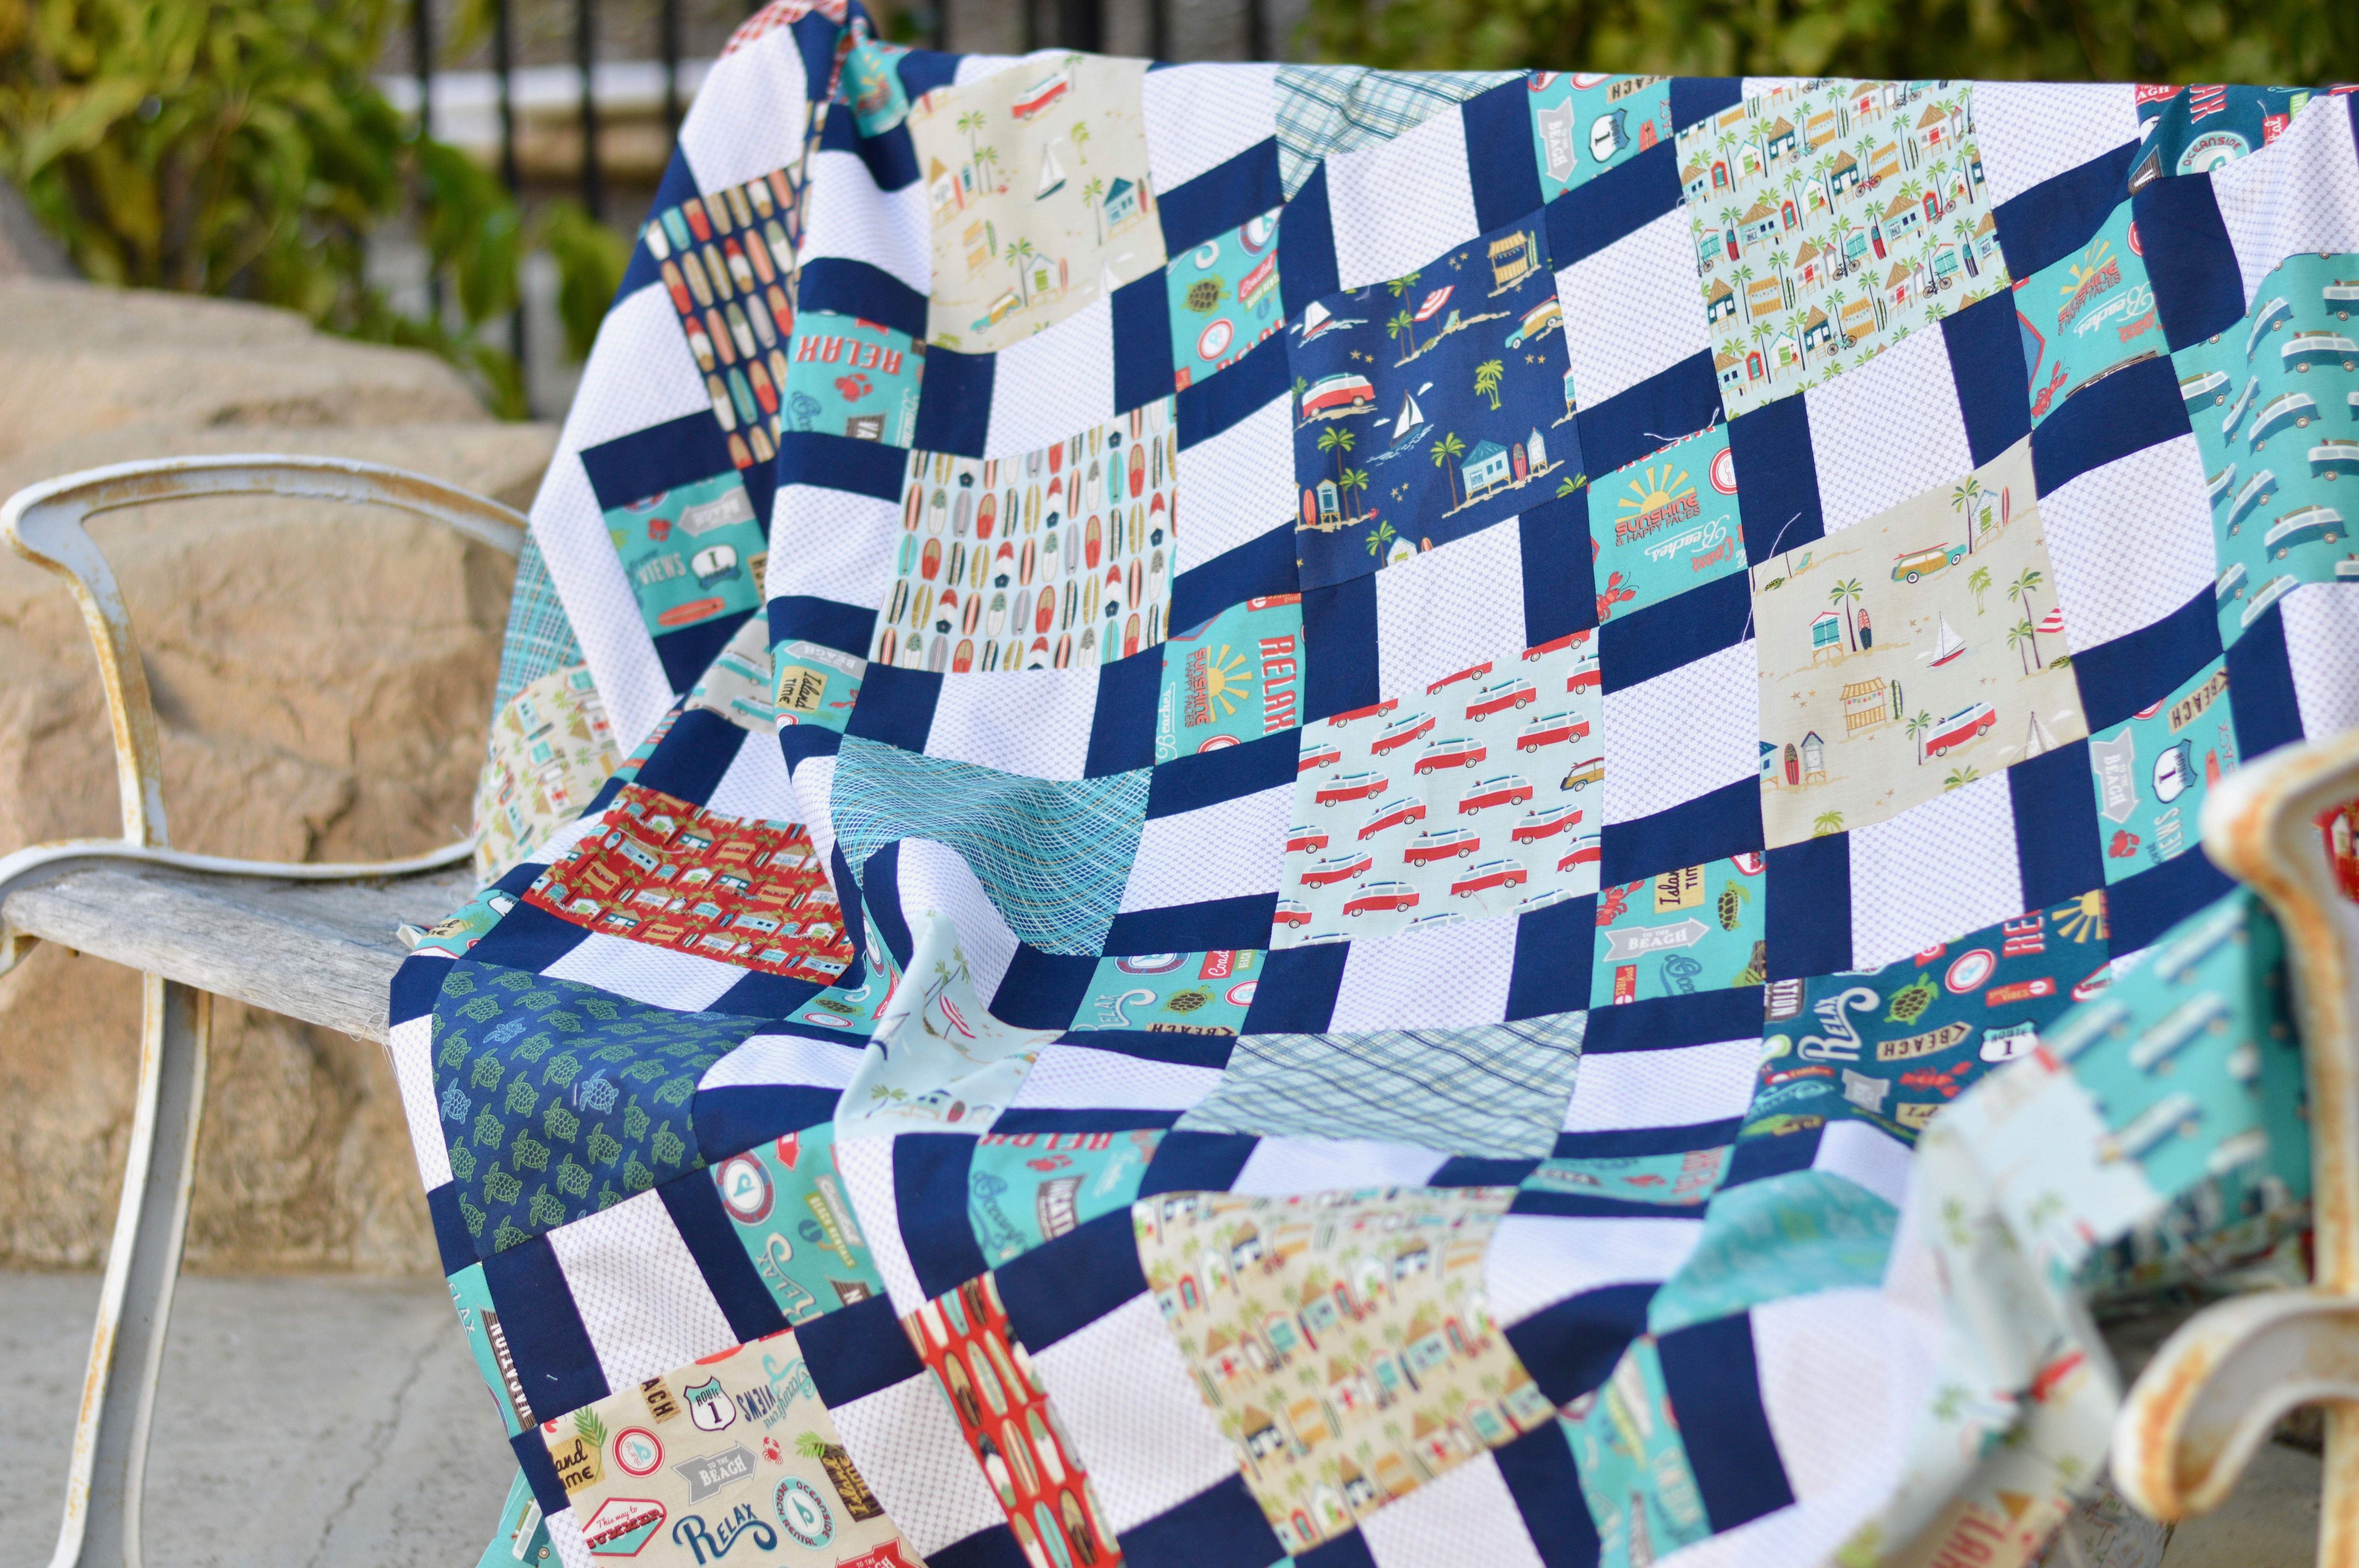
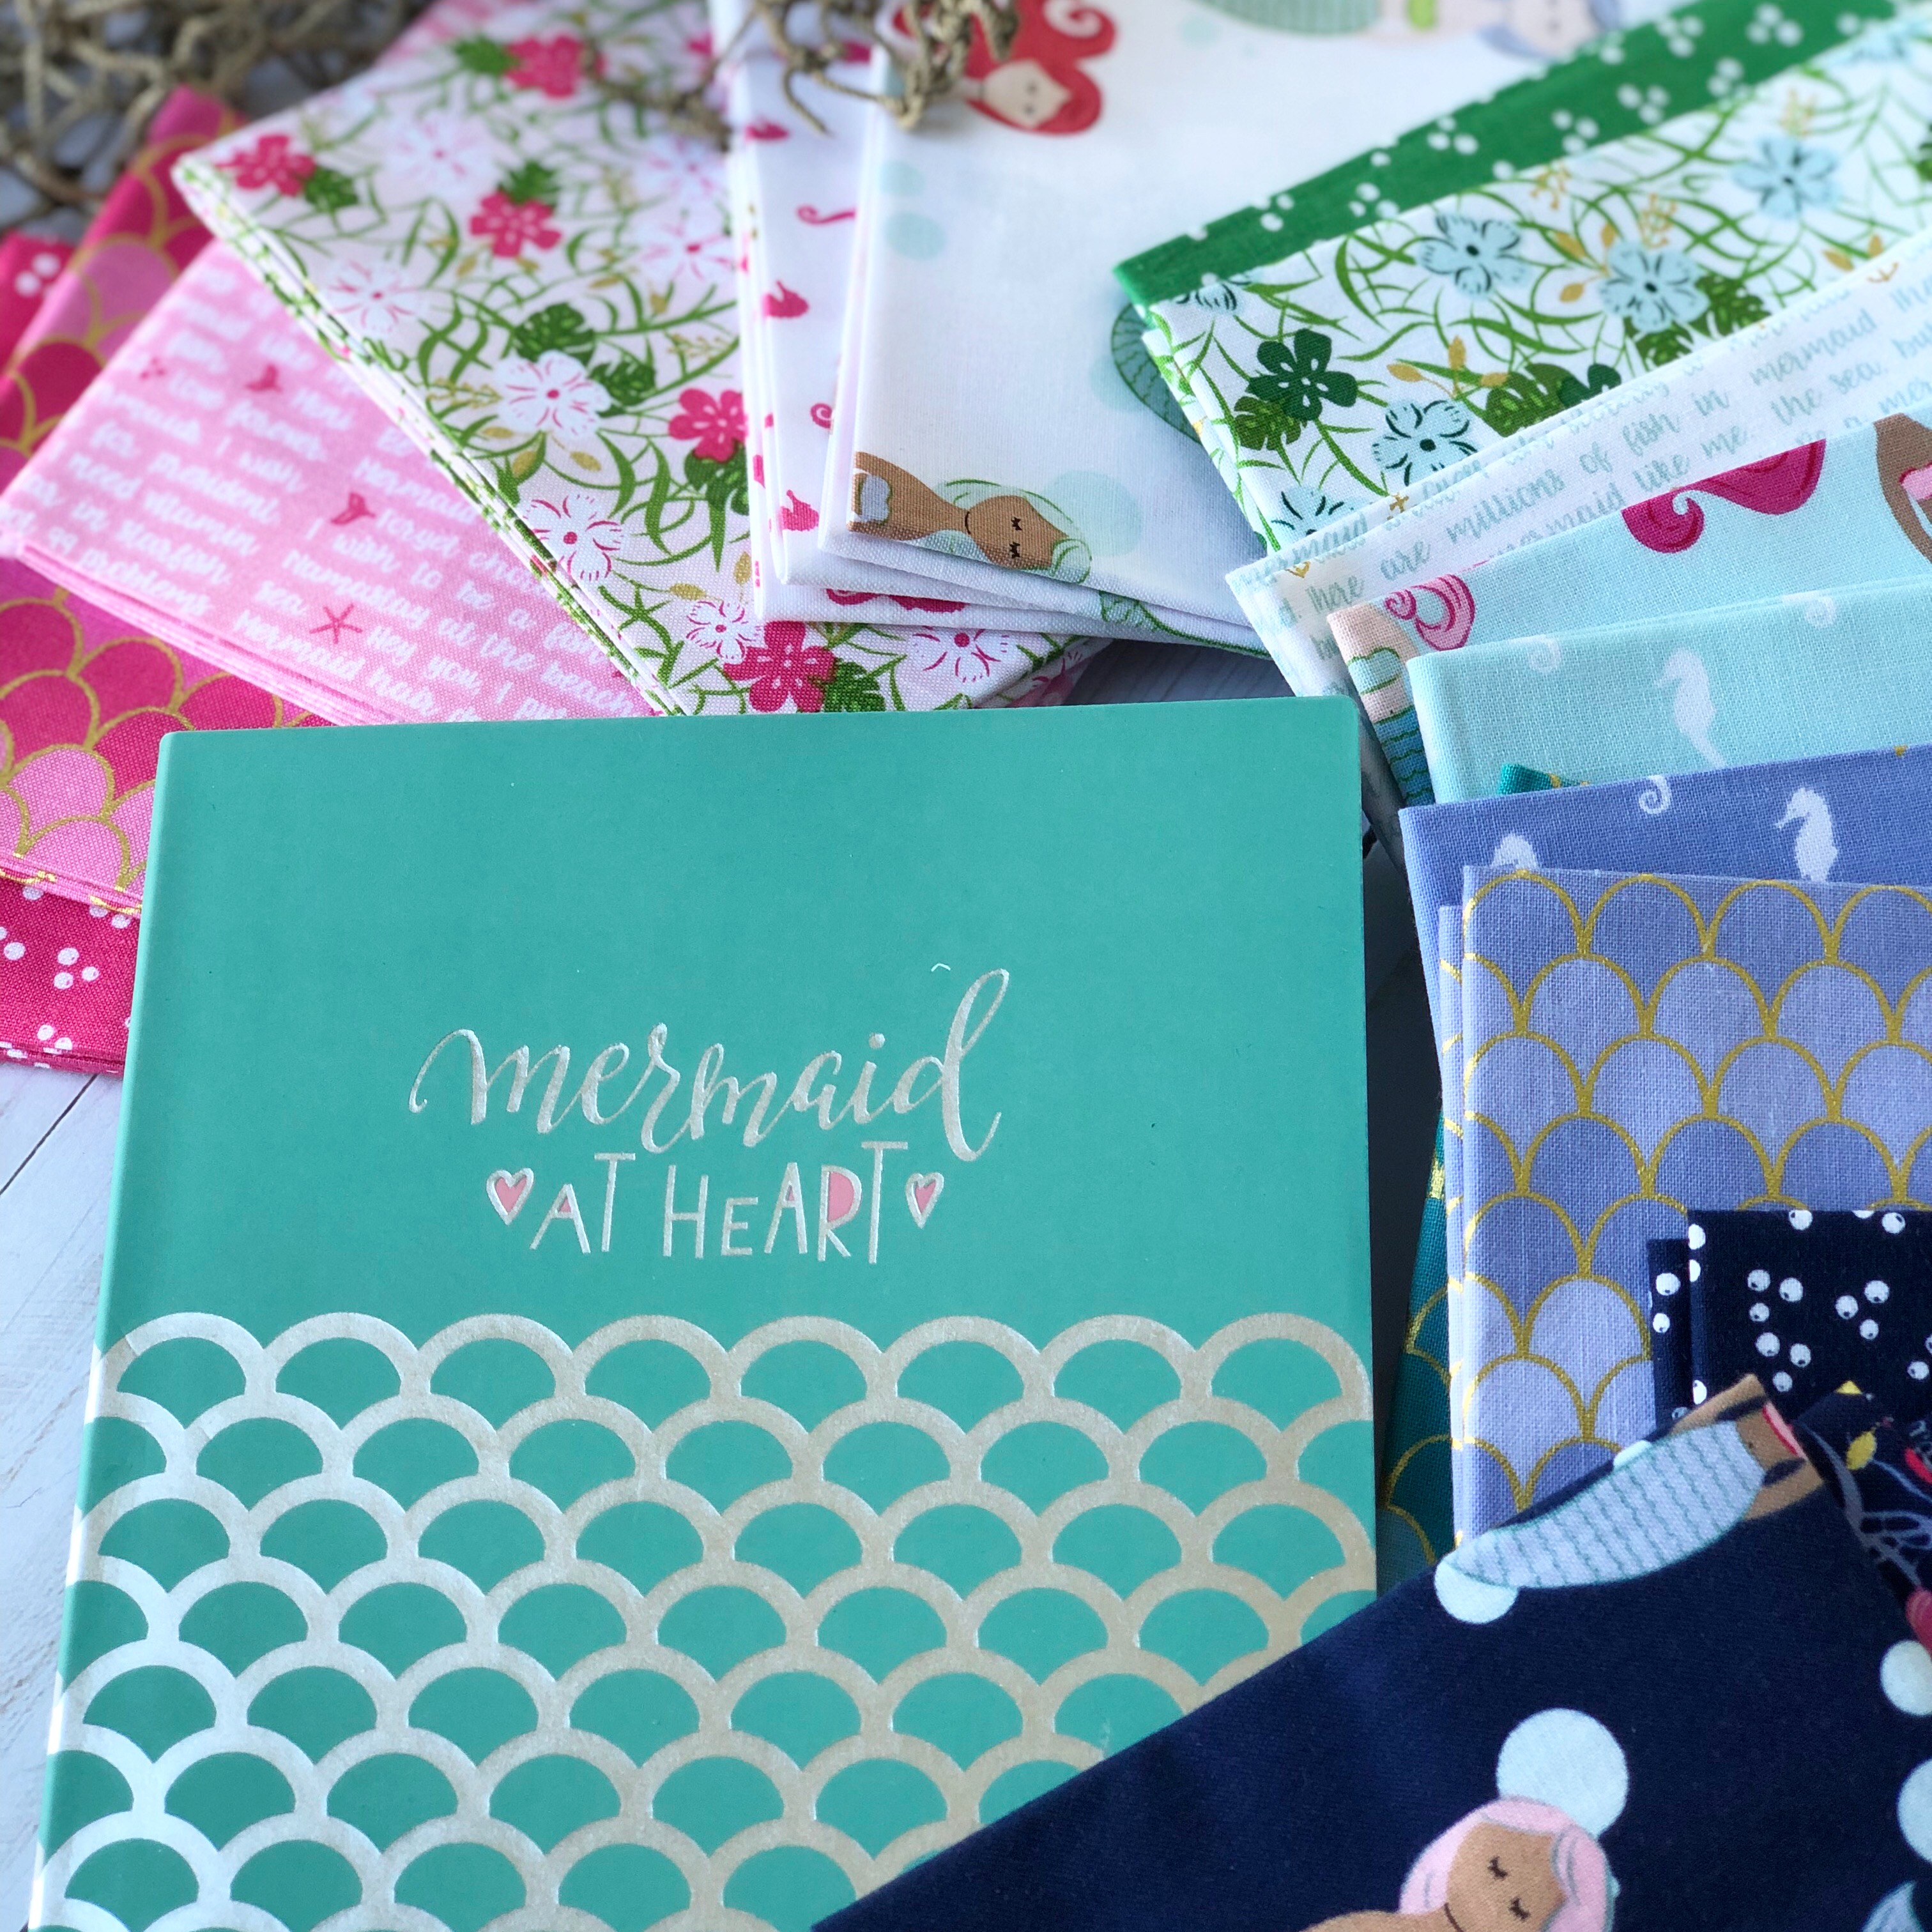
Some of the prints are similar to the first version of this fabric line and there are also several new prints! You could easily mix them together!
Seriously the fabrics are so amazing!
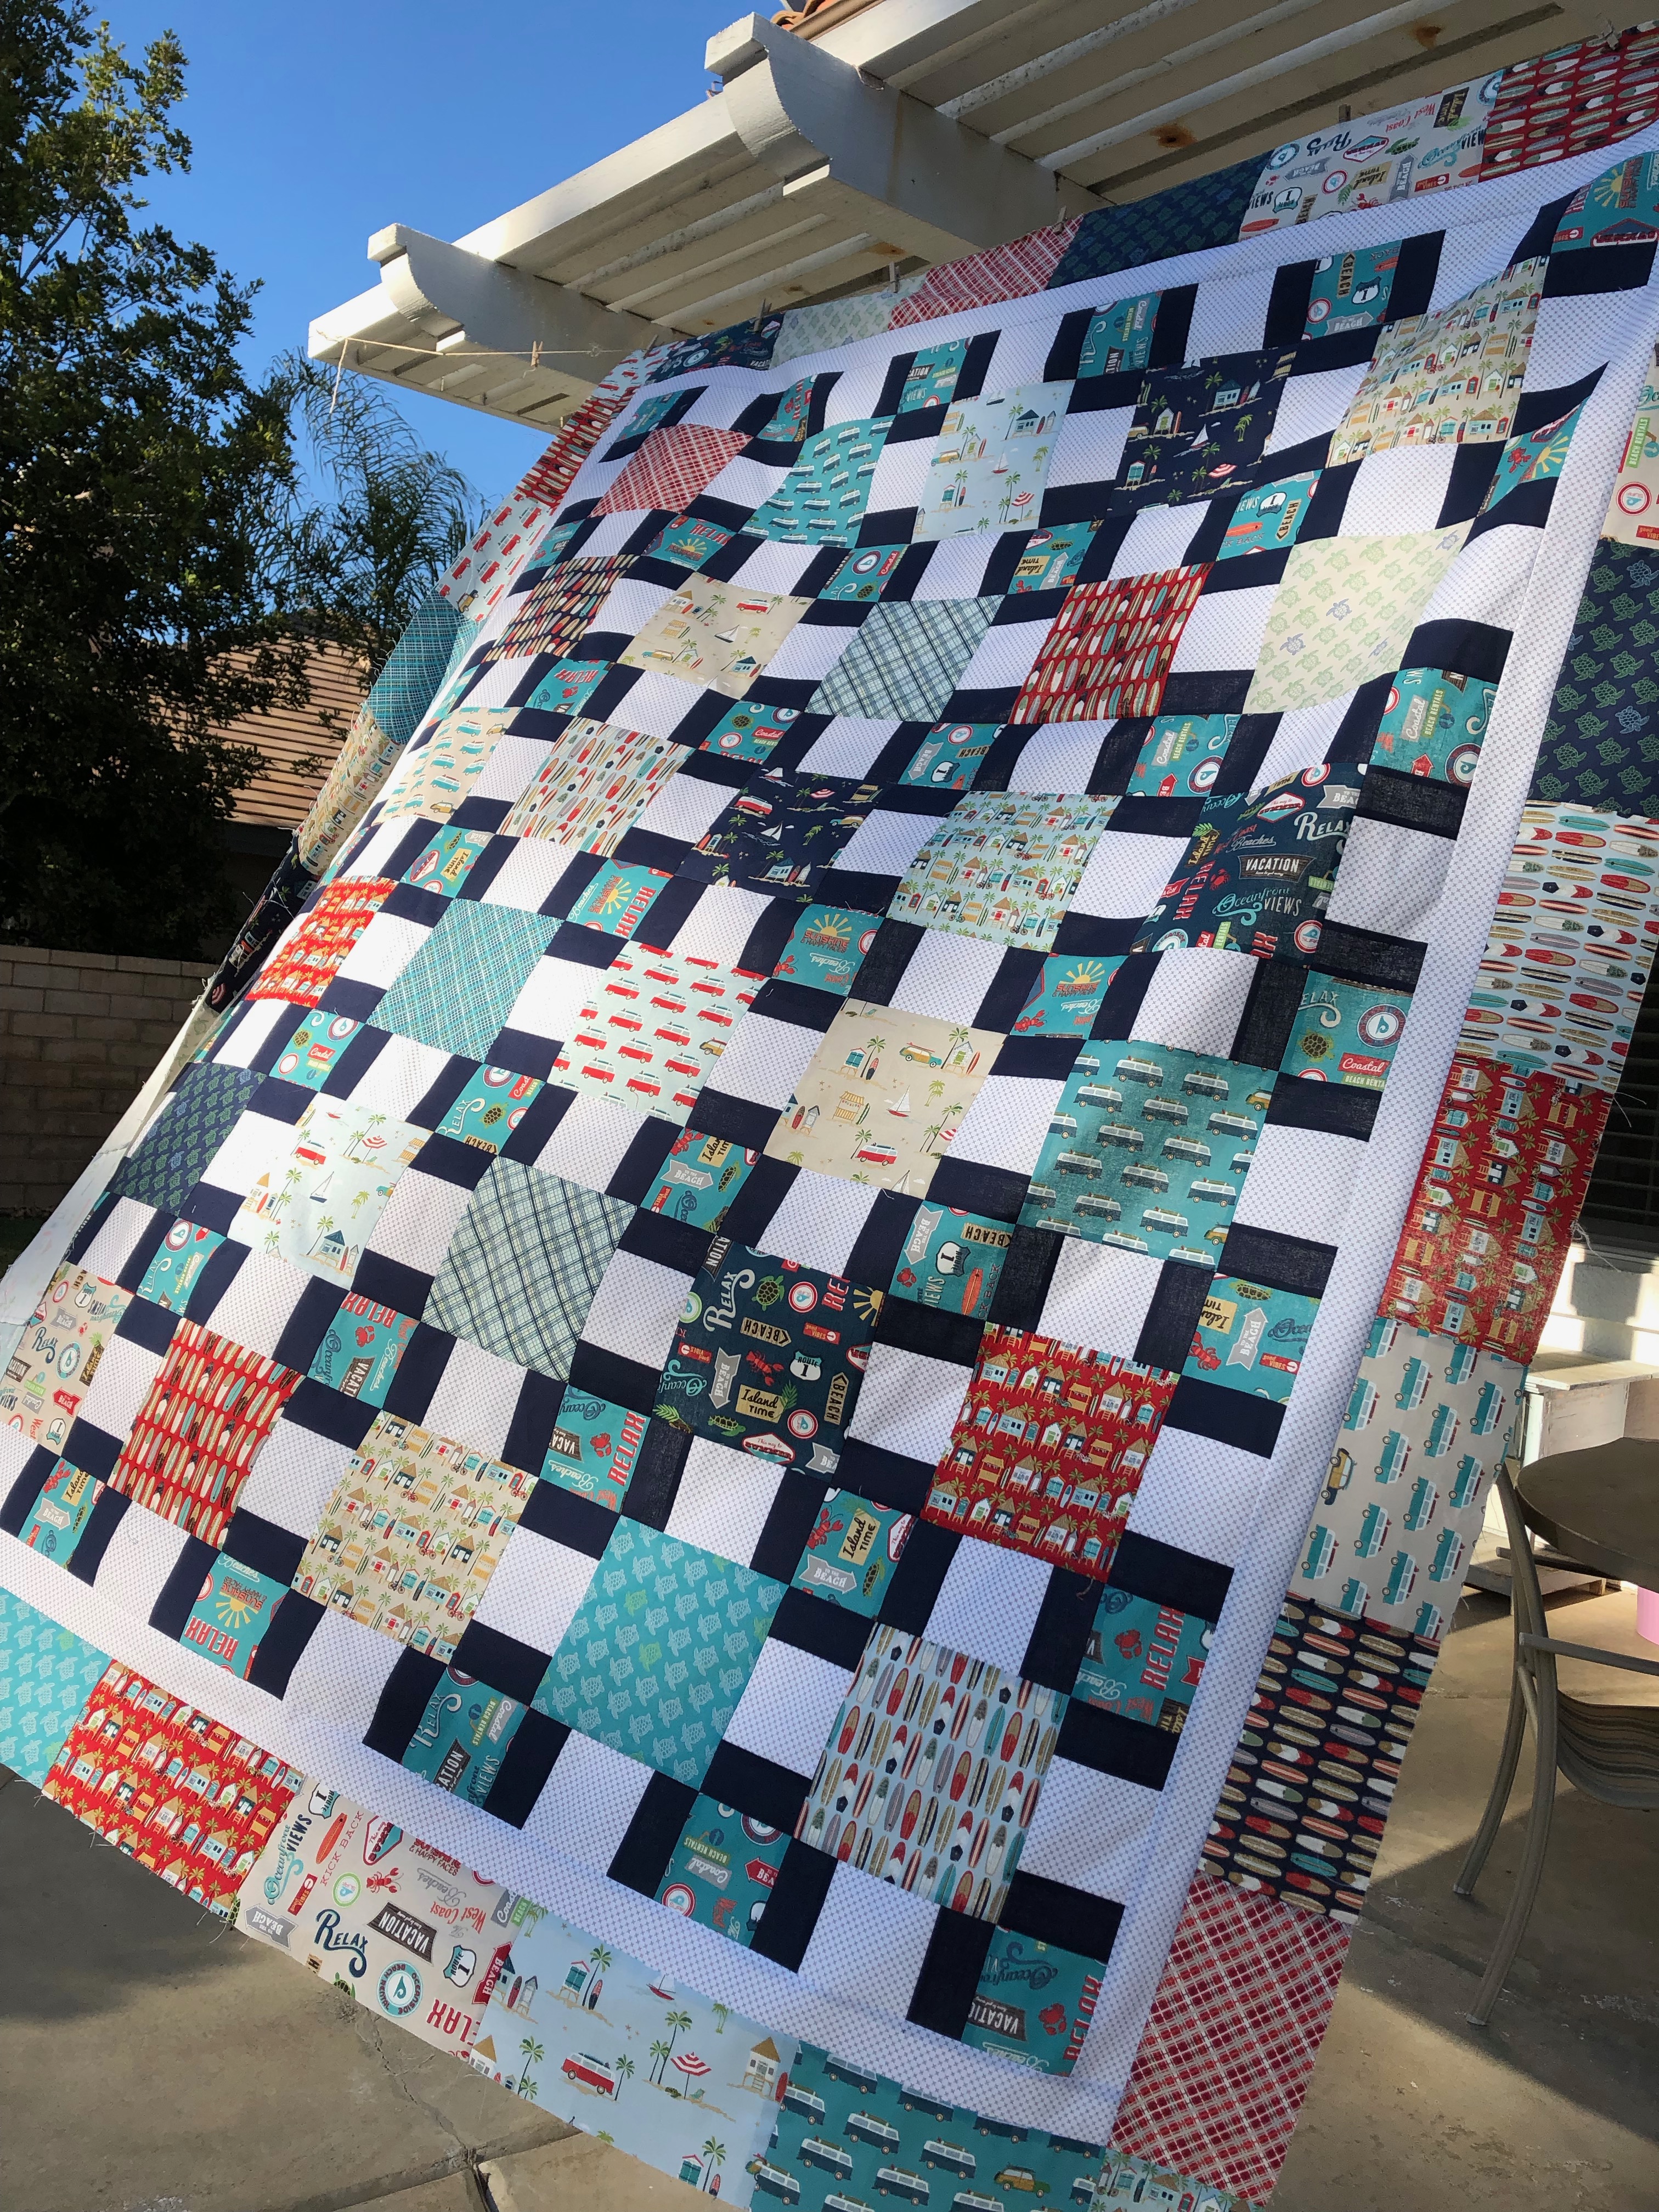
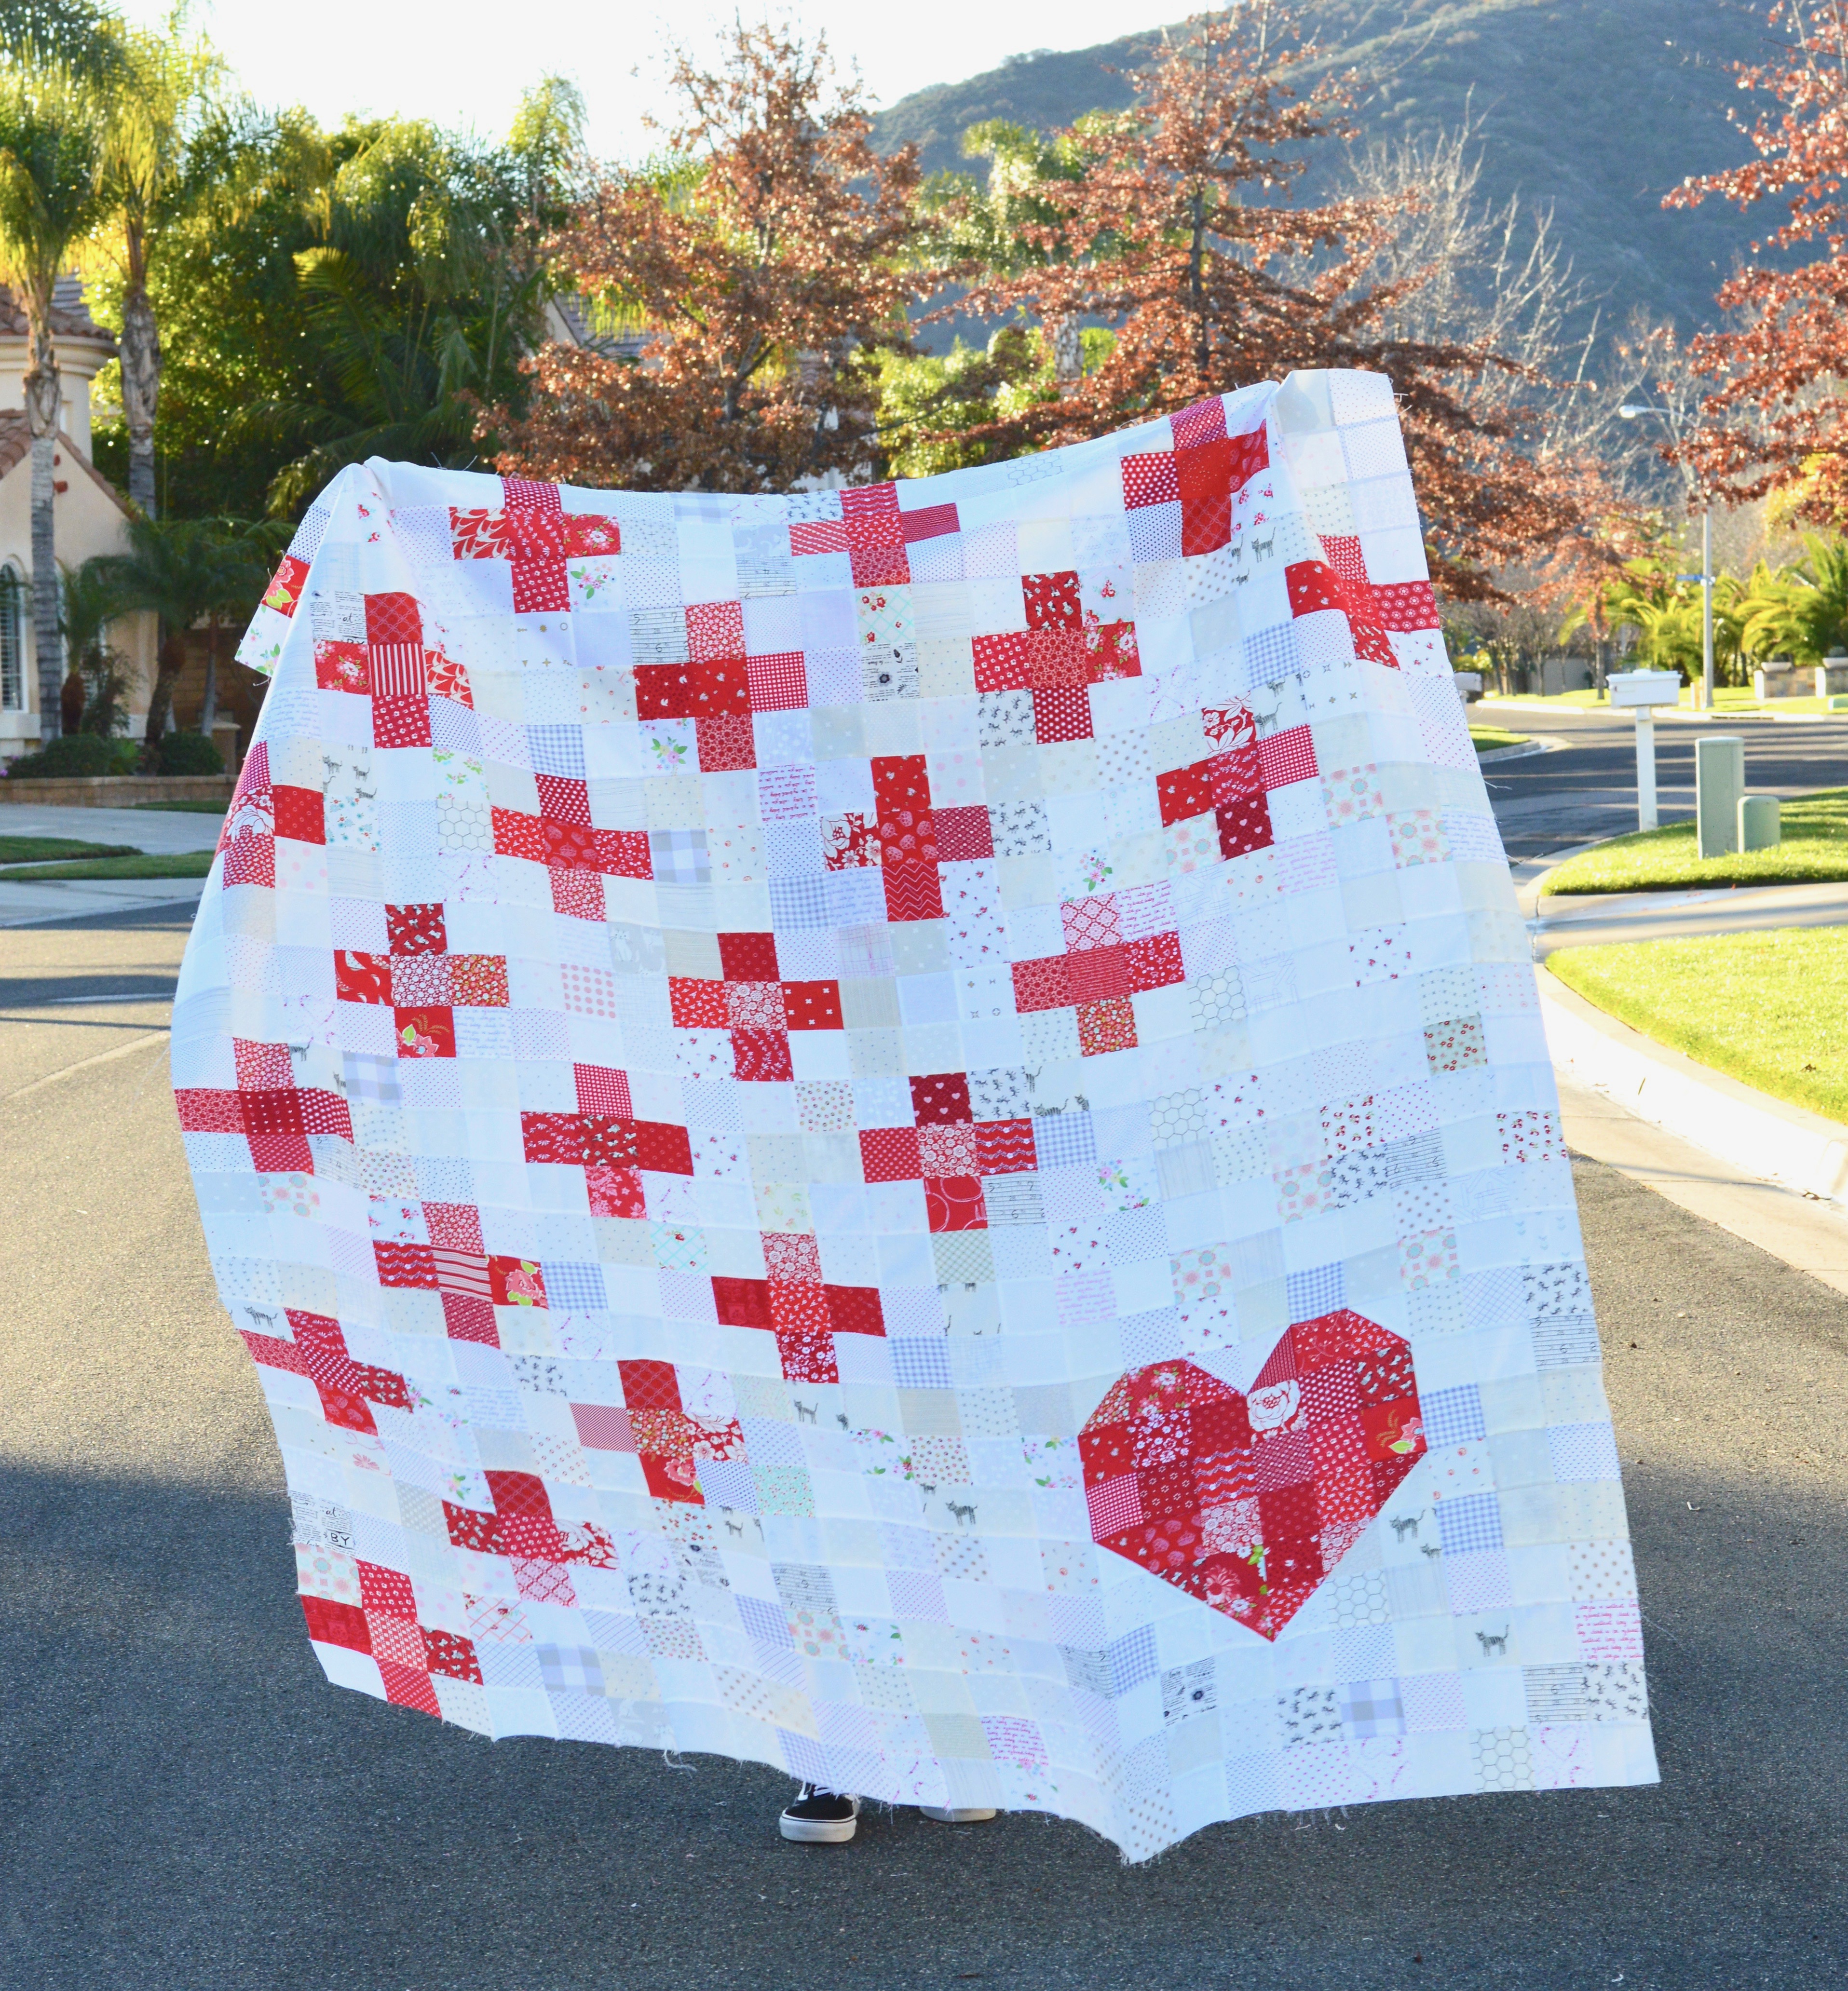
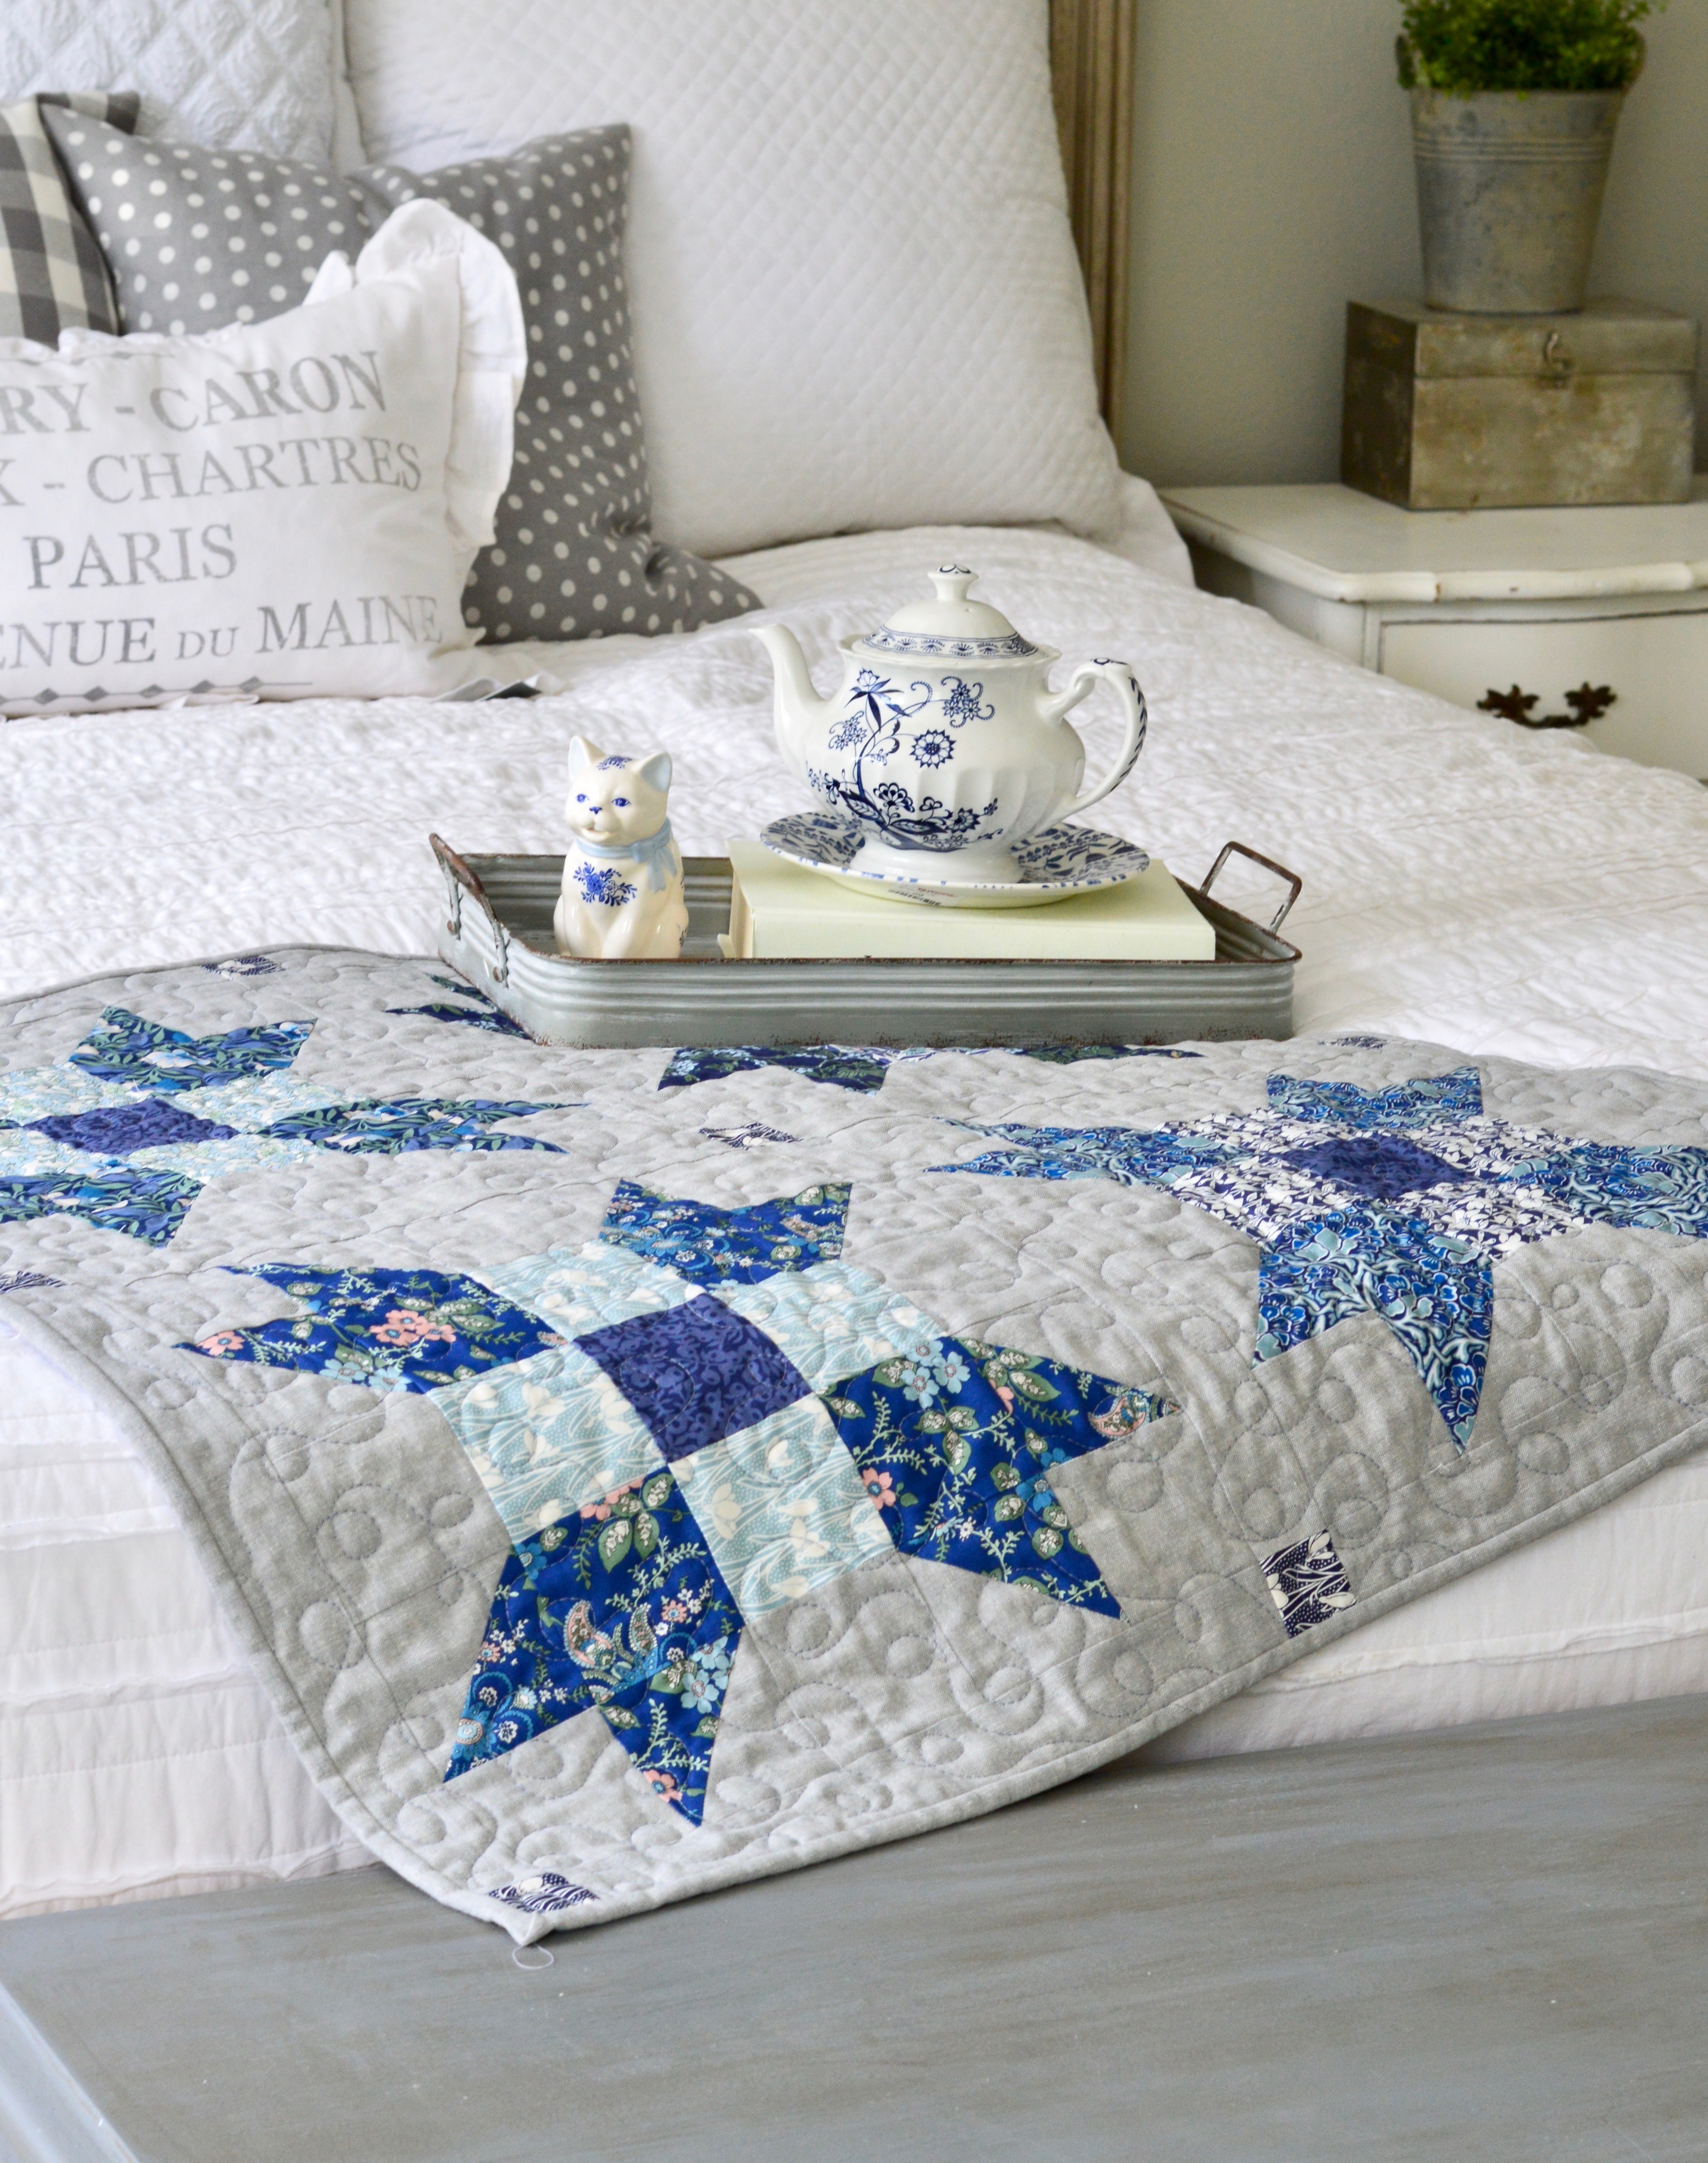
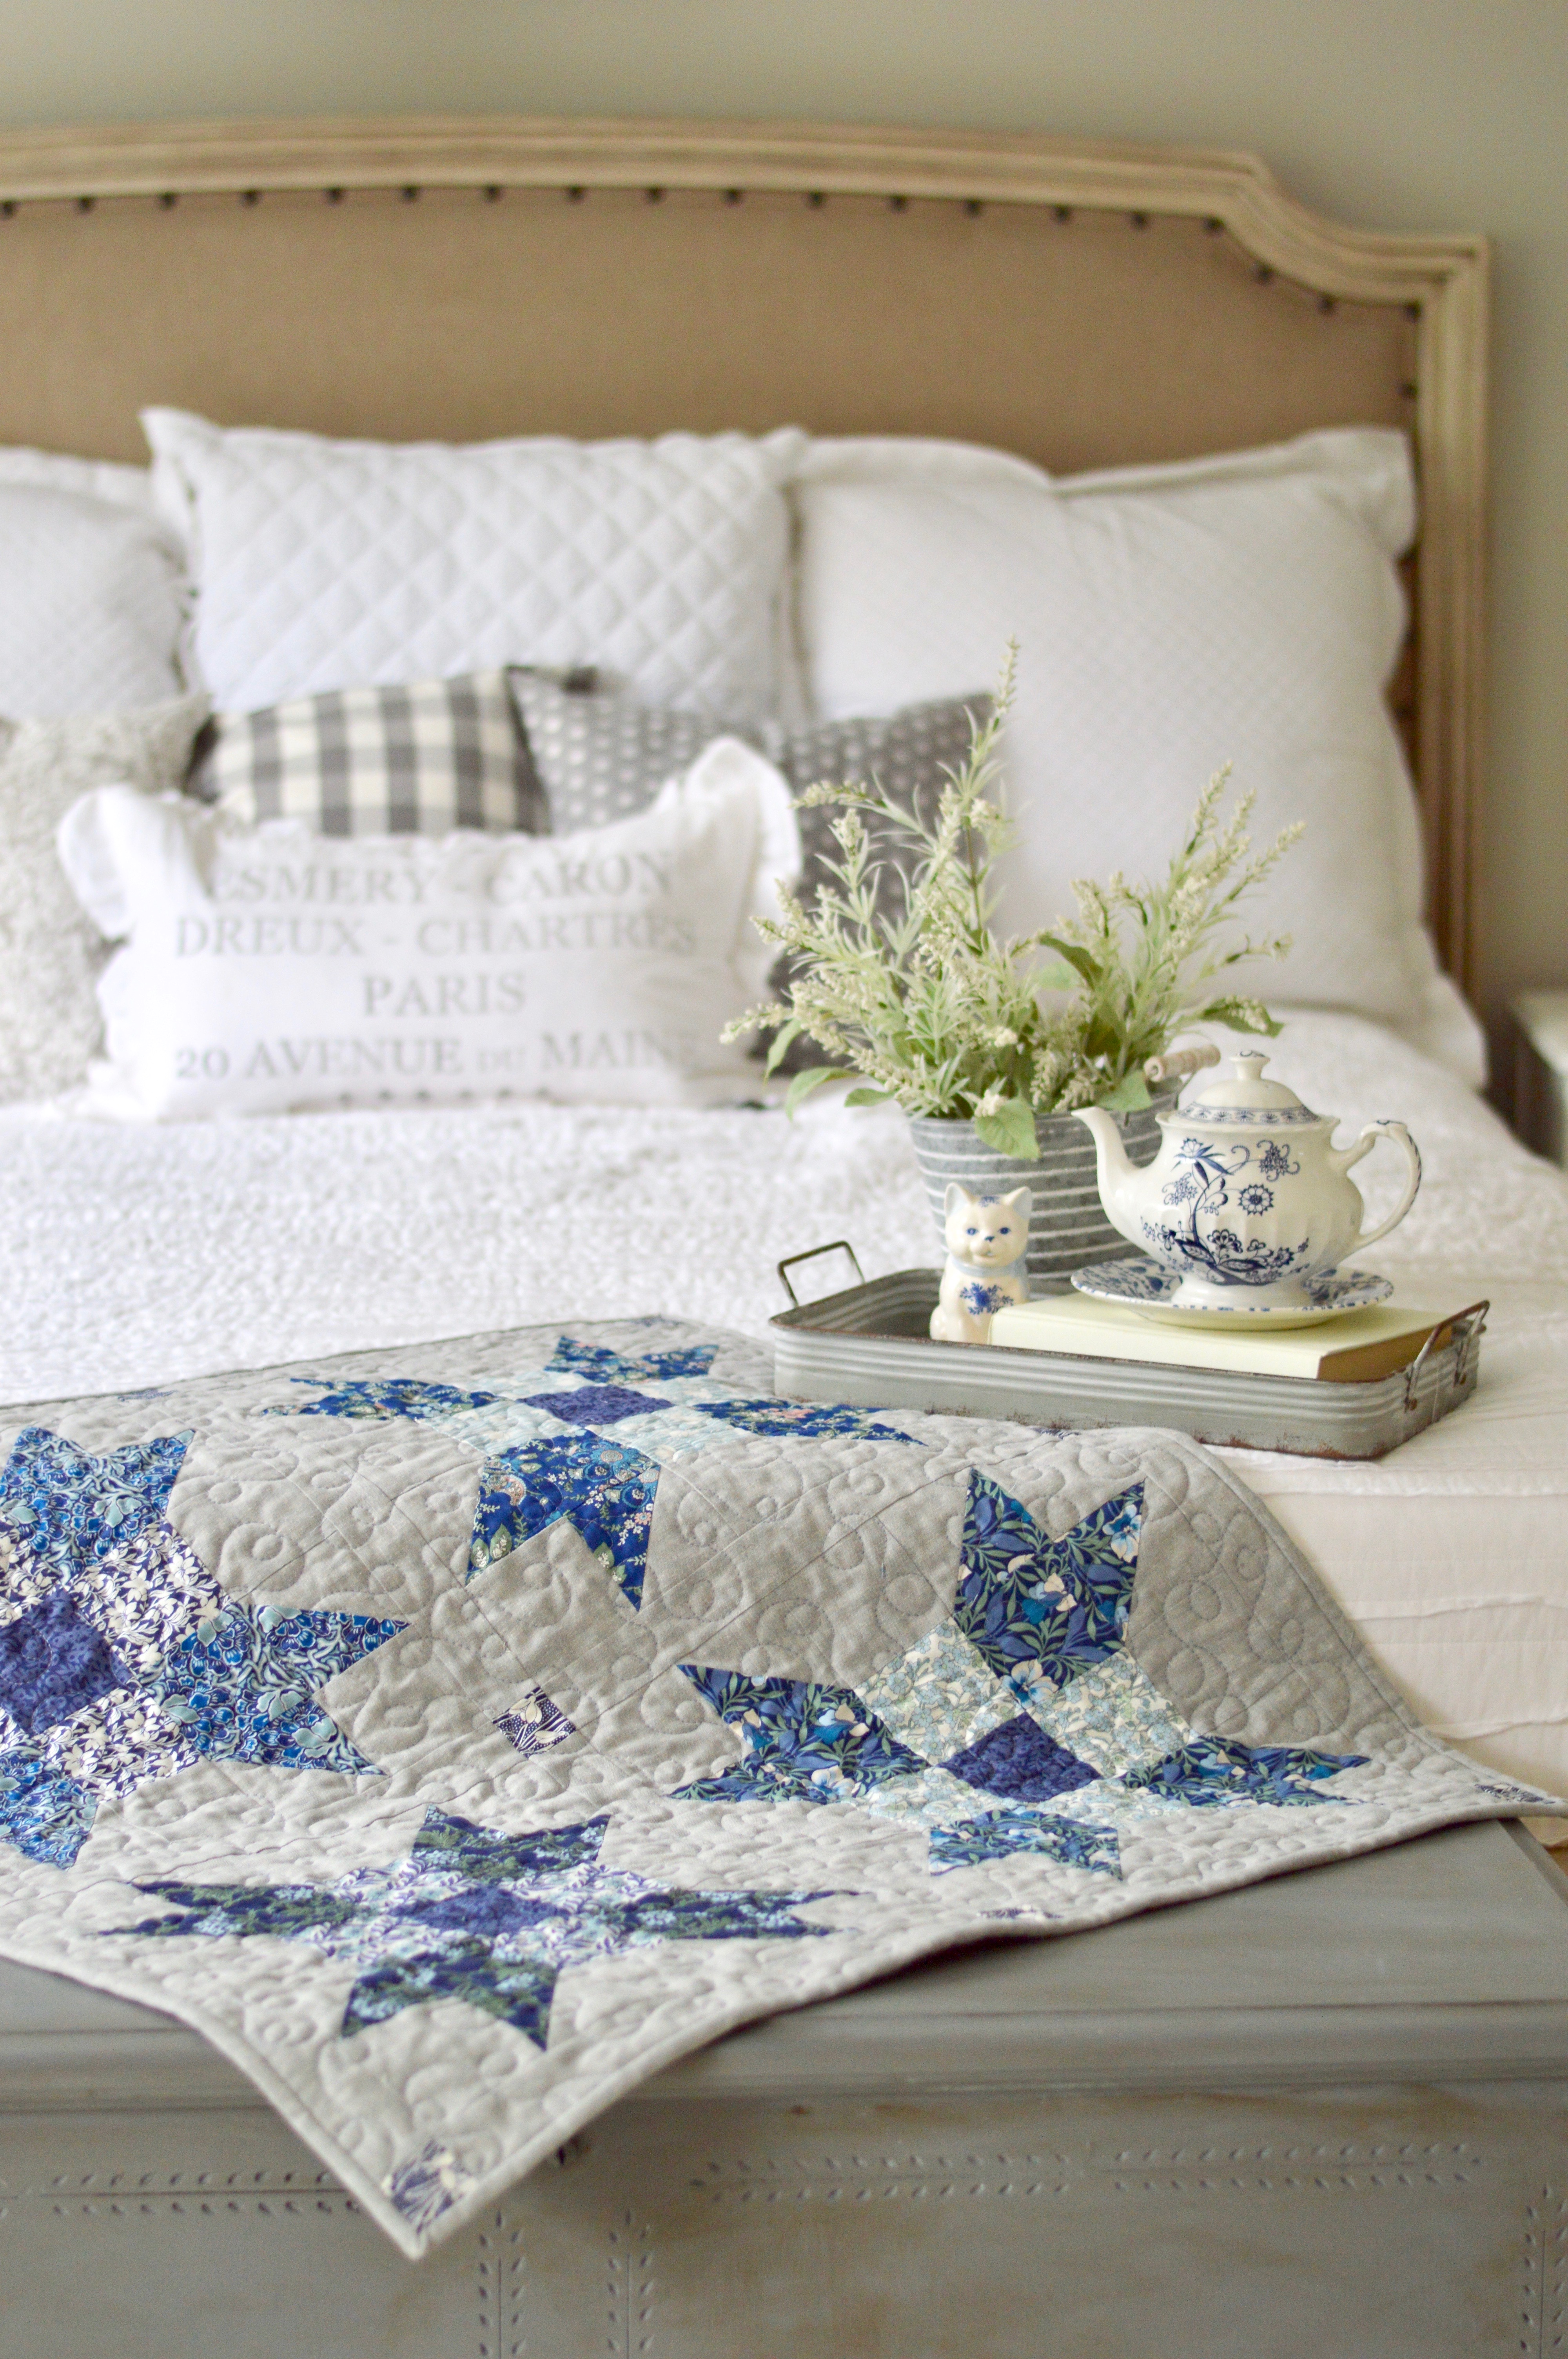
The finished quilt measures 59″ x 68″ which is exactly the right width for a minky backing!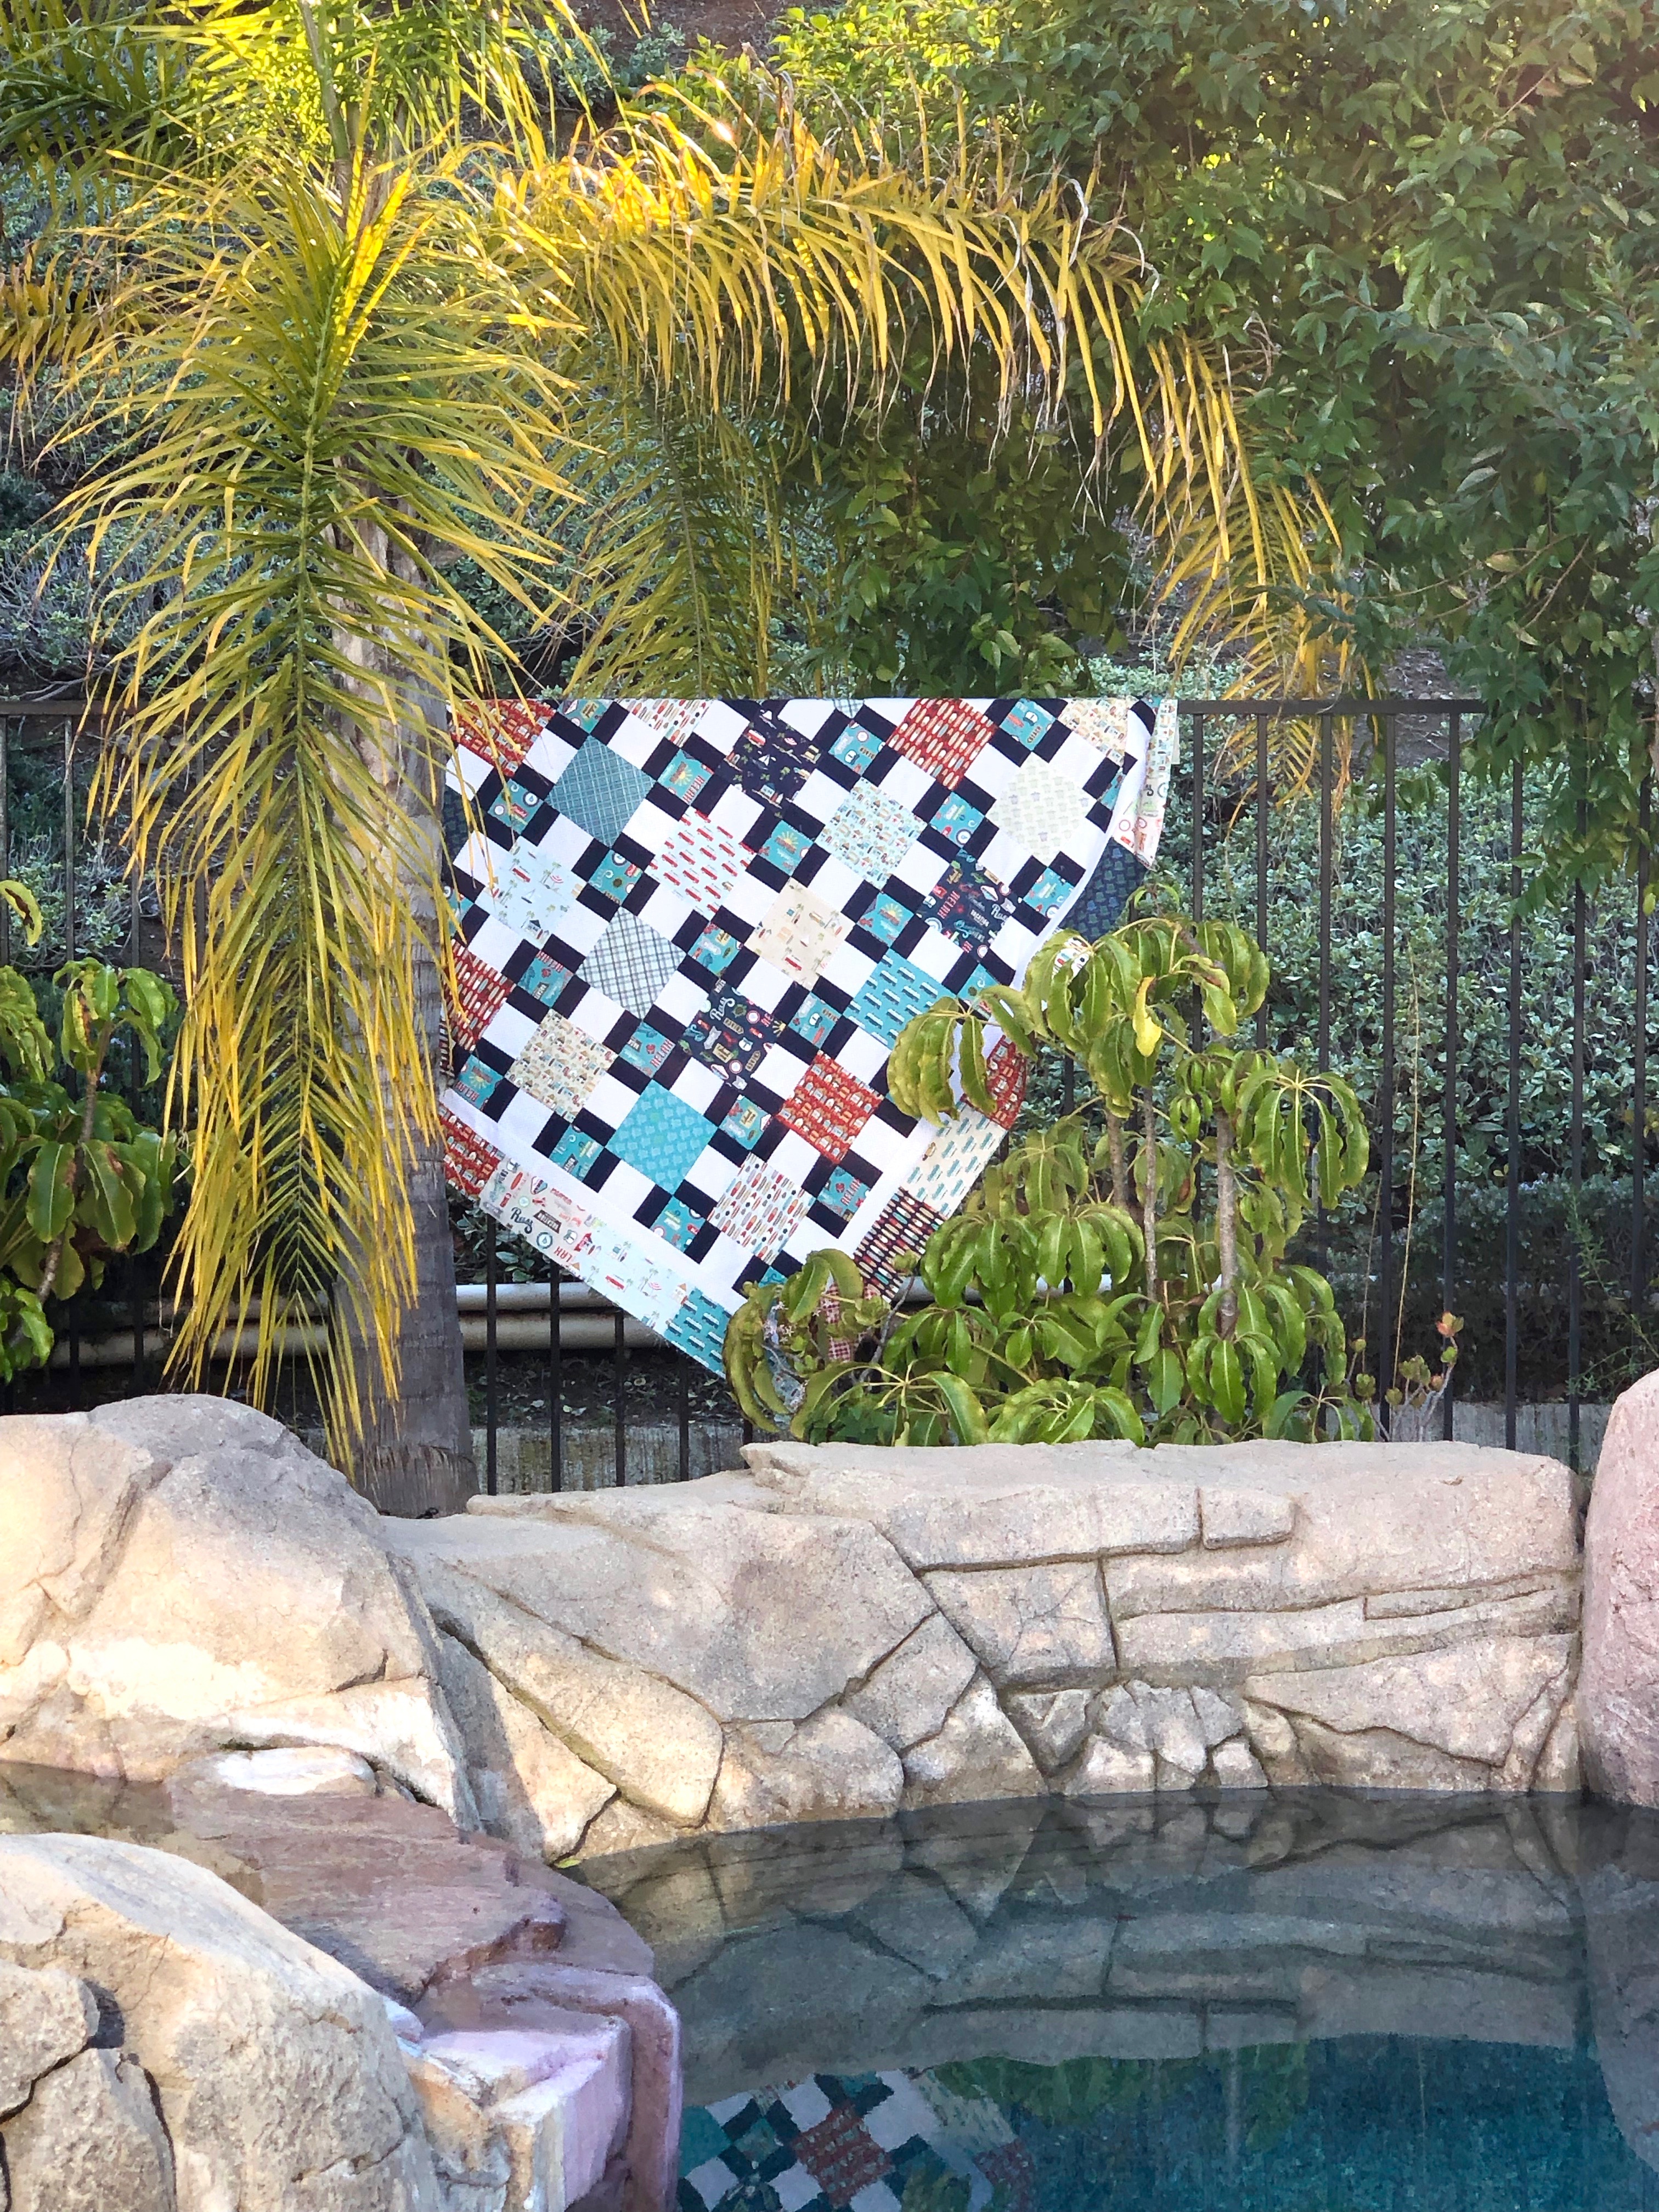
You can purchase the PDF quilt pattern in my Etsy shop for instant download. This pattern is versatile enough to use with any theme print fabrics you love.
I can’t wait to get this quilted! It’s going to be amazing! I am so ready for summer!!!

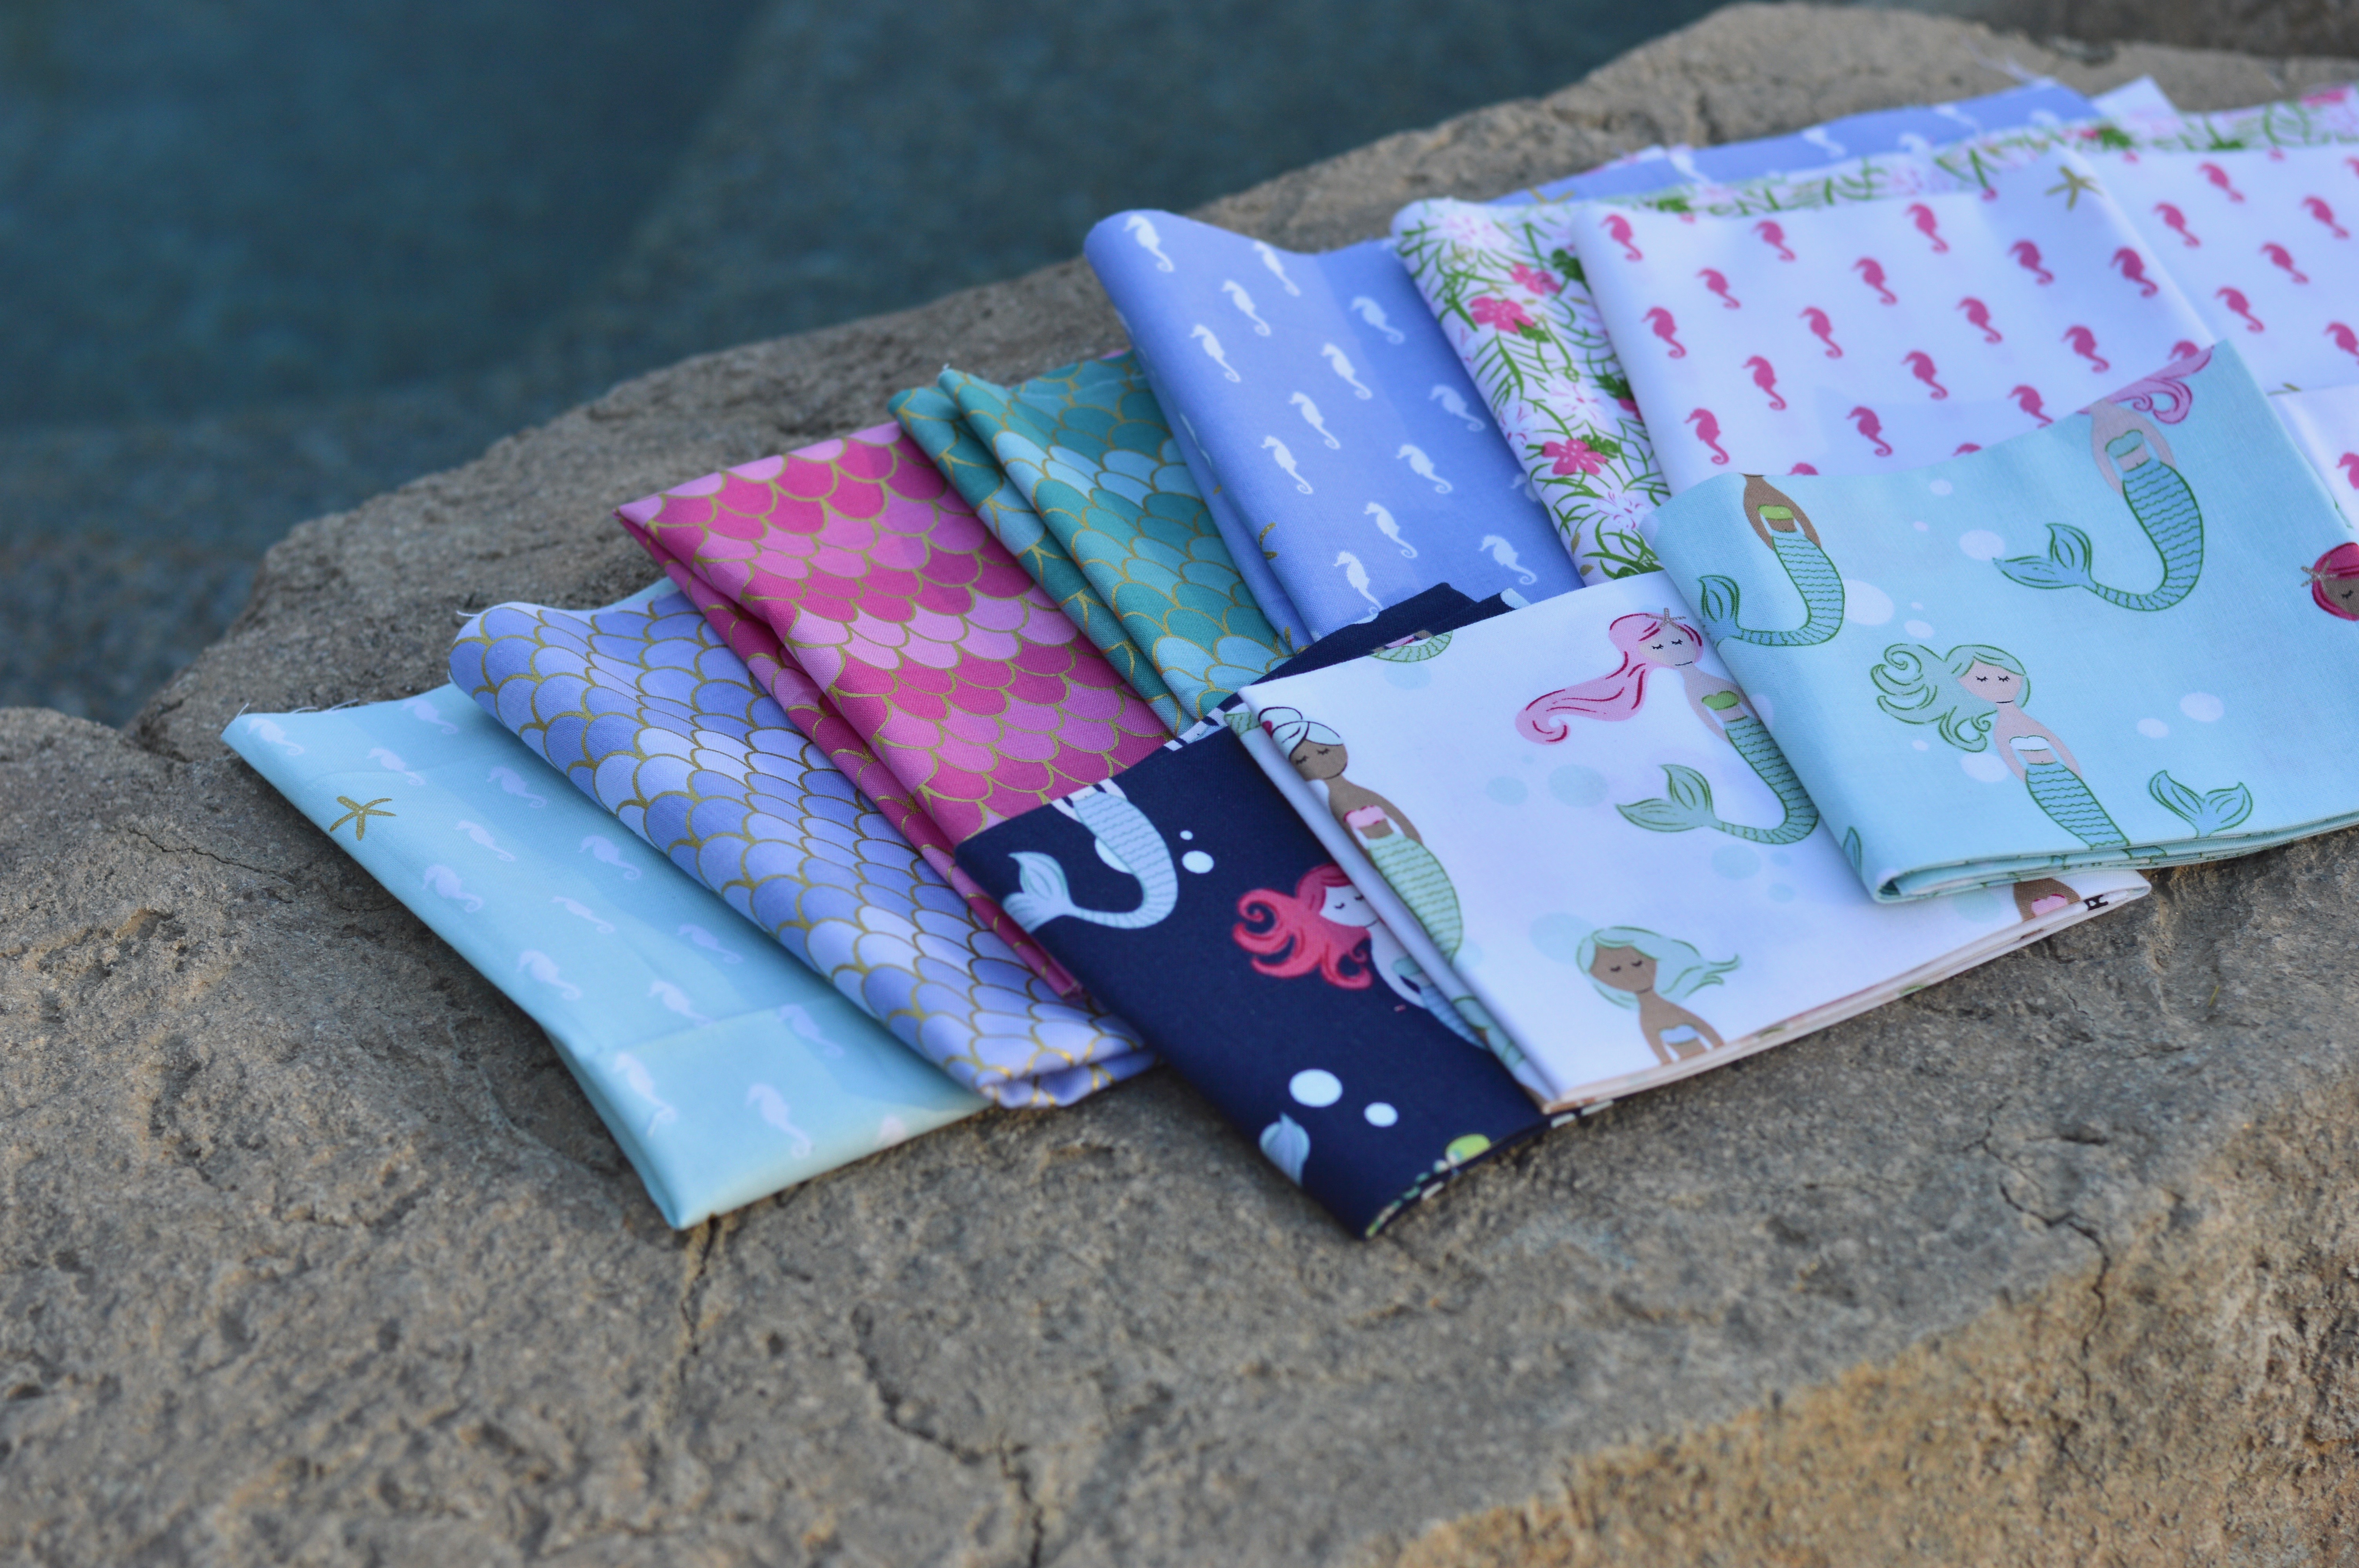
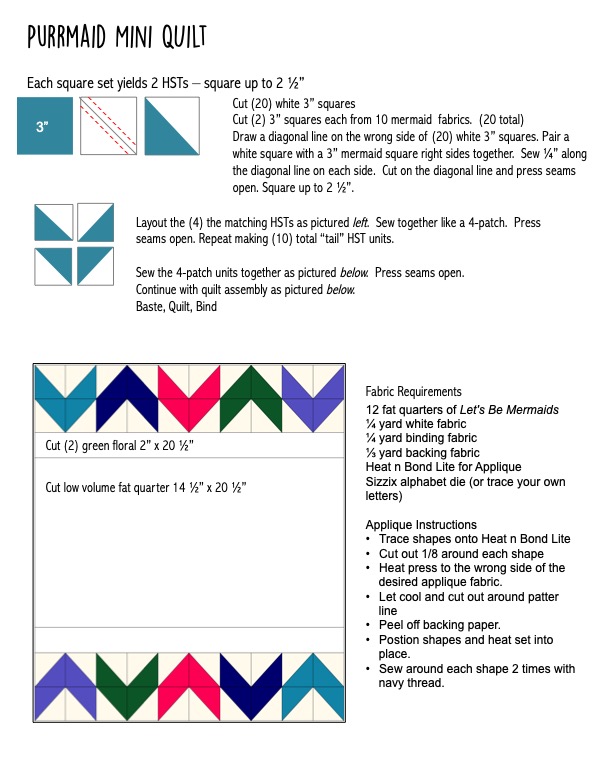
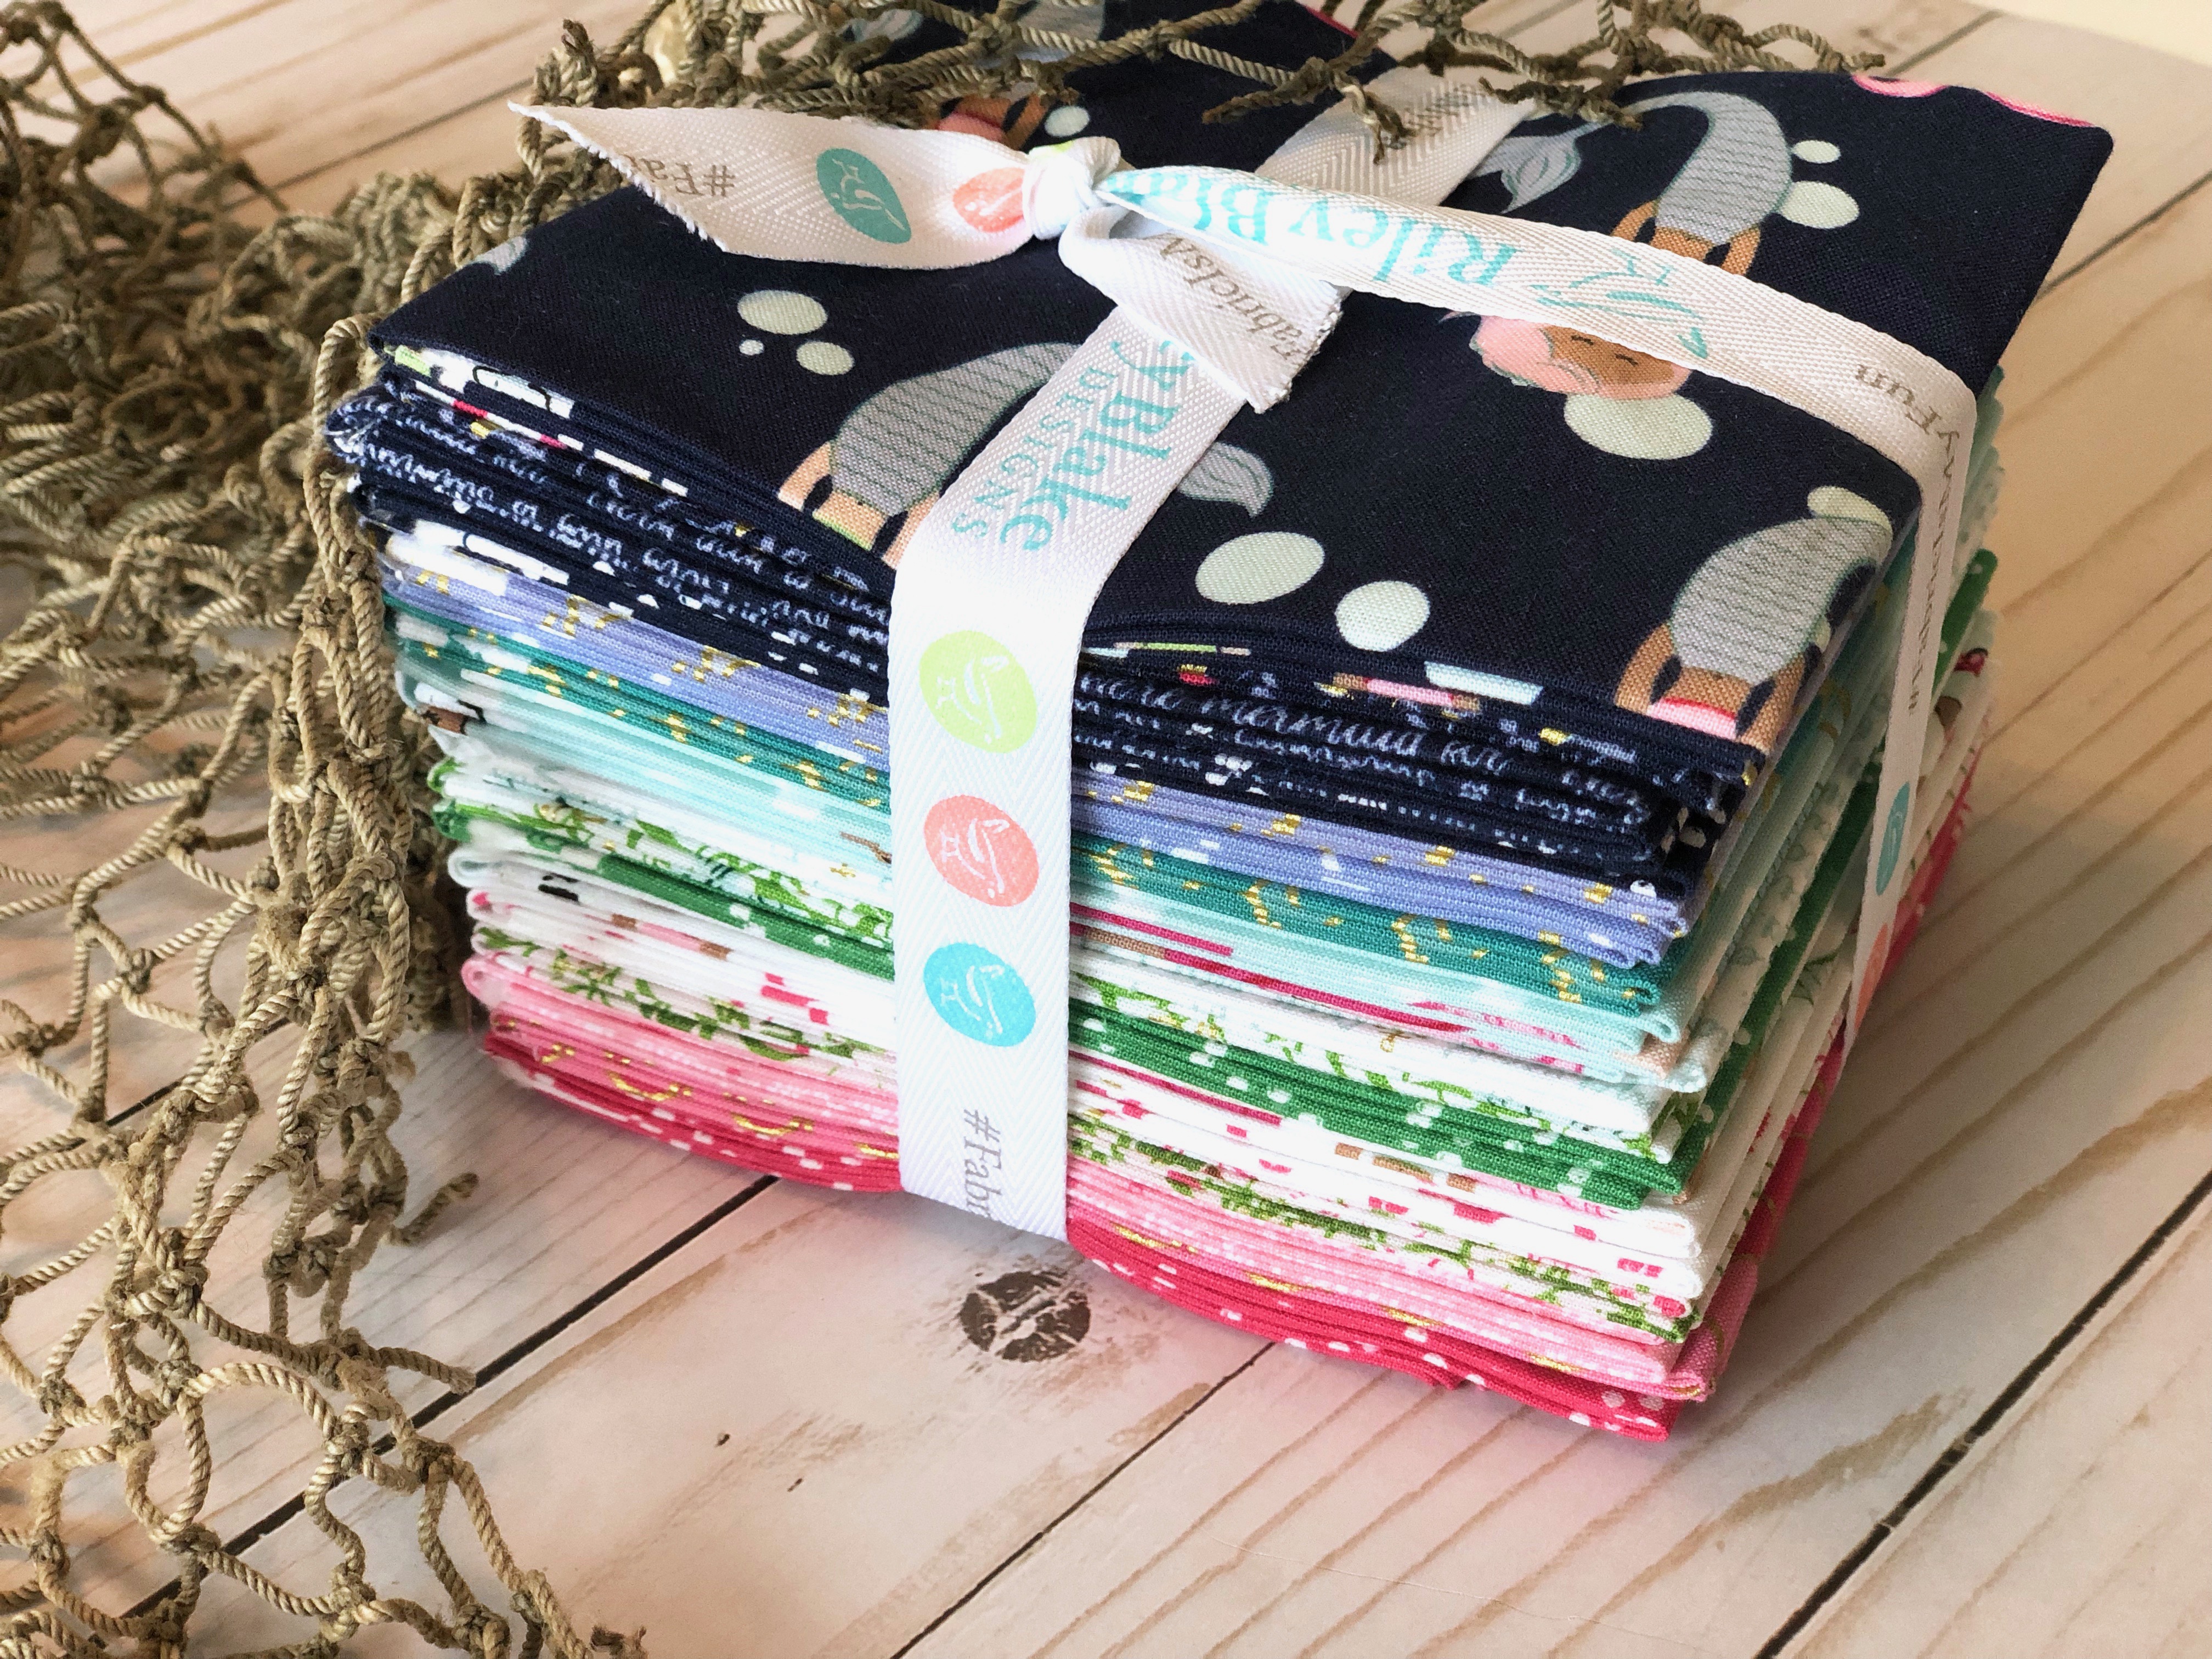
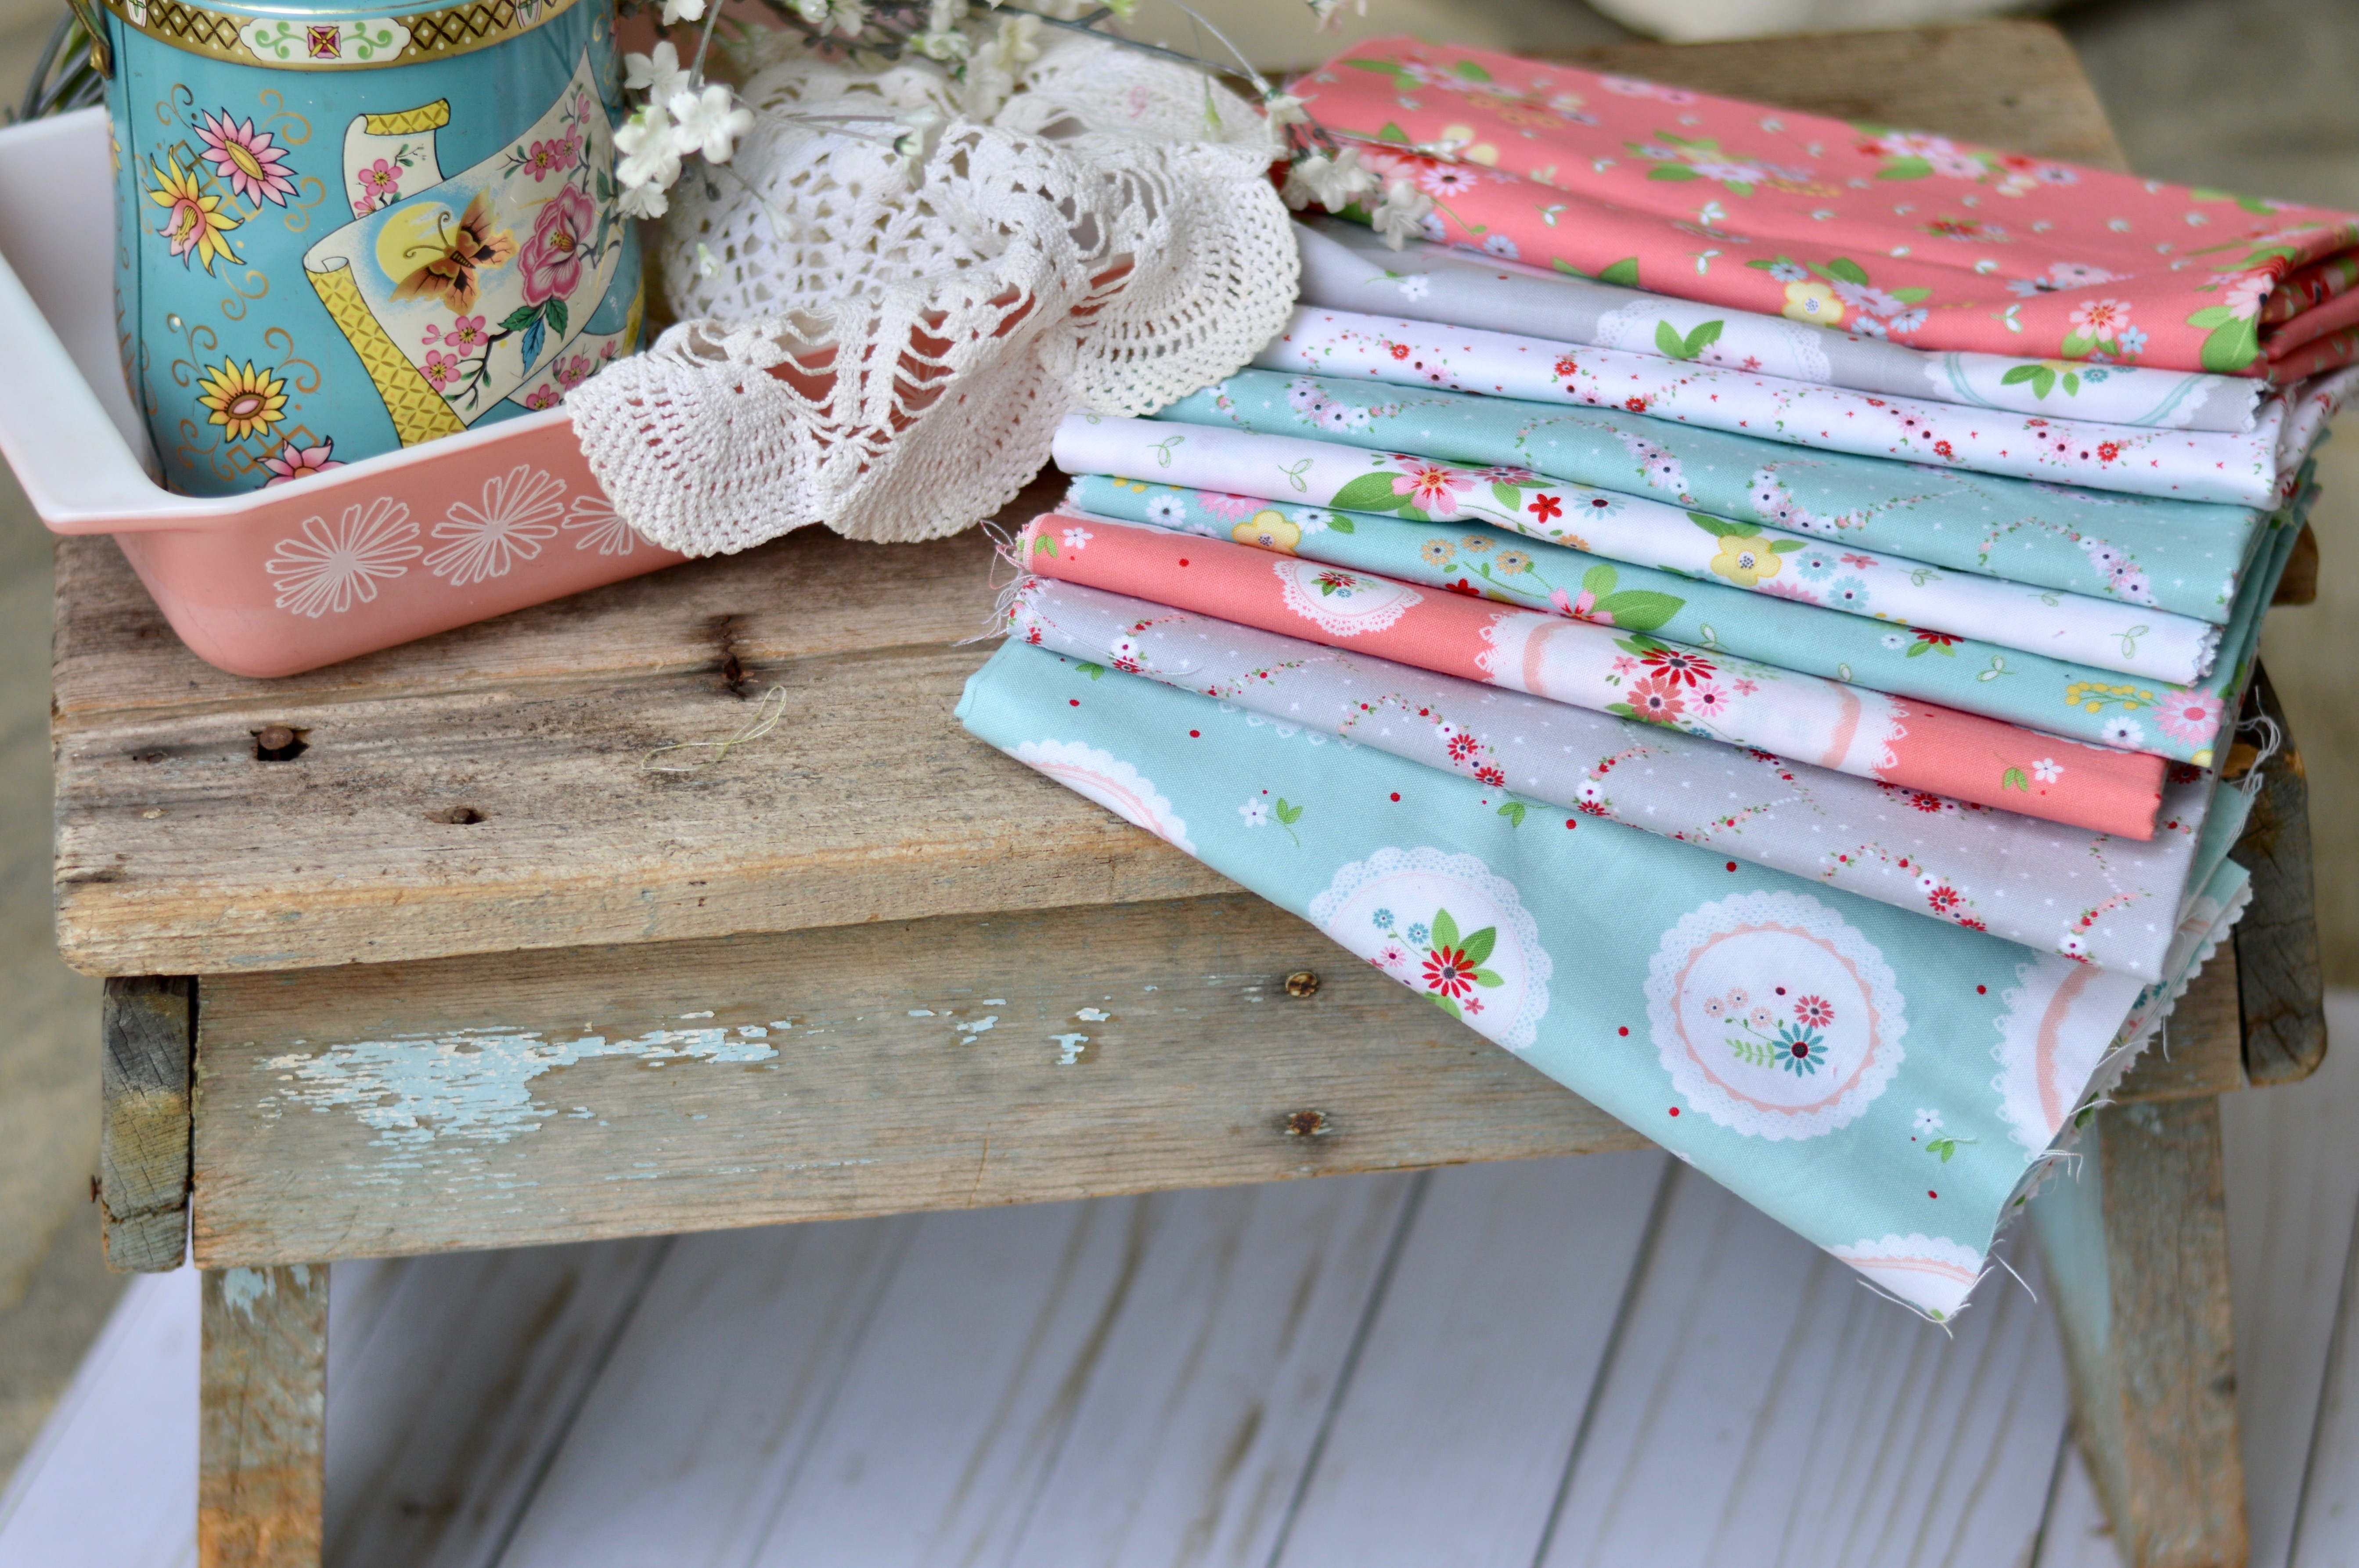
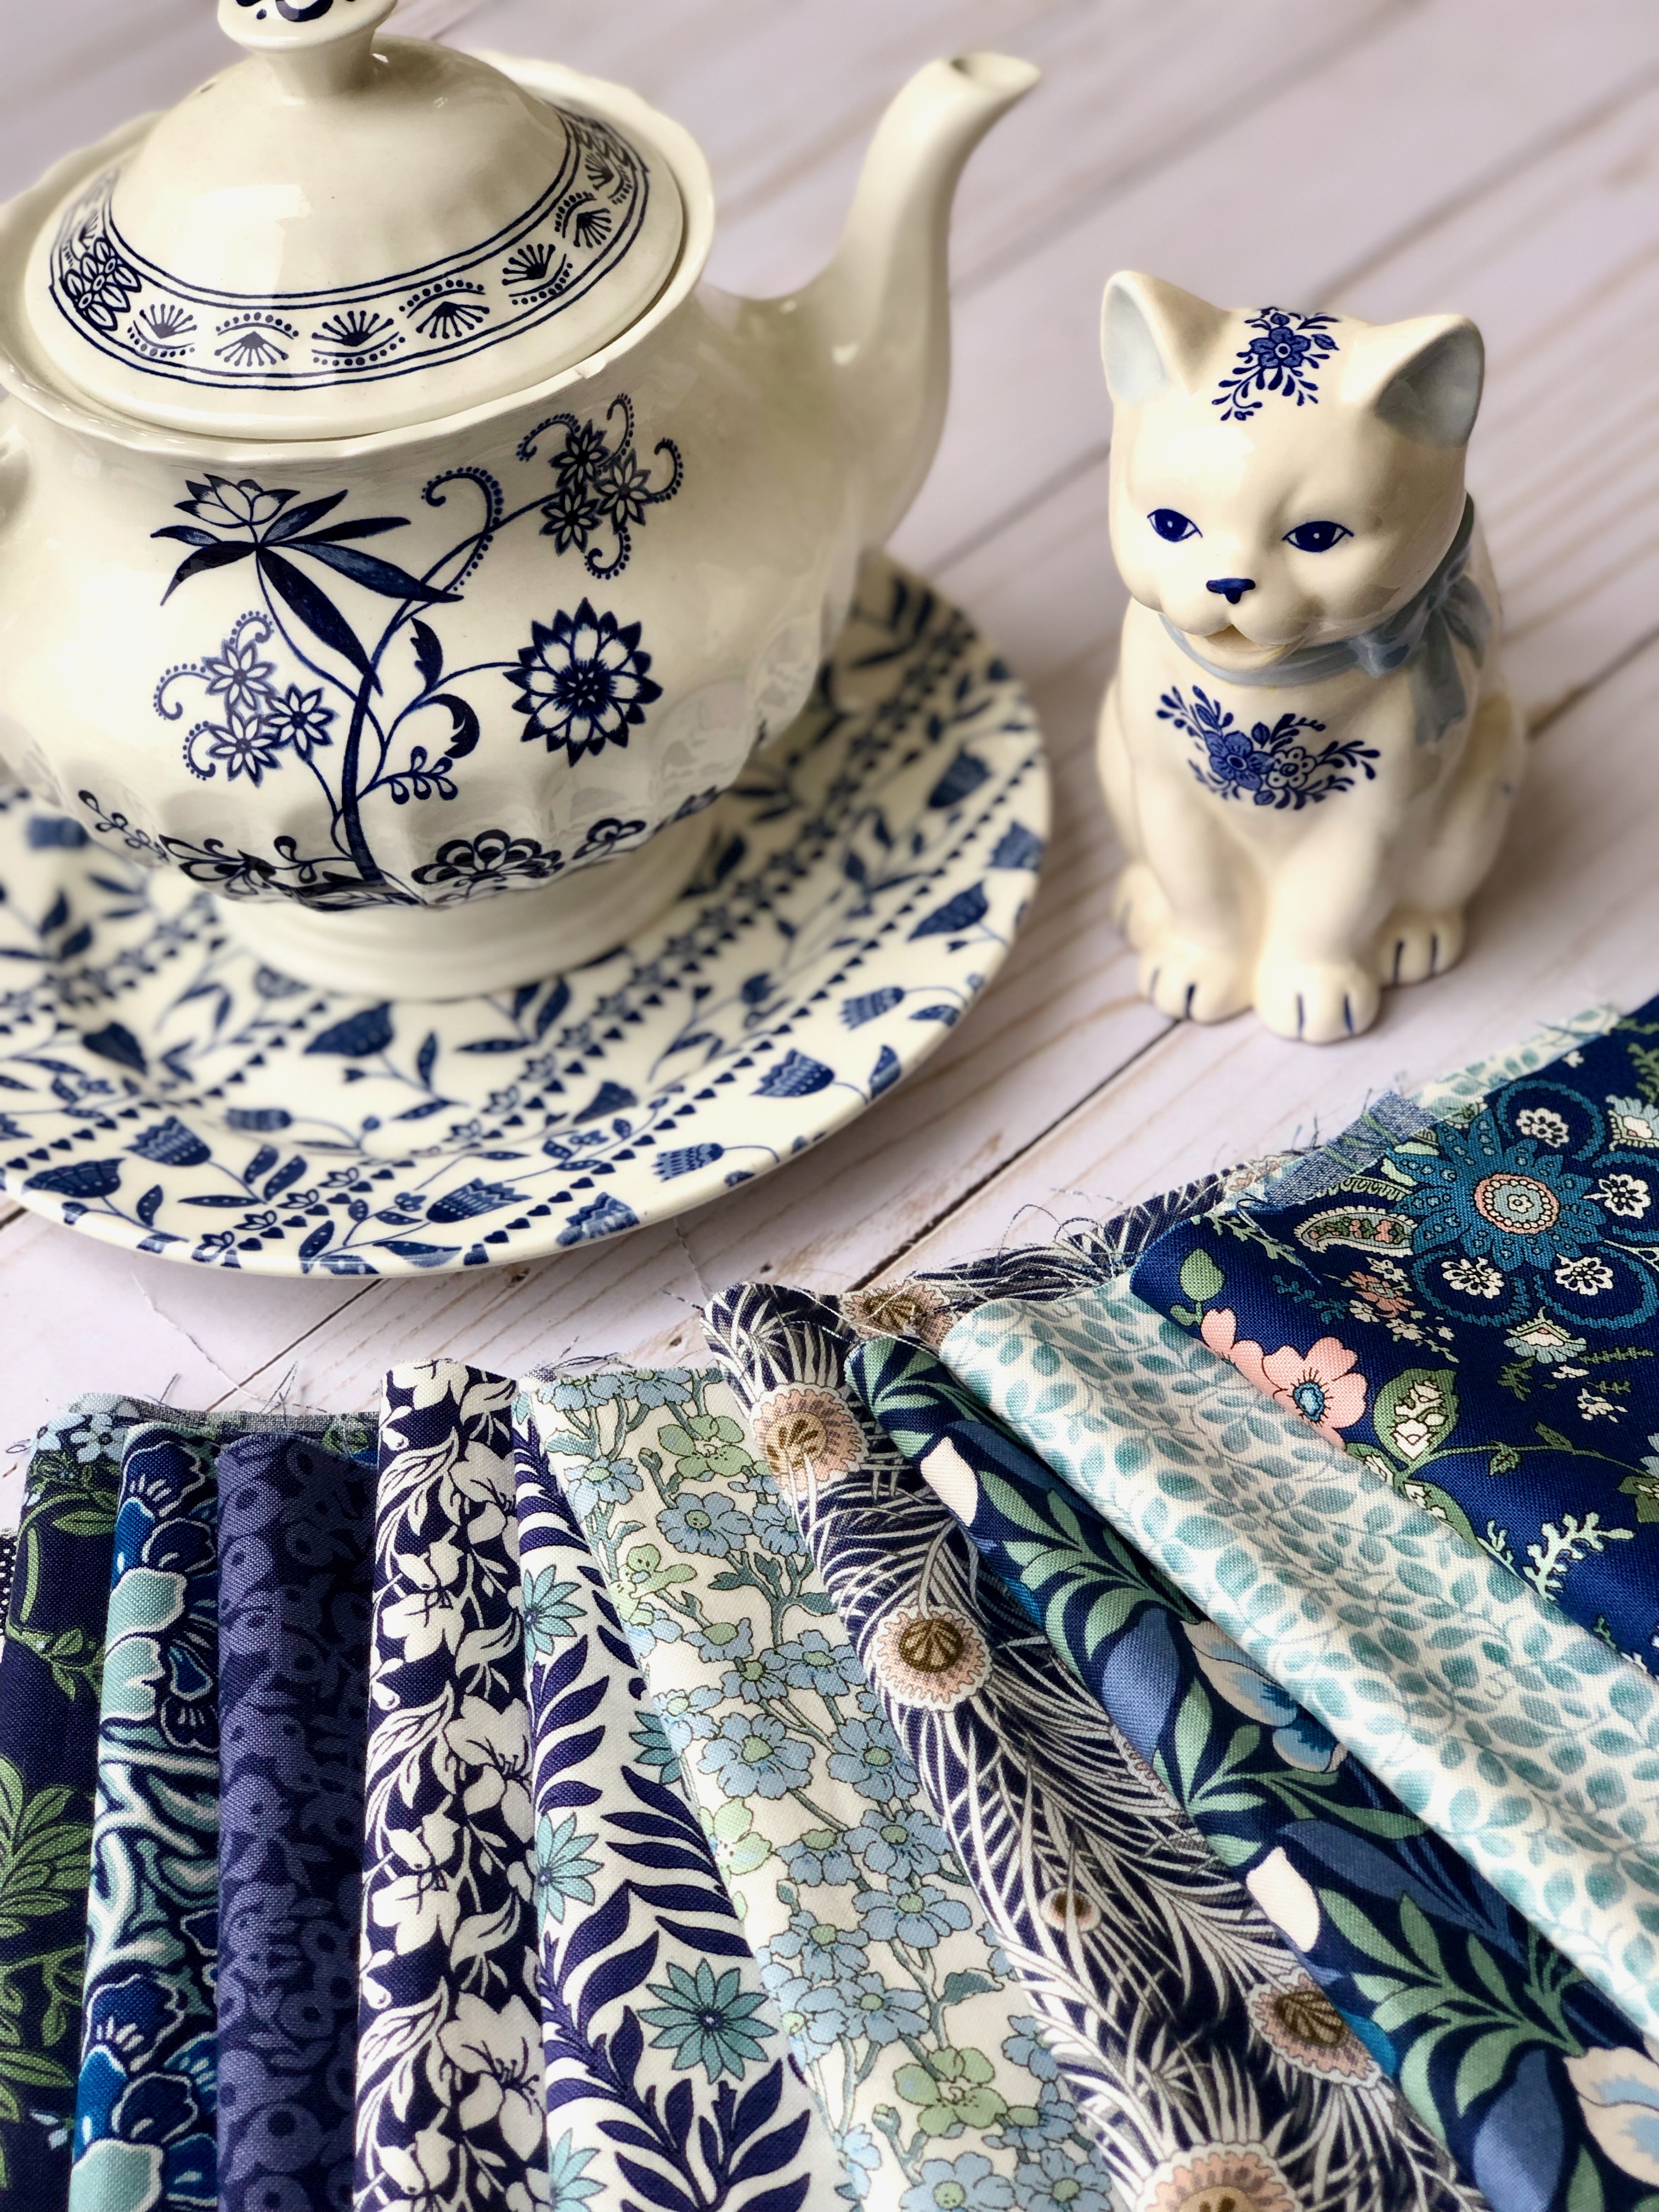
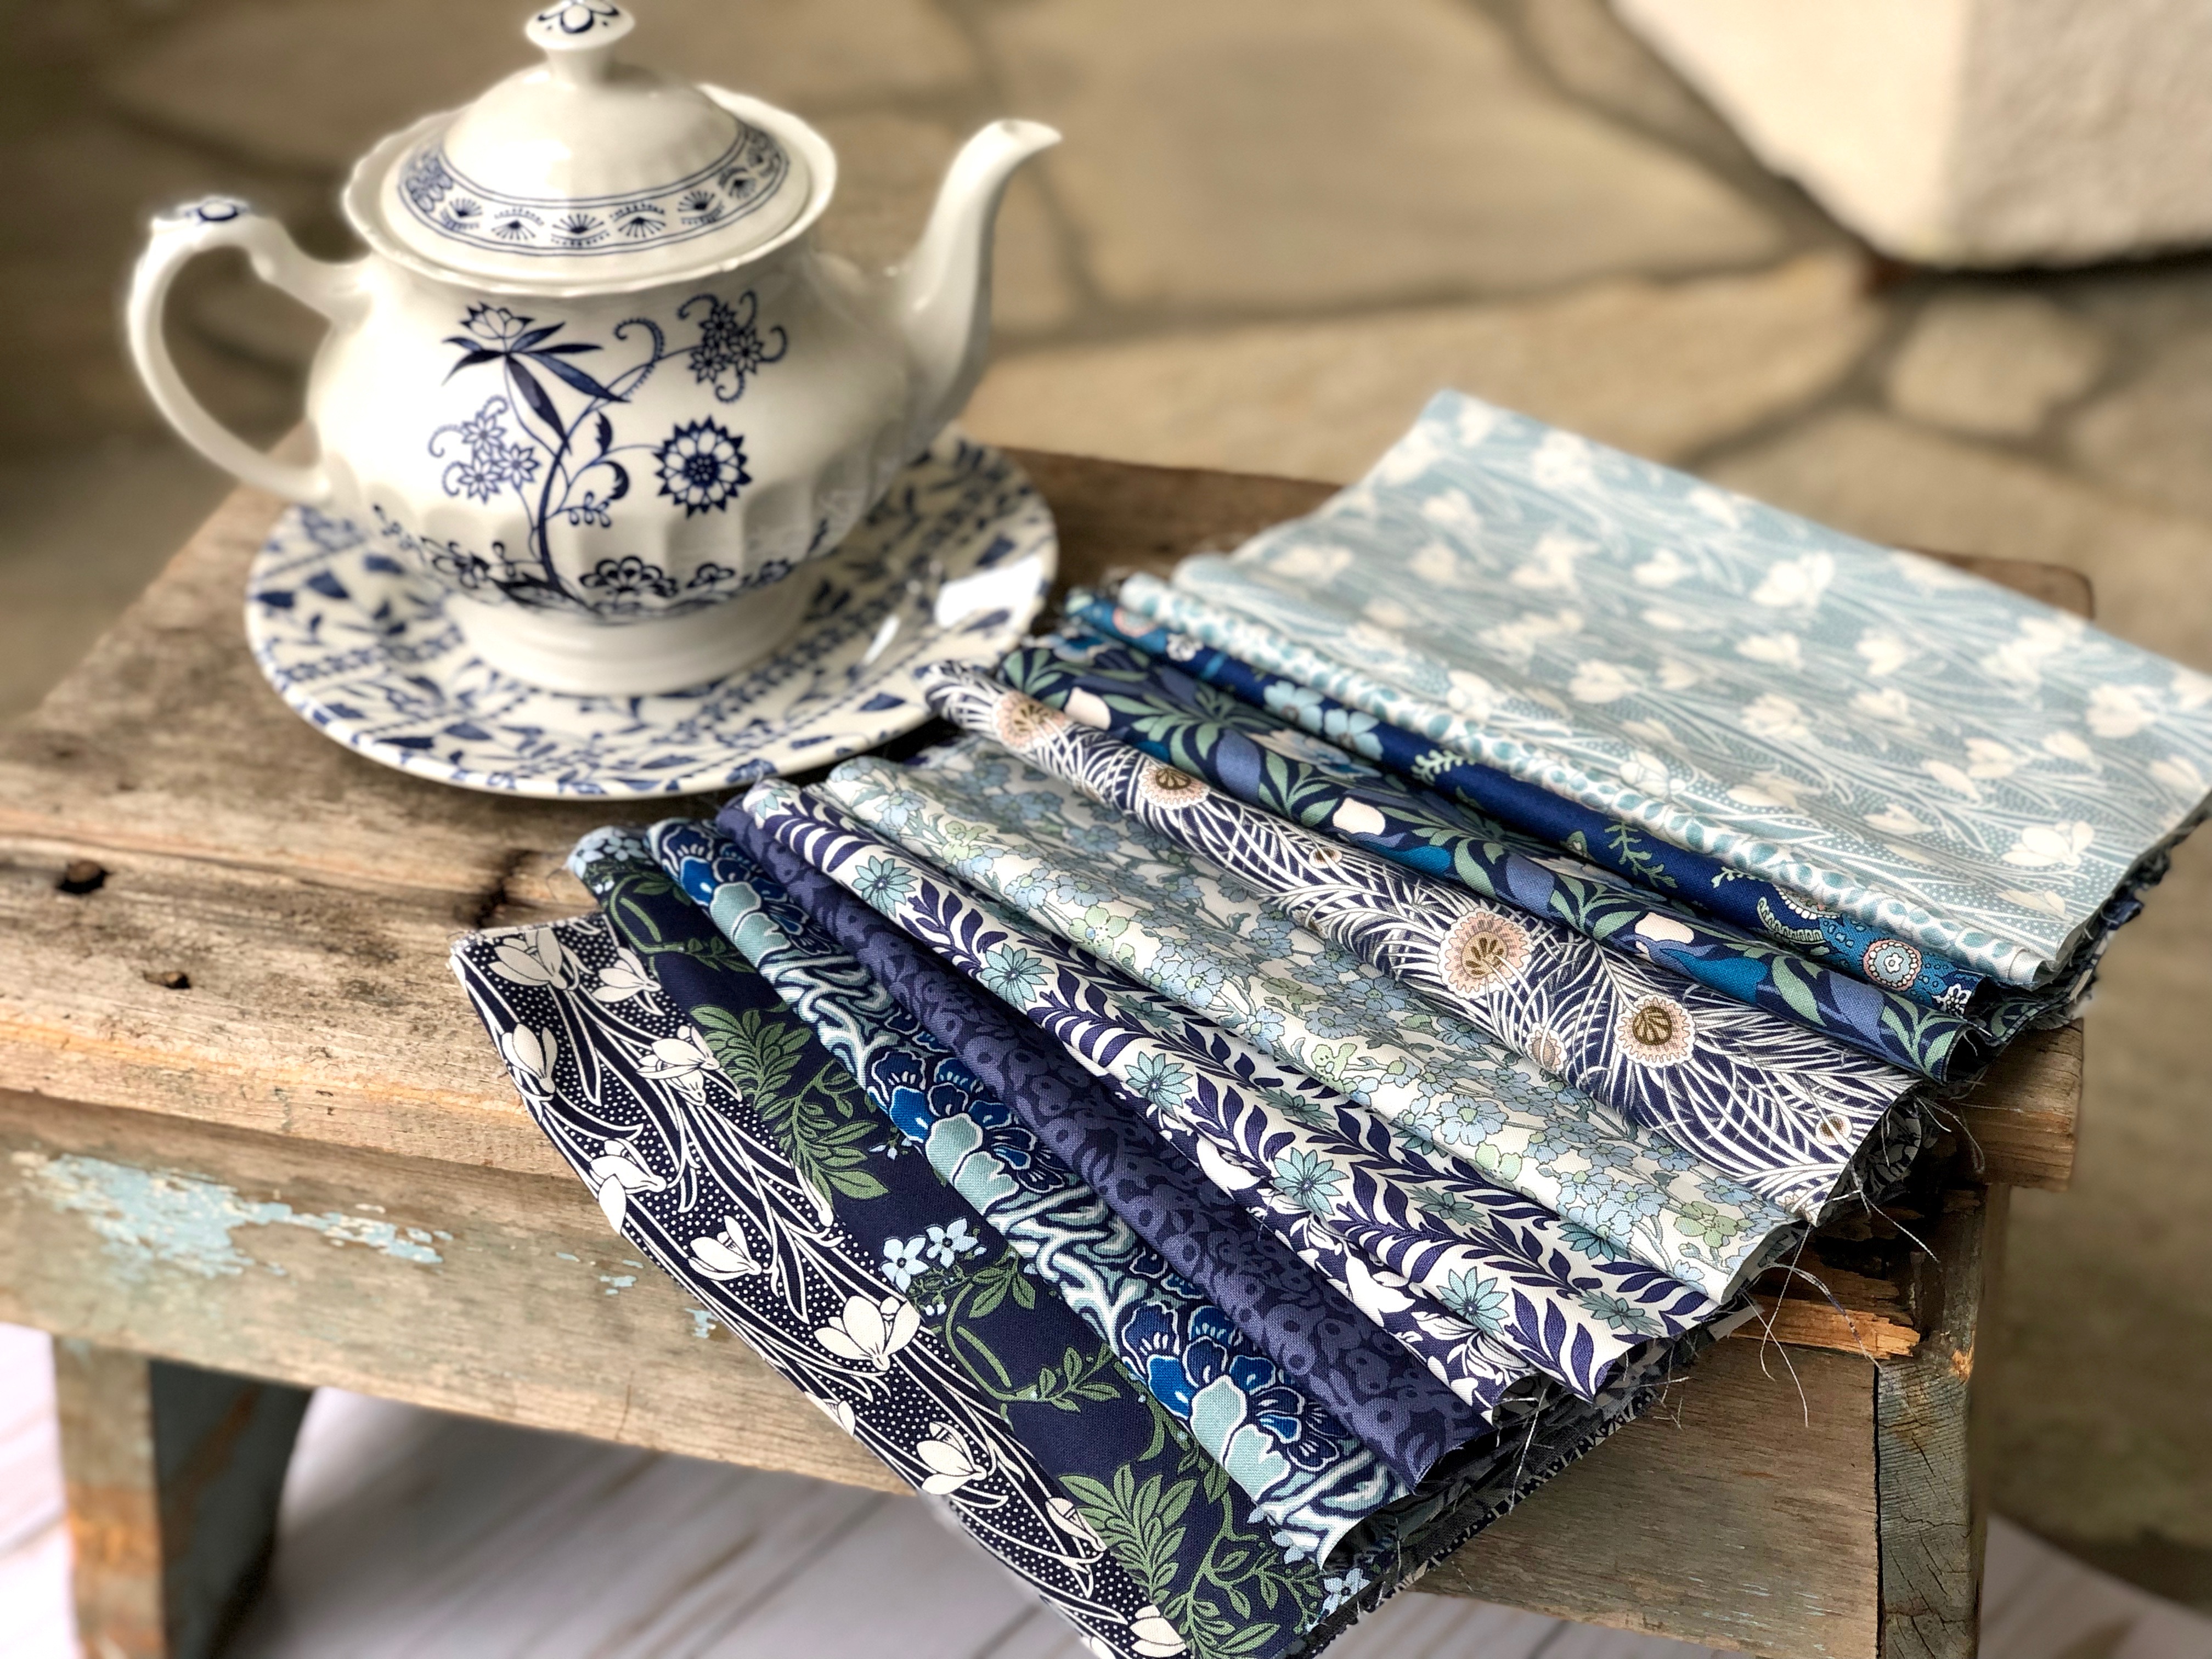
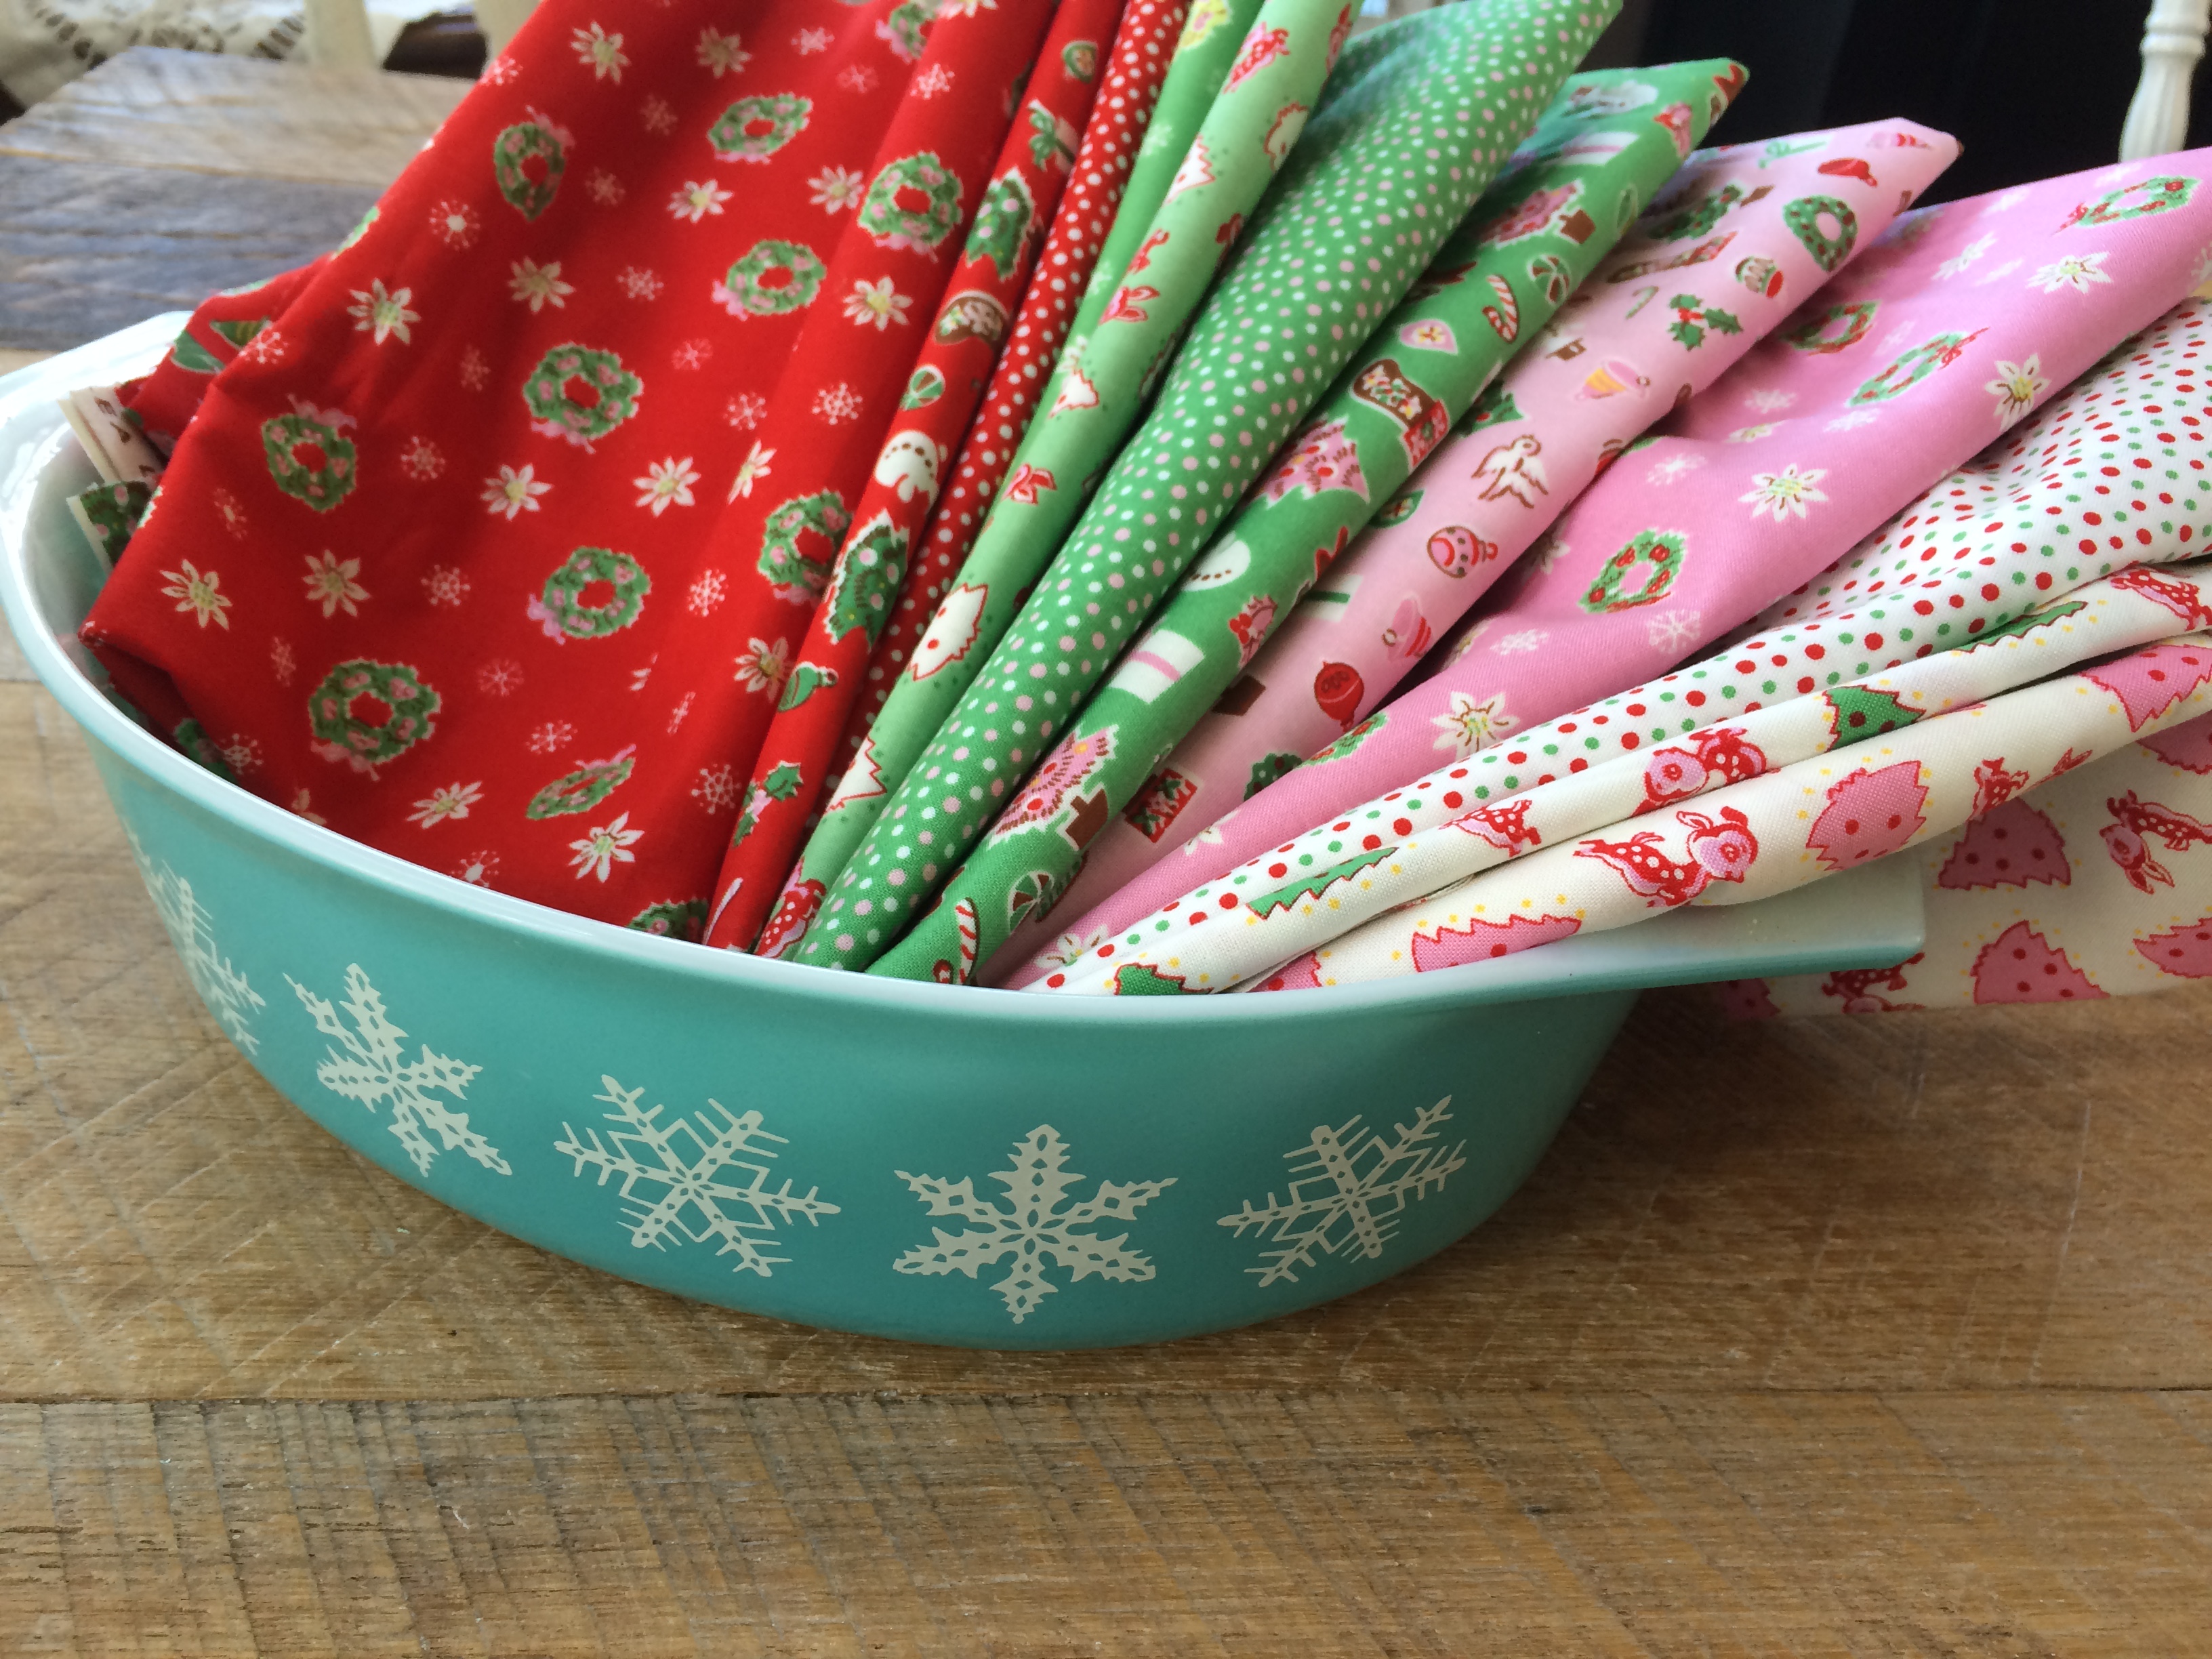
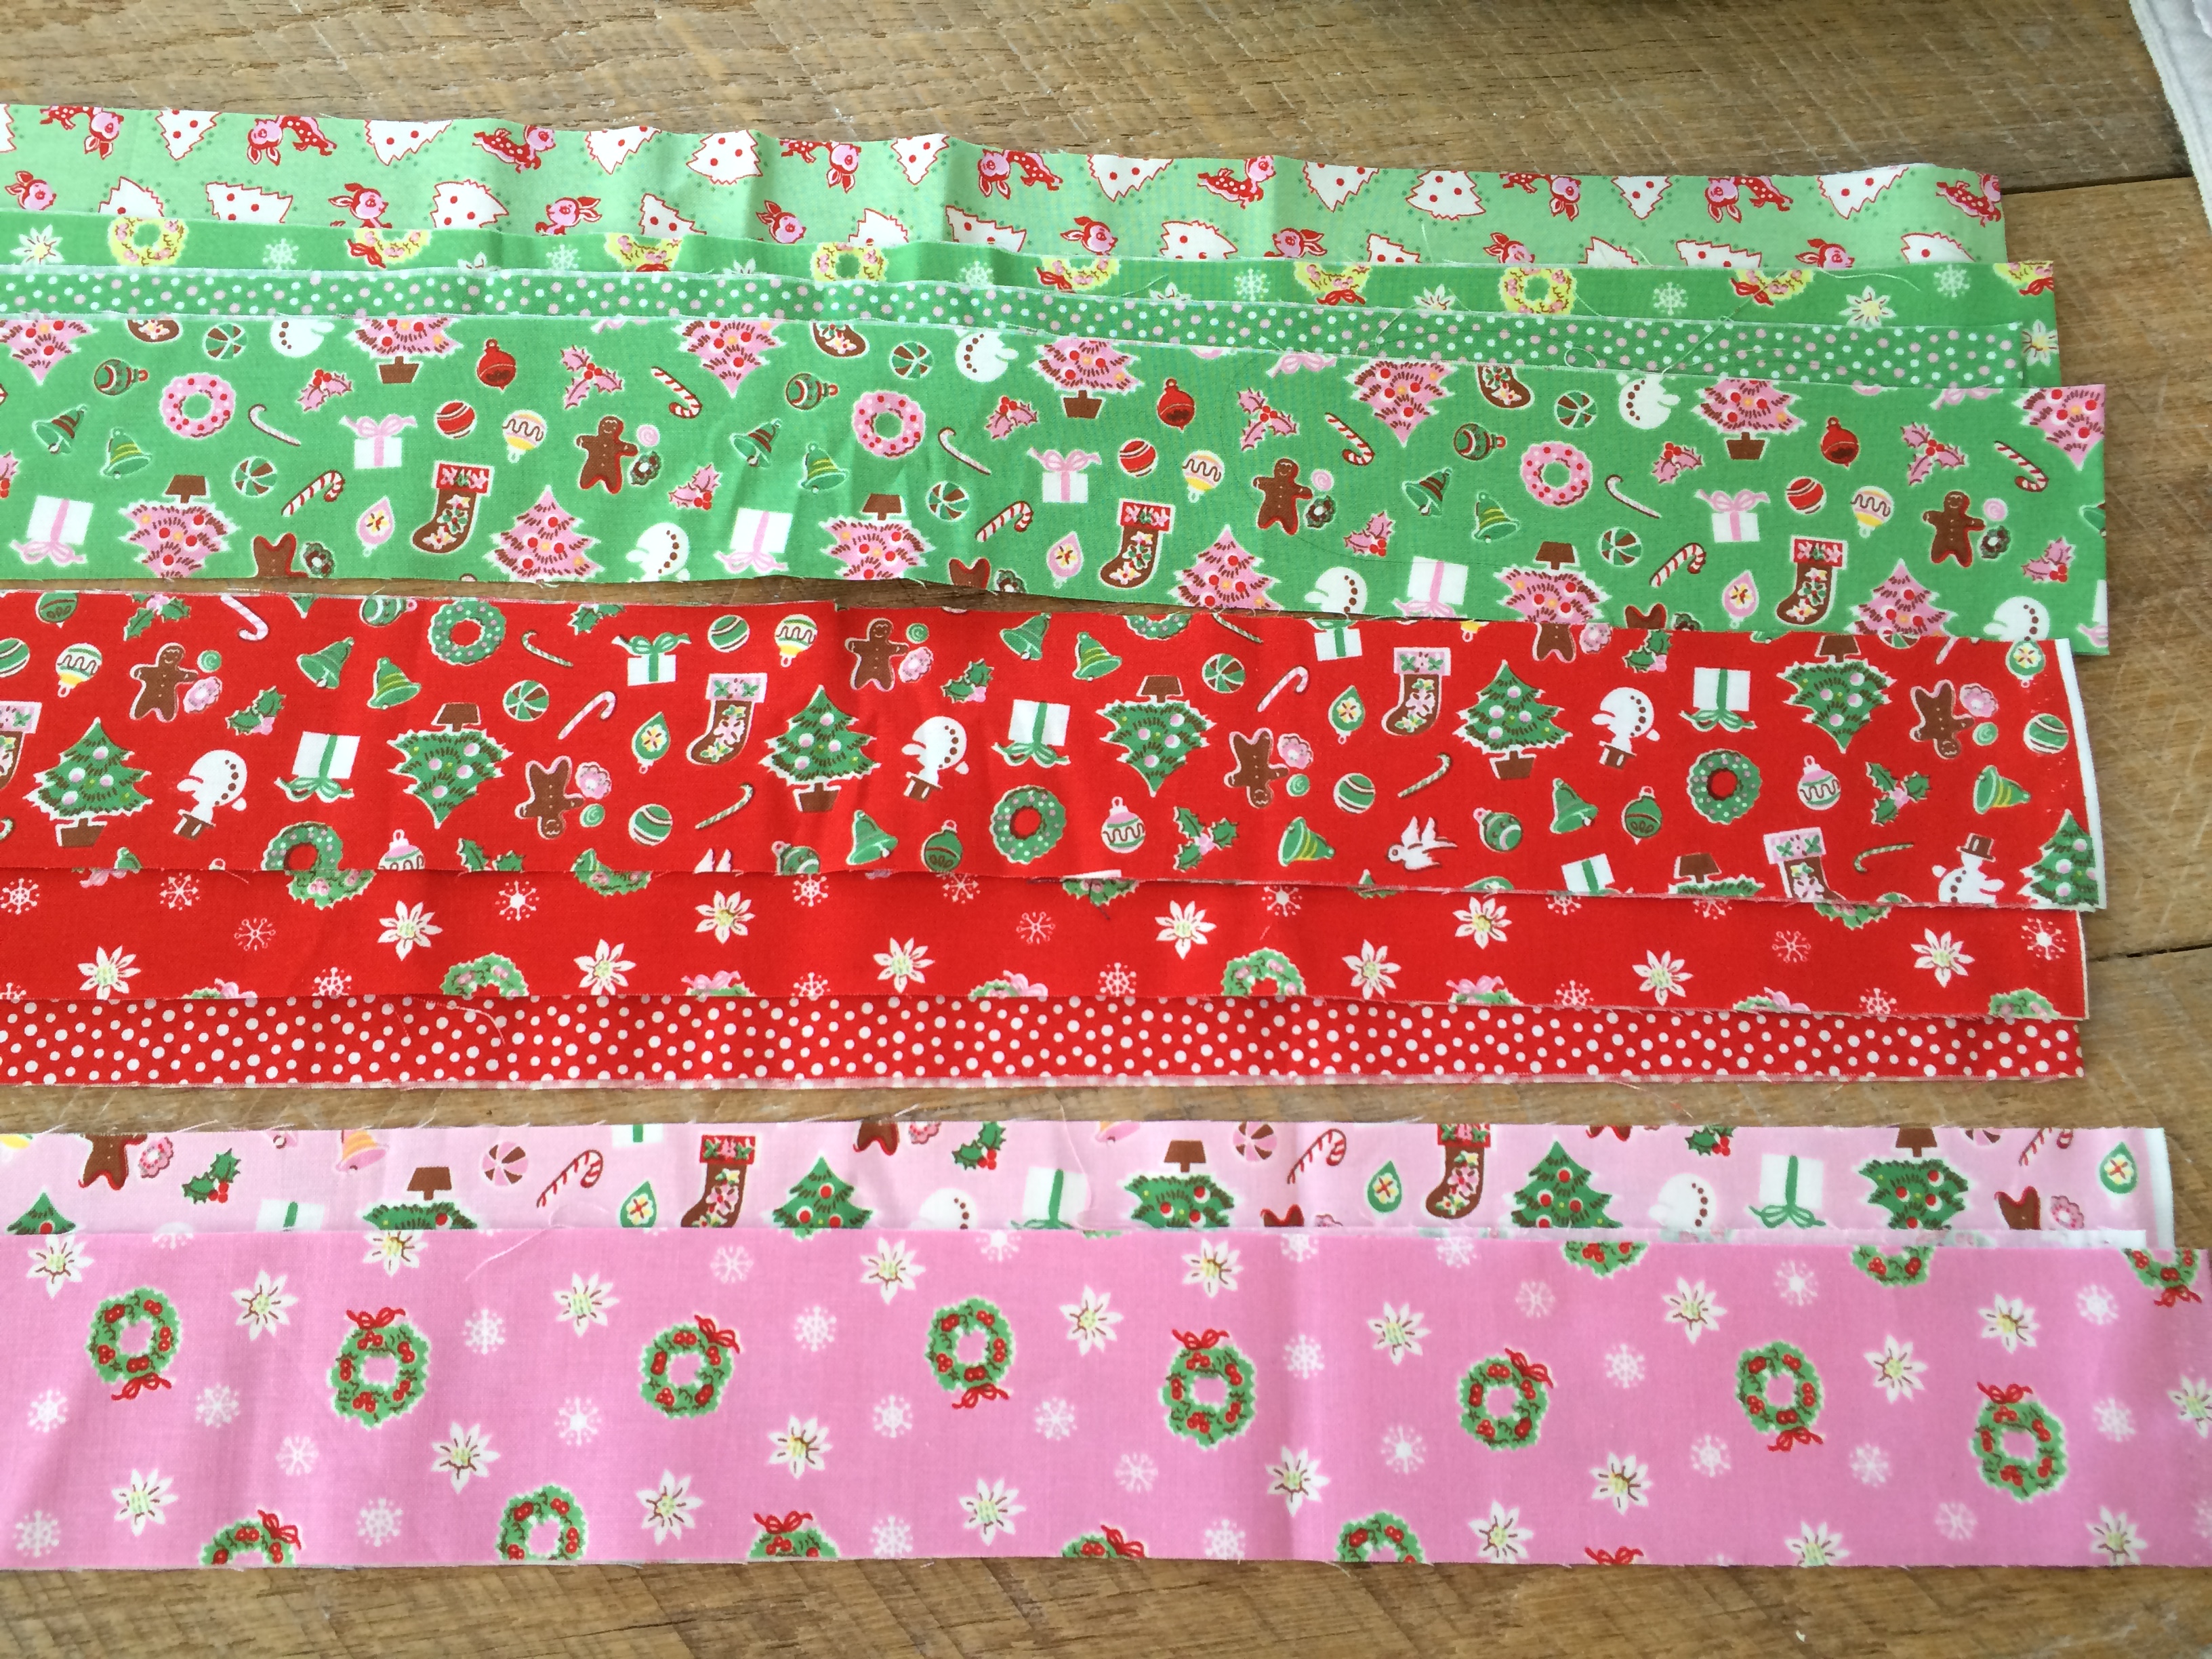
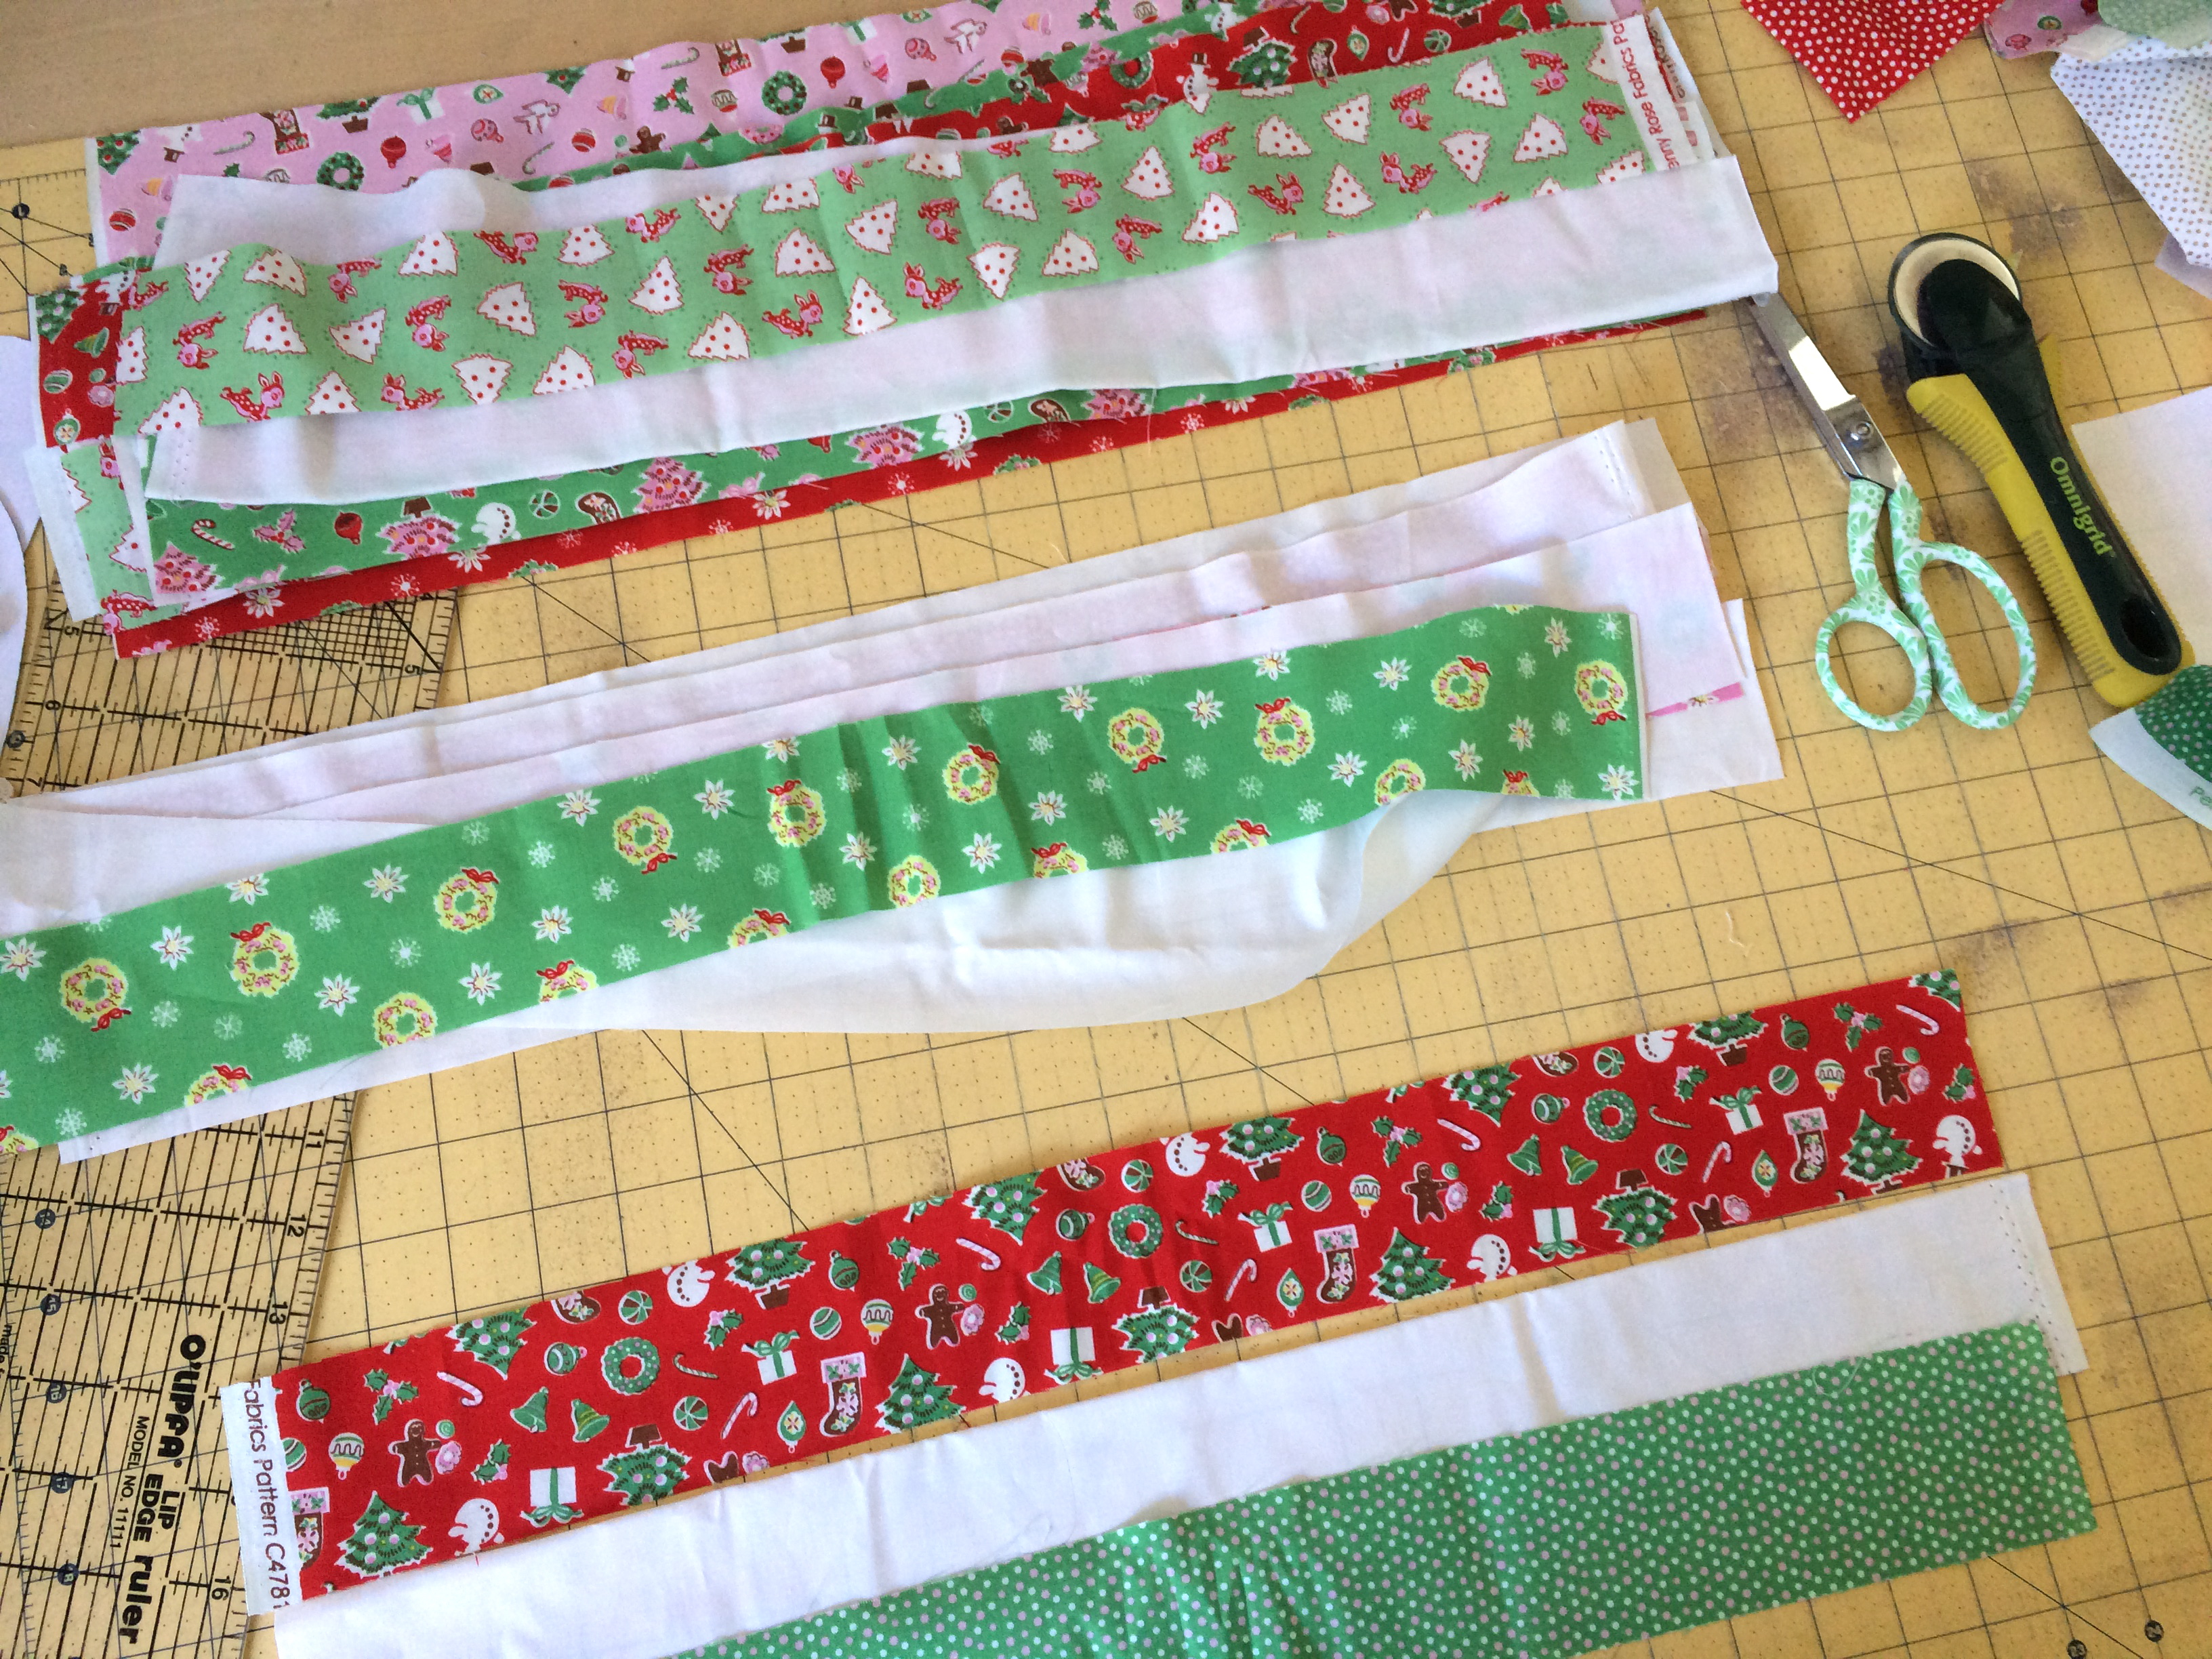
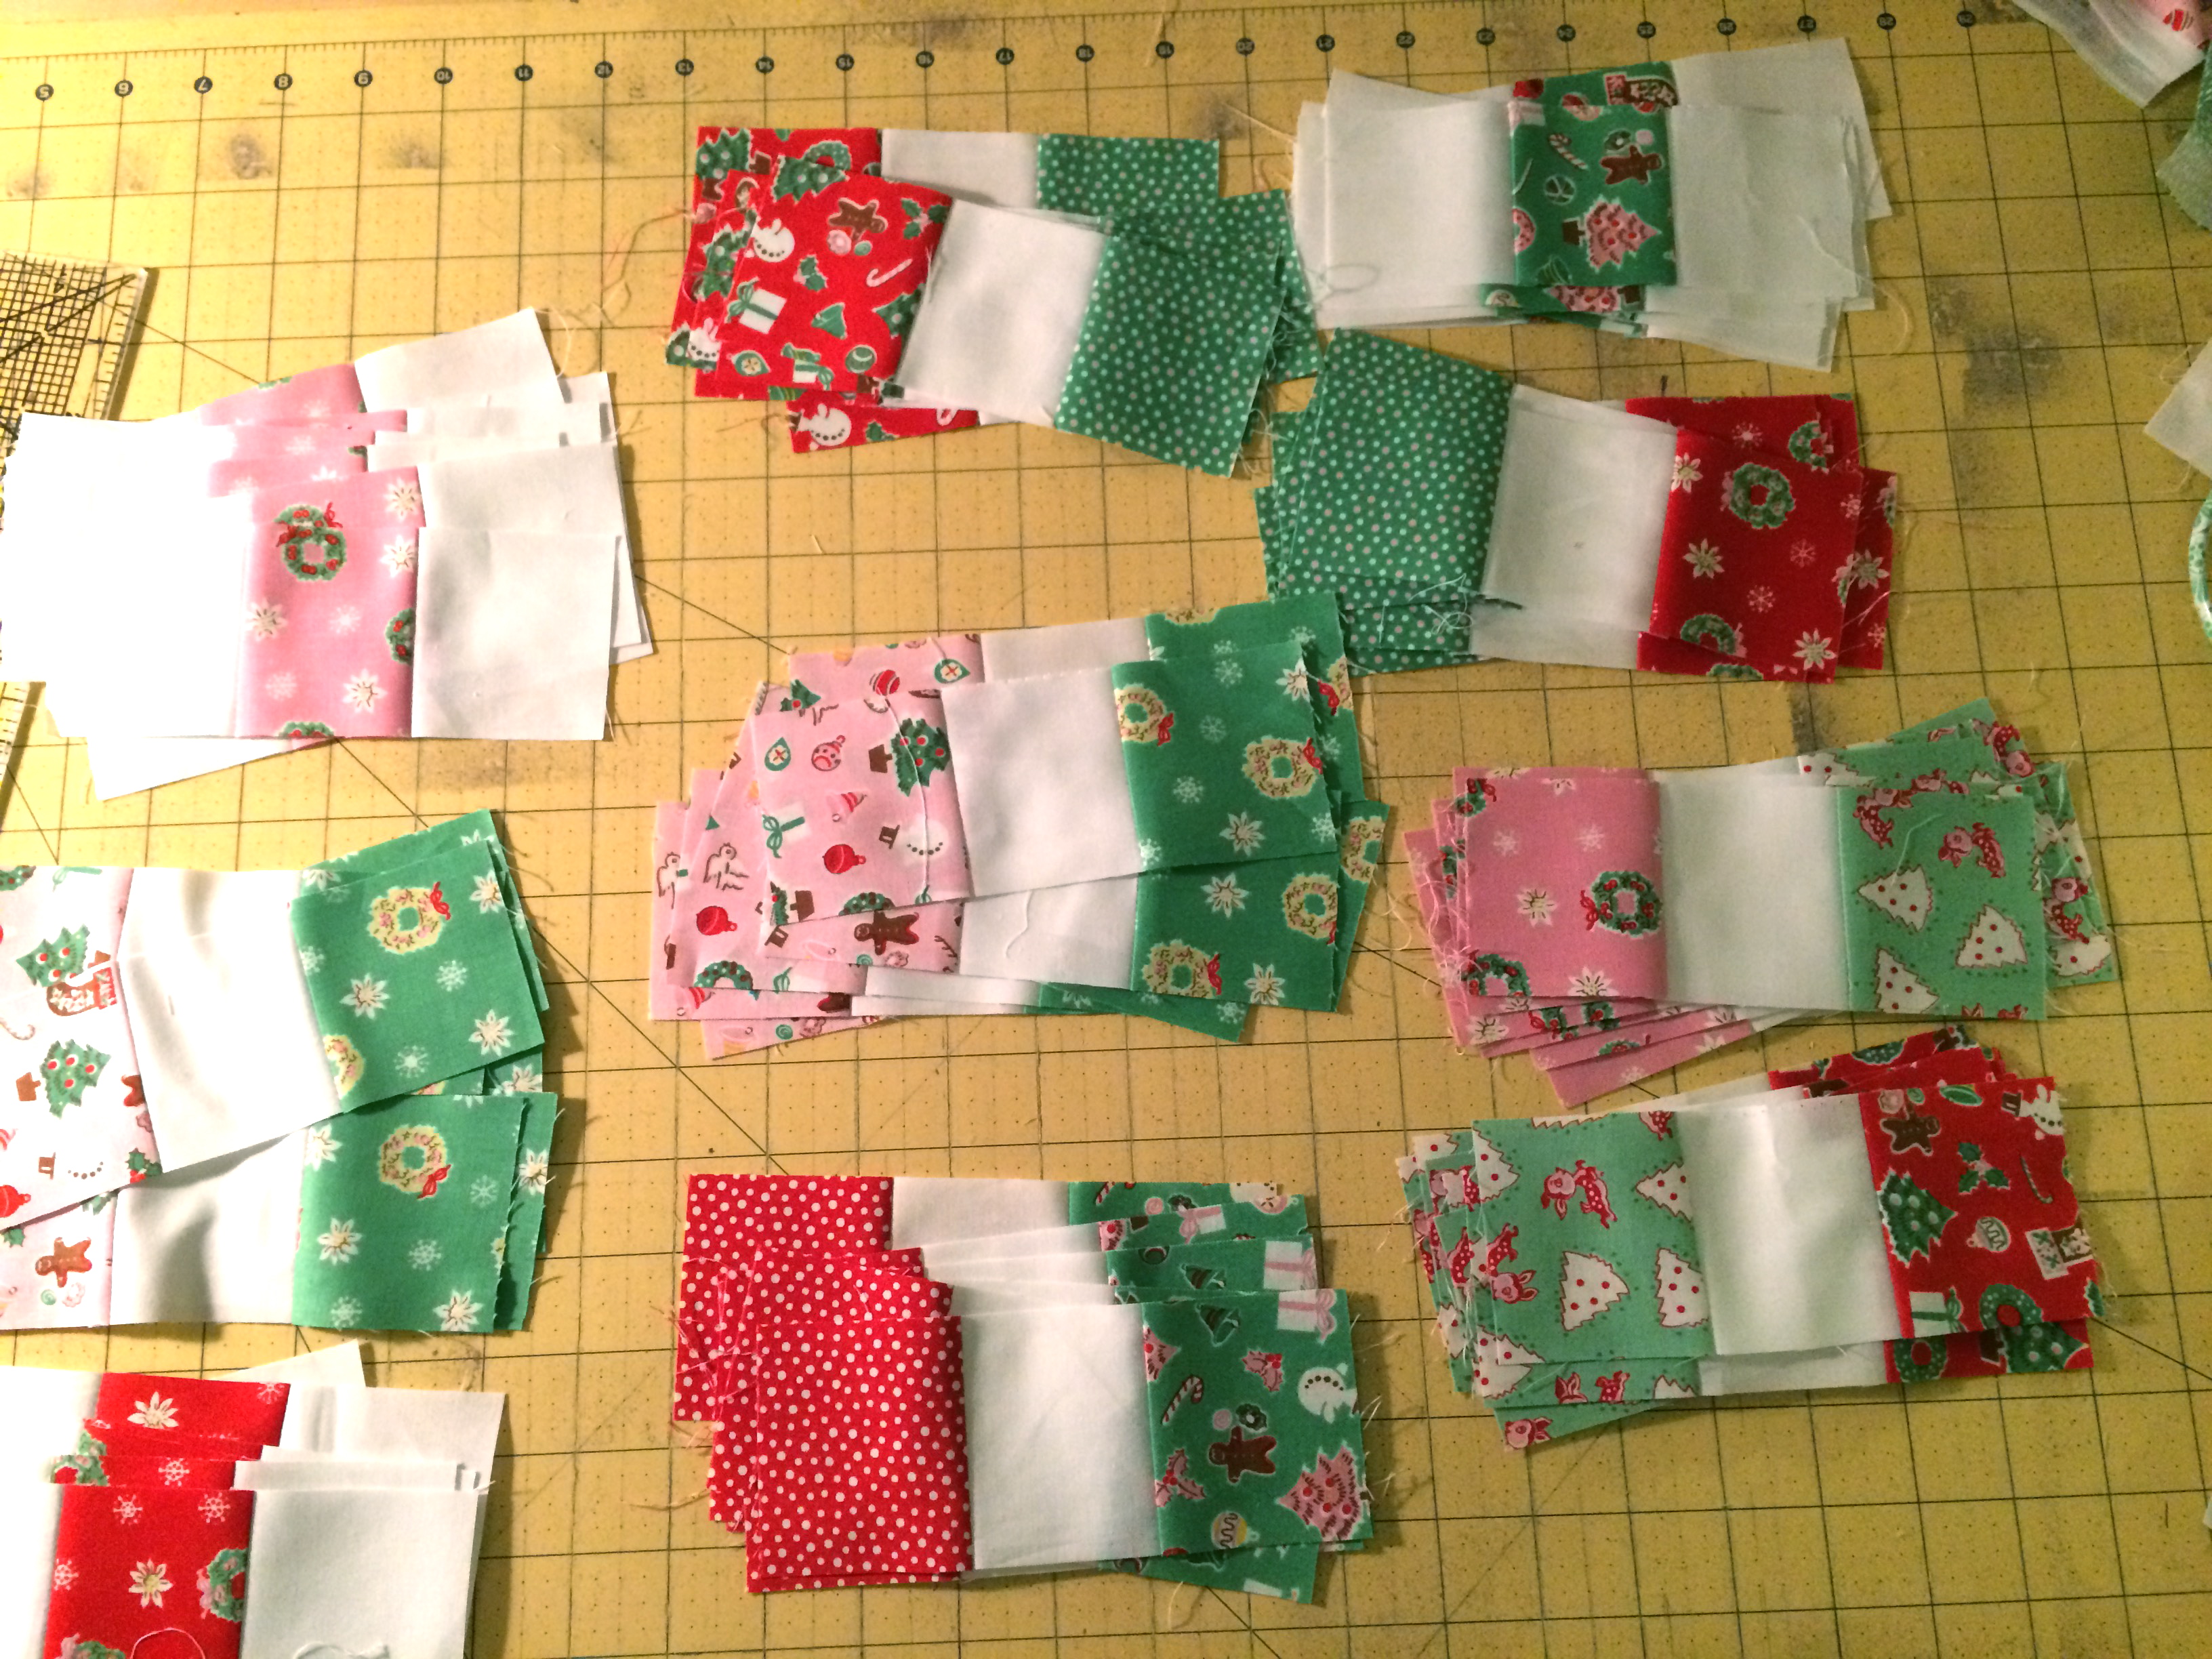
You need at least 10 fat quarters of theme prints, I suggest using about 15 for a nice variety. The theme prints are also repeated in the pieced border.

Go put on some Beach Boys tunes and get sewing!!!!
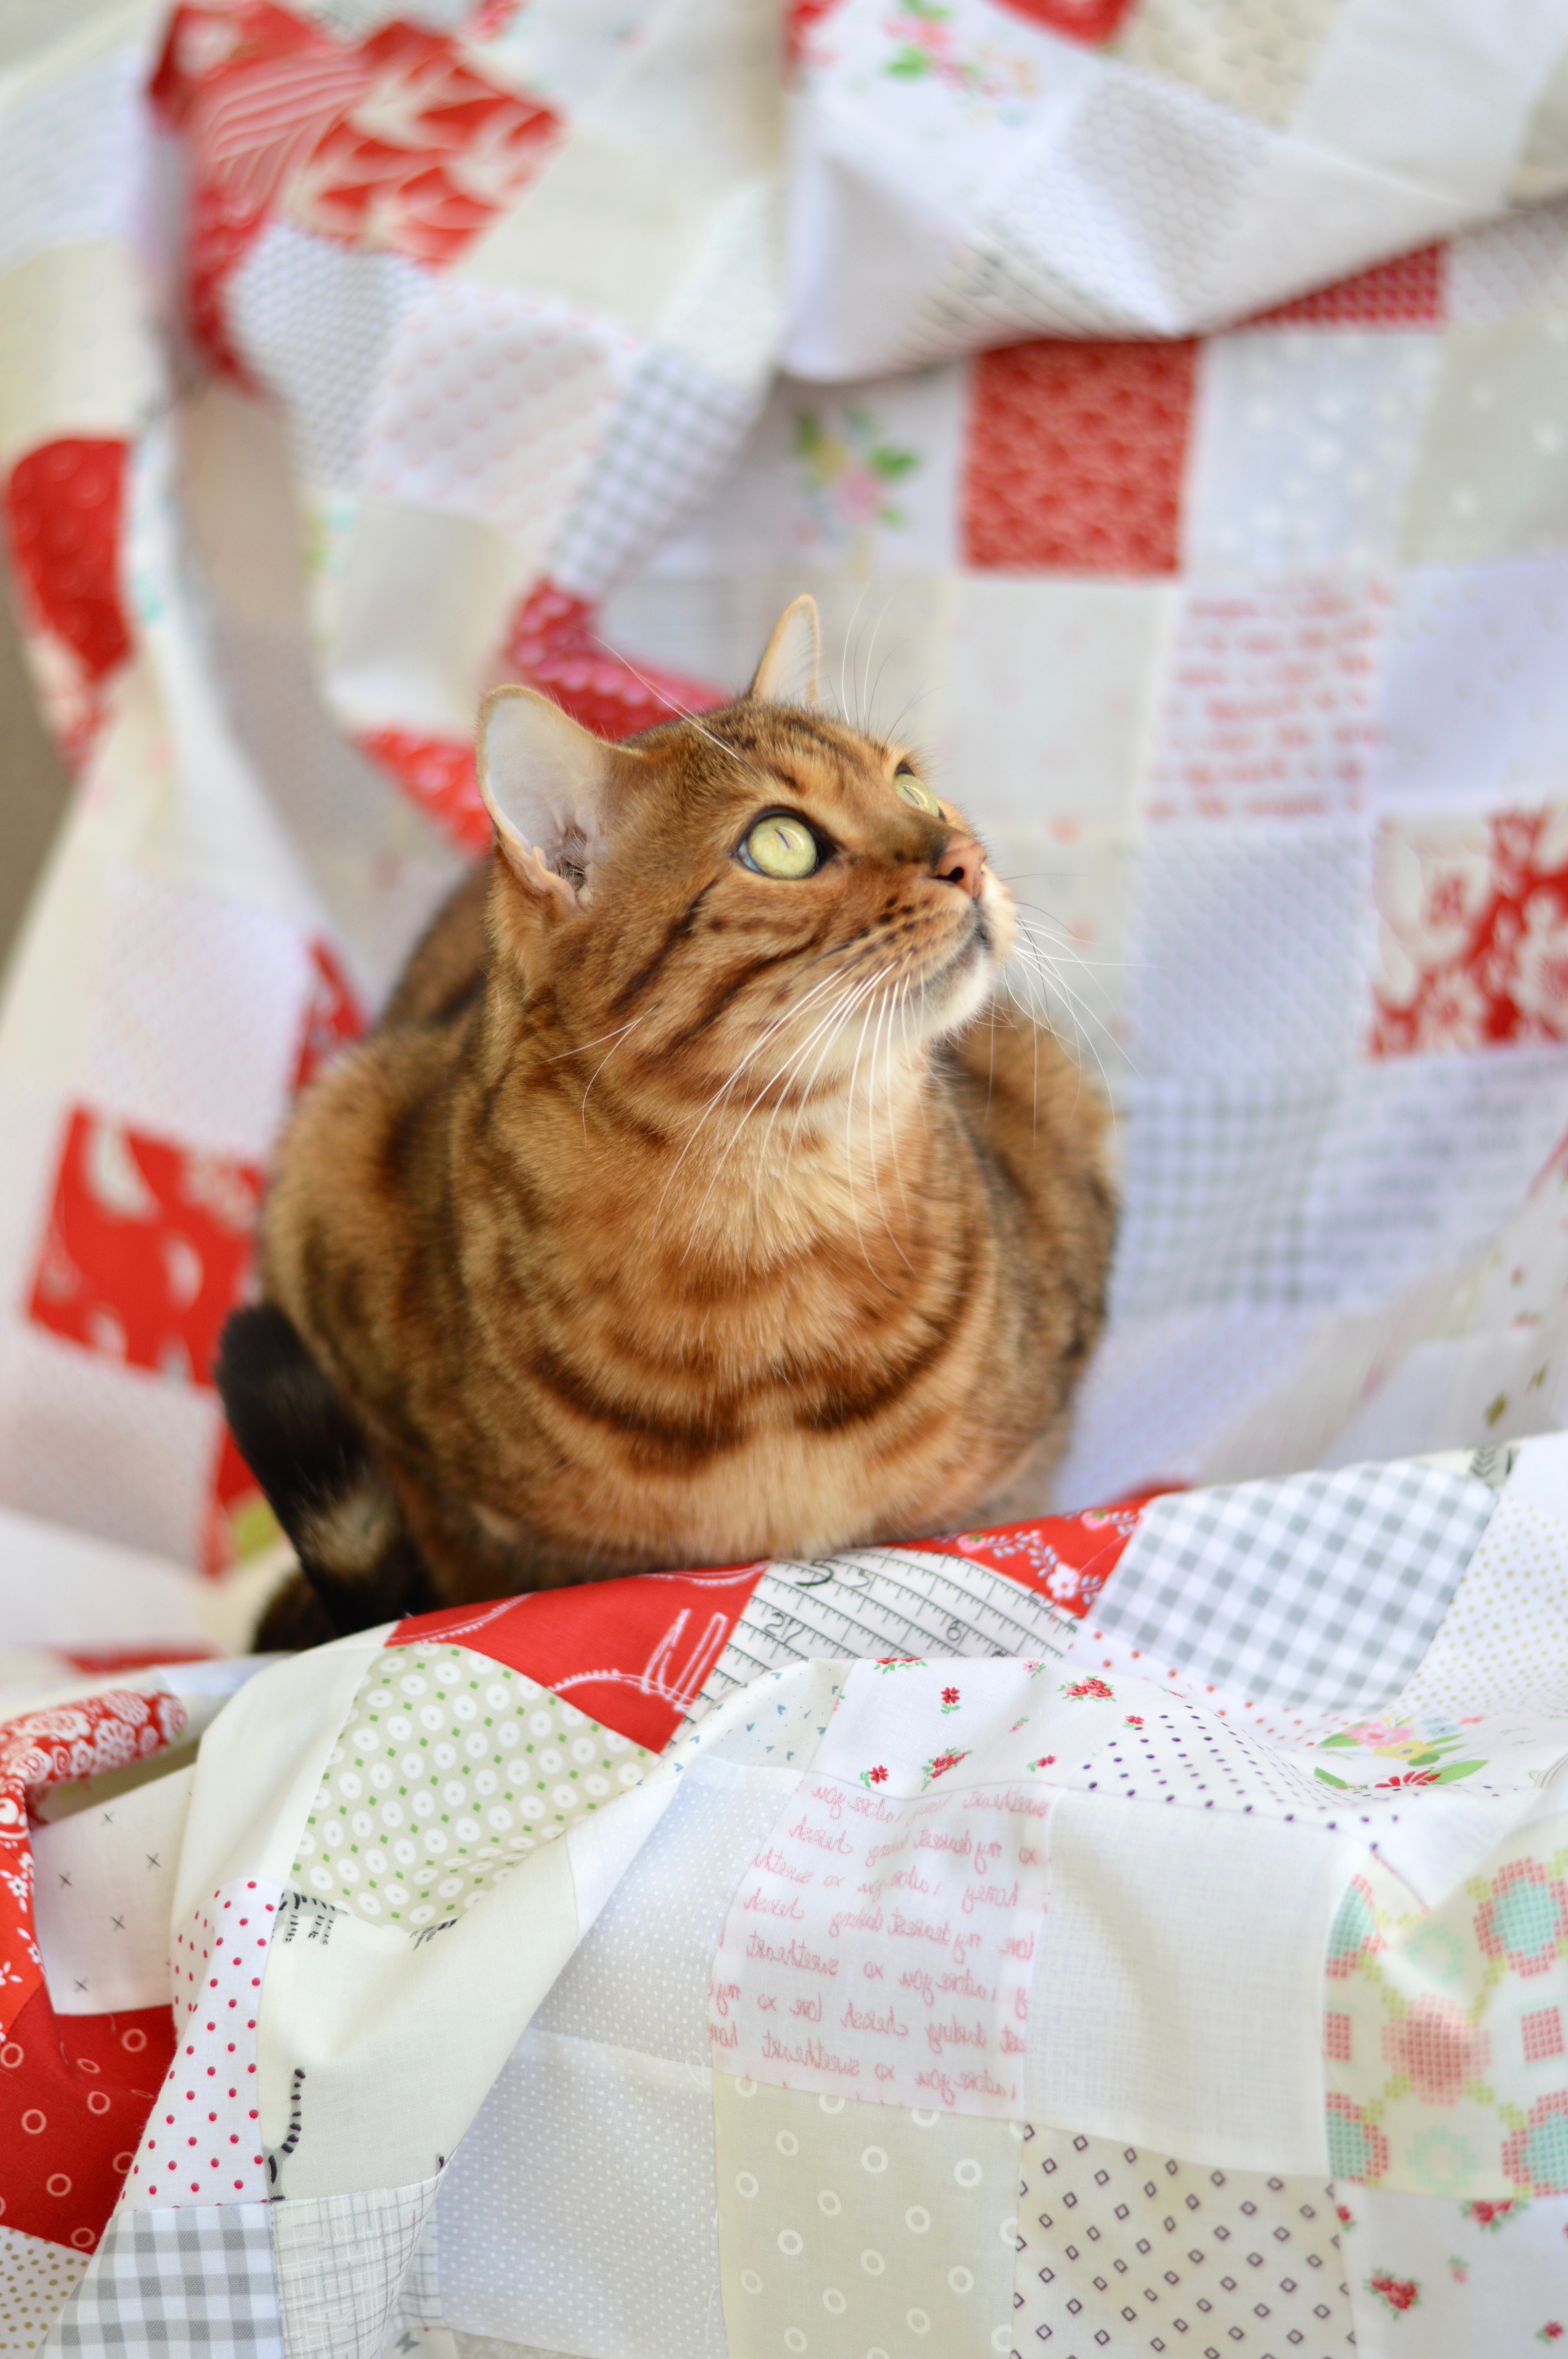
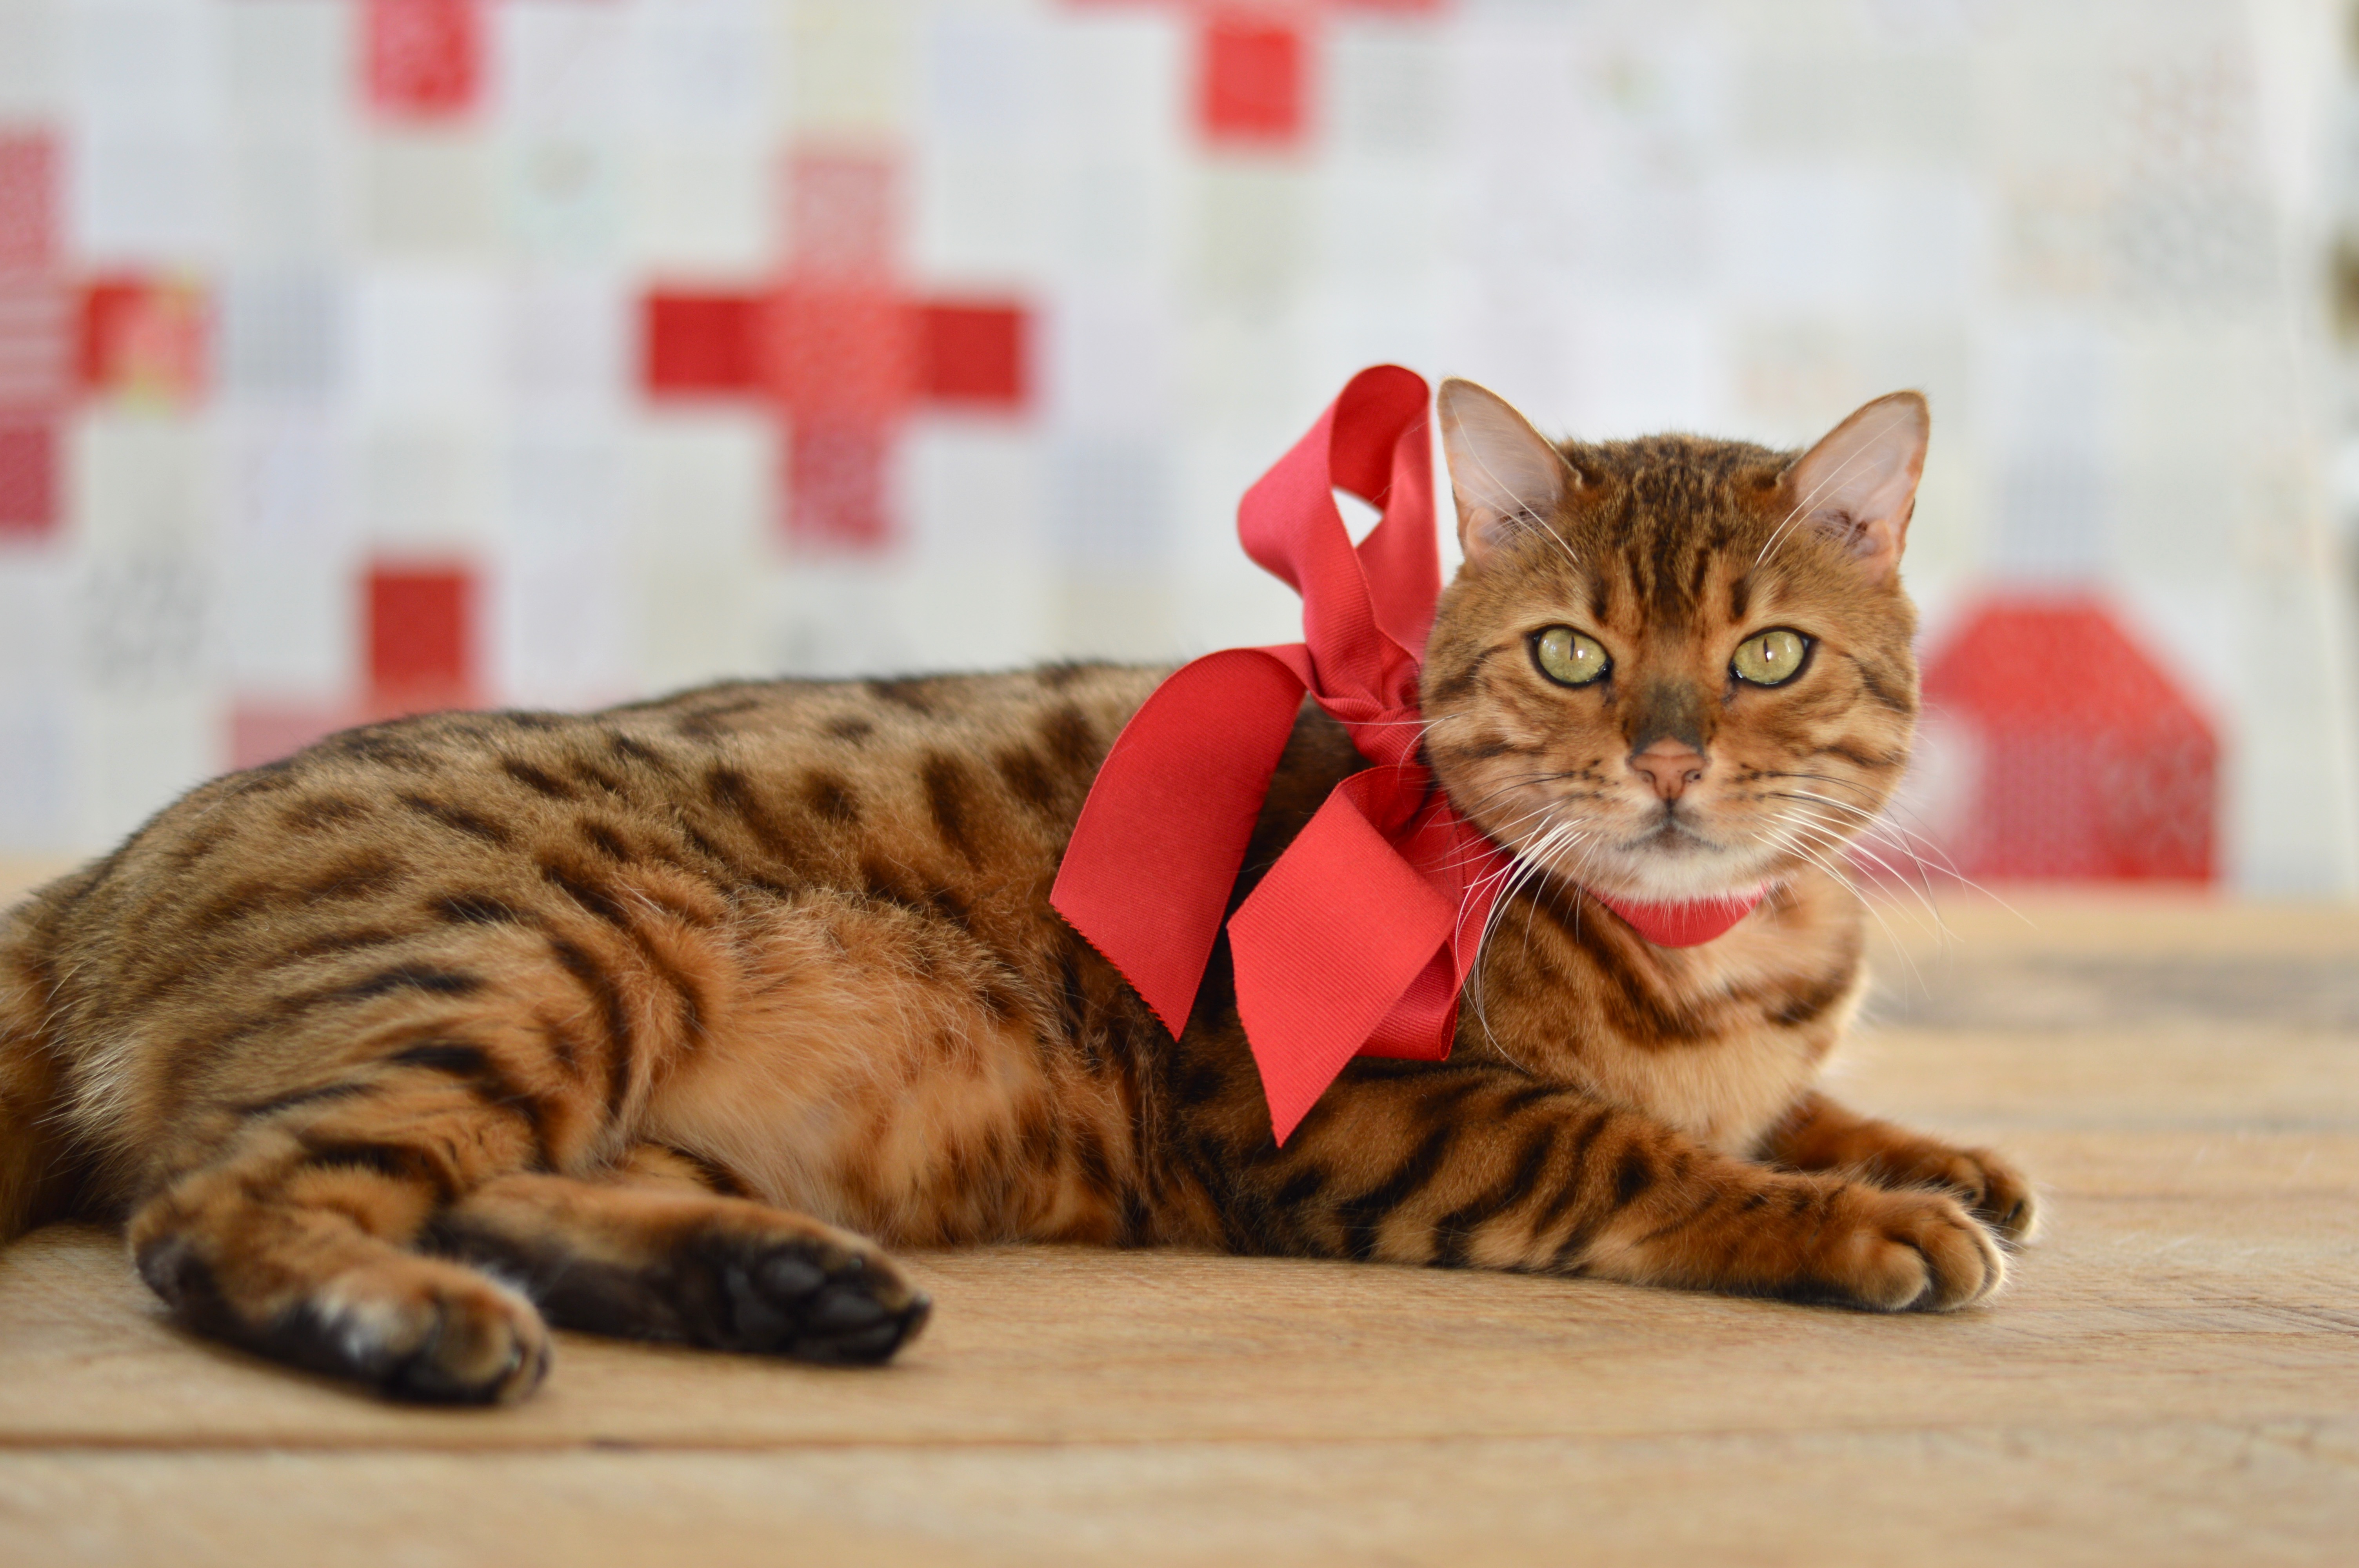
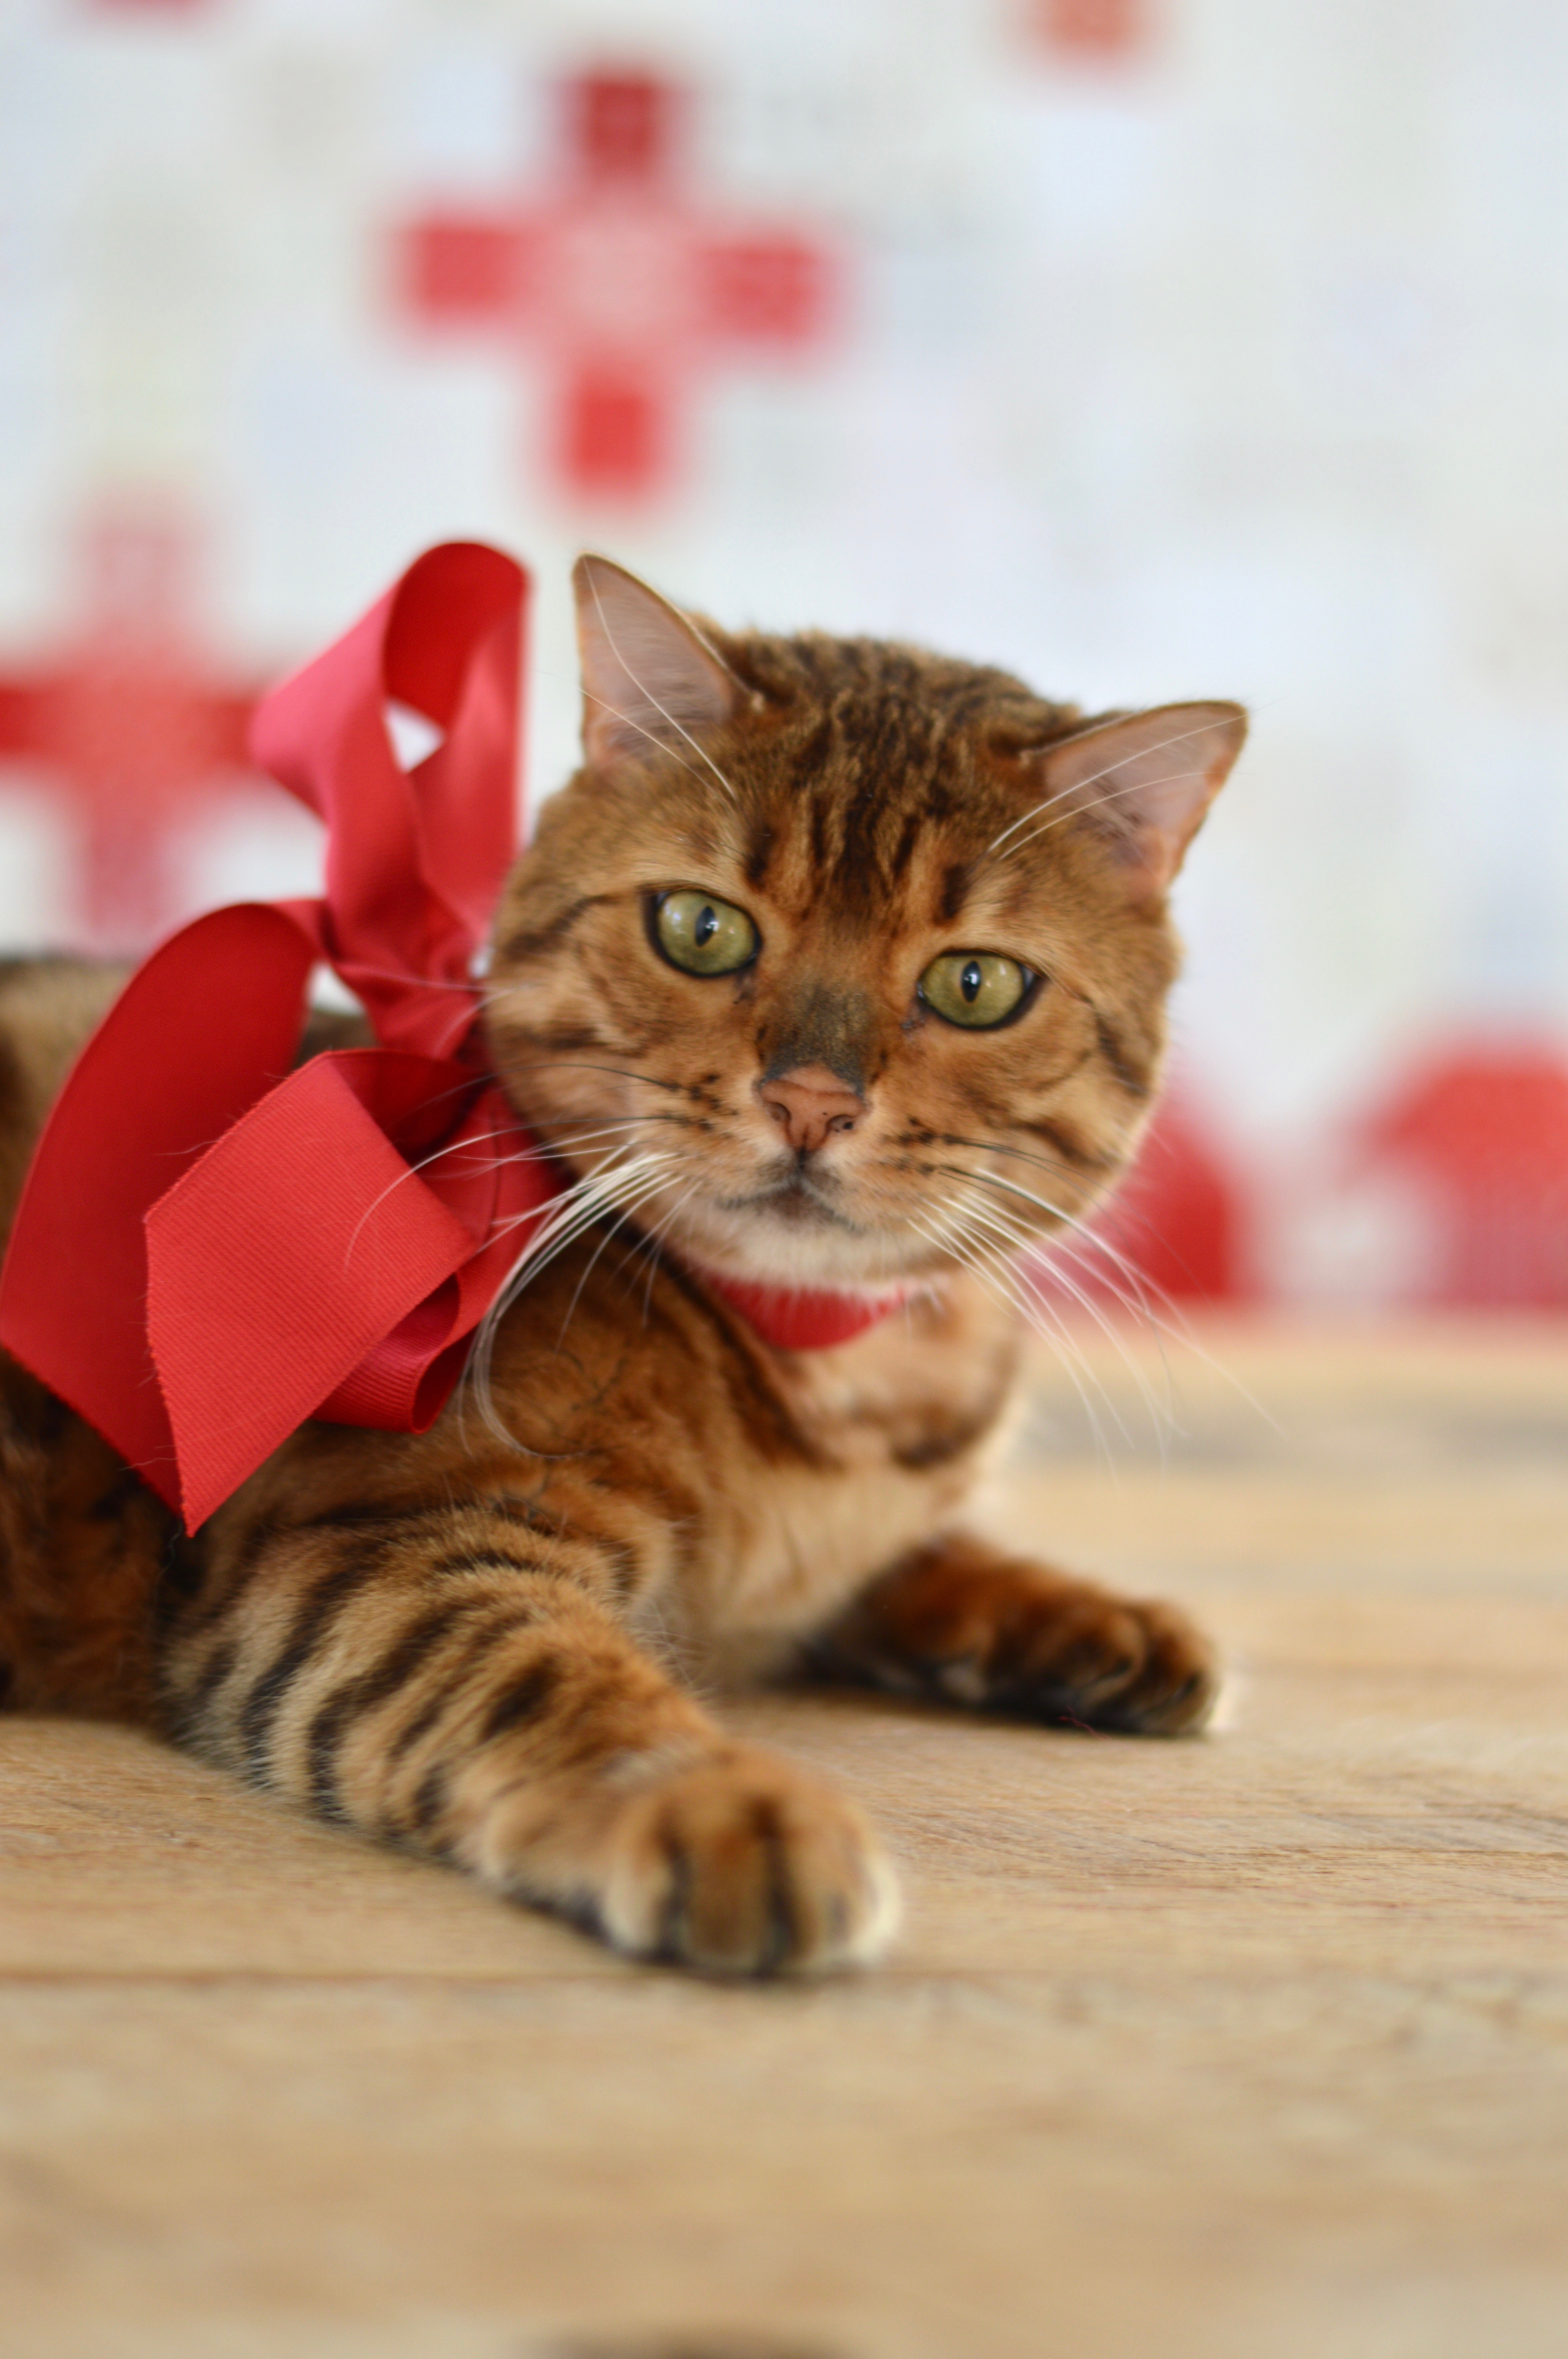
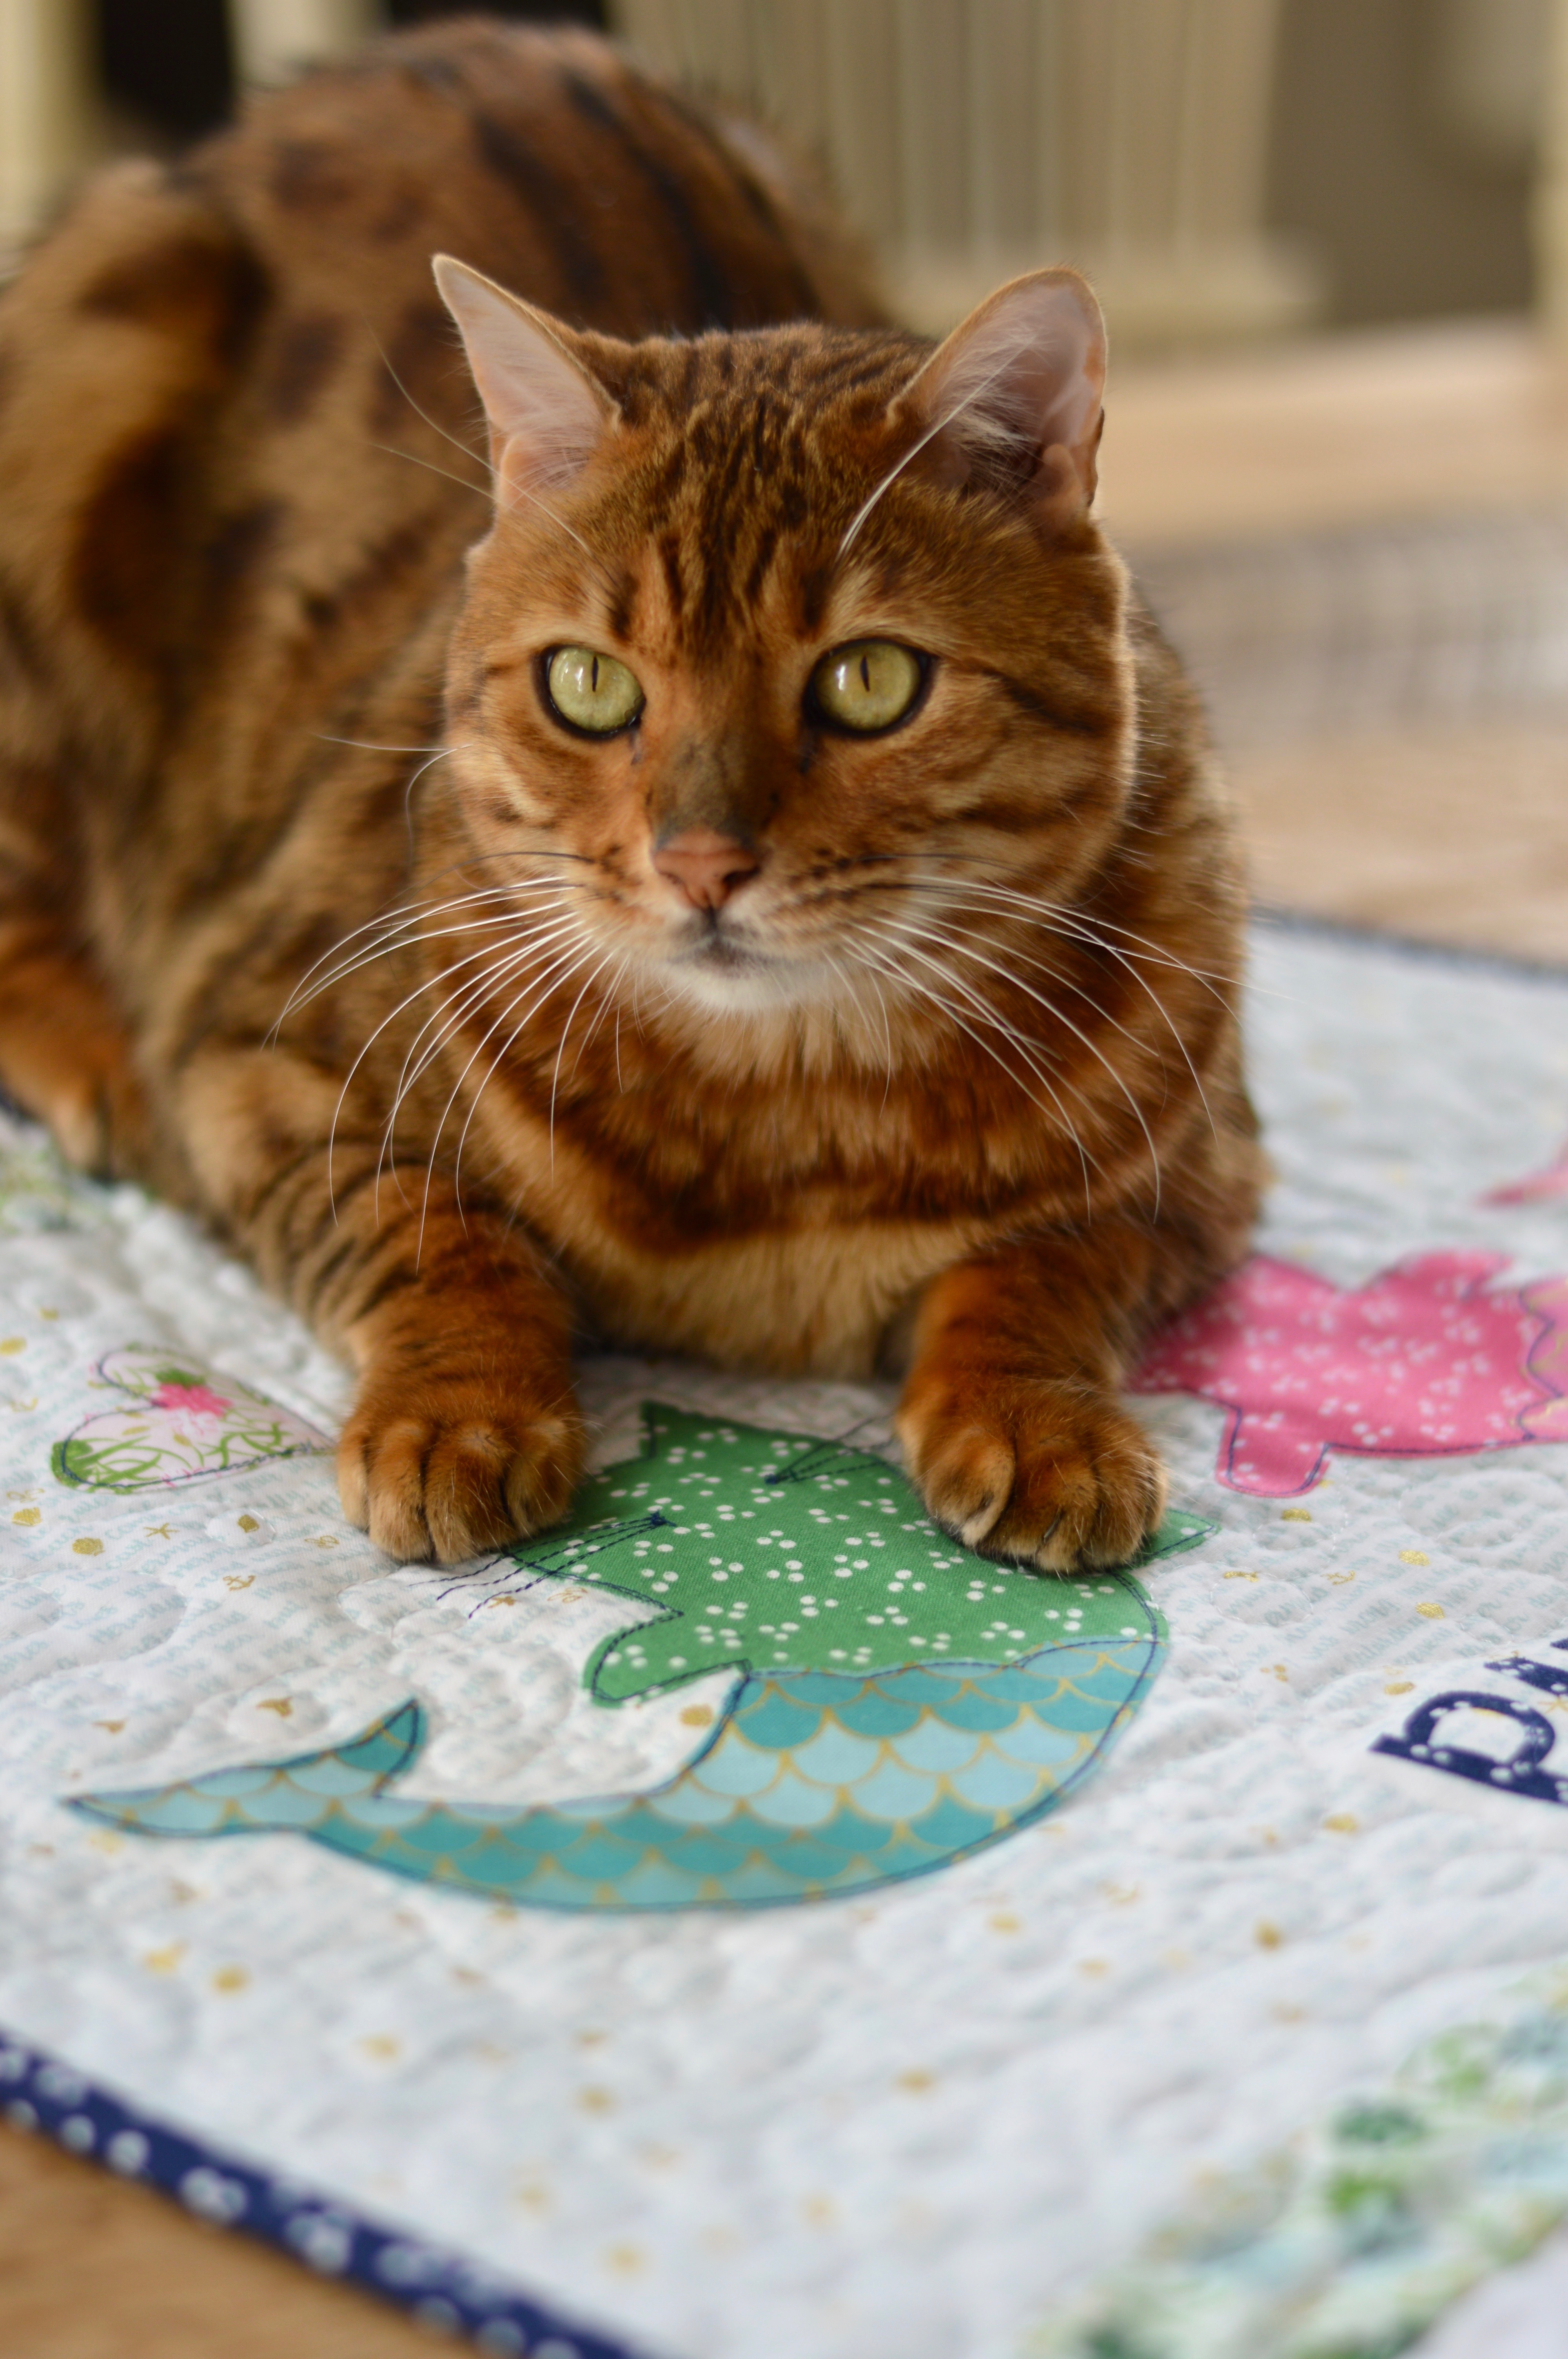
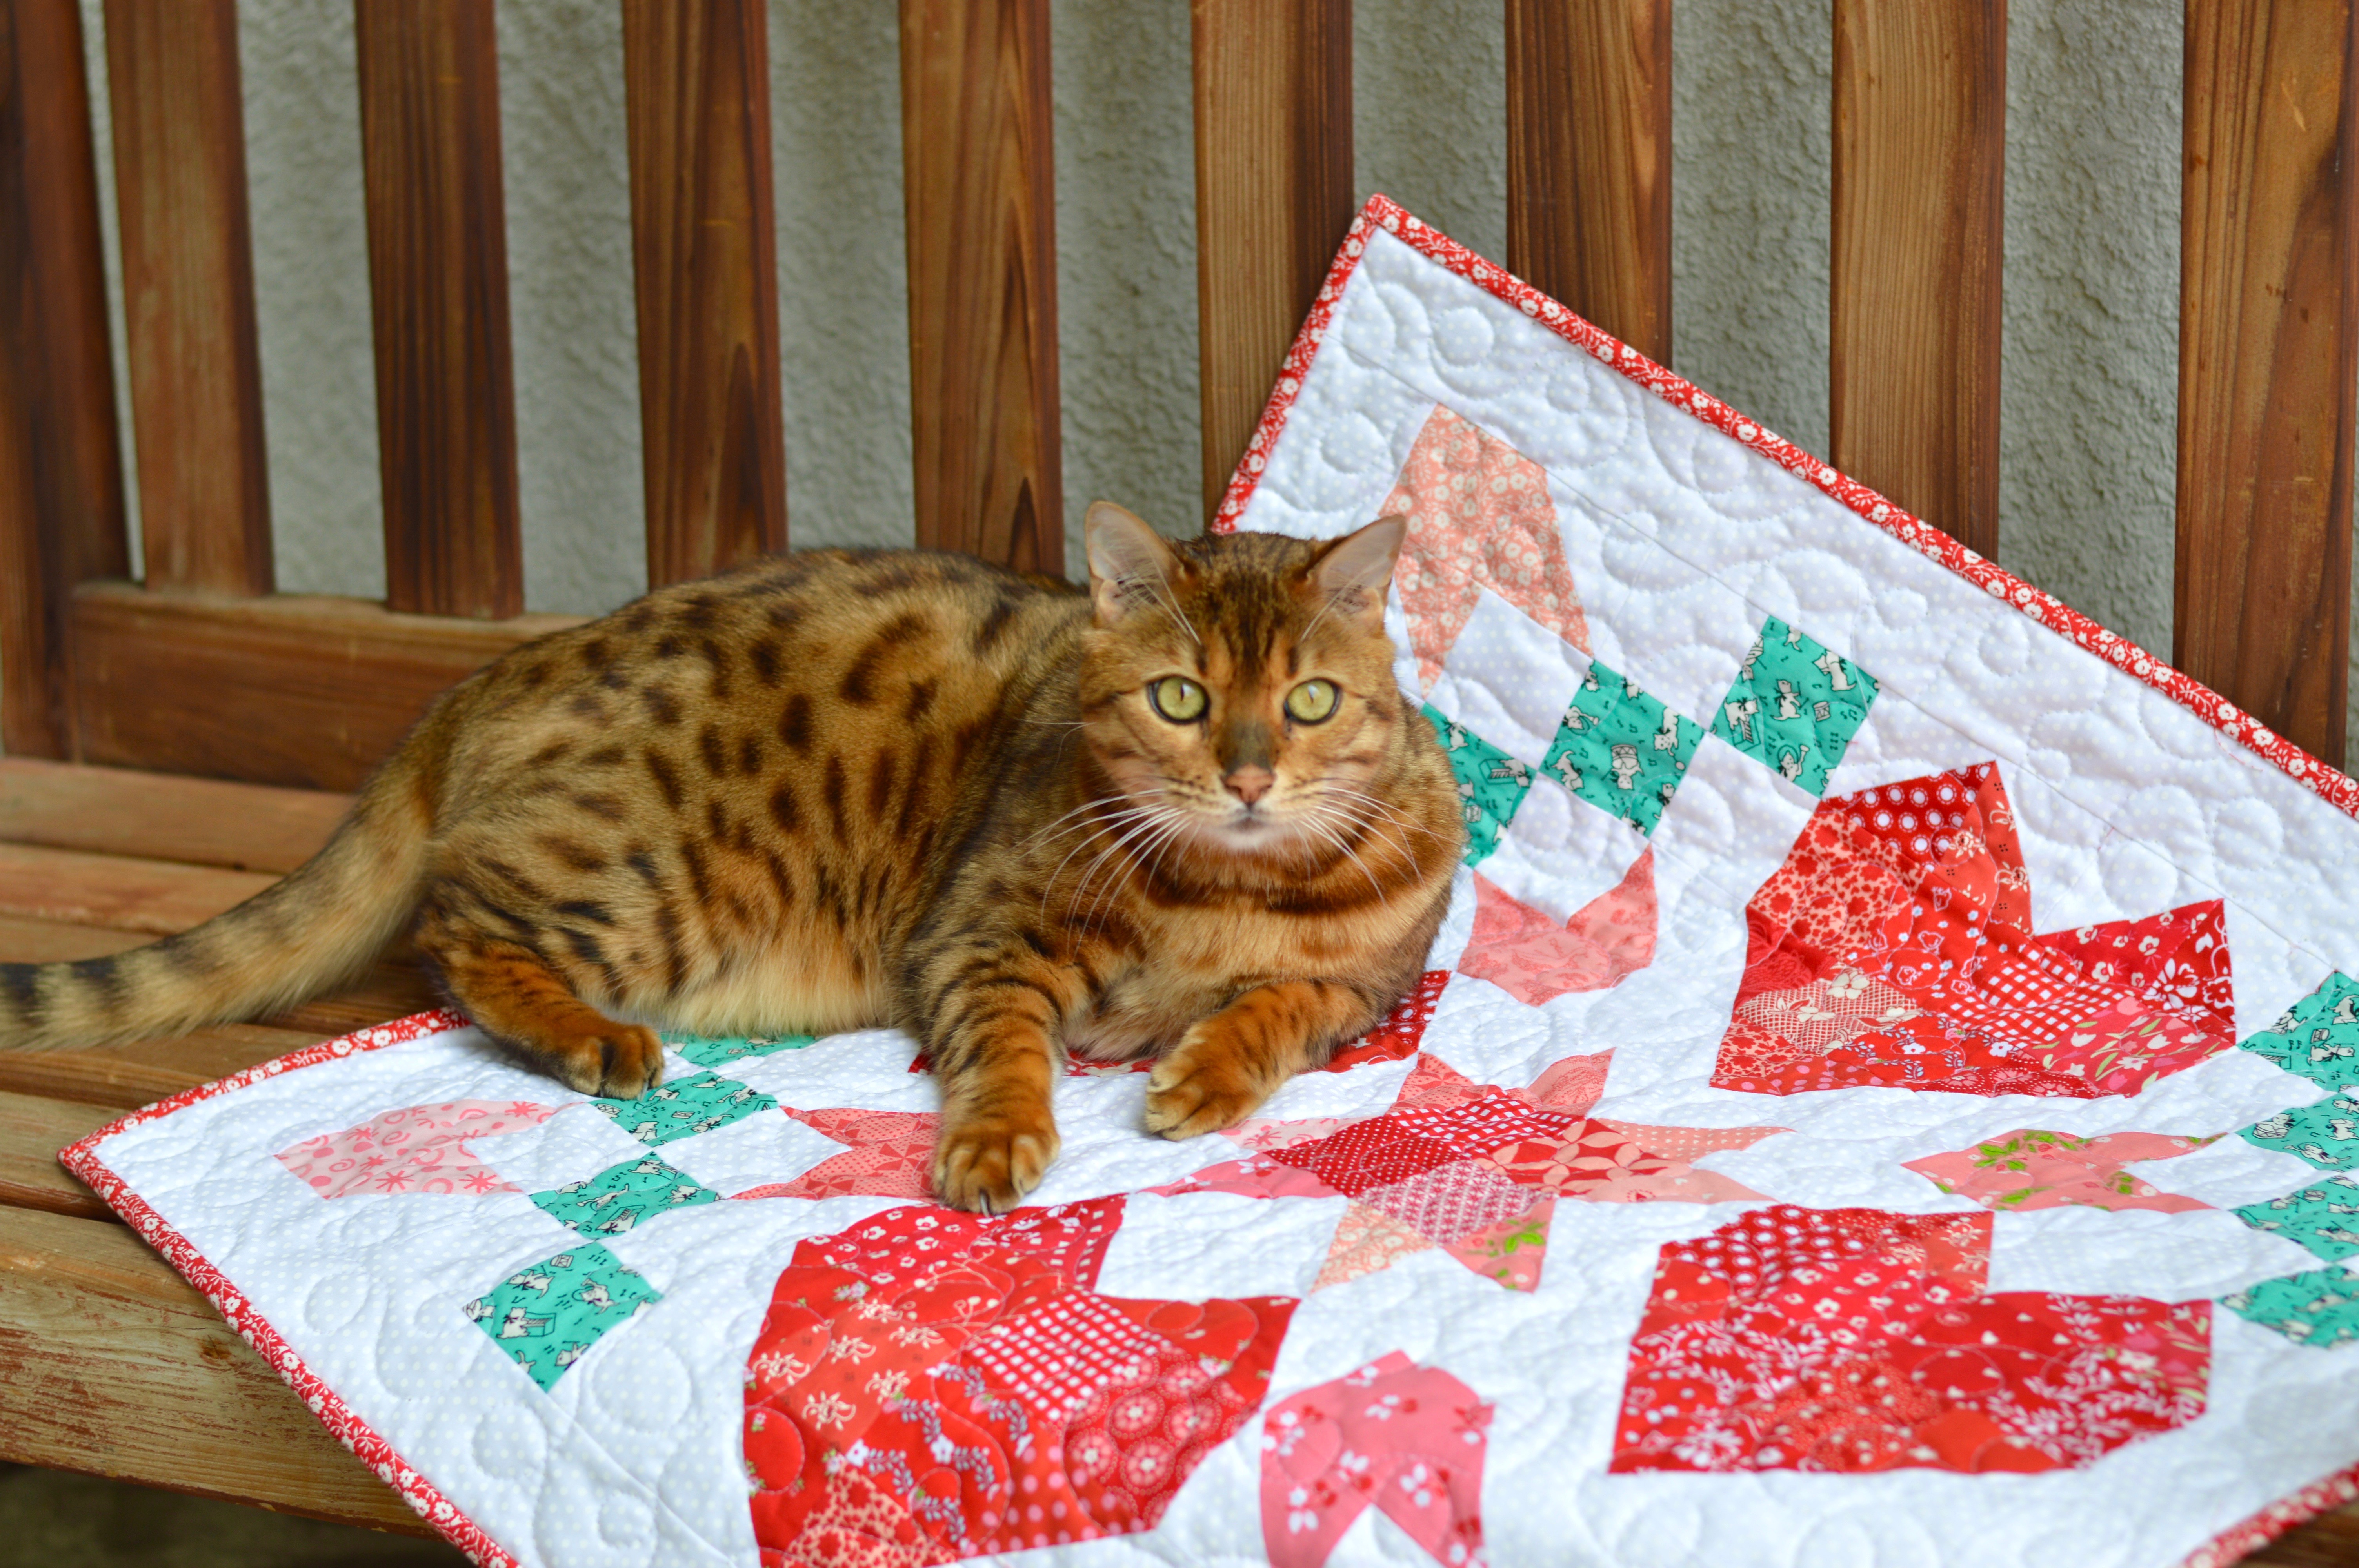
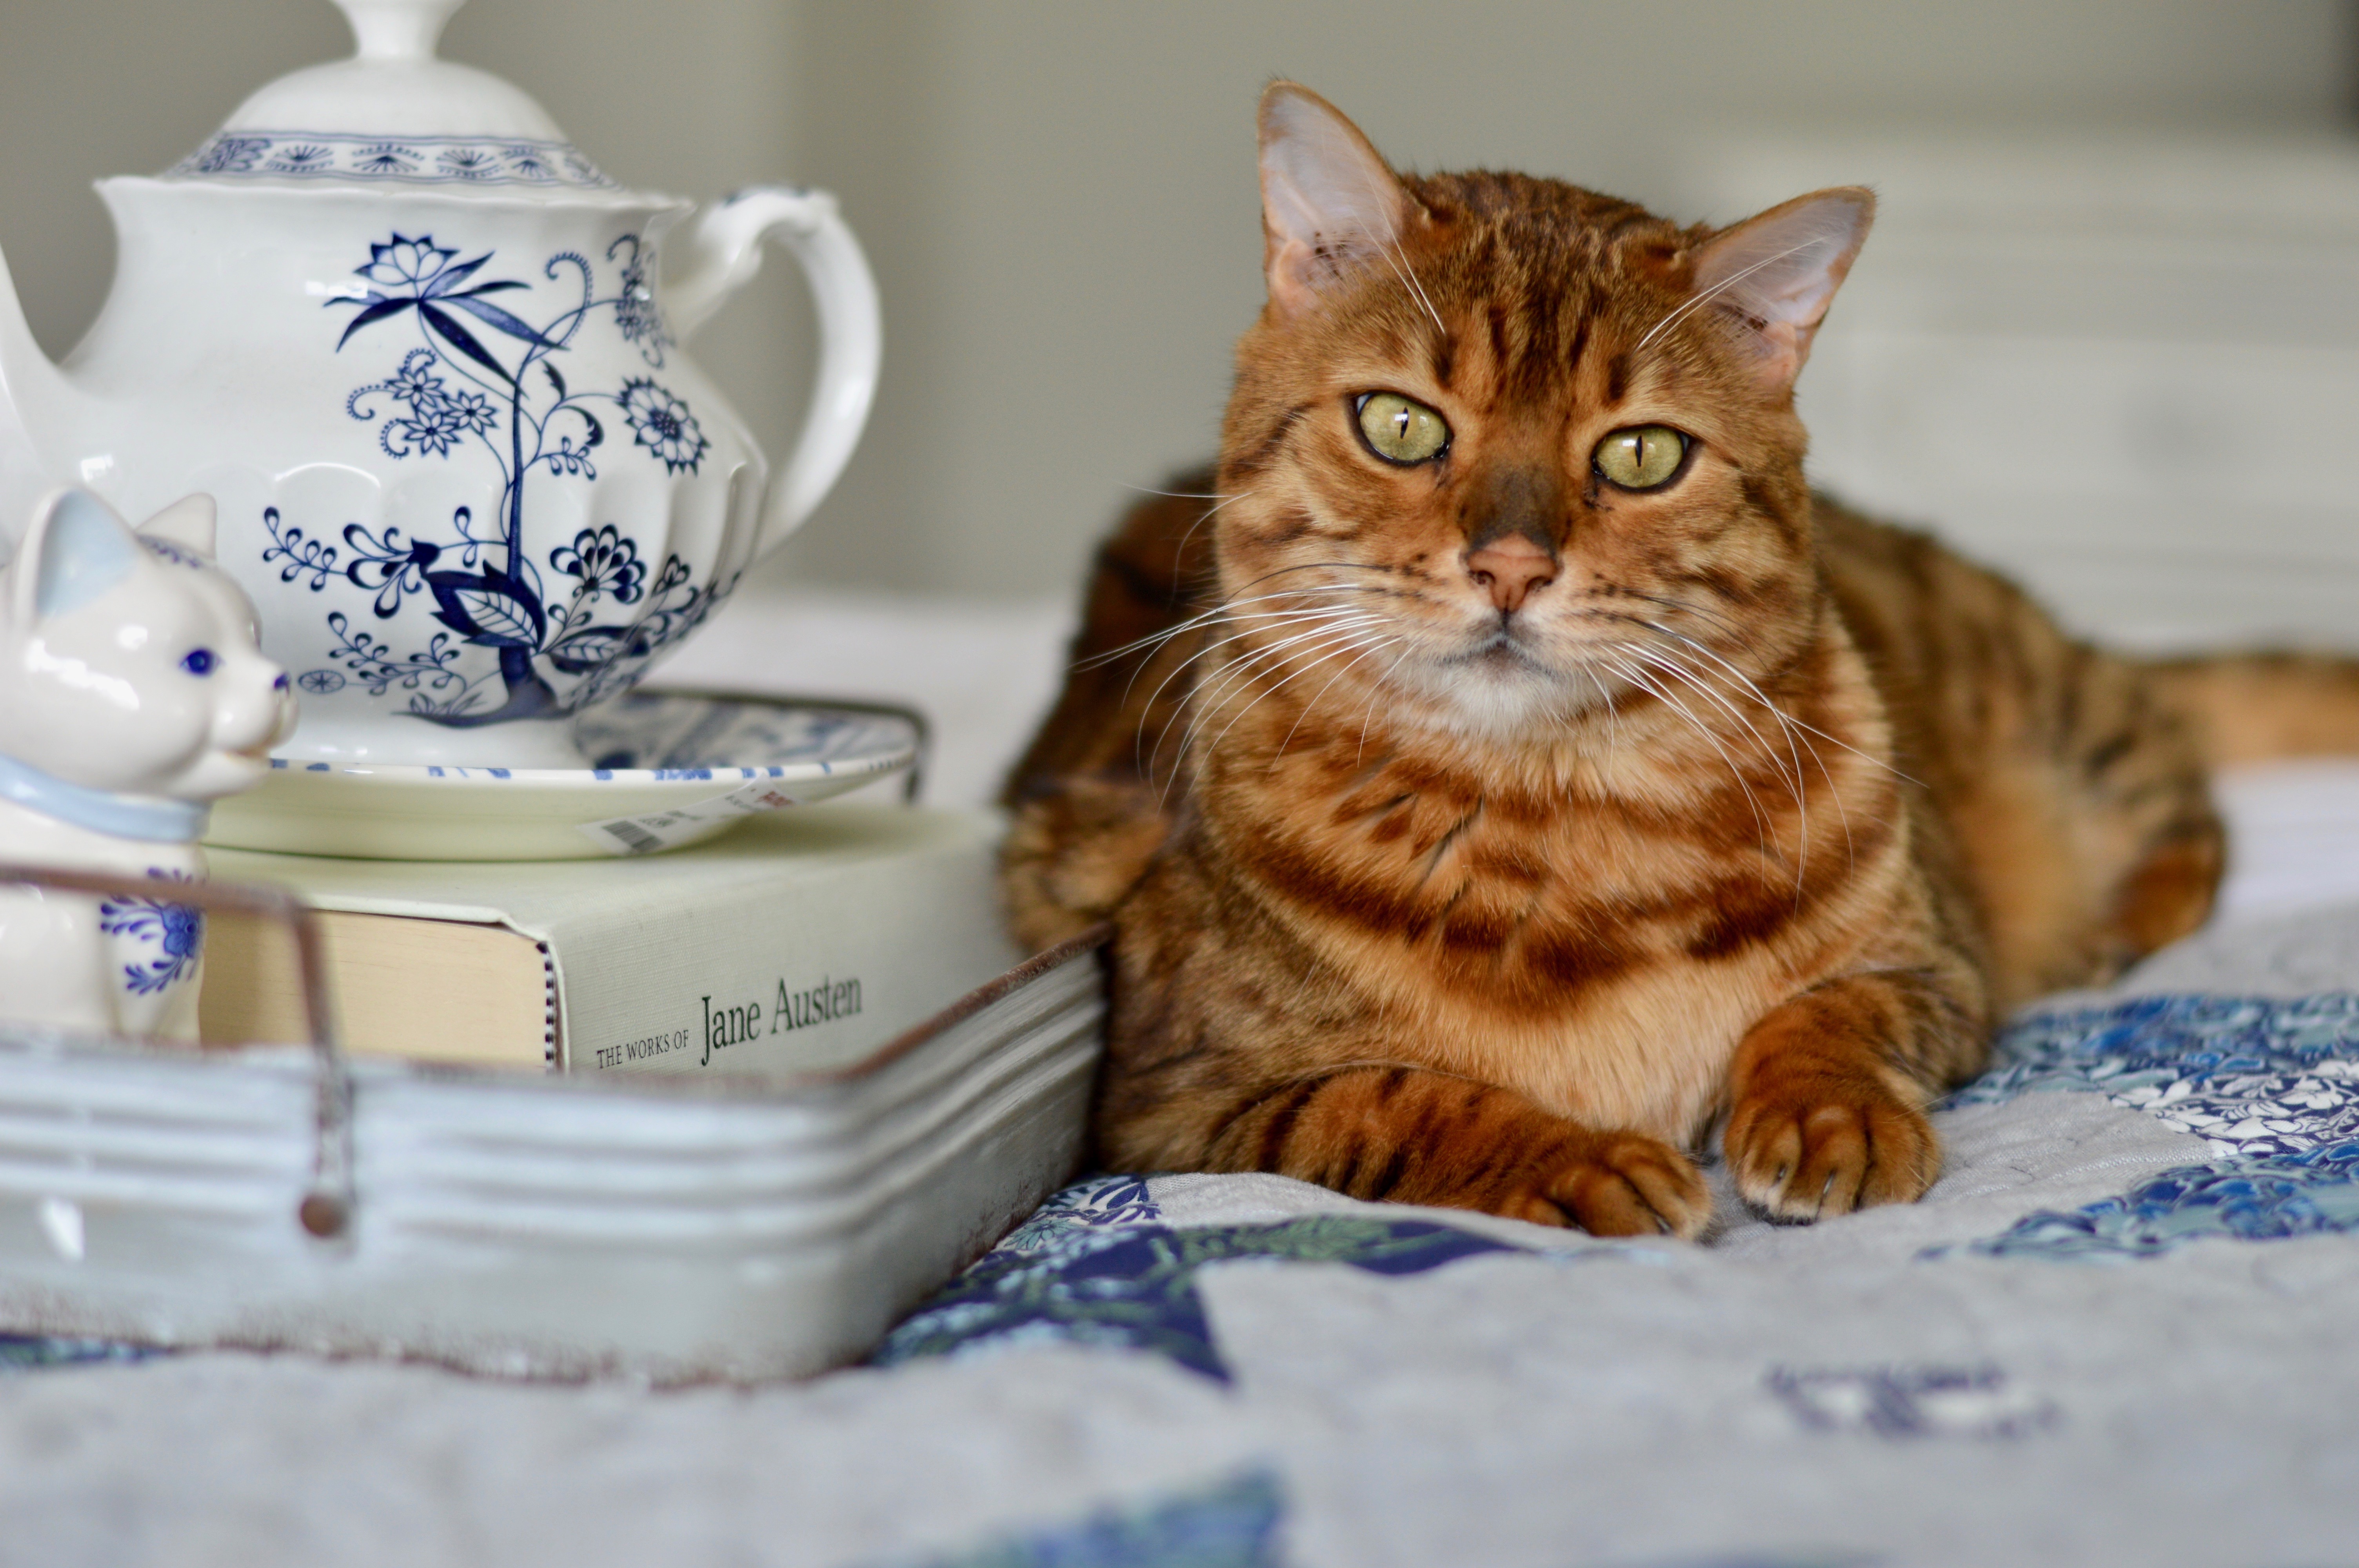
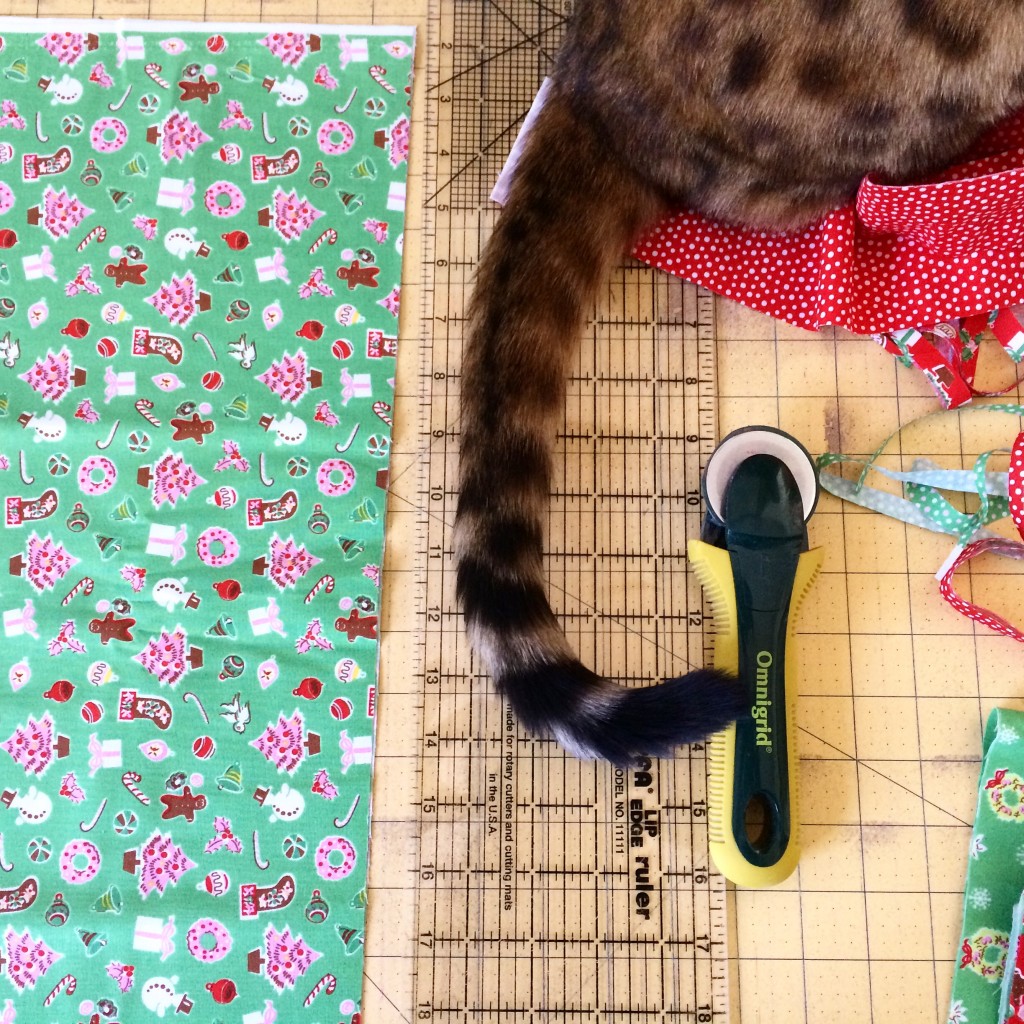
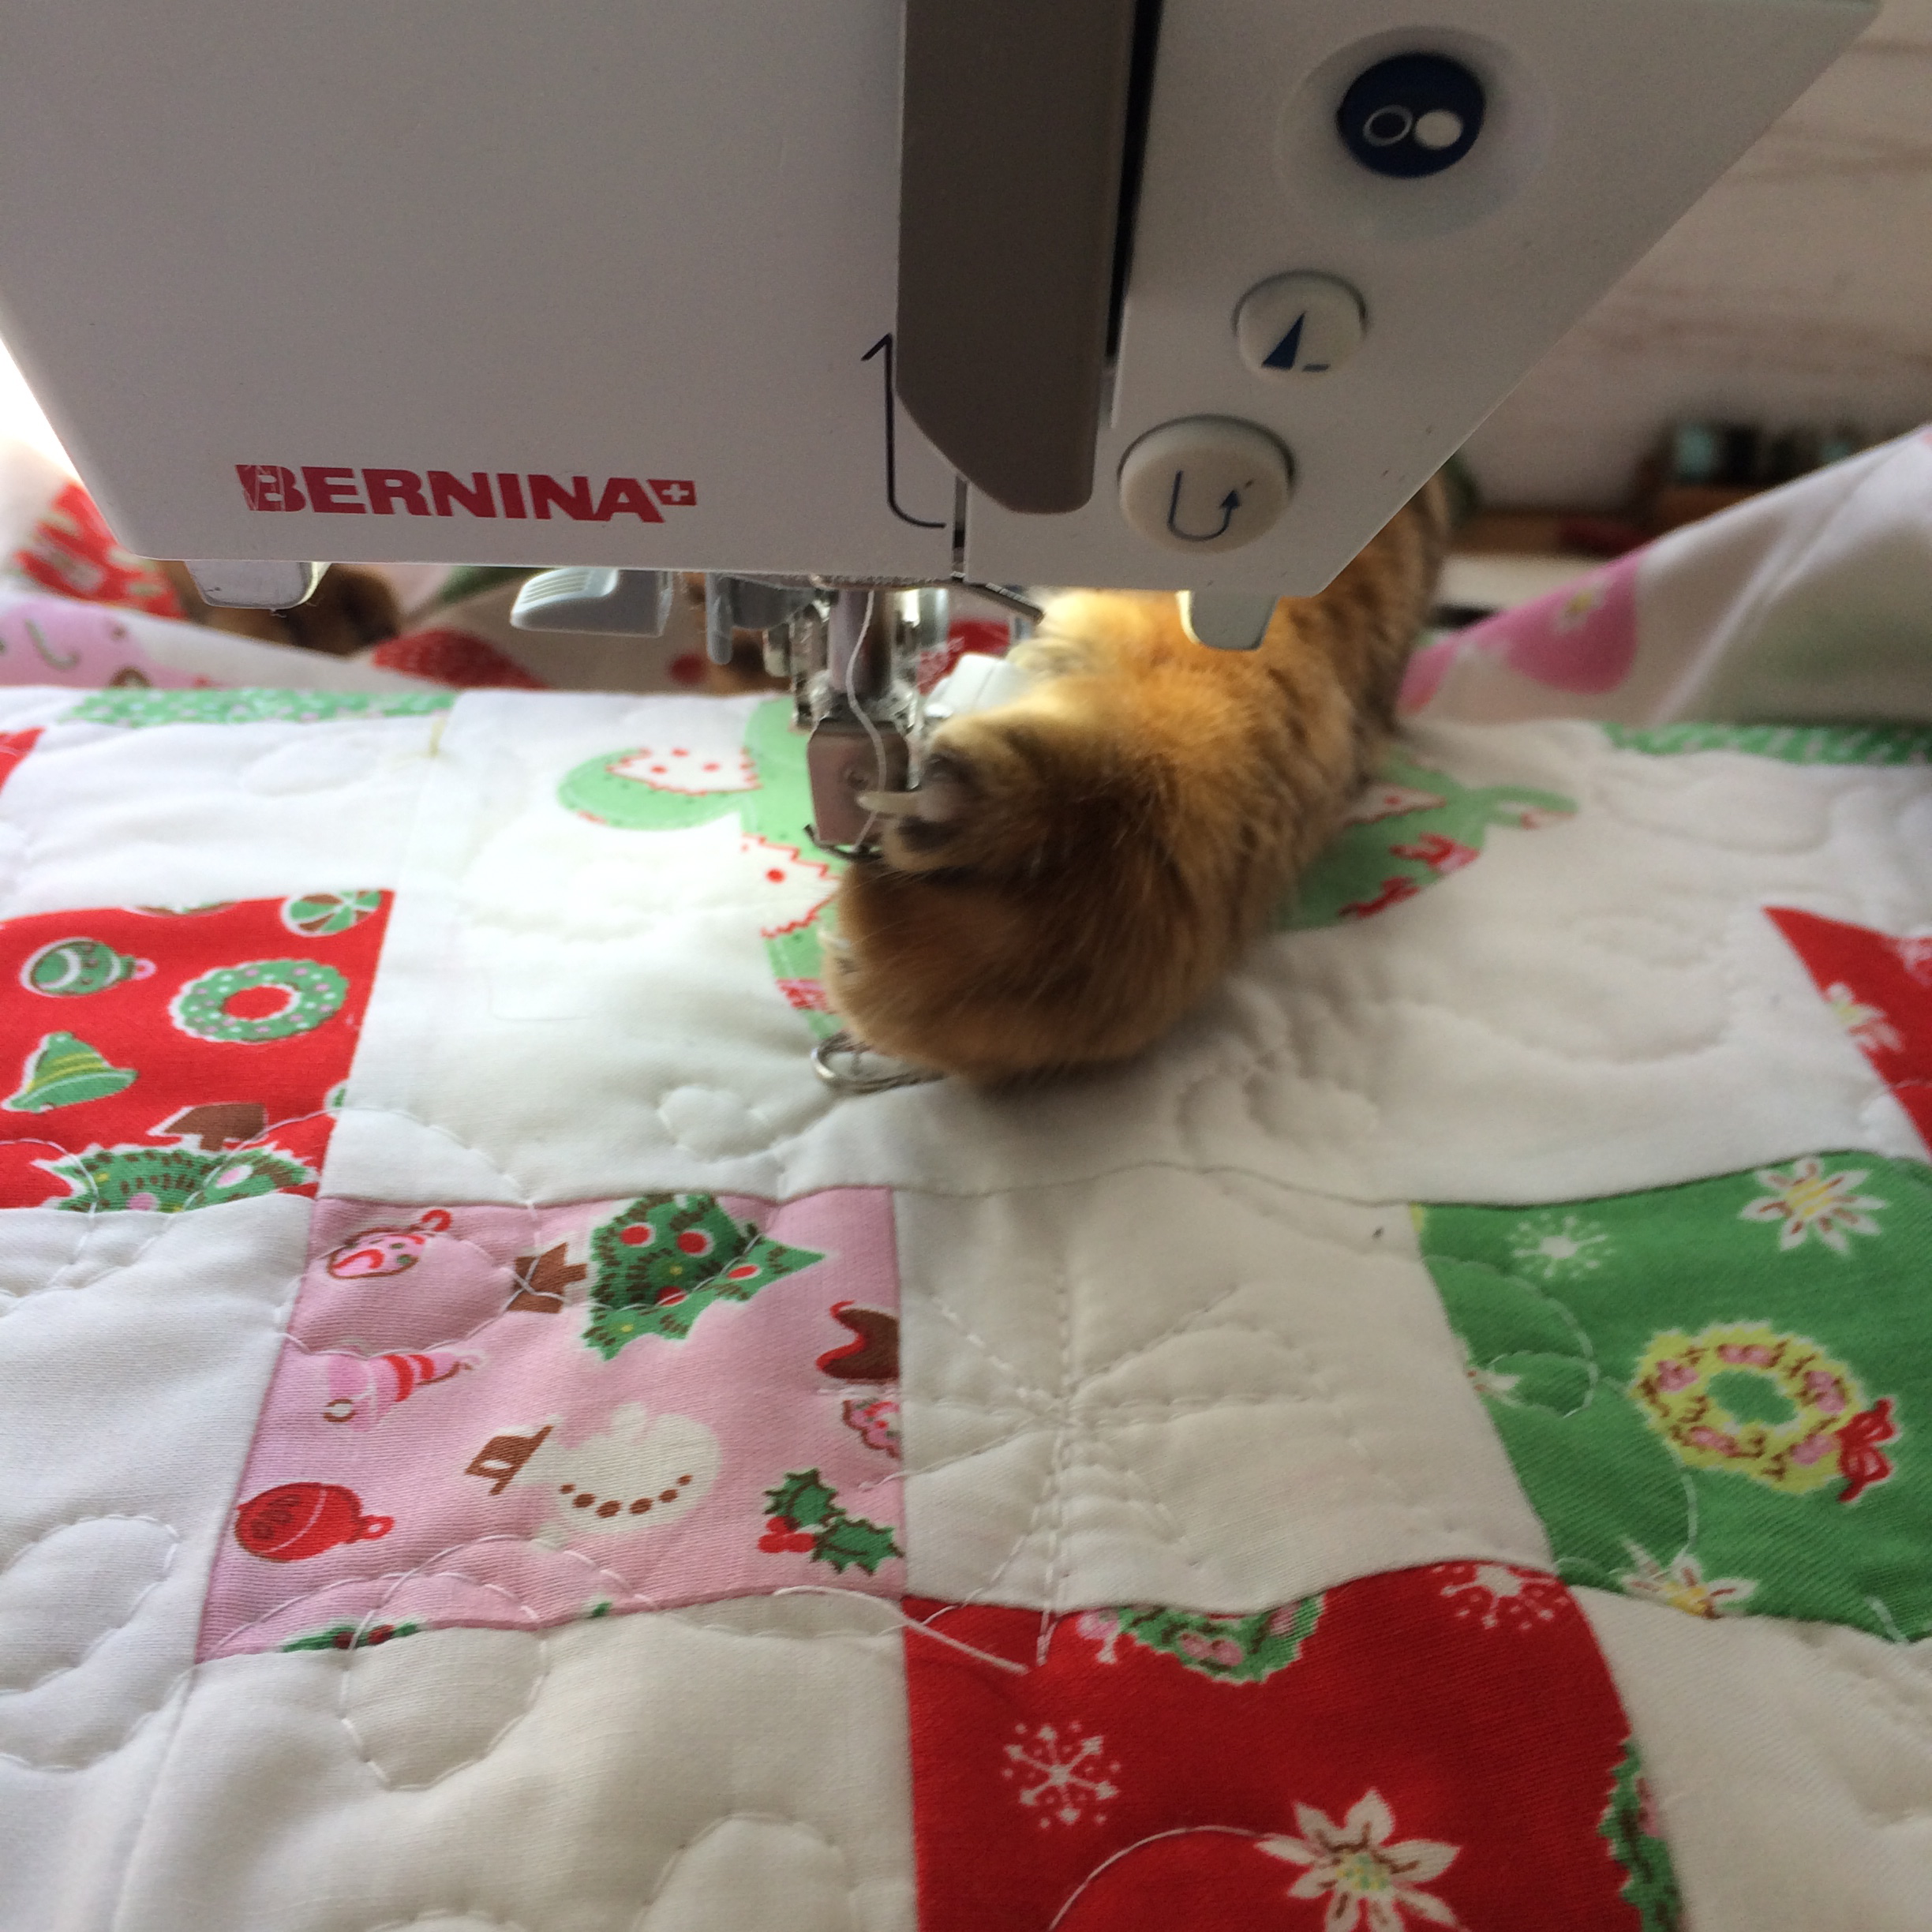
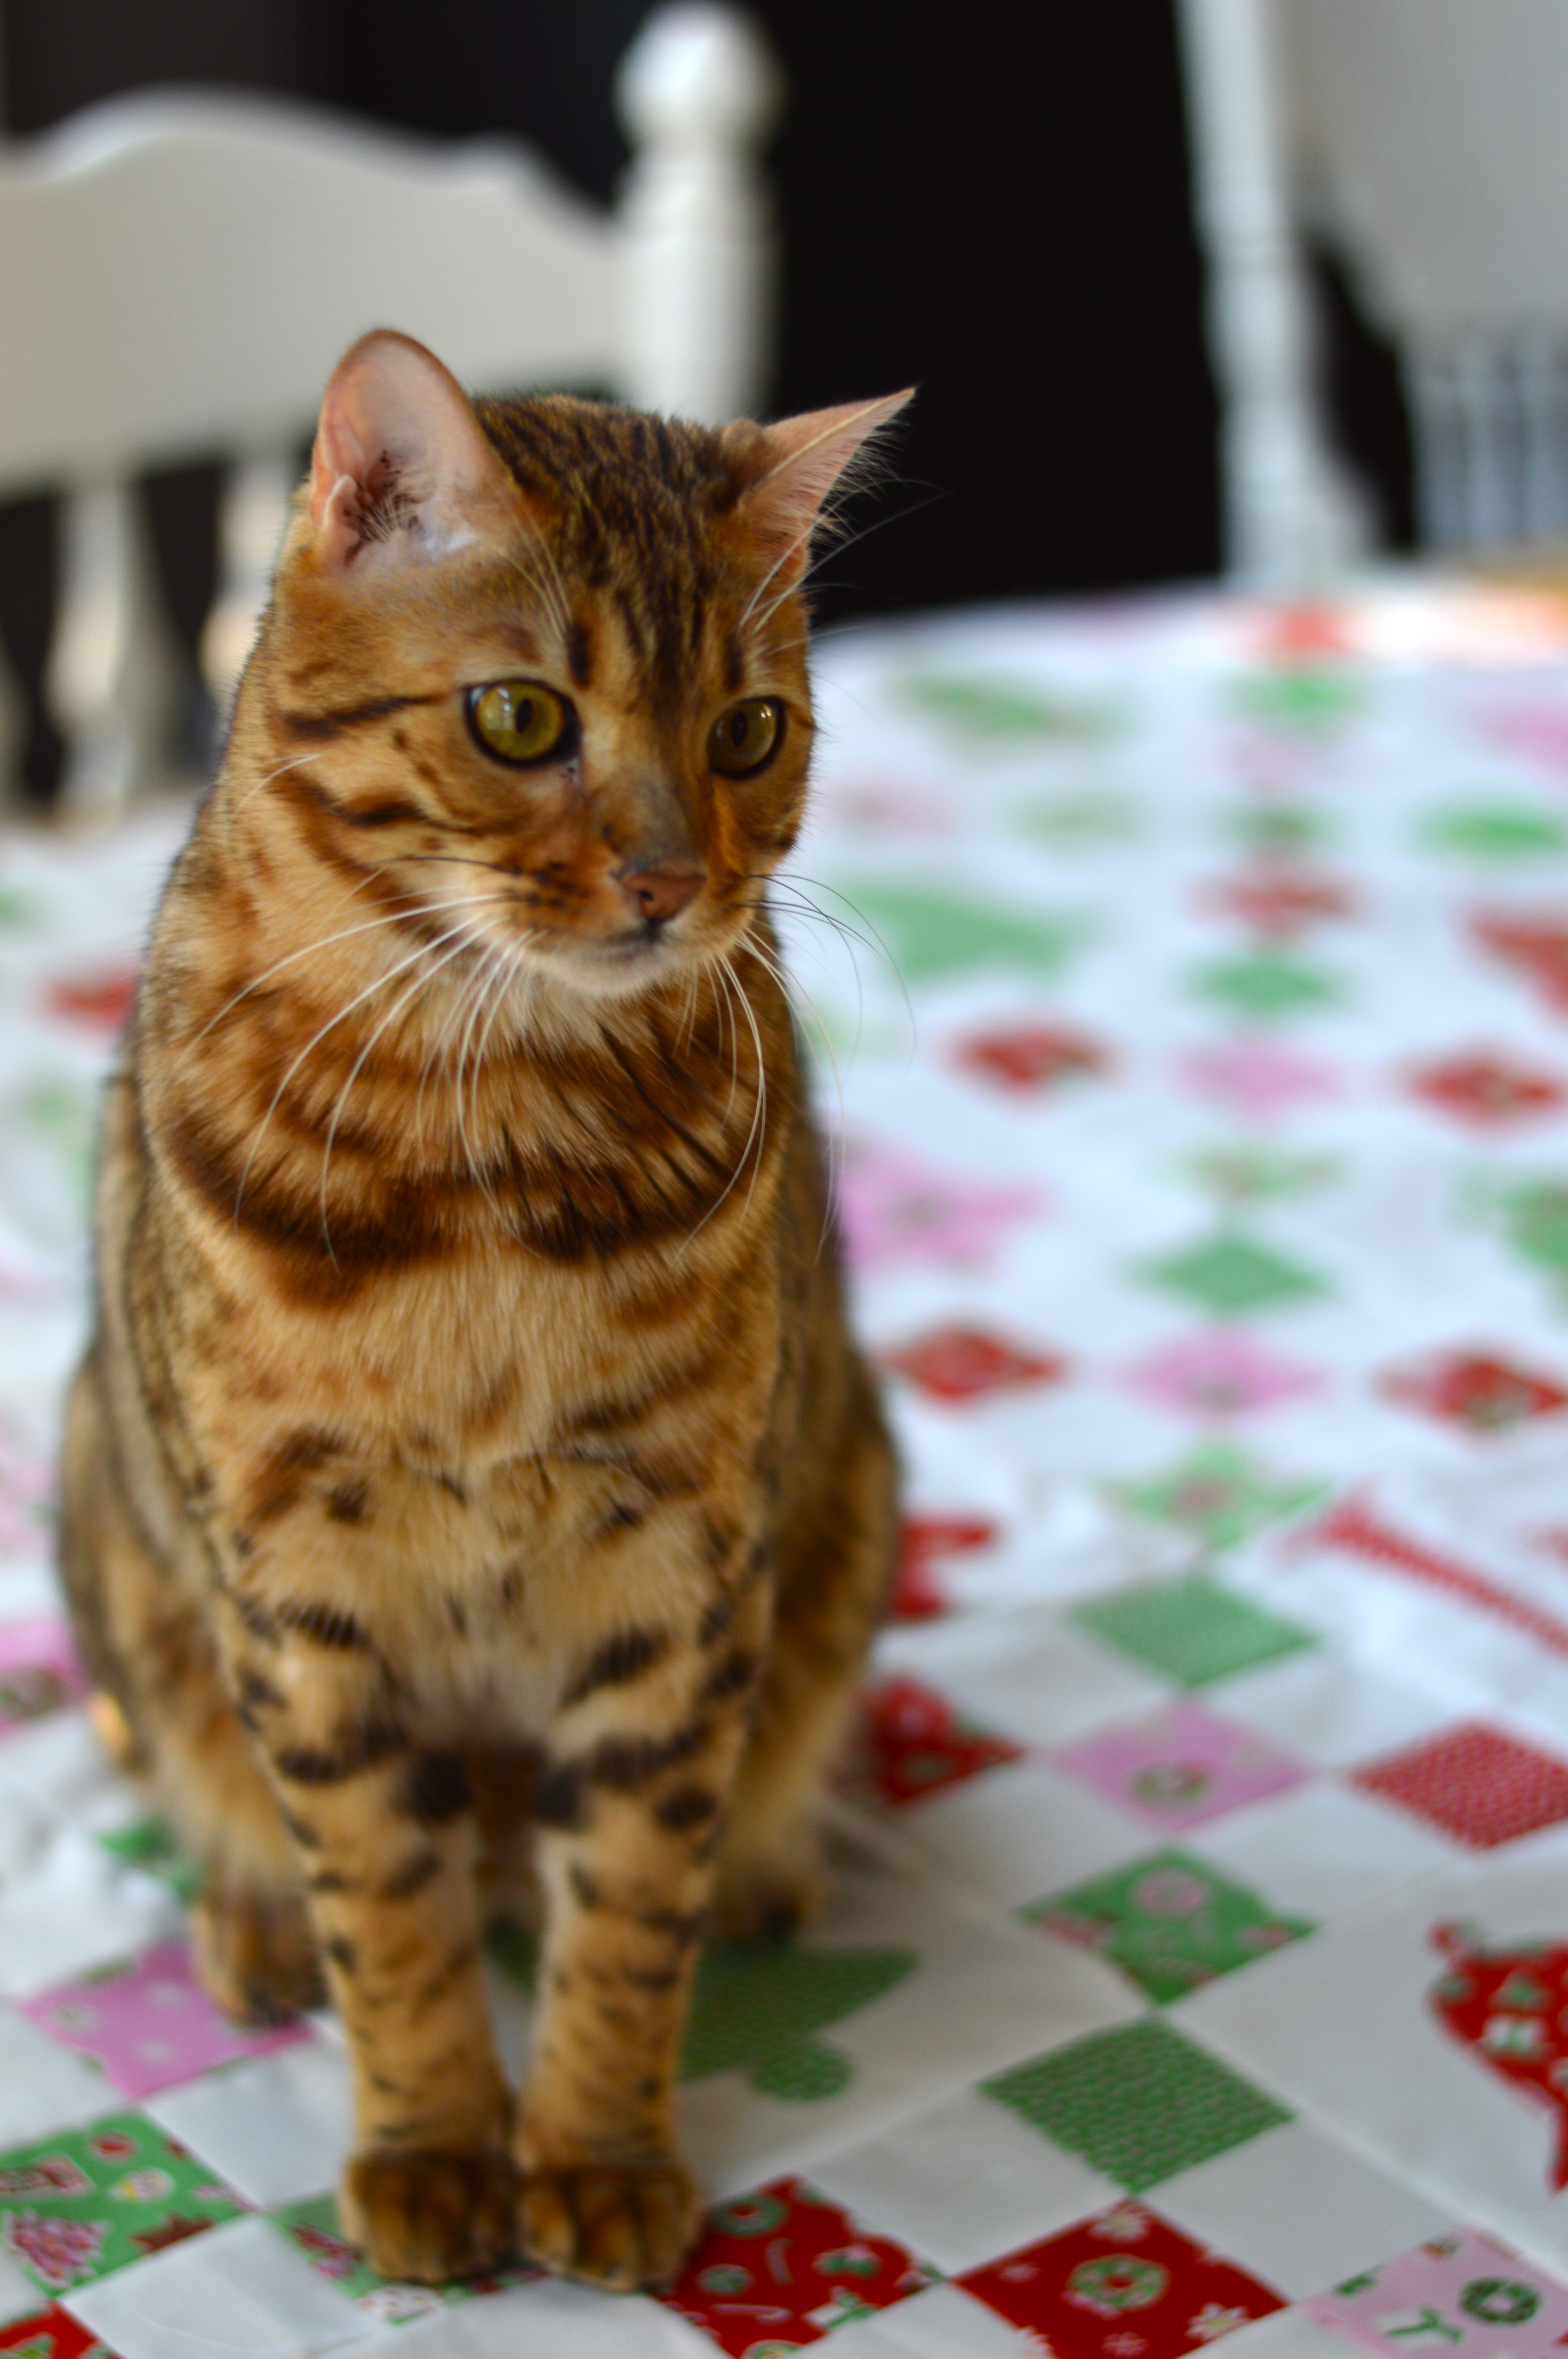
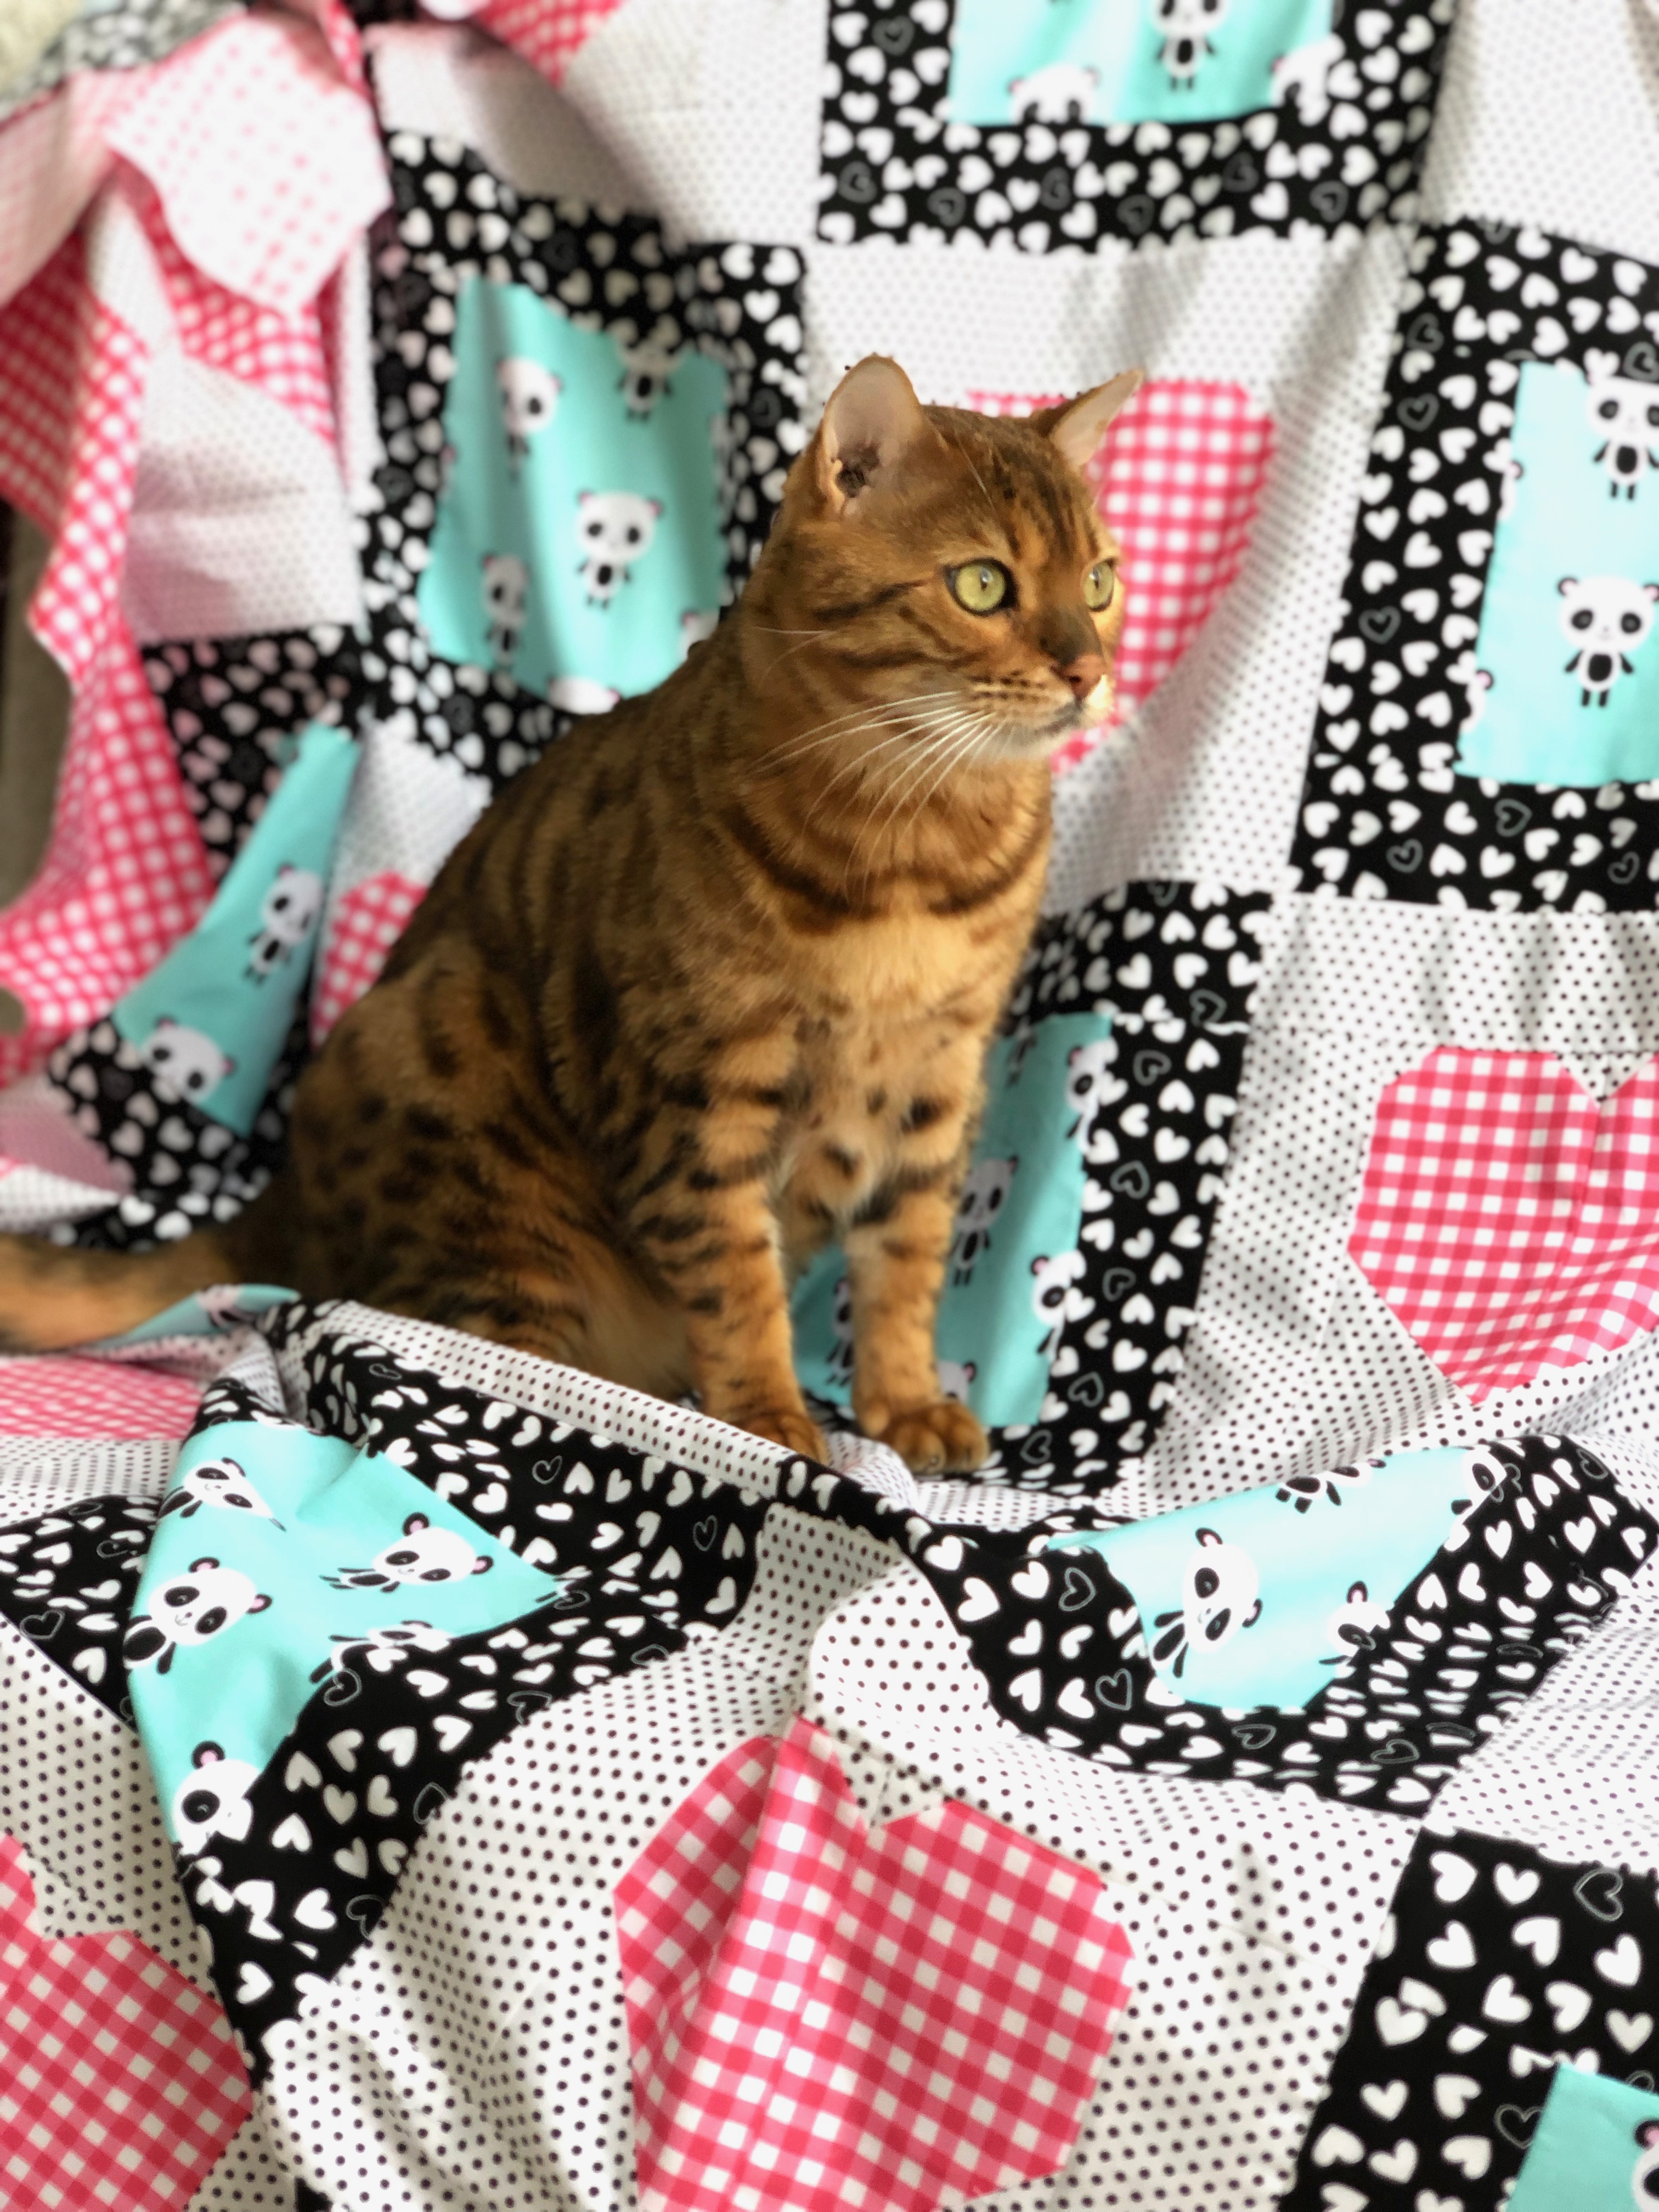 Mufasa approved!
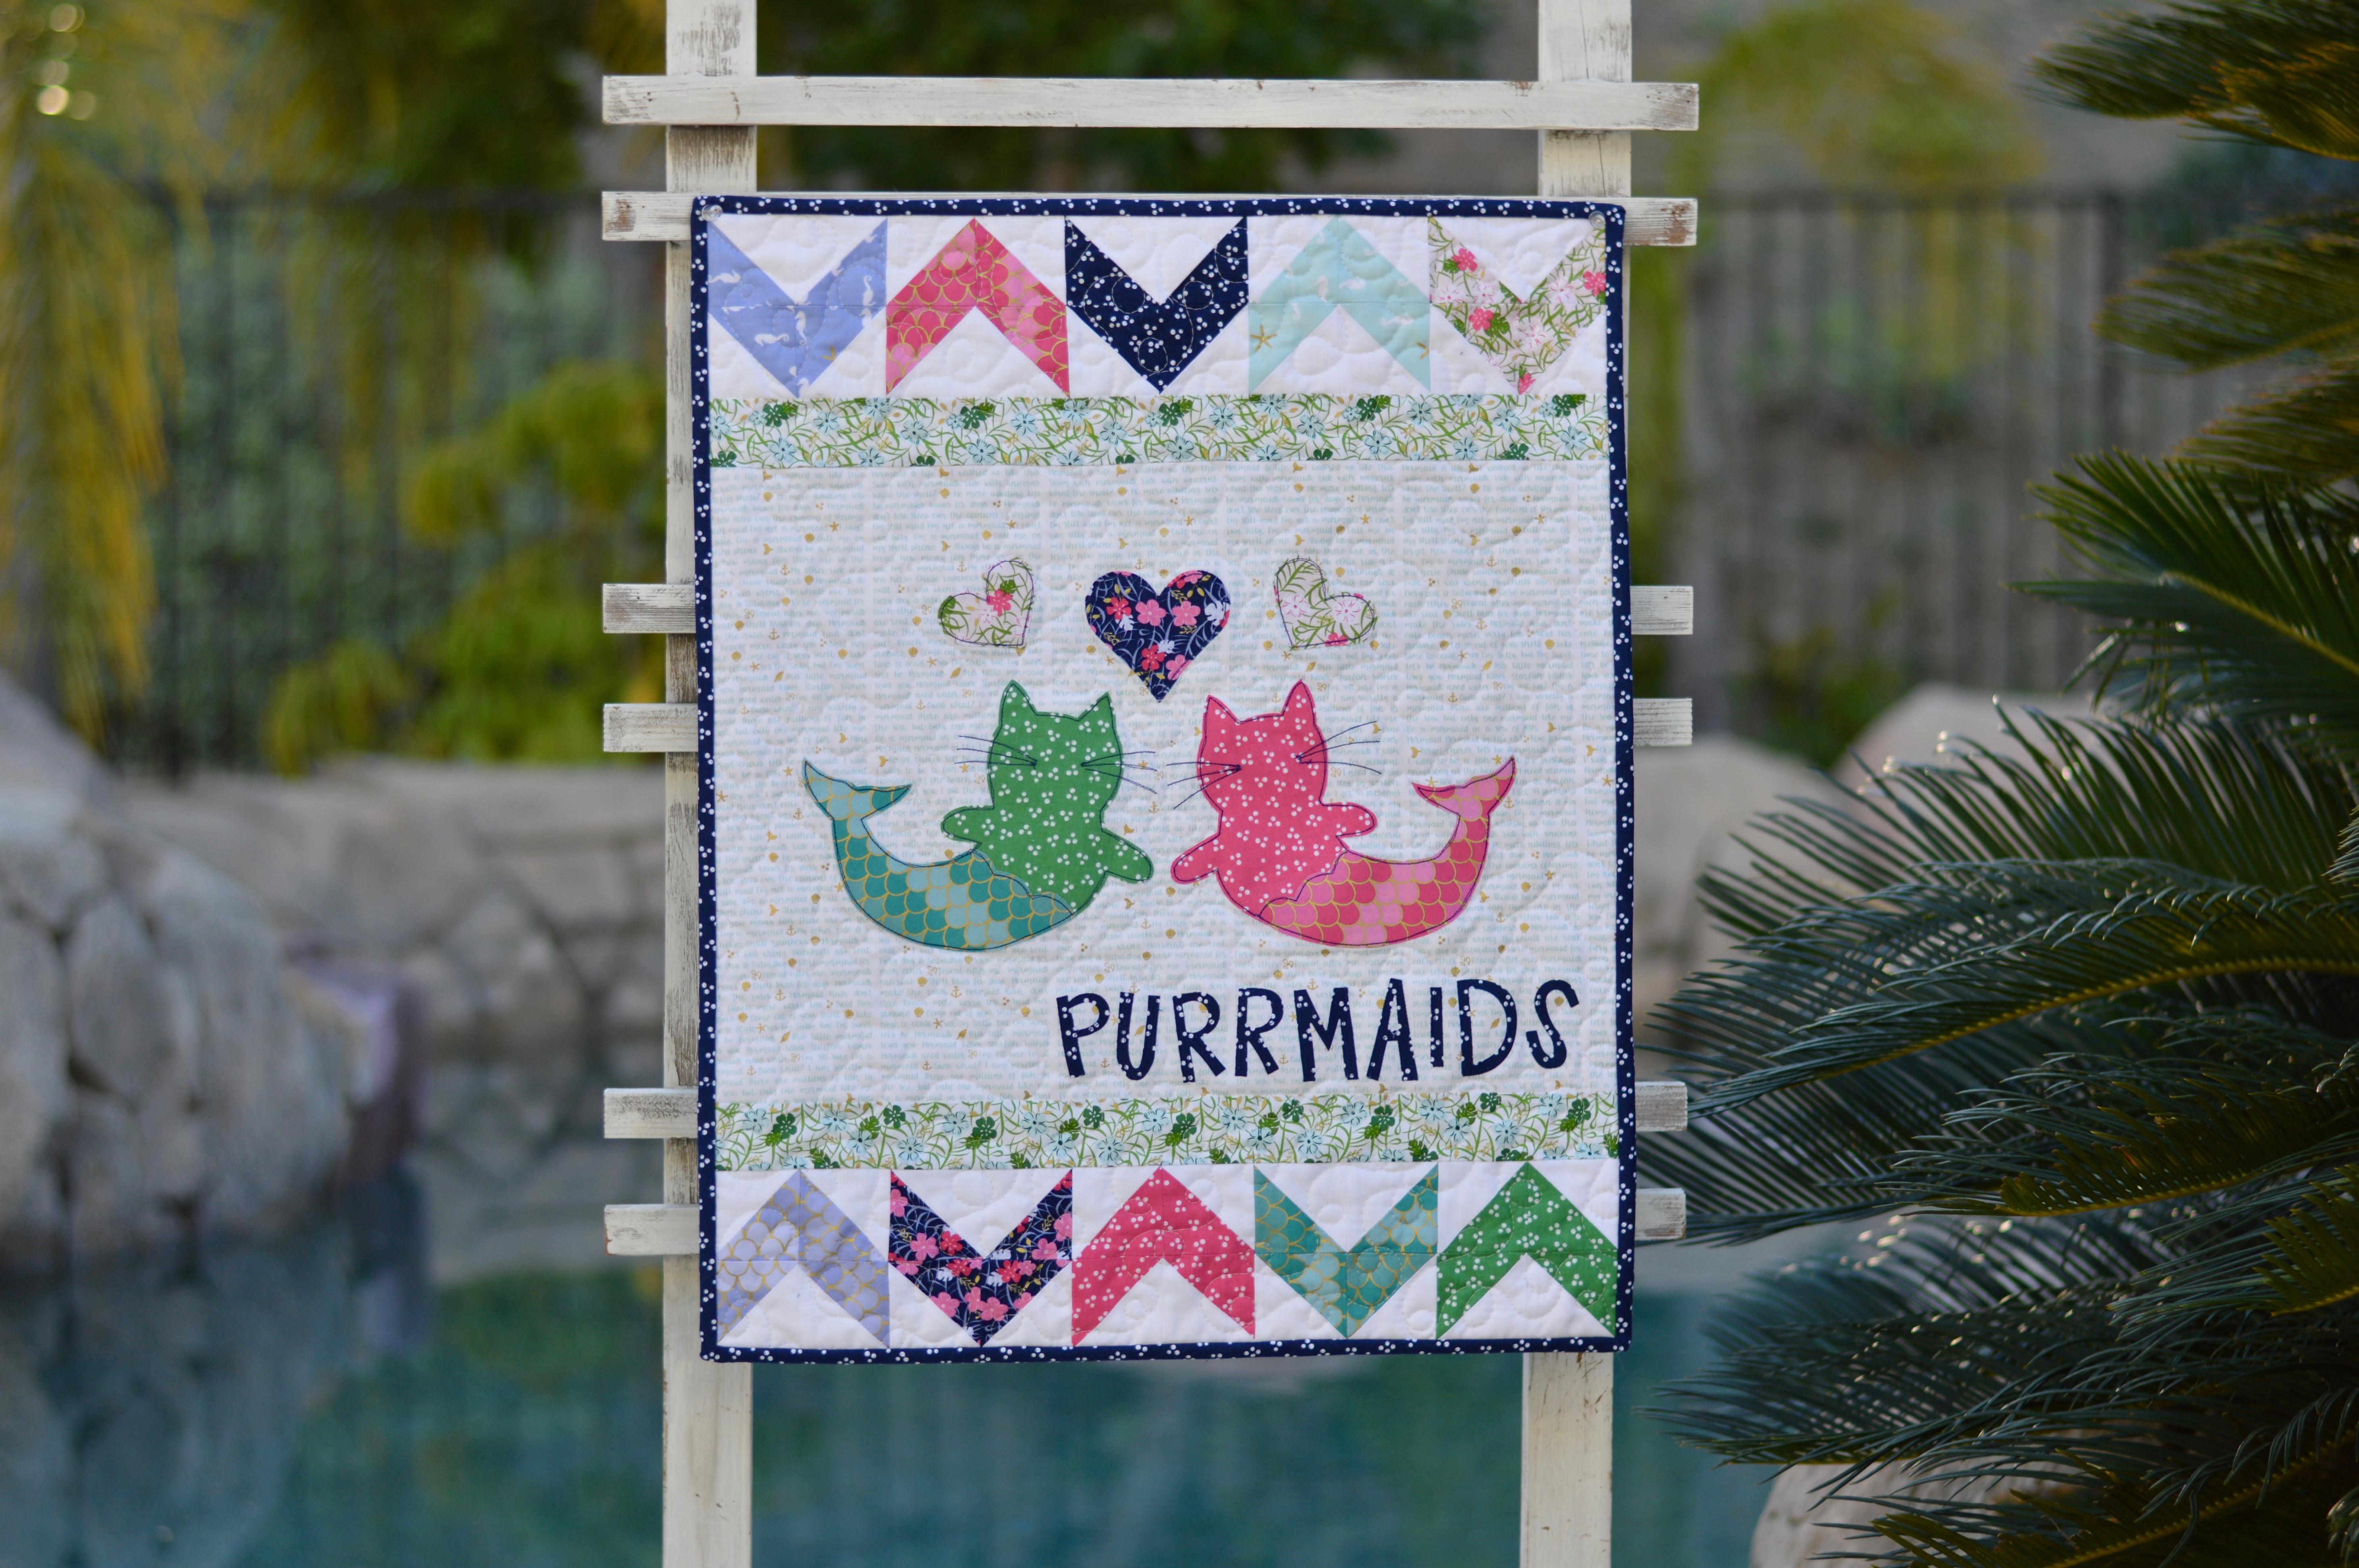

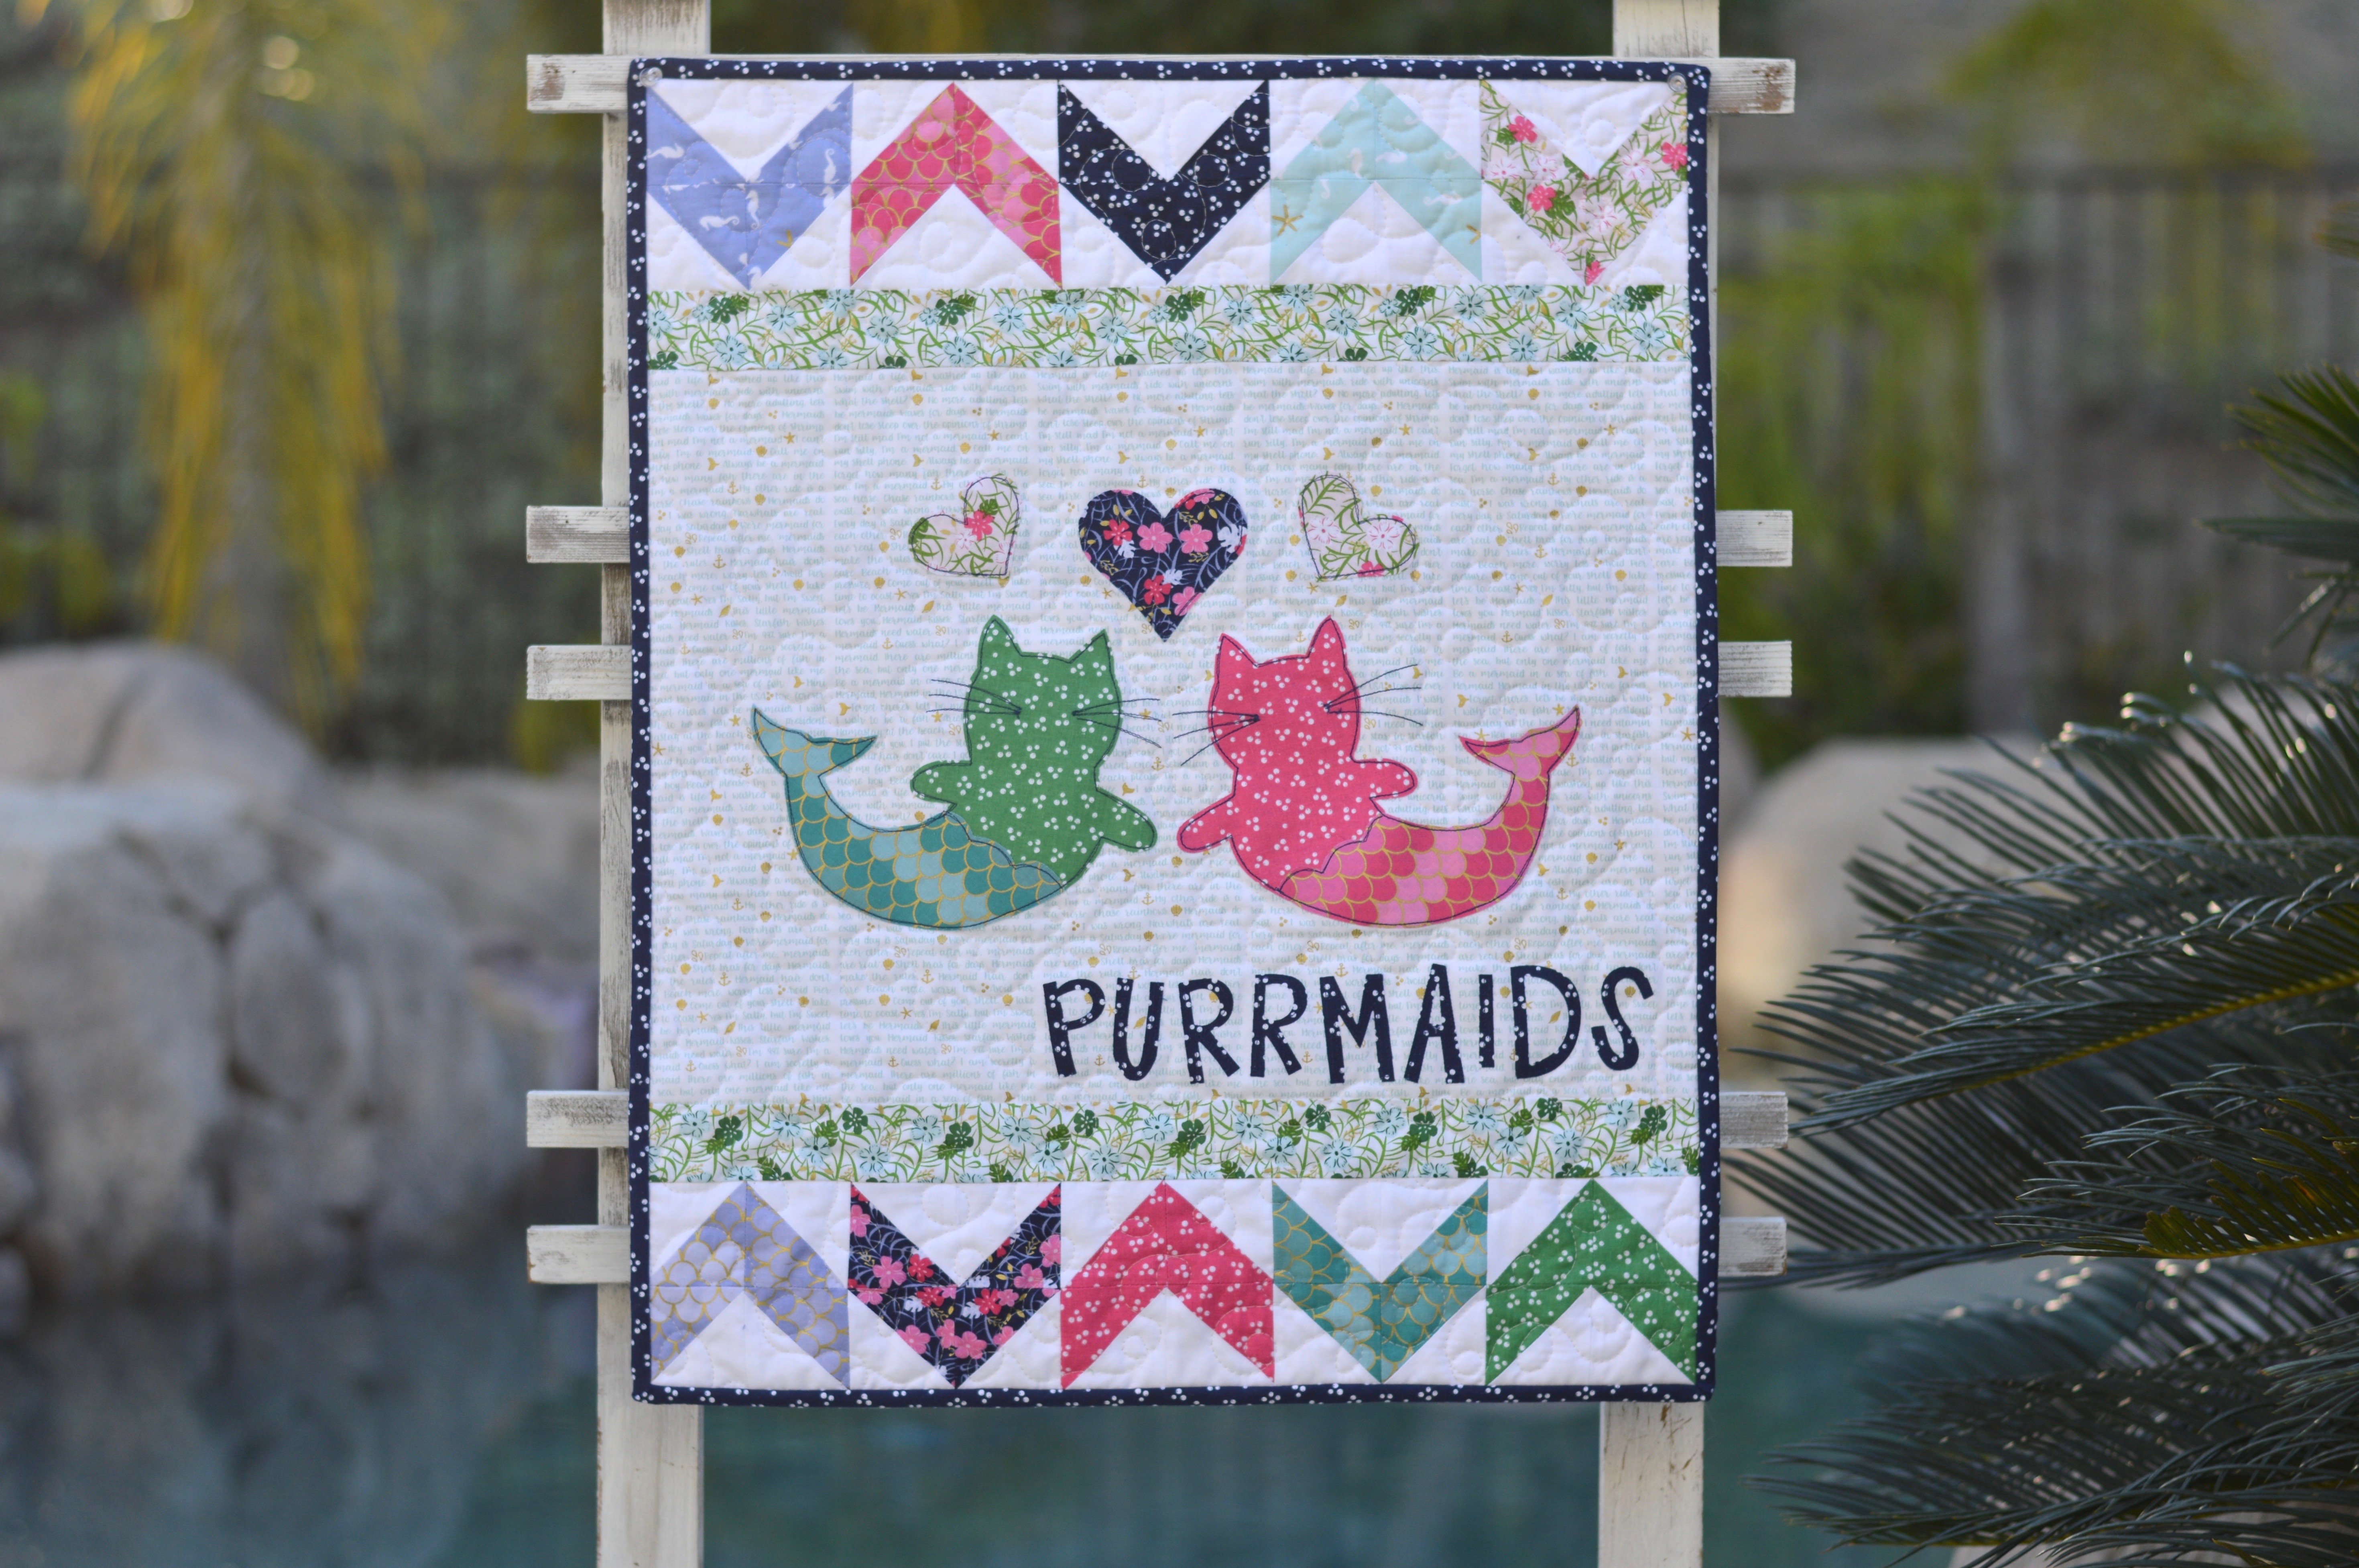

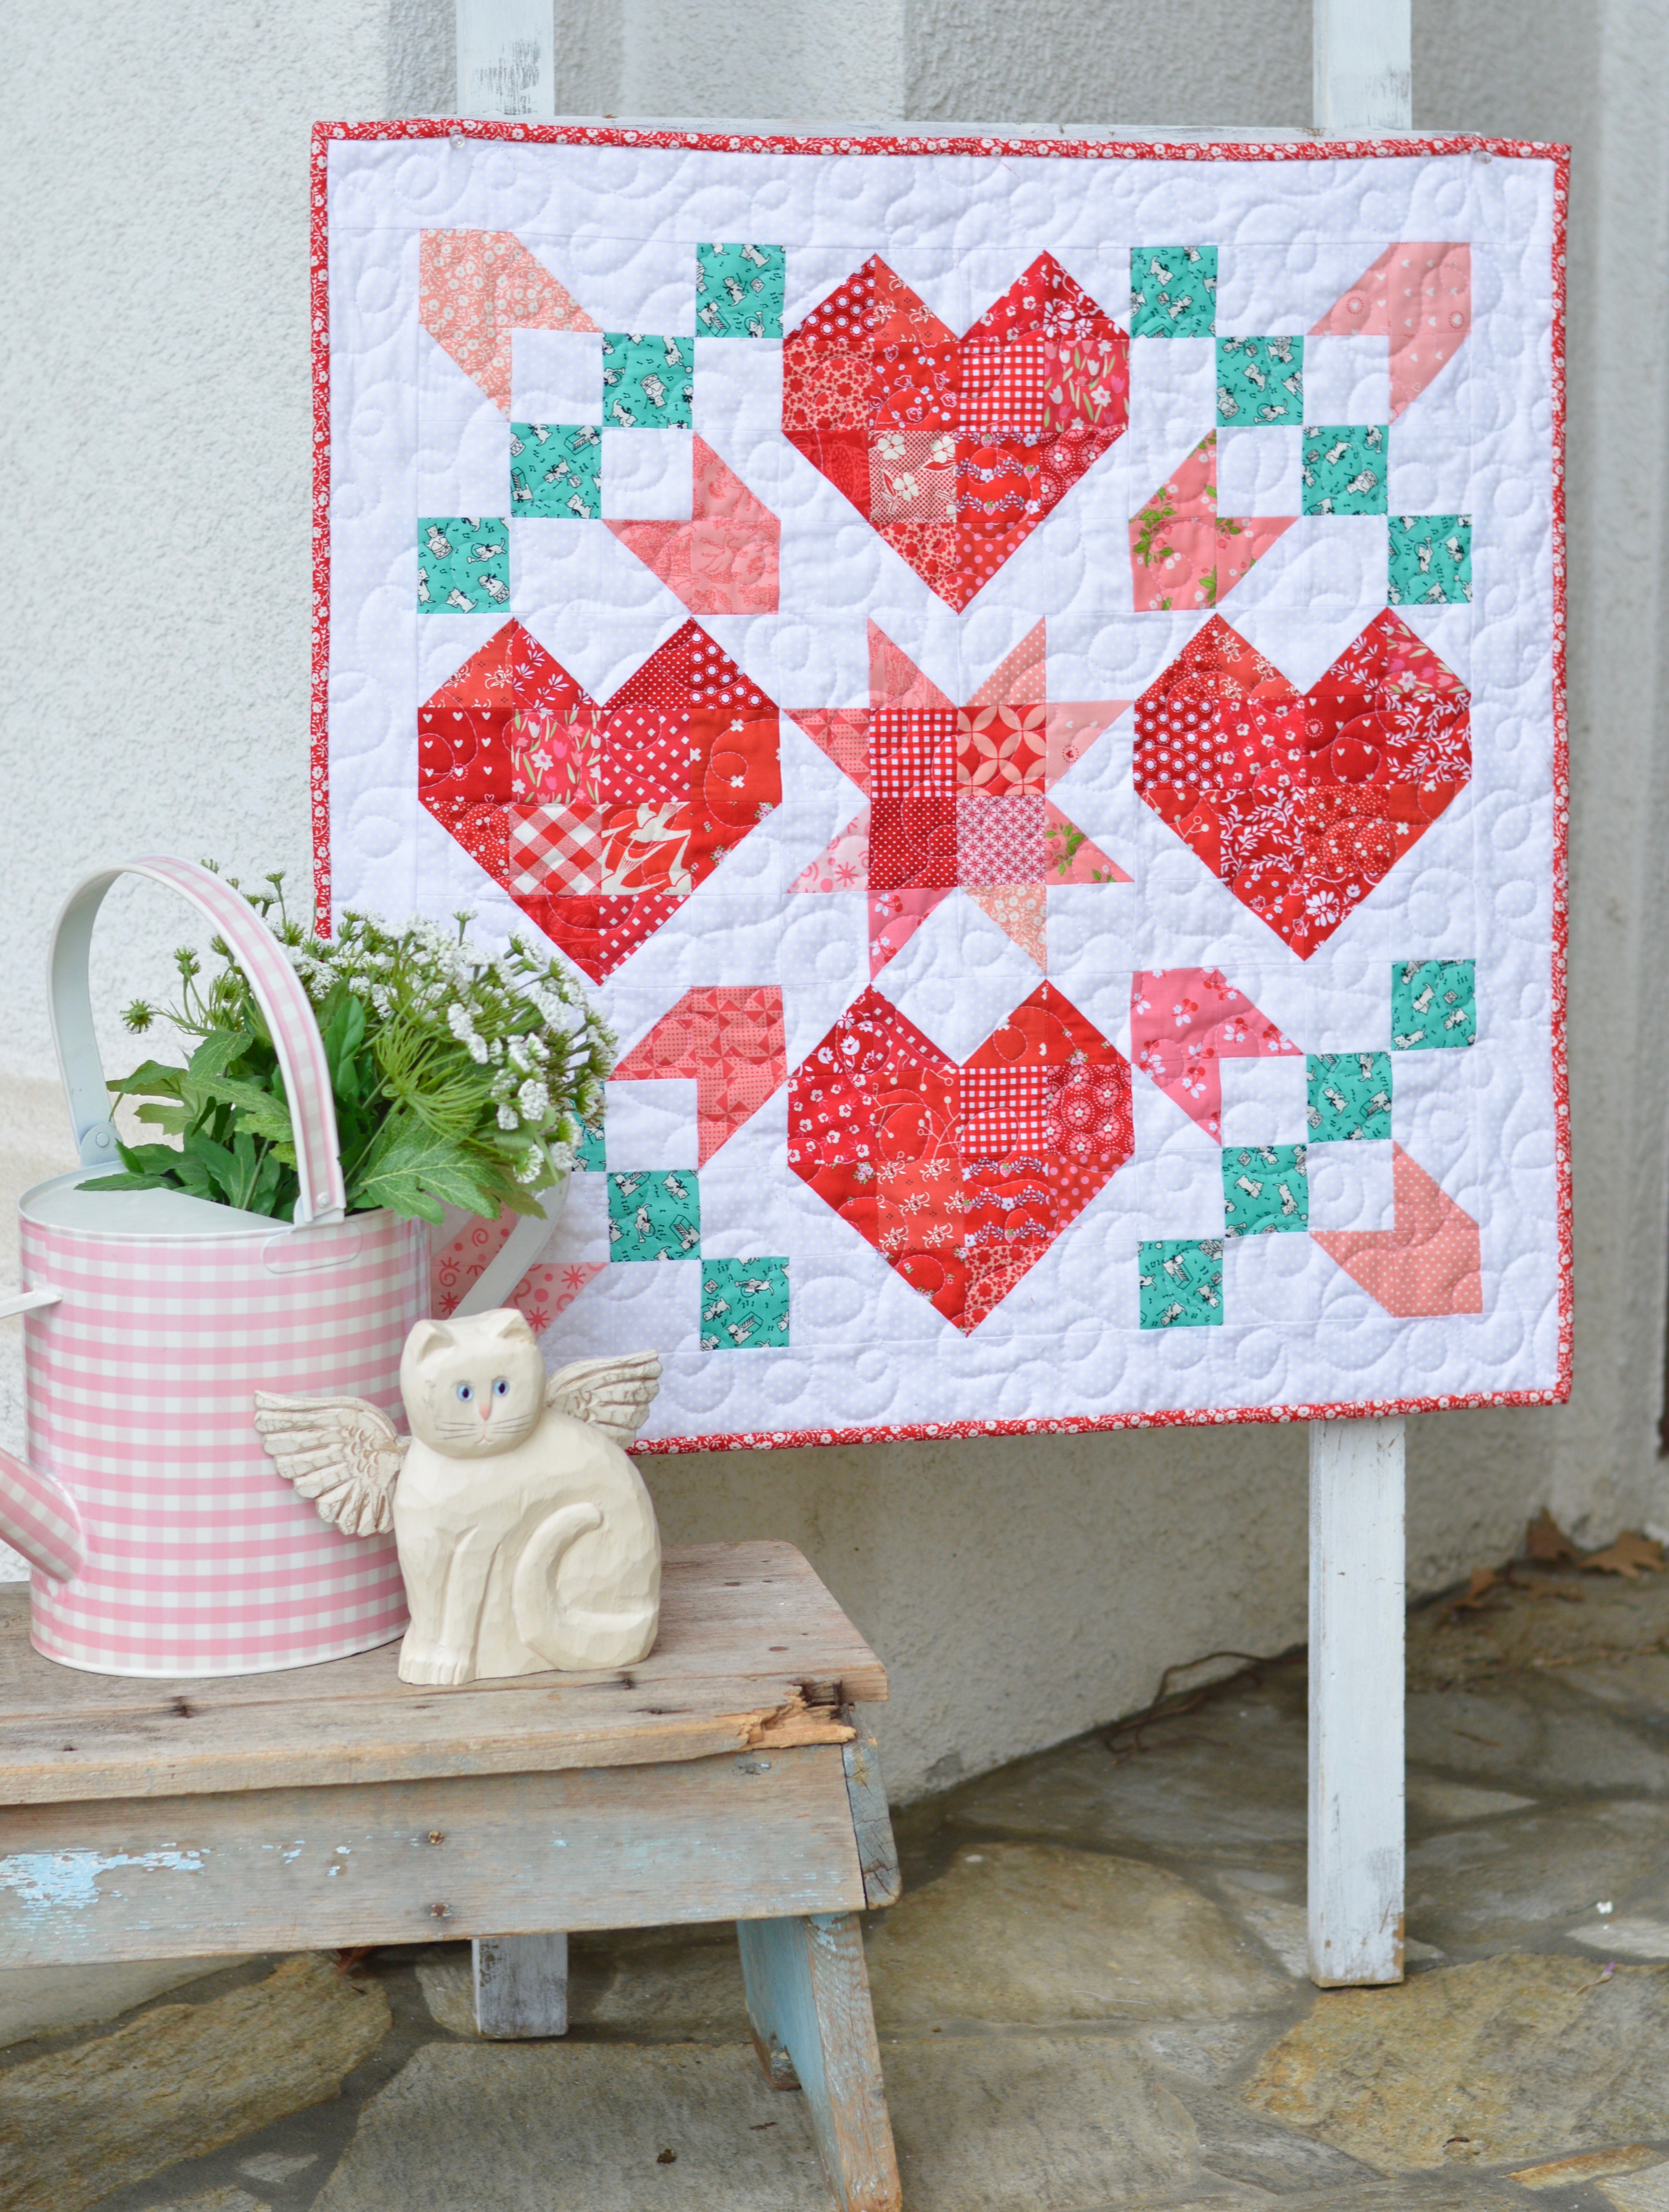
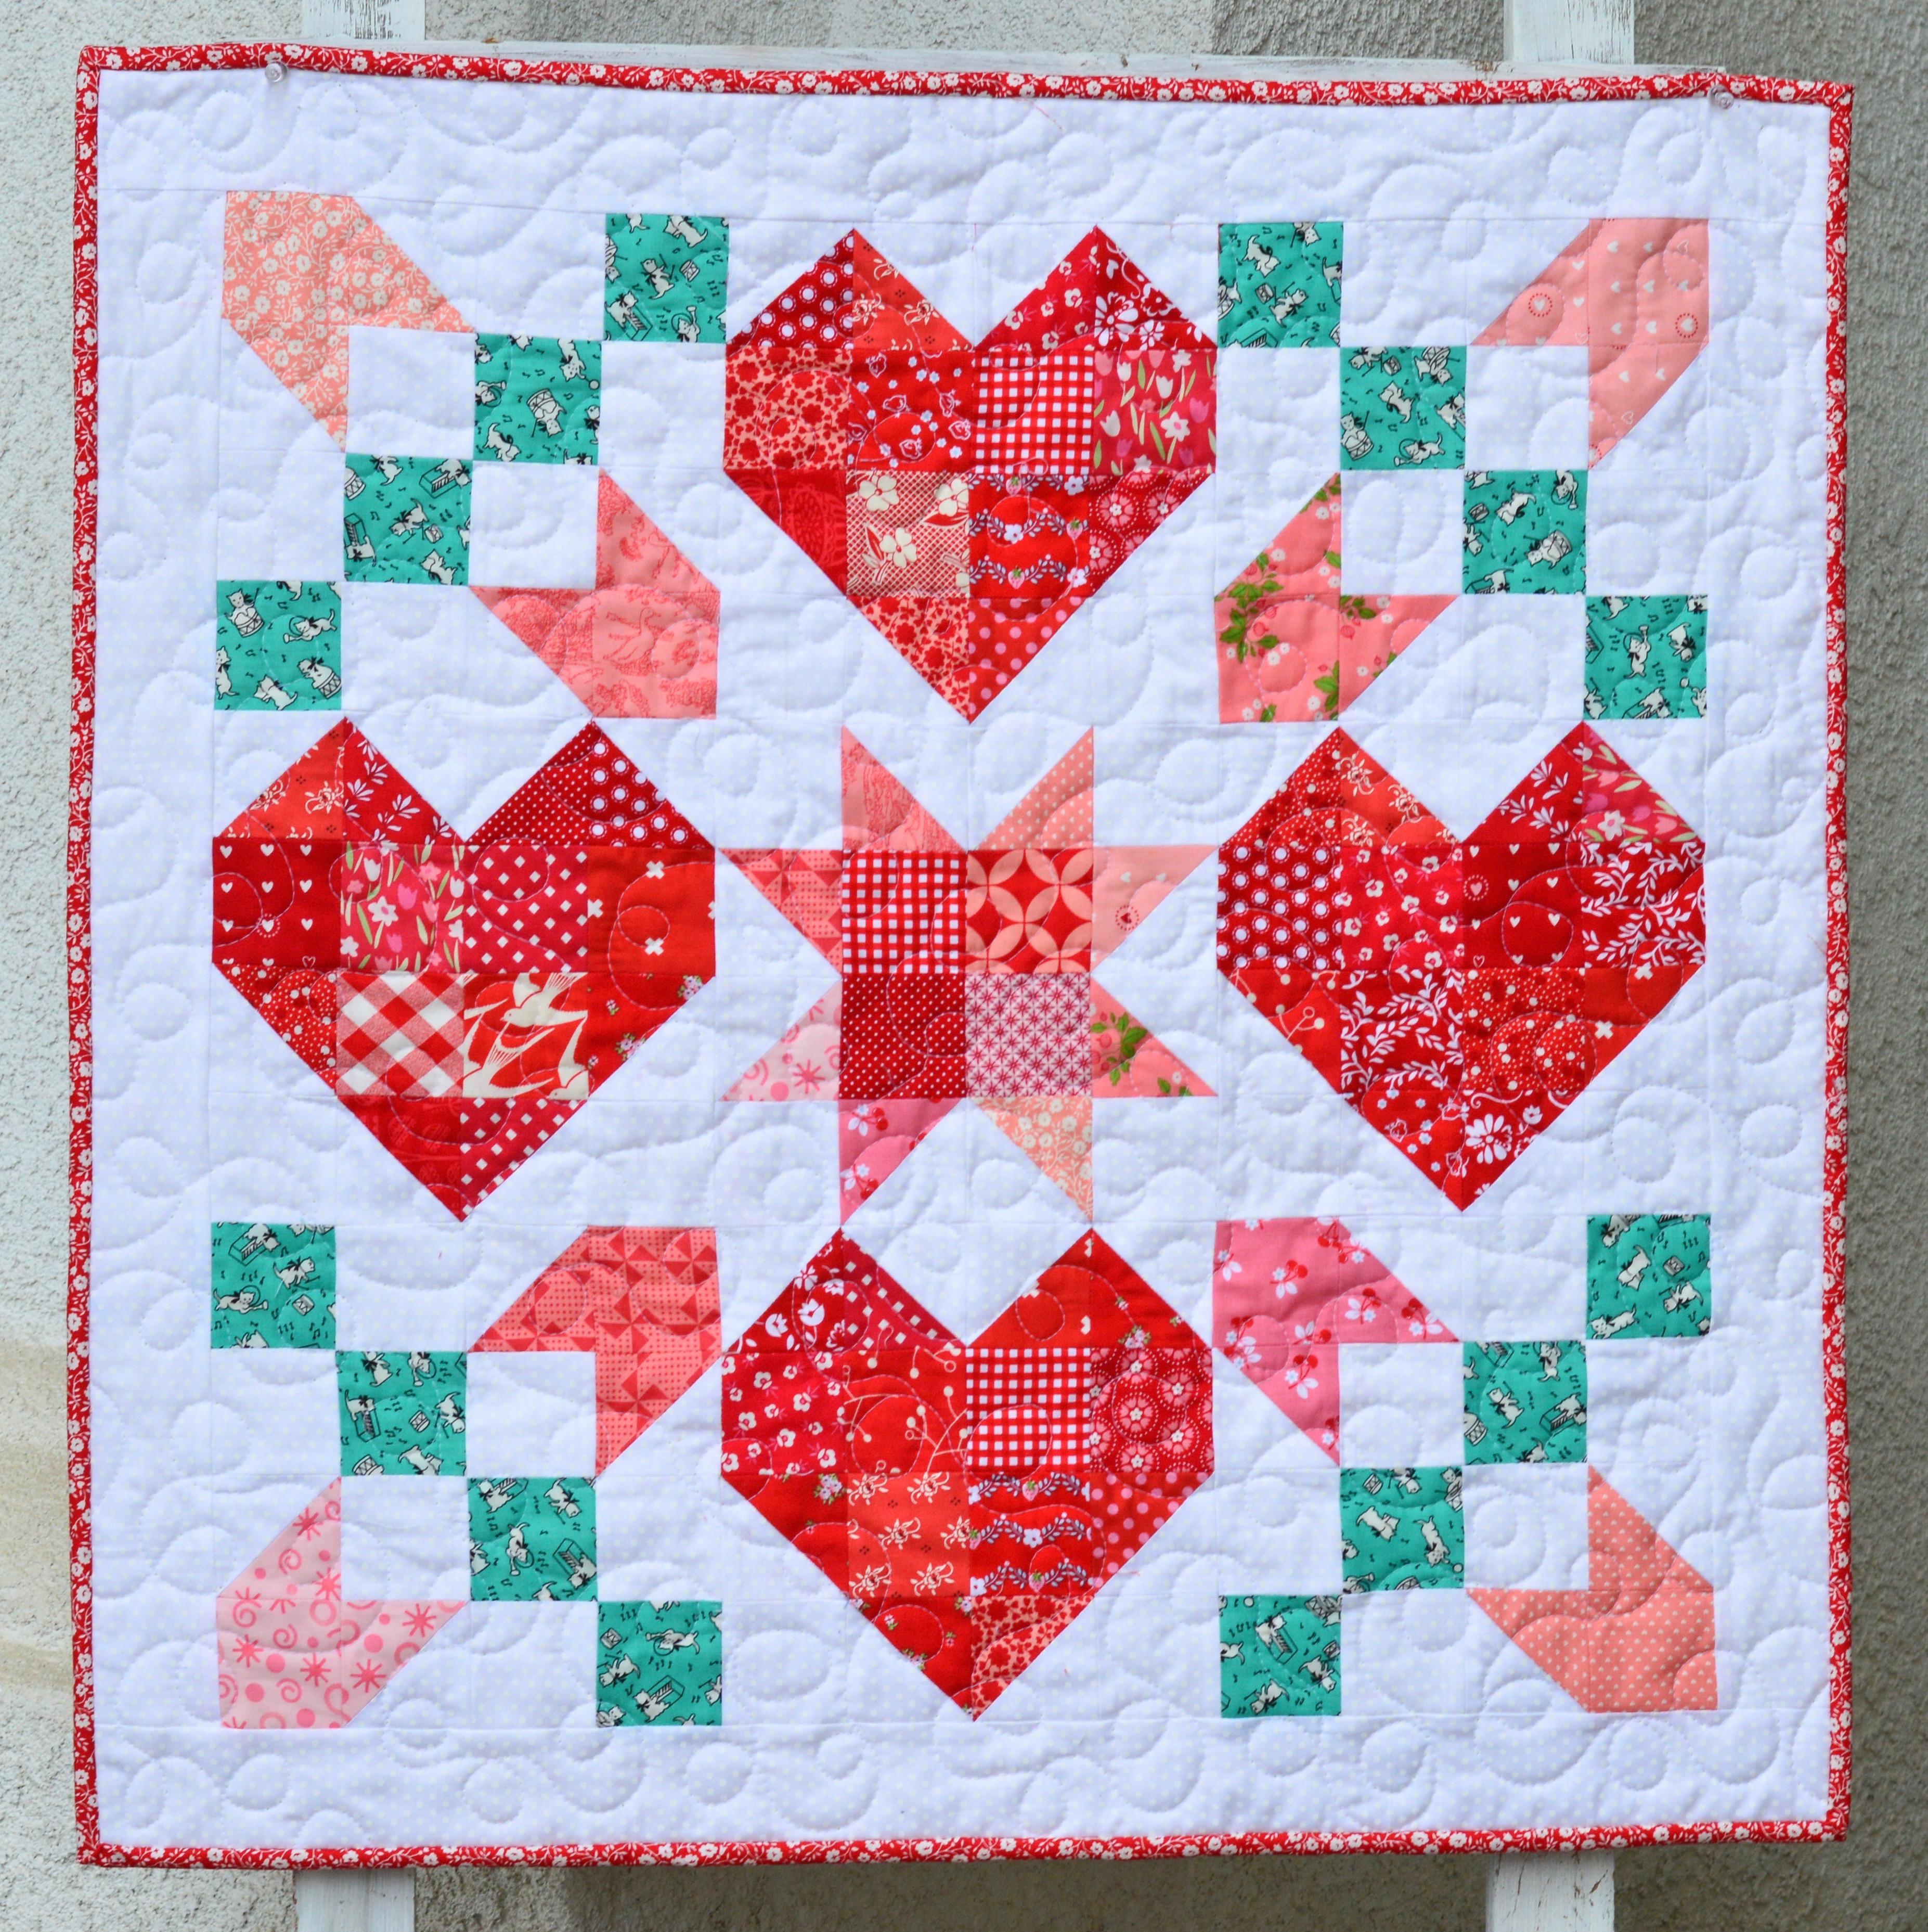
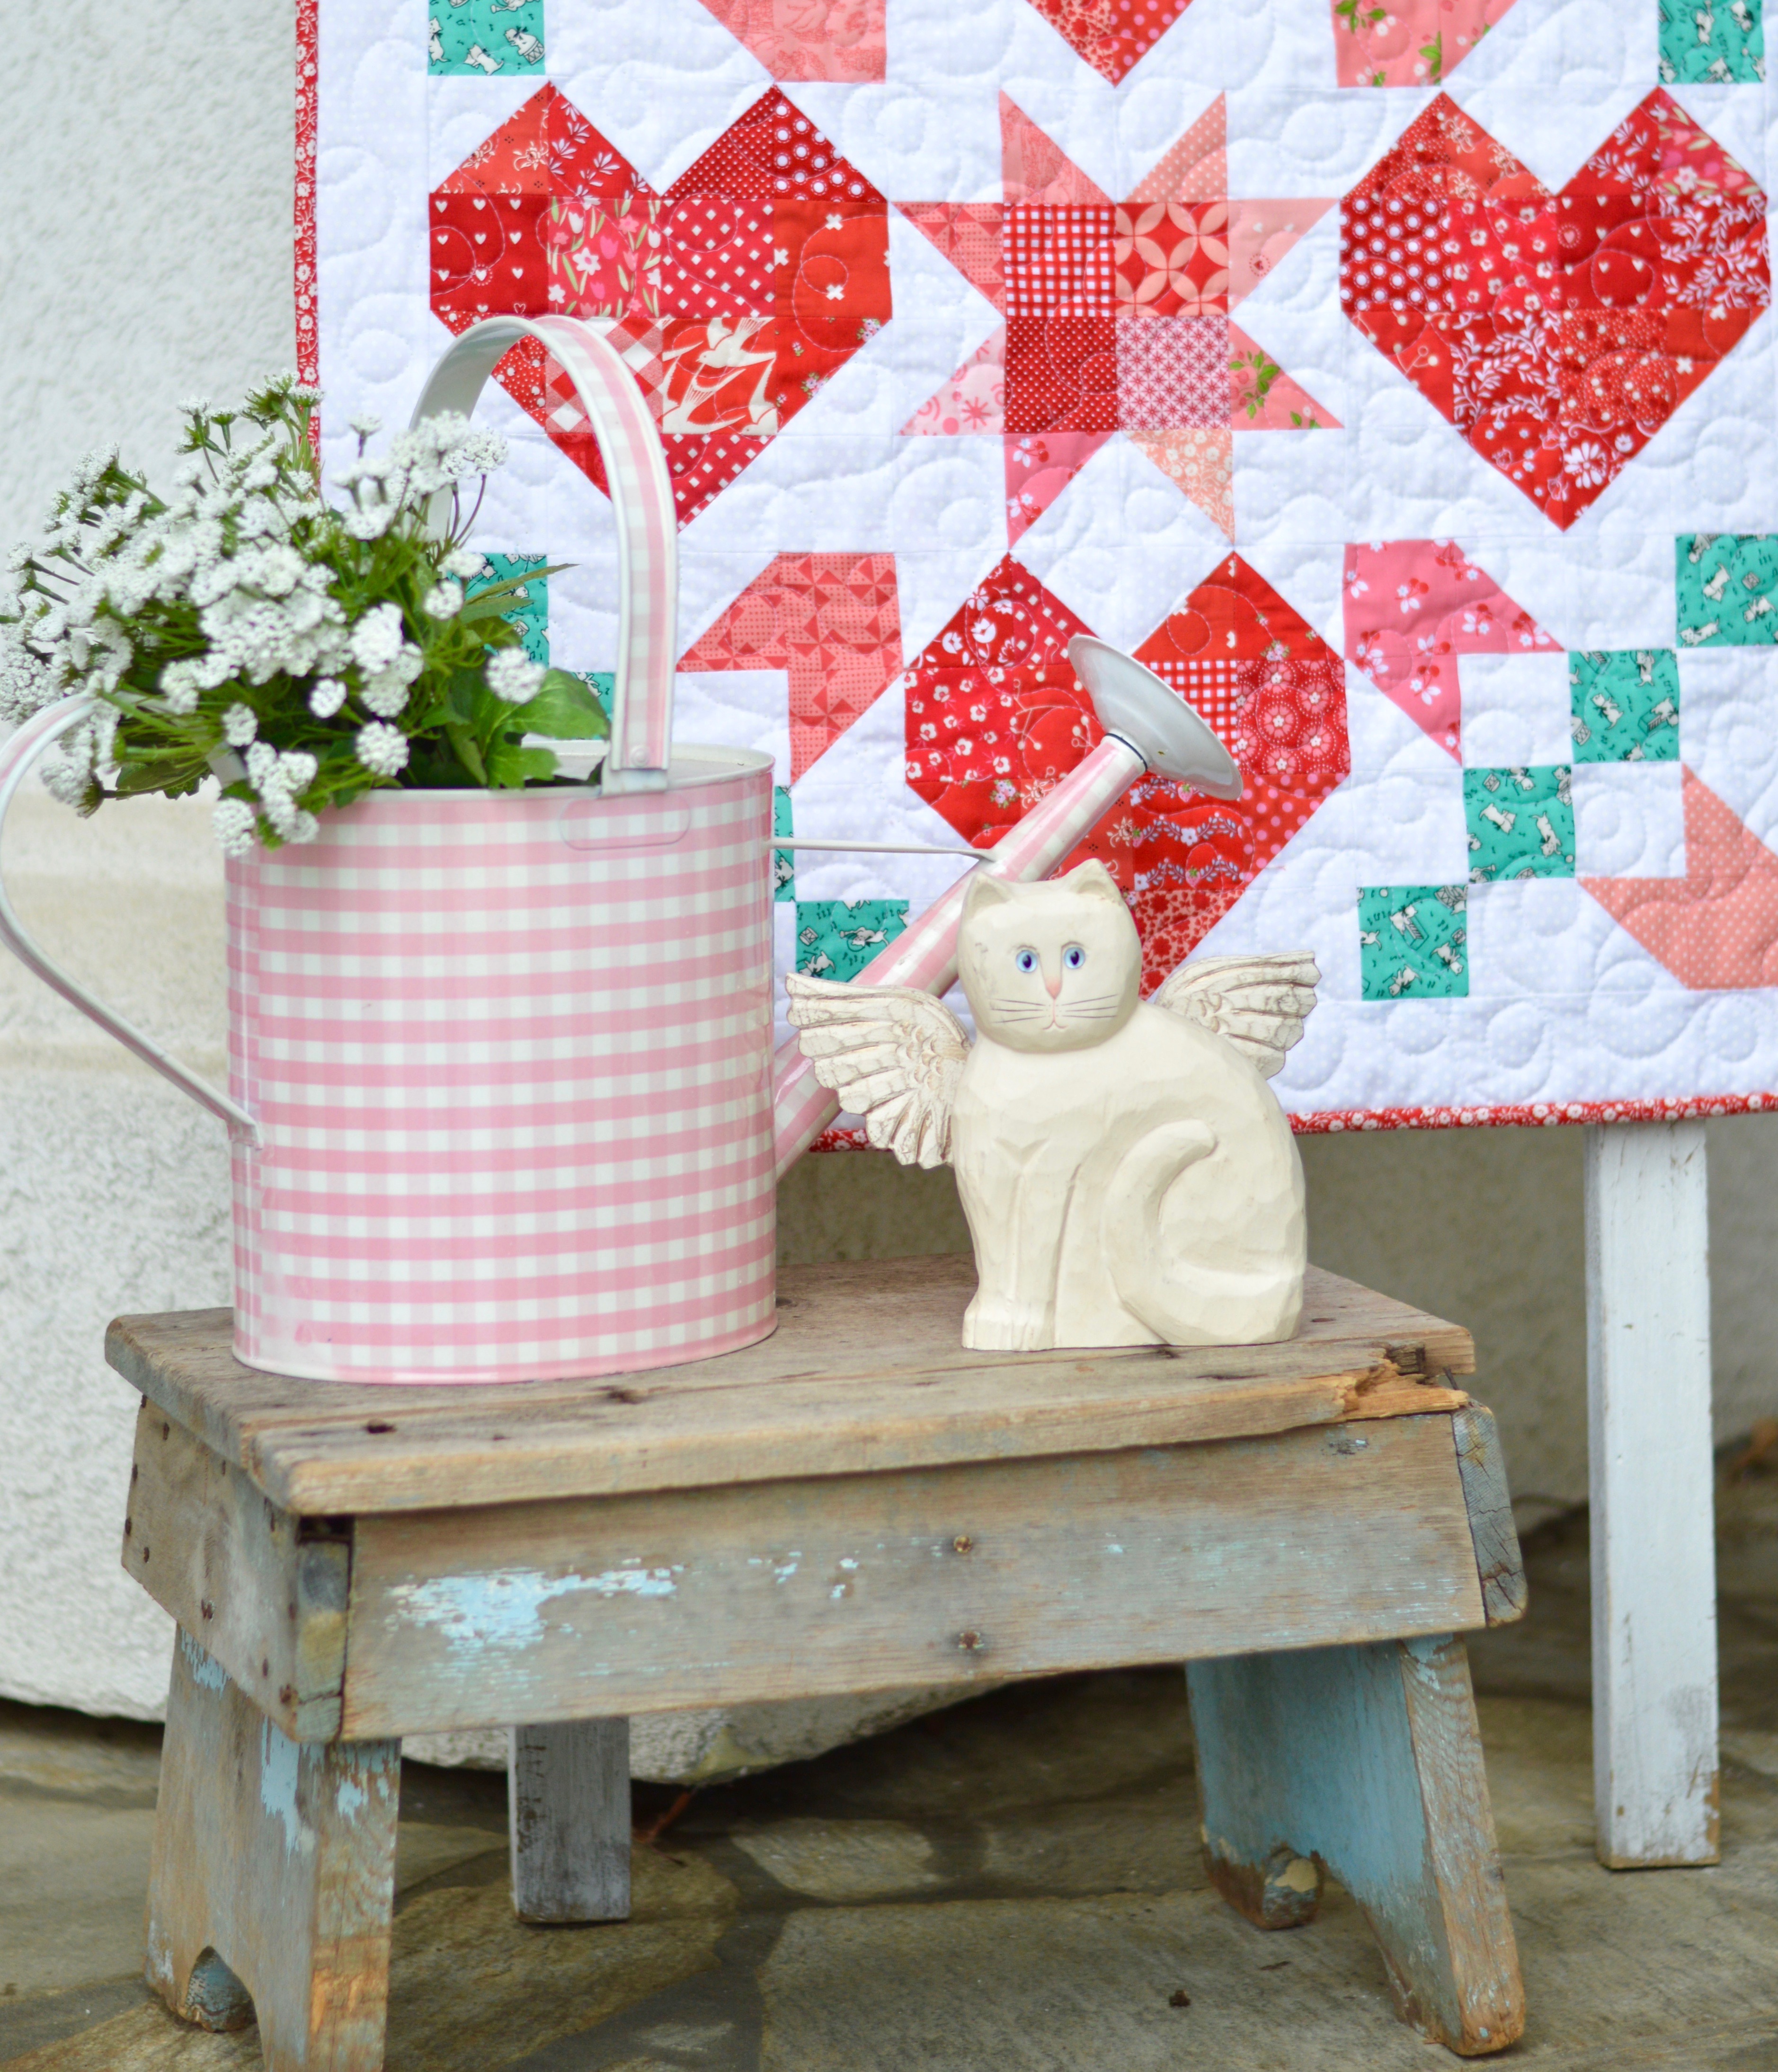
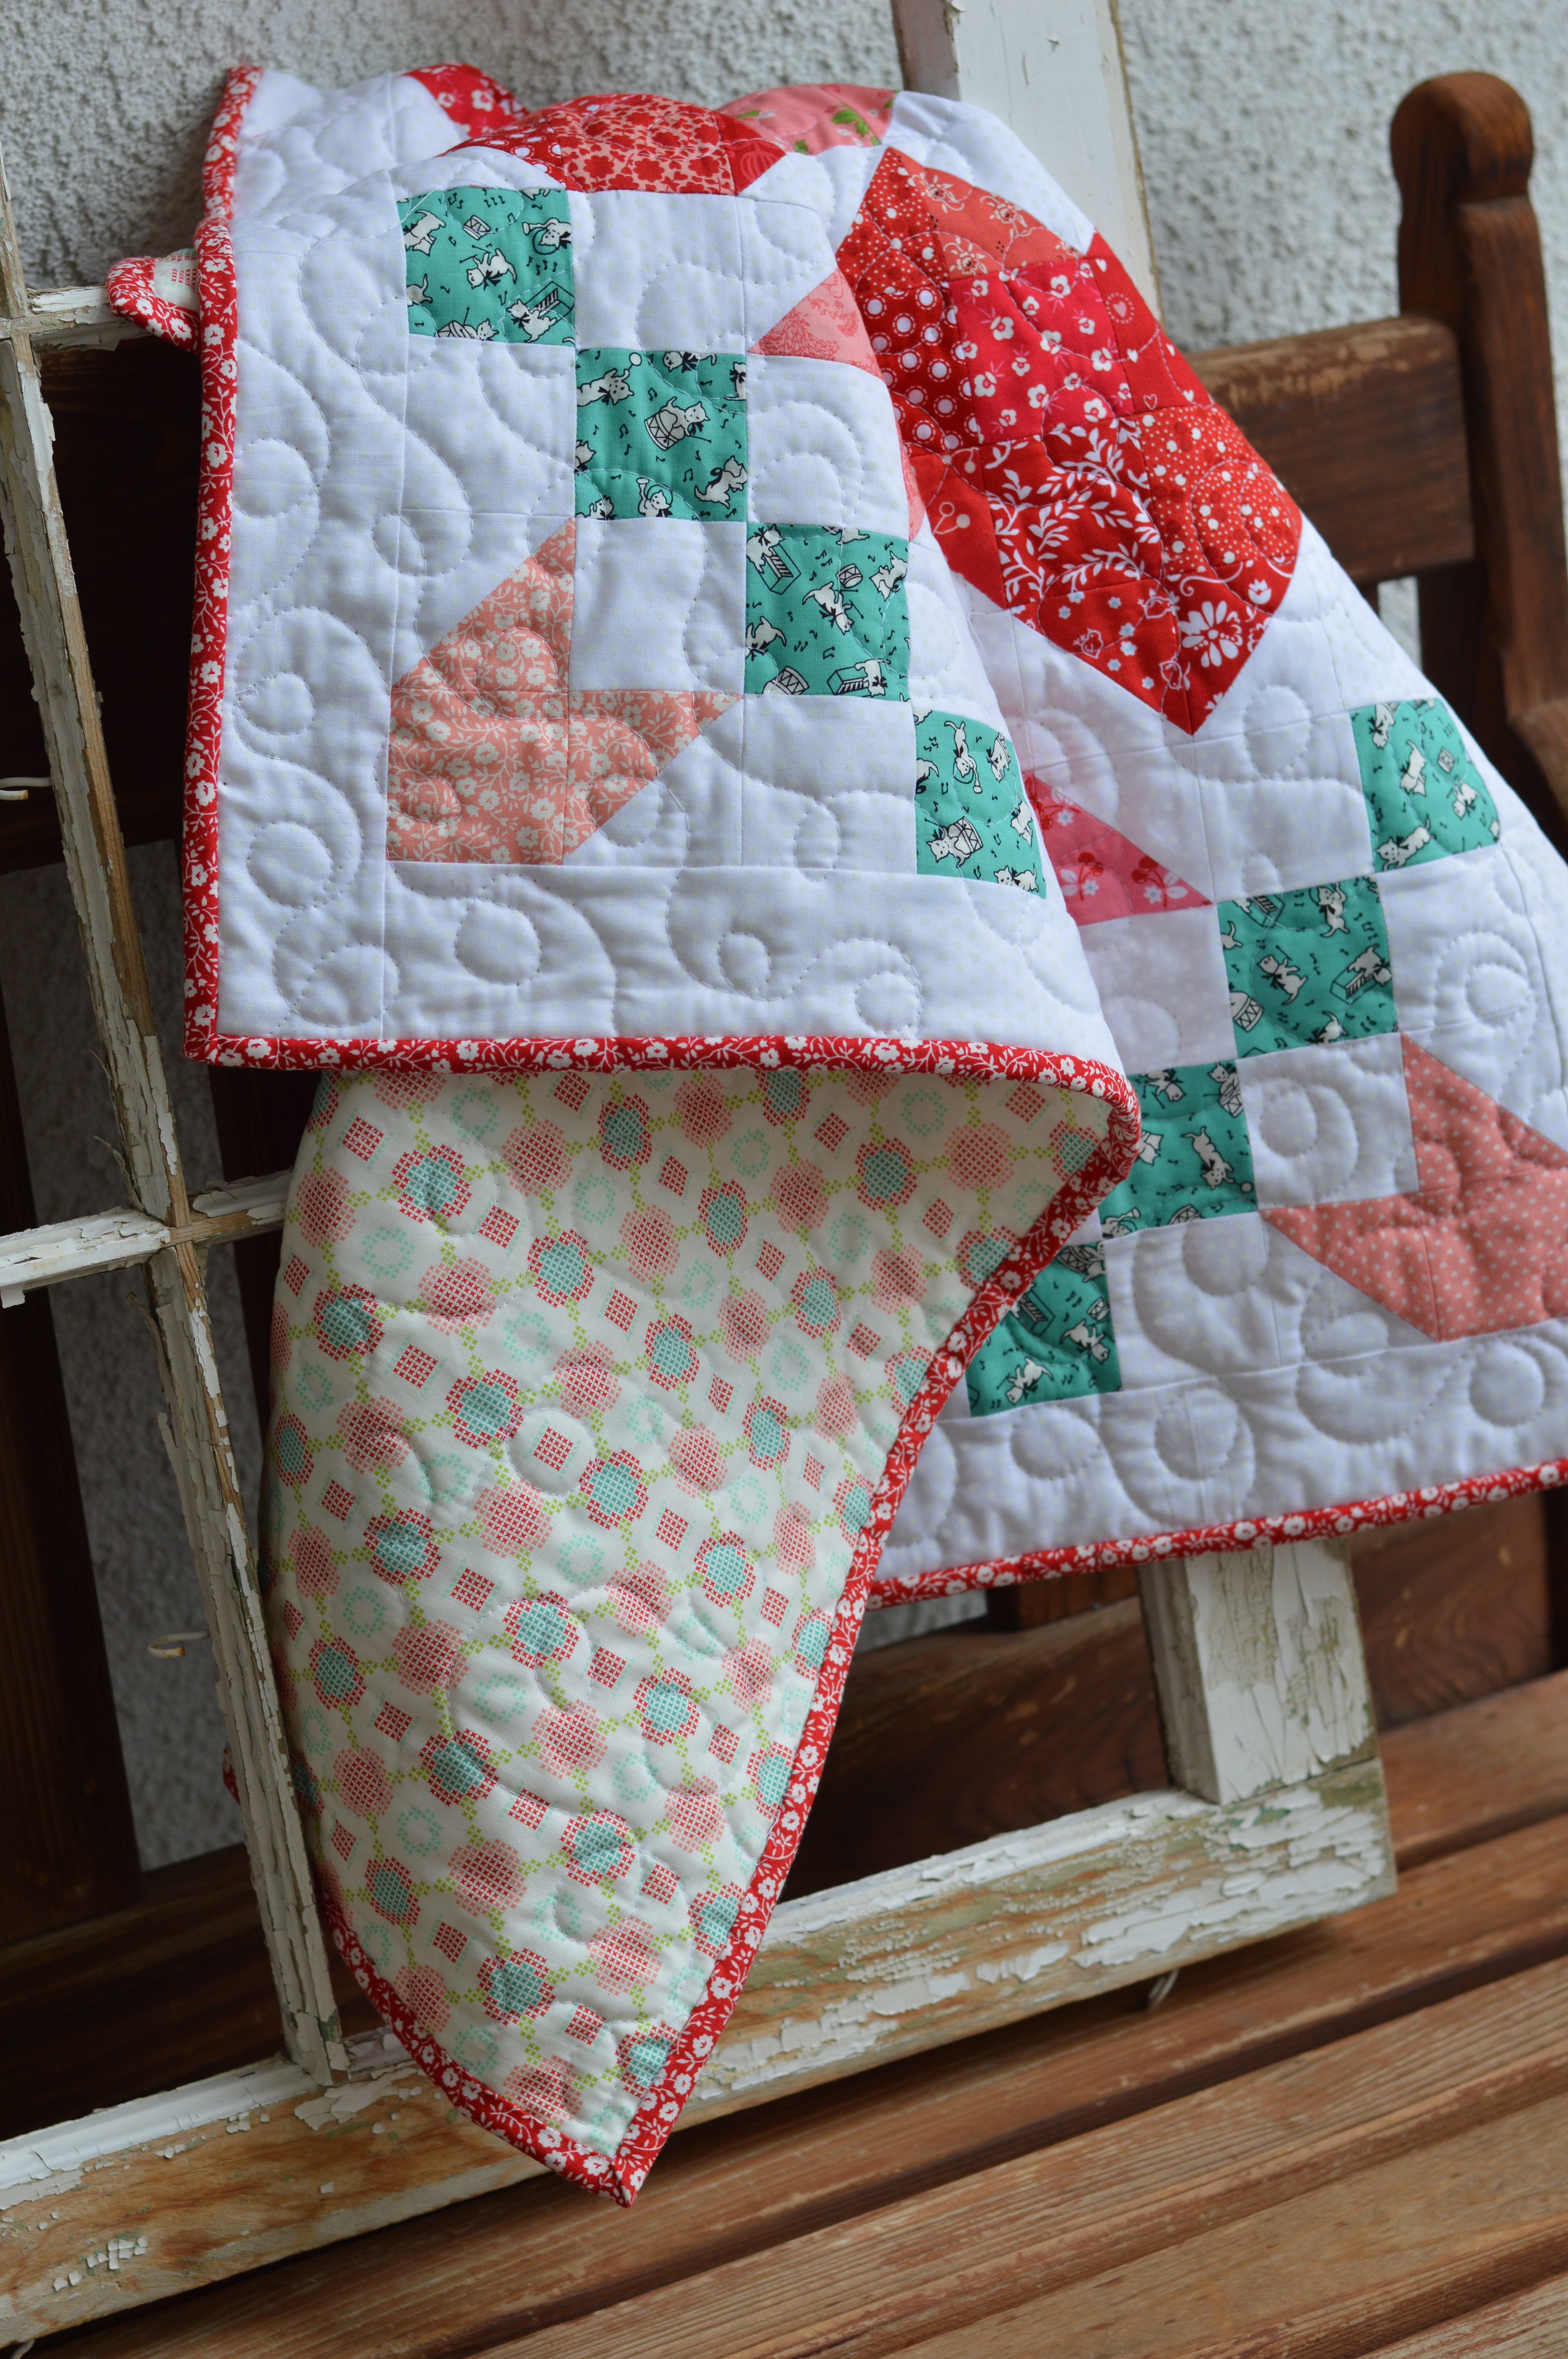

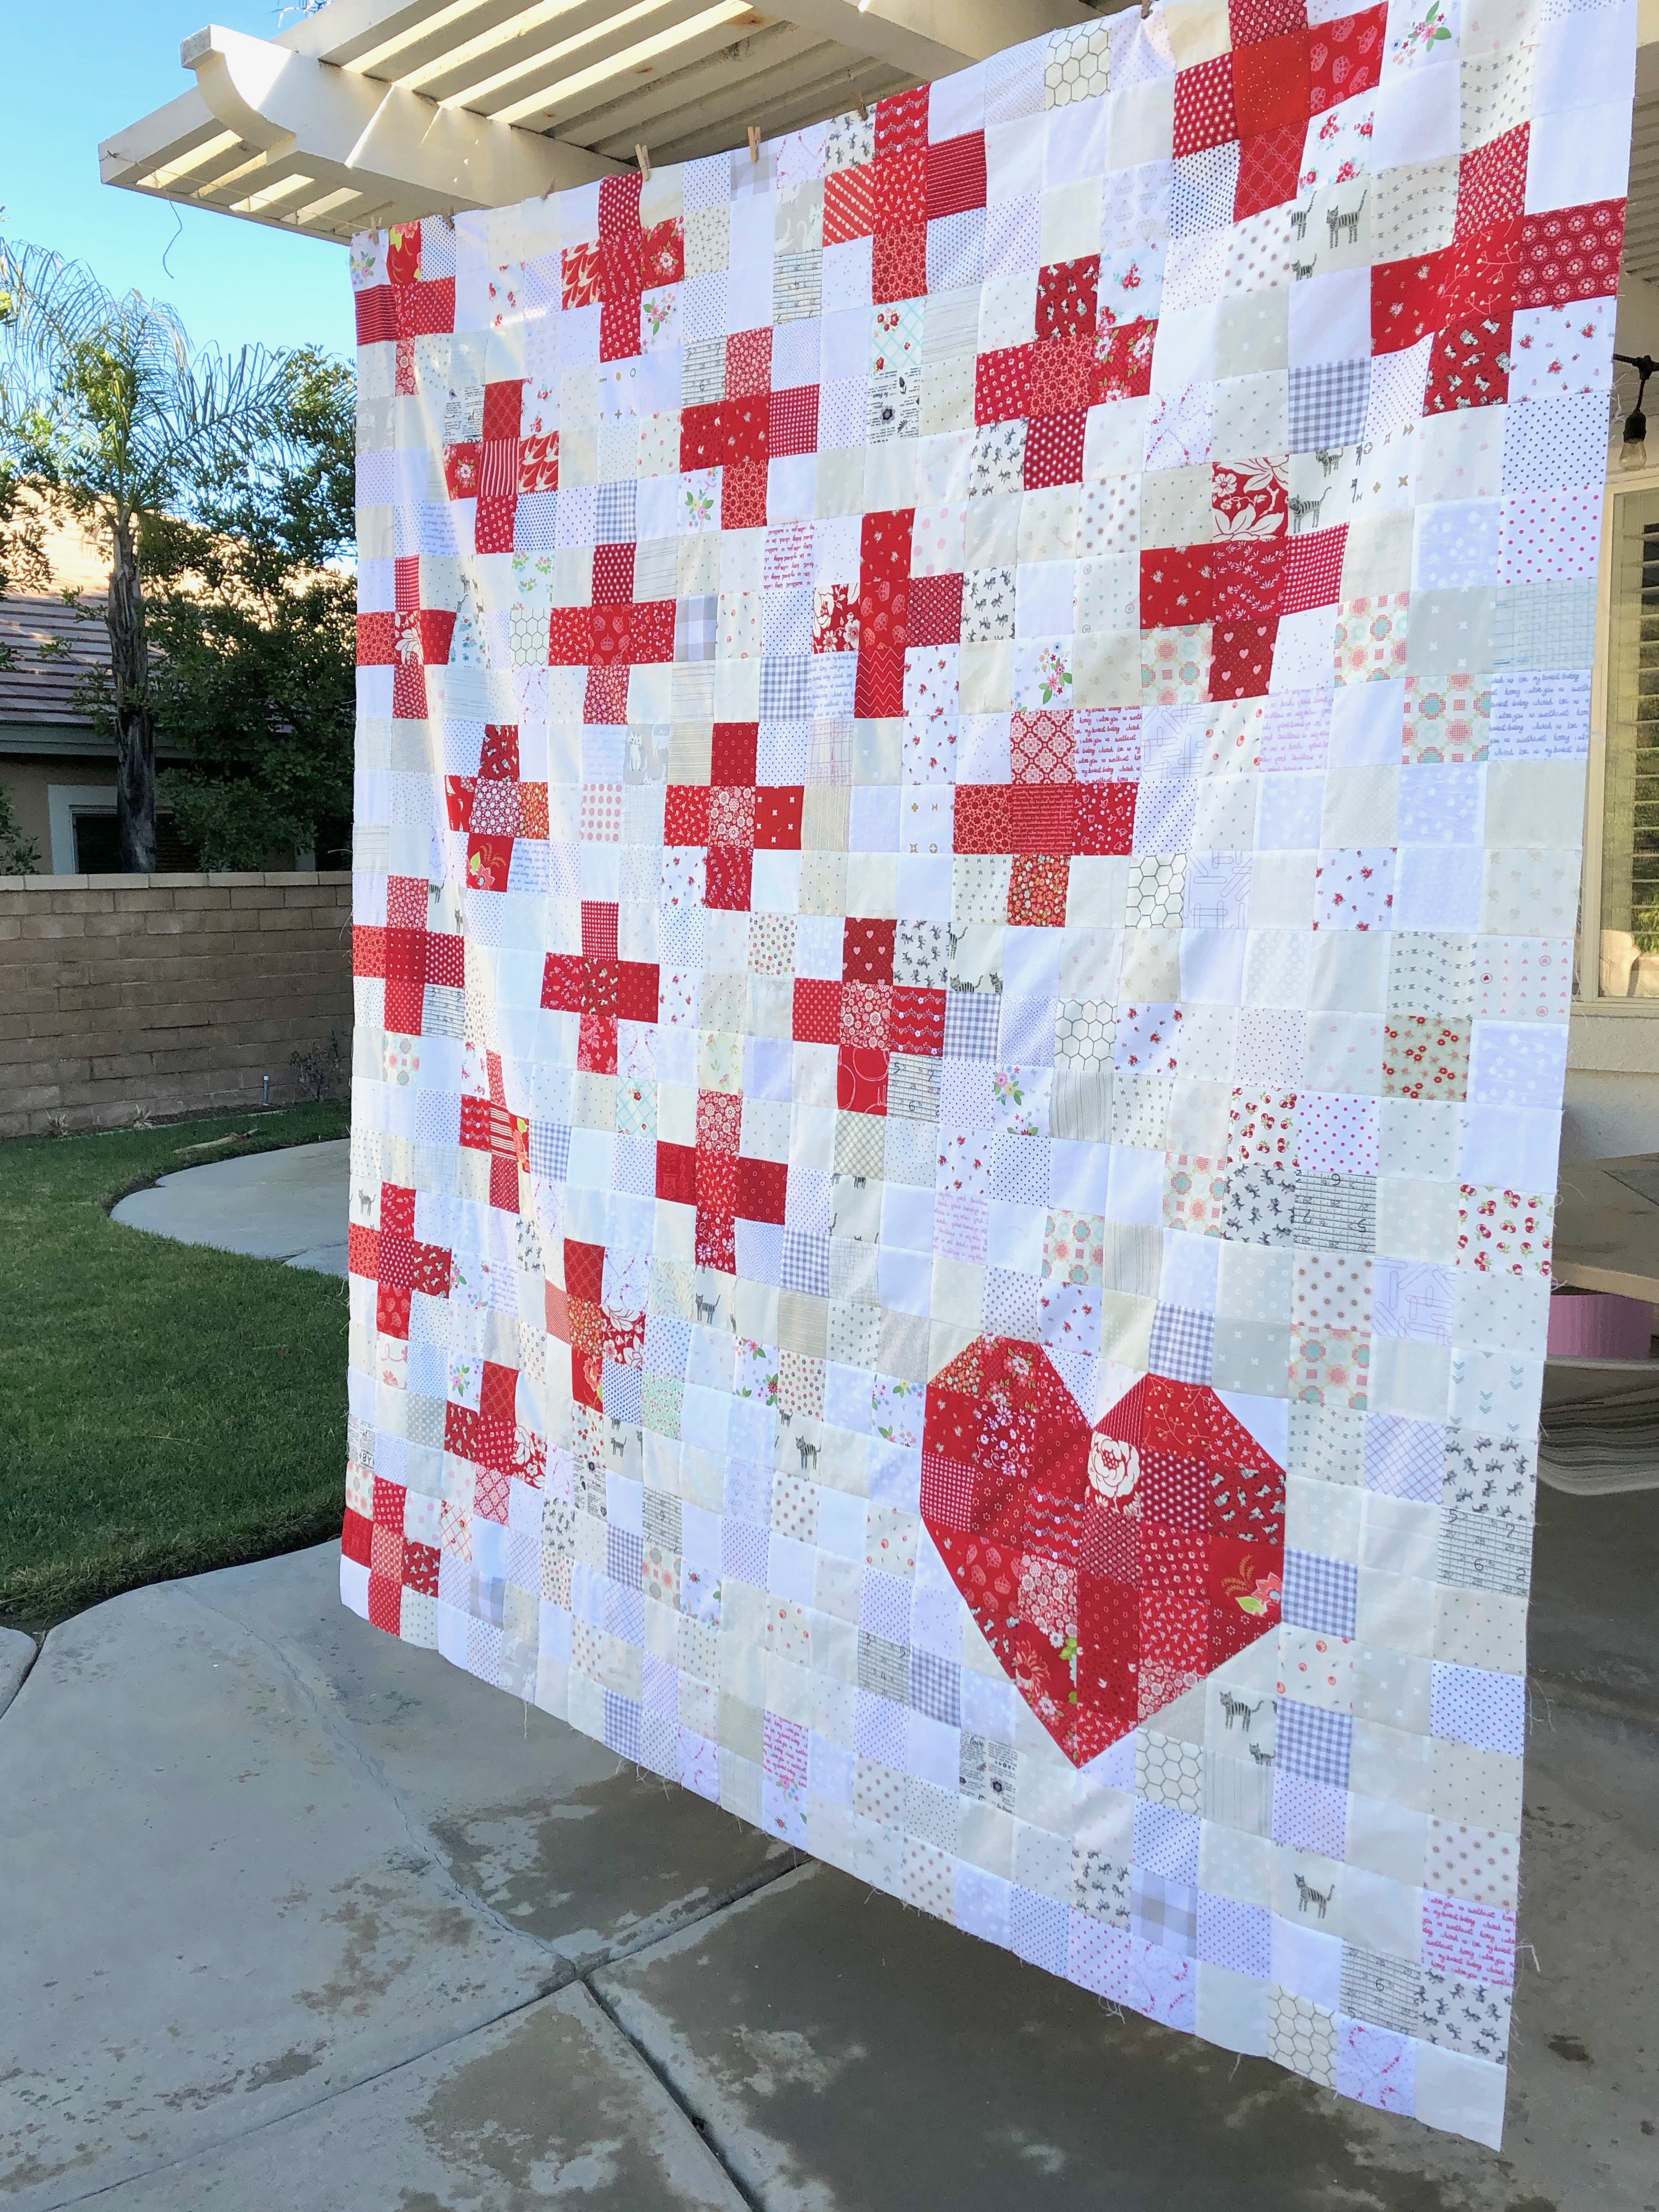
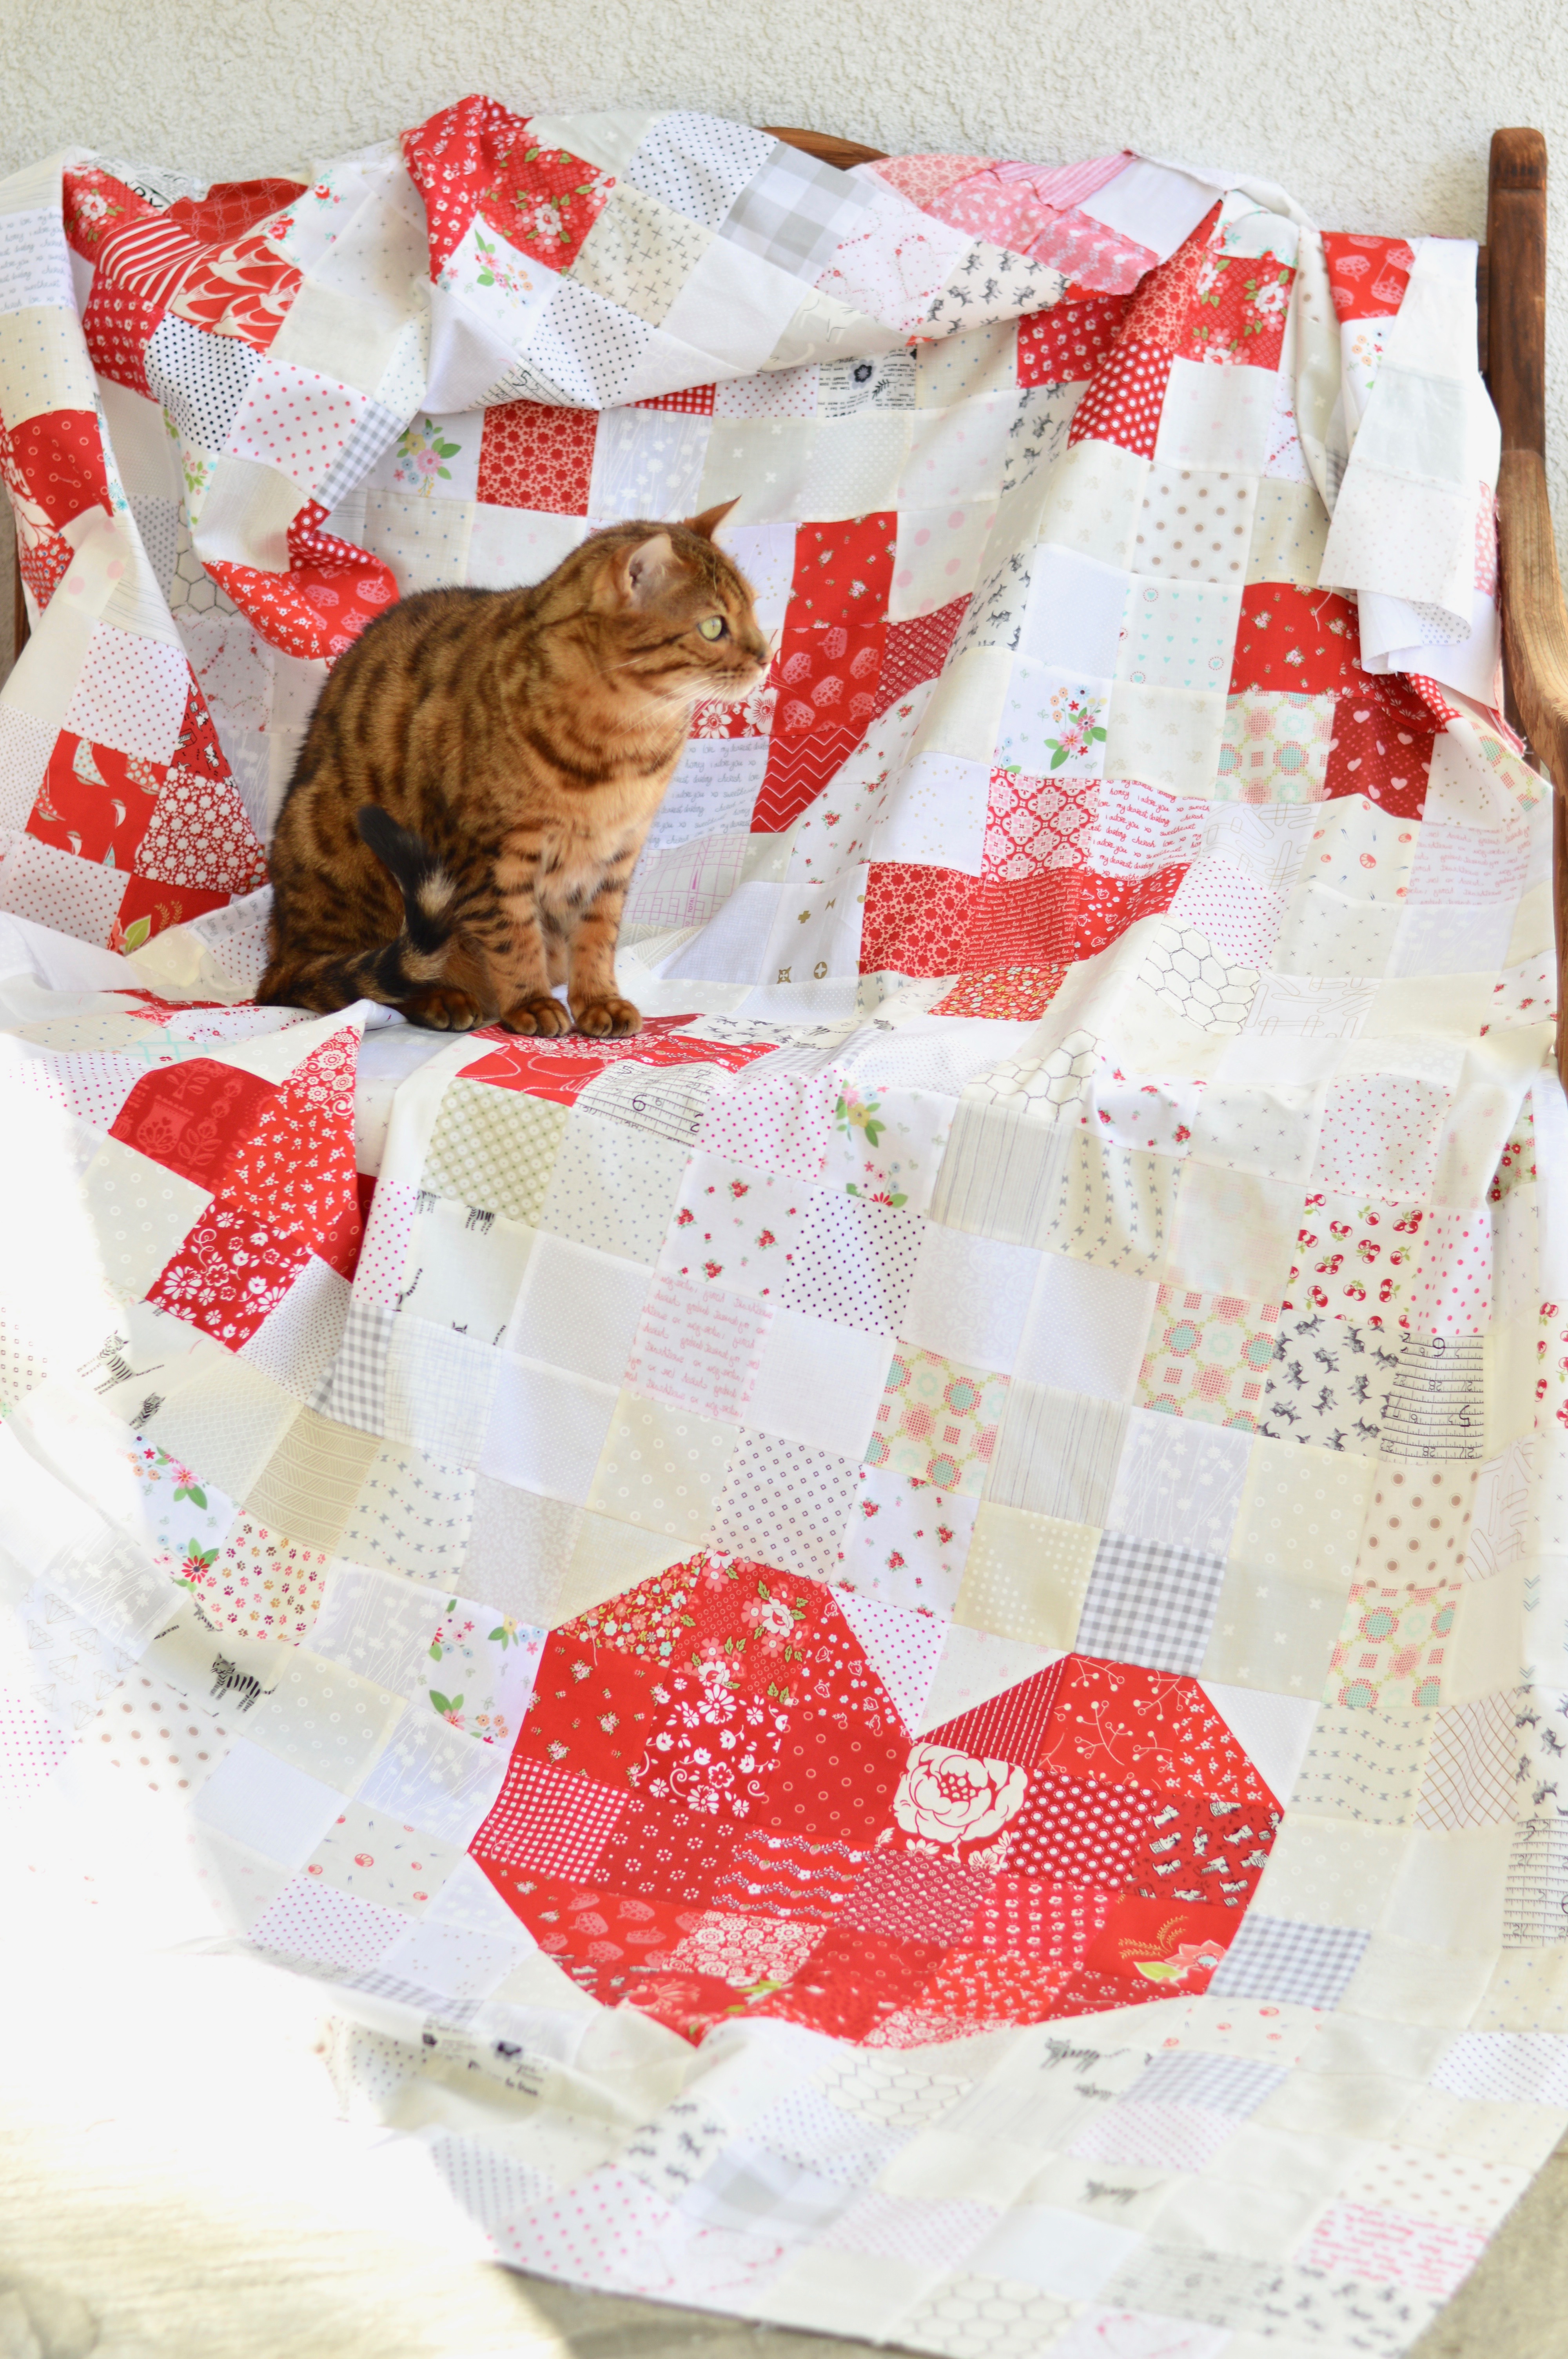
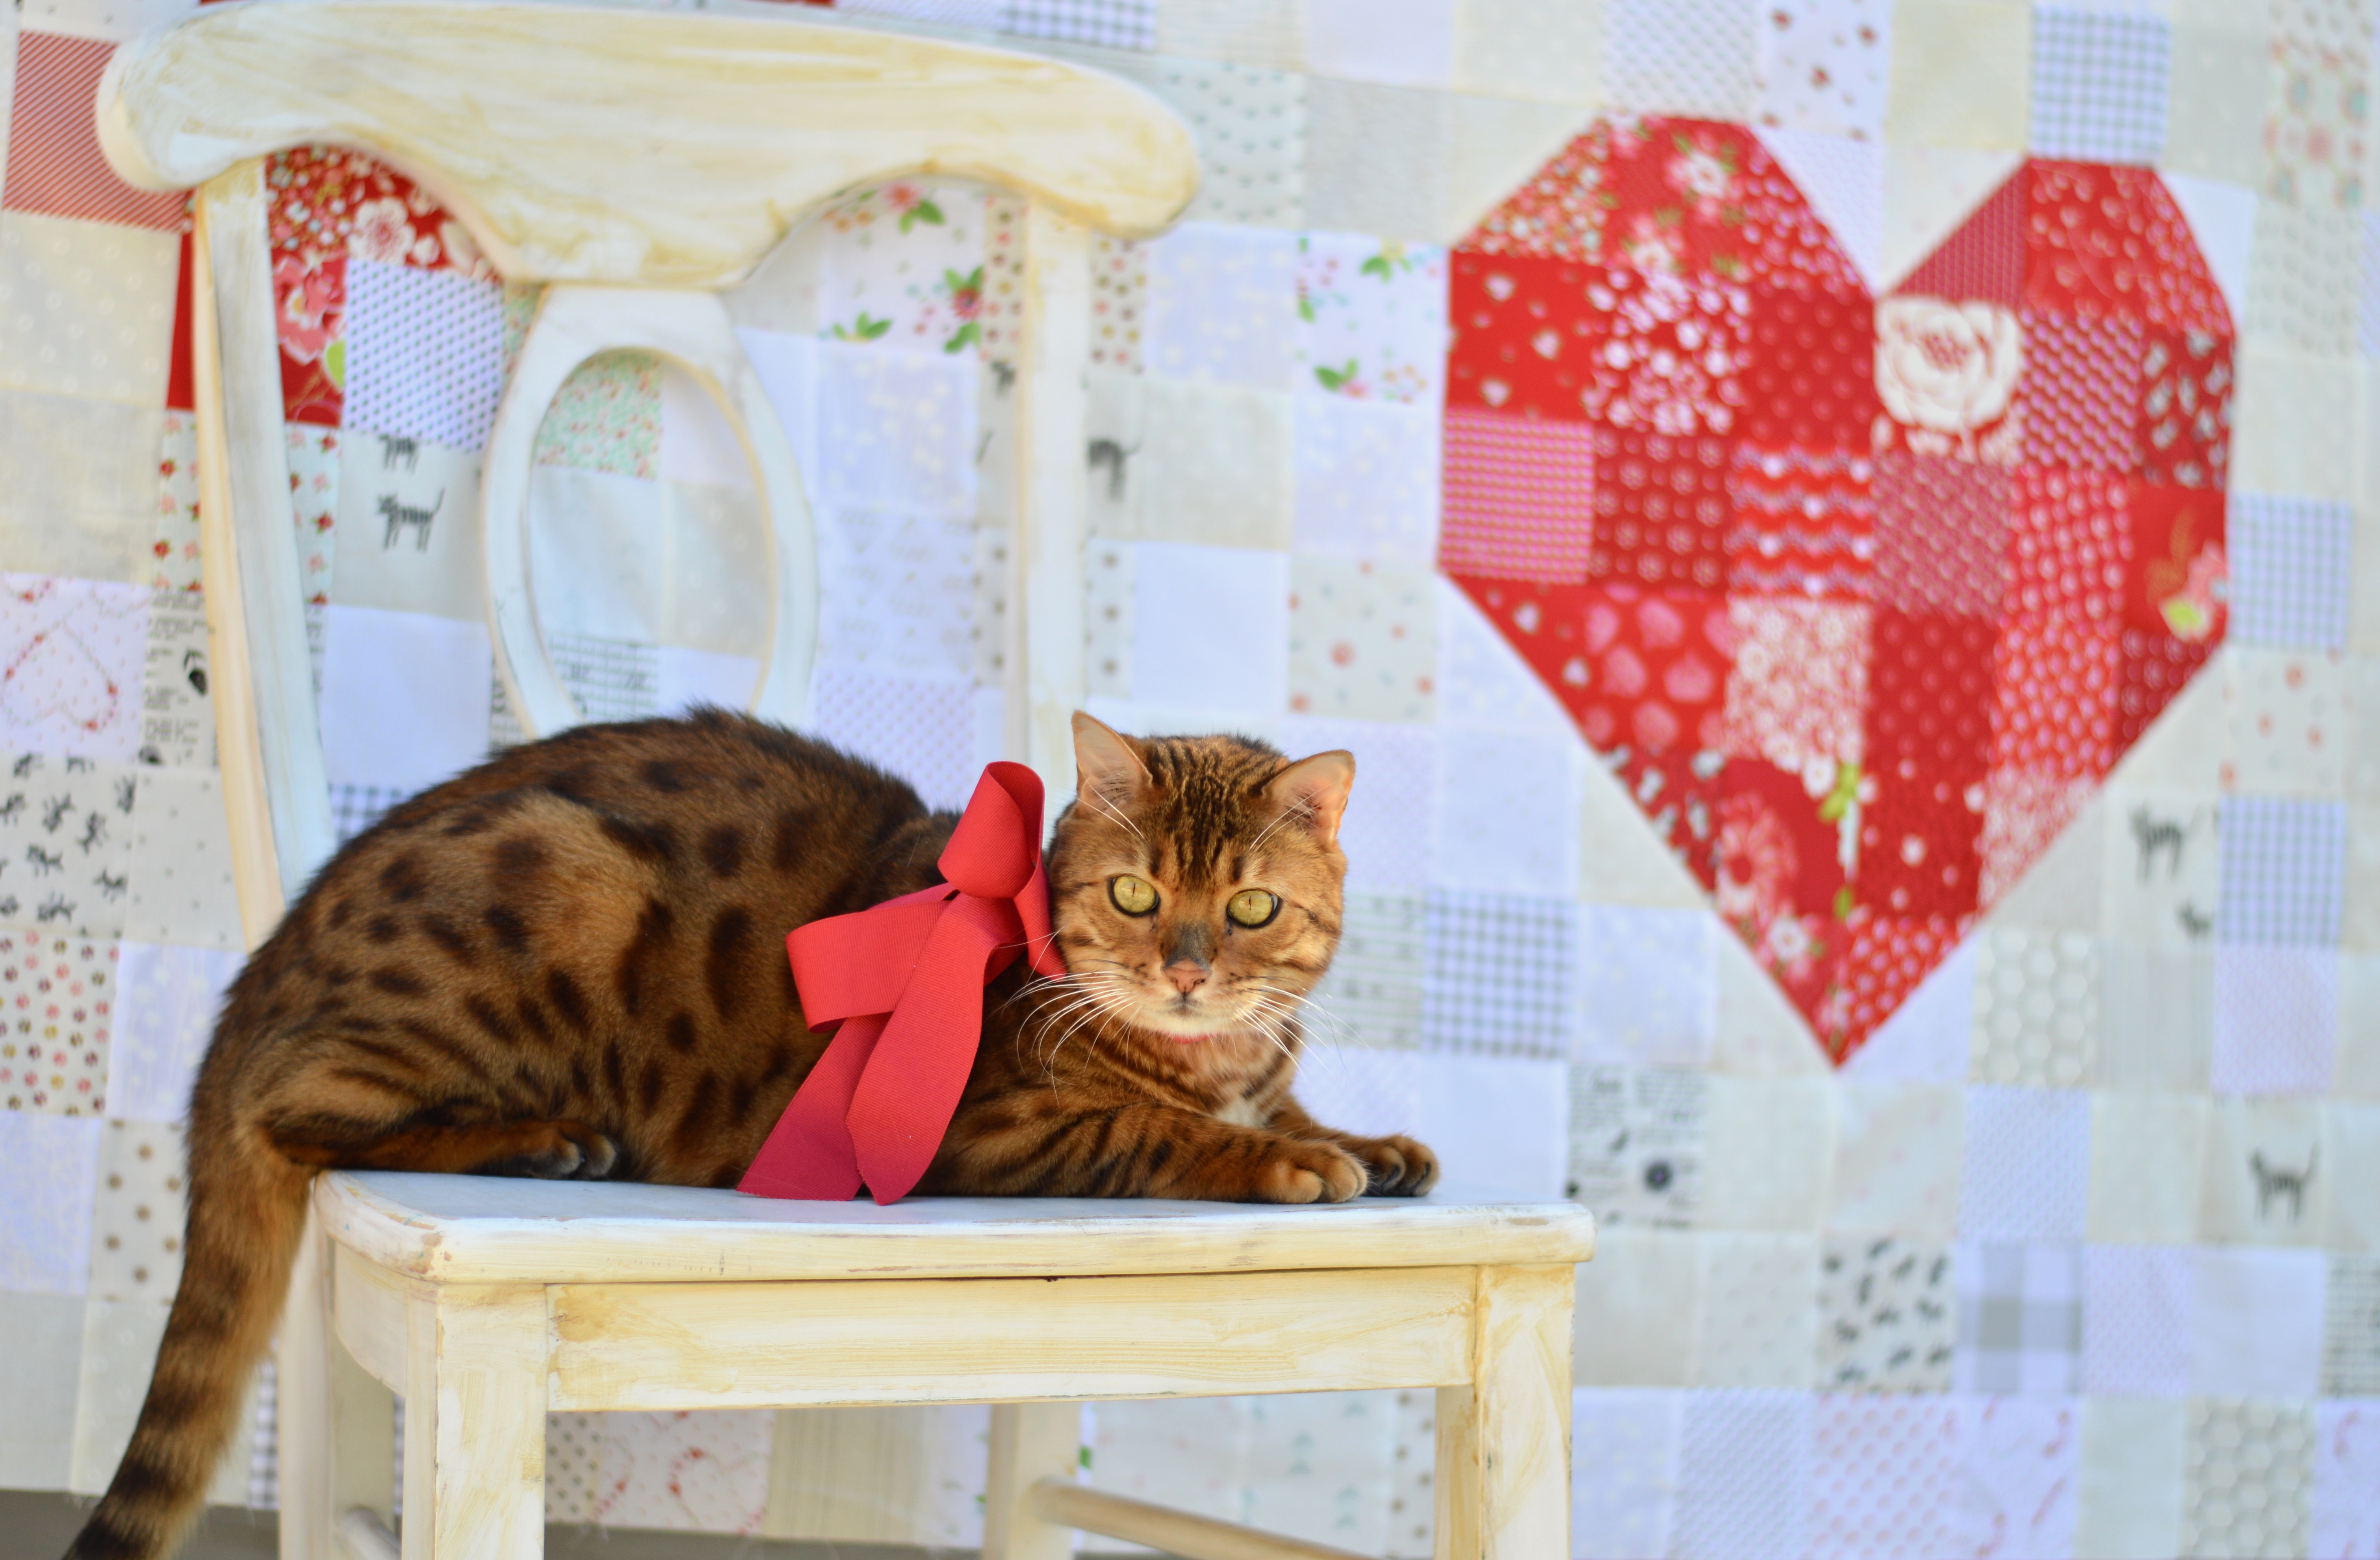
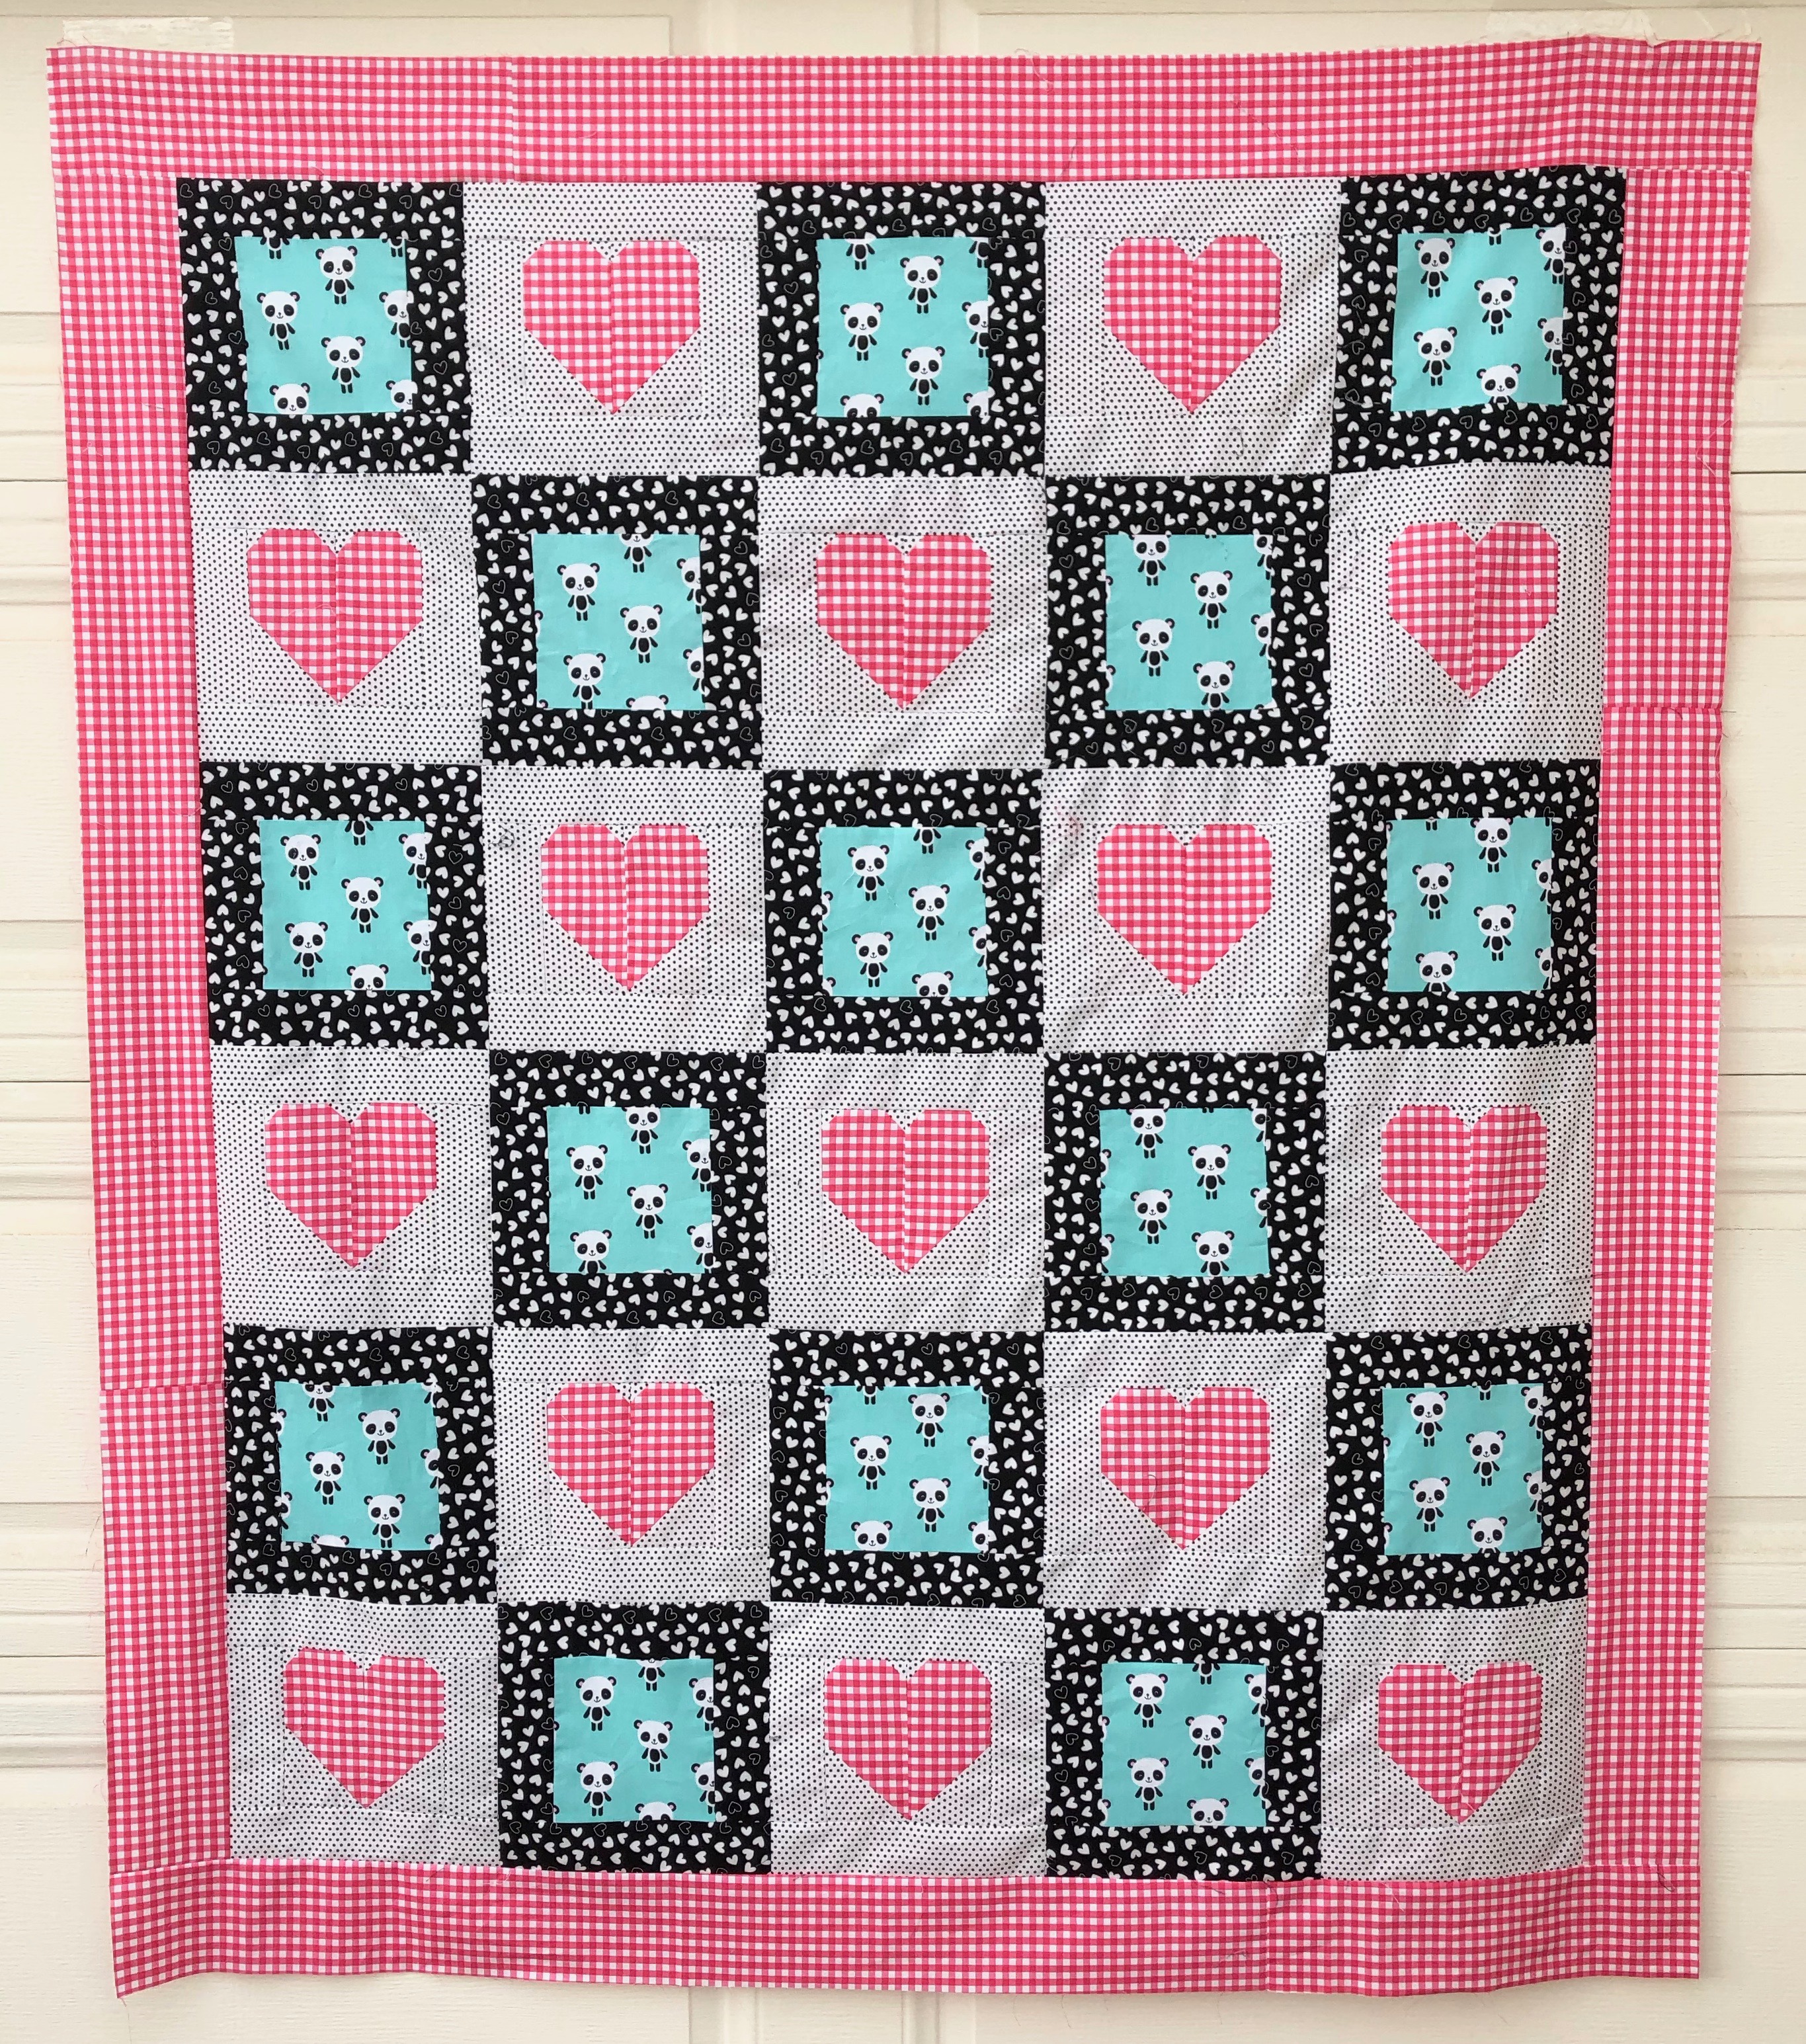
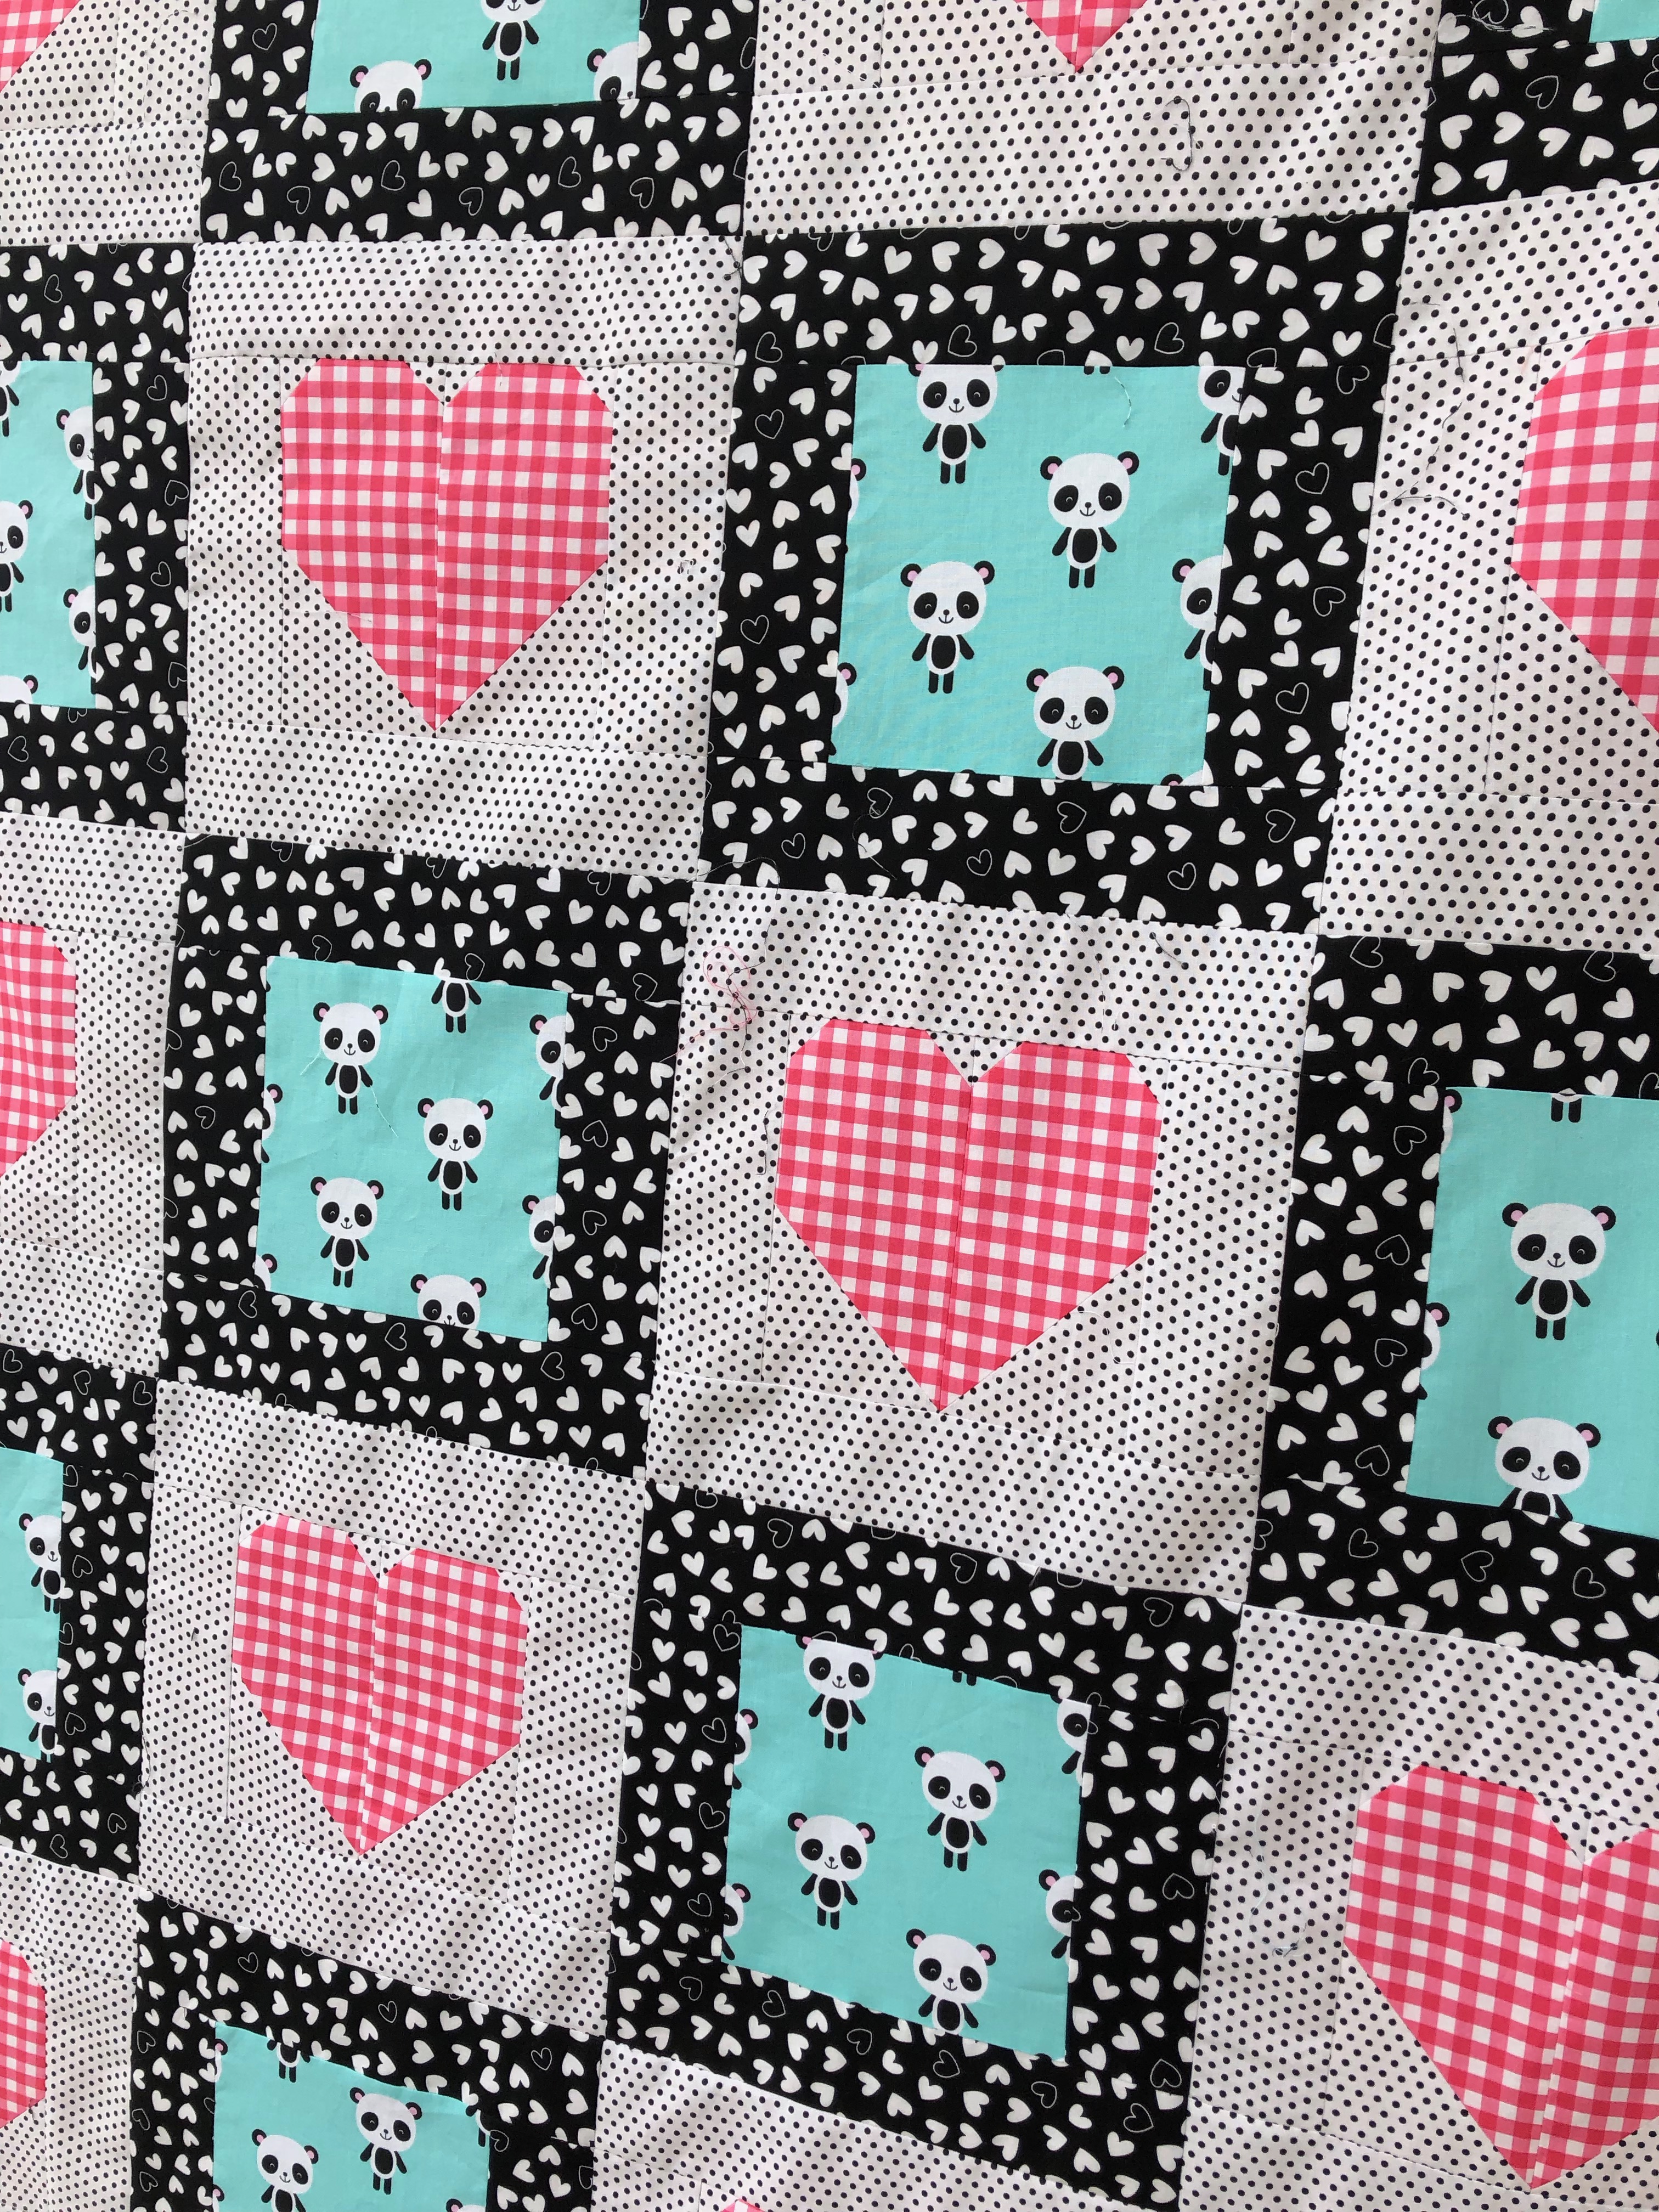
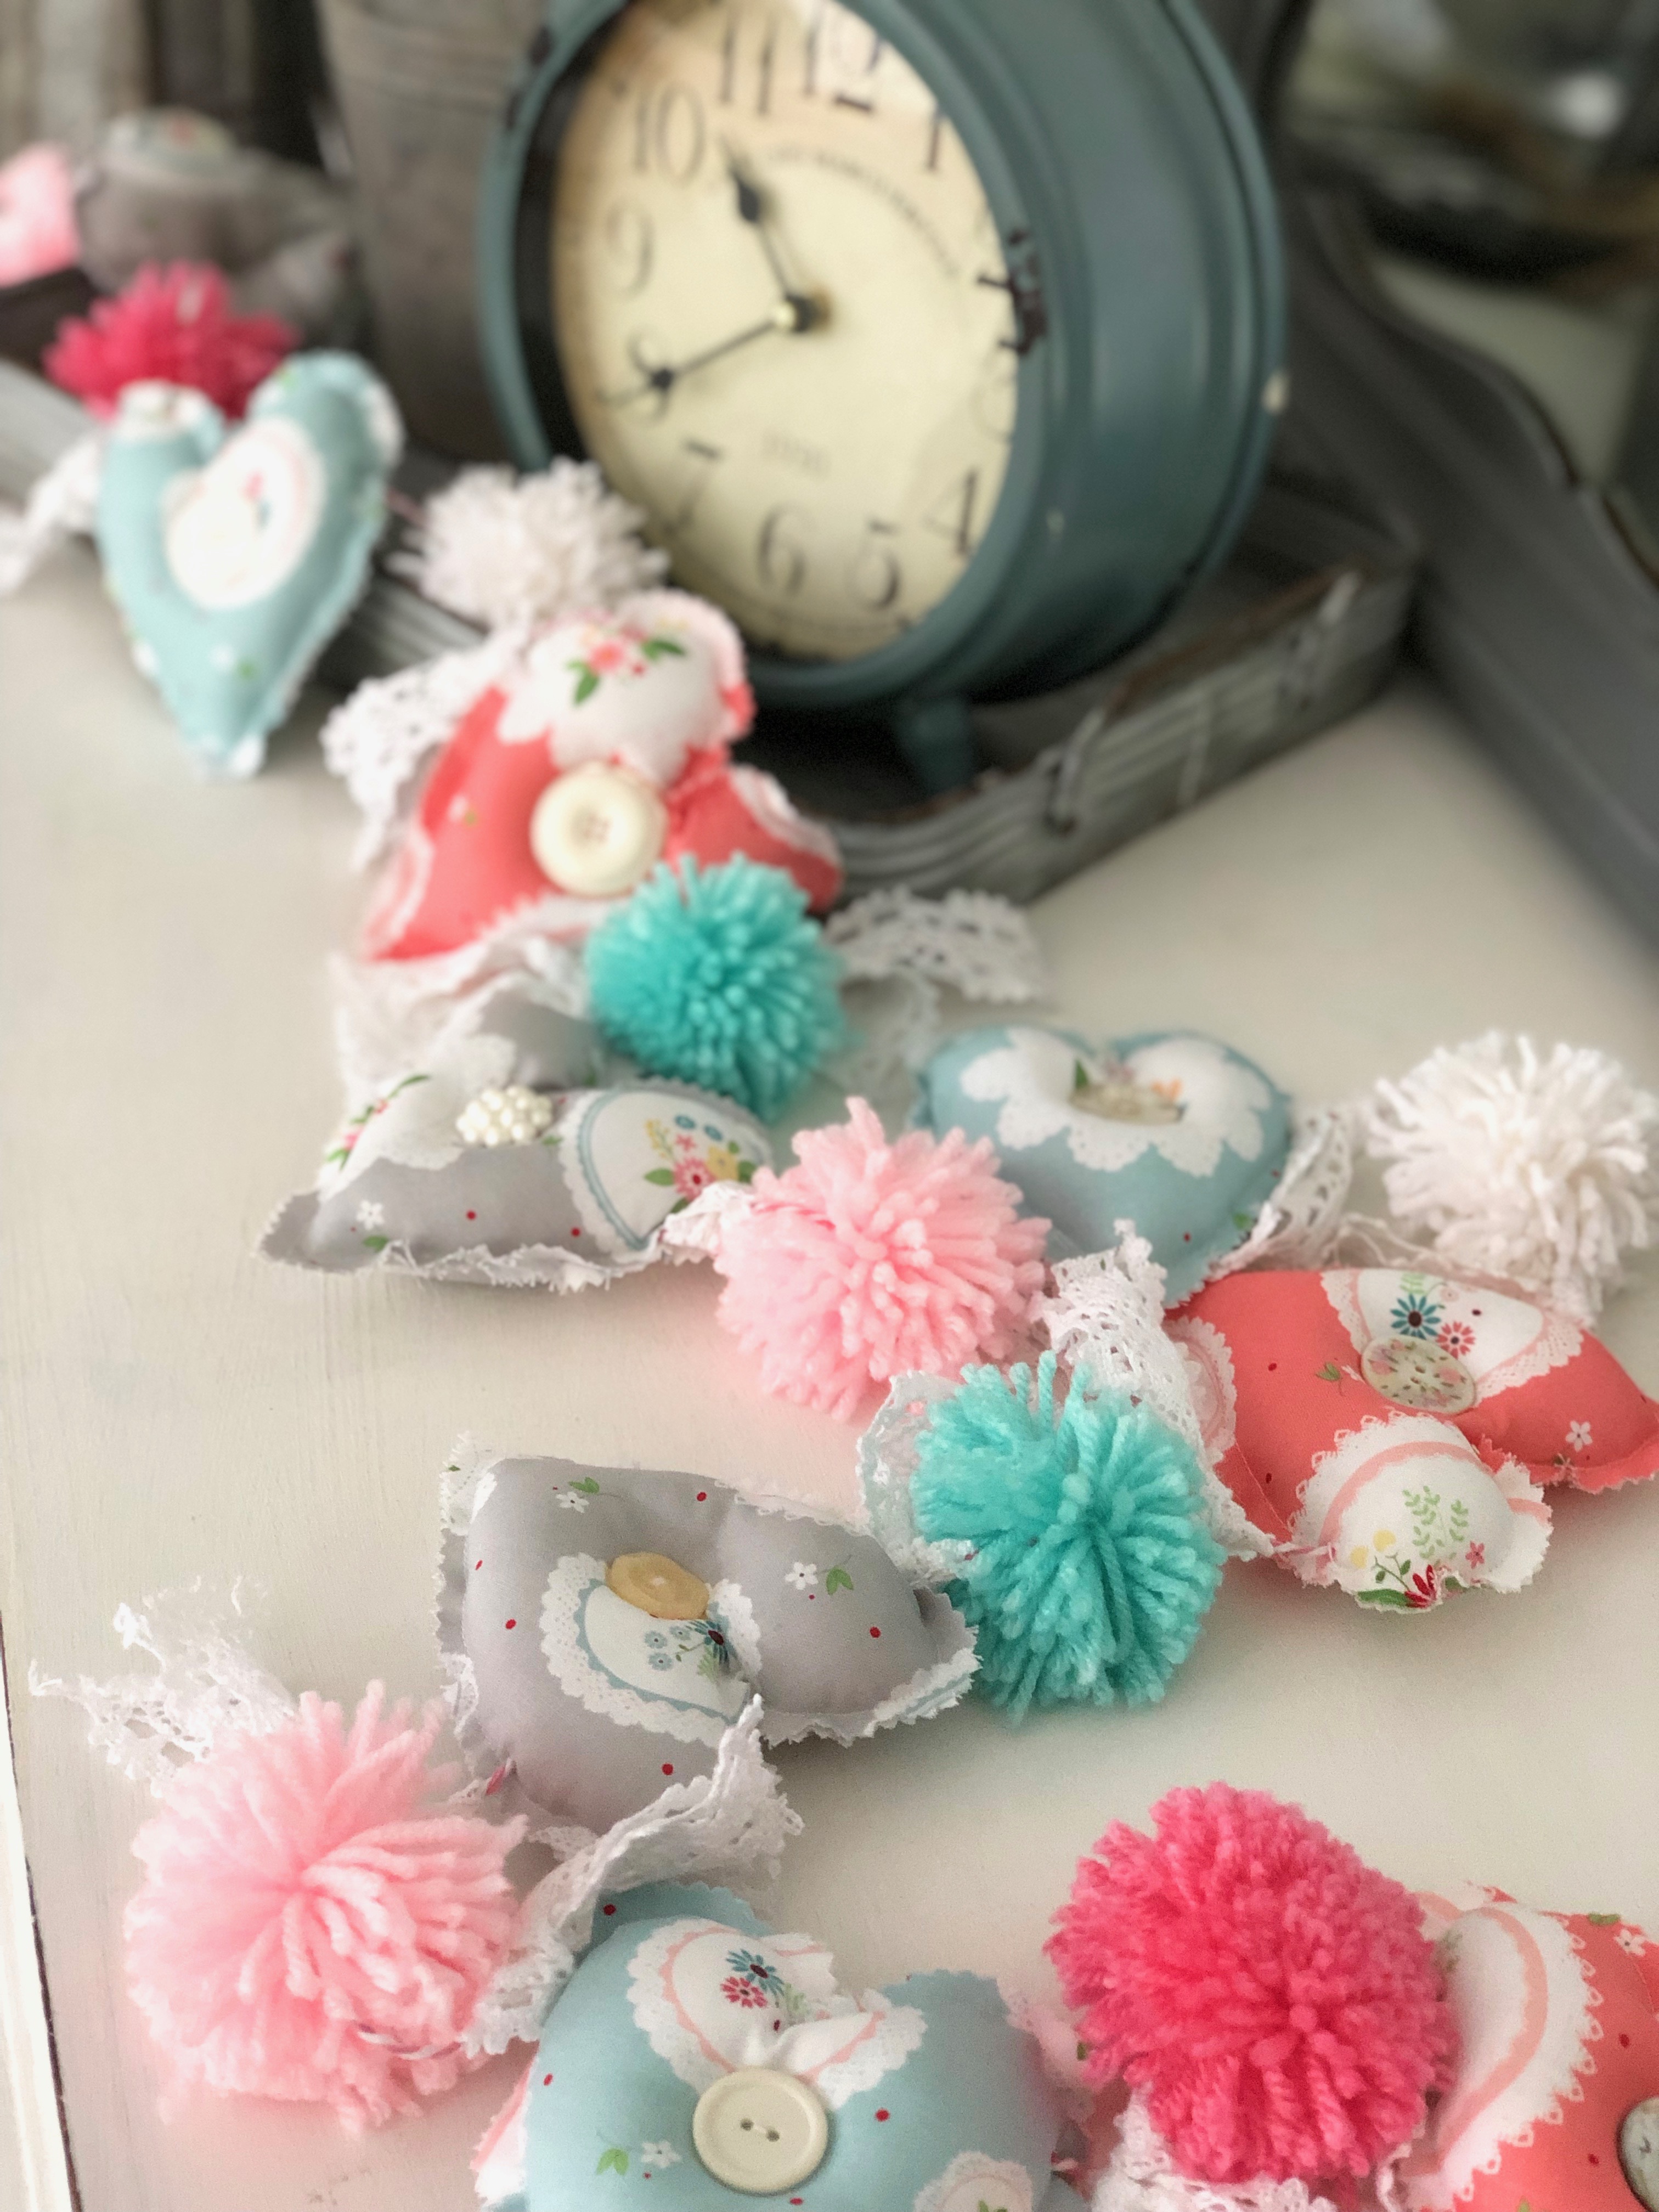
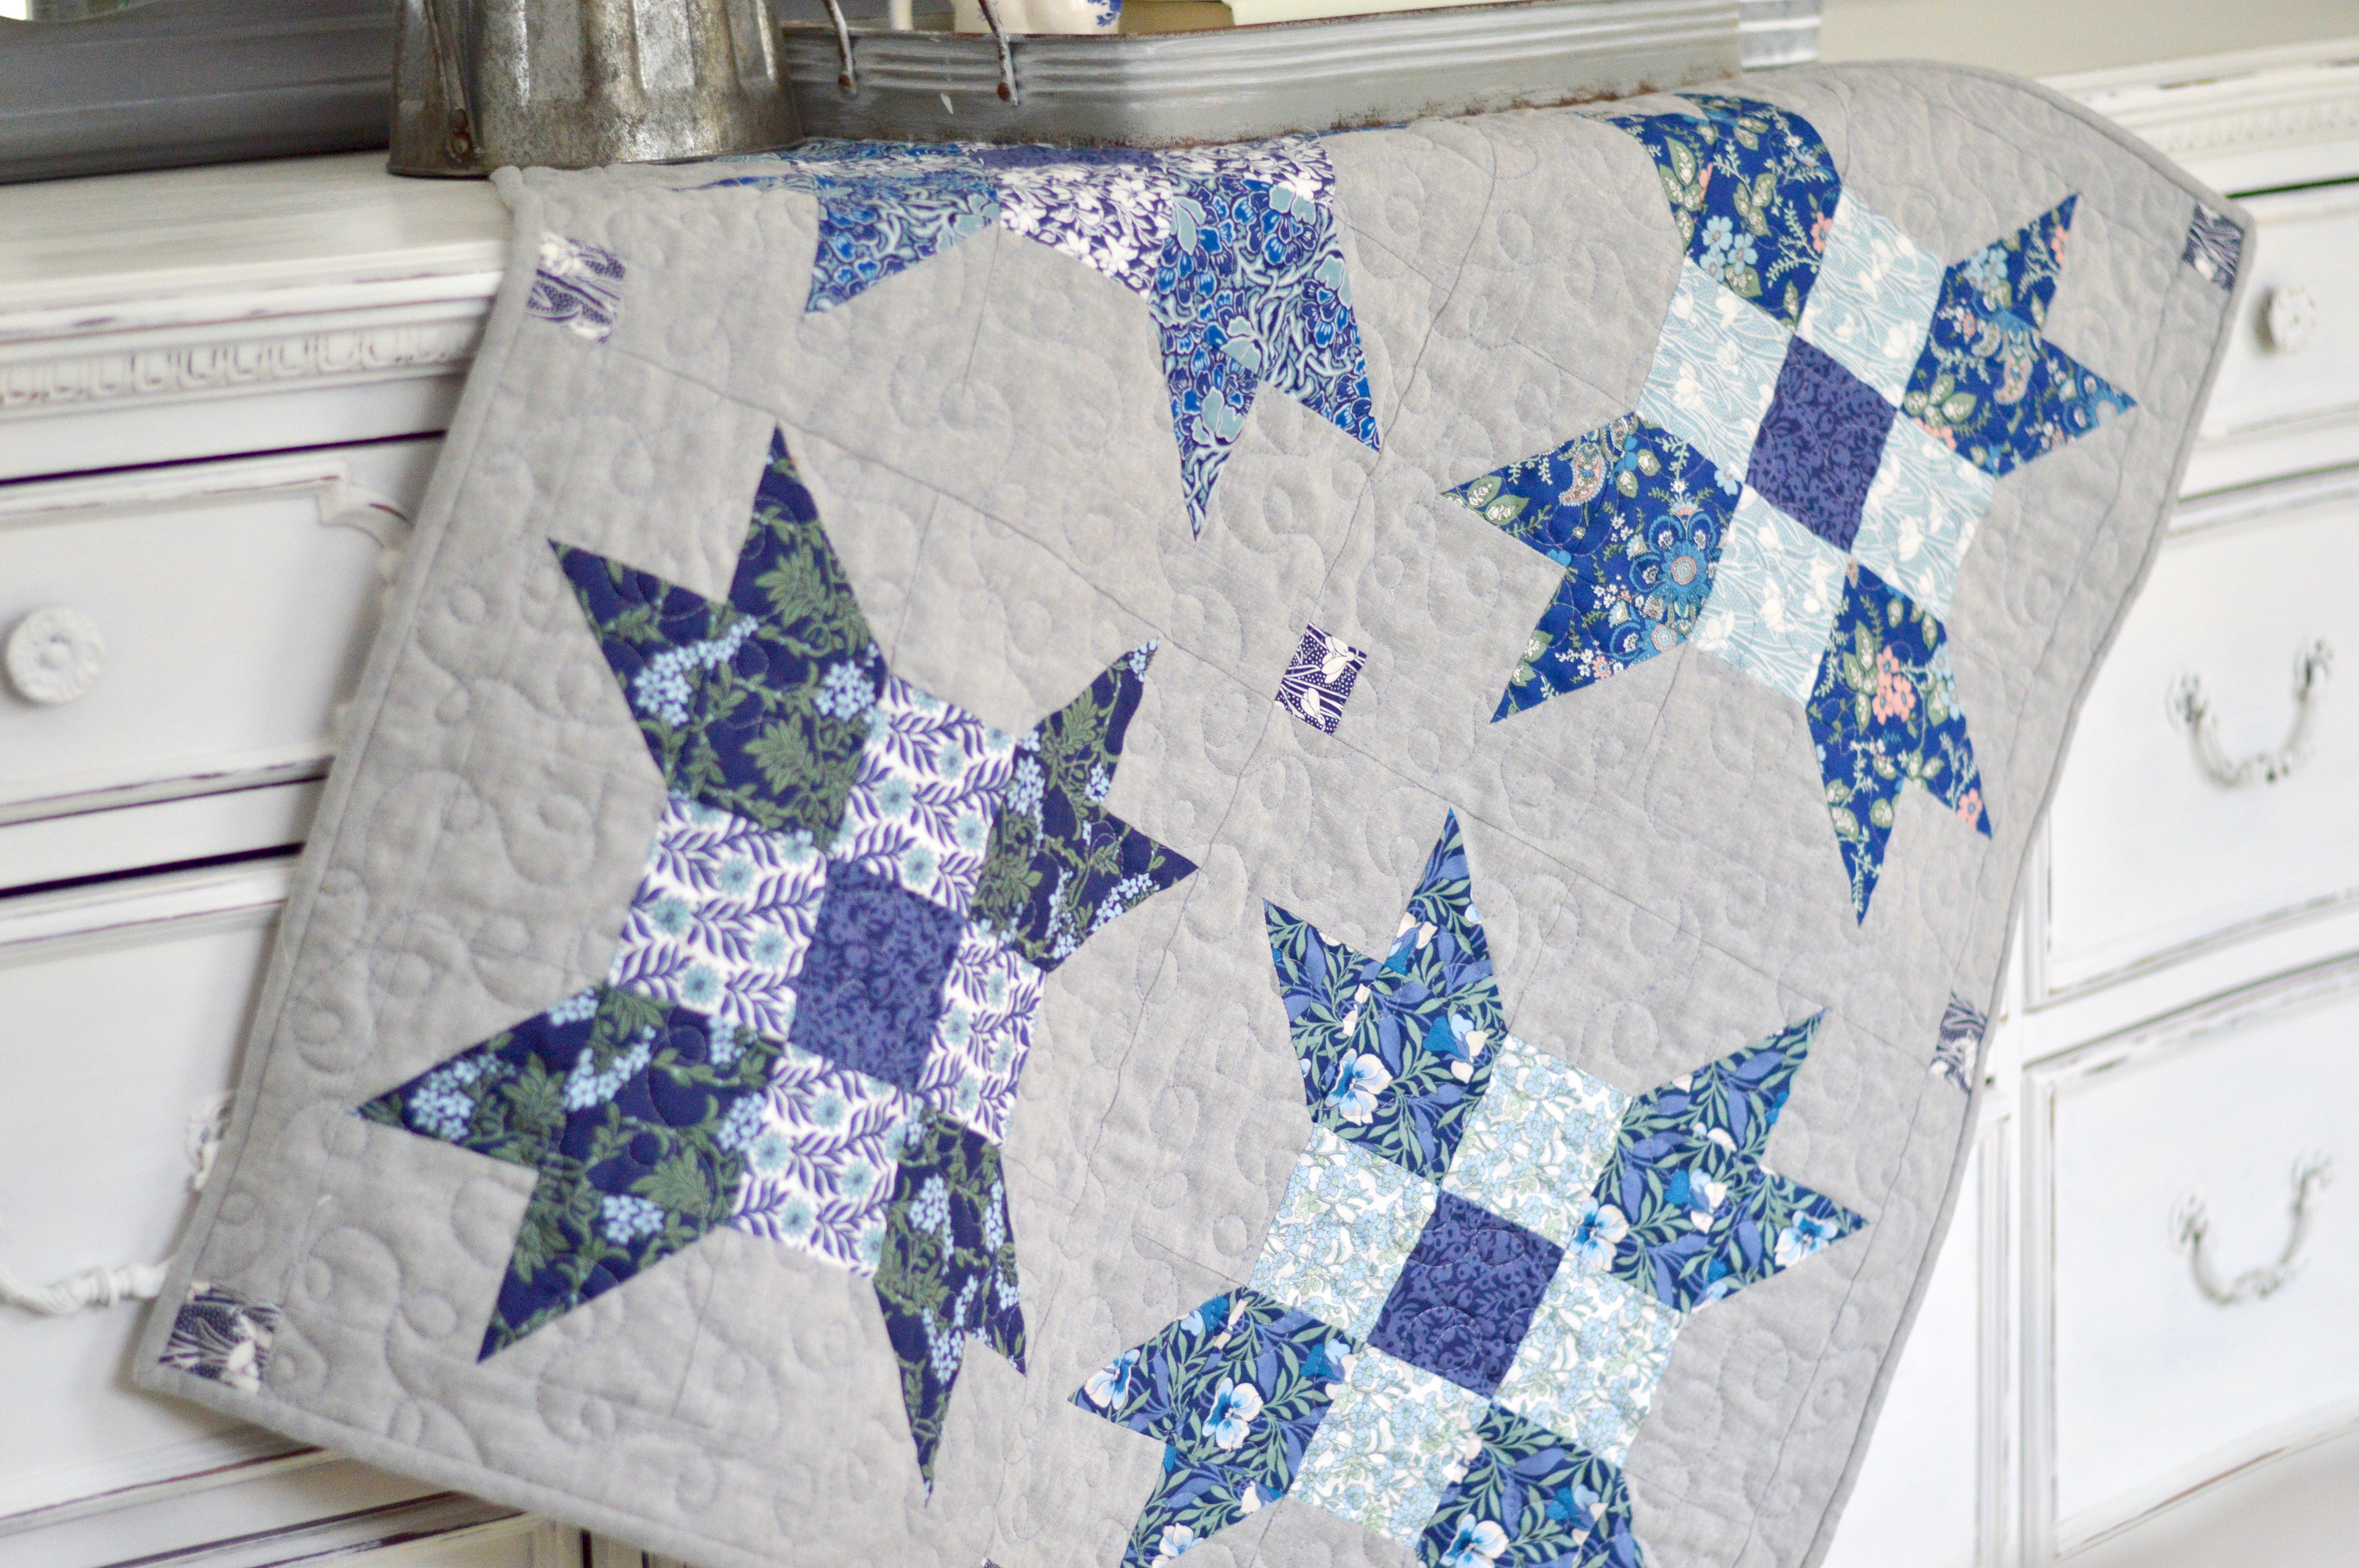
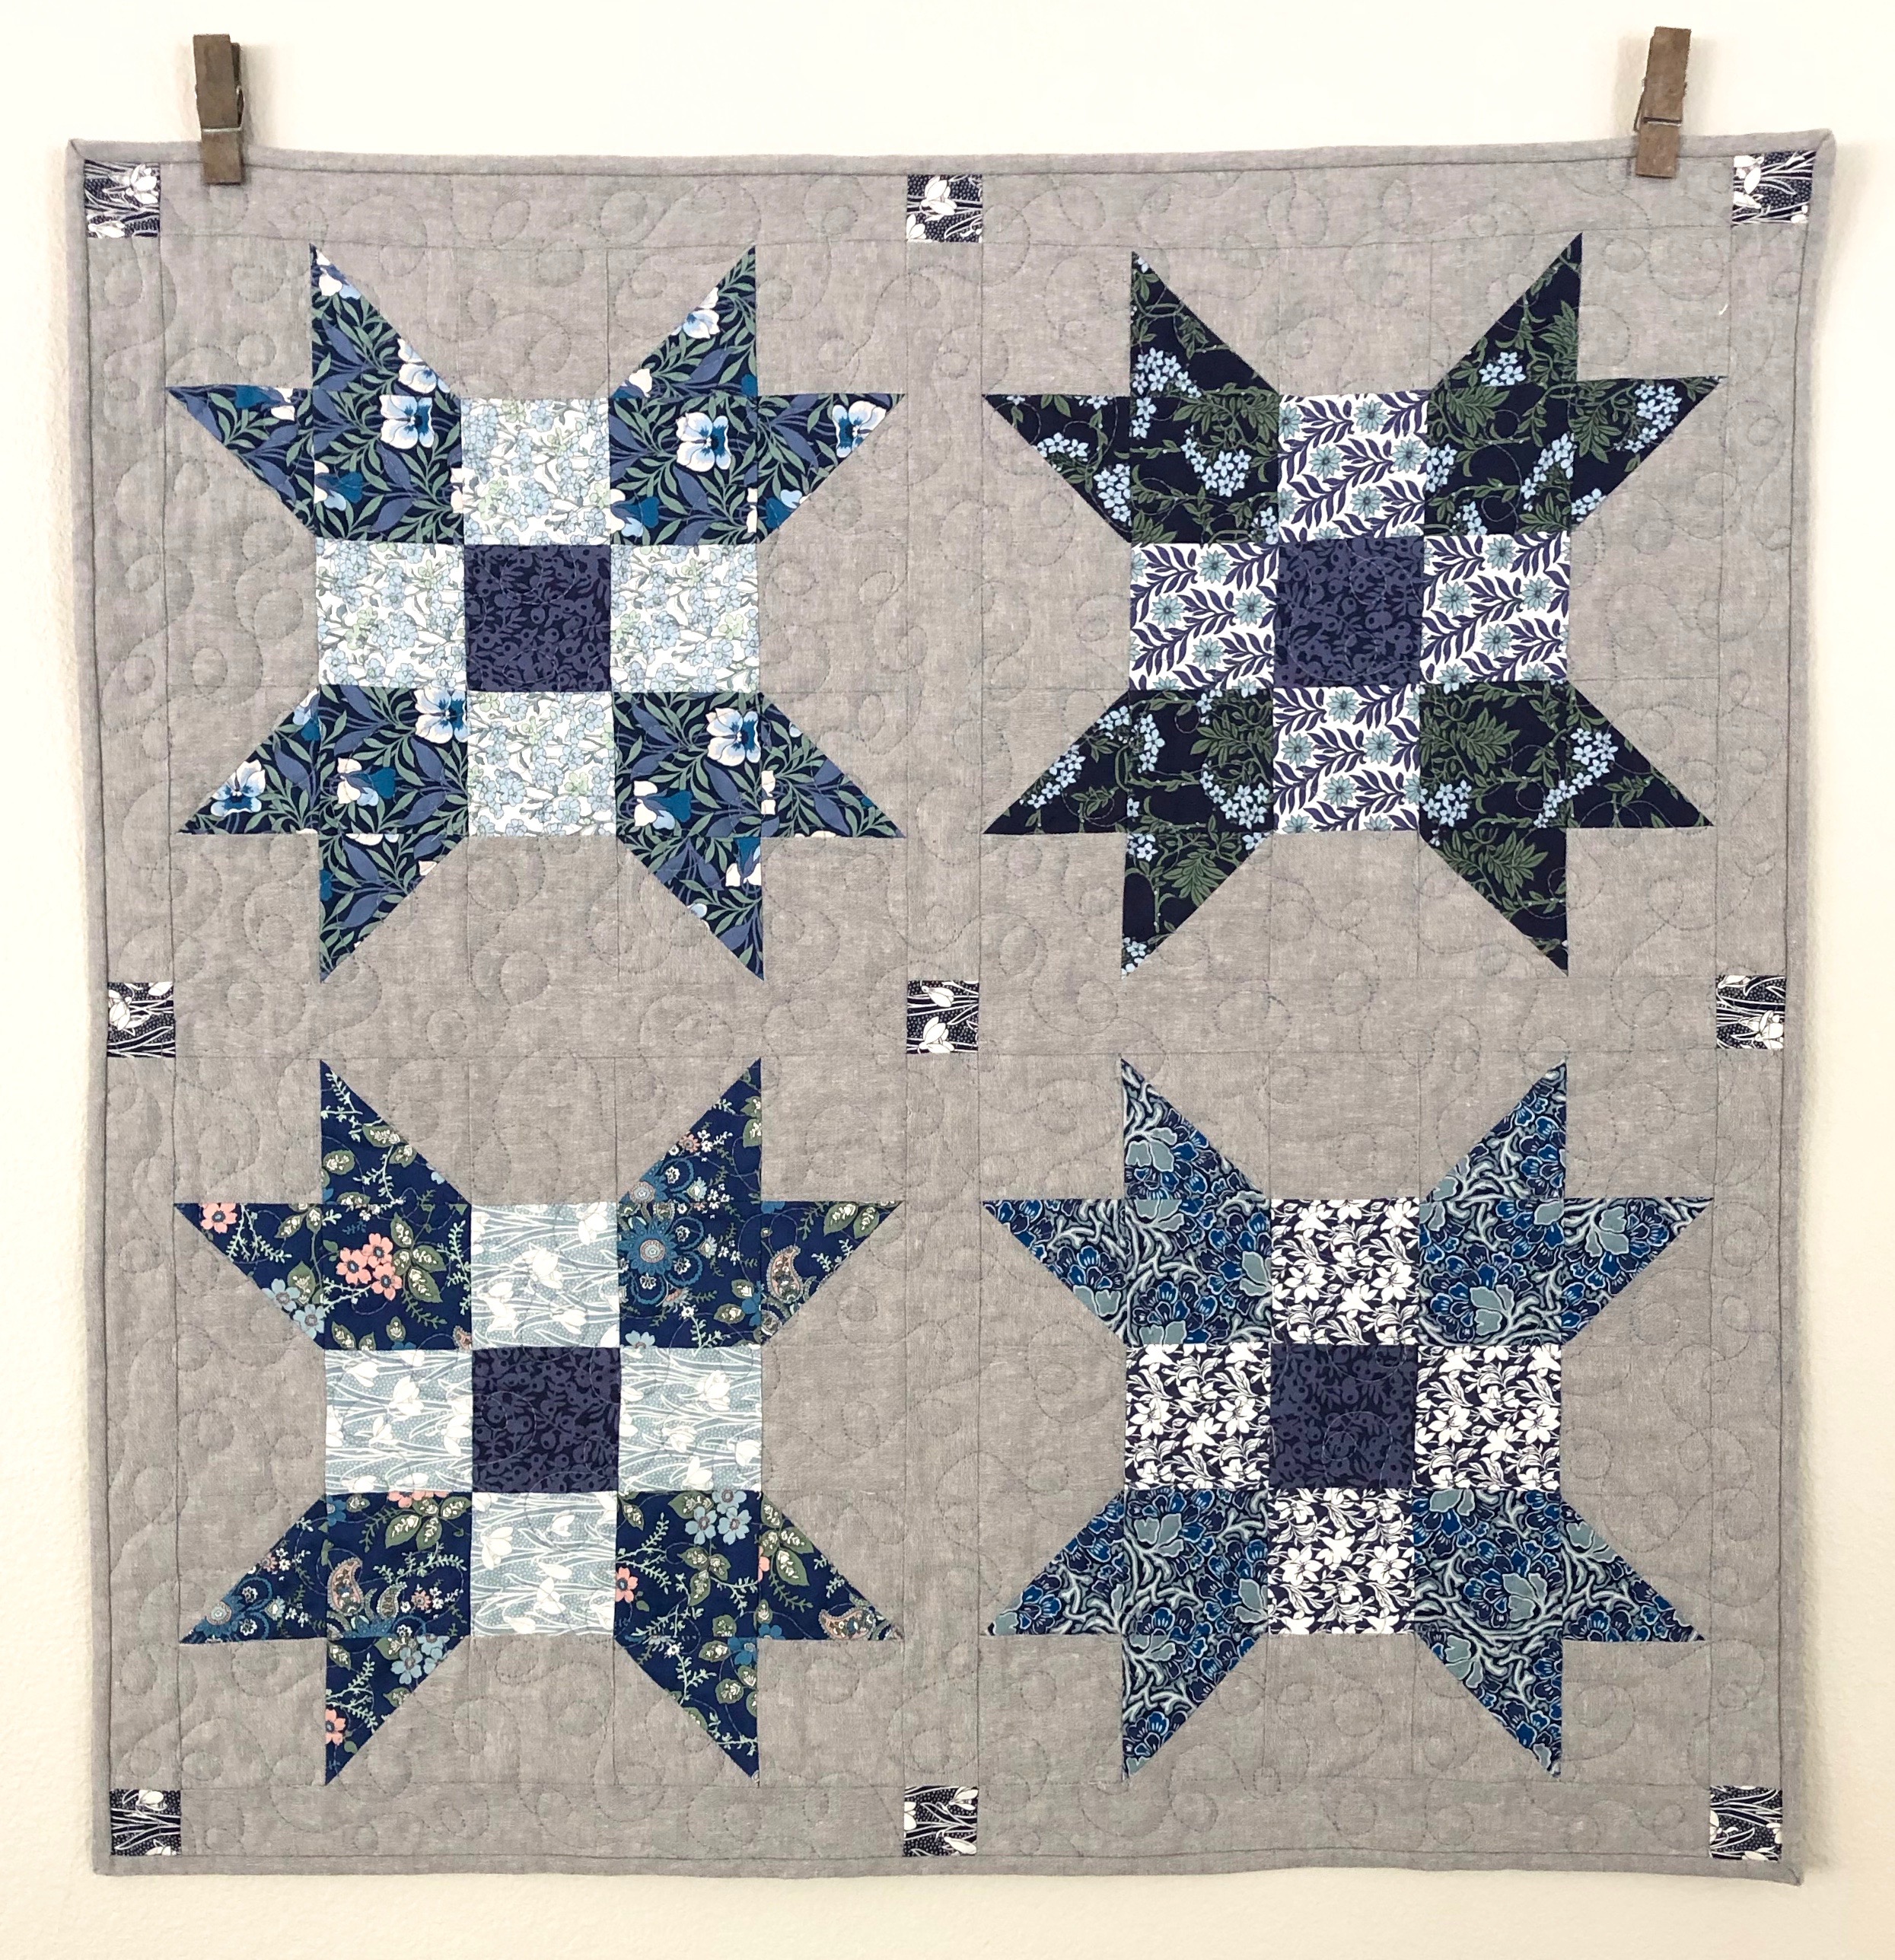
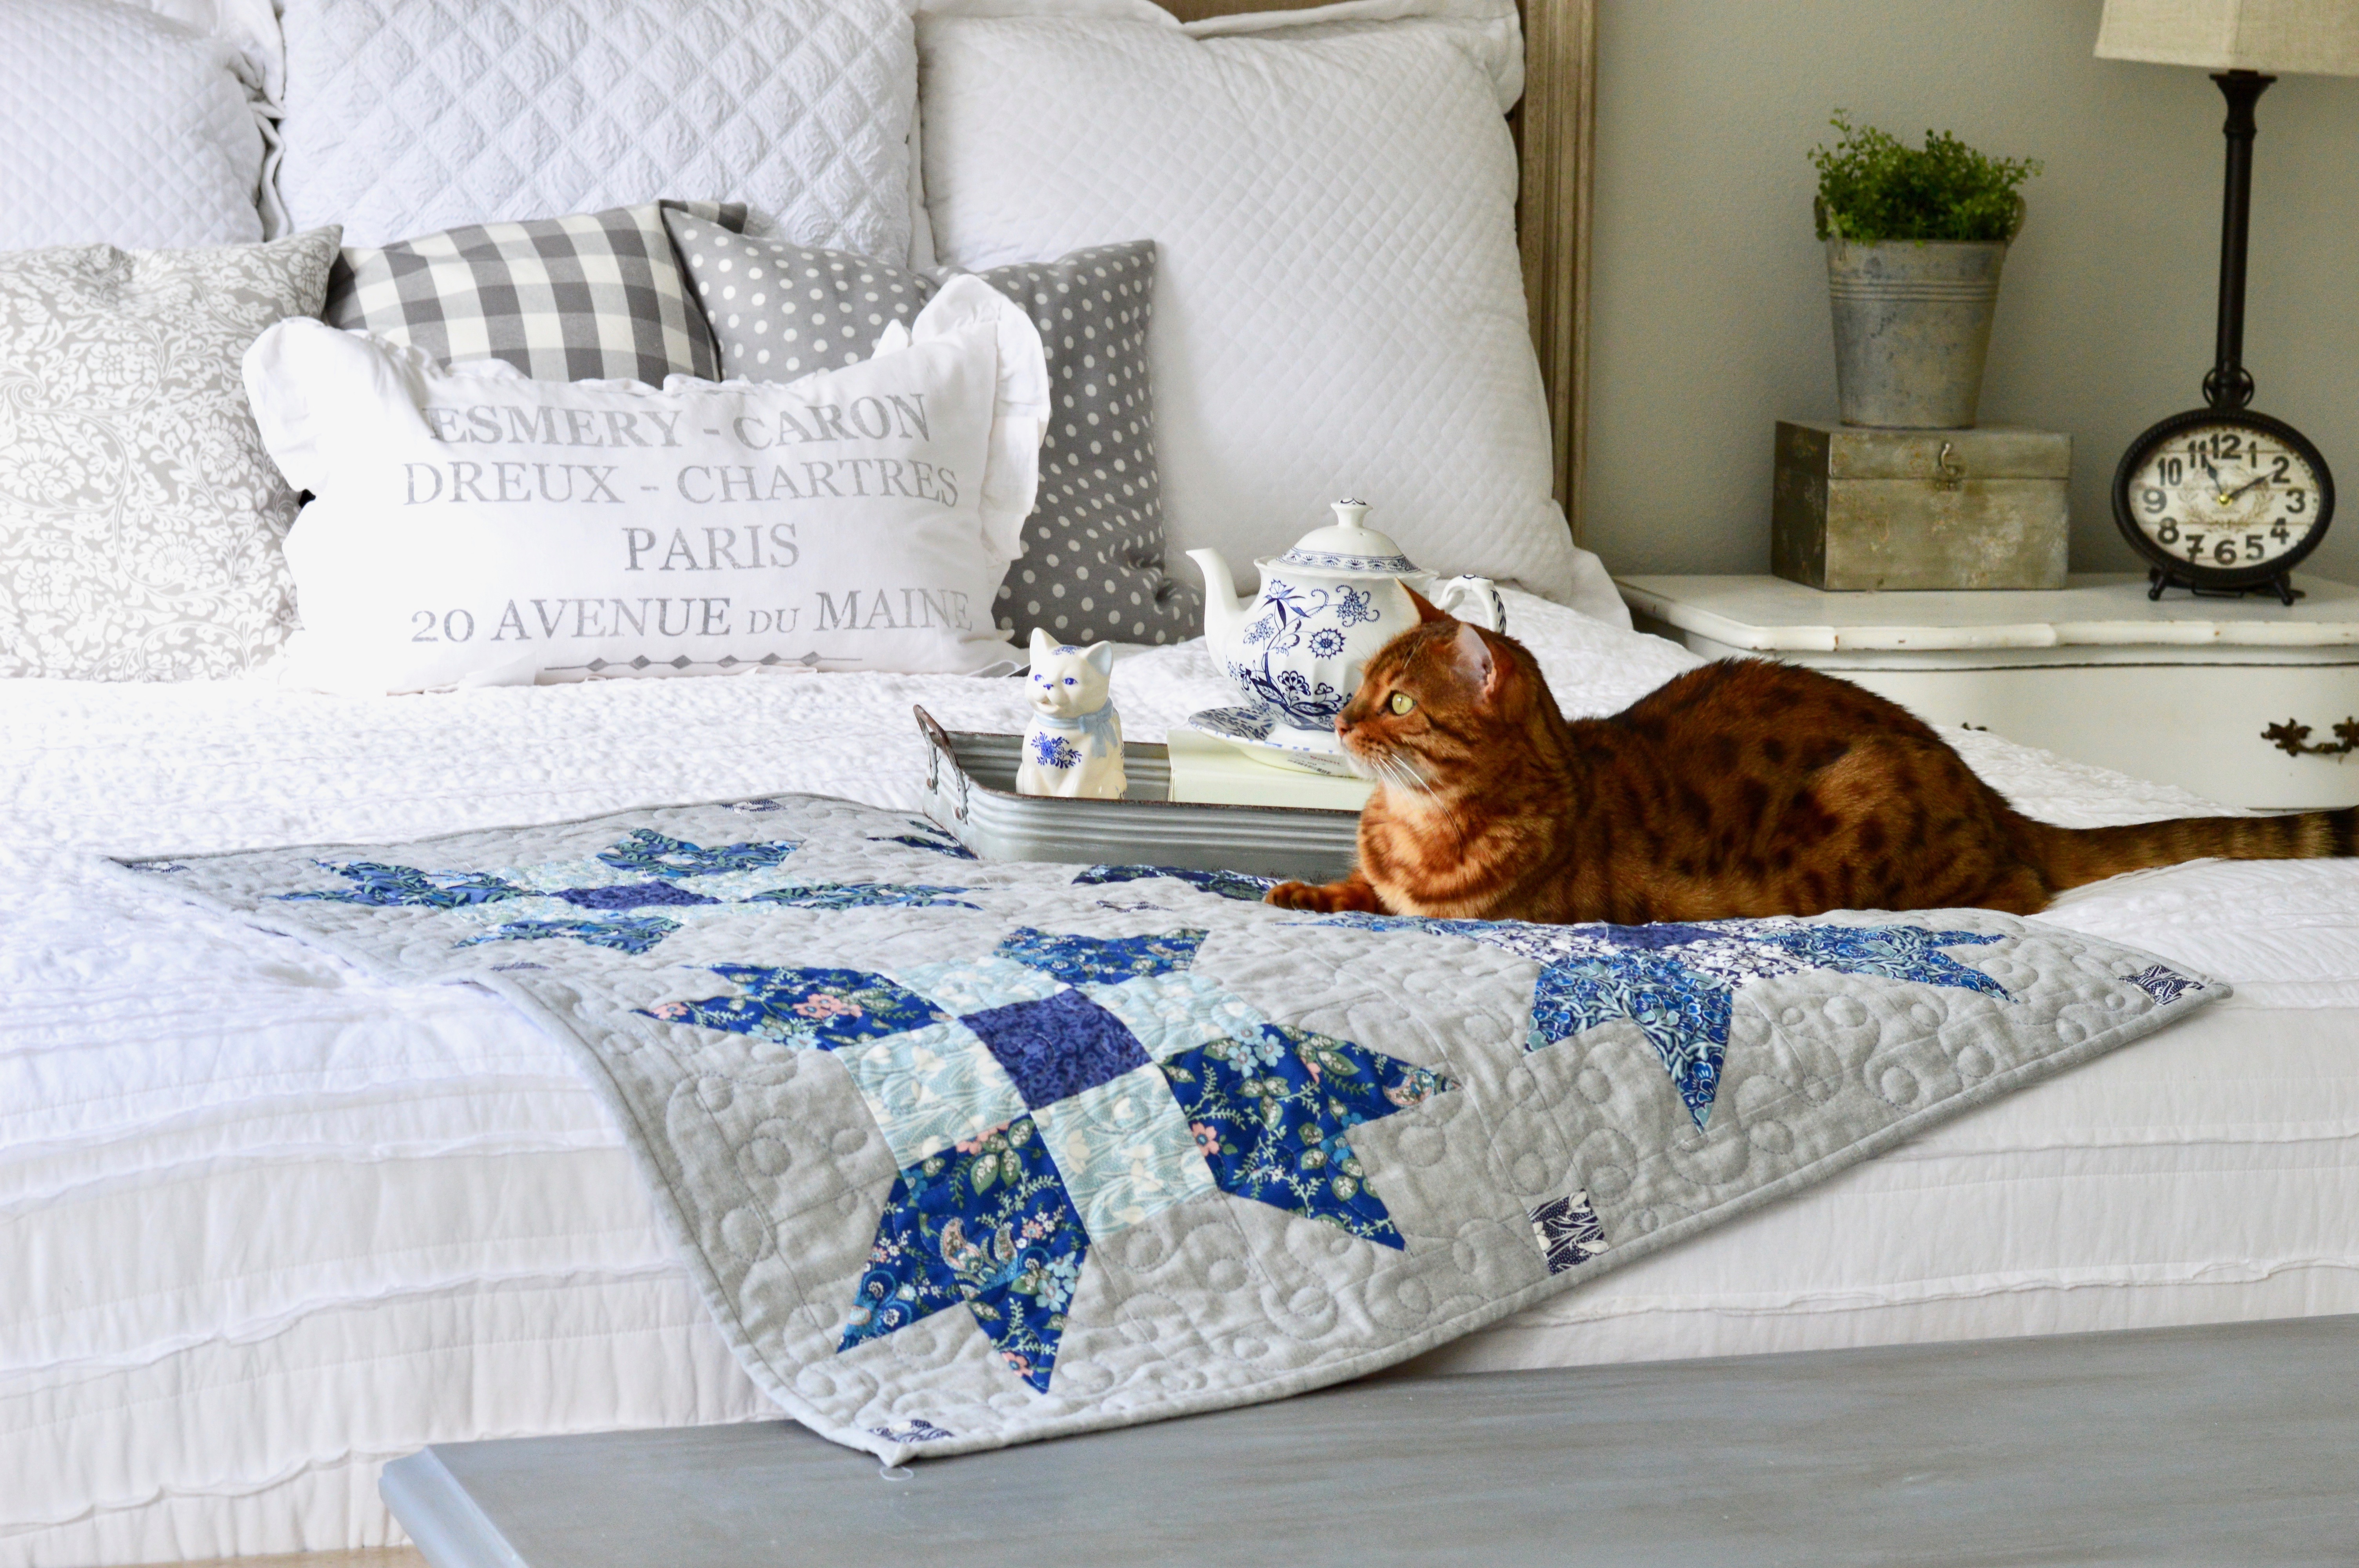
 I hope you love this fun little quilt! Make it for someone you love!!!
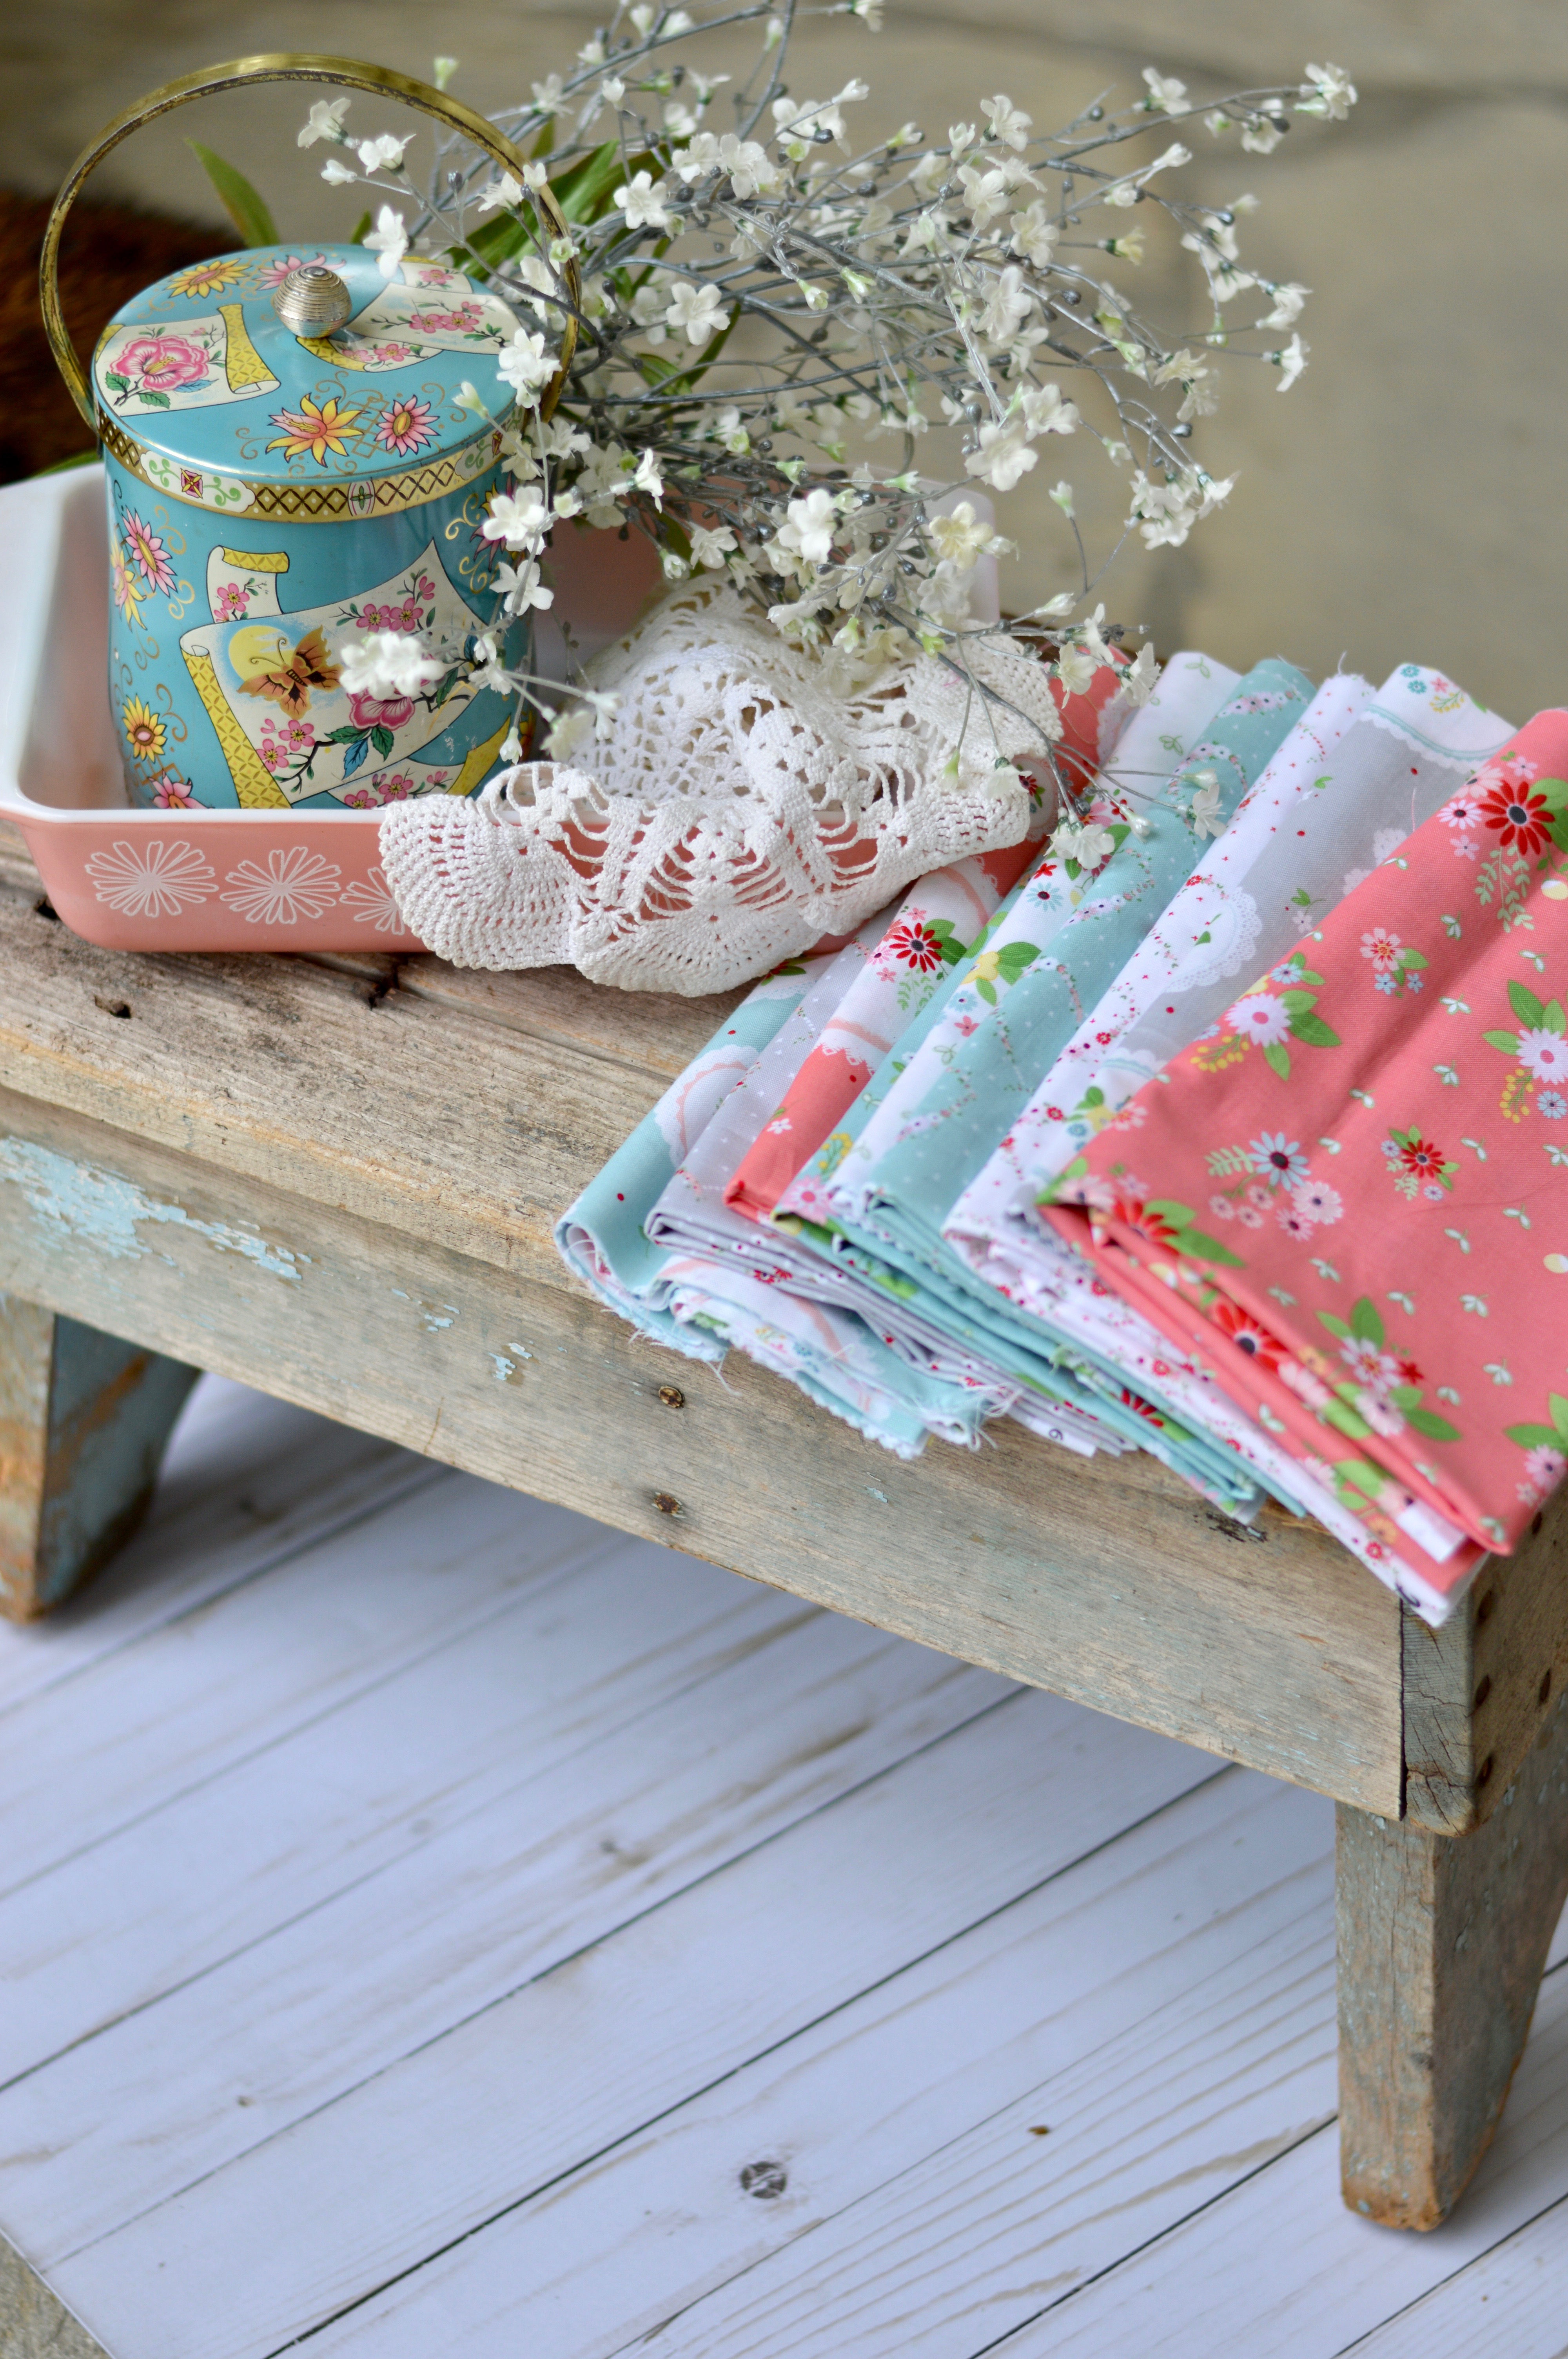

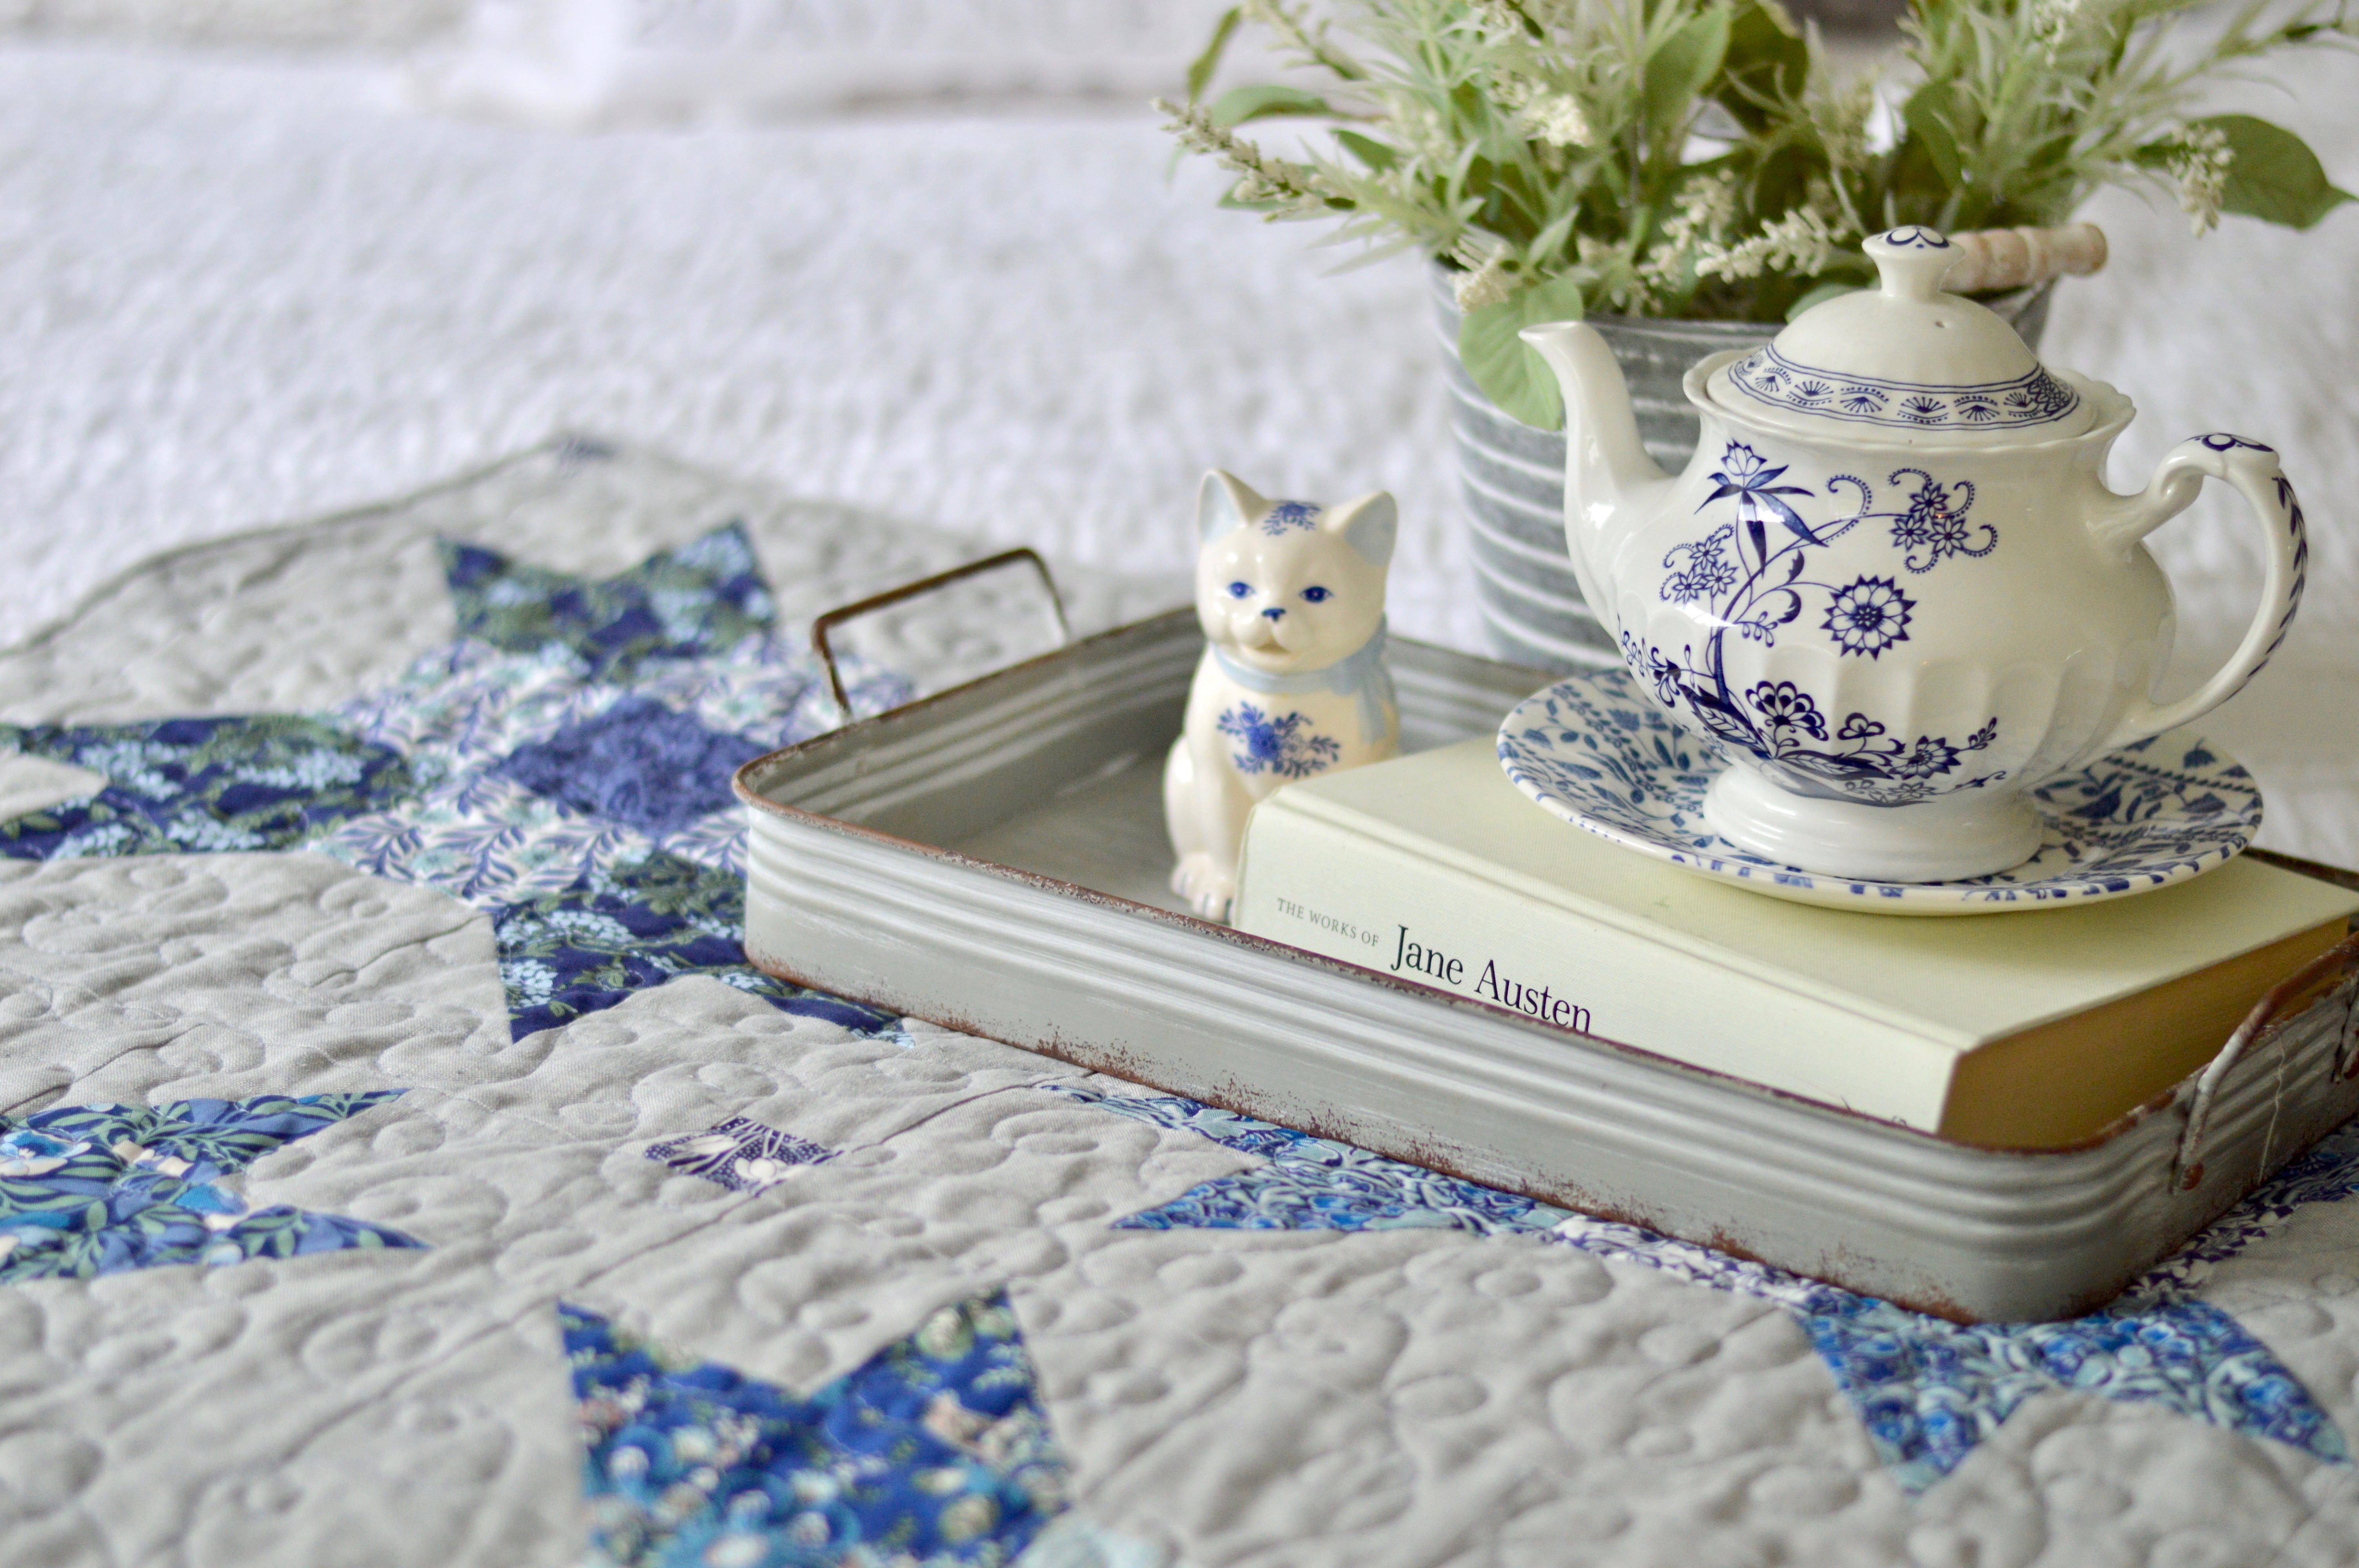
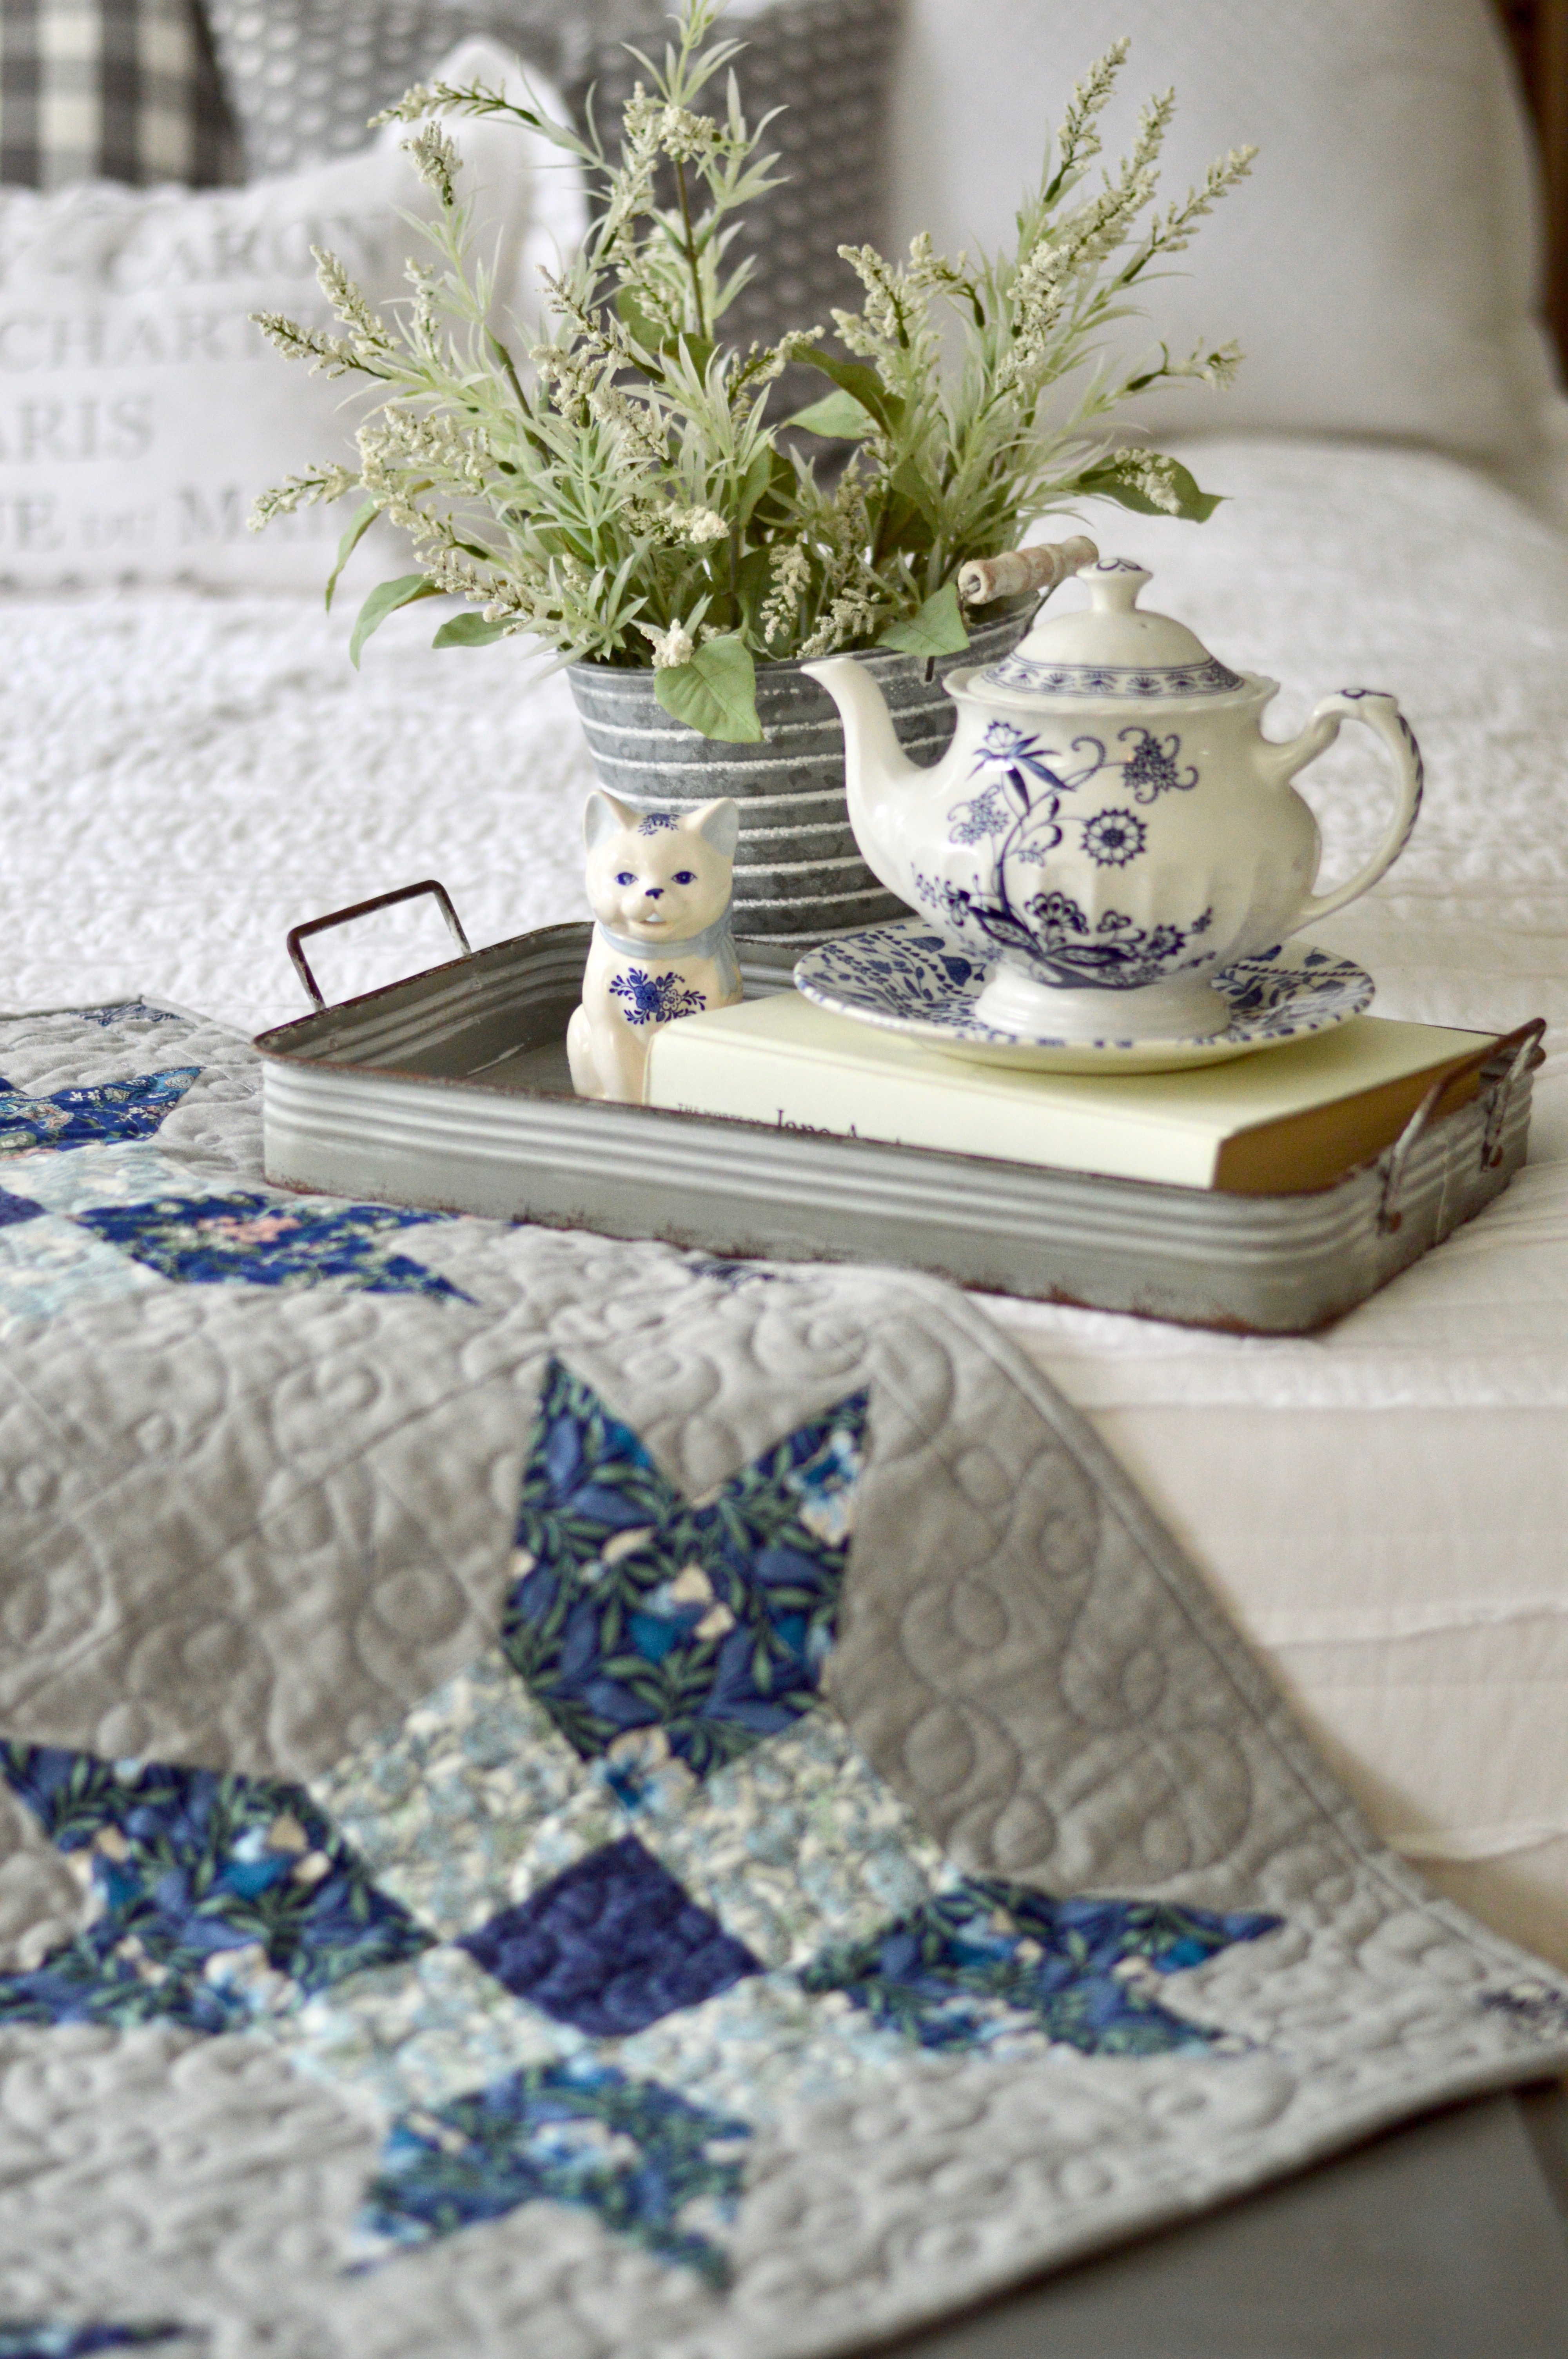
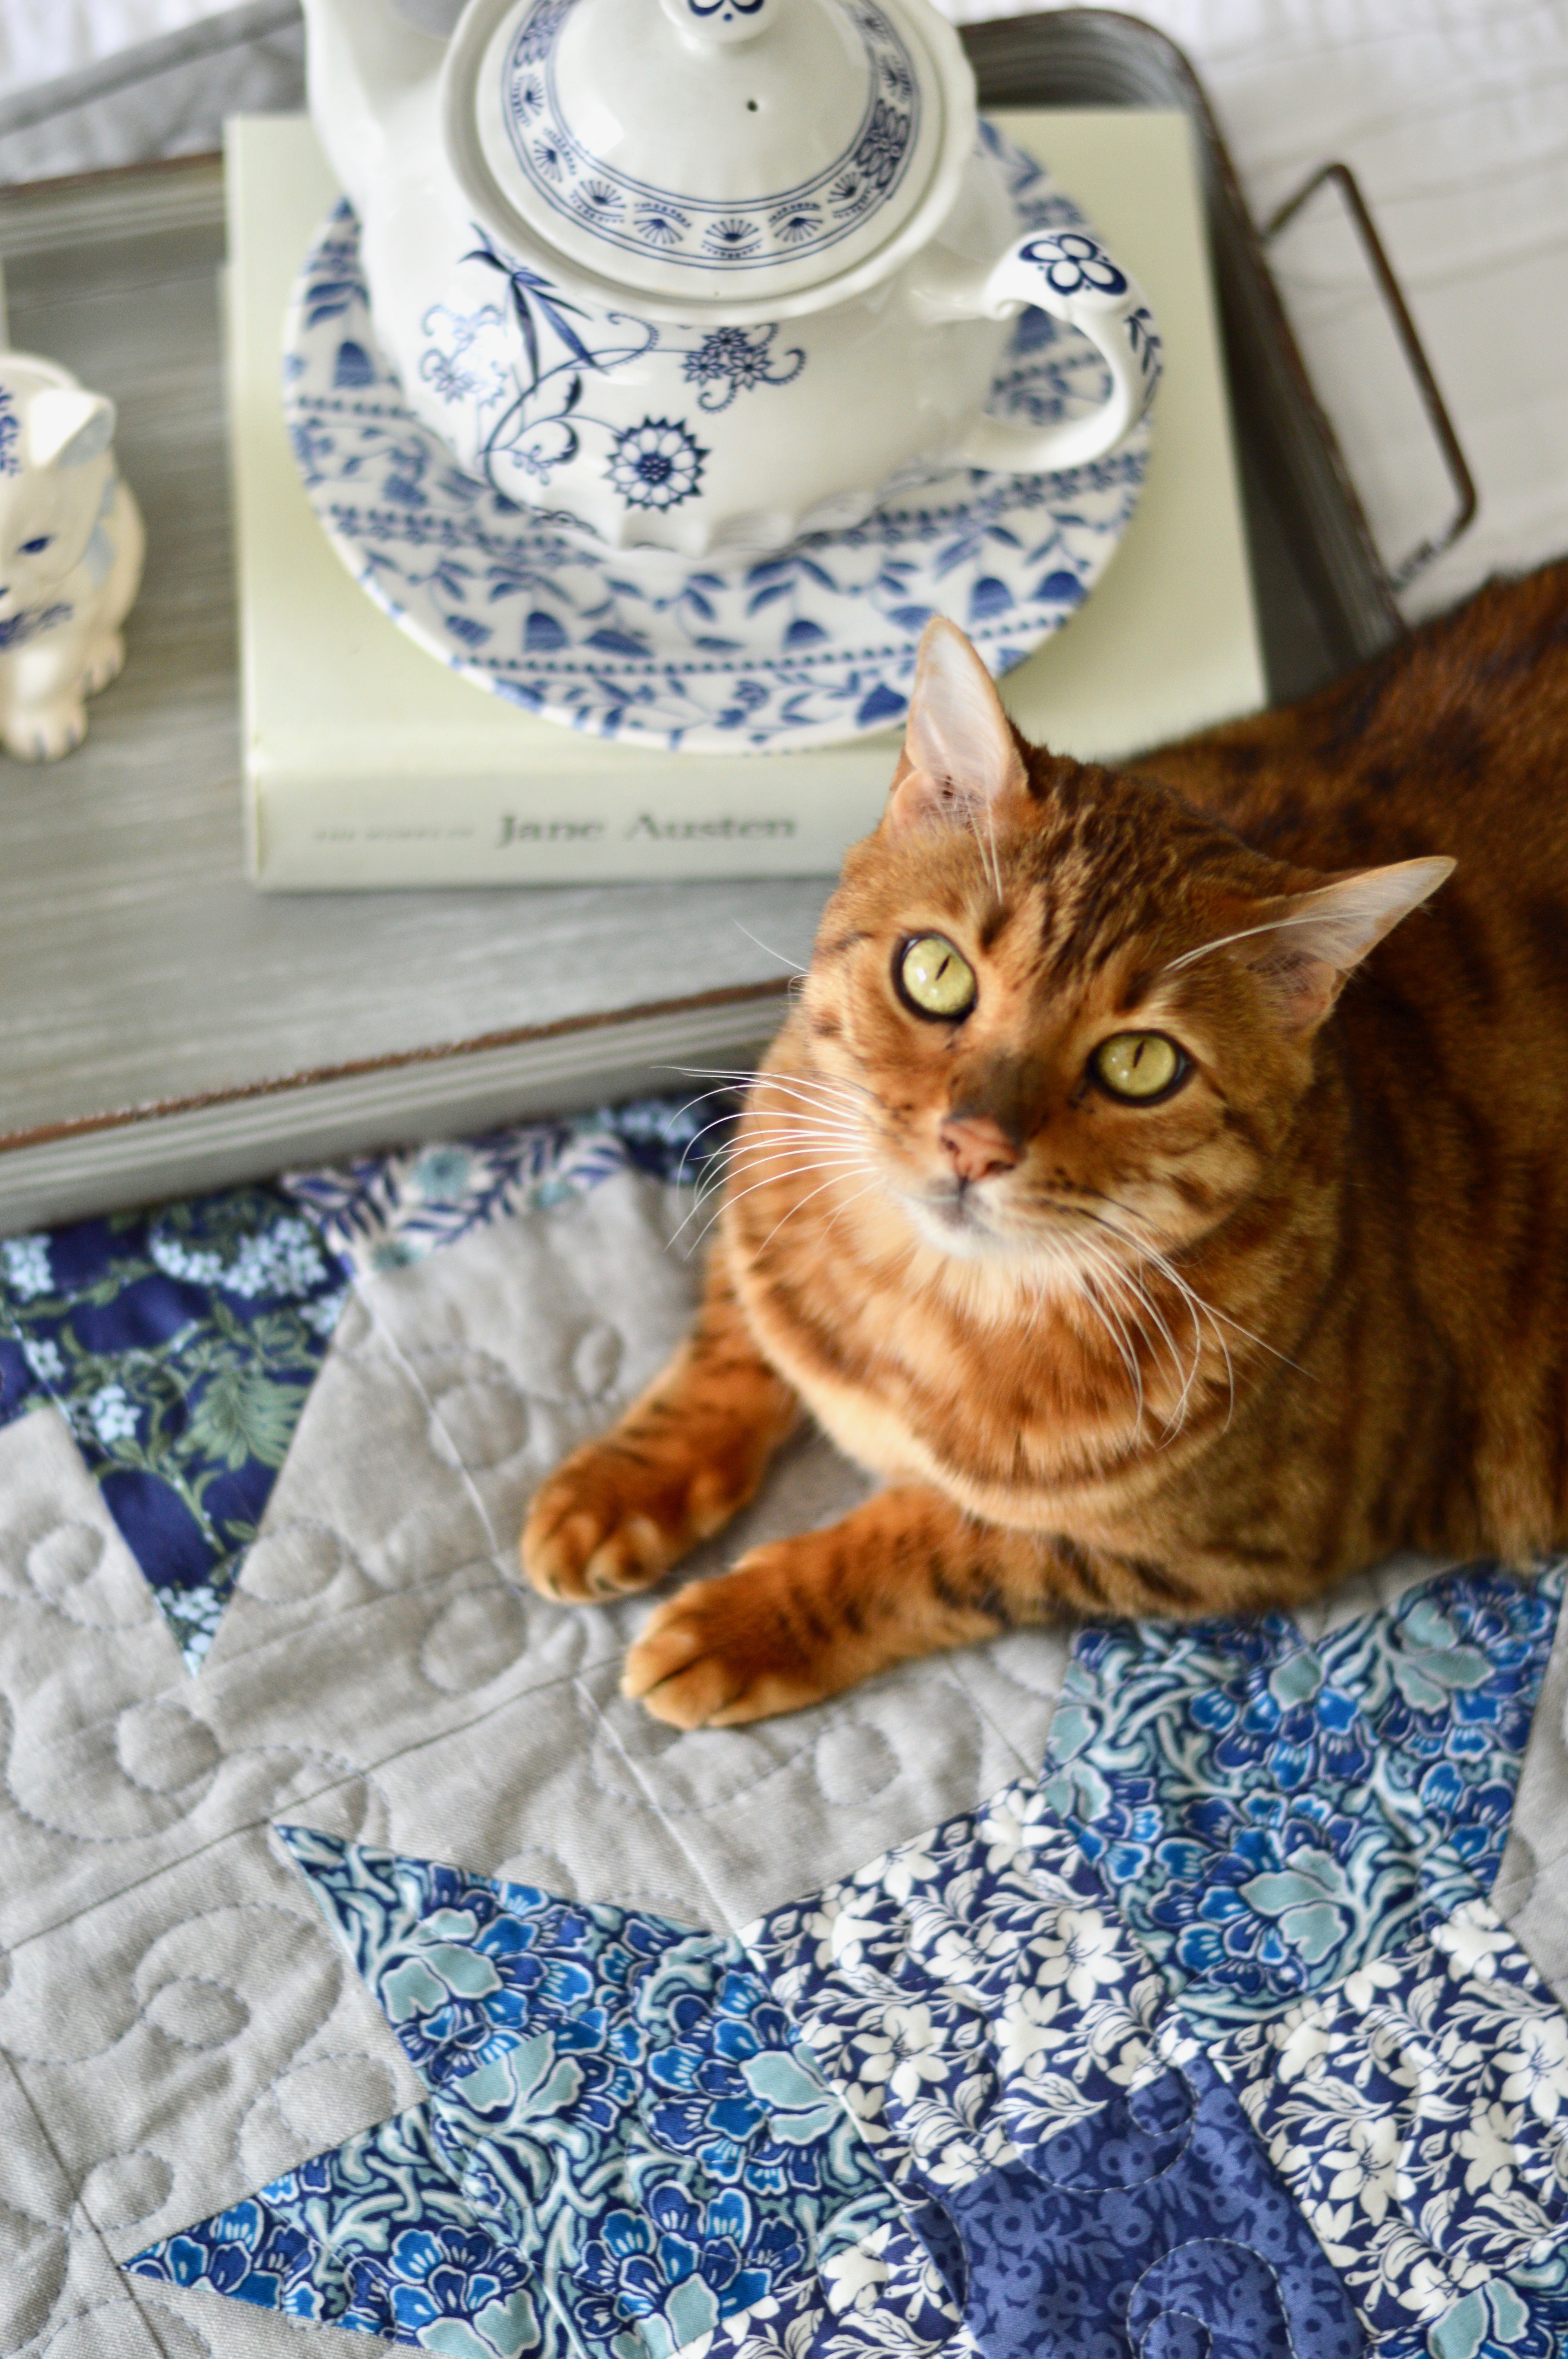

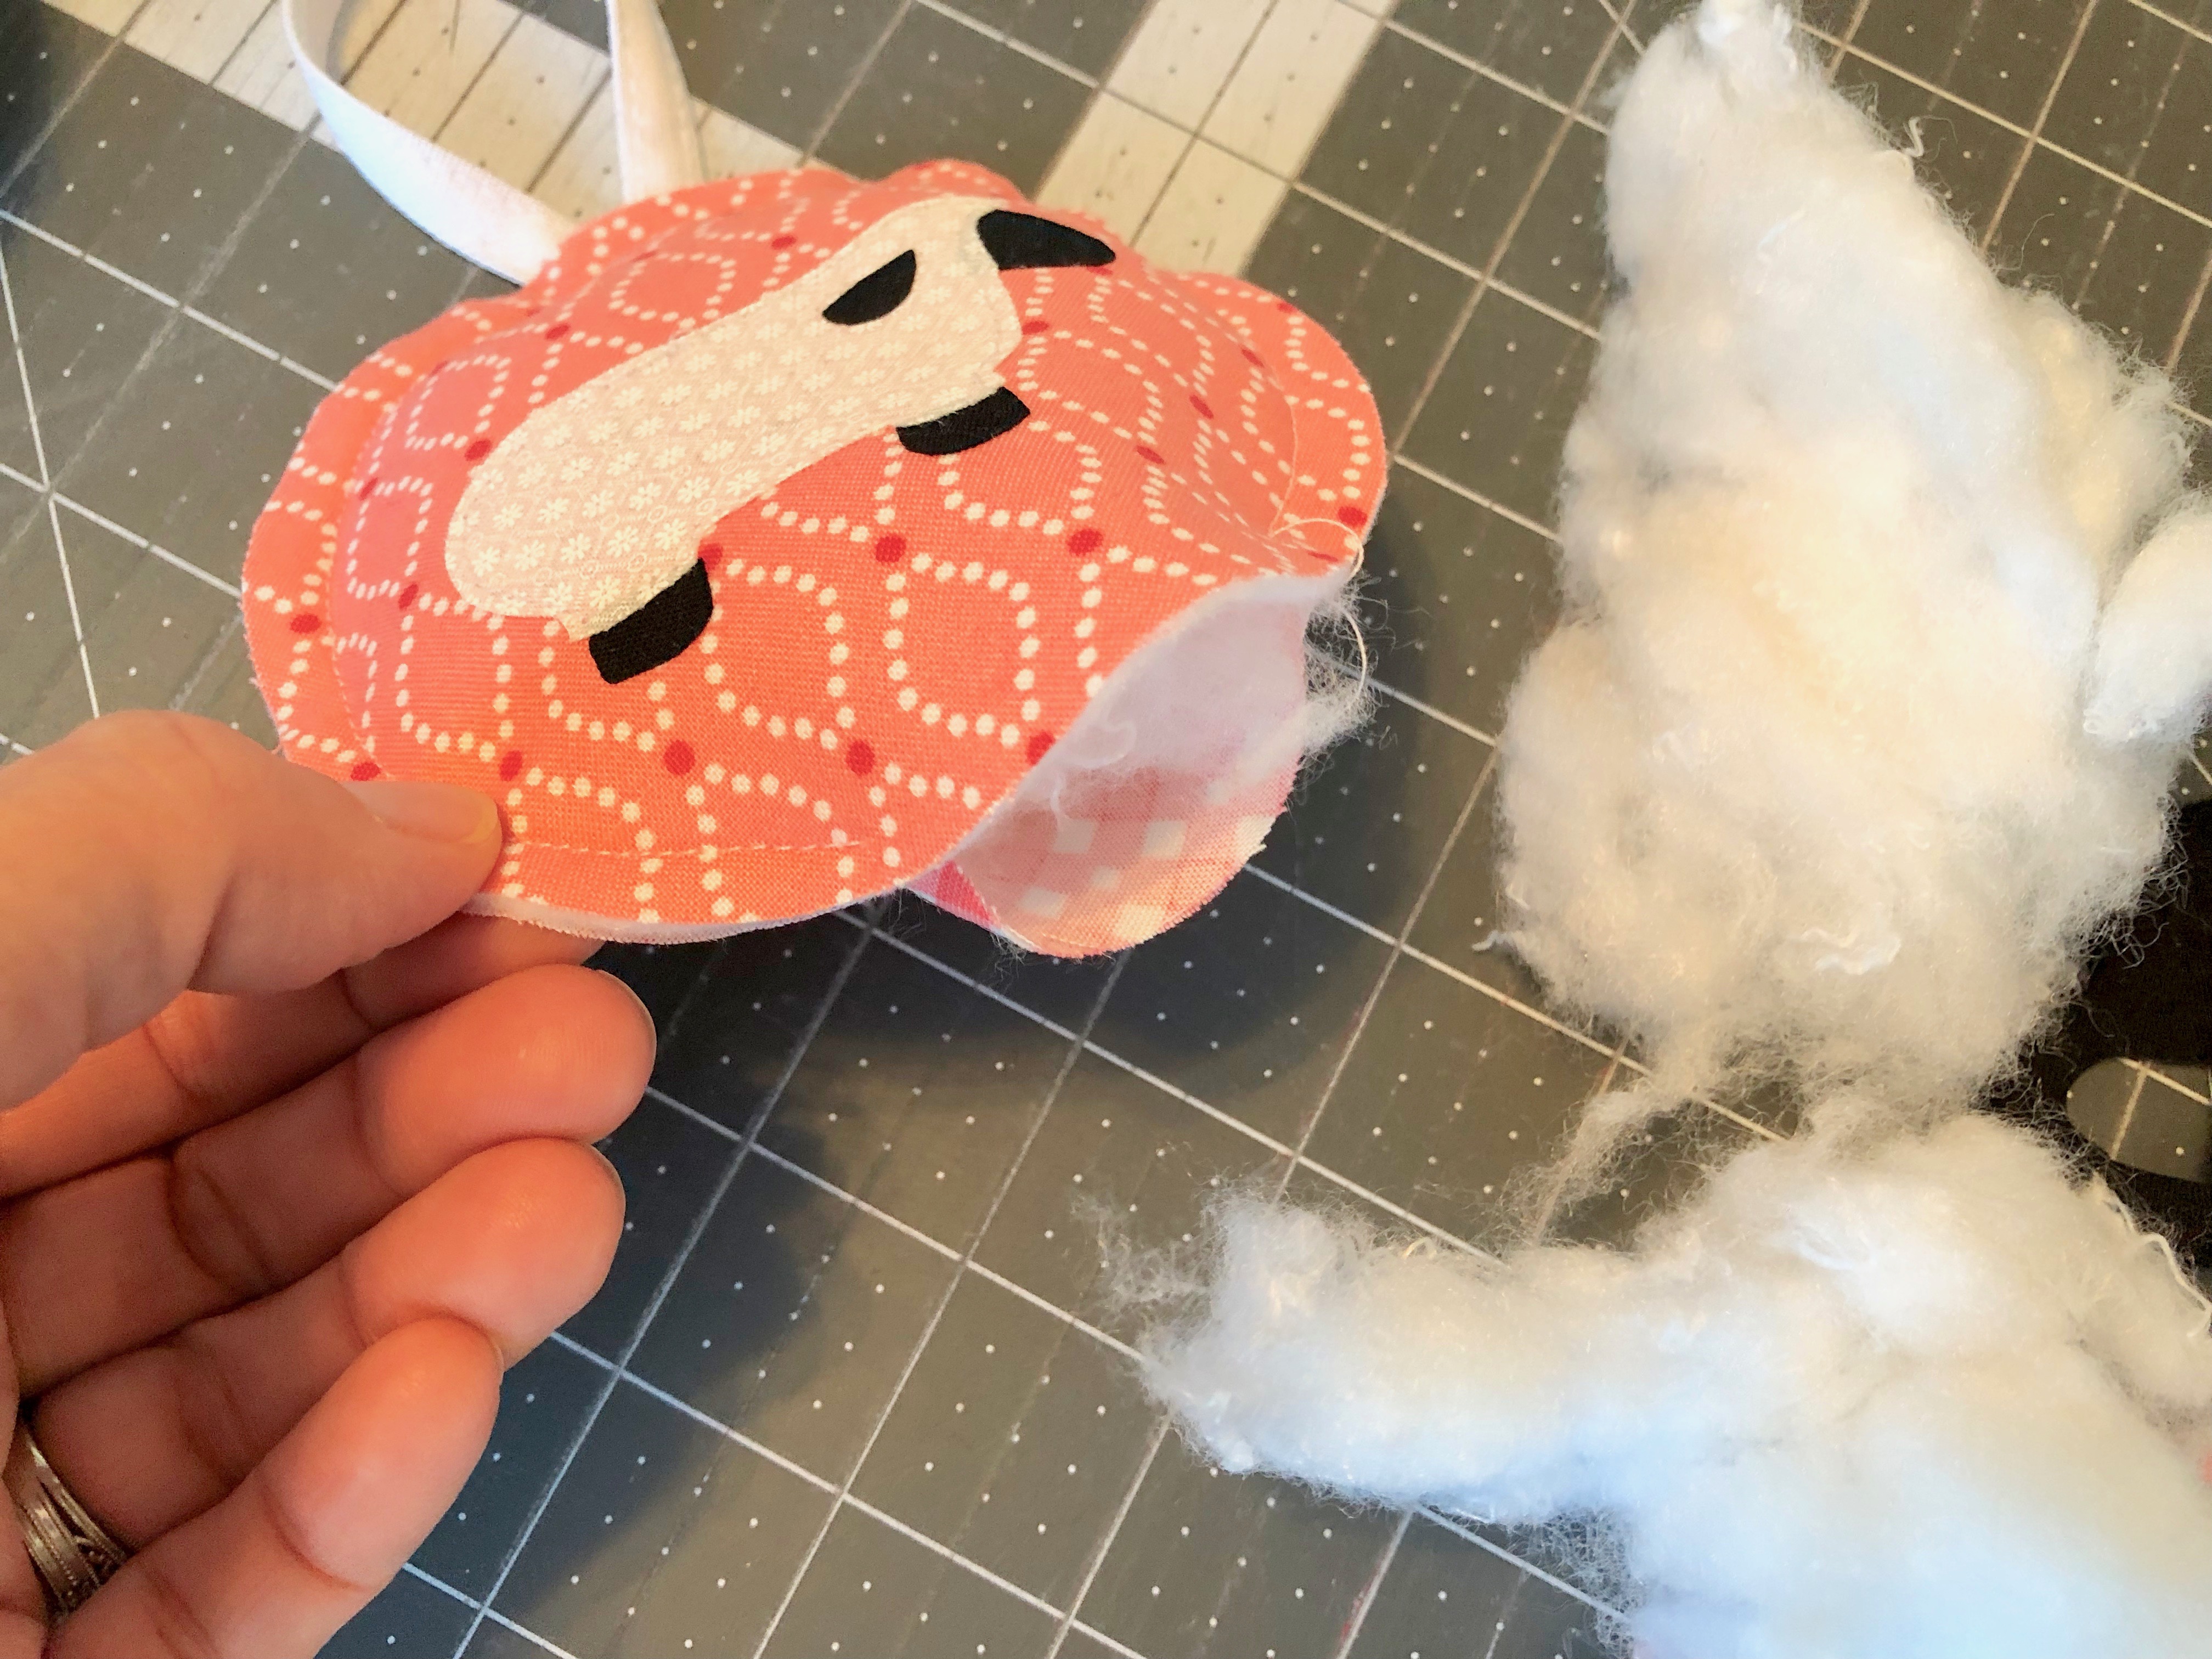
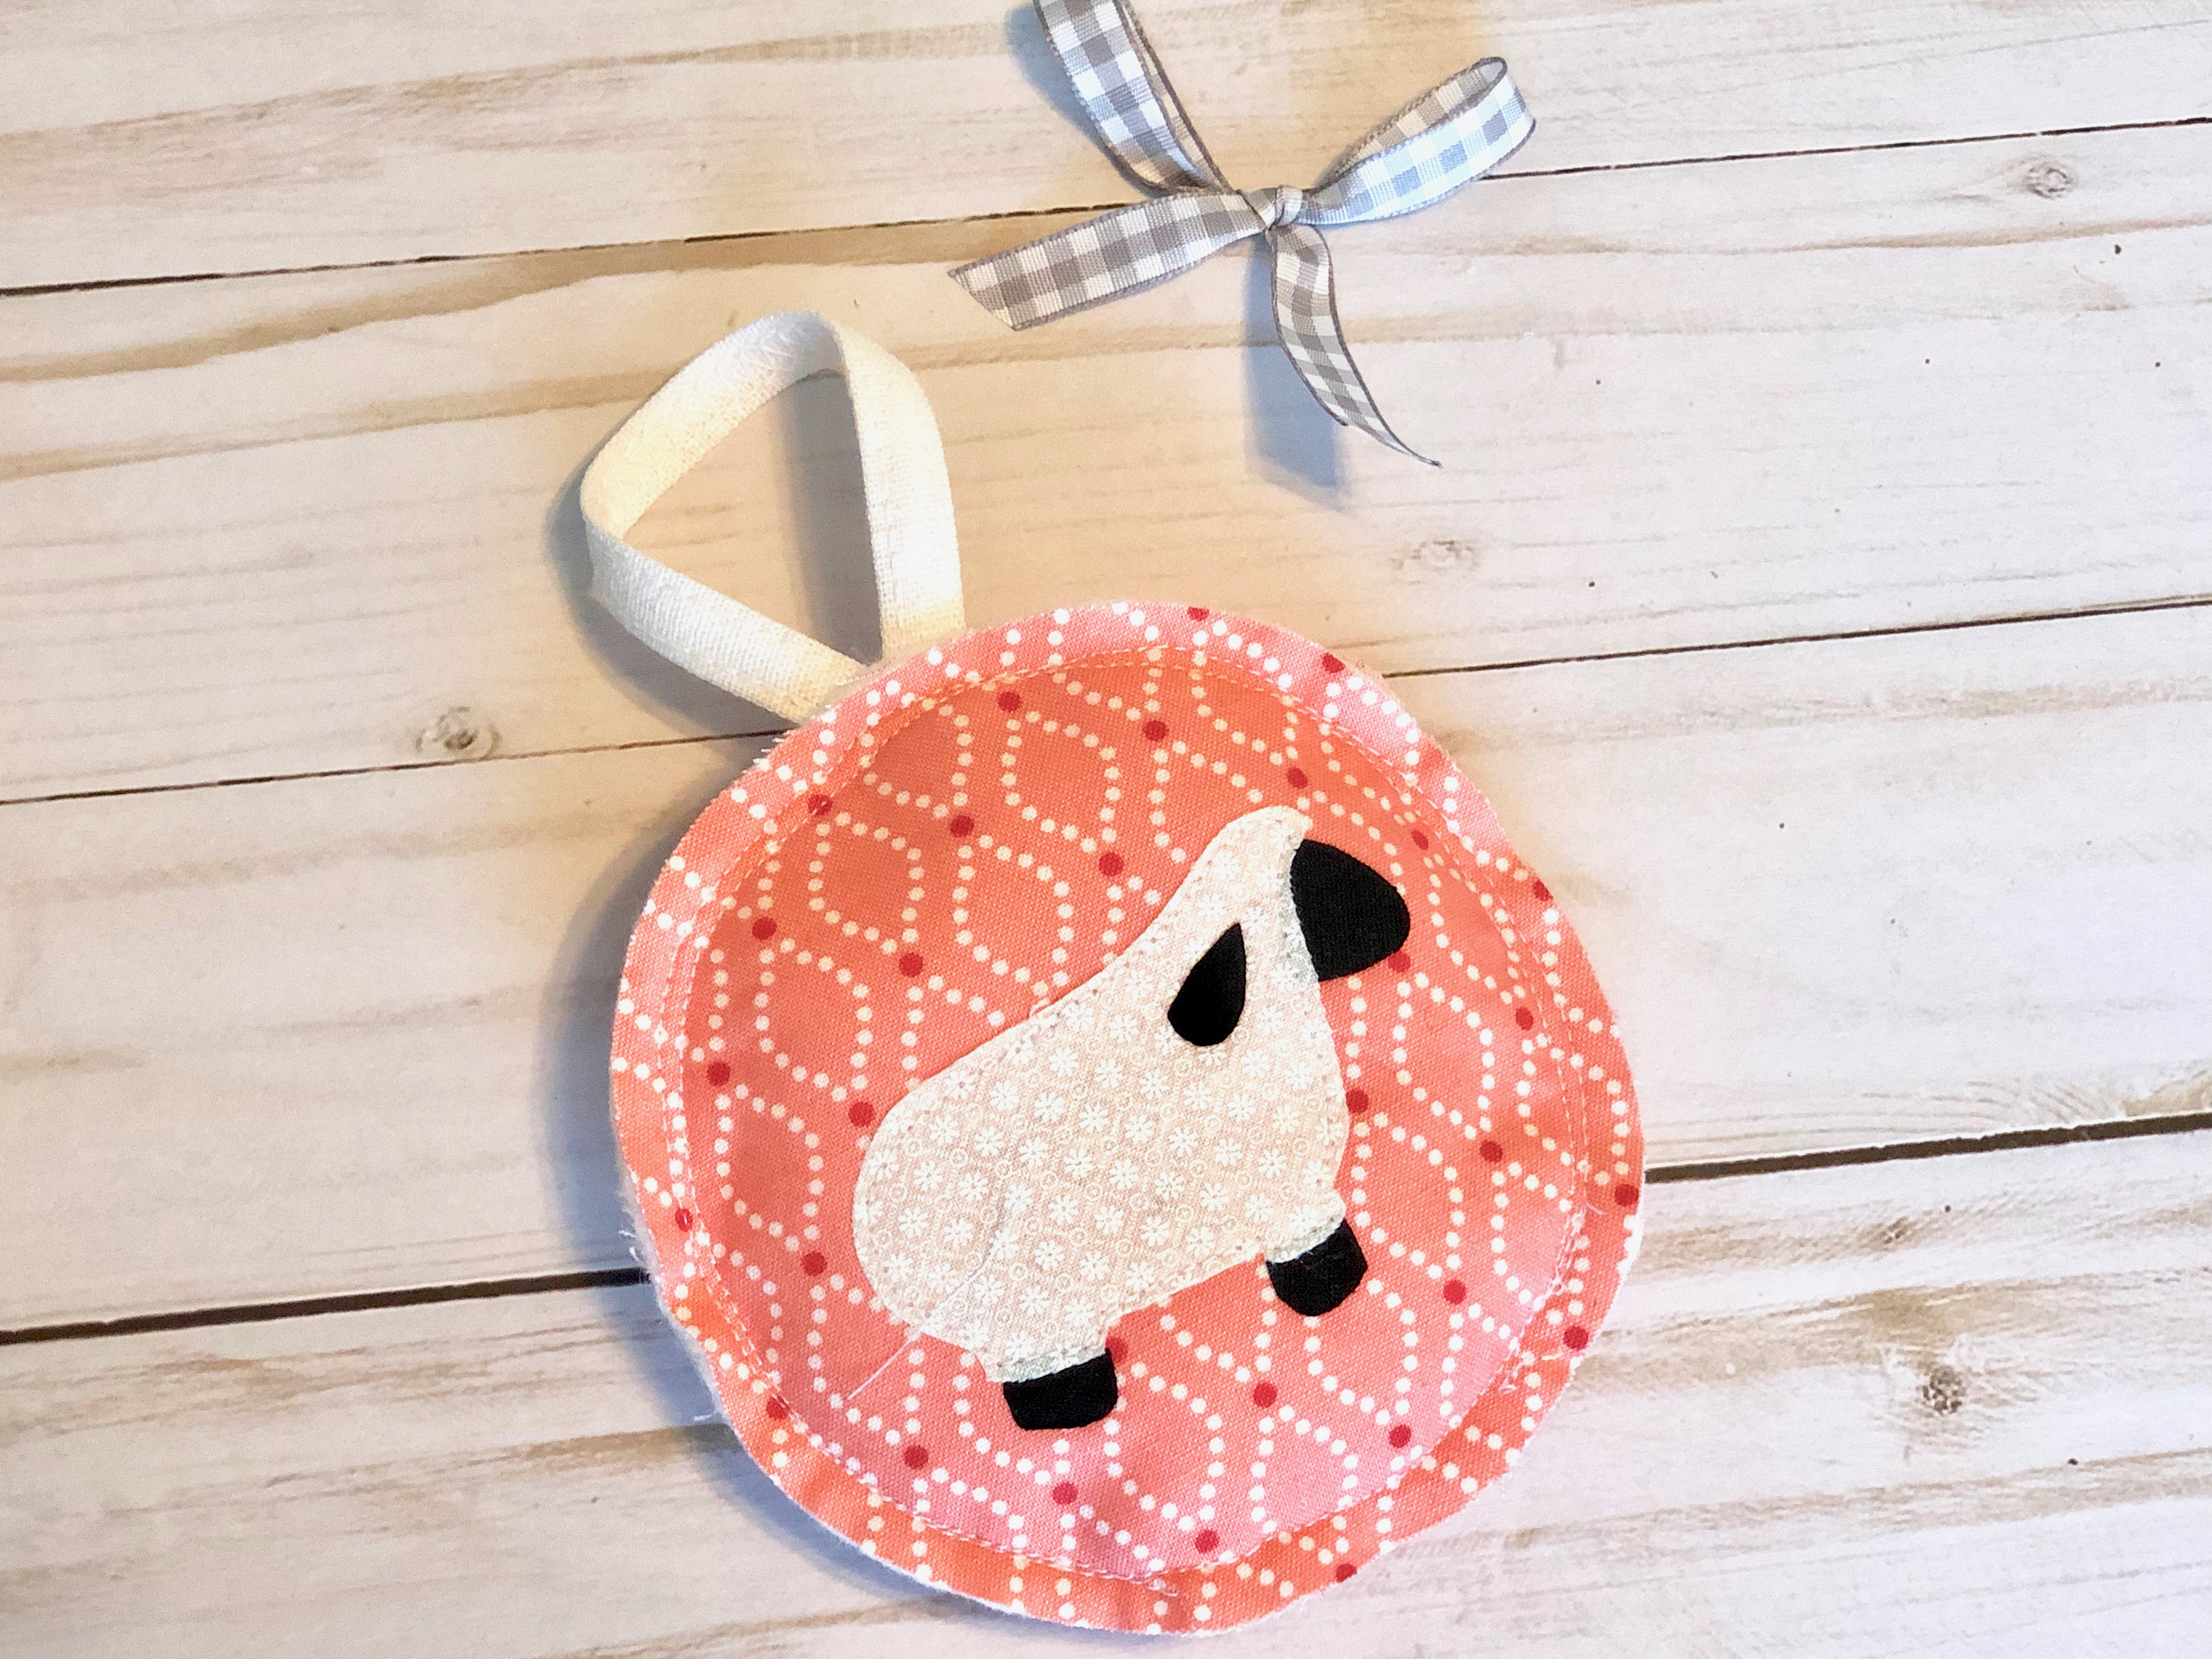
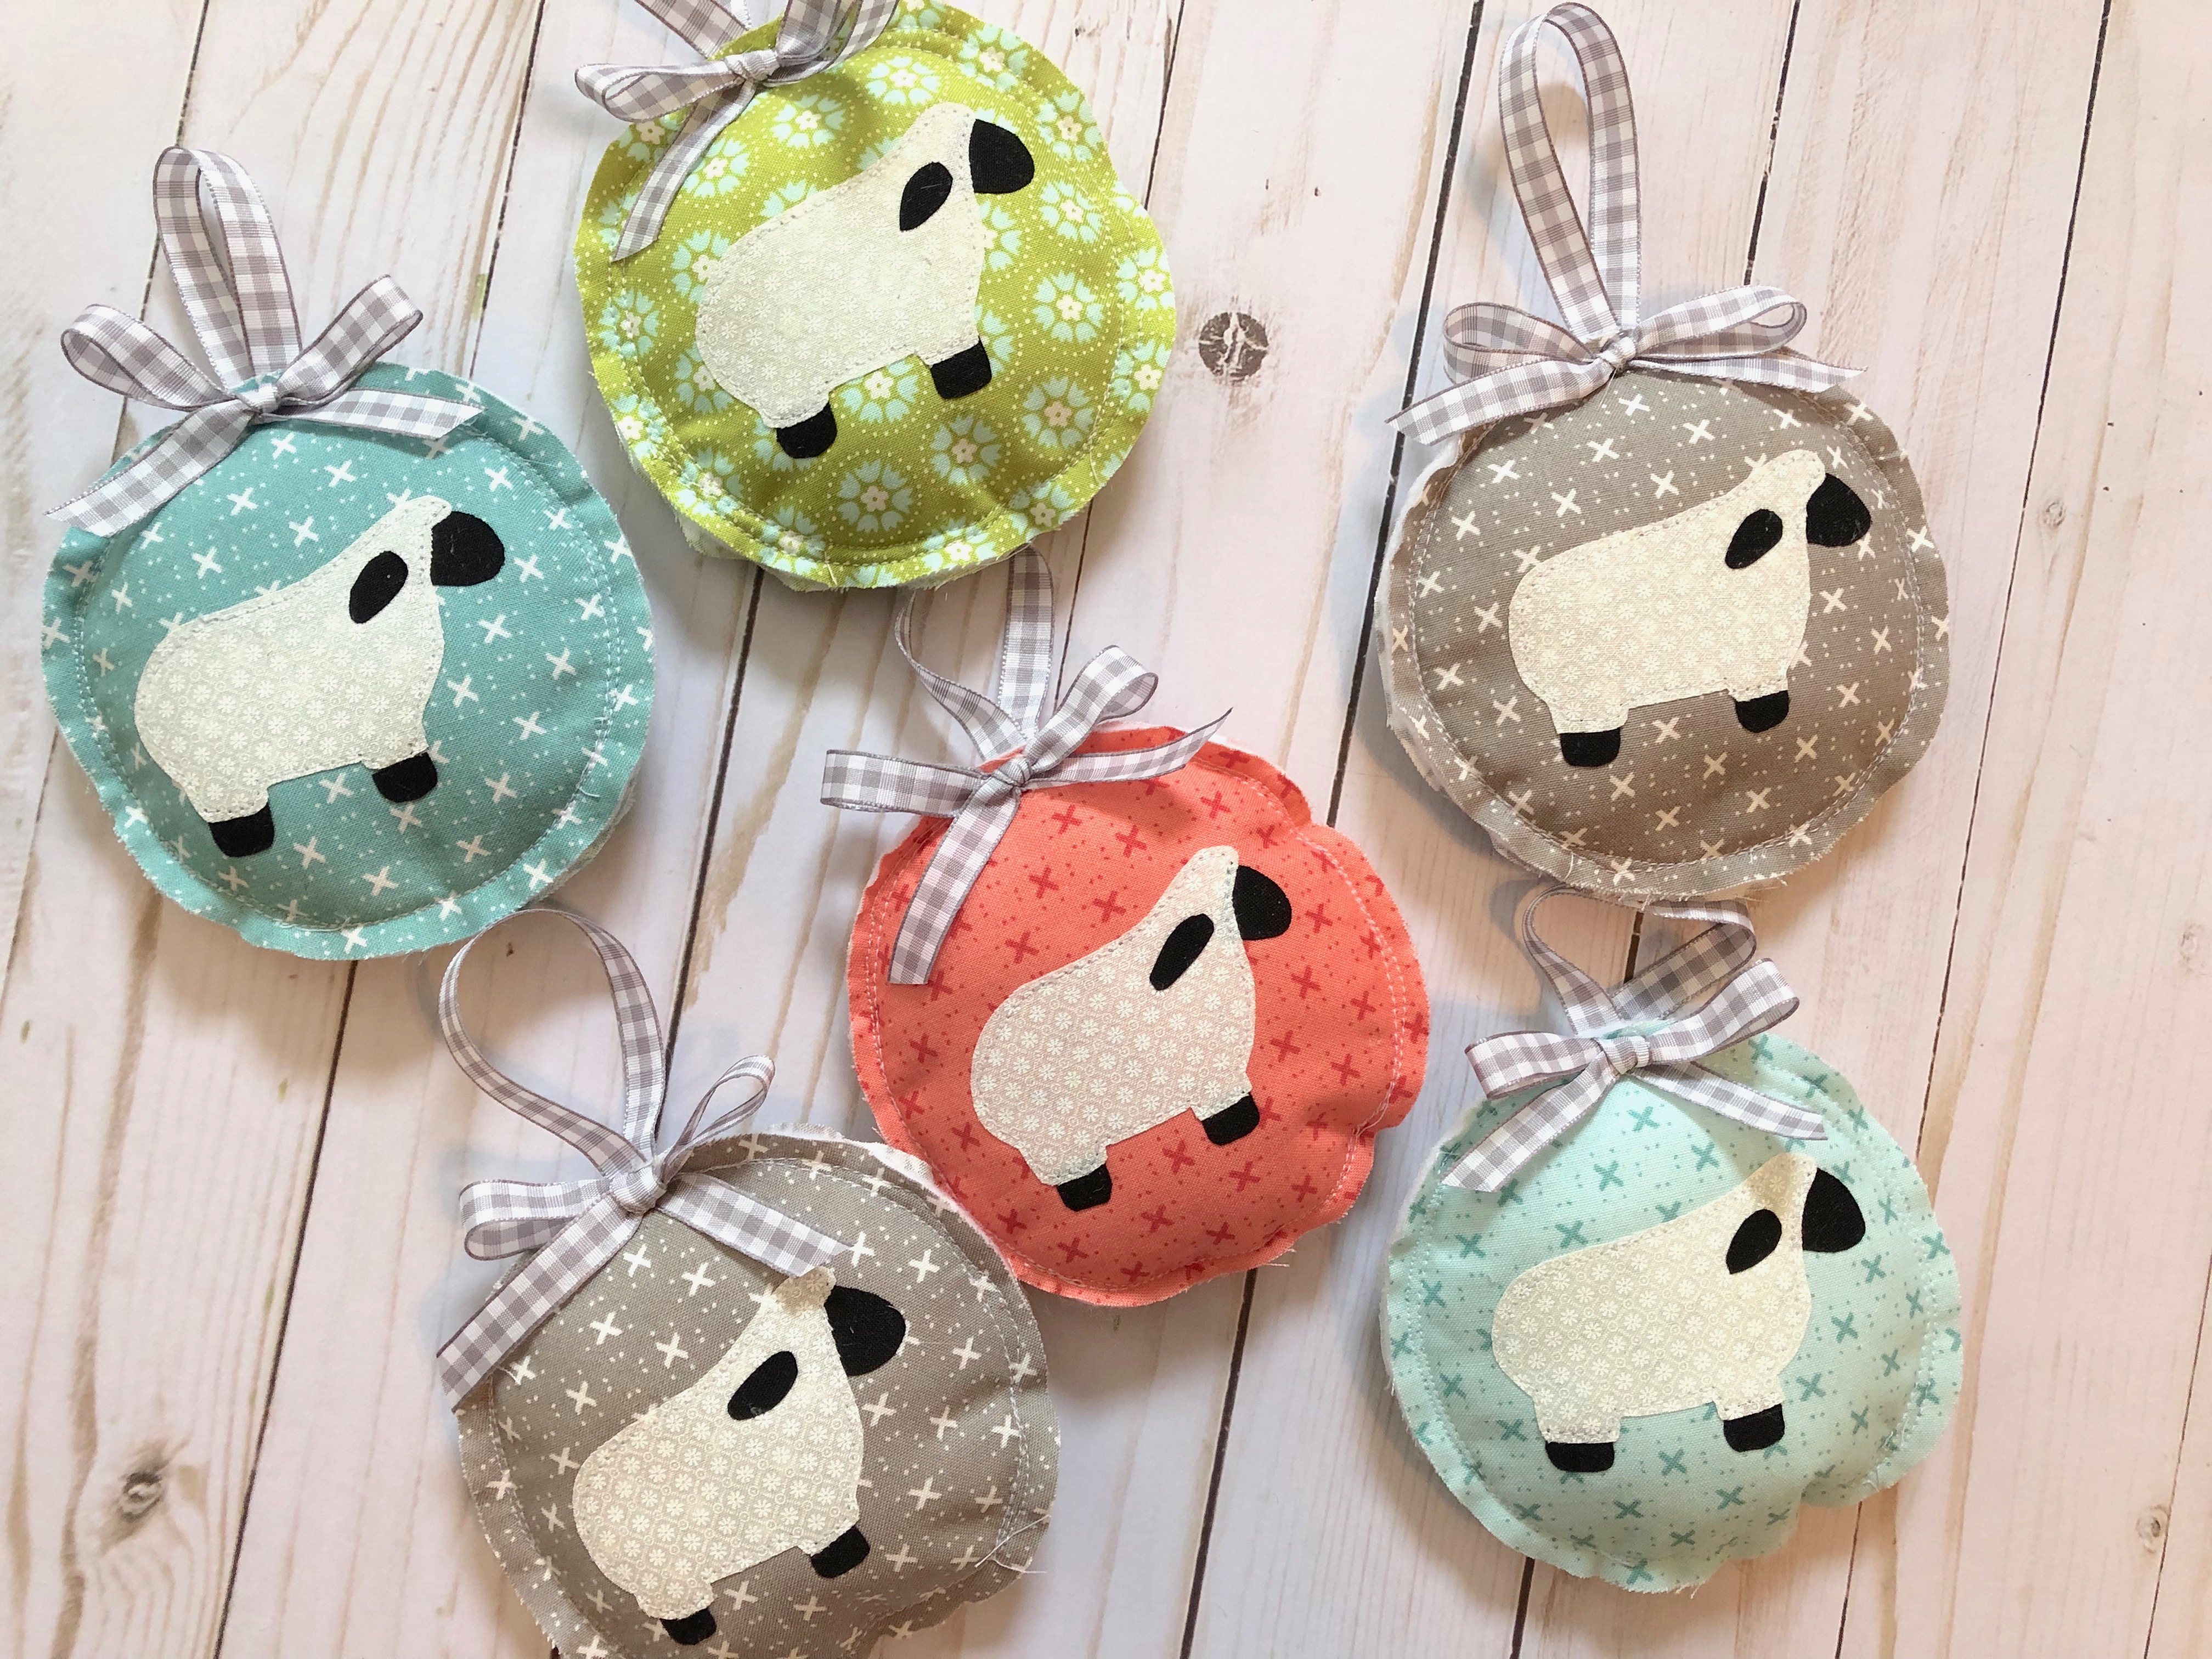
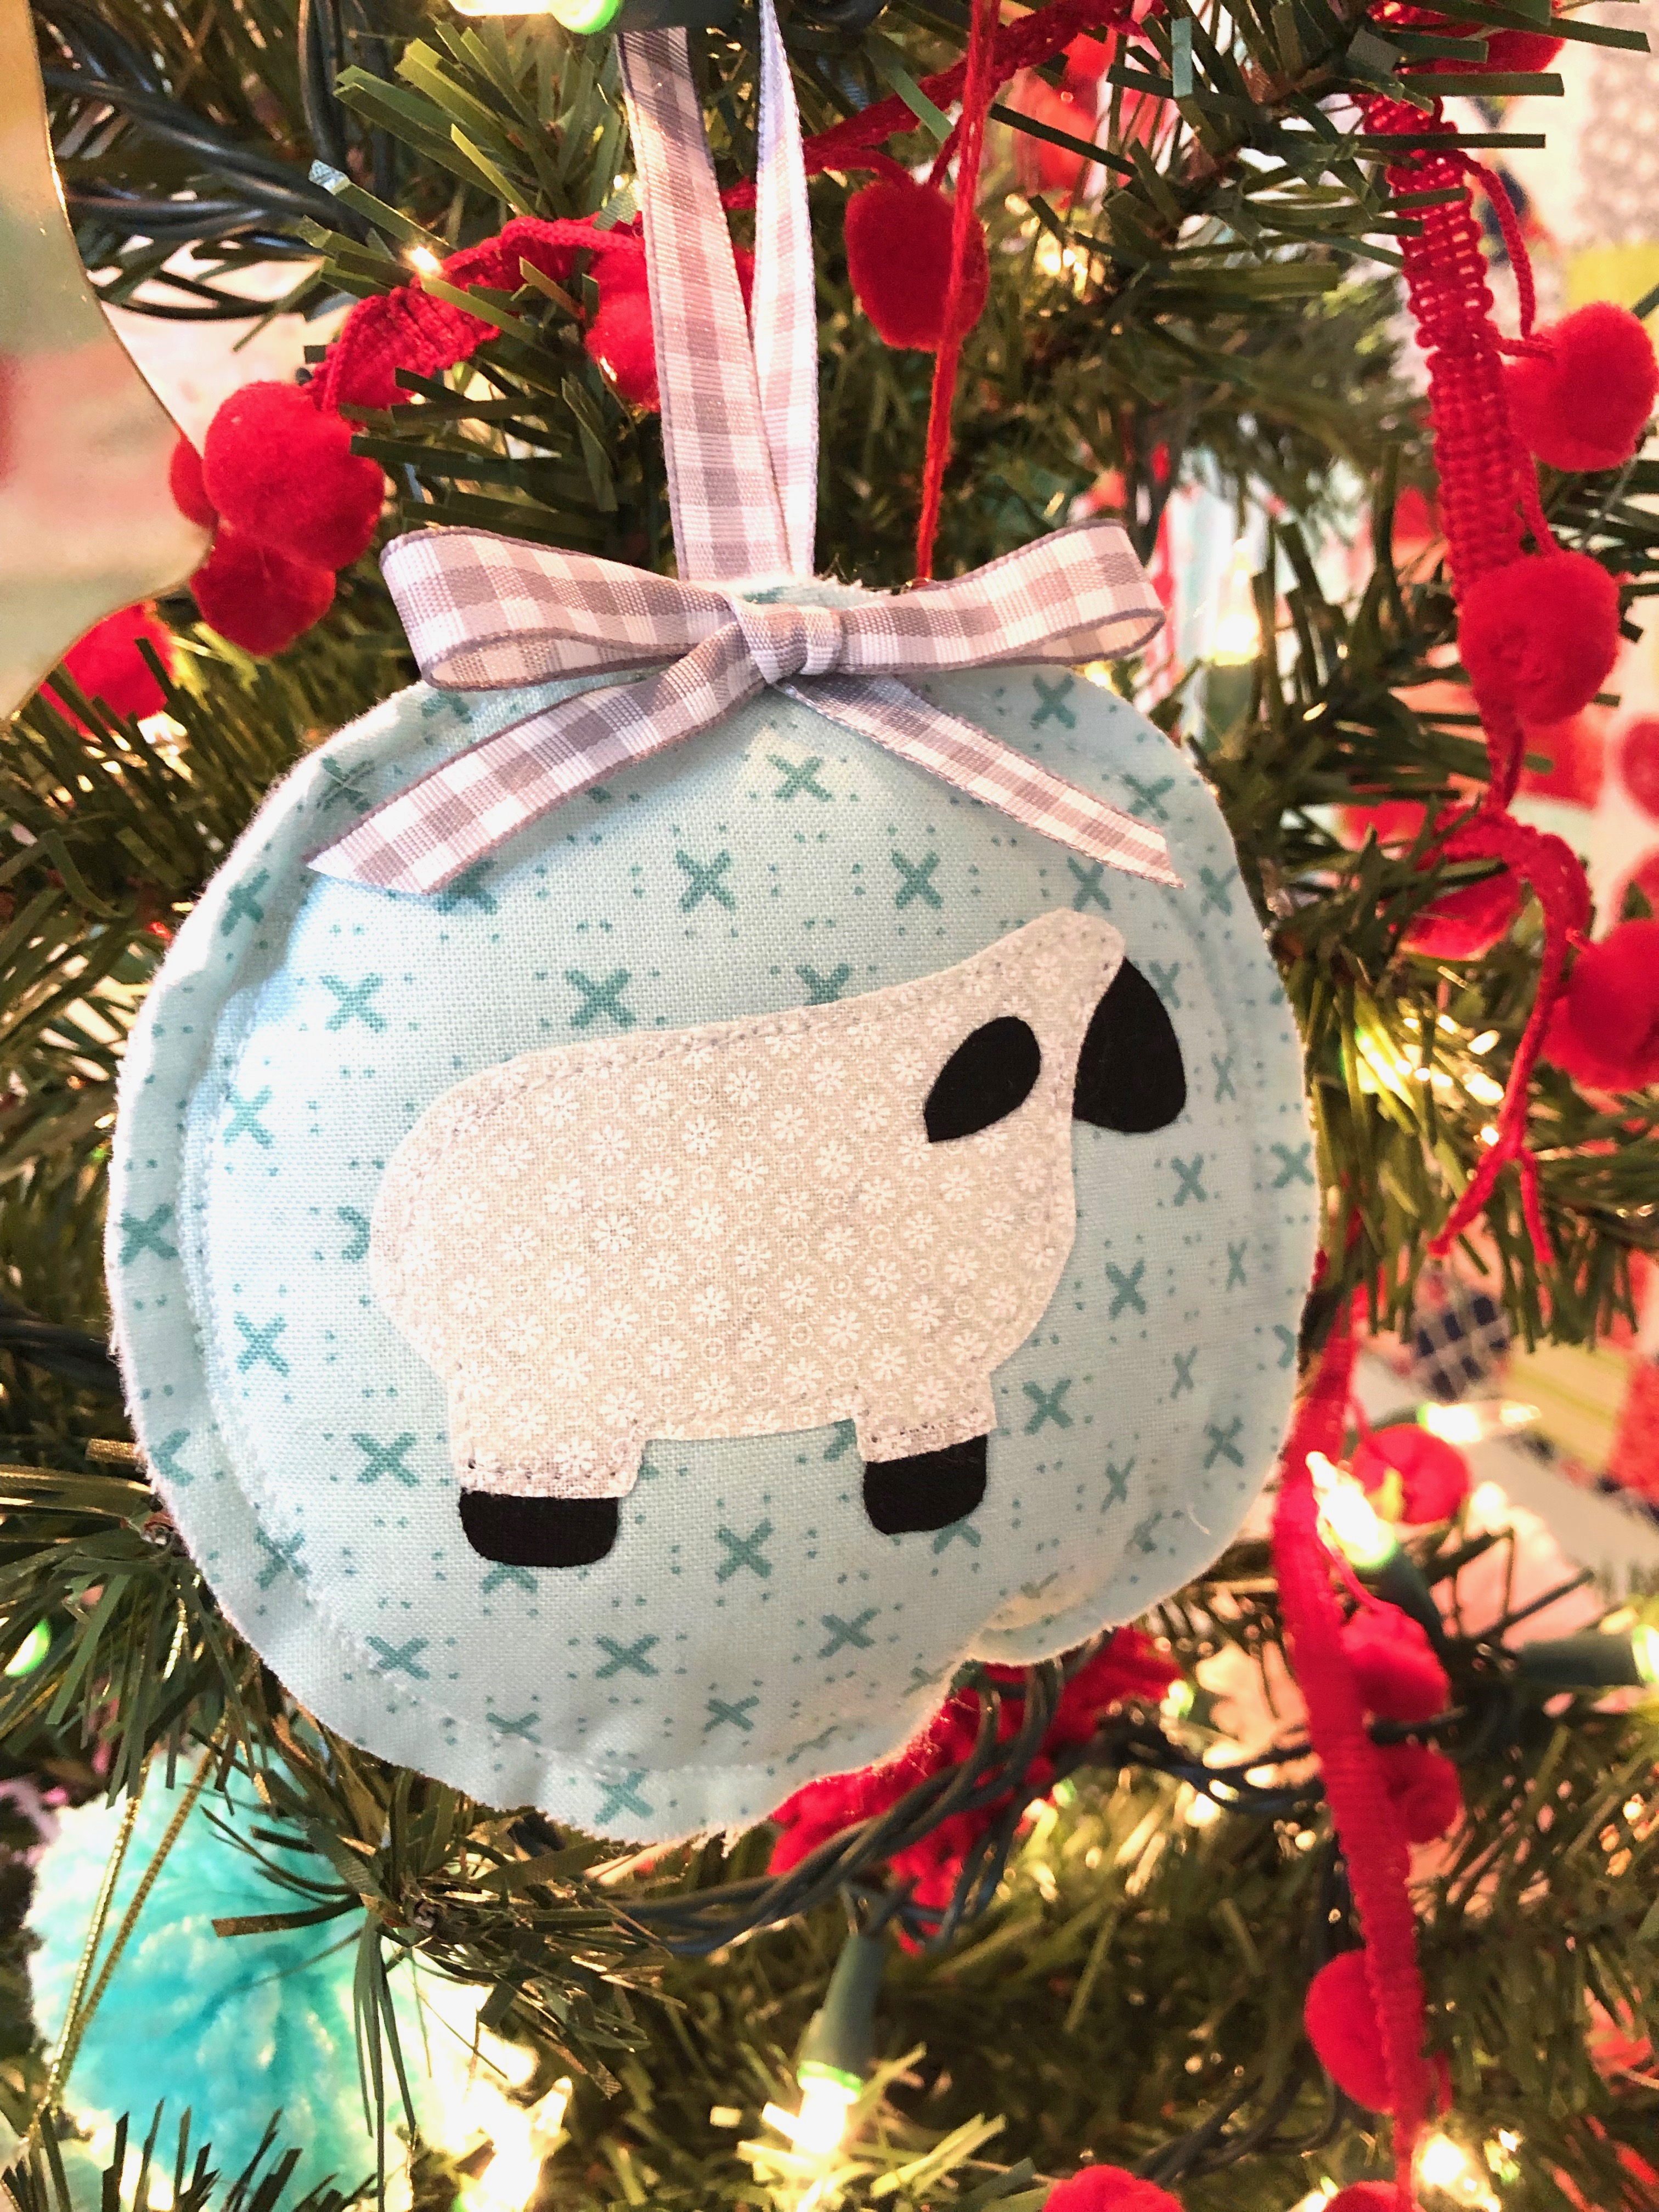


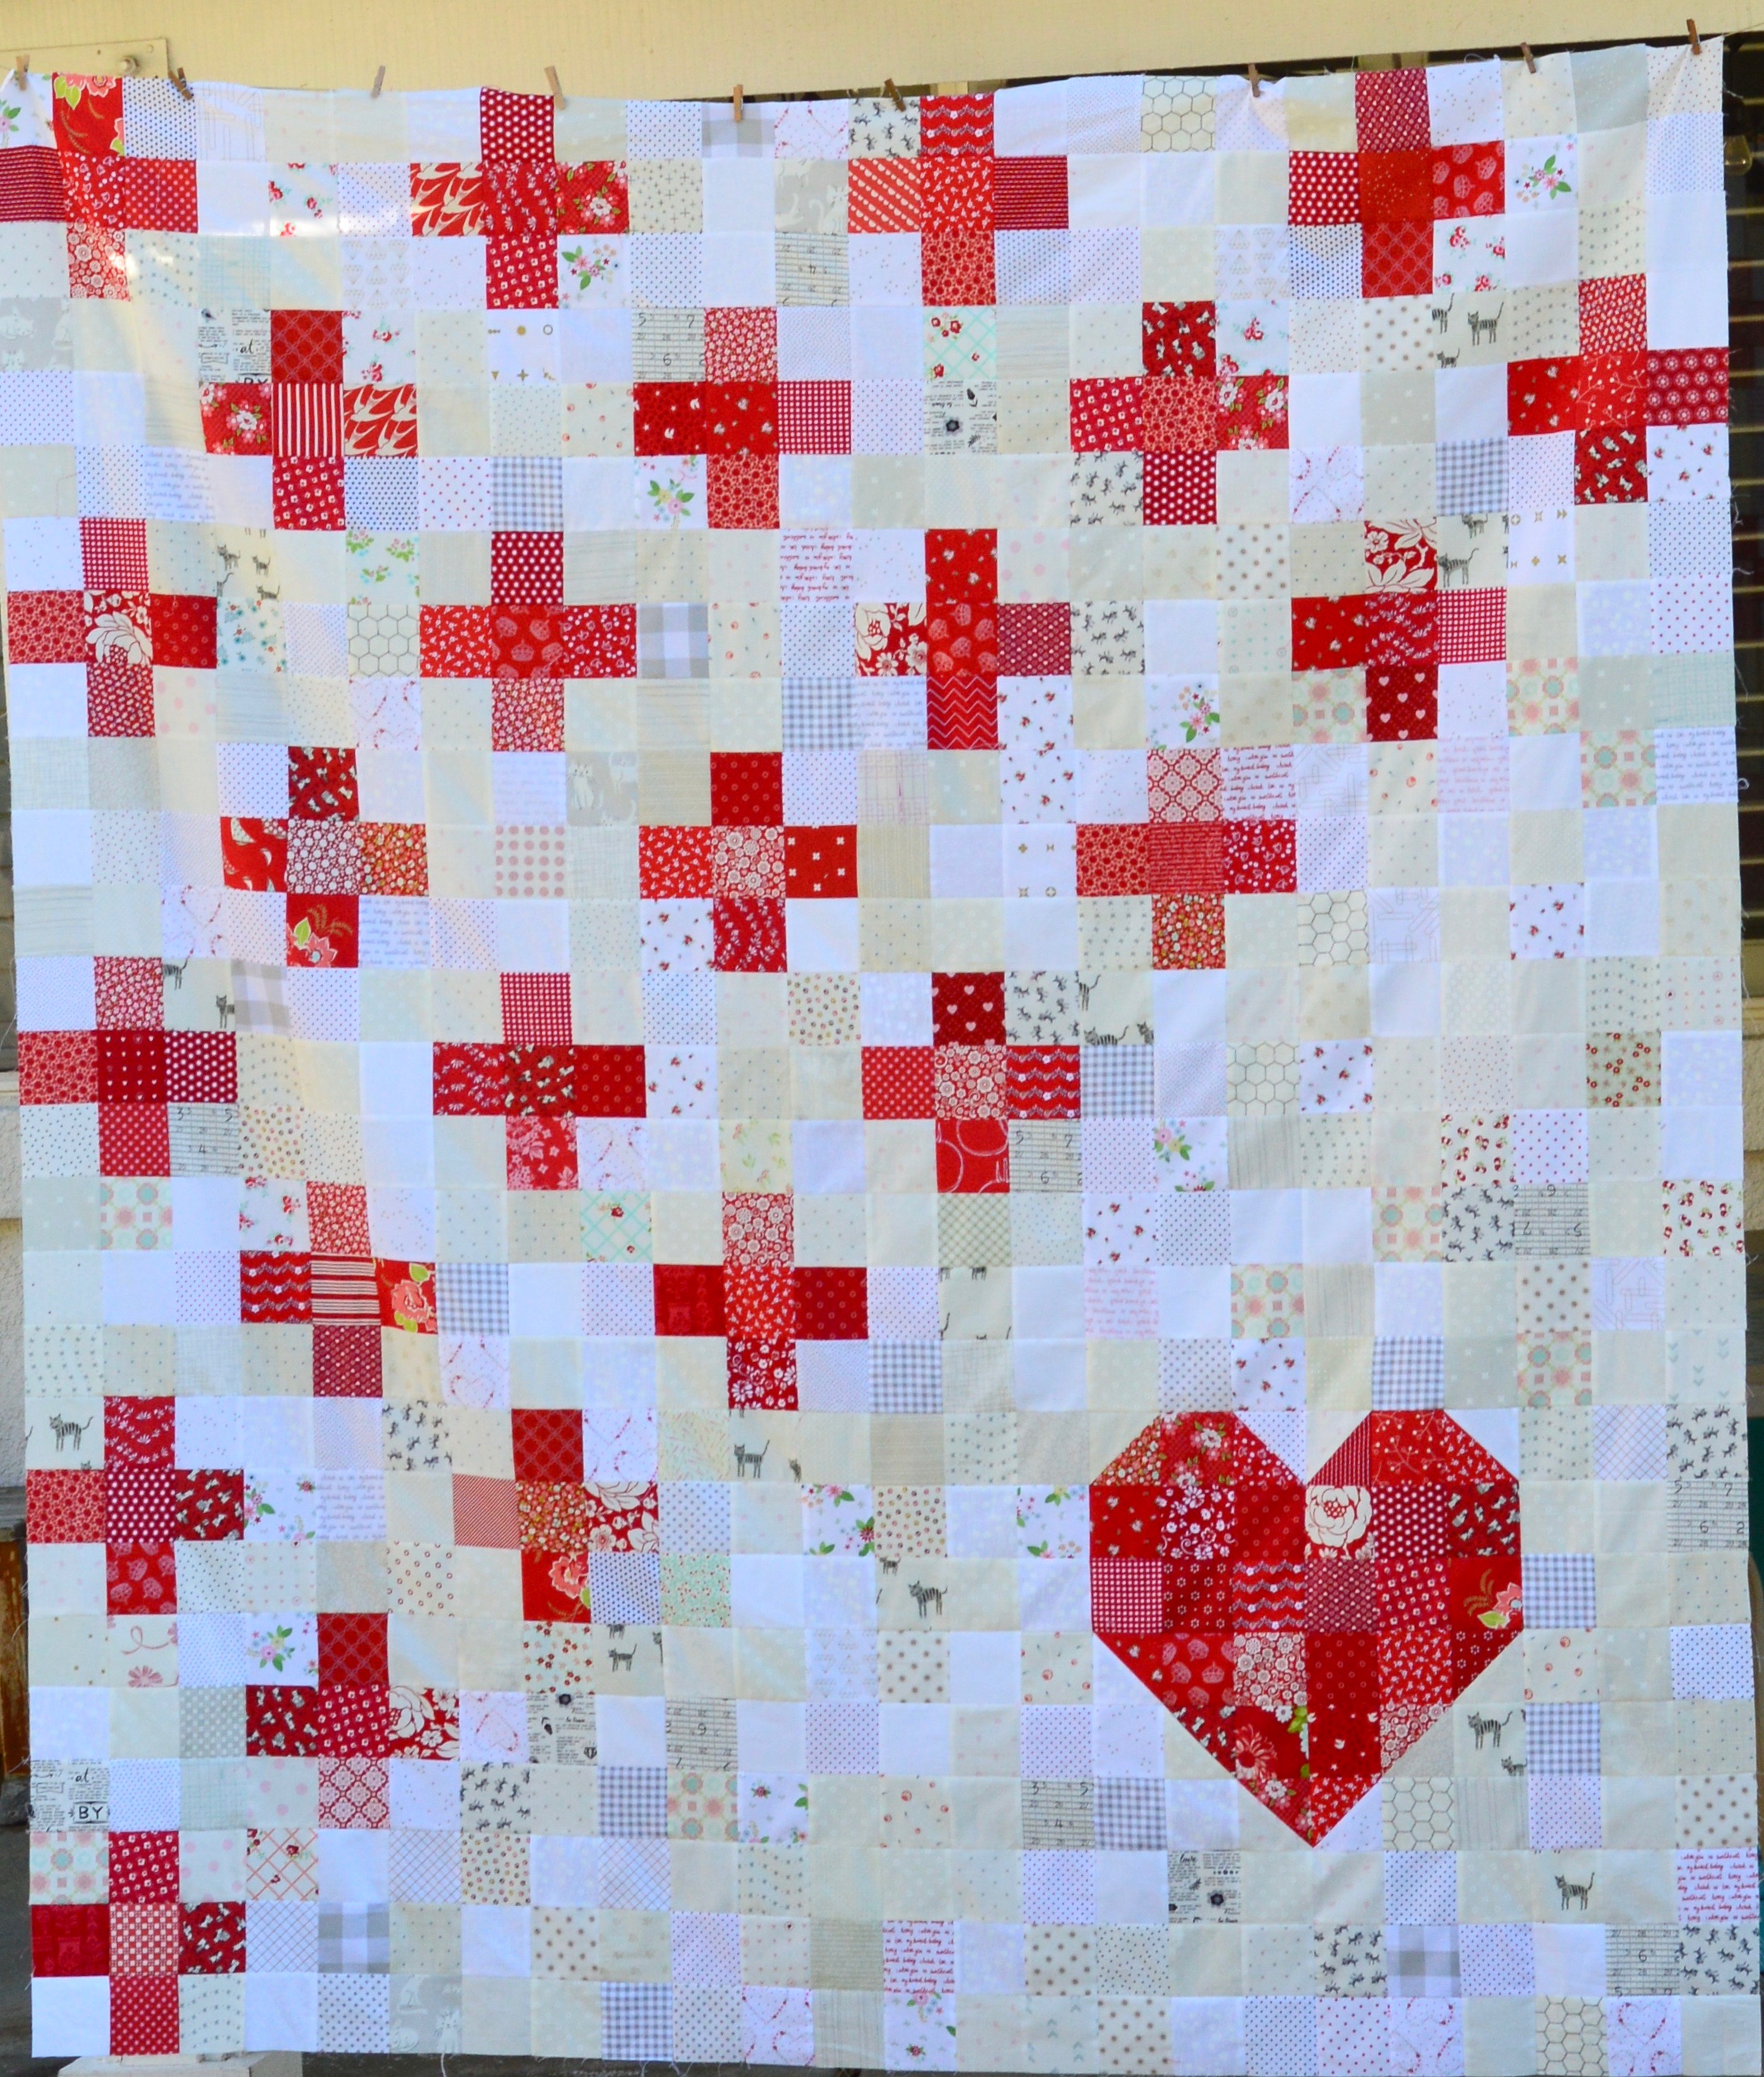
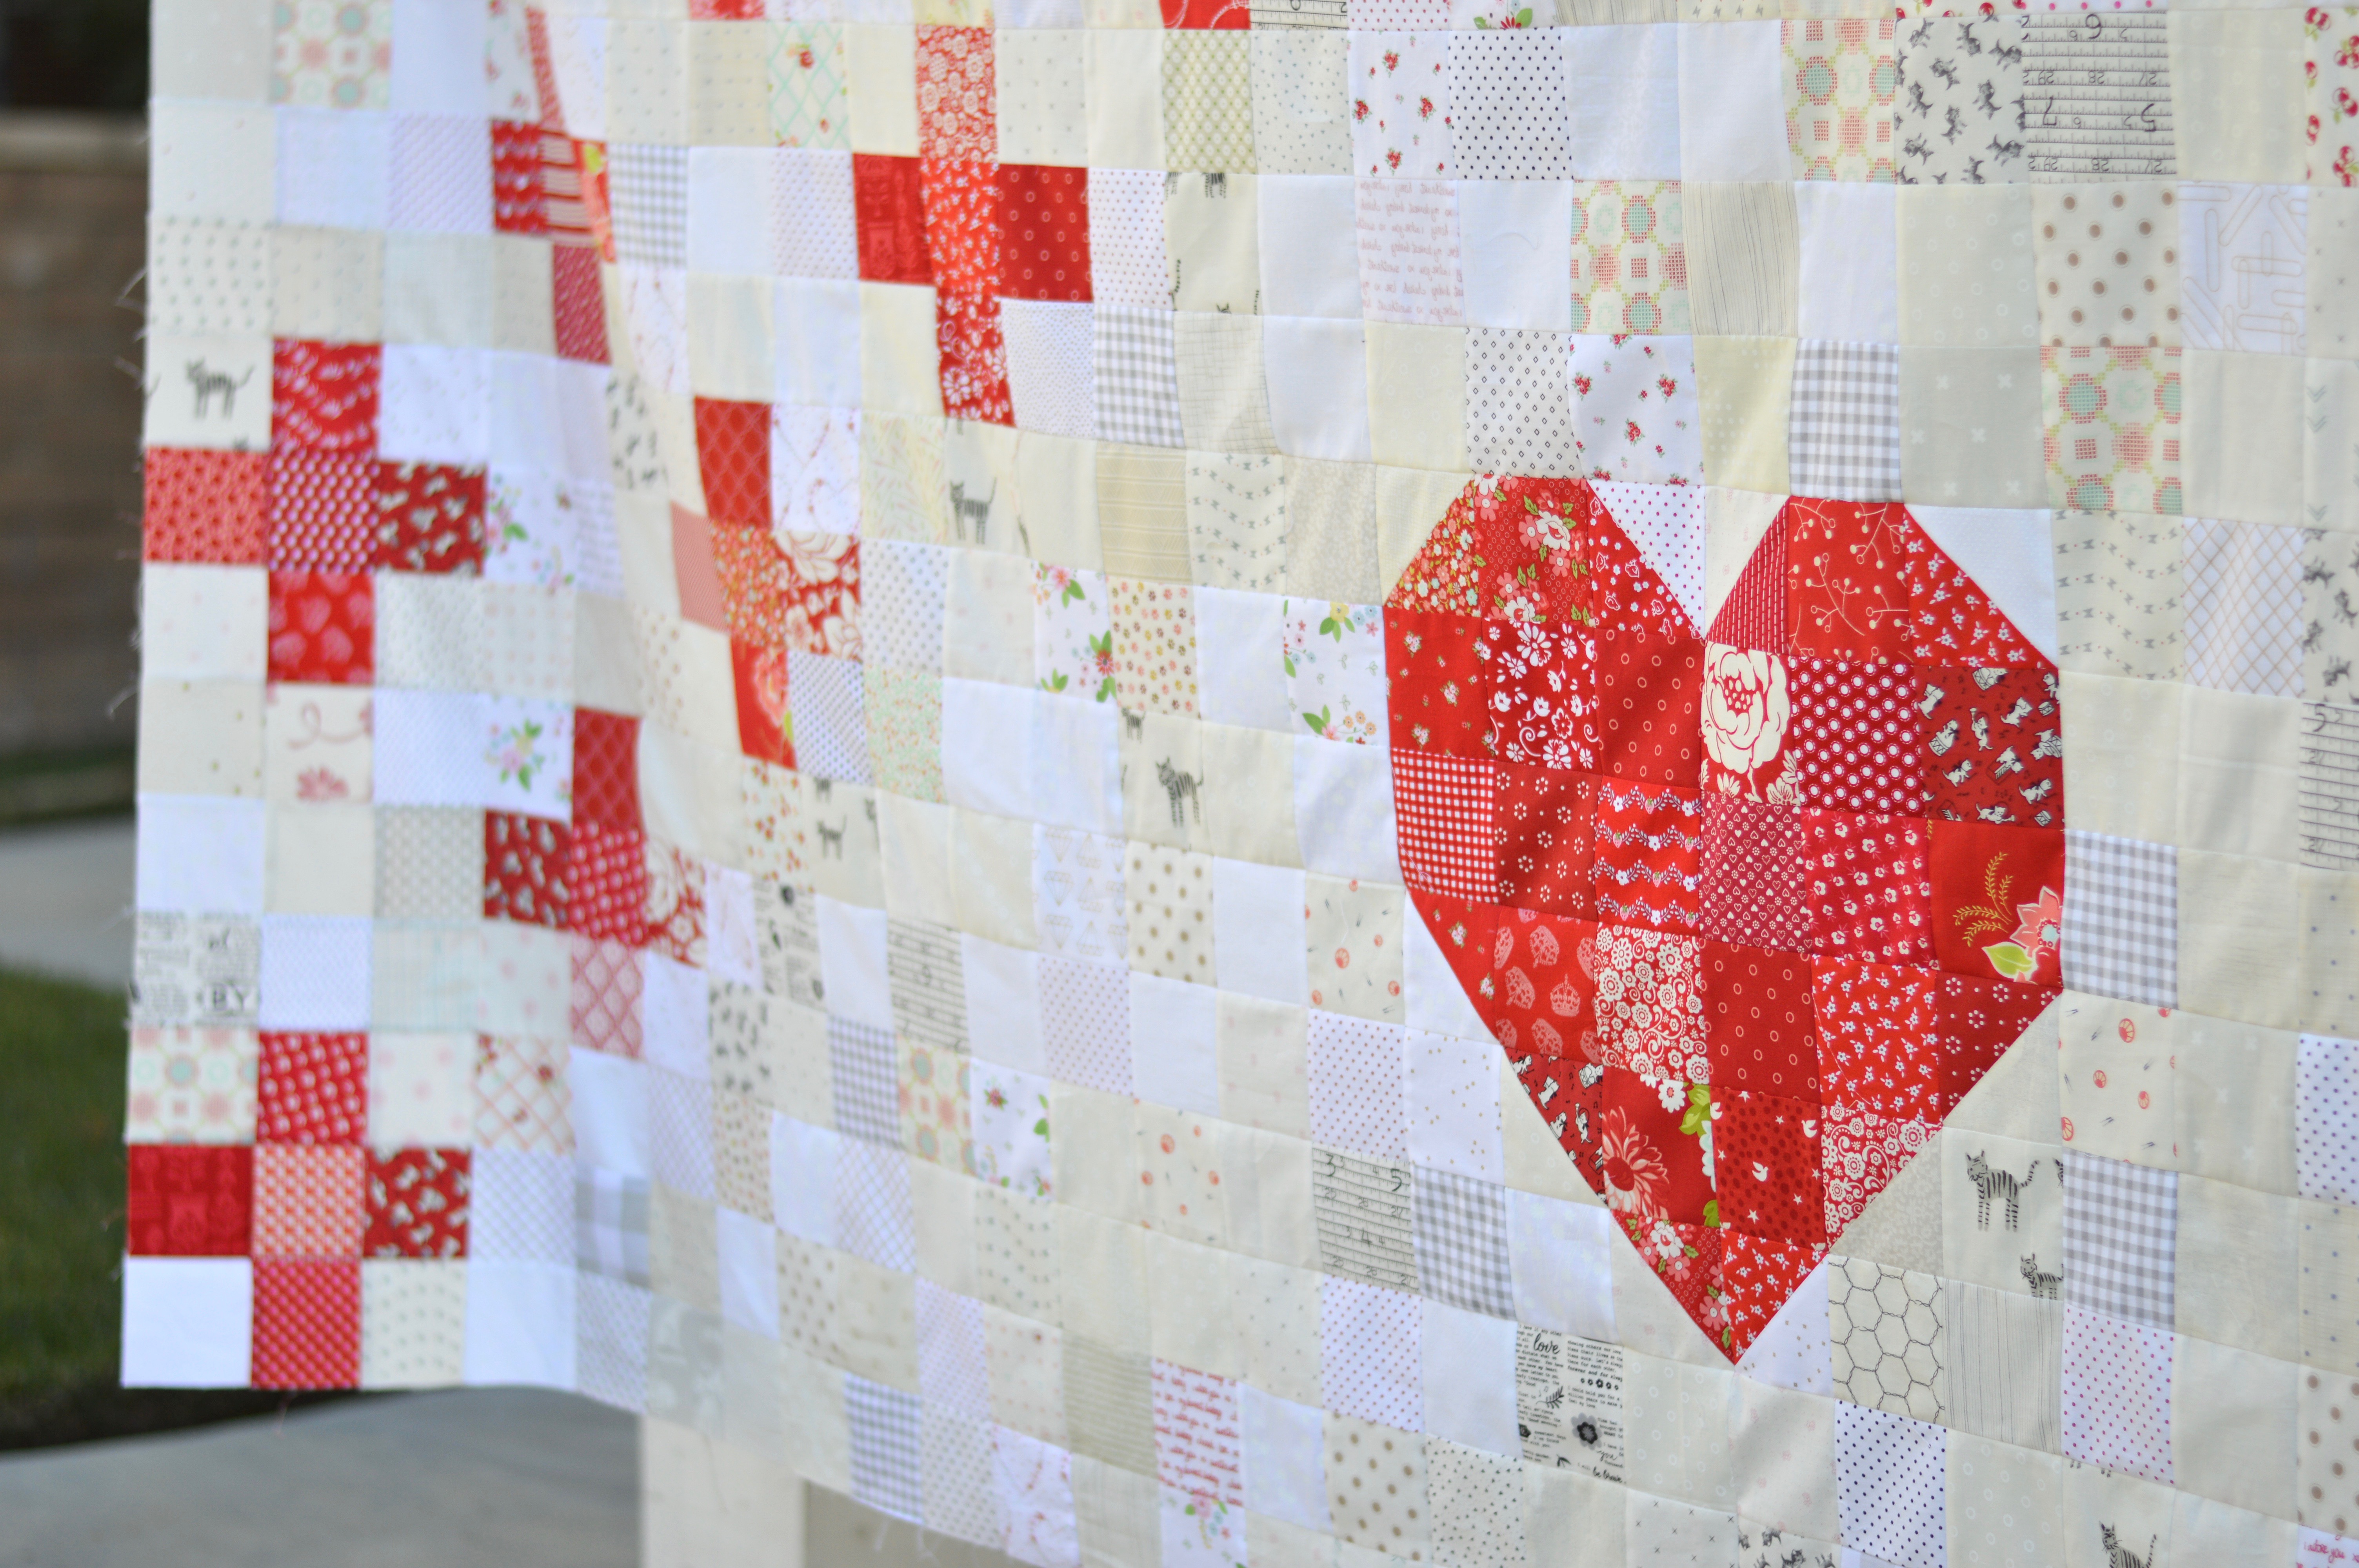
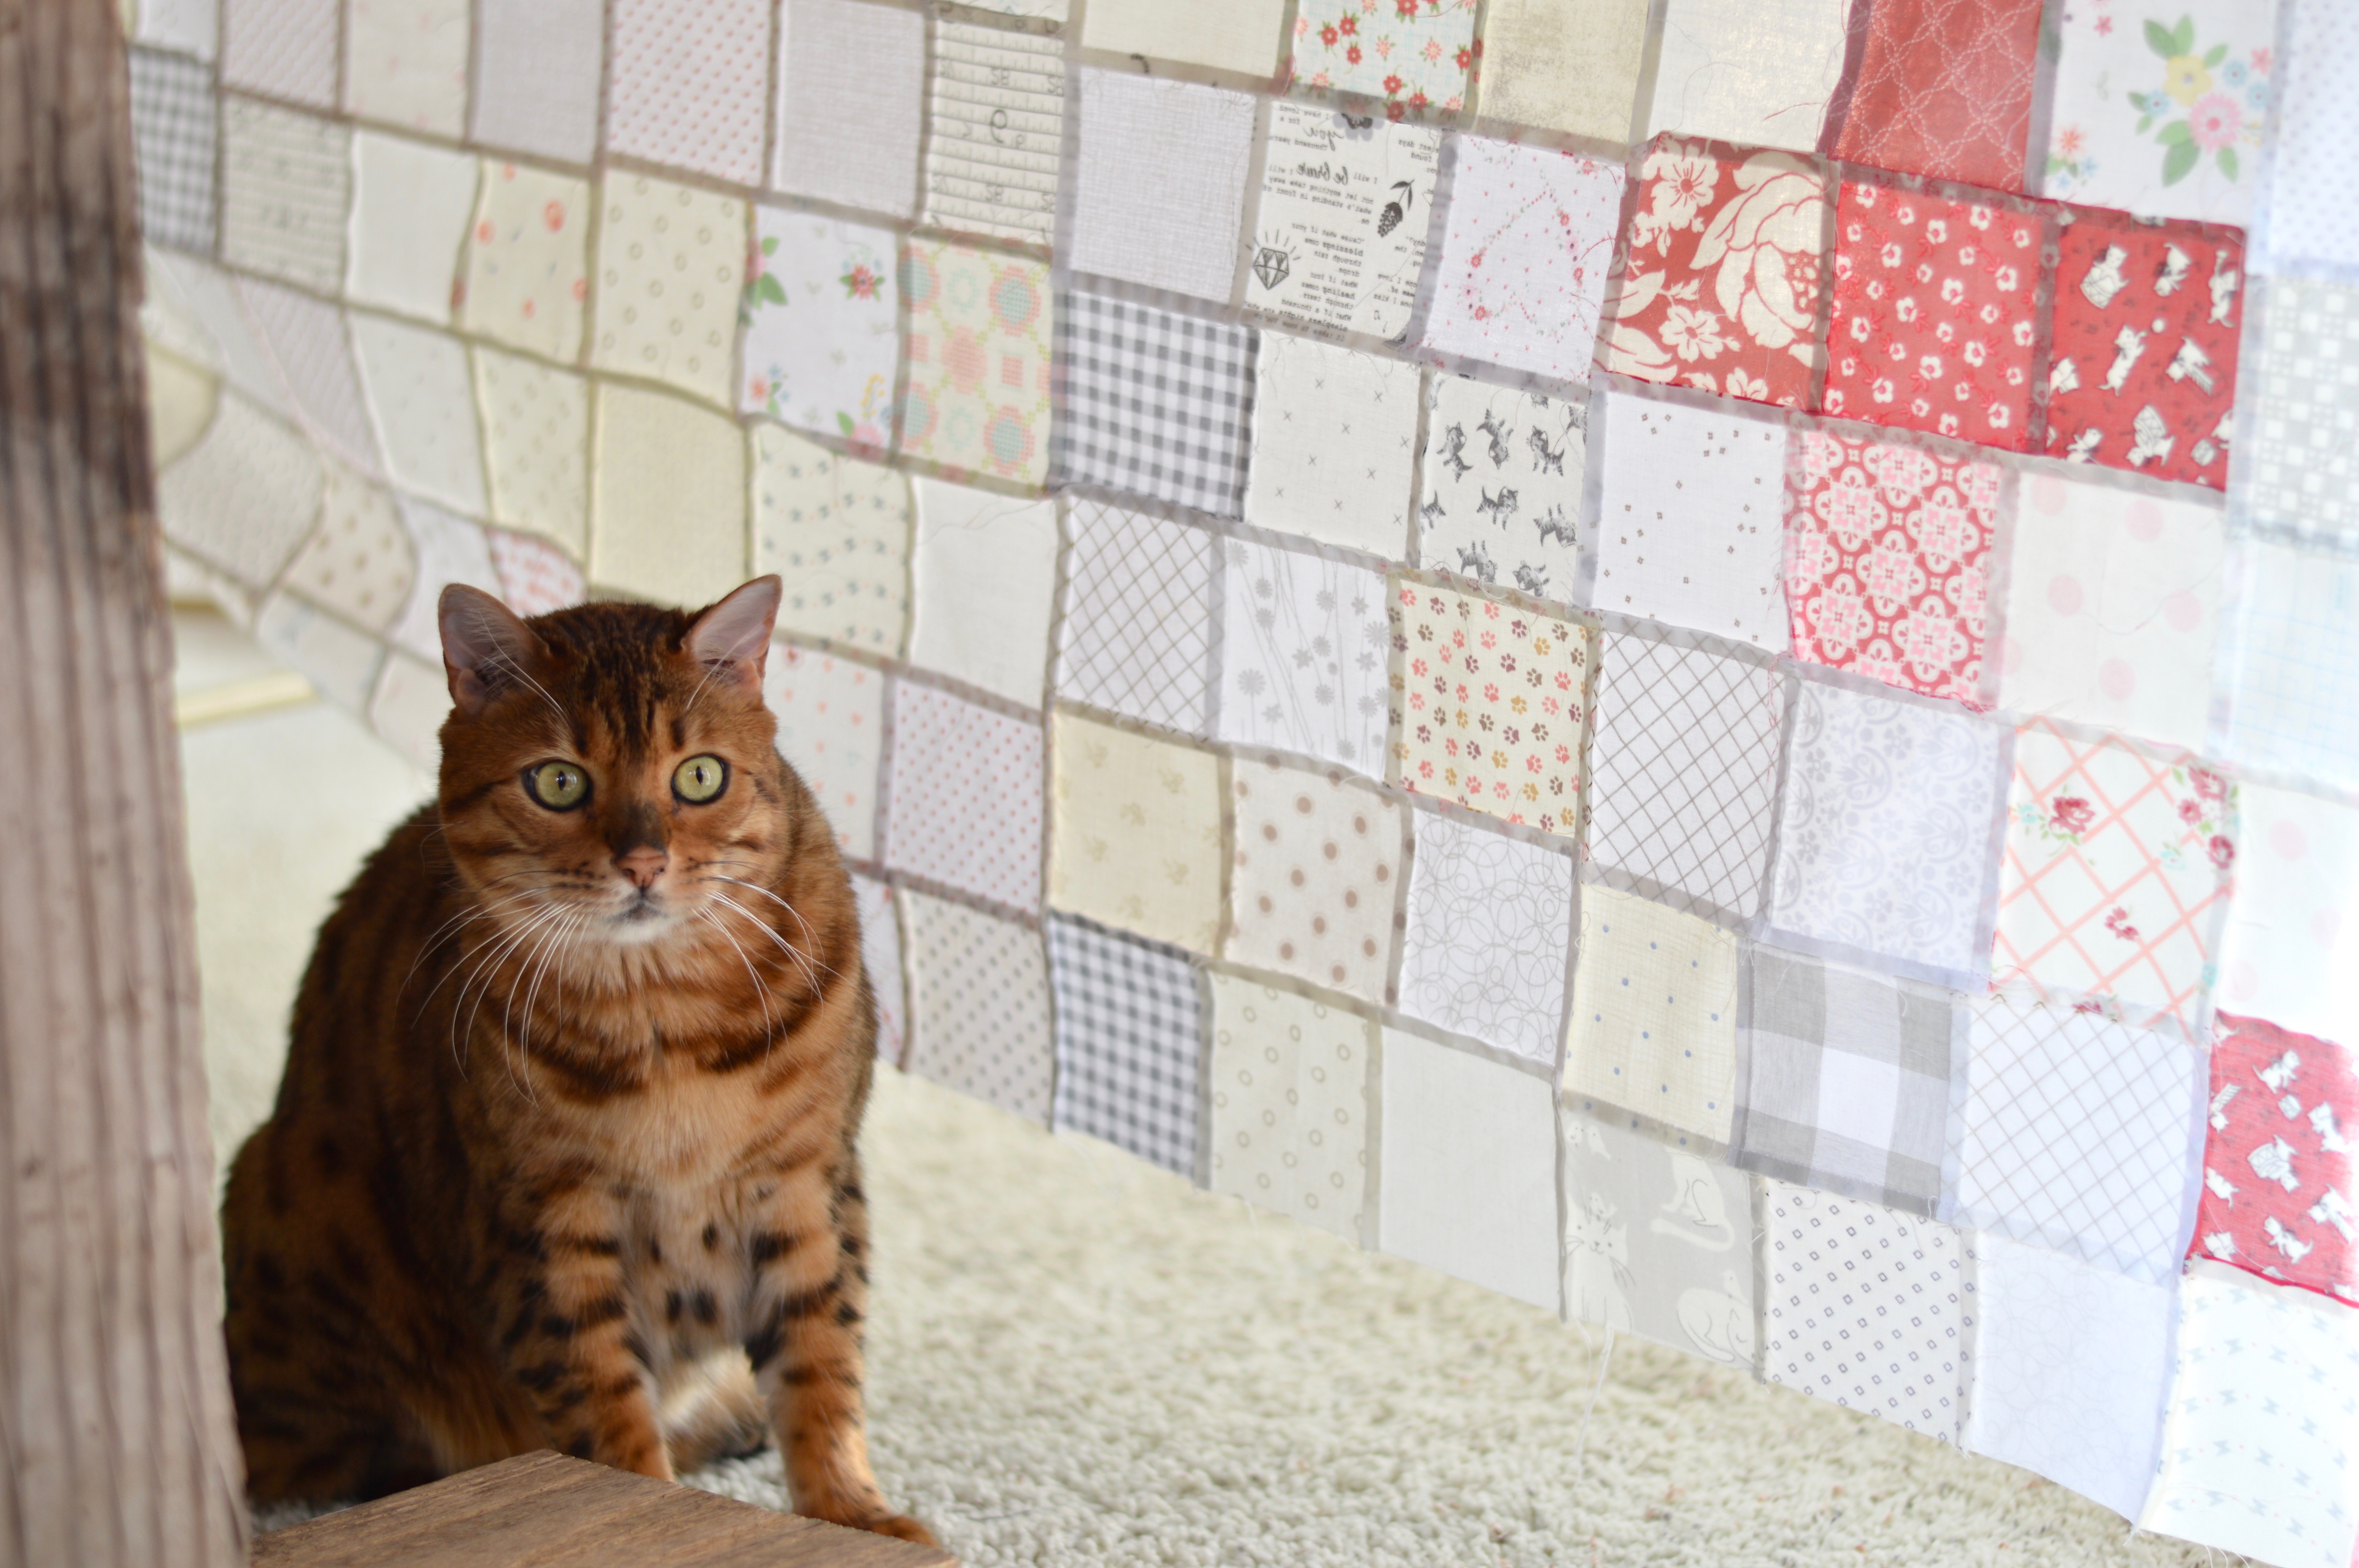
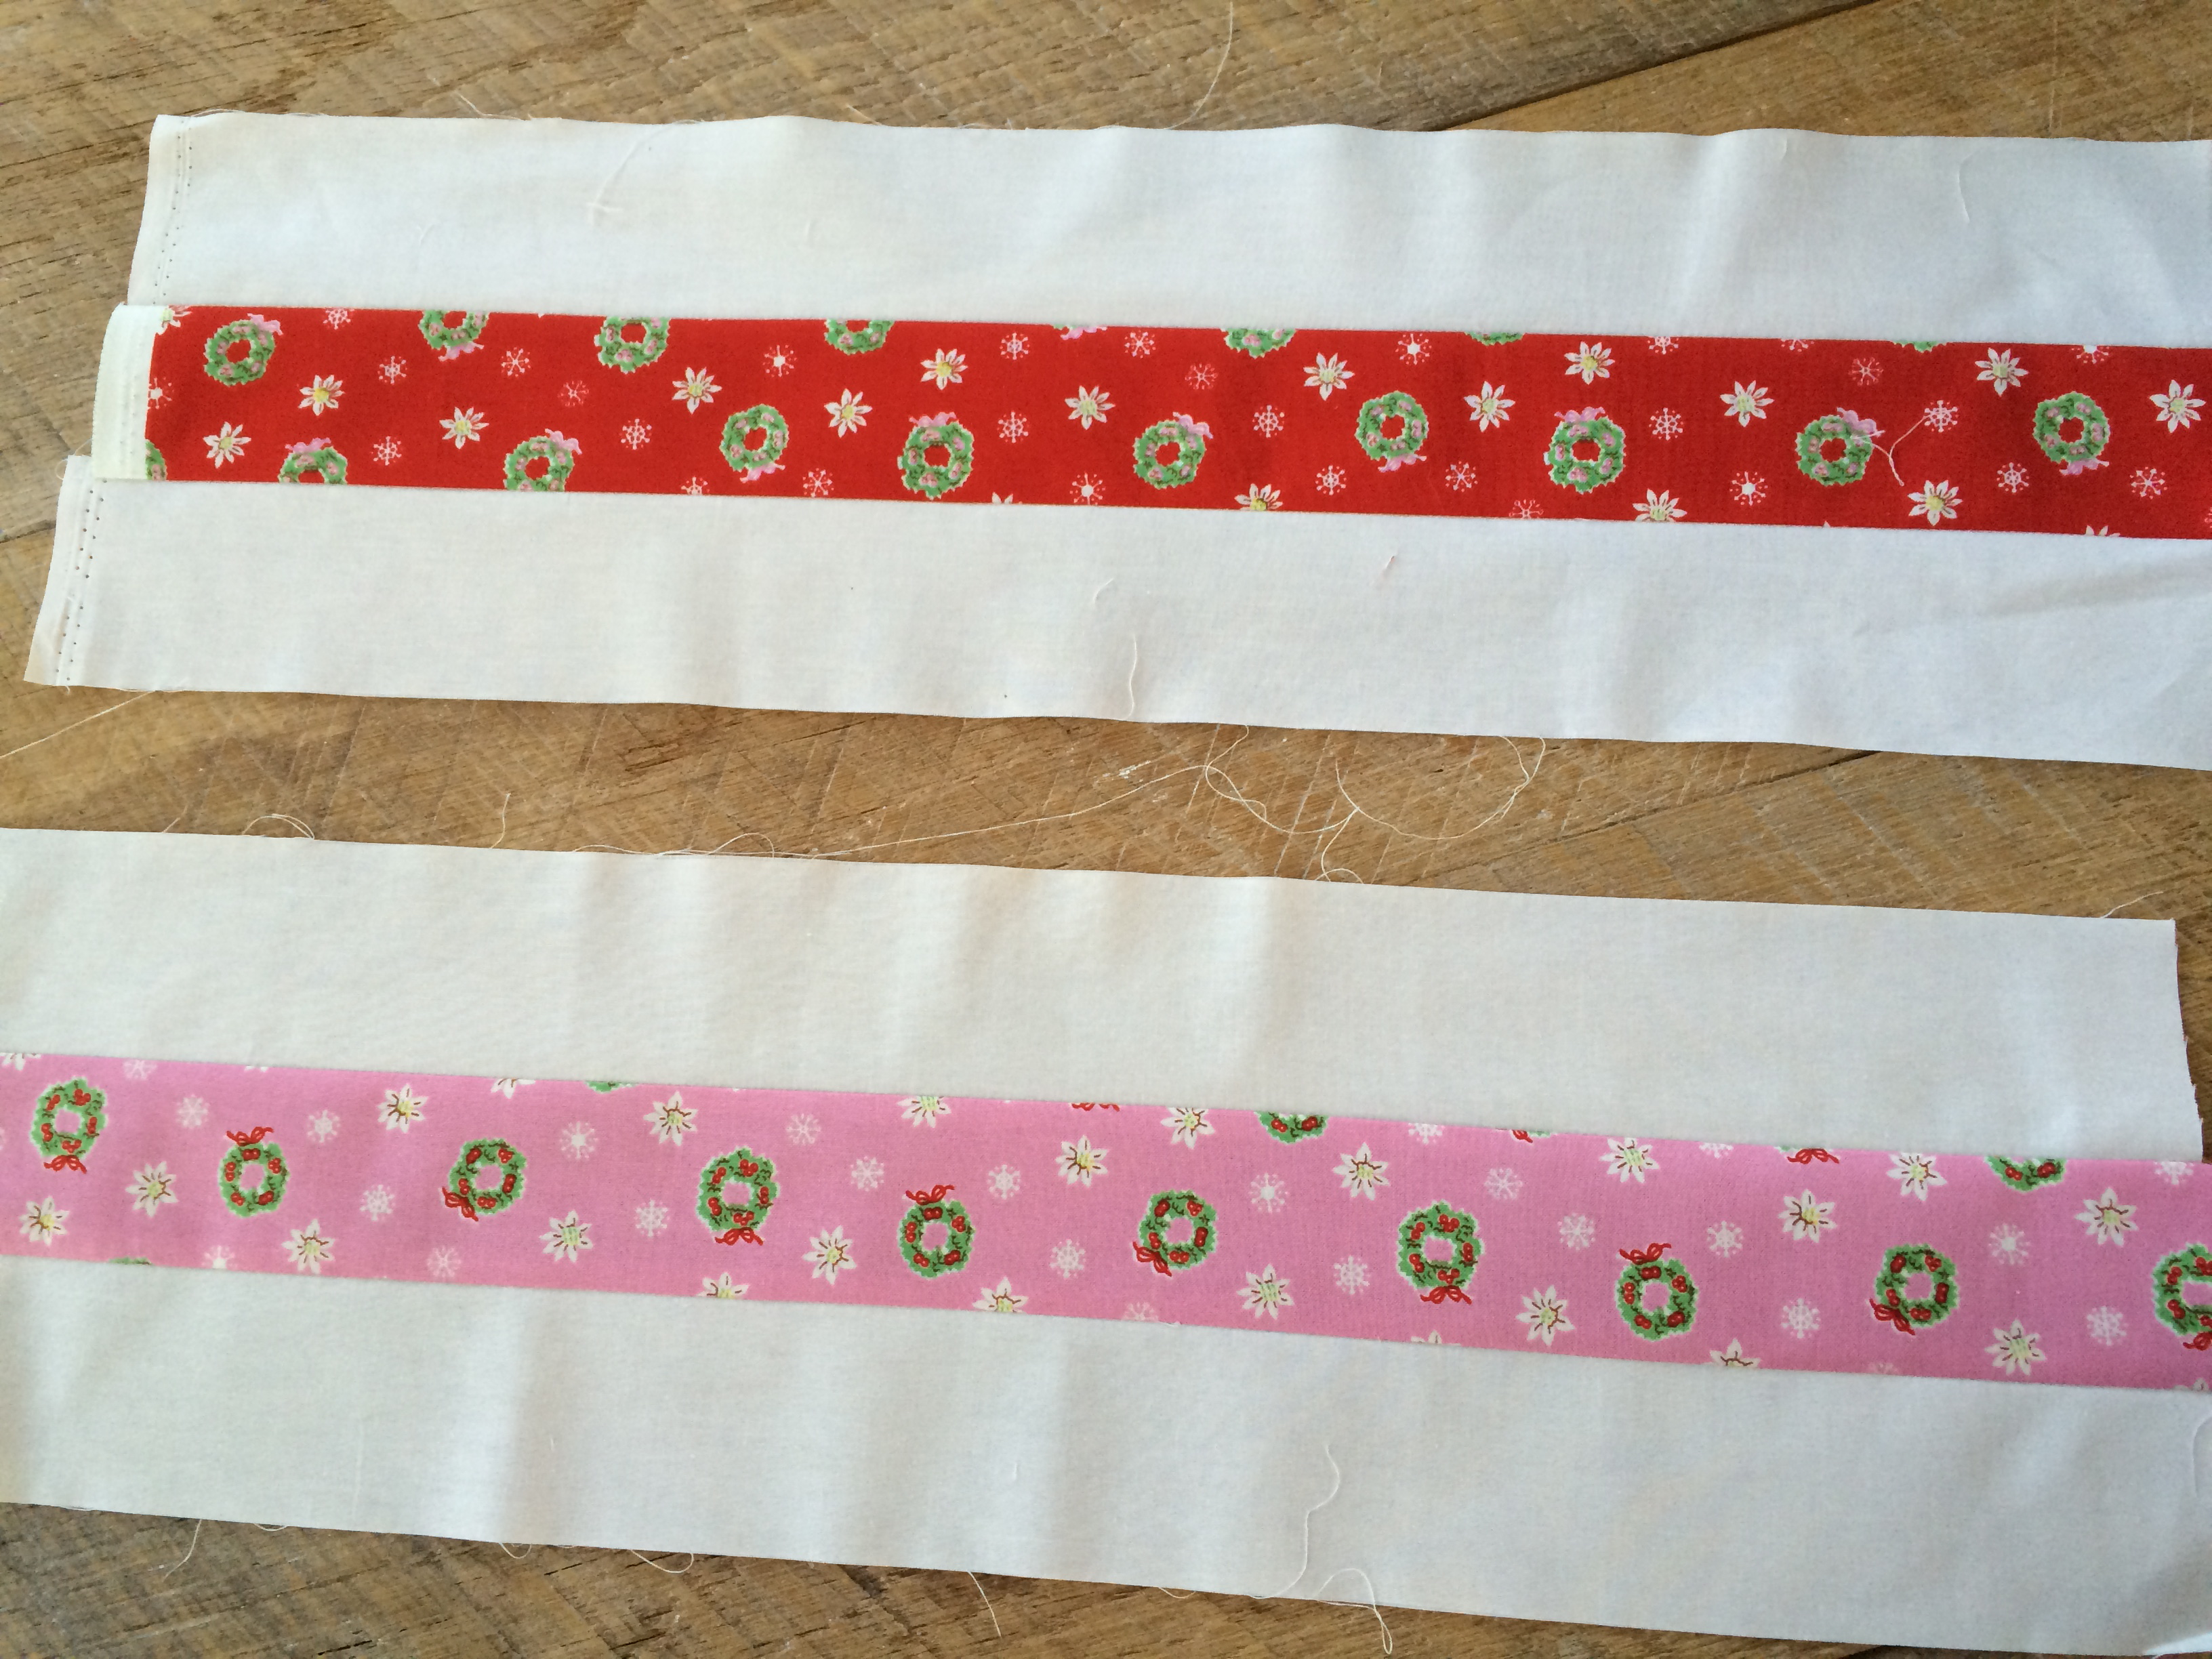
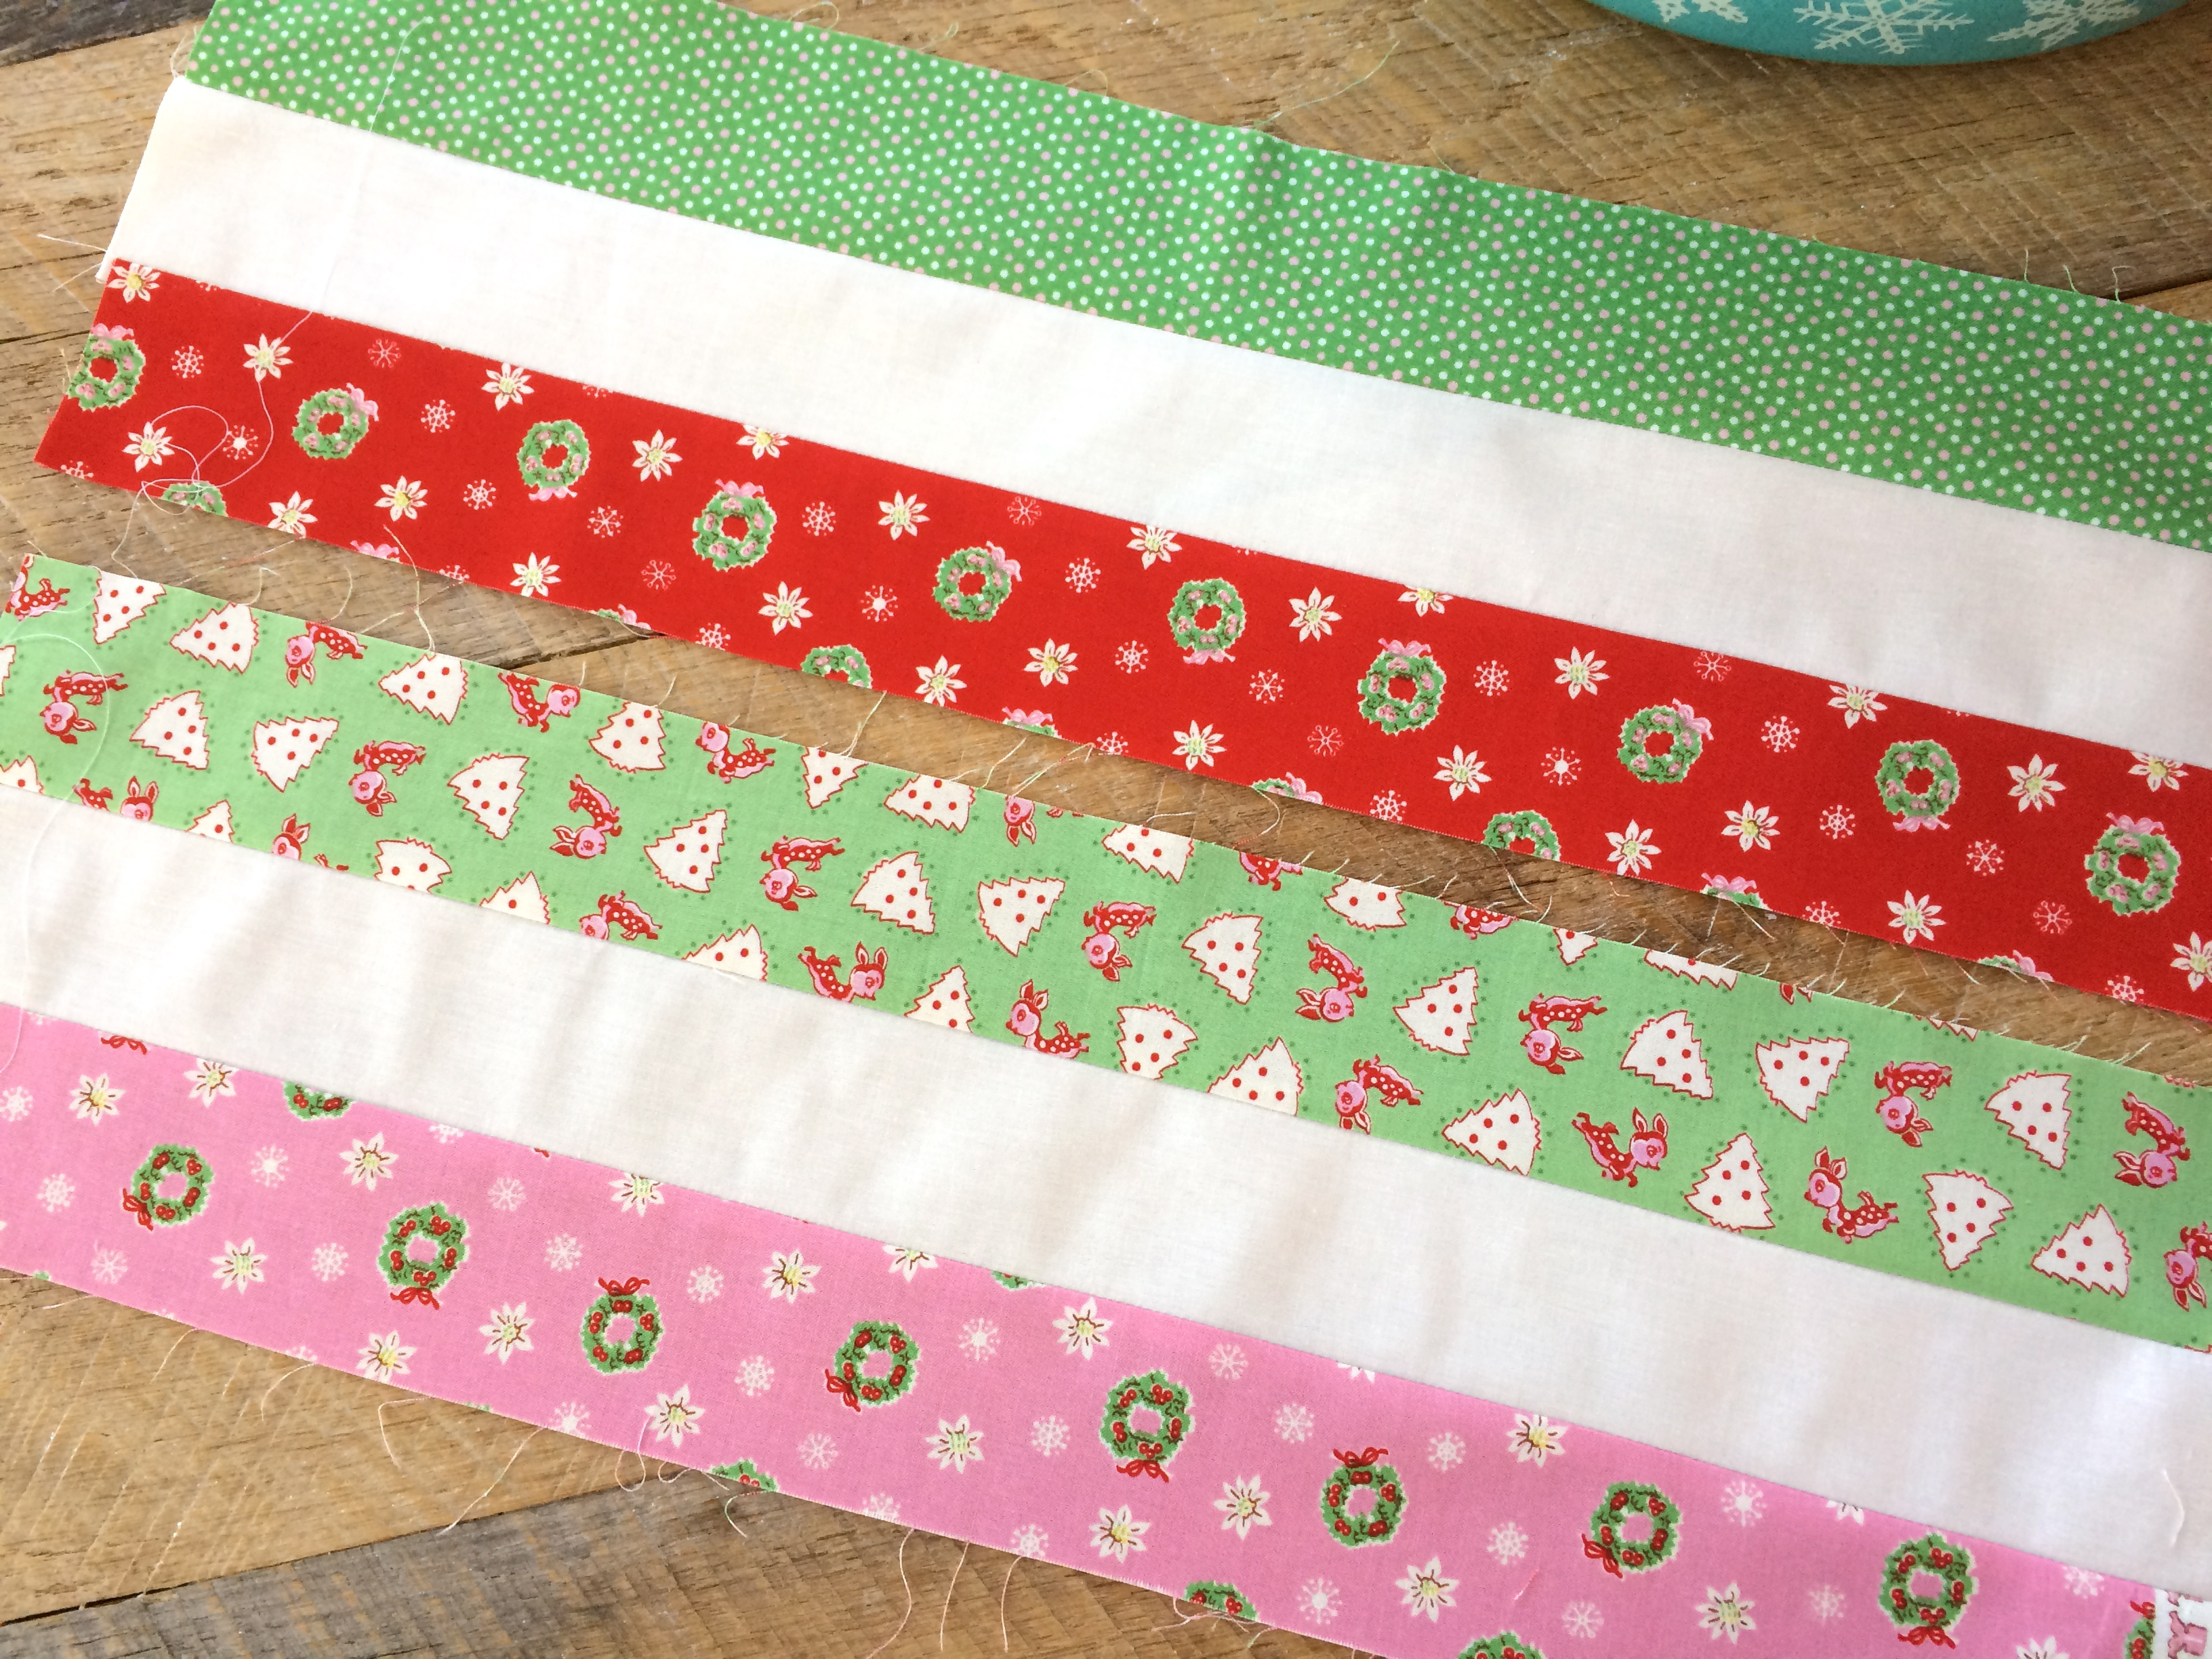
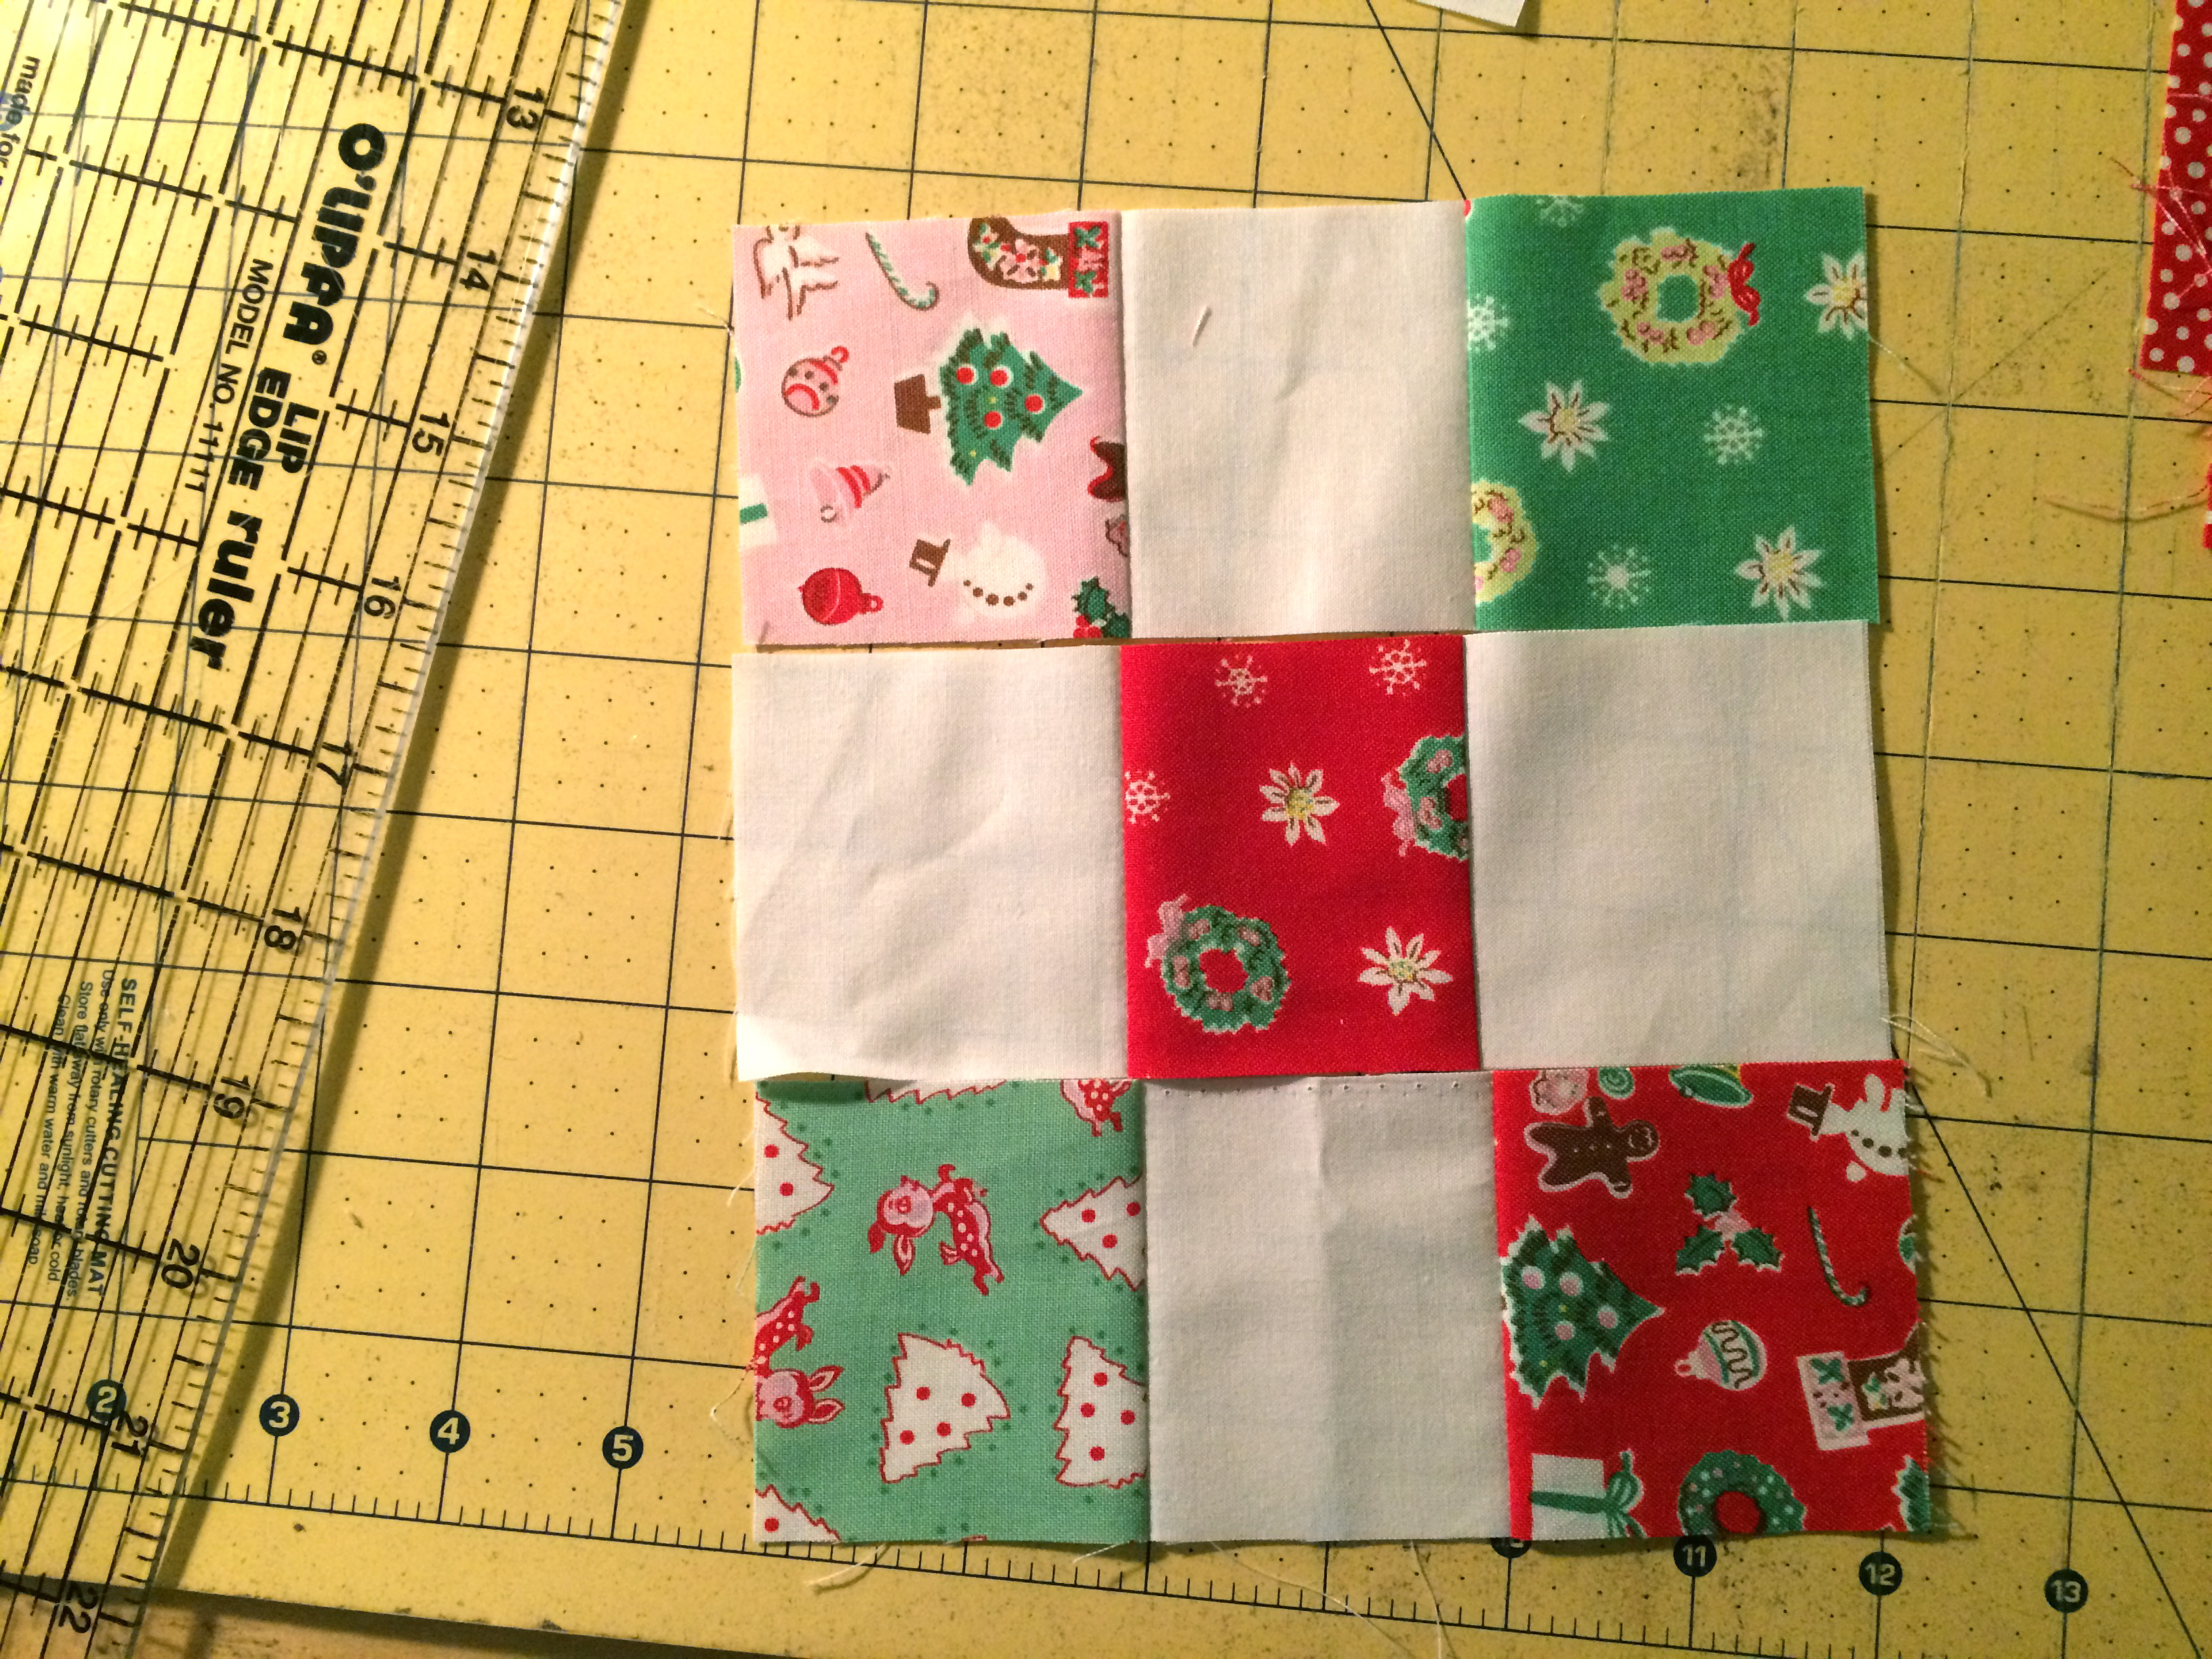
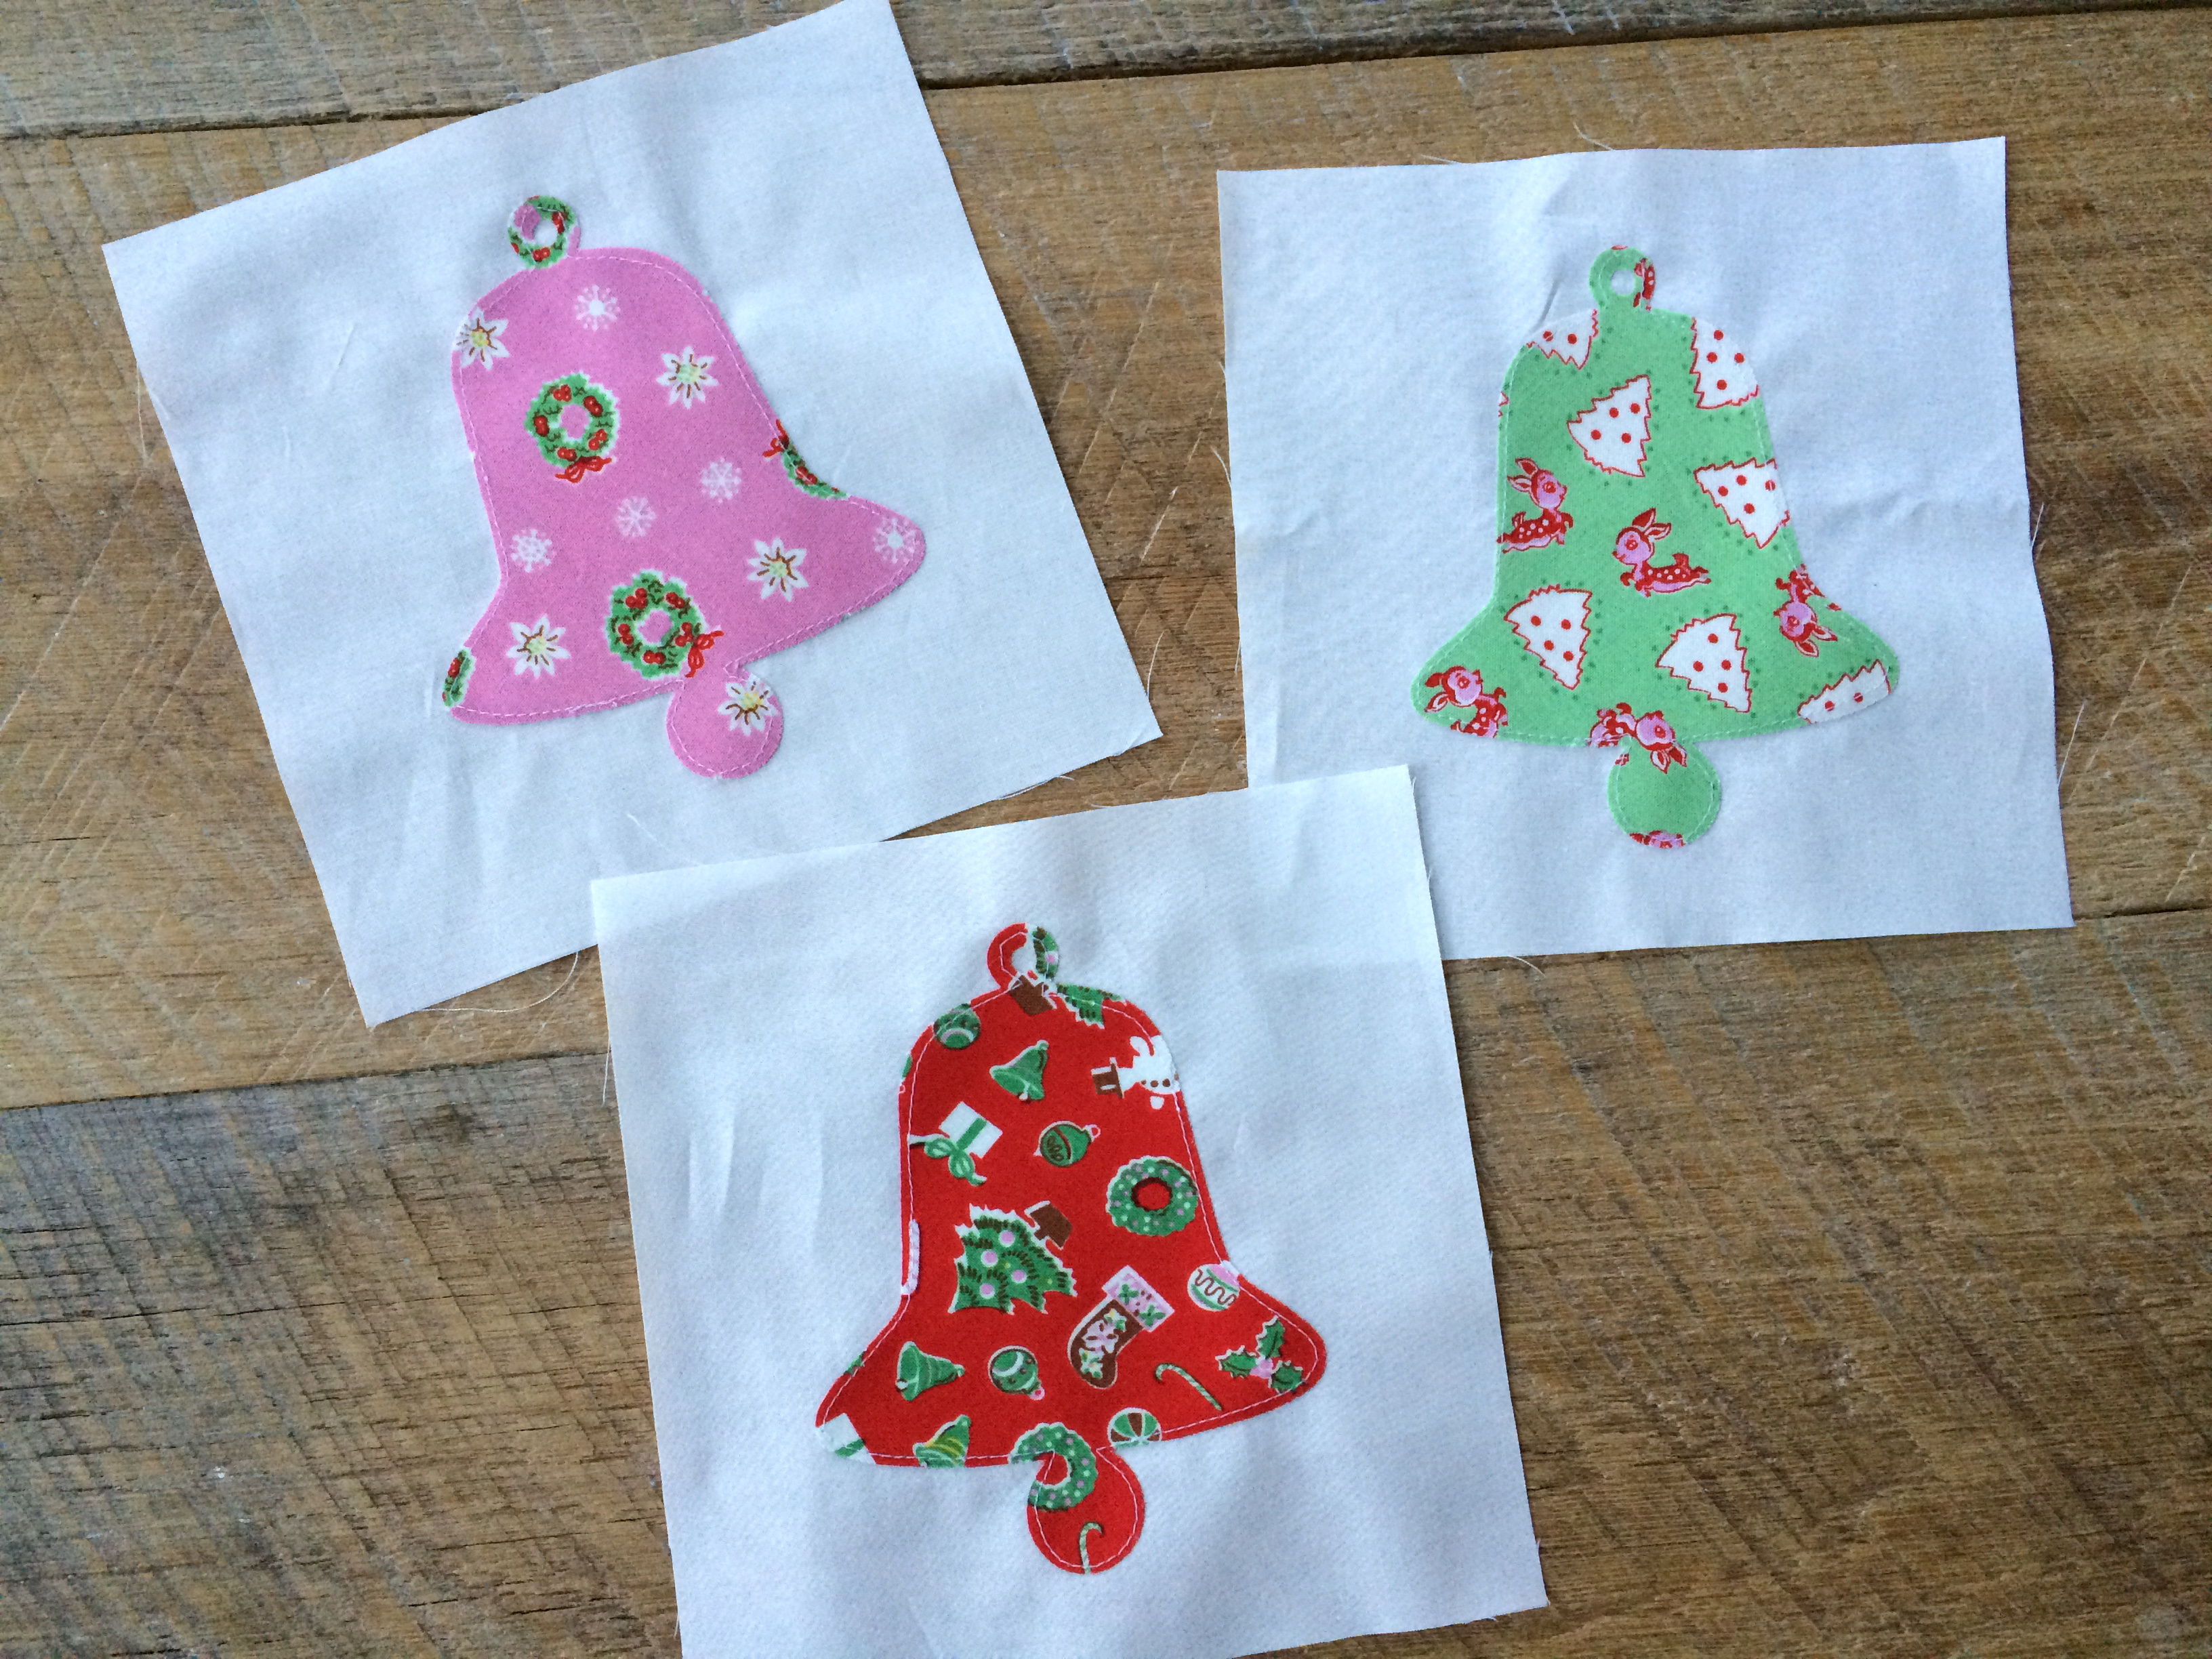
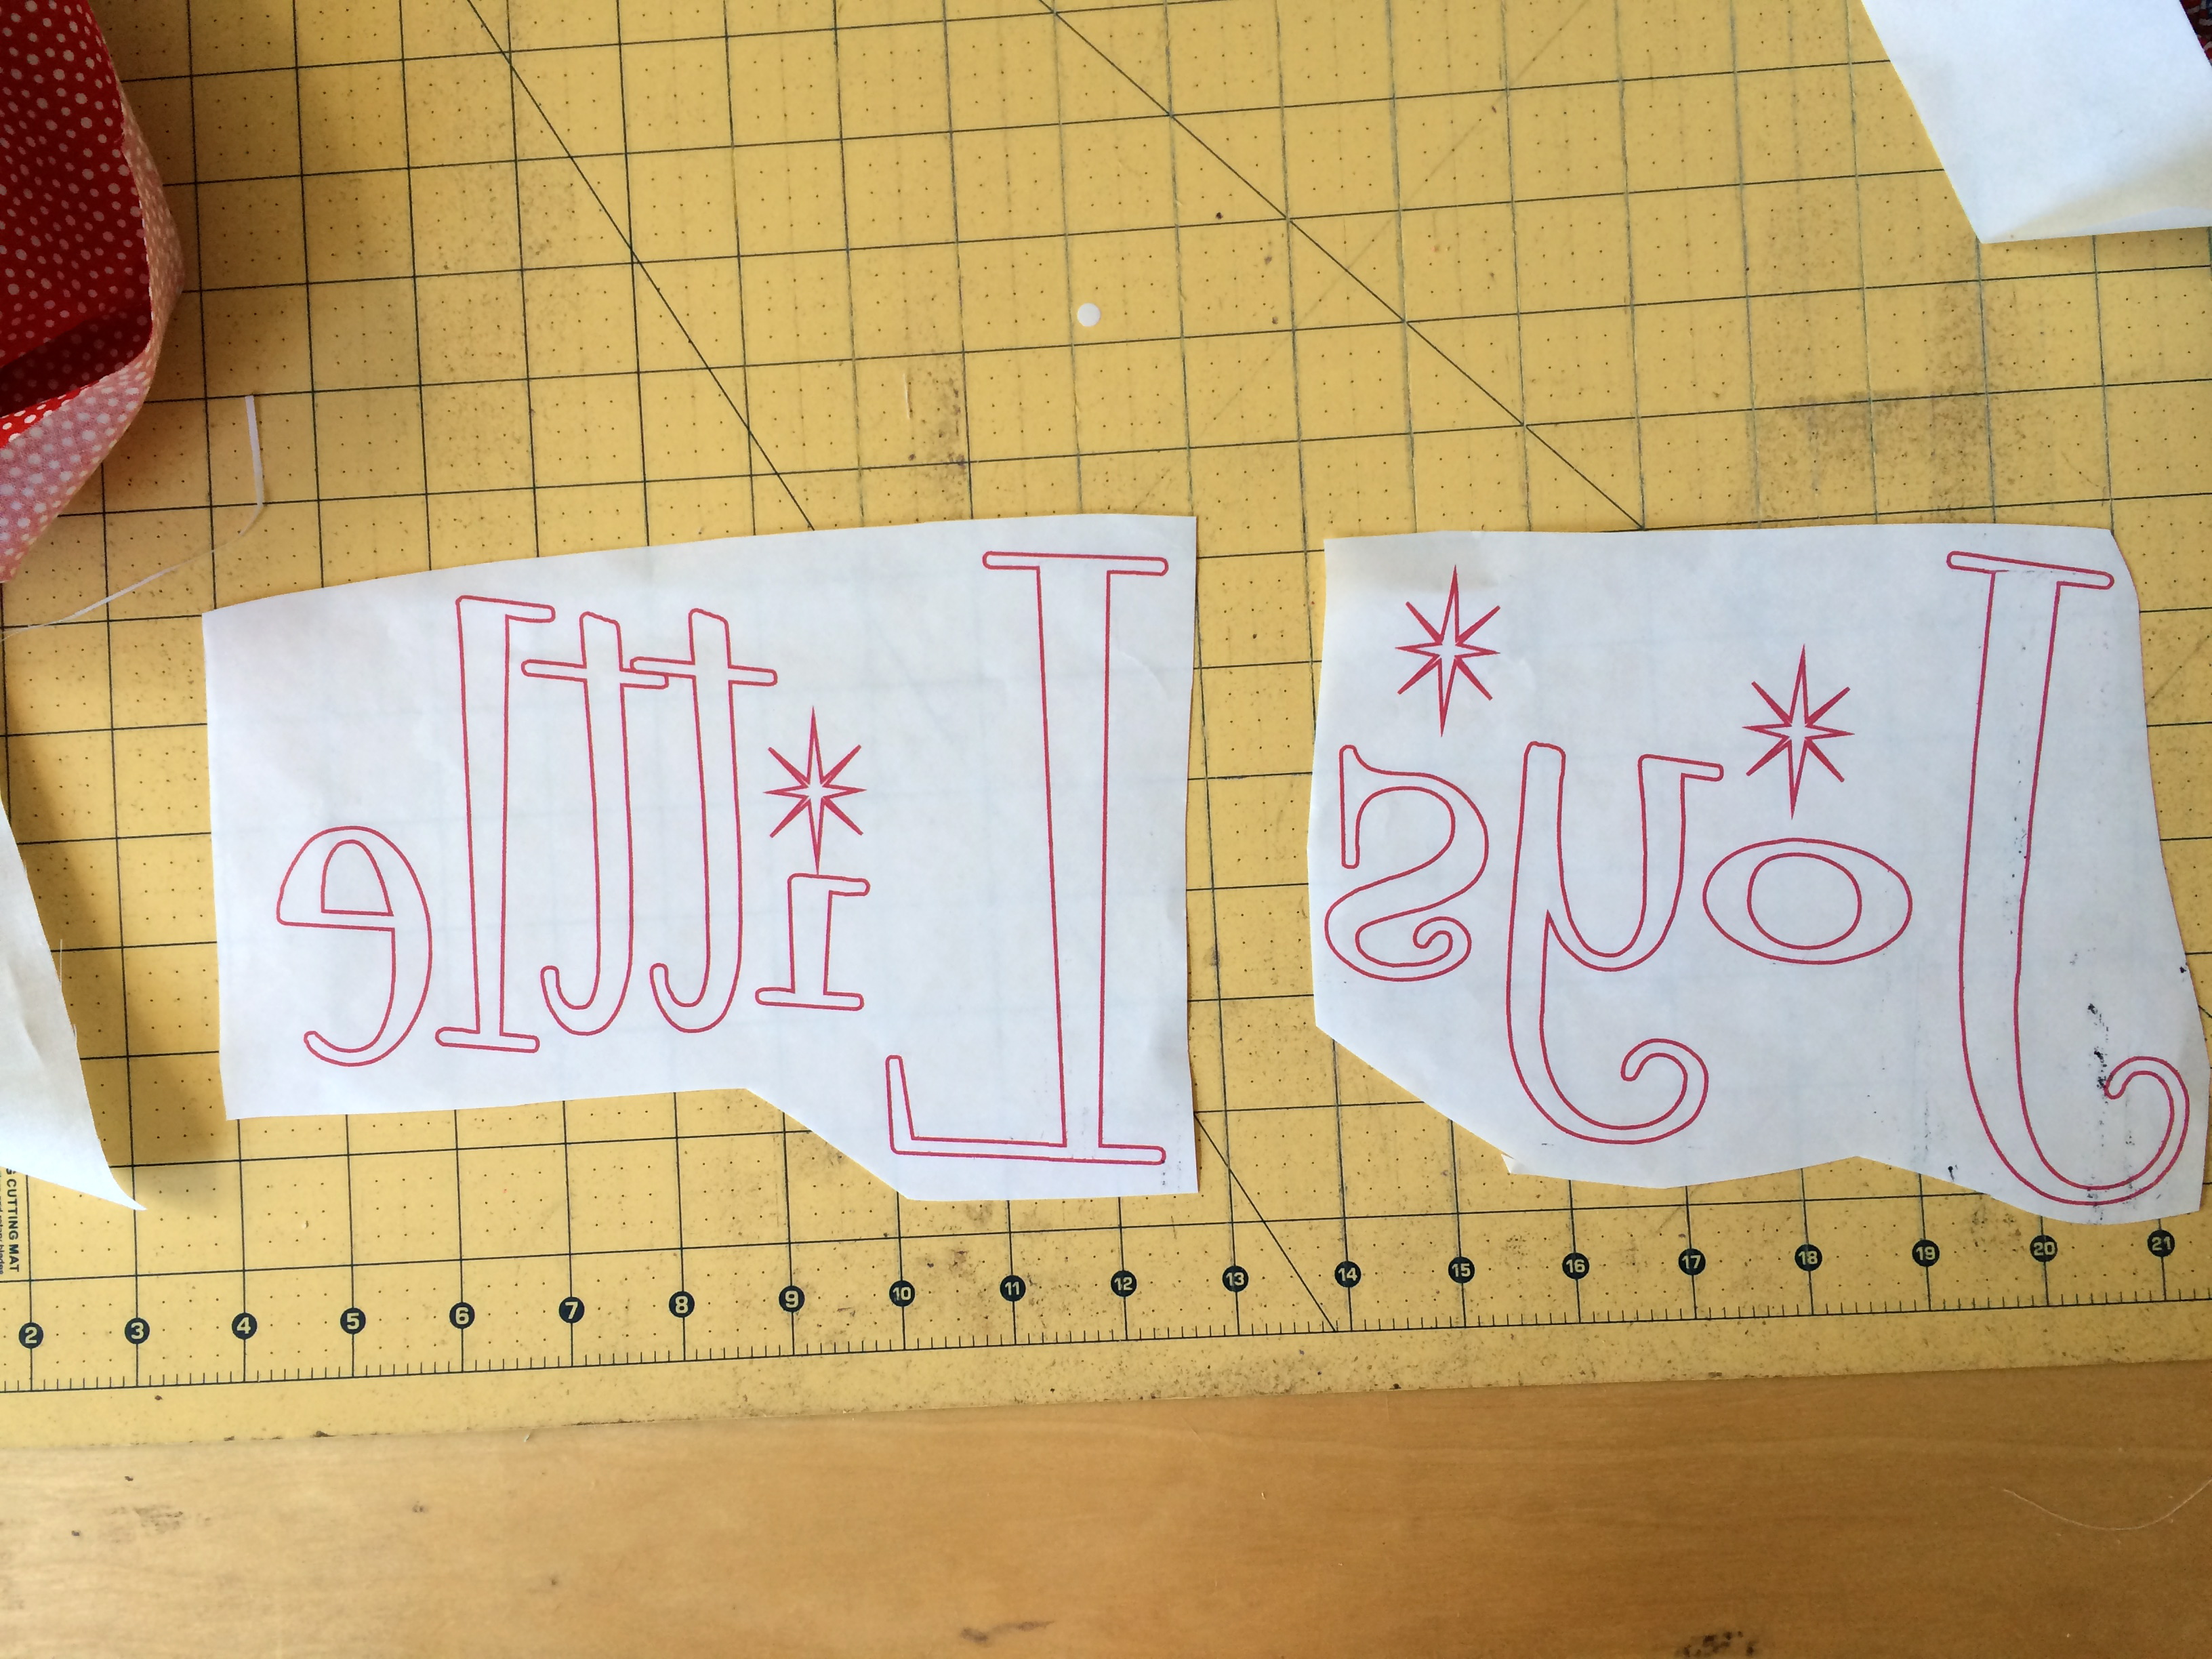
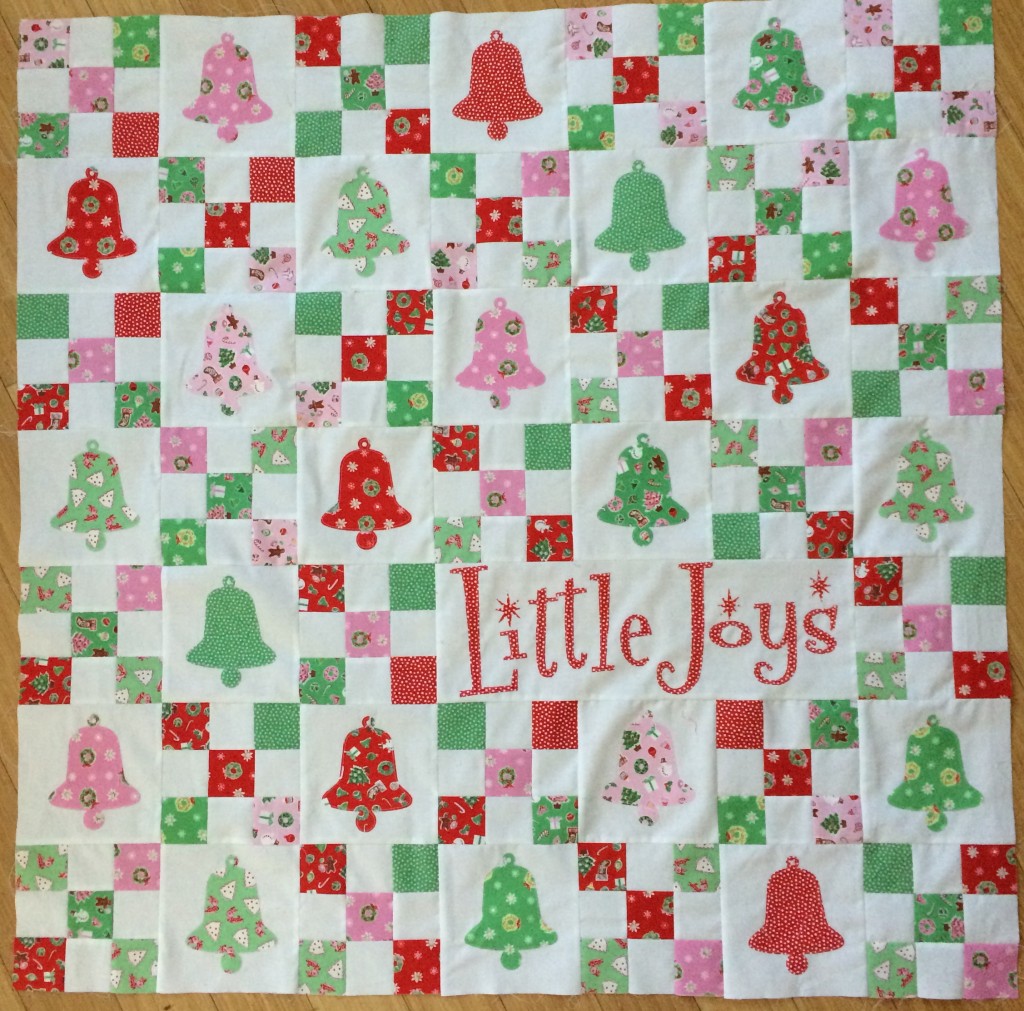
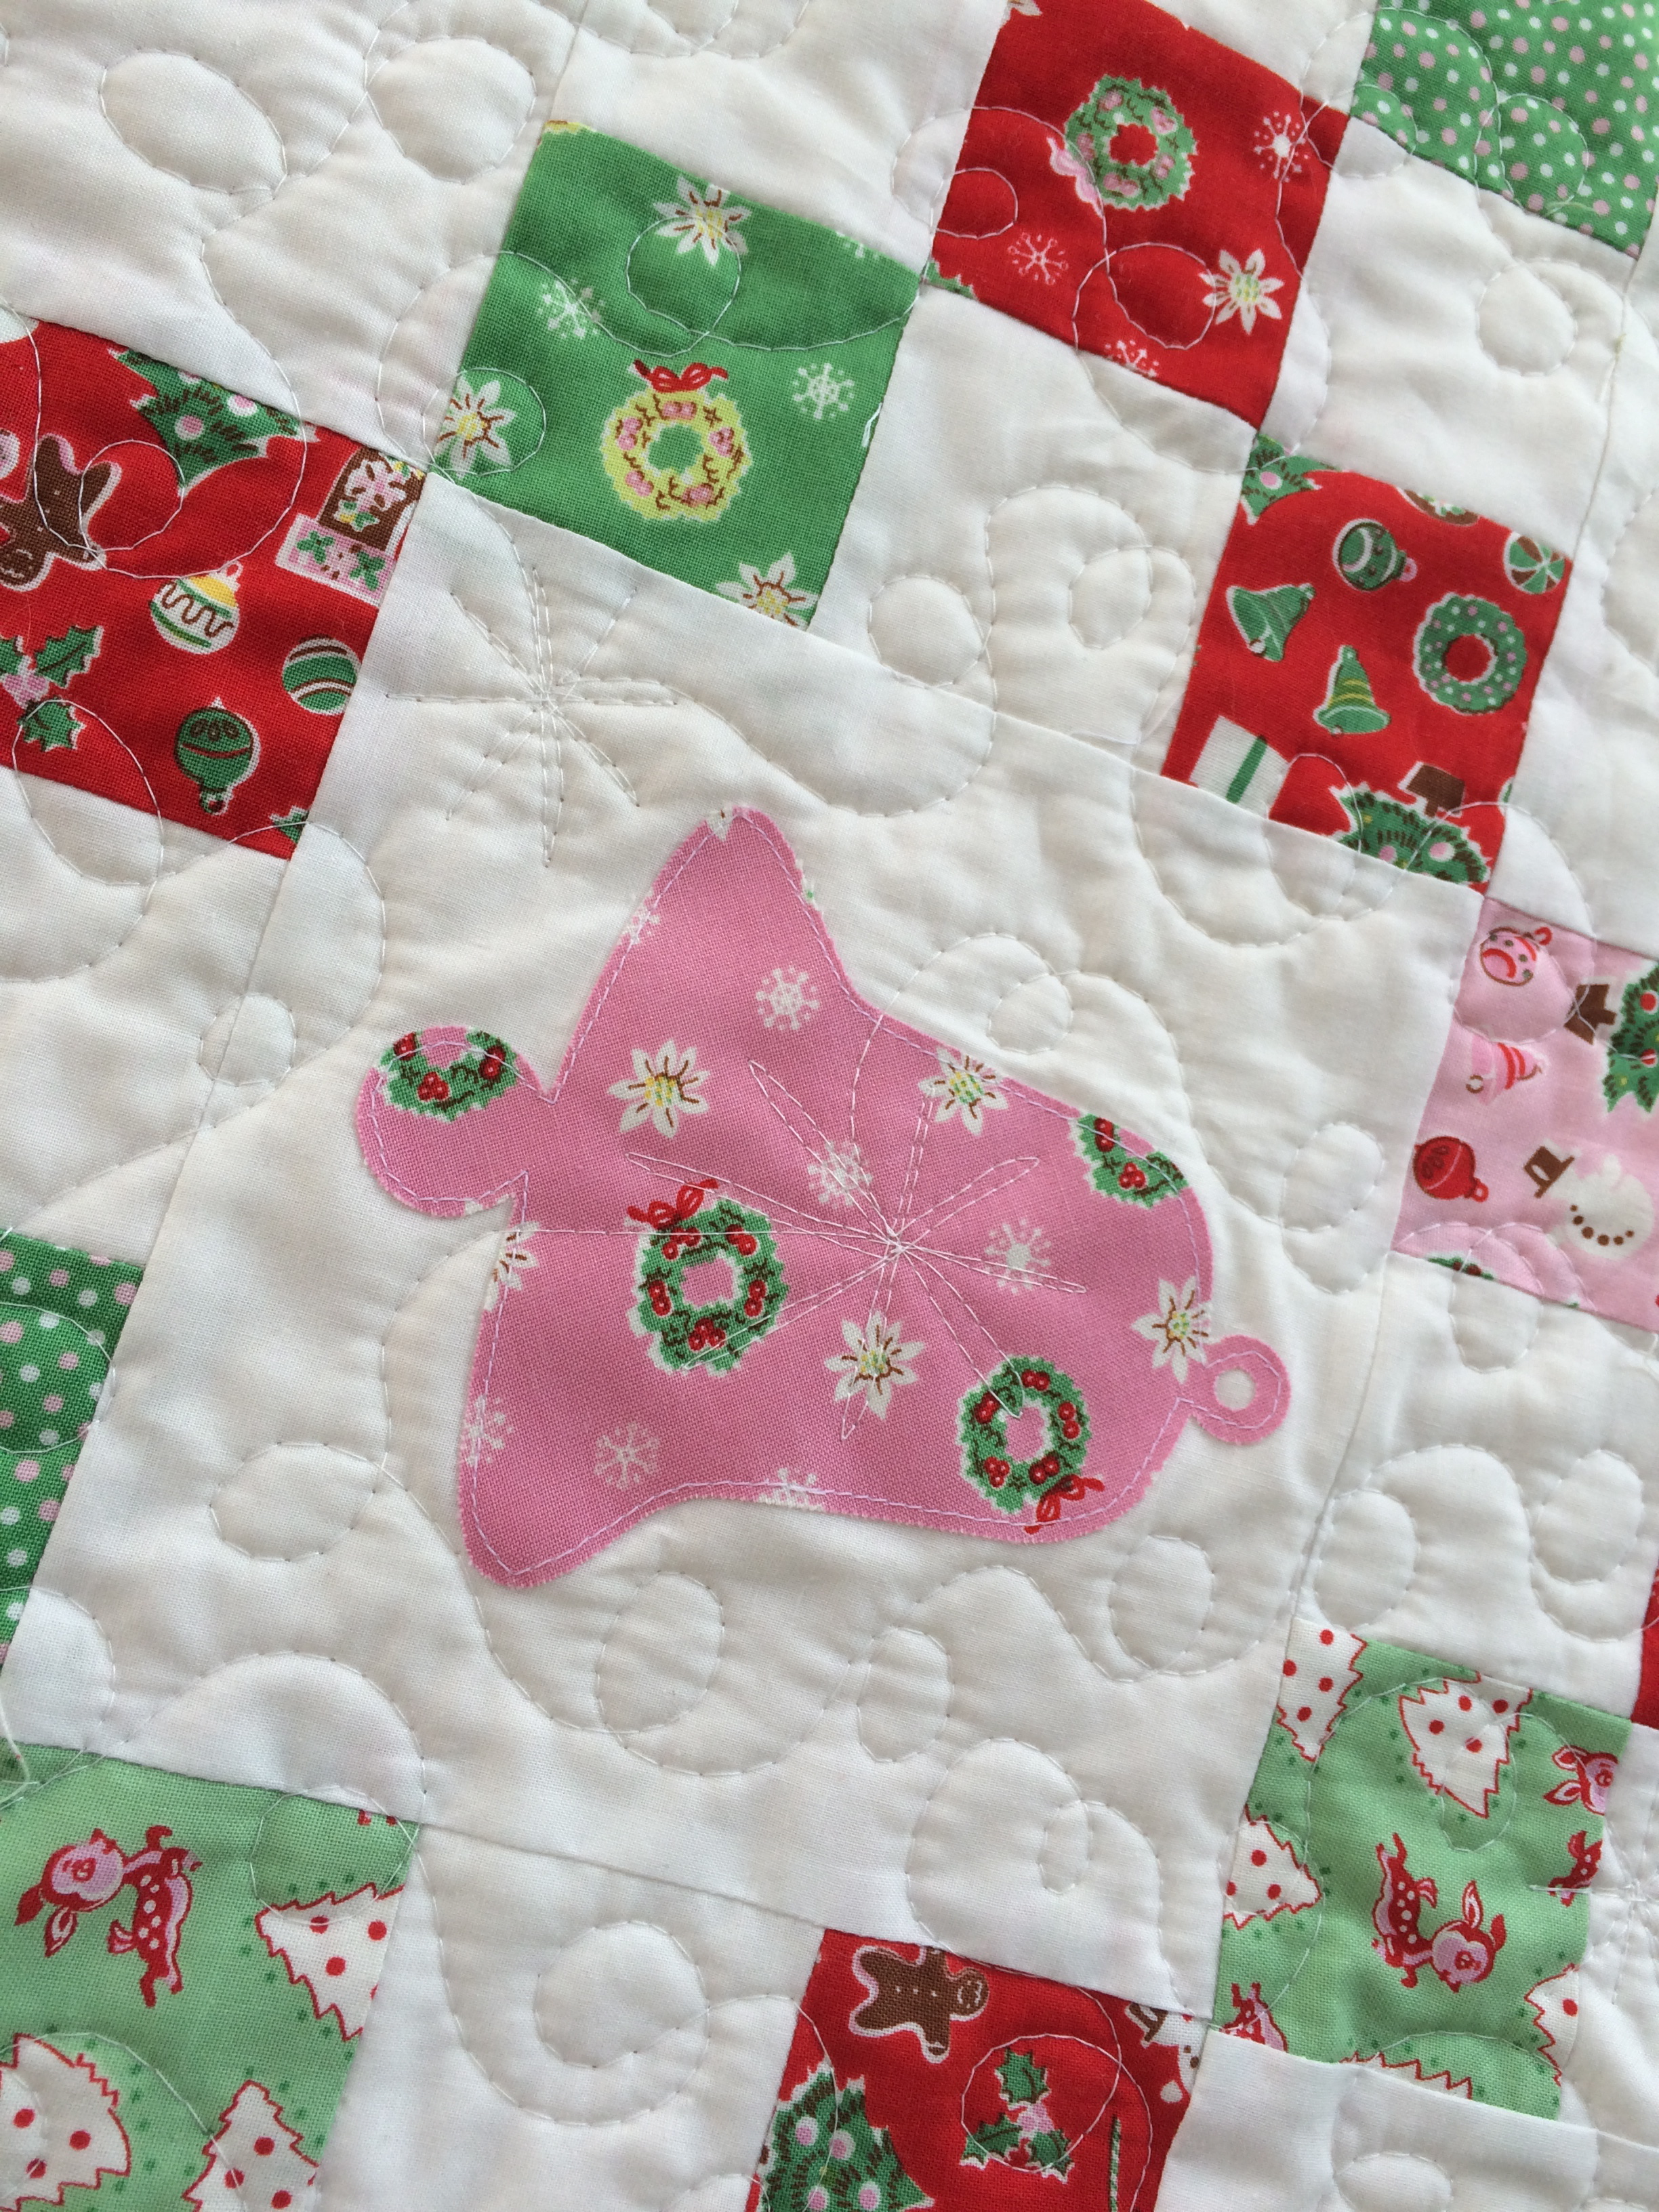
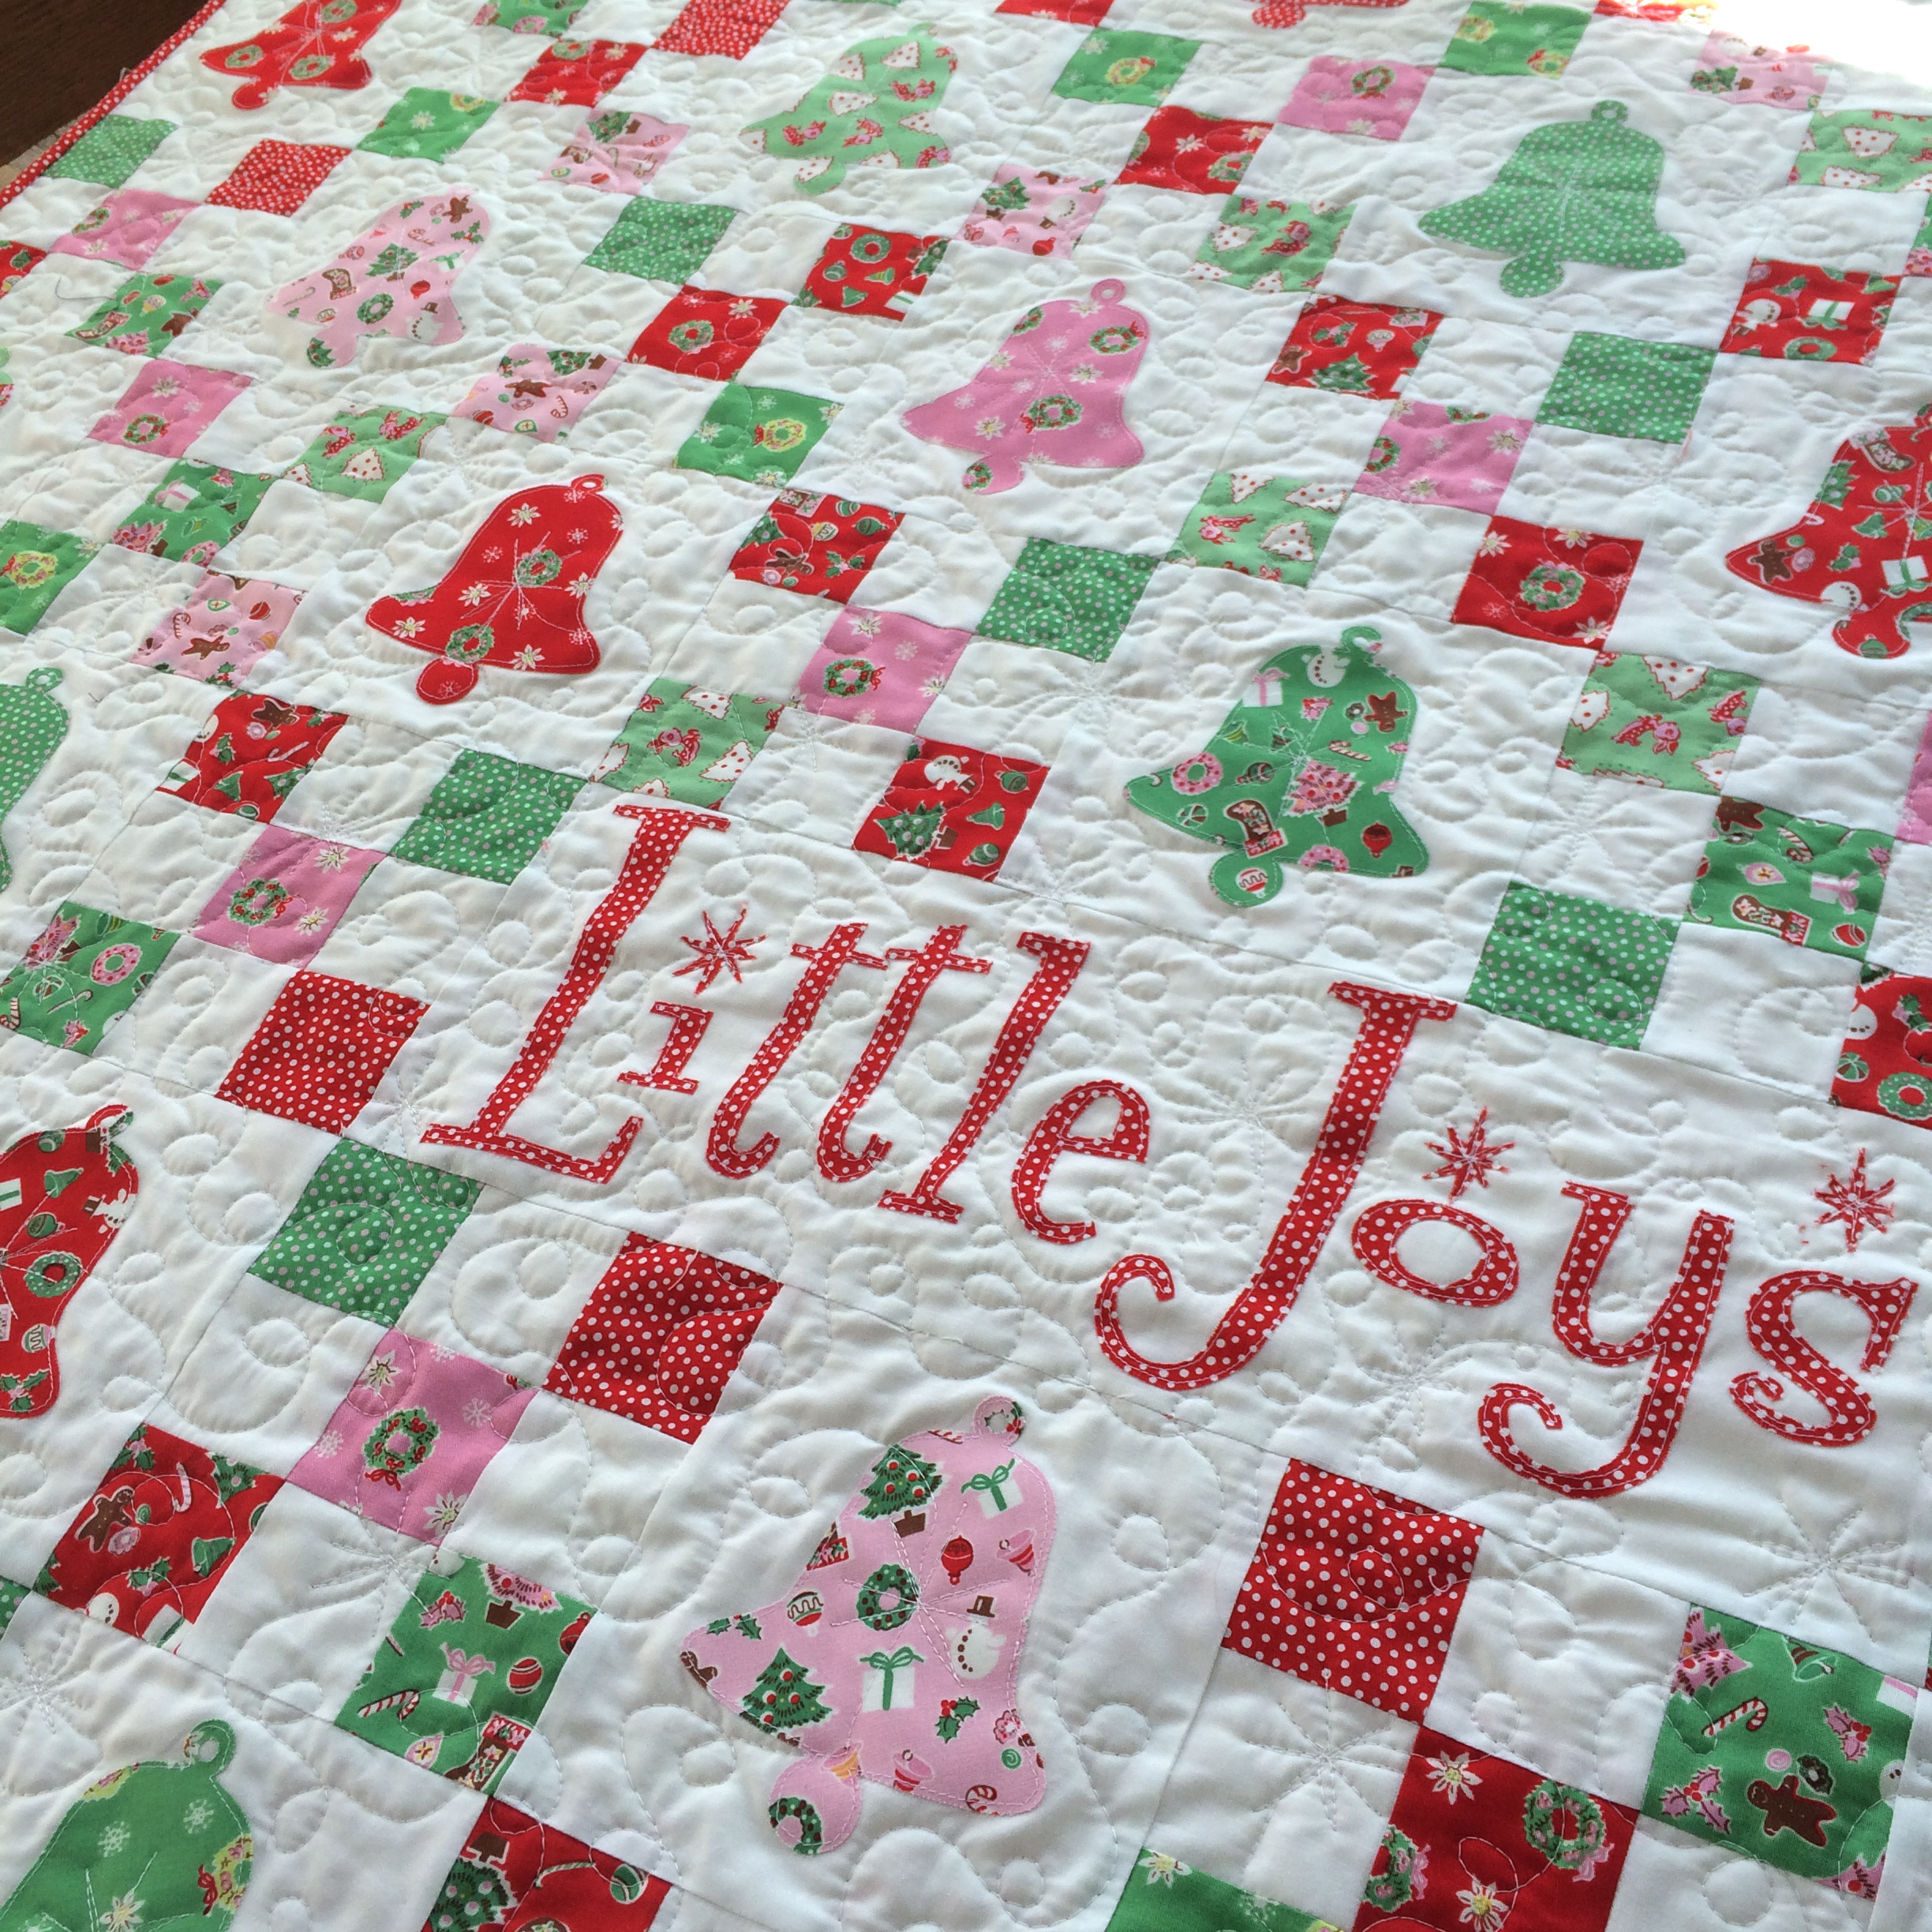
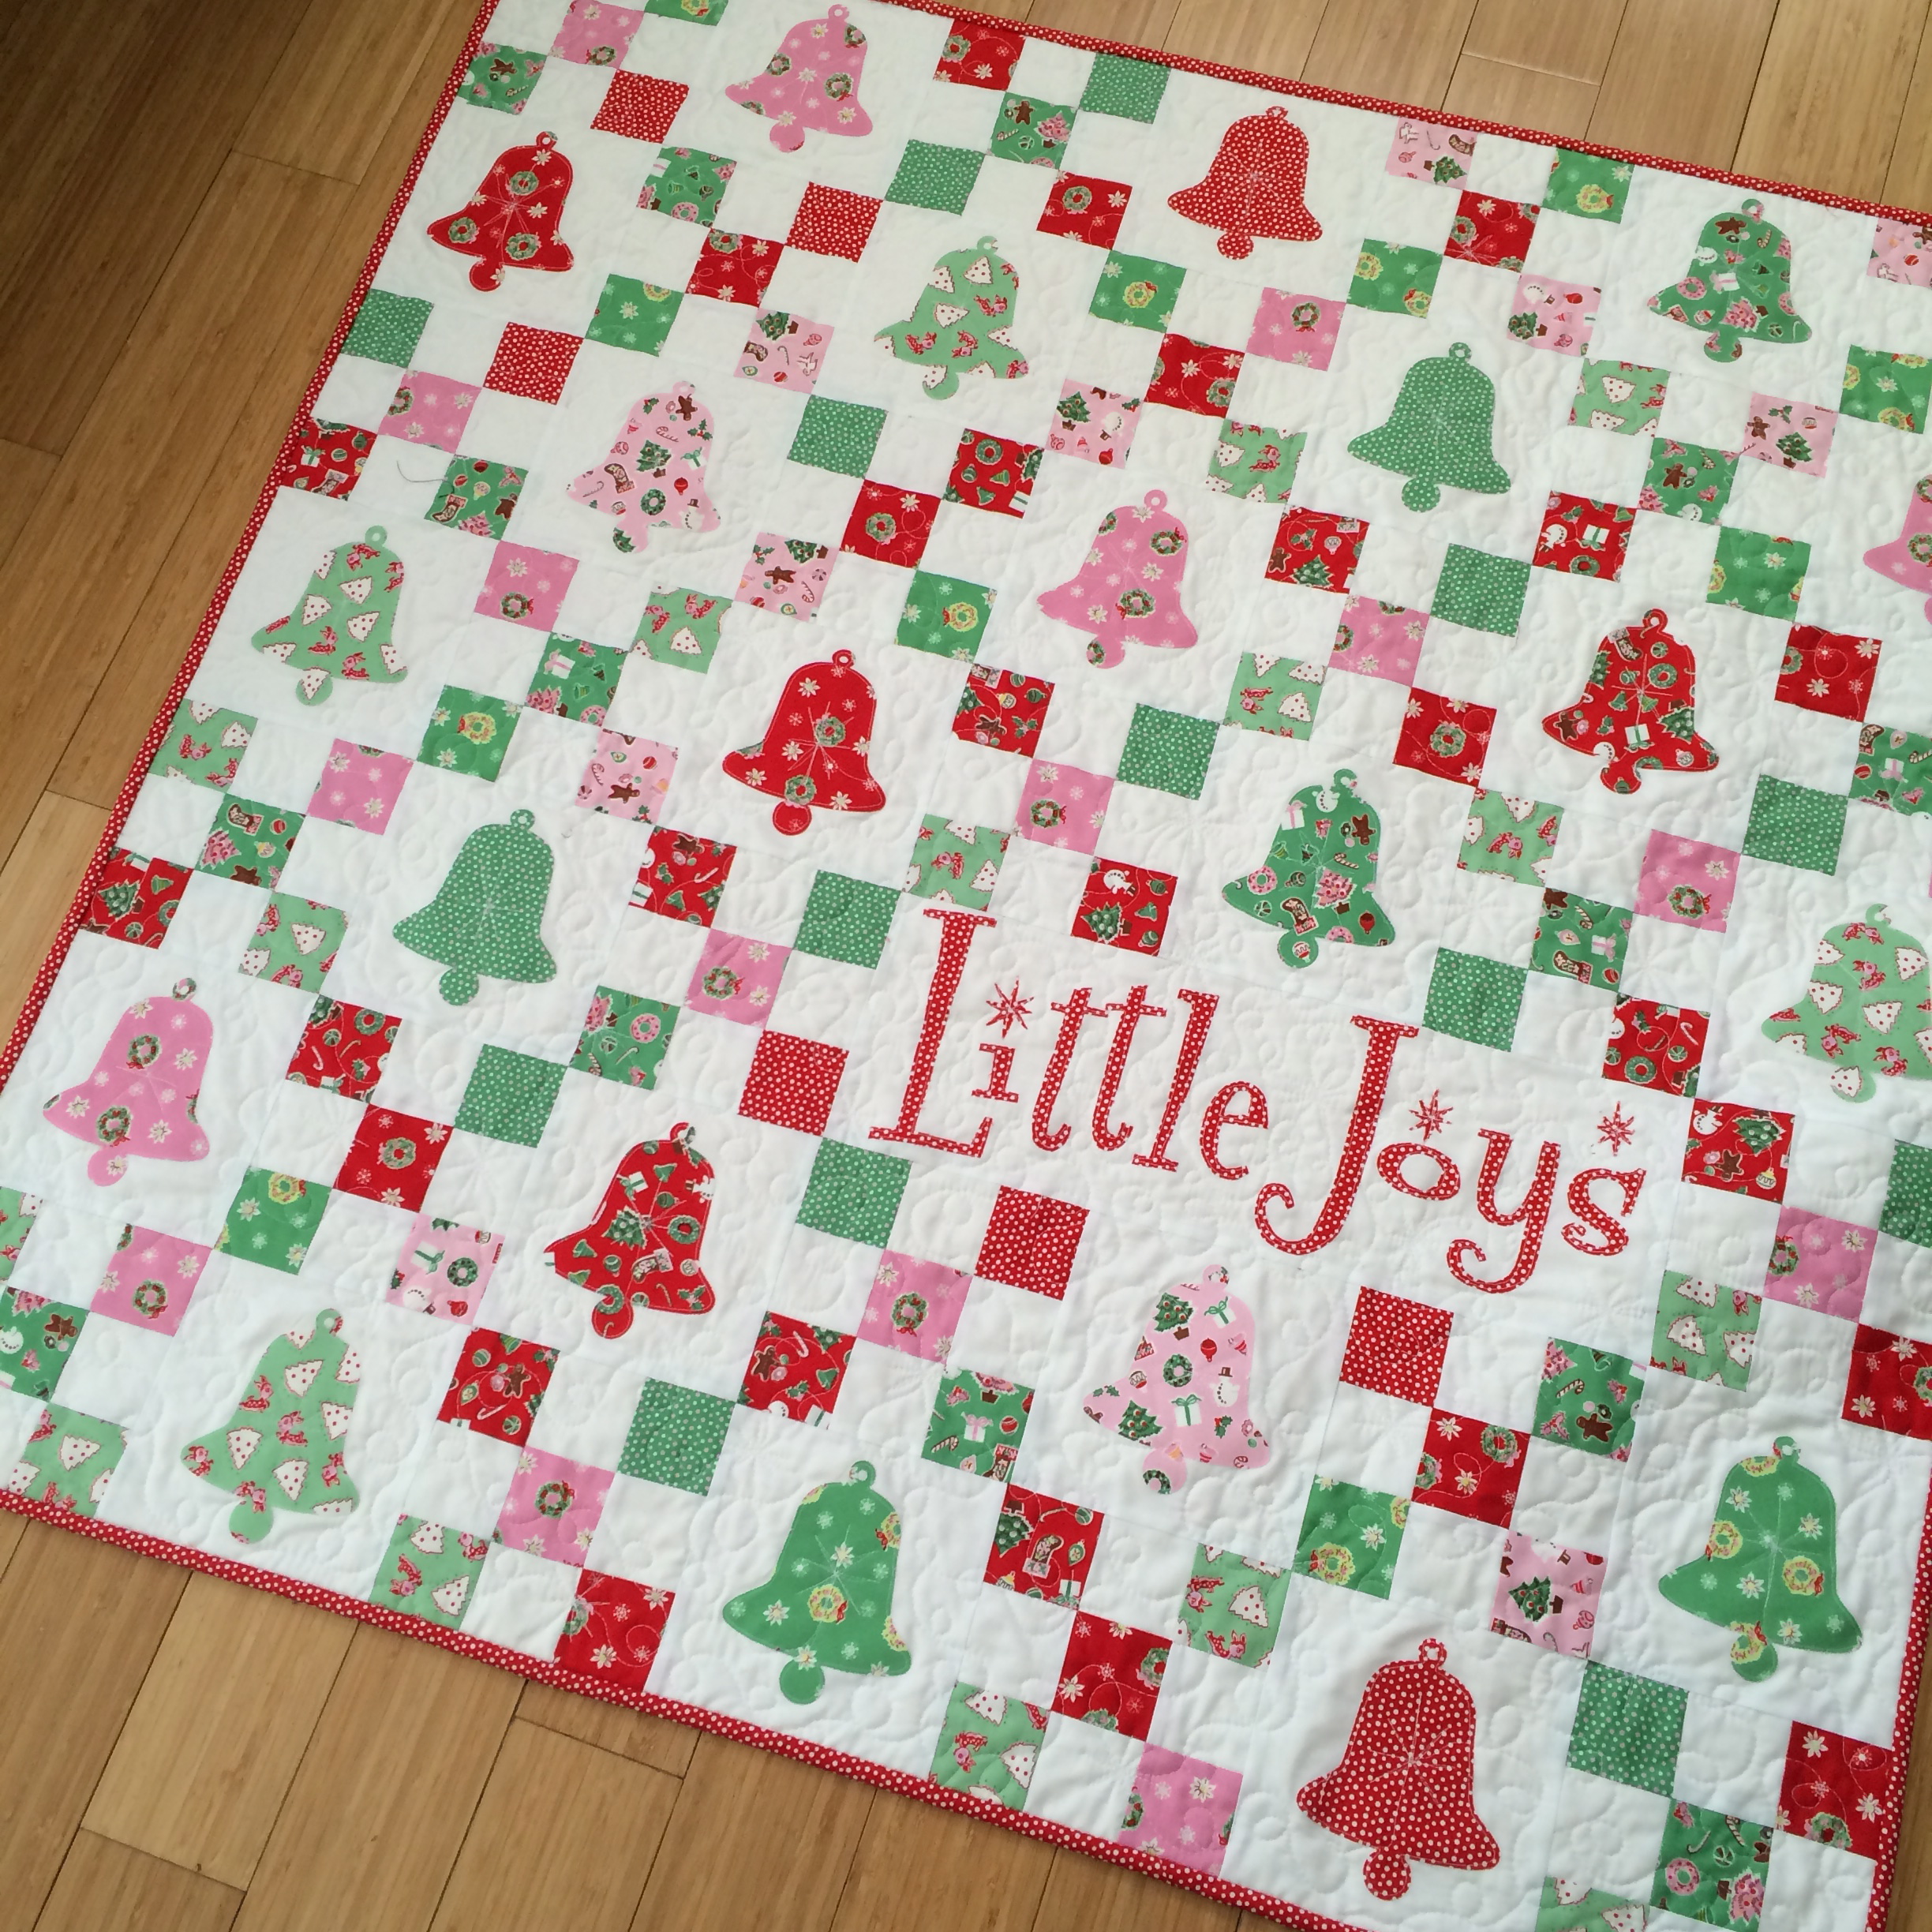
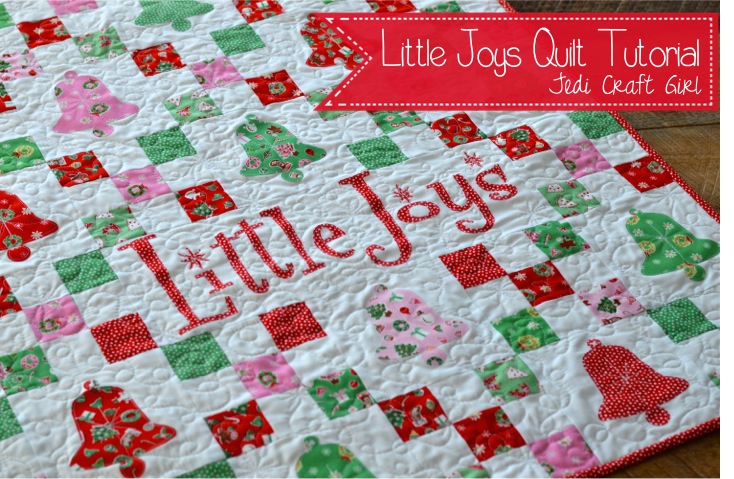 I wrote this pattern a few years ago for Penny Rose Fabrics. I updated it and have the full tutorial available here! I have always loved the Penny Rose “Little Joys” Christmas fabrics! These sweet vintage prints make me think of a simpler time. I love collecting vintage Christmas ornaments and decorations; this quilt is sure to fit into the mix!
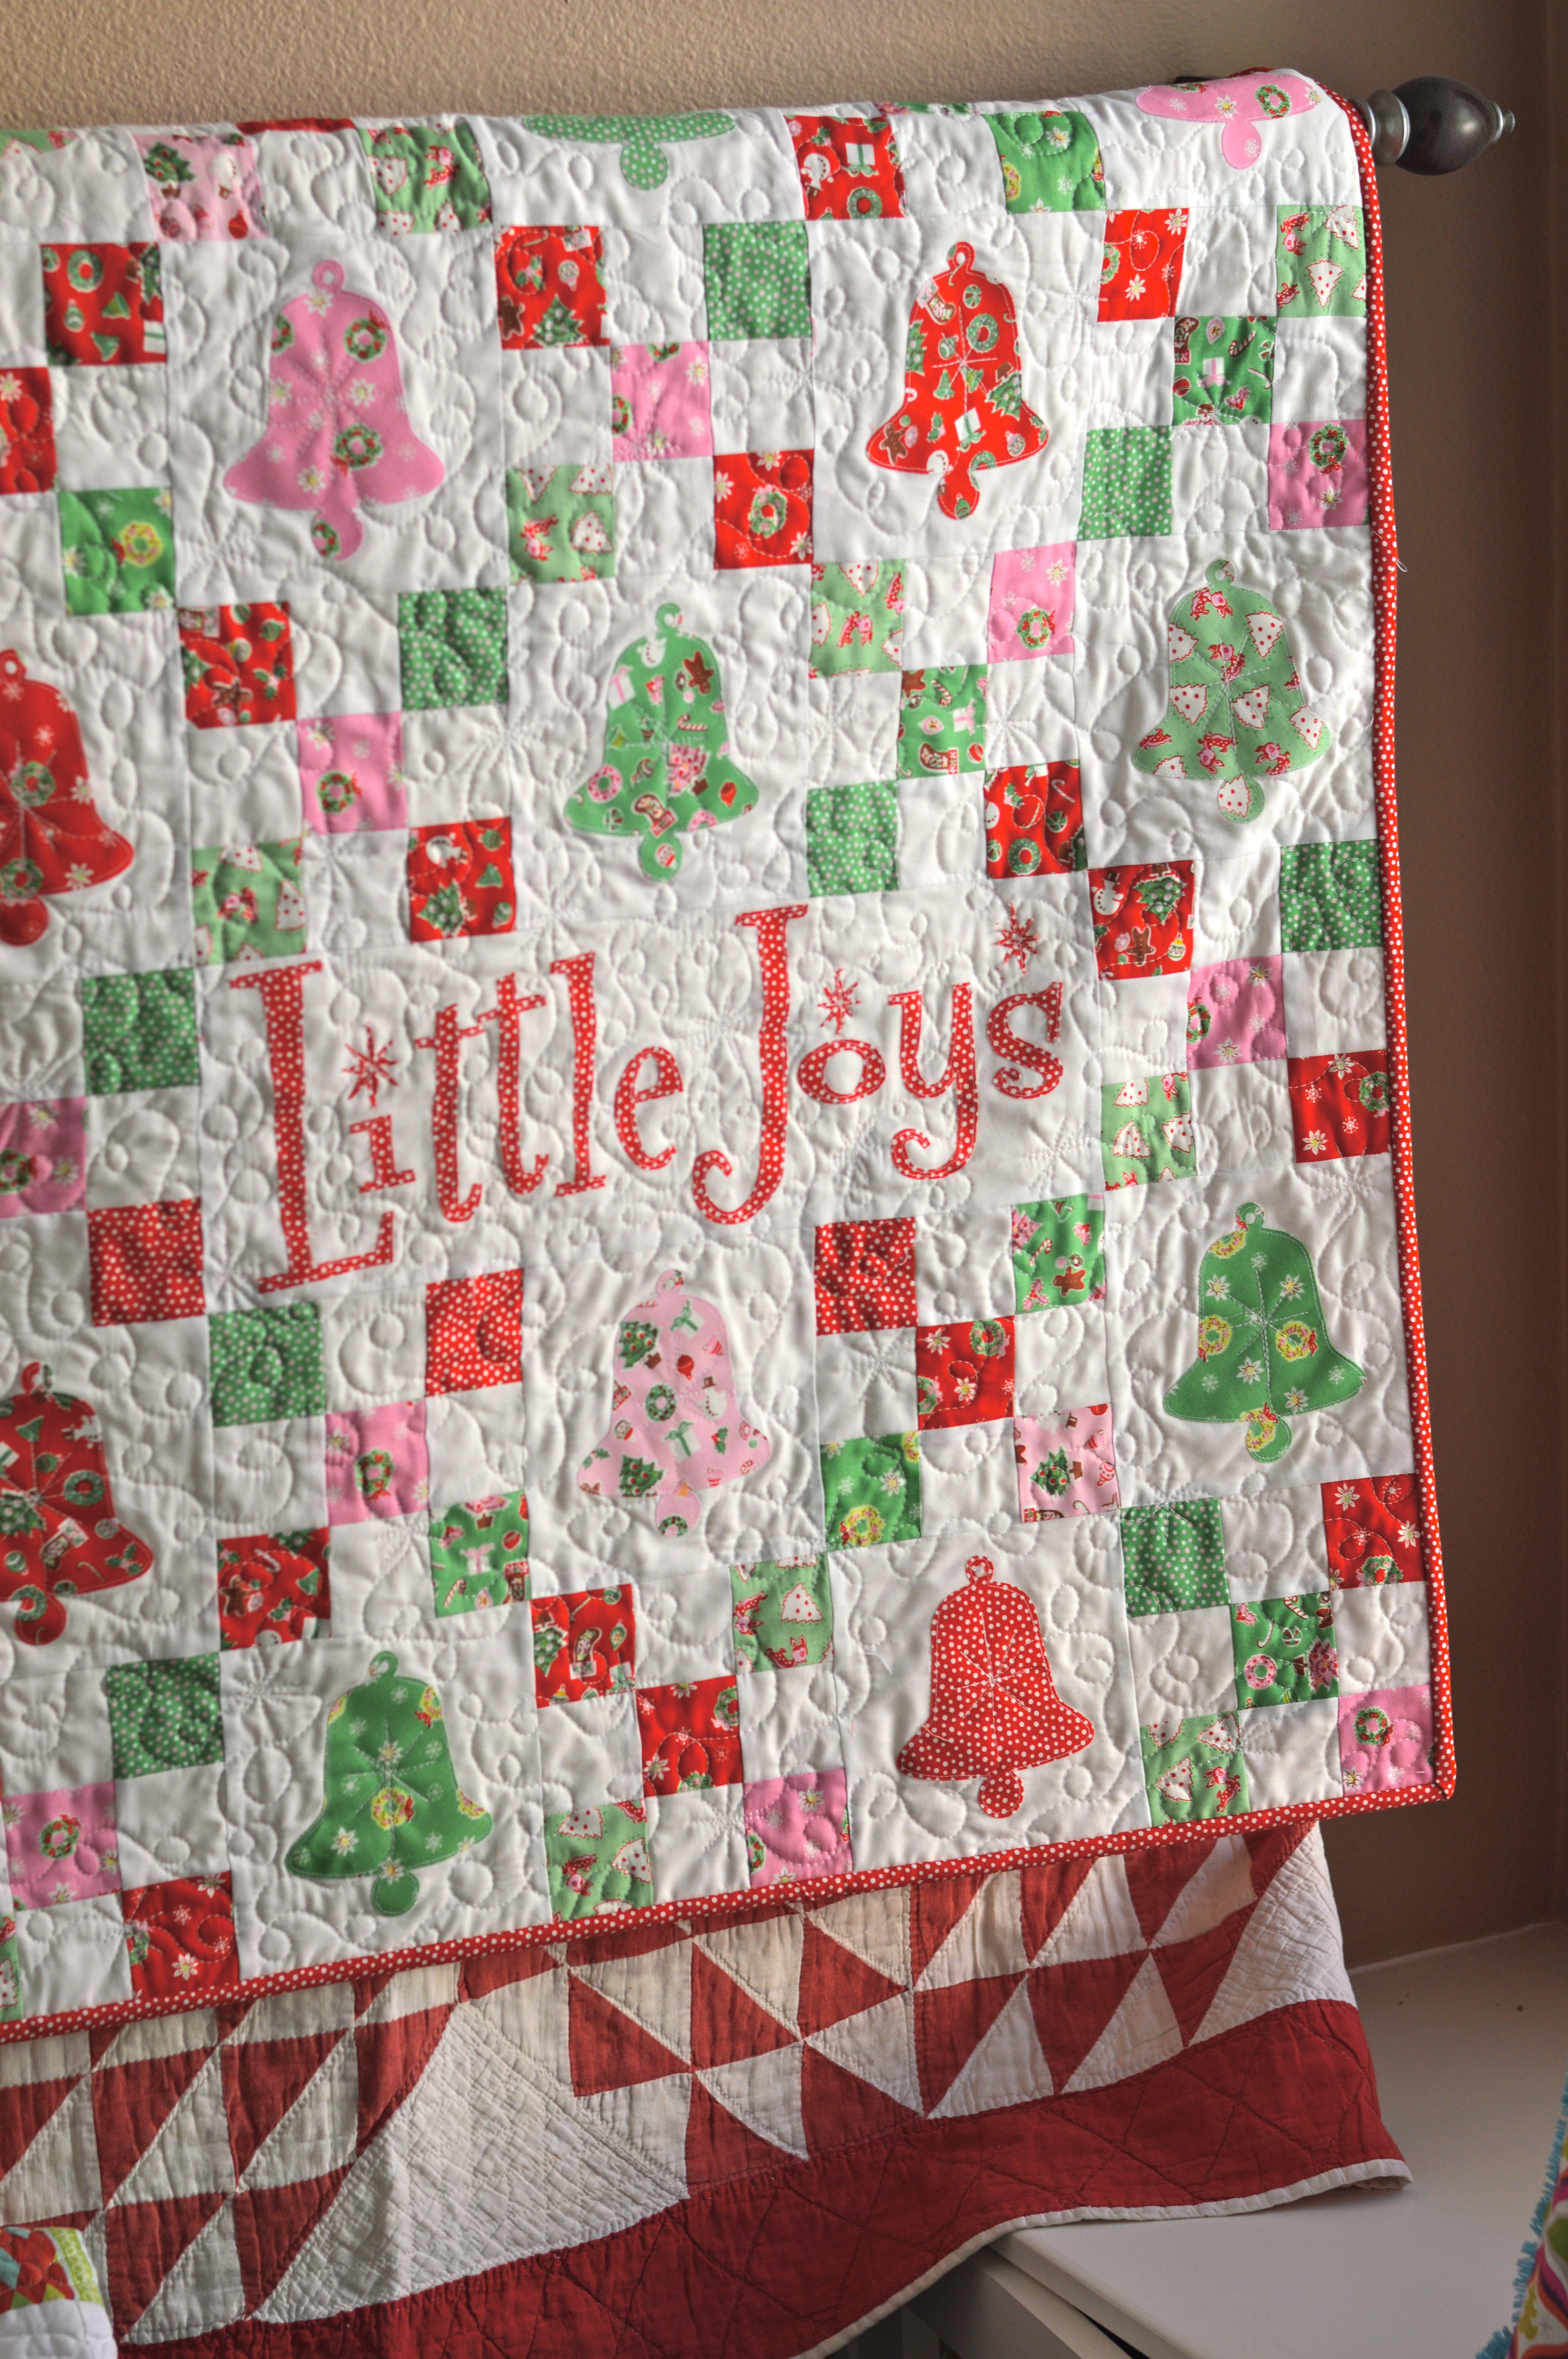


