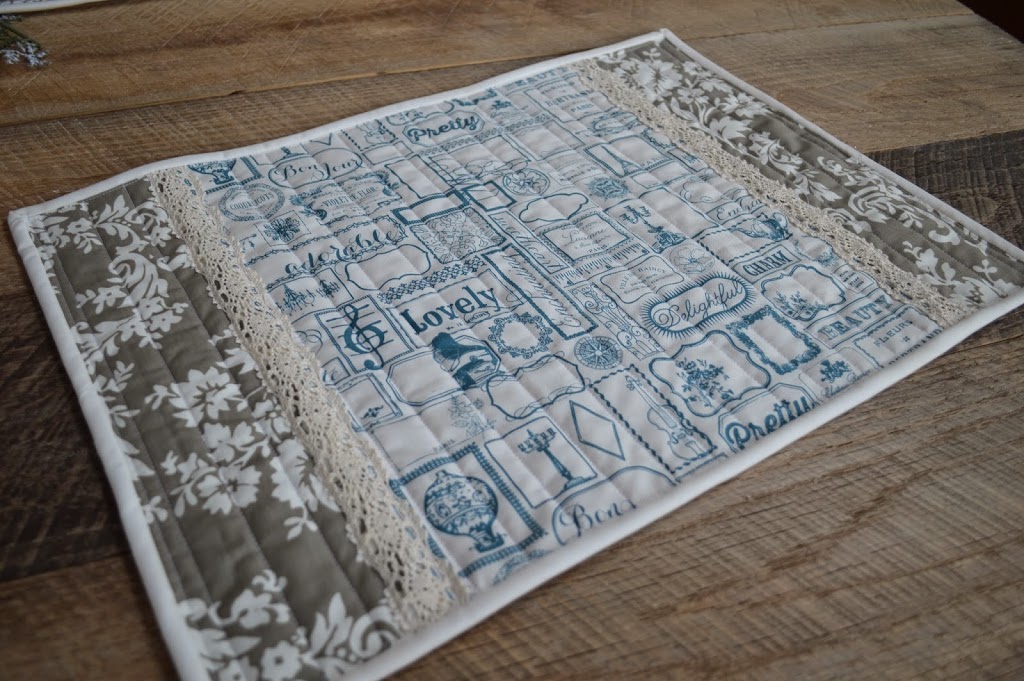
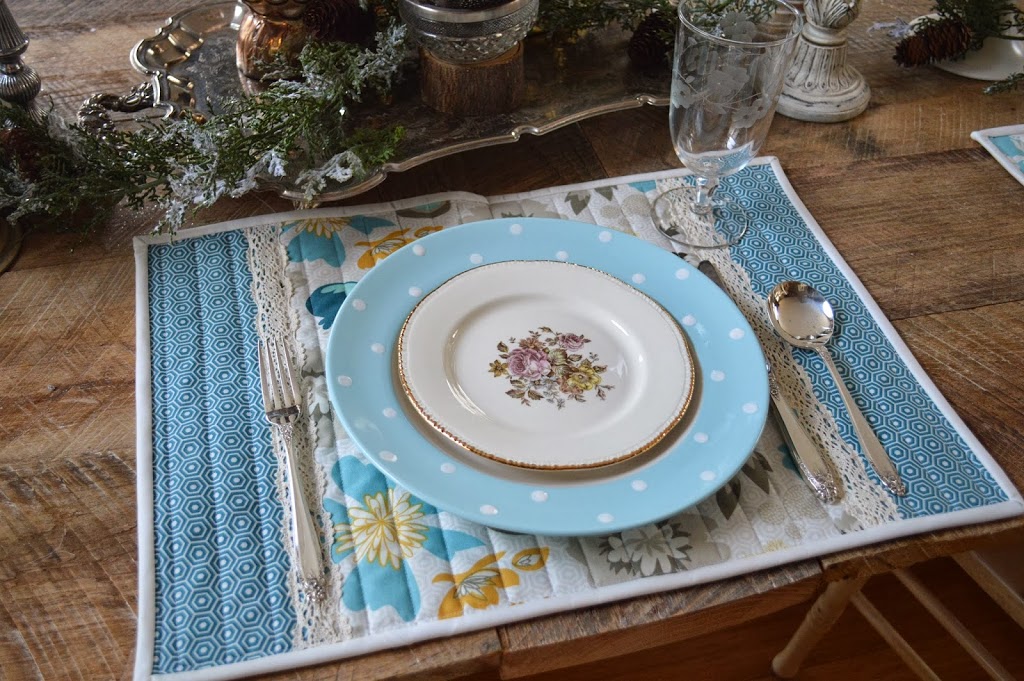
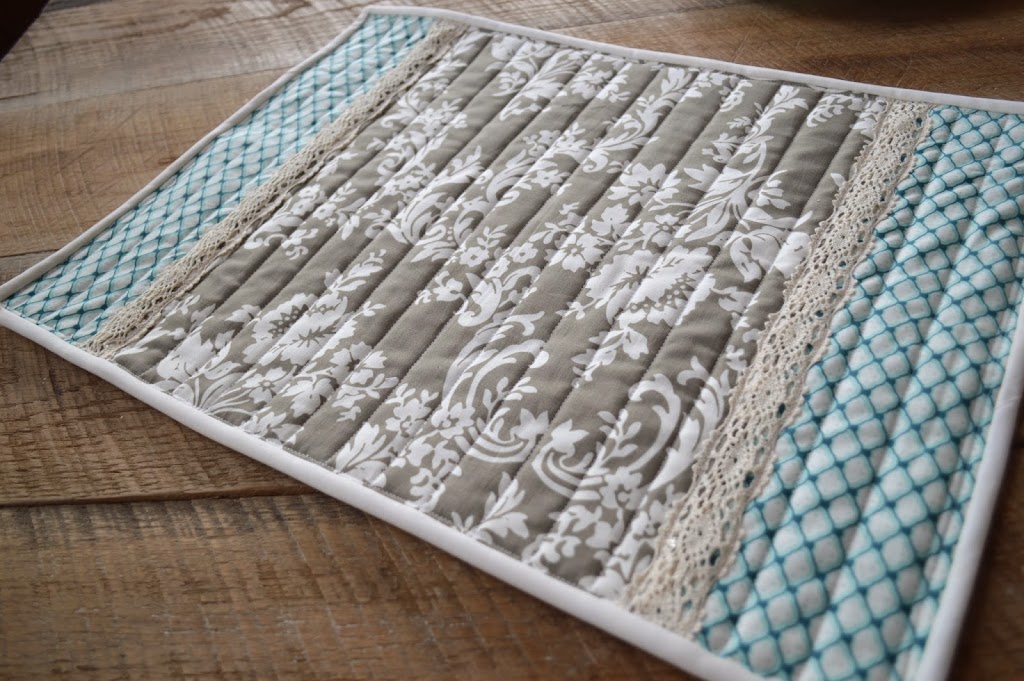
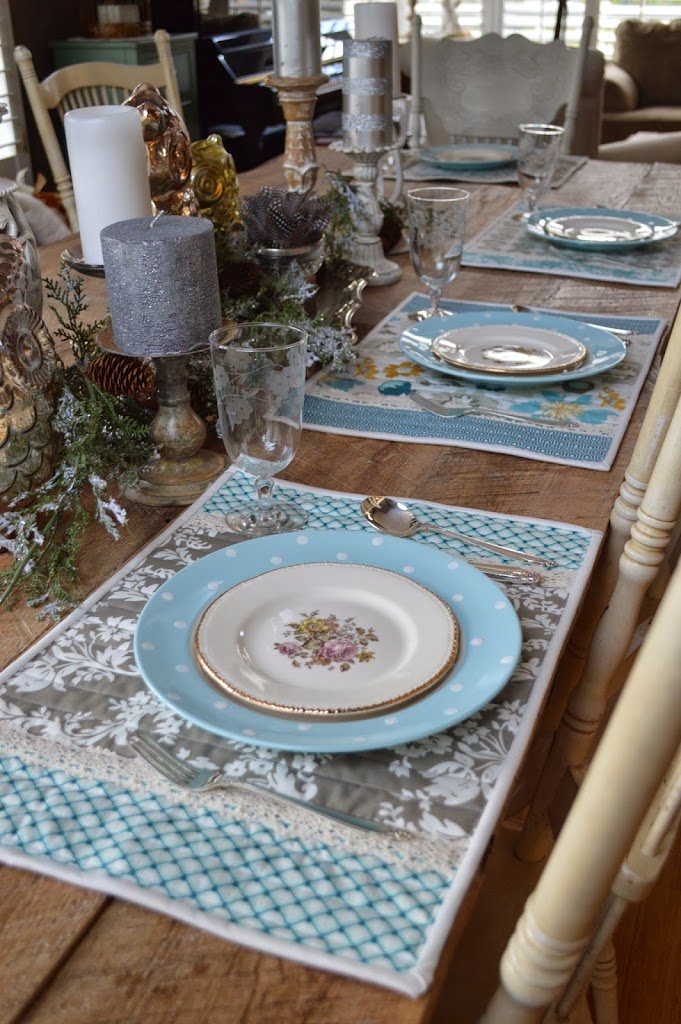
I am so excited to be participating in the Riley Blake Designs Quilted Cotton Blog Hop.


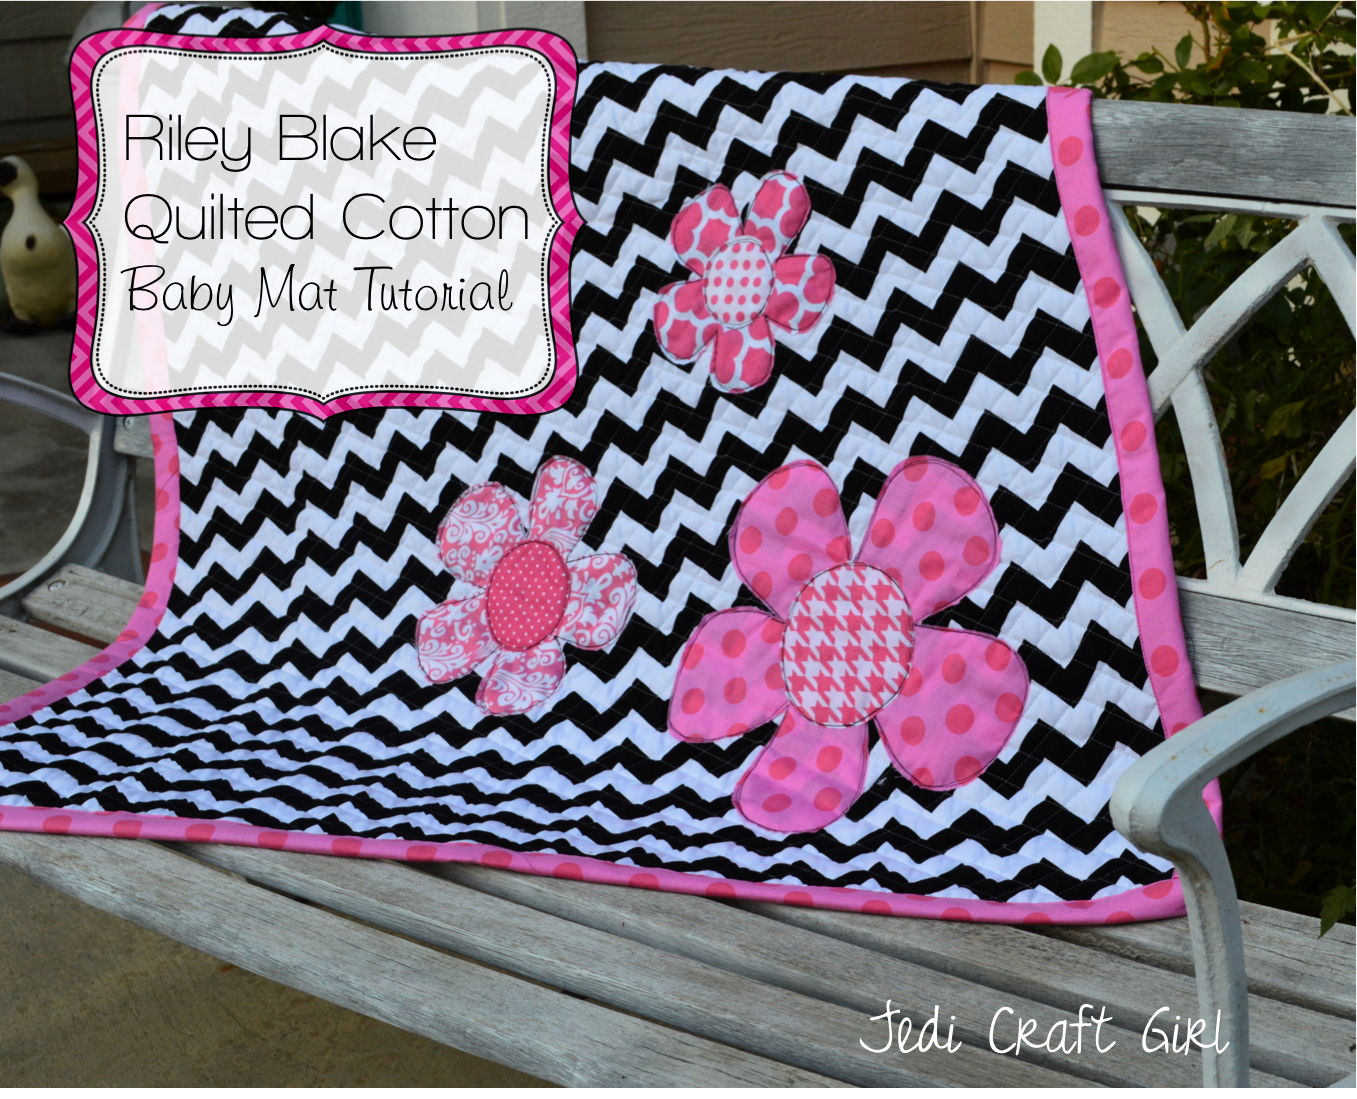
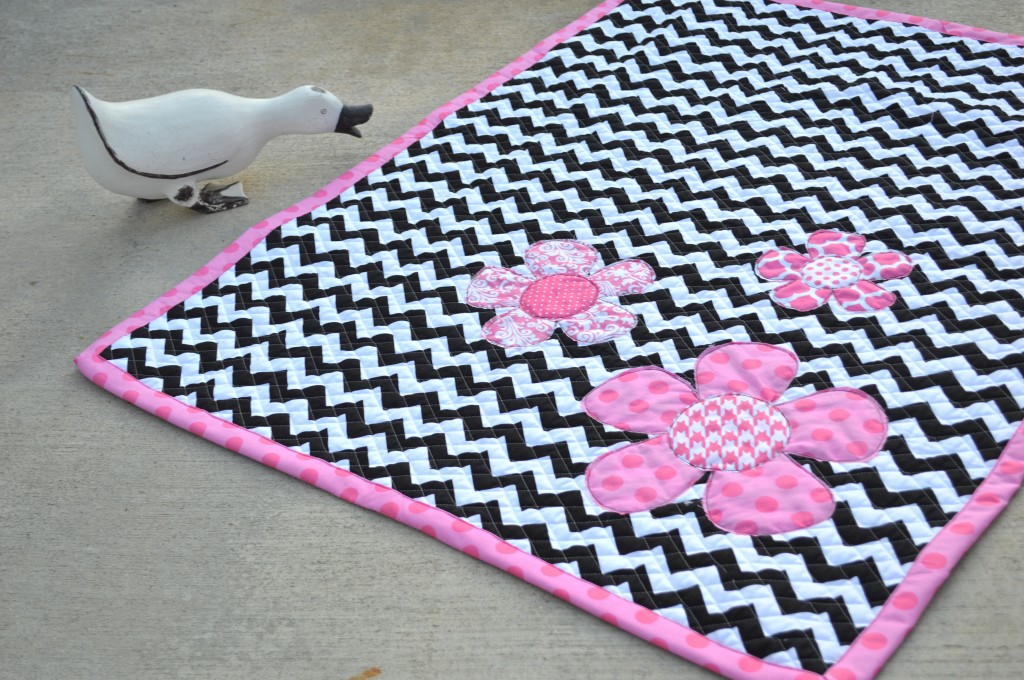
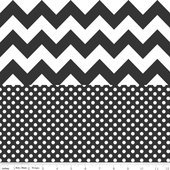
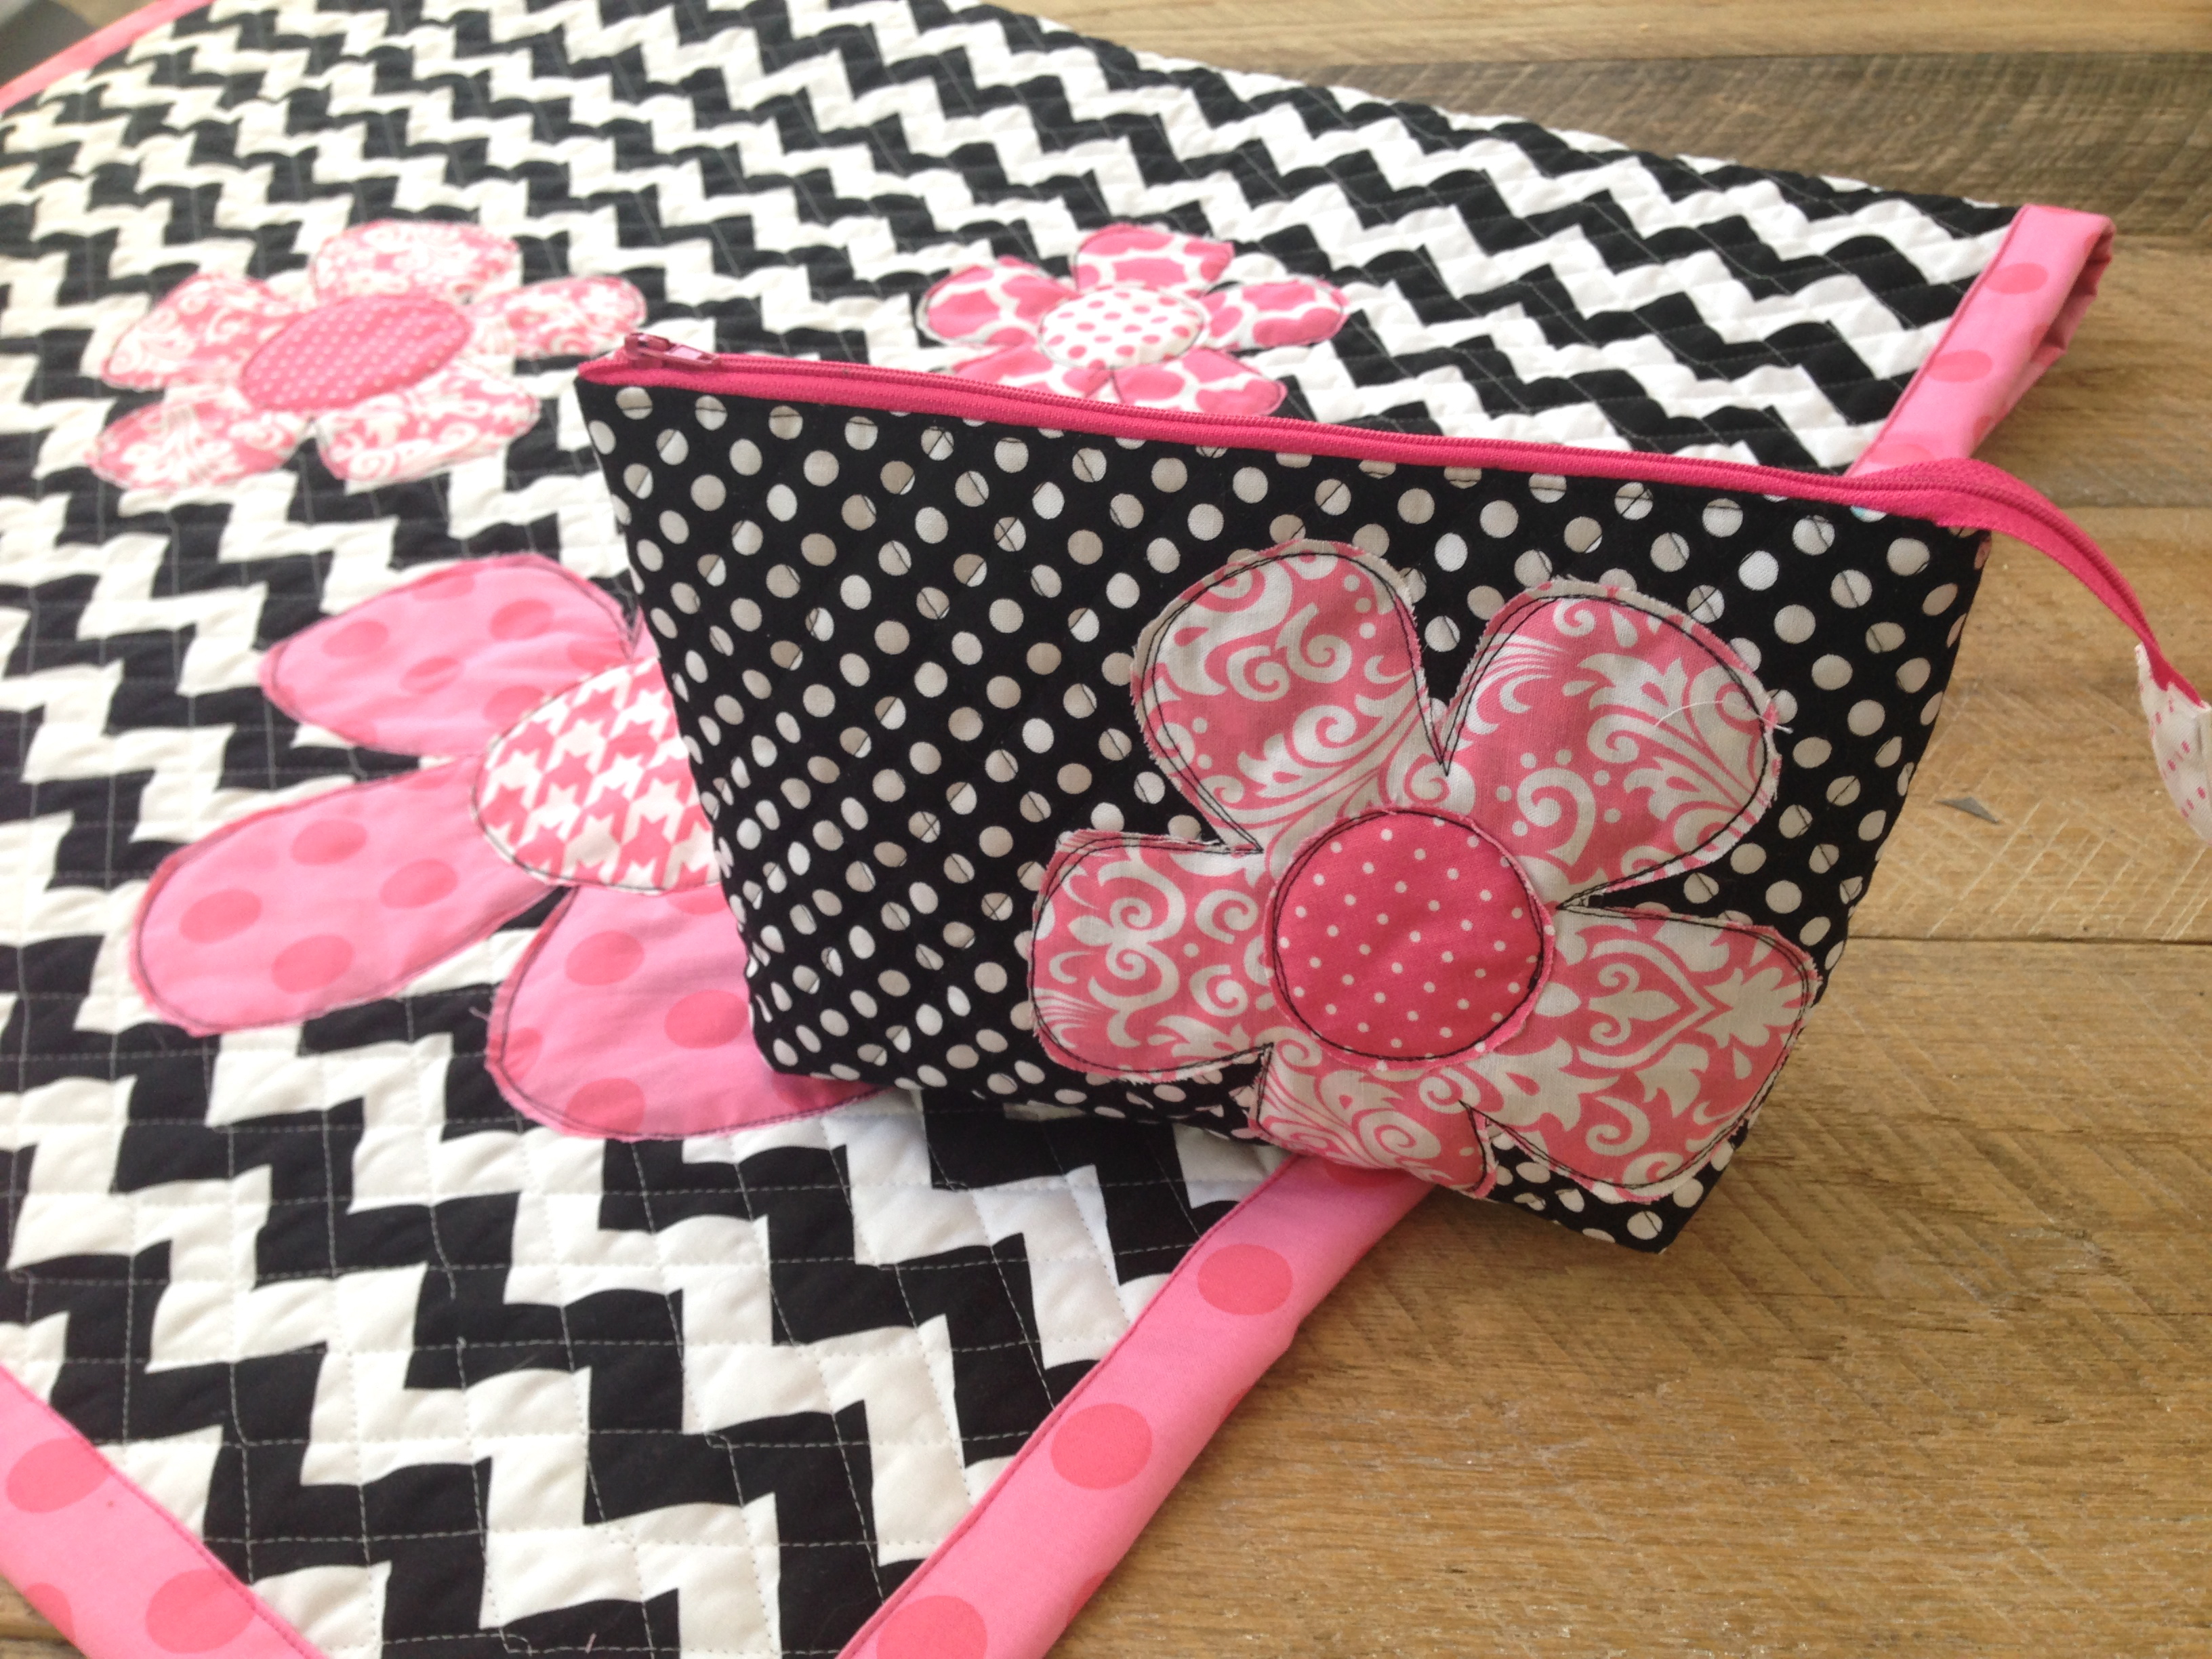
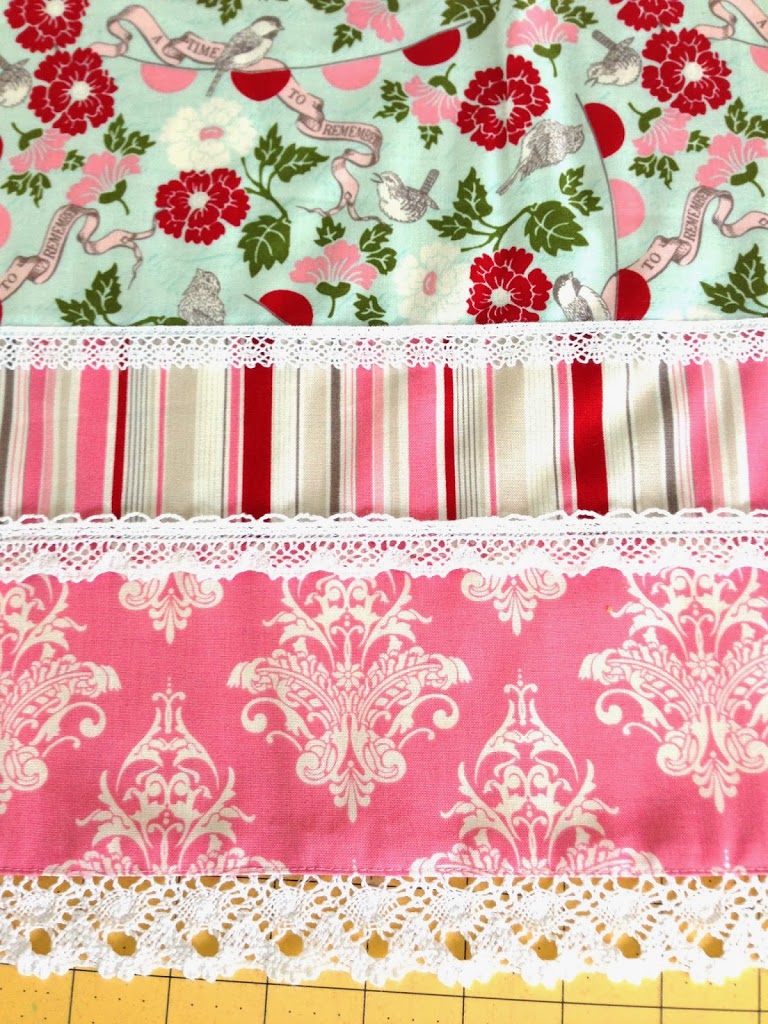
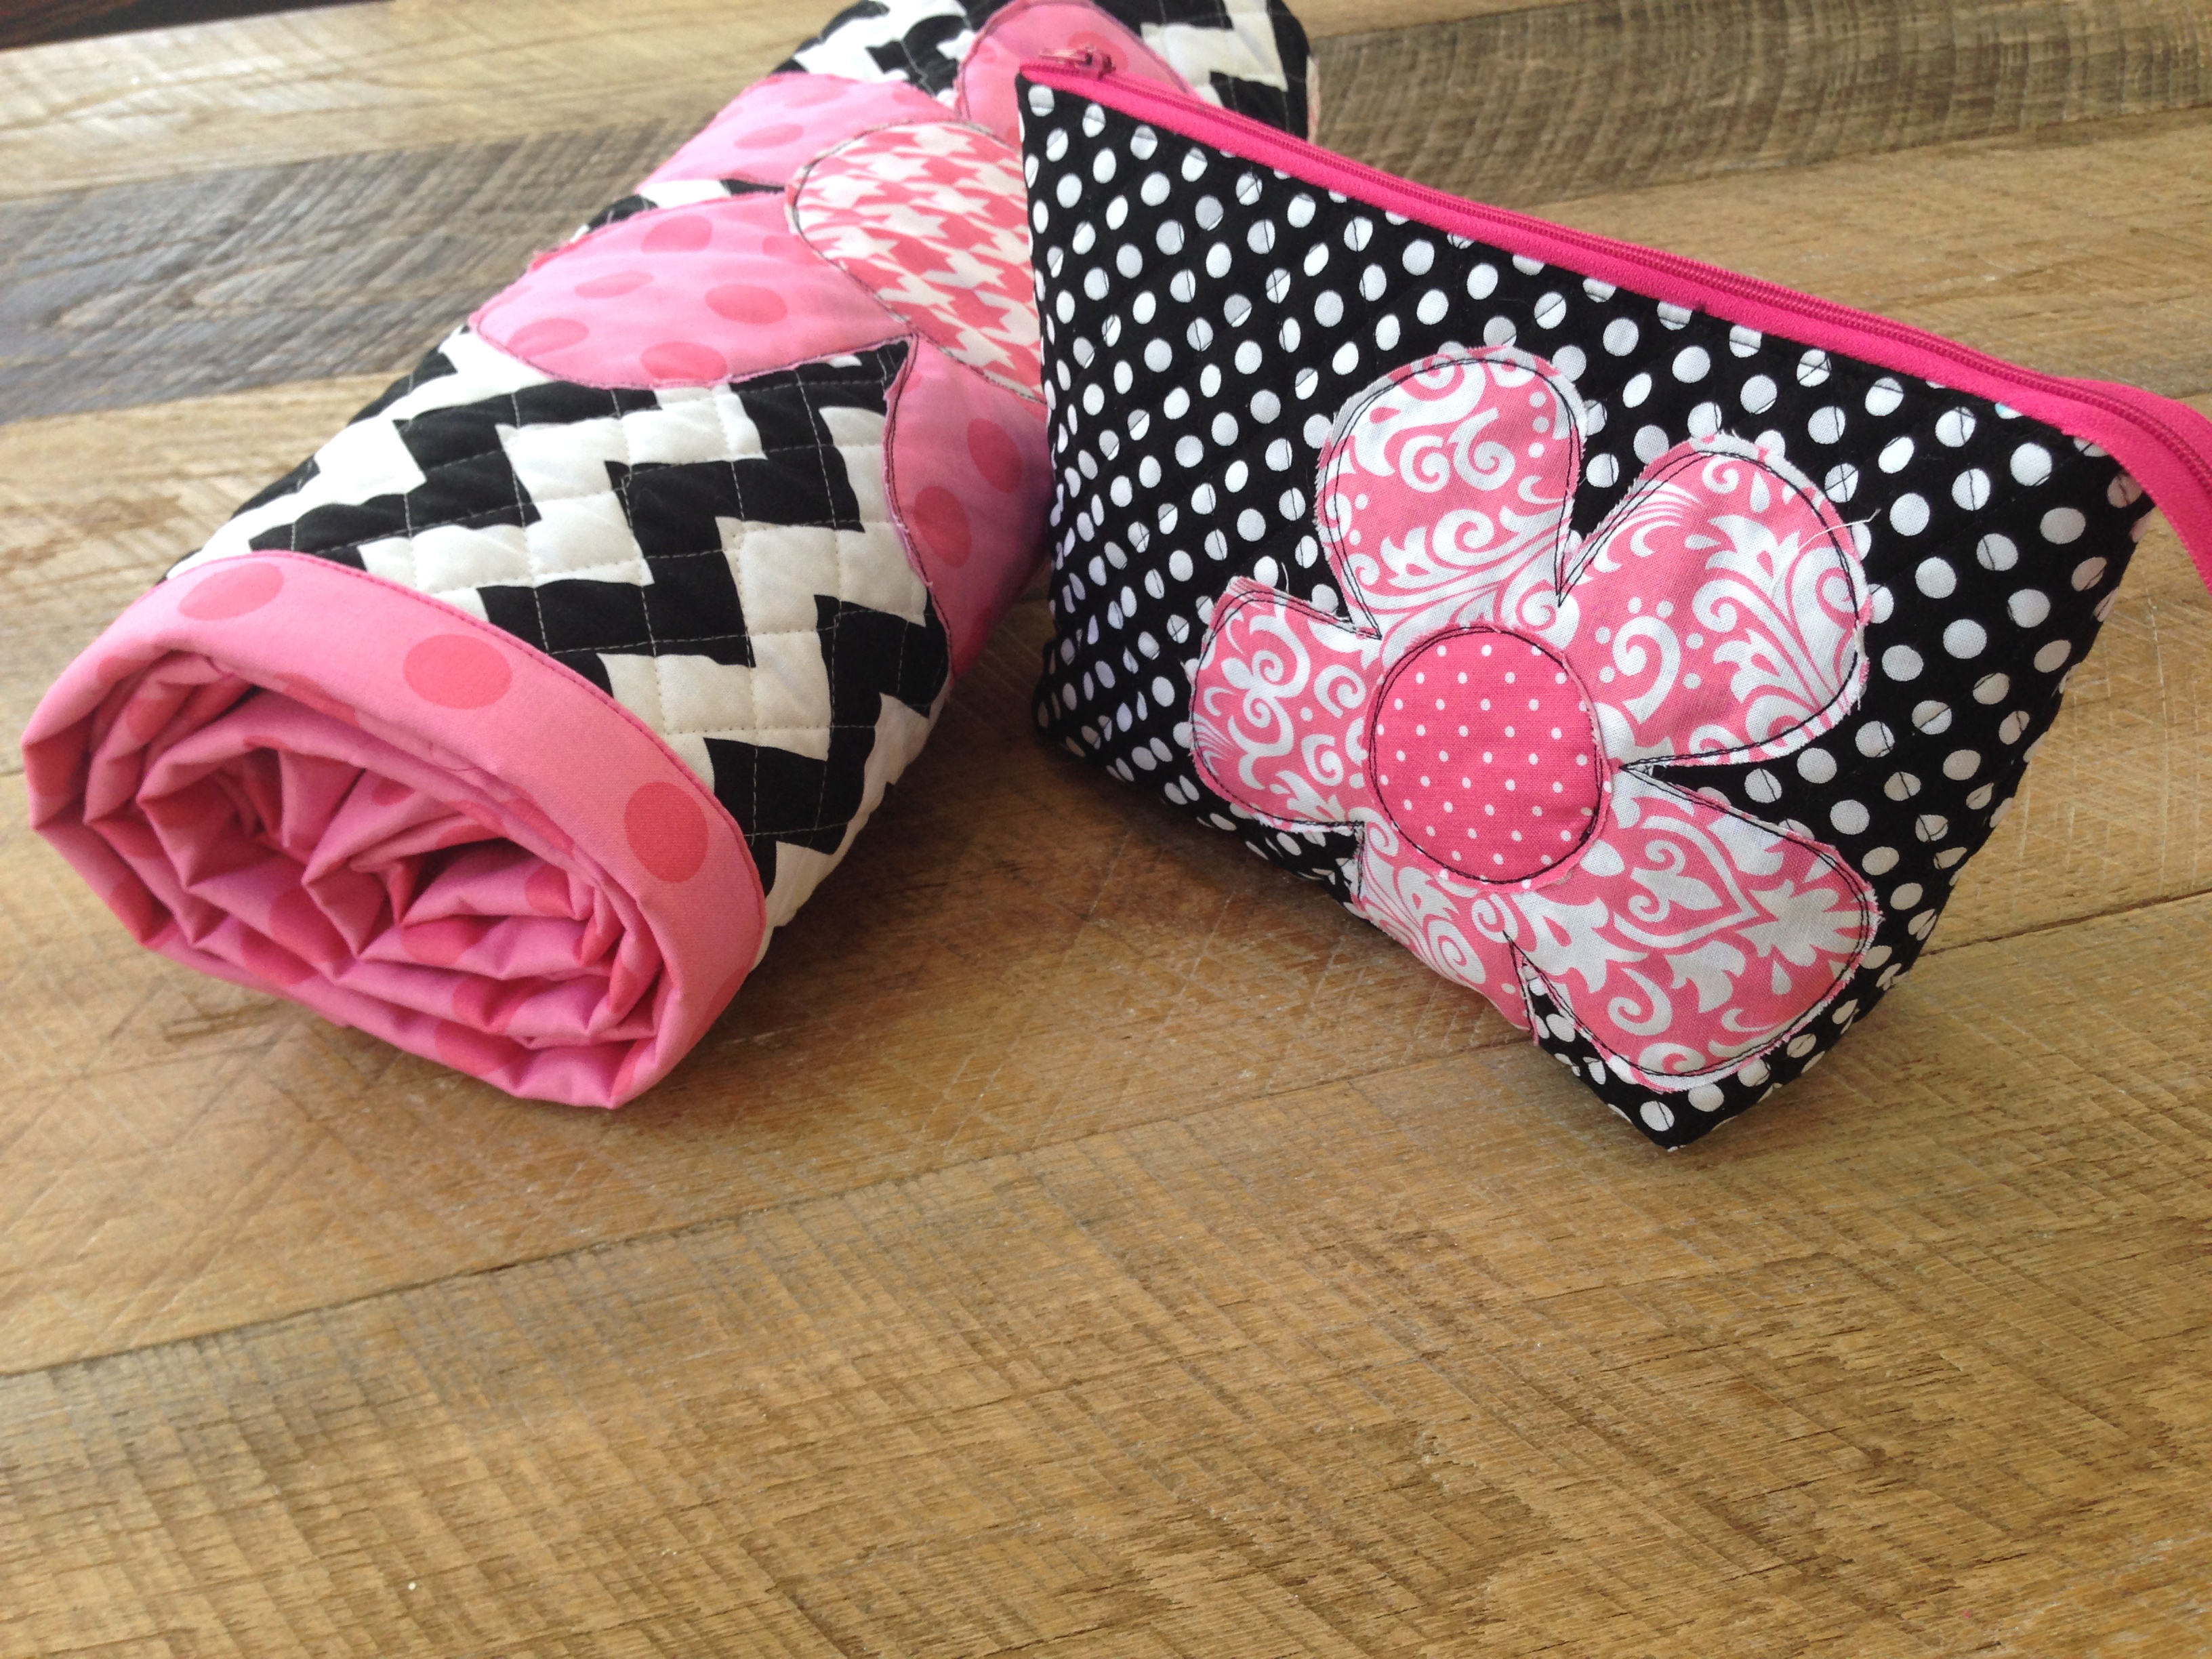
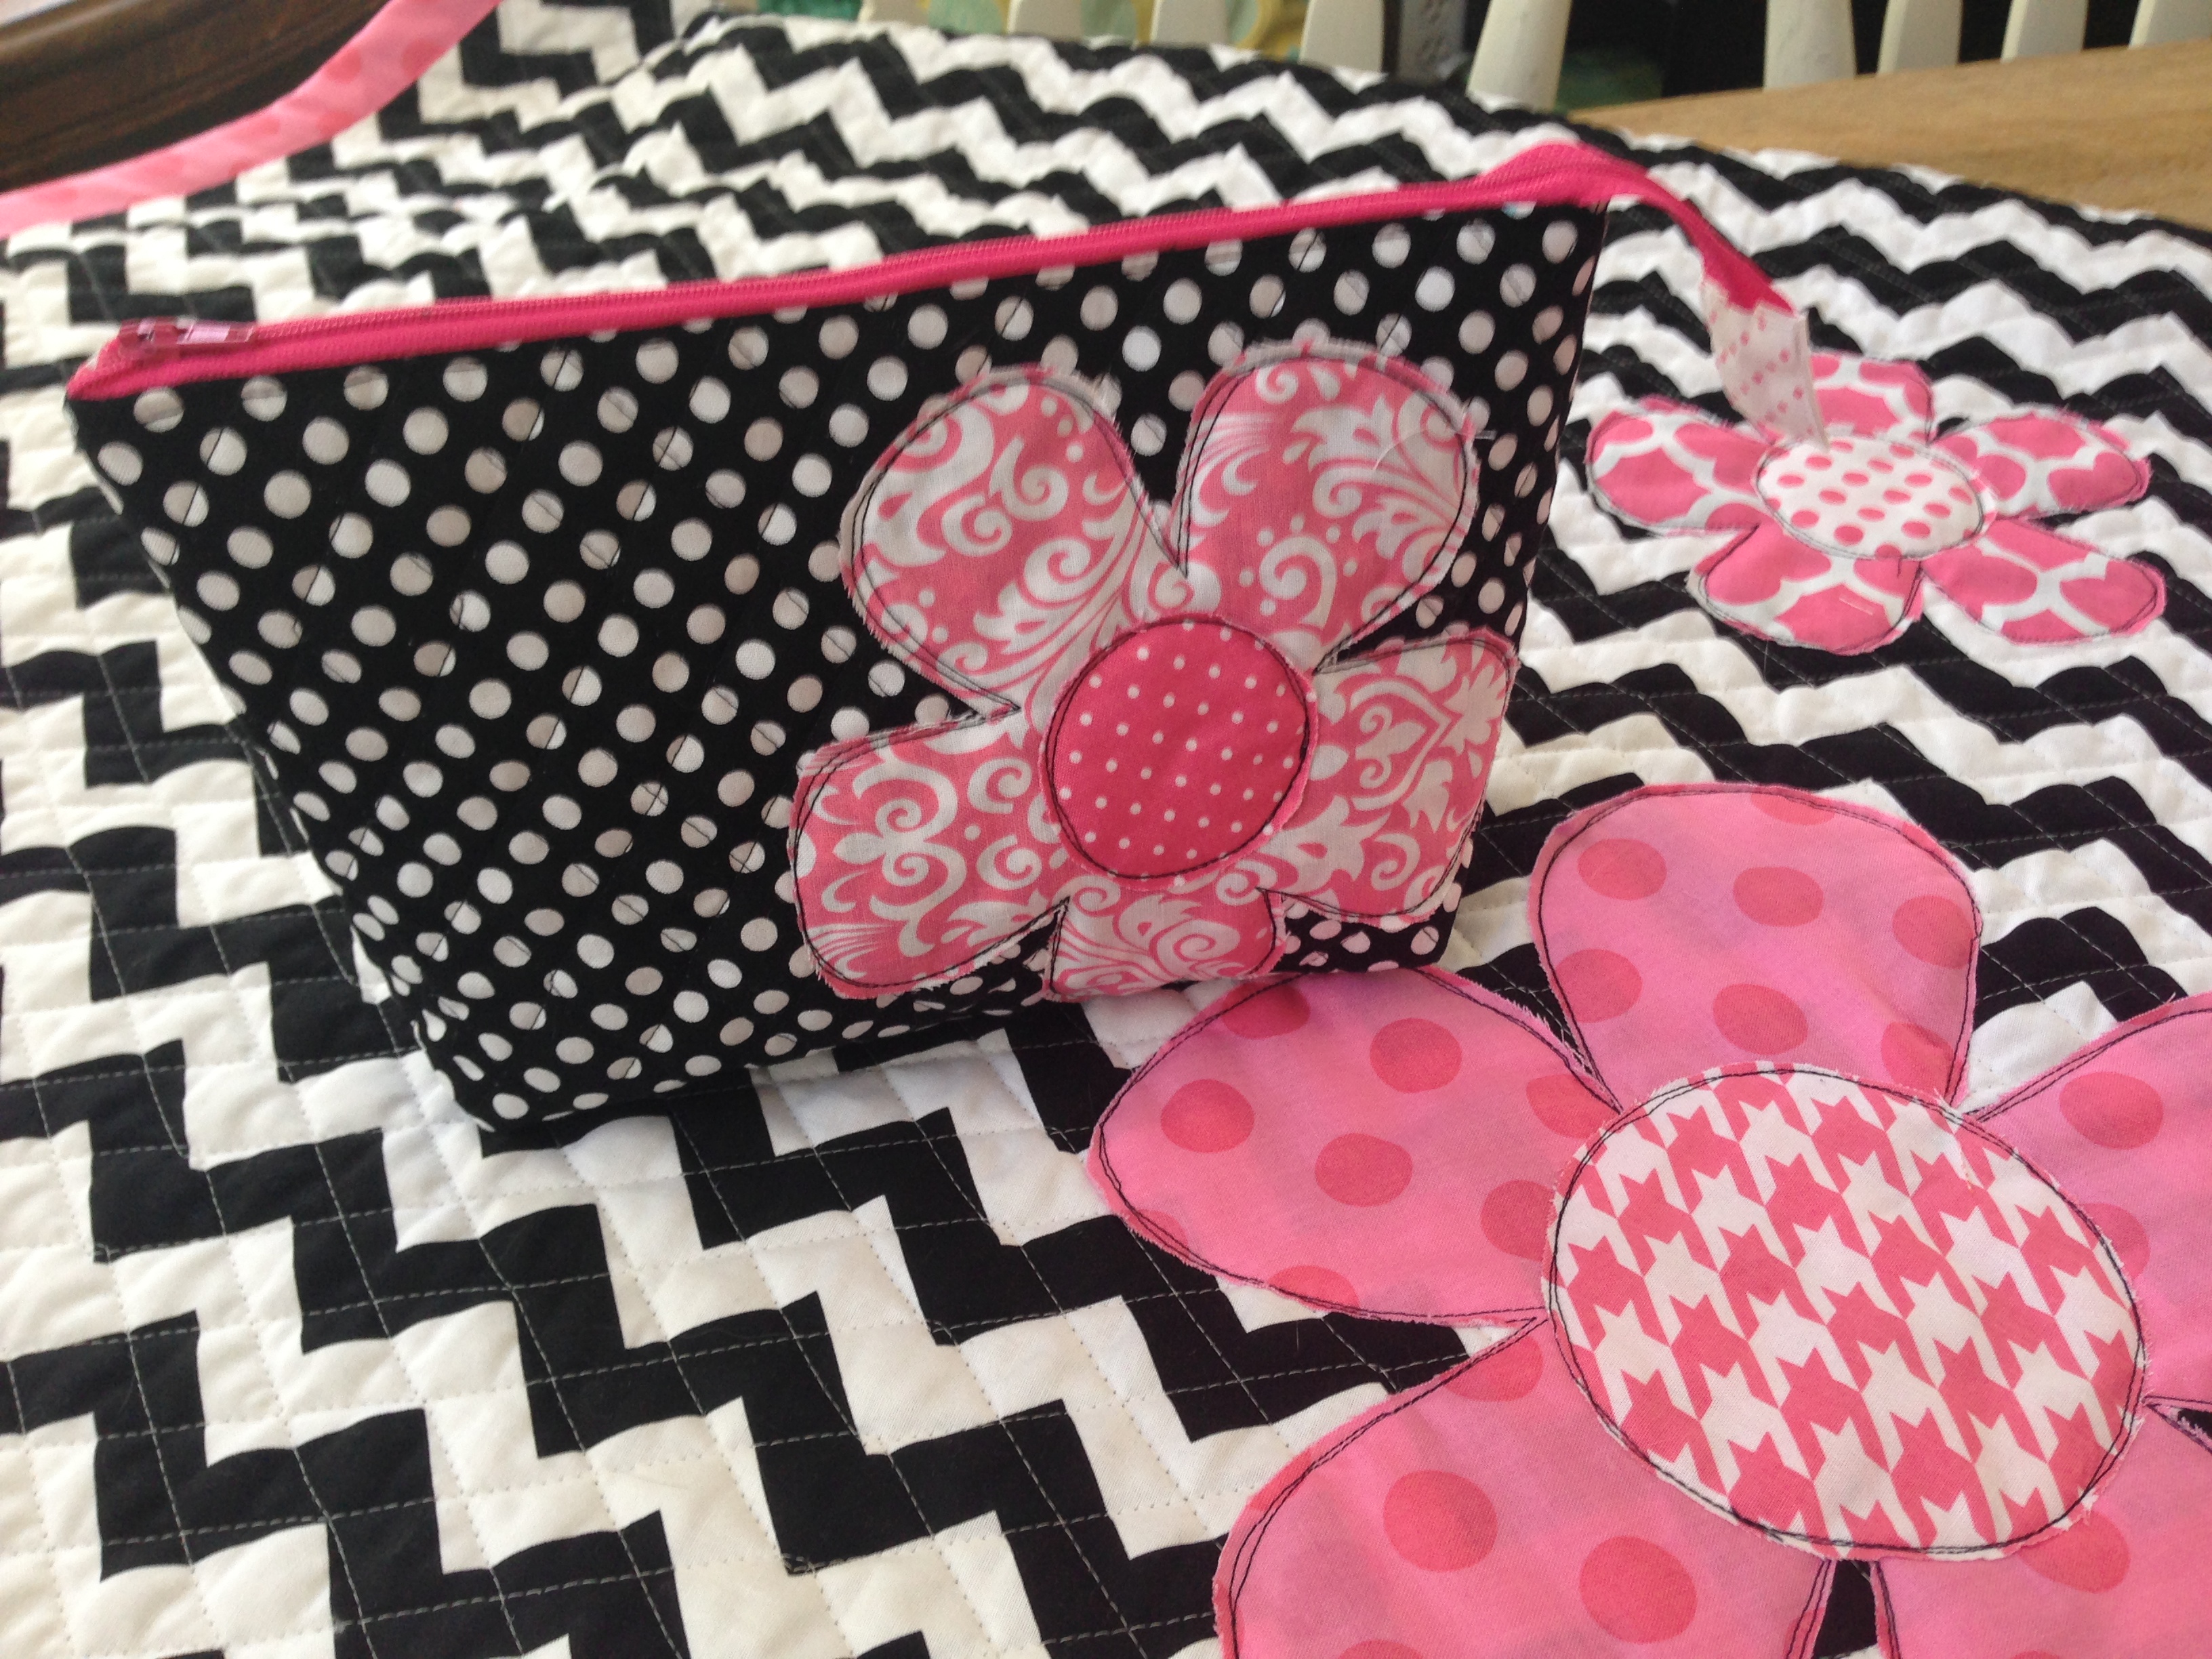
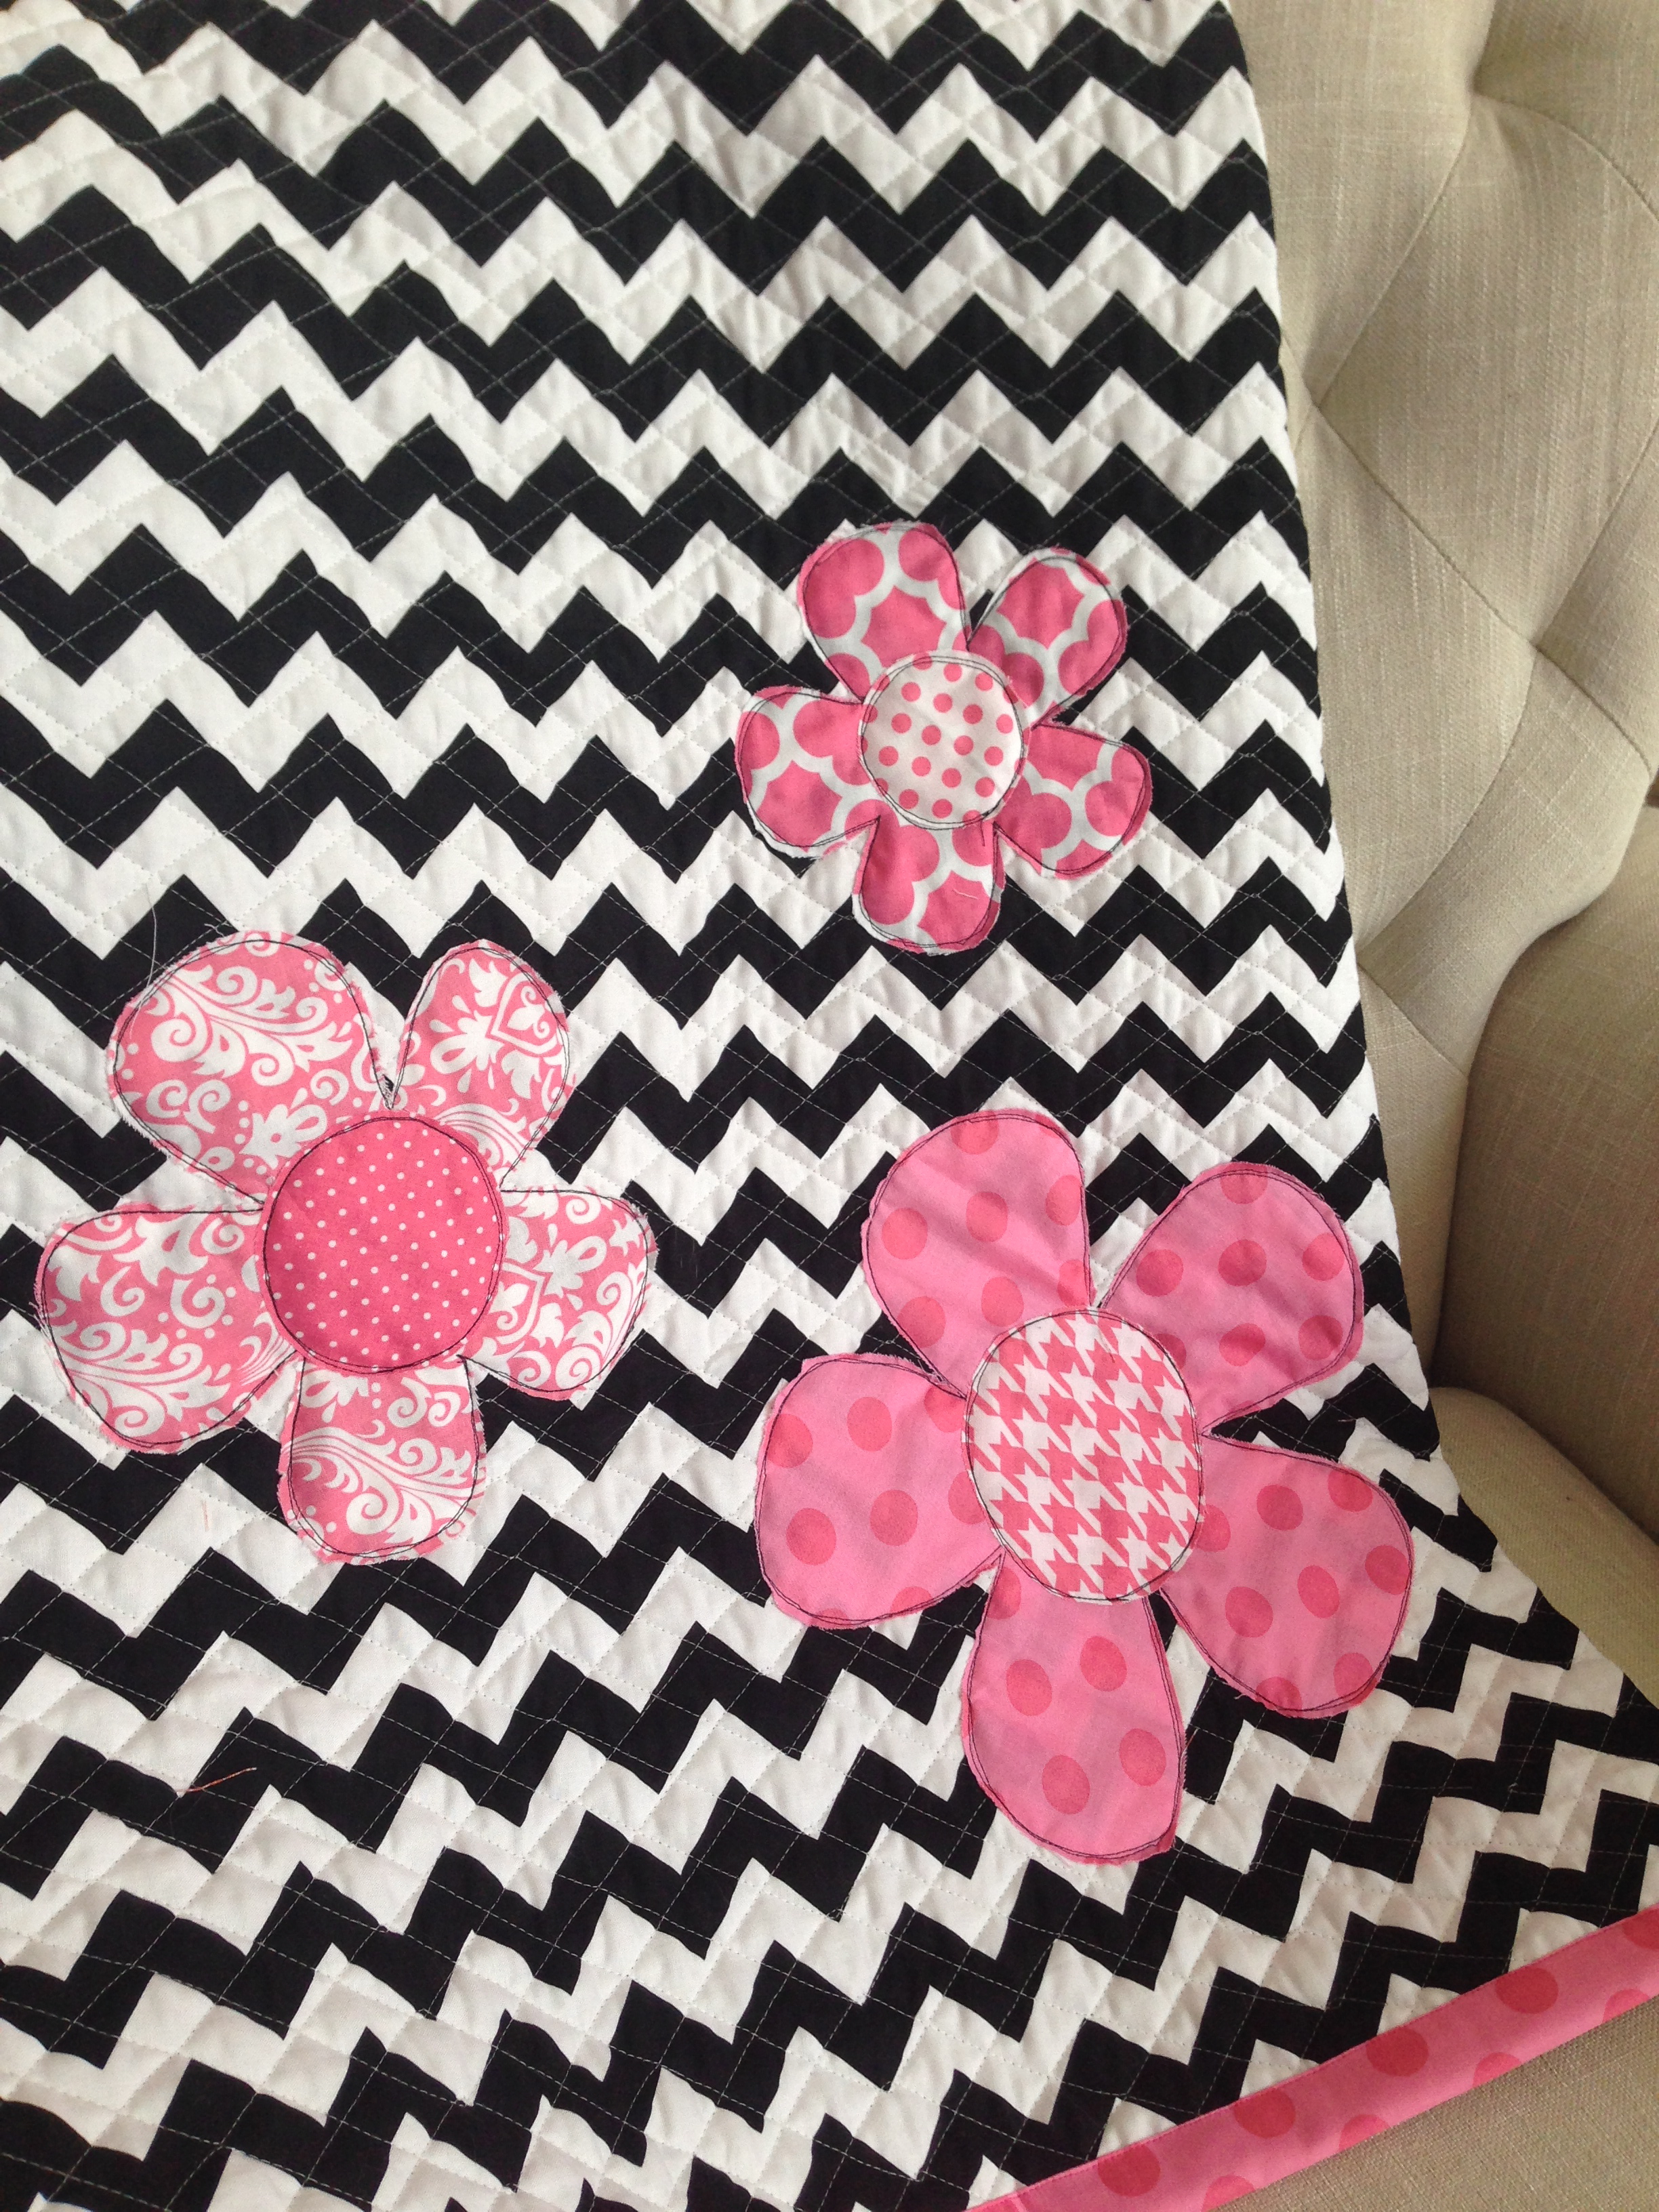
Today is my day for the blog hop so WELCOME and thanks for stopping by! I can’t tell you how in love I am with Riley Blake’s new quilted cottons. They come in a variety of patterns and colors. I choose the black chevron which has polka dots on the reverse side. I love giving hand made baby gifts but sometimes it gets a little challenging to create a new quilt from scratch for every baby gift; as much as my heart wants to. The quilted cottons are perfect for sewing for baby: I appliquéd some flowers, added extra wide binding and it’s an adorable play mat or changing mat or quilt for baby.
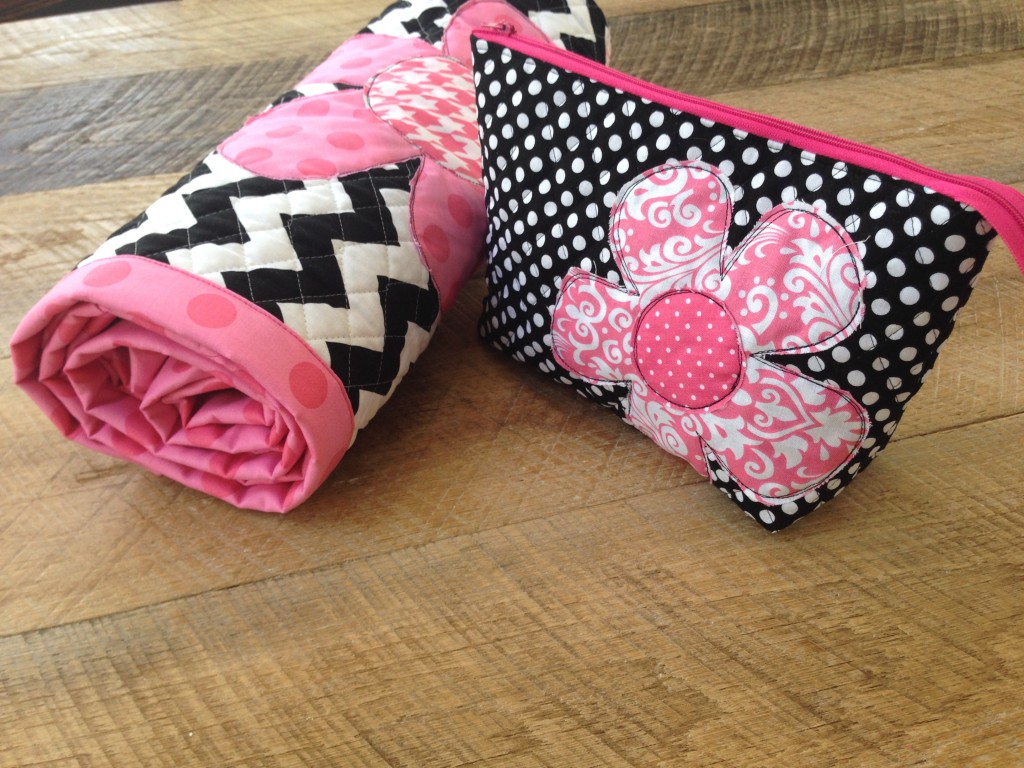
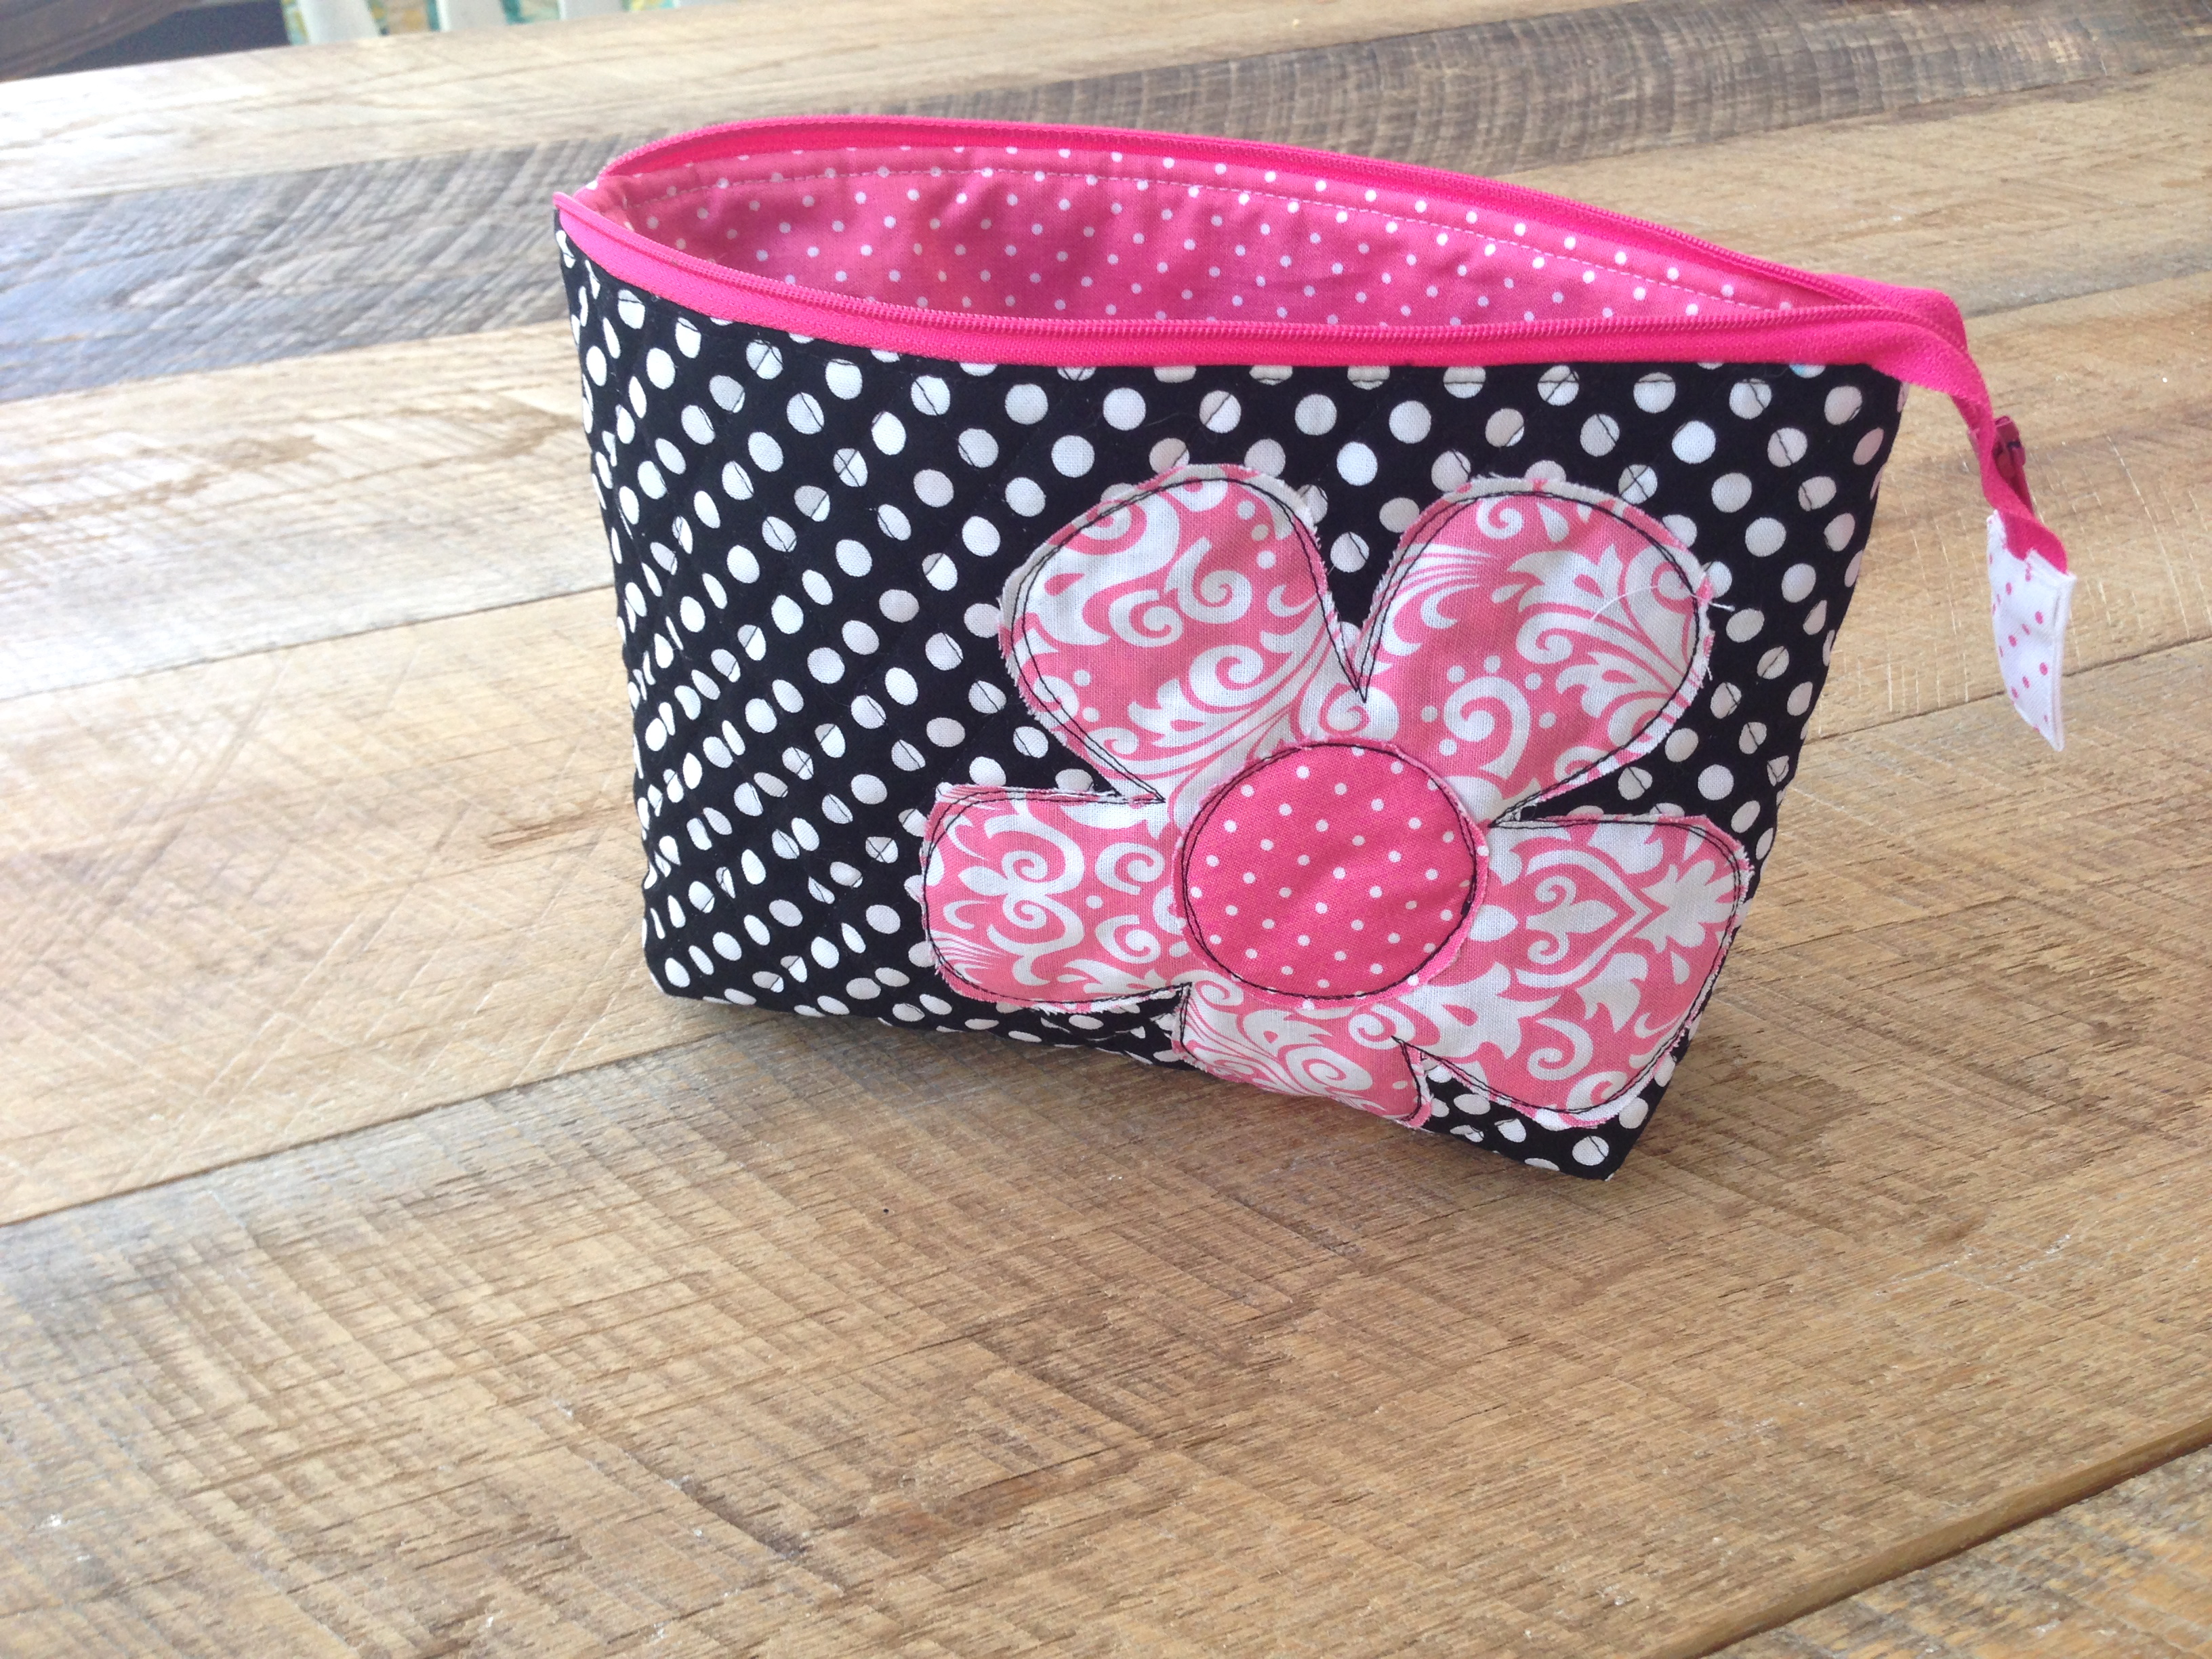
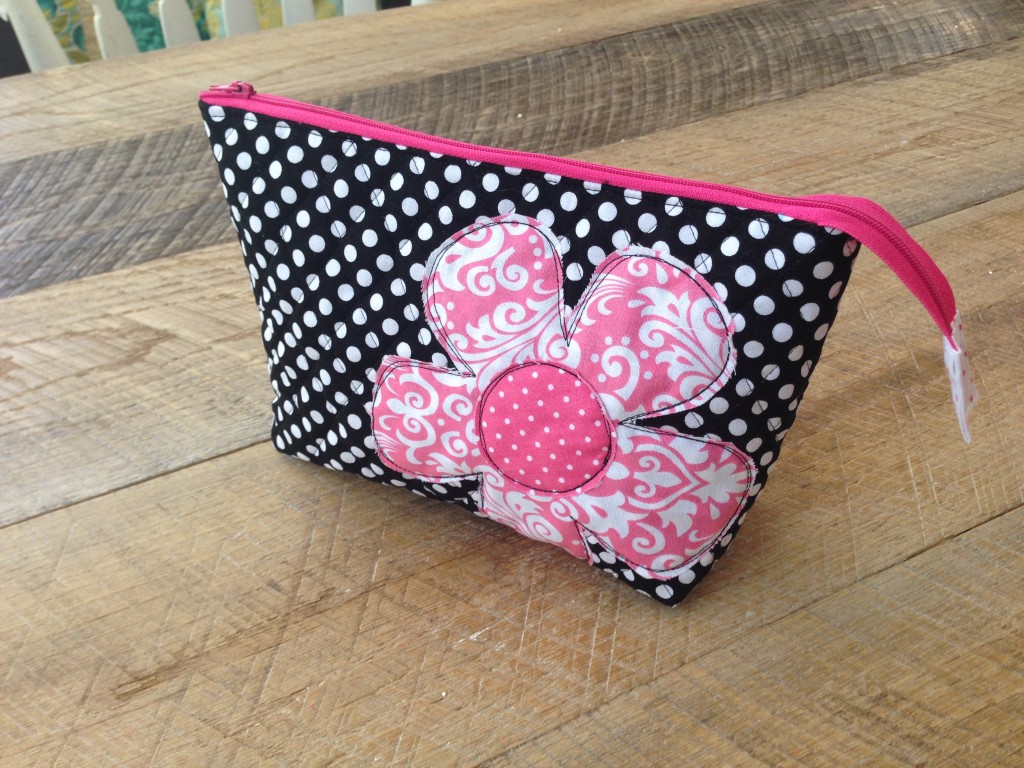
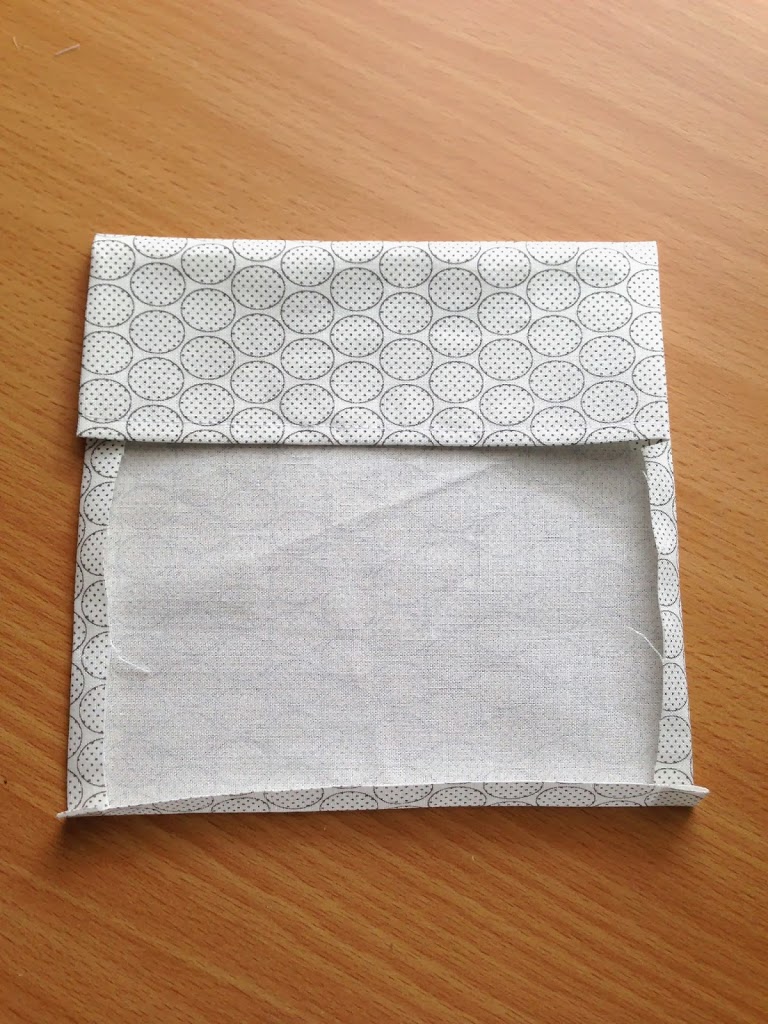
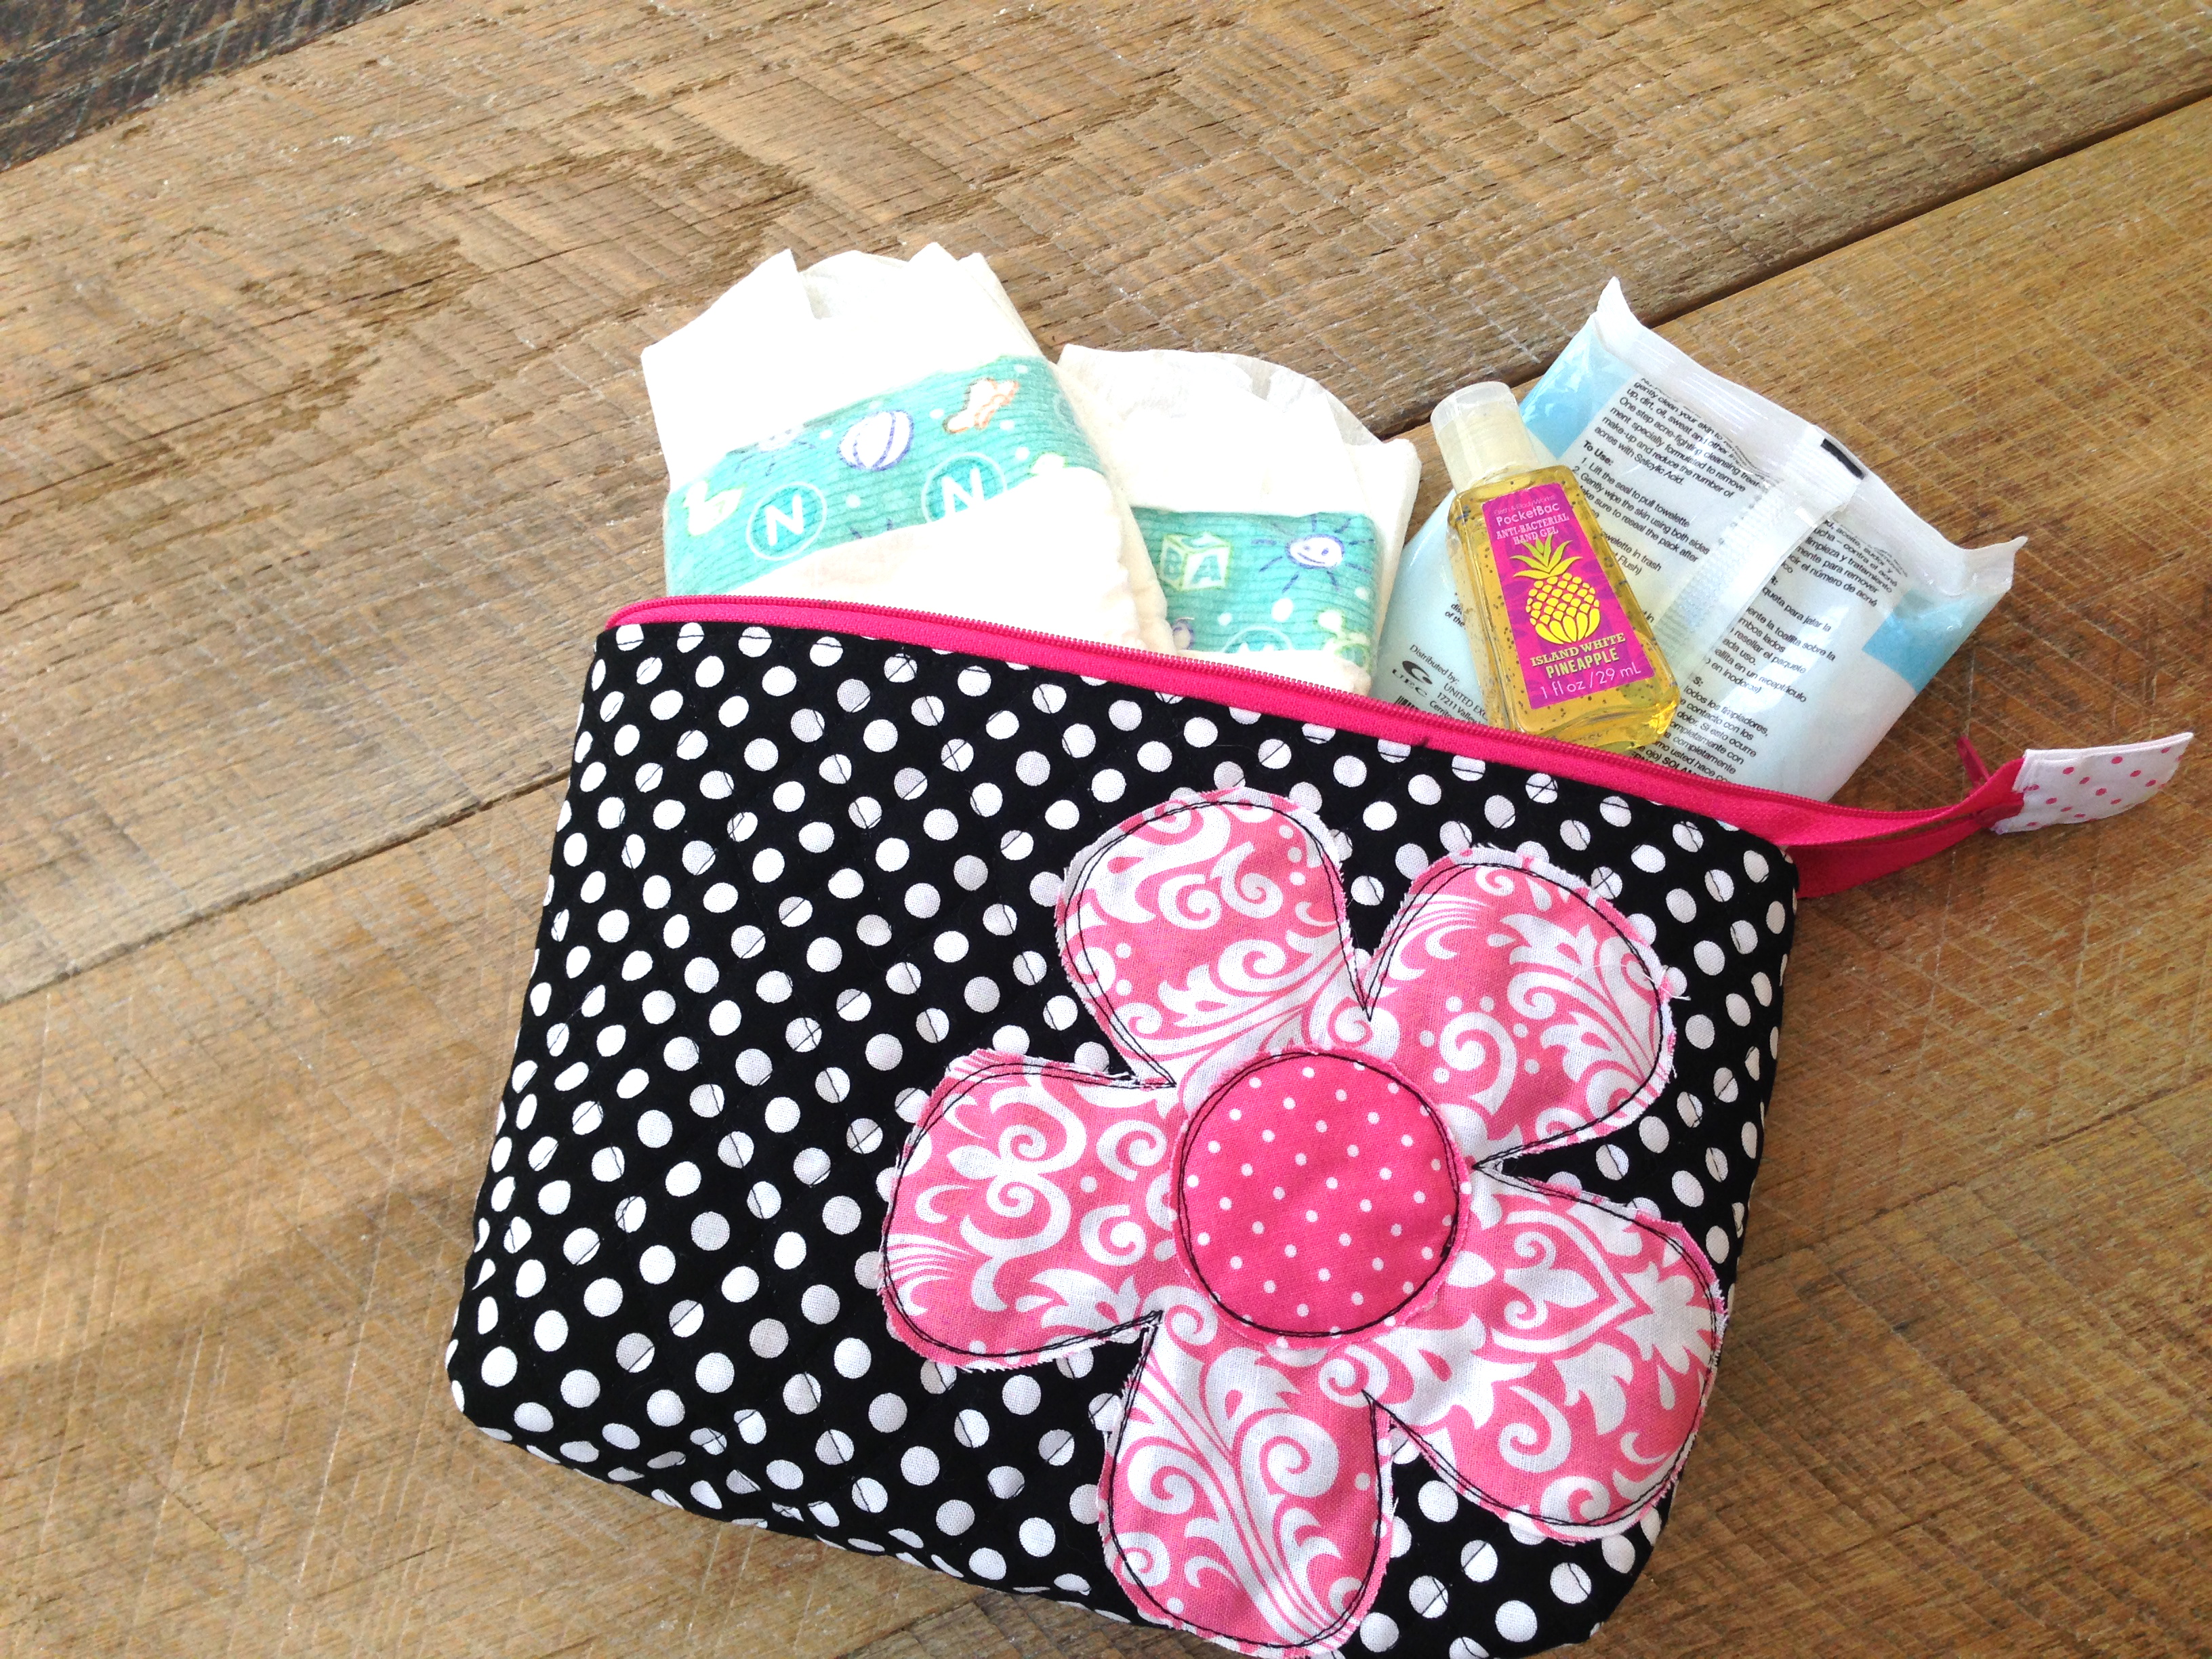
I also used what was left of the quilted cotton to make a diaper change zipper pouch. It holds all the essentials: diapers, wipes, sanitizer, etc. Continue reading for the instructions….

Supplies:
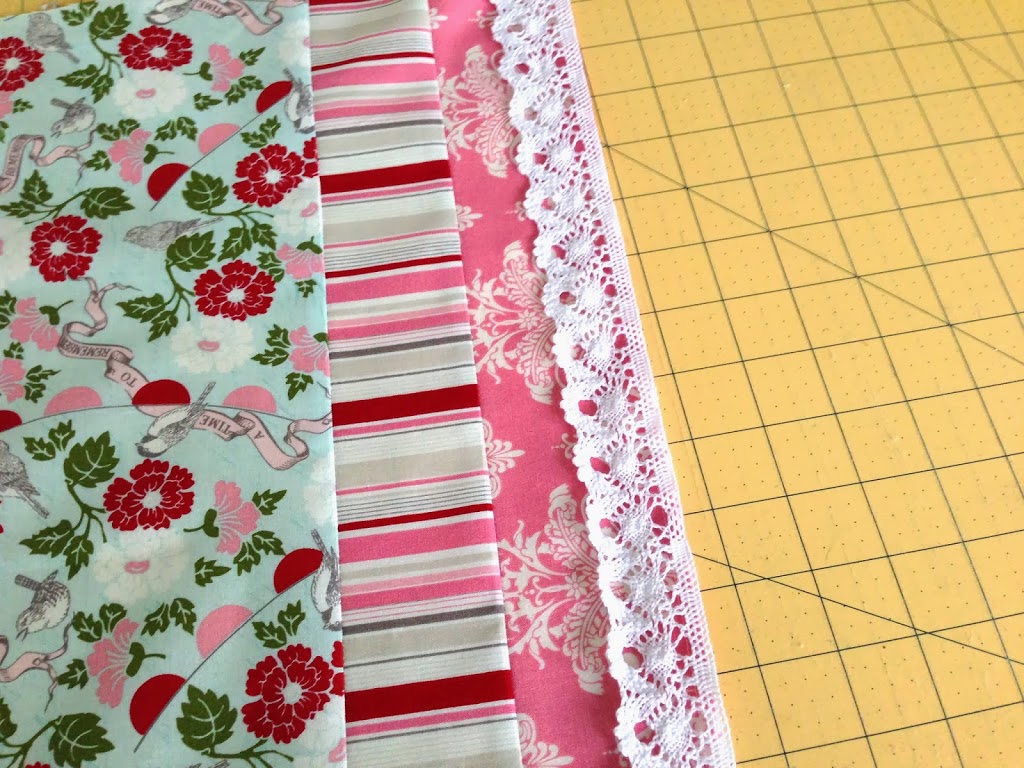
1 yard Riley Blake Quilted Cotton
6 fat quarters flower appliqué fabric
3/4 yard fabric for wide binding
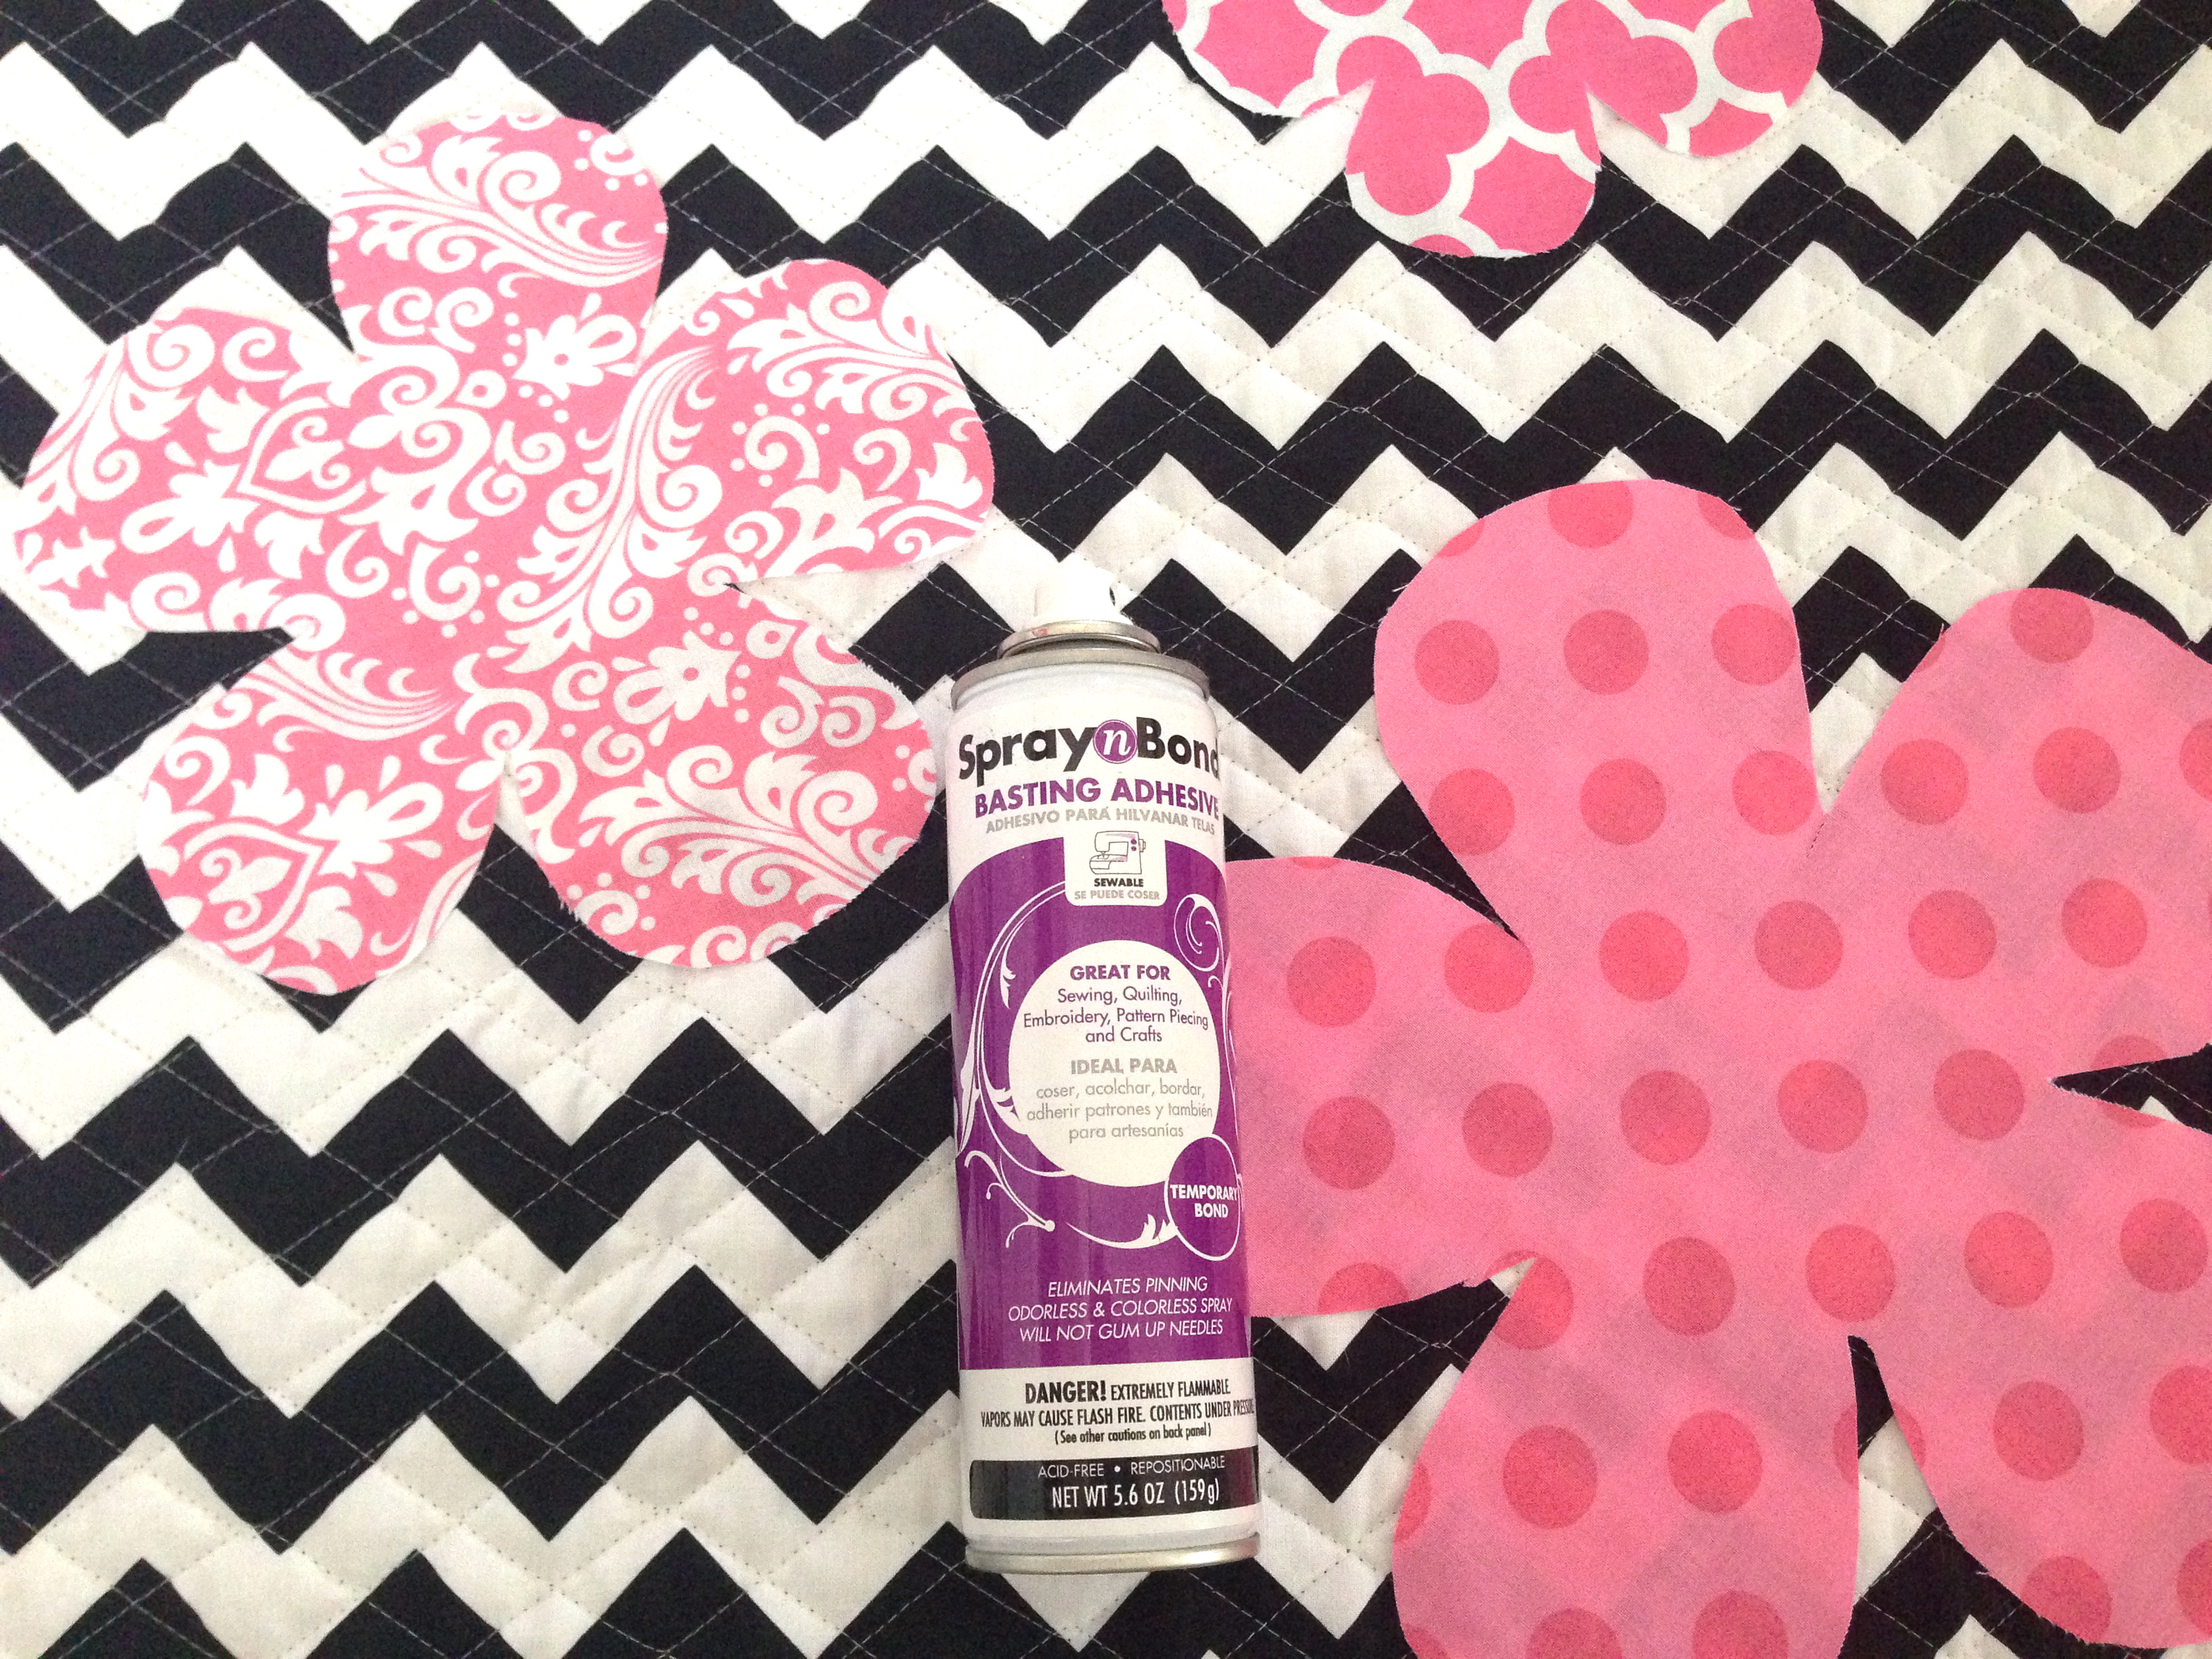
Therm O Web Spray n Bond basting spray.
Download the flower patterns HERE (for large flower, you will have to enlarge on your computer – it measures about 10.5″ across)
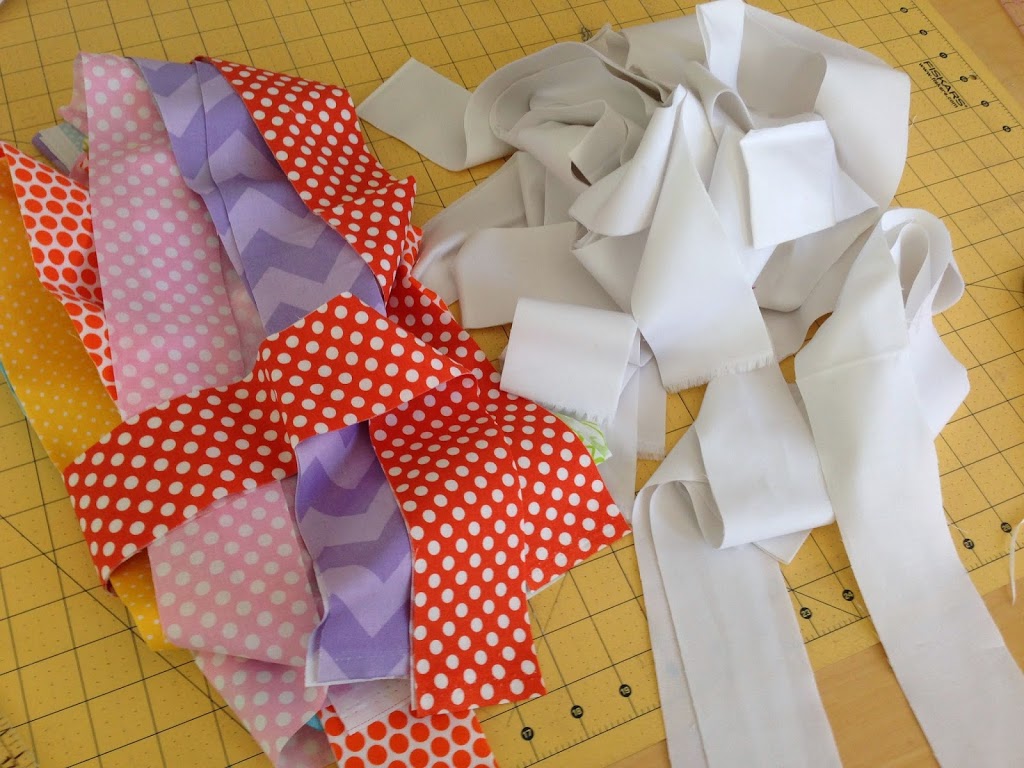
Cut the quilted cotton 35″ x WOF (Of course you can cut whatever size you want)
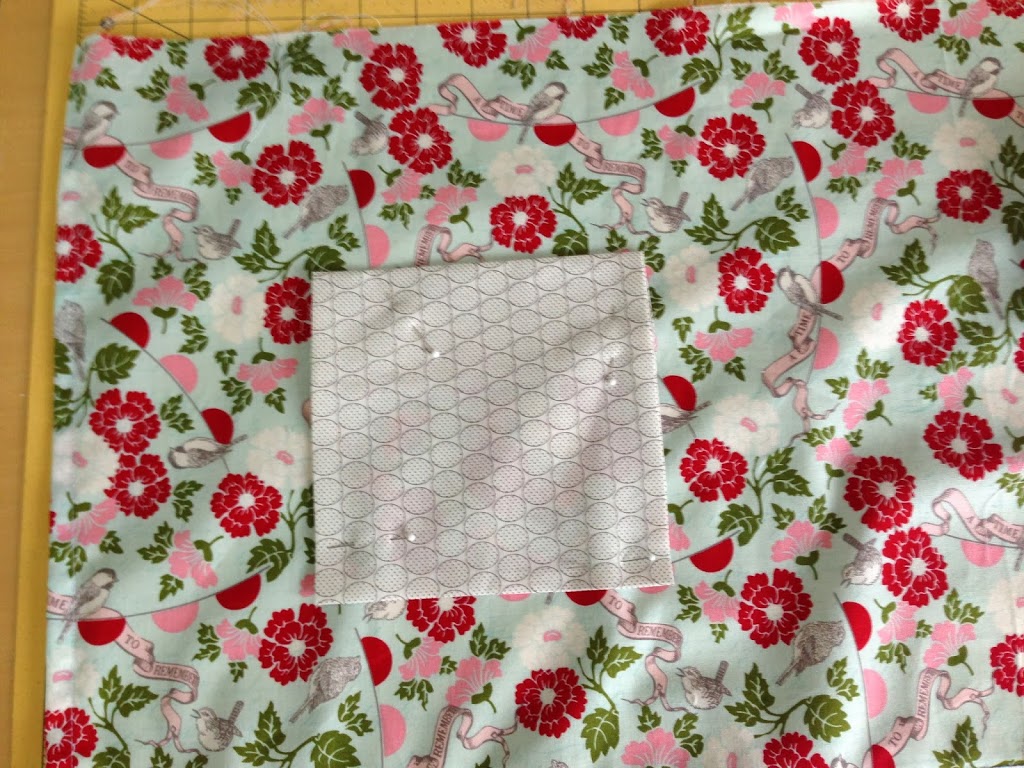
Cut the 3 sizes of flower and flower centers out to make the pattern.
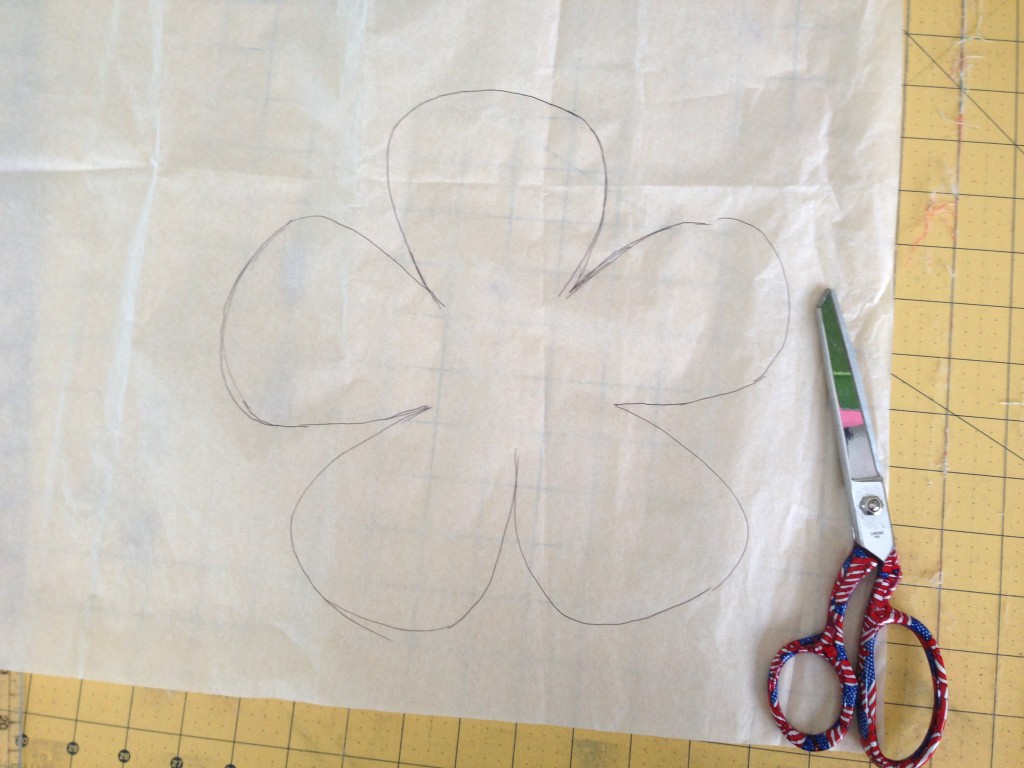
Pin the pattern pieces to the fabric and cut out.
Spray the Spray n Bond to the wrong side of the fabric appliqué pieces and place on the quilt. It is a bit of a challenge to appliqué on such a large piece of fabric – there was some pushing and pulling involved. I found it easier to spray baste the flowers after finishing sewing the one before.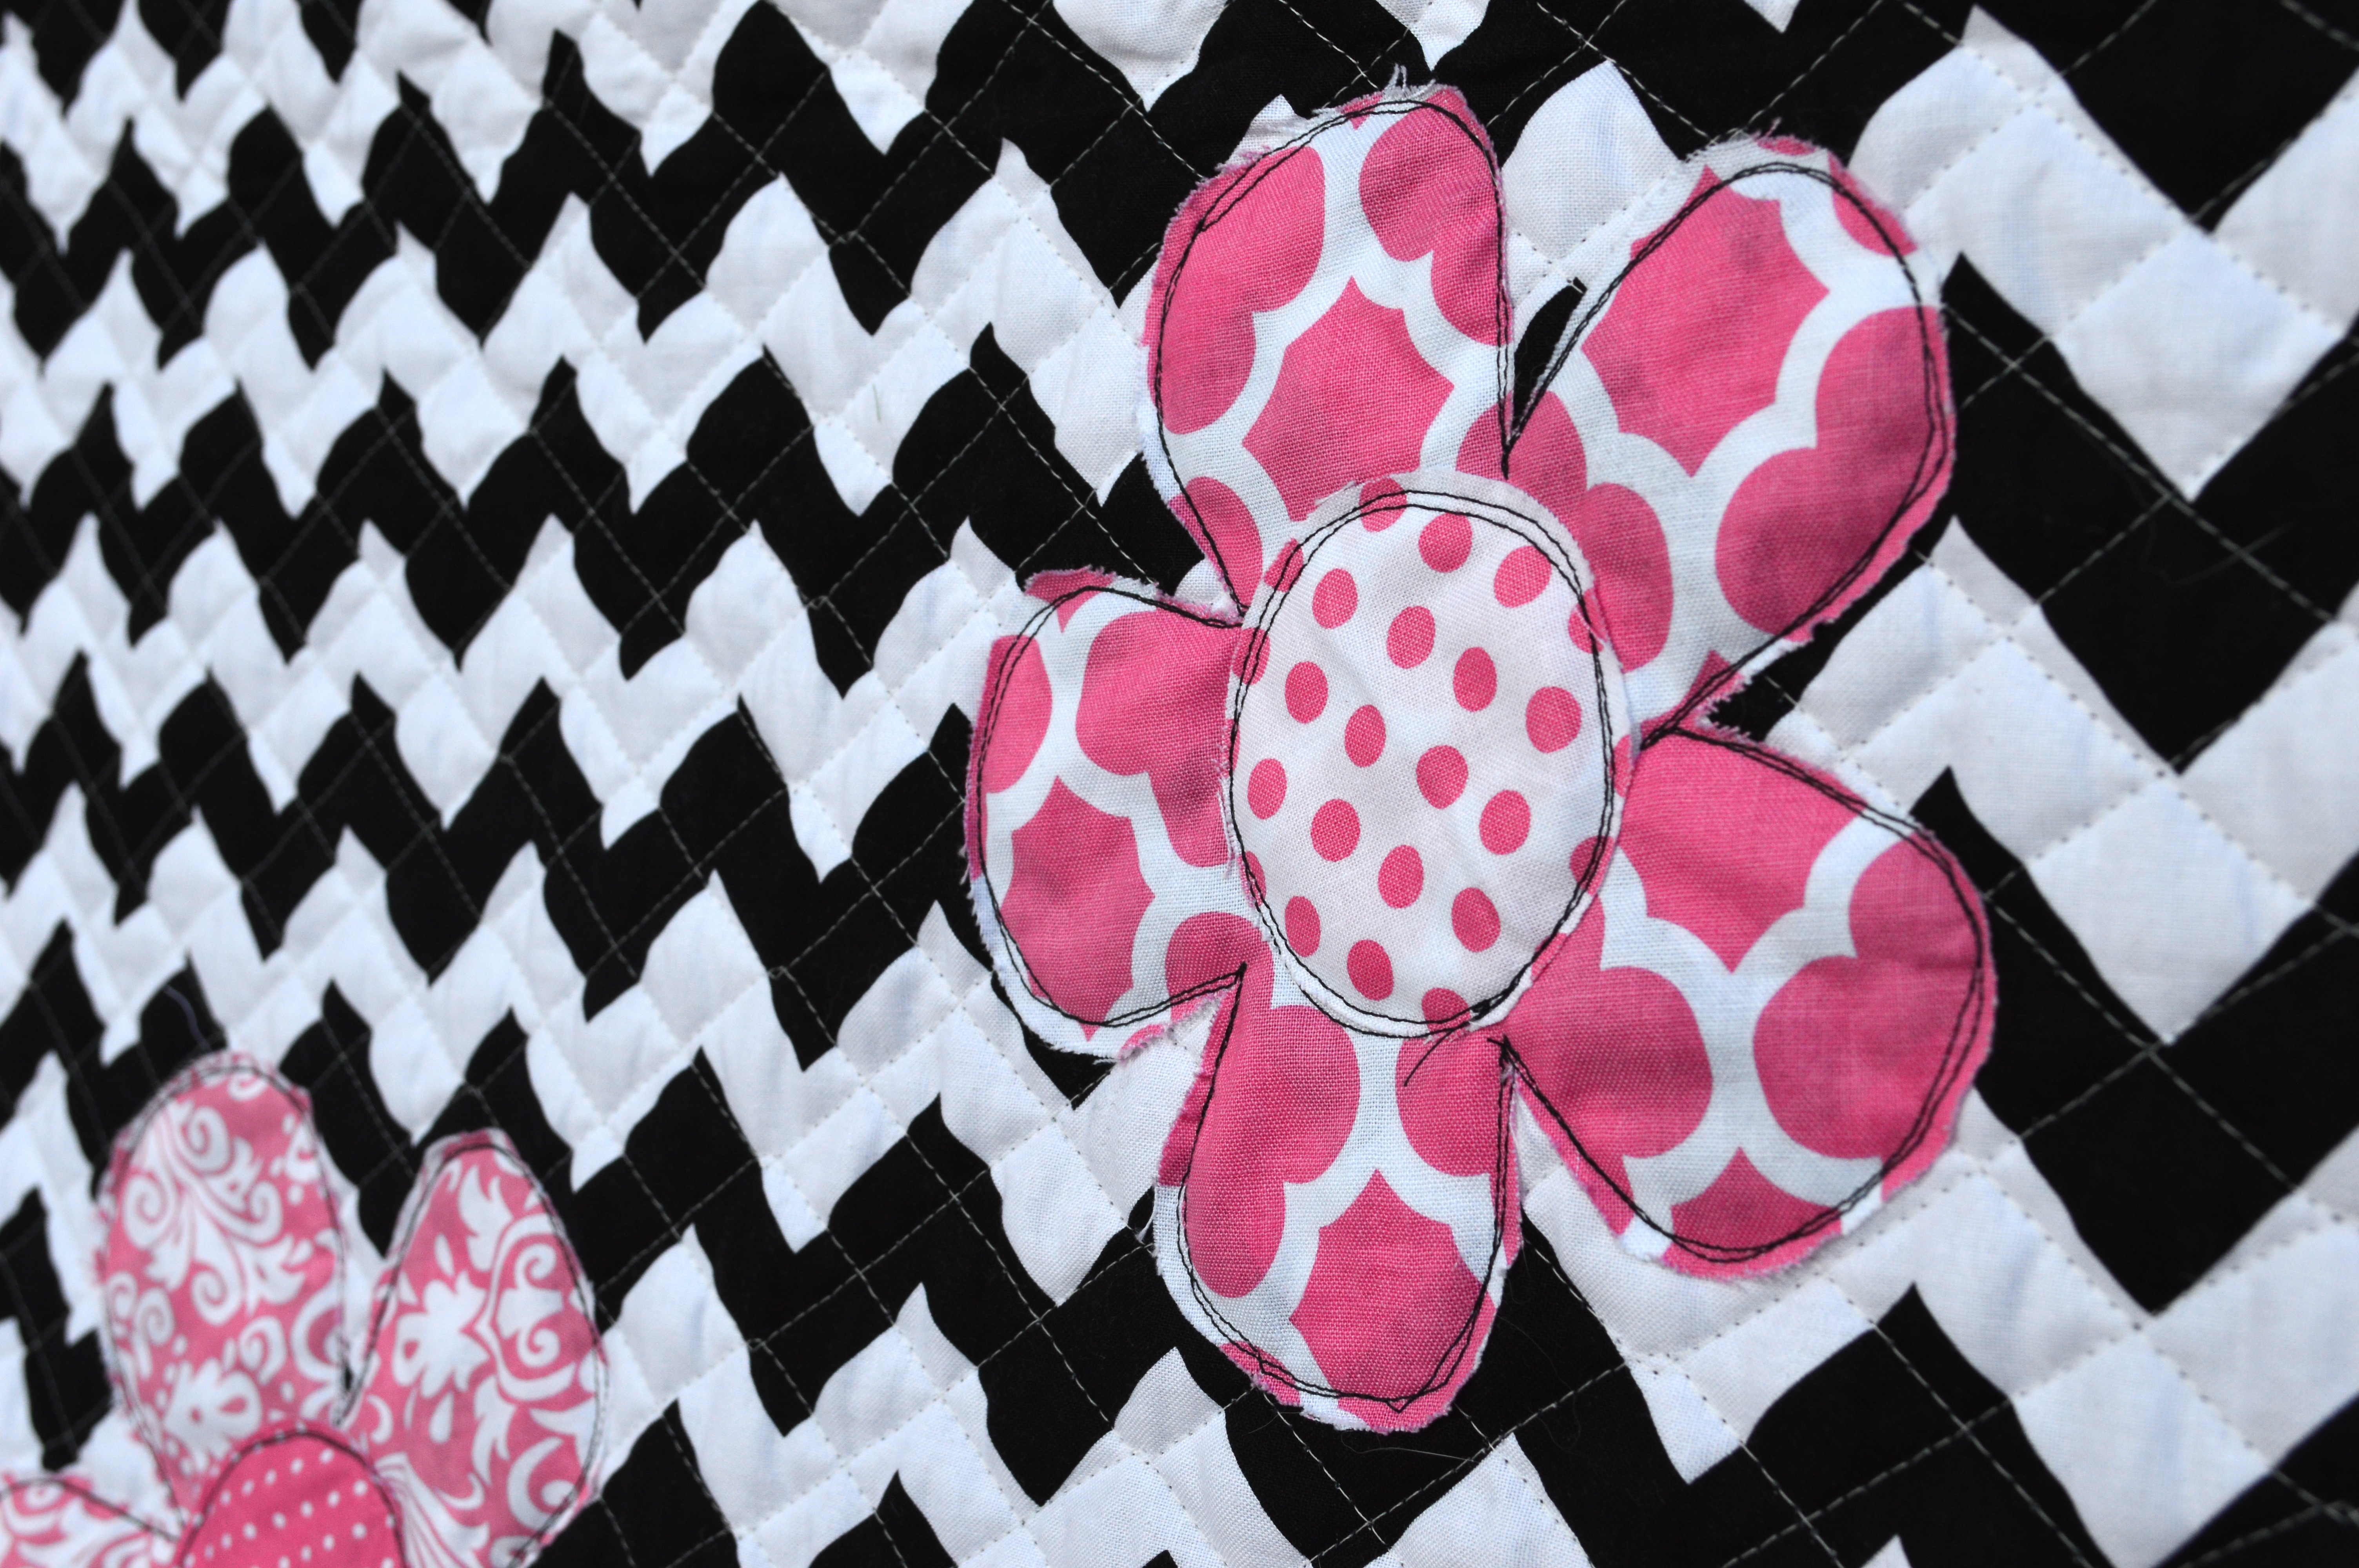
Stitch around each flower and flower center 2 times using black thread.

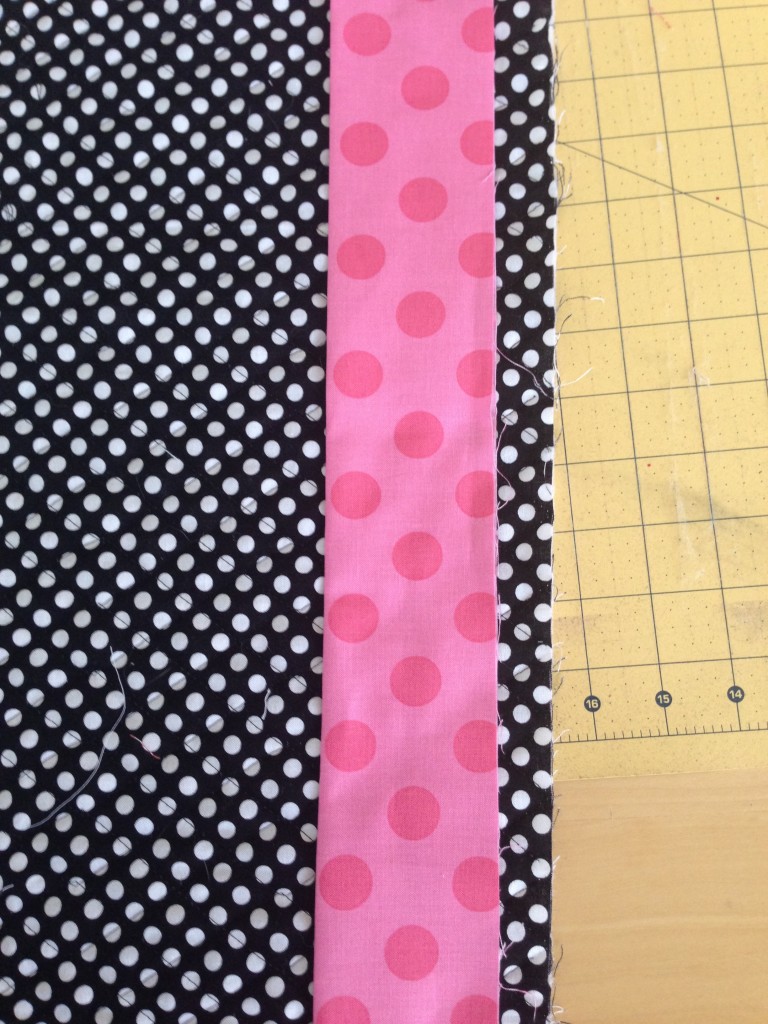
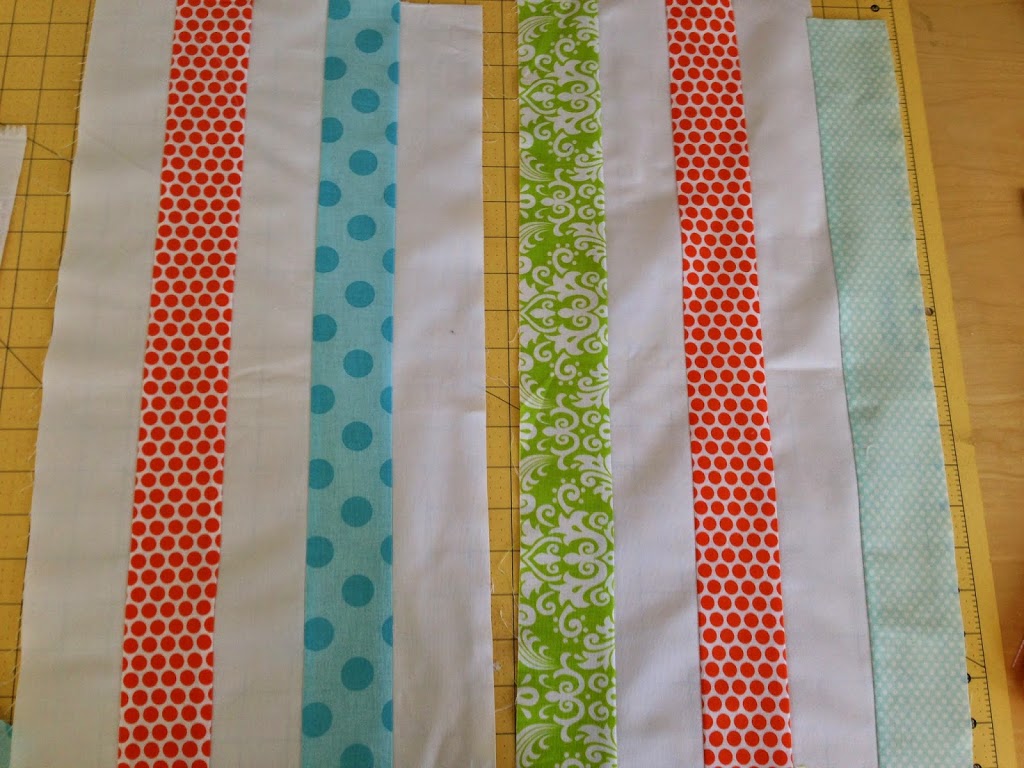
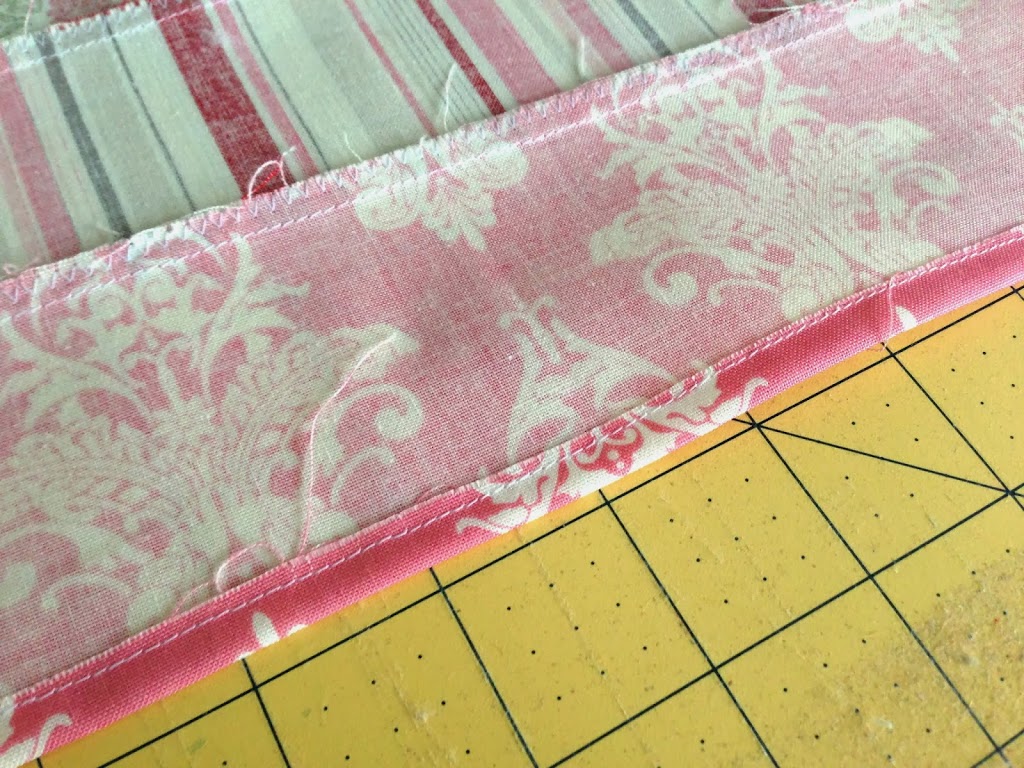
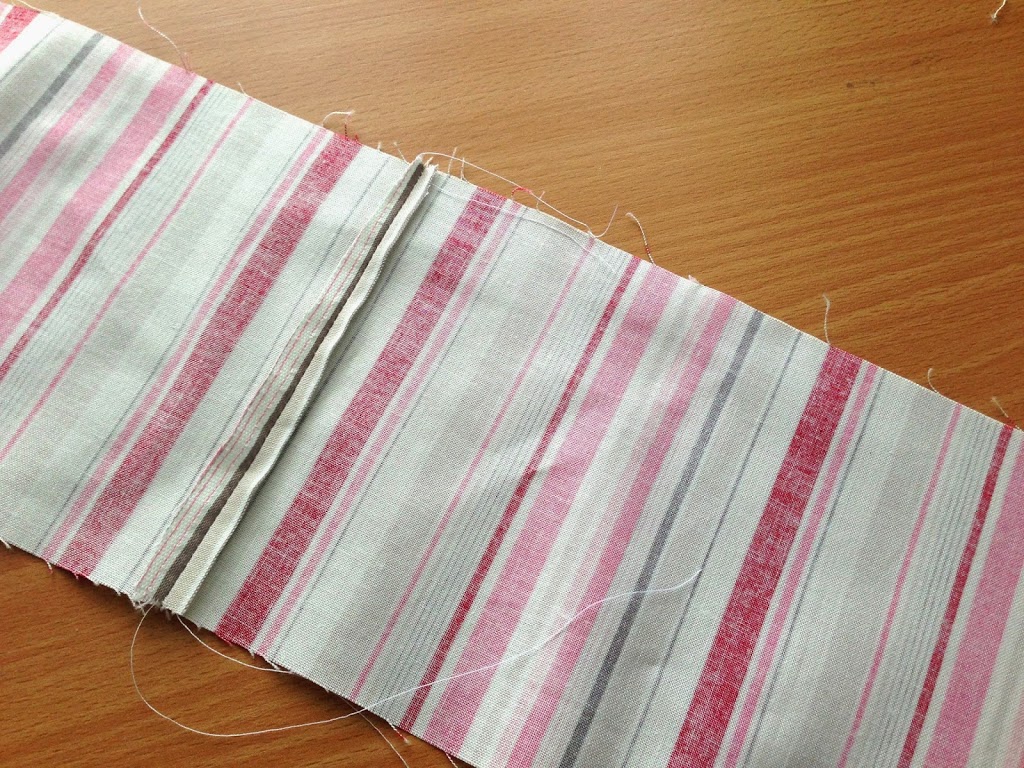
To make the extra wide binding…. cut 4 strips 5″ x WOF. Sew together and press in half. Continue as you would with regular binding, only line up the raw edge of the binding 1″ from the edge of the quilt like this:
I machine sewed the binding so it would hold up nice in the wash. I am hoping this will be used more as a changing mat or crawling mat so it will be getting laundered often! I love how it turned out! This could easily be changed up for a boy – the navy and white chevron would be cute with anchors or fish!!

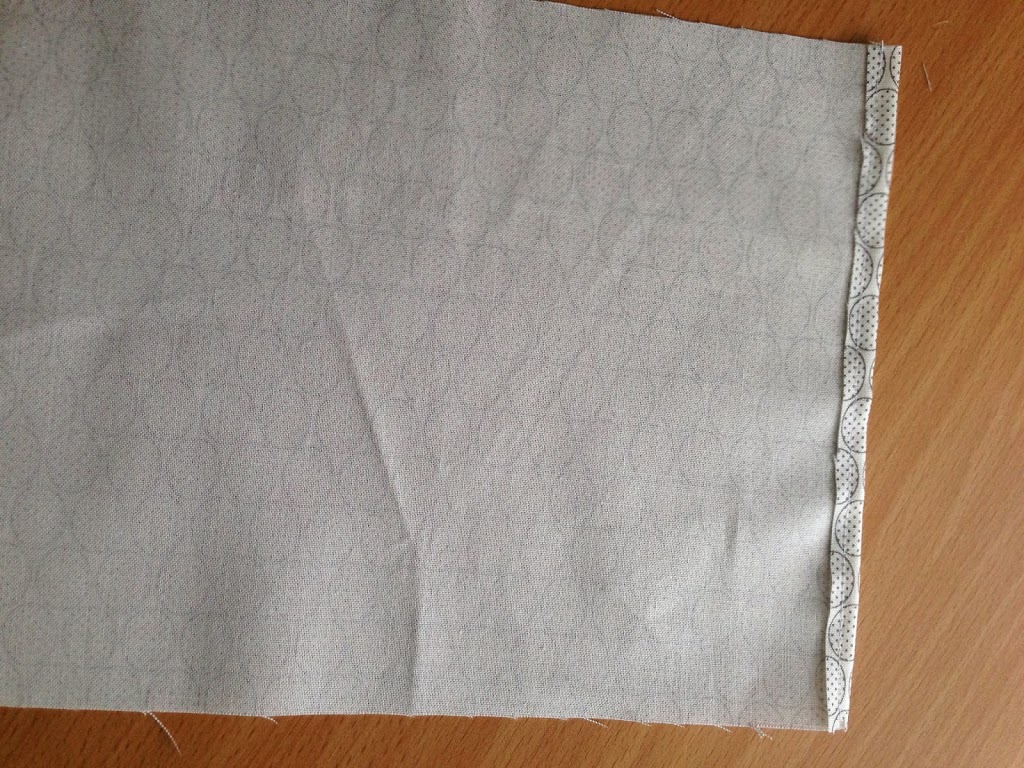
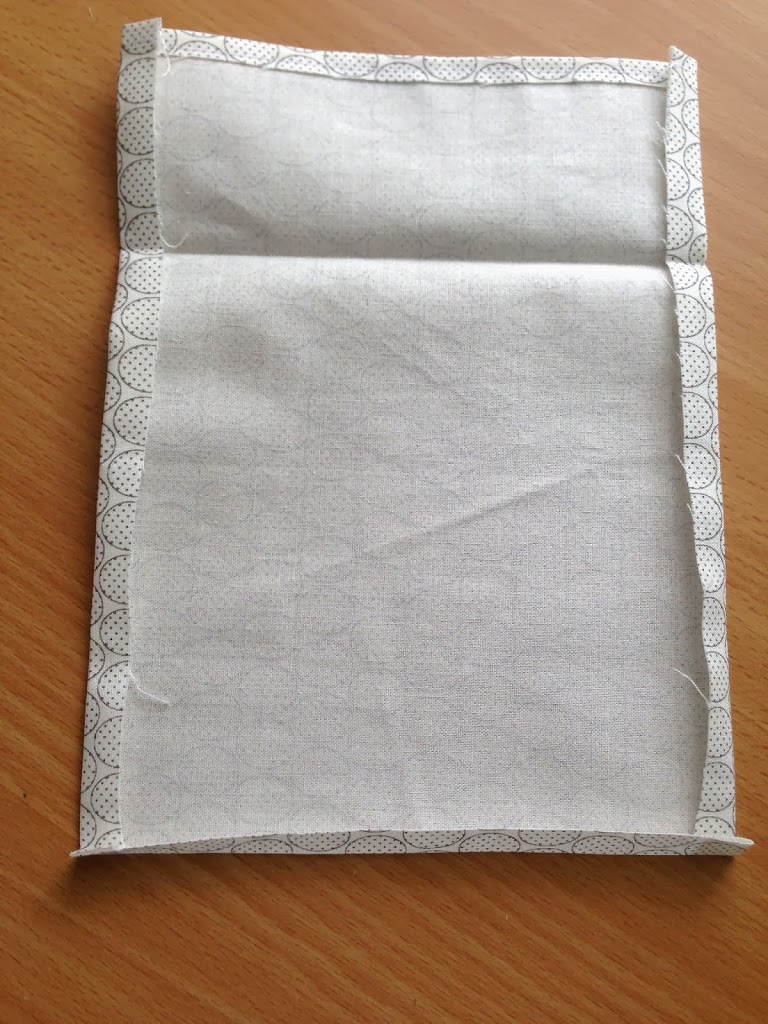
Of course I needed to sew a matching zipper pouch. I like the idea of having all the diaper change stuff in one handy pouch. I used one of my favorite tutorials from my good friend Jennifer. I changed the measurements from 9″x11″ to 8″x11″. The rest of the tutorial is exactly the same.
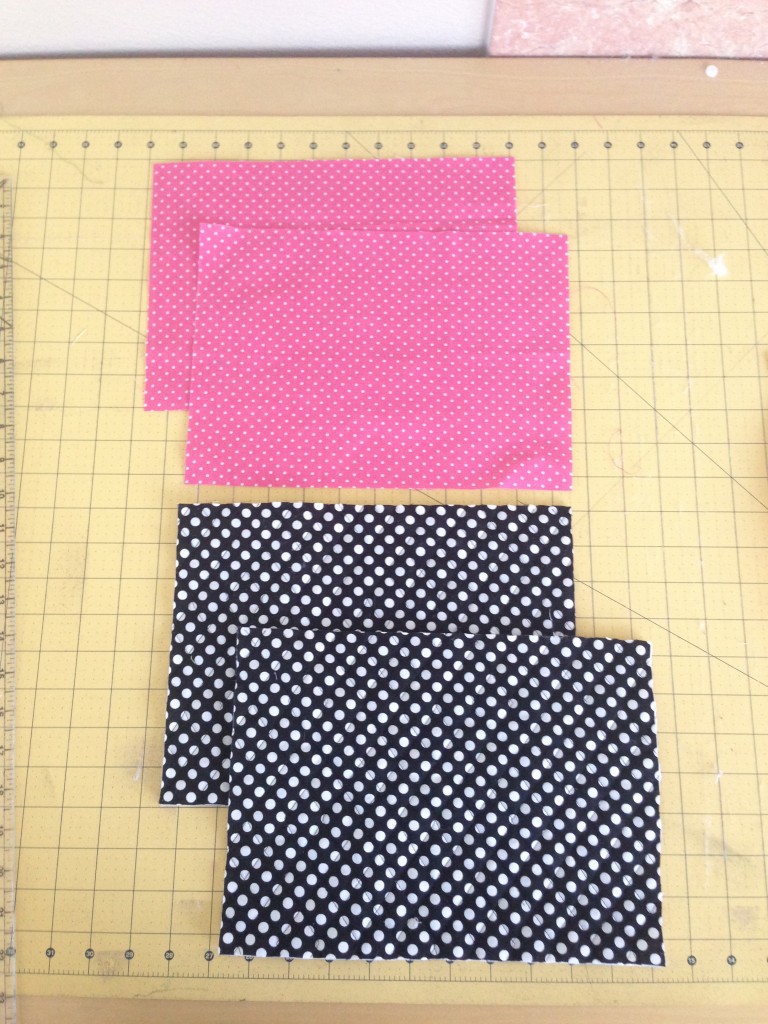
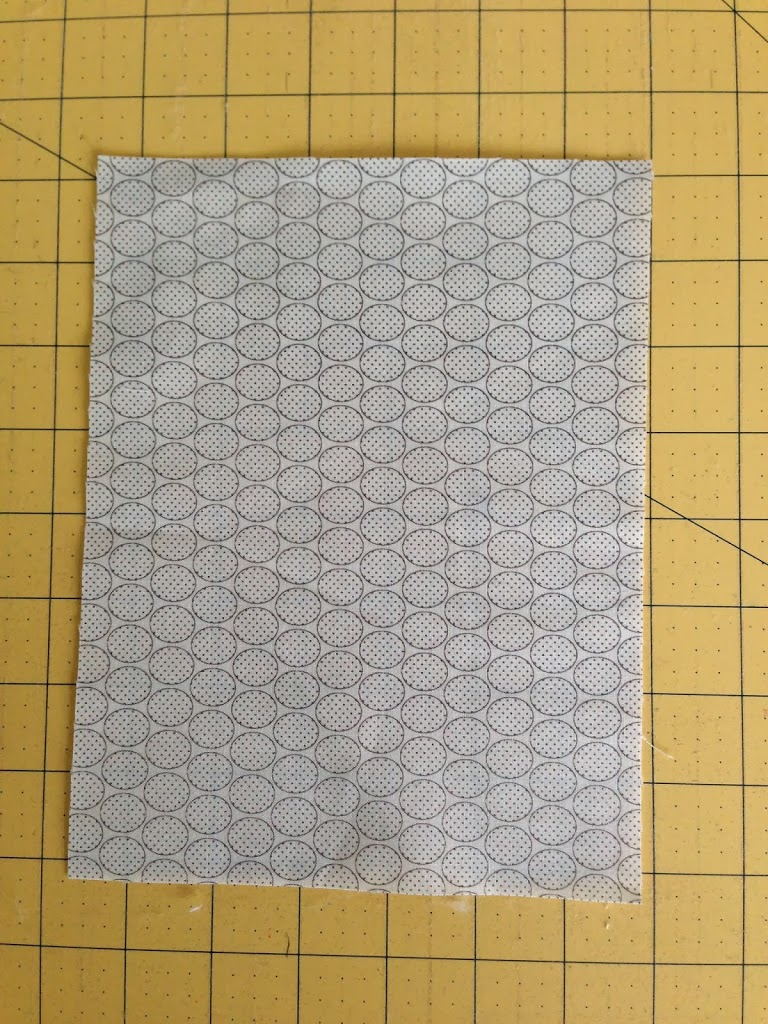
Cut (2) quilted cotton pieces 8″ x 11″
Cut (2) lining fabric pieces 8″ x 11″
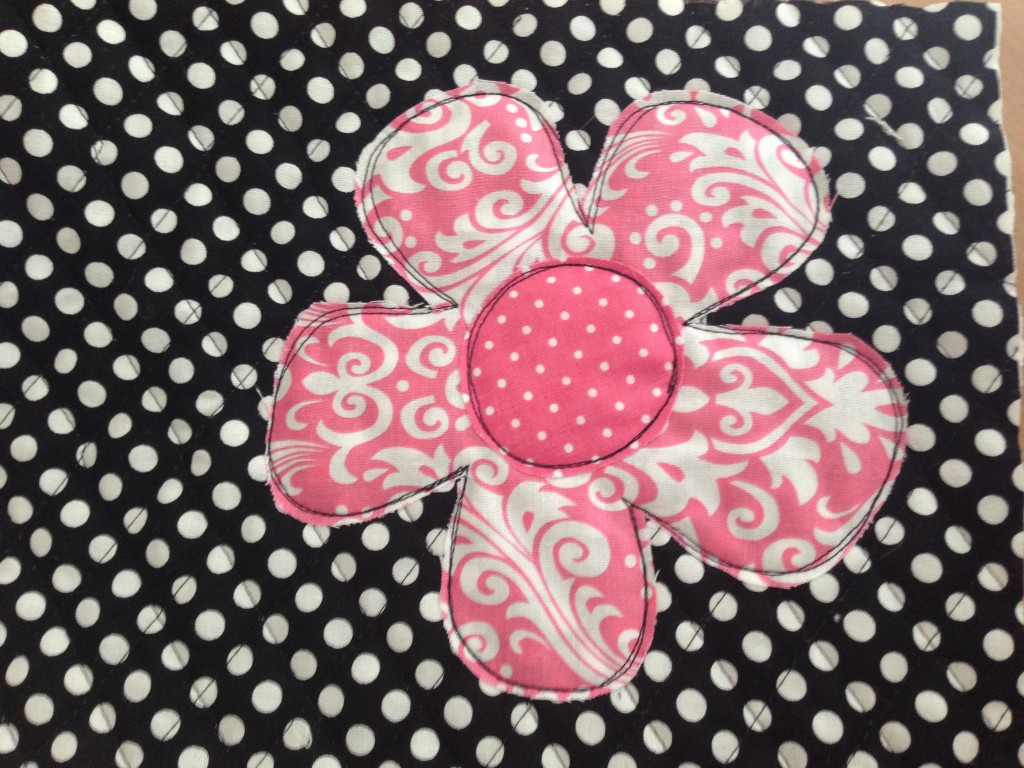
Applique the smallest flower from the quilt pattern above to the side of one of the quilted cotton pieces. Then follow the rest of the tutorial.
I need one of these for myself!!
They make such a darling set! I can’t wait to give this to my friend who is expecting her very first baby!!
Thanks for stopping by! I can’t wait to see all the projects on this fun Blog Tour!!


