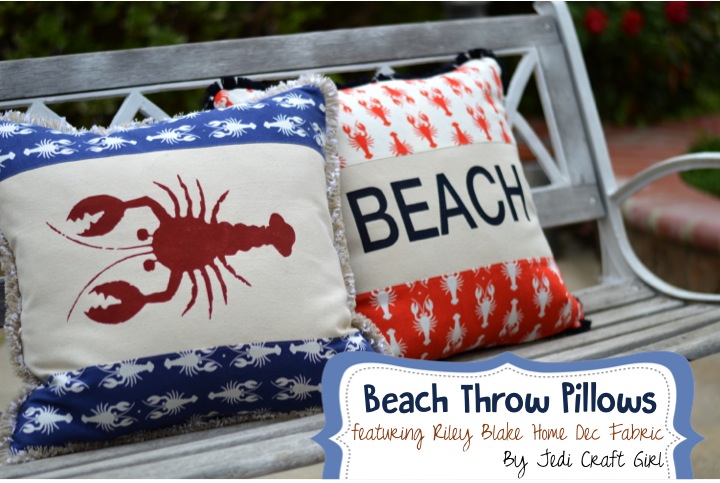
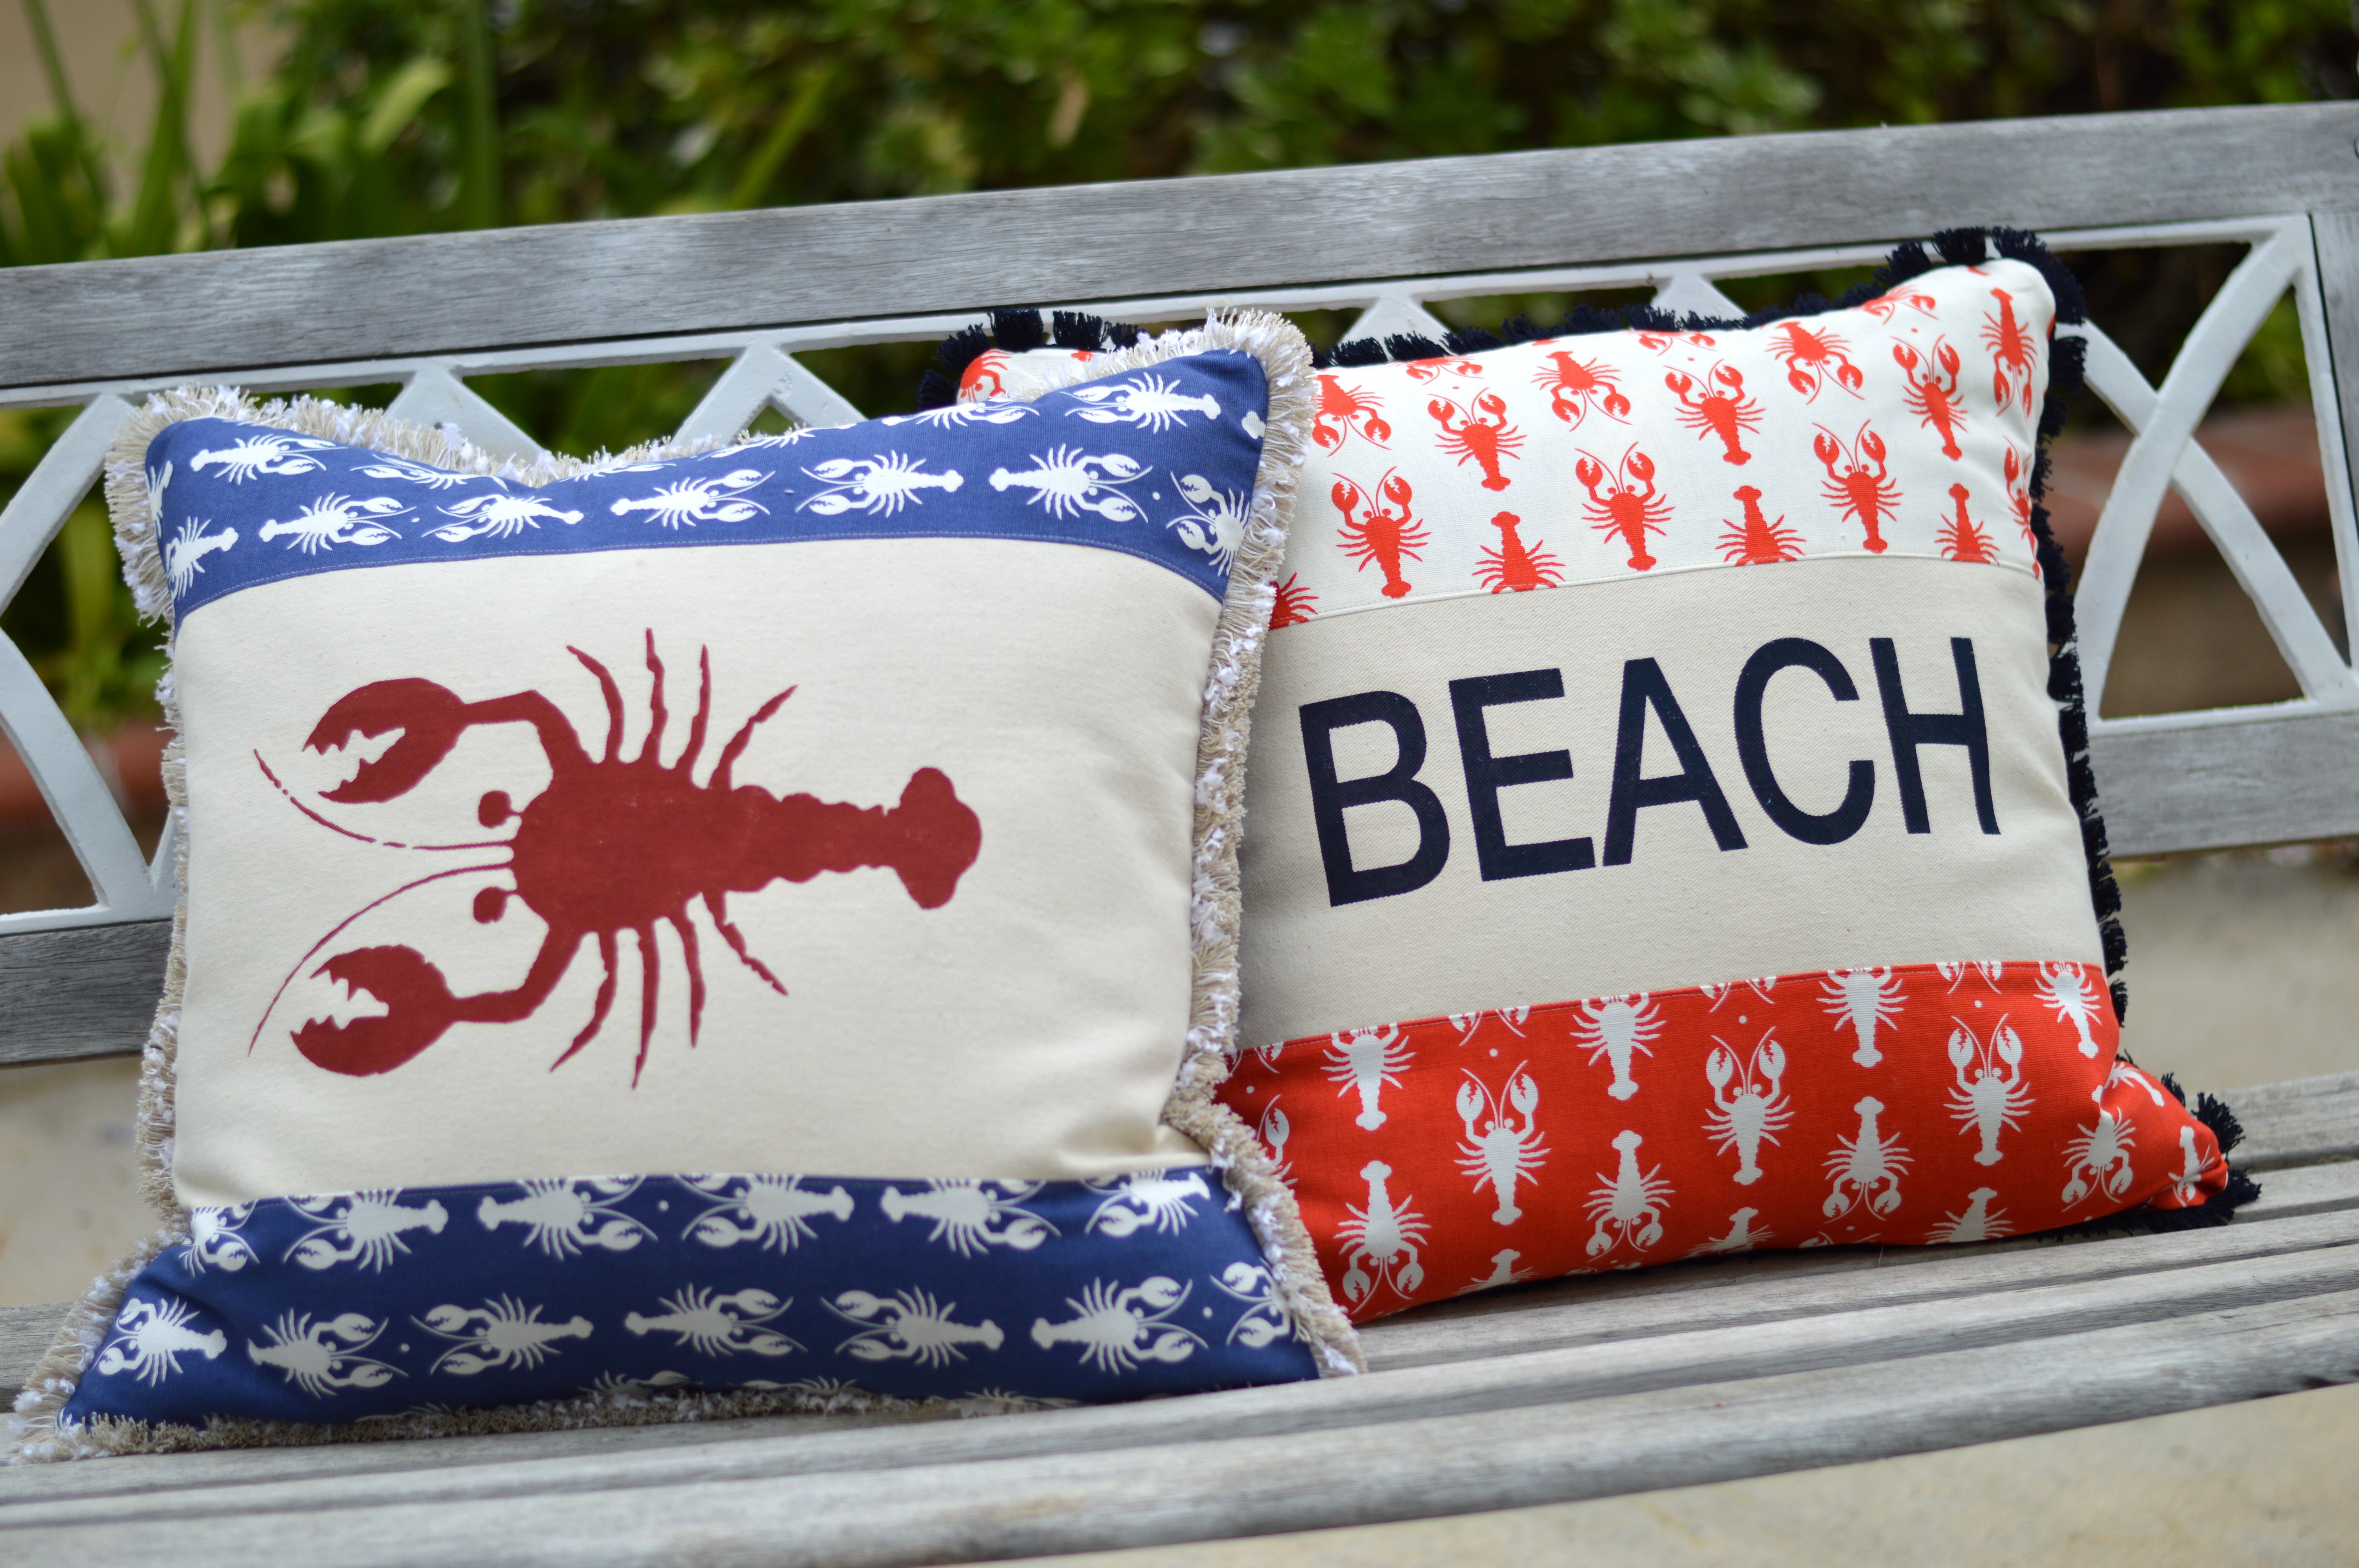
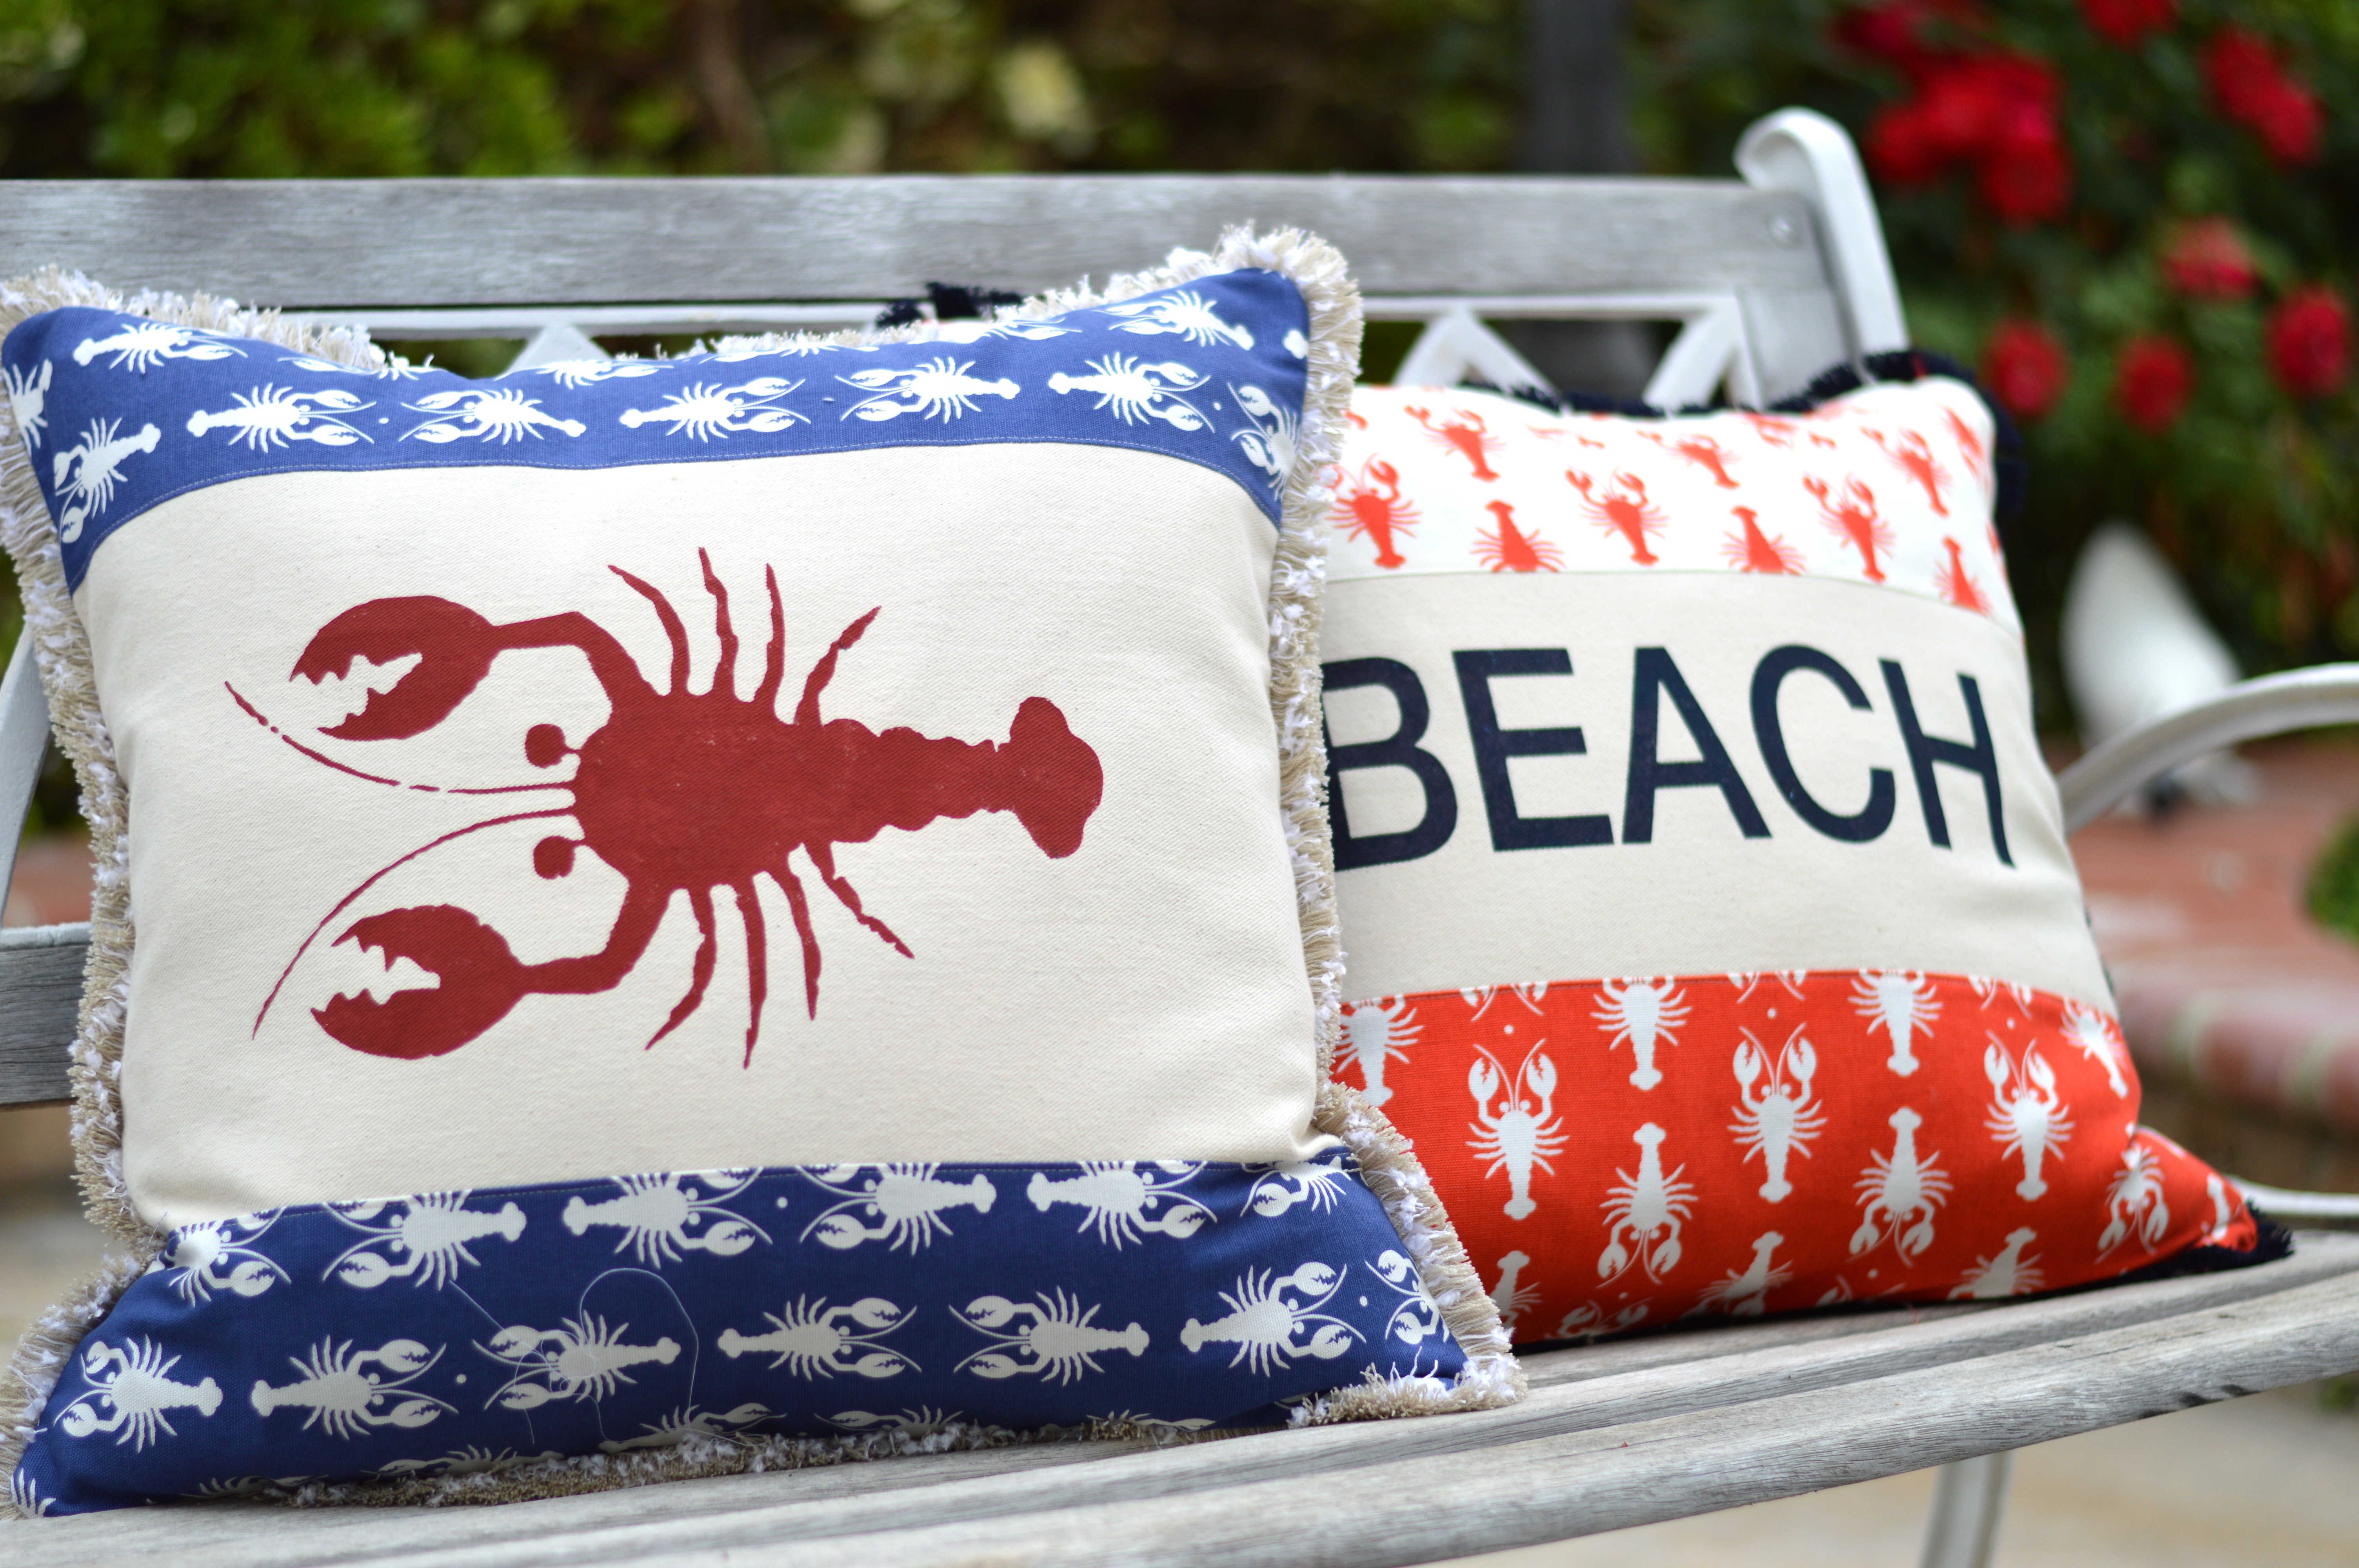
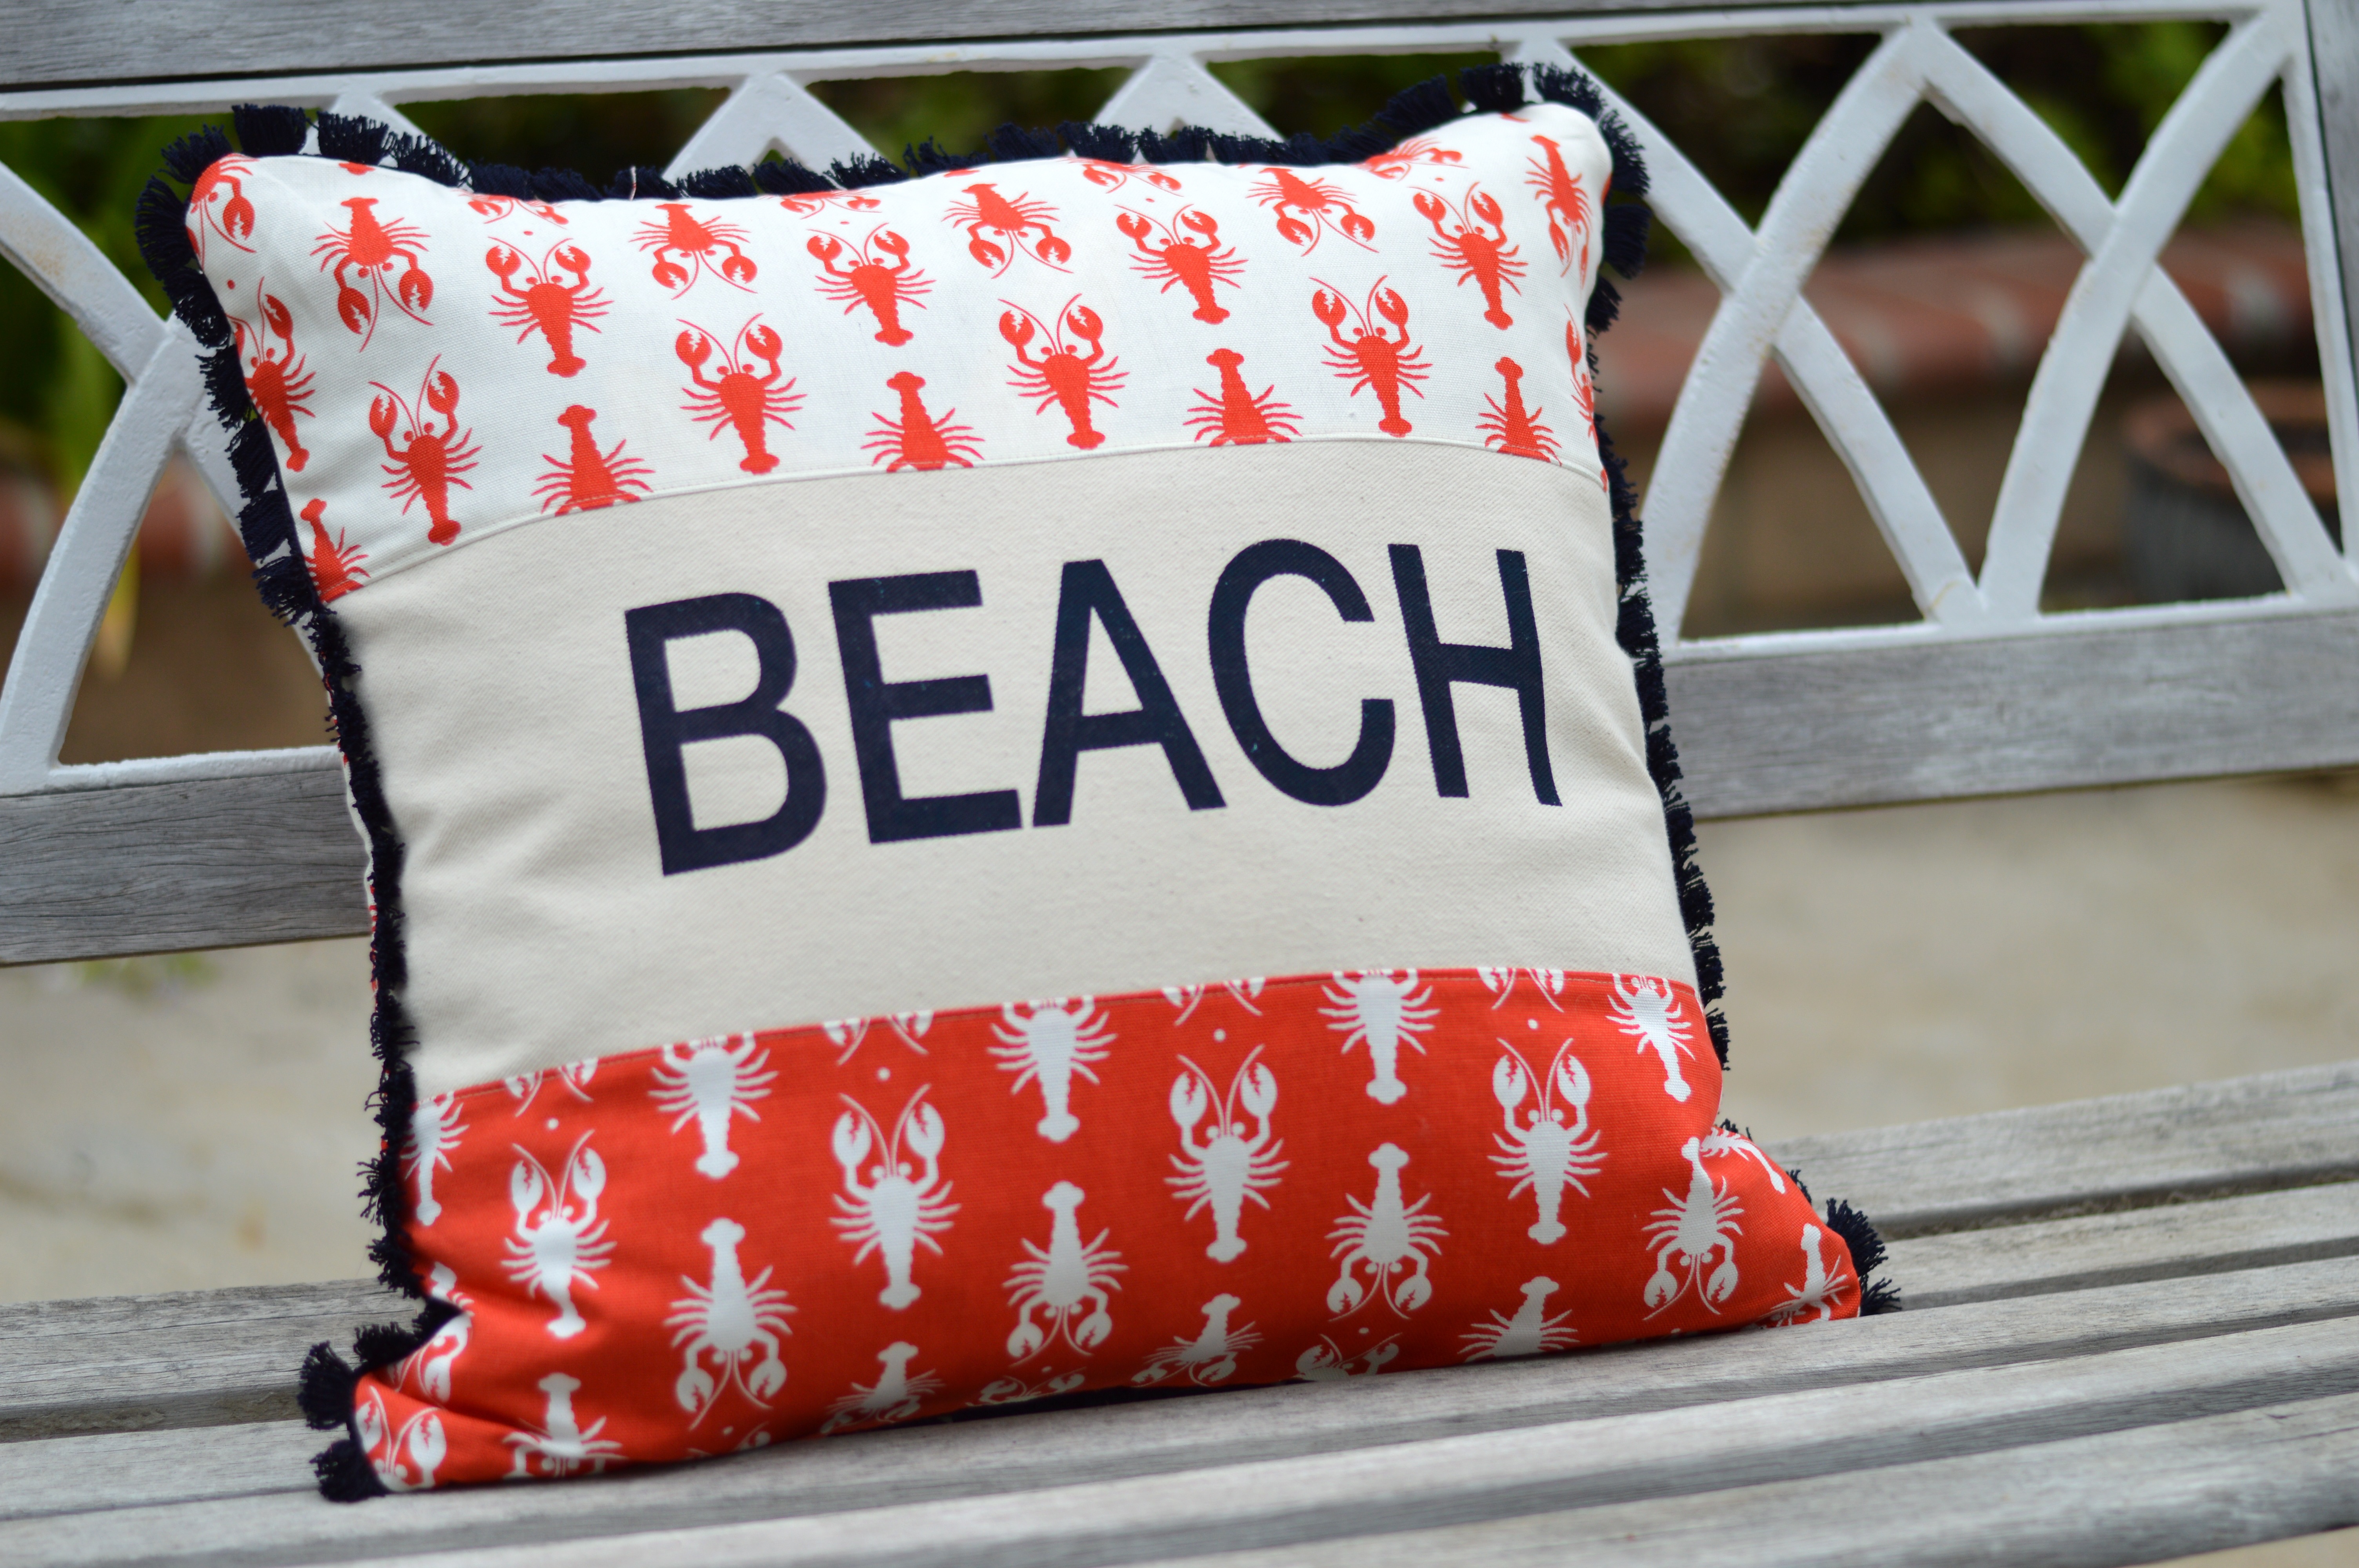
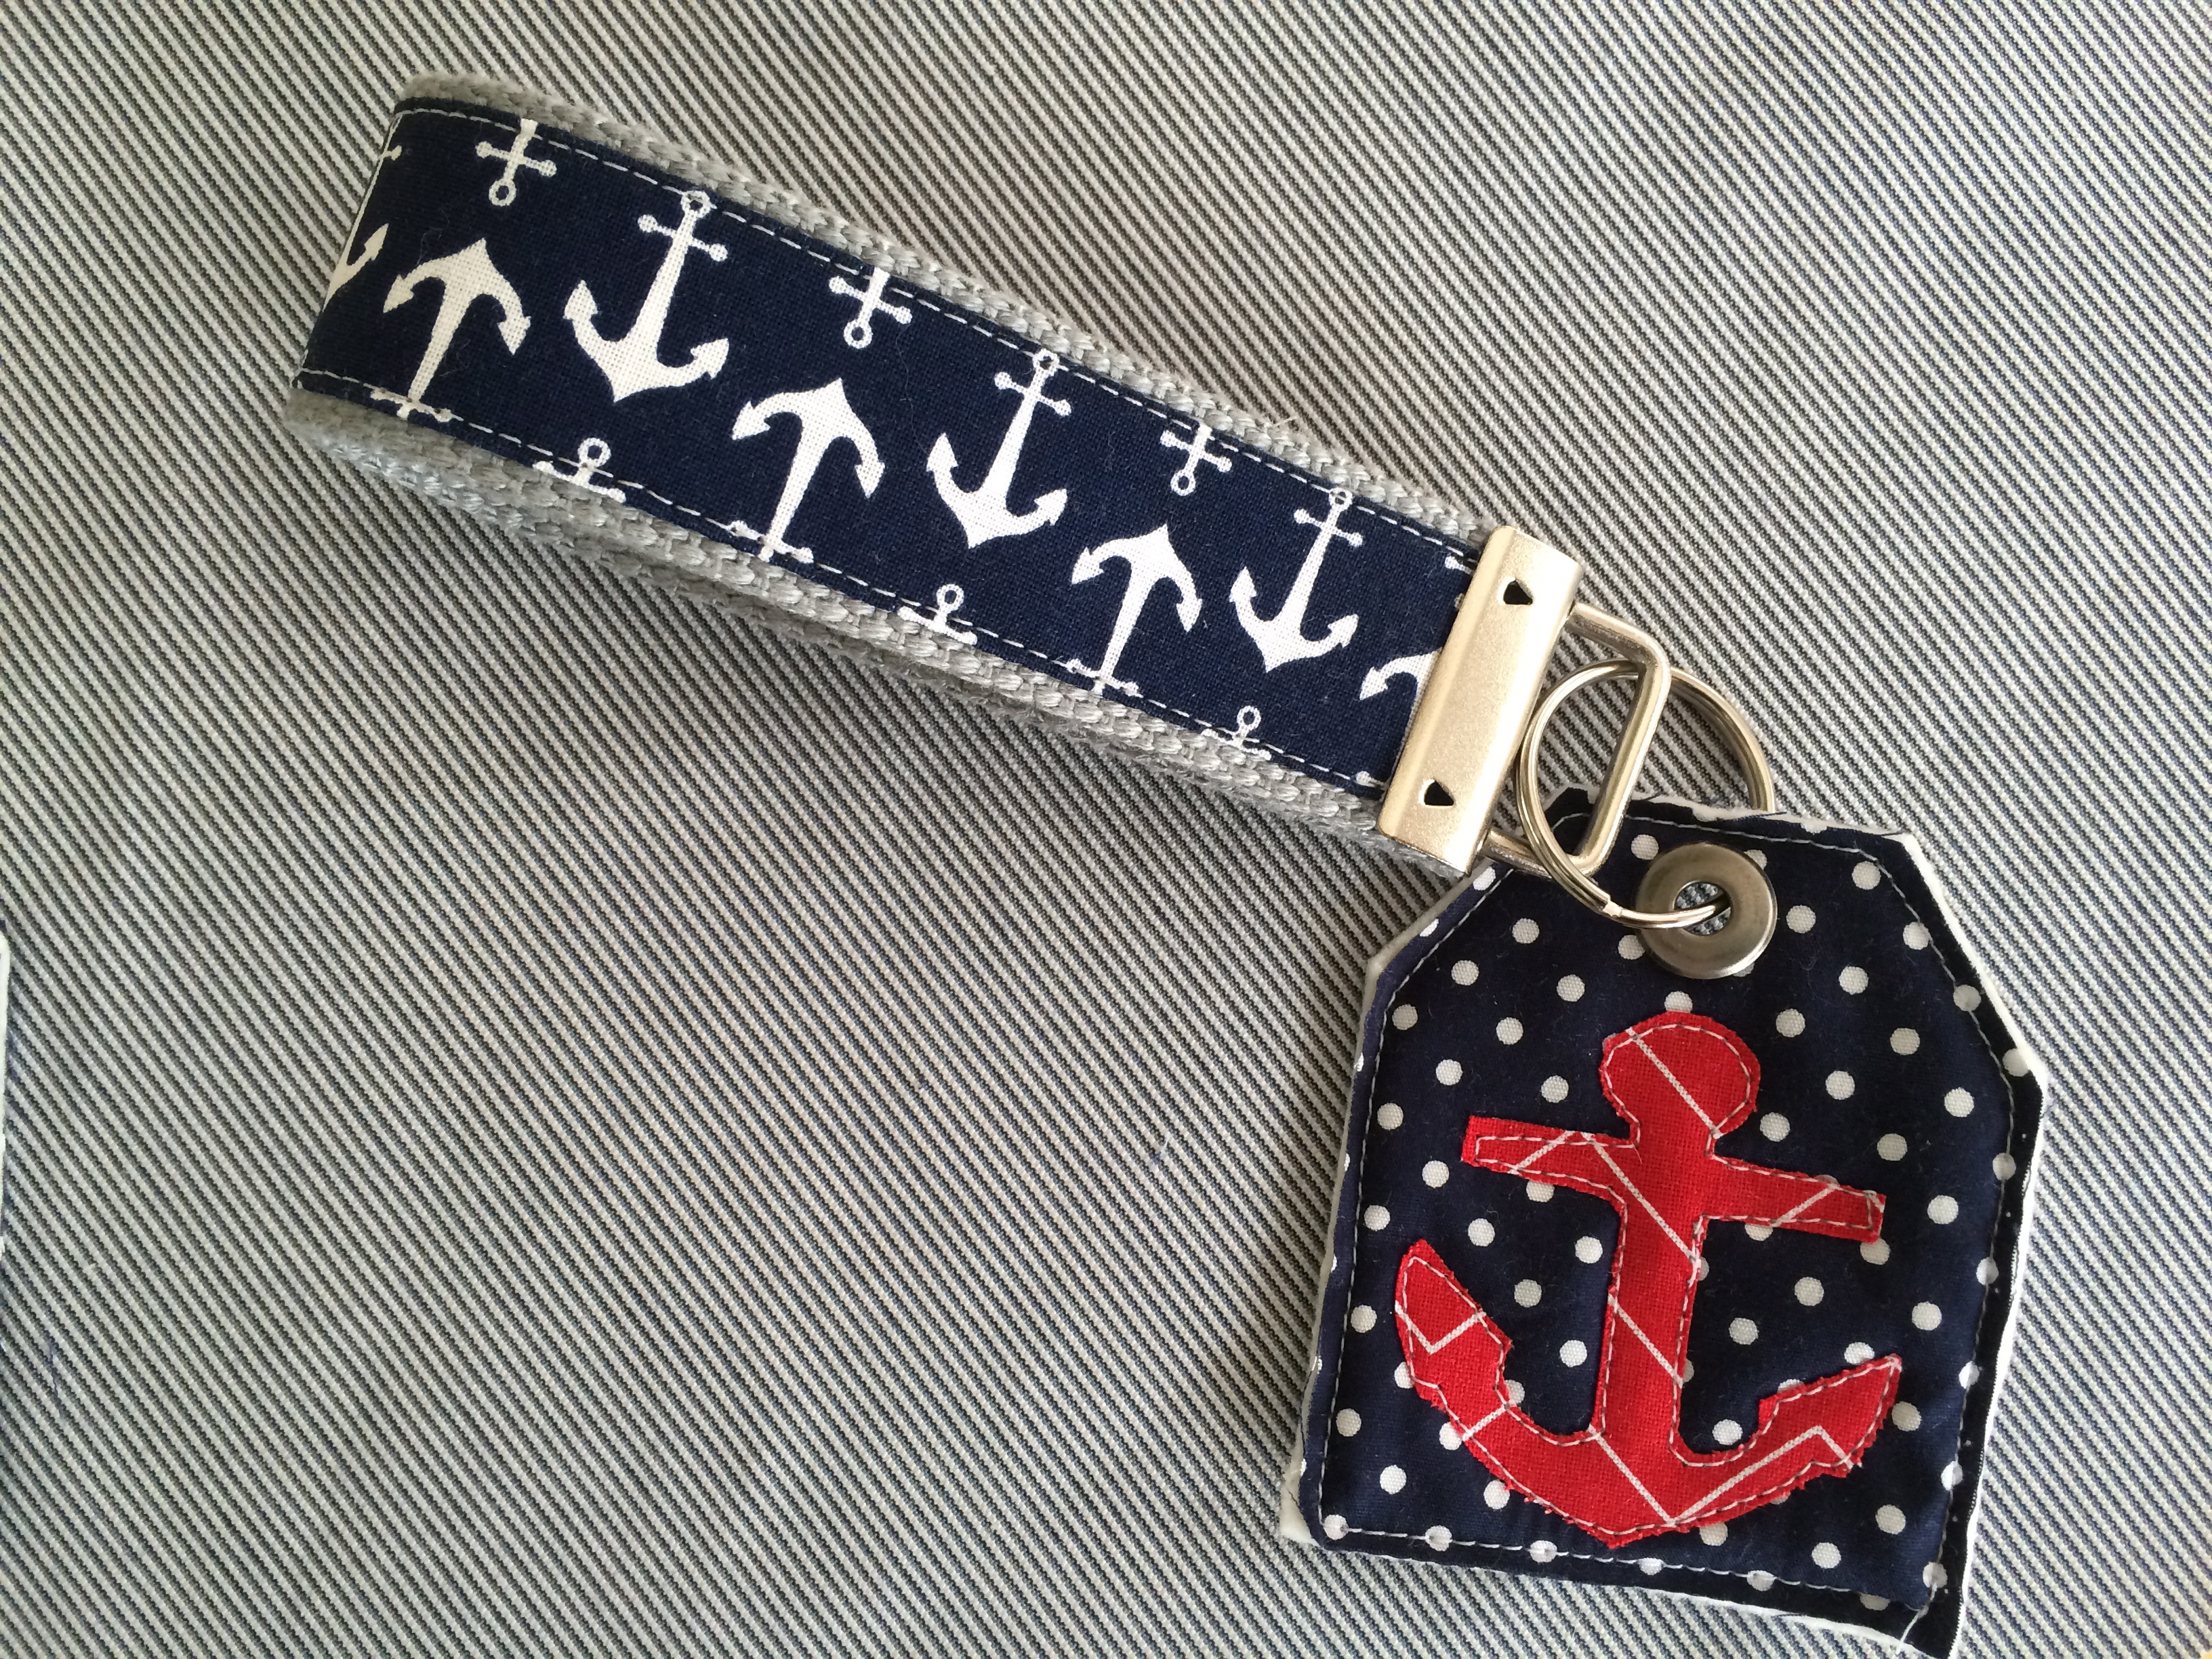
 I am so happy to be a part of the Riley Blake Designs Home Dec Love Blog Tour! If you are new to my blog WELCOME!!!! I love all things nautical and when I saw this RBD Lobster fabric it was love at first sight! These lobster pillows are the perfect addition to your indoor or outdoor summer decorating. I like to pretend I have a sailboat and these are the perfect pillows for a relaxing cruise around the bay 🙂 You can find the Lobster fabrics on RBD website. Let’s get started!
Supplies:
3/4 yard each blue, cream, and red lobster print
1/2 yard natural canvas or denim
2.5 yards trim per pillow
20″ pillow form
22″ zipper
Craft paint
stencil patterns, Click HERE and HERE for Lobster. Click HERE and HERE for BEACH letters
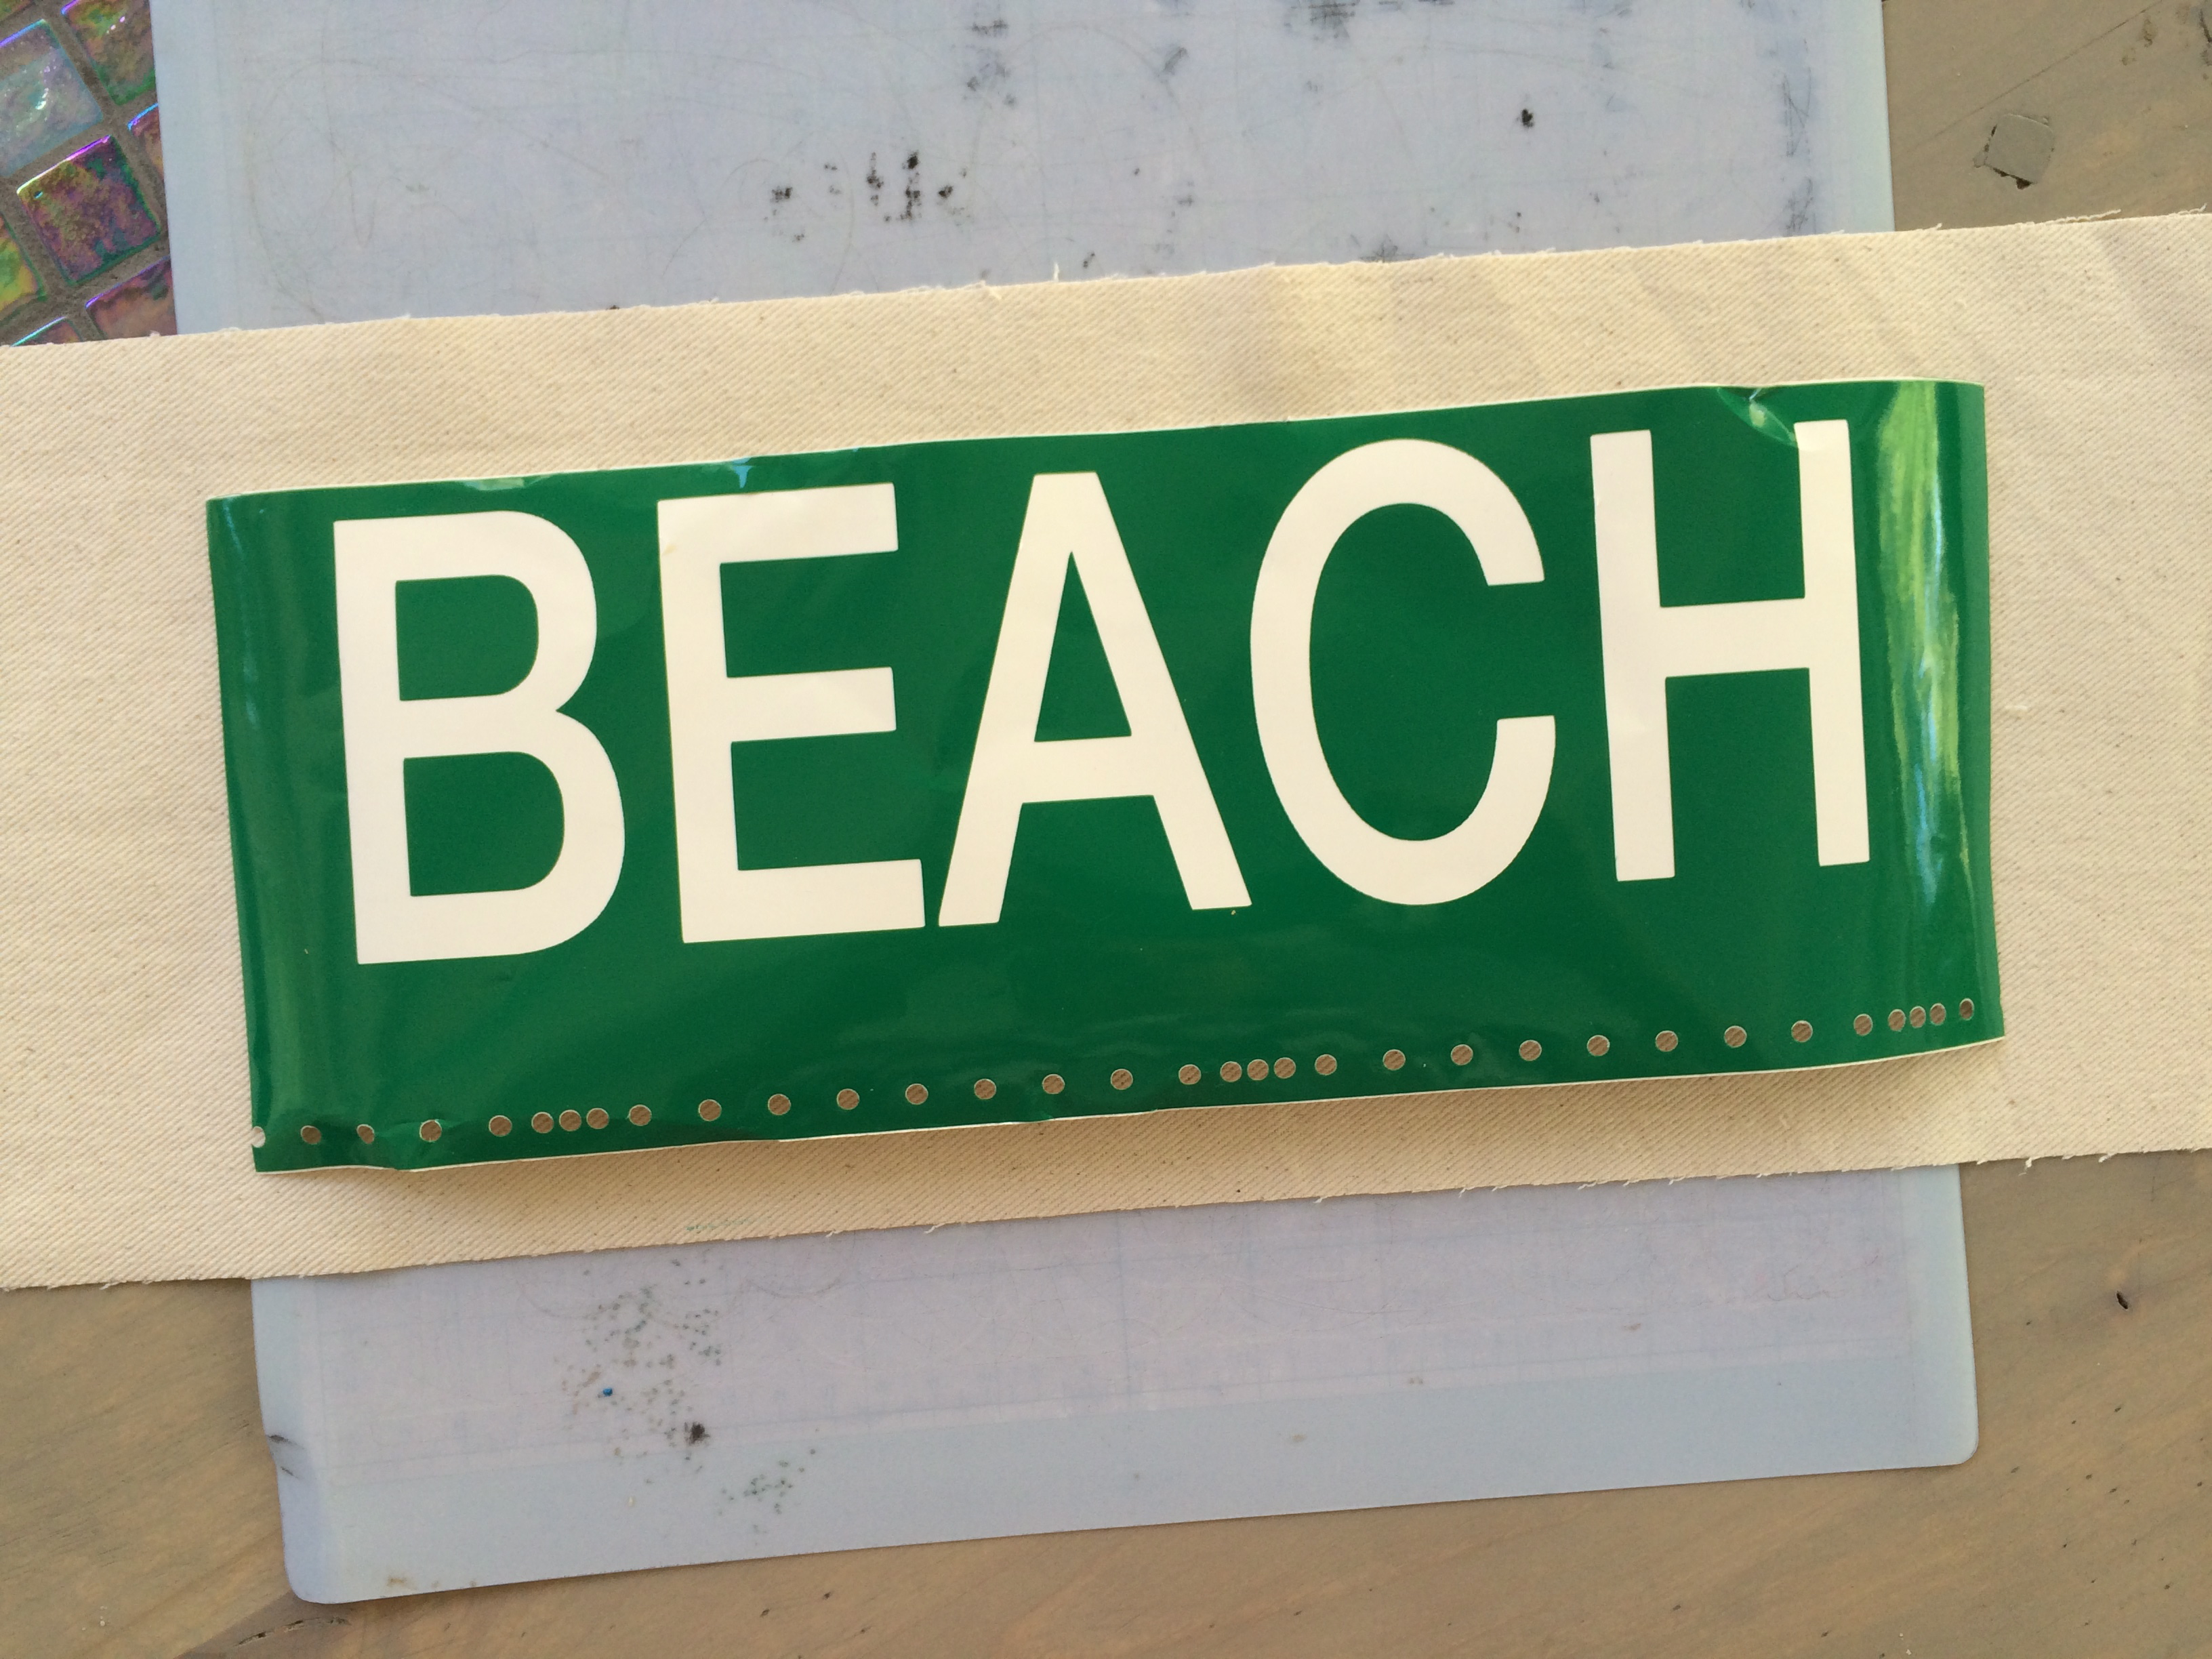
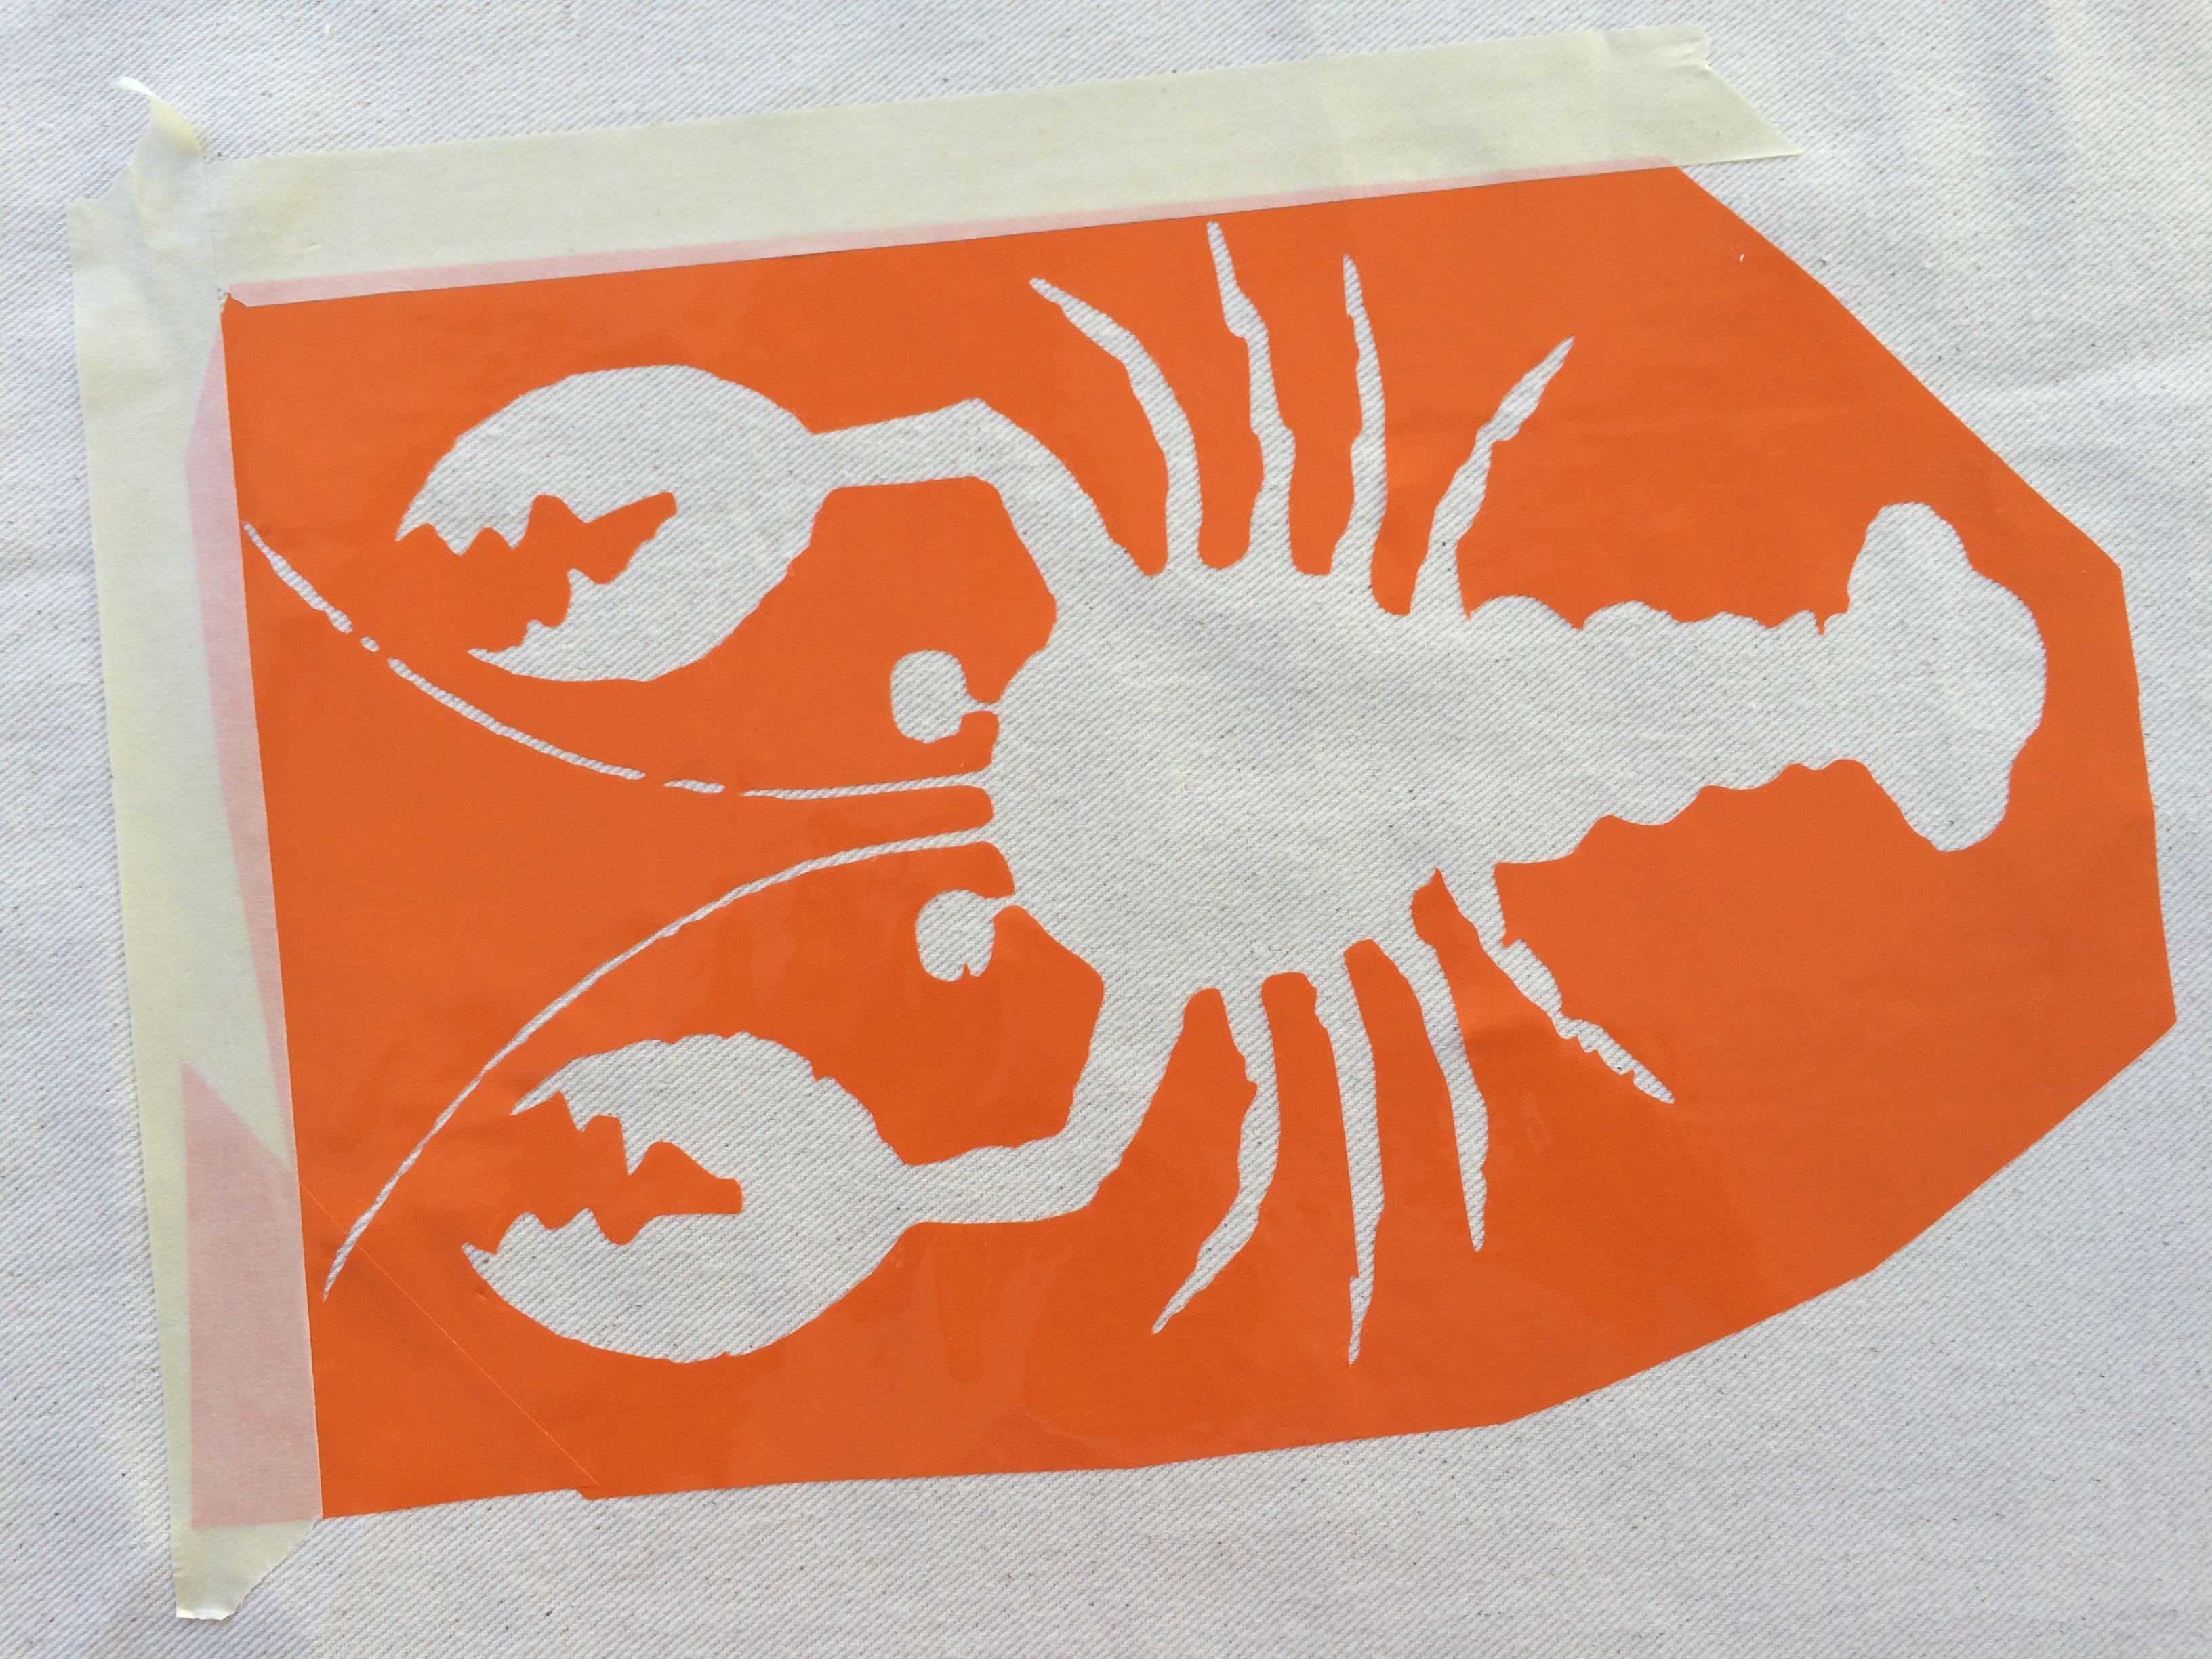
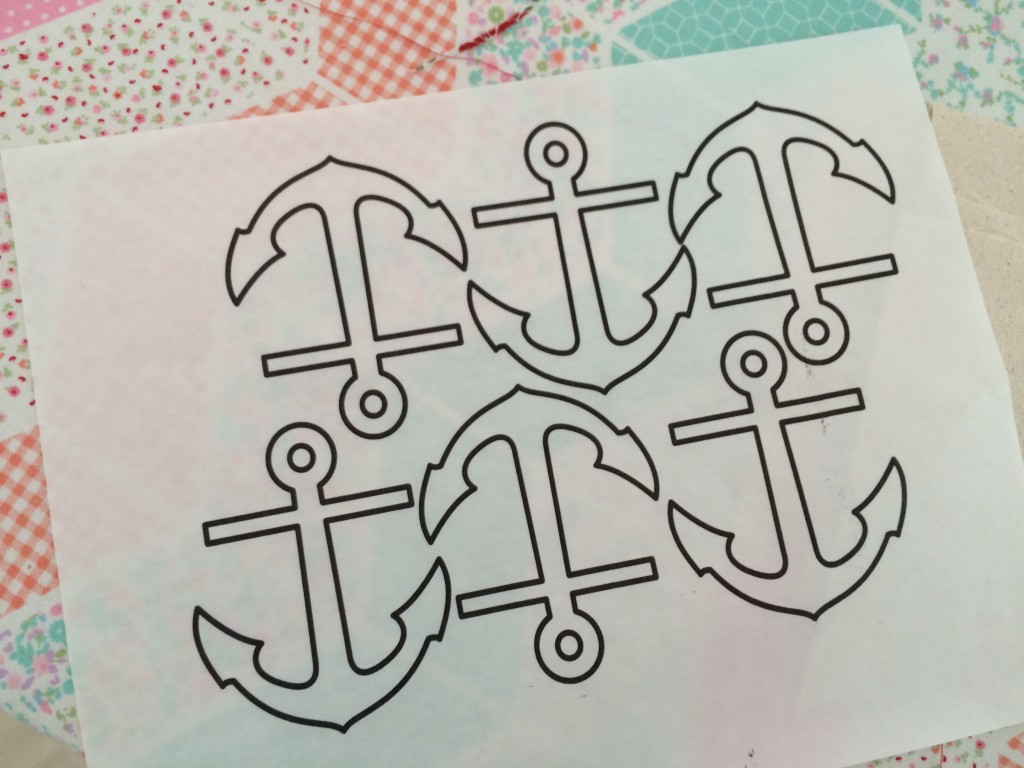
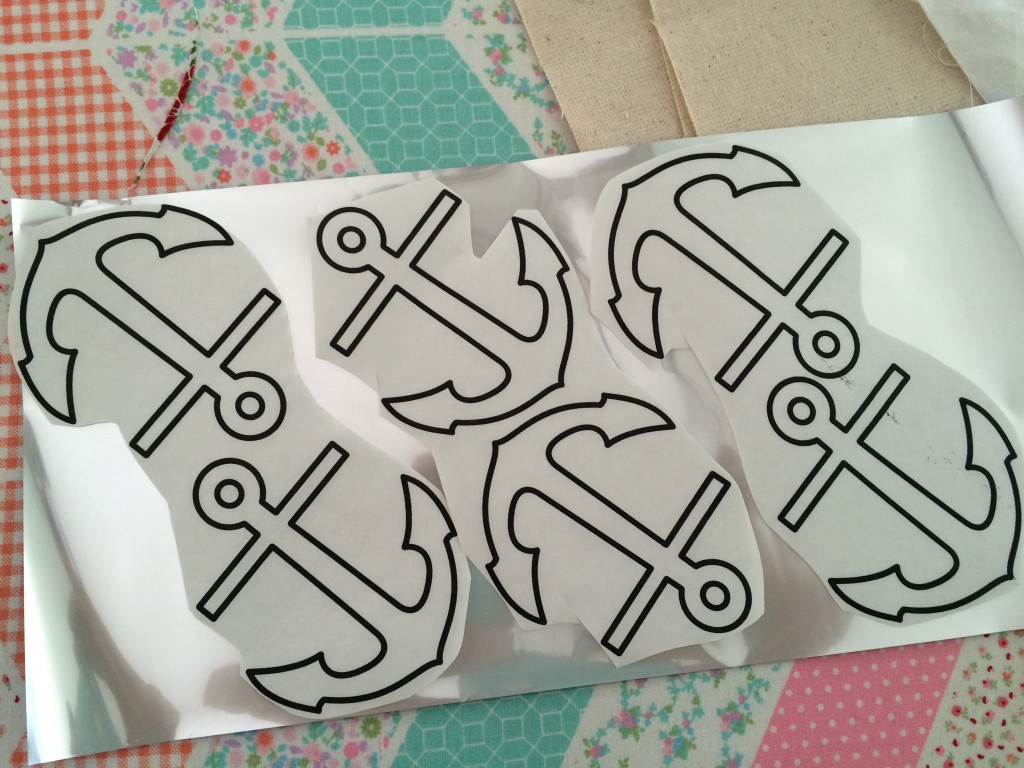
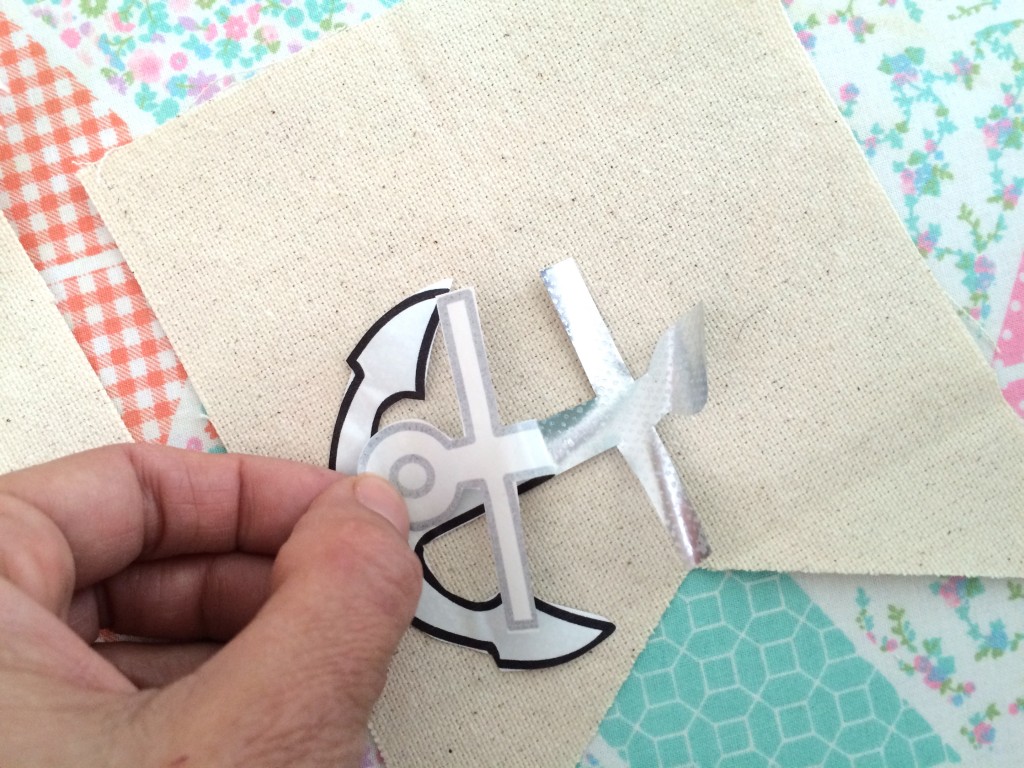
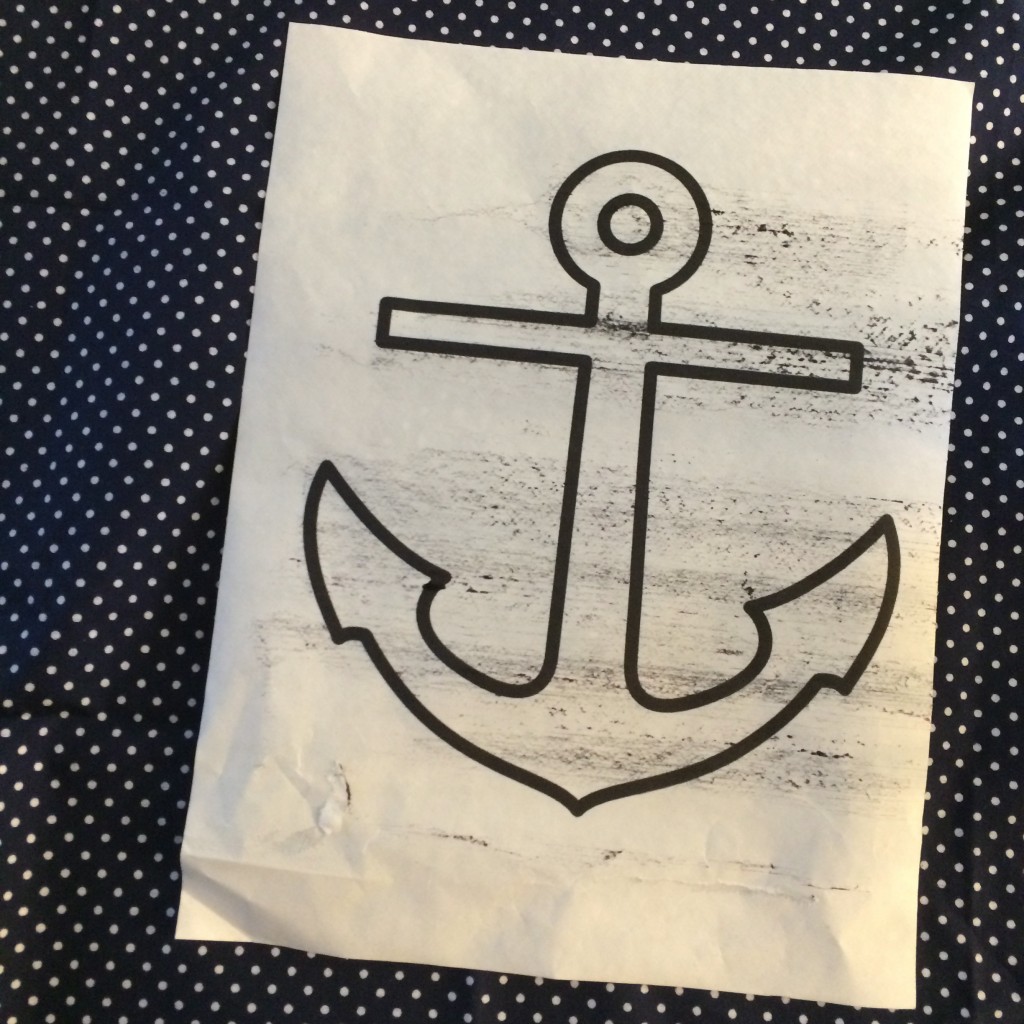
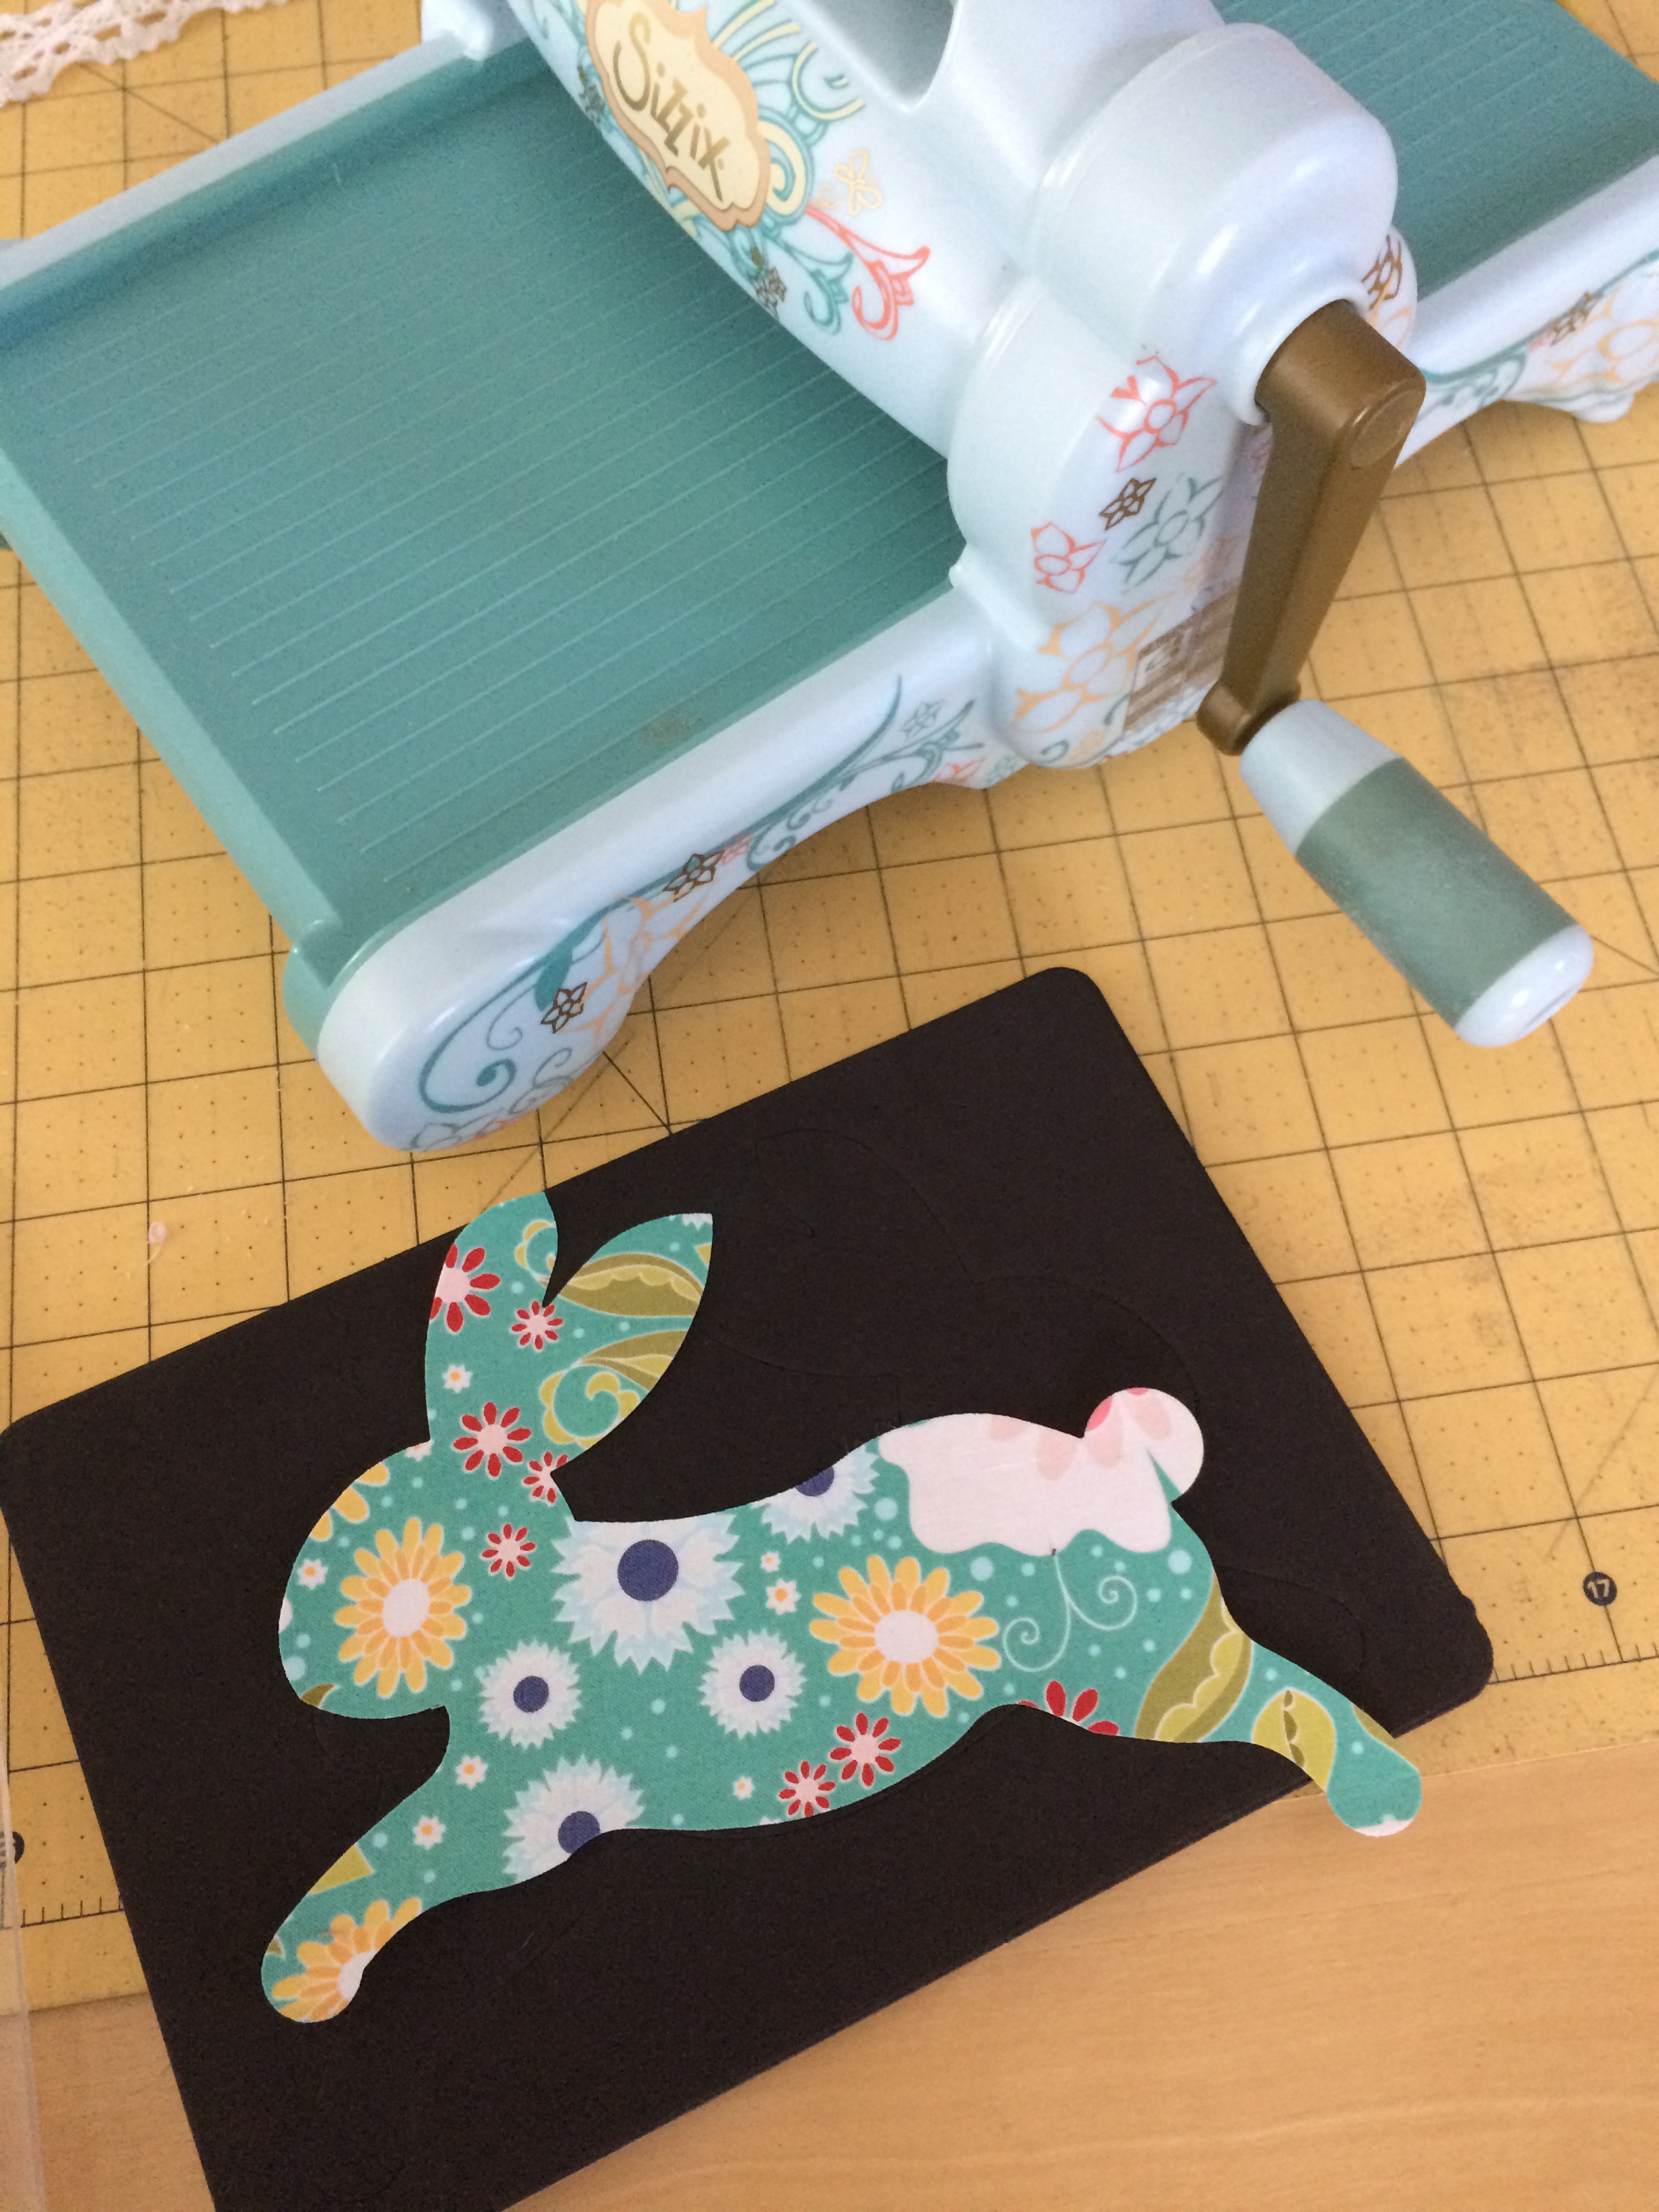
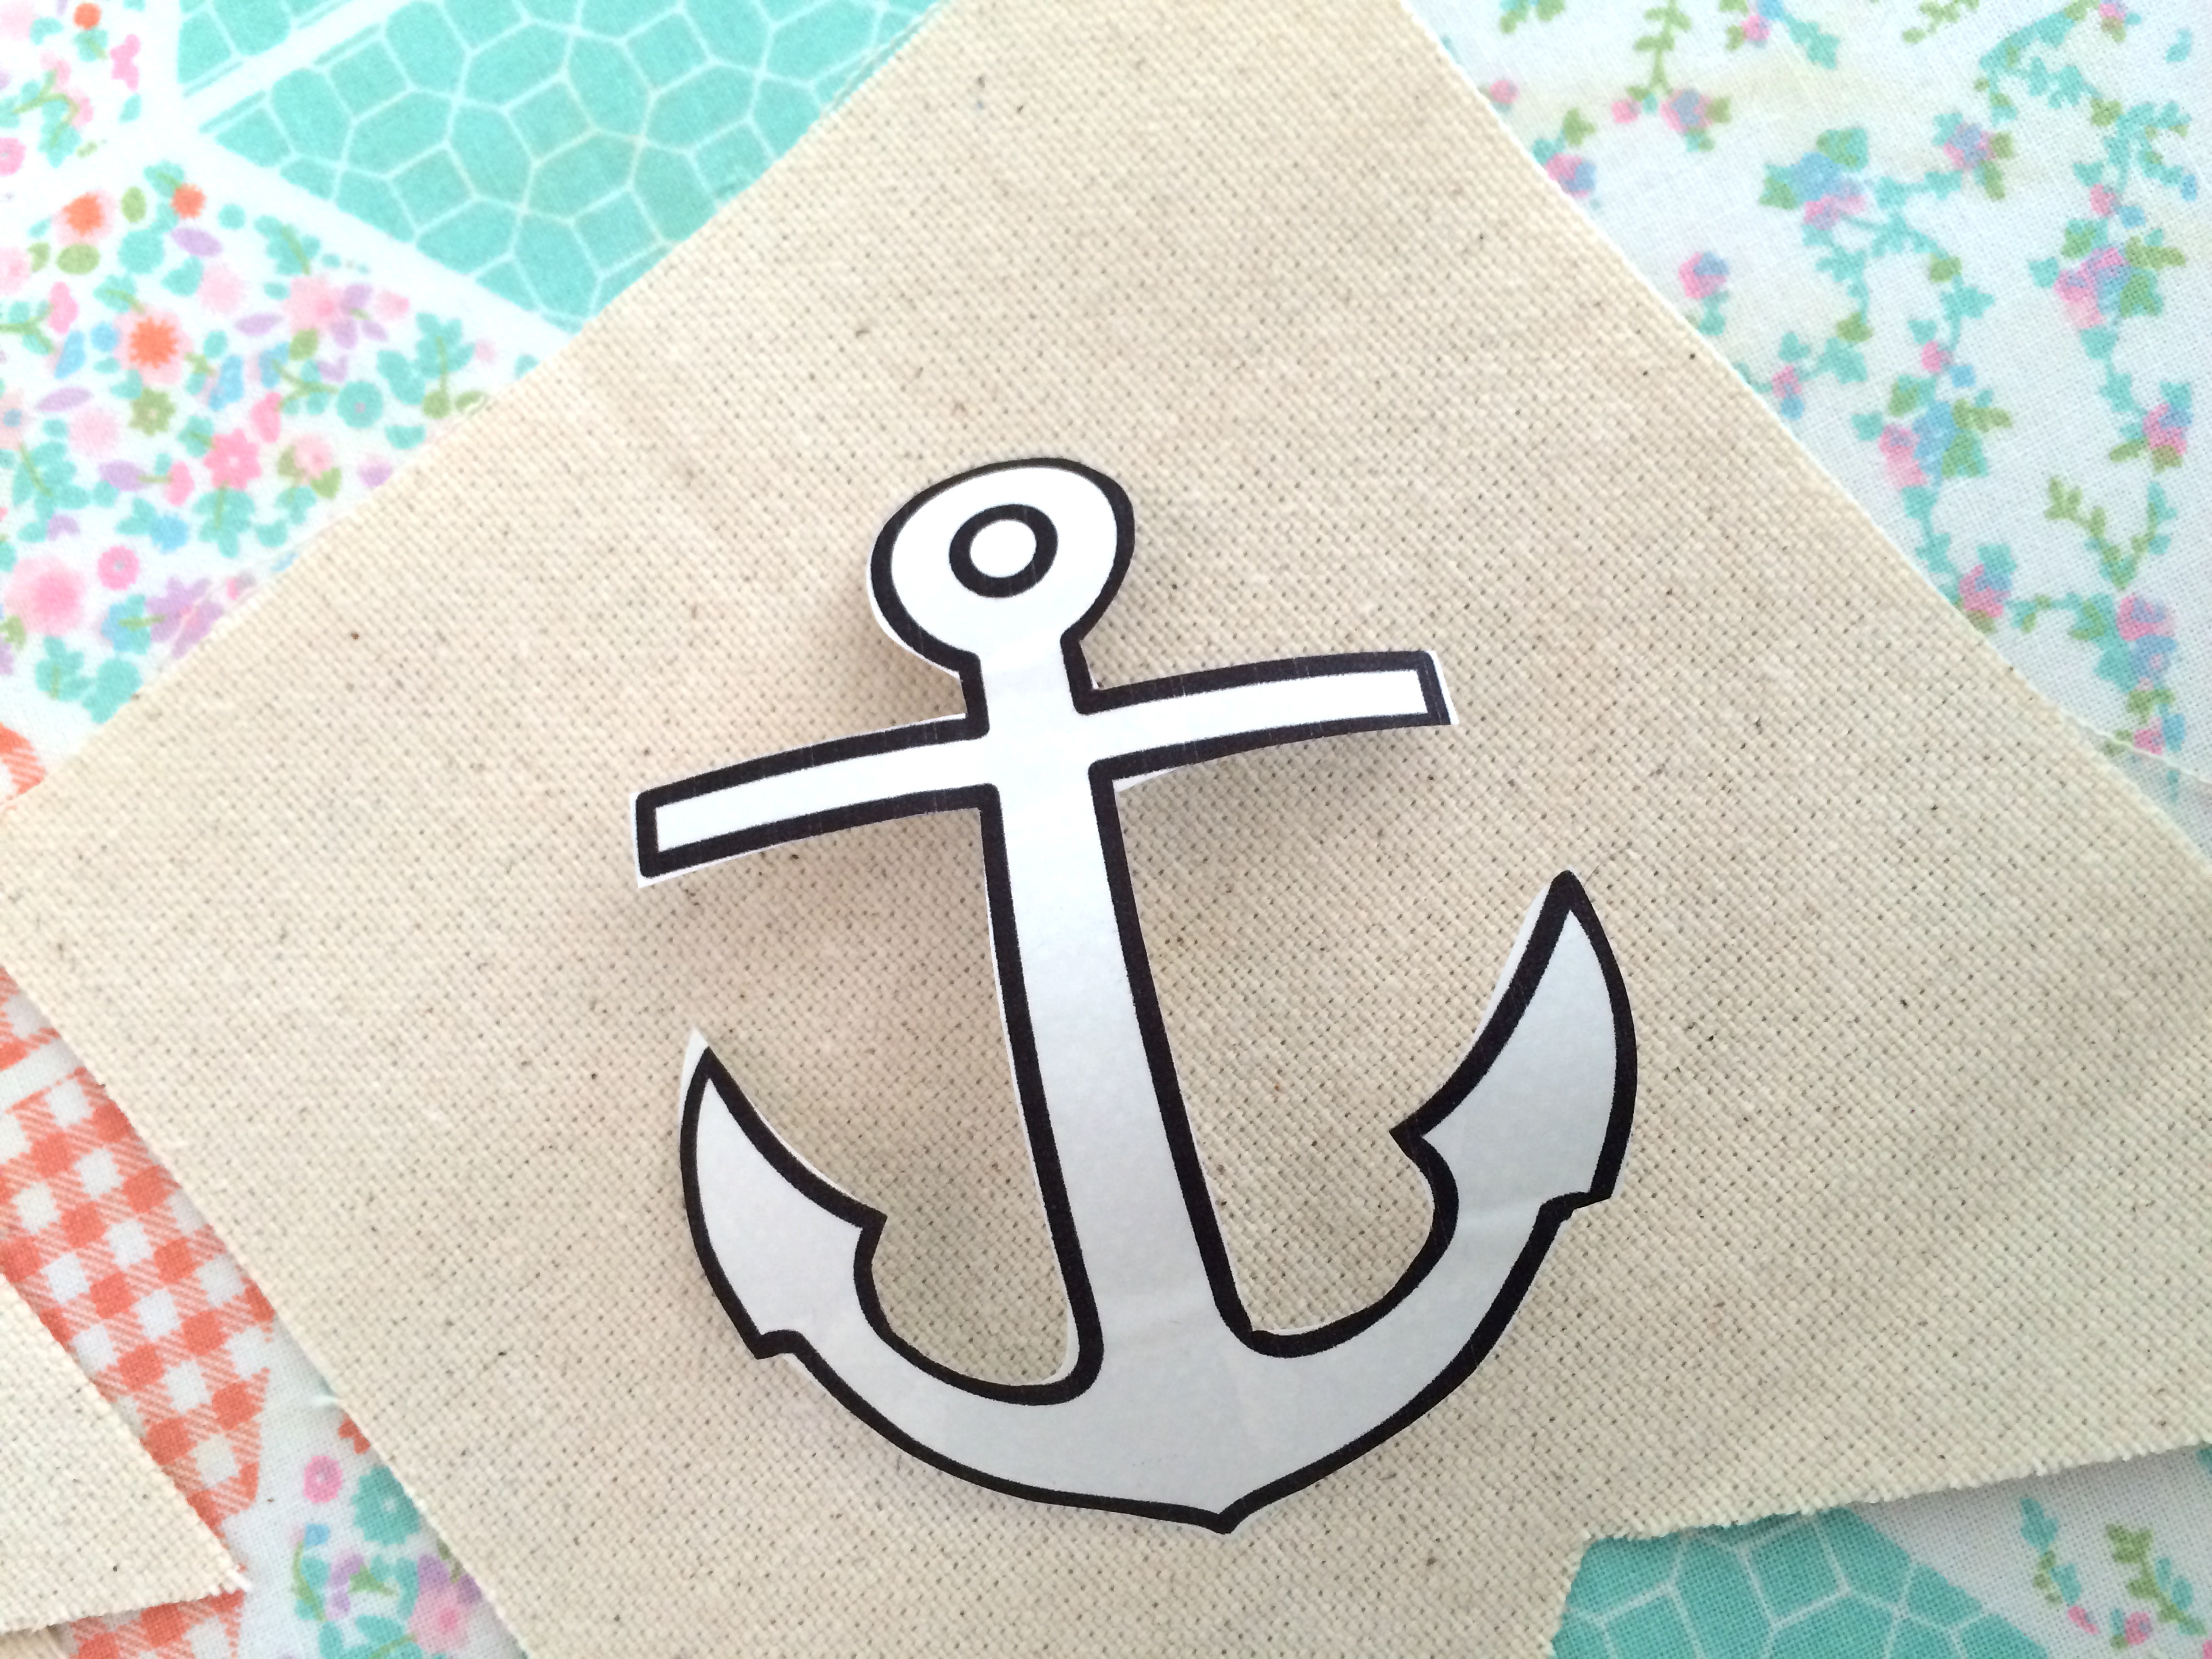
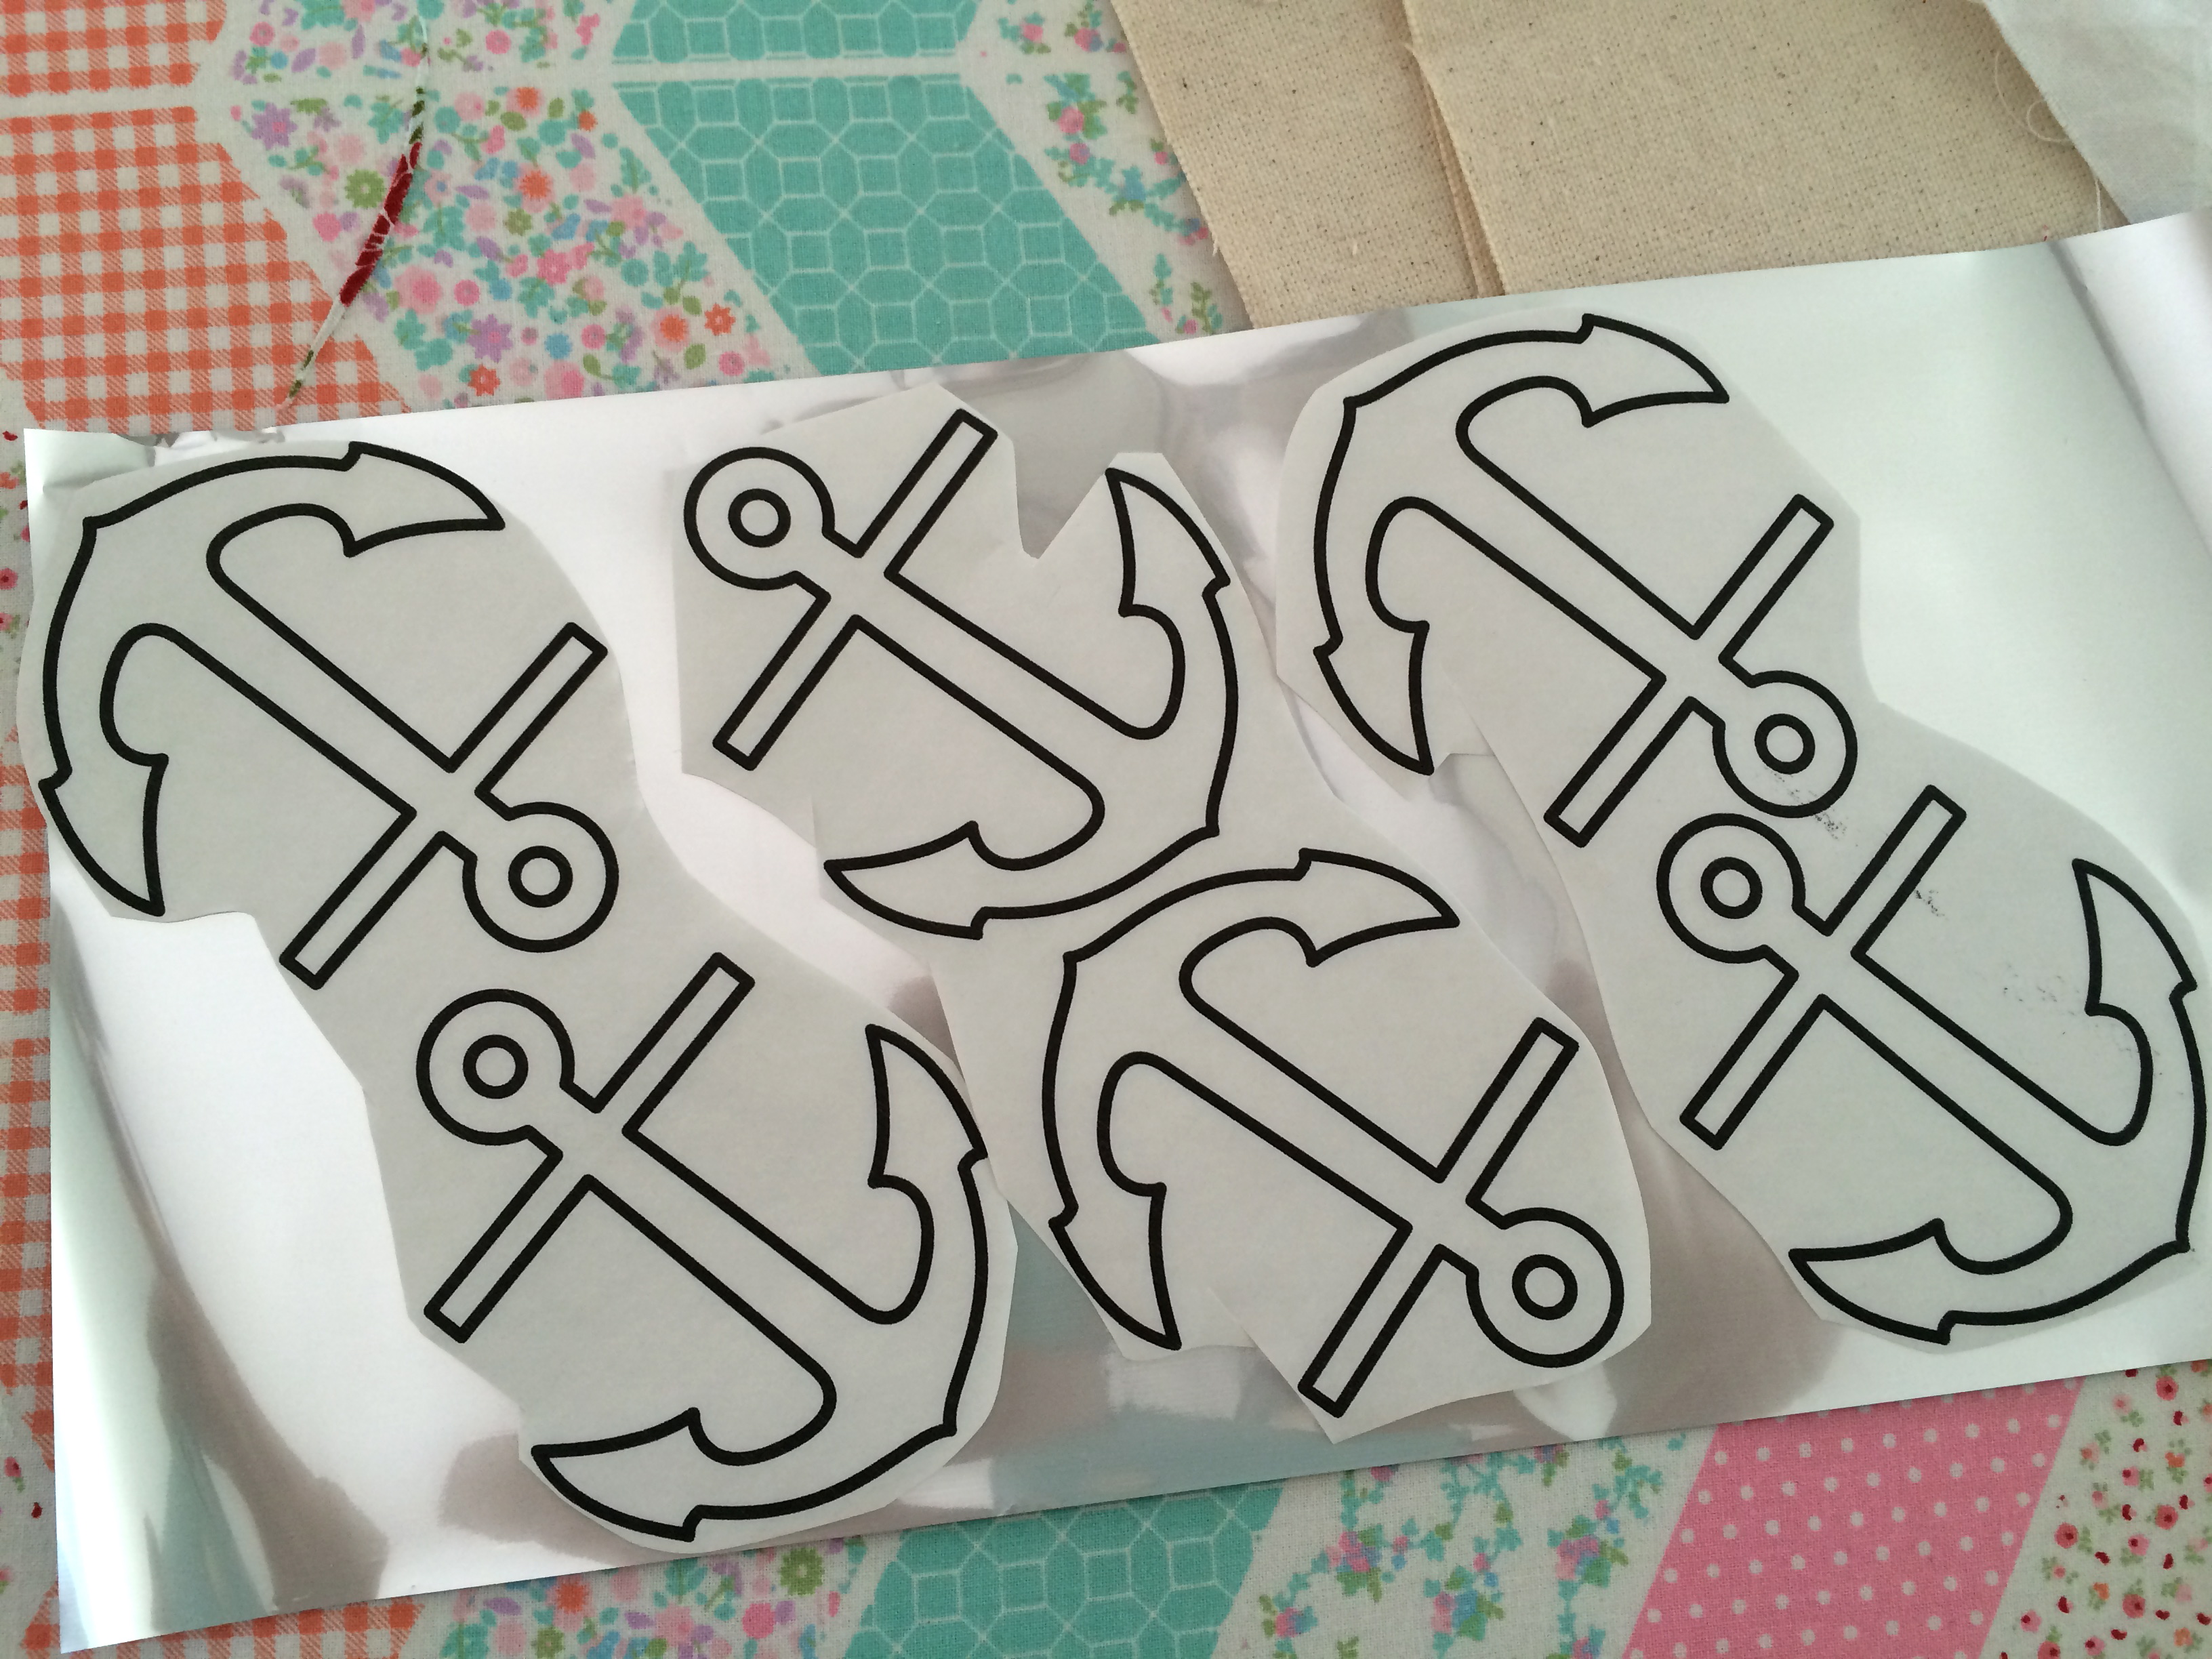
Begin by creating a stencil. There are 2 methods I like to use. The first is to upload the graphic to my cutting program for my vinyl cutter and cut the image in vinyl and peel out the inside leaving a single-use stencil. The second way is to trace the image on plastic binder dividers and cut it out with and craft knife. This way you can use the stencil over and over. For this project I cut the images on my cutting machine.
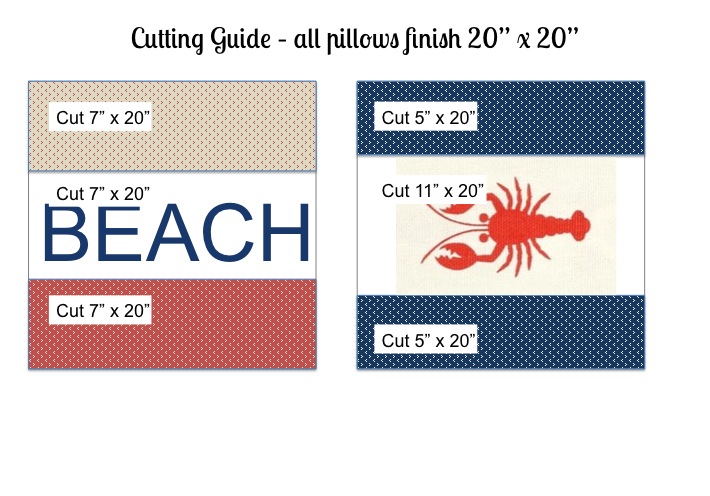
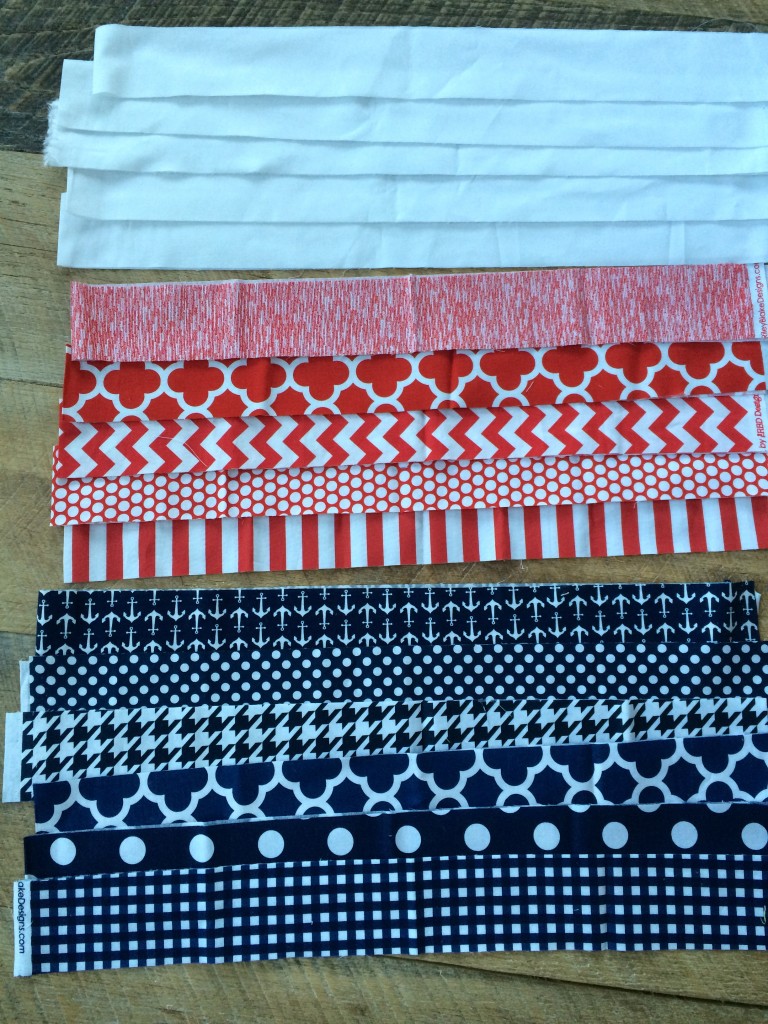
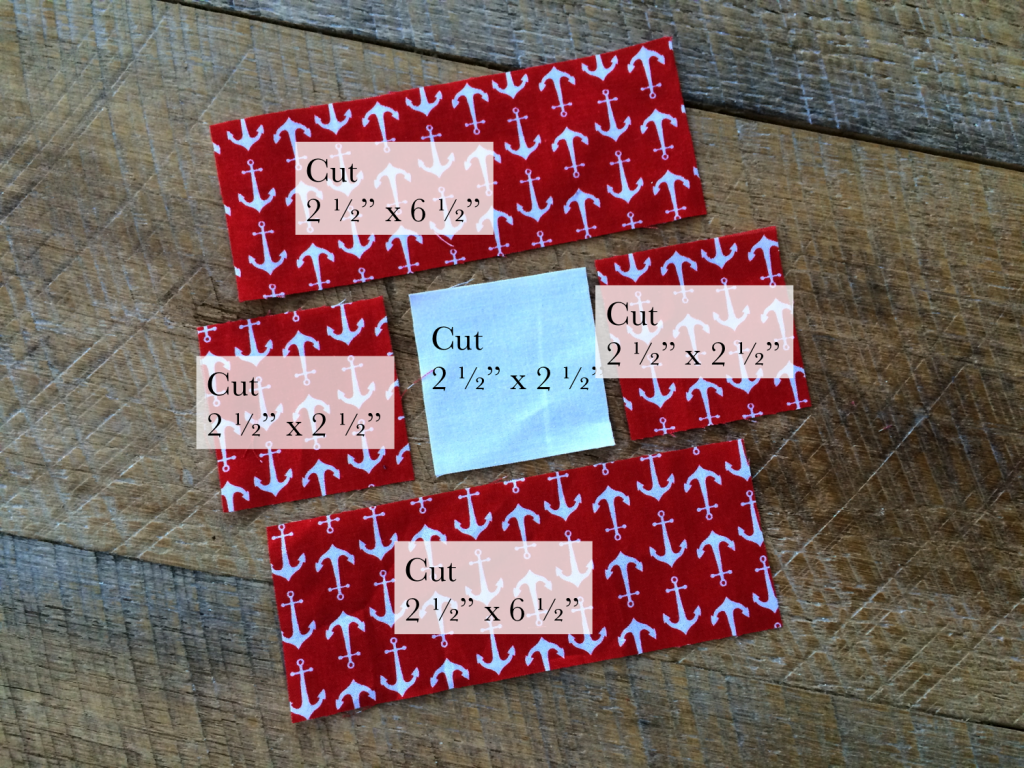
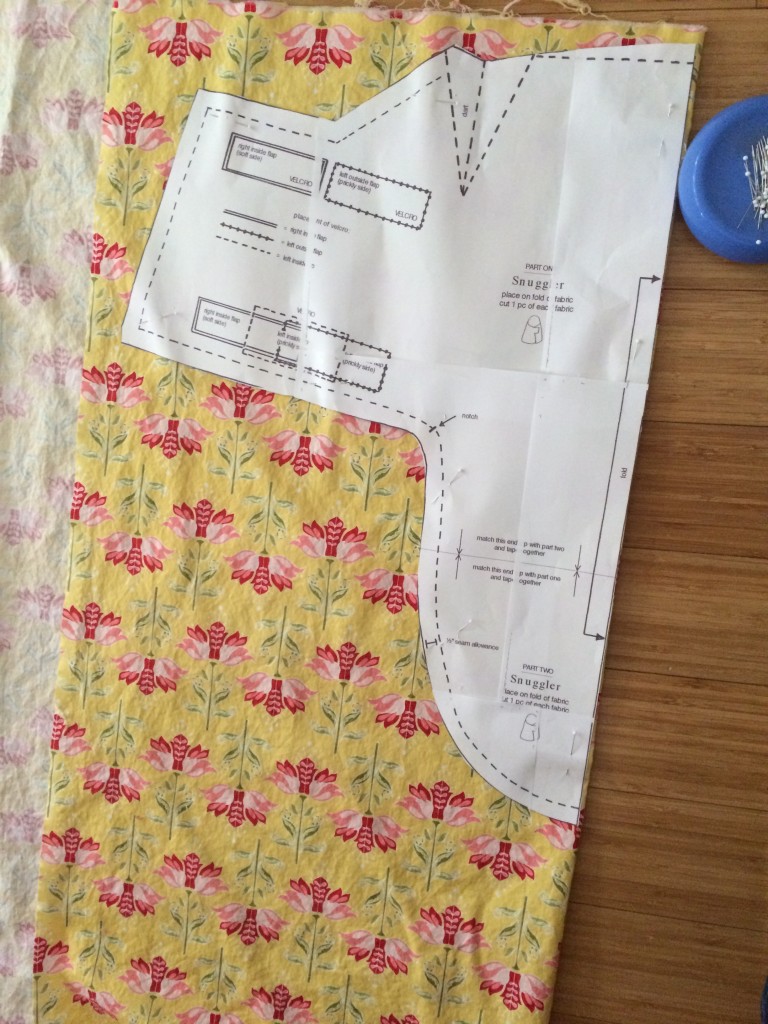
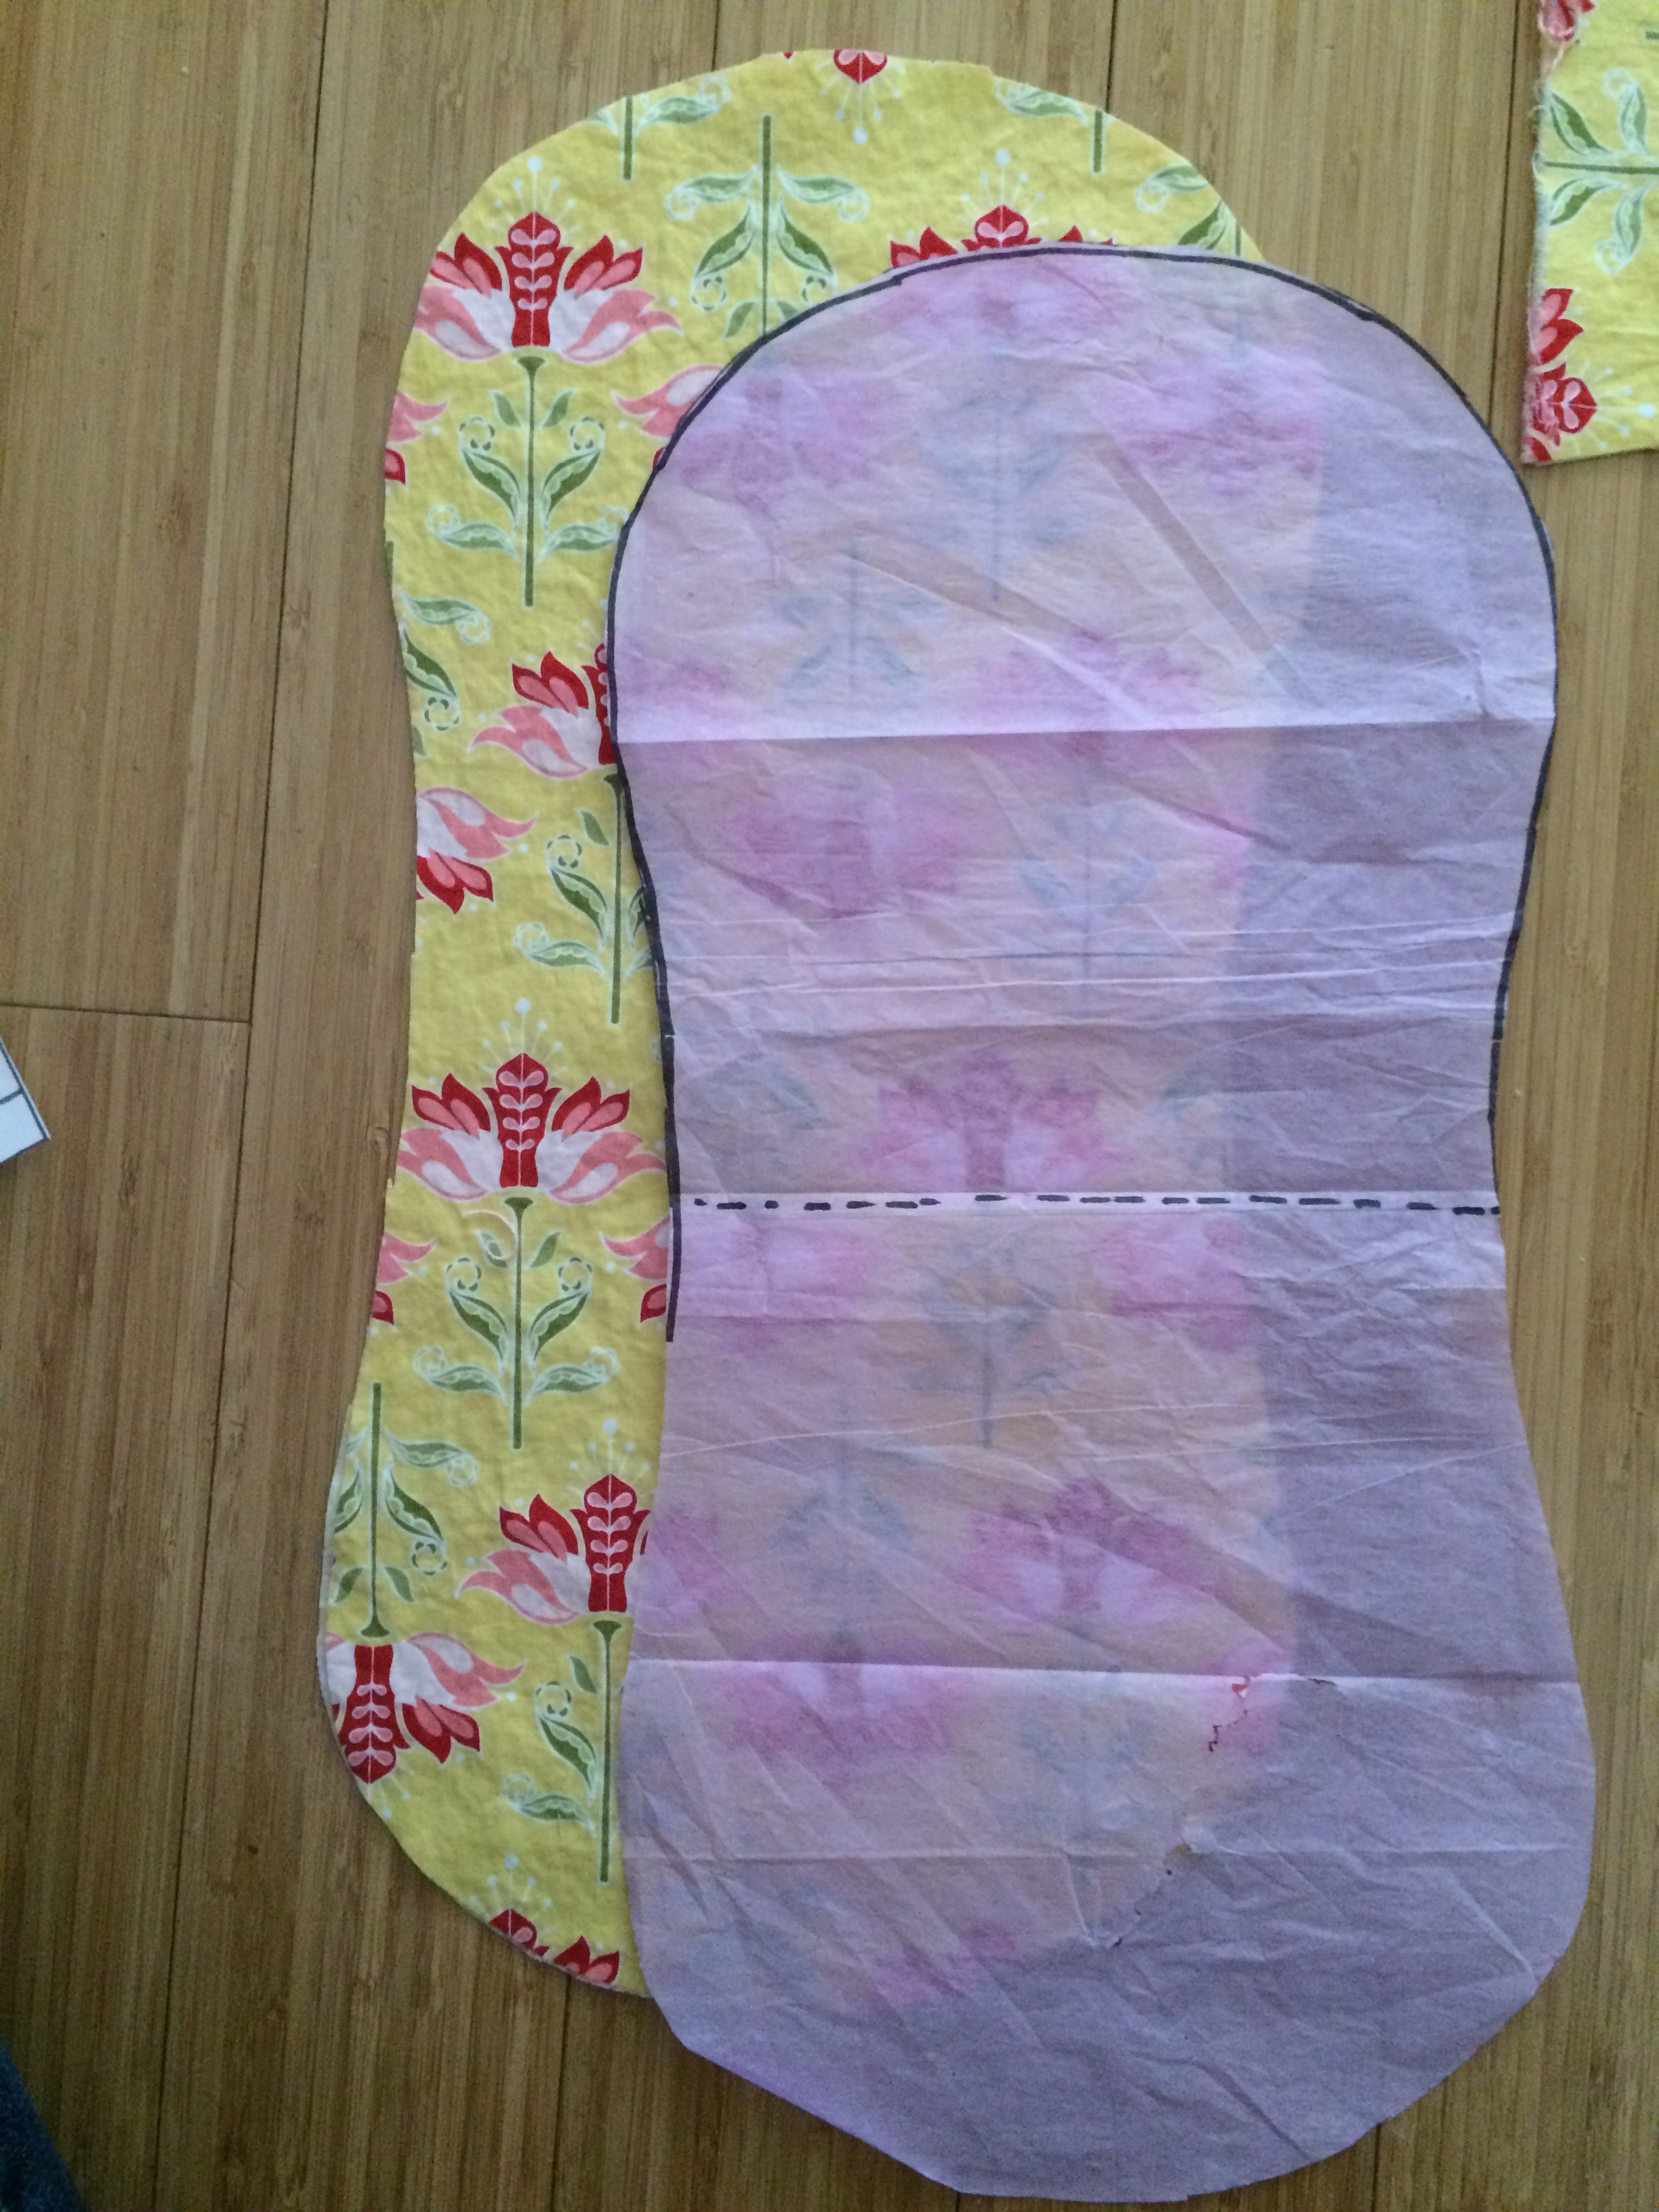
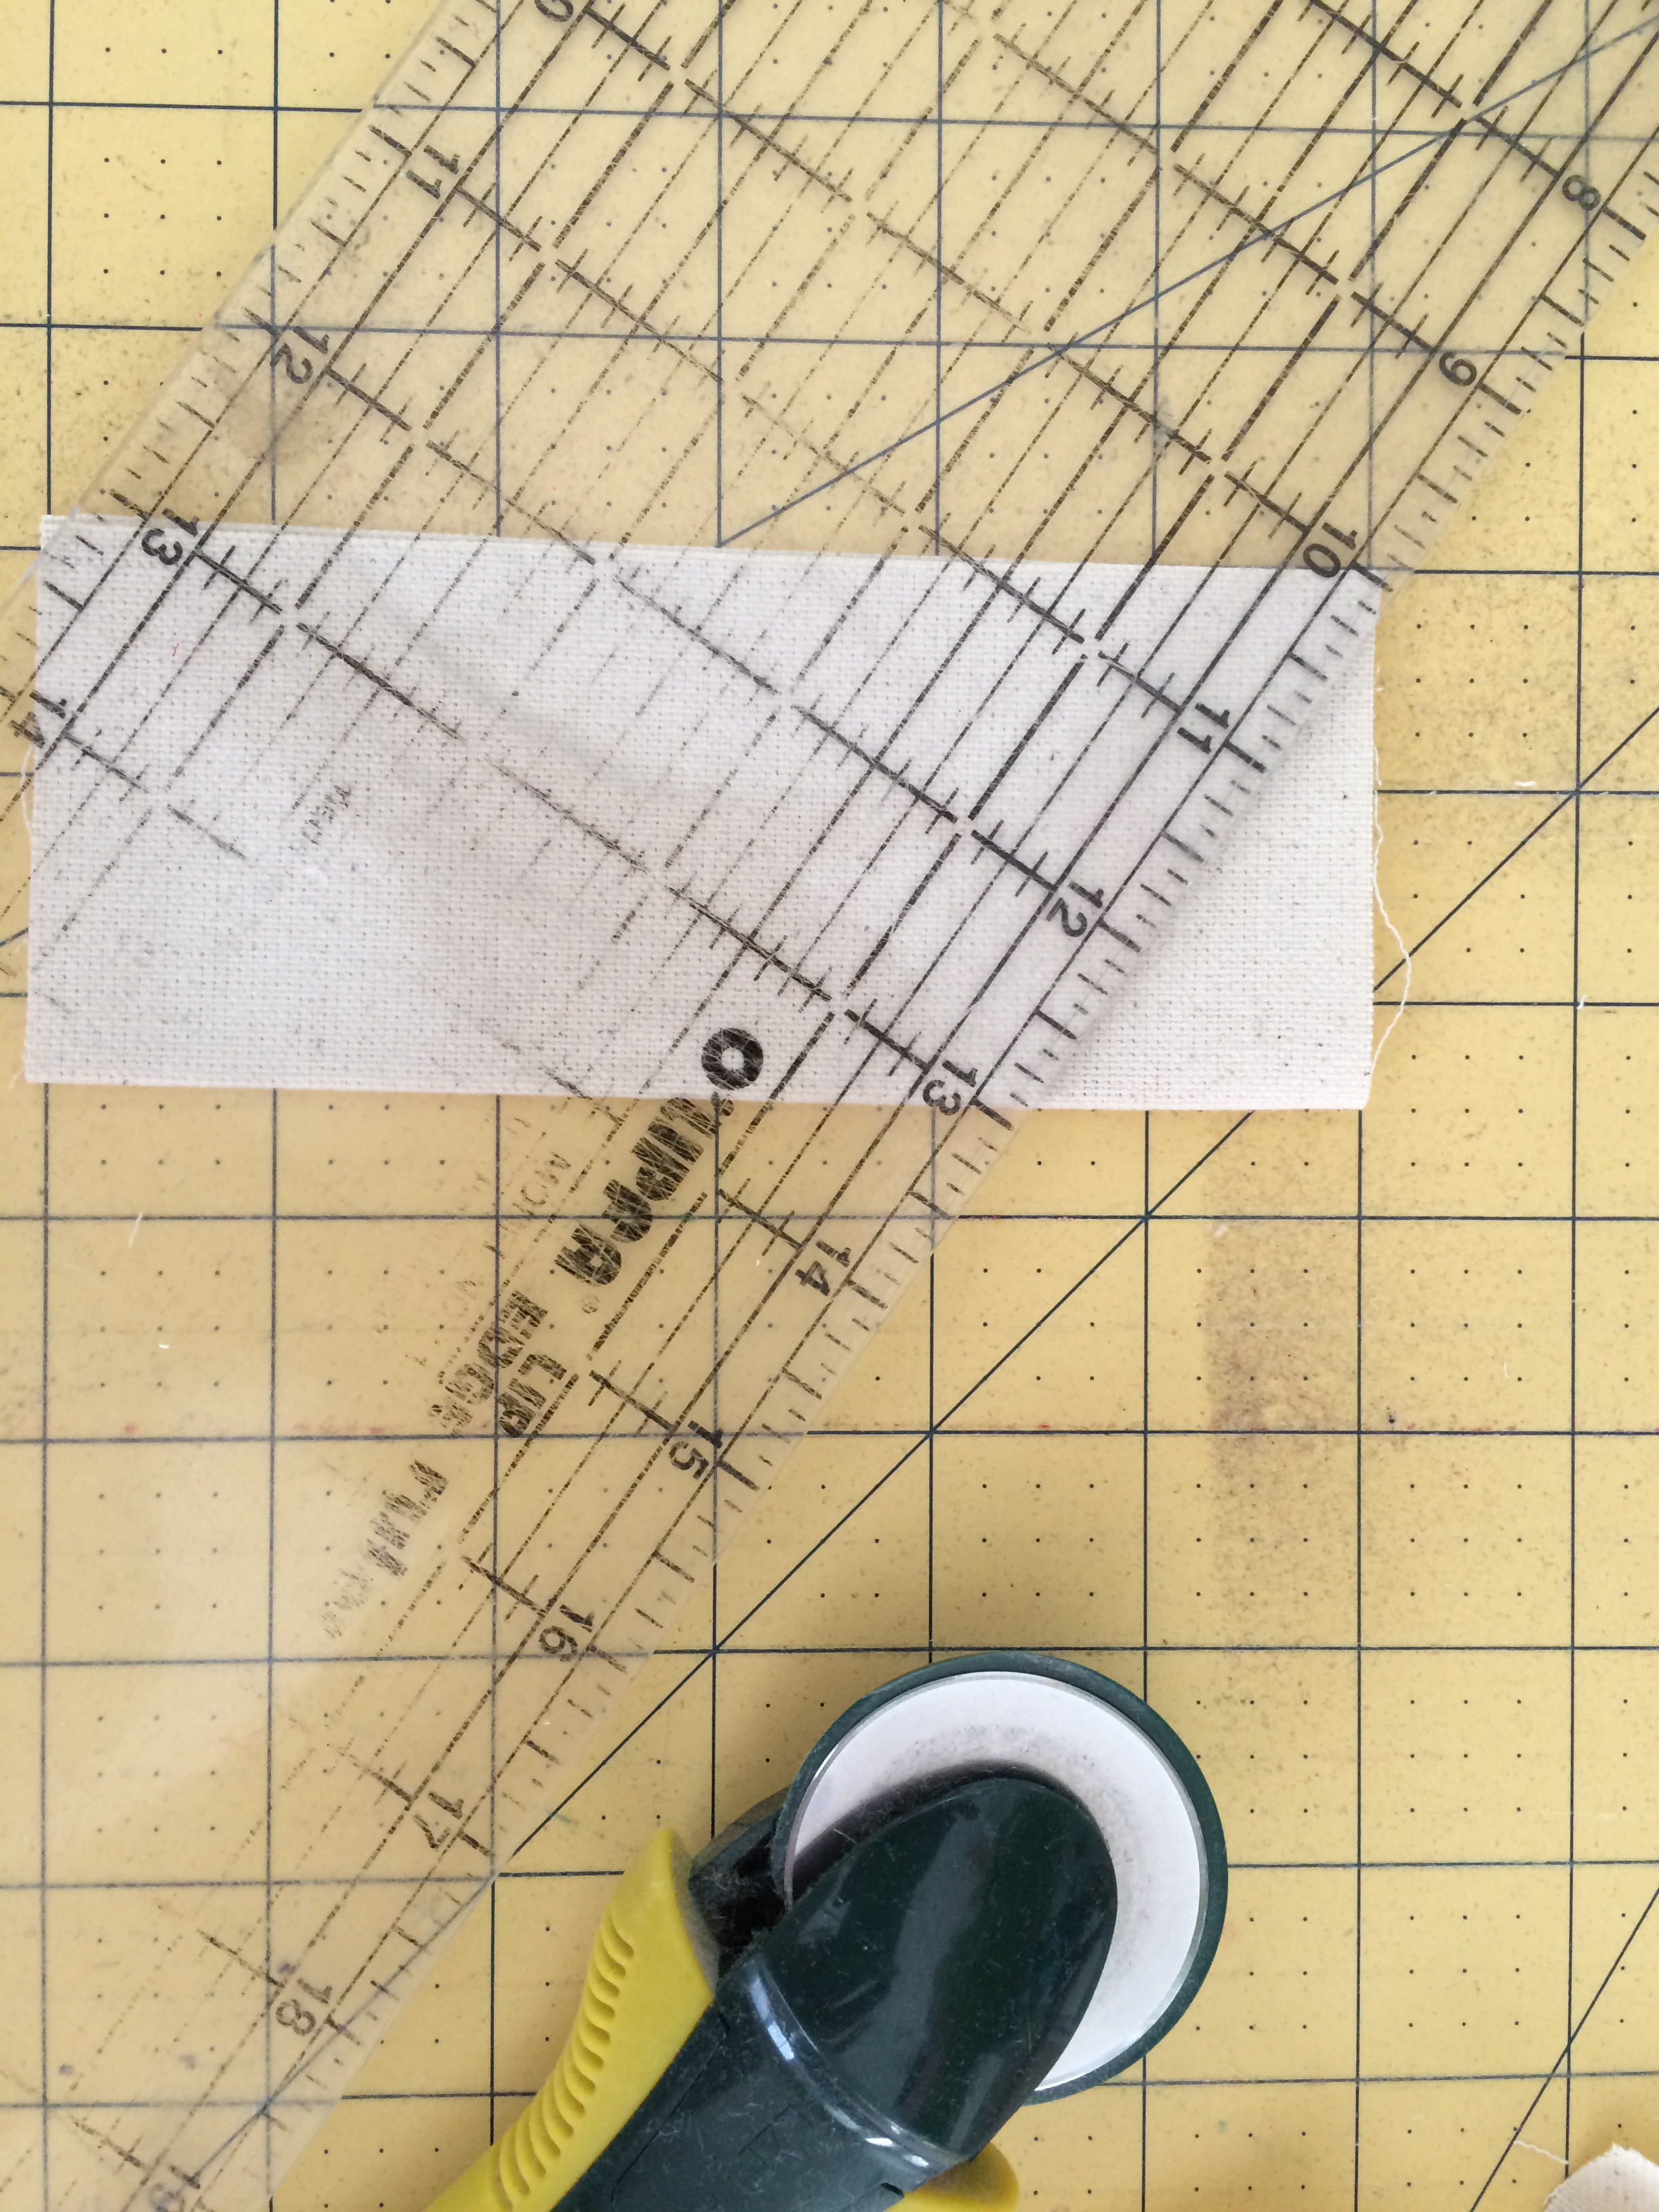
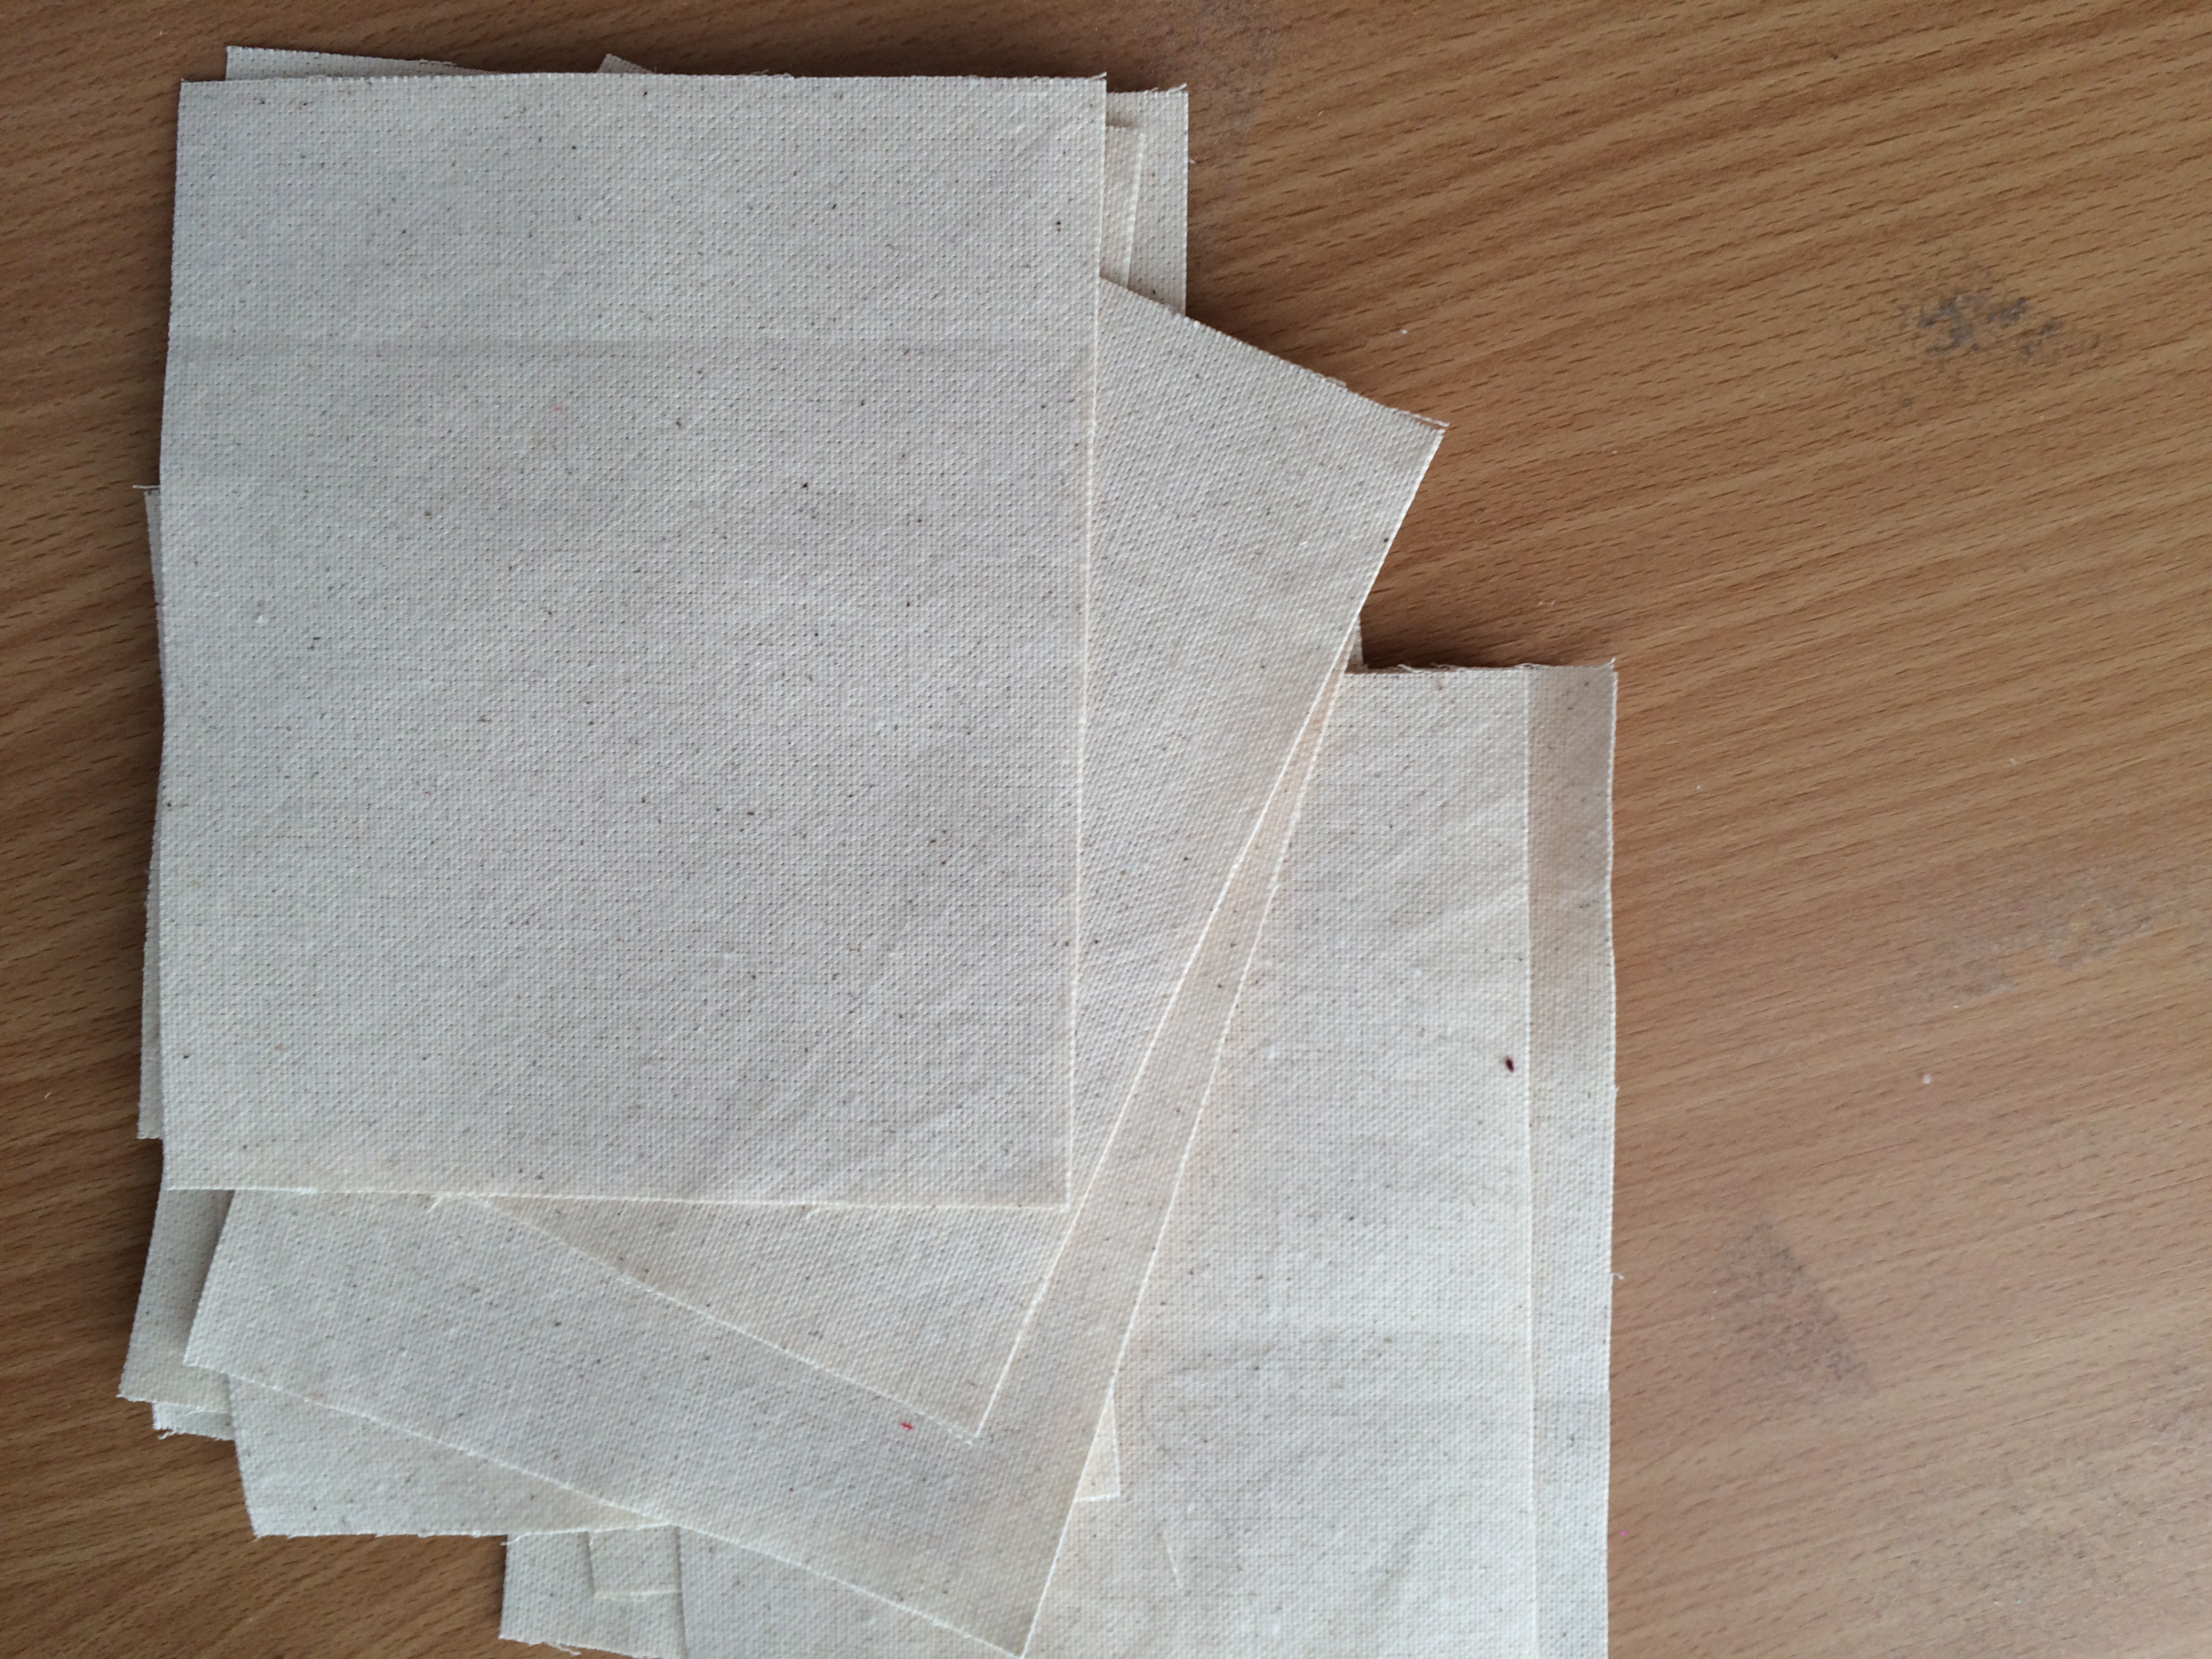
Cut the fabrics according to the cutting guide below:
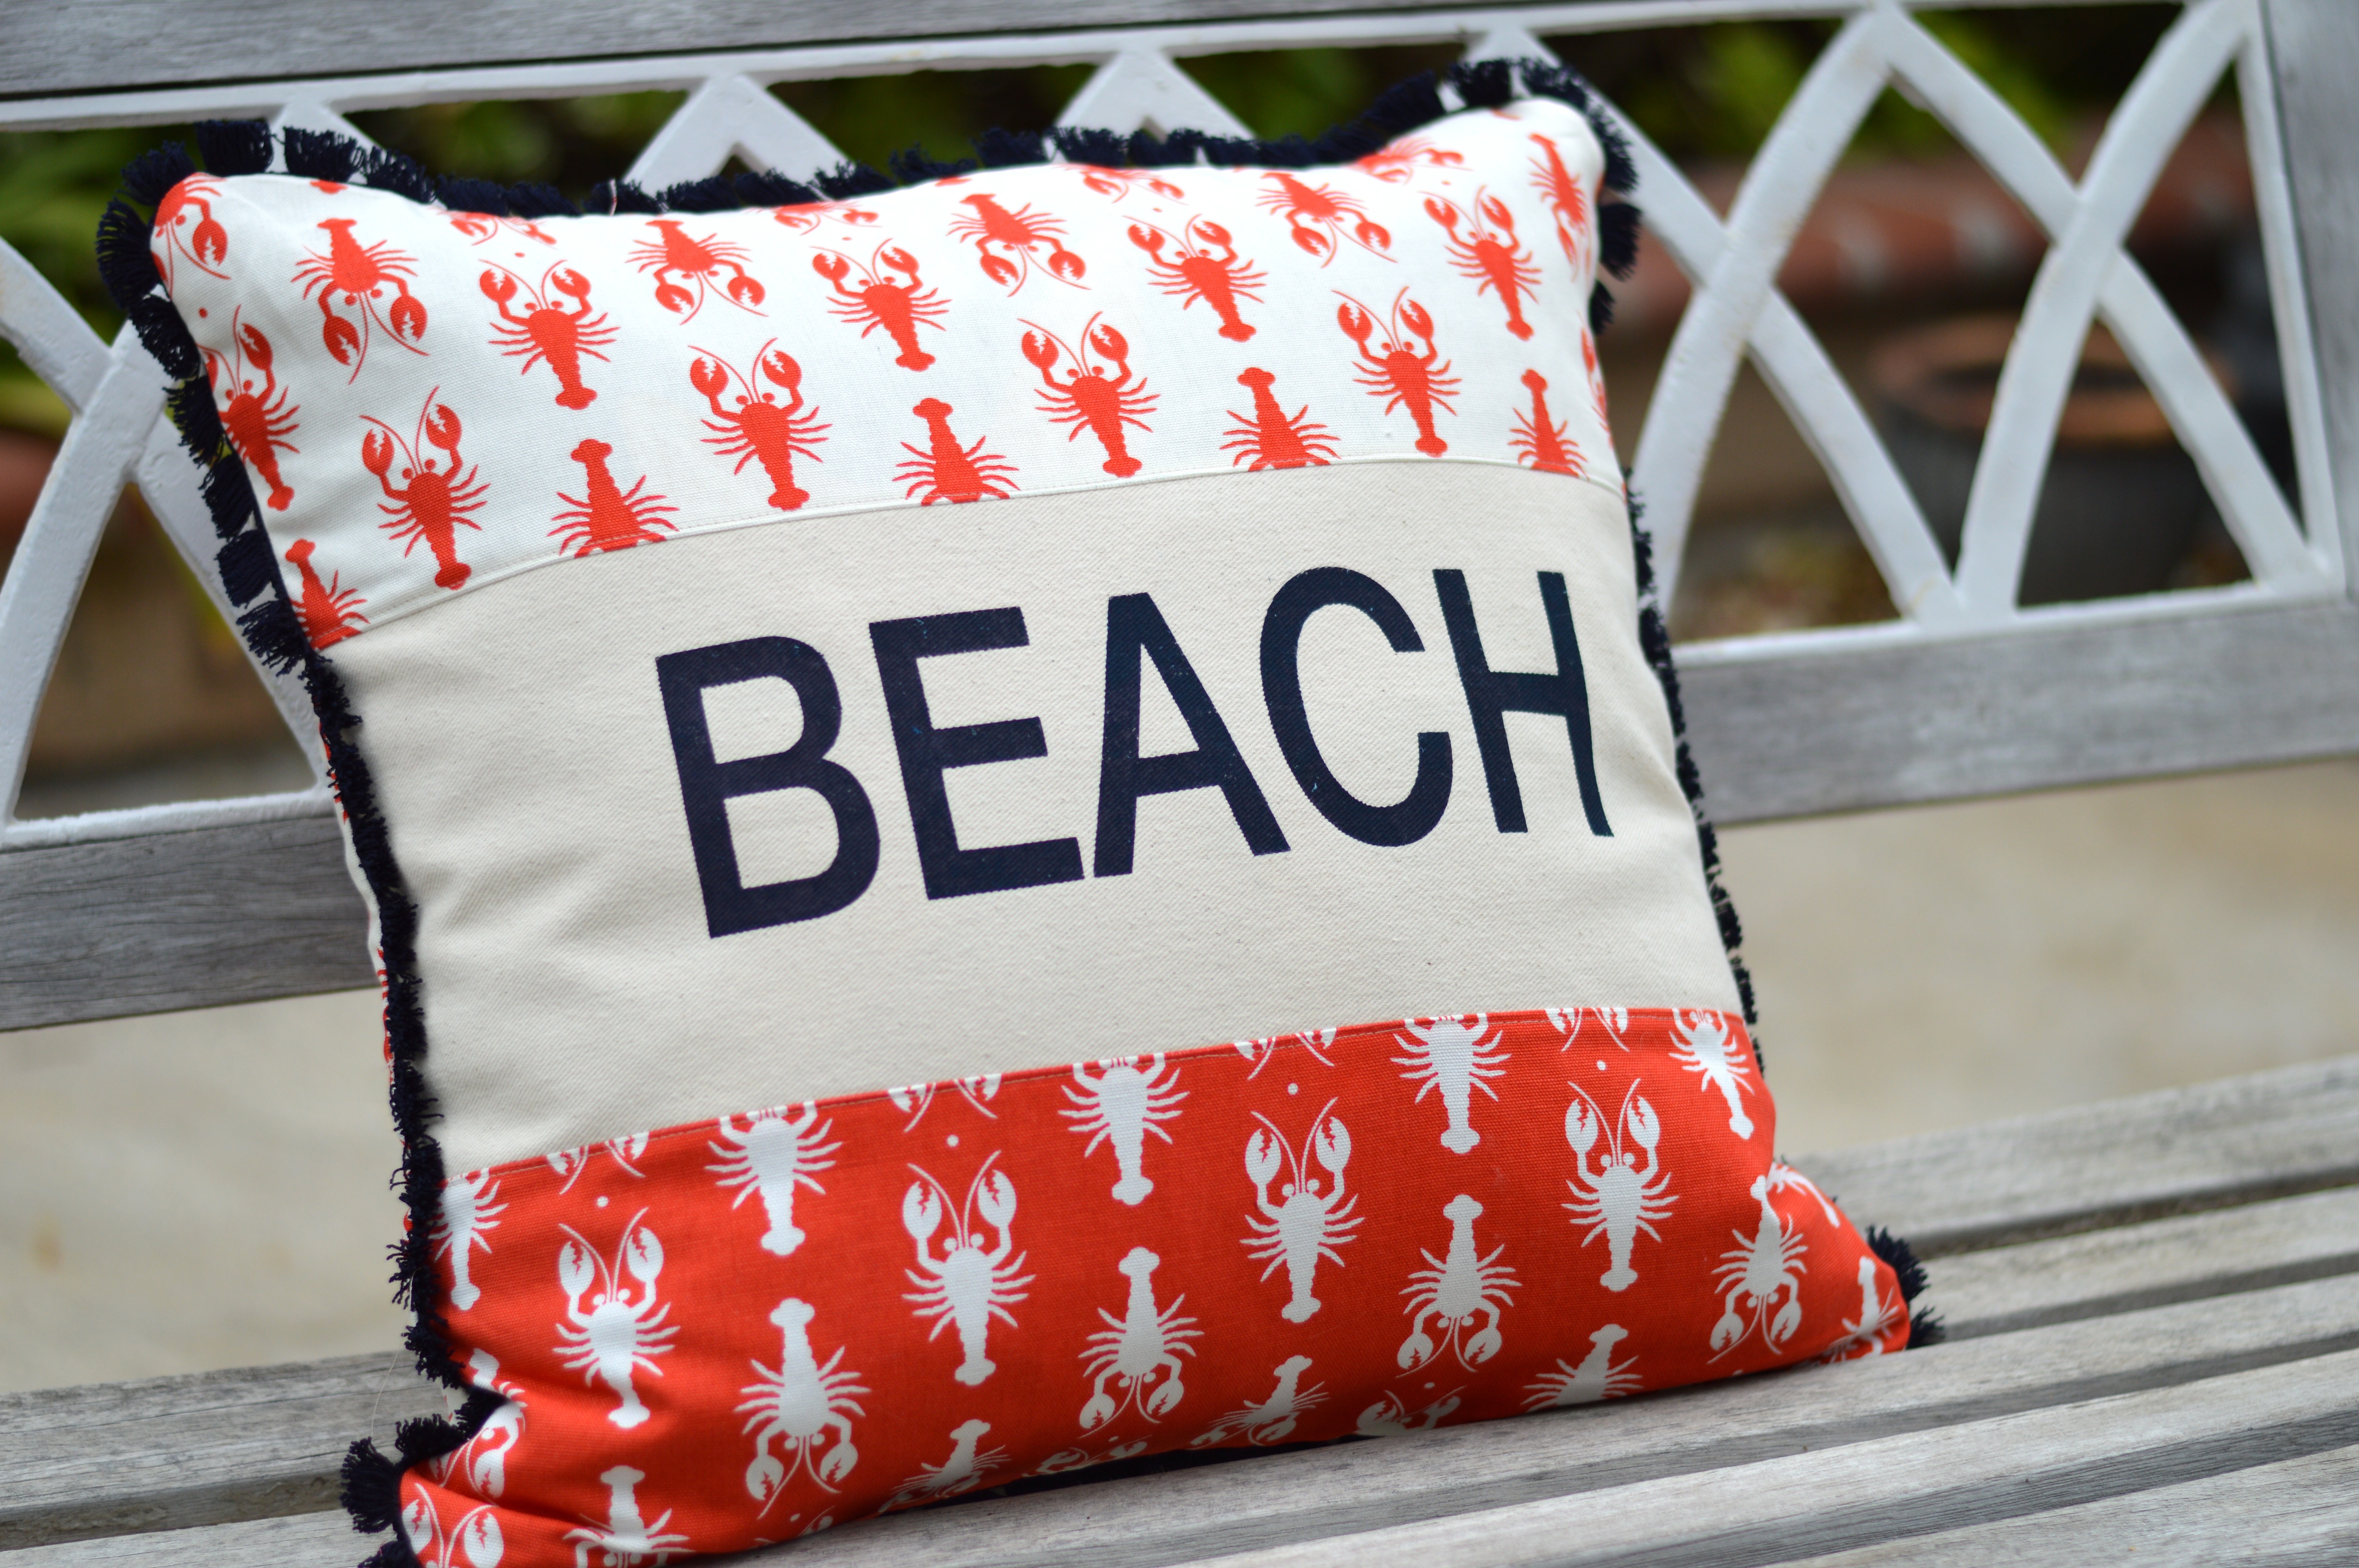
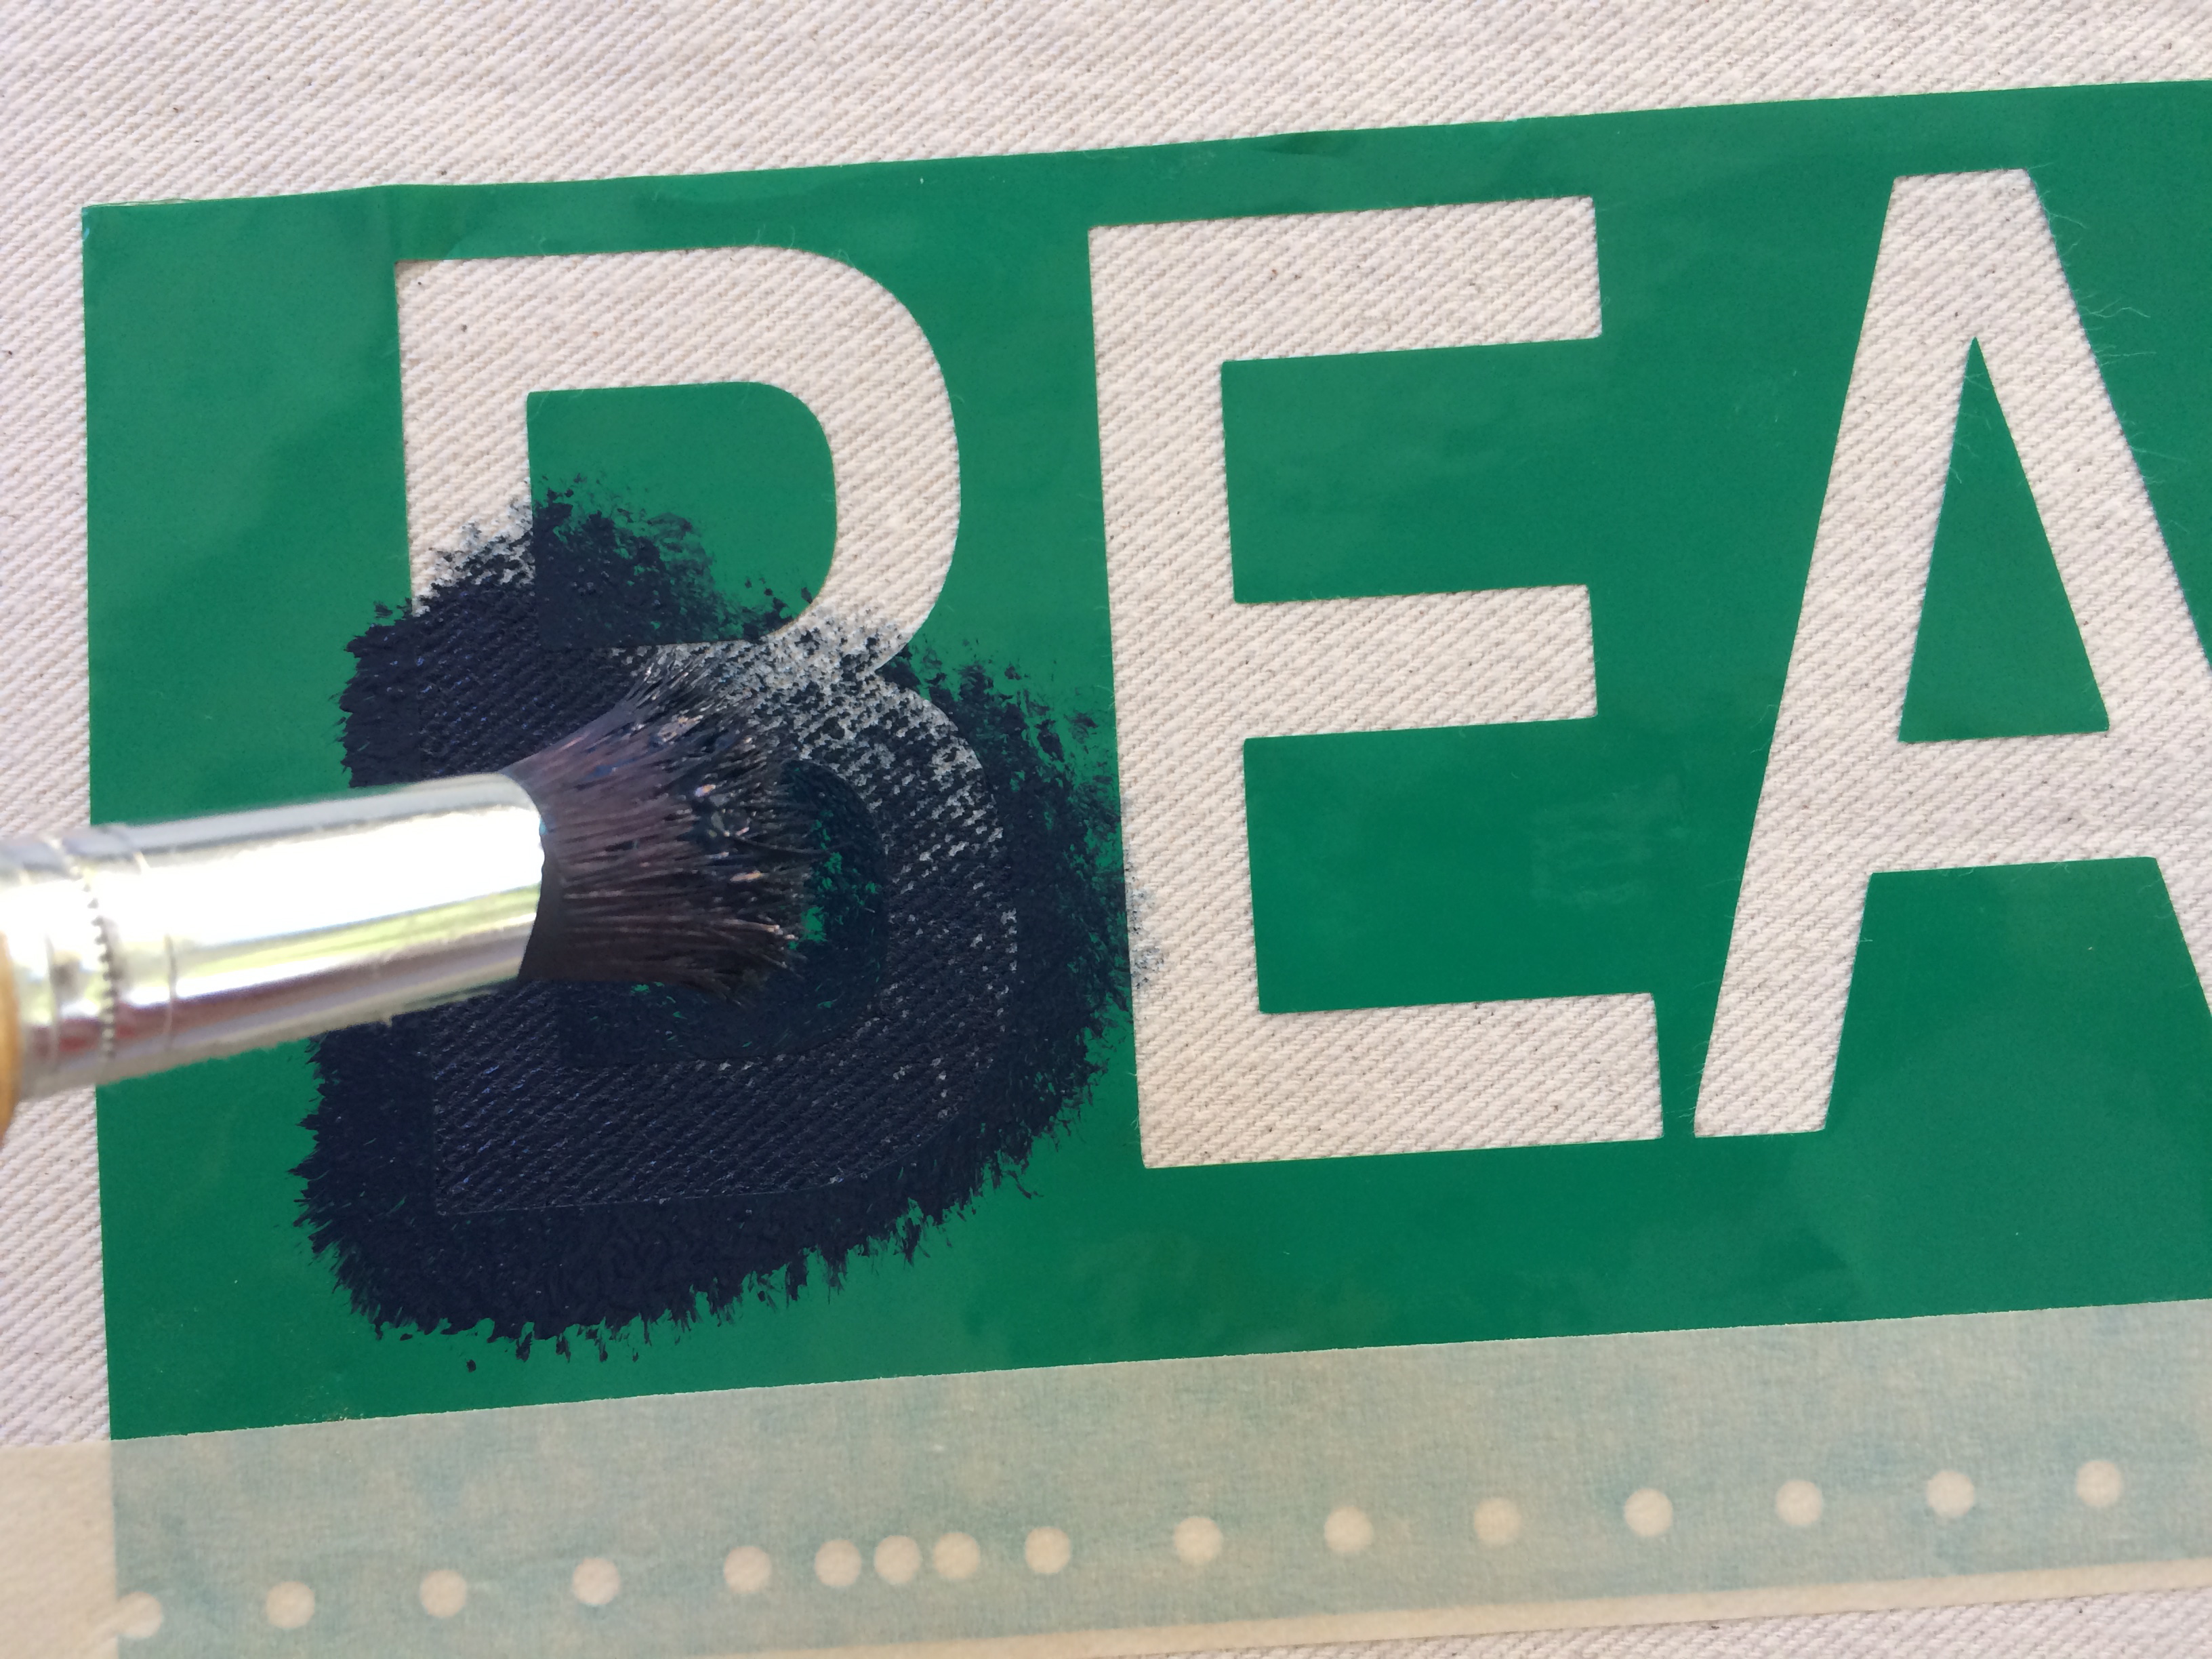
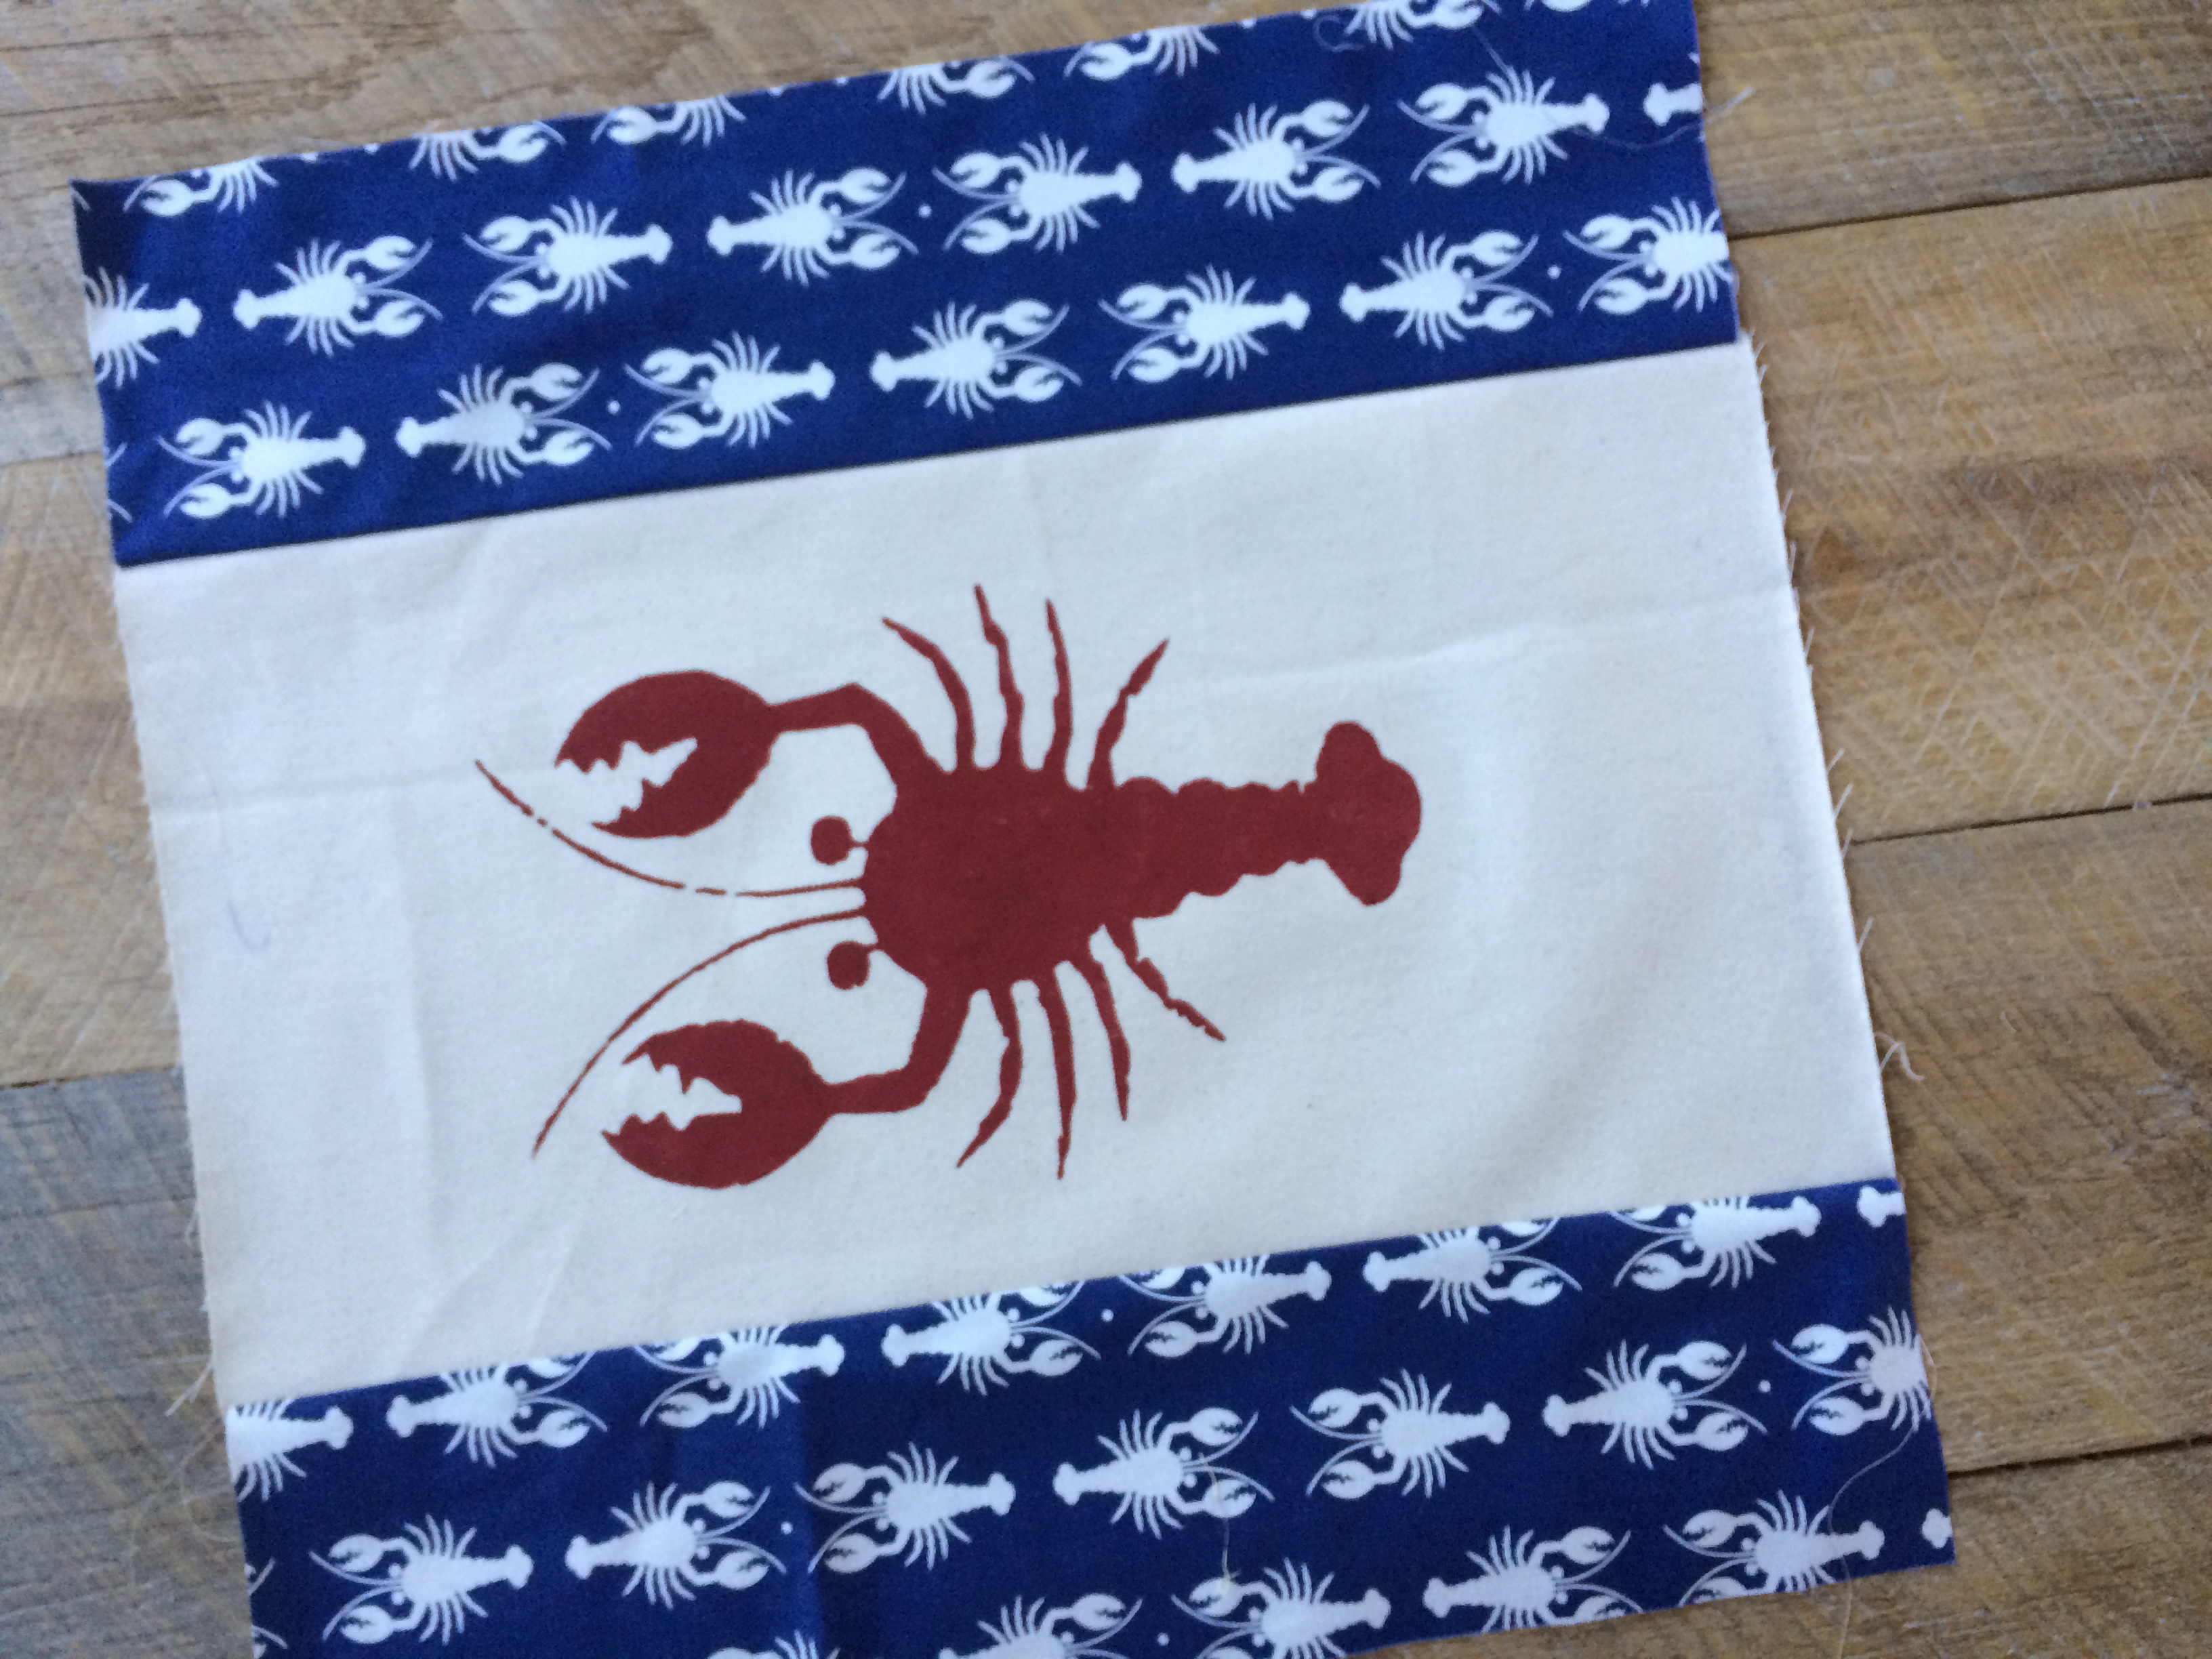
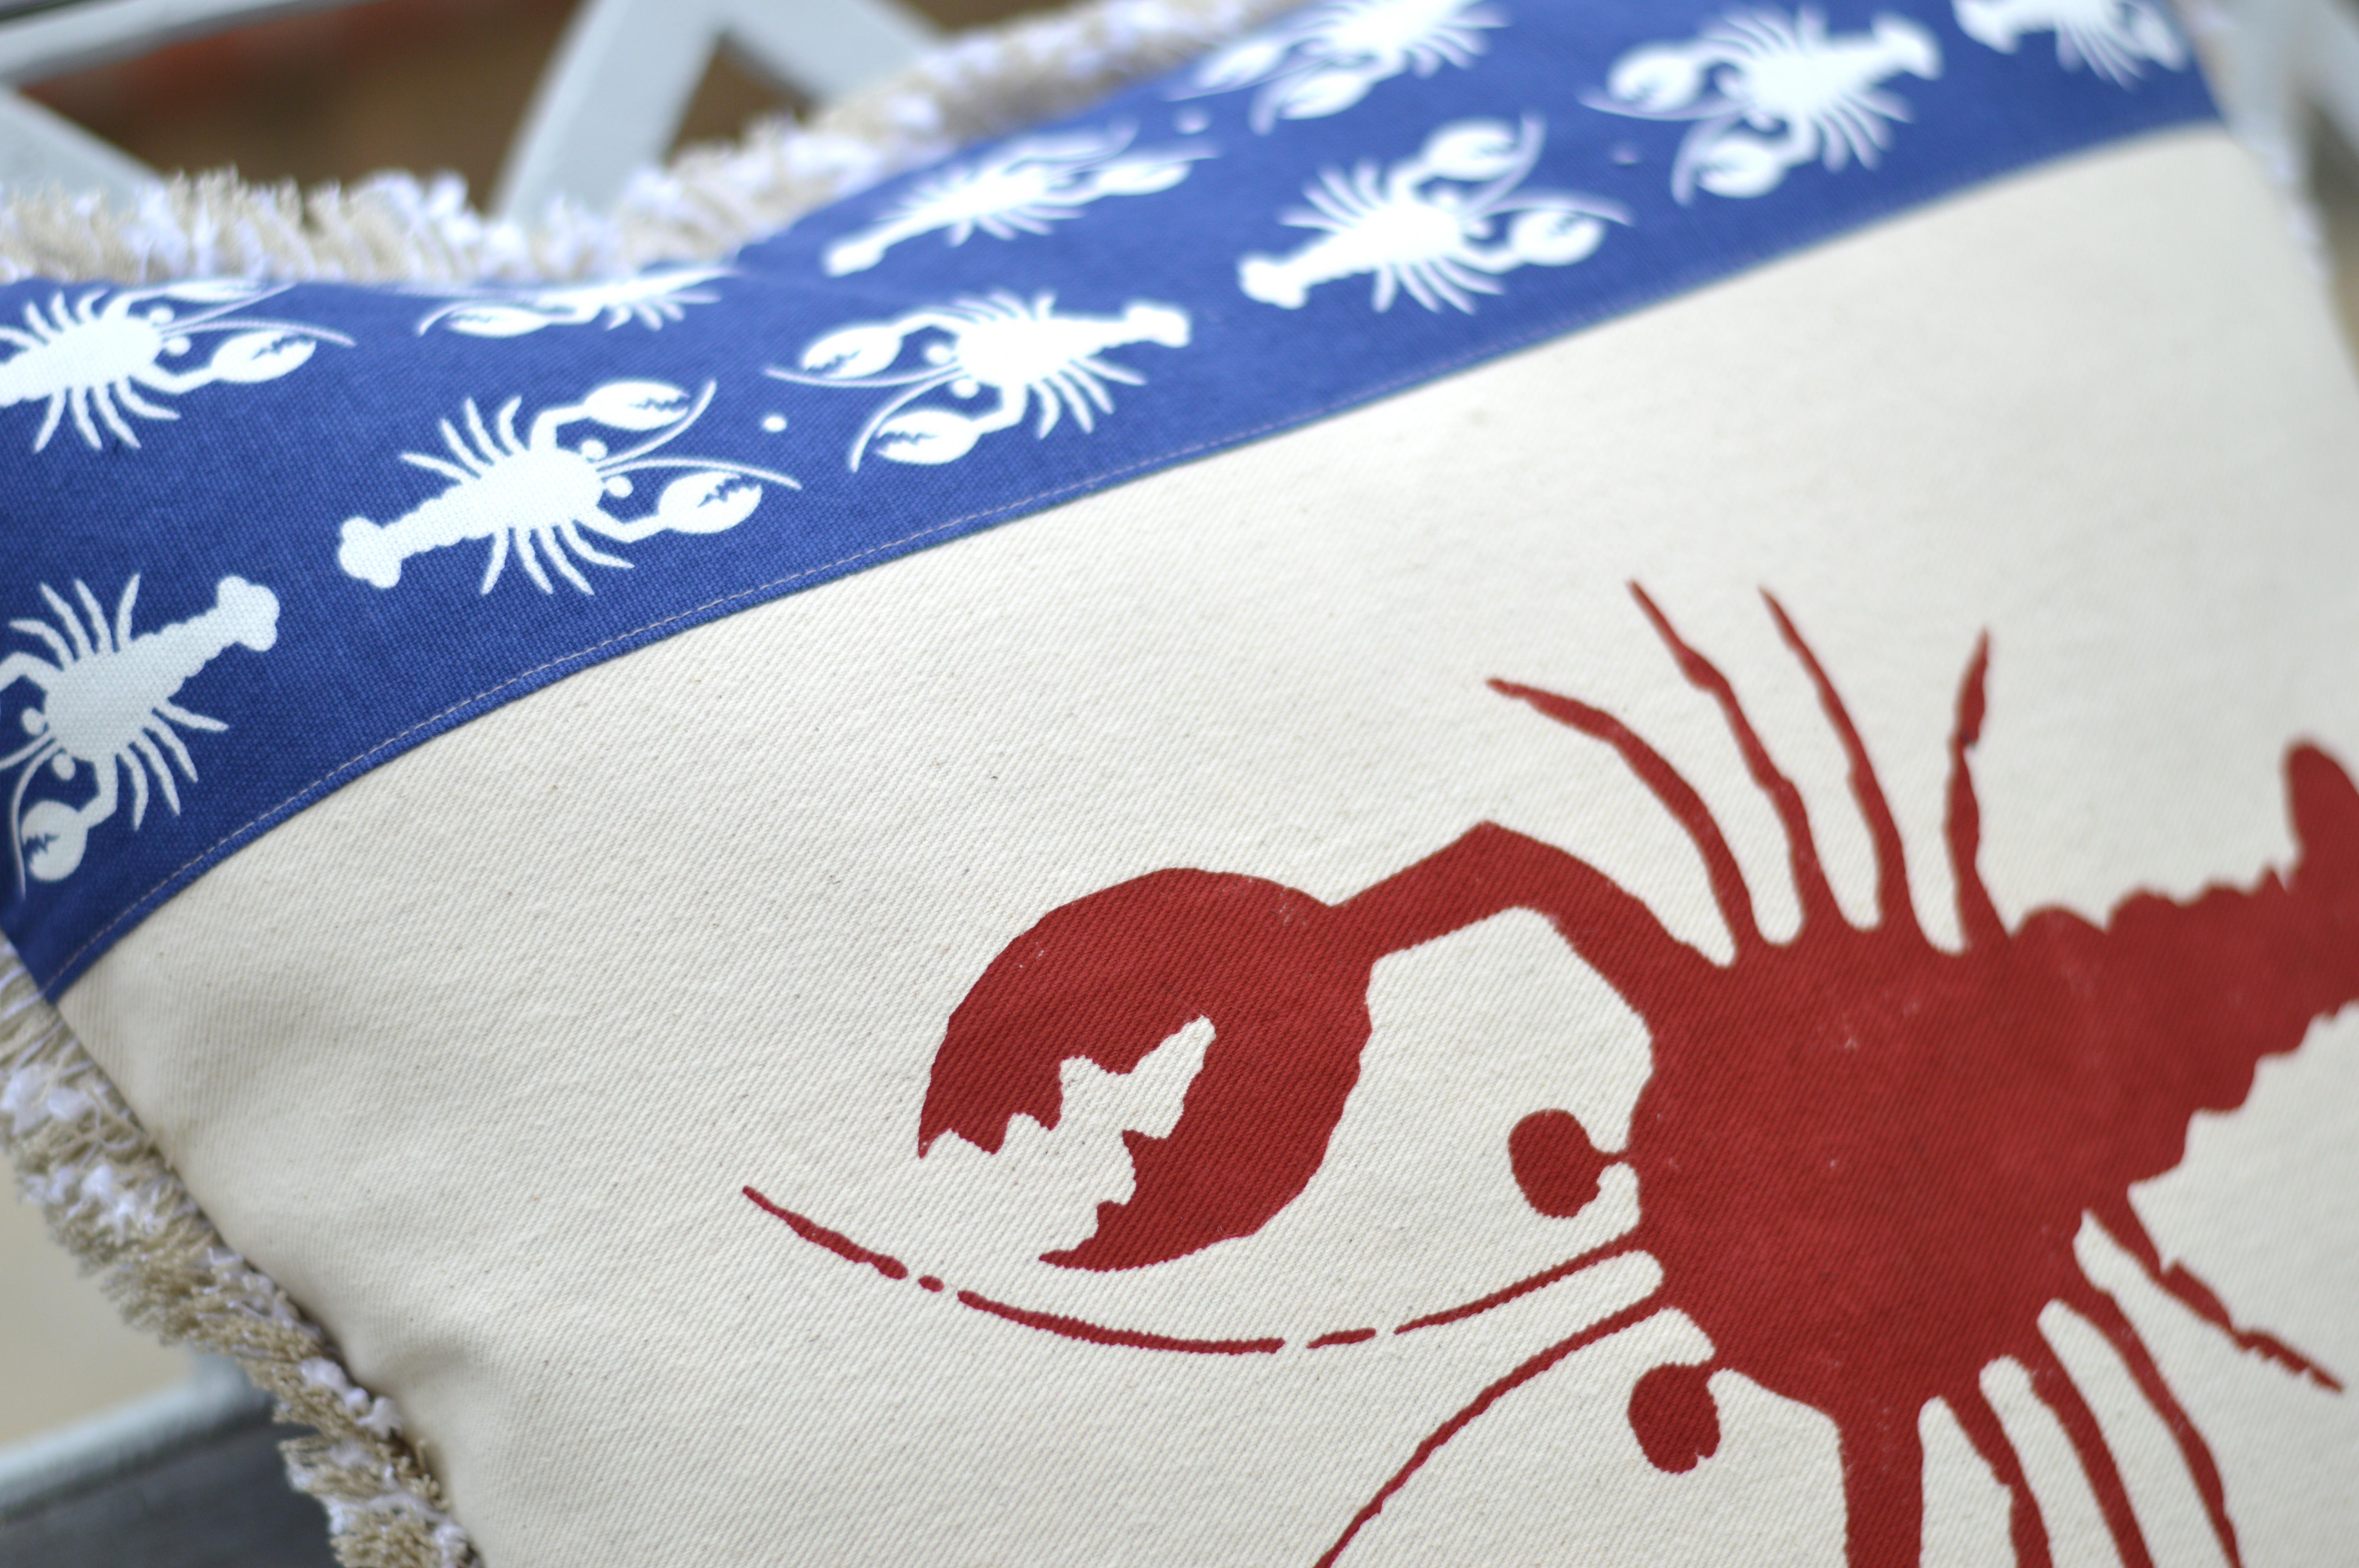
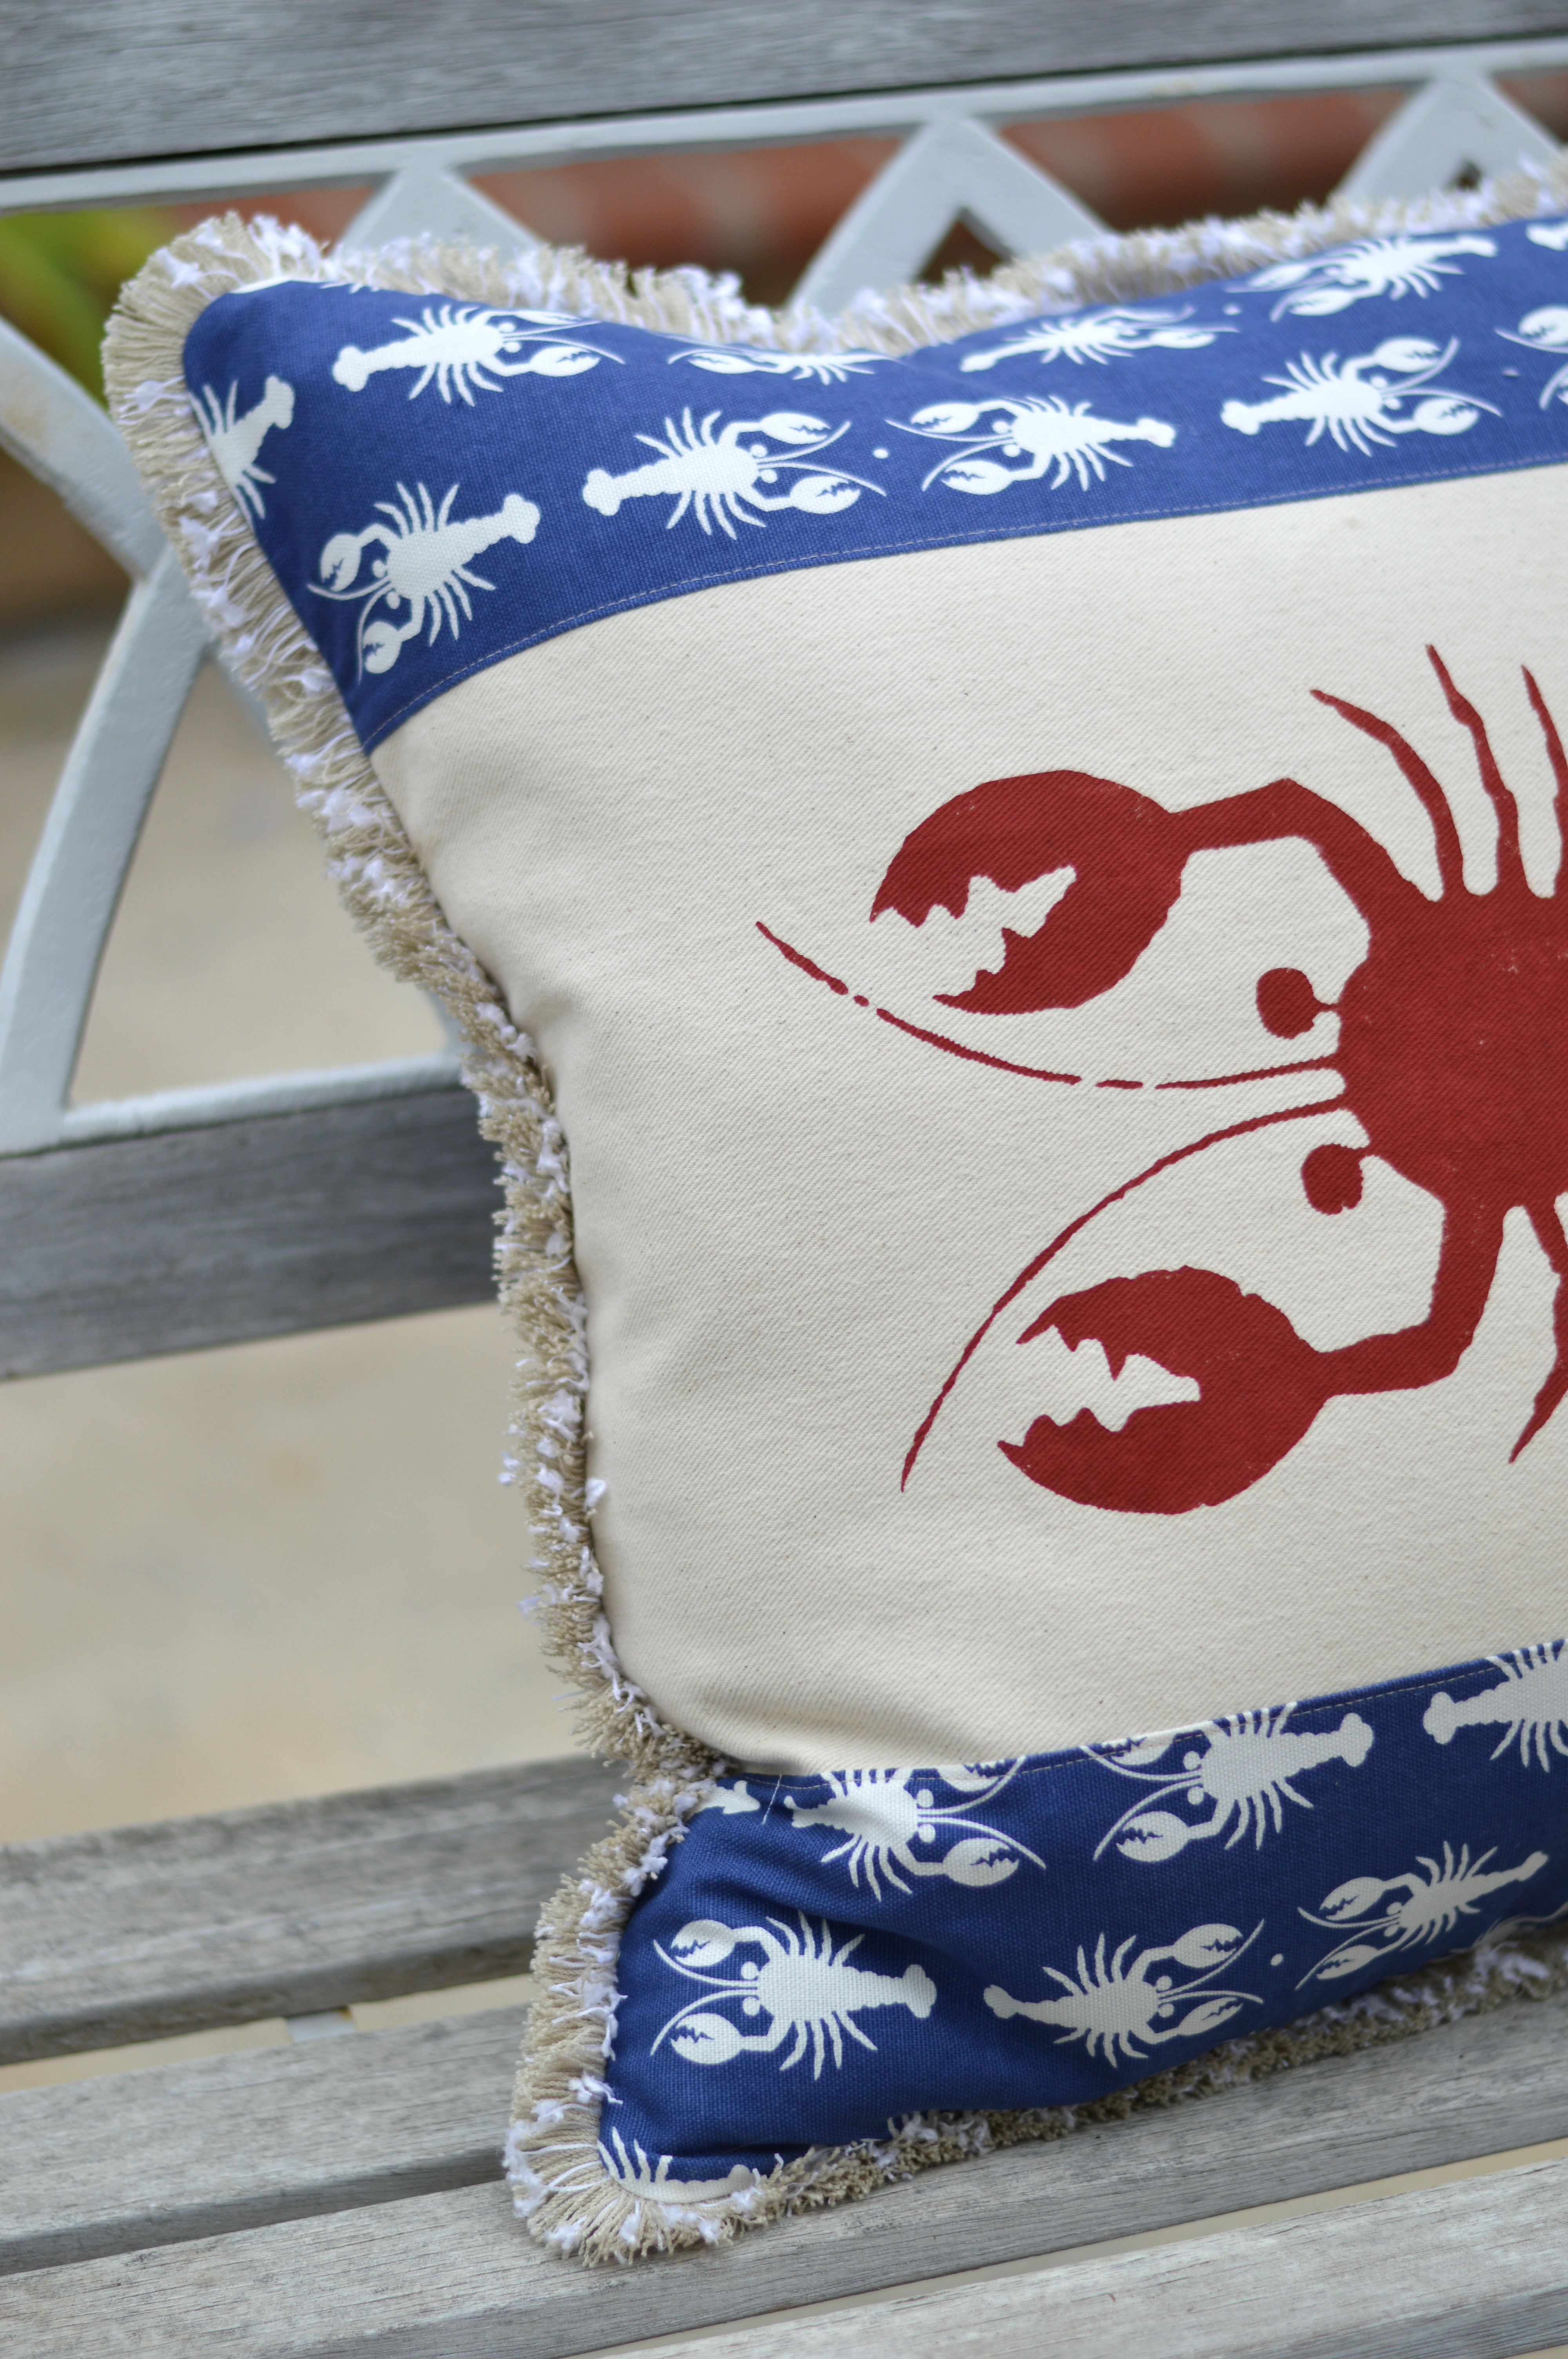
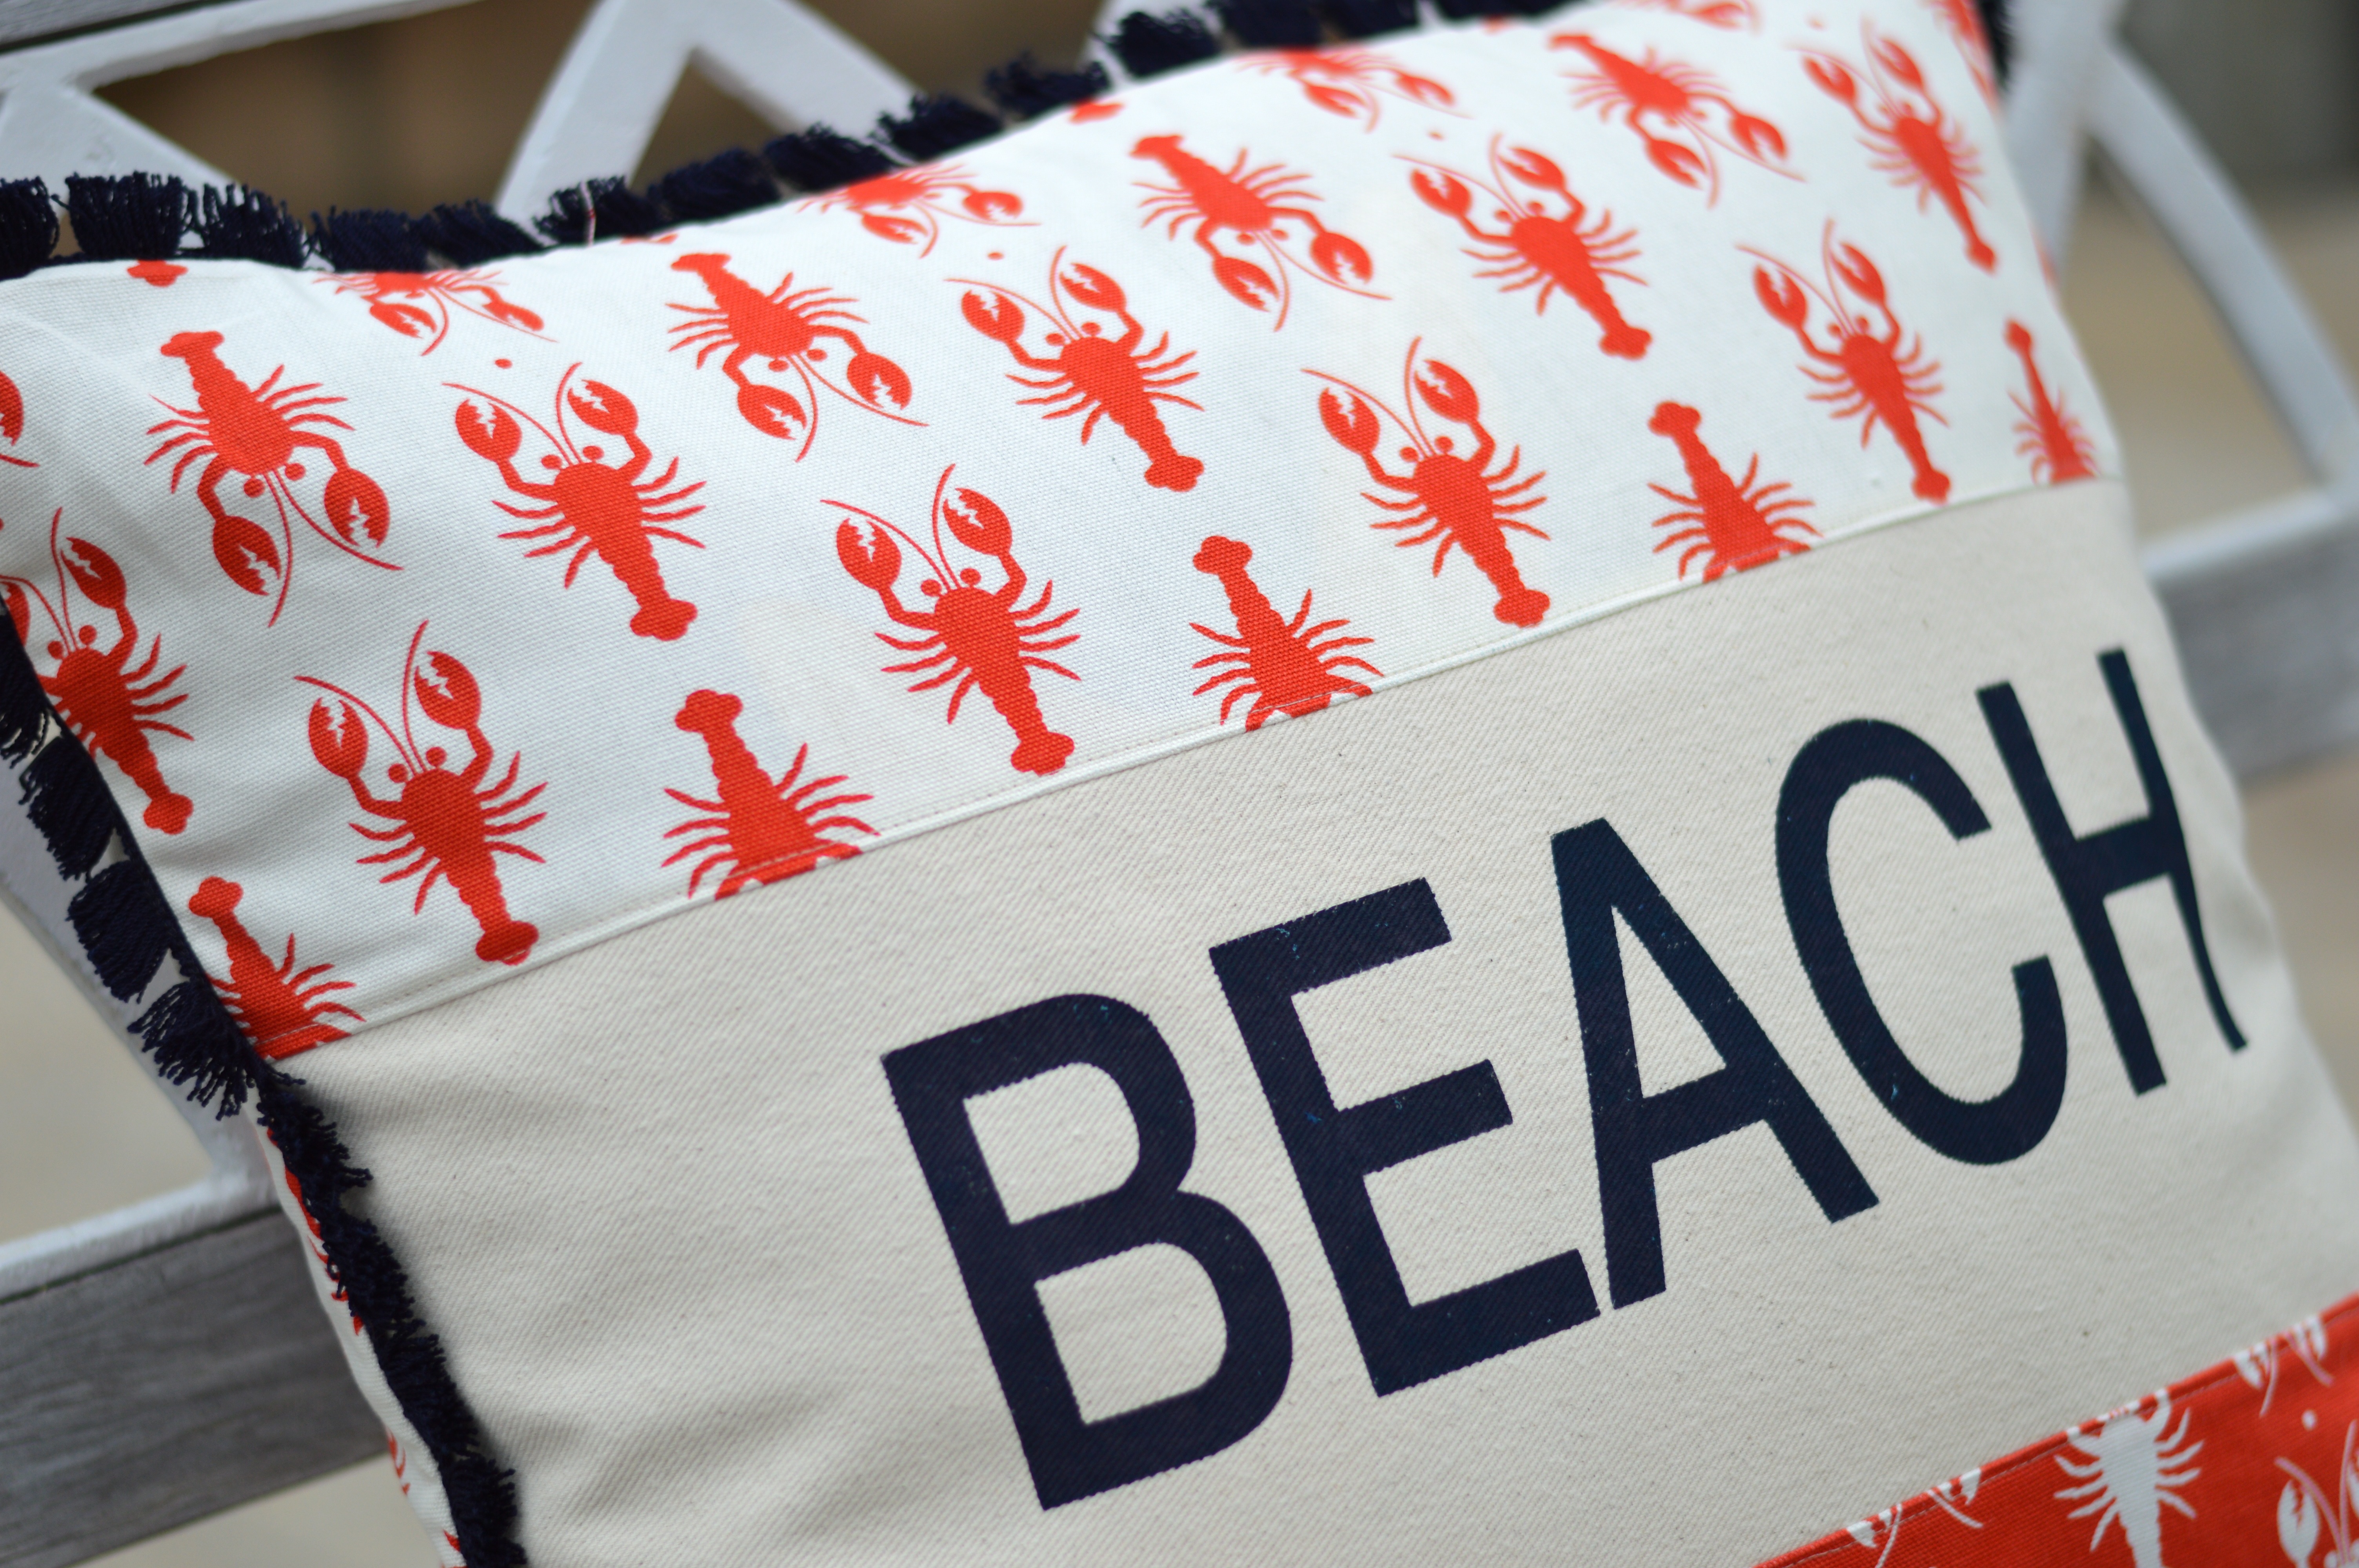
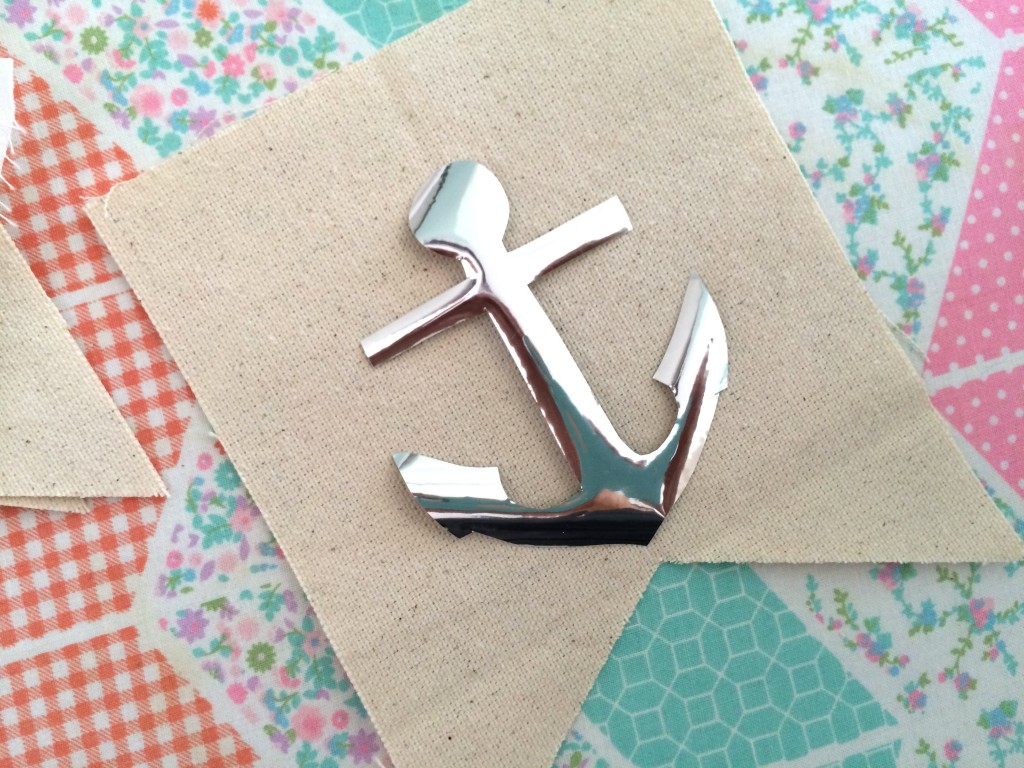
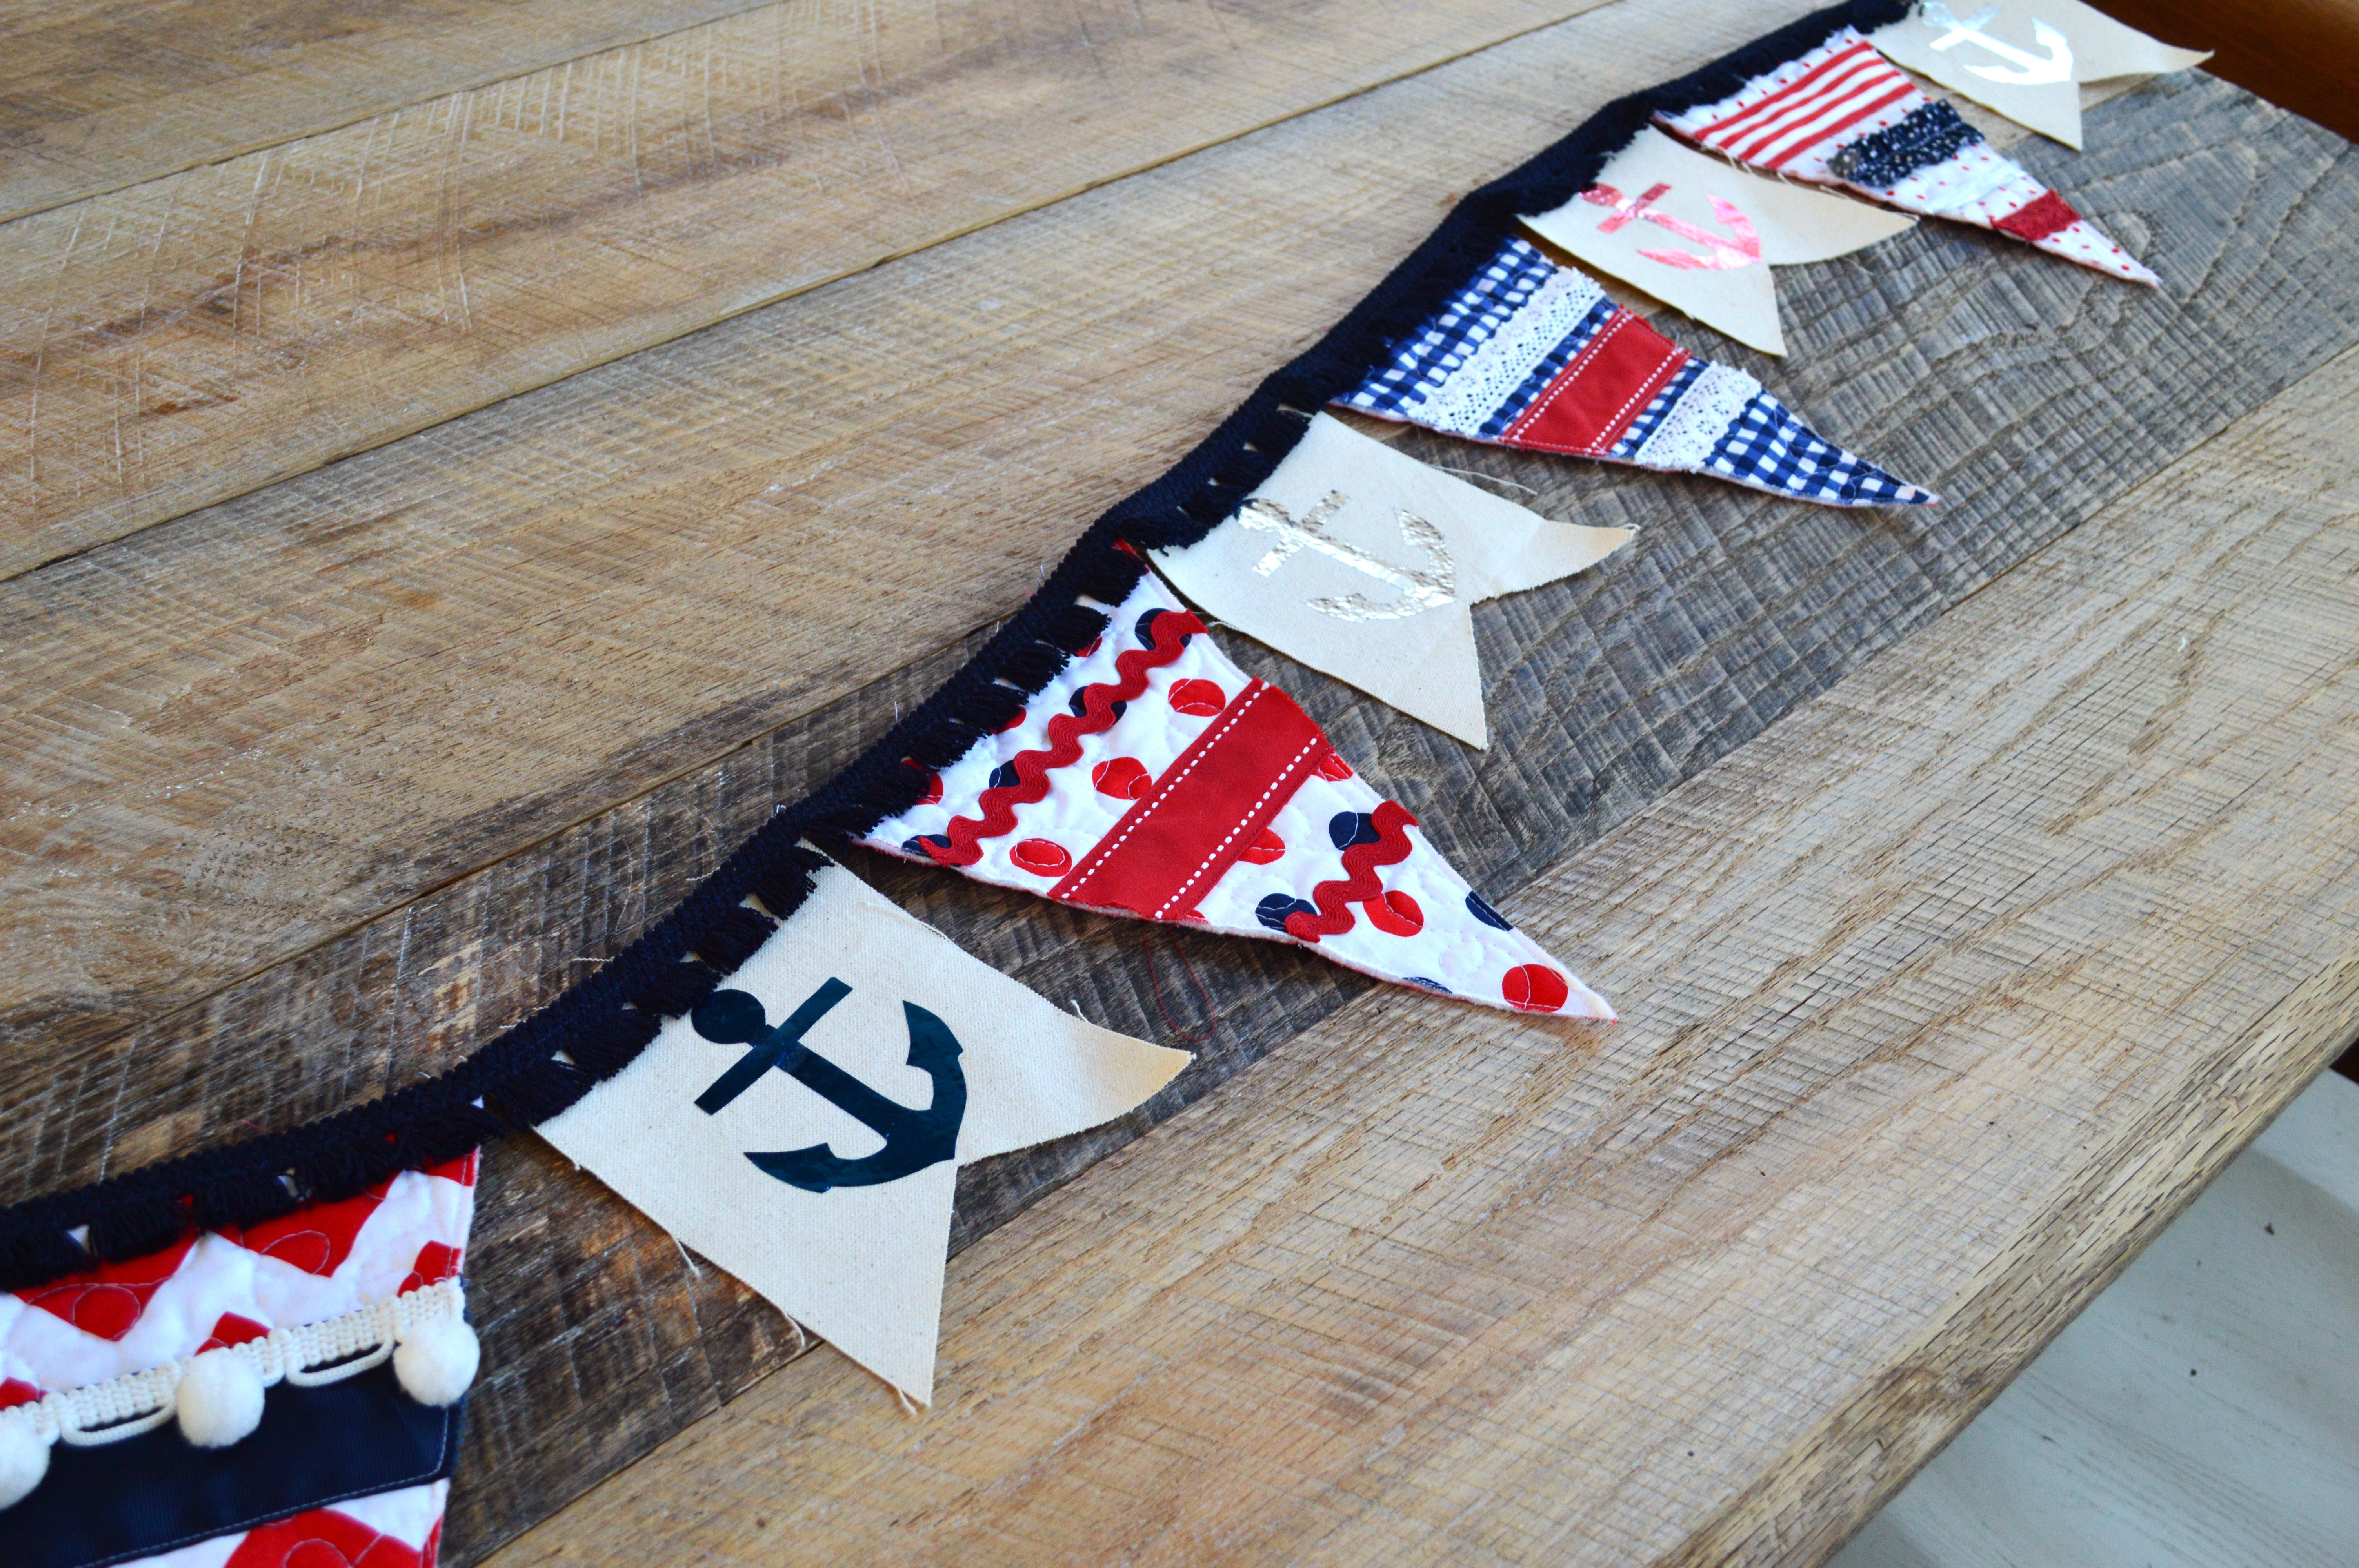
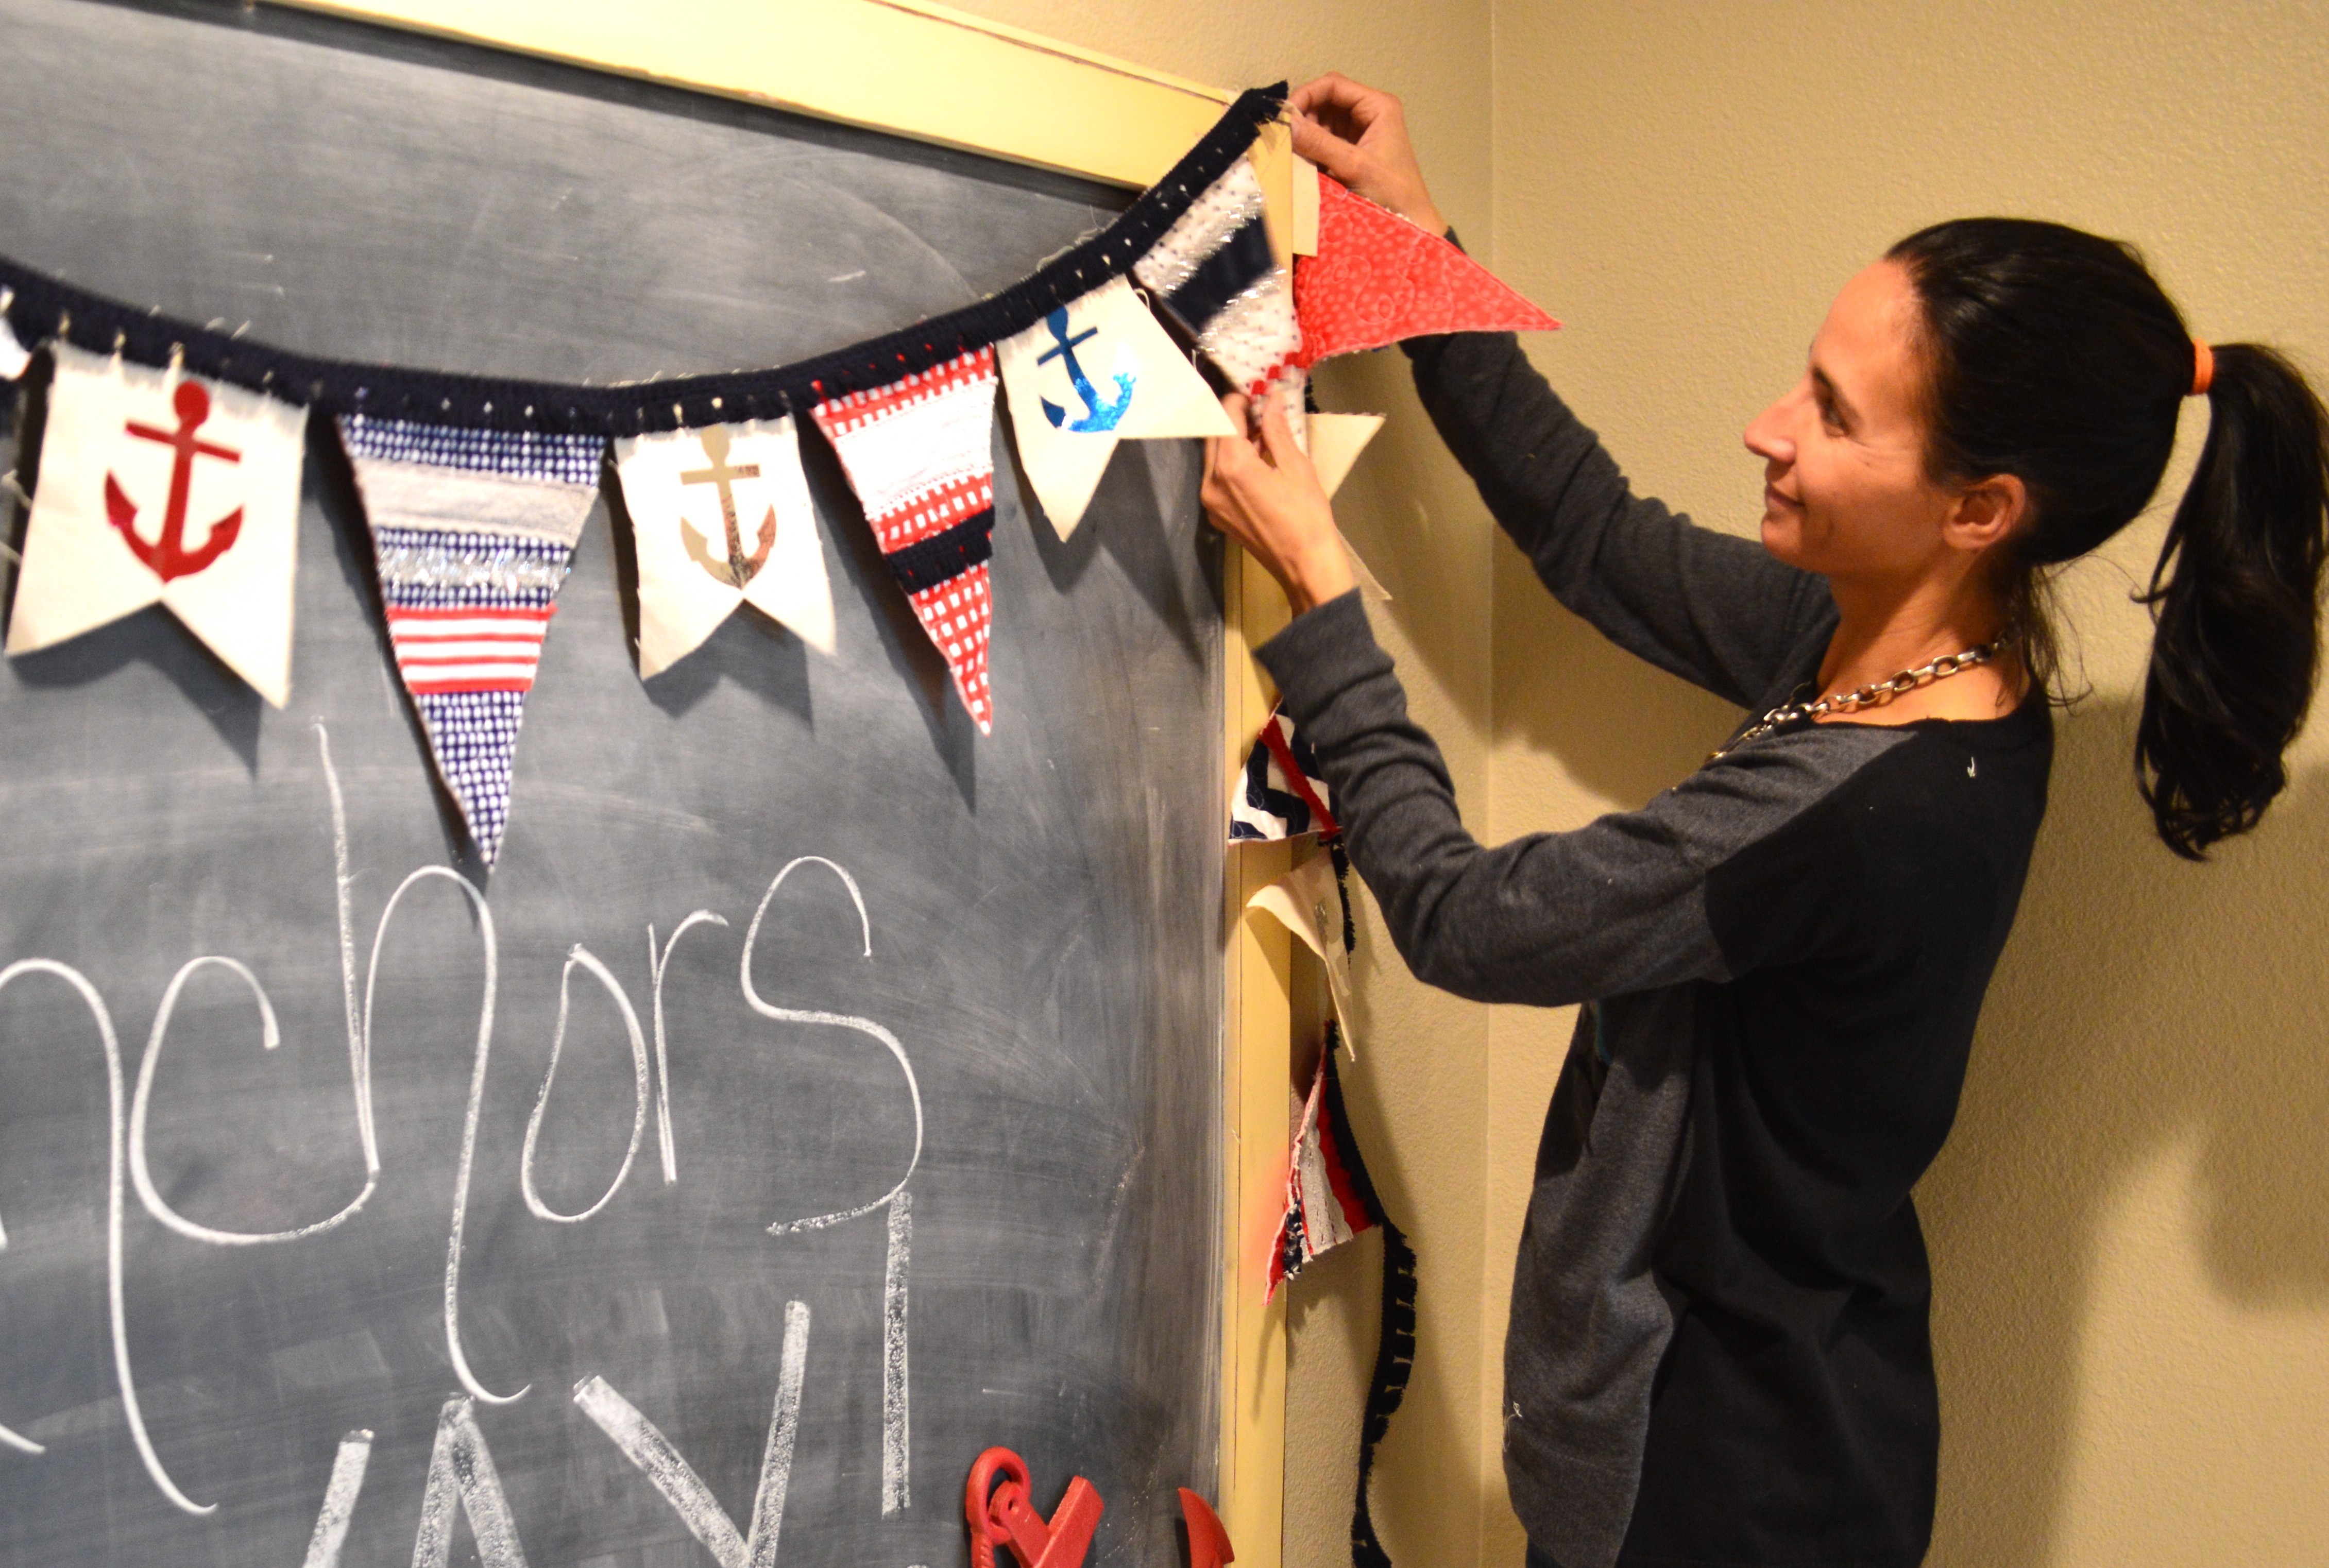
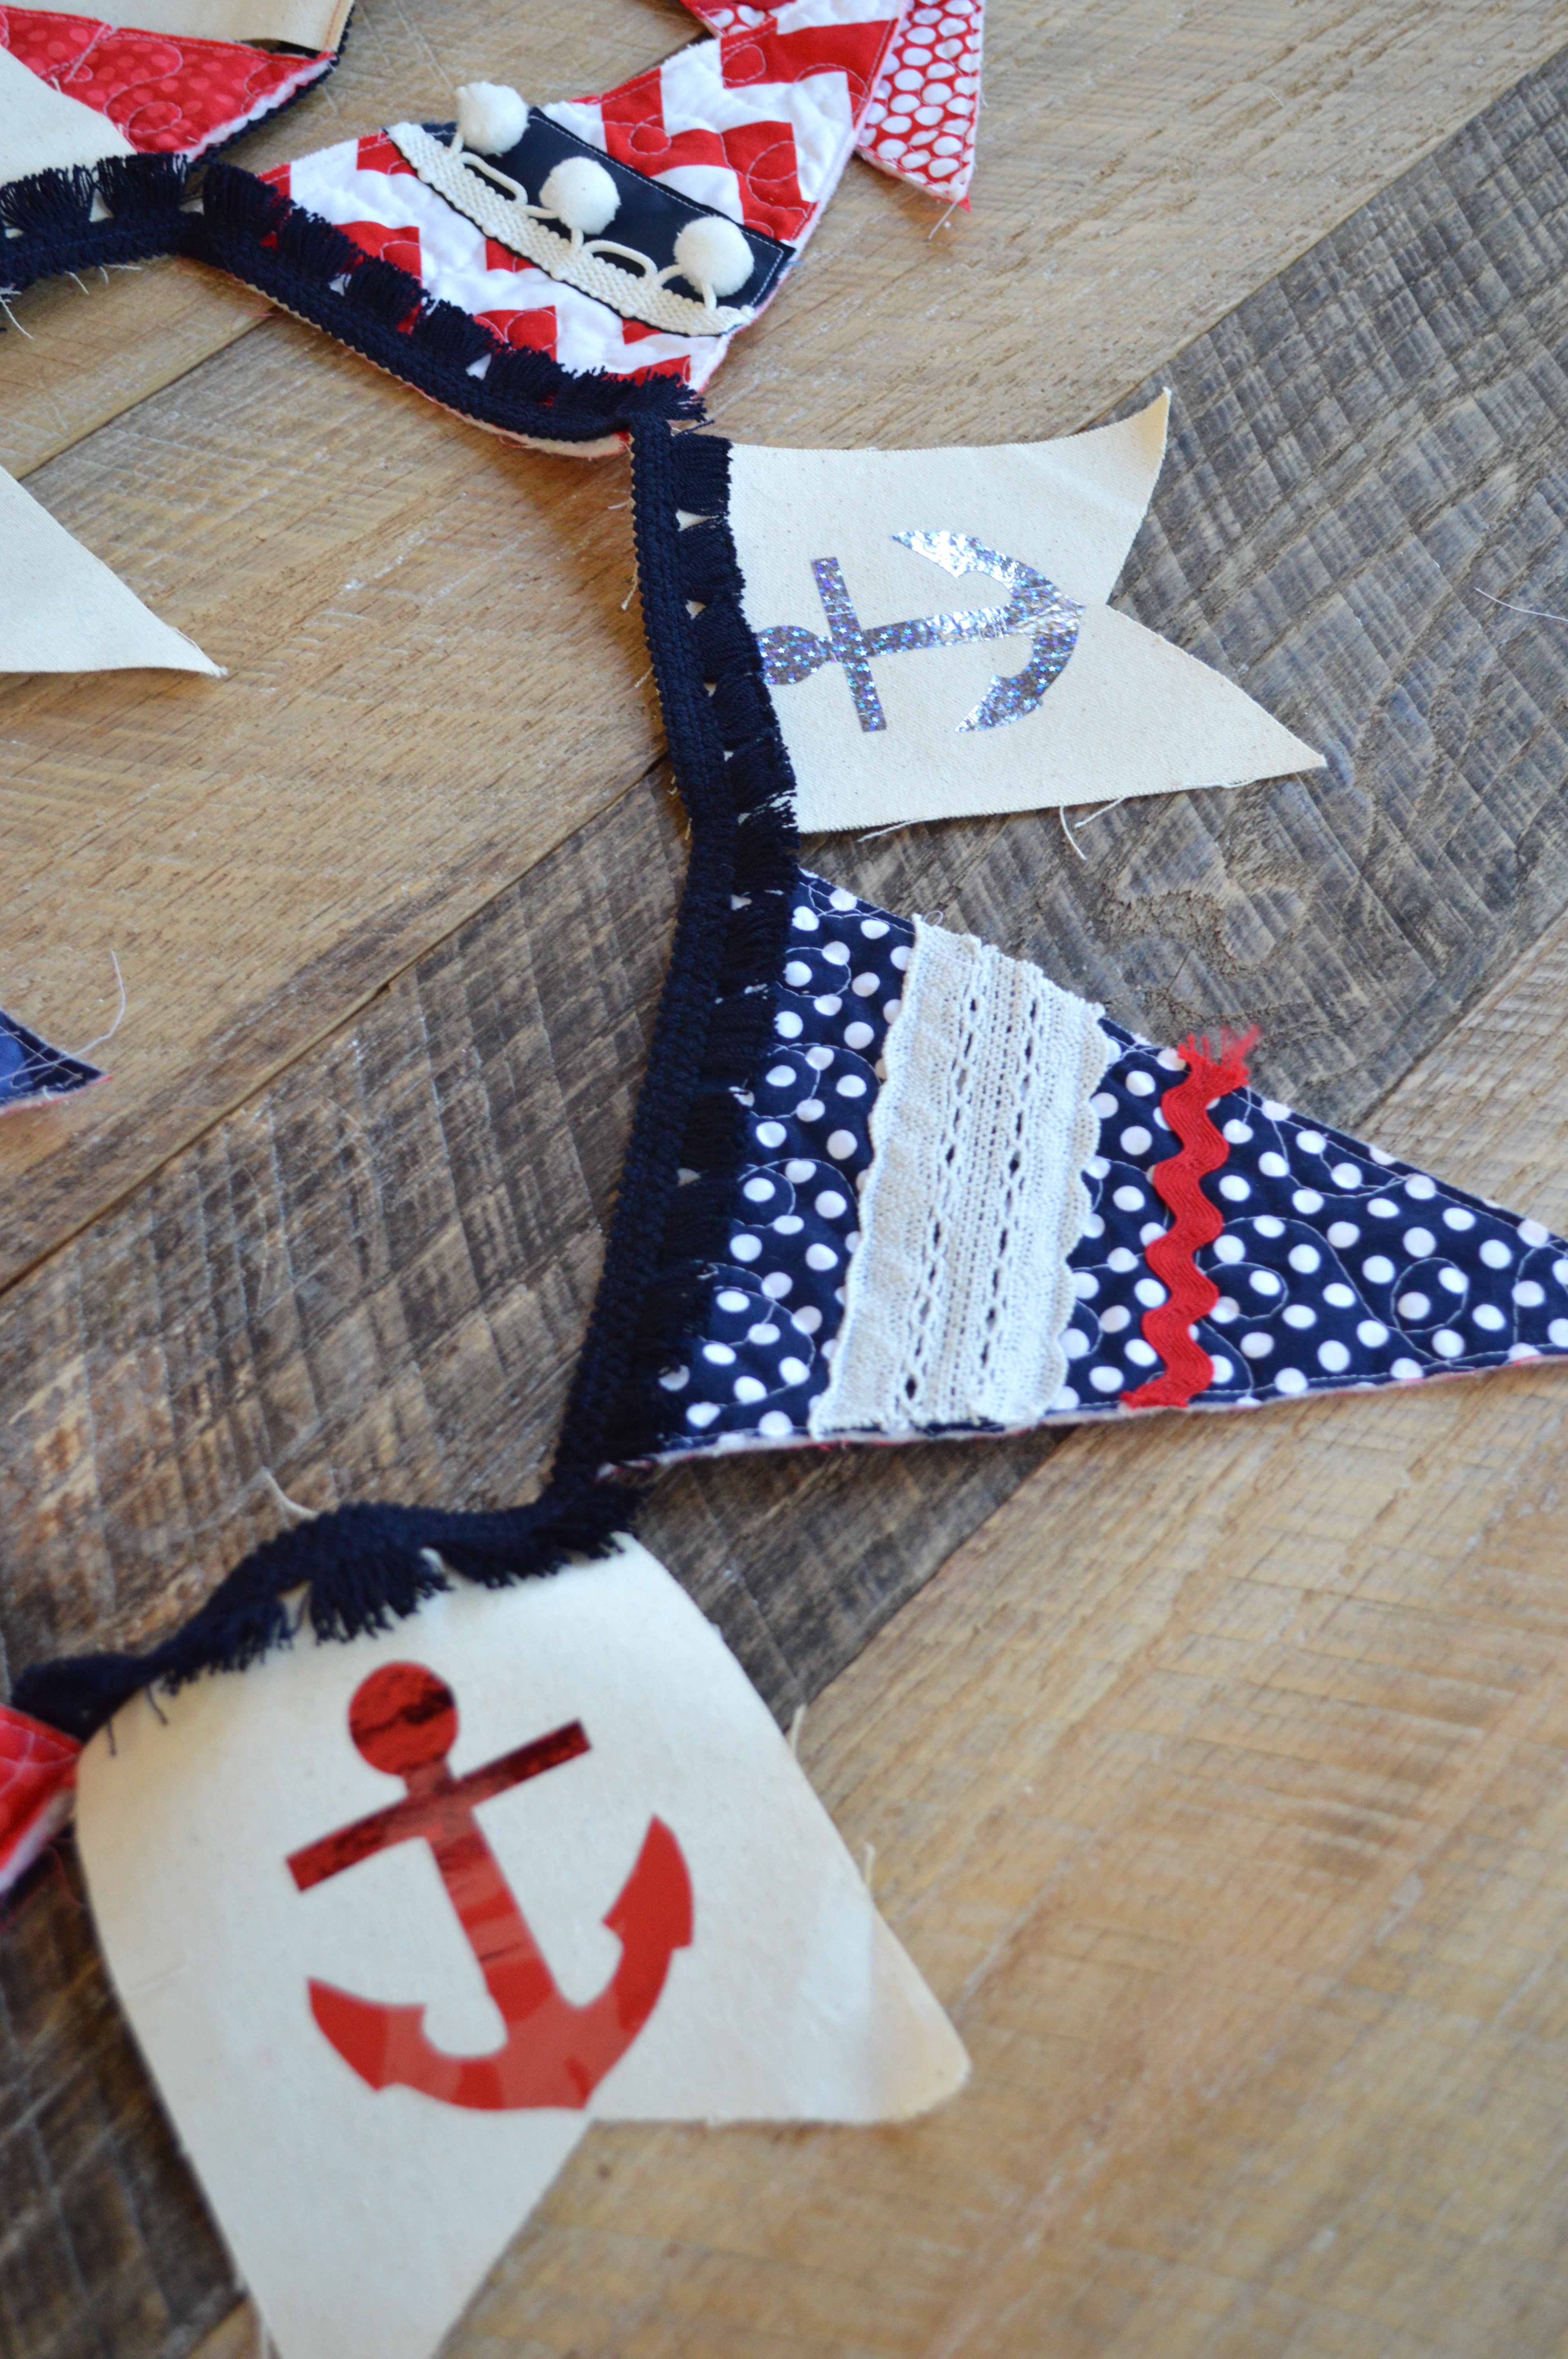
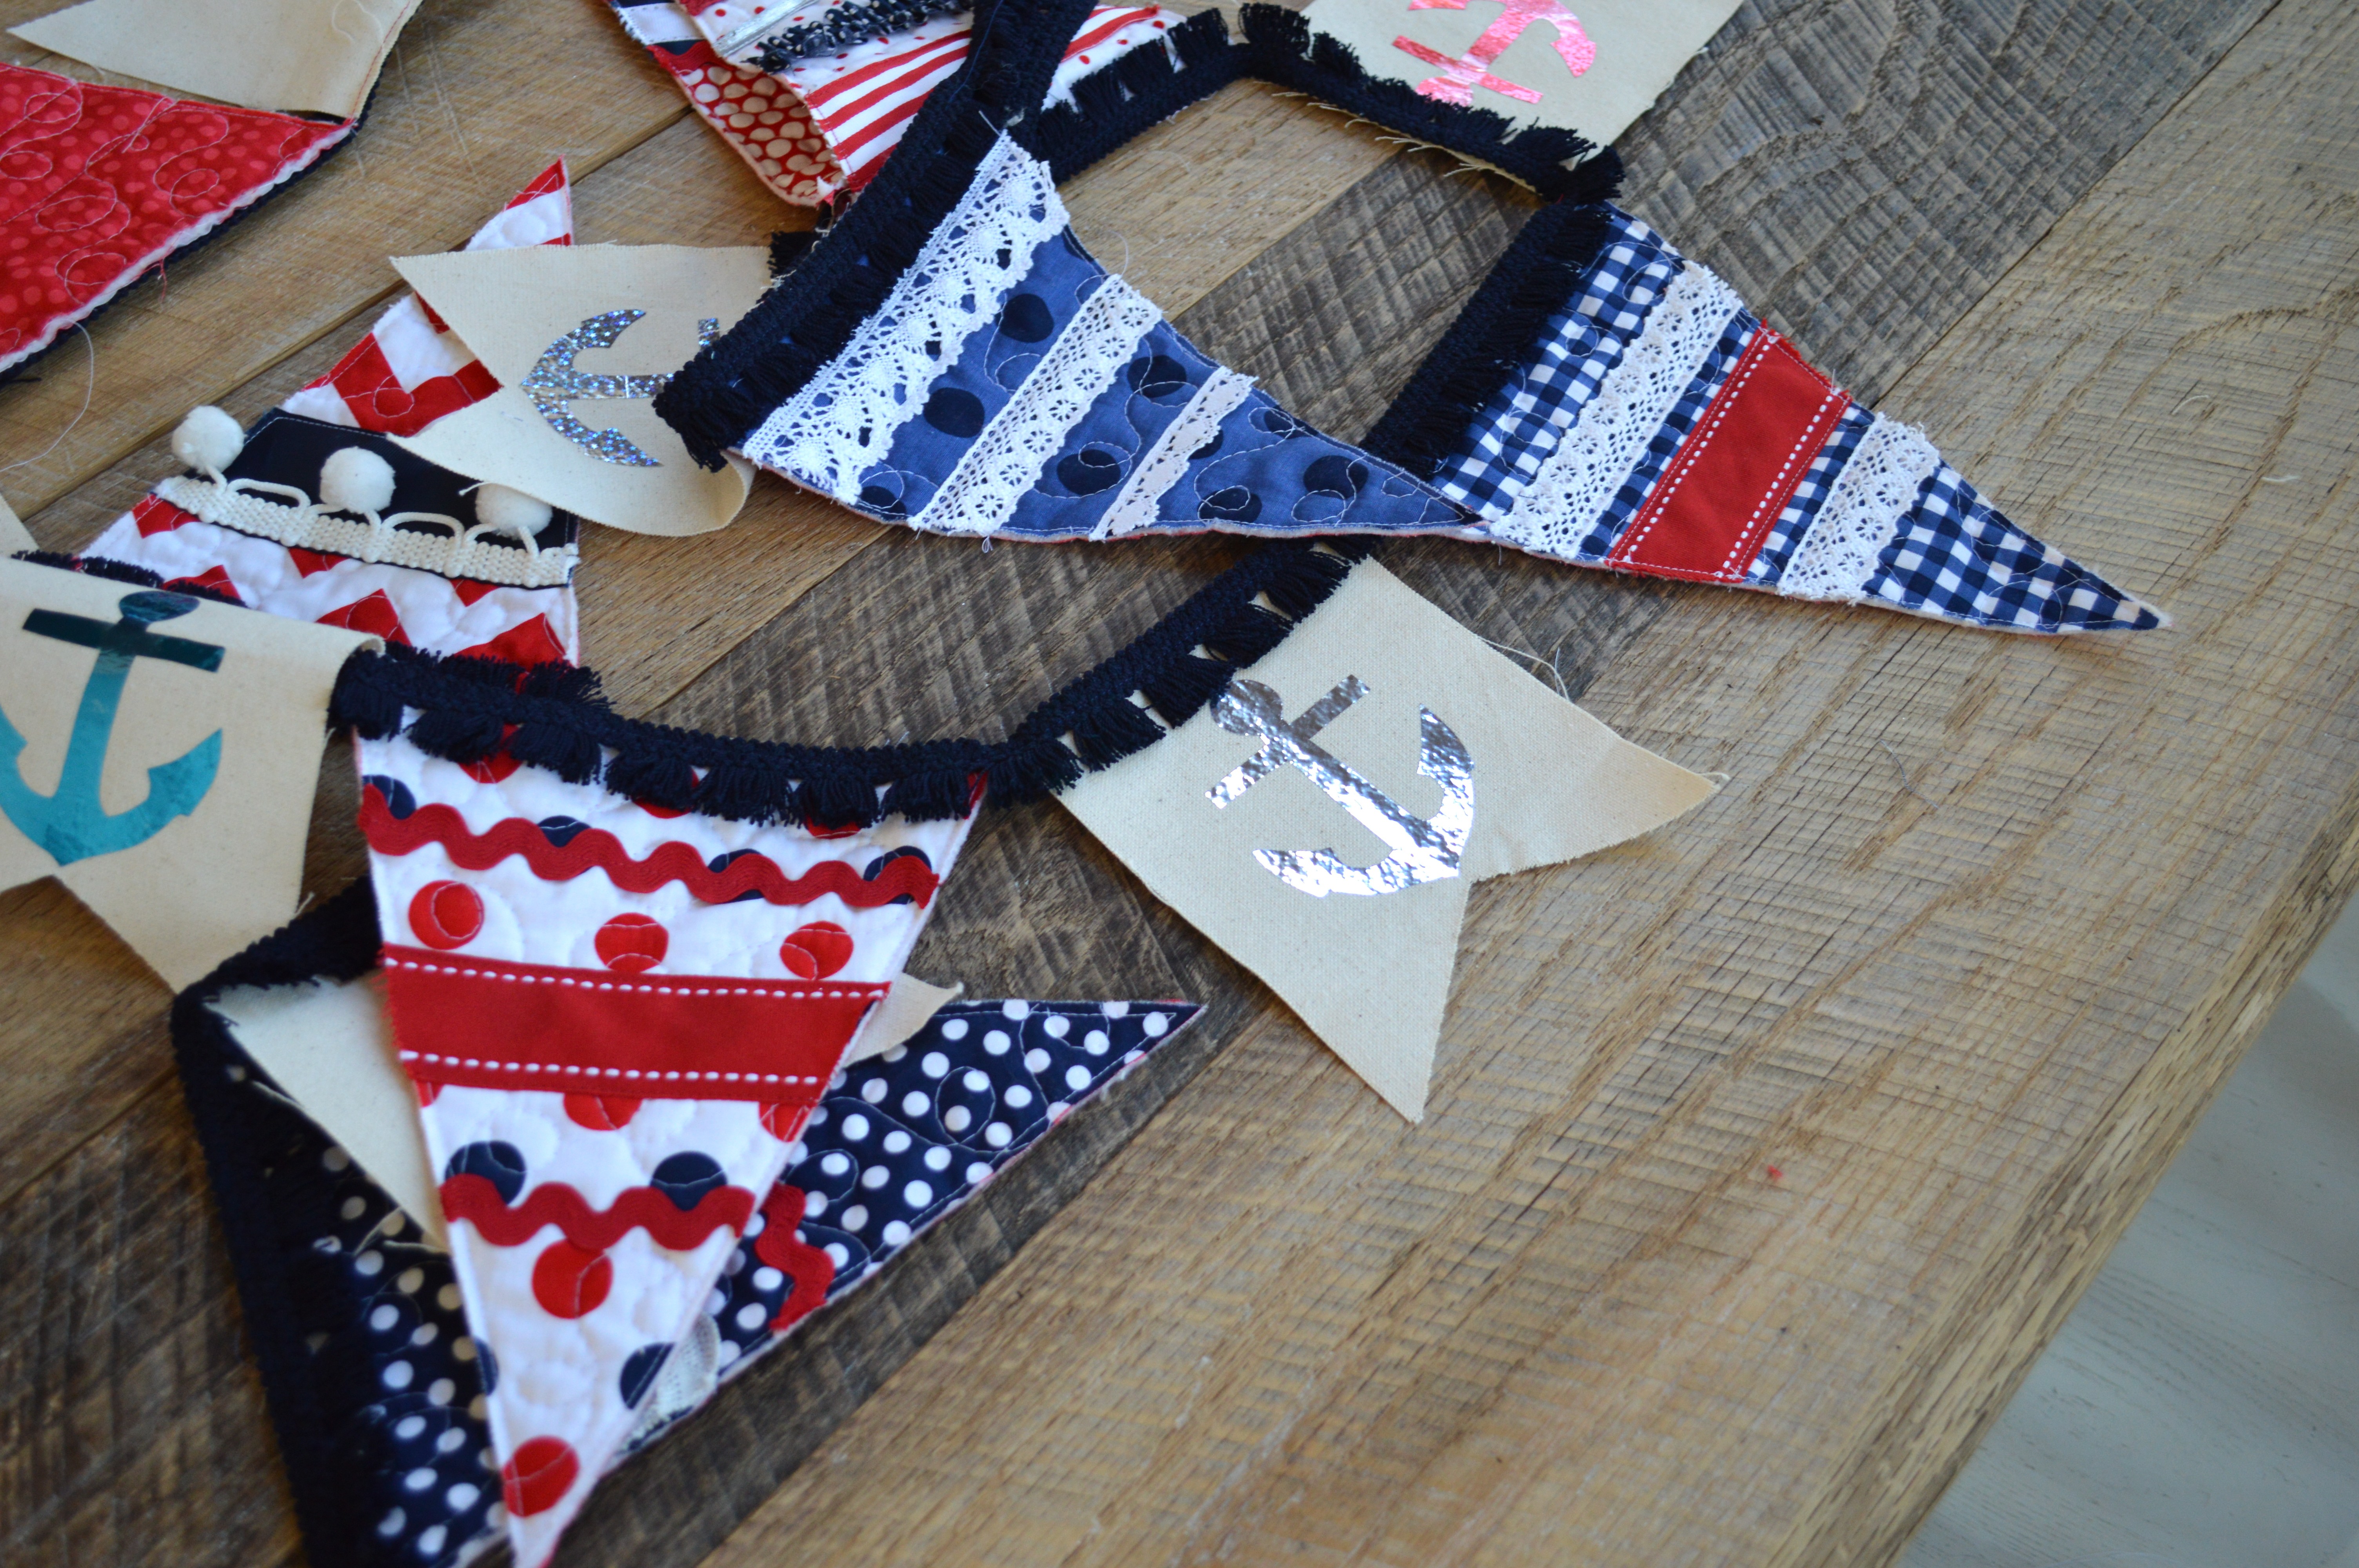
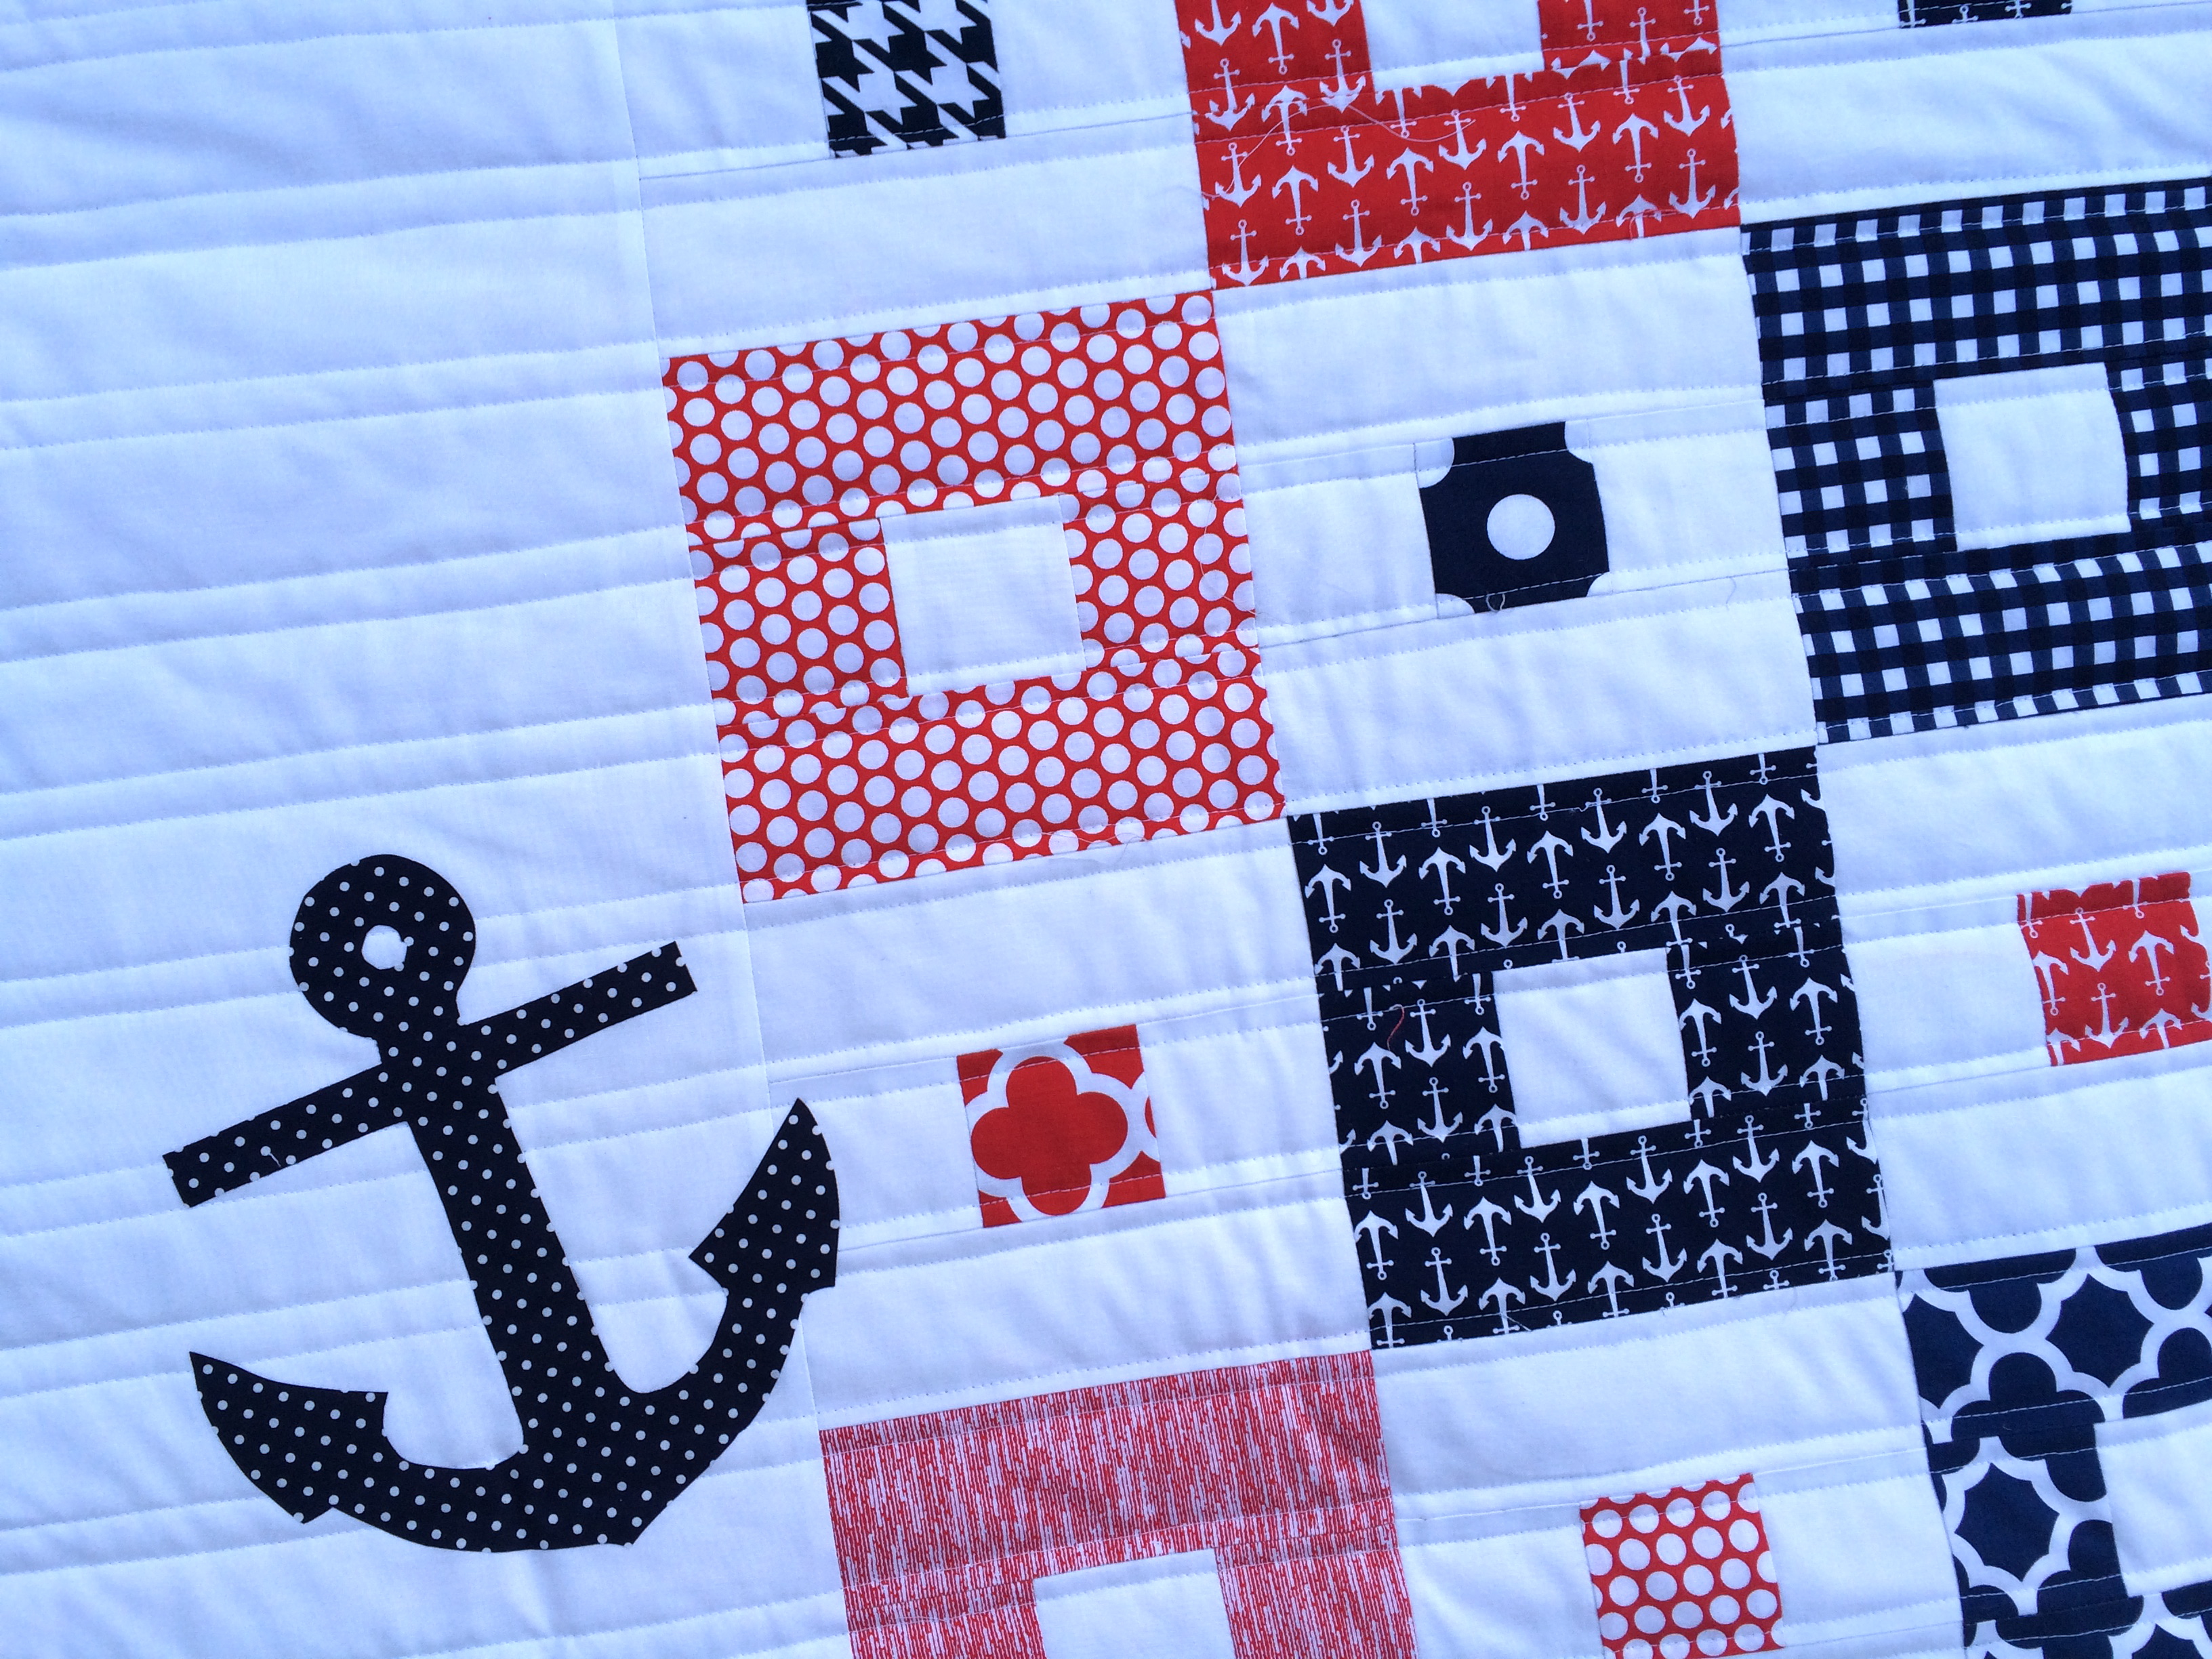
 Proceed to stencil the letters and the lobster on the corresponding cuts of fabric.
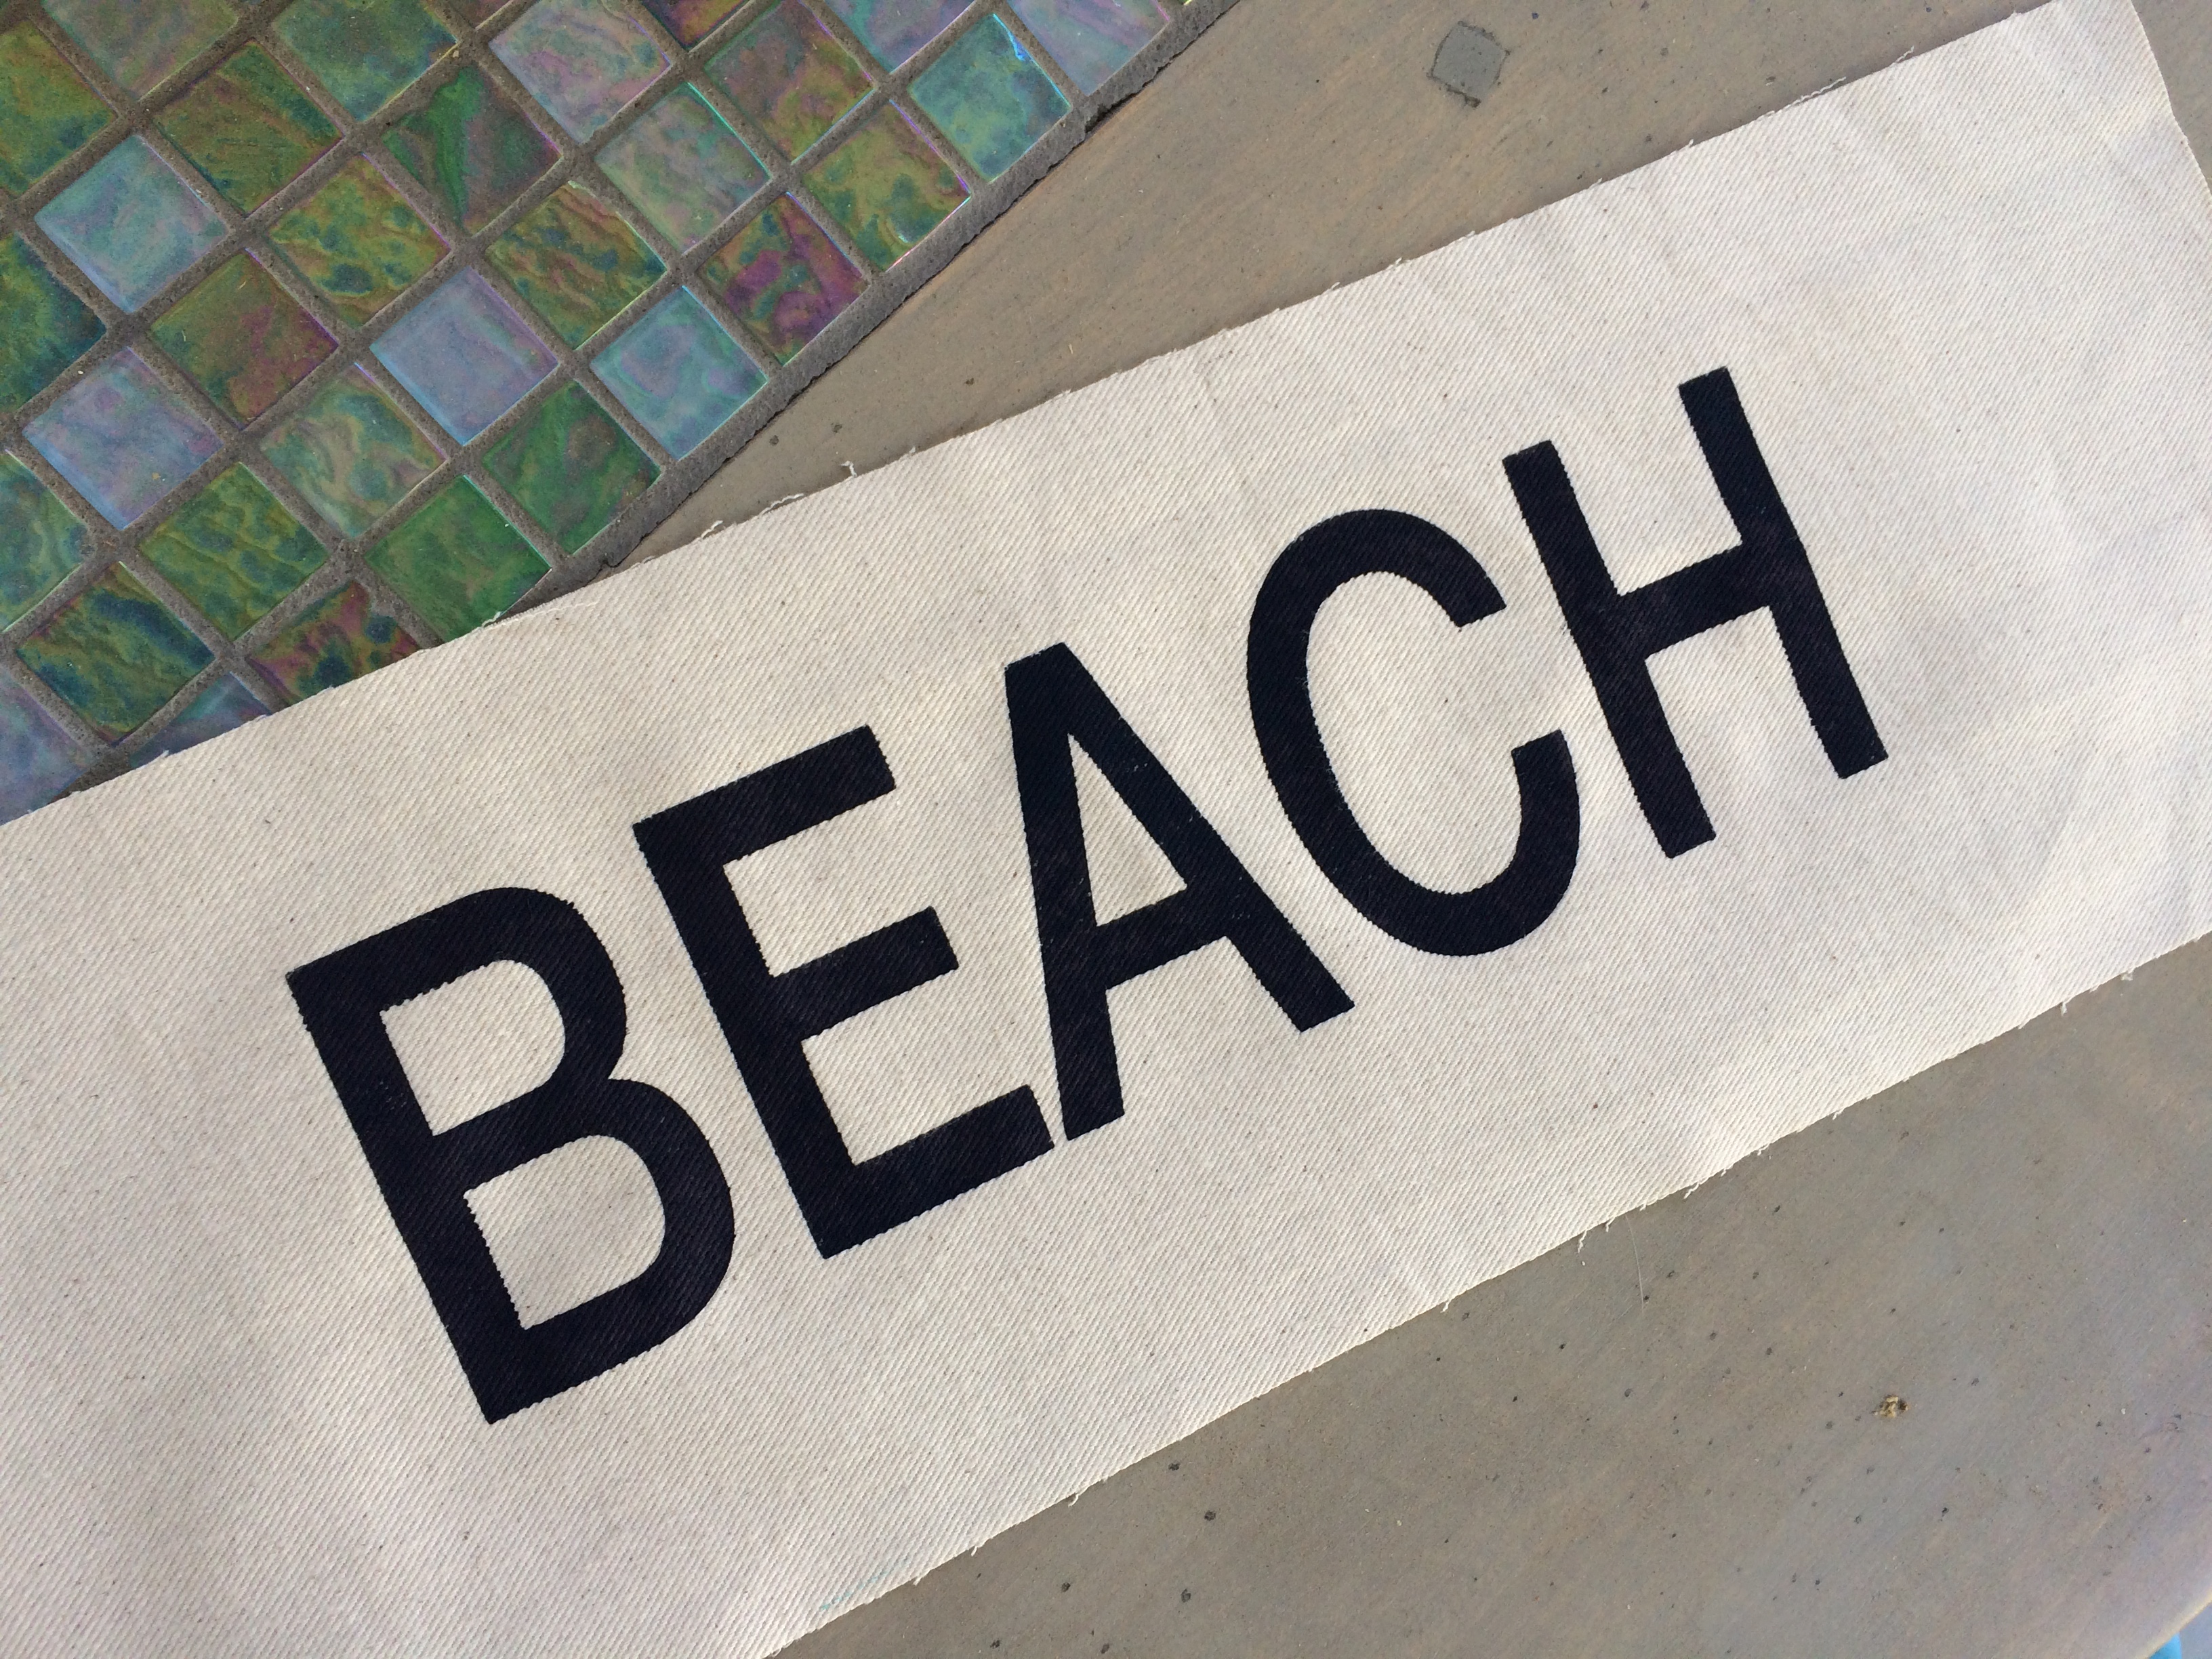
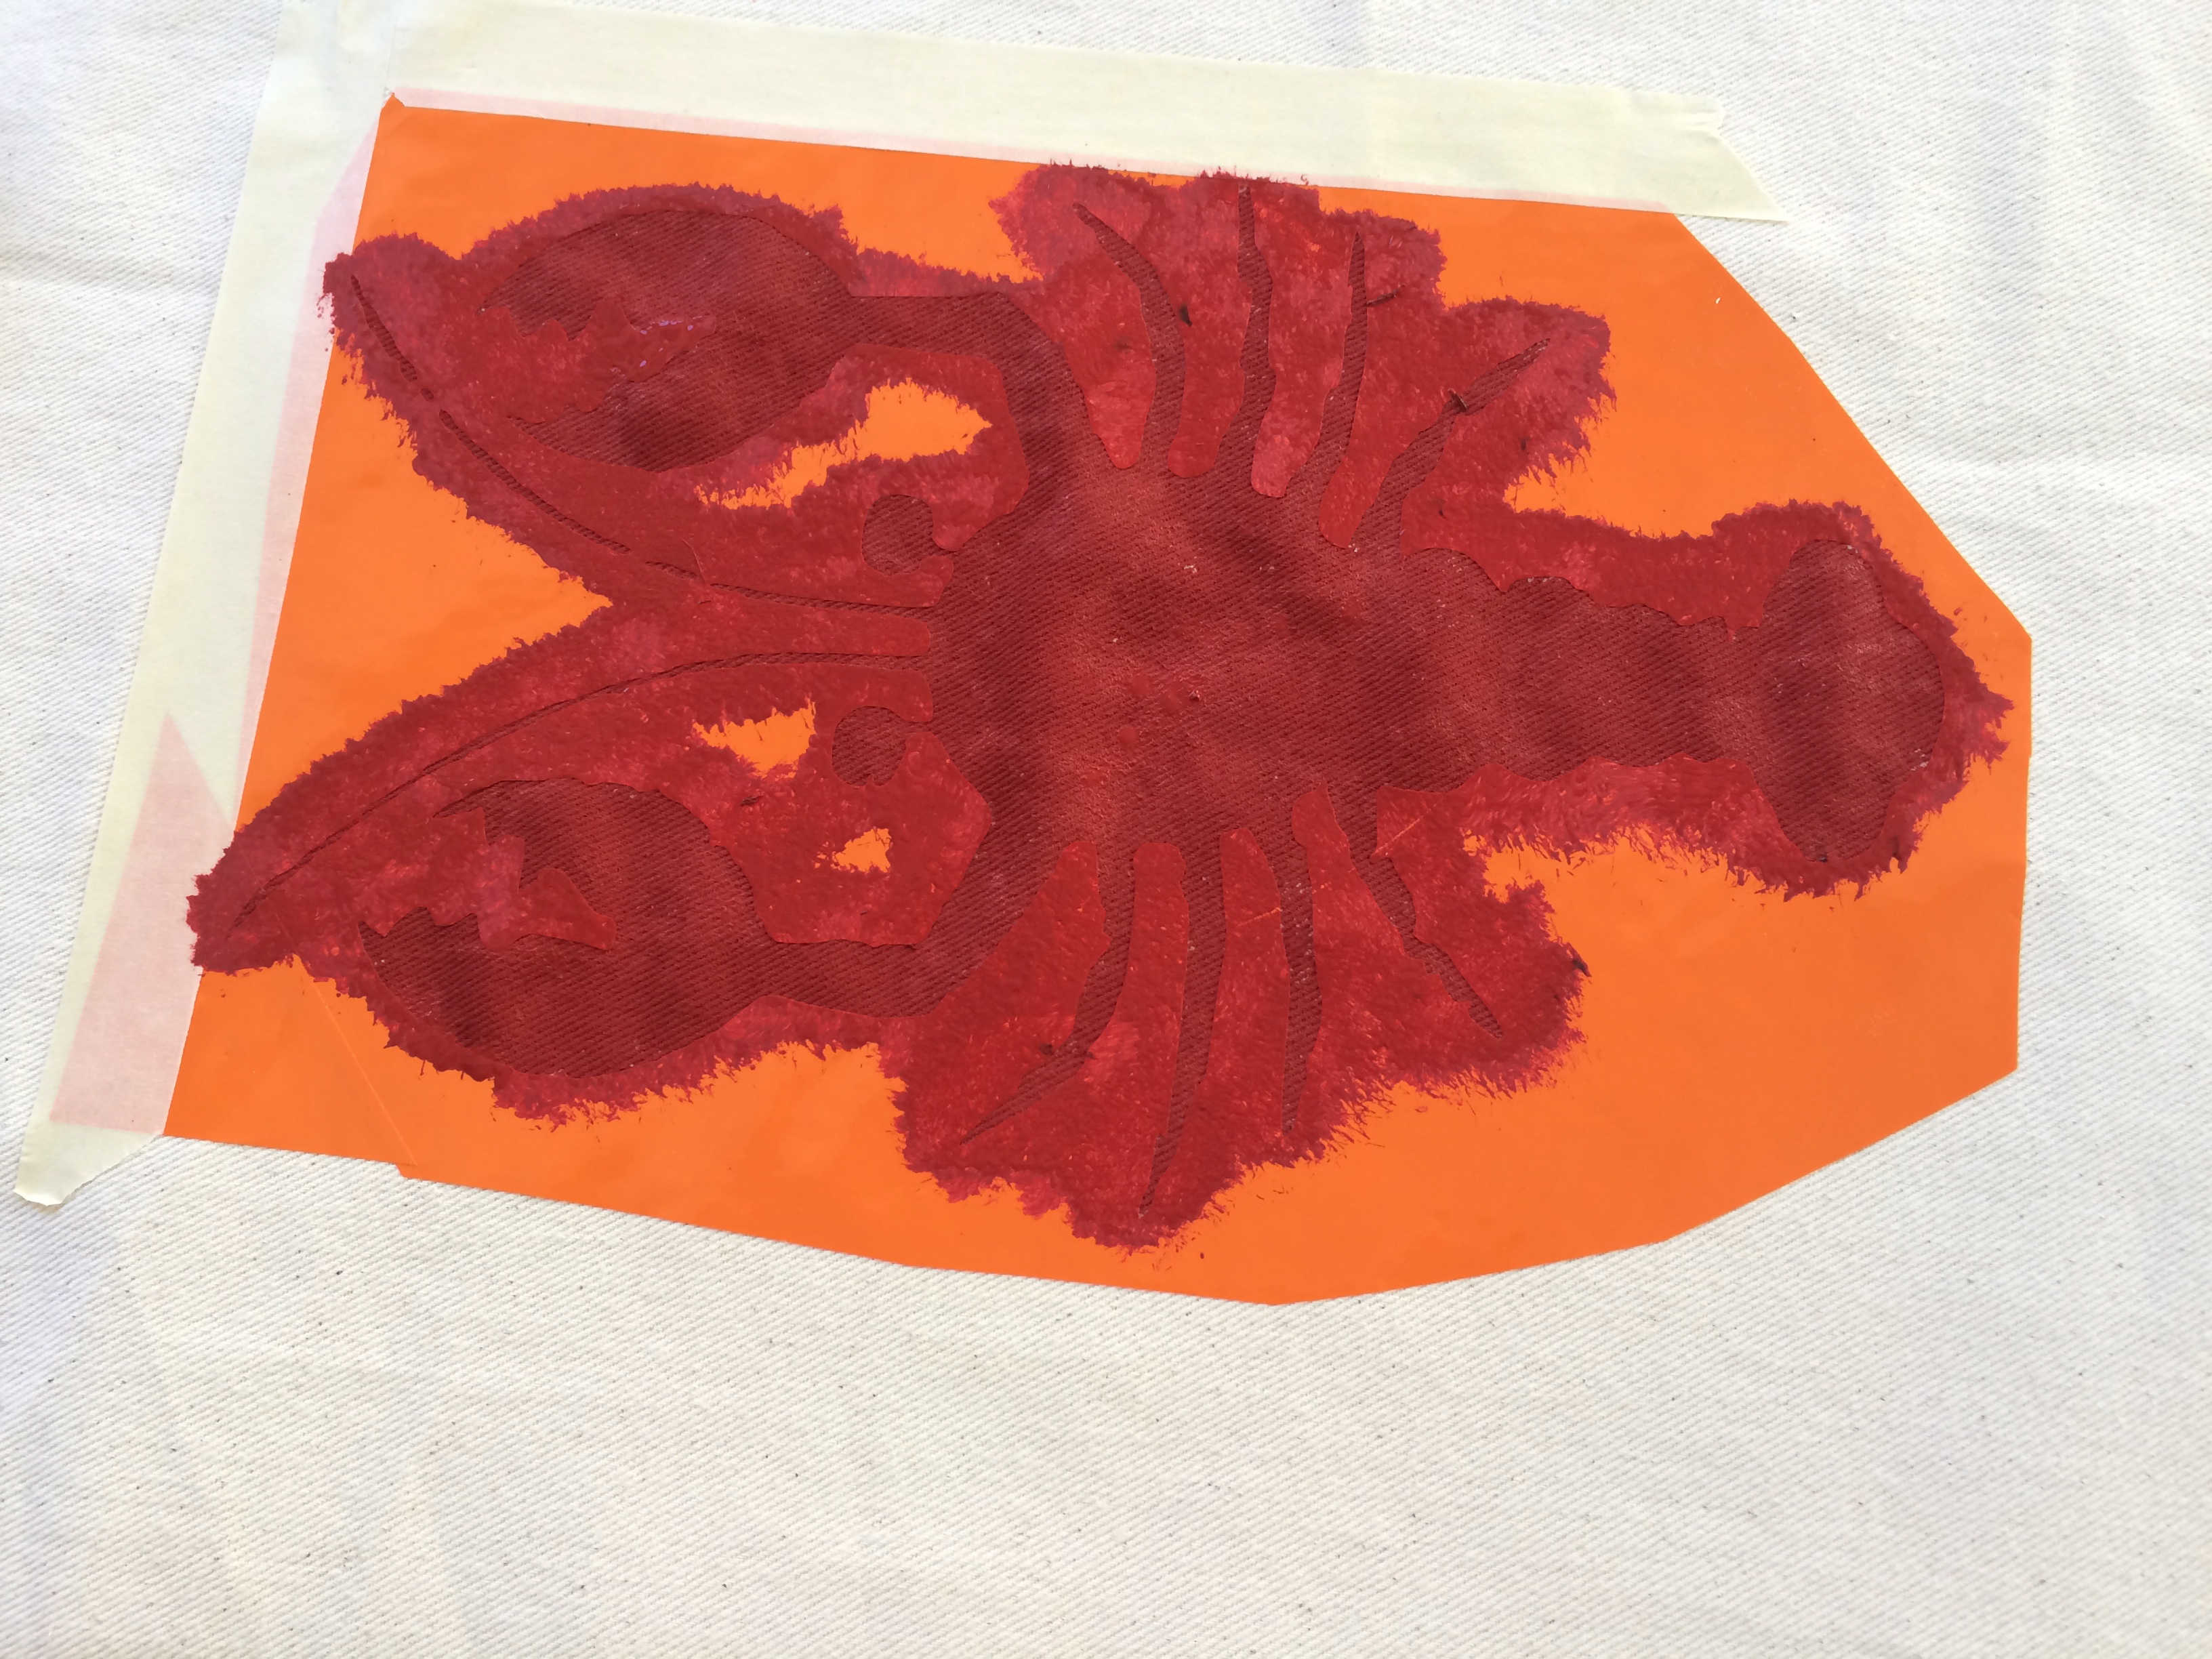
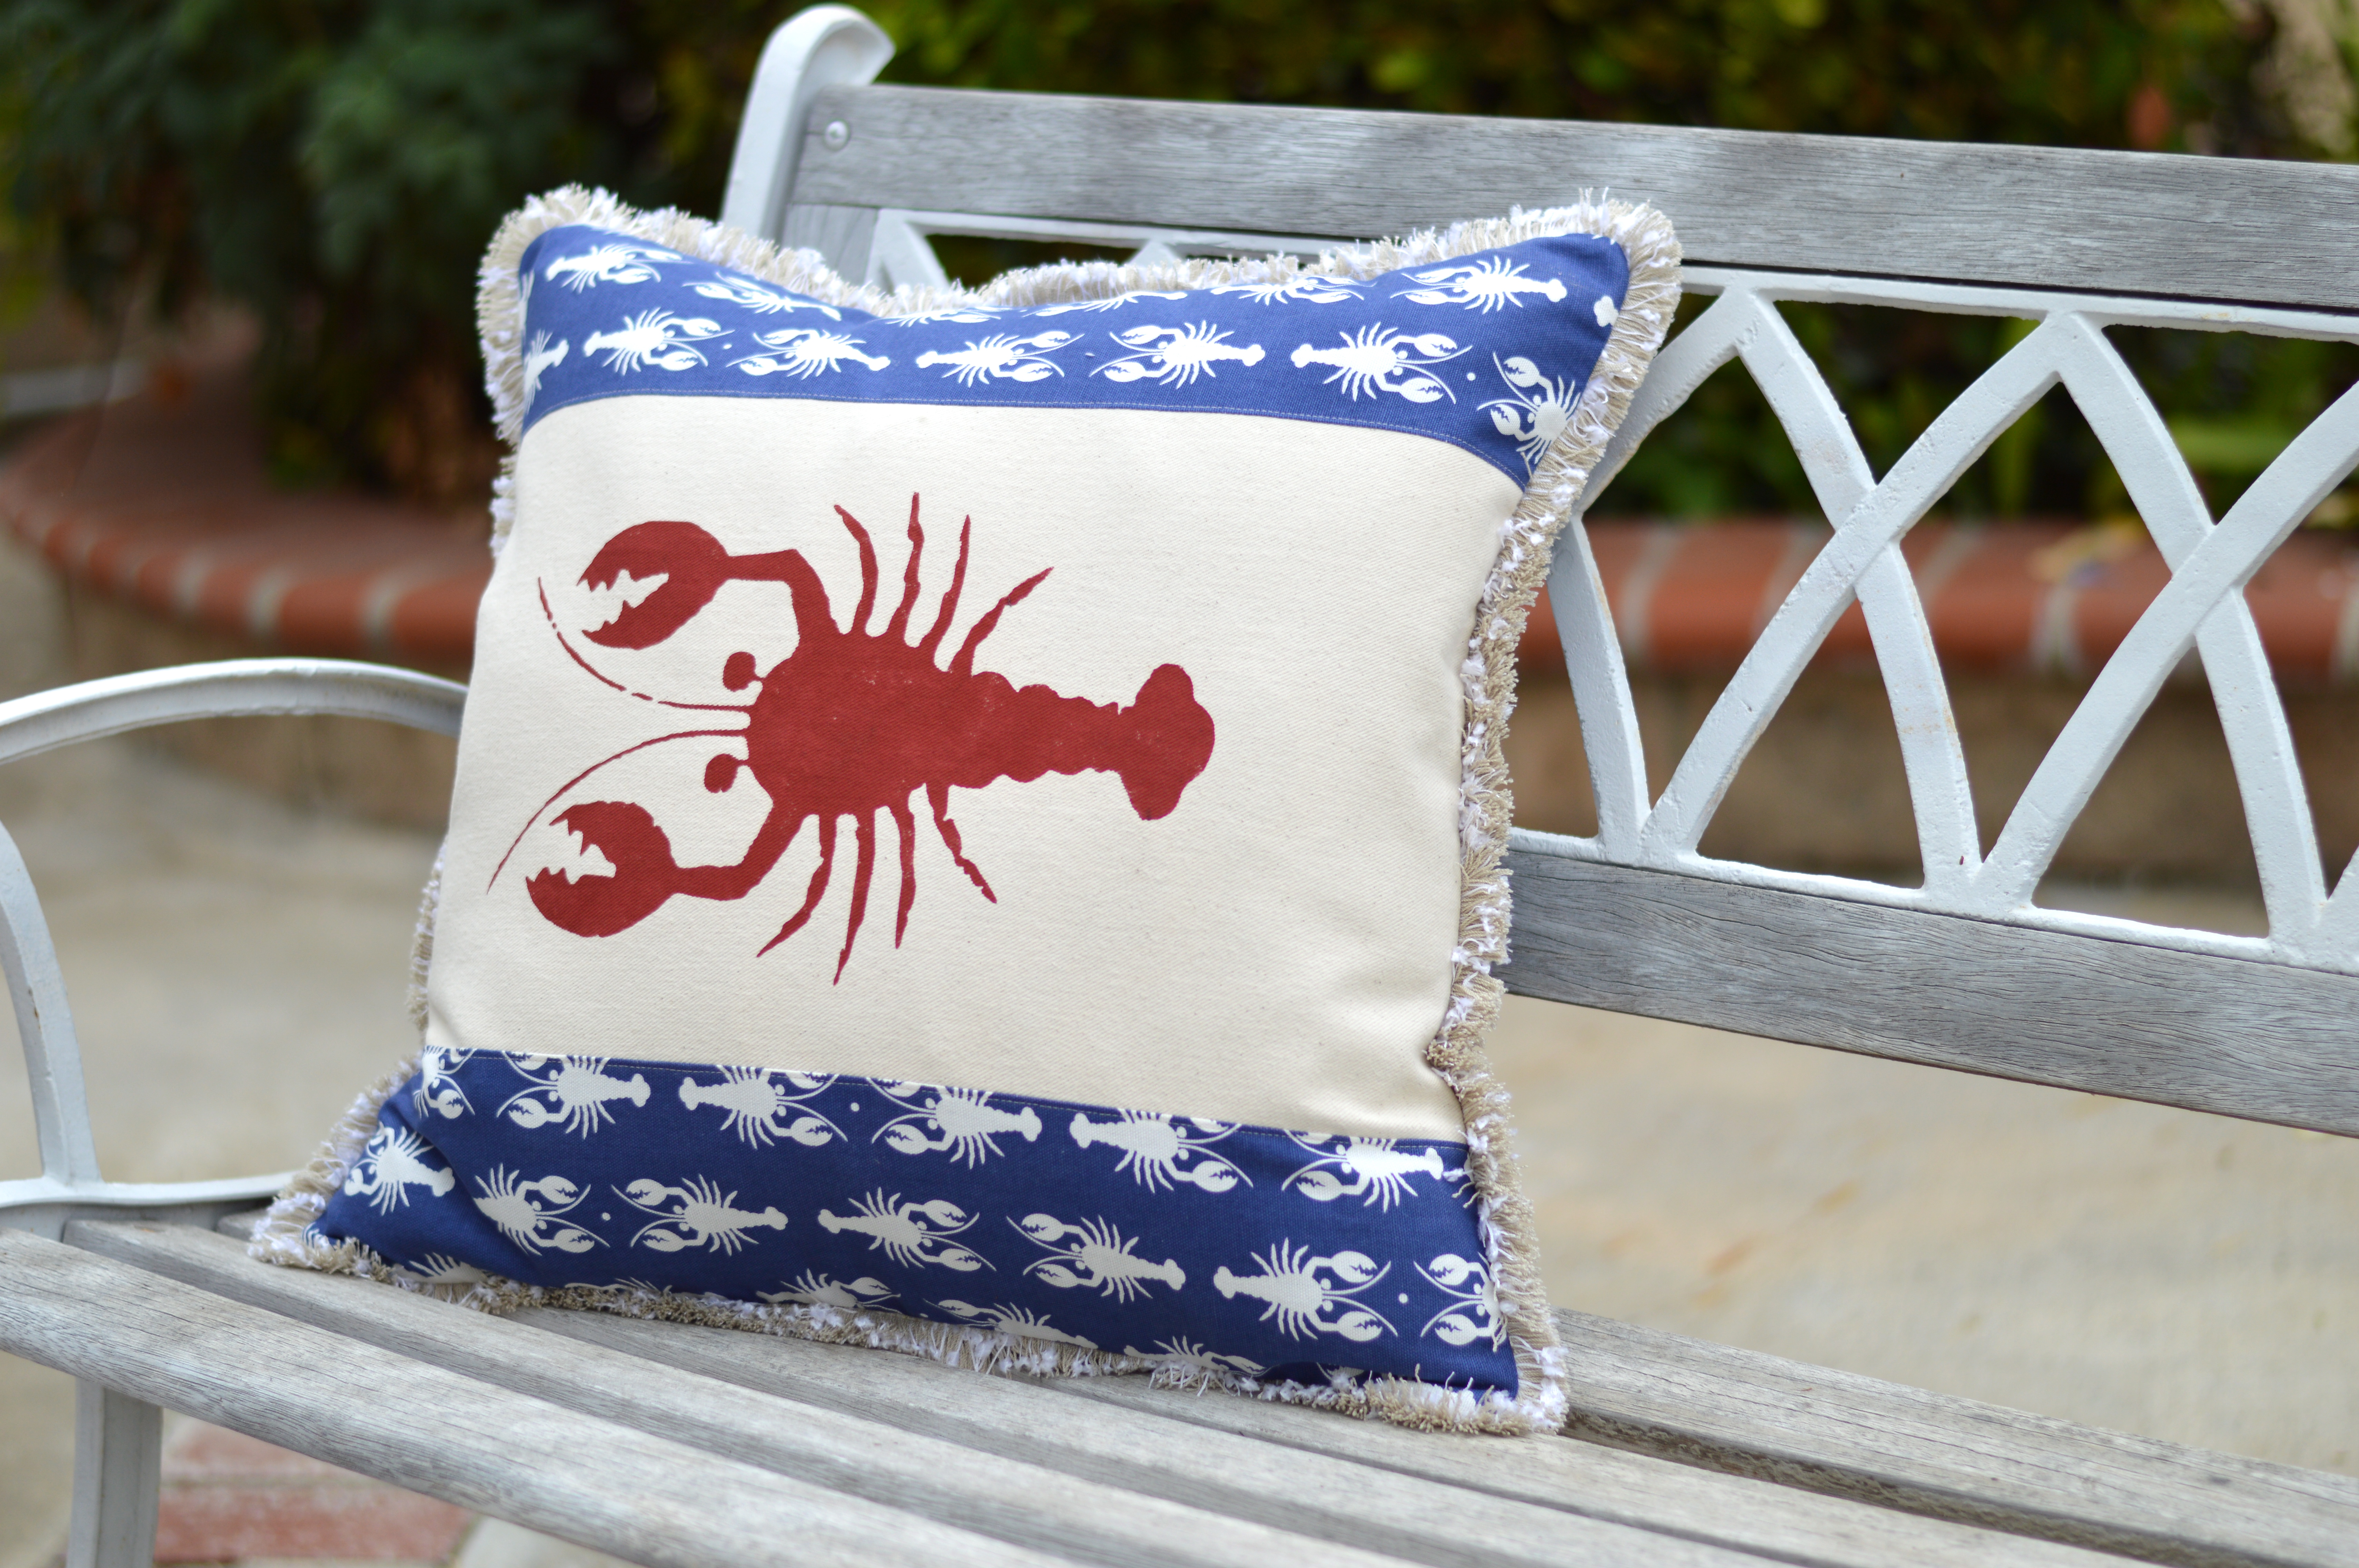
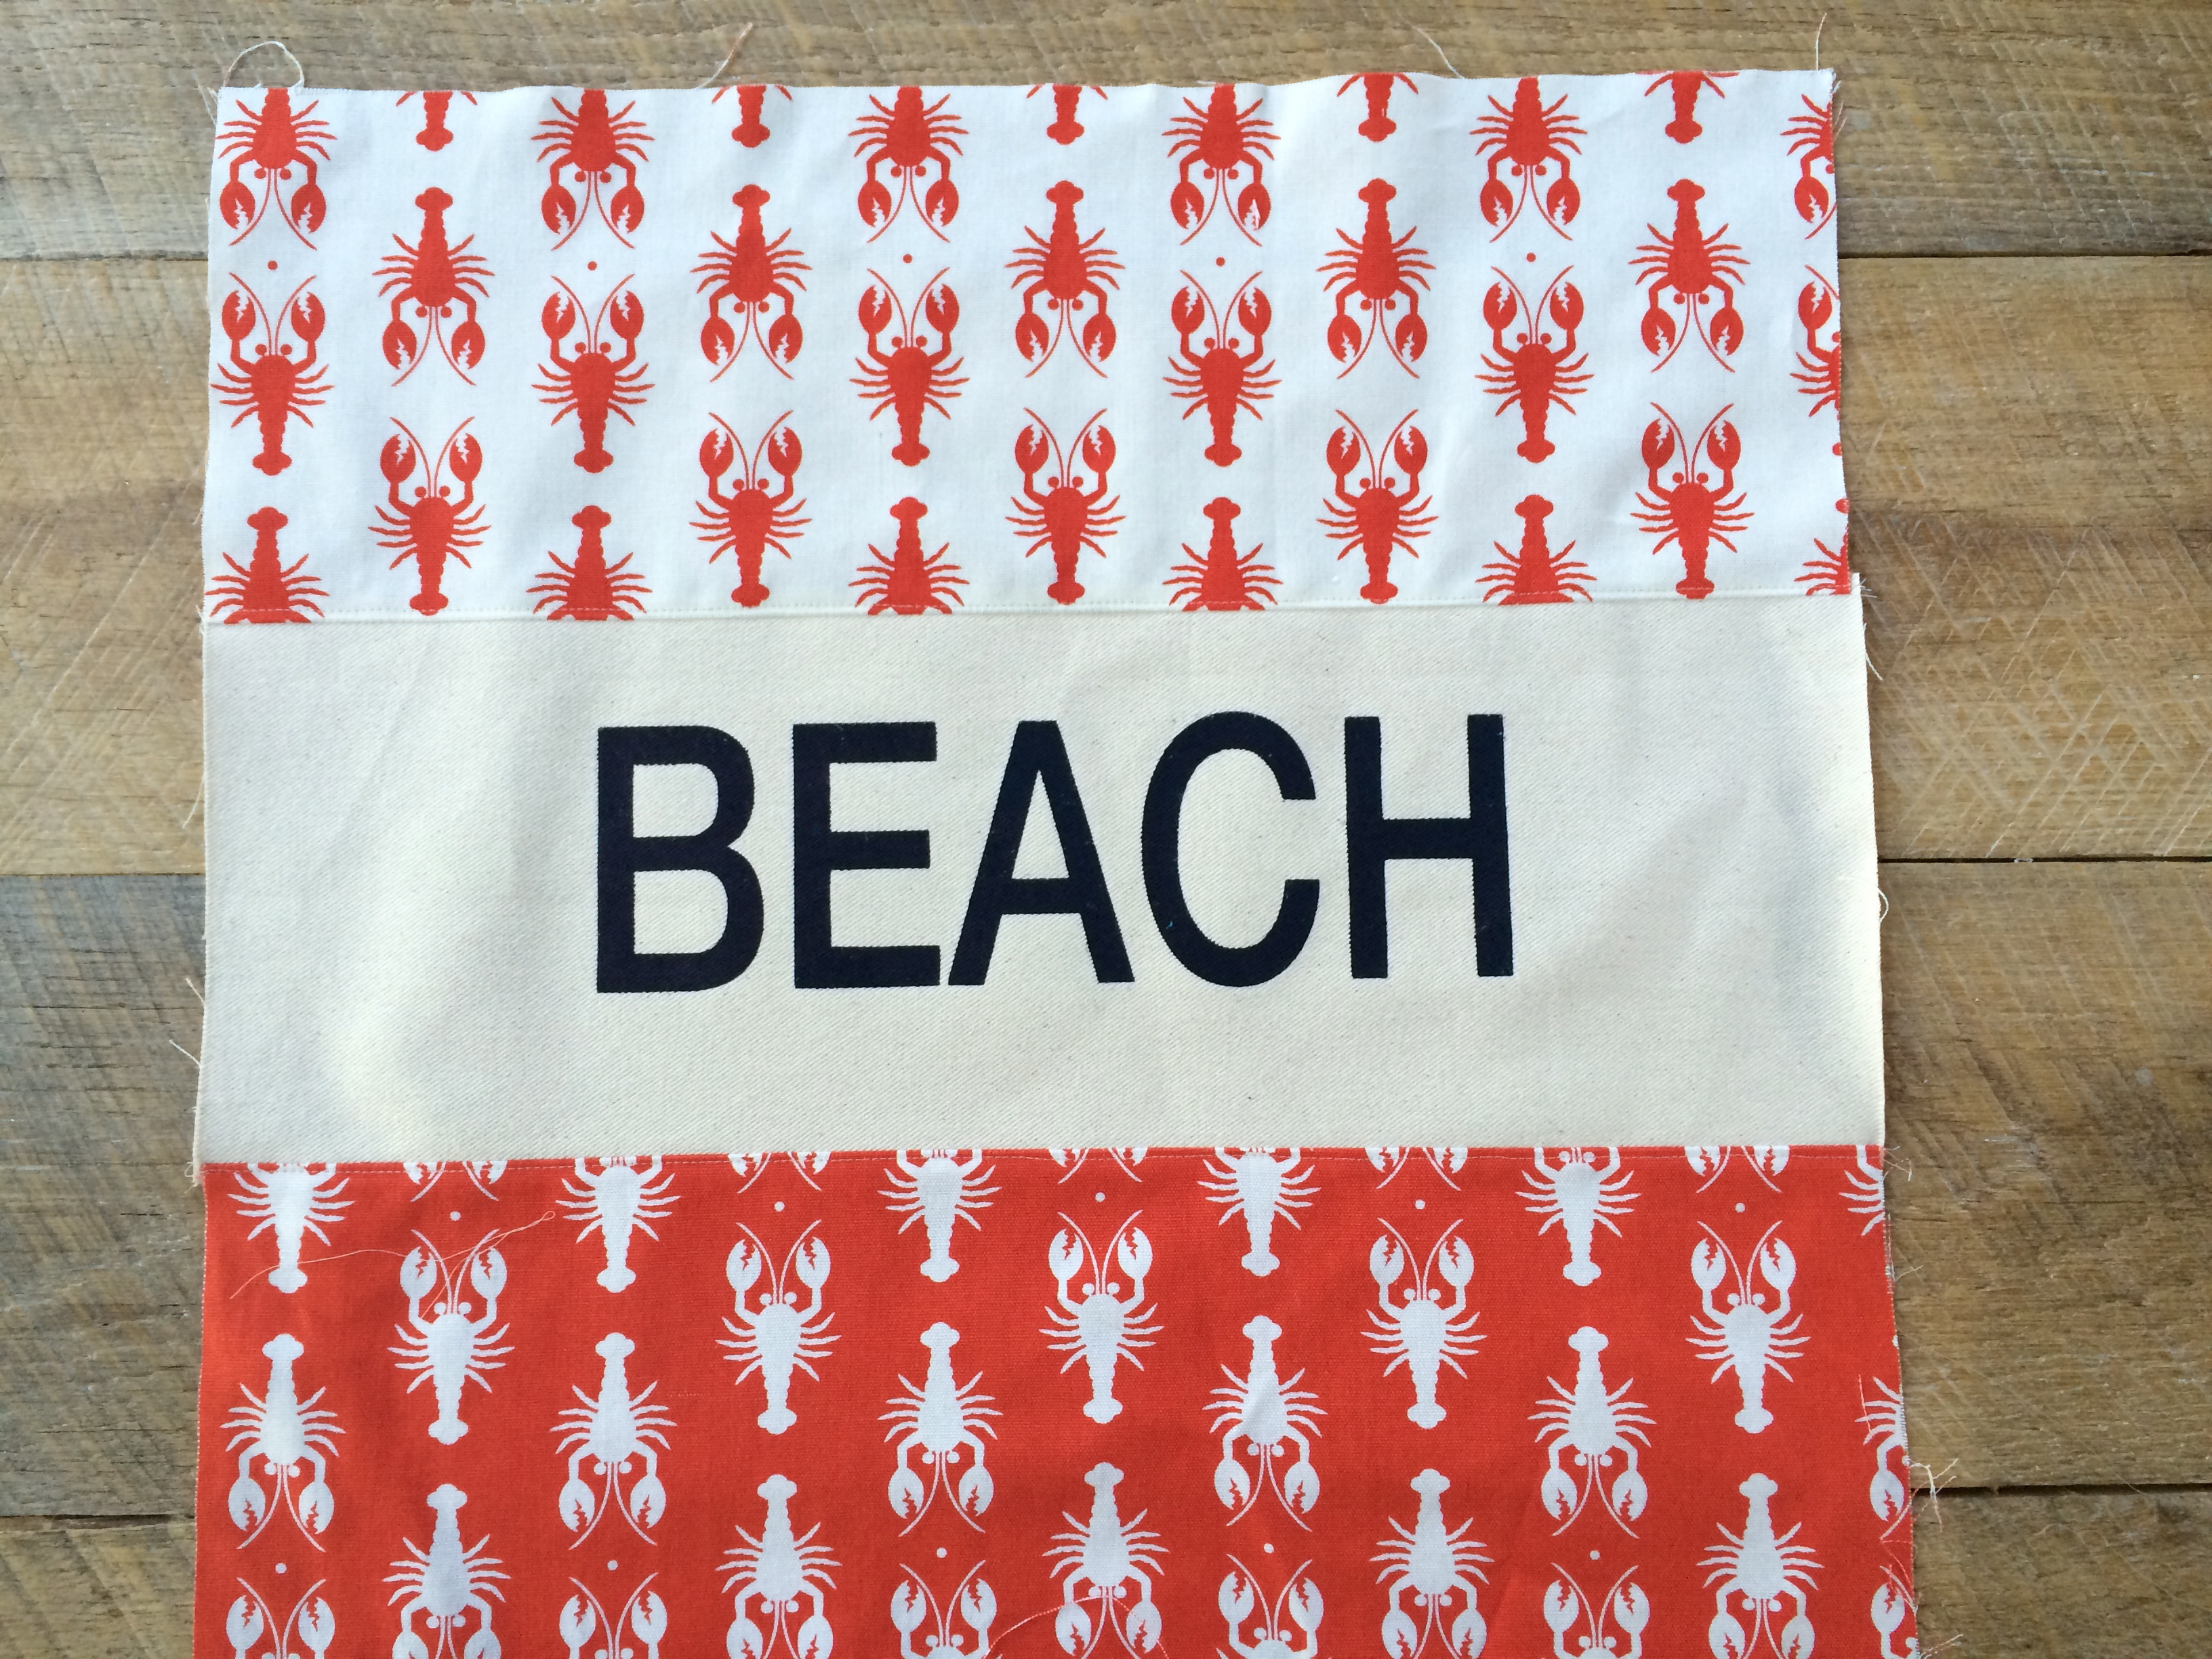
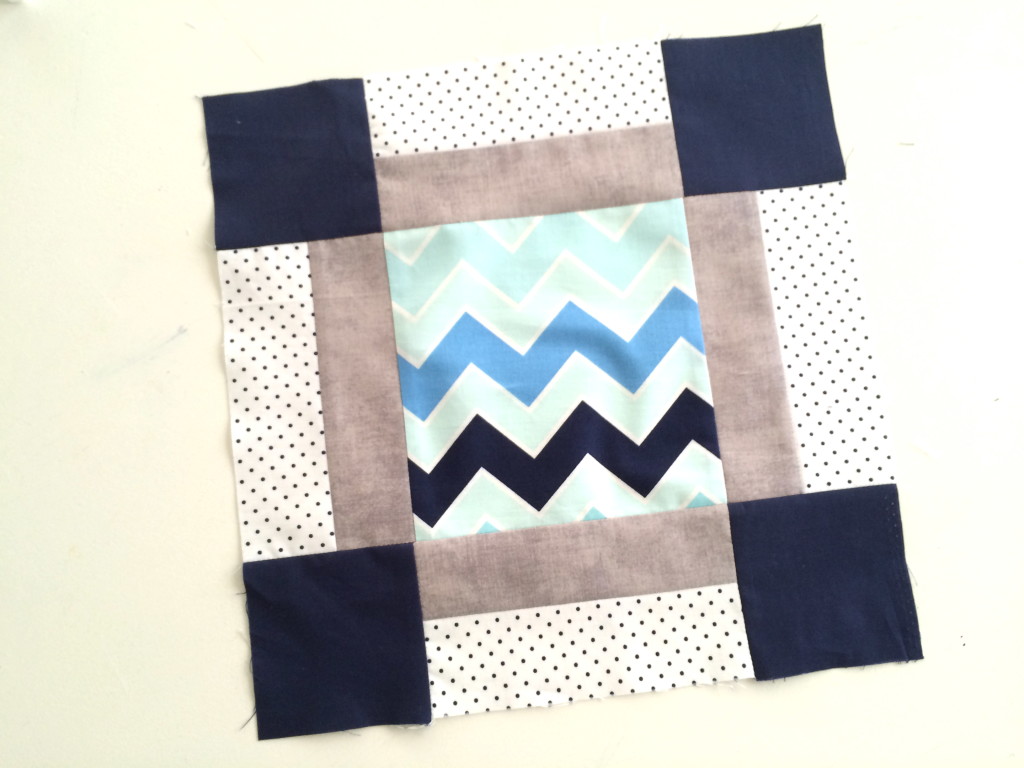
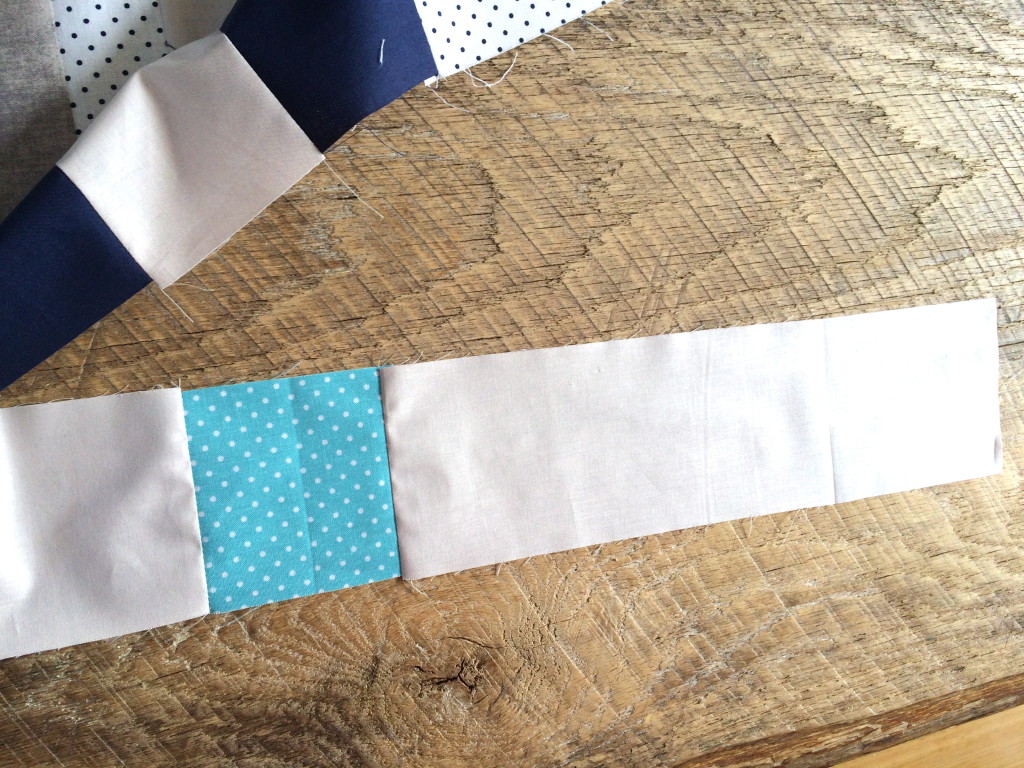
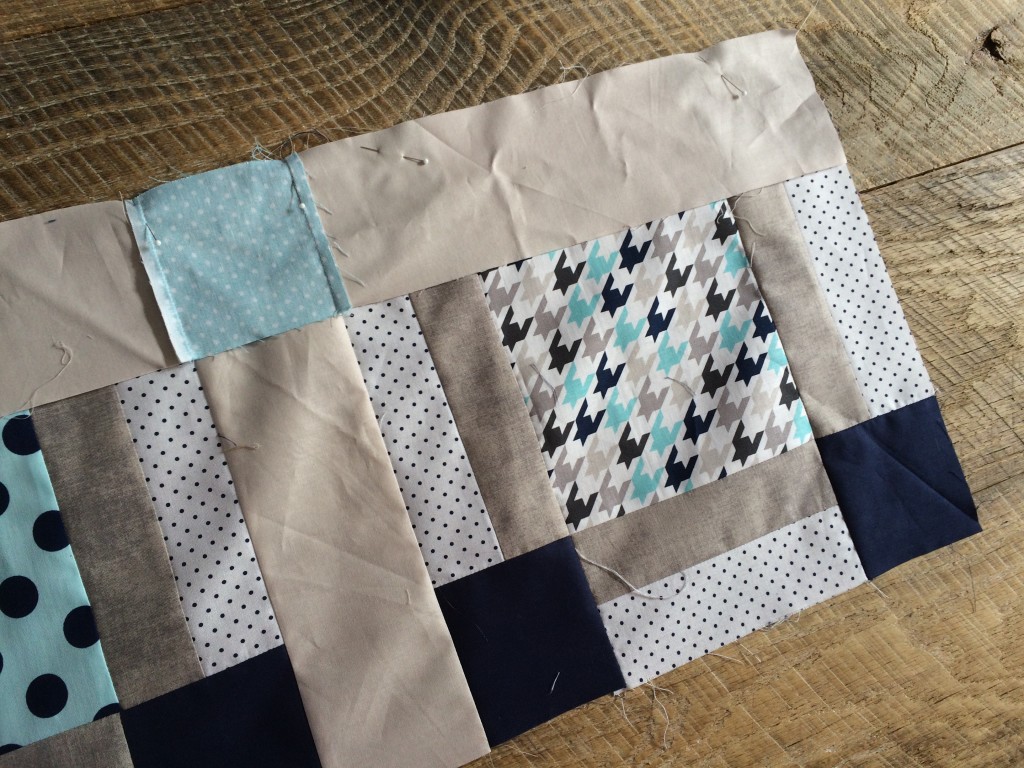
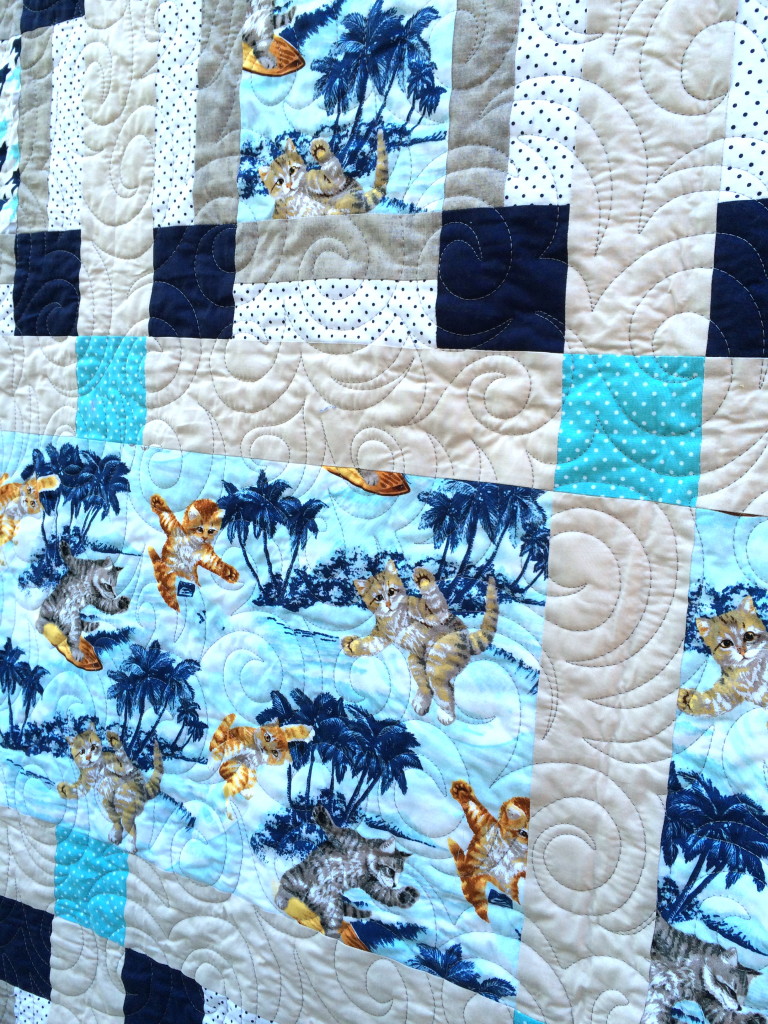
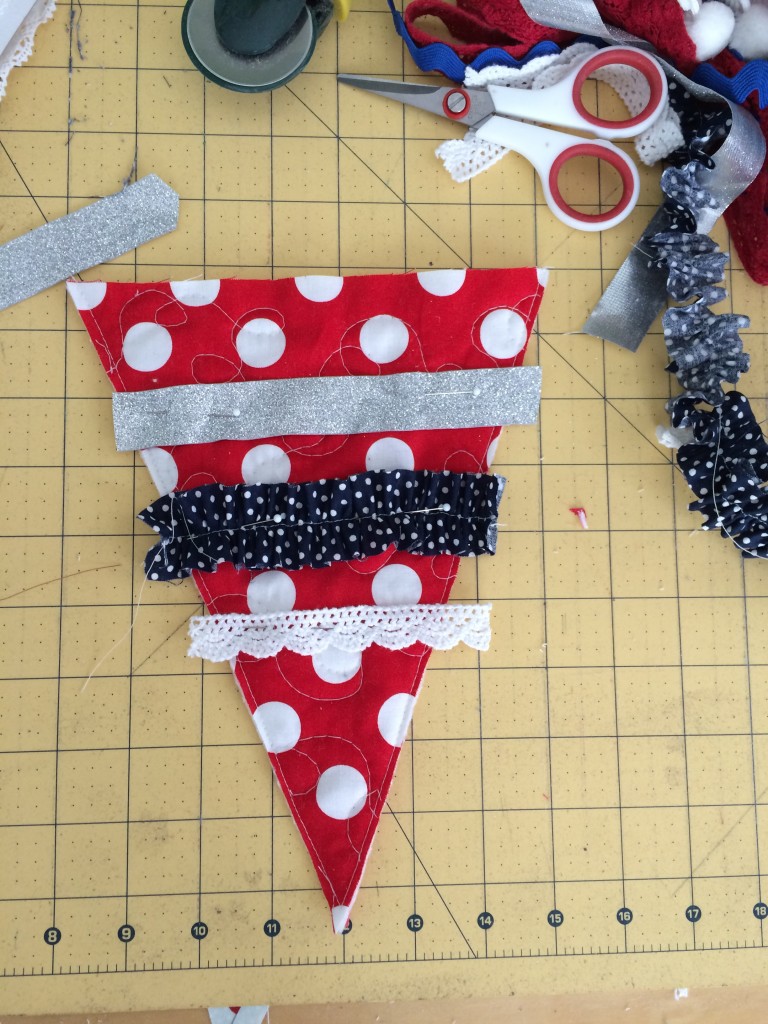
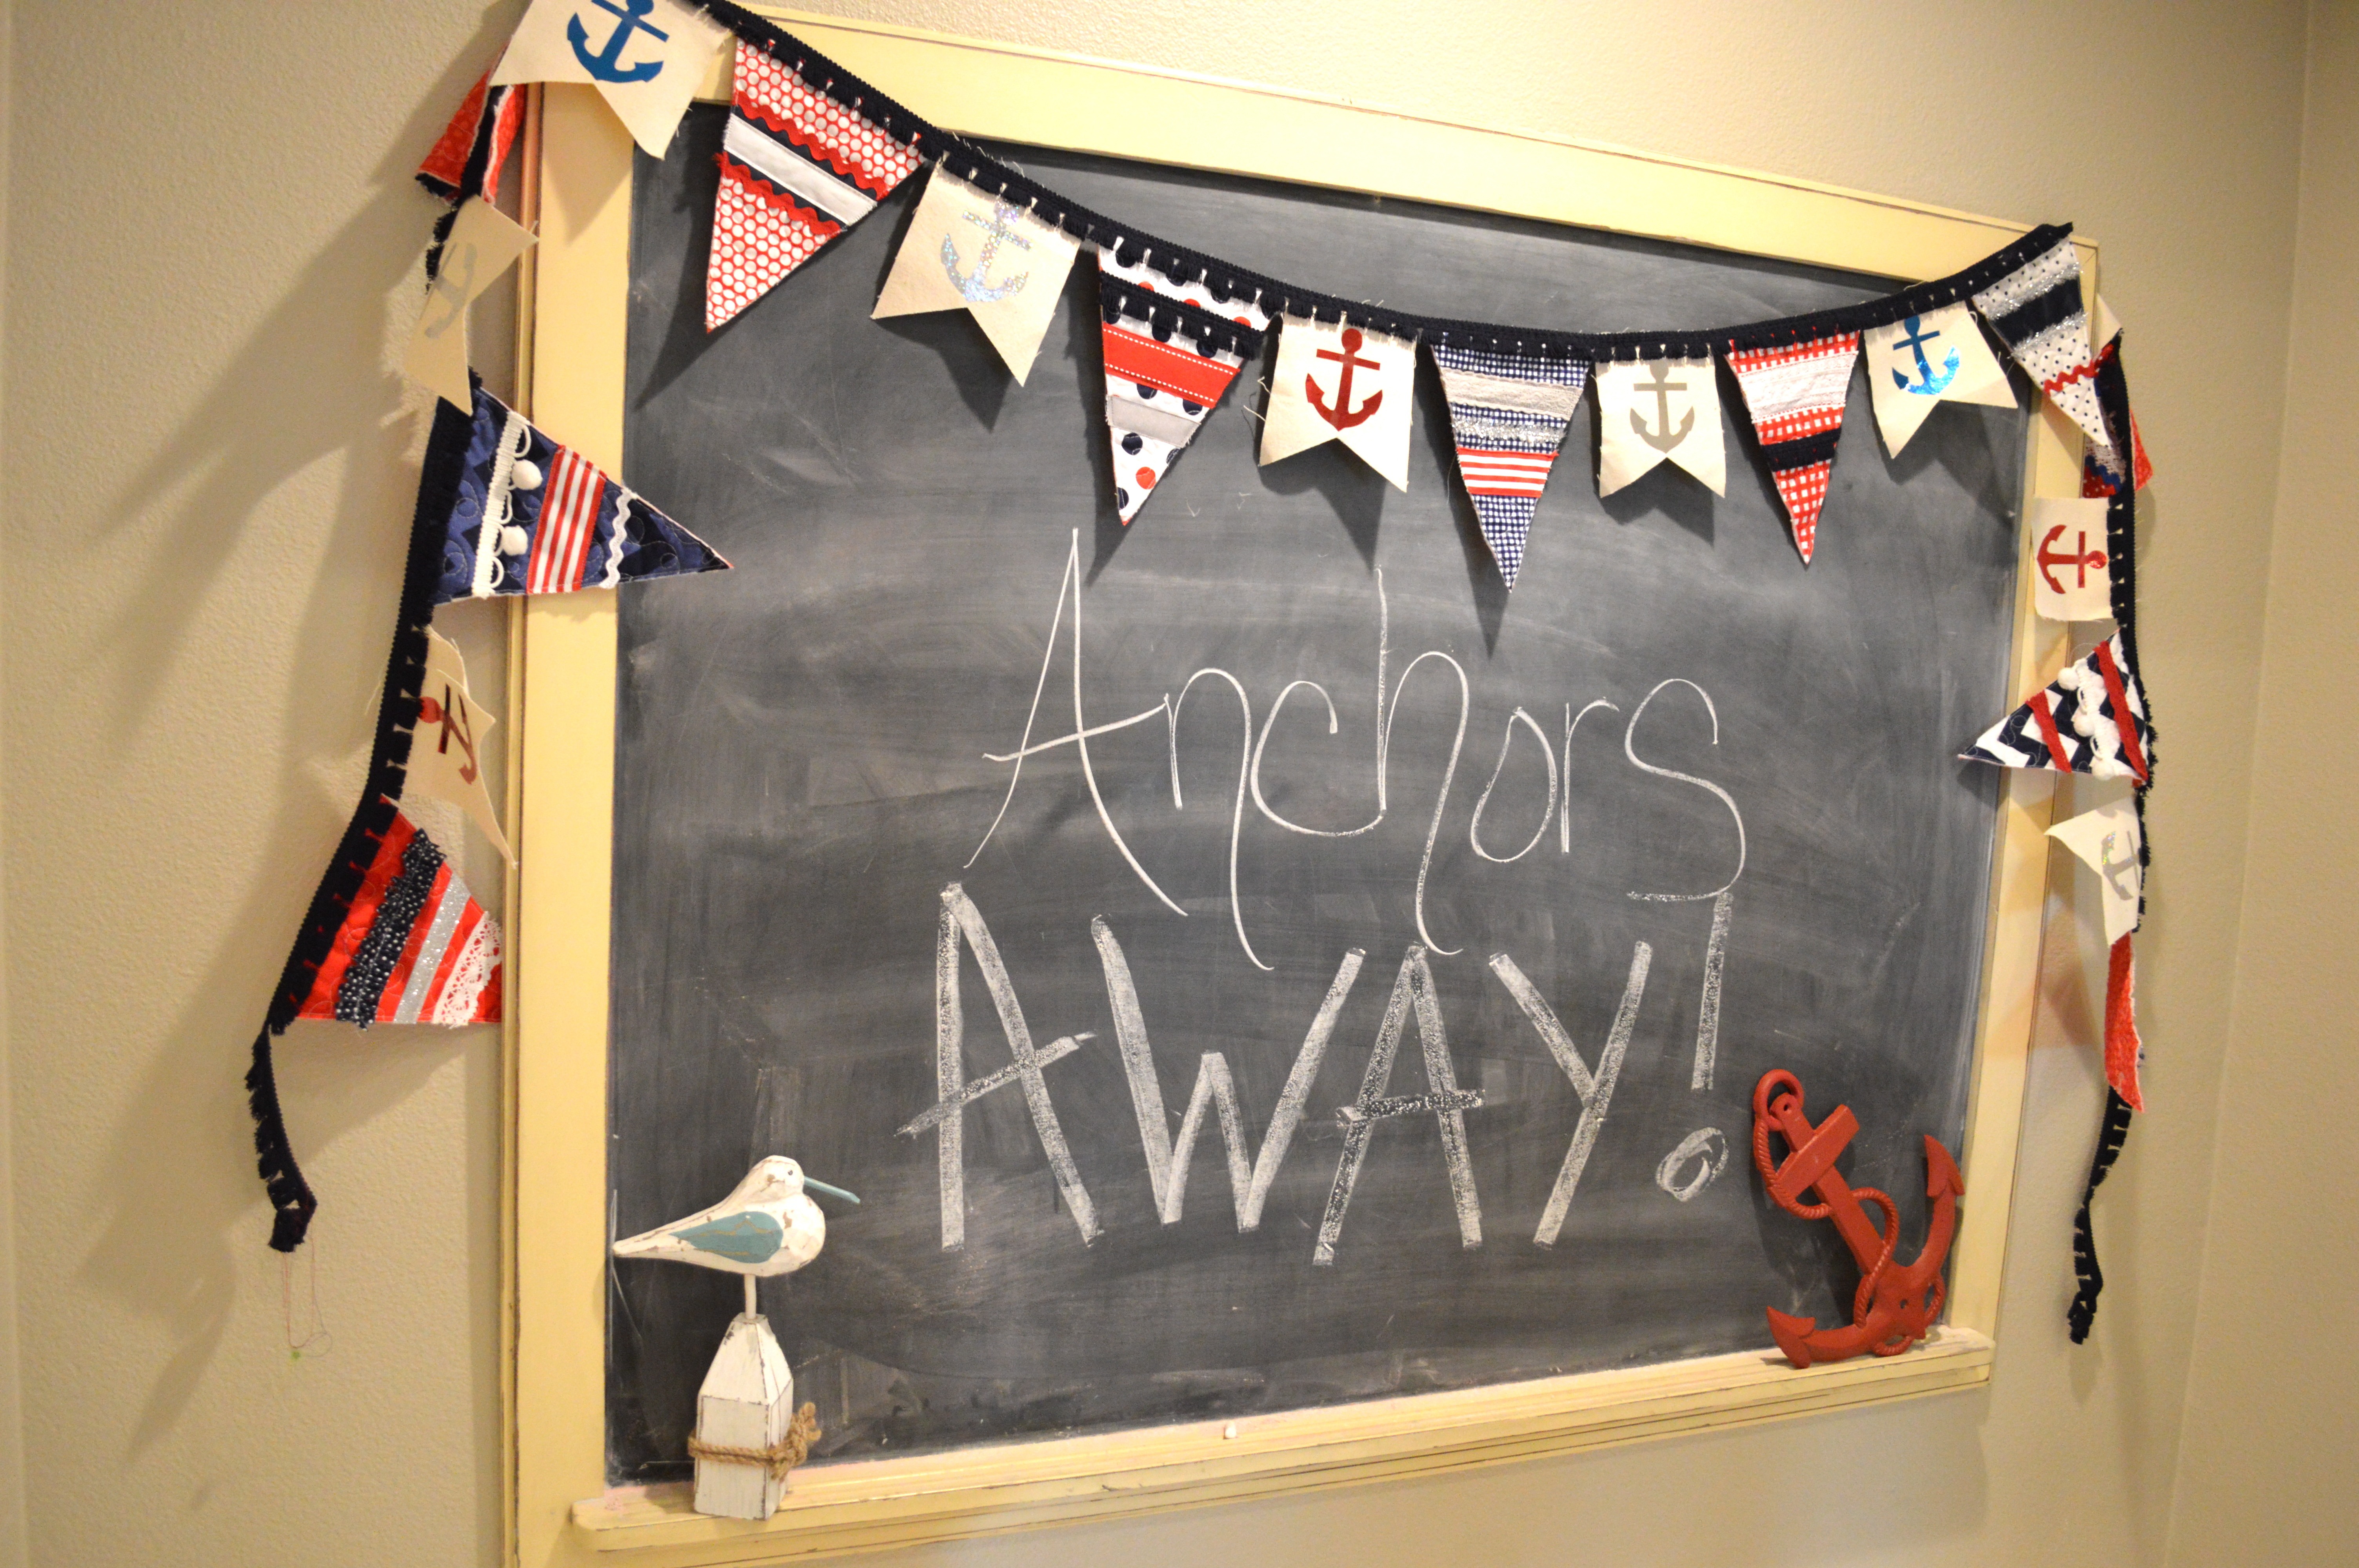
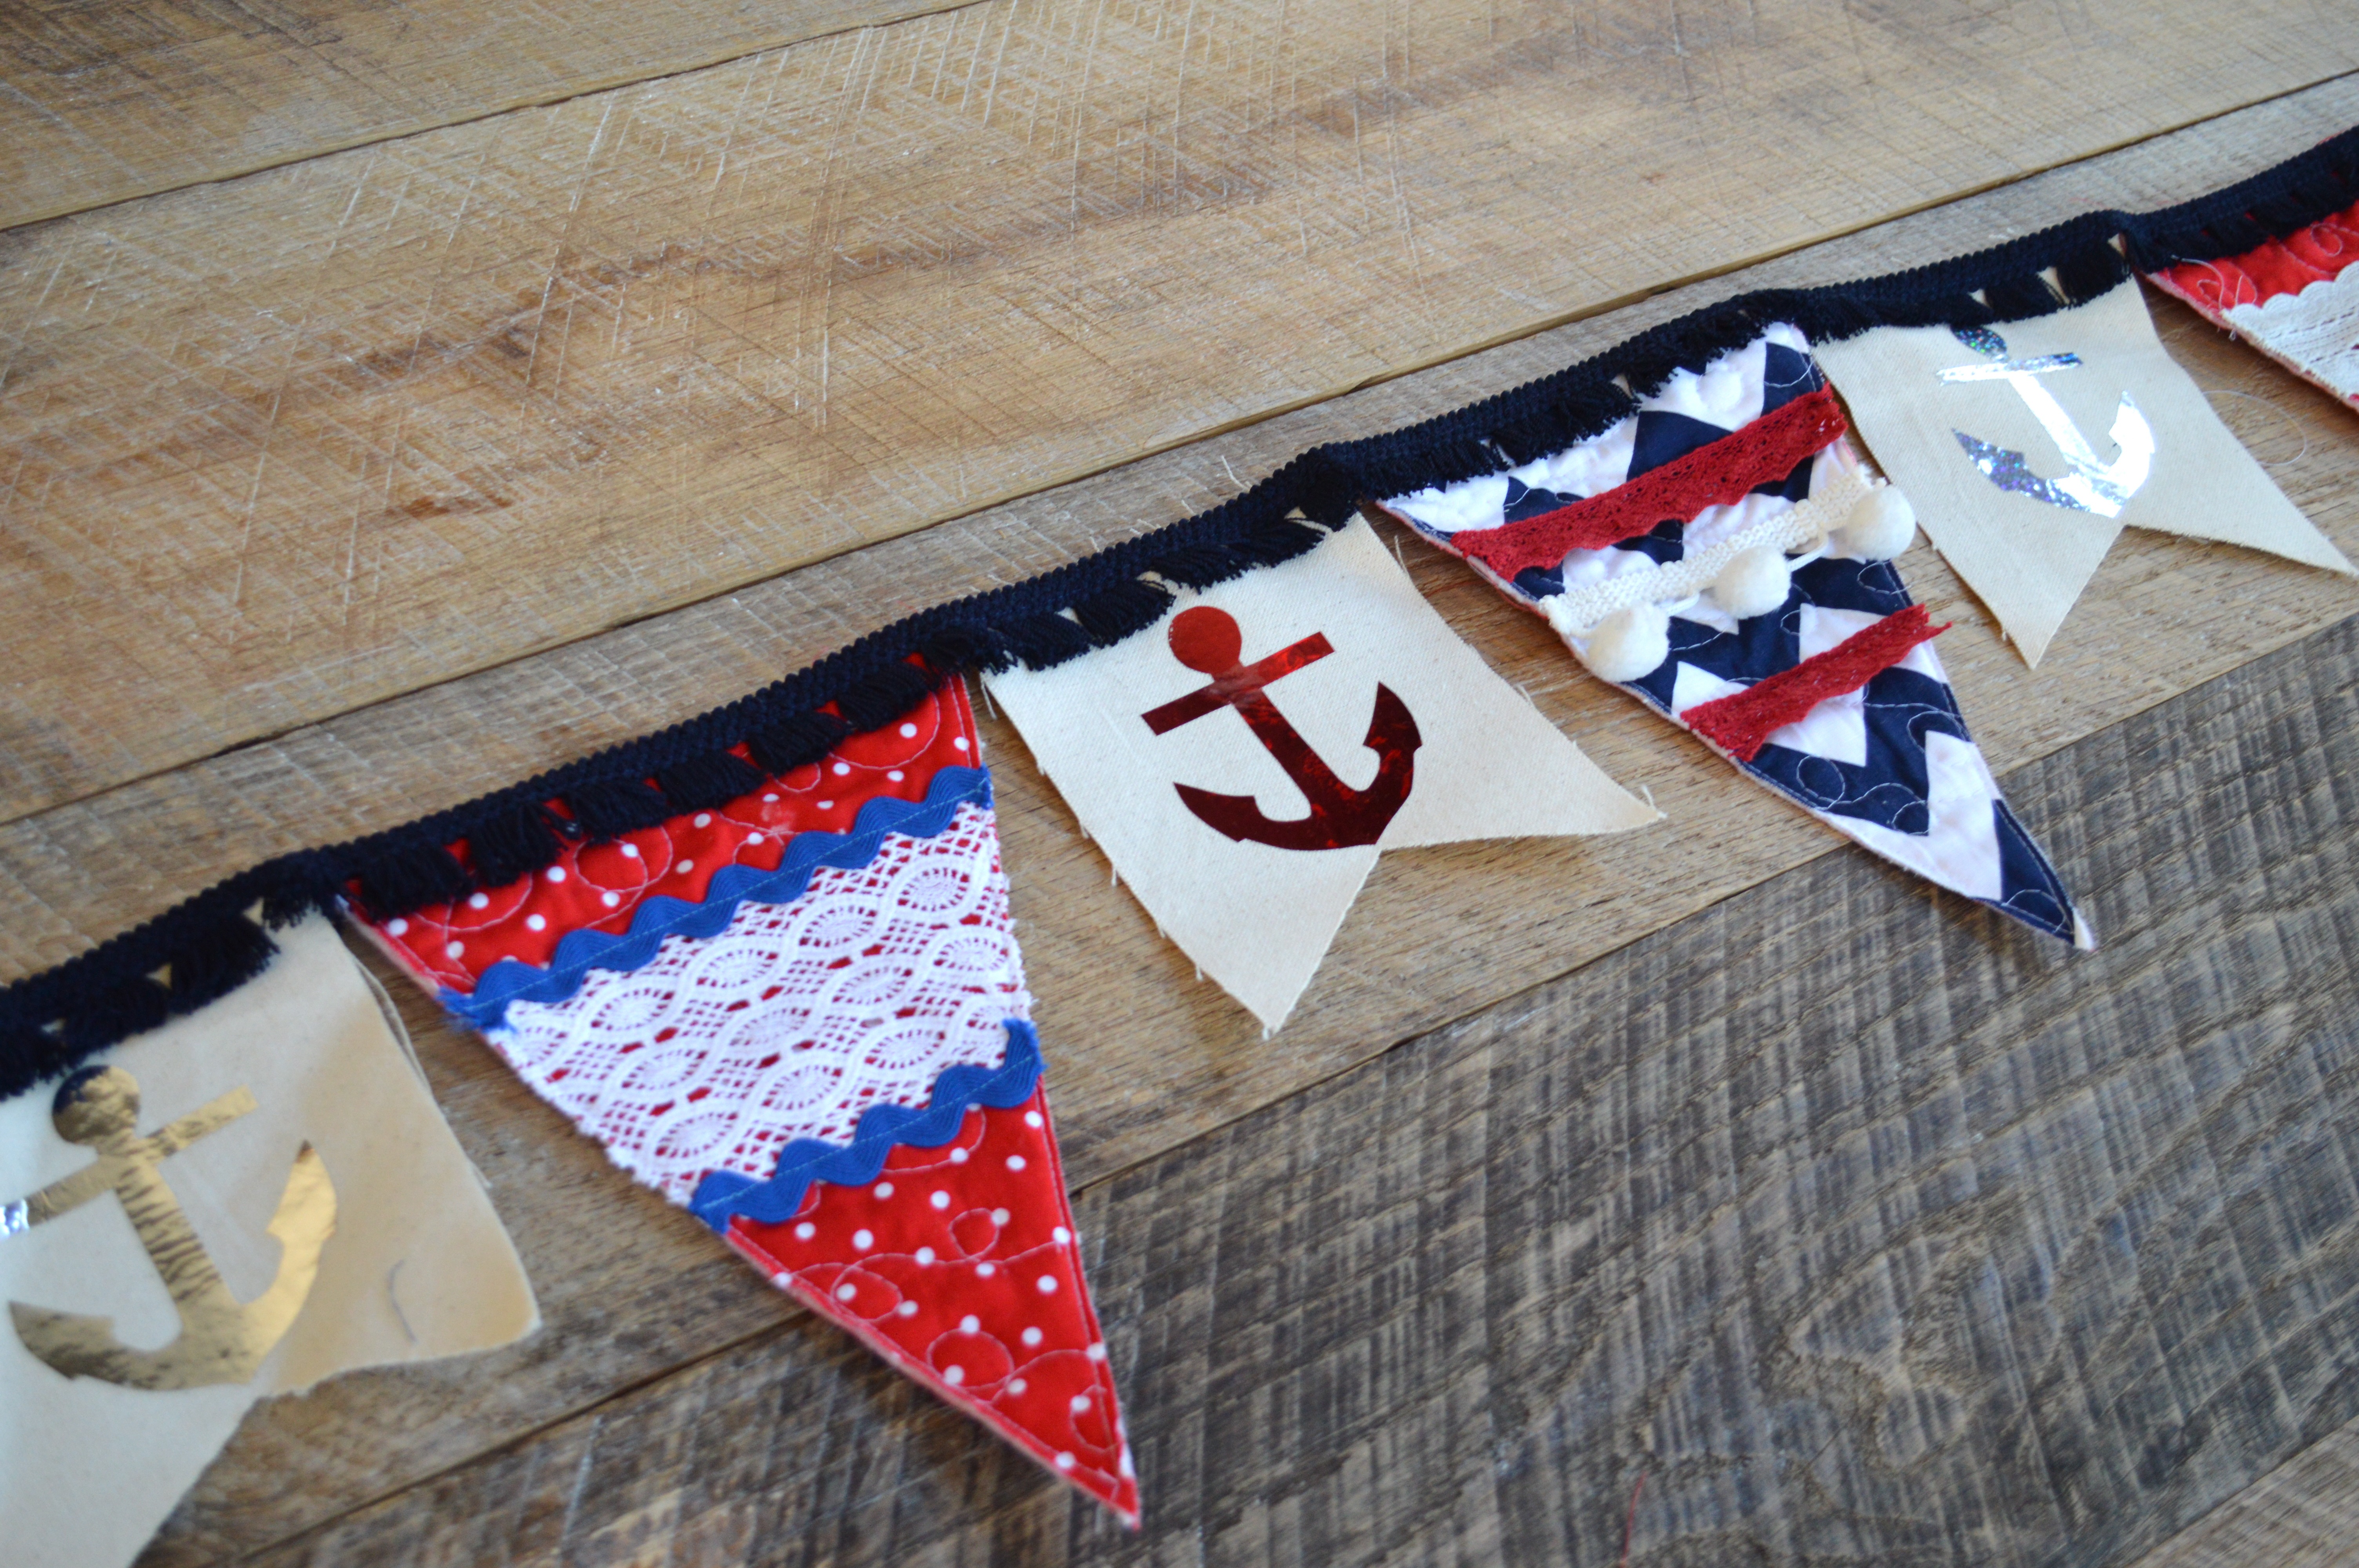
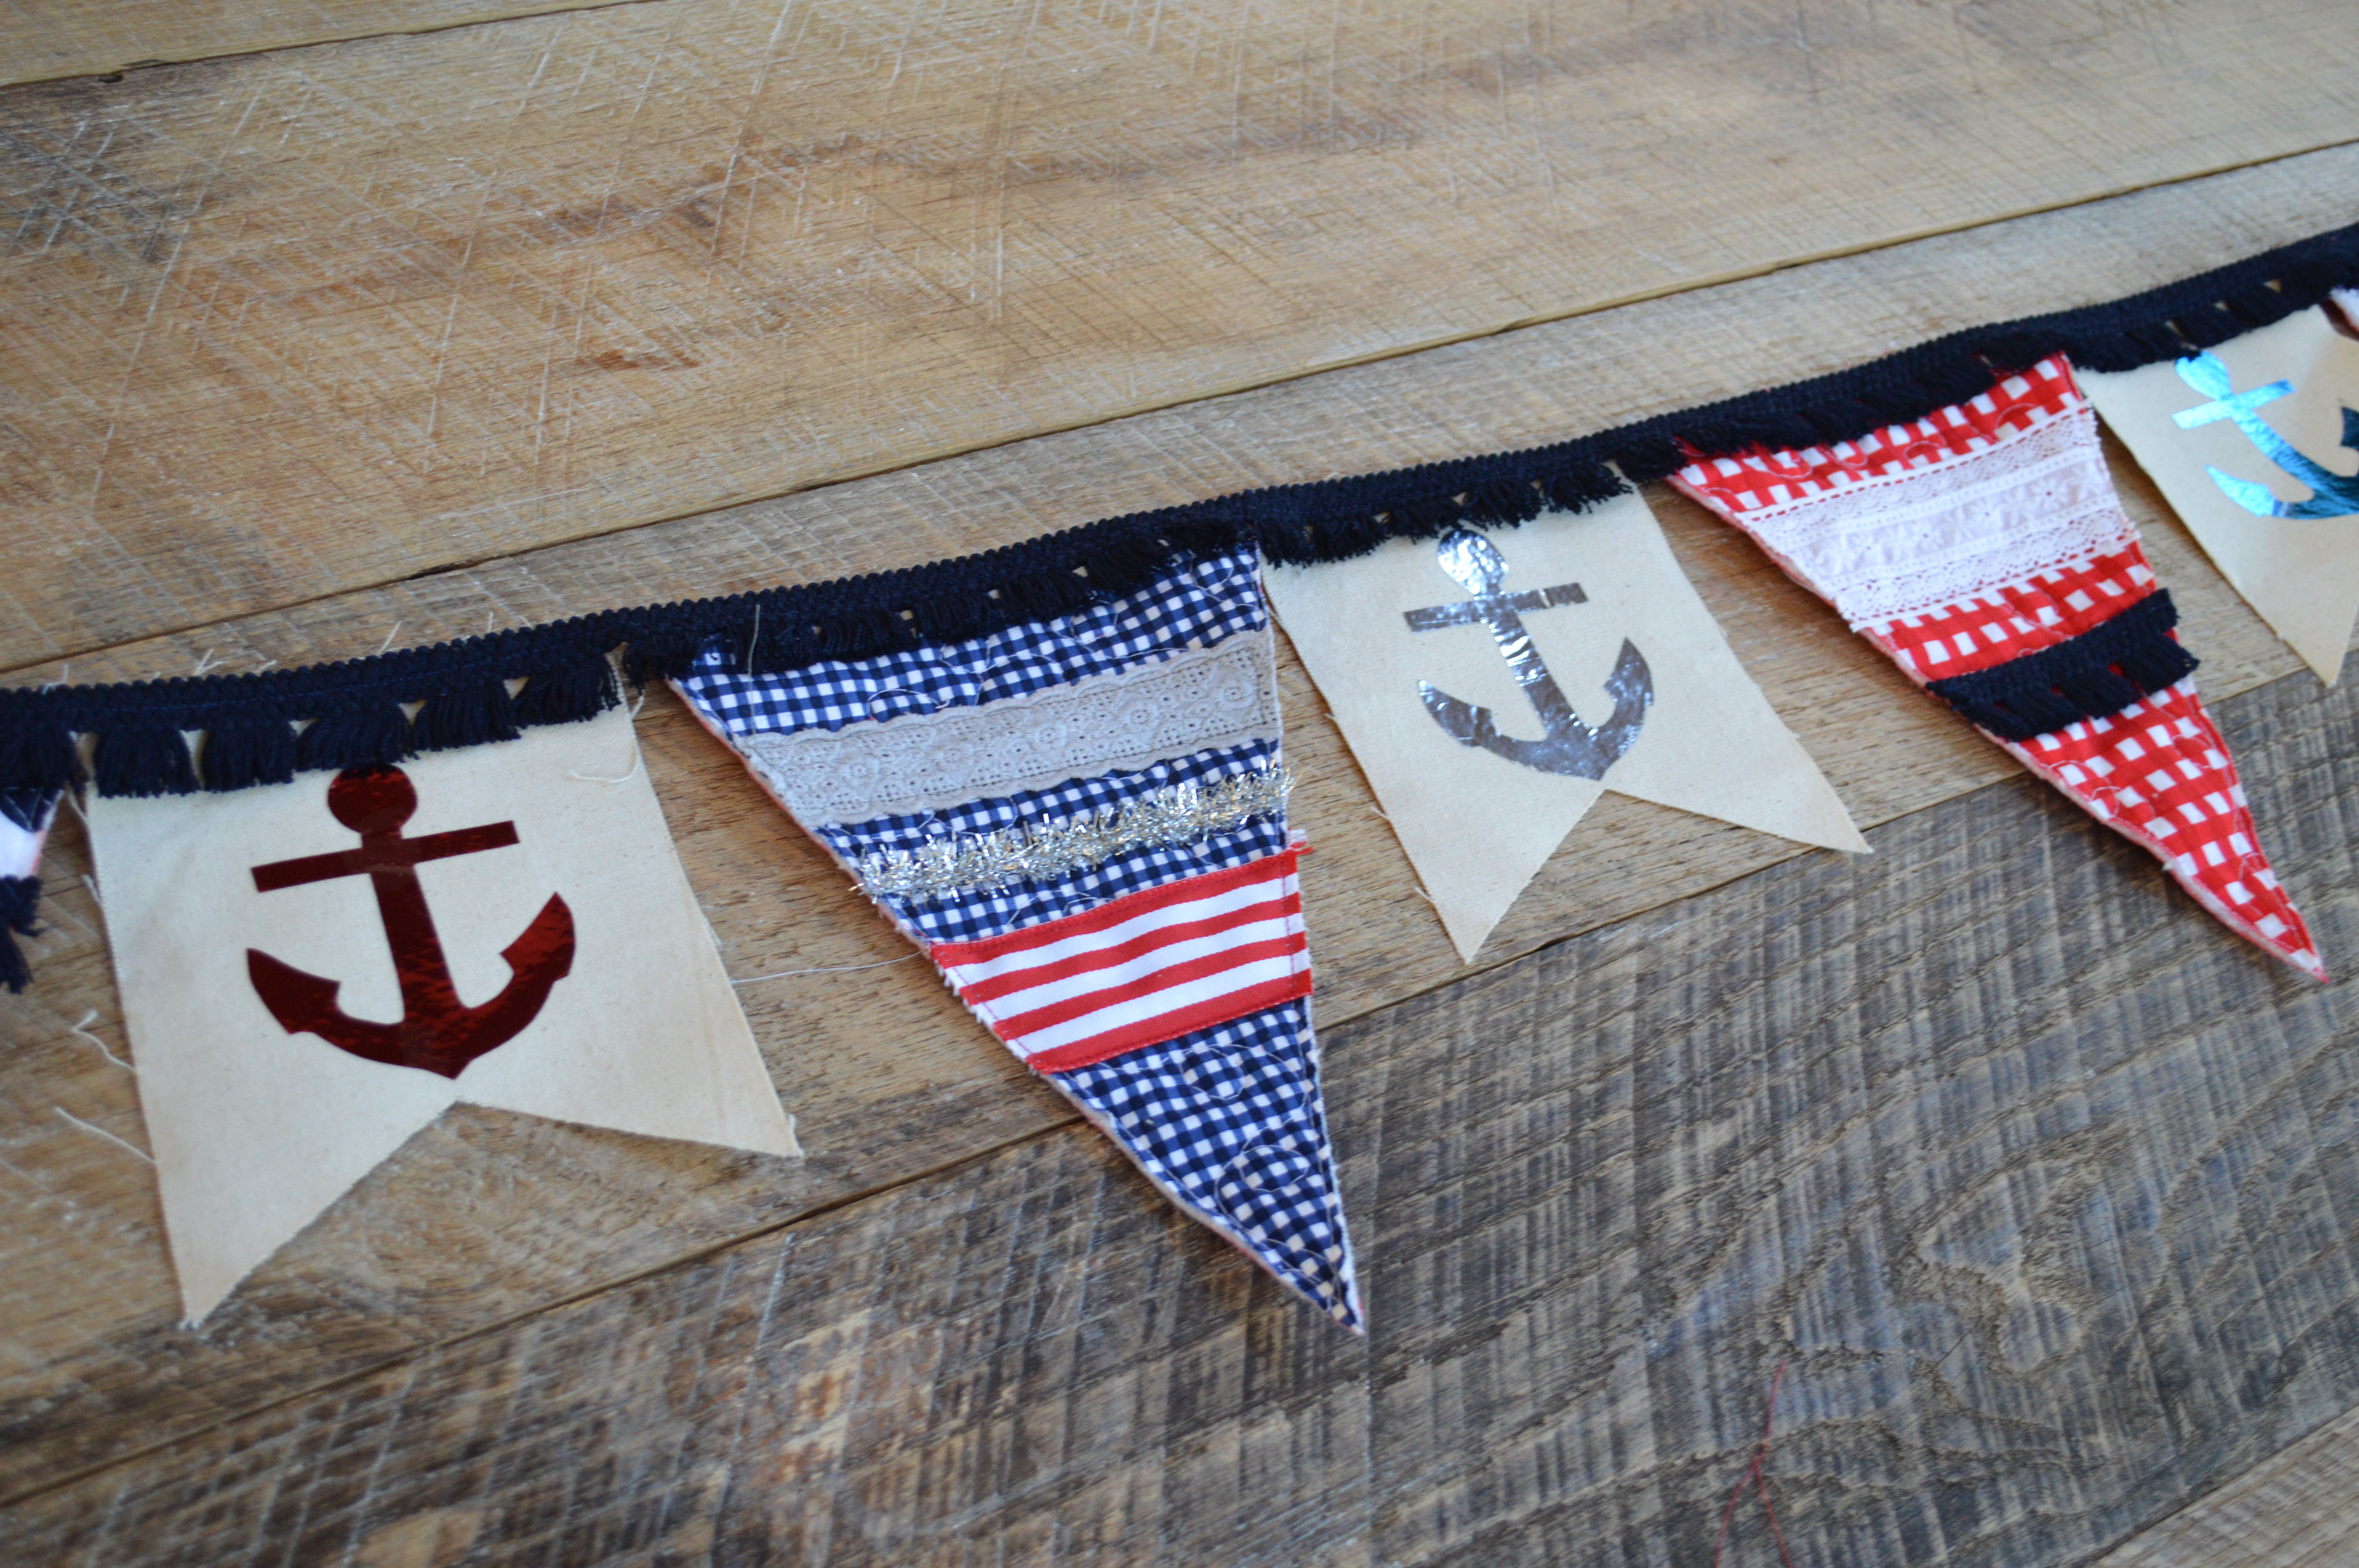
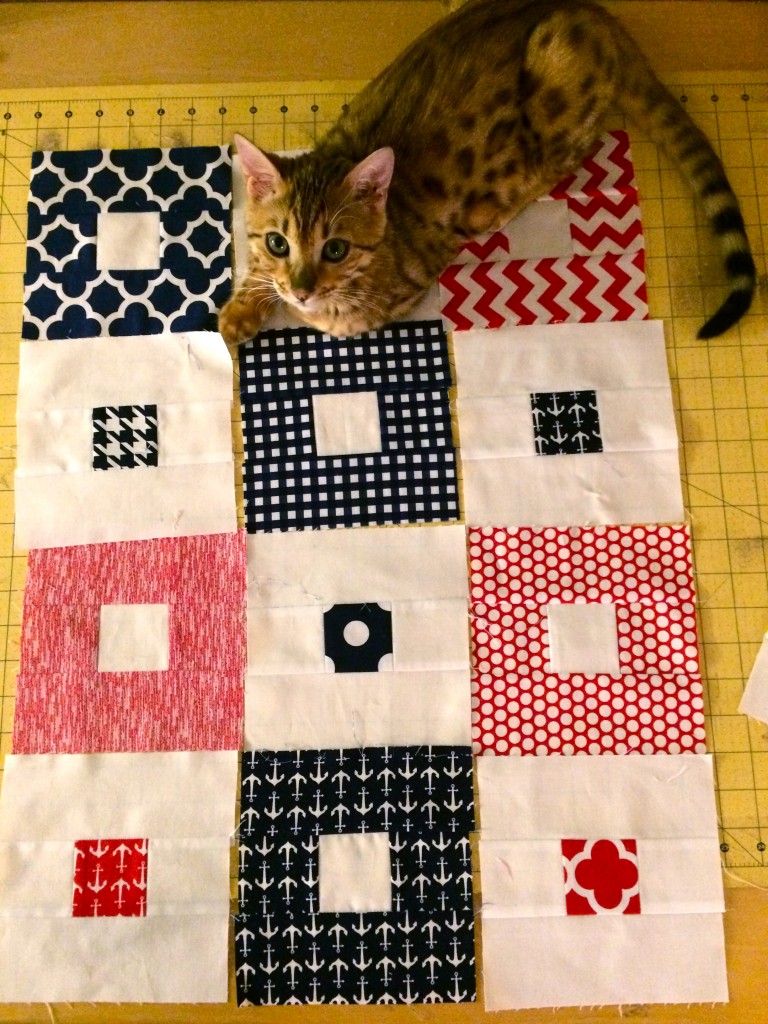
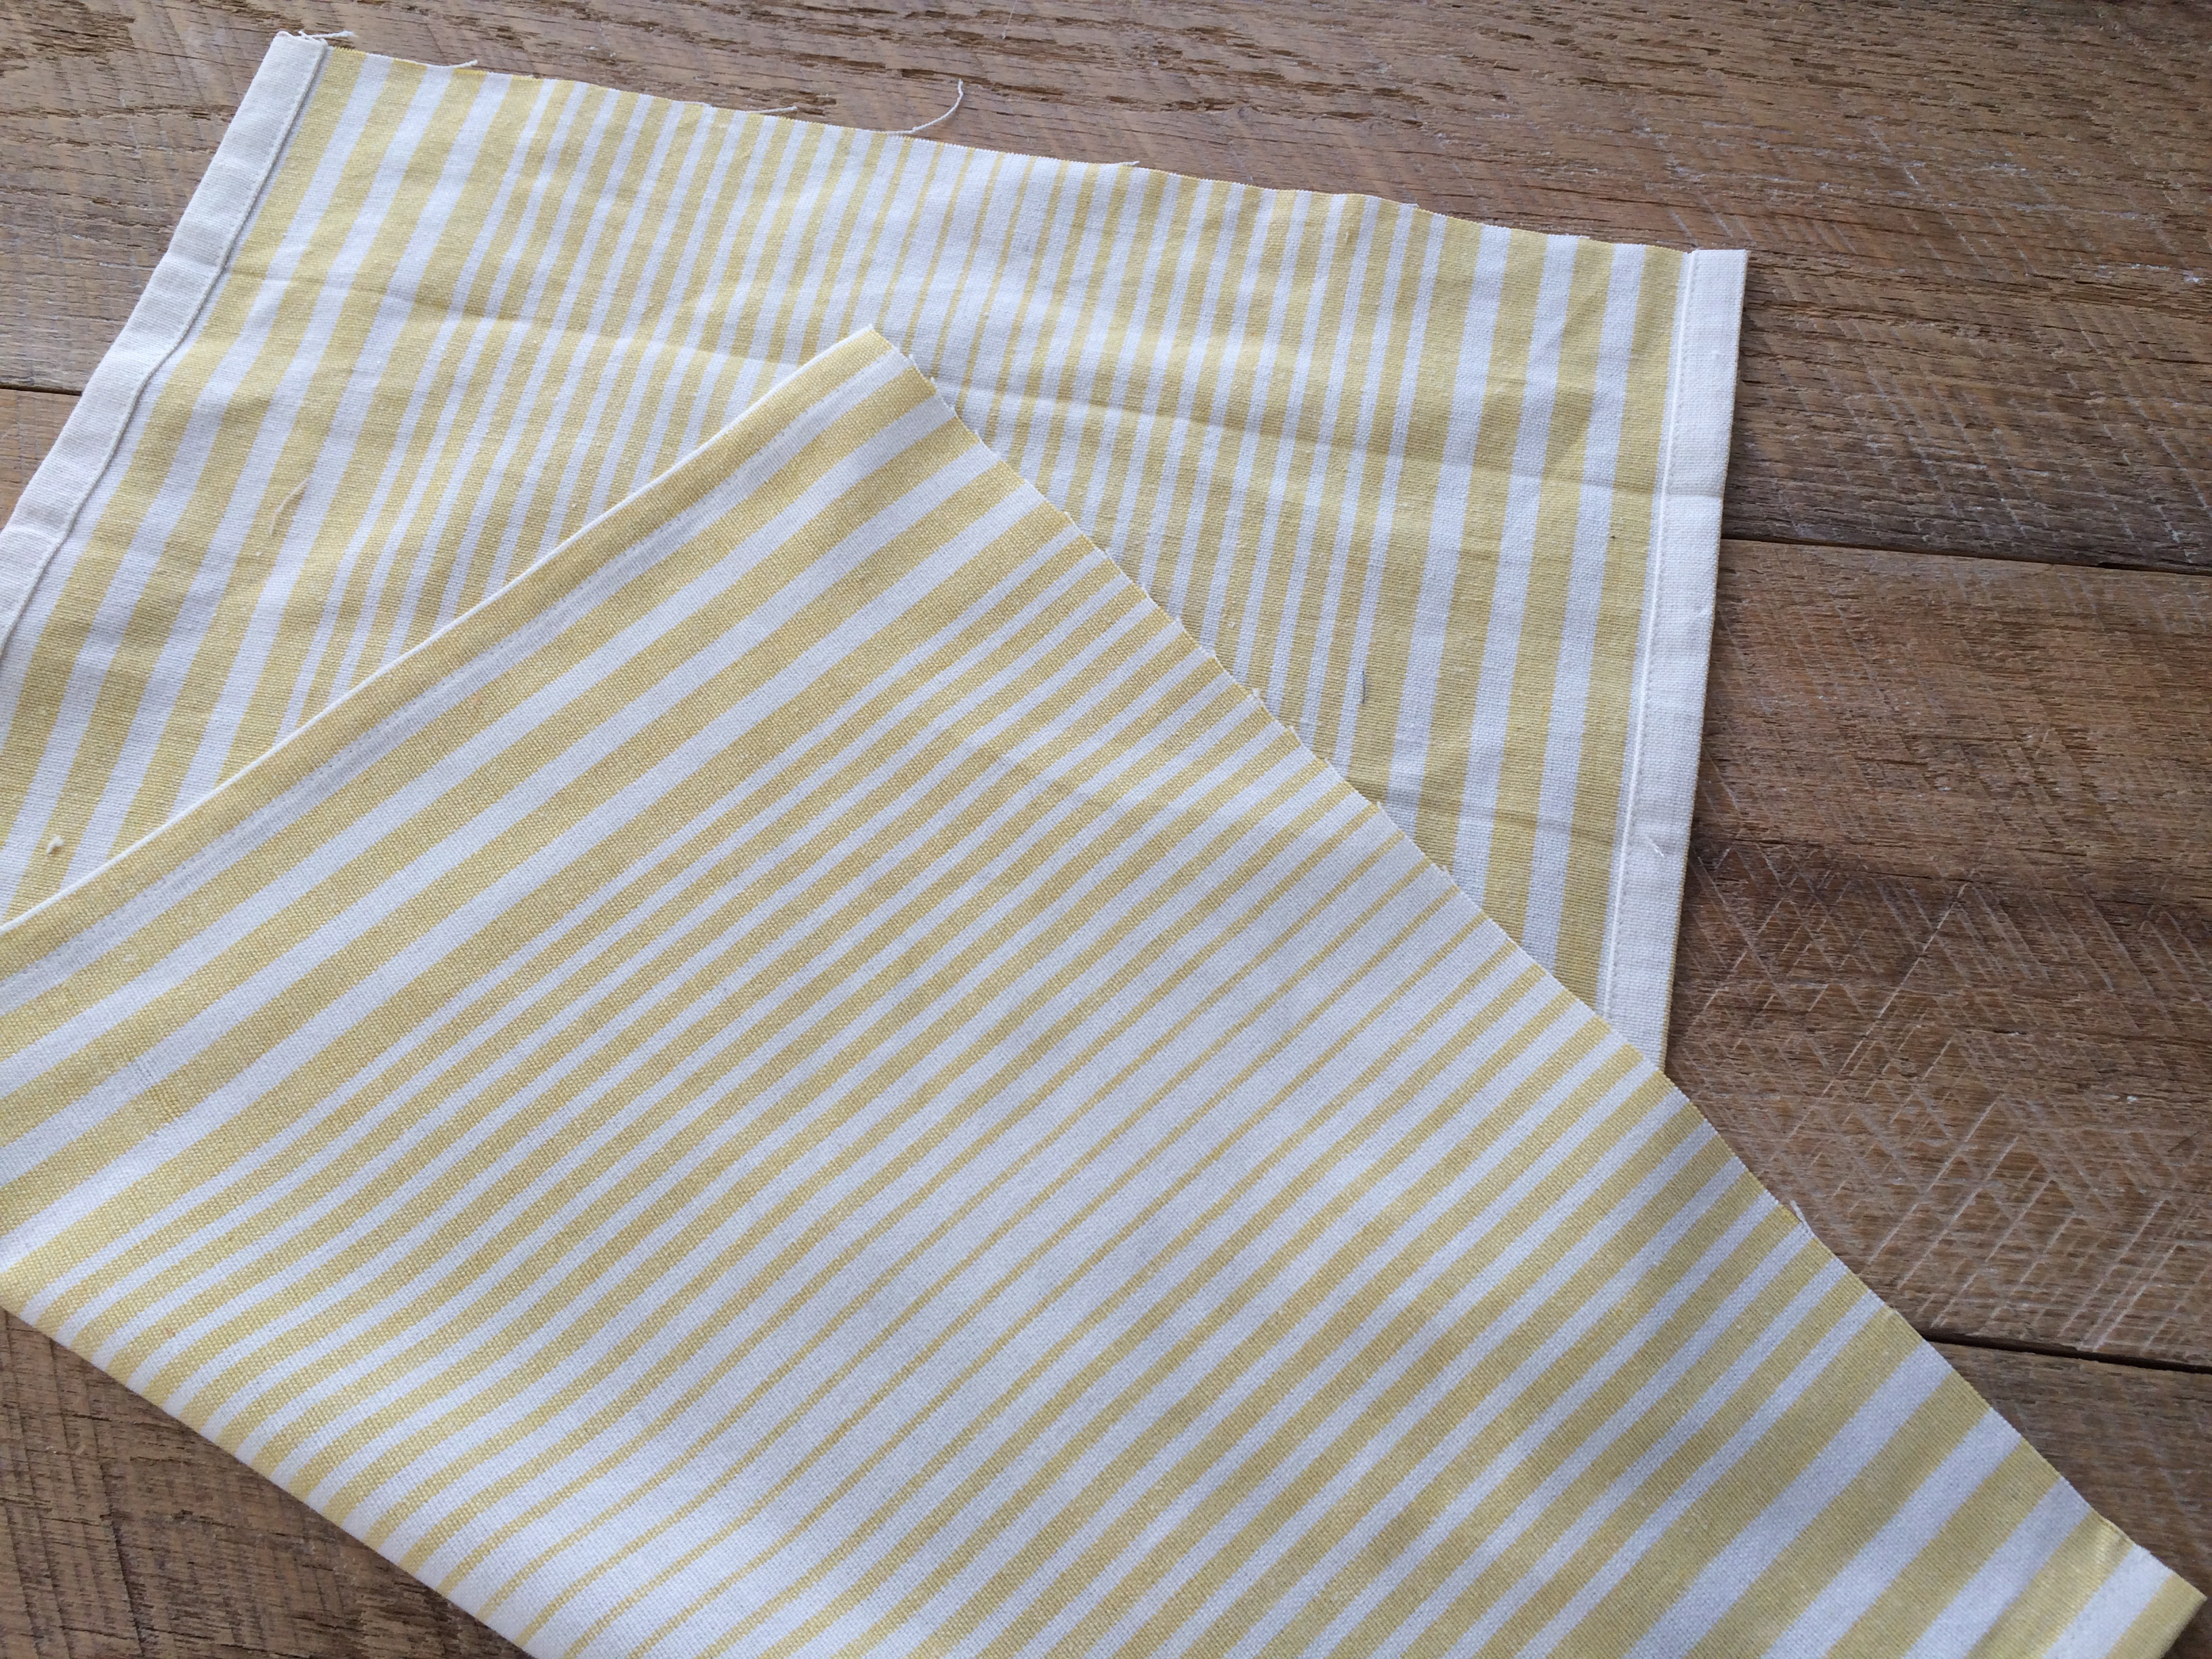
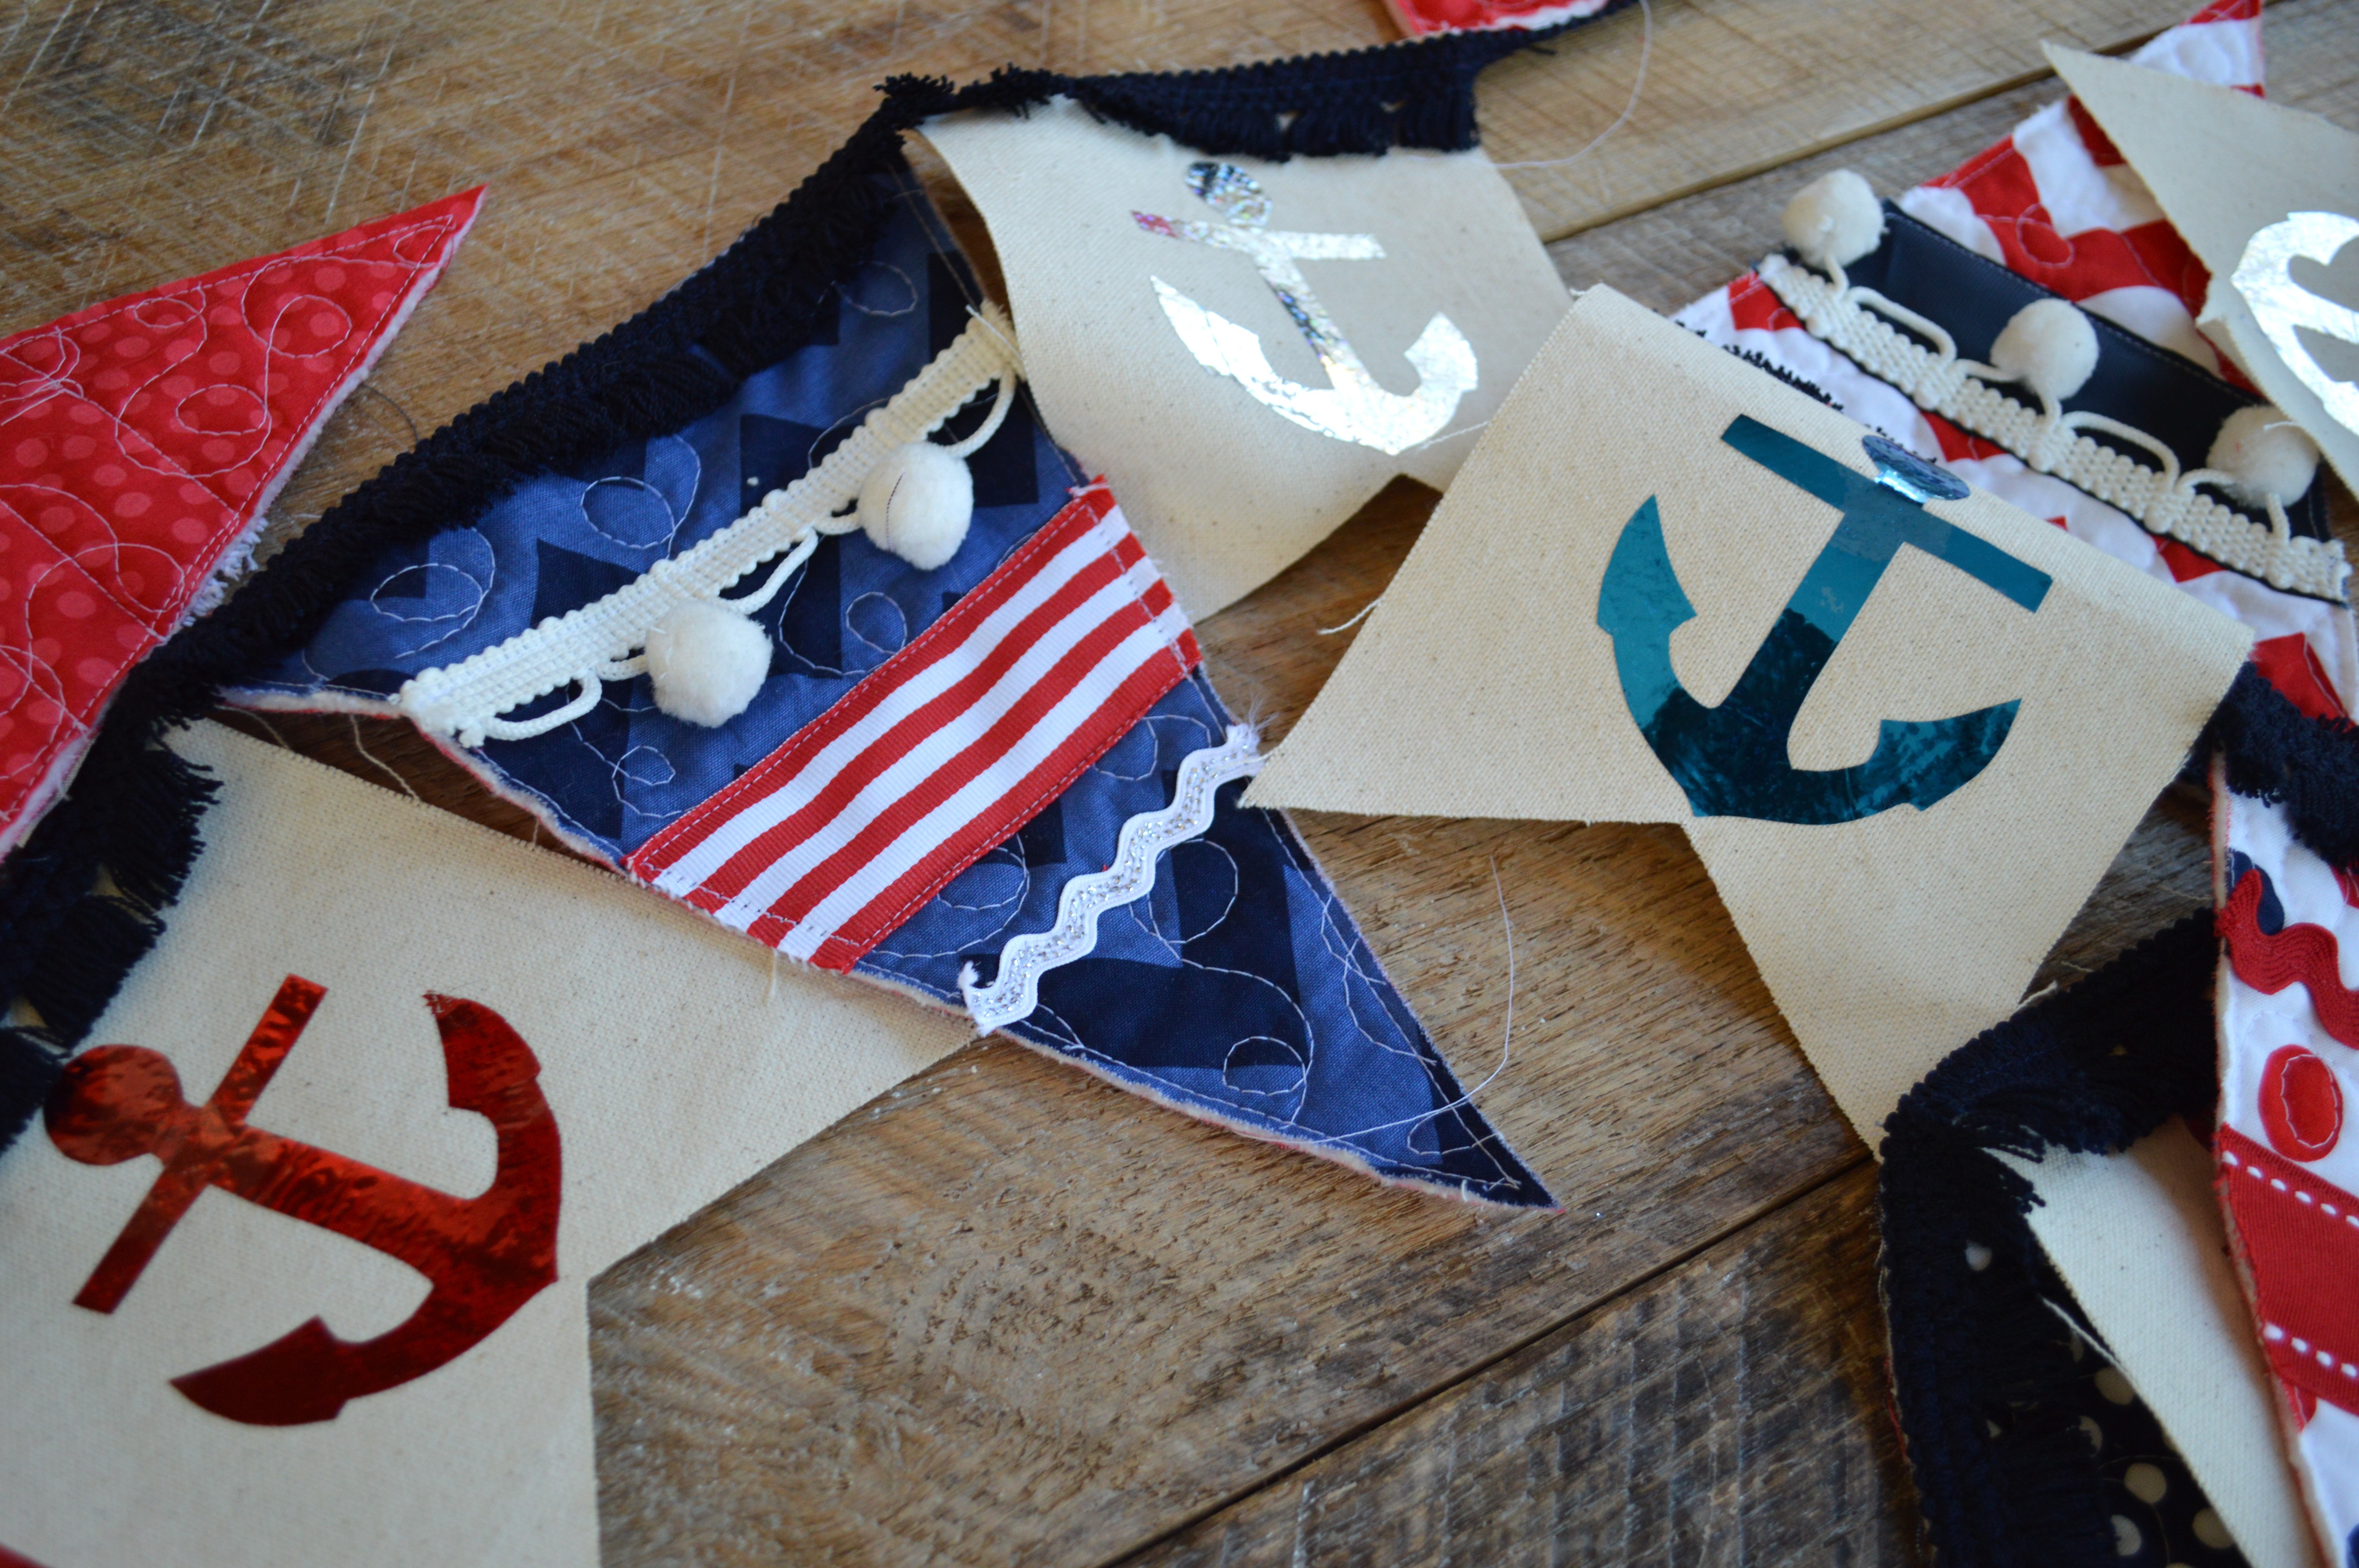
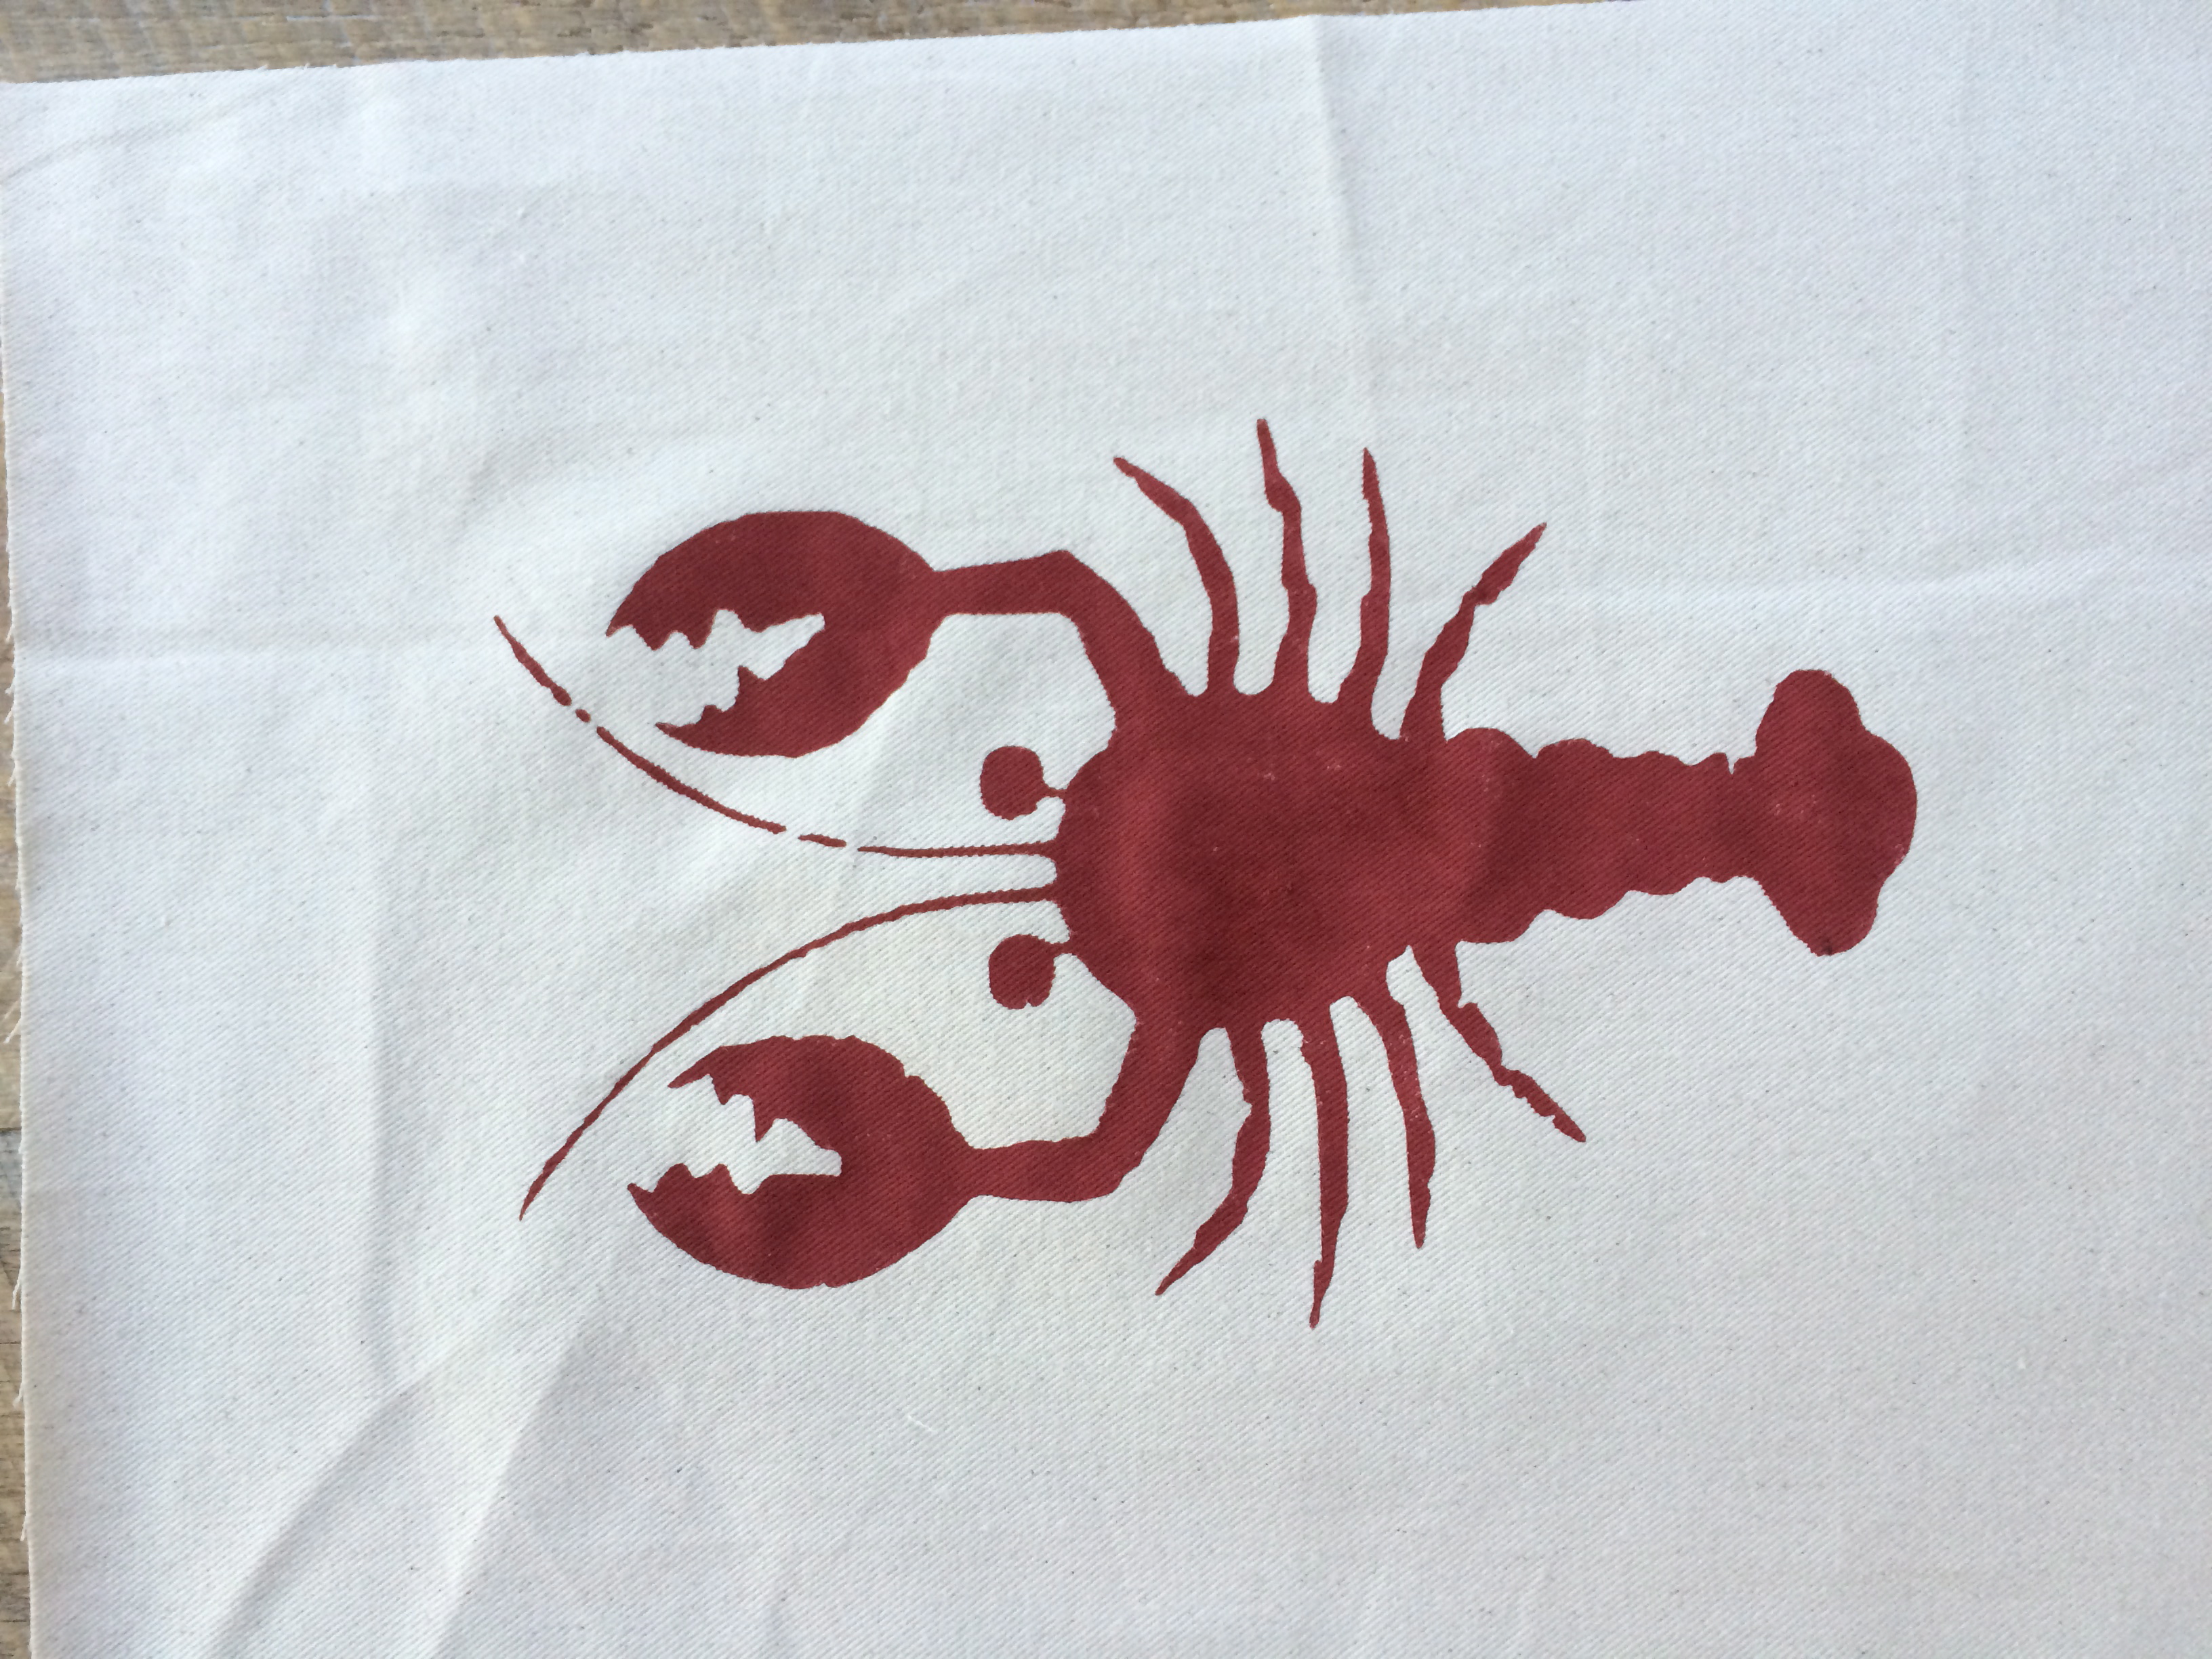 Once the paint has dried, heat set the image with a hot iron. Piece the strips together as shown in the picture. Press seams and top stitch along seams.
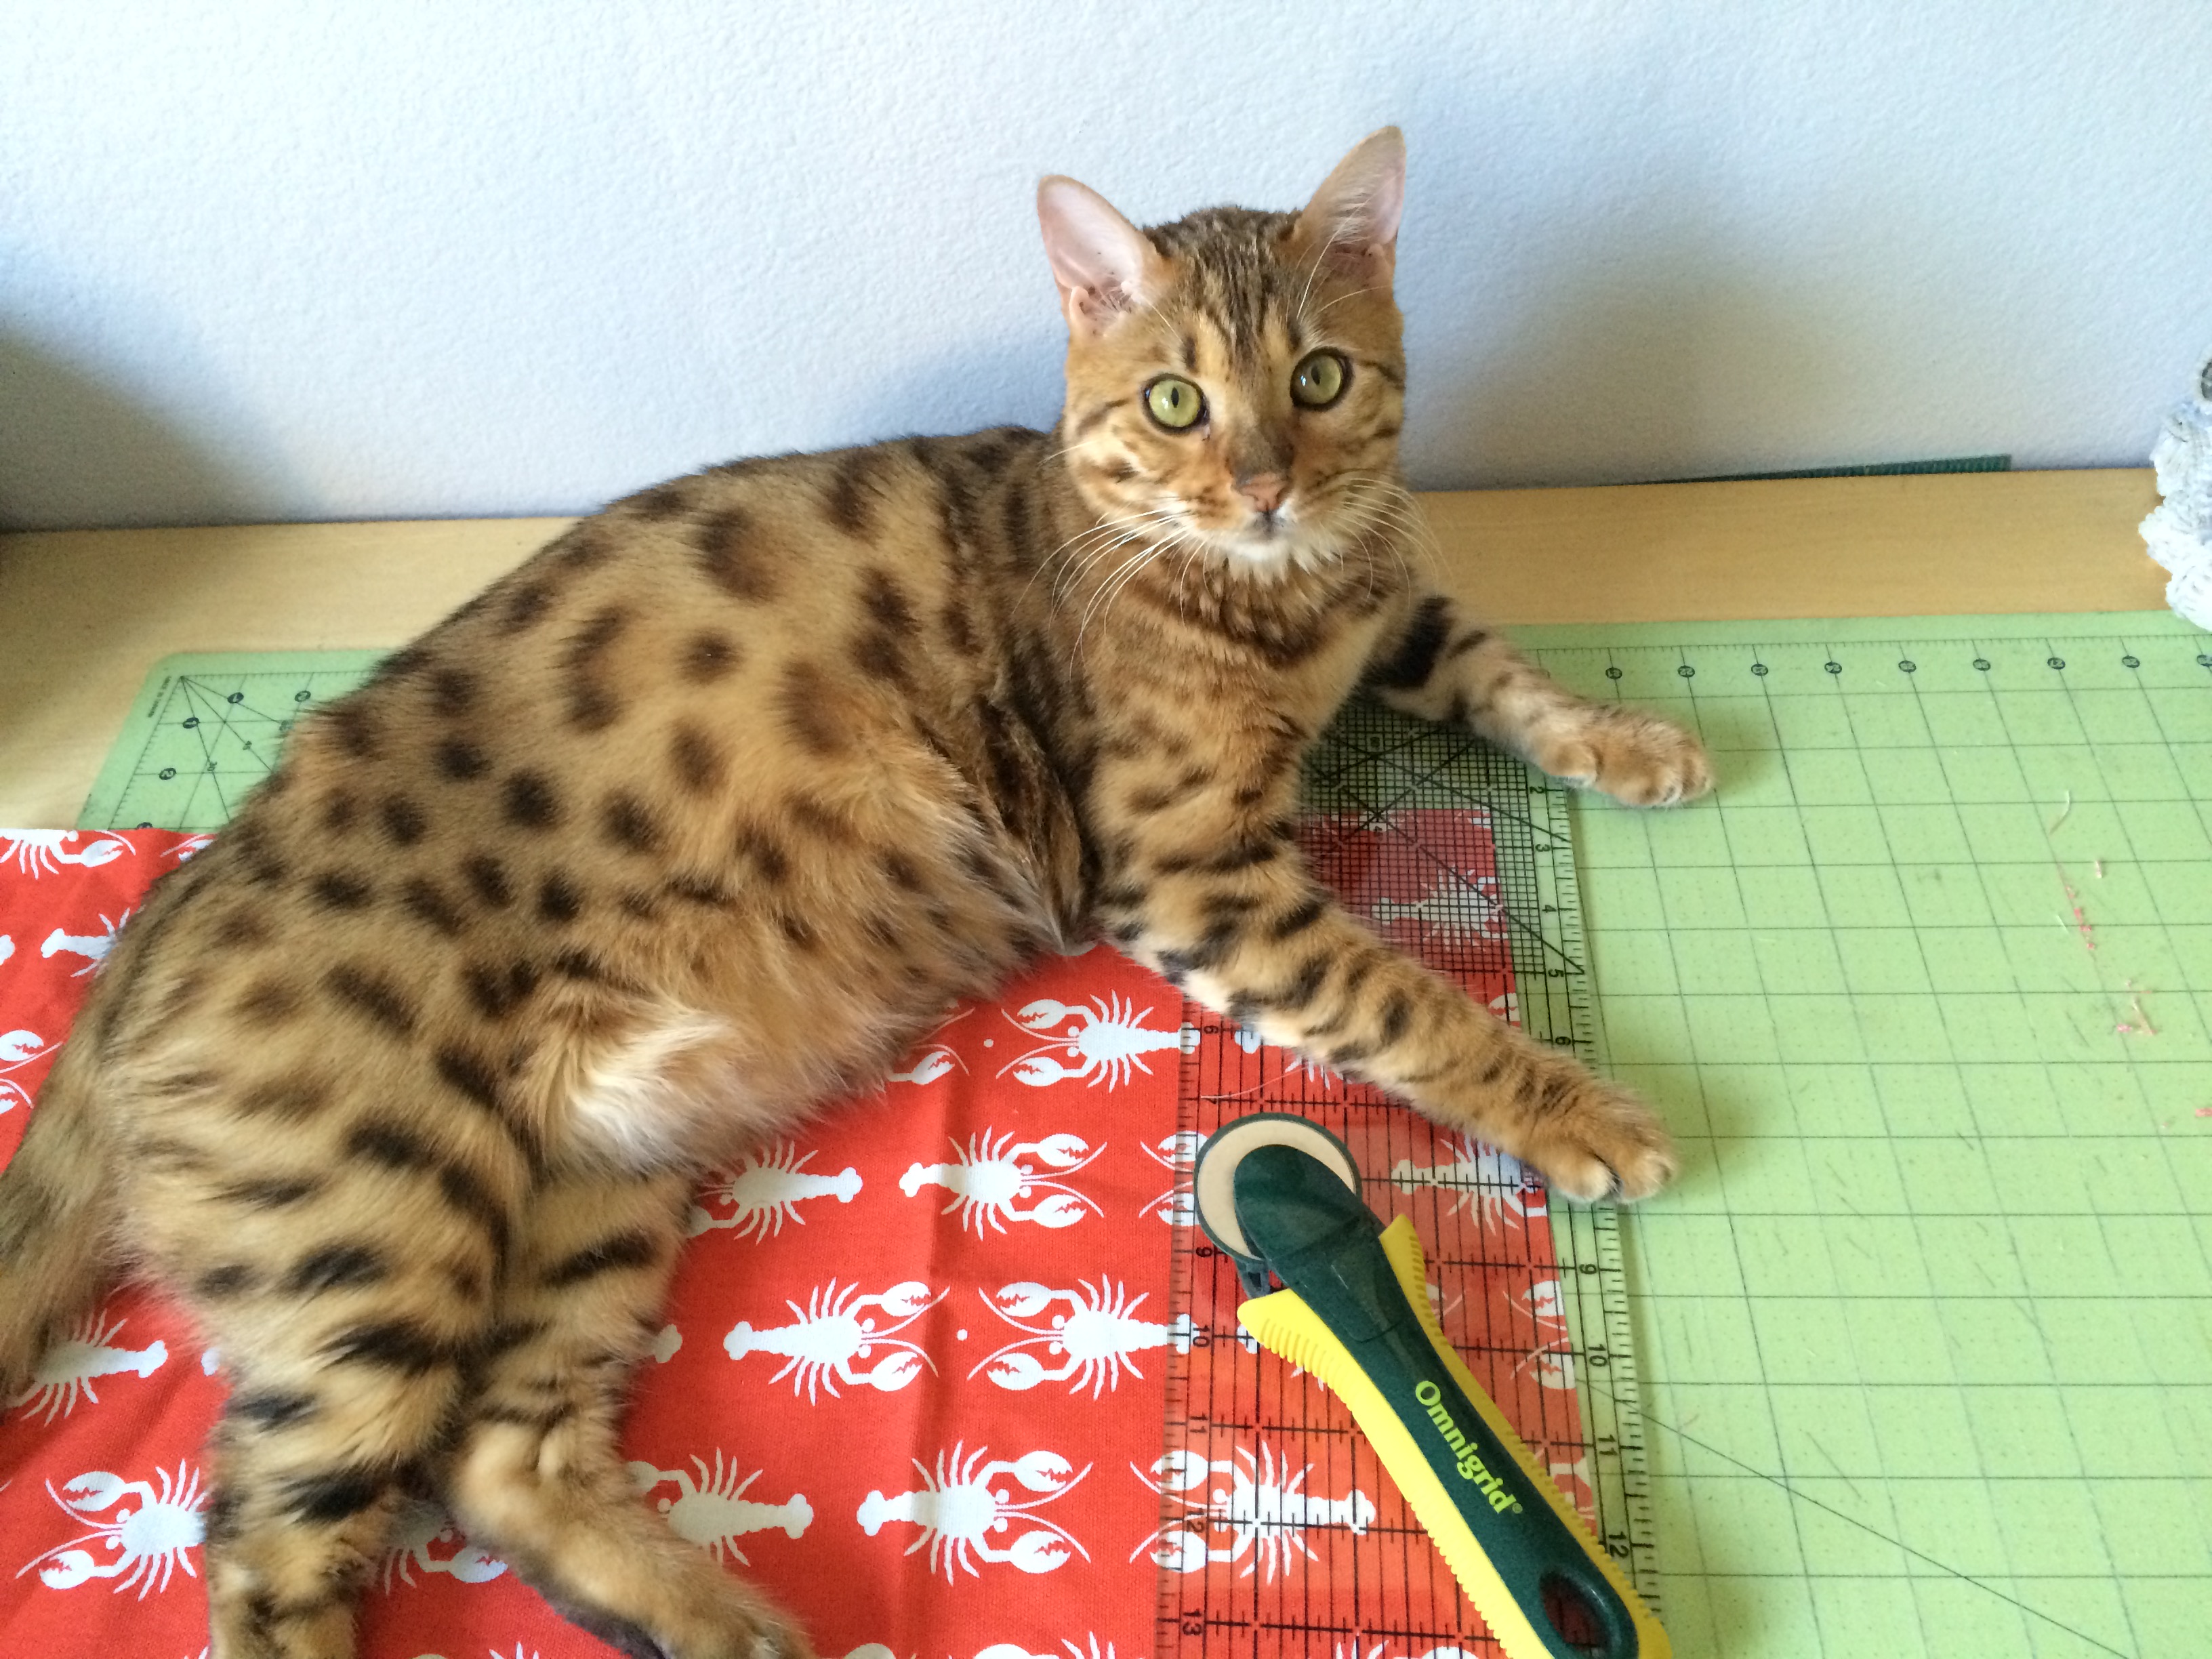
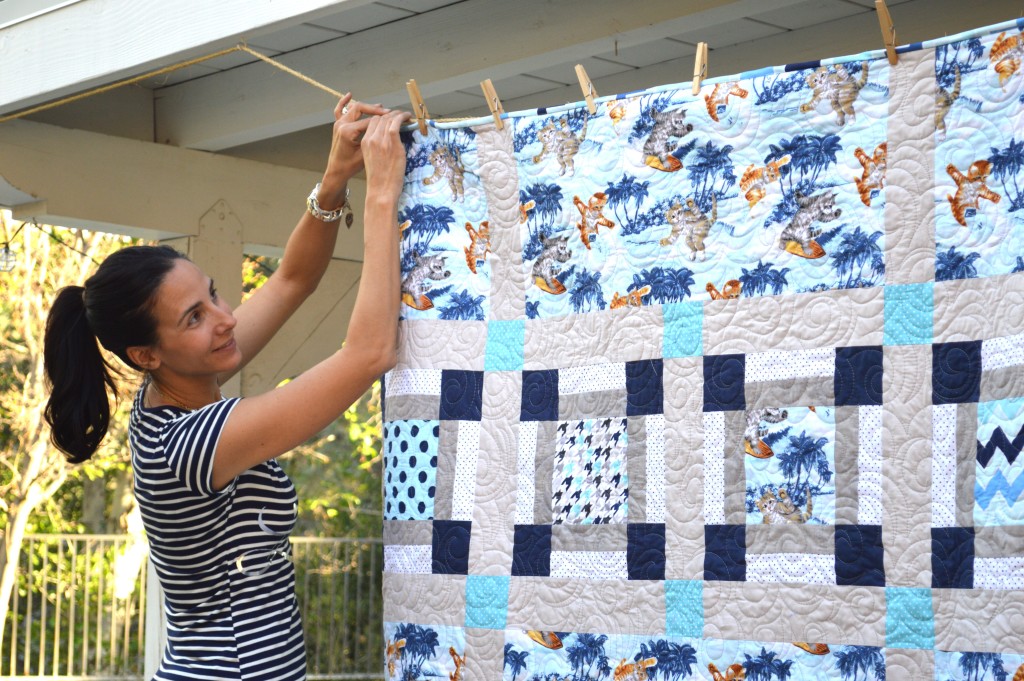
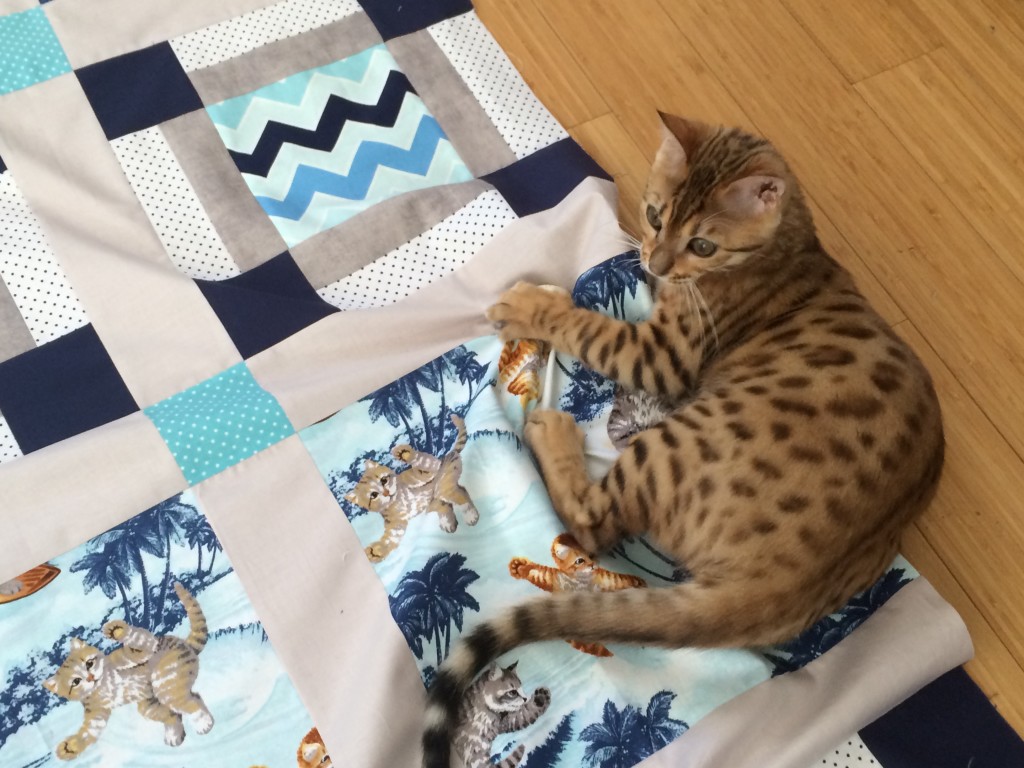
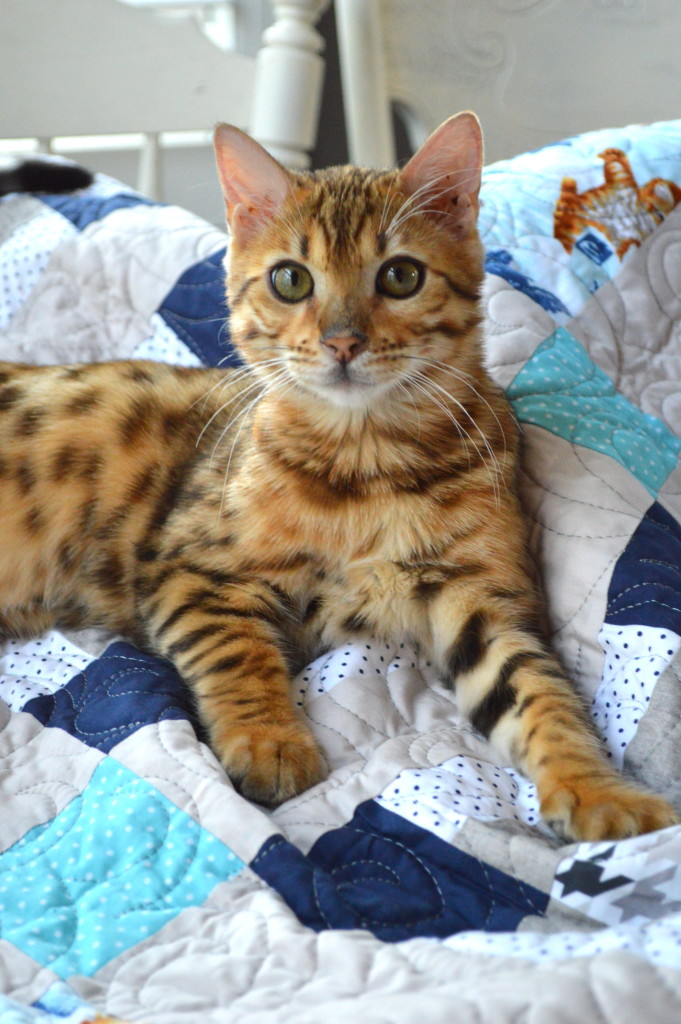
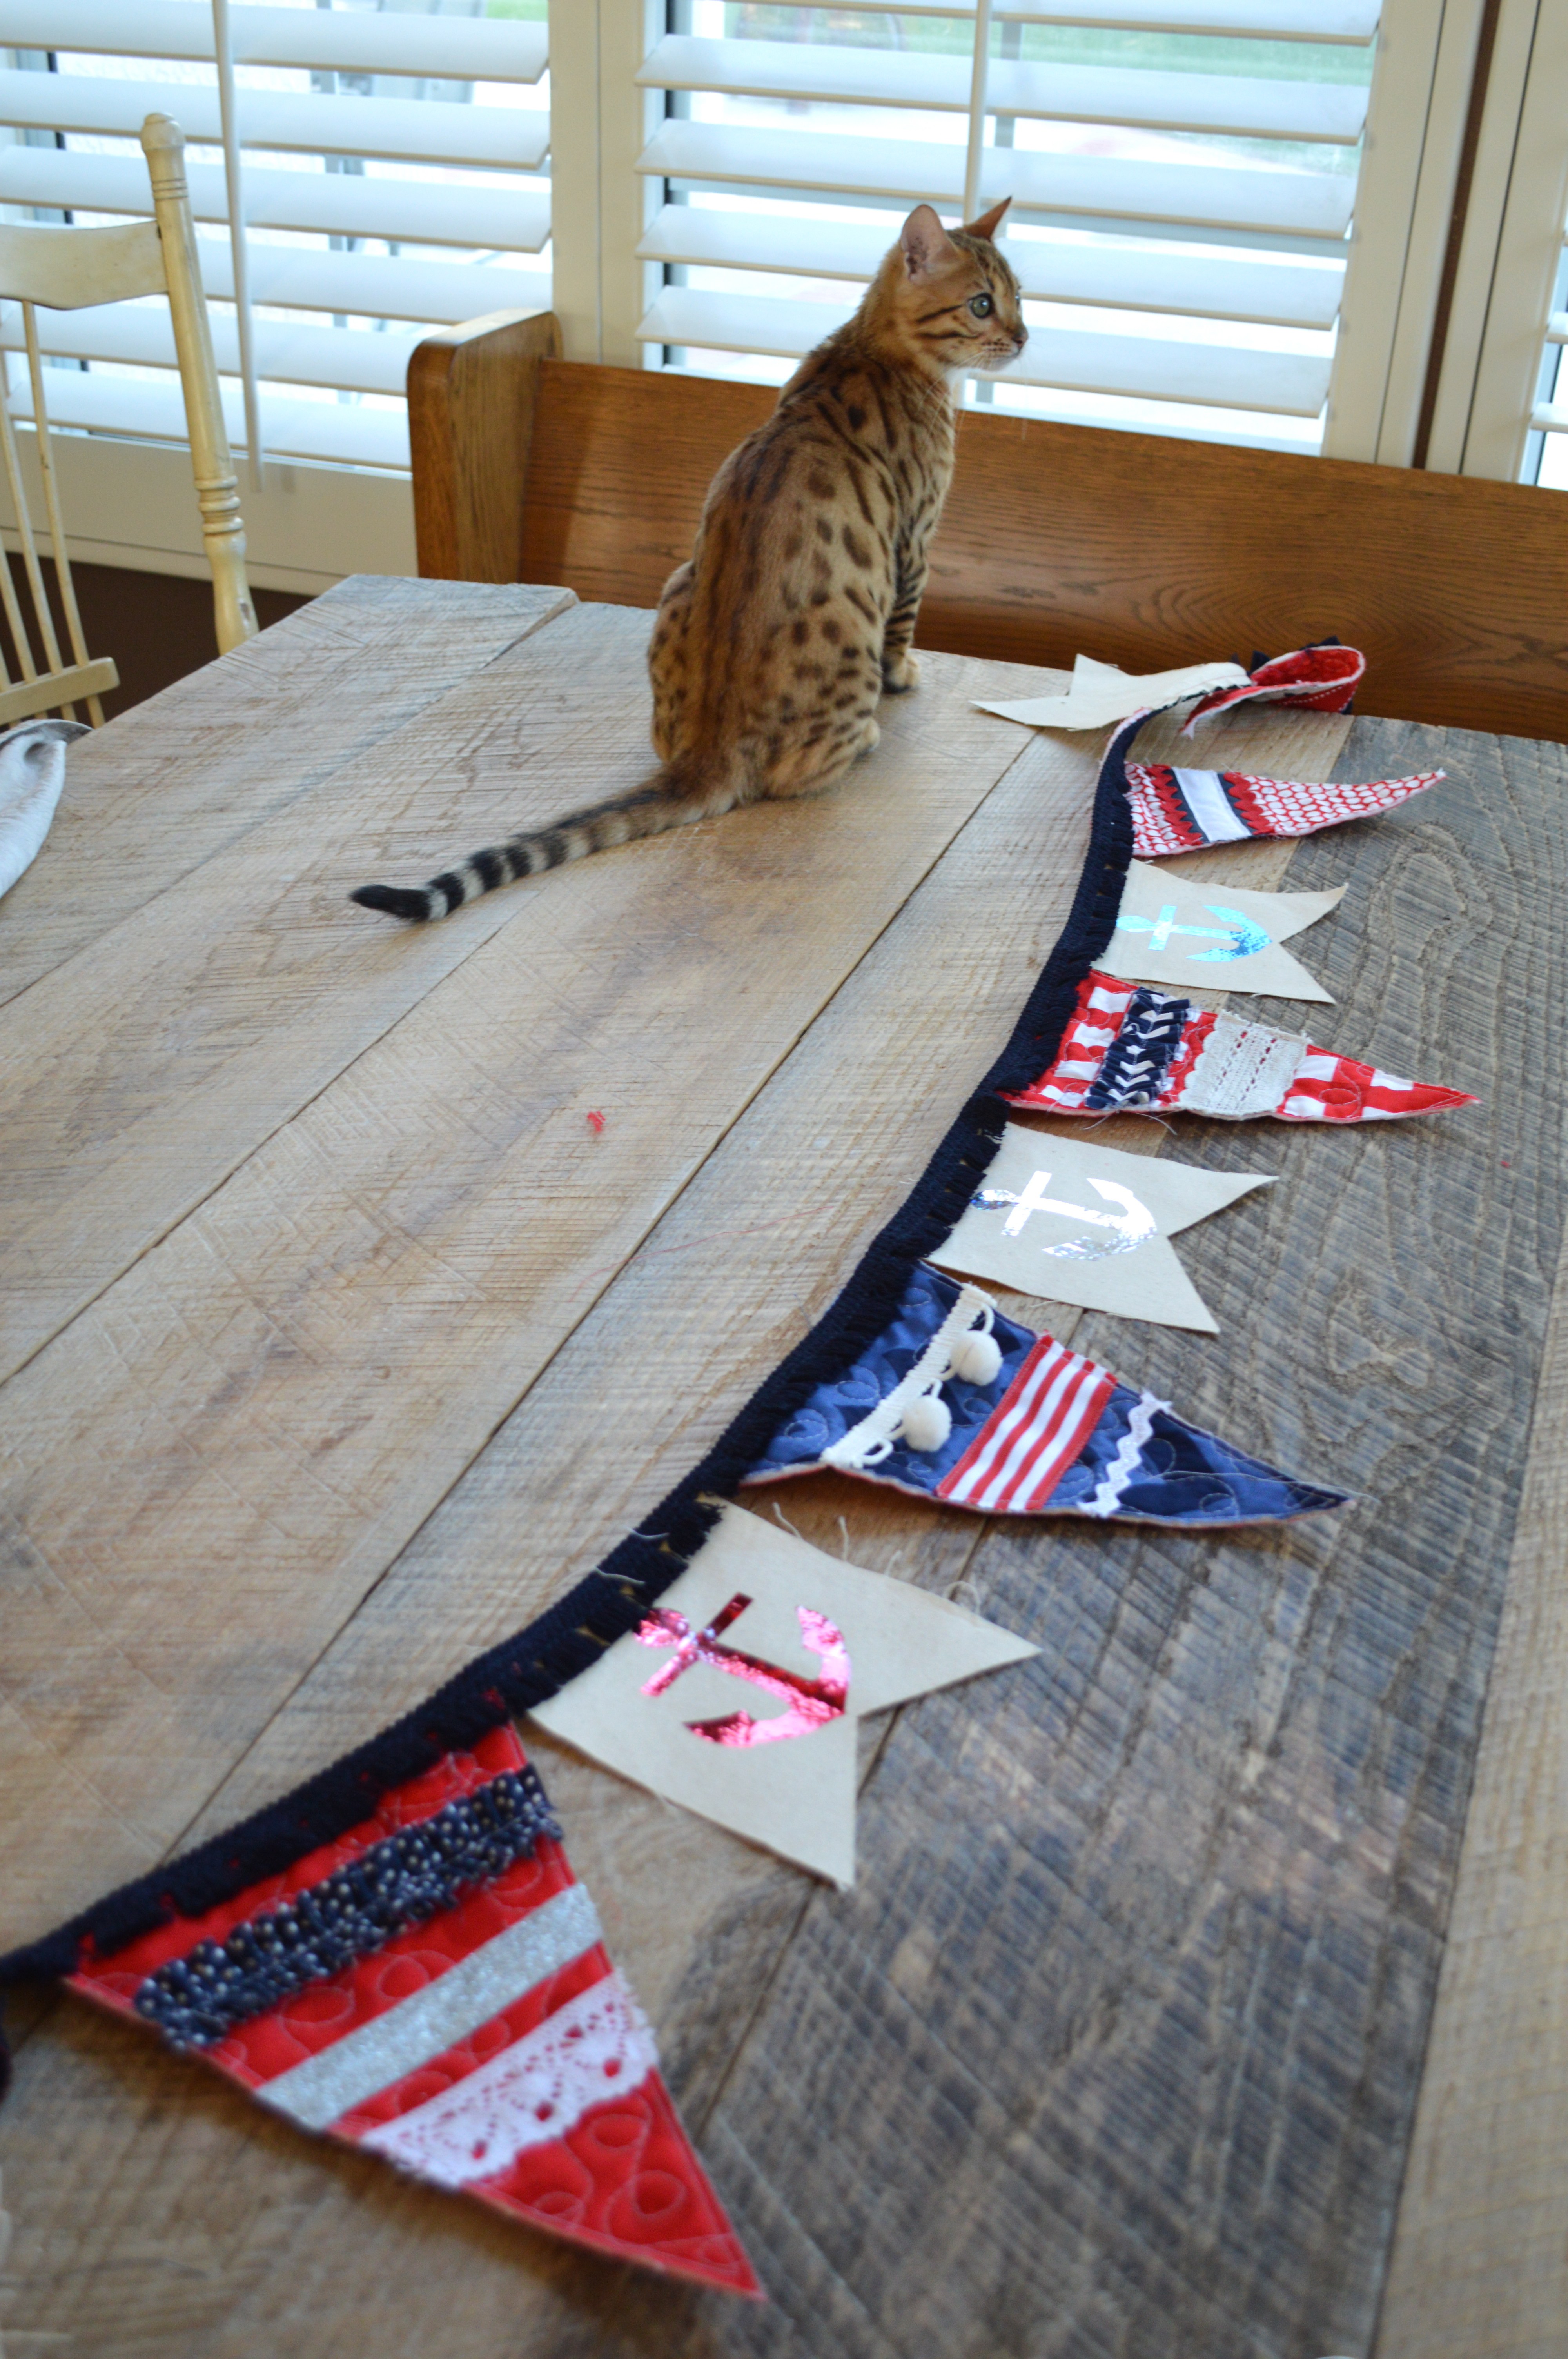
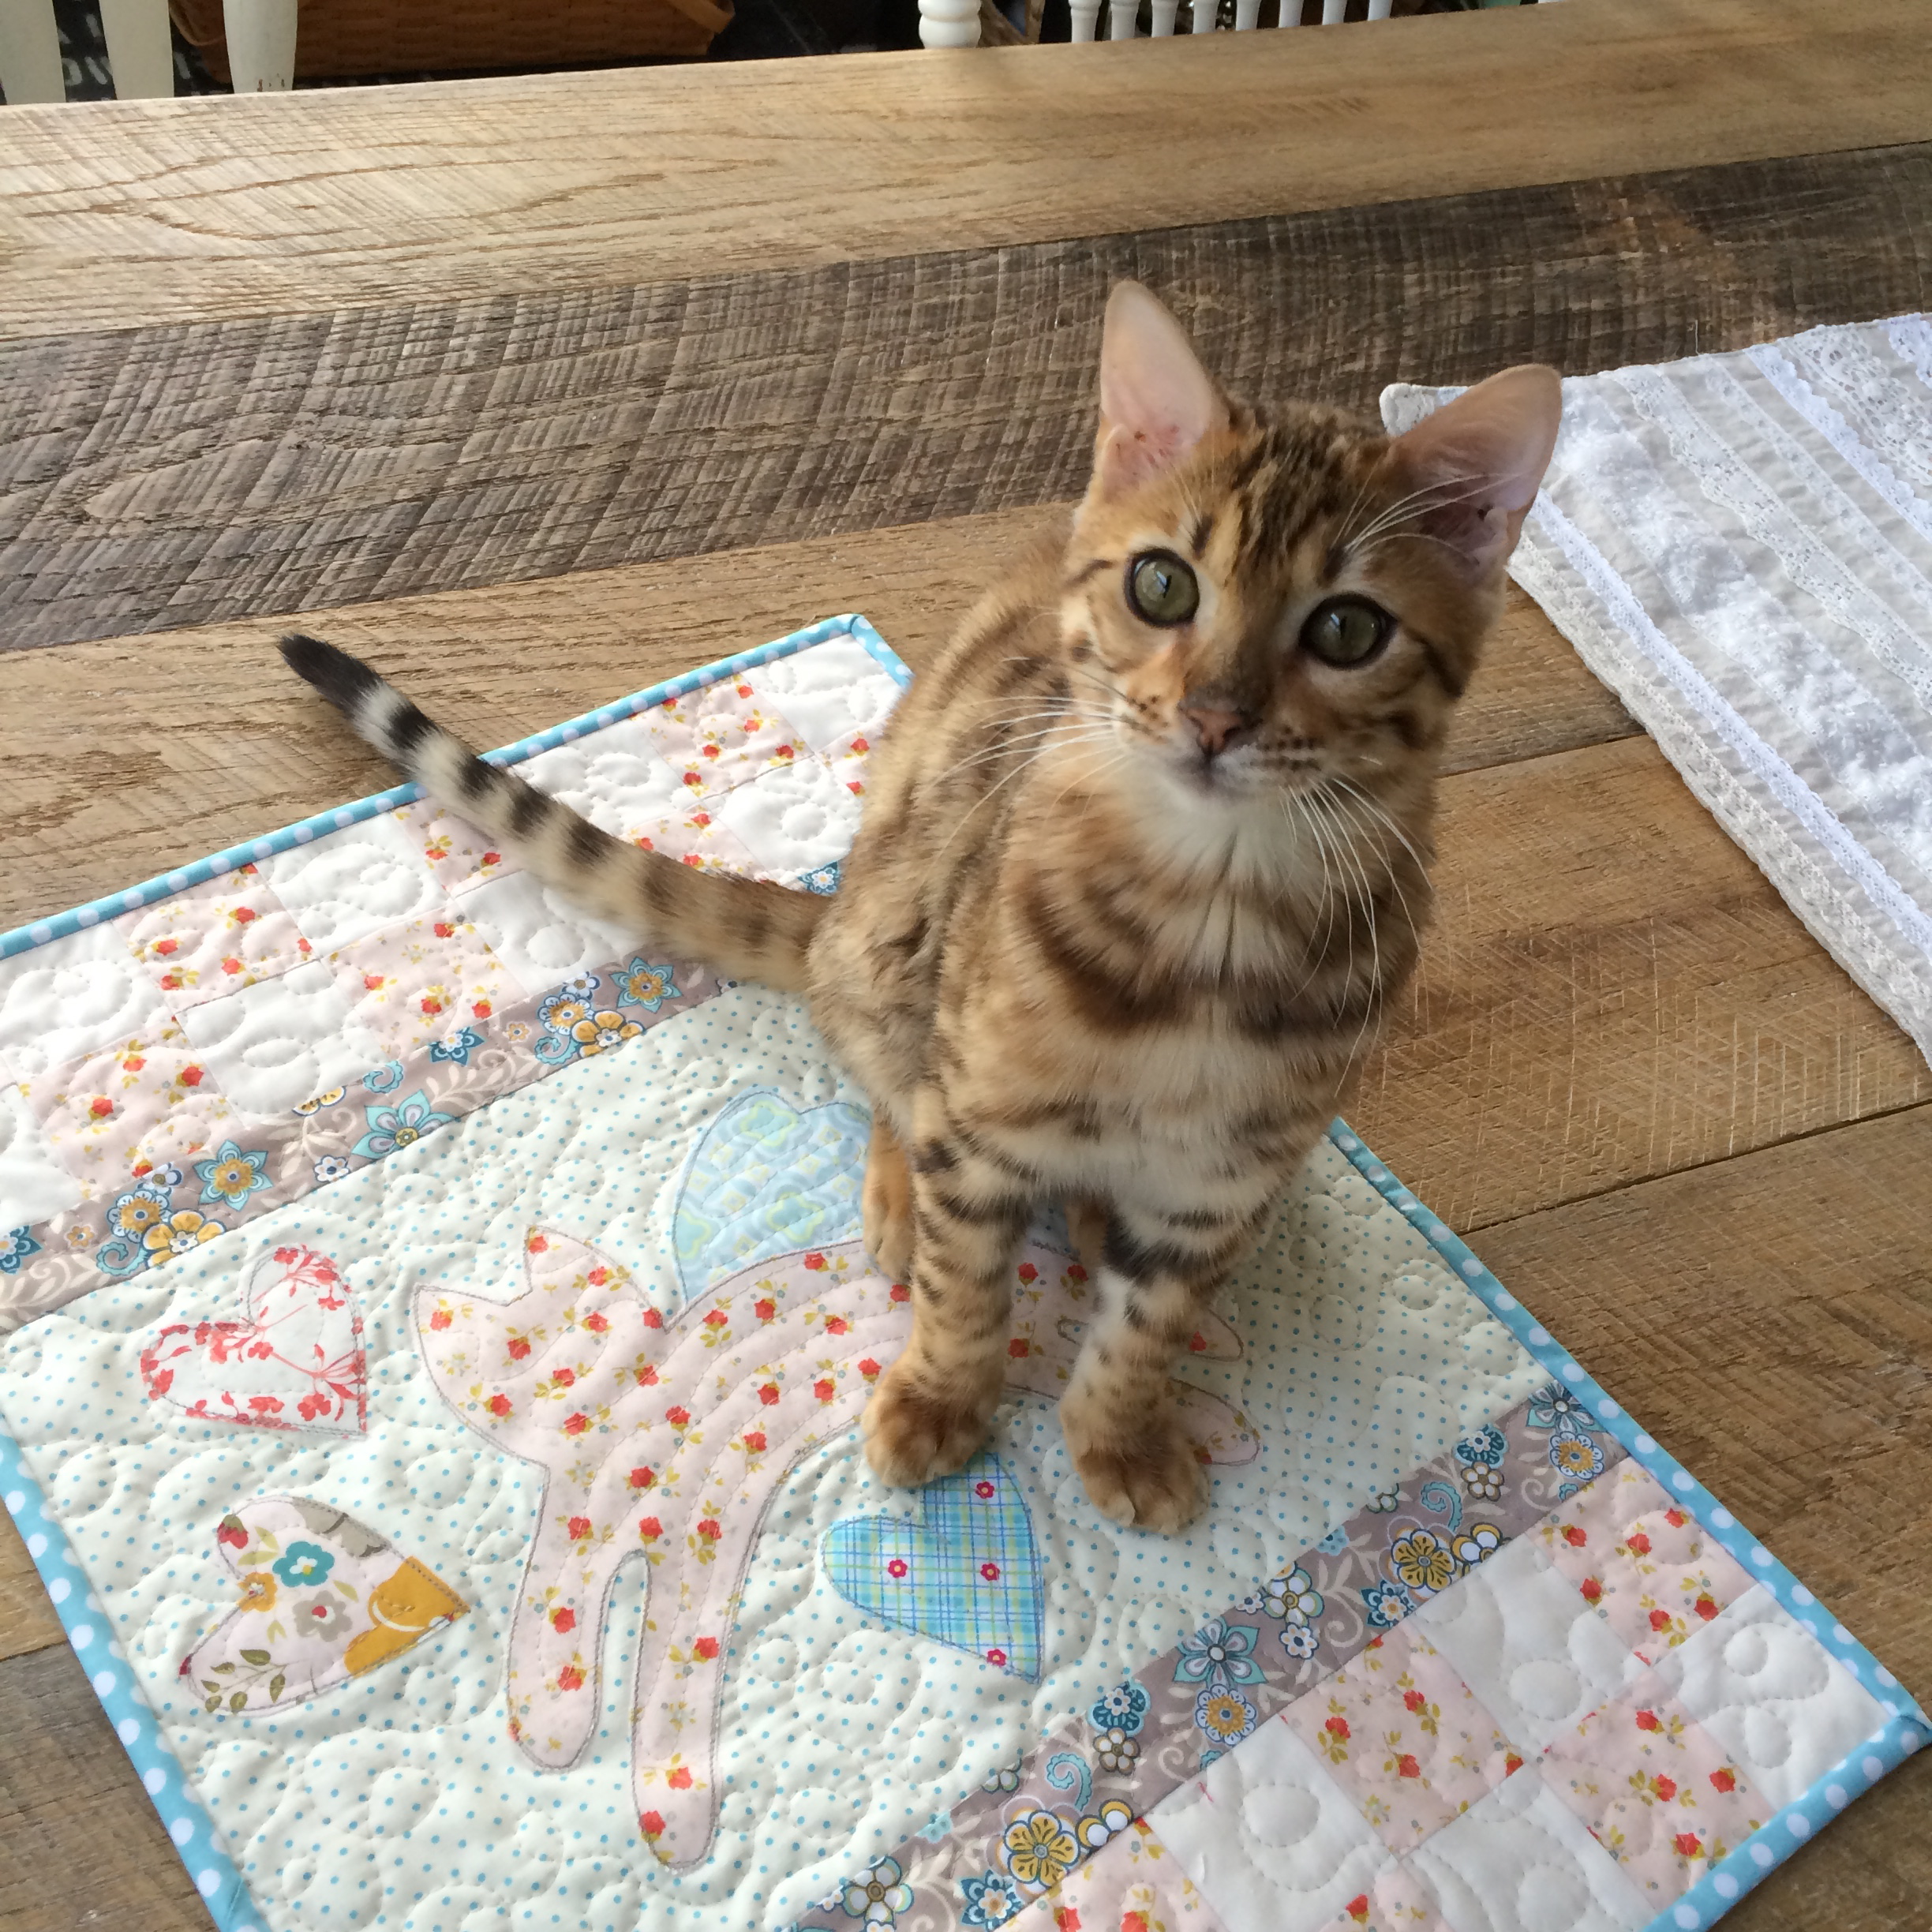
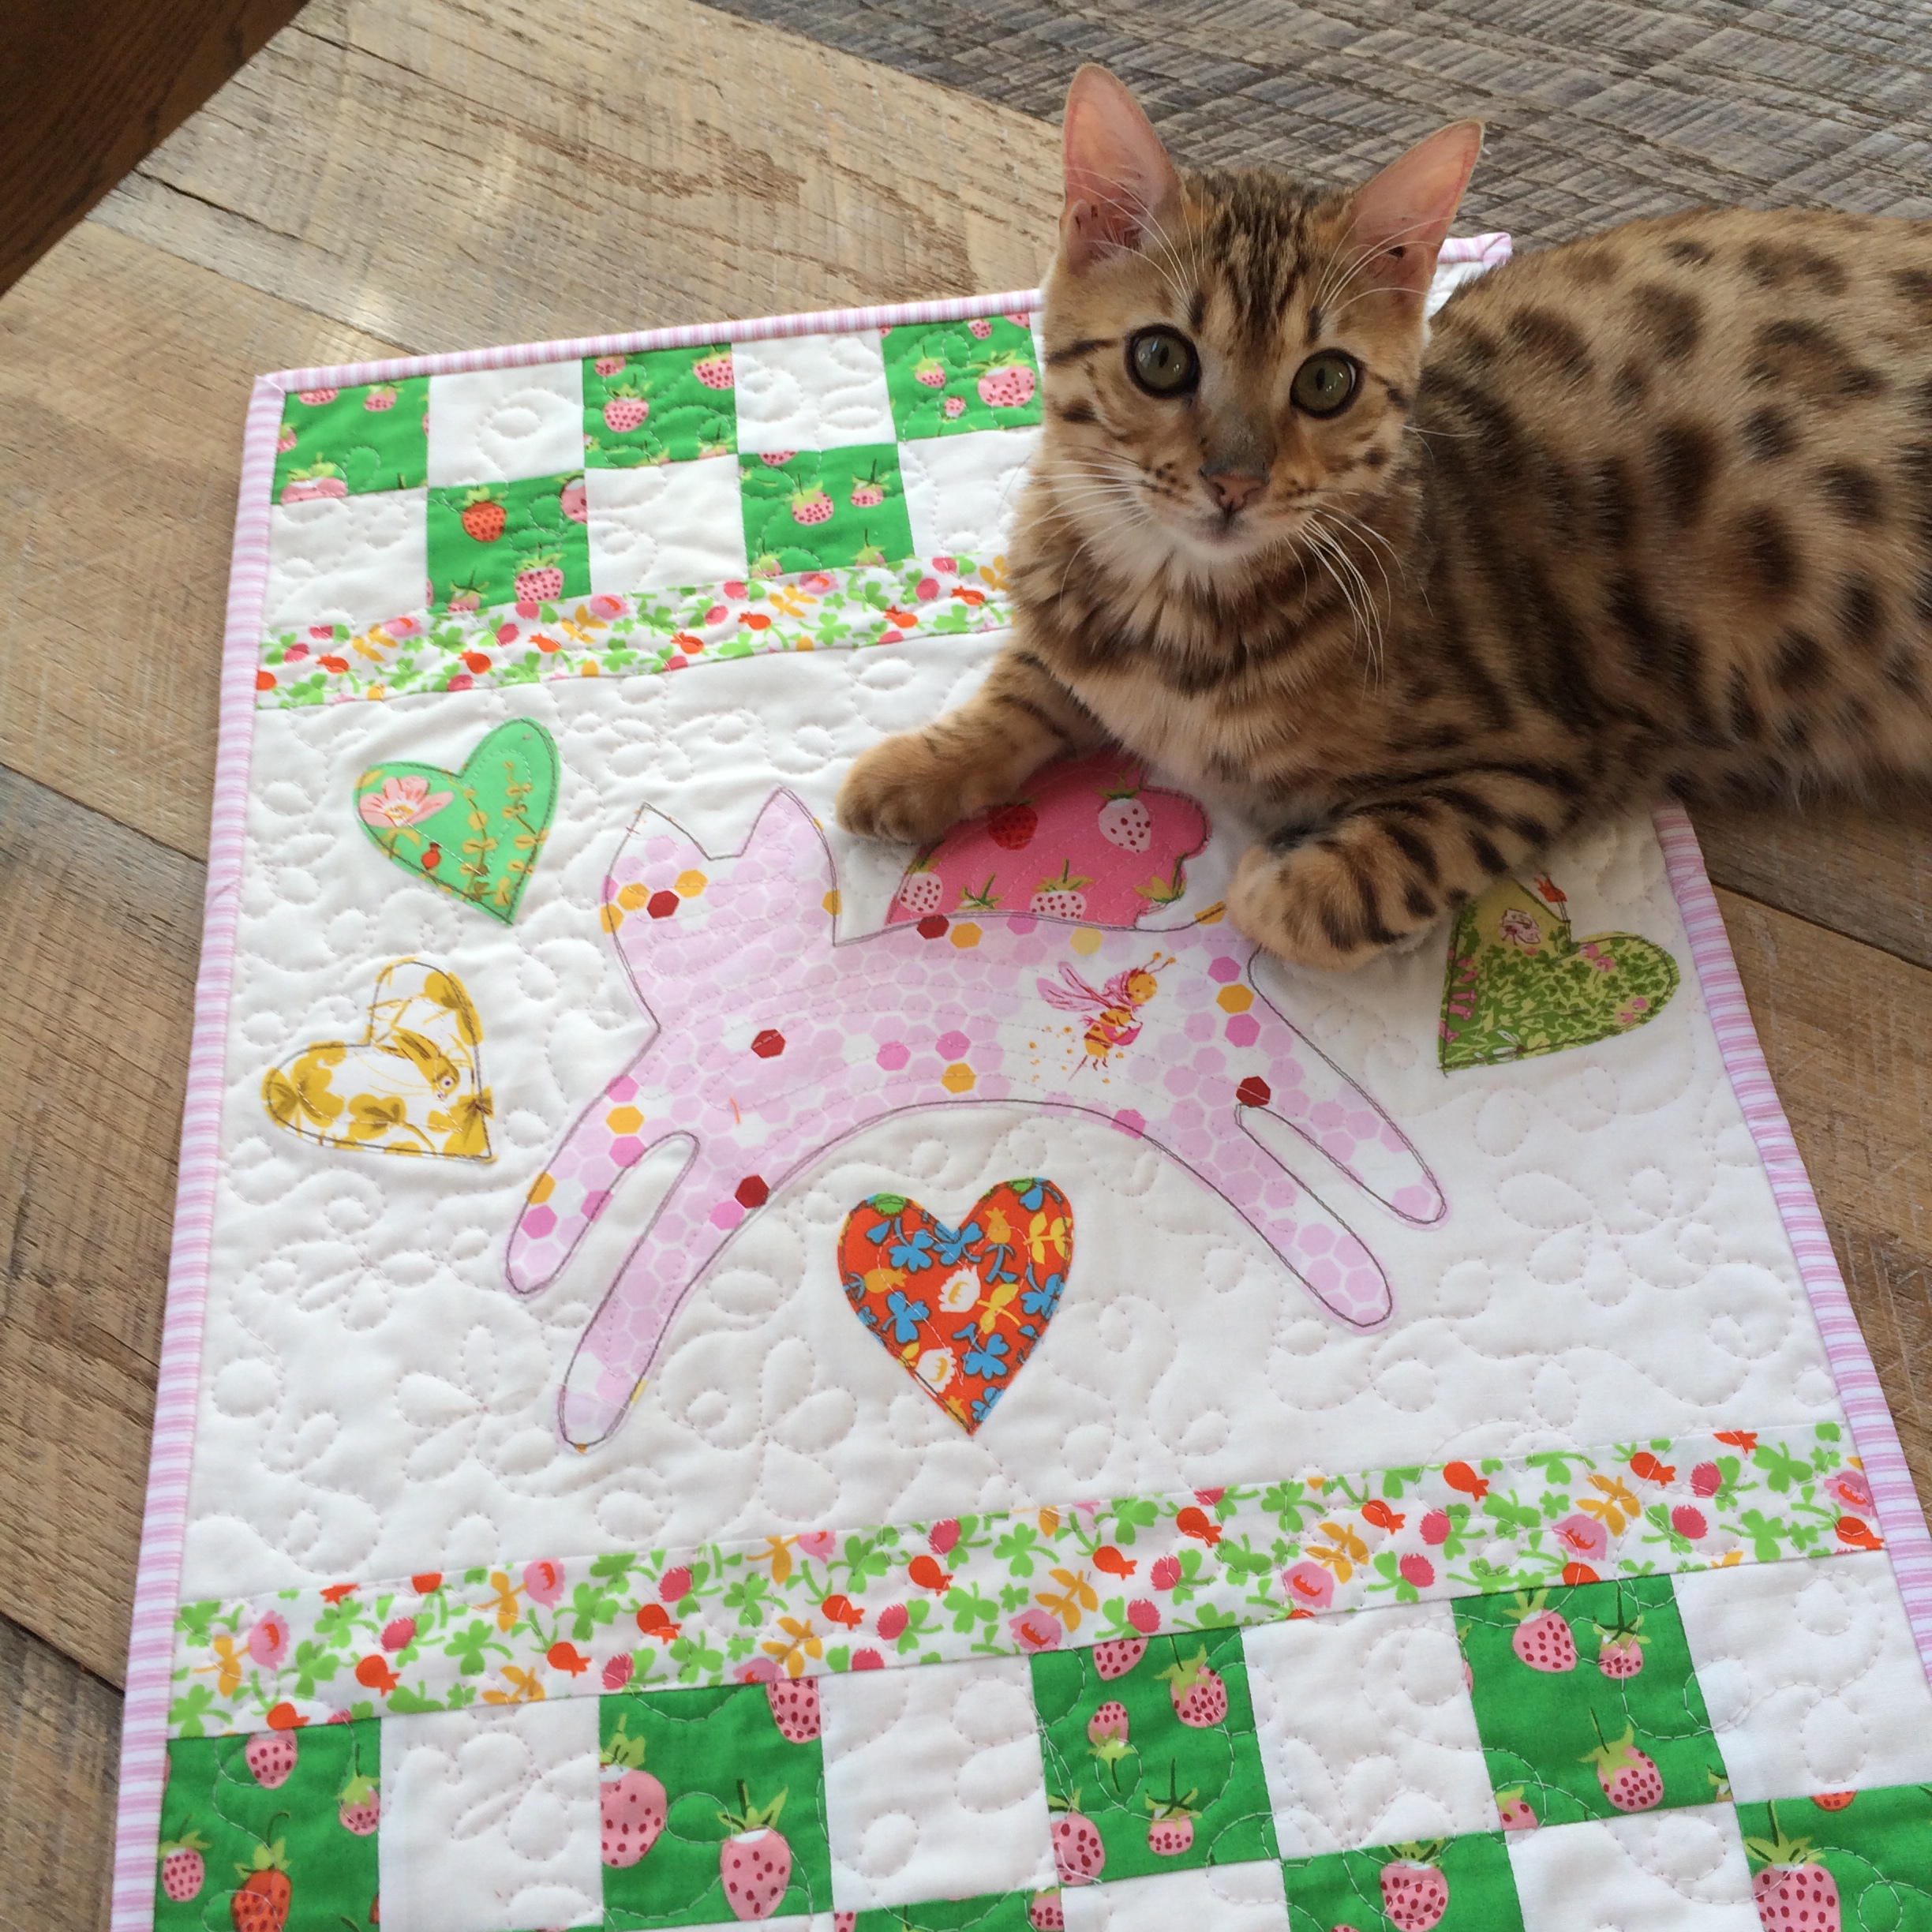
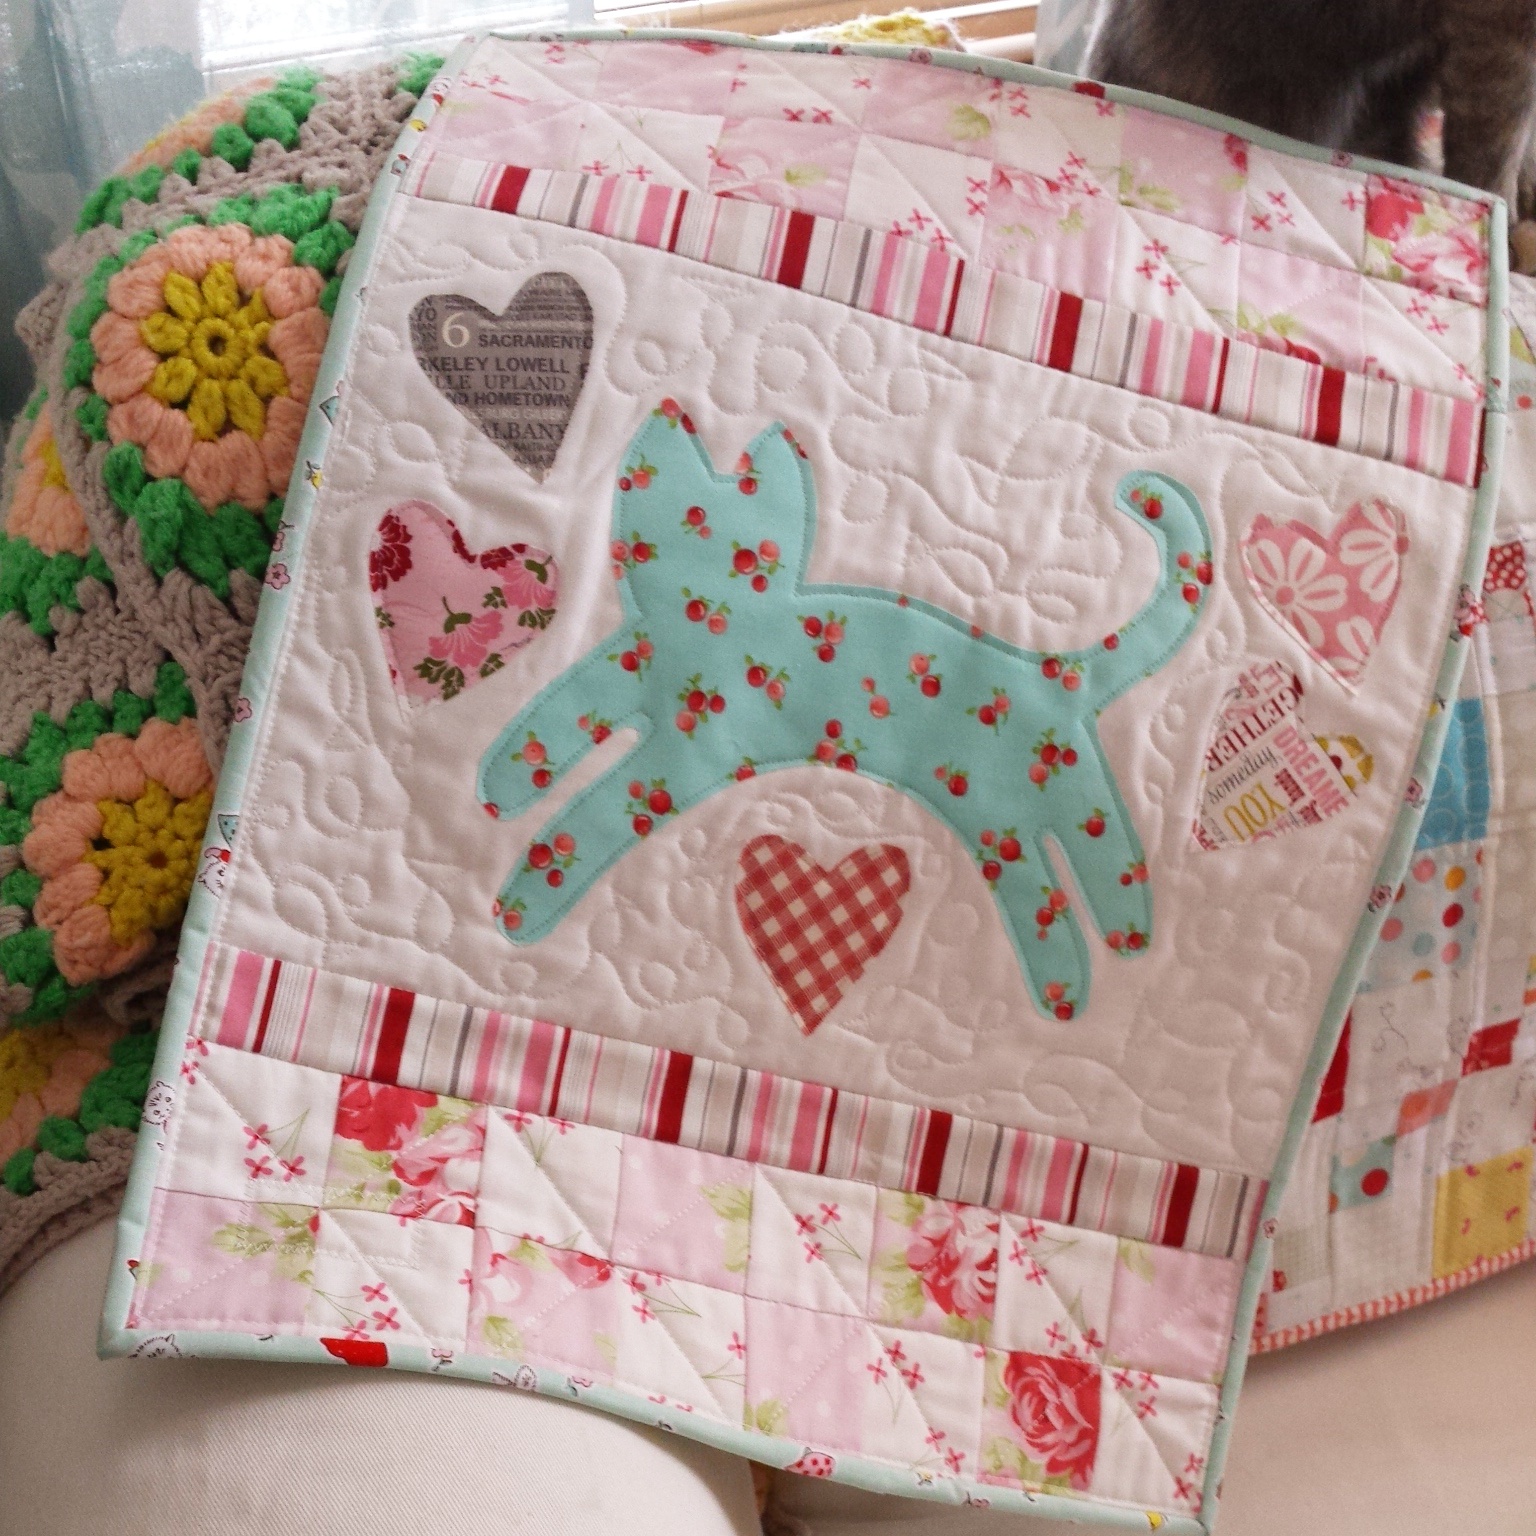
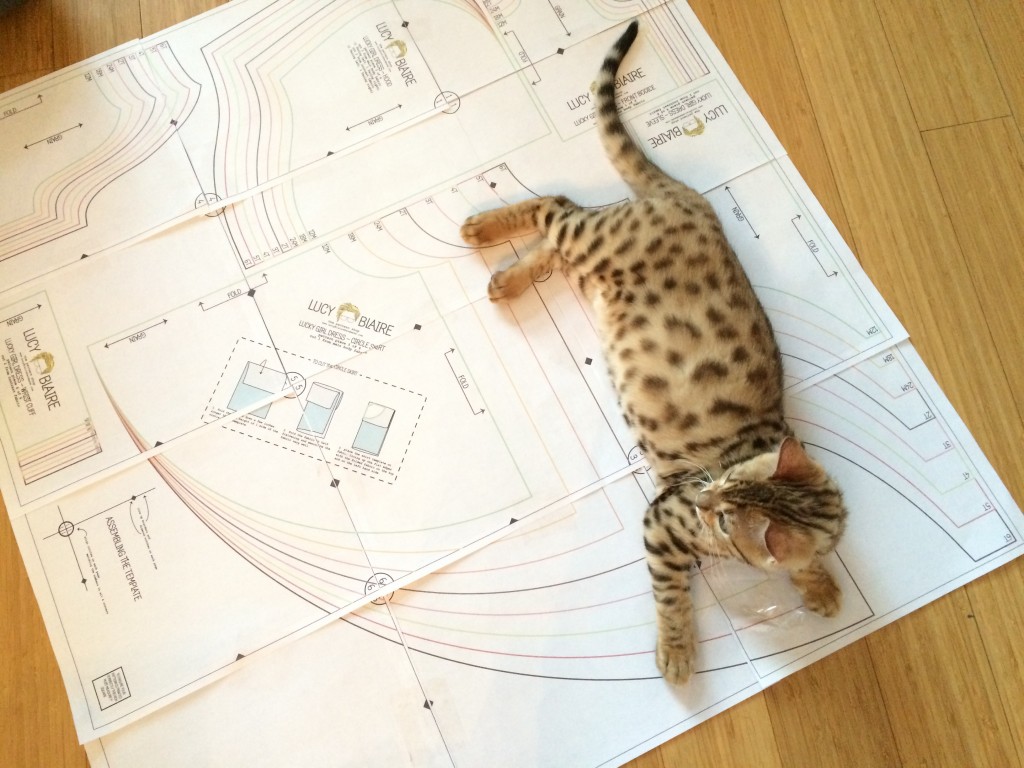
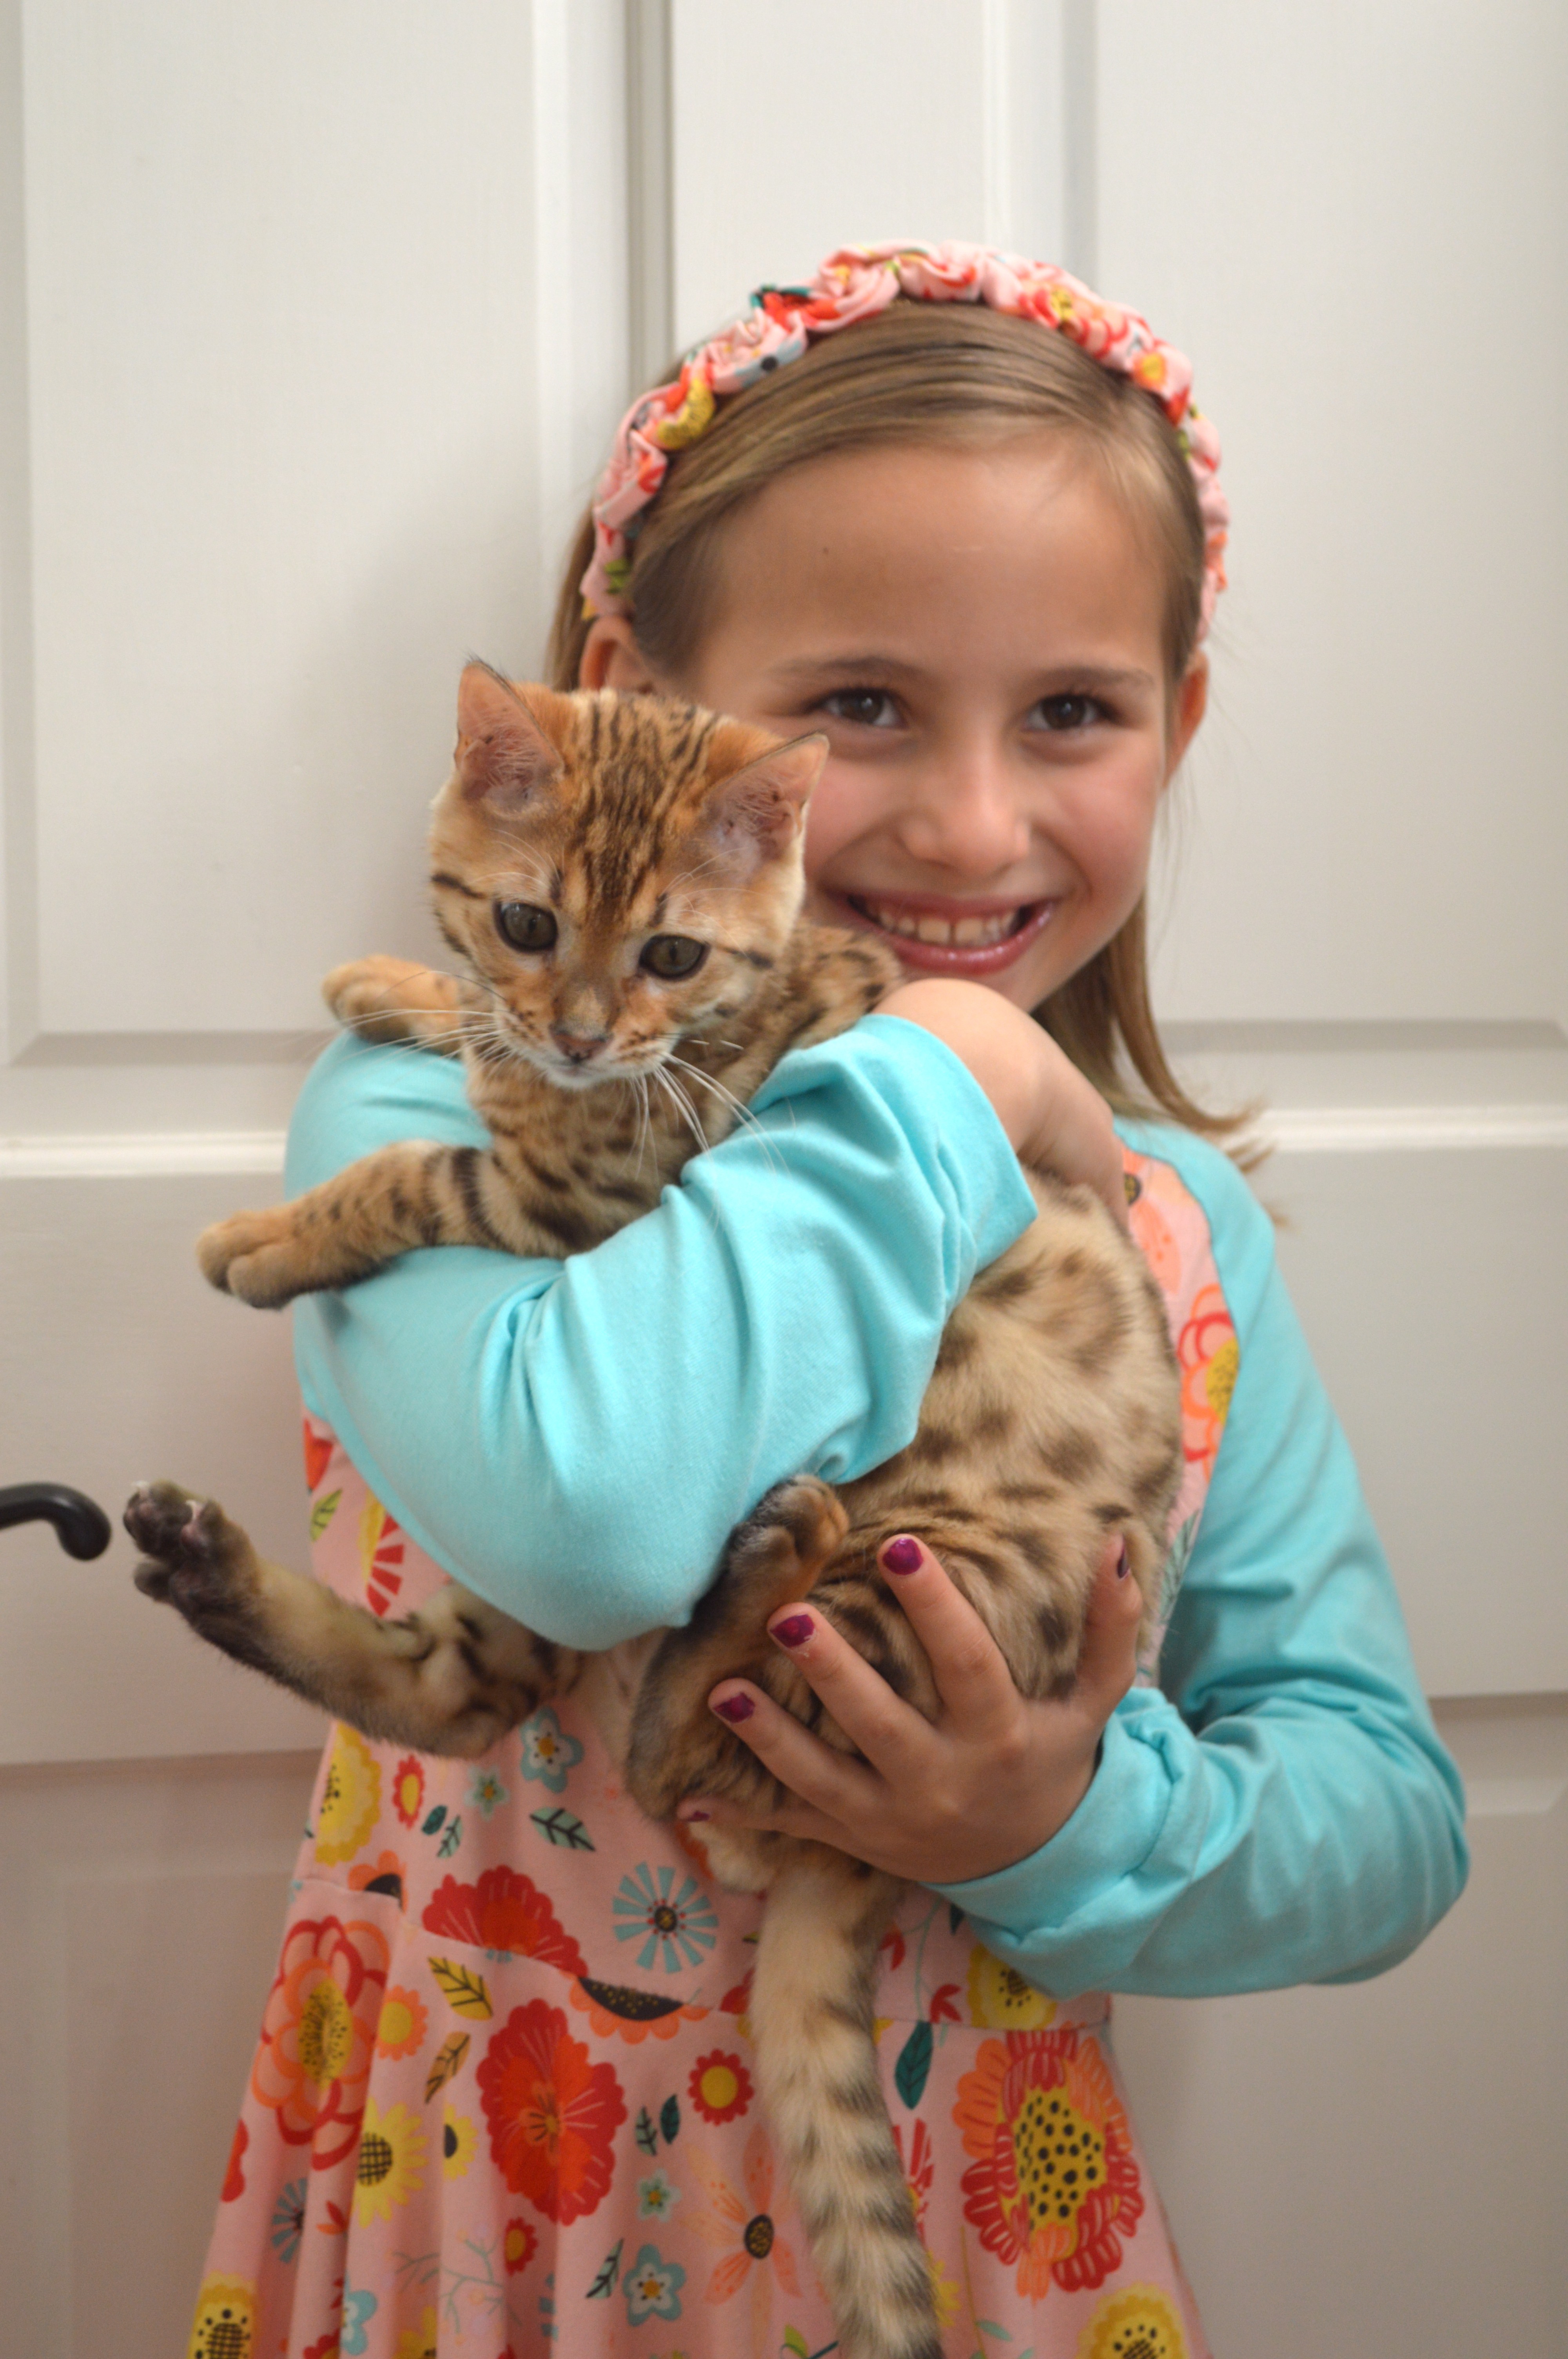
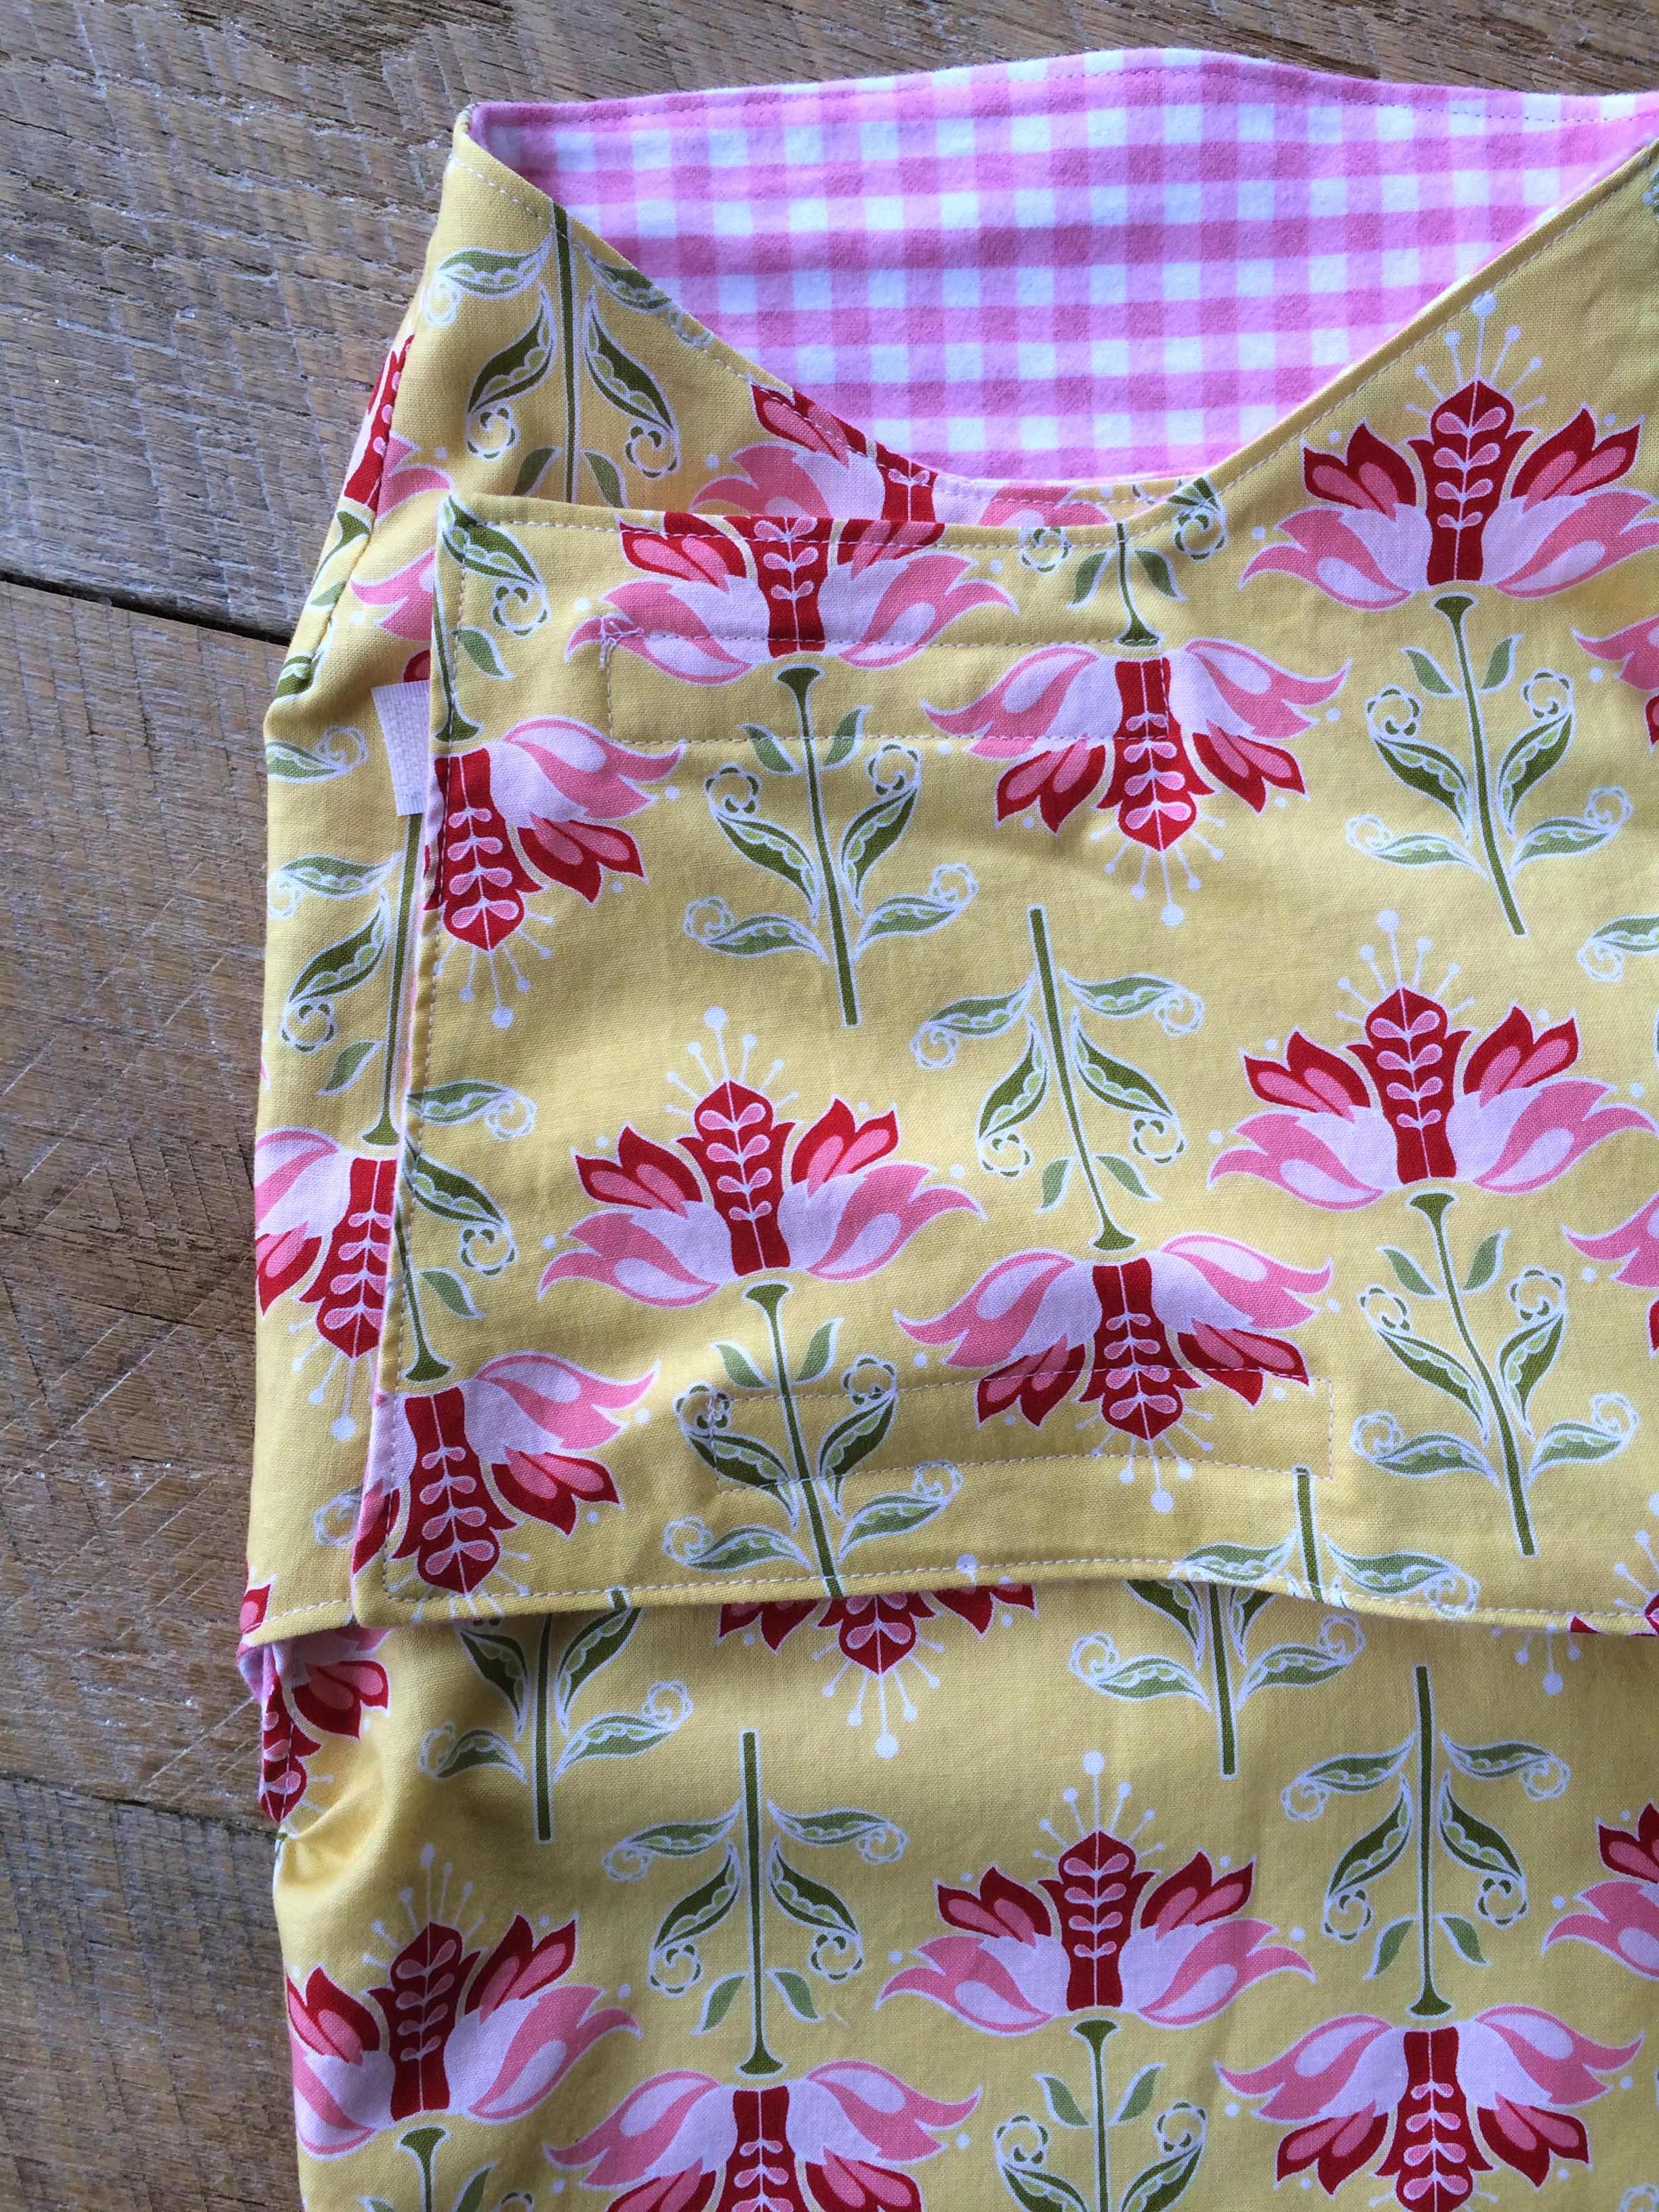
 Now prepare the back. Make sure to have your cat inspect and sit on all fabrics!!
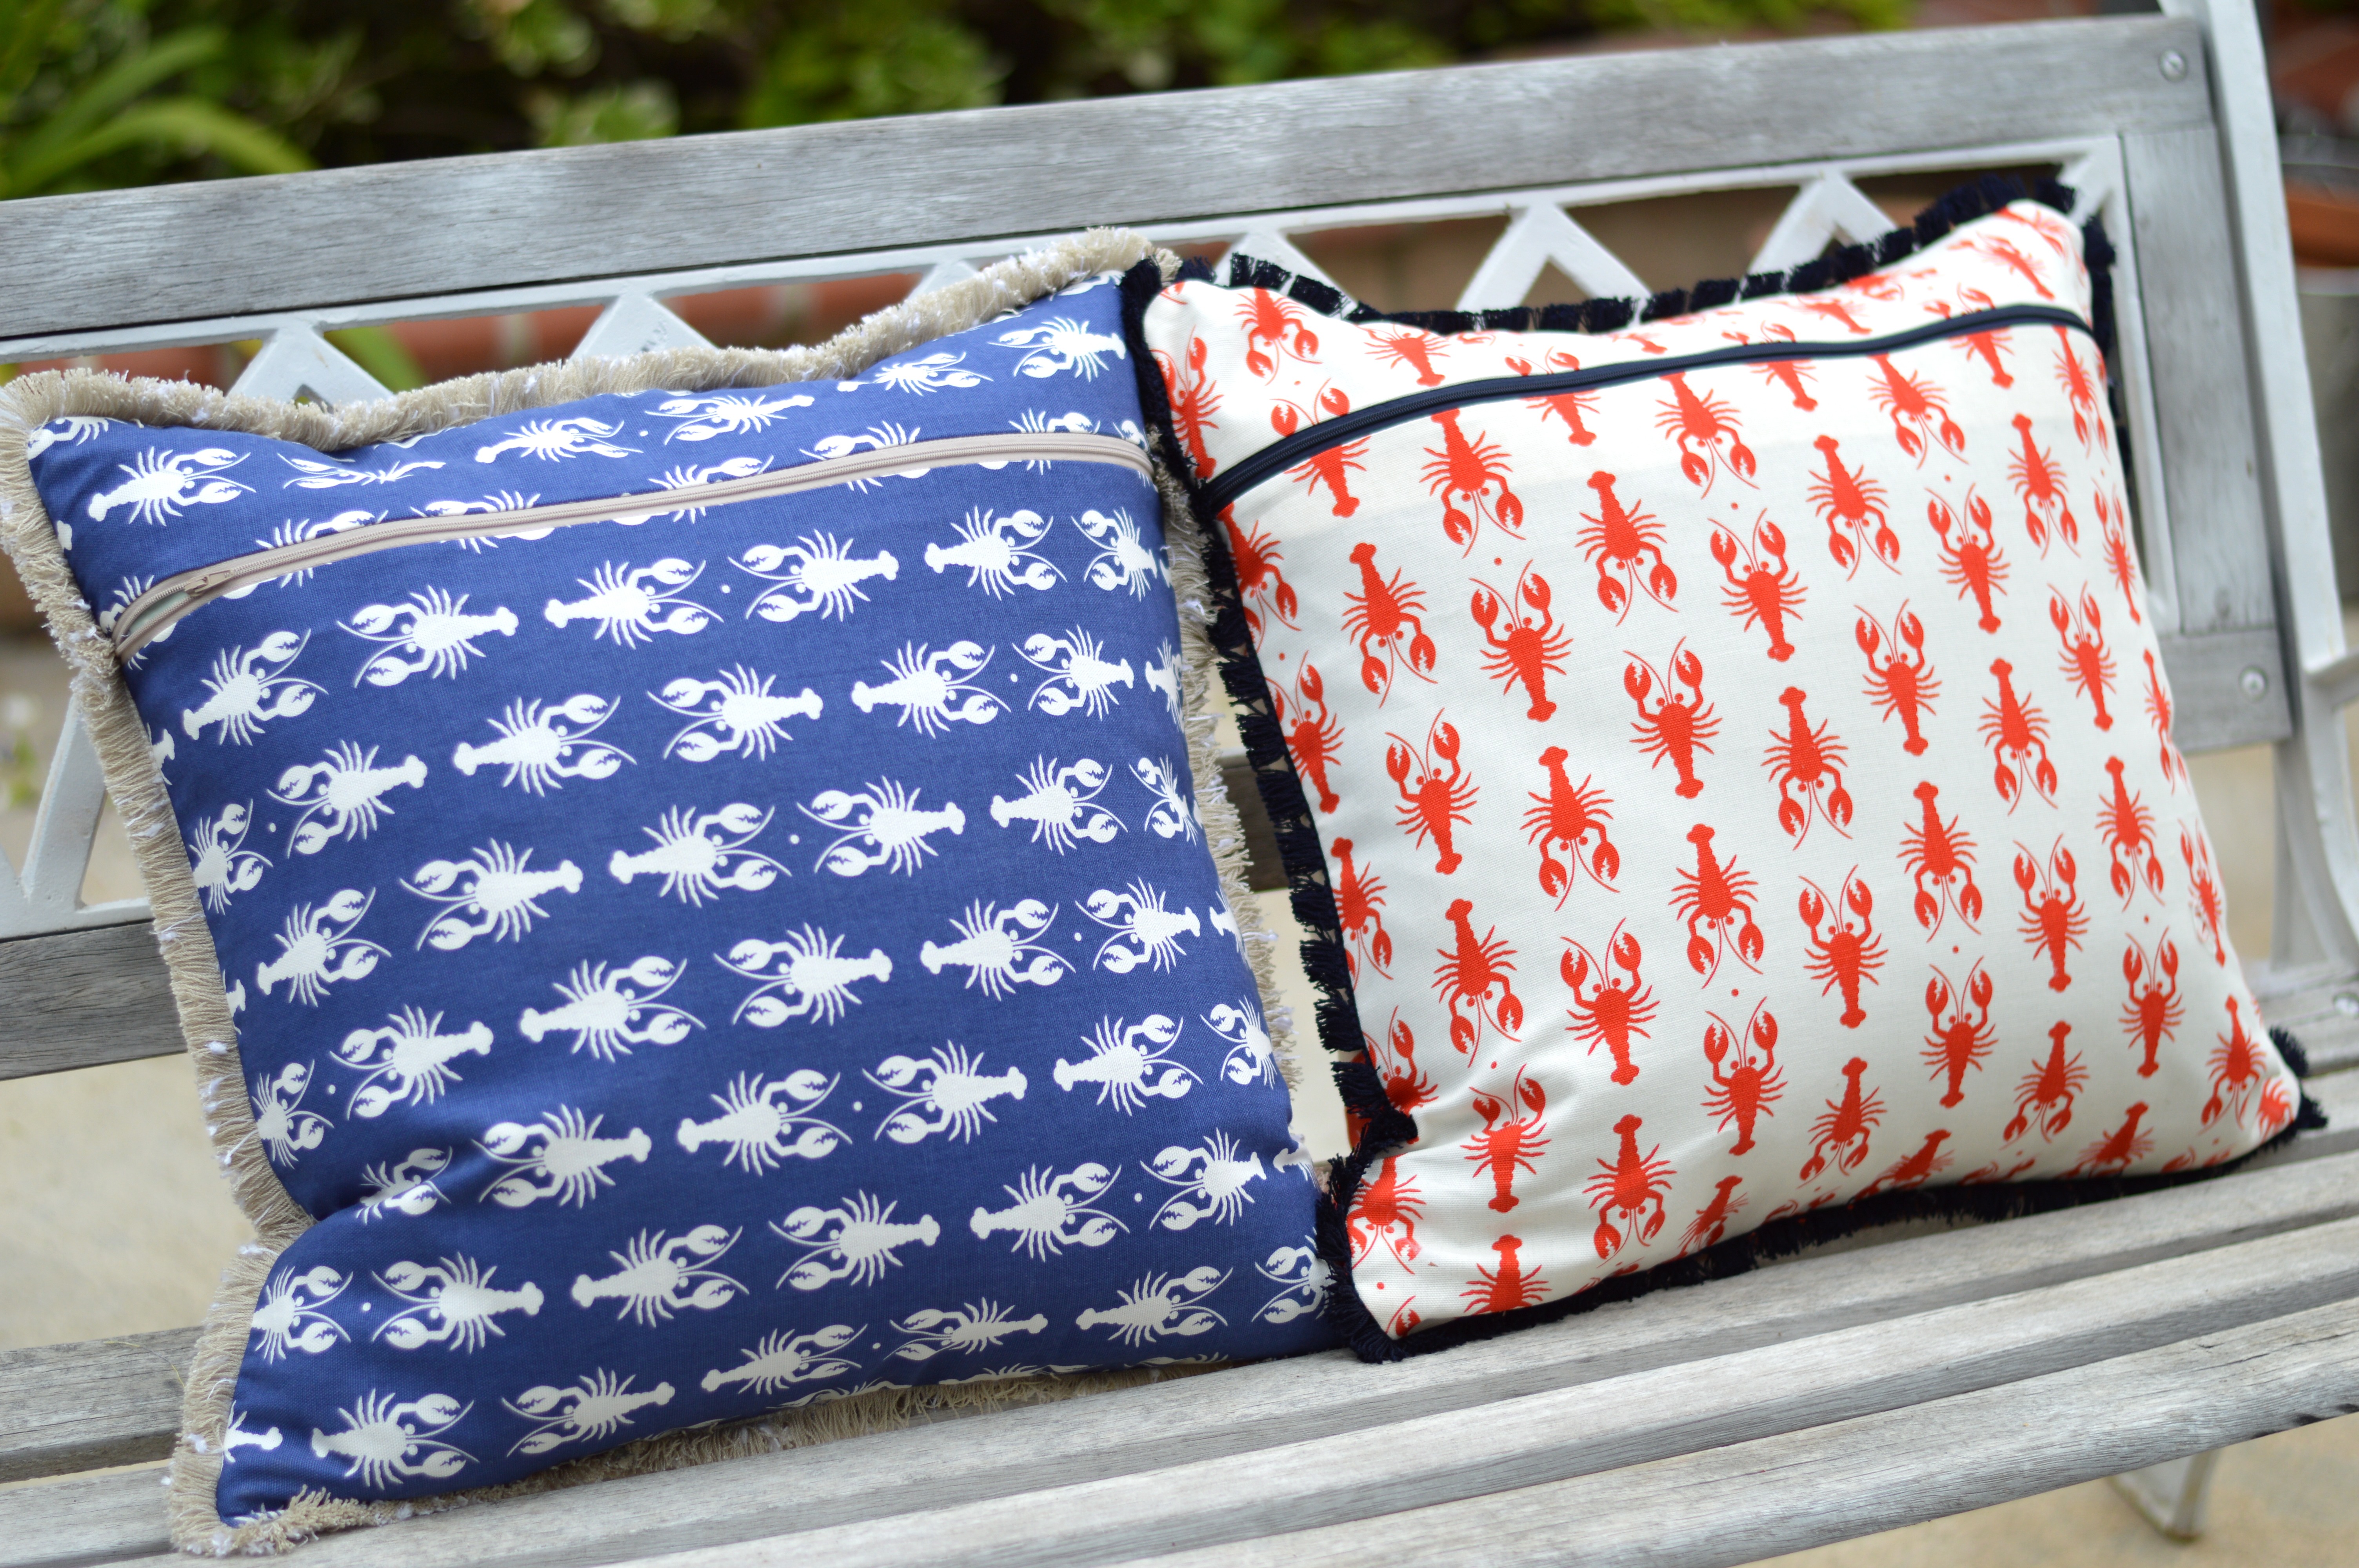
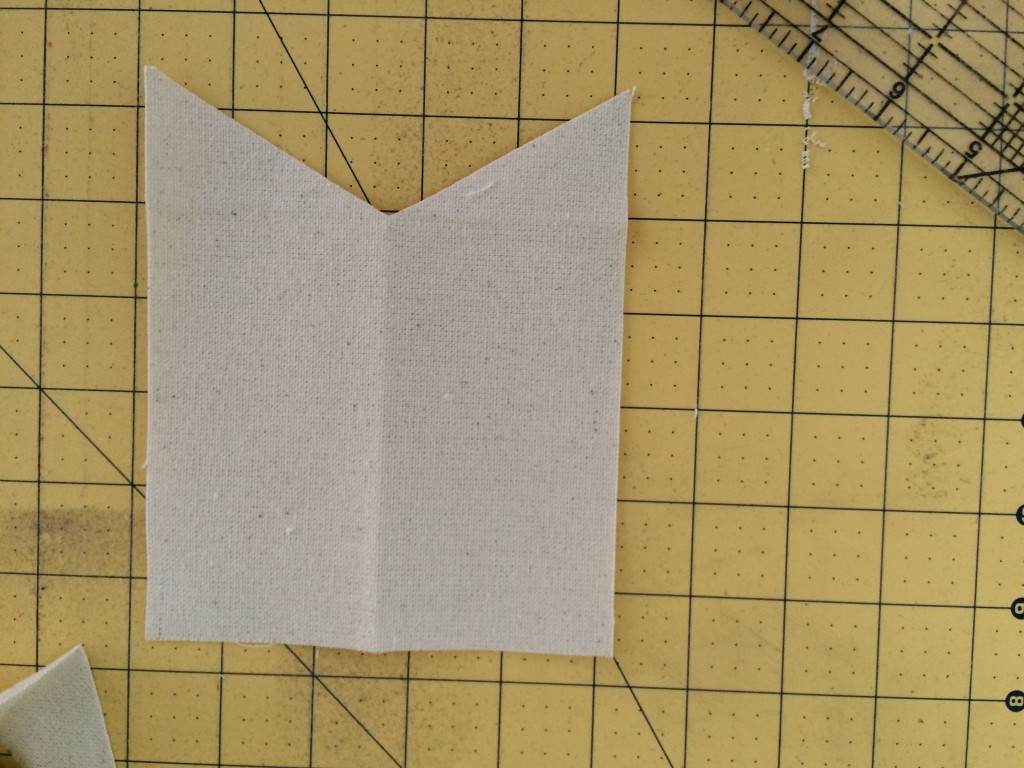
Cut the back pieces 20″ x 20″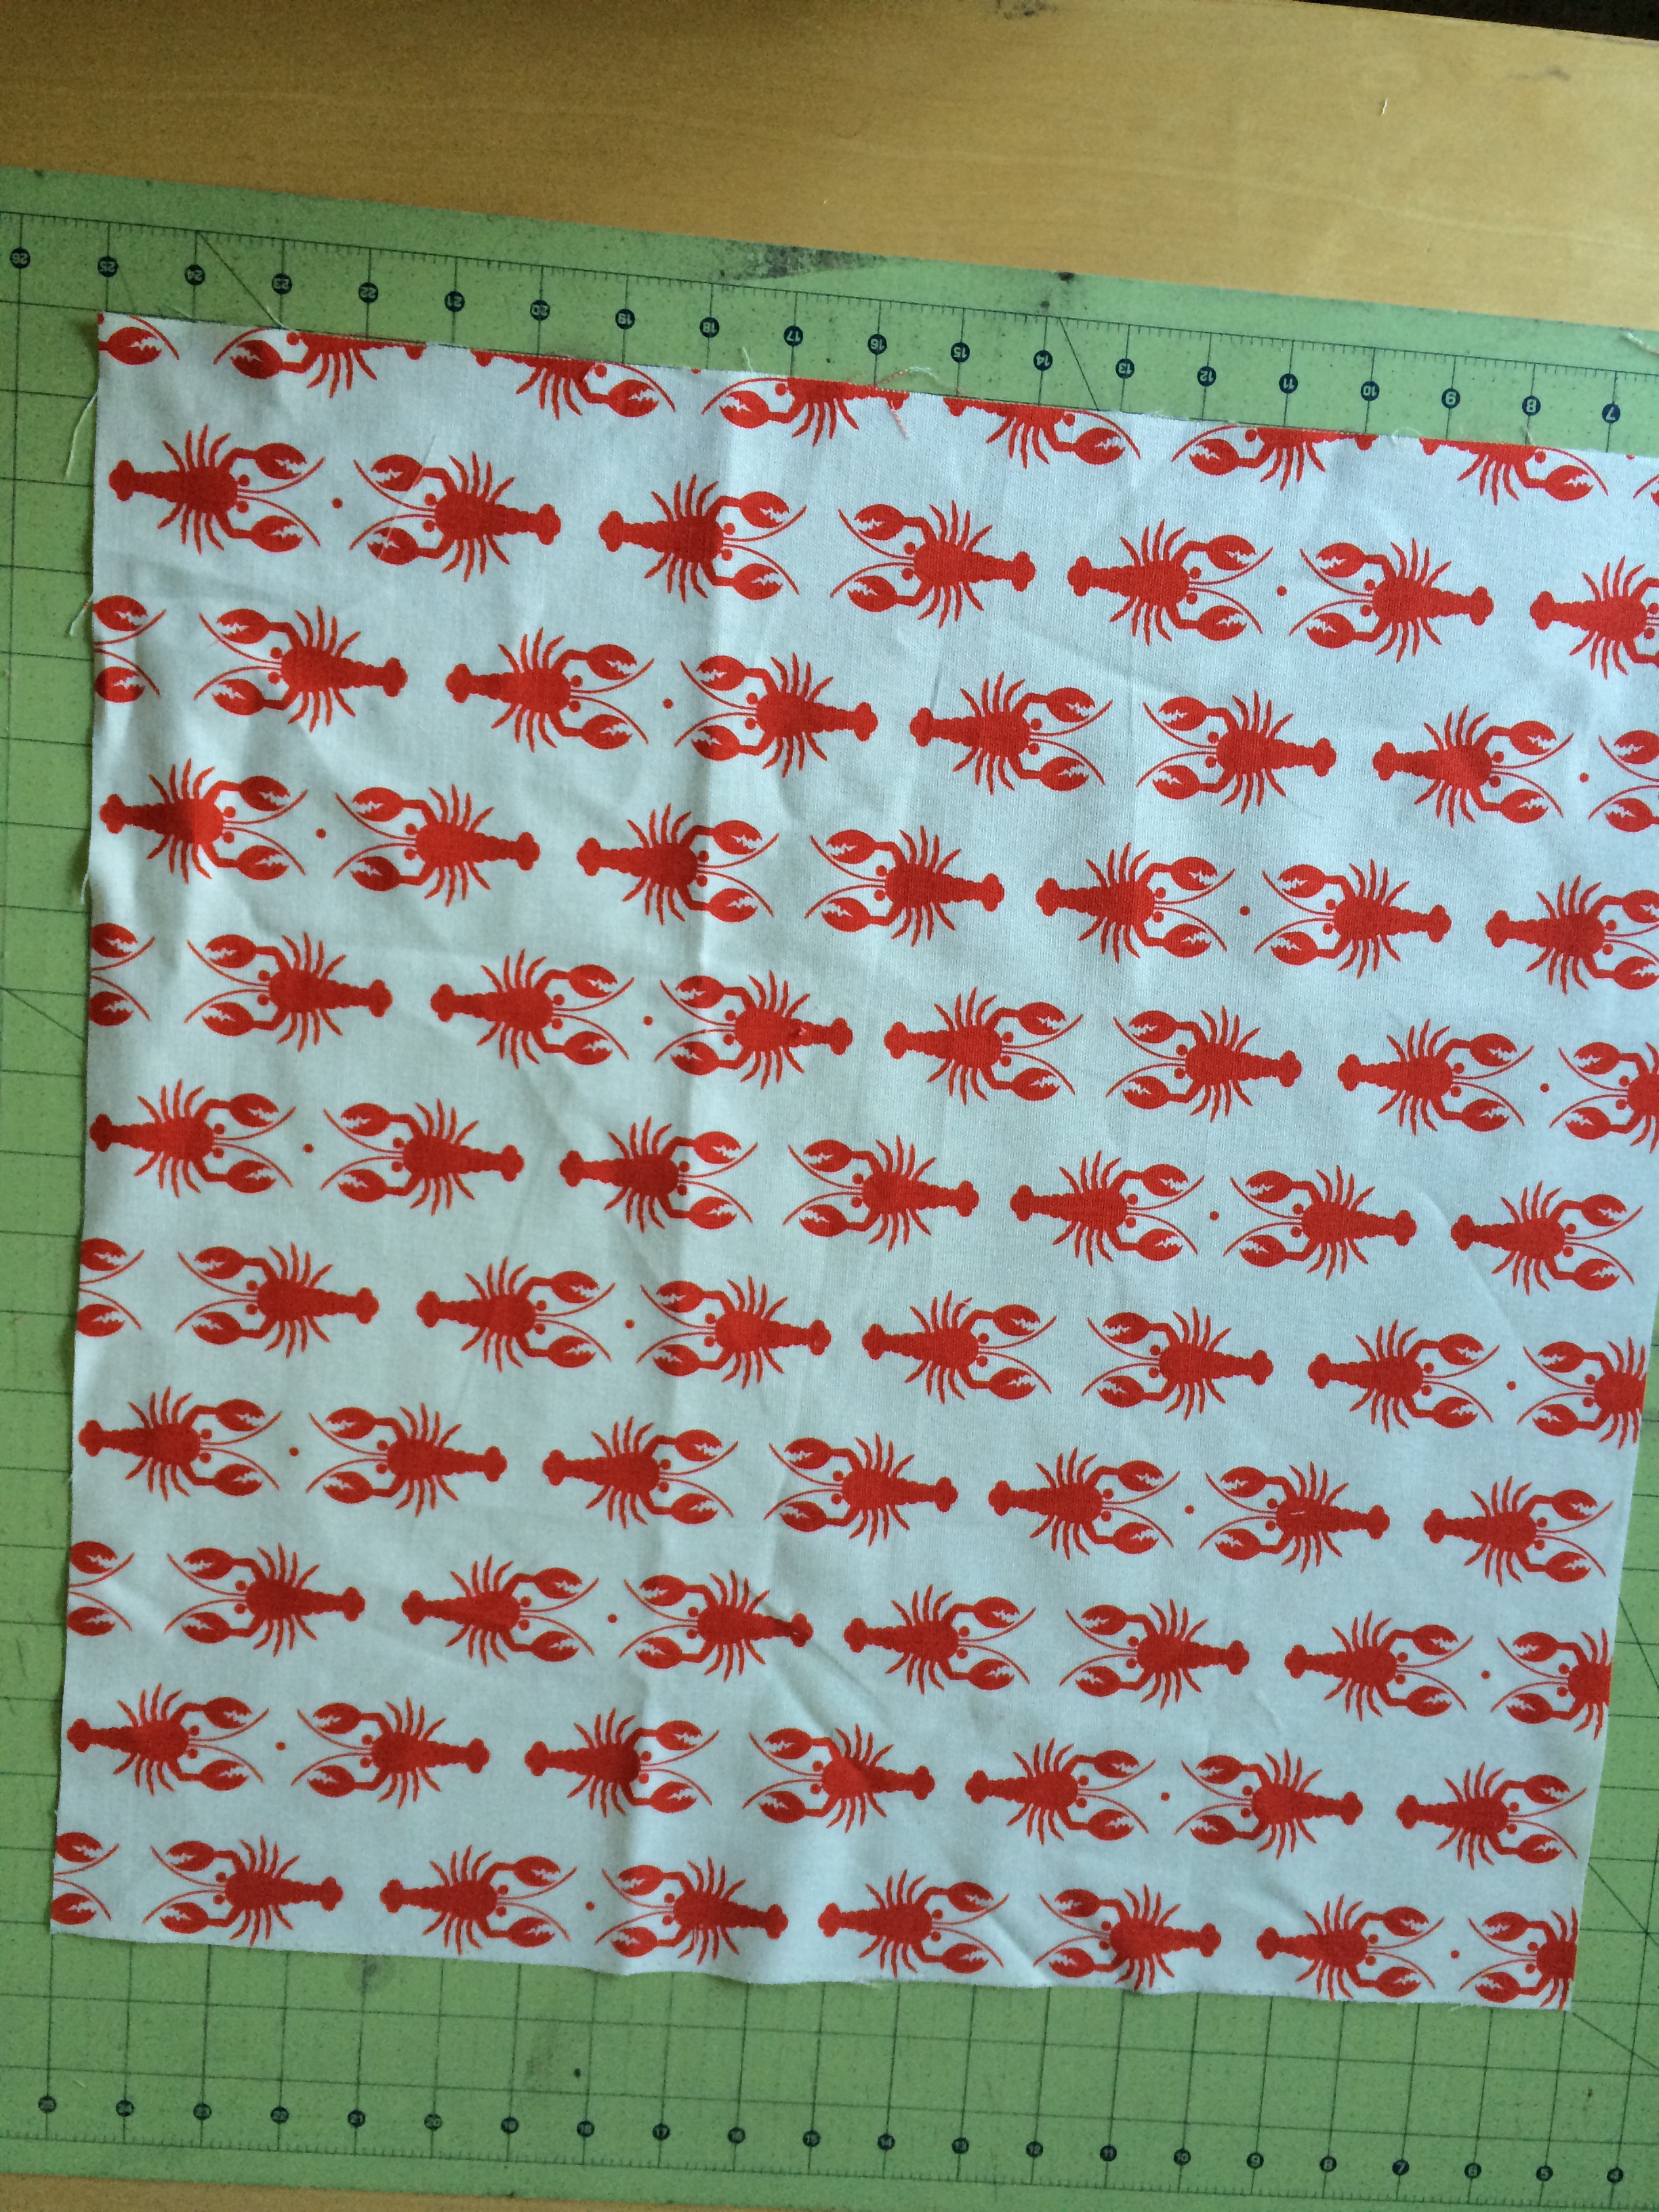
Make a cut at the 4″ mark. This is where the zipper will go.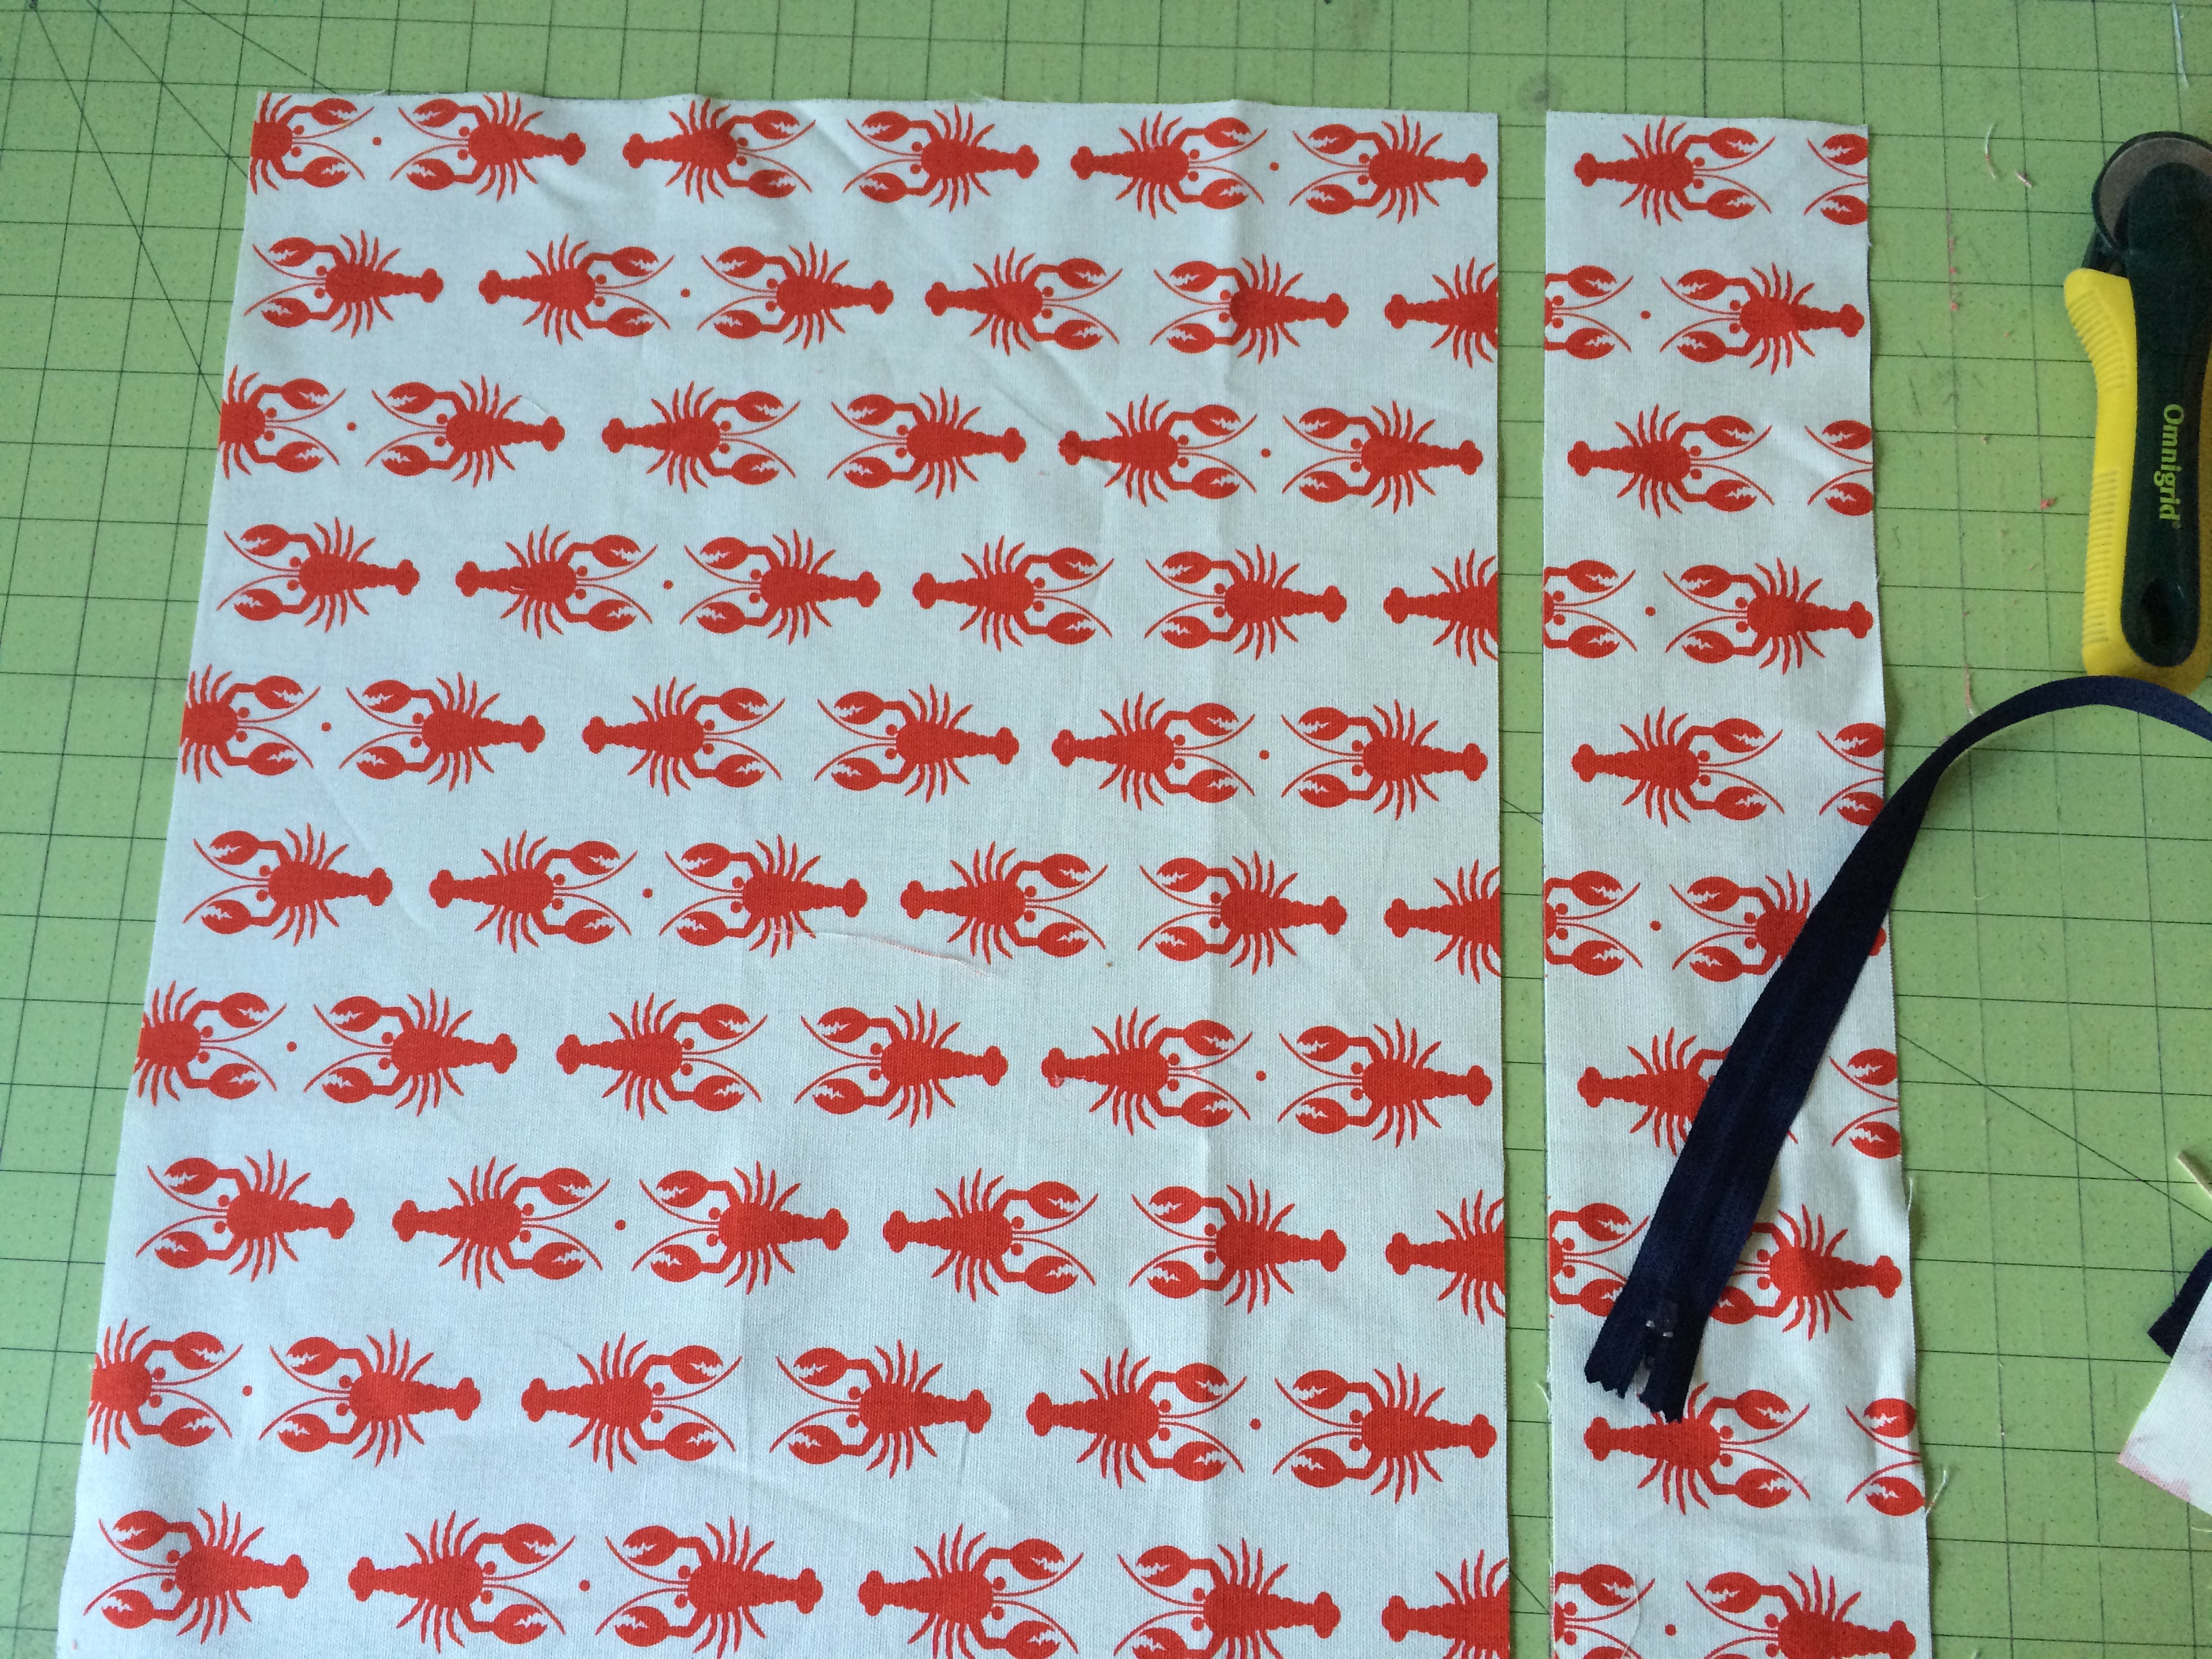
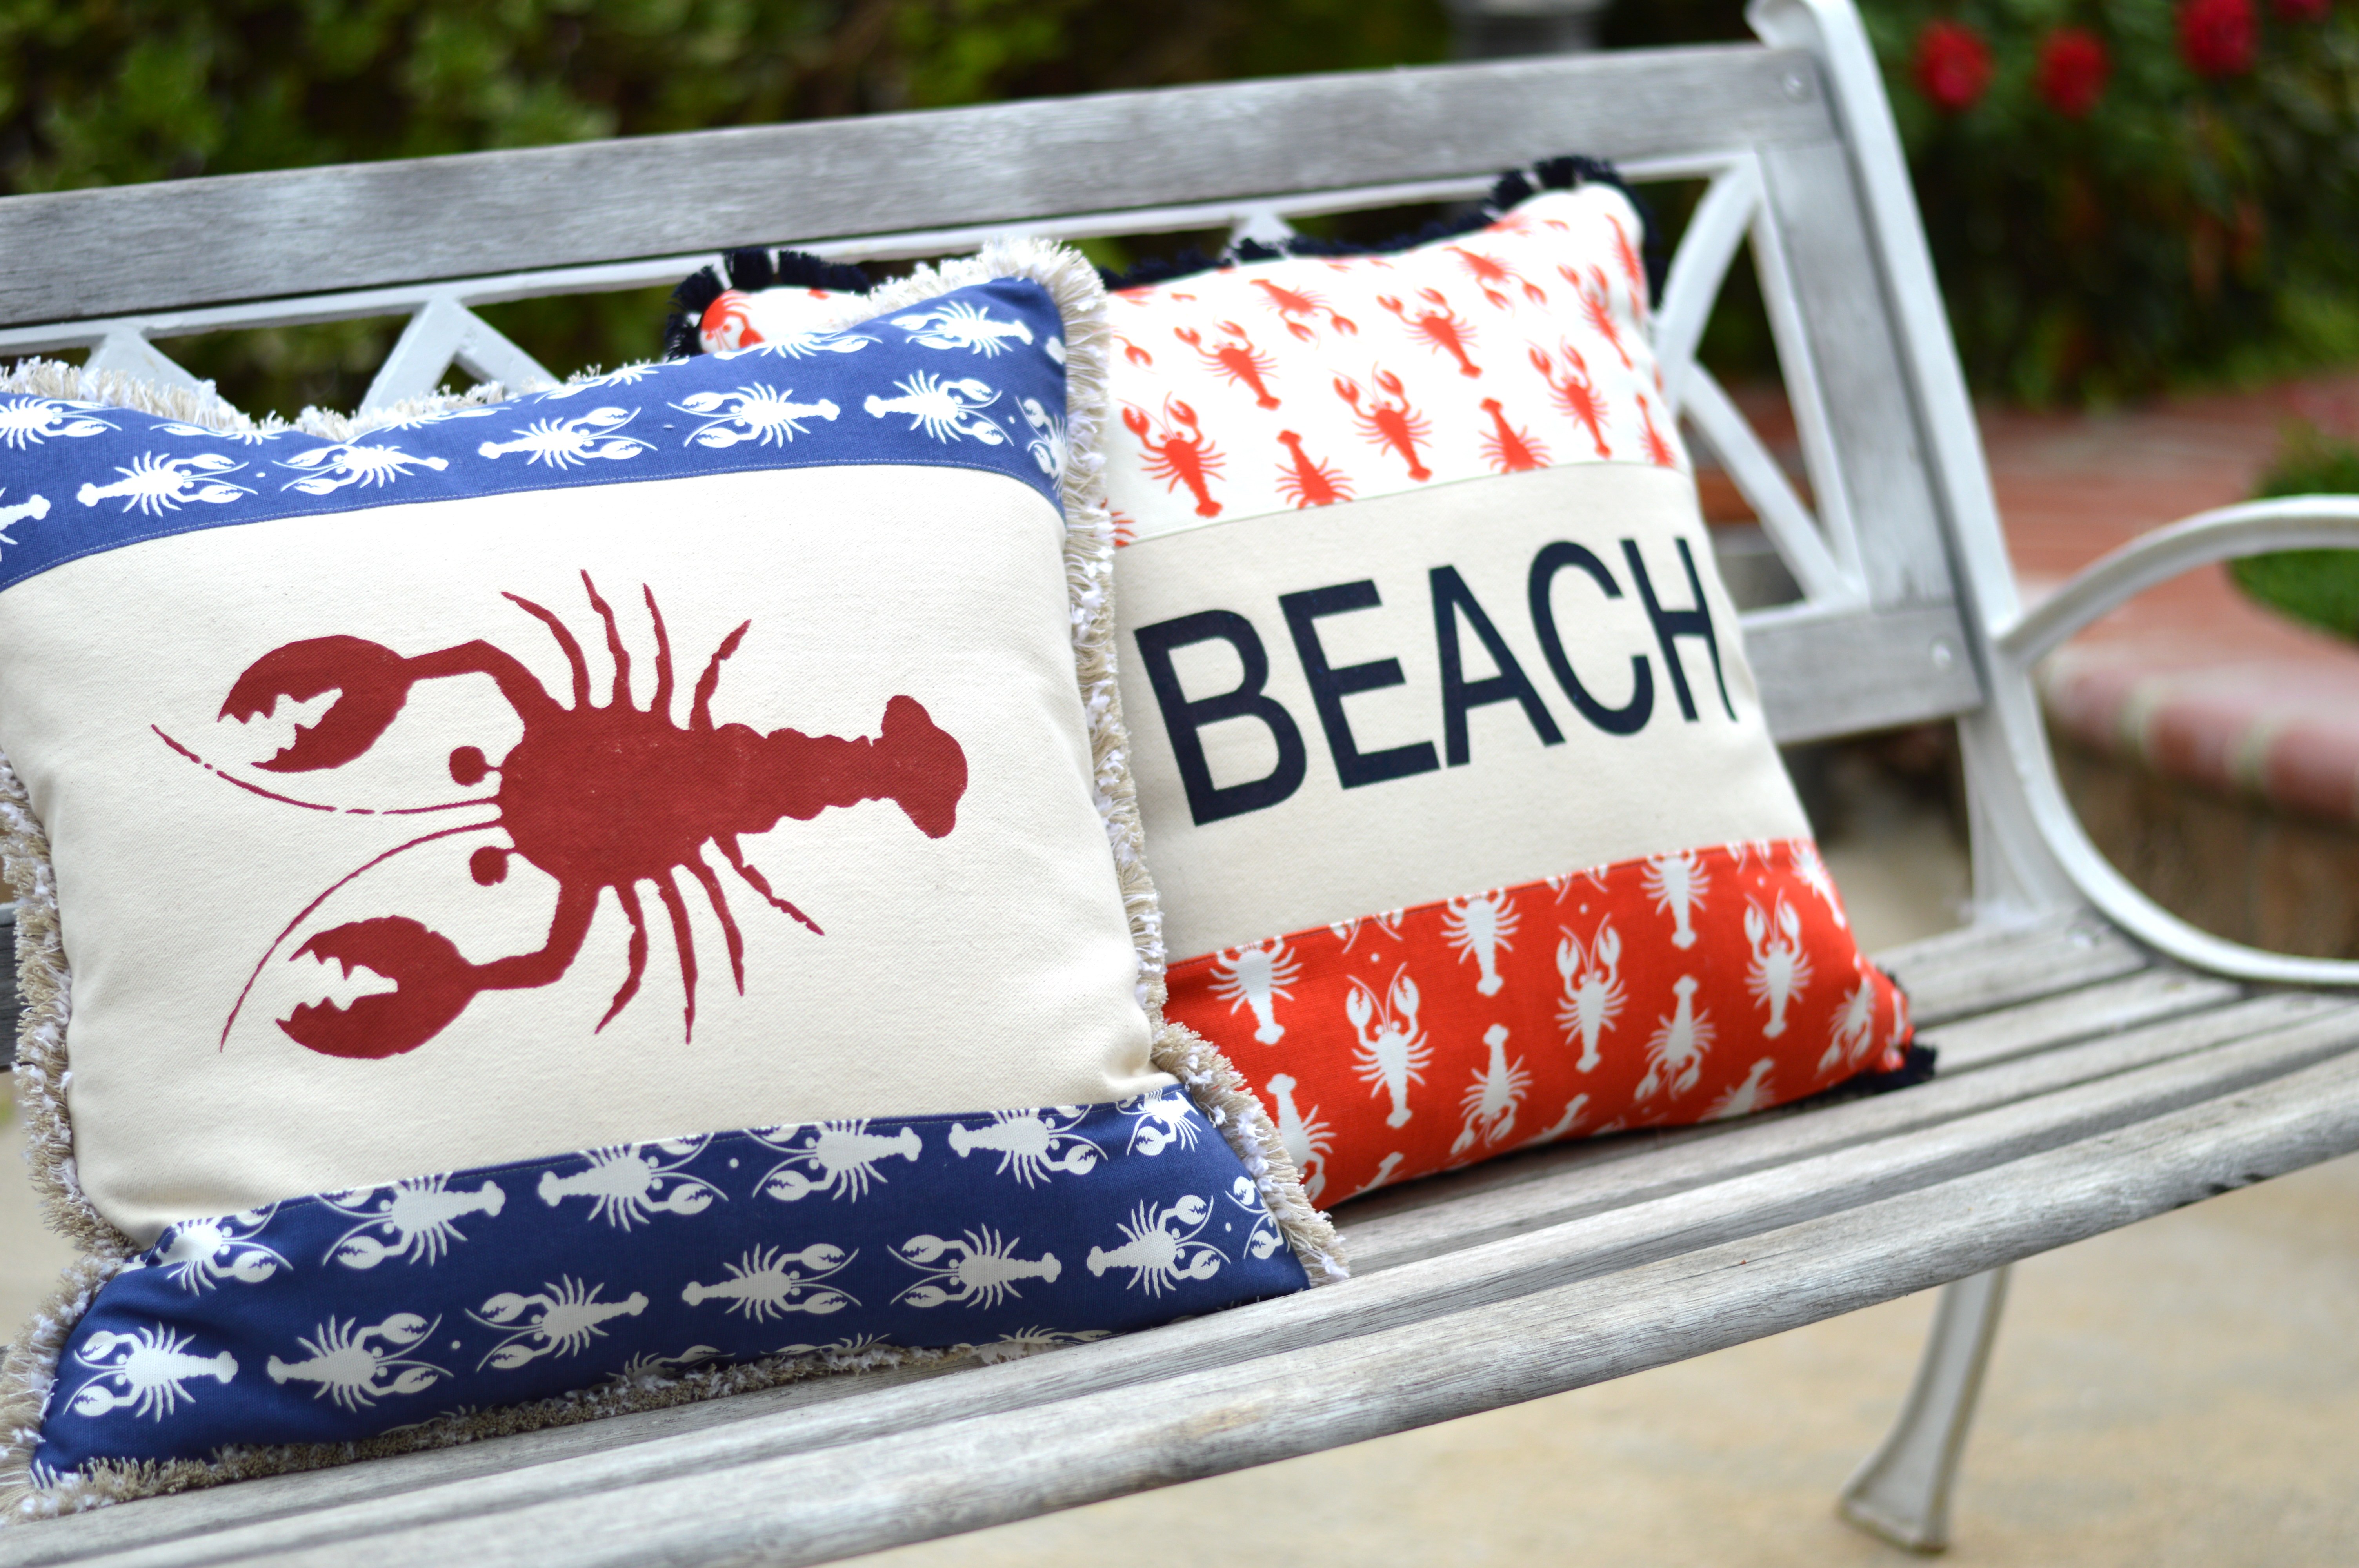
Sew the zipper in and press the zipper open. Trim off excess zipper.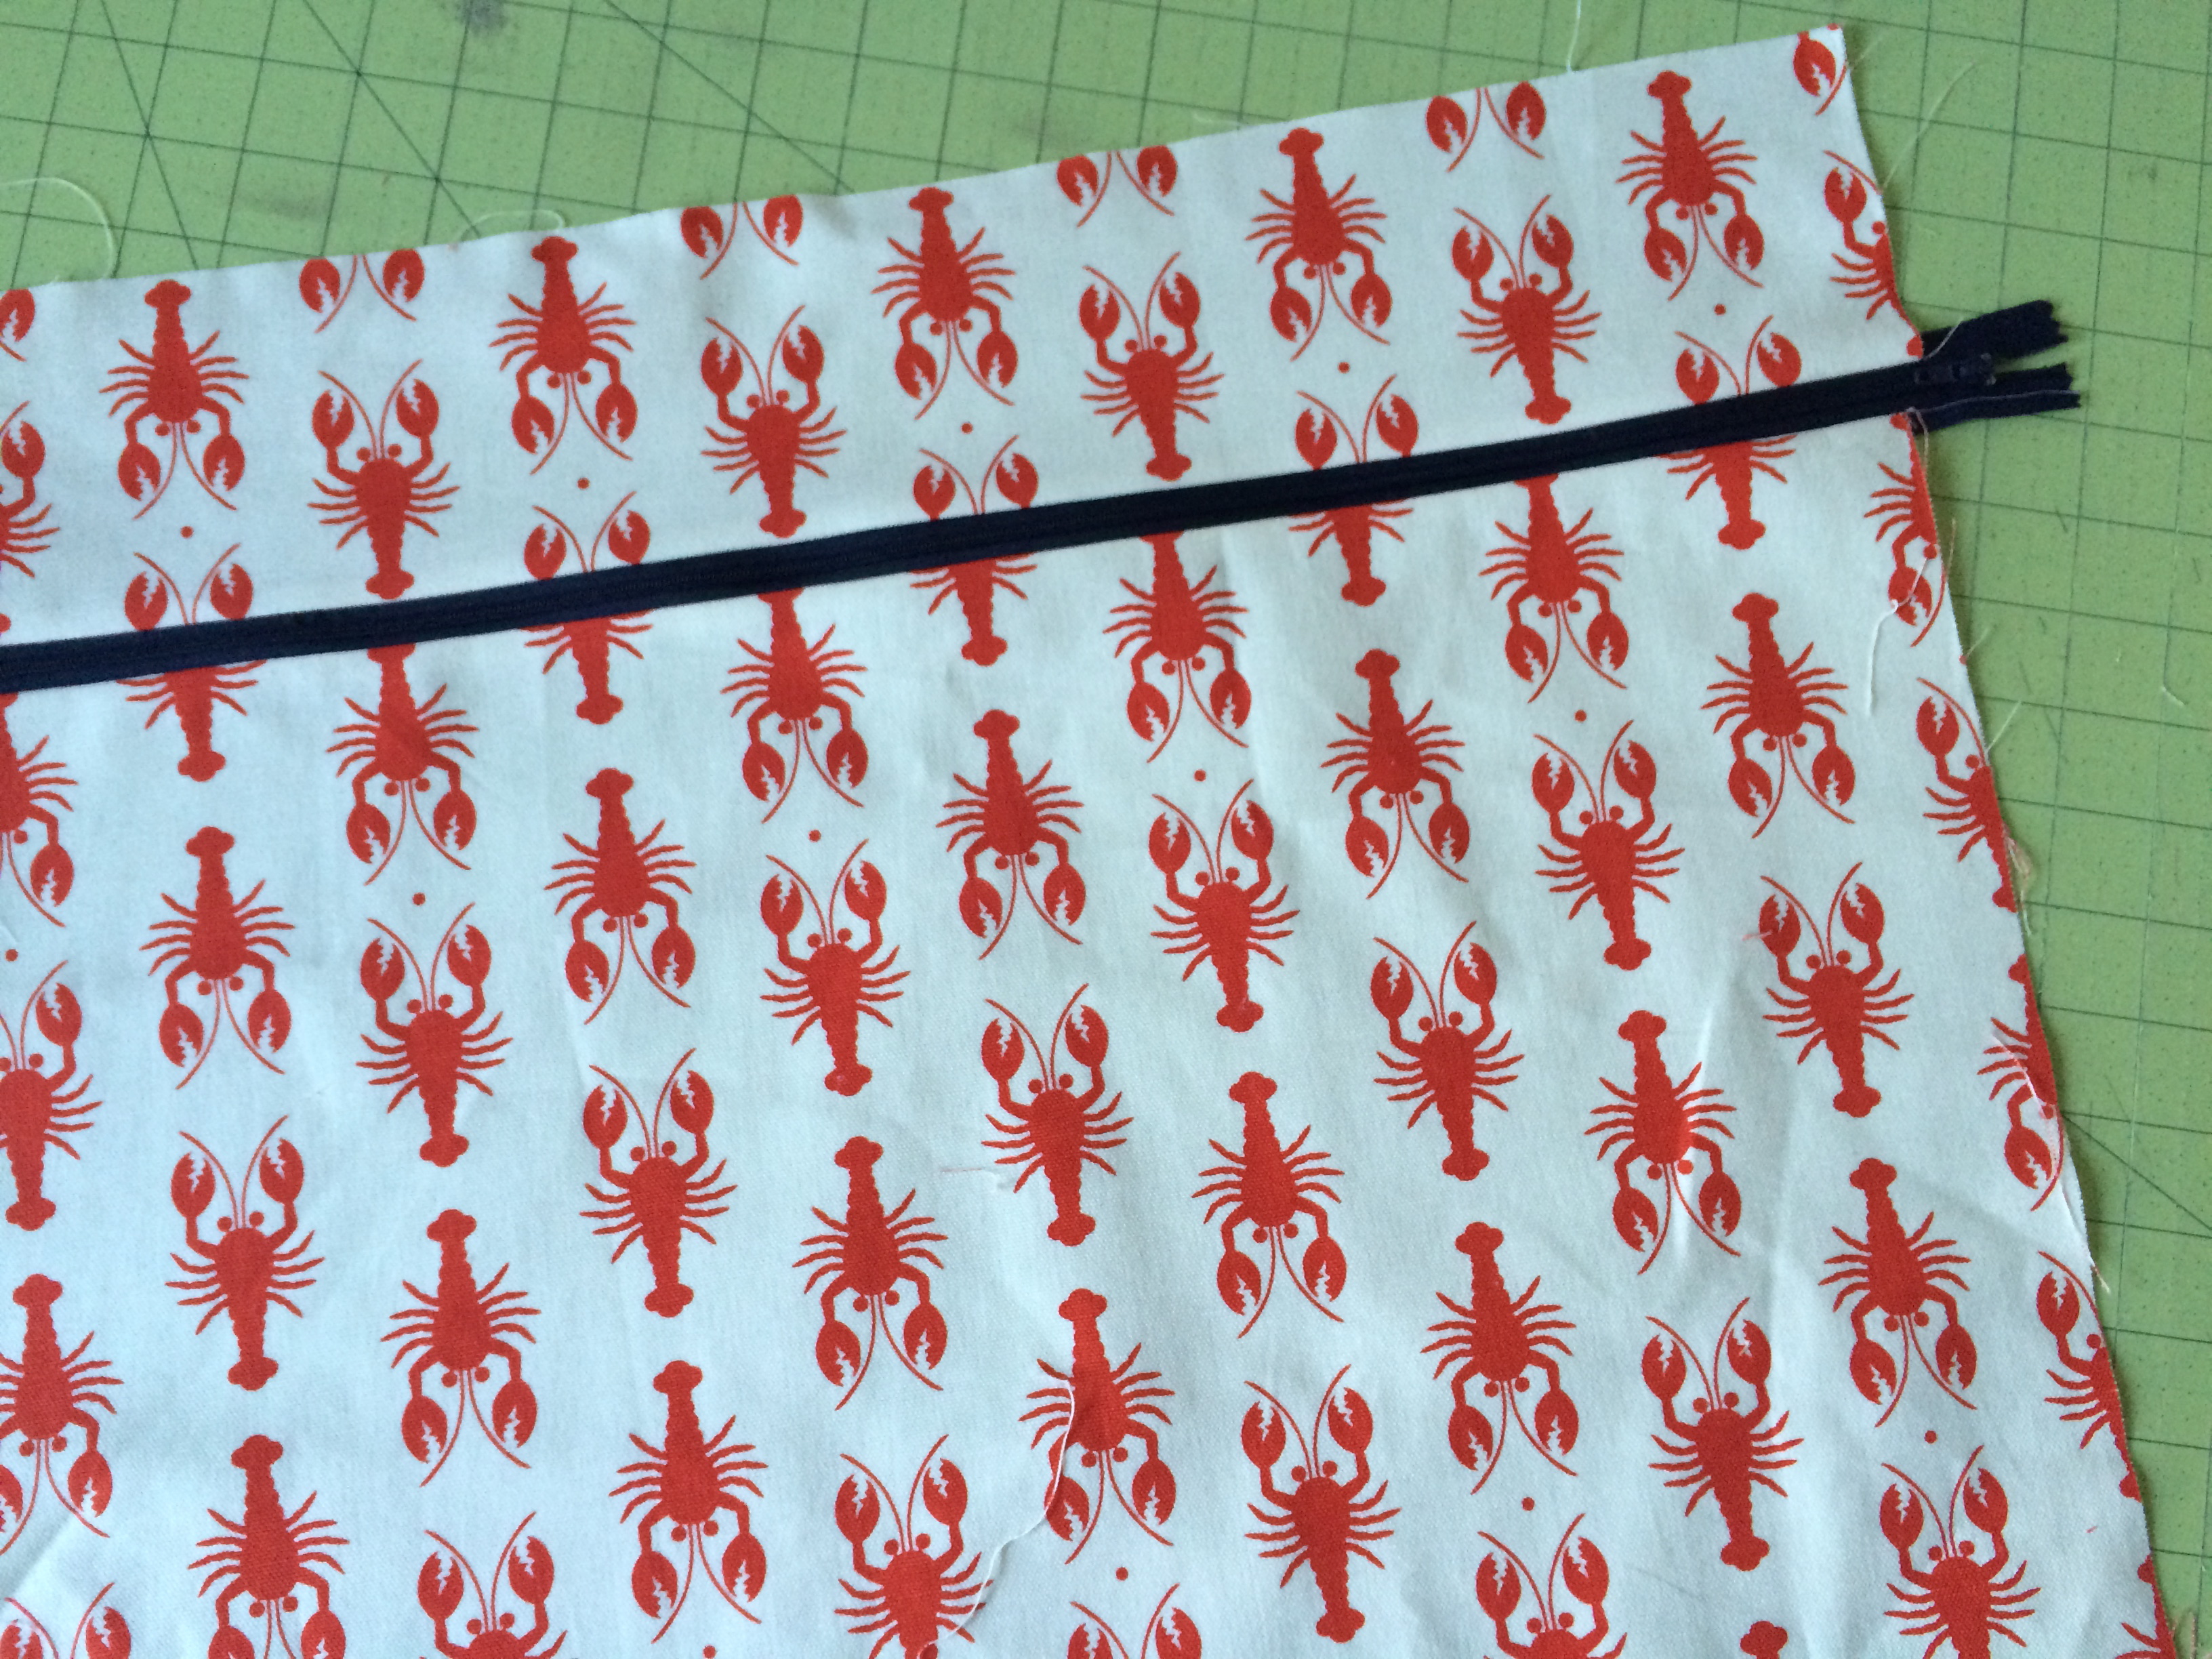 Baste the trim all the way around the pillow, beginning and ending at the bottom center of the pillow. I rounded the corners as I basted the trim in place. Place the pillow front to the pillow back right sides together. MAKE SURE ZIPPER IS OPEN PARTIALLY. Pin, matching edges all the way around the pillow. Sew using a generous 1/4″ seam allowance. Clip excess corners and turn right side out. Insert pillow form
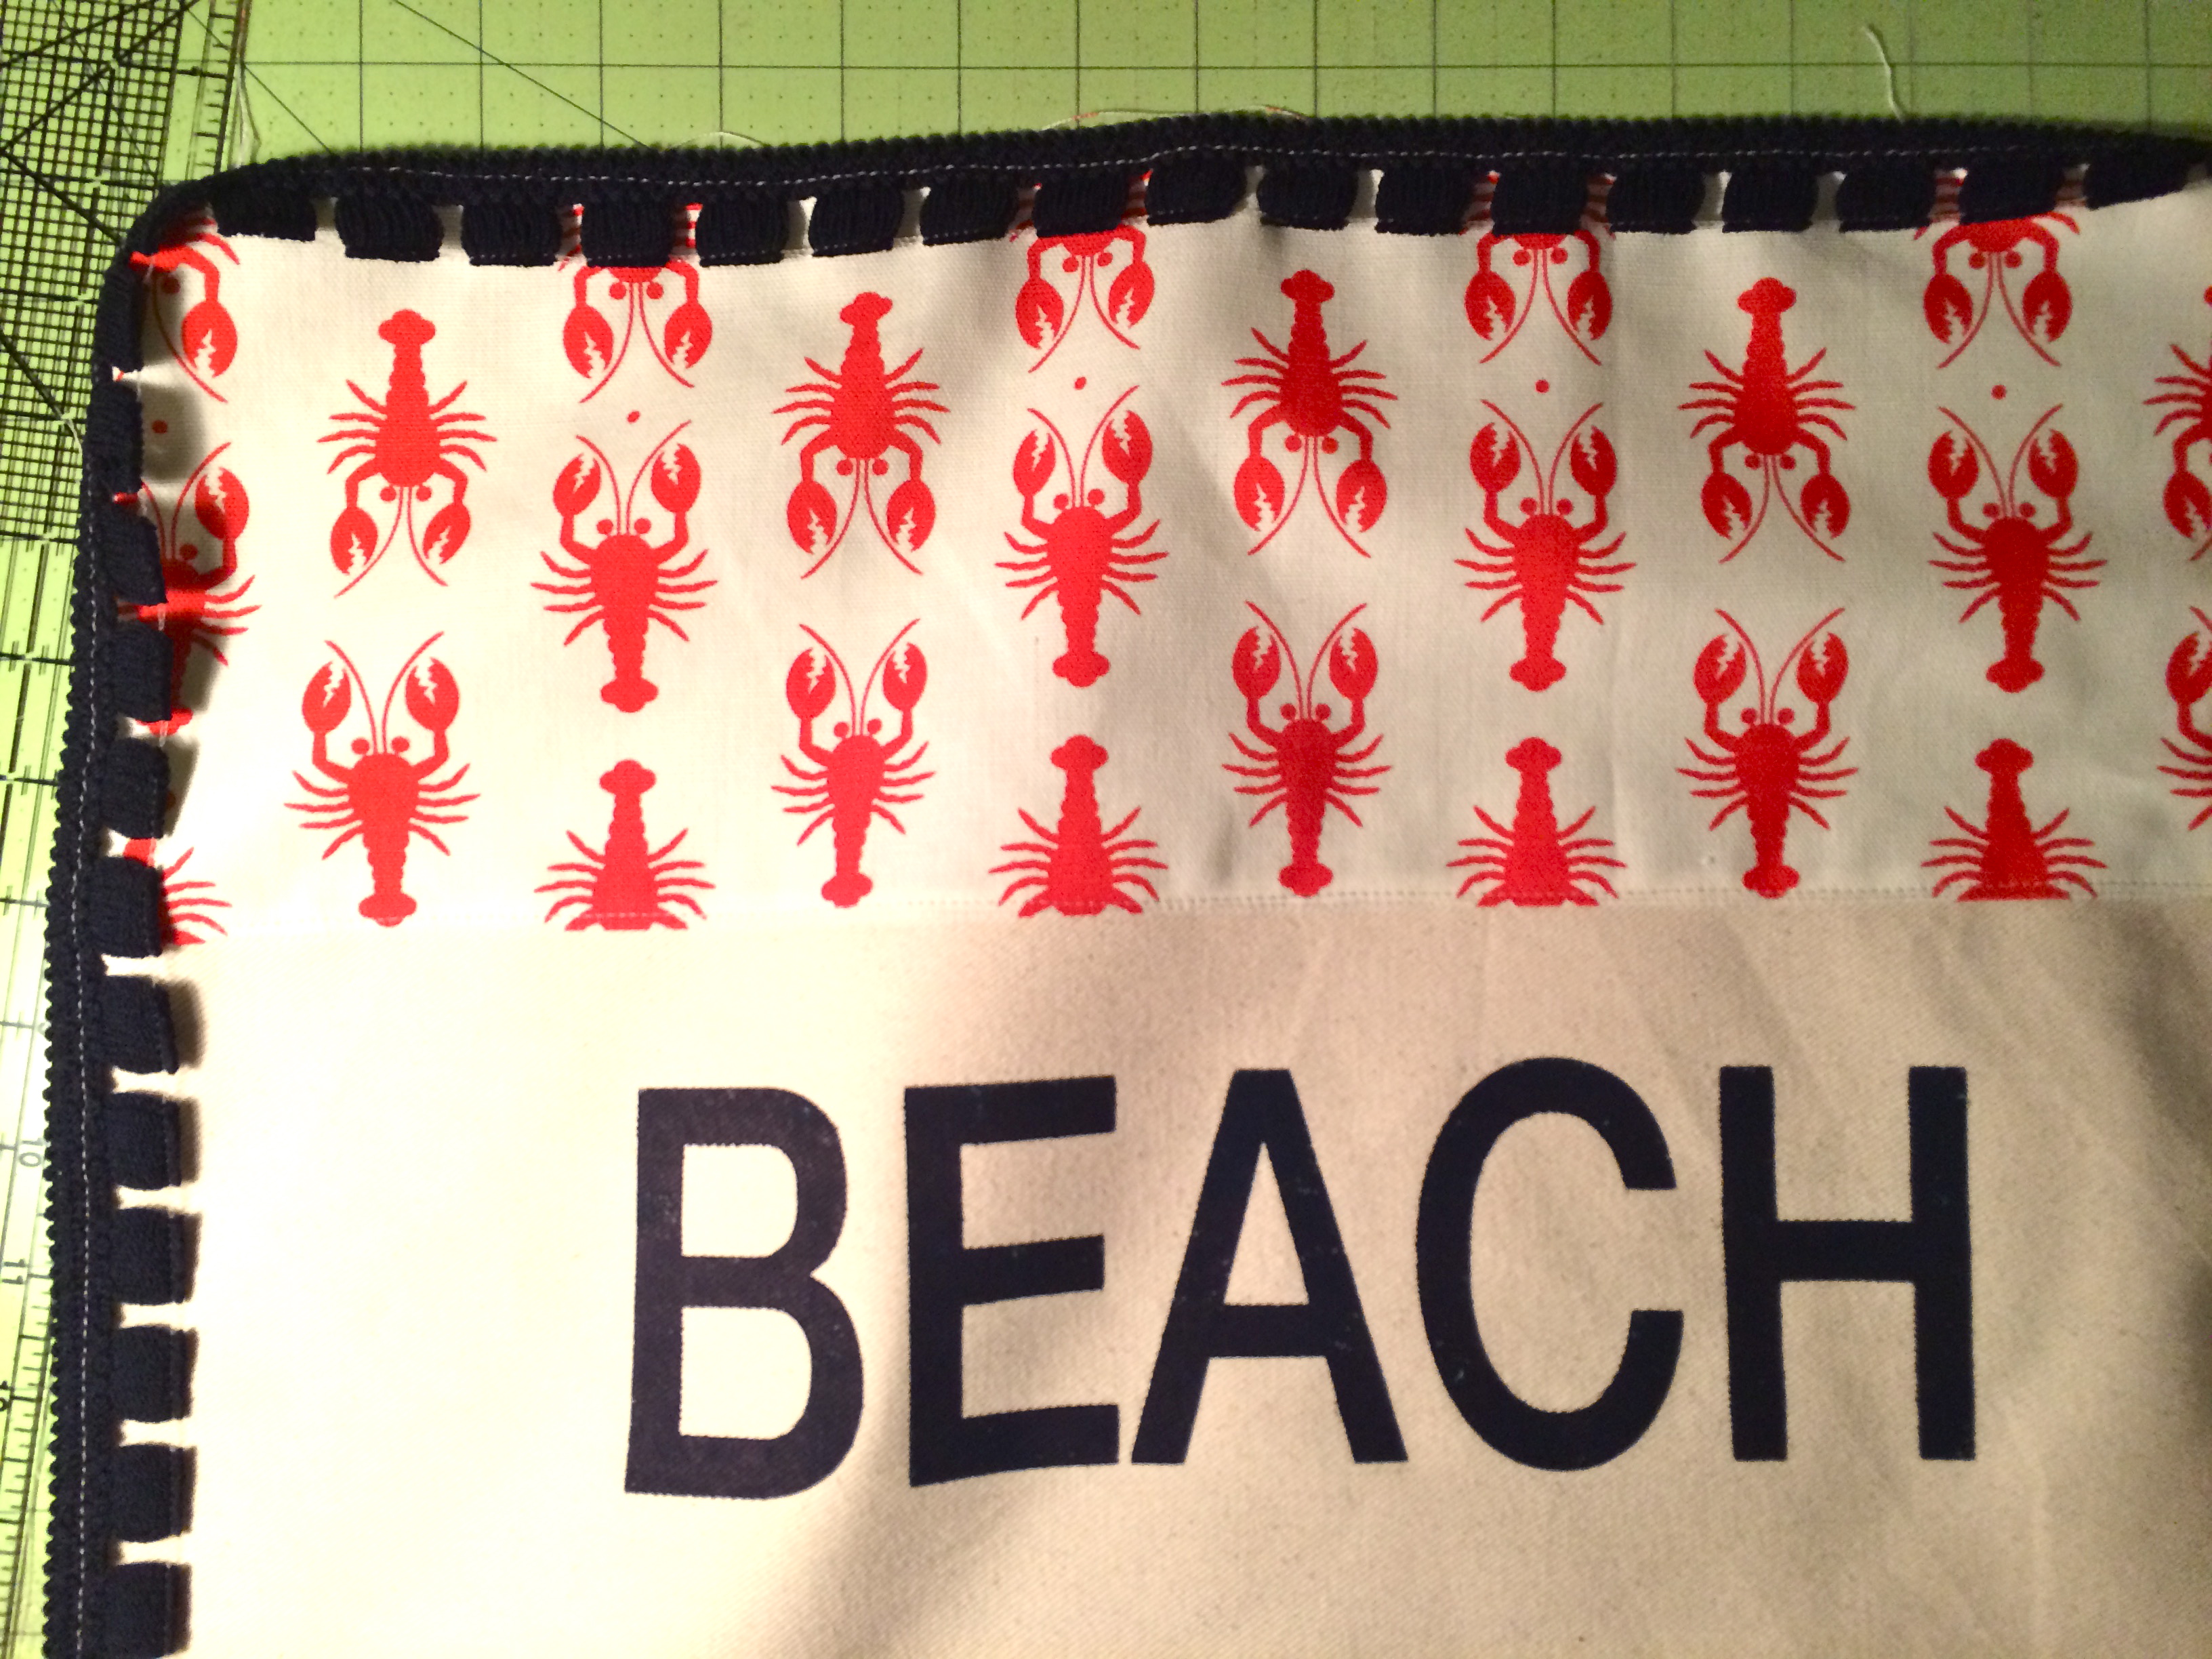
 Check out all these amazing projects featuring Riley Blake Designs Home Decorating Fabric!
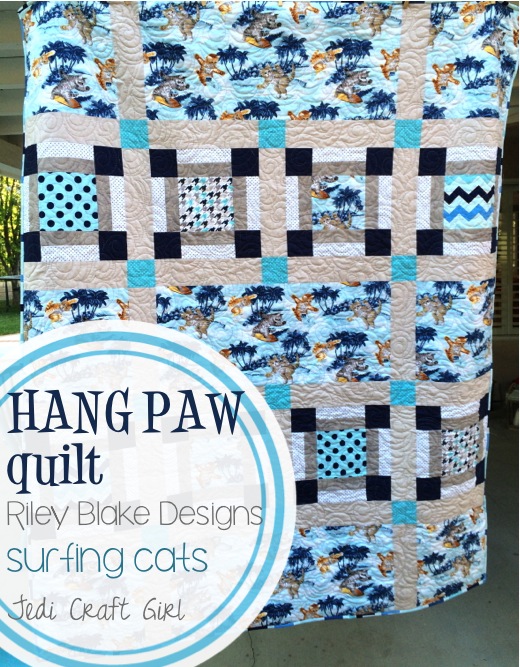

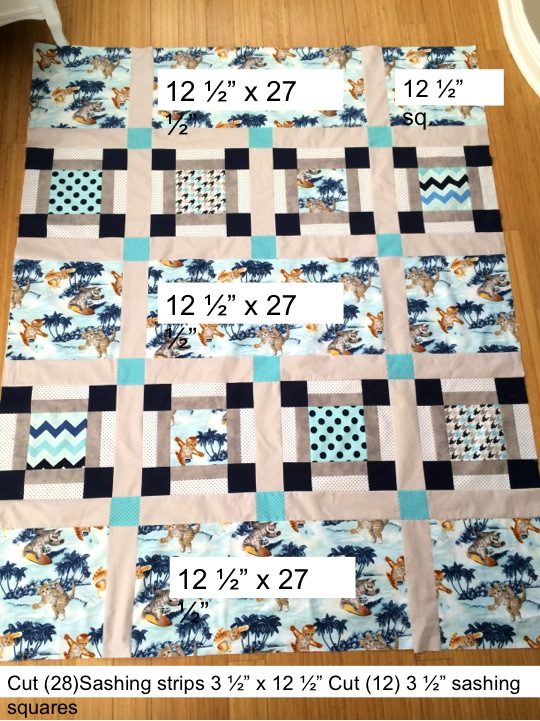

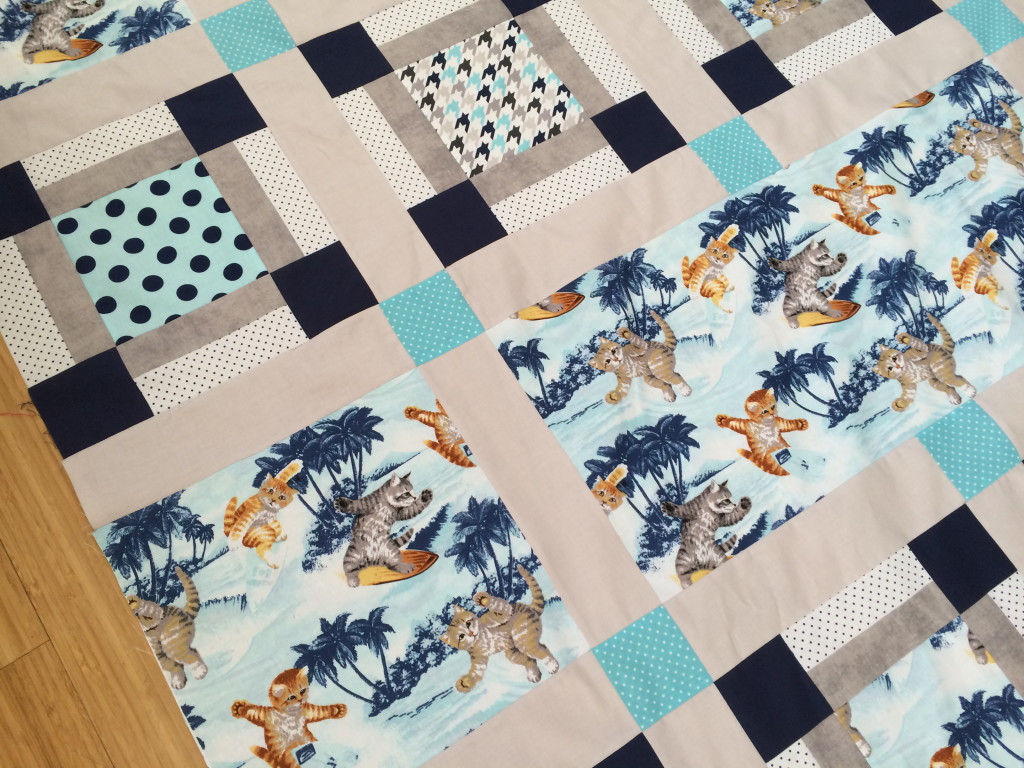

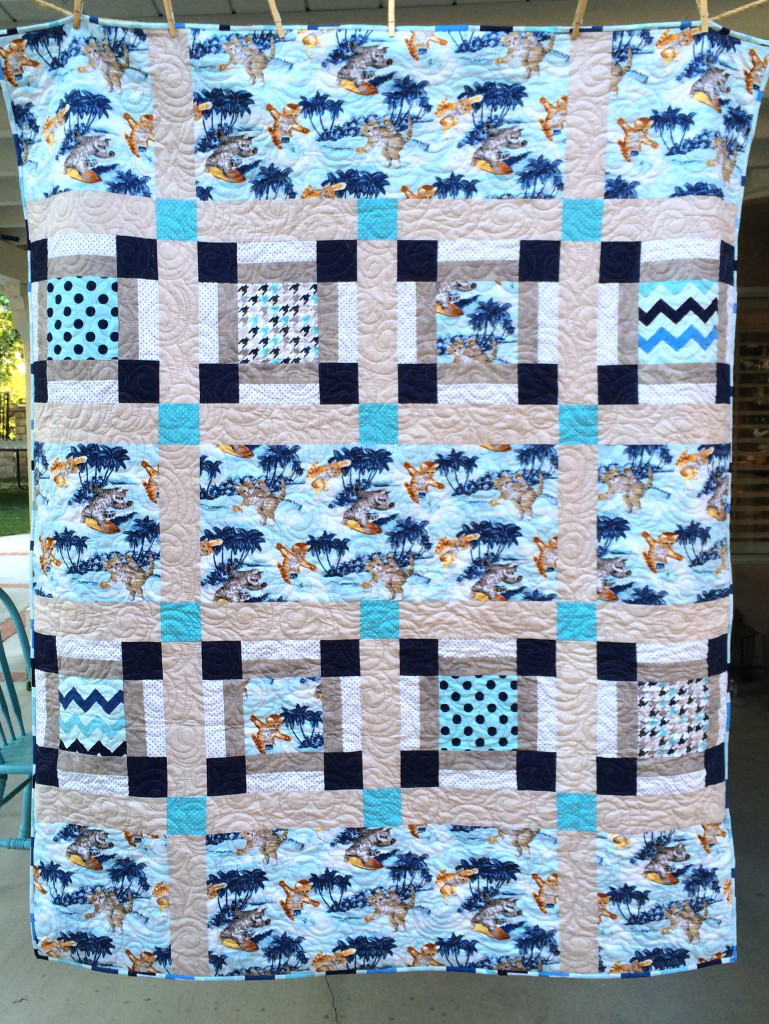


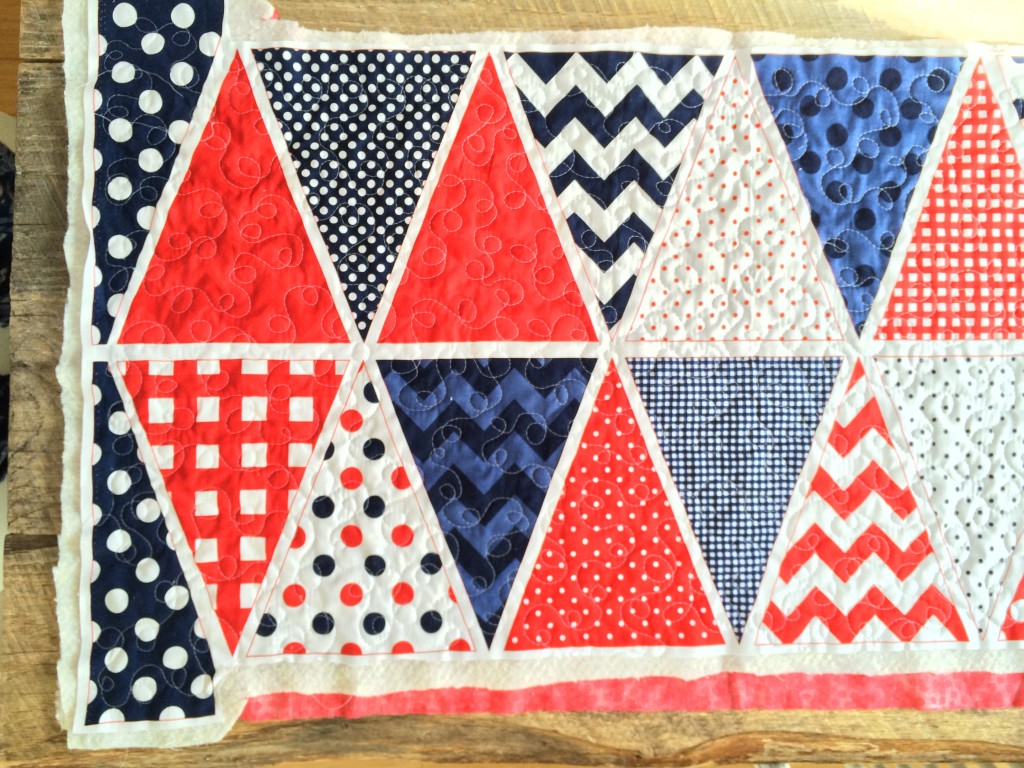
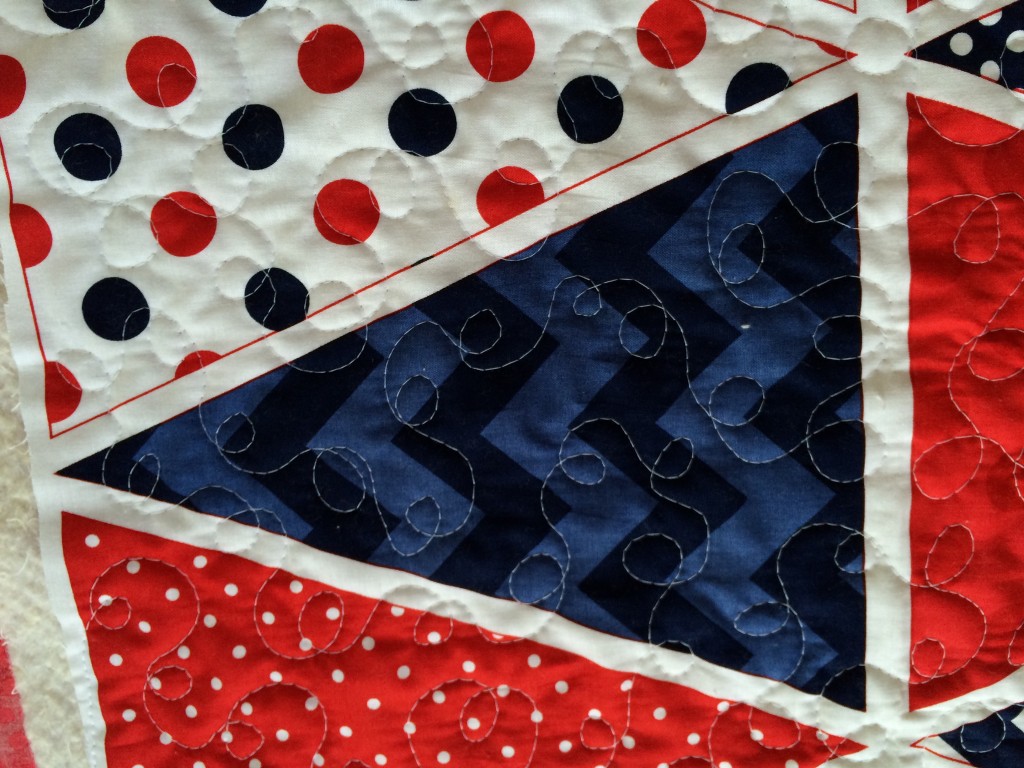


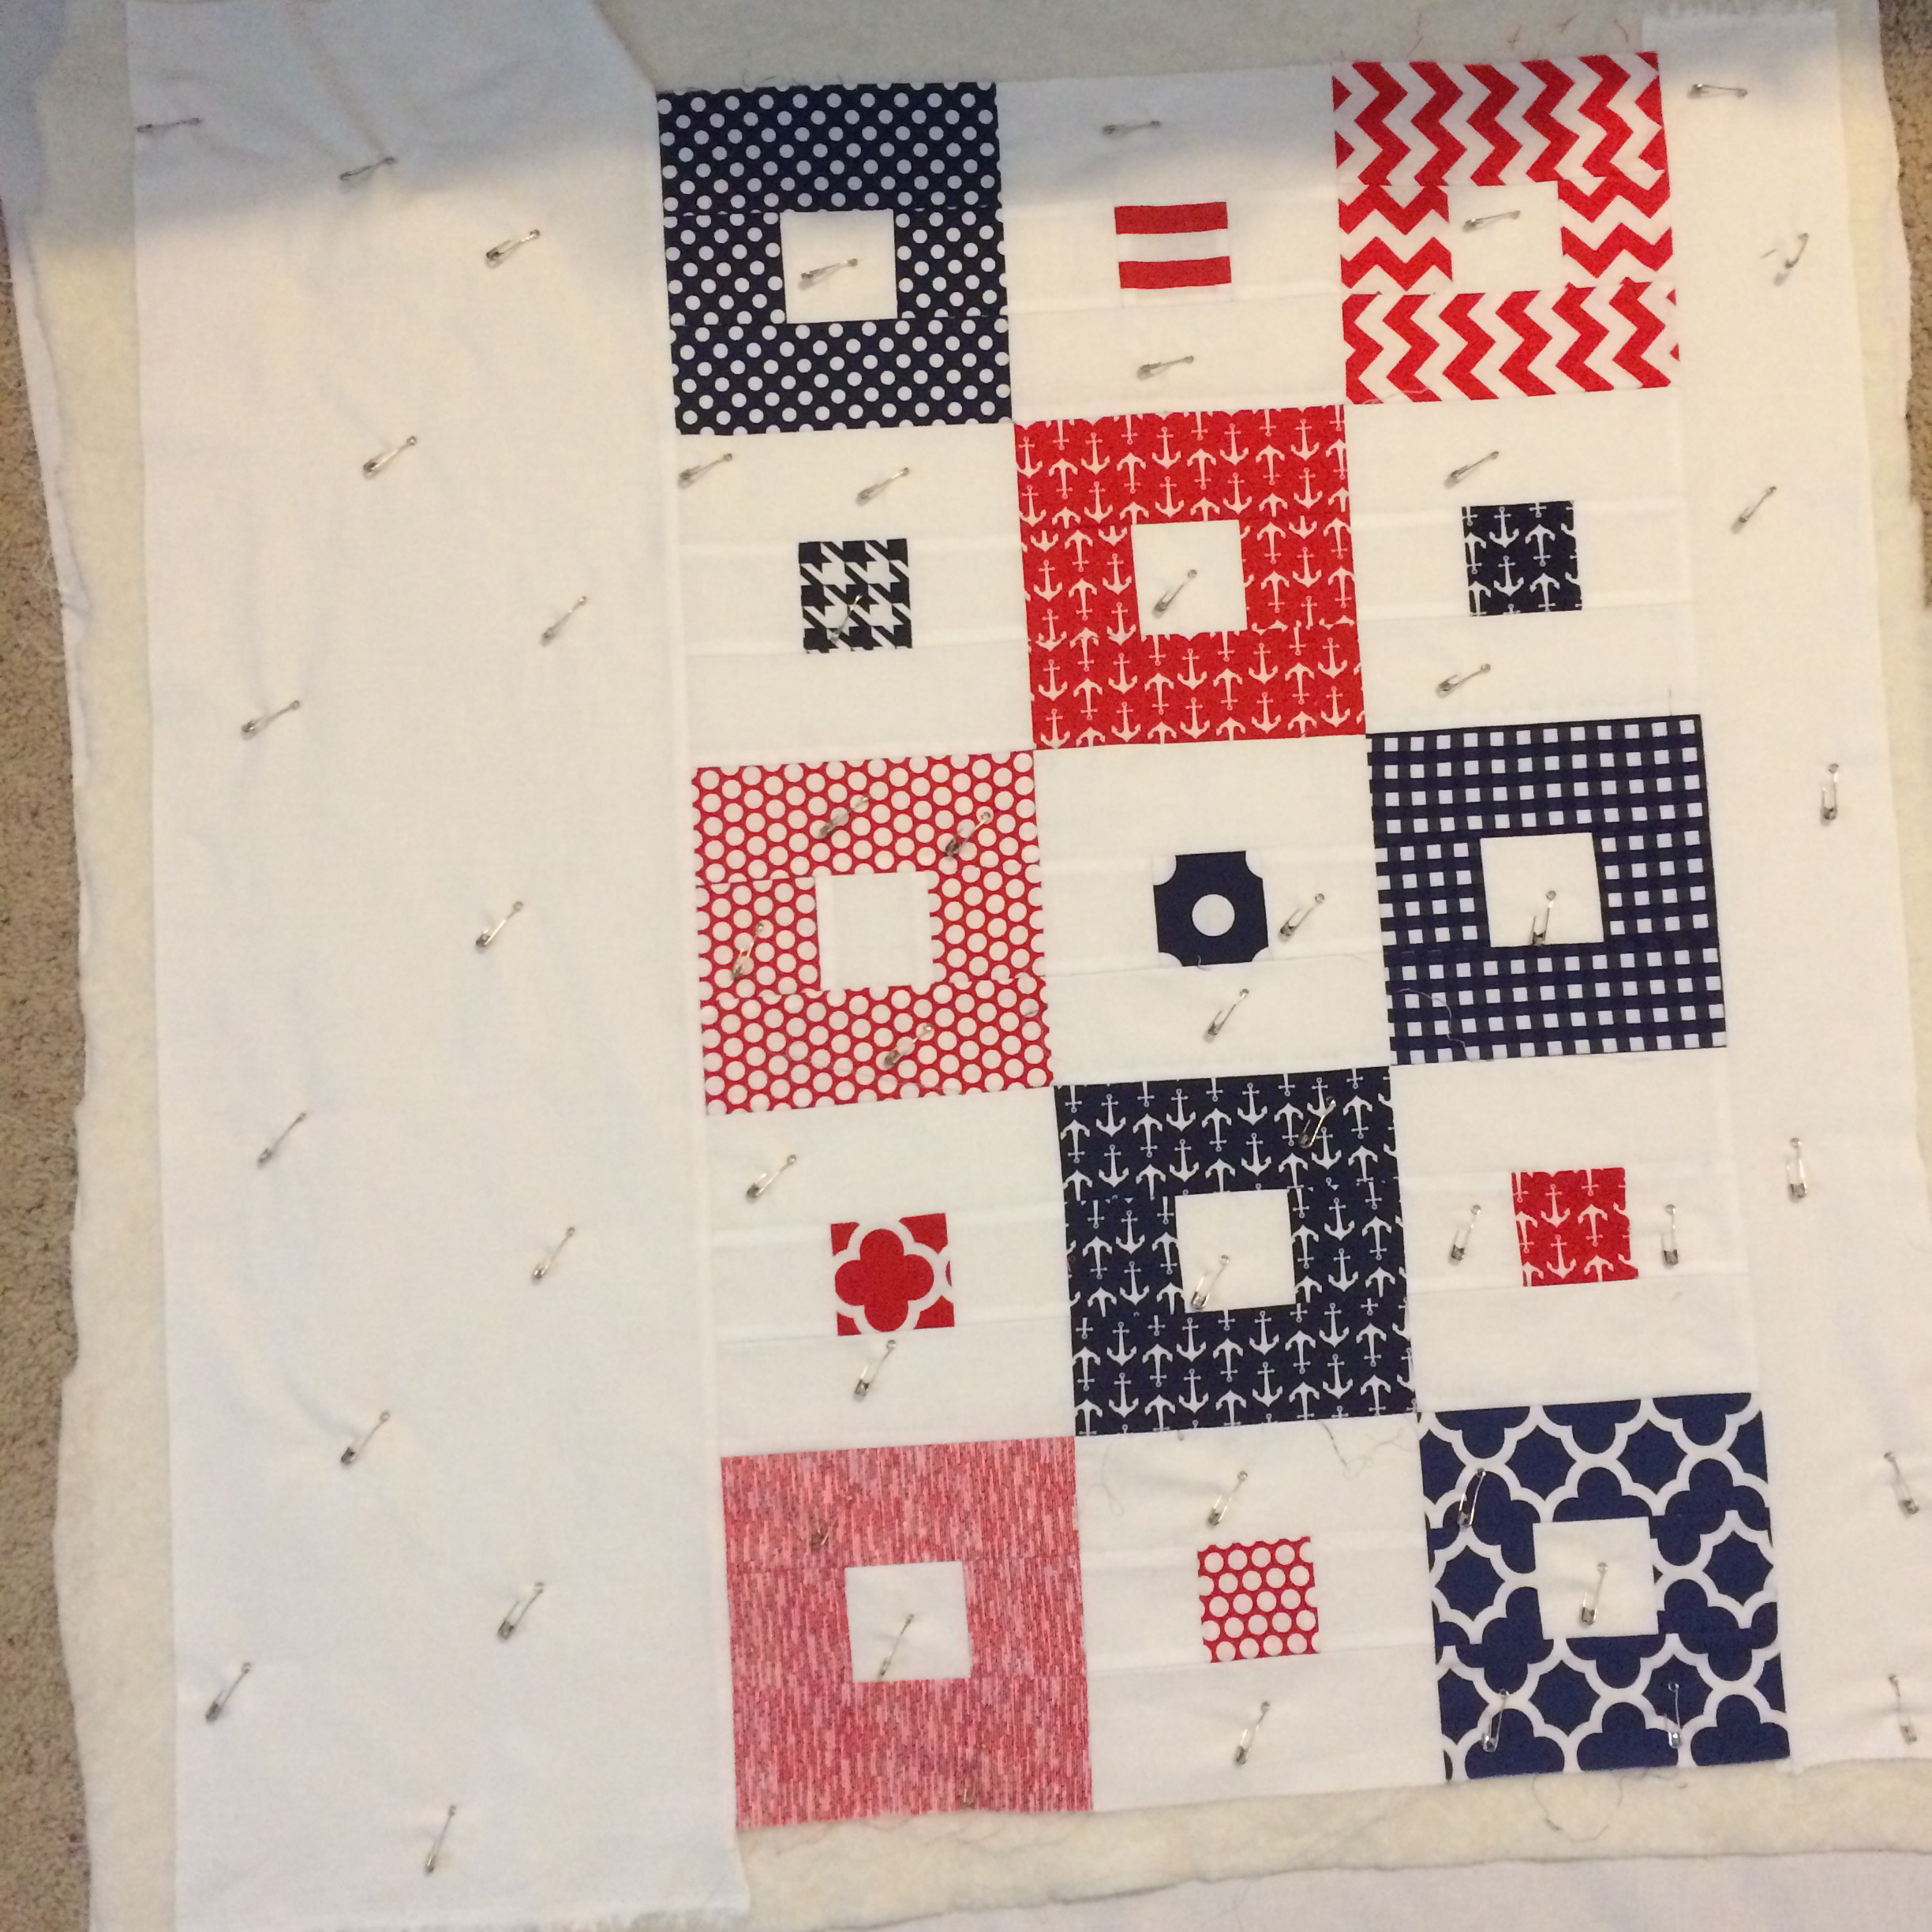
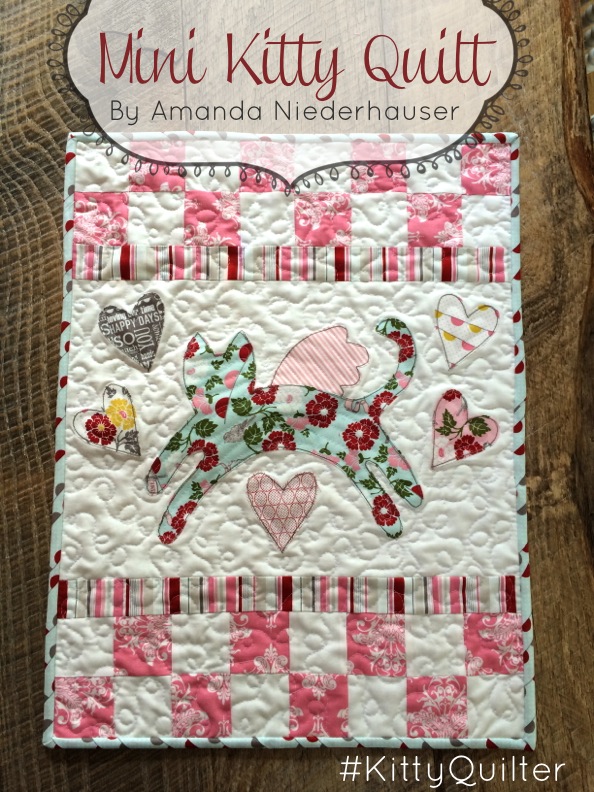
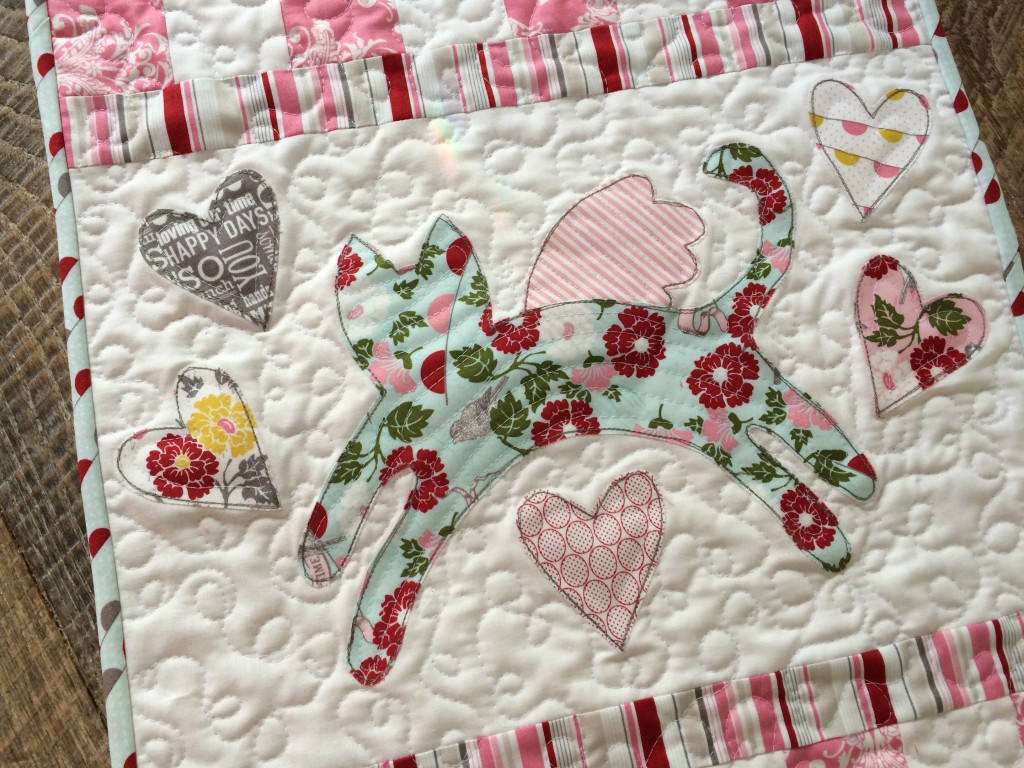
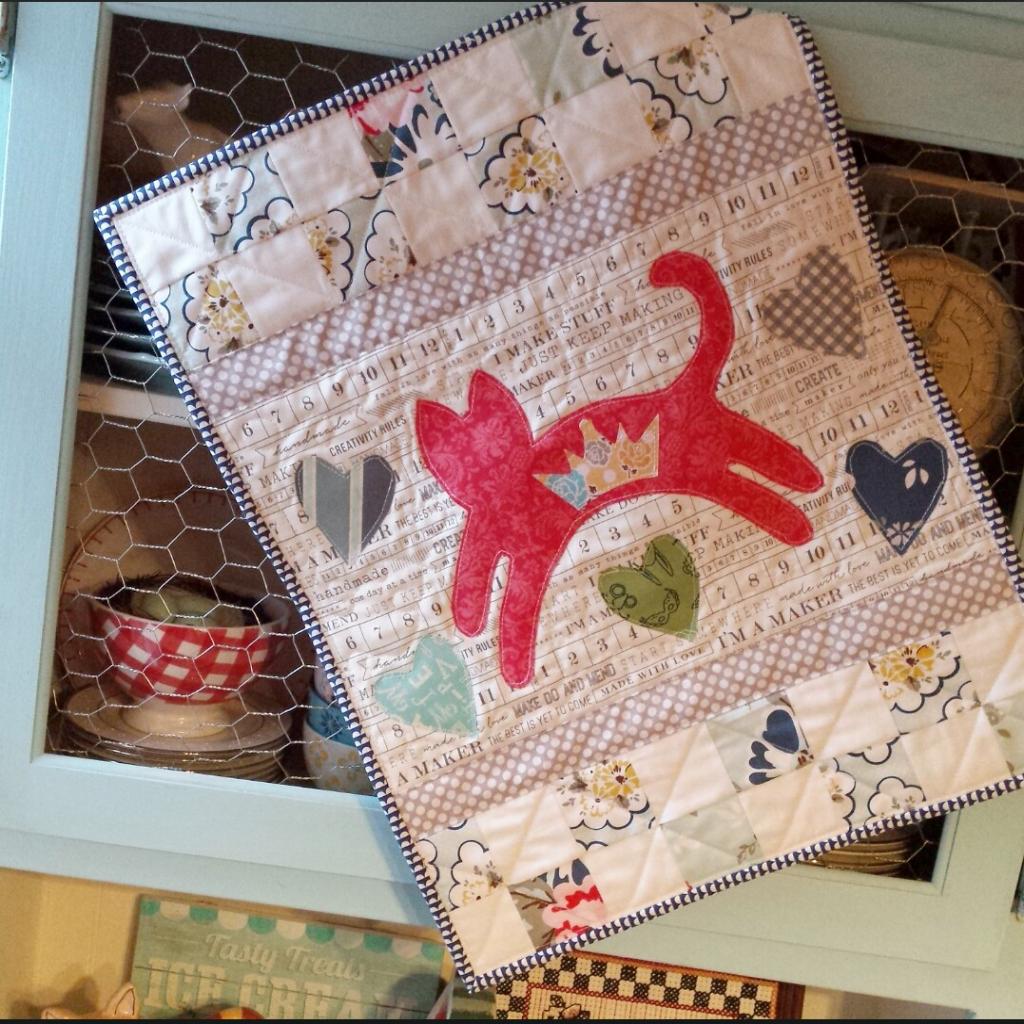
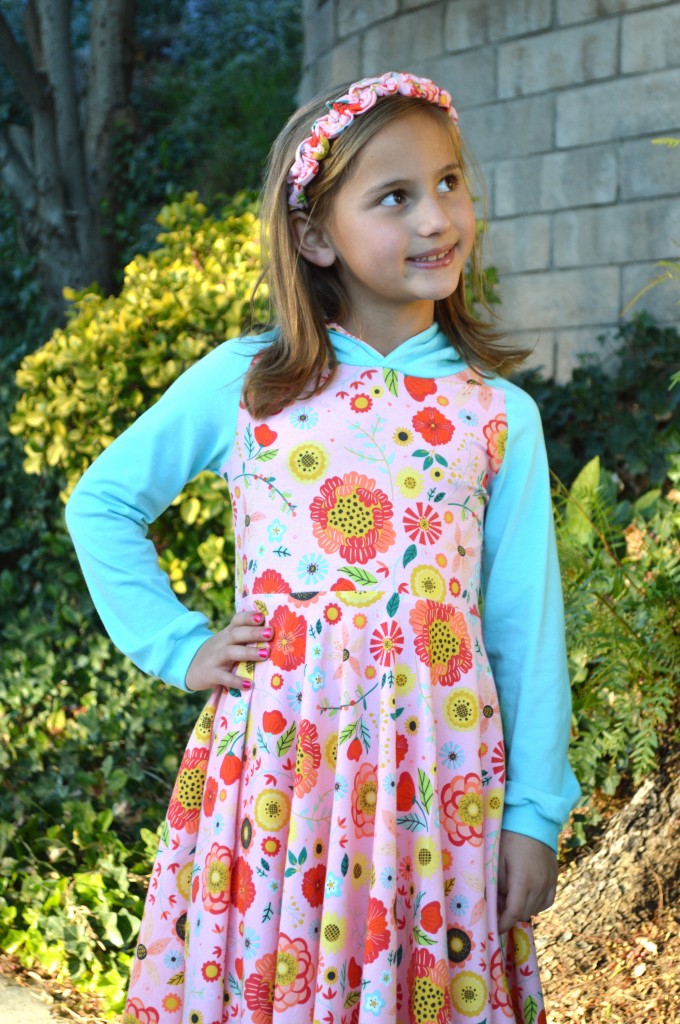
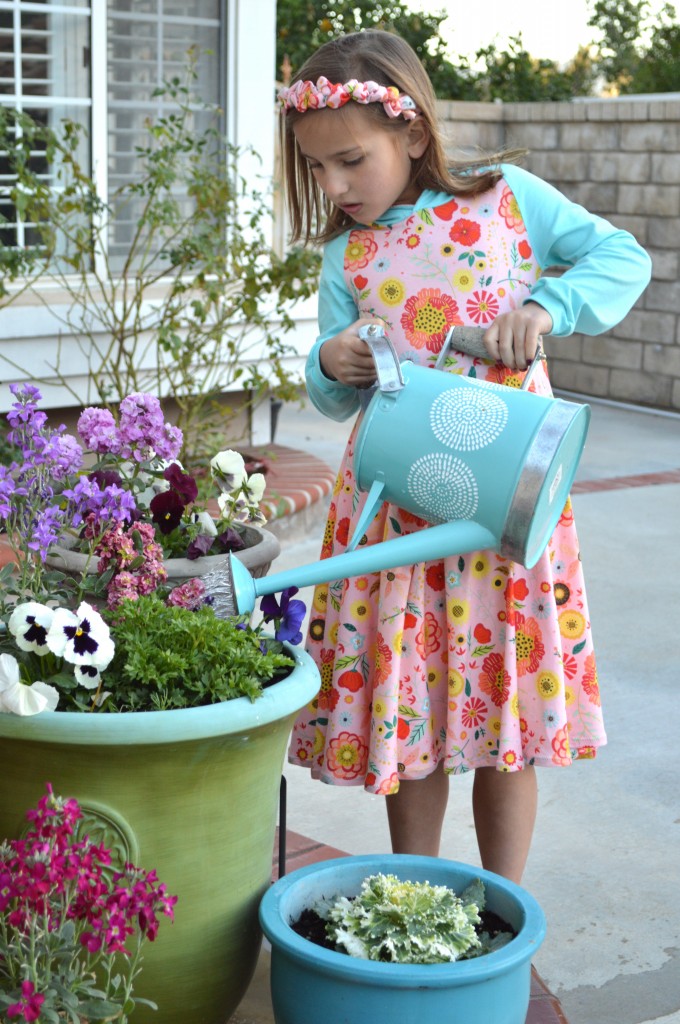
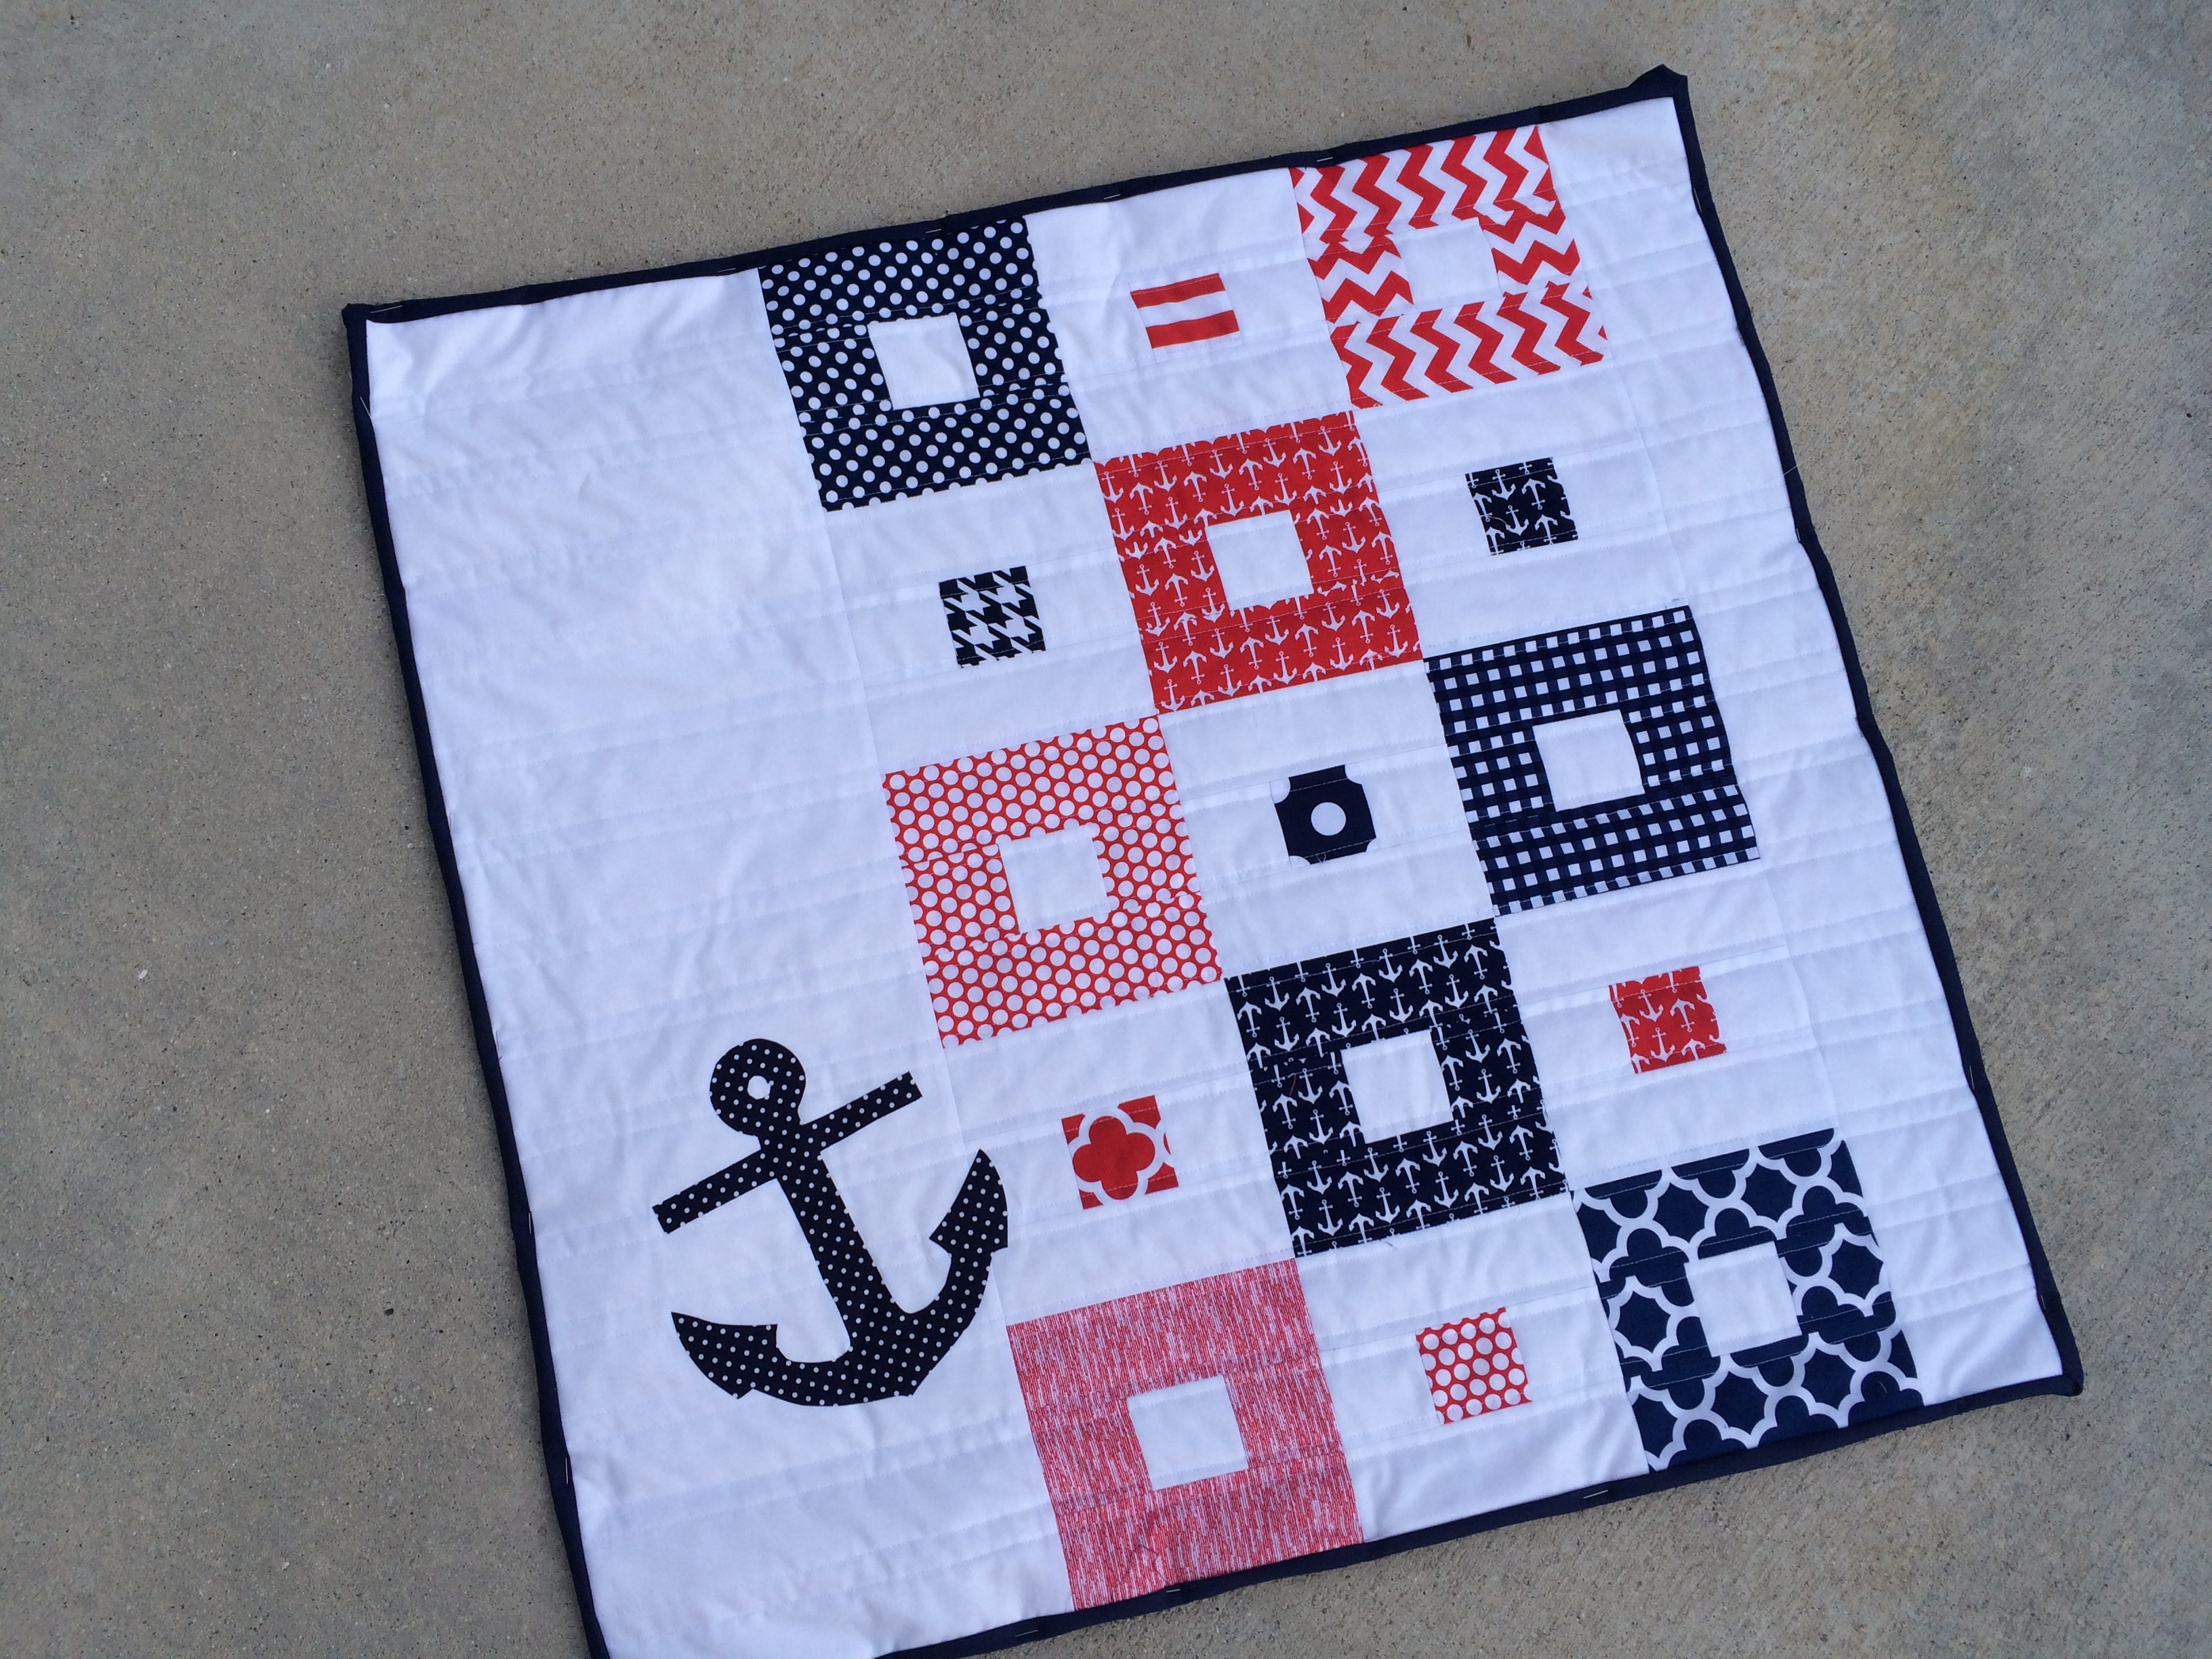
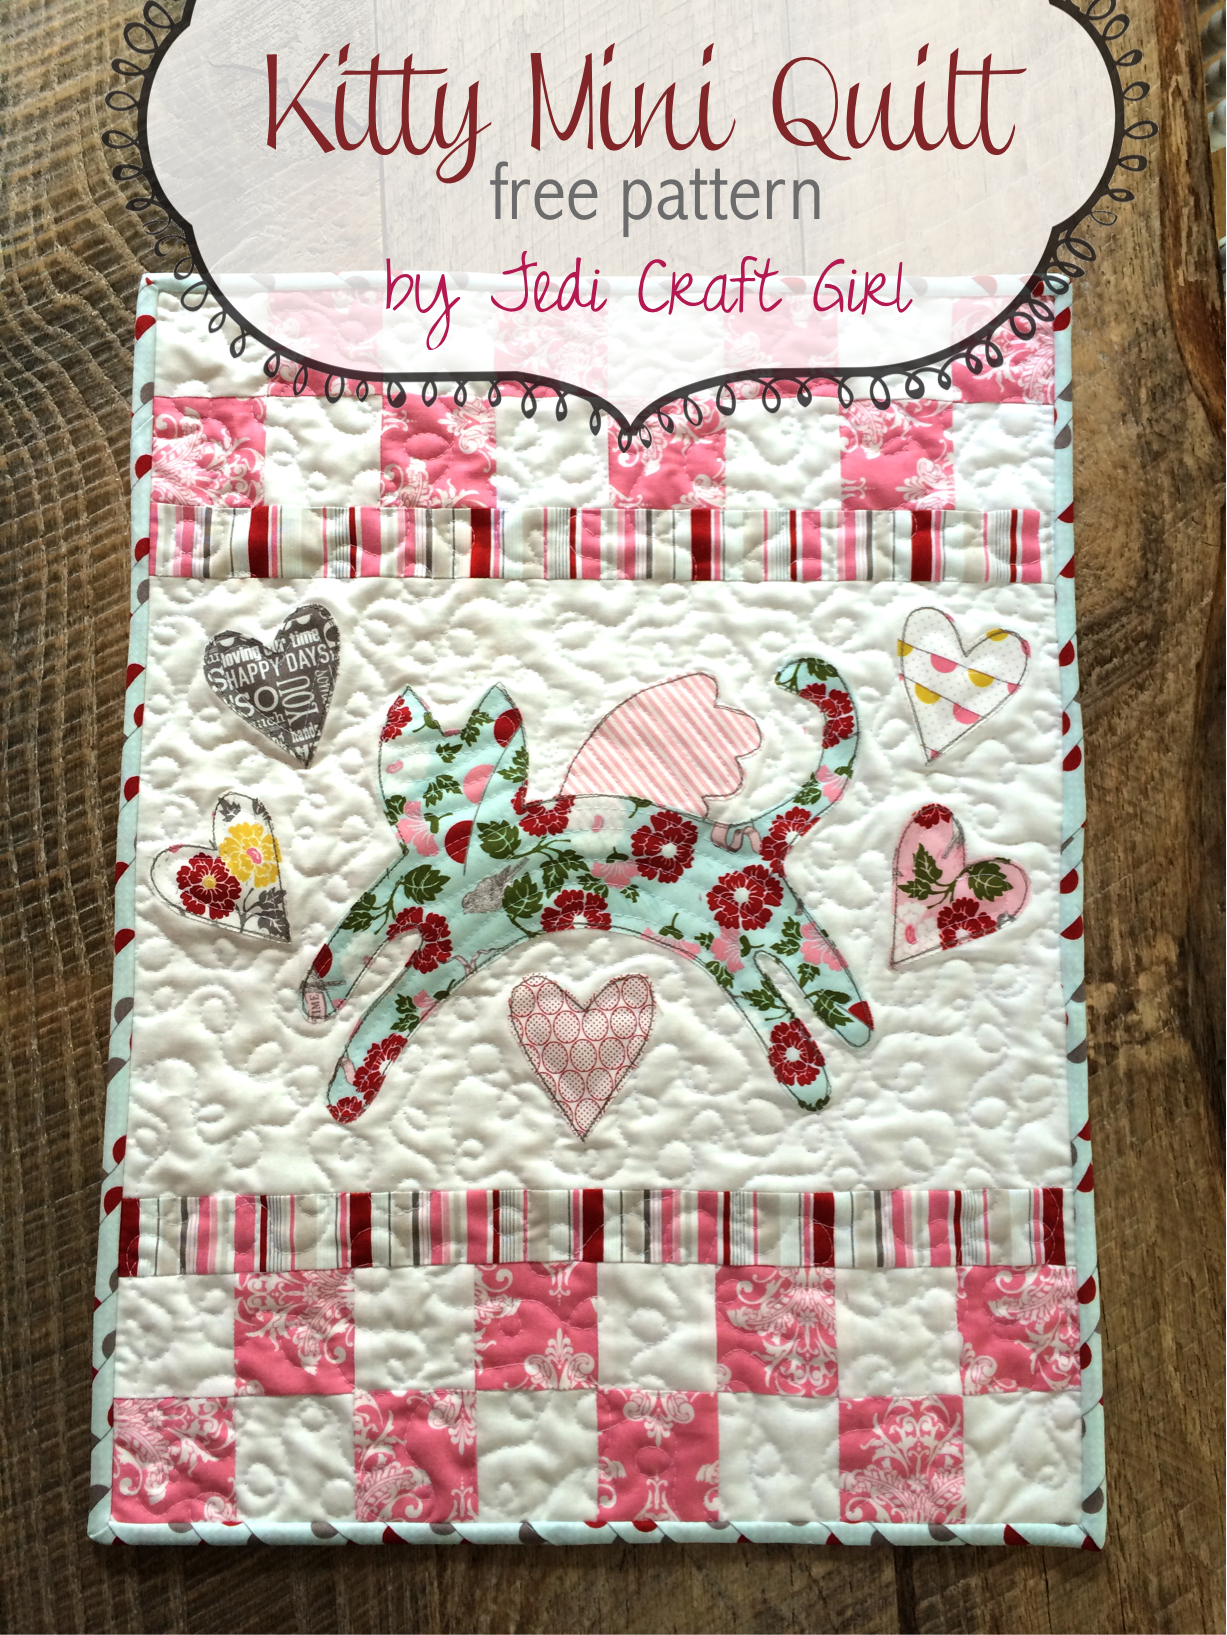
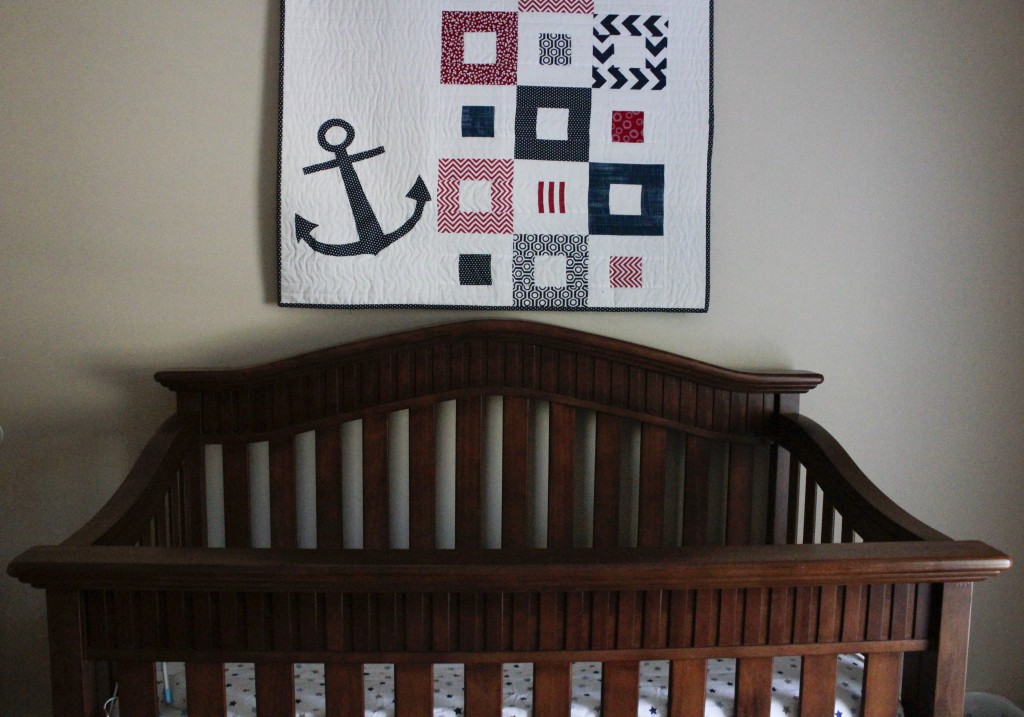 Today I am sharing with you a mini version of this quilt – something you can make in an afternoon! It measures 30.5″ square. And even better – you can go to
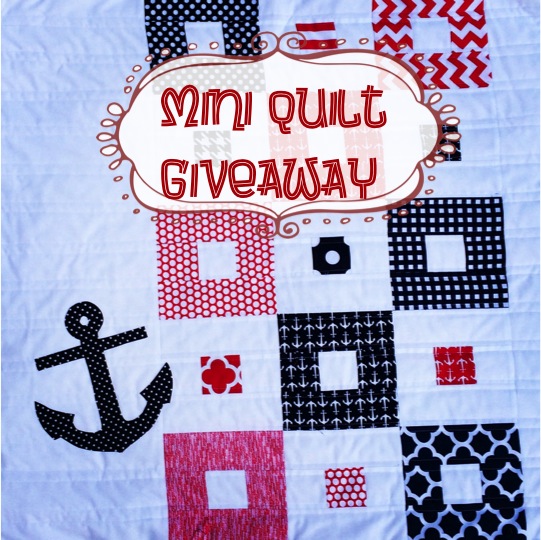


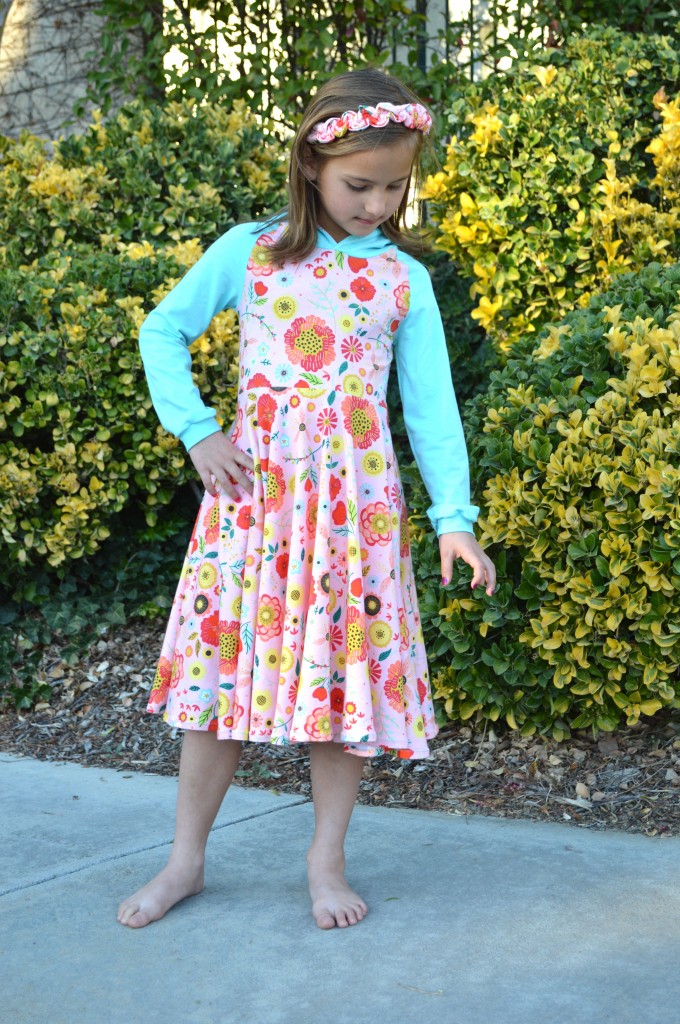

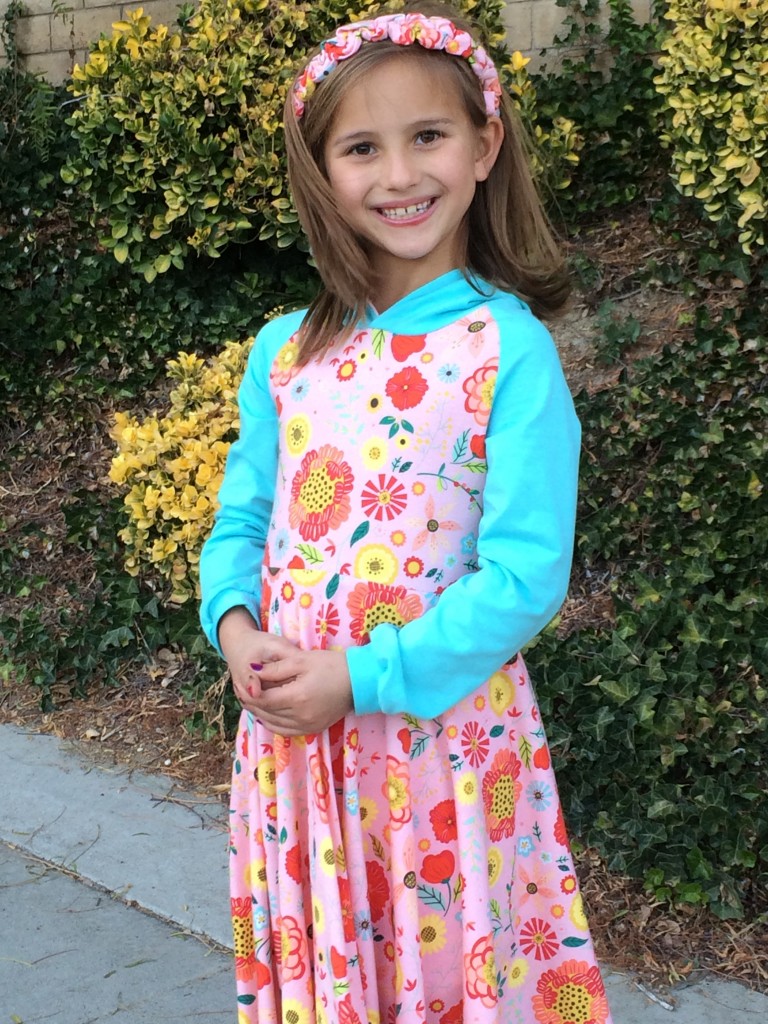
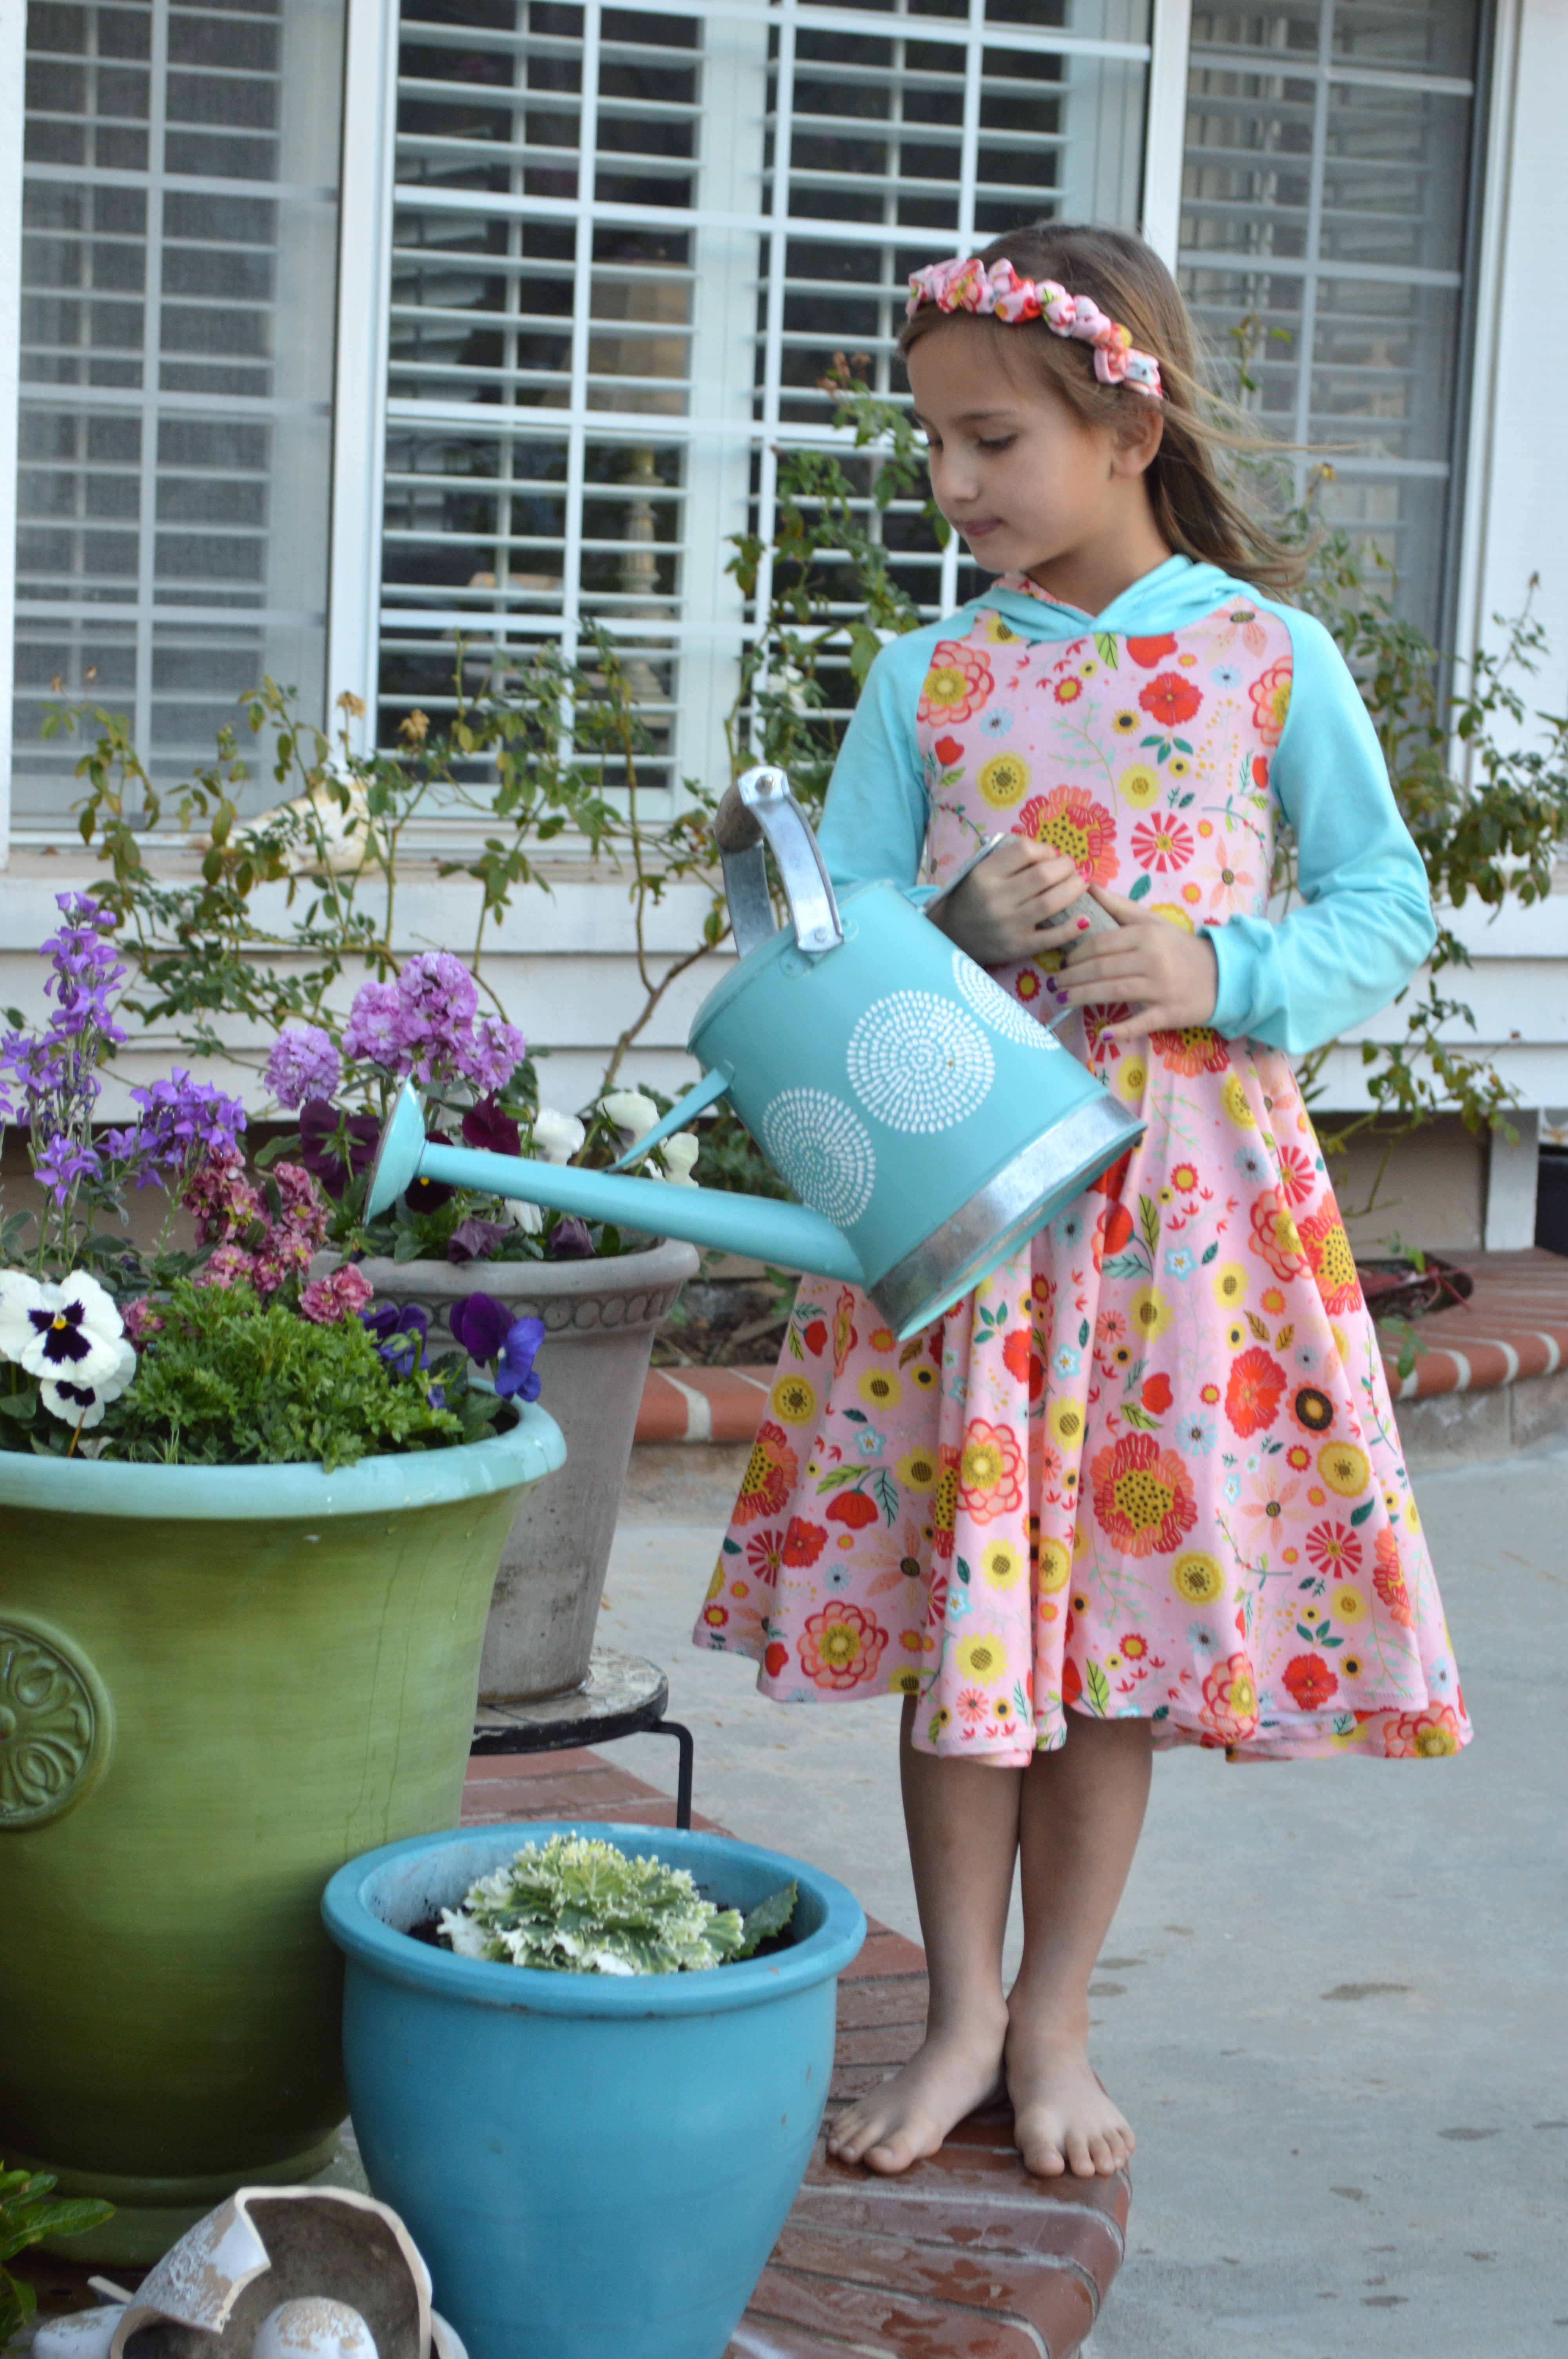
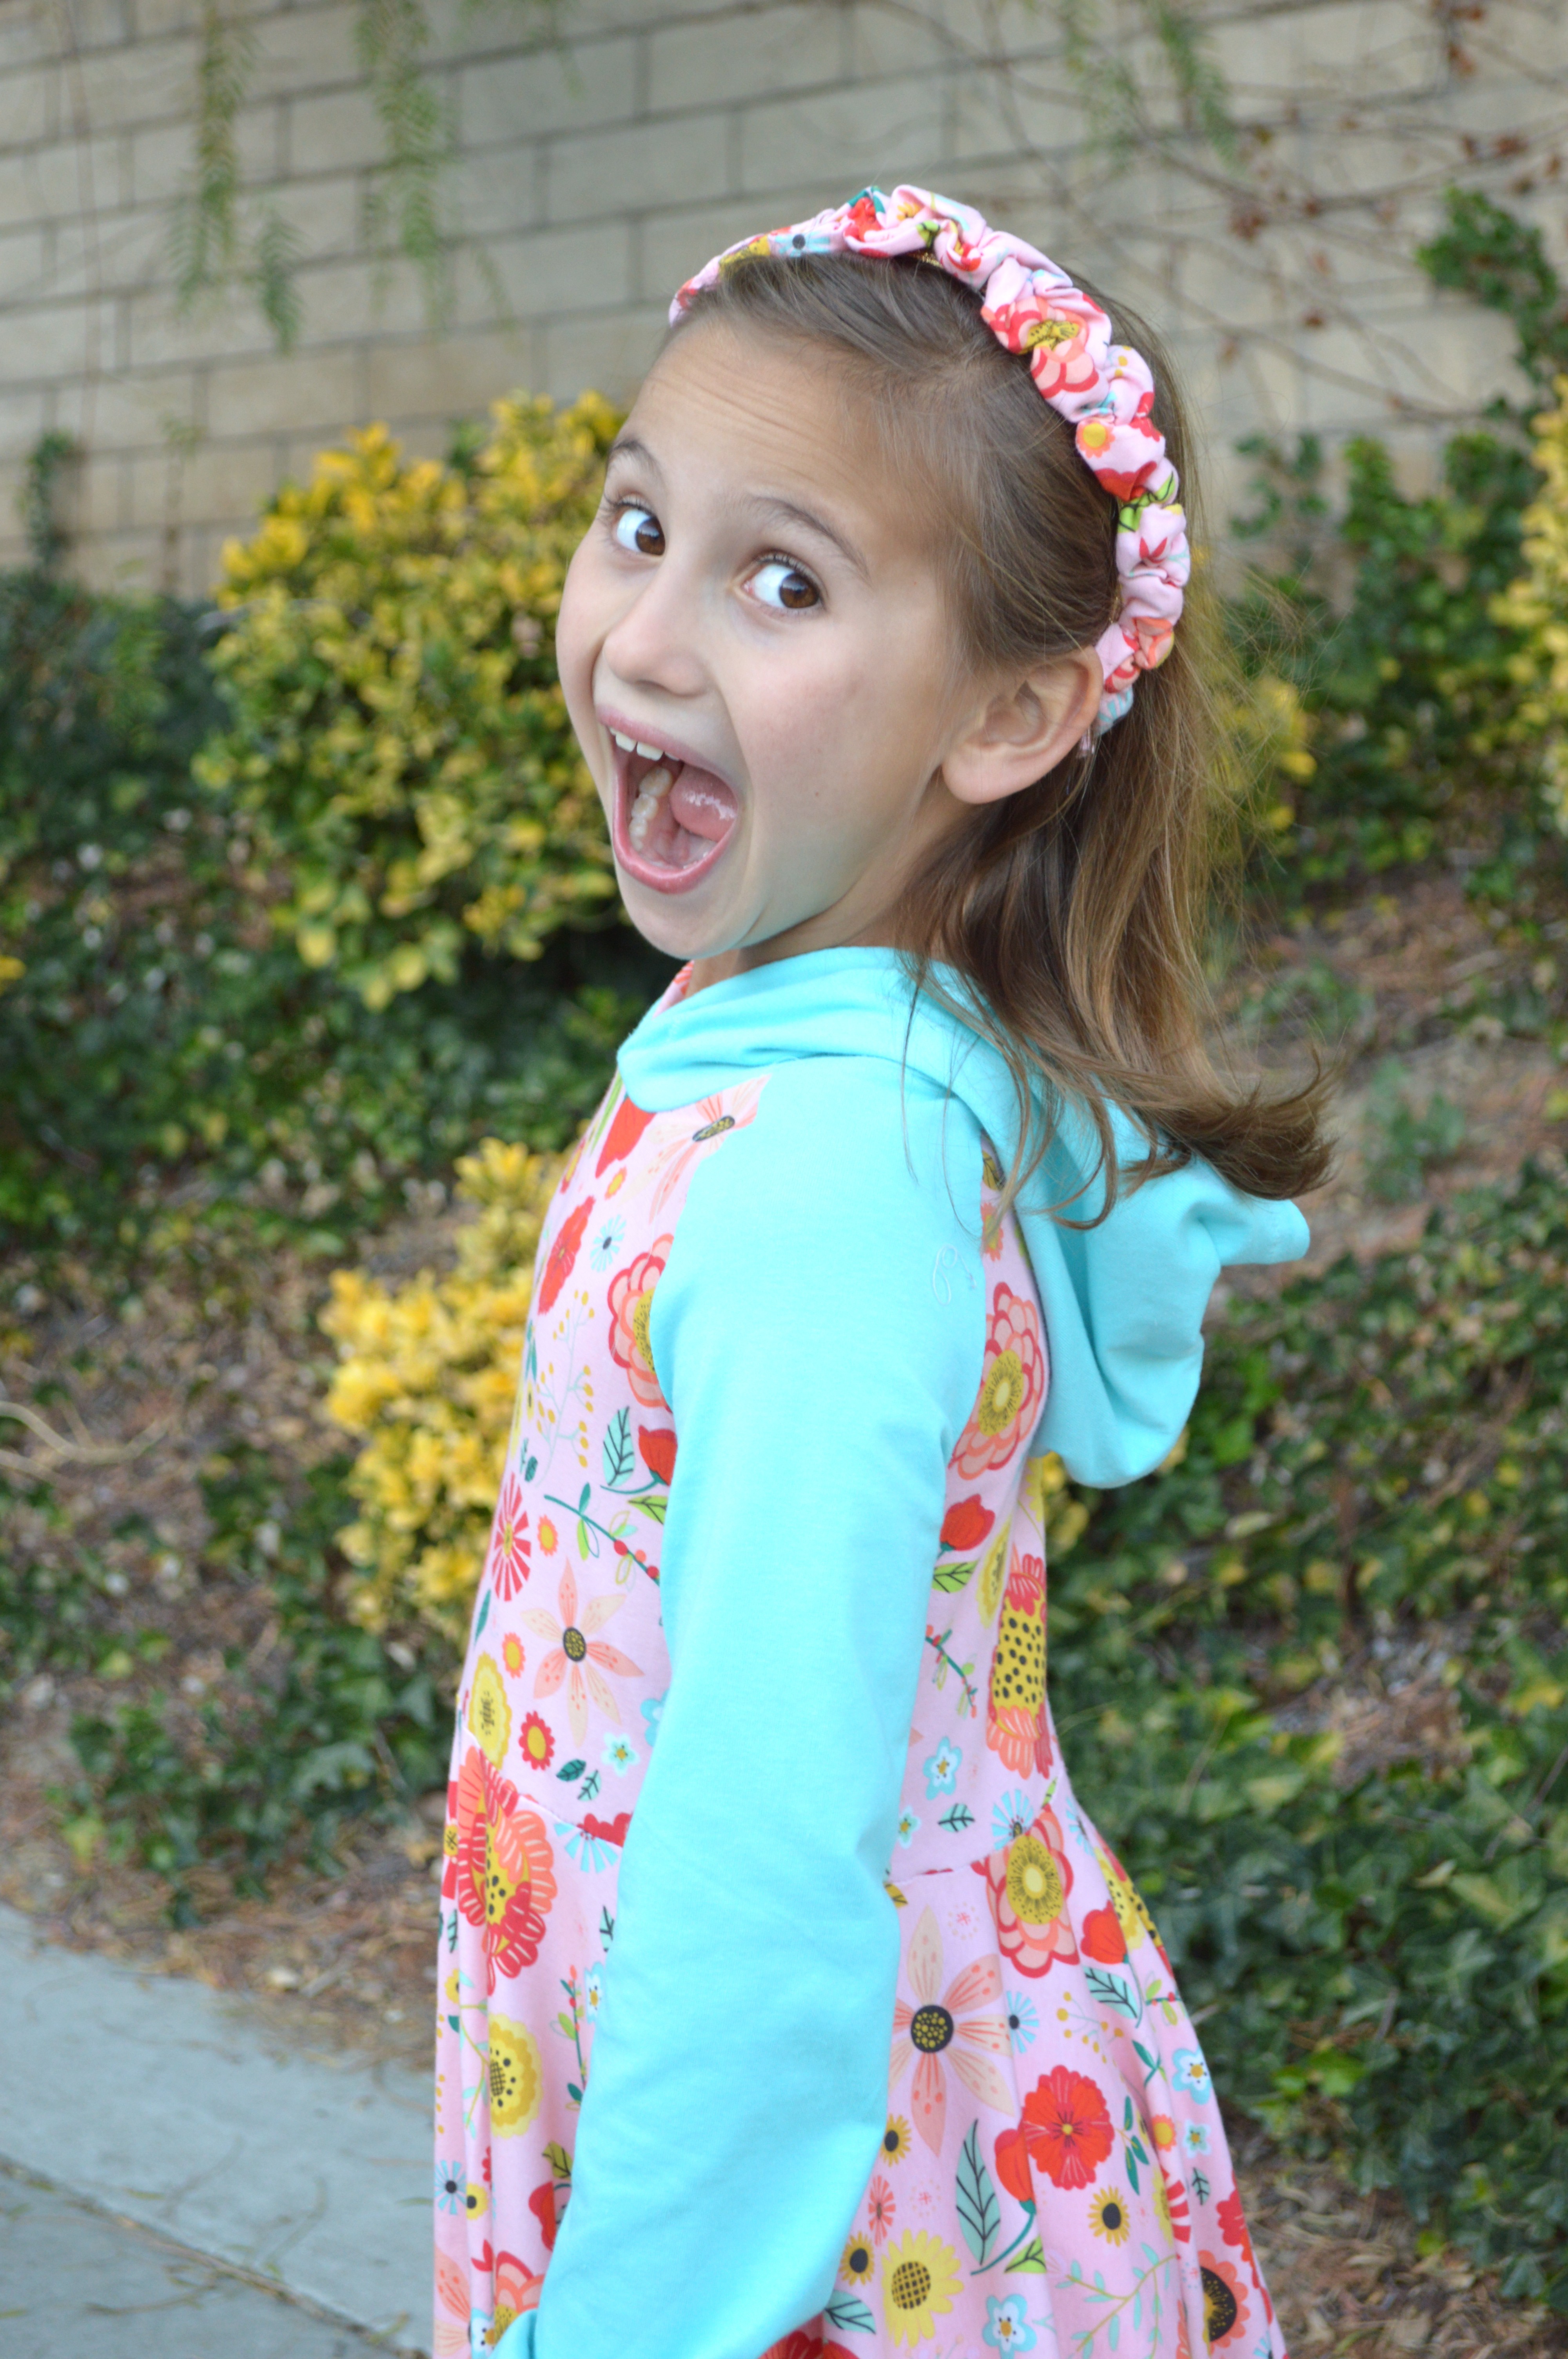
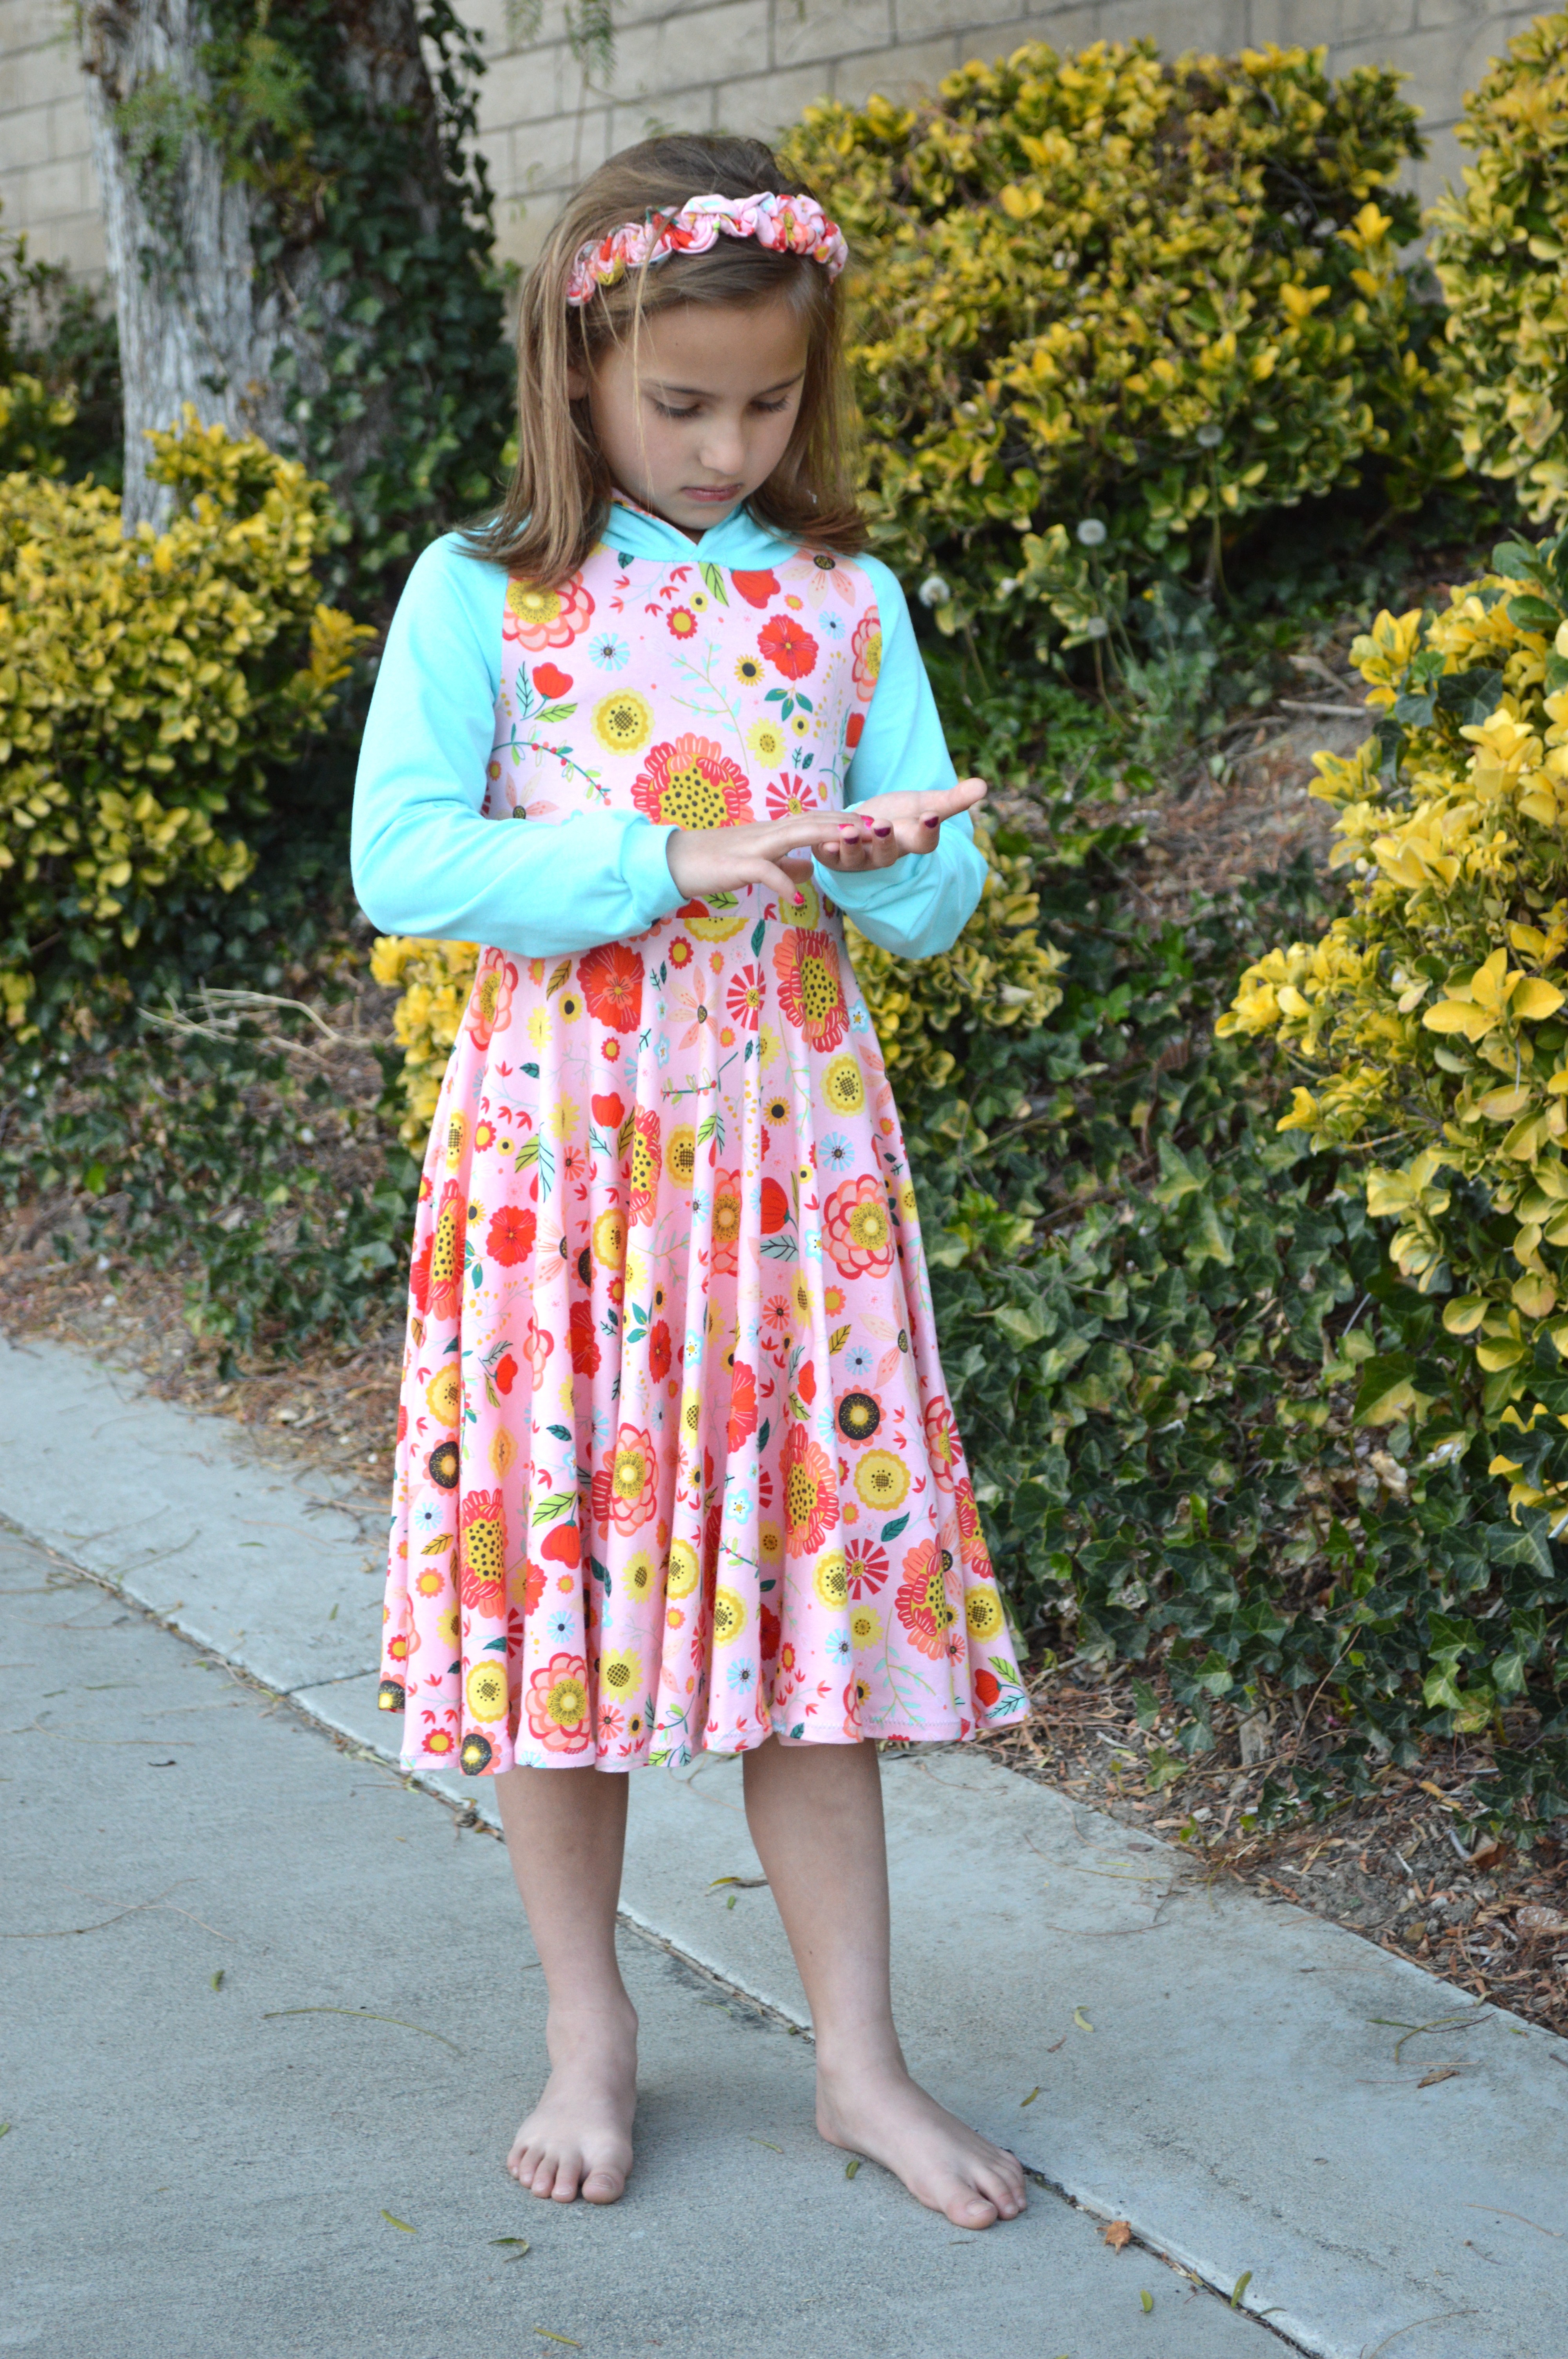
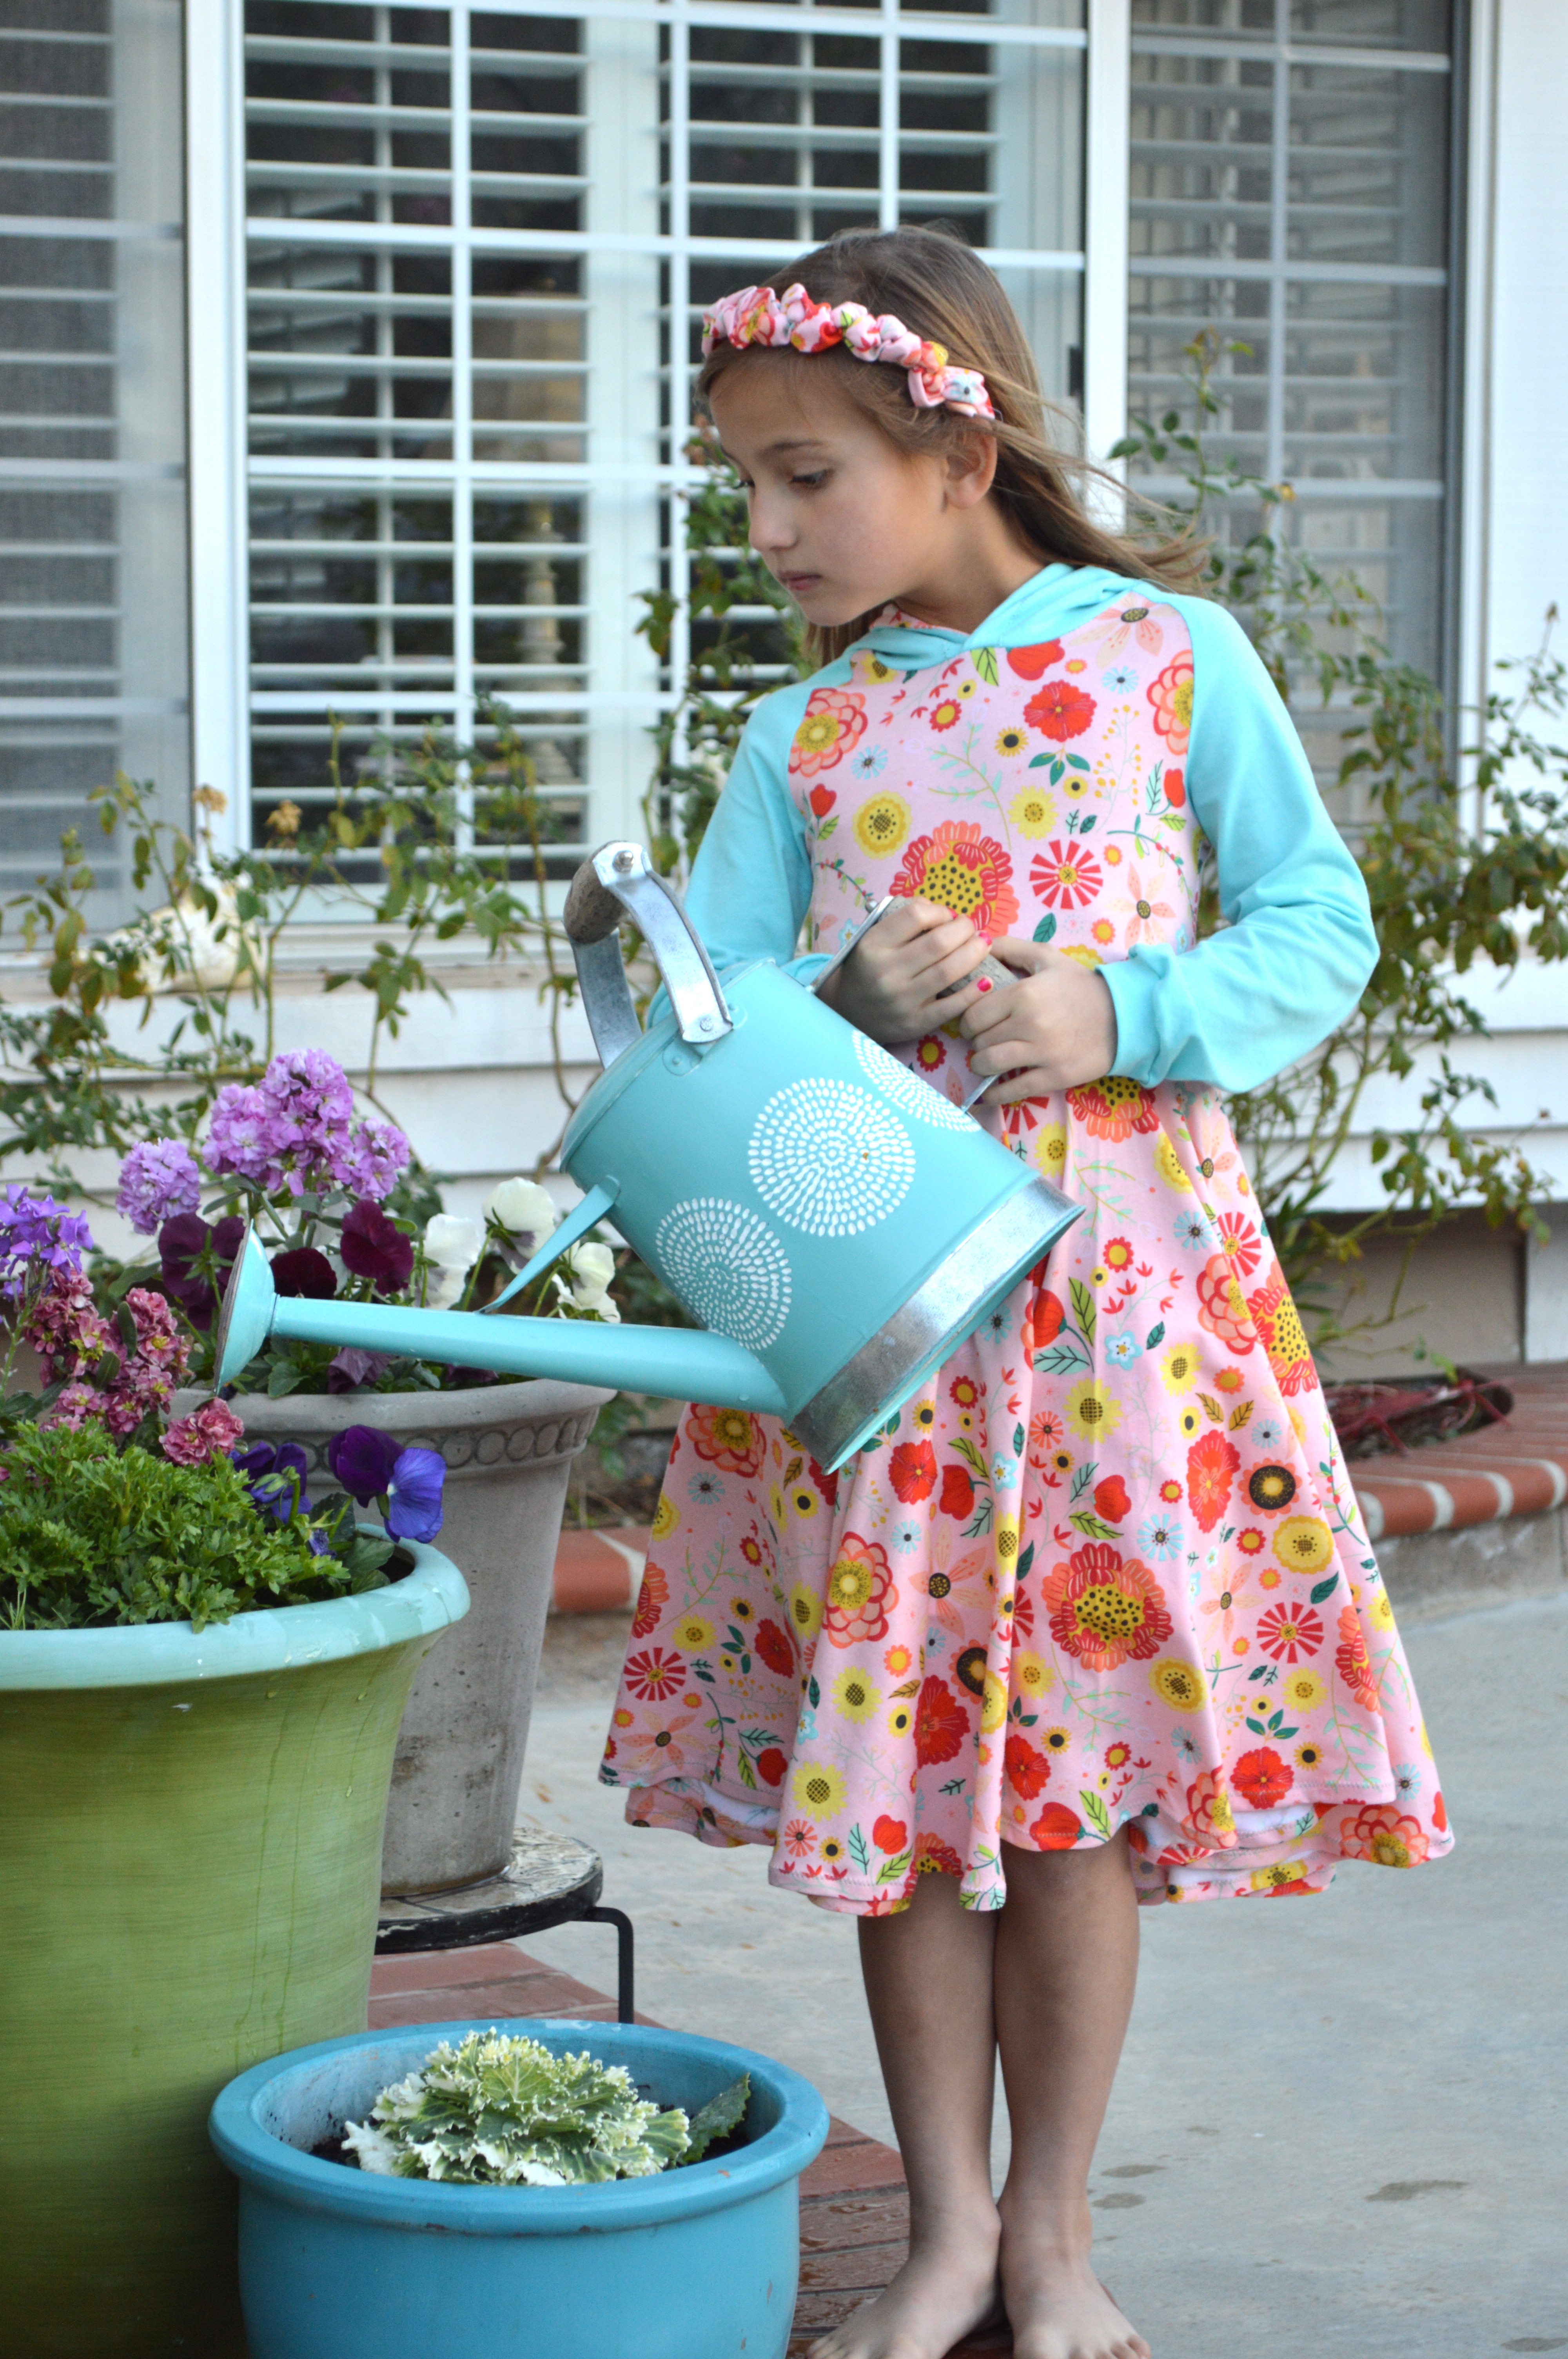
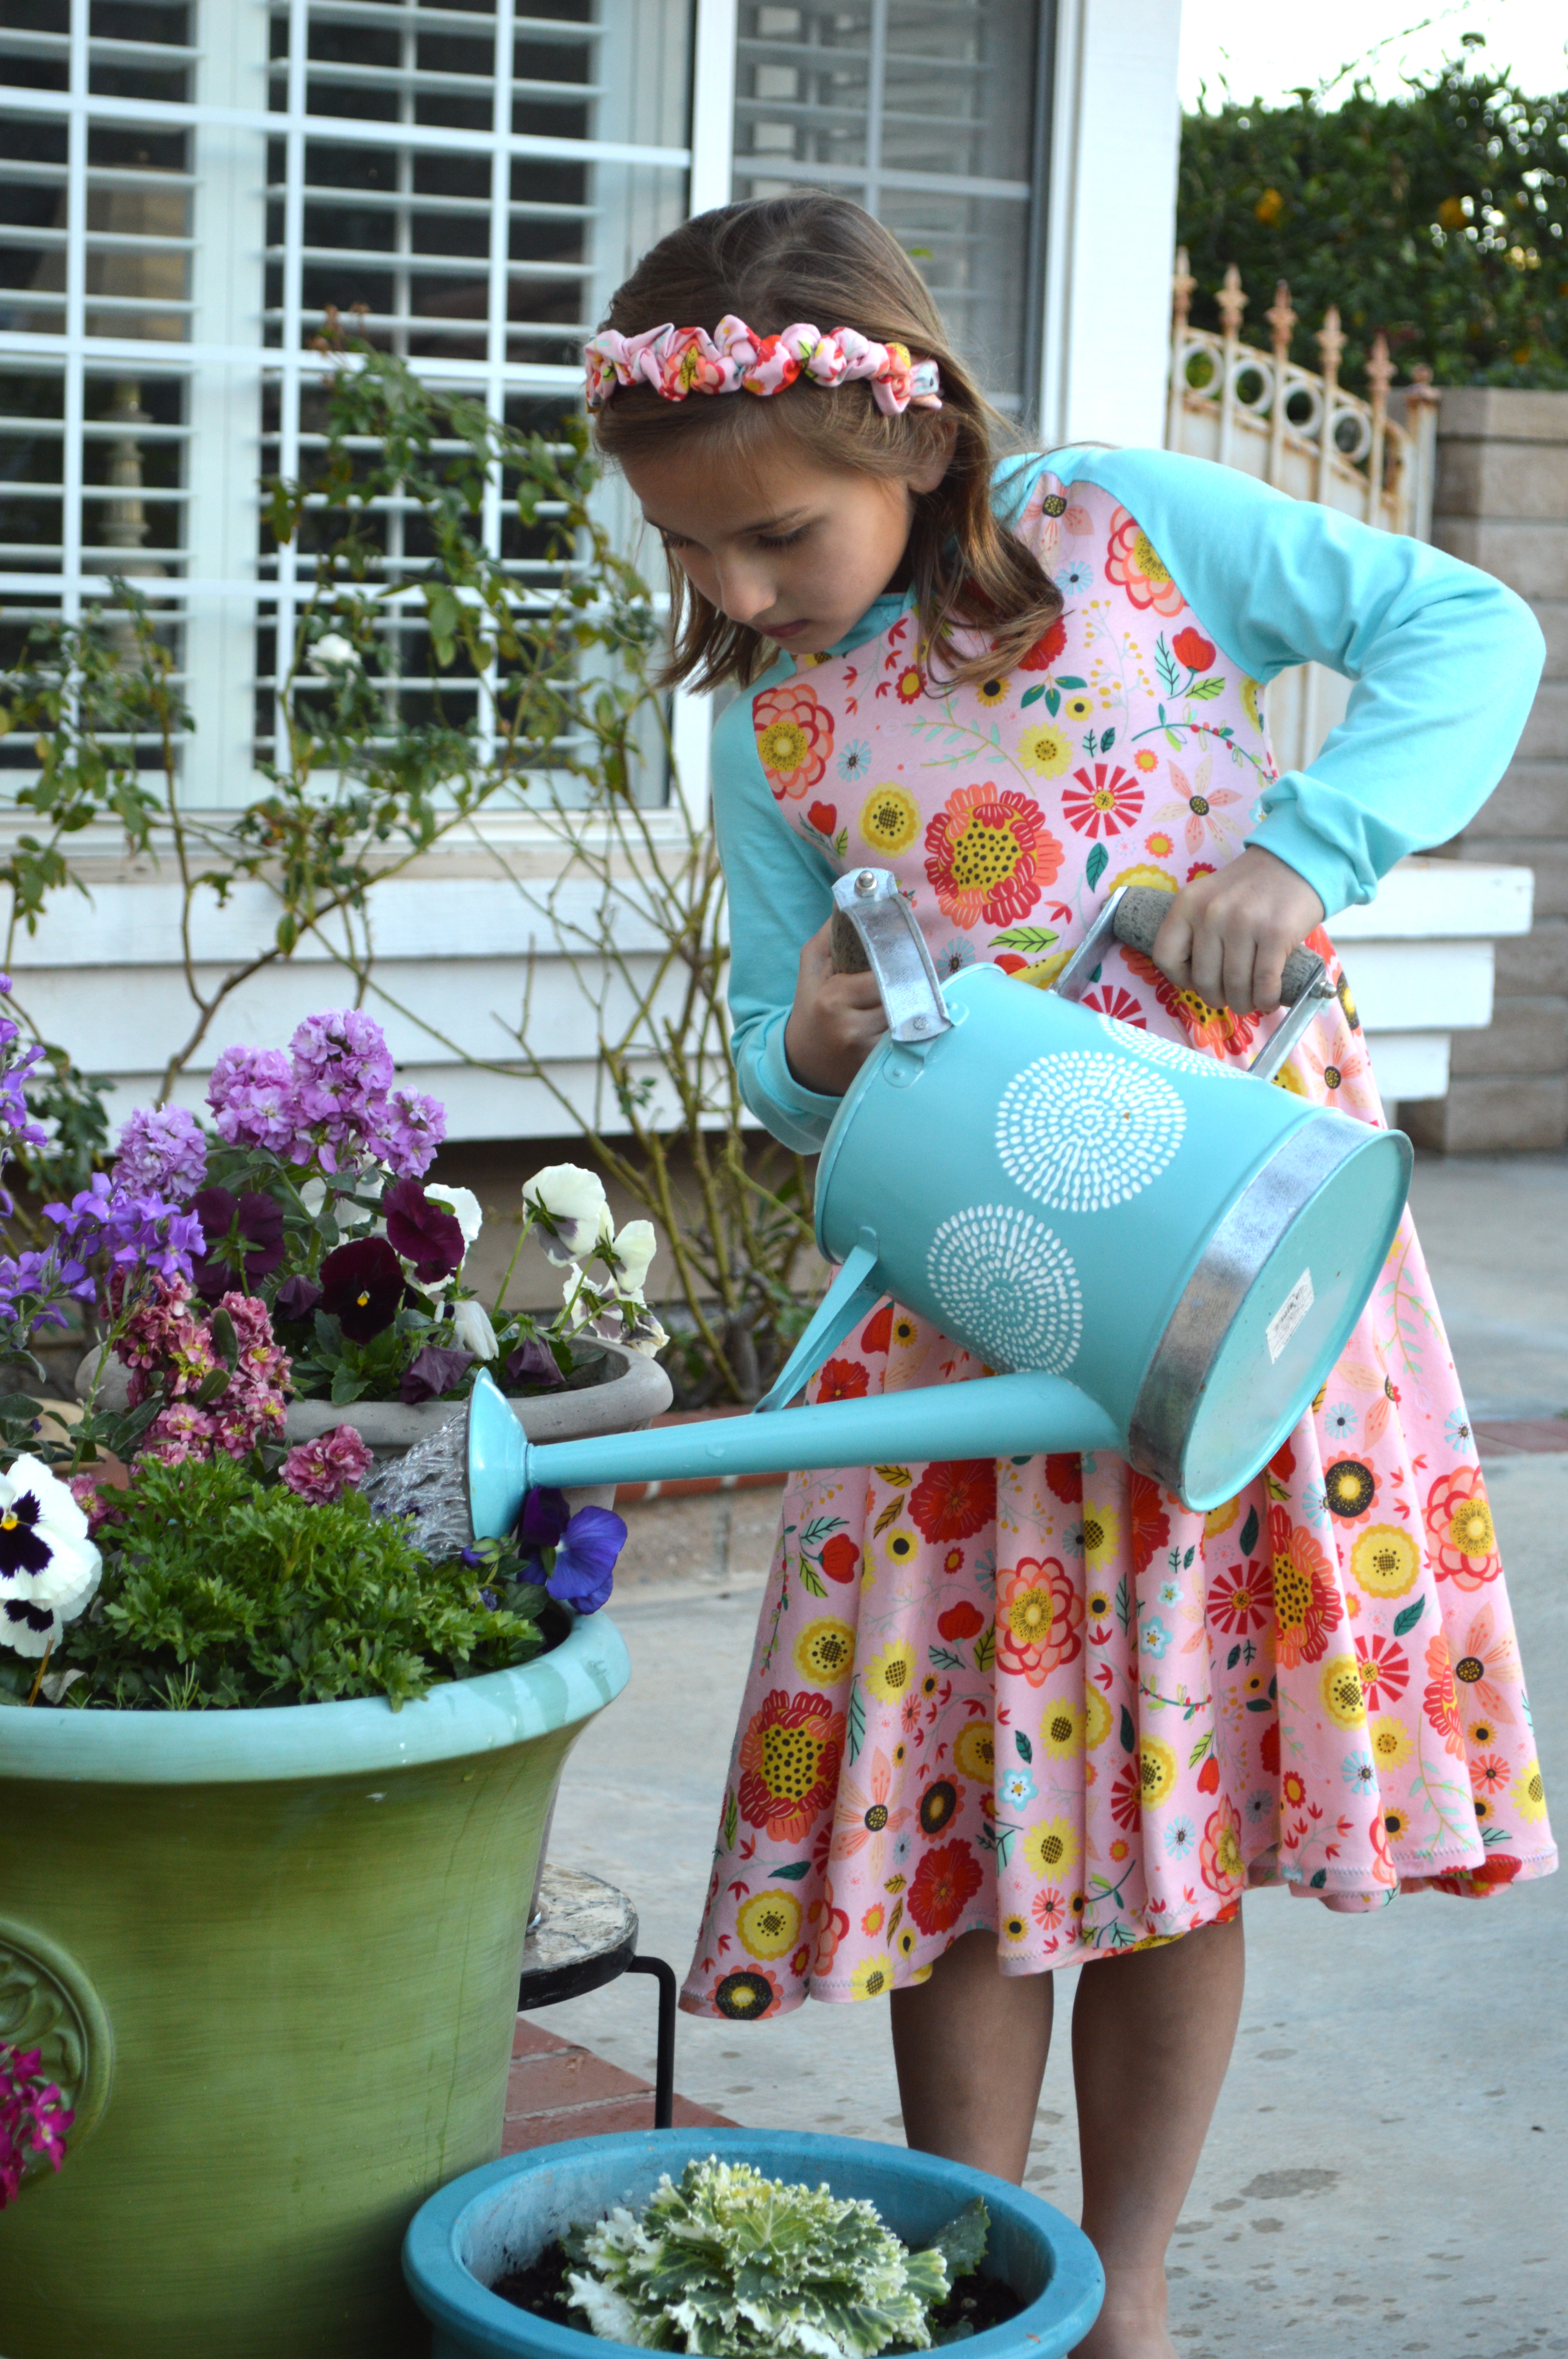
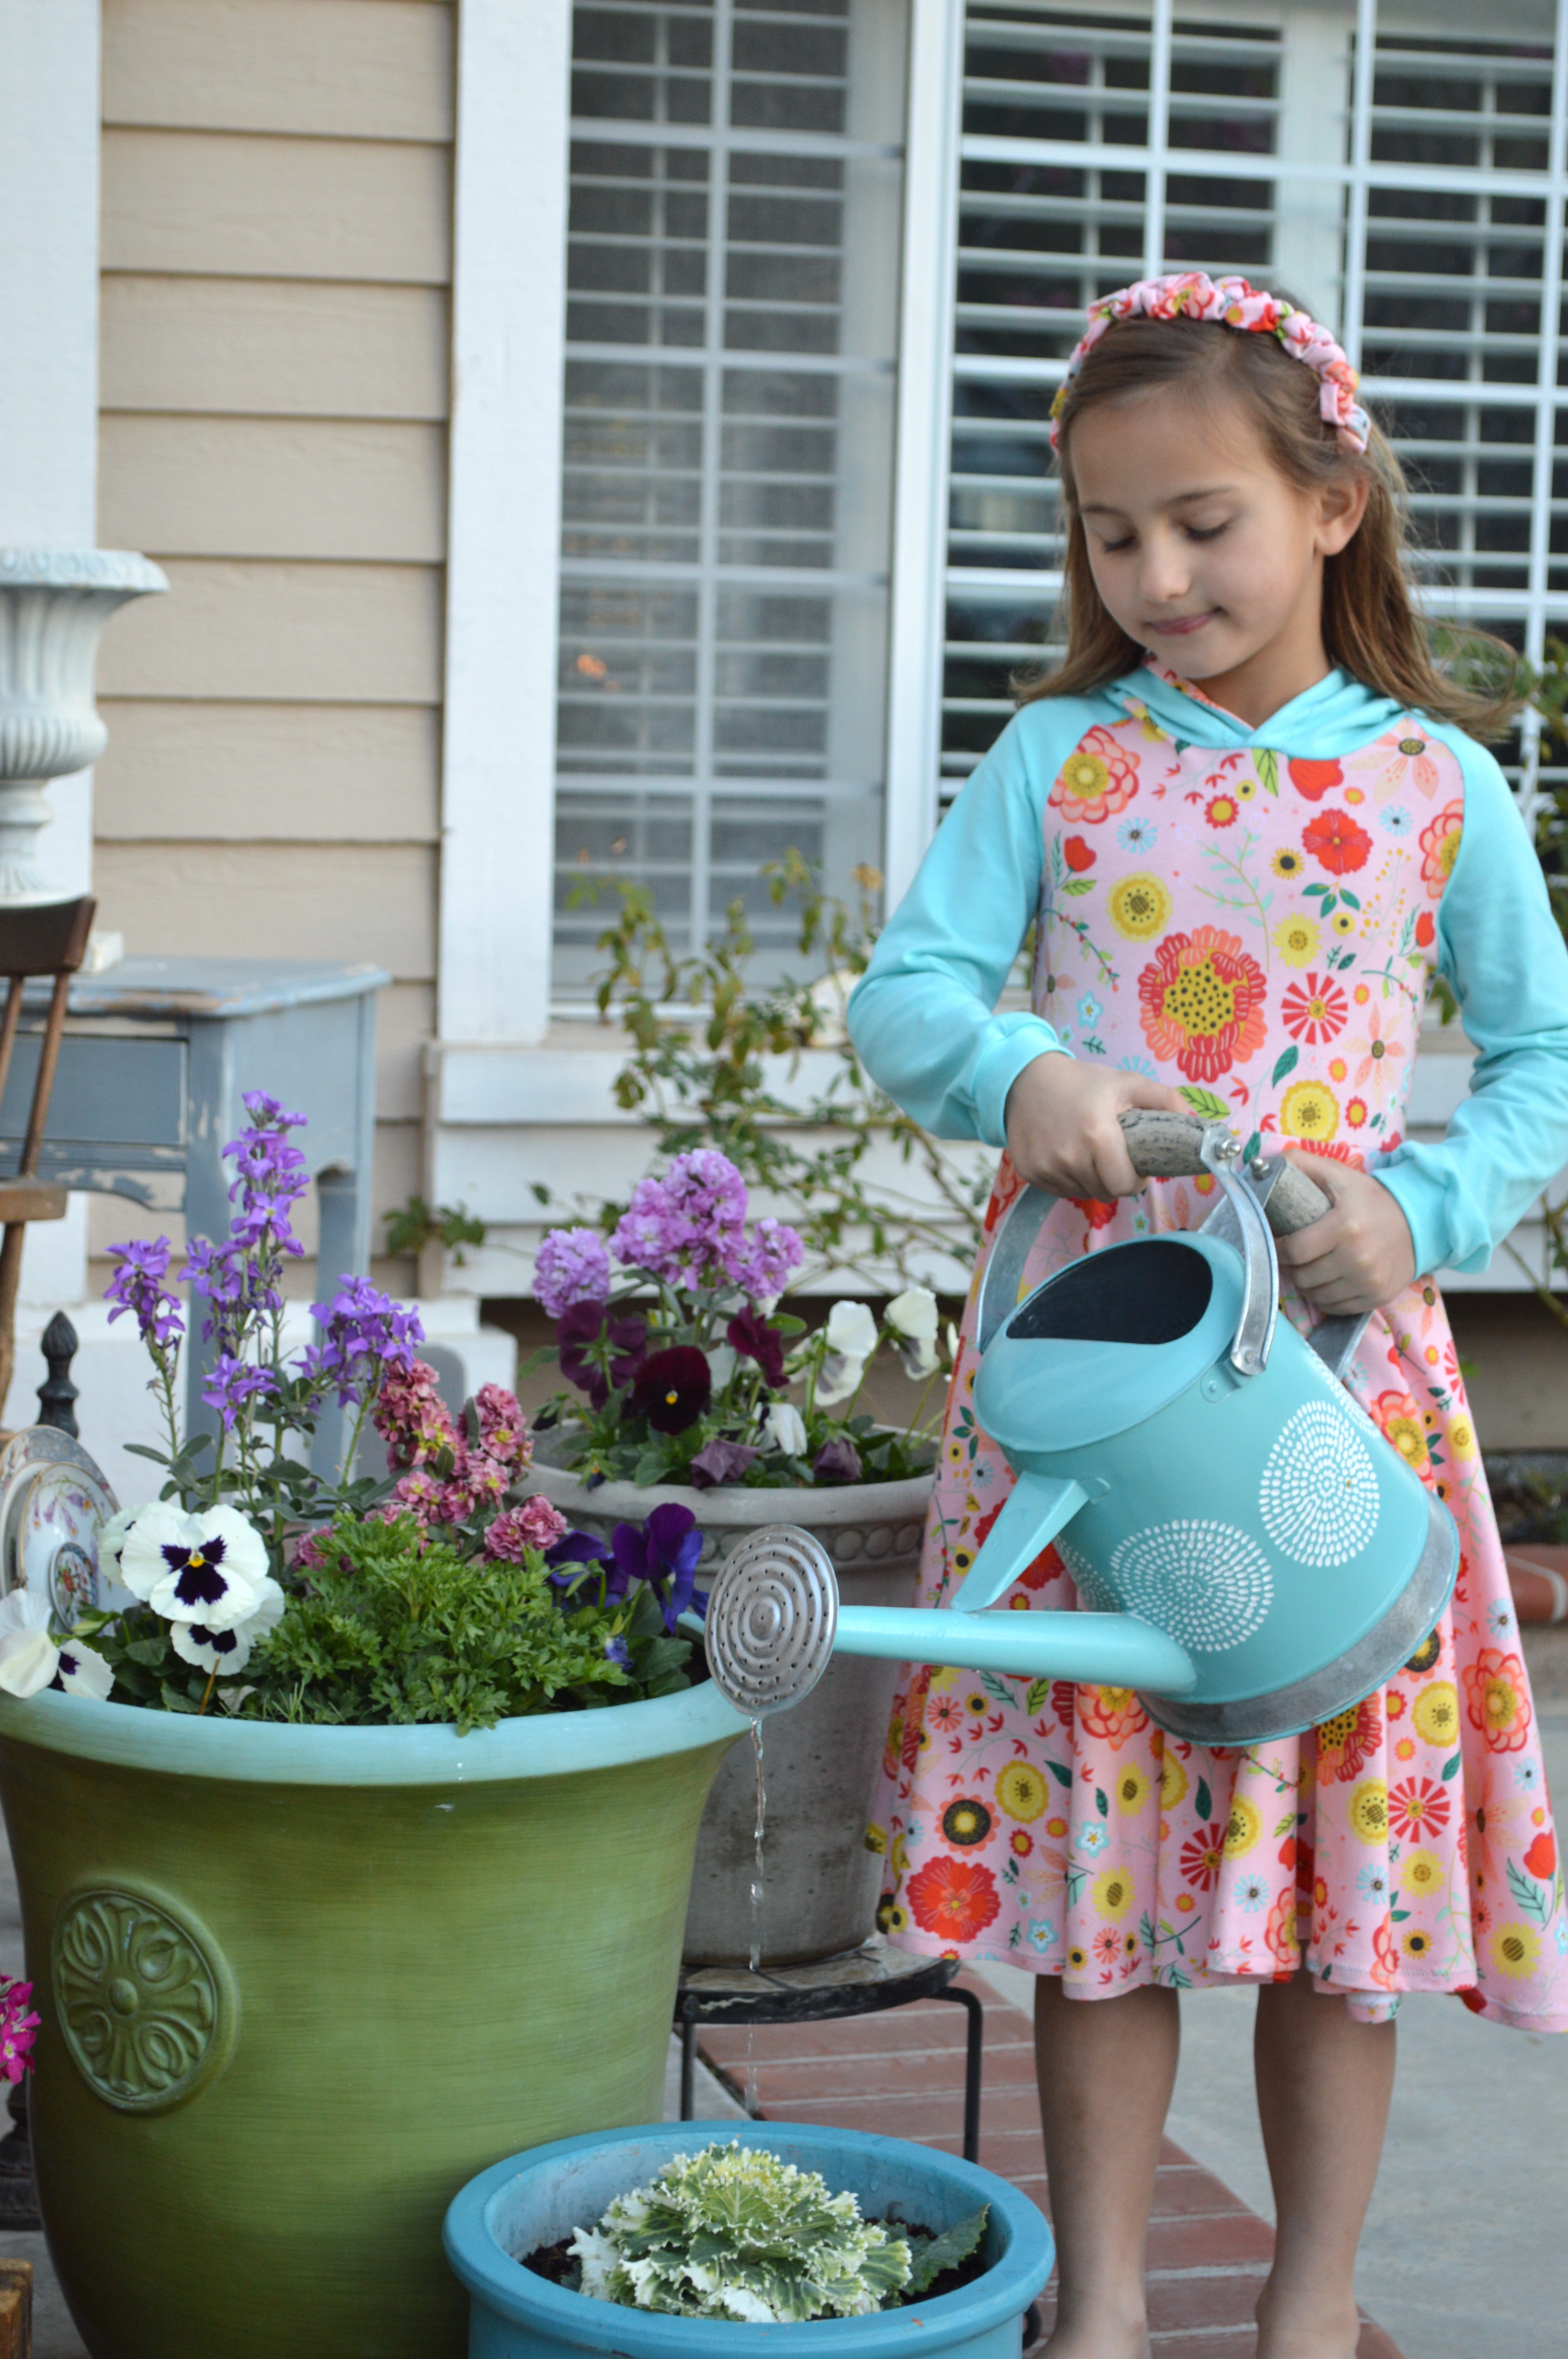
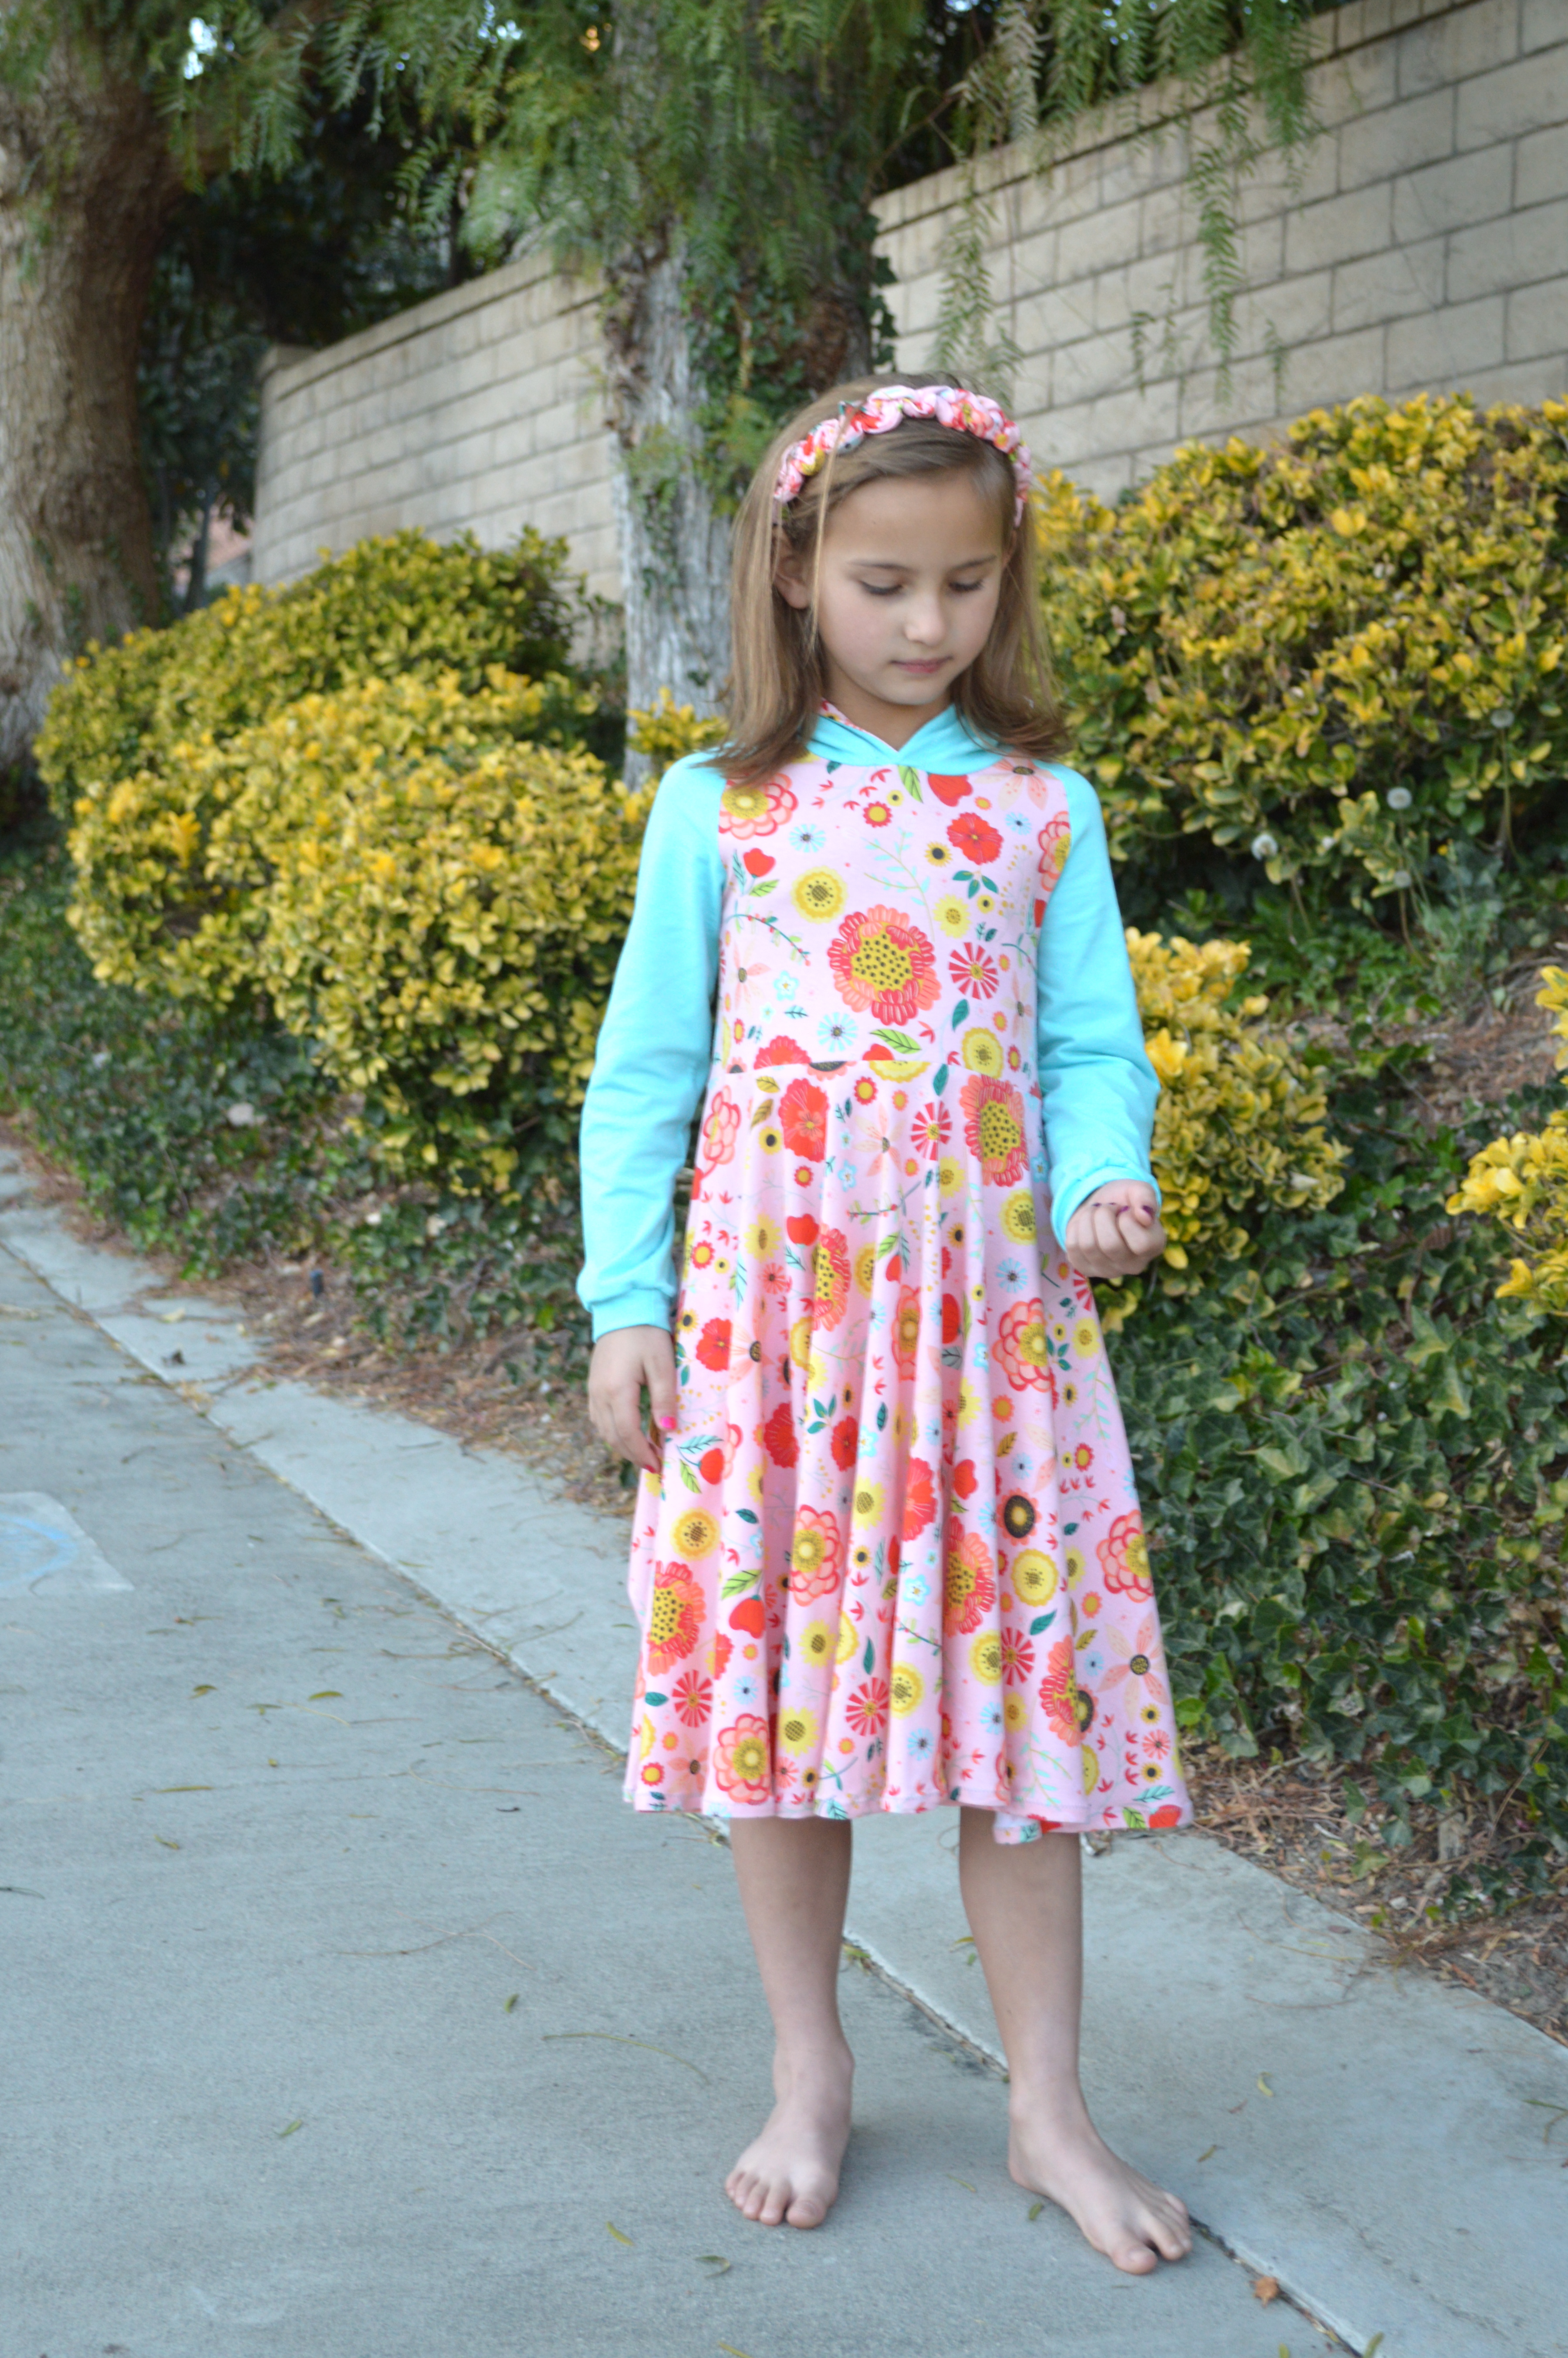
 I also made a matching headband out of the left over knit fabric. Cut a 5″ x 24″ strip and fold in half lengthwise, right sides together. Sew a 1/4″ seam and turn the tube right side out. With the seam centered on the back, adjust the stitch length to a gathering stitch and sew a serpentine/wavy seam down the center. I tried first to zig zag back and forth but the thread and the knit kept catching at the corners. The curvy line worked better. Then gather the threads to form a wavy type of ruffle. I was in a hurry so I hot glued it to an existing headband.
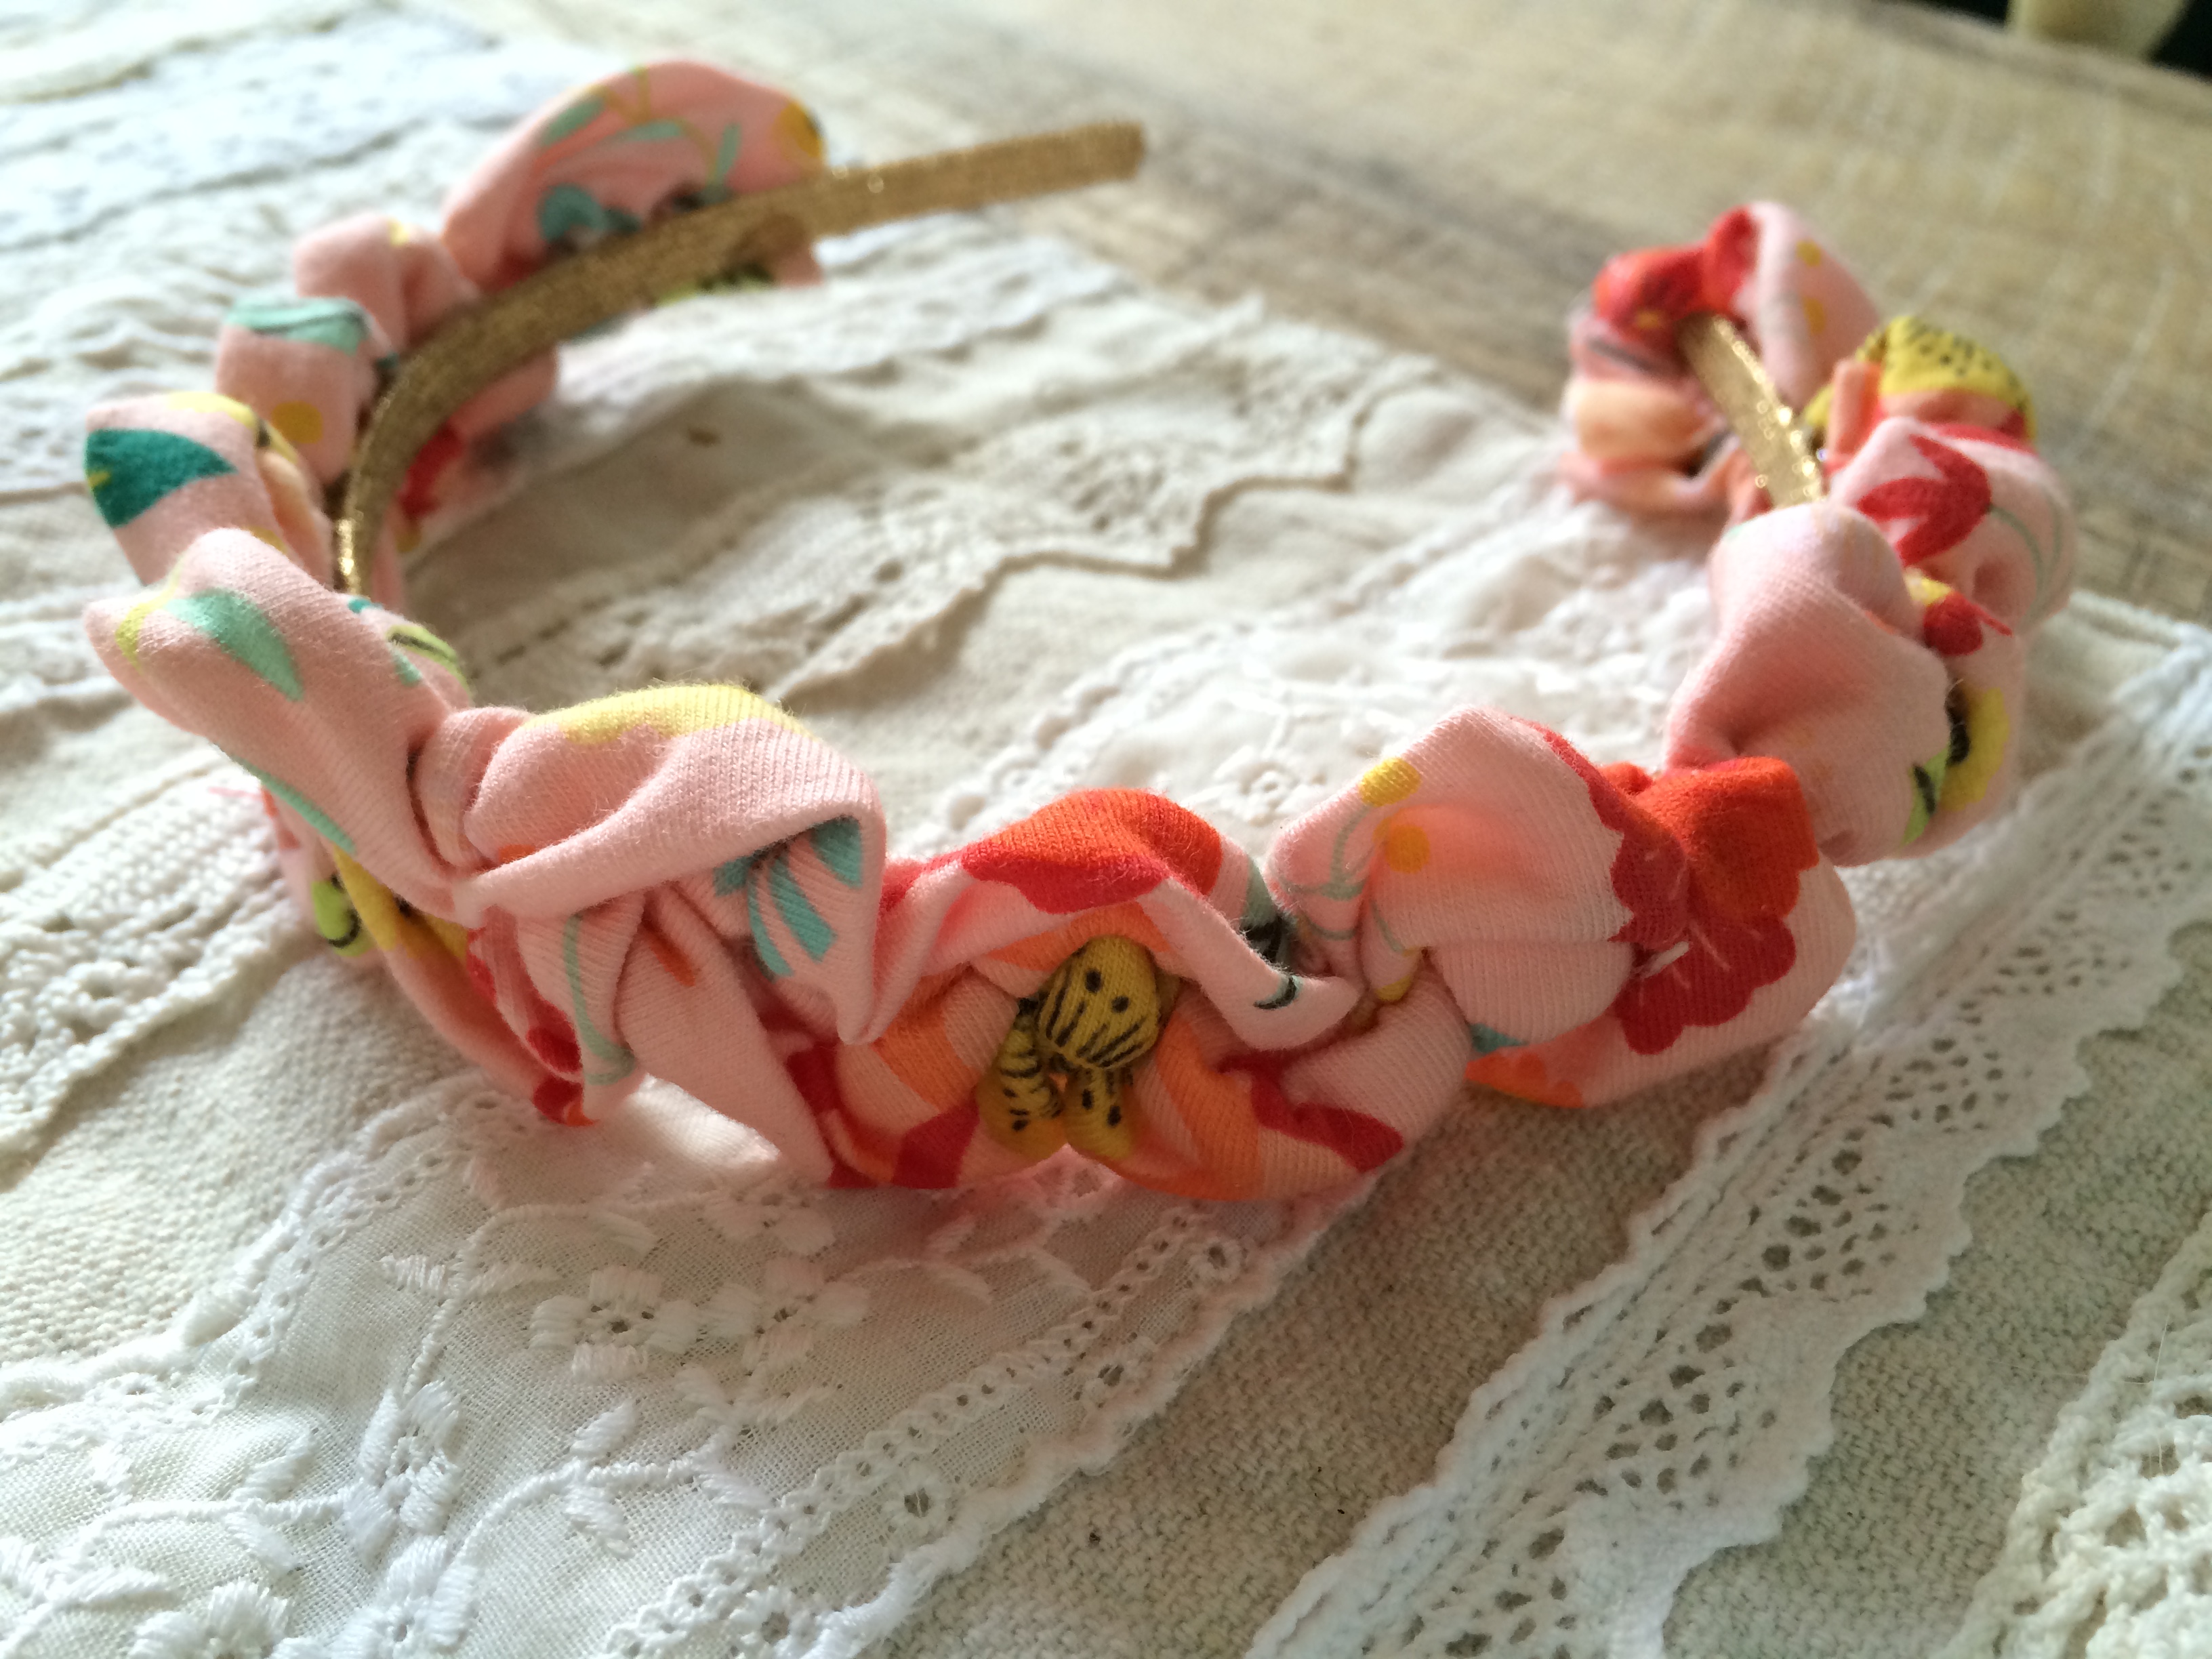


