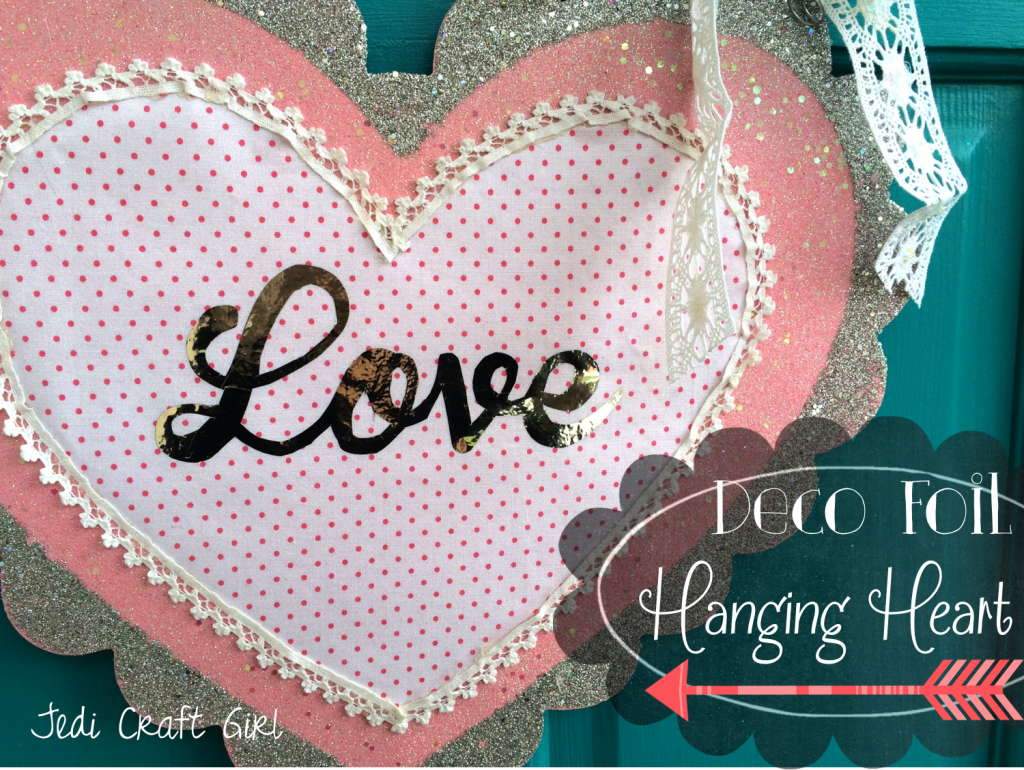
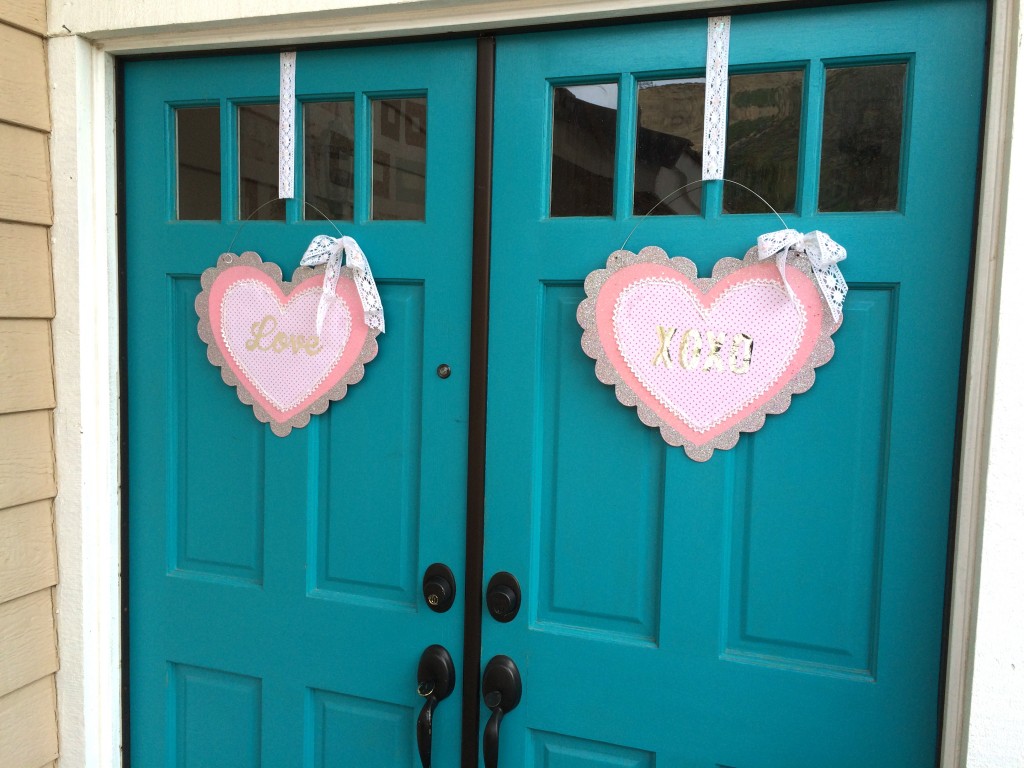
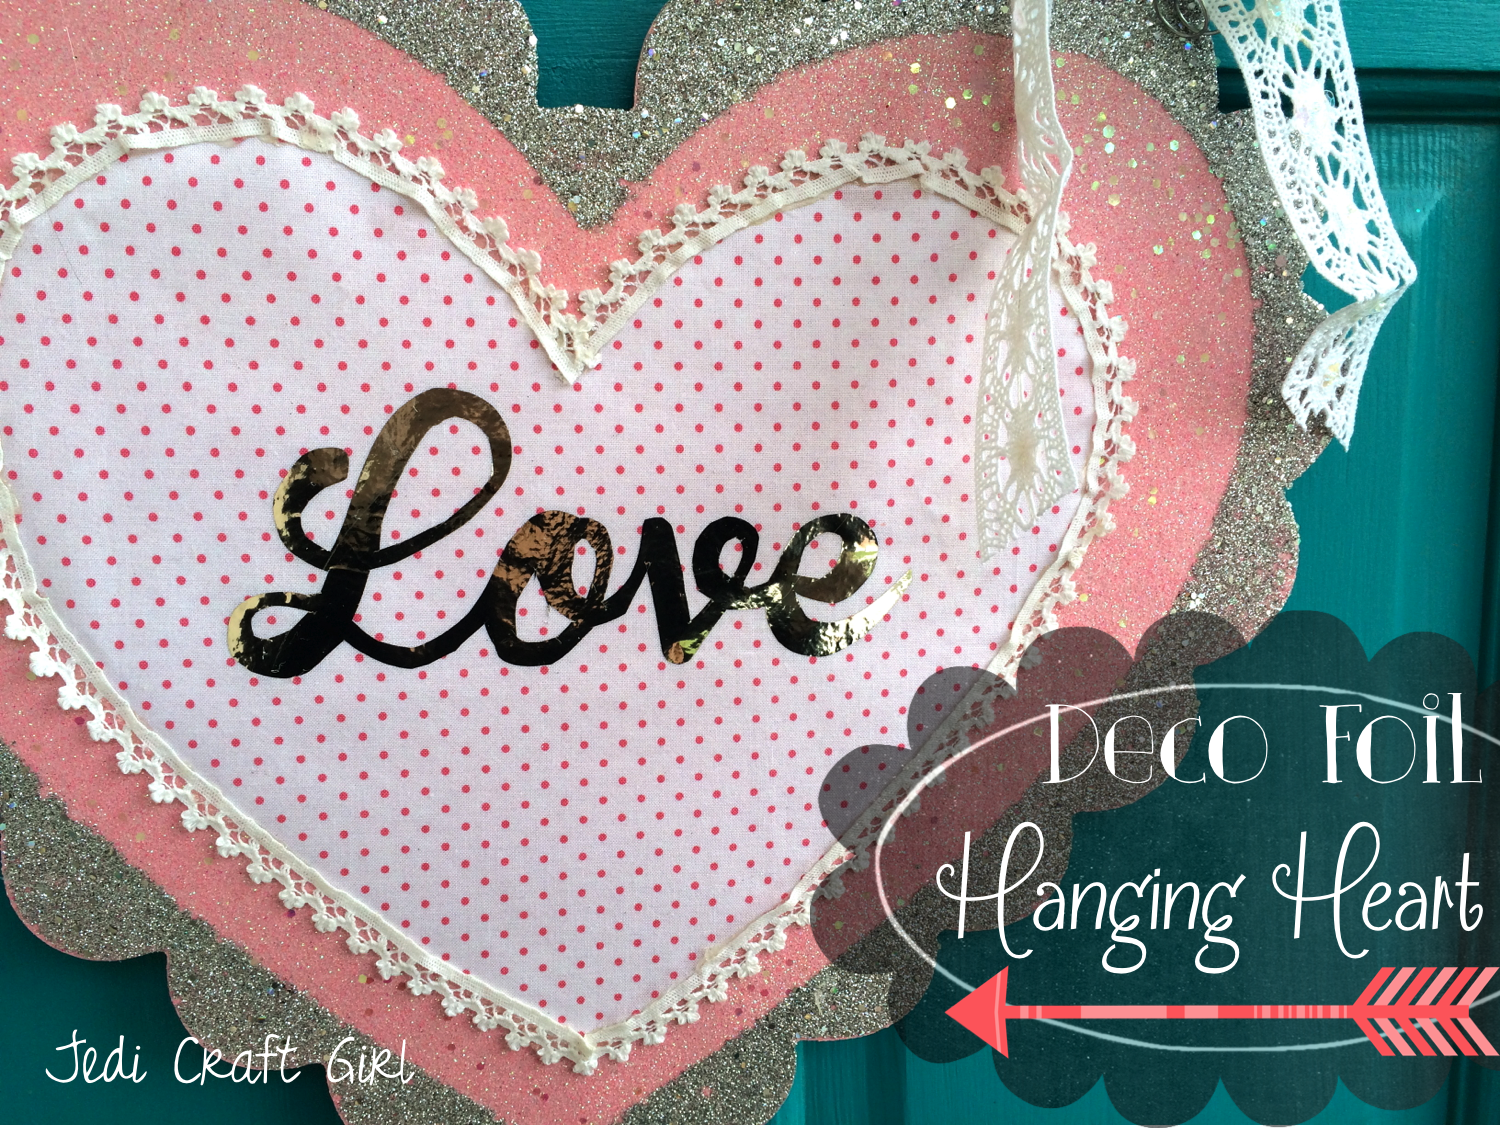
 I didn’t quite know what to hang on my front doors this Valentine’s Day season. Do any of you have the problem of having 2 front doors? It’s always a delllama, do I hang just one item on the door we use, leaving the other one bare? Do I hang two of the same thing? Two different things? If I hang 2 wreaths, does it look like my doors have eyes? I came across these sparkly scalloped wood heart hangers at the craft store and I thought they might solve my front door problem. They were just screaming for some embellishment, don’t you think? I ran around the house, gathering items that might be cute all while eating cinnamon gummy hearts (highly addictive). If you don’t have wood heart hangers like these, you can add this heart to a pillow, a frame, or pretty much anything! Here goes!!
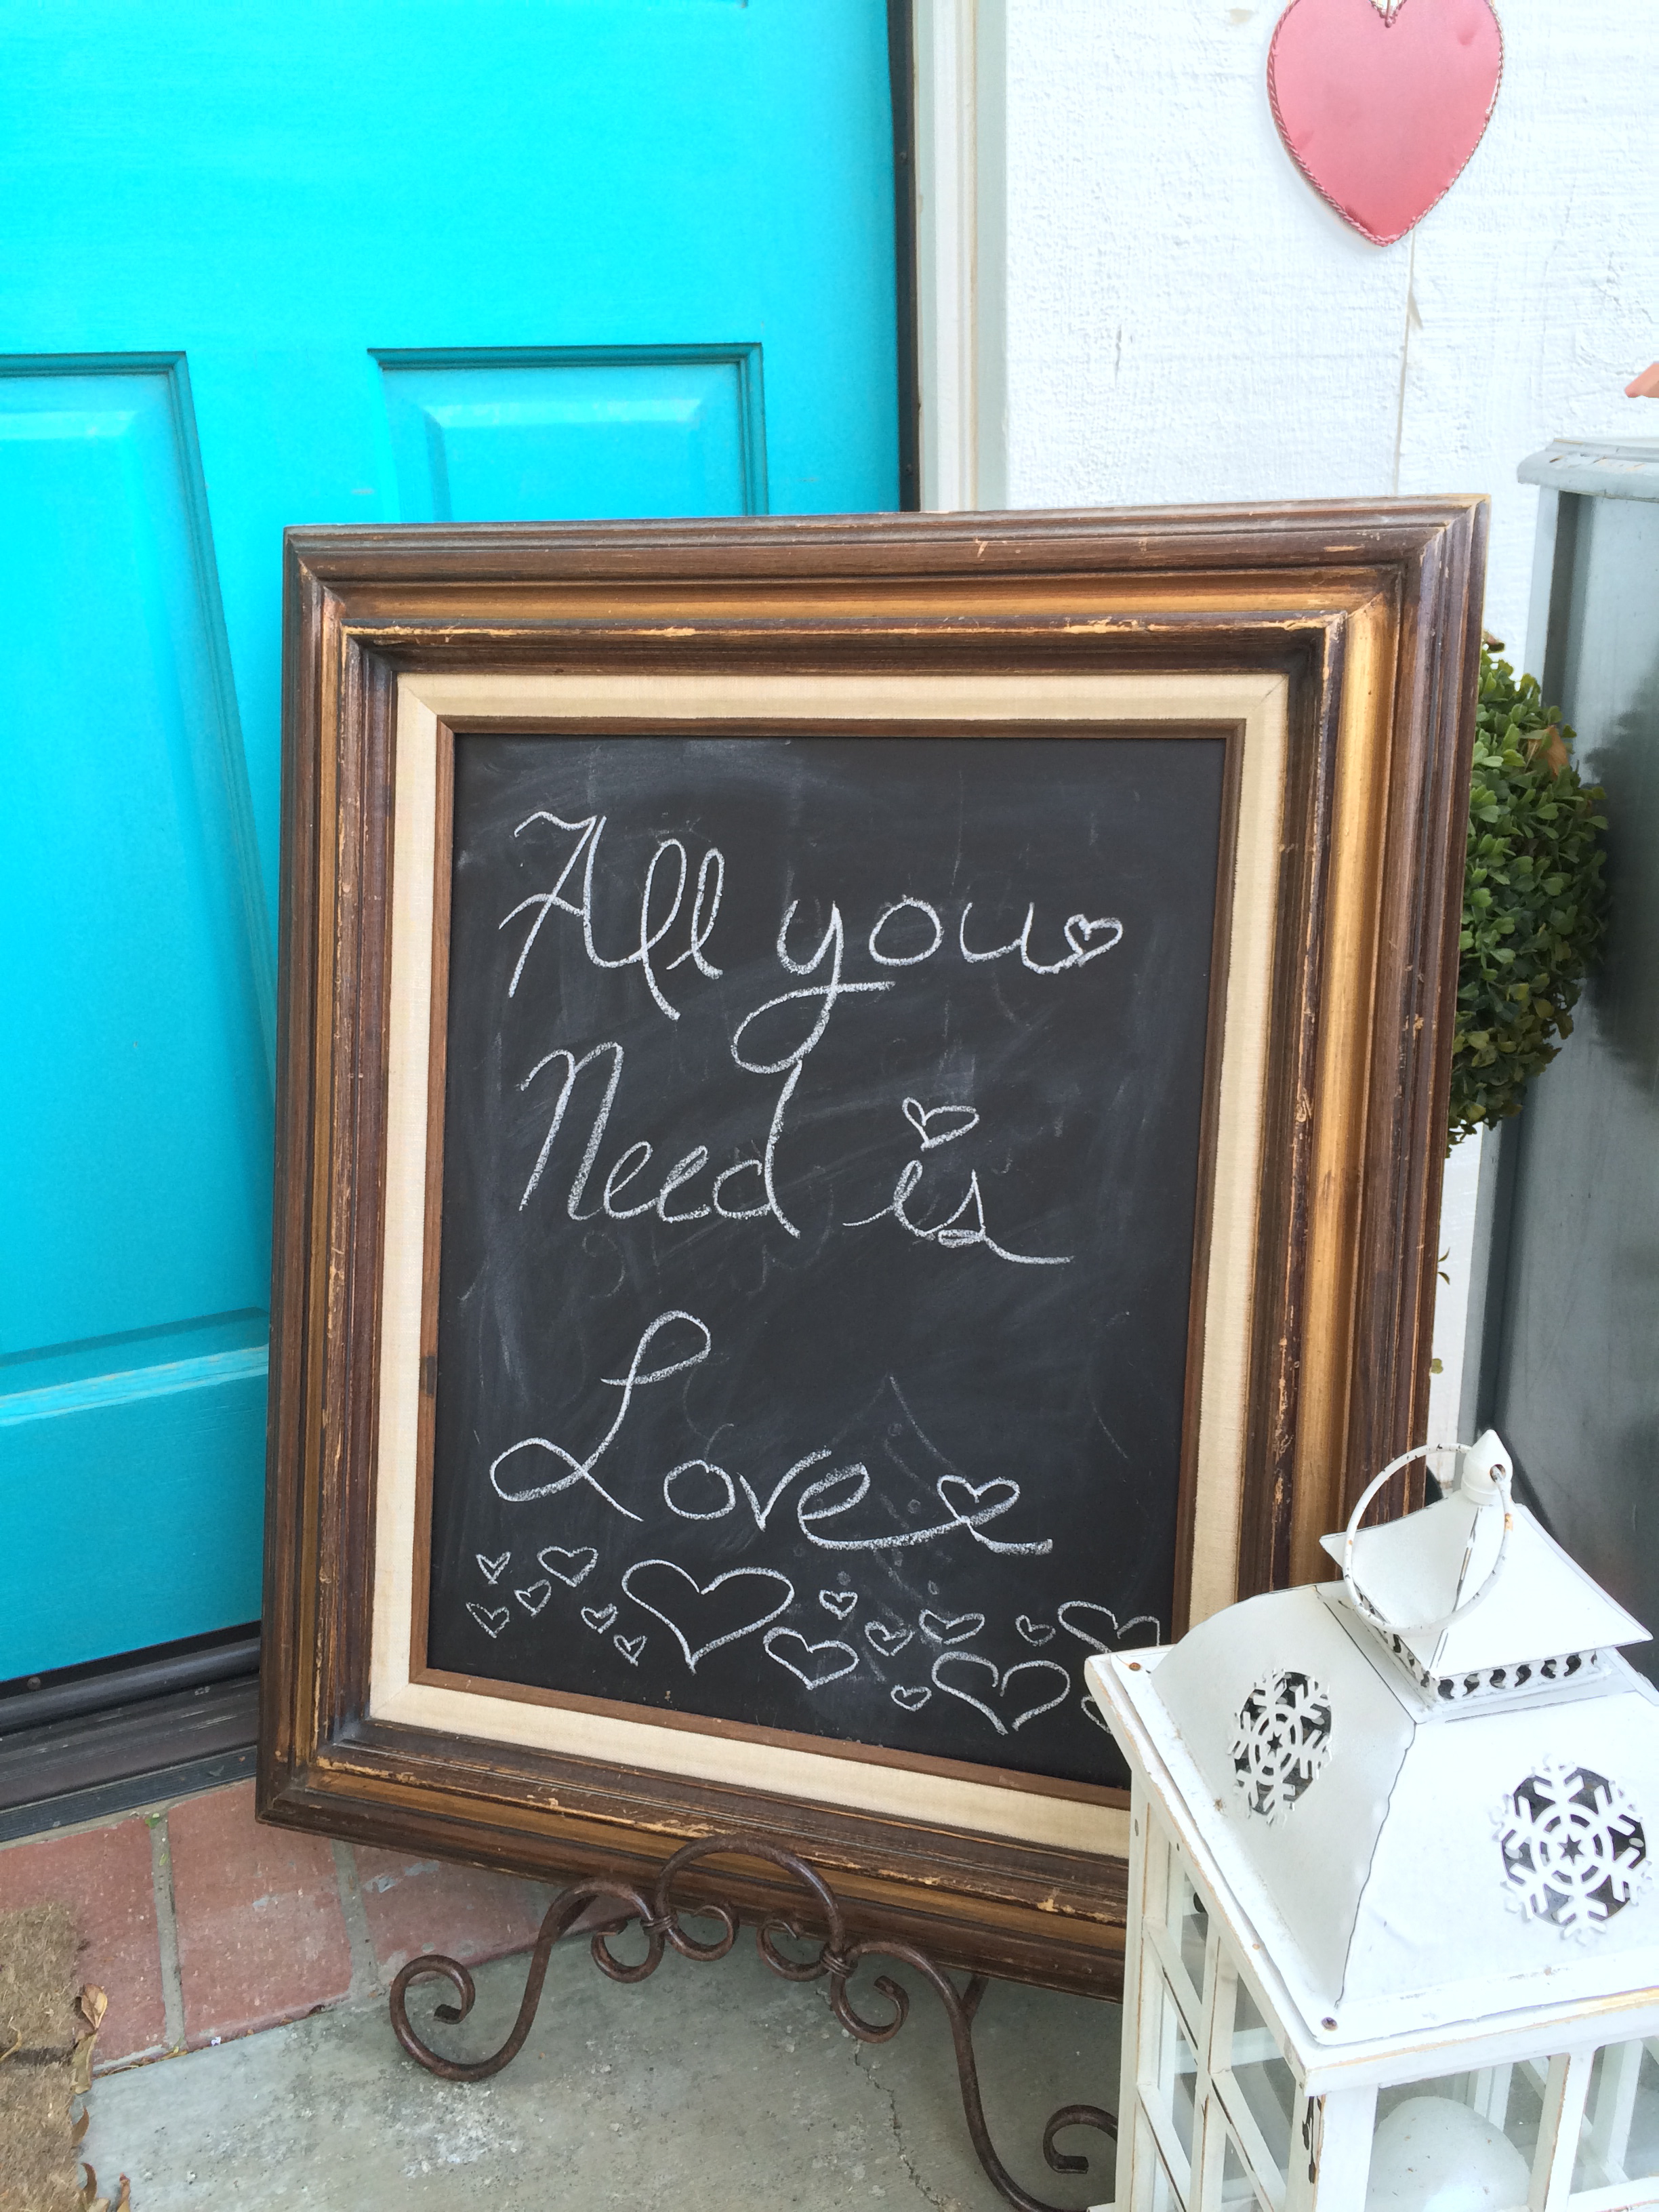
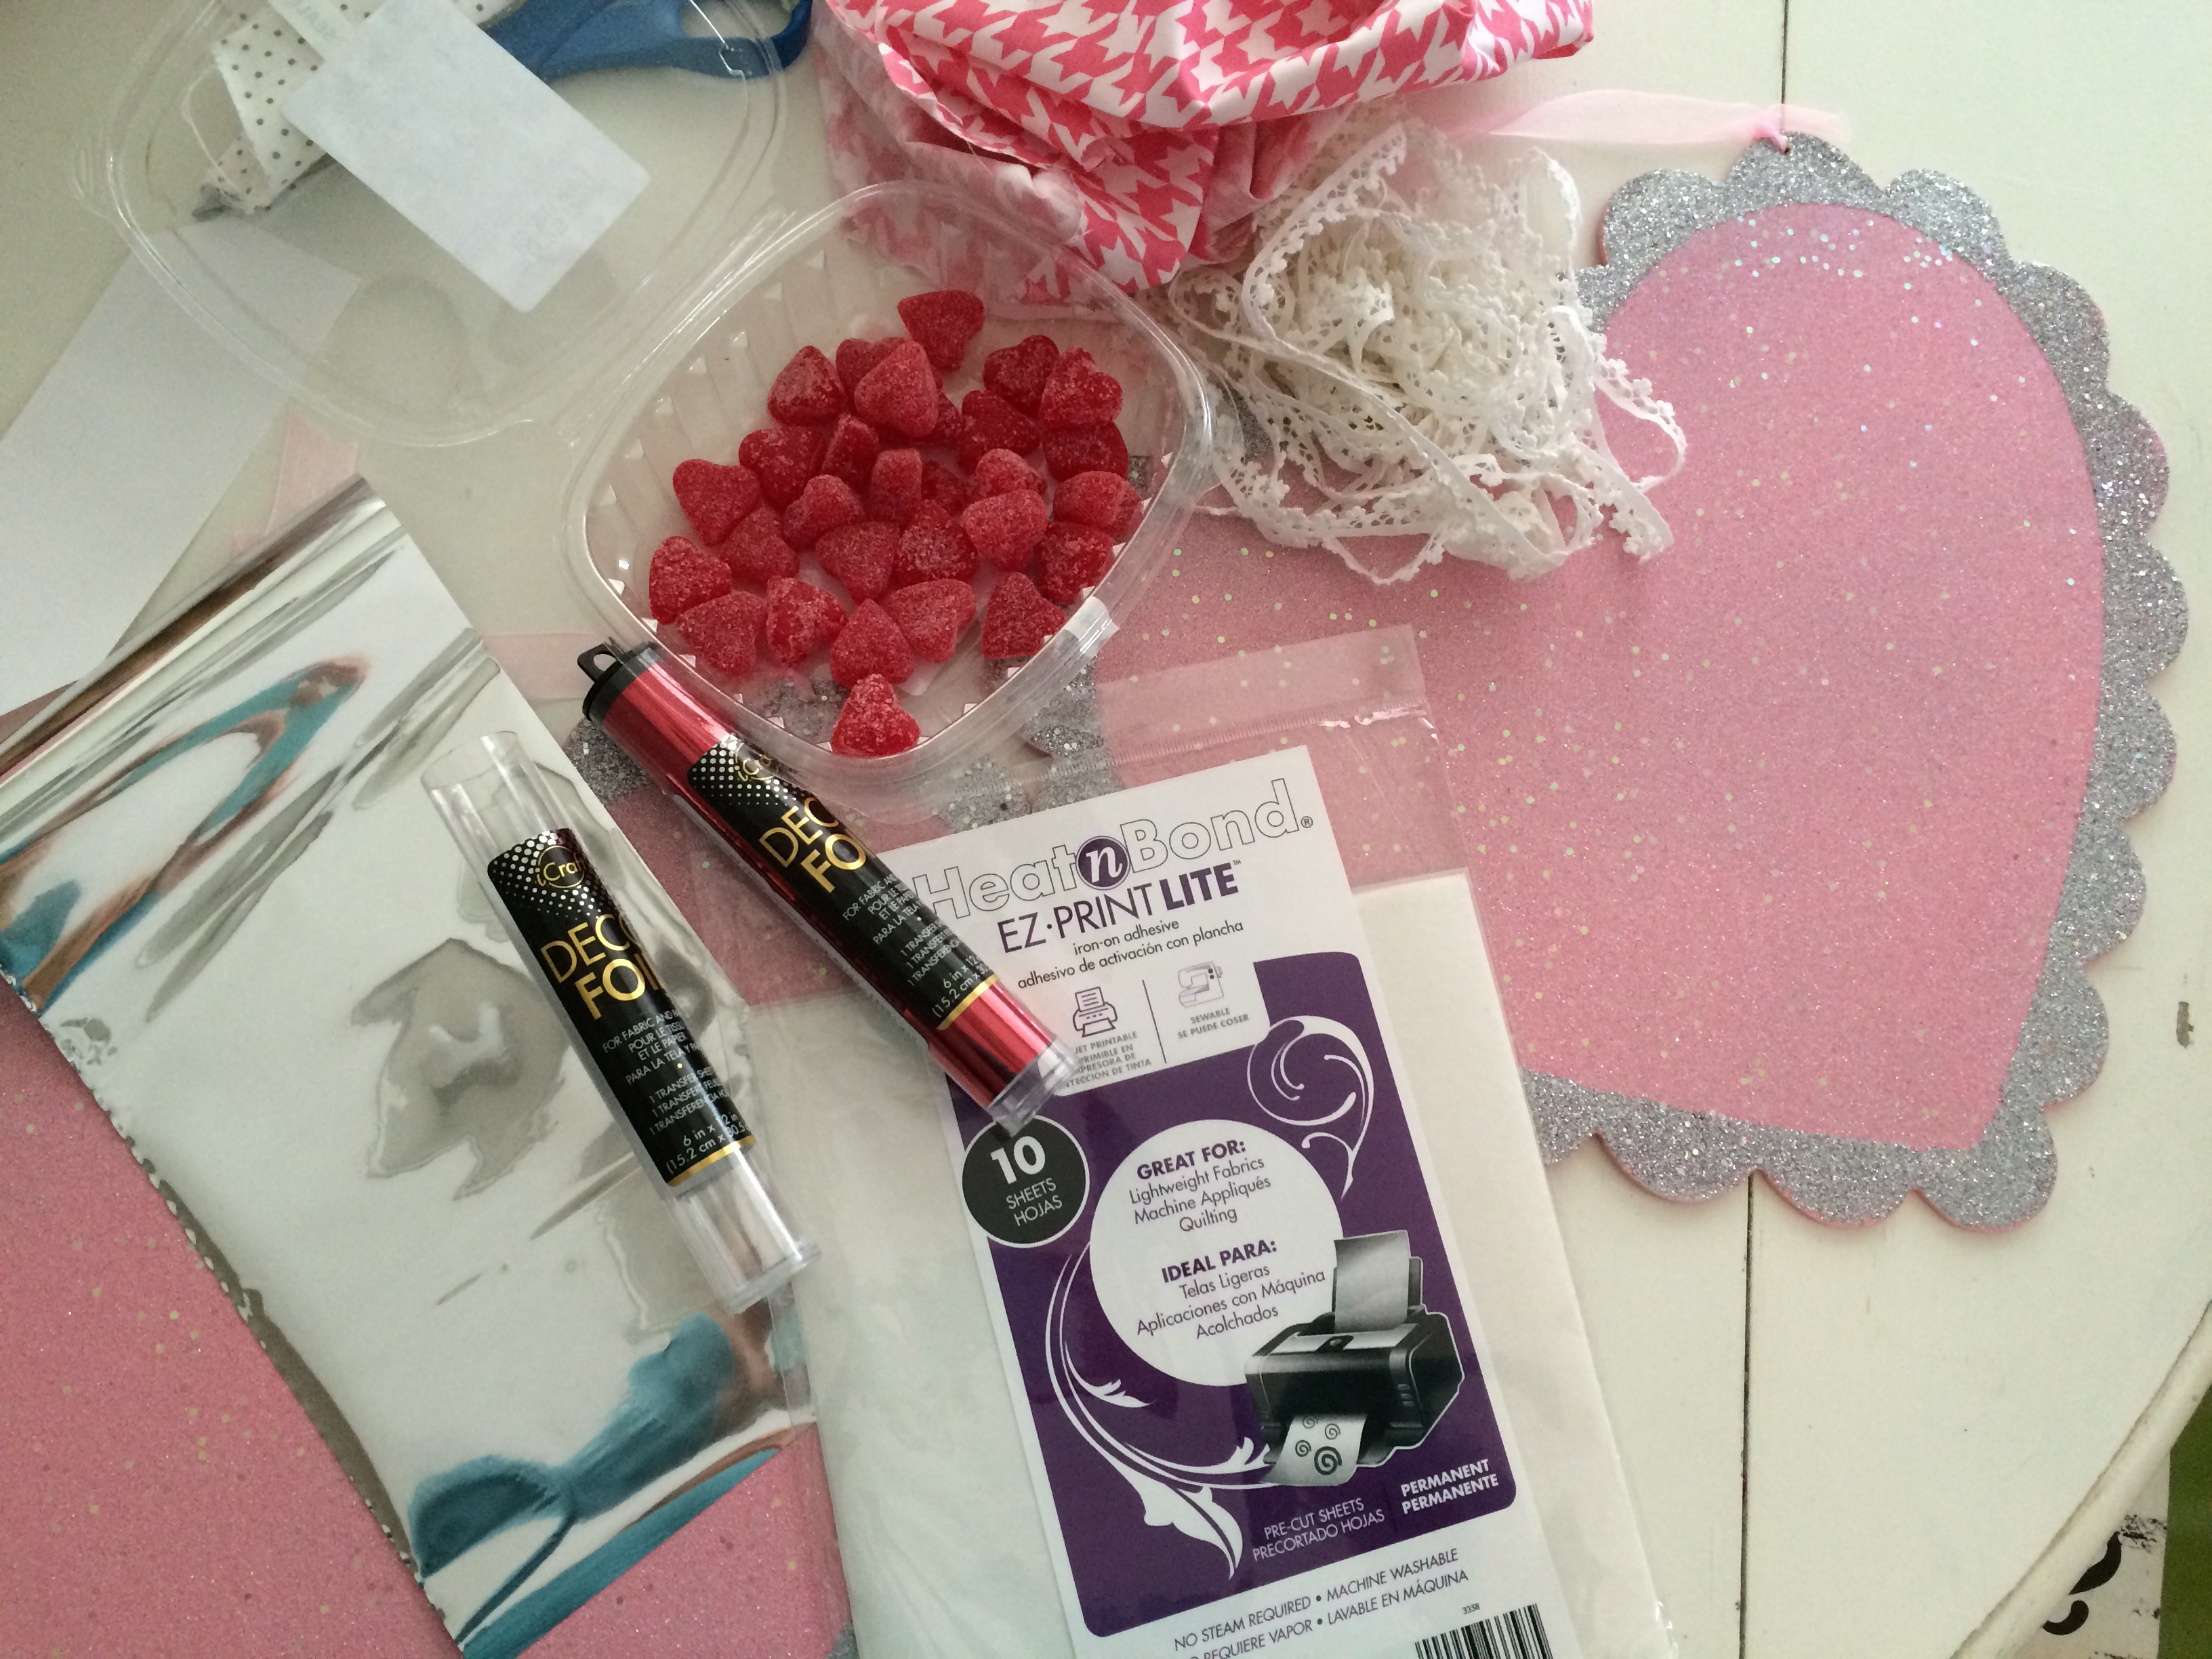
Supplies:
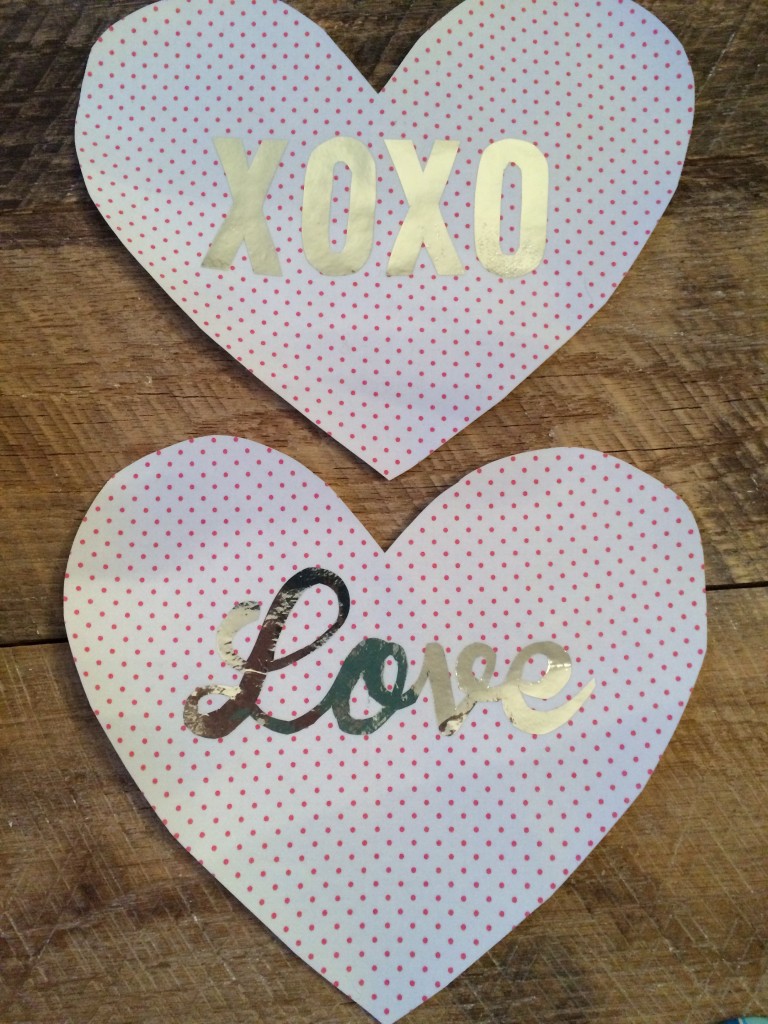
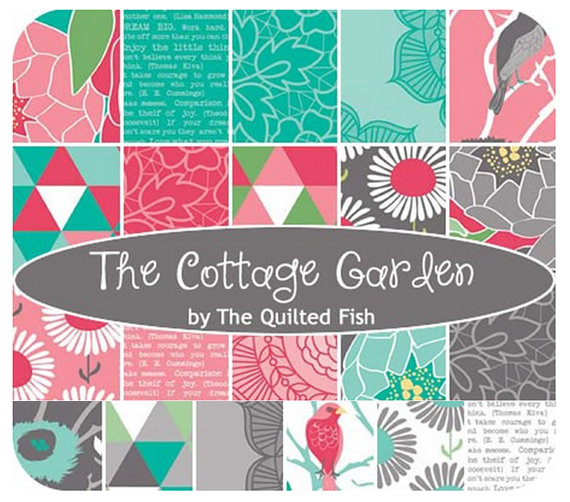
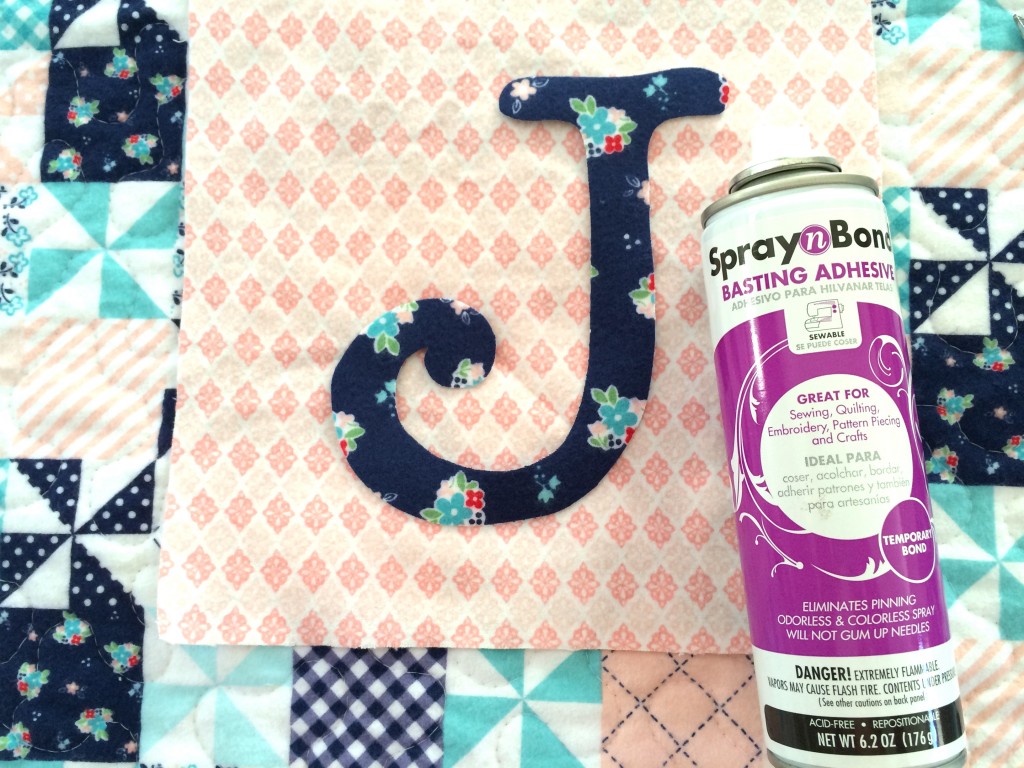
fabric scraps for the hearts, I used Riley Blake Designs small dots, pink & white
a few yards of small lace and larger lace to hang
Heat n Bond Lite EZ Print sheets
Don’t you just love all the colors this Deco Foil comes in? This was my first time using it, I was a little intimidated; now it’s my new favorite product!
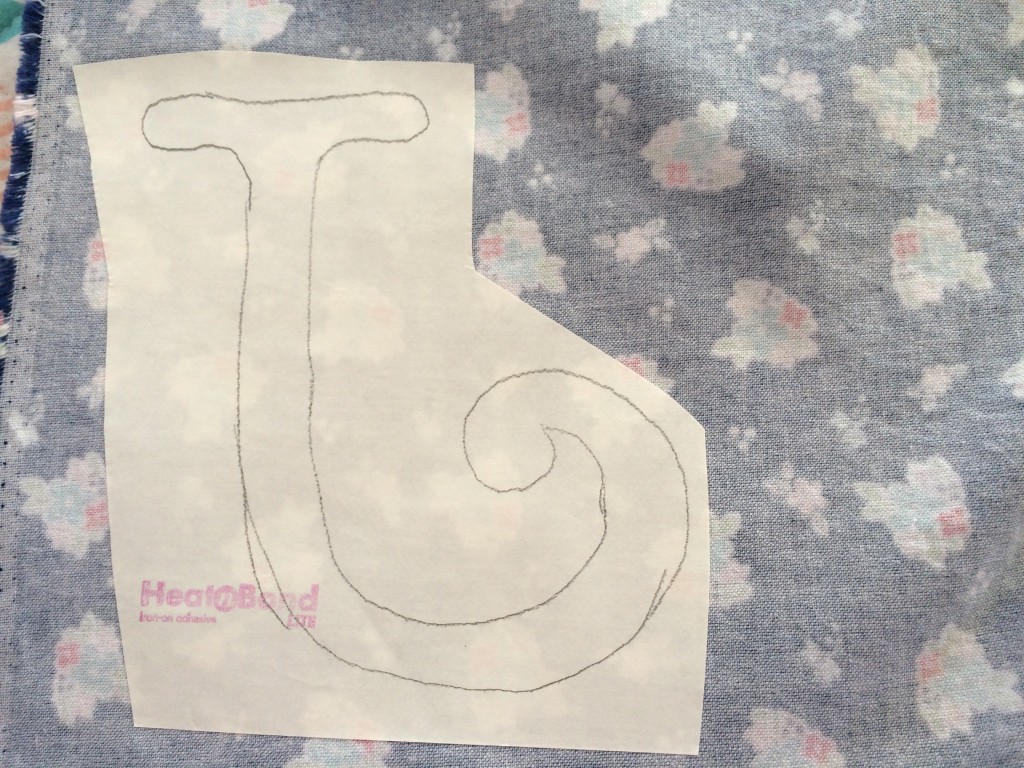
Begin by drawing your desired heart shape onto the paper side of the Heat n Bond Lite. Roughly cut around the heart and iron it to the wrong side of the fabric. I choose to use Heat n Bond Lite rather than fusible stabilizer because I like the texture it creates when applied. Leave the backing paper on.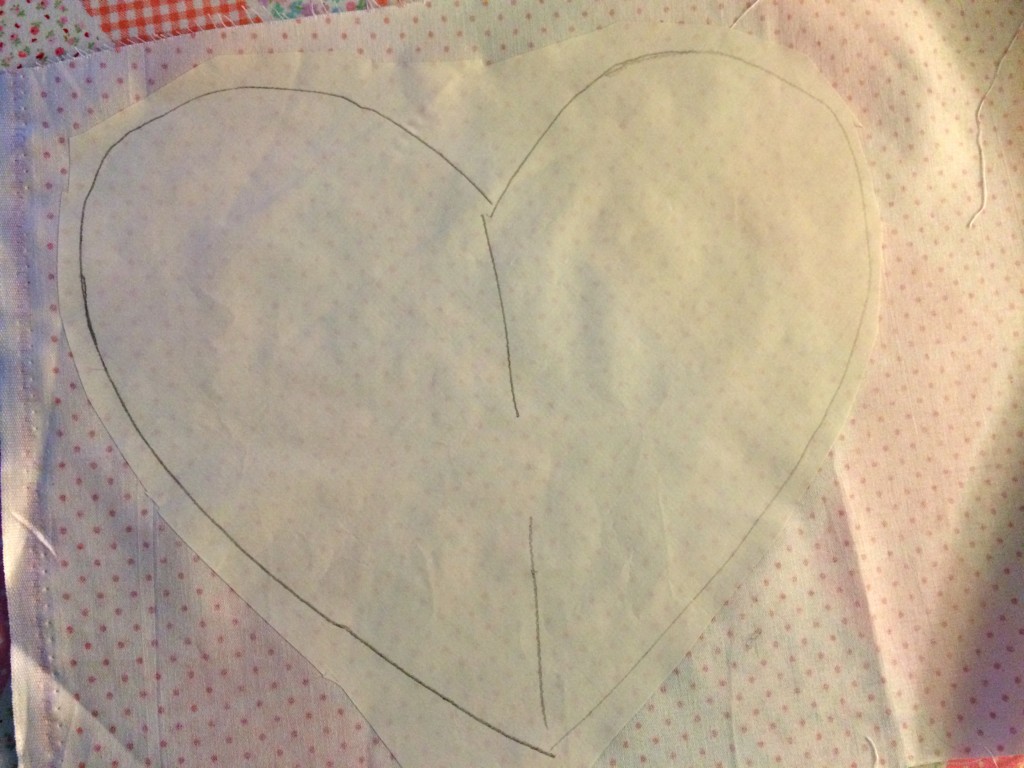
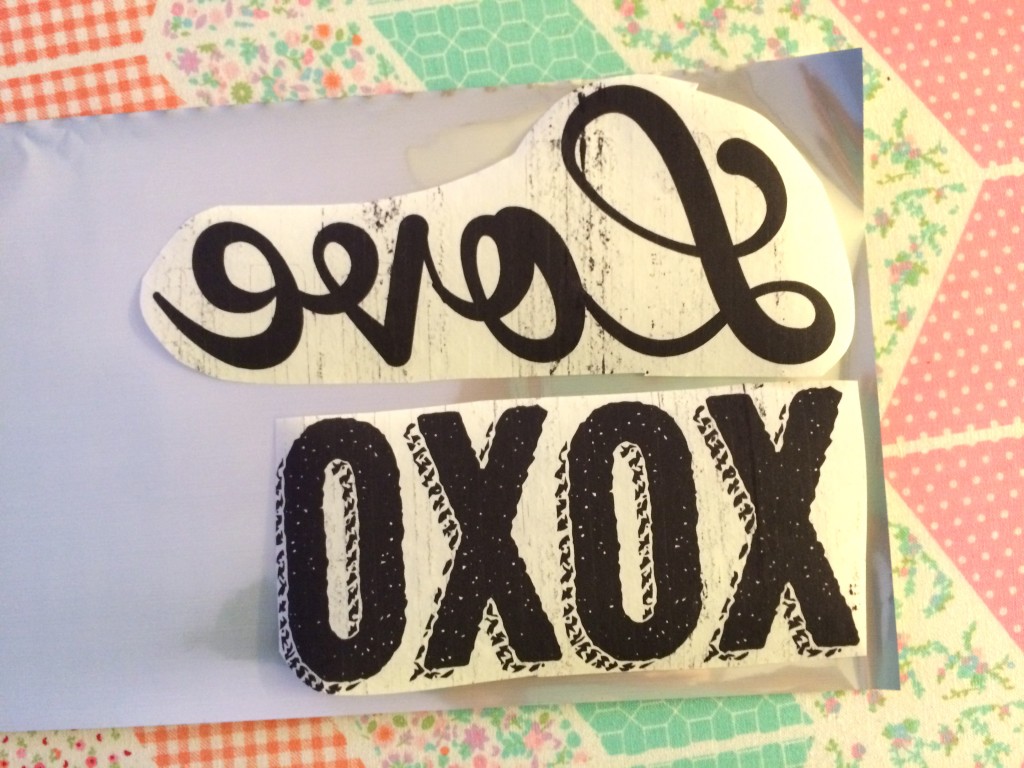
Print out the words in reverse onto the EZ print sheets. You can download the words like I used or make up your own.
Press the words to the wrong side of the Deco Foil. Then cut out with scissors. The XOXO were easy to cut, the Love was a little intense, I might not choose such an intricate word to cut with scissors next time 🙂 But I like how it looks.
Once the letters are cut out, peel off the backing paper and place the words as desired. I covered my letters with tissue paper because I was afraid to put the iron directly on the foil. Press into place.
I LOVE the foil! I can’t wait to try it on more projects! To finish the heart, peel off the backing paper of the heart. Center it on the wood heart. Using hot glue, glue the lace all the way around the heart. You will burn your fingers many times while doing so 🙁 If you have another favorite glue, you might try that. I was in a hurry 🙂 You could also use any kind of trim: ric rac, small tinsel, pom poms, ruffles, etc. I wasn’t in love with the cheap ribbon hanger the hearts came with, so I snipped them off and added some wire.
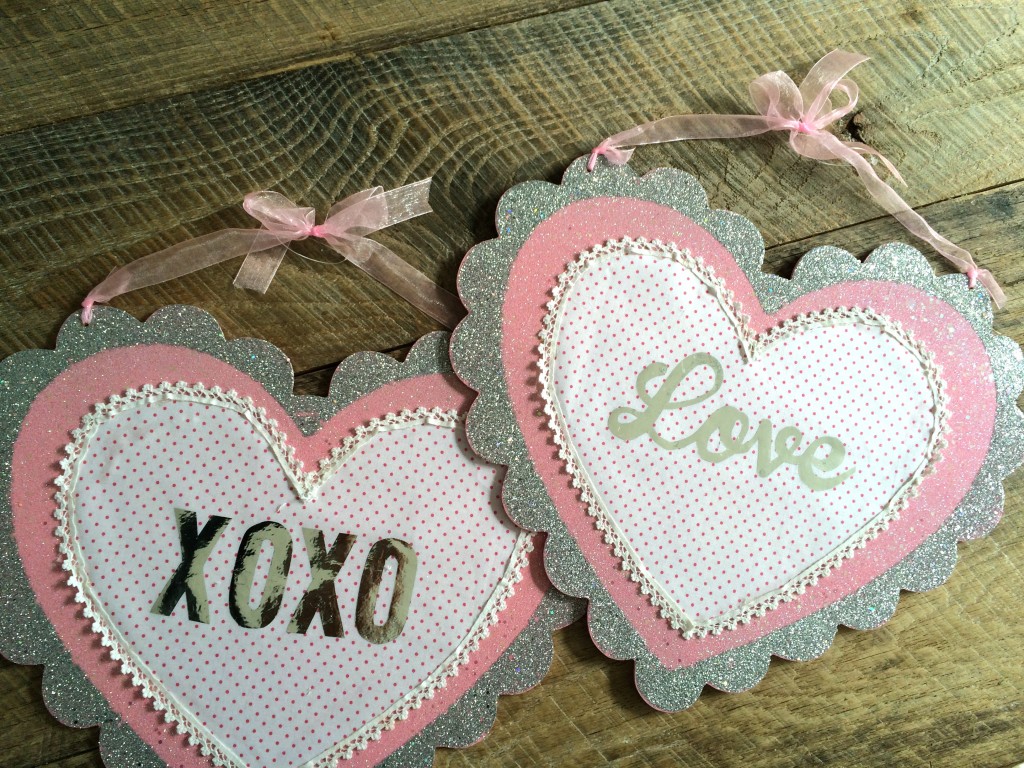
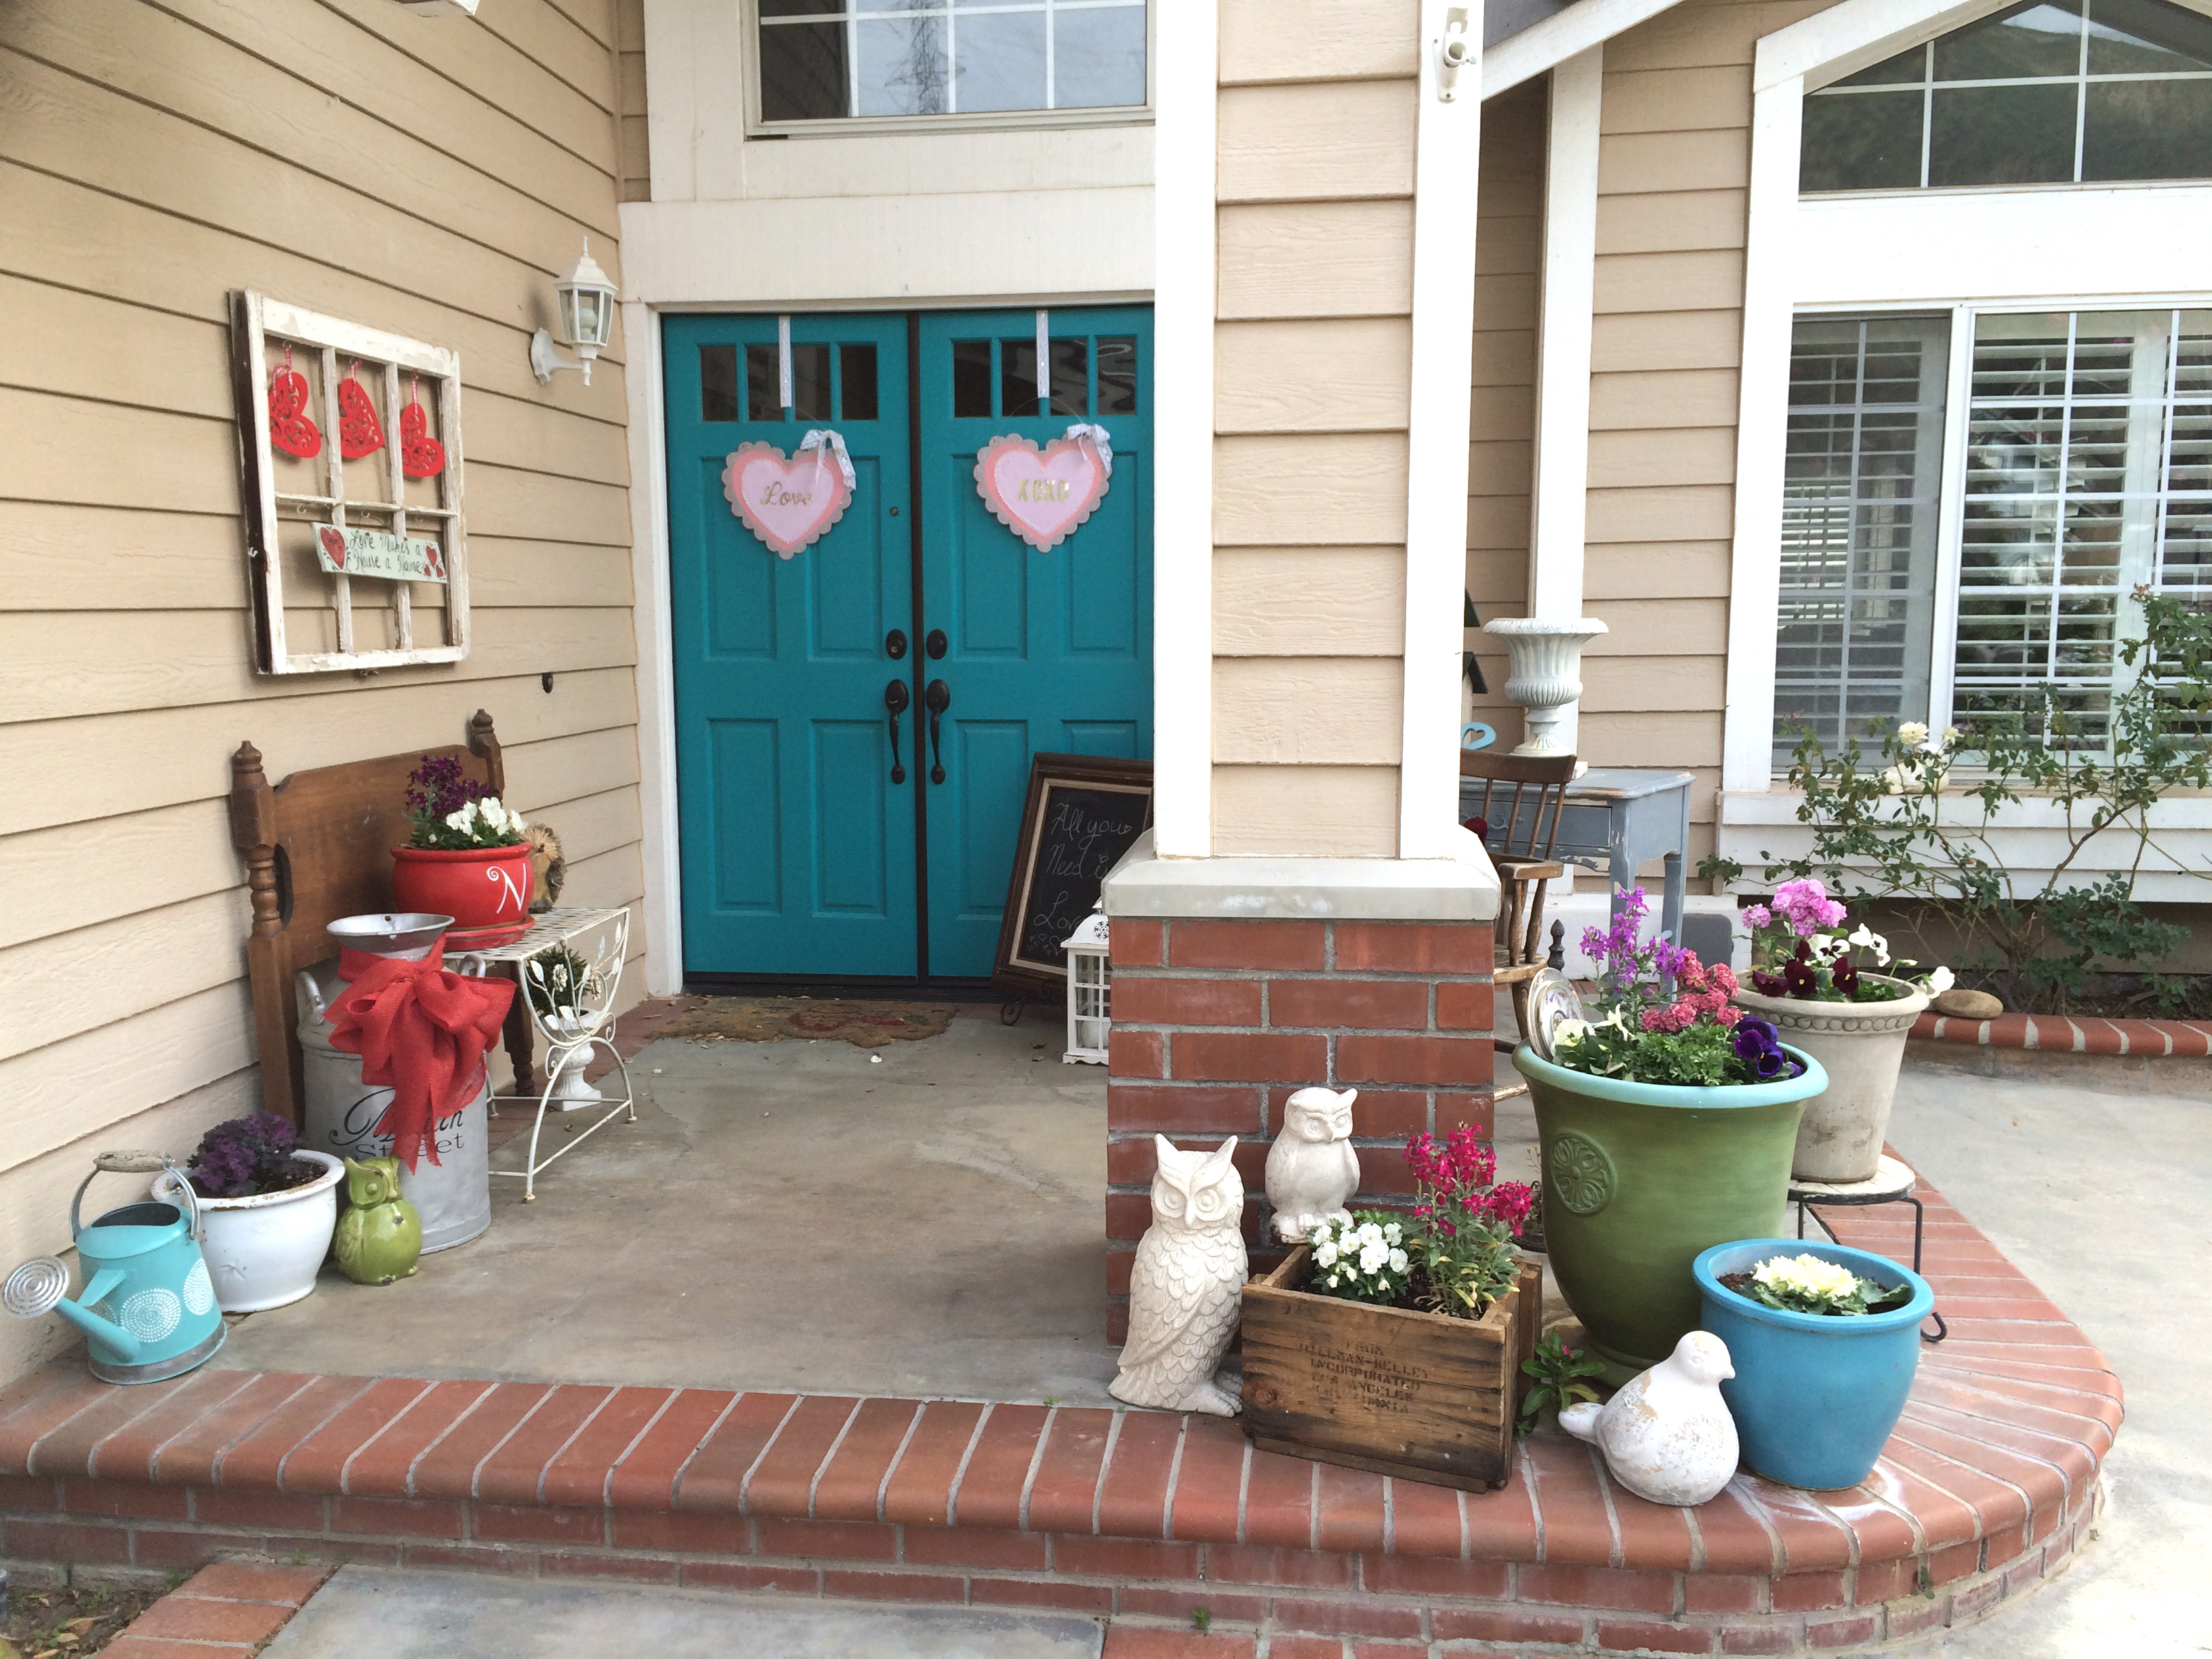
I added a lace bow and also hung it with lace. I don’t have a wreath hanger, so I tack the lace with a tiny nail to the top of my door. Maybe that’s not a good idea?
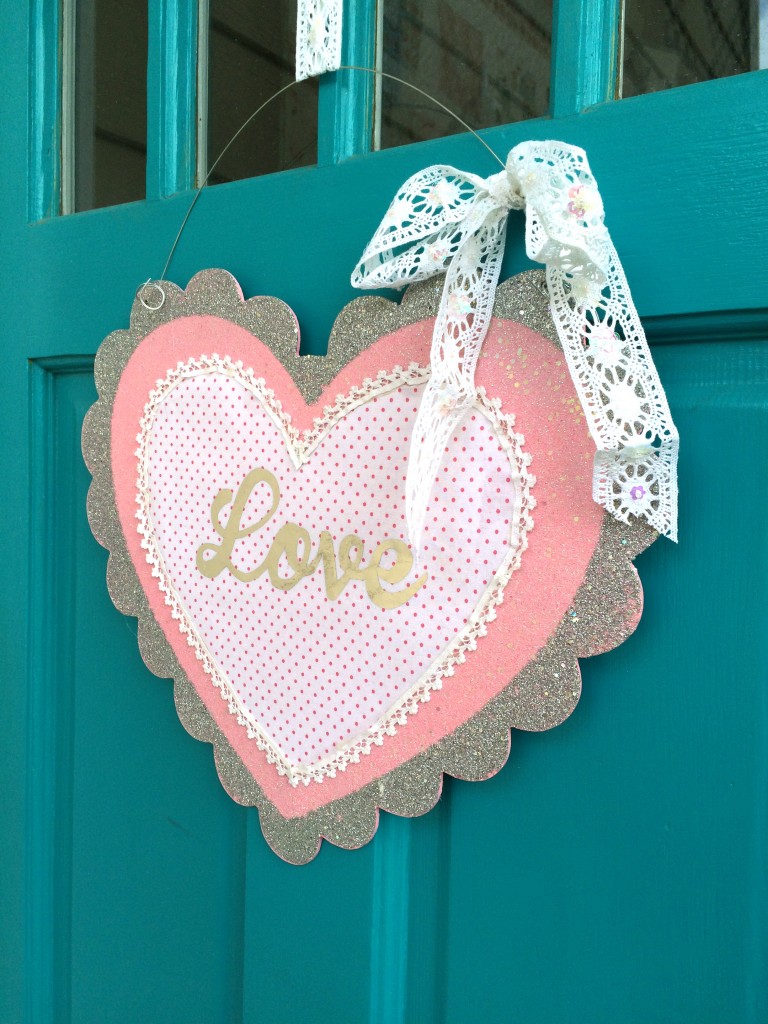
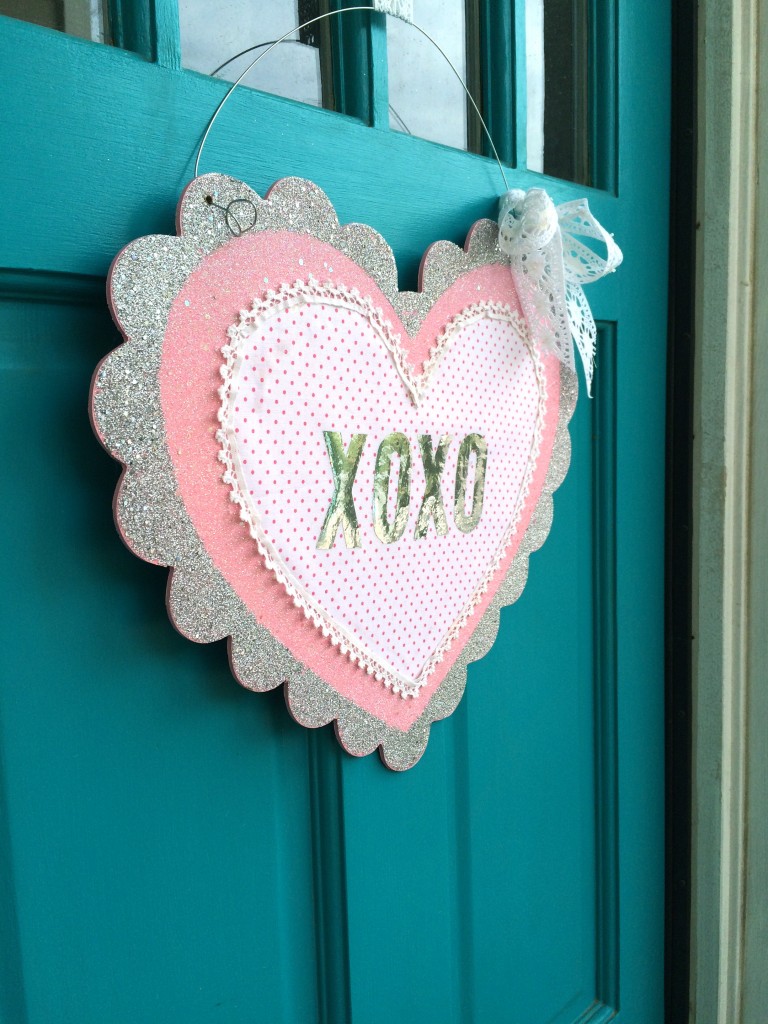
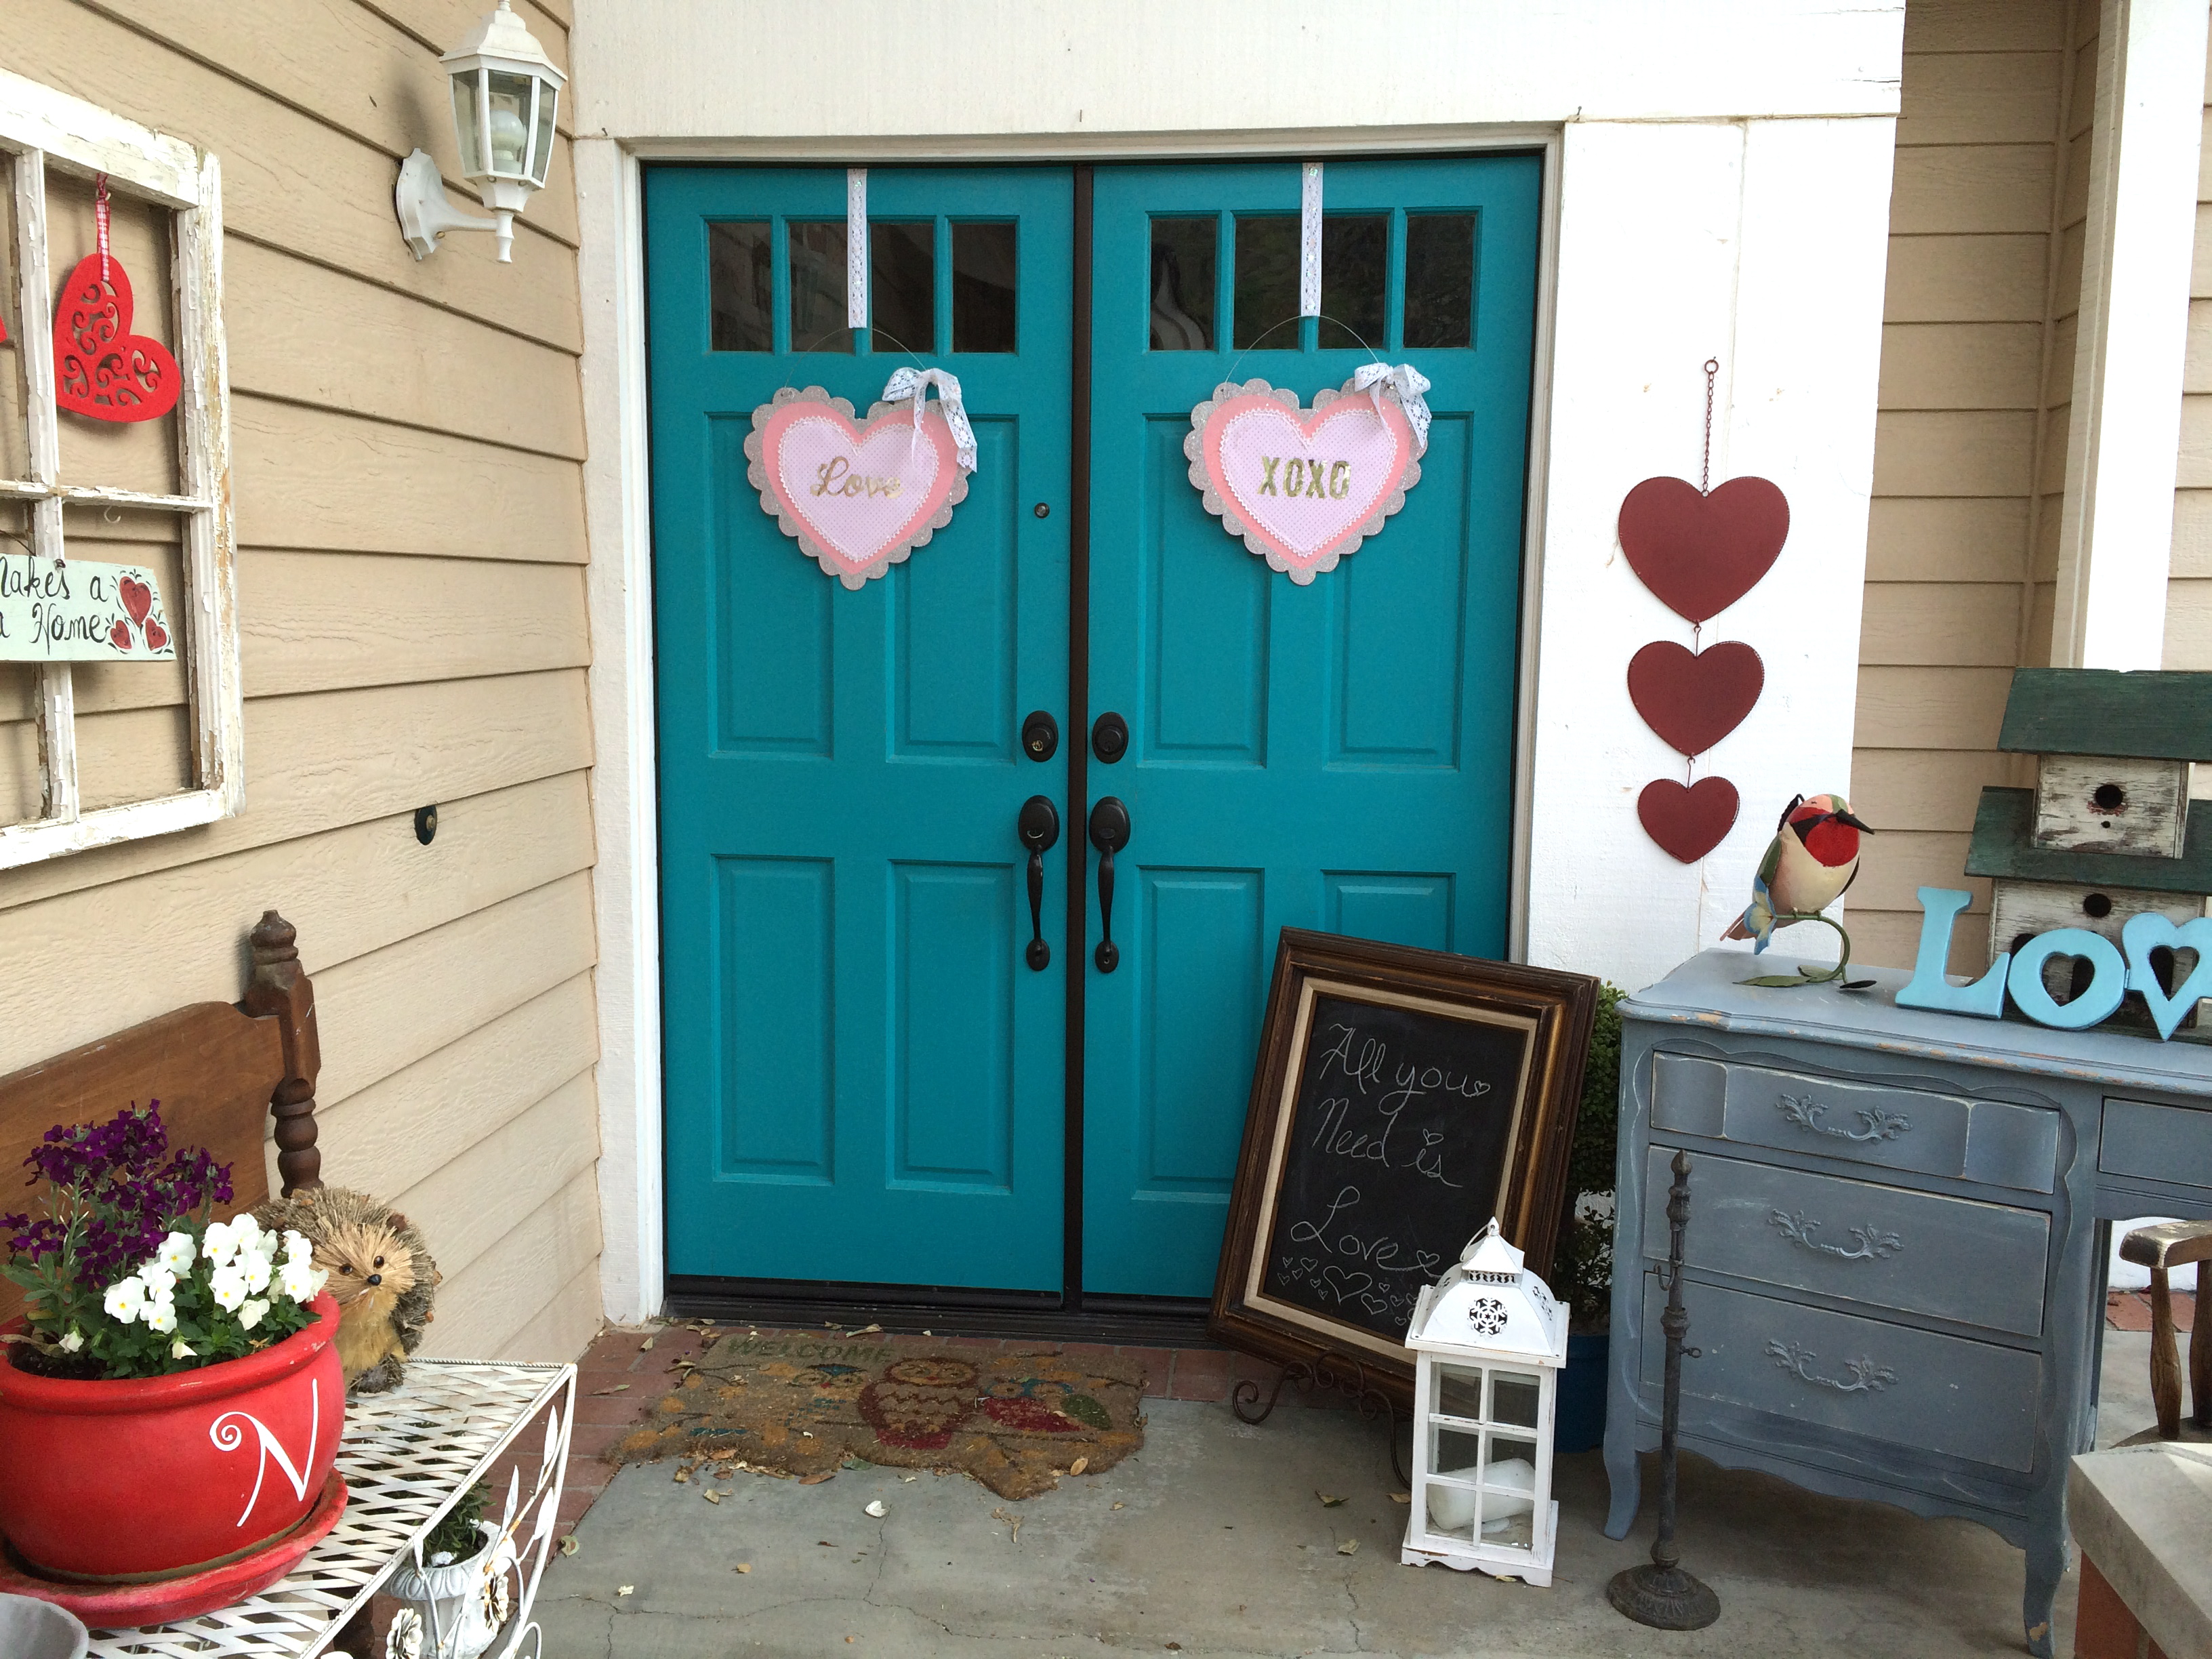
A little peak at my front porch….

My teenage daughter is in charge of all the chalkboard writing in our home. It’s too nerve racking for me!
I found this desk literally on the side of the road. I spray painted it grey and made it look rustic and it lives on my front porch. In the spring I have flowers growing out of the drawers!! I also found the chair on the side of the road. People probably think my porch looks junky – I like it!!

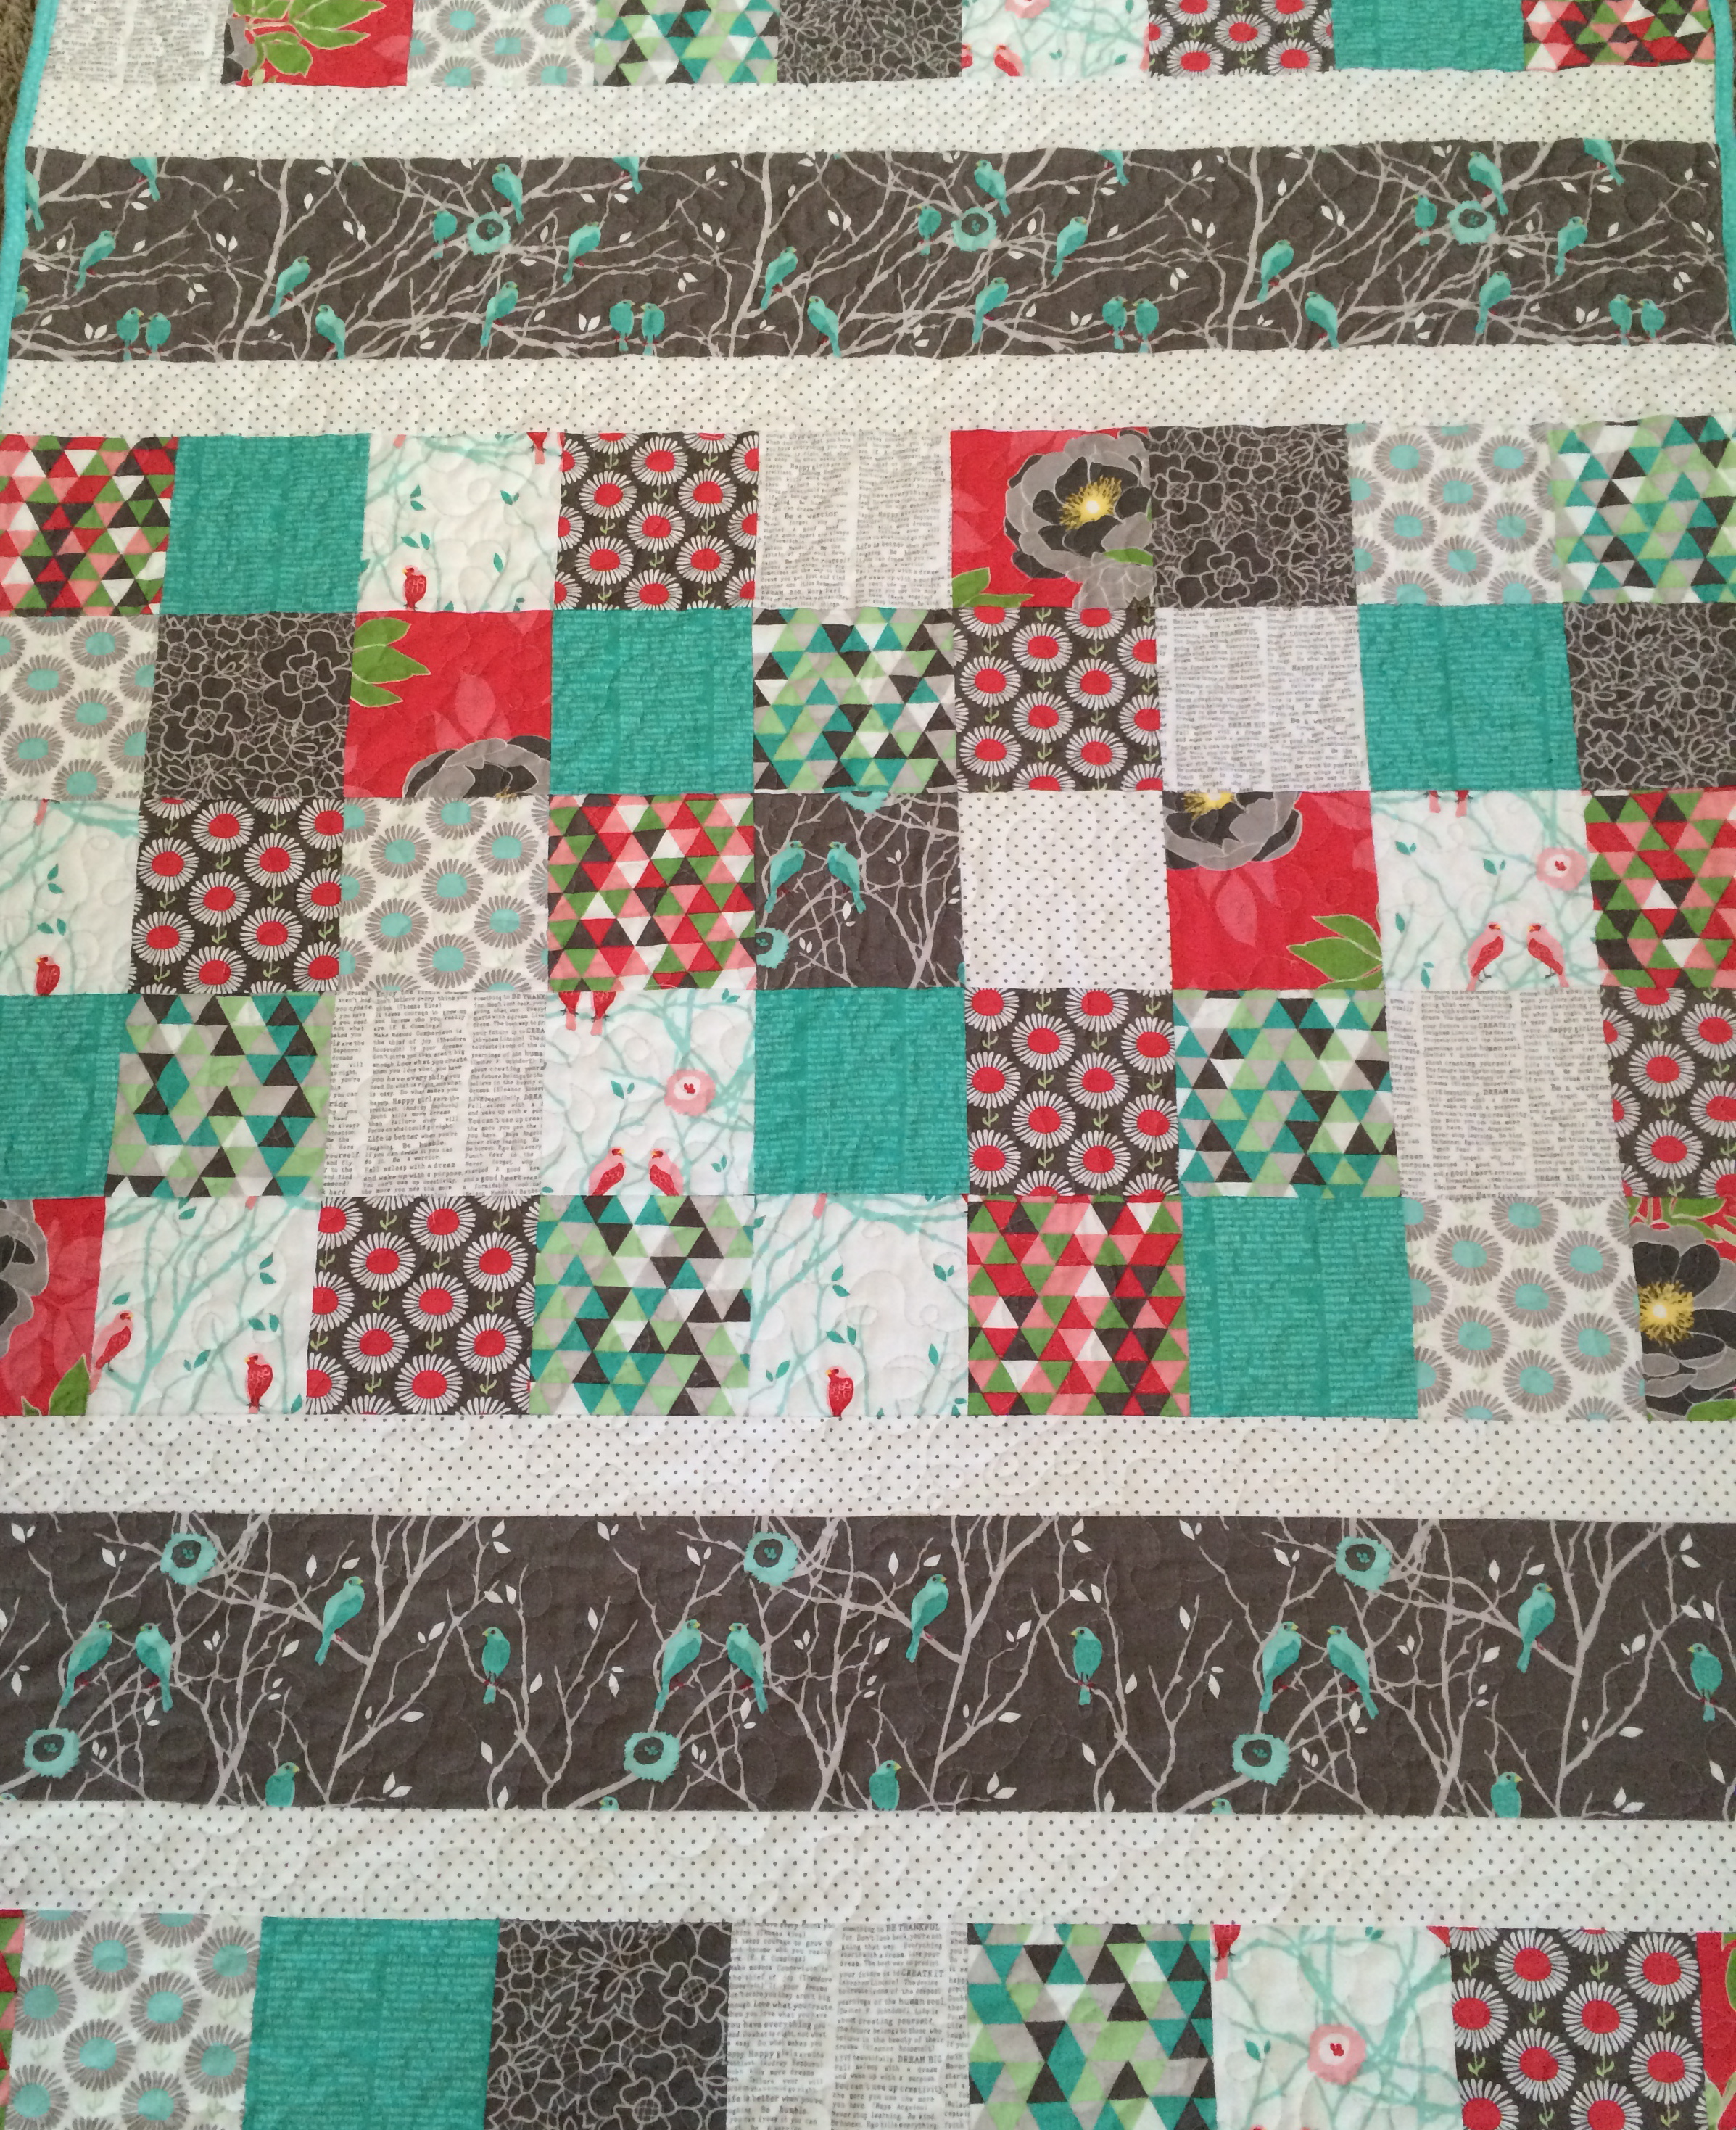
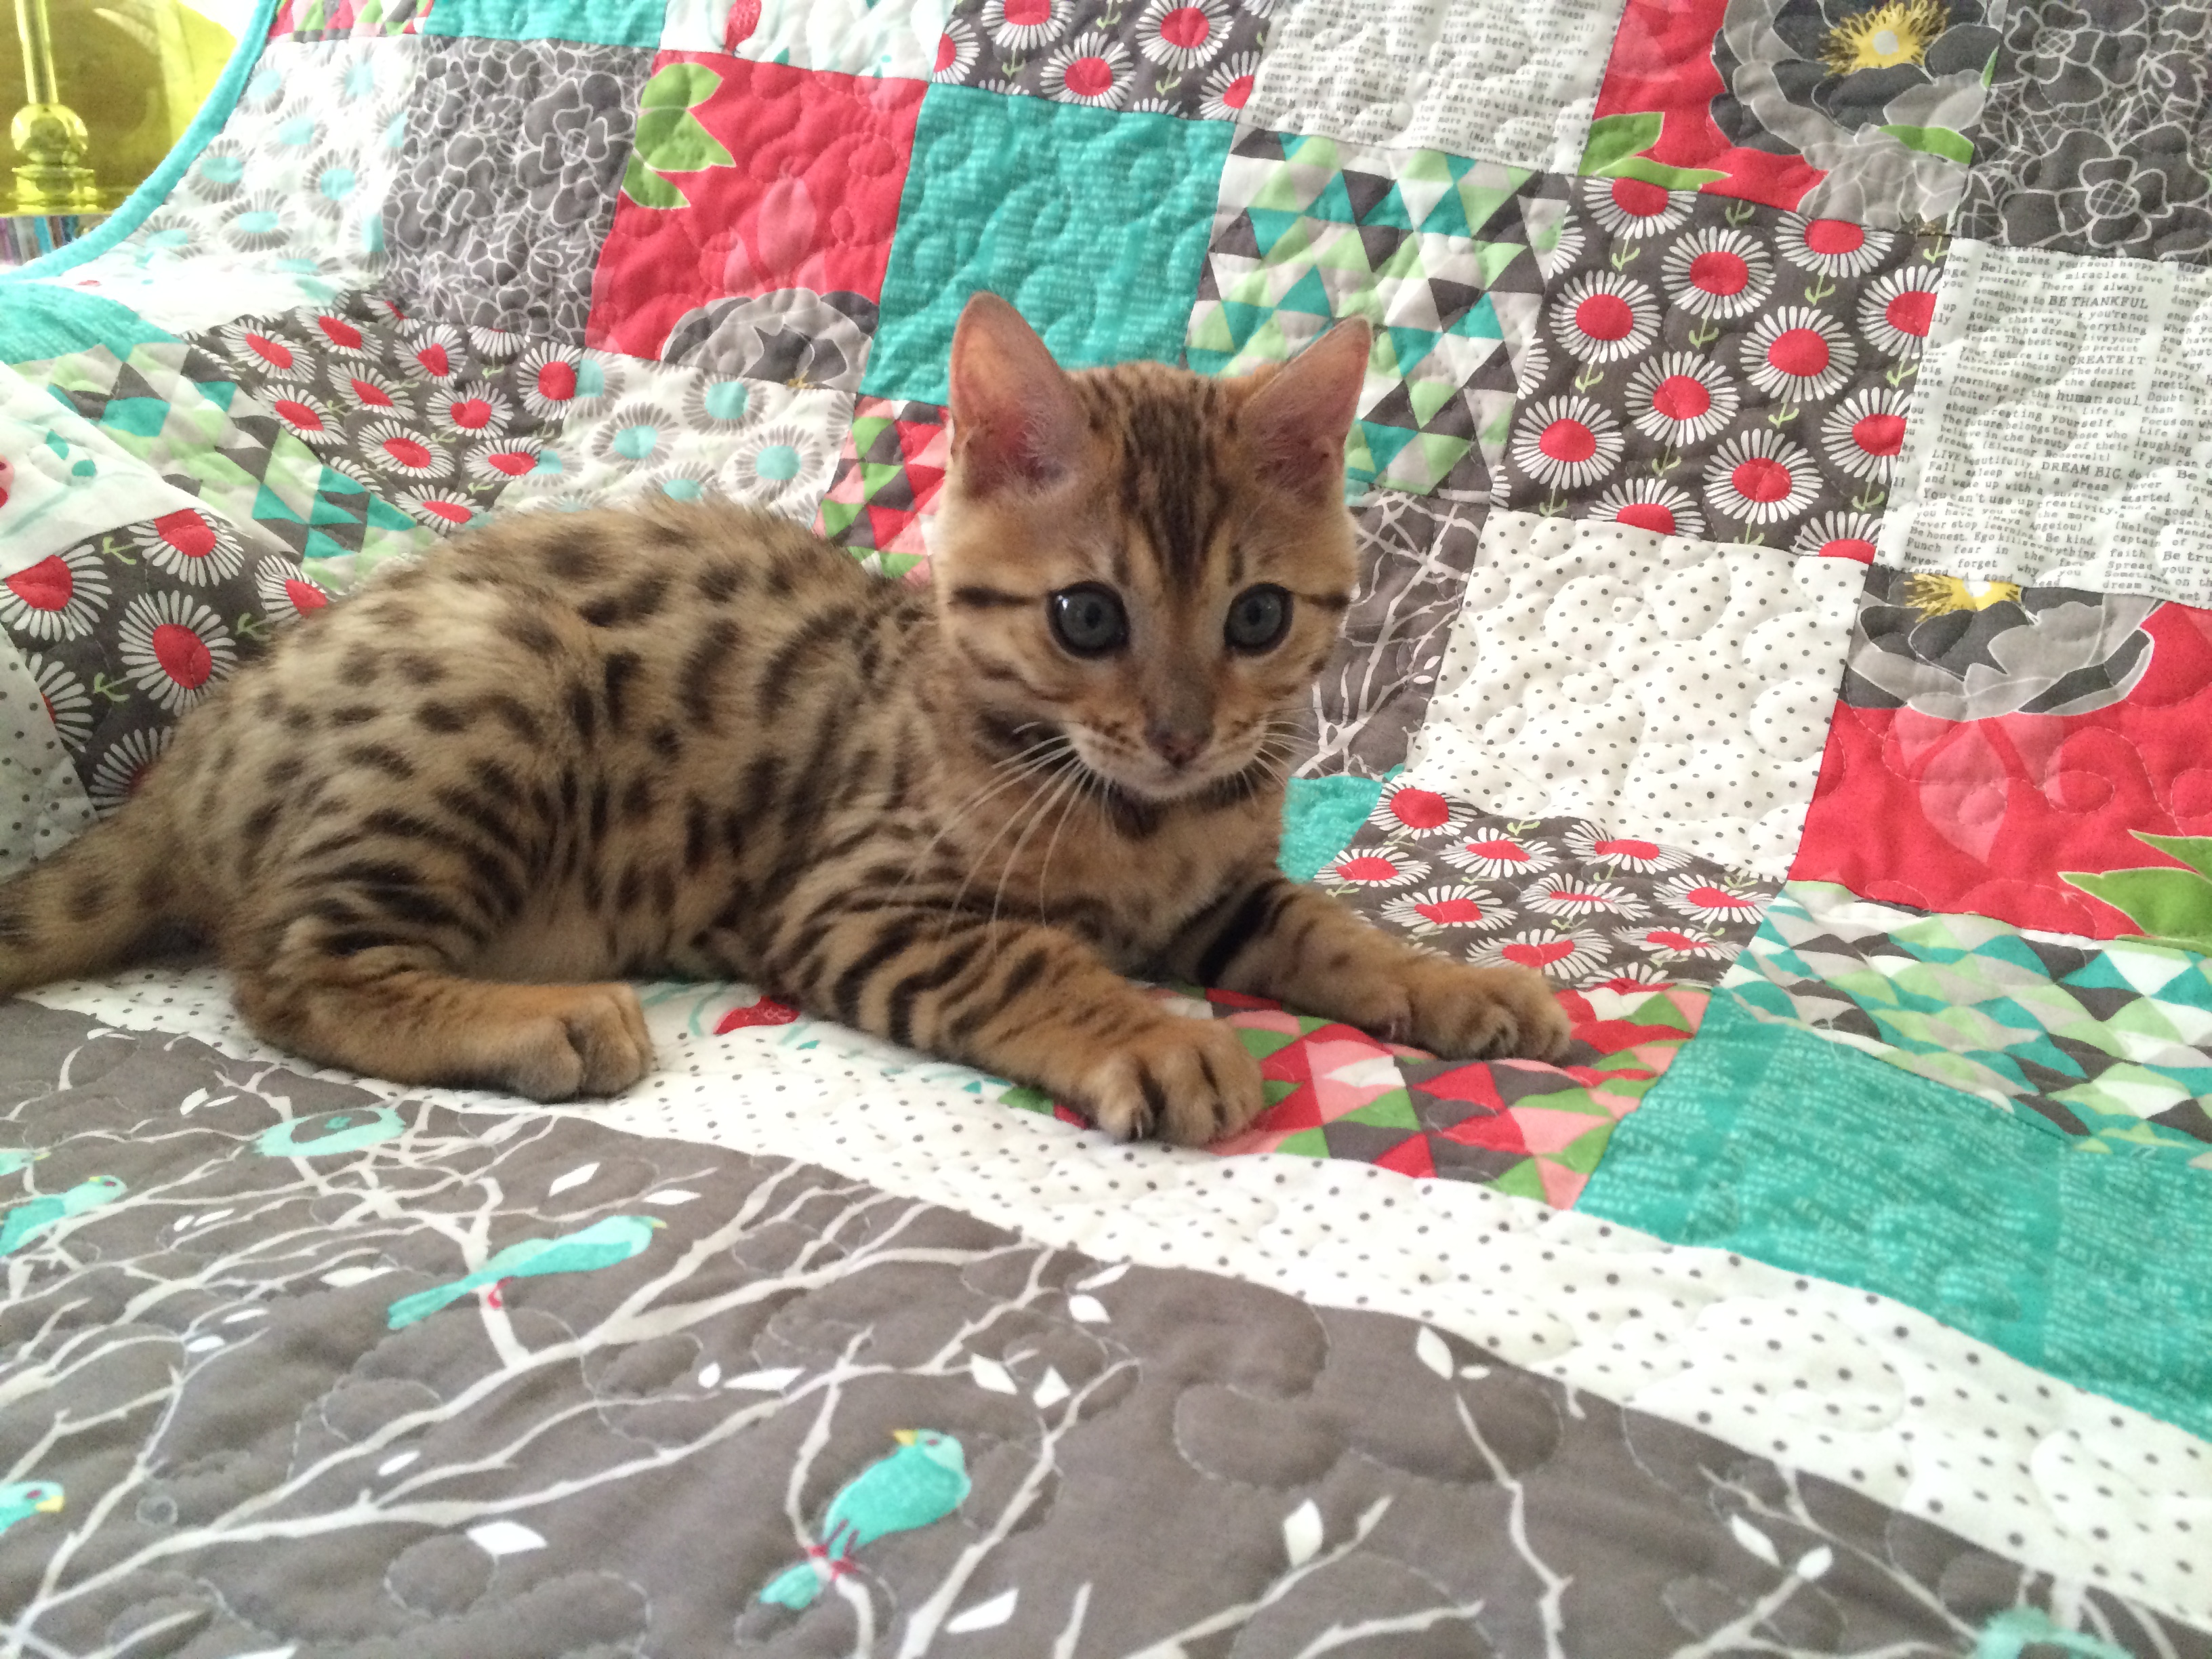
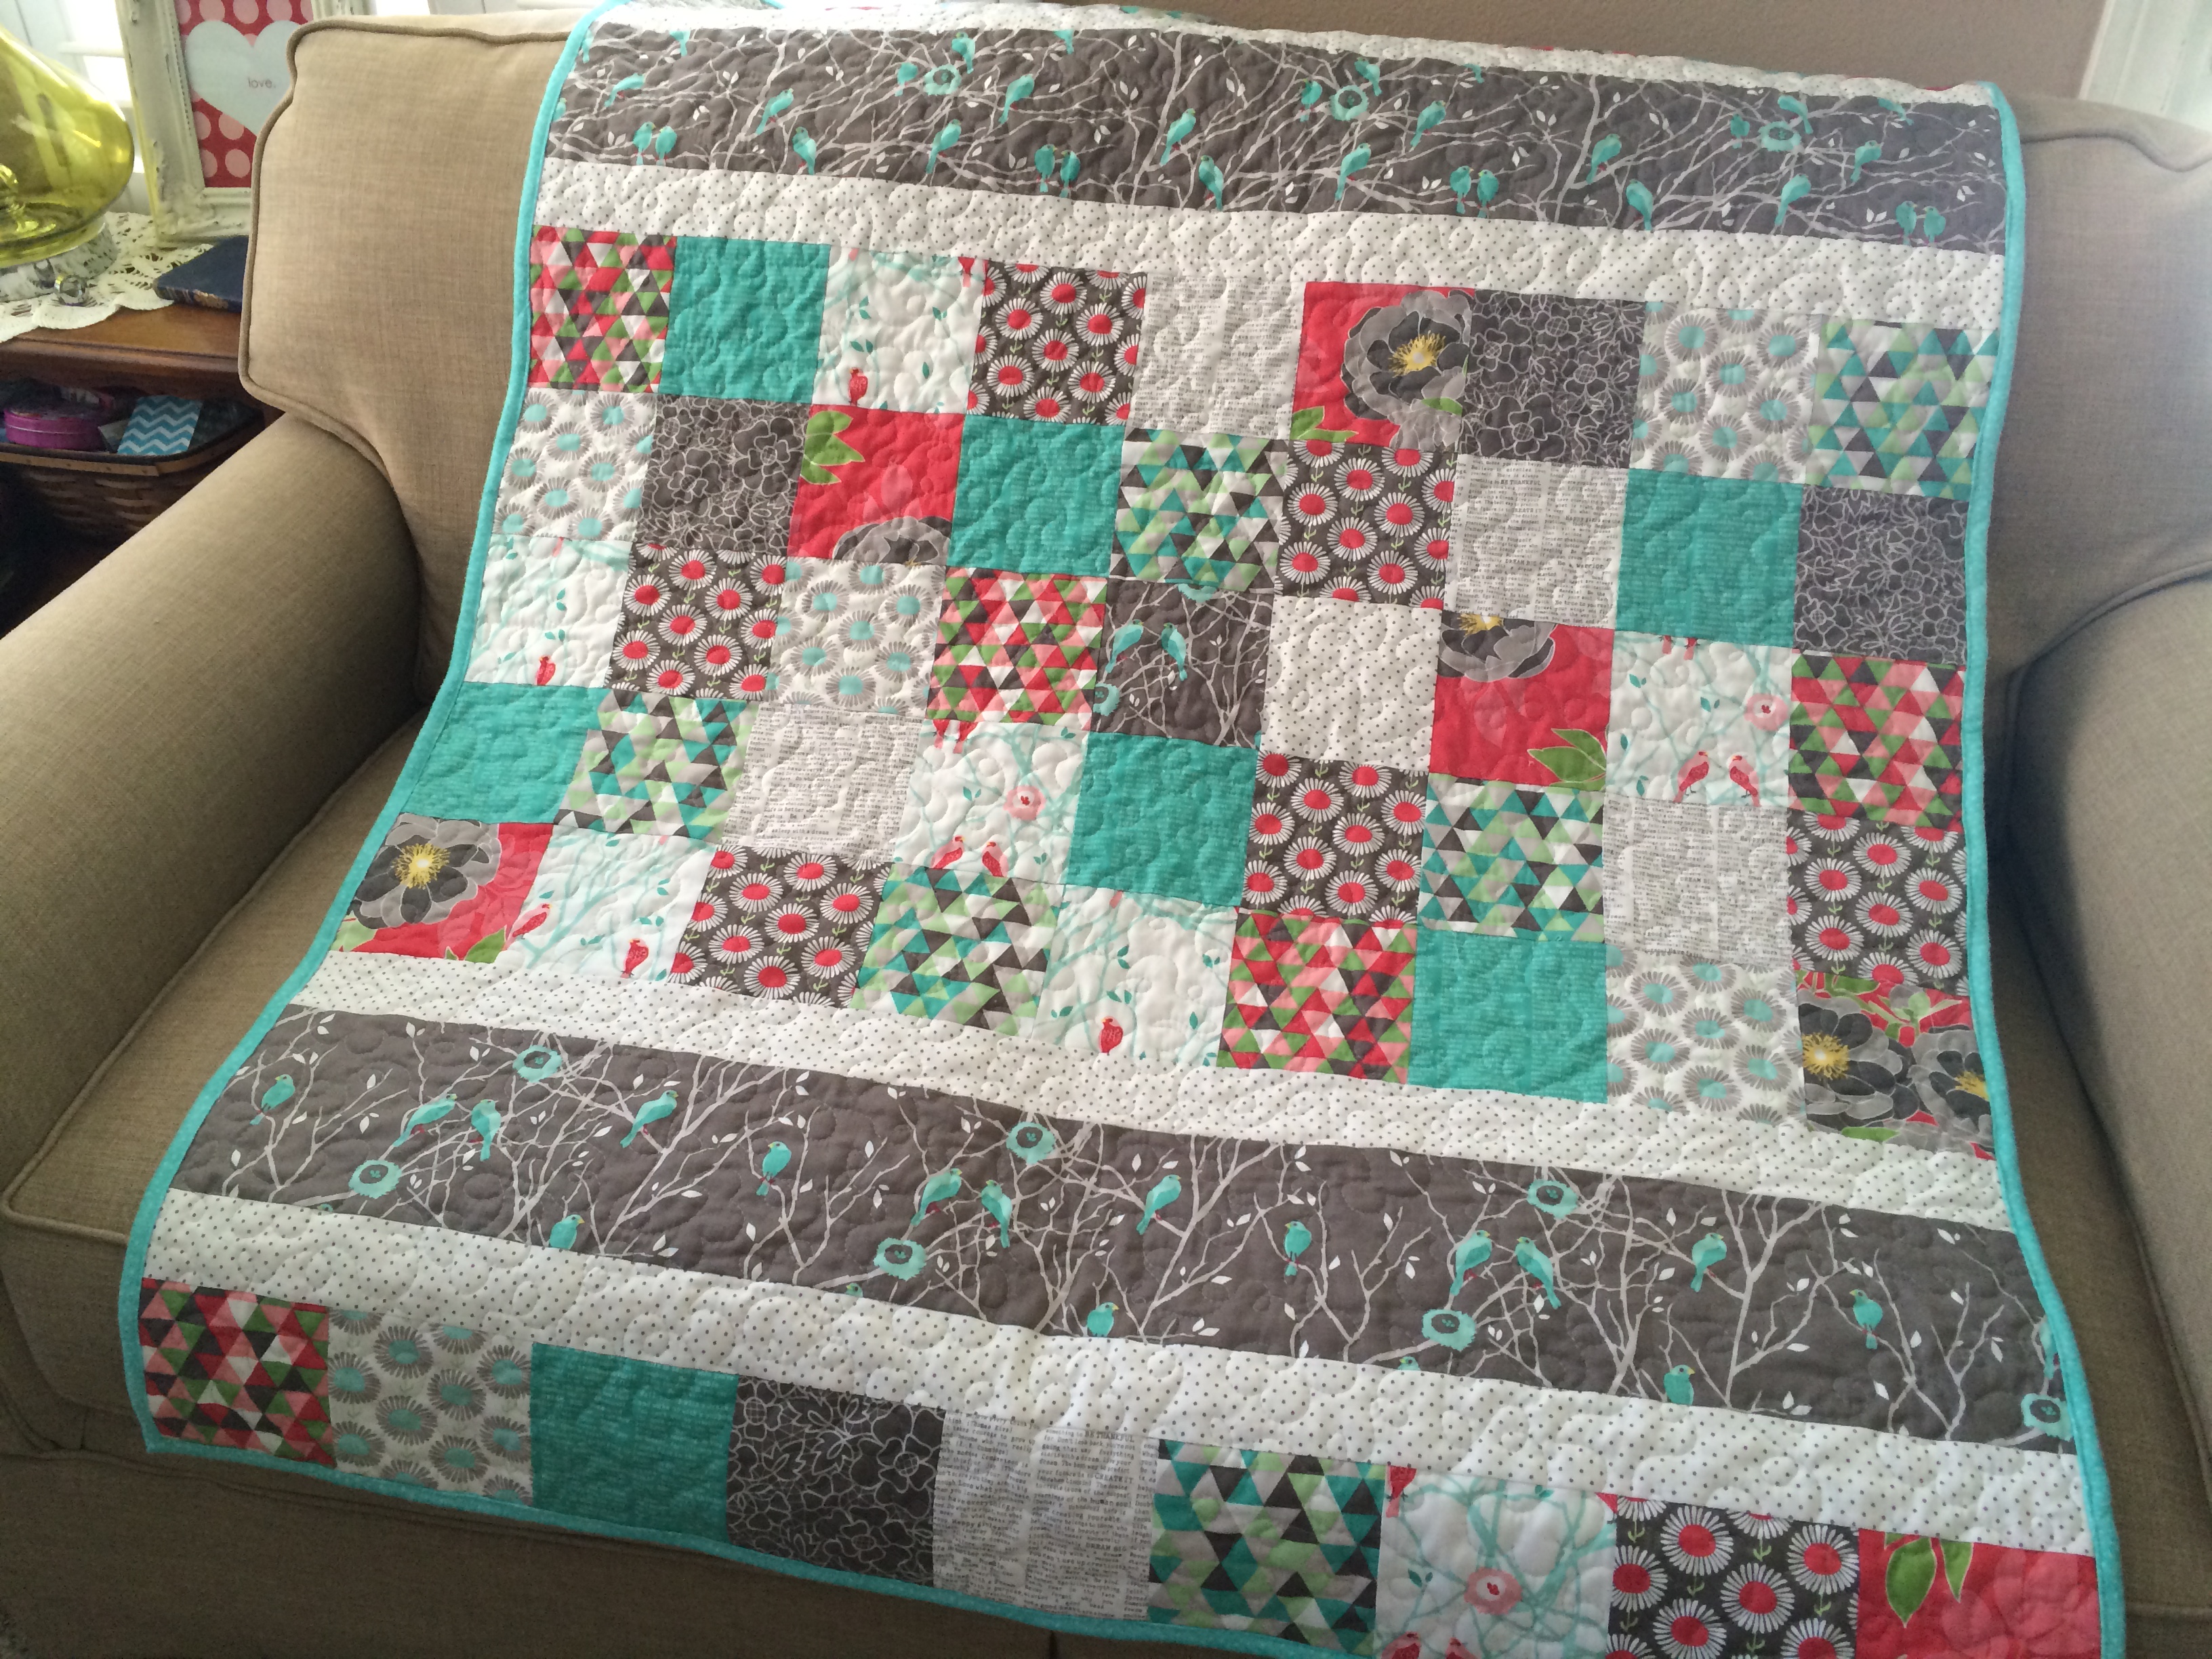
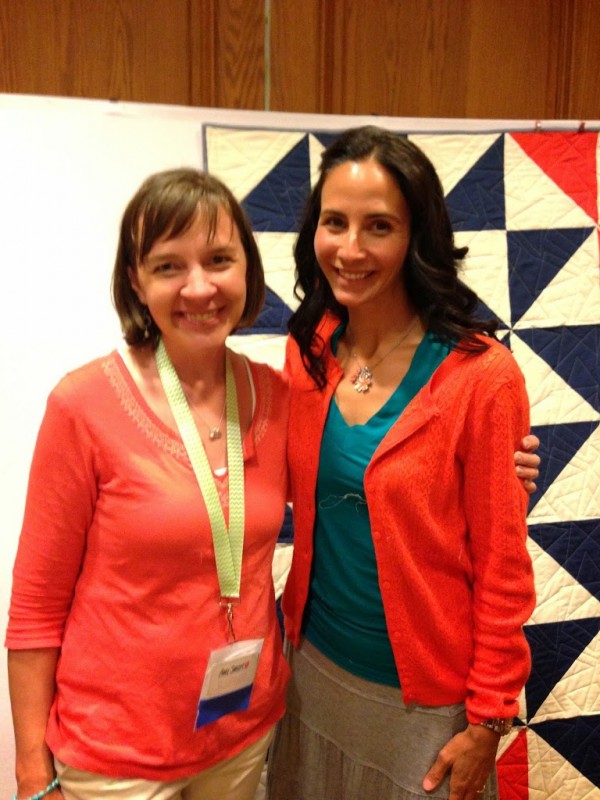

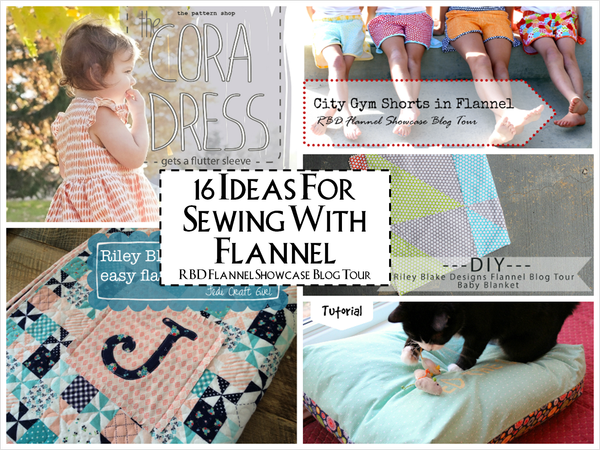
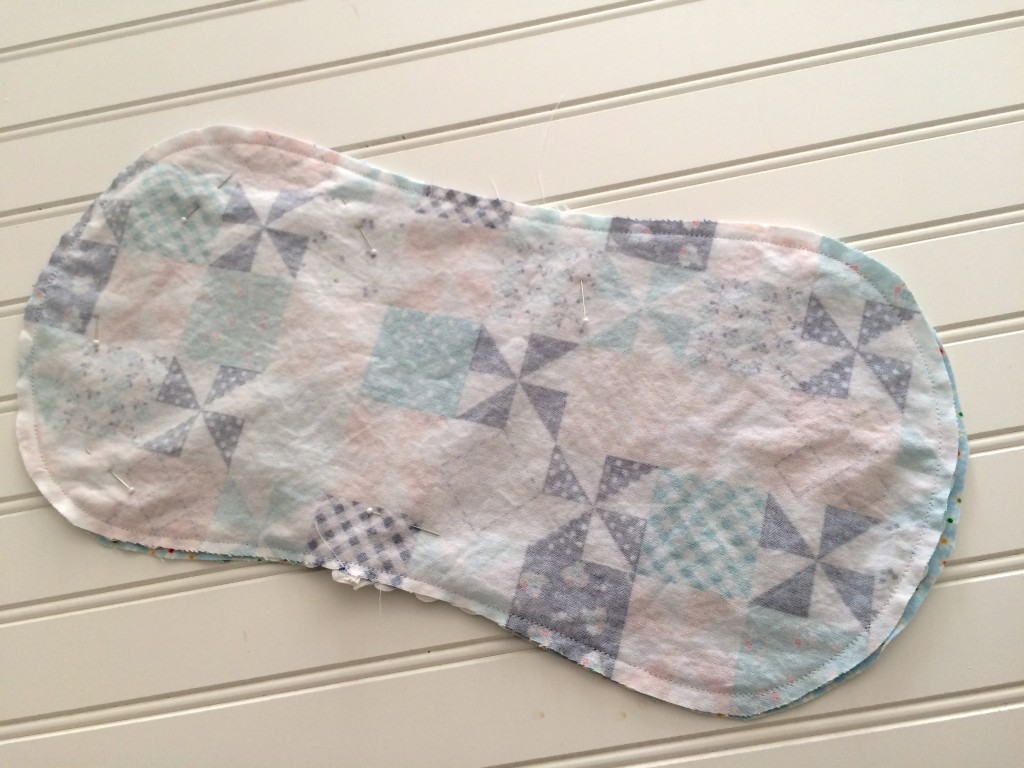
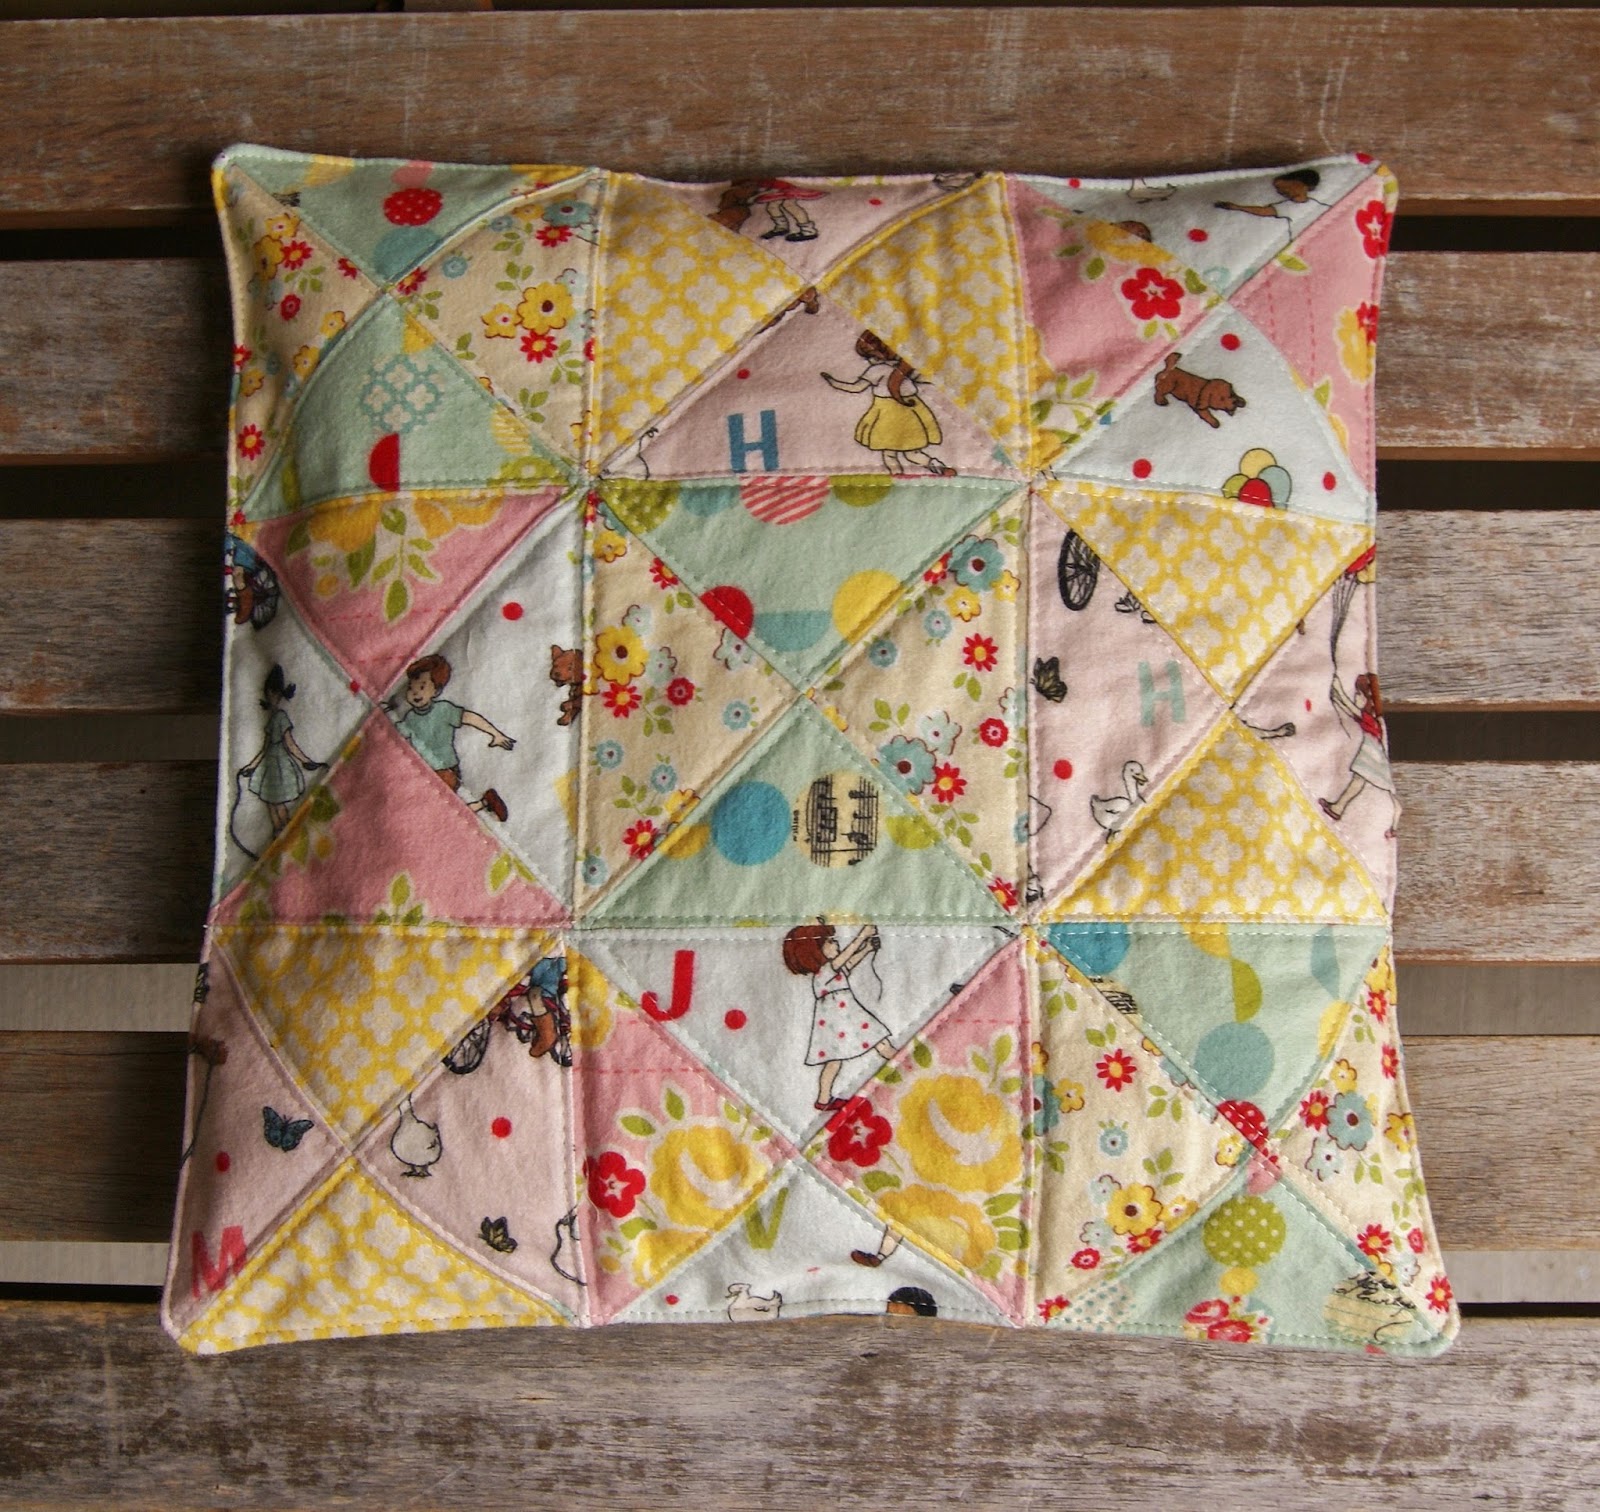
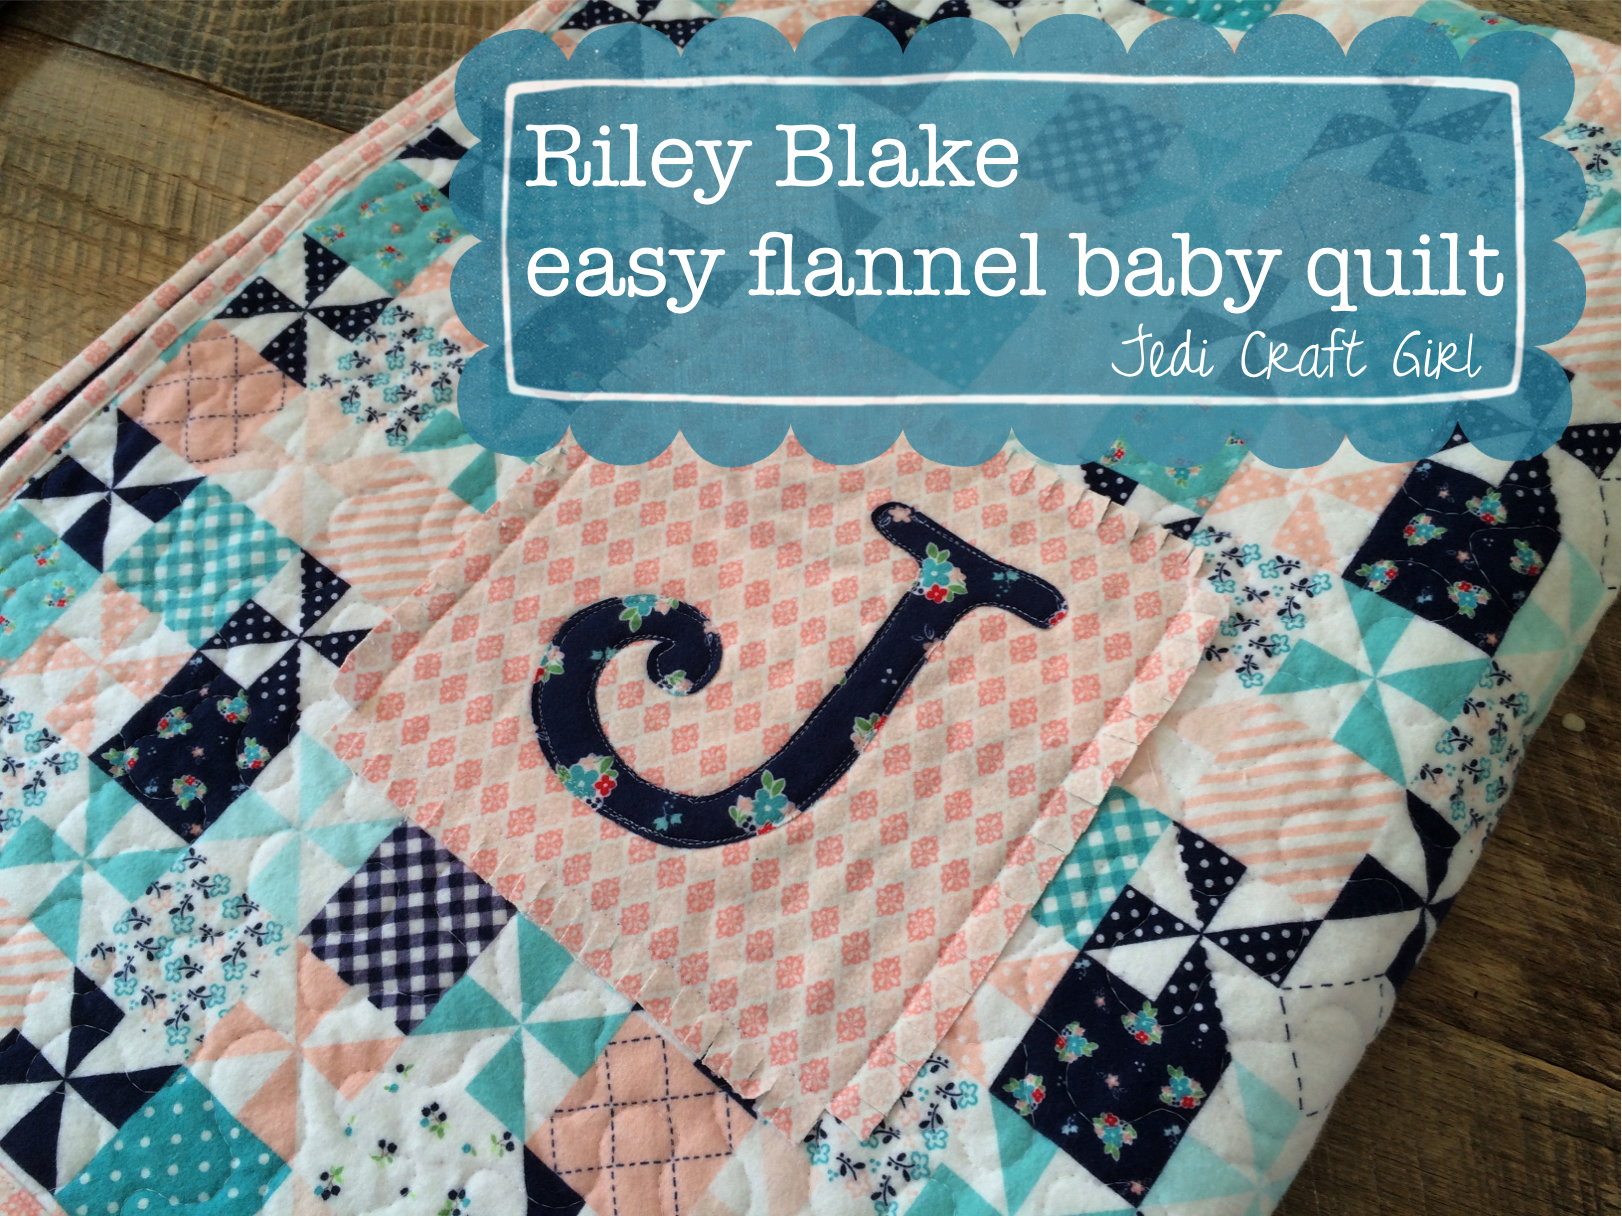
 I am so excited to be participating in the Riley Blake Flannel Blog Hop! Thanks for stopping by! Let me introduce myself….I’m Amanda, a Southern California mom of 3 children who LOVES fabric, sewing and quilting! I love sharing my projects and patterns on my blog and connecting with people who share my same interests.

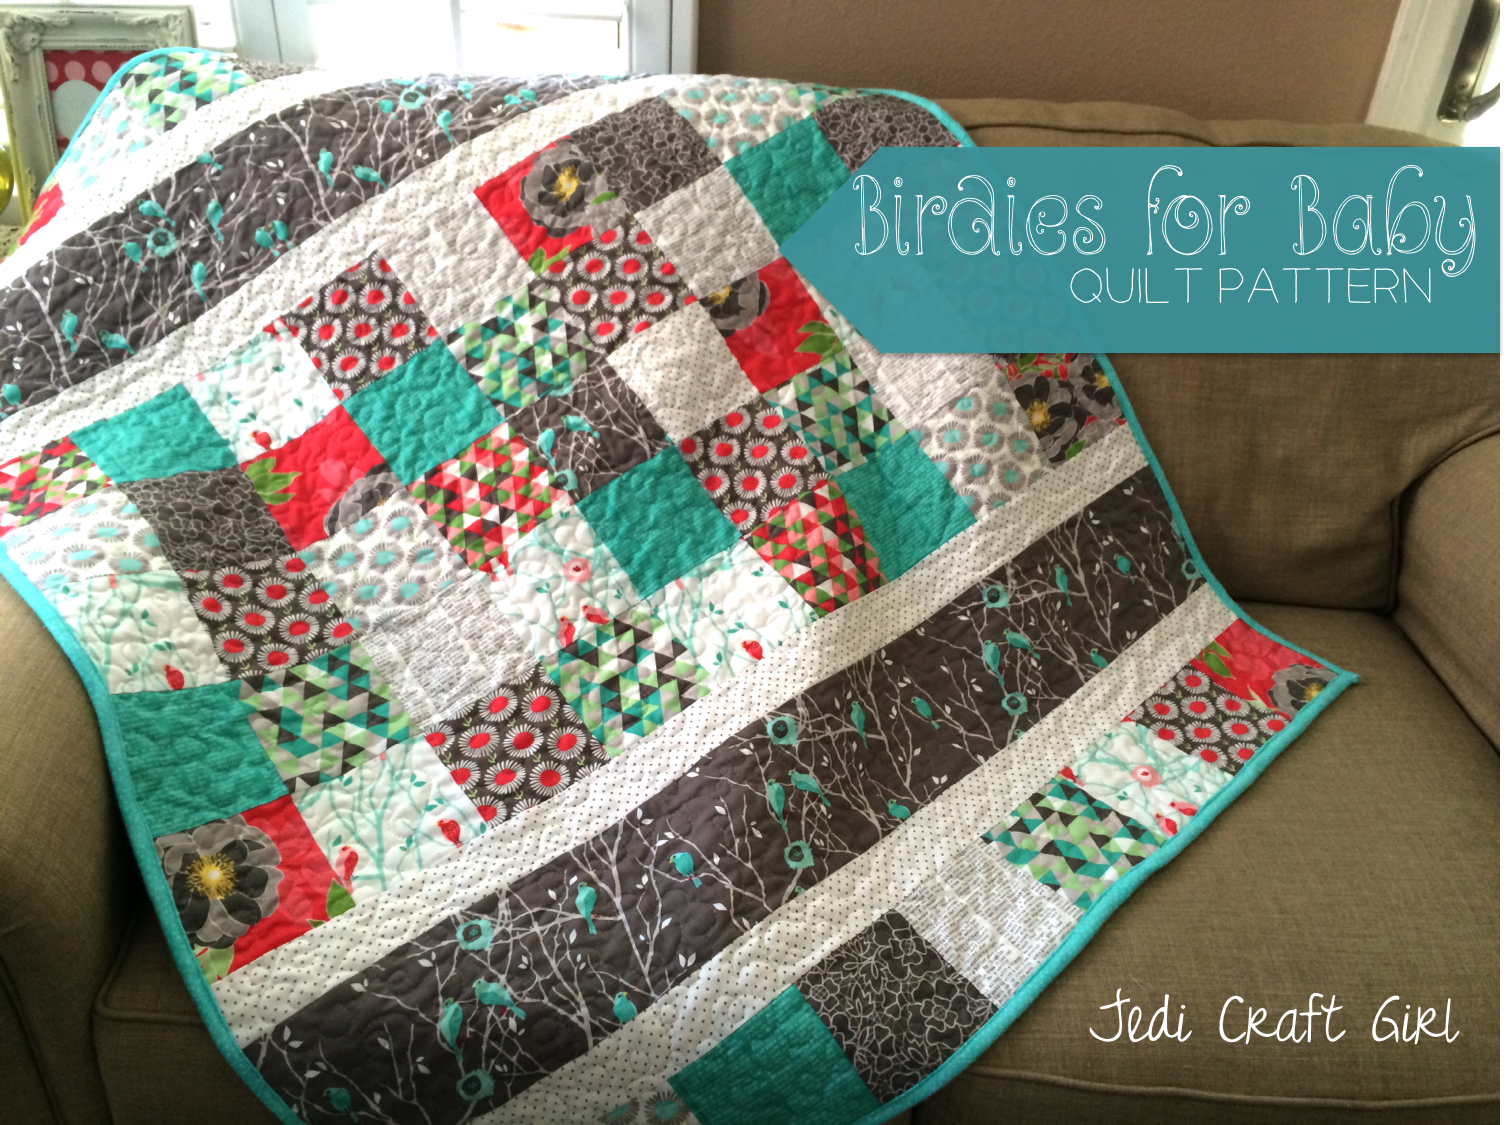
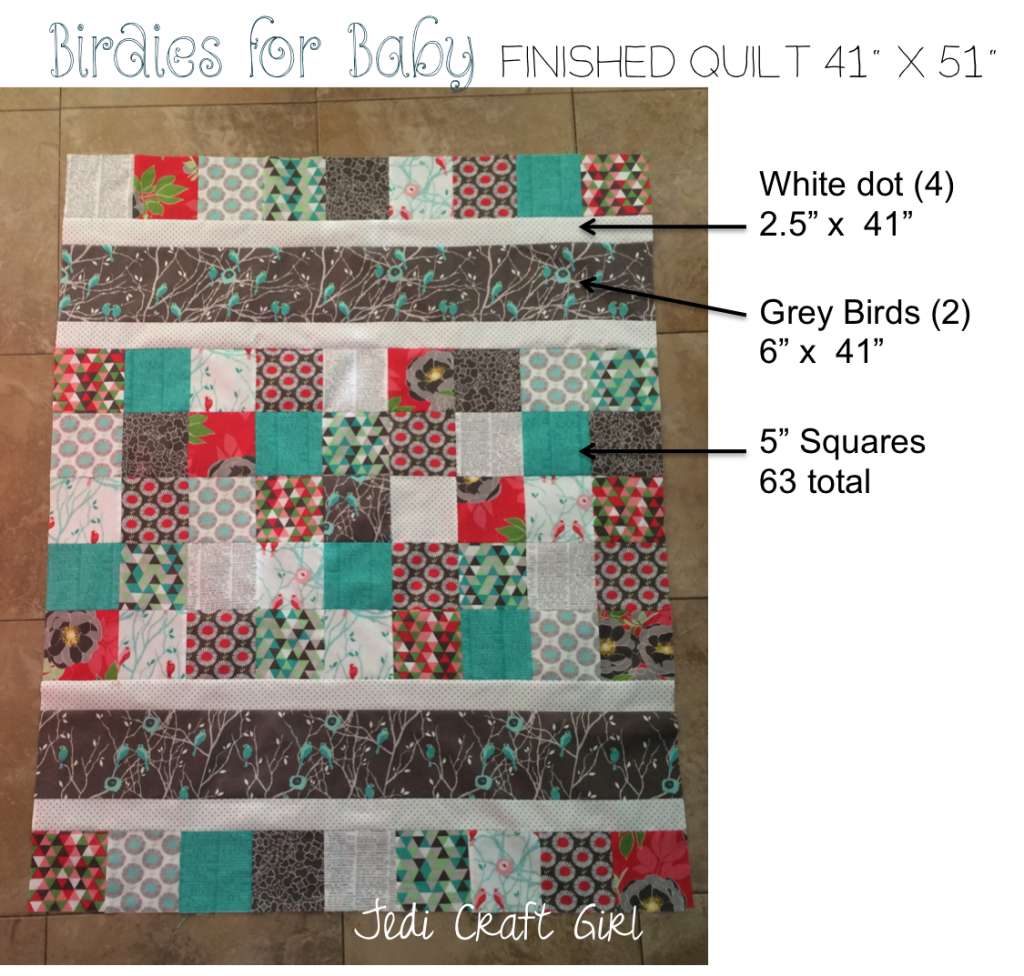
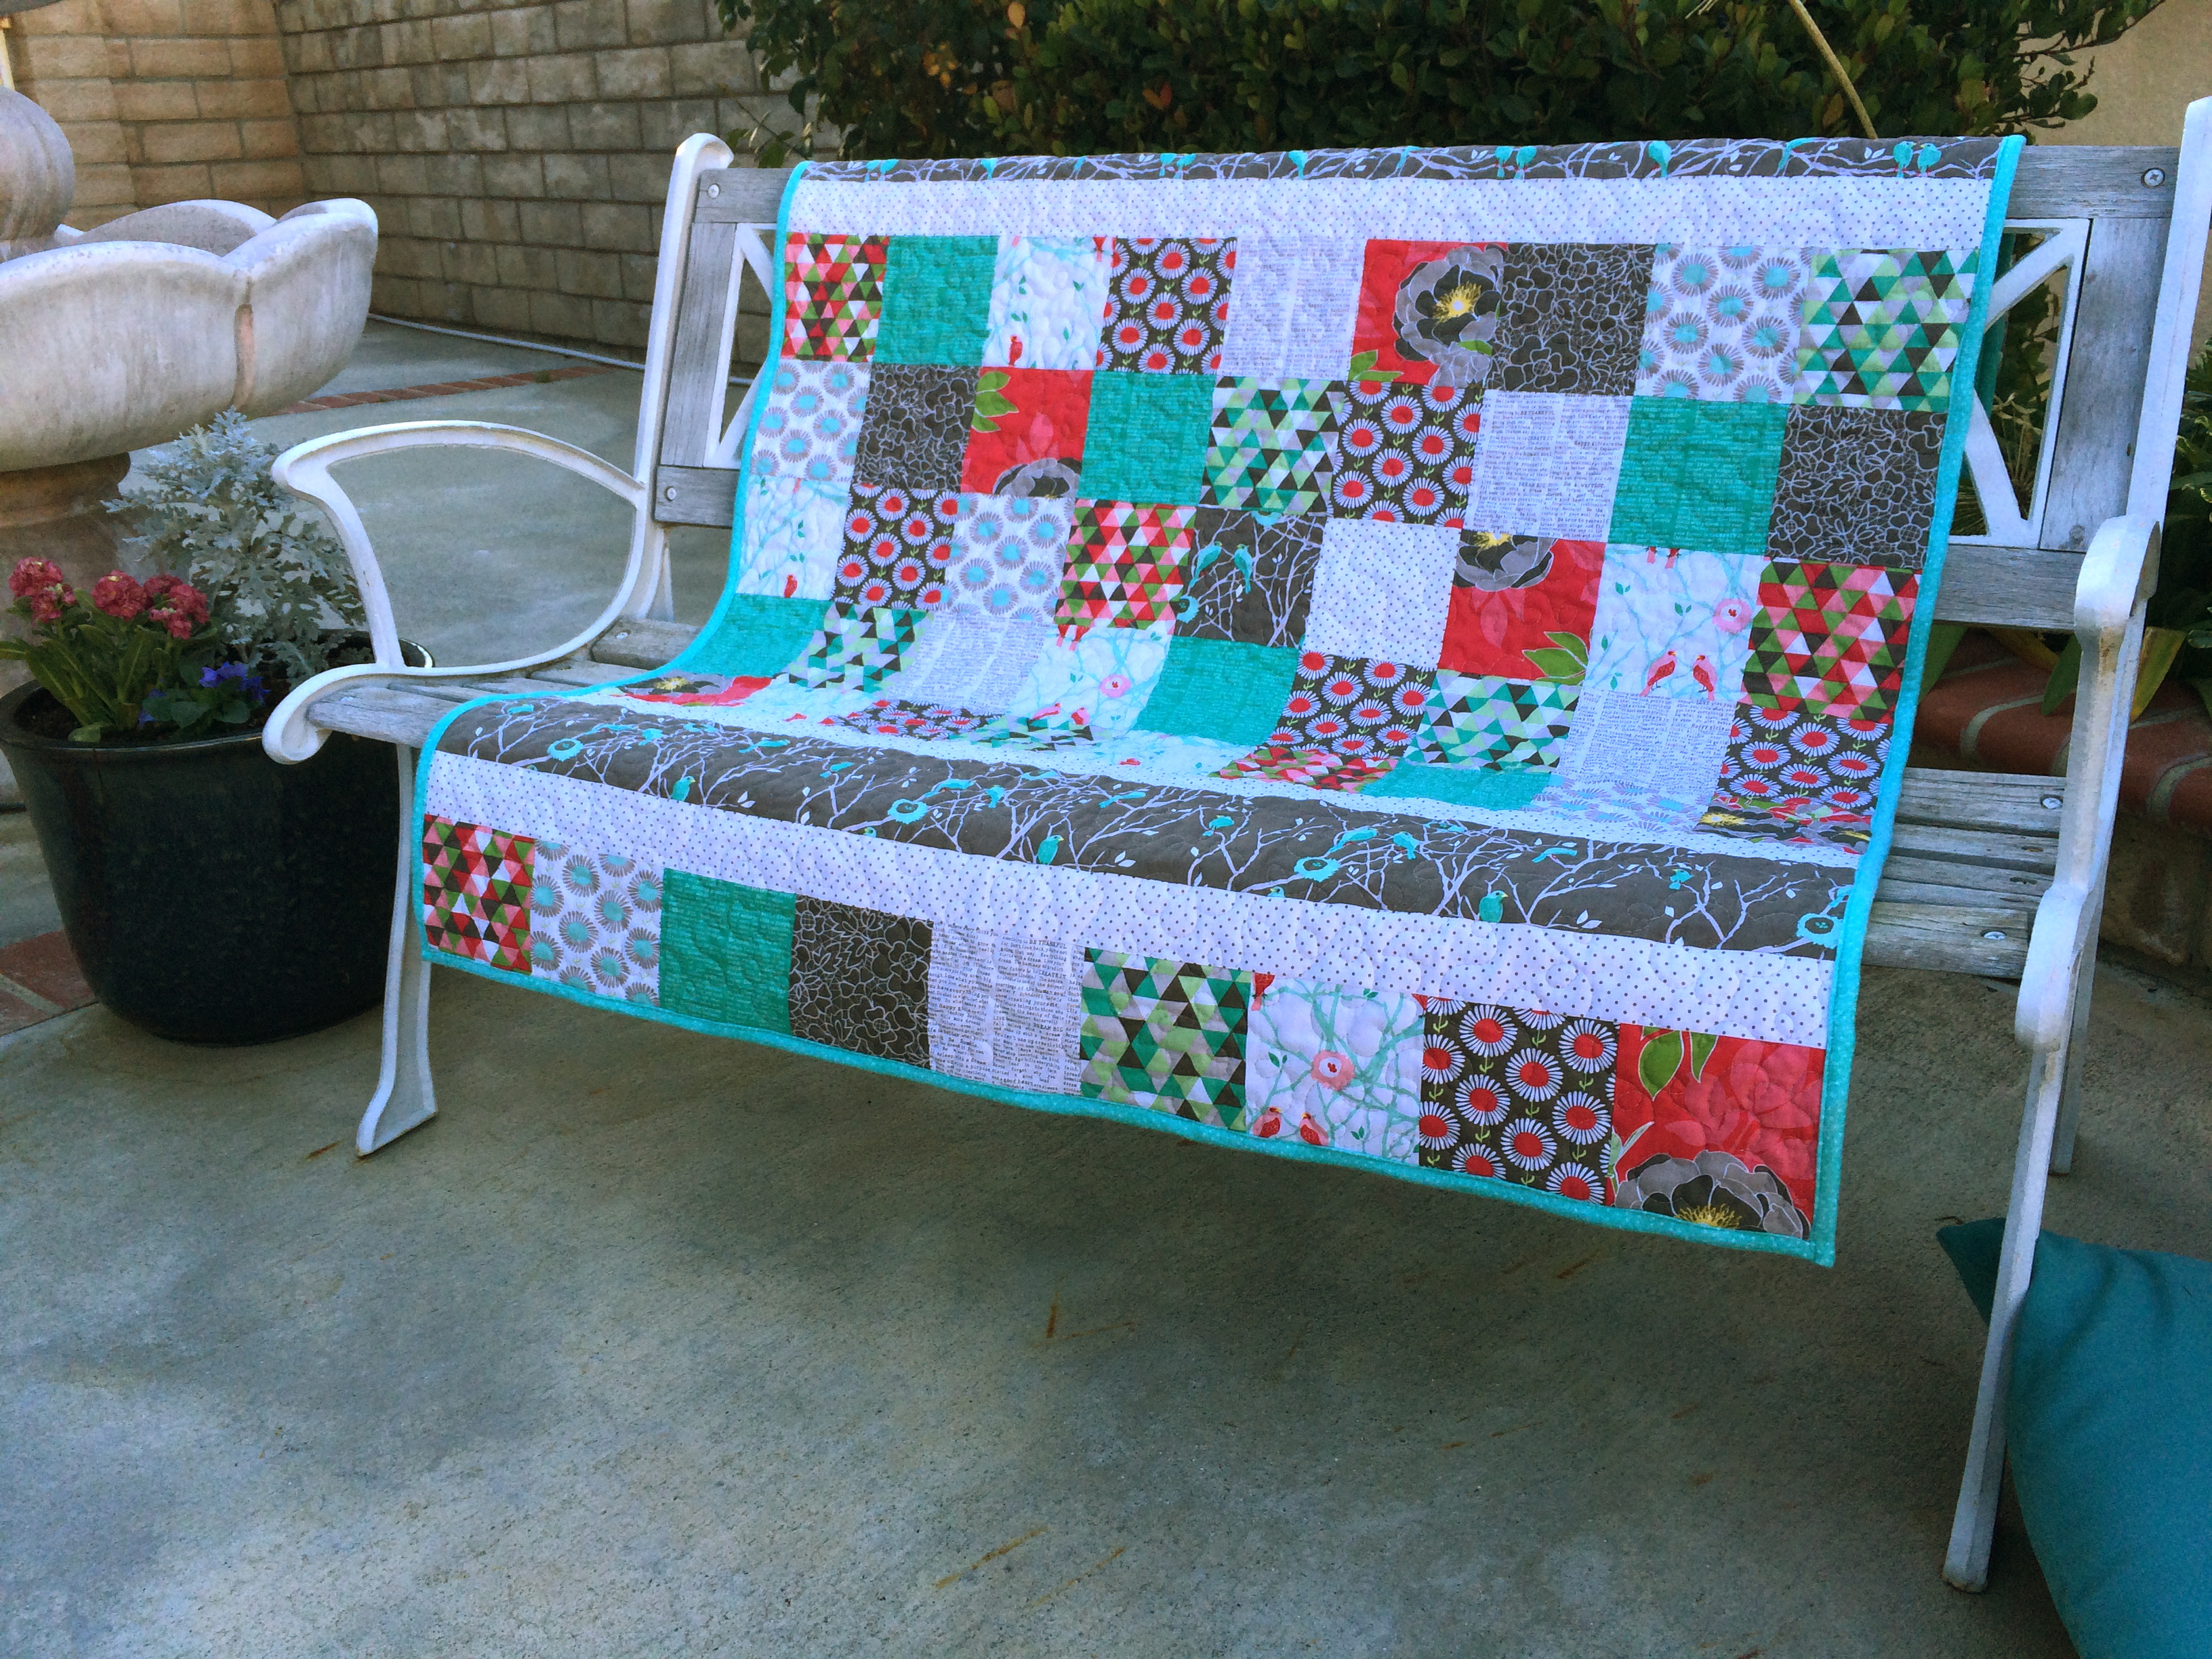
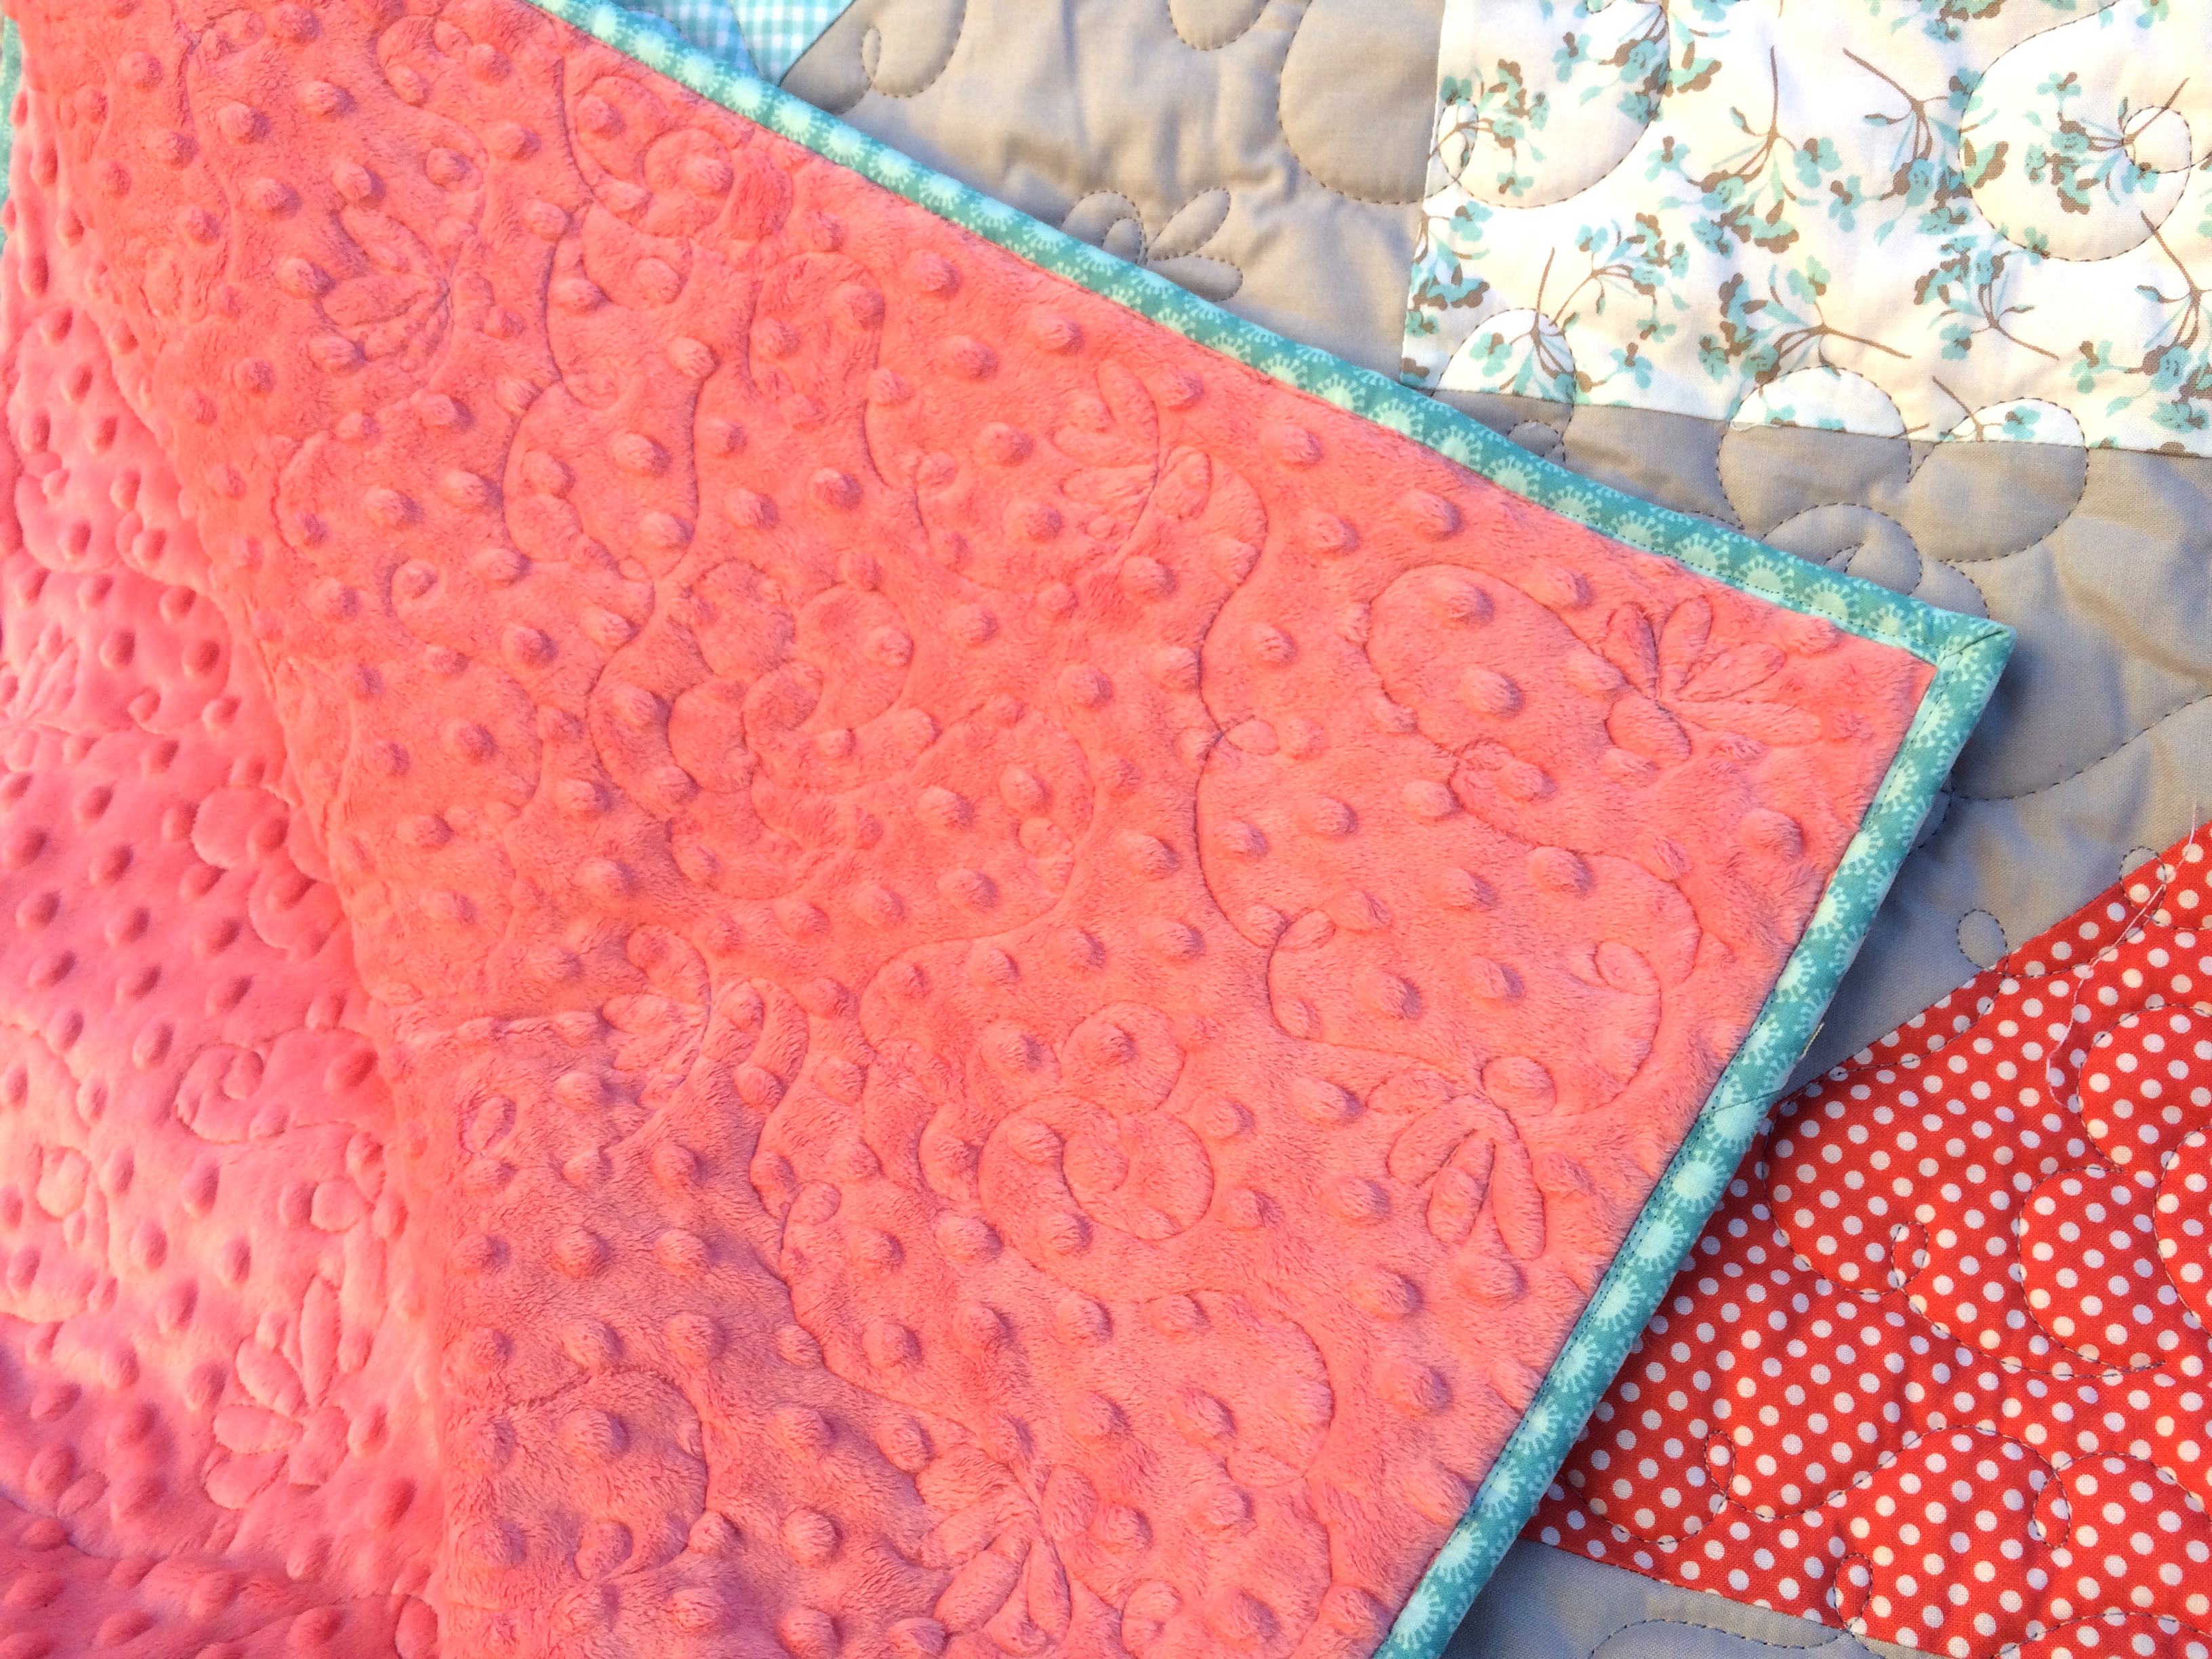
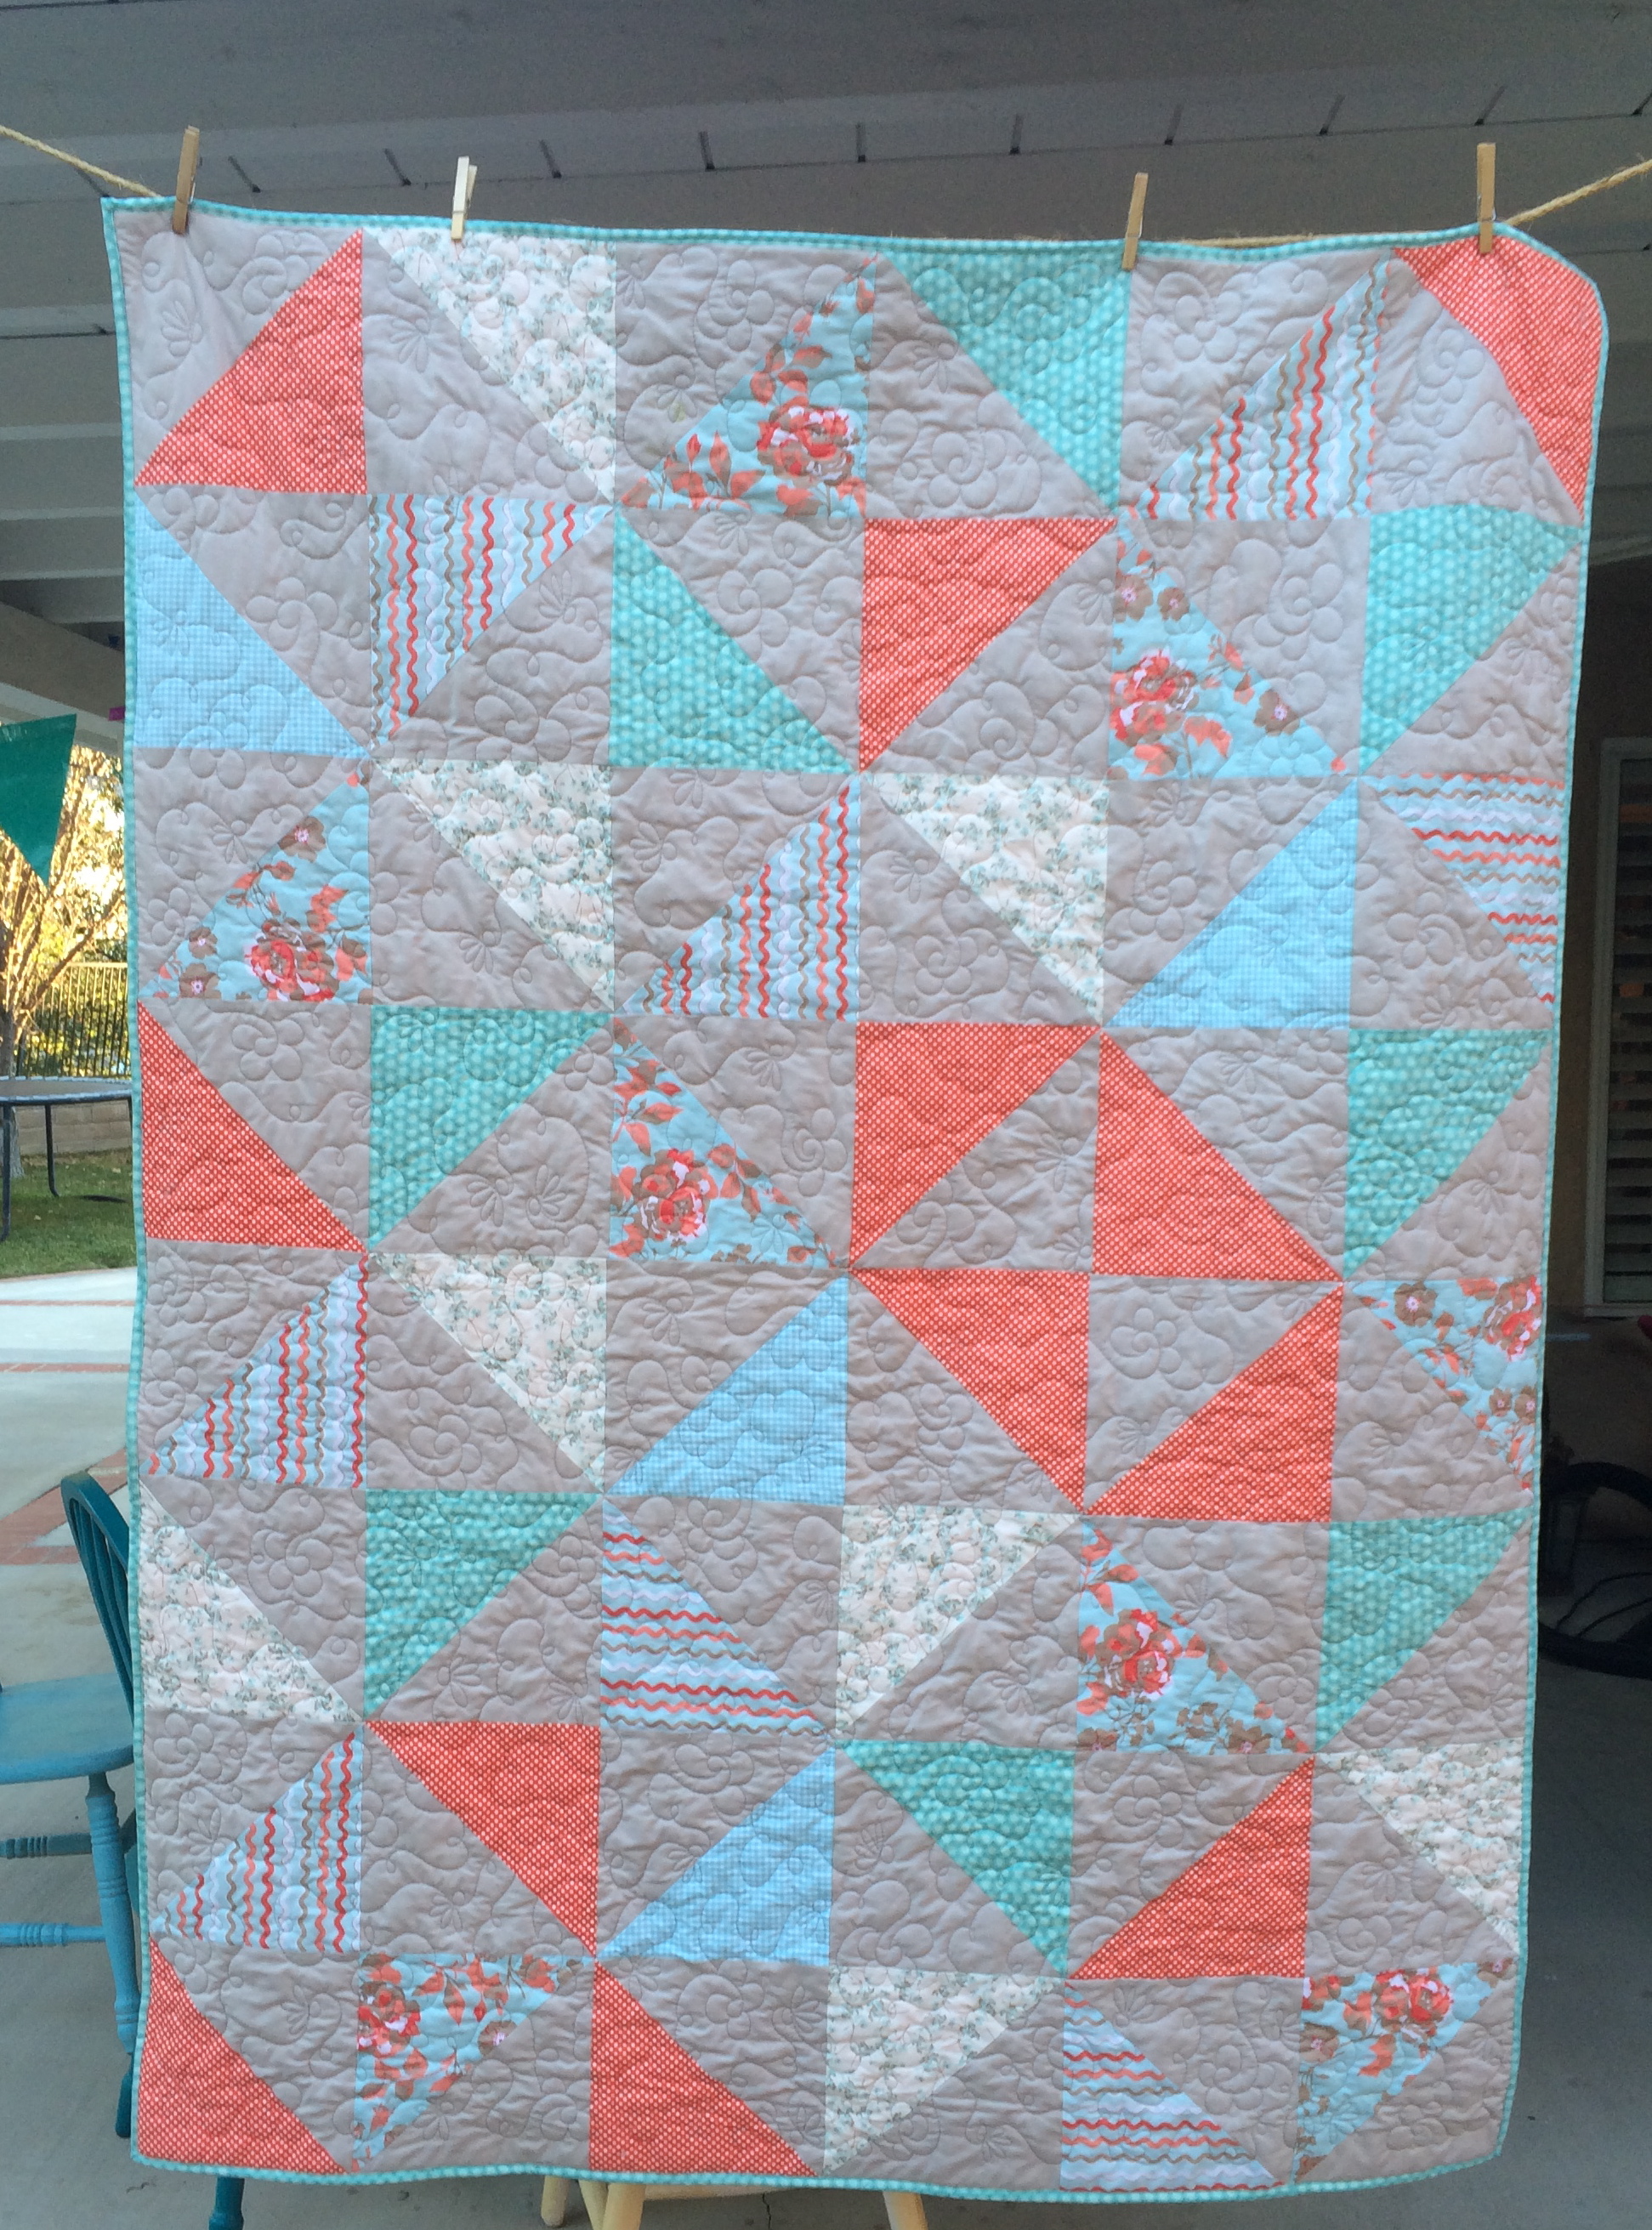
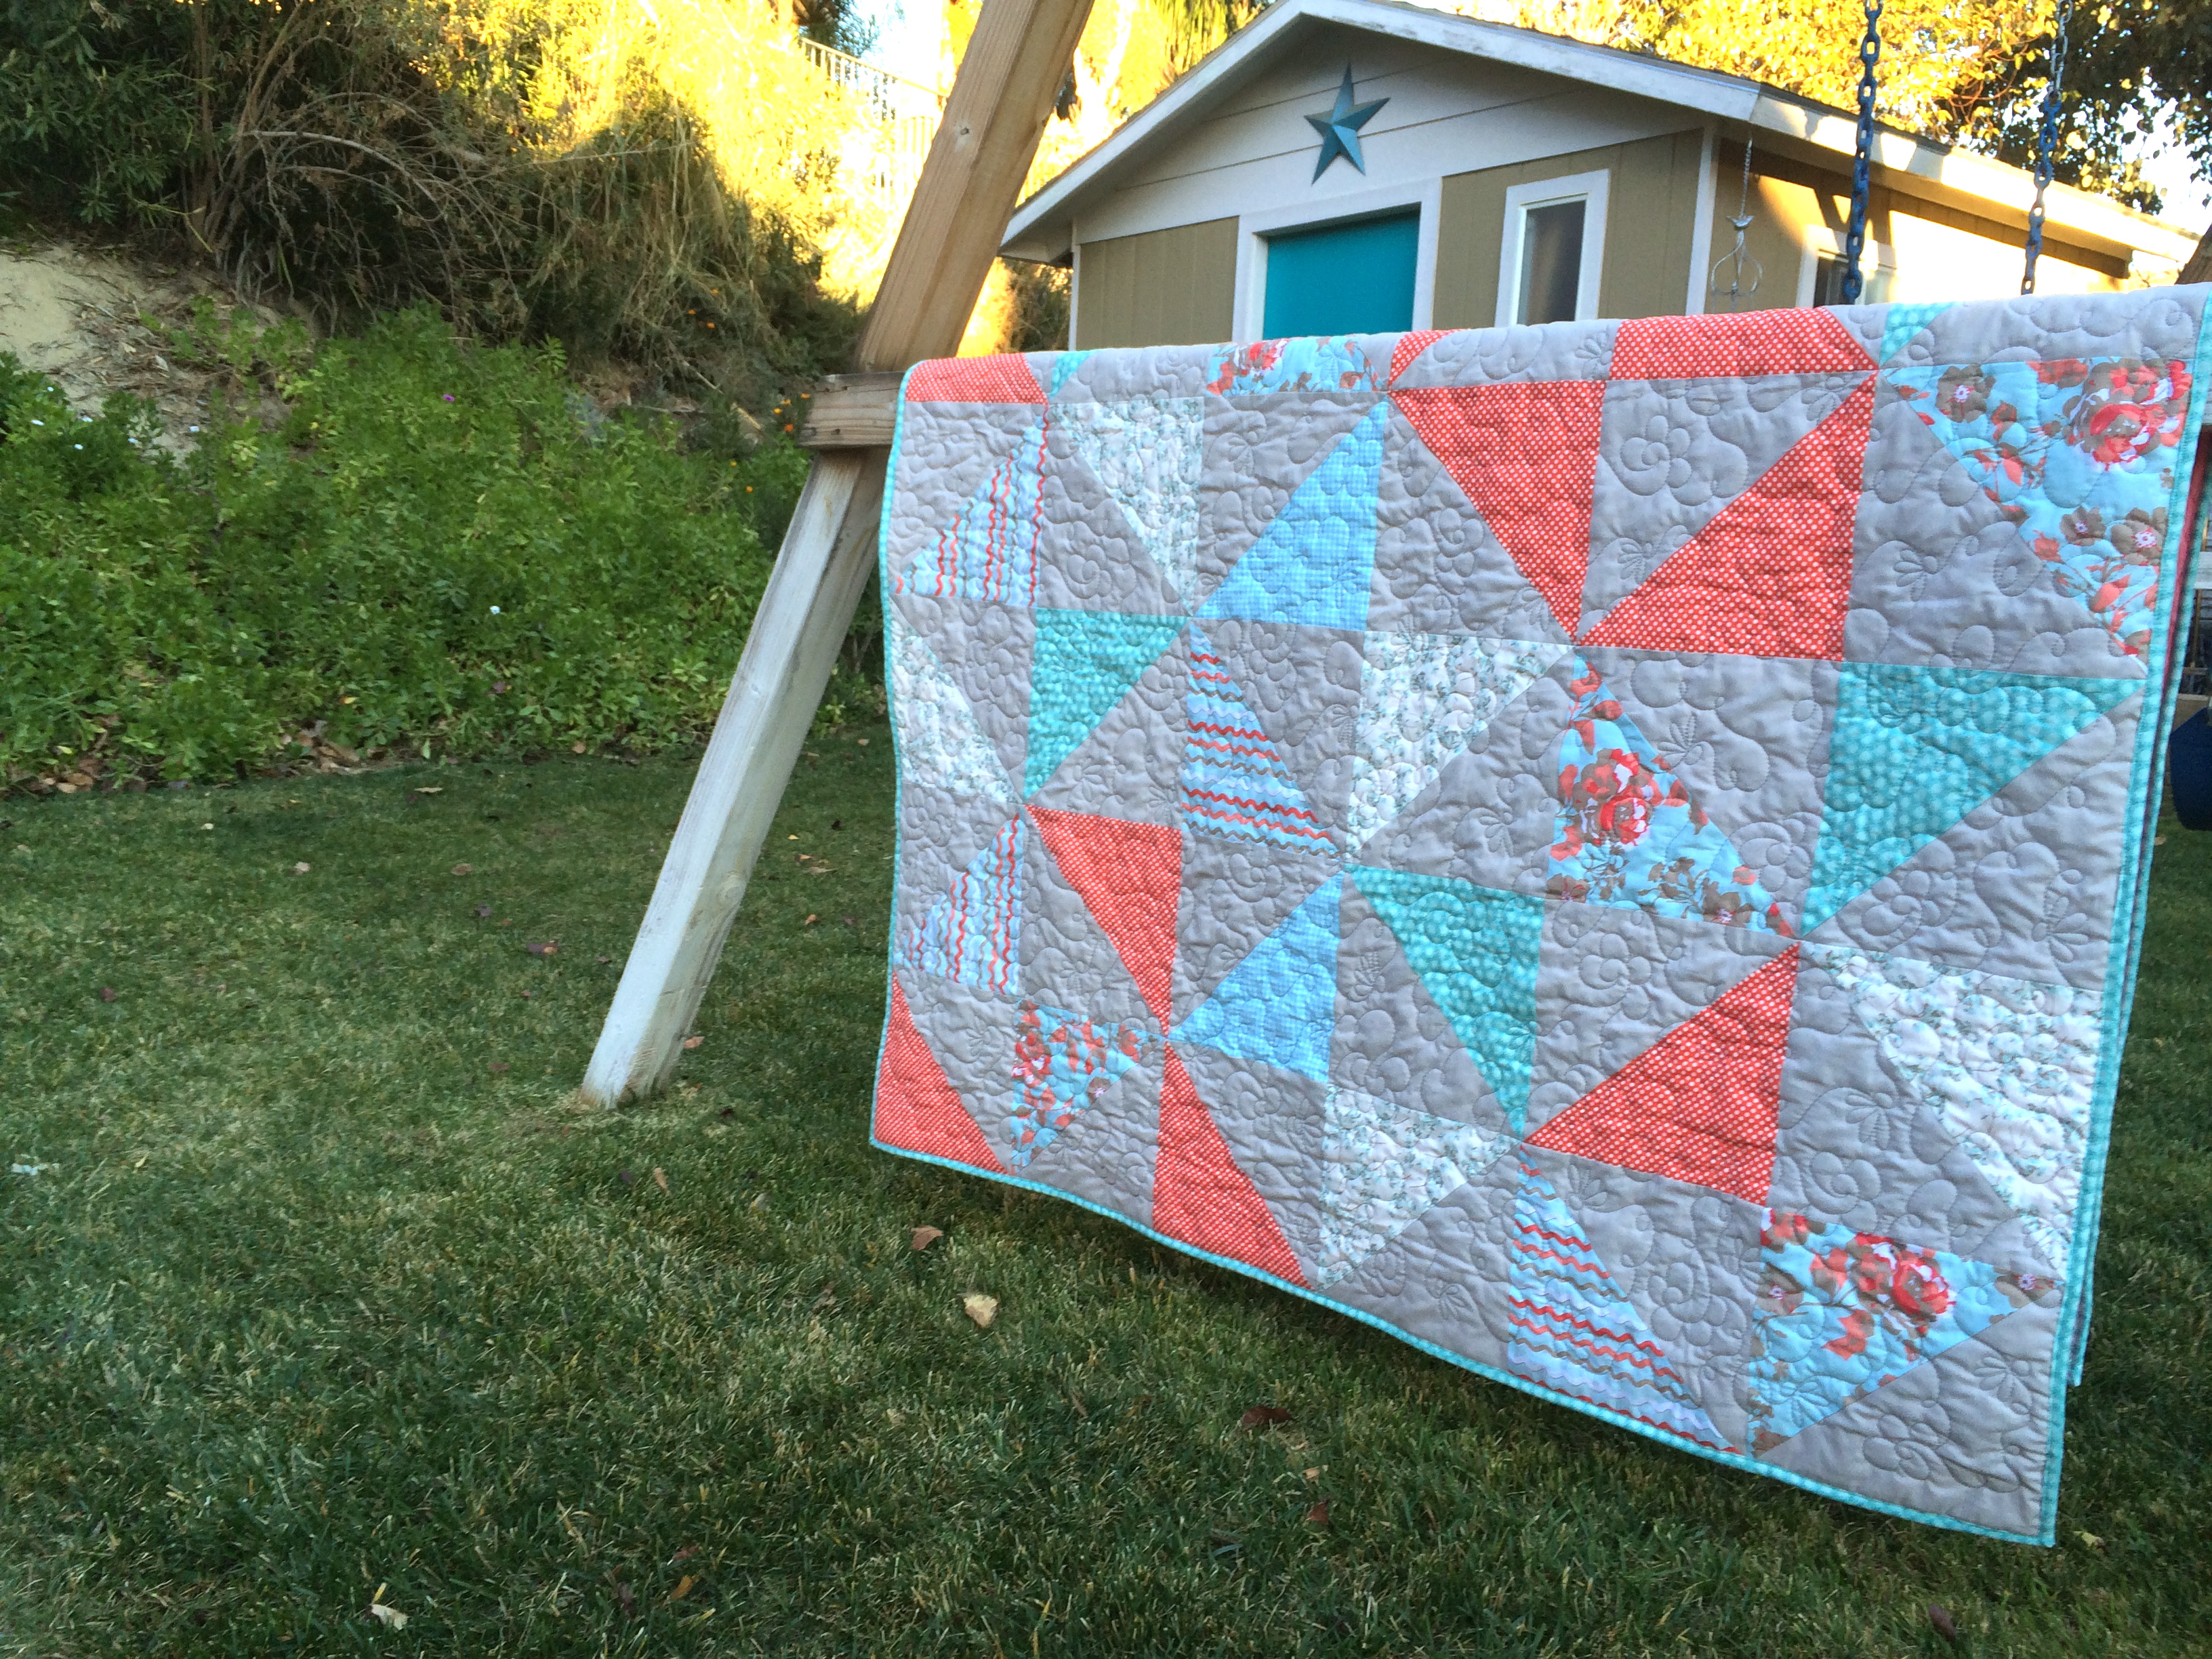
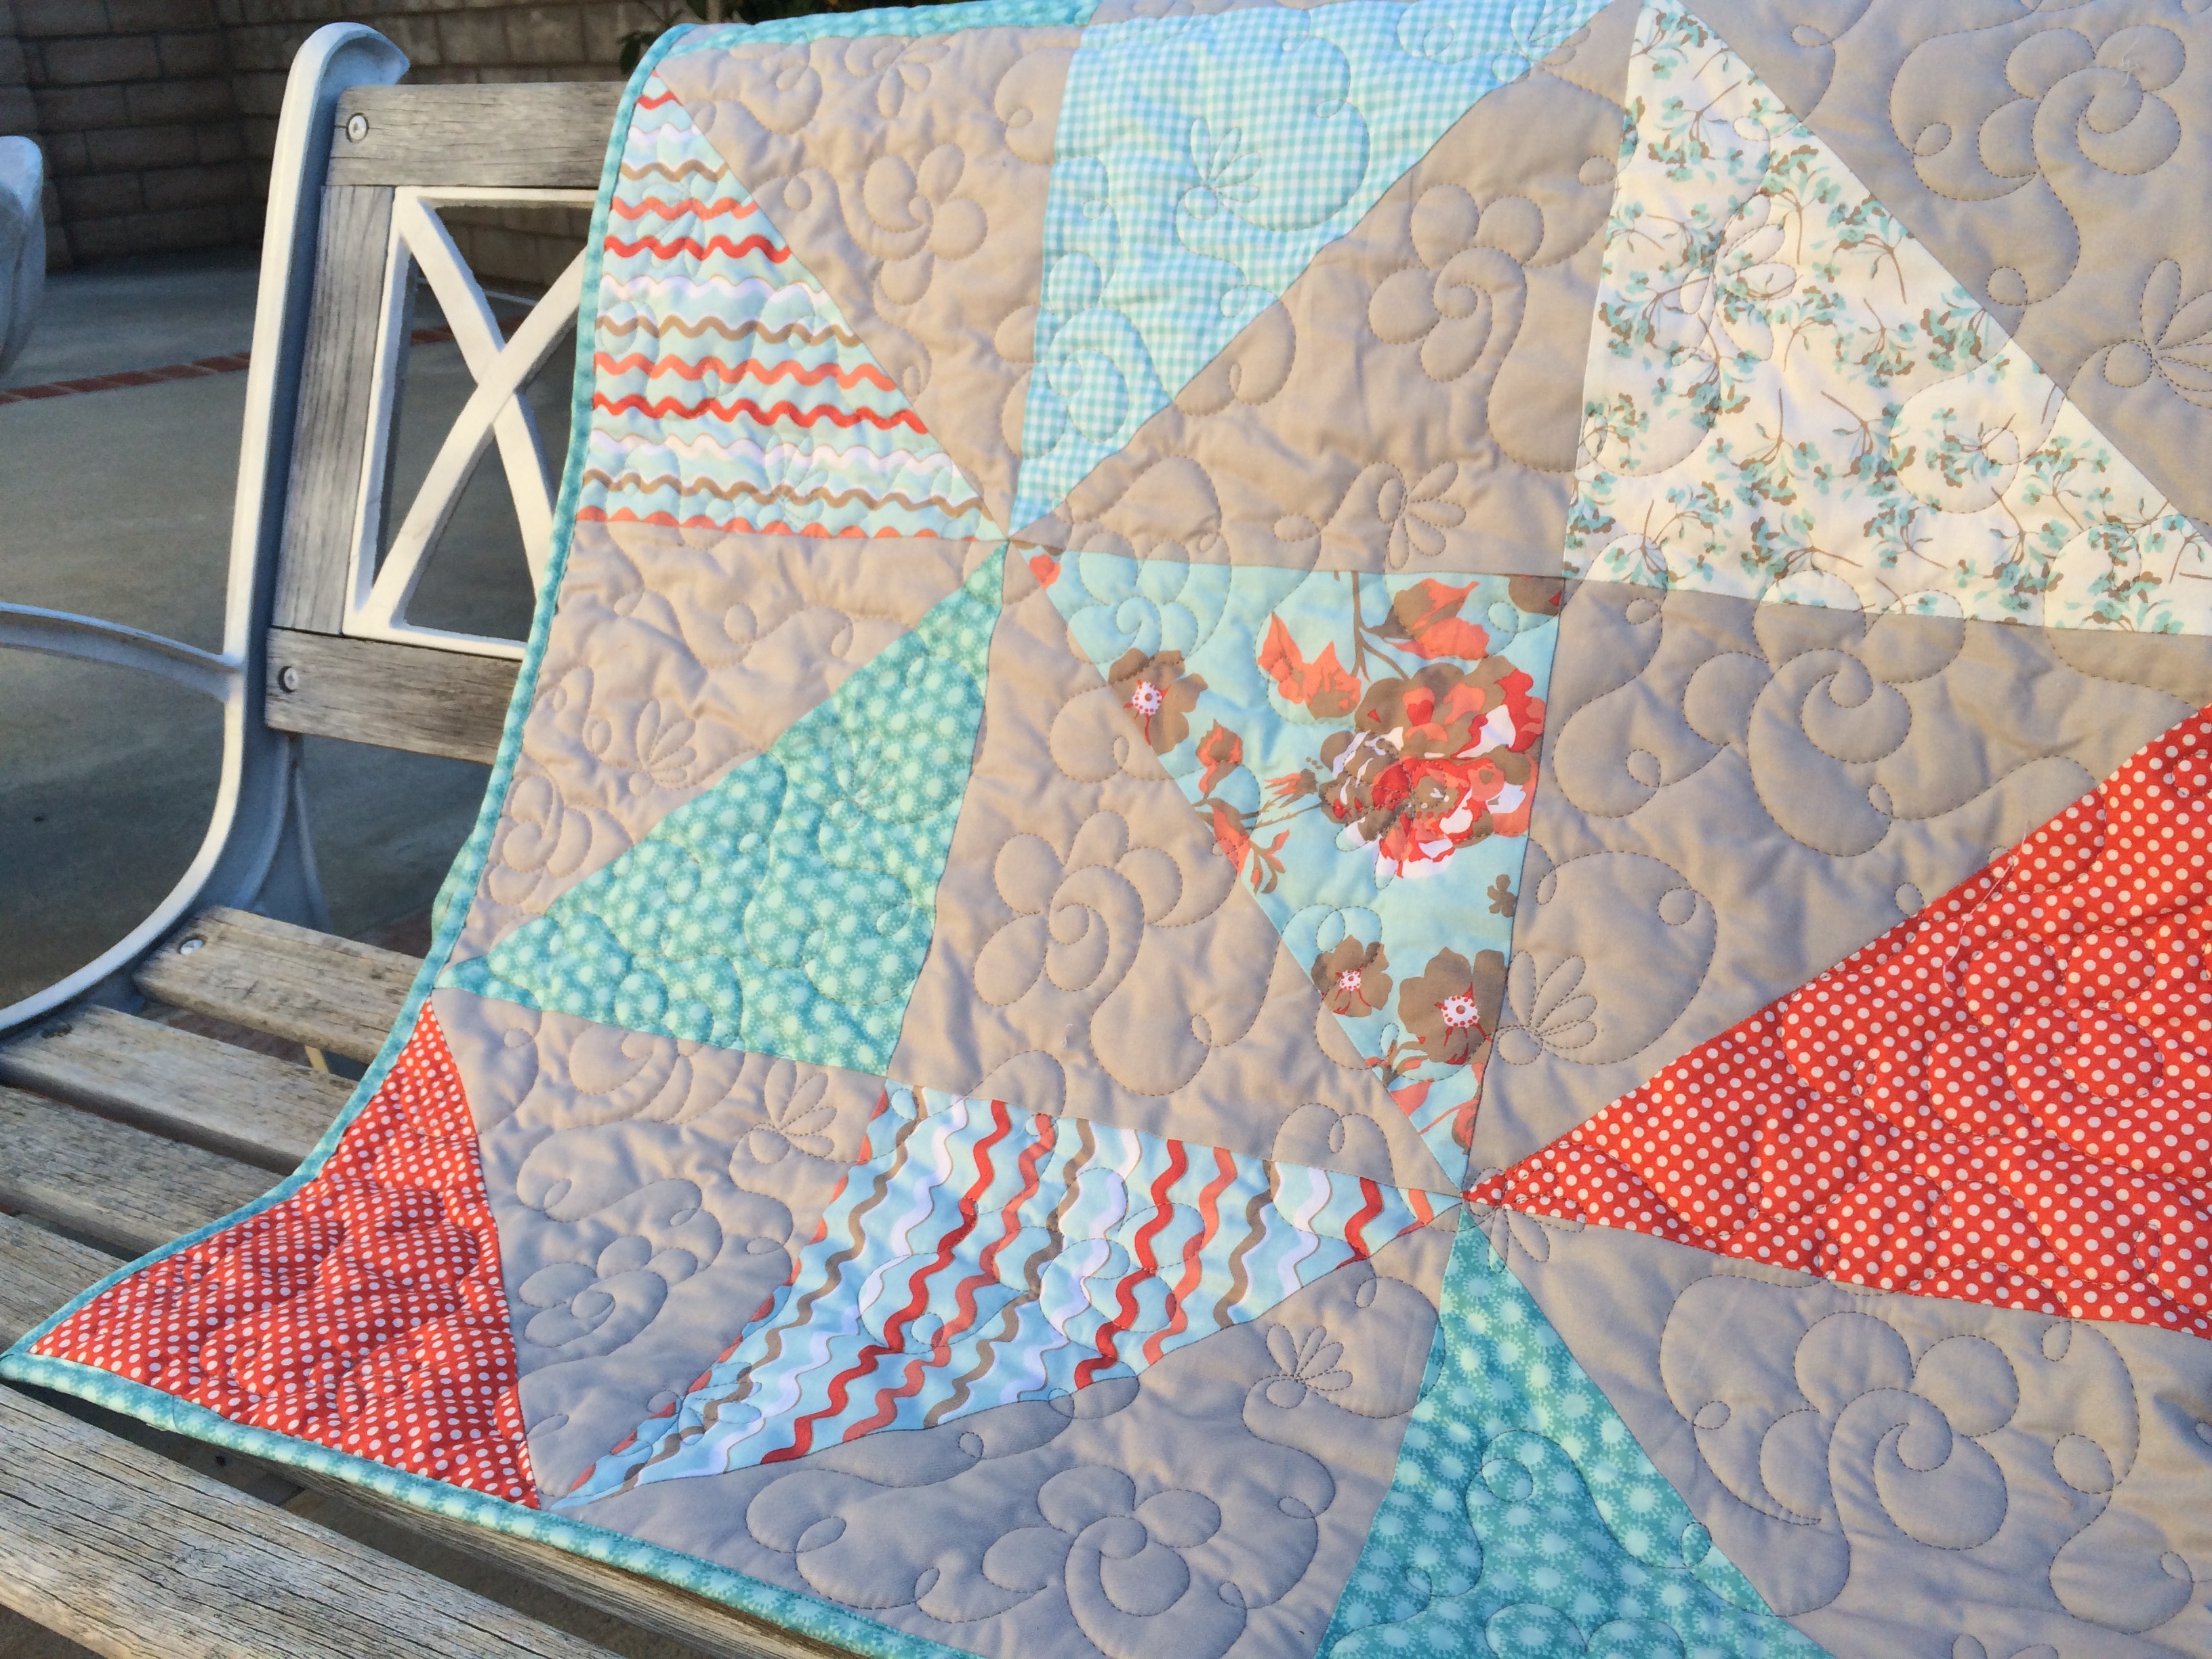
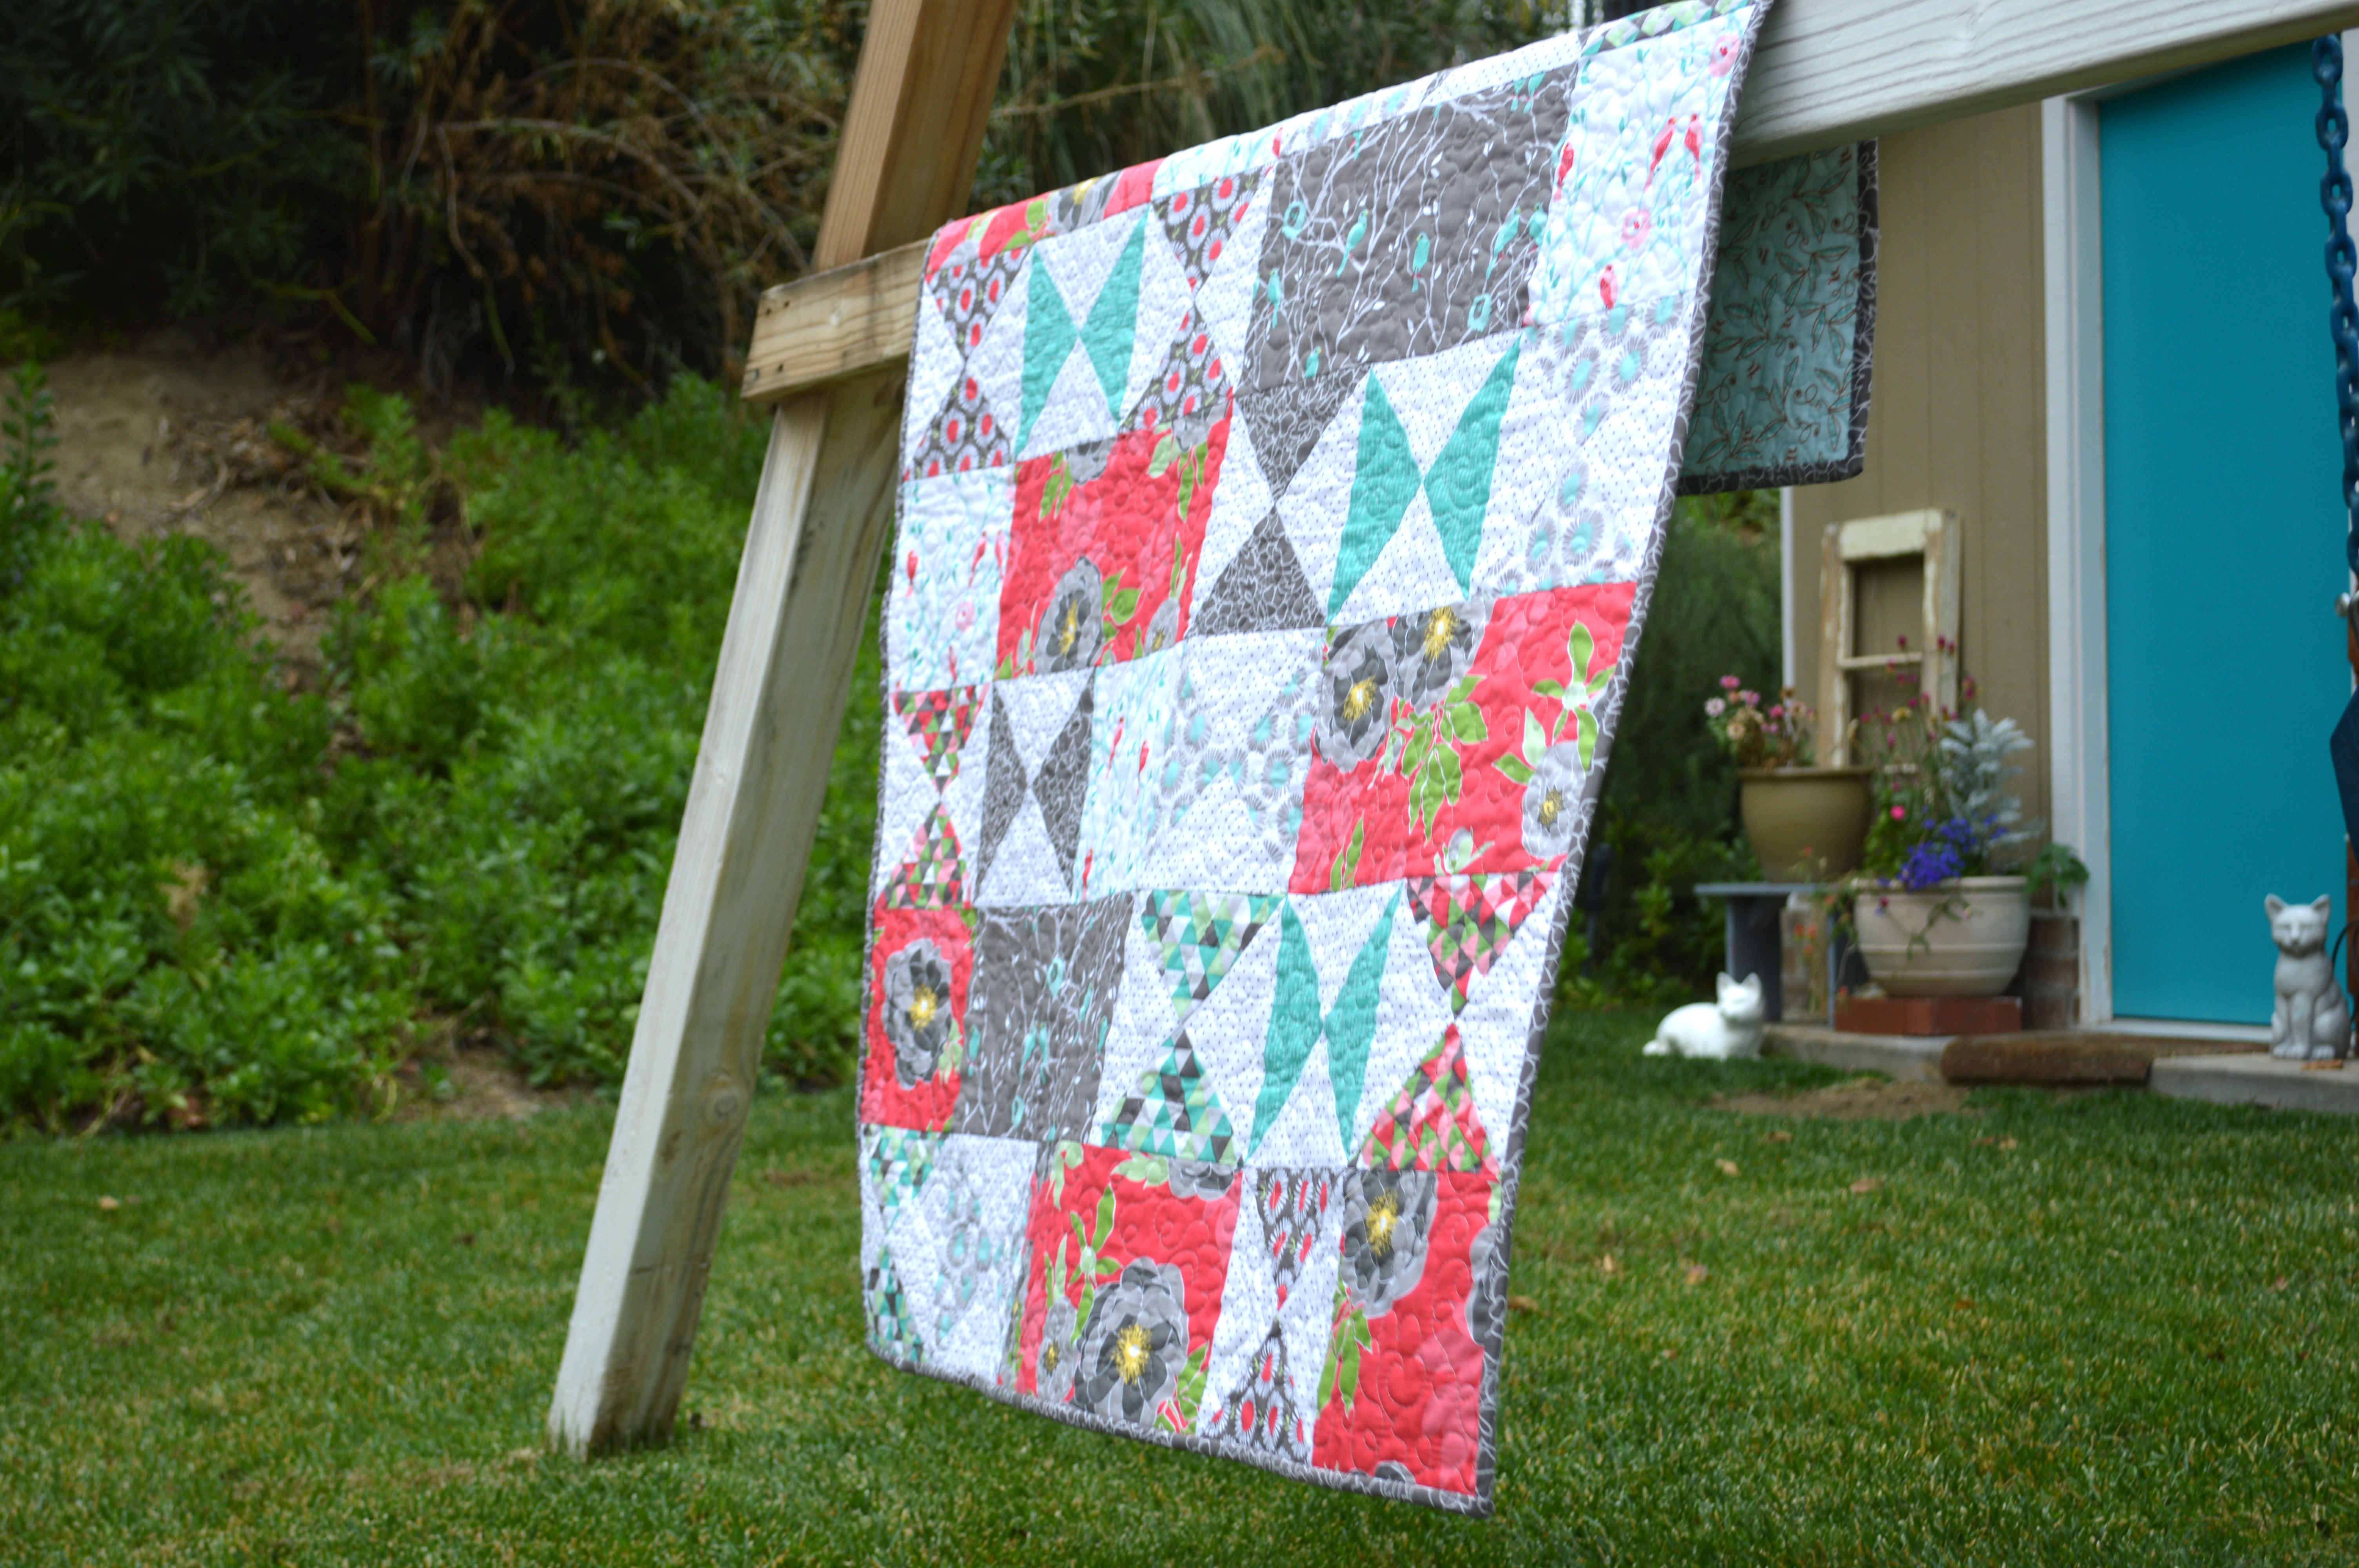
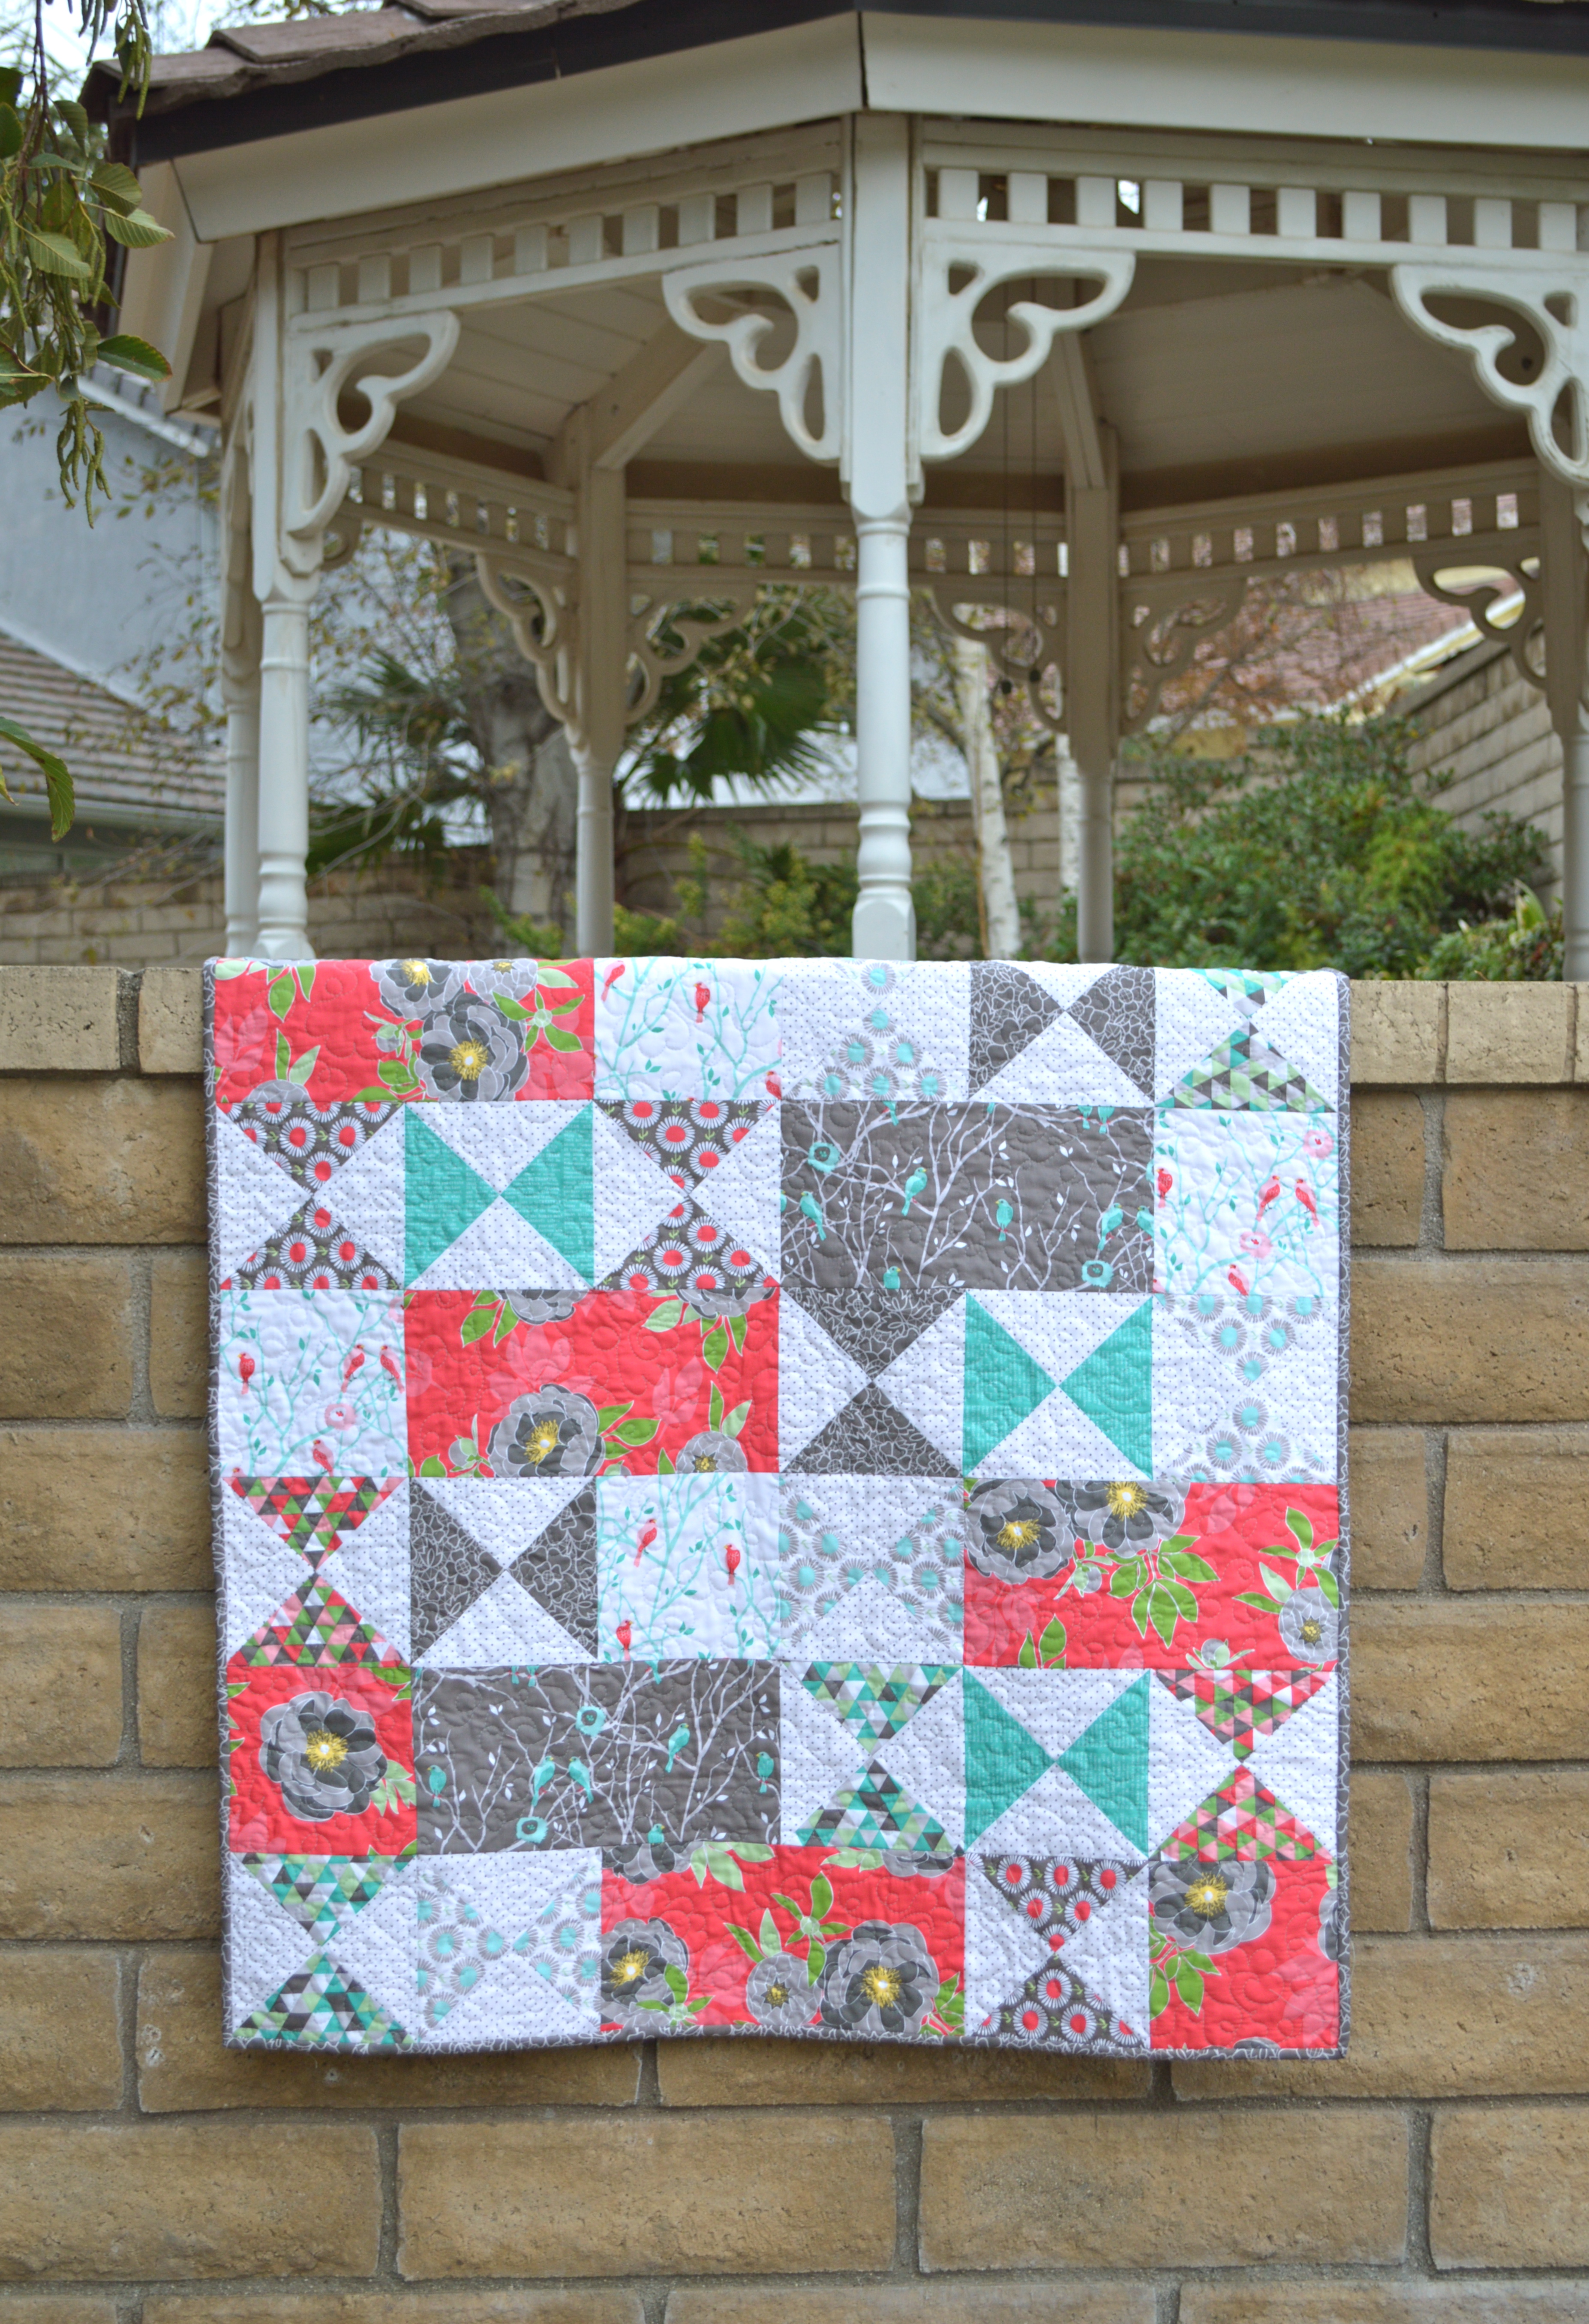
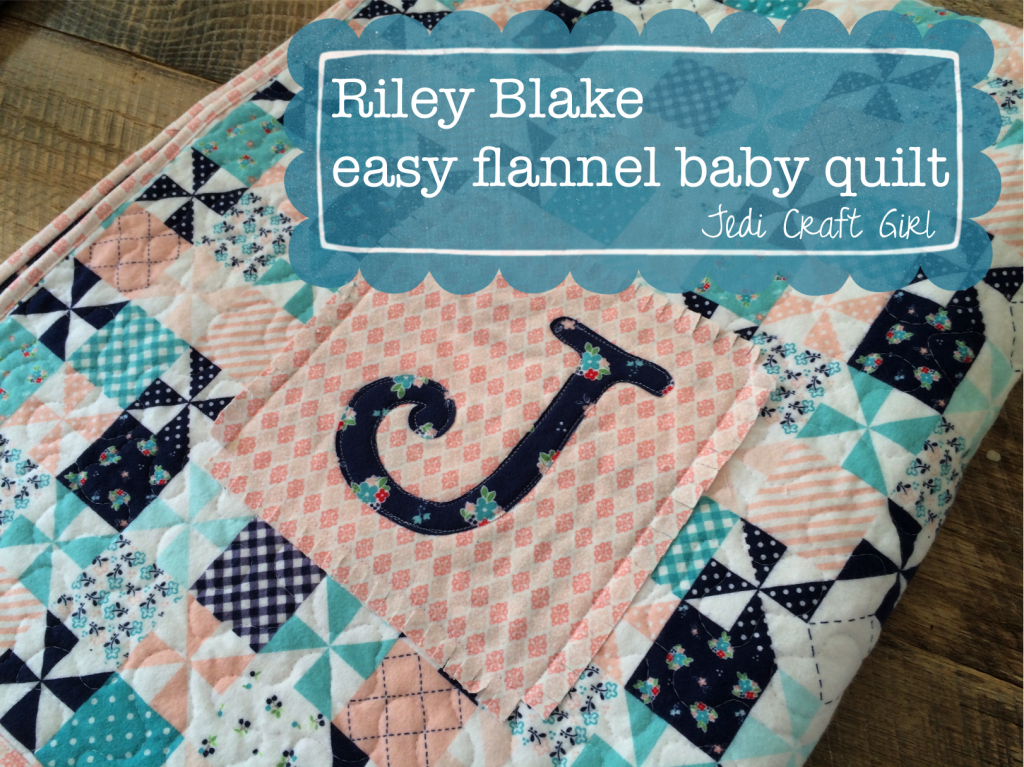
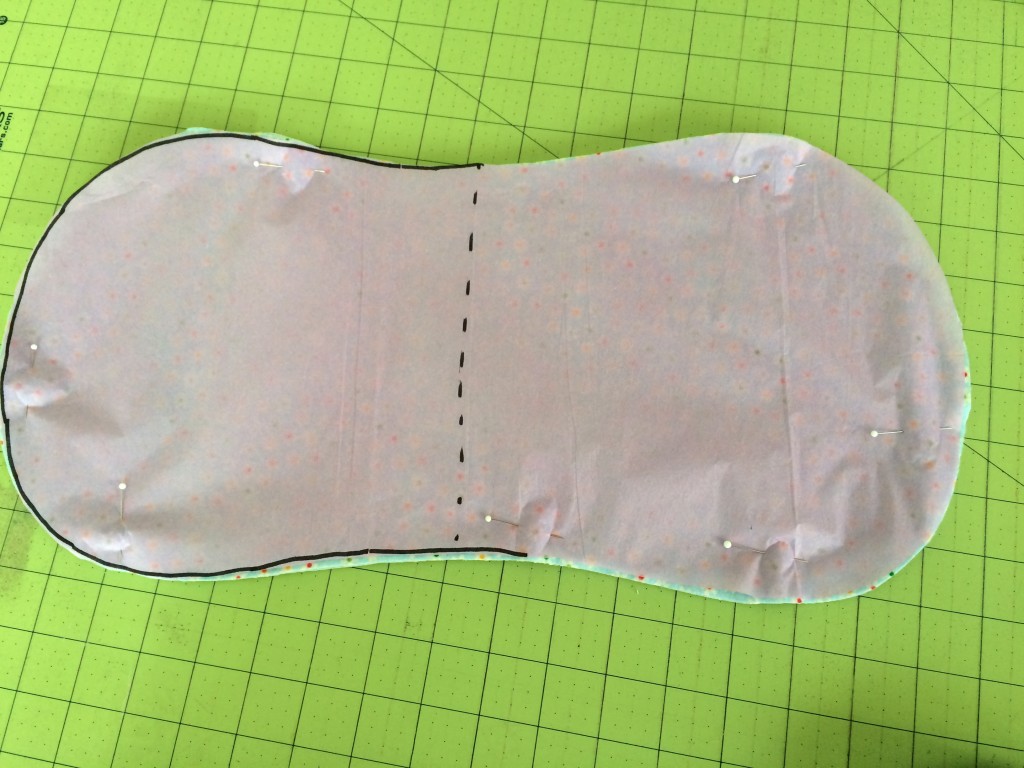
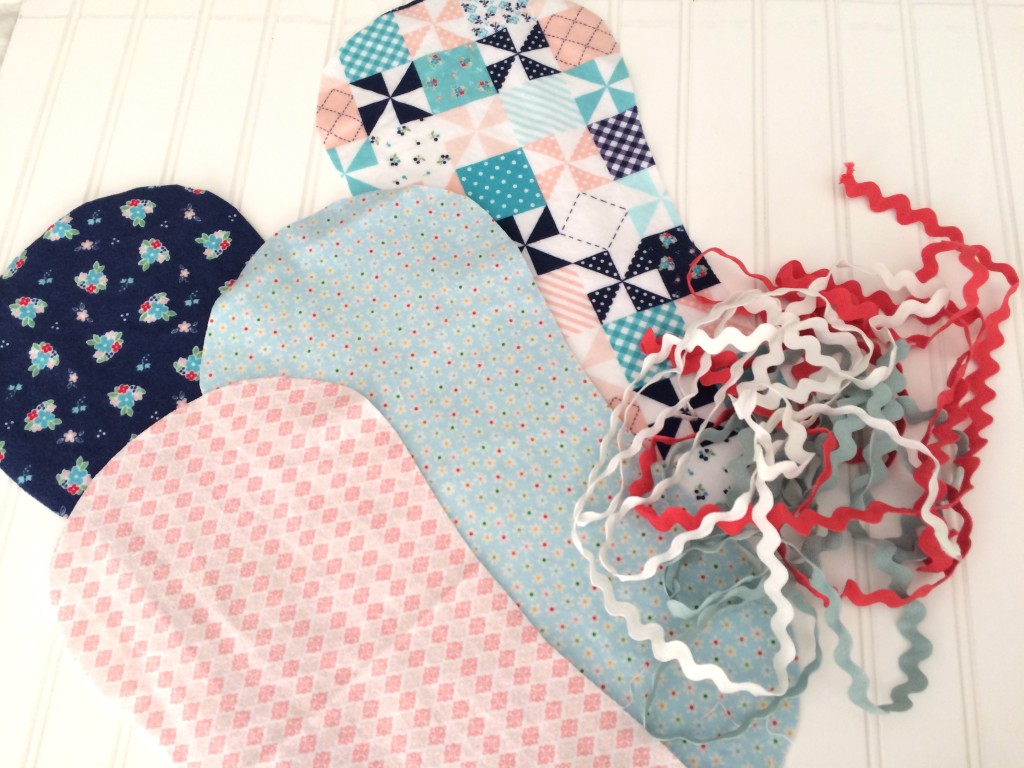
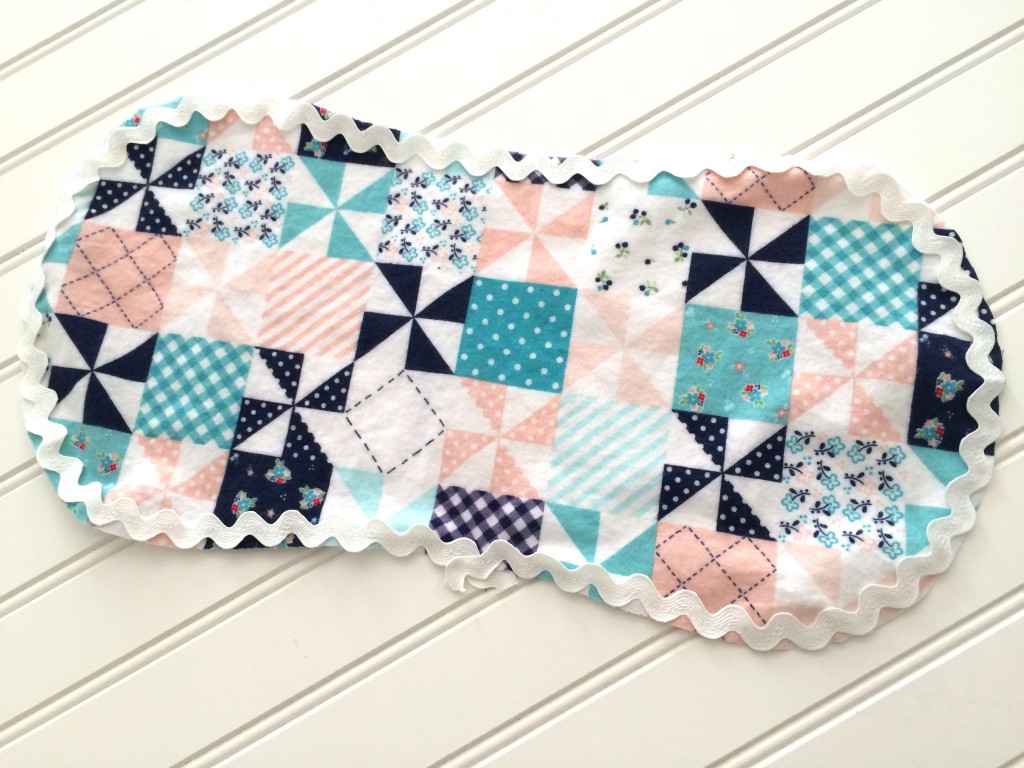
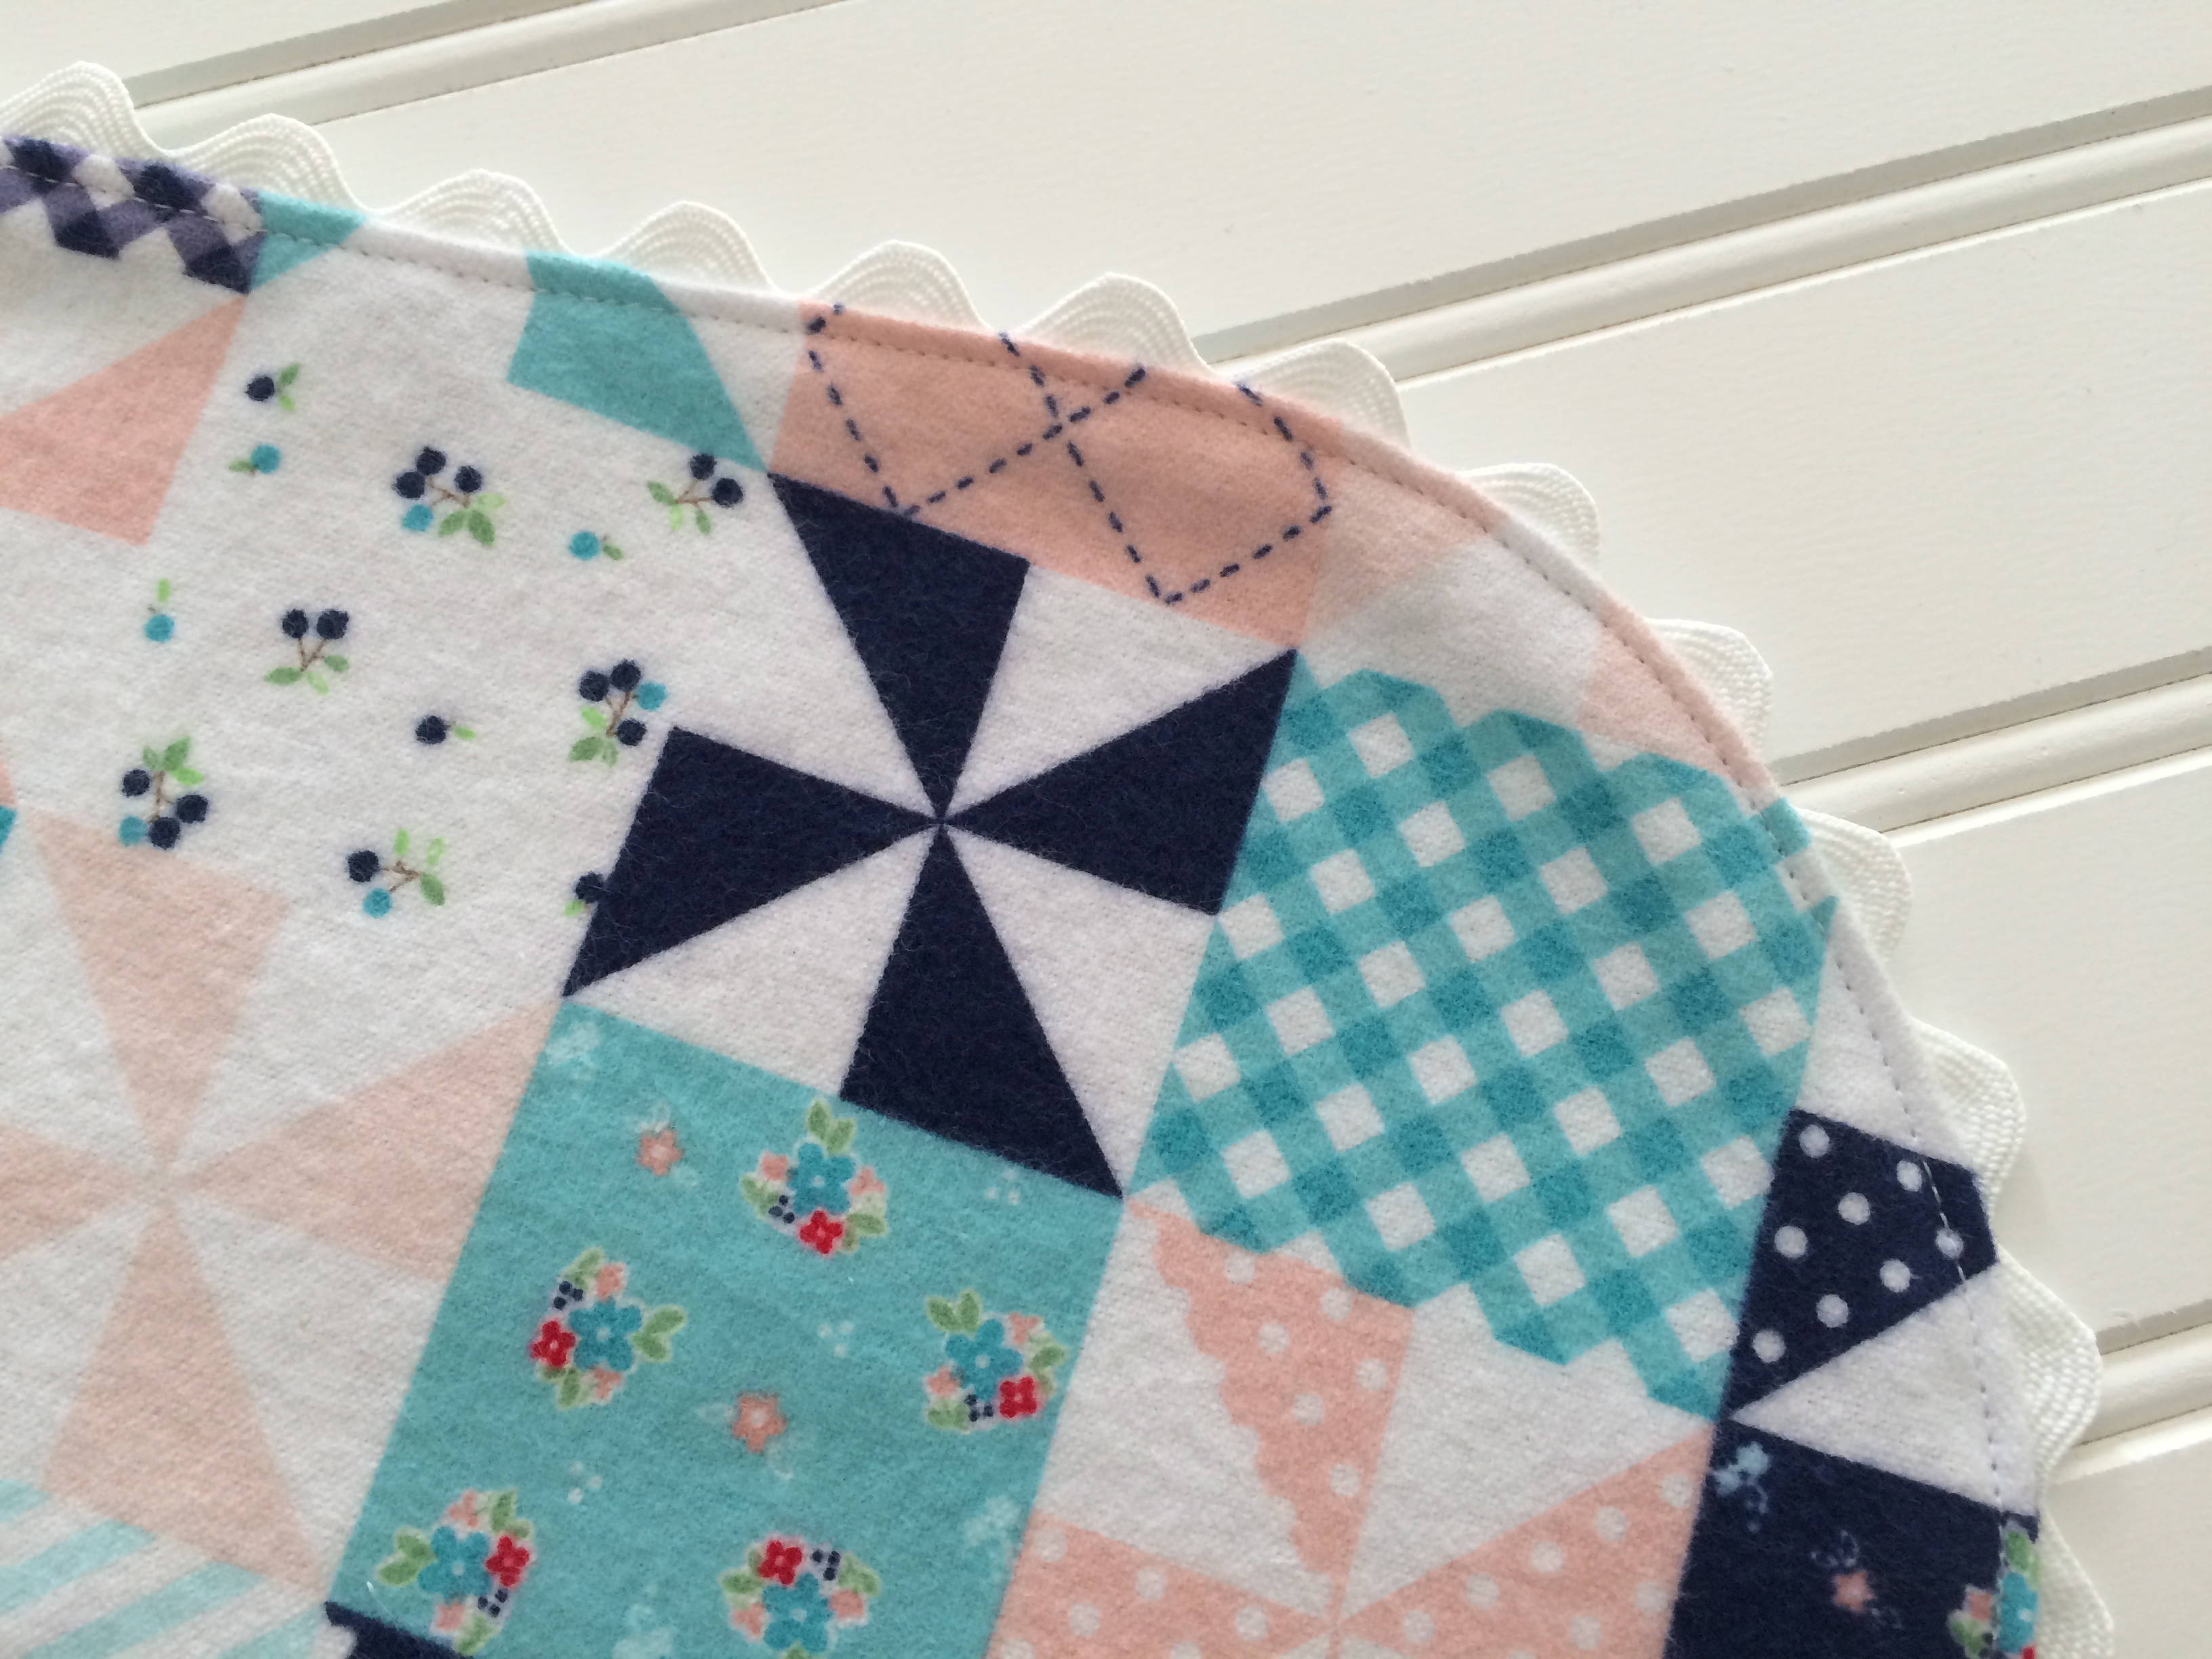
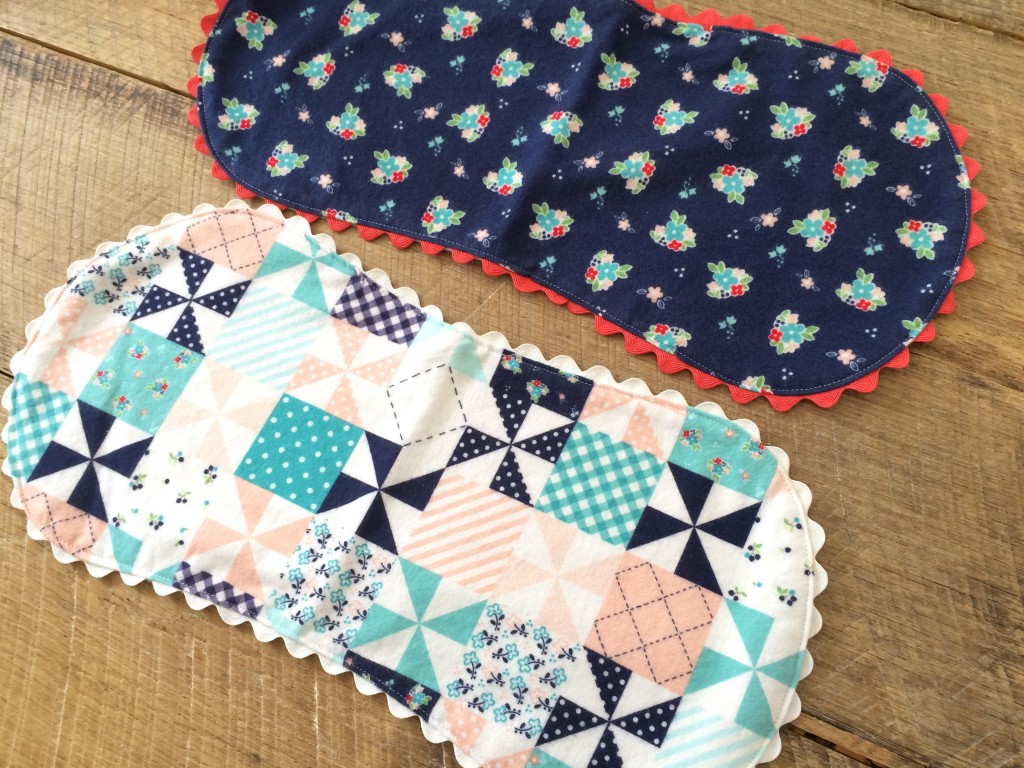
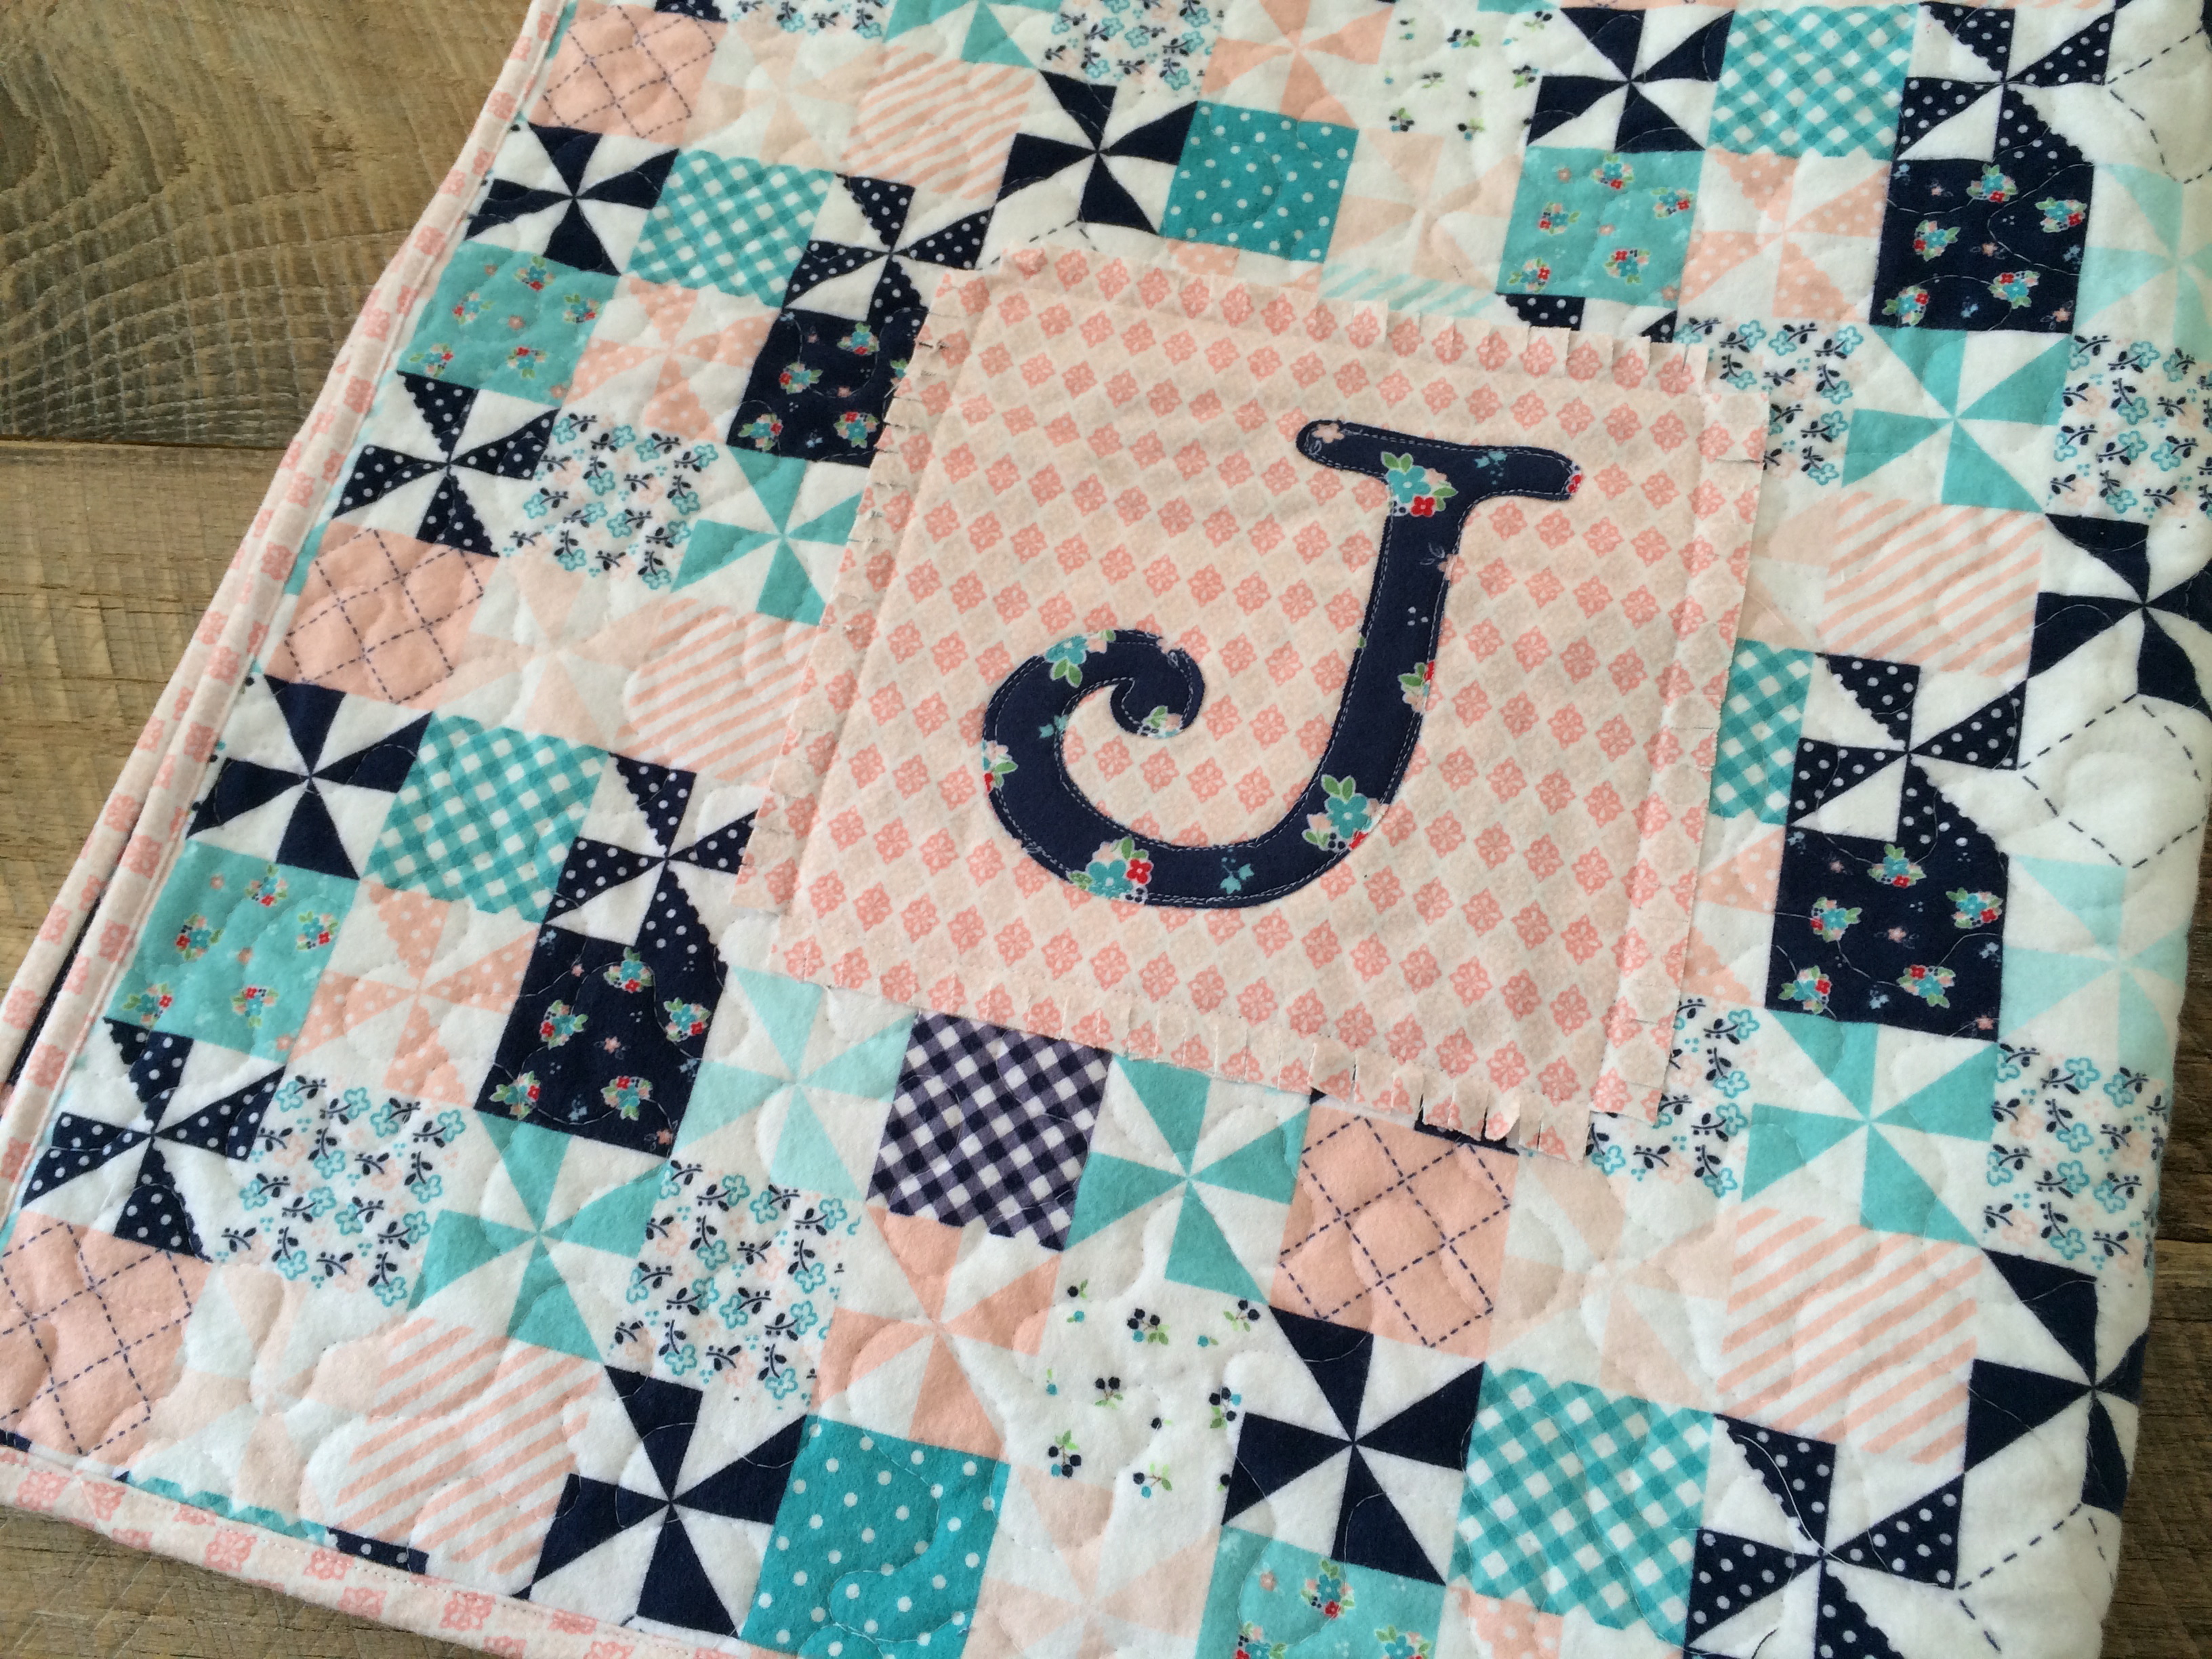
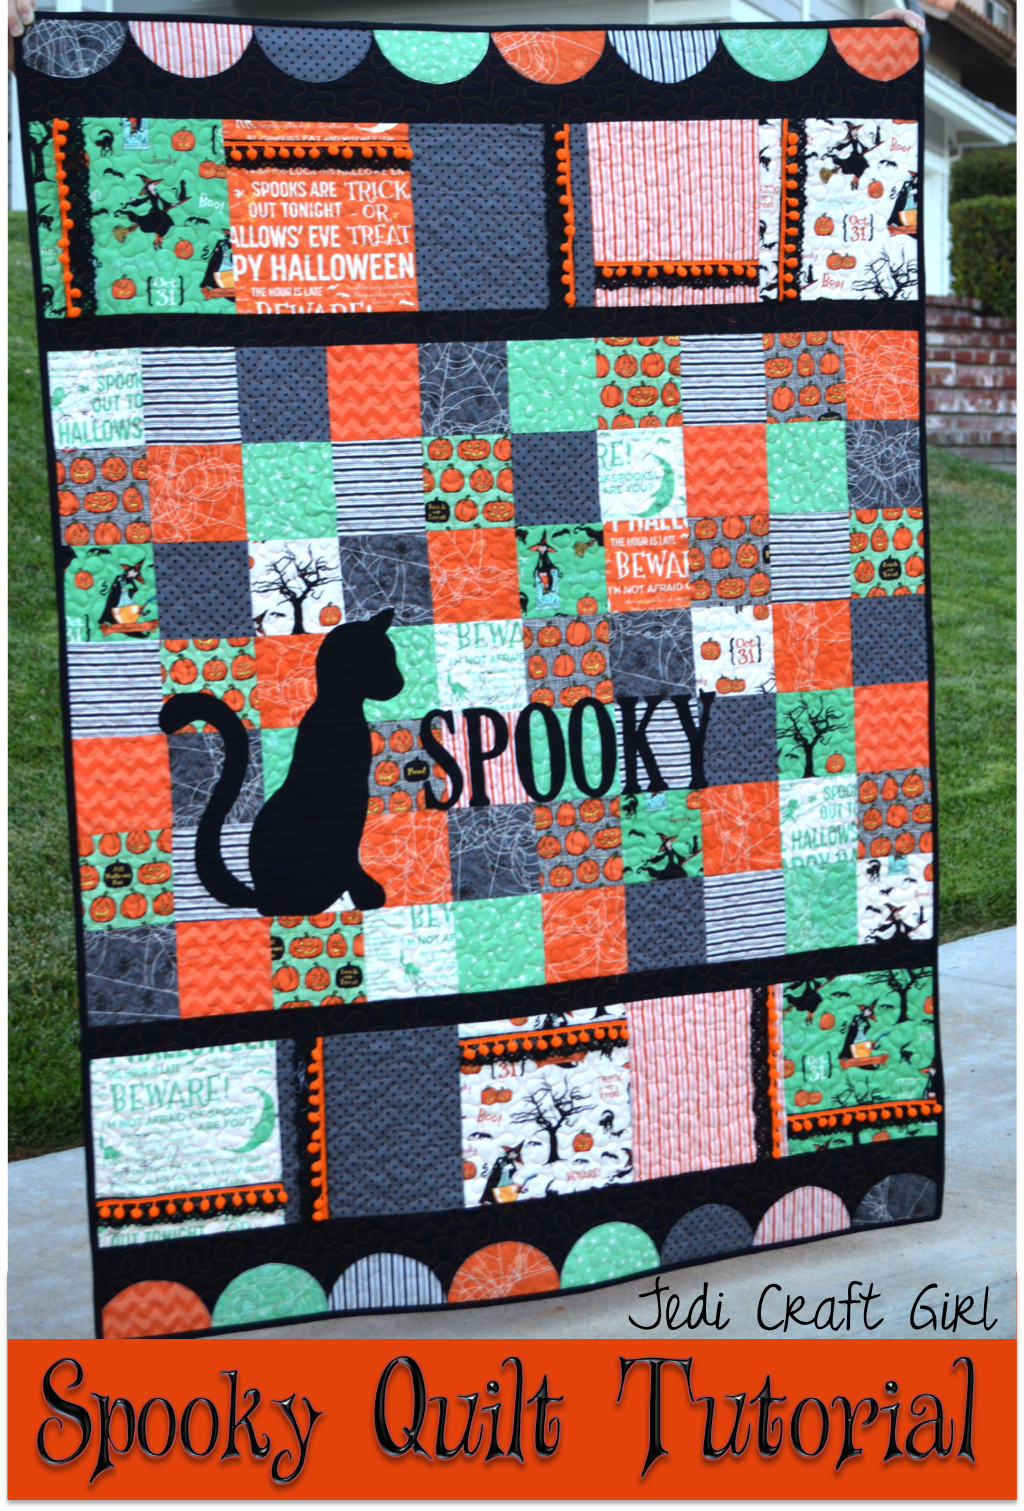
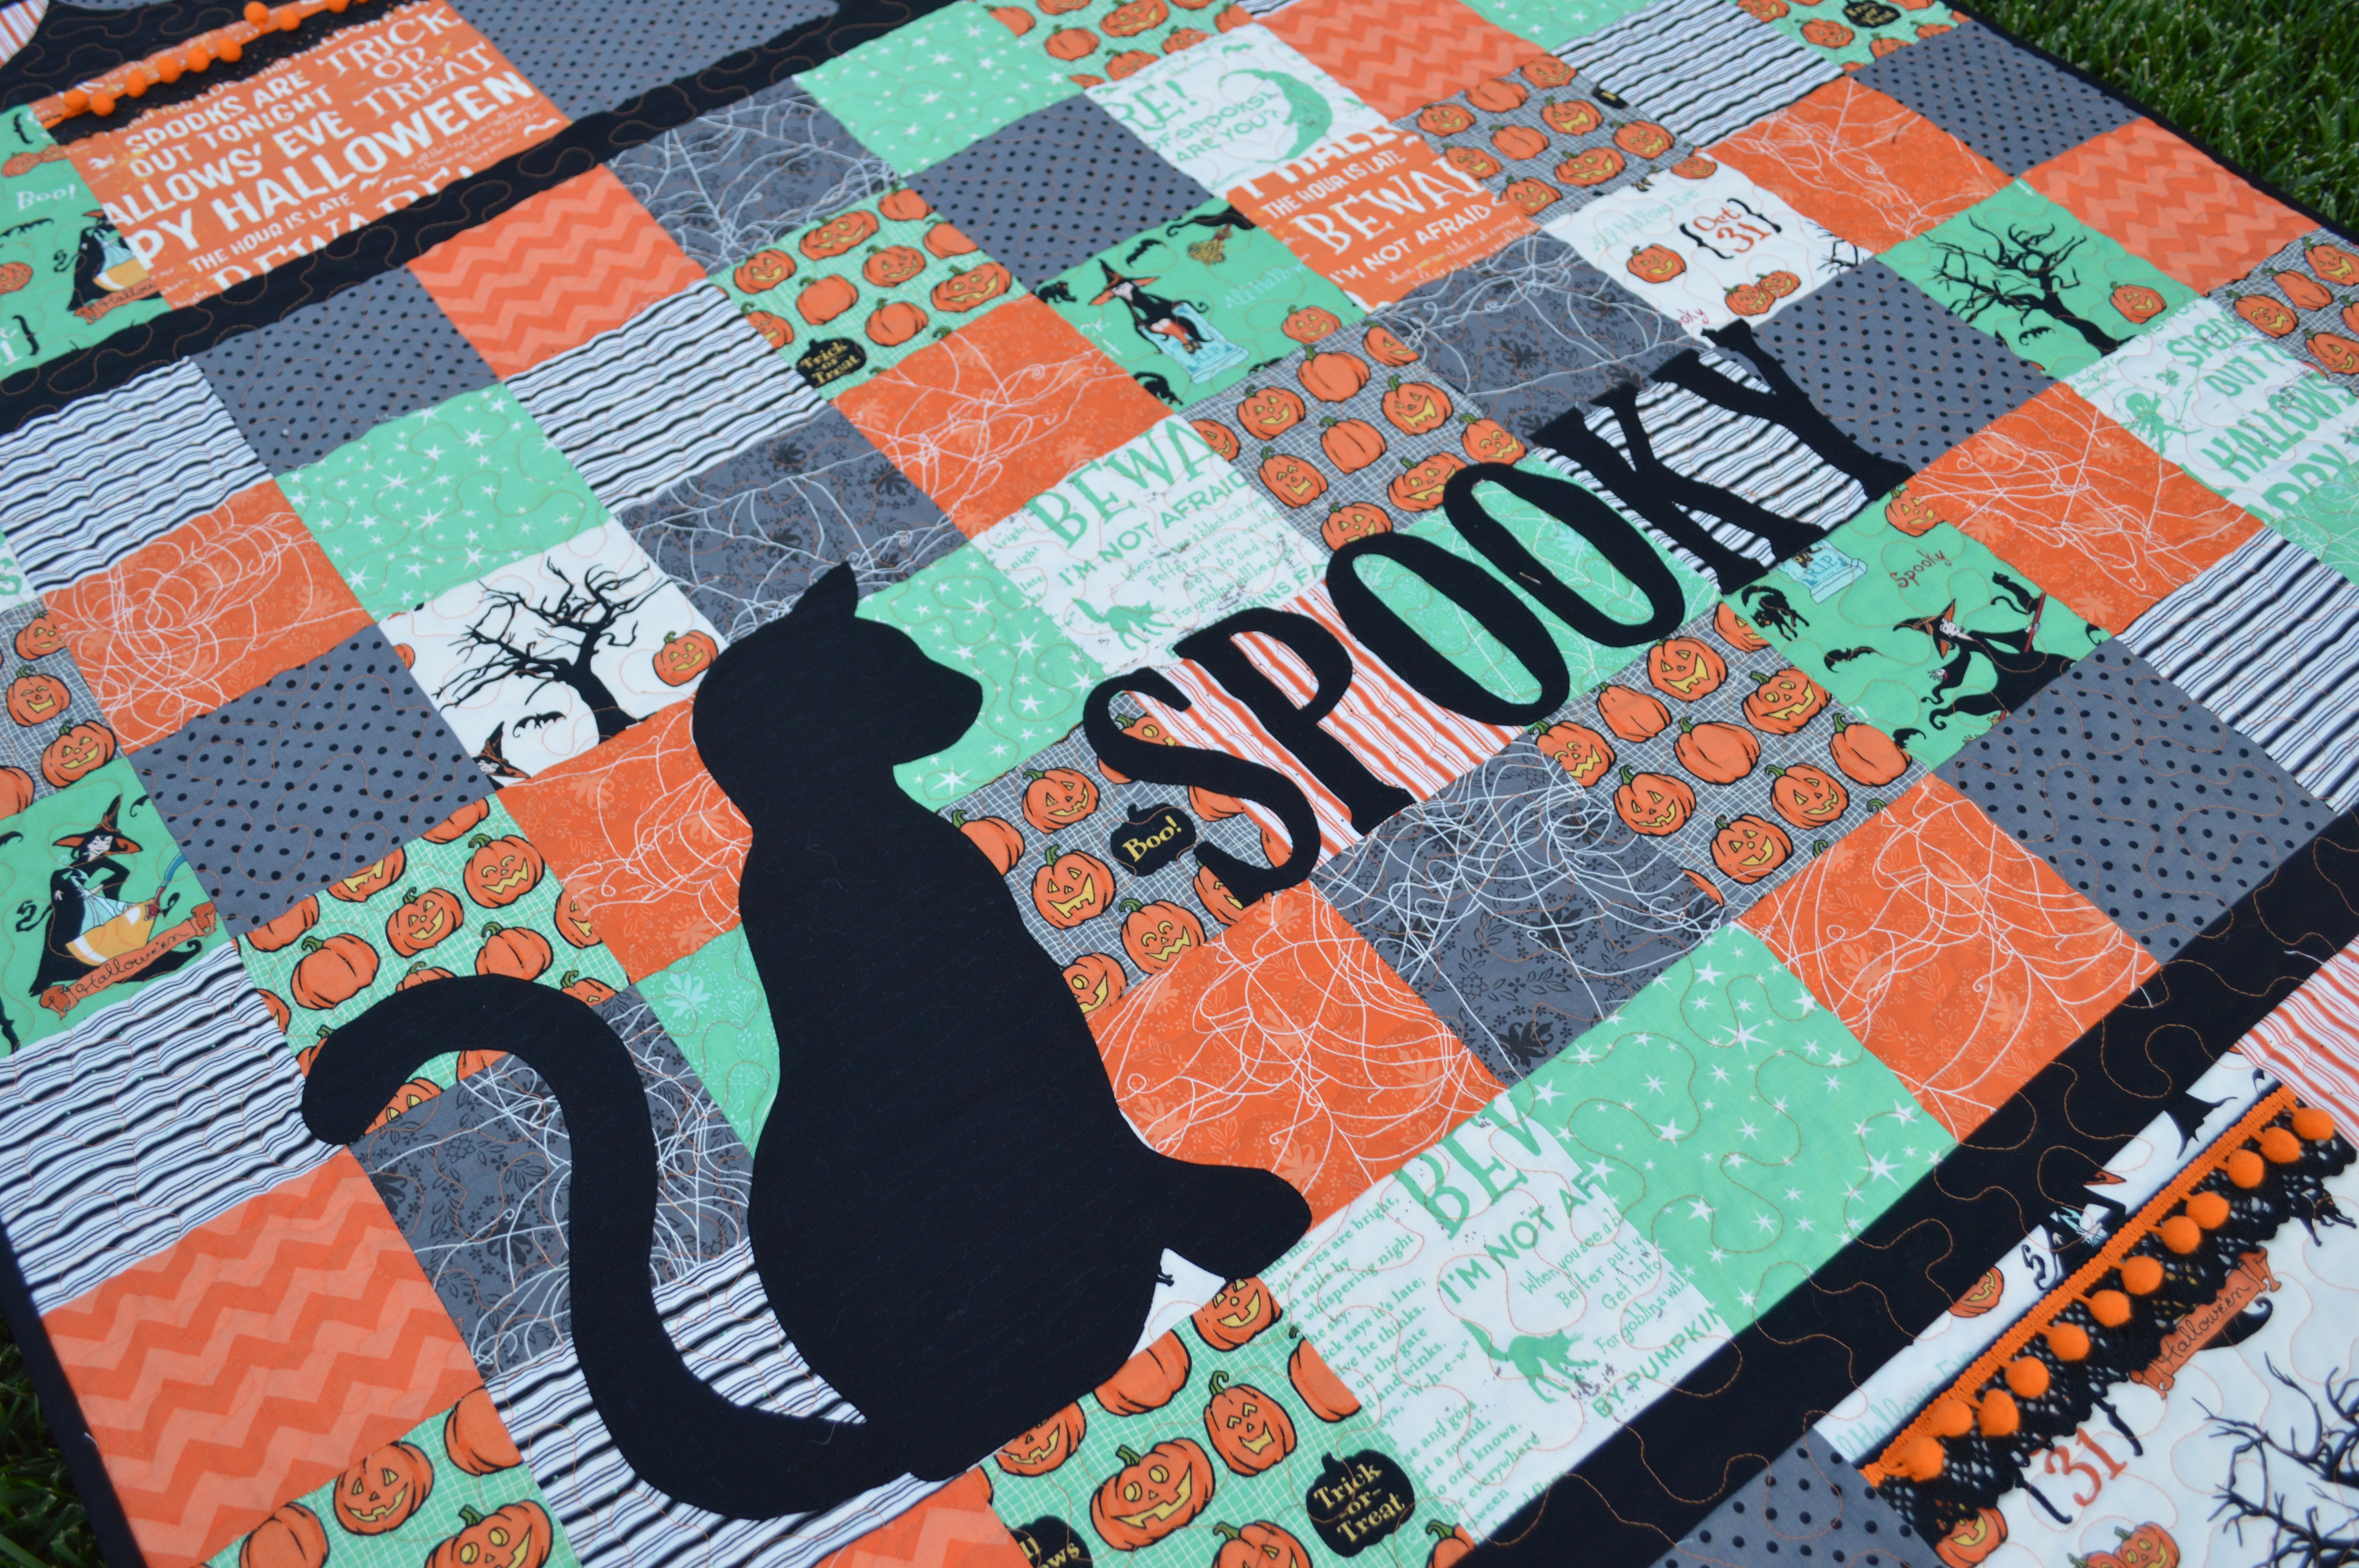
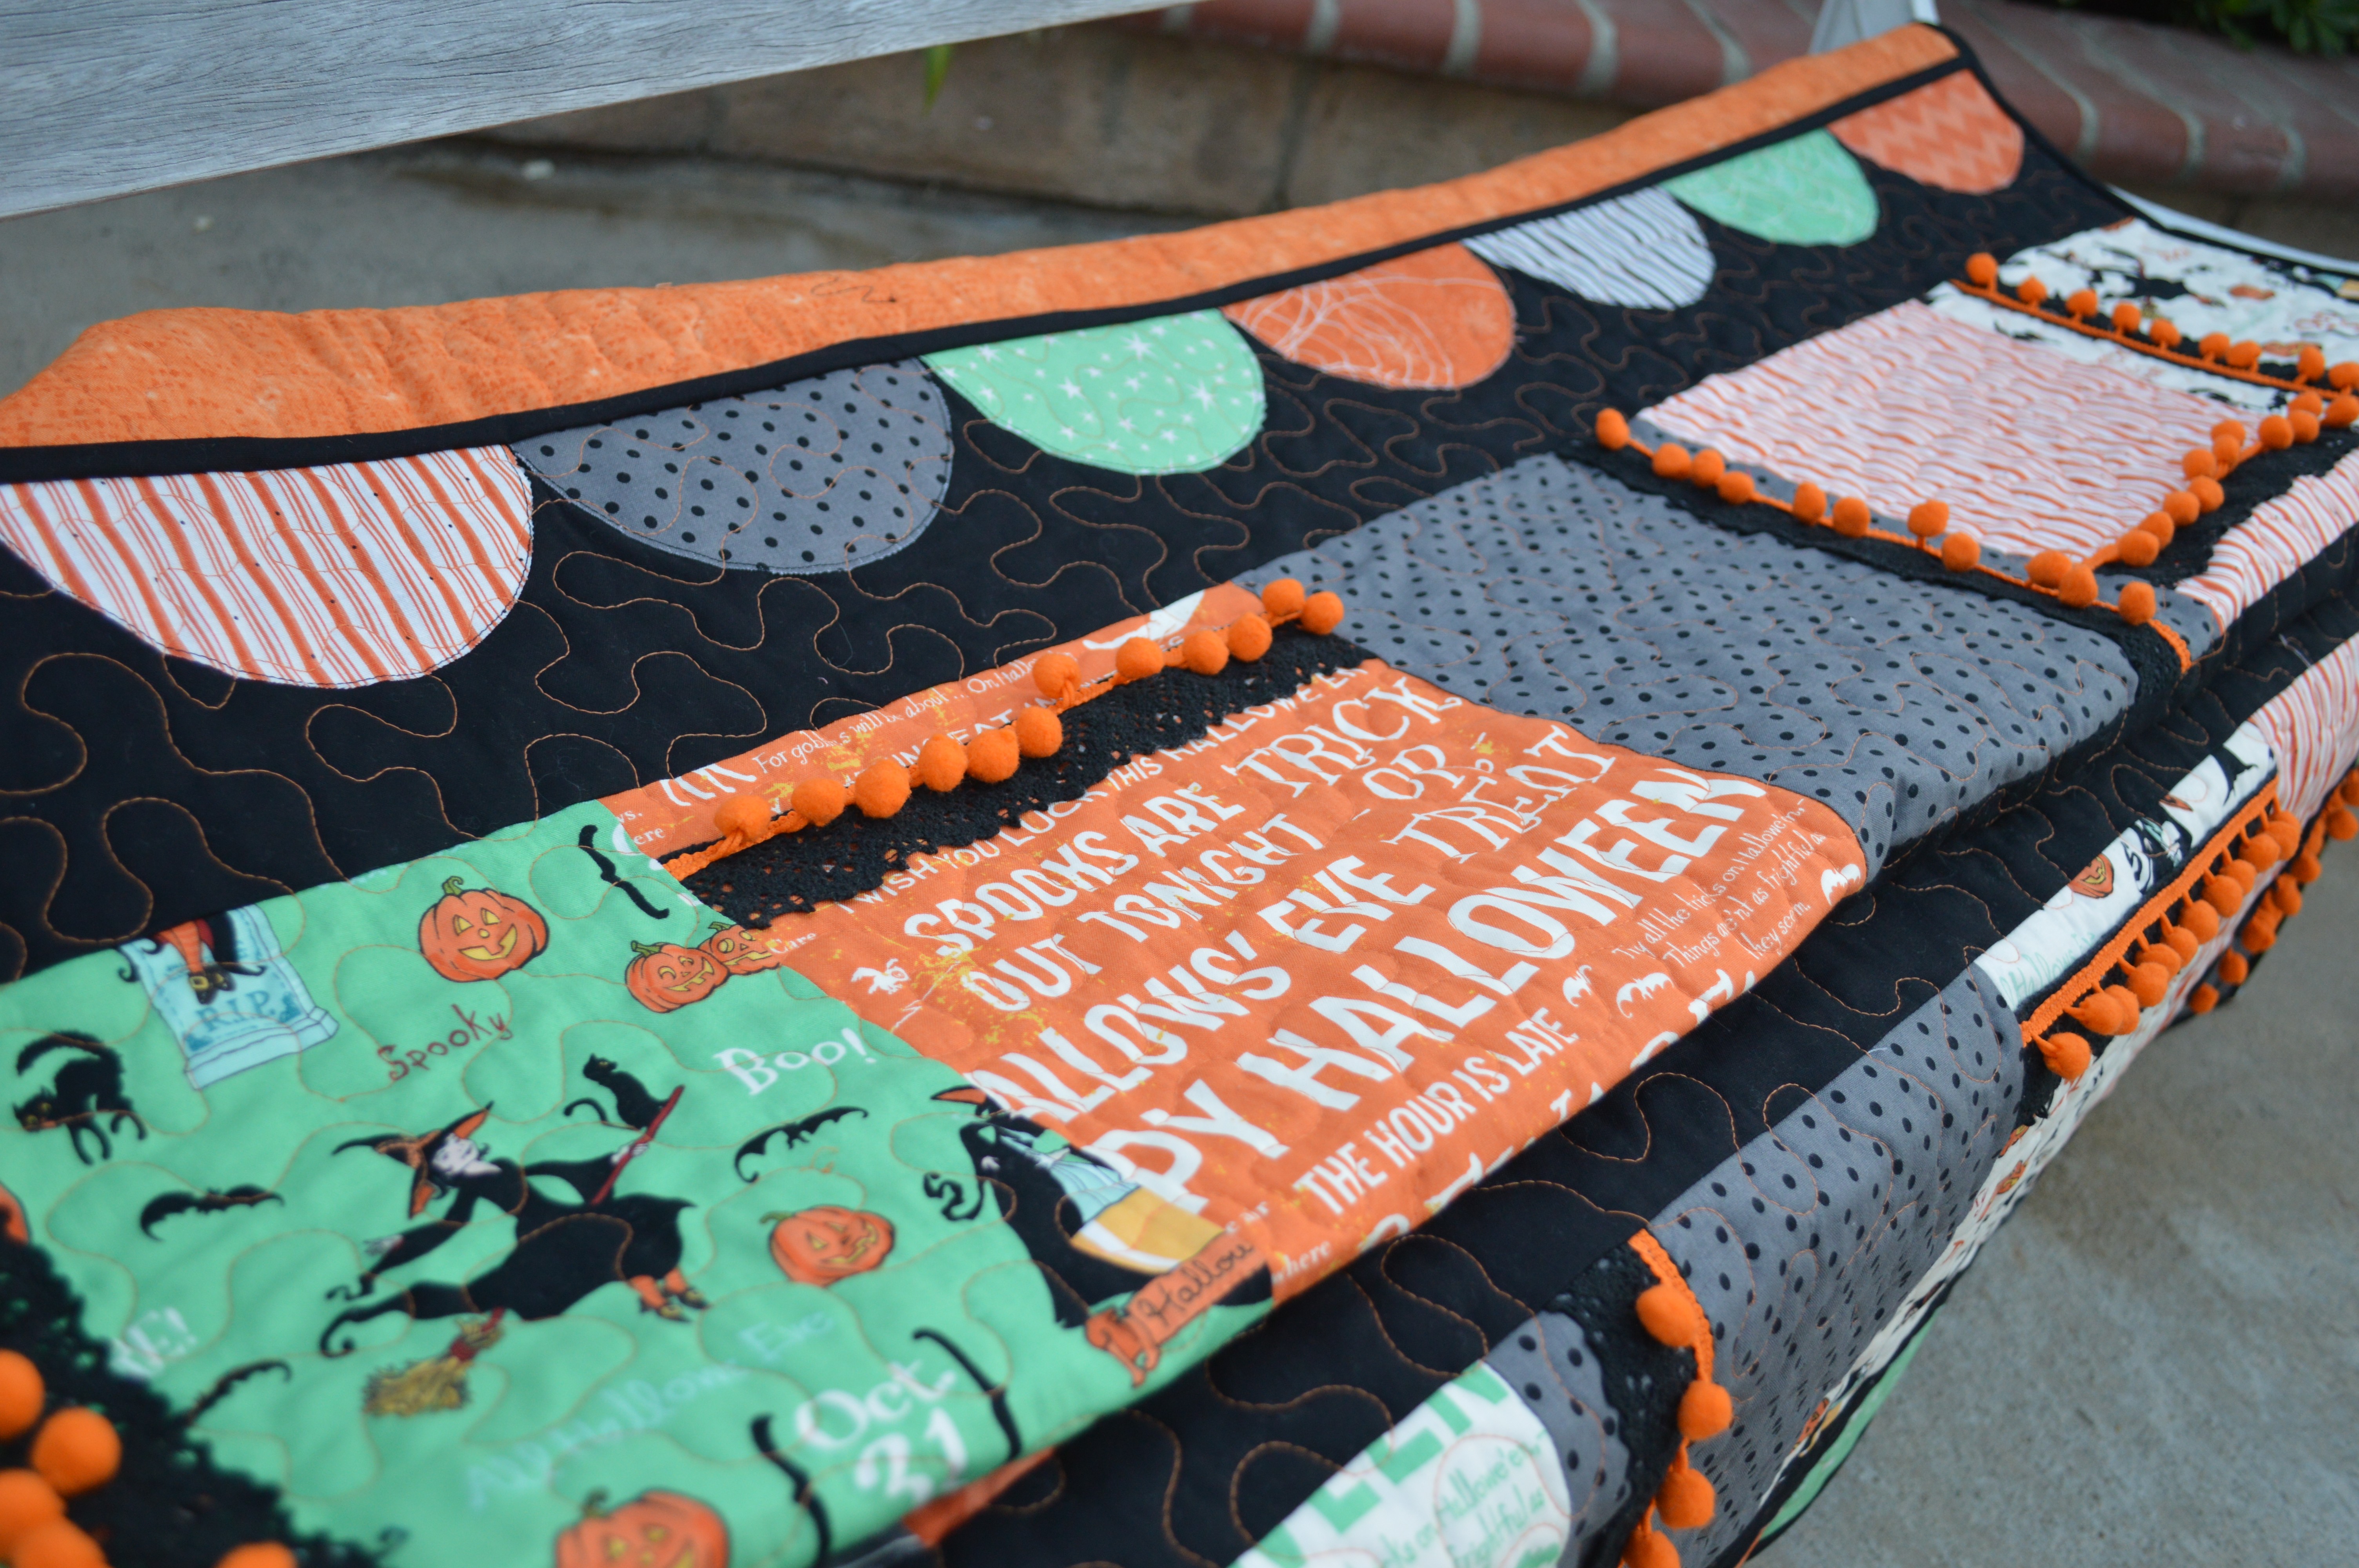
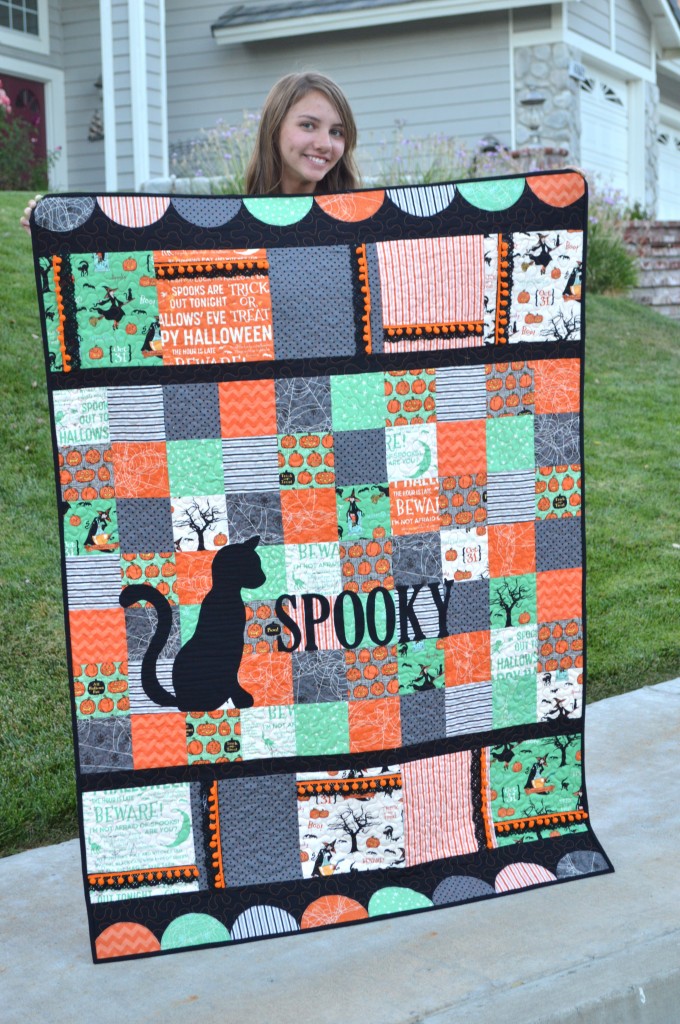
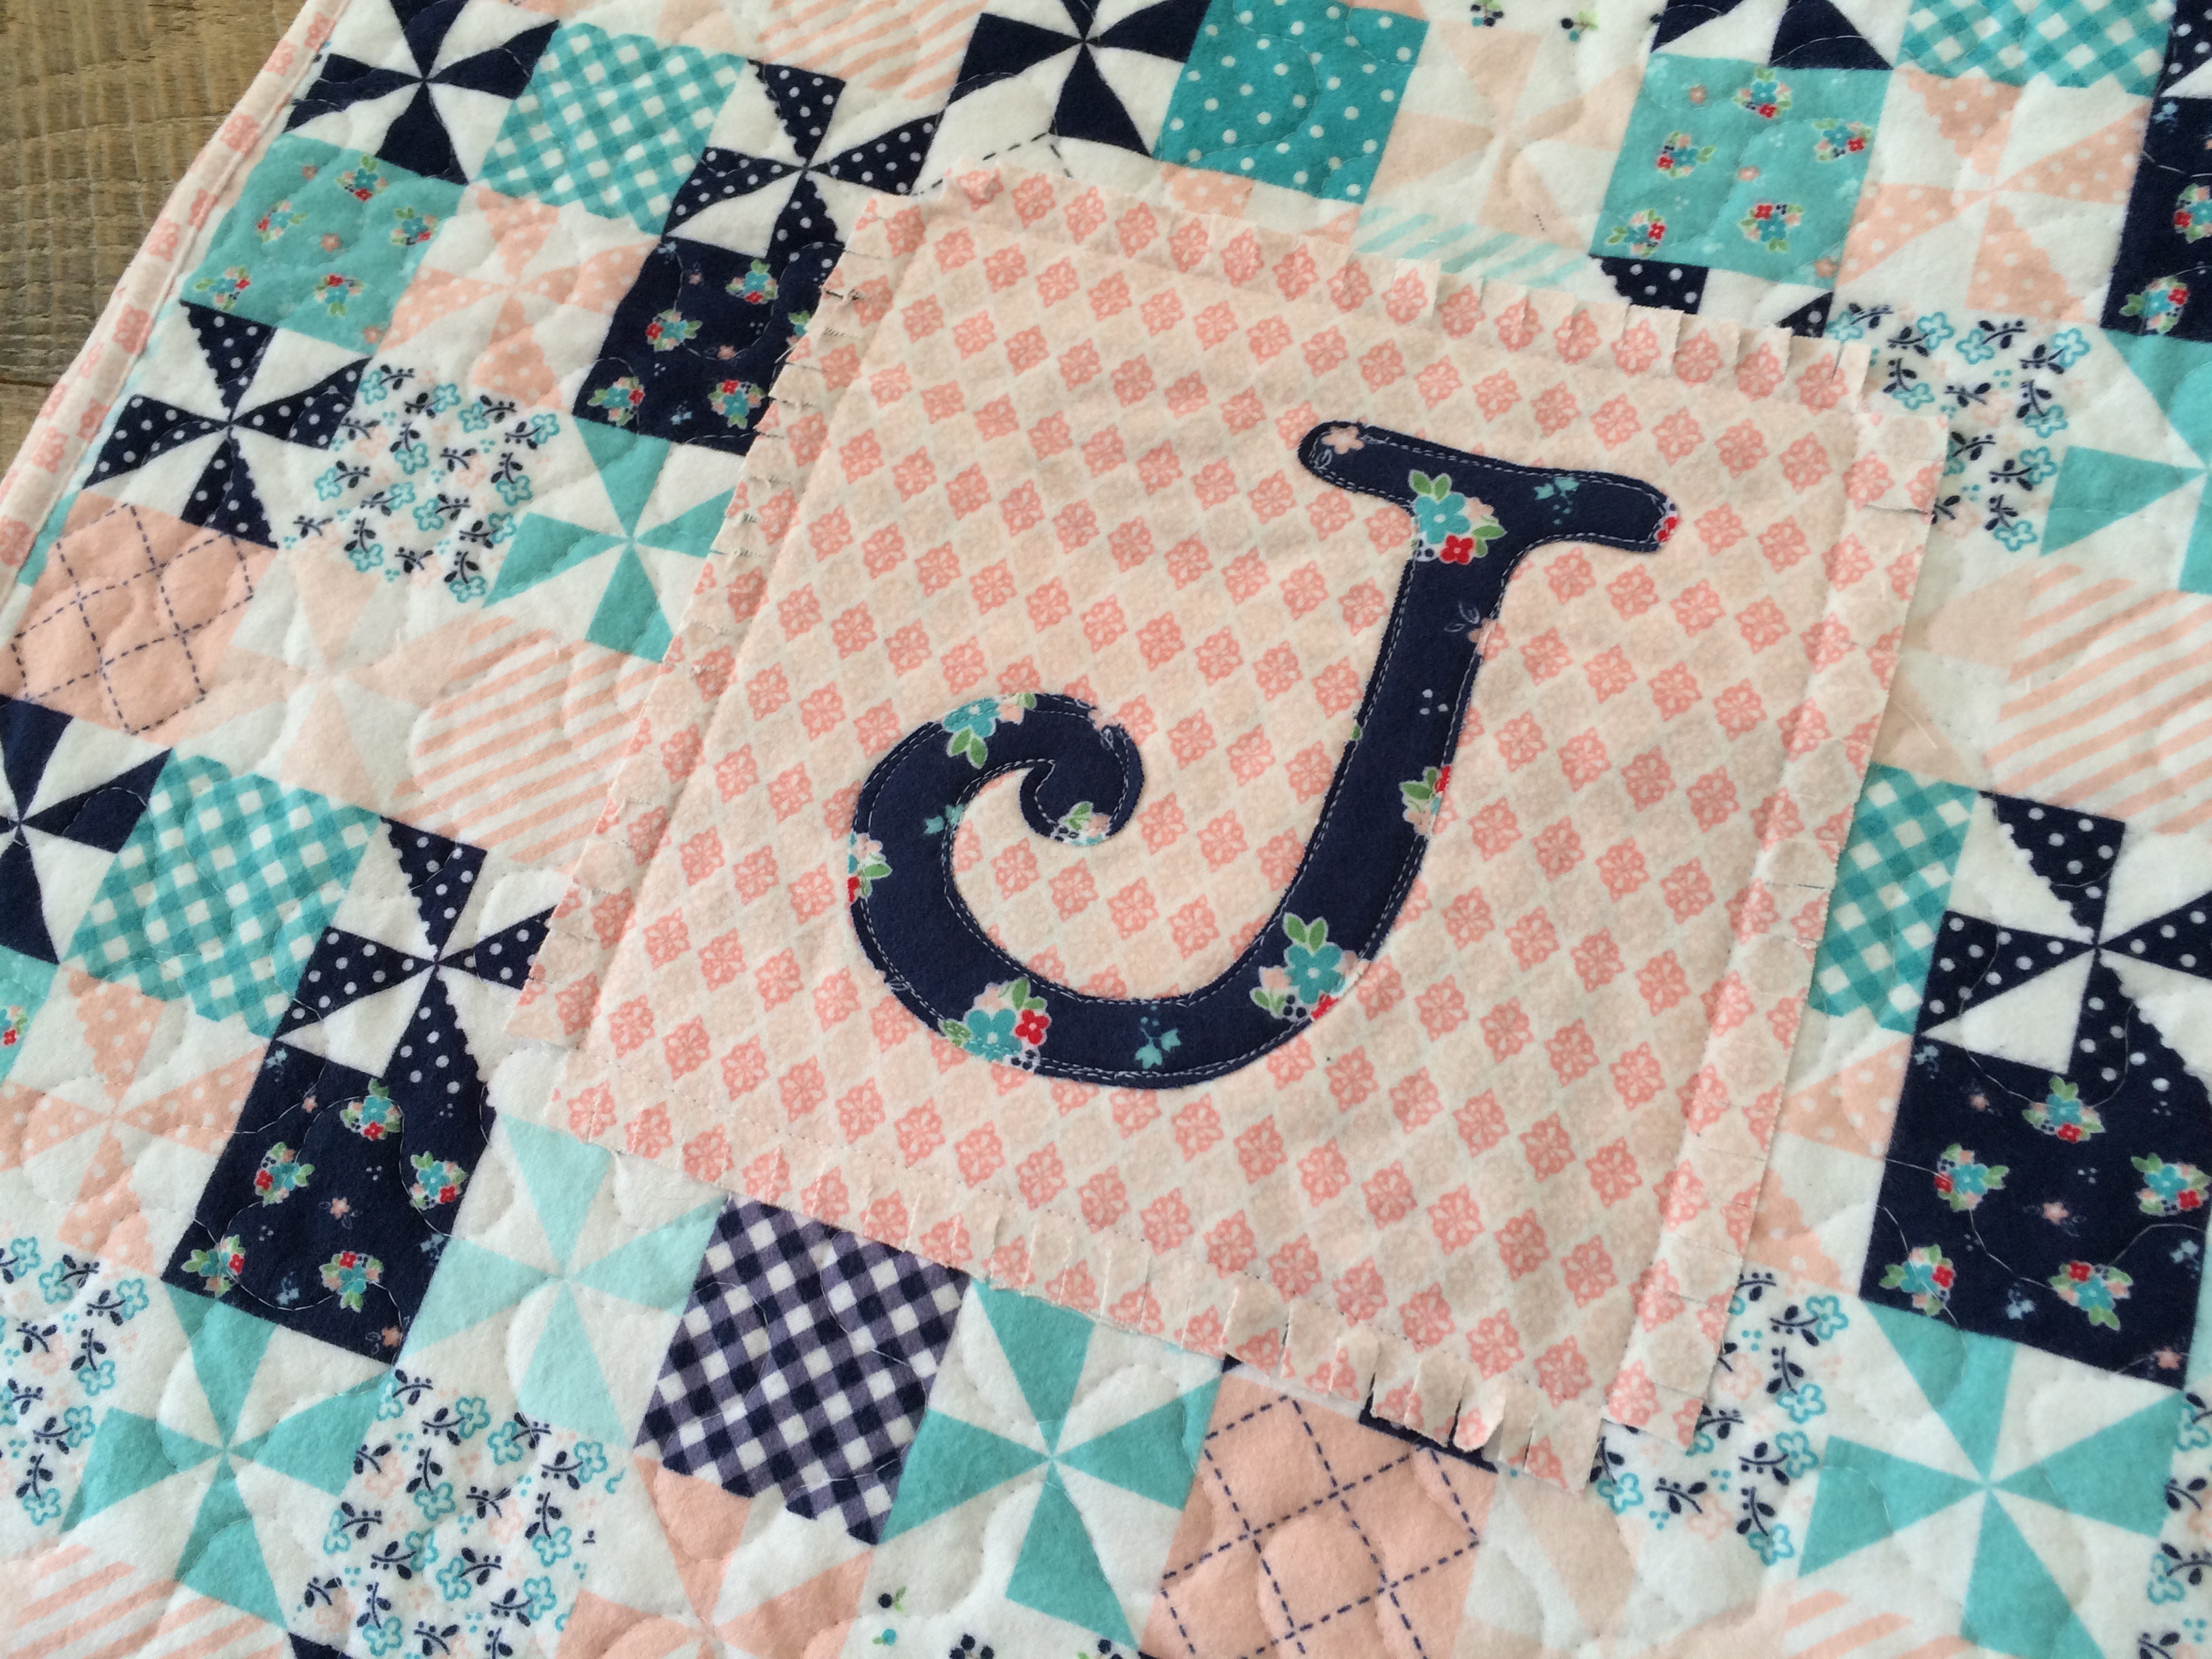
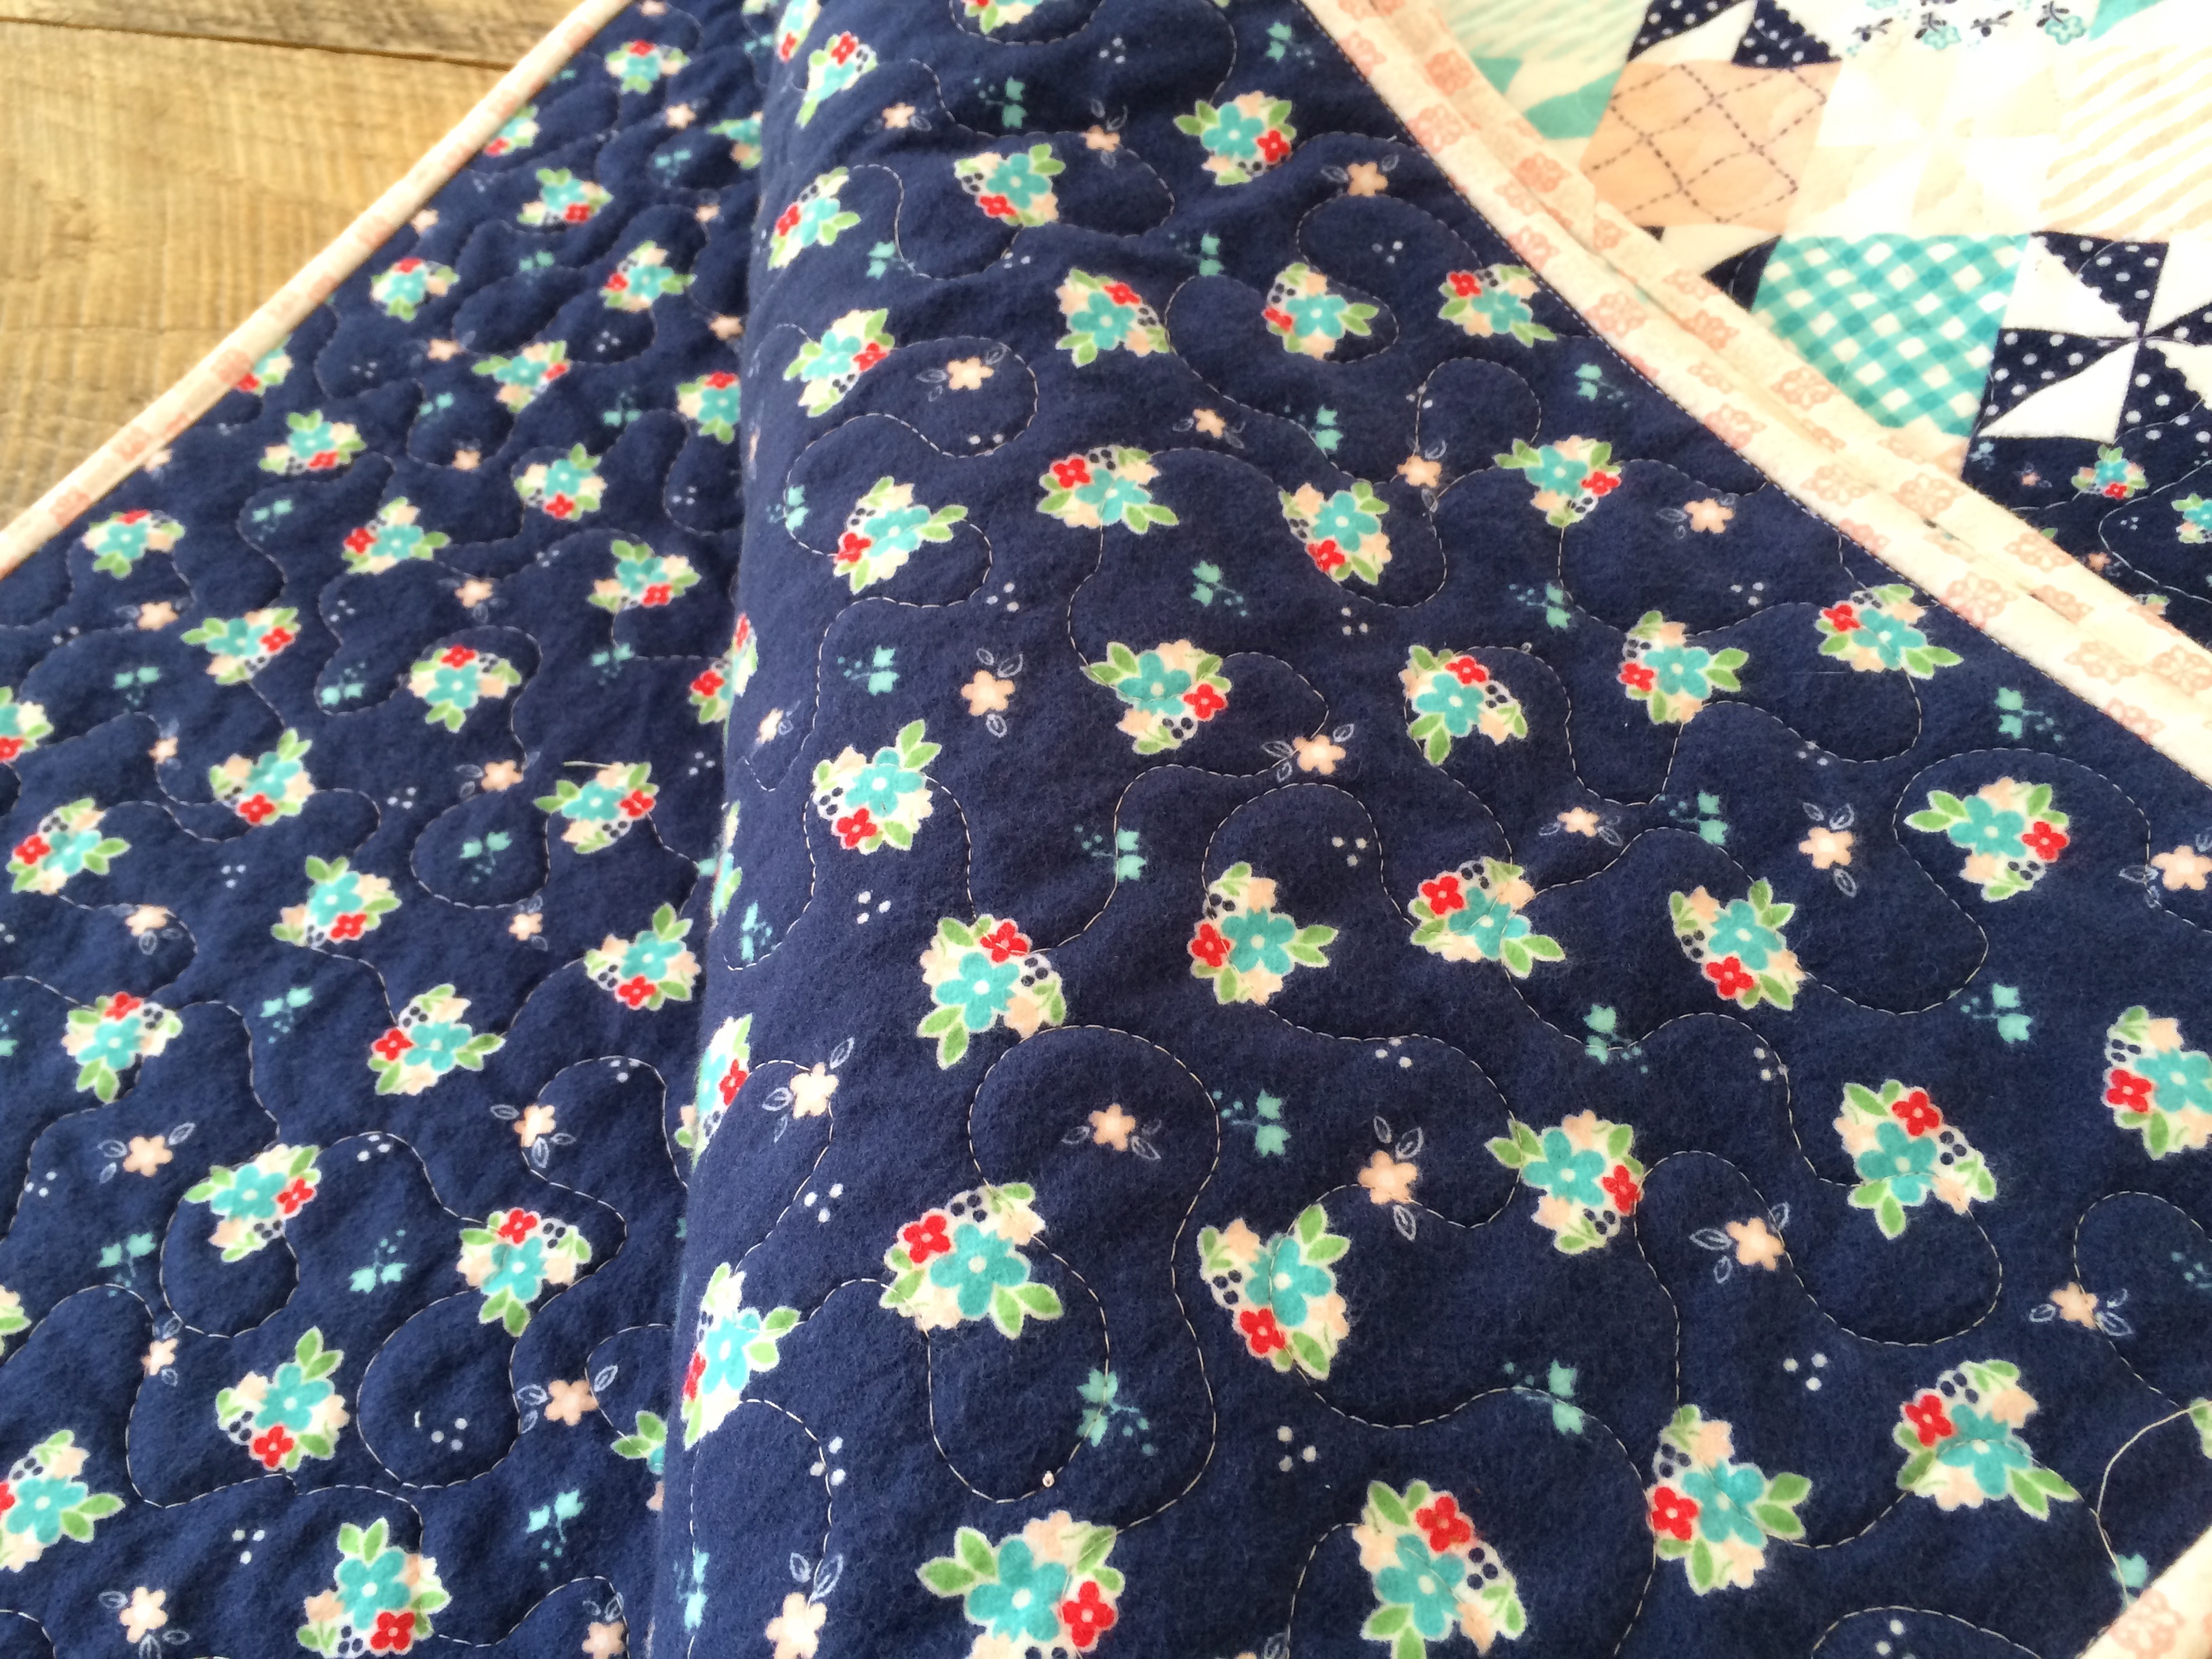
 I think it turned out so cute! and it’s sooooo soft and snuggly!
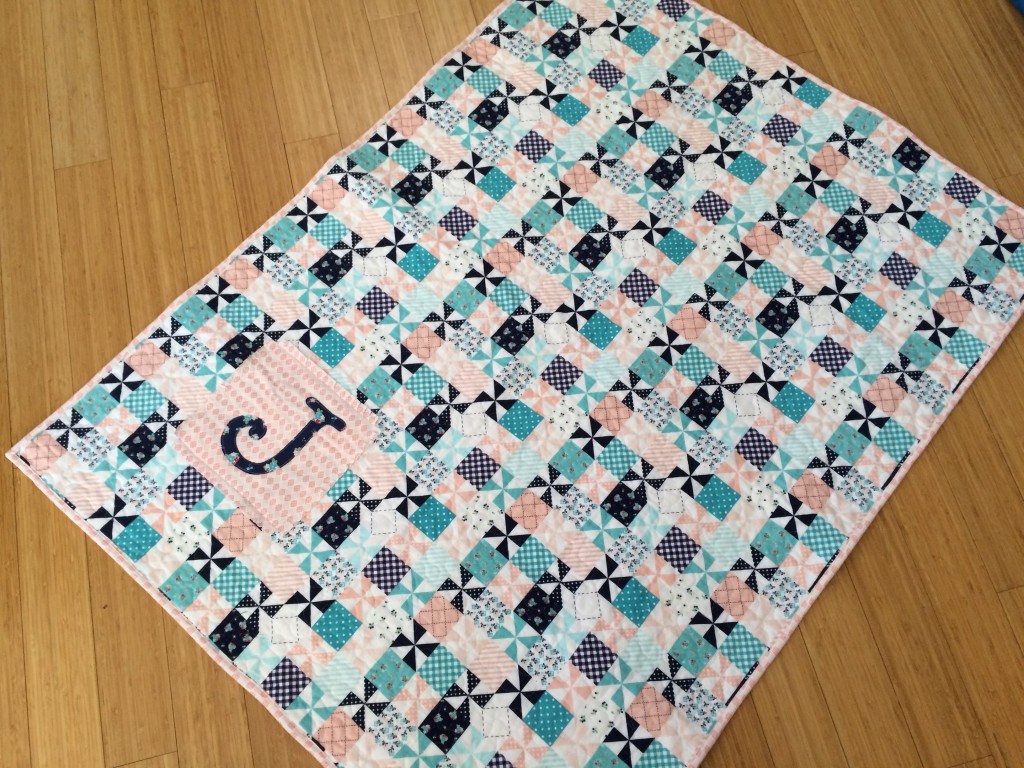


