Theme Print Zipper Pouch Tutorial

theme print zipper pouch tiger lily

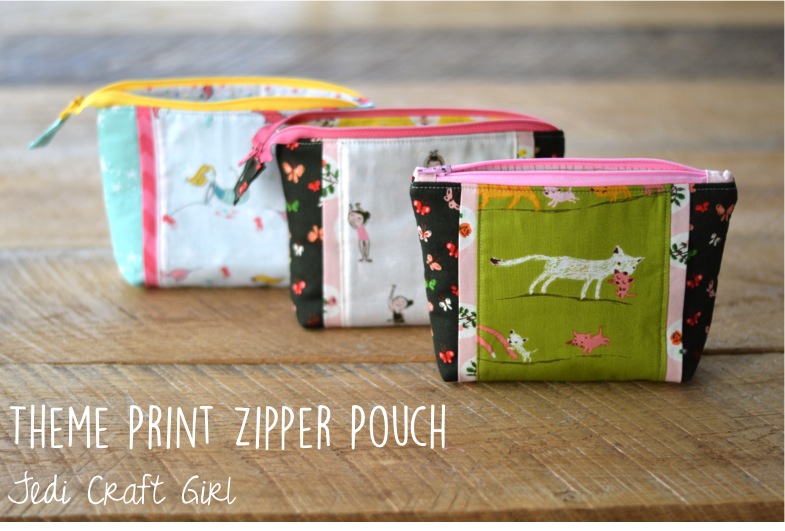
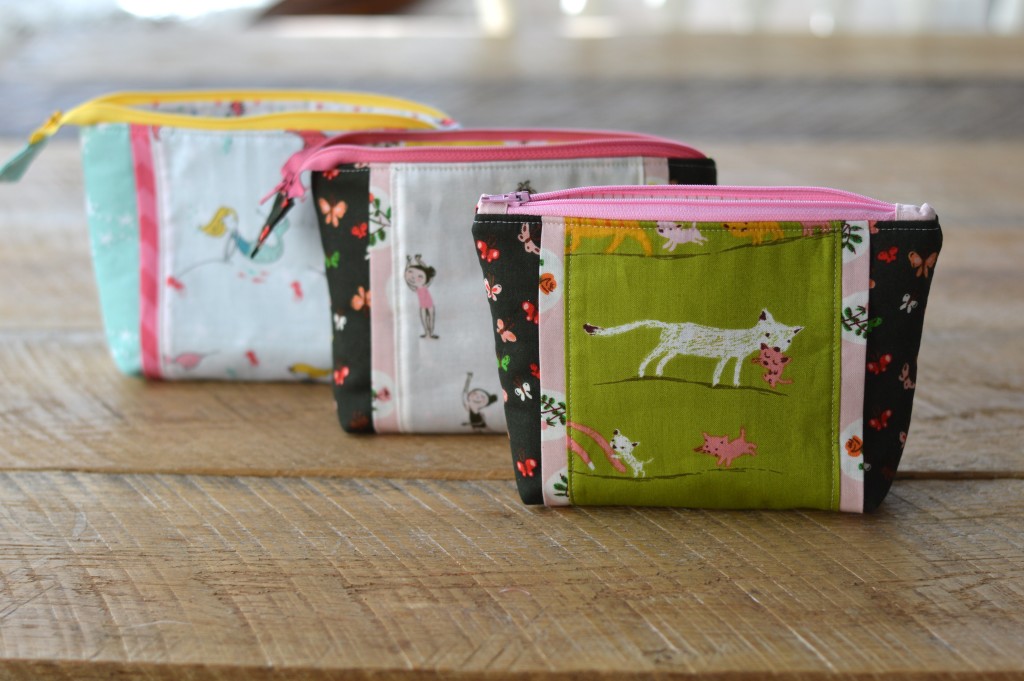
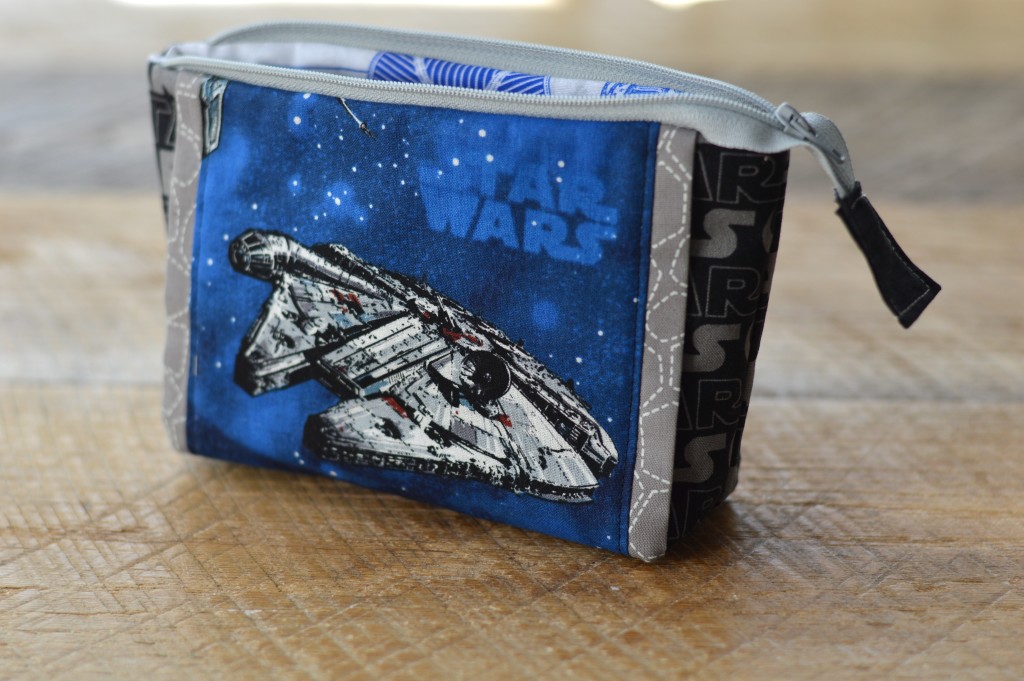
Today I am sharing something I LOVE!!!  Zipper Pouches!  I can’t have enough of them and I love to give them as gifts.  In fact, the ones pictured in this tutorial is actually what I gave my nieces and nephew for Christmas.

zipper pouch tutorial 21 I have created this pattern so you can use your favorite theme print fabric and tailor it to who you are giving it to.   I even have Star Wars version!!  Let’s get started!!
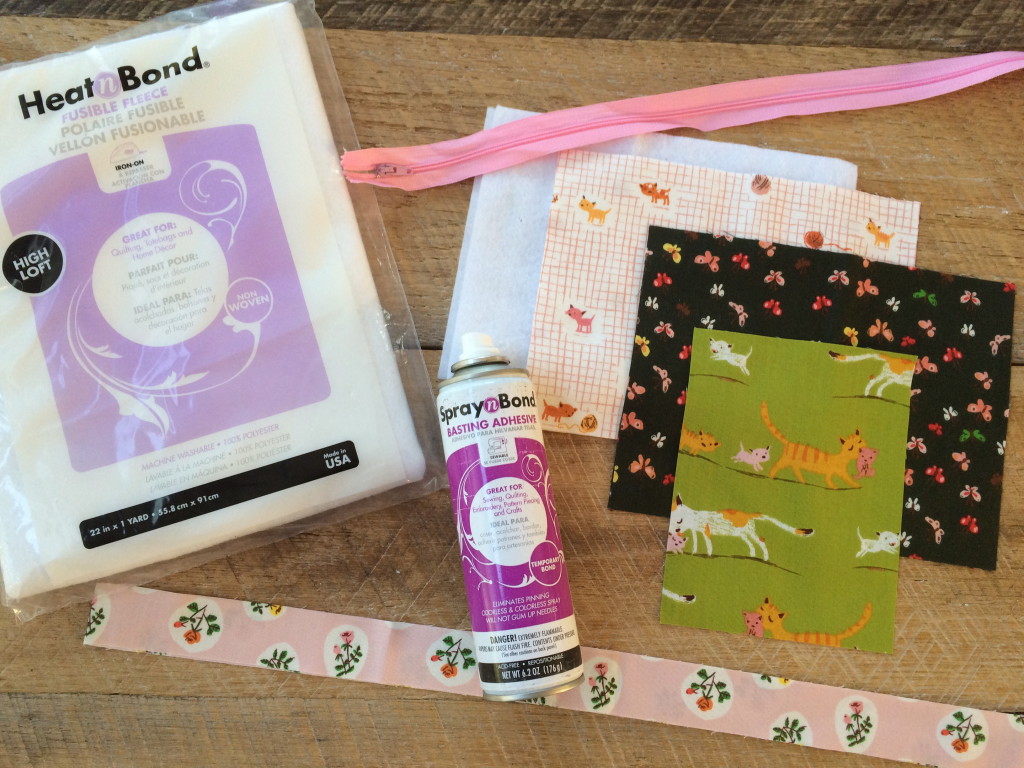
IMG_2115-1024x768

Supplies

1/4 yard outer bag fabric

1/4 yard lining fabric

1/8 yard accent strips

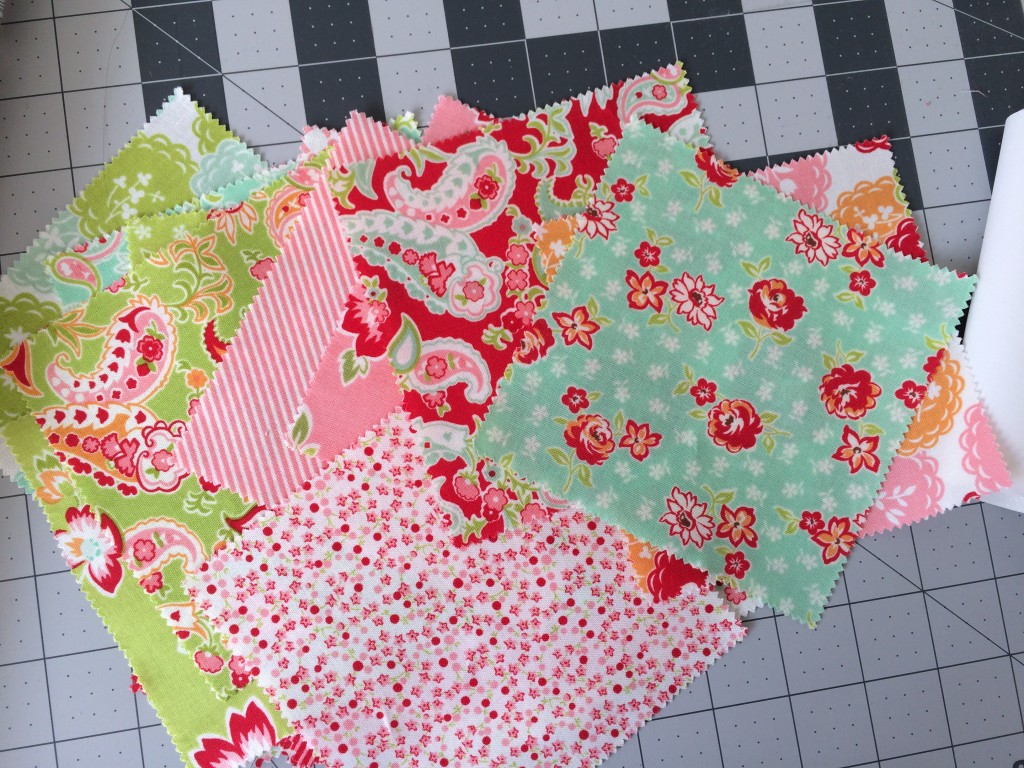
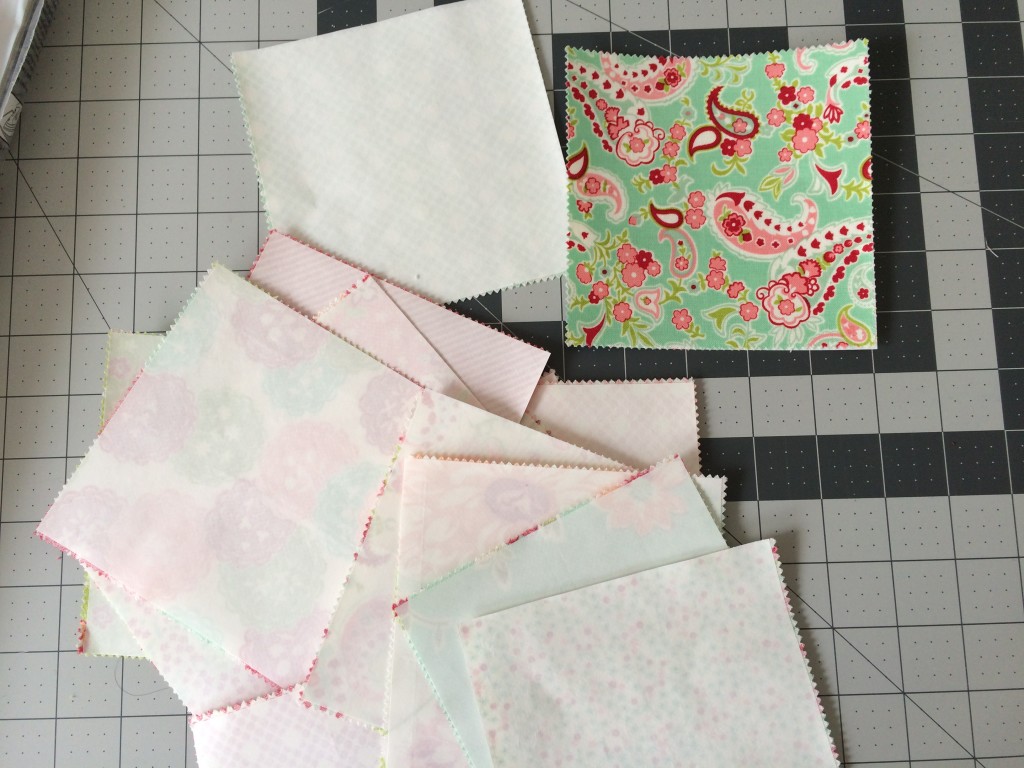
small scraps for theme print 5″ x 6 1/2″

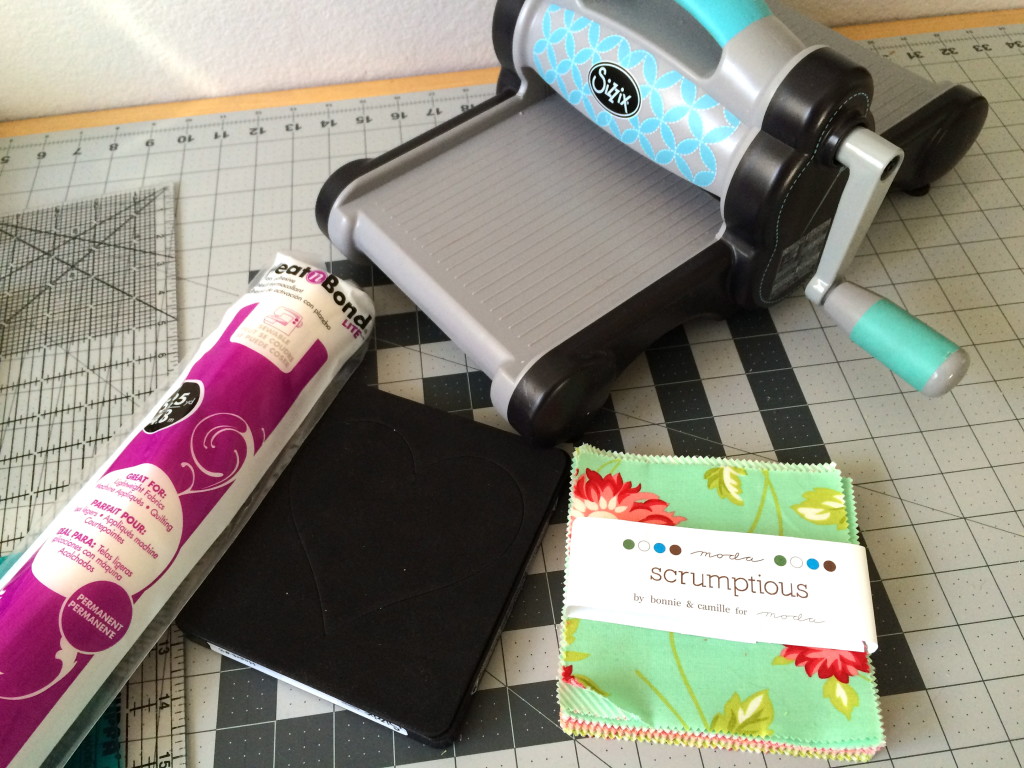
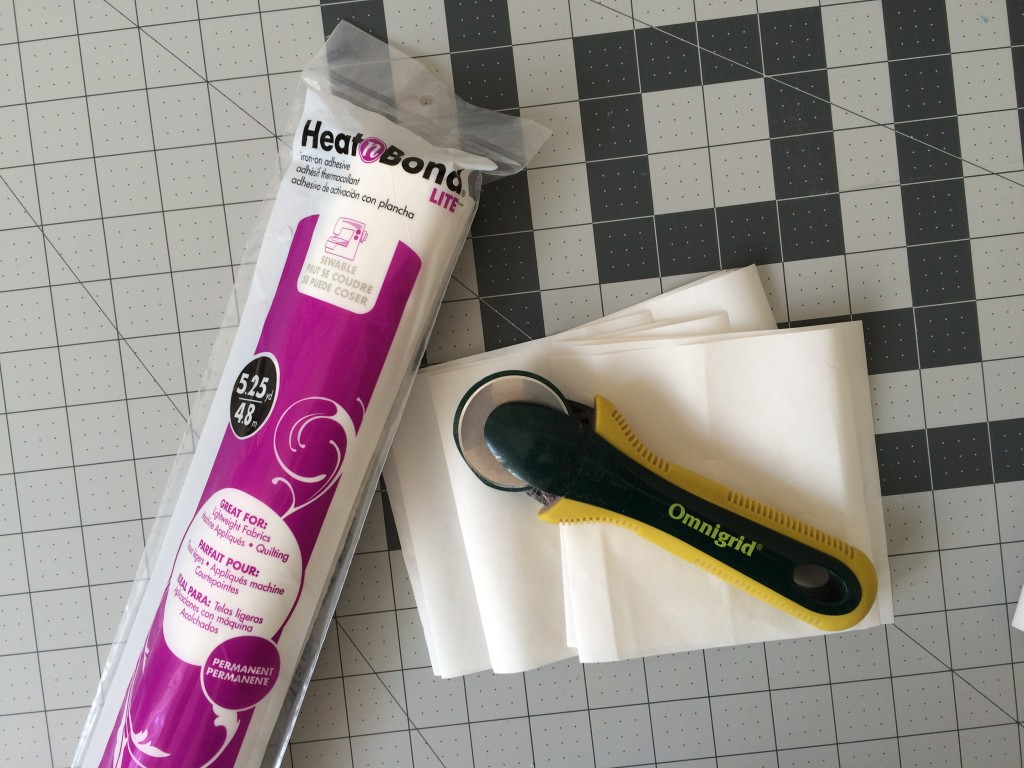
Heat n Bond fusible fleece

Spray n bond

12″ or longer zipper

cutting instructions
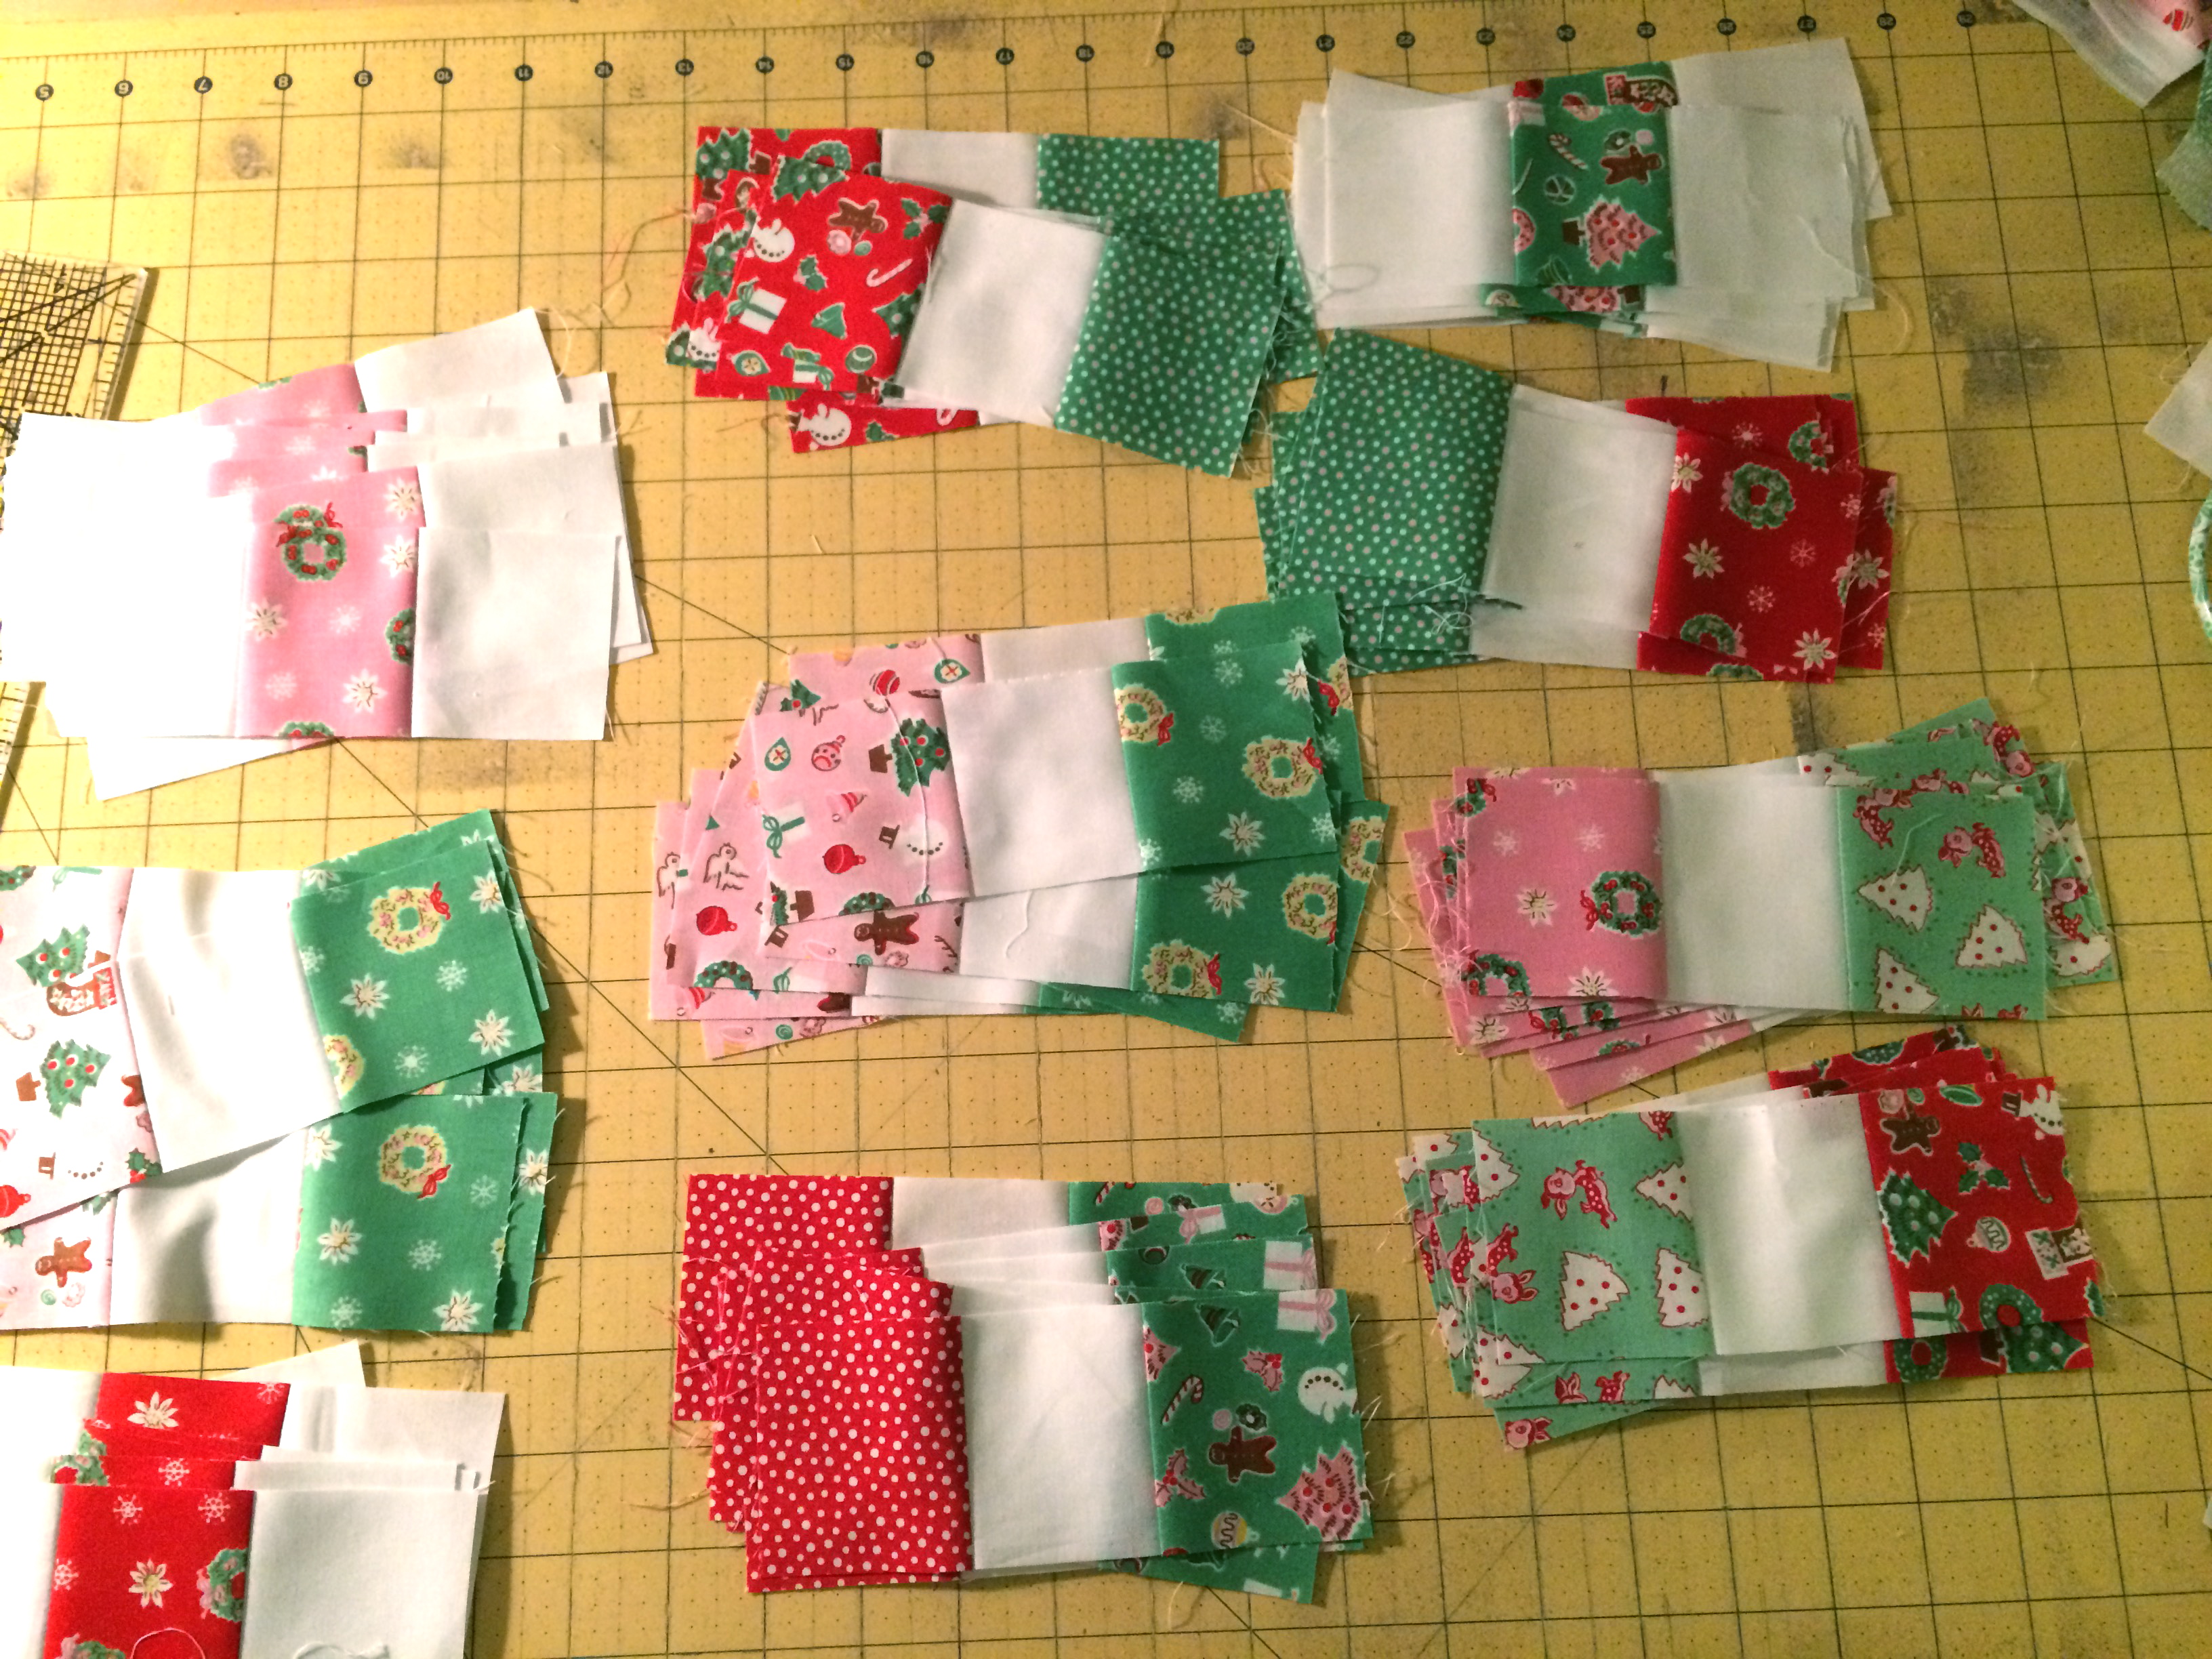
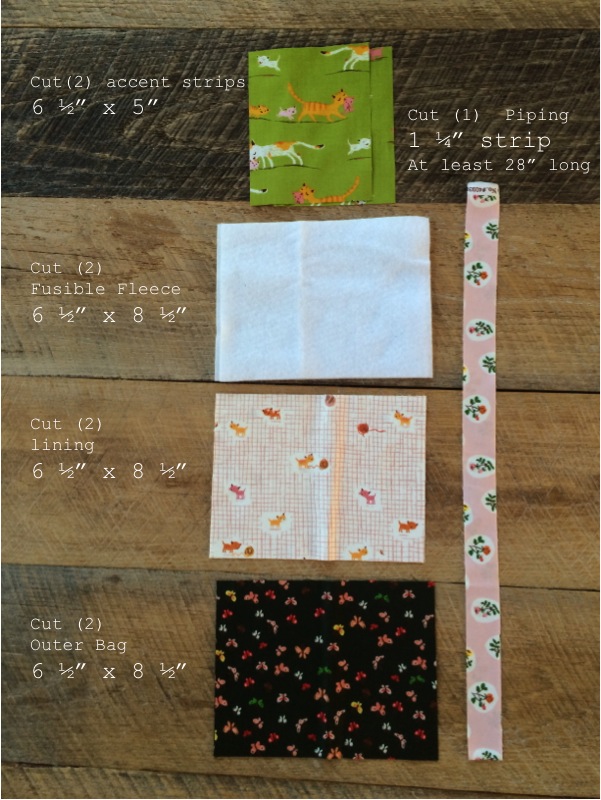
Cut the pieces according to the above cutting guide.

IMG_2123

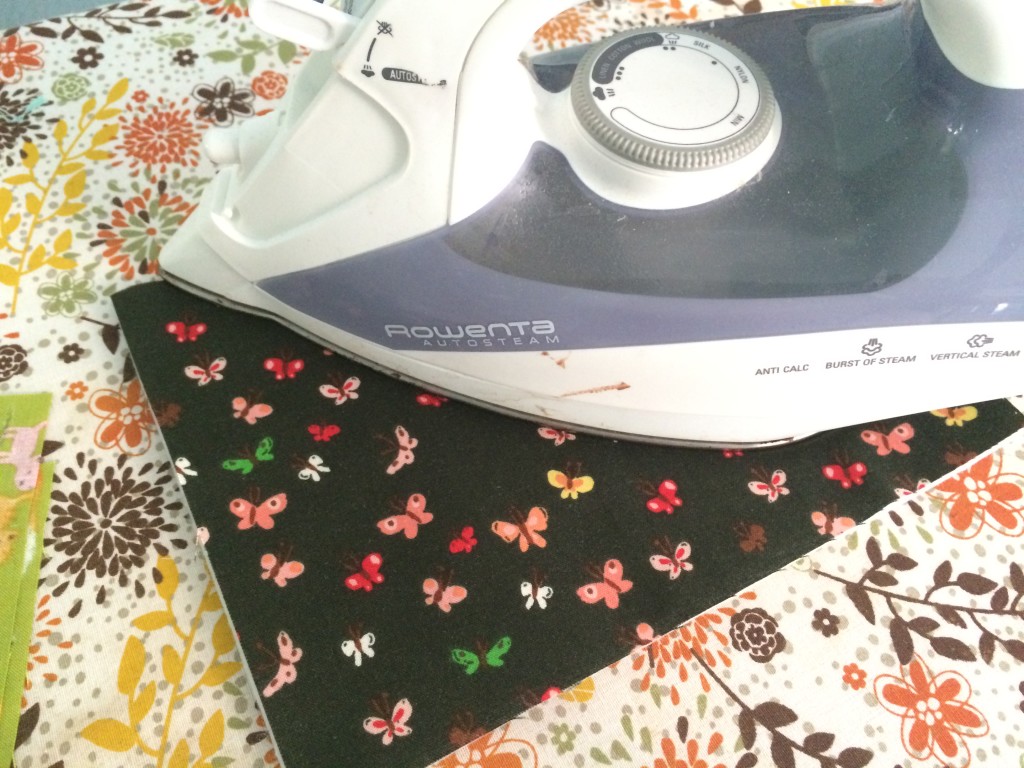
Fuse the heat n Bond Fusible Fleece to the wrong side of the (2) outer bag pieces.

IMG_2119

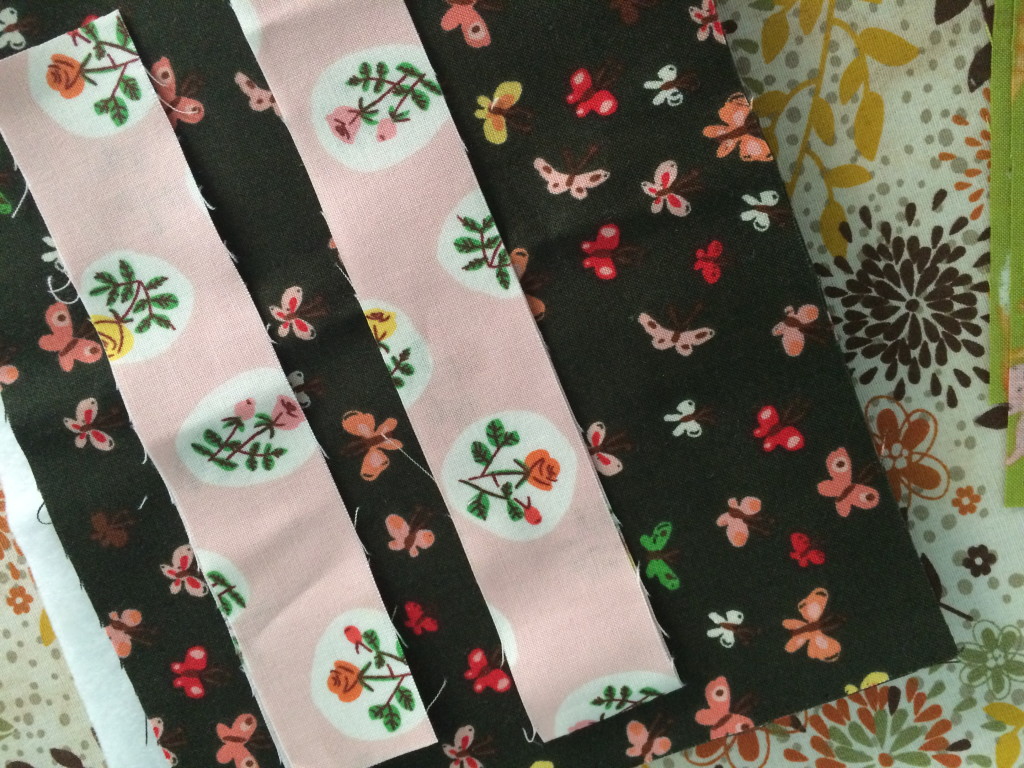
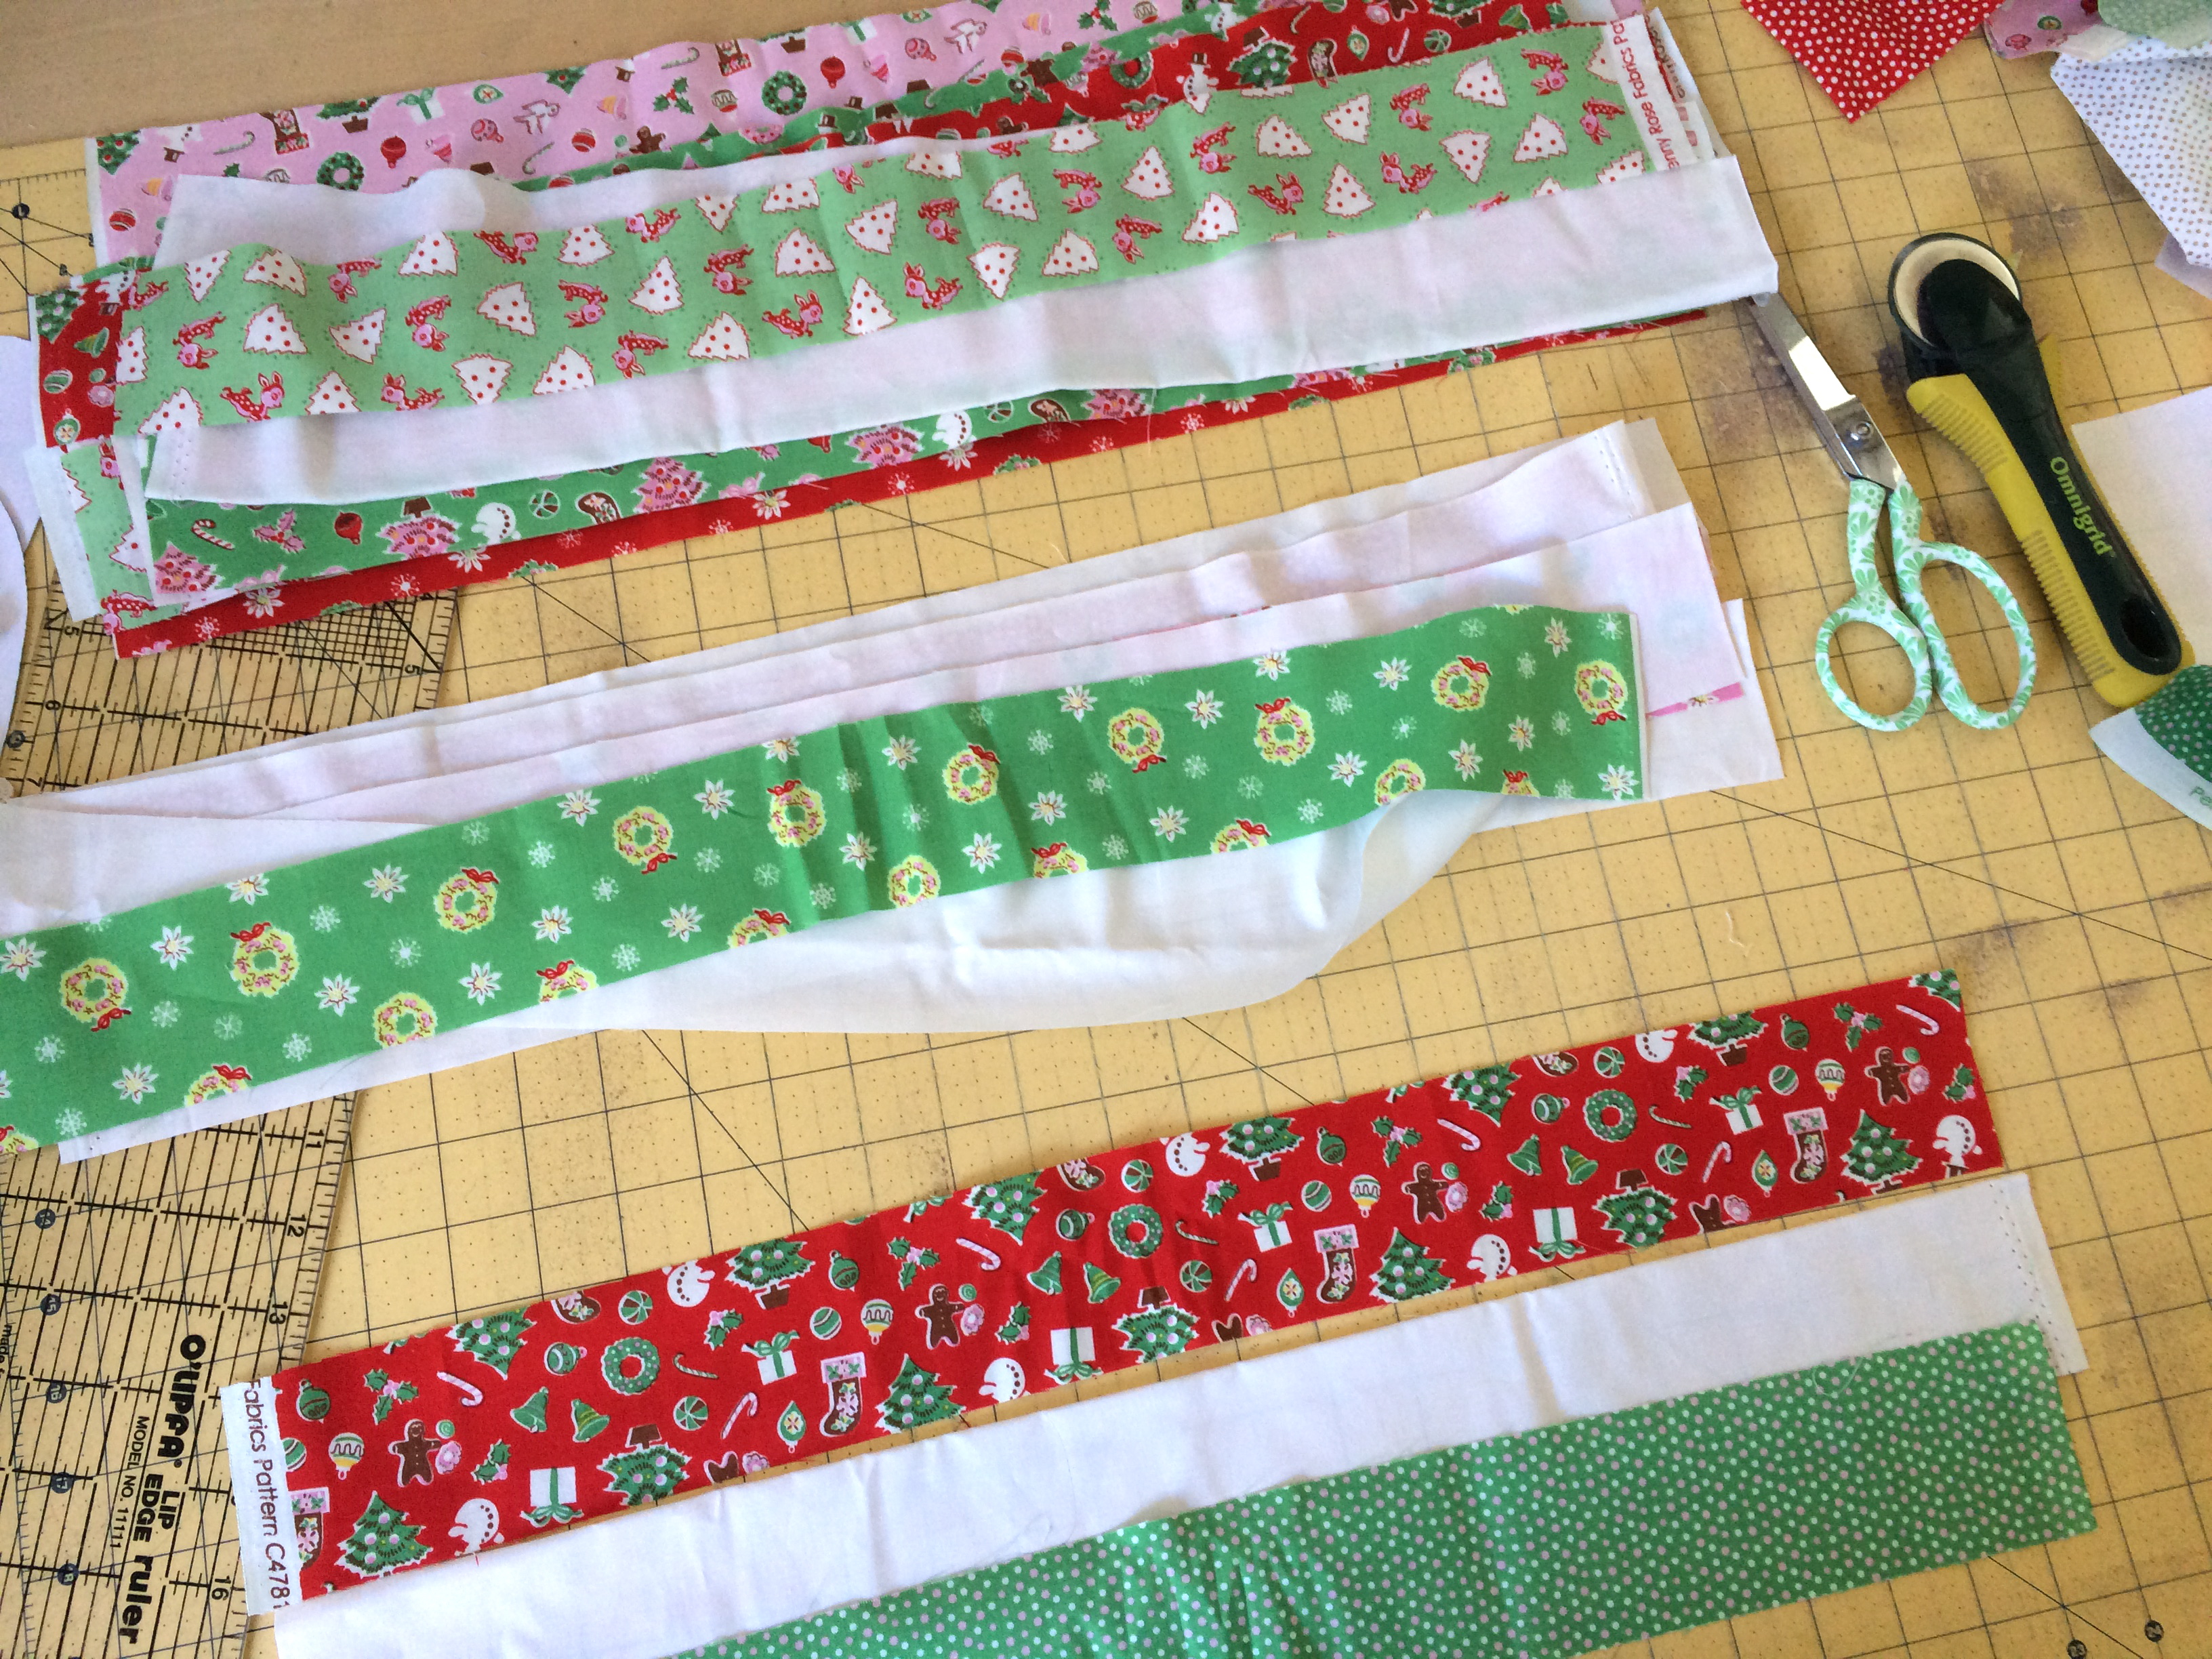
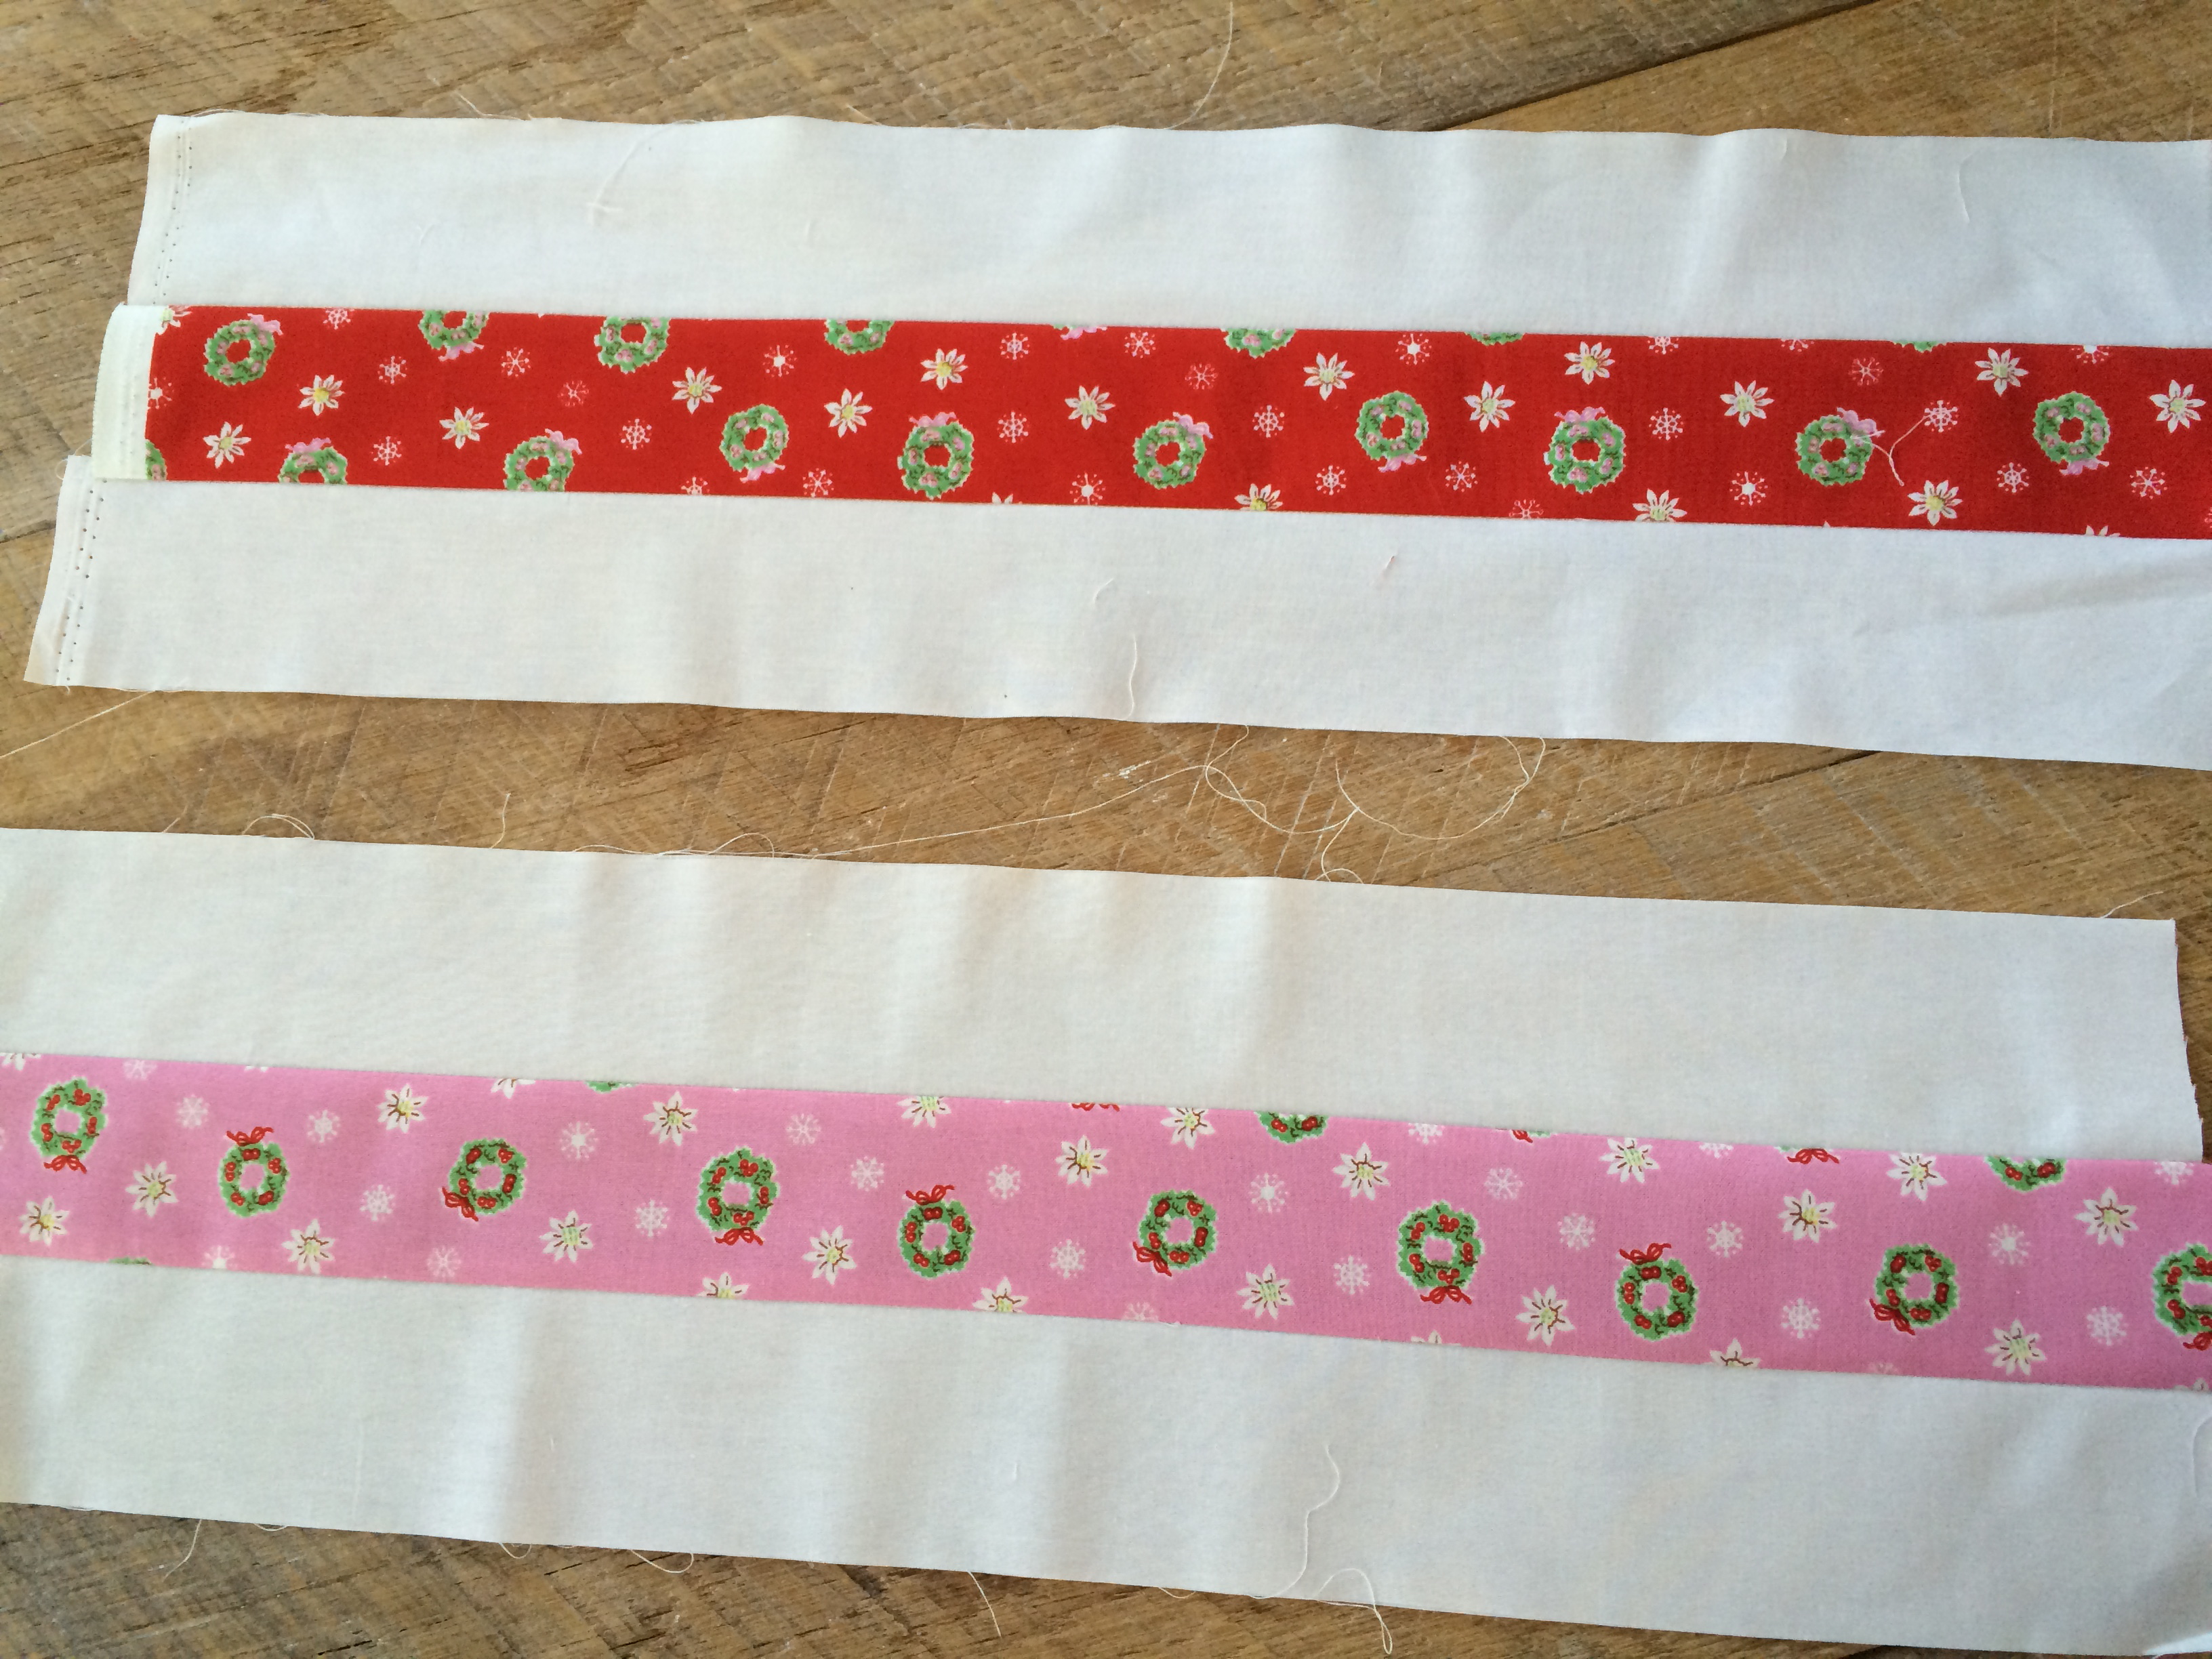
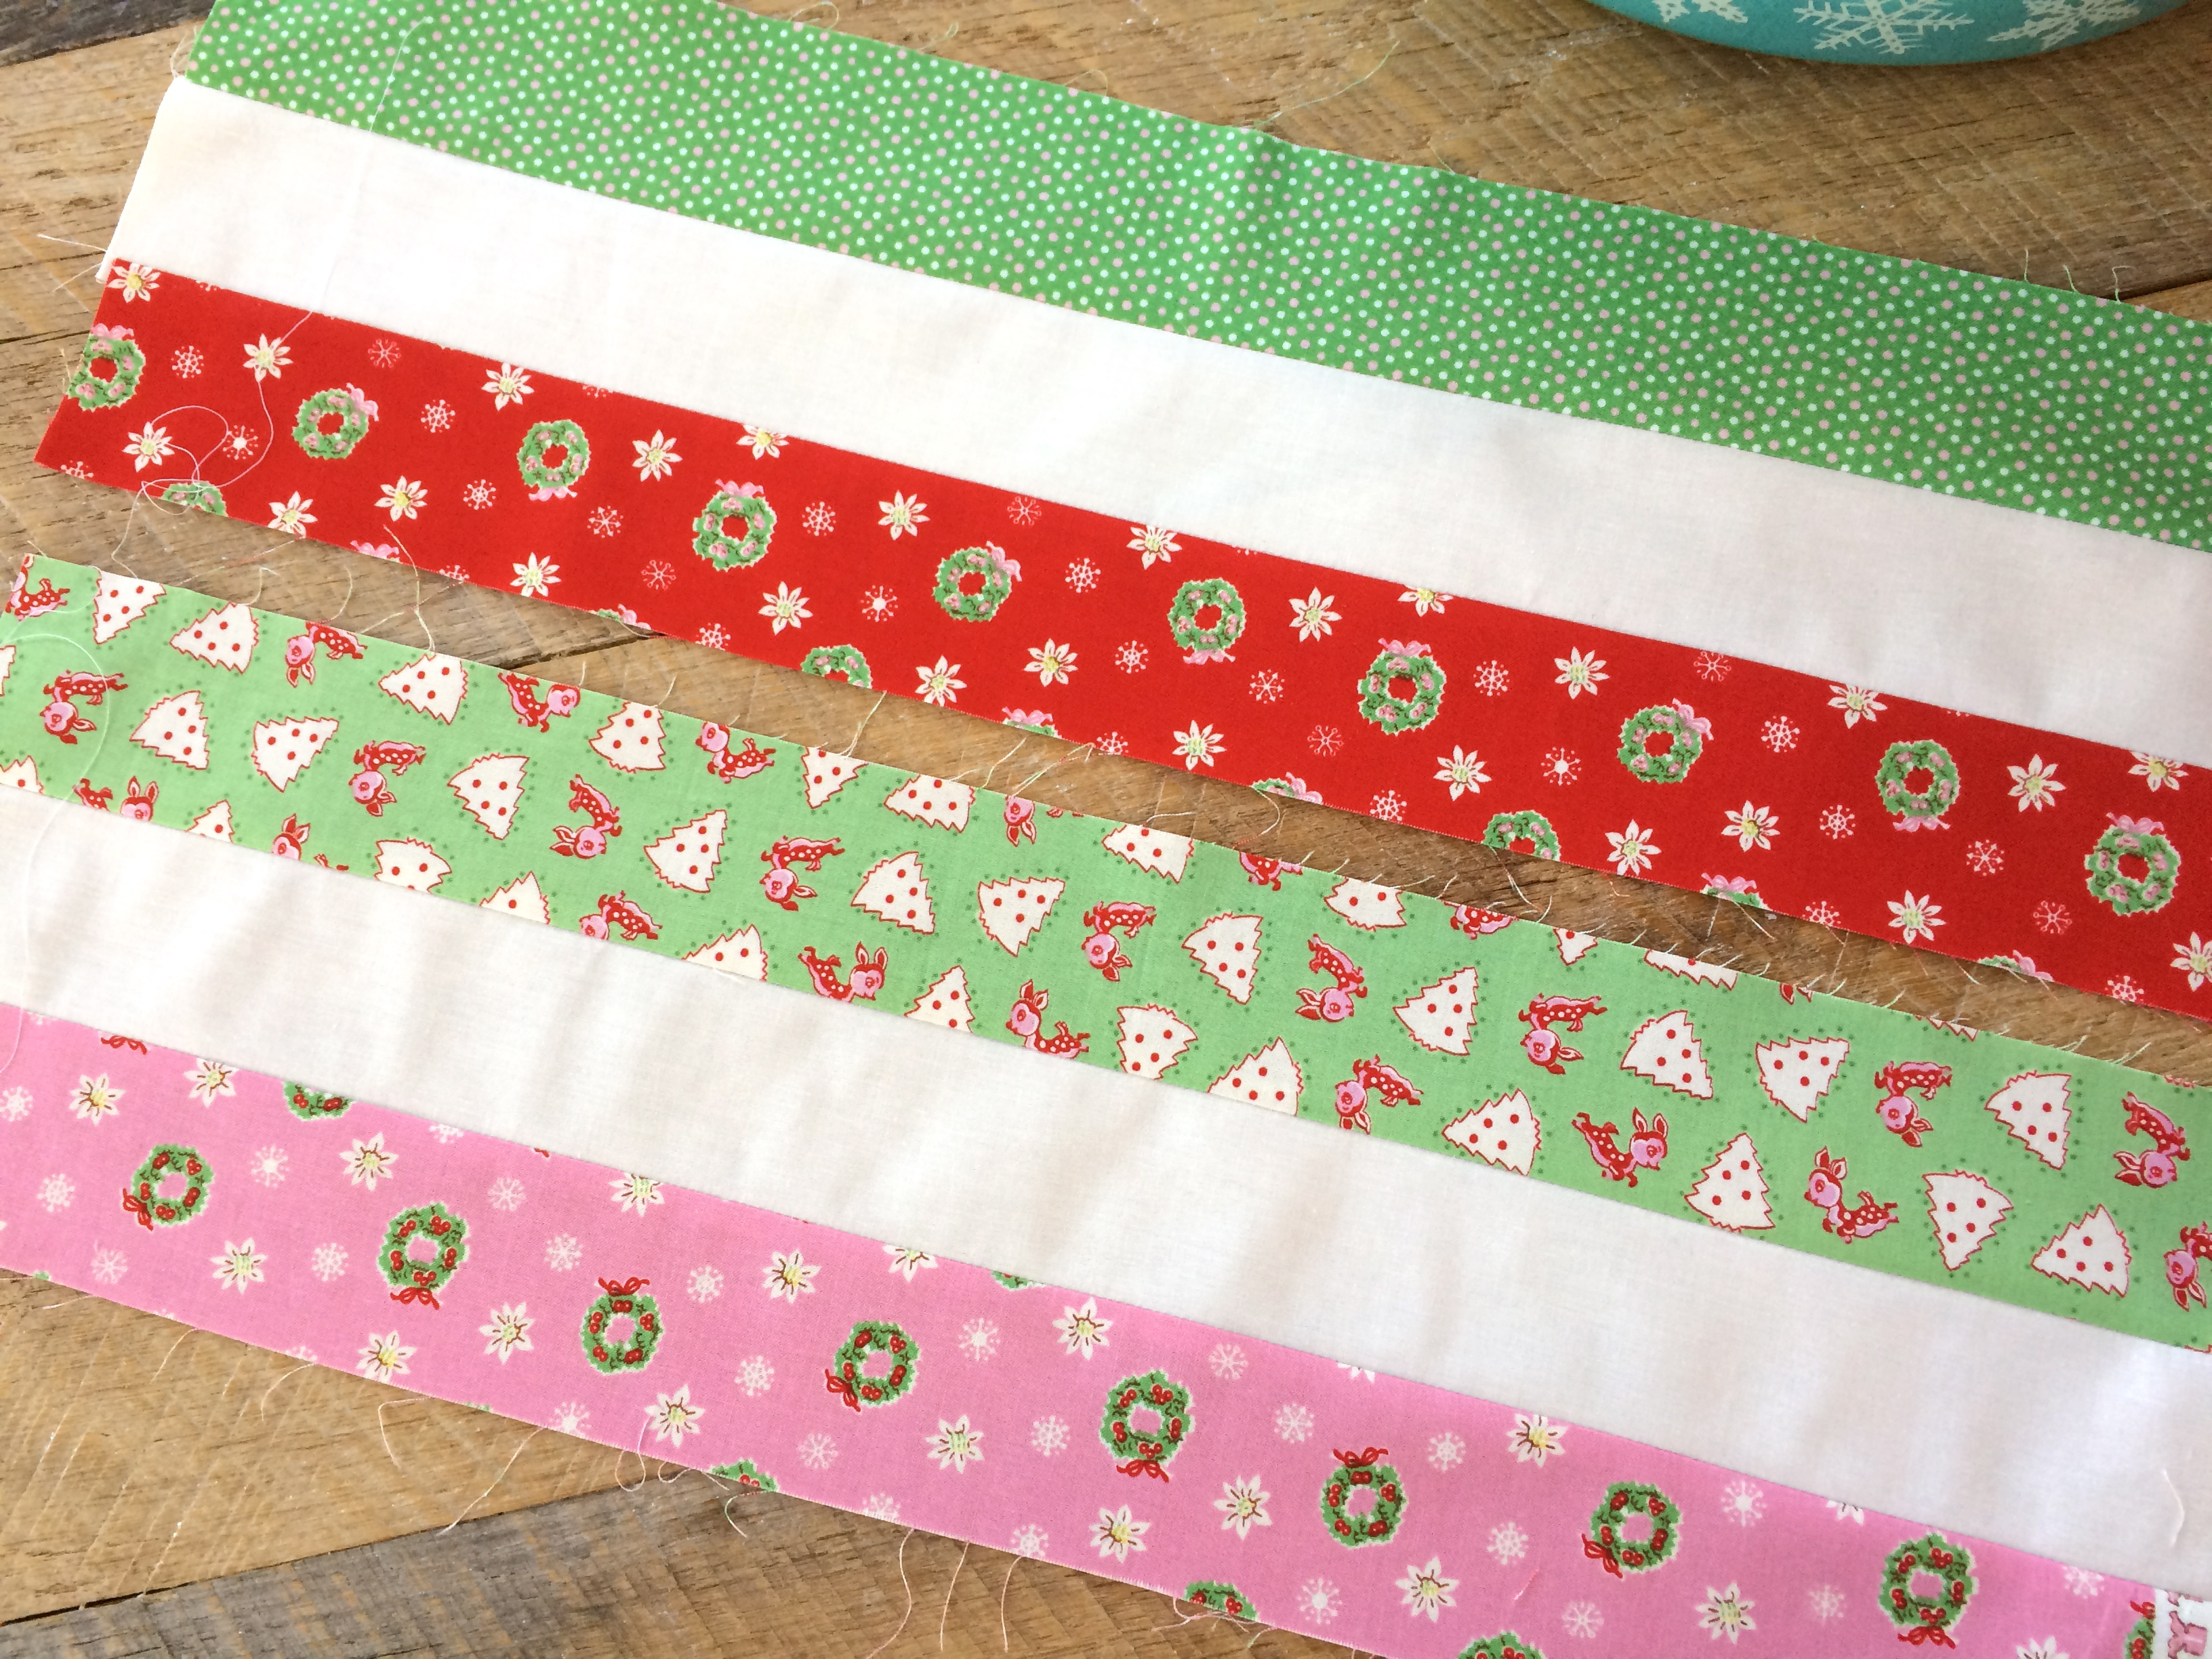
Cut the 1.25″ accent strip into (4) 6.5″ x 1.25″ strips. IMG_2122

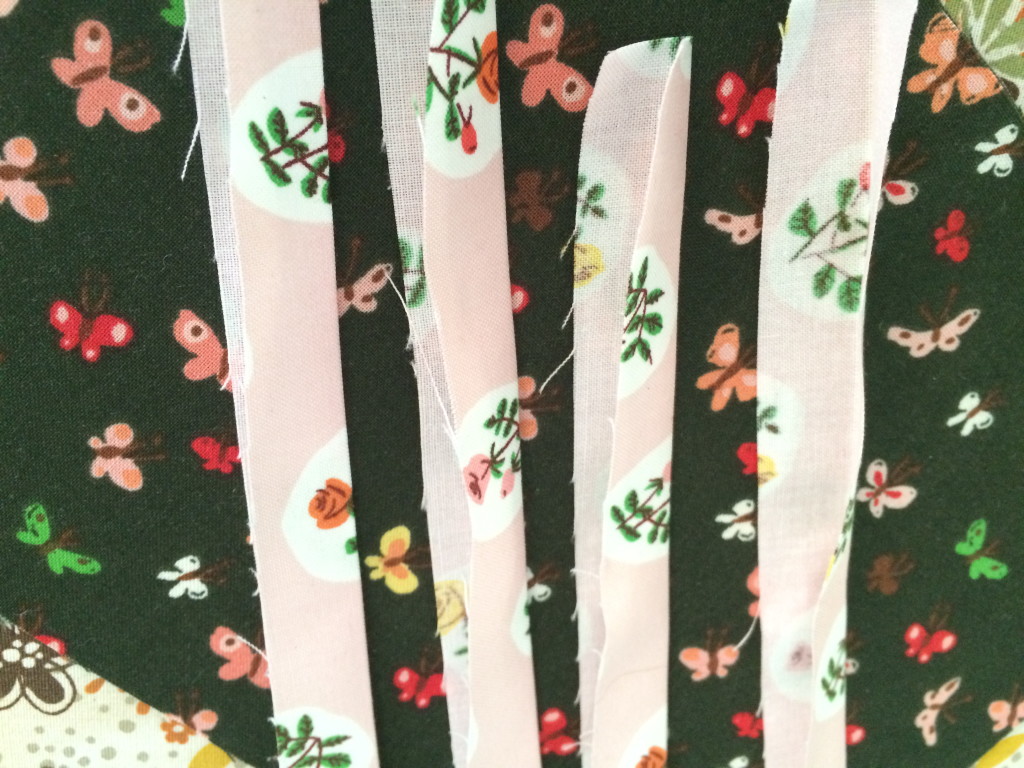
Press the accent strips in half lengthwise.
  IMG_2124Align the raw edges with the edge of the theme print fabric and sew a 1/4″ seam.  Do this to all (4) sides of the (2) theme print pieces. IMG_2125
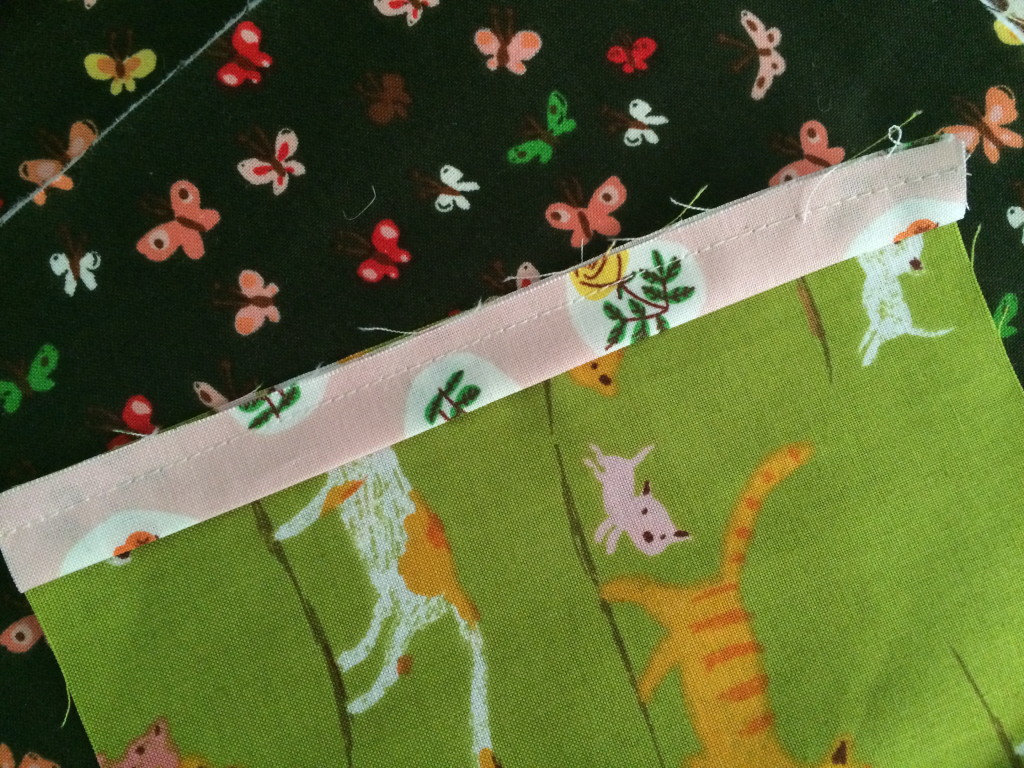
Press the accent strips so the seam allowance is toward the theme print. IMG_2126

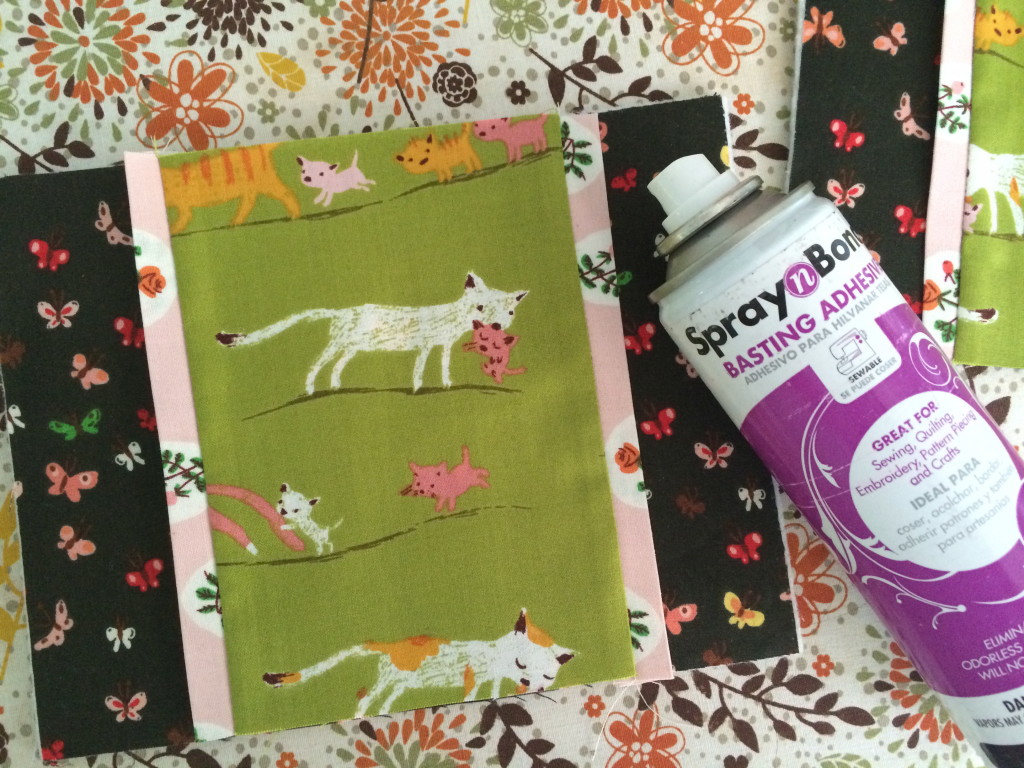
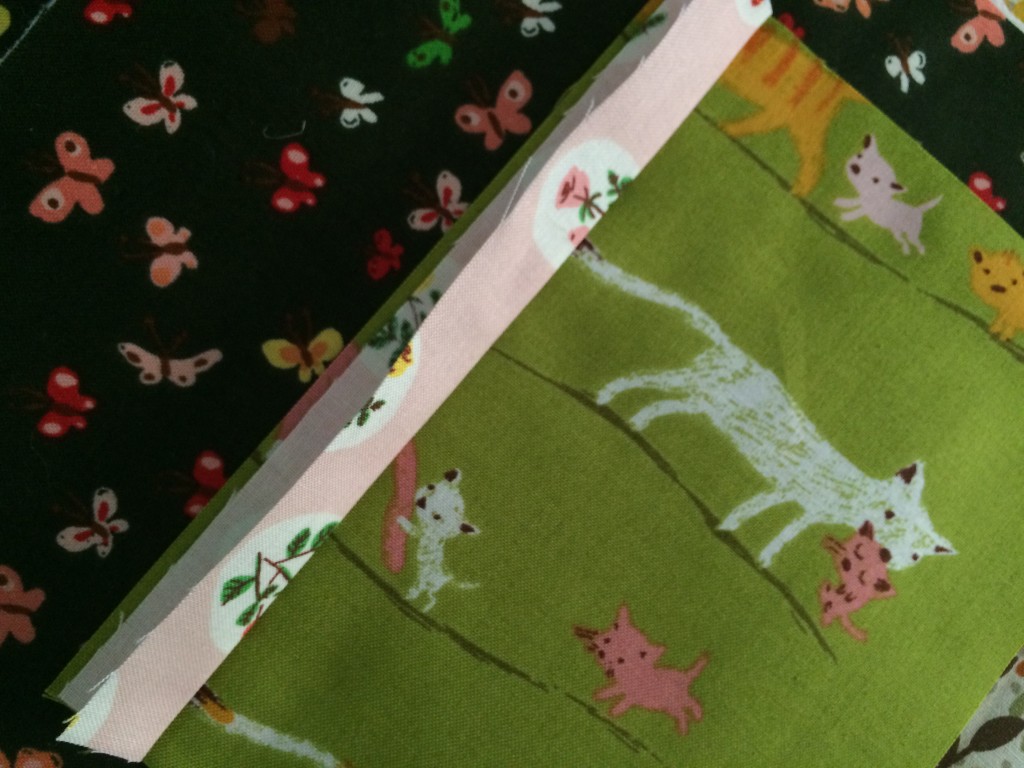
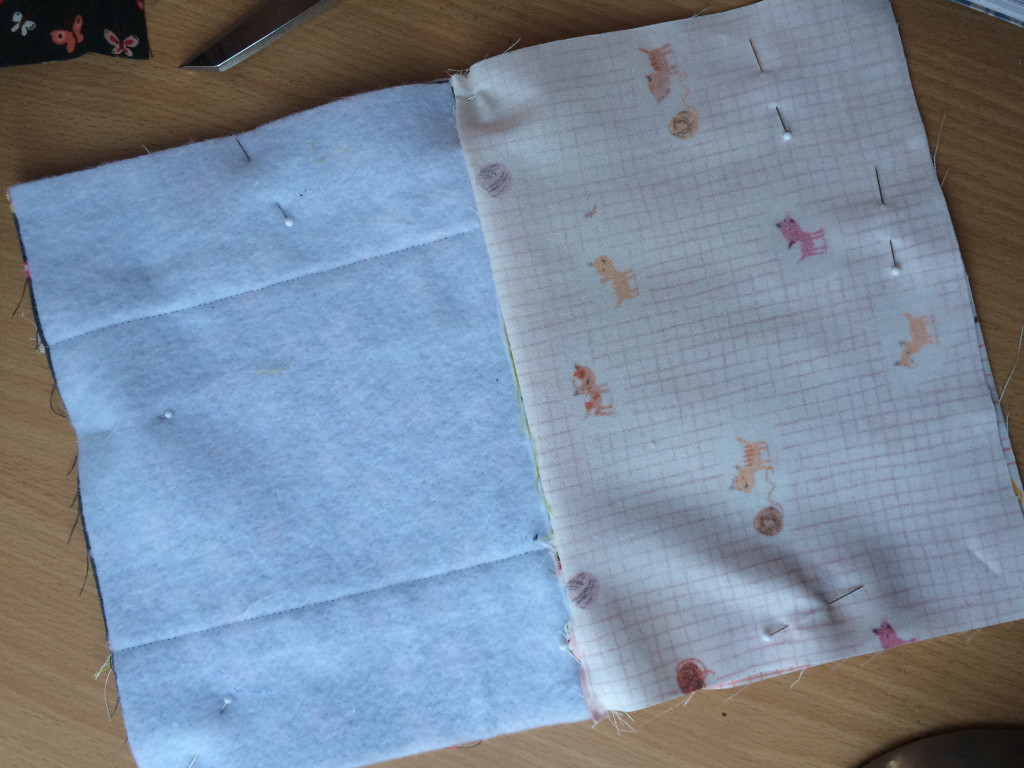
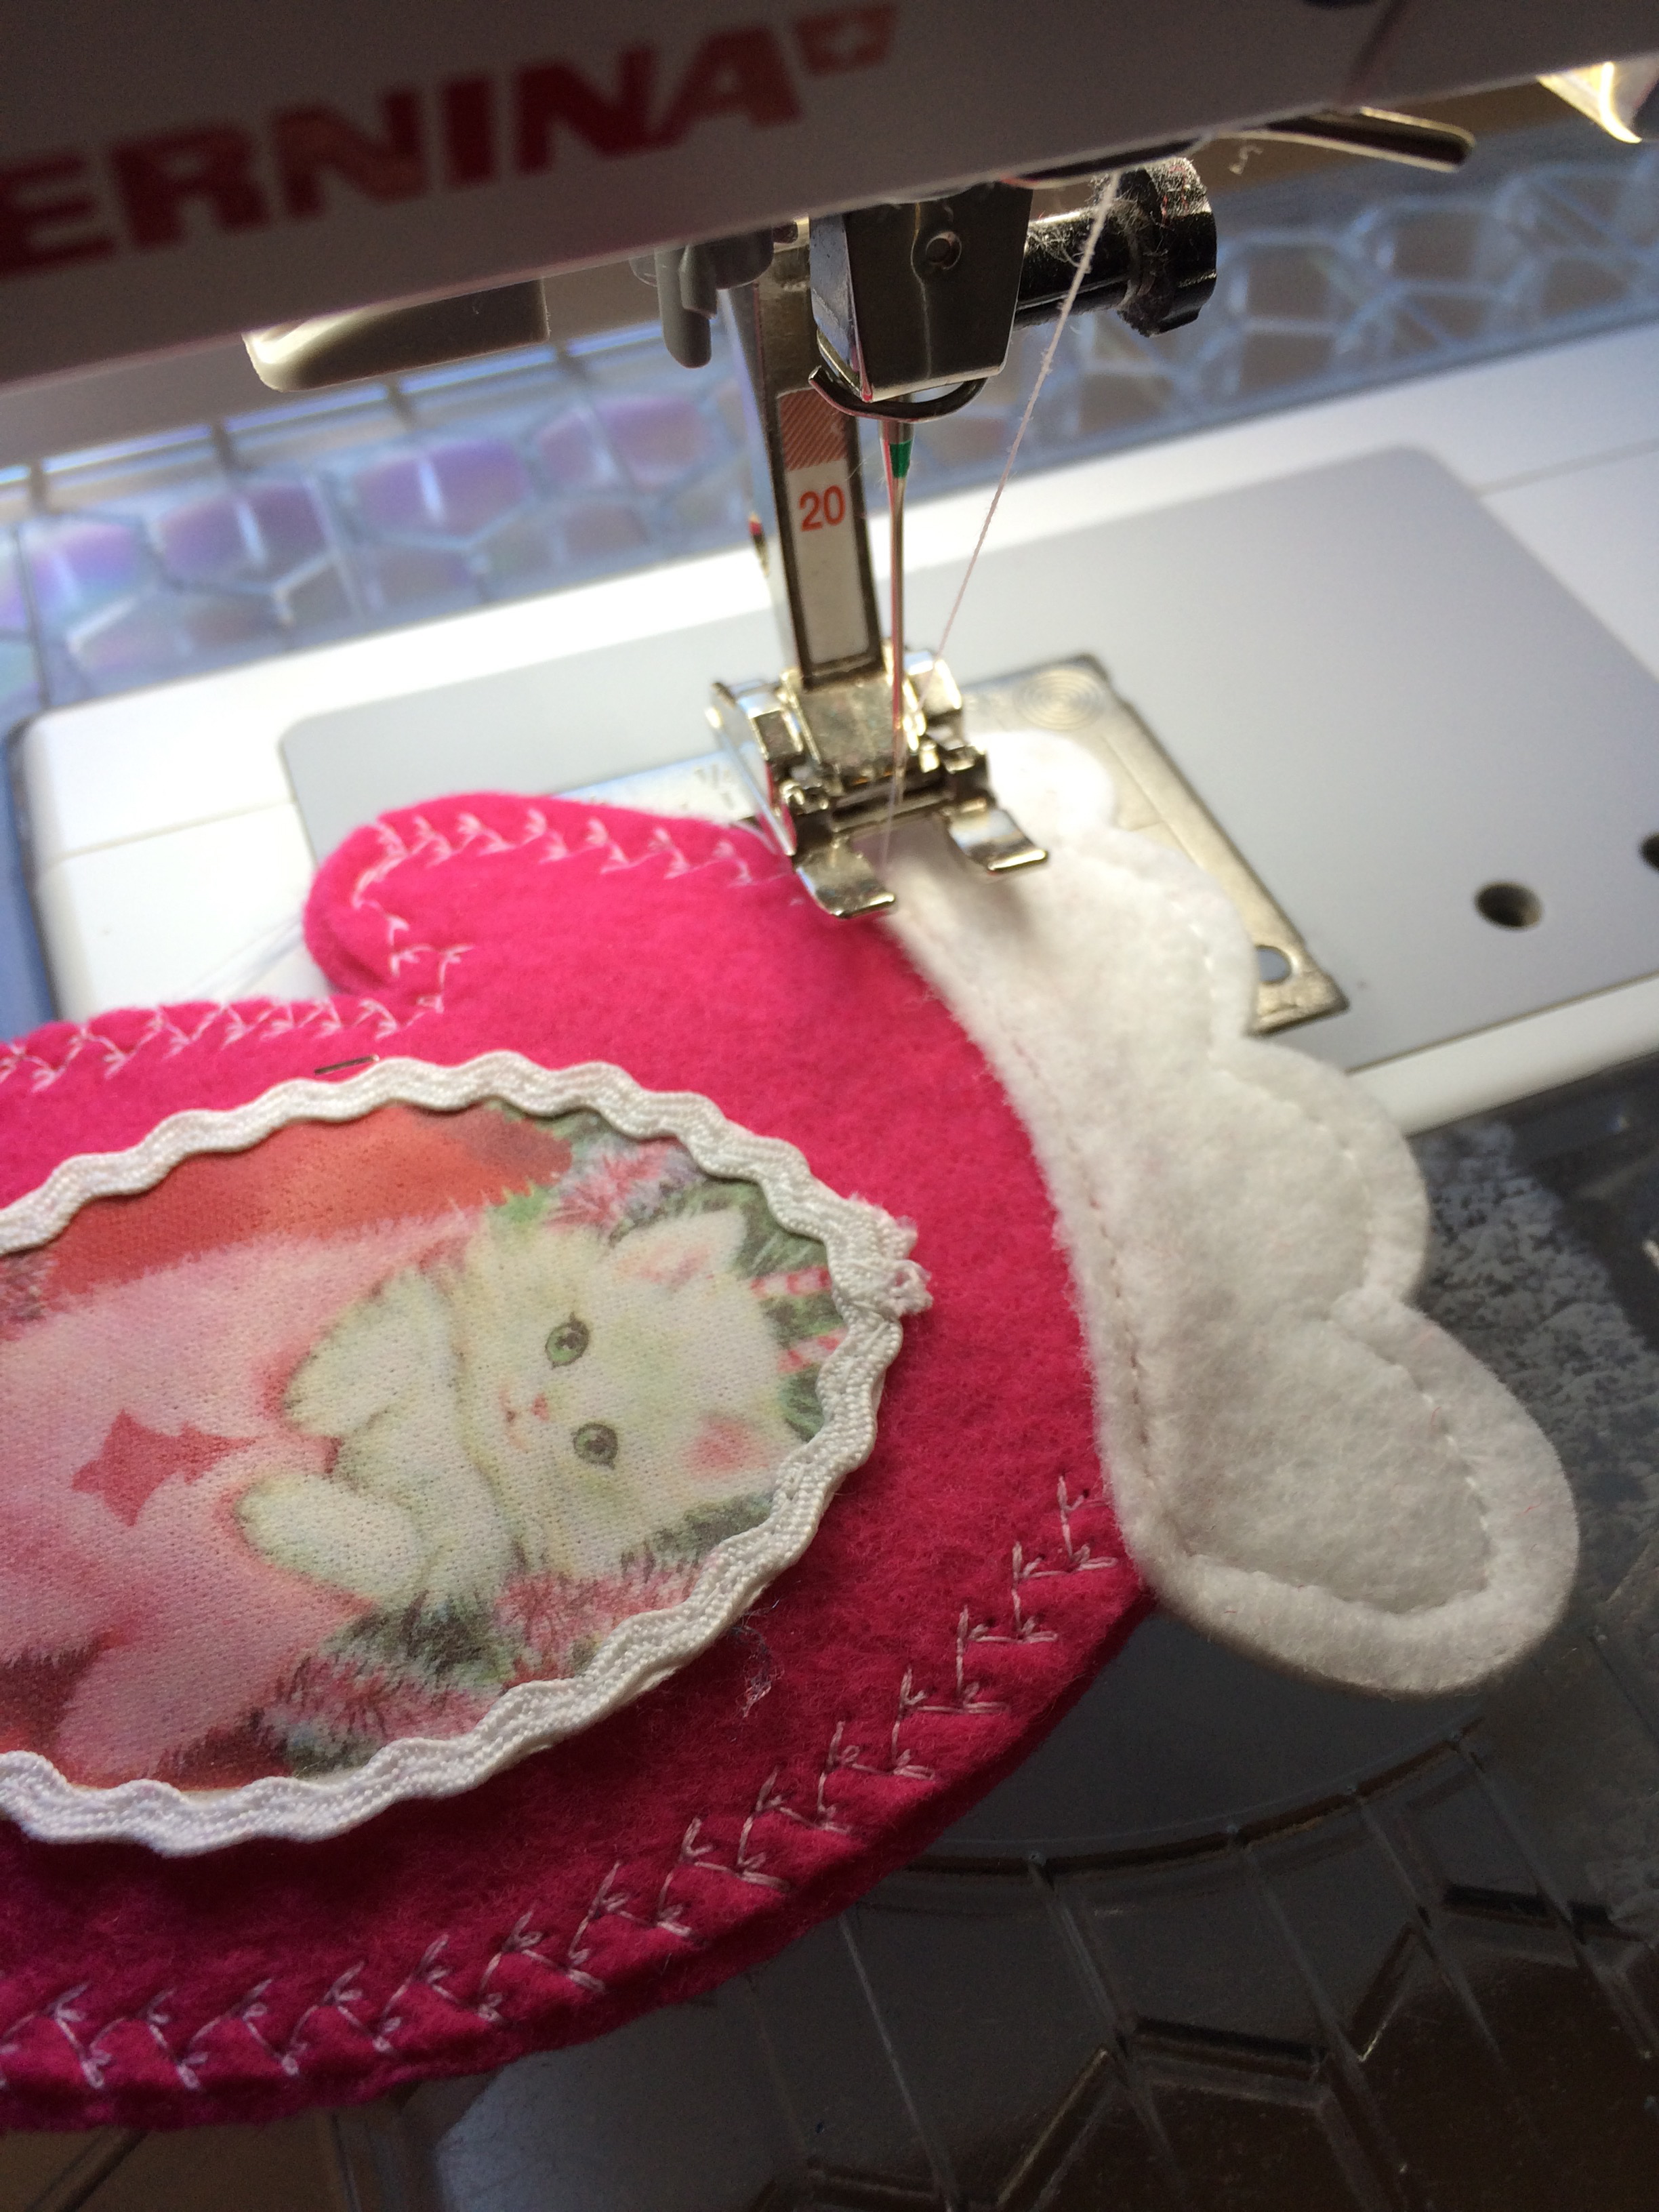
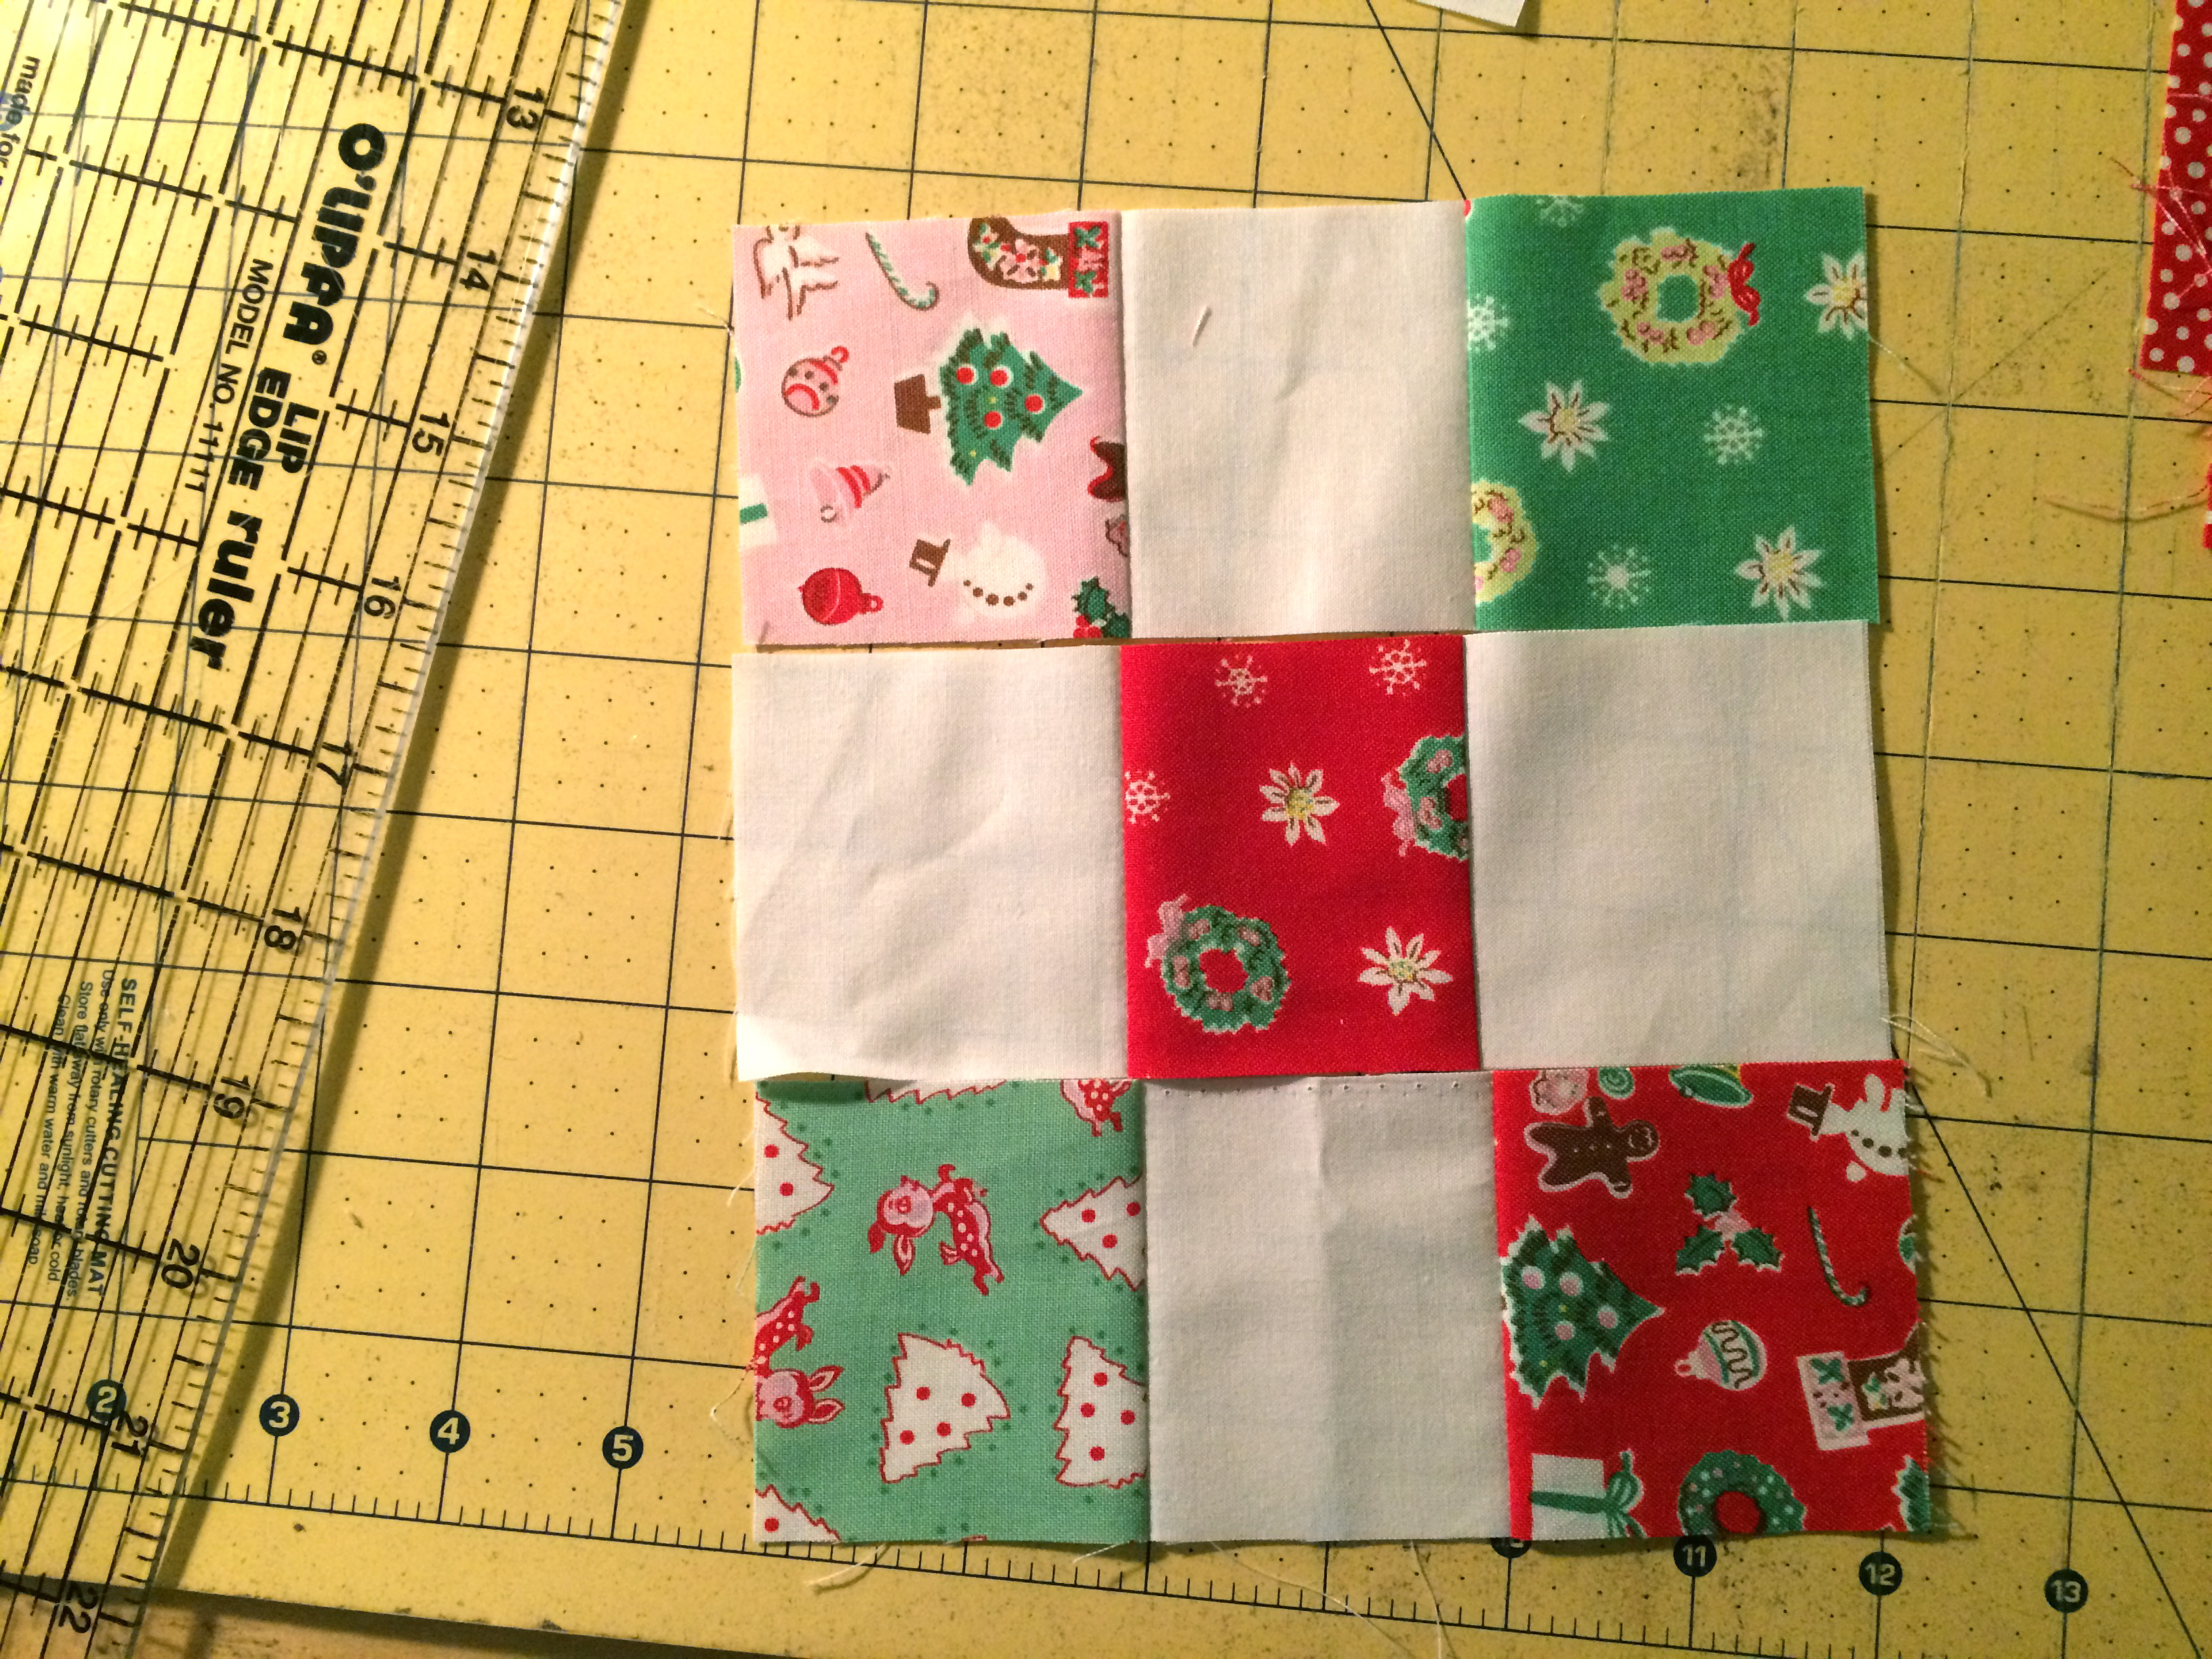
Using the Spray n Bond (temporary basting spray) spray the theme print piece and position it on the outer bag, centering.  Topsitich along the seam to finish.

Inserting the Zipper

Note: This tutorial is for a zipper with zipper tabs. You can find more instructions HERE if you need a little extra help.  You can also use the”Open Wide” zipper method by clicking HERE .  I used both.

IMG_2127

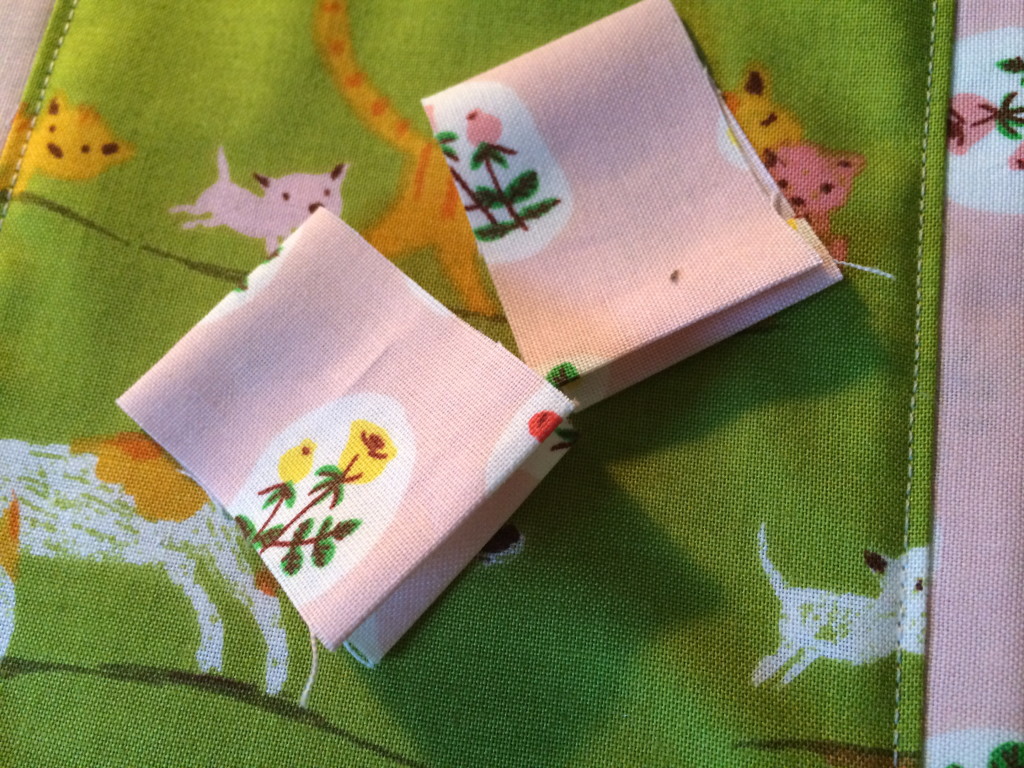
Using the extra from the 1.25″ strip, cut (2) pieces 1.25″ x 5″.  Press them in half, and then press the raw edges under 1/4″. IMG_2128

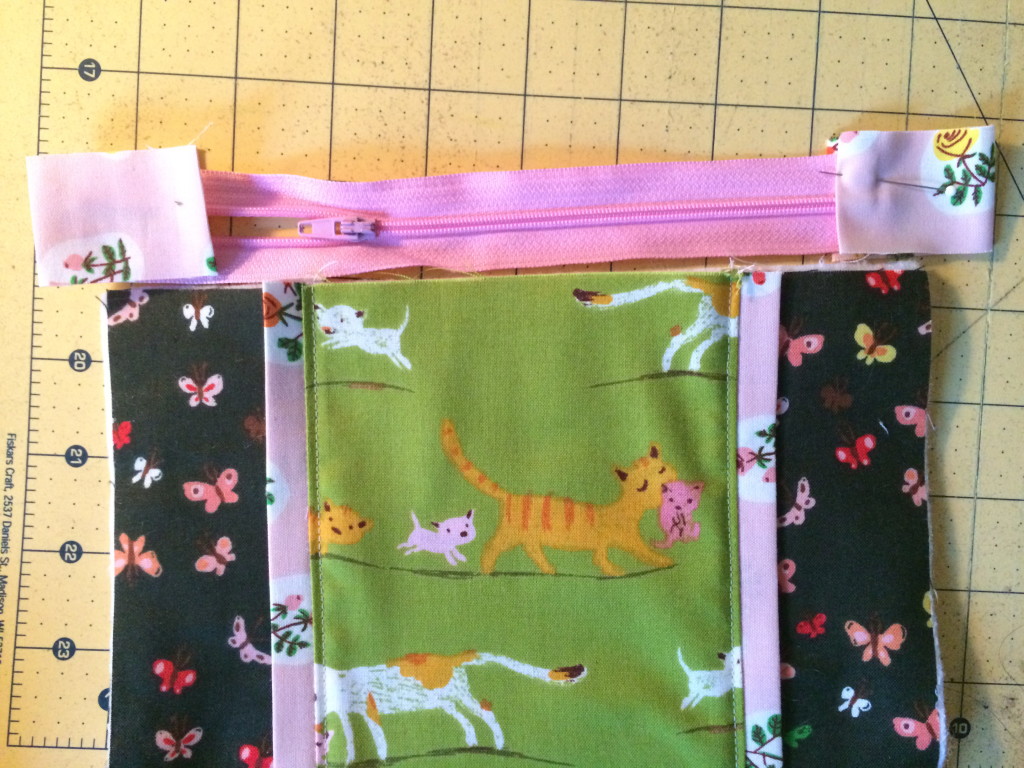
Lay the zipper out positioning it on top of one of the outer bag pieces.  Position the tabs so they overlap each side of the bag 1″.  Cut the zipper to fit inside each tab.  Pin in place. IMG_2129

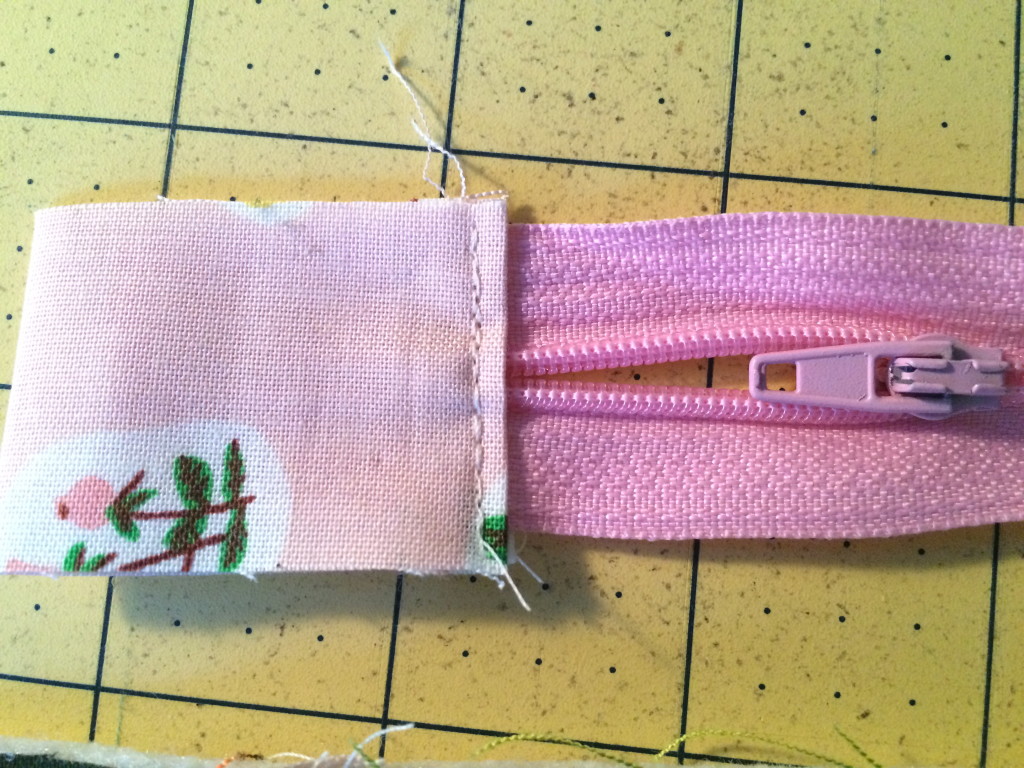
Sew 2 times along the edge of the tabs as pictured above. IMG_2130
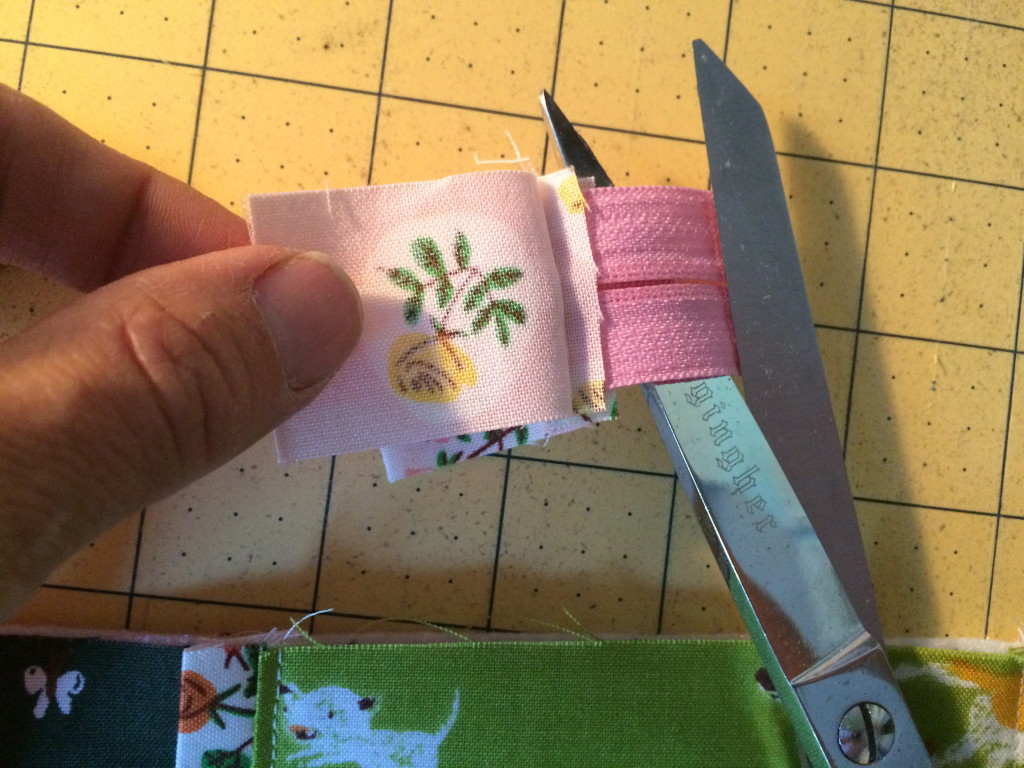
http://www.jedicraftgirl.com/wp-admin/post-new.phpCut along the fold of the zipper tab and cut away the excess zipper, leaving about 1/8″ of zipper.  This makes it so there is no bulky zipper in the side seam of the zipper pouch. IMG_2131

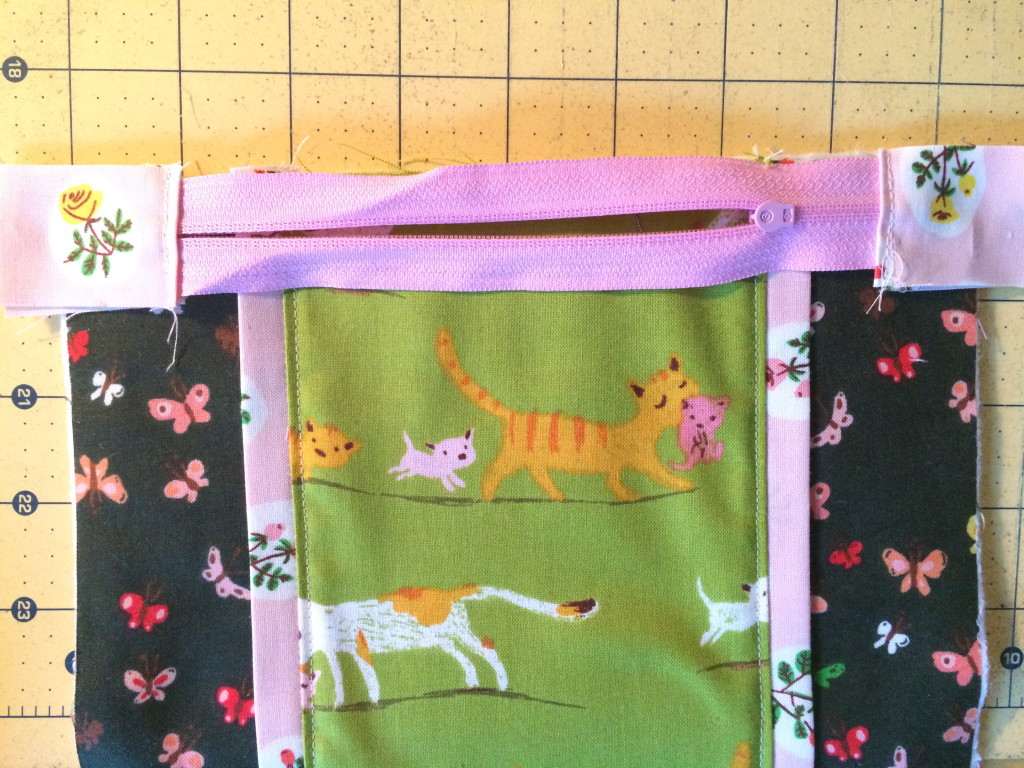
Position the zipper right sides together with the outer bag piece.  Notice the zipper tabs are hanging over, not to worry, we will square up in a minute. IMG_2132

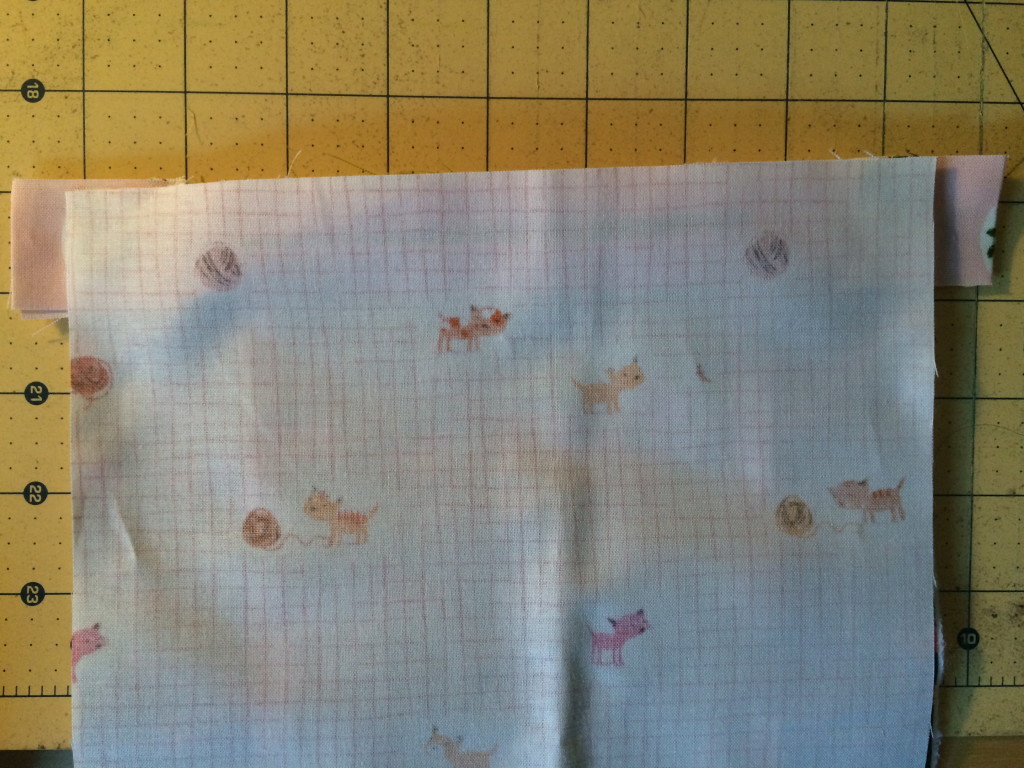
Next position one of the lining pieces right side down on top of the outer bag with zipper in between.

IMG_2135

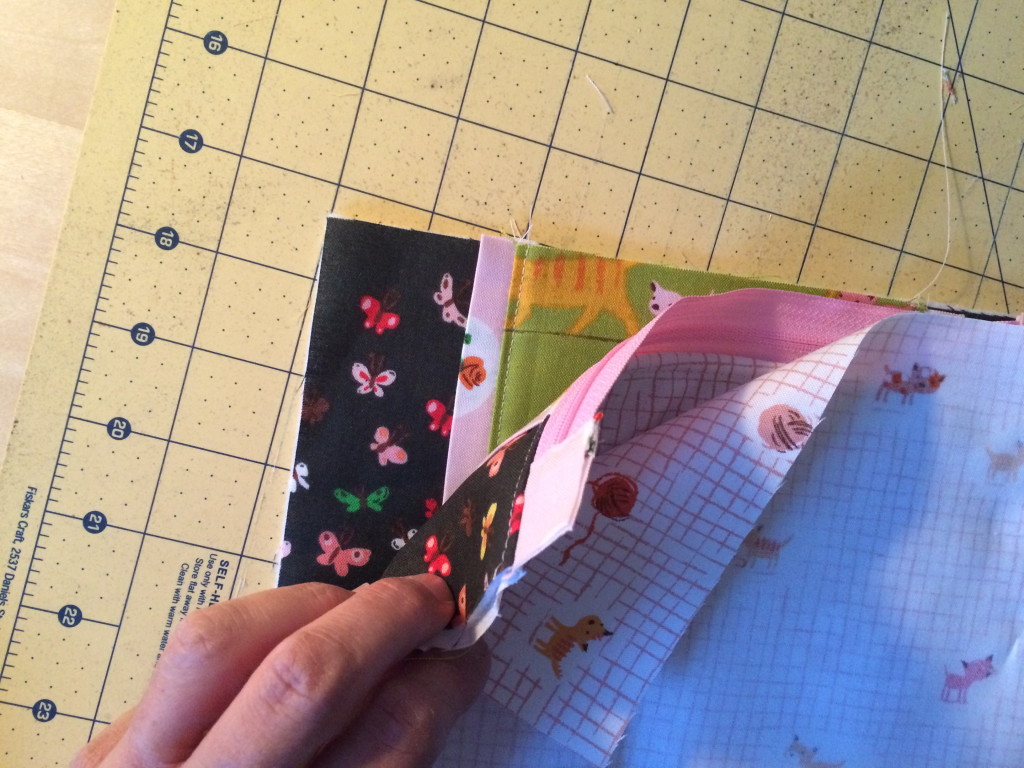
It should be layered together like the picture above.  Pin and sew 1/4″ seam along the top edge using a zipper foot.  Trim off the excess zipper tab so it is square with the outer bag.IMG_2133

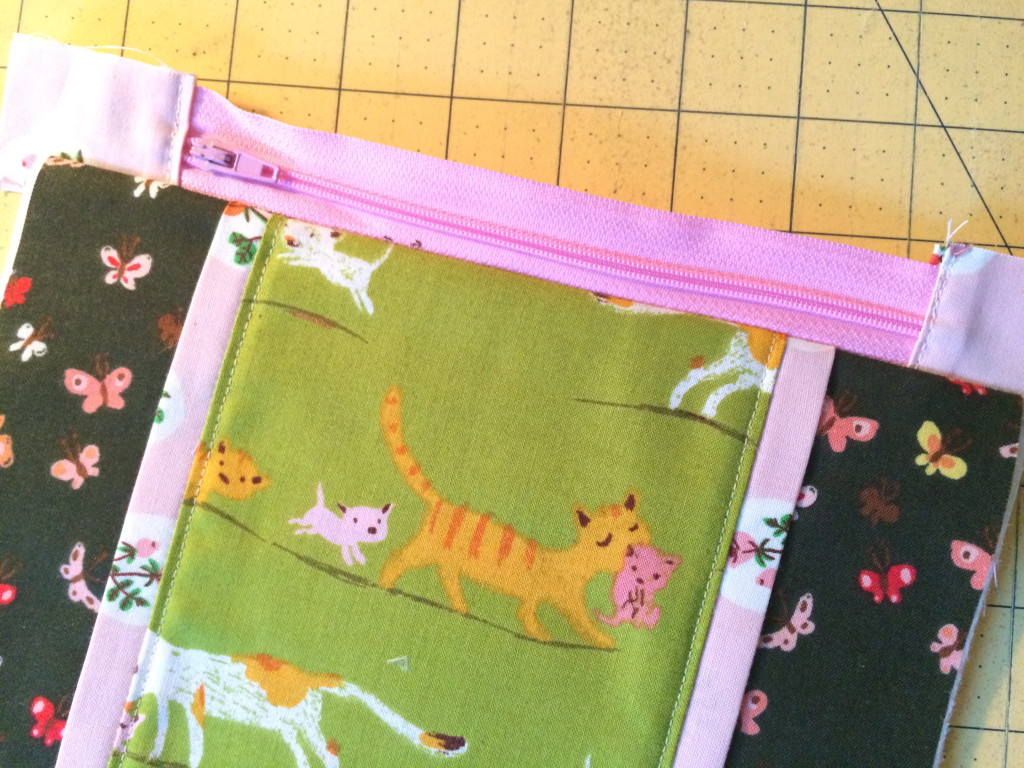
Press the outer bag and lining piece so it looks like the above picture.

IMG_2134

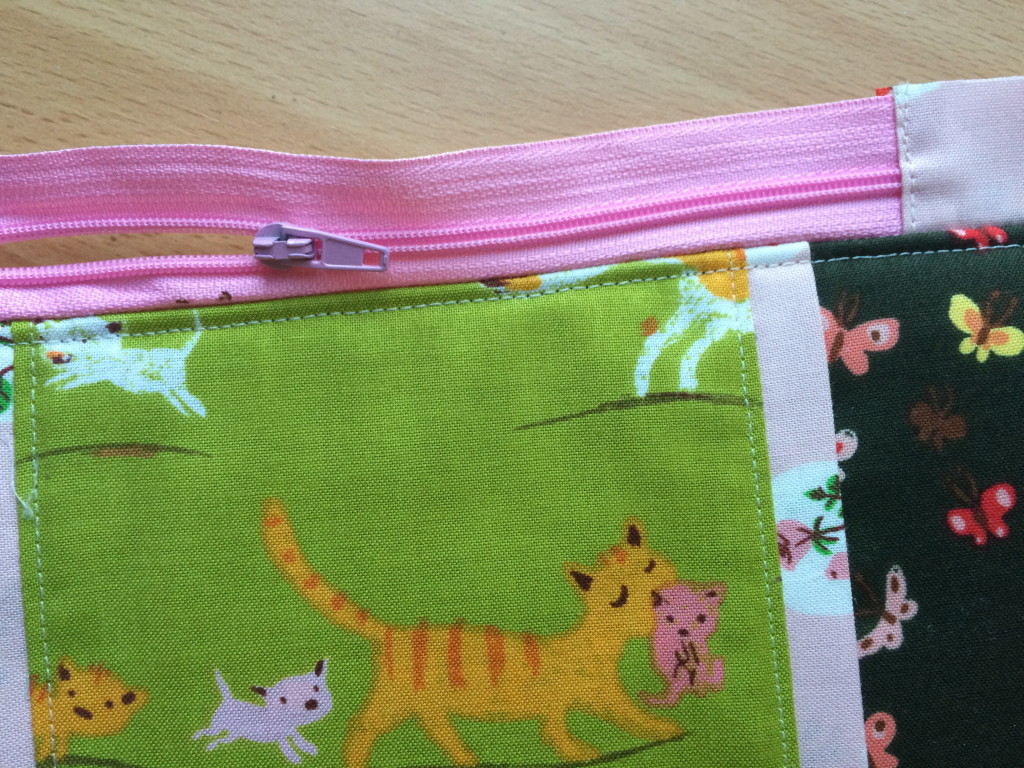
Topstitch along the edge (above).  Then repeat with the other side of the zipper, aligning the pieces just like we did above.
IMG_2137

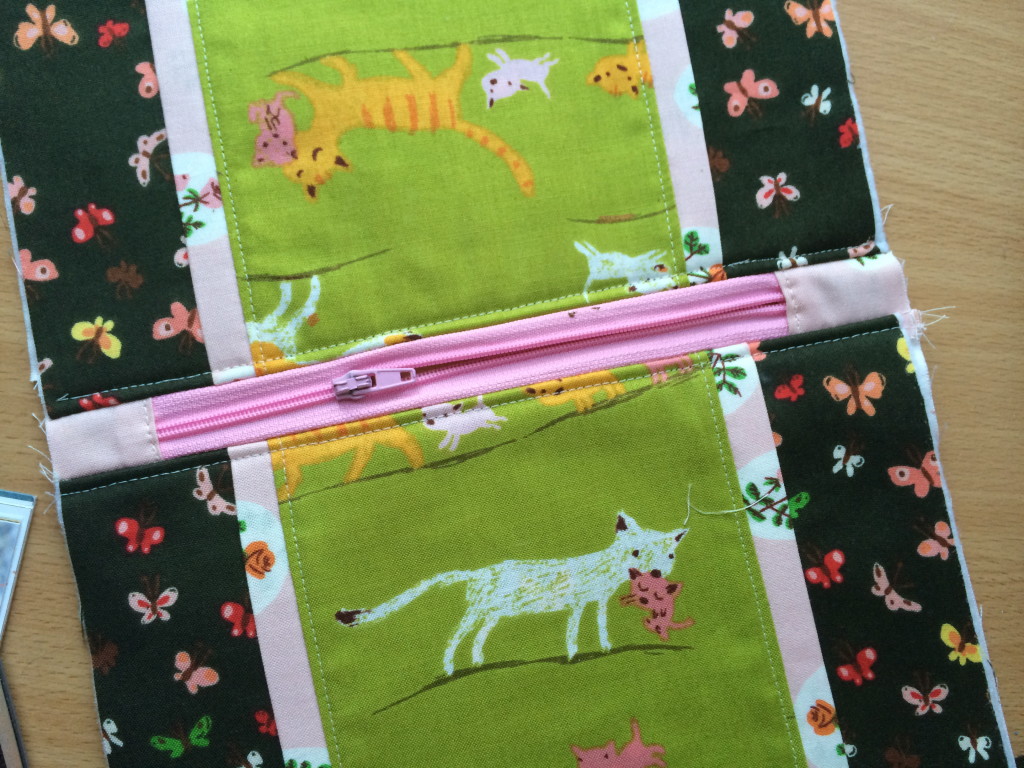
This is how it should look once the zipper is inserted (above).

Finishing the Bag

IMG_2141

Making sure the zipper is open, match the lining pieces together and the outer bag pieces together and pin all the way around.  IMG_2138

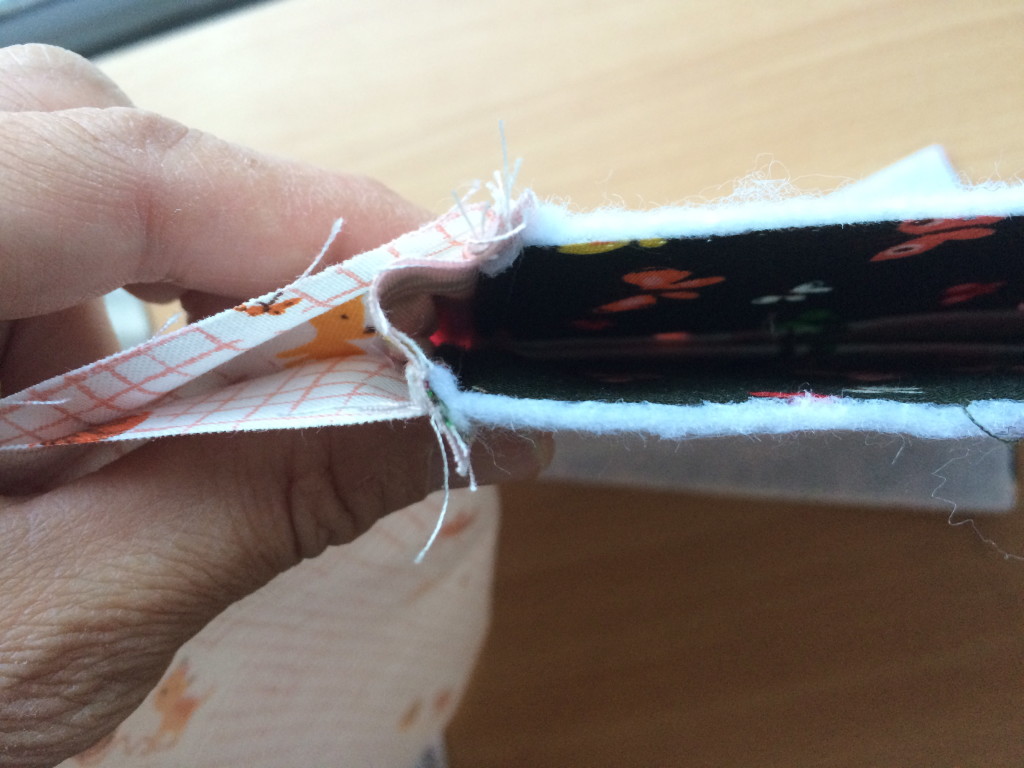
Make sure to push the zipper tab toward the lining piece and pin, matching the zipper seams.  Sew all the way around the zipper pouch using 1/4″ seam.  Leave a 3″ opening at the bottom of the bag for turning.  IMG_2144

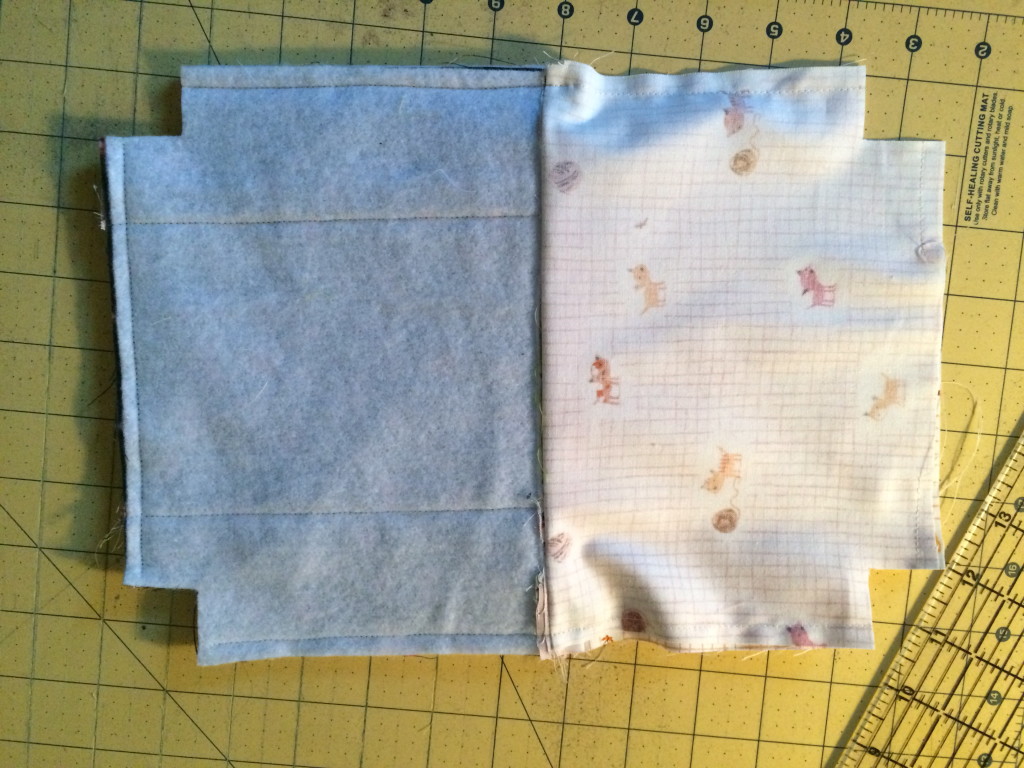
Cut a 1″ square notch out each corner.  Openzipper-pouch-tutorial-27-1024x768

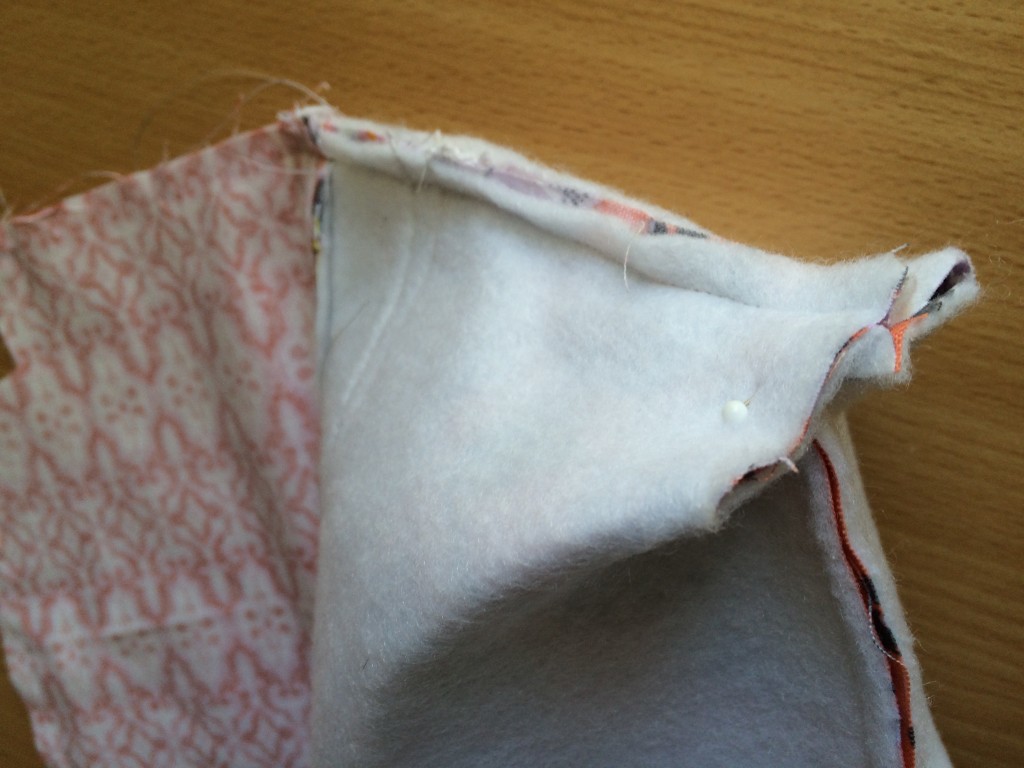
Open each notched corner and match seams.  Sew a 1/4″ seam, backstitching to start and stop.  Turn right side out and topstitch the opening closed.

zipper pouch tutorial

Your done!  You can see from the photo that I used a zipper tab on one and then the open wide zipper method on the others.  It’s just preference.

zipper pouch tutorial 9

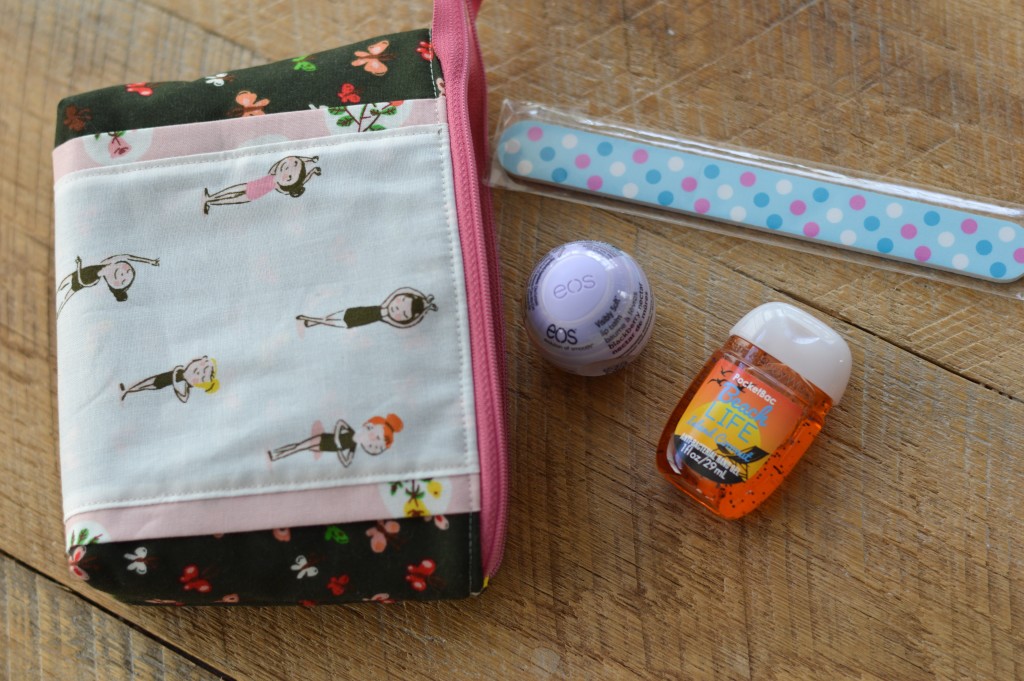
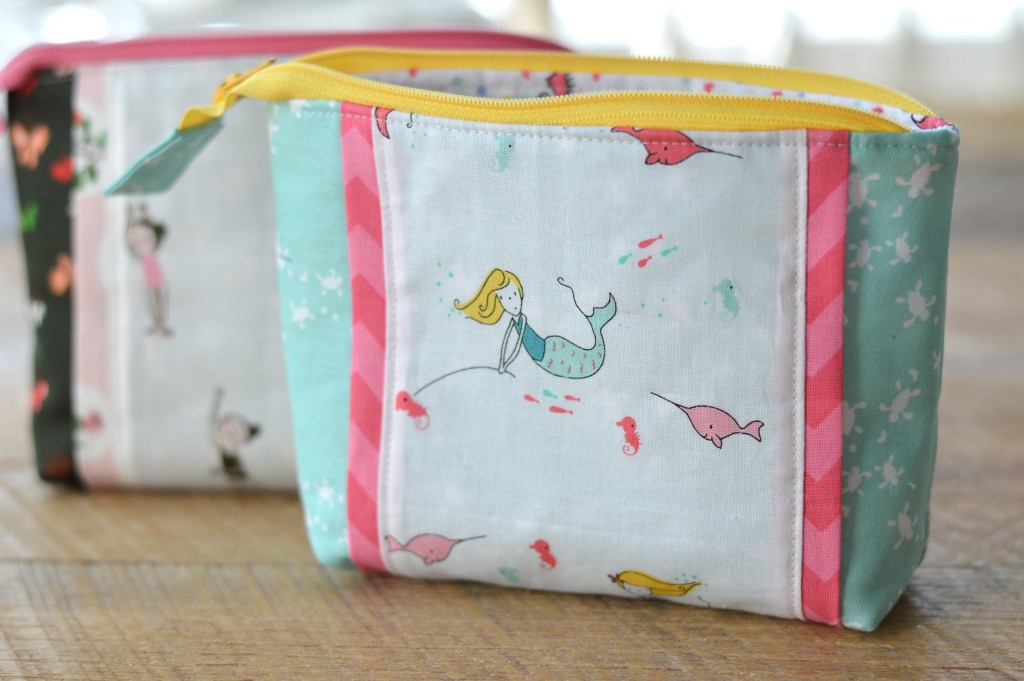
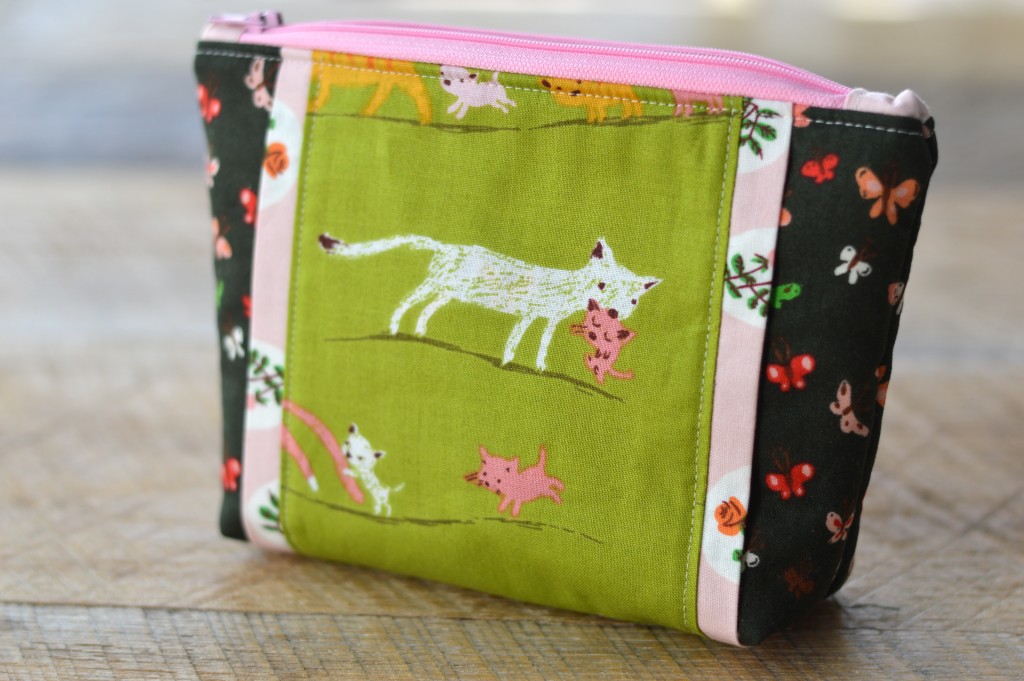
For my nieces I am including a cute nail file, an EOS, and some yummy smelling hand sanitizer.  You could also include a small perfume, lotion, gum, notebook and pen.  One of my nieces is a ballerina and I know she’s going to love this darling fabric by Heather Ross!

zipper pouch tutorial 2

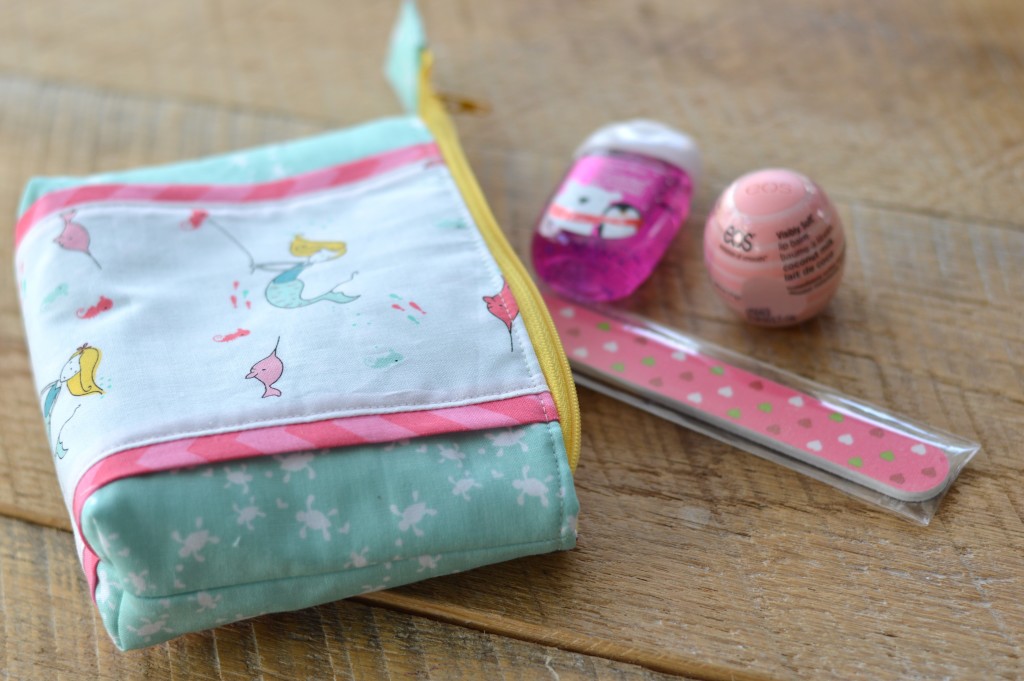
My other niece loves the ocean and fish so this Saltwater fabric by Riley Blake will be just perfect!.

zipper pouch tutorial 3

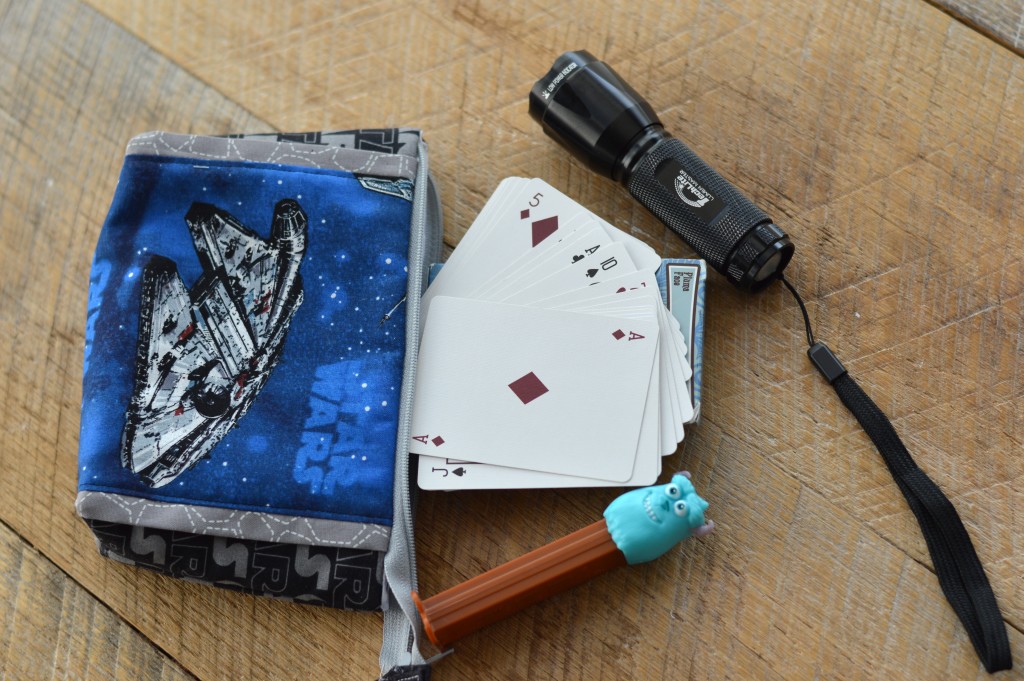
For the boys (which are always harder for me to buy for) you can include a small flashlight, deck of cards or other small game, PEZ dispenser or candy, small action figure or car.  I also purchased a whoopee cushion to include, just to drive my sister crazy!!

zipper pouch tutorial 5

zipper pouch tutorial 8

Deco Foil Sizzix Snowflake Pillow

sizzix snowflake pillow

Merry Christmas!  I can’t believe how fast December flew by!  I still have a stack of projects I was hoping to get to!  There is still time to whip up this quick snowflake pillow before Christmas.   I used 3 different Sizzix snowflake dies and Deco Foil in Silver and Gold – just like the song!

deco foil snowflake sizzix pillowGather your supplies and let’s get started!

deco foil snowflake sizzix pillow 2The Hot Melt Sheets are what allow the Deco Foil to adhere to the fabric.  Cut the Hot Melt Sheets the size of the Siizix die.

Use only one layer of the Hot Melt Sheets at a time.  I tried cutting multiple and it cuts great but the hot melt sheets end up sticking together.

deco foil snowflake sizzix pillow 6Cut (2) squares the size of your pillow.  I always use 20″ pillow so I can swap pillow covers out in a jiffy.  I used a heavy natural muslin.  Mine is cut 20″ square.  Have your cat help you position the snowflakes randomly all over the pillow front.  You can also position in three rows for a linear look.  Once you have the snowflakes placed just so, press them into place using a medium-hot dry iron.  Let cool completely.

deco foil snowflake sizzix pillow 7Don’t peel the backing paper off all the snowflakes at once.  Begin in the center and peel off as you add foil to protect the adhesive from the iron.  Peel off the center snowflake’s paper and place a piece of Deco Foil over.  Place the pressing sheet (it comes with the Hot Melt Sheets) over the foil.  USING A MEDIUM HEAT DRY IRON press for about 20 seconds.  I found that if my iron was set on the cotton/linen setting it would scorch the foil.  If this is your first time, test this on a piece of scrap fabric to make sure it works.  Once you’ve pressed the foil let it cool completely.

IMG_3286Once the foil has cooled, gently peel away the foil sheet.  It will leave a perfect snowflake!  Continue this process.

deco foil snowflake sizzix pillow 8 Be mindful not to touch the iron to the completed snowflakes.

deco foil snowflake sizzix pillow 9They are so shiny and pretty!!  Once all the snowflakes are finished you can turn it into a pillow!  I always put a zipper in my pillow back.  I also added some decorative fringe.  For more instructions on how to finish the pillow, you can check out this tutorial.

deco foil snowflake sizzix pillow 3

I love how this pillow looks in my sparkly living room!          deco foil snowflake sizzix pillow 11 Supplies:

2/3 yard heavy muslin for pillow

Sizzix Snowflake Dies

Therm O Web Hot Melt Sheets

Therm O Web Deco Foil in silver and gold

2.5 yards decorative fringe

22″ zipper, optional

Valentine Tote Bag

valentine tote

I am so in love with Milk Sugar Flower fabric from Penny Rose for Valentine’s Day!  It just screams vintage valentine!  I thought Sally needed a cute tote bag to carry her valentines in when she has her Valentine Party!  This tote bag is the perfect size for so many things!  Library books, piano books, car trips, stuffed animals, and dolls!  Sally will be using it as her piano book bag when Valentine’s Day is over.  The bag gets its stability from Therm o Web Fusible Medium Weight Stabilizer.  You can totally sew it in an hour!  Yippee!!

valentine tote bag 5

I have to pay her to model you know 🙂valentine tote bag


valentine tote bag 35

valentine tote bagNote: The seam allowances very as noted in the directions

Supplies for project:

1/3 yard main fabric

1/4 yard white accent

1/3 yard blue accent & handles

1/3 yard lining

HeatnBond® Lite Fusible Adhesive

2 yards HeatnBond® medium weight fusible stabilizer

valentine tote bag 8

Cut the following:

White (2) 4.5″ x 16″ accent strip main bag

Blue (2) 2″ x 16″ accent strip main bag

Pink (2) 10.5″ x 16″ main bag

Blue handles 6″ x WOF

Lining (2) 16″ squares

Sew the strips together in that order using 1/4″ seam allowances.  You should have (2) 16″ squares for the outer bag.

valentine tote bag 12Draw a heart on the Heat n Bond® Lite and iron it to the wrong side of the red fabric.

valentine tote bag 10 Cut around the heart and peel off the backing paper.  Position the heart as pictured above.  Make sure to leave plenty of room for the bag bottom.  Press into place and top stitch around the heart.

valentine tote bag 13Cut the HeatnBond® Interfacing/stabilizer into (4) 16″ squares.

valentine tote bag 14Cut the lining pieces (2) 16″ squares.

Fuse the HeatnBond® interfacing onto the wrong side of both the outer bag pieces and both of the lining pieces.

valentine tote bag 16Match both outer bag pieces right sides together and pin all the way around.  Do the same for the lining pieces.  Sew around the sides and the bottom using 1/2″ seam.  Leave a 3″ opening (for turning) on one of the sides of the lining.

valentine tote bag 20Cut a 2″ square notch out of the bottom corners of the outer bag and the lining.

valentine tote bag 21
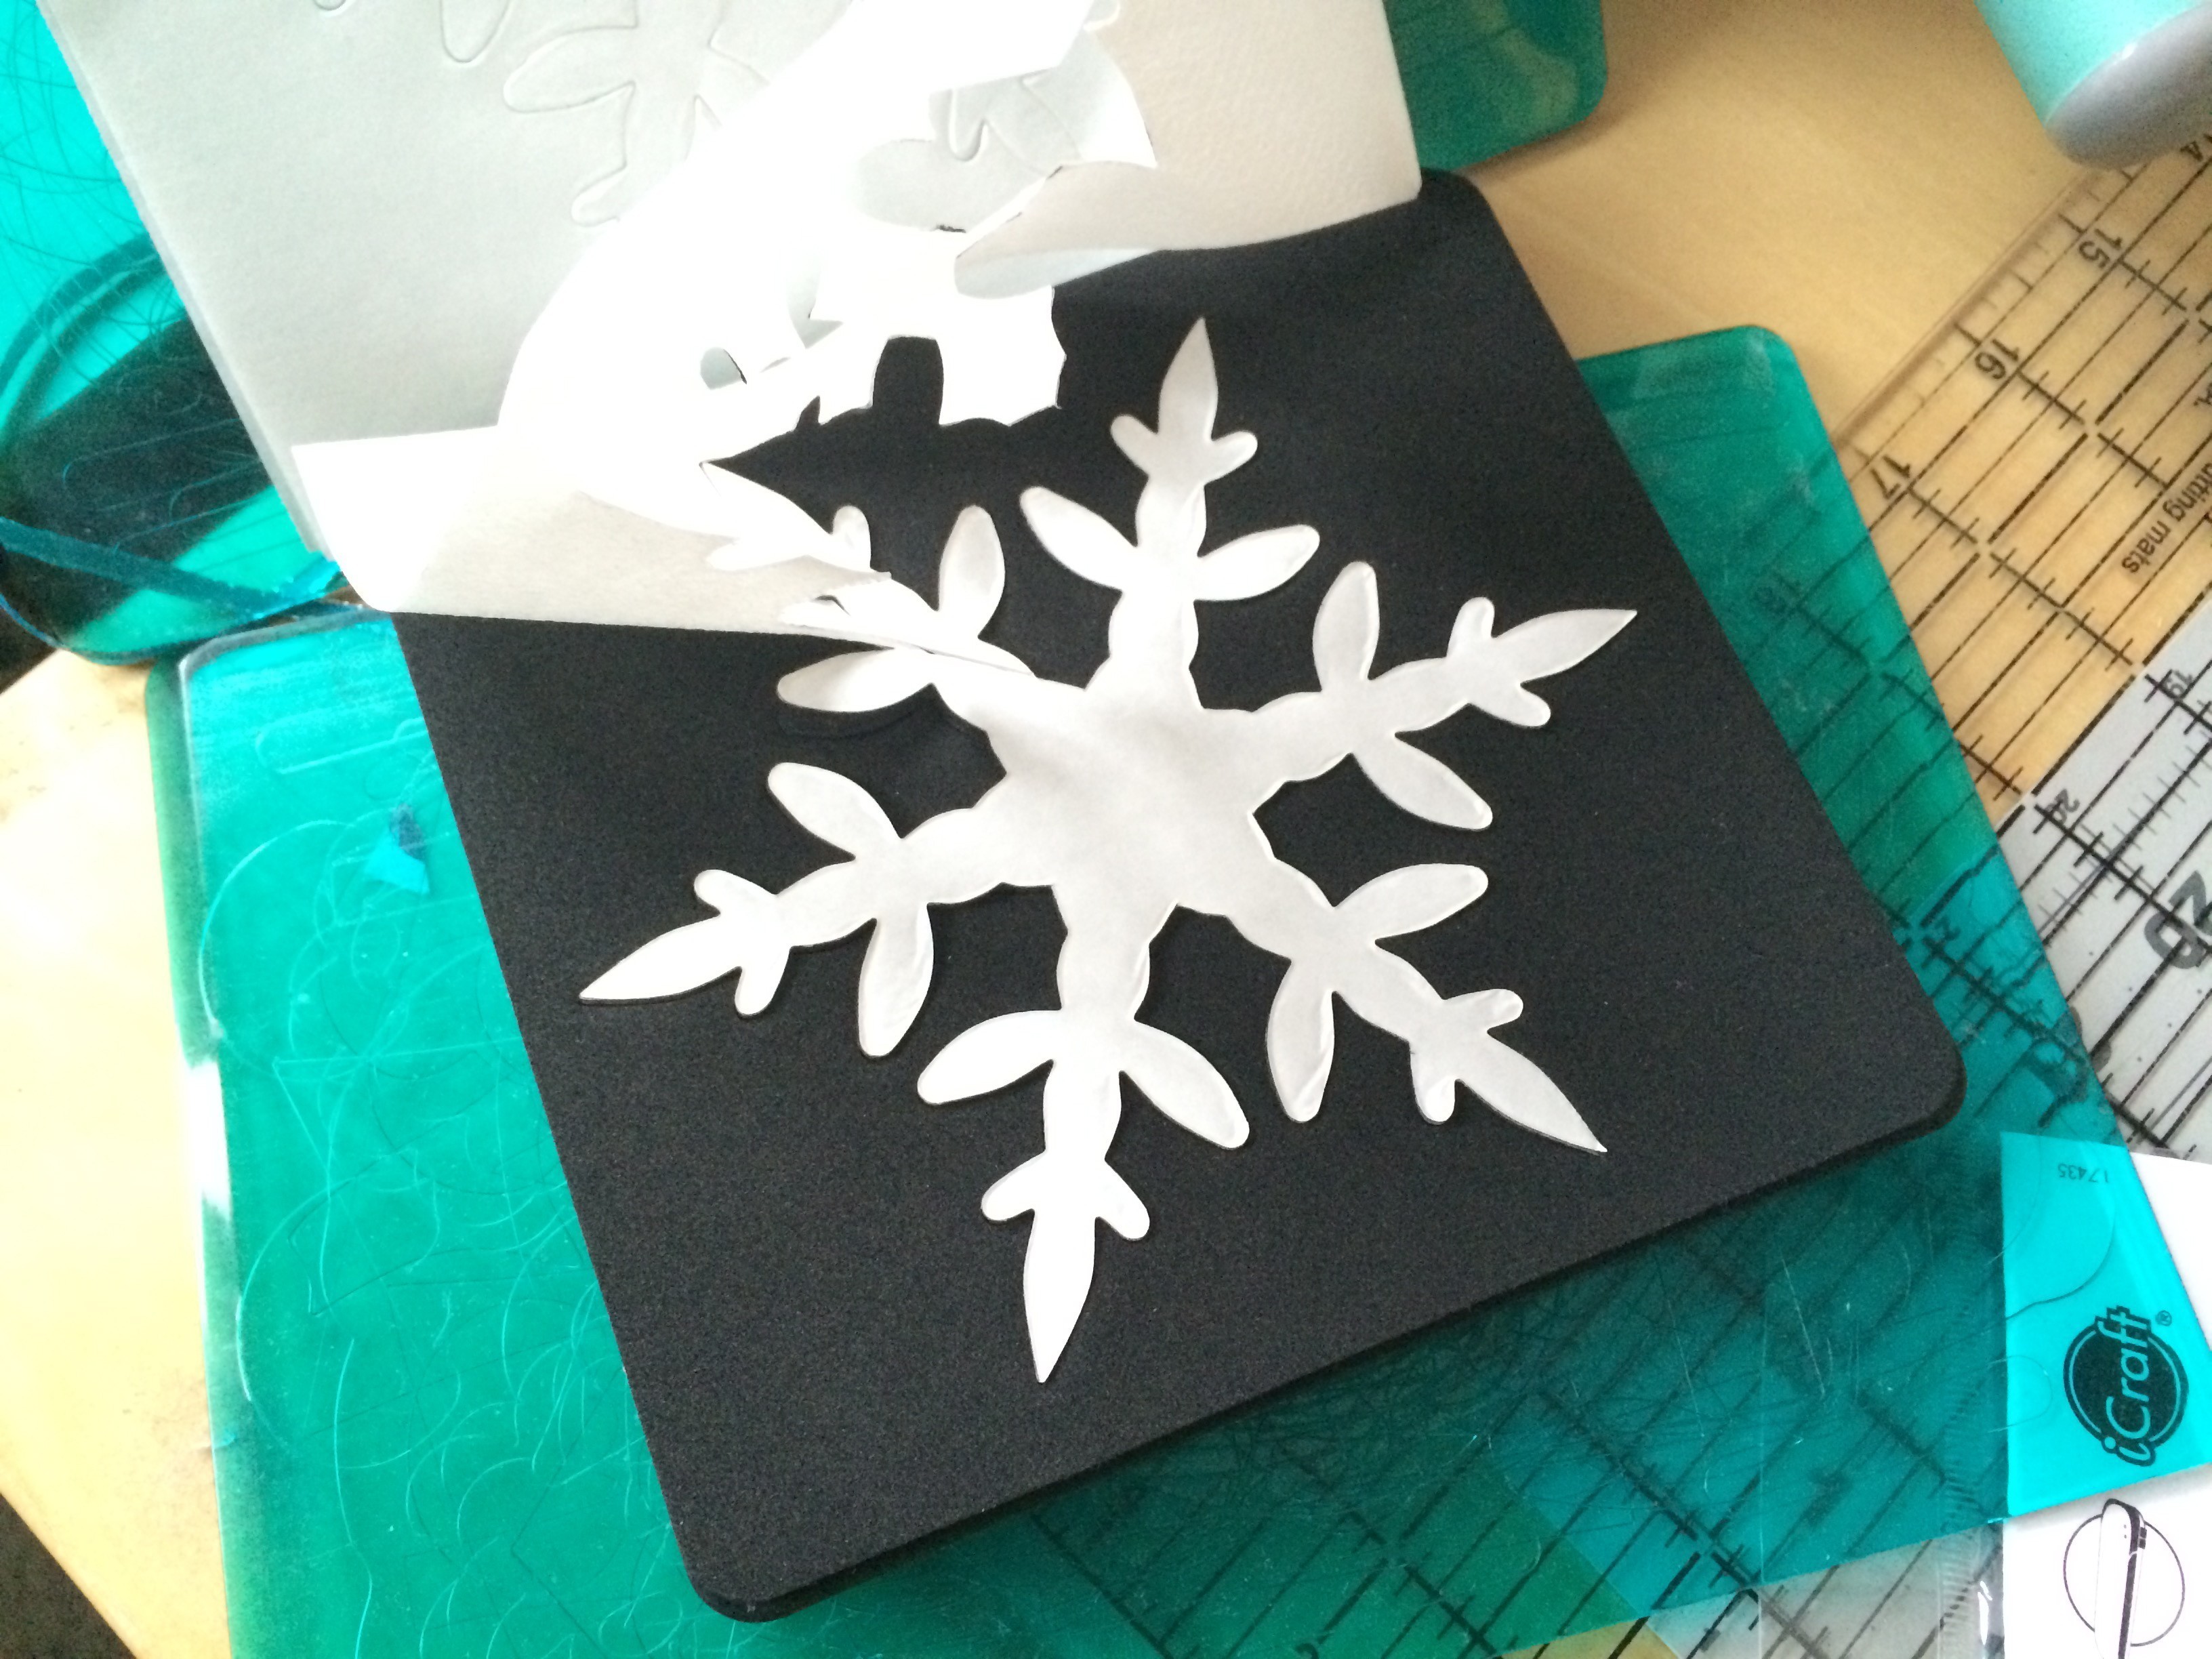
Open the notch and match the side seam and the bottom seam.  Pin.  Do this to each of the notched corners.

valentine tote bag 25Sew along this edge using 1/4″ seam.

valentine tote bag 23It’s starting to look like a bag!

valentine tote bag 29Press the 6″ handle strip in half lengthwise, then fold the edges into the center, the handle strip should be pressed into equal sections of four.

valentine tote bag 30Press the handles and top stitch along both long sides.  Trim off selvage.  Cut the handle strip in half creating 2 handles.

valentine tote bag 31Turn the outer bag right side out and pin the handles into place.  Measure 3.5″ from the side of the bag to position the handle.  Baste the edge of each handle 1/8″ from the edge.

valentine tote bag 32Place the right side out outer bag inside the inside out lining (that wasn’t confusing at all!)  The above picture is how it should look.  Essentially the lining and the outer bag are right sides together.  Match the side seams.  Pin all the way around the bag.  Sew 1/4″ along the edge all the way around the bag.  Turn the bag right side out through the opening of the lining.  Top stitch the opening closed.  Press the lining of the bag so you can’t see any lining on the front of the bag.  Top stitch 1/8″ seam all the way around the top of the bag.

valentine tote bag 34I love how it turned out and so does Sally!  It just screams Sweet Valentine!

valentine tote bag 33Time to get working on our valentines!

valentine tote bag 5

Sizzix Heart Quilt

sizzix heart quilt

I think I love Valentine’s Day so much because it pulls me out of the “After Christmas Blues”.  It’s bright, and happy!  I love the simplicity of this quilt – a simple heart applique.  What makes it feel special is that no two hearts are the same and the backgrounds are a variety of low volume prints.  When ever I go to a quilt shop and I’m not sure what to buy, I end up purchasing charm packs.  I had this “Scrumptious” charm pack by Moda tucked away and it was perfect for this project.  sizzix heart quilt 3

DIY Heart Quilt: A Cozy and Sweet Make for Valentine's Day
Heat n Bond Lite by Therm O Web is my go to for any Sizzix applique projects. I love it because it’s light weight, it fuses fast, and peels easy. Cut the Heat n Bond Lite into (25) 5″ squares.
DIY Heart Quilt: A Cozy and Sweet Make for Valentine's Day
Select 25 of your favorite squares from the charm pack.
DIY Heart Quilt: A Cozy and Sweet Make for Valentine's Day
Fuse the Heat n Bond Lite to the wrong side of each of the 25 charm squares. Let cool.
DIY Heart Quilt: A Cozy and Sweet Make for Valentine's Day
Make sure your cat helps with all the die cutting! Die cut each of the 25 squares using the Fabi heart. The squares are just big enough to cover the whole heart.
DIY Heart Quilt: A Cozy and Sweet Make for Valentine's Day
Cut a variety of low volume prints into 7″ squares. You will need 25 total. Peel off the backing paper and position the heart in the center of each of the 7″ squares. Heat set into place. Top stitch around each heart, I used light pink thread.
DIY Heart Quilt: A Cozy and Sweet Make for Valentine's Day
Lay out the blocks as desired. You could easily turn this into a table runner or add more blocks for a baby quilt or throw quilt. Sew each block together in rows using 1/4″ seams. Press each row alternately so it makes it easy to match seams. Sew the rows together and press in one direction. Quilt.
DIY Heart Quilt: A Cozy and Sweet Make for Valentine's Day
I quilted a scallop boarder around each heart to give it a “Valentine” feel. Then 1/4″ straight line seams. Add the binding and you’re done!
DIY Heart Quilt: A Cozy and Sweet Make for Valentine's Day


Burlap Foil Snowflake Ornament

foil snoflake burlap ornament 12

It’s only 1 day until Christmas!  Are you ready?  These little snowflake pillow ornaments are the perfect gift to whip up if you can find a few spare minutes!

Supplies:

Sizzix Fabi or Big Shot

Sizzix Snowflake Die

Therm O Web Hot Melt Sheets

Deco Foil Silver

1/4 yard burlap

scraps of lace

wirefoil snoflake burlap ornament

First I had to clear a spot on my sewing/craft table.  There are too many projects going on right now!  Once you’ve cleared a little spot, die cut the Hot Melt Sheets with the Sizzix snowflake die.  Cut only 1 at a time as the adhesive will stick to itself if you try multiple layers.foil snoflake burlap ornament 2
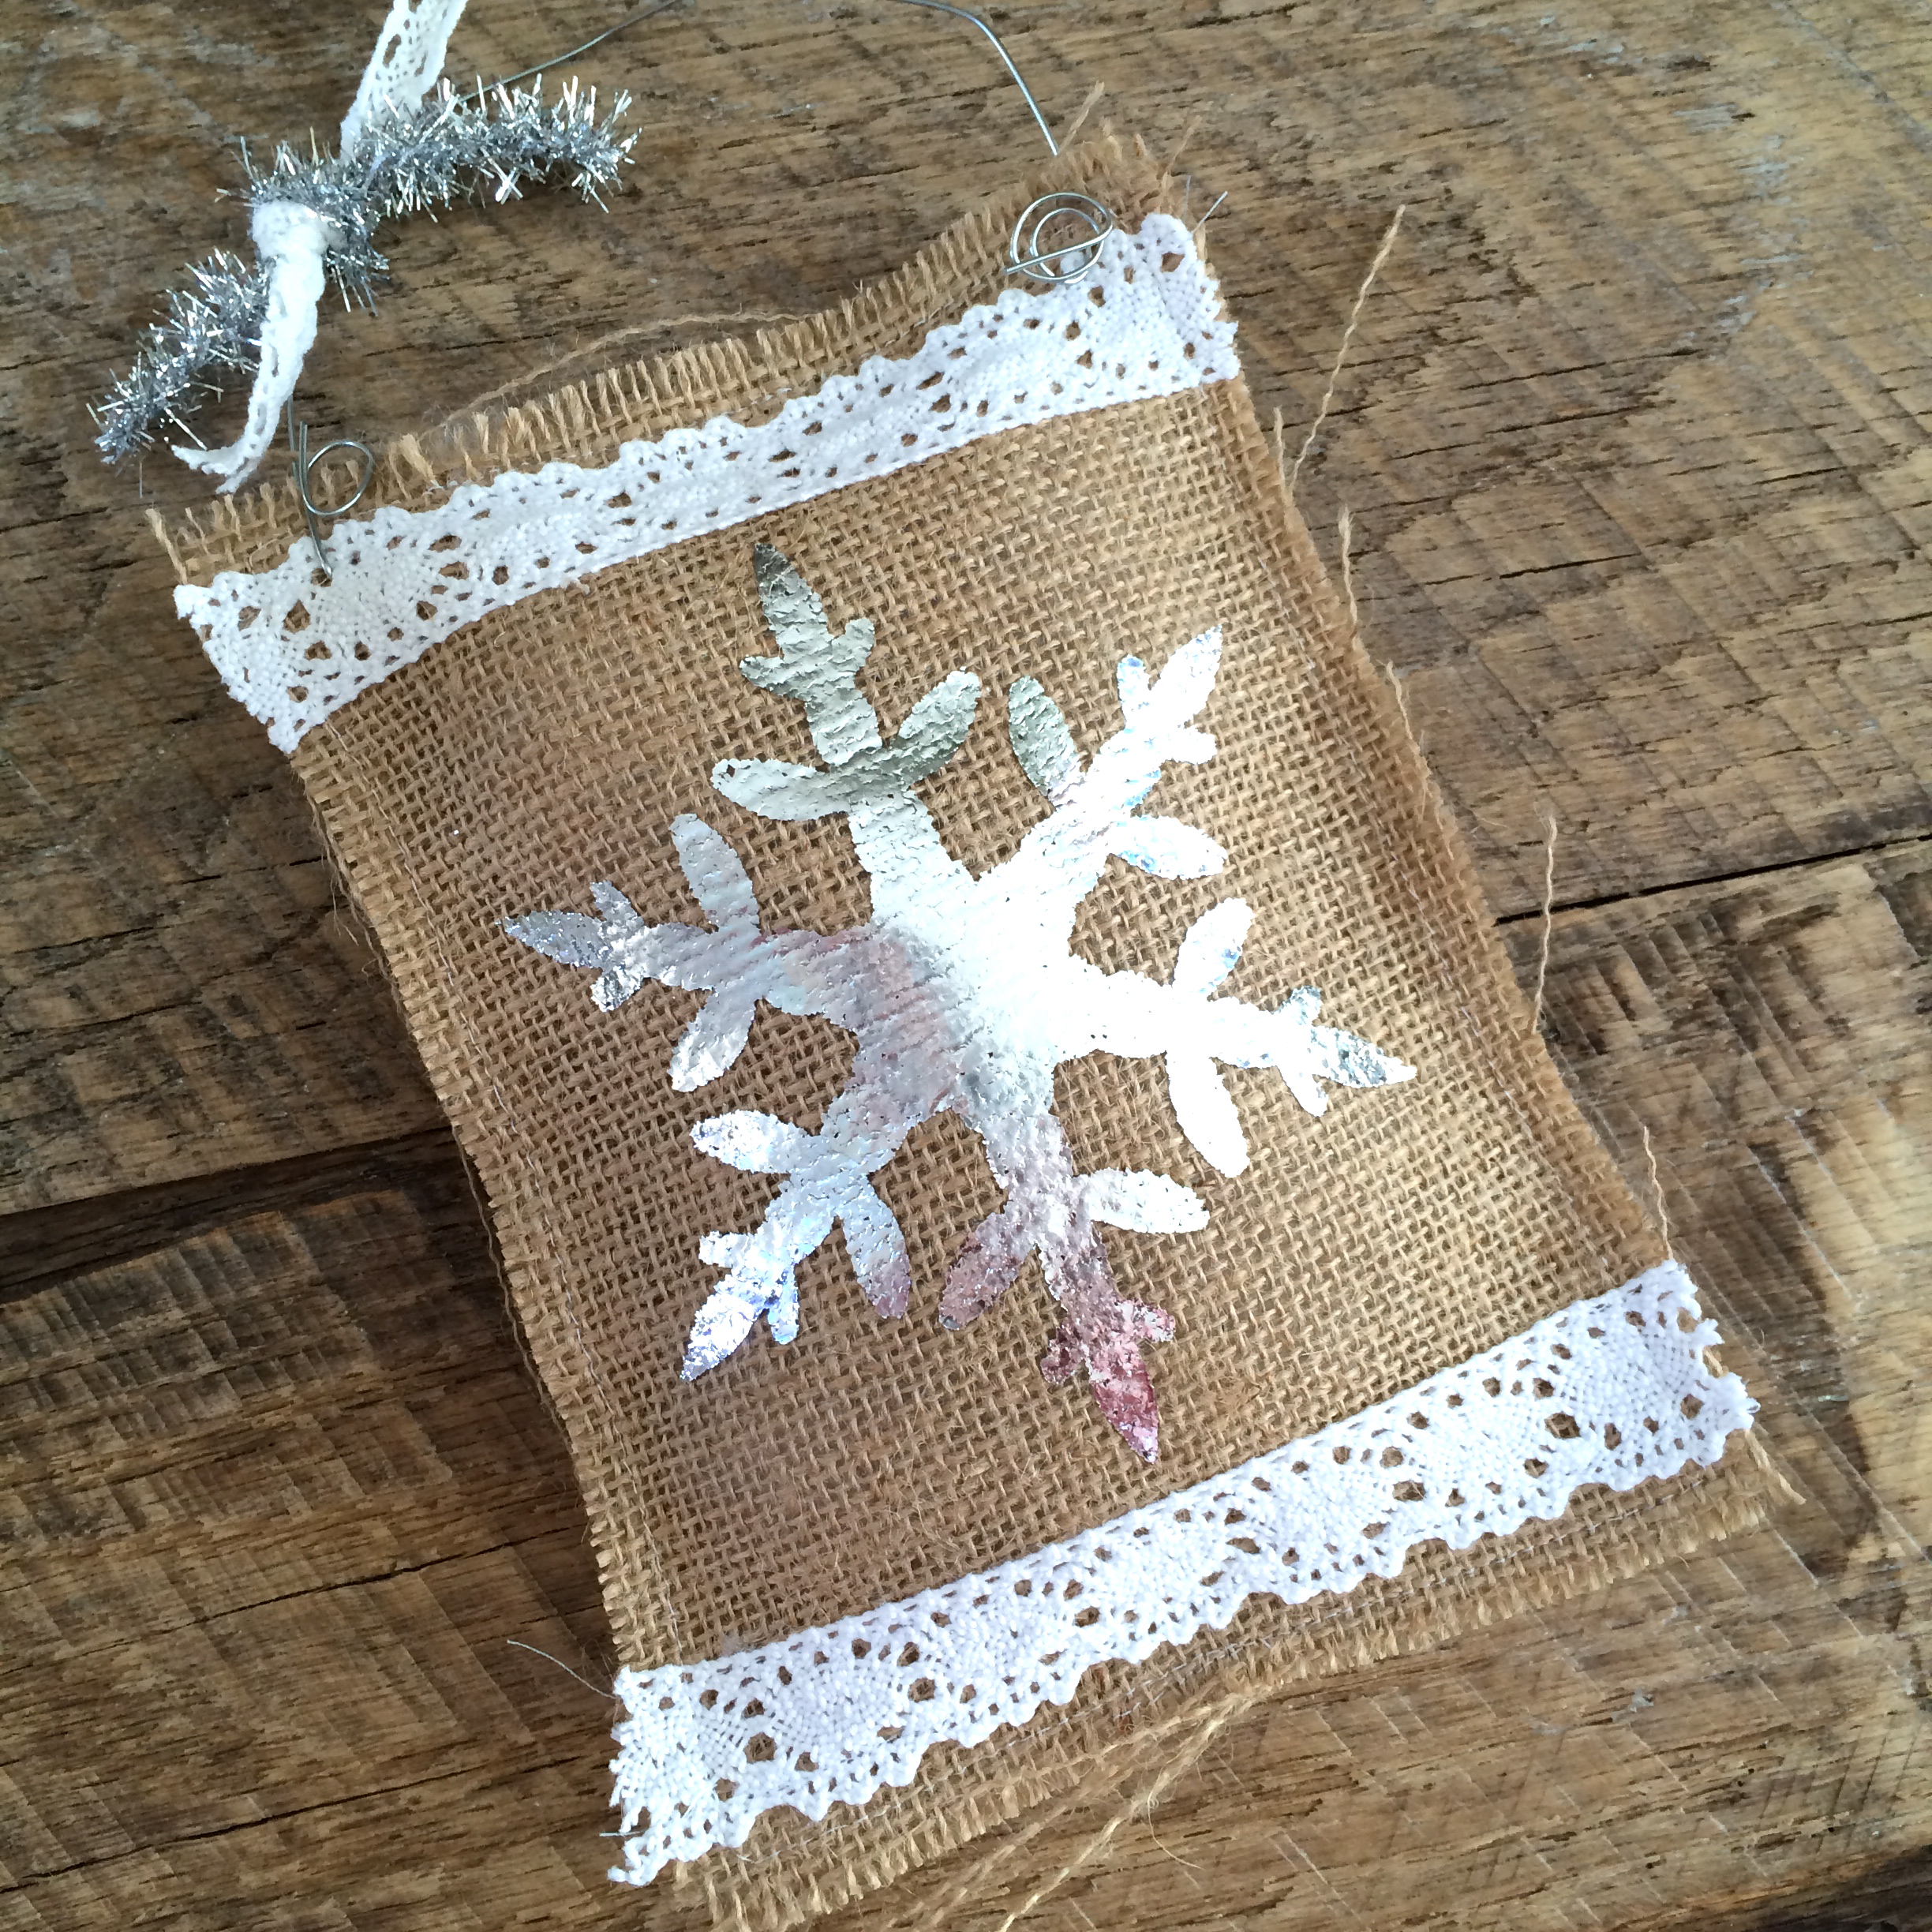
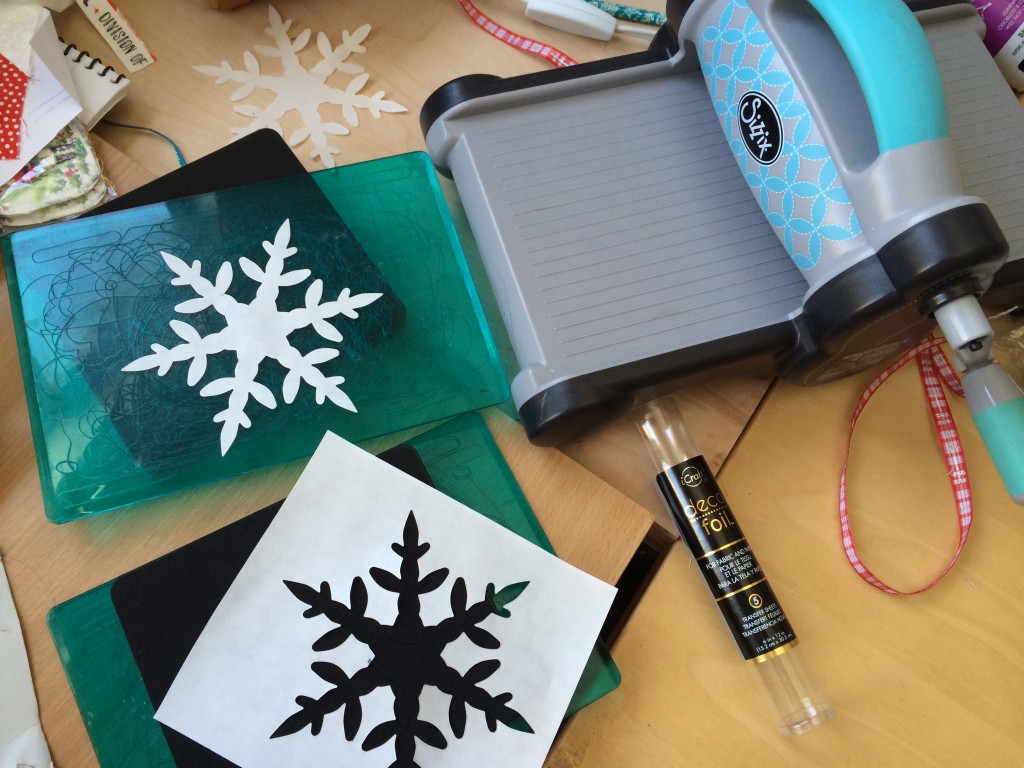
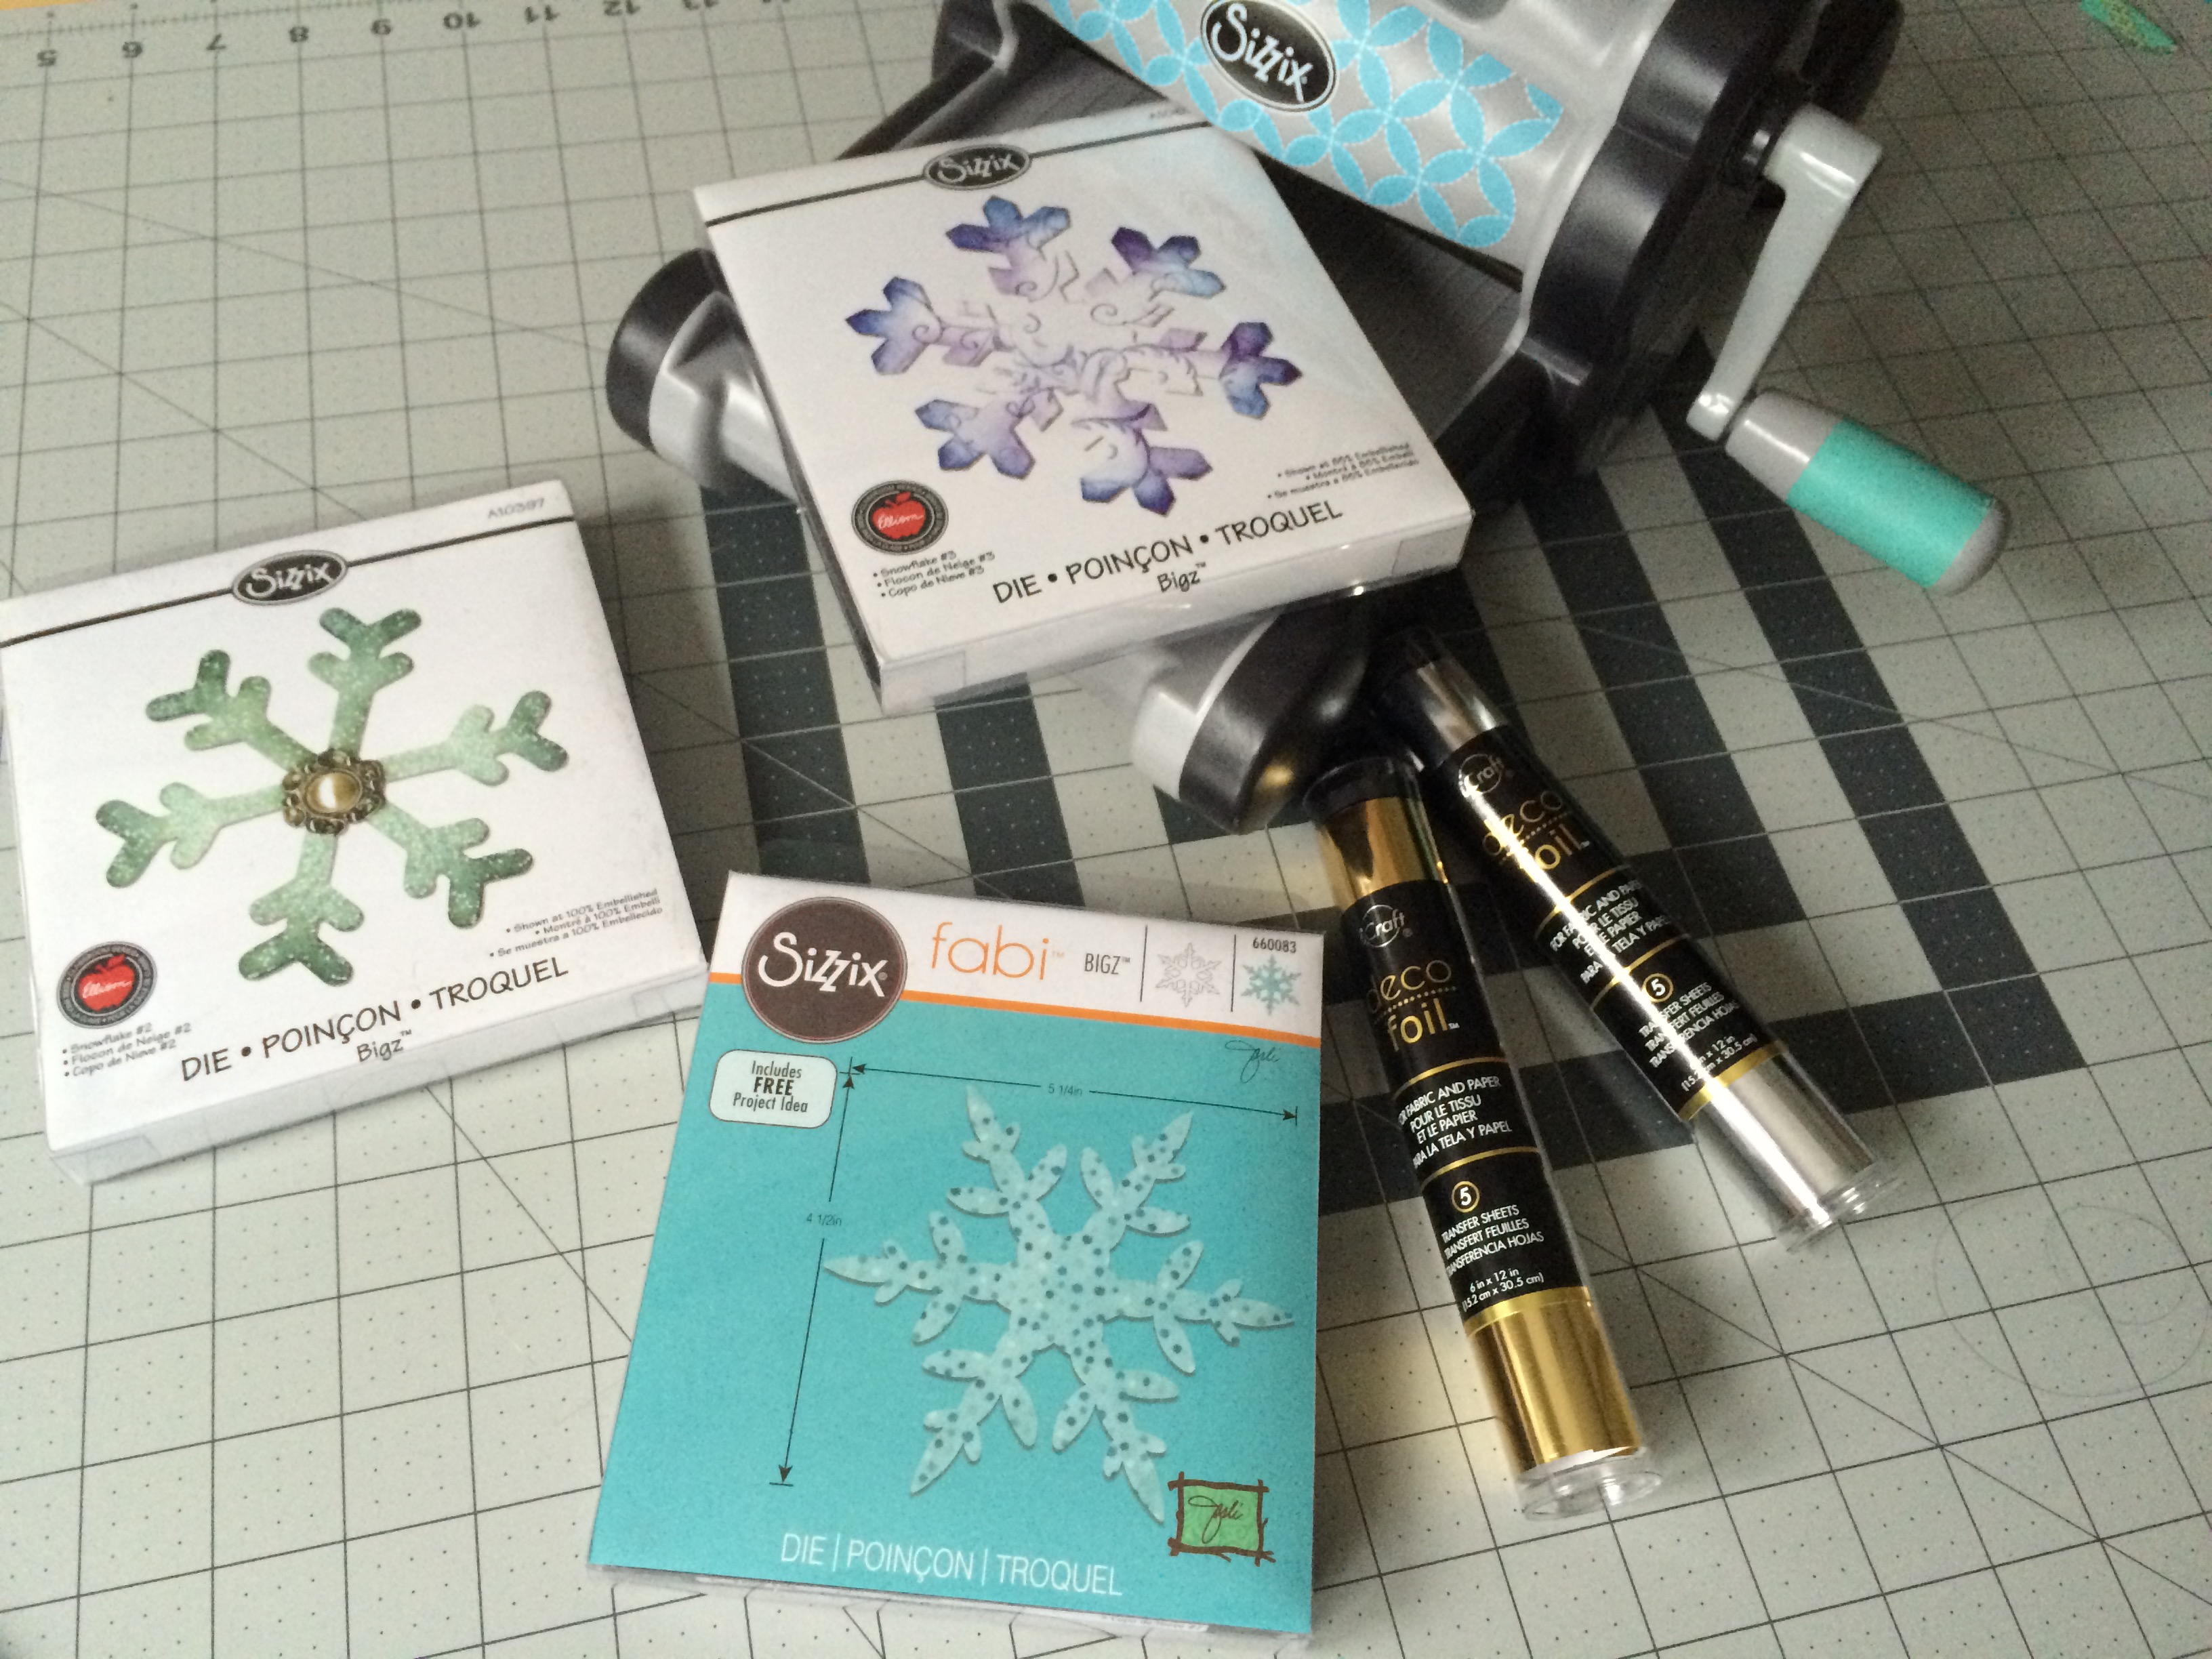
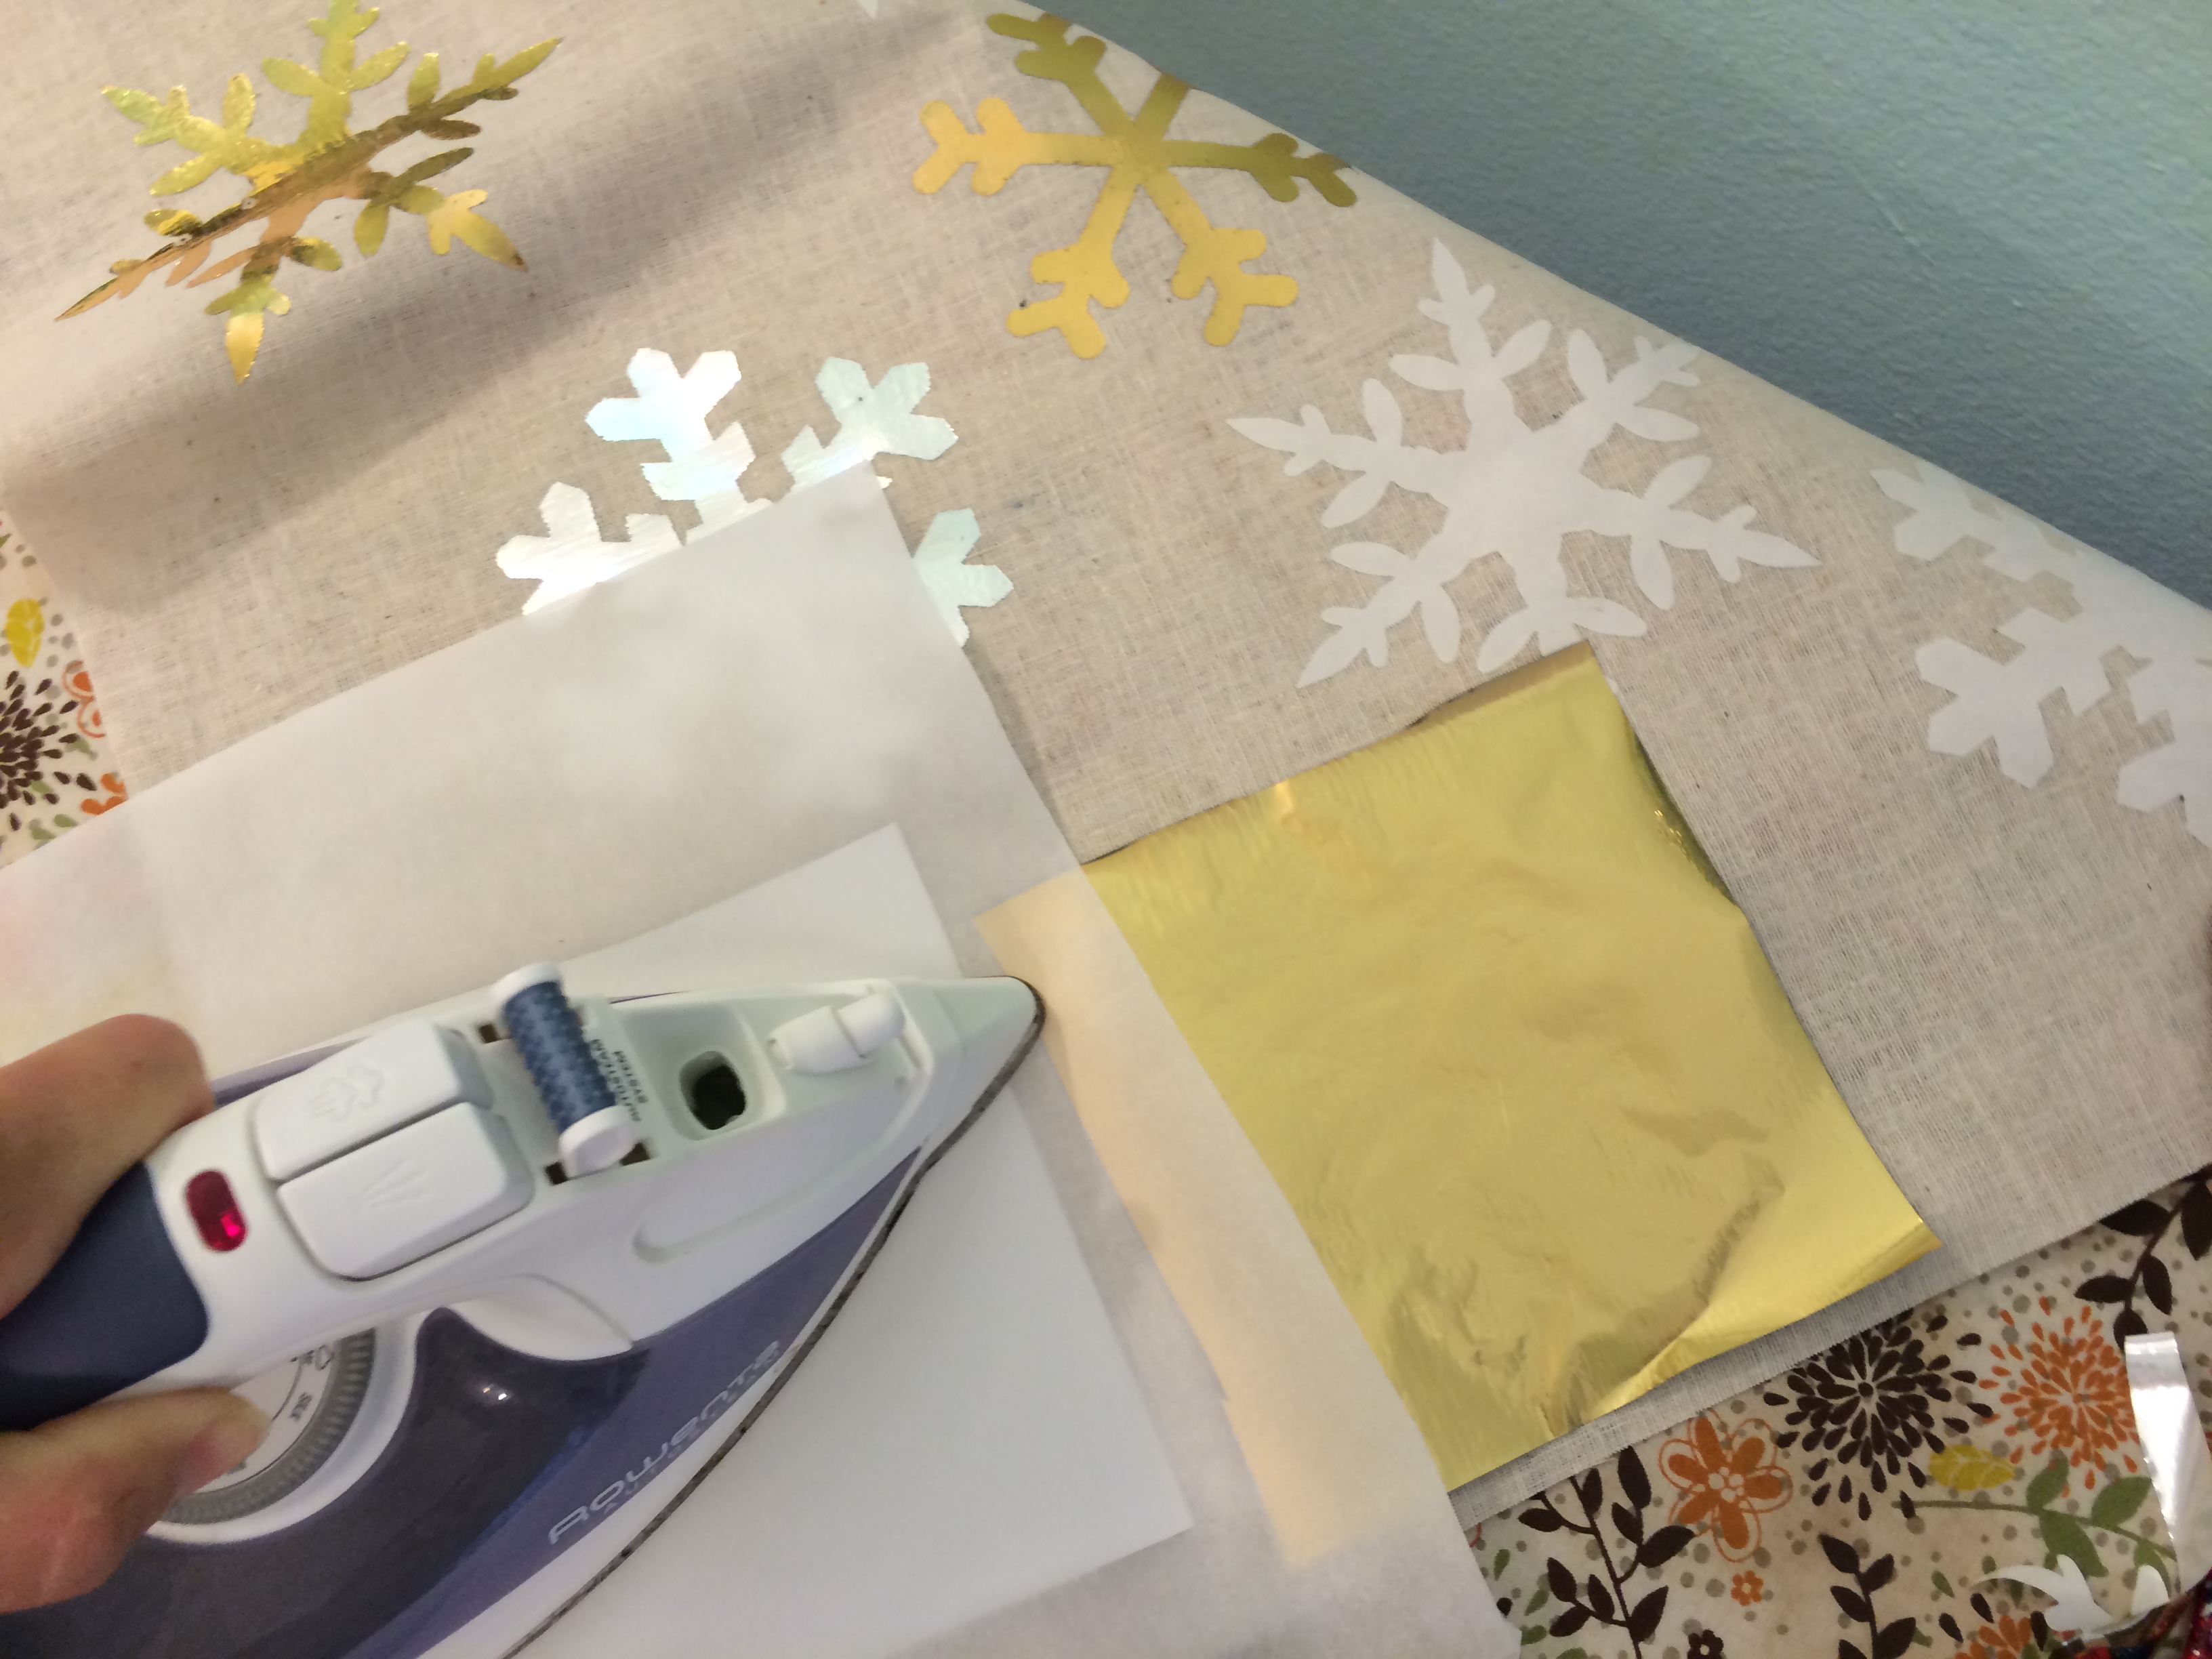
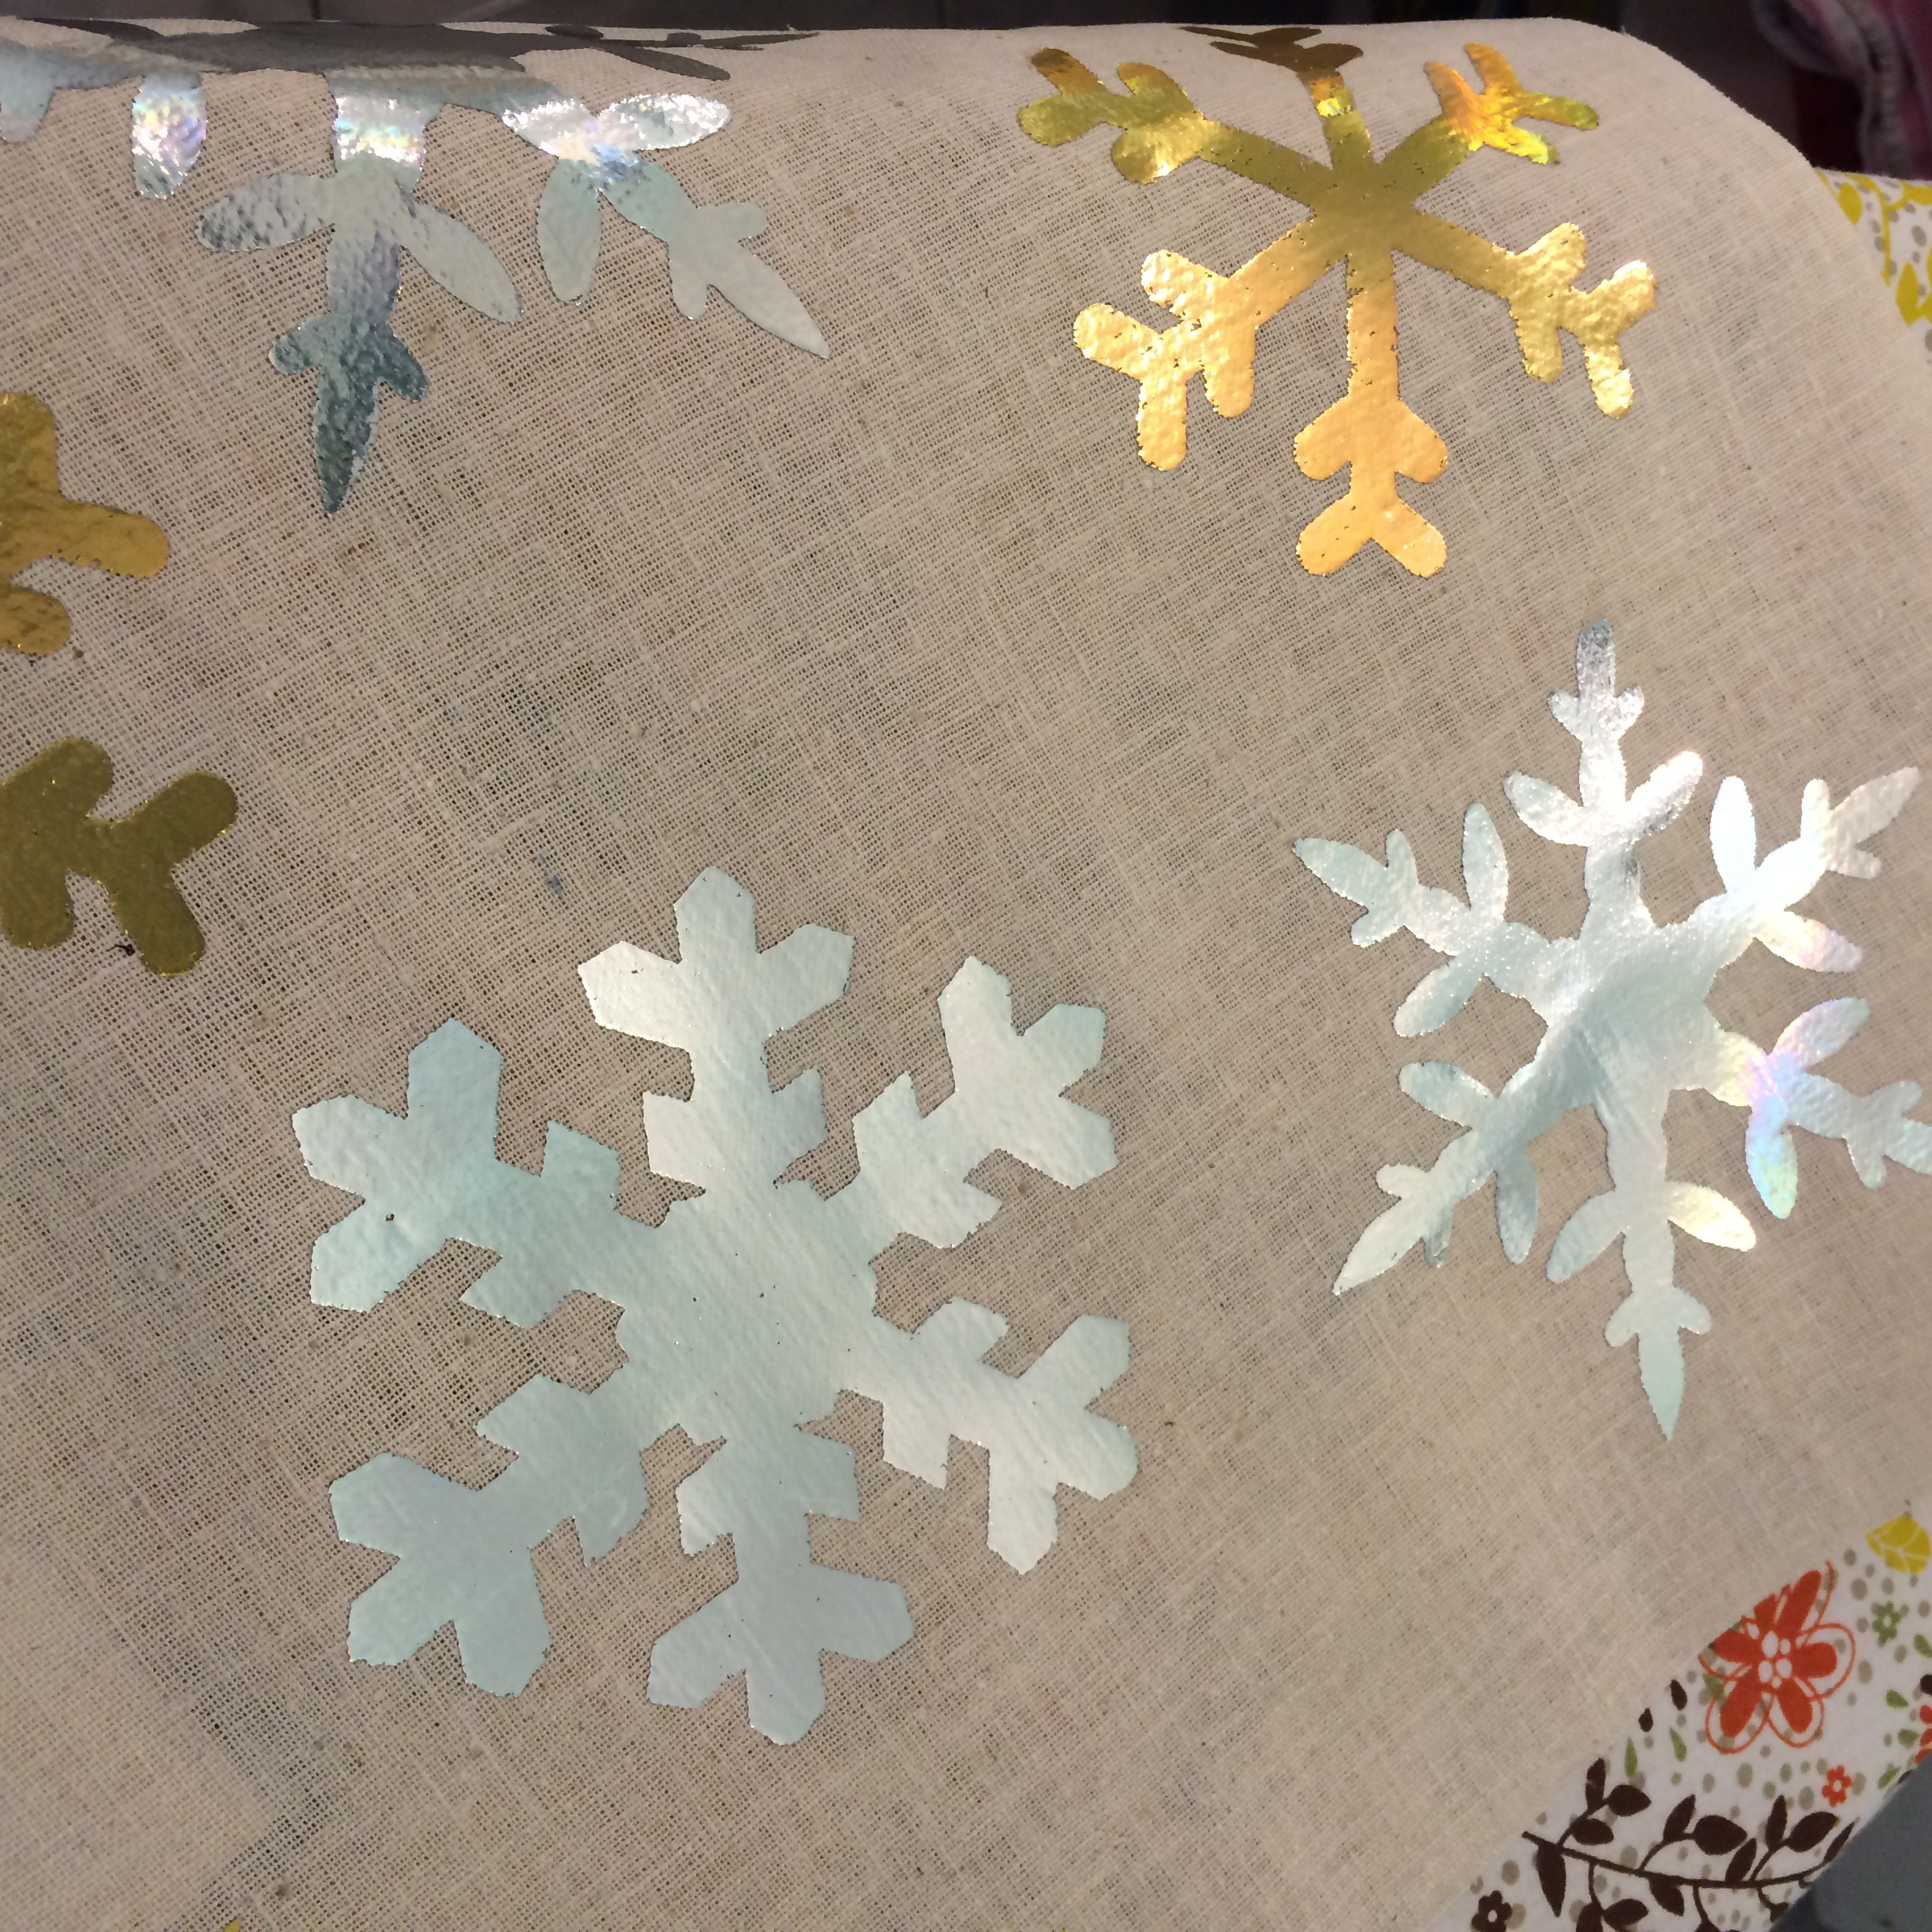
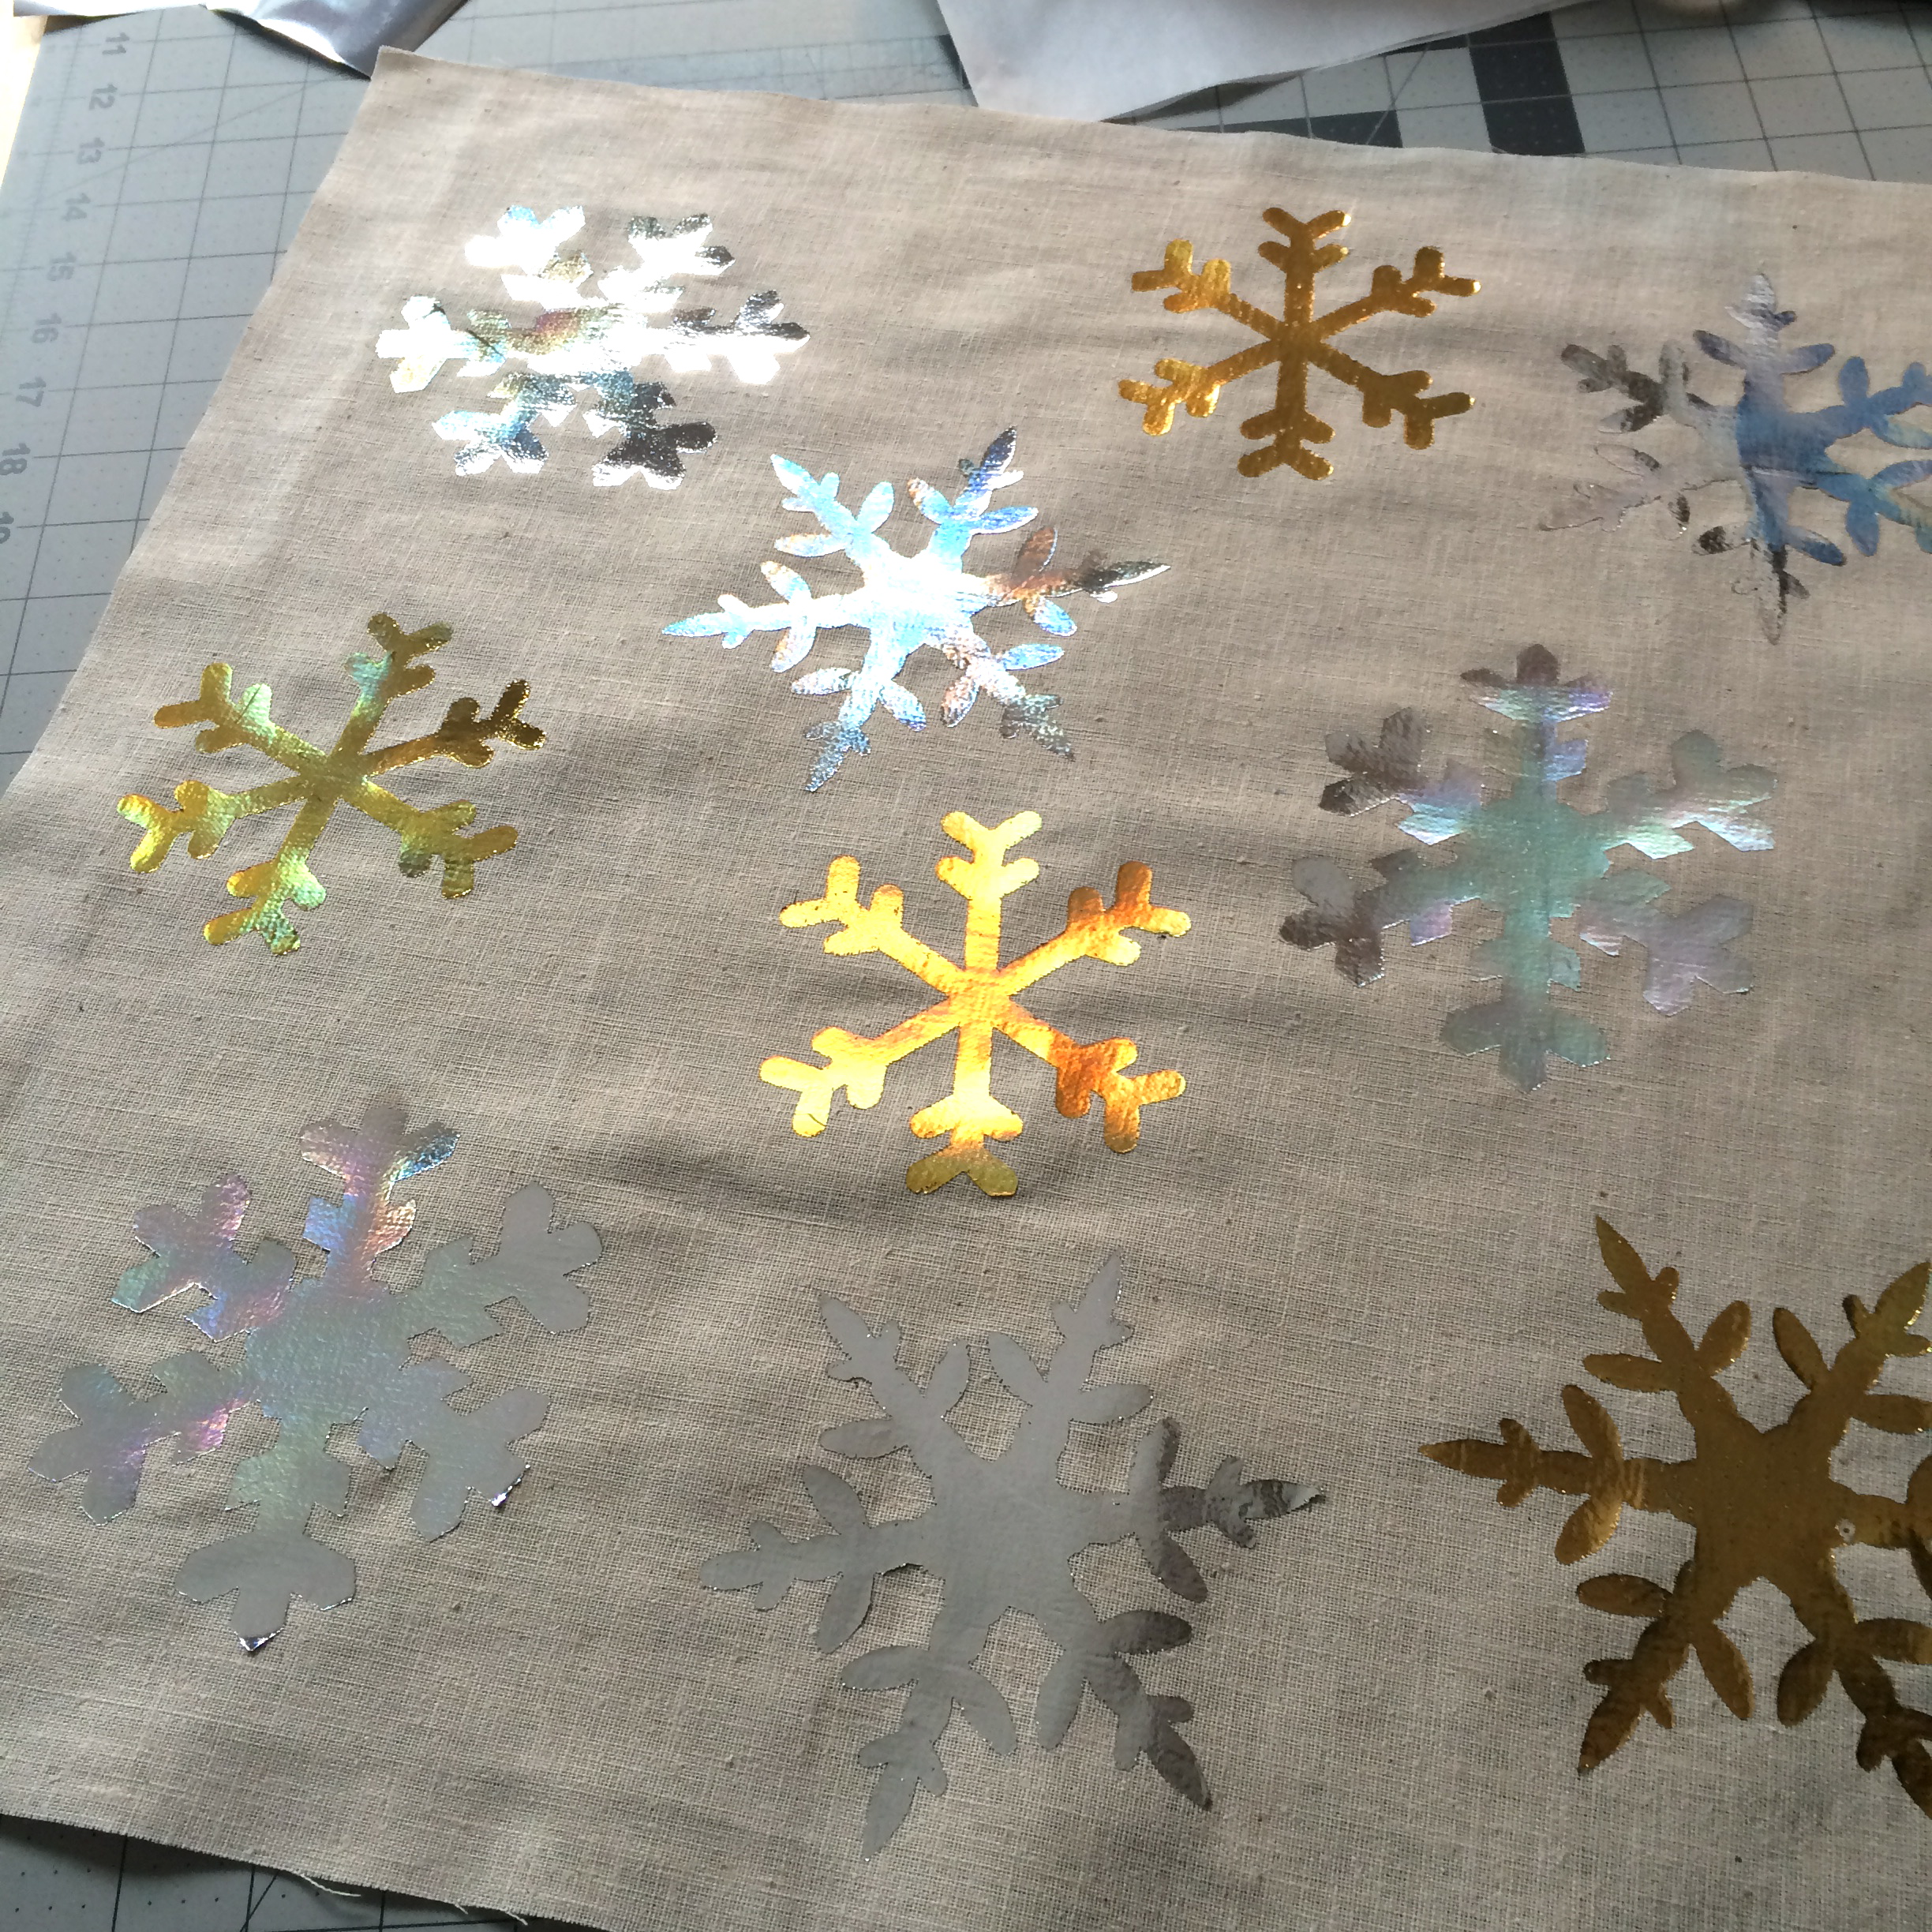
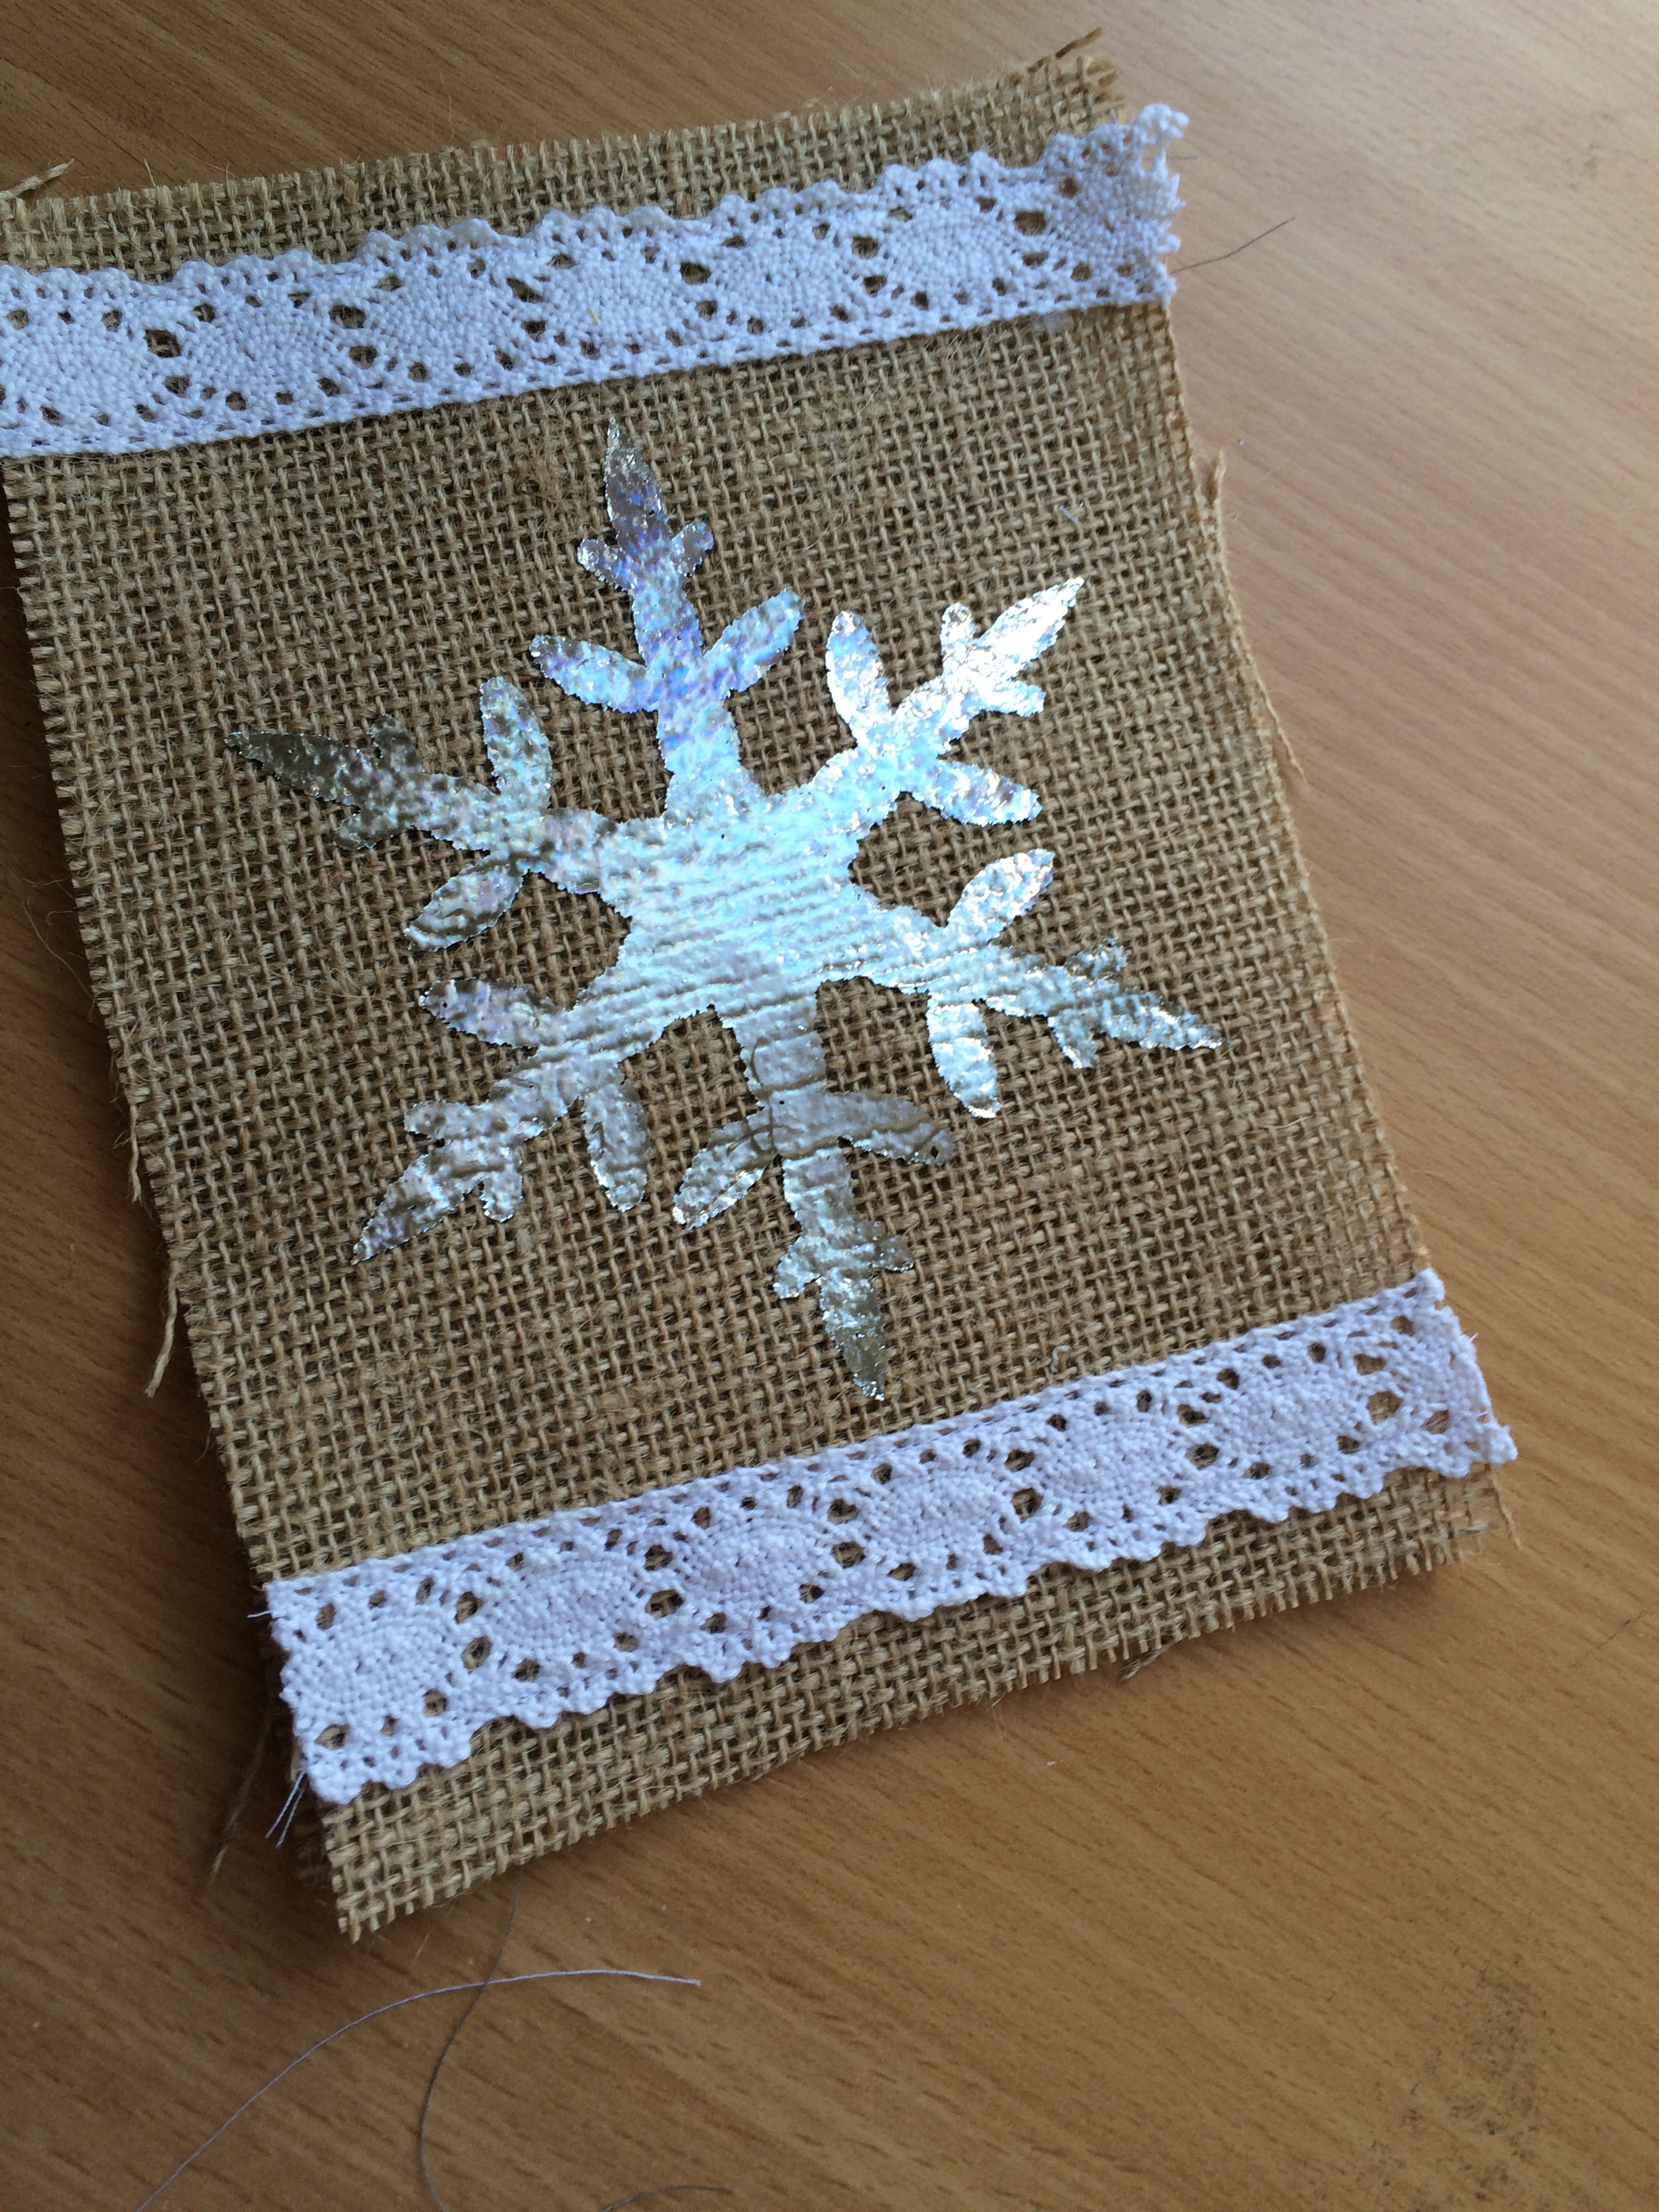
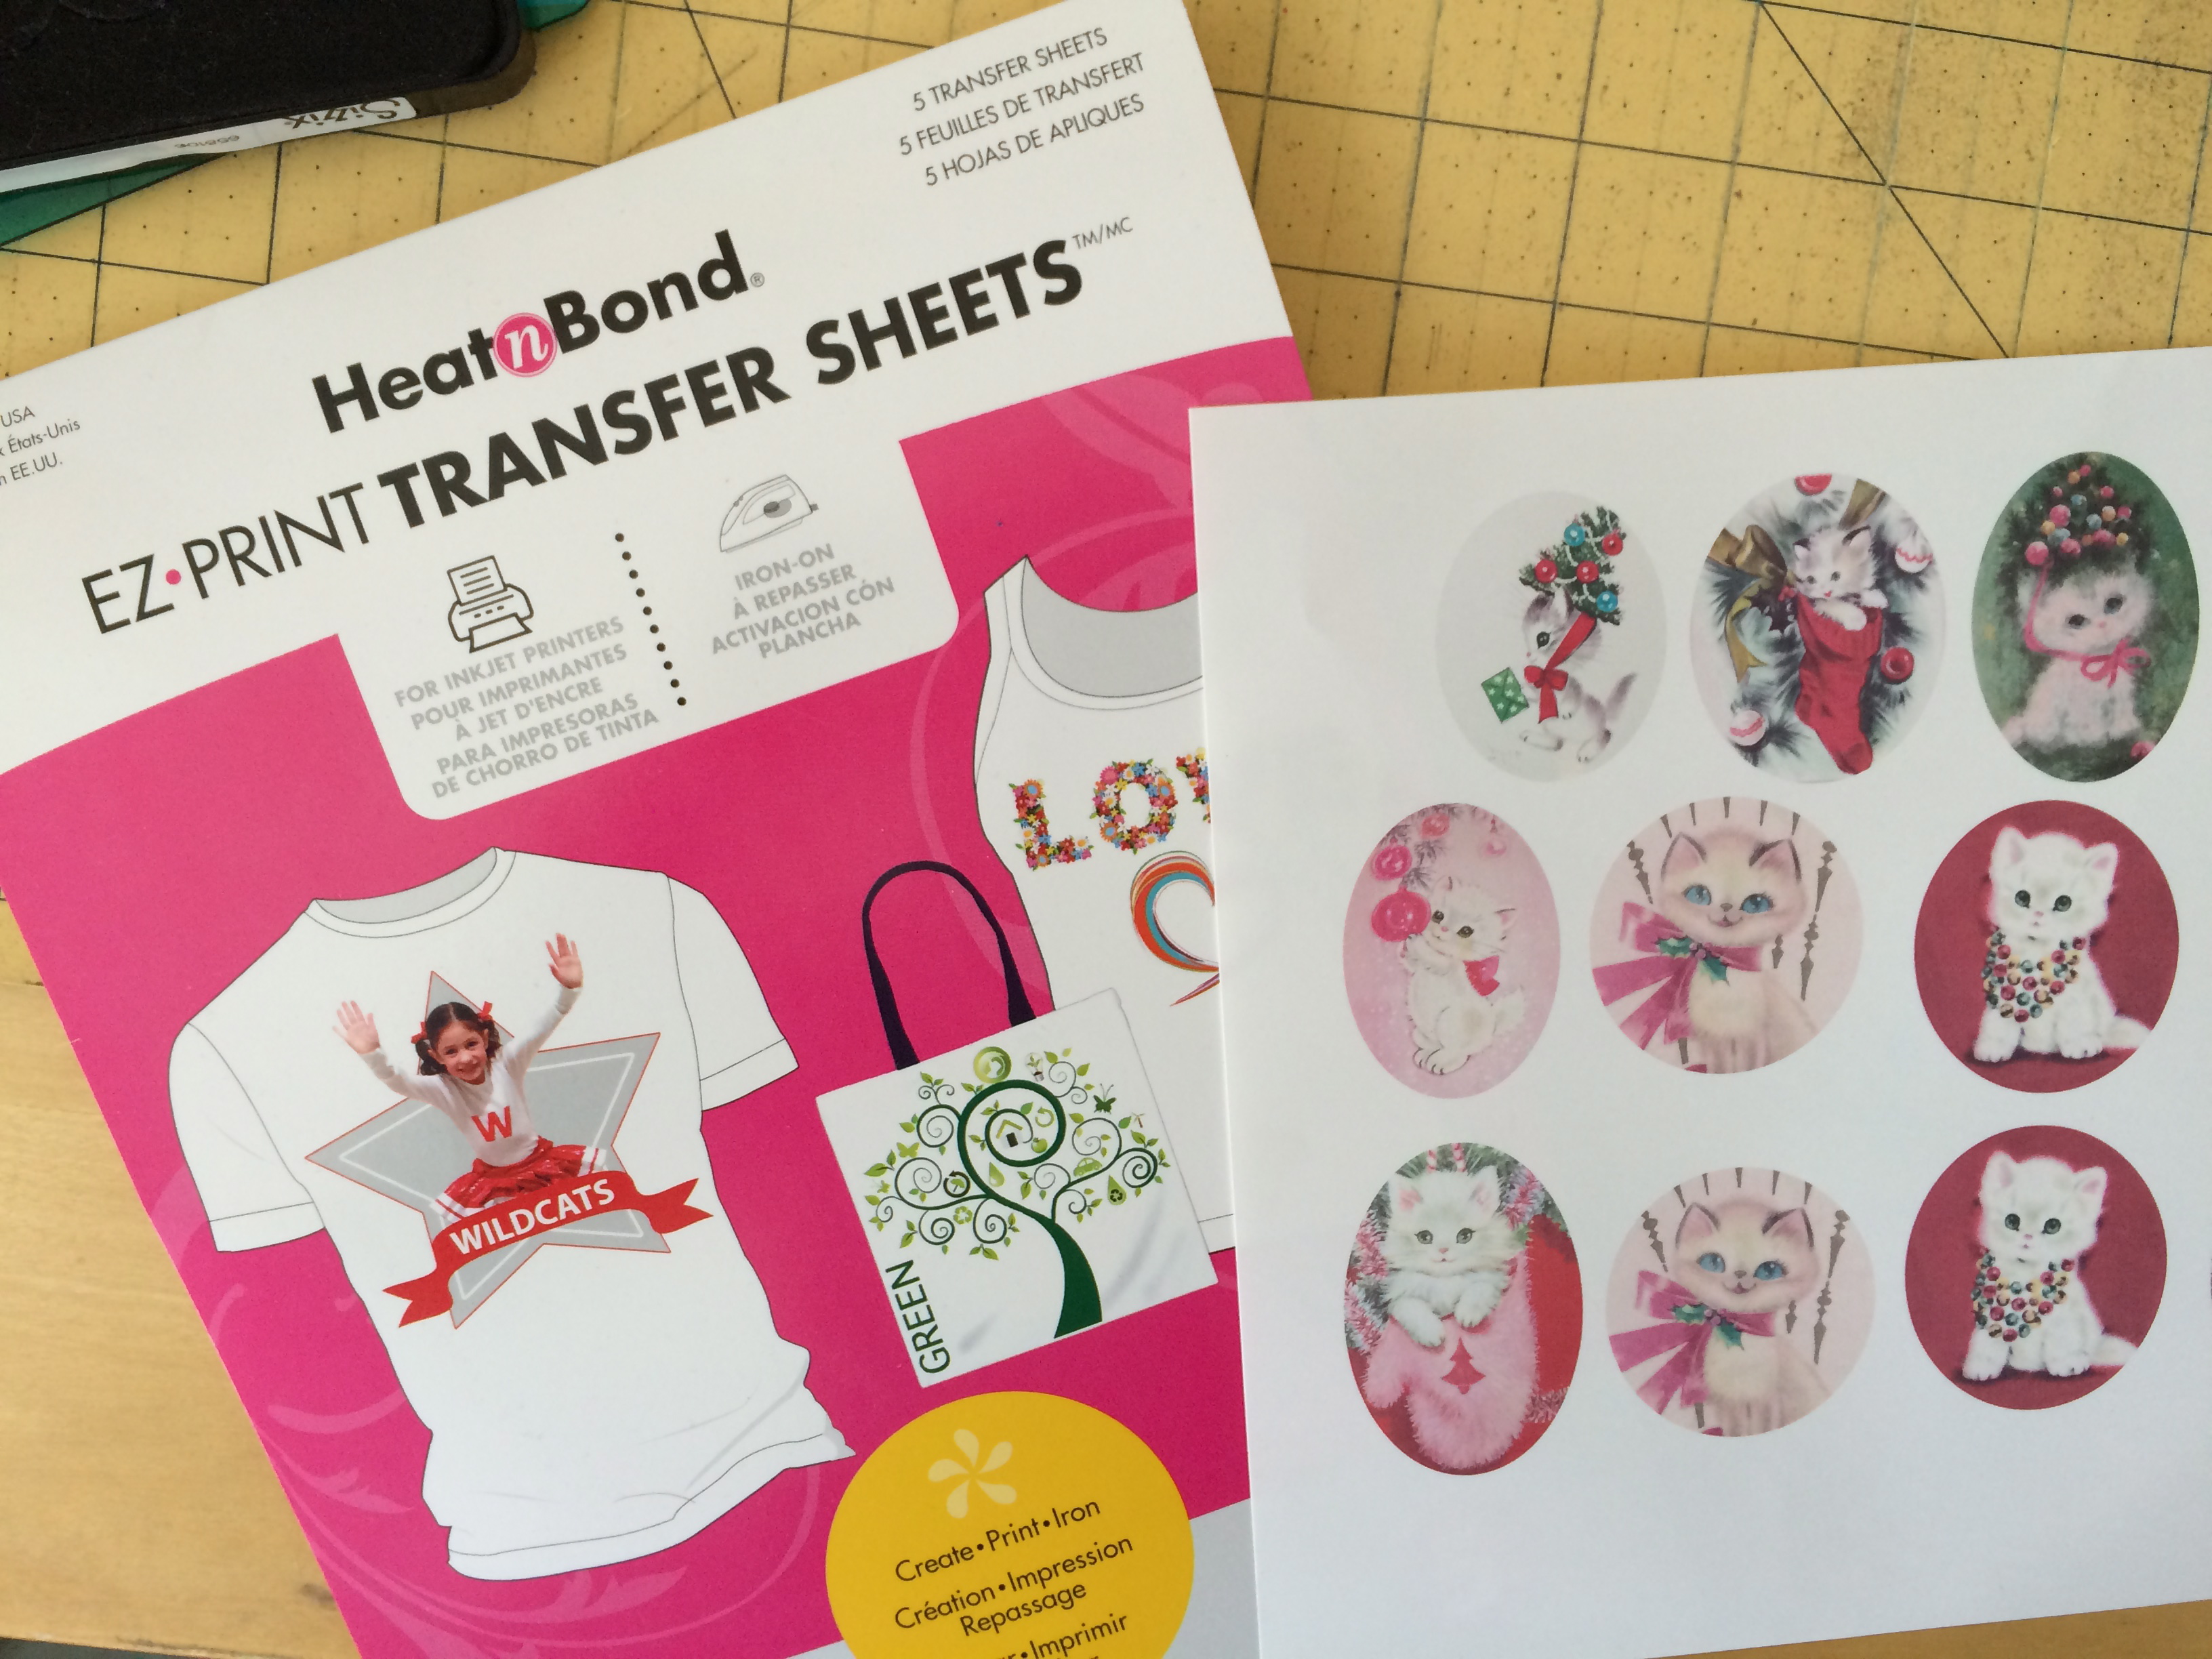
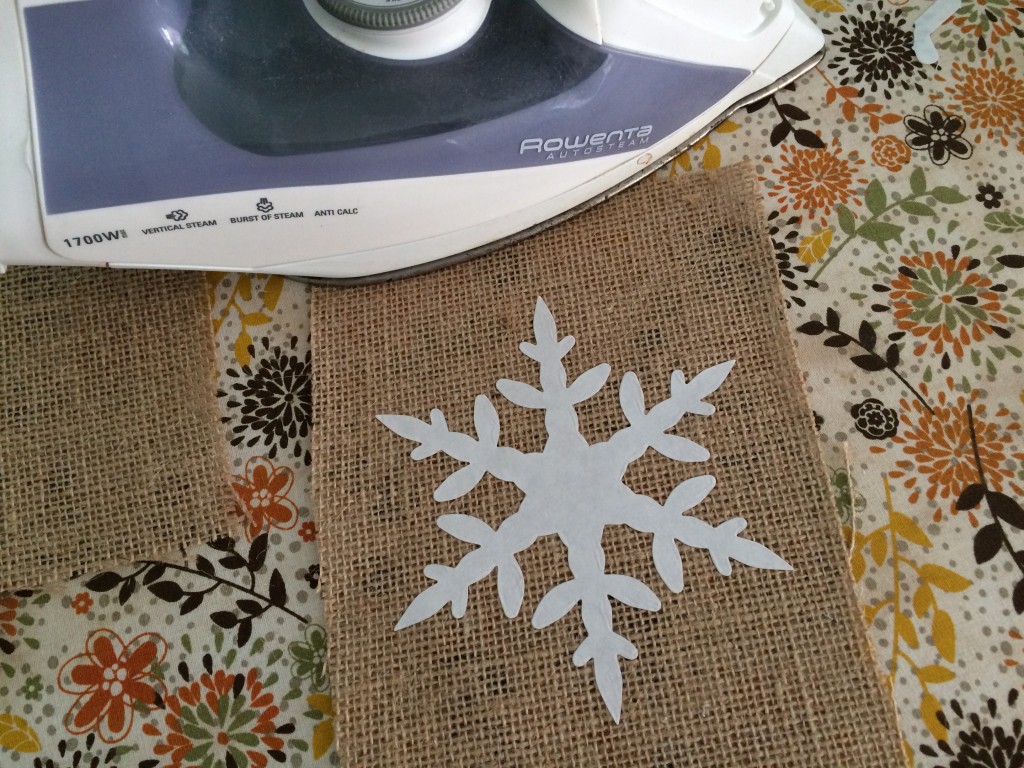
Cut the burlap (2) 6″ x 8″.  Position the snowflake and heat set with a medium hot iron, about 20 seconds.  Let completely dry and peel off backing paper.

foil snoflake burlap ornament 3Cut the foil sheet to cover the snowflake.

foil snoflake burlap ornament 4

Cover with the pressing paper that comes with Hot Melt Sheets.  Heat set with an iron set to a MEDIUM DRY temperature.  DO NOT OVER HEAT.  Iron with firm pressure for 20 seconds.  Let cool completely.foil snoflake burlap ornament 5
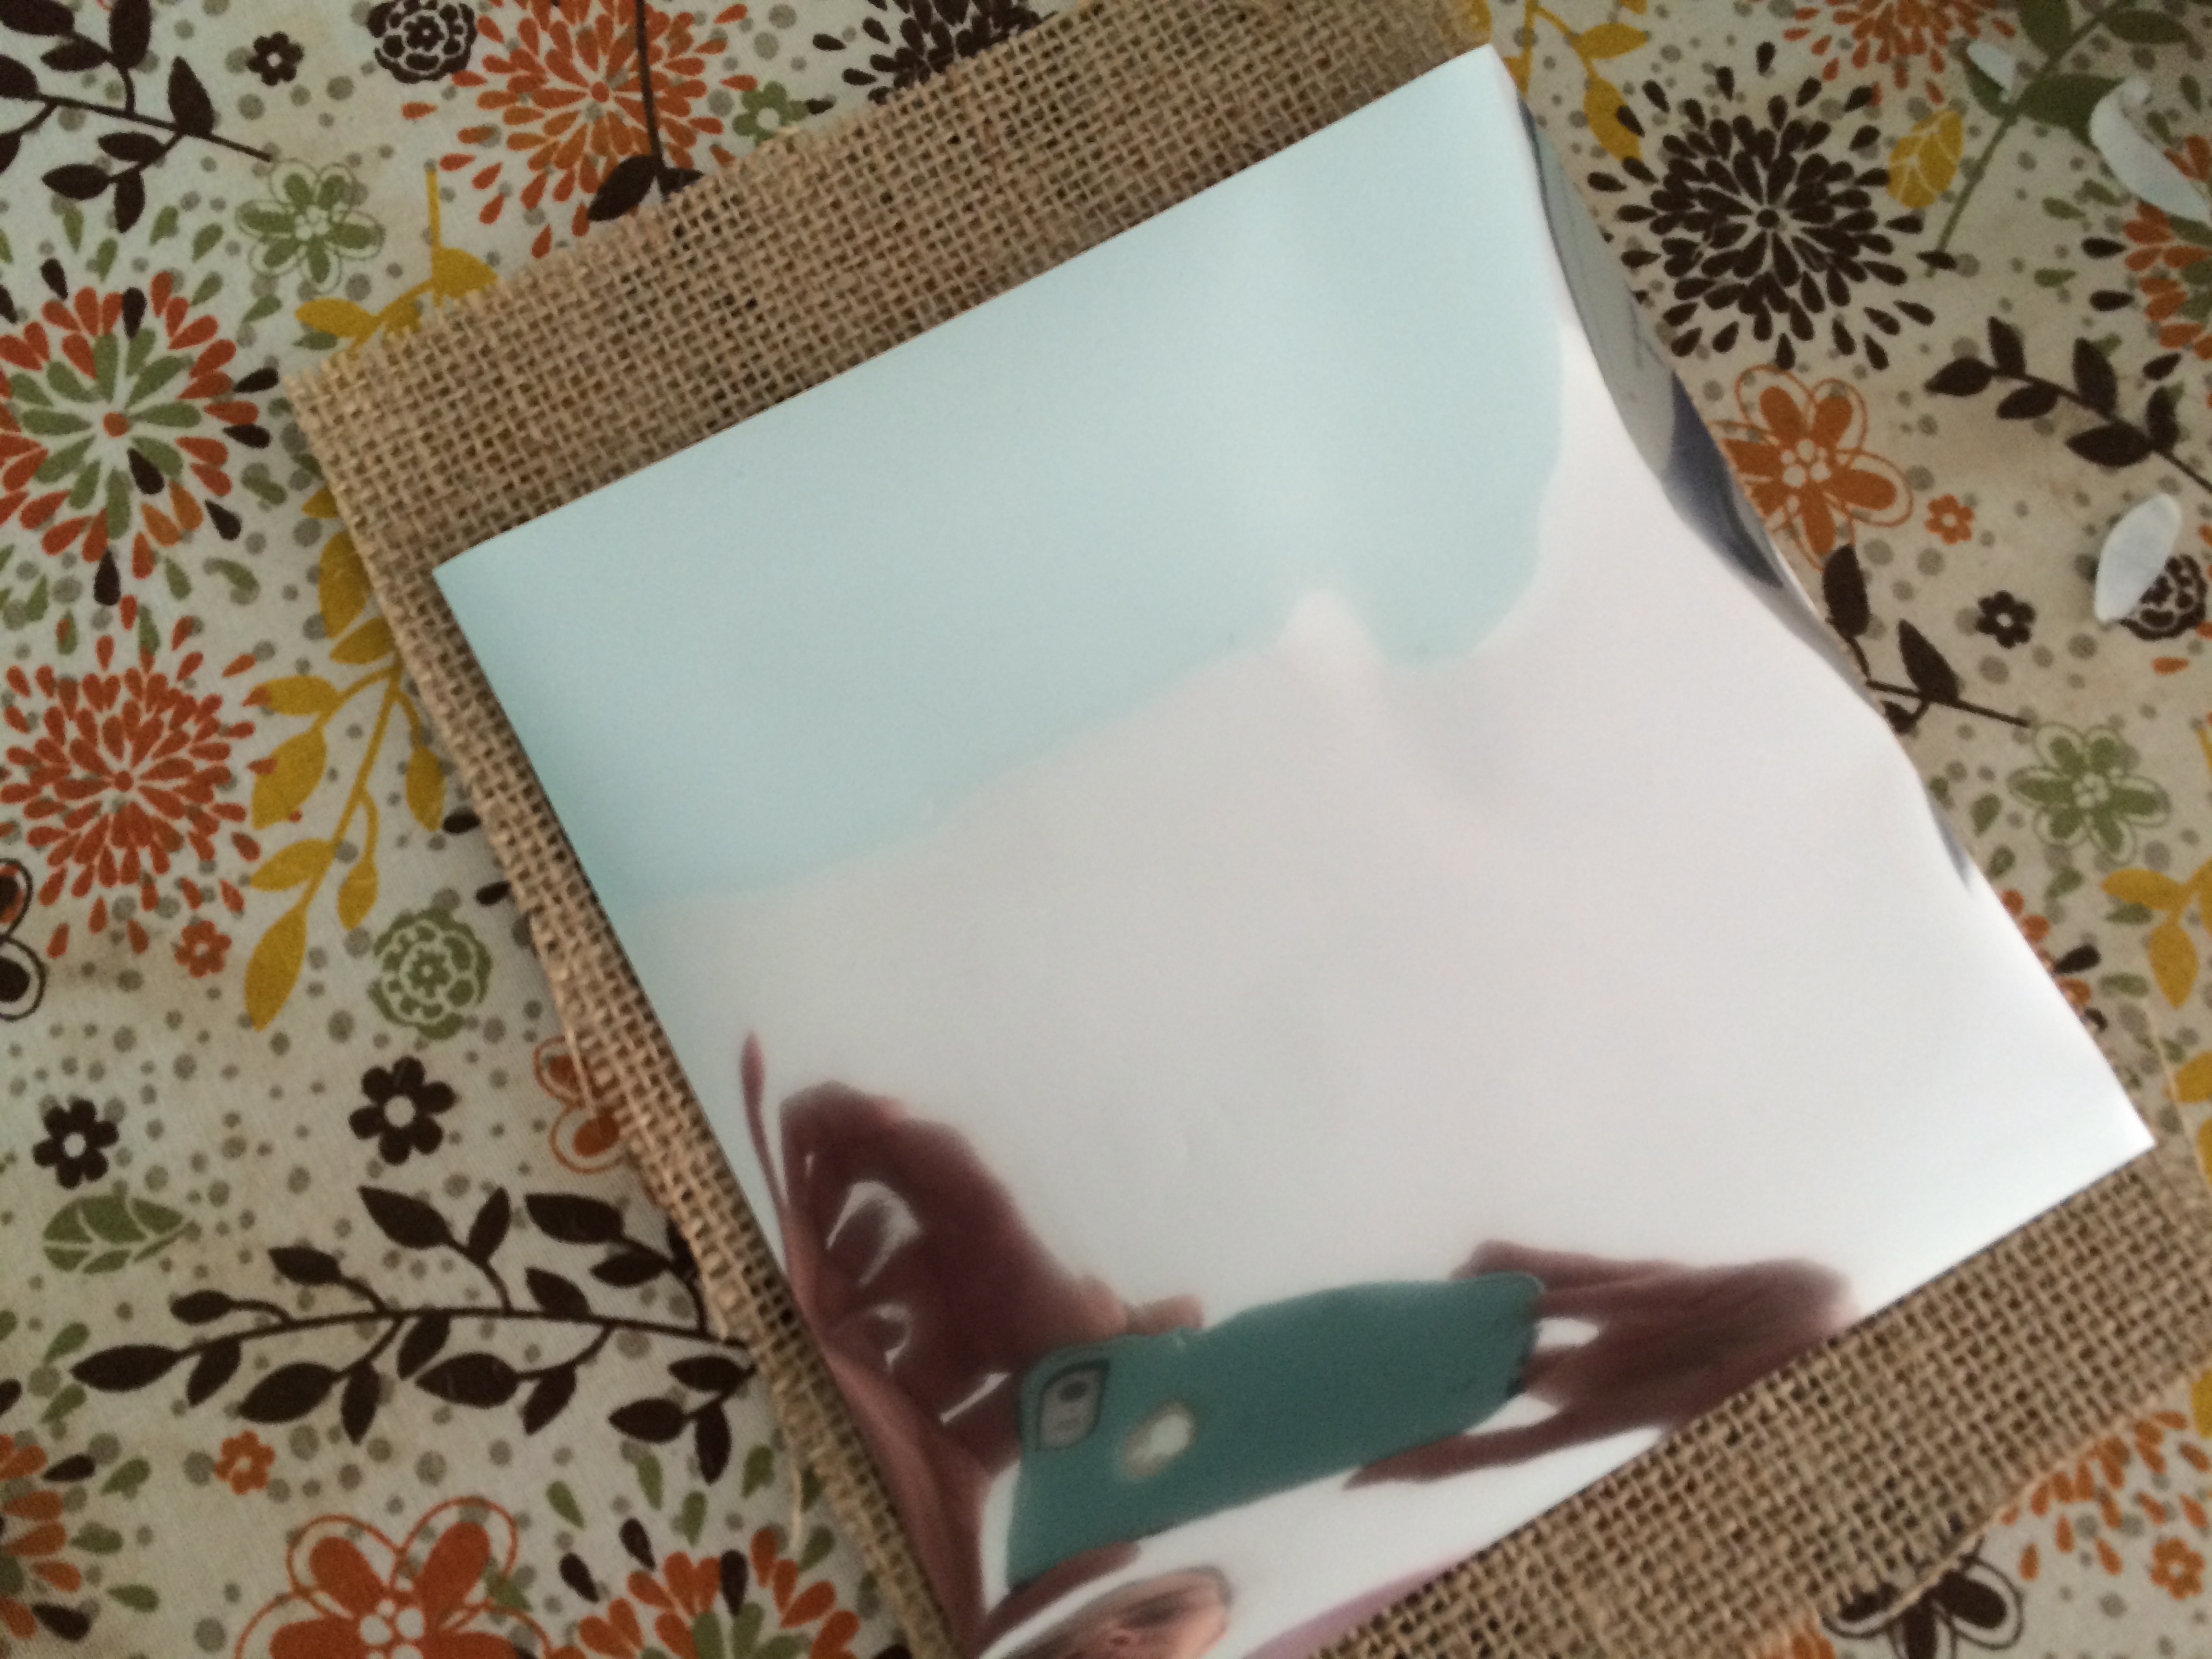
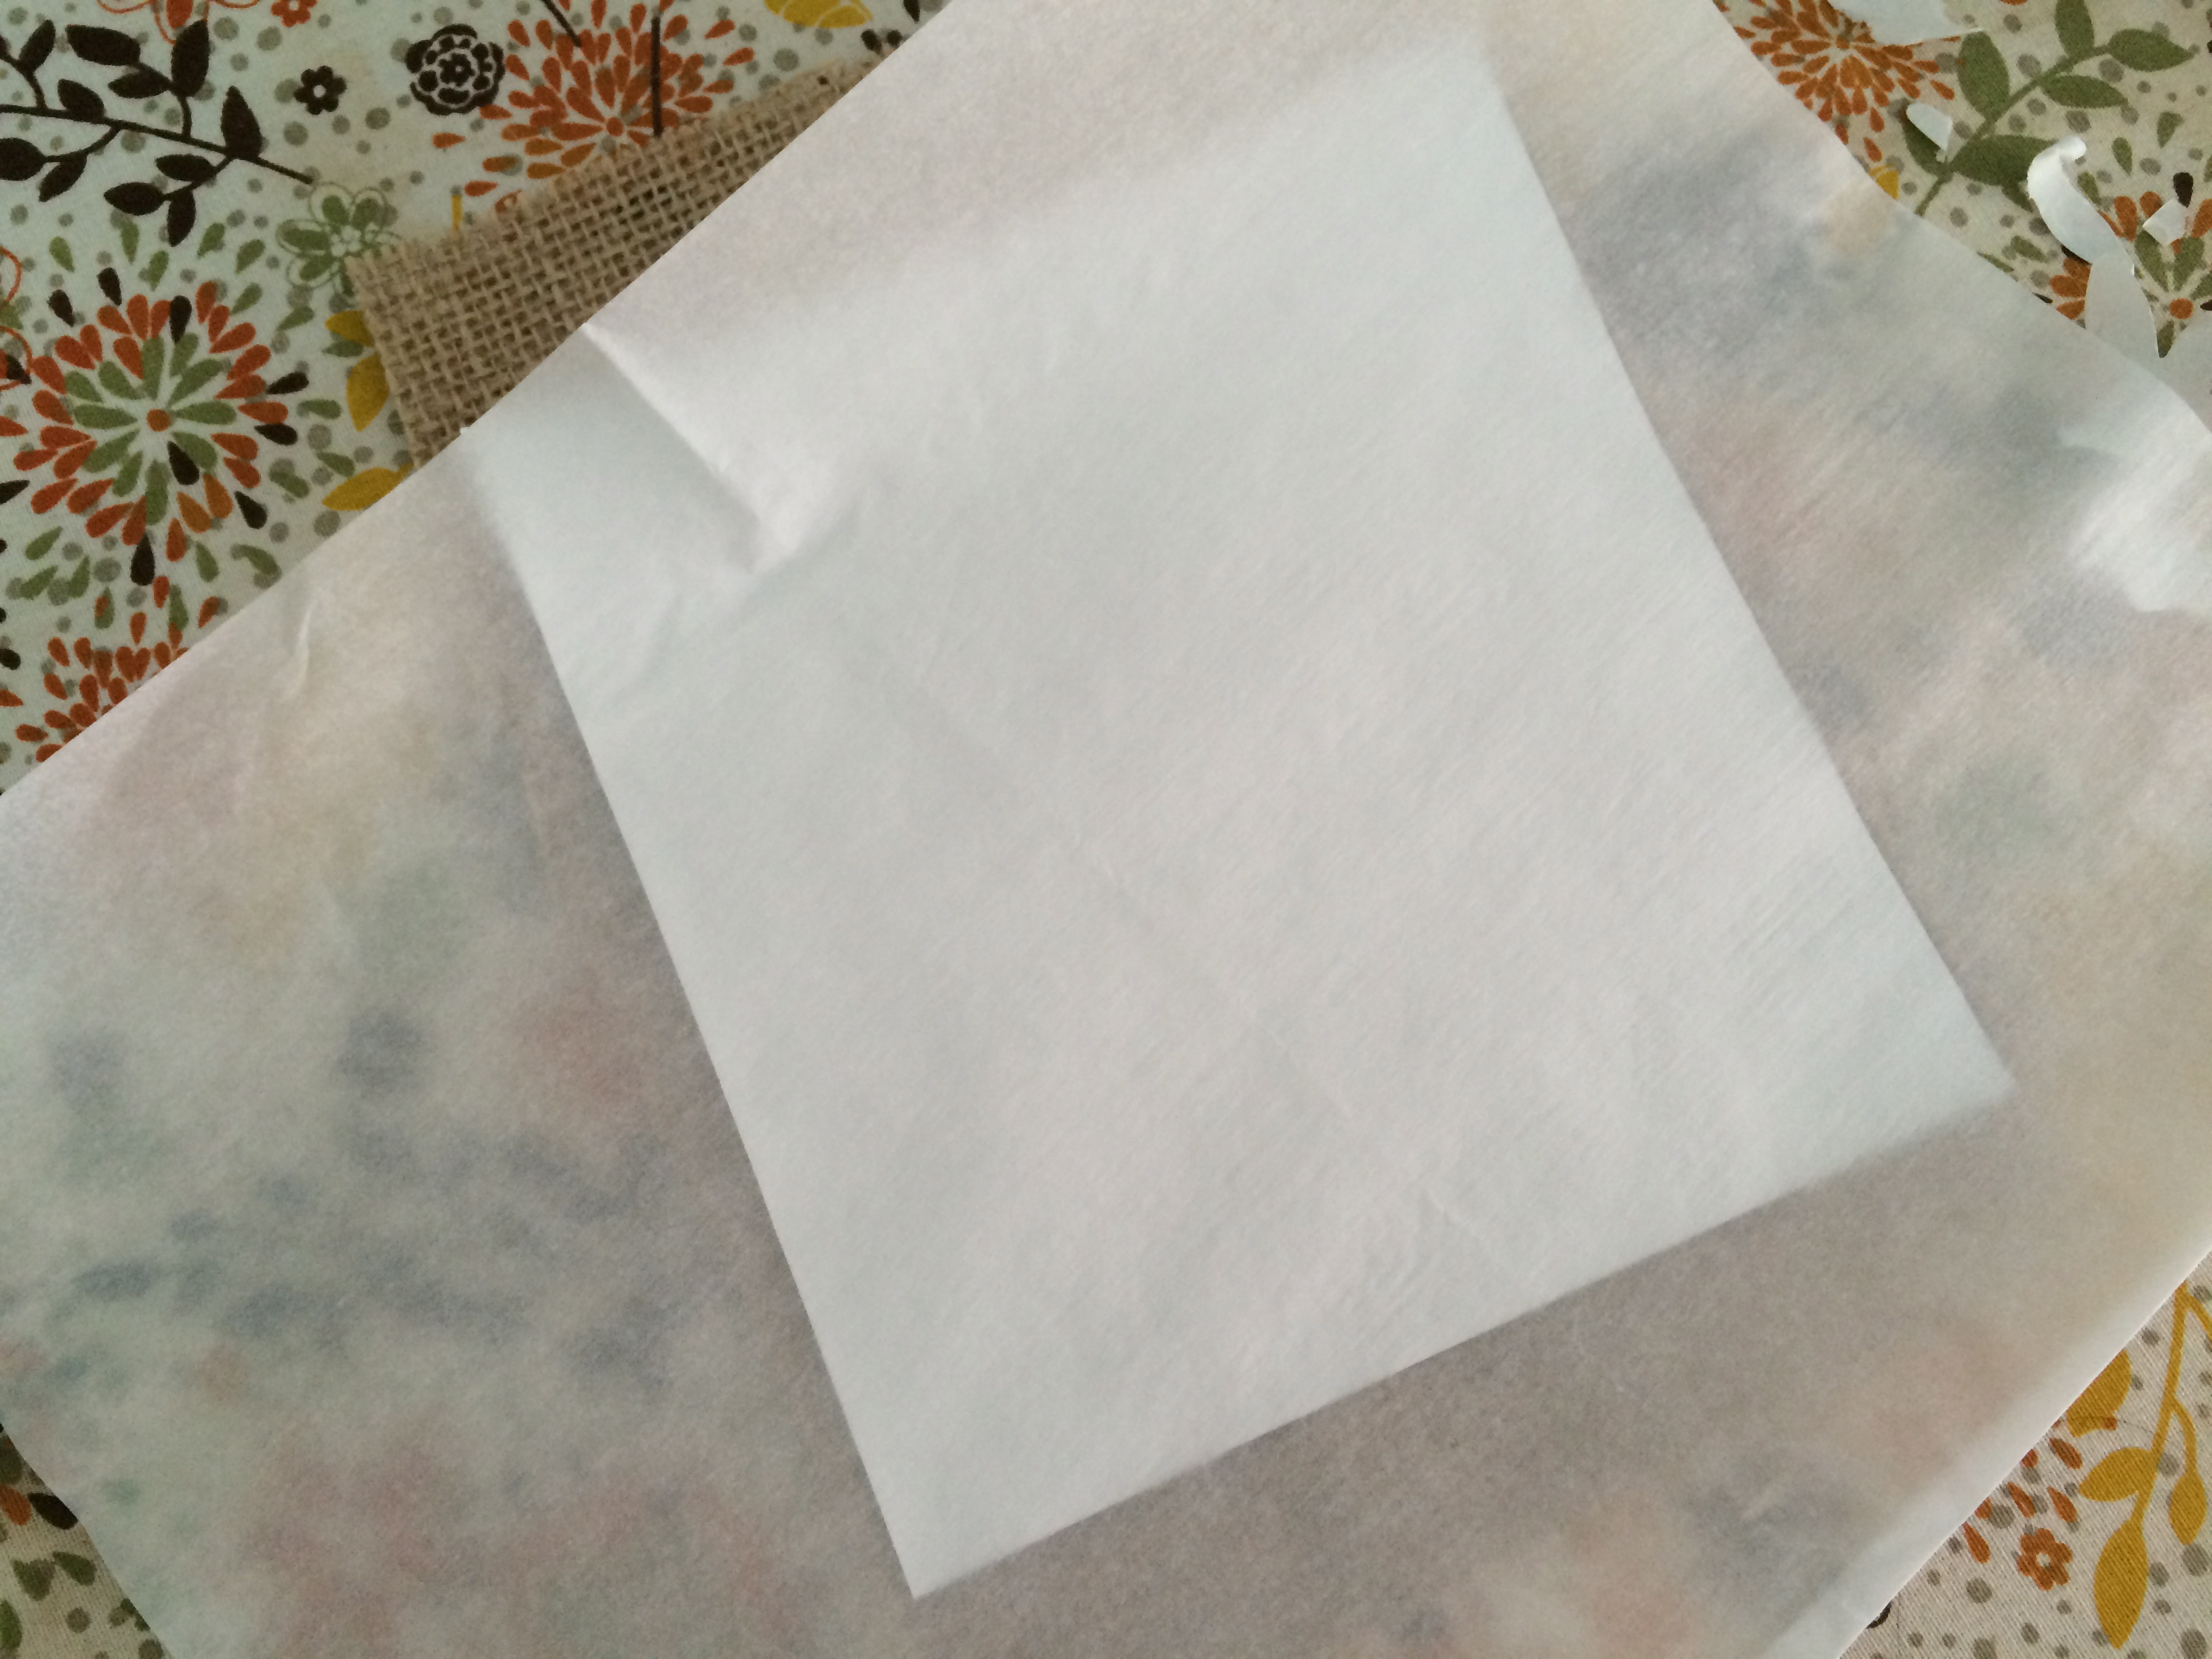
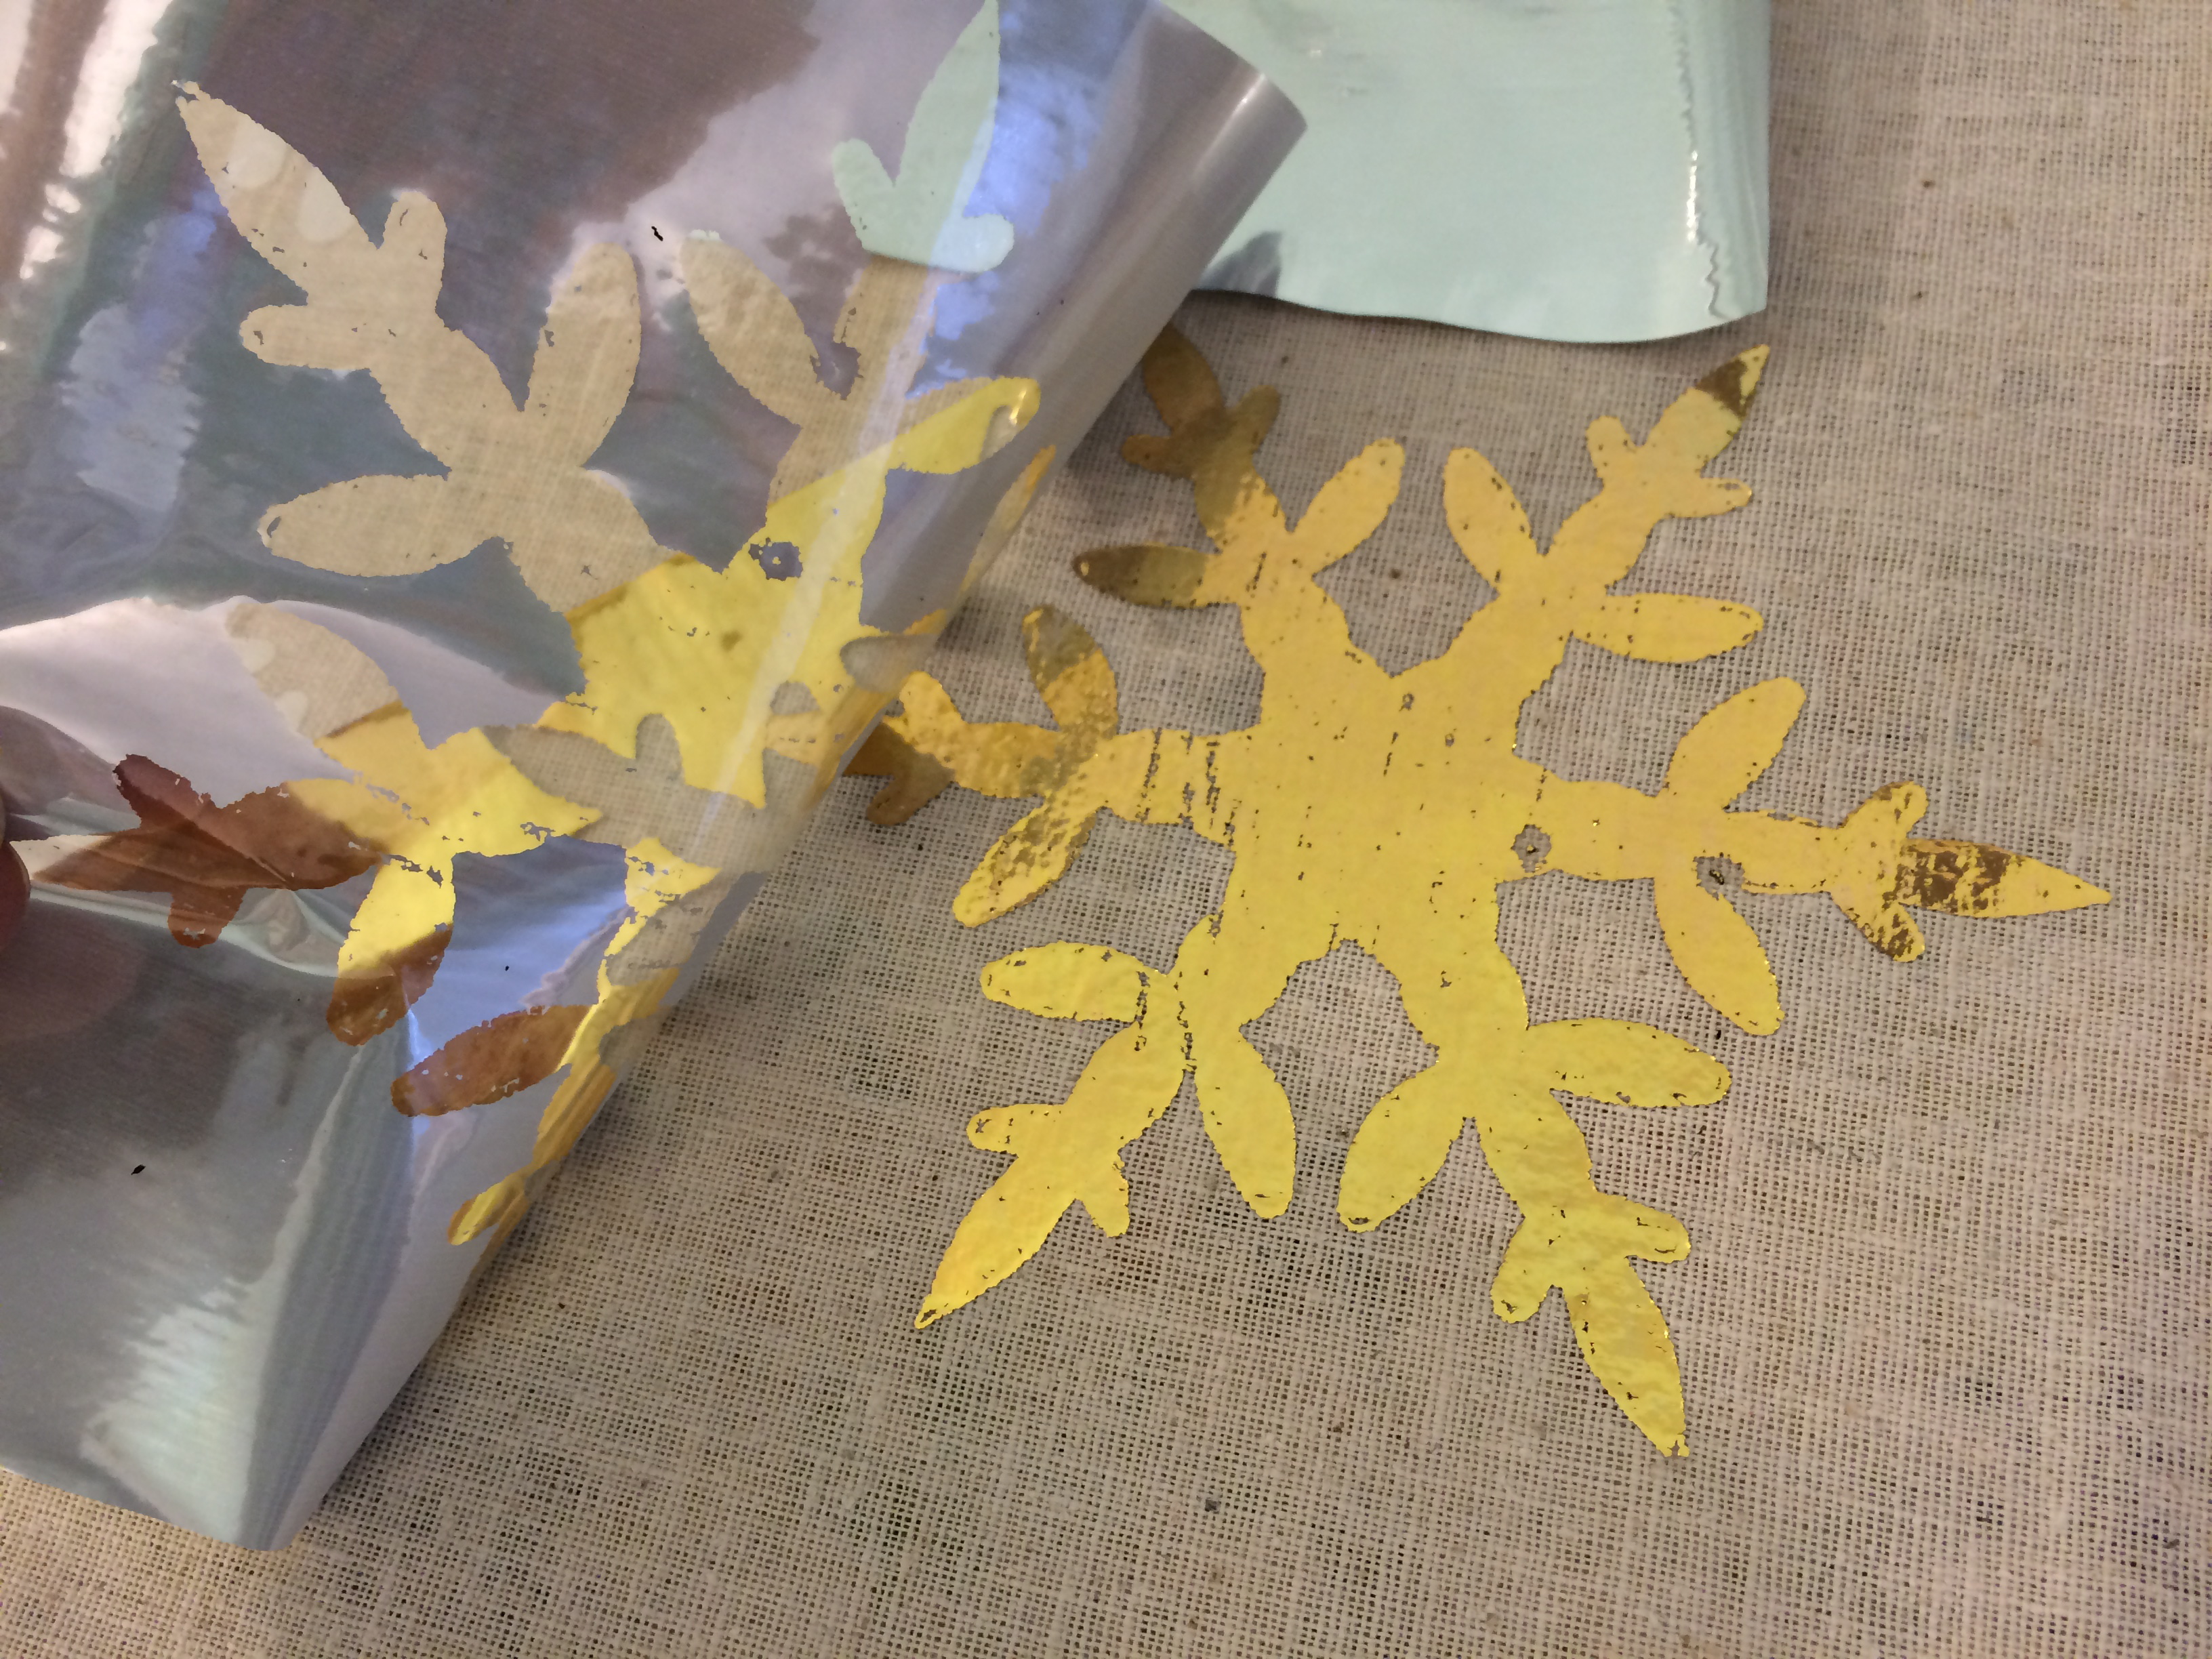
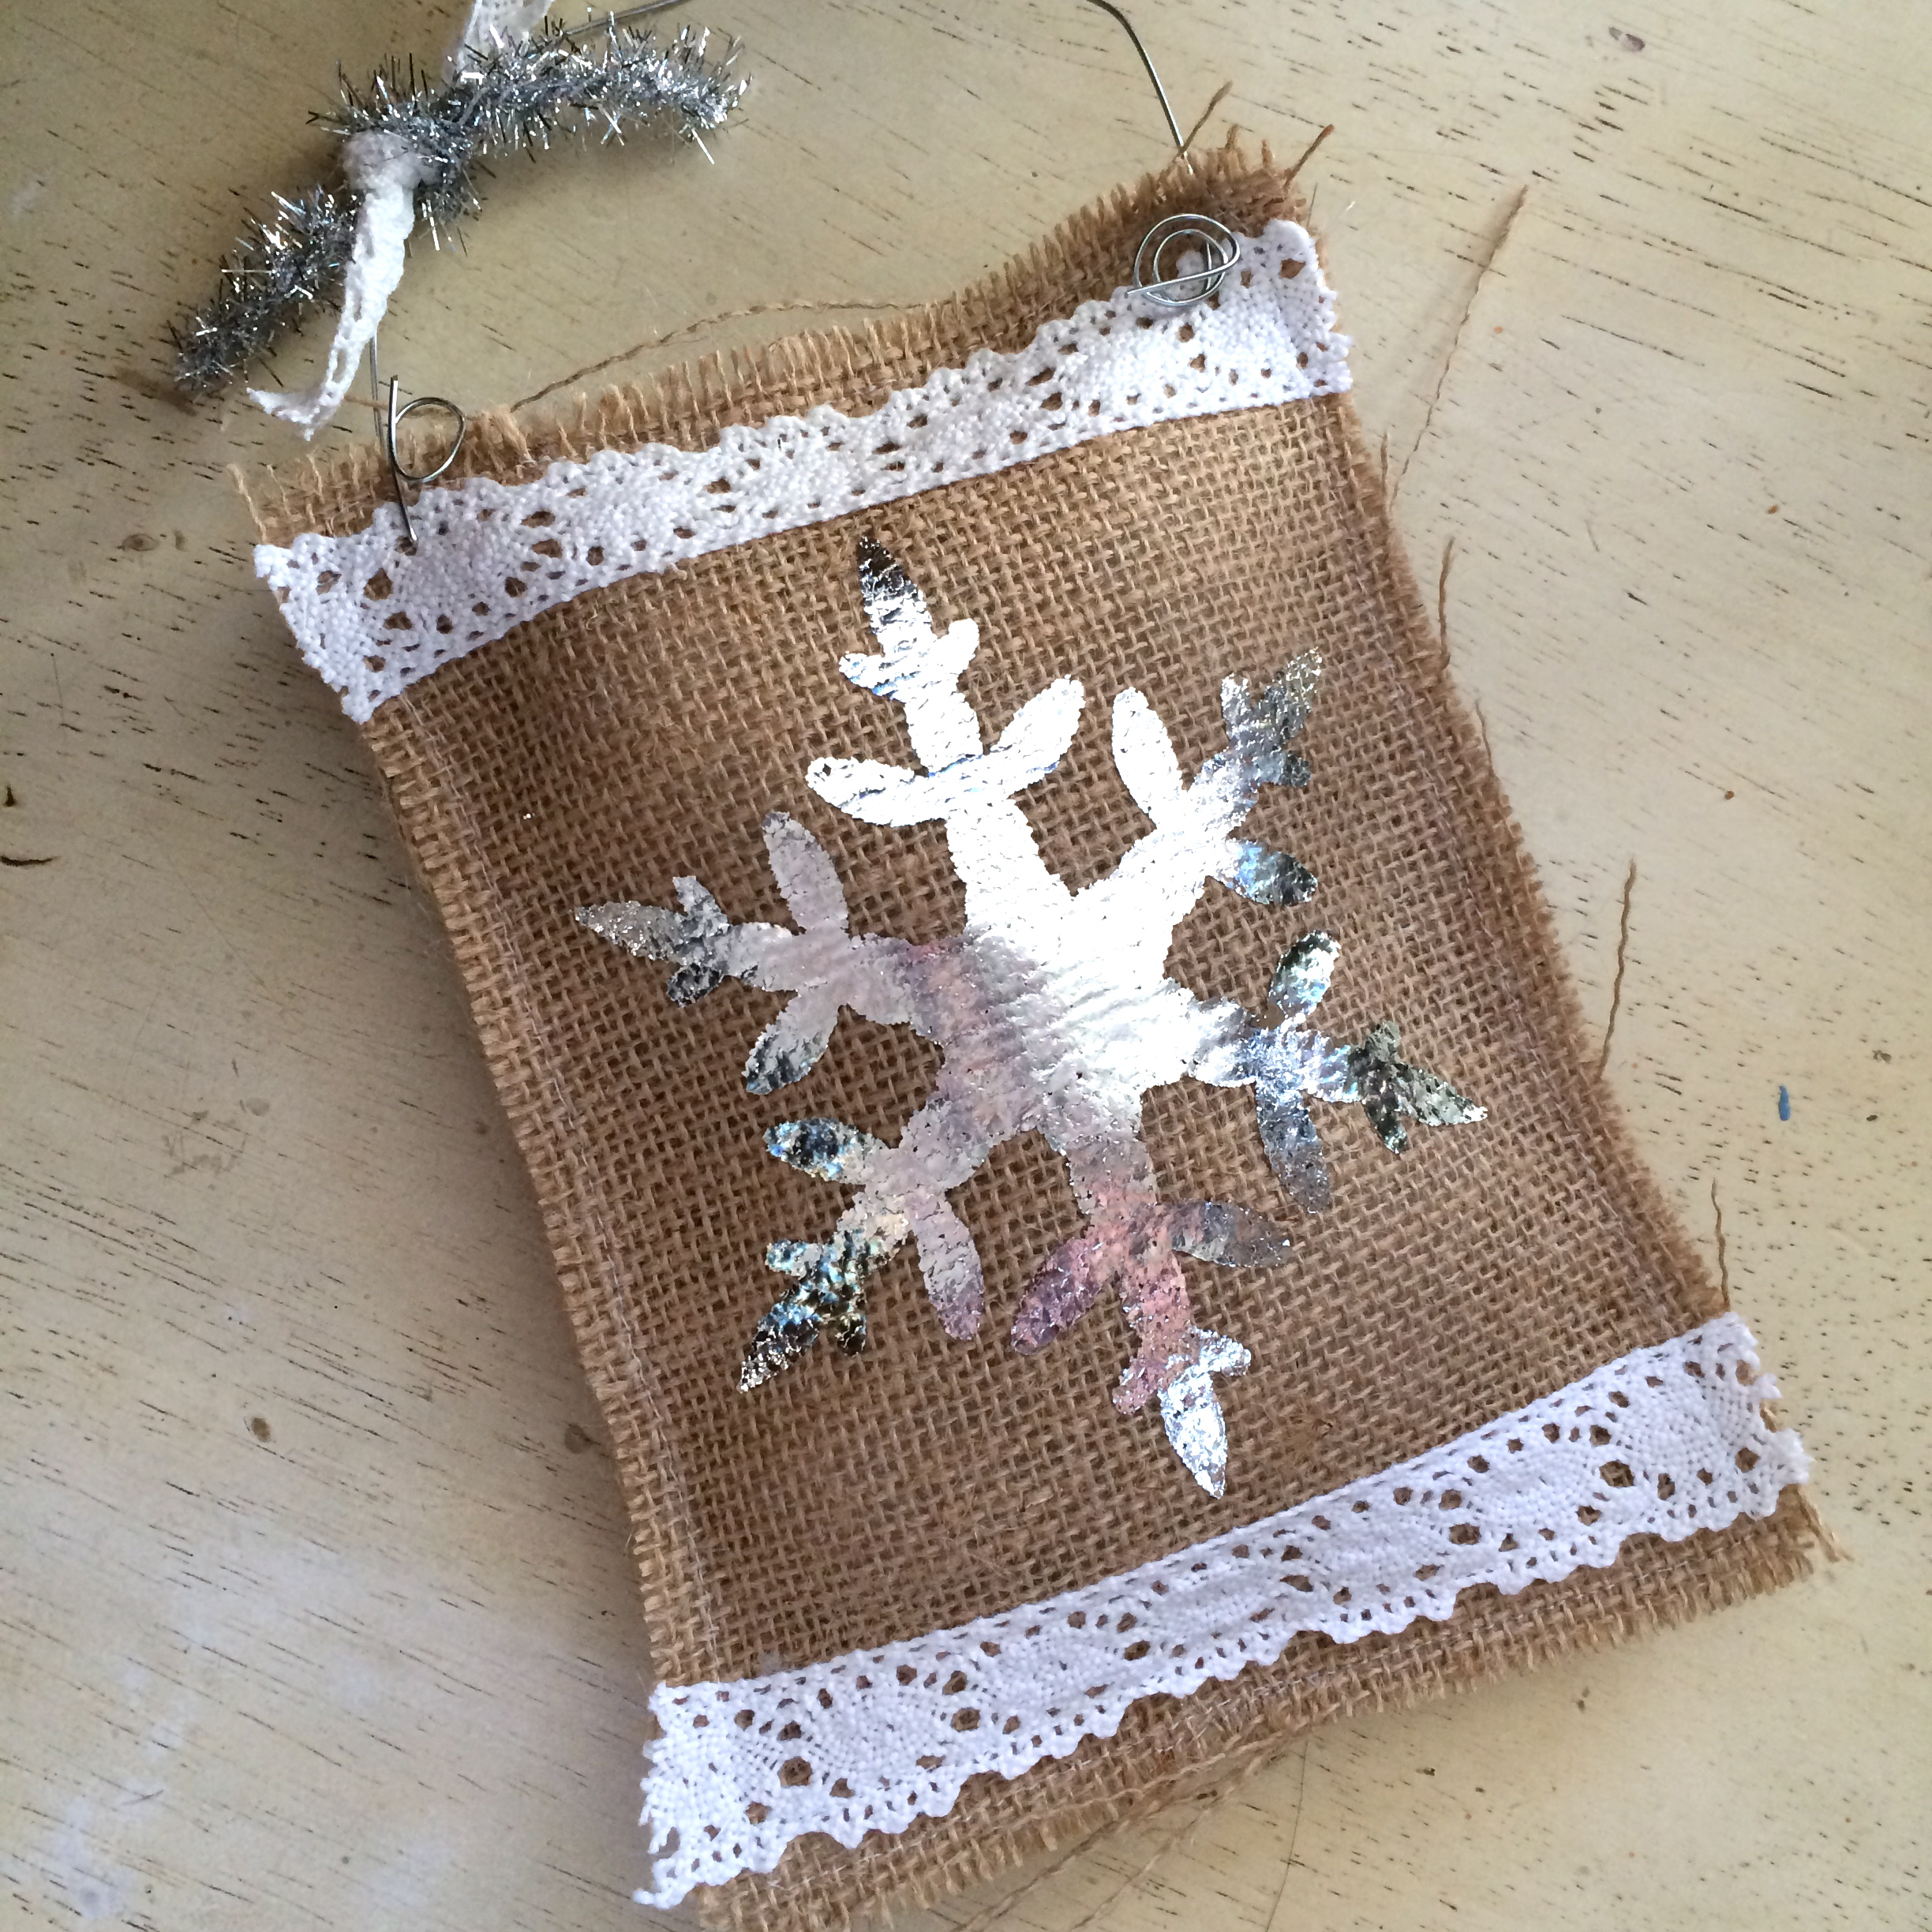
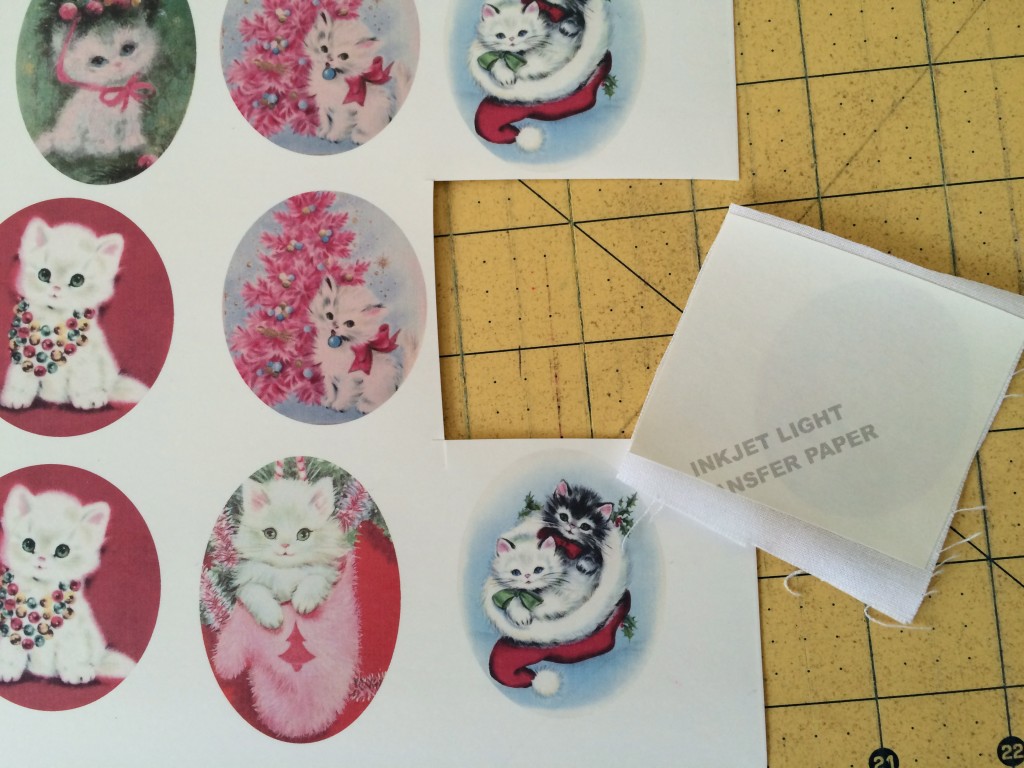
Gently peel off the foil leaving a beautiful snowflake!foil snoflake burlap ornament6

Cut 2 pieces of lace the 6″ and use Spray n Bond to position.  Sew lace on using white thread.
foil snoflake burlap ornament 8Pin the front piece to the back piece wrong sides together.  Top stitch all the way around the little pillow 1/4″ from the edge.  Leave a 2″ opening at the bottom.  Lightly stuff the pillow and sew the opening shut.

foil snoflake burlap ornament 18

Add a piece of wire and tie a decorative bow.  I like my burlap to look frayed, you can trim if you like a neater look 🙂

foil snoflake burlap ornament 10Take them to all your friends!!

Noel Mini Quilt

noel cover

Hello, my name is Amanda and I am addicted to gingerbread cookies and Christmas sewing!  I love this time of year!!!  It’s so happy and magical and joyful!  I can’t stop listening to Christmas music, baking cookies, or sewing with this Little Joys Fabric from Penny Rose!  I created this little quilt pattern using Therm o Web’s EZ print sheets.  All you have to do is print the applique pieces from your computer and you’re already on your way to making this quilt!  noel quilt 3

Mufasa was very helpful in the creation of this quilt as you can see.noel quilt 4The pattern is over on the Therm O Web blog today!  Hop on over to download the pattern and get the cutting instructions!!

noel quilt 5This quilt is perfect to hang on a wall, put on a table, or give as a gift to someone special.

noel quilt 13Because most of this quilt is applique, I didn’t want the applique pieces to puff out from the quilt so I quilted over the entire top.

noel quilt 11Merry Christmas!!


Holly Jolly Jingle Bell Key Fobs

christmas key fobI whipped up a few of these Jingle Bell Key Fobs because it’s nice to jingle everywhere you go in December!  They make fun gifts and I really do love having one on my key chain.  If you would like the tutorial, click HERE.

12 Days of Meow-y Christmas {Day 1}

vintage kitty sizzix ornament

meowychristmasHi, my name is Amanda and I am a crazy cat lady – there I said it!!  There is something about Christmas and cats that it so much fun!  Whether the cat is climbing the tree and batting ornaments around the house, clawing at the wrapping paper on the gifts, or drinking the milk for Santa, Christmas and Cats were made to go together!  Each day December 1-12 we will have a Christmas Cat themed project for you to make!  I say “we” because I have teamed up with some talented ladies for some feline fun!  Tina from @emilyannskloset, Melissa from the Polka Dot Chair, Bev from Flamingo Toes, Tasha  from a Little Sweetness, Kerri from Sew Dearly Loved, and Lucy from Lucy Blaire Handmade will be joining in the festivities!

vintage kitty ornament sizzix

vintage cat ornament 12Today I am showing you how to make these vintage inspired cat ornaments.  I LOVE vintage prints especially if they involve cats.  Let’s get started!

Supplies

Sizzix Mitten Die

Small Ric Rac

White fabric

Tinsel

Felt, 2 colors

Heat n Bond EZ Print Transfer Sheets

Spray n Bond

Ribbon

Bakers Twine

vintage cat ornament 5Begin by printing the cat images (click here to download) in REVERSE onto the Transfer Sheets.

vintage cat ornament

Roughly cut out the image and place it face down onto white cotton fabric.

vintage cat ornament 6Place the pressing sheet over the image and press with a hot, dry iron for 20 seconds.  (Read the instructions from the manufacturer just to be safe).  Let cool completely and then peel off the backing paper.  Cut out with scissors.

vintage cat ornament 11Mufasa my Kitty Helper was sleeping on the job!!!  For the mittens, die cut the felt using the Sizzix mitten die.

Screen Shot 2015-11-30 at 9.02.43 PM

You can die cut up to 4 at a time.   You will need (2) mittens and (2) mitten tops per ornament.

vintage cat ornament 2Using Spray n Bond, spray the back of the kitty image and position on the top of one of the mittens.  Spray the back of the small ric rac also, and position it around the kitty image.  Start and stop the Ric Rac at the top of the image.  The Spray n Bond keeps all the pieces firmly set so they don’t move during sewing.  Sew on top of the ric rac.

vintage cat ornament 14

vintage cat ornament 3Using the basting spray, spray the wrong side of one of the mittens and stick the 2 mittens together.  Choose a decorative stitch and sew around the mitten.  Start and stop at the top.

vintage cat ornament 15Spray the (2) white mitten tops with basting spray and position them on opposite sides of the mitten.  Top stitch around the mitten top in white thread.  Cut a piece of narrow tinsel by the yard and zig zag it along the mitten cuff.

vintage cat ornament 9Thread a piece of baking twine on a needle and add a loop at the top of the mitten.  Hot glue a little bow at the top of the ric rac.vintage cat ornament 4

Hang on your vintage tree!!!   vintage cat ornament 8       These are so fun and easy to make!  They would be purrrrfect tied on top of a gift, tied on a plate of cookies, or simply tucked into a Christmas card 🙂vintage cat ornamentvintage kitty ornament sizzix 3

vintage kitty ornament sizzix 2

Little Joys Quilt Tutorial

little-joys-quilt
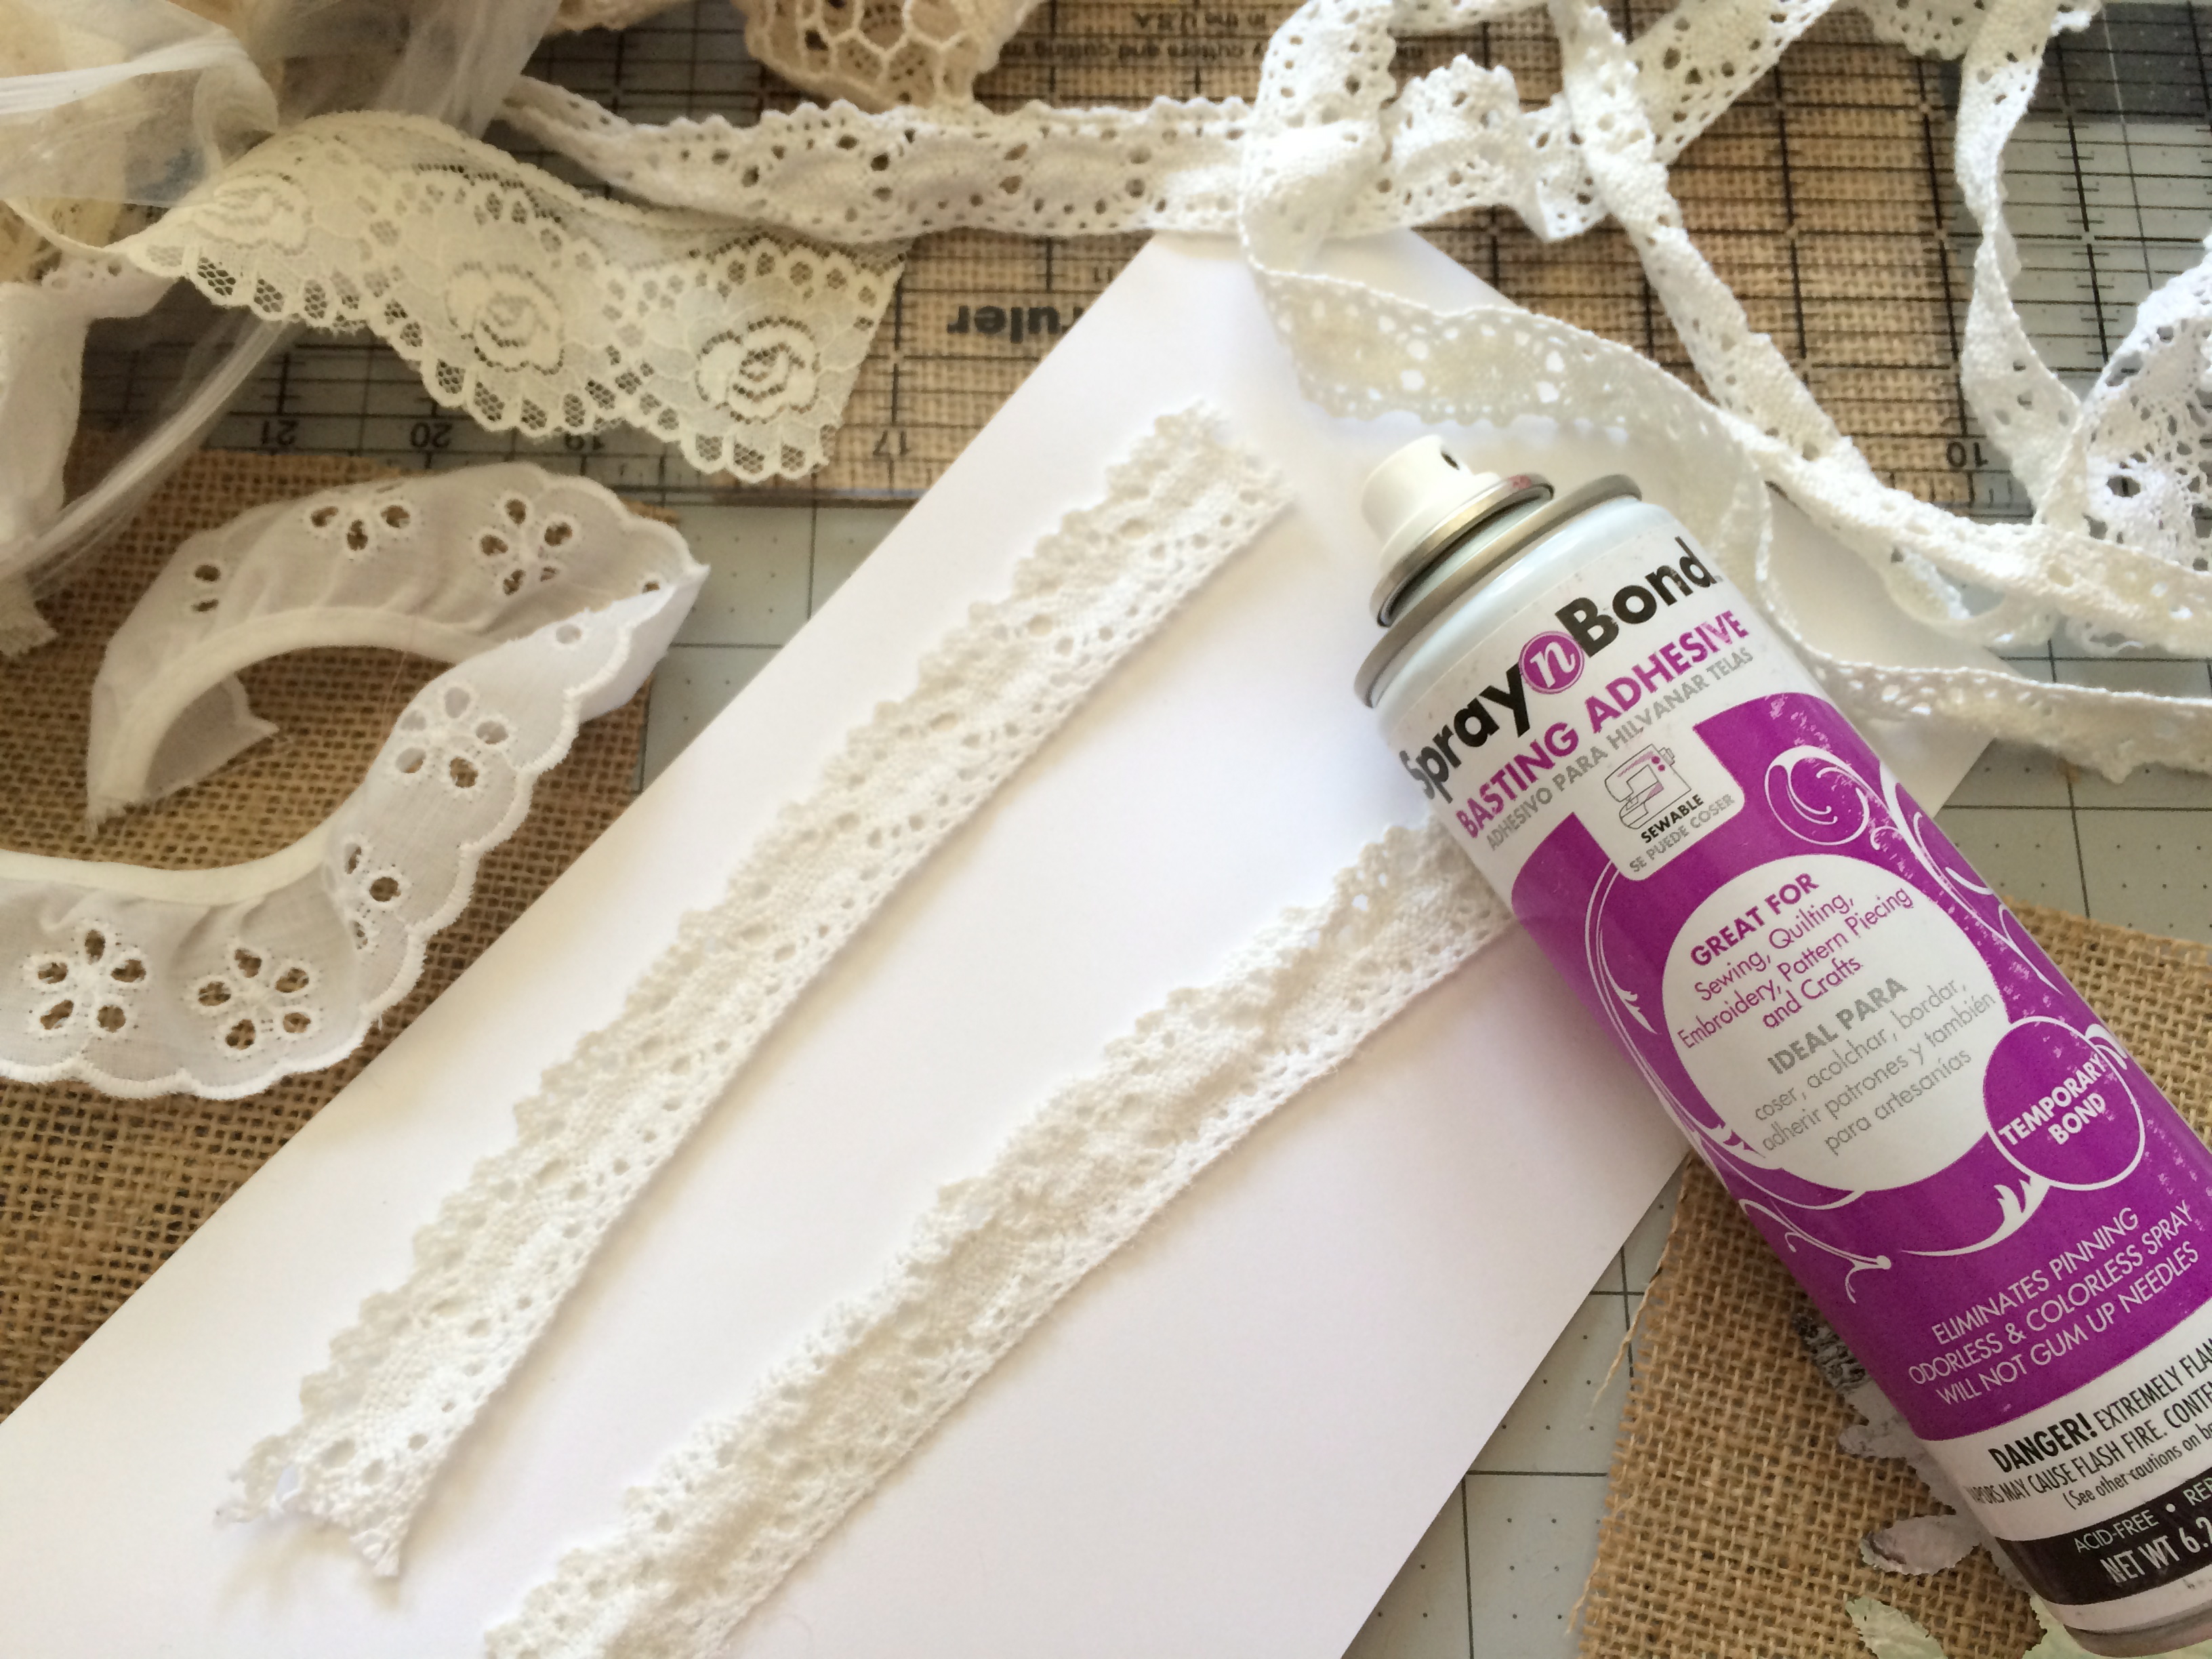
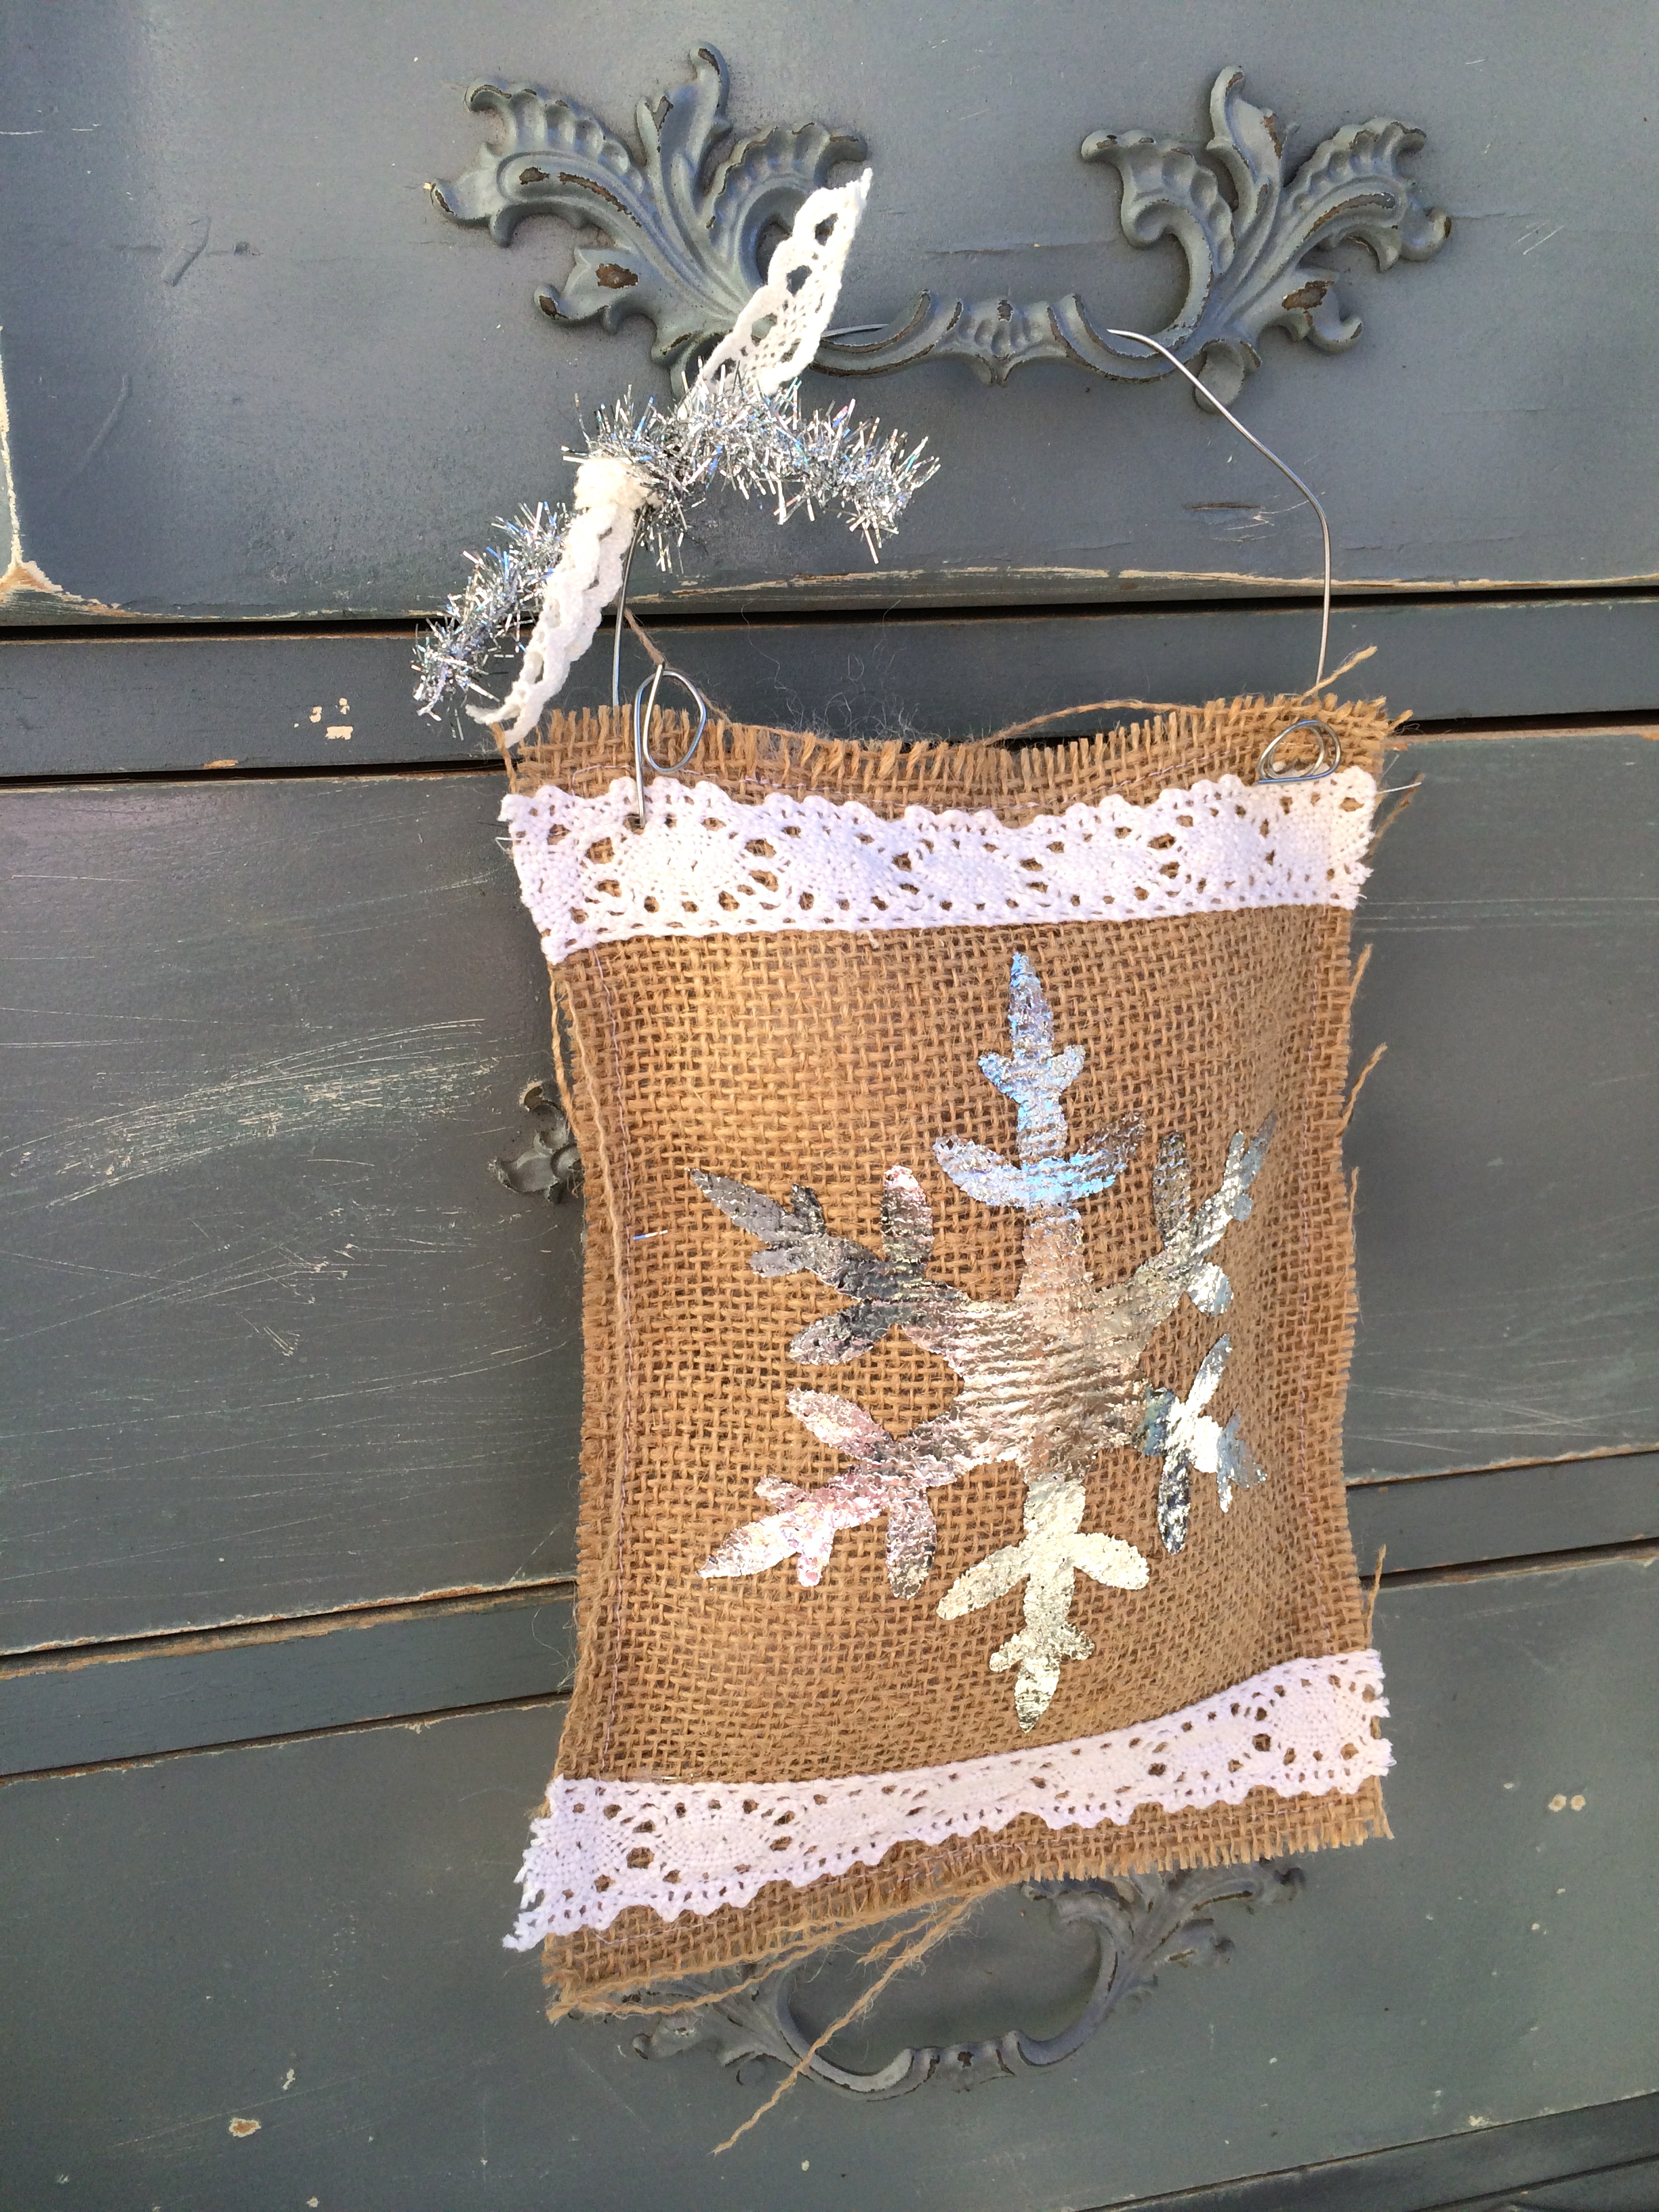
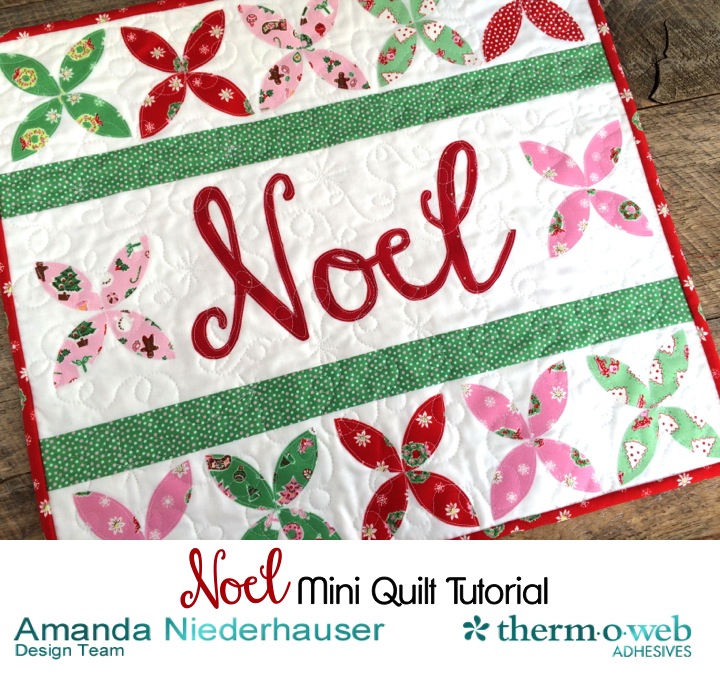
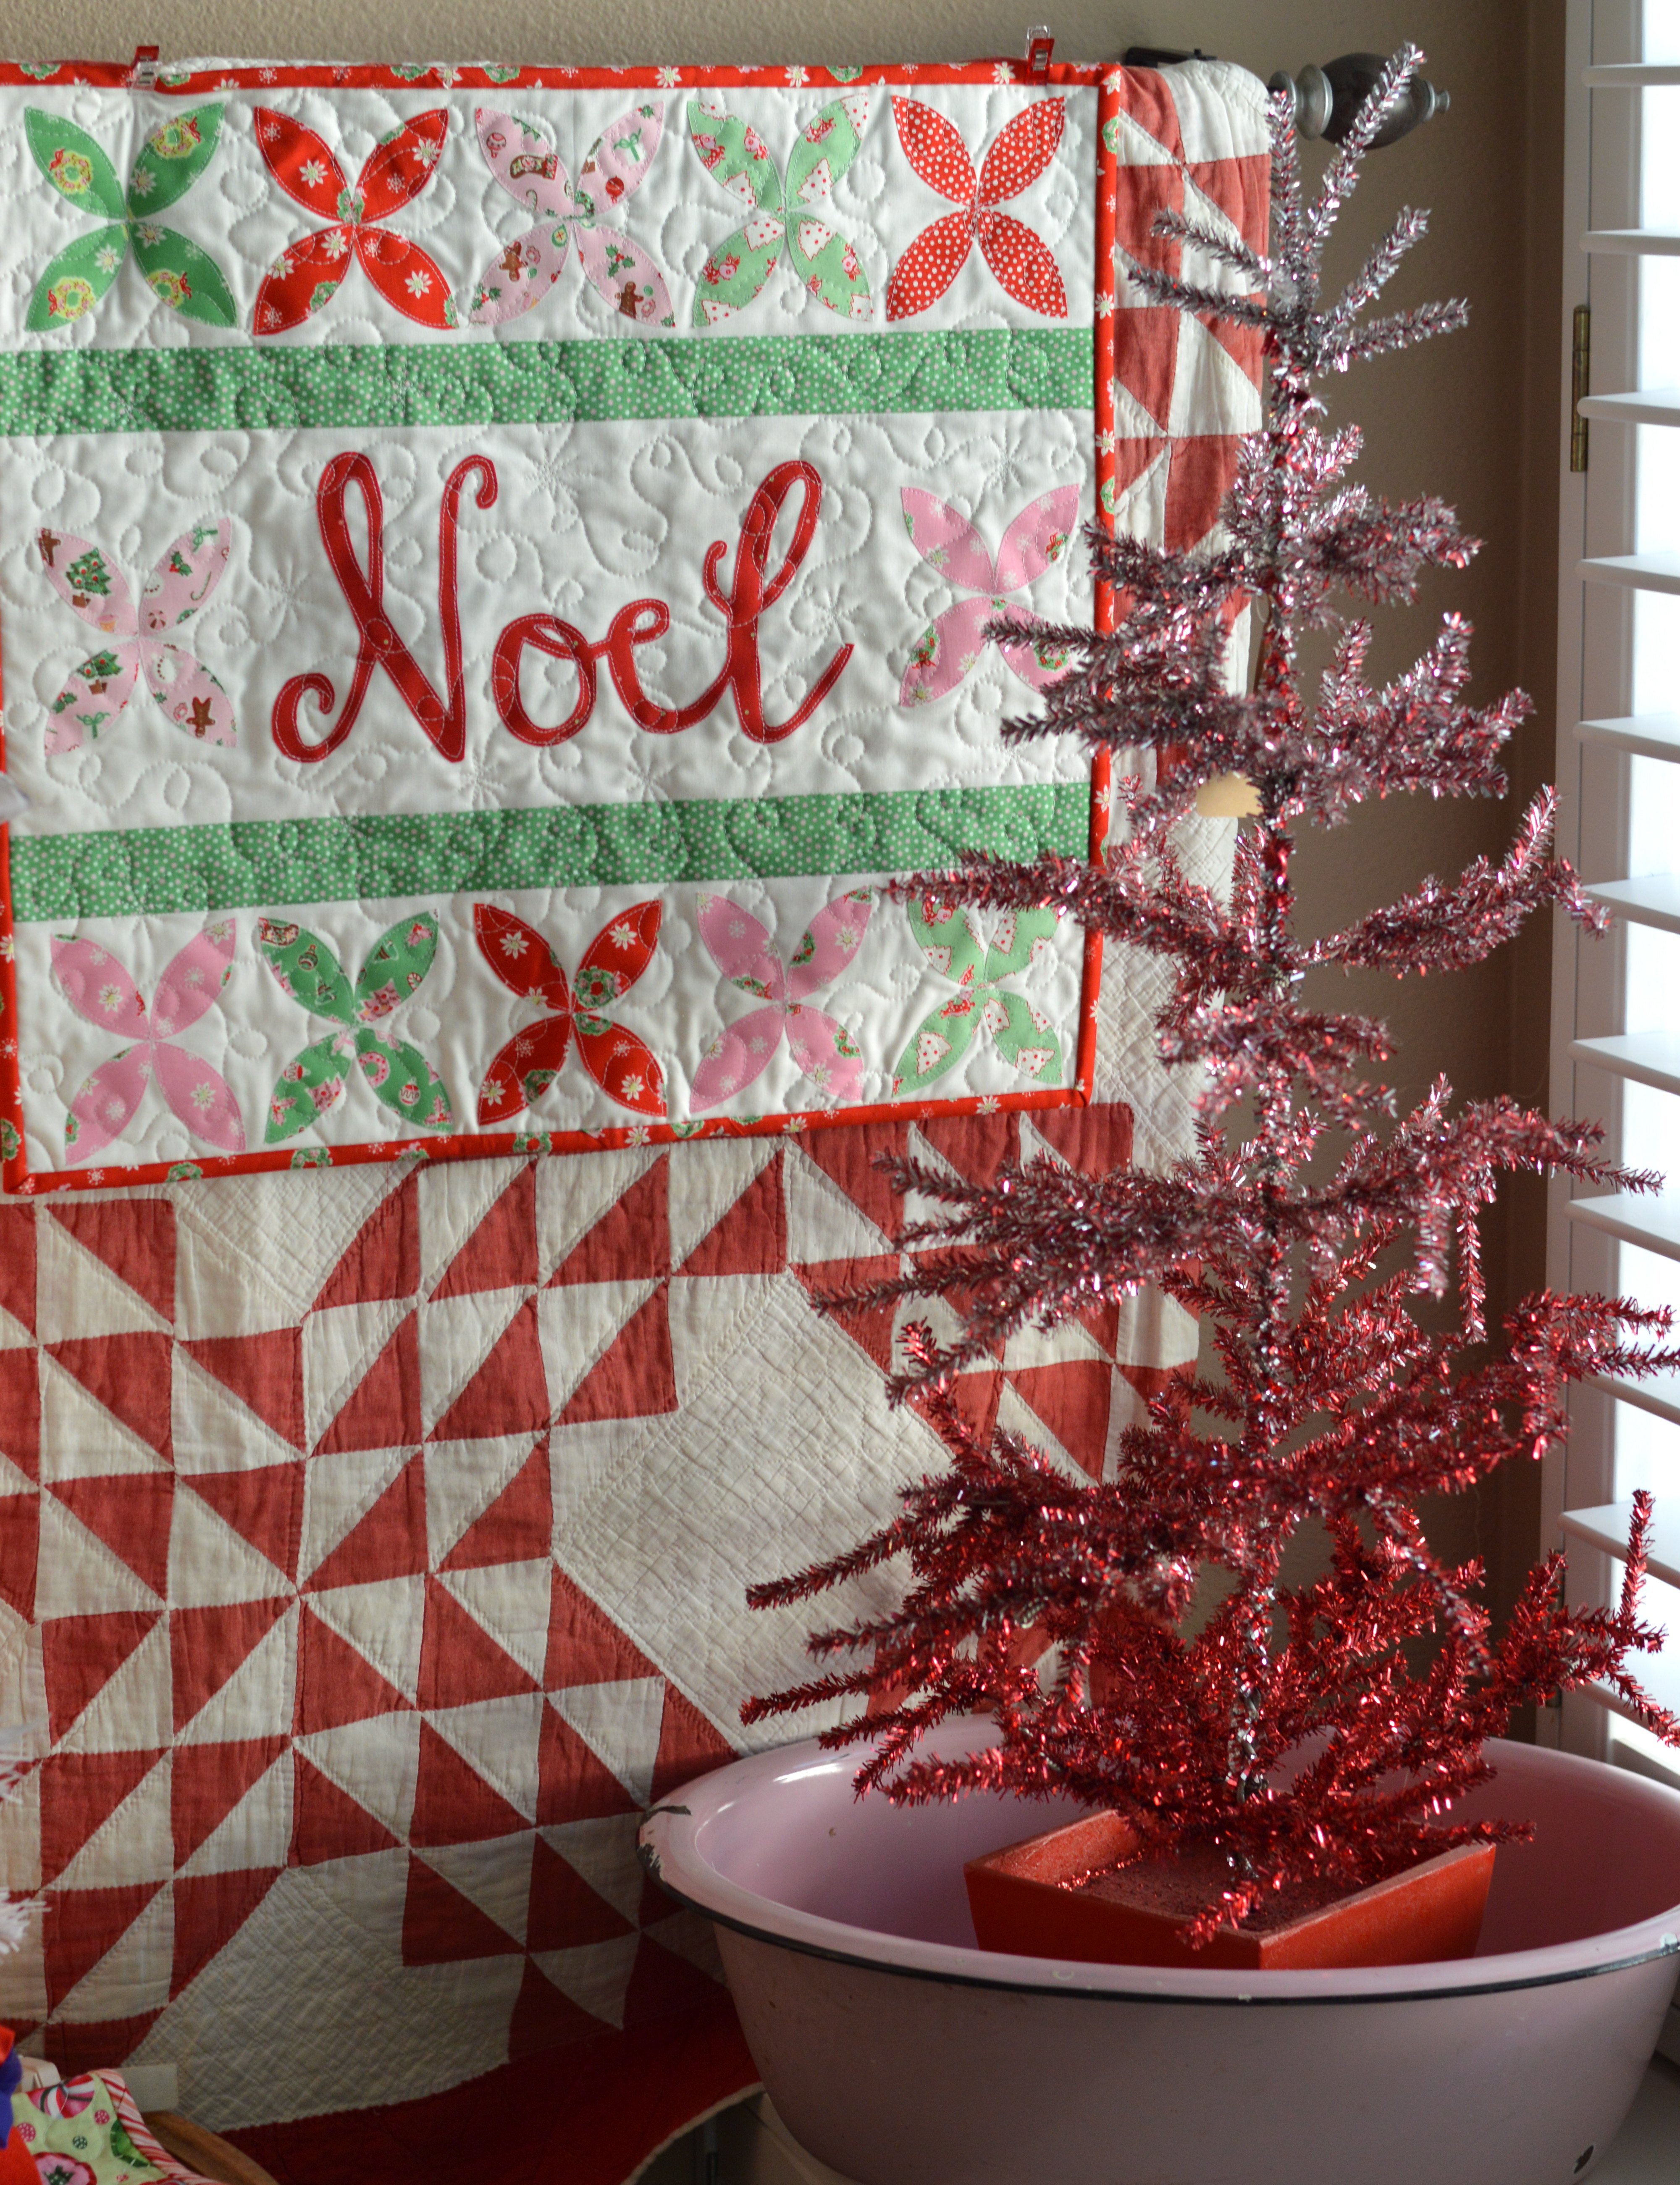
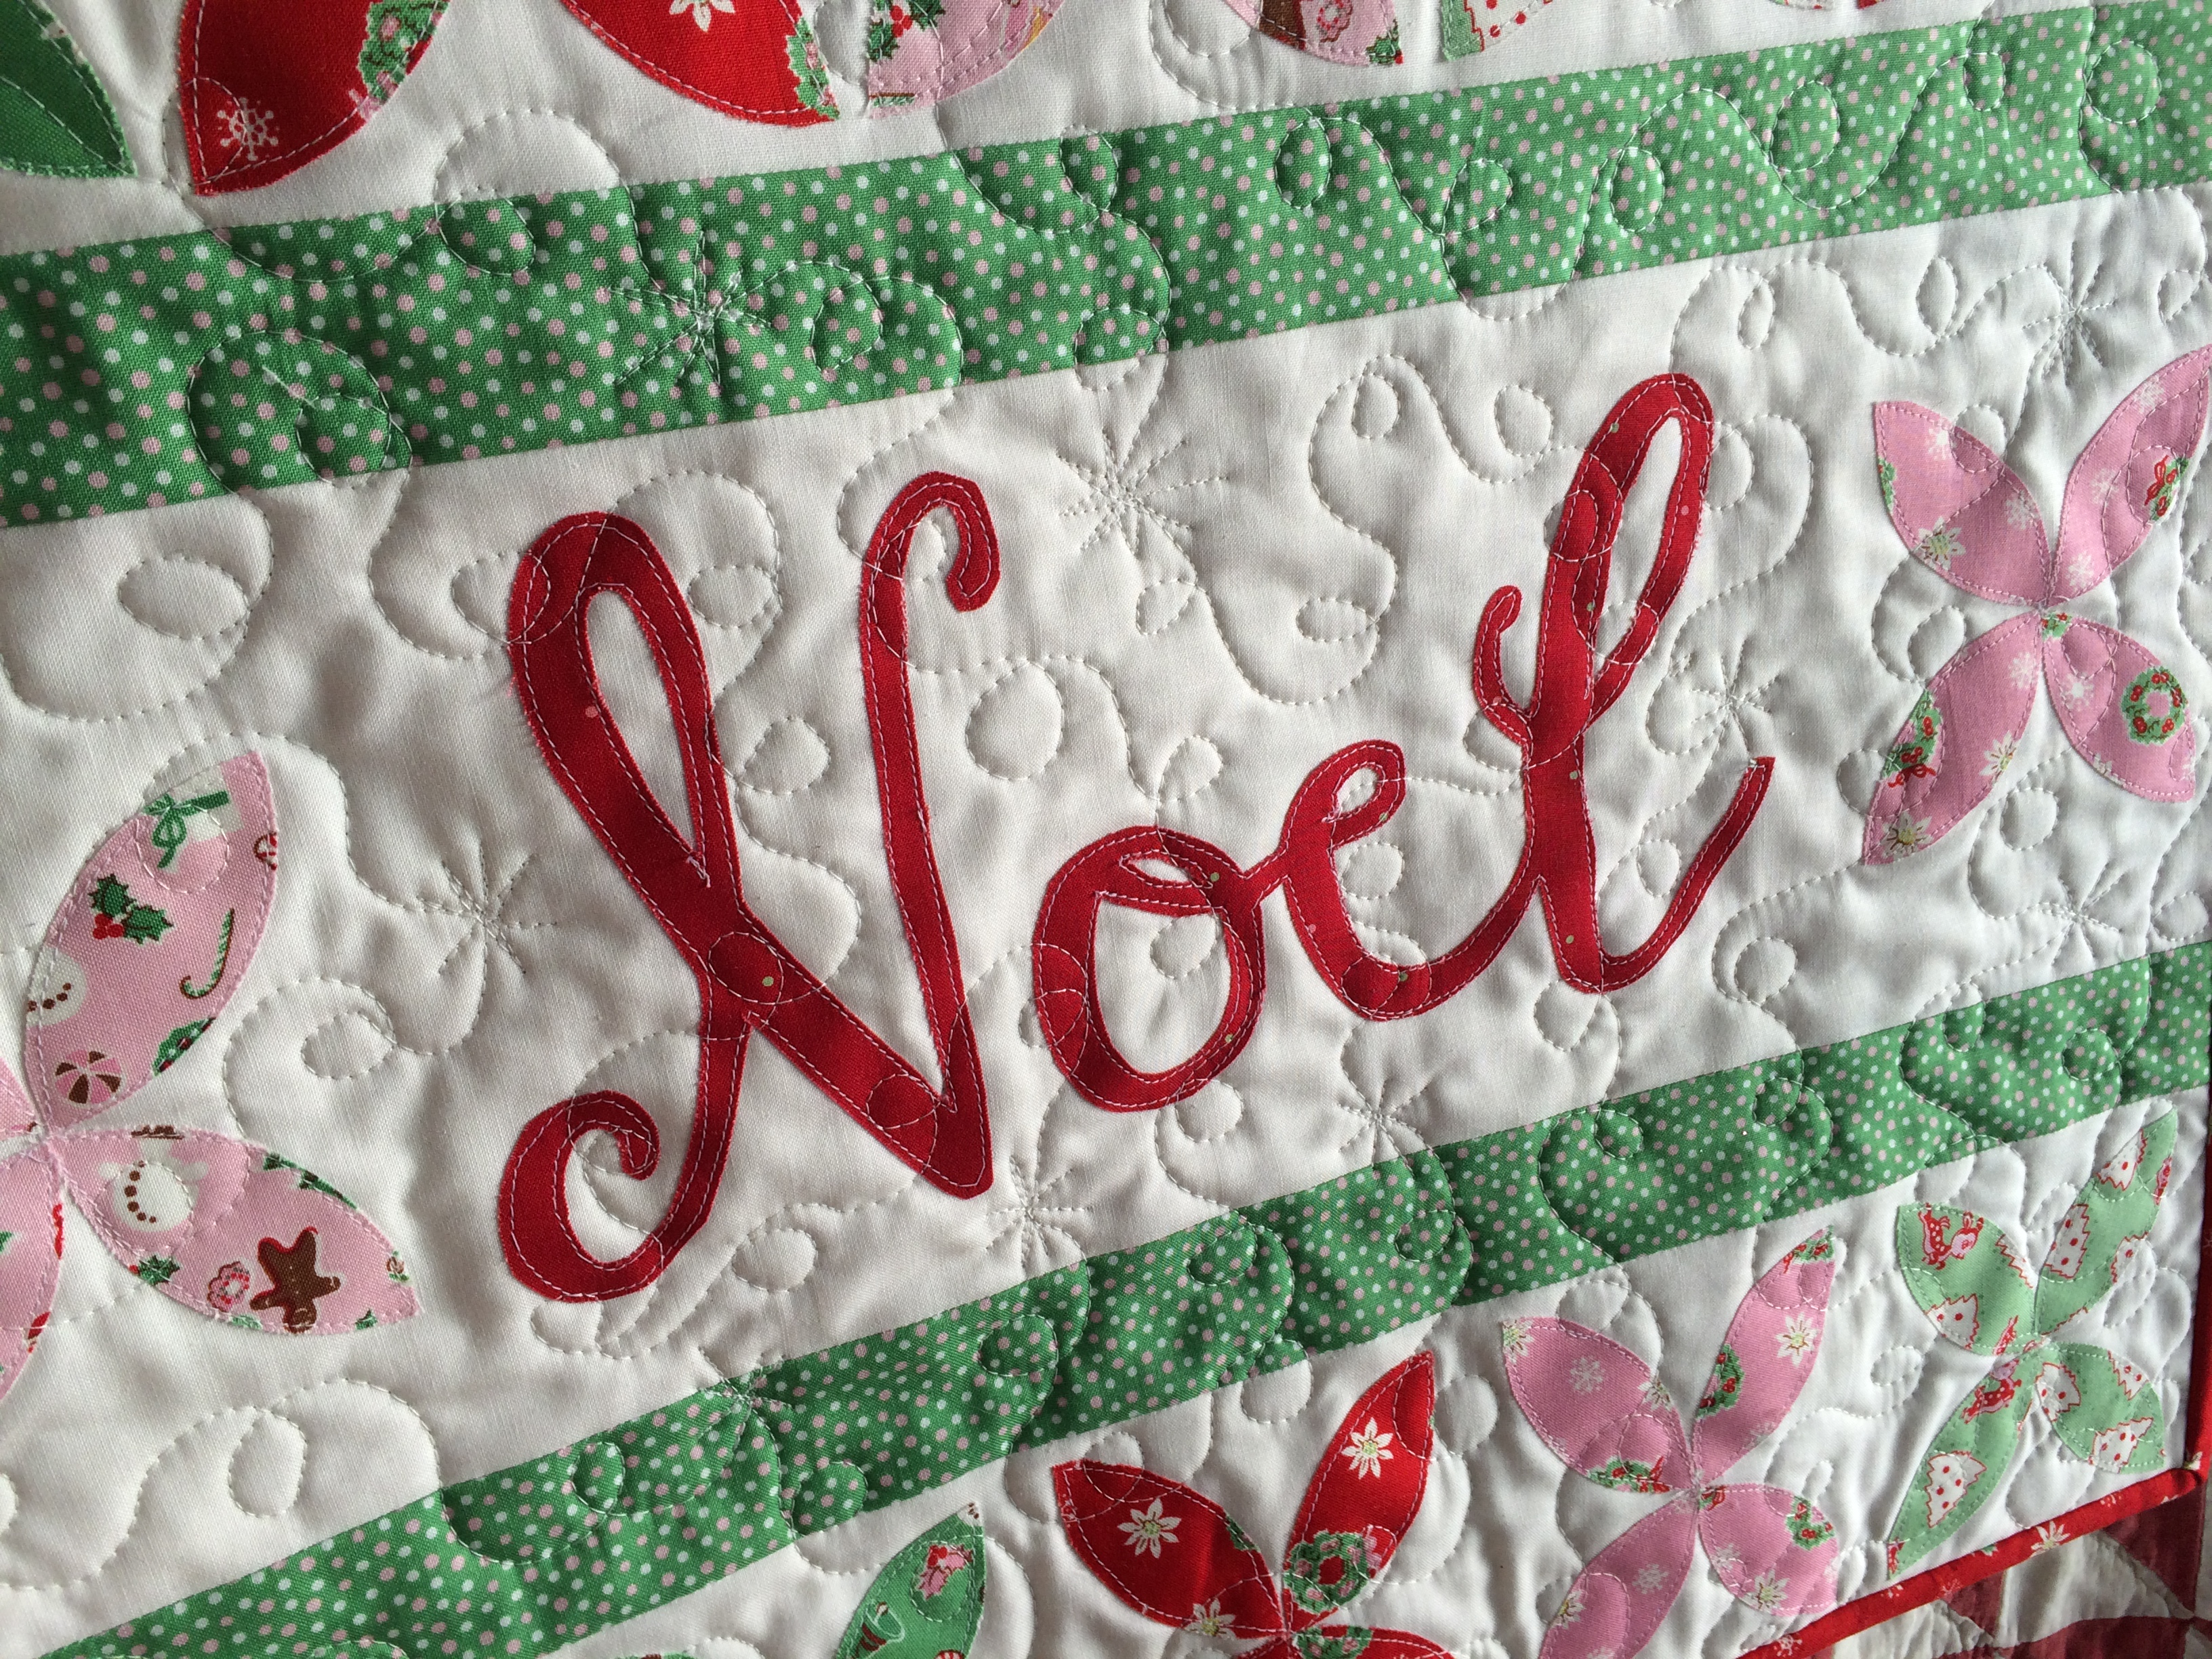
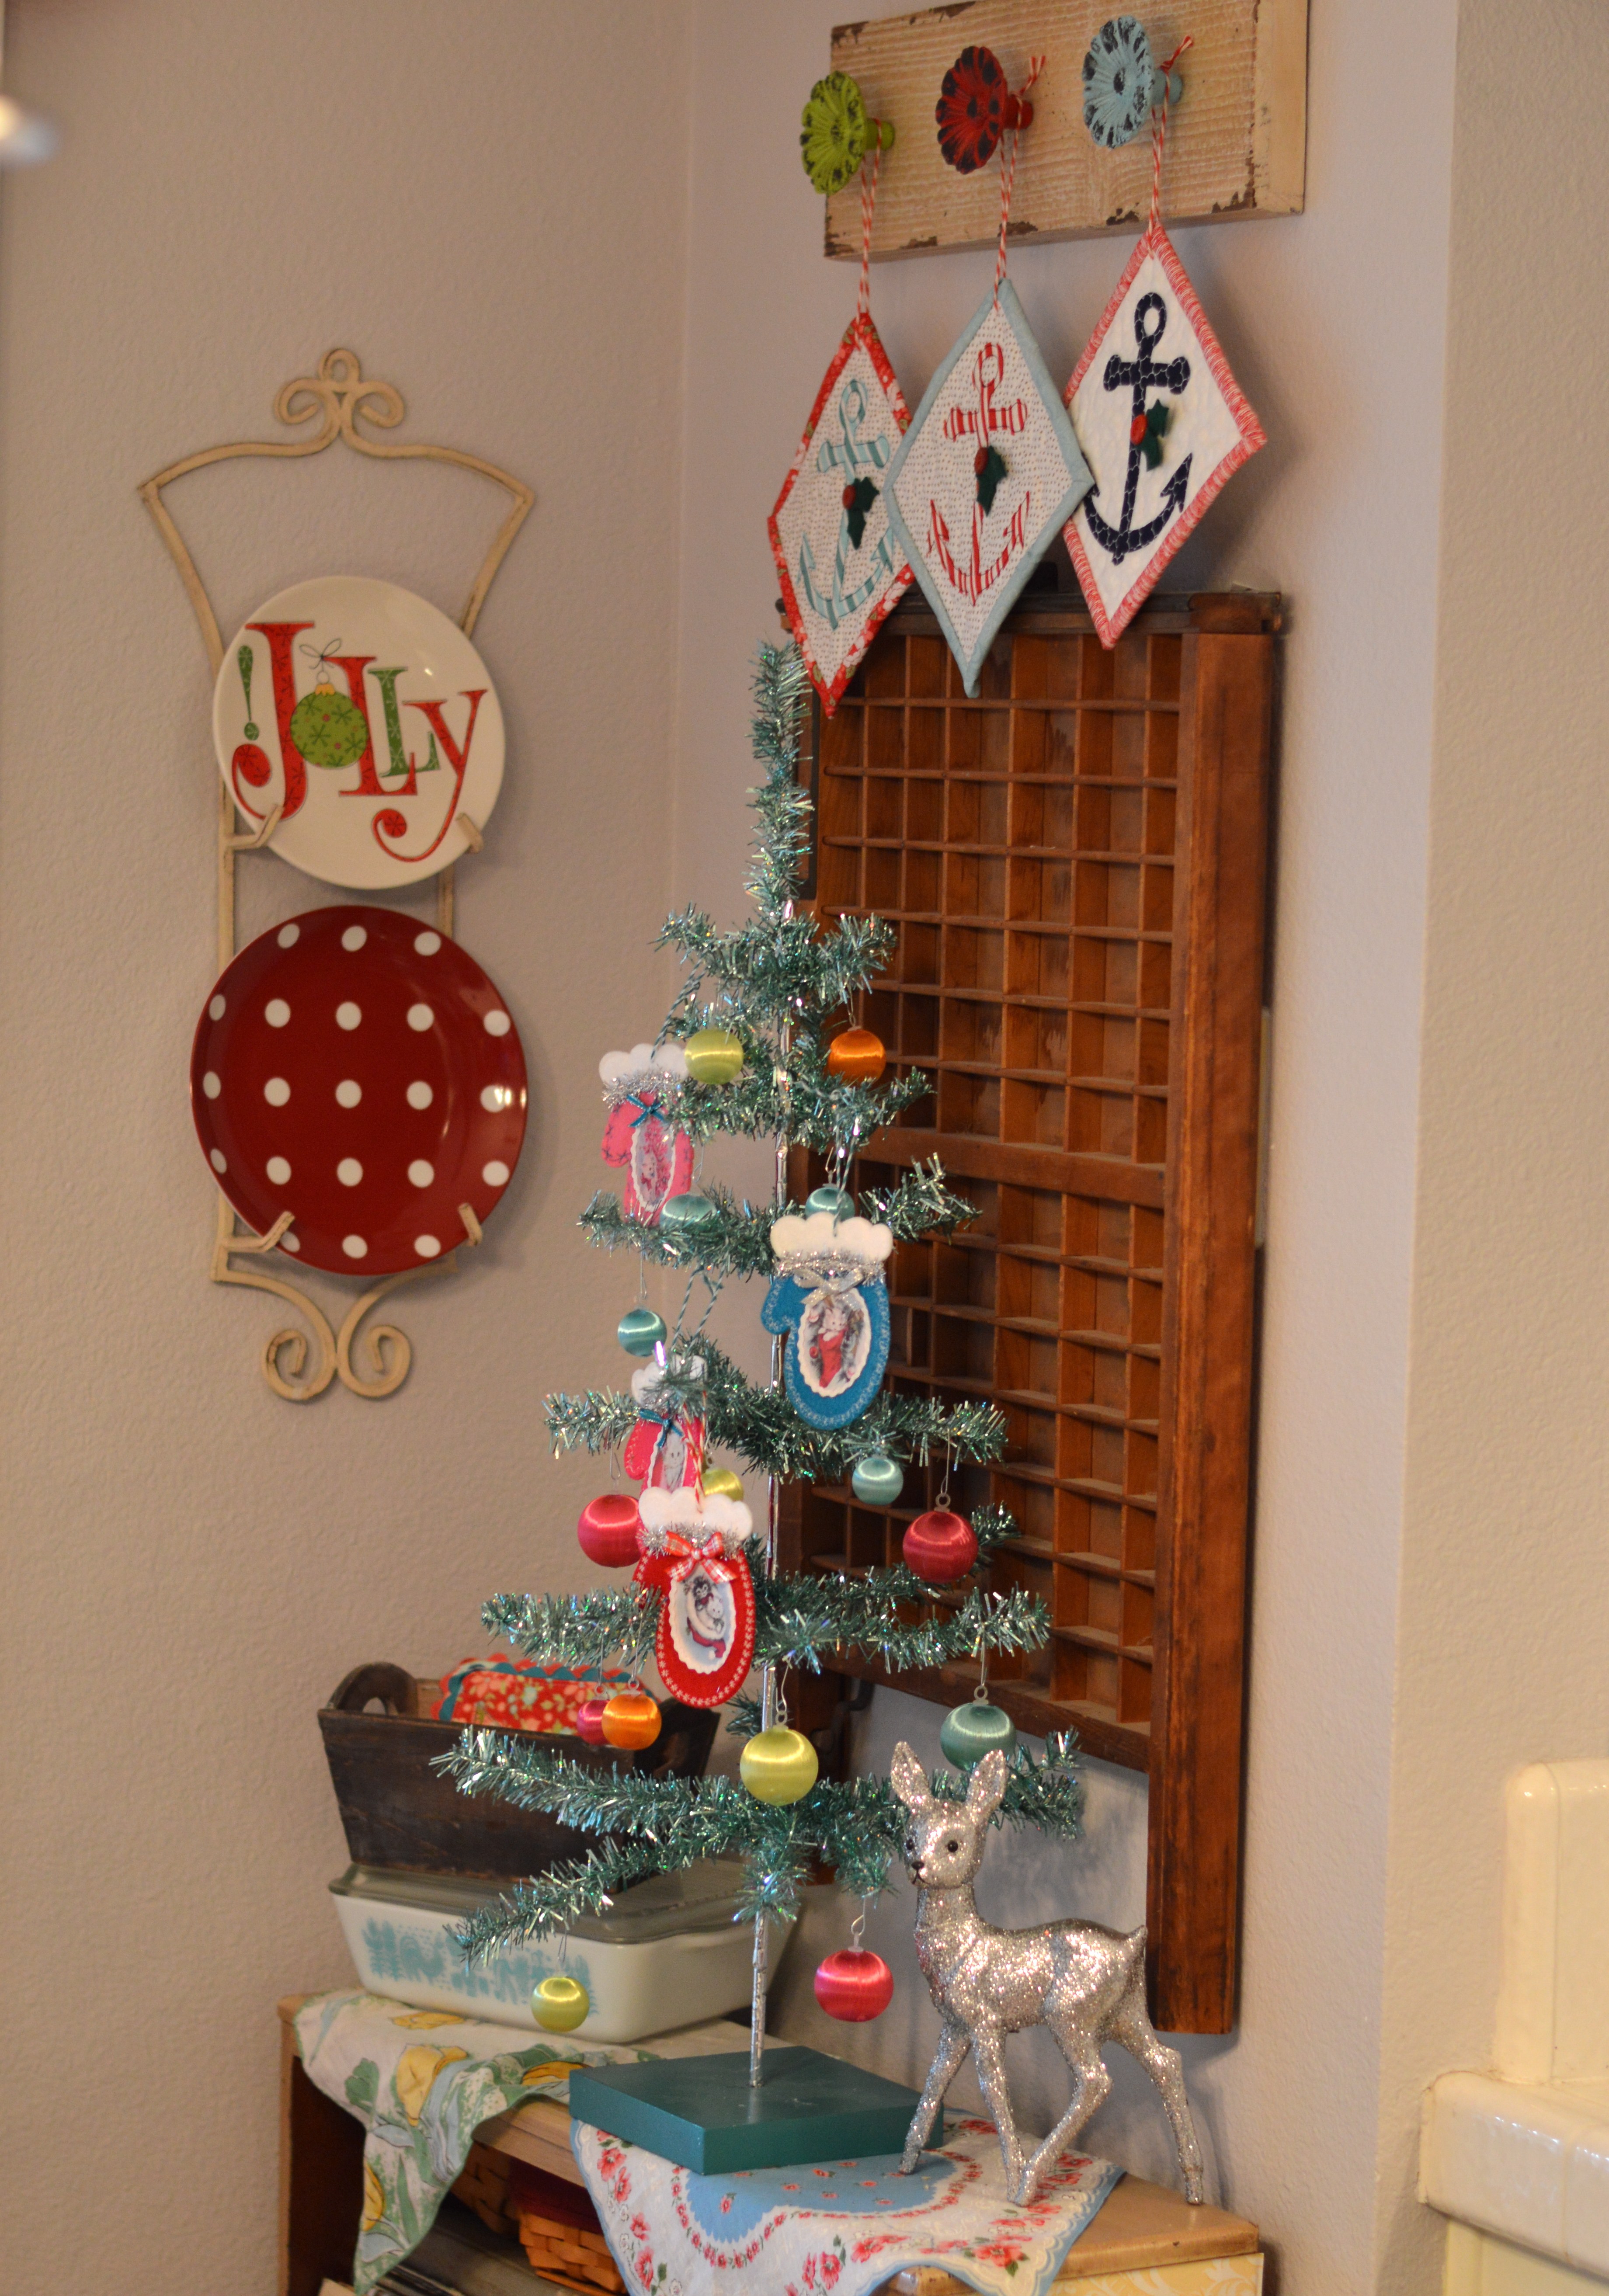
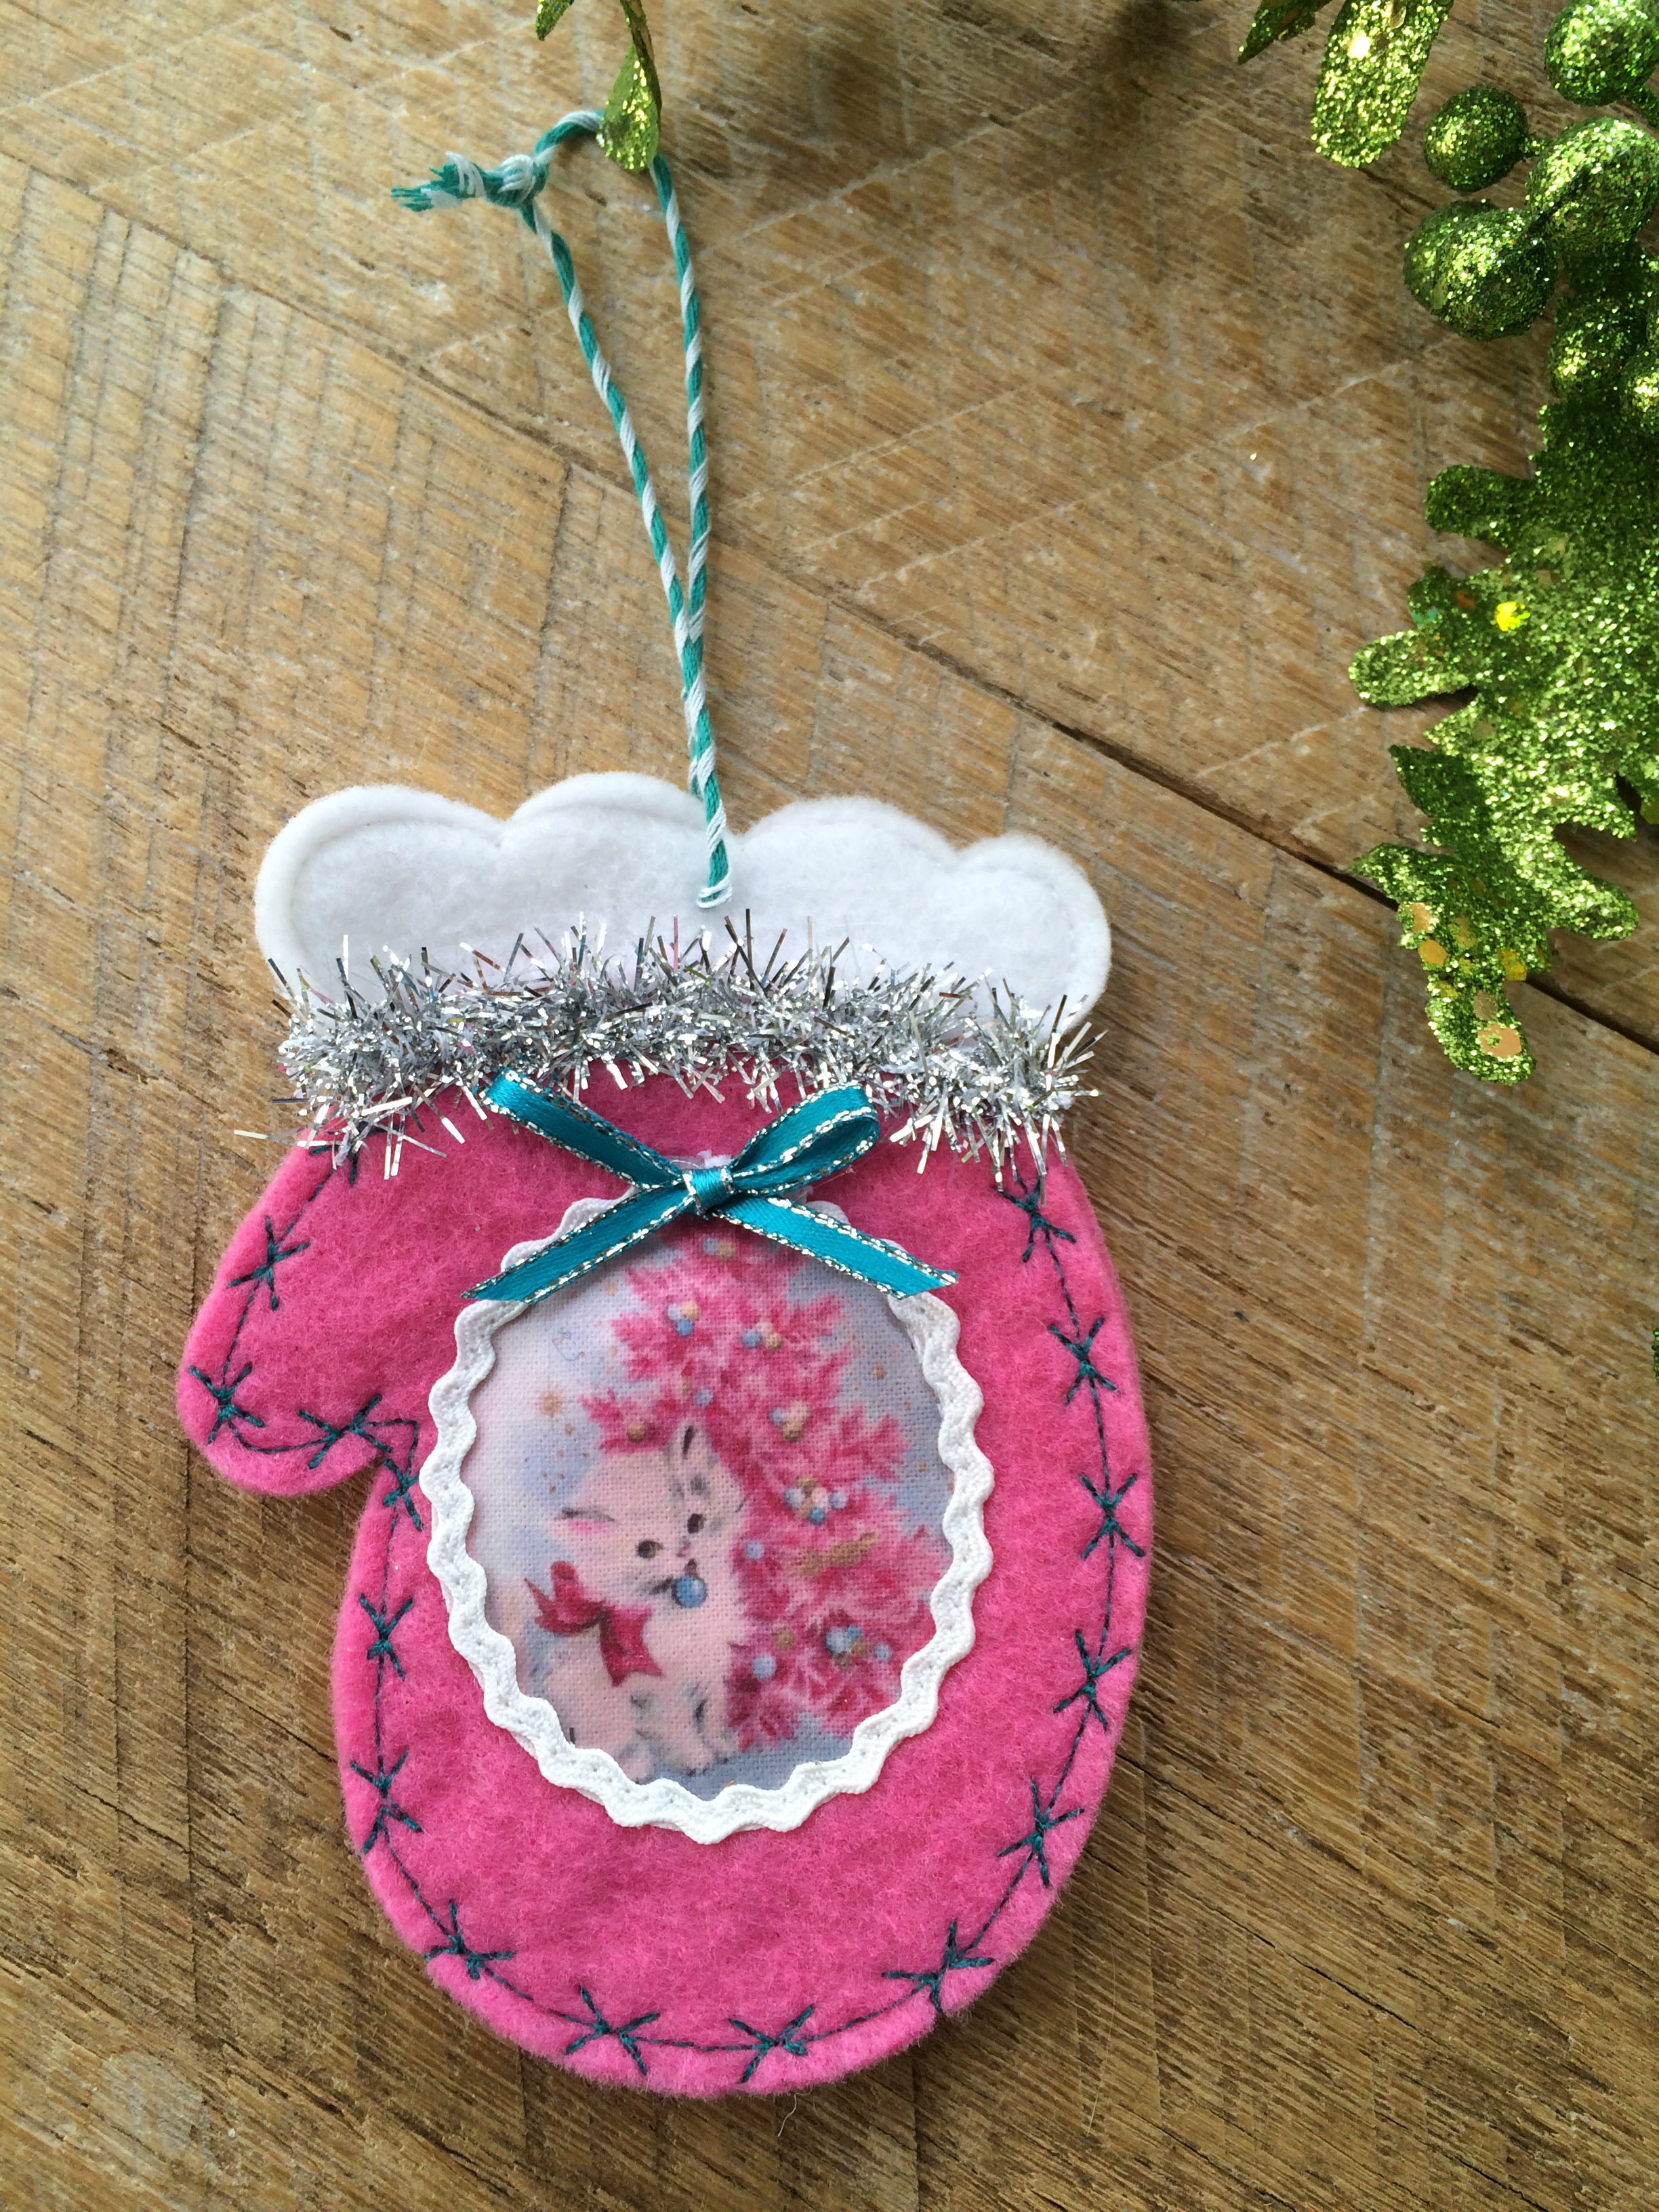
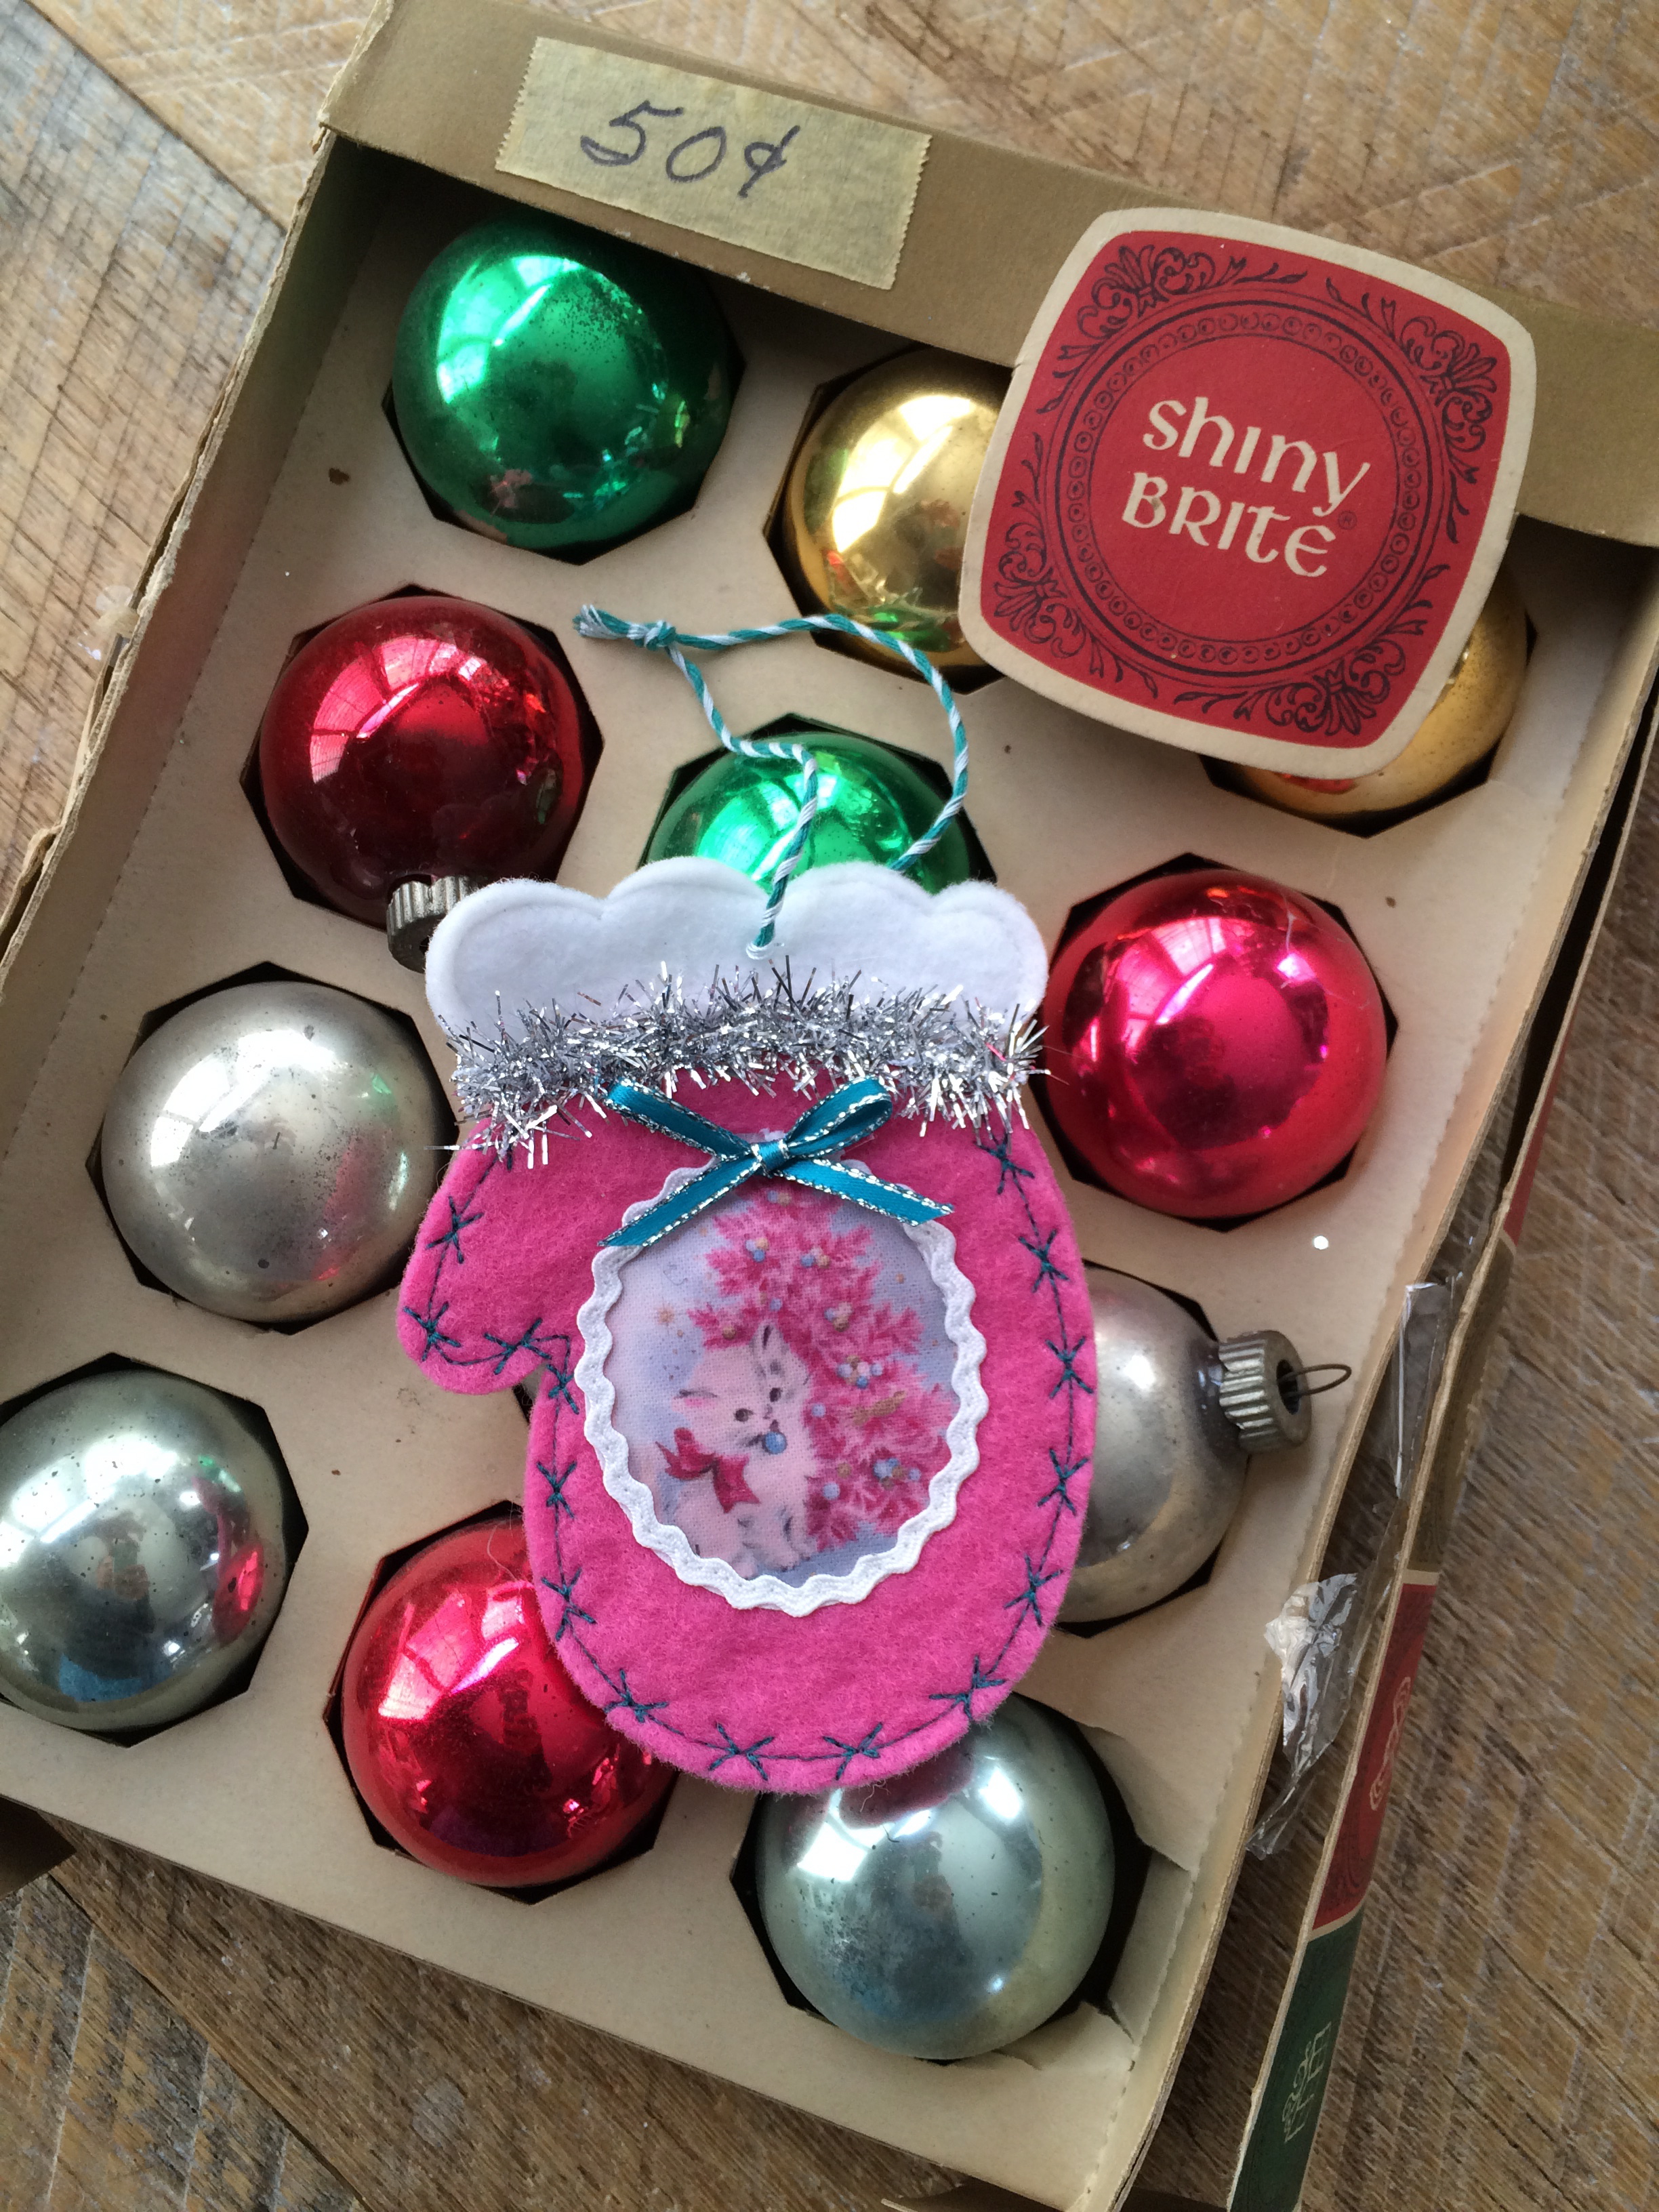
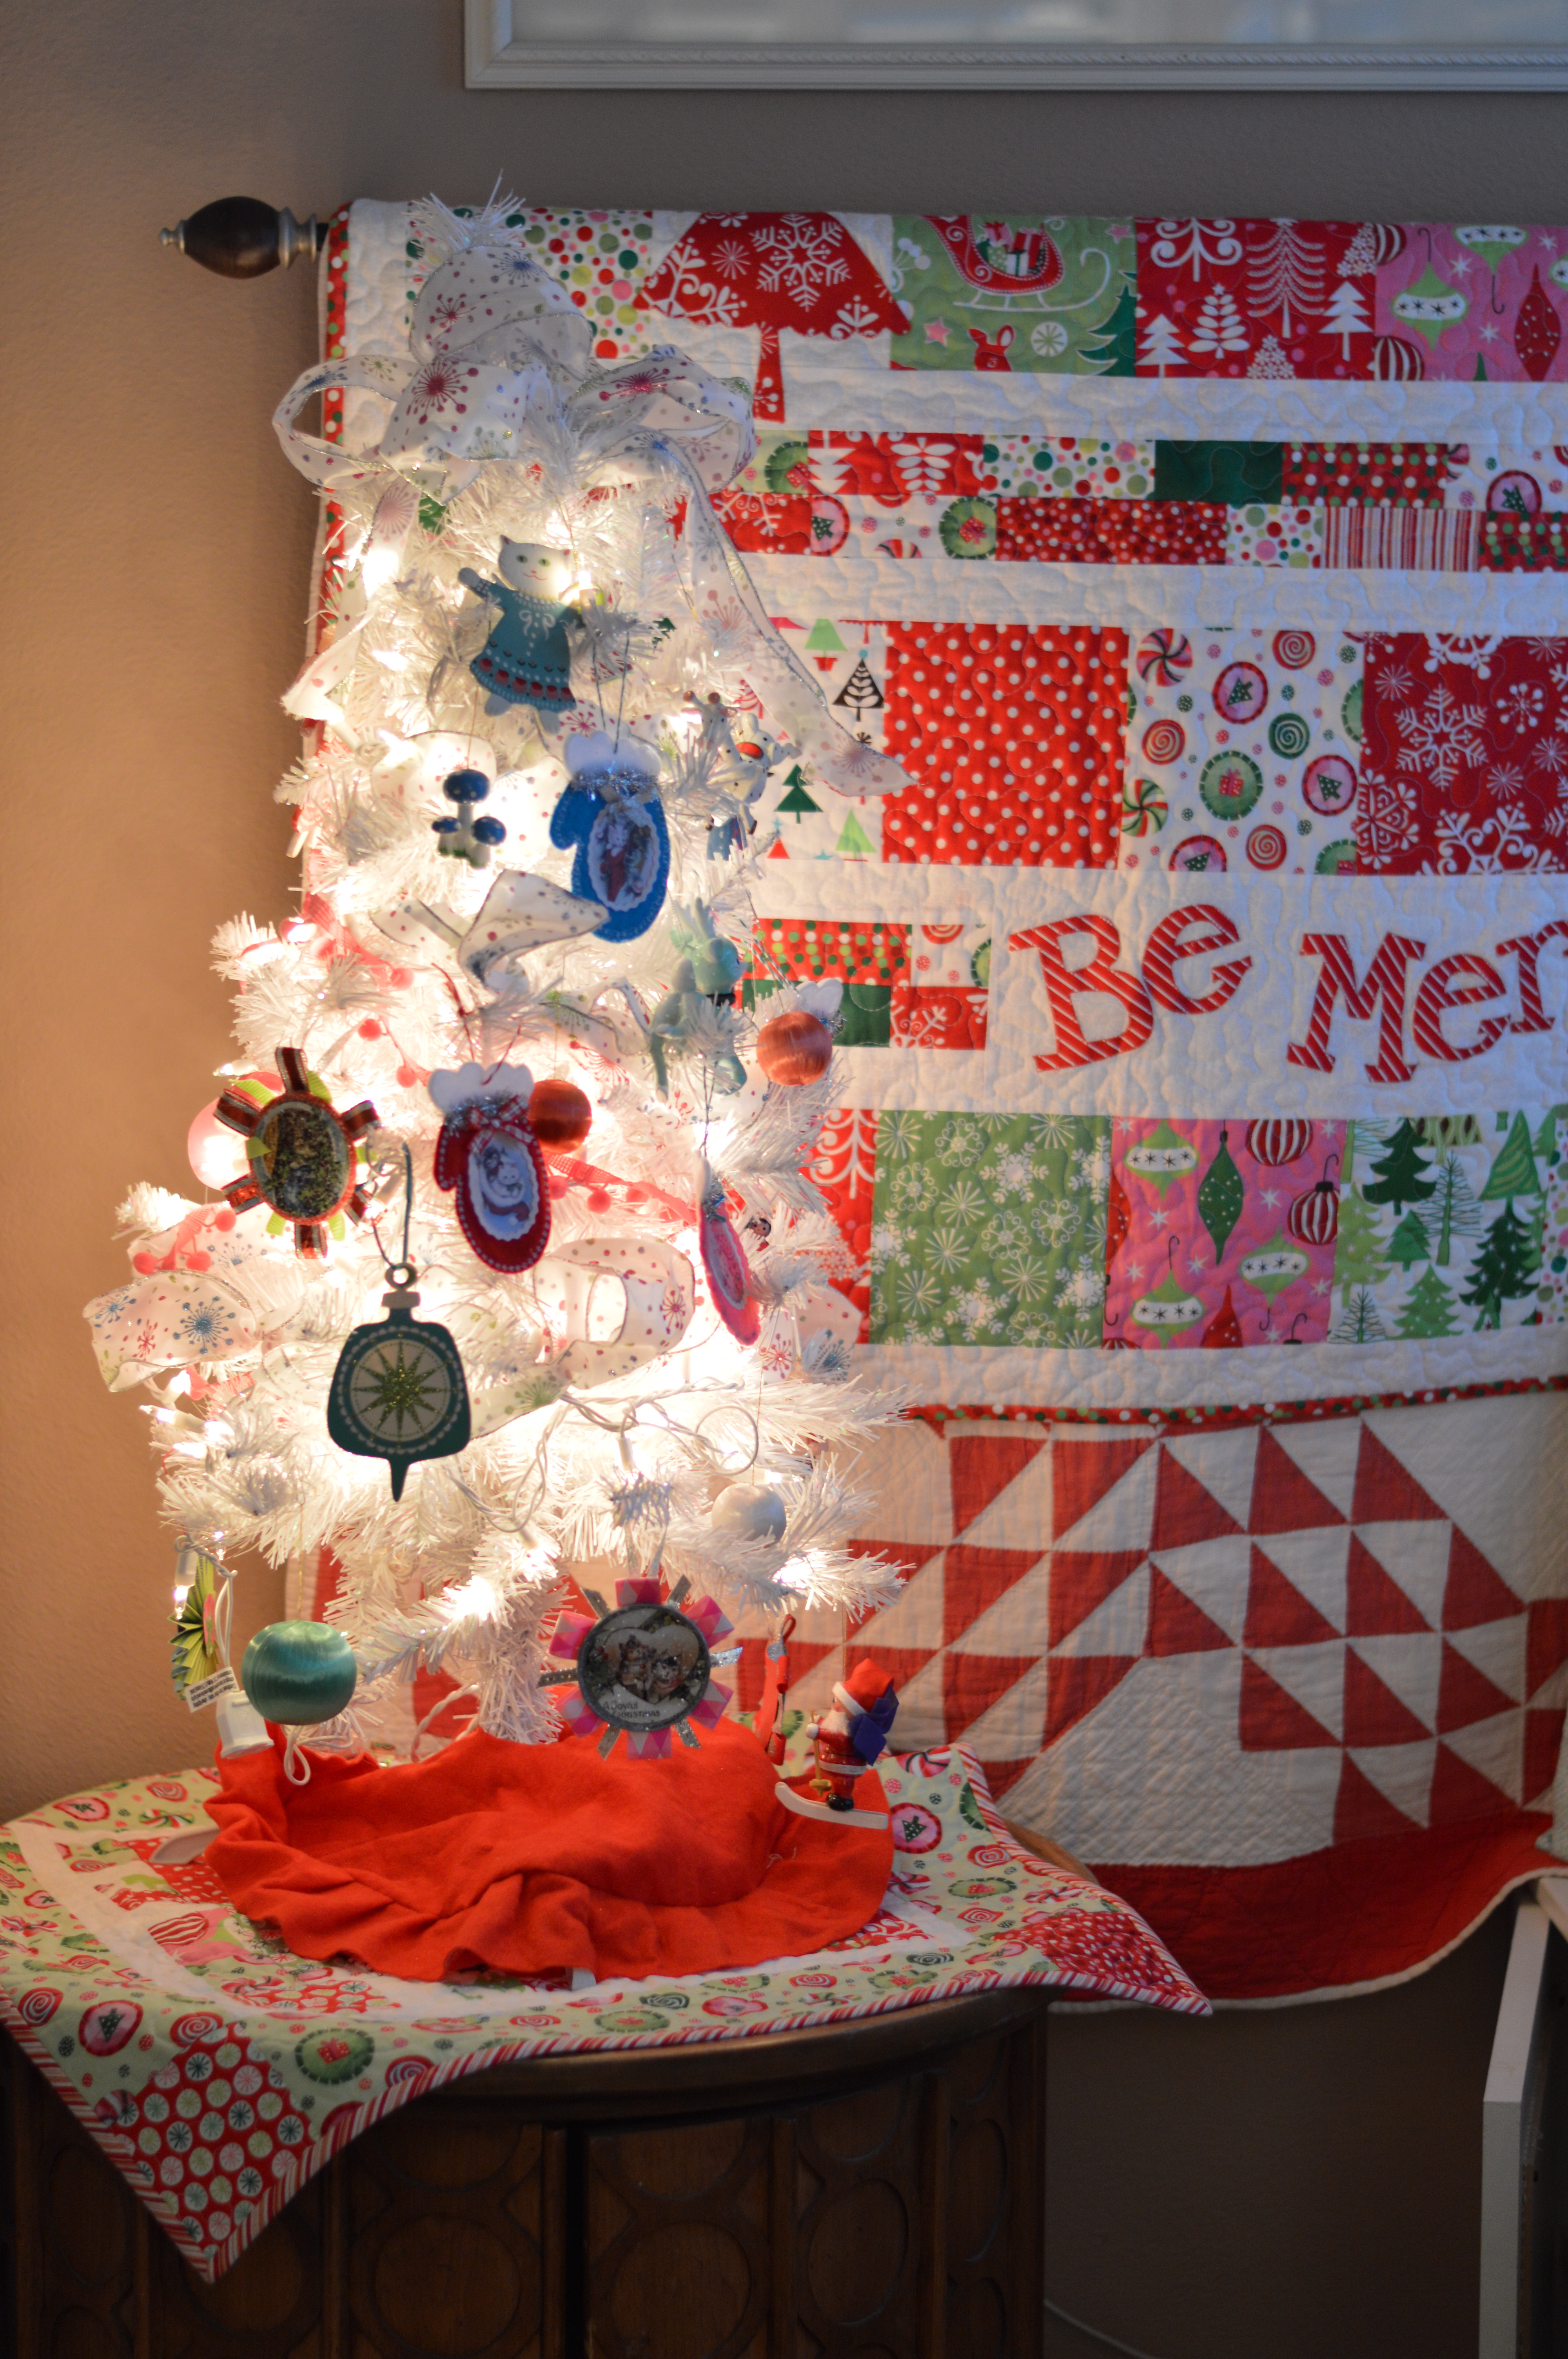
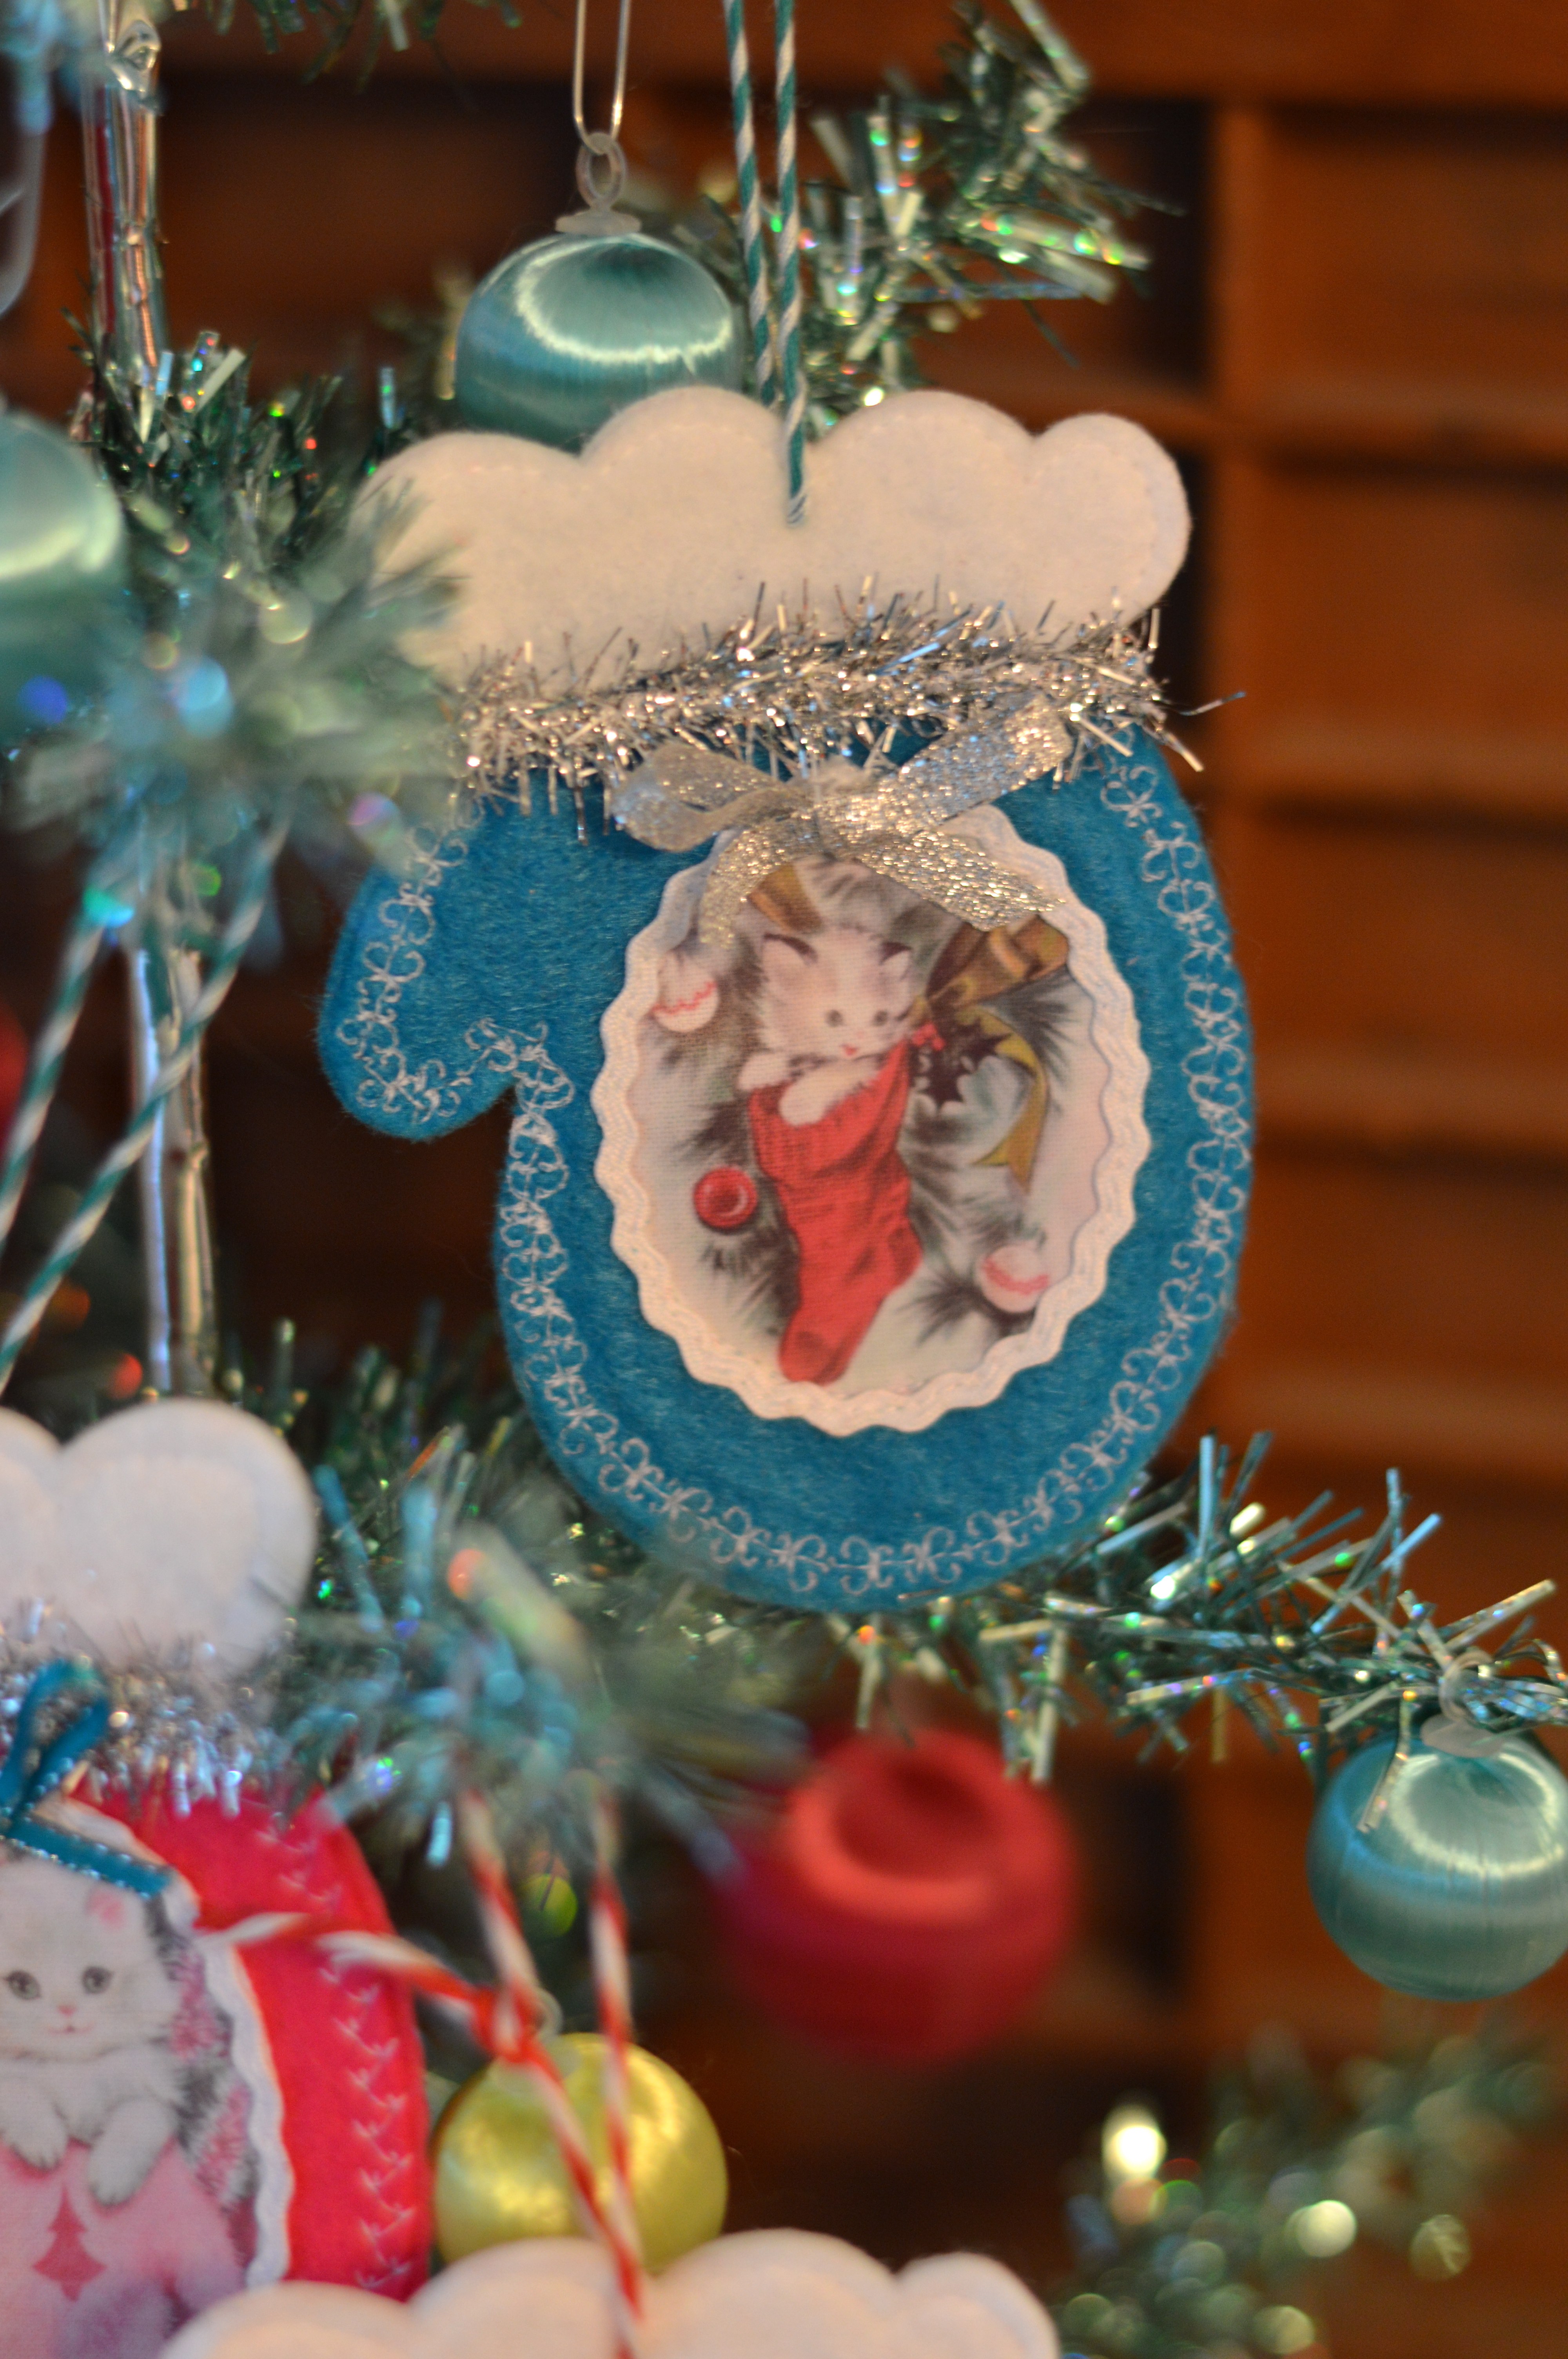
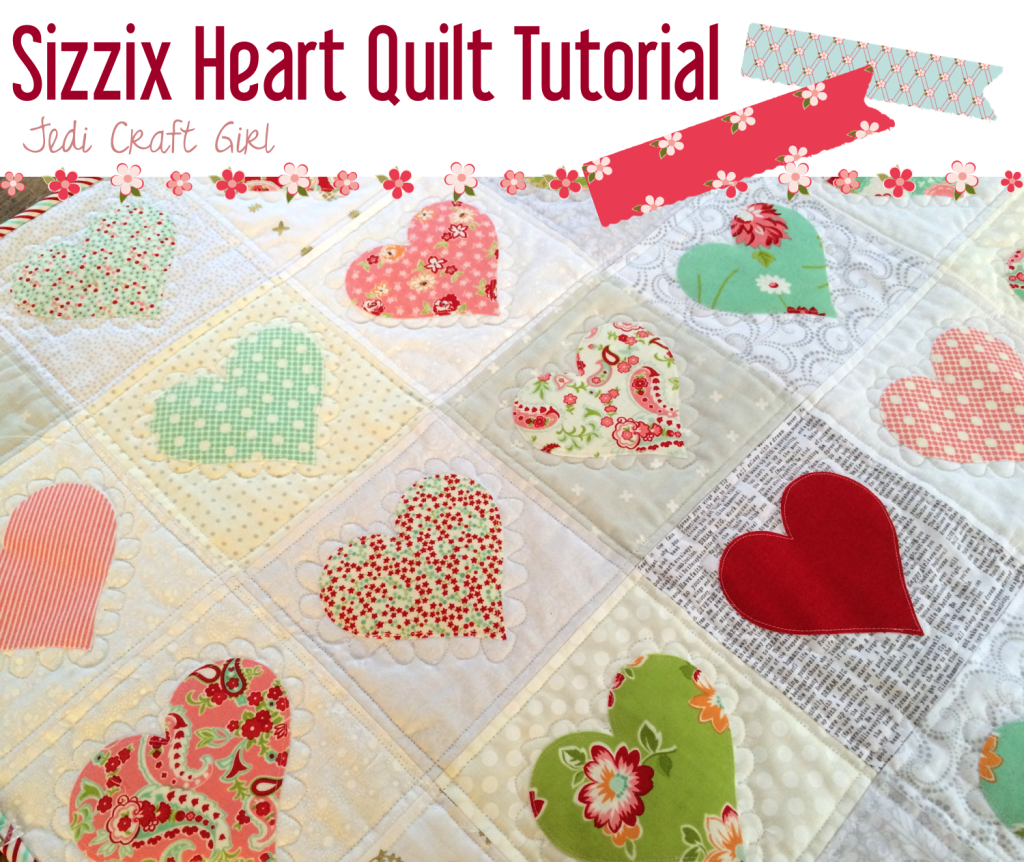
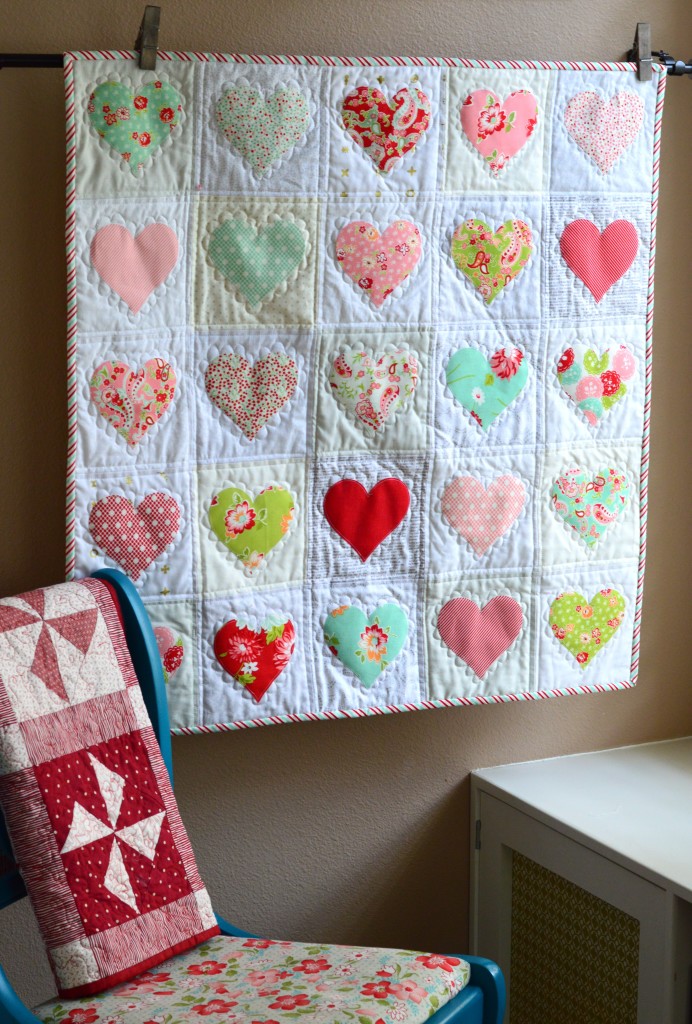
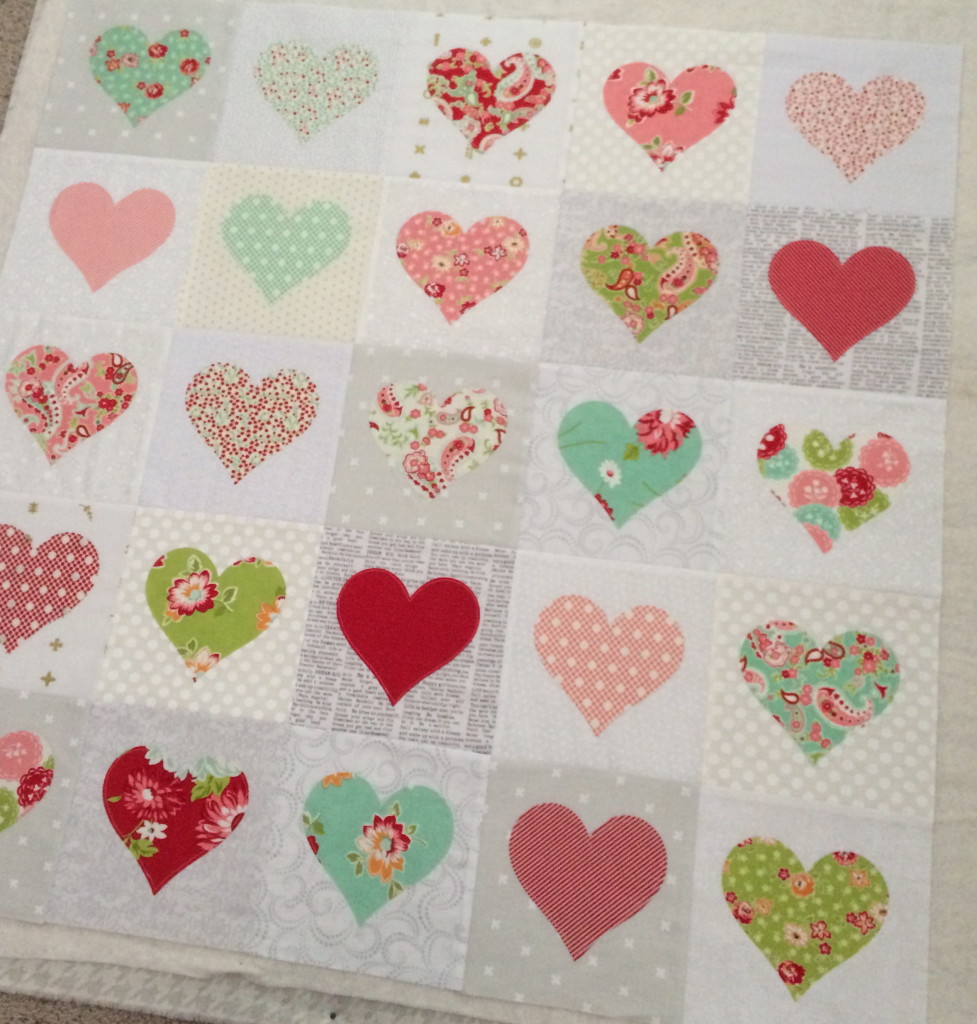
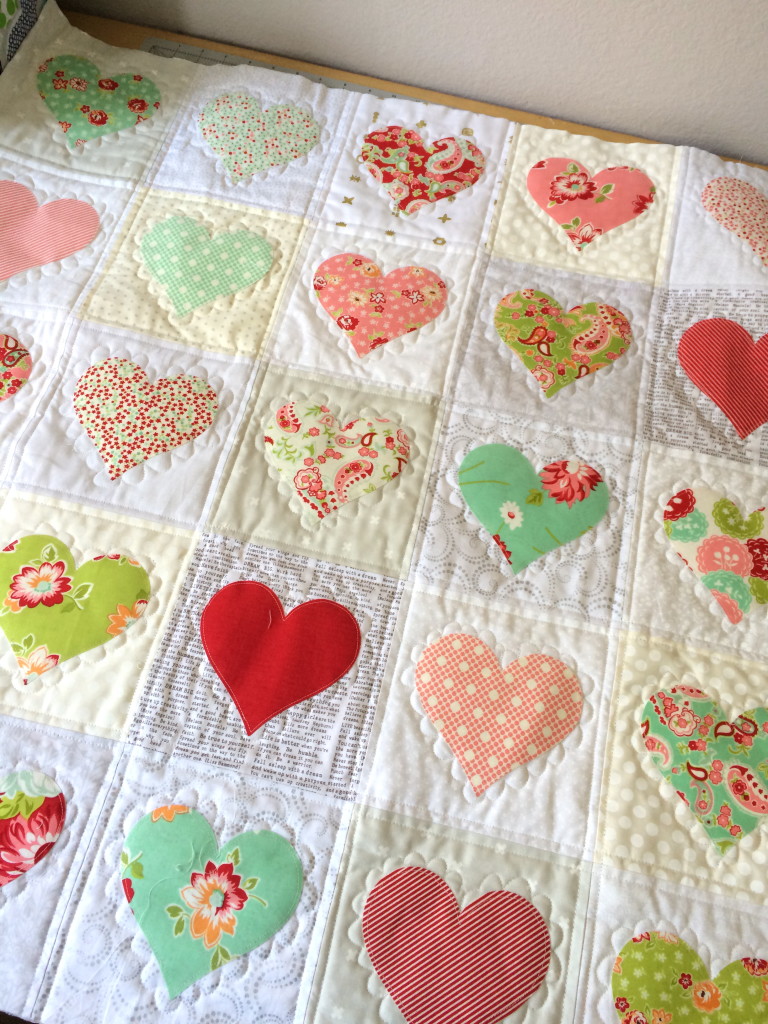
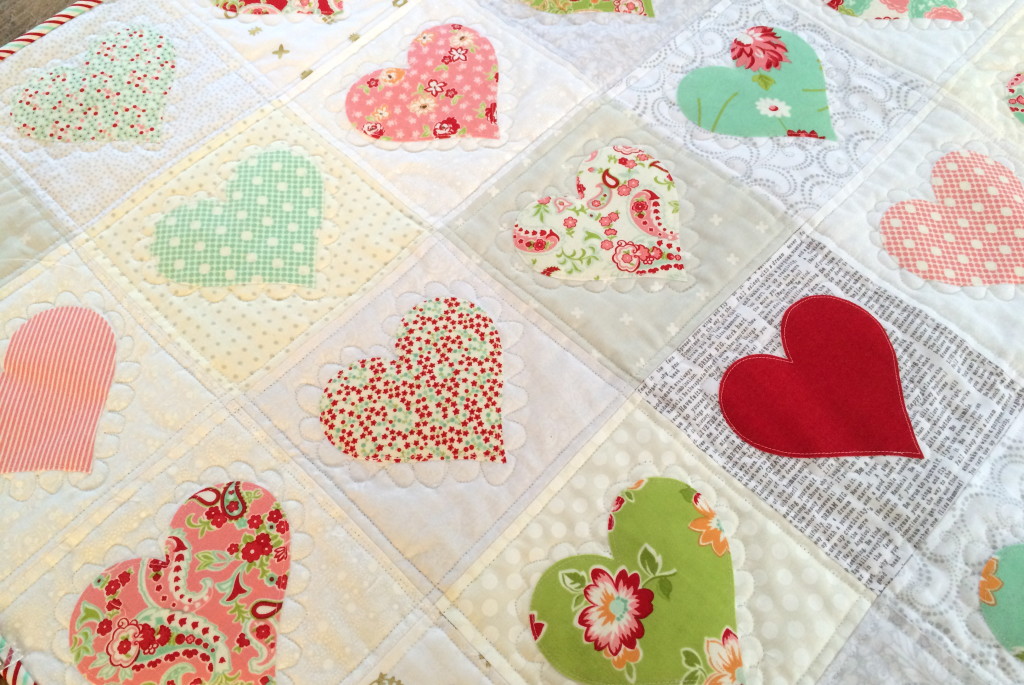
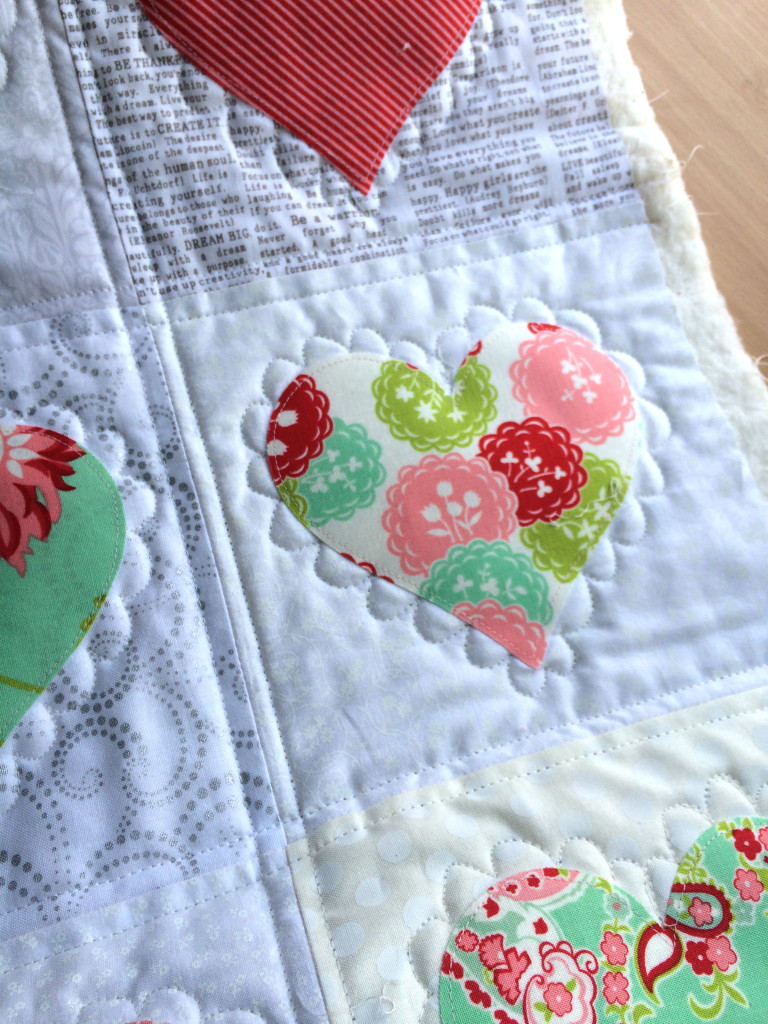
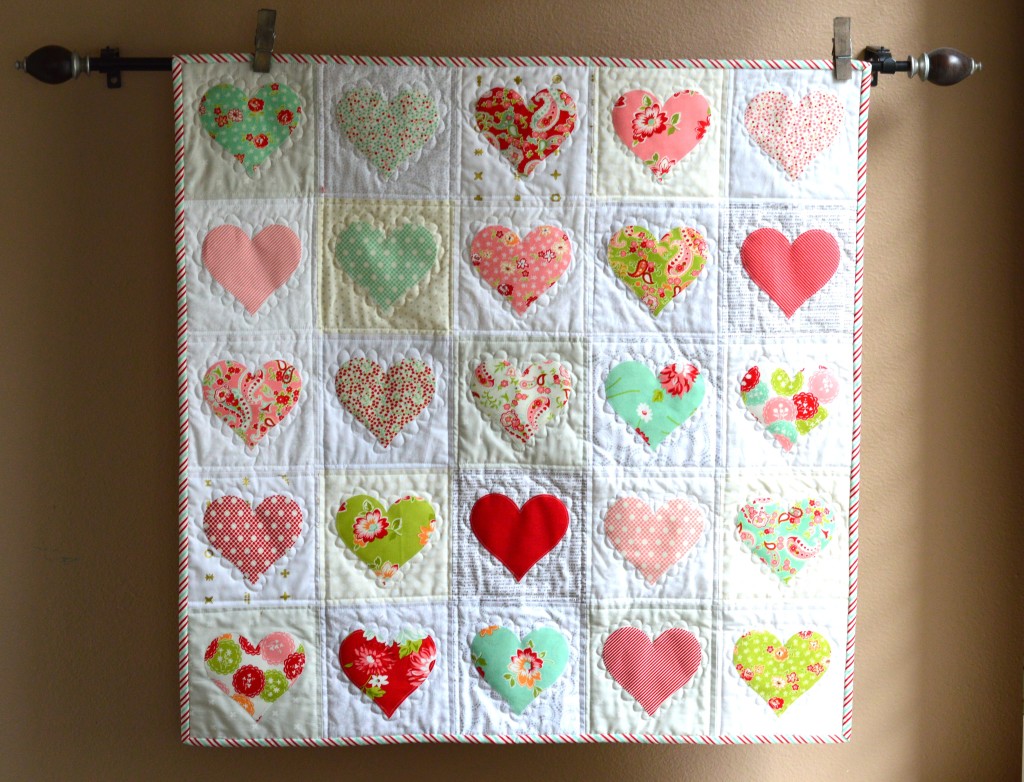
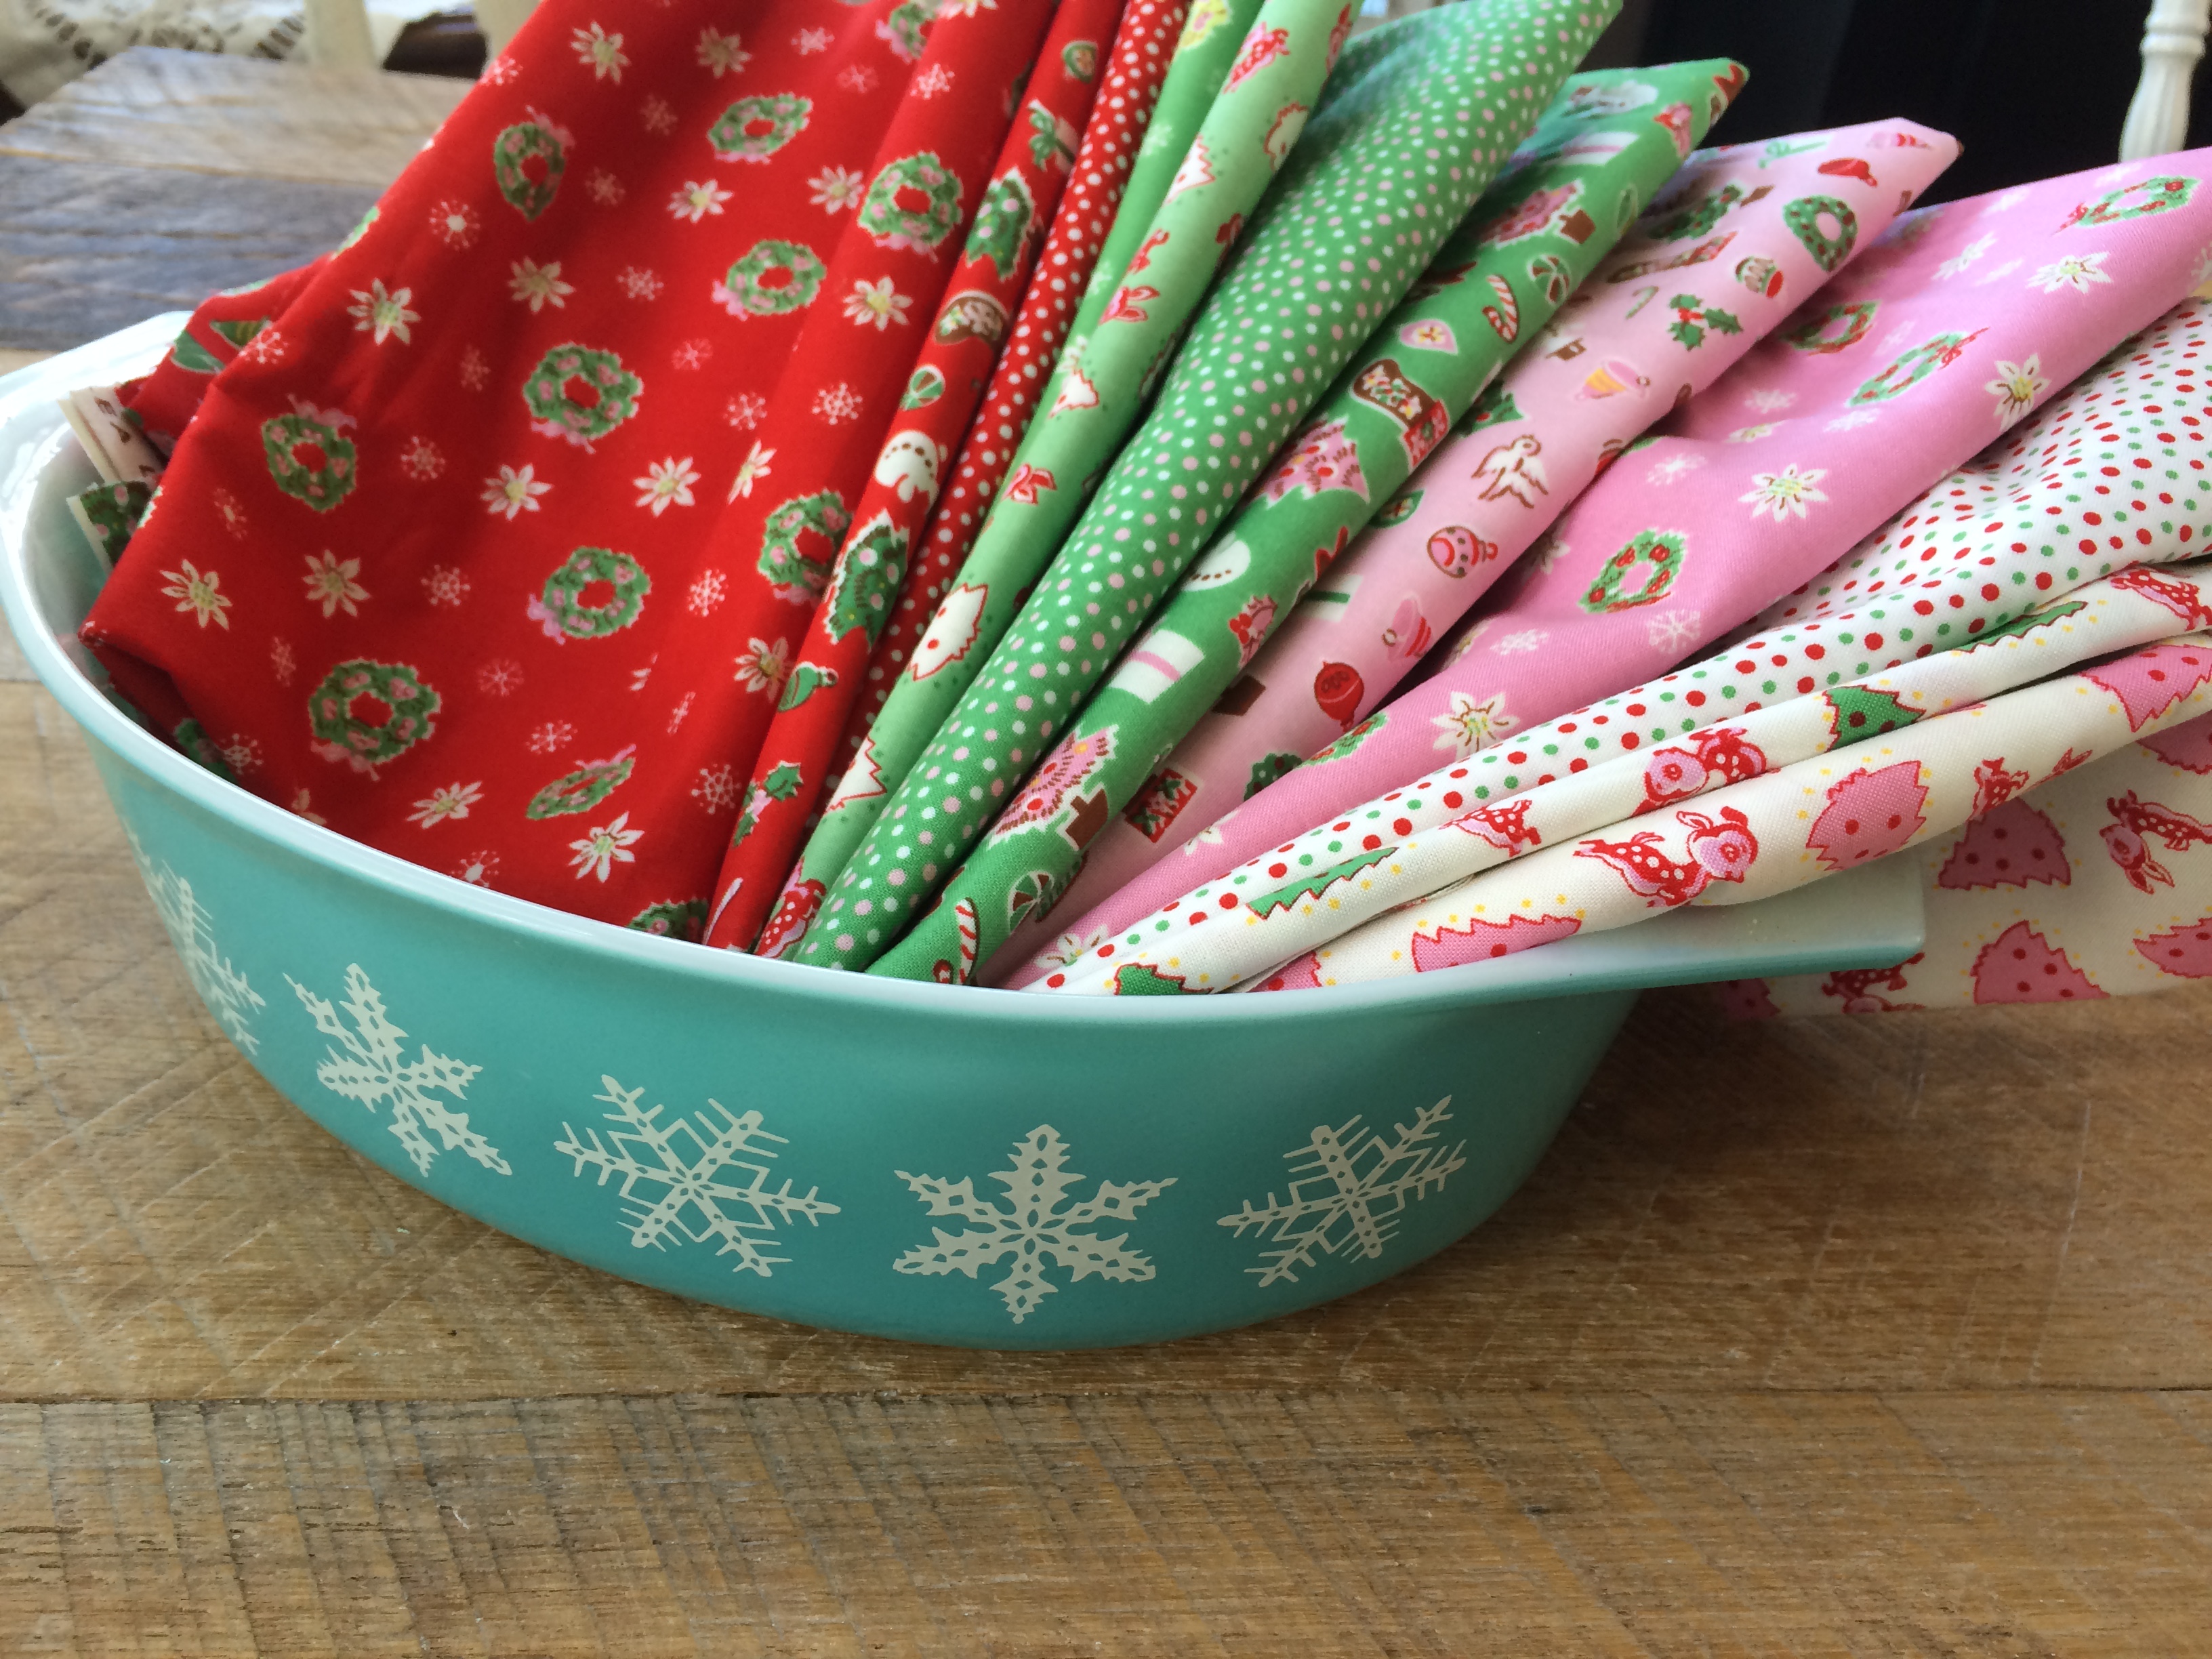
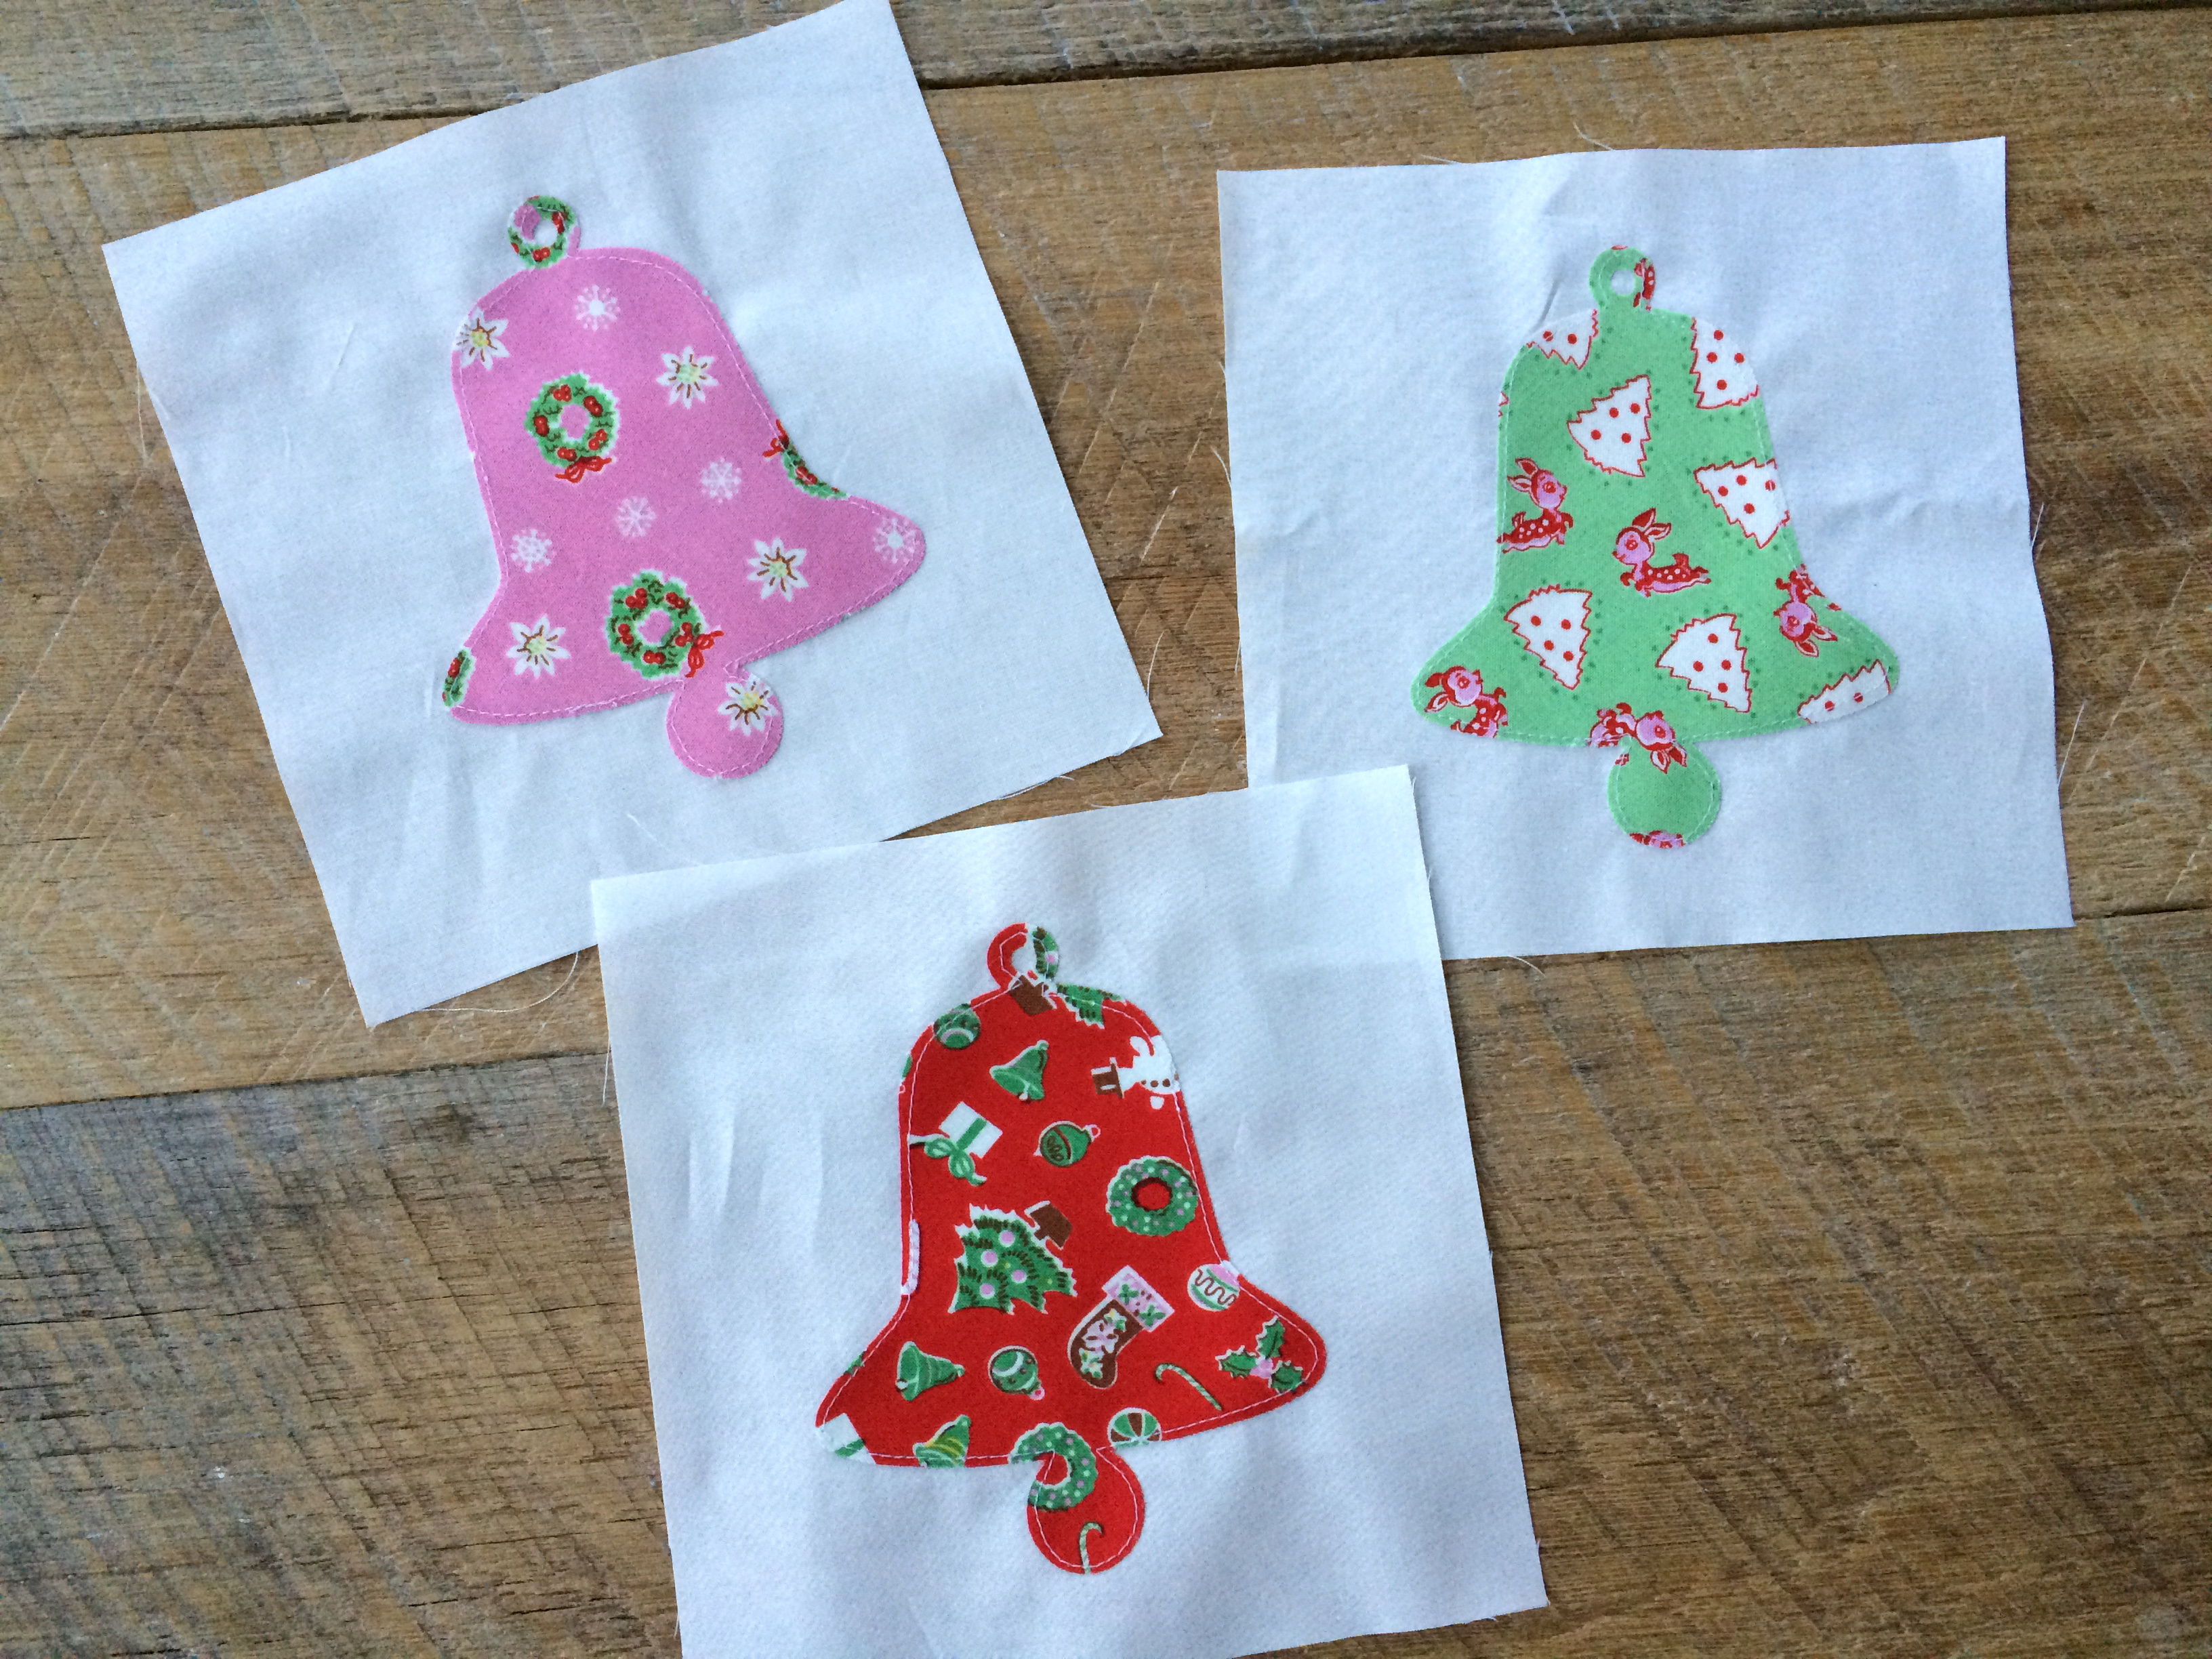
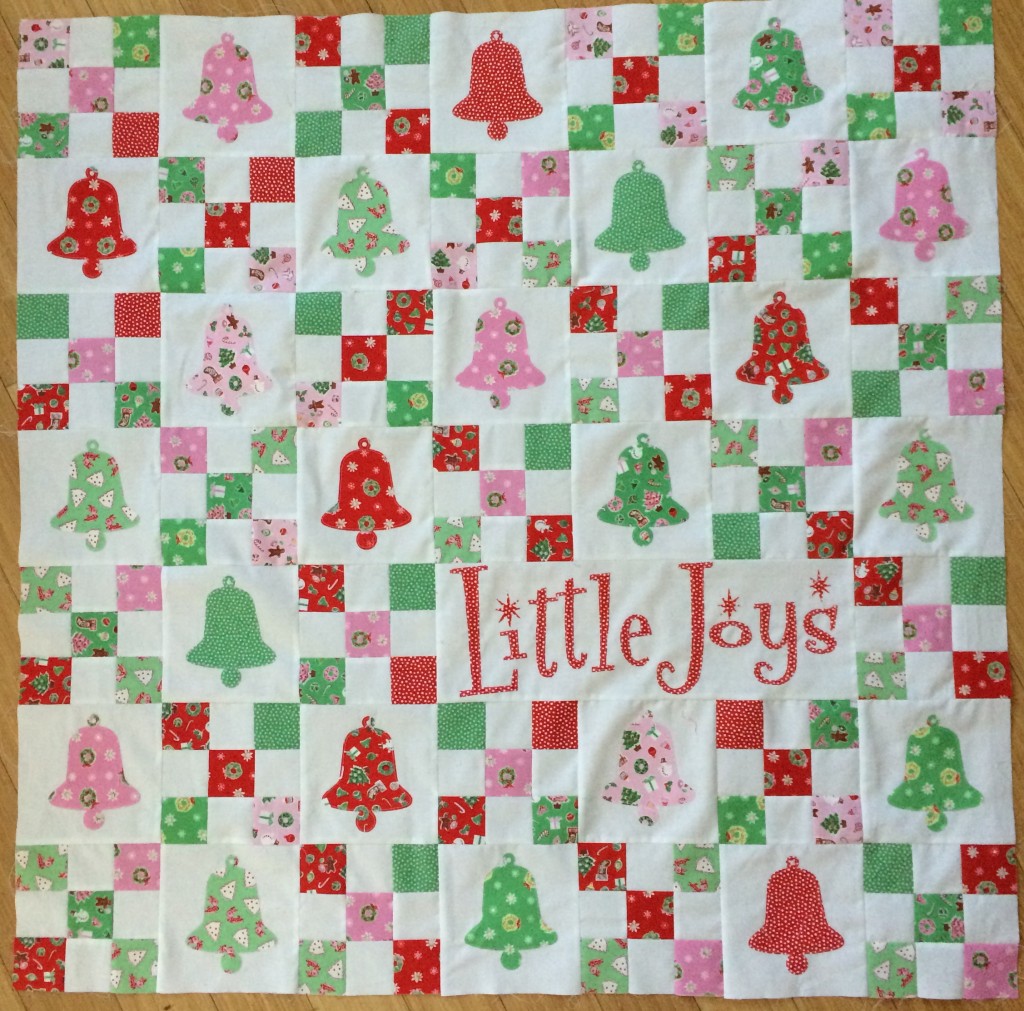
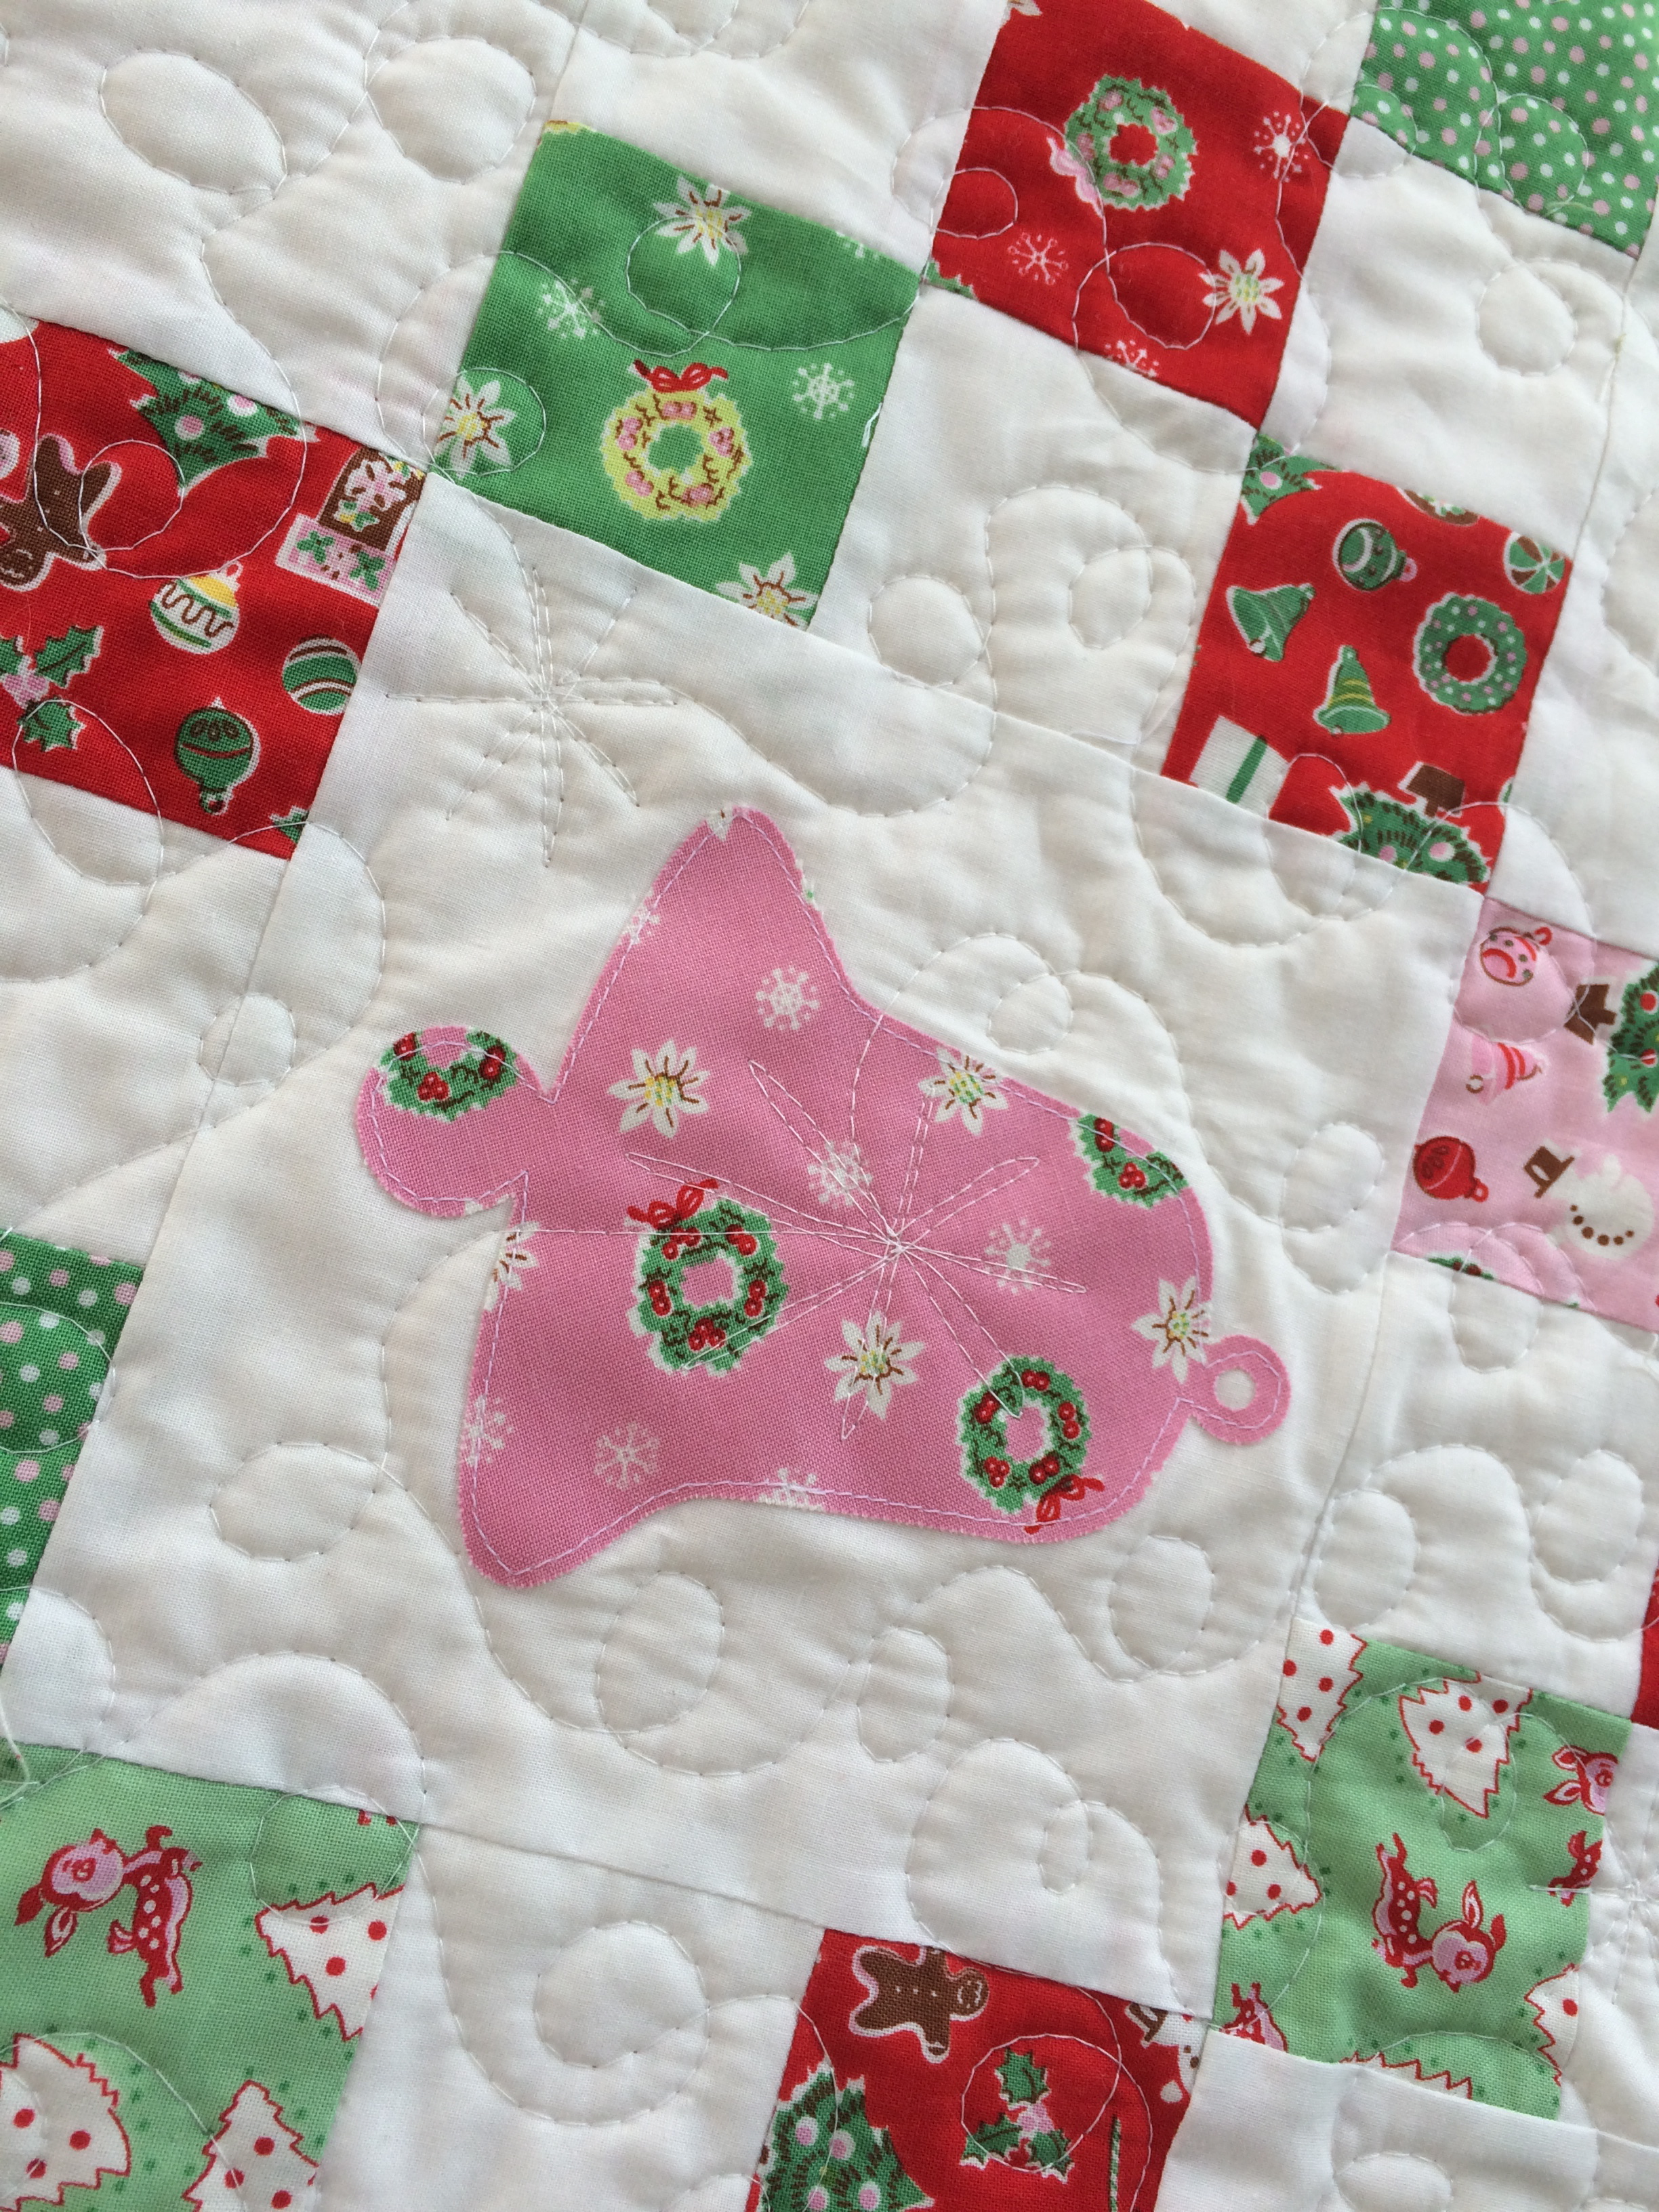
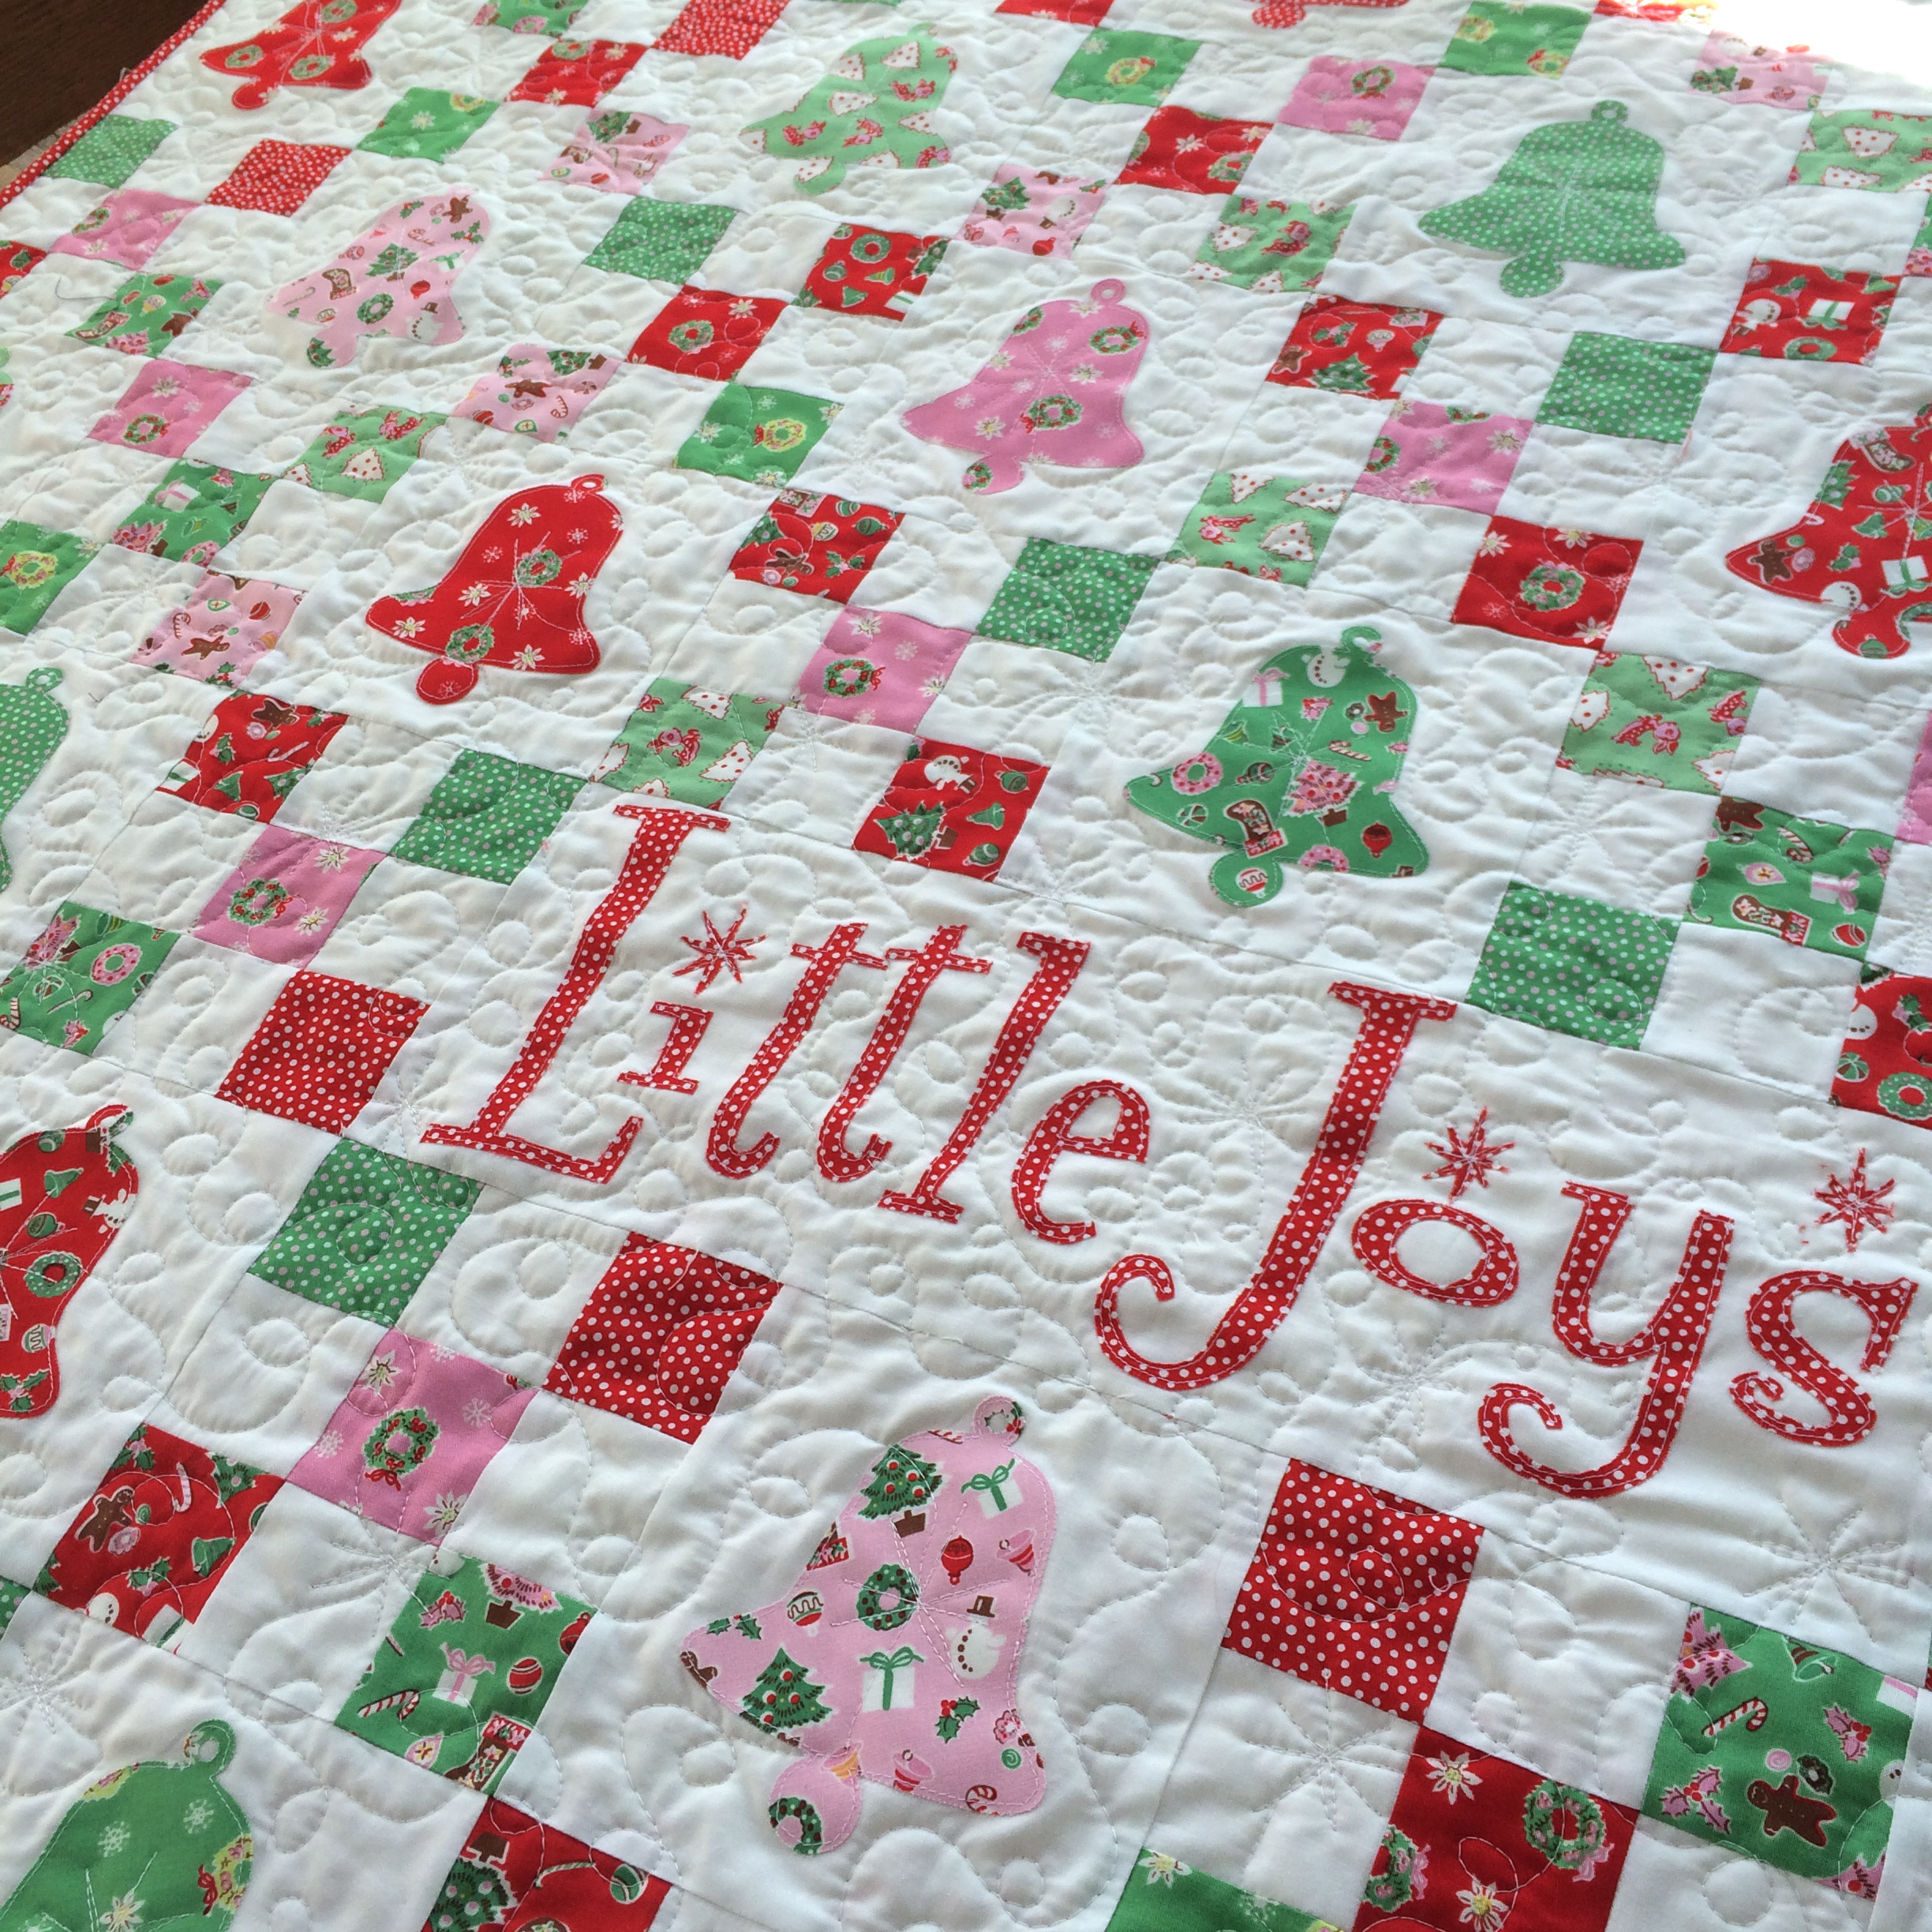
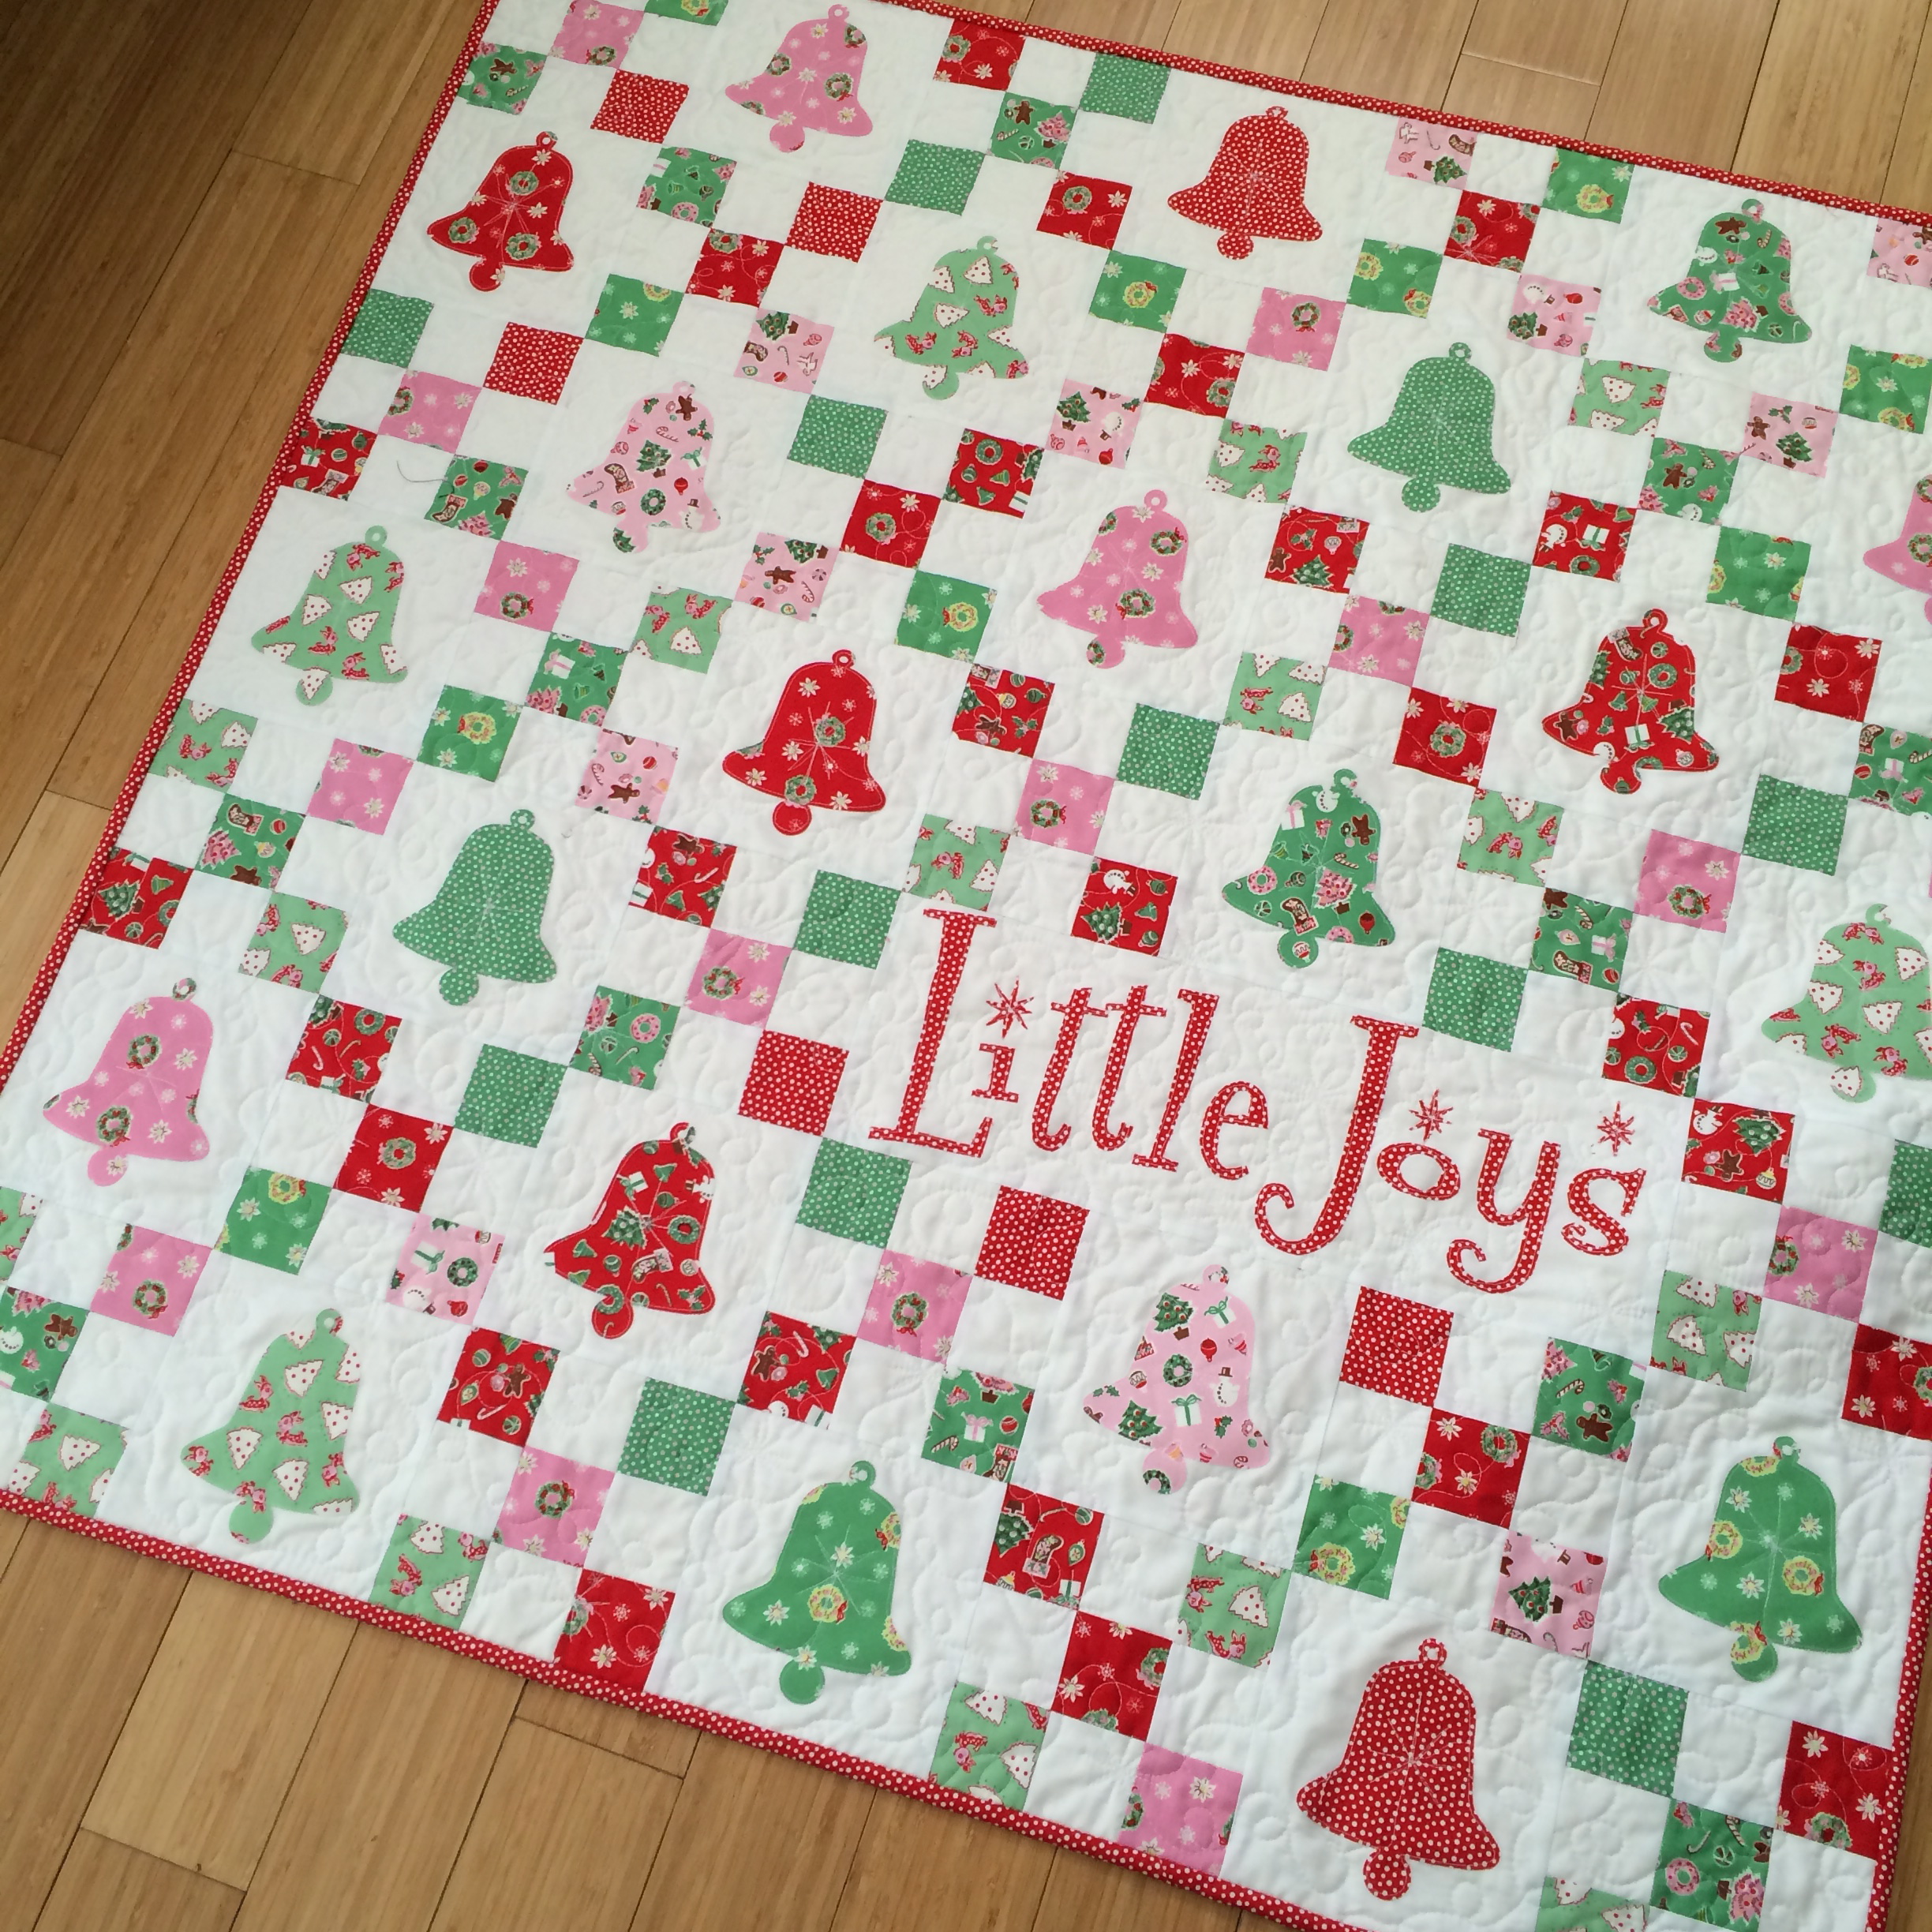
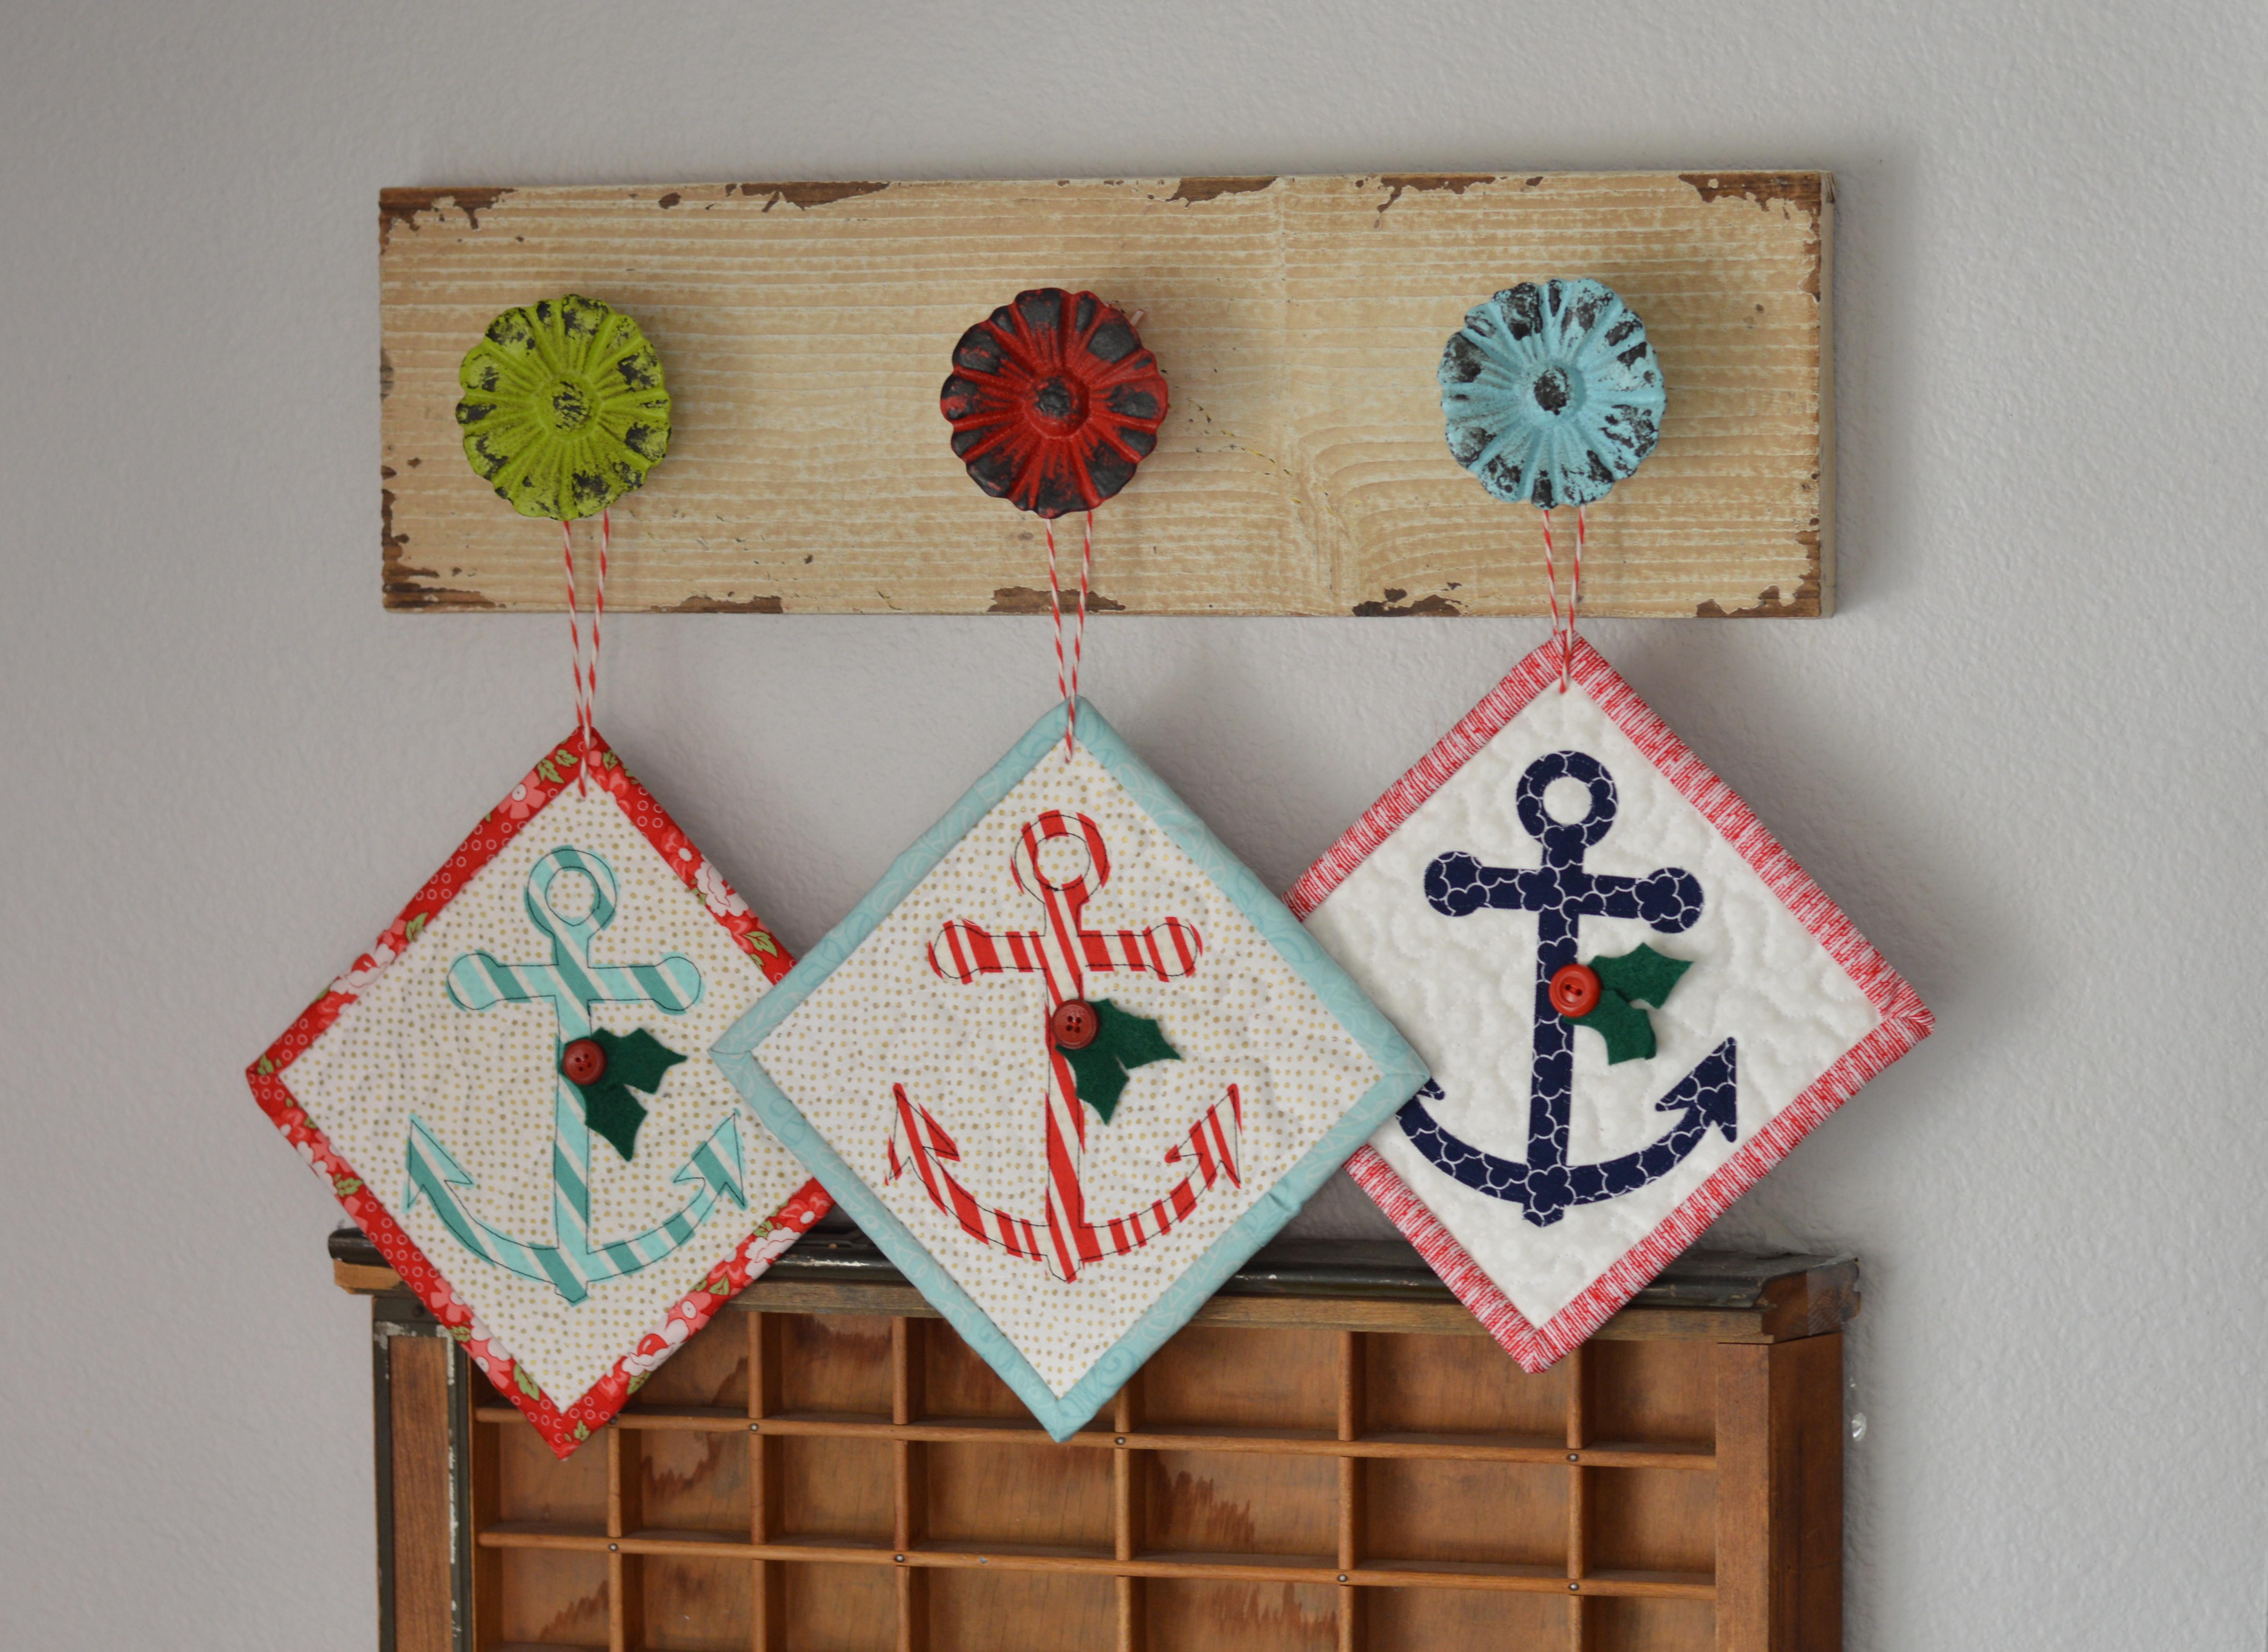
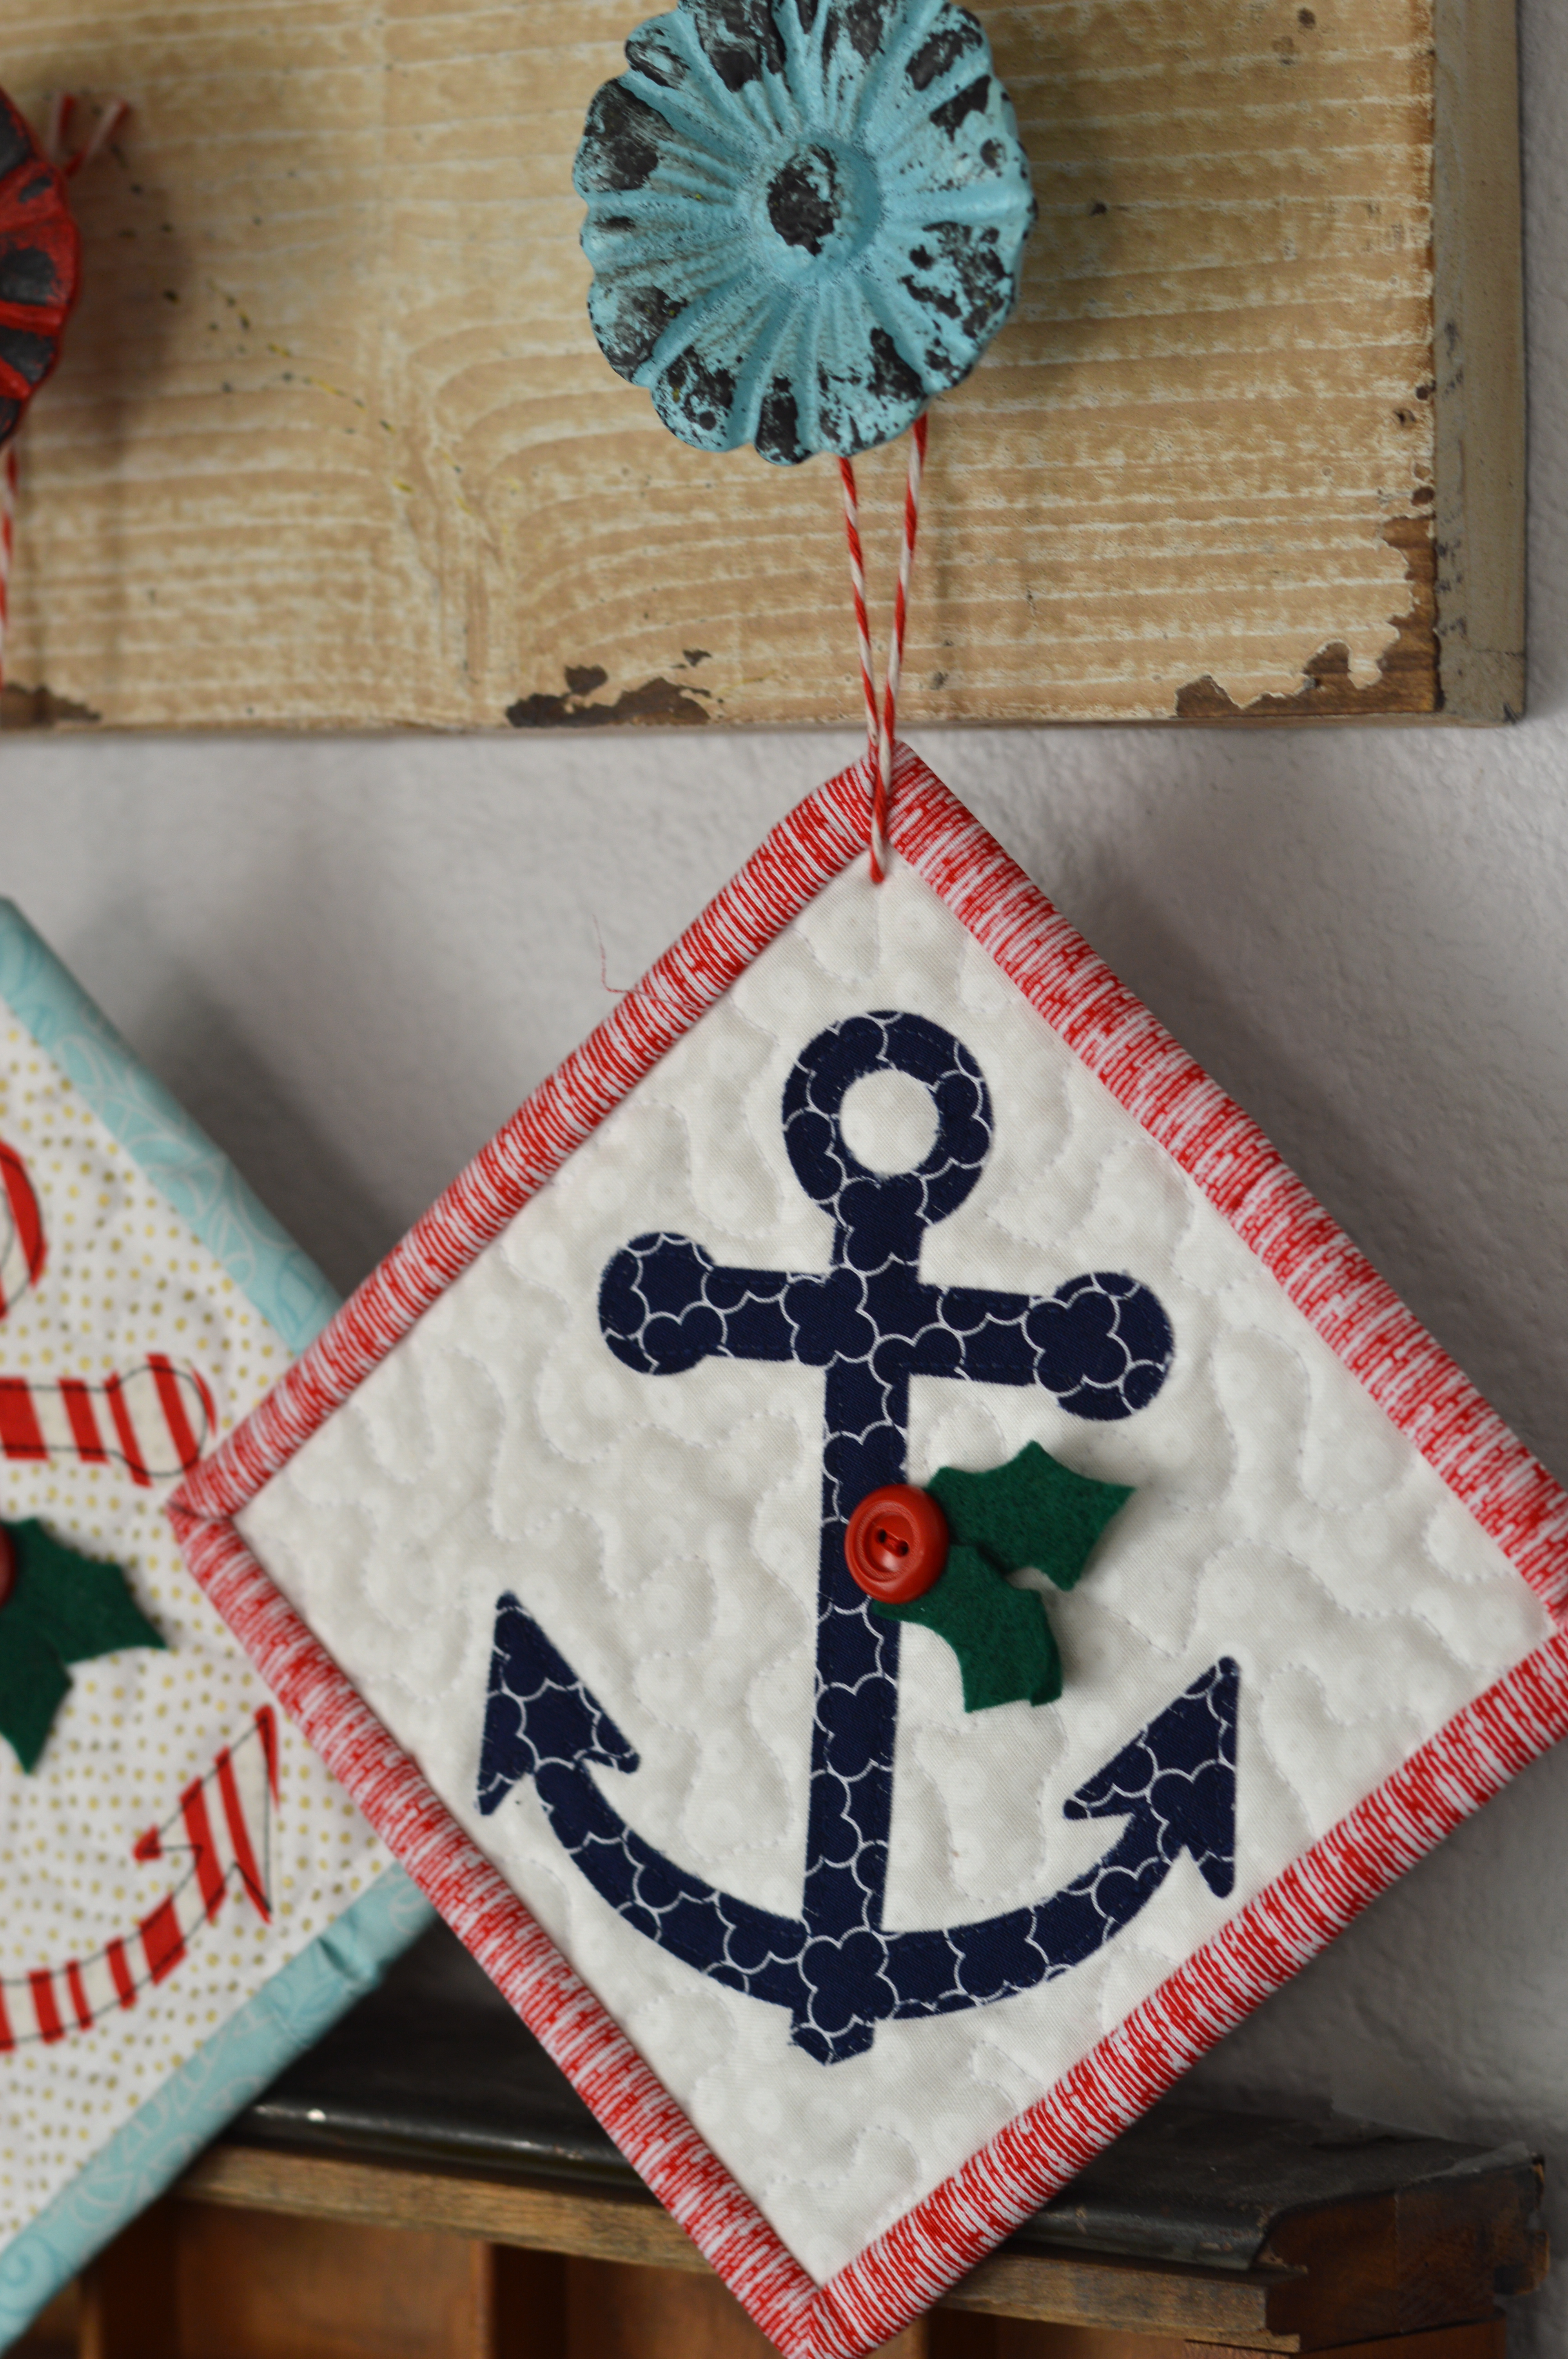
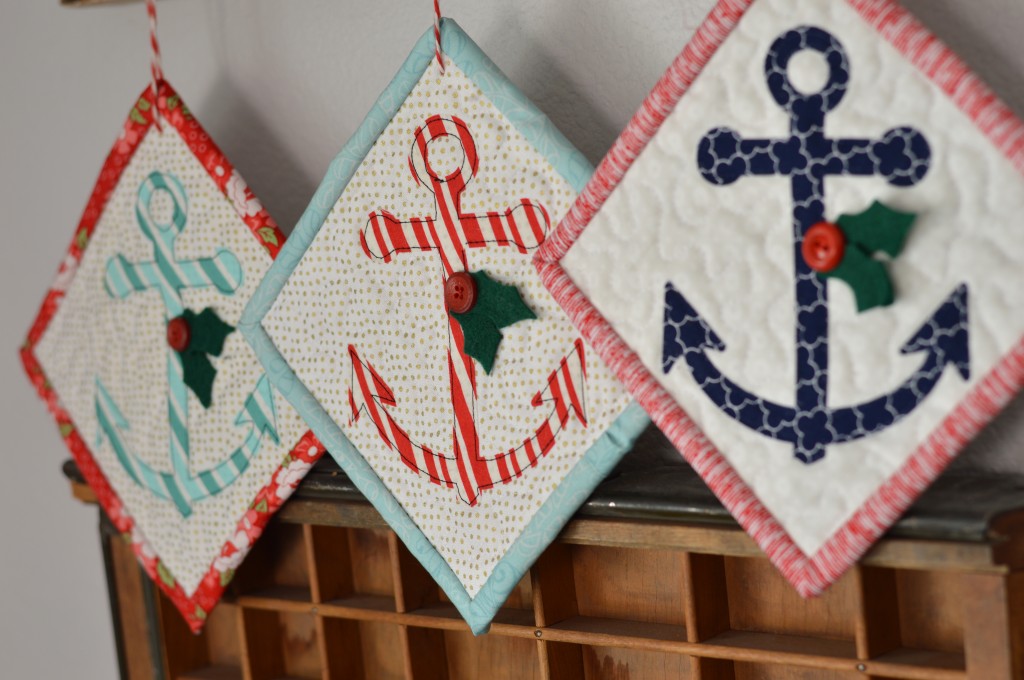
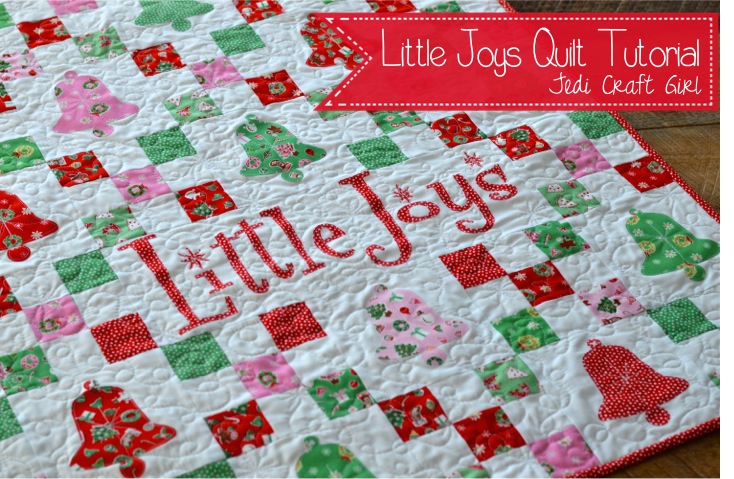
I wrote this pattern a few years ago for Penny Rose Fabrics.  I updated it and have the full tutorial available here!  I have always loved the Penny Rose “Little Joys” Christmas fabrics!  These sweet vintage prints make me think of a simpler time.  I love collecting vintage Christmas ornaments and decorations; this quilt is sure to fit into the mix!
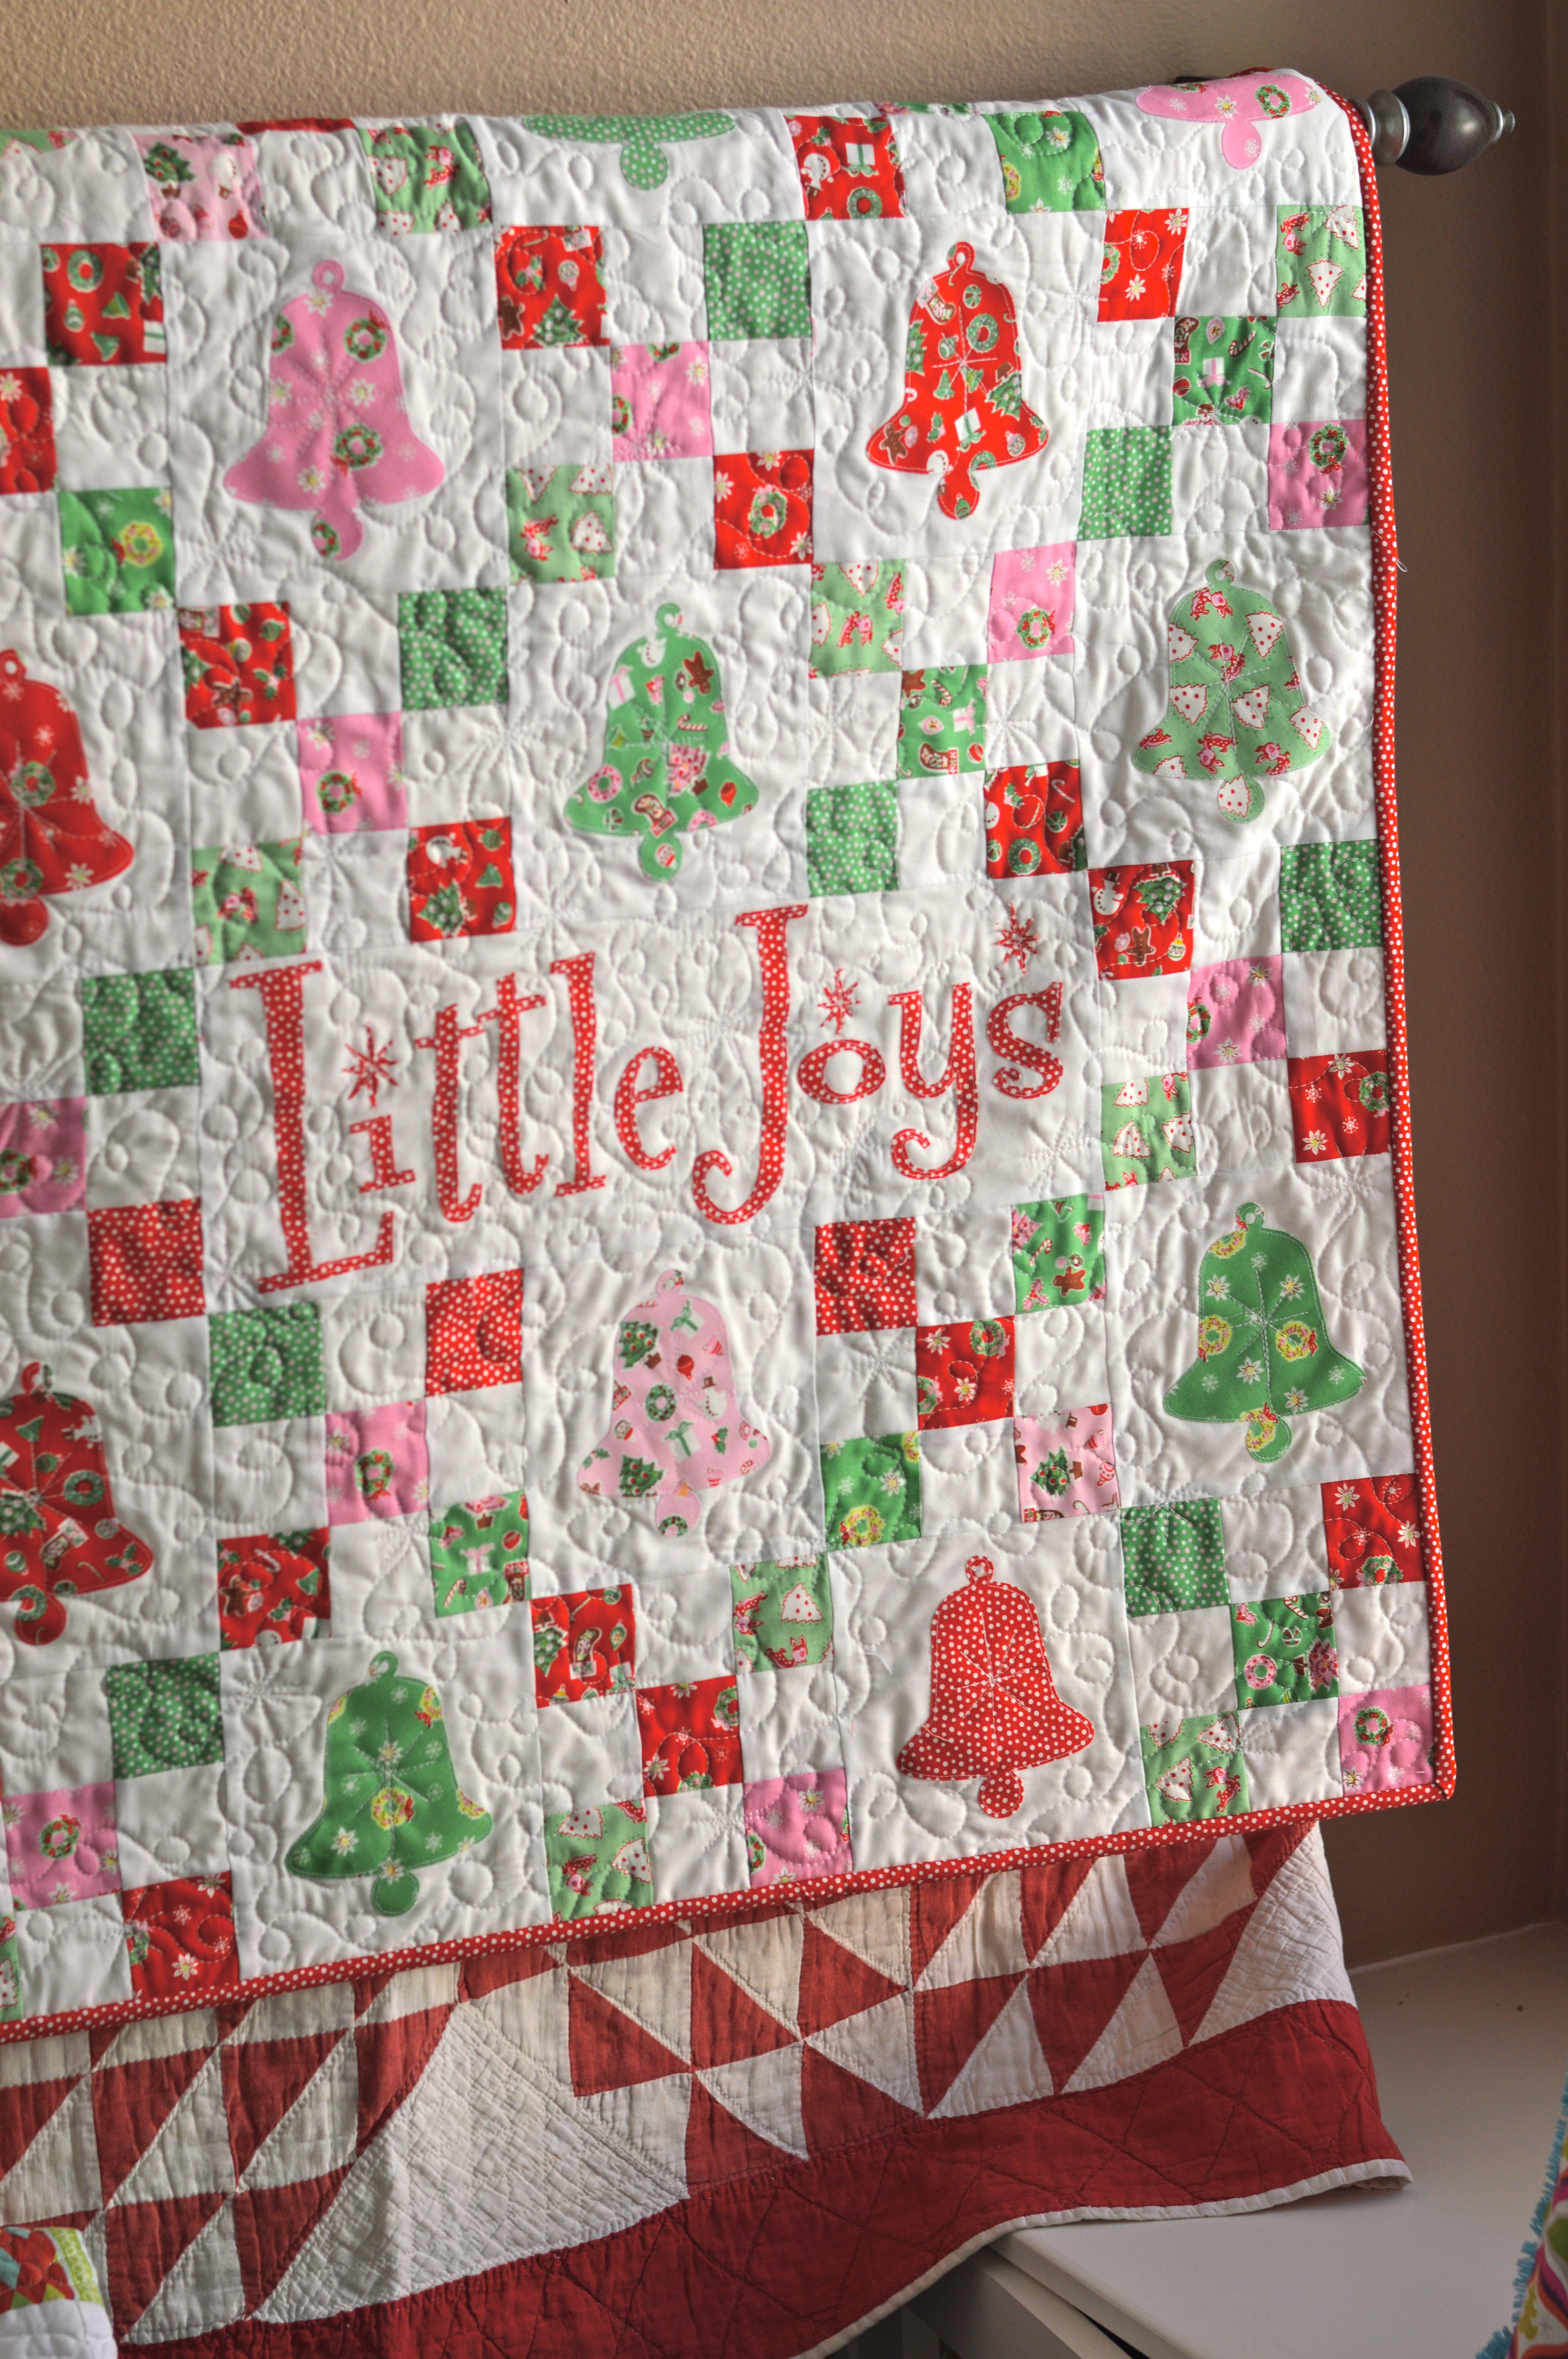
little joys quilt pattern christmas 35This quilt measures 42″ square and is a perfect size to hang on a wall, put at the end of a bed, or center on a table.  The quilt is made up of 6″ solid blocks with bell applique and  6″ nine-patch blocks that form a chain.

Screen Shot 2015-11-30 at 8.08.25 AMI used this Bell from Sizzix.  It is such a versatile die!

little joys quilt pattern christmas 15

Mufasa was all over this project because it involved the Sizzix Fabi – his FAVORITE toy!little joys quilt pattern christmas 20

Fabric Requirements:


9 fat quarters (green, red, and pink) – this is a scrappy little quilt so there are different amounts of each color – the colors don’t form a pattern in this version, but if you would like a pattern it would be easy to do!

1 1/2 yards solid white fabric

Heat n Bond Lite for appliqué

1/2 yard binding

1 1/4 yard backing (the fabric needs to measure at least 43″ wide or you may need to piece it)

Cutting Instructions

Fat Quarters:

Cut (2) 2 1/2″ x WOFQ strips from each fat quarter. You will have a few extra.

Use remaining fabric for bell appliqué and letters

Solid White:

Cut (6) 2 1/2″ x WOF strips, cut them in half to give you (12) 2 1/2″ x 21″ strips.

Cut (5) 6 1/2″ x WOF strips, subcut into (22) 6 1/2″ squares and (1) 6 1/2″ x 18 1/2″ rectangle

little joys quilt pattern christmas 7

2 1/2″ strips are cut from each of the 9 fat quarters.

little joys quilt pattern christmas 3

6 white 2 1/2″ x WOF strips are cut and then cut in half to equal the width of the fat quarter strips.

little joys quilt pattern christmas 16

Sew white, dark, white strip sets together, making 3 strip set units.  Press toward the dark.

little joys quilt pattern christmas 5

Sew 6 strip units of the dark, white, dark pattern (above).  Press toward the dark.

little joys quilt pattern christmas 13

Sub cute each strip set in 2 1/2″ increments.  You should have 8 per strip set.

little joys quilt pattern christmas

Lay out blocks making a checkerboard pattern.  Sew together, matching seams.  Press seams in one direction.  Continue this process making 24 total checkerboard blocks.

little joys quilt pattern christmas 11

Cut the remaining fat quarters into 5″ squares and fuse Heat n Bond Lite to the wrong sides of the fabric (above).  Using the Sizzix Bell die, die cut 22 bell shapes.  Peel off backing paper and heat set to the centers of the 6 1/2″ white squares. Sew around each bell with a straight stitch.

little joys quilt pattern christmas 6

little joys quilt pattern christmas 12For the Little Joys word block I cut the letters by hand.  Download the Little Joys pattern HERE.  I printed the letters on Heat n Bond EZ print sheets.

little joys quilt pattern christmas 17You can also trace onto iron-on transfer paper.  The letters are in reverse.  Iron the heat n bond to the wrong side of the letter fabric.  Cut out by hand around each letter.  Peel off the backing and position on the white rectangle.  Heat set in place.  Sew around each letter.

little joys quilt pattern christmas 19

Now you’re ready to lay out the whole quilt!  Use the above photo as your guide.  Again, my colors are random but you can make a color pattern!

Sew each block together creating rows, pressing toward the applique blocks.  Then sew the rows together, pinning at intersections so seams match up.  Press all seams in one direction.

Baste, Quilt, Bind!


IMG_2019Mufasa also loves the sewing machine!  No animals were harmed in the quilting of this project!


little joys quilt pattern christmas 9Make sure your cat approves 🙂

little joys quilt pattern christmas 2I free motion quilted this with loop de loos and retro style stars.  I love how it turned out!  Add the binding and you’re finished!

little joys quilt pattern christmas 10

little joys quilt pattern christmas 14


Sizzix Applique Anchor Ornaments


sizzix anchor ornamentsMy Sizzix Applique Anchor Ornaments project is over at the Sizzix blog today!  Sizzix has introduced an ANCHOR DIE!!!!  My mind has been blown!  Think of all the amazing projects we can make now!  Pillows, quilts, skirts, shirts, bags, table runners, and the list goes on and on!  I love the idea of nautical and Christmas intertwined.  I cam up with this fun little ornament – you can hang on a tree or on a hook.  It would make the perfect gift for your ocean loving friends!!

sizzix anchor ornament. 3

sizzix anchor ornament. 2

Mufasa’s favorite sewing projects involve the Sizzix machine!


sizzix anchor ornament. 7

Hop on over for the instructions.  Wouldn’t these be cute tied on packages!!!

sizzix anchor ornament. 5