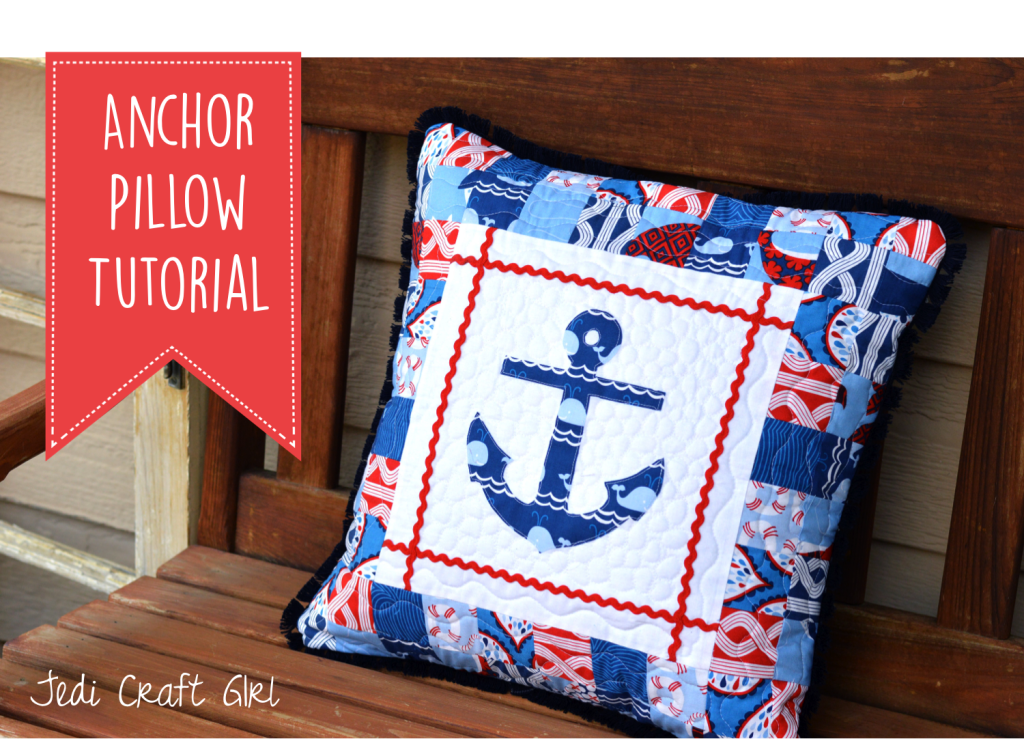
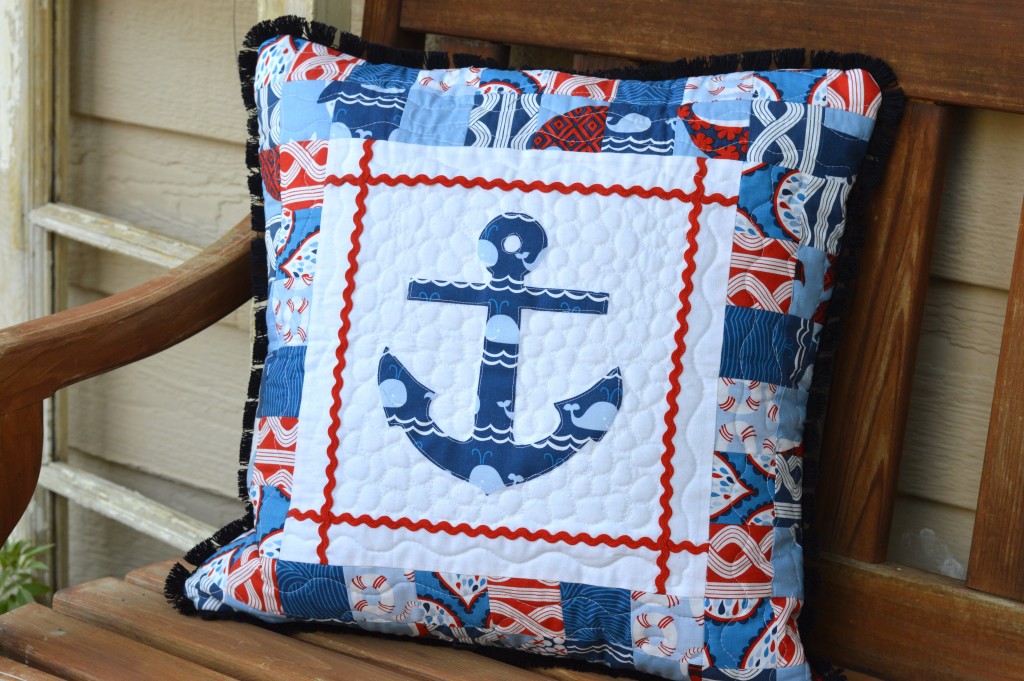
It’s feeling like summer here in Southern California with temperatures reaching up to 90 degrees! Let the fun begin! I’m such a summer girl – I hate to be cold! In celebration of the wonderful warm weather we’re having I thought I would share this fun nautical pillow with you. The fabrics are from Blend’s True Blue line which is in reproduction since it was so popular! Which is great news because it’s one of my favorites!!

Let’s get started!
Supplies:
Fat Quarters or quarter yard cuts of a variety of the True Blue Fabrics
fat quarter or 1/2 yard white fabric for center
2/3 yard backing
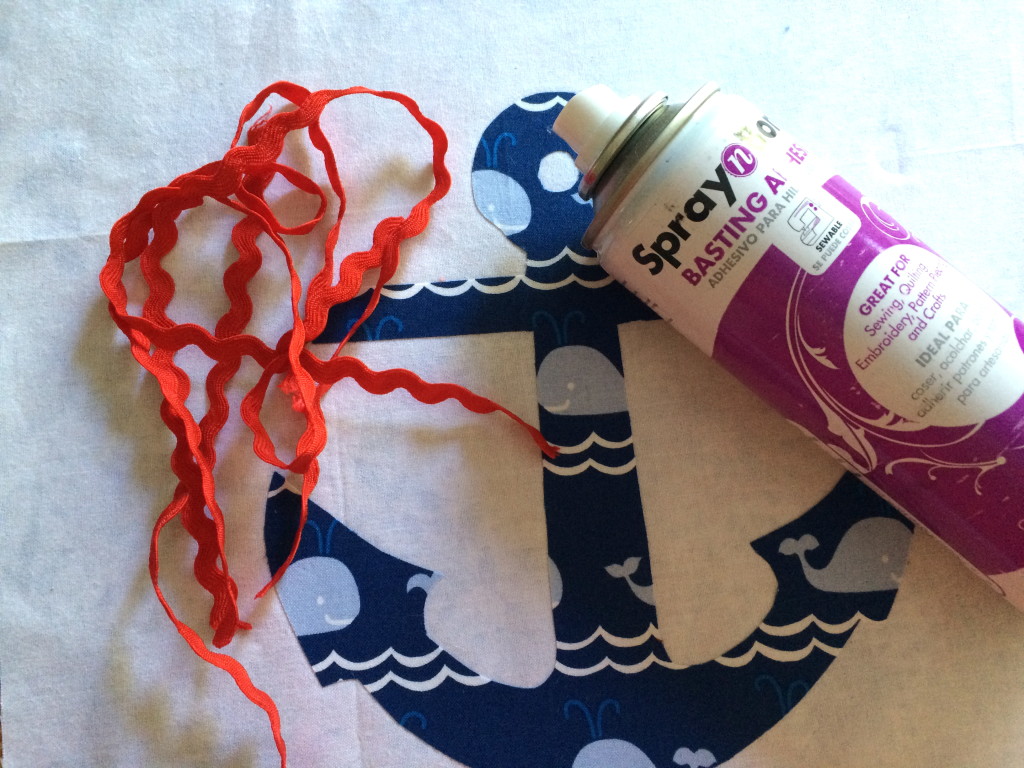
2 yards ric rac
Heat n Bond Lite EZ Print Sheets
20″ pillow insert
2.5 yards pillow trim
Anchor Pattern, Click HERE
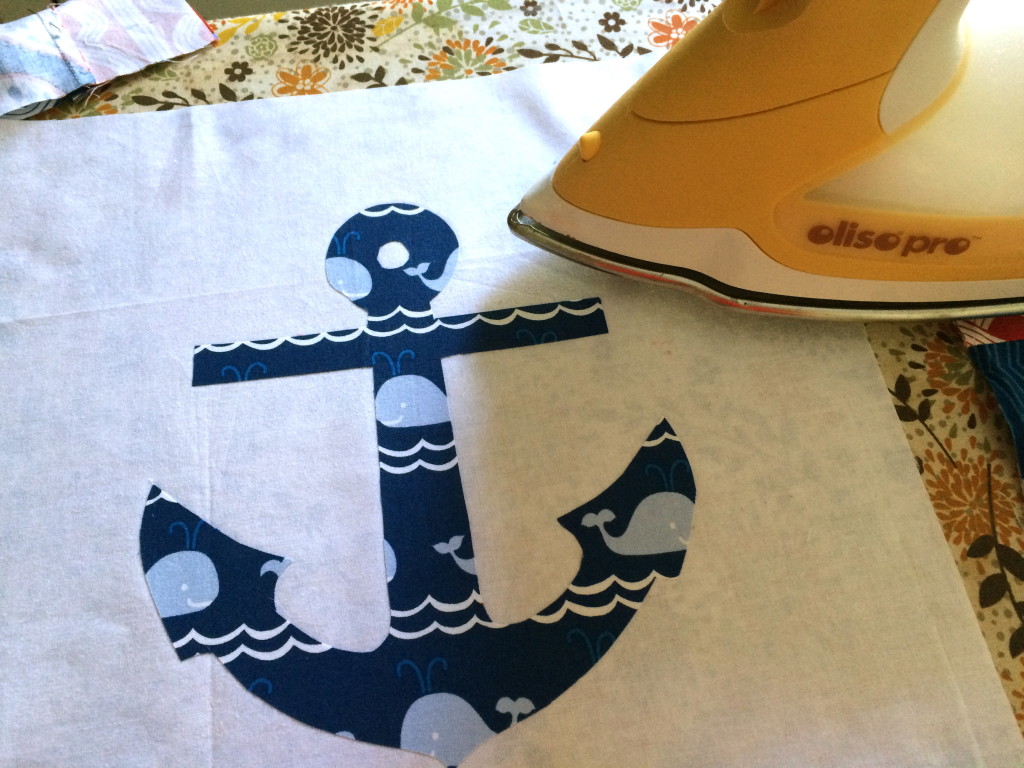
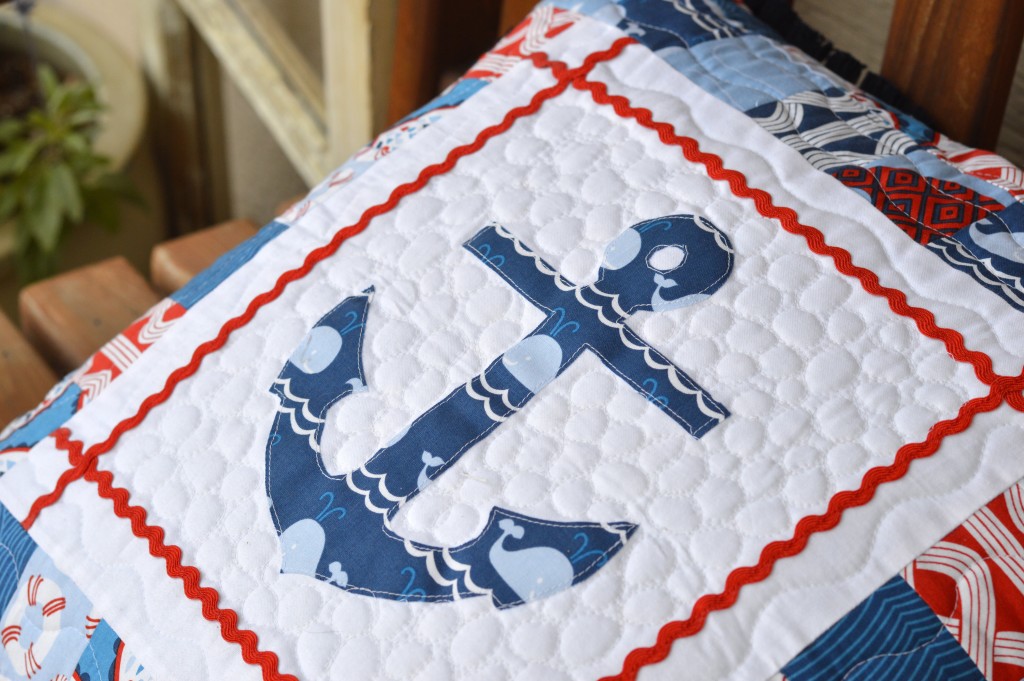
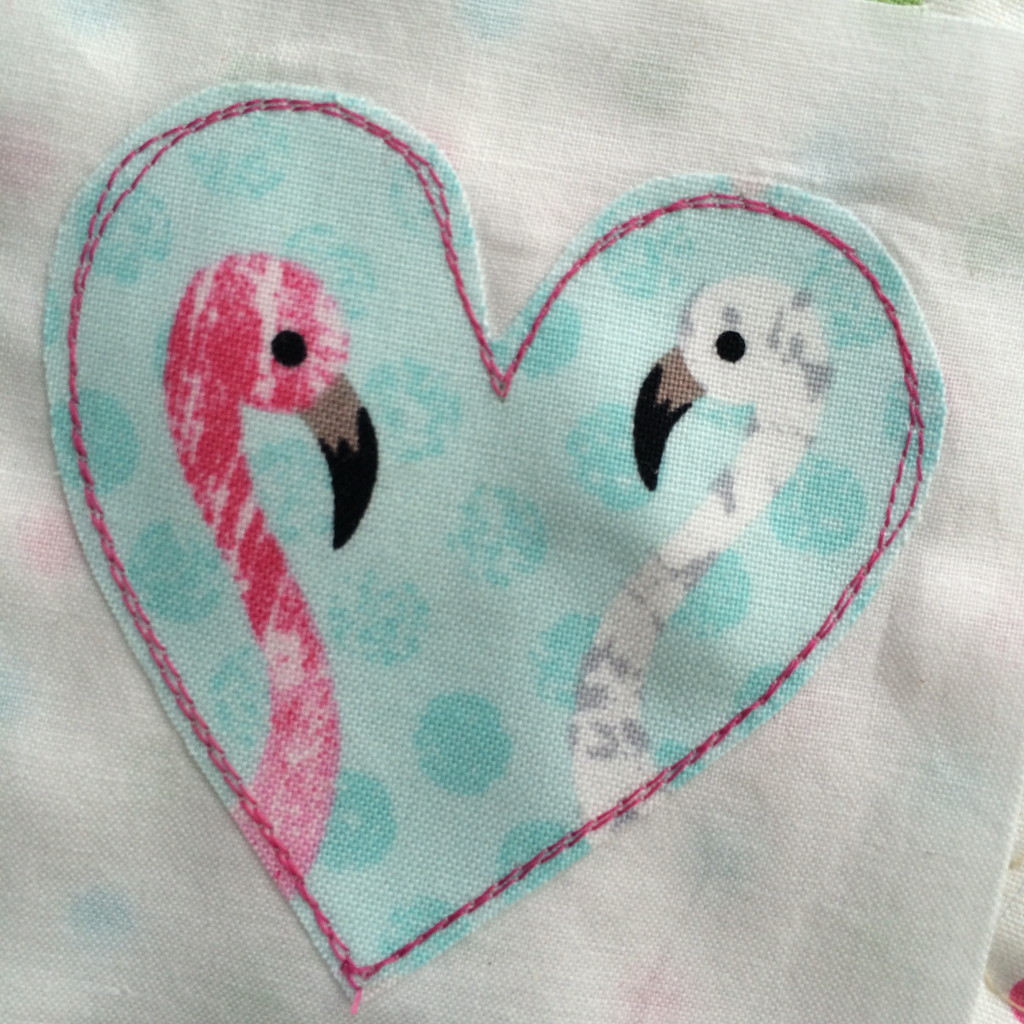
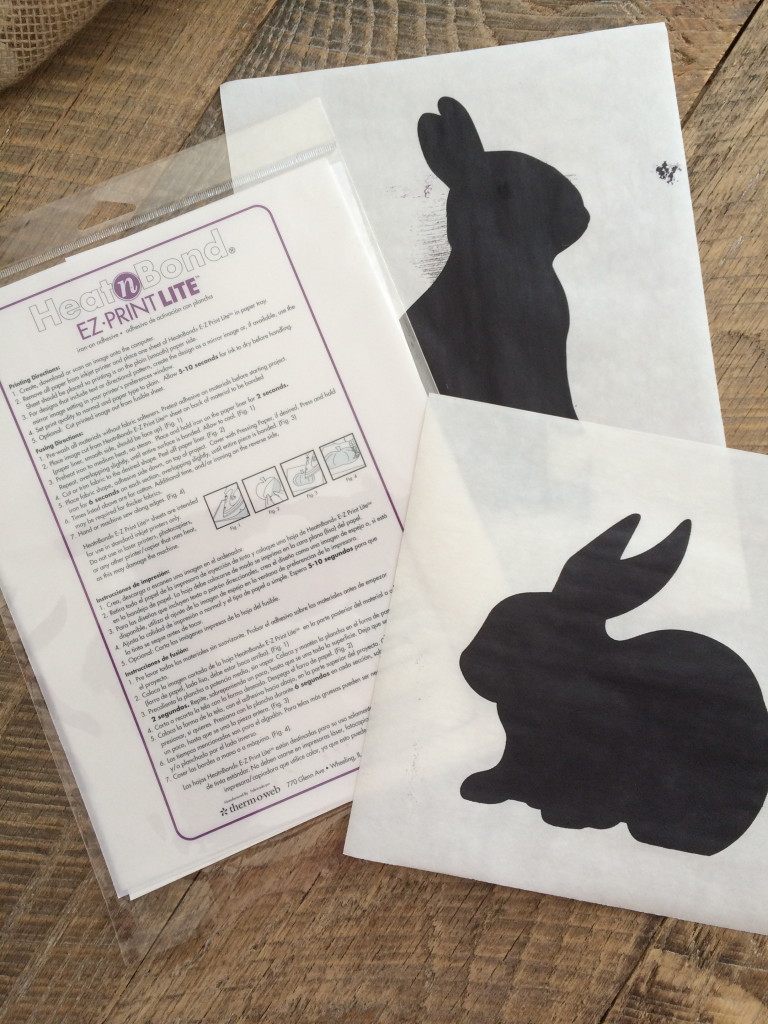
Cut the center white fabric 12.5″ x 12.5″. Print out the anchor on the Heat n Bond Lite EZ print sheets or trace the anchor onto Heat n Bond Lite. Press the Heat n Bond to the wrong side of the anchor fabric. Cut the anchor out and peel off the backing paper. Press the anchor in the center of the white fabric. Top stitch around the anchor.
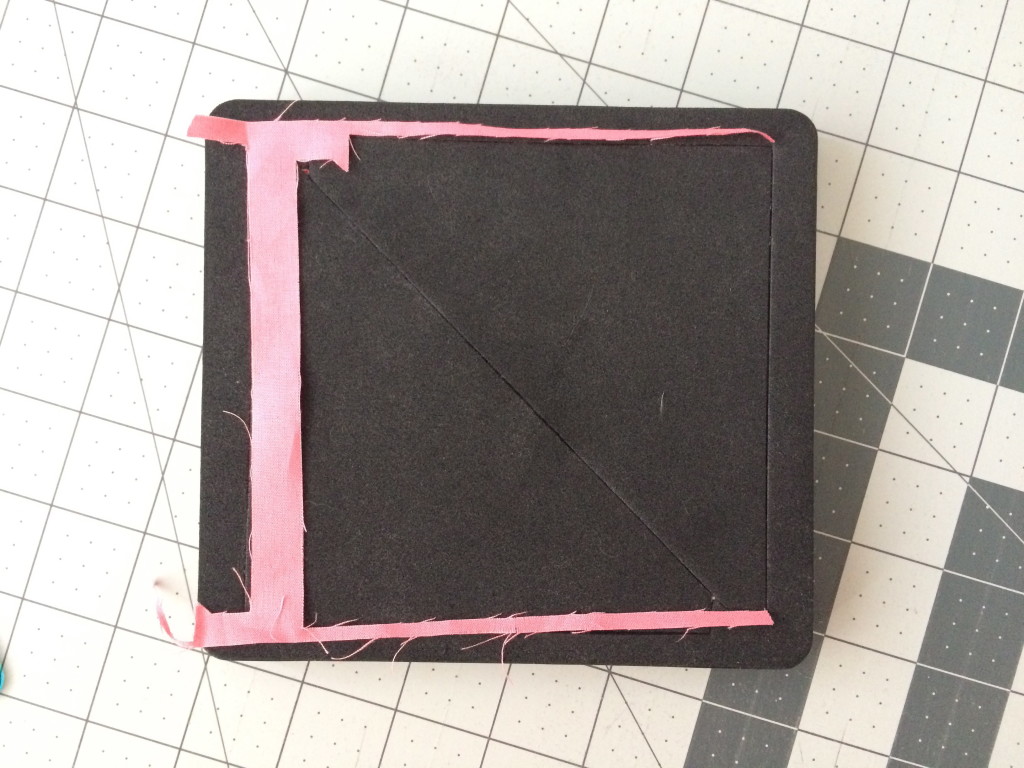
Position the ric rac as picture:
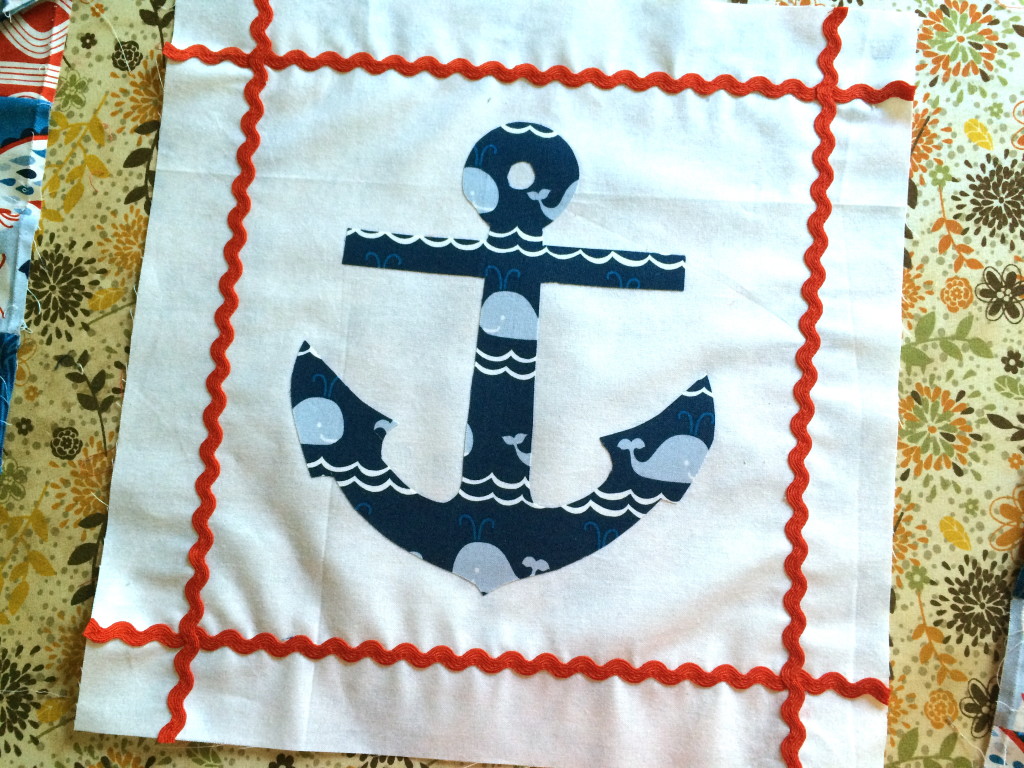
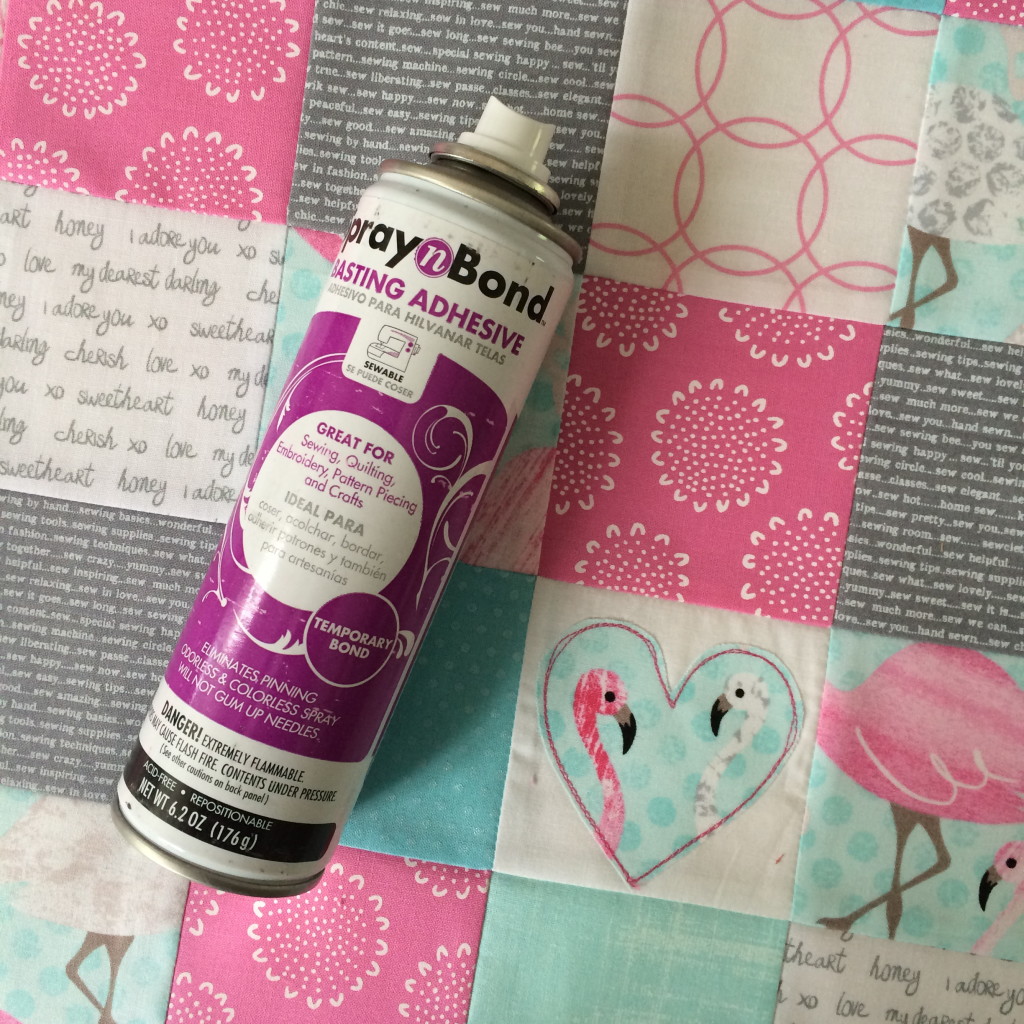
I used Spray n Bond to hold it in place while I sewed. You can also use pins. Sew the ric rac on with matching thread.
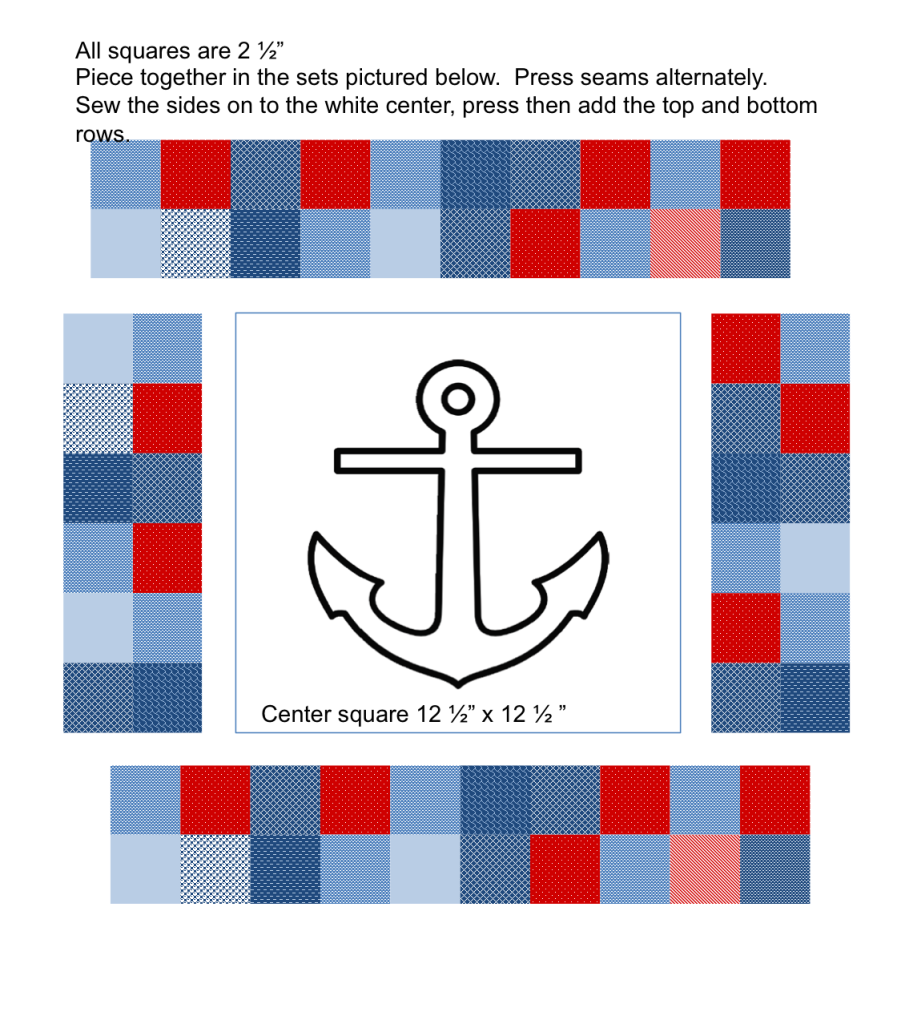
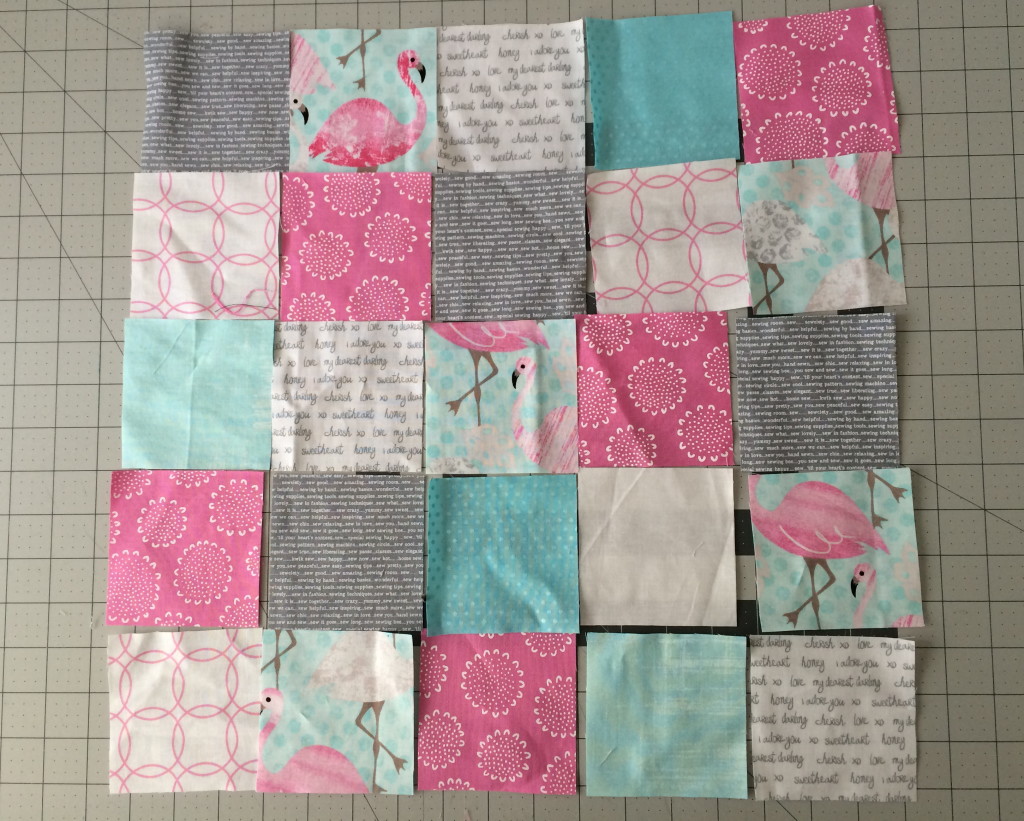
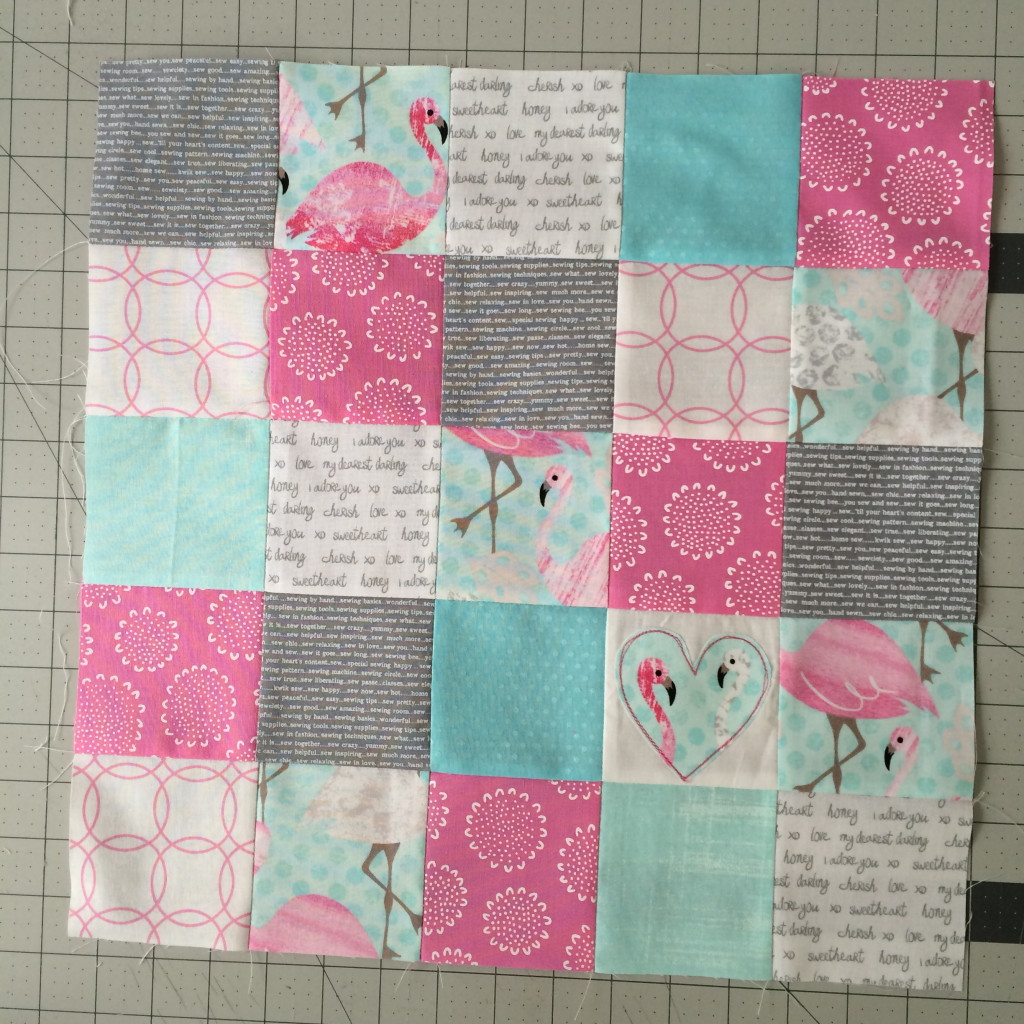
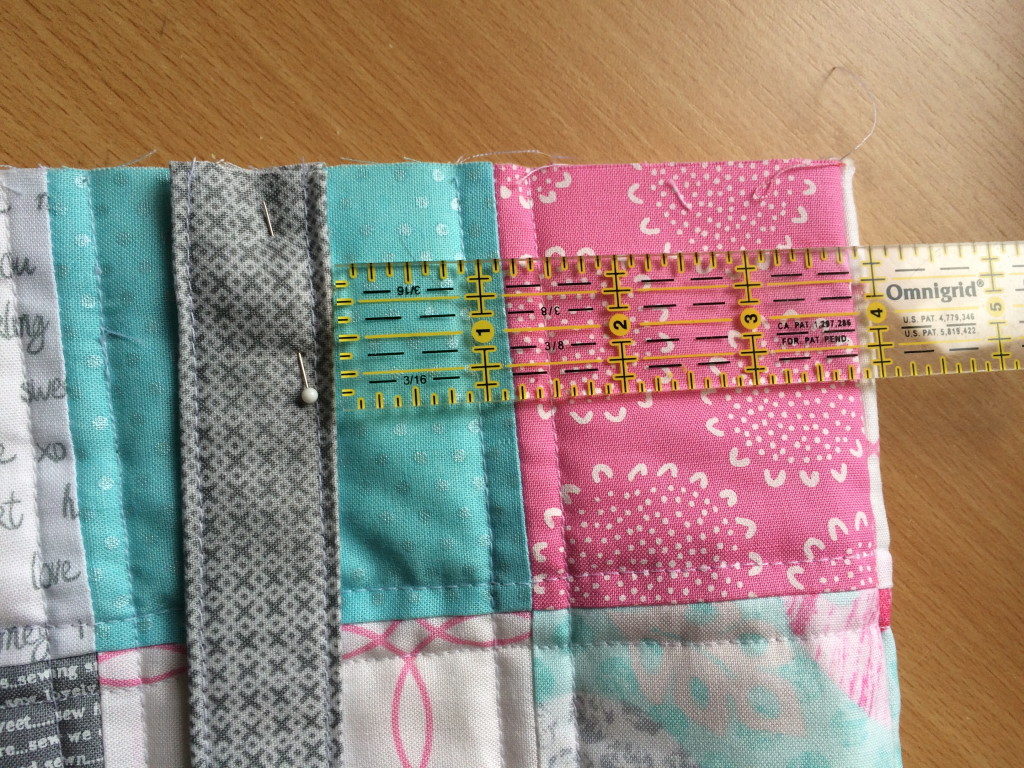
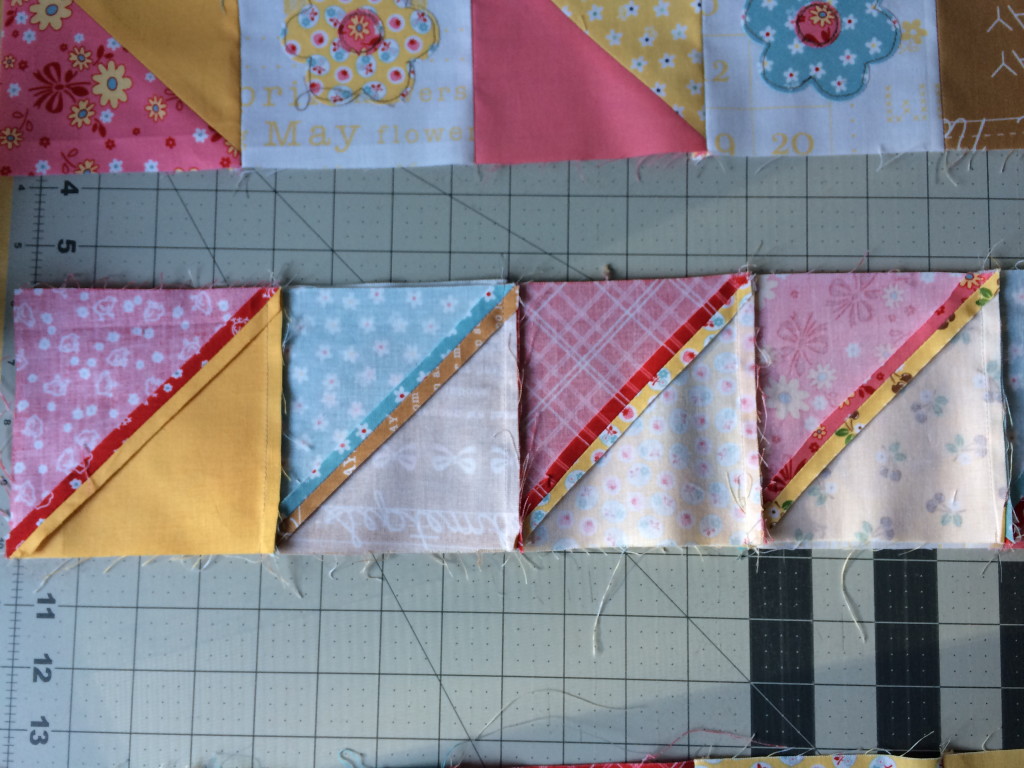
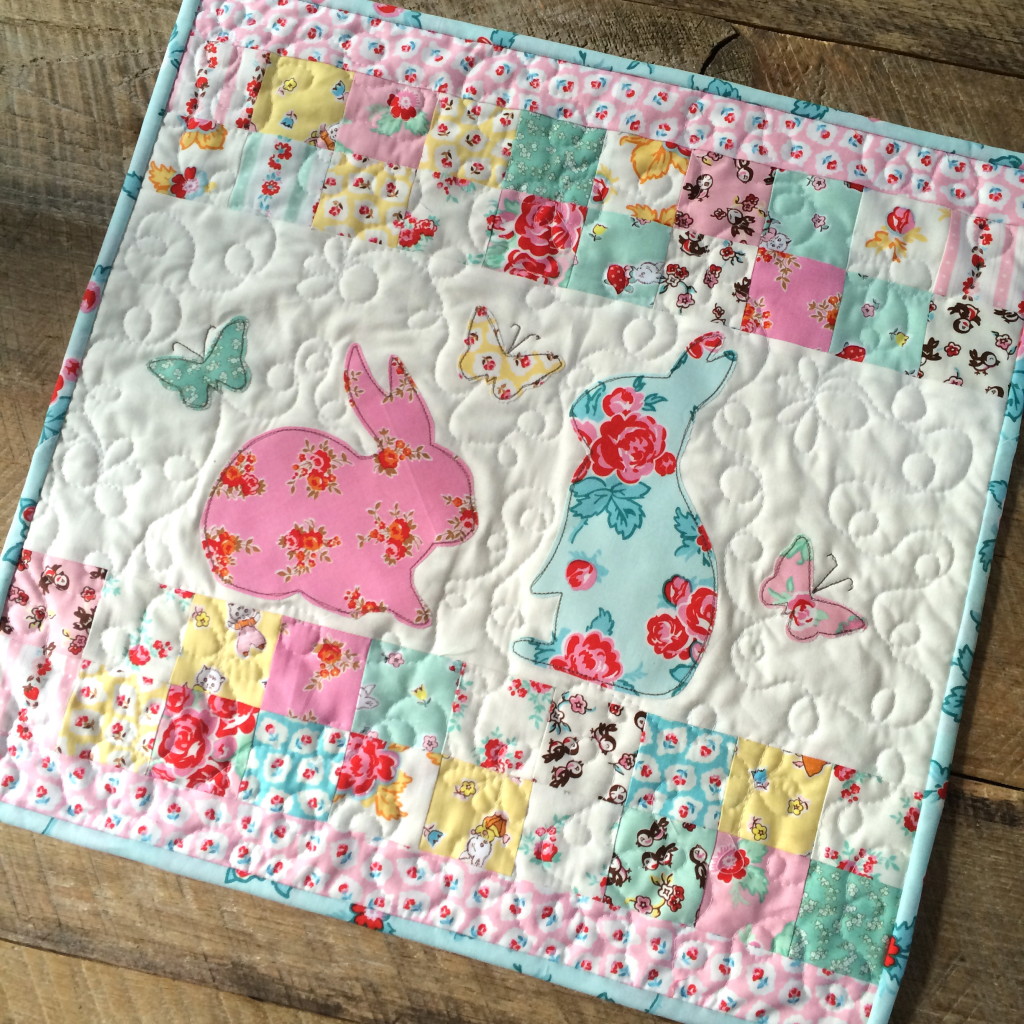
Refer to the above diagram for sewing the patchy boarder. All squares are 2.5″ and all seams are 1/4″.
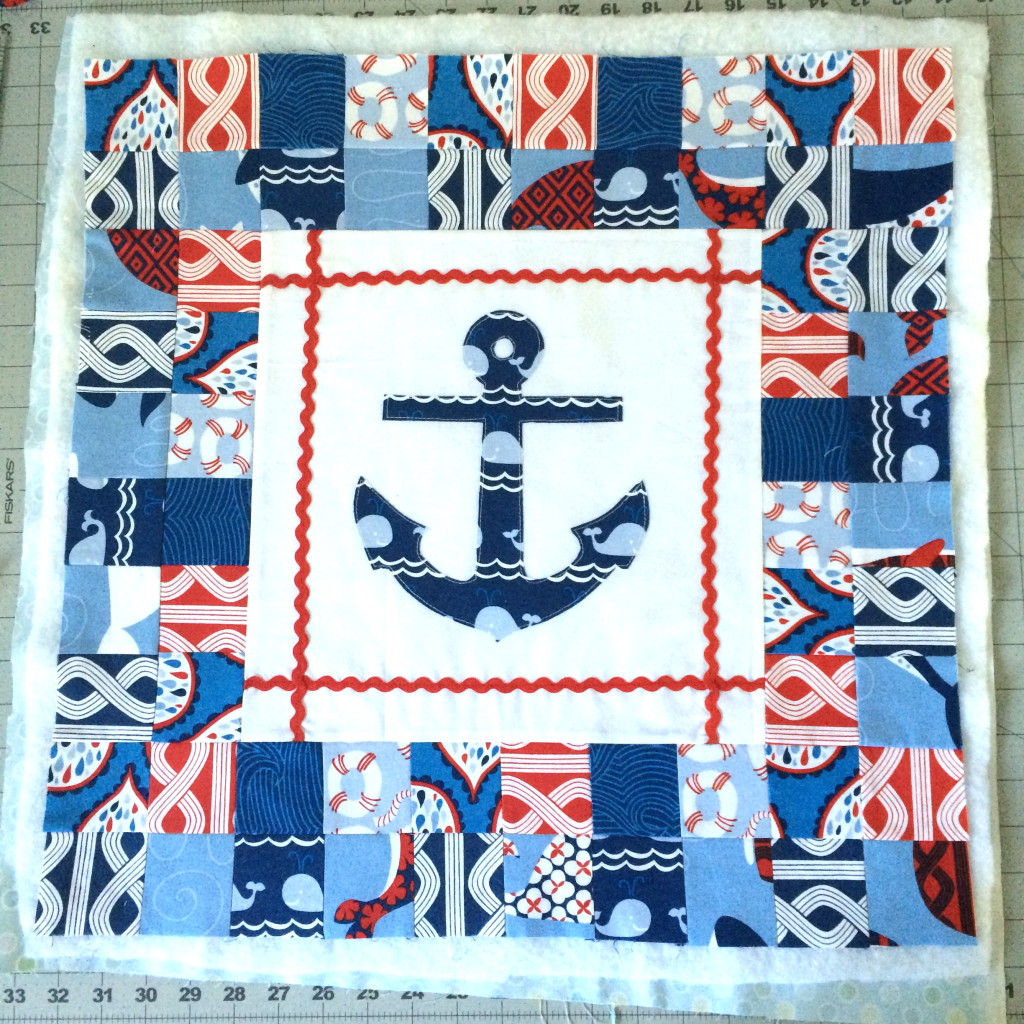
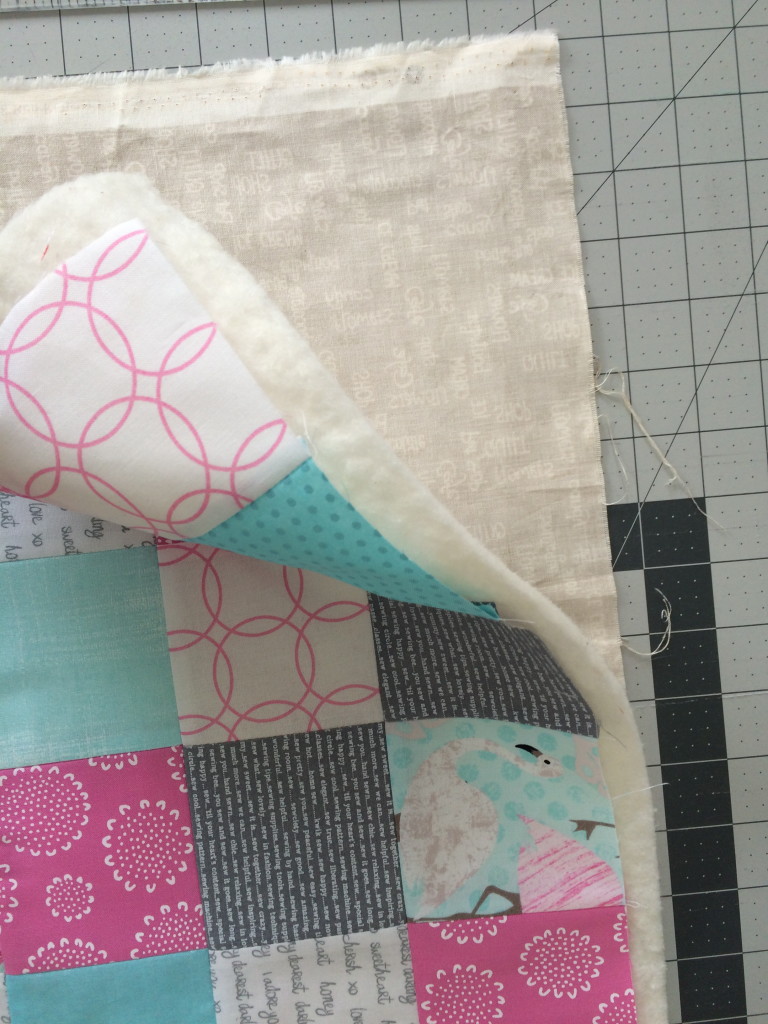
Once the pillow top is complete, spray baste it to the batting and then to a backing. The backing fabric won’t be seen, it just gives the pillow added stability. Quilt as desired.
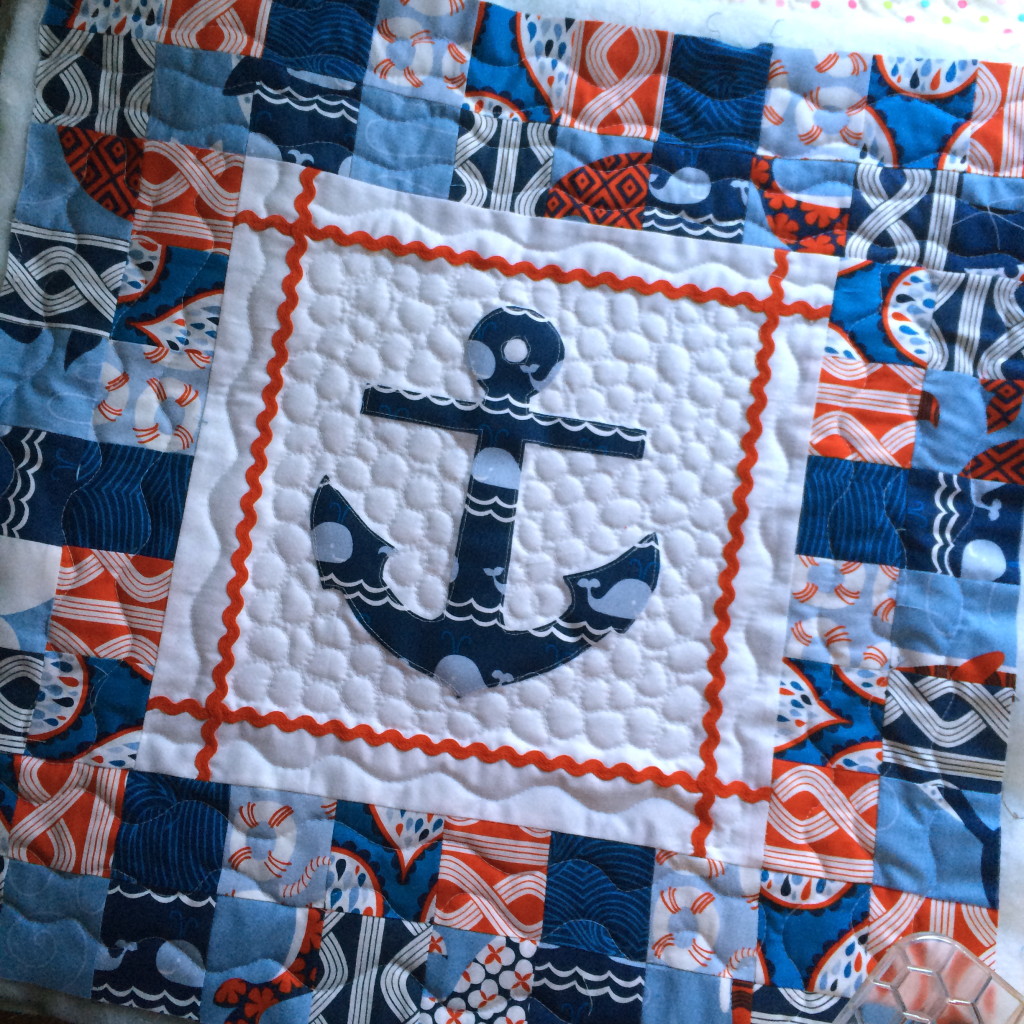
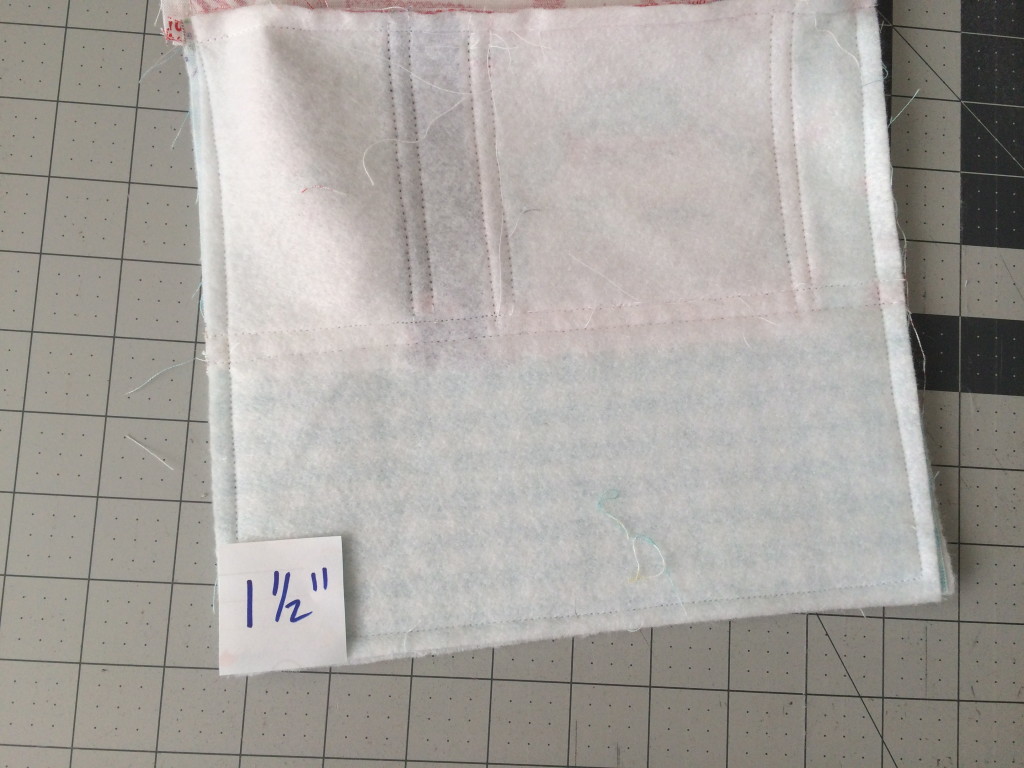
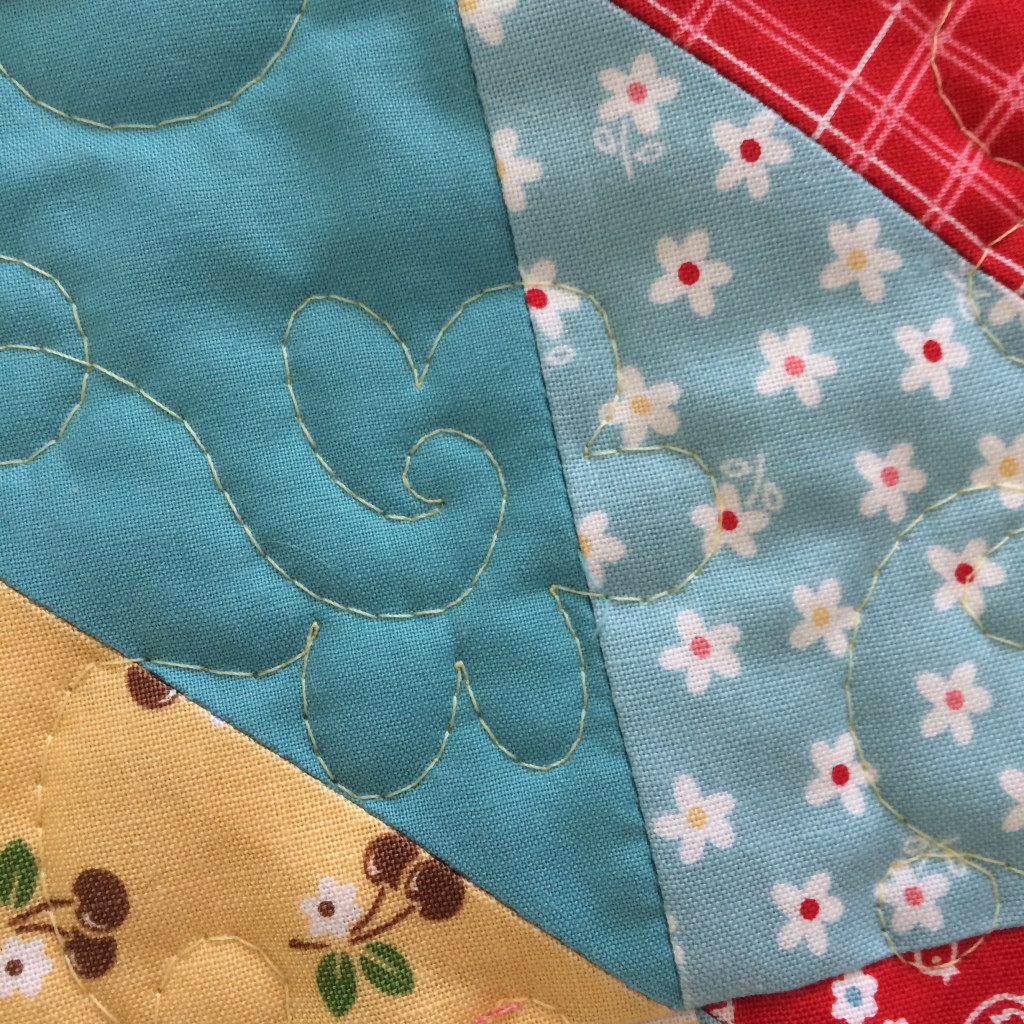
I quilted mine with wavy lines and then “pebbles” in the center. After quilting square up each side. The final measurement should be pretty close to 20″. You loose a little with the quilting.
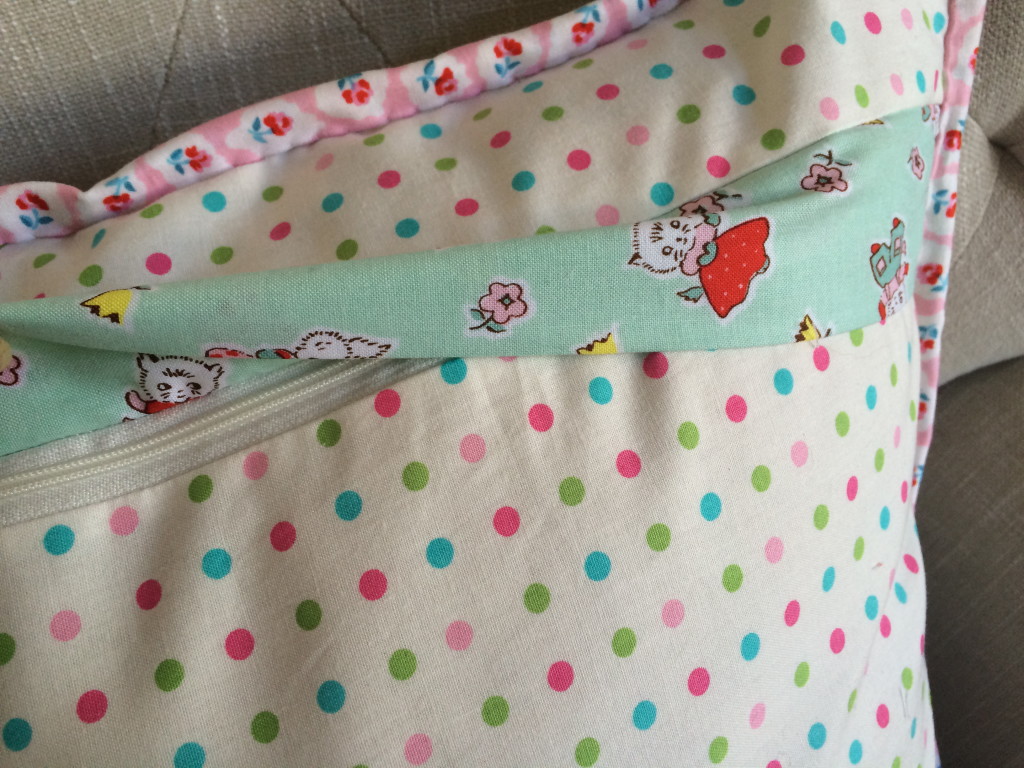
Baste the pillow trim onto the pillow top. Finish the quilt as desired. I always put a zipper in the back of my pillow and you can follow the instructions in this tutorial.
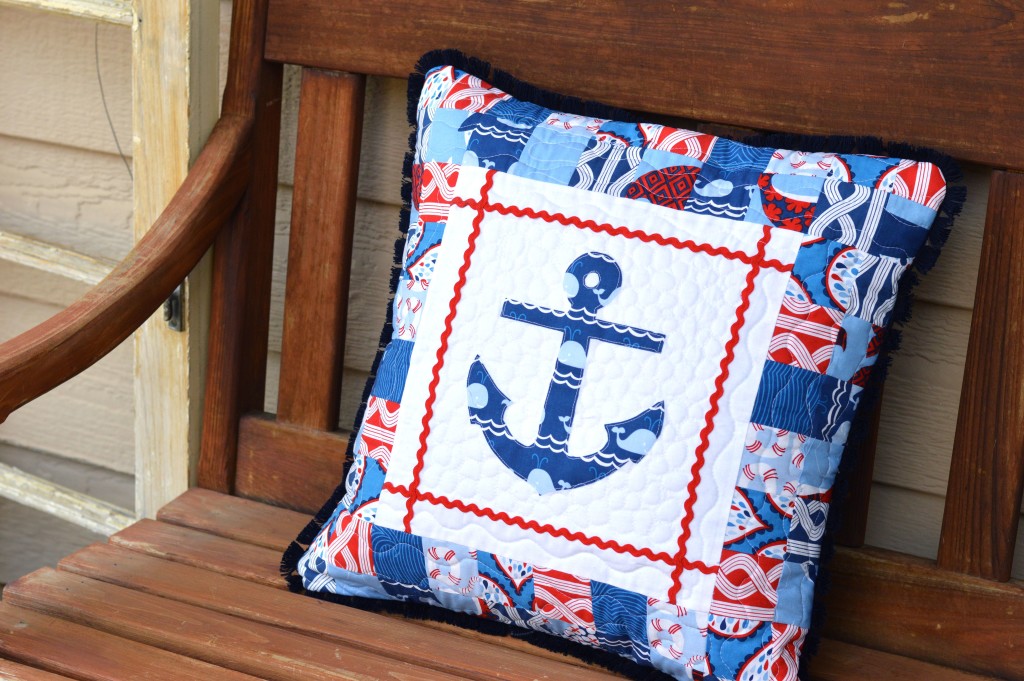
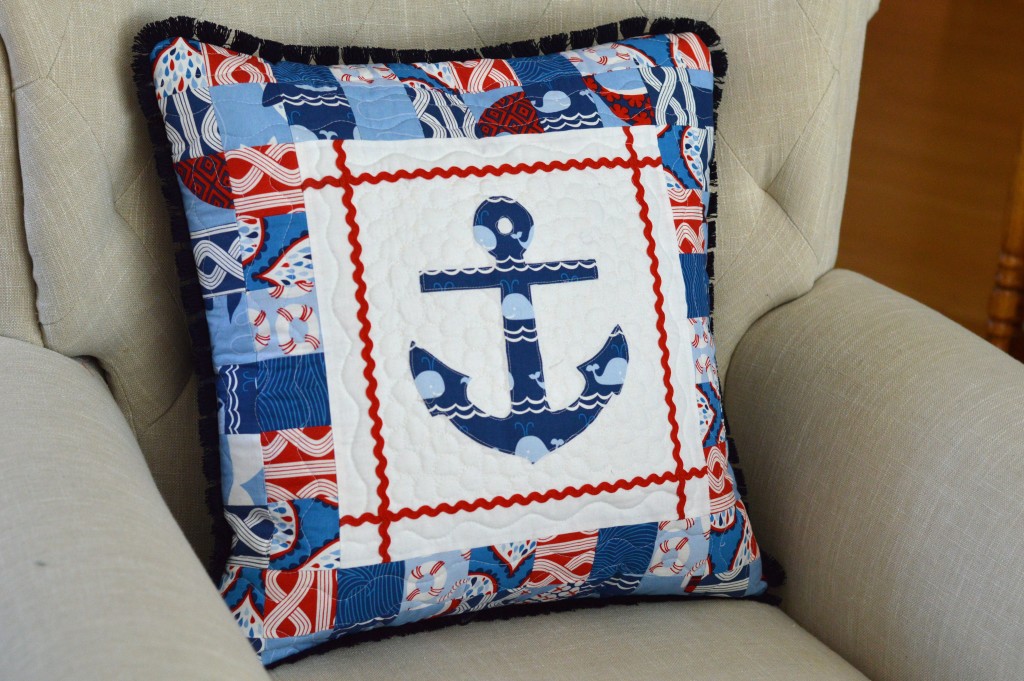
I love how this pillow turned out and it goes great with all my other nautical sewing projects! For more nautical projects, click HERE.
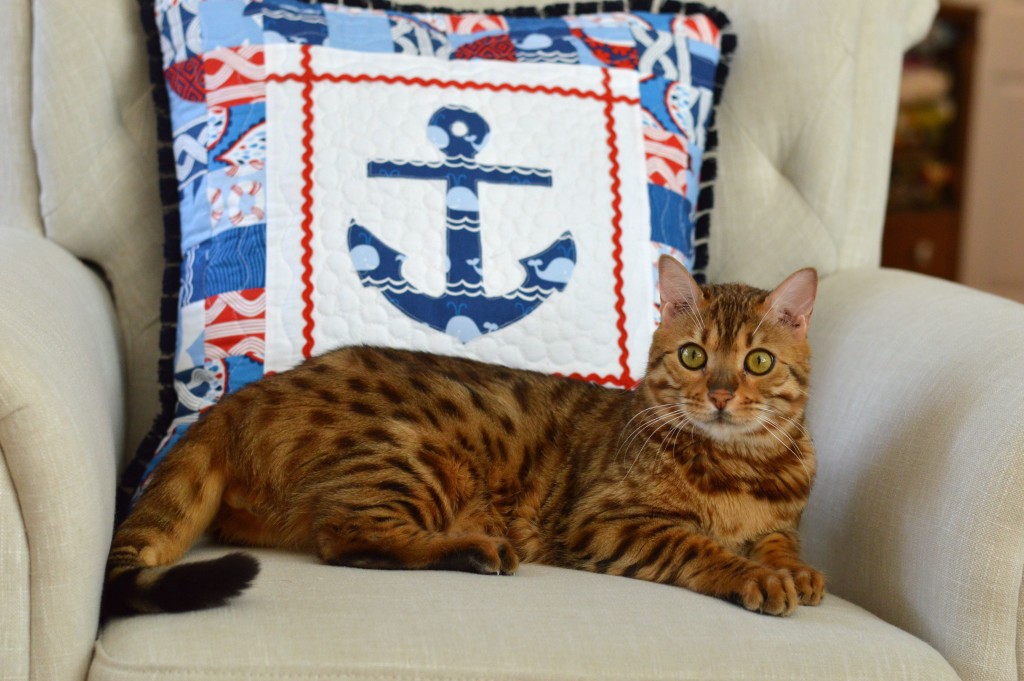
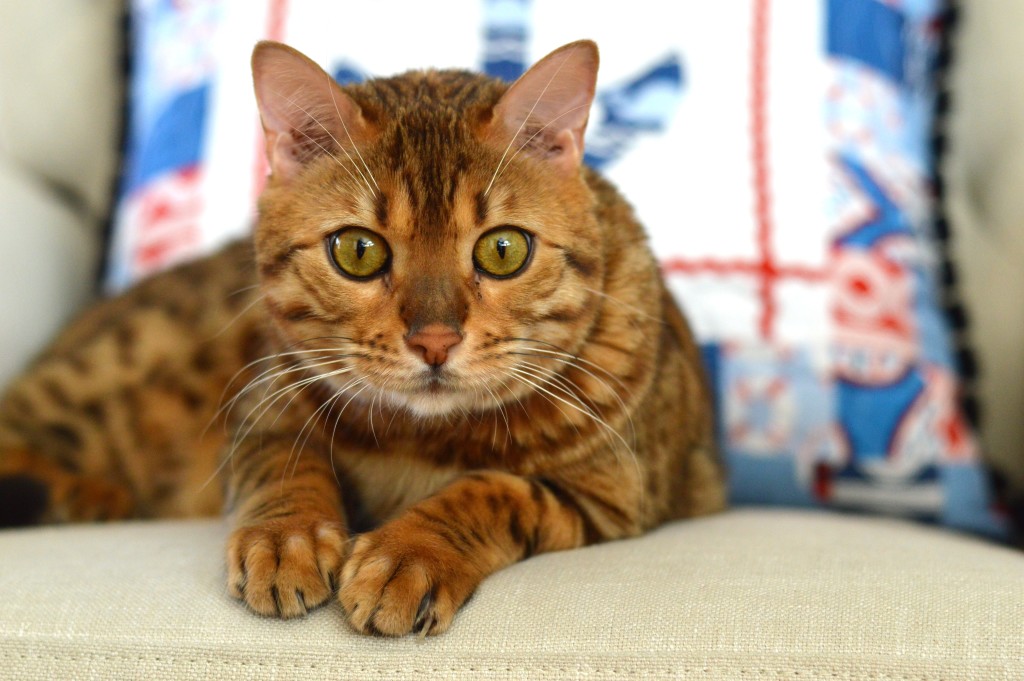
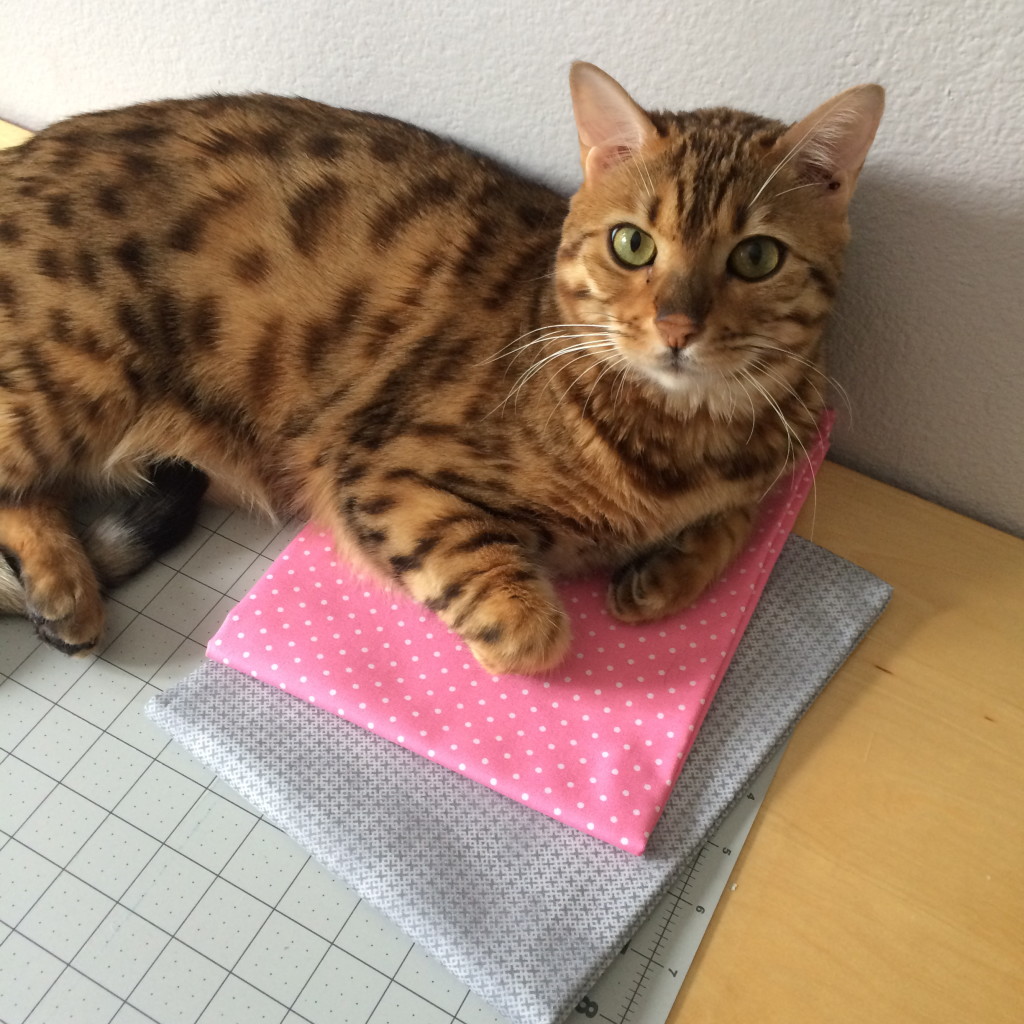
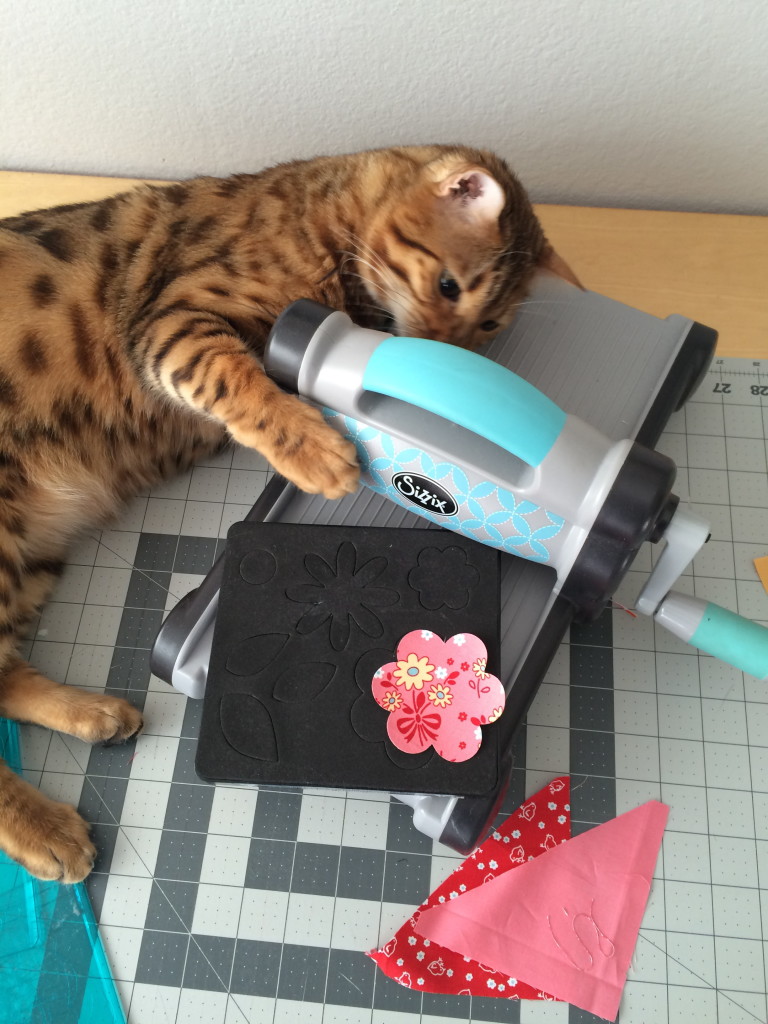
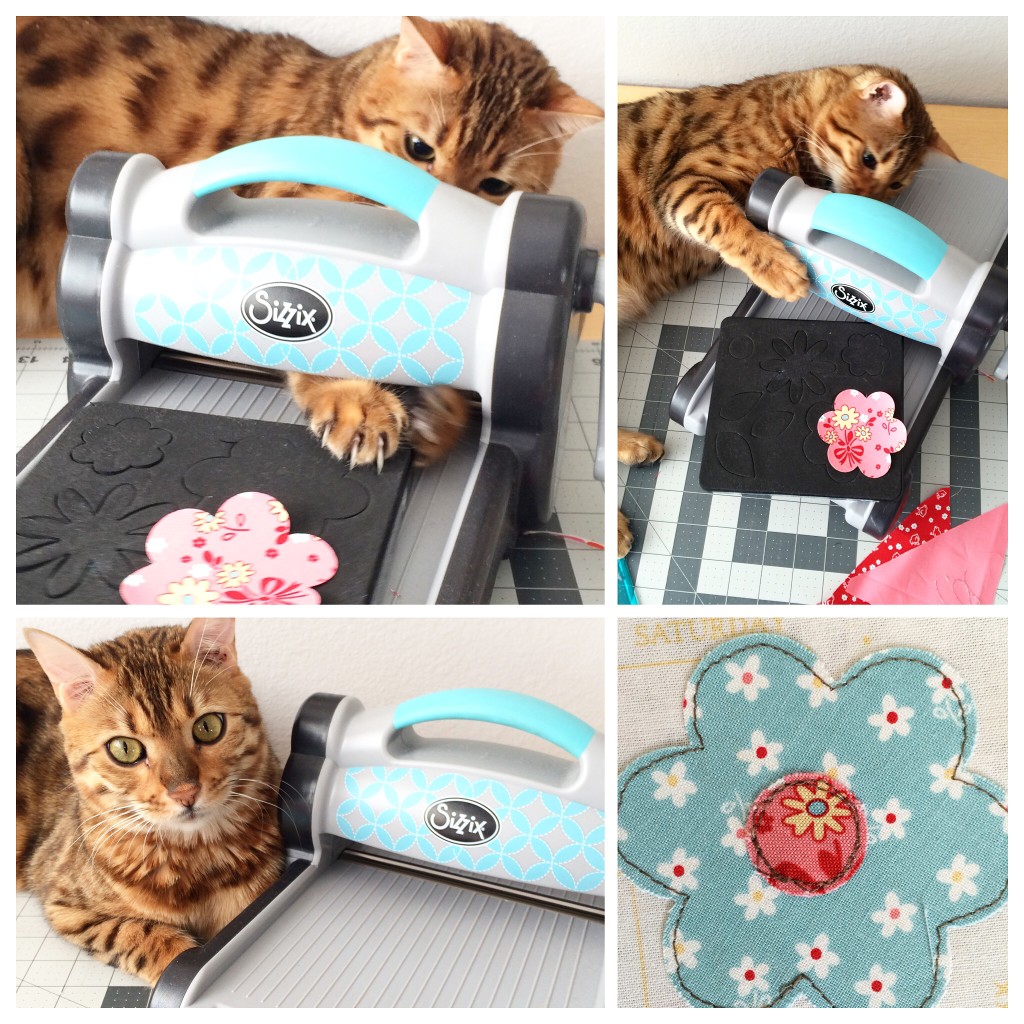
Mufasa was especially impressed with this project 🙂
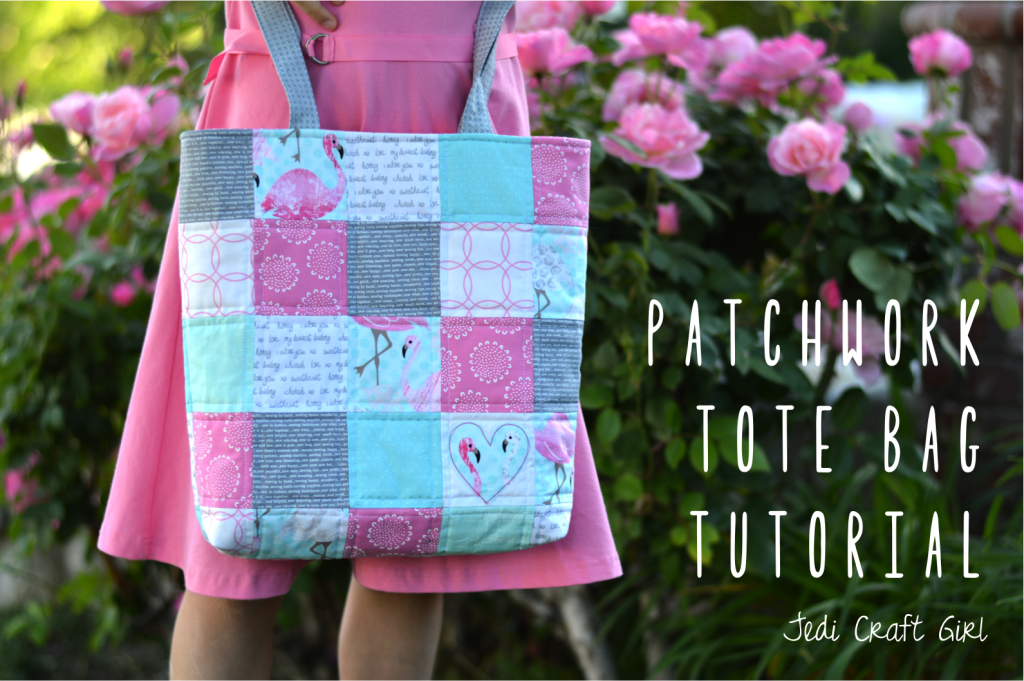
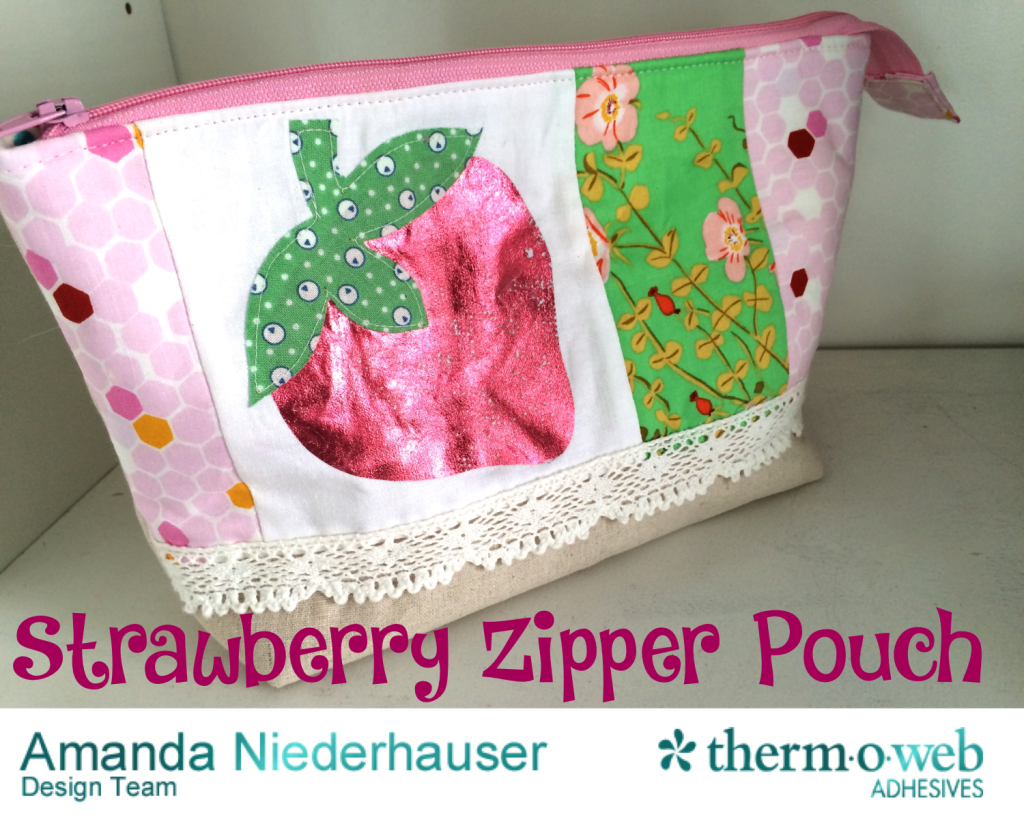
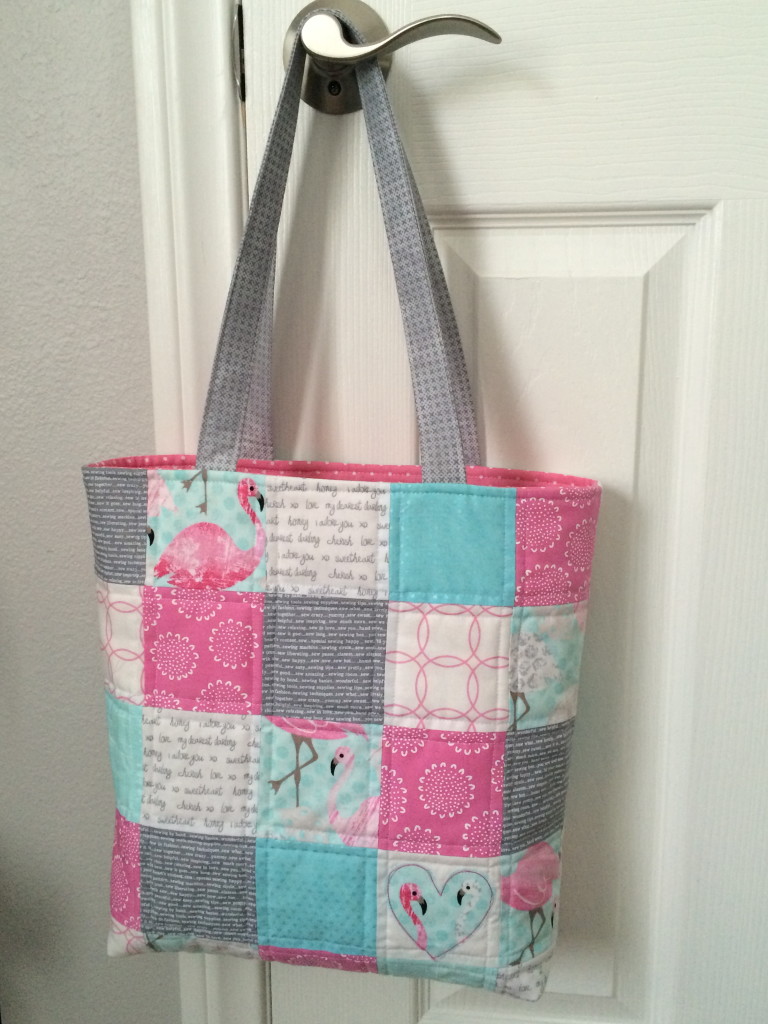
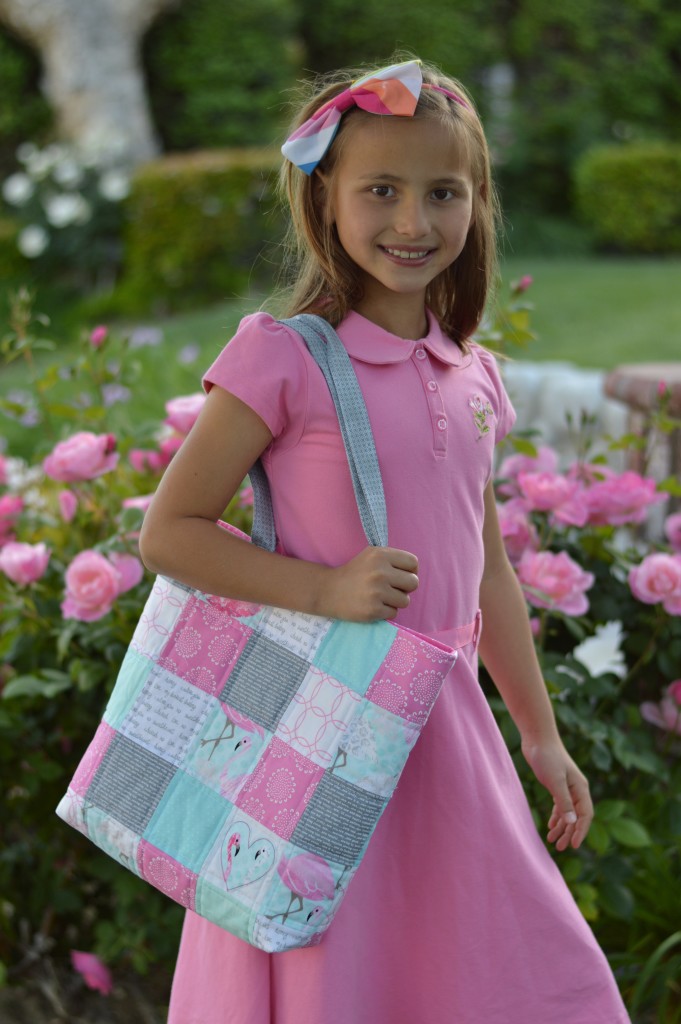
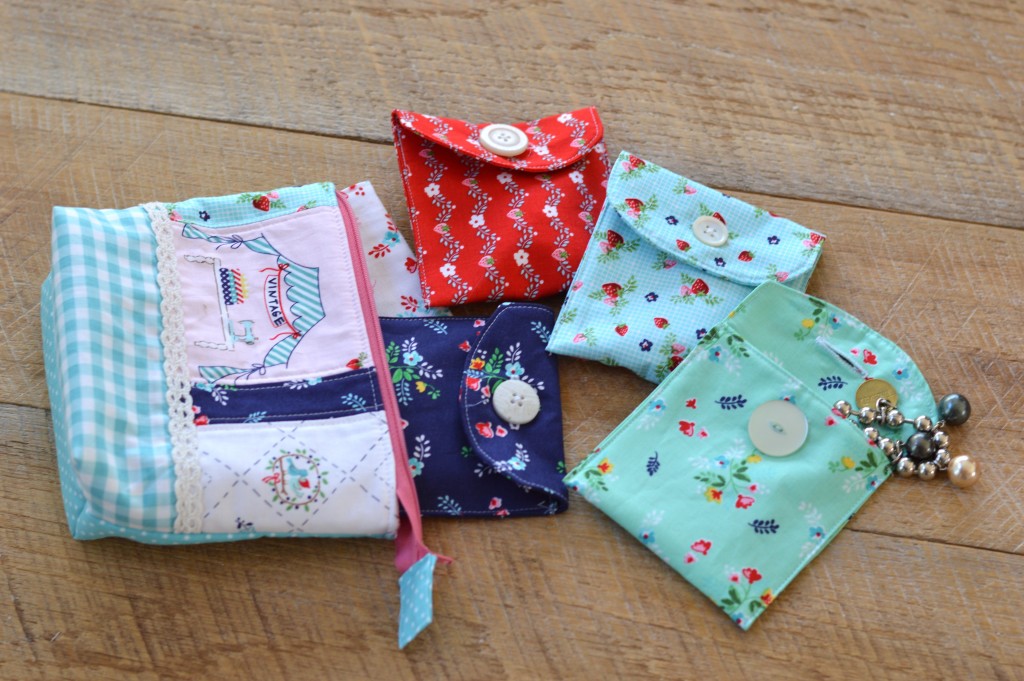
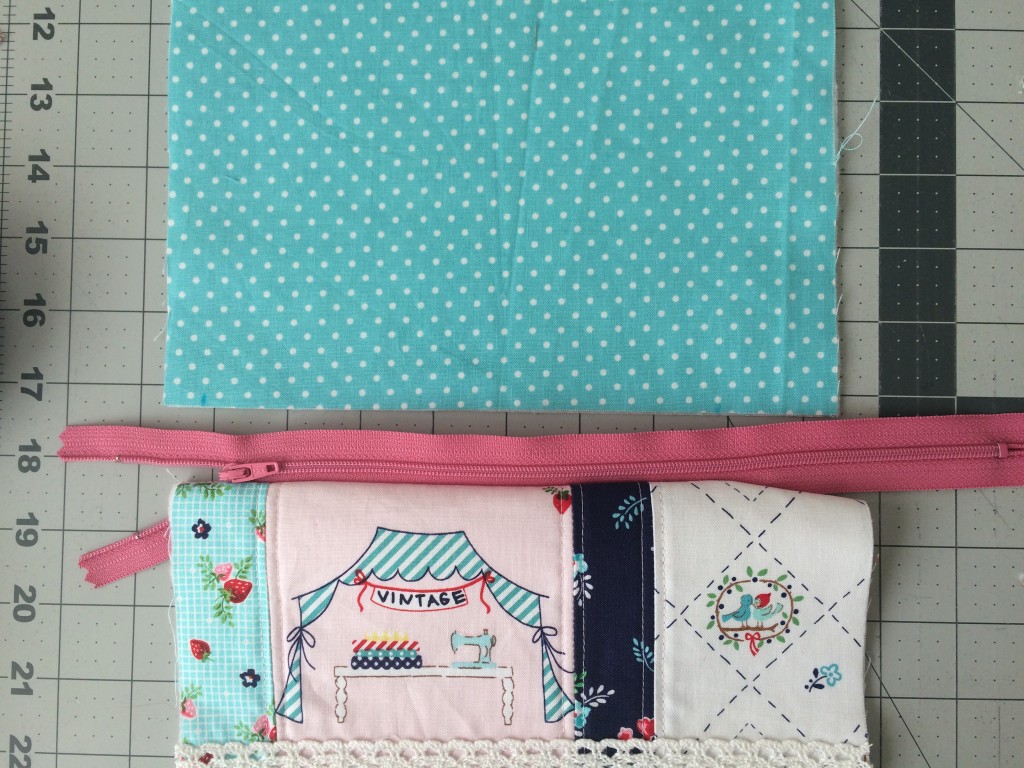
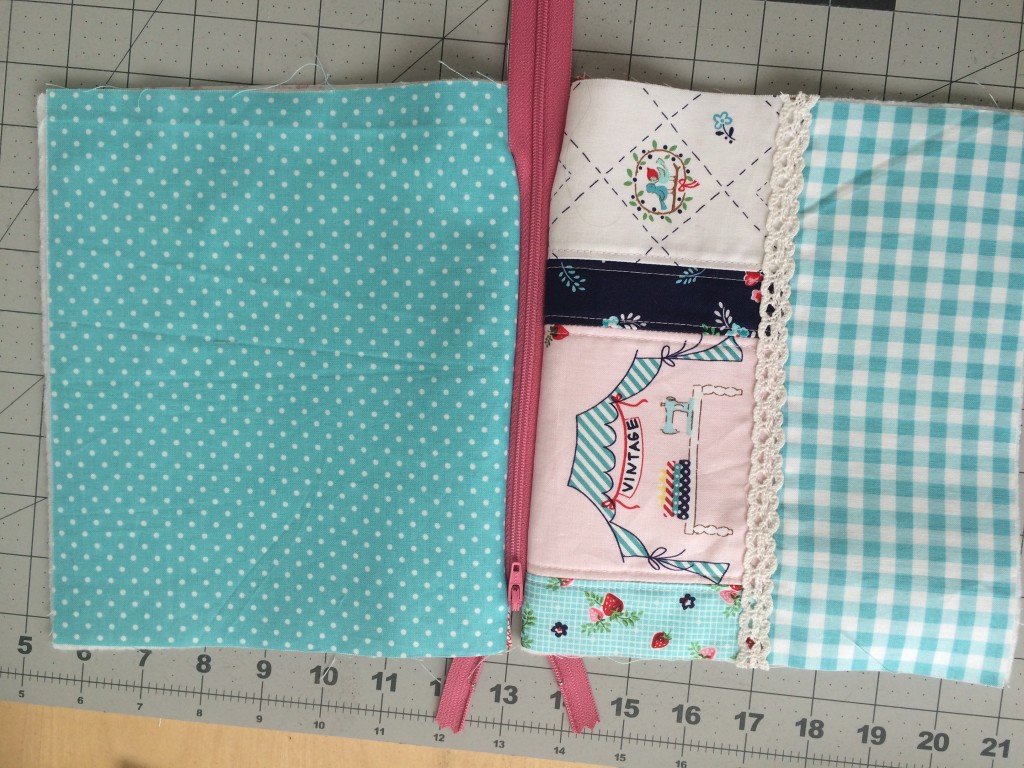
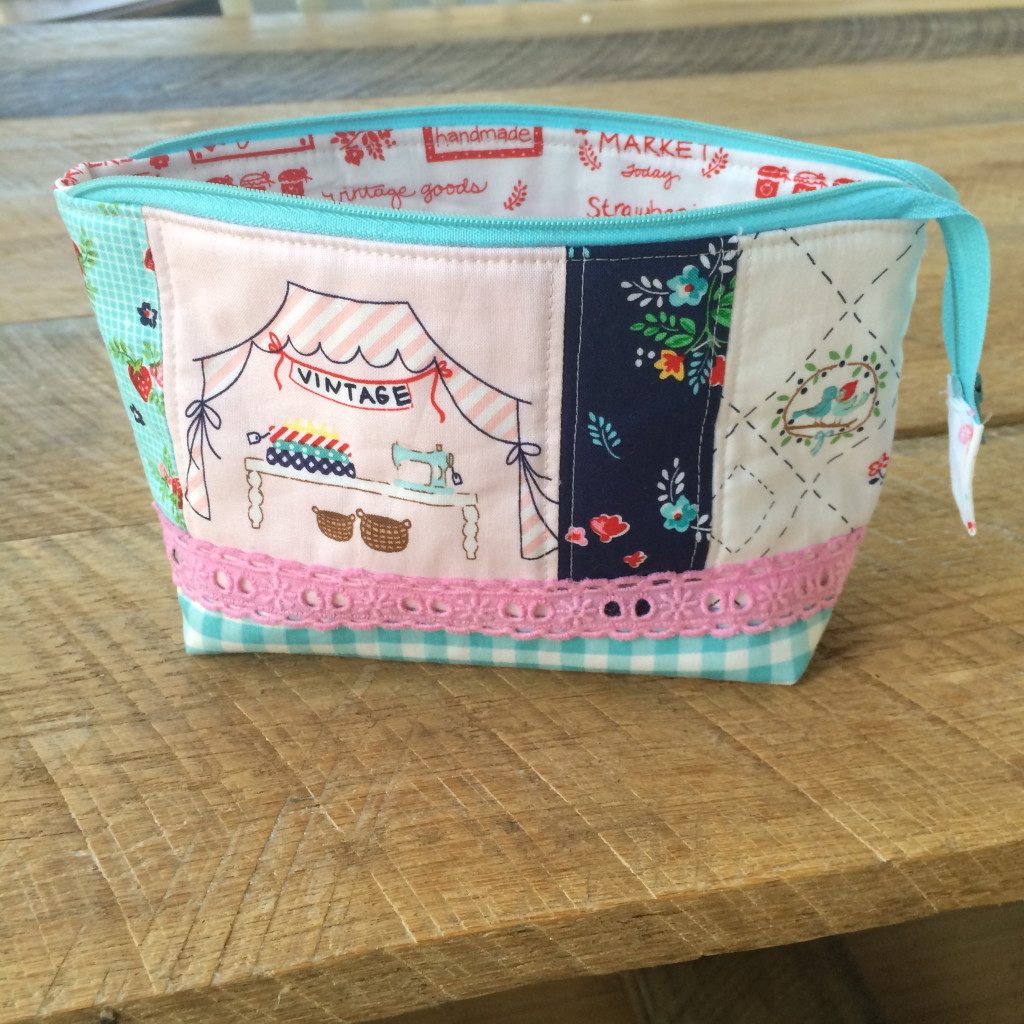
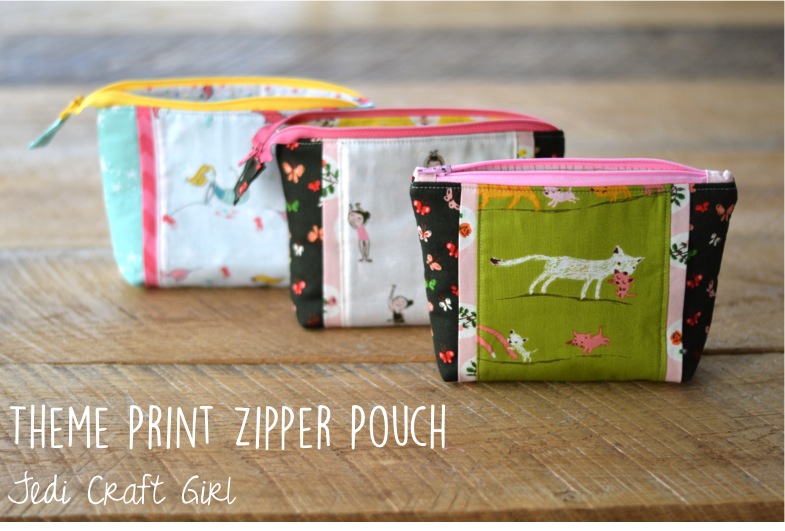
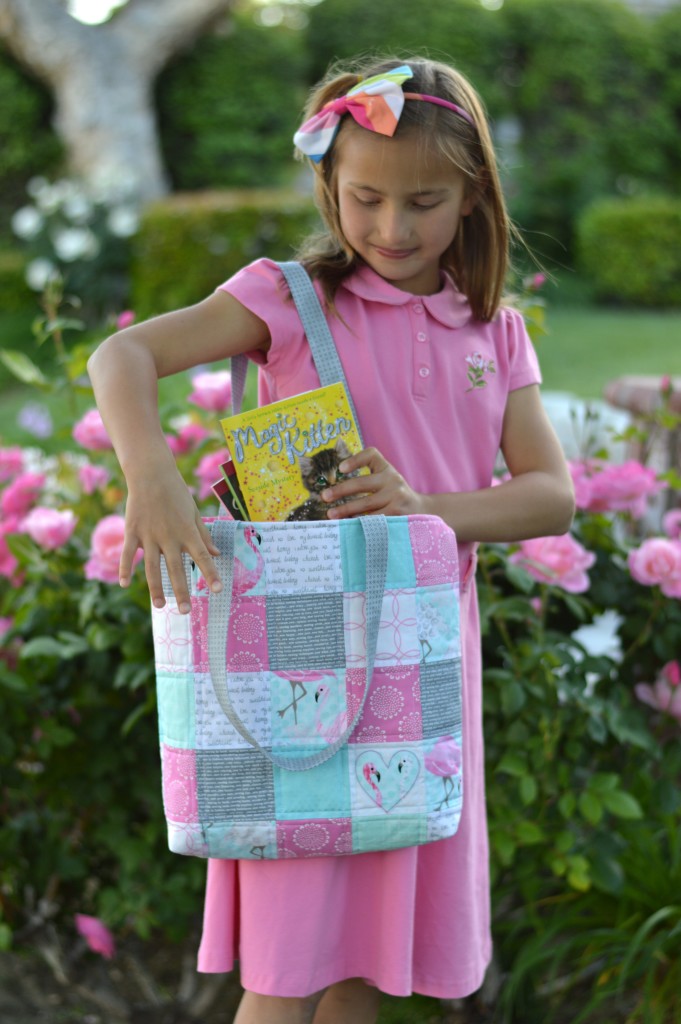 This is such a versatile size of bag! And the fabrics are so perfect for a little girl 🙂
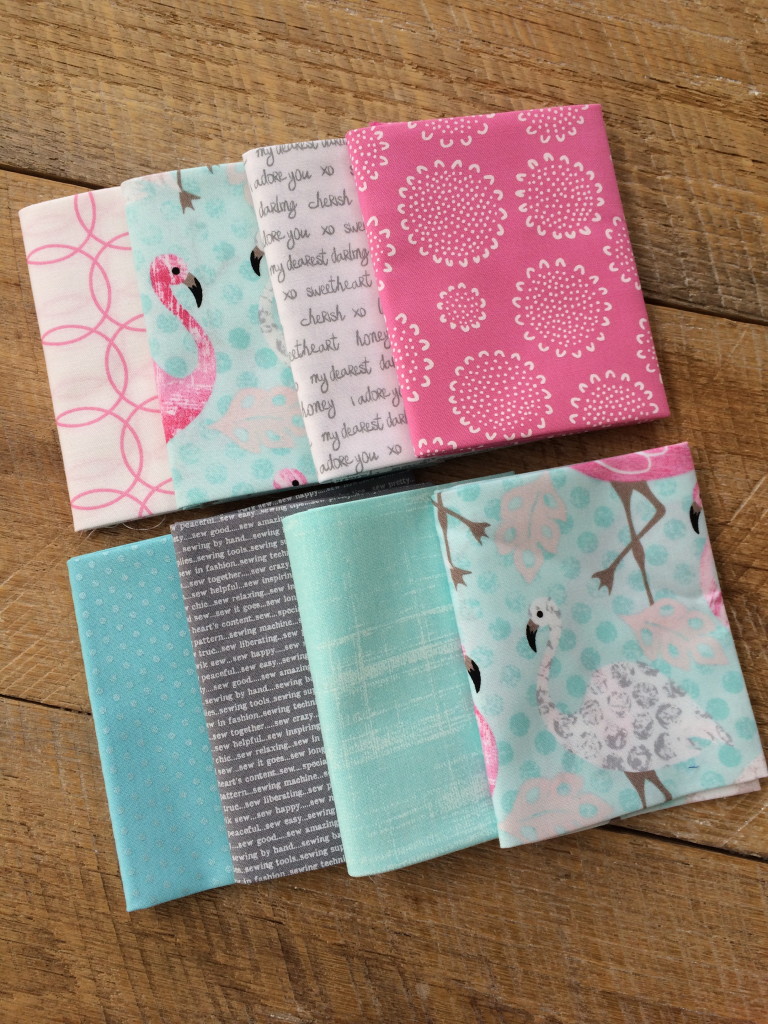

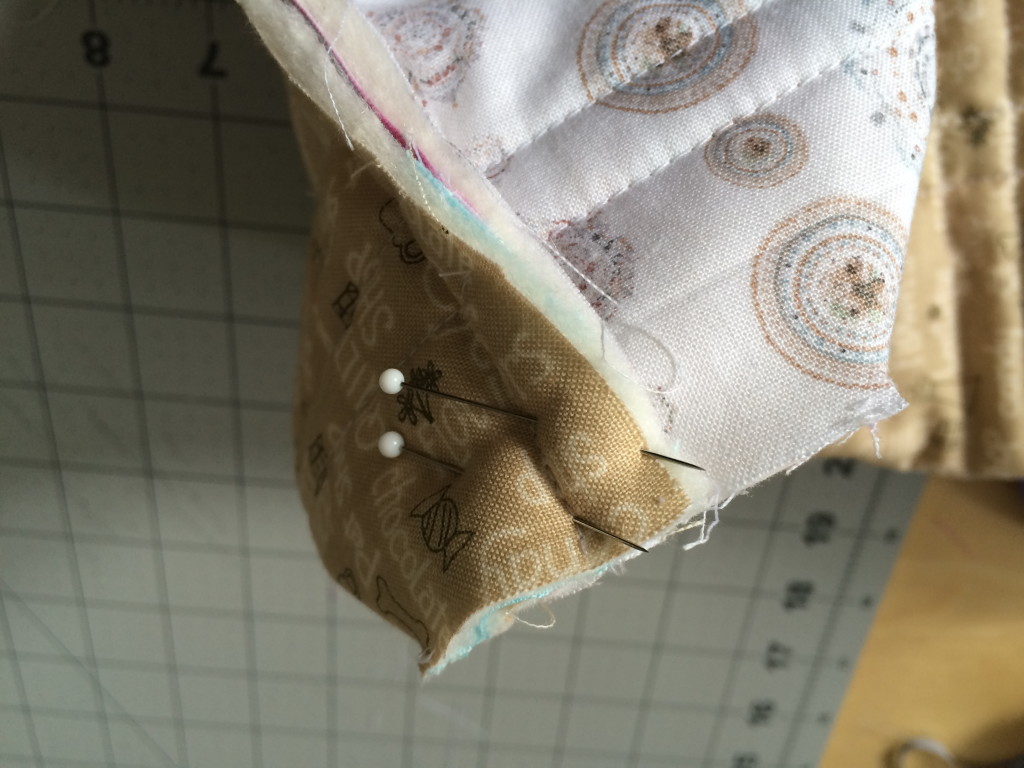


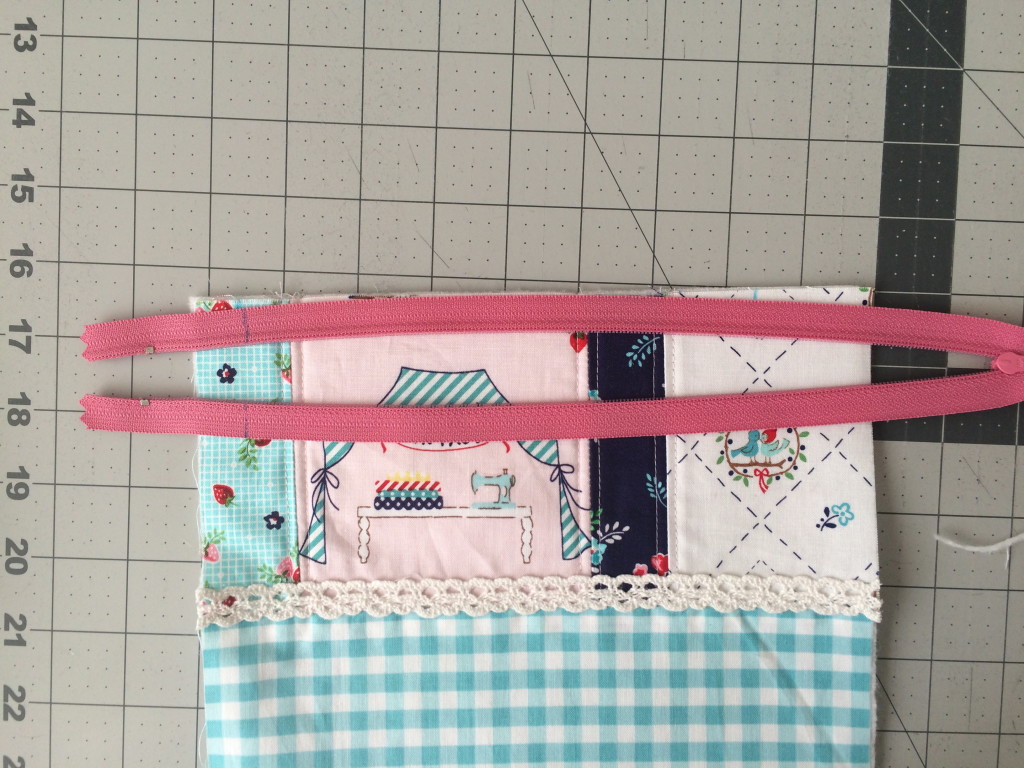
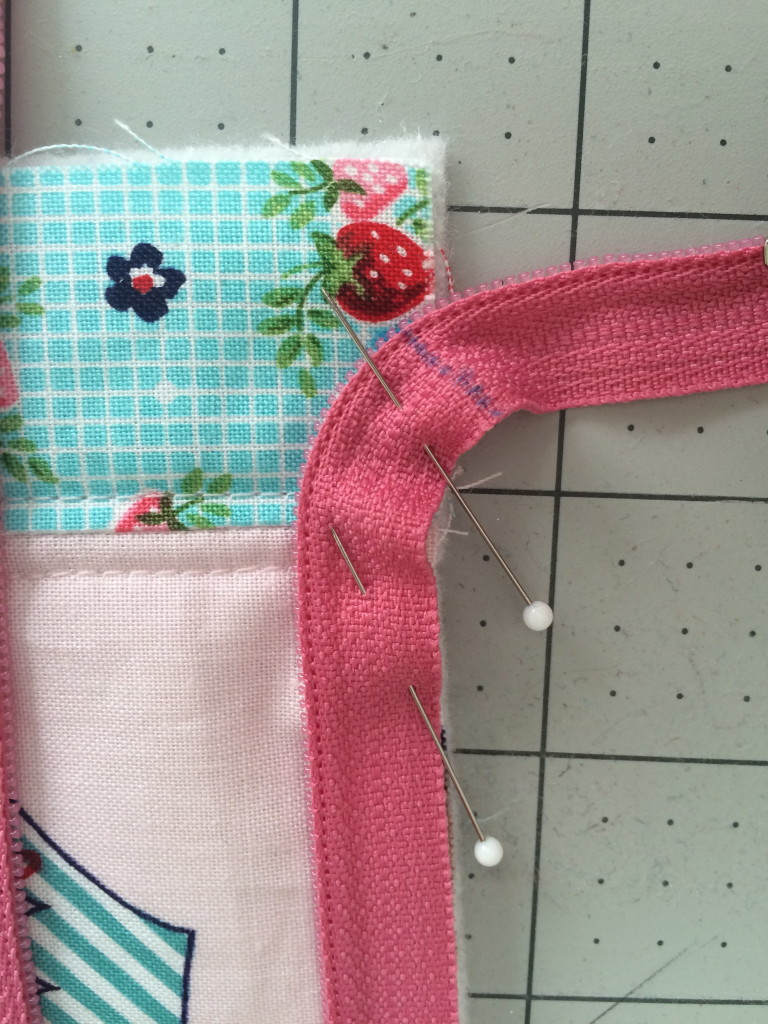
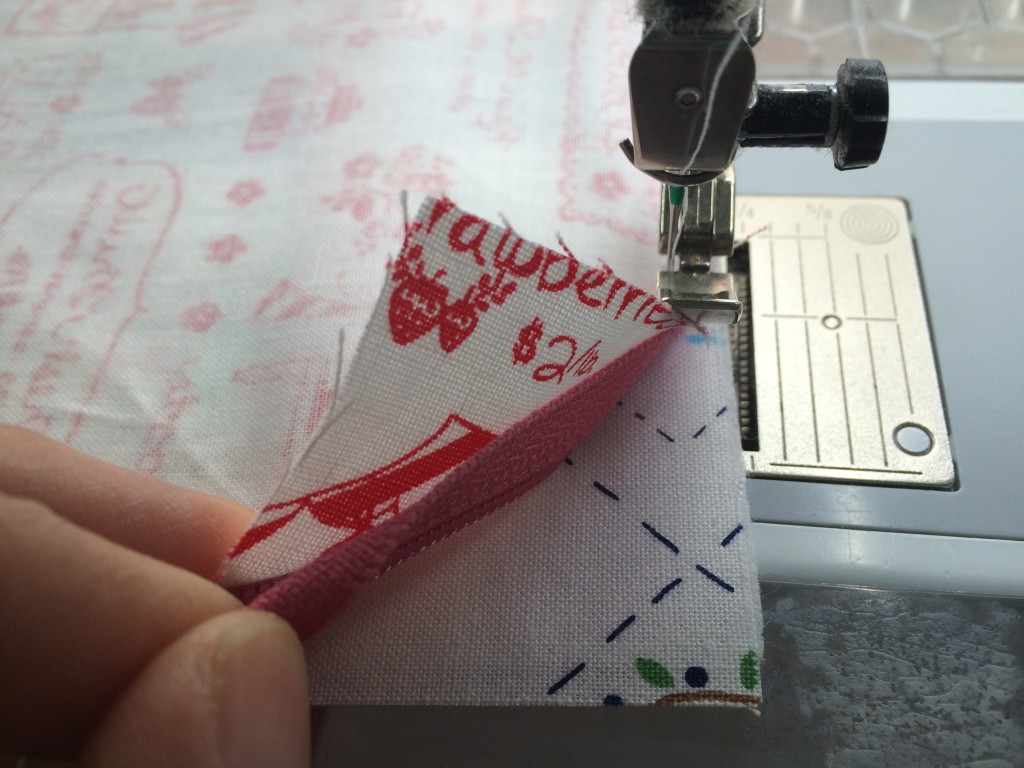
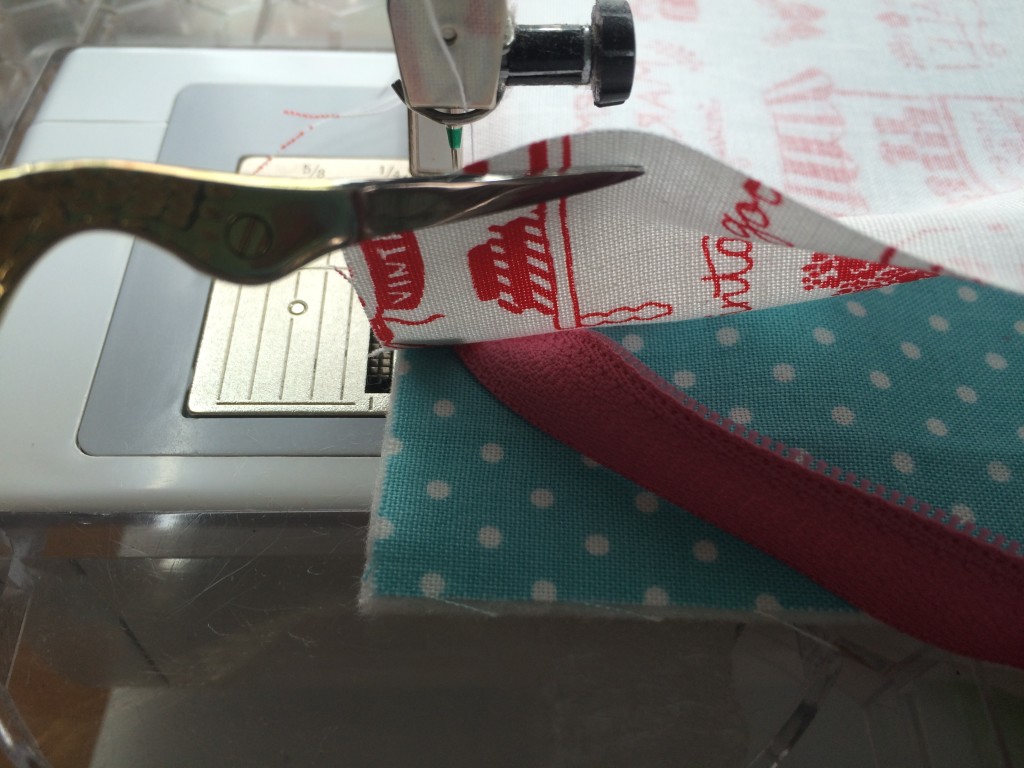
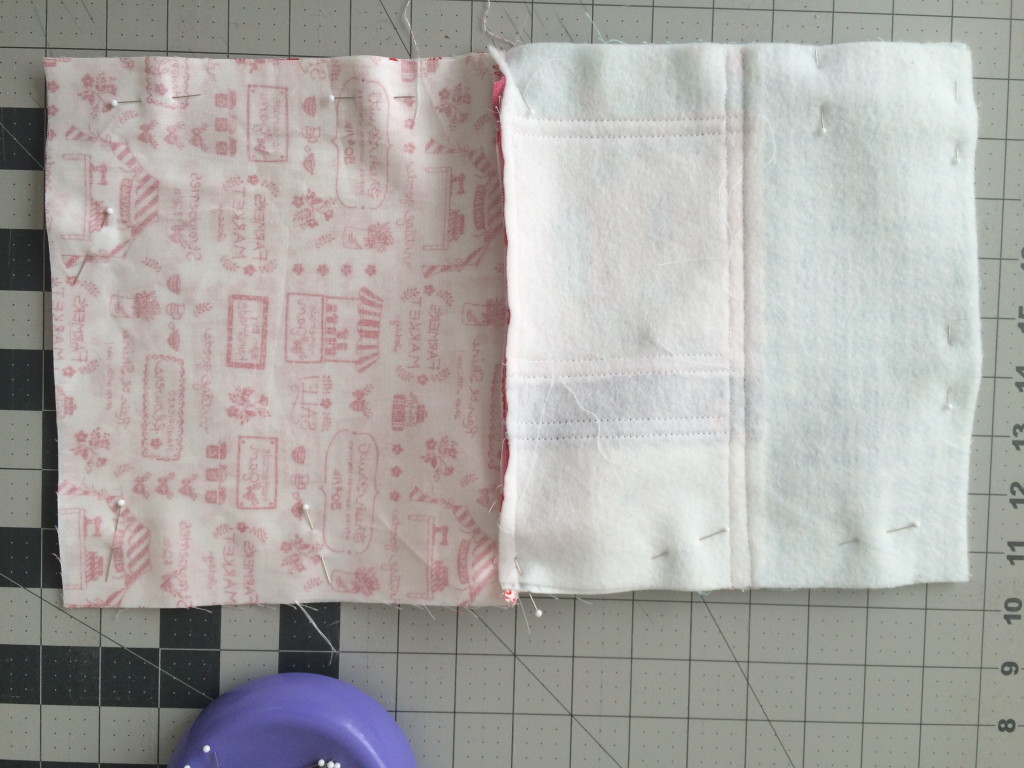
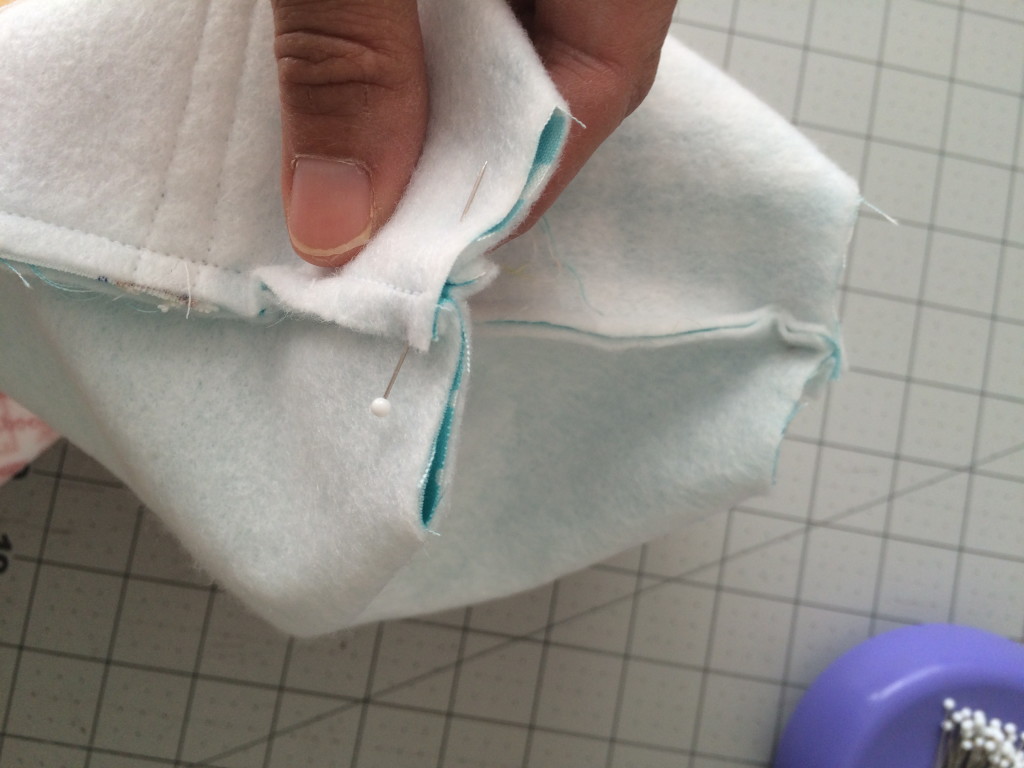
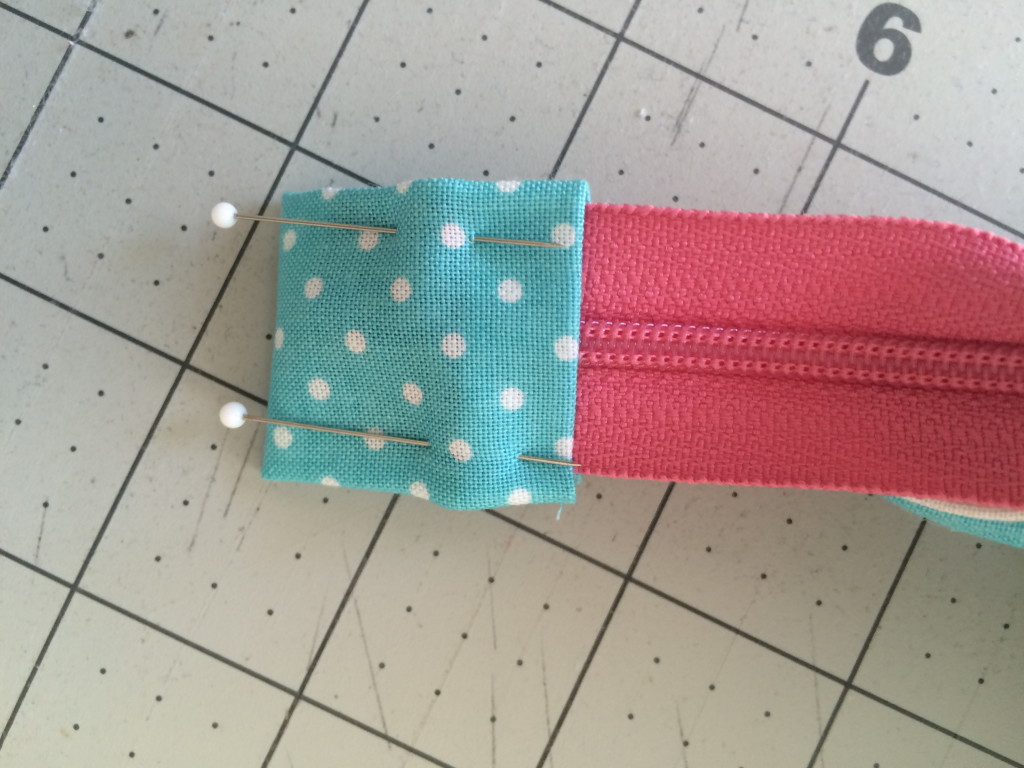
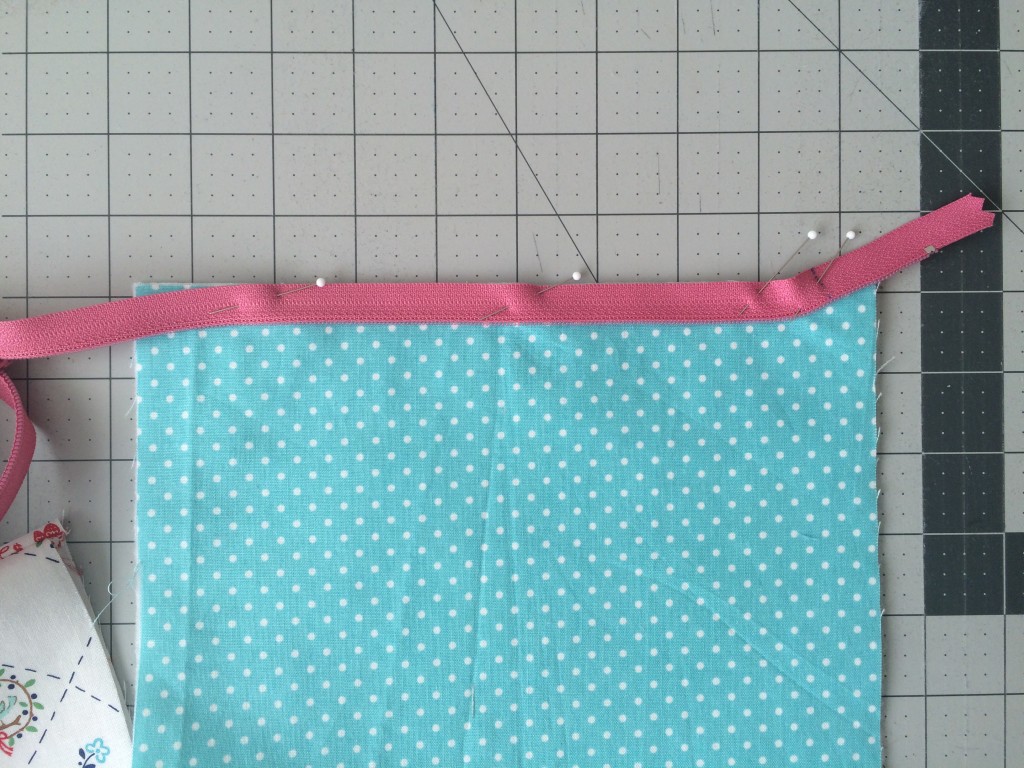 You will need to sew this portion “opposite” with the needle moved all the way over to the opposite side and the bulk of the zipper pouch next to the throat of the sewing machine.
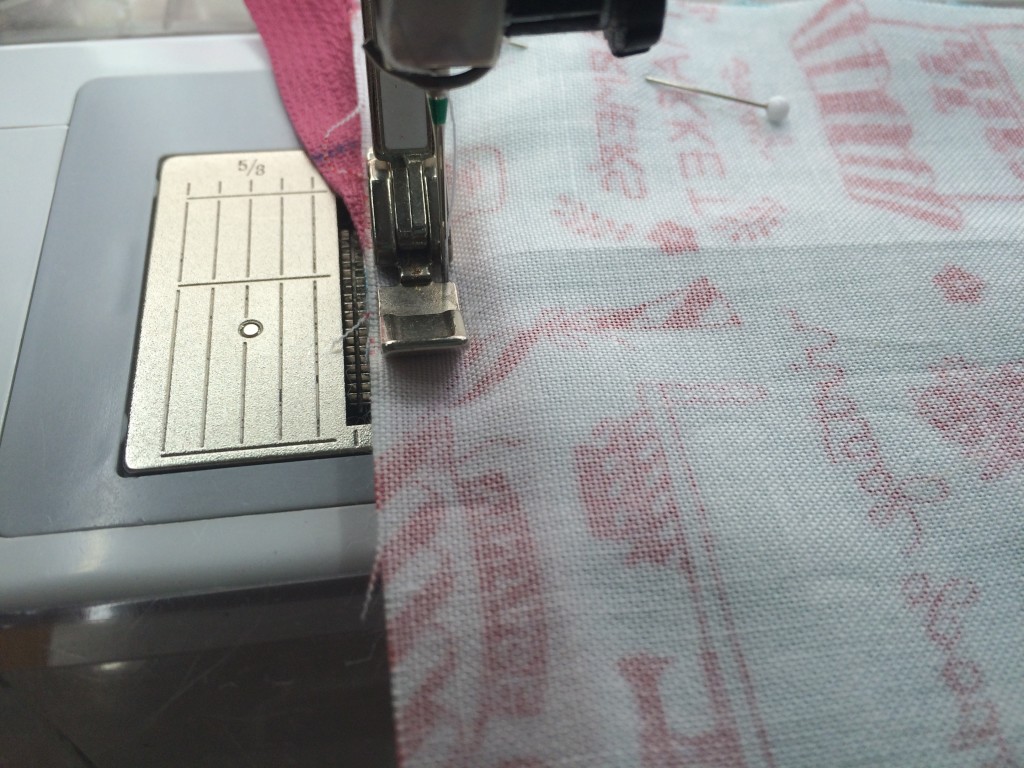
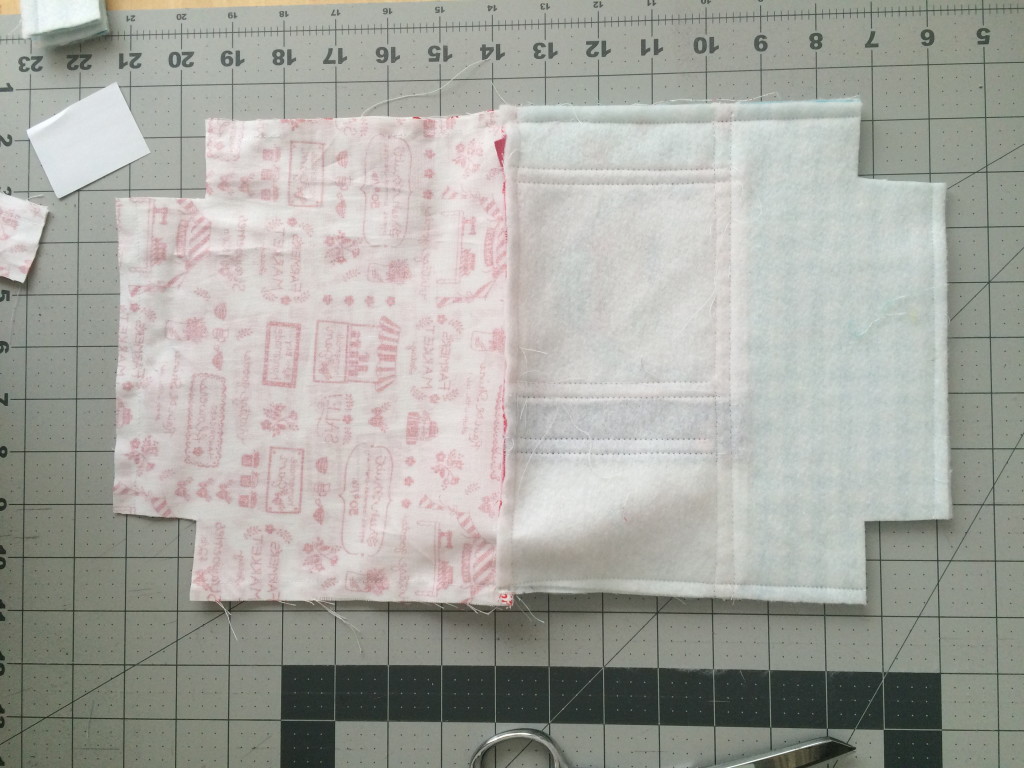
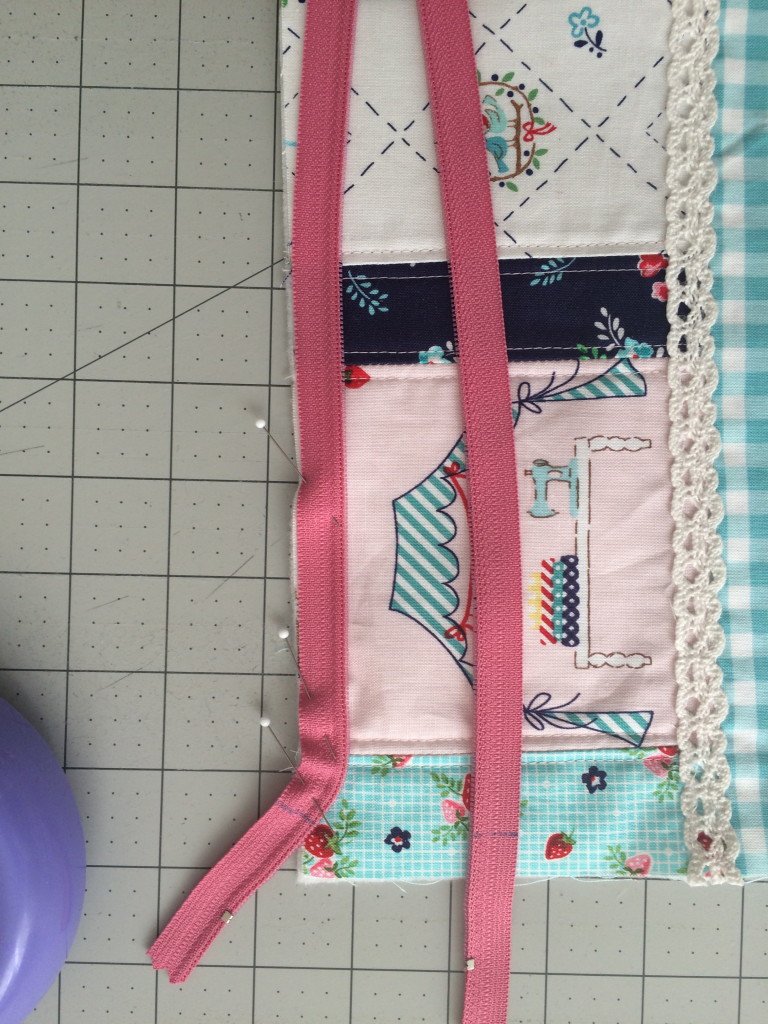
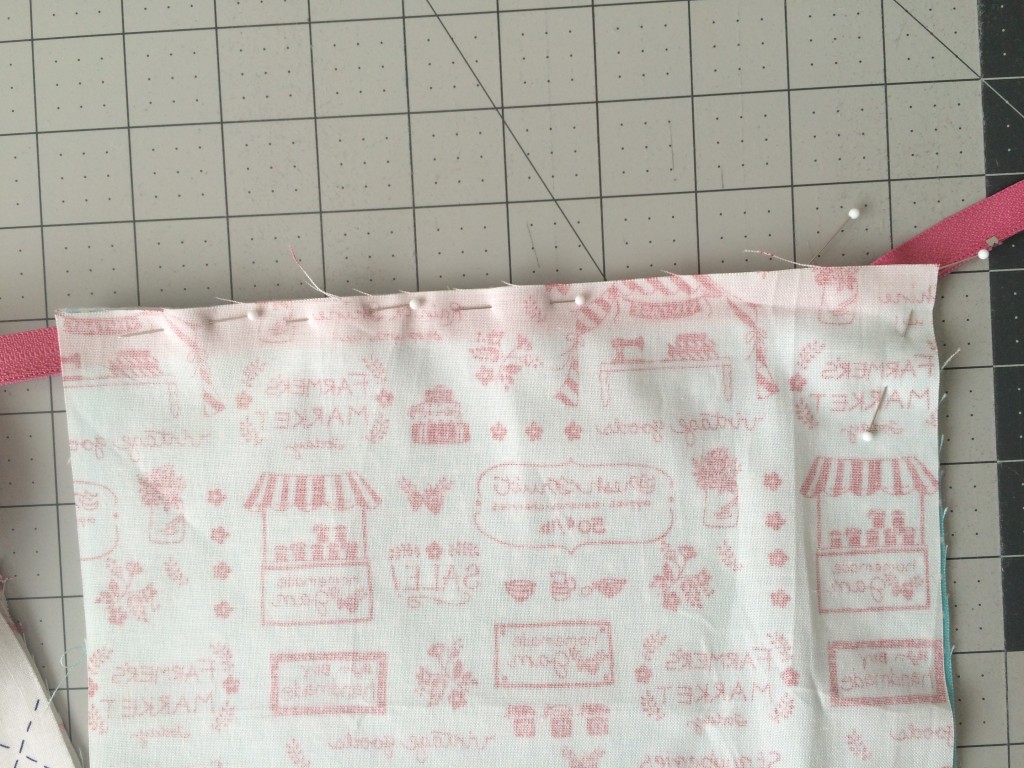
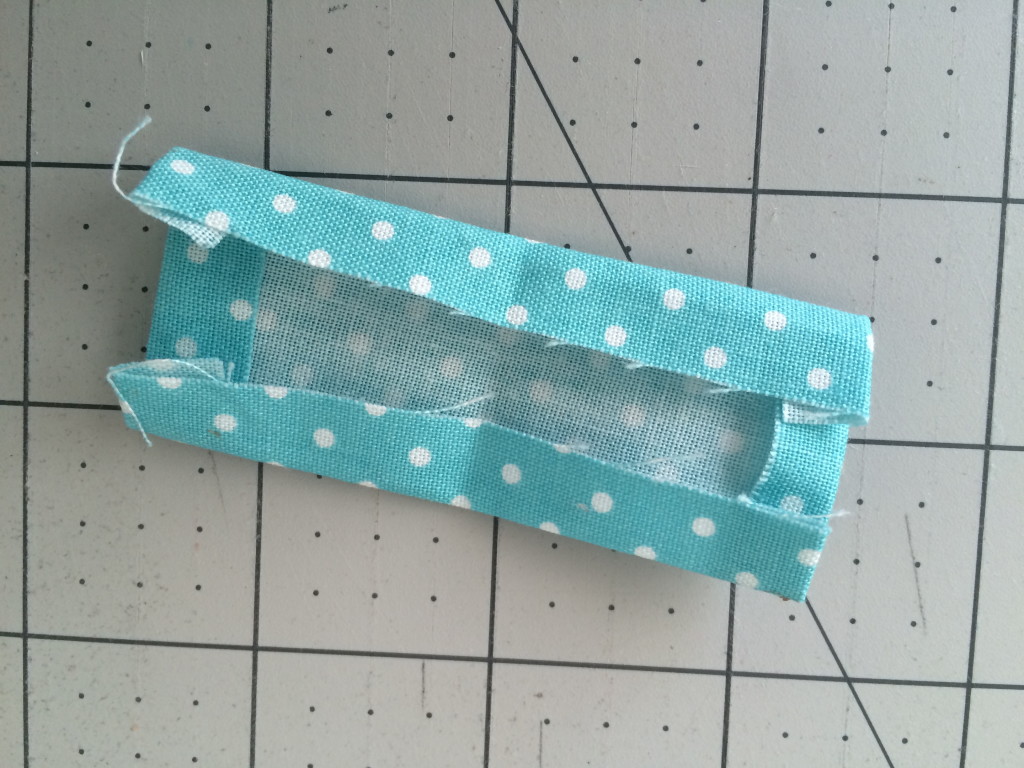
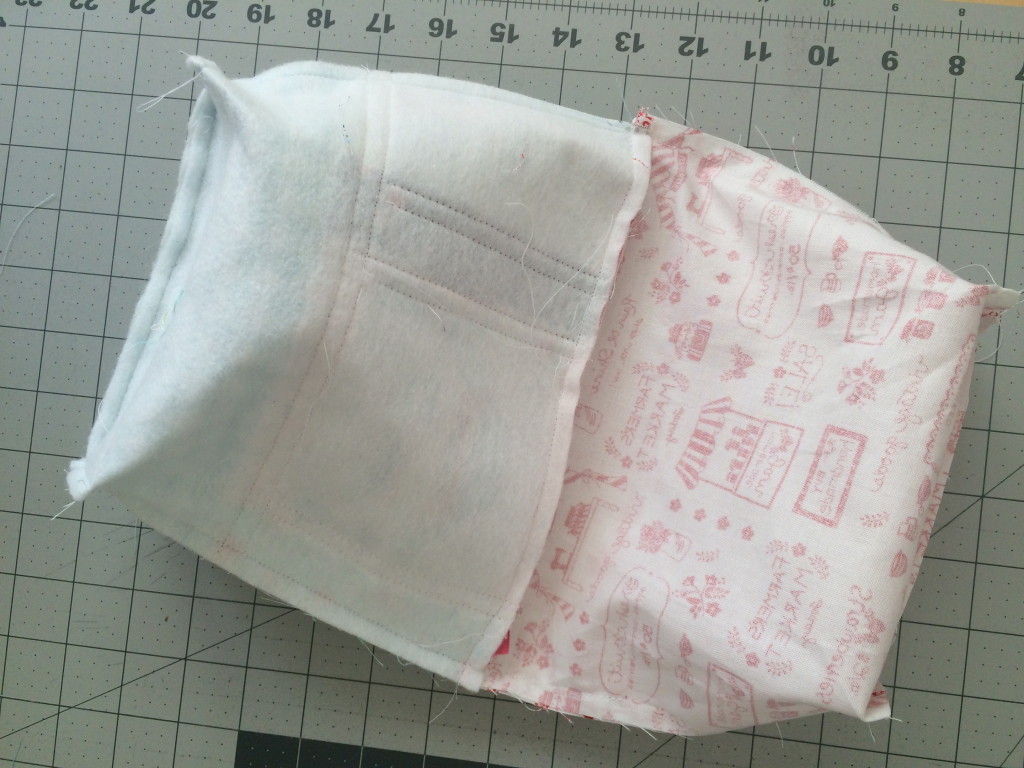 This is how the bag should look now (above). Turn the bag right side out and top stitch the opening closed.
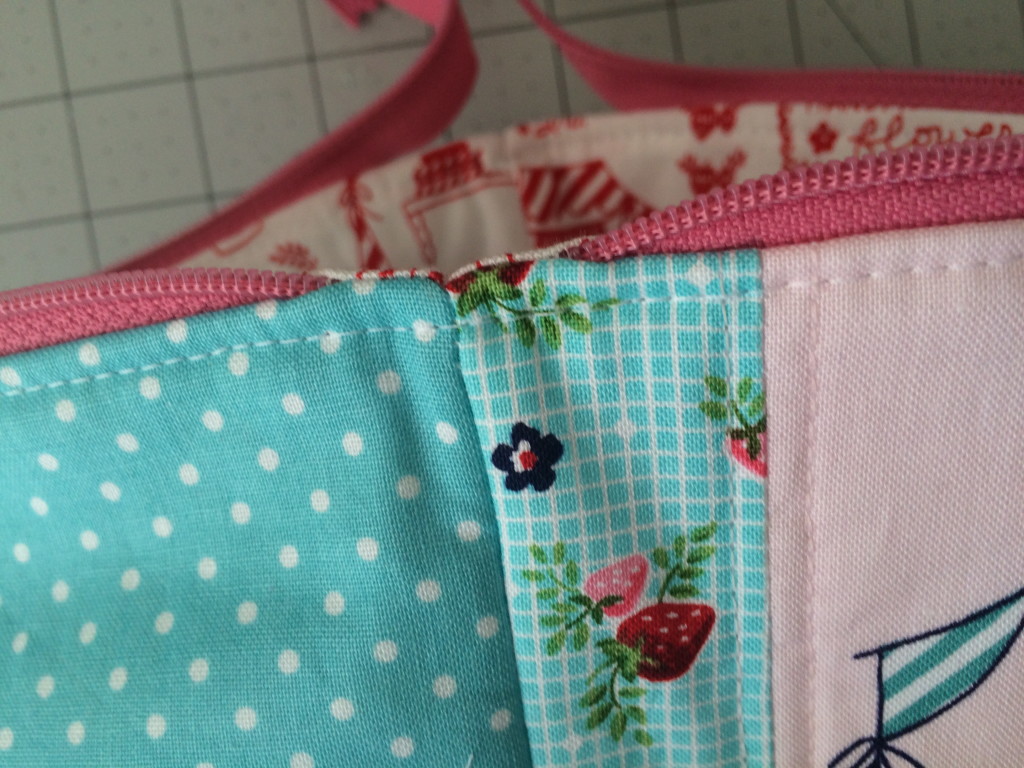


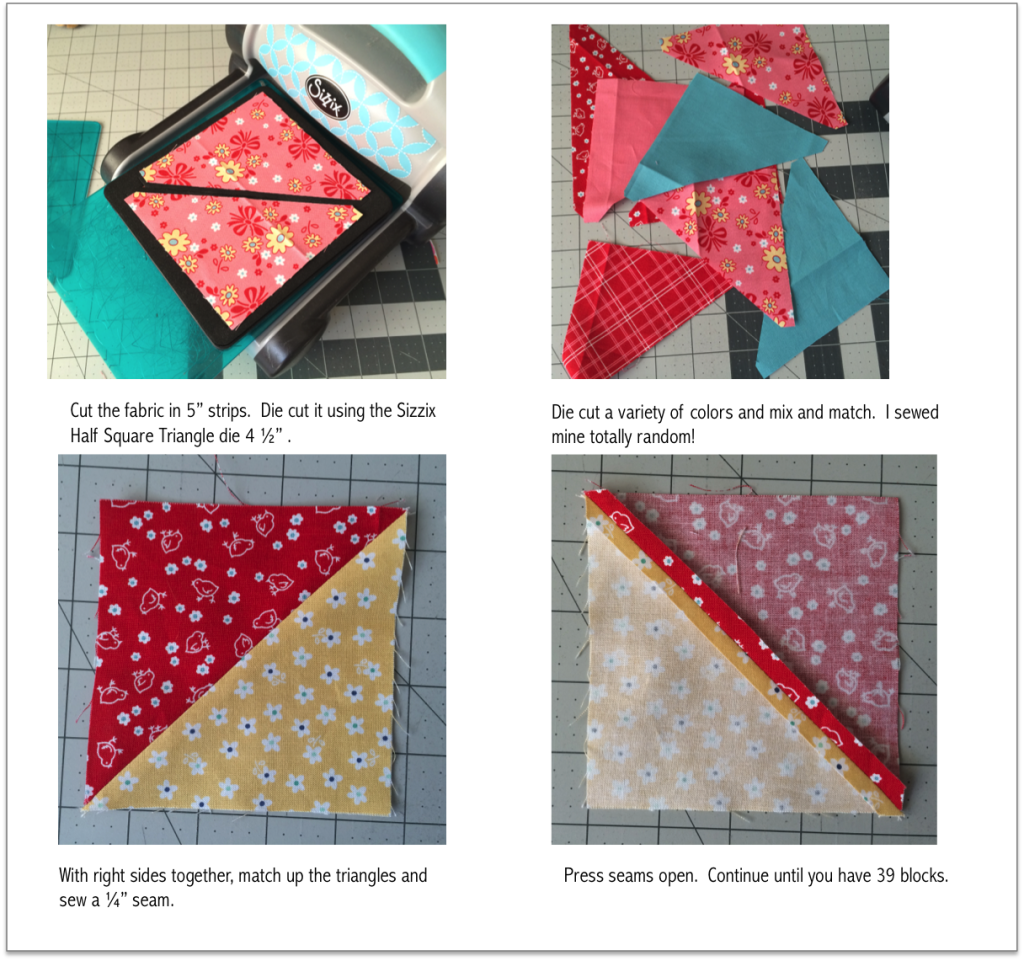

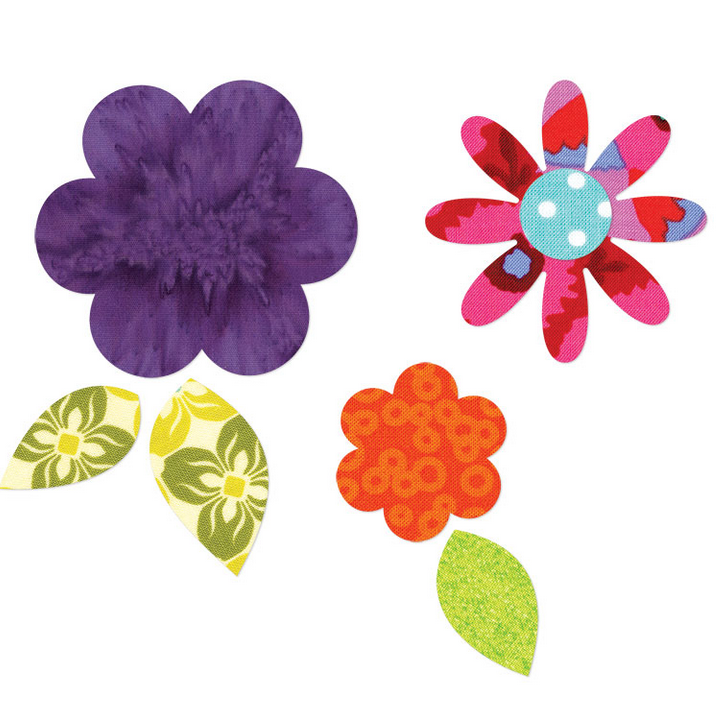
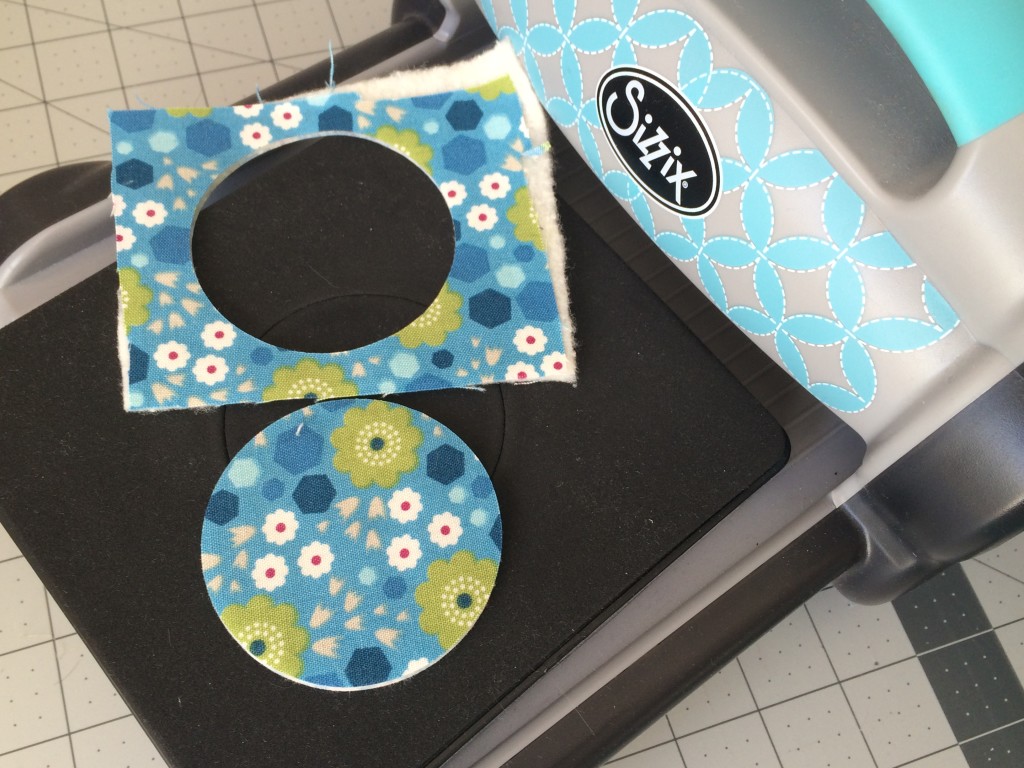
 Once you have cut the flowers, peel off the baking paper and fuse them to the 4 1/2″ squares. Top stitch around each piece.
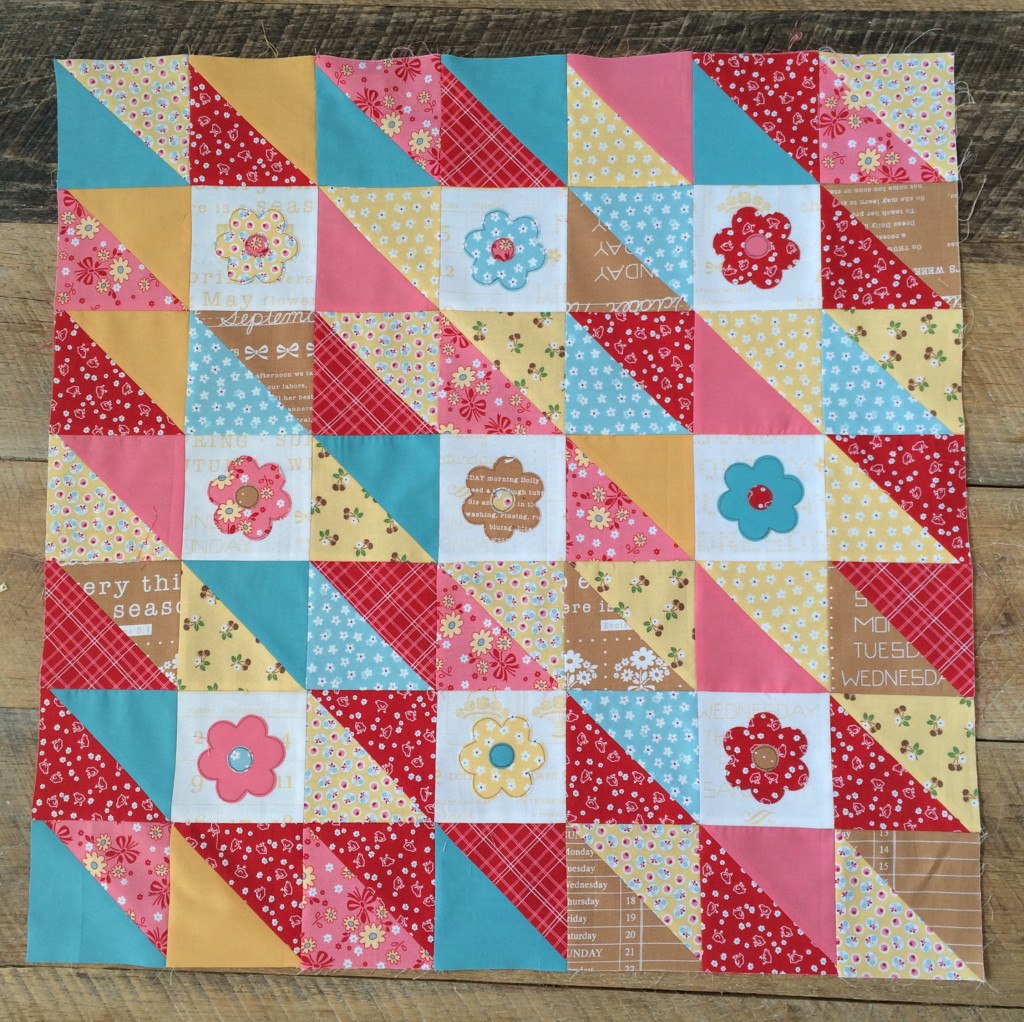
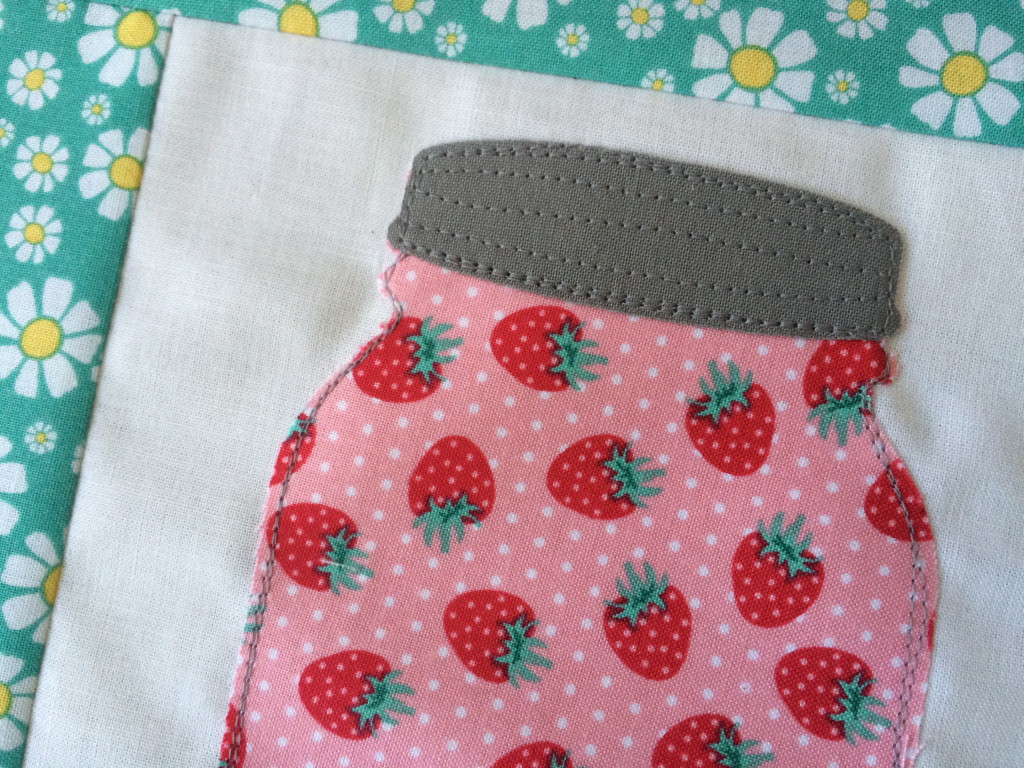
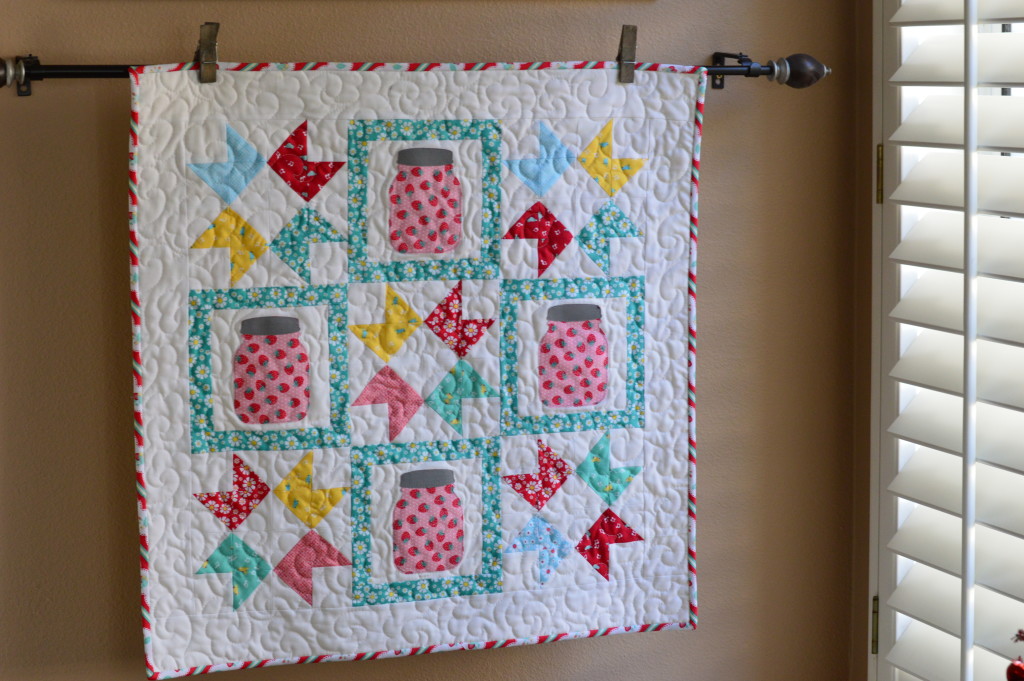
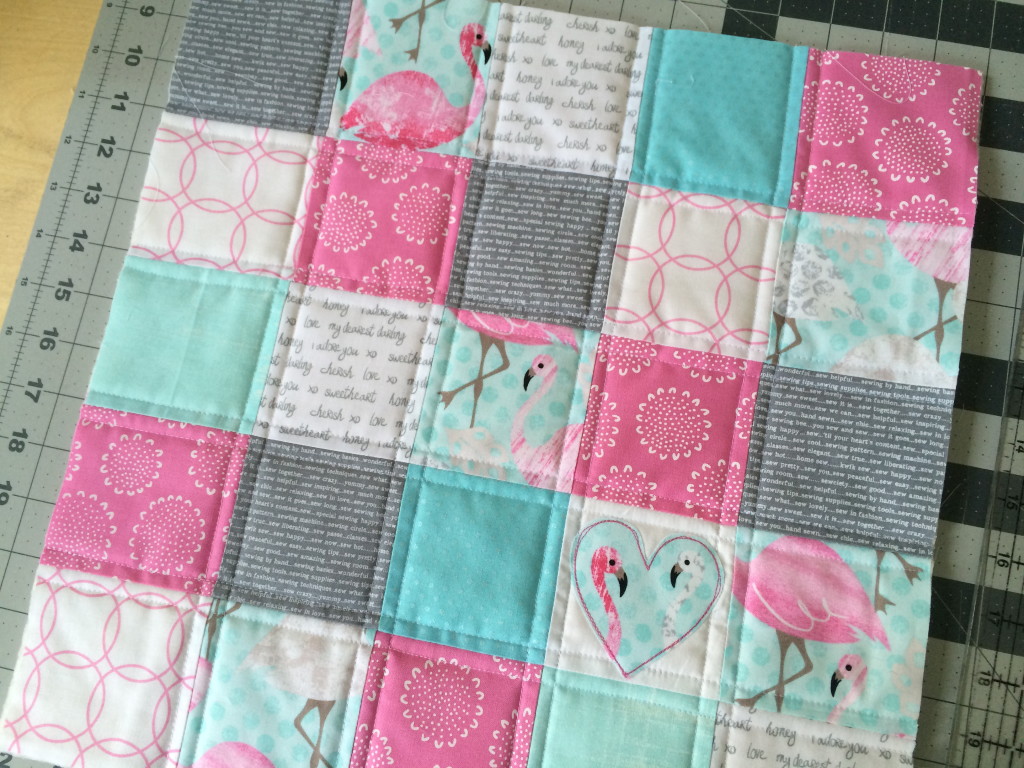
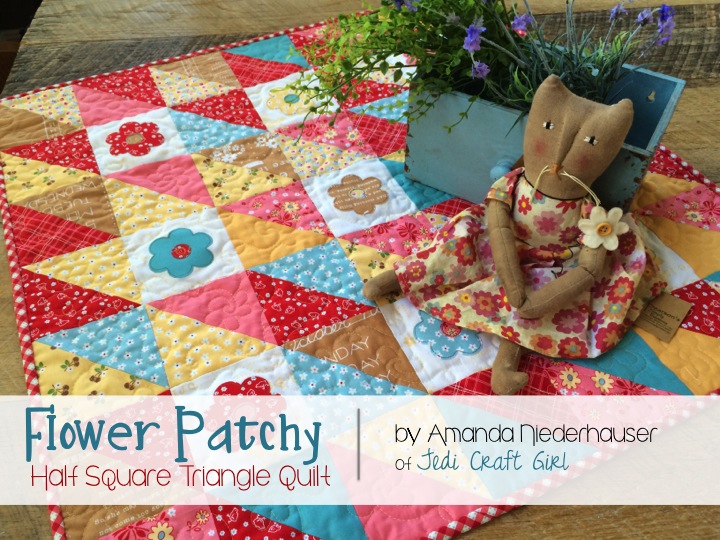
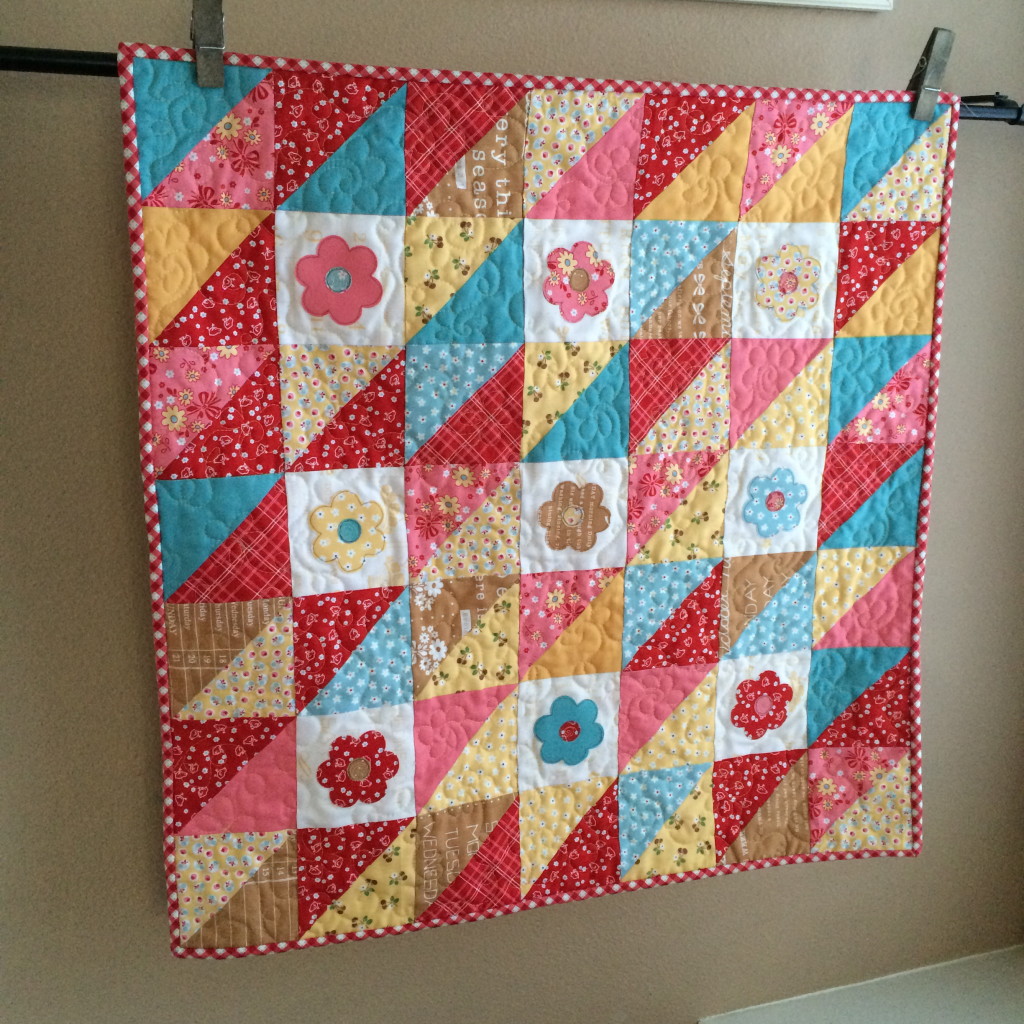
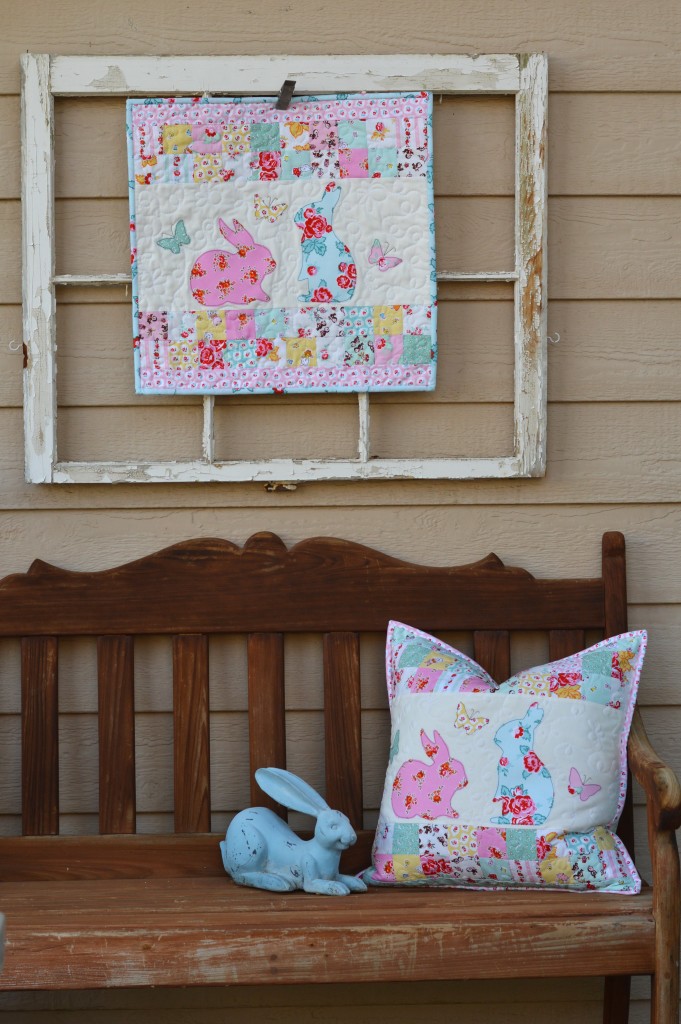
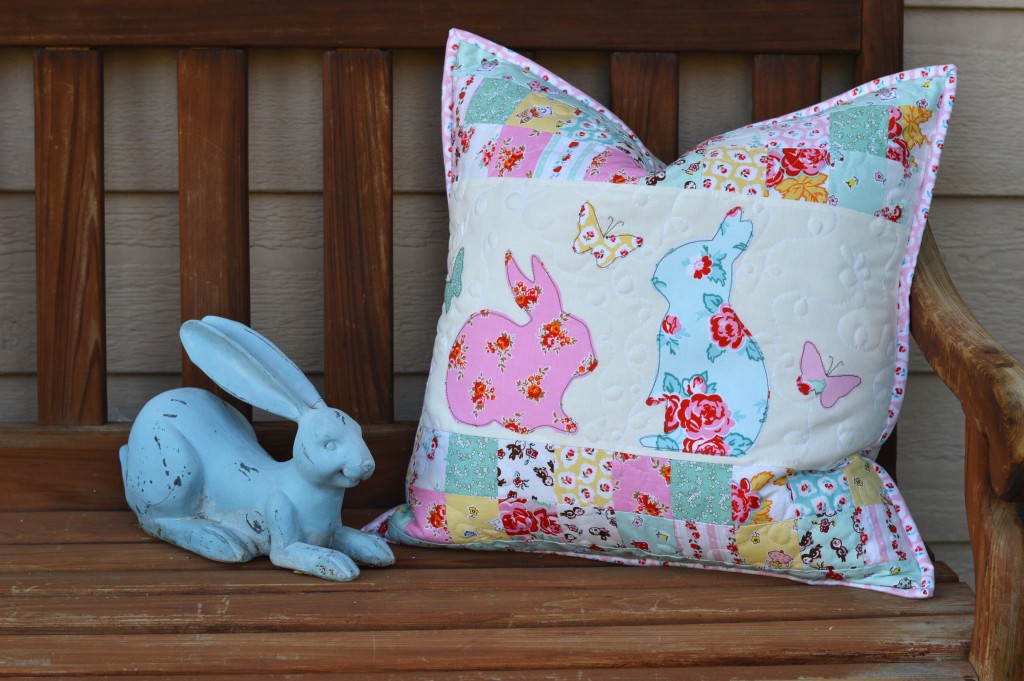
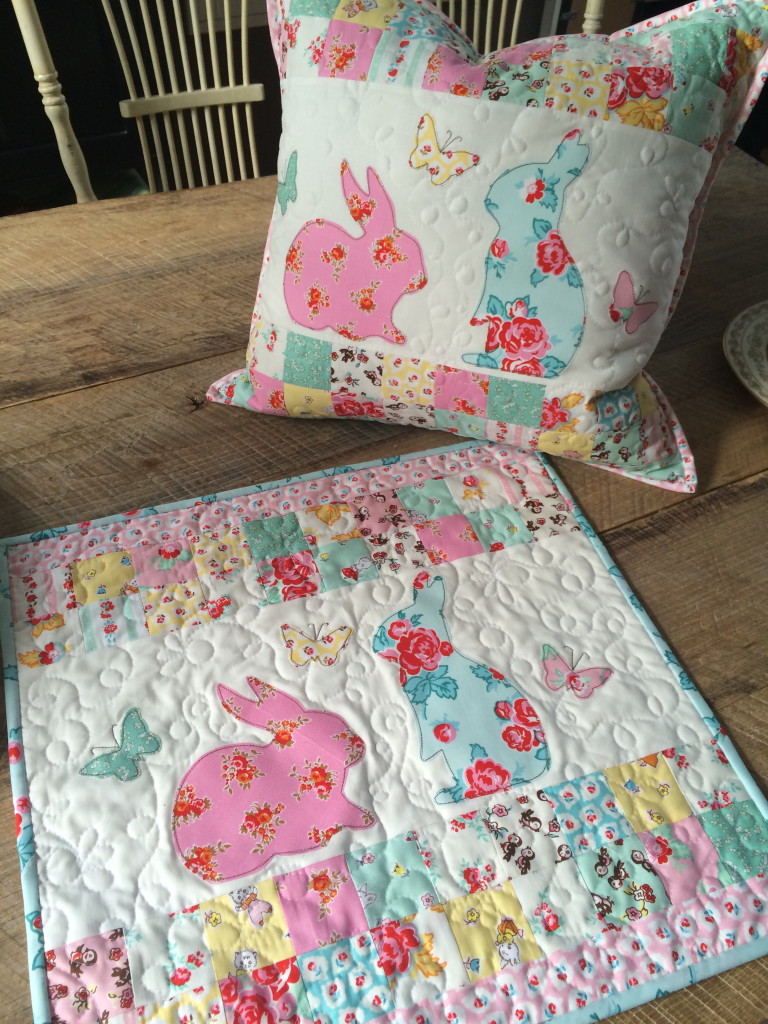
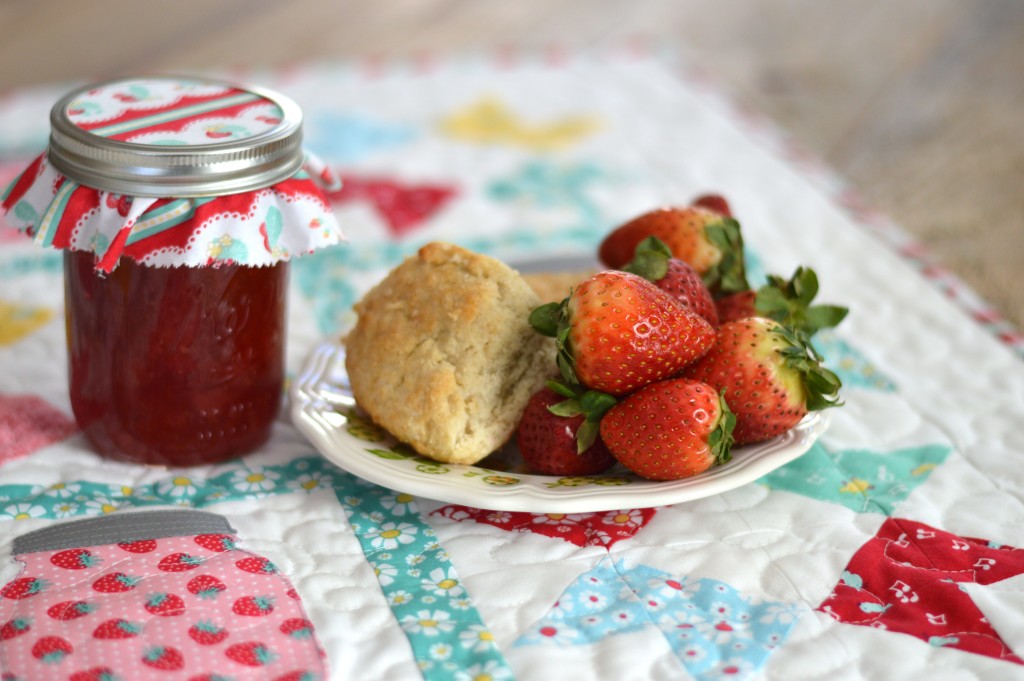
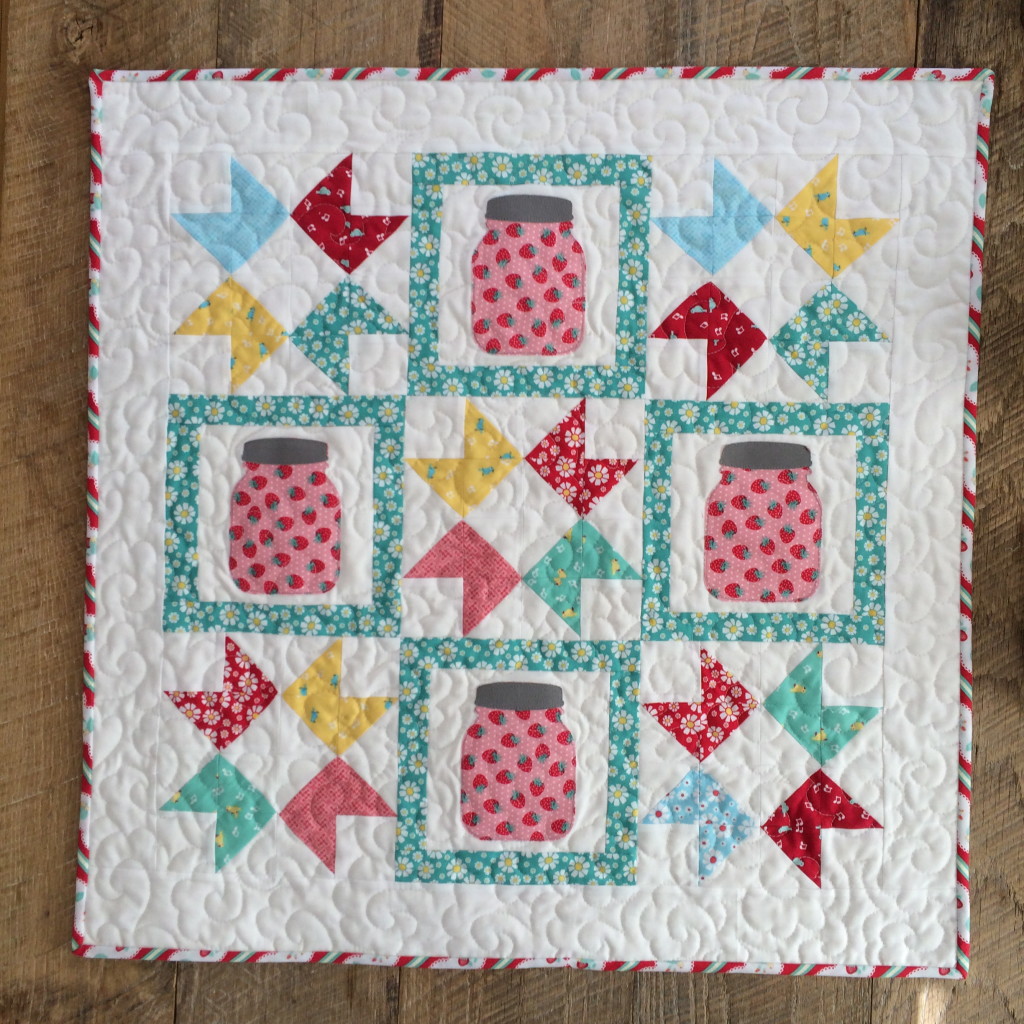
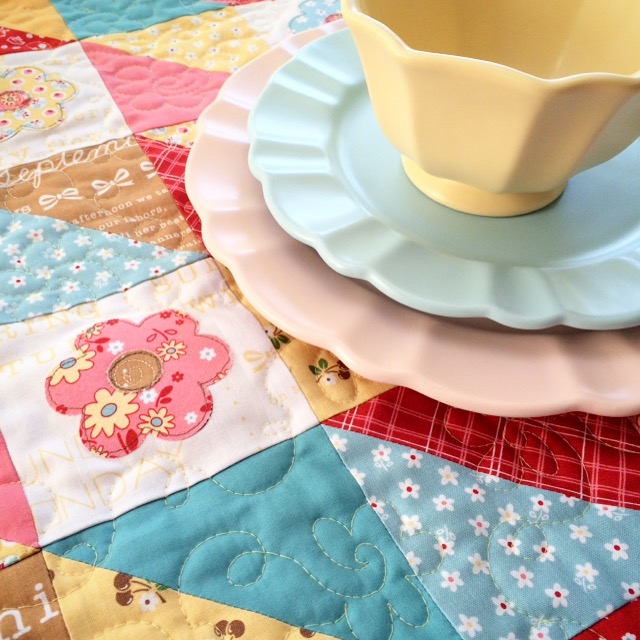 I love how charming this little quilt turned out. And I sewed it in a few hours!!
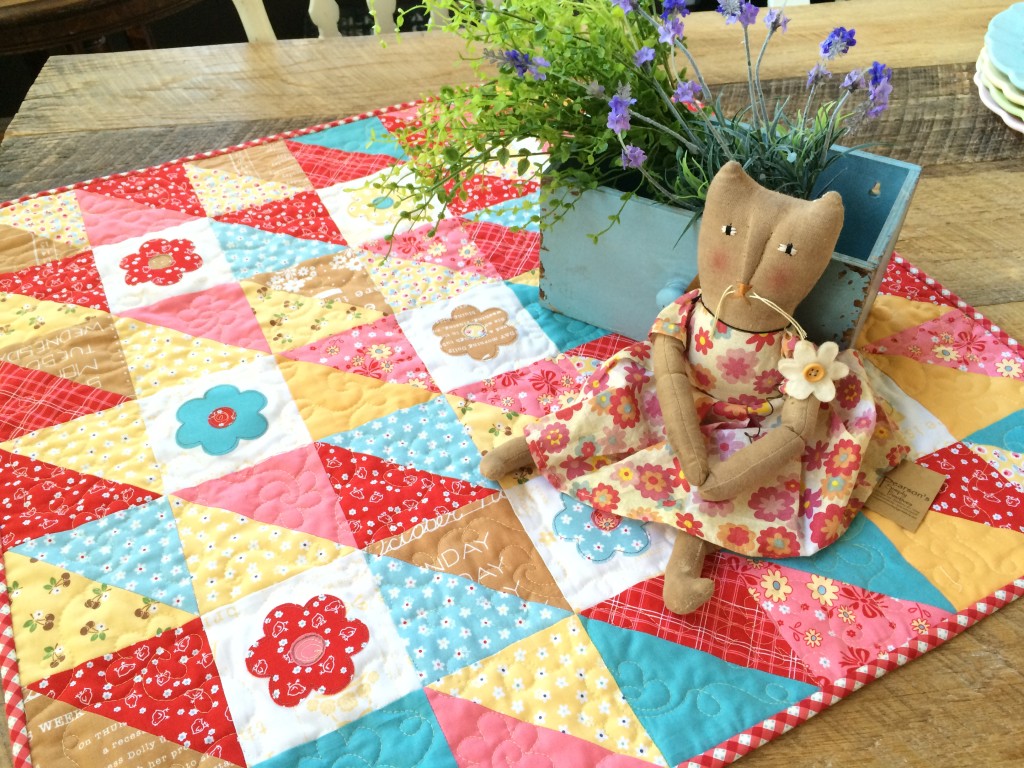

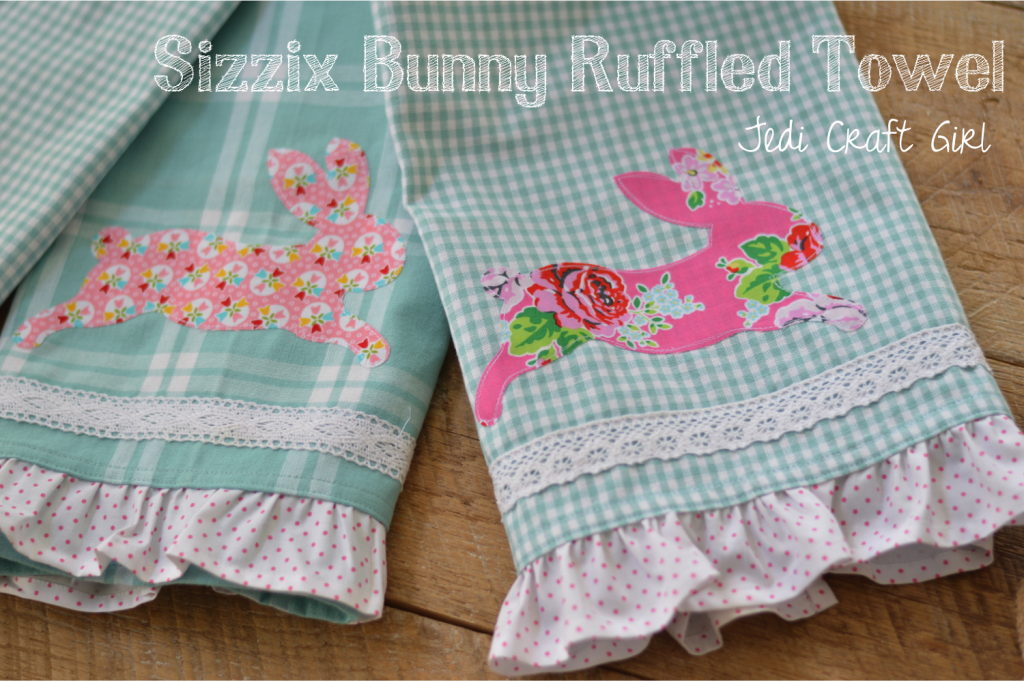
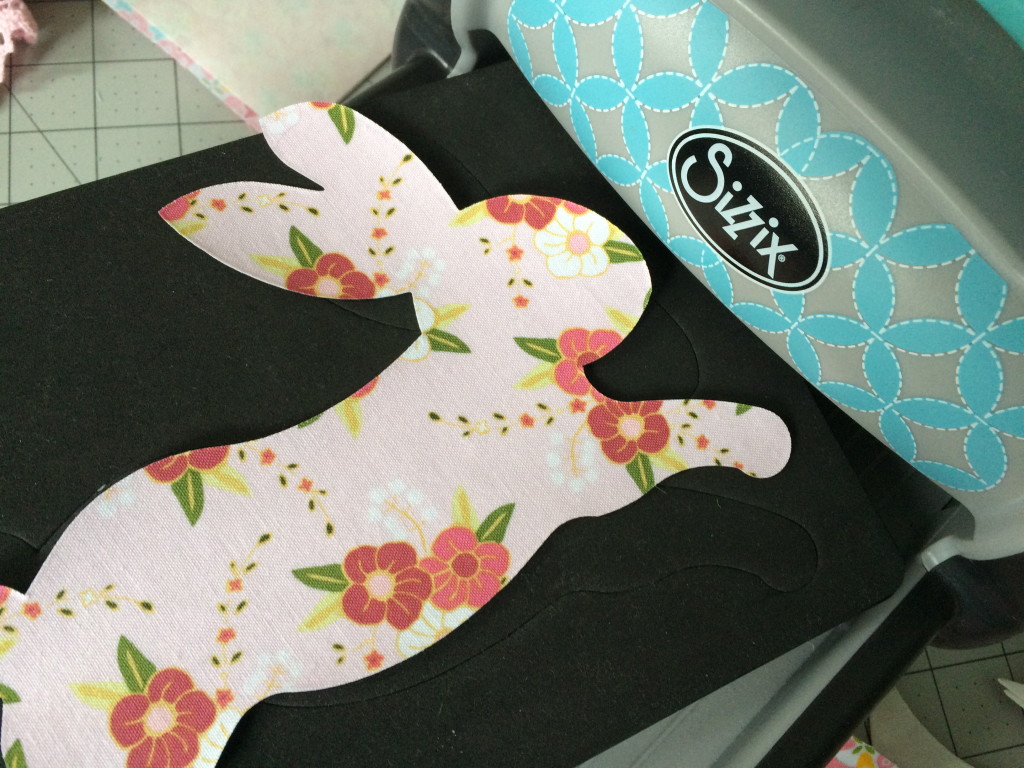
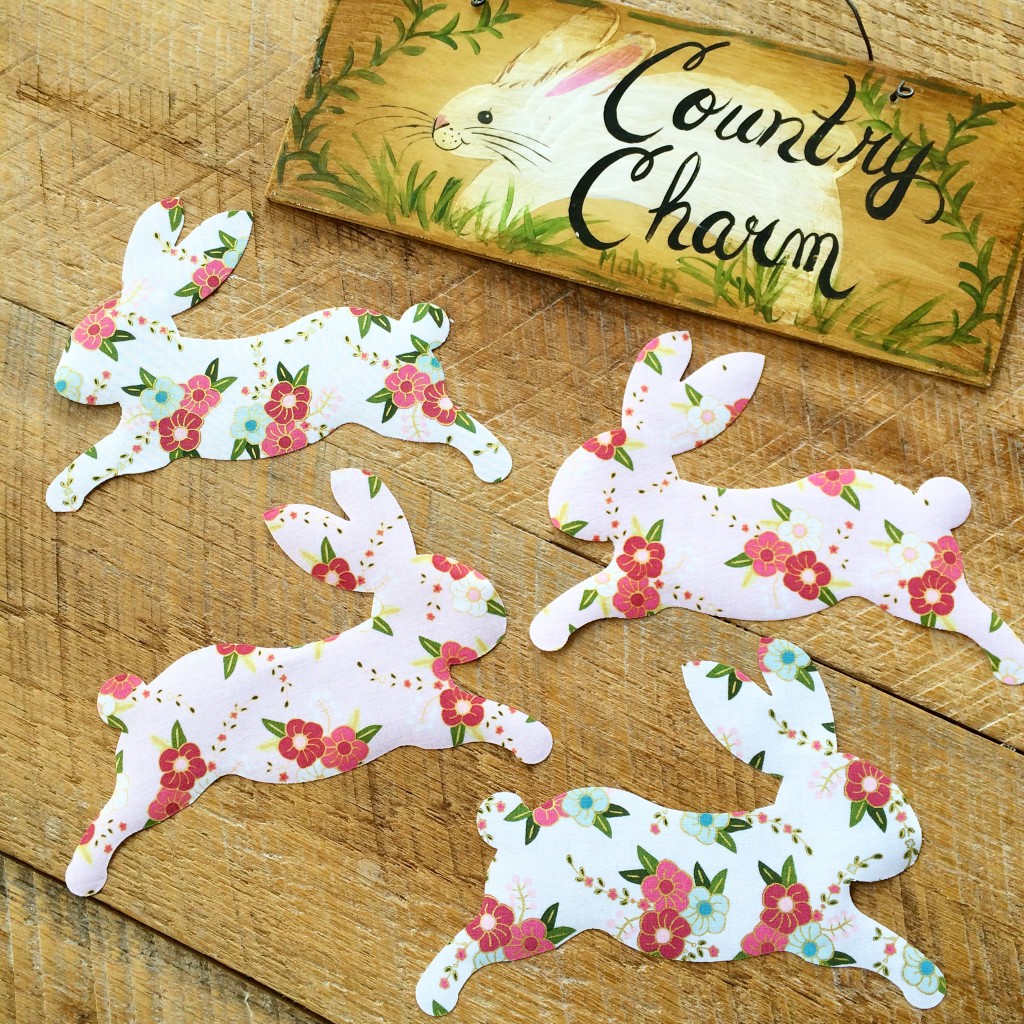
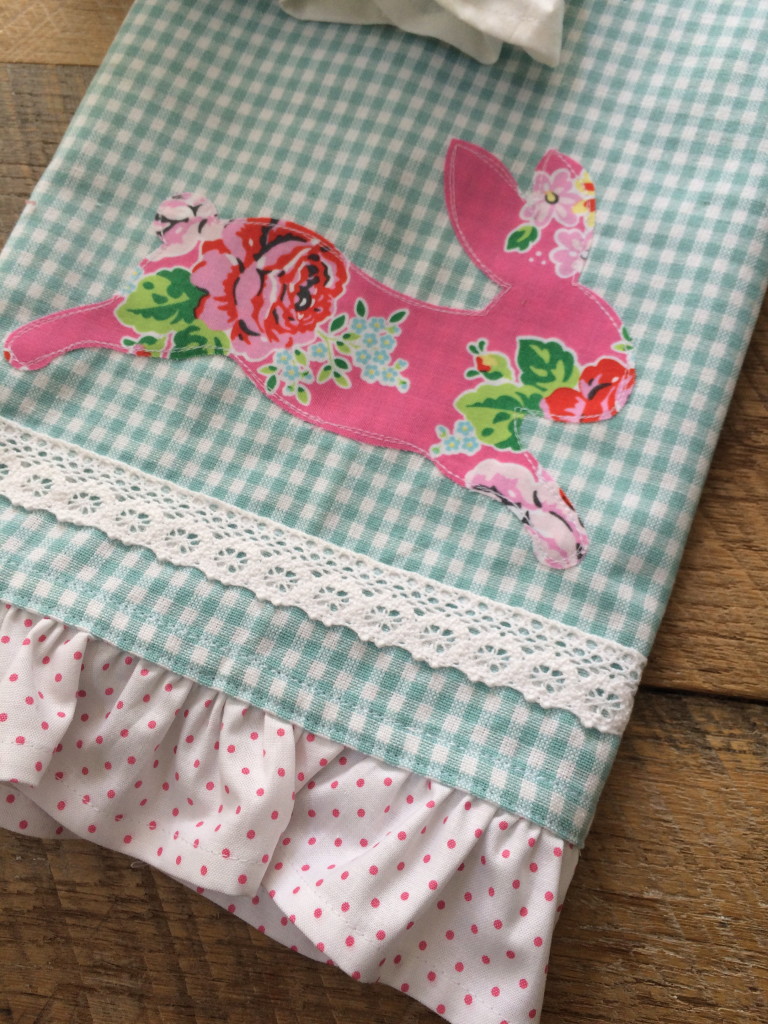
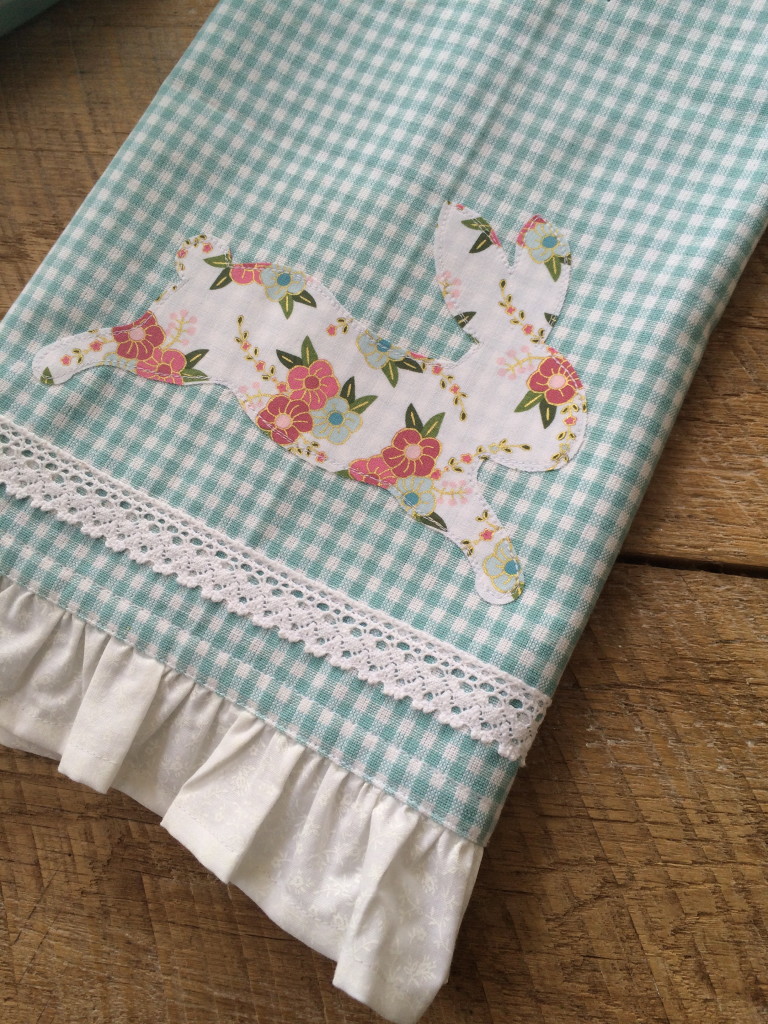
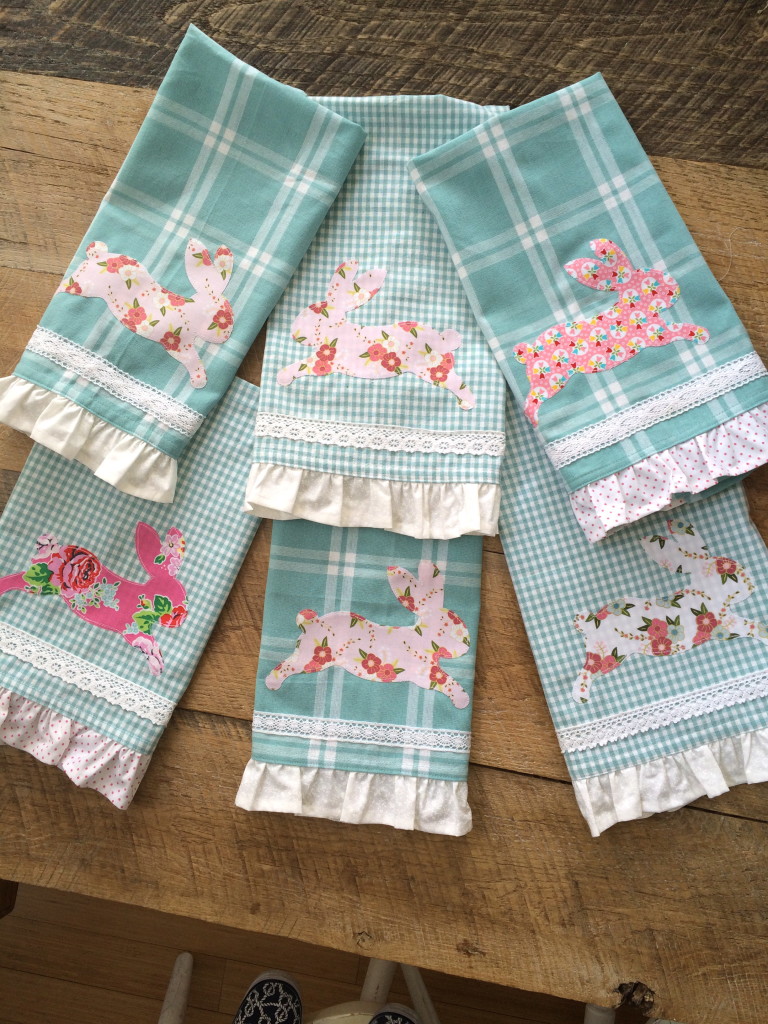
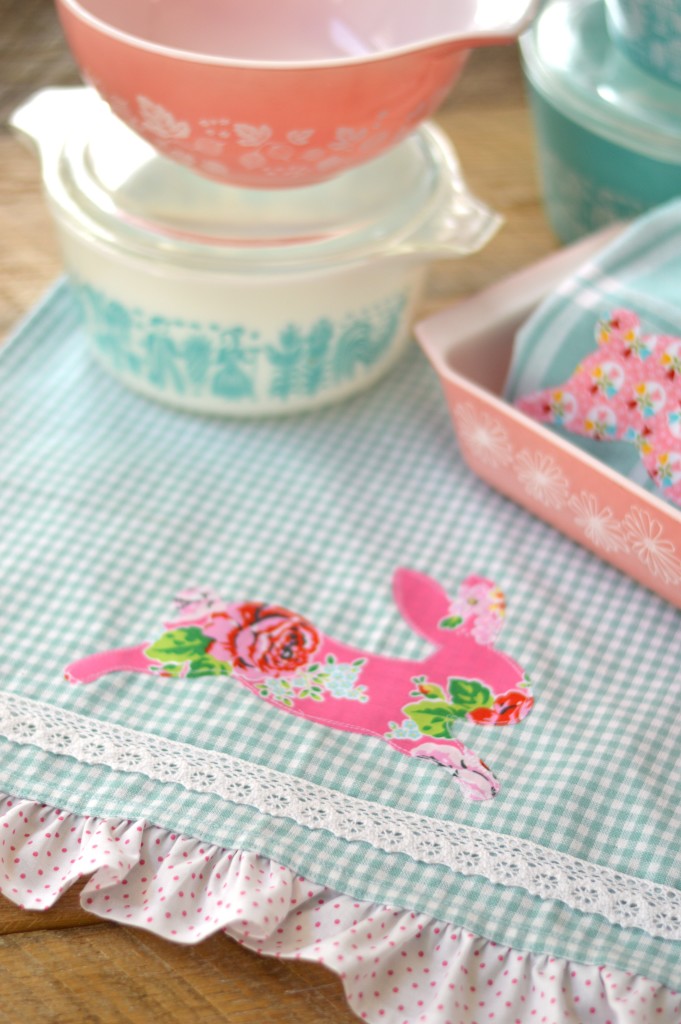
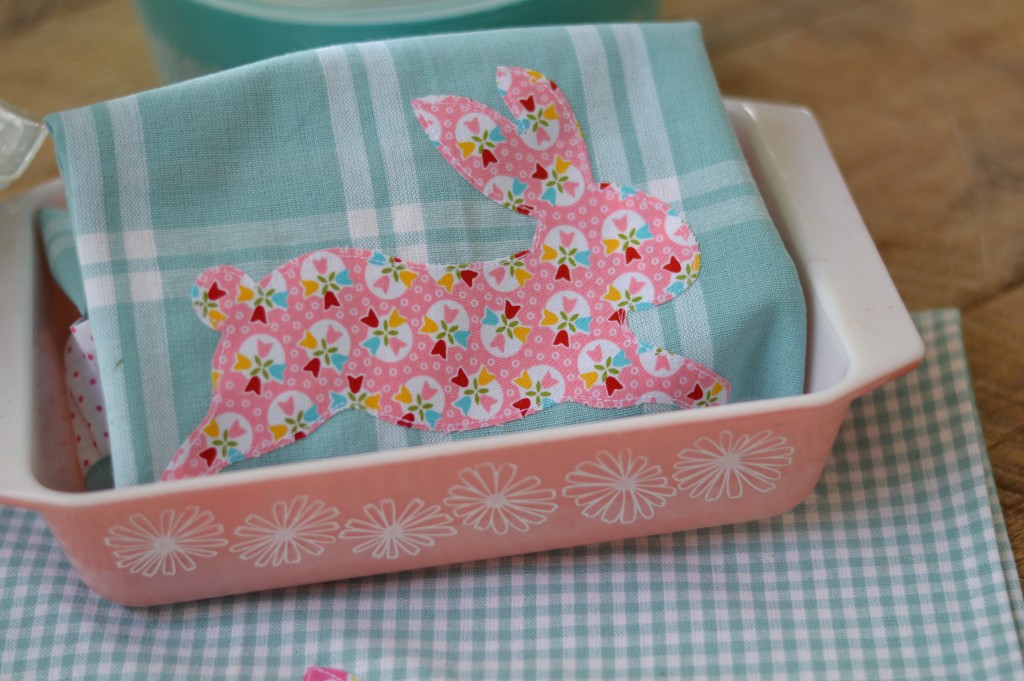
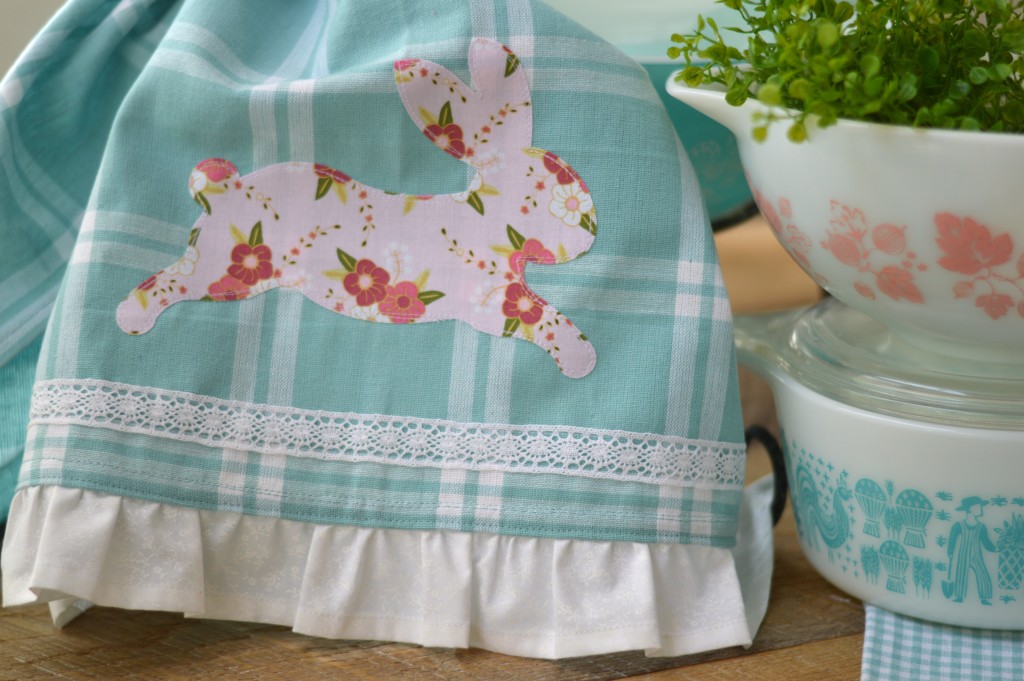
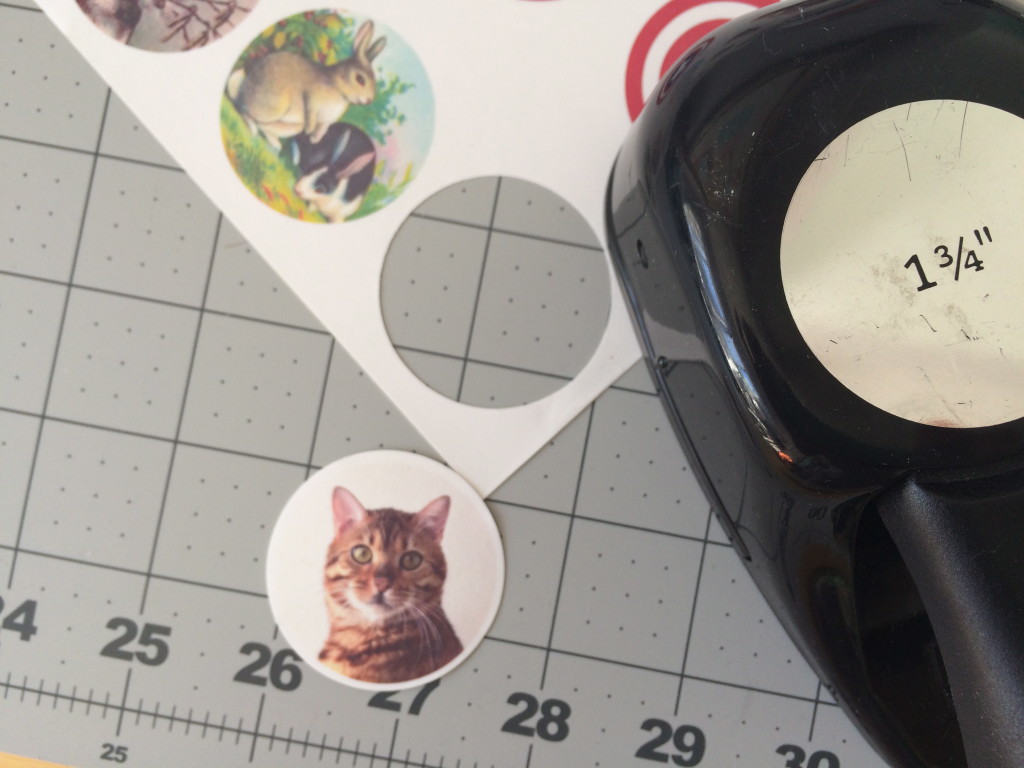
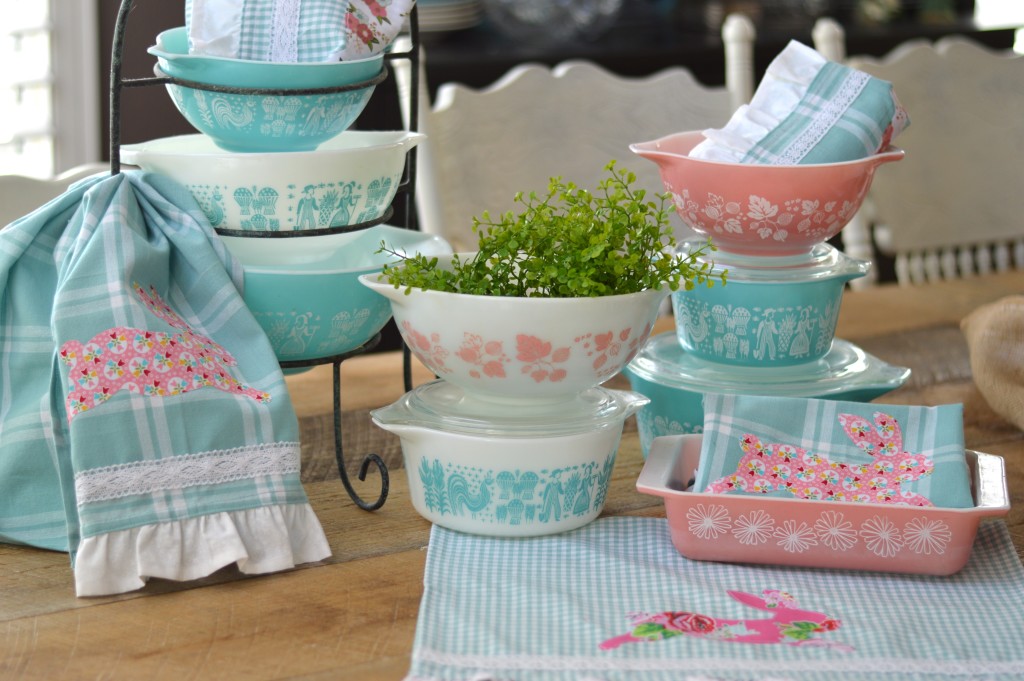 Kitchens usually don’t have a lot of wall space or places to hang quilts or cute crafty projects. I love hanging home made towels on my oven, it gives the kitchen that cozy feeling! Theses sweet towels also make the perfect gift! Who wouldn’t want one of these! I choose some of my favorite
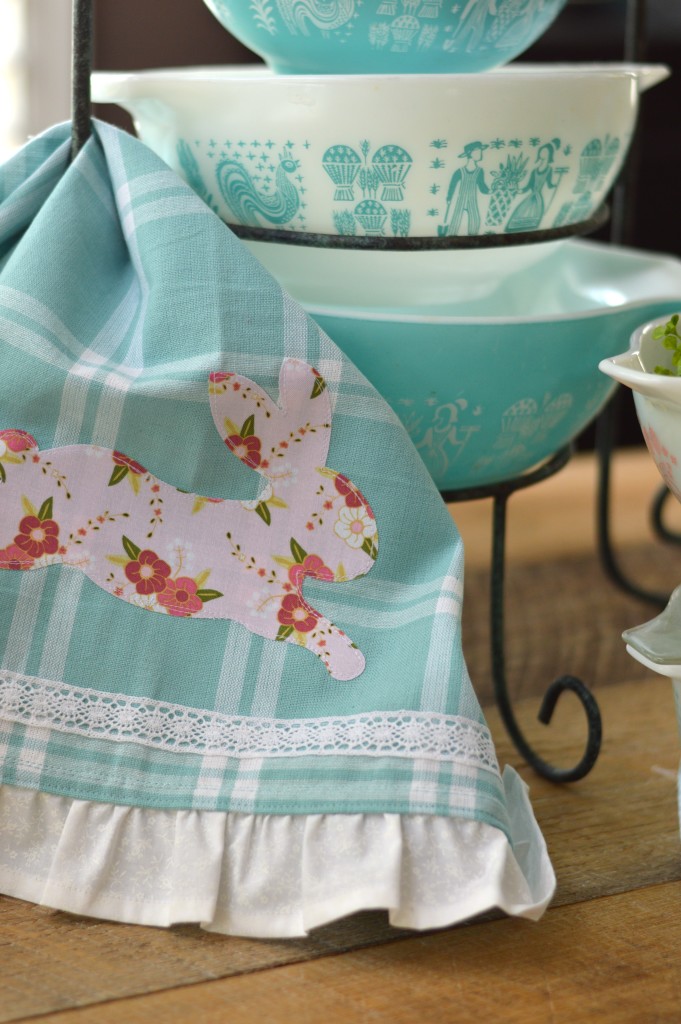
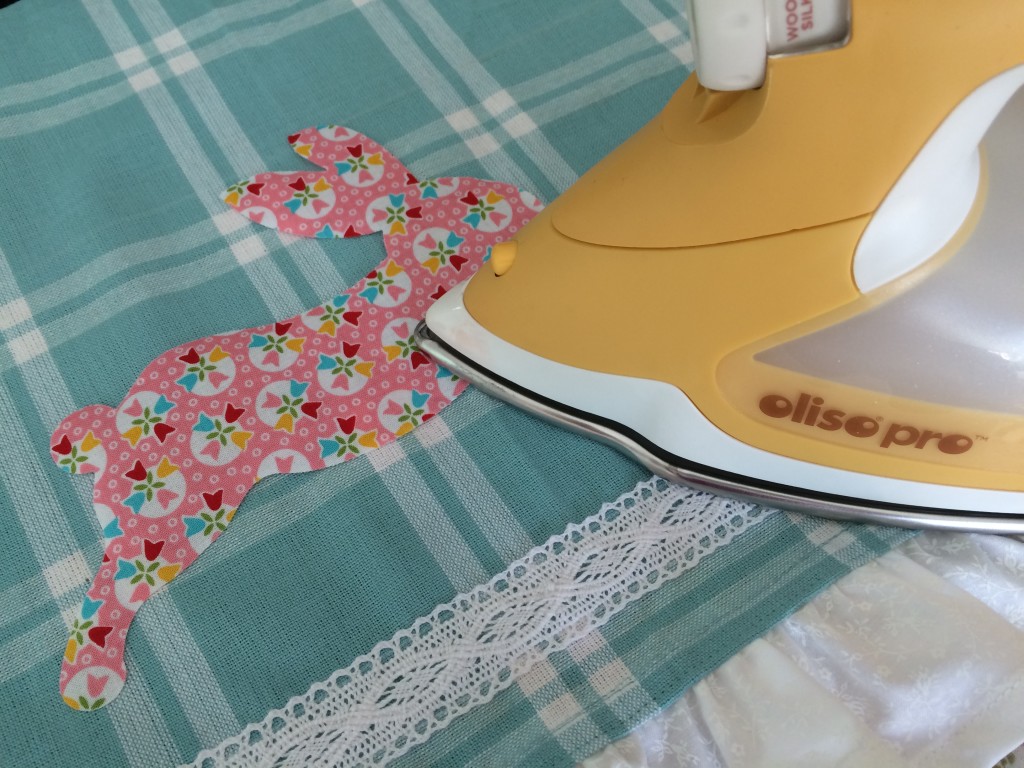


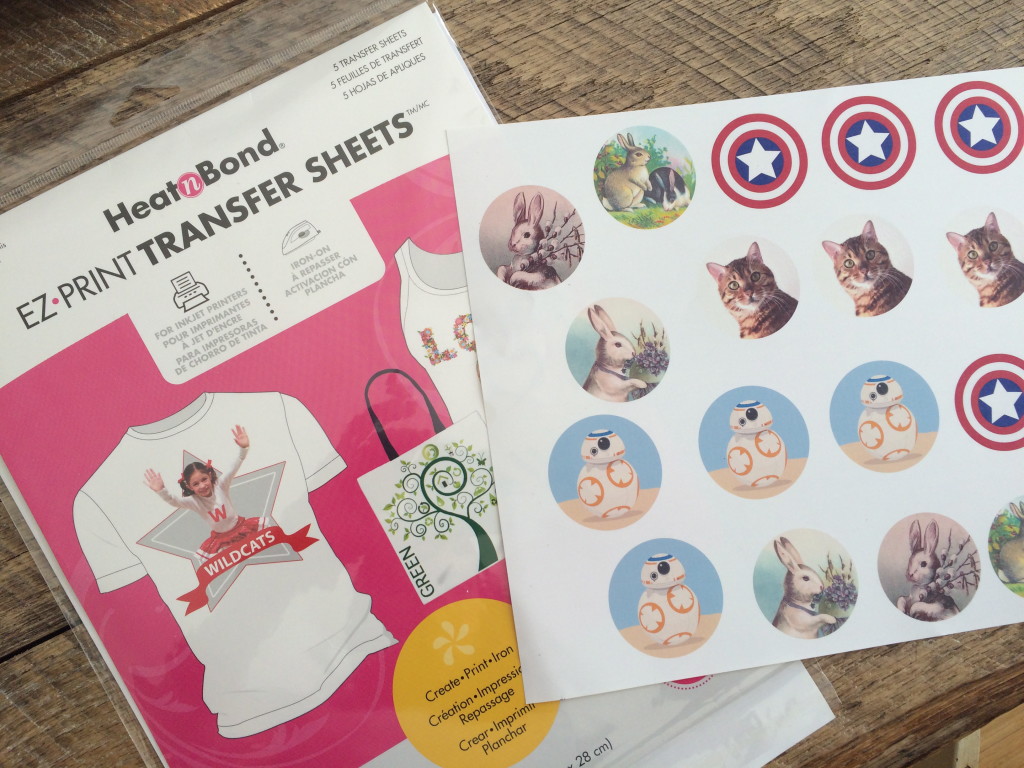
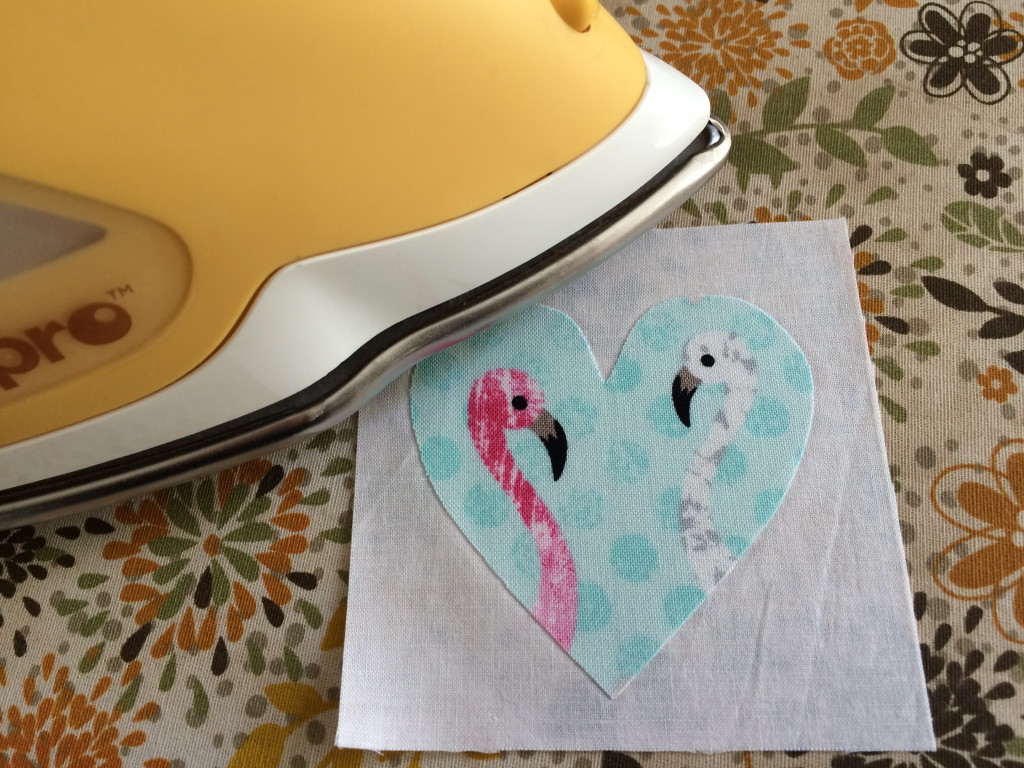
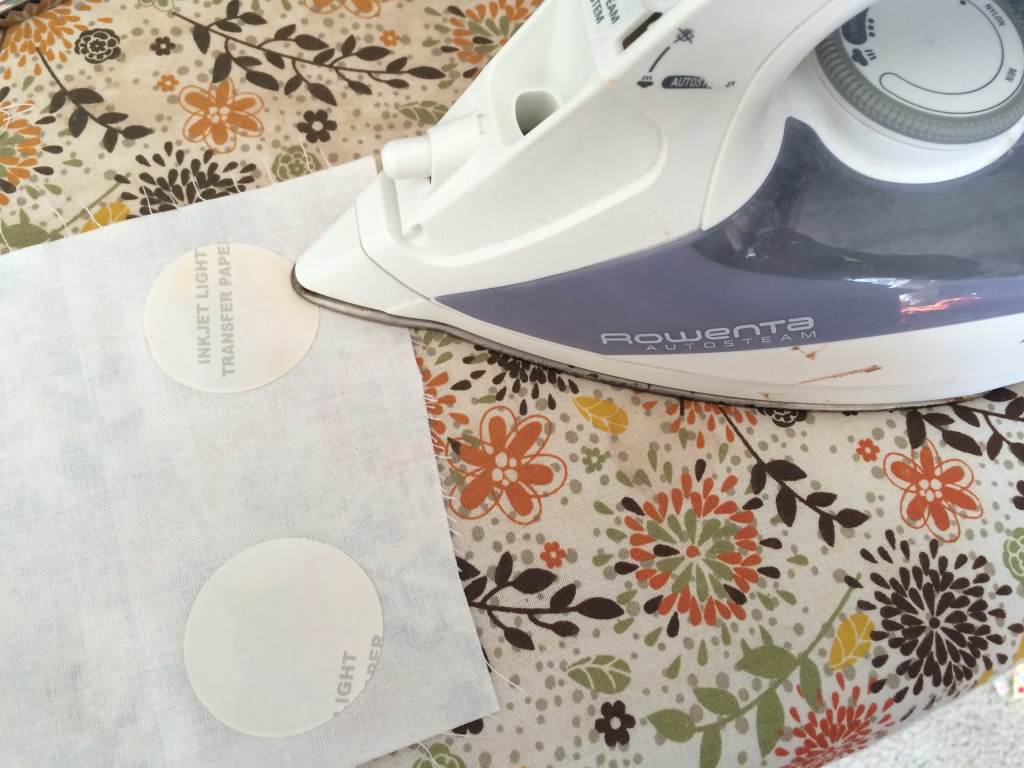 With a dry, hot iron, place the image face side down on the right side of a solid white fabric. Heat set for about 10 seconds applying firm, constant pressure. Let cool completely.
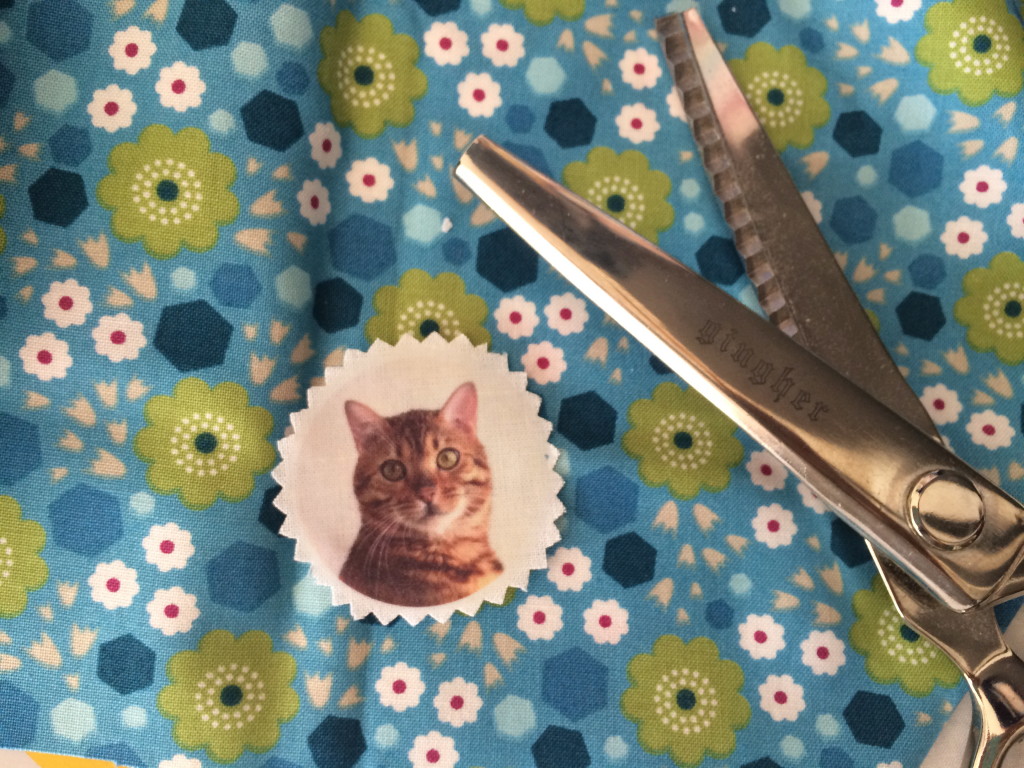
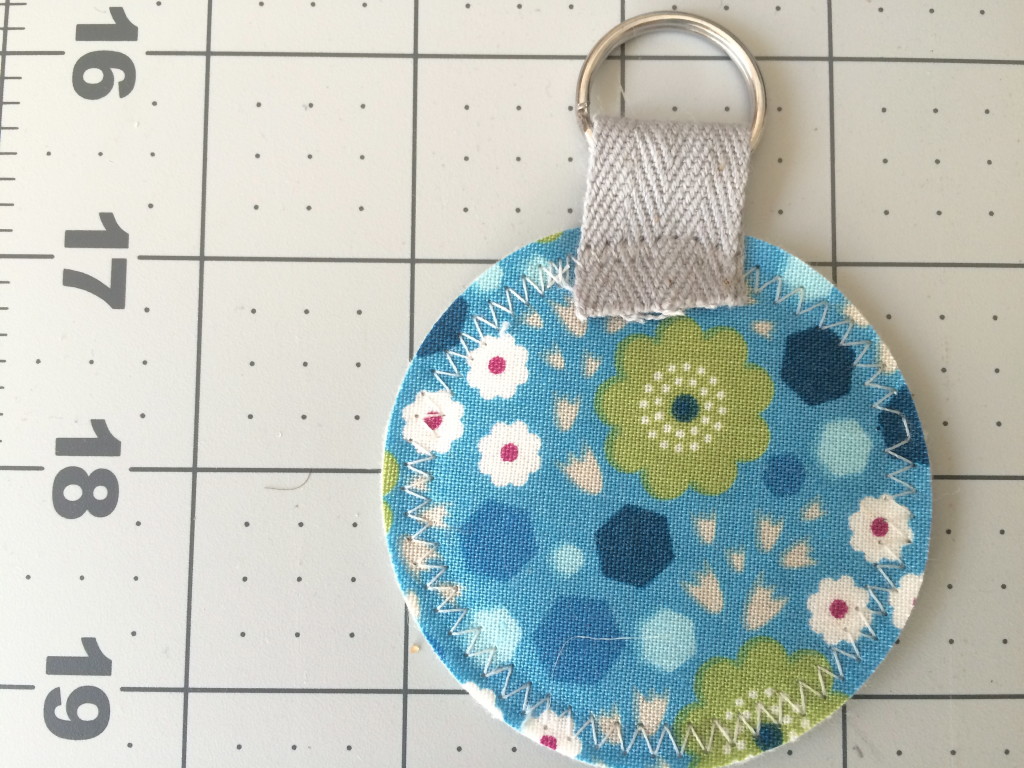
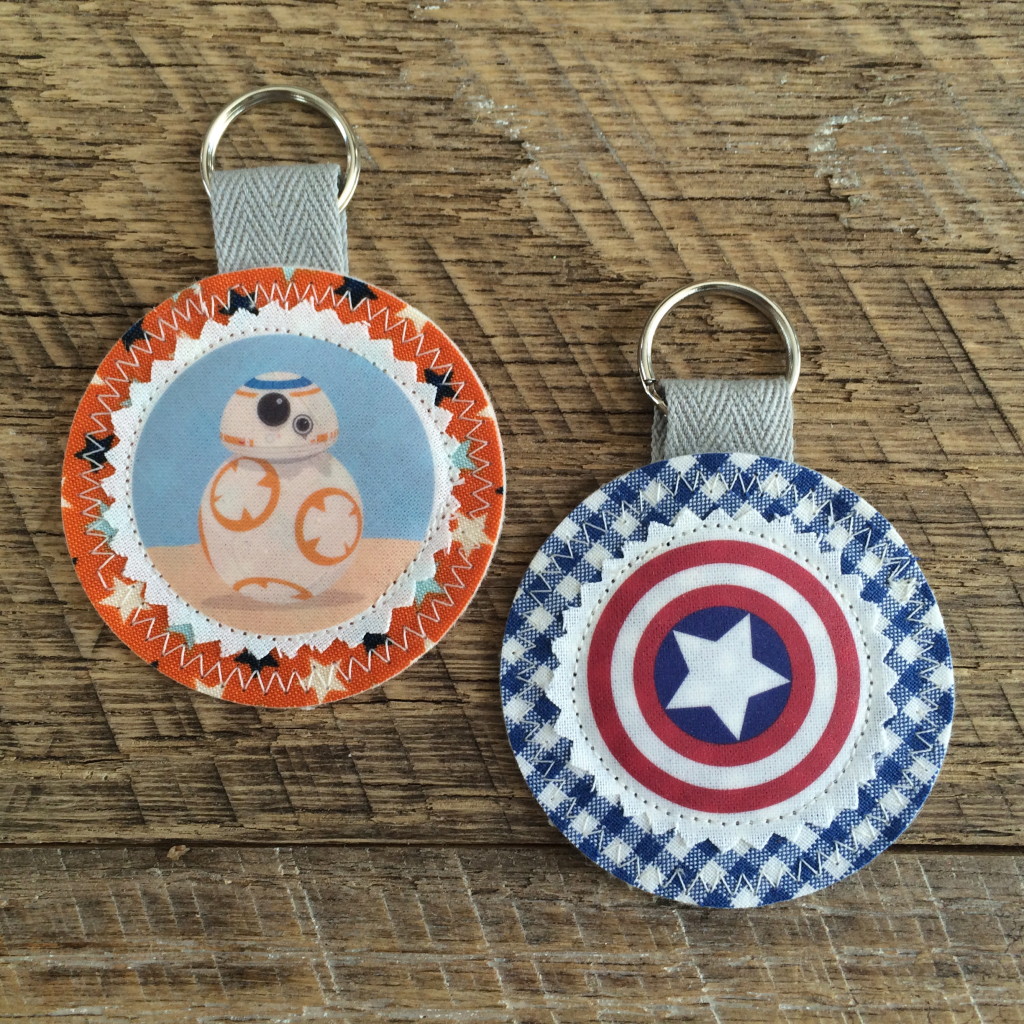
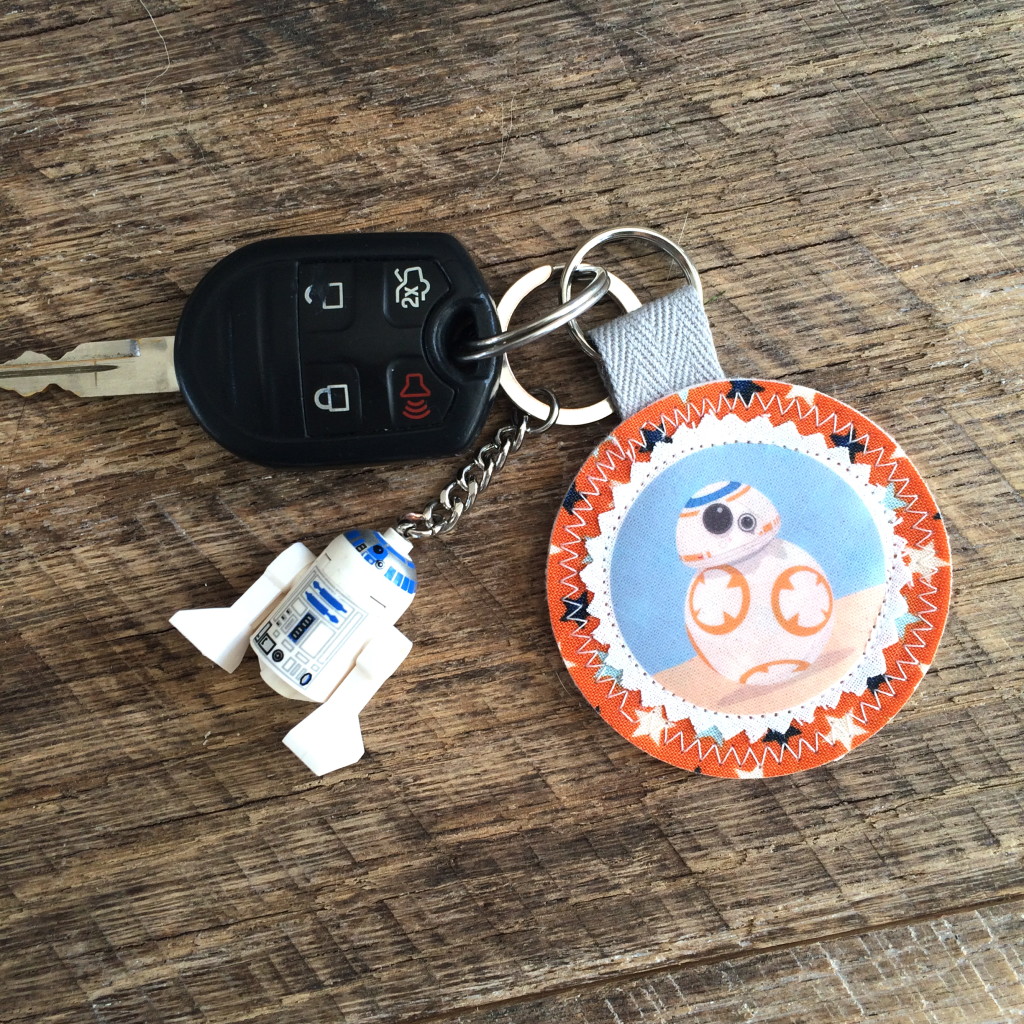
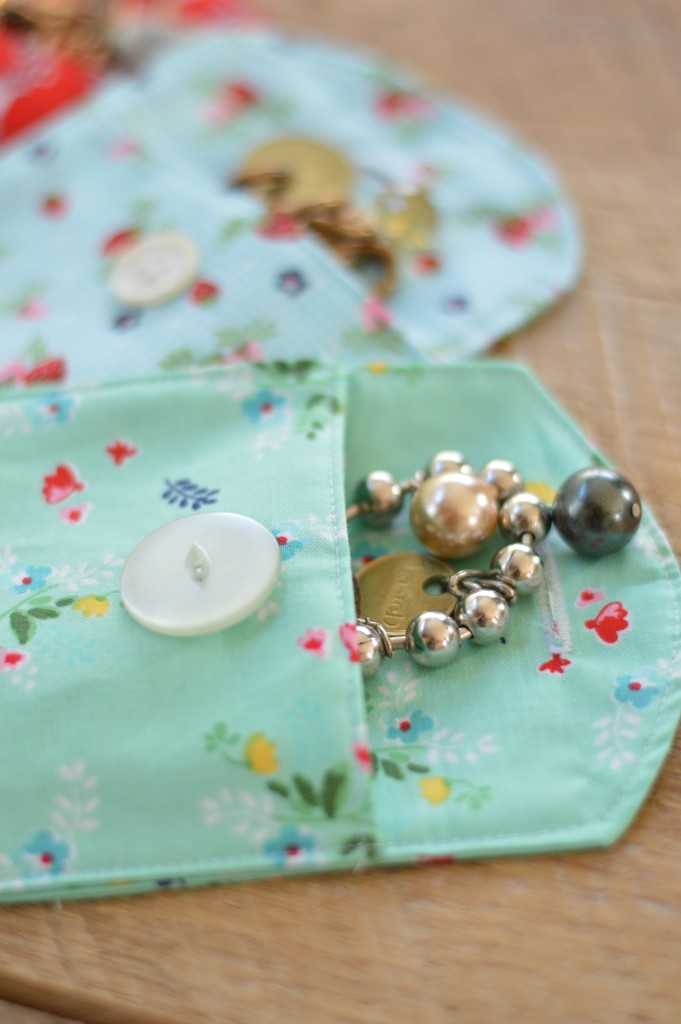
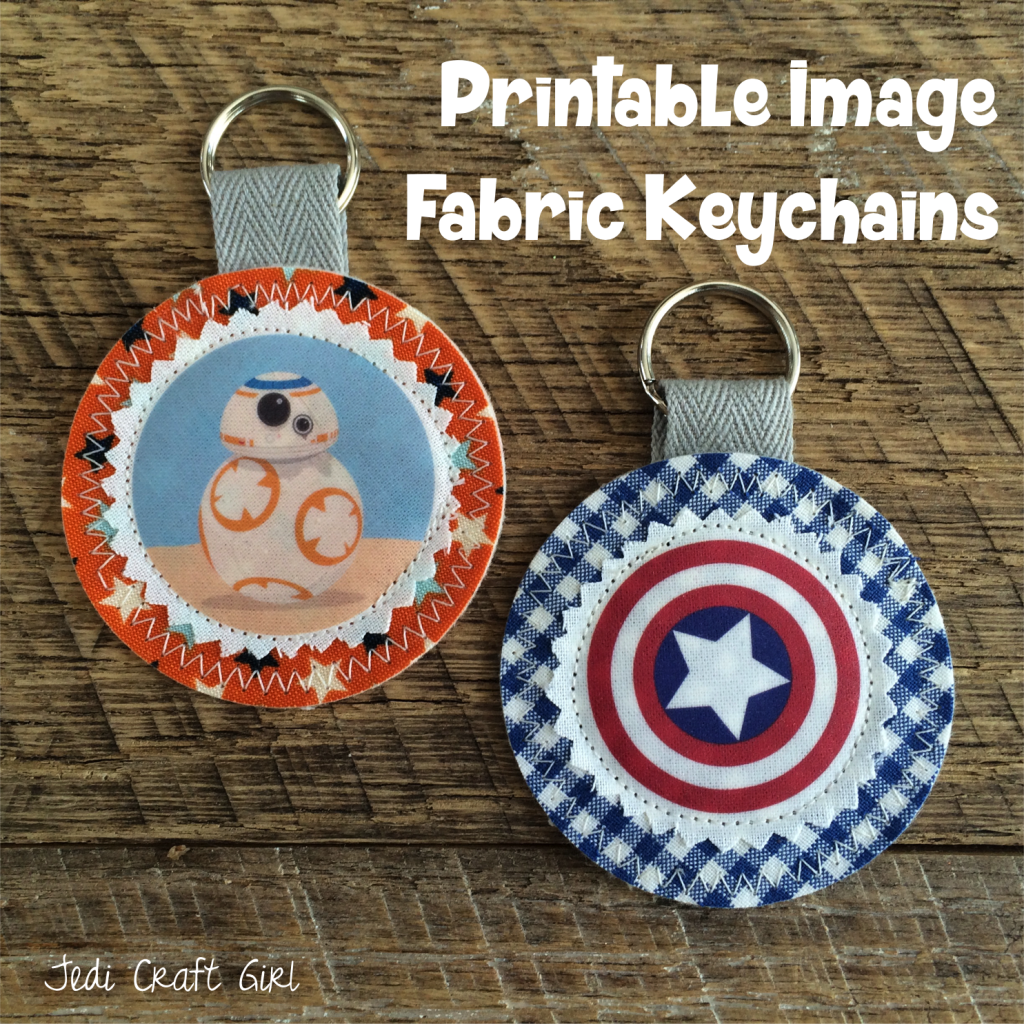
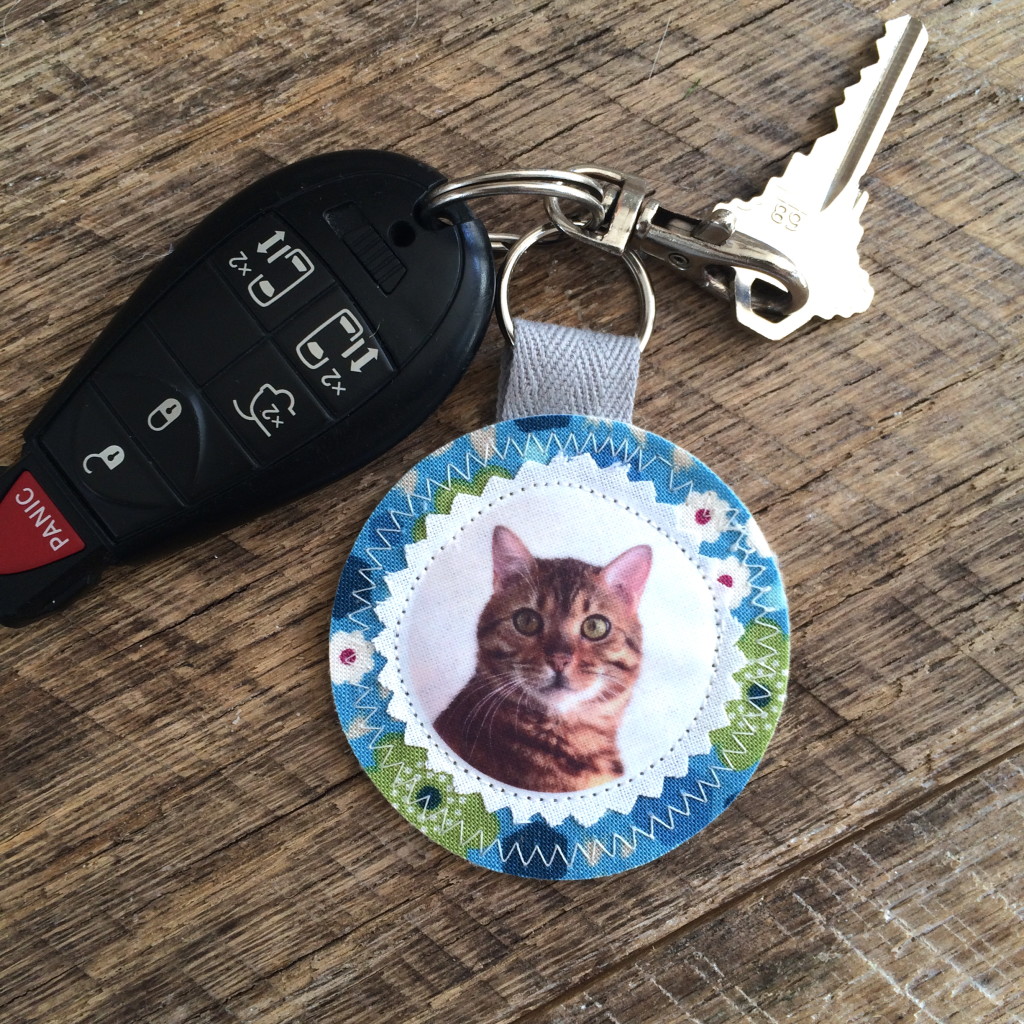
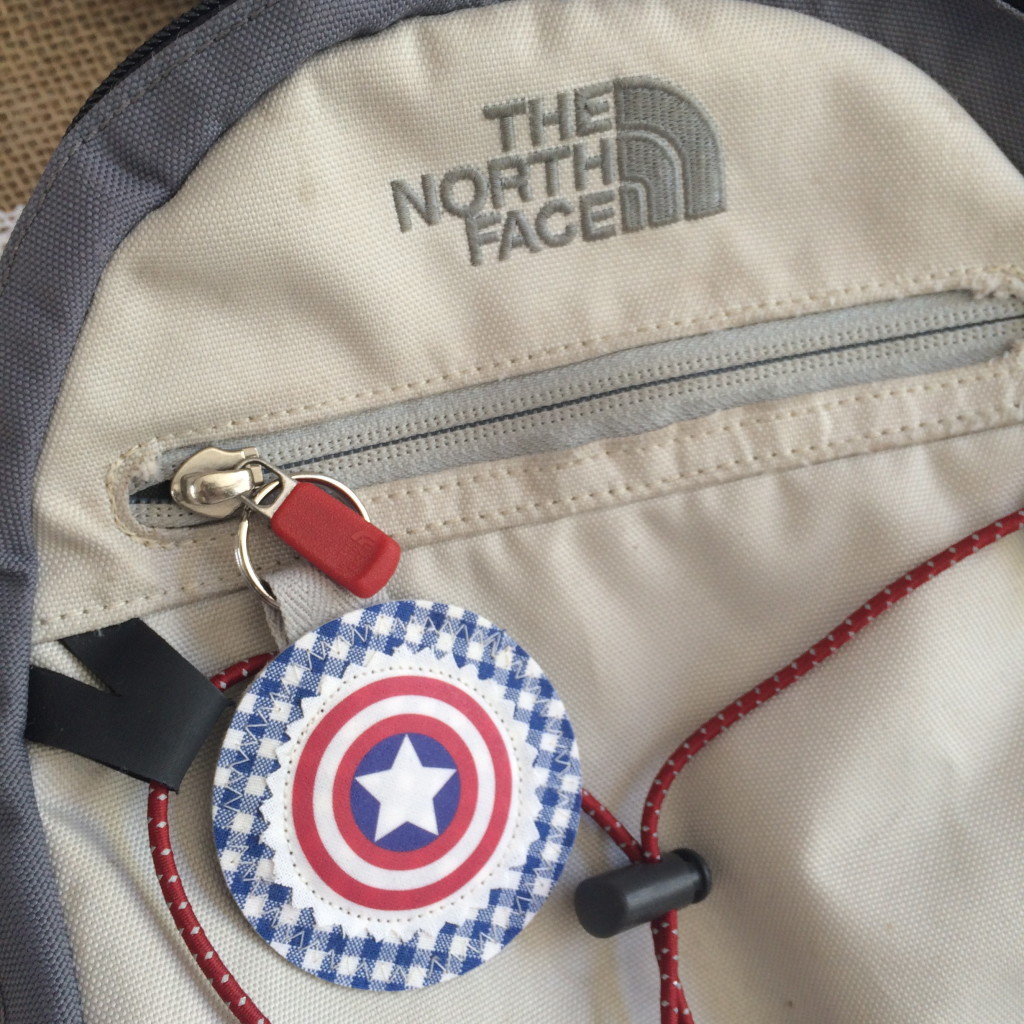 They also make great zipper pulls for back packs!!
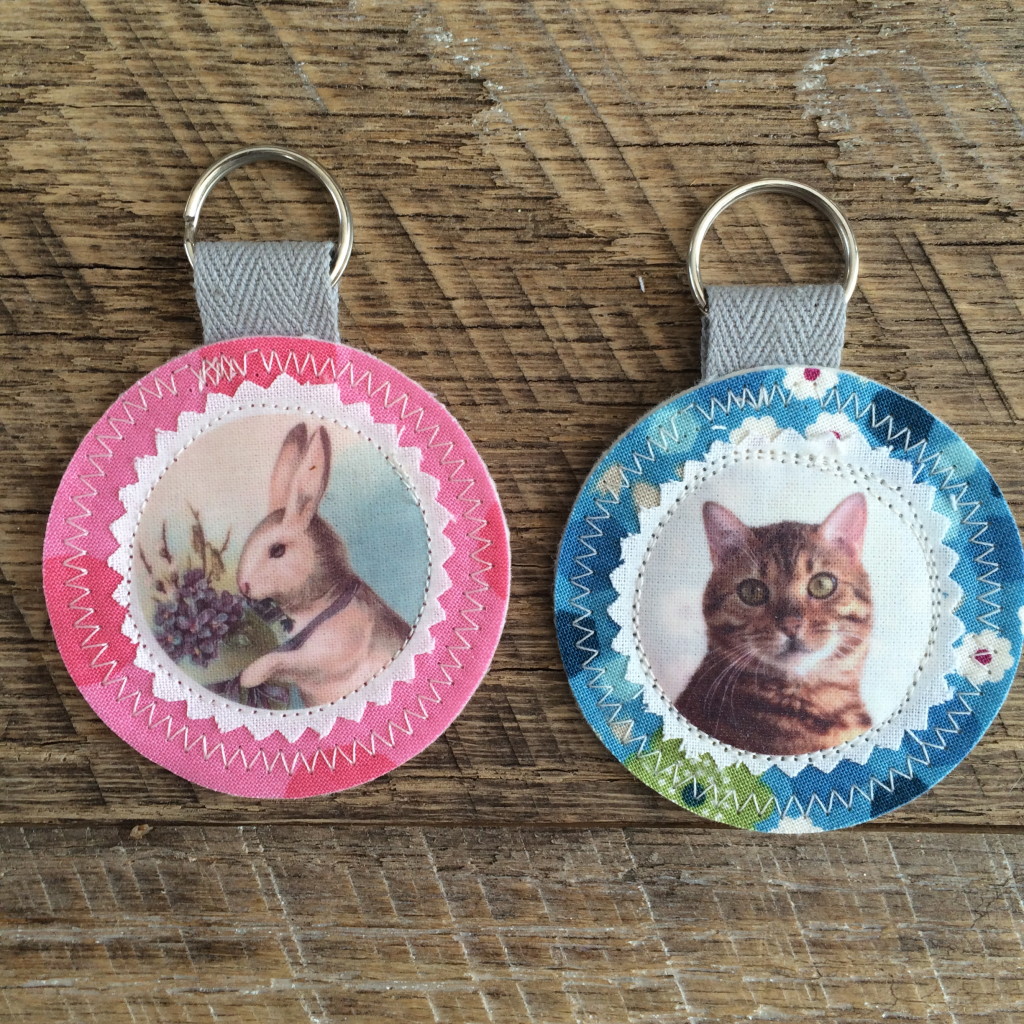
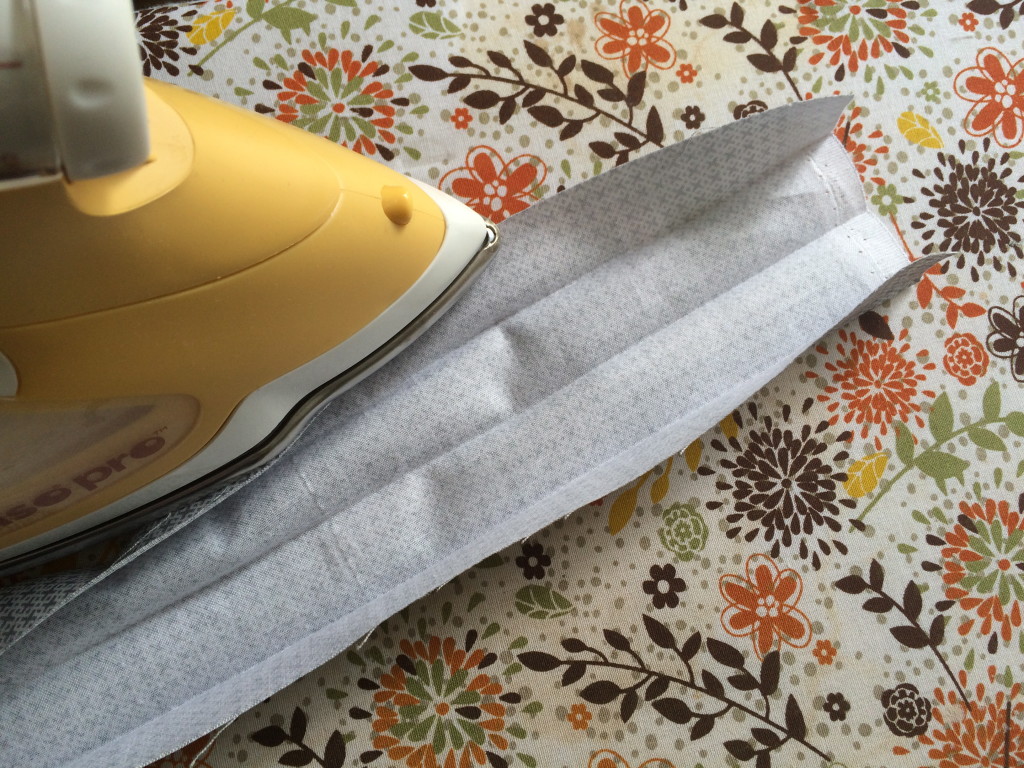
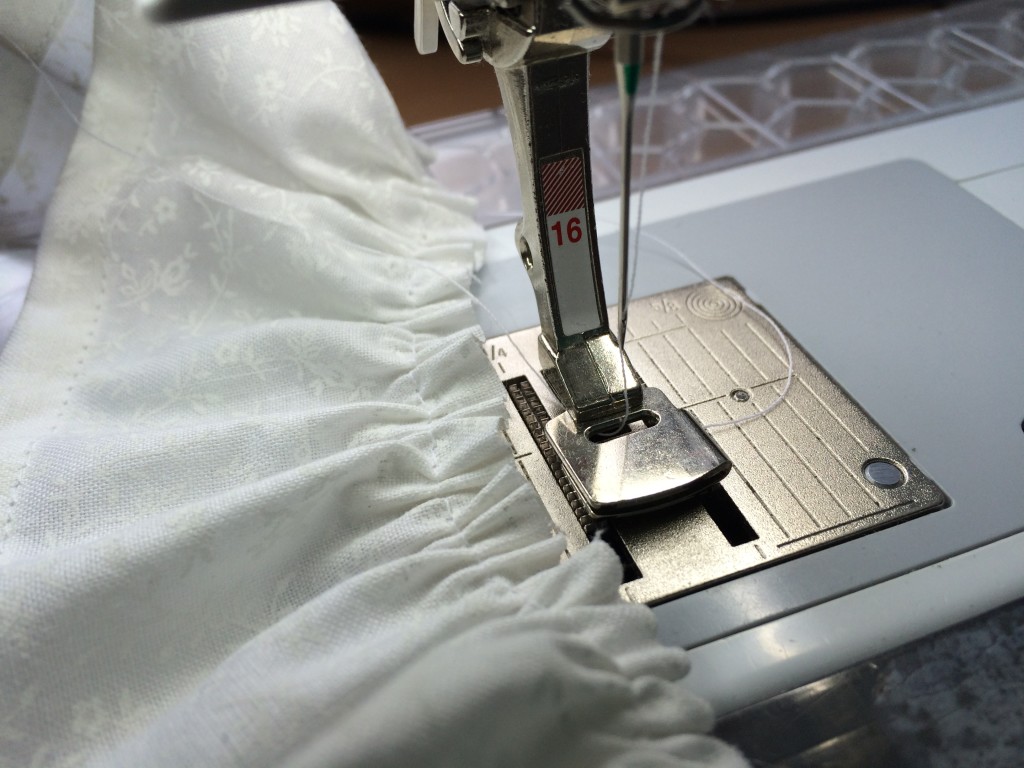
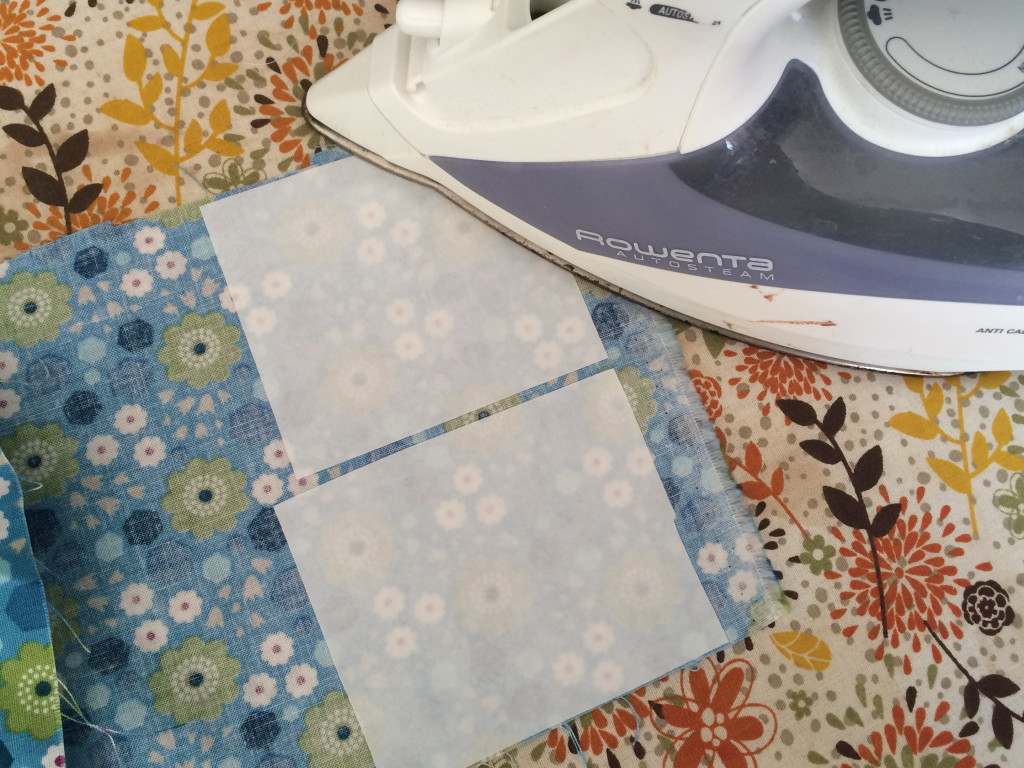
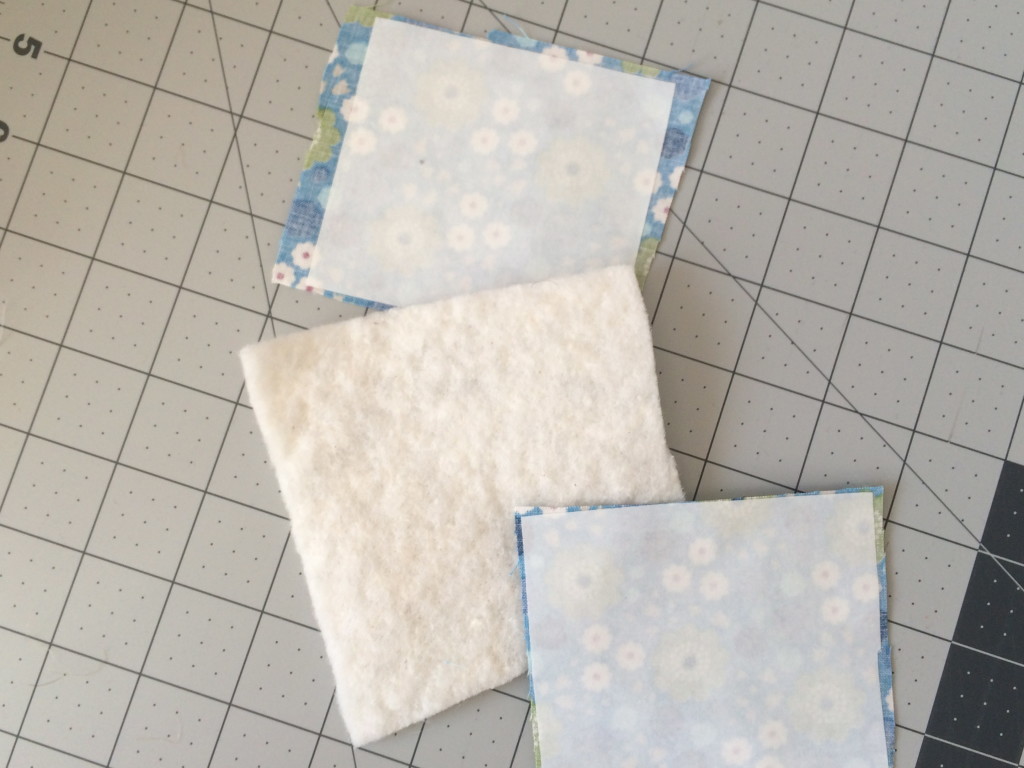
 Iron
Iron