Spring Burlap Table Runner with Appliqué Bunnies

Table Runner: A Cute Rabbit Burlap MIY

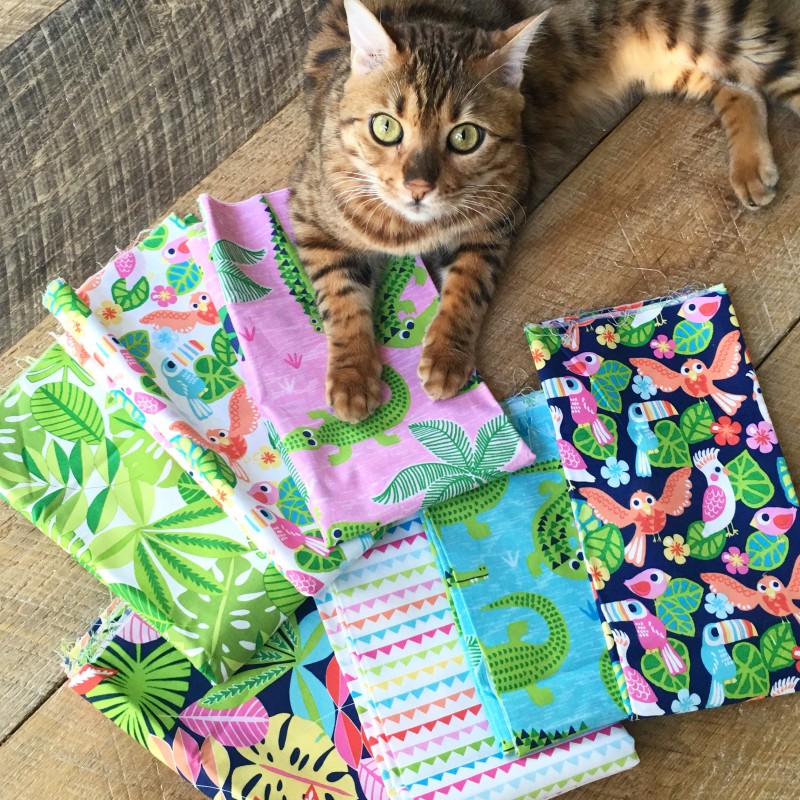
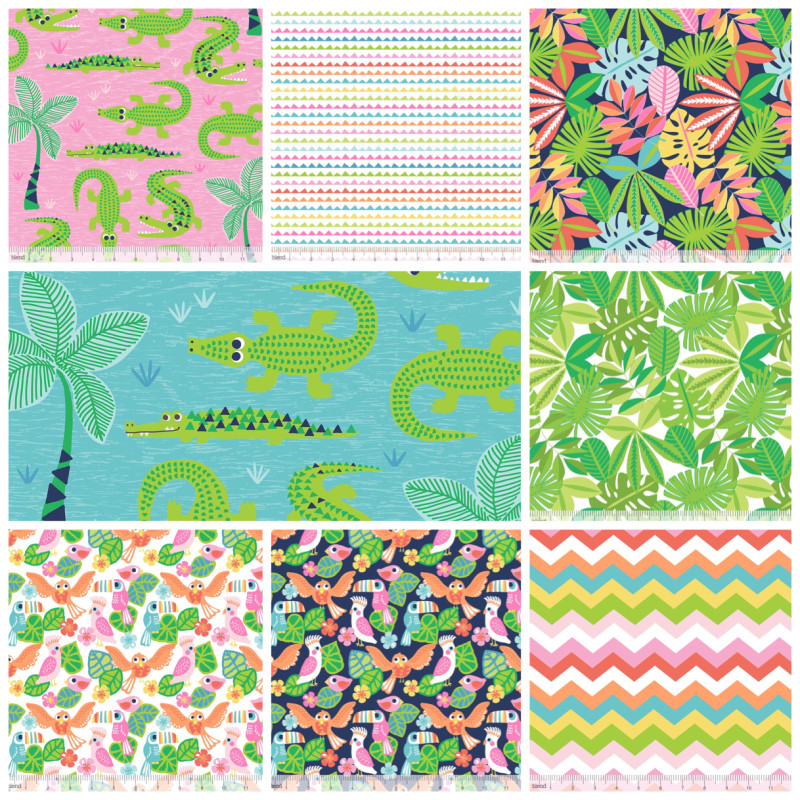
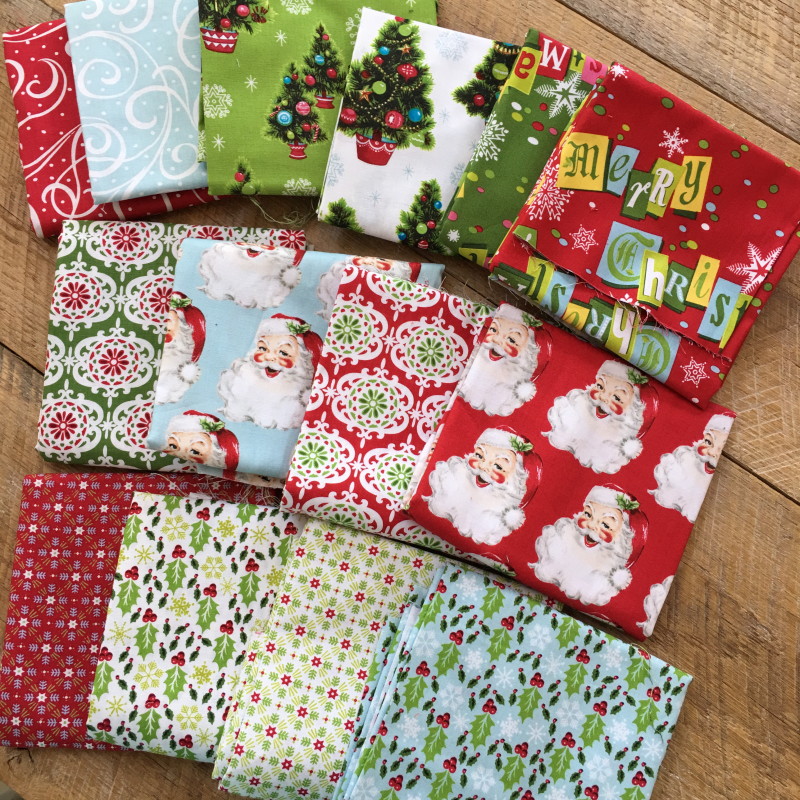
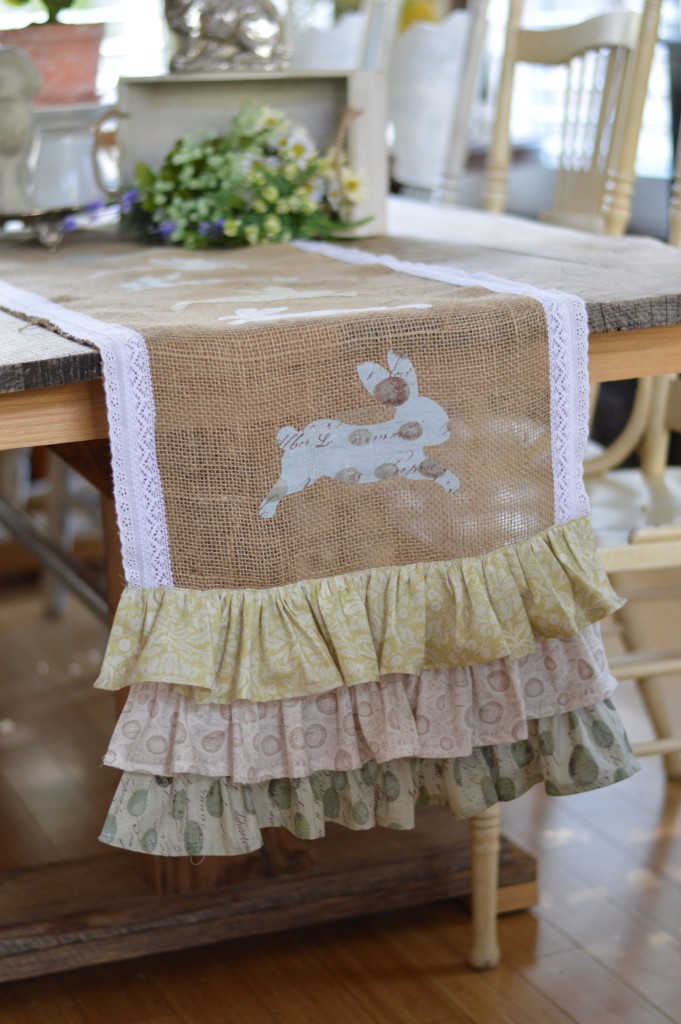
I love spring and I love bunnies and I love this Sizzix Rabbit Die! It is my most favorite Sizzix die of ALL TIME!! It is totally feels like spring here in Southern California! I love it! I’m ready to get all my spring home decor out and I needed a new table runner in my dining room so I came up with this “shabby” inspired bunny runner. I used a ready-made burlap runner that I purchased at the craft store, Heat n Bond Ultra, lace trim, and some yardage. The fabrics are from the line Flora & Fauna by Blend Fabrics.

Table Runner: A Cute Rabbit Burlap MIY

Table Runner: A Cute Rabbit Burlap MIY

Let’s get started!

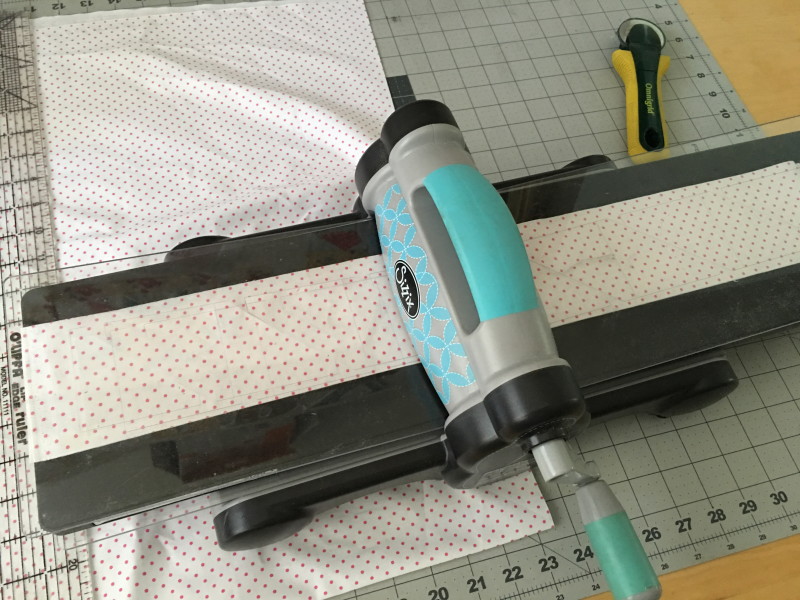
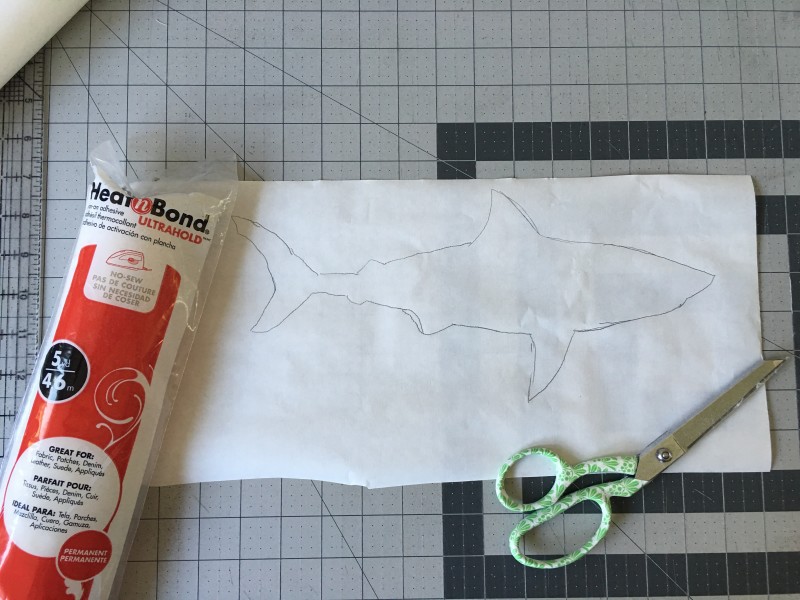
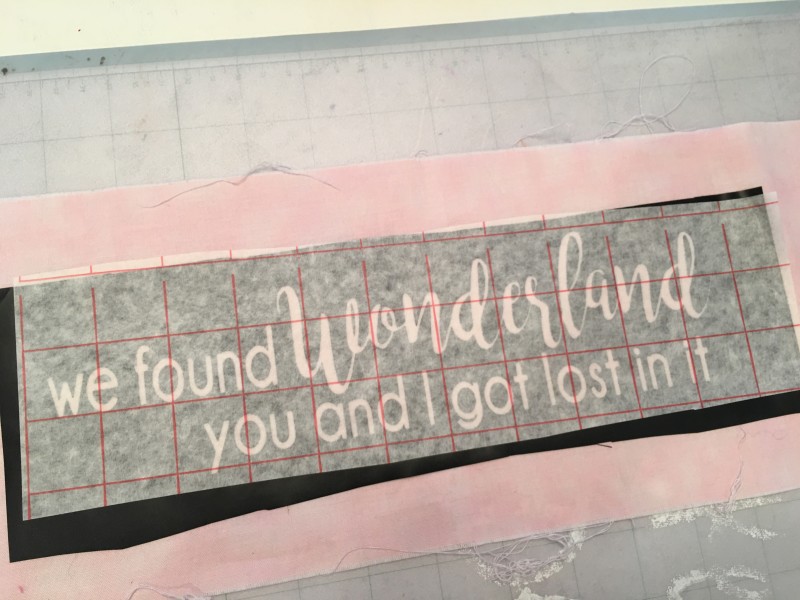
Begin by cutting the Heat n Bond Ultra into rectangles the size of the Rabbit Die. I choose to use Heat n Bond Ultra because I didn’t want to sew around each rabbit. Burlap is a little stretchy and wiggly and I thought the sewing would cause some funky puckering. The Ultra doesn’t require any sewing!

Table Runner: A Cute Rabbit Burlap MIY

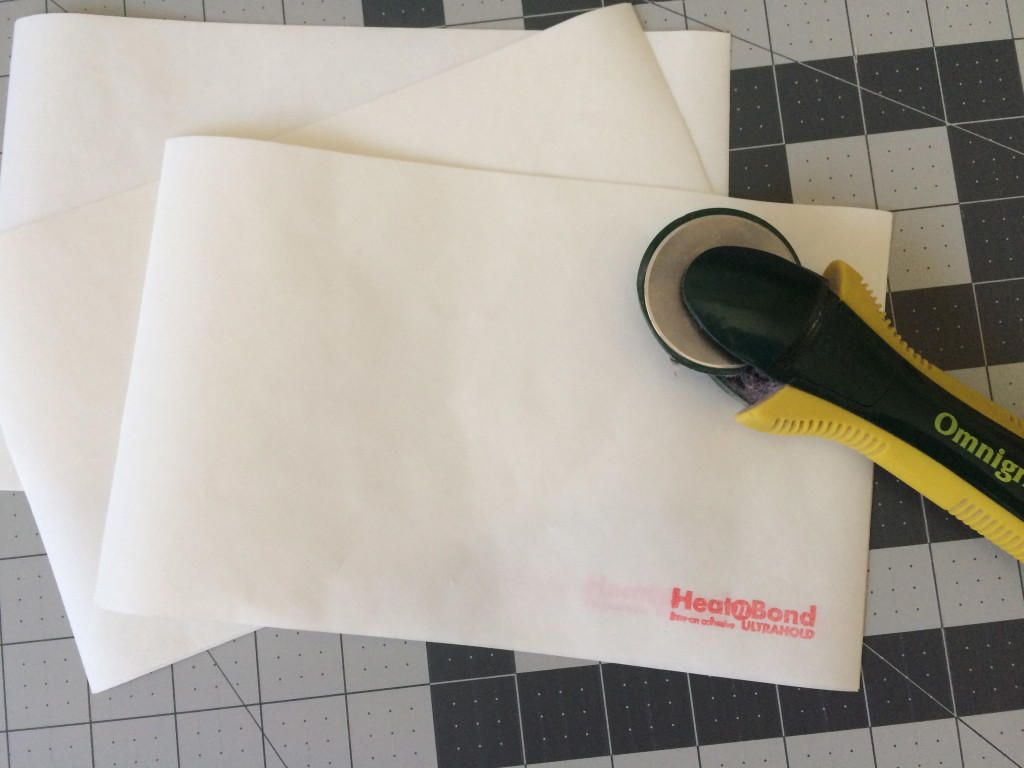
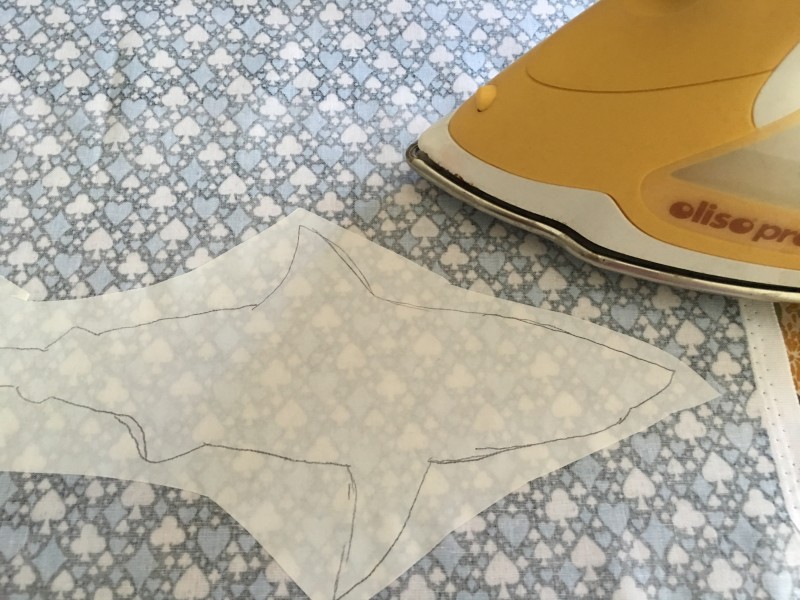
Iron it to the wrong size of the fabrics to be die cut.Table Runner: A Cute Rabbit Burlap MIY

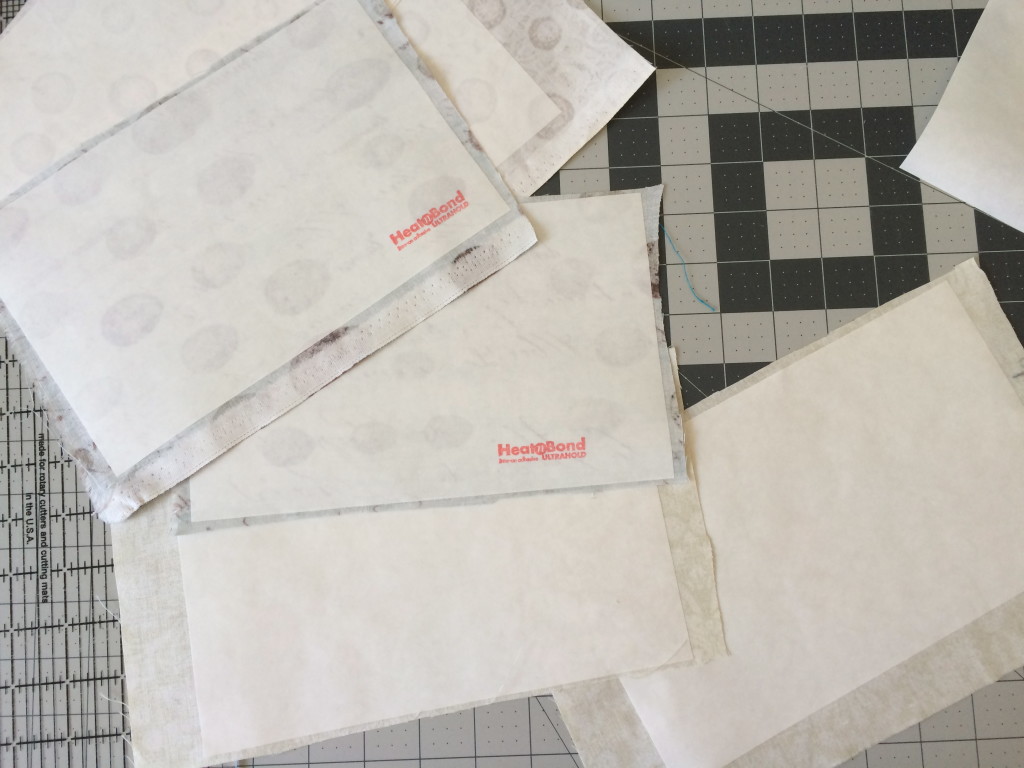
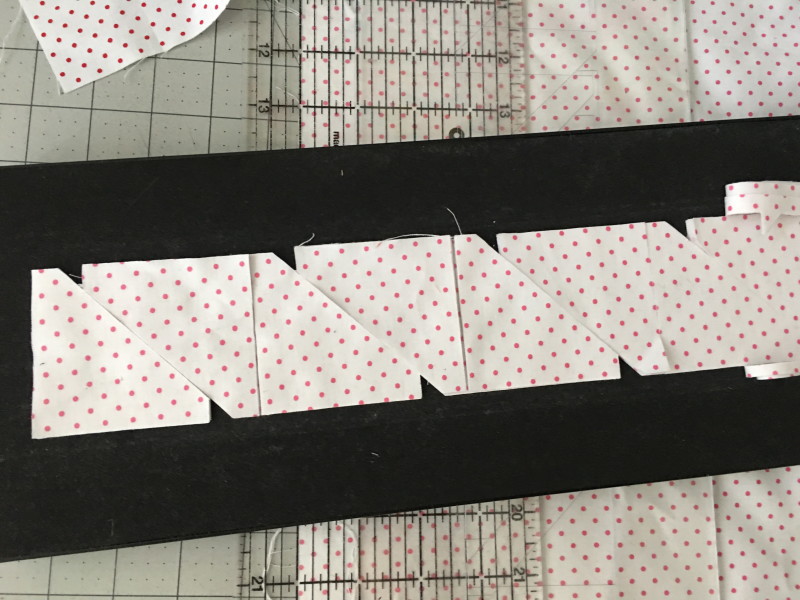
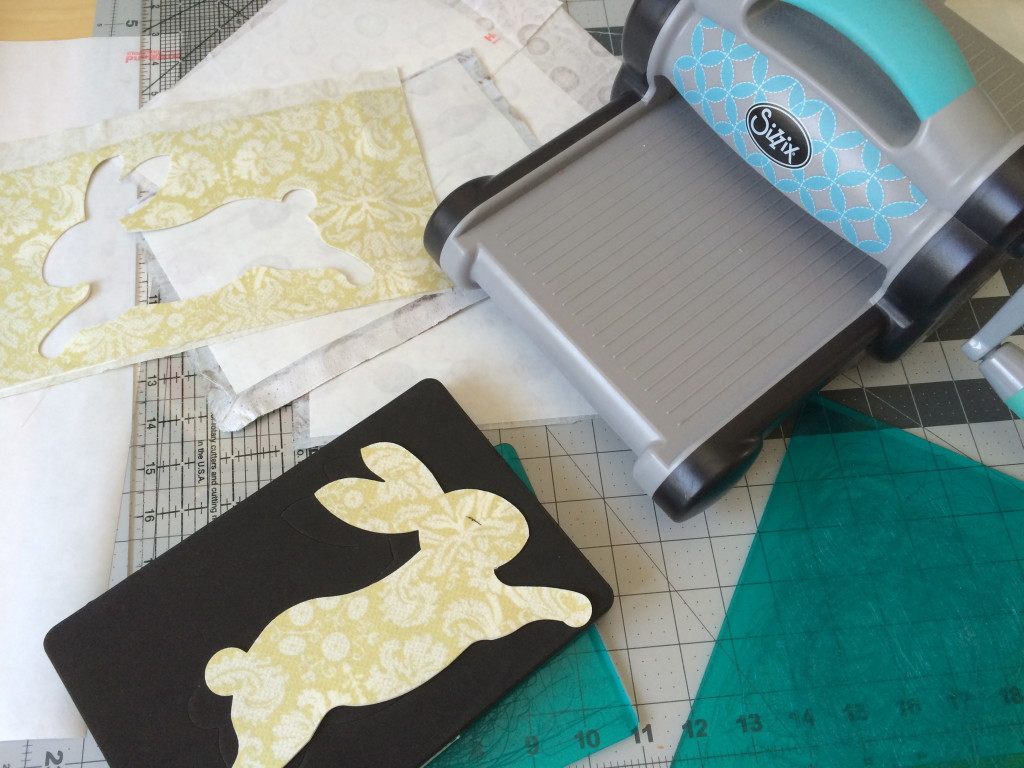
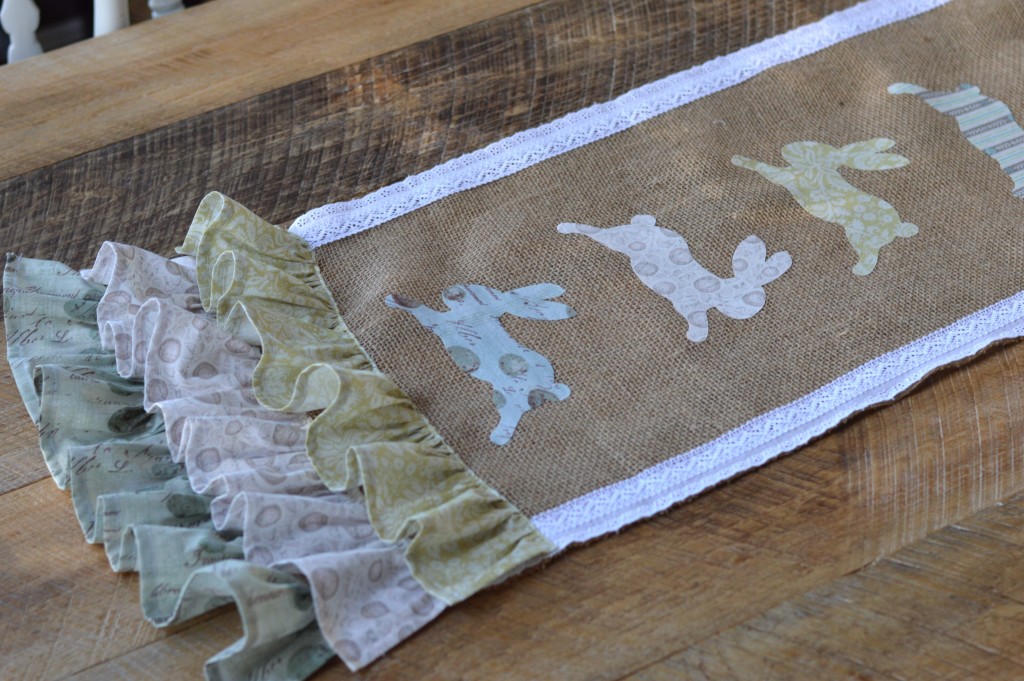
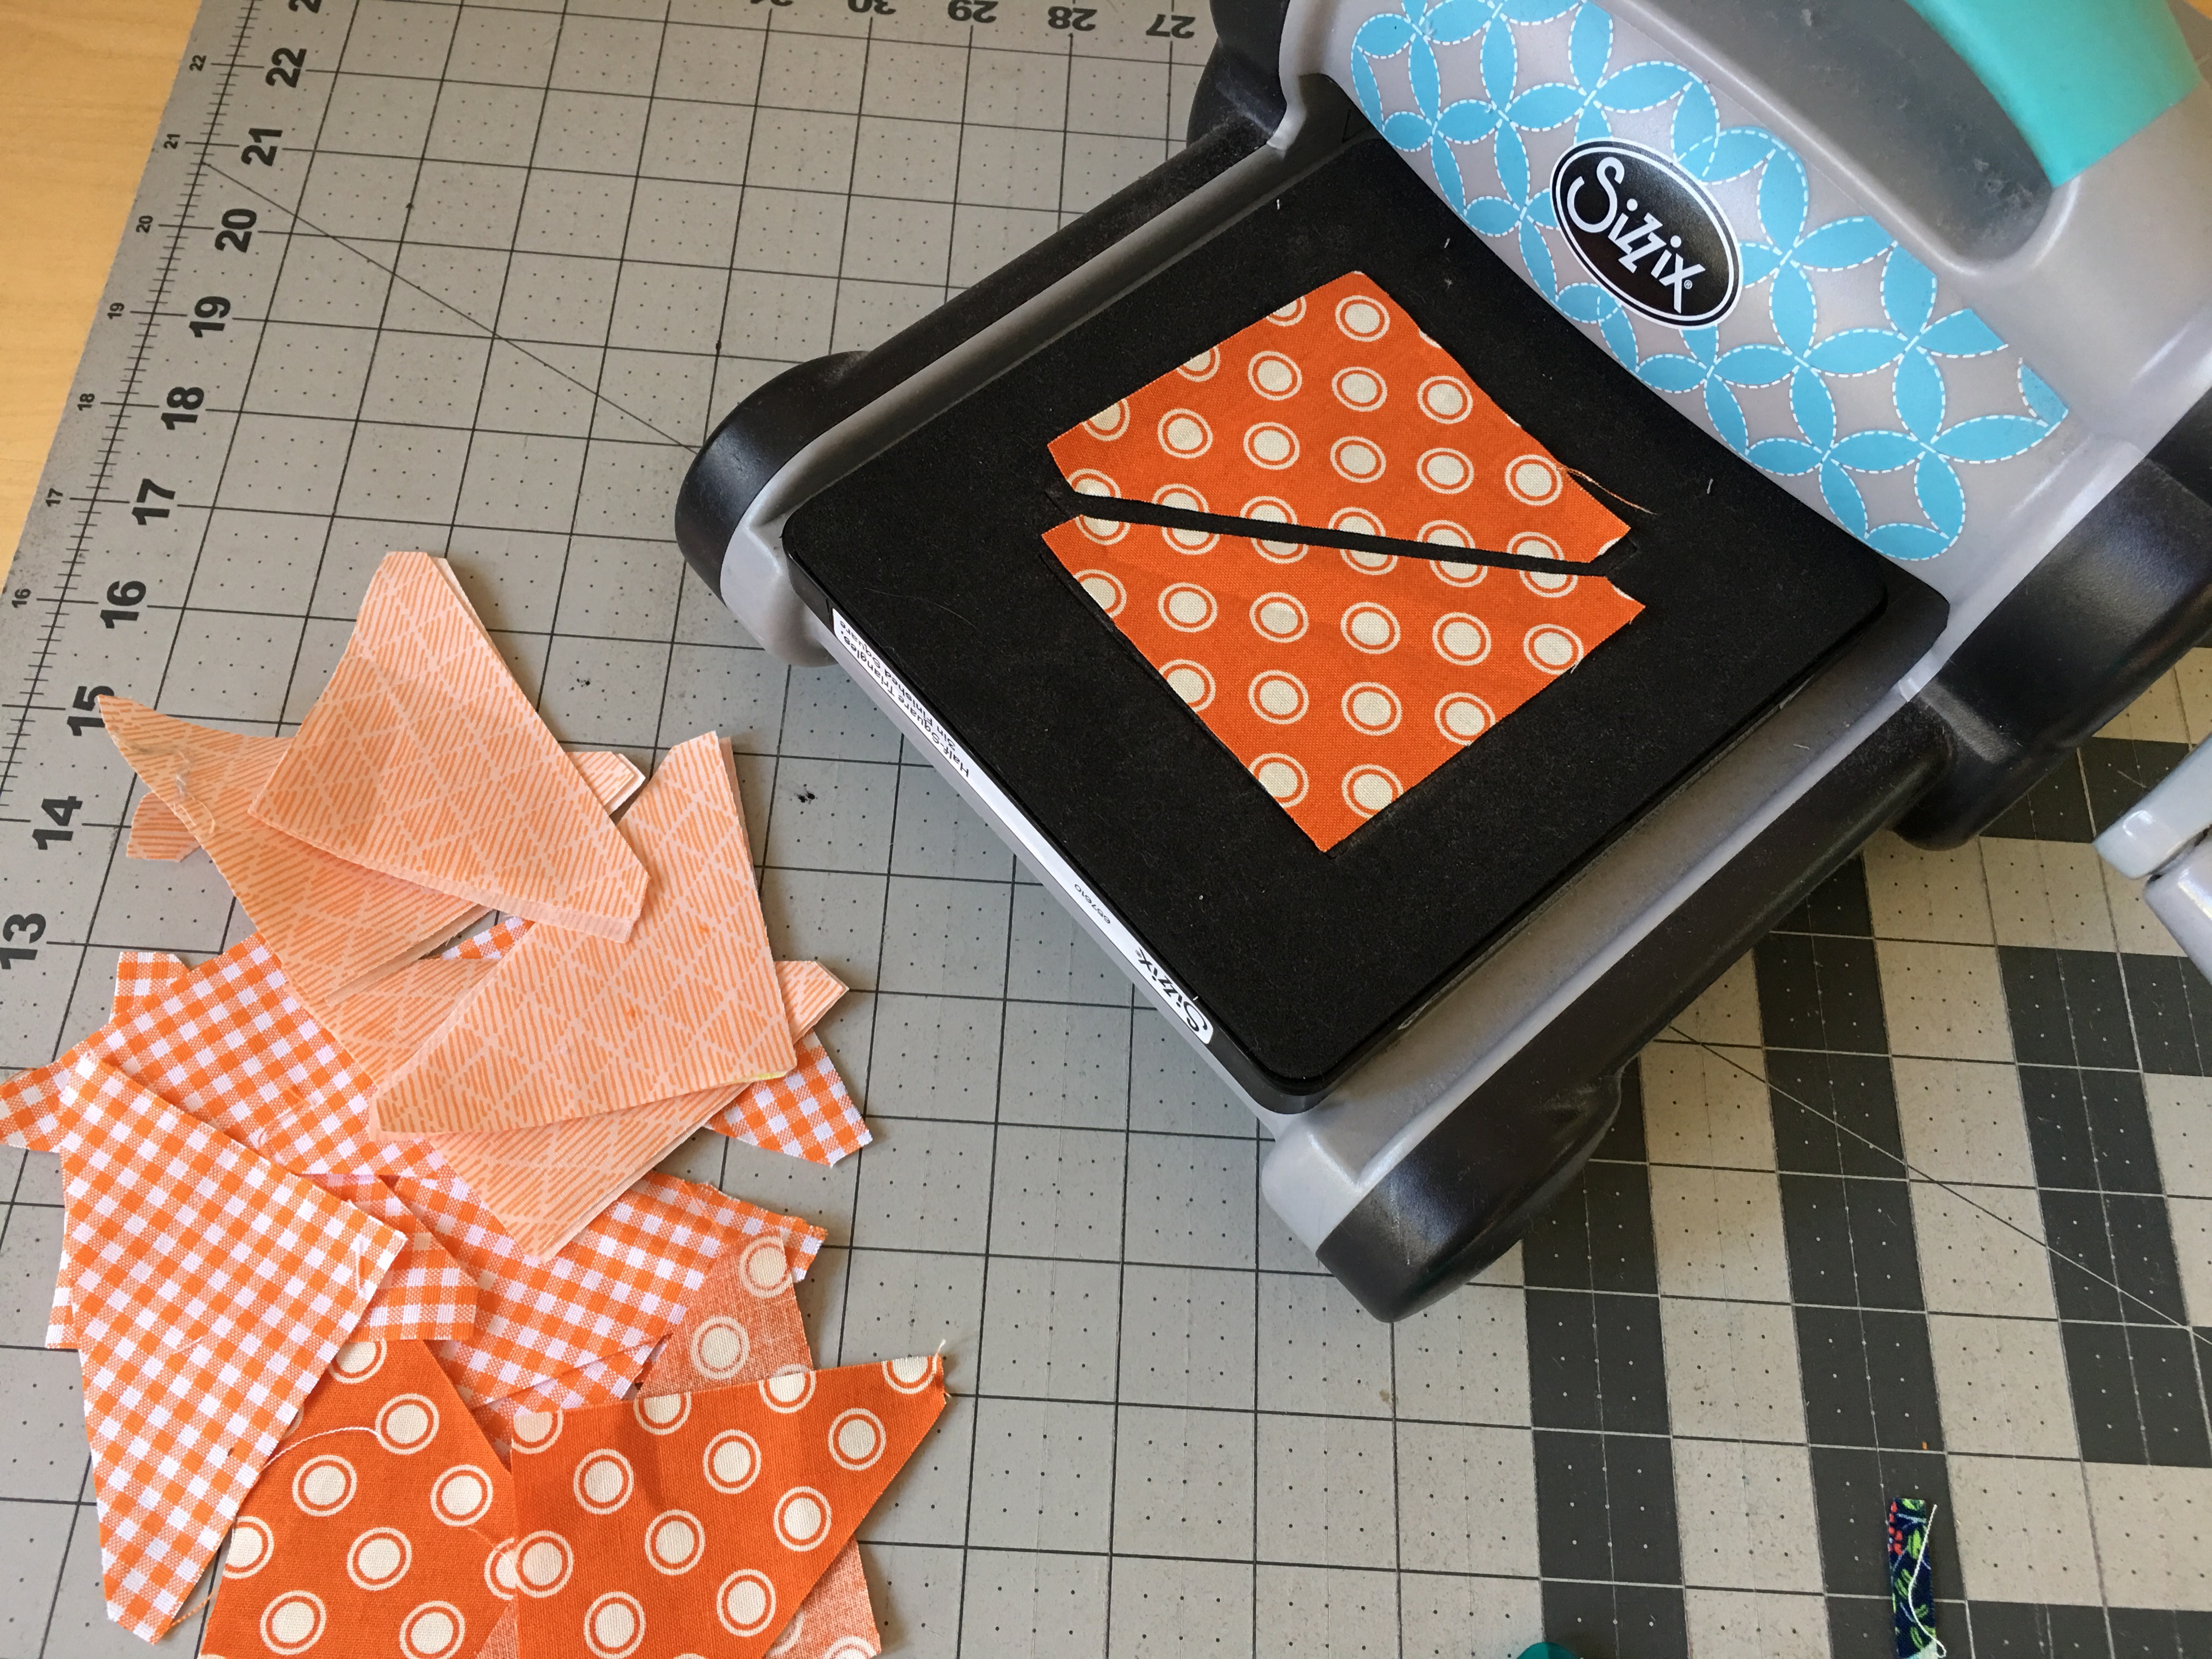
Run the fabrics through the Sizzix Fabi. Make sure to cut half the rabbits going one way and half the rabbits going the other way. I cut 12 rabbits. The number will vary depending on the length of the runner.

Table Runner: A Cute Rabbit Burlap MIY

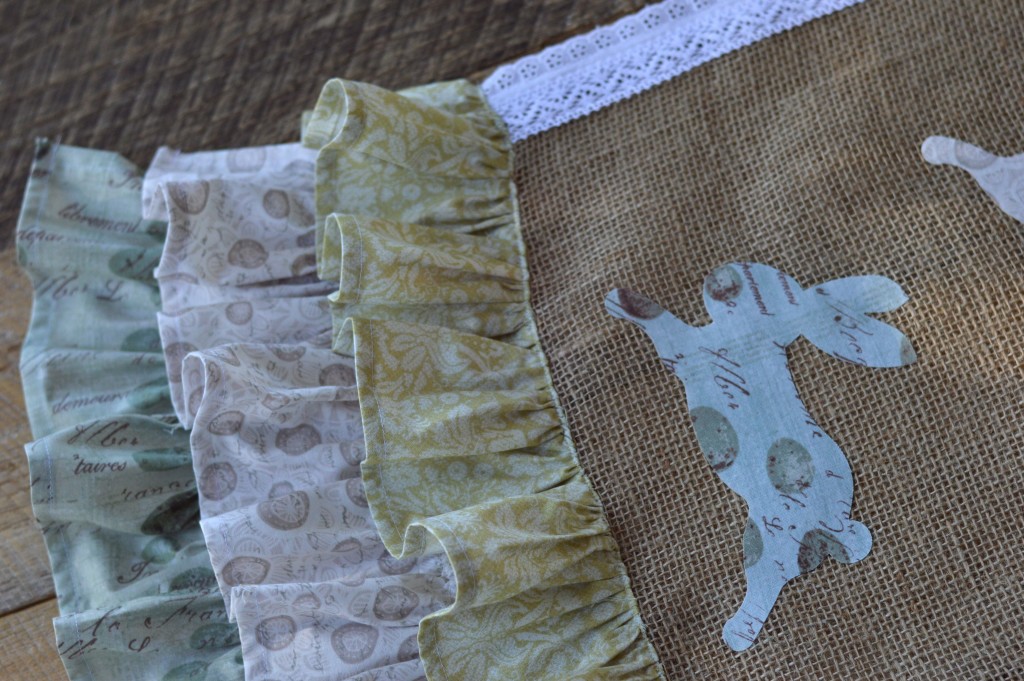
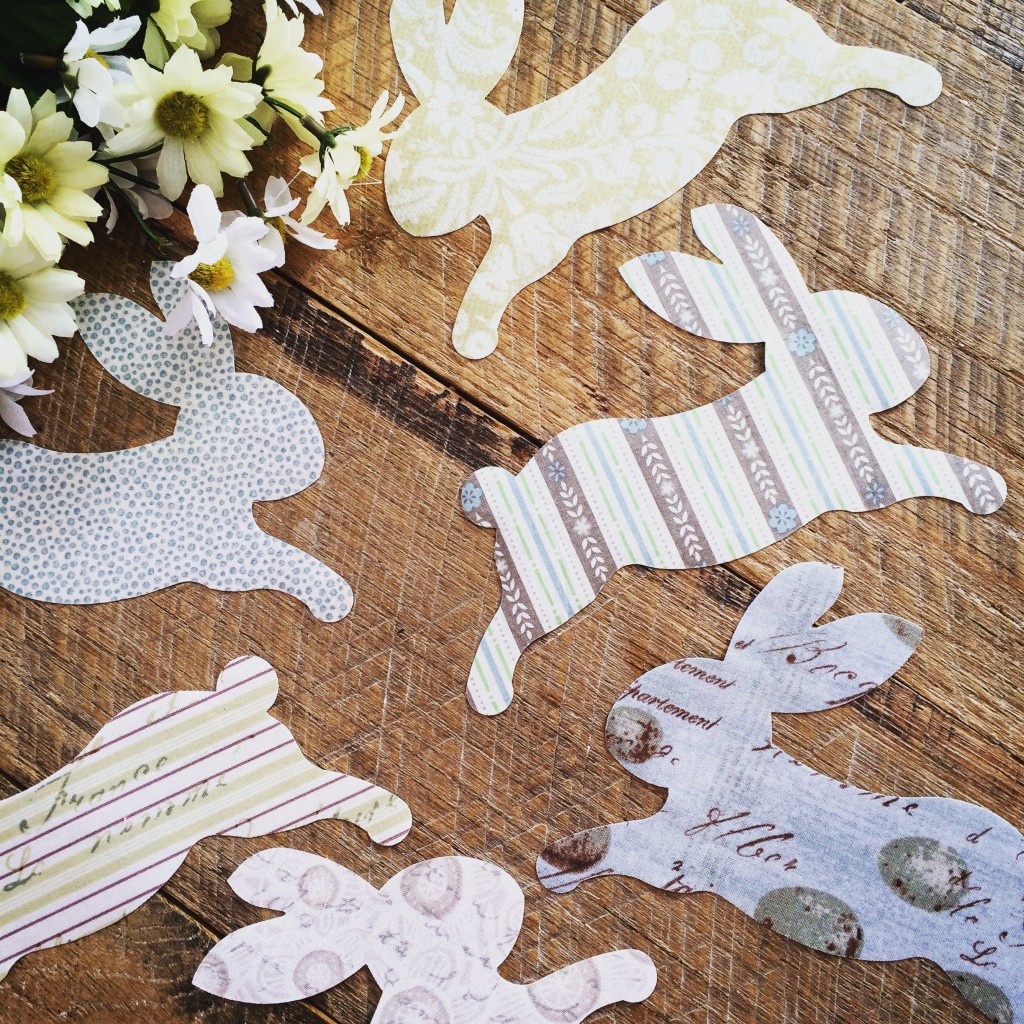
Aren’t they the cutest! I could have a million of these bunnies!!!!

Table Runner: A Cute Rabbit Burlap MIY

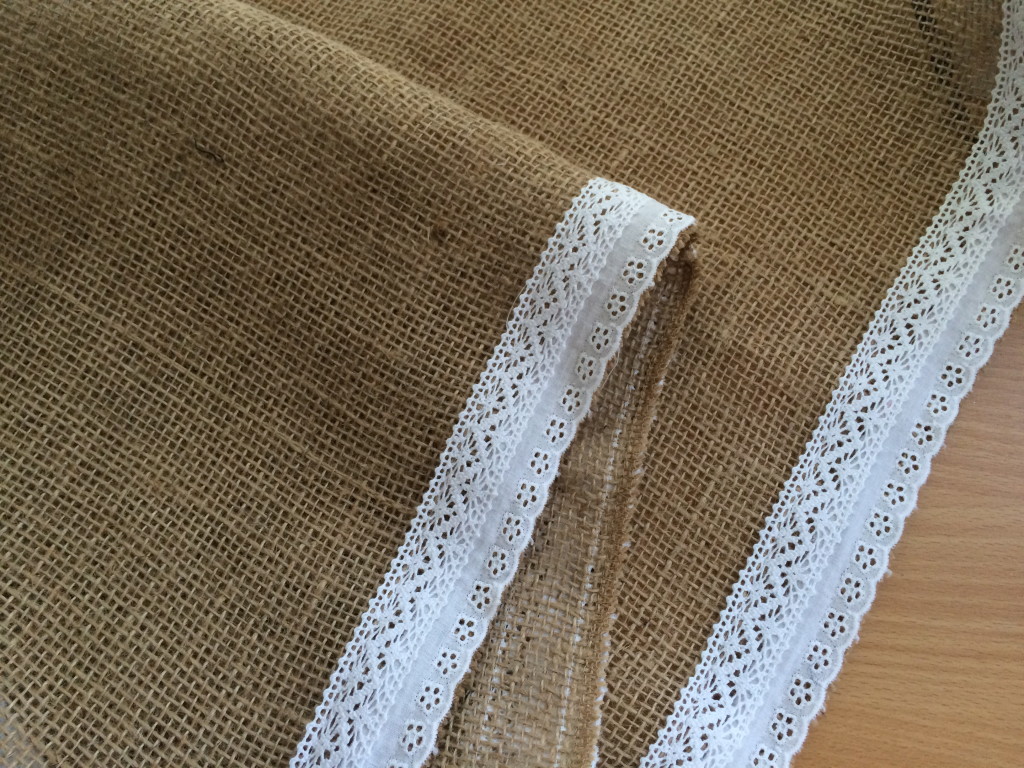
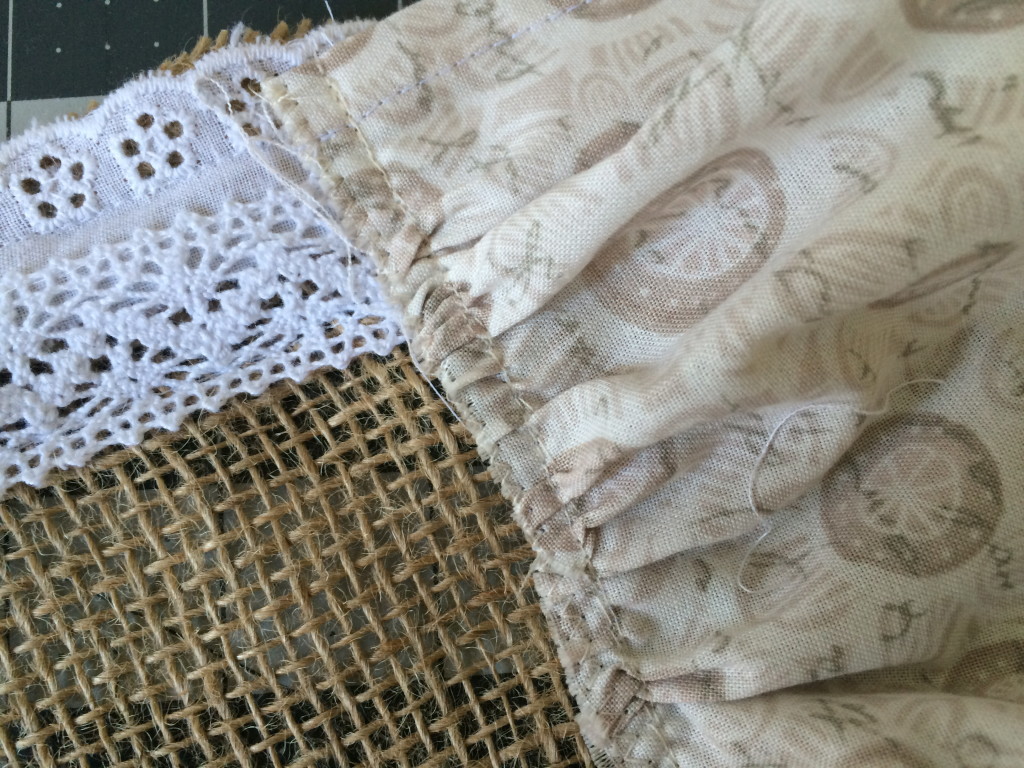
Measure the length of your table runner, mine is 116″. You will need the lace to be double the length of the table runner.

Table Runner: A Cute Rabbit Burlap MIY

Sew the lace to each long edge of the table runner.

Table Runner: A Cute Rabbit Burlap MIY

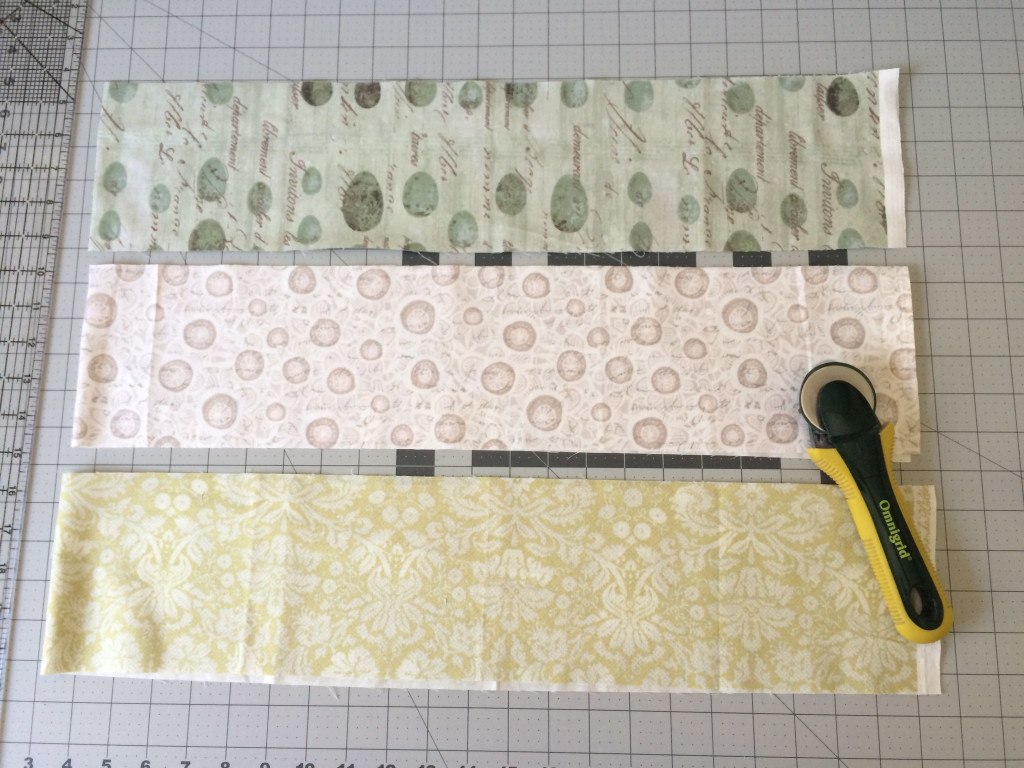
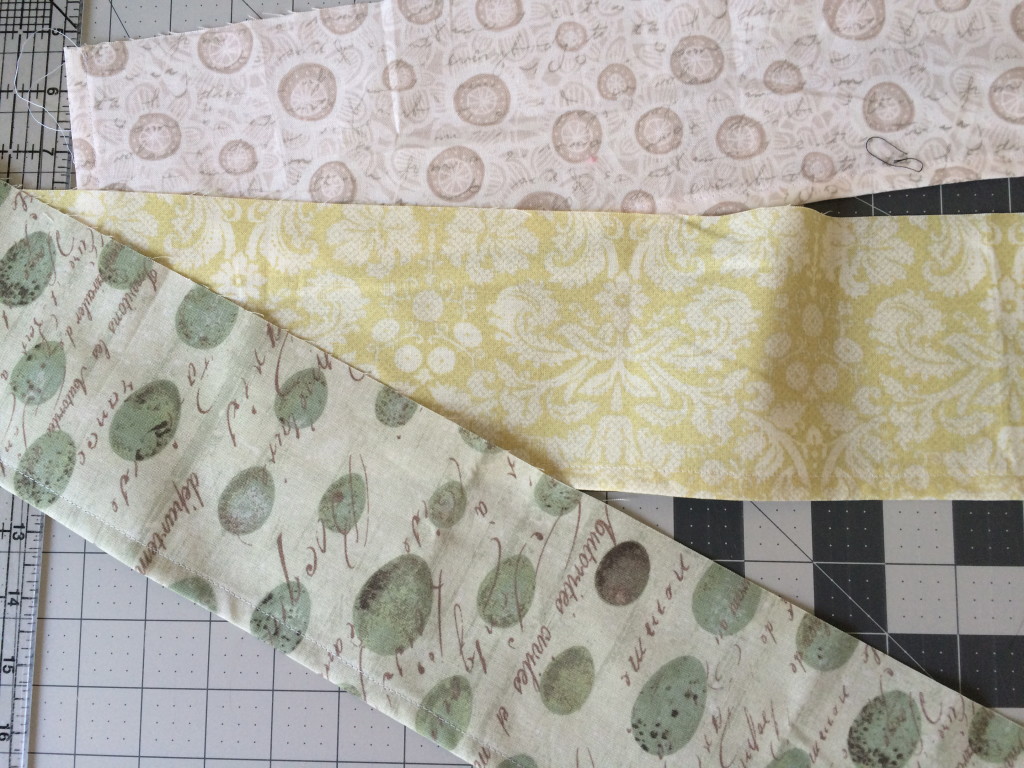
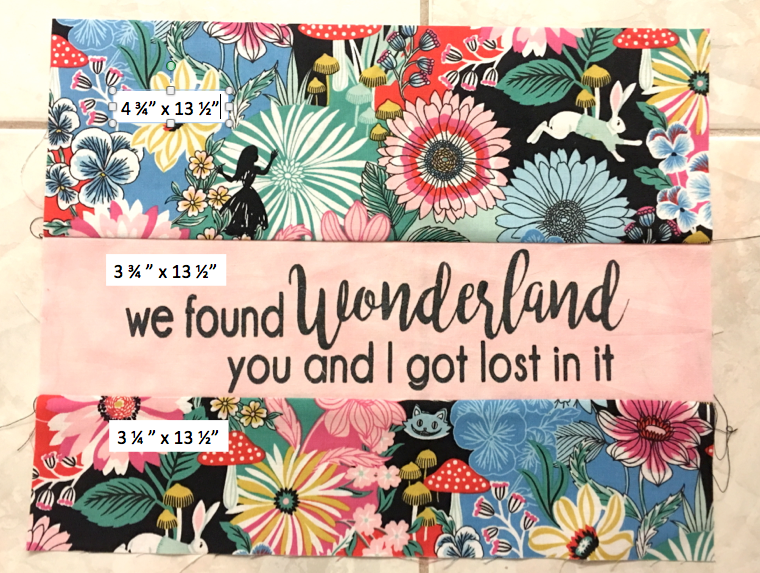
Choose three fabrics for the ruffles. Cut (2) 5″ x WOF of each of the ruffle fabrics.

Table Runner: A Cute Rabbit Burlap MIY

Sew a rolled hem on the two short sides of each of the 6 ruffle pieces.

Table Runner: A Cute Rabbit Burlap MIY

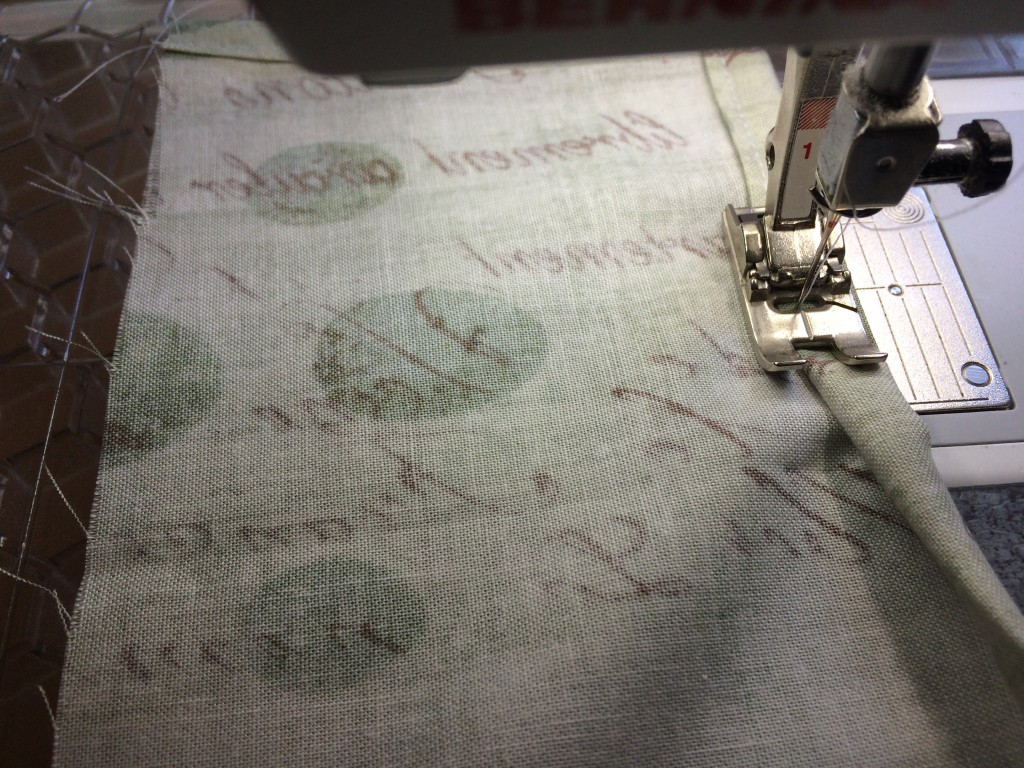
Then sew a rolled hem on one long edge of the ruffle pieces. Press.

Table Runner: A Cute Rabbit Burlap MIY

Sew a gathering stitch along the length of the ruffle strip, 1/4″ along the raw edge. Gather each ruffle.

Table Runner: A Cute Rabbit Burlap MIY

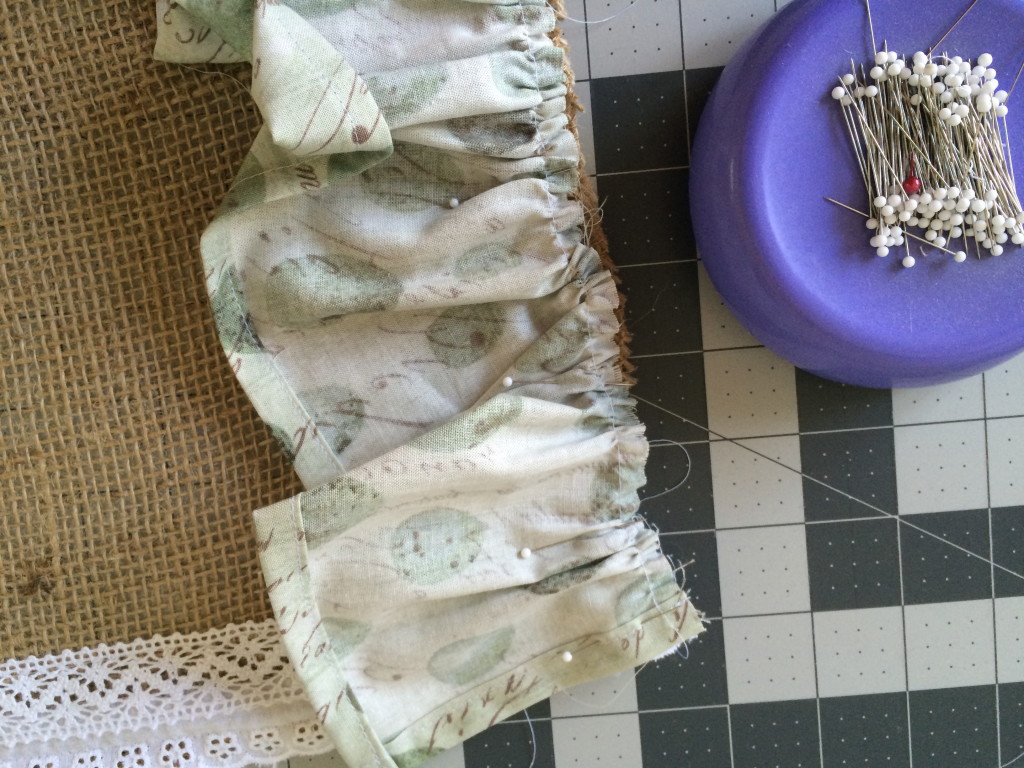
The first ruffle we sew till be the end ruffle. Align the ruffle and the end of the runner right sides together. Adjust the ruffle to fit the width of the runner. Pin into place. Sew along the gathering stitches. Do this to both ends of the runner.

Table Runner: A Cute Rabbit Burlap MIY

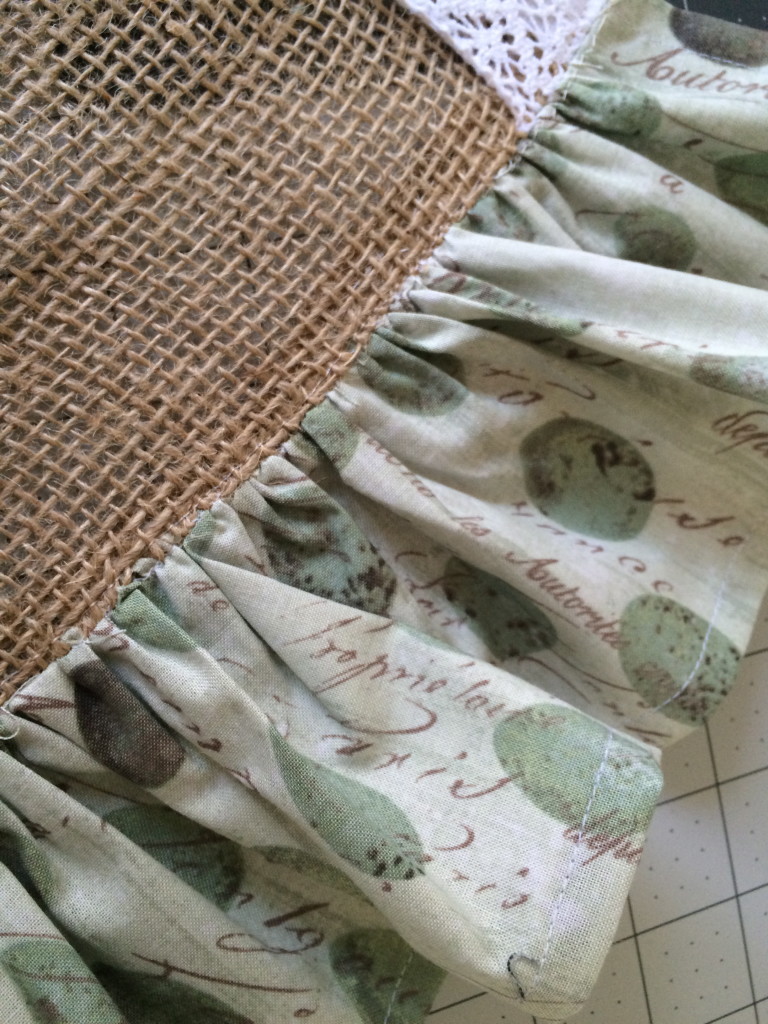
Press the ruffle back and top stitch along the top of the ruffle to keep it laying flat.

Table Runner: A Cute Rabbit Burlap MIY

For the second ruffle pin it wrong side to the runner (above).

Table Runner: A Cute Rabbit Burlap MIY

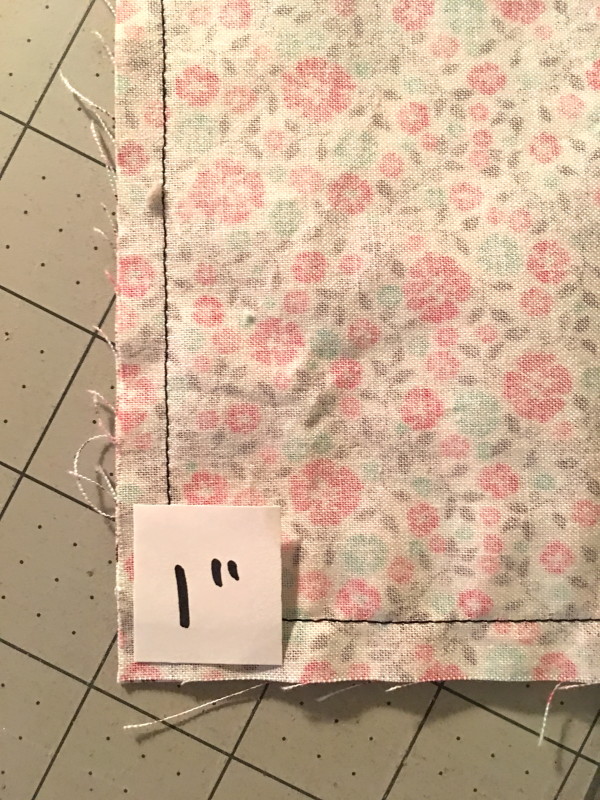
Align the ruffle so it overlaps about 1″ (pictured above).

Table Runner: A Cute Rabbit Burlap MIY

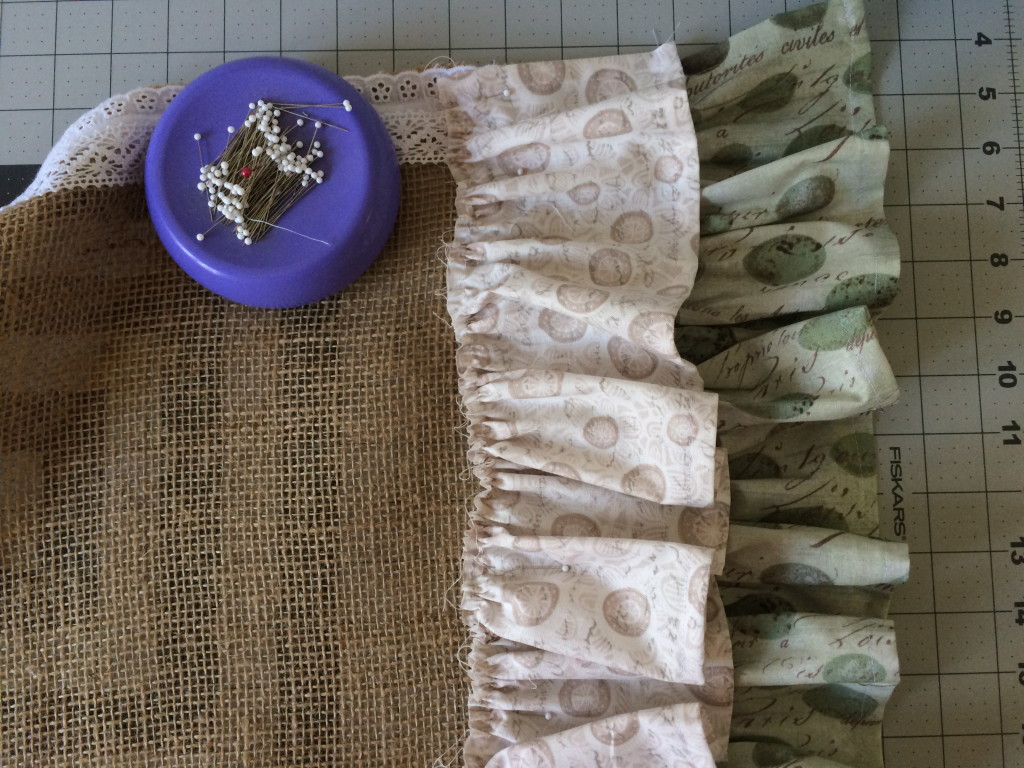
Sew along the gathering stitch. Then zig zag along the raw edge.

Table Runner: A Cute Rabbit Burlap MIY

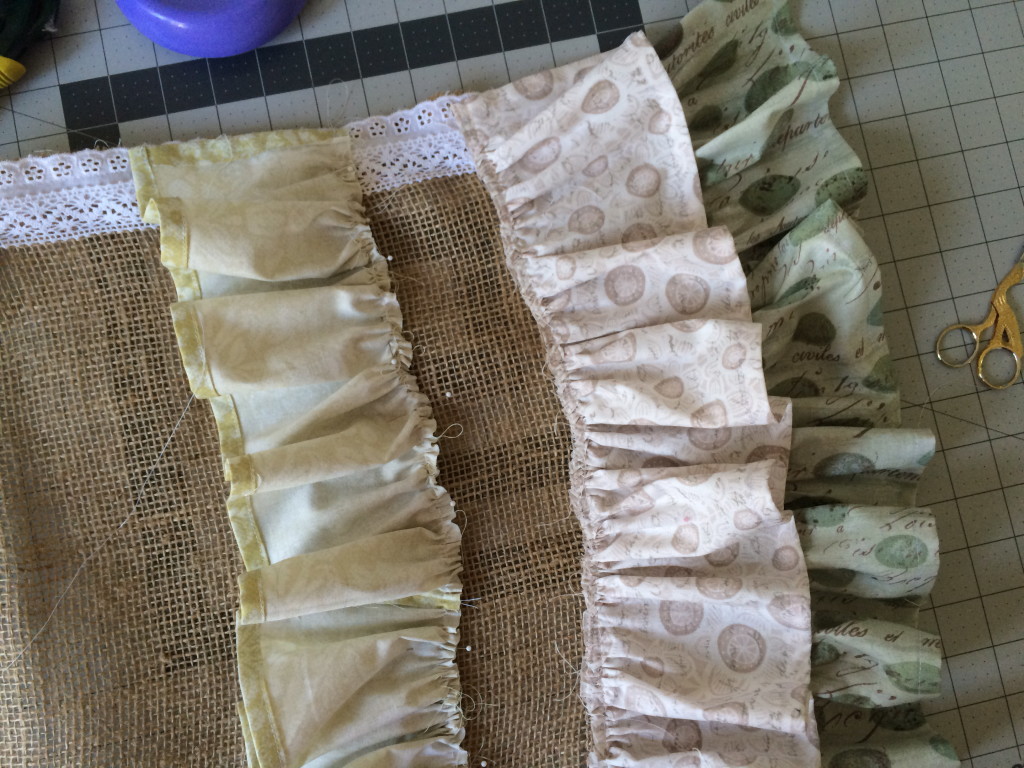
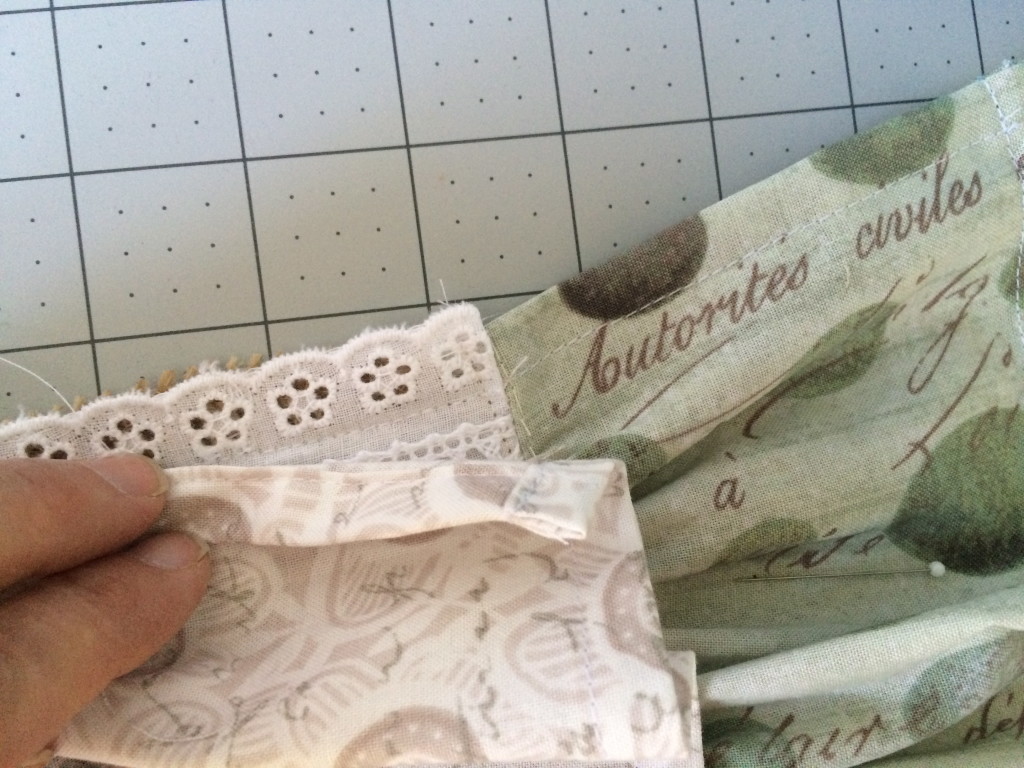
For the third ruffle, aligh right sides together (like we did with the first ruffle). Pin it about 2.5″ apart. Make sure when the ruffle is folded back it covers the raw edge. Sew along the gathering seam.

Table Runner: A Cute Rabbit Burlap MIY

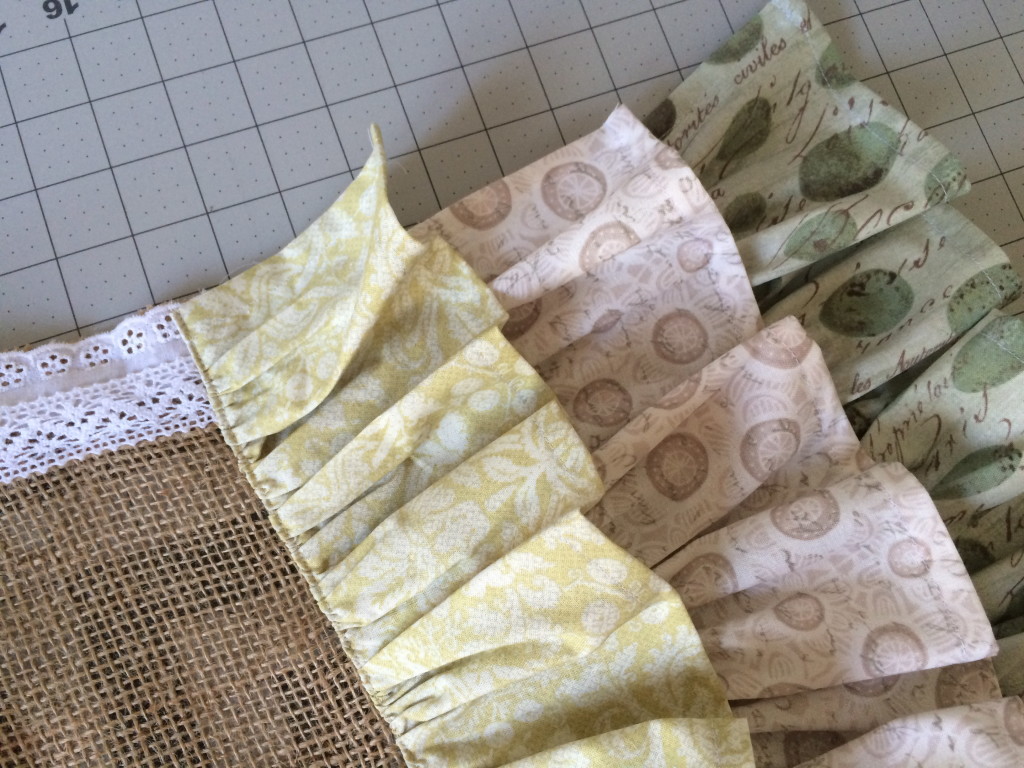
Fold ruffle back, press, and top stitch.

Table Runner: A Cute Rabbit Burlap MIY

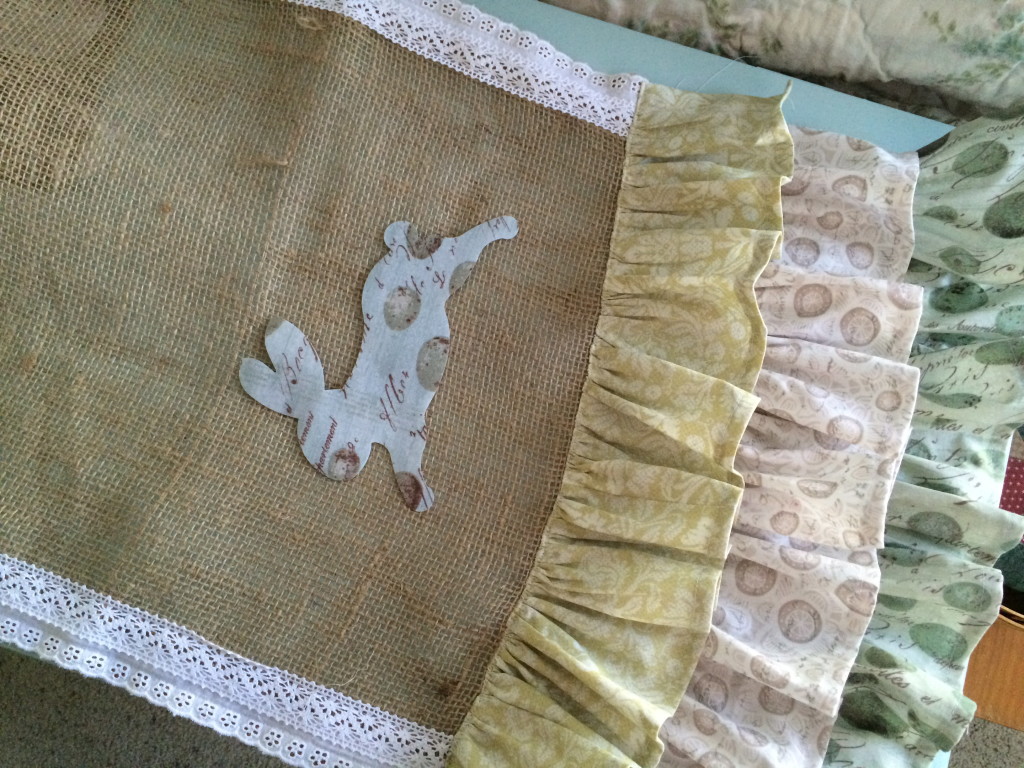
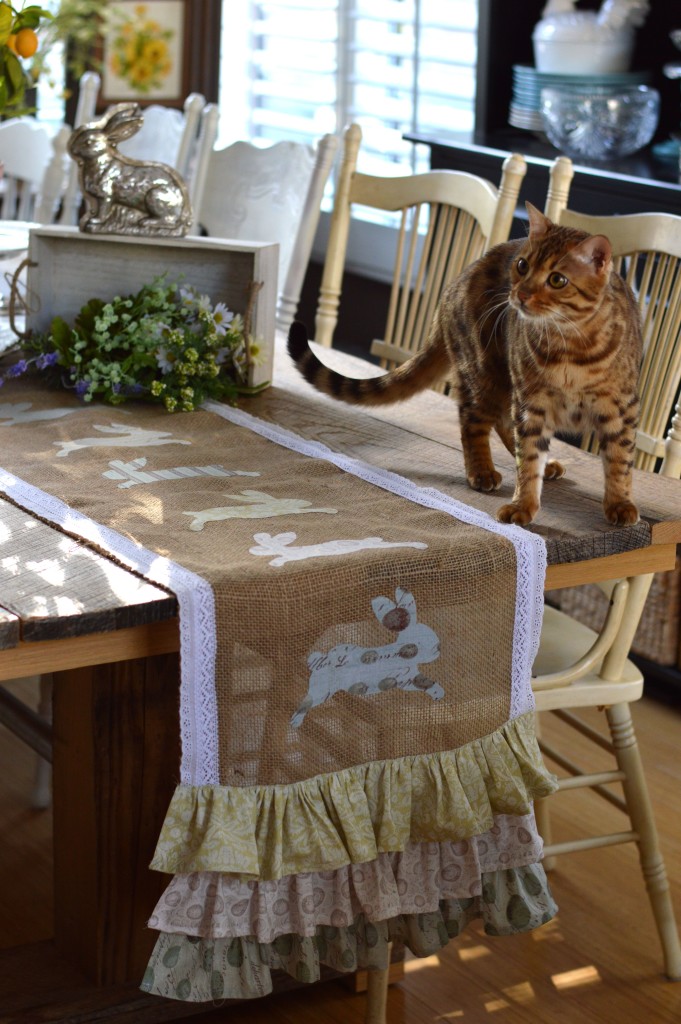
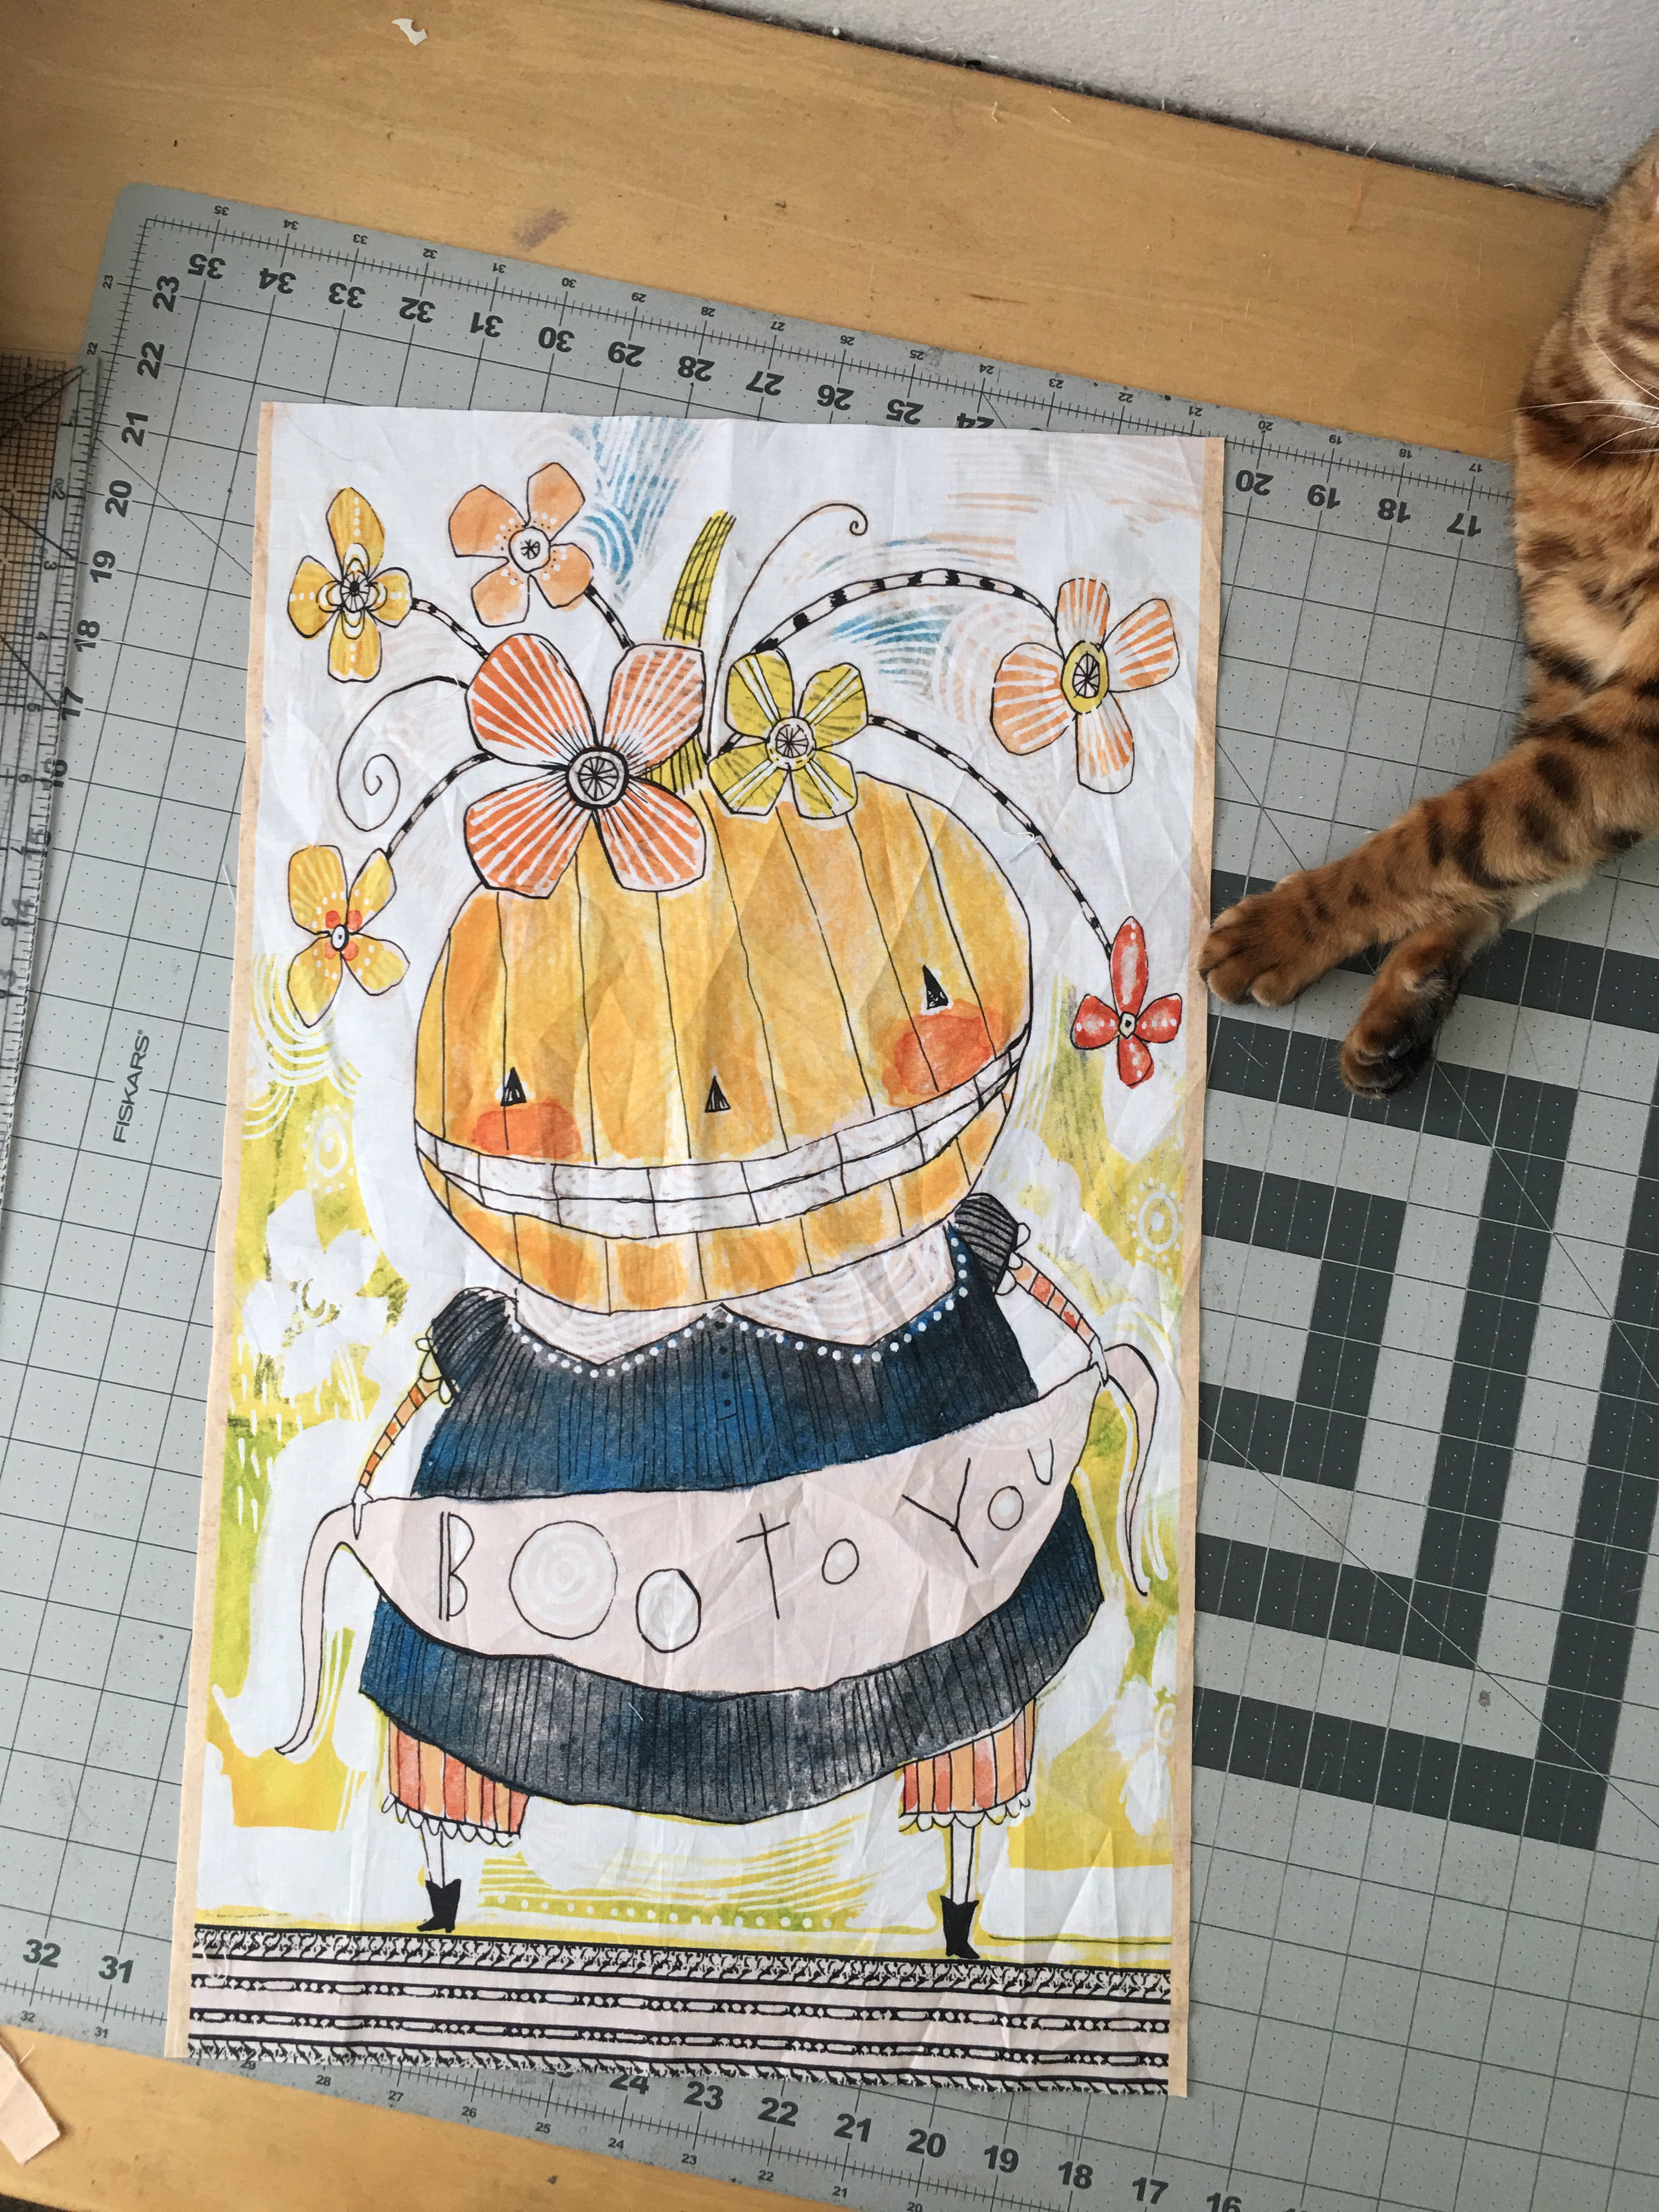
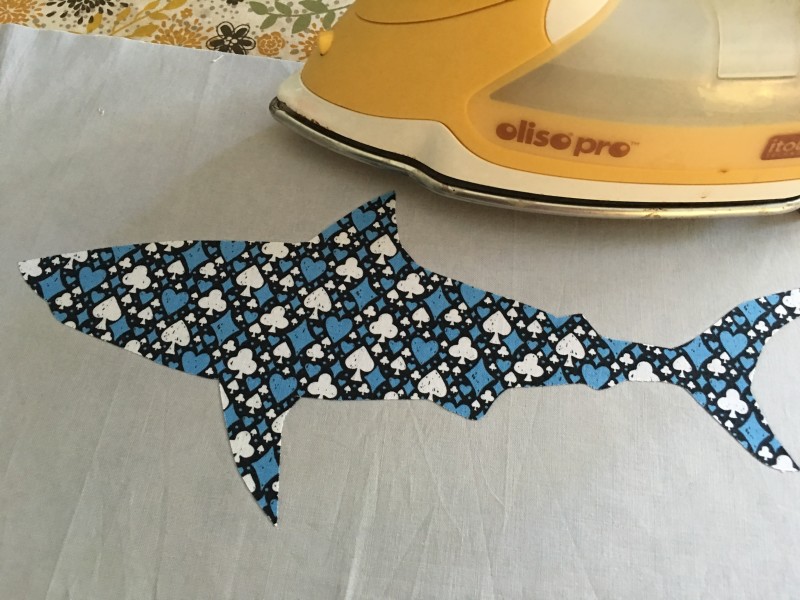
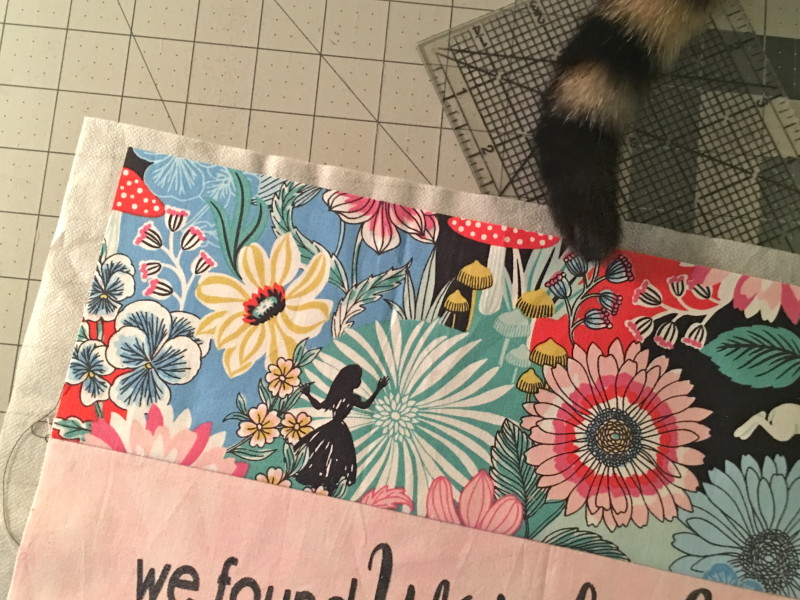
Peel off the backing paper of the rabbits and press with hot dry iron. Table Runner: A Cute Rabbit Burlap MIY

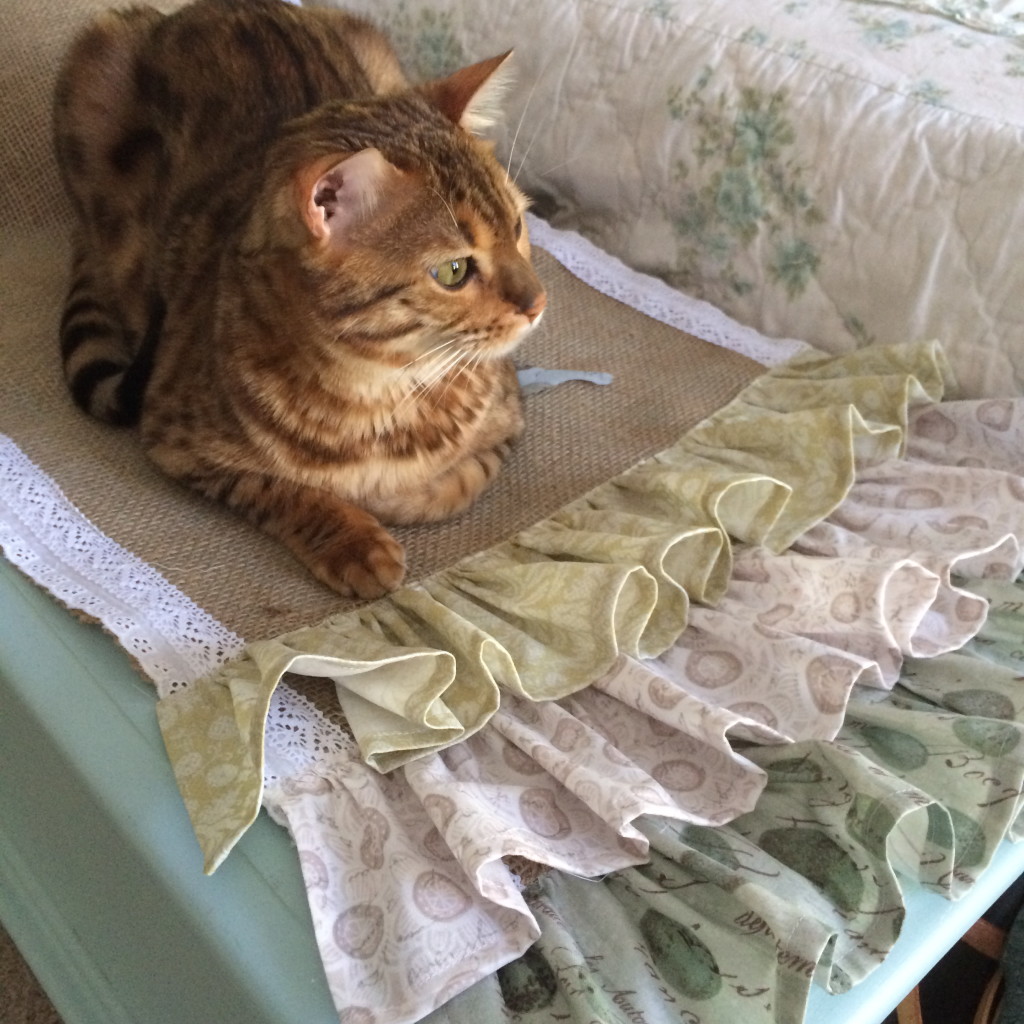
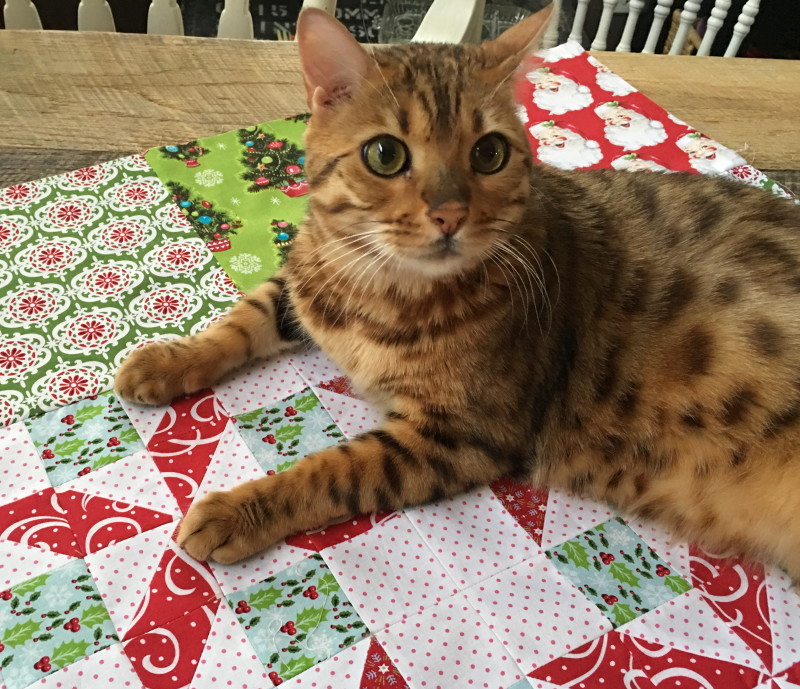
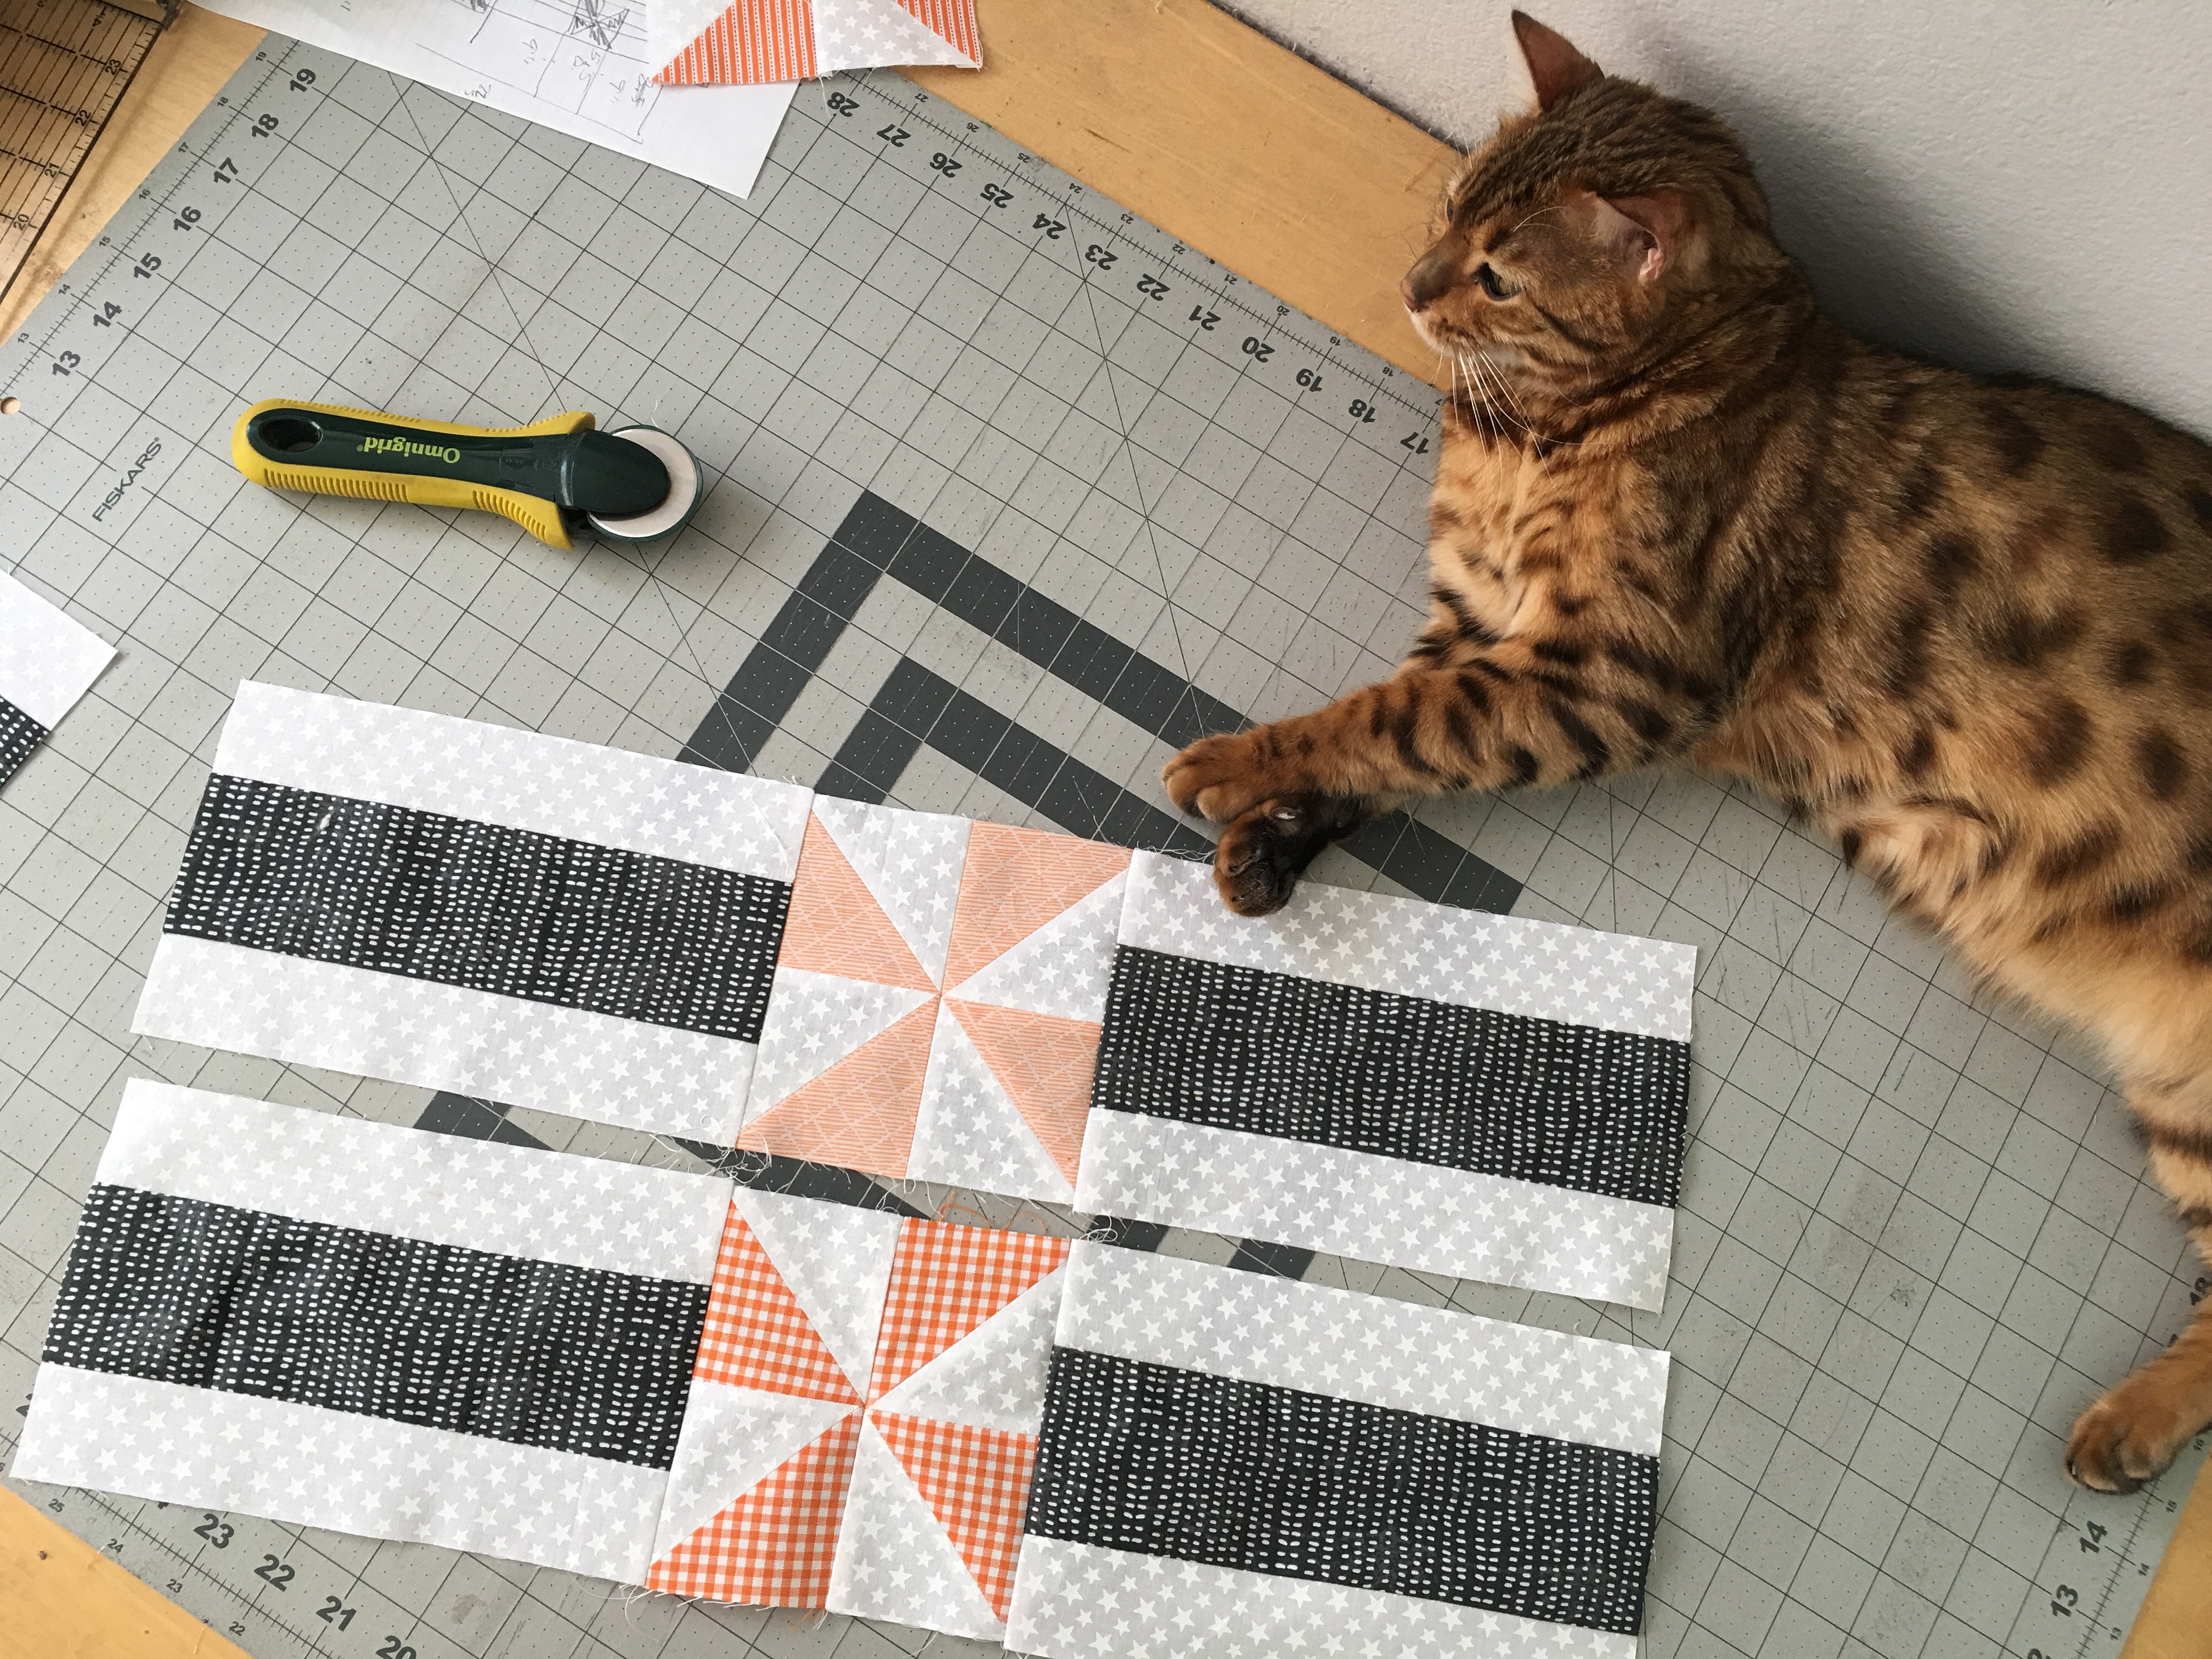
Having your cat press is not the same thing 🙂

Table Runner: A Cute Rabbit Burlap MIY

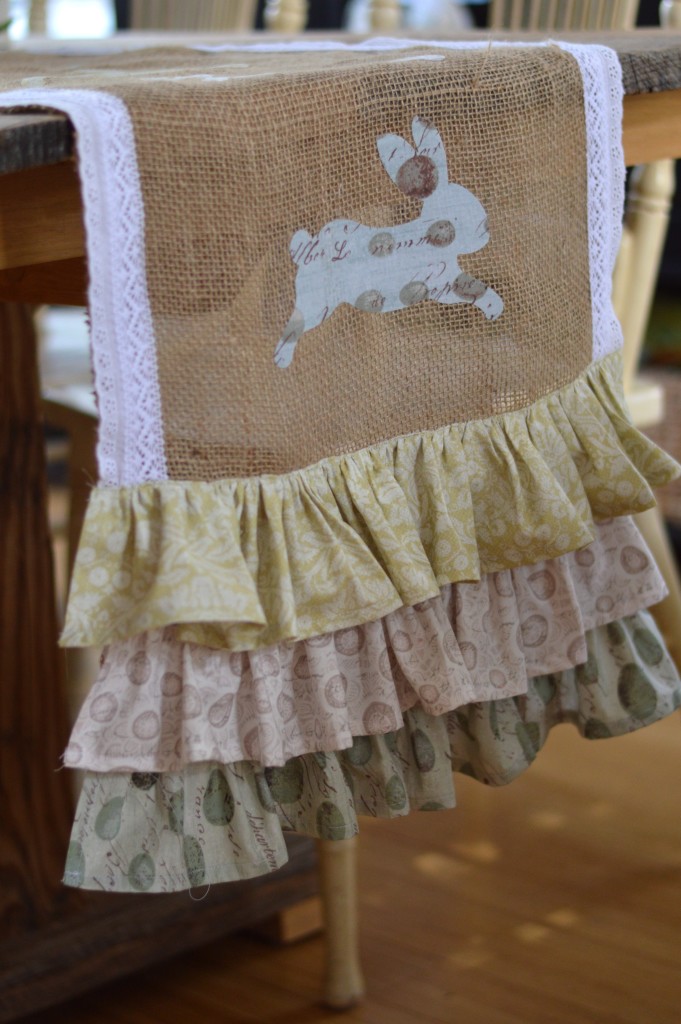
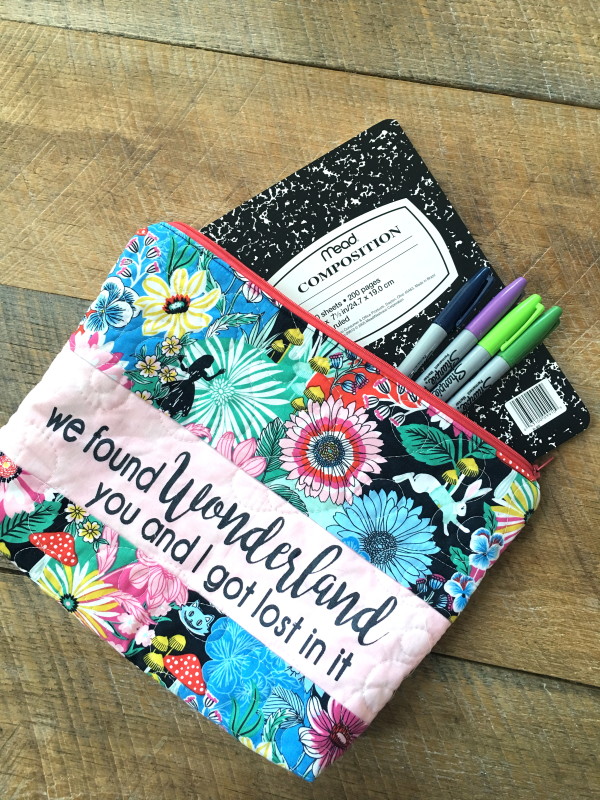
Ta Da! It’s done! And I totally LOVE it!!!!

Table Runner: A Cute Rabbit Burlap MIY

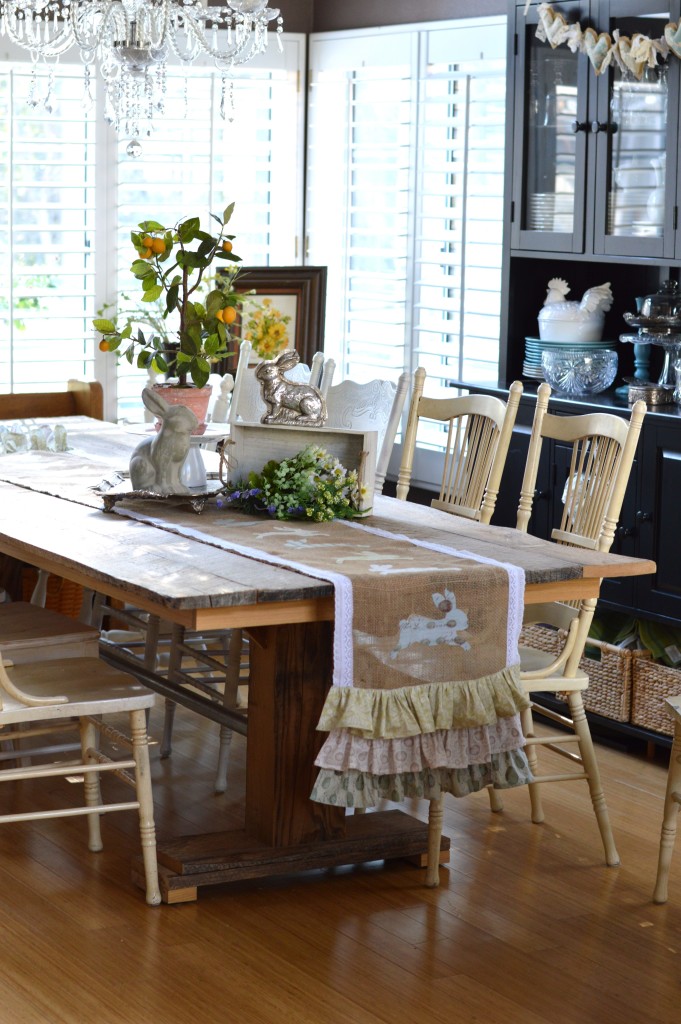
It’s the perfect addition to my reclaimed farm table that my husband built me!!!

Table Runner: A Cute Rabbit Burlap MIY

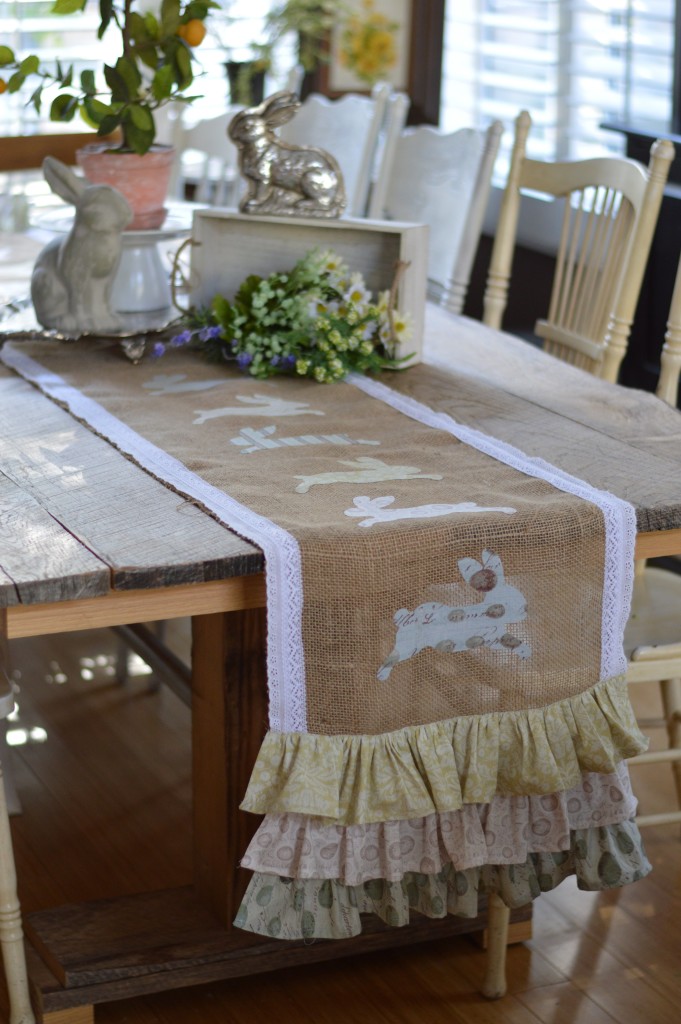
Mufasa loves it too!

Table Runner: A Cute Rabbit Burlap MIY

Thanks for joining me today!

My Favorite Baby Quilt Pattern

IMG_9735

I love to give quilts for baby gifts!  Sometime there isn’t enough time for an elaborate pattern.  This is my Go-To pattern for a baby quilt.  I put this Panda themed quilt top together in 1.5 hours this morning – which included choosing fabrics and cutting!  I love this pattern with theme prints and these panda bears have stolen my heart!  All the fabrics are from Panda-Rama by Blend Fabrics.

The panda quilt is an adaptation from my Windy Girls Quilt Tutorial.

cover

I made 2 changes: First, I didn’t piece the centers, I omitted the first step and I cut the pandas 8 1/2″ square.  This saves a step, saves time, and lets you use super large prints in the center.

IMG_9662

Here you can see the difference in the blocks.

IMG_9731

The Windy Girls pattern has 20 blocks – I made this Panda quilt with 16 blocks.  This is plenty big for a baby quilt and it saves on fabric and time!

IMG_9747

The second change I made was not to rotate the blocks, but keep them going all the same way.  I didn’t want sideways pandas.  It creates a fun little pattern.  If you look close you can see a few gray strips I had to subside in because I ran out of the white.  You could totally make this scrappy or keep it simple.  I would love to hear how fast you can piece the top in!  Can you beat me?  🙂

IMG_9733


Jewelry Travel Set {Zipper Pouch}

img_8144

What do you give someone who has everything?  It can be challenging!  I thought my mom would love this fun travel jewelry bag!  It has little individual pouches to put bracelets and necklaces.  They all fit into this quilted zipper pouch.  I used the Wildwood collection from Blend Fabrics.

img_8149

Instead of rewriting this tutorial, here are the links so you can make your own!!

For the little jewelry button pouches I followed THIS tutorial.

For the zipper pouch, I used THESE measurements.  I used quilt batting for the stabilizer and quilted the fabric before sewing the zipper pouch.

To insert the “Open Wide” zipper, follow THESE instructions.  img_8138

This is such a fun little project and I use my set every time I travel!img_8141

Spooky Town Wall Quilt

img_5949

I love the adorable artwork panels by Cori Dantini for Blend Fabrics!  This line is called Spooky Town.  It seems each season Cori comes out with beautiful new designs!  I came up with this fun way to add borders and create a wall hanging!  This tutorial can also be adjusted to fit other panels of fabric .

img_5958

Let’s get started:

Fabric Requirements:

1 panel

1/3 yard white fabric

1/4 yard black print

fat quarters or scraps for each of the 6 pinwheels

1/4 yard binding

1 yard back

img_5939

Cut the panel so it measures 13.5″ x 23.5″  img_5919

Make 6 pinwheels.  Each pinwheel is made up of (4) 3″ half square triangles (HST).  You can choose any method you like – I always use my Sizzix to cut the HST – they come out so perfect!  You will need 24 triangles of orange and 24 triangles of white.img_5920

Sew the orange and white triangles together.  Press seams open.  You don’t have to square up with the Sizzix either!img_5921

Lay out four HST and sew together as a 4-patch, pressing seams open each time.  You will have 6 pinwheels measuring 5.5″ square.img_5922

To make the strip sets, cut (4) 1.75″ x WOF of the white.  Cut (2) 3″xWOF of the black.  Sew the white strips on both sides of the black strip.  Make 2 strip sets.  Press toward the dark.  Cut the strip sets in (4) units of 9″ and (2) units of 13.5″.img_5926

Sew the 9″ units onto both sides of a pinwheel.  Make 2 of these side units.img_5929

Sew a pinwheel onto the ends of both 13.5″ strip set unit.  Press.  Below is a diagram with the measurements.

panel-diagram

Sew the side units on first.  Press open.  Sew the top and bottom units on next.  Press open.img_5935

Now it’s ready to quilt and bind!  You will love having this to hang in your house!  I made one for me and one for my sister 🙂  img_5945

img_5955

Save

Card Shark Pillow Tutorial

IMG_3494

And now a project for the guys!  I have a hard time finding projects to sew for my 13 year old son that are…… well….. not floral, cutsey, vintage, or girly which is pretty much most of my sewing!  When I saw this fun “card print” from Blend Fabrics I knew it was for my son the “Card Shark”!!!!

It’s the perfect gift for the card lover in your life!

Supplies:

1/2 yard card print fabric

1/3 yard solid gray

Heat n Bond Ultra

2 yards trim

Zipper

Fiberfill

Vinyl letters

Fabric Paint

Shark Pattern download

Begin by tracing the shark pattern (in reverse) on the Heat n Bond Ultra hold – you can also use Lite.

IMG_3457

Press to the wrong side of the card fabric.

IMG_3458

Cut out along the pattern line.

Cut the gray background fabric 12″ x 19″.  Peel off the backing paper and heat set the shark in place.  Sew around the shark in black thread.IMG_3459

Cut the backing fabric the same size as the front 12″ x 19″.IMG_3461

You can use the hand sew method for closing the pillow or you can do the zipper method which is my favorite.  Simply cut the backing fabric at 2″ and insert a regular zipper.IMG_3462

You can add the “Card Shark” words with stitching or you can create your own stencil.  I cut the letters on my Cricut machine in vinyl.  I peeled off the letters to leave the stencil.  I used fabric paint to stencil and removed the vinyl when it was dry.  IMG_3463

Once the letters are on you can assemble the pillow.  Baste the trim to the pillow front.  Then with right sides together place the pillow front and back and sew all the way around using a generous 1/4″ seam.  Make sure to leave the zipper open before you sew.  Turn right side out and stuff with fiberfill.

IMG_3500

IMG_3498

We Found Wonderland Zipper Pouch Tutorial

WonderlandBlogHop

IMG_3488

IMG_3478

This Wonderland fabric by Blend Fabrics totally reminded my daughter of the Taylor Swift song “Wonderland” so I came up with this little project that I’m sure your daughter will love!  I love this size zipper pouch because you can use it to put journals and writing supplies in, sketchbooks and art supplies, small sewing projects, coloring books and crayons – it’s just a great project size!!

I first cut the words out of vinyl on my Cricut to create a stencil.  I placed it on light pink fabric and used a metalliac black fabric paint to stencil.IMG_3474

Cut the theme print and pink prints according to the measurements below:

Screen Shot 2016-09-01 at 11.39.42 PM

Sew together using 1/4″ seams allowances.  Press.

Cut the backing piece 11″ x 14″ – which is slightly larger.  It will get trimmed down in a minute.

Fuse the outer zipper bag pieces to Heat n Bond medium weight stabilizer.

IMG_3480

Next spray baste the two pieces to cotton batting.IMG_3481

Quilt each piece as desired.IMG_3482

Because quilting tends to alter the measurements, trim both pieces to measure 13 1/2″ x 10 1/2″.

Cut two lining pieces these same measurements: 13 1/2″ x 10 1/2″.

To finish the bag, follow these instructions for inserting a zipper and sewing the pouch.IMG_3483

Before turning right side out, cut a 1″ notch in each of the 4 corners.  IMG_3484

zipper pouch tutorial. 19
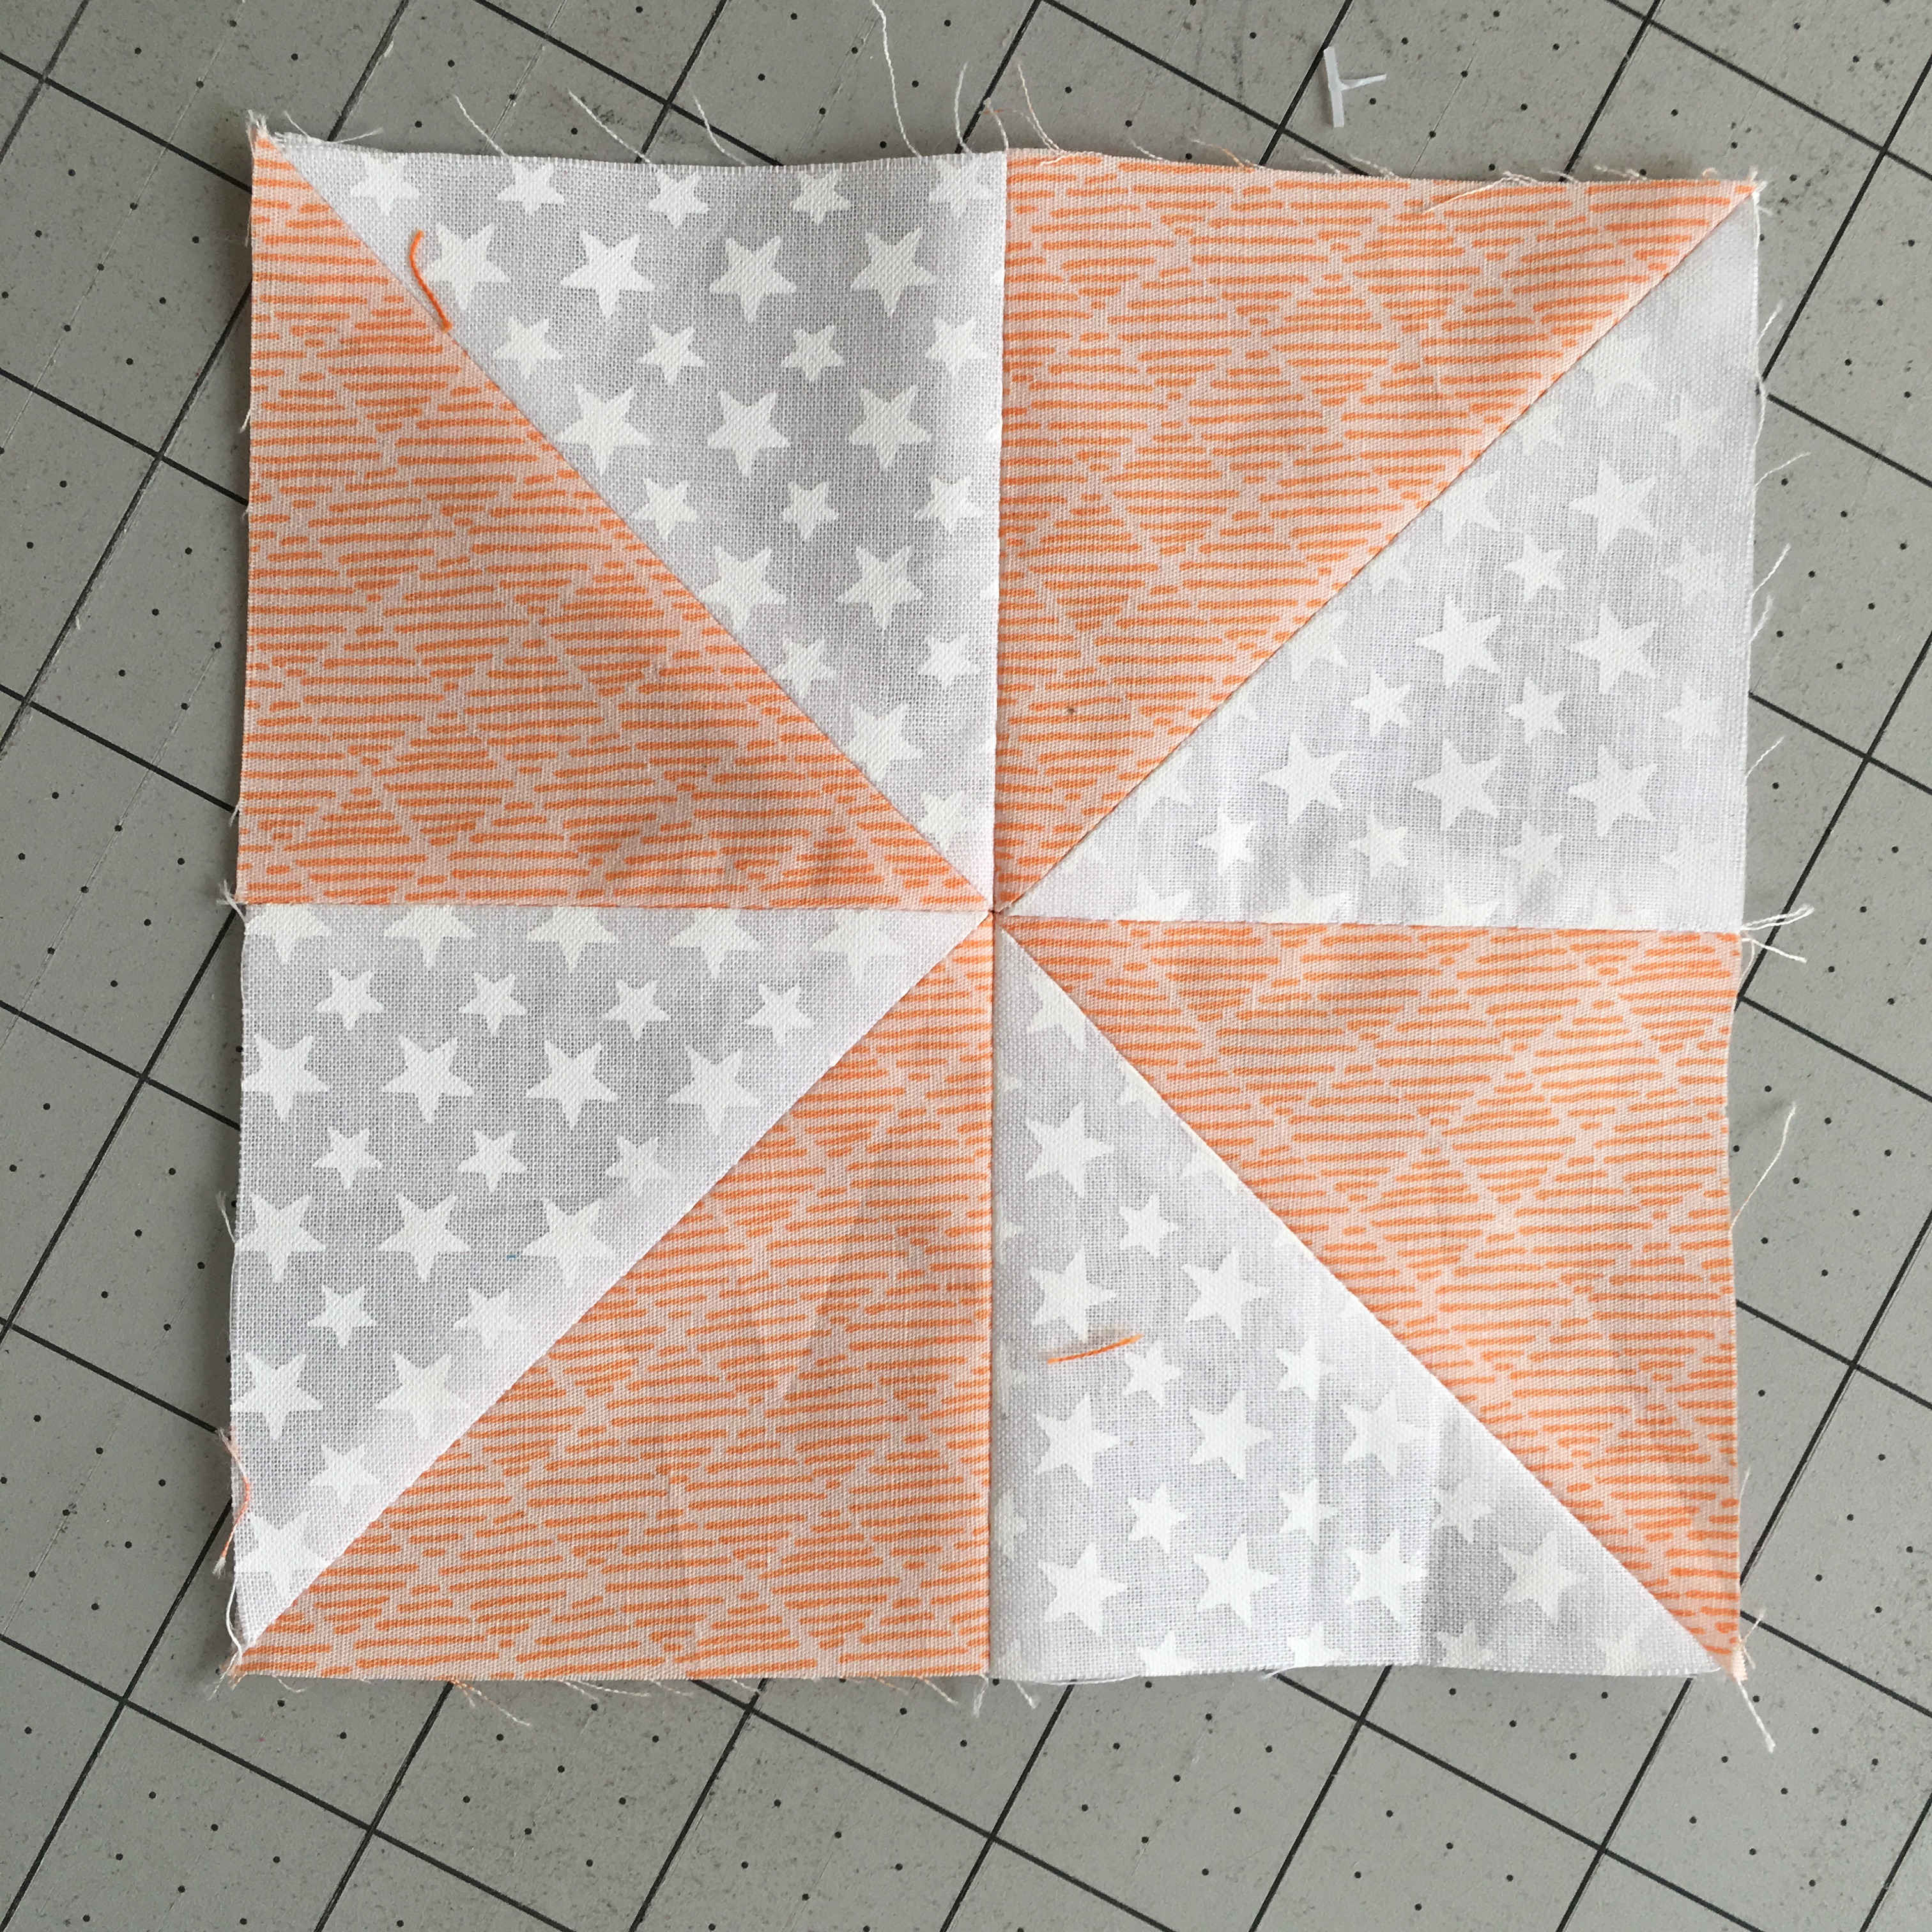
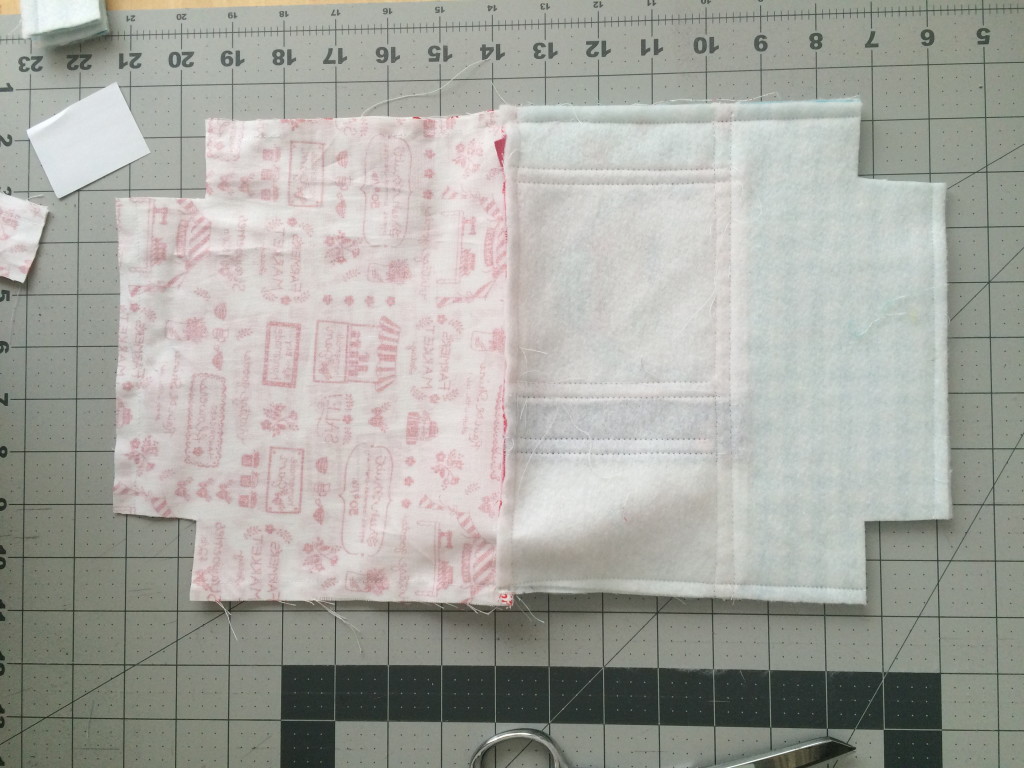
The above photo is from another tutorial but you can see how the notches should be at each corner.

zipper pouch tutorial. 20
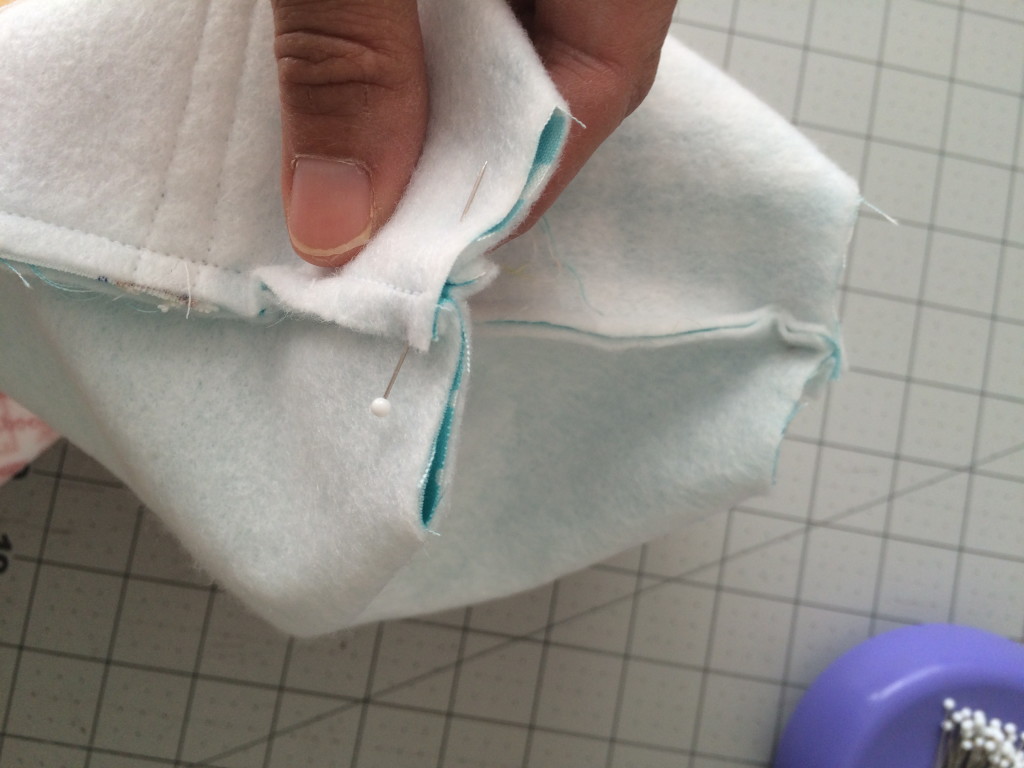
Fold each notch so the two seams align, pin, and sew 1/4″ seam along raw edge.  Do this to each corner.

IMG_3501

Ella loves her bag!  Look at all the things you can use it for:

IMG_3490

Journaling supplies, art supplies, or even your favorite magazines on a road trip!

IMG_3499

Alice’s Crossroads Quilt Pattern

WonderlandBlogHop

I’m super excited to announce my latest quilt pattern called Alice’s Crossroads which is inspired by Blend Fabrics’ Wonderland fabric line.

alice crossroads cover

One day Alice came to a fork in the road and saw a Cheshire cat in a tree. “Which road do I take?” she asked. “Where do you want to go?” was his response. “I don’t know,” Alice answered. “Then,” said the cat, “it doesn’t matter.”

I love this scene because we learn a lot about life from the Cheshire Cat’s answer and this totally inspired the quilt!  The quilt actually has several different paths and so it’s up to you to choose which way to go!  You can purchase the pattern in my Etsy shop for instant PDF download 🙂

IMG_3407

I am always drawn to large theme prints. It’s hard finding patterns that let you use large cuts of fabric to showcase these prints. I love designing quilt patterns that let you do just that. This quilt would be fun to use with all different theme fabrics: character, sports, animal, etc. Get creative!!!

IMG_3410(1)
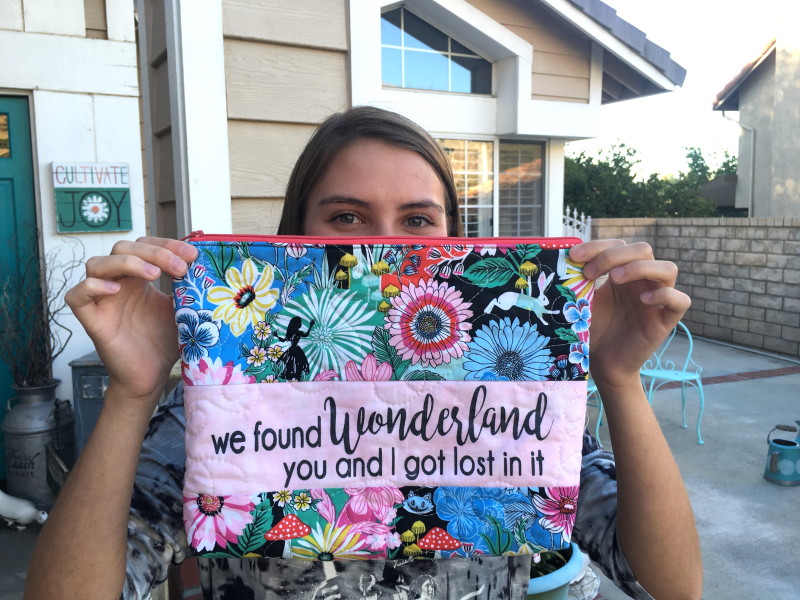
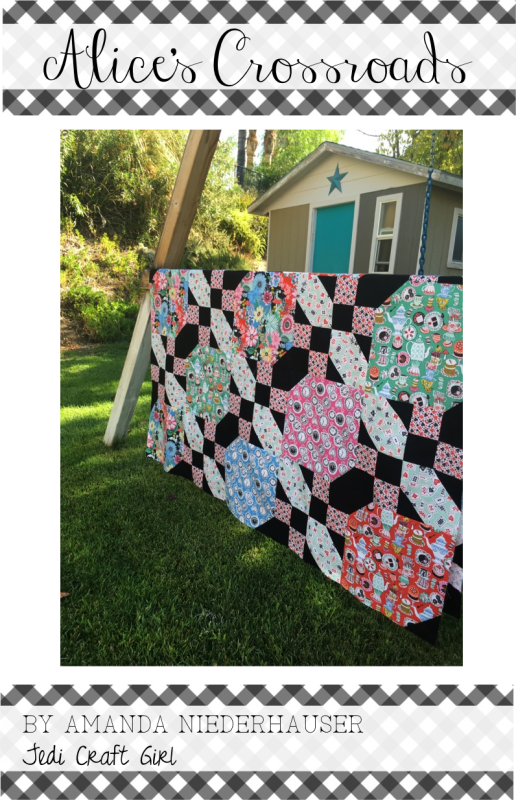
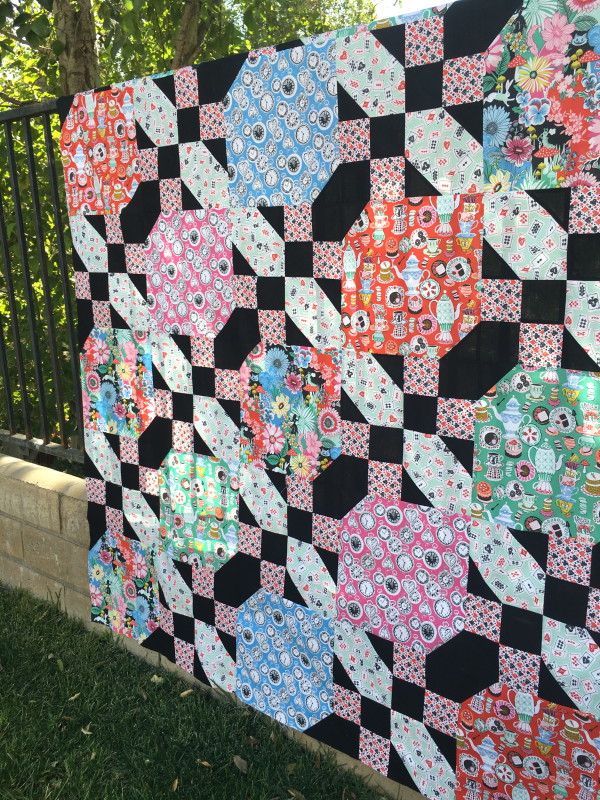
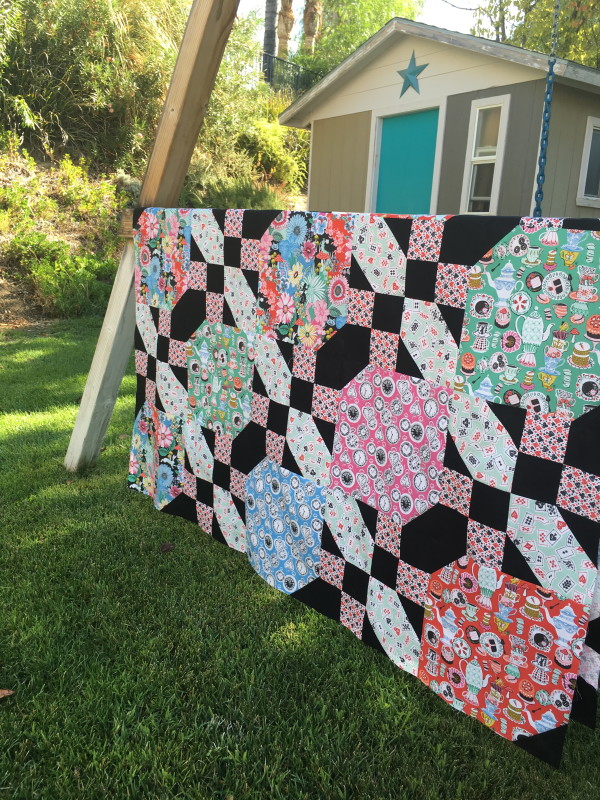
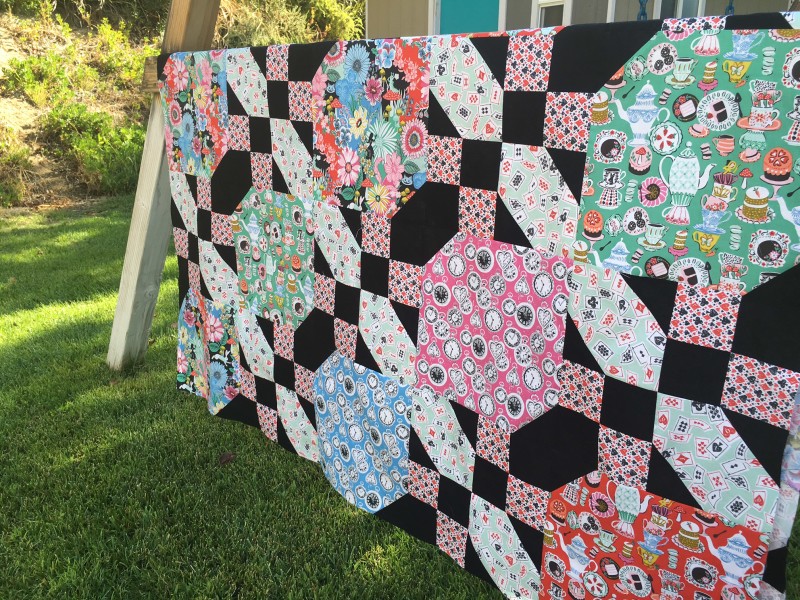
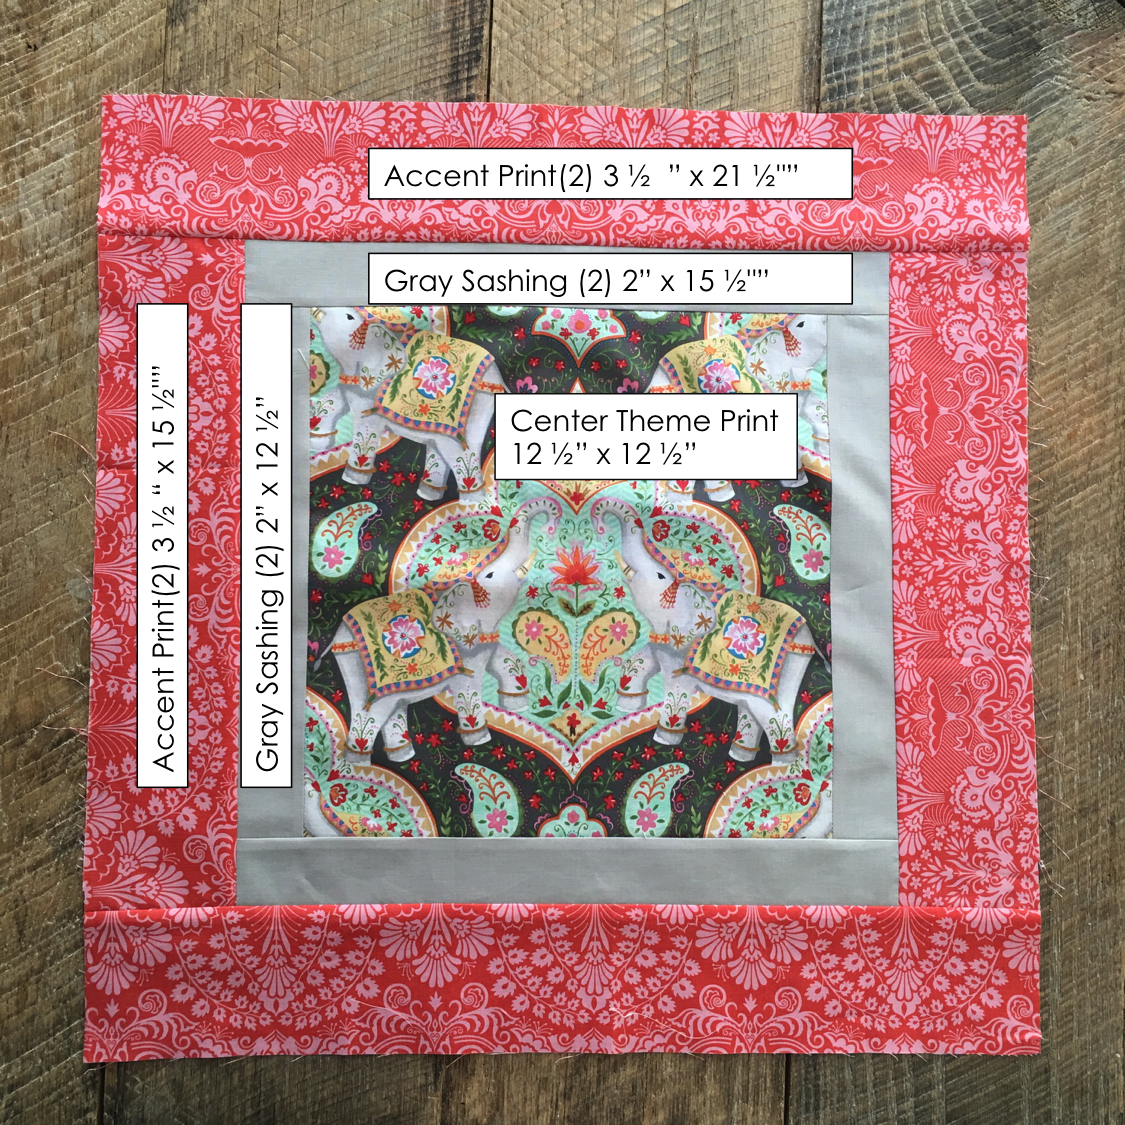
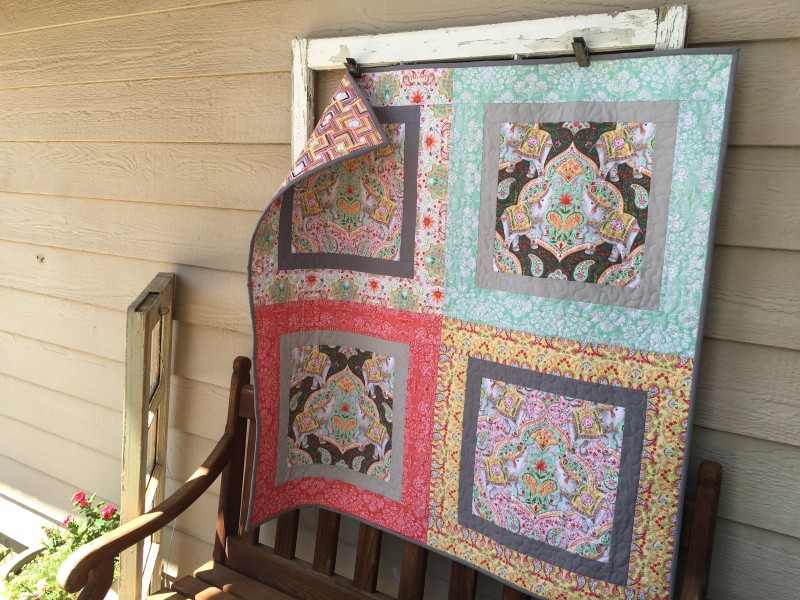
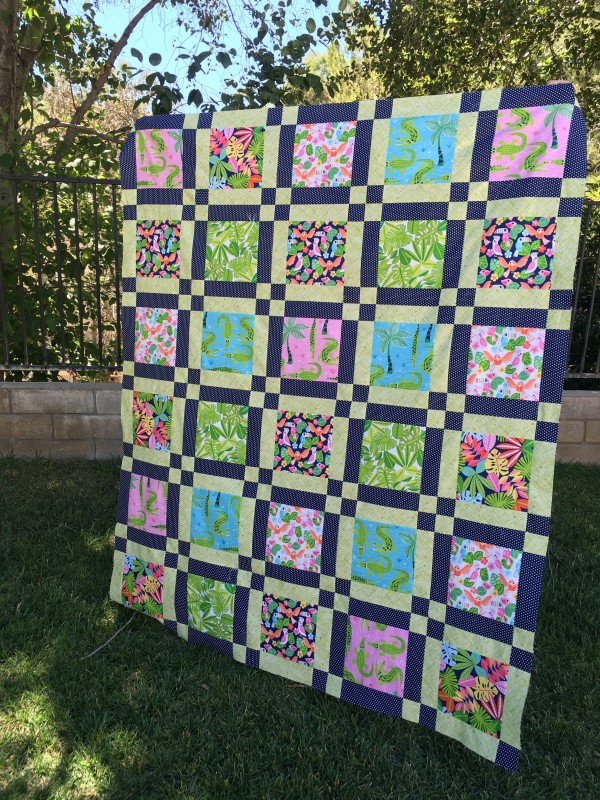
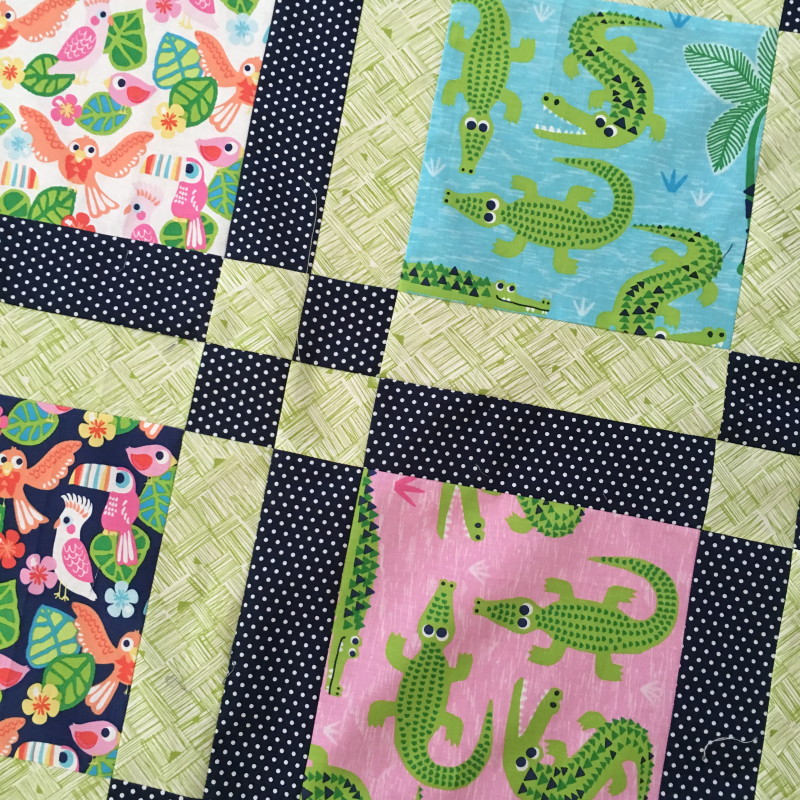
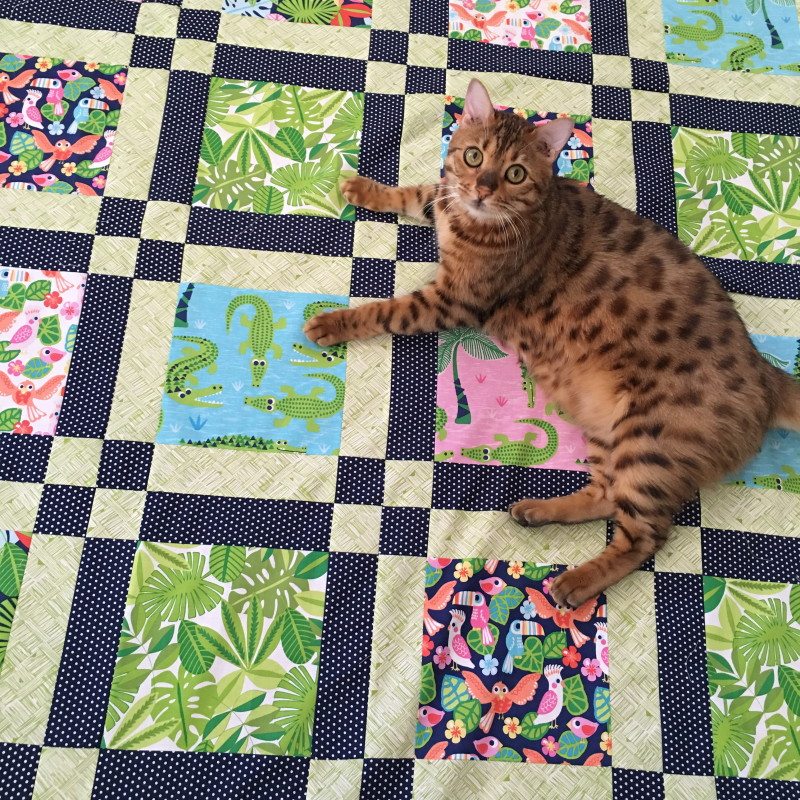
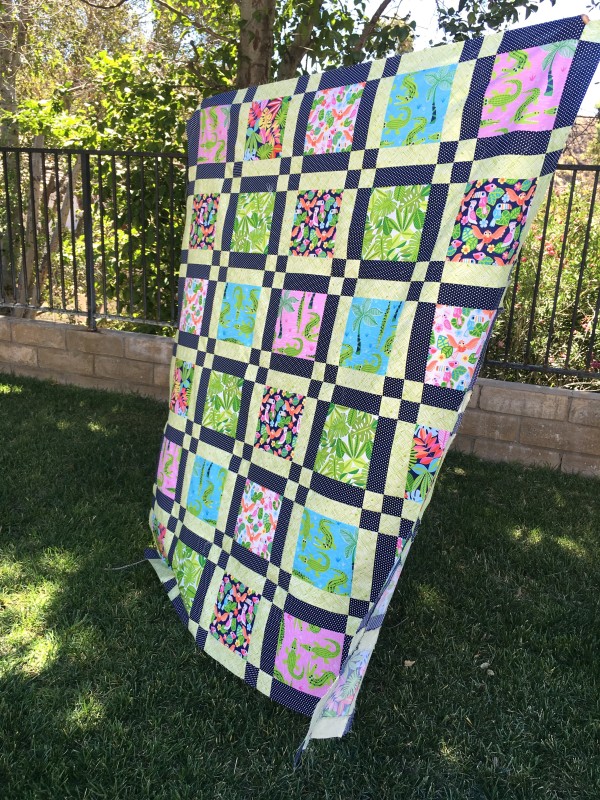
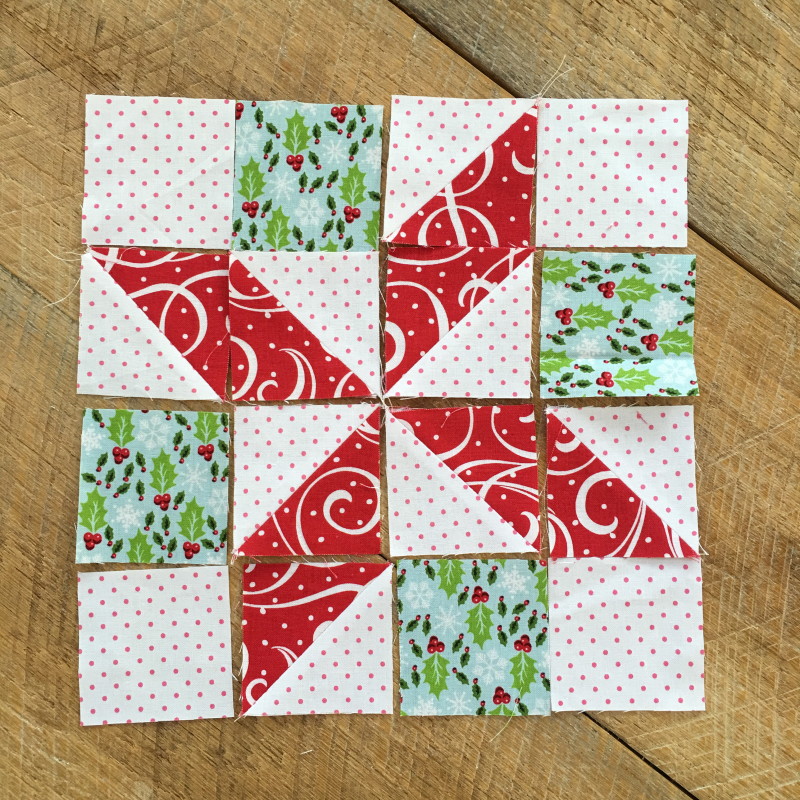
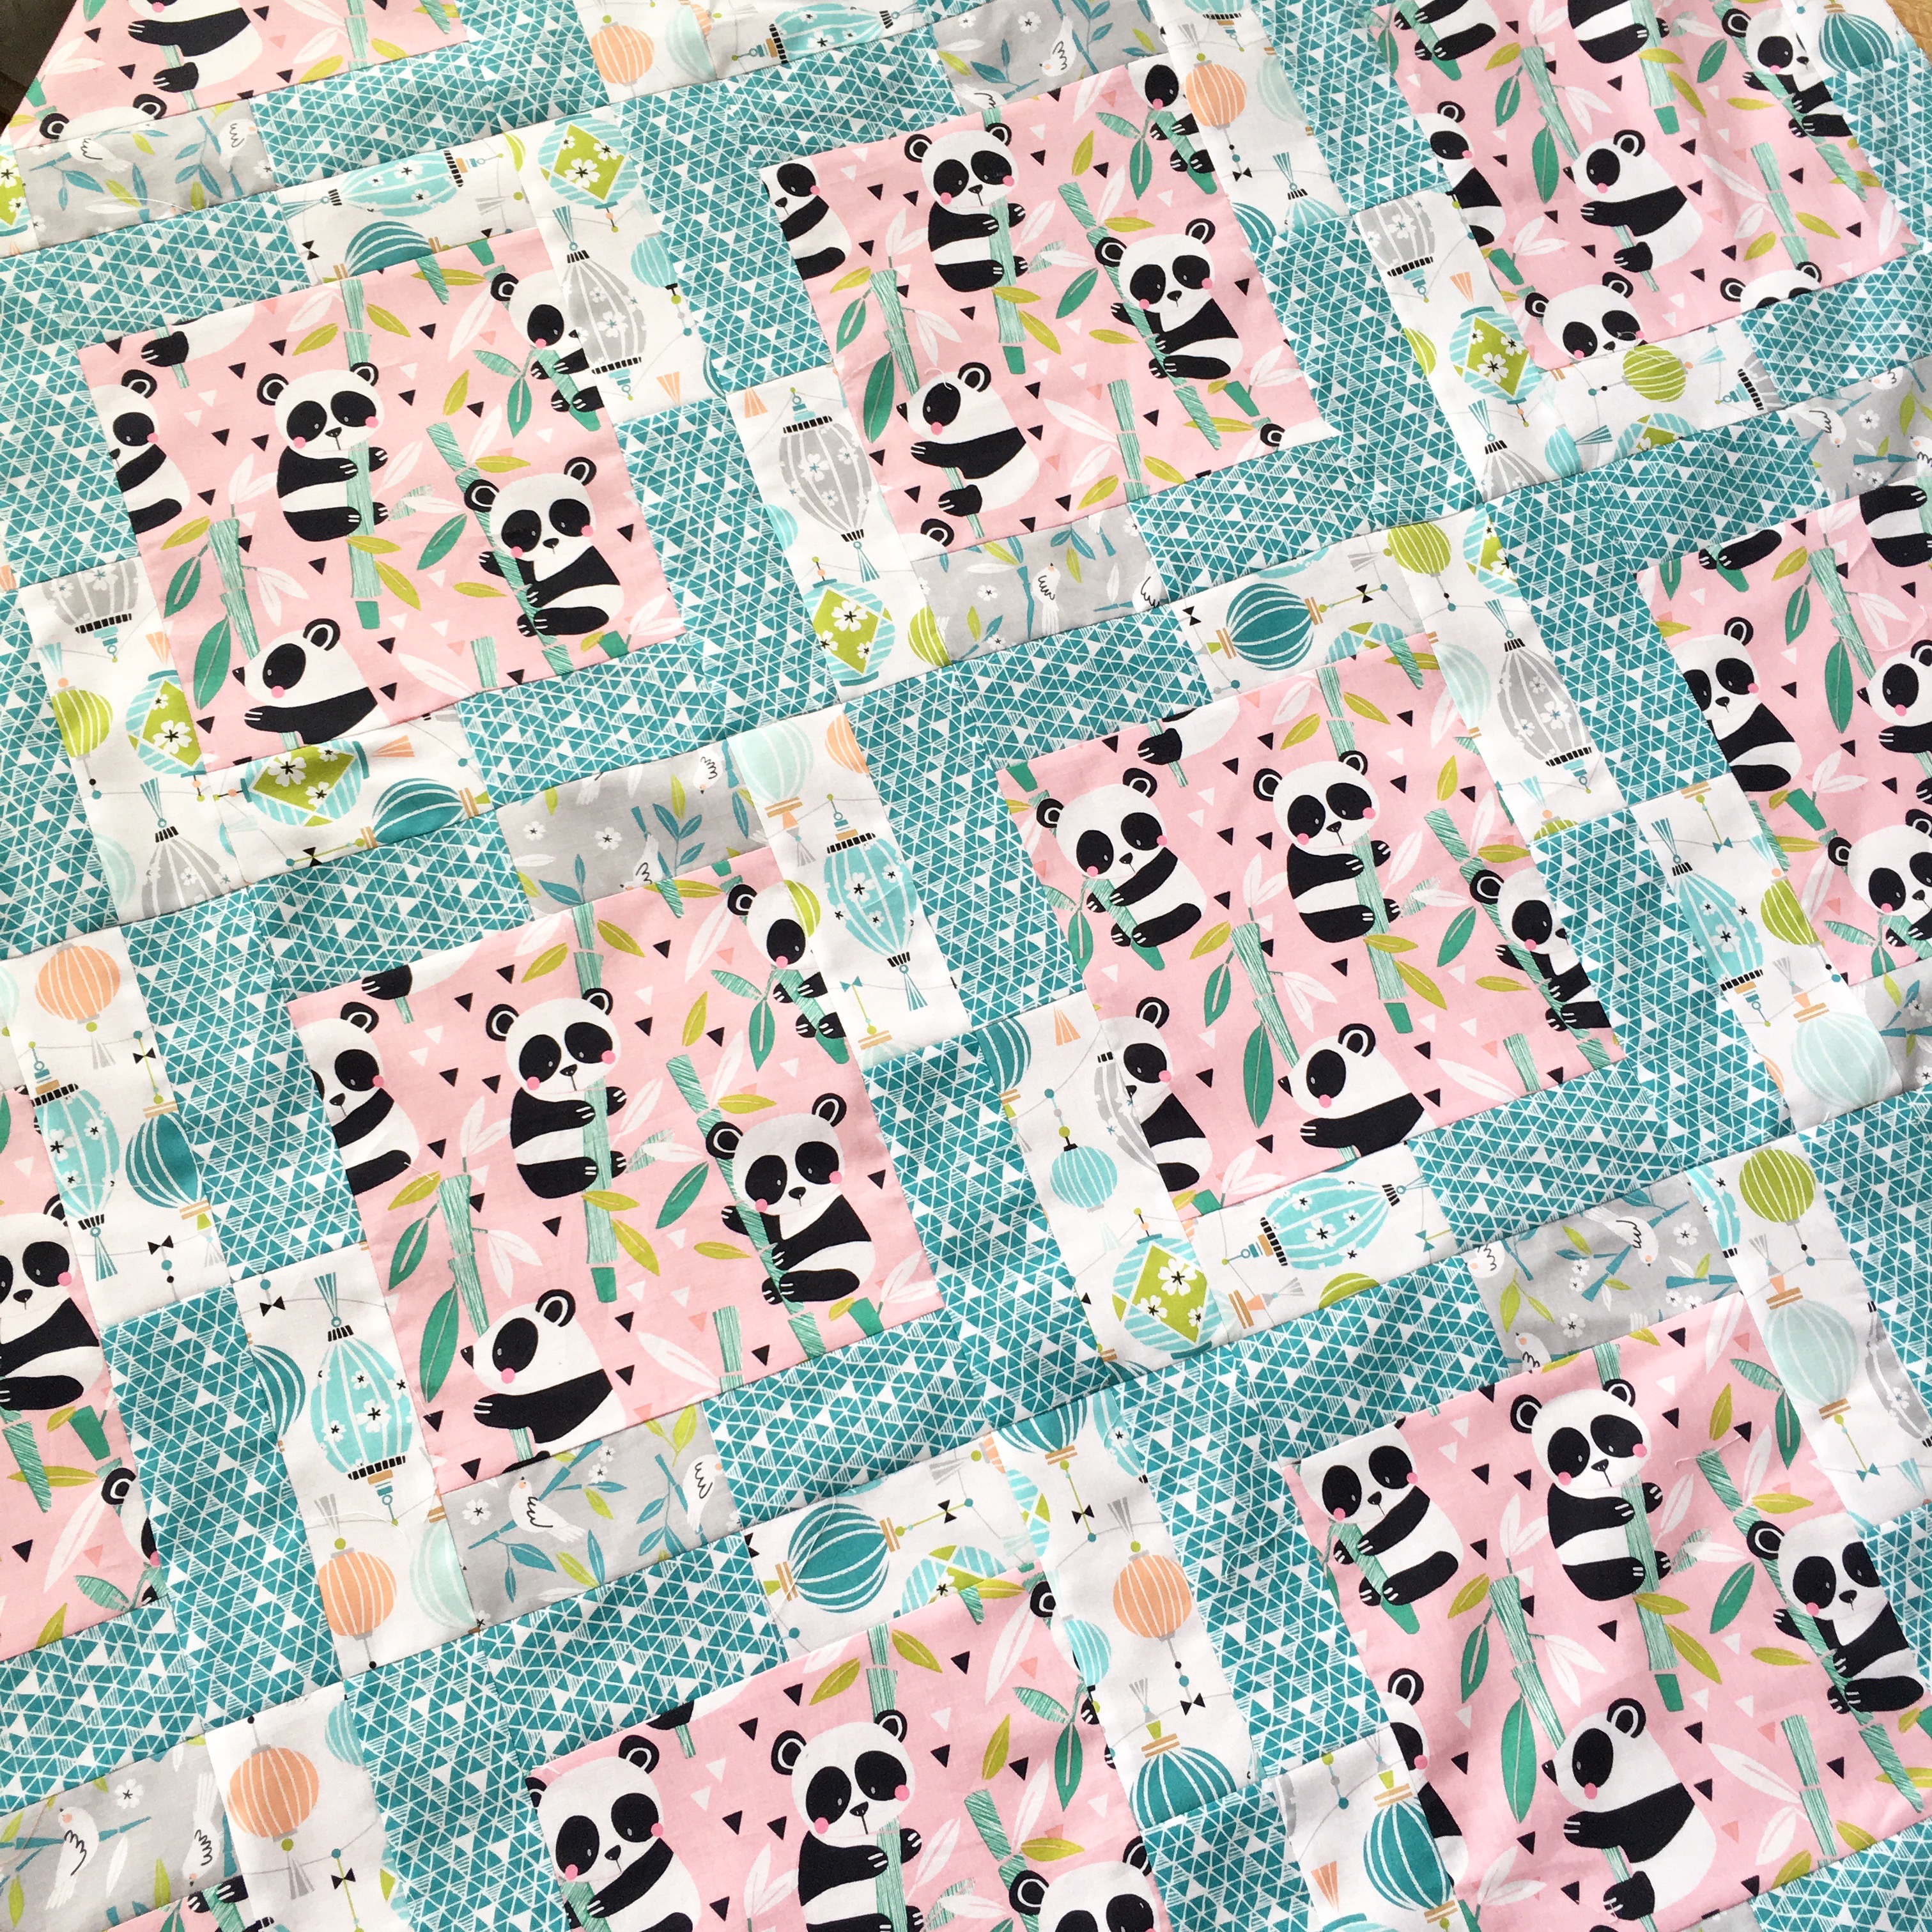
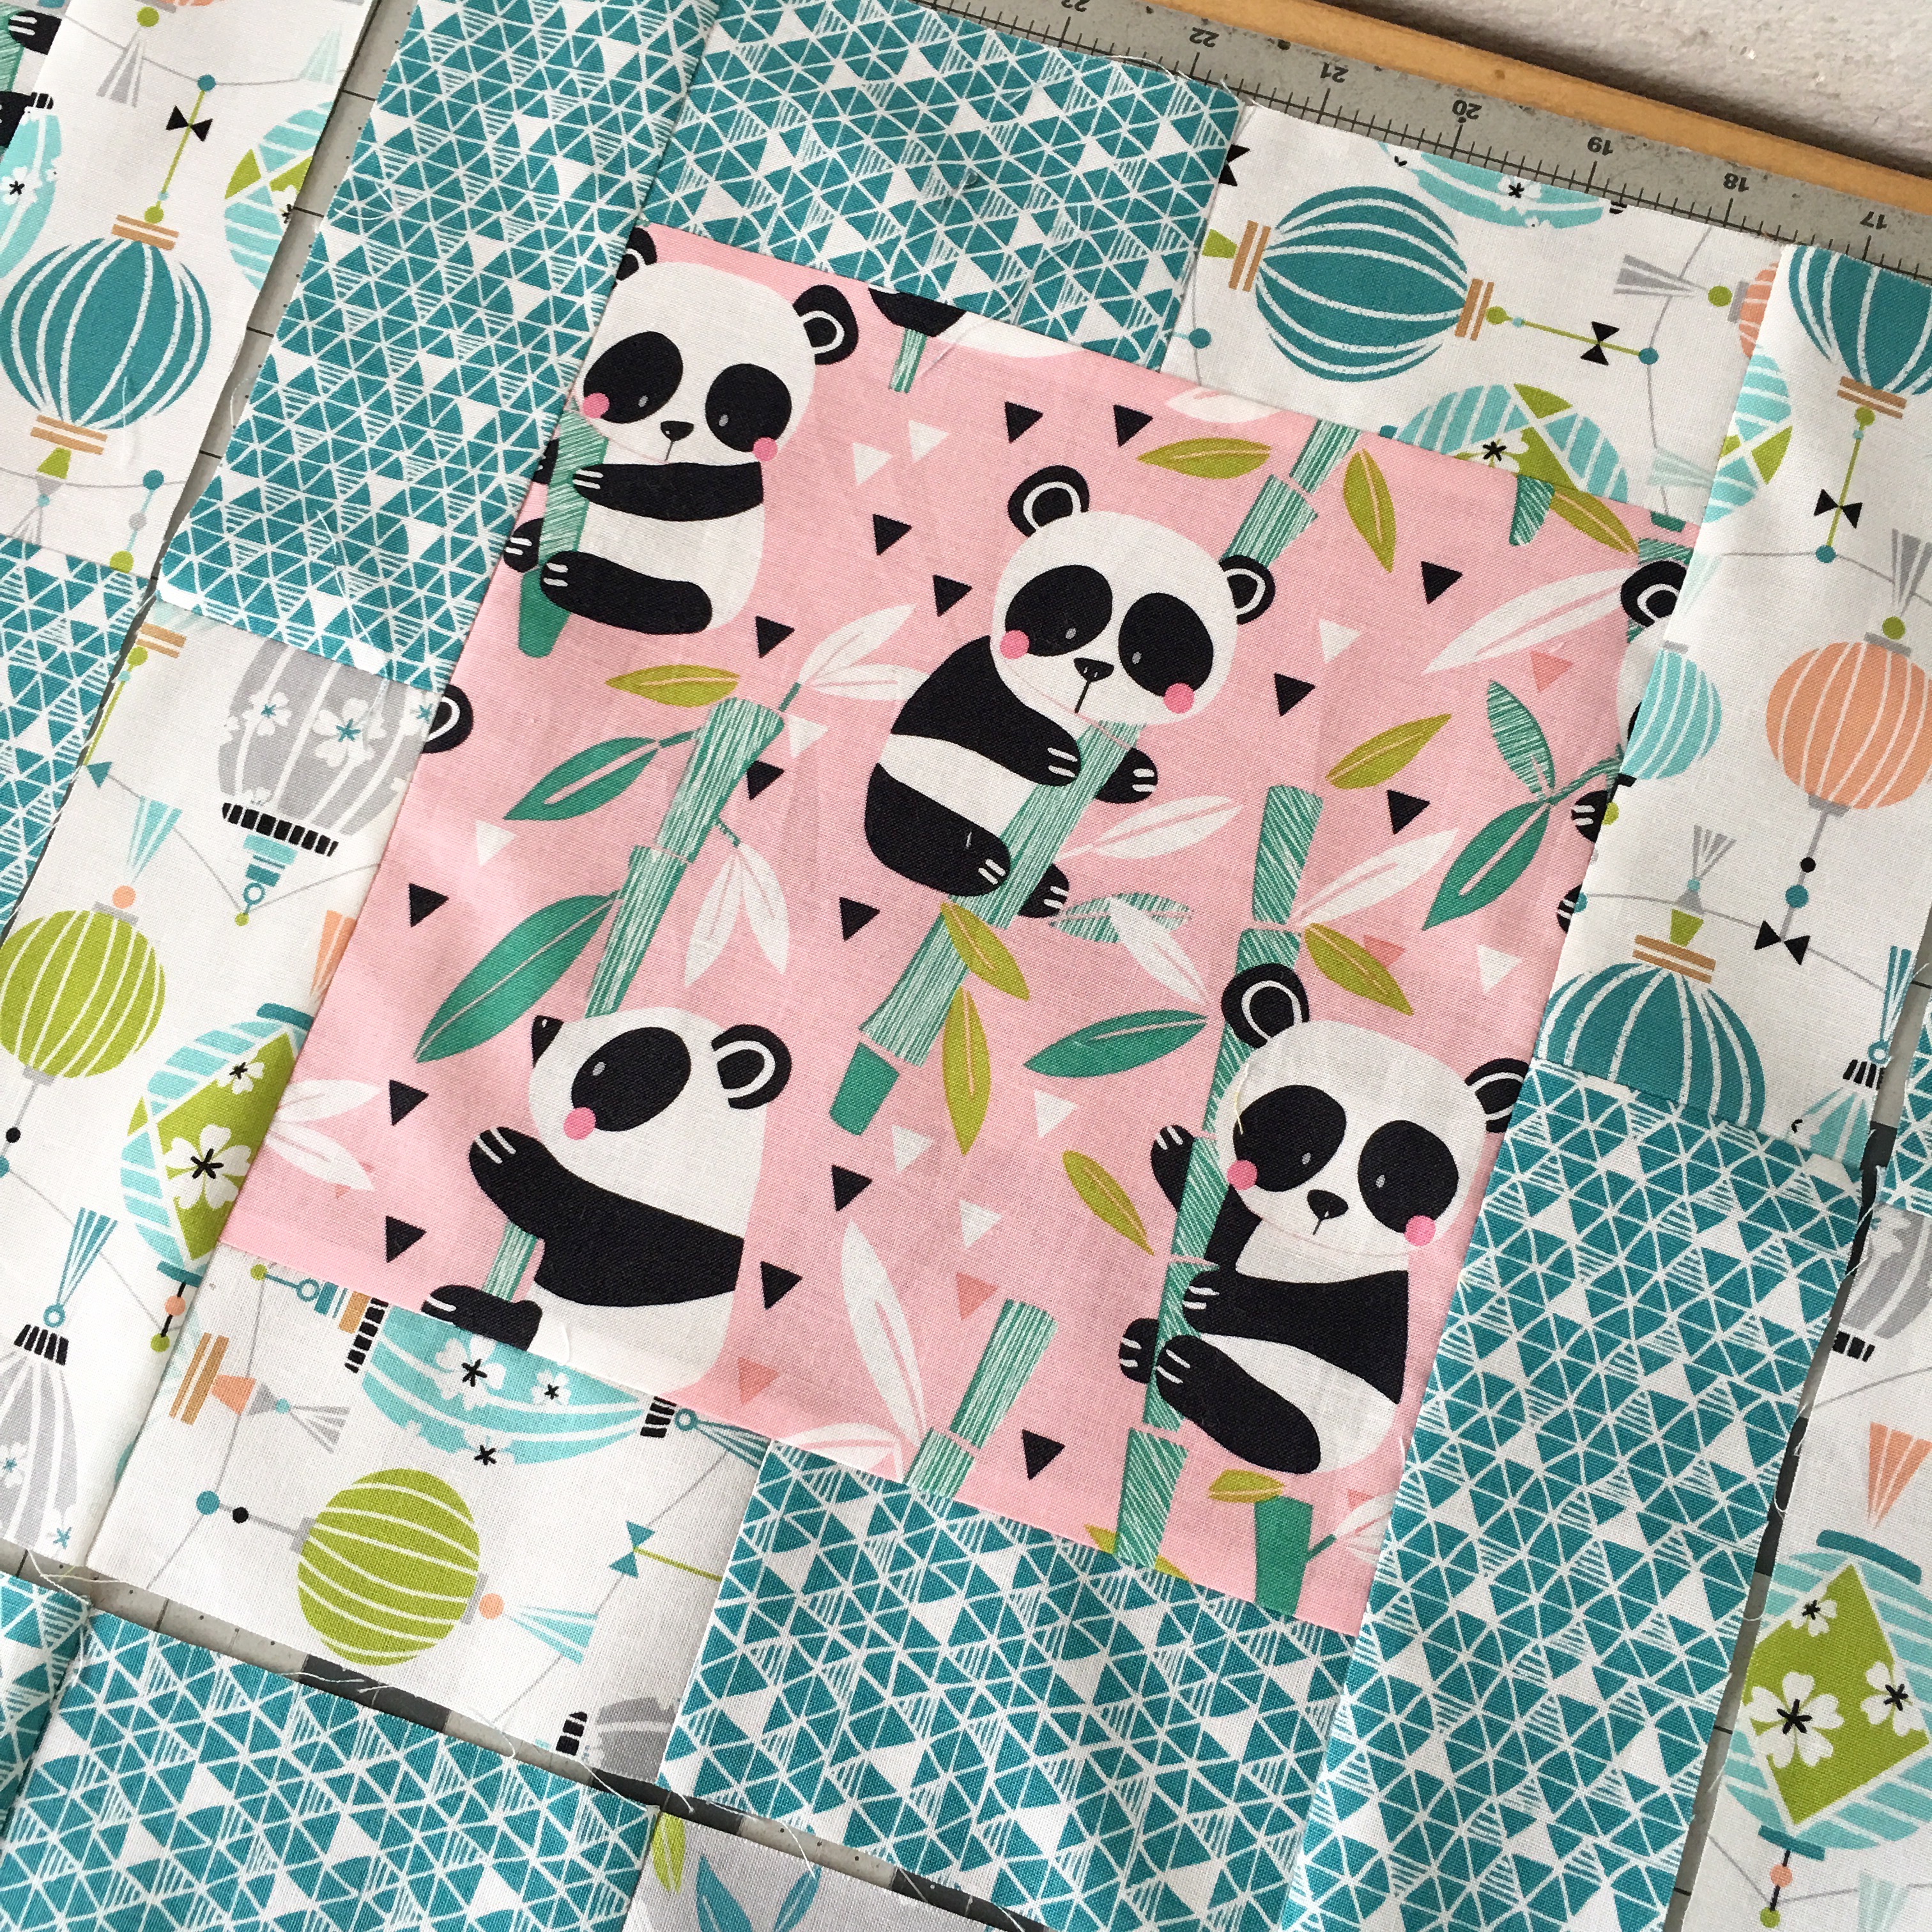
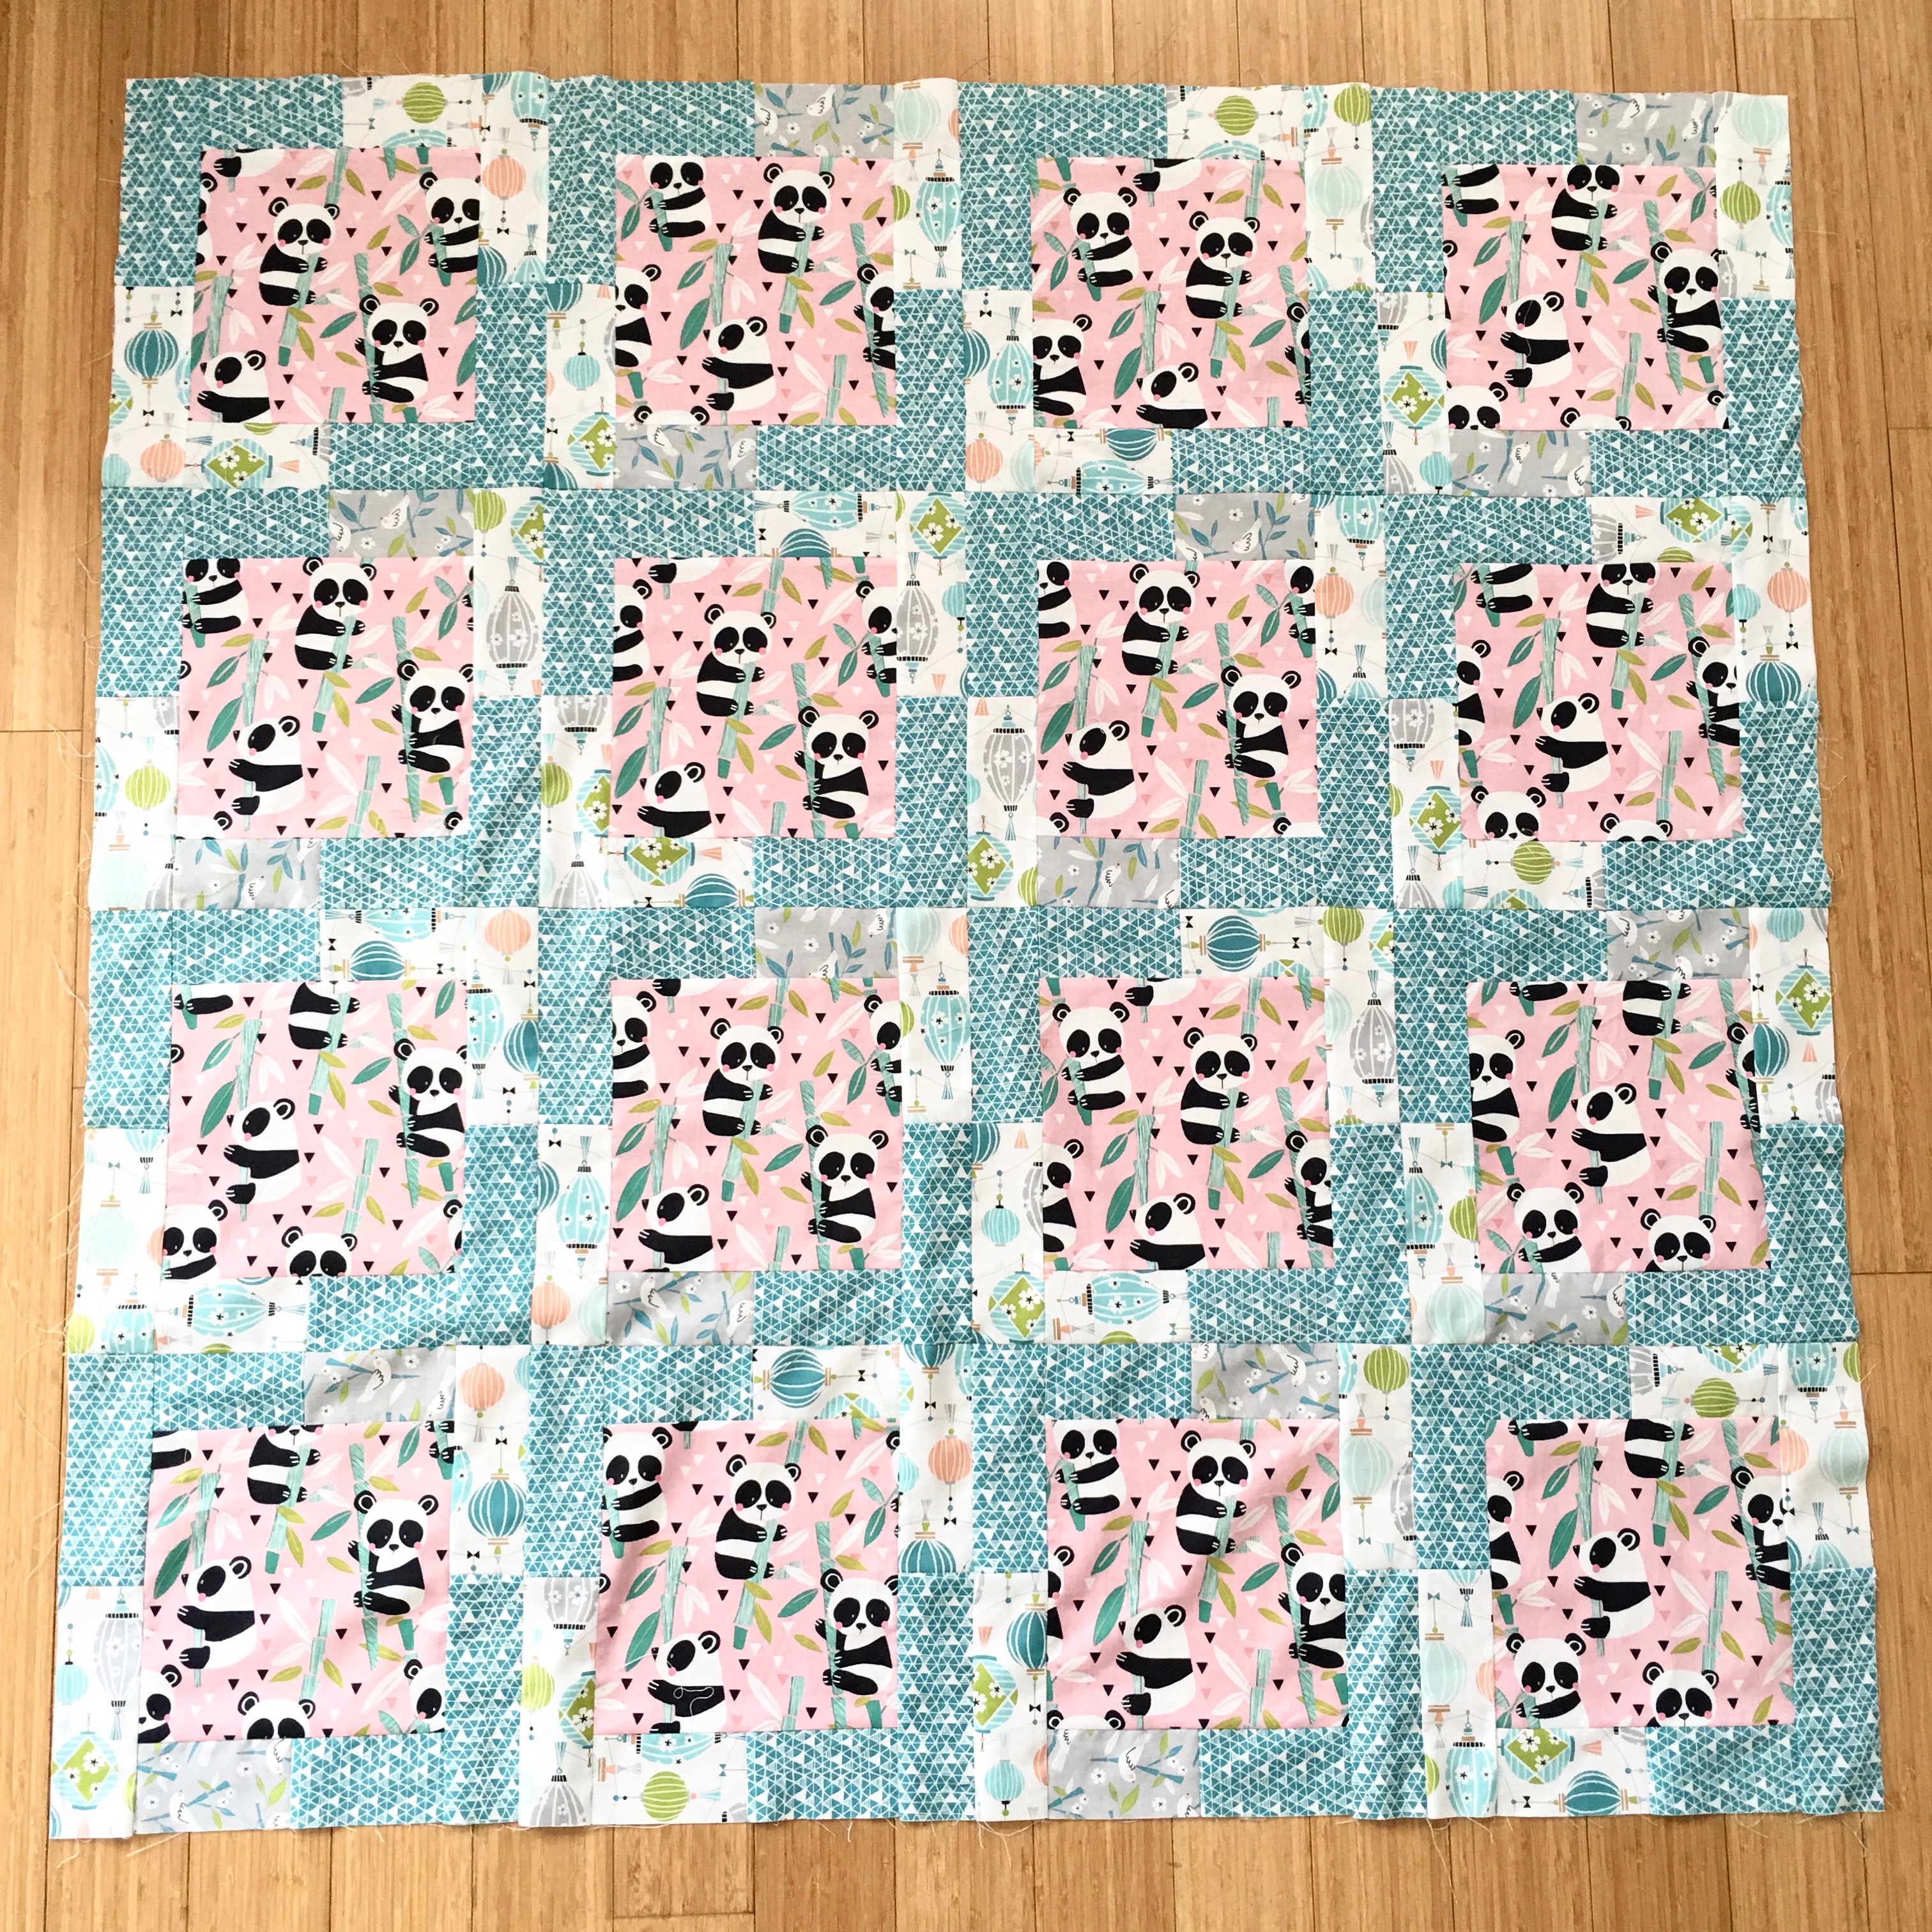
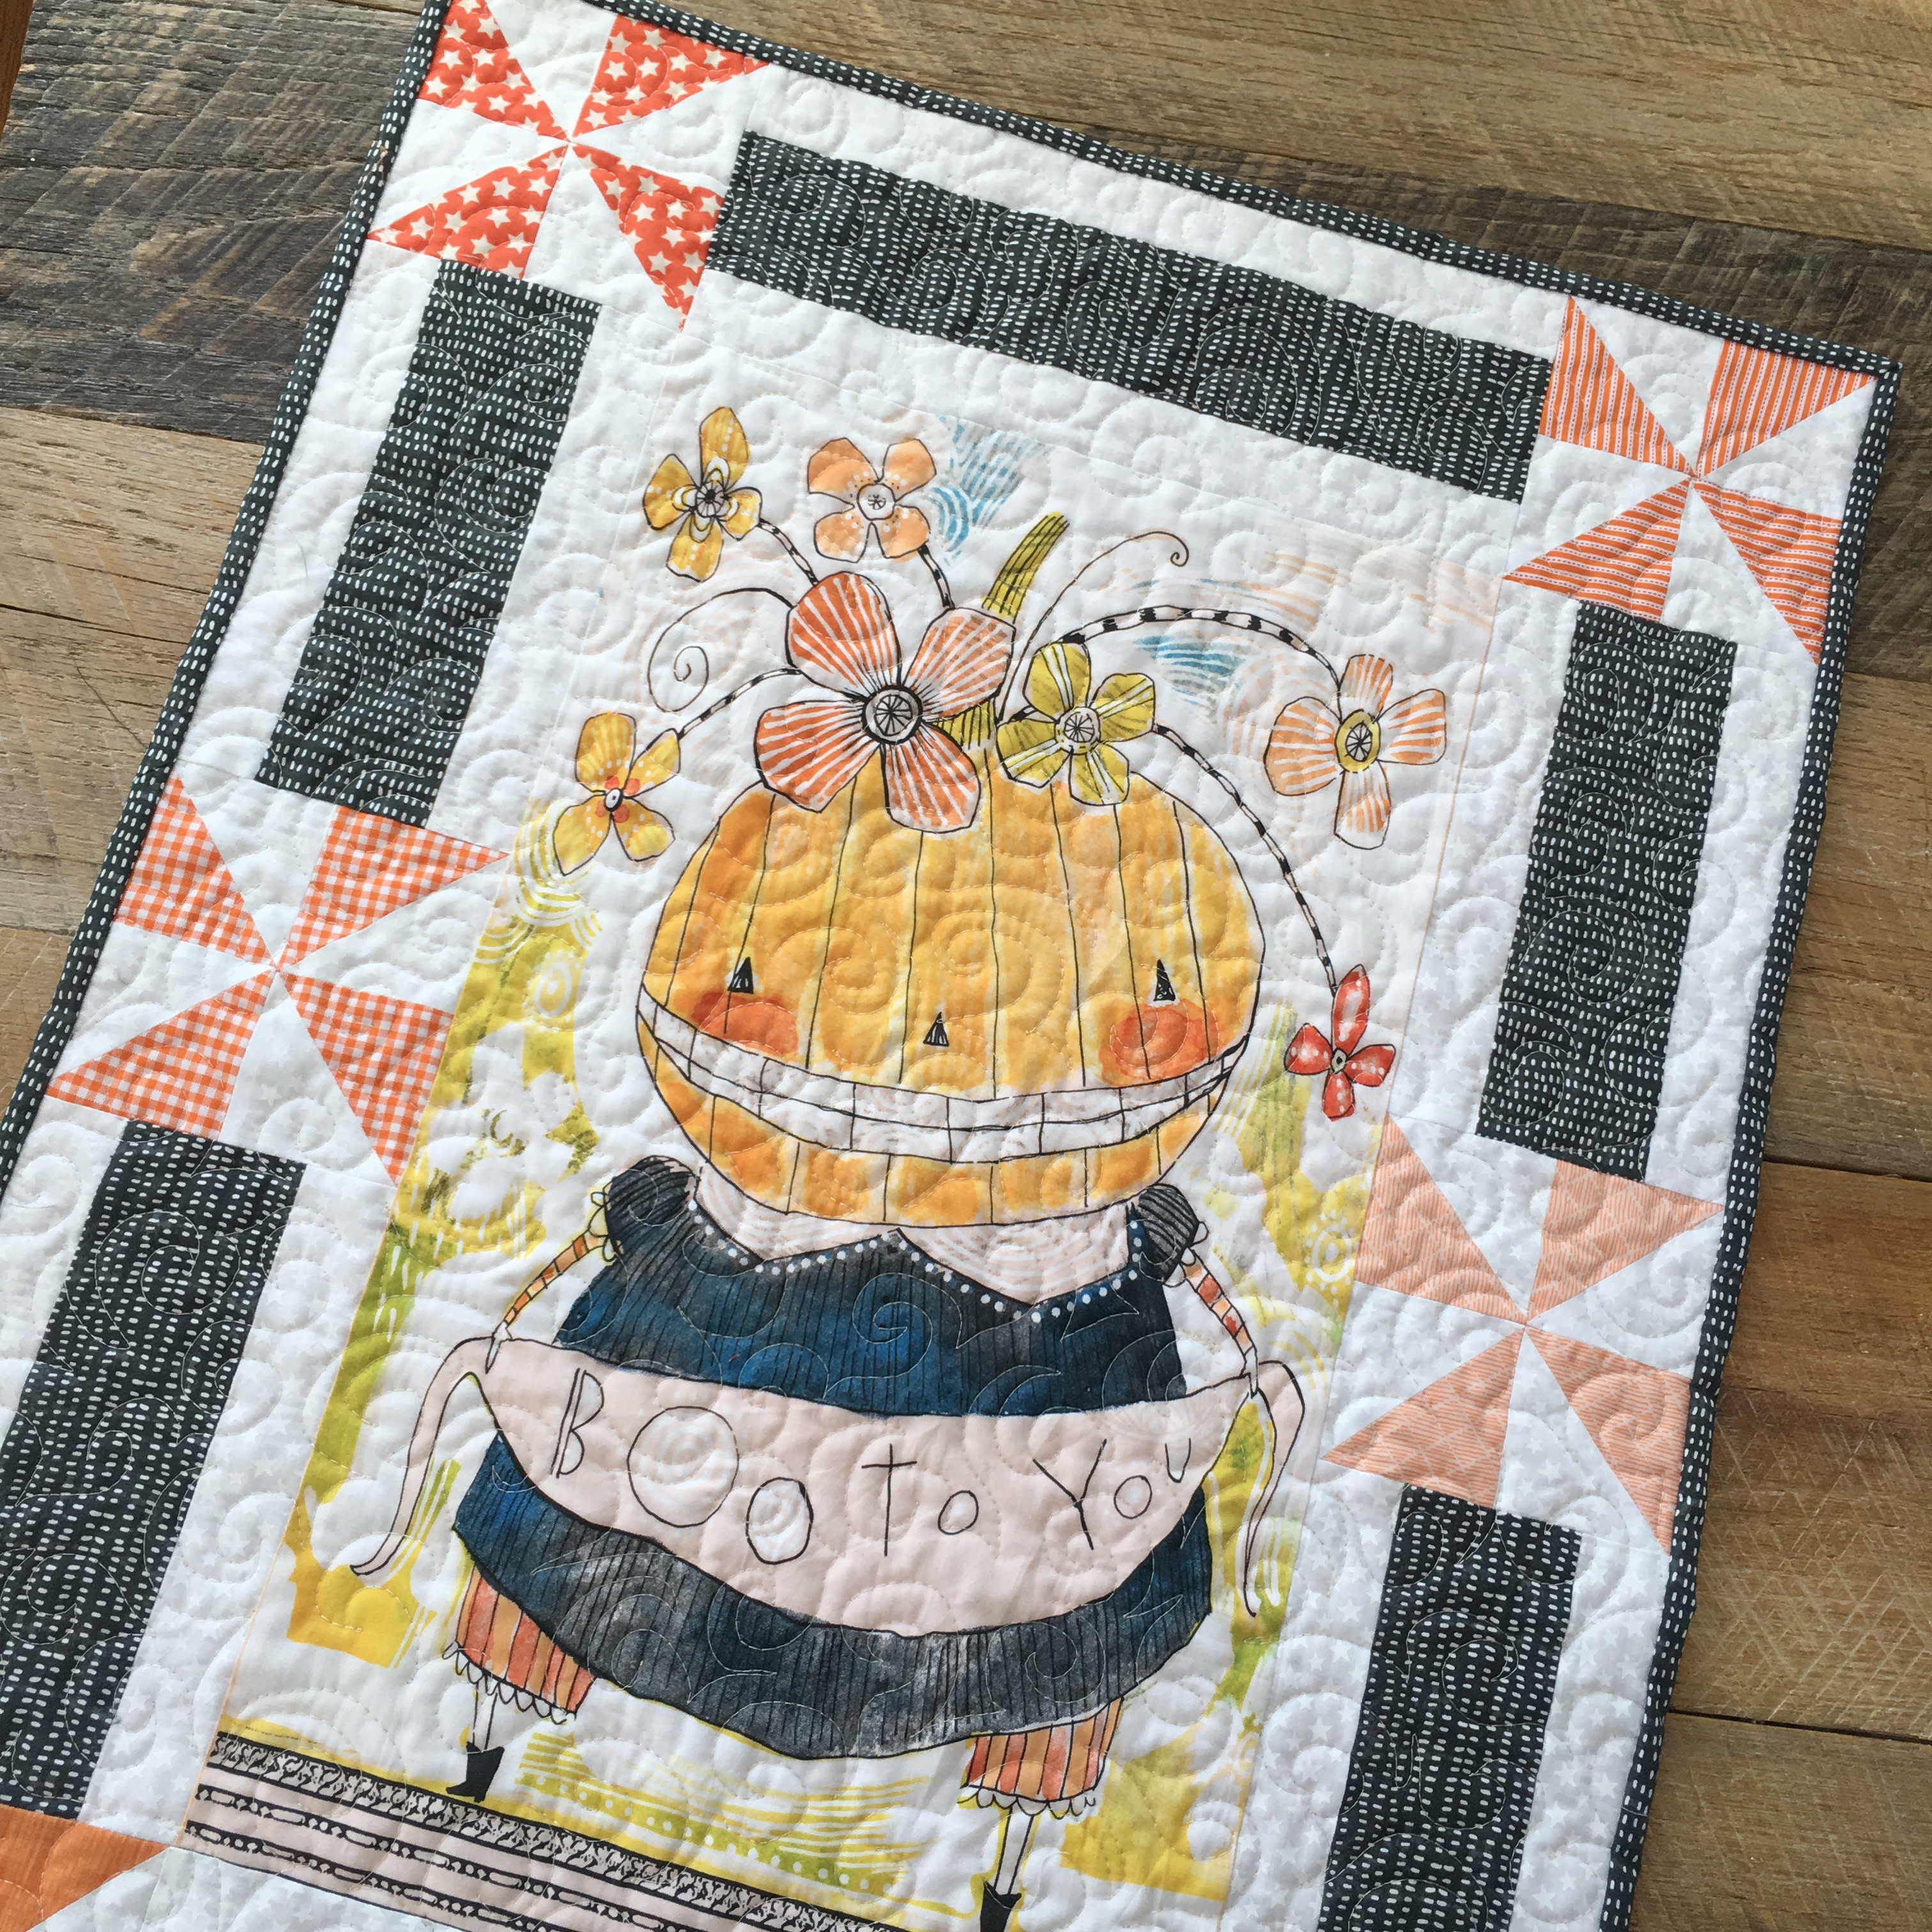
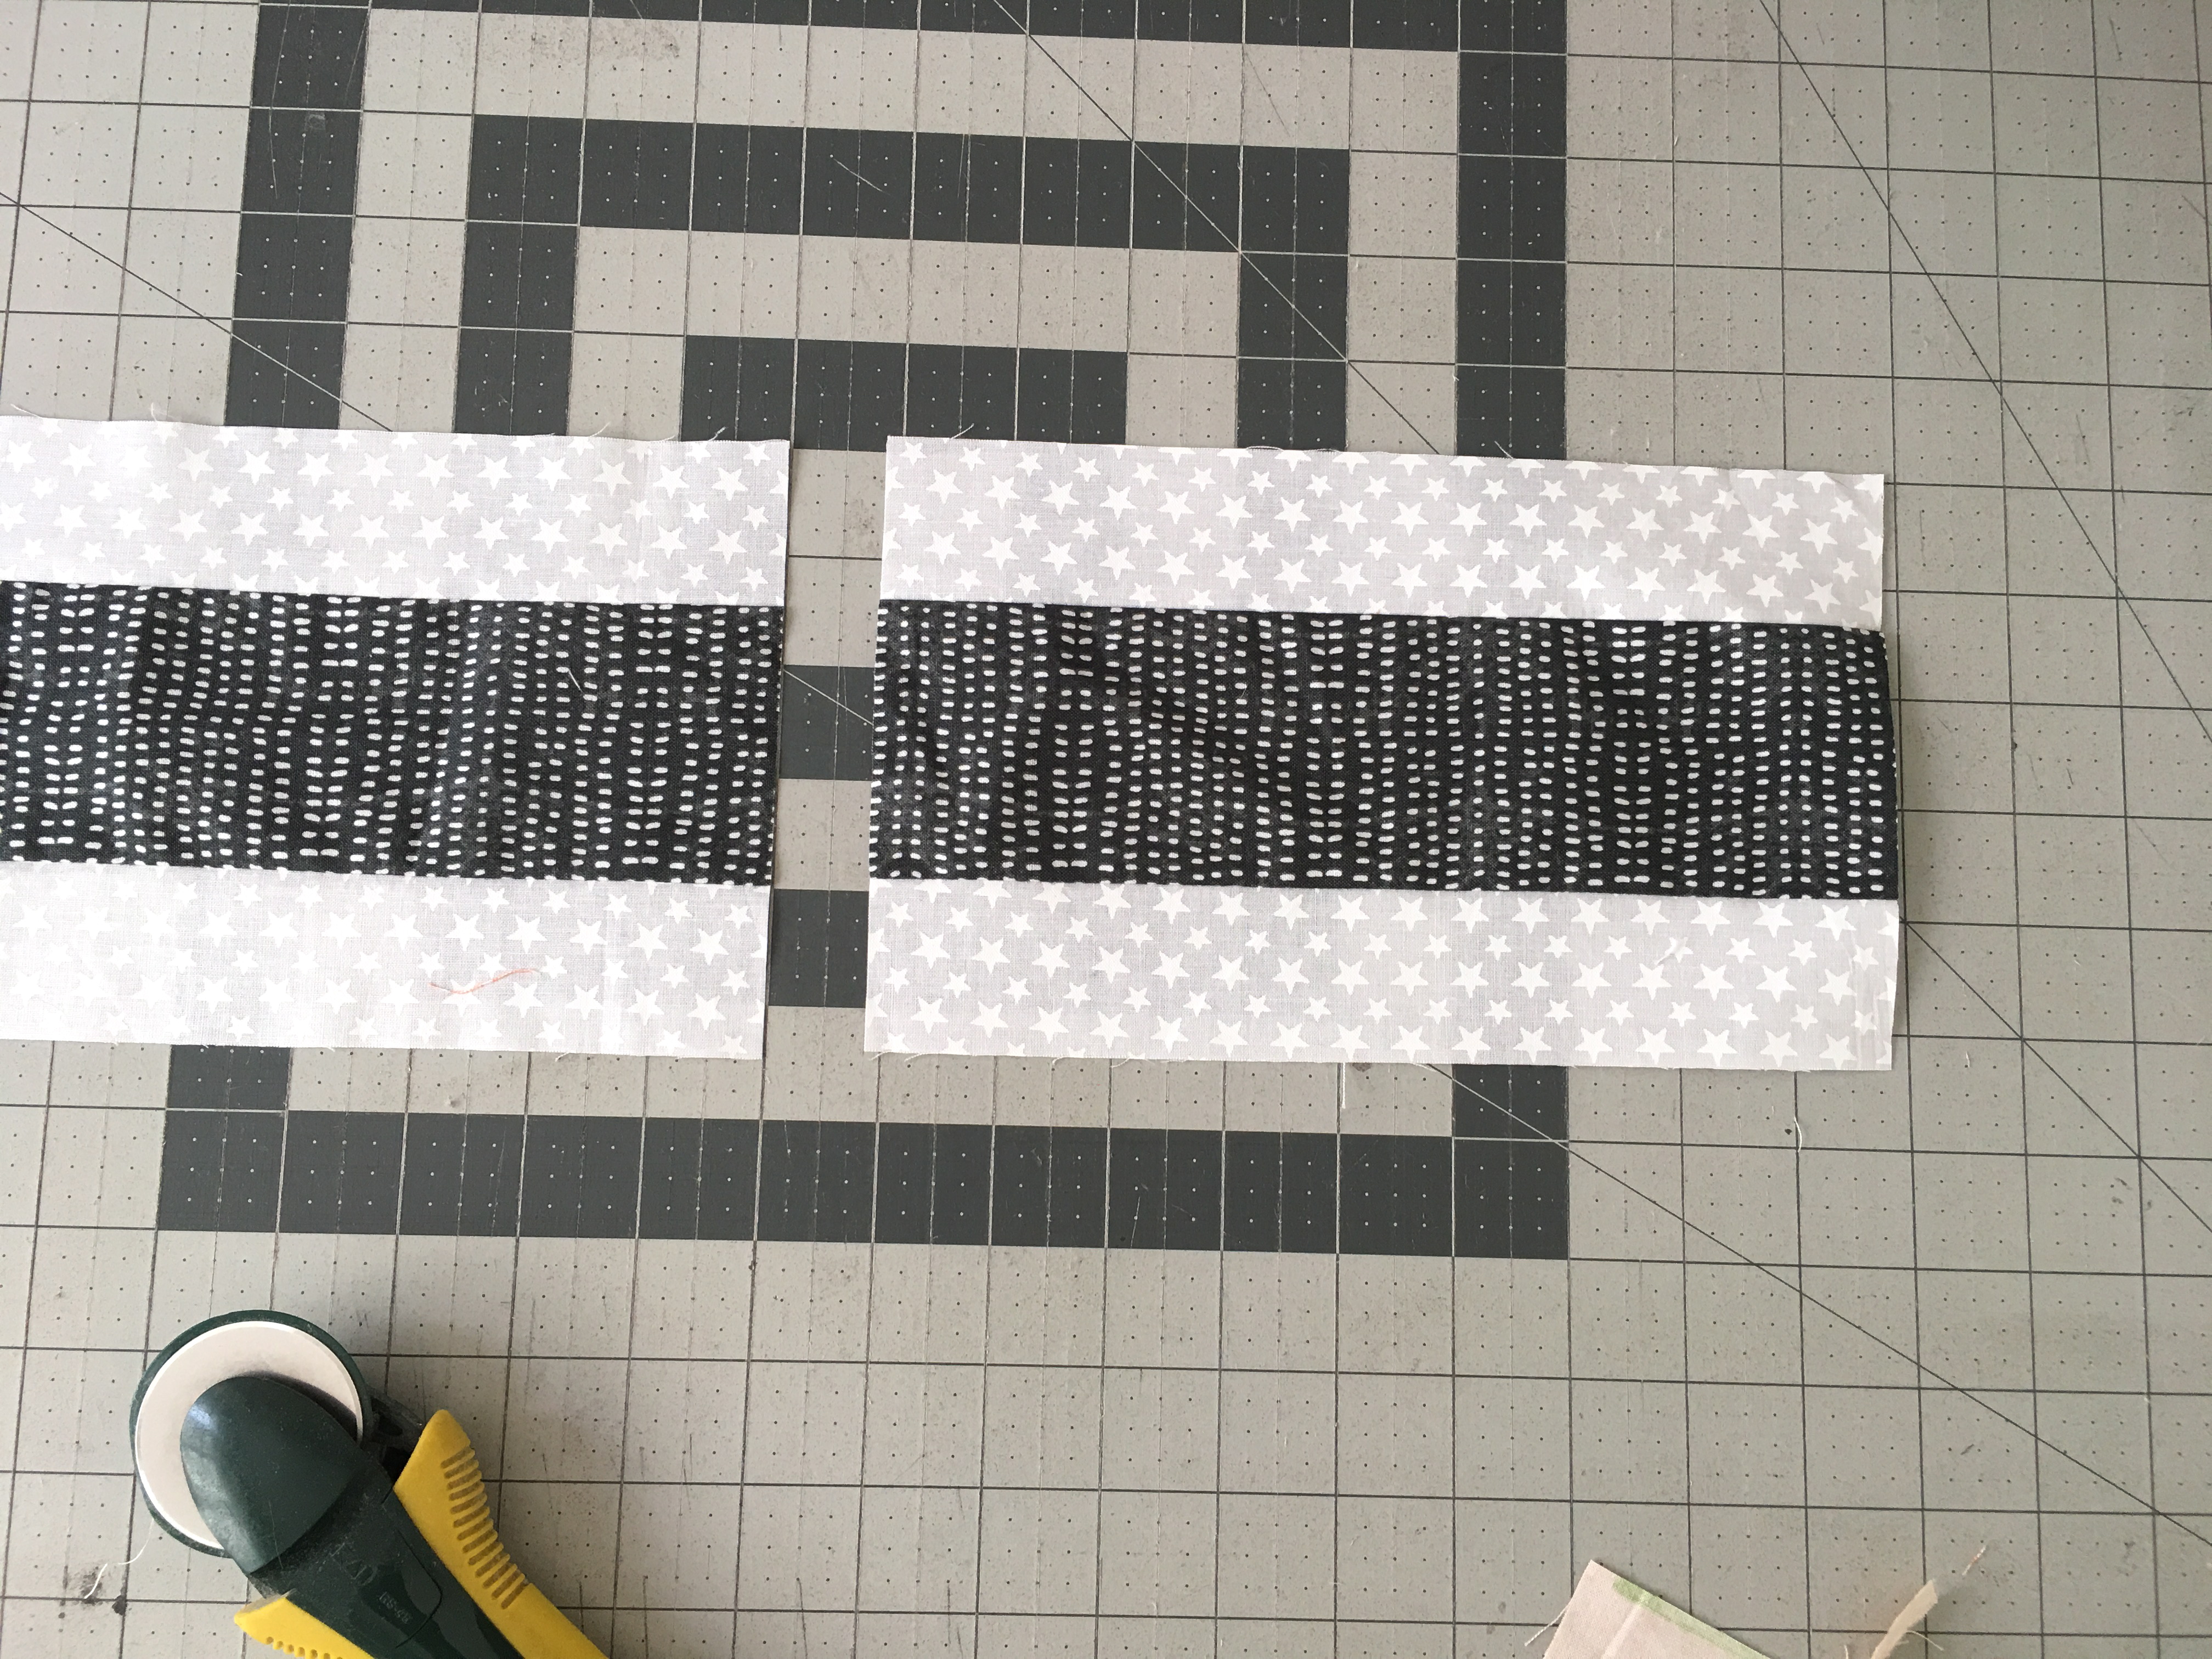
The finished quilt measures 60″ x 72″ and each block is 12″.

IMG_3399

It’s really fun to sew together and I love getting to show off the amazing fabrics in this collection!
FullSizeRender

I hope you like it and give it a try!!!IMG_3400
WonderlandBeauty

Big Print Baby Quilt {Free Quilt Pattern}

big print baby quilt

I love big prints and I cannot lie!  Especially big prints with animals!  Sometimes it’s hard to figure out what to do with big theme prints and it seems all the quilt patterns out there require cutting fabric into tiny pieces.  I came up with this quilt pattern because I wanted to showcase the large elephant print in this new line of fabric by Blend called Season of Love.  My friend recently had a baby girl and she loves elephants!  So this was the answer!  The quilt consists of 4 big blocks sewn together in a 4-Patch.  All you need is about an hour to put the quilt top together – whooo hoooo!!!

Here’s how you can make one!  All seams 1/4″

Fabric Requirements:

1/2 yard dark theme print

1/2 yard light theme print

1/3 yard light gray

1/3 yard dark gray

1/4 yard (4) different accent fabrics

1/2 yard binding

1 1/2 yard backing

big-print-quilt-measurements

Begin by cutting the fabric according to the cutting diagram above.  Sew the side gray sashing strips to the theme print center.  Press.  Sew the top and bottom gray sashing strips.  Press.  Sew the side accent print strips.  Press.  Sew the top and bottom accent prints.  Press.  Make 4 big blocks.

IMG_0041

Notice the light theme print has dark gray sashing and the dark theme print has light gray sashing.  Sew the 4 big blocks together as you would a 4-patch.  Press.  IMG_0043

Baste the quilt to the batting and backing fabric and quilt and bind.

IMG_0375

I love how this turned out!  You really get a feel of the theme print – and it is a large print!!

IMG_0374

I can’t wait to make another one of these in different fabrics!!! I’m thinking whales?  Cats?  Foxes?

IMG_0351

What are you waiting for!!  Go fetch some large prints!!!IMG_0353

Save

Later Alligator {Free Quilt Pattern}

later alligator cover

Sometimes you find a fabric and you just have to drop everything you’re doing and sew something with it!  That’s how I felt about this new line of fabric from Blend Fabrics called See You Later.IMG_0010

Mufasa was even smitten with the fabric and appeared to be guarding it!!

IMG_0060

The colors are bright and the patterns are whimsical.  They would be perfect for a boy or a girl!

see you later quilt

I created a pattern for you to download for FREE.  This is one of my favorite ways to show off big prints.  Click HERE to download the 3-page pattern.

pattern overview

IMG_0090

The pattern looks like I used solid navy and solid green, but actually I used a navy and white dot and a green and white print.  The quilt is made up of only 1 block made from 2 different color ways.

IMG_0048

It sews up really fast and is the perfect project if you want to sew a quilt top in an afternoon.  That’s usually all the time I’ve got!

IMG_0096

Mufasa thinks the quilt is his and my 16 year old daughter also claimed it for her own!   see you later quilt 2

Christmas Kitsch Blog Hop {Christmas Quilt Tutorial}


ChristamsKitschHeader
IMG_9355
I’m kicking off the Christmas Kitsch Blog Hop today!  For the next 6 weeks, each of the Blend Fabrics Design Team Members will be sewing up a fantastic holiday project with this retro-inspired fabric line!  Christmas in July here we come!
ChristamsKitschBeauty
Immediately I fell in love with these fabrics!  My kids call the santas “the scary Santas!”  I love them because they remind me of all the Christmas decorations my mom had when I was a little girl.  This fabric is available at Fat Quarter Shop.
 IMG_9349
For my project I made a table size quilt.  I love this size quilt because it’s perfect to whip up in a day, give as a gift, throw over a chair, or hang on the wall.  This quilt consists of only 2 sizes of squares: 2.5″ and 8.5″.
IMG_9348
I also love this pattern because you can show off the larger prints on the border, and then do a little half square triangle (HST) piecing on the center.  Lets get started!
Press all seams open
1/4″ seams throughout
Finished block 8″, finished quilt 40″ square
IMG_9333
Fabric Requirements
Assortment of at least 10 fat quarters
1 yard of low volume background.
IMG_9339
The star block is made up of 2.5″ squares.
For each block you need:
4 low volume 2.5″ squares
4 blue tone 2.5″ squares
8 half square triangle blocks: red and low volume.
I choose to make my HSTs with my Sizzix Fabi.  I love this extra long die that cuts perfect triangles that when sewn together measure 2.5″ square.
IMG_9335
If you don’t have this die you can make the HSTs using your favorite method.  Just make sure they finish 2.5″ square.
Piece the star block together in rows, pressing seams open.
Make 9 star blocks
 IMG_9358
For the border, cut (18) 8.5″ squares from an assortment of the darker prints.
IMG_9346
Lay out the quilt and sew together in rows, pressing seams open.
Quilt as desired.
IMG_9356
IMG_9364
This is such a fun quilt to sew!  You could easily make it larger or make it rectangle.
Be sure to check out the other designers during the next 6 weeks!  I can’t wait to see what they have.
Amanda – Jedi Craft Girl – July 1
Tina – Emily Ann’s Kloset – July 8
Jen – Tie Dye Diva – July 15
Caroline – Sew Can She – July 22
Bev – Flamingo Toes – July 29
Andy – A Bright Corner – August 5
      BlendButton