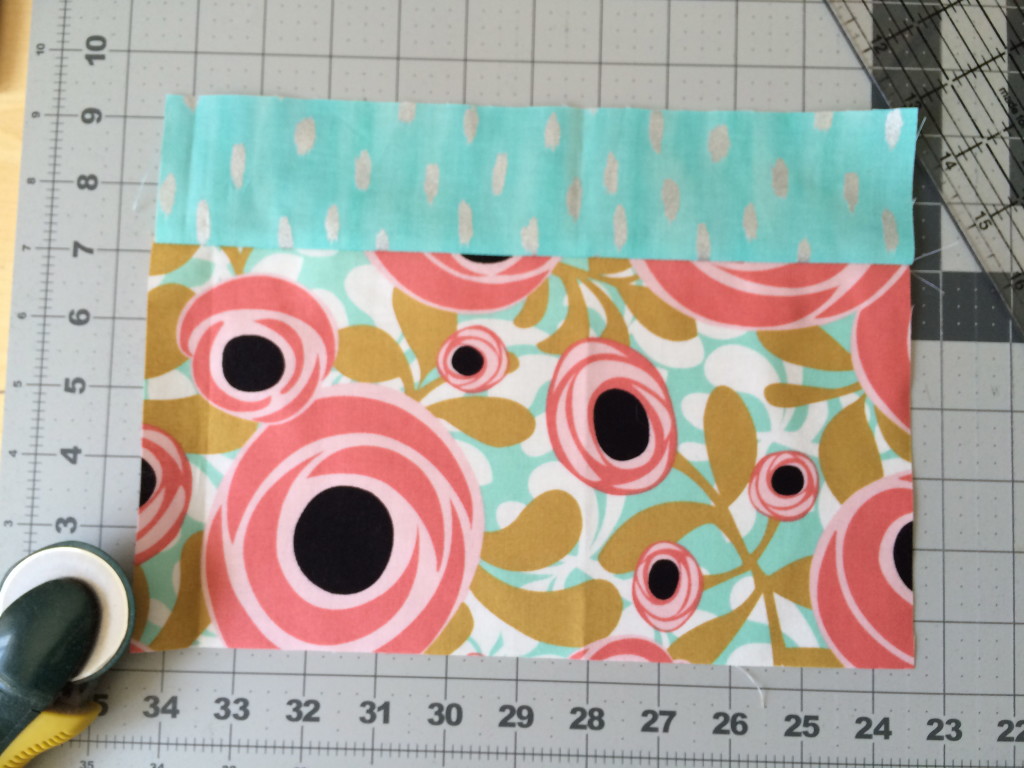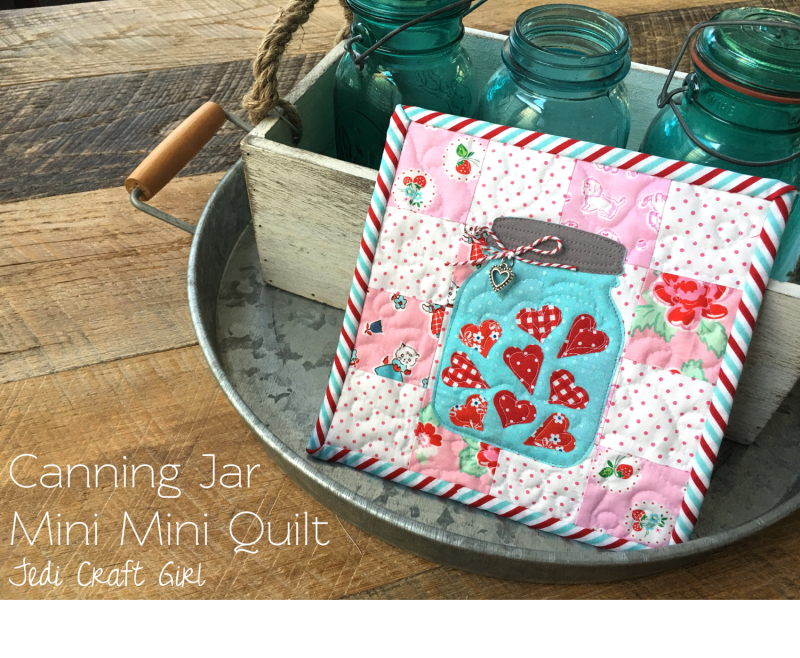
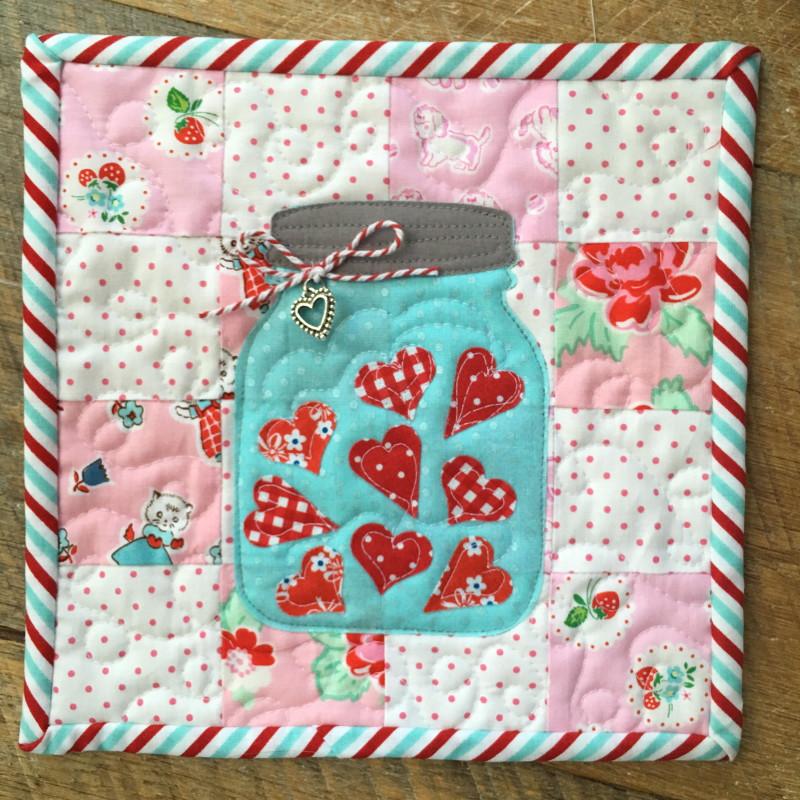
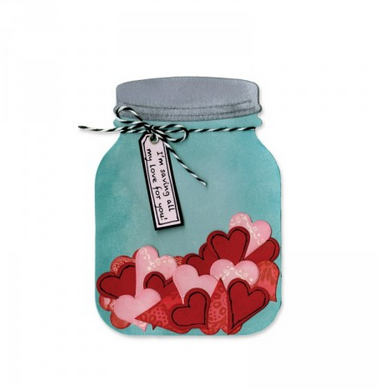
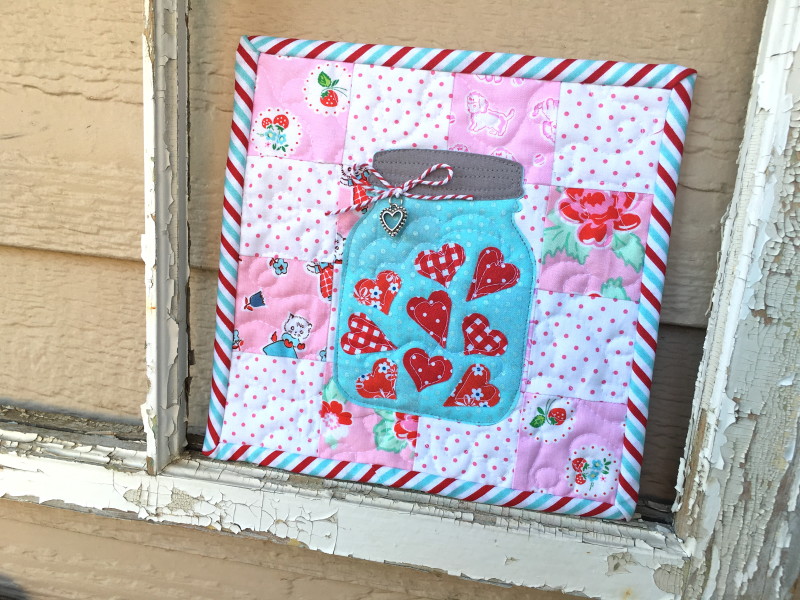
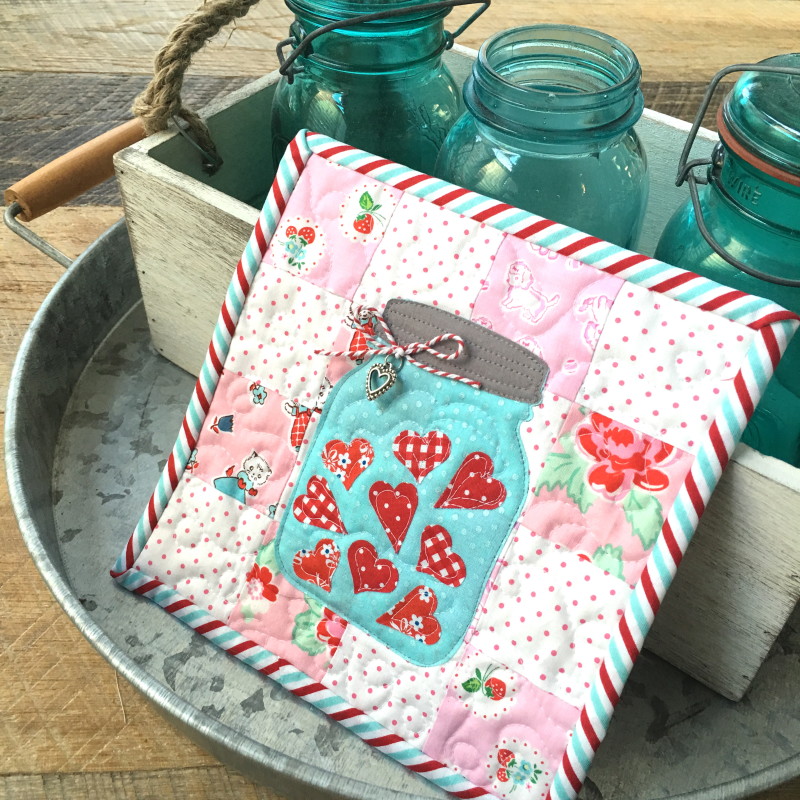
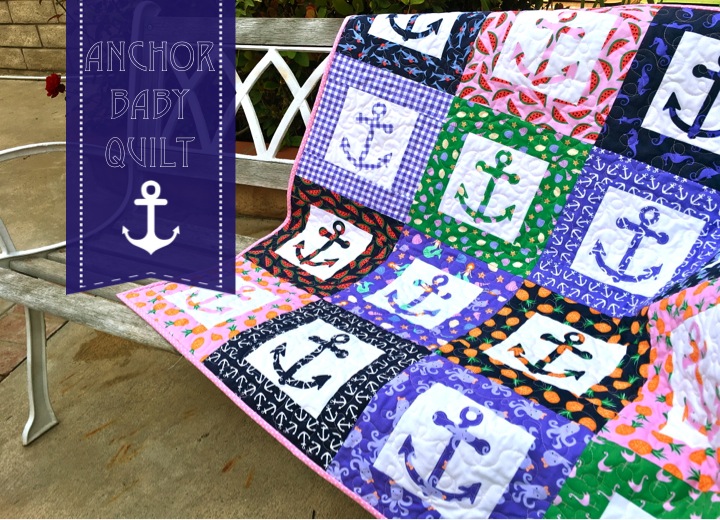
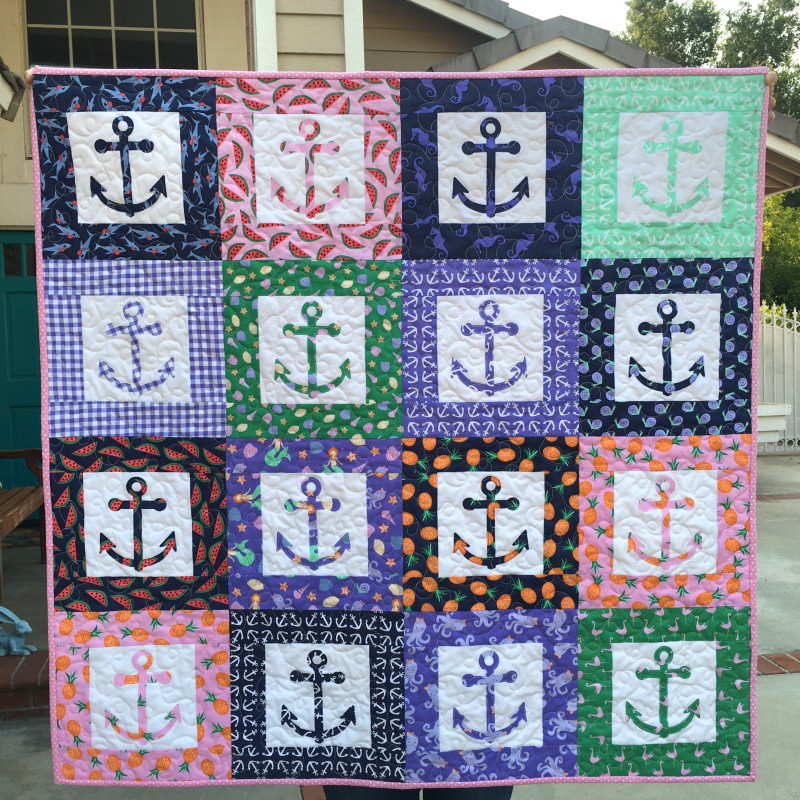
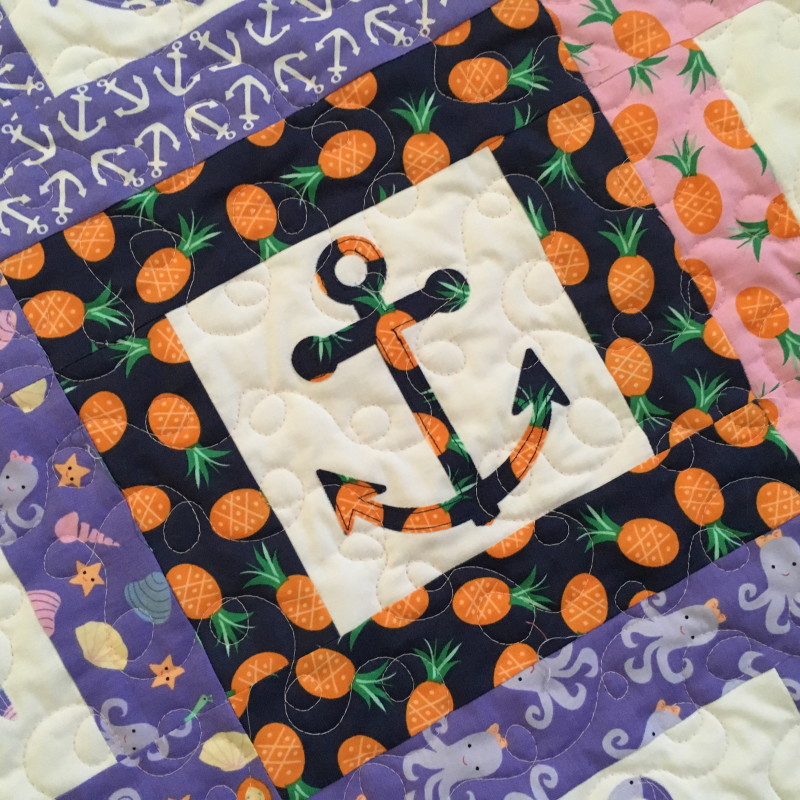
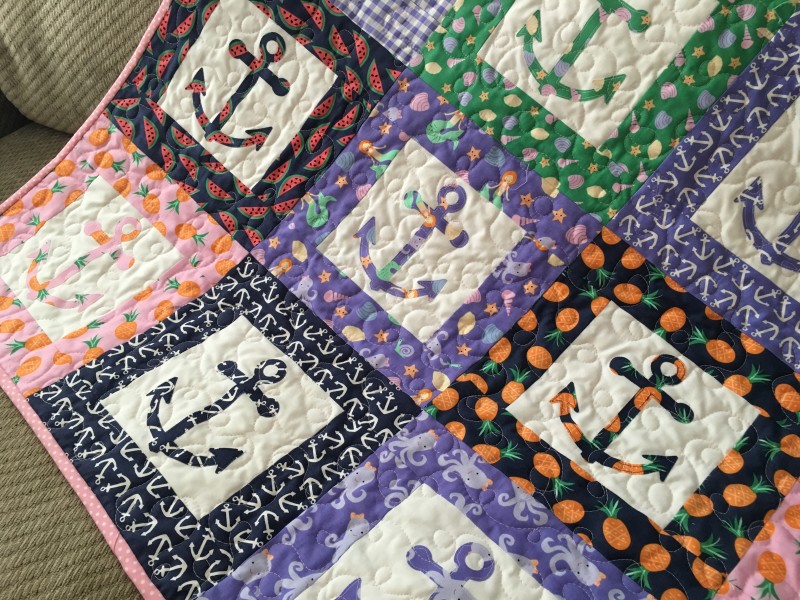
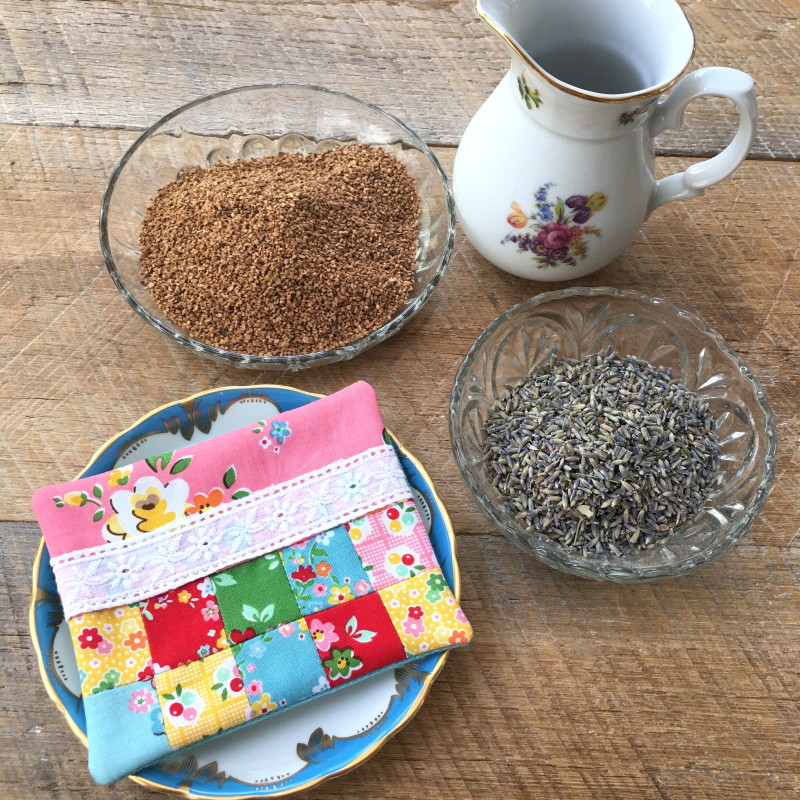
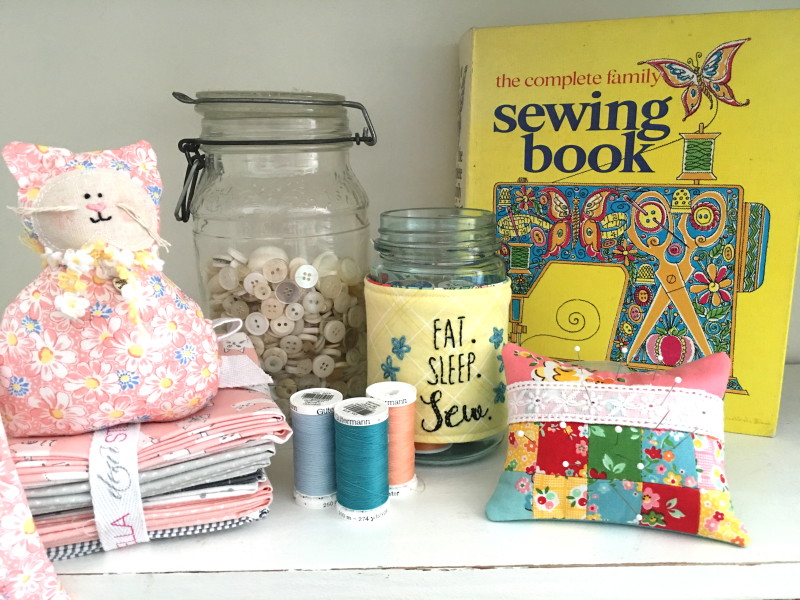
Sometimes something small is better than something big 🙂 I designed this mini mini quilt for a sweet friend. It can be hung from a clothespin, tacked to a wall or bulletin board, or placed in a hutch; where ever you need a little happy! I love this jar die by Lori Whitlock.
I was thrilled to meet up with Lori at Quilt Market! She is a super talented designer of fabric, paper, Sizzix dies, and crafts.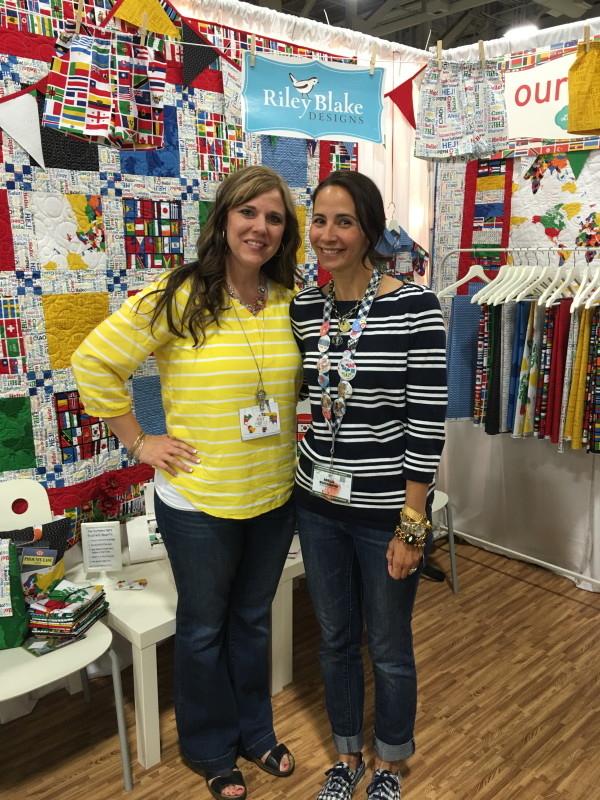
Let’s get started!!
Supplies:
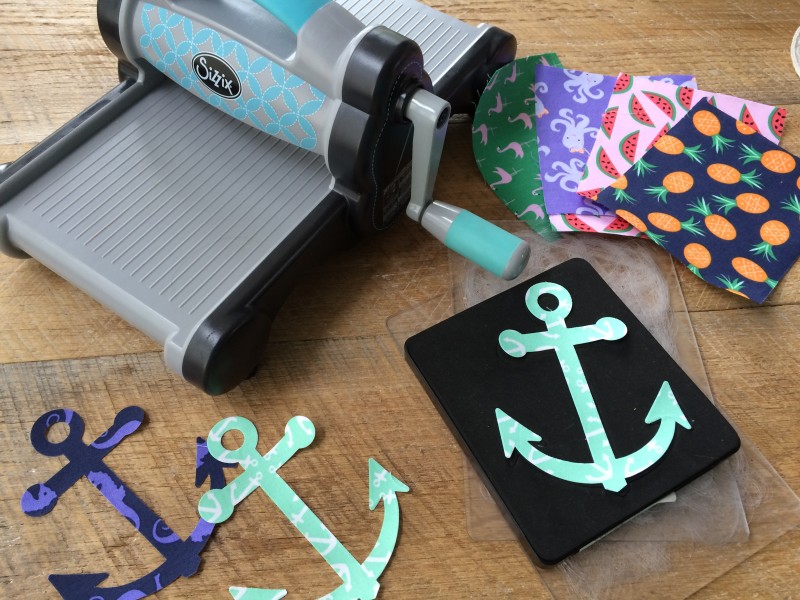
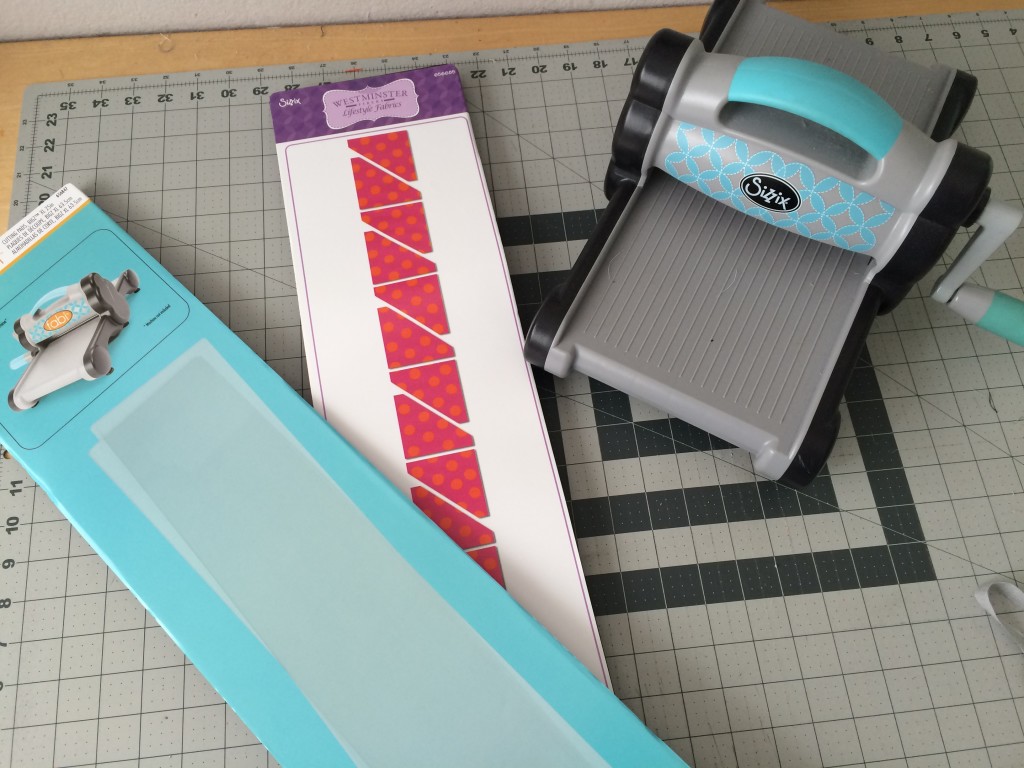
Sizzix Jar #2 Die
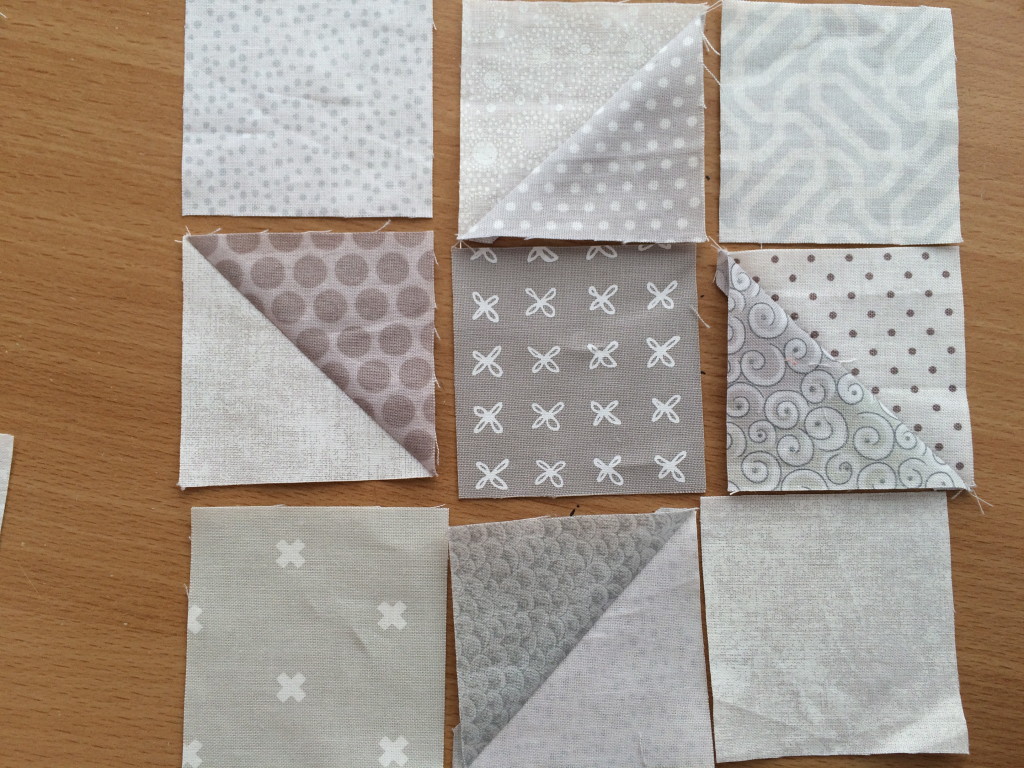
(8) 2 1/2″ squares of white dot
(8) 2 1/2″ squares pink print
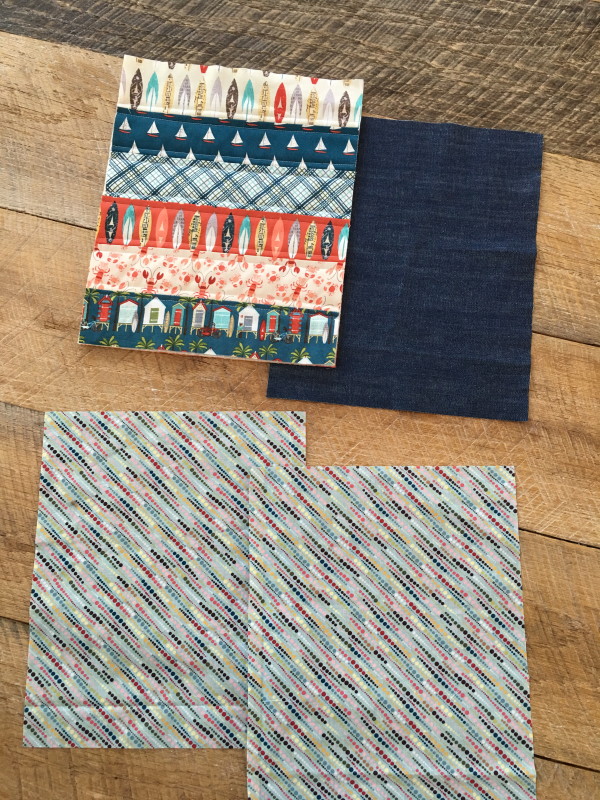
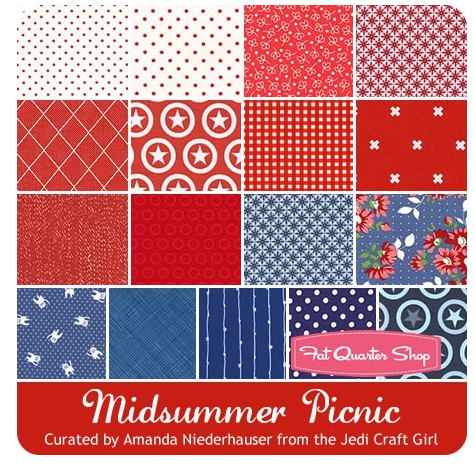
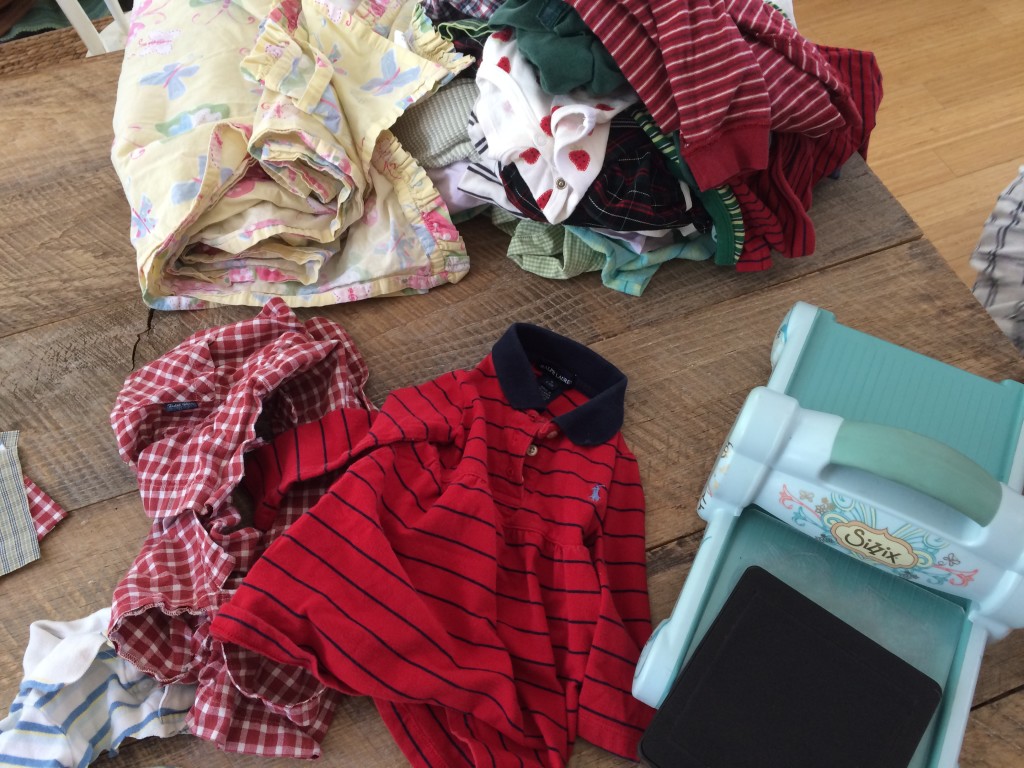
Fabric for jar, lid, and hearts
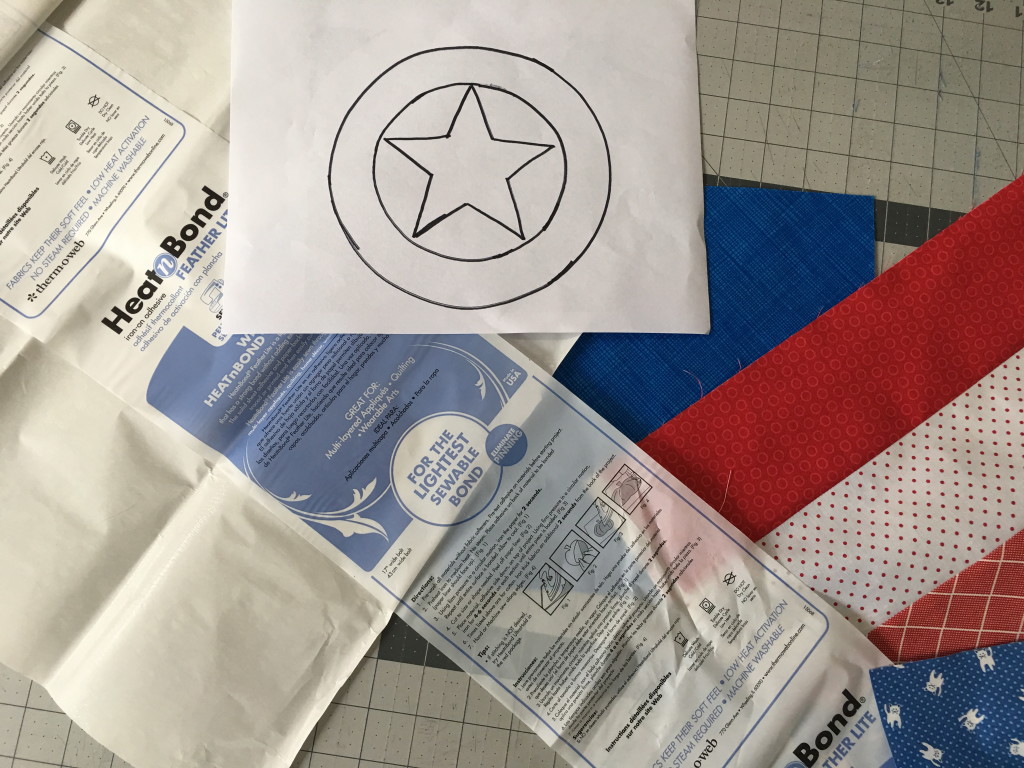
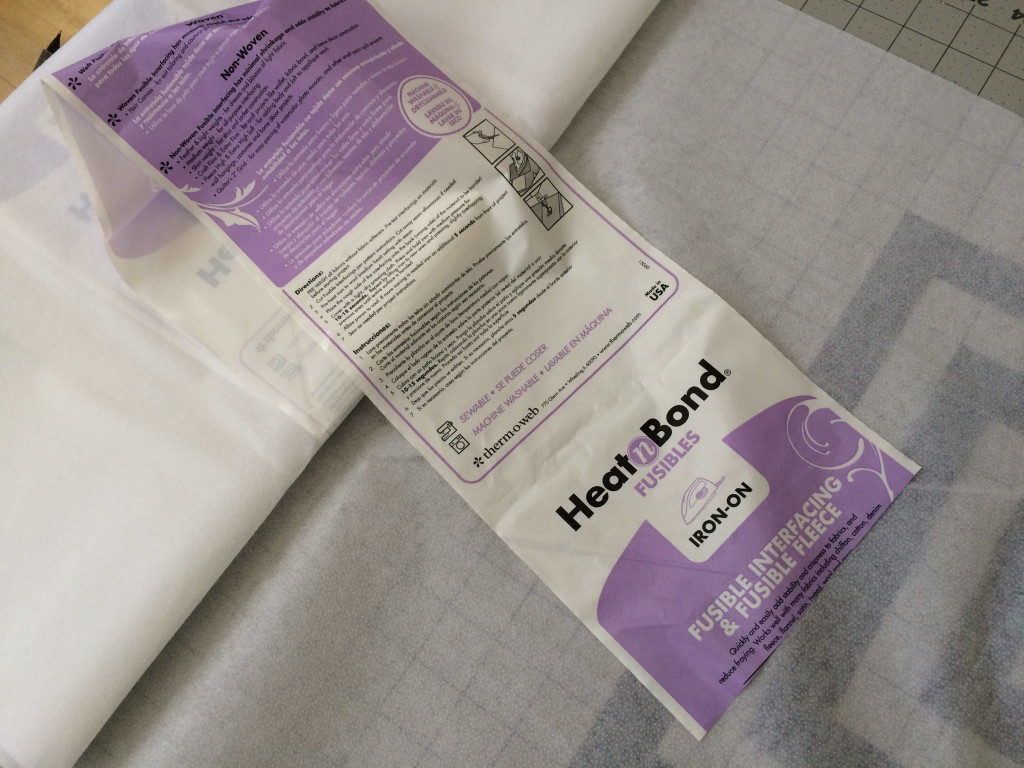
Heat n Bond Lite
2 1/2″ x WOF binding
batting
backing
Bakers Twine
Heart Charm
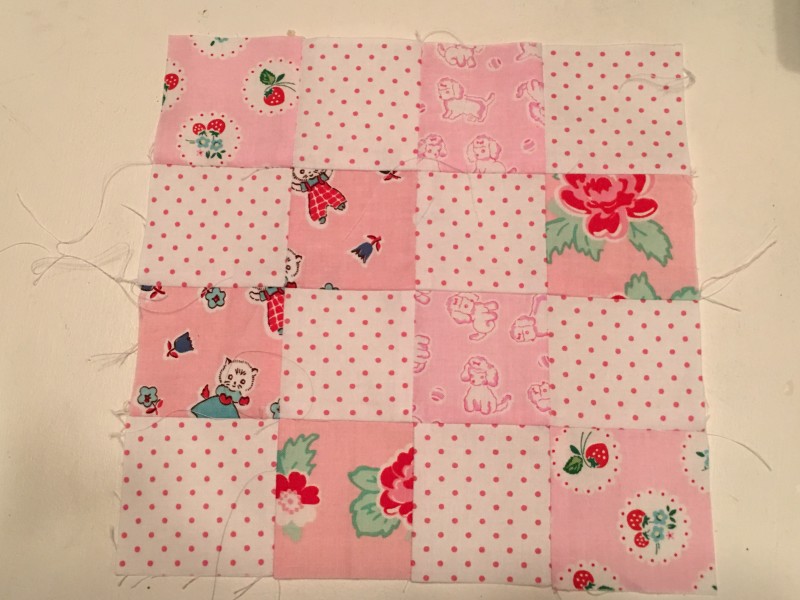
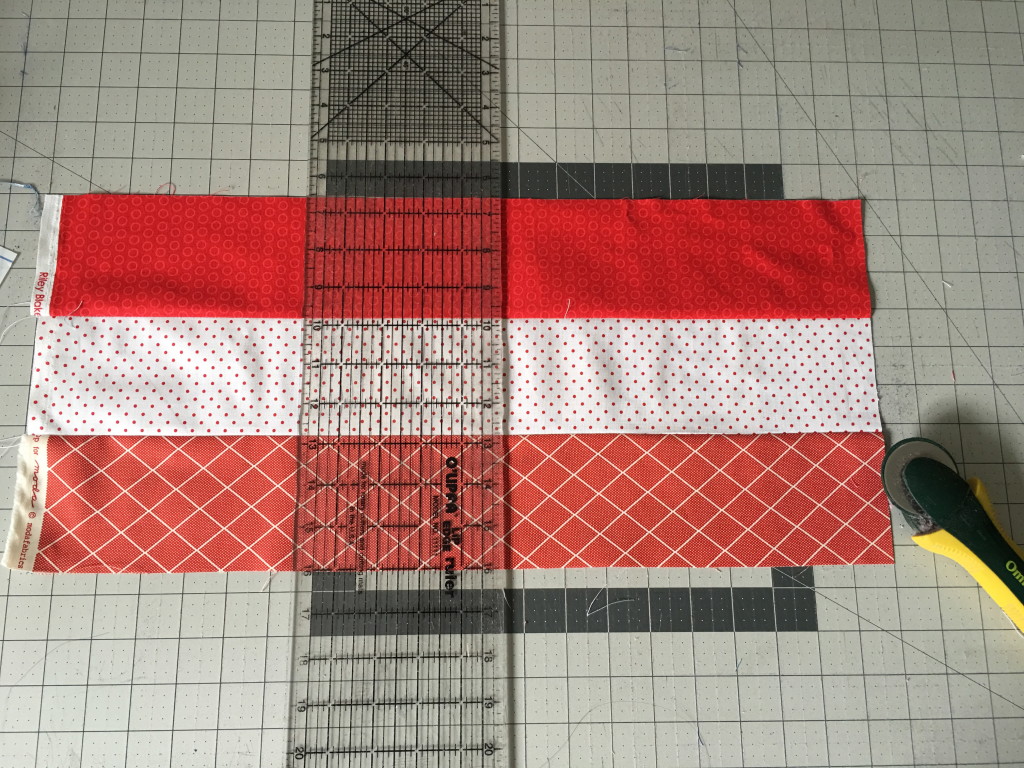
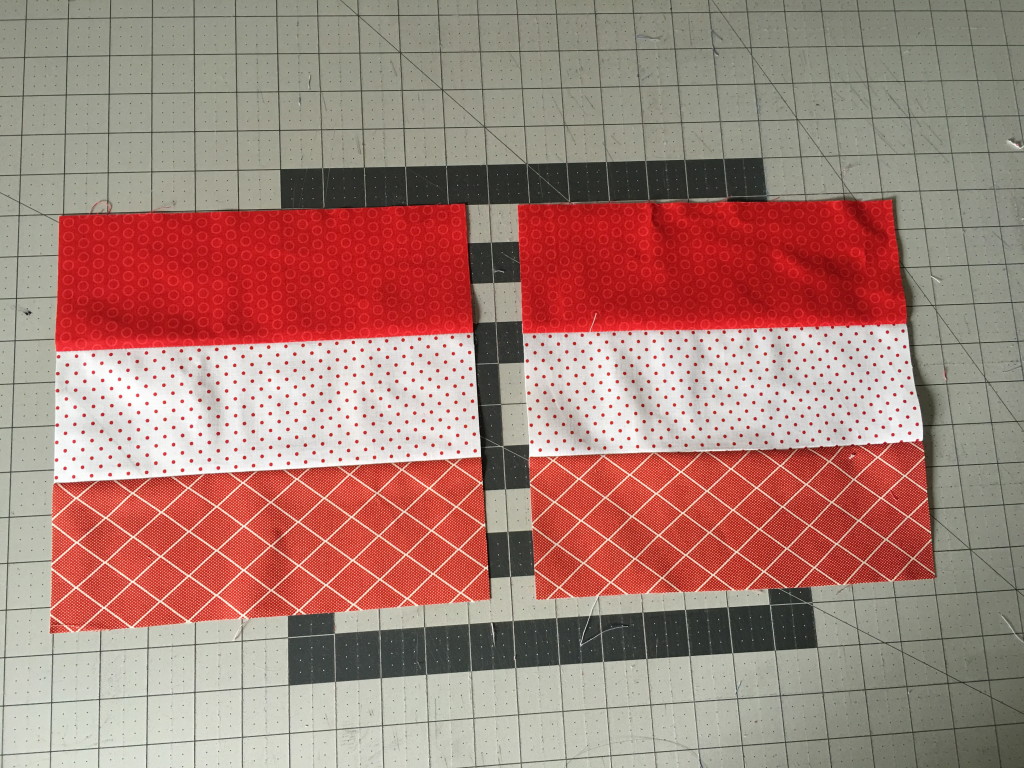
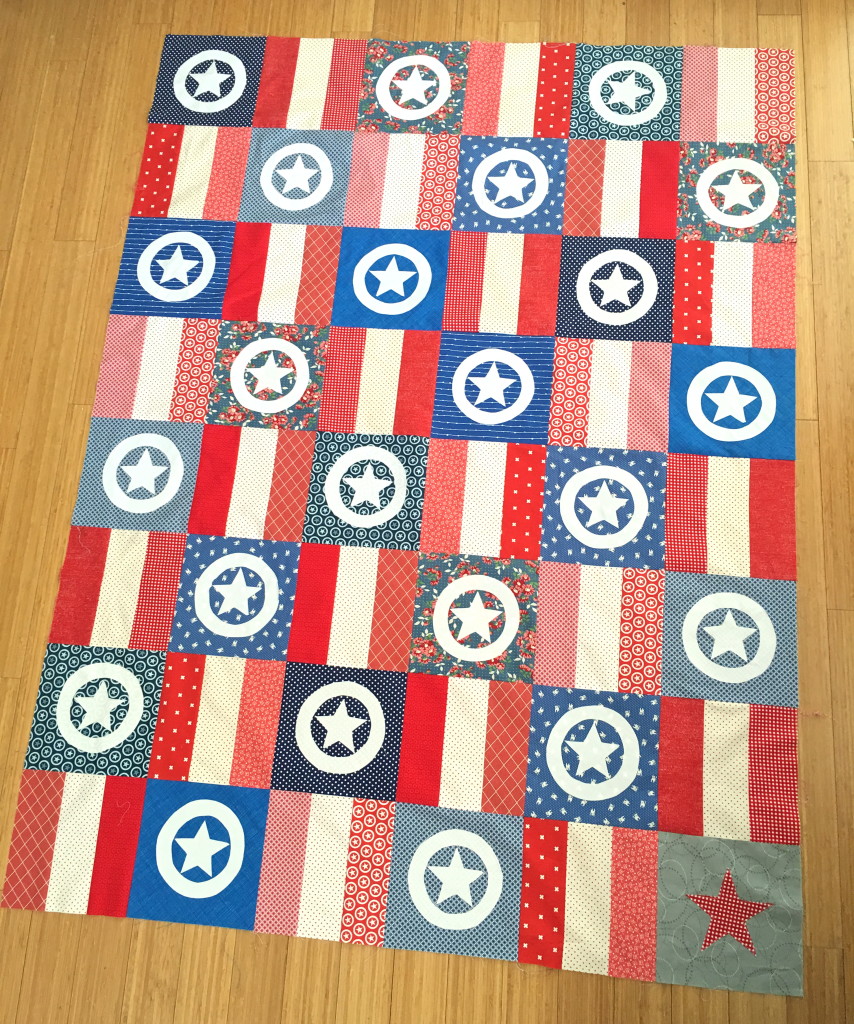
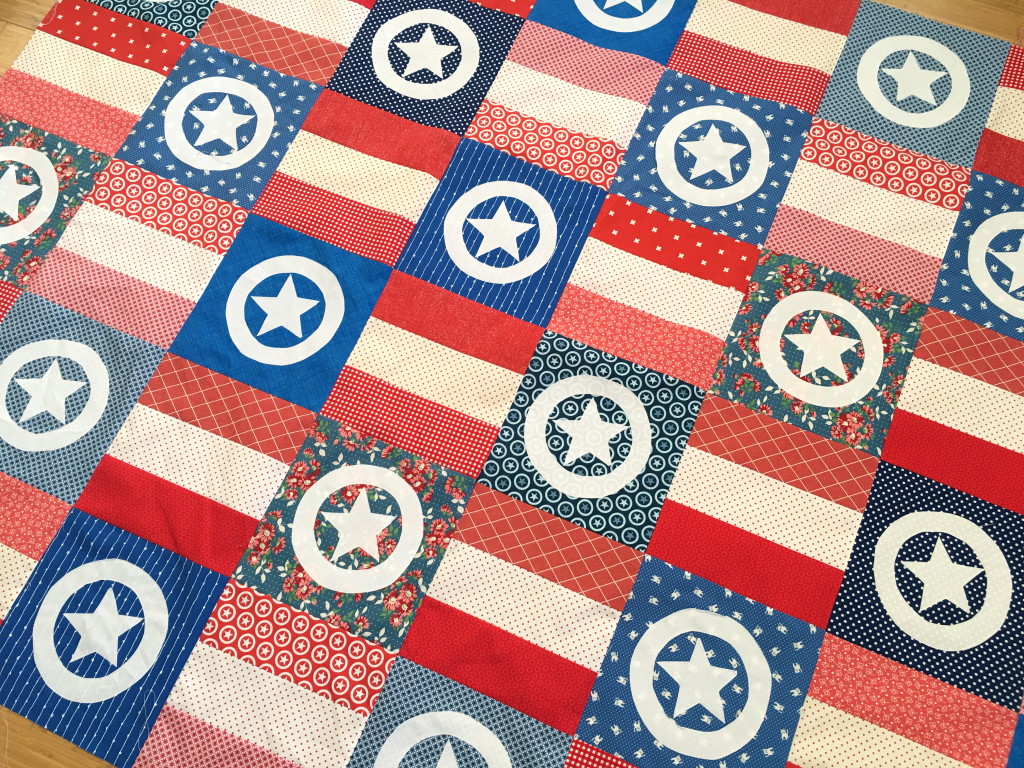
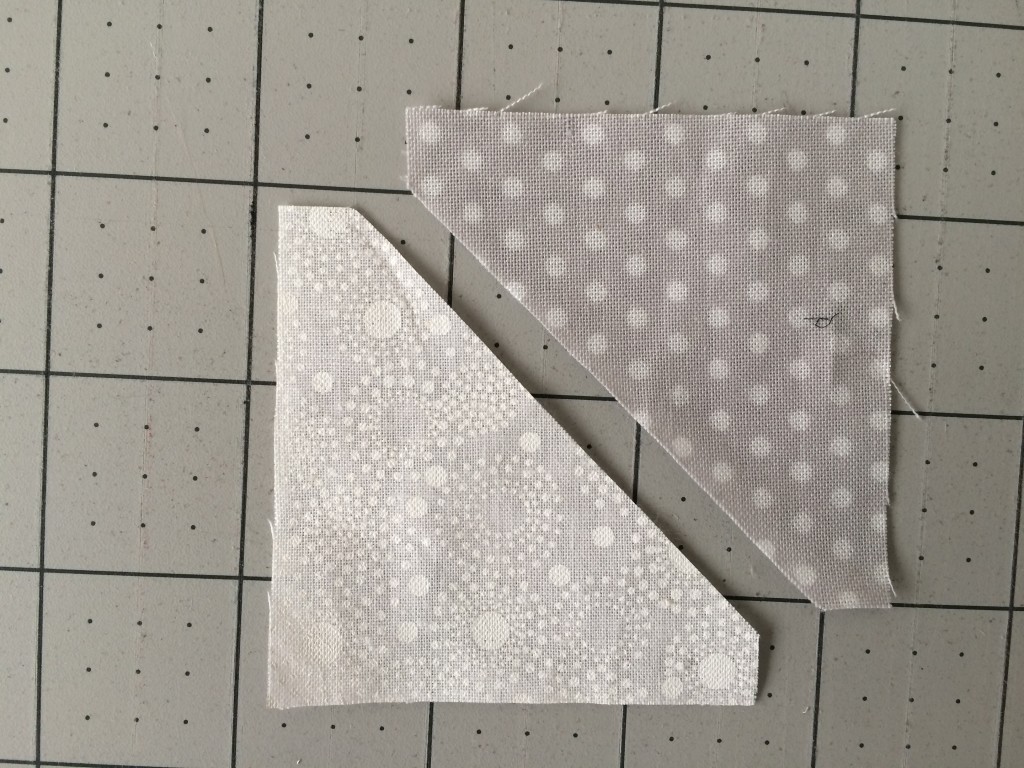
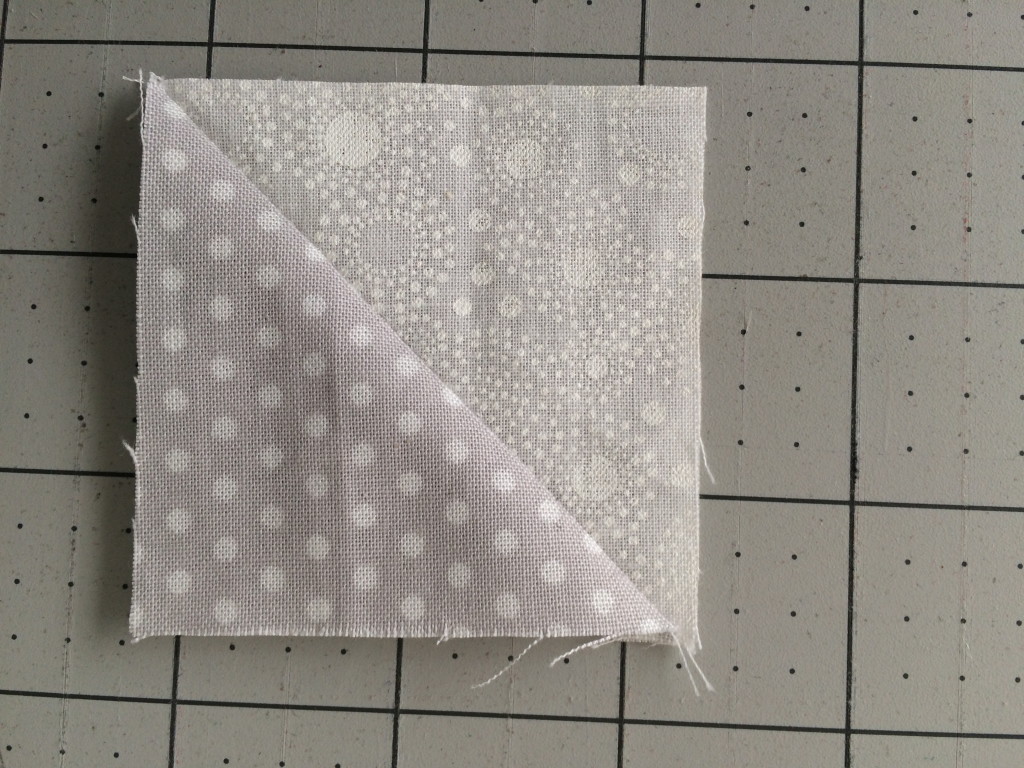
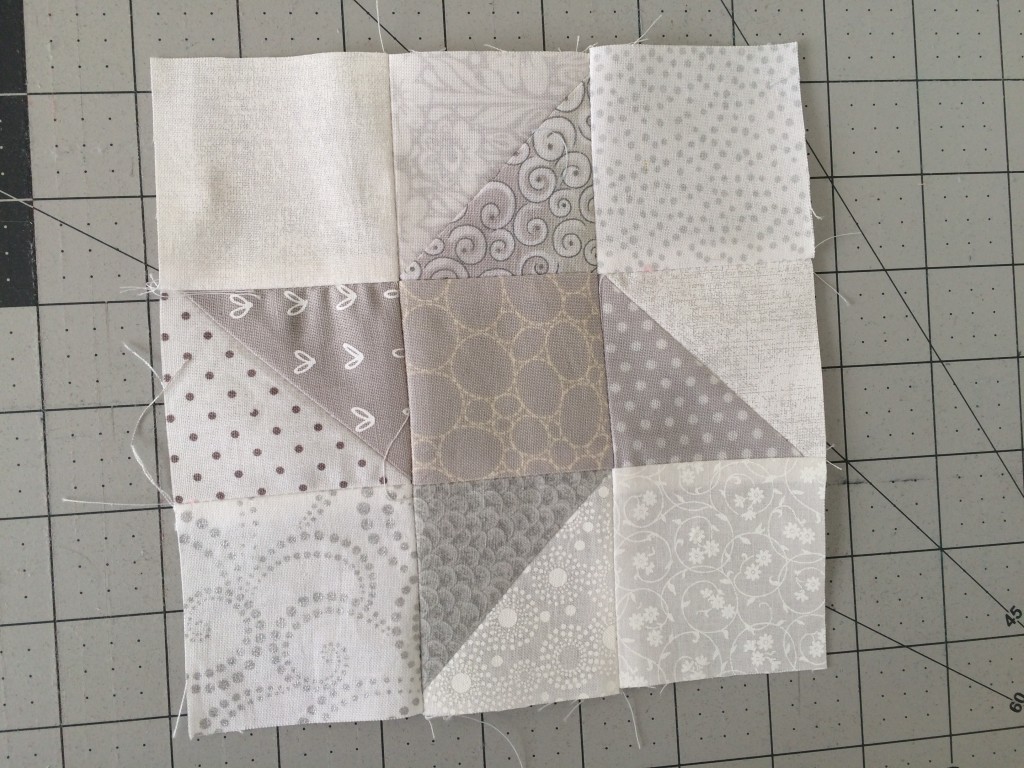
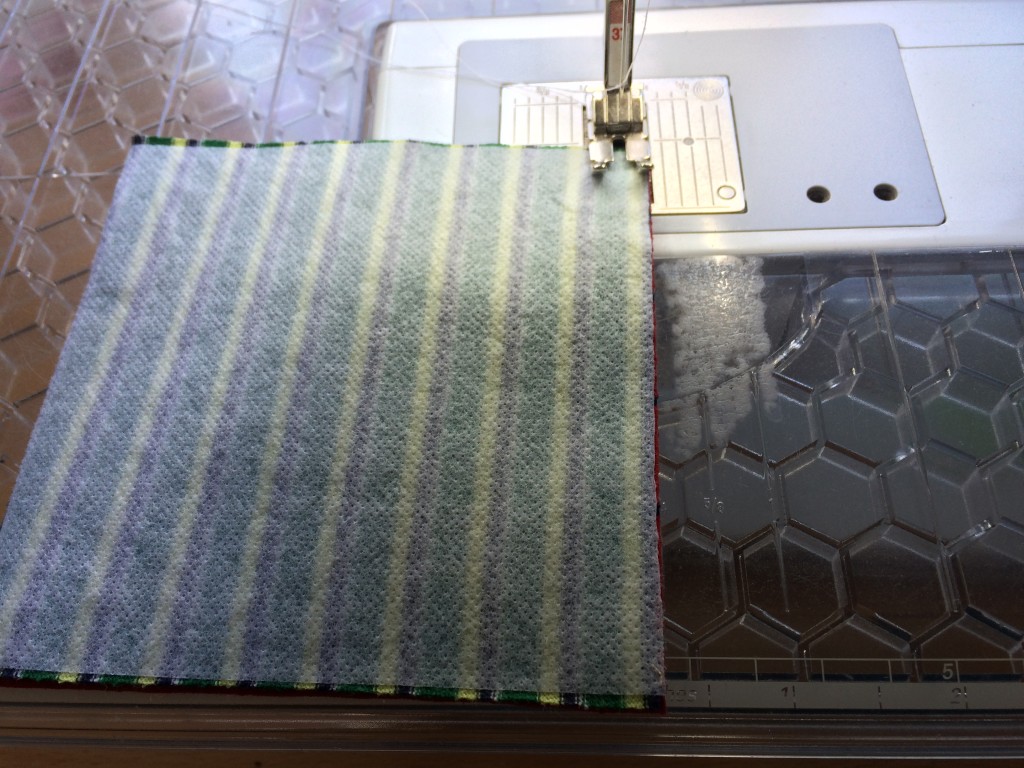
All seams 1/4″. Begin by sewing the 2 1/2″ squares together in an alternating pattern with 4 rows of 4. Press.
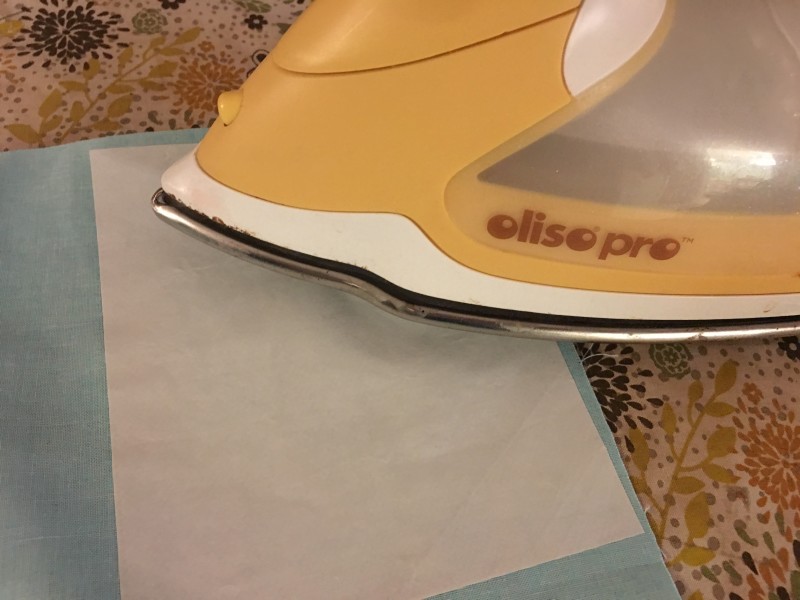
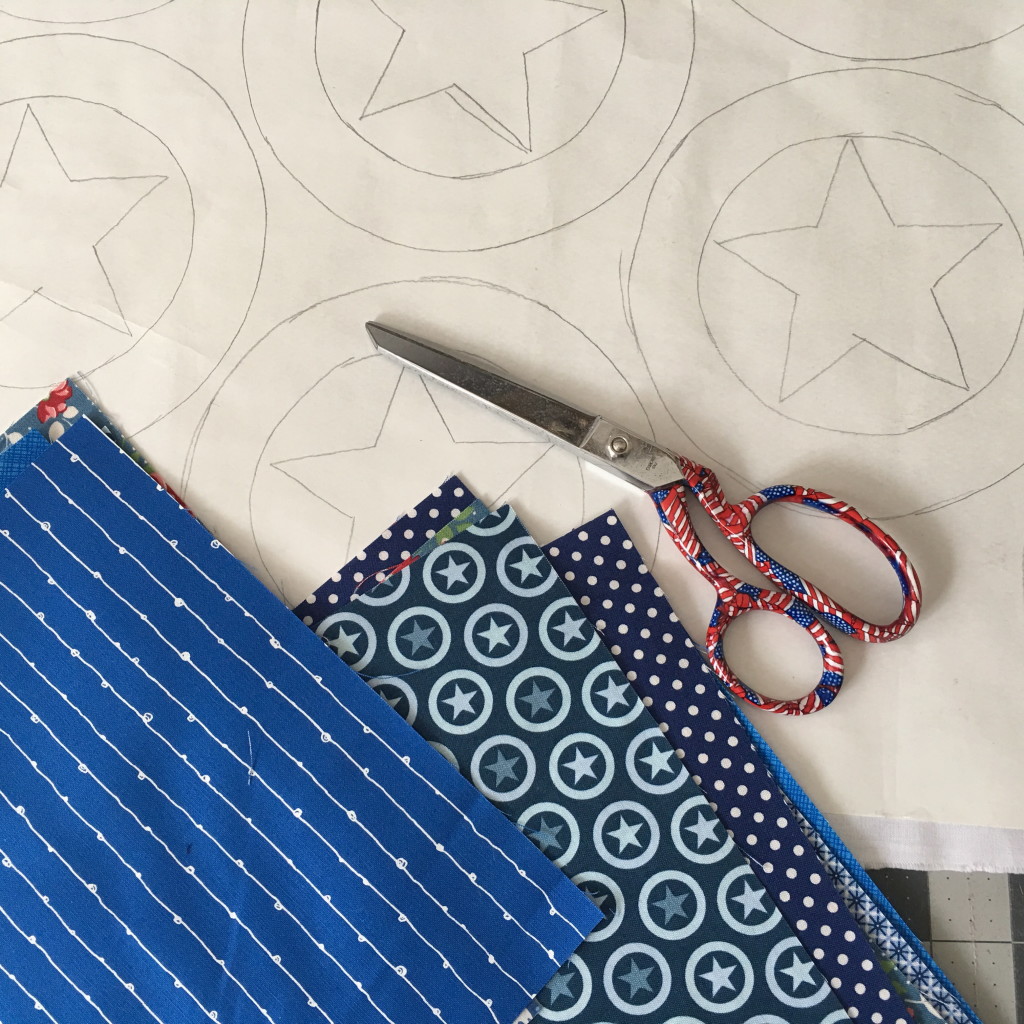
Fuse the Heat n Bond Lite to the wrong side of the jar fabric, lid fabric, and heart fabric. 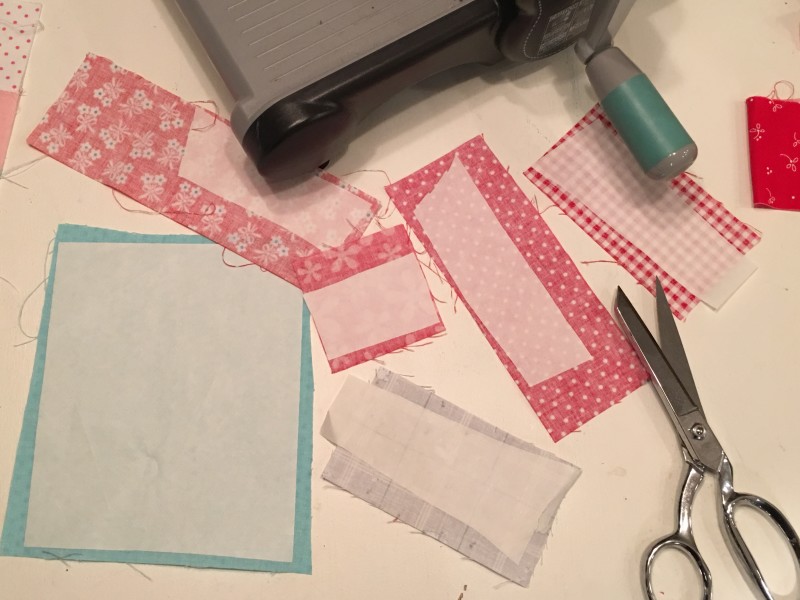
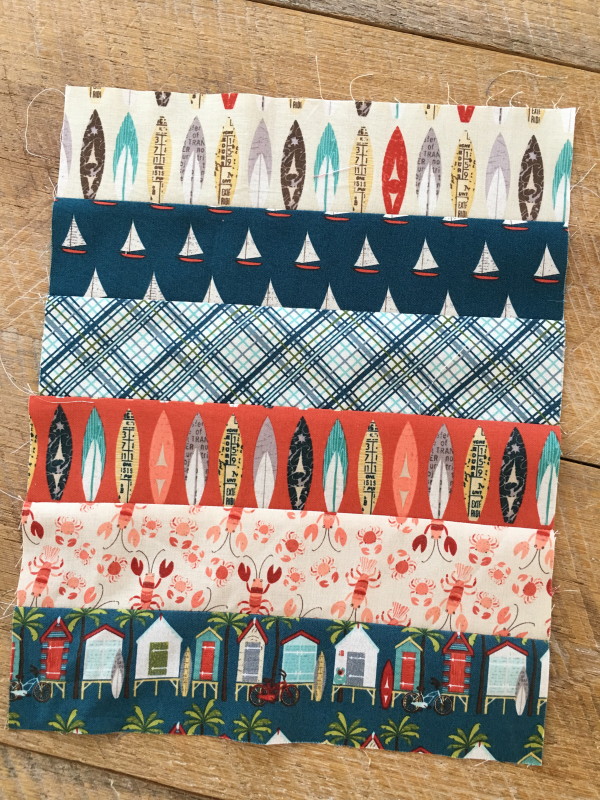
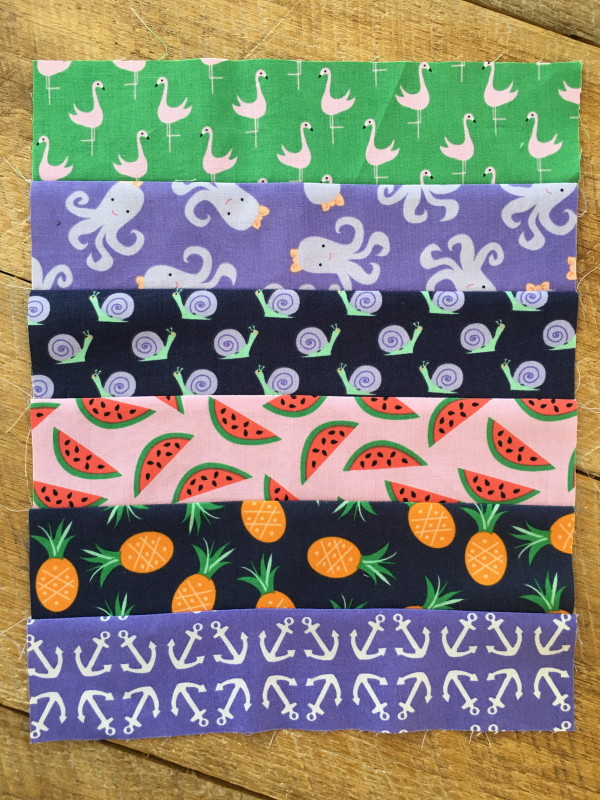
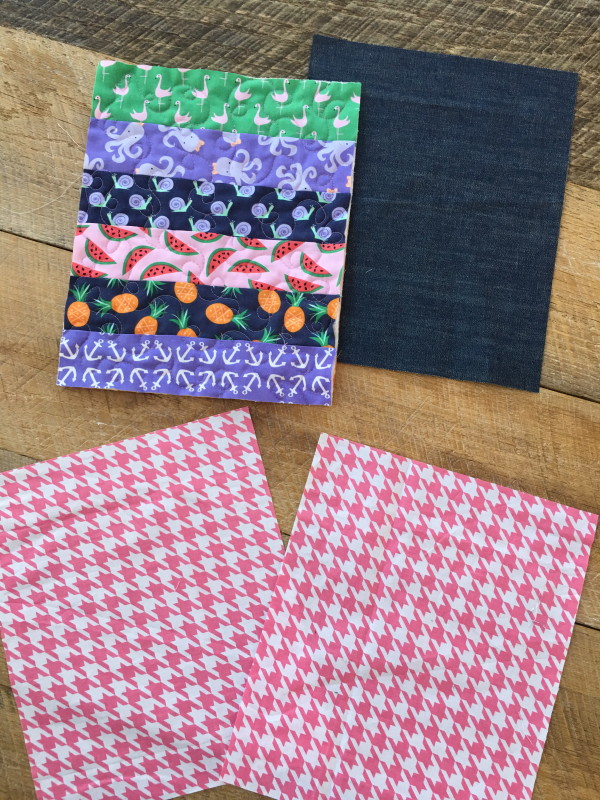
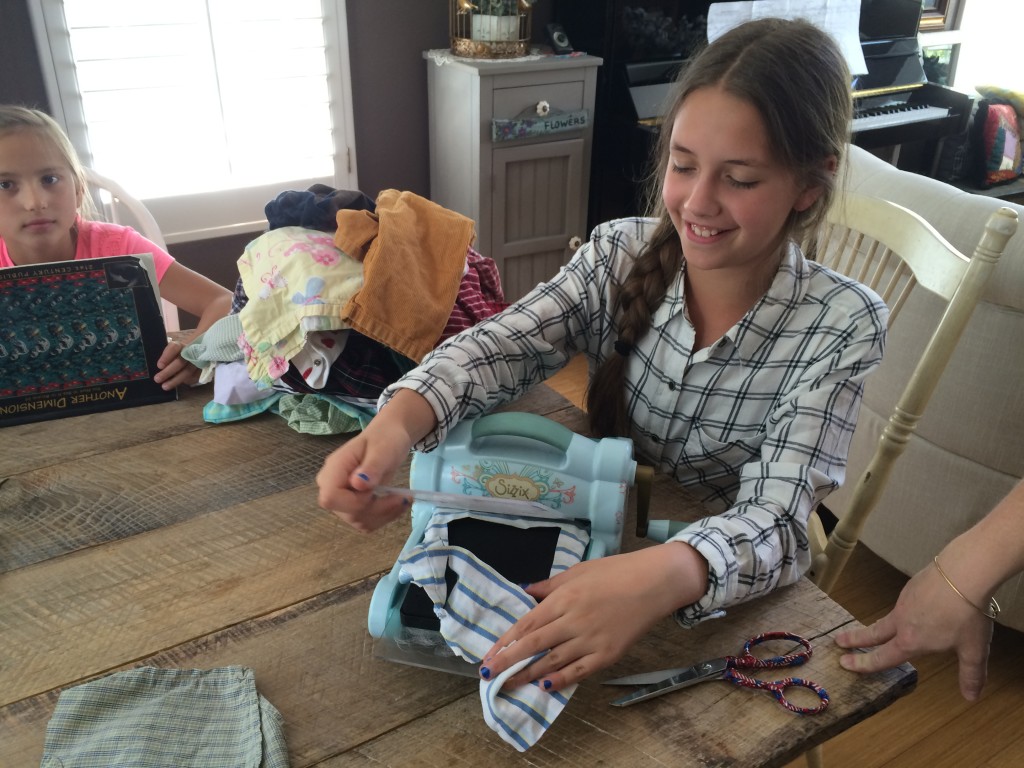
As you can see this is a great scrap buster!!!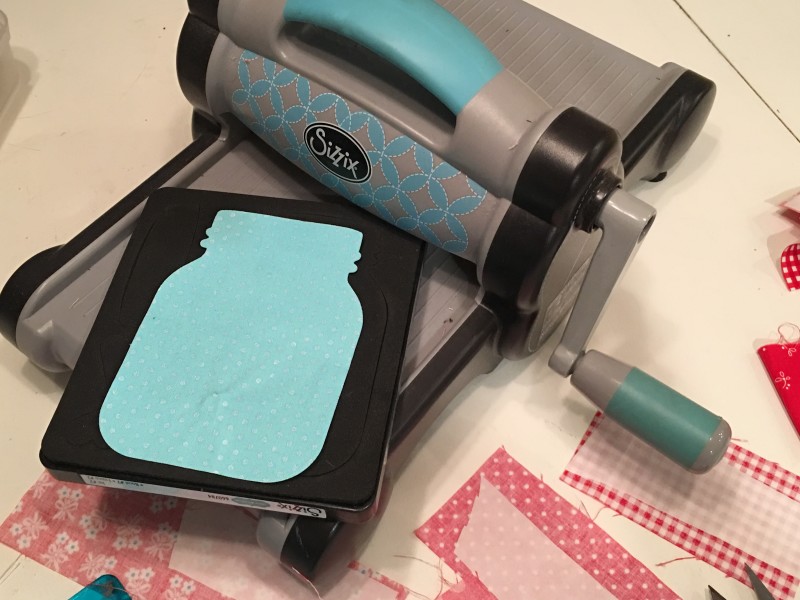
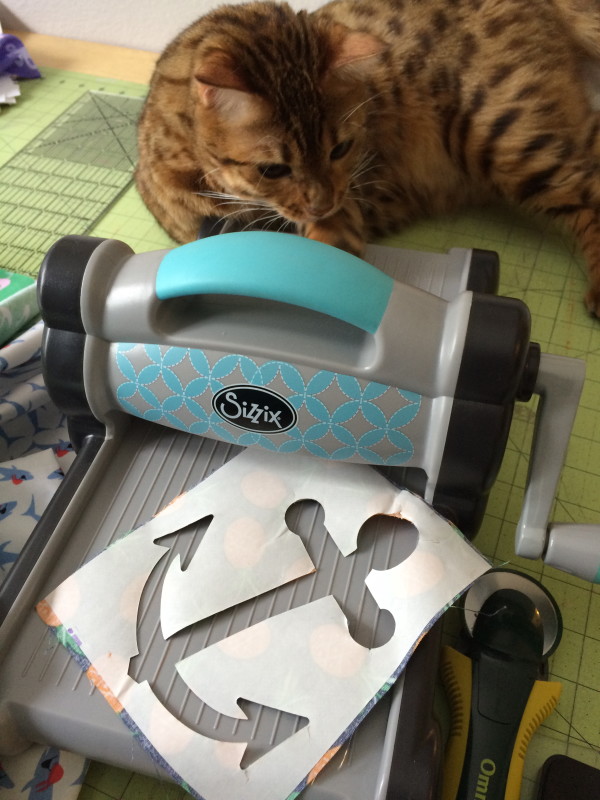
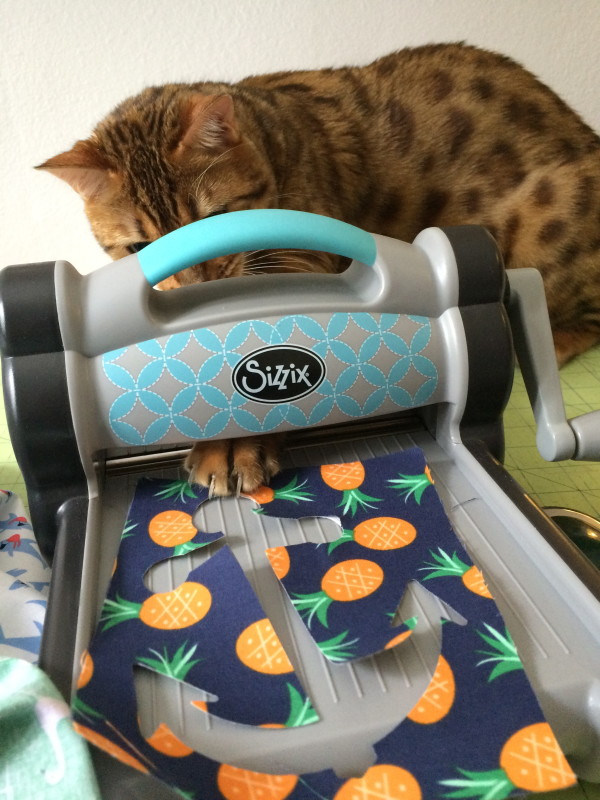
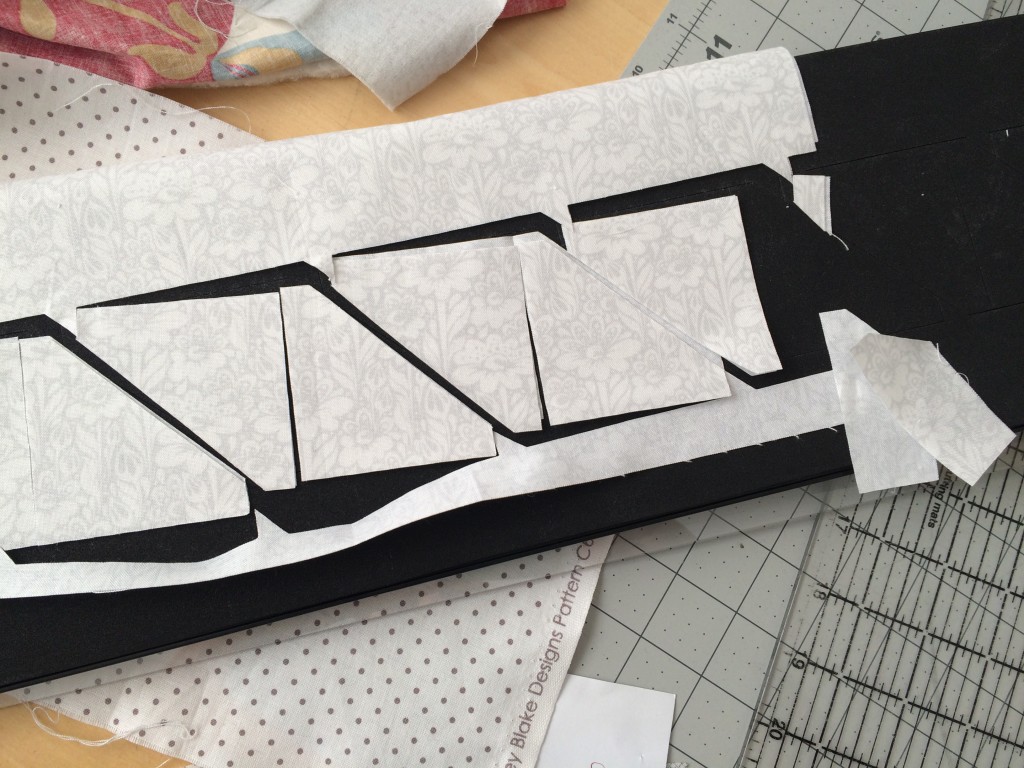
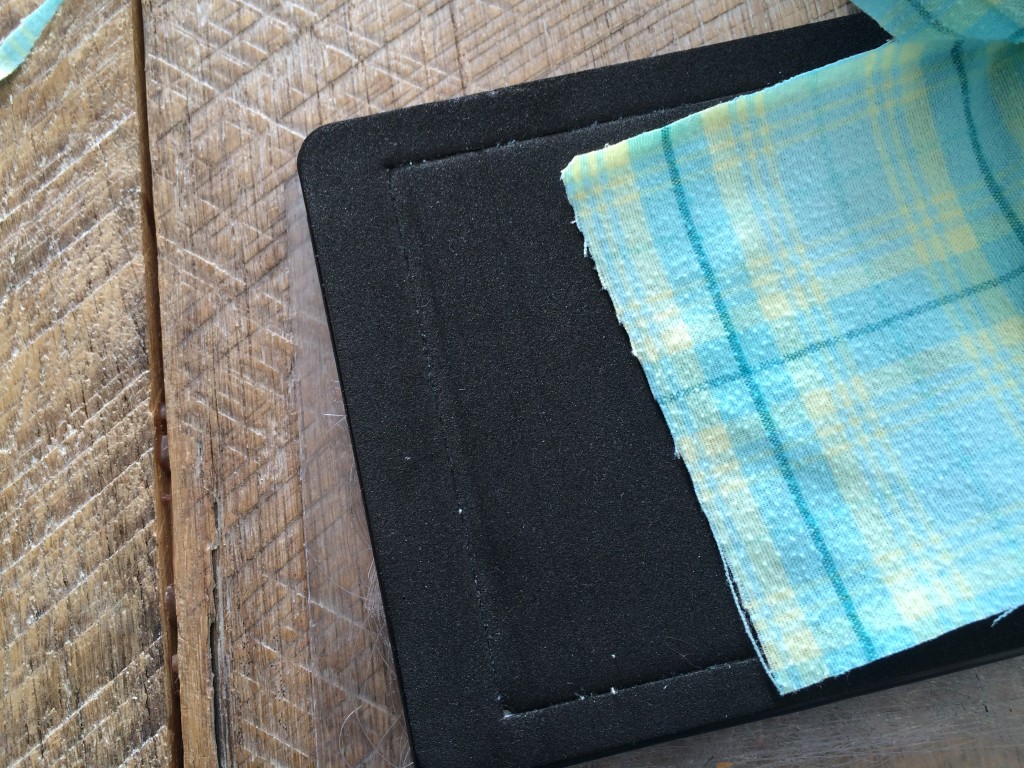
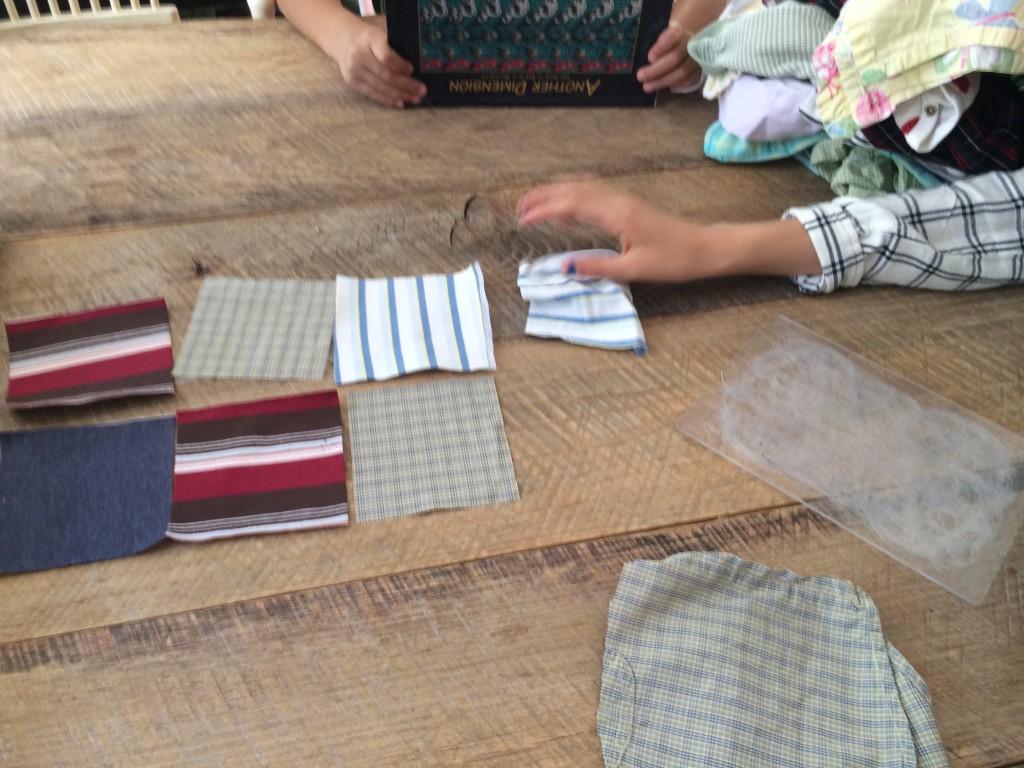
Die cut the jar, the lid and the hearts. I die cut 11 hearts. Peel off the backing paper.
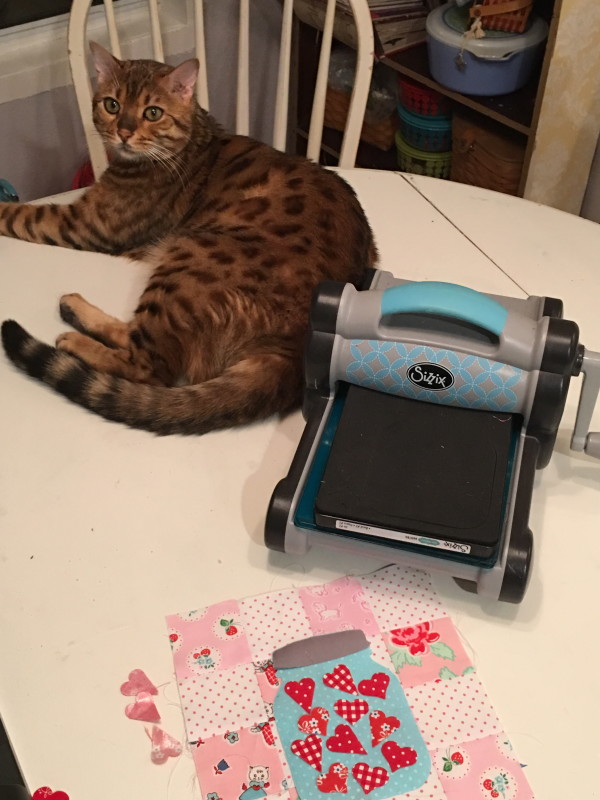
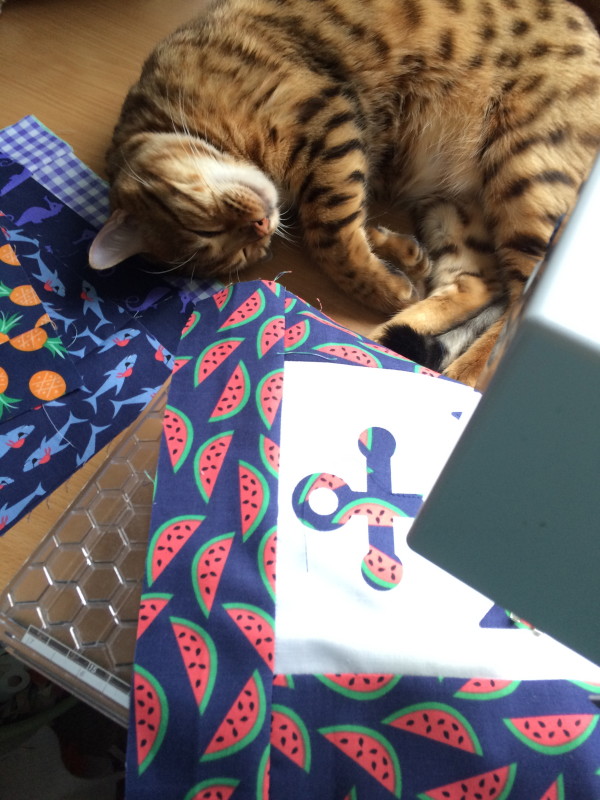
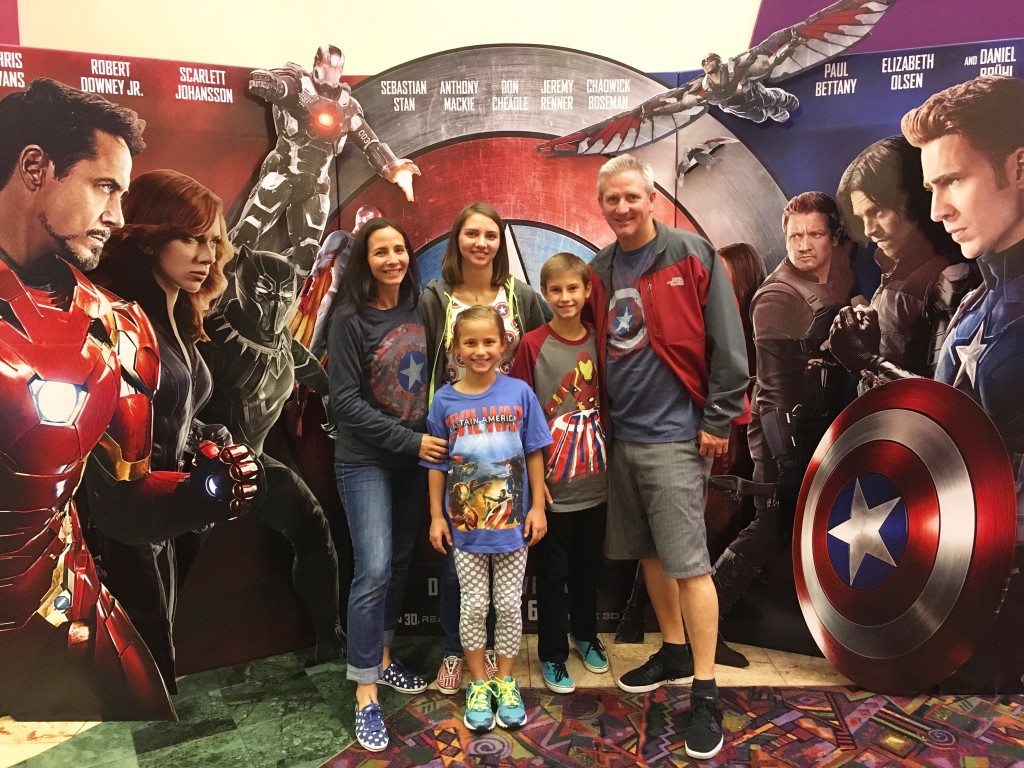
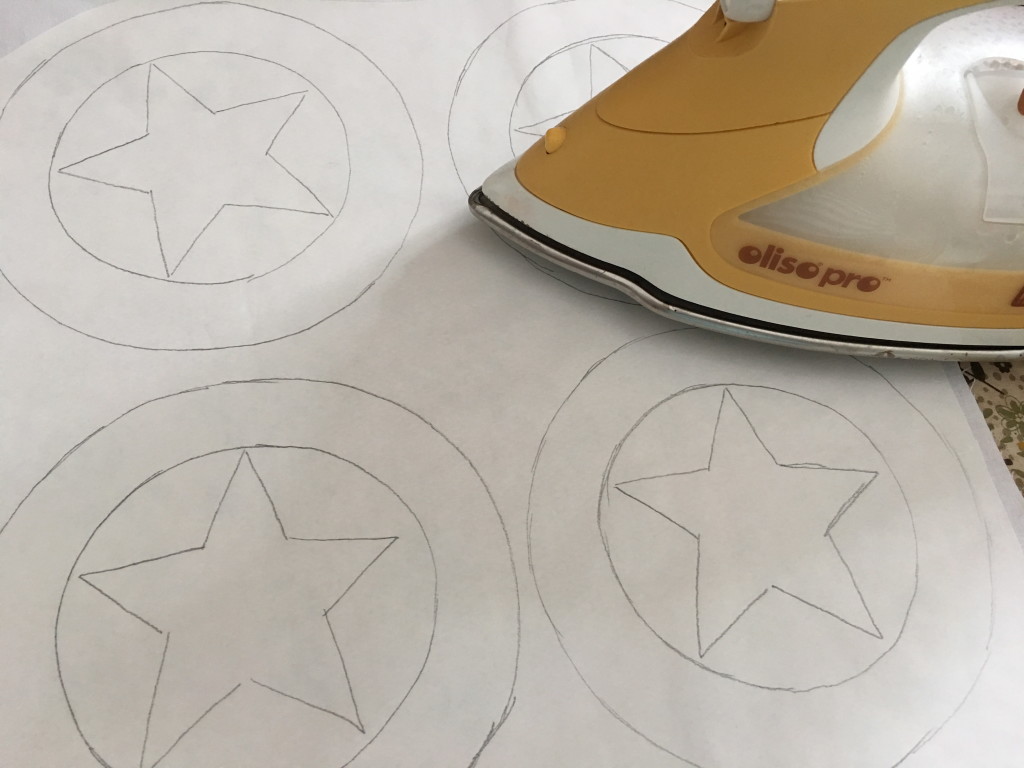
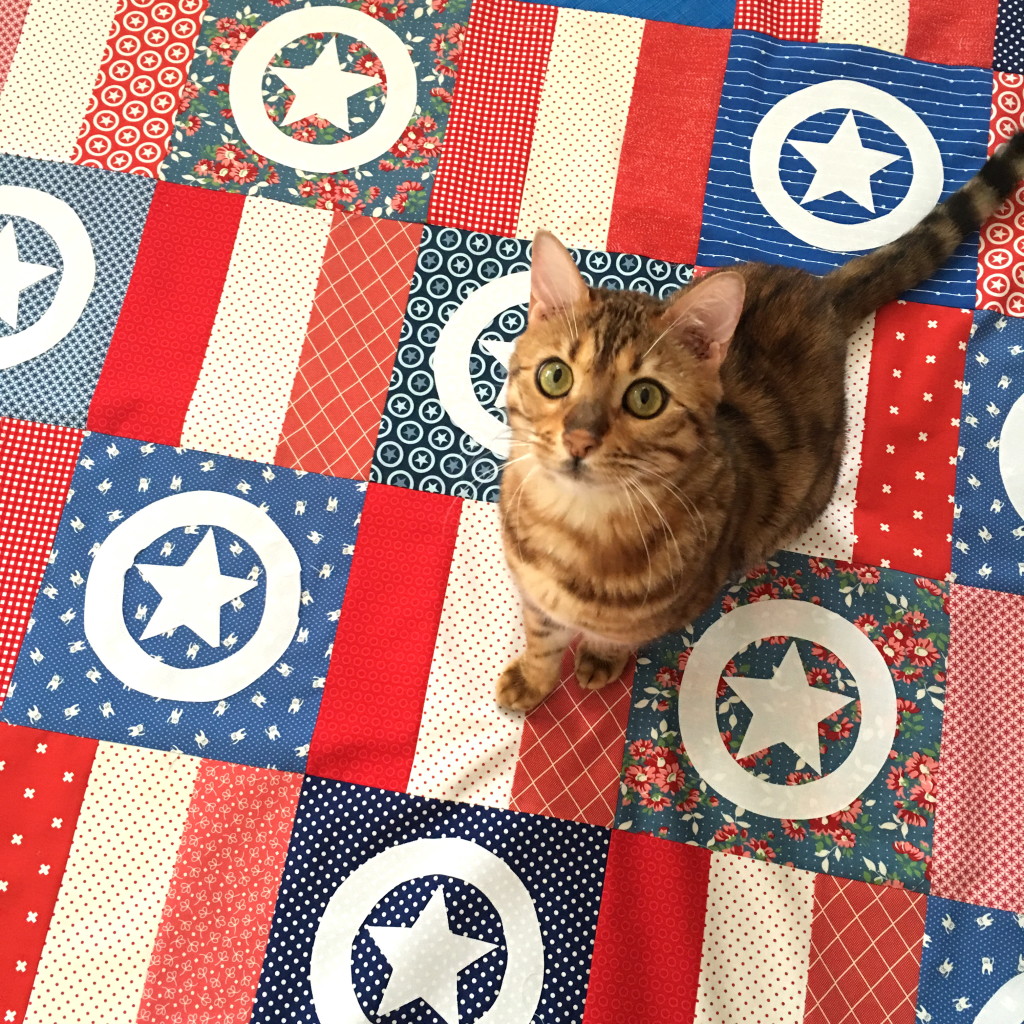
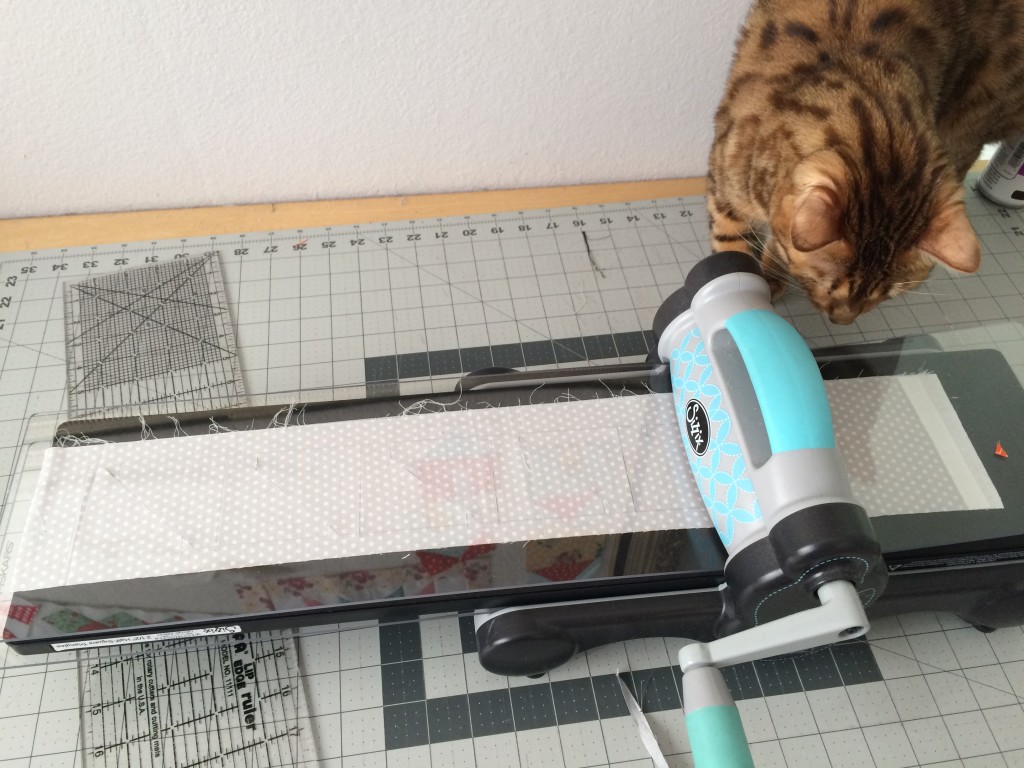
Position the hearts on the jar and the jar on the quilt block. Mufasa and I are working very late tonight!!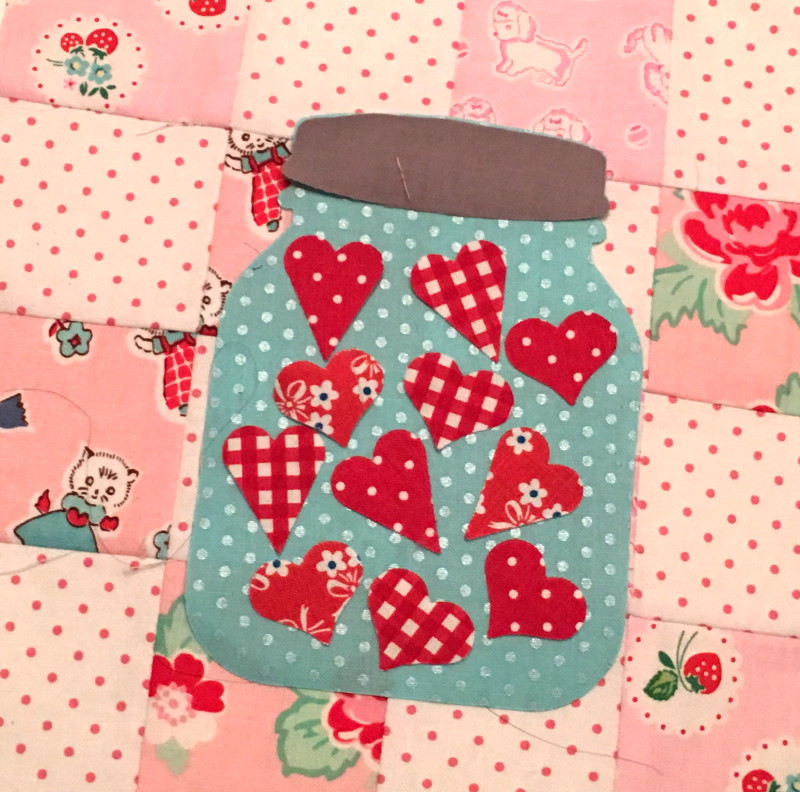
Press the applique pieces in place.
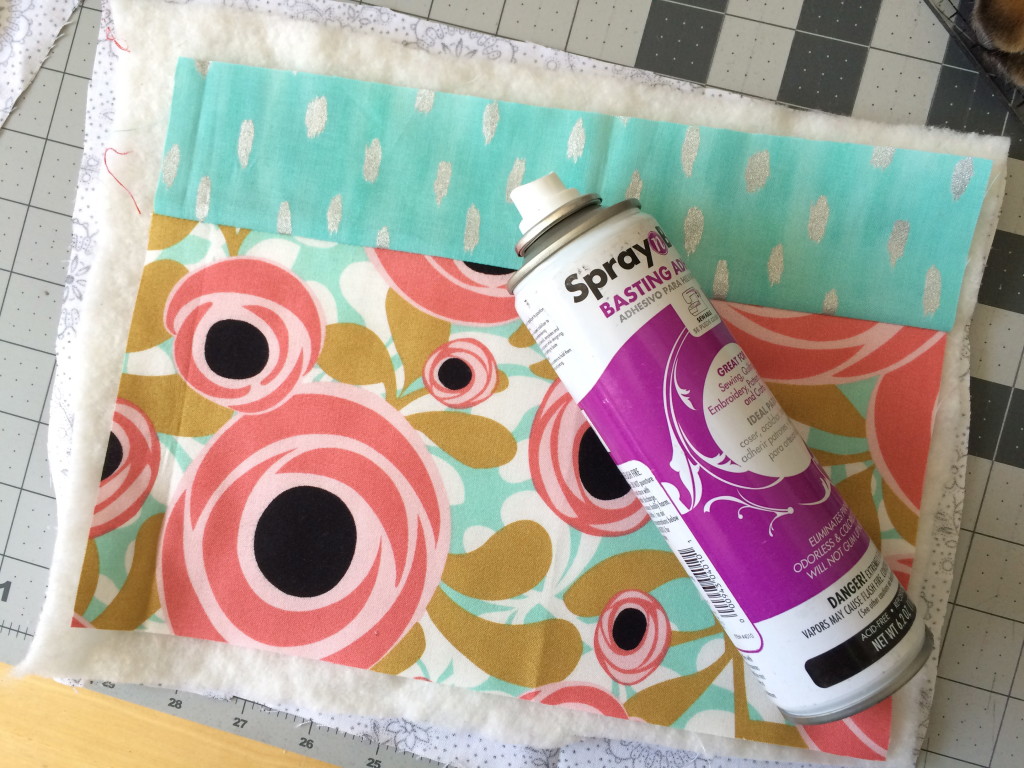
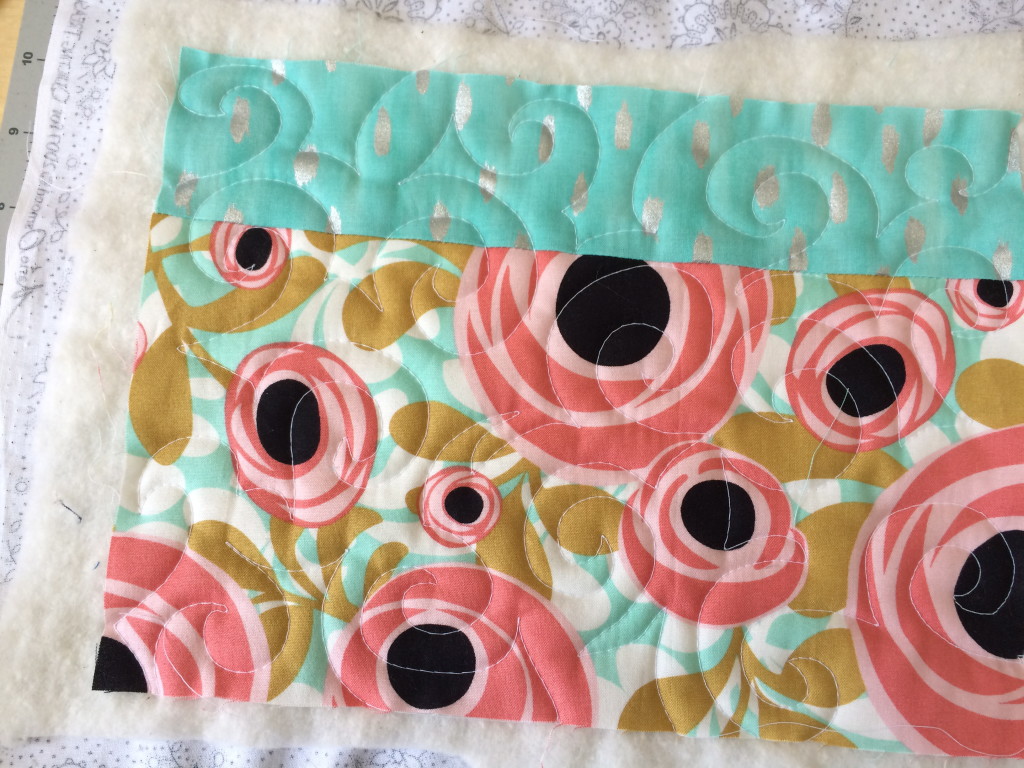
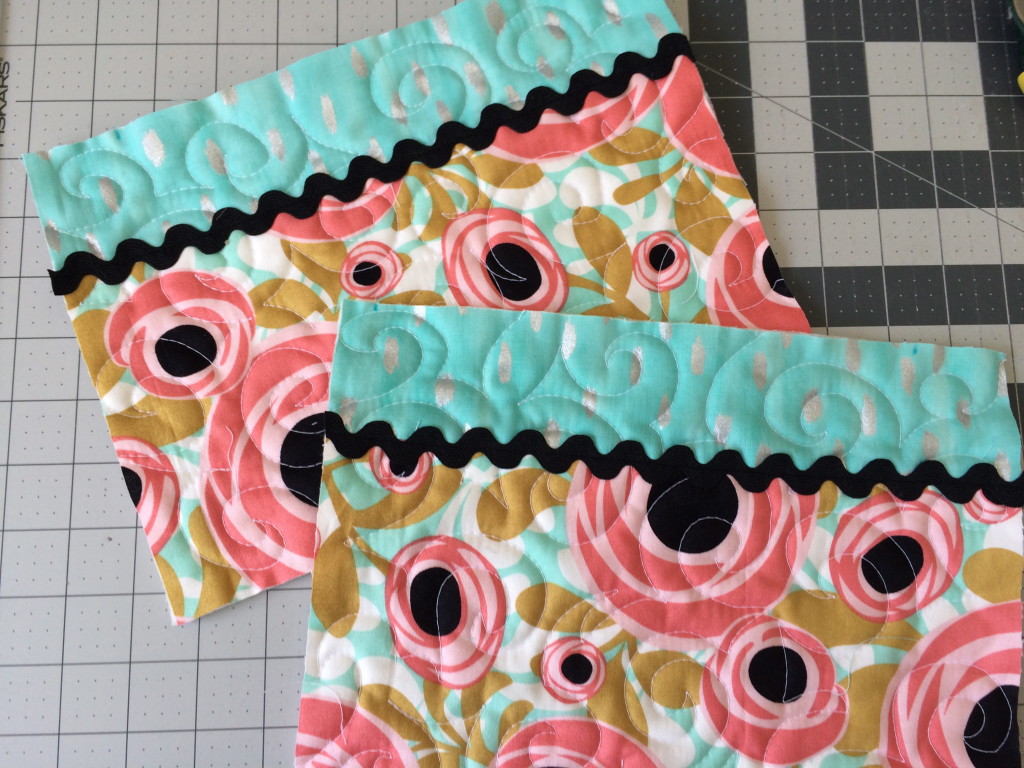
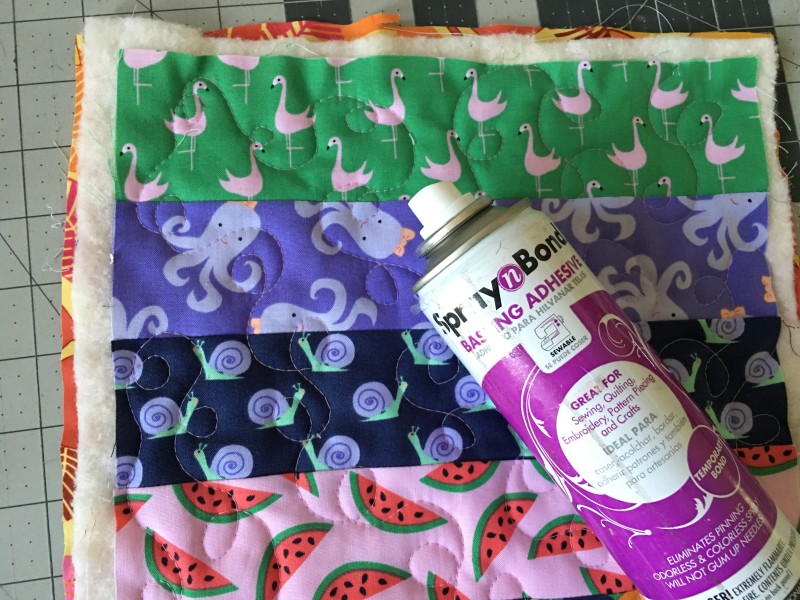
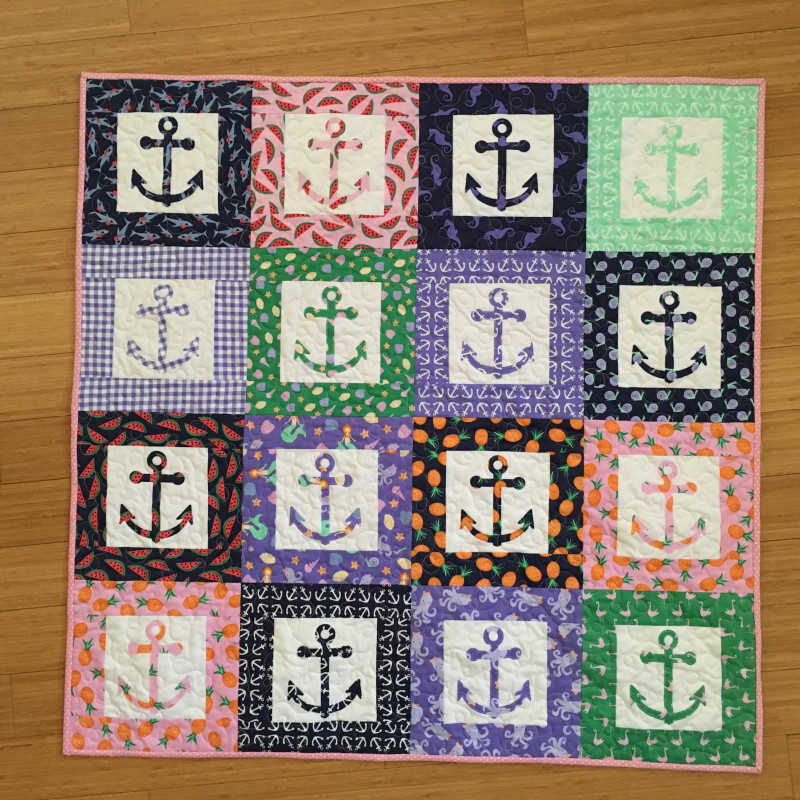
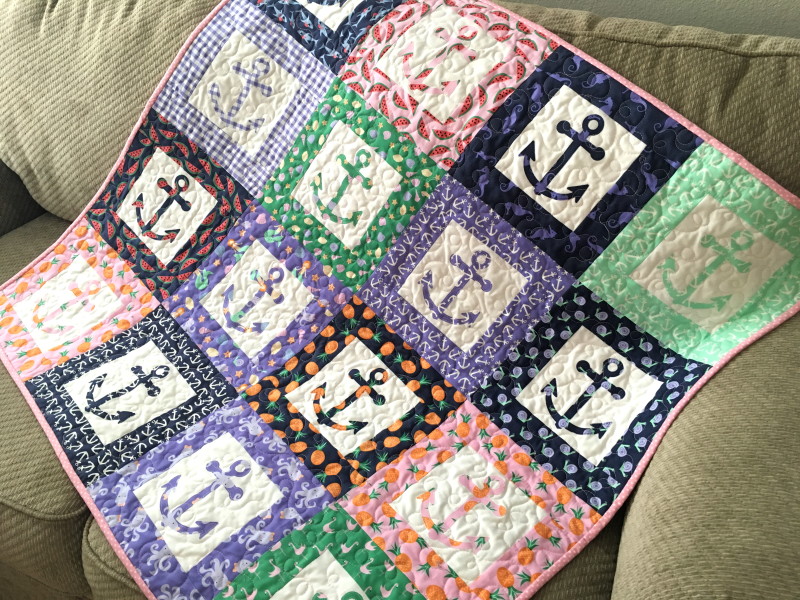
Baste the backing fabric, batting, and quilt block. Quilt. I quilted loop de loos around the jar, then quilted with dark gray thread outlining the jar and lid. I also quilted inside each heart. Square up the quilt block and add the binding.
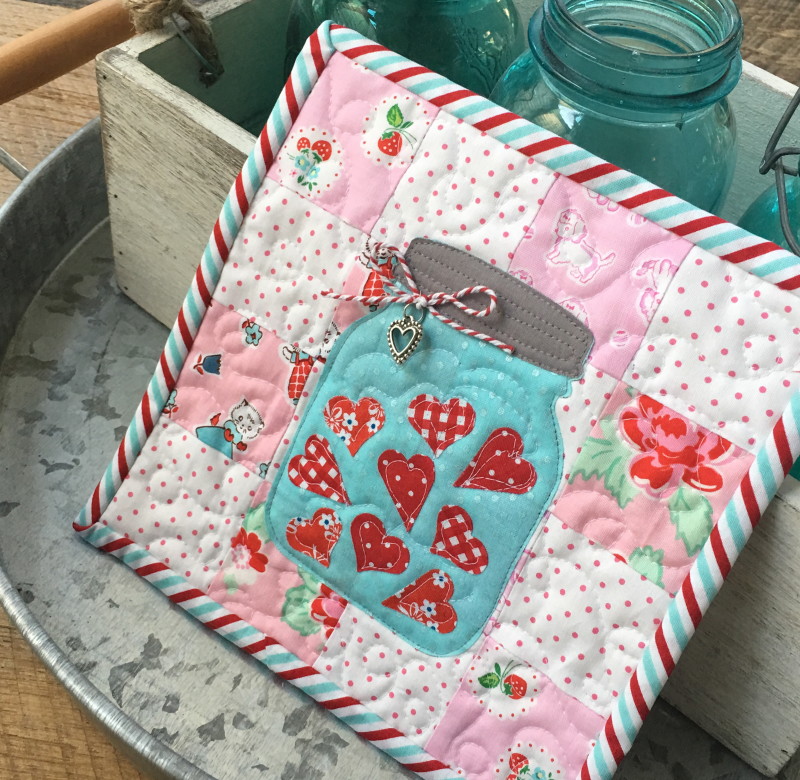
Tie a bow out of bakers twine and tack it to the side of the jar. I added a little silver heart charm – yes I’m cute 🙂
I hope you love making this project! I can’t wait to make more and give for gifts. You might want to tuck this little idea away for Valentines Day!!


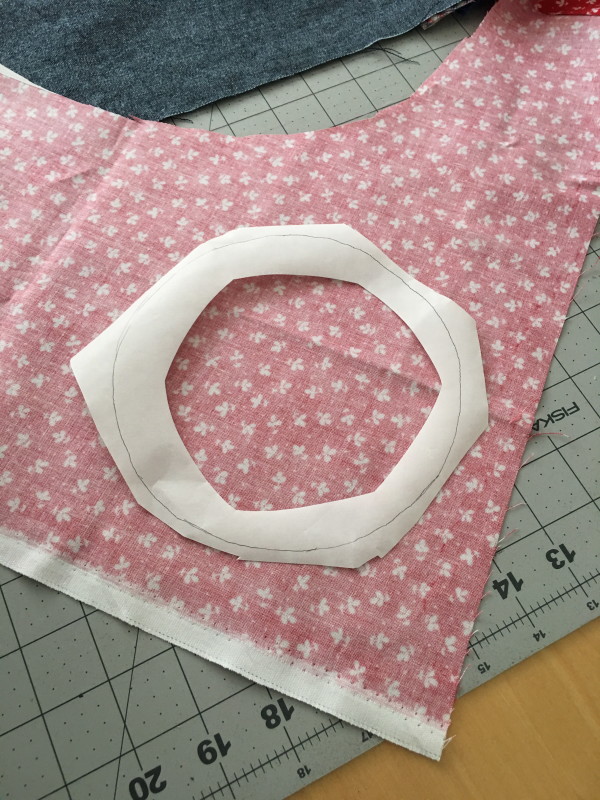
 For the 8″, 6″, and star shape you can click
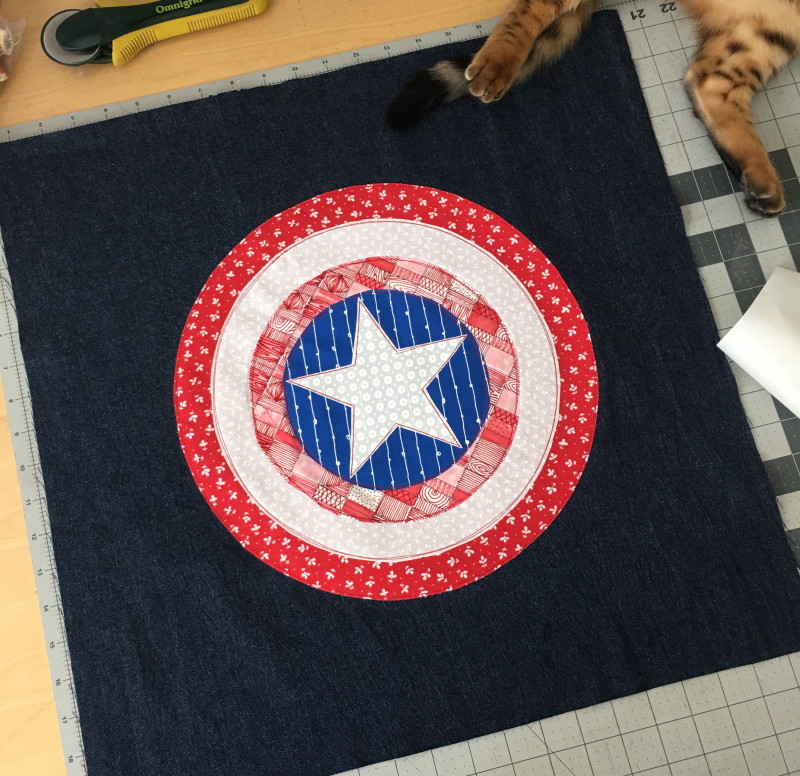
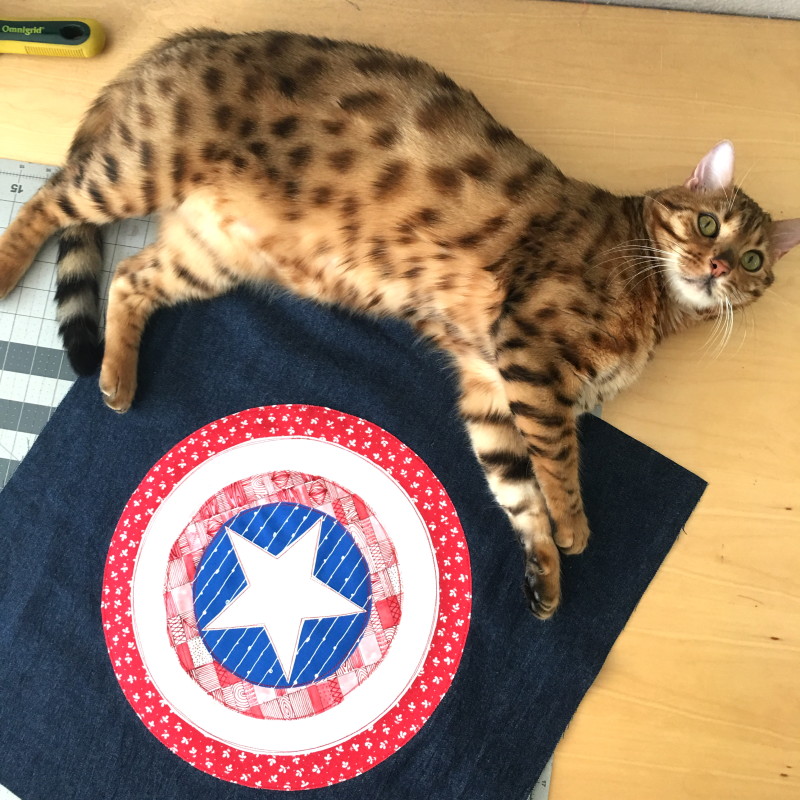
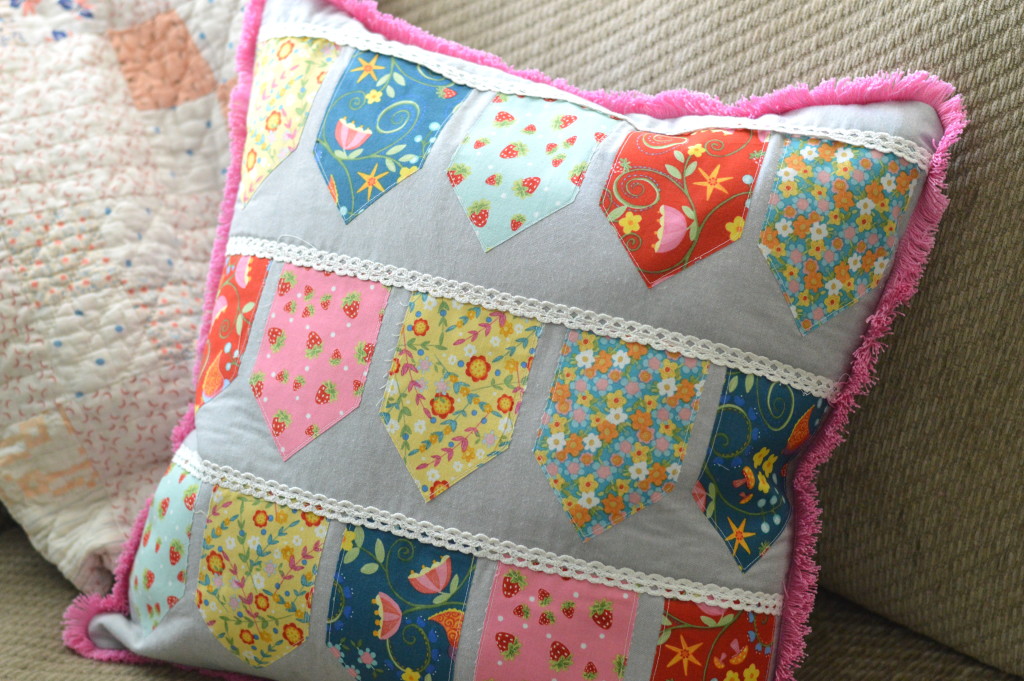
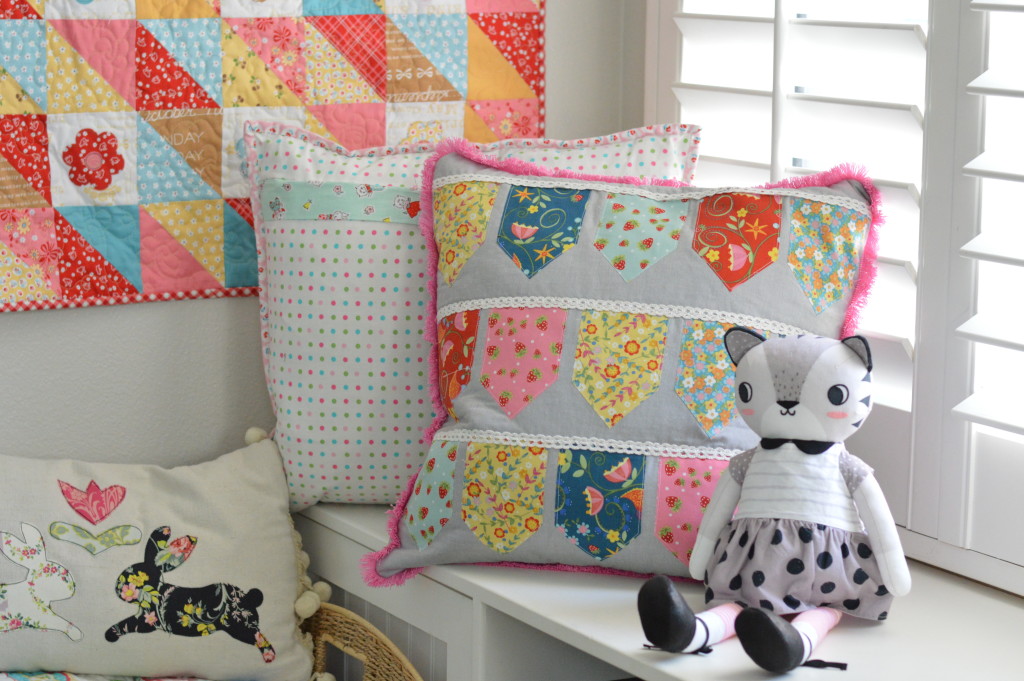
 Insert the pillow form and you’re done! Ready to wrap and head to the party!!
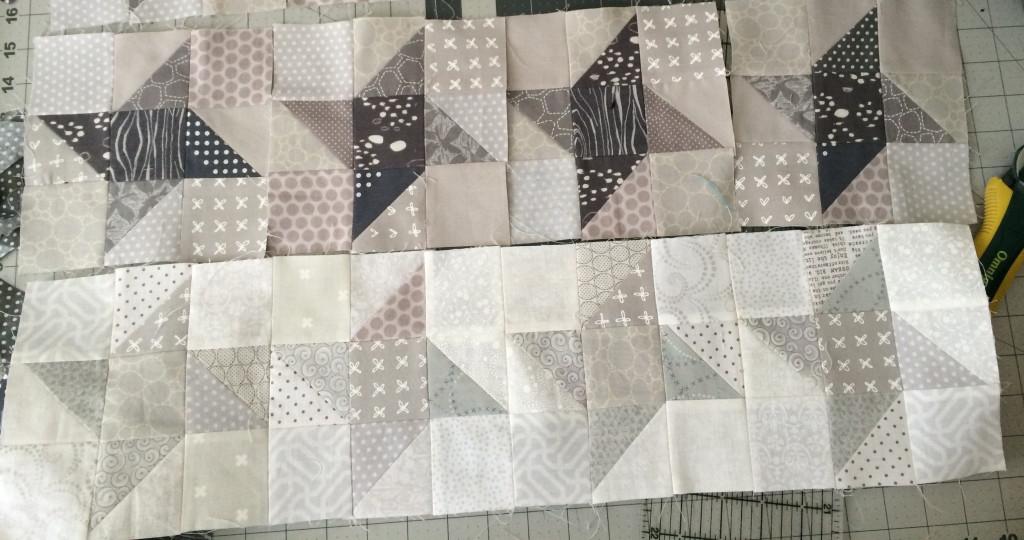
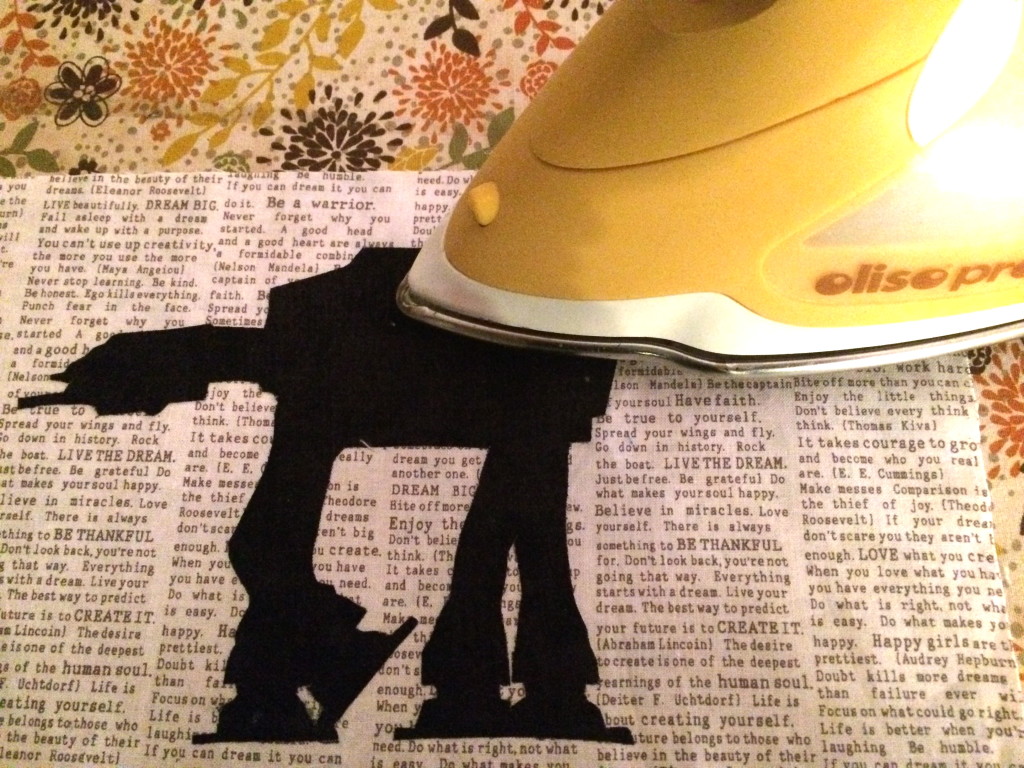
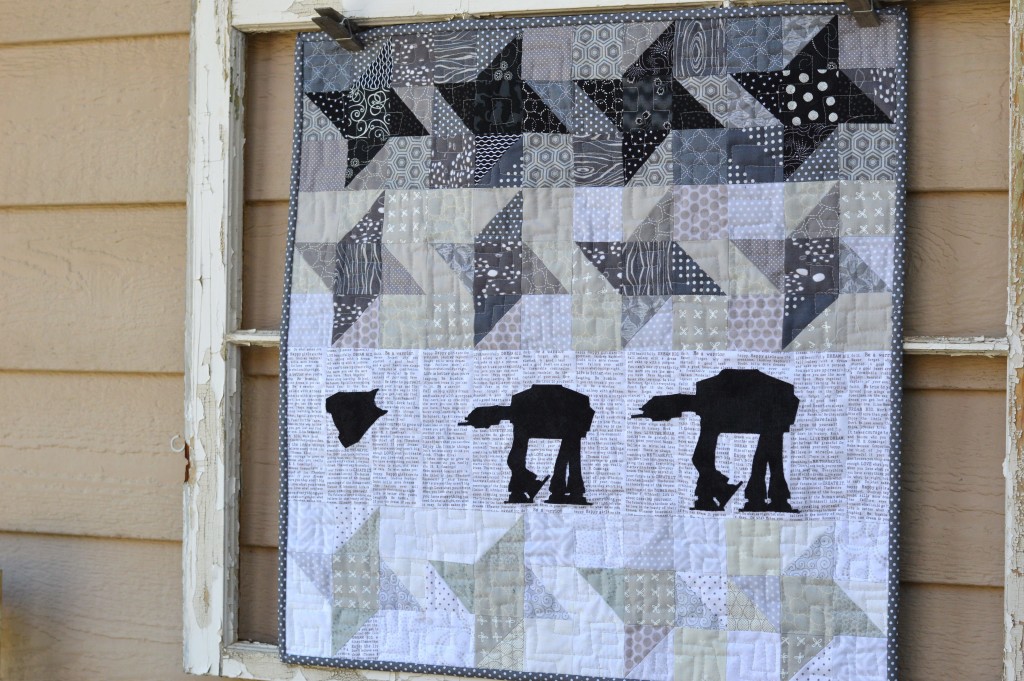
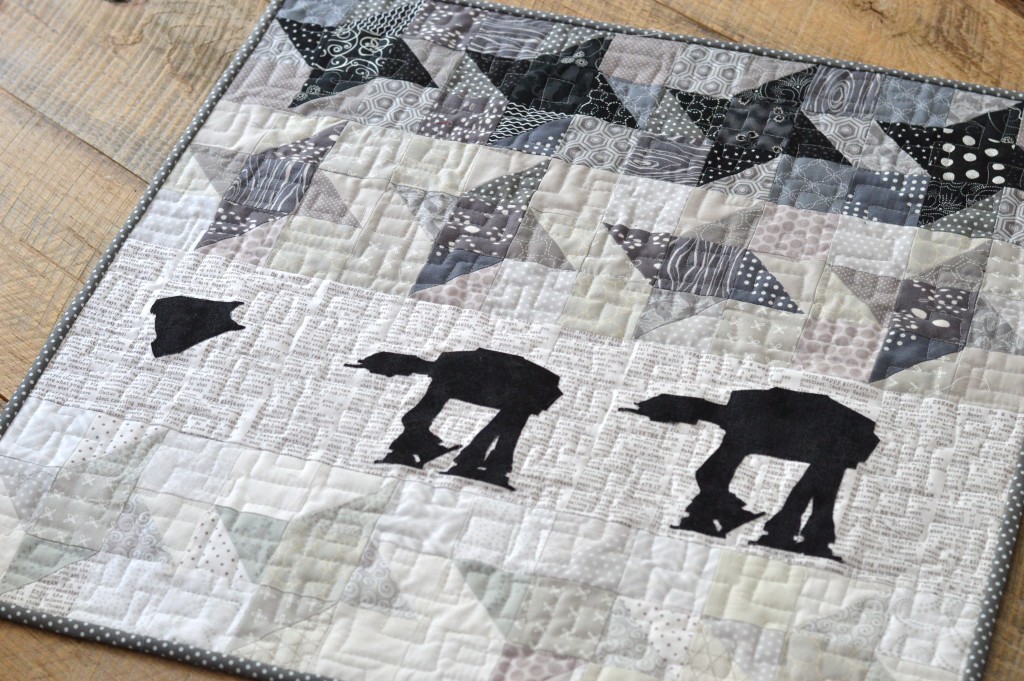
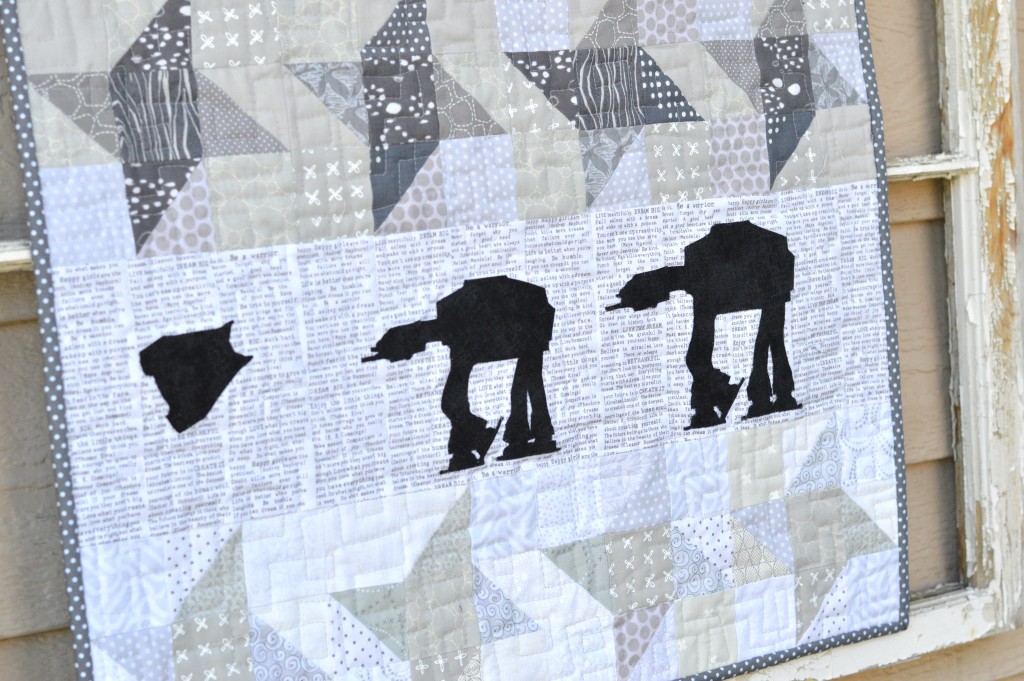
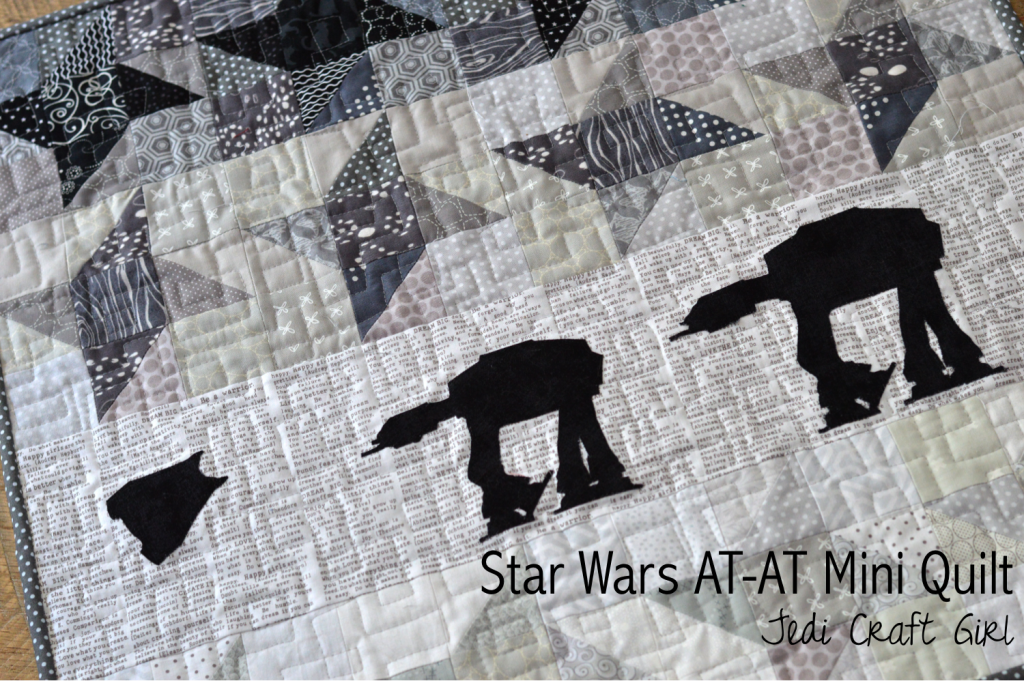 I recently participated in a May The 4th Mini Quilt Swap on Instagram. This is the quilt I made for my swap partner. I really wanted to bring out the feel of this scene in The Empire Strikes back. I am totally in love with it!
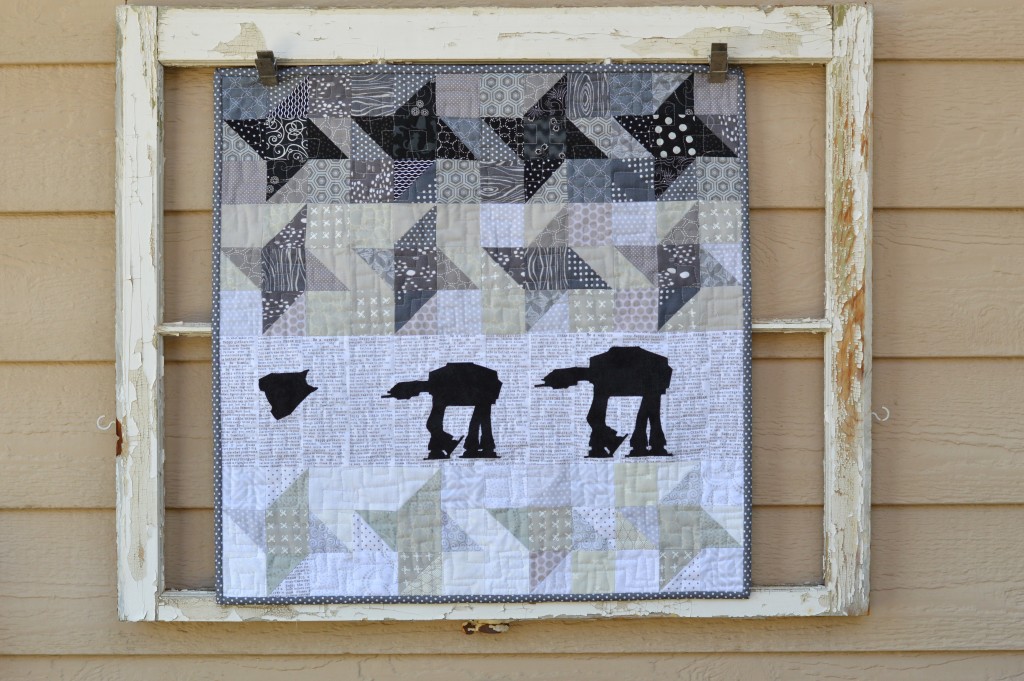
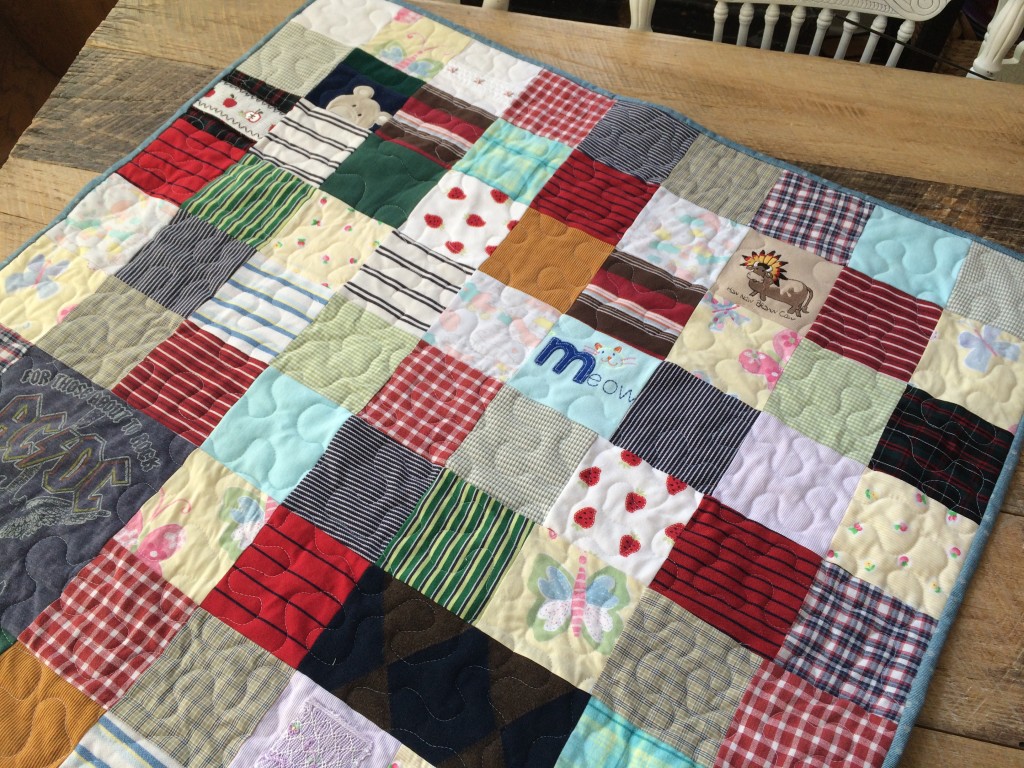


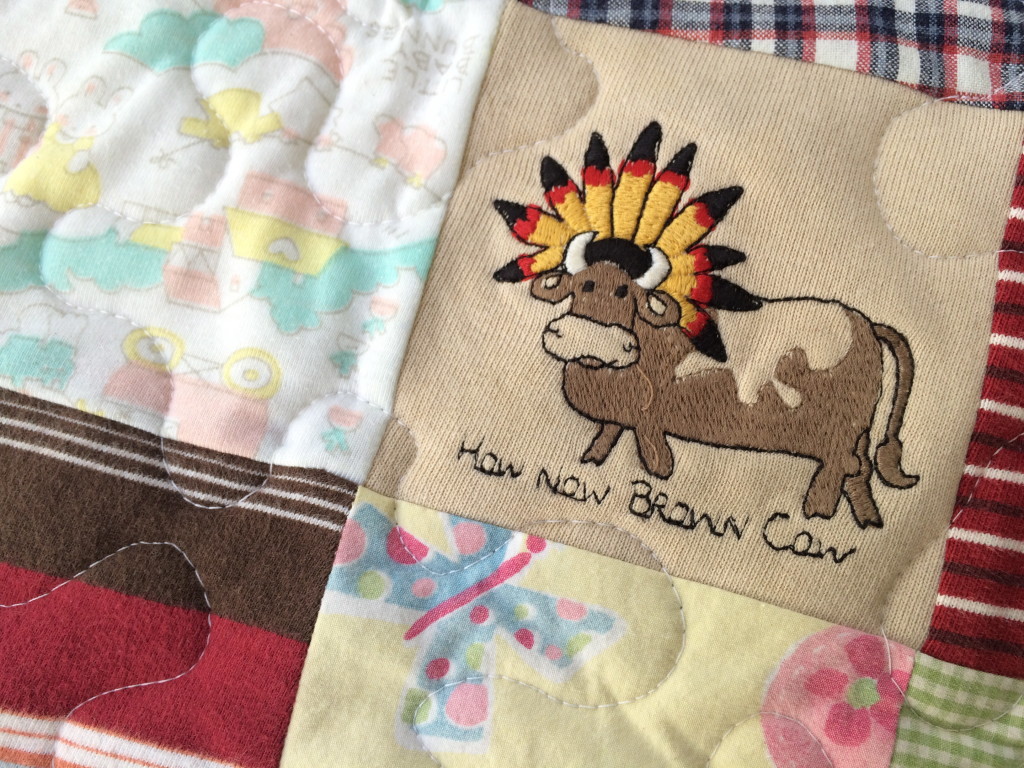
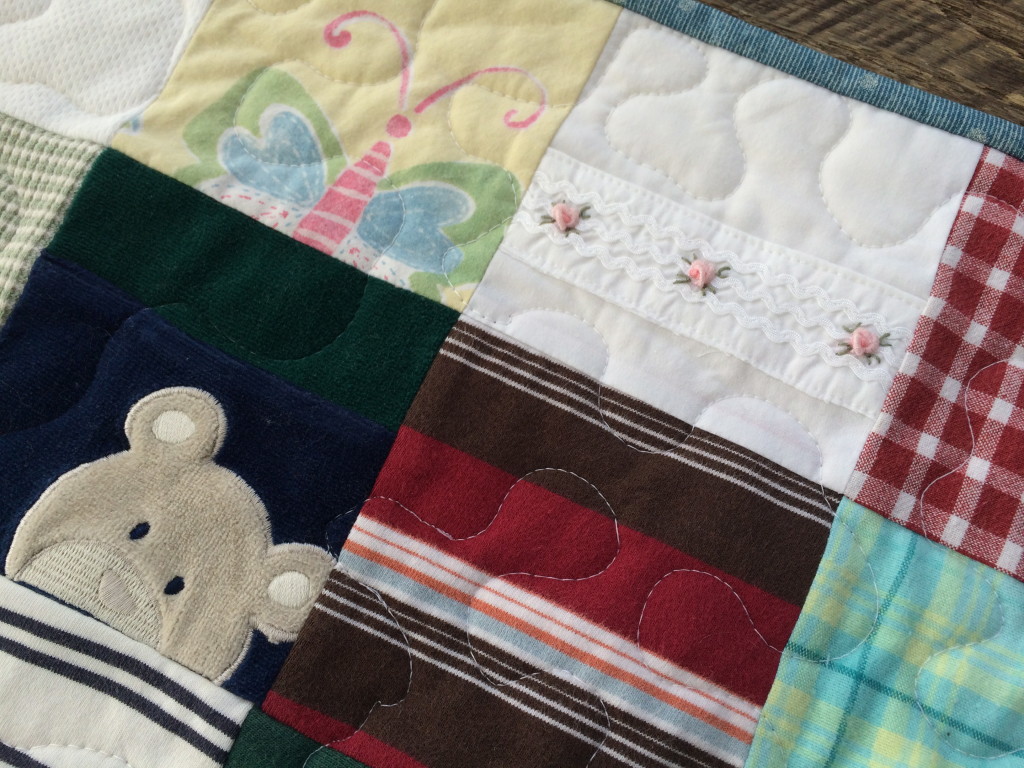
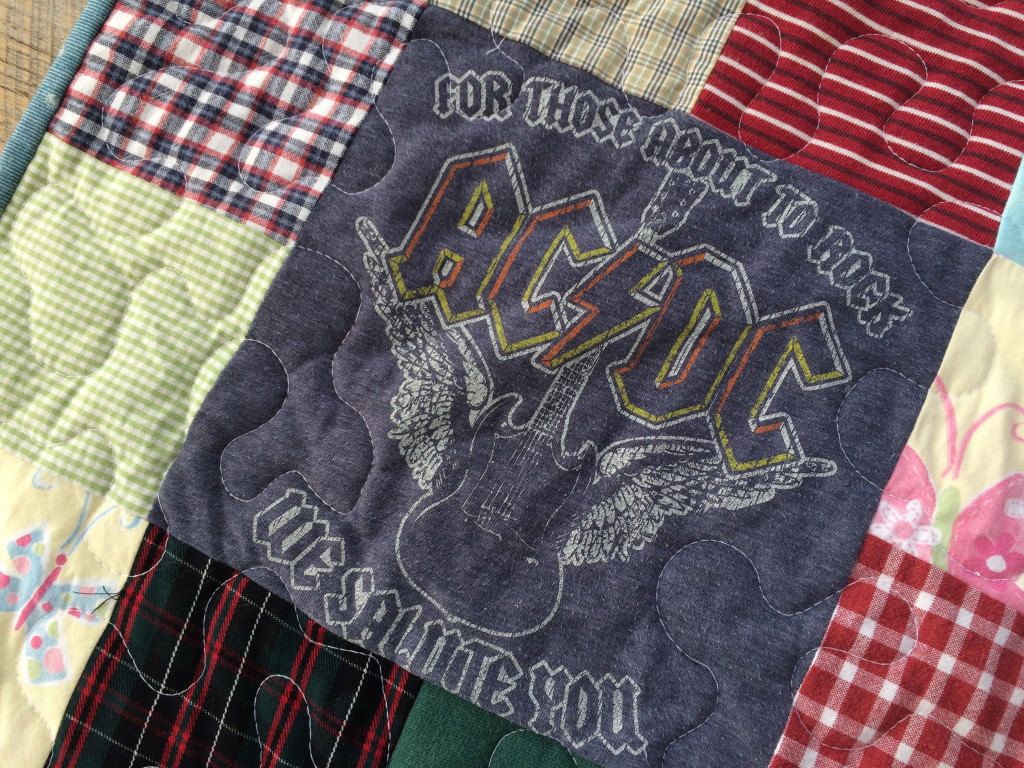
 I basted and quilted this just like a regular quilt. I quilted a little slower just to account for the varying degrees of thickness. I was able to put a sweatshirt piece next to a thin polyester pj fabric and it totally worked!