How to Applique Words {LOVE YOU Pillow}

DSC_0197

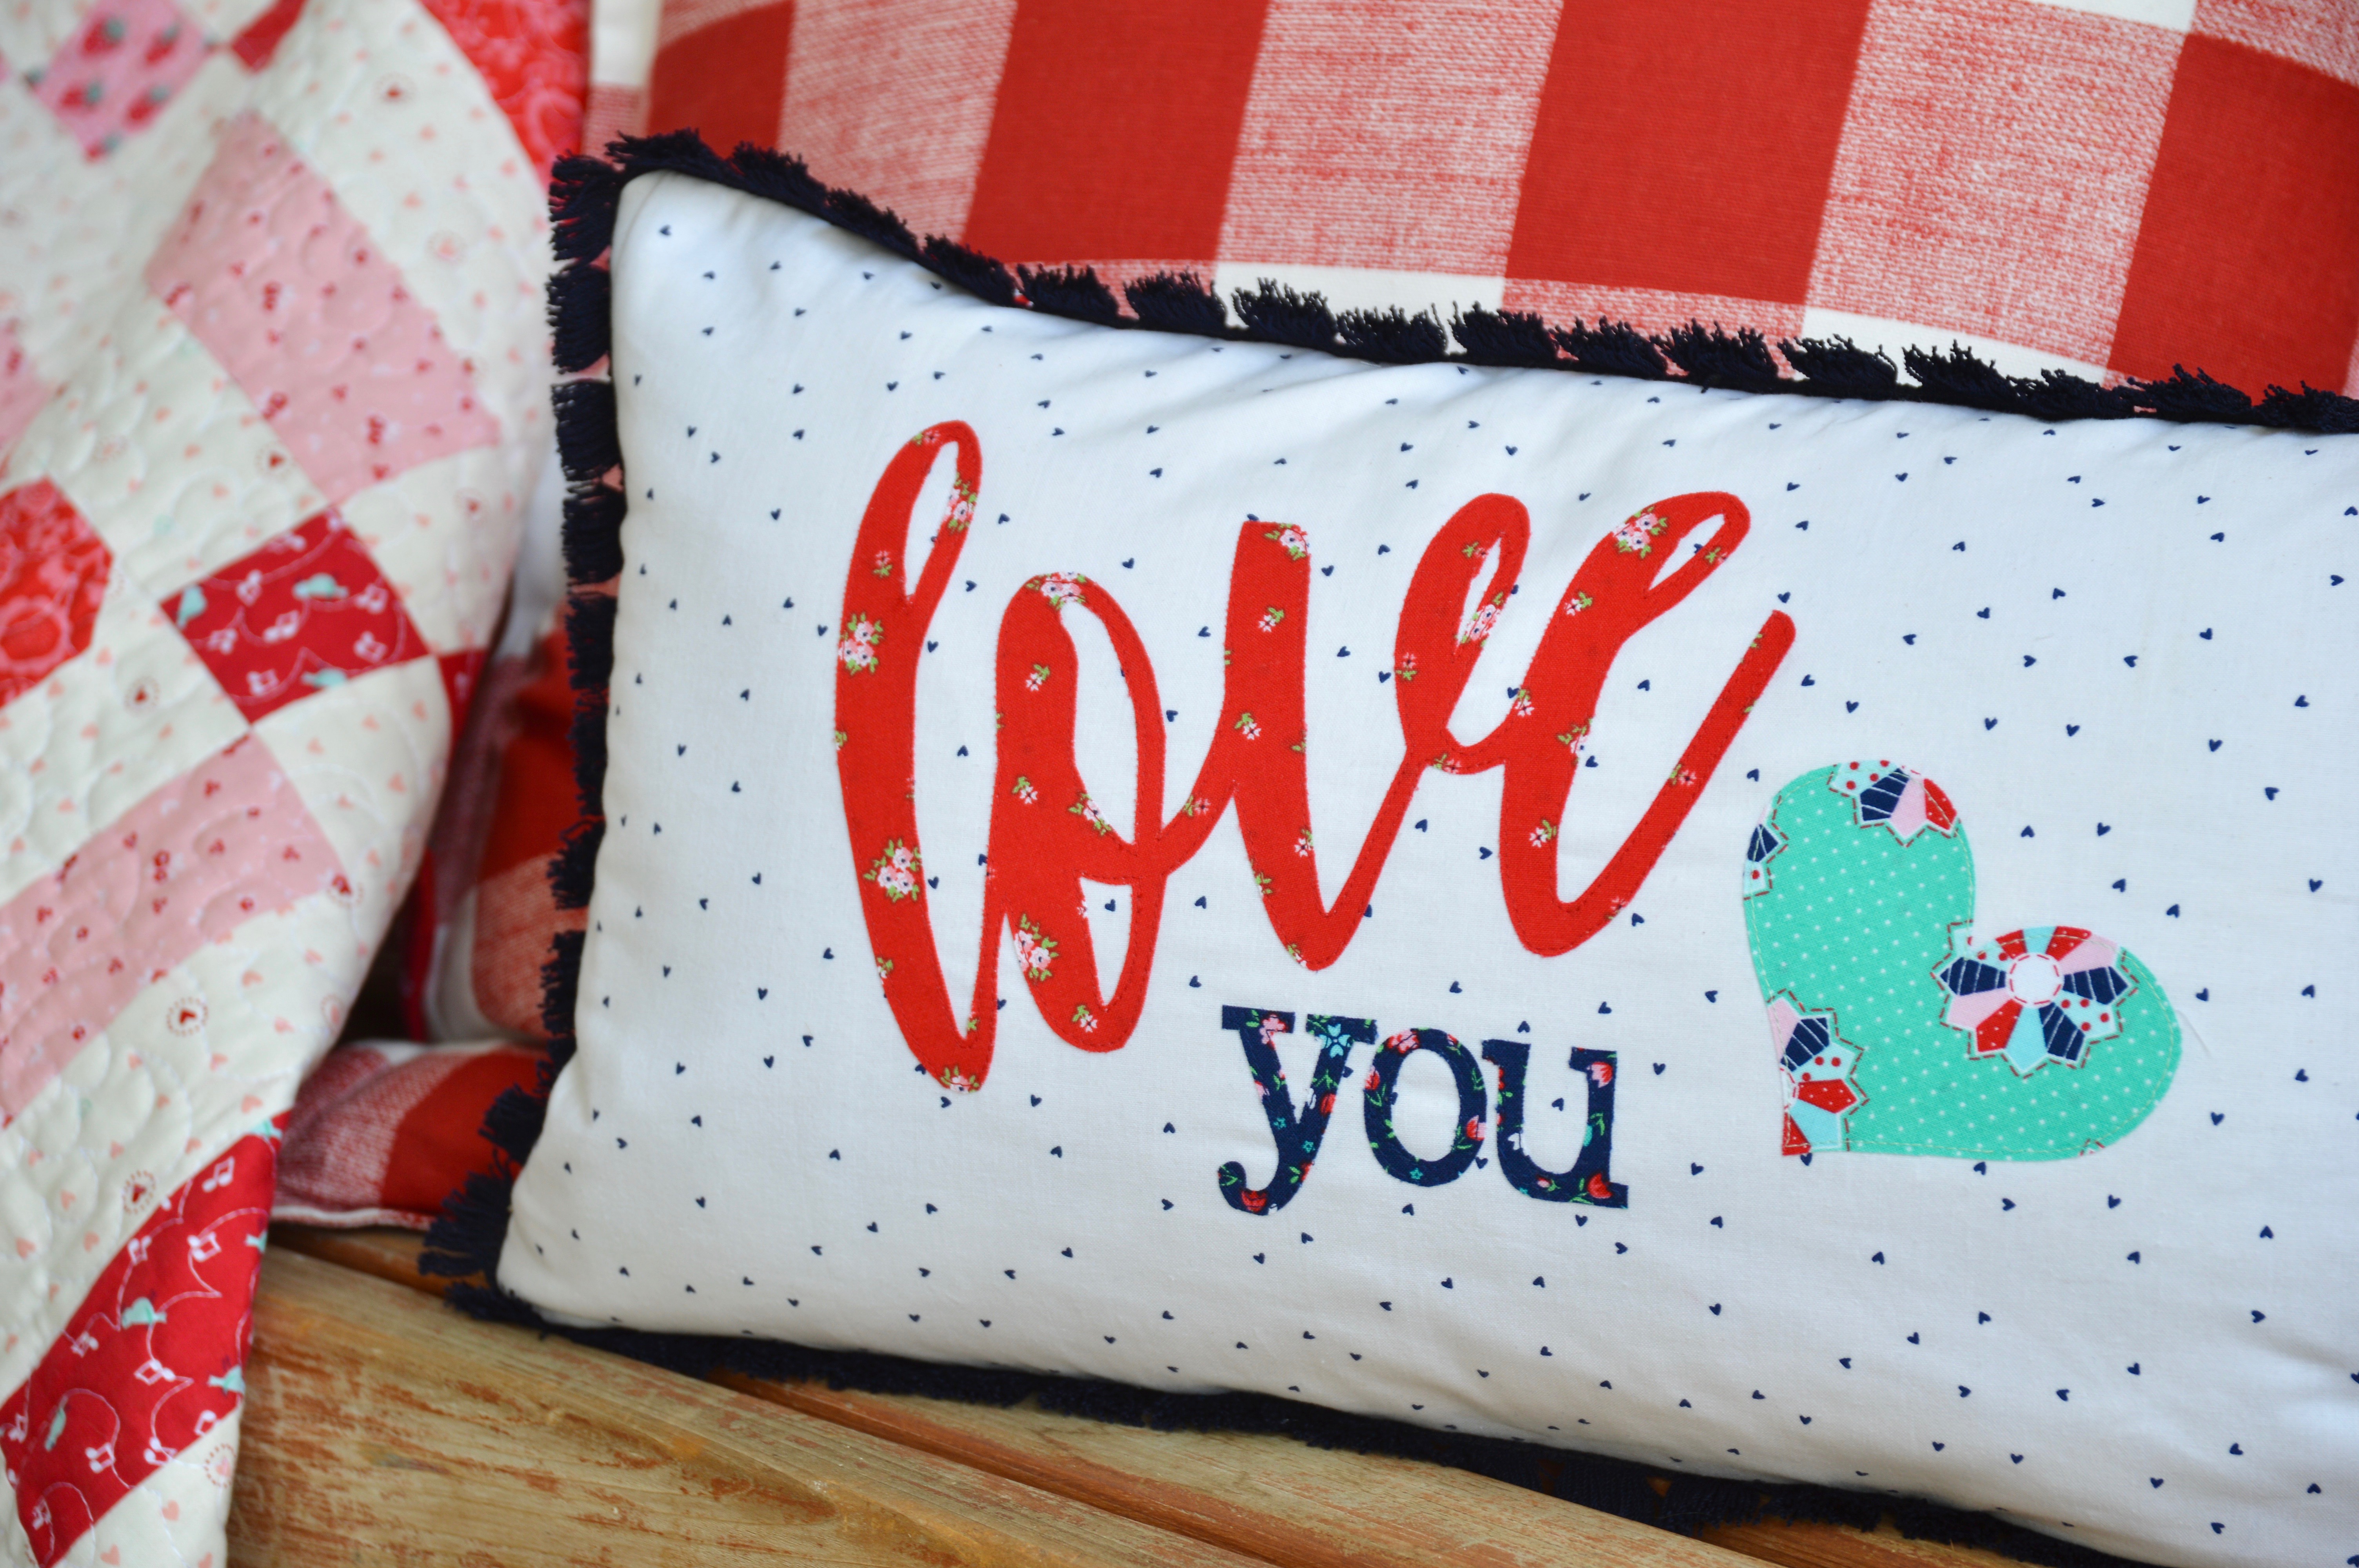
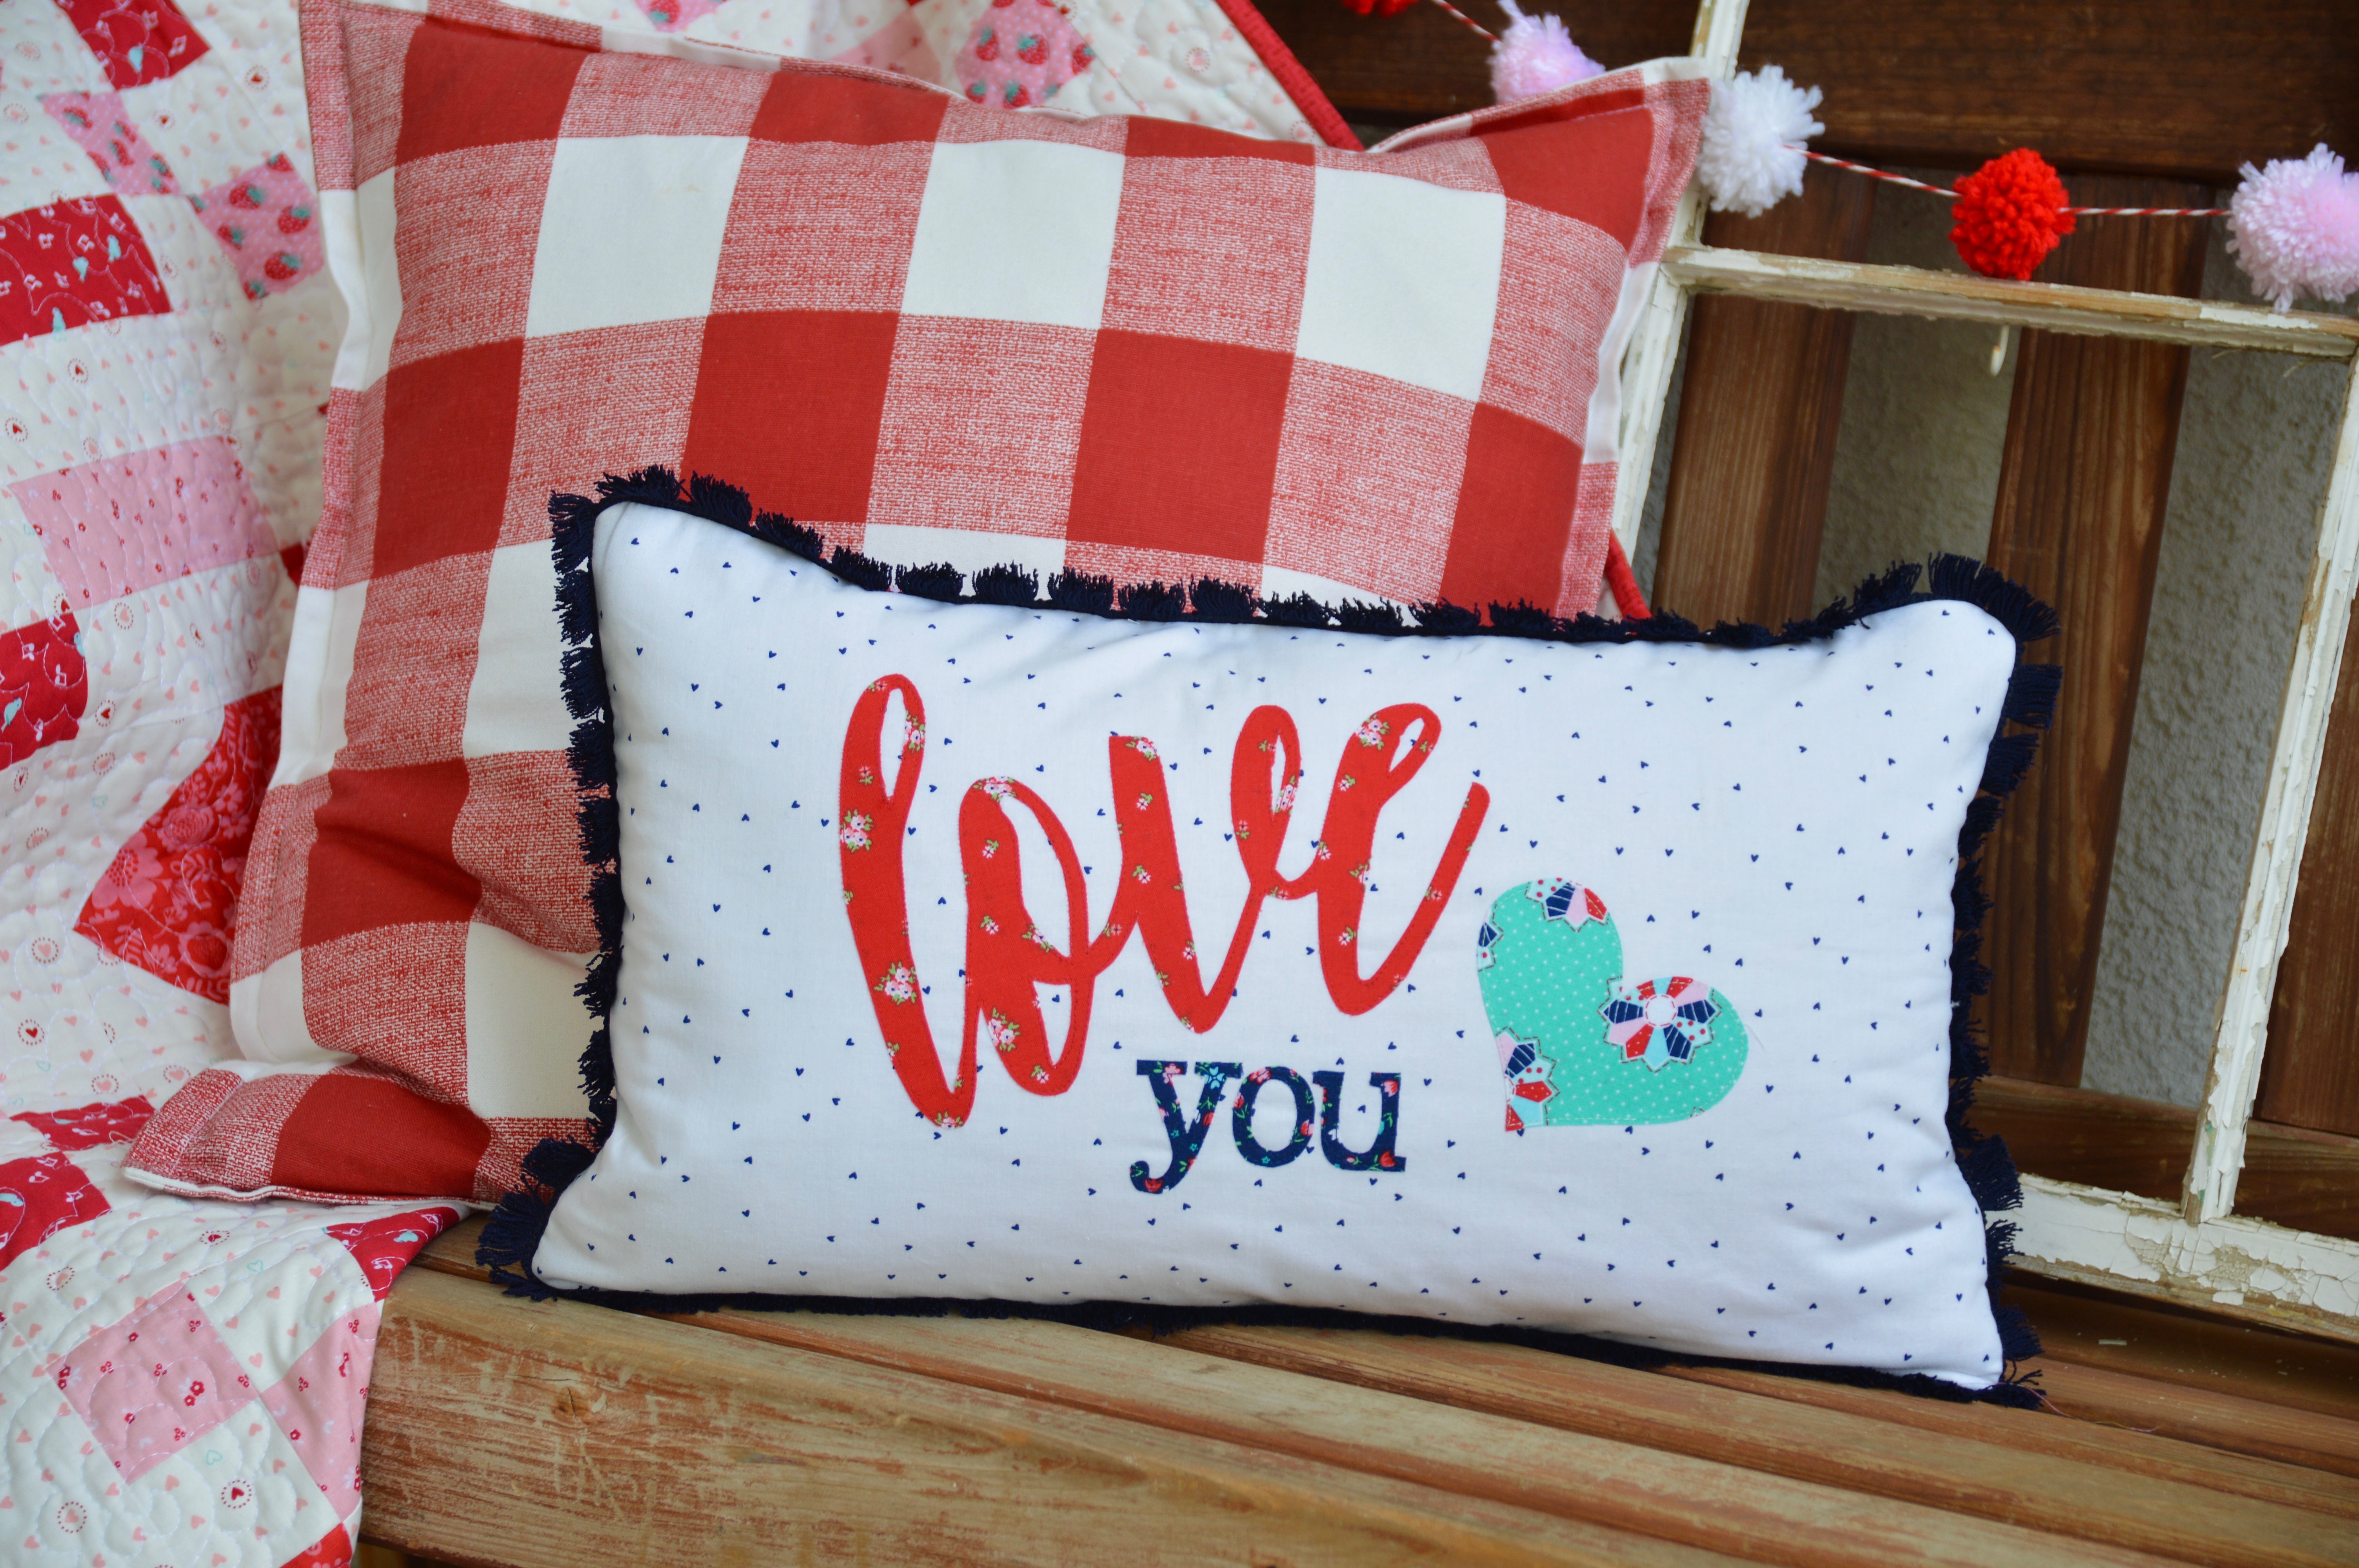
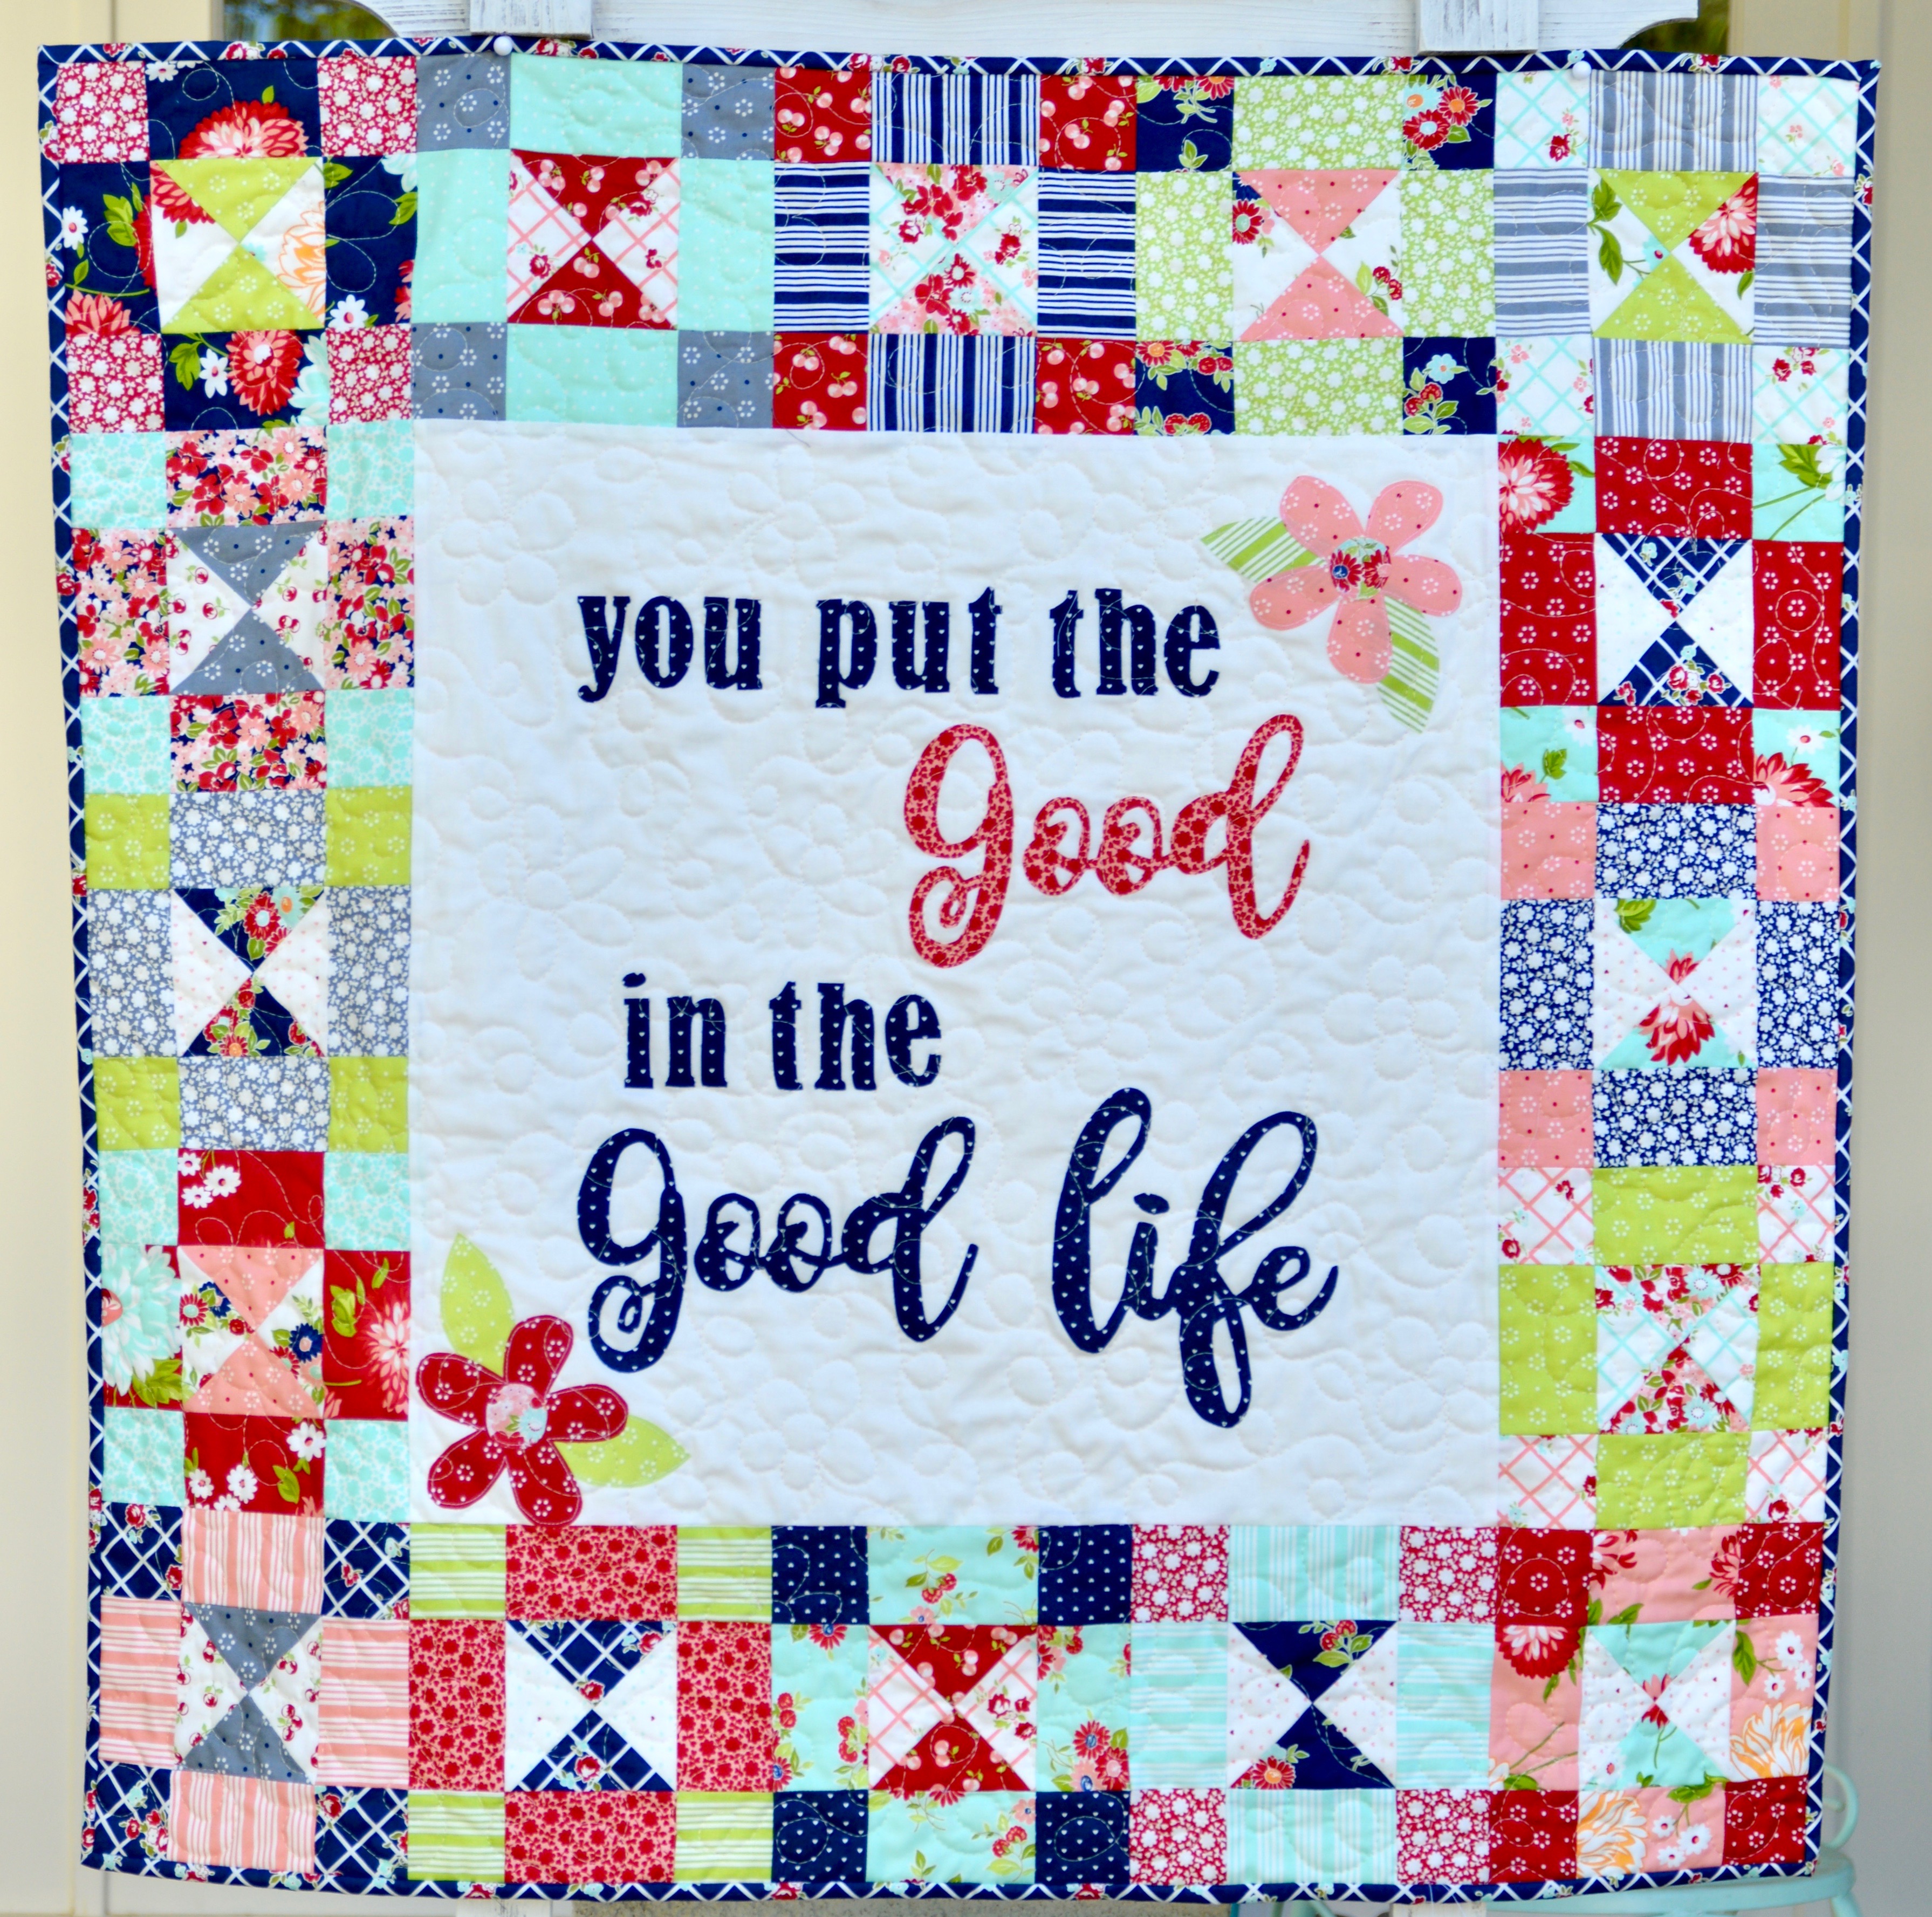
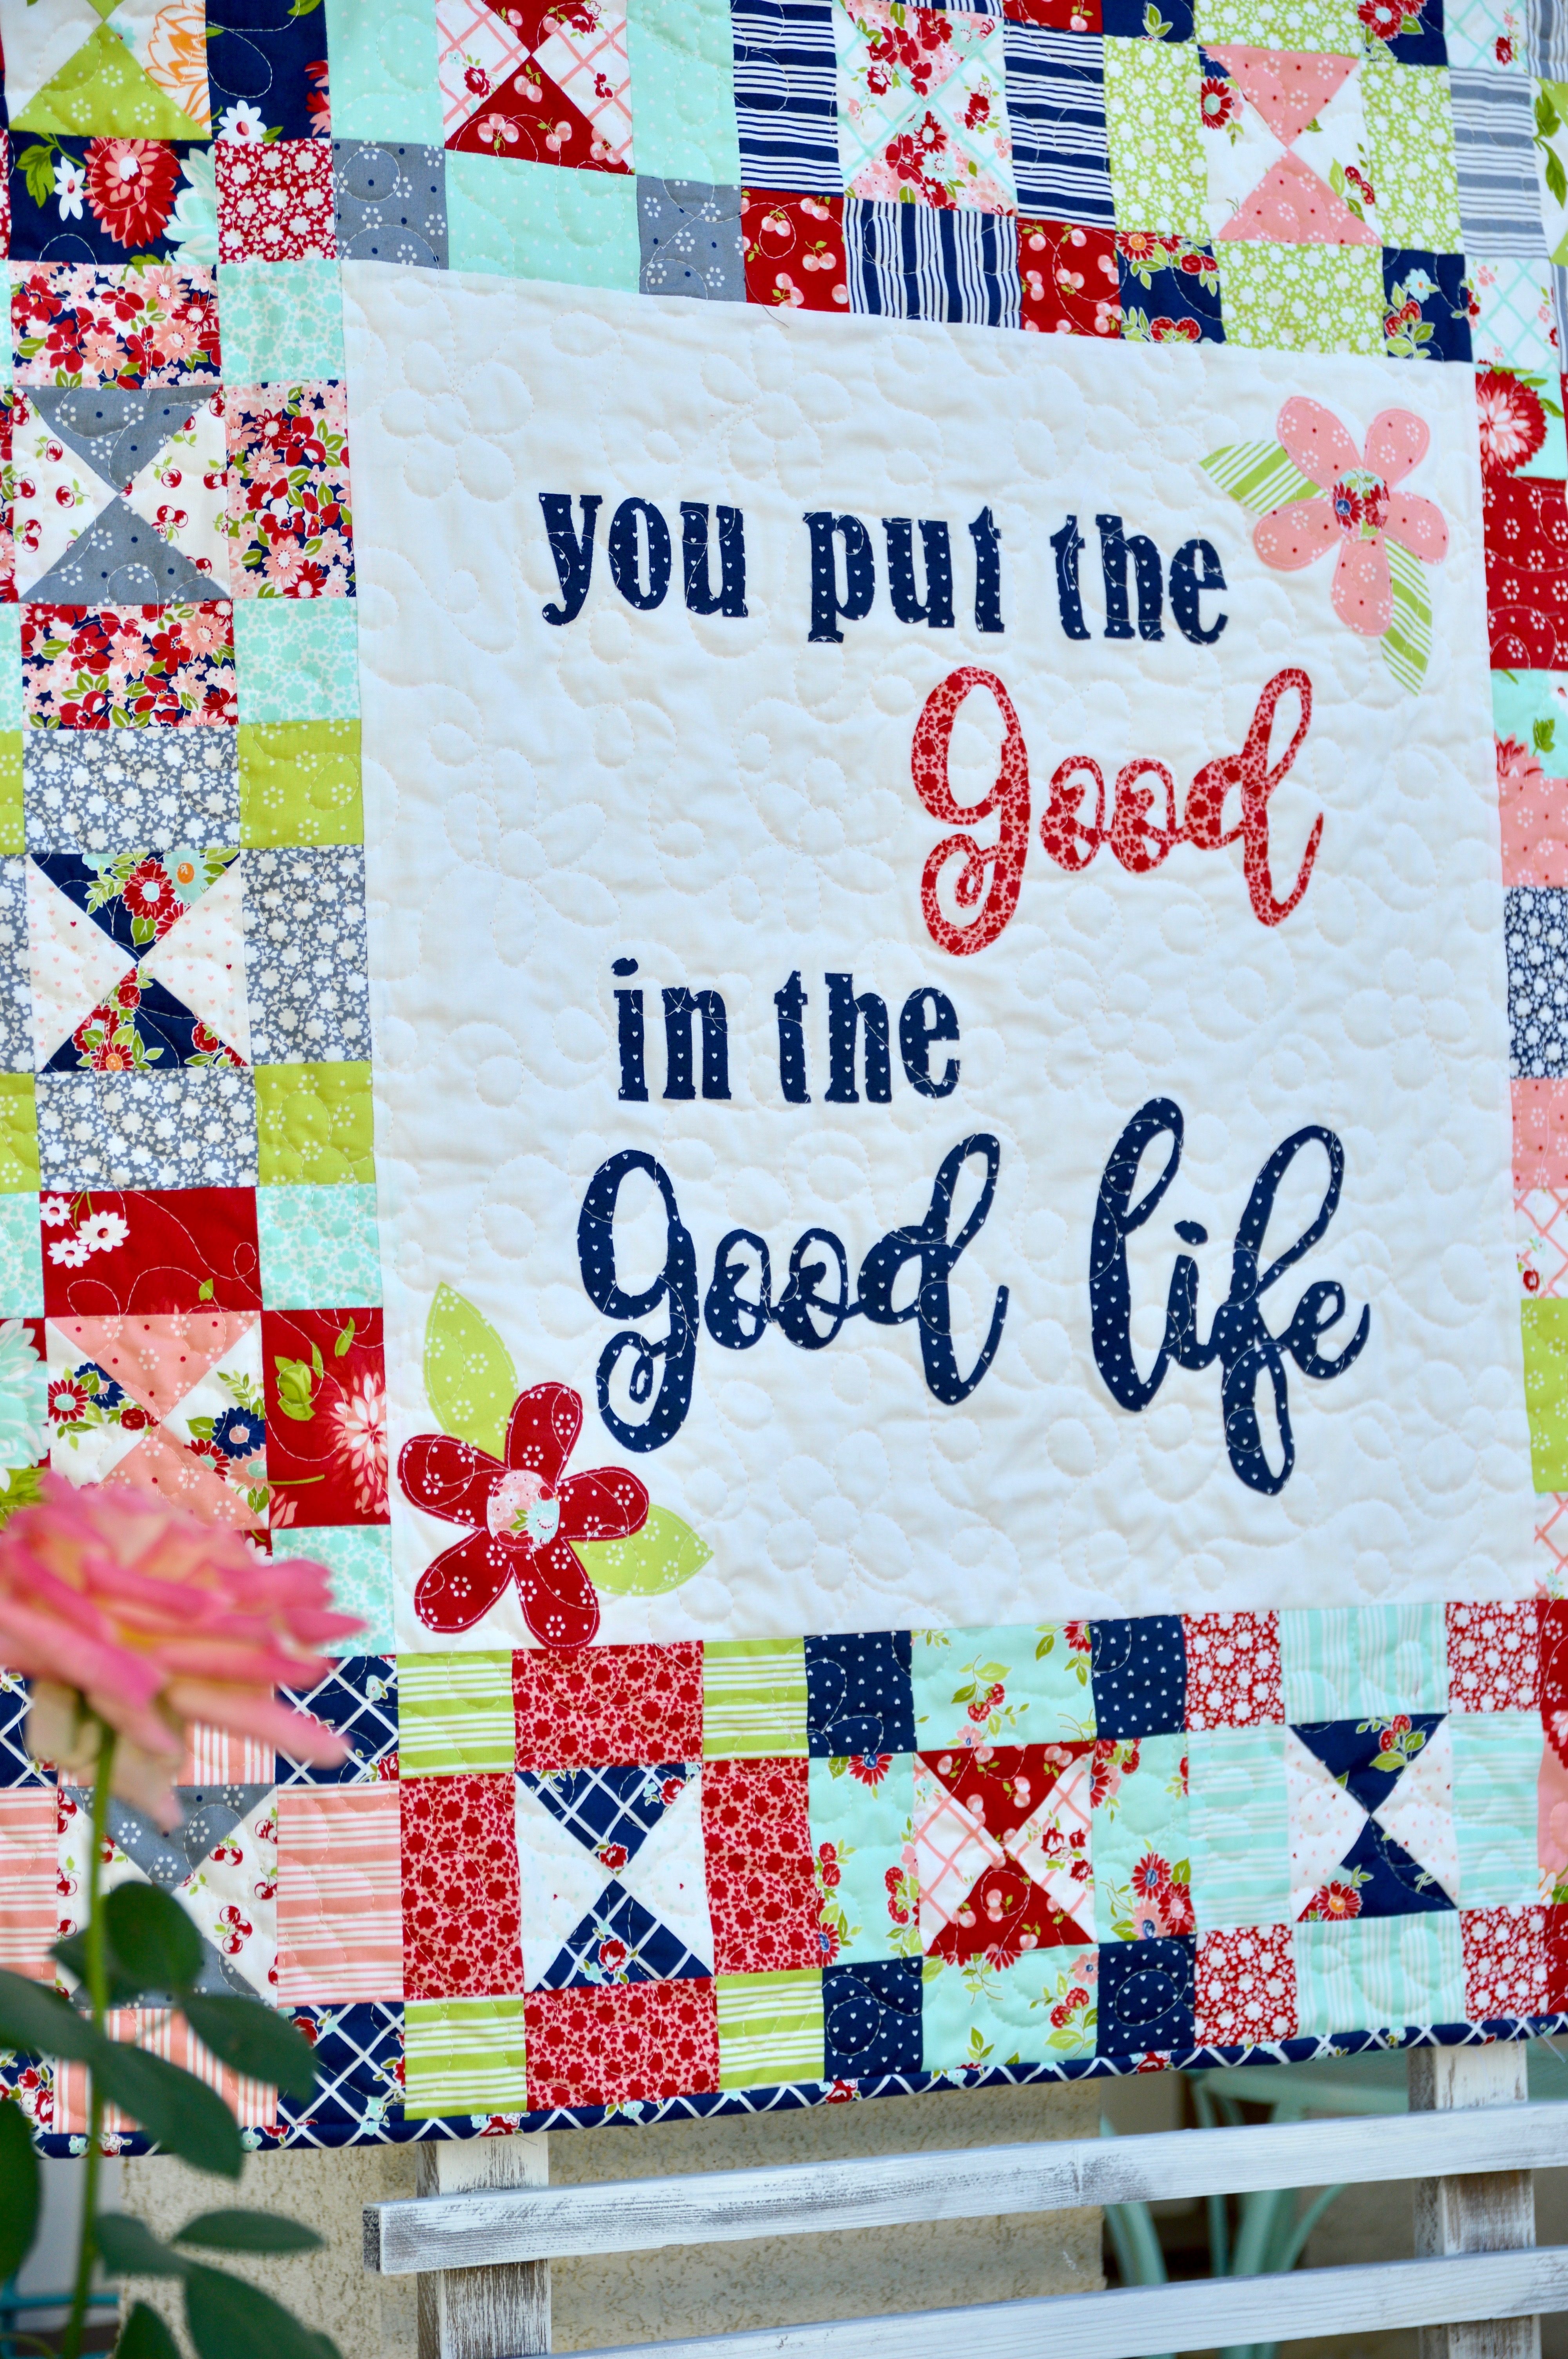
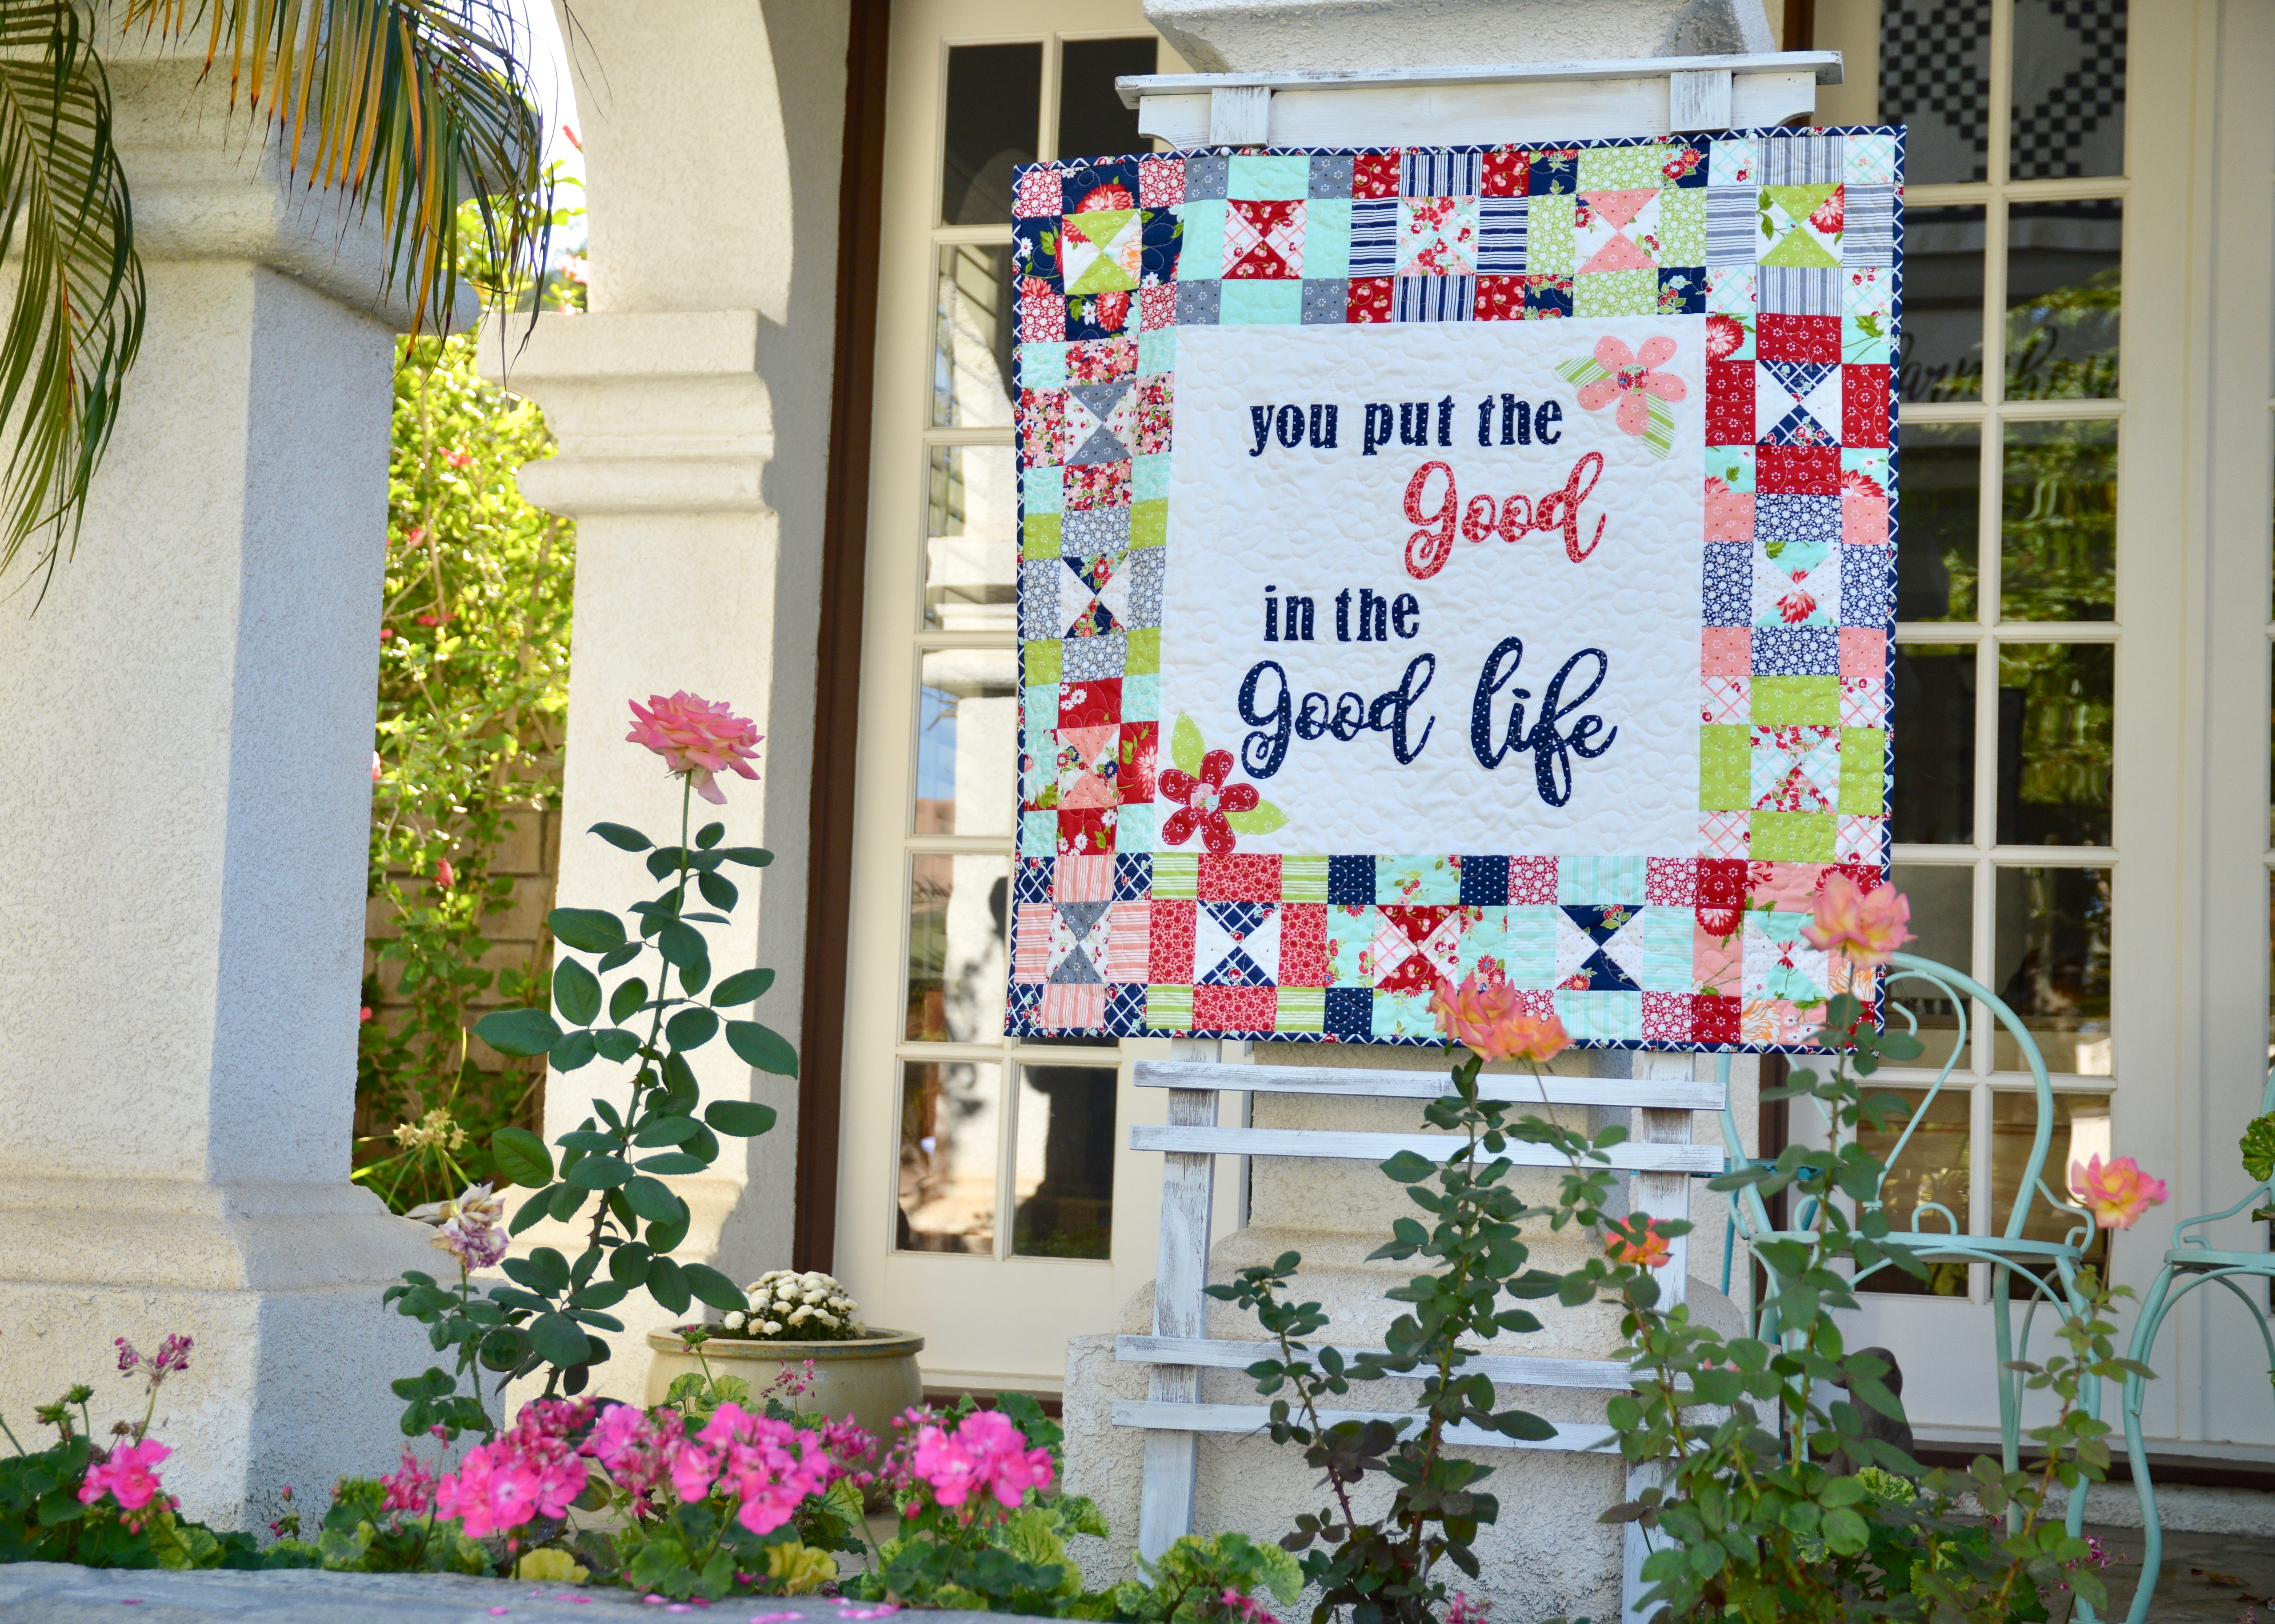
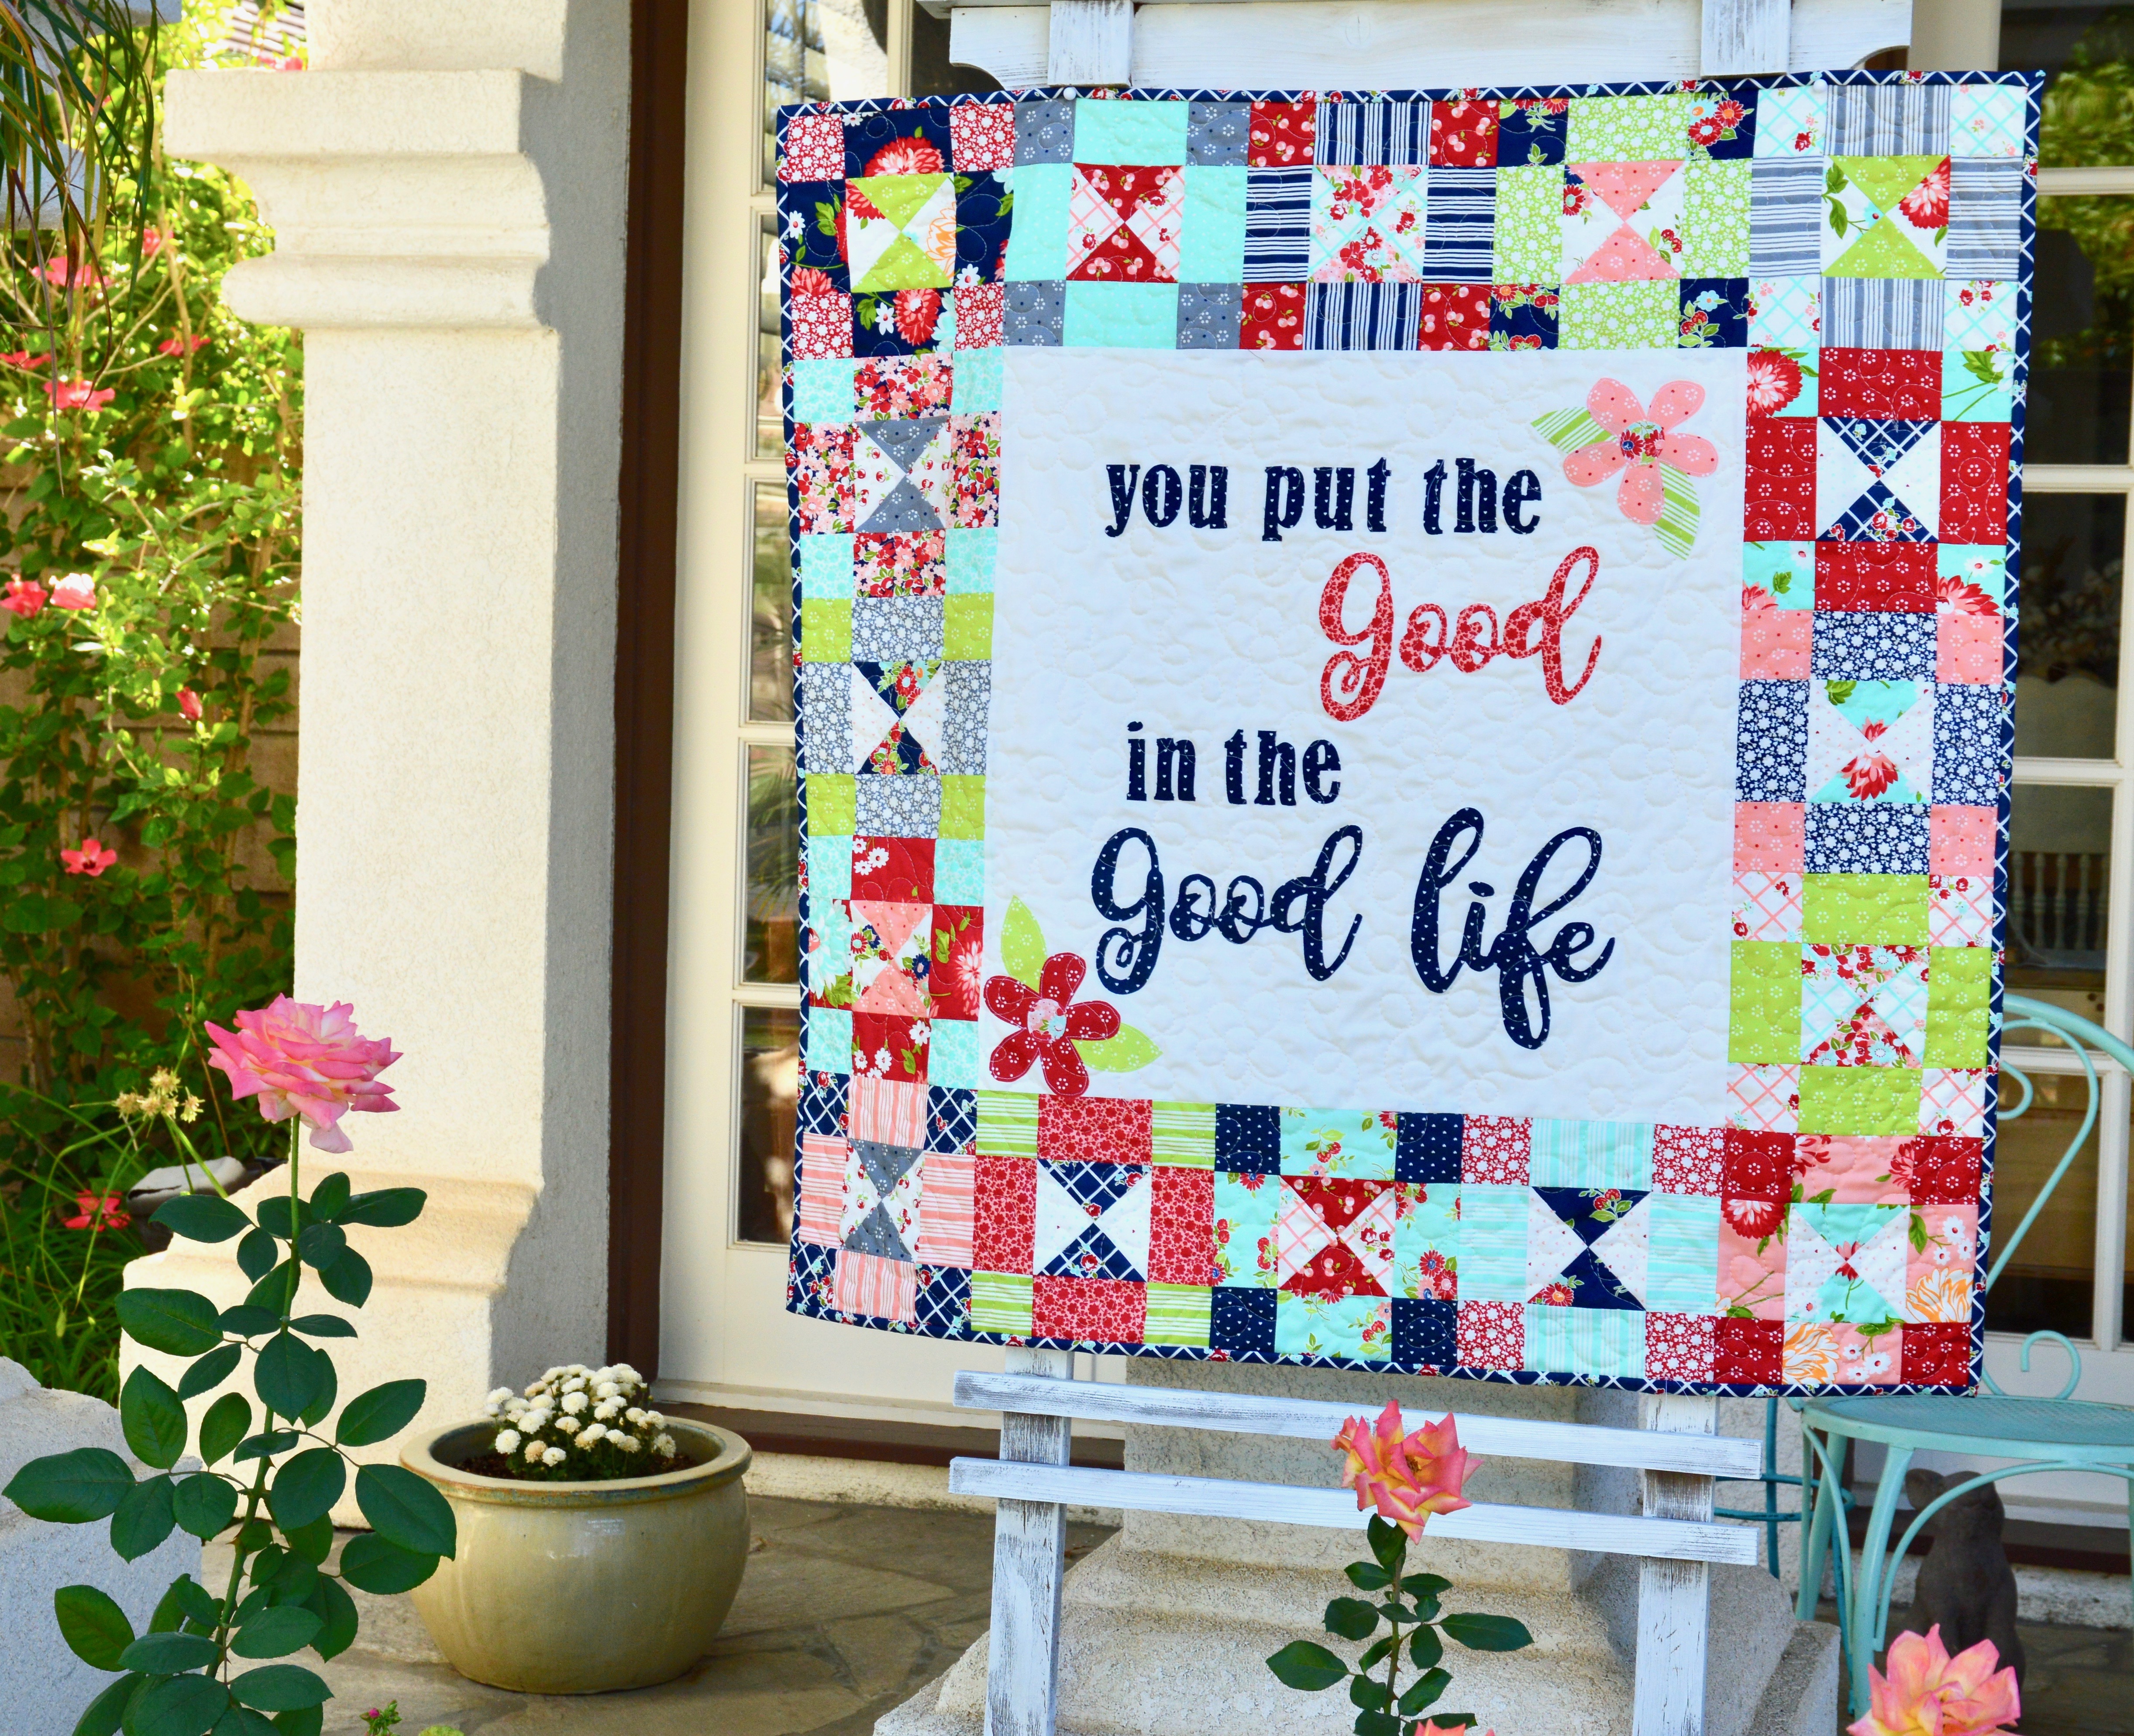
I am a word-a-holic and I LOVE anything with words: signs, mugs, pillows, t-shirts, you name it!  I love adding words to my sewing projects and today I am going to show you how to do this start to finish! Today I’m sharing this pillow tutorial over at Diary of a Quilter!  Hop over to Amy’s blog to for the full instructions!

DSC_0186

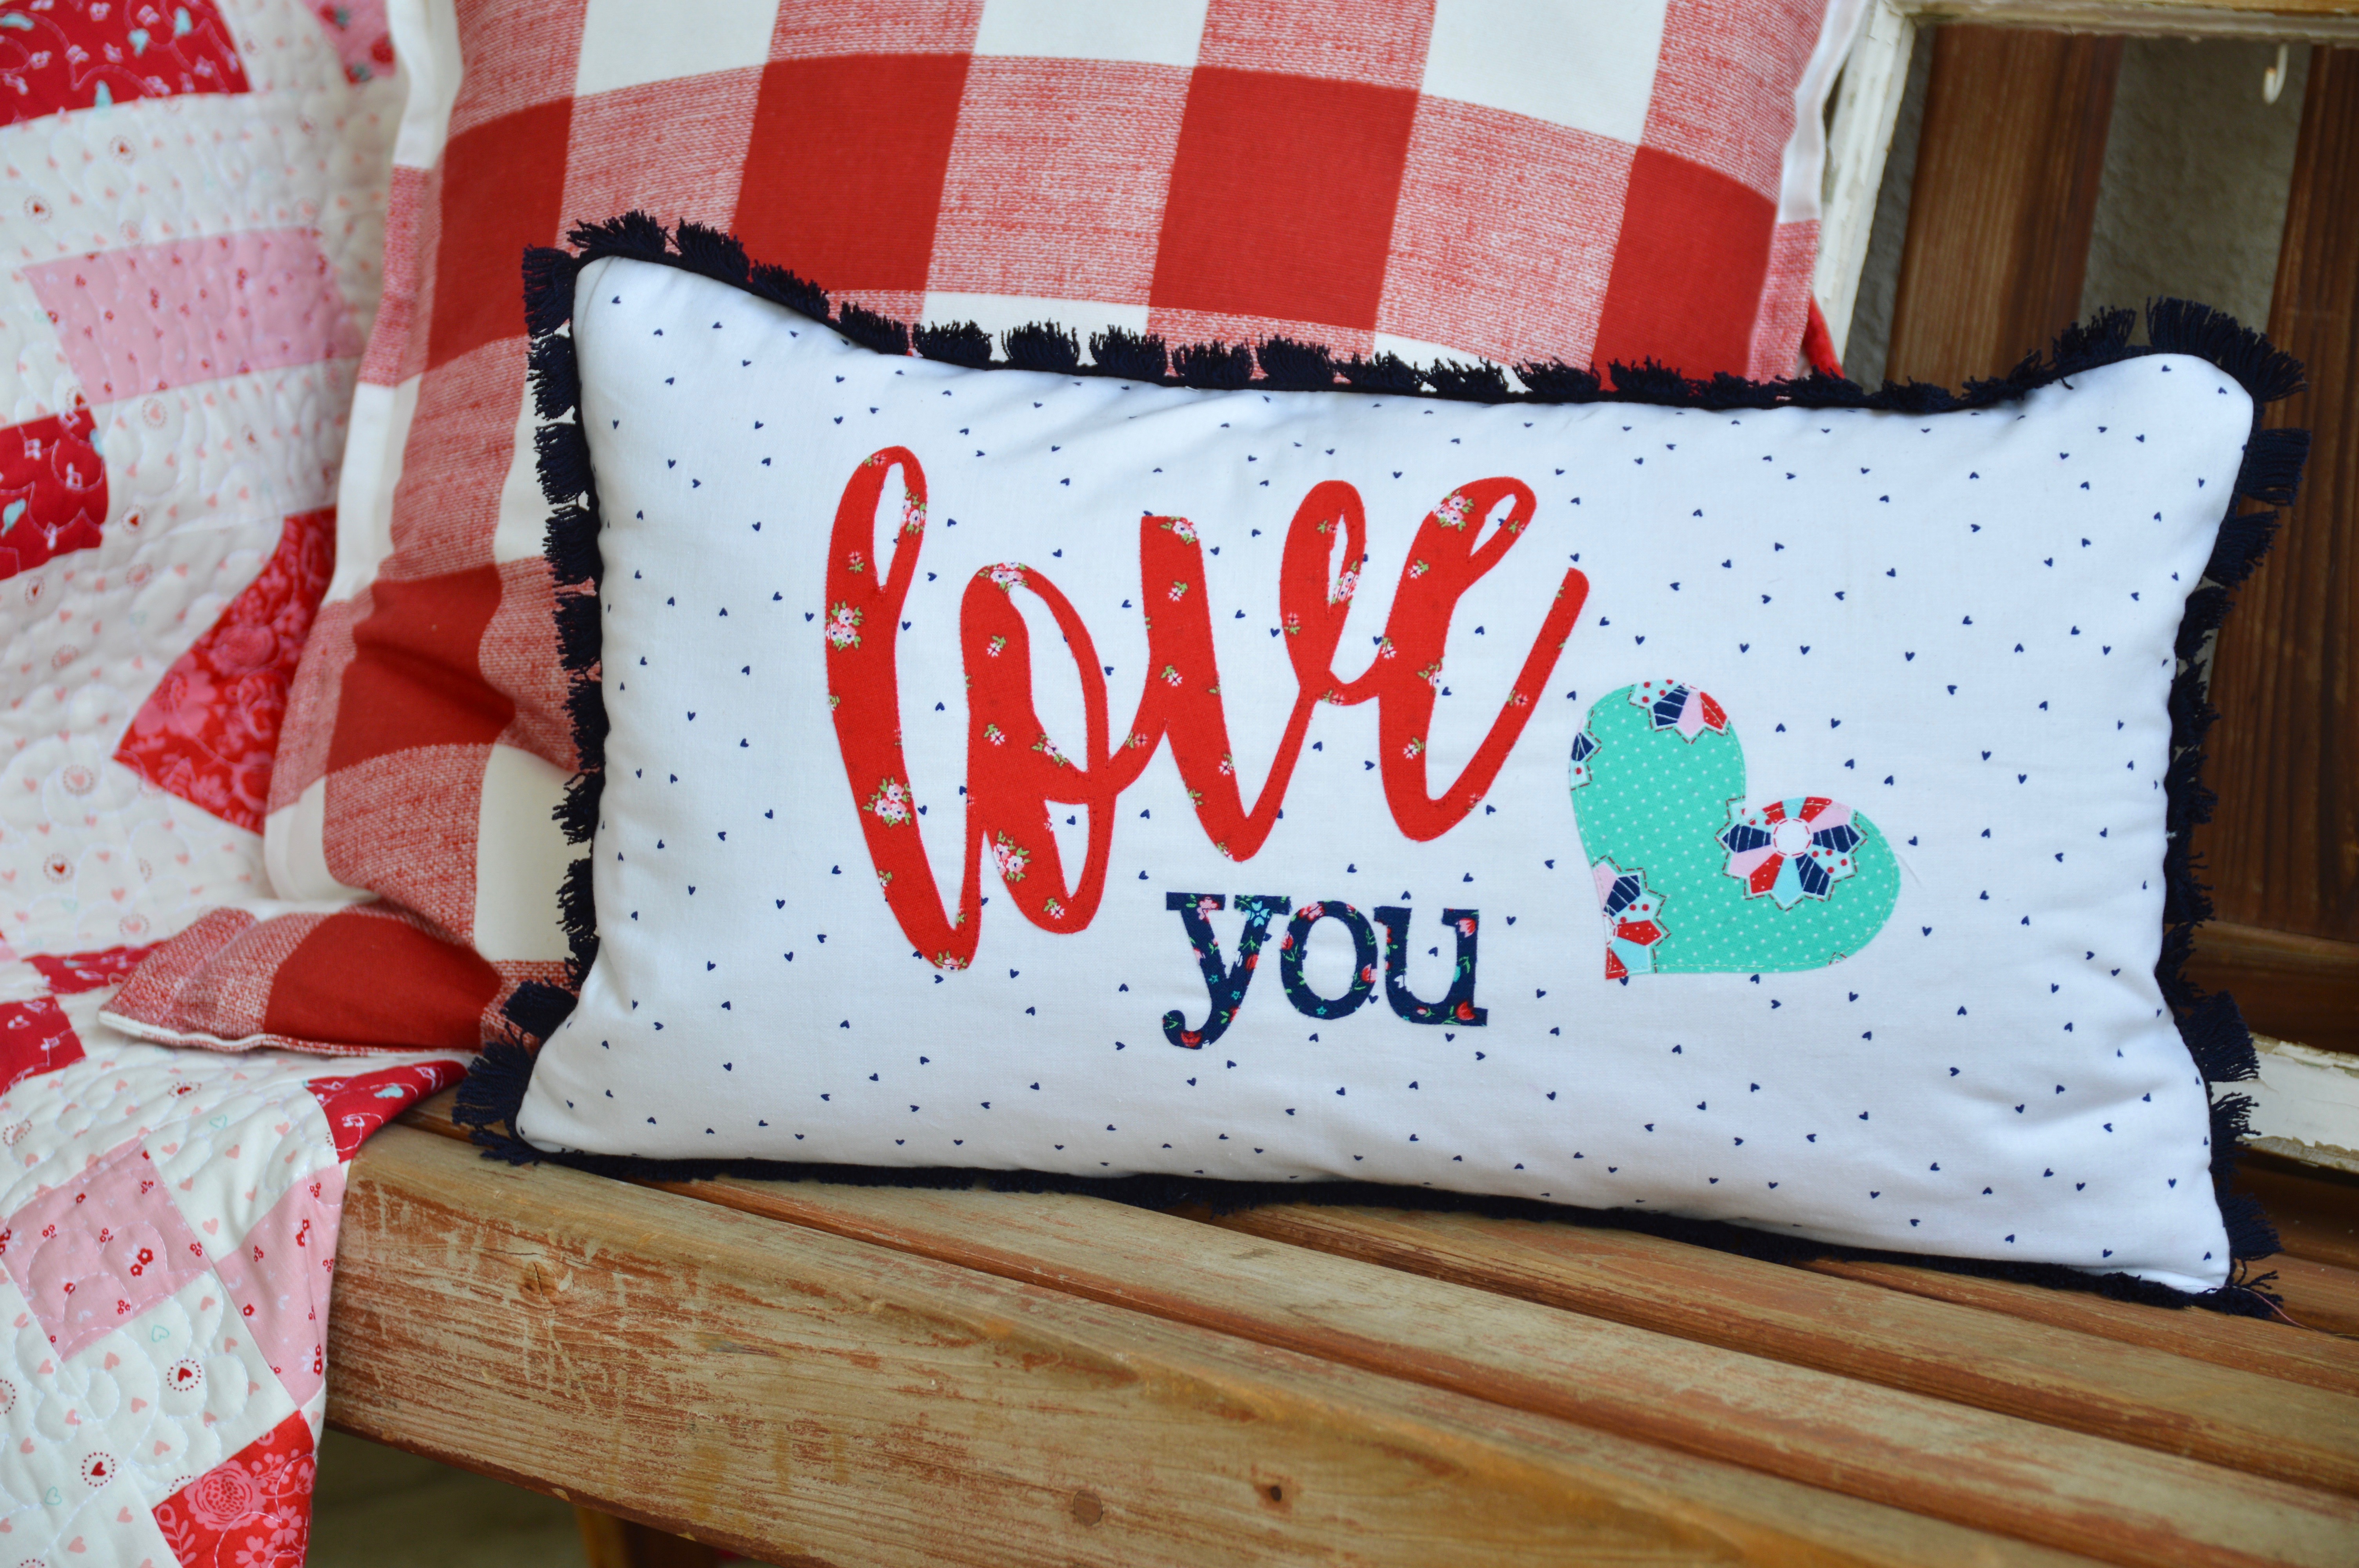
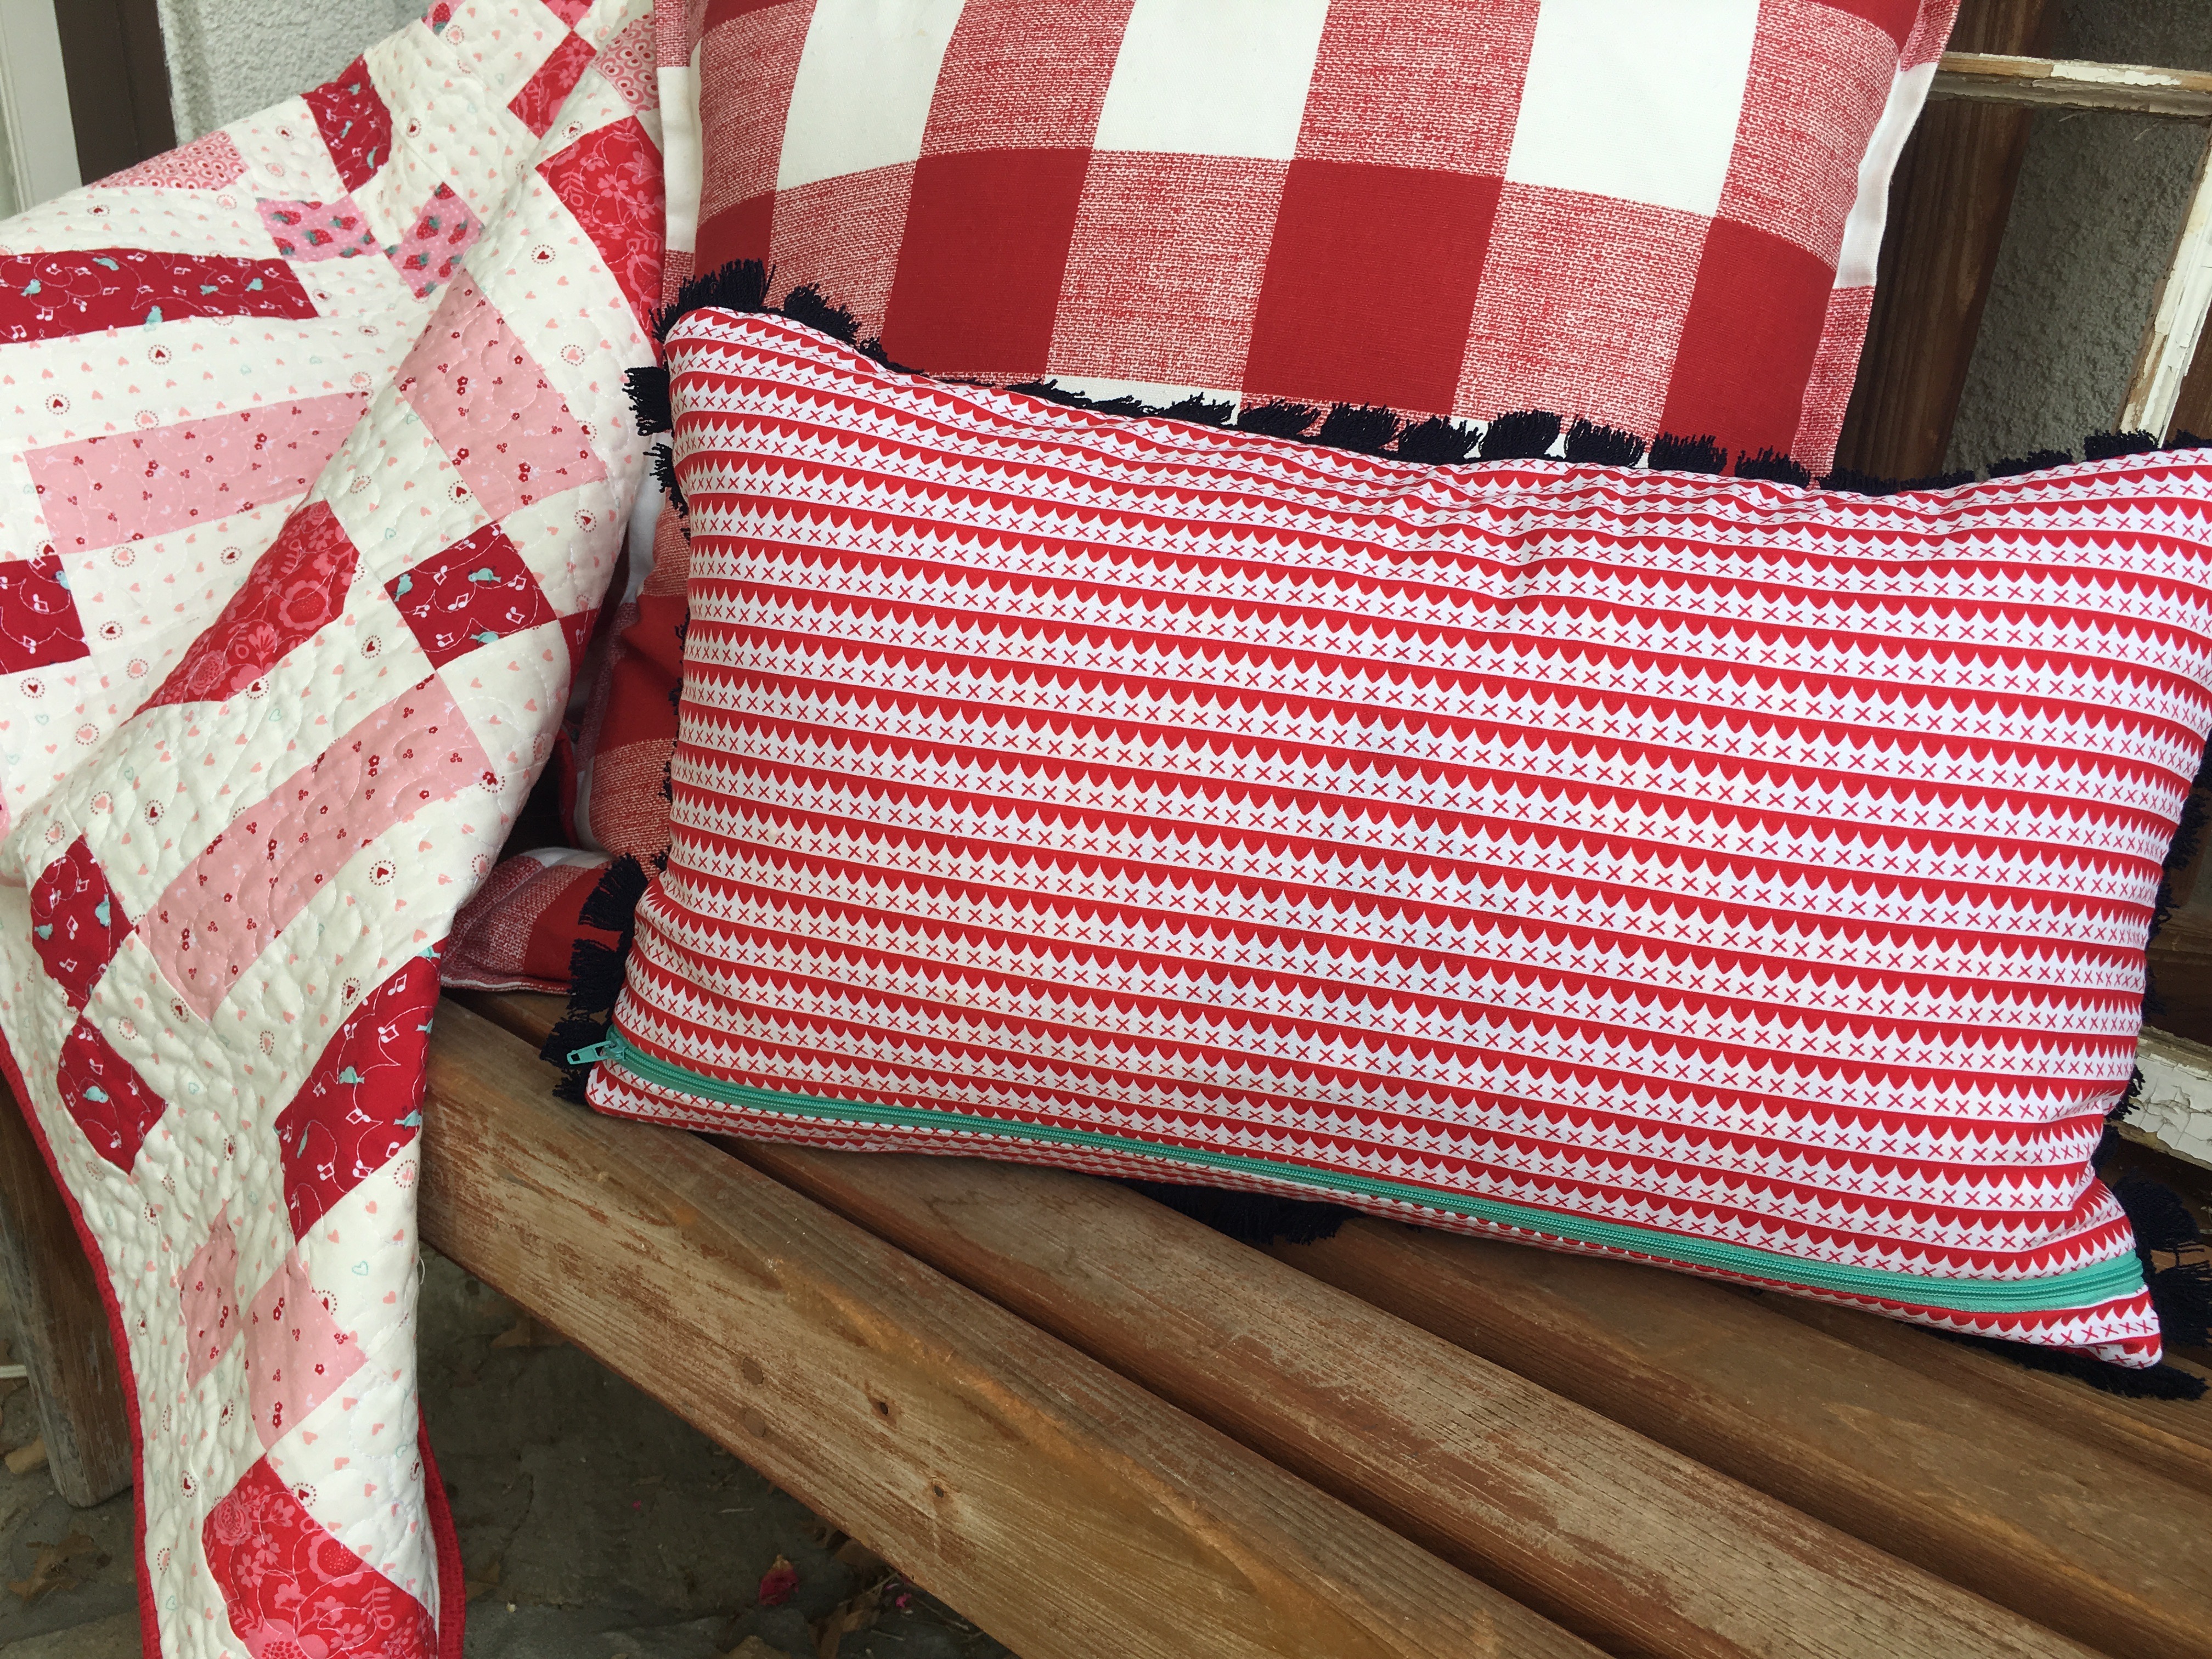
Once the appliqué is finished you can turn it into a pillow using your favorite method; mine is a zipper closure on the back. For more information on inserting a zipper into a pillow, click HERE.

IMG_6995

DSC_0182

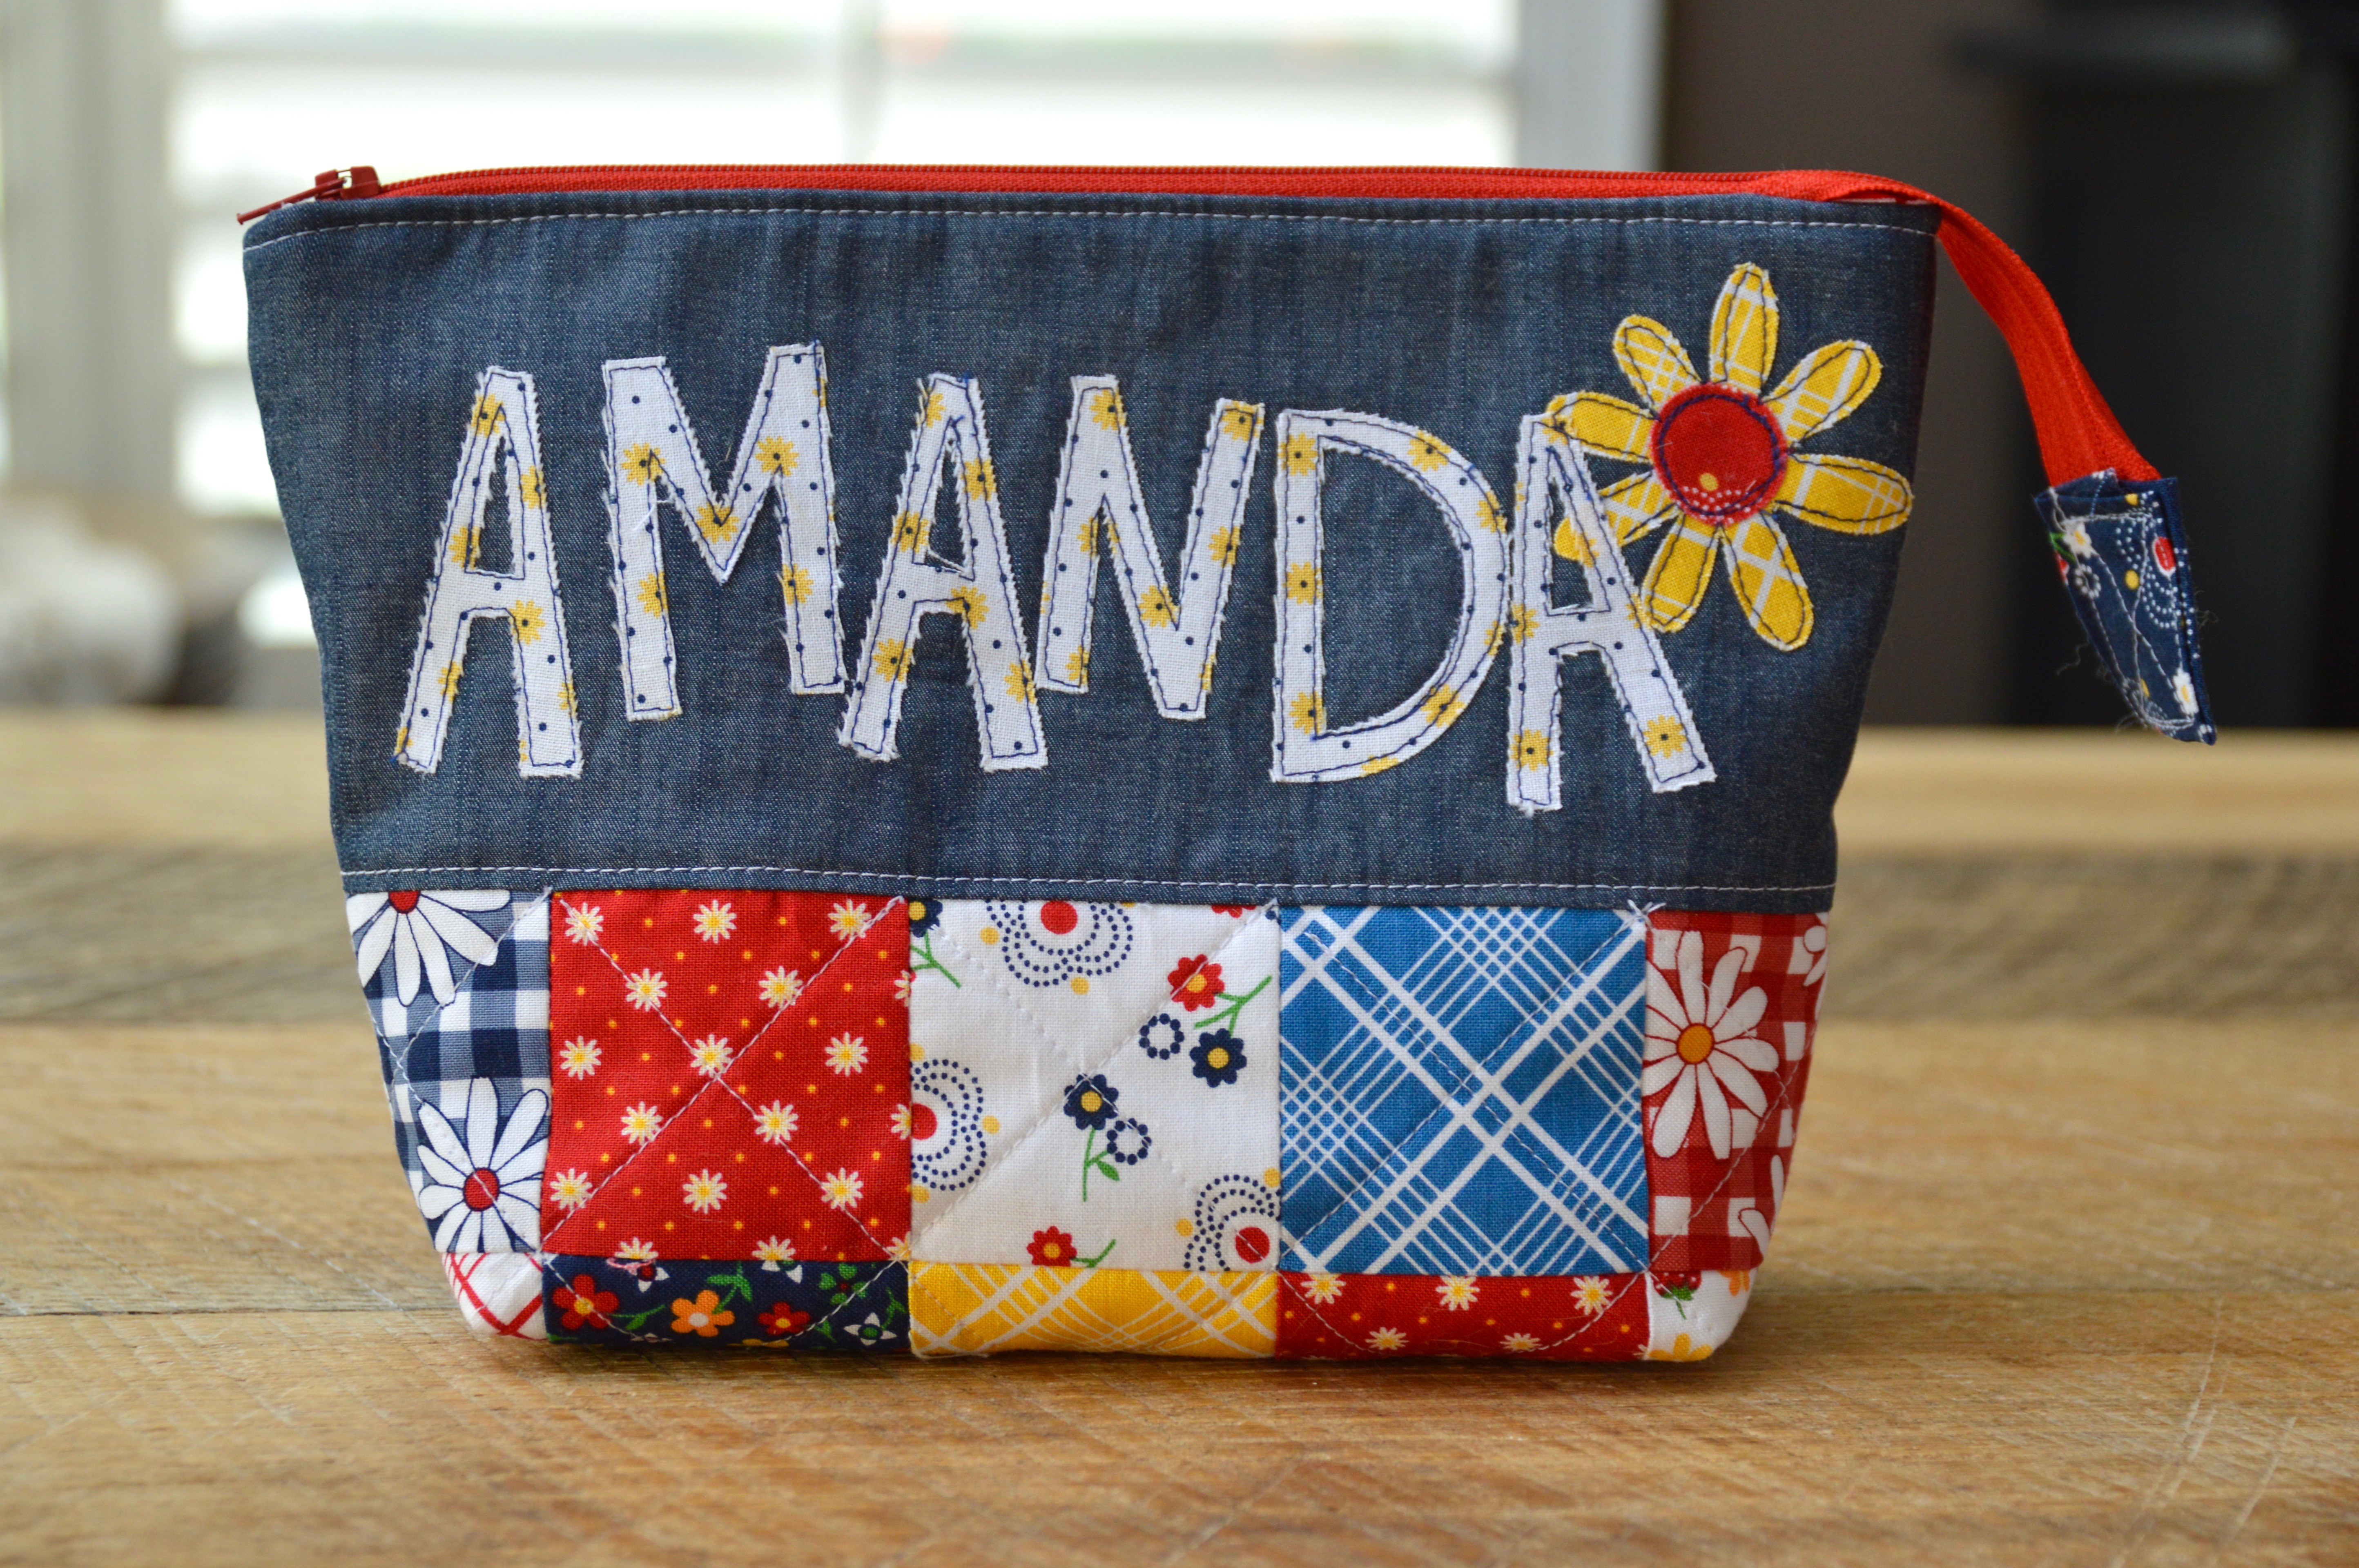
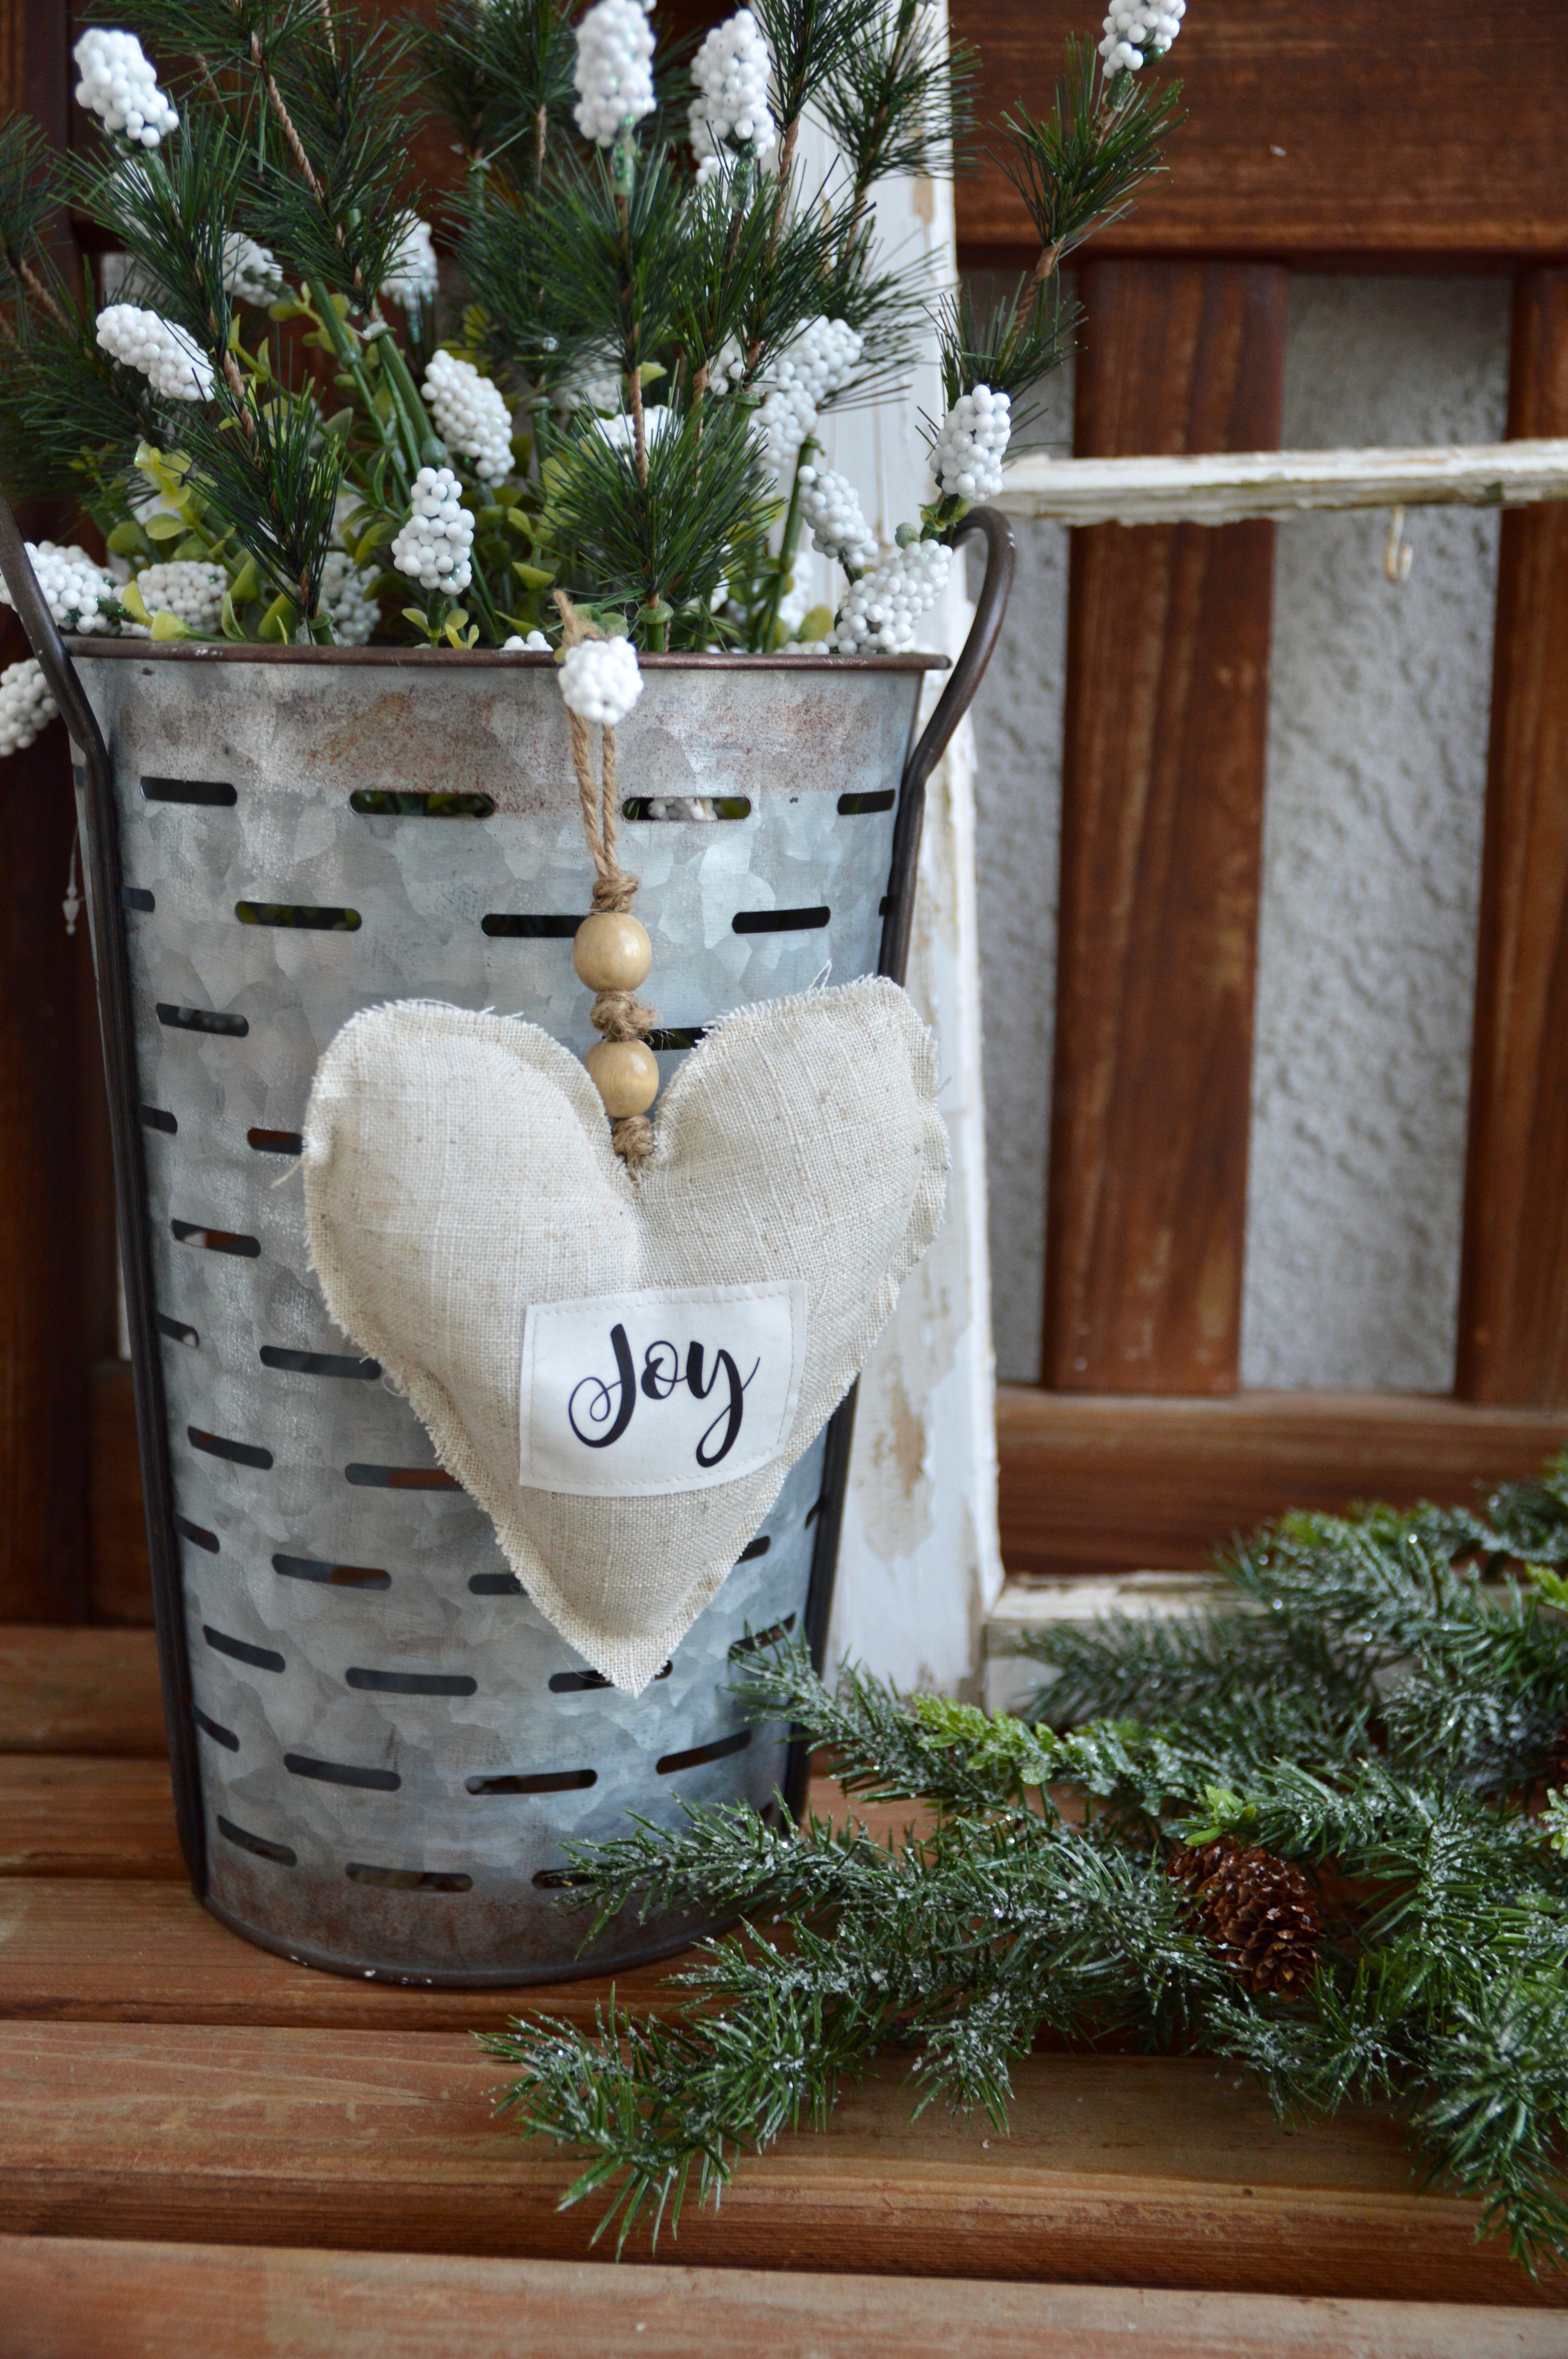
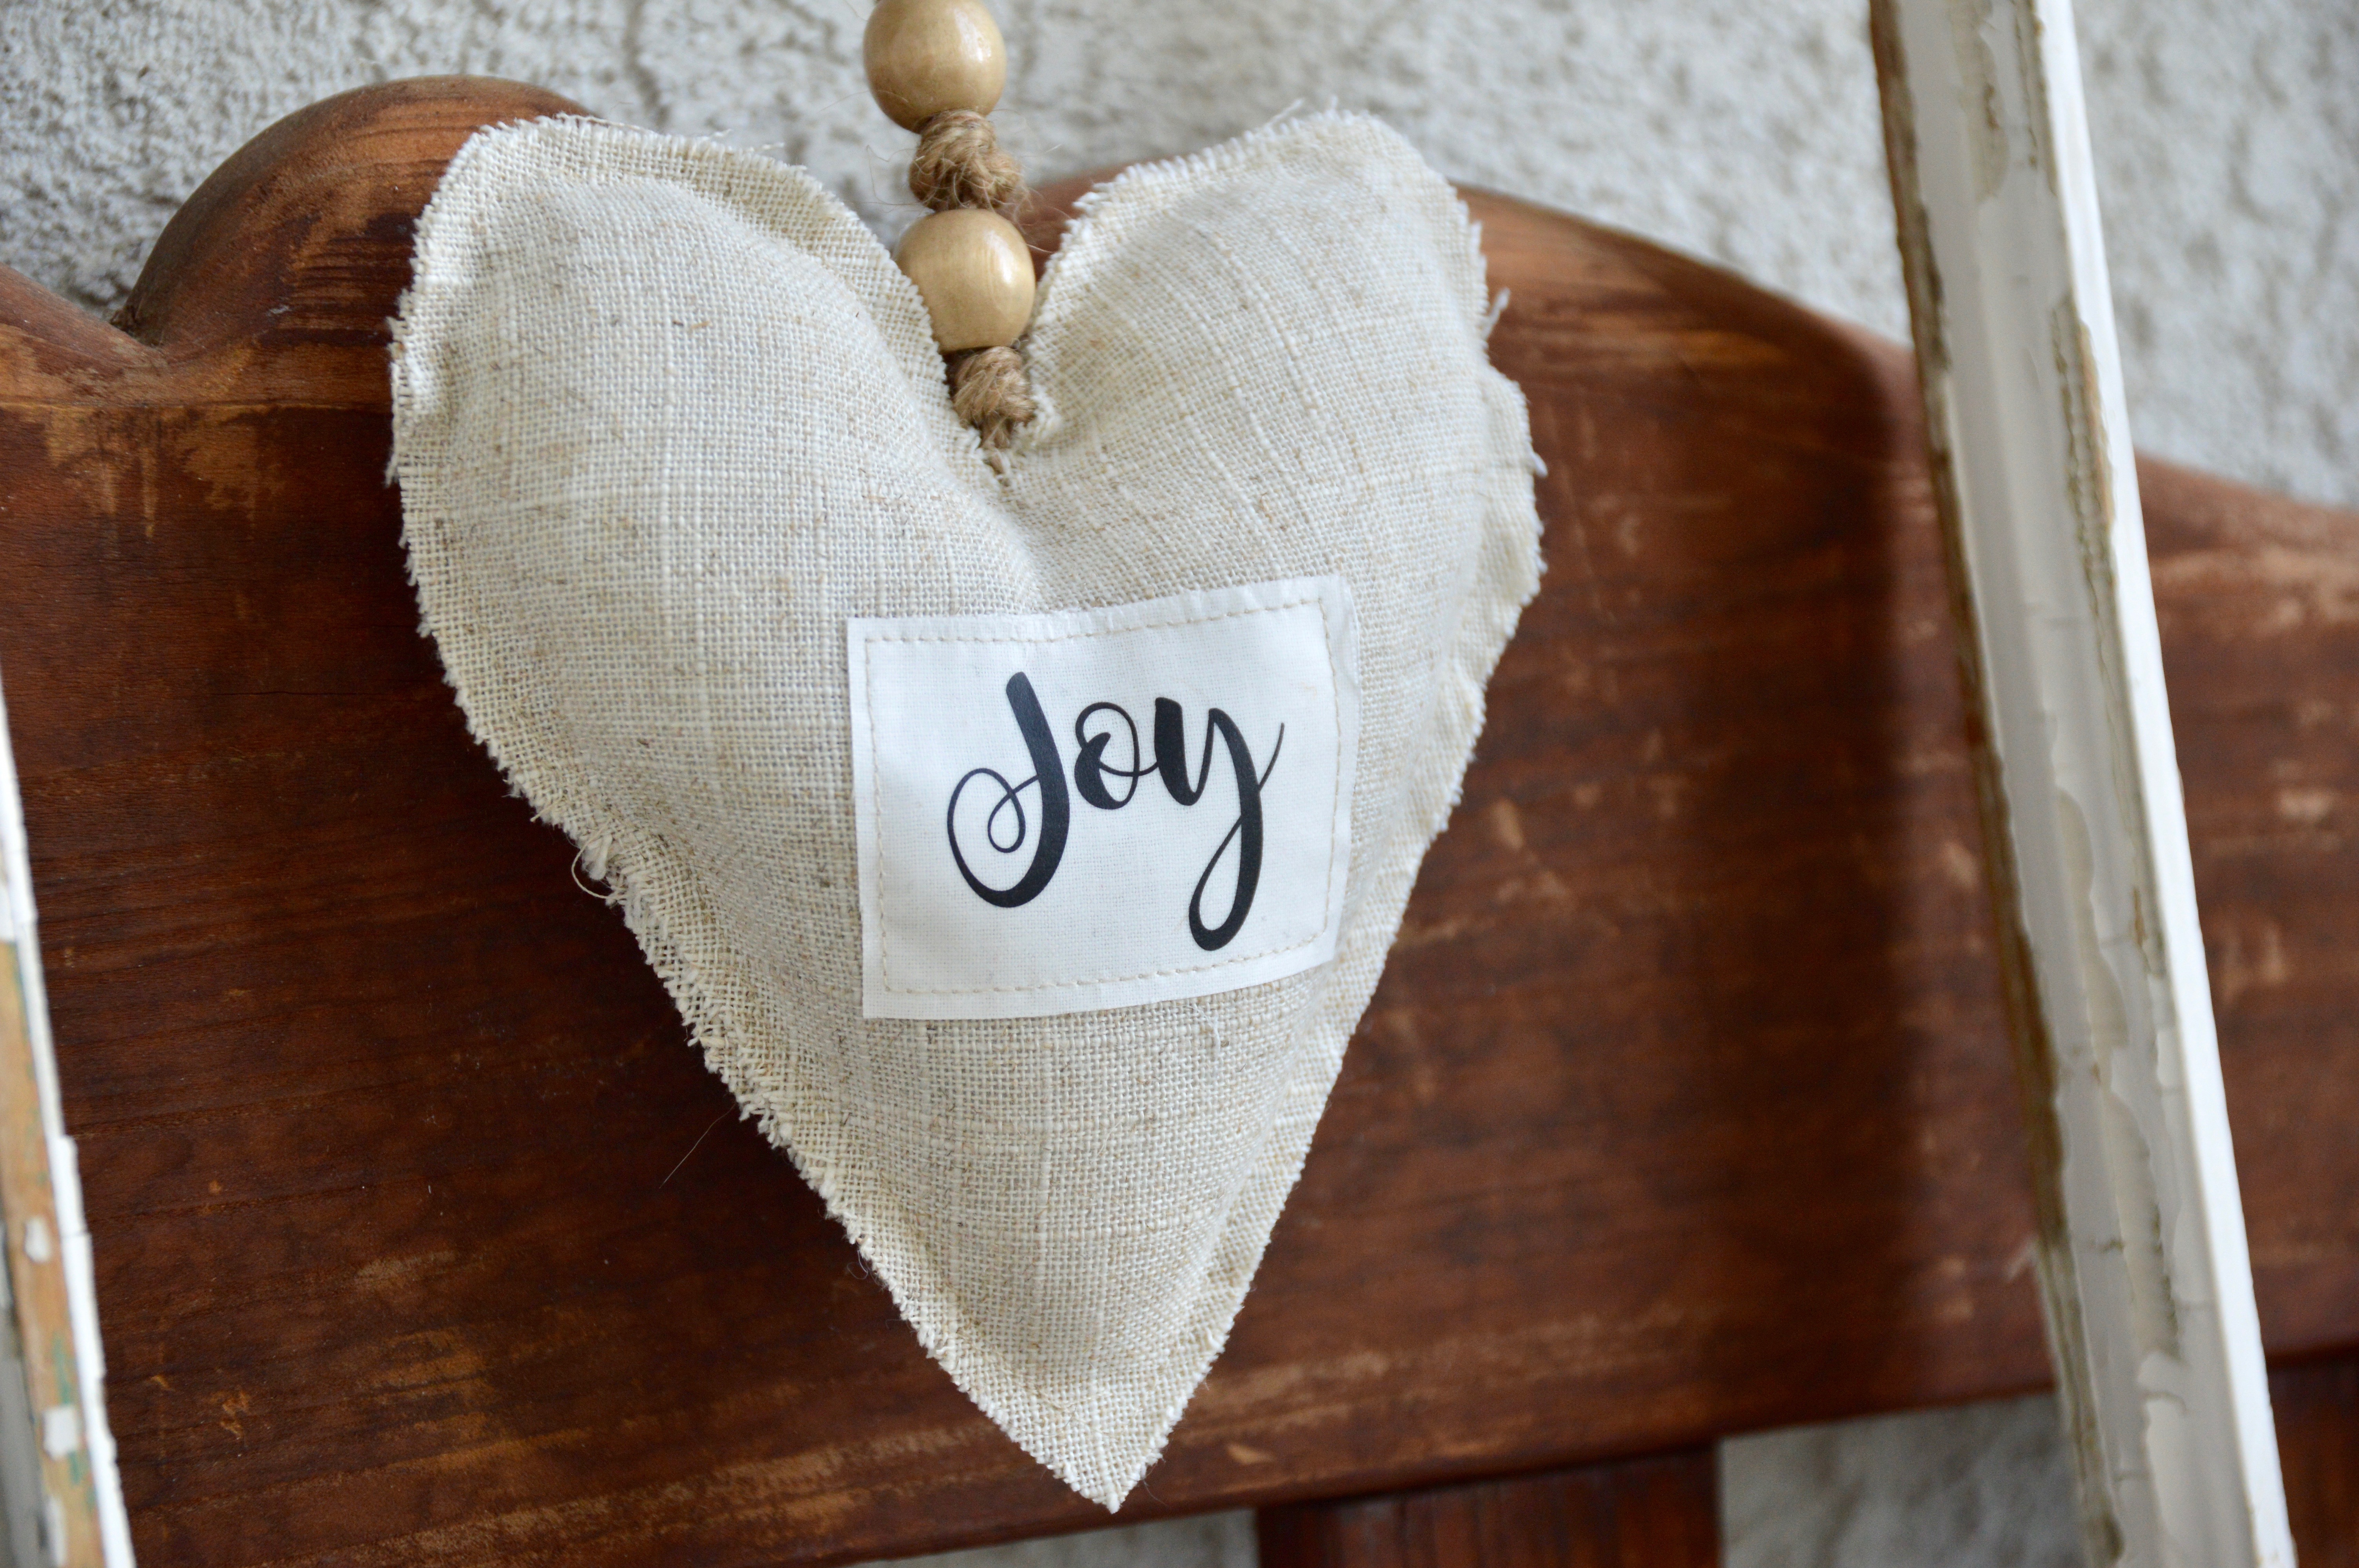
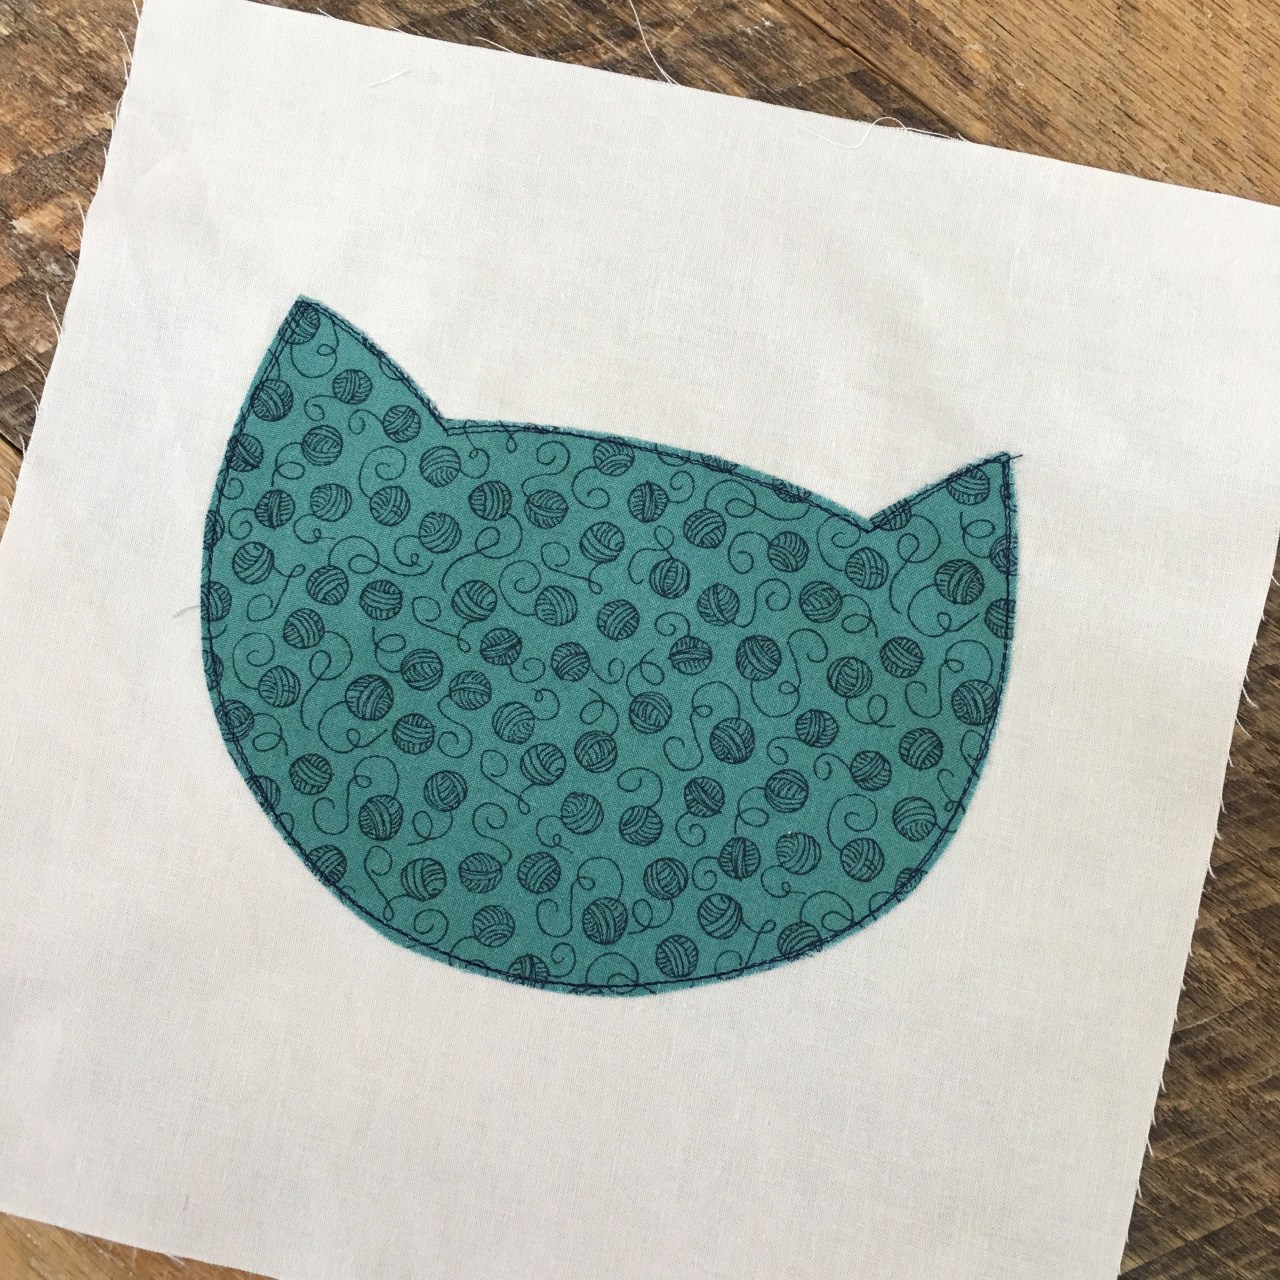
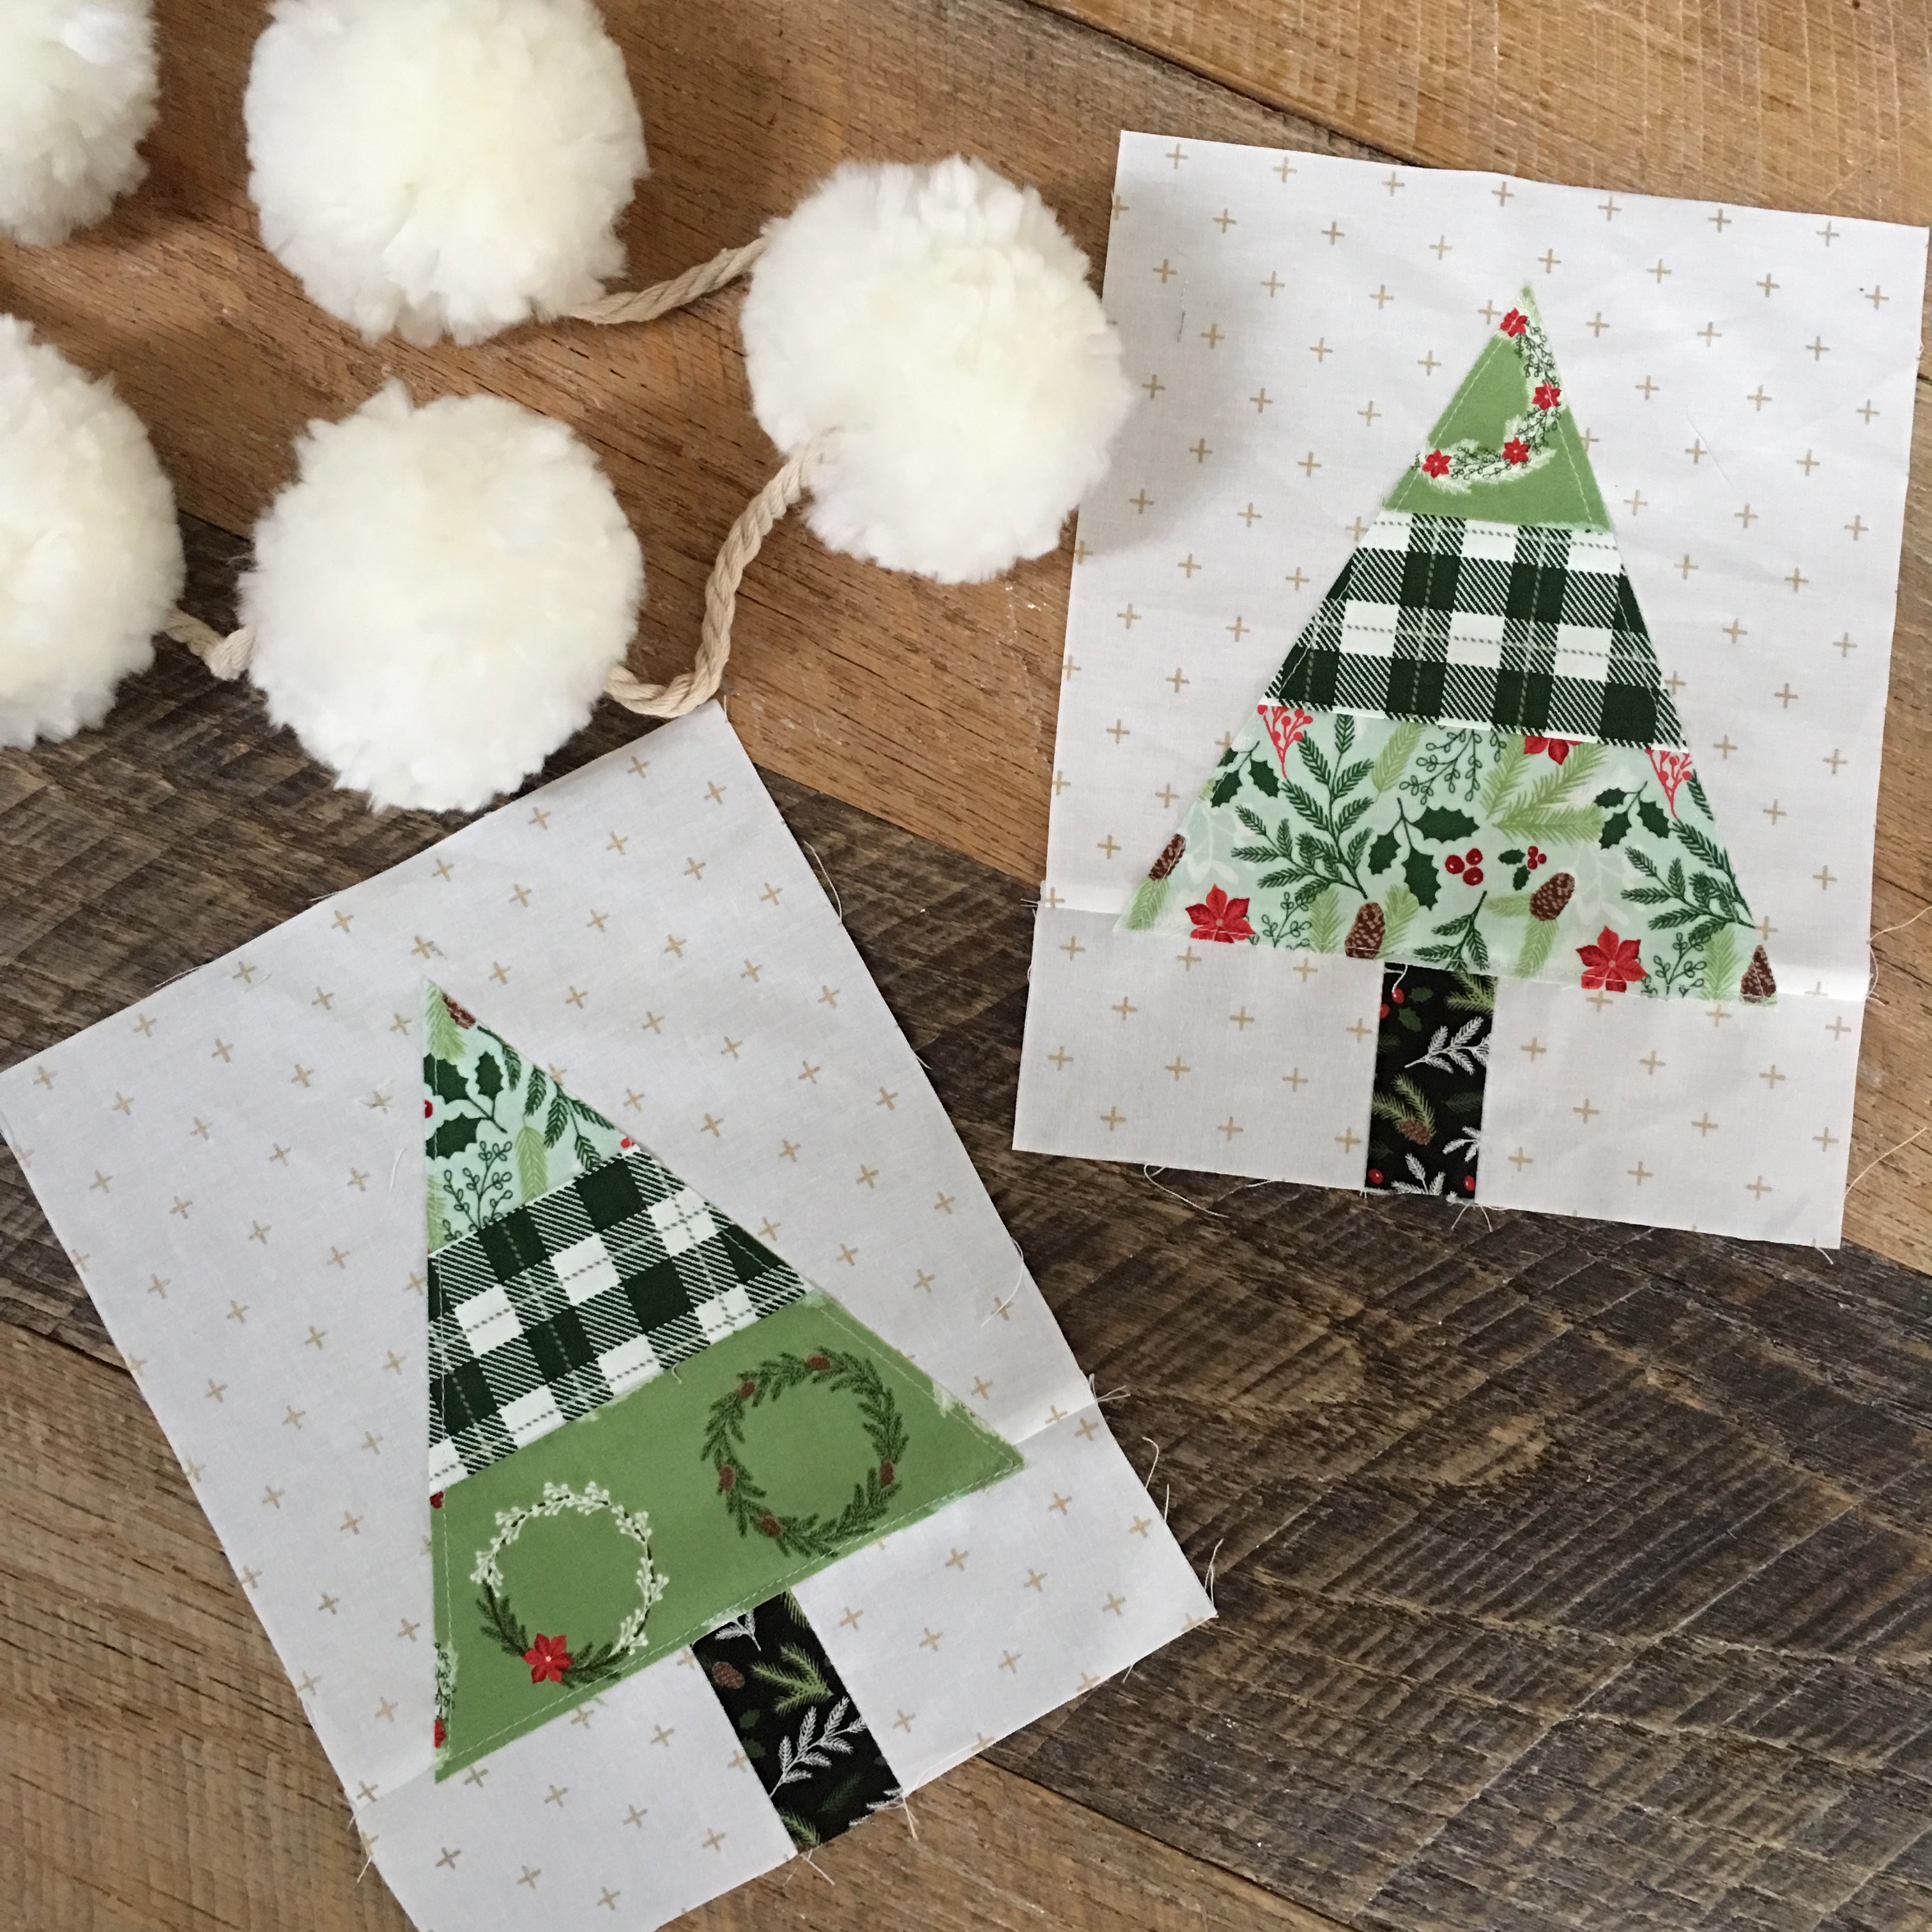
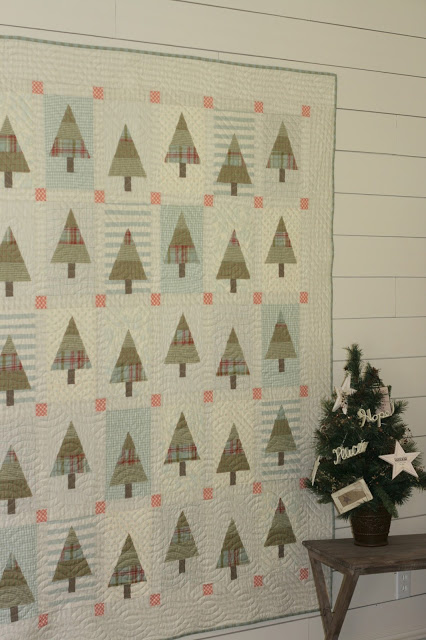
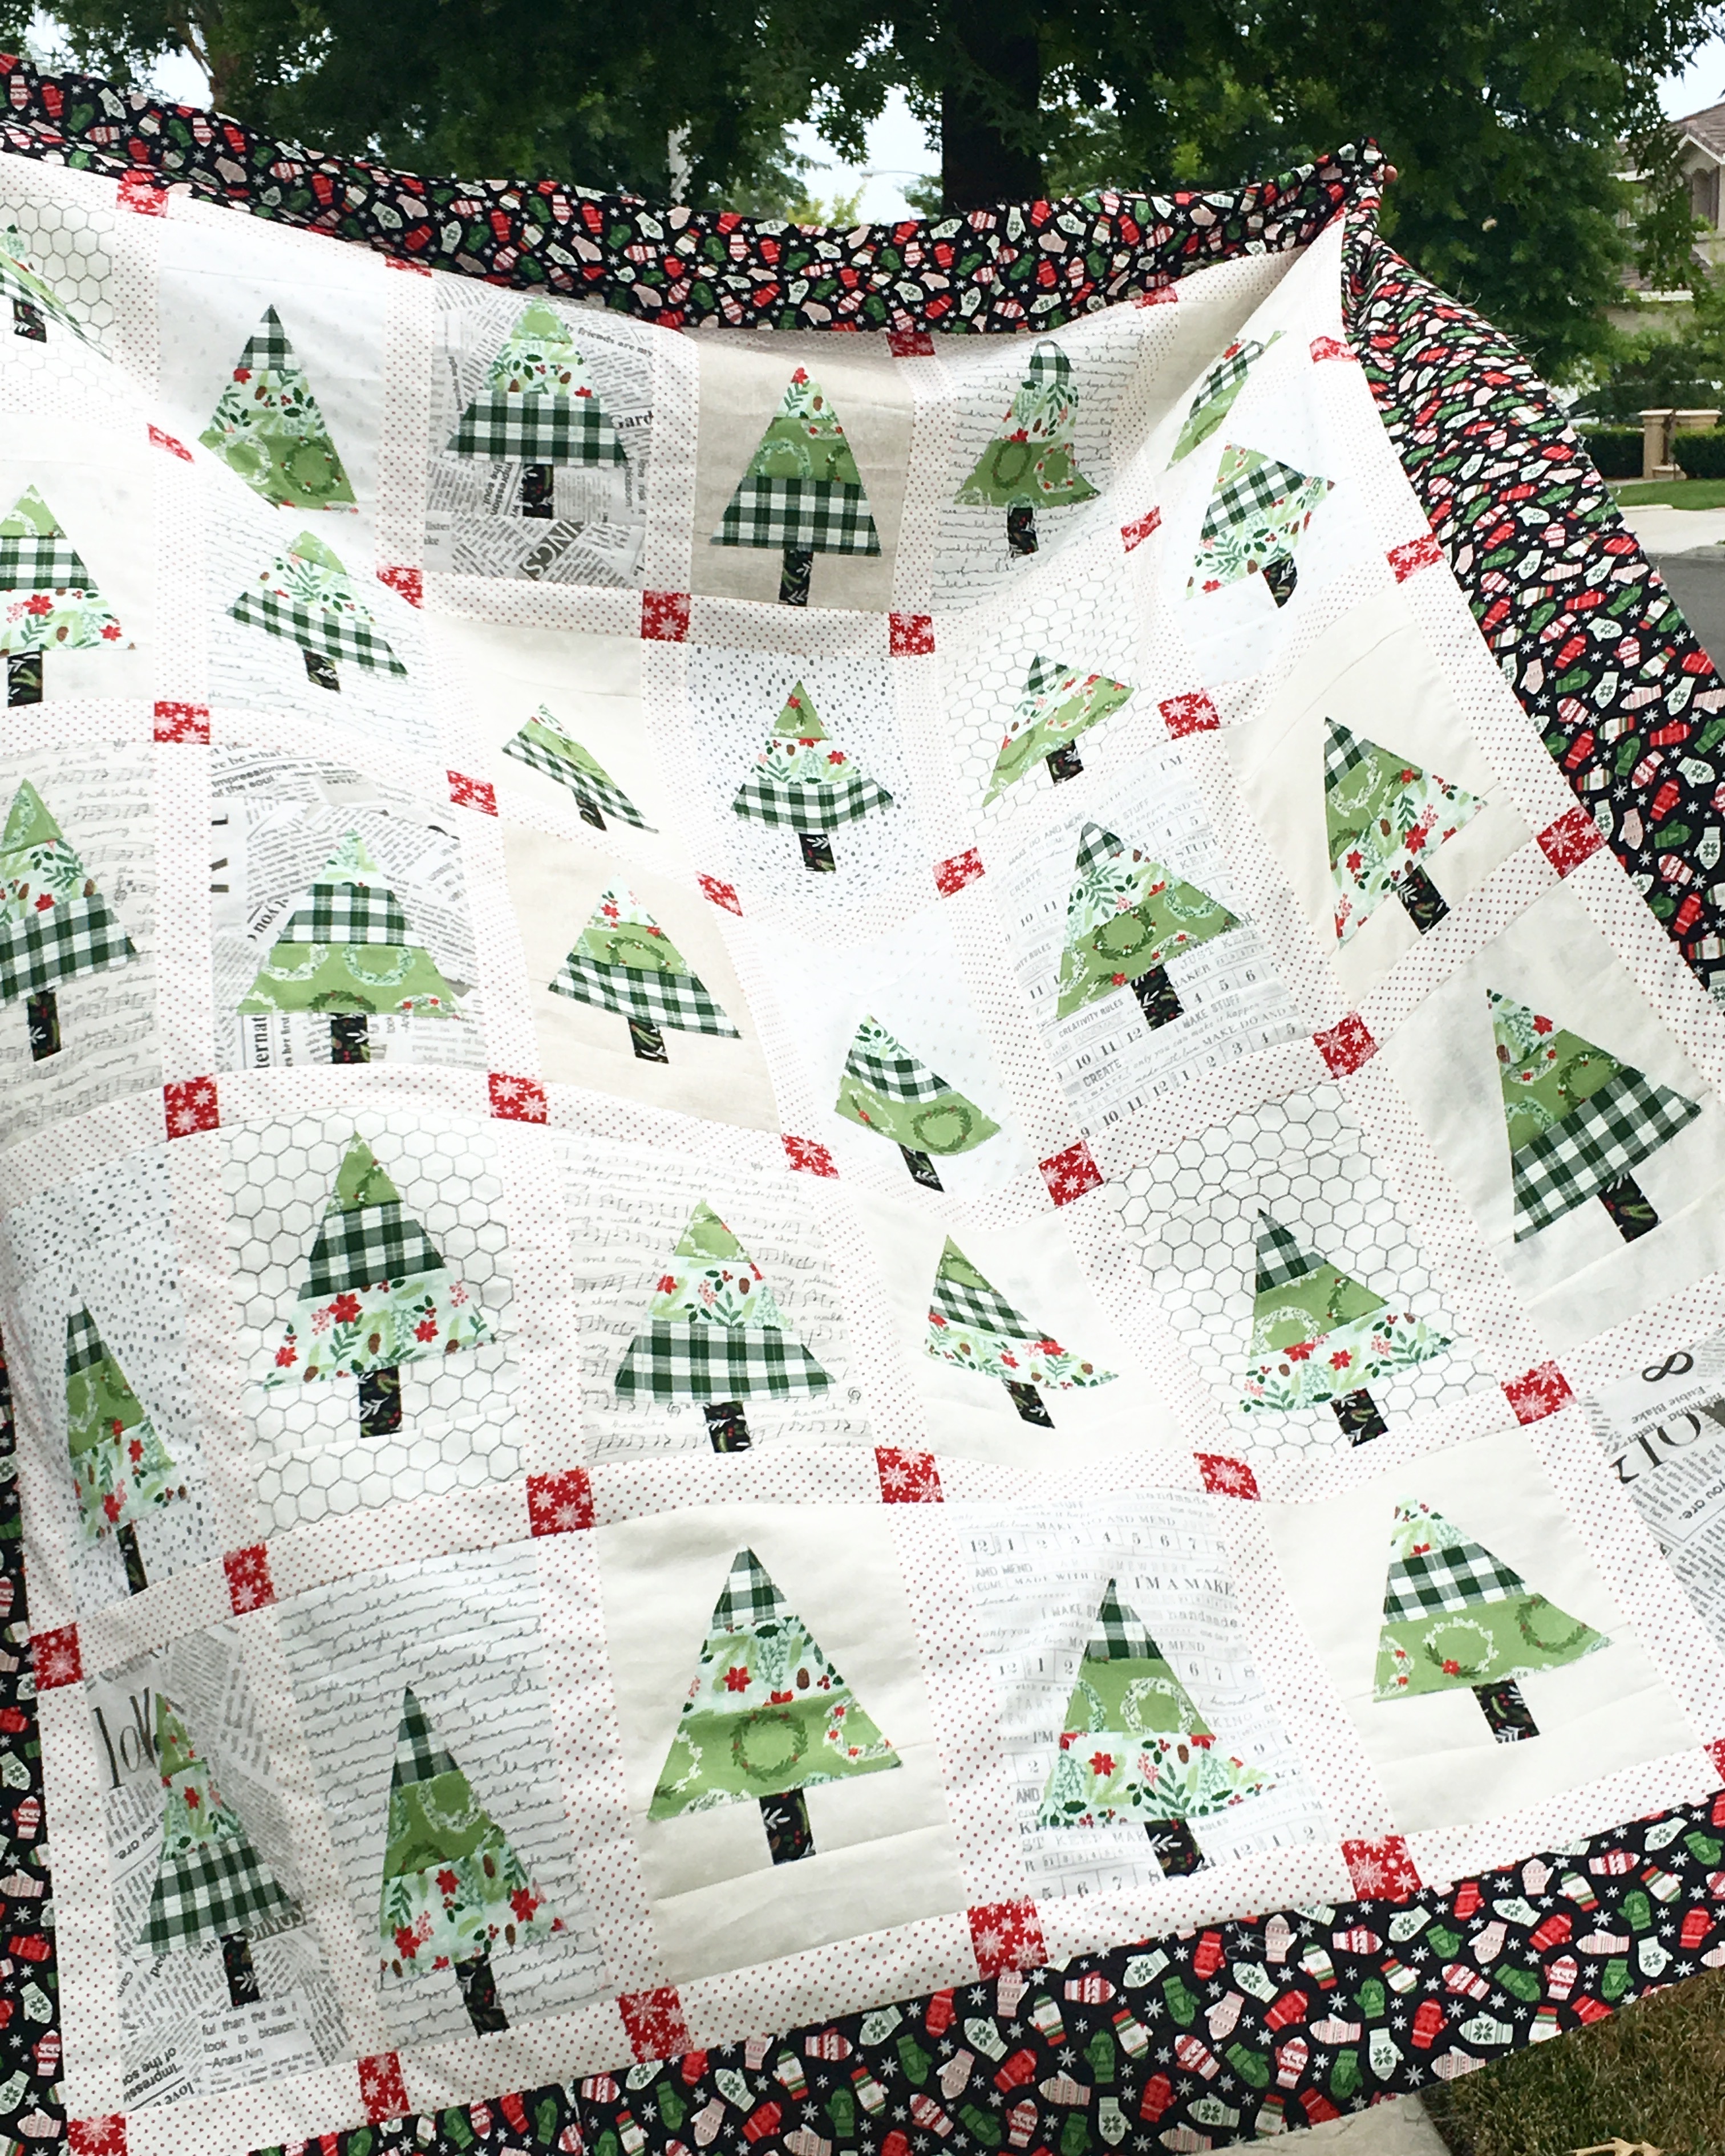
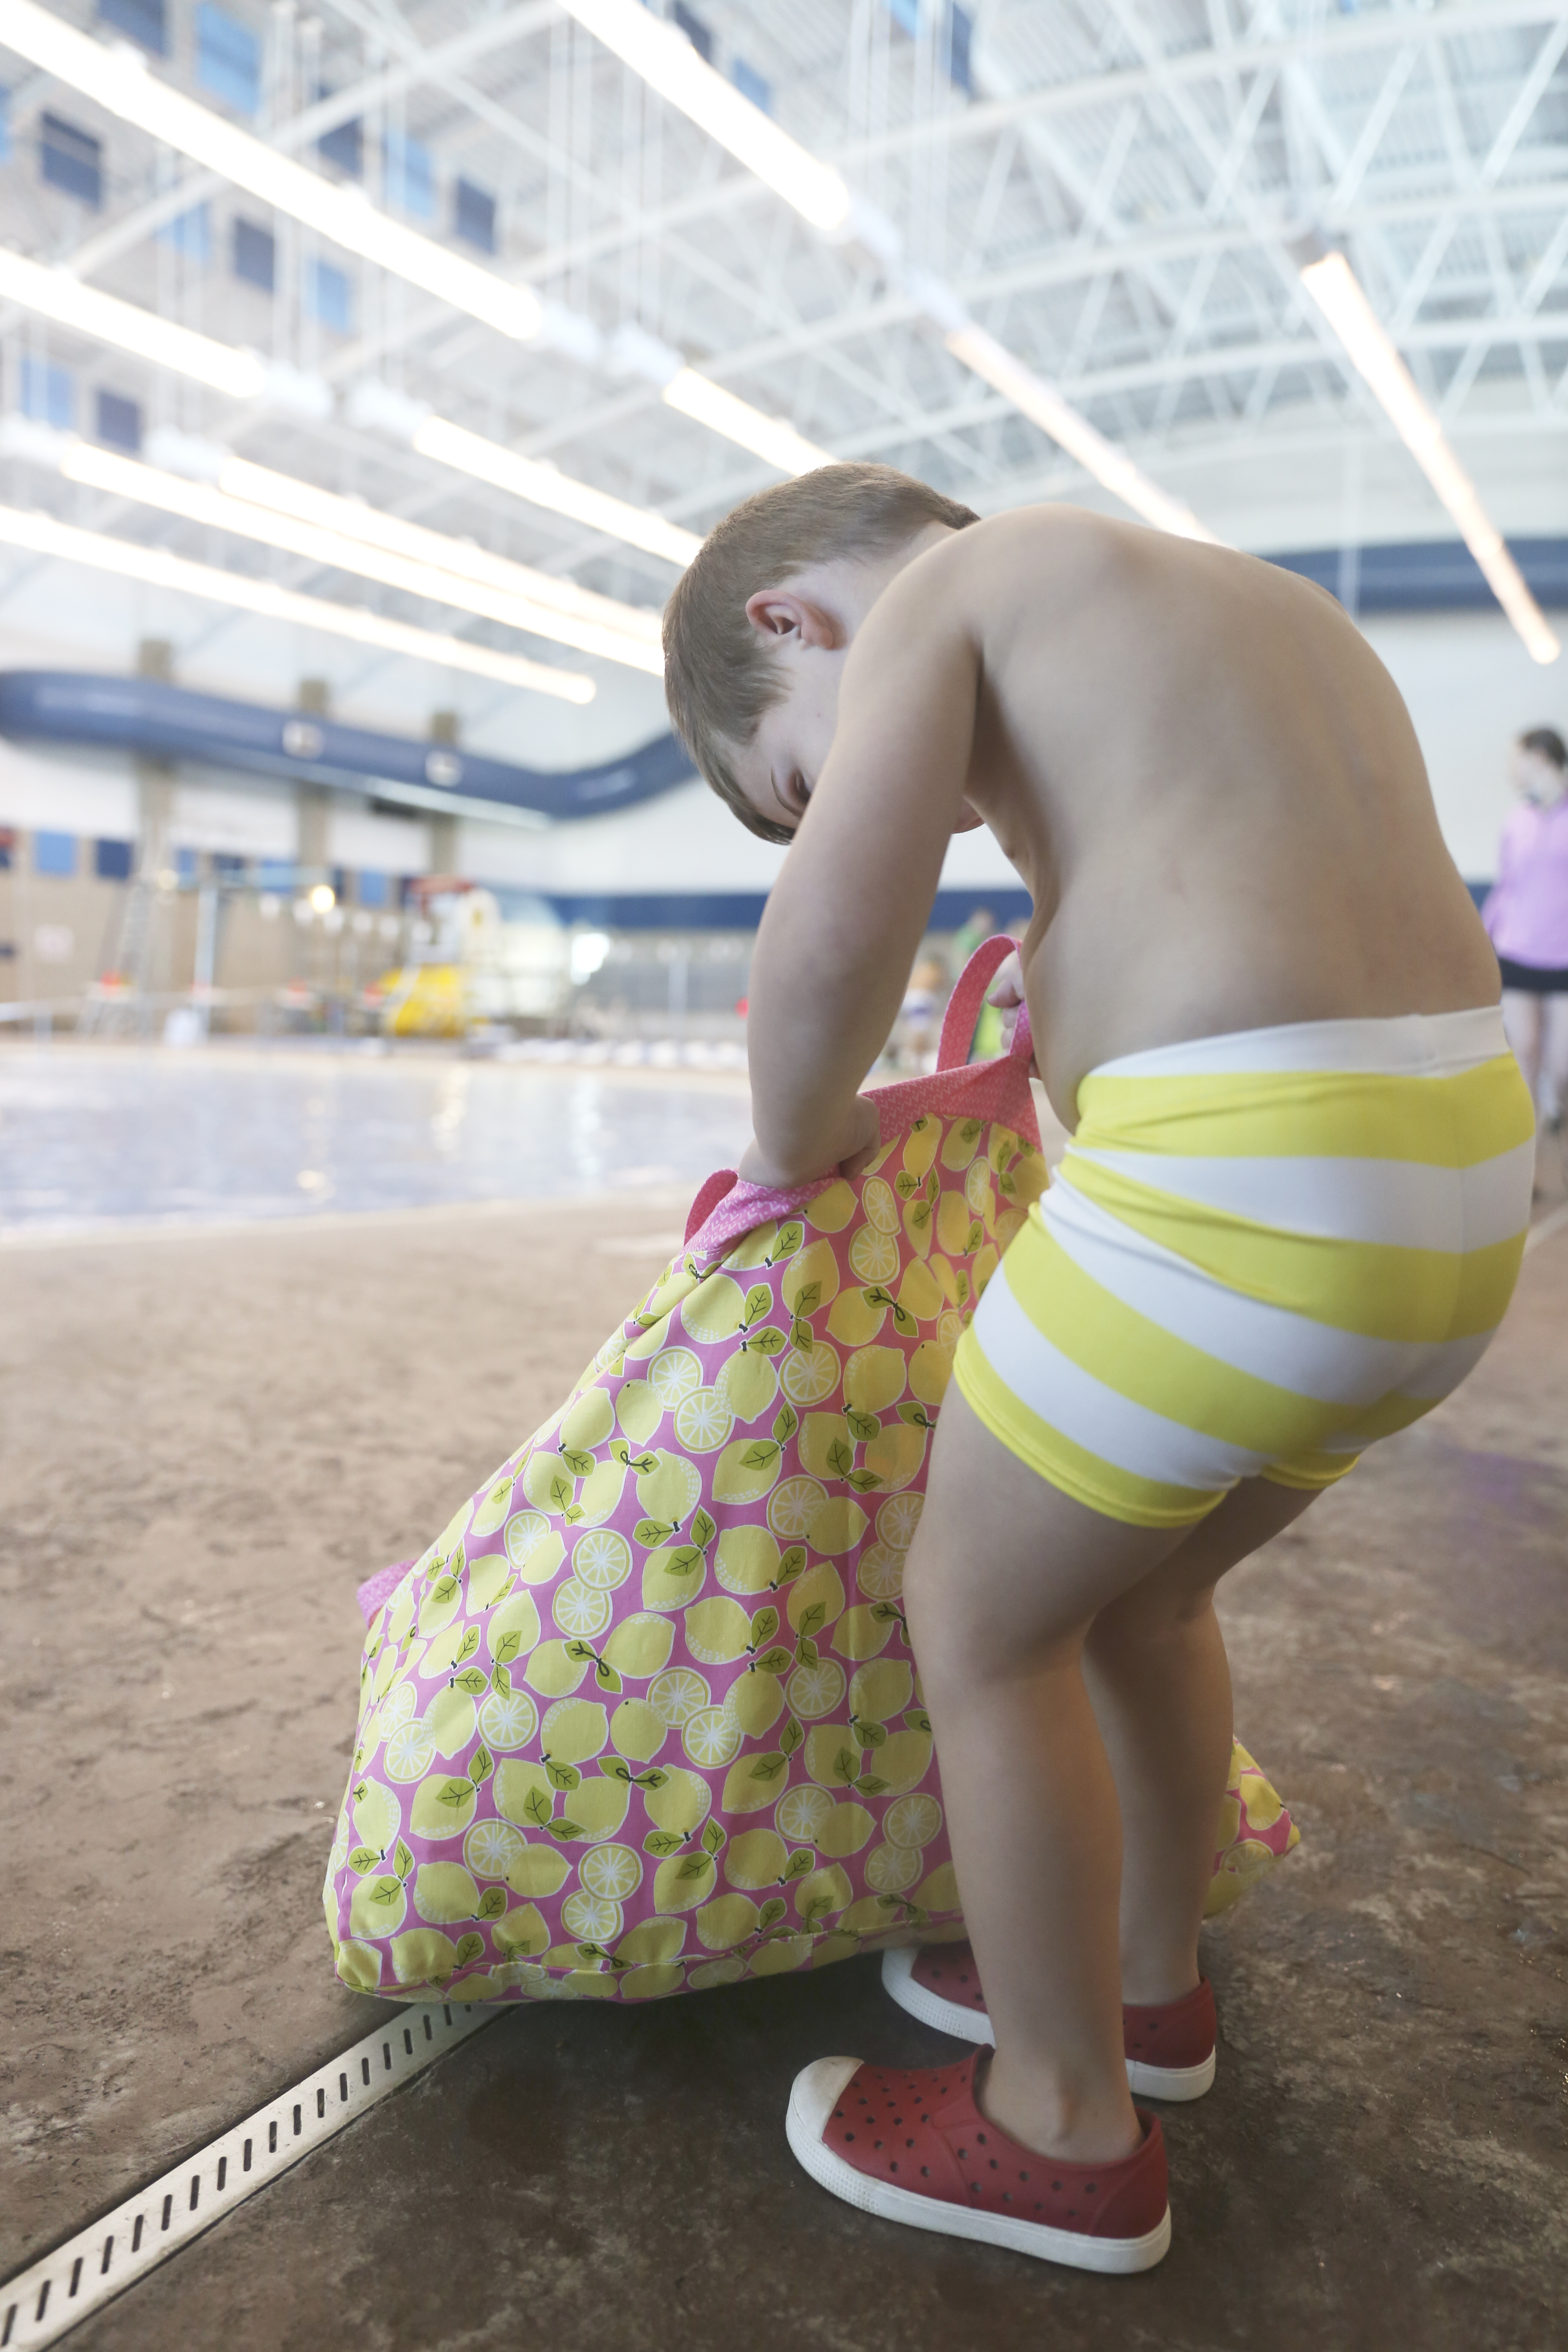
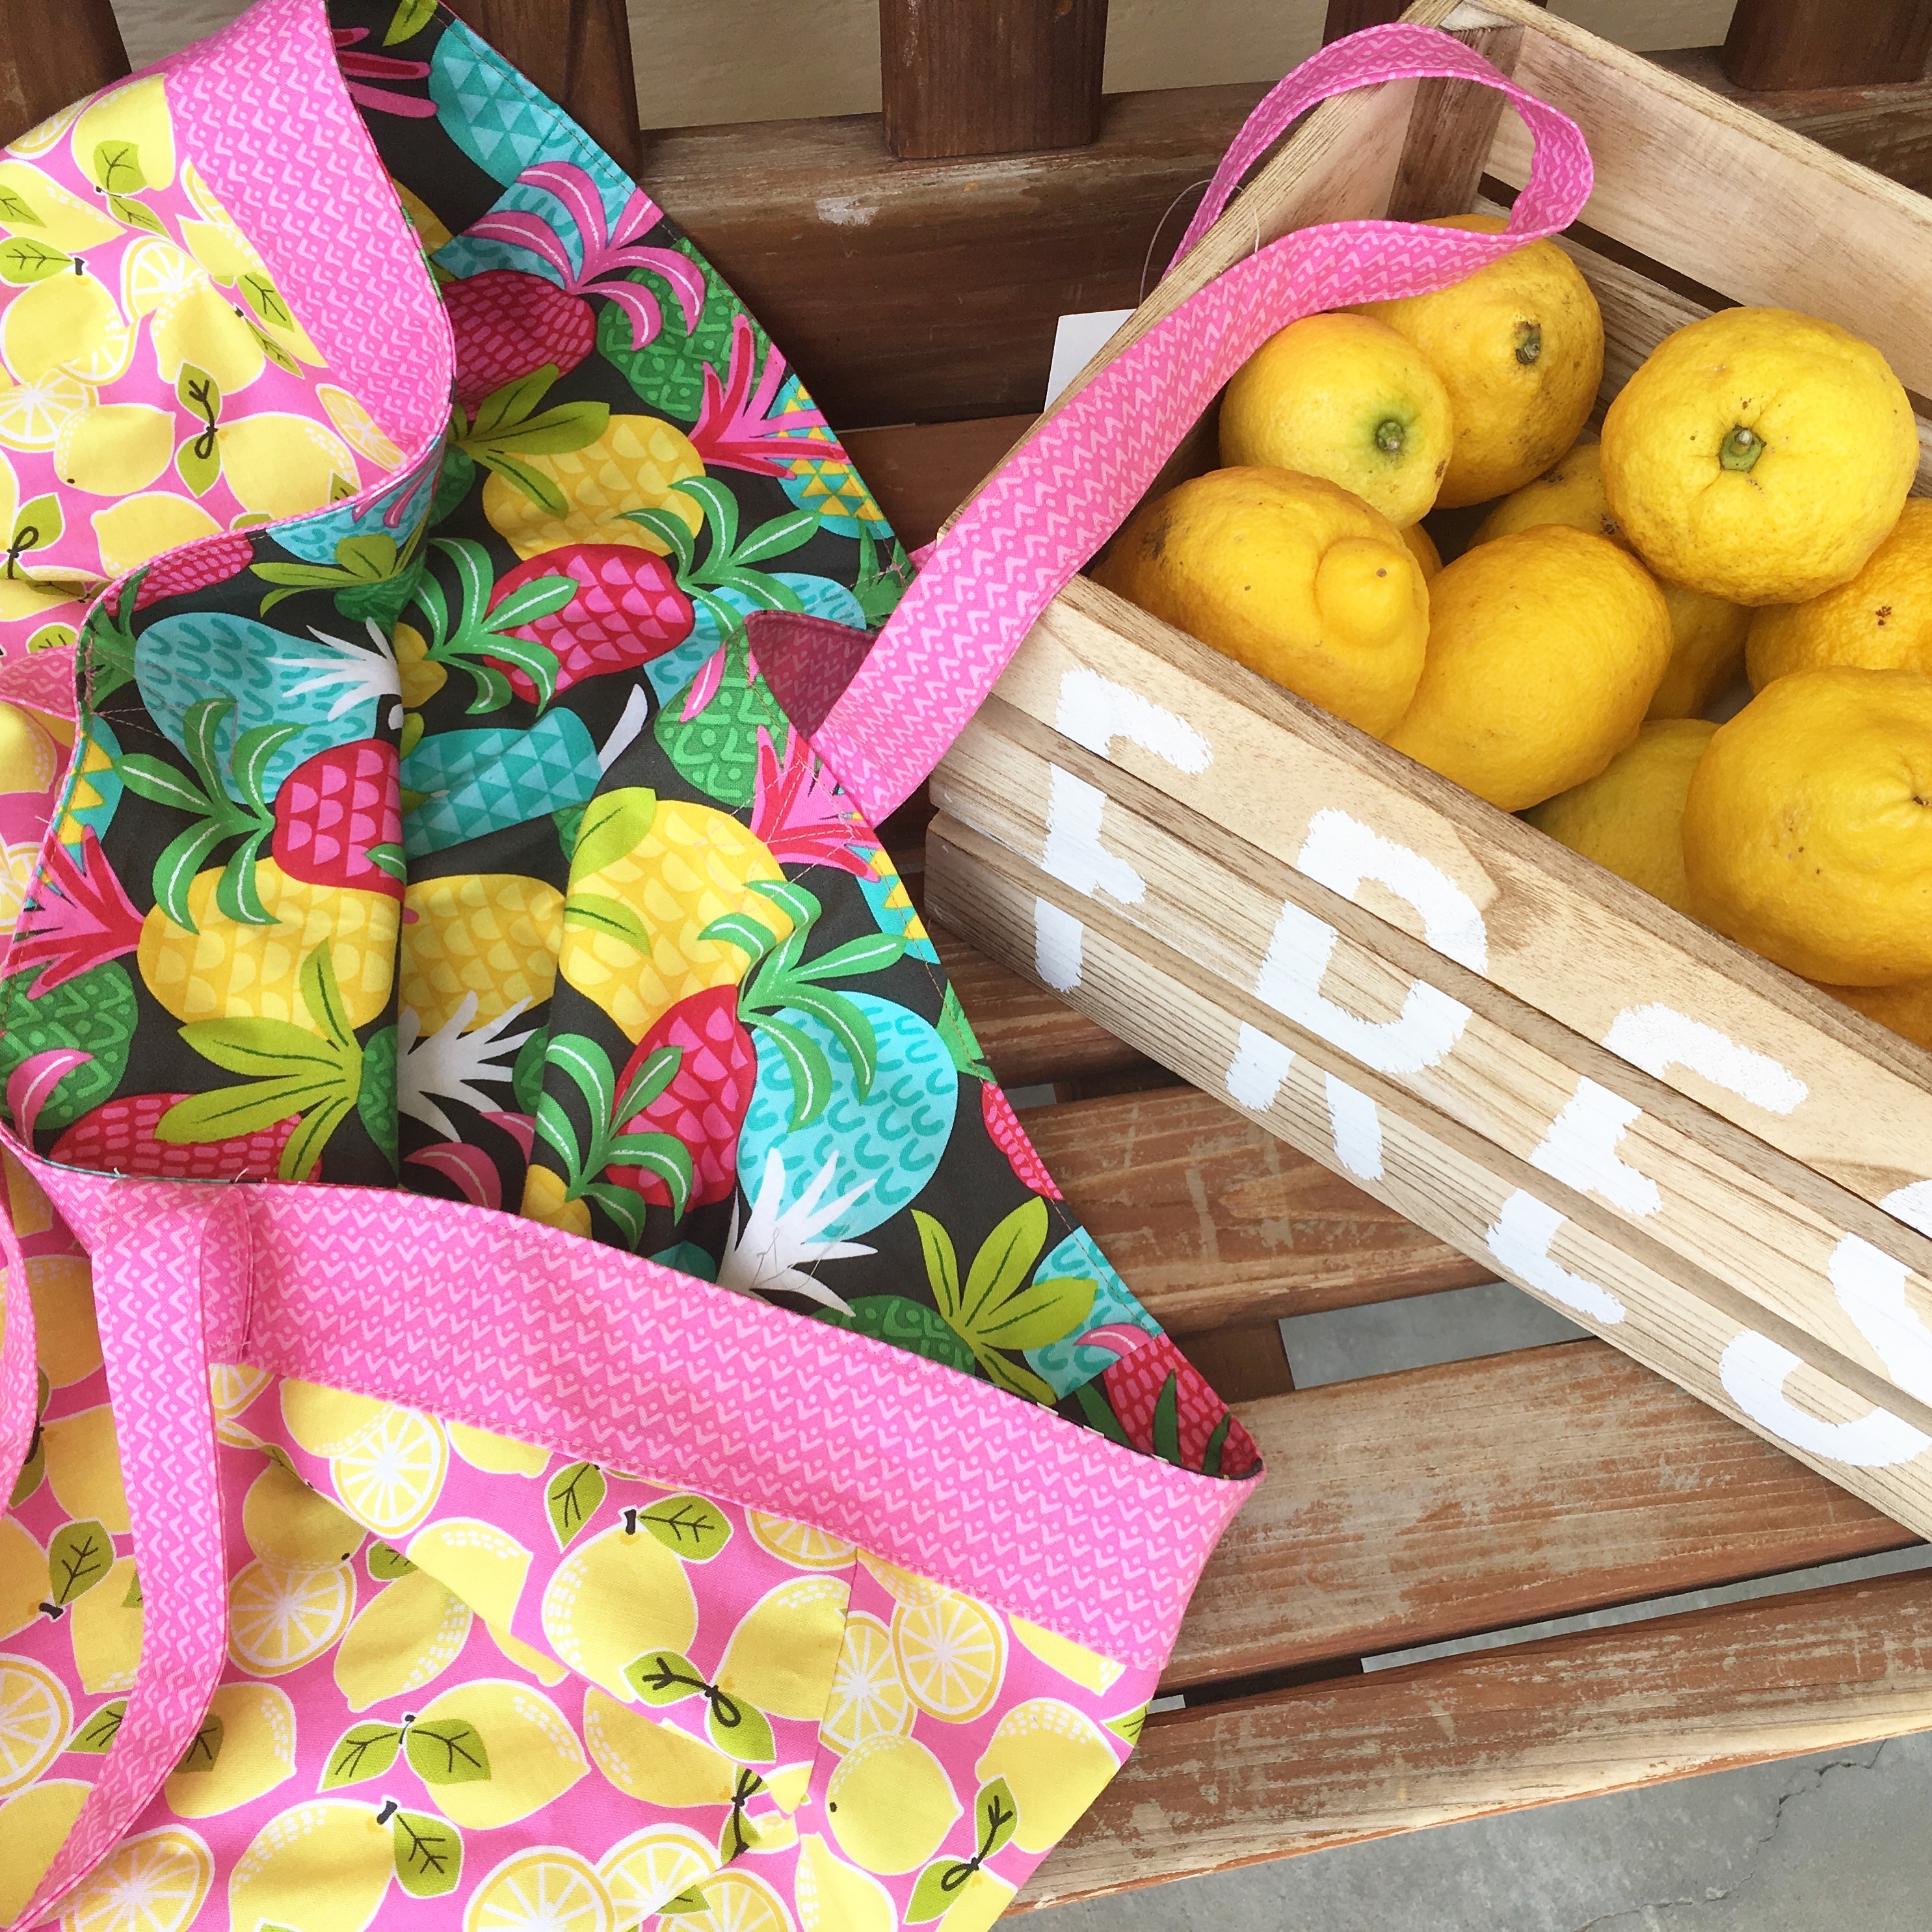
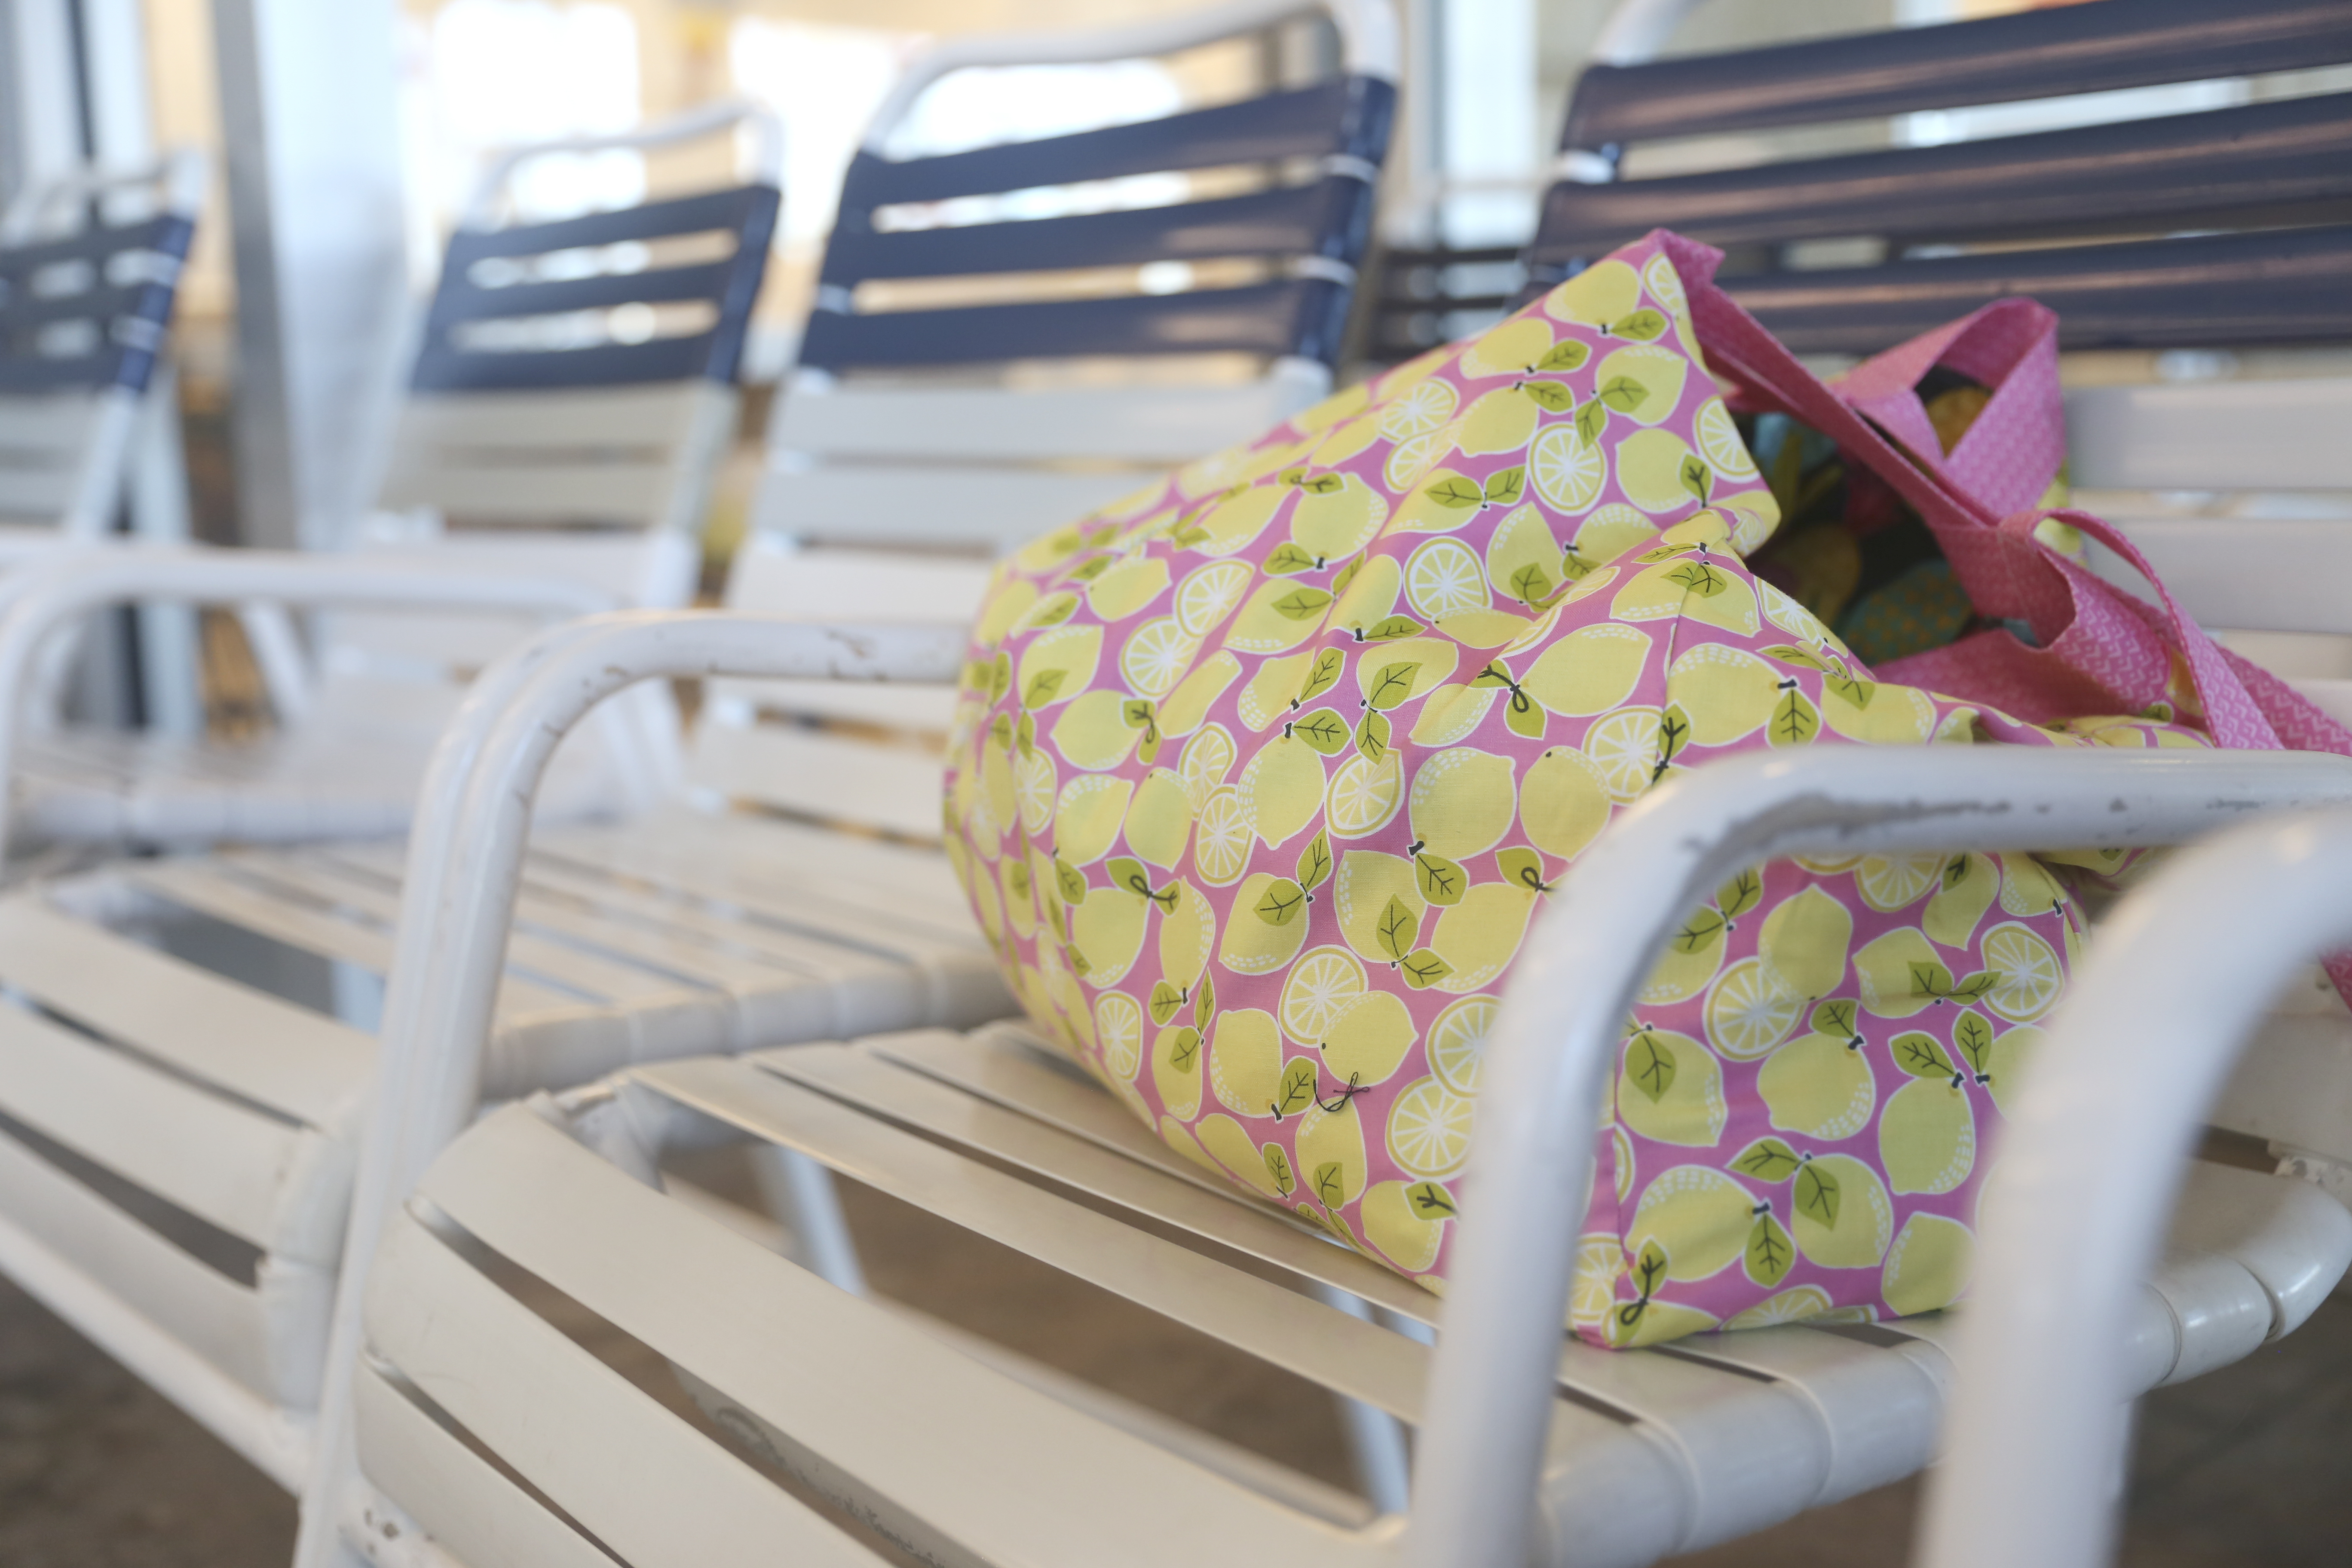
Here is another example of a fun word appliqué project! Click HERE for the turorial.

gingham girls zipper pouch 6

Farmhouse Christmas Ornaments

farmhouse ornaments

Today I am sharing how to make these charming farmhouse-inspired Christmas ornaments!  With only 4 days left till Christmas you have plenty of time to whip these up!  You can find the full tutorial over on the Therm O Web blog!DSC_0951

You can download an print the words onto the EZ Print transfer sheets – did I mention I love adding words to EVERYTHING?????  🙂

IMG_5447

DSC_0954

DSC_0933

DSC_0935

The Good in the Good Life Quilt Pattern

the good in the good life quilt

In our family we have a little saying….well actually it’s song lyrics….. “You put the GOOD in the GOOD LIFE.”  I knew I had to use the Good Life fabric from Moda and I knew the quilt had to have words.  So meet my newest quilt pattern!the good life quilt 2

This whimsical quilt measures 37″ square and is perfect to hang on a wall, place on a table, or give as a gift to someone who puts “good” in your life :). The border is made entirely from charm squares, which is super fun because I collect charm packs!  It’s available in my Etsy shop as a PDF download for only $5.00!!the good life quilt pattern 2

The letters are machine appliquéd.  Yes, you have to cut them all by hand, but it’s kind of fun!  I put on a movie, sat down with my scissors, and it went by fast!the good life quilt pattern 4

I thought I would be a nerd and pose with my quilt while my 9 year old took my picture….hahah!the good life quilt pattern 7

The blocks are super fun to make and I love that you can use all the fabrics in a charm pack.the good life quilt pattern 5

the good life quilt pattern 8


Cats & Scraps {a free quilt pattern}

You will love how easy this quilt comes together and I love the scrappy feel it has!  It’s the purrrrrfect size for you and your fur baby to cuddle with!!

Scraps and Cats

Scraps and Cats Quilt by Amanda Niederhauser

Finished Quilt 60″ x 70″

Block Size 10″

All seams 1/4″

Scraps and Cat Quilt Supplies:

HeatnBond EZ Print Featherlite Adhesive Sheets

3  yard solid white/cream

assortment of 10 or more fat quarters, lights and darks

For the cat head block cut (21) 10 1/2″ squares from the solid white fabric.

For the chain blocks, cut a variety of fabrics (for a scrappy look) into 2 1/2″ squares.   You need:

(84) white low volume print 2 1/2″ squares (I used the low volume prints that were in the fat quarter bundle) for the 9-patch

(189) dark print 2 1/2″ squares

(84) solid white 2 1/2″ x 6 1/2″ rectangles

I choose to use HeatnBond Featherlite for the applique because the cat head appliqué pieces are larger and I didn’t want to add bulk to the quilt.  I love this weight because you can hardly tell it’s there.

You can download the cat head pattern, 2 per sheet by clicking HERE.  Put the HeatnBond EZ Print Featherlite sheets in your printer and no tracing needed!! Or print it on regular paper and trace the cat head onto Heat n Bond Lite.


Scraps and Cats Quilt Instructions:

Cut around the cat heads about 1/4″. Place the cat head on the wrong side of the desired fabric. Press with a hot dry iron. Let cool.  Cut the cat heads out following the pattern line. Peel off the backing paper. Position the cat head in the center of the 10 1/2″ white blocks.  Heat set into place. Sew around each cat head 2 times with dark thread.

Make 21 cat head blocks

Sew the 9-patch unit together.

Then add the borders by sewing a rectangle to each side and pressing.  Sew the corner squares to the ends of the remaining 2 rectangles.  Press.  Sew on to the top and bottom of the 9-patch unit.  Press.  Make 21 blocks.

You might have to wrangle the blocks away from your cat late at night 🙂

Lay out blocks in 6 blocks across by 7 blocks down.  Sew each block together in rows, press toward the cat heads.  Sew the rows together, matching seam intersections.  Press.

Now you’re ready to quilt!  I’m sending mine to the quilter and I’m sure she’ll come up with something purrrrrfect!

Orange Peel Applique Quilt

Orange-Peel-Quilt

I am super excited to be sharing this mini quilt today!  I needed a little something for my new kitchen and I didn’t have much time…..summers are so crazy, right!!  I love the look of orange peel appliqué but wanted this project to be done in a few hours – Heat n Bond Lite to the rescue!

DSC_0164

I dove into my stash of Moda Vintage Picnic scraps – which are just the perfect colors to patch my Pyrex collection!

Vintage Orange Peel Mini Quilt with HeatnBond® Lite

Finished quilt 24″ square

Here’s what you need to get started:

Lots of scraps!!!  I used all my Vintage Picnic scraps for this quilt
Heat n Bond® Lite for the appliqué – yes those orange peels are machine appliquéd – who has time for hand stitching in the summer!
1/3 yard of white/off white background fabric
1/8 yard navy inner border fabric
Spray n Bond® Basting Spray
1/4 yard binding fabric
1-yard backing fabric
cotton batting


Vintage Orange Peel Mini Quilt with HeatnBond Lite Instructions:

Get started by cutting all those scraps into (64) 2 1/2″ squares.  No pattern here – just scrappy!

Lay them out in 8 rows of 8.

Piece together in rows, pressing each row opposite so the seams come together nicely.  Sew the rows together and press.

IMG_0931

I love patchy quilts!!!!

IMG_0933

For the inner navy border cut:

(2) 2″ x 16 1/2″ strips

(2) 2″ x 19 1/2″ strips

Sew the border to the sides of the scrappy unit, press.  Then to the top and bottom, press.
DSC_0126

For the orange peel, print off the orange peel pattern.  Make sure it measures 3″ from end to end.

orange peel

Trace the orange peel onto the HeatnBond Lite 48 times.

IMG_0946

Cut out around each orange peel and press to the wrong side of the desired fabric – scrap buster style!!!

IMG_0934

Cut out each orange peel and peel off the backing paper.

Cut the white fabric:

(4) 5 1/2″ x 19 1/2″

Position the orange peels as shown in the photo.  Heat set in place.  Sew around each orange peel using a straight stitch.

IMG_0947

Make the corner blocks:

corner block

Using the above measurements, construct 4 blocks for each of the 4 corners.

IMG_0953

Sew an orange peel unit to each side, press.

Sew a block unit to the ends of the remaining orange peel unit, press.

IMG_0959

Sew the remaining orange peel units to the top and bottom of the quilt.  Press.

Baste the quilt with SpraynBond Basting Spray for speedy results.  I quilted the quilt with an all over double loop de loop pattern.  Bind and enjoy!DSC_0144

I am super in love with this scrappy little quilt and love how it looks in my new kitchen!!!DSC_0134

DSC_0157

Star Spangled Pillow

Create a Star-Spangled Pillow

star pillow 2

Here is a fun and fast pillow to make for your 4th of July/Americana decor!  You’ll love how fast this canvas & denim pillow come together!!

star pillow

I’m thinking when it’s not summertime this pillow might live in the super hero kids room!!!

Star Spangled Pillow by Amanda Niederhauser aka Jedi Craft Girl

star pillow 6Star Spangled Pillow Supplies:

(2) 20″ squares of canvas/duck cloth

1/4 yard denim (mine is by Indigo Junction Crossroads Denim)

HeatnBond® Lite Fusible Adhesive

20″ pillow form

22″ or longer zipper

Star Pattern

IMG_2118

[line]Star Spangled Pillow Instructions:

Begin by tracing 10 stars onto the HeatnBond® Lite.

IMG_2119

Fuse to the wrong side of the denim.  Cut out each star and peel off the backing paper.IMG_2120

Arrange stars as desired.  Make sure that a few hang off the edges to create a continuous pattern look.  Heat set in place.  Trim off the excess star.
IMG_2122

Top stitch around each star.  I used a shiny taupe/gray color.IMG_2123

Once complete use this tutorial to sew an invisible zipper in the bottom and finish the pillow.IMG_2124

I am ao in love and ready for summer!!!!!

star pillow 8

star pillow 7

star pillow 5

Rustic Pines {A 5 Fat Quarter Fun Quilt}

IMG_8034a

It’s Christmas in July!  I love making a Christmas quilt in the summer – I never have time when it gets closer to Christmas!!  You are going to love this Rustic Pines Quilt!  Choose your 5 favorite Christmas Fat Quarters and let’s get sewing!!

IMG_0996
I choose the Comfort and Joy line from Riley Blake.  It has such a wonderful cabin-like Christmas feel!
IMG_0507

The trees are strip pieced and cut at 60 degree angles and then appliquéd on!!  Super fast – who has time for hand work in the summer!!
comfort and joy

A little tip for appliquéing:  Use Spray n Bond and put the trees wrong side up on old wrapping paper.  Spray the backs and set them in place.  Just unroll more paper for a clean basting surface!!
IMG_0915

I love that the pattern calls for a scrappy low volume background – it gives it such character!!  I added an accent border instead of a low volume border – you can choose!

IMG_1011

Hop over to Amber’s blog to read all about her version and to download the free pattern!
IMG_1005

Amber’s version is even more cozy with all kinds of homespun plaids from Moda!!!

IMG_8013

Be sure to tag us on Instagram so we can see your creations! @jedicraftgirl and @gigis_thimble
IMG_1010

70’s Inspired Zipper Pouch

Retor HeatnBond Zipper Pouch

gingham girls zipper pouch 4
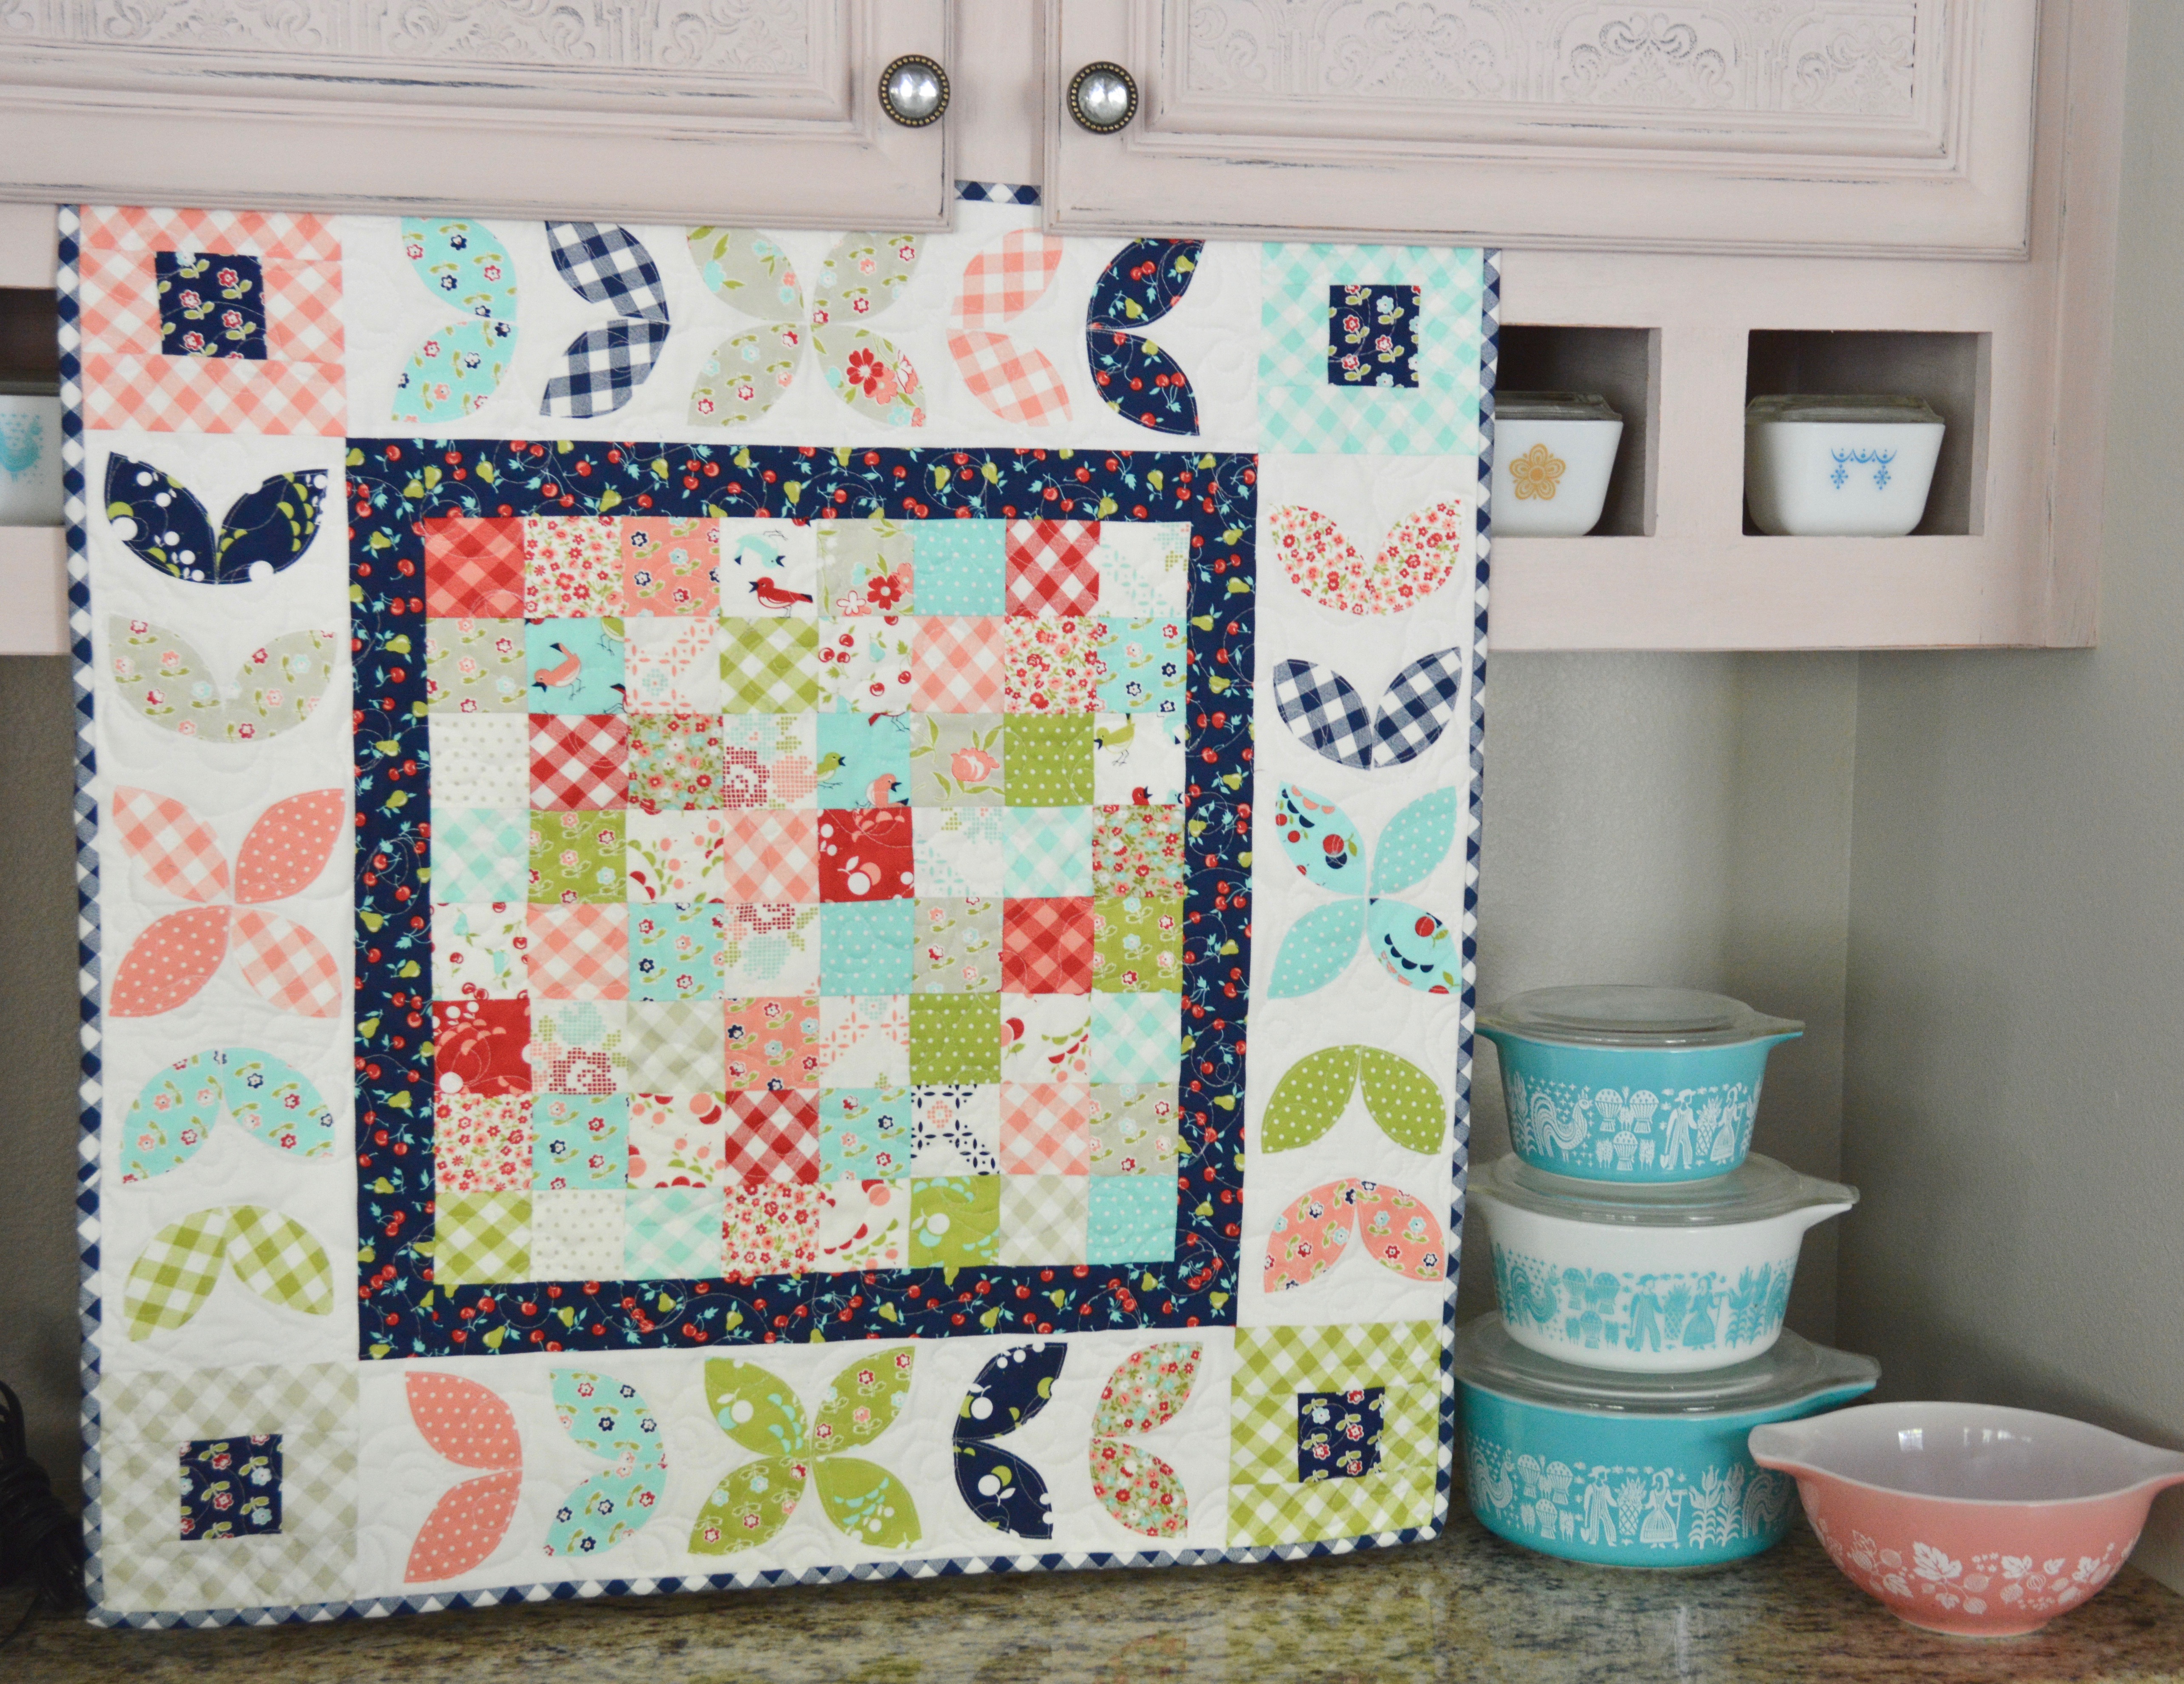
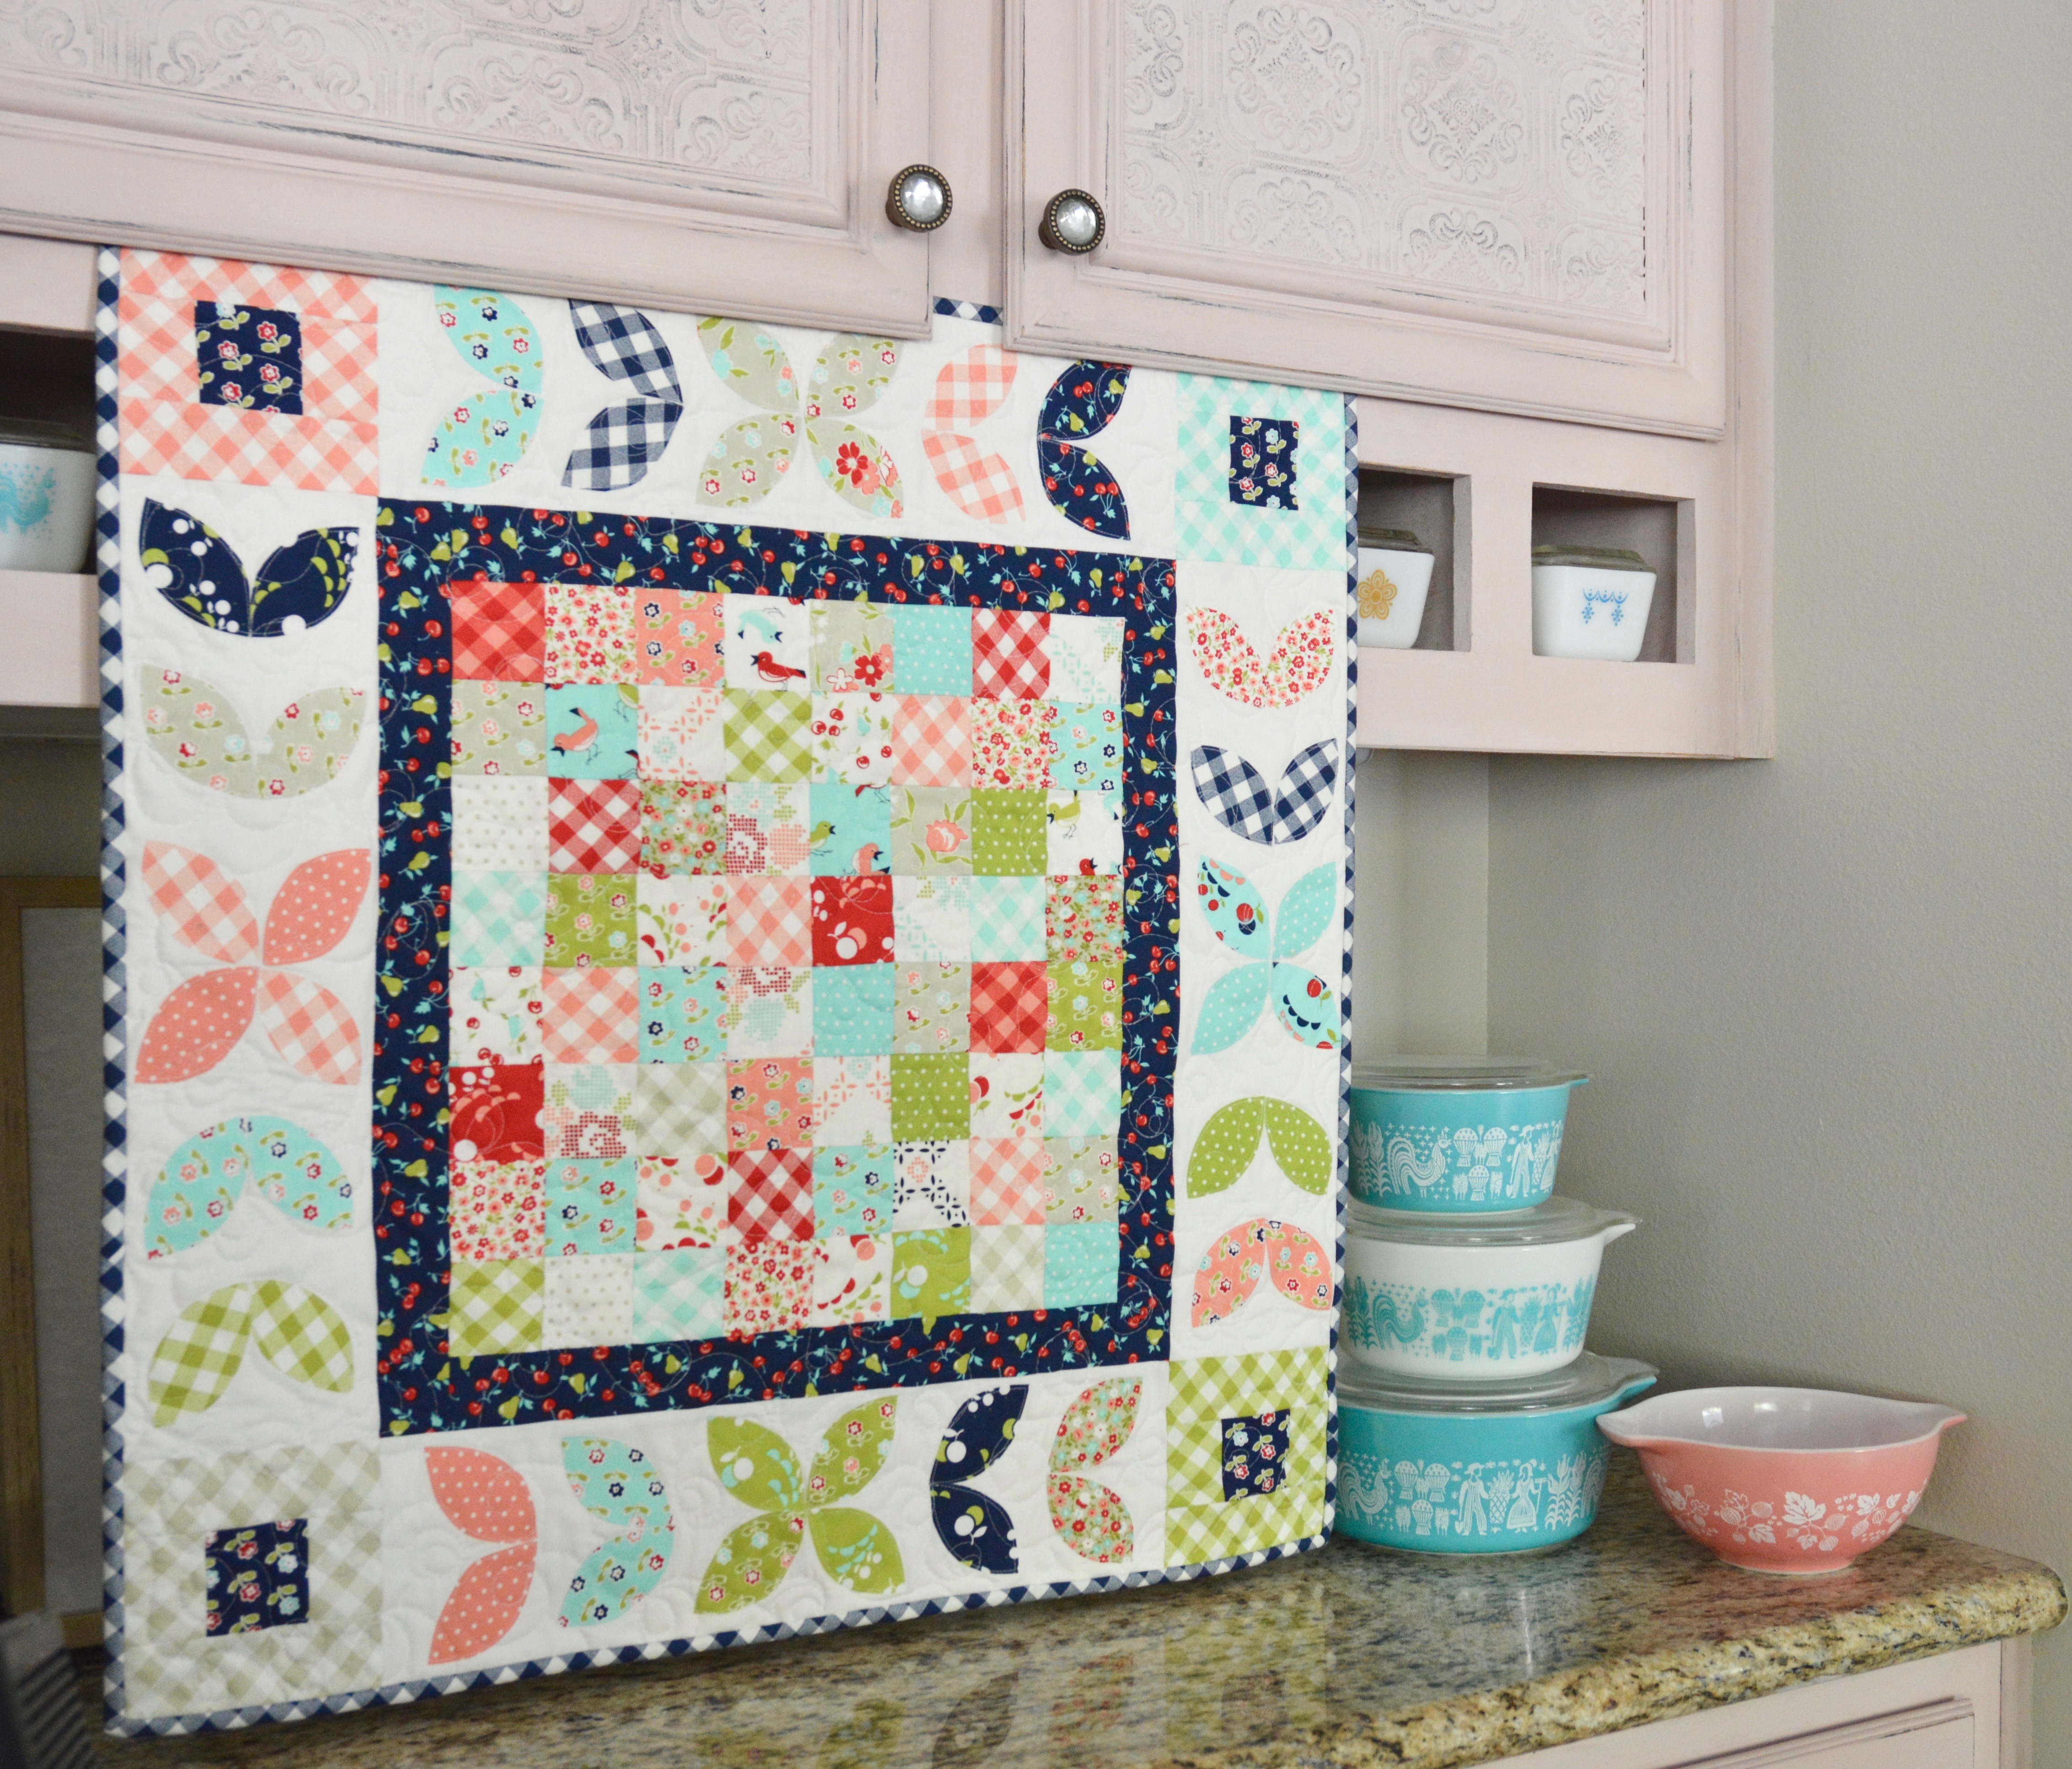
I am loving Amy Smart’s latest fabric line Gingham Girls by Penny Rose Fabrics!  This 1970’s inspired fabric has my name written all over it and so does this project!  And my name is a total 70’s name so it totally works!!  Here’s how you can make one!

70’s inspired Zipper Pouch with HeatnBond® Fusible Fleece

IMG_1995

Why I use HeatnBond® Fusible Fleece for my Zipper Pouch projects

It doesn’t shrink and holds it’s shape

It fuses to the fabric so quilting is not required

It is soft, yet sturdy

It holds up great in the wash

Zipper Pouch Supplies:

Scraps of fabric yielding (30) 2.5″ squares
Dark chambray 4.5″ x 10.5″
(2) rectangles 8.5″ x 10.5″ lining fabric
(2) rectangles 8.5″ x 10.5″ fusible fleece
HeatnBond® Lite Fusible Adhesive
Scraps for applique
14″ or longer zipper
Scrap for zipper end
All seams 1/4″

IMG_2002

[line]

Zipper Pouch Instructions:

Begin by sewing (20) 2.5″ squares in 4 rows of 5 squares (above) press seams alternately.

IMG_2004

Sew the back unit by sewing (2) rows of 5 squares together.  Before sewing the chambray piece on, appliqué the name first.  Fuse HeatnBond Lite to the wrong side of the name fabric and the daisy fabric.

IMG_1999

Die cut the letters (or cut by hand). Peel off the backing paper and position letters on chambray.

IMG_2005

Heat set in place.

IMG_2006

Outline stitch around each letter and the flower in navy thread.  Sew the appliqué piece to the 2-row patchwork unit.  Press toward chambray.

IMG_2001

Cut the HeatnBond Fusible Fleece.

IMG_2007

Fuse the fleece to the wrong side of both the patchwork units.  Add some decorative stitching if desired.

IMG_2008

I added a seam along the chambray to give it an accent and I quilted diagonal lines in the patchwork.

IMG_2009

Now that the zipper pouch front and back are ready, you can finish the pouch by following this tutorial for inserting the full access zipper and finishing the bag.

I am so in love and so happy to have a new zipper pouch just for me!!!
gingham girls zipper pouch 2

Perfect to brighten up the inside of my purse and to hold all my cosmetic items.

gingham girls zipper pouch 5gingham girls zipper pouch 6

The back is so scrappy and cute!gingham girls zipper pouch 7I dug out a few of my dresses from when I was little (in the 70’s) – doesn’t this fabric just blend right in!!  So fun!!!

gingham girls zipper pouch

Tutti-Fruitti Market Tote Bag

This tote bag is by far my most used tote bag I own!!  What I love about it is that it is super big but folds up small so you can keep it in our purse or in your car.  My goal is to sew a bunch of these and use them when I go grocery shopping.  When they get dirty, just toss in the wash!!

IMG_1378

This fabric is called Tutti-Fruitti from Blend Fabrics – it just screams summer!  You can click on this link to see all the fabrics in the collection!
IMG_1356

My friend, Rachel from Little Fish, and I made them together and she loves taking hers to the pool!  (She also makes these adorable euro style swim trunks for little boys). You can fit a ton of beach towels in this bag!!

IMG_6035 copy-2

The bag is also reversible – I love the pineapples!!!  So click HERE and download the free pattern and get ready for summer!!!IMG_1379

IMG_6034 copy-2


Lemonade Stand Quilt

Living in California it’s all about the citrus and we love our lemons!  One of the fabrics in Happy Day has little jars of lemonade and that is where I got my inspiration for this wall quilt!

DSC_0107

The finished quilt is 33″ square, has pieced pinwheels and appliqué.
DSC_0006

DSC_0979
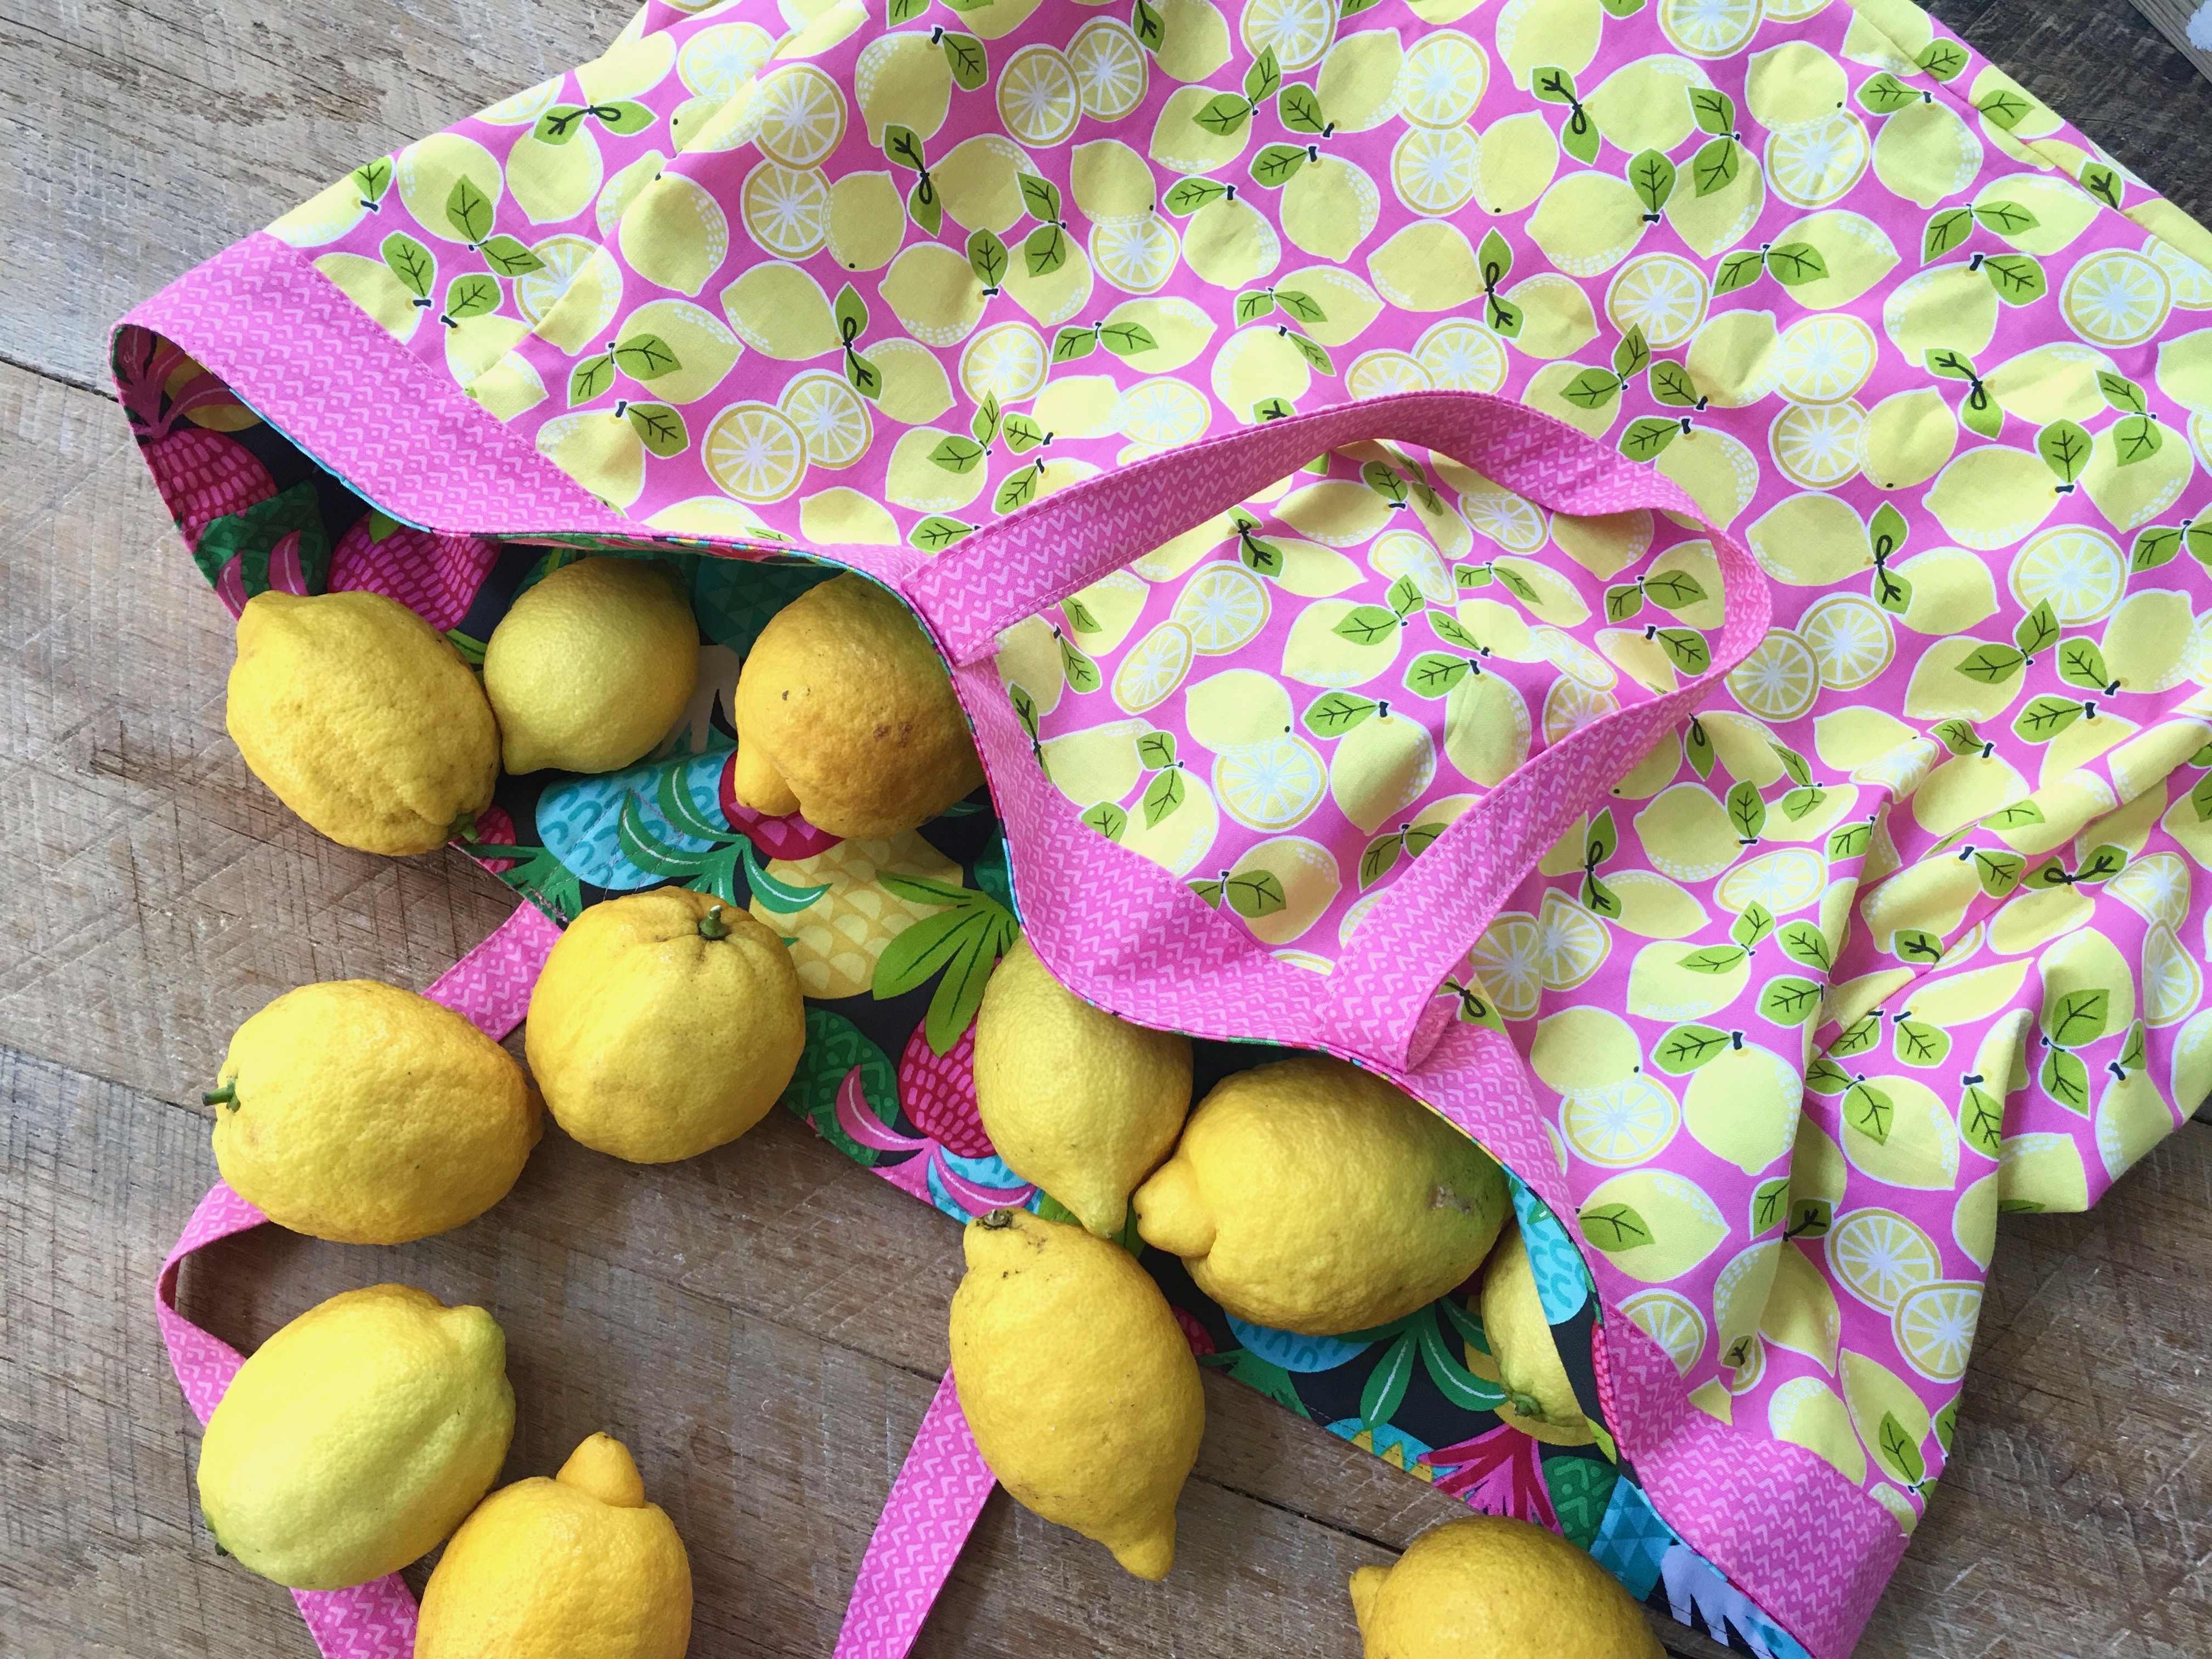
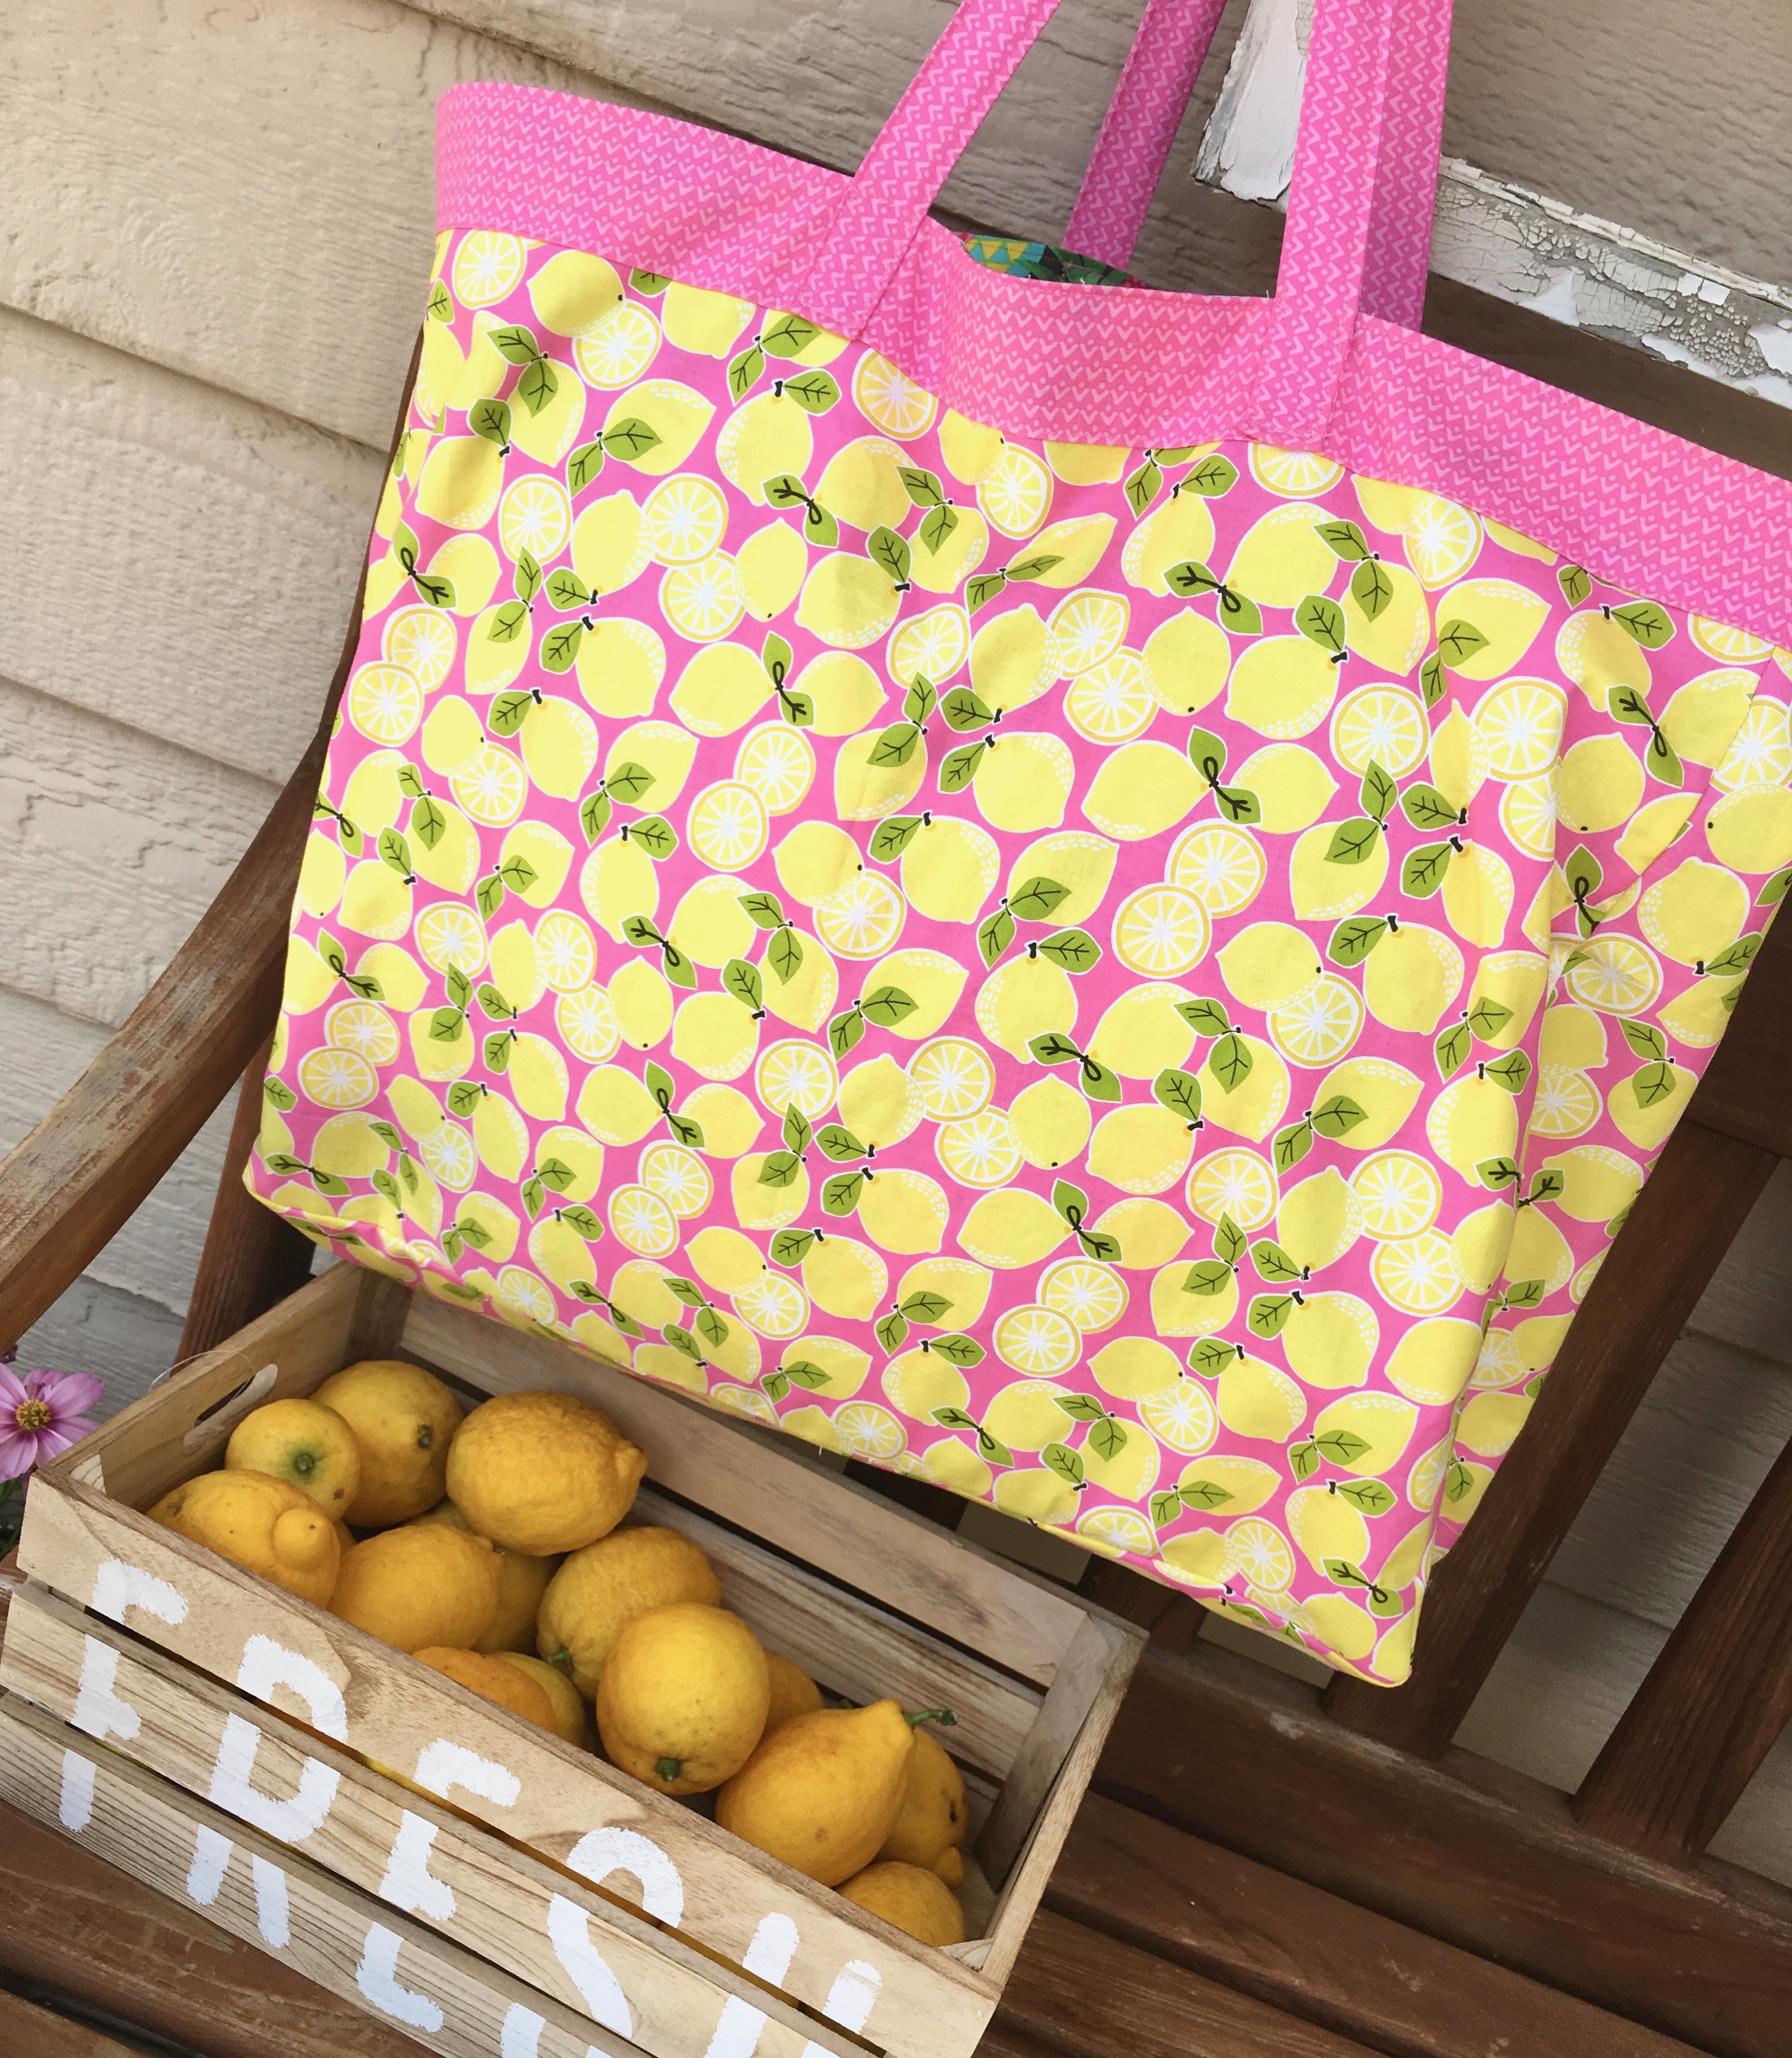
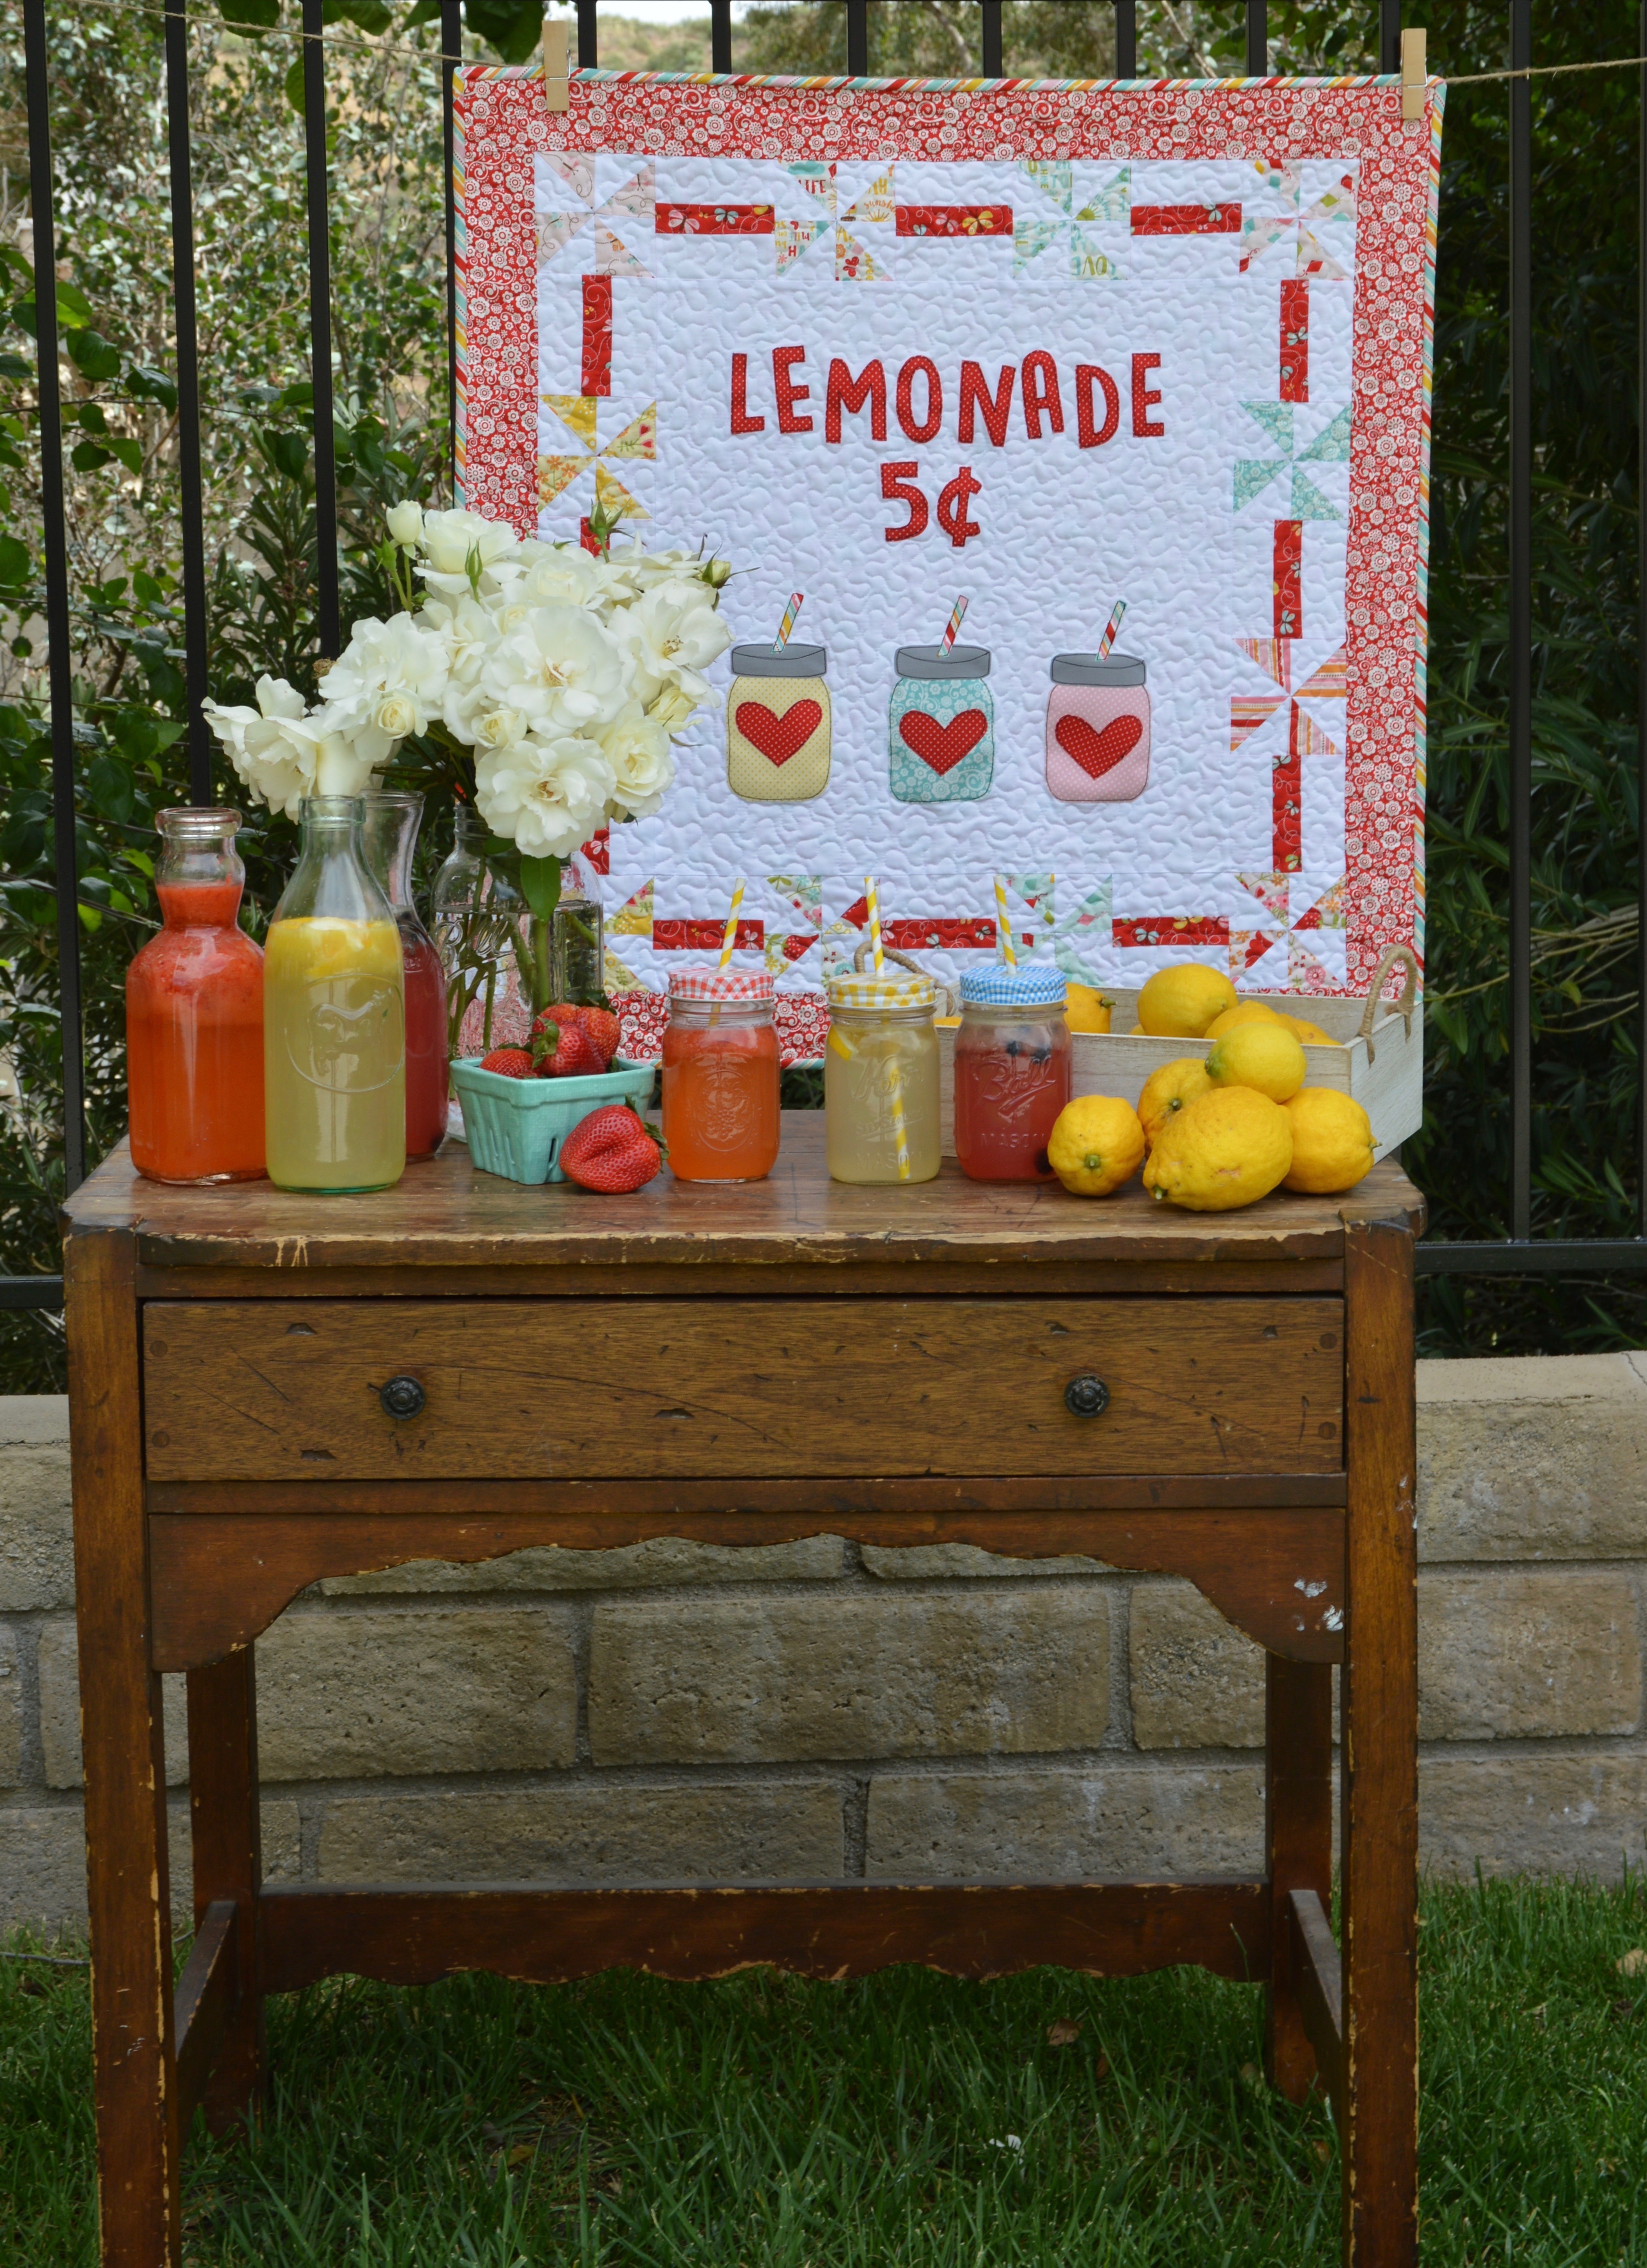
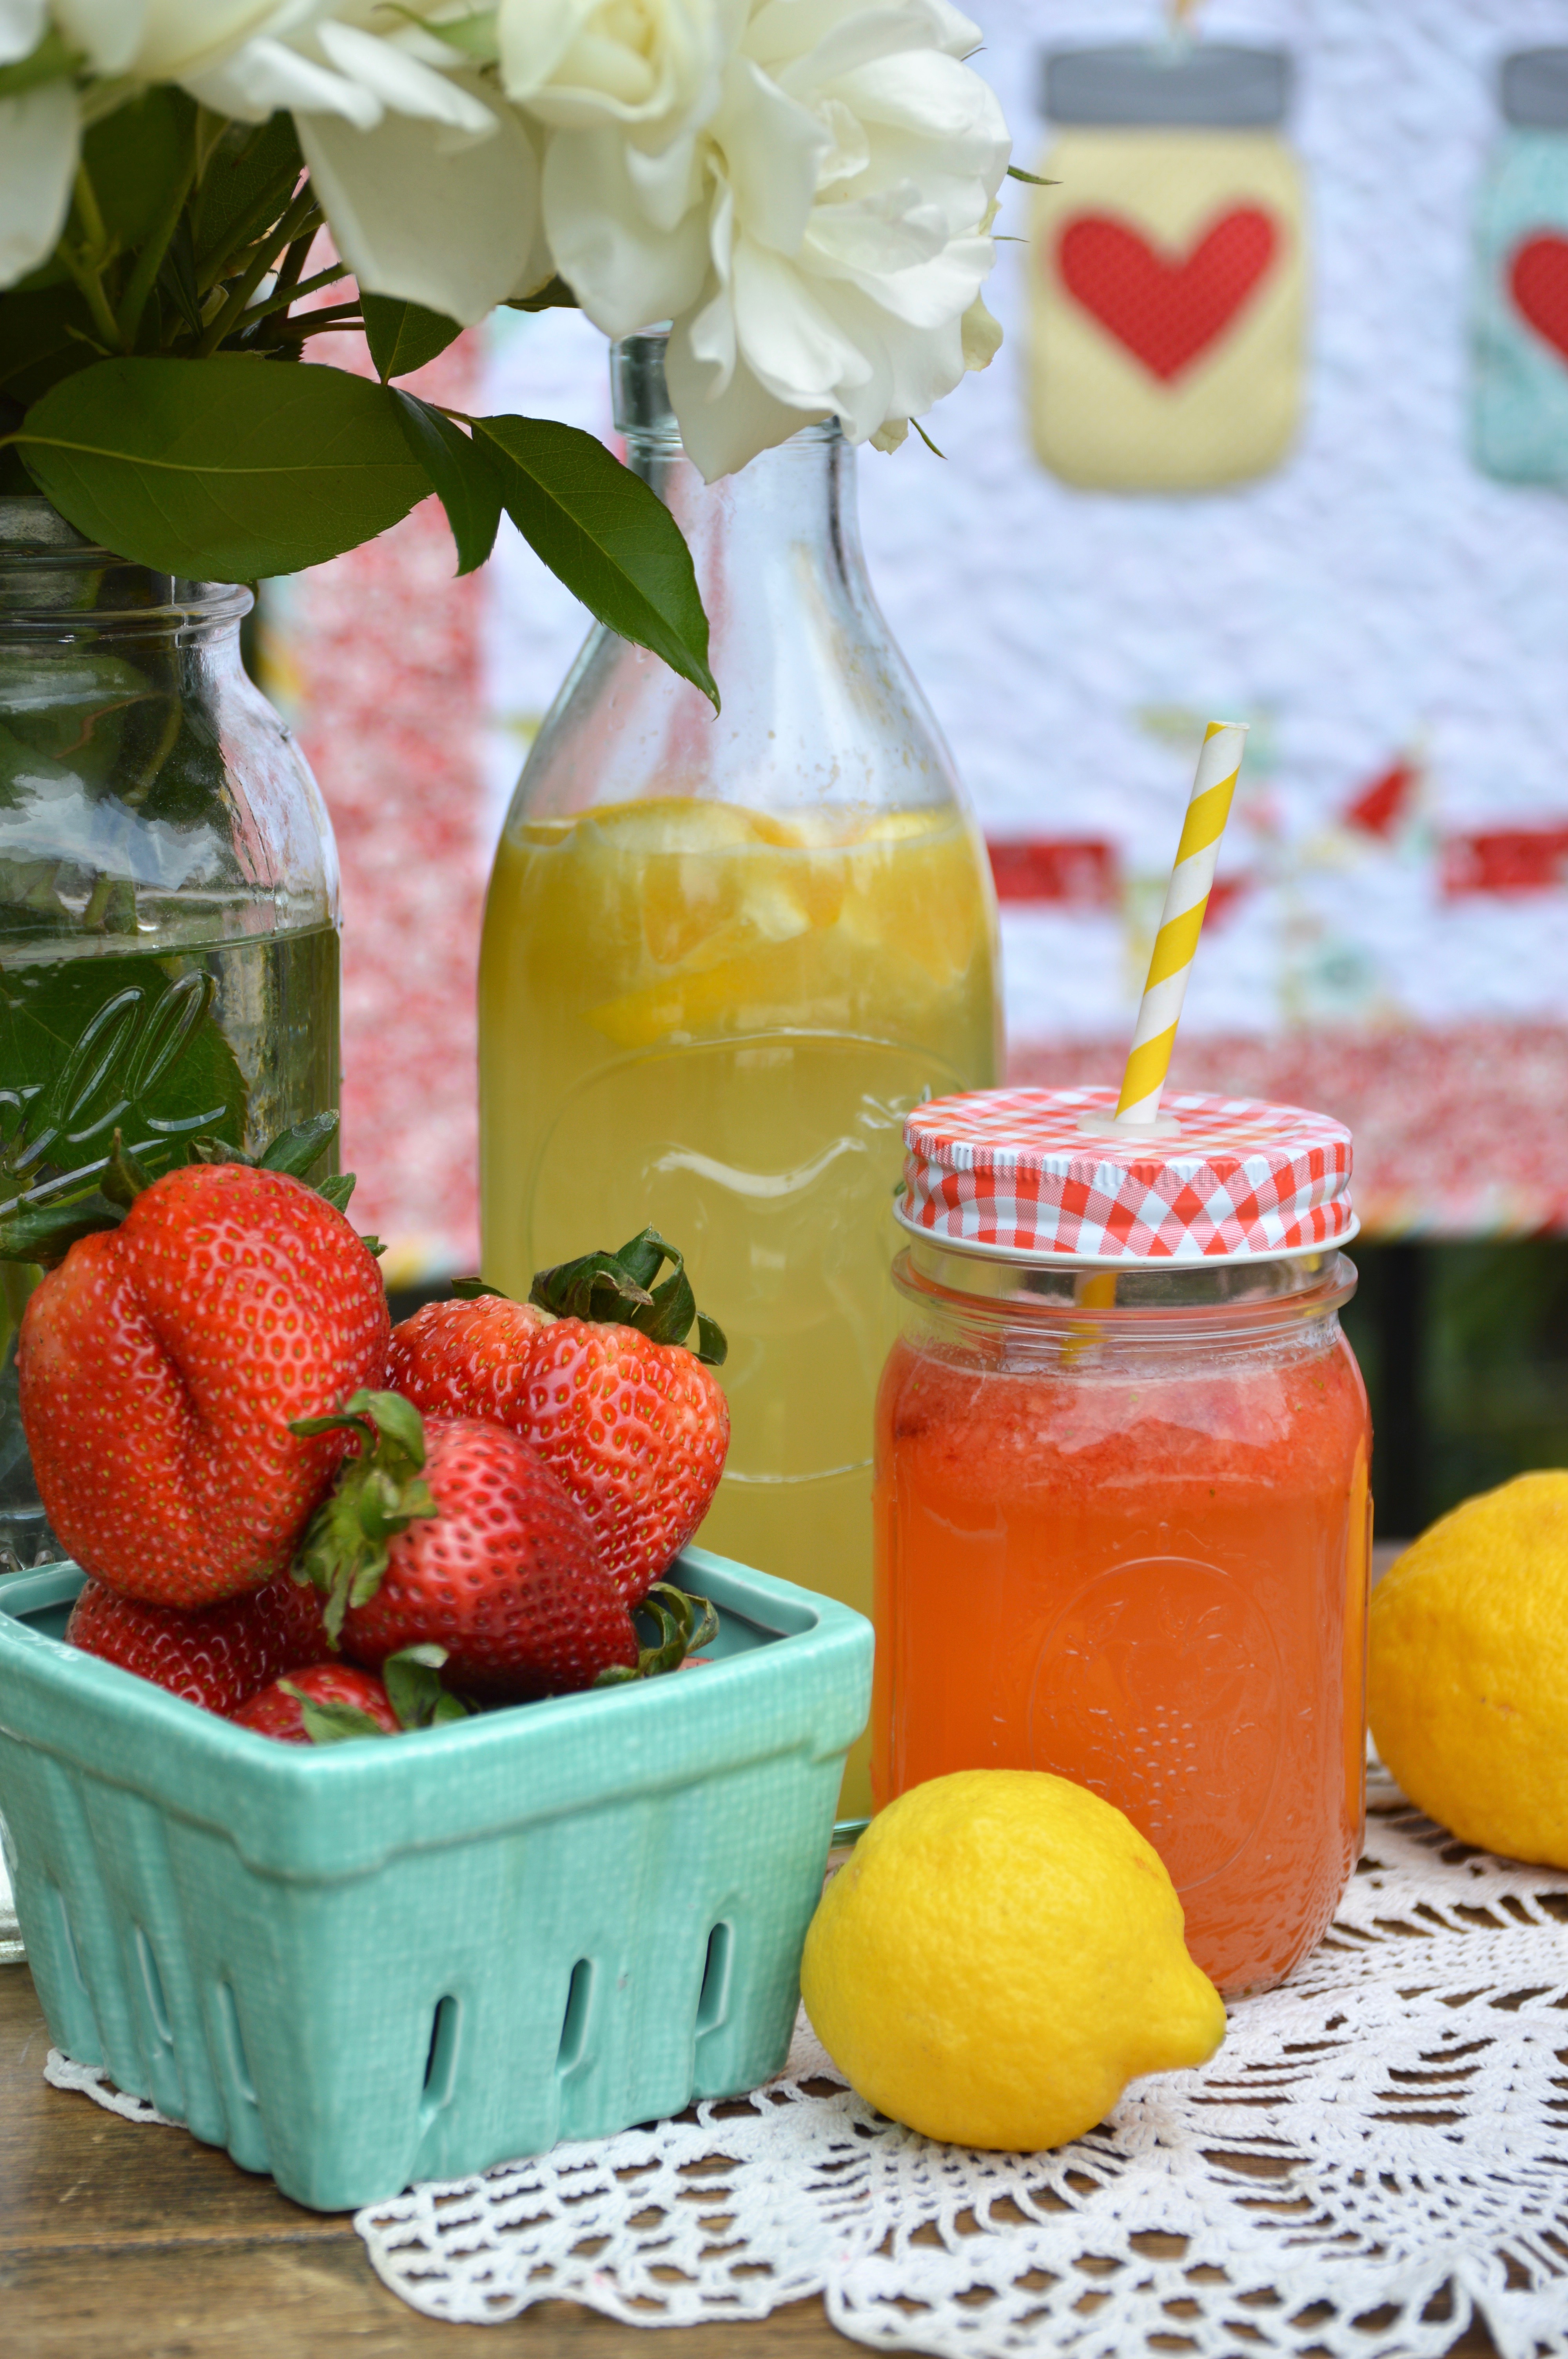
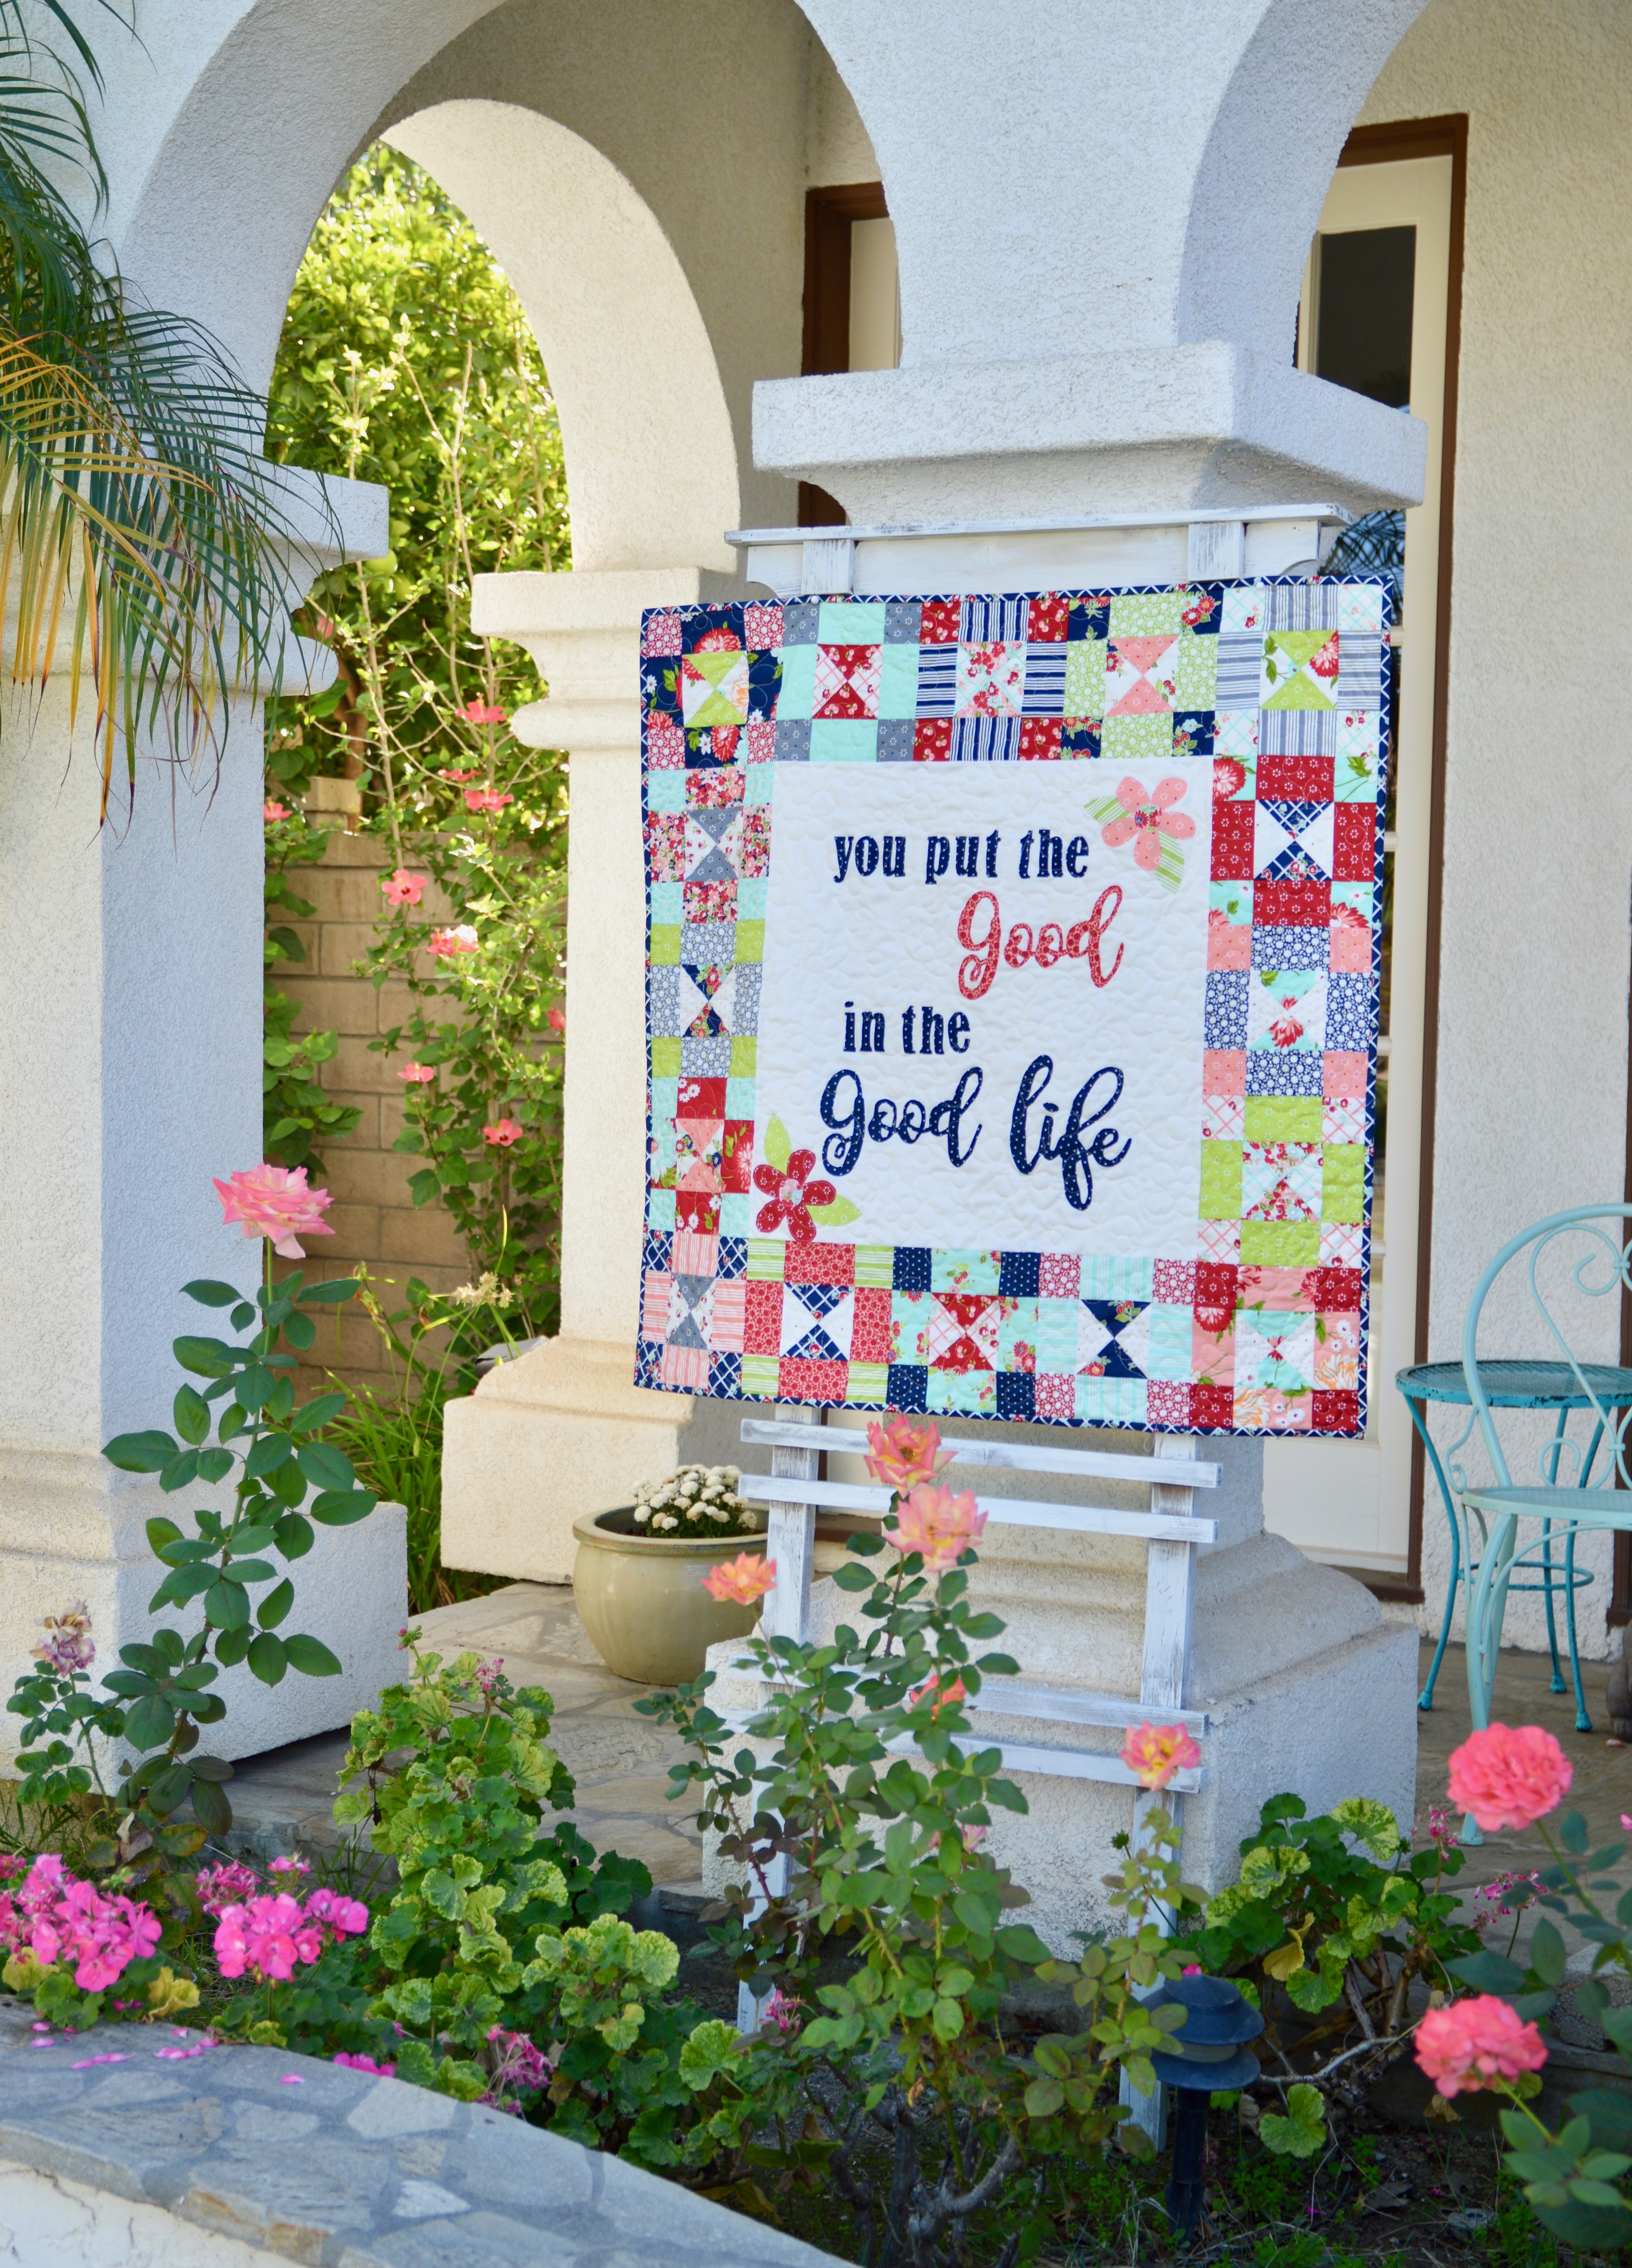
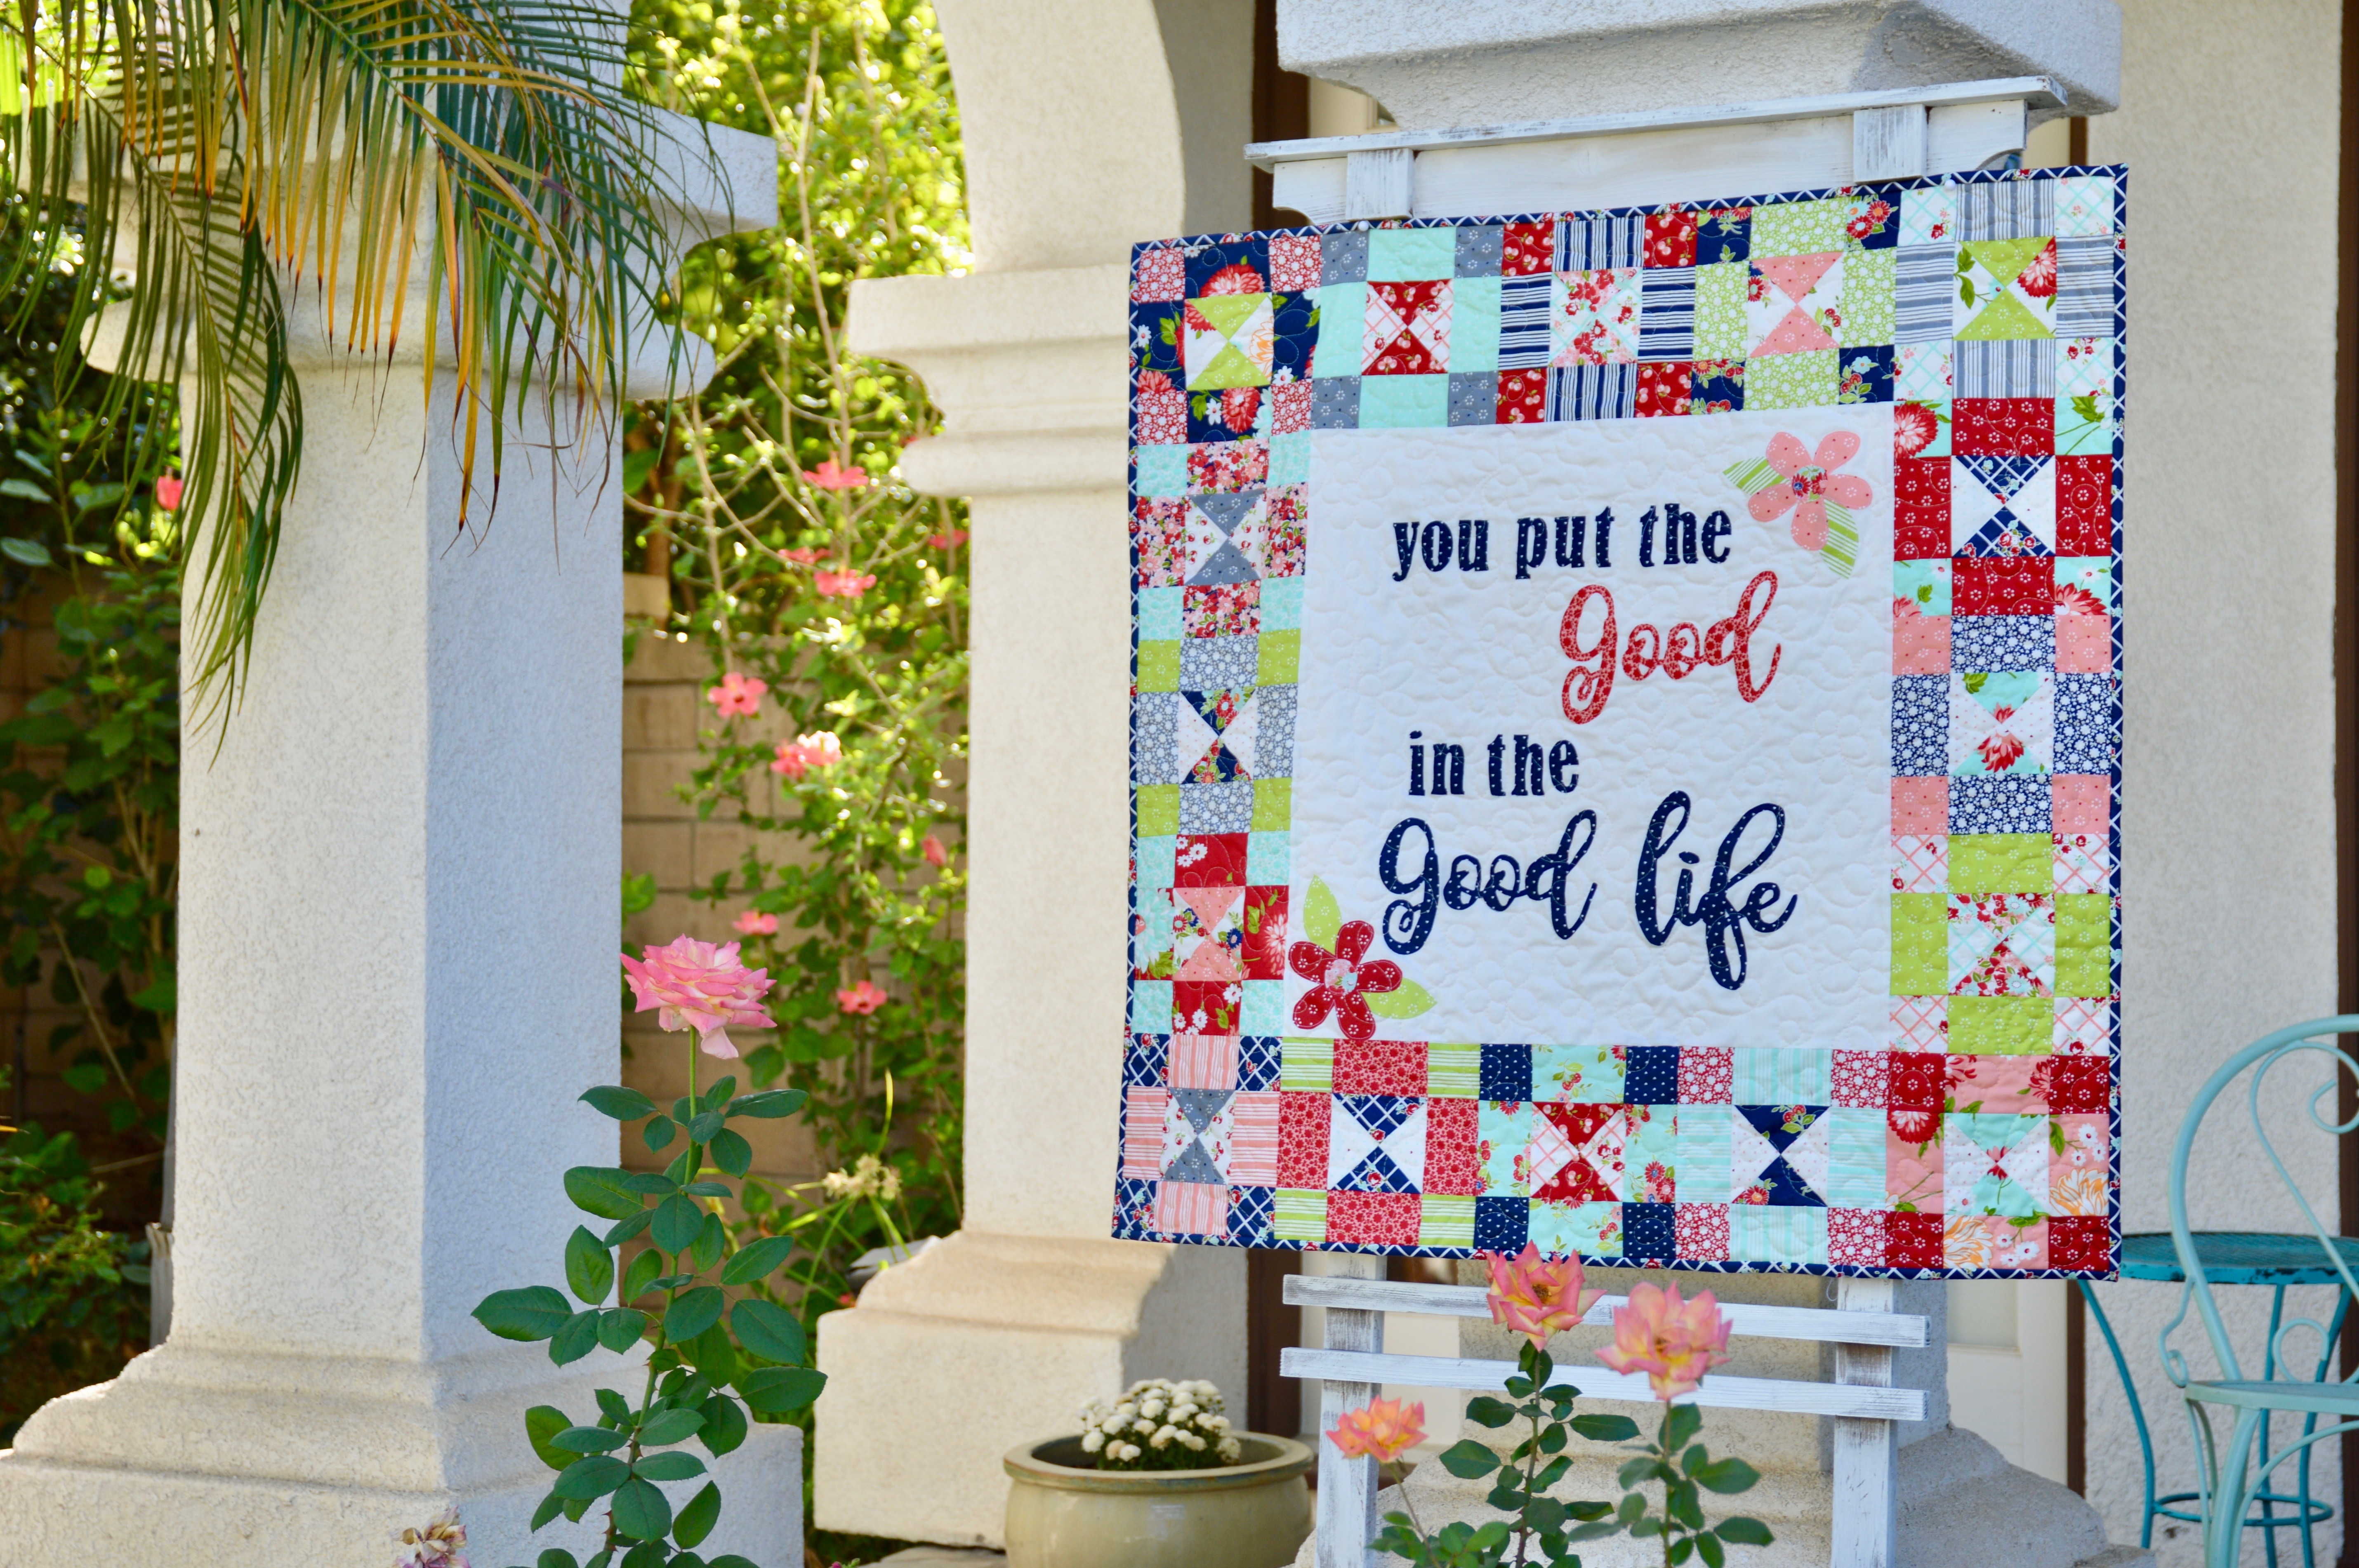
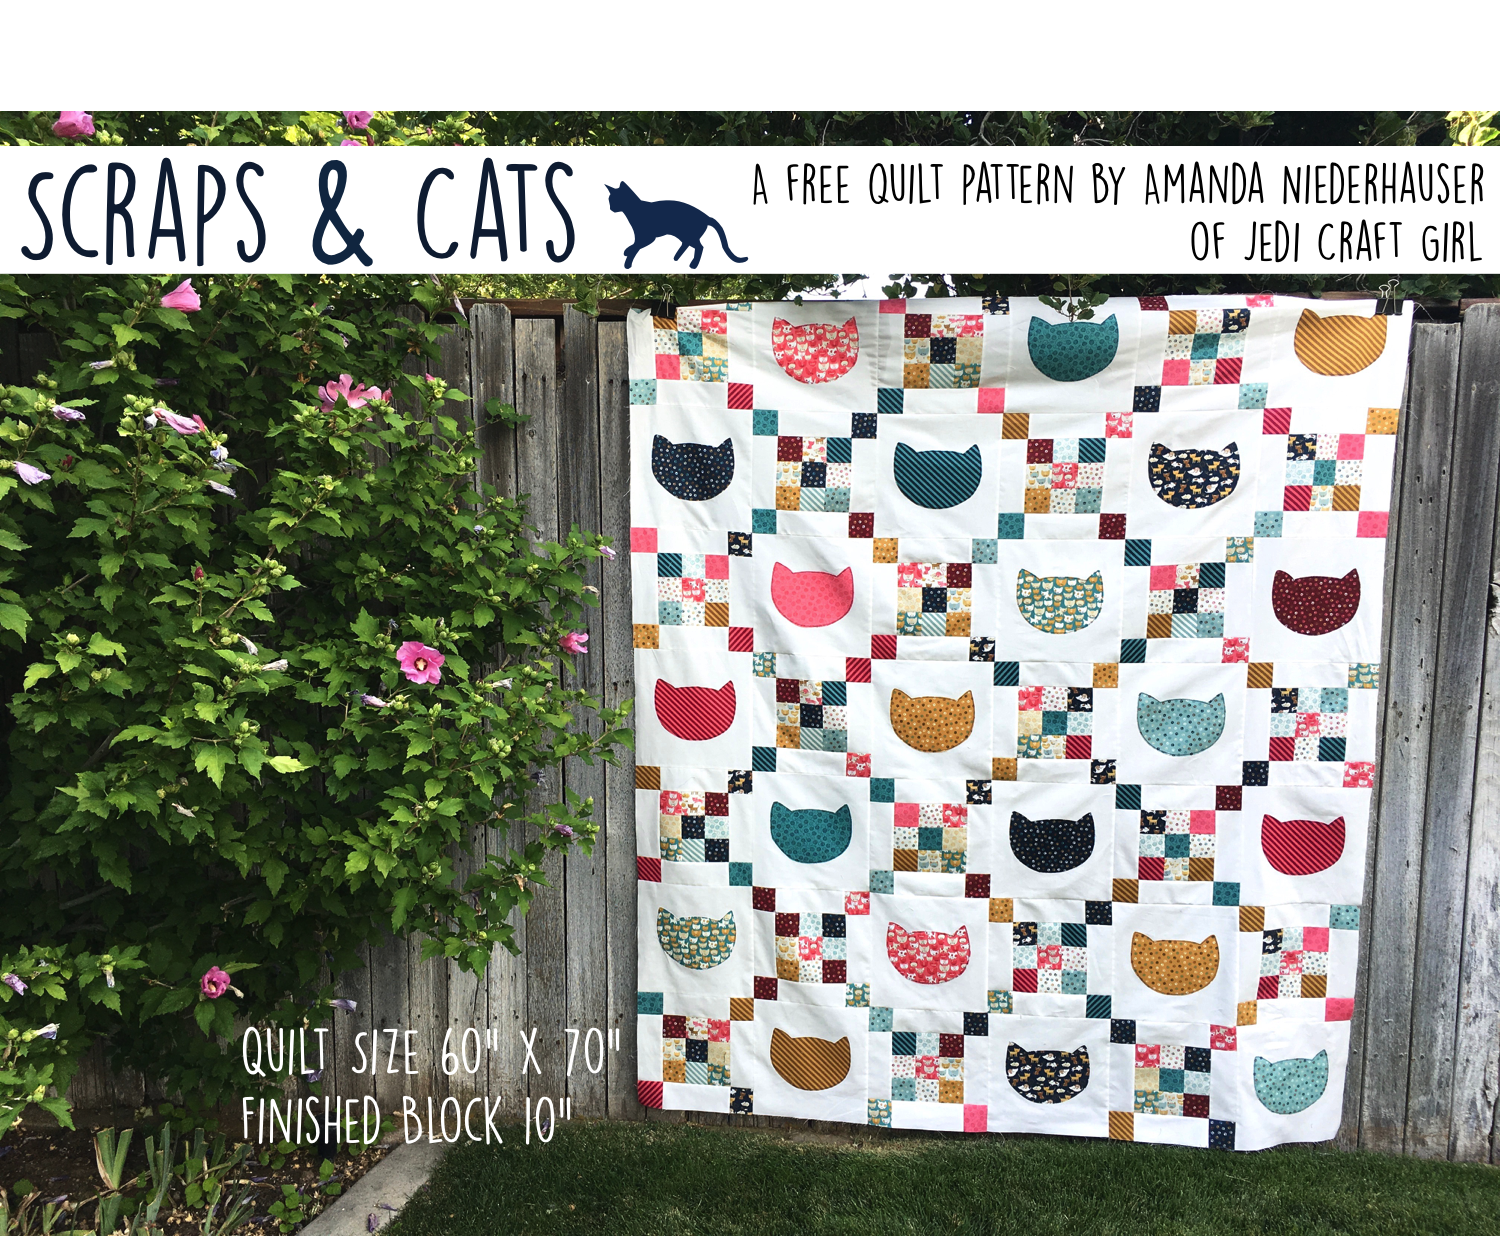
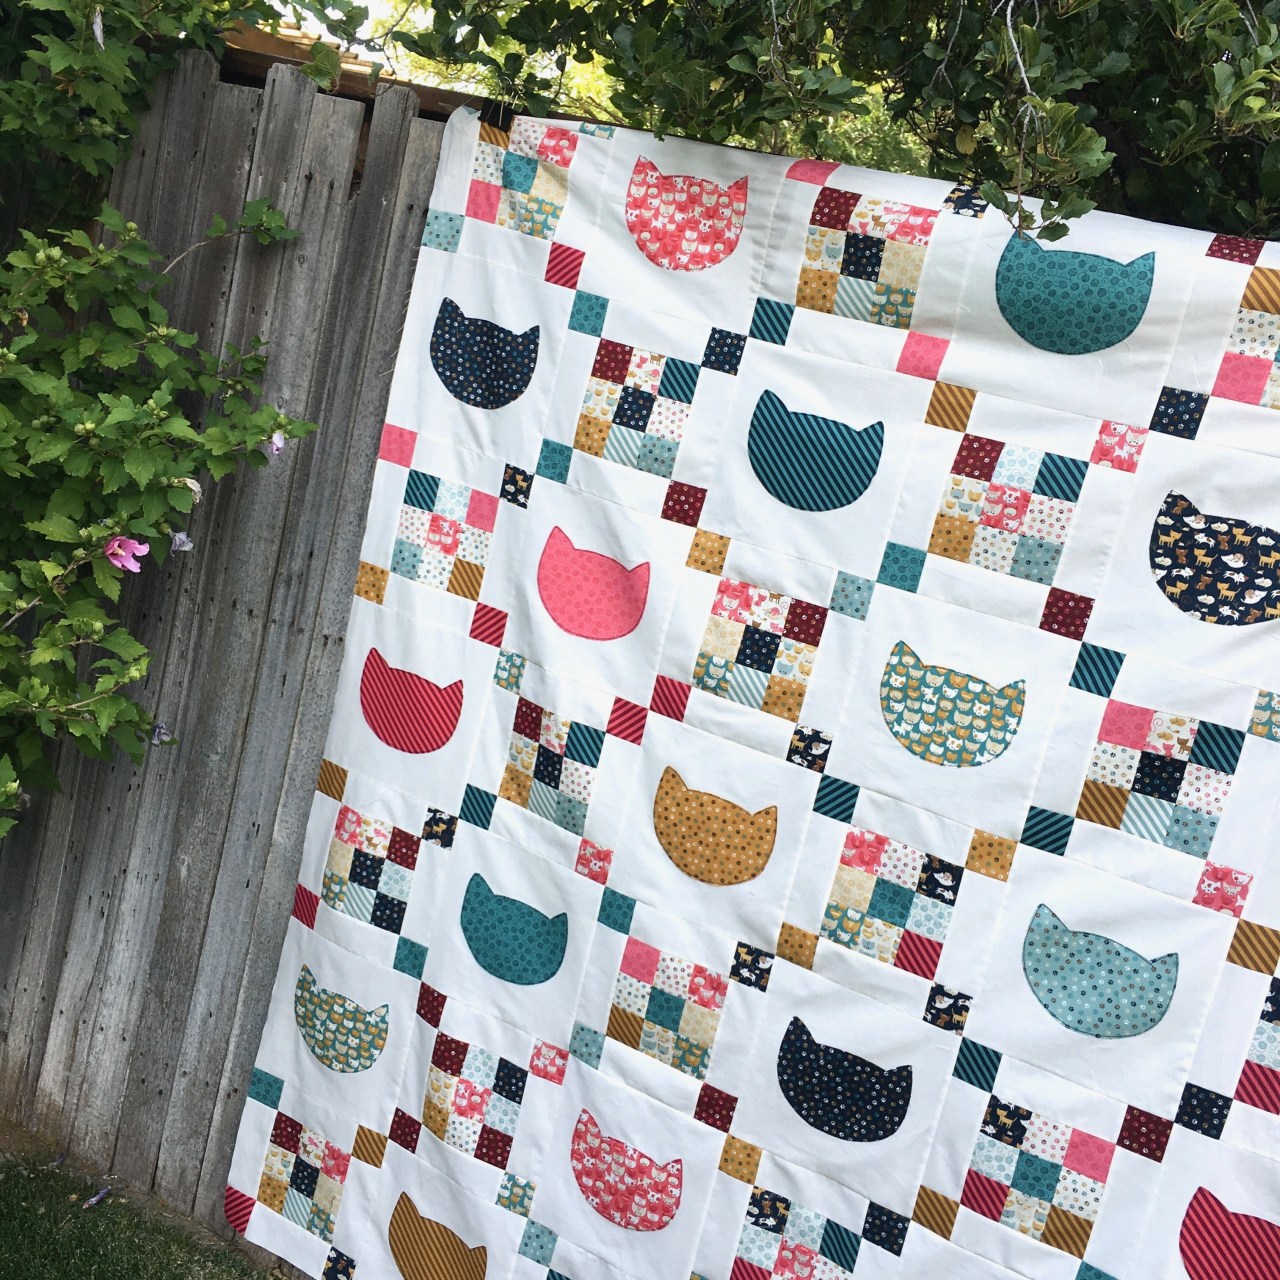
There is nothing better!  I thought this would be a fun little quilt to add to your summer decor 🙂
IMG_1258

The inspiration for this project came from Lori Whitlock’s latest fabric line Happy Day.  It’s so summery and fun!!

Here’s how you can make one!!

(All seams 1/4″,   finished quilt 33″ square, finished block 4″)

Supplies:

1 yard solid white
1 red fat quarter – Letters & hearts
12 fat quarters – pinwheels
1 red fat quarter – strip block
Scraps for jars and straws
1/3 yard red floral – outer border
1/3 yard stripe – binding
1 yard backing
Therm o Web HeatnBond® Lite
SpraynBond® Basting Spray

Pattern download, click HERE


For center applique portion:

Cut a 20.5″ x 20.5″ square from the solid white fabric.

Trace or print the letters and images (in reverse) on to HeatnBond® Lite Fusible Adhesive Sheets.

IMG_1267

Heat set them according to manufacturers instructions to the wrong side of the desired appliqué fabrics.

IMG_1265

Cut out each letter and image.

IMG_1266

Peel off the backing paper and position according to the completed project photo.  Outline stitch each piece two times (ugh) in black tread.  The two times really makes it stand out.

IMG_1387

Pinwheel Blocks:

There are 12 total pinwheel blocks in this quilt. Choose a different fabric for each pinwheel.  I used my Sizzix Fabi to cut the triangles.  Use your favorite method of constructing half square triangles (HSTs).  They need to measure 2.5″ when completed.  Make 4 HSTs of each fabric.IMG_1260

Press seams open. IMG_1263Lay out 4 HSTs like this and sew together as a 4-Patch.  Press all seams open.
IMG_1264
For the Strip Blocks:

Cut 3 strips from red fat quarter 1.5″ x the length of the fat quarter.

Cut 3 strips from white fabric 2″ x WOF.  Cut the strips in half so they equal the length of the red strips.

Sew together in strip sets as pictured below.  Press toward dark.
IMG_1269

Cut in increments of 4.5″.  You need 12 total.IMG_1270
Row Diagram

Once the top, bottom, and side rows are complete, sew the side rows to the sides of the “Lemonade” appliqué portion.  Press toward the appliqué piece.  Then sew the top and bottom rows, pressing ward the appliqué piece.

Border:

Cut (4) 3″ x WOF strips of the red floral.  Sew one to each side, pressing toward the red floral border.  Square up the edges and cut off excess.  No need to measure the length first.

Then sew a strip to the top and bottom, pressing toward the border and squaring up when finished.lemonade quilt layout

IMG_1392

Once the top is complete, use SpraynBond® Basting Spray to baste the quilt for quick pin-free basting.  

IMG_1397

I quilted meanders over the entire quilt.

IMG_1403

Now gather some lemons and have yourself a lemonicious afternoon!!  We made strawberry and blueberry lemonade too!!

DSC_0188

Sally and I had fun making strawberry lemonade and blueberry lemonade!!  Bring on summer!!!

DSC_0087


DSC_0995

Isn’t fresh lemonade just the best!!!

DSC_0131
Thanks for stopping by!!