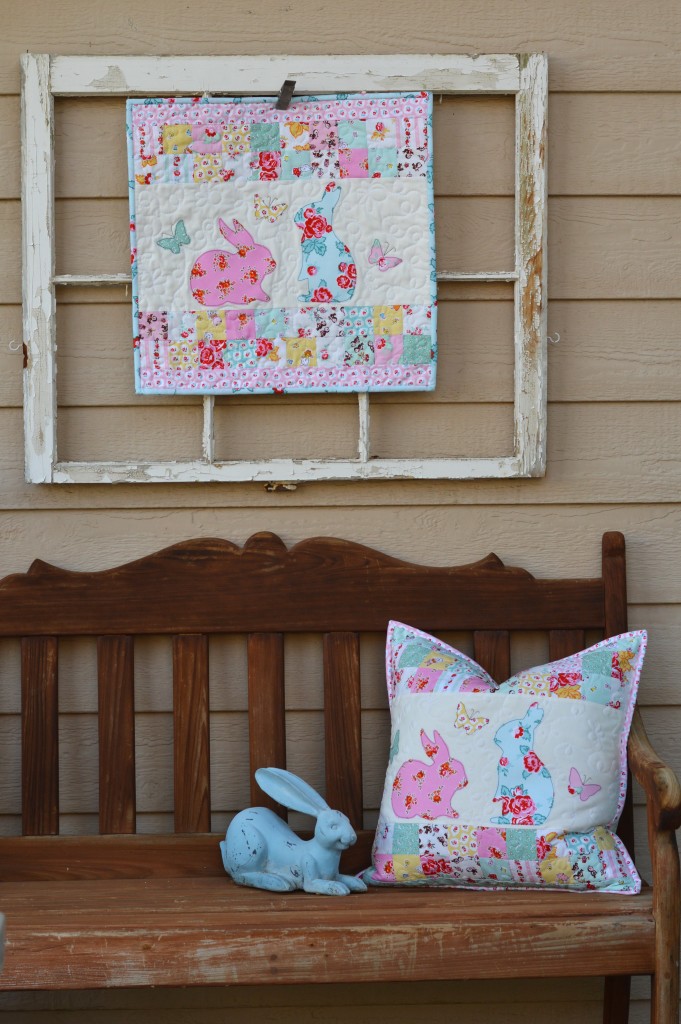
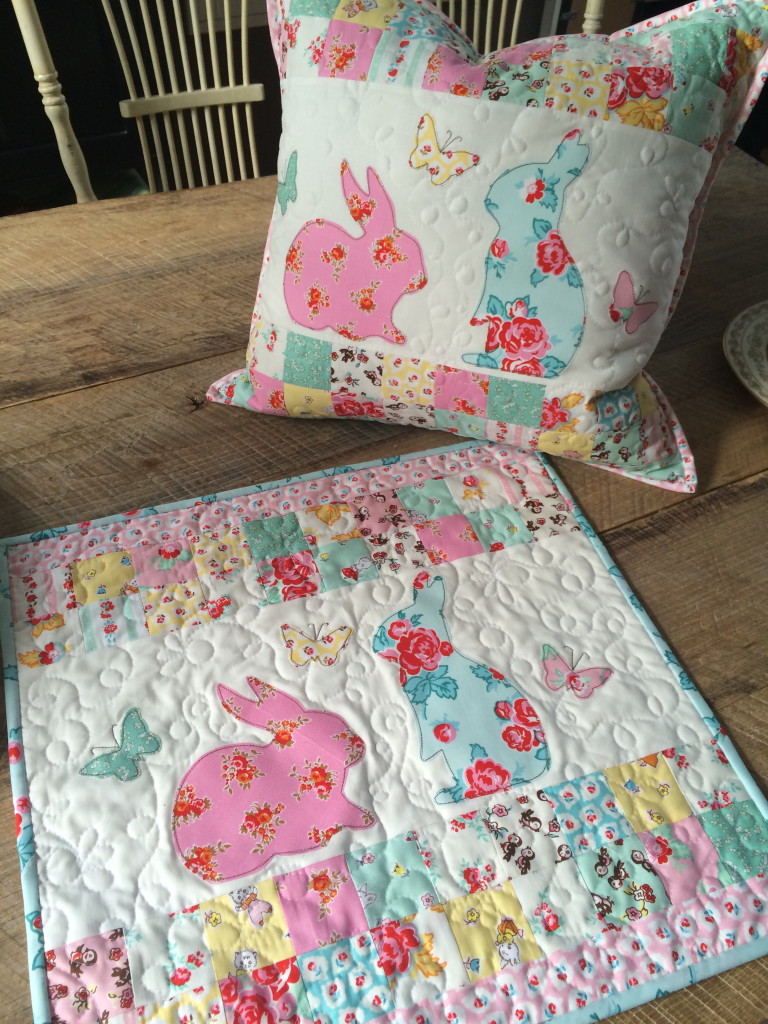
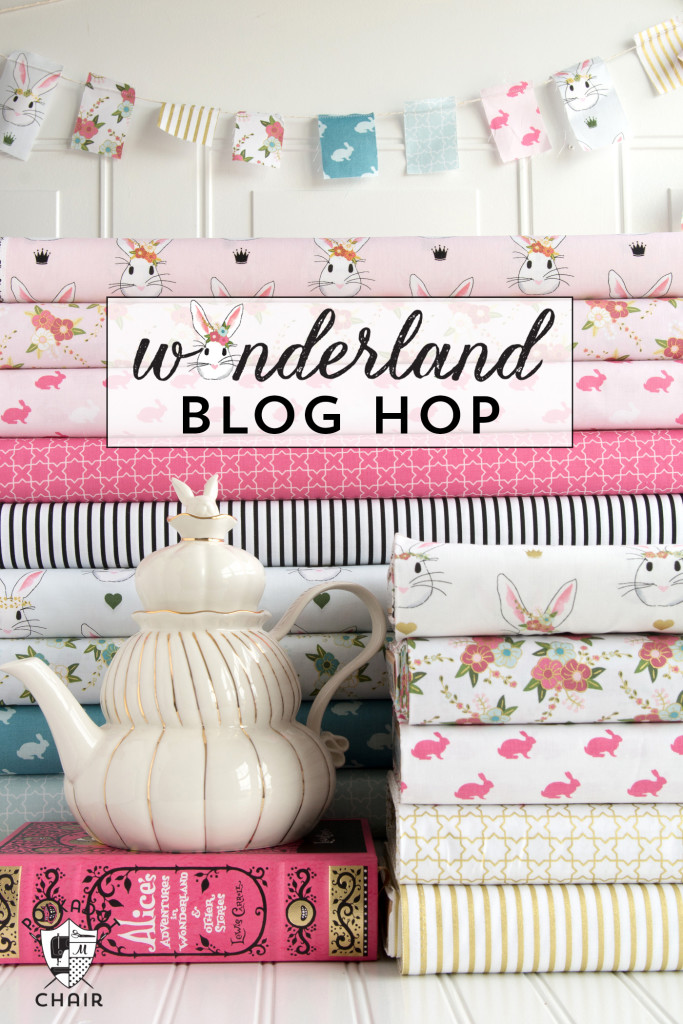
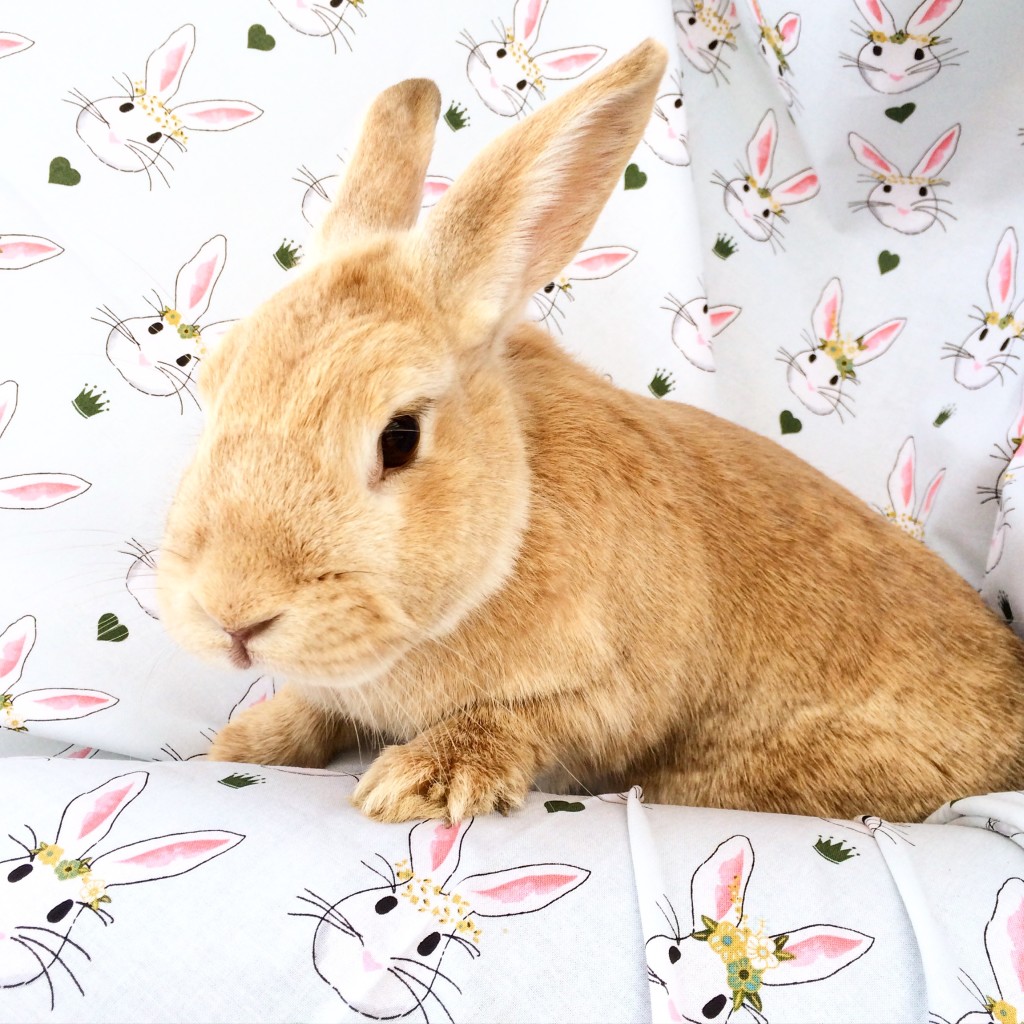
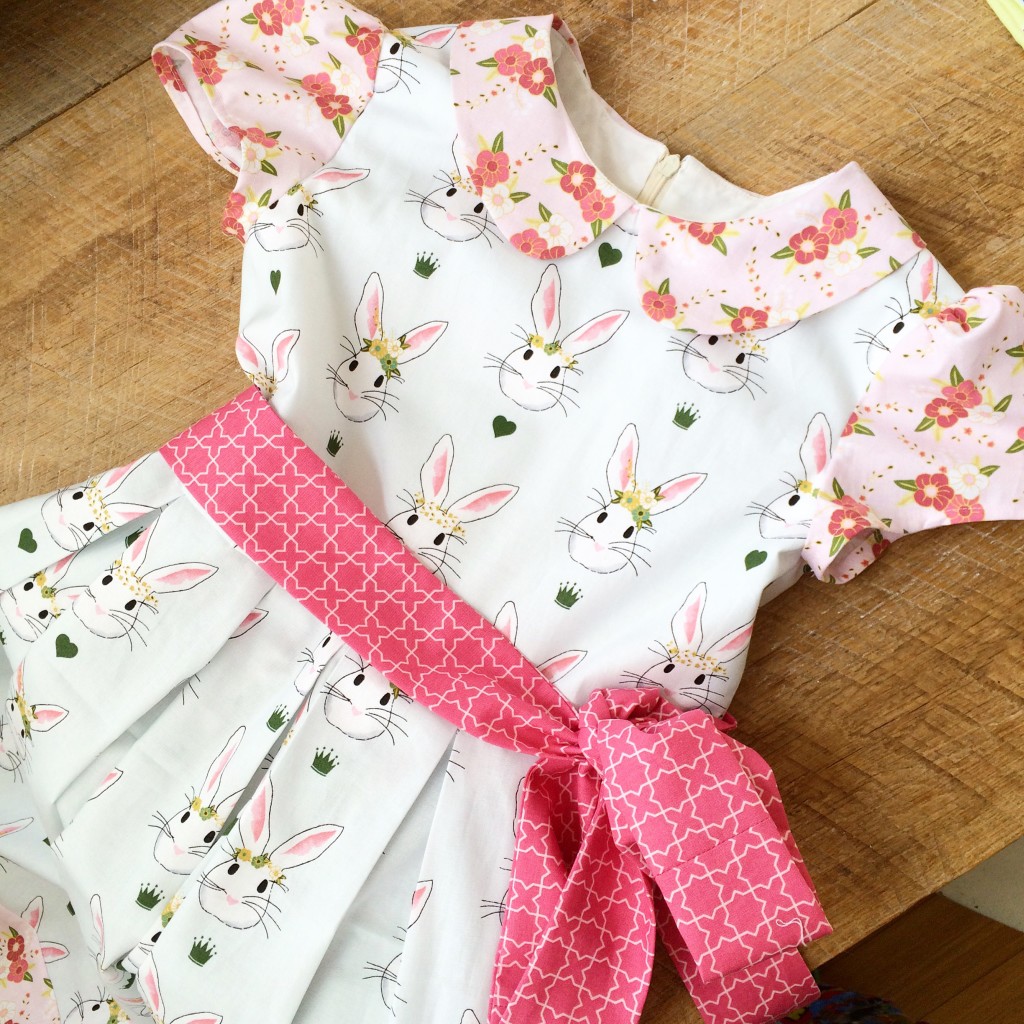
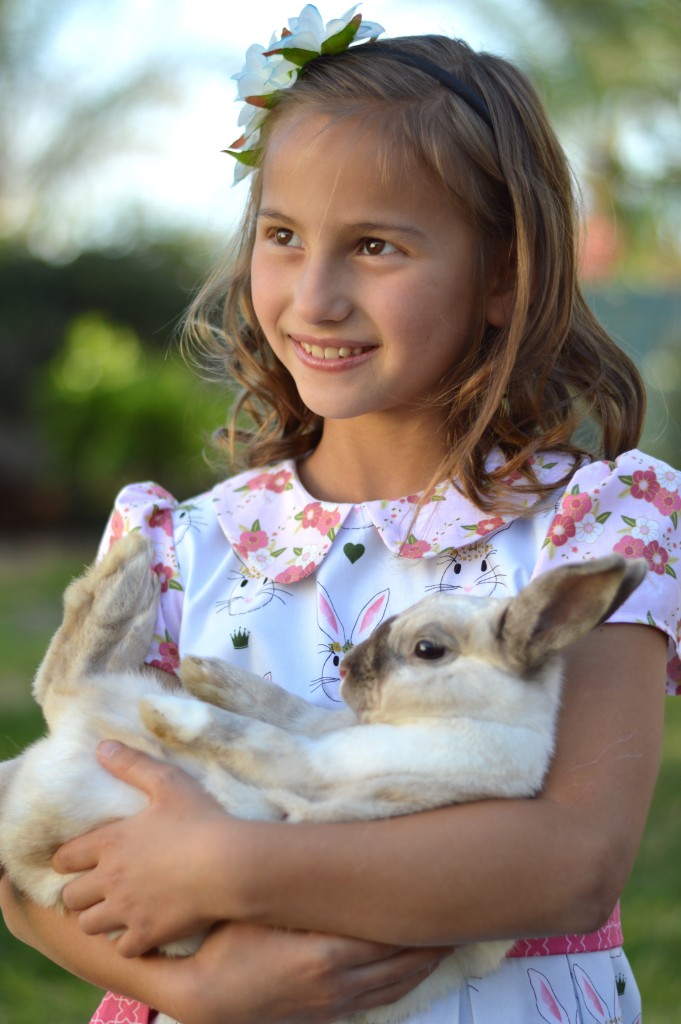
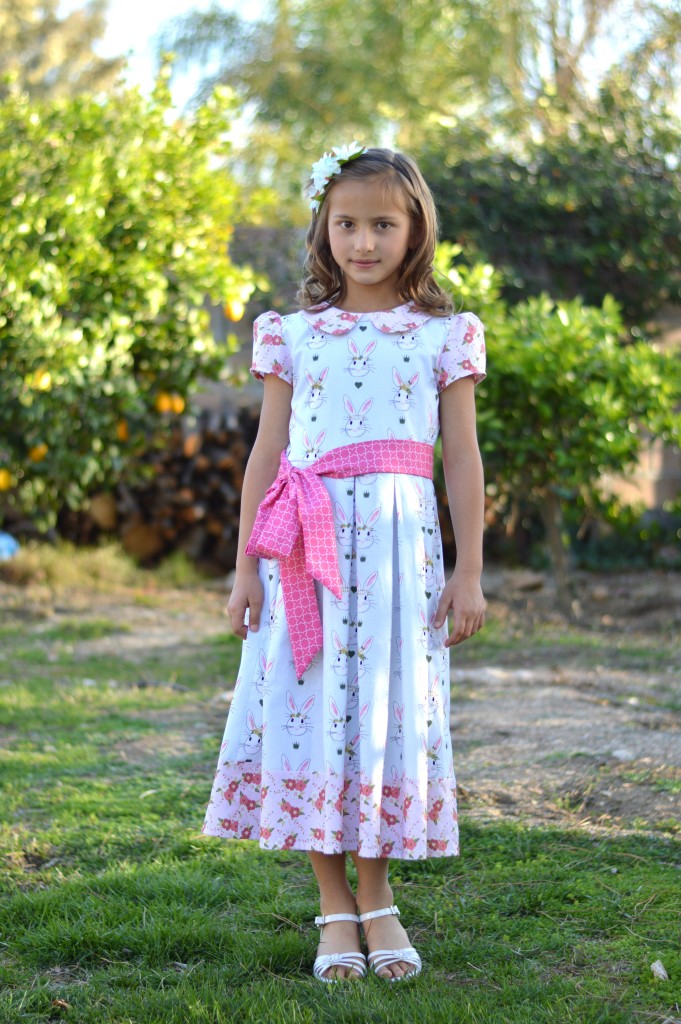
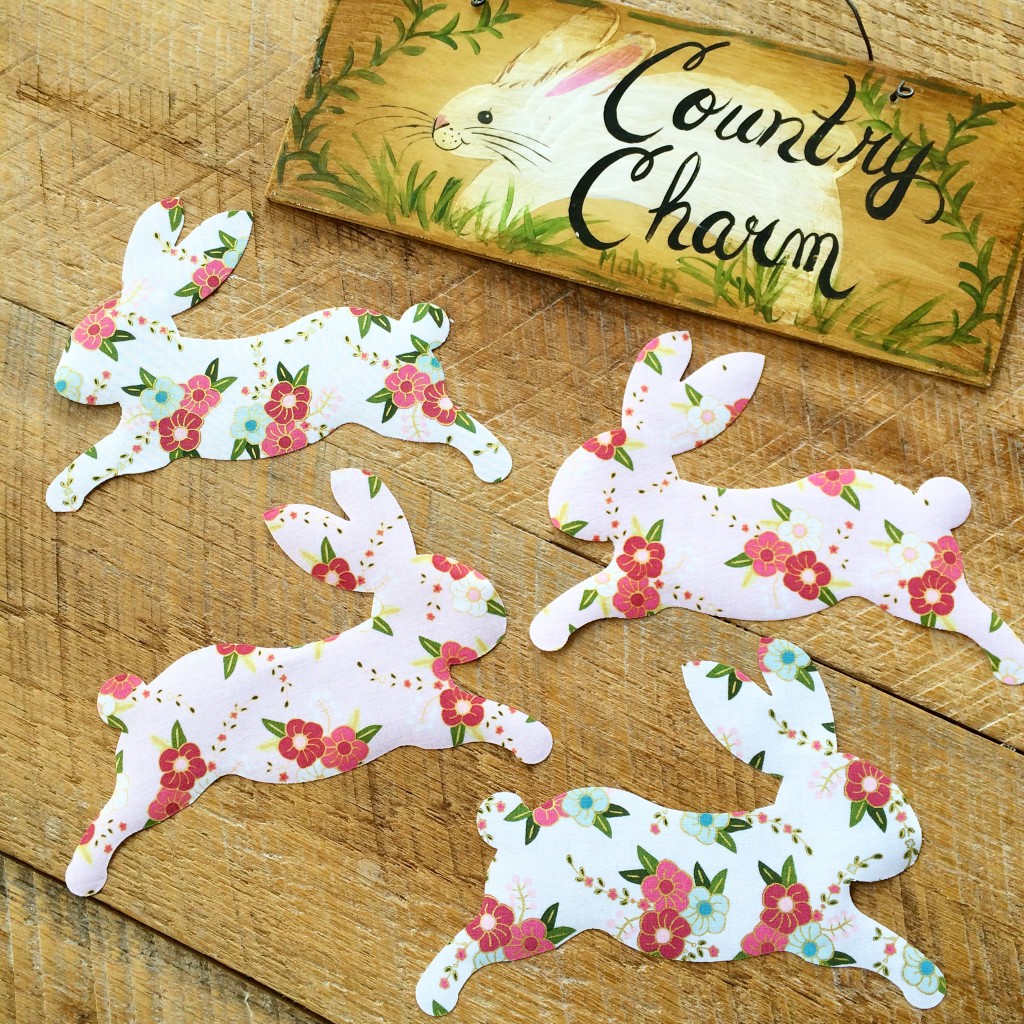
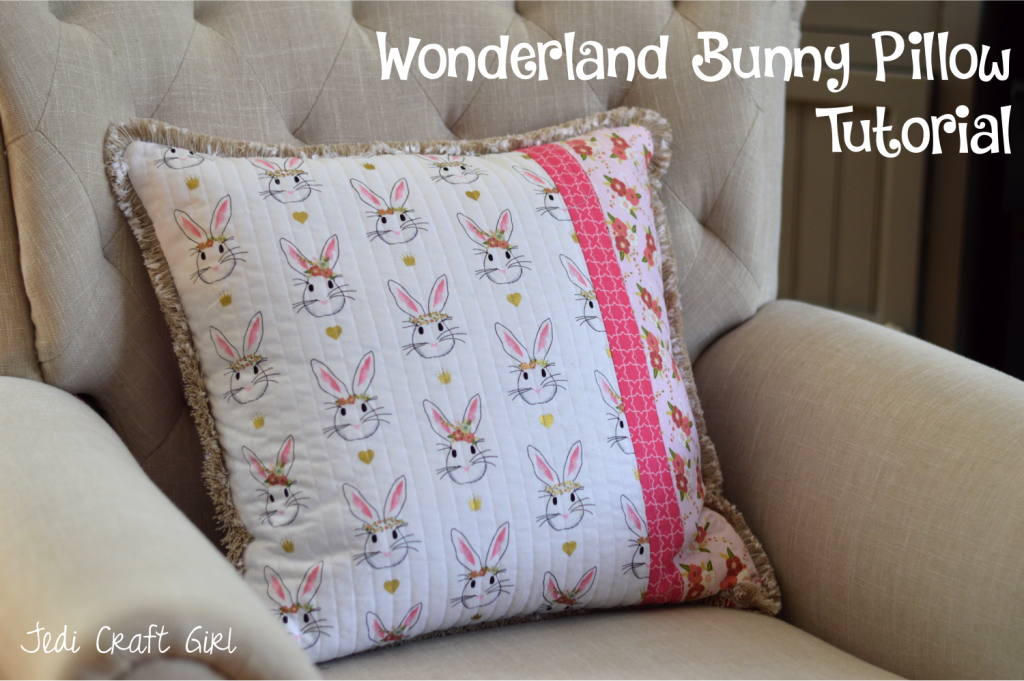
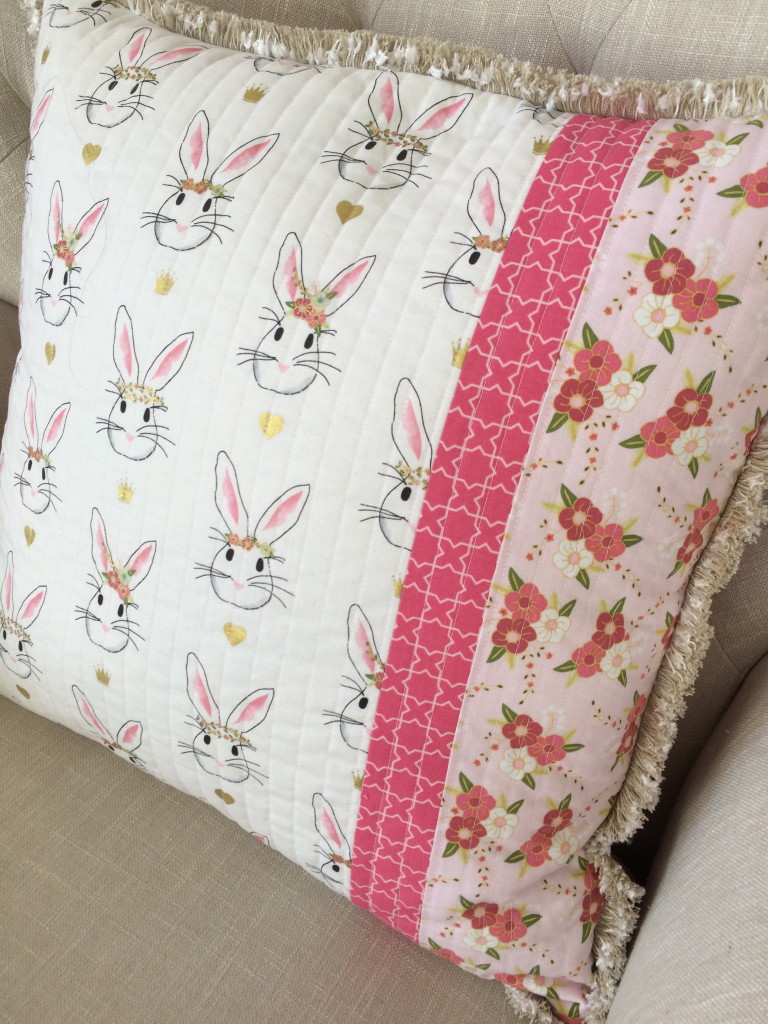
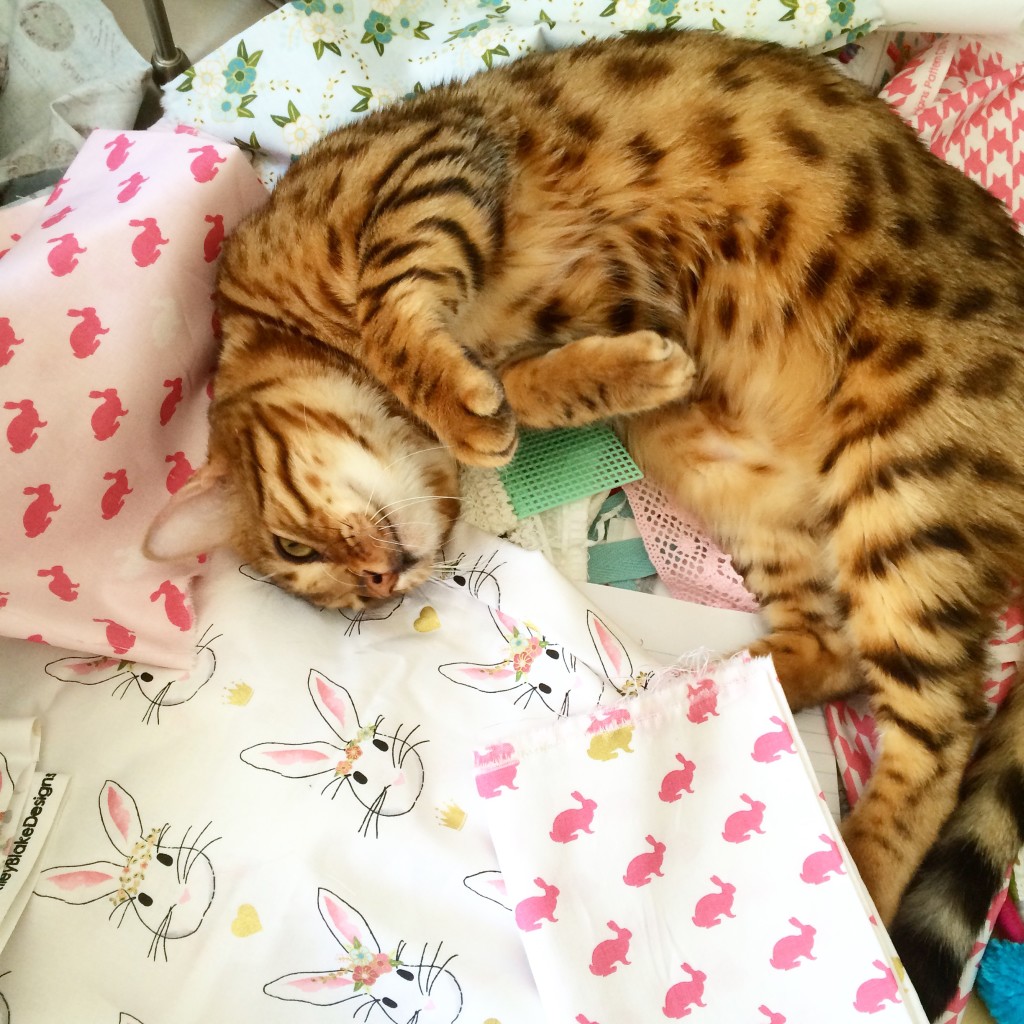
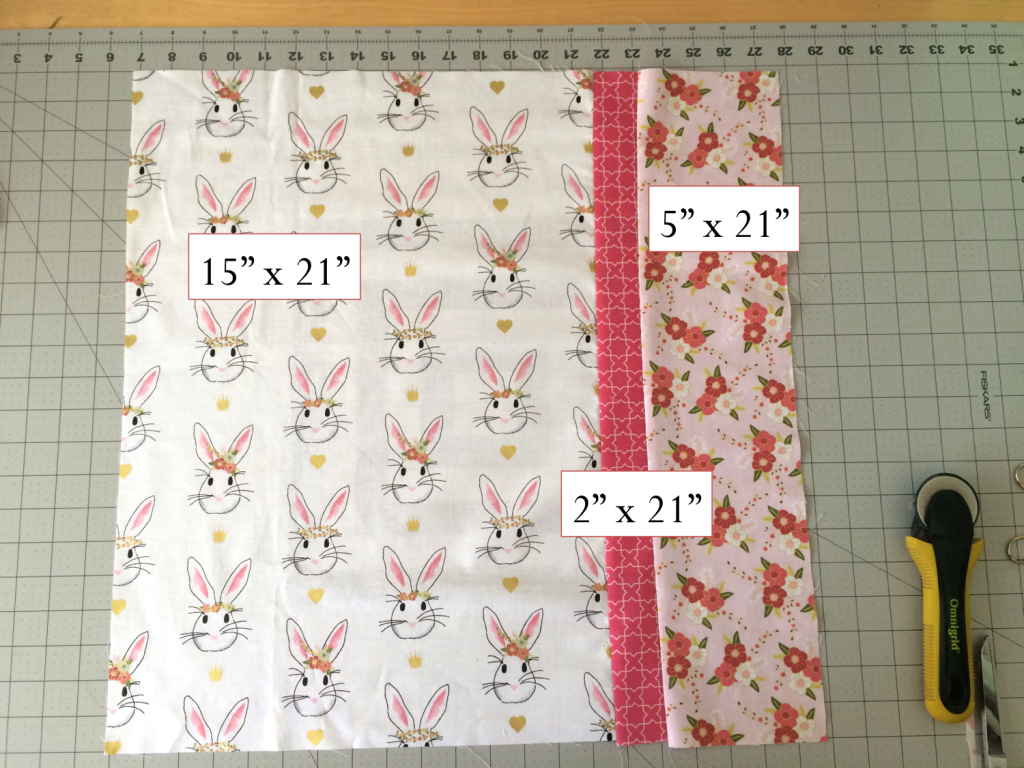
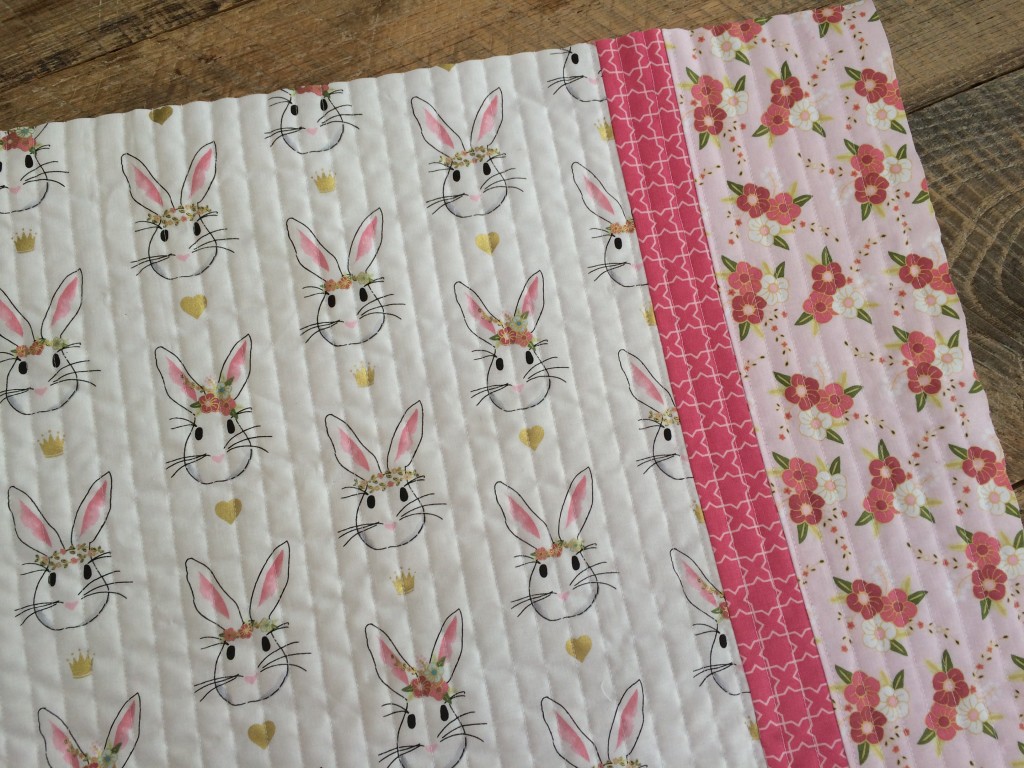
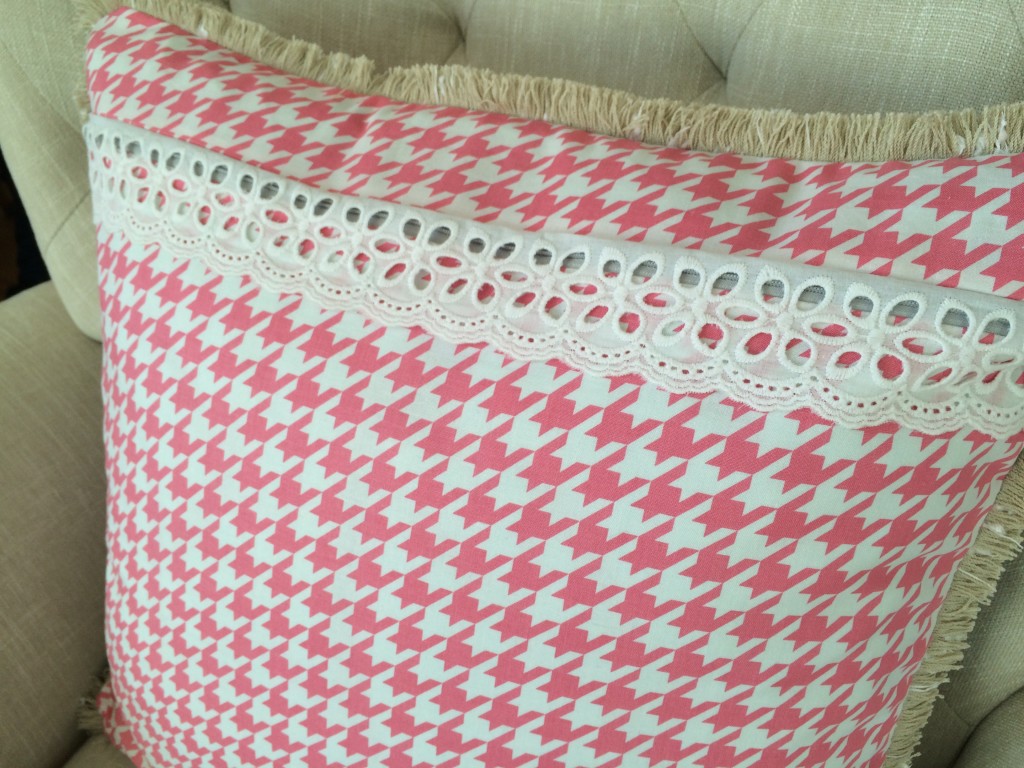
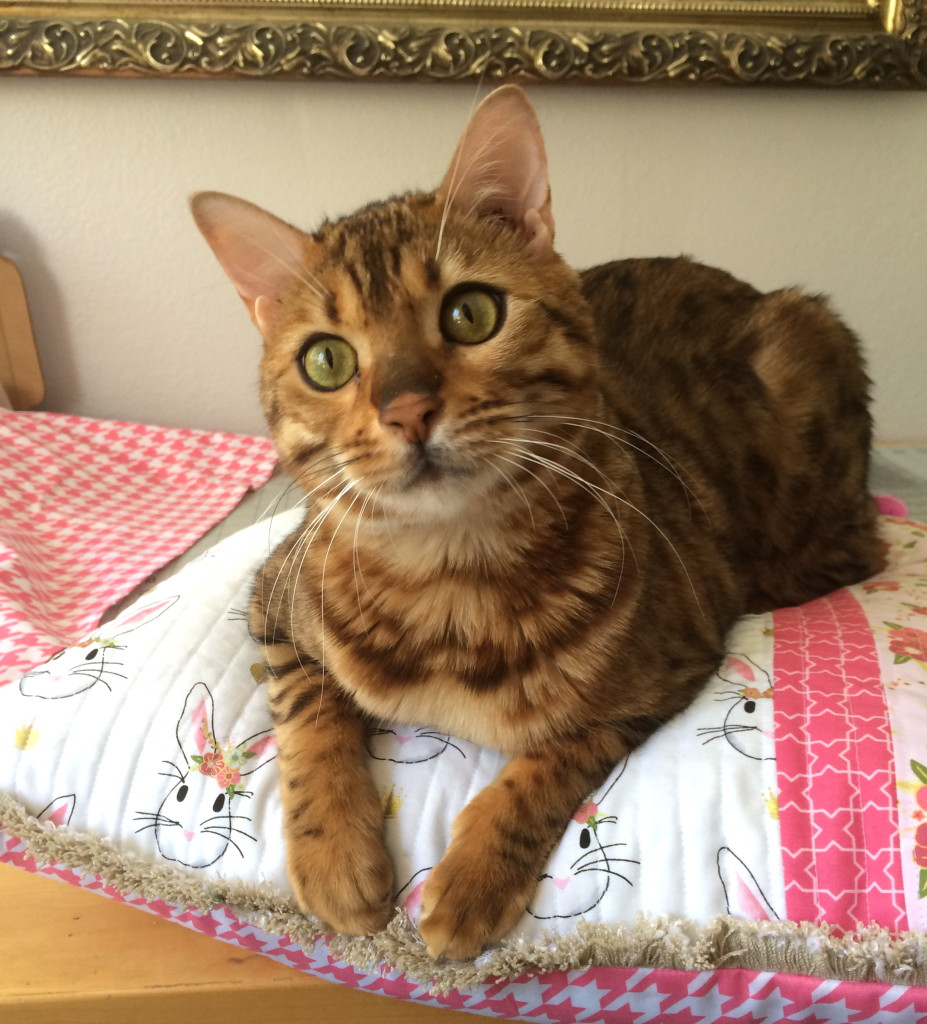
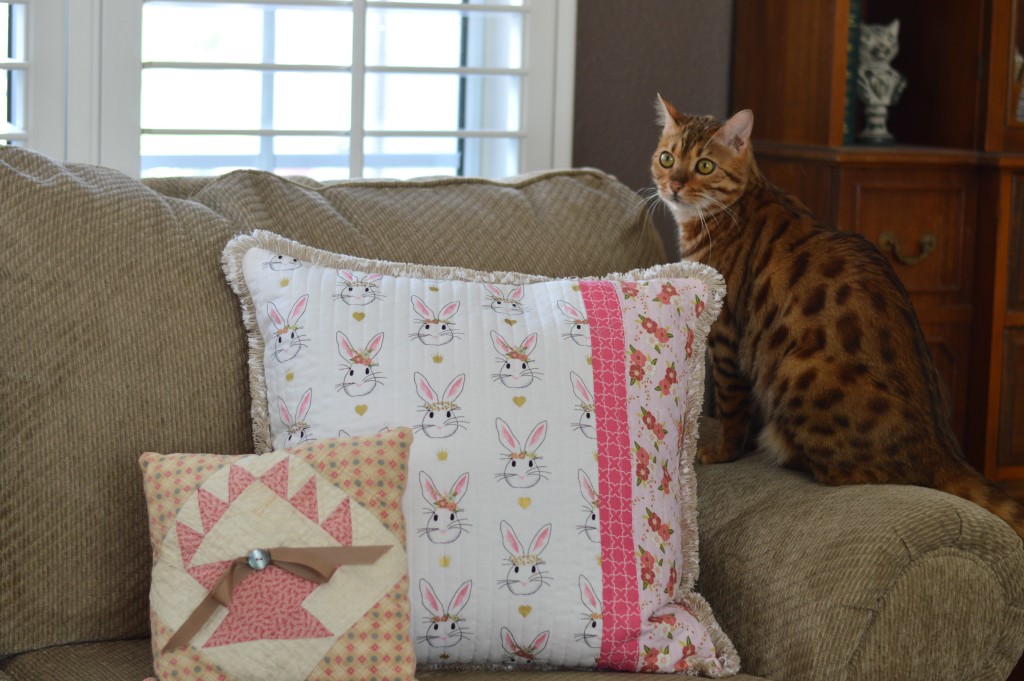
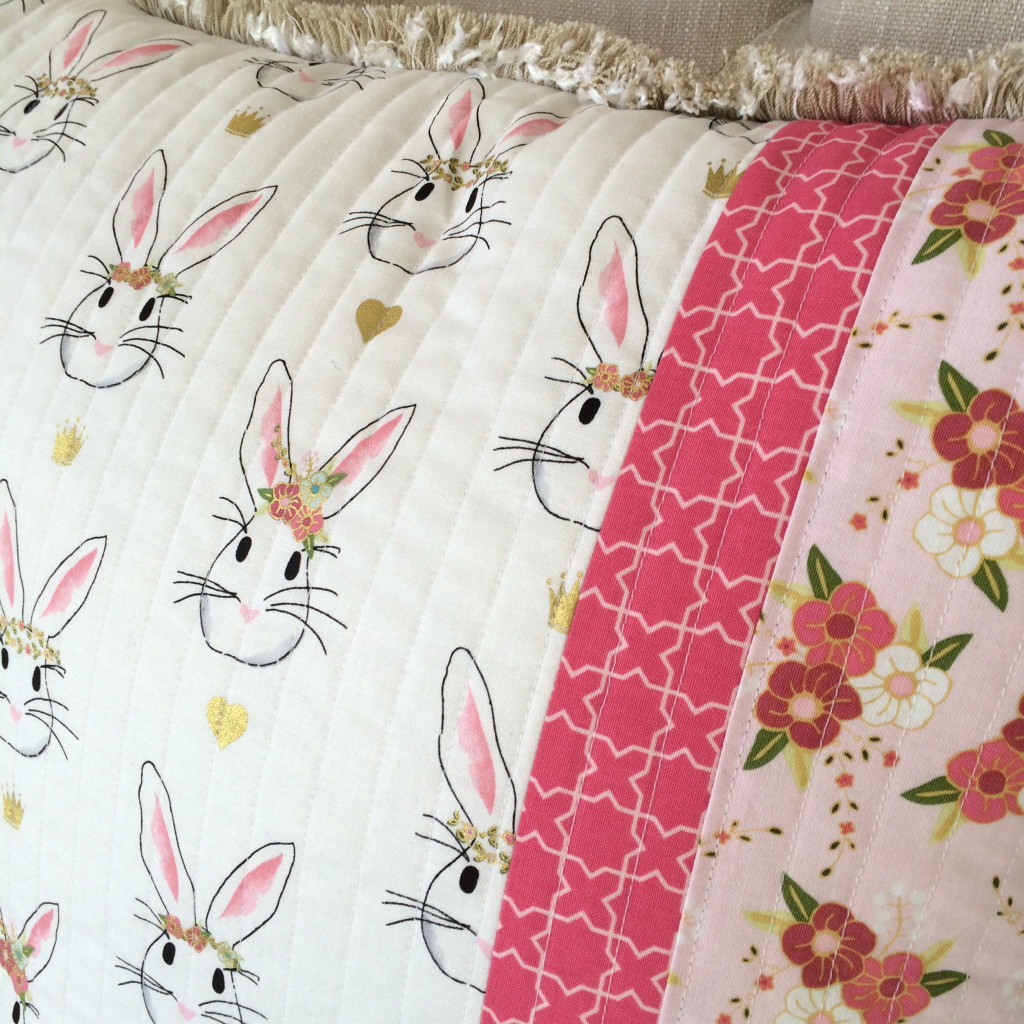
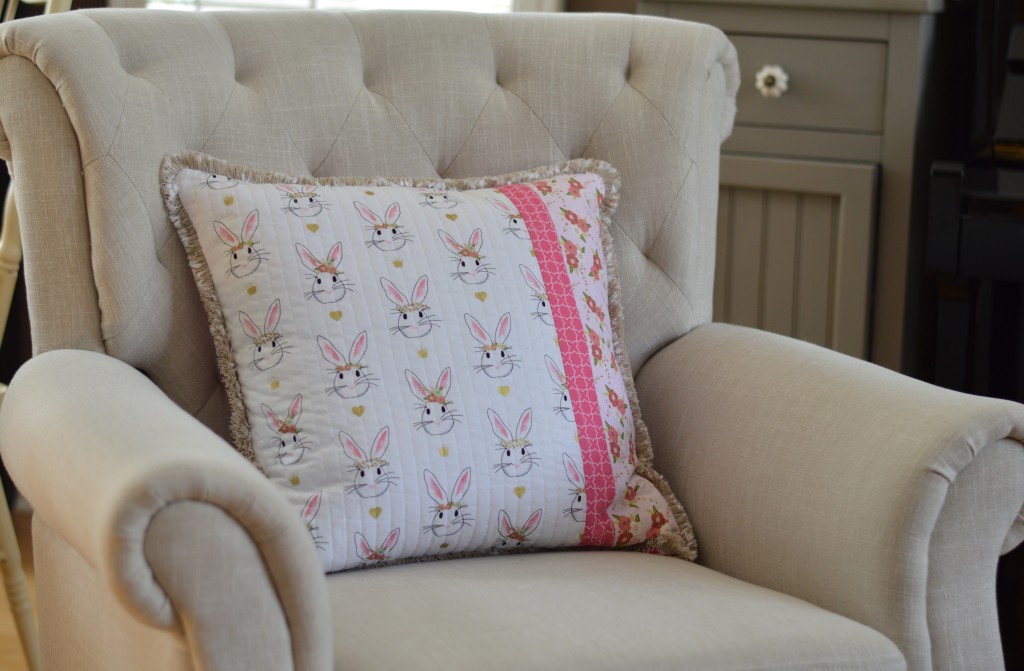
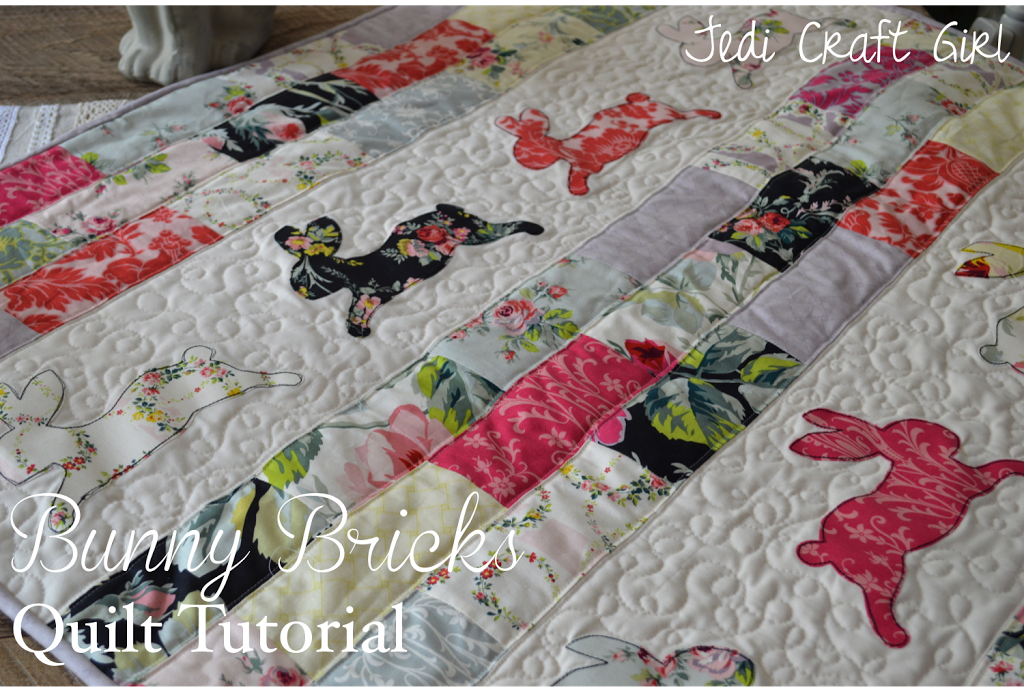
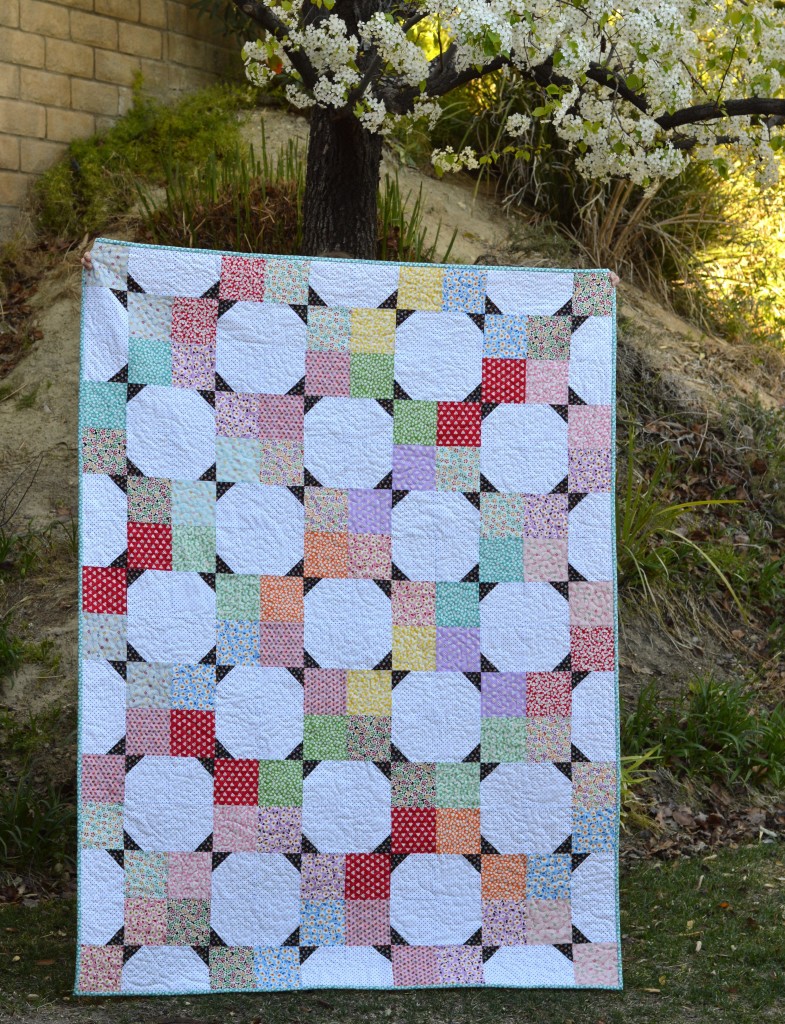
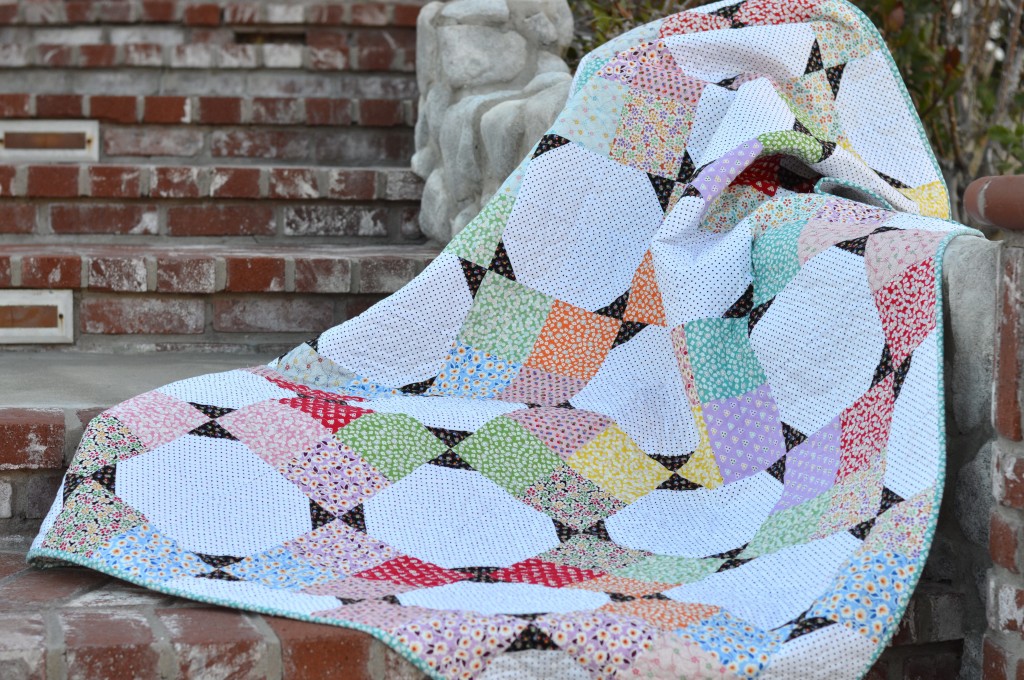
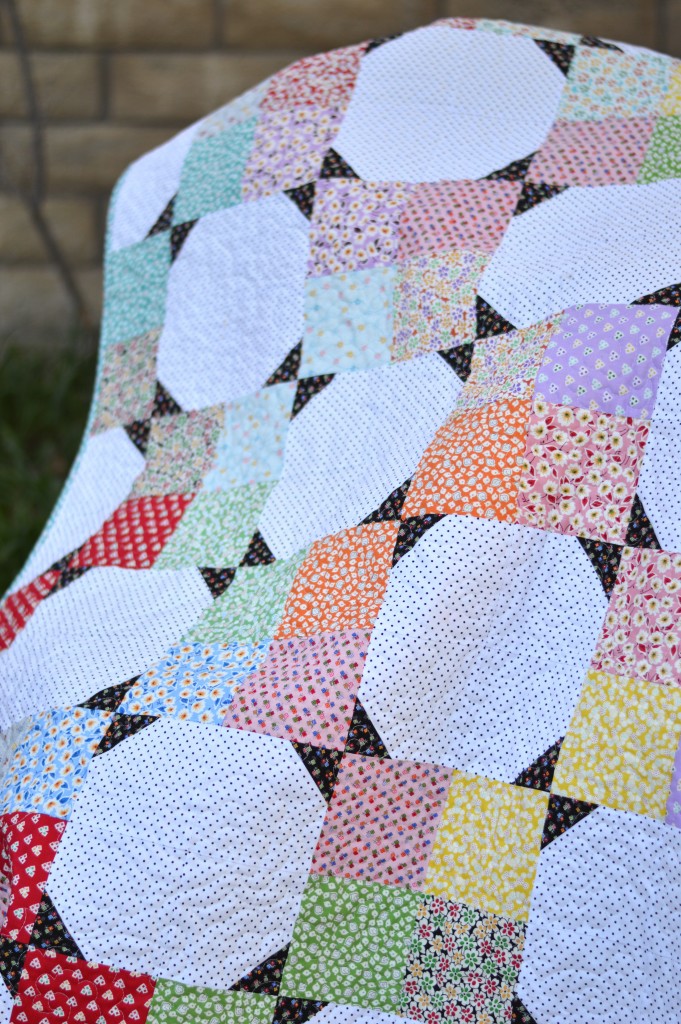
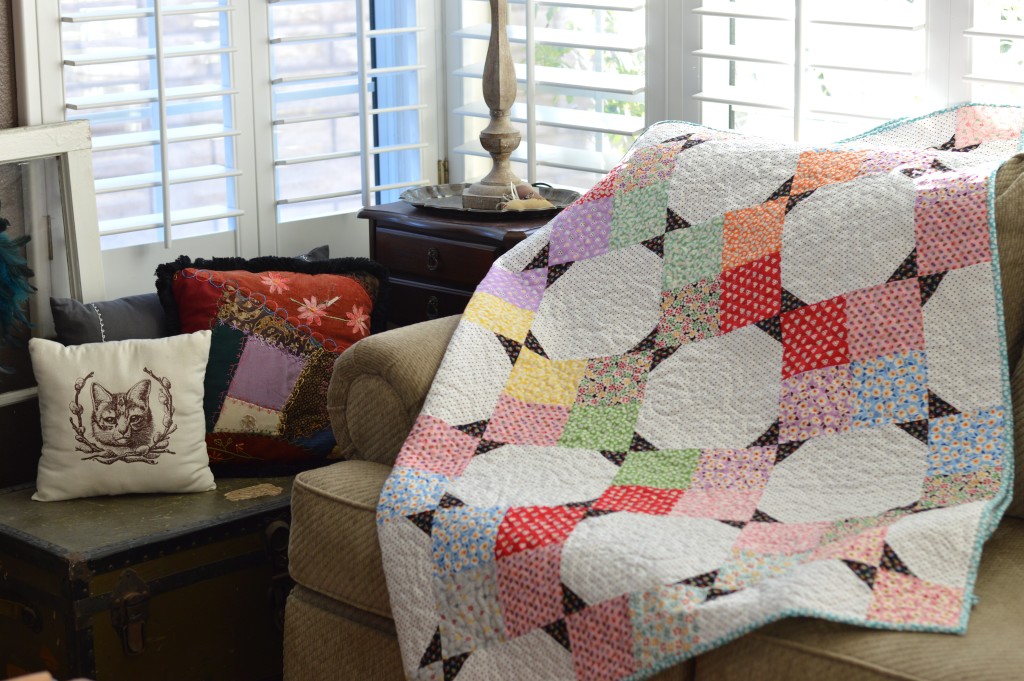
I am so in love with bunnies and springtime! My whole house is starting to look like a rabbit hutch! (hahaha!!) I am sharing this pattern over on the Therm O Web blog today! You can choose to make a mini quilt or a pillow! The fabrics are from Penny Rose Fabrics designed by Elea Lutz called Milk, Sugar, Flower.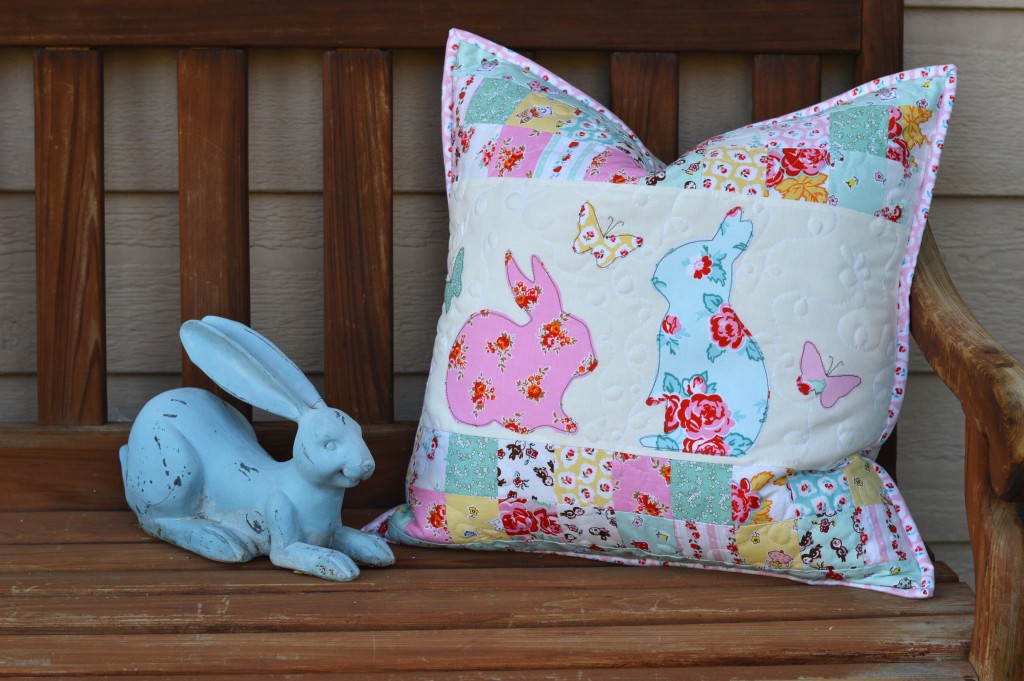
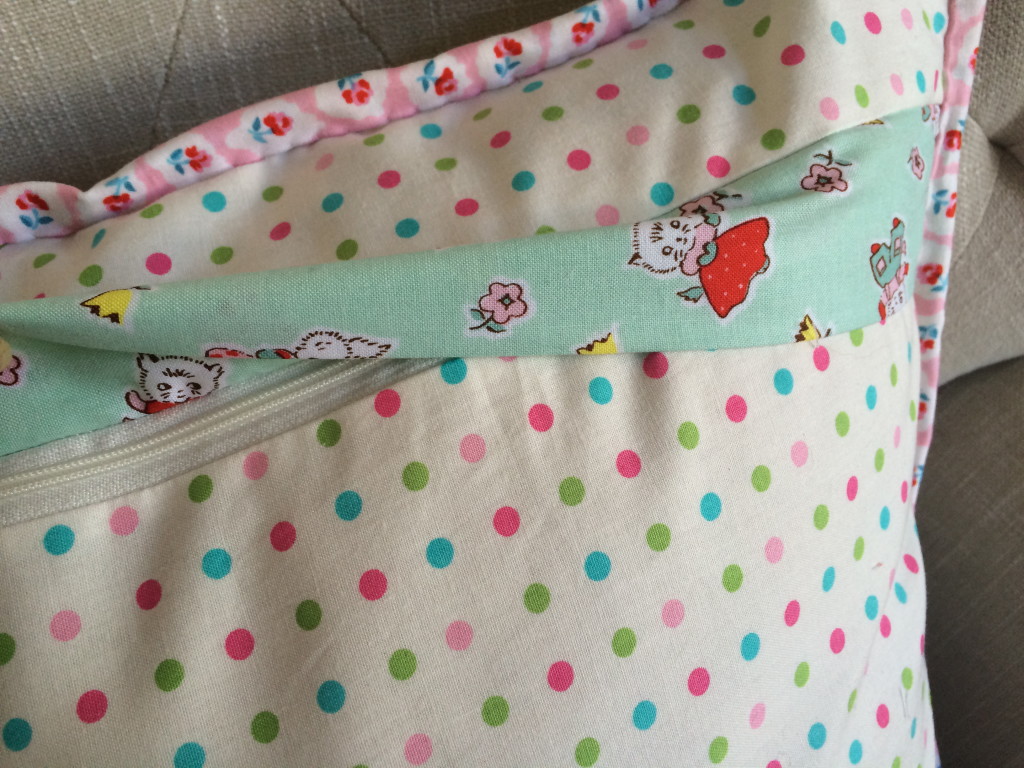
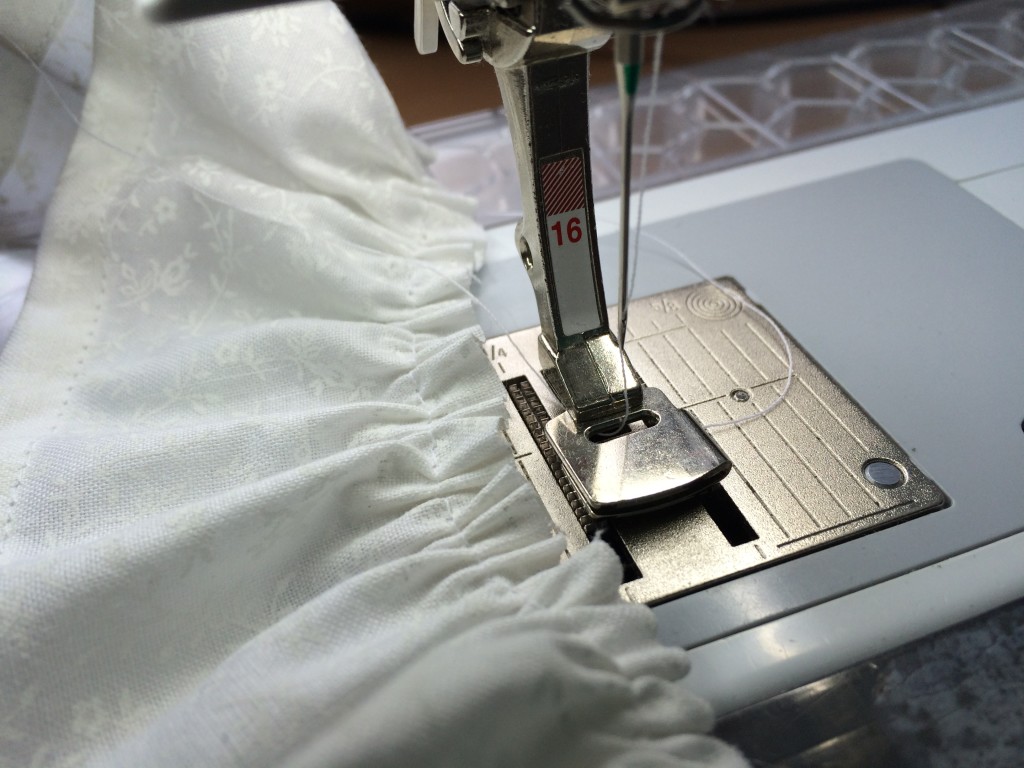
The pillow is made just like you would a quilt, only you add a zippered pillow back before you sew the binding!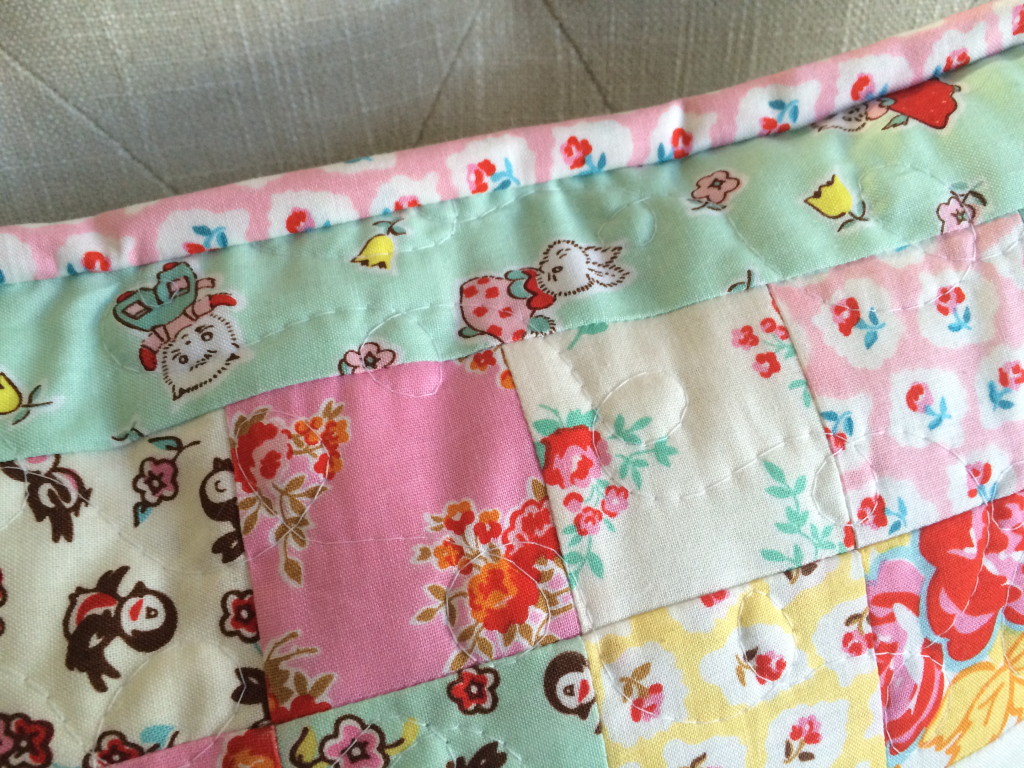
See the zipper? It’s hiding under an accent strip of cute fabric!
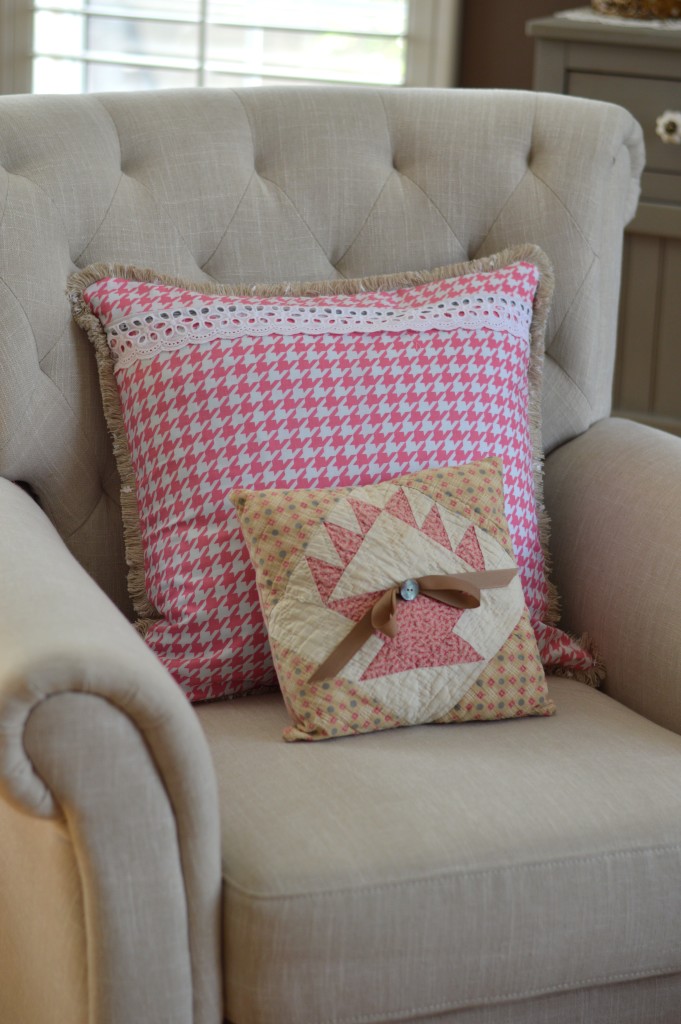
I’m keeping the pillow for myself and giving this mini quilt to a sweet friend!

Both the quilt and the pillow are 20″ square.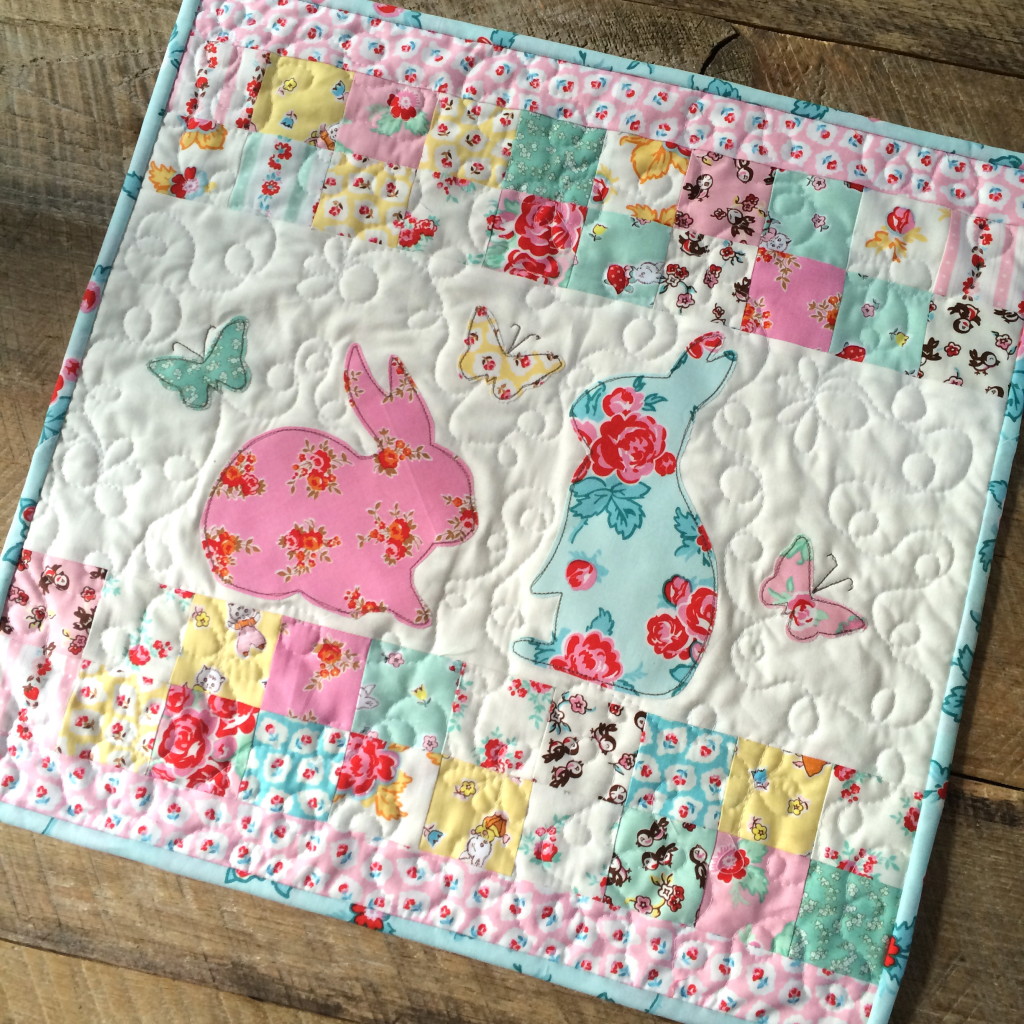
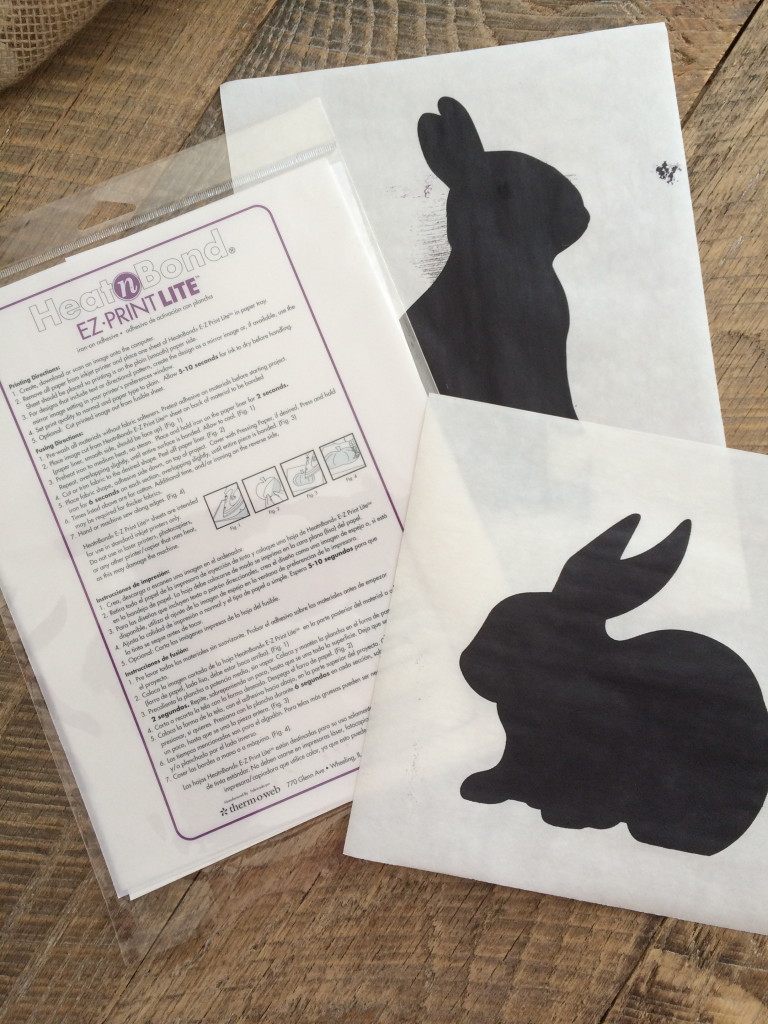
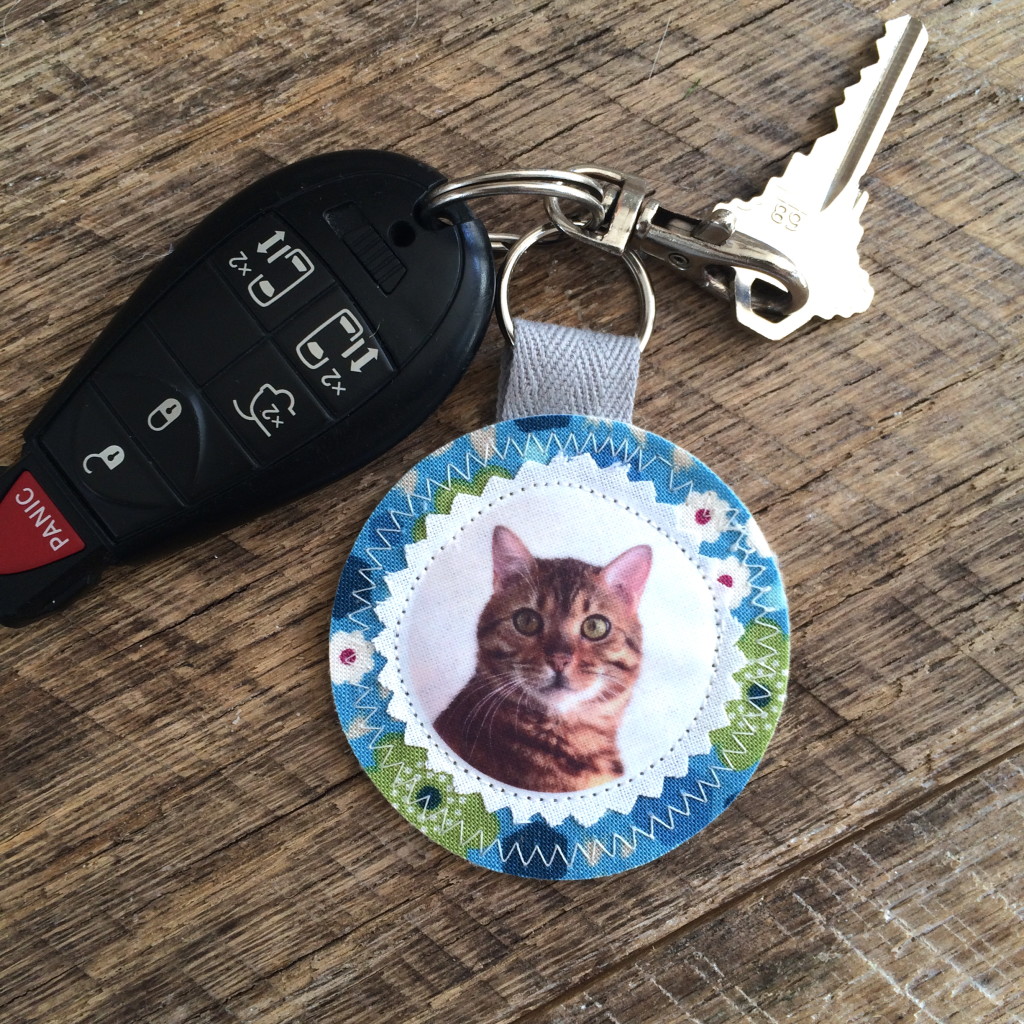
Hop over to the Therm o Web blog and you can download the applique pieces and print them directly onto Heat n Bond Lite EZ Print sheets!

 Thanks for stopping by! I can’t wait to see all the other fabulous projects on this blog hop!!
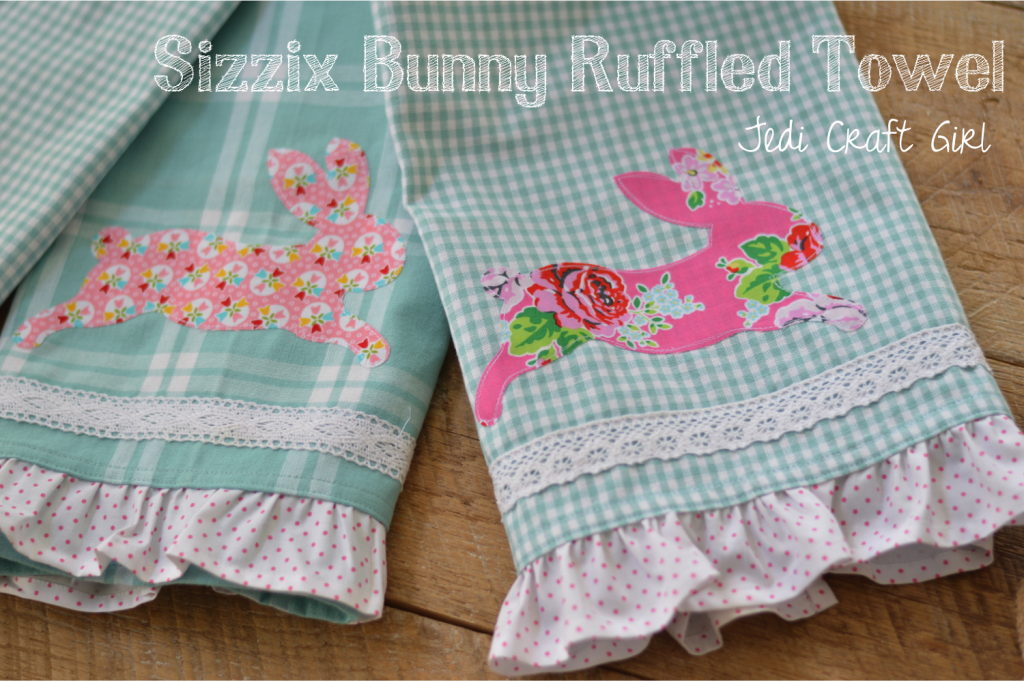
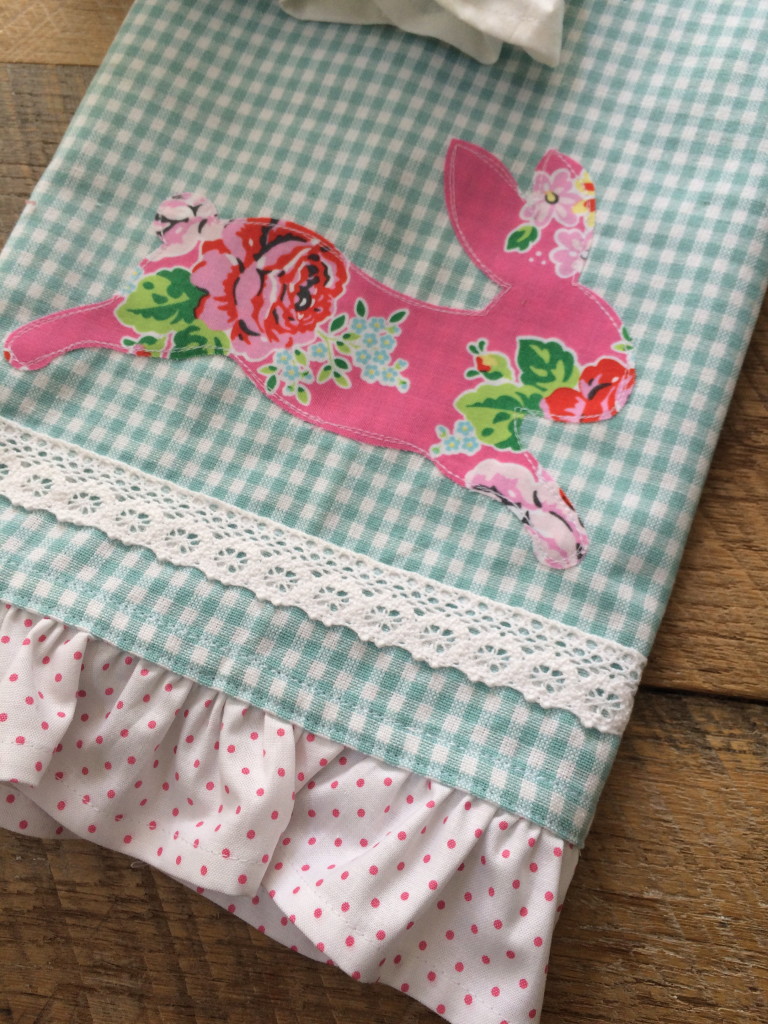
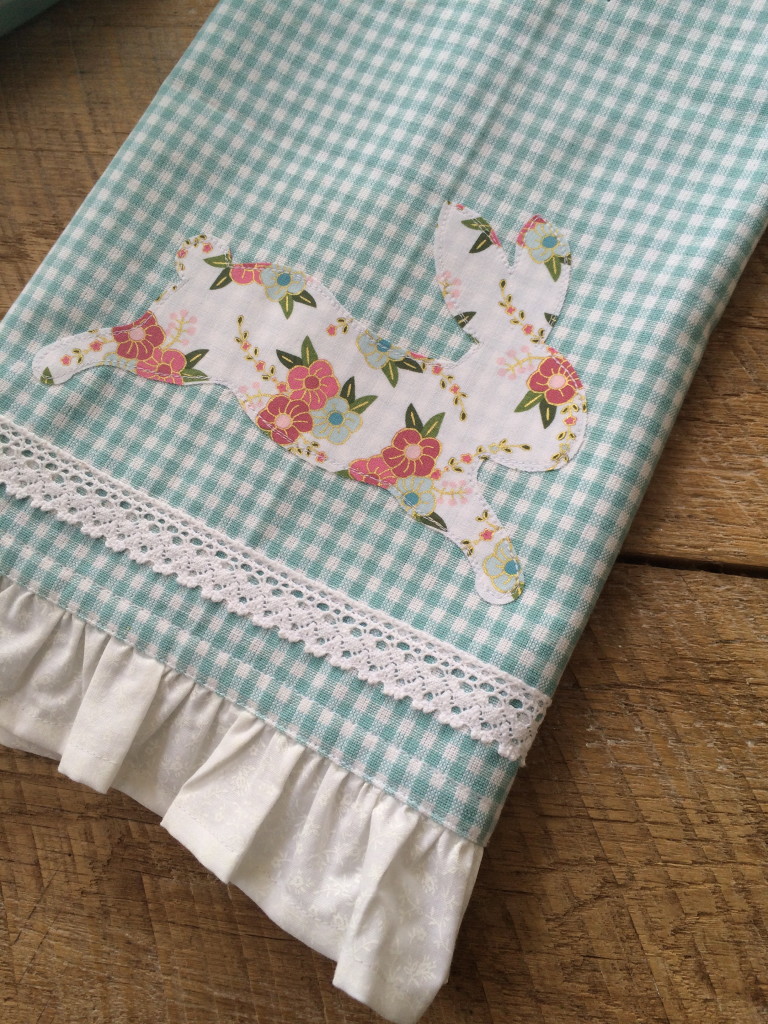
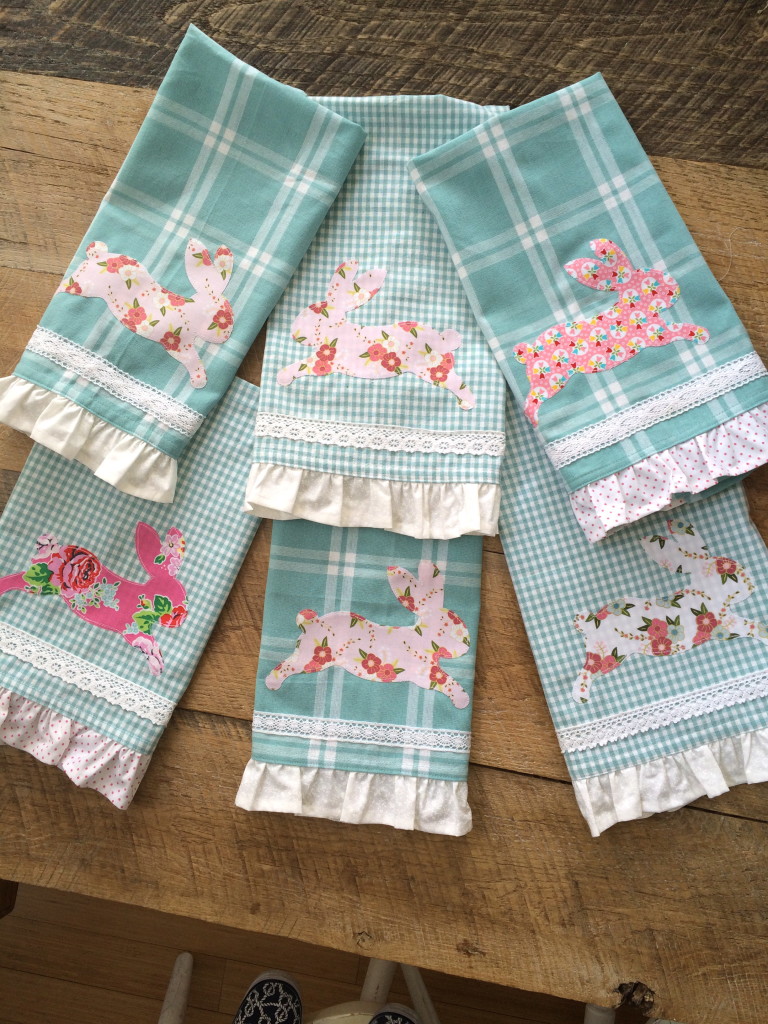
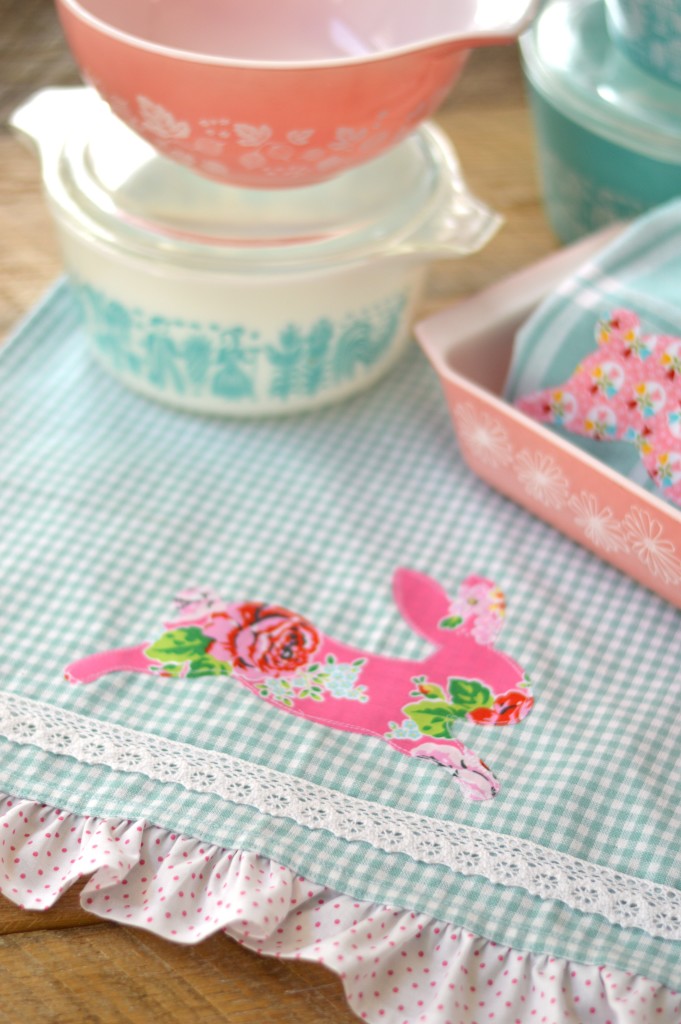
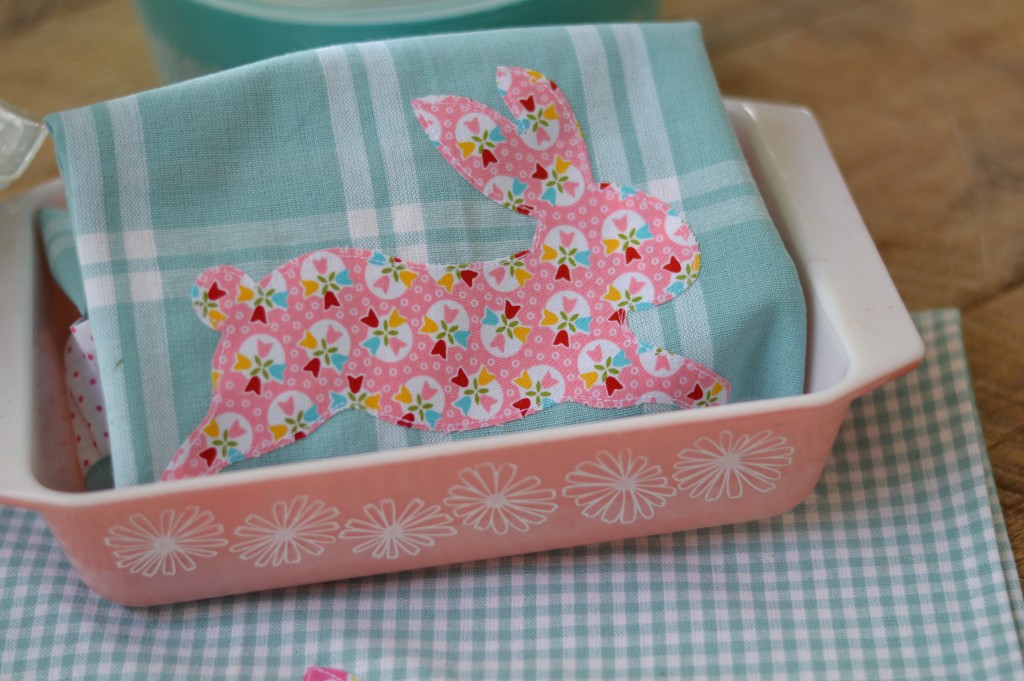
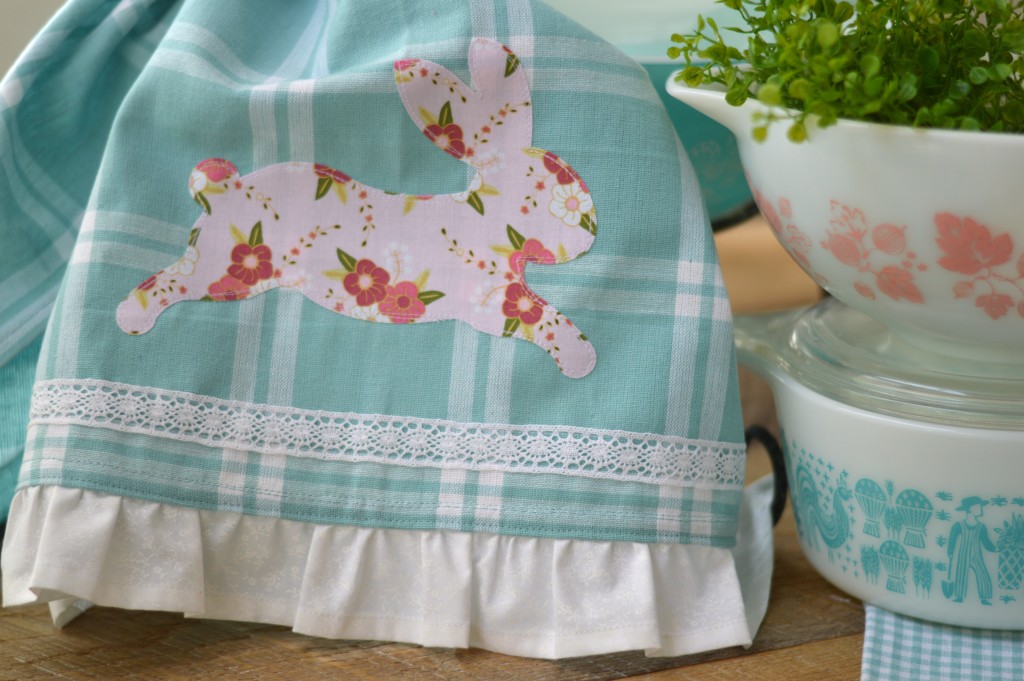
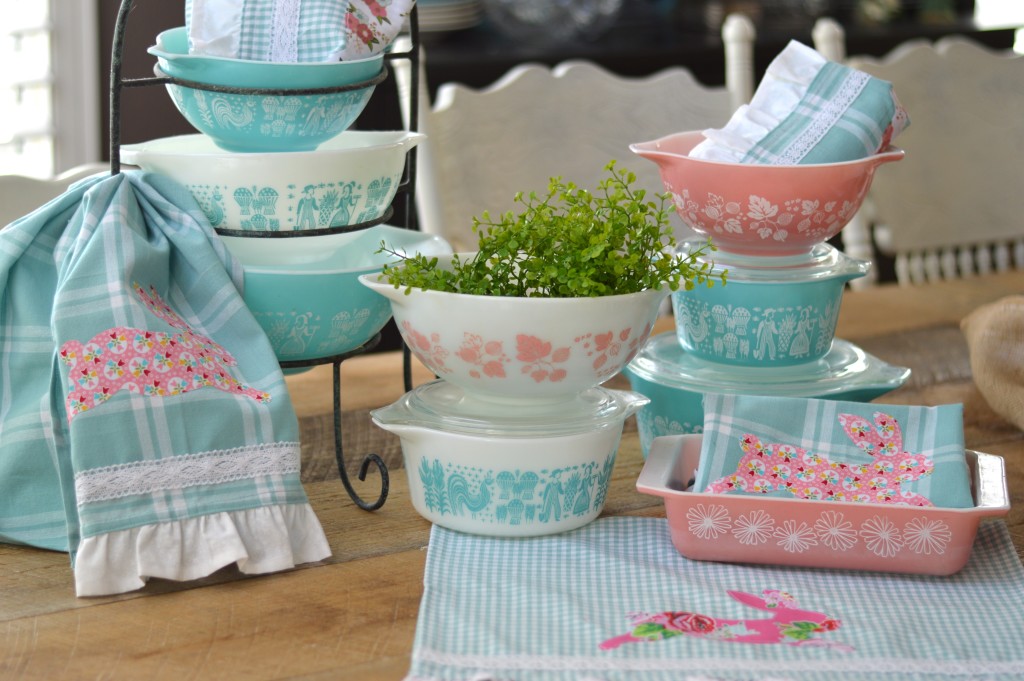 Kitchens usually don’t have a lot of wall space or places to hang quilts or cute crafty projects. I love hanging home made towels on my oven, it gives the kitchen that cozy feeling! Theses sweet towels also make the perfect gift! Who wouldn’t want one of these! I choose some of my favorite
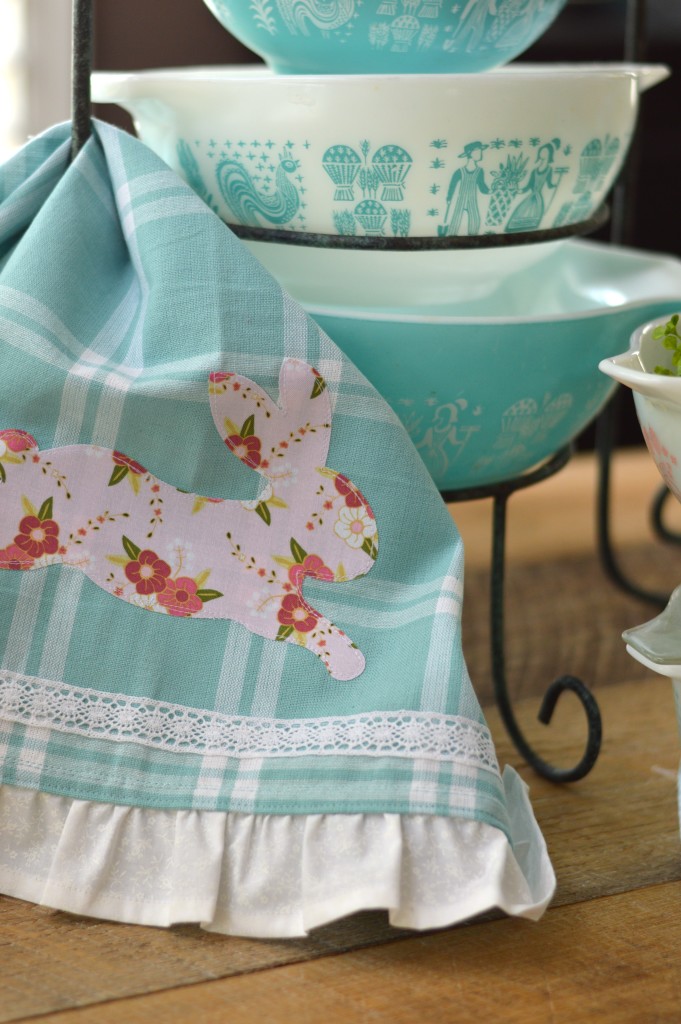


 Hoppy Sewing!
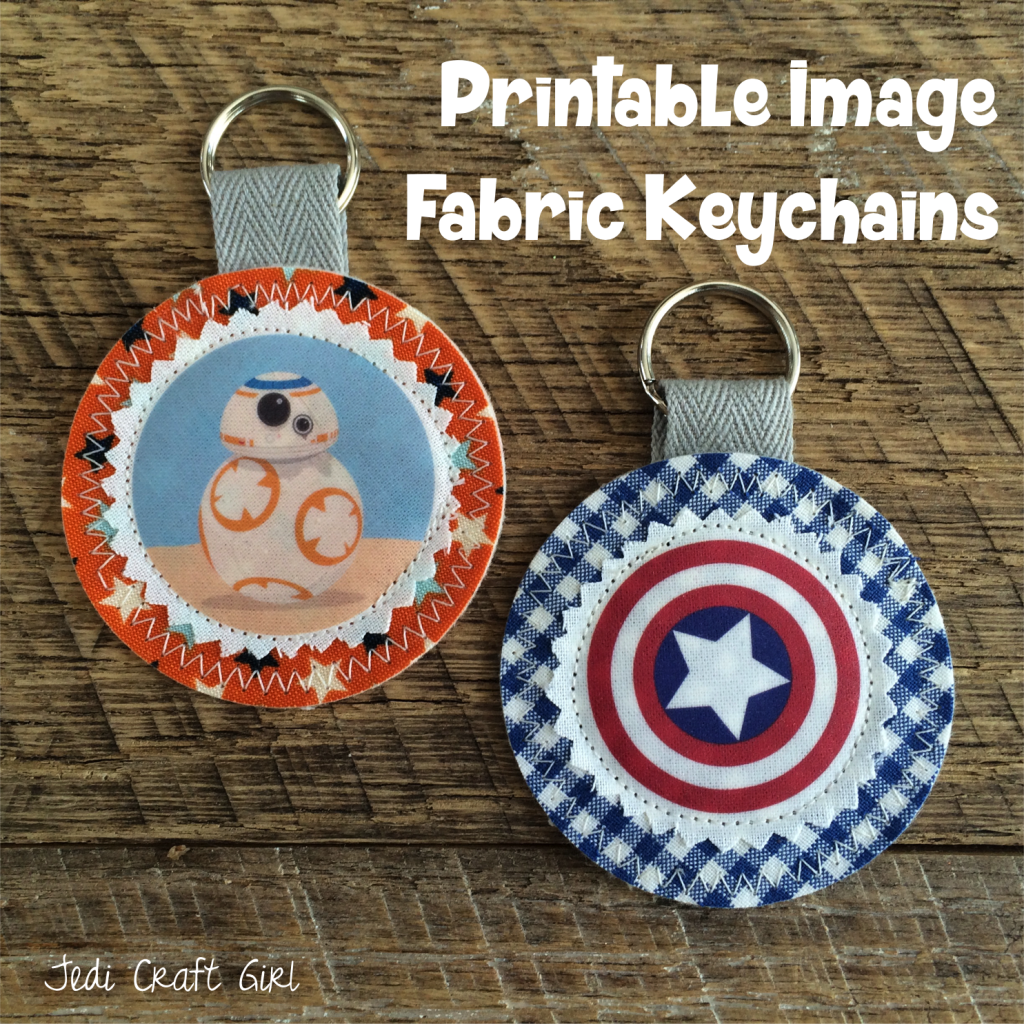

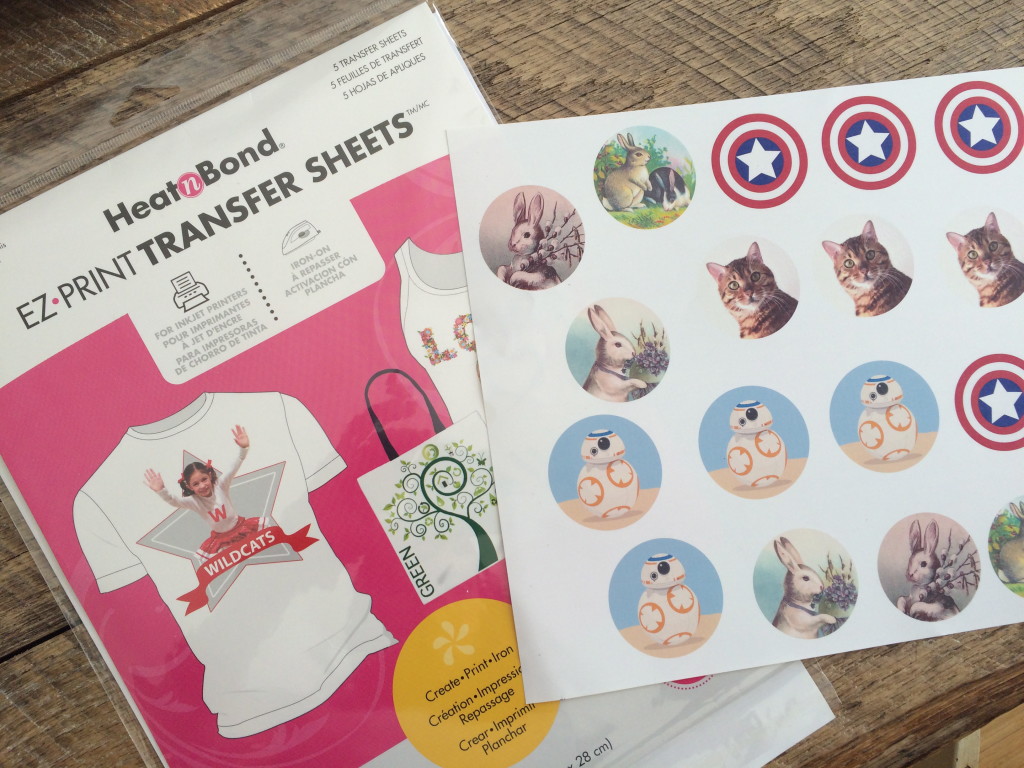
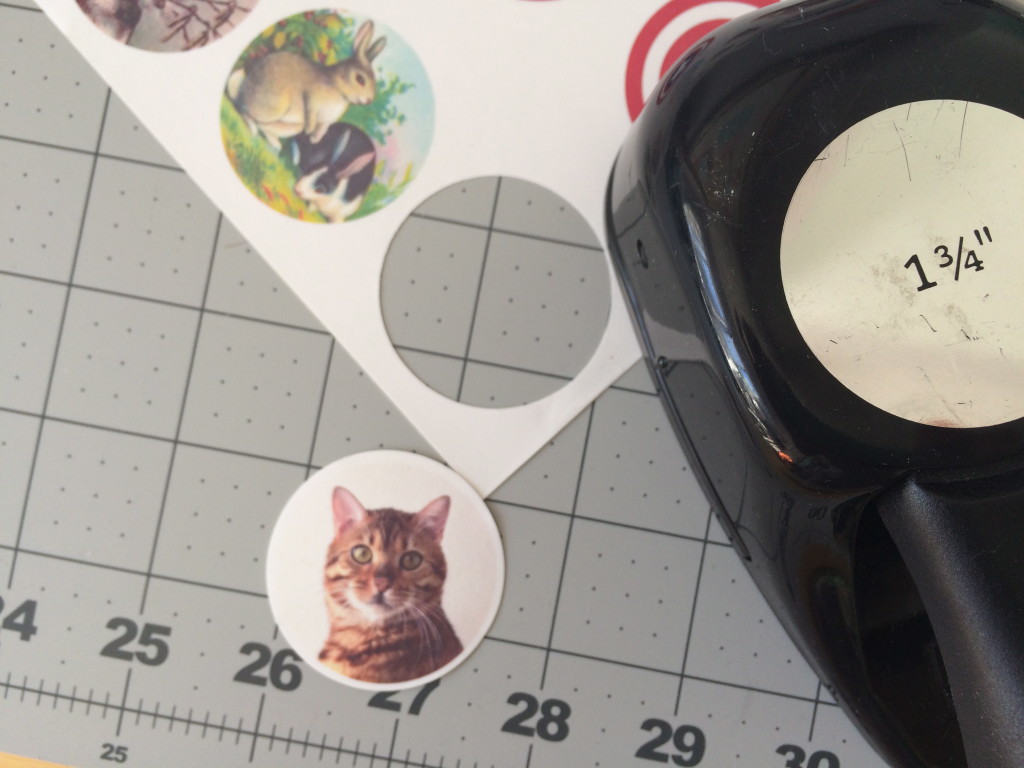
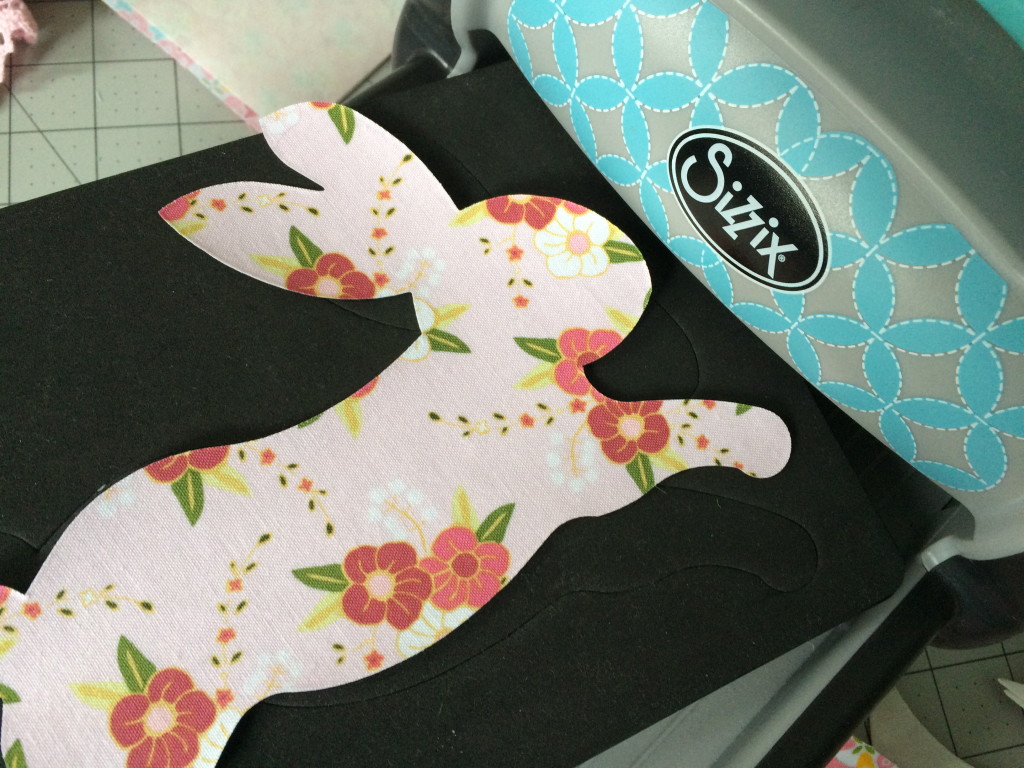
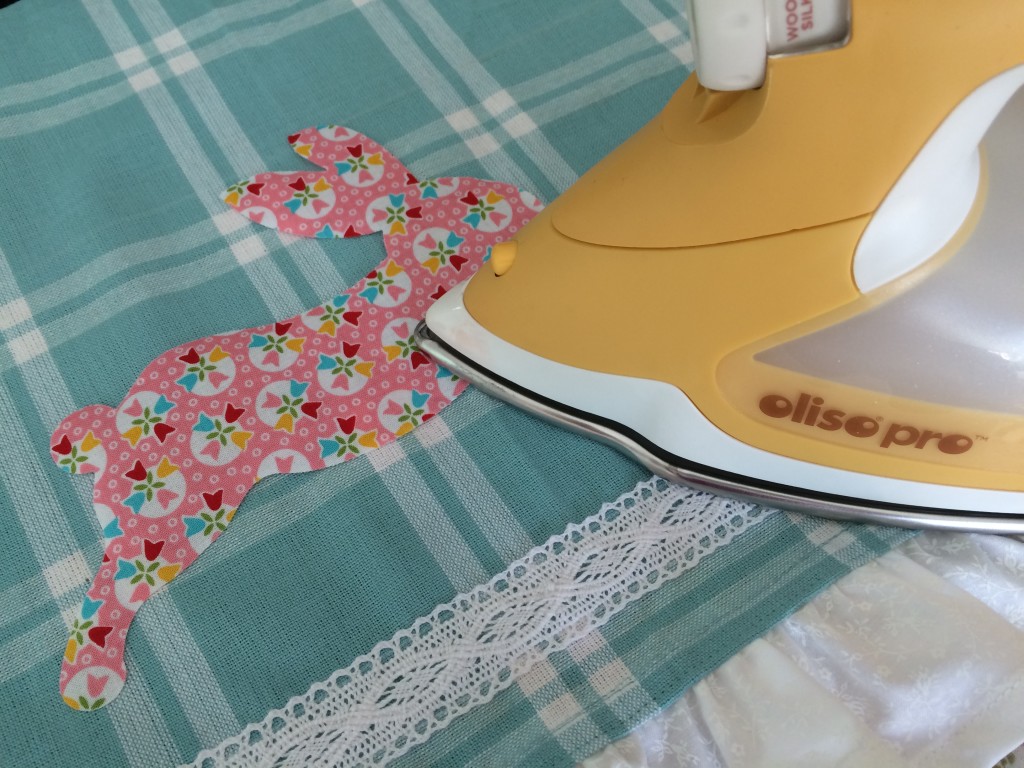
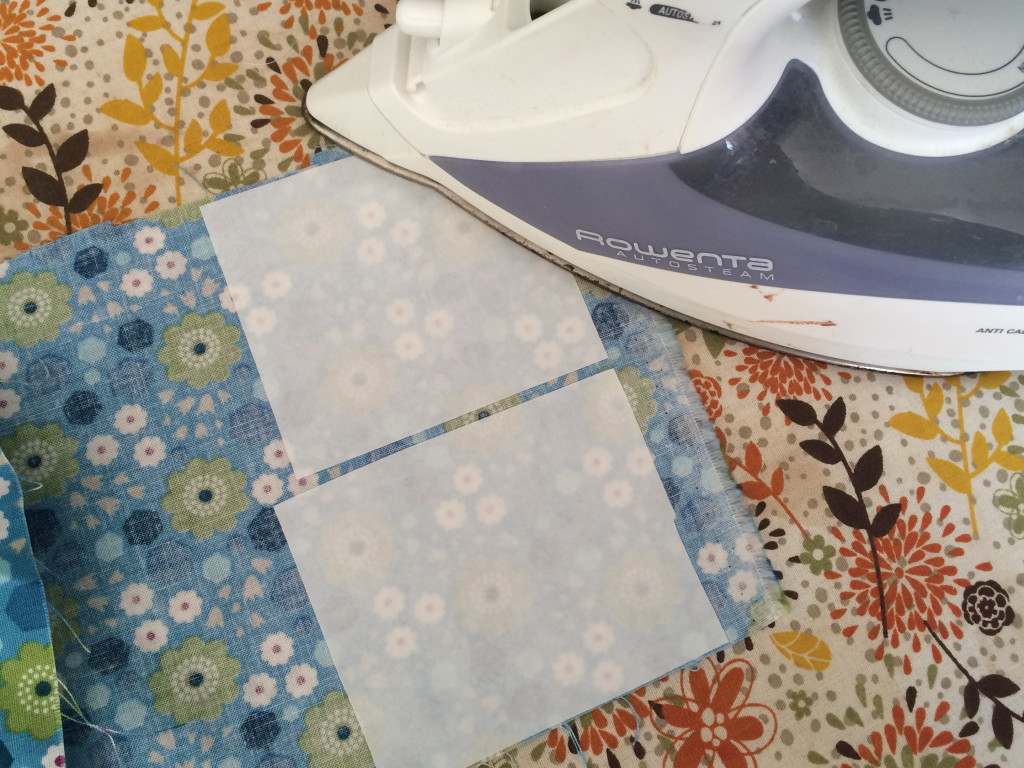
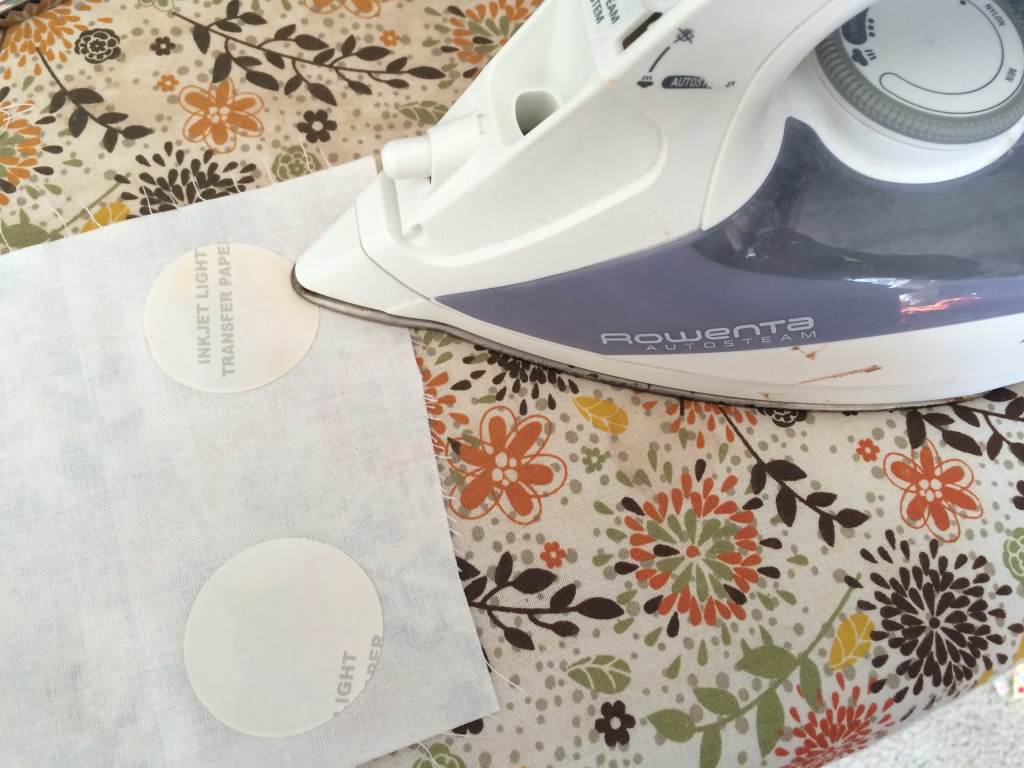 With a dry, hot iron, place the image face side down on the right side of a solid white fabric. Heat set for about 10 seconds applying firm, constant pressure. Let cool completely.
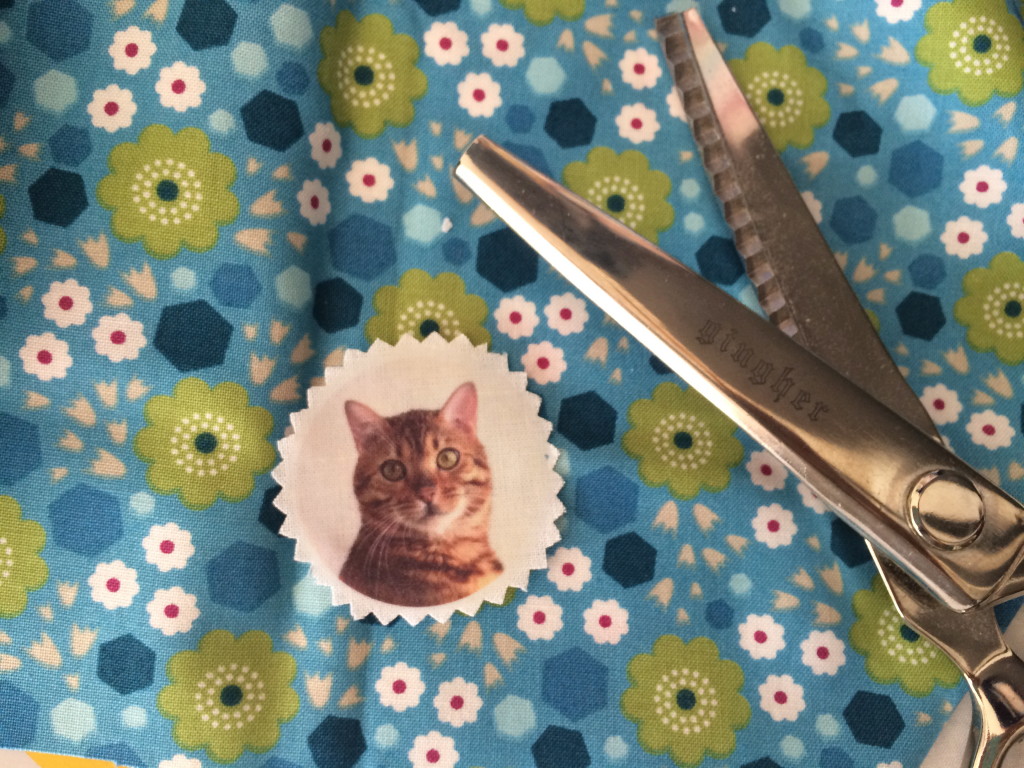
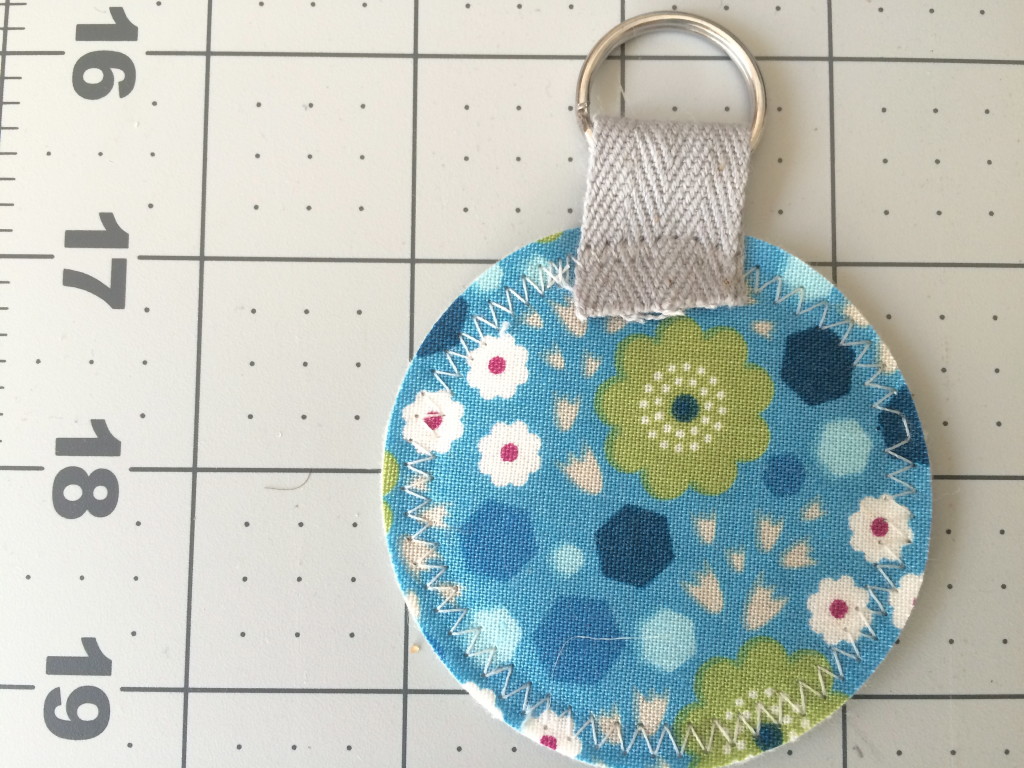
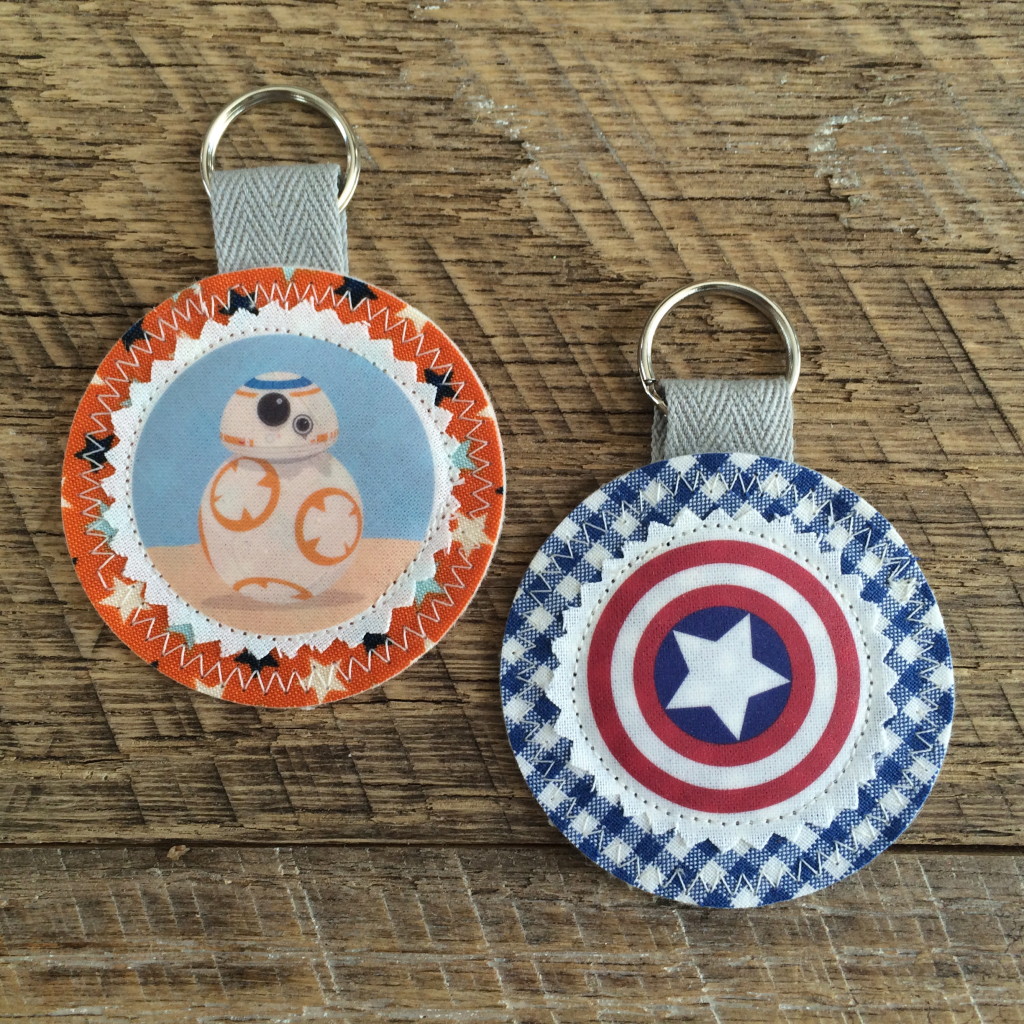
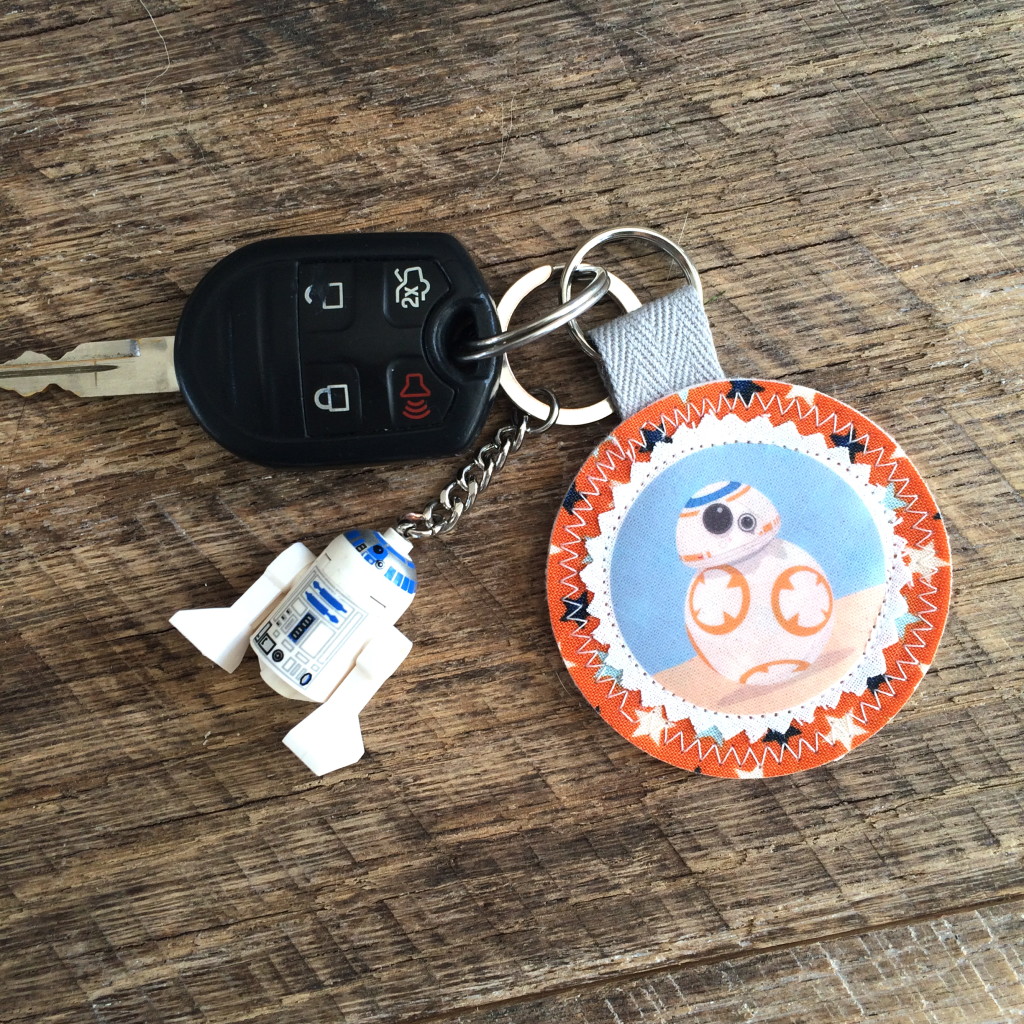
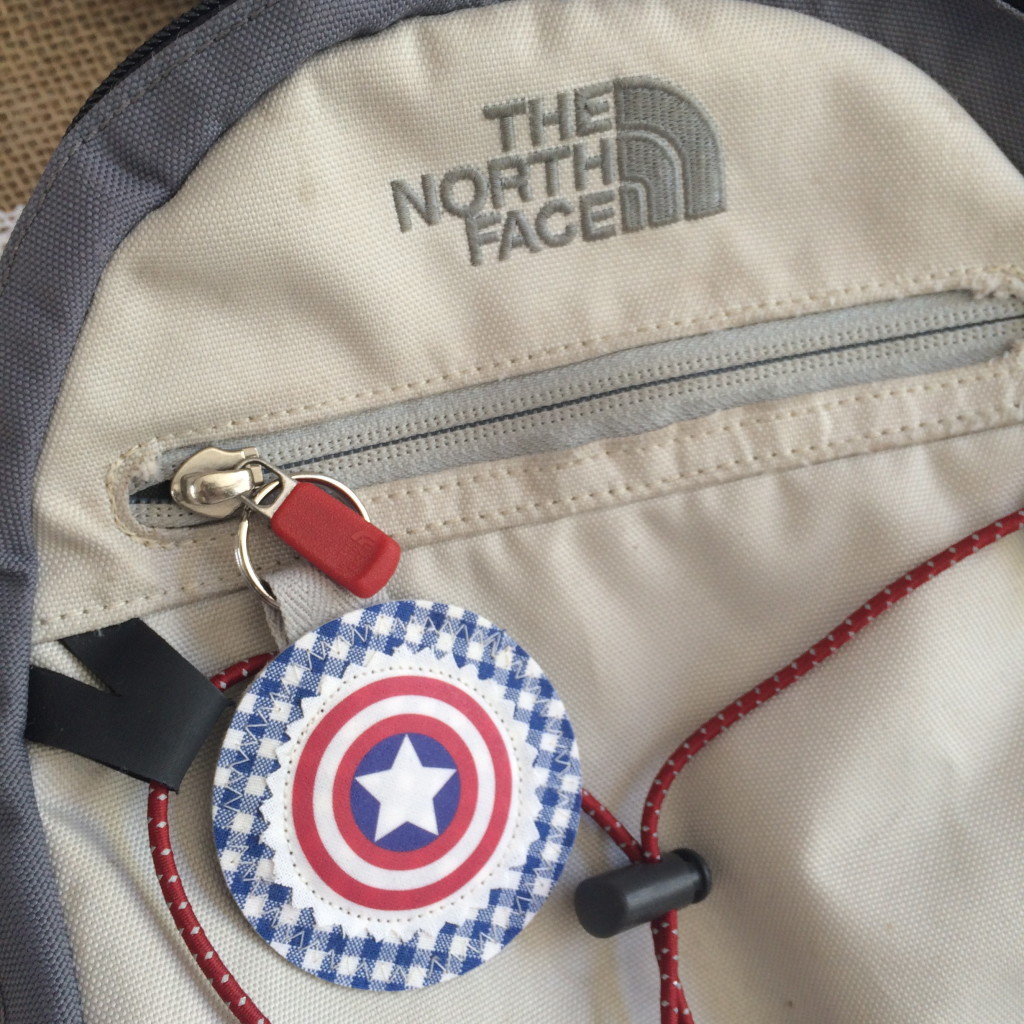 They also make great zipper pulls for back packs!!
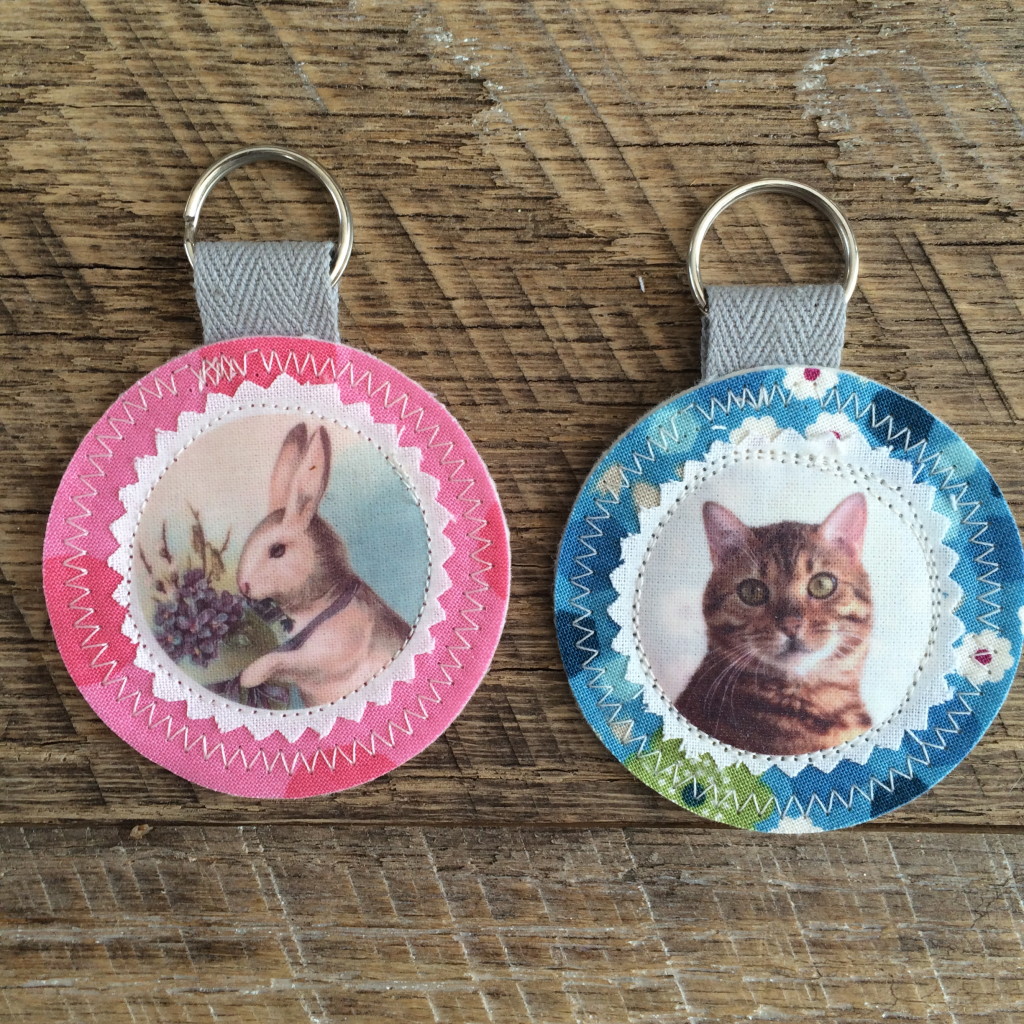
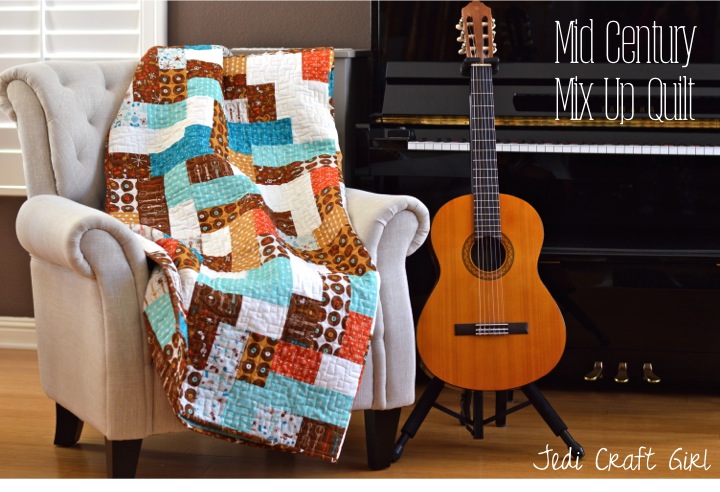
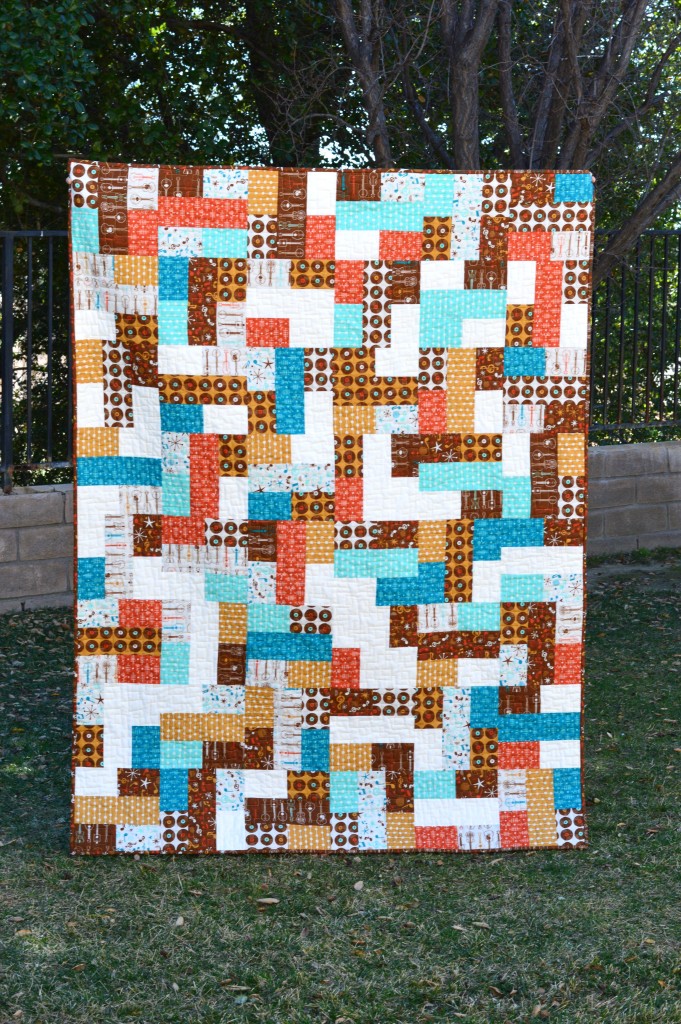

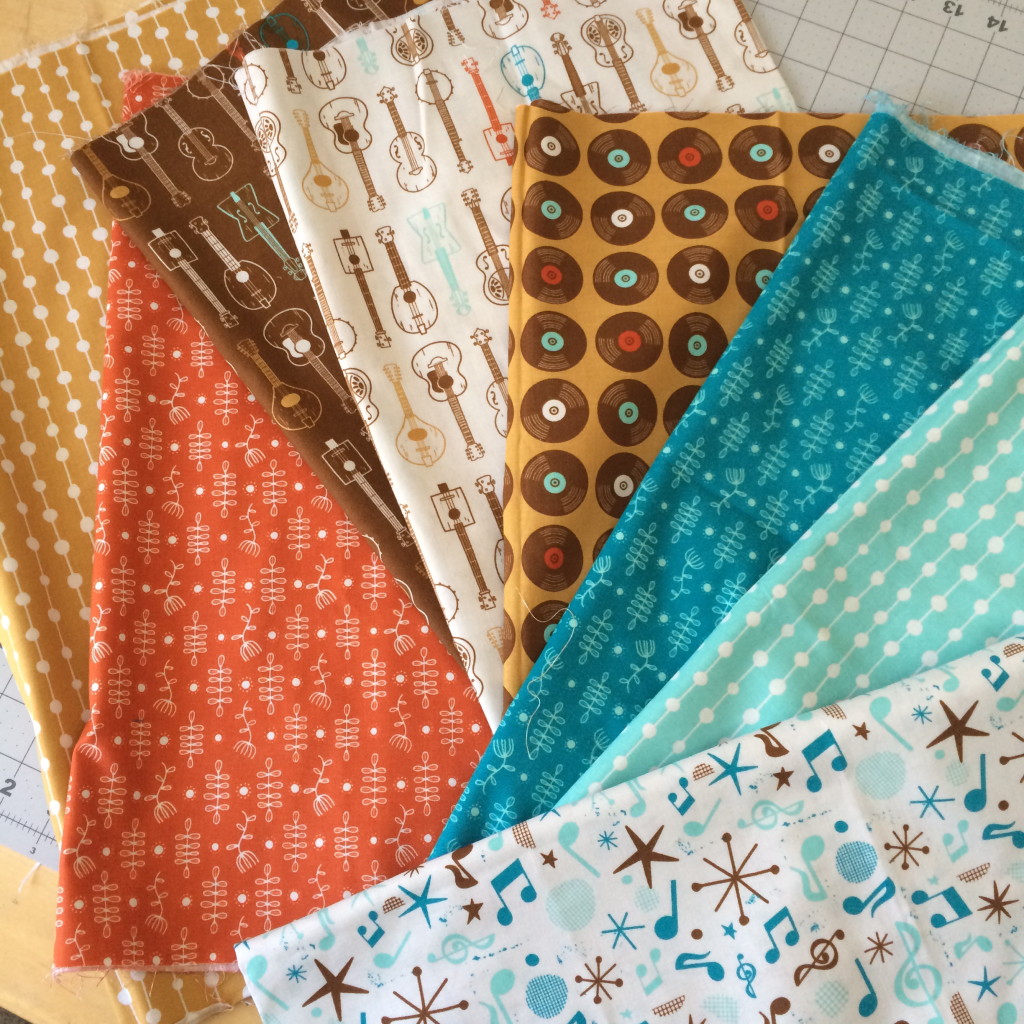
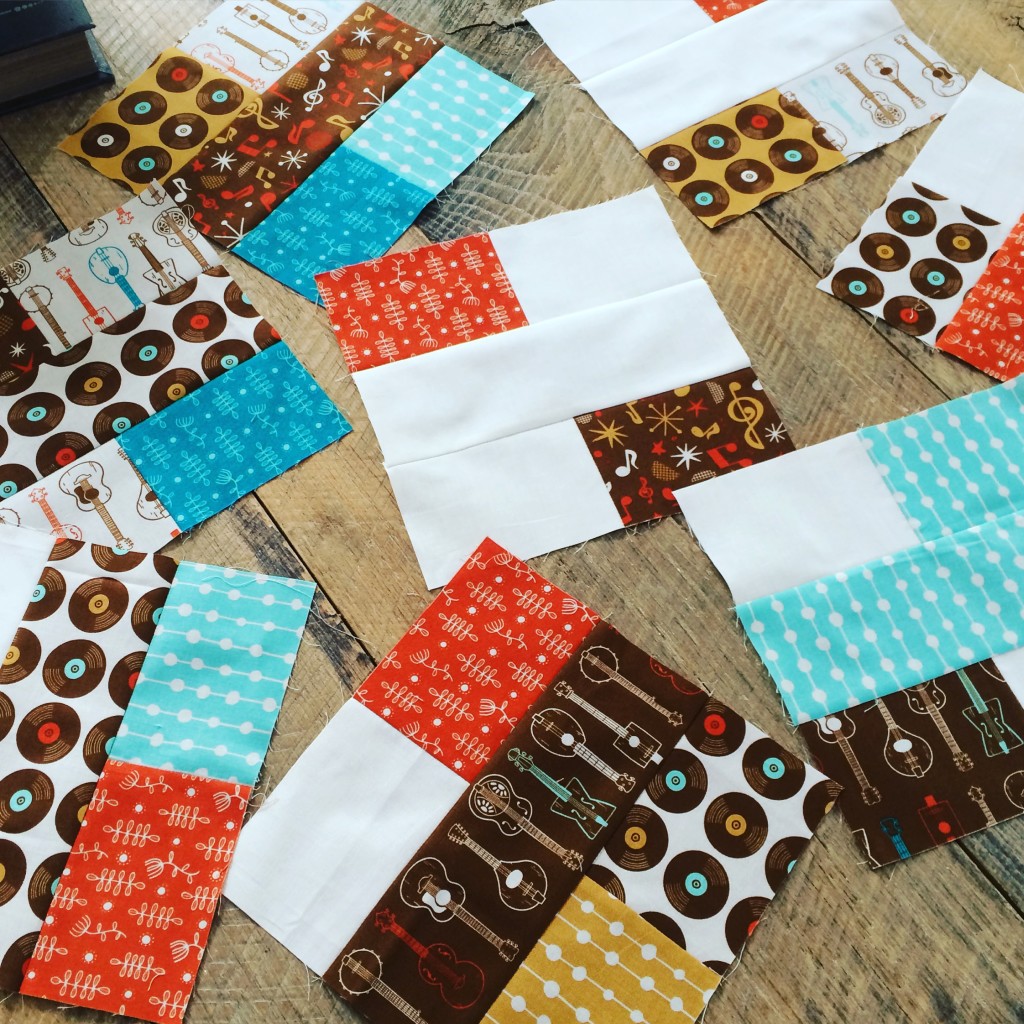
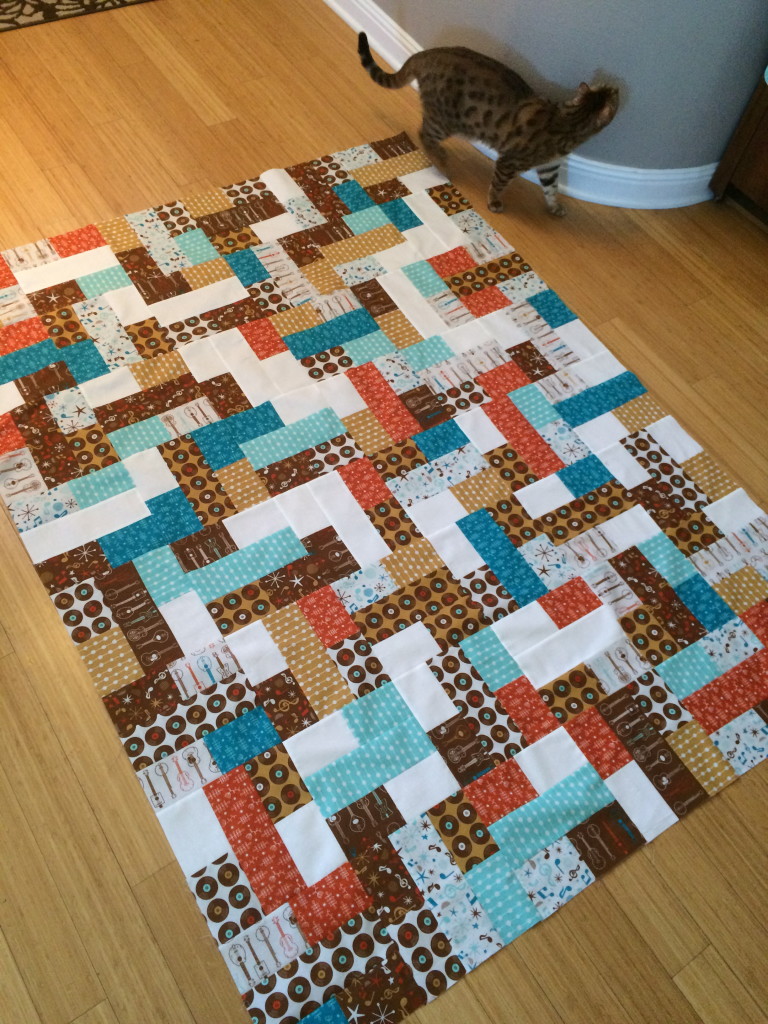
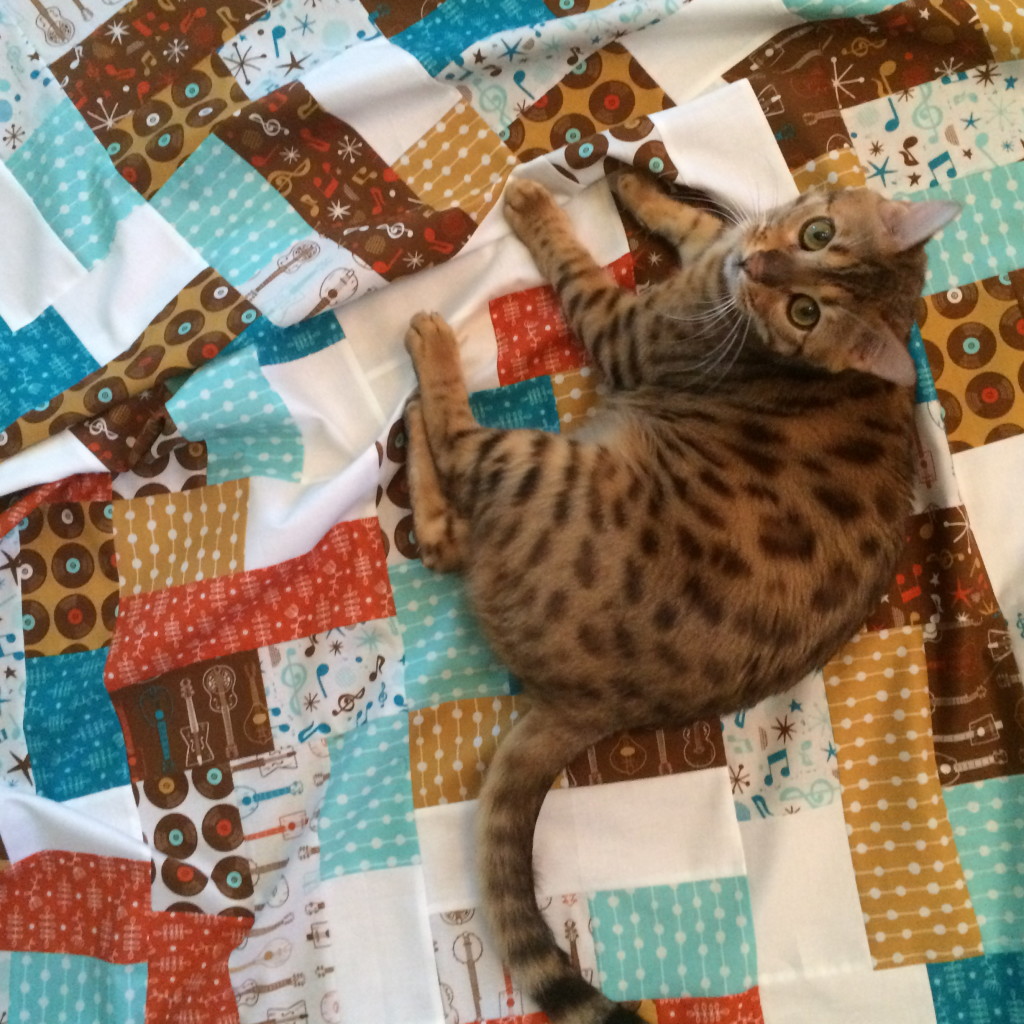
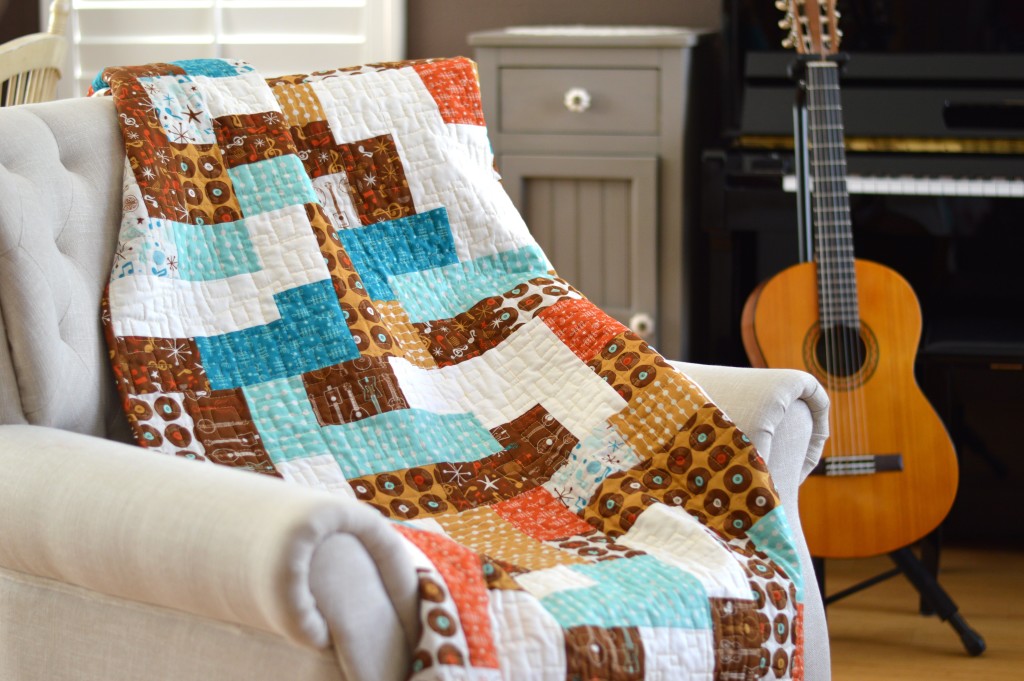
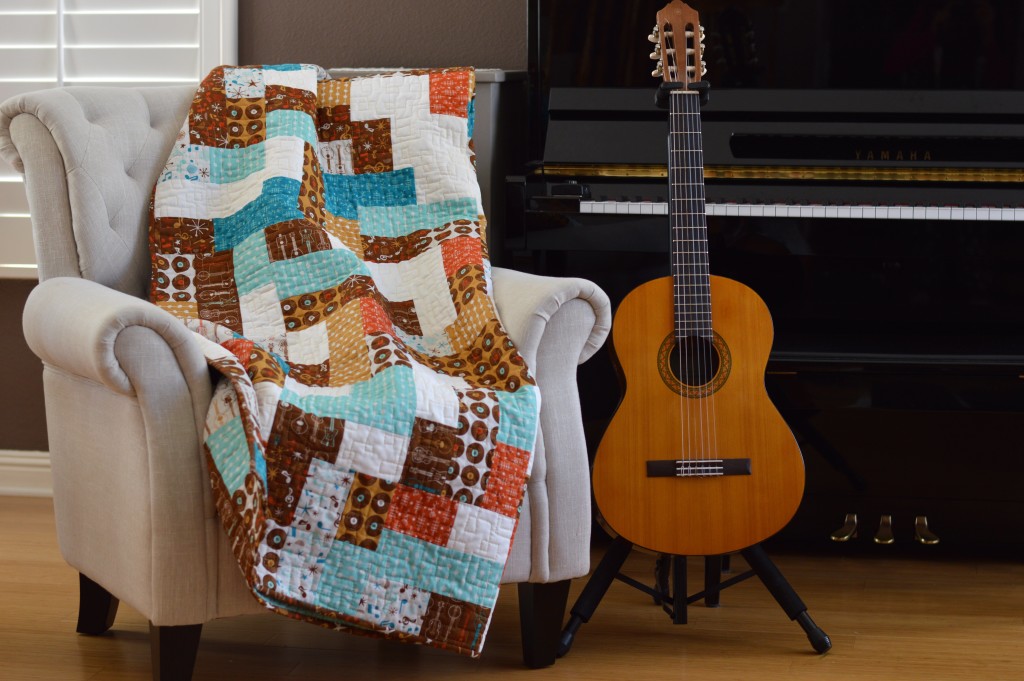
 Every year I try and learn the guitar, this quilt is inspiring me to pick it up yet again!!!
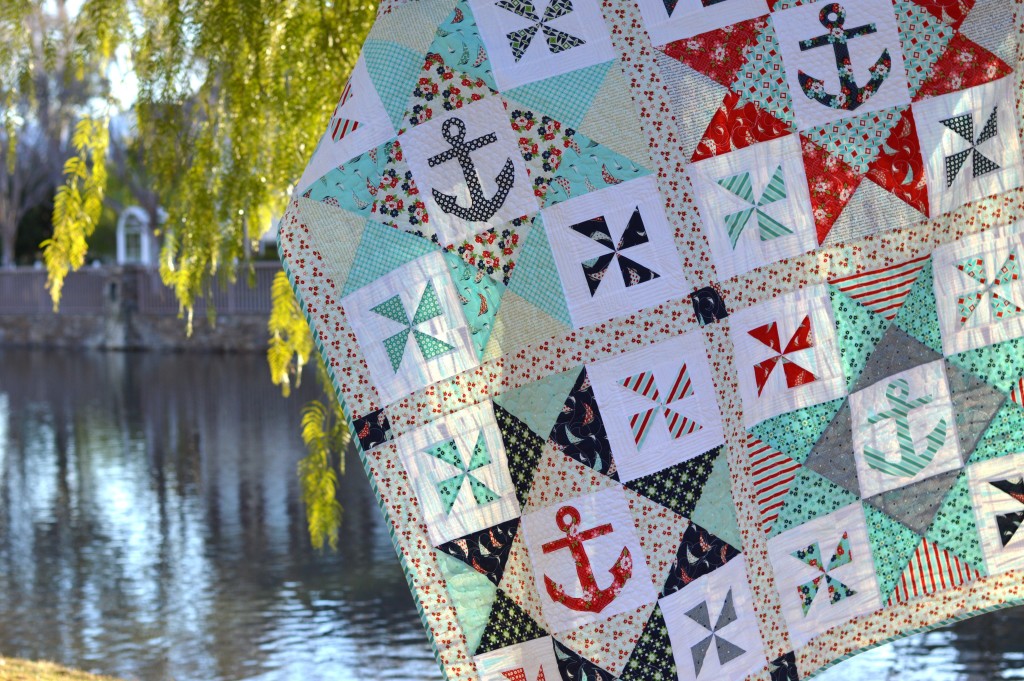
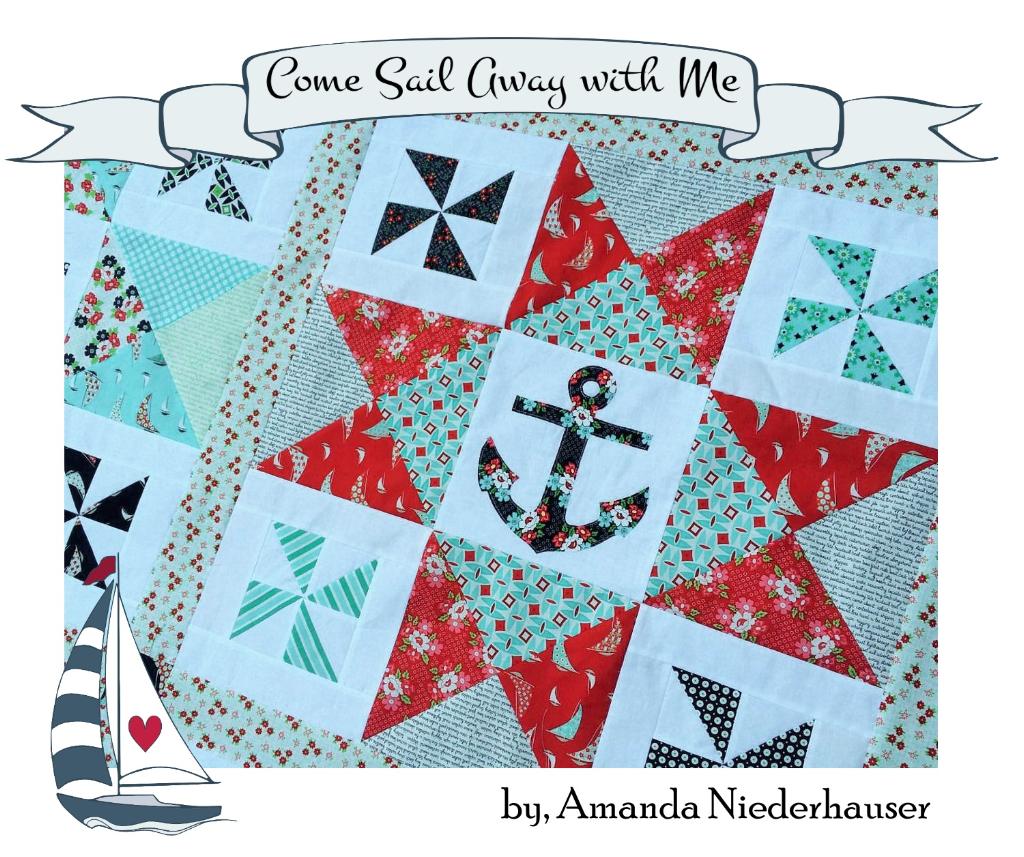
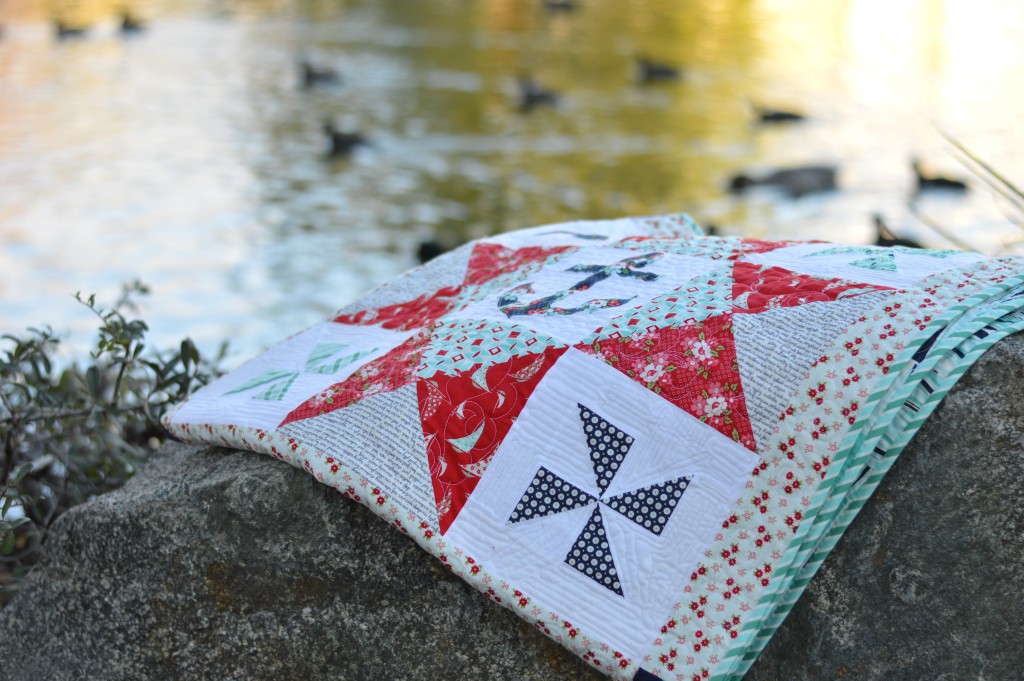
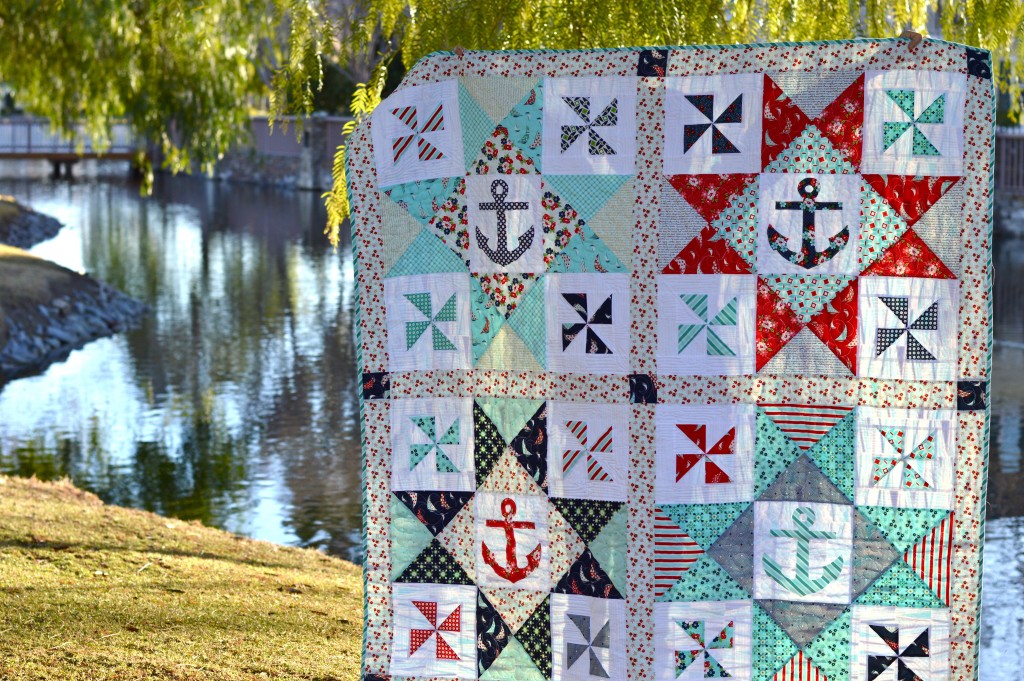
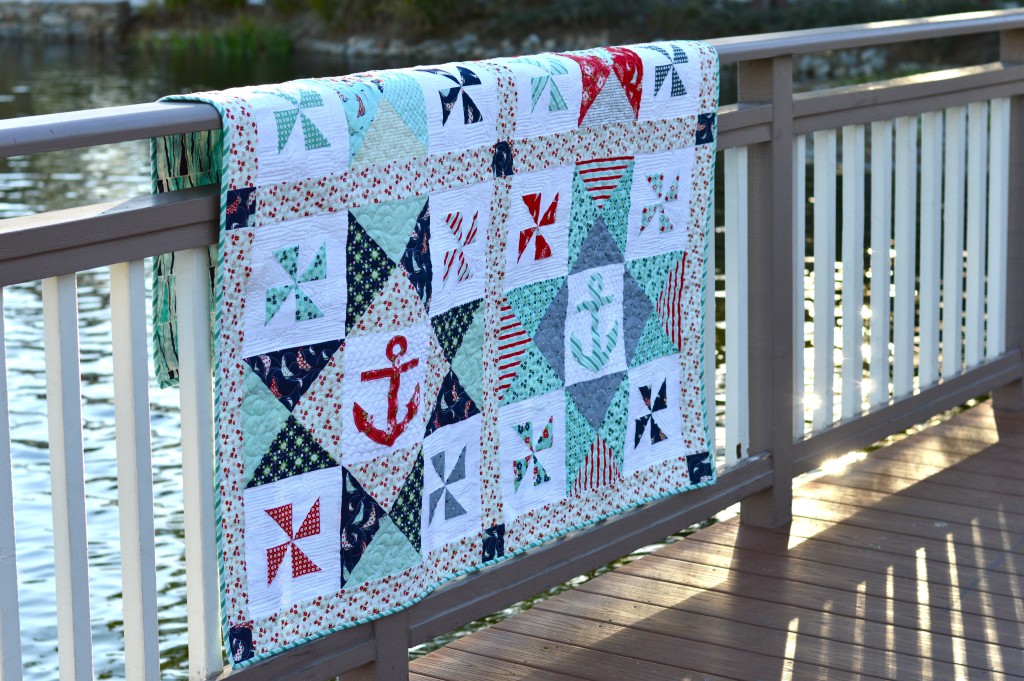
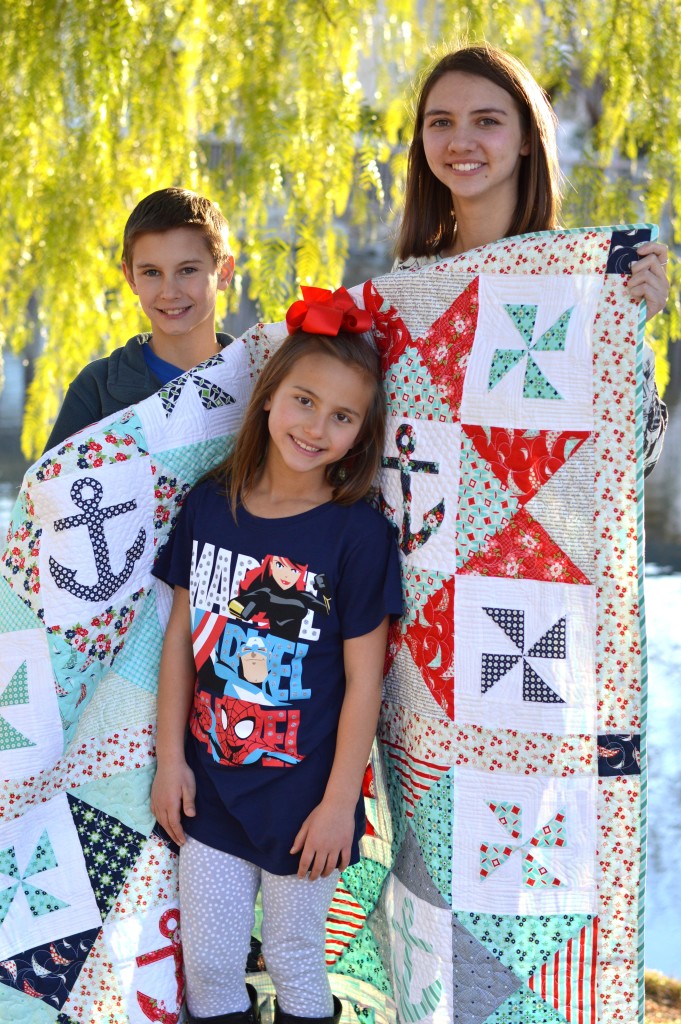
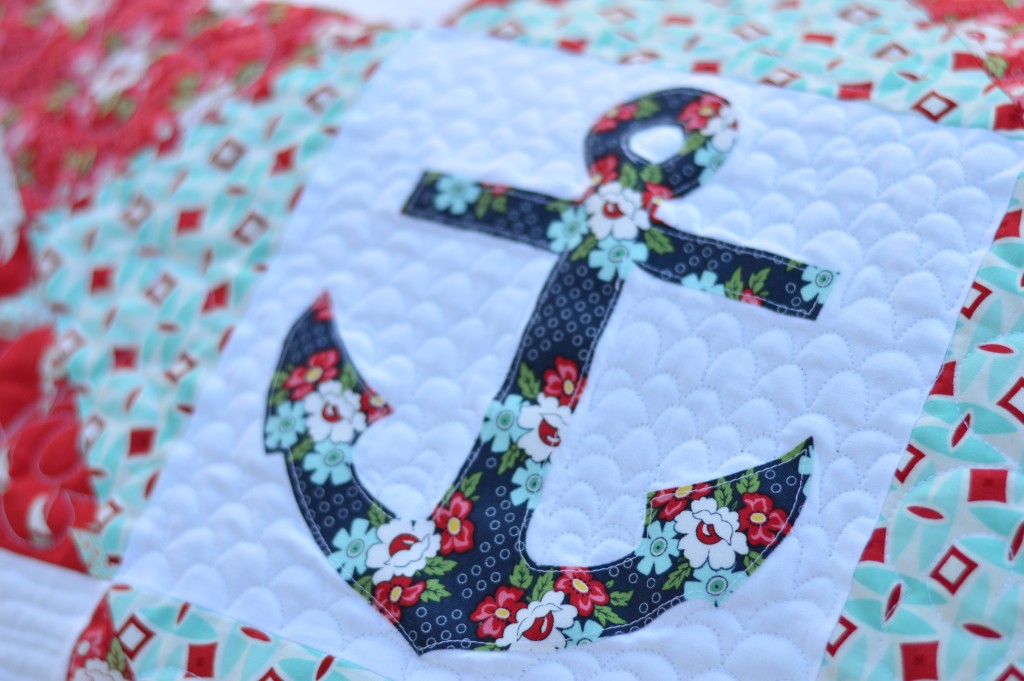
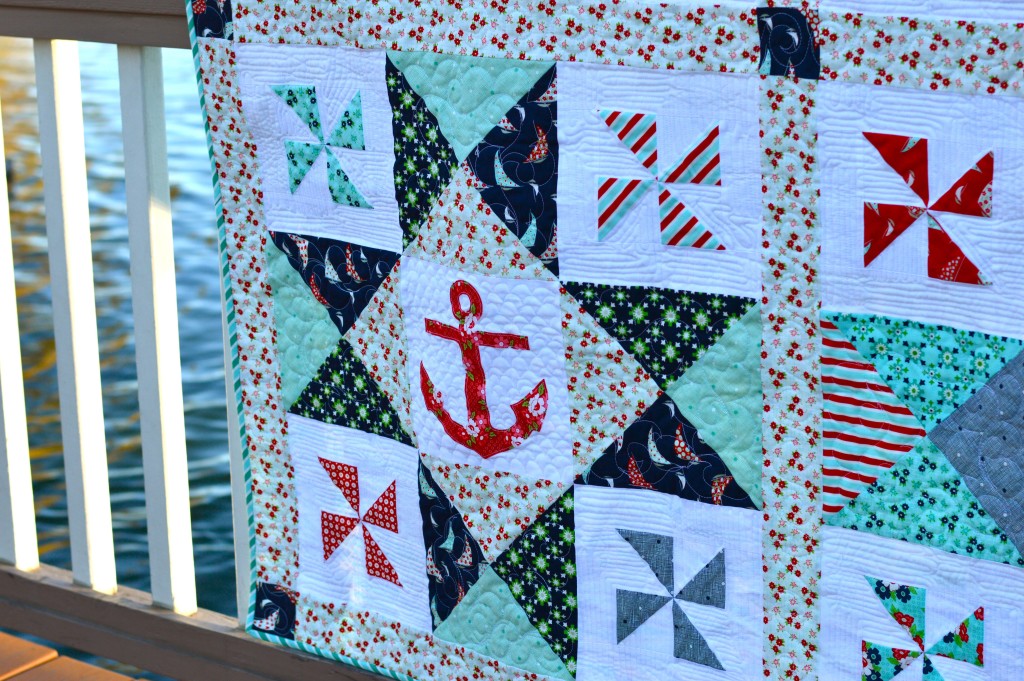
 Come Sail Away With Me!!!


