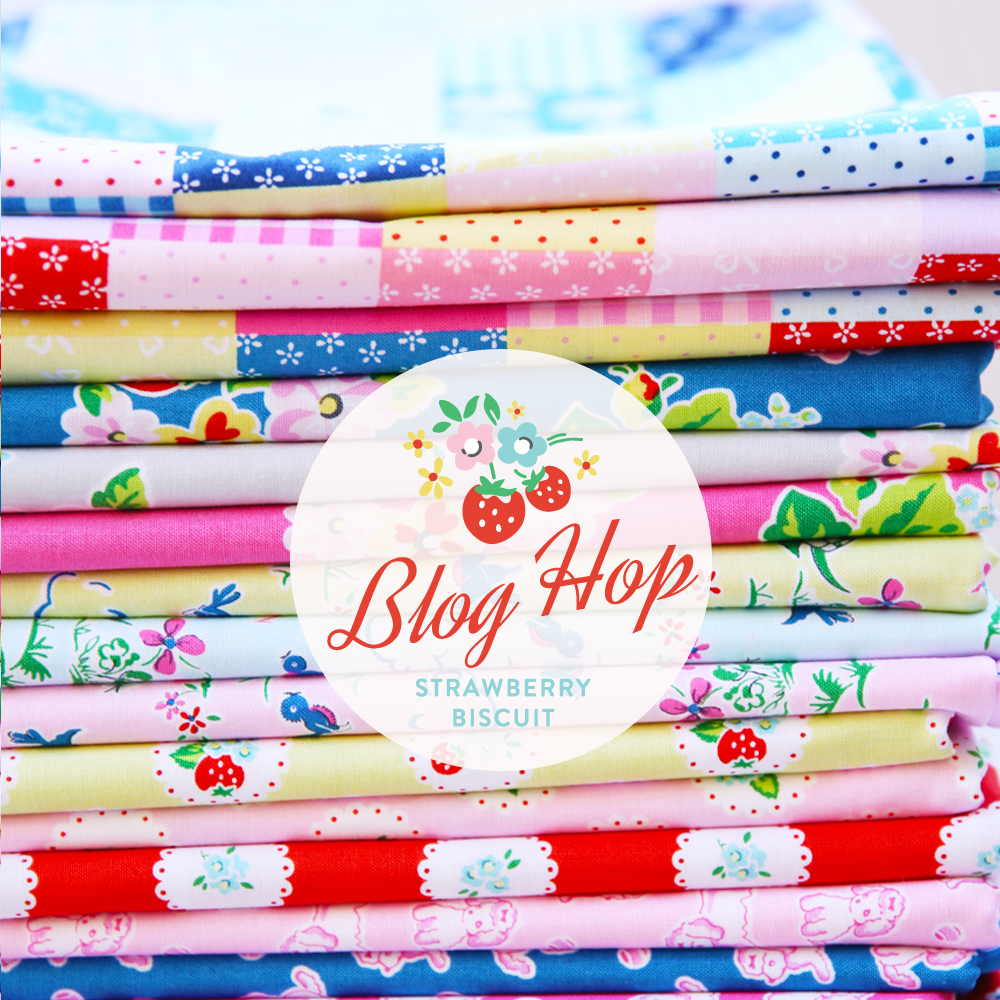
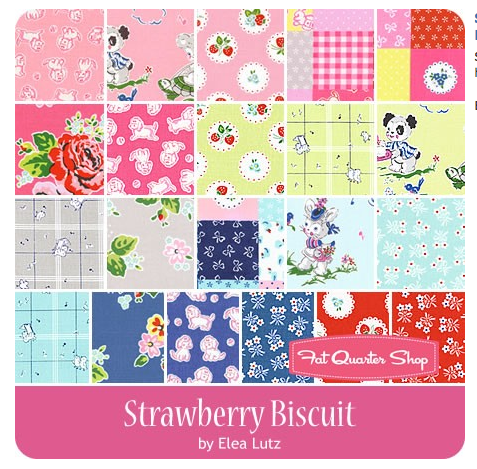
Yay! It’s my turn on the Strawberry Biscuit Blog Hop!!! I have loved seeing all the AMAZING creations on this super fun blog hop! I love strawberries, I love fabric, and I love this new line of fabric by the talented Elea Lutz for Penny Rose Fabrics. I could sew with it all day long!
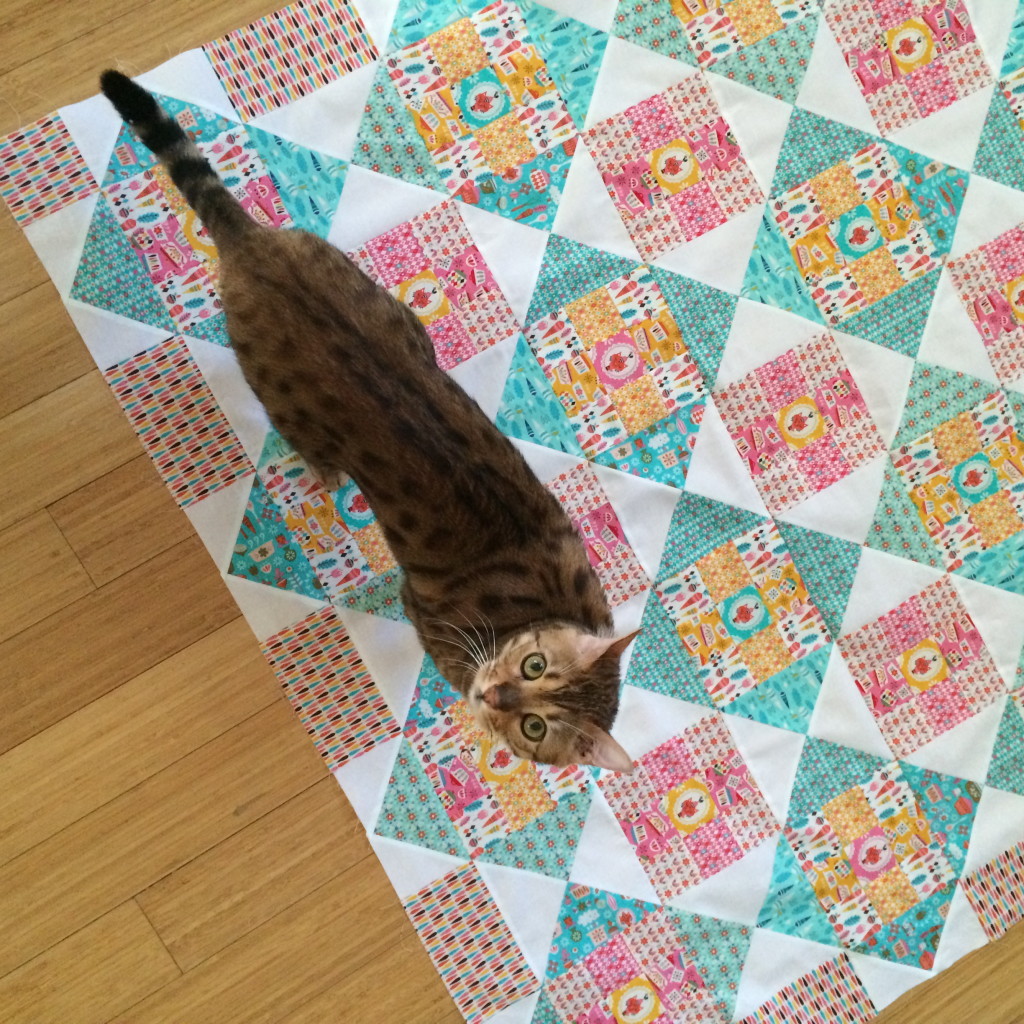
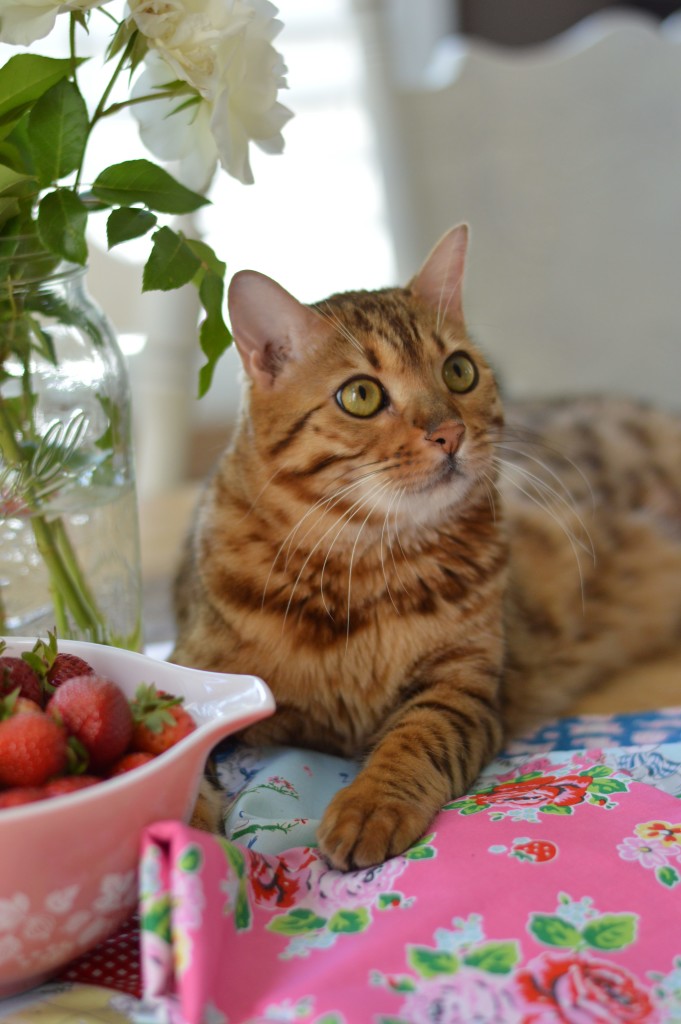
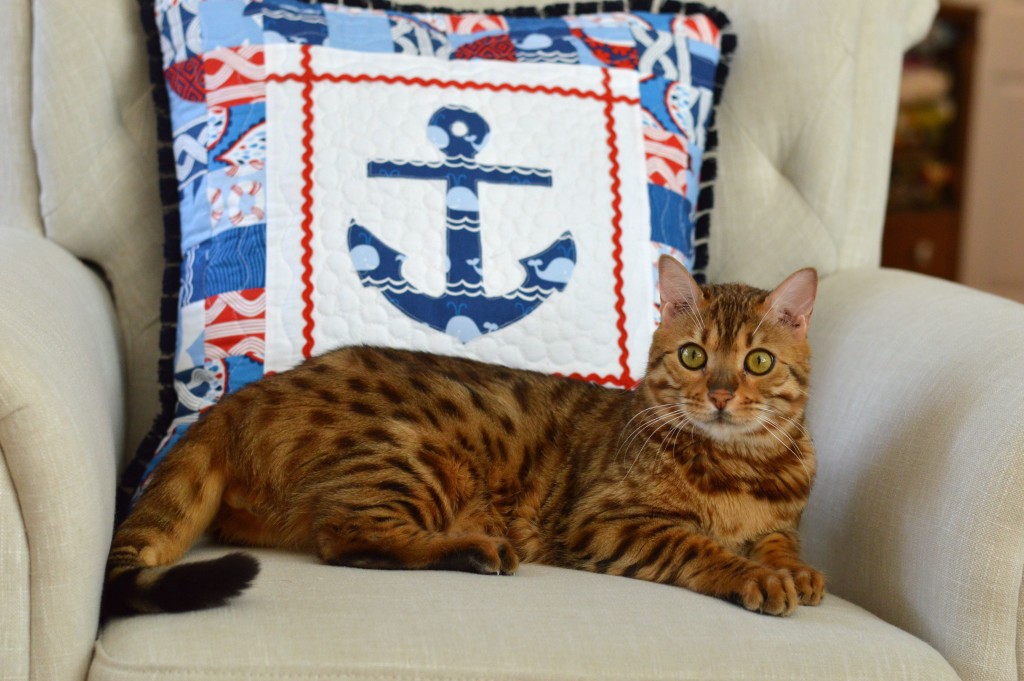
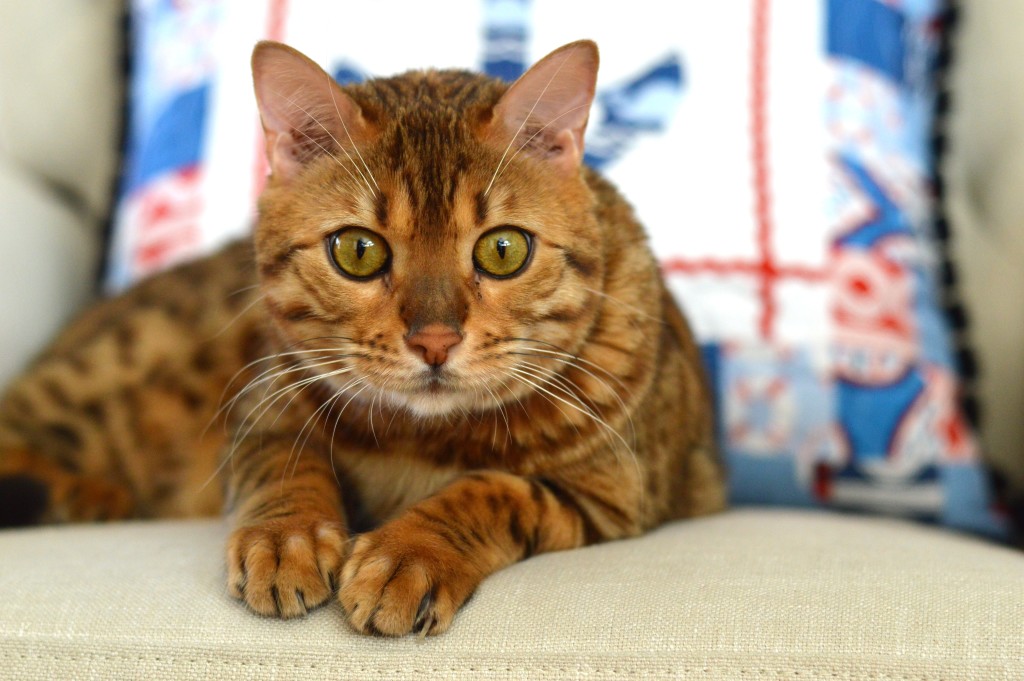
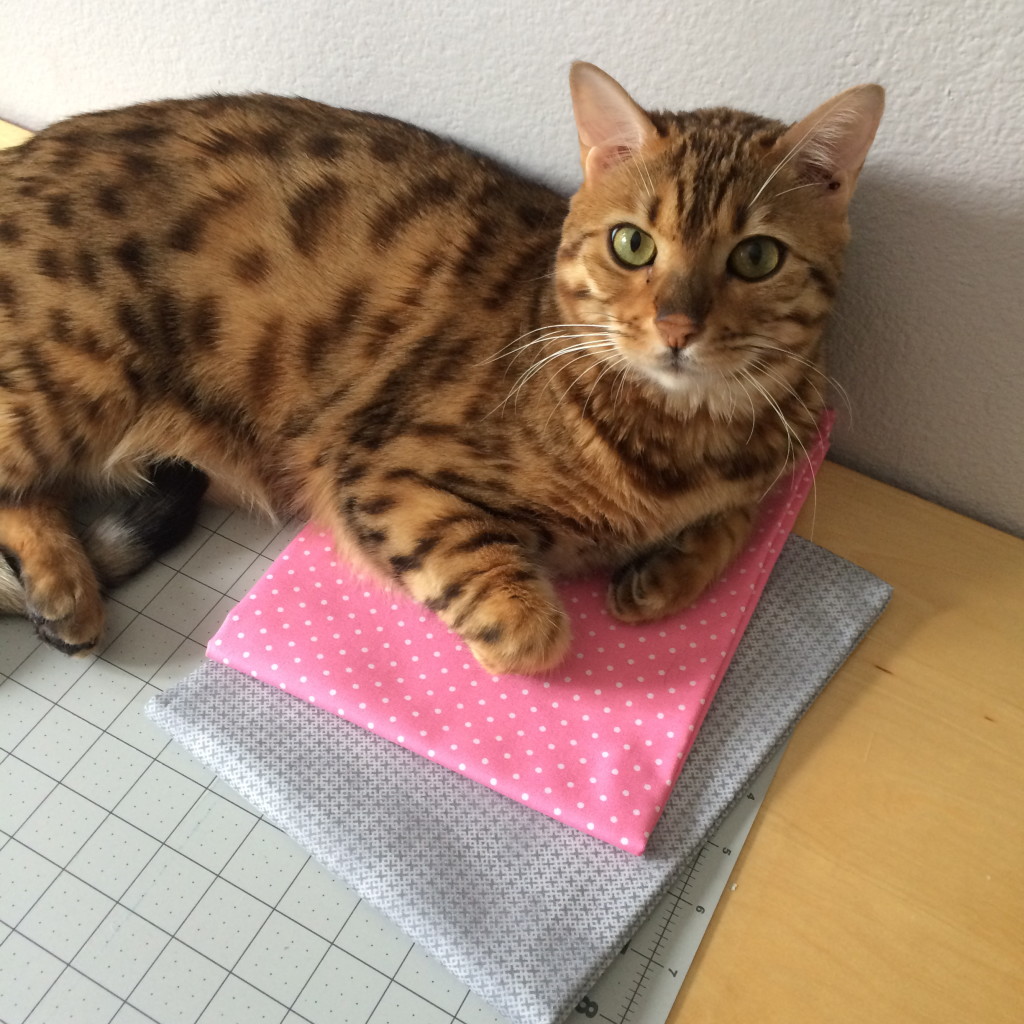
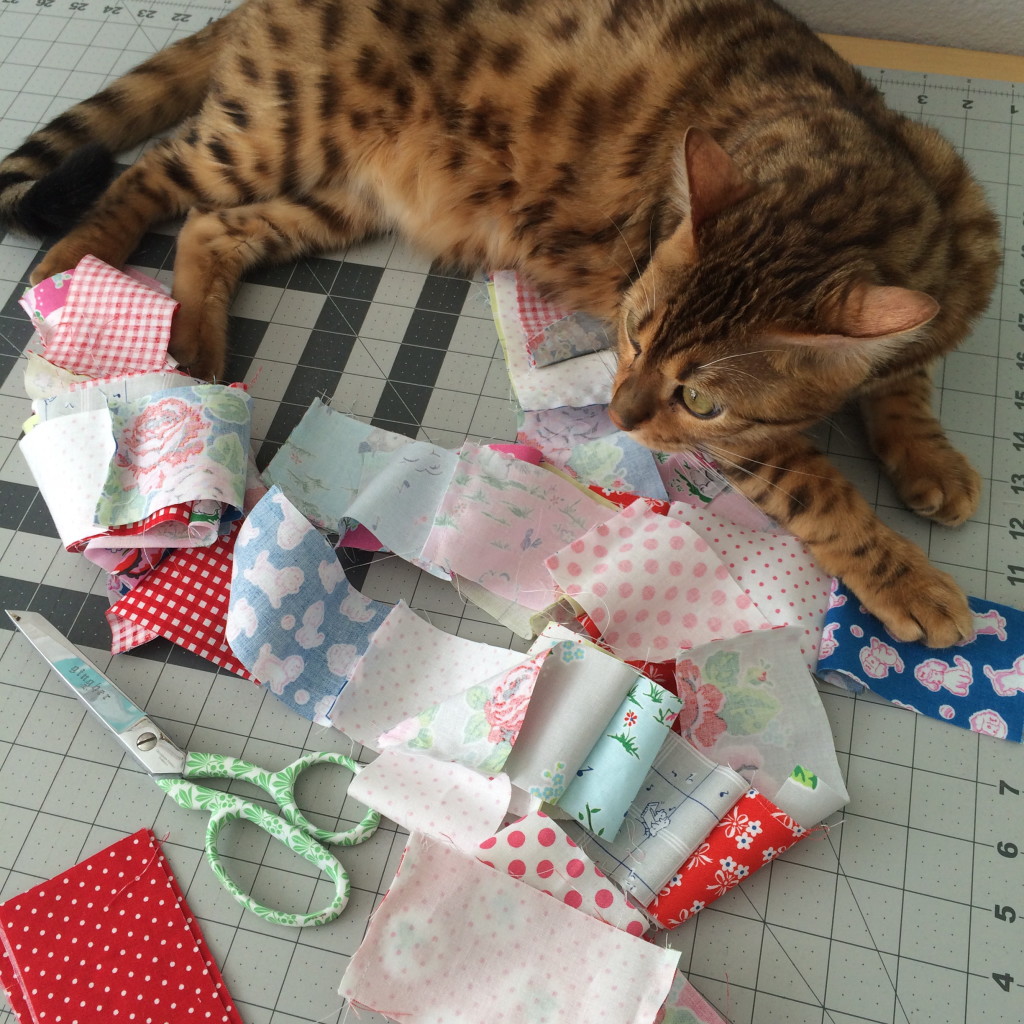
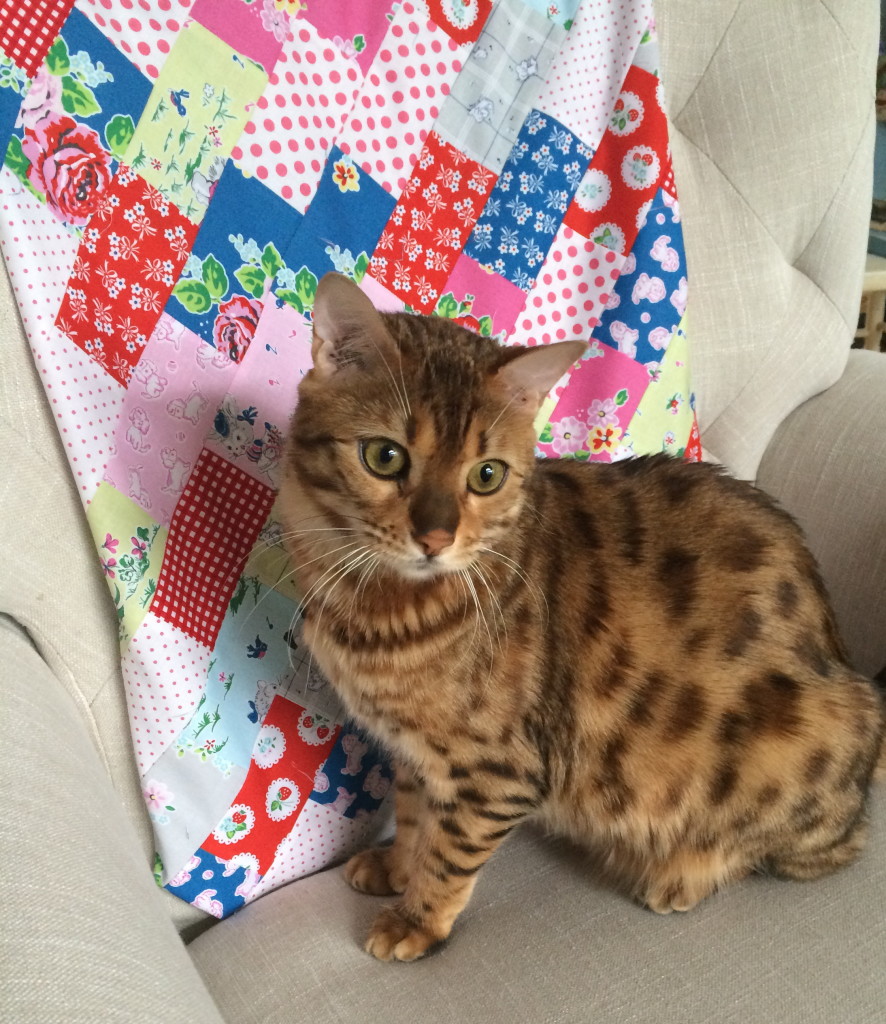
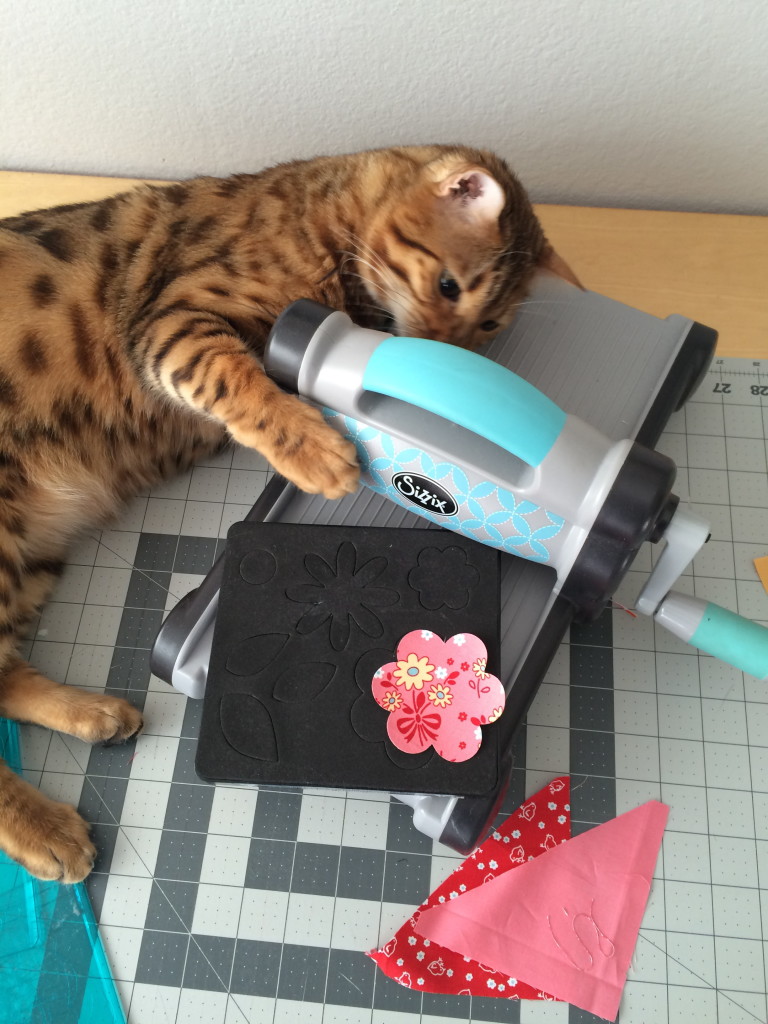
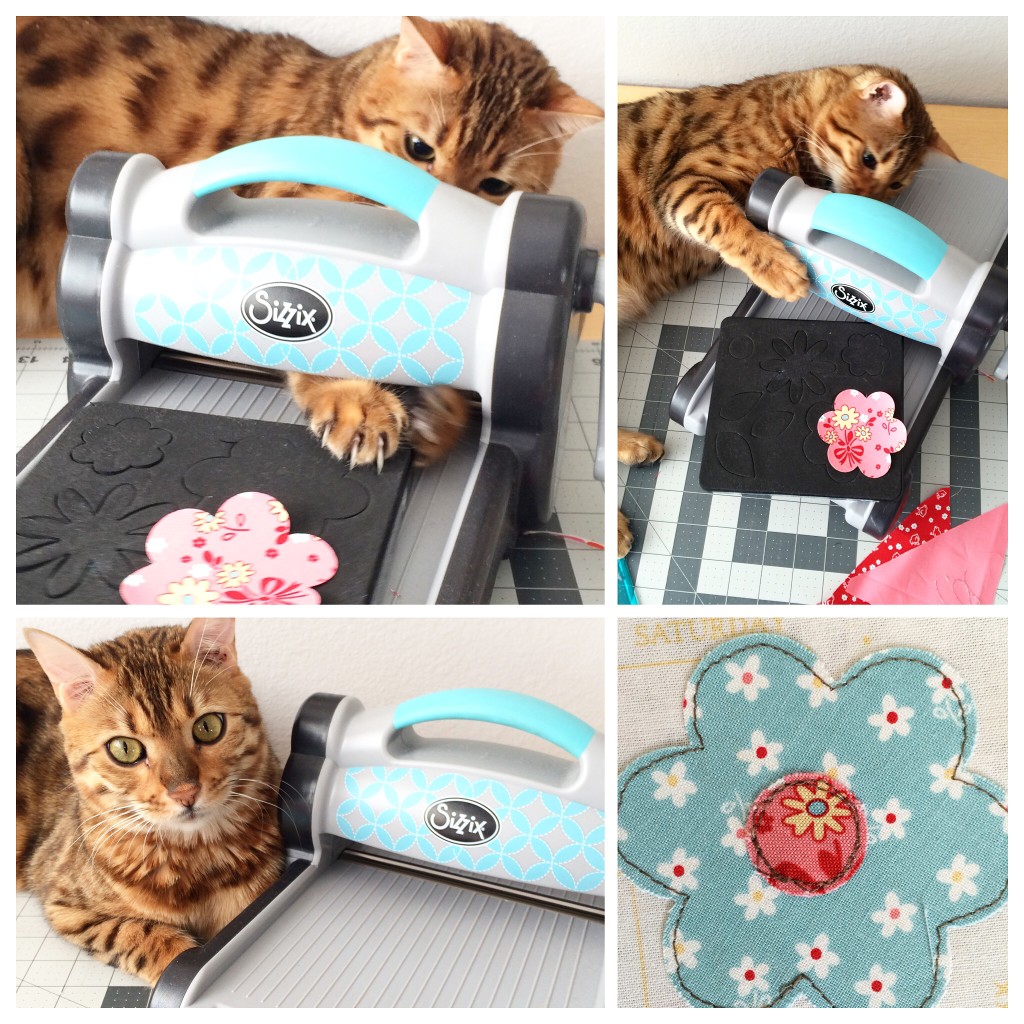
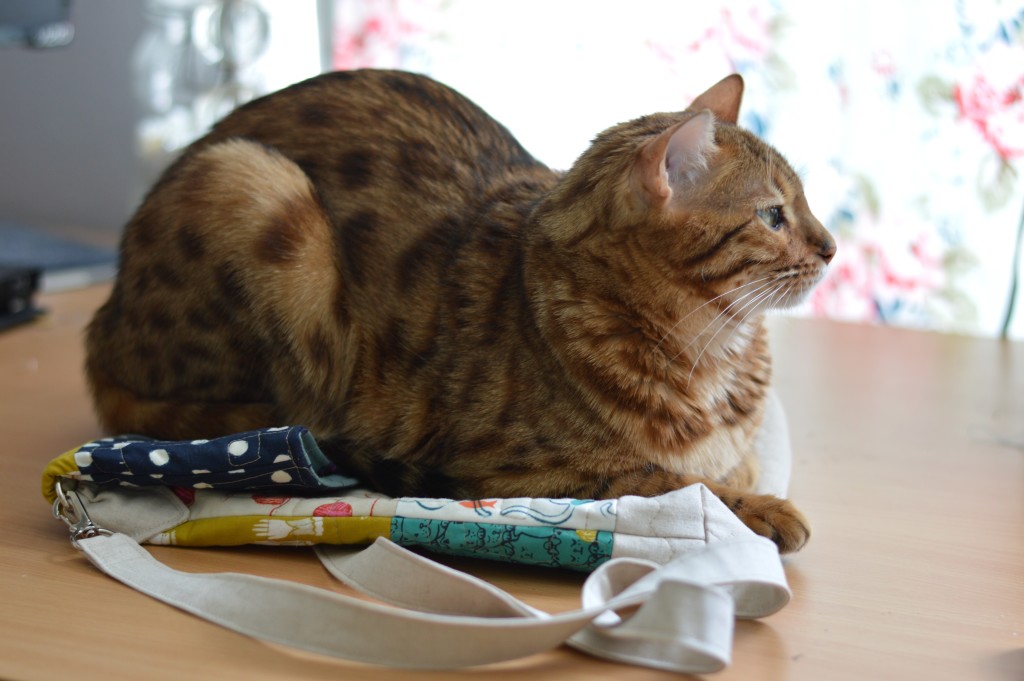
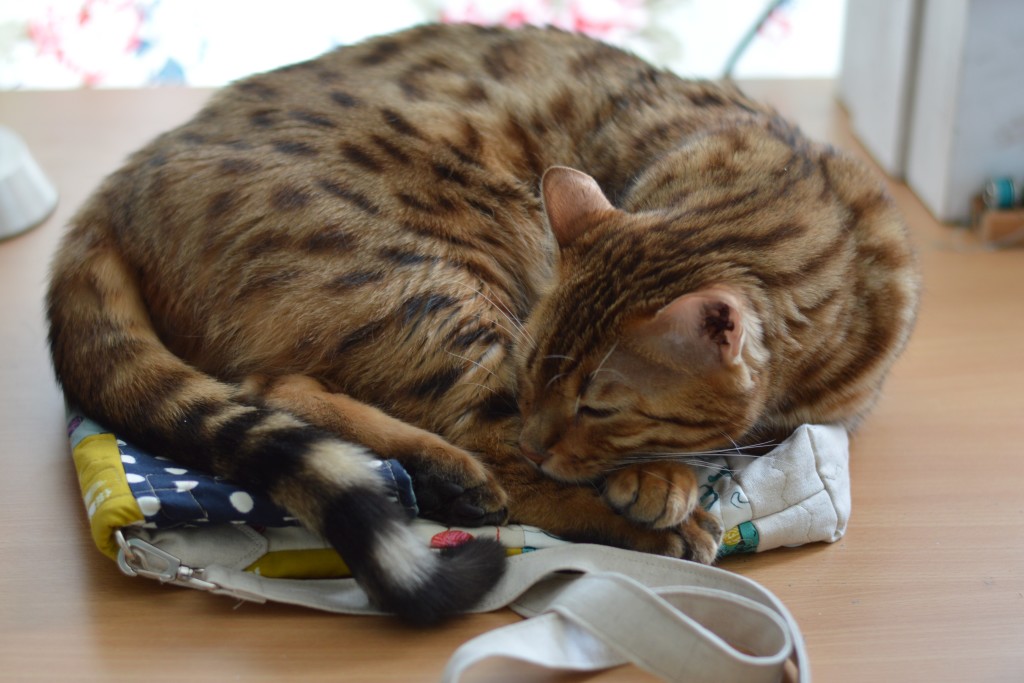
Upon receiving my fabric I put my guard cat on duty so no one would touch or take my new fabric!
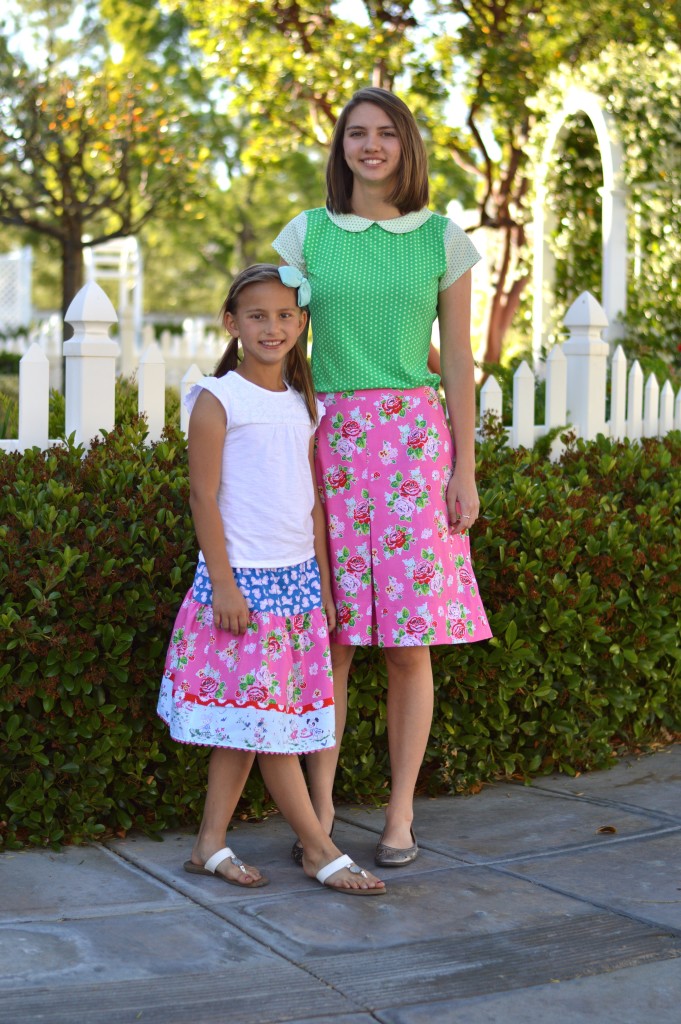
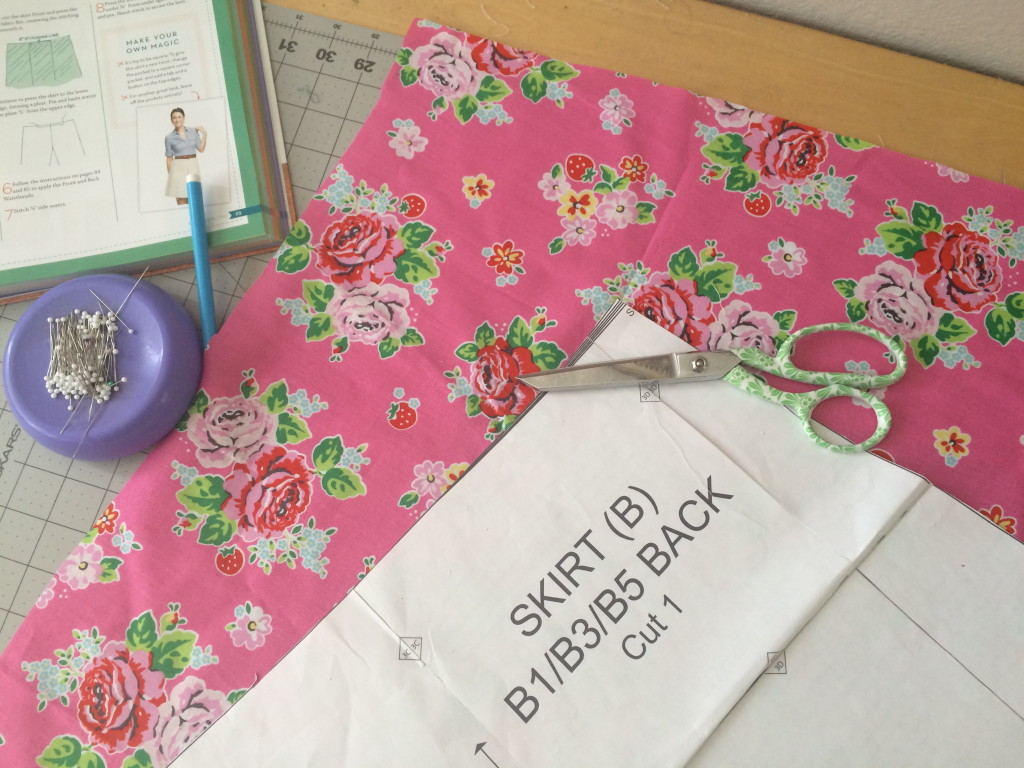
I knew as soon as I saw this fabric I wanted to make several quilts with it and I was dying to make my girls coordinating skirts. I got out my two favorite skirt patterns and began sewing away. For Sally’s skirt I used the Little Sassy Skirts book and for Ella’s skirt I used the Blythe skirt from the Magic Pattern Book. Both of which I have sewed many times and I always return to.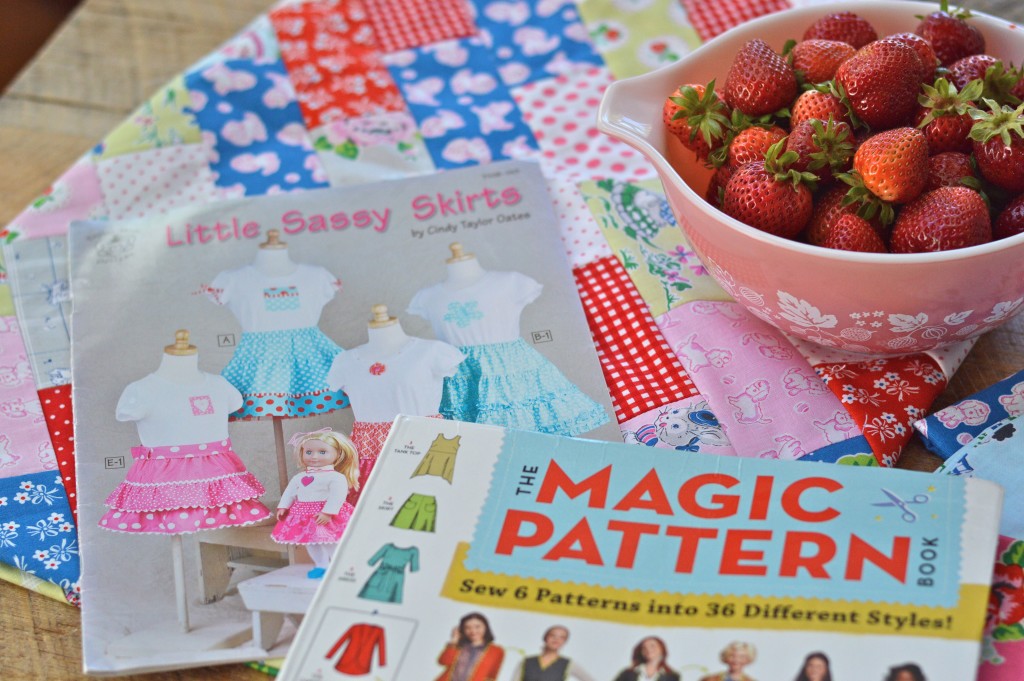
I always get a little nervous cutting into a piece of fabric – especially when it’s this pretty!
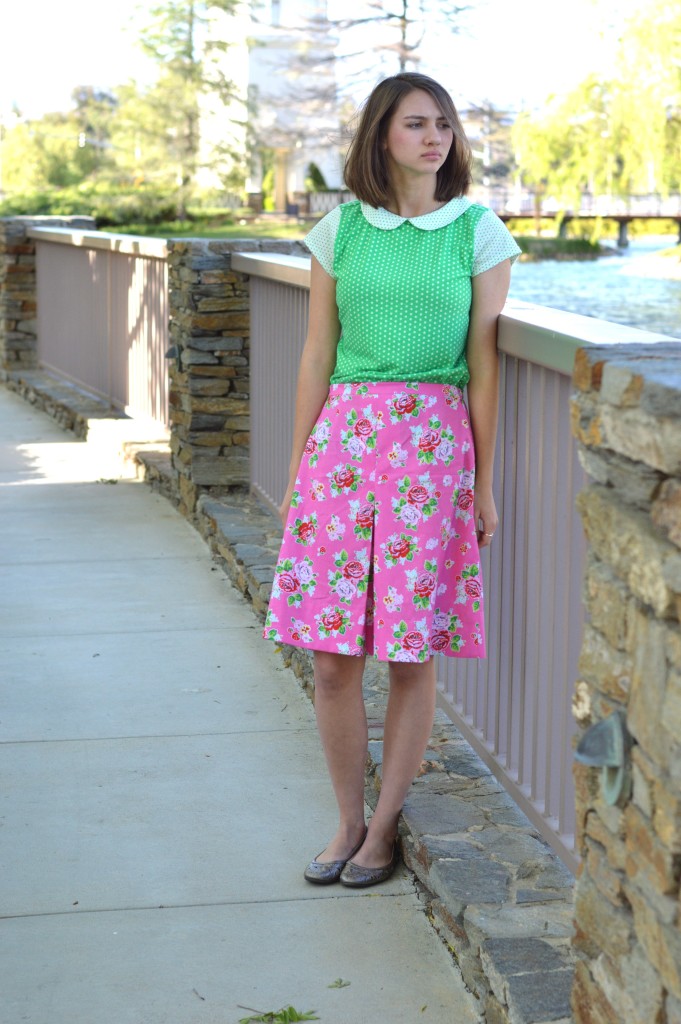
The Blythe skirt is an A-line skirt that has an elastic back, a flat front waist band, and a center pleat. You can totally make this skirt in an hour. I am so in love with the large floral print on this style of skirt!!
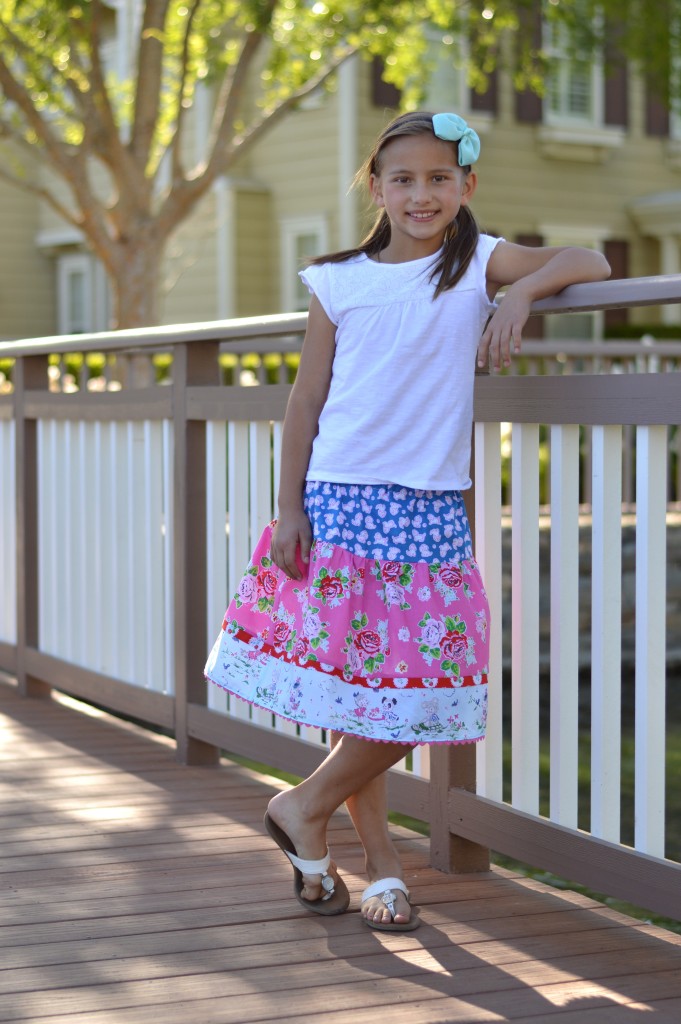
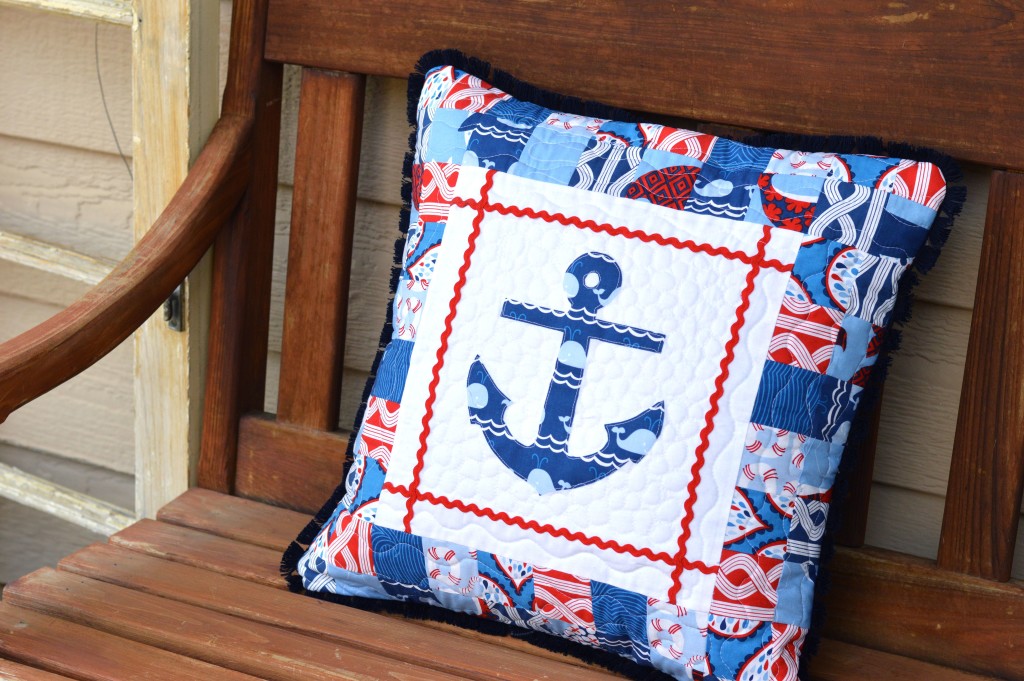
Sally’s skirt has several tiers, an accent band, and ric rac trim on the bottom. This style is perfect for showing off several prints and I love how they all work together in this skirt! That’s what’s so fun about this fabric line!!
I love having girls to sew with and I can’t believe how grown-up they are getting! Time sure flies. I am so happy to have pictures like this with them looking so happy wearing something their mom made 🙂

Be sure to visit Taunja from Carried Away Quilting today also for her stop on the tour. And tomorrow you’ll have to pop over to see what Jemima from Tied With A Ribbon is making!! These girls are all so talented! This blog hop is making me hungry for more strawberries! Thanks so much to Elea and Penny Rose for making it all possible! 
I also made this cute little quilt out of Strawberry Biscuit and you can read all about it HERE. 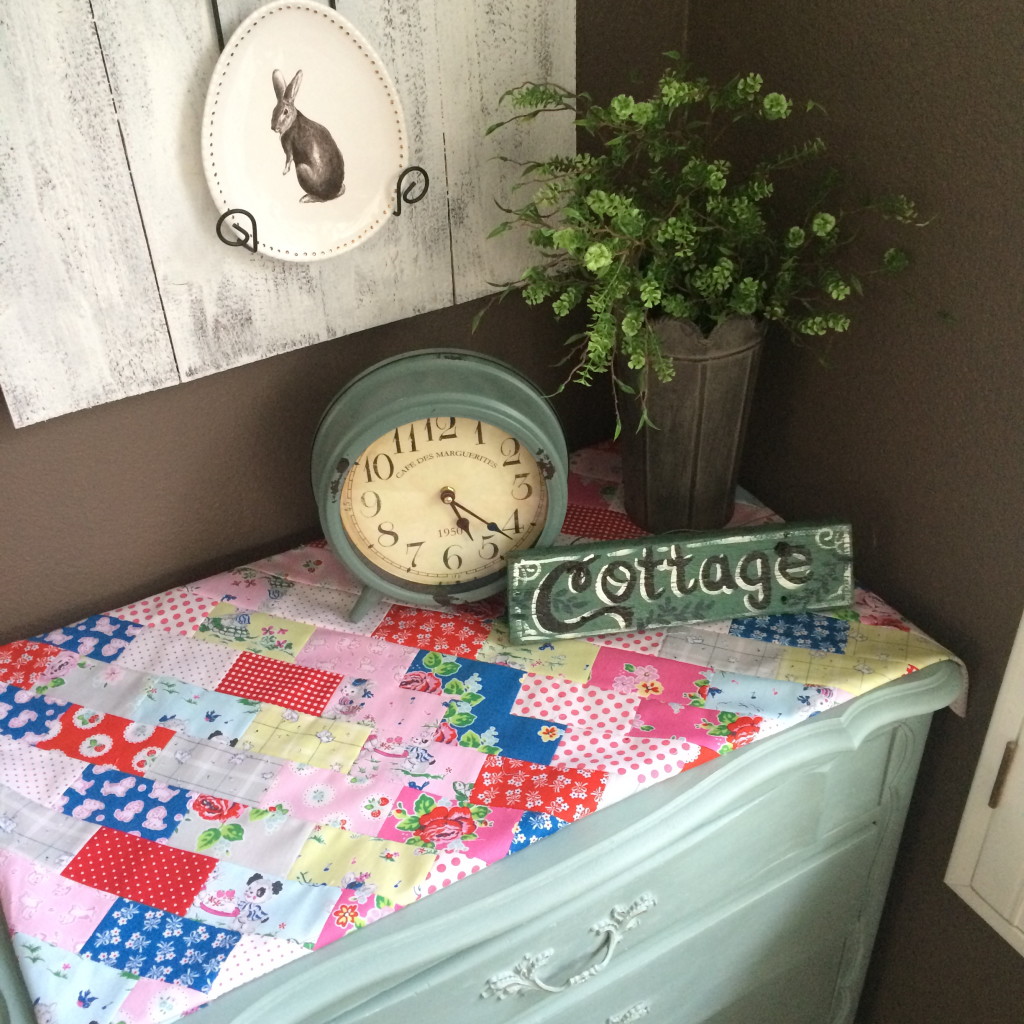


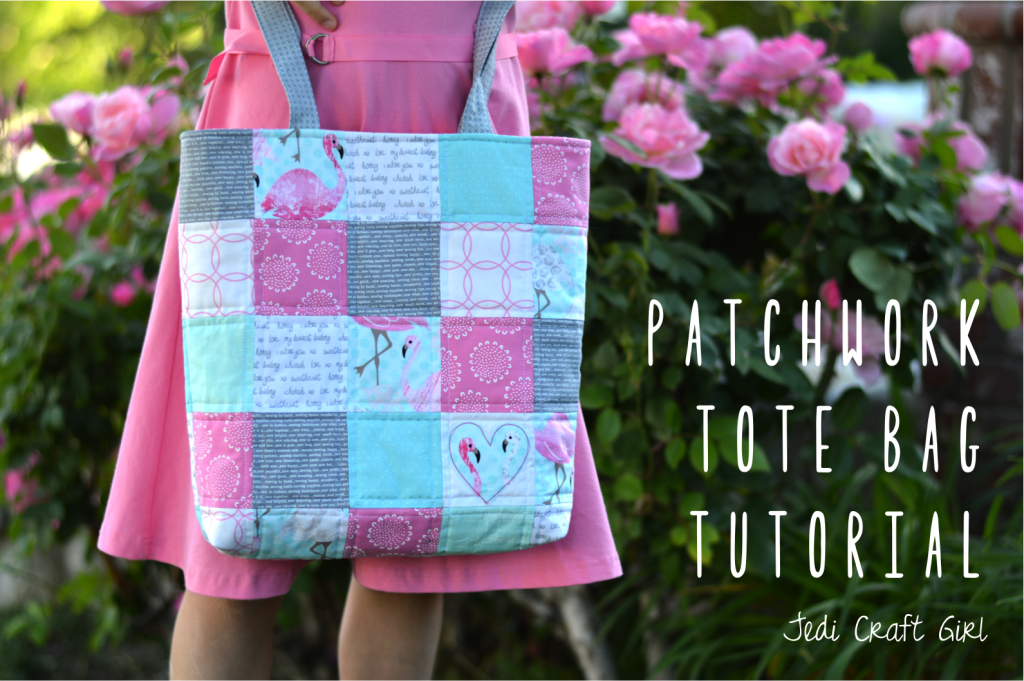
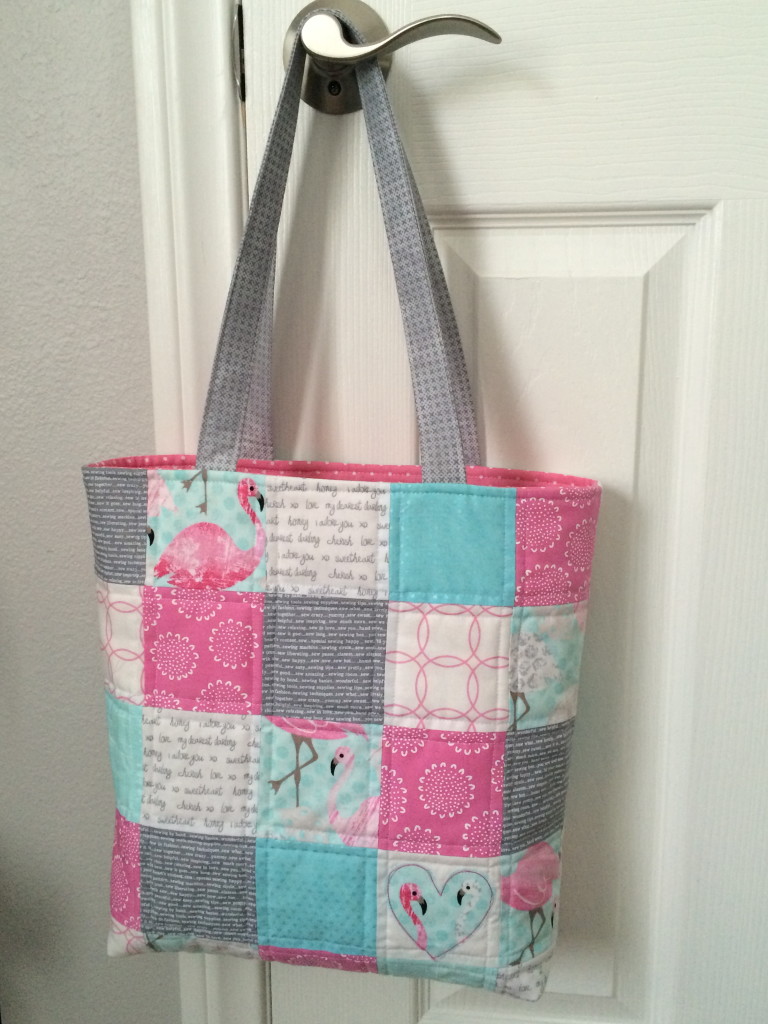
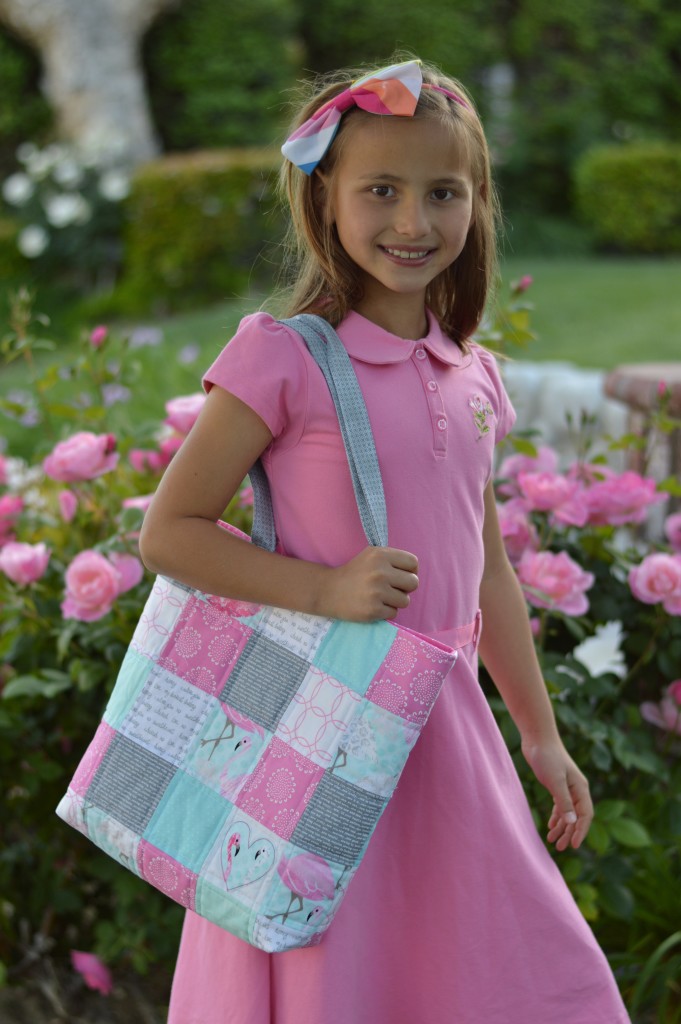
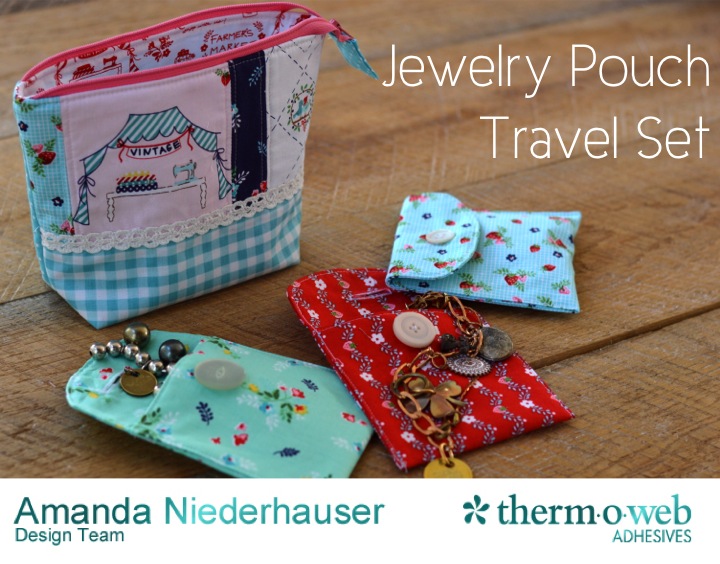
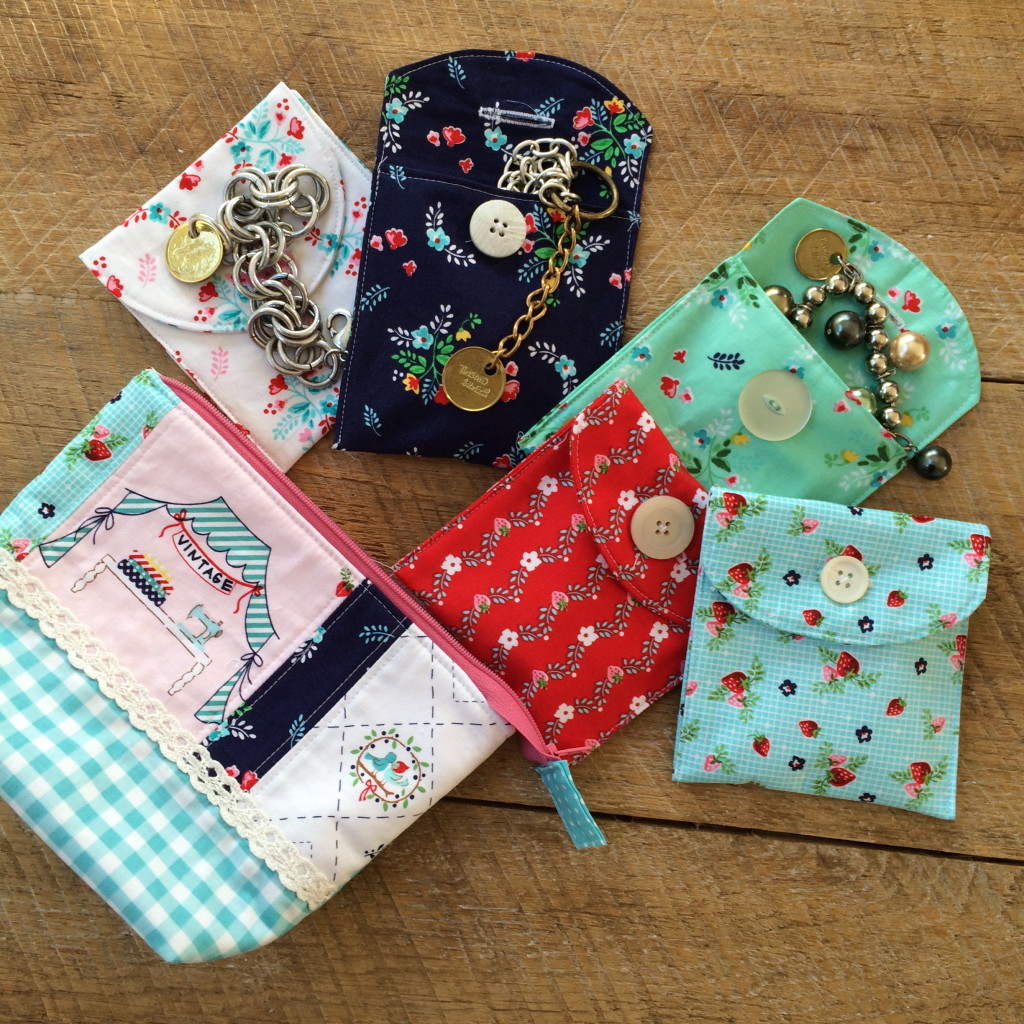
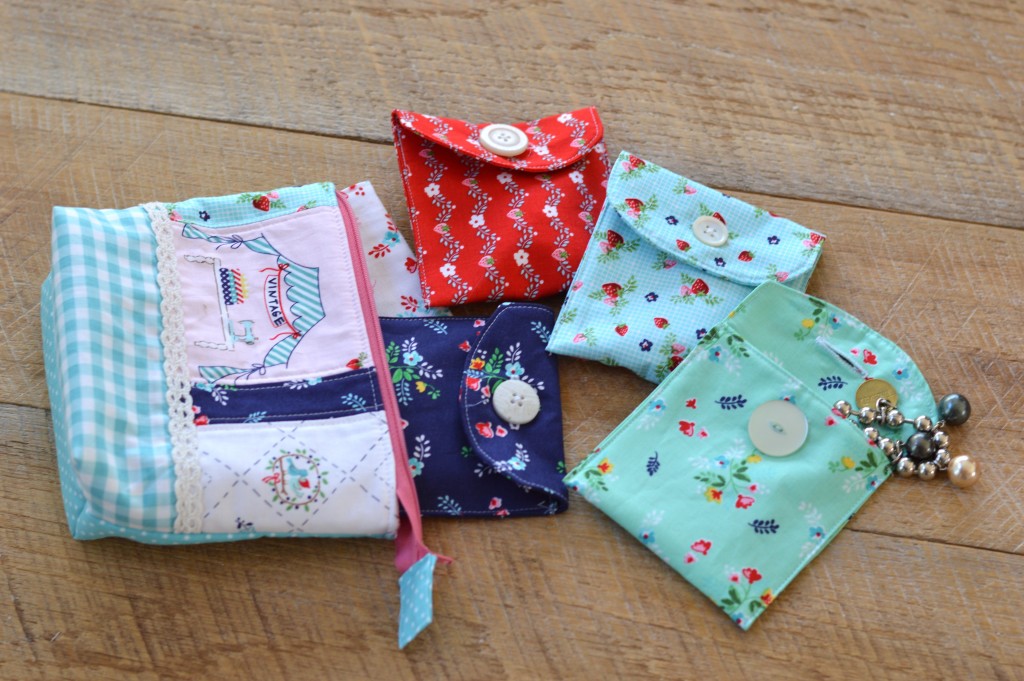
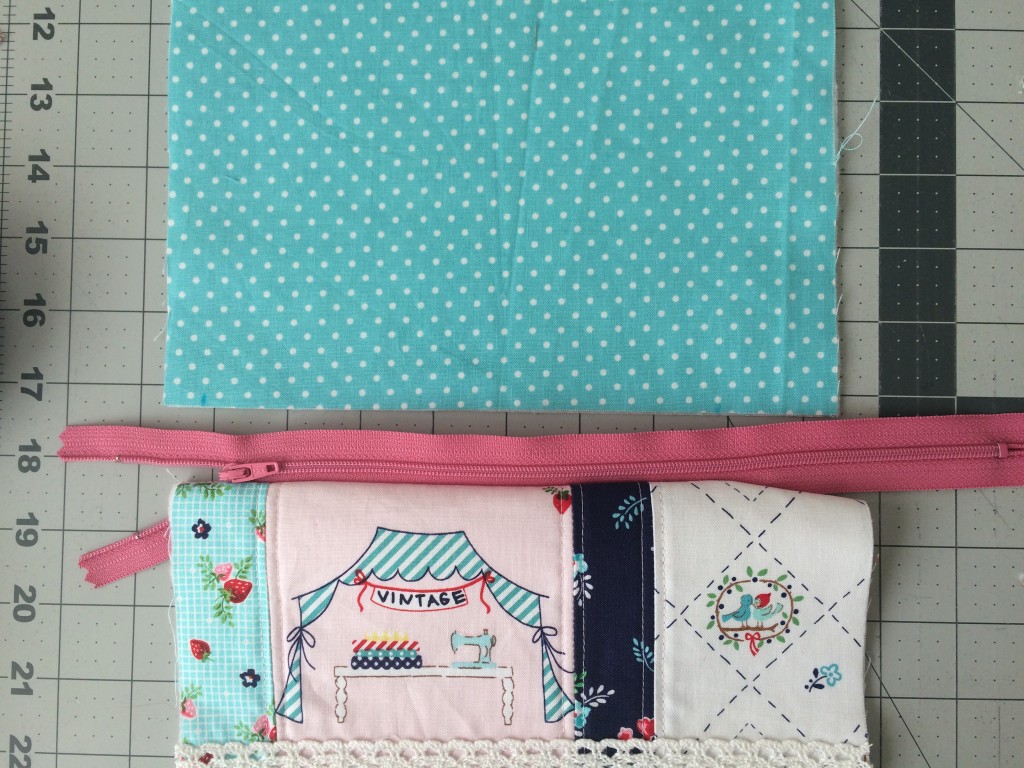
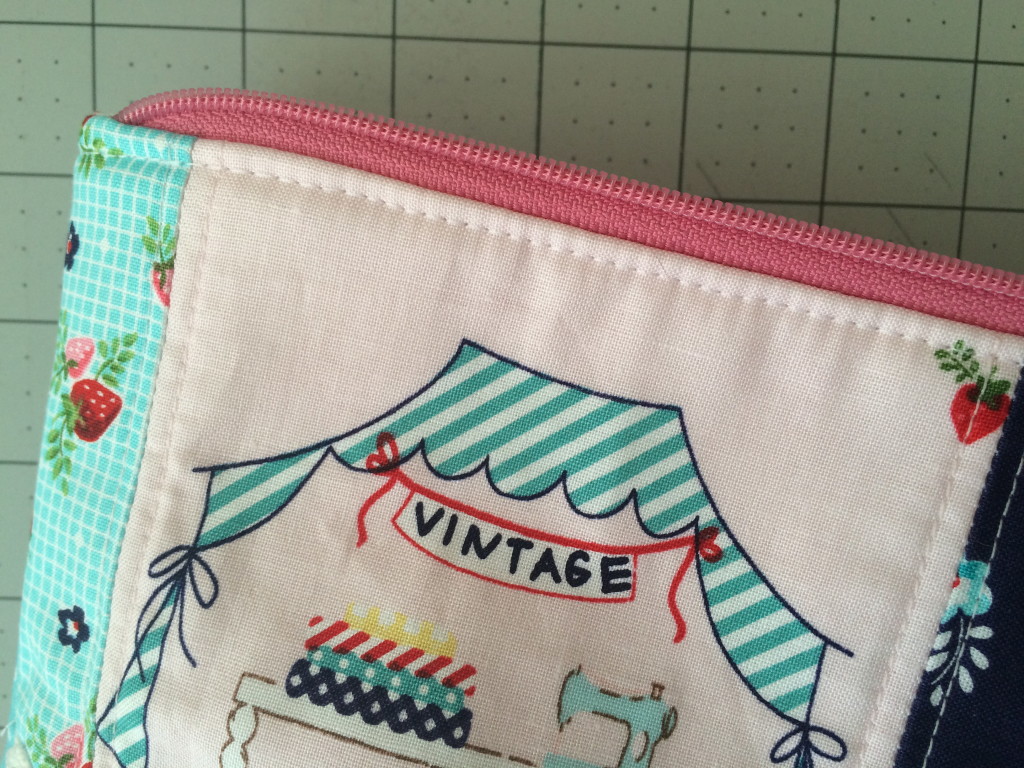
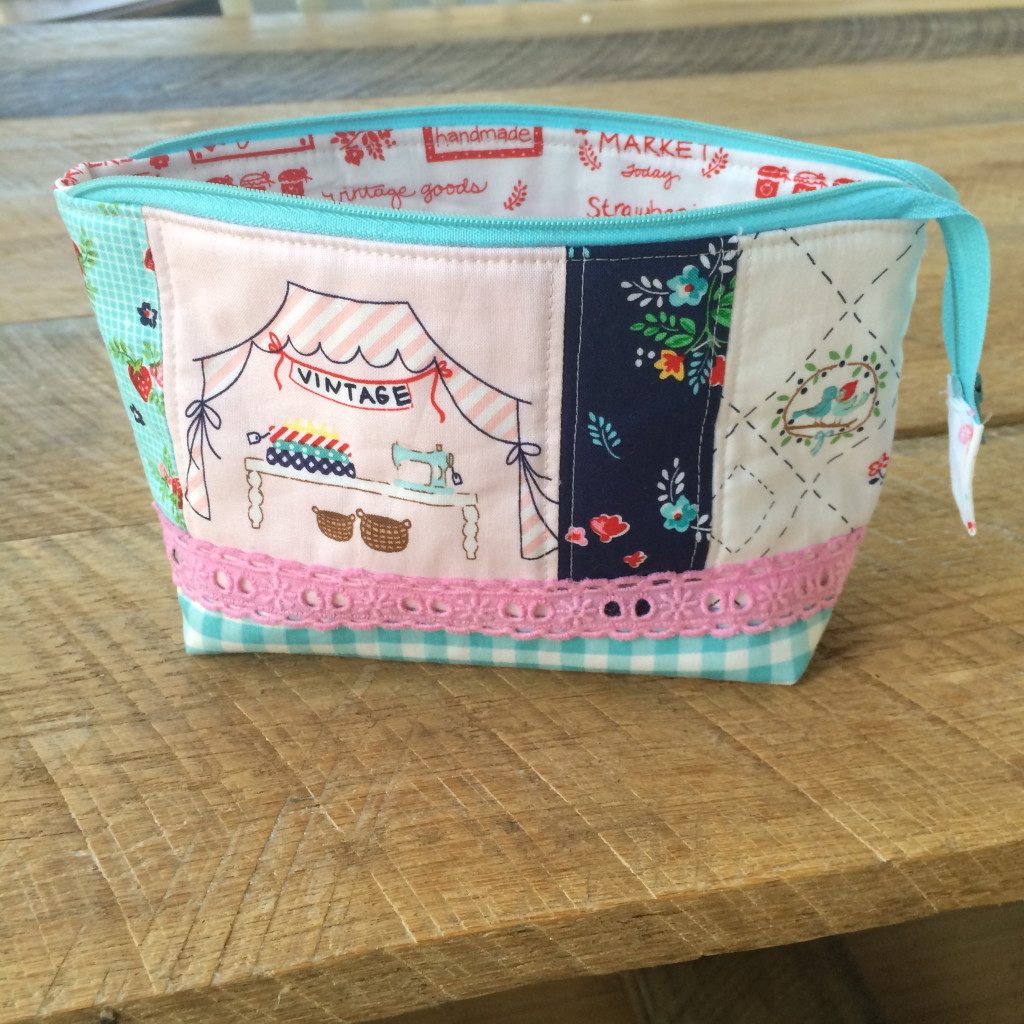
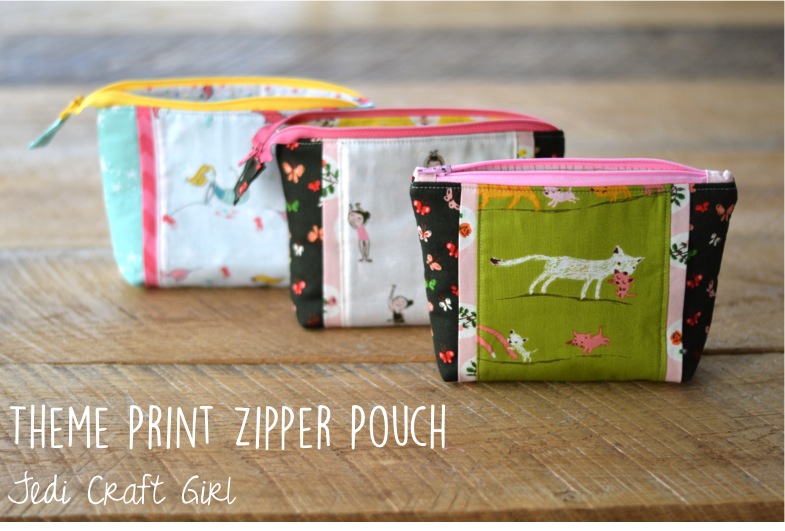
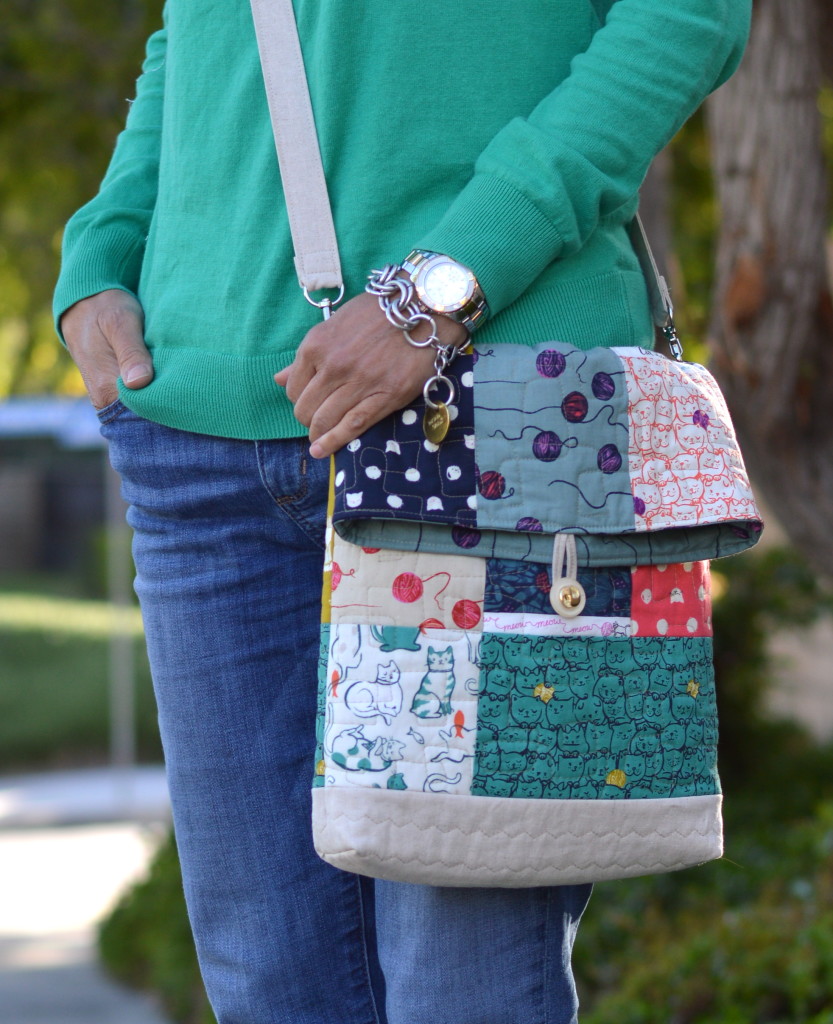
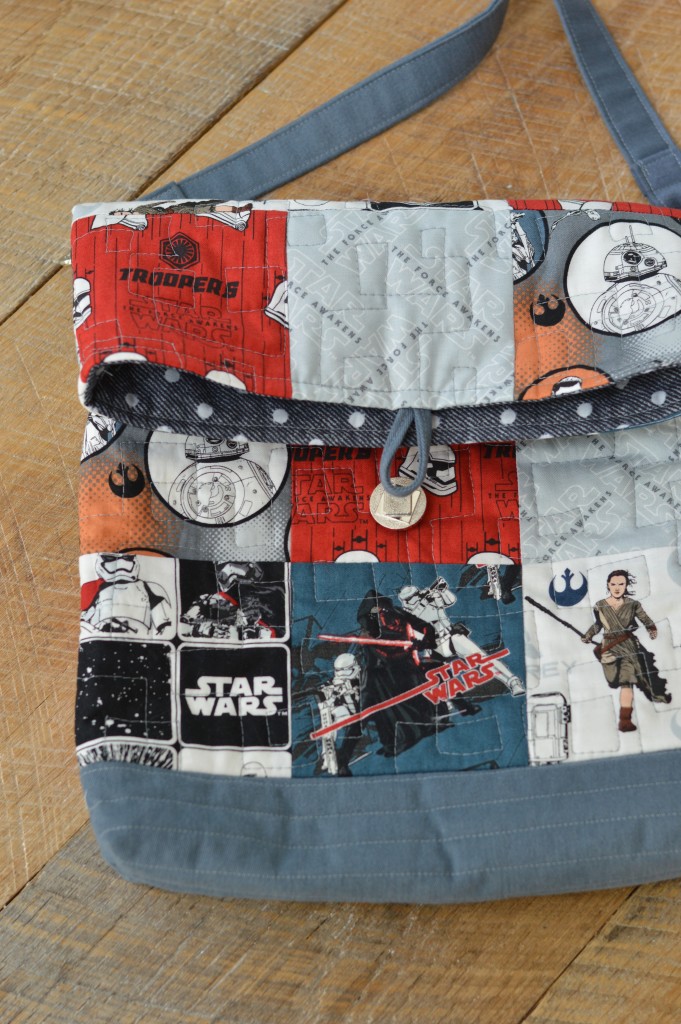
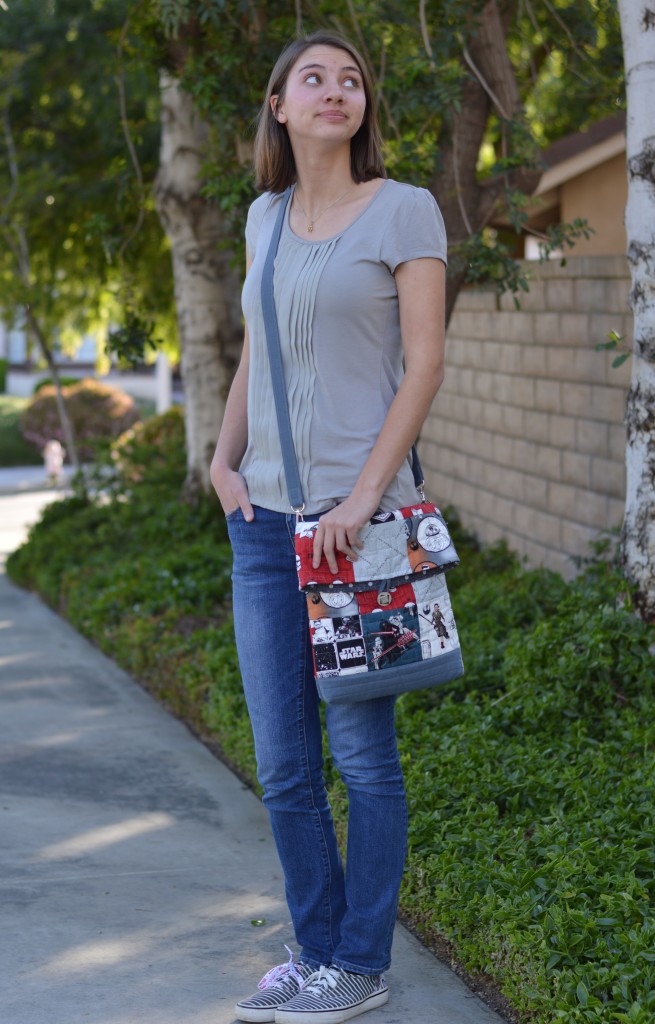
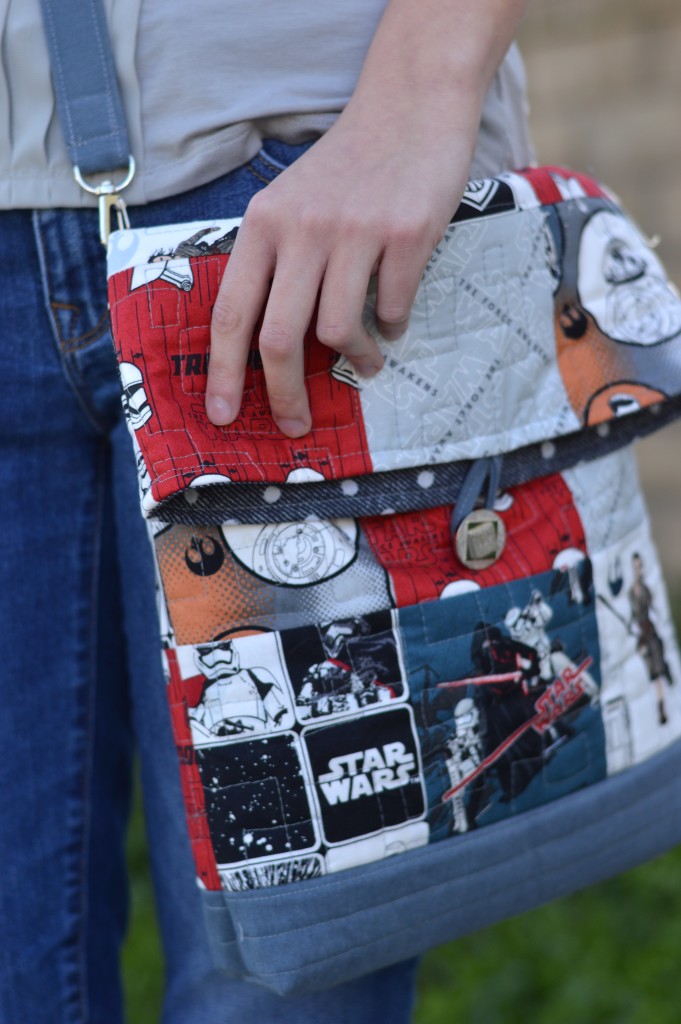
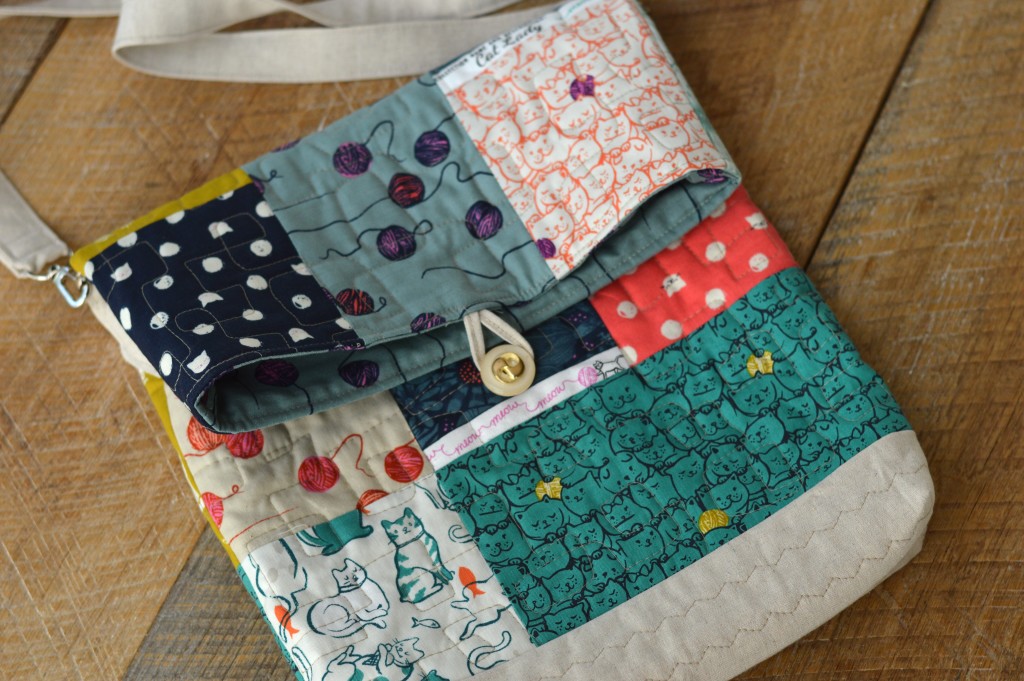
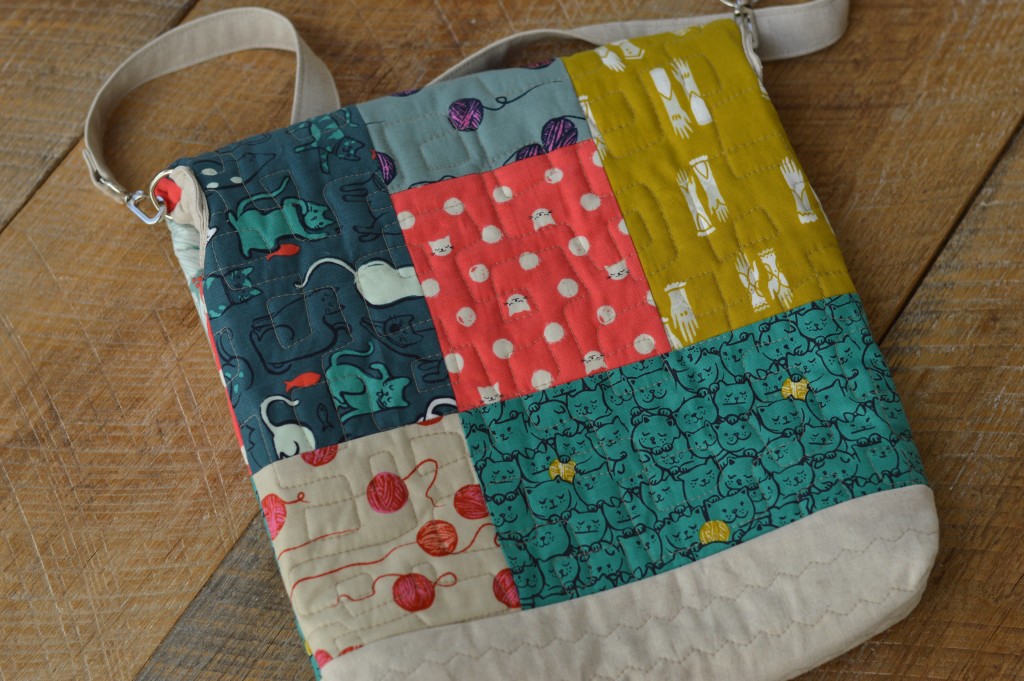
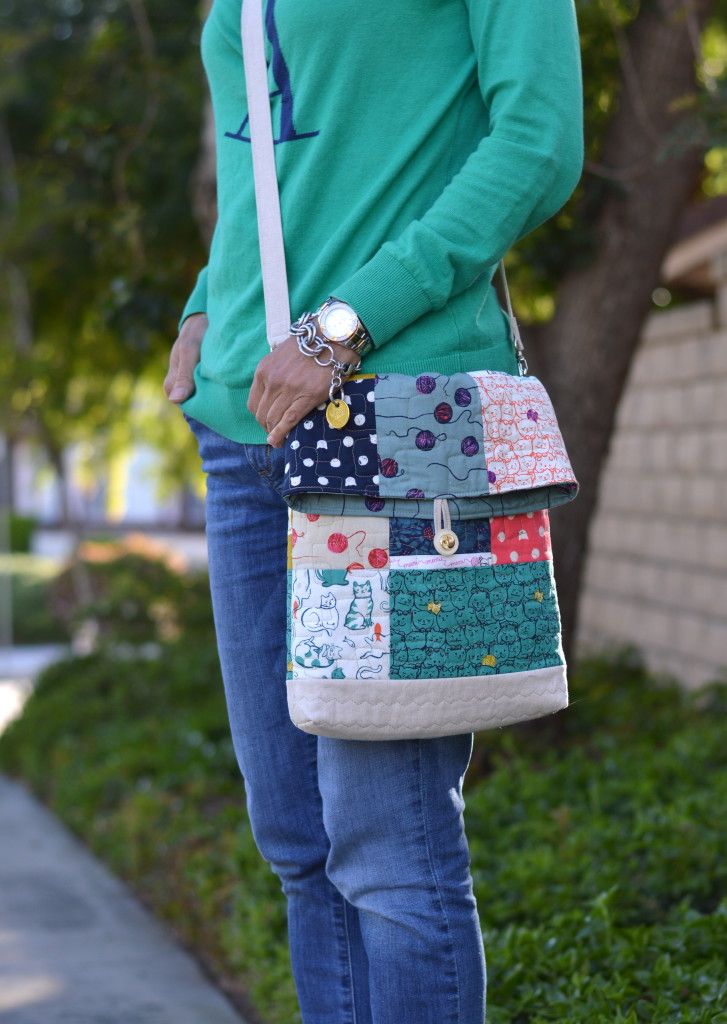
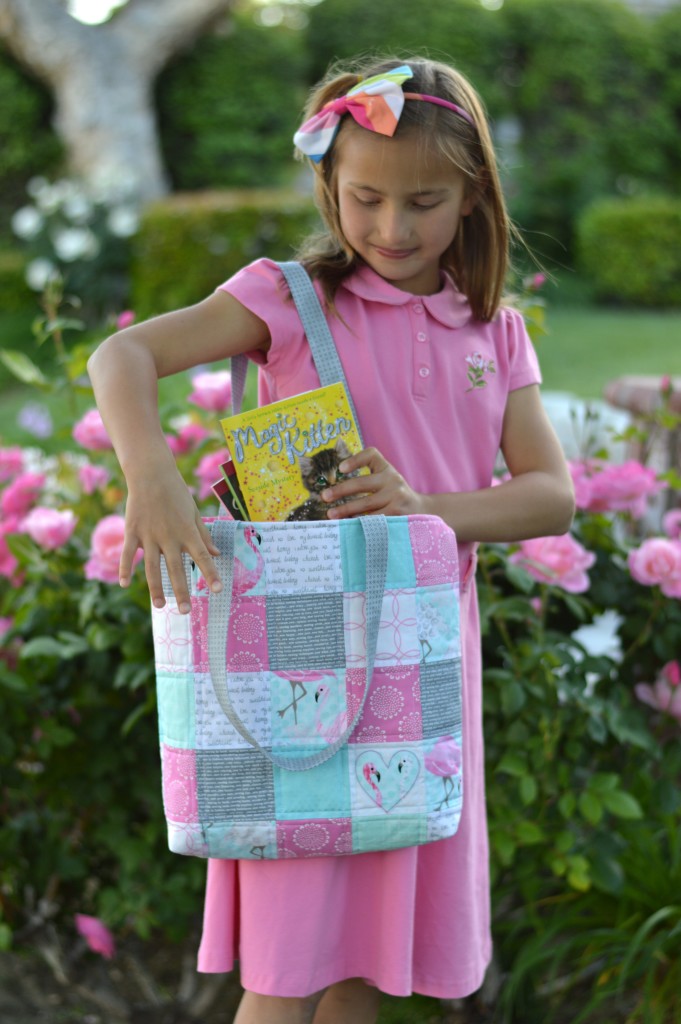 This is such a versatile size of bag! And the fabrics are so perfect for a little girl 🙂
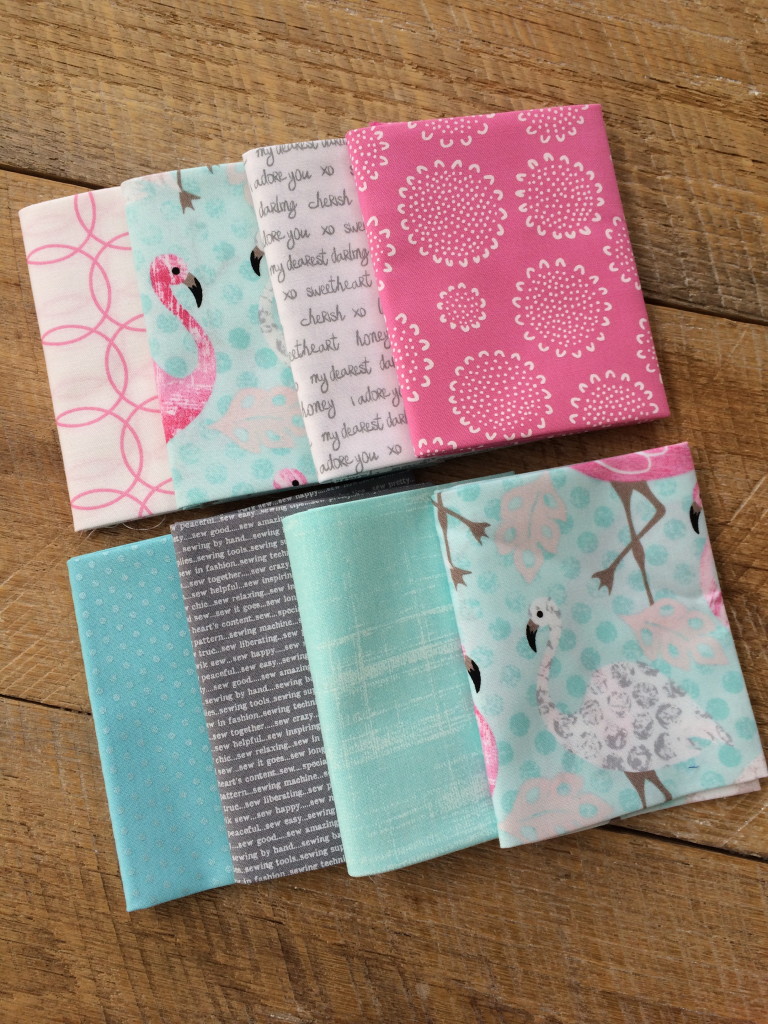

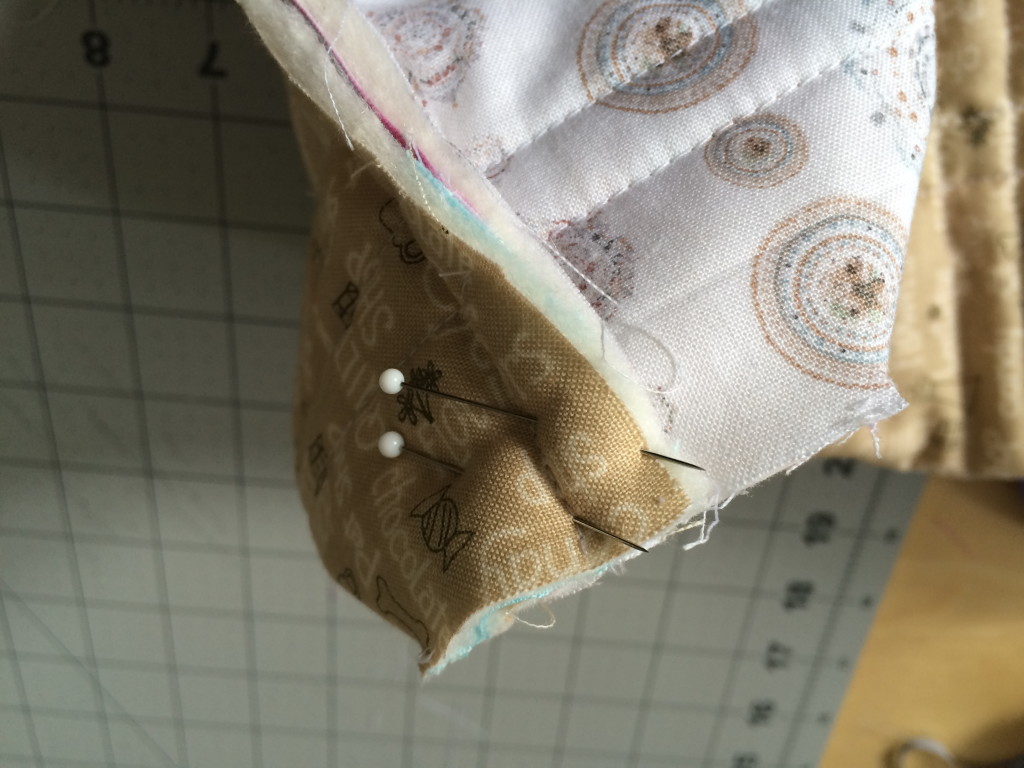


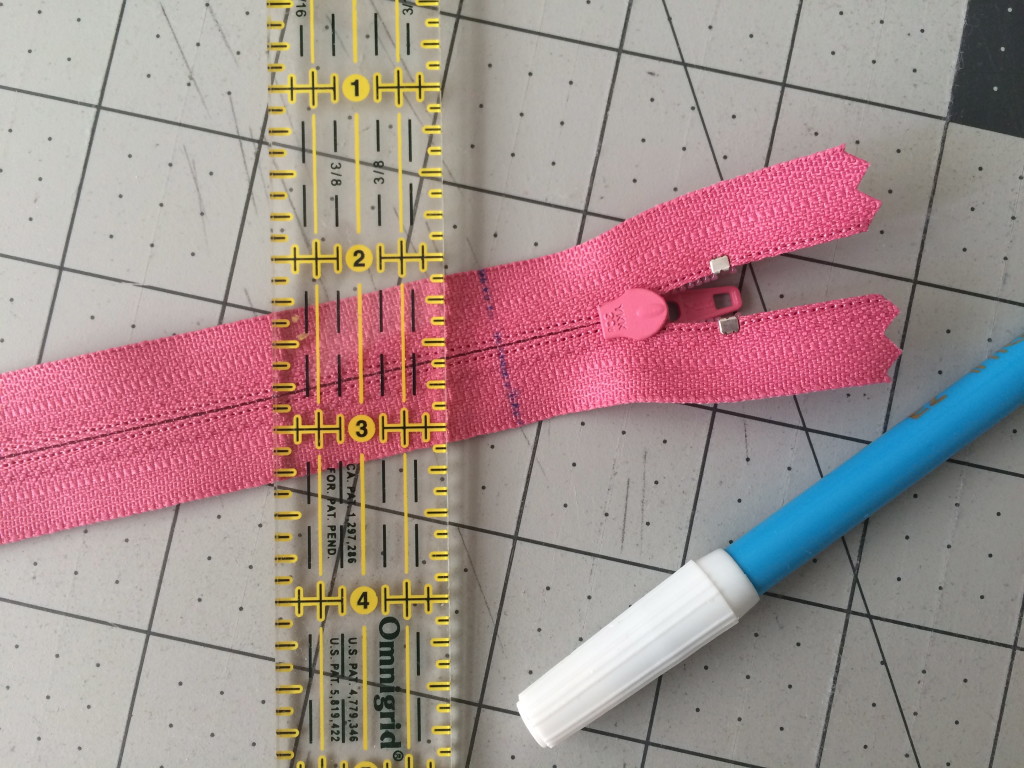
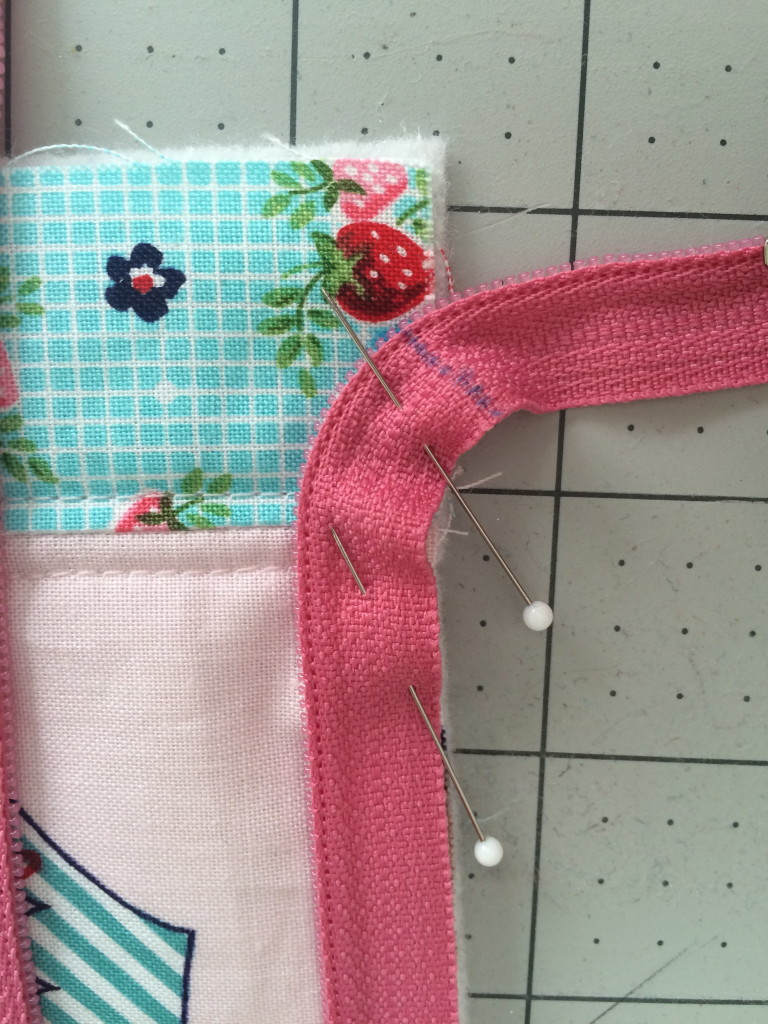
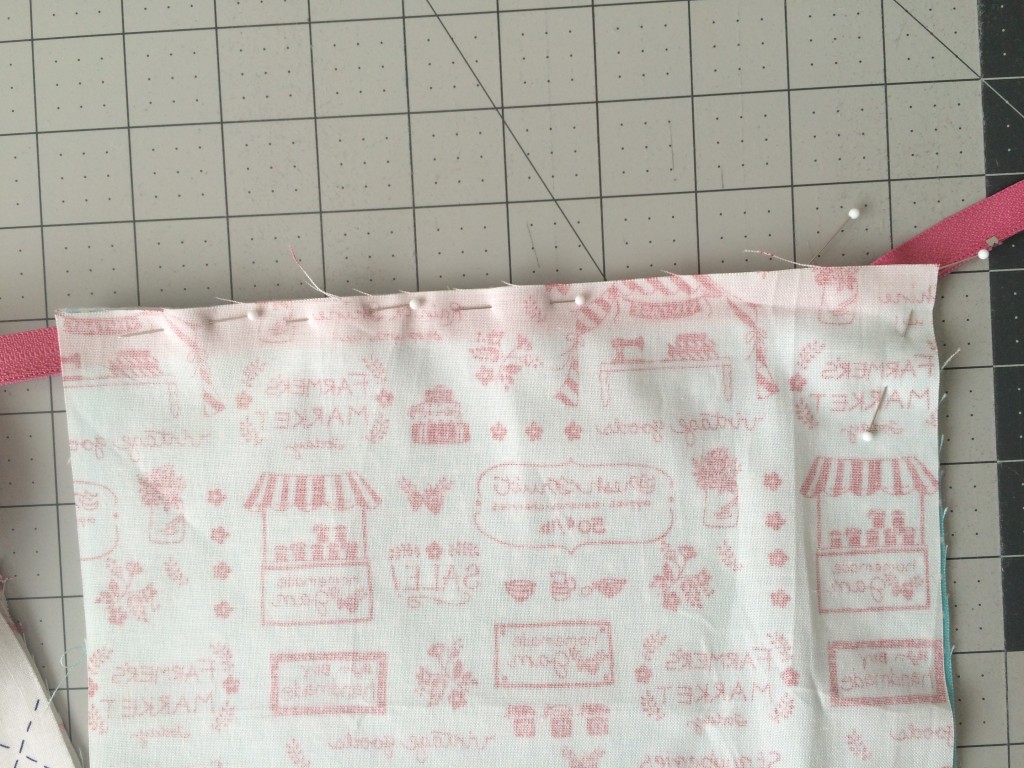
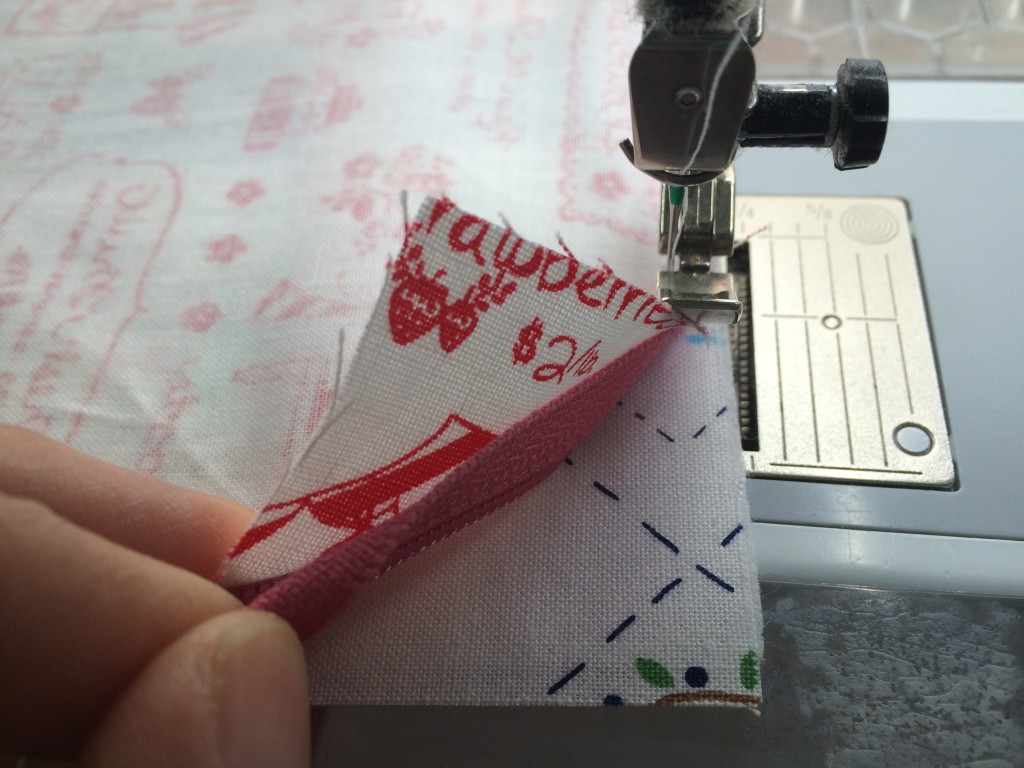
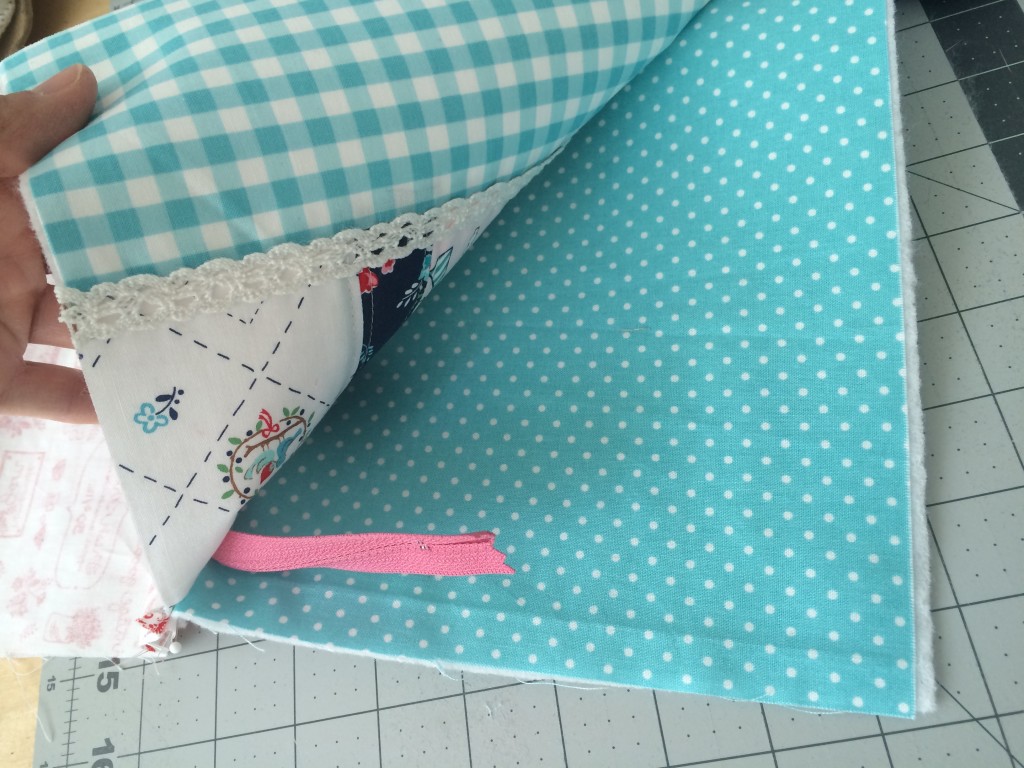
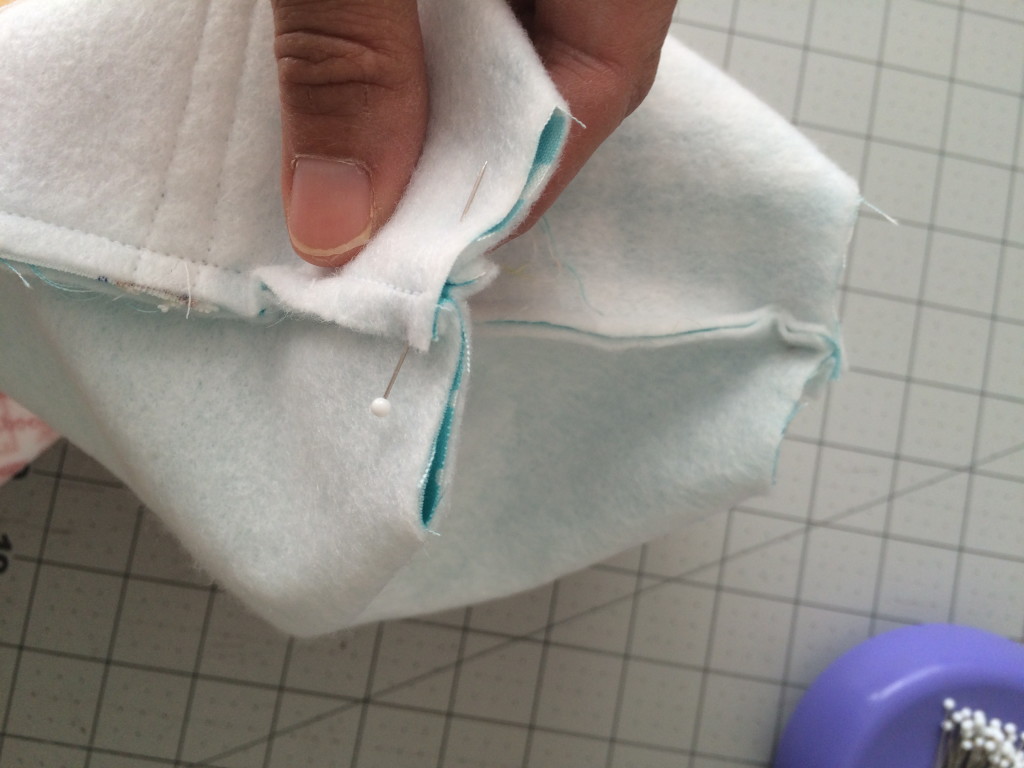
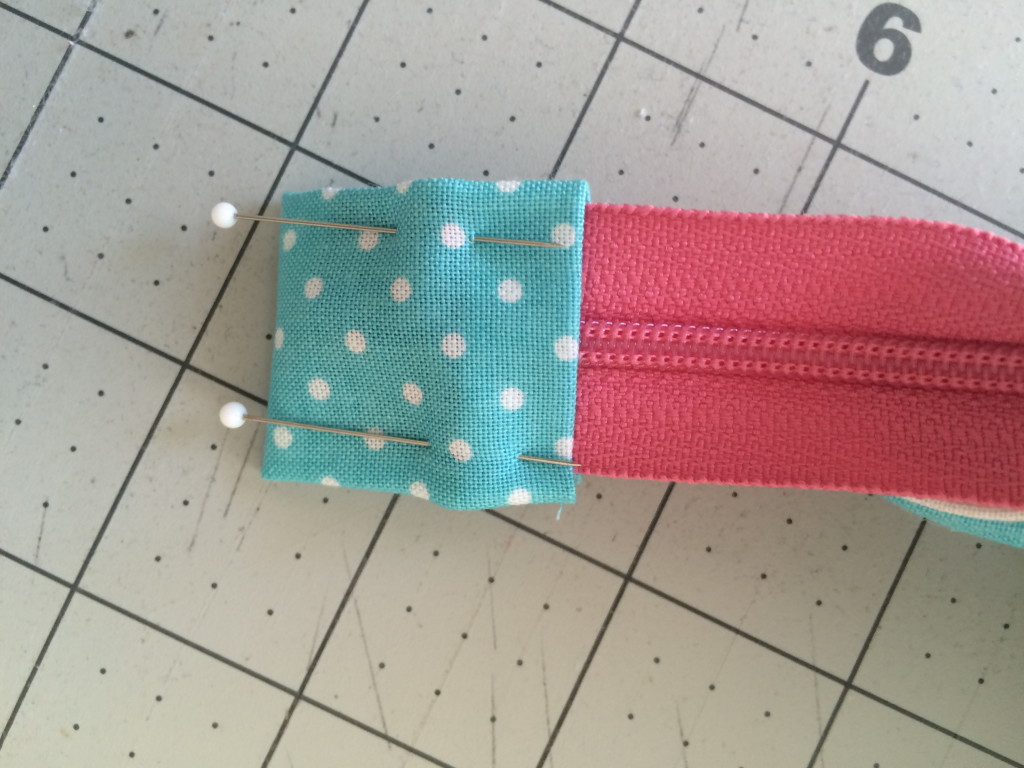
 You will need to sew this portion “opposite” with the needle moved all the way over to the opposite side and the bulk of the zipper pouch next to the throat of the sewing machine.
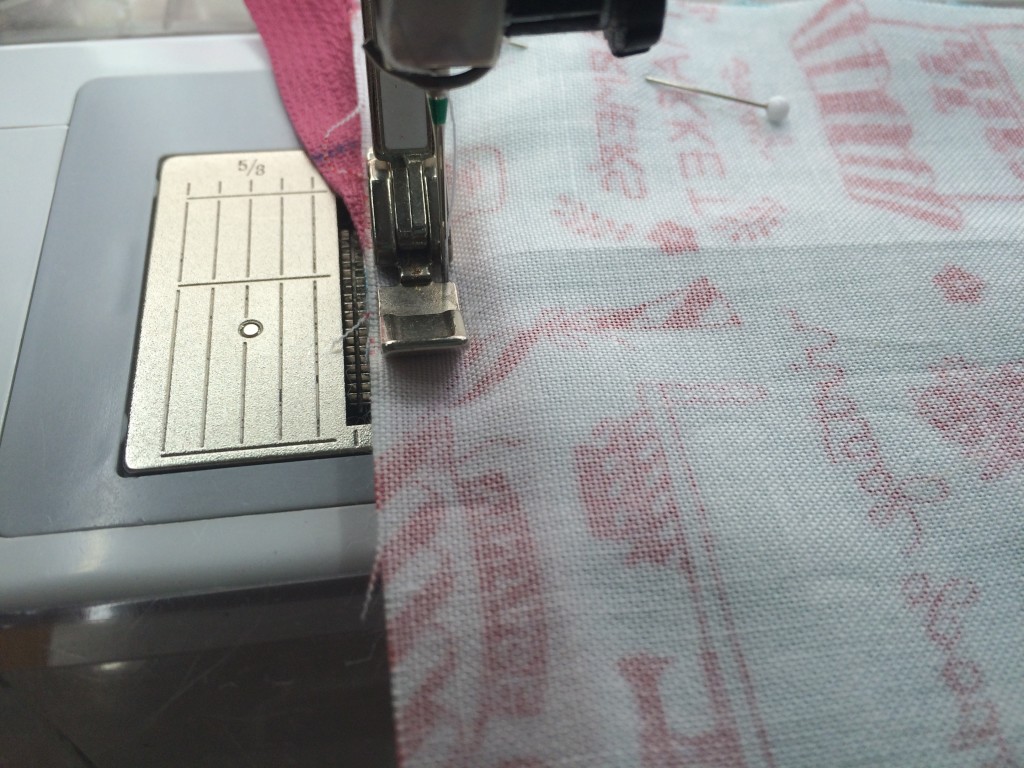
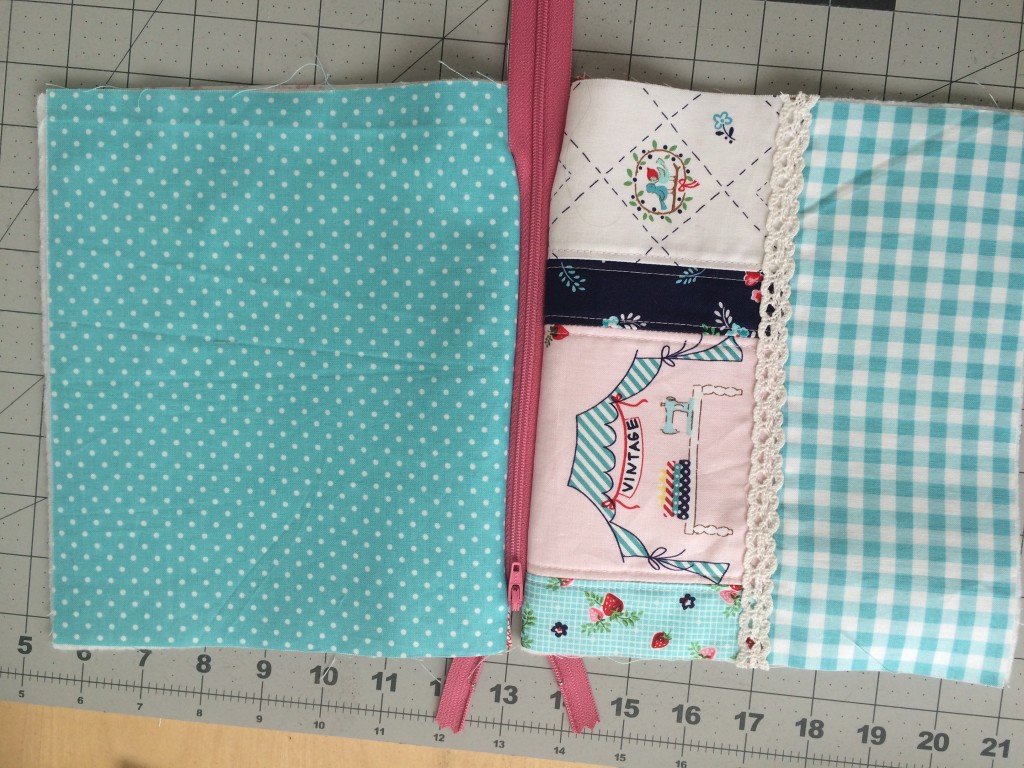
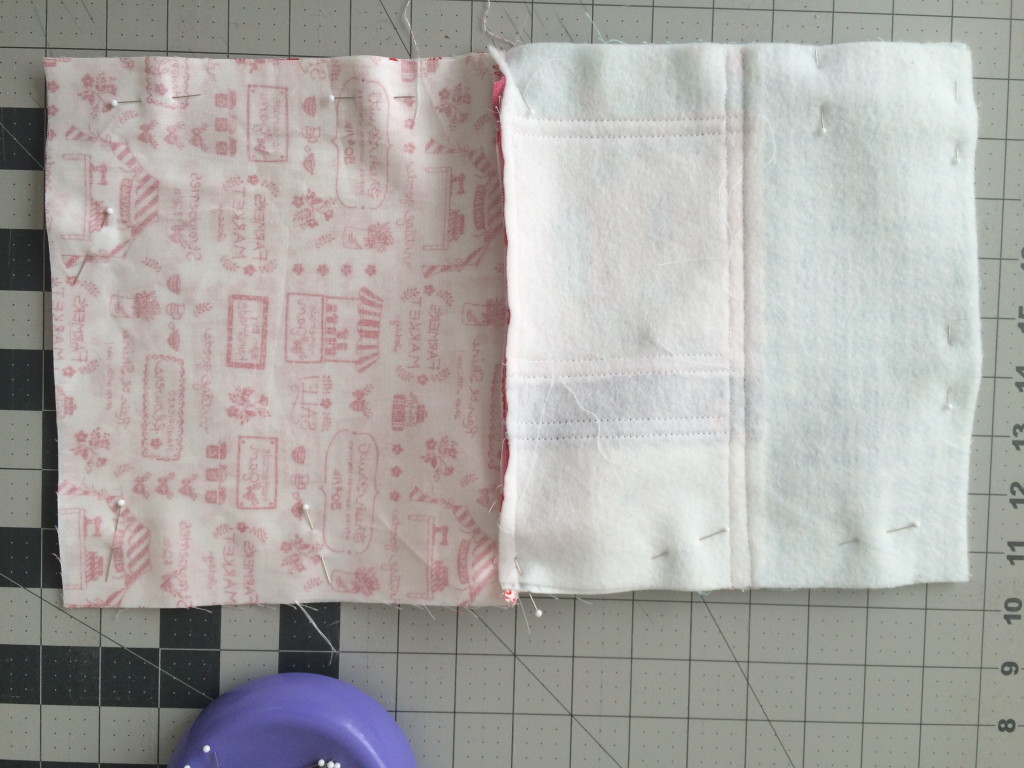
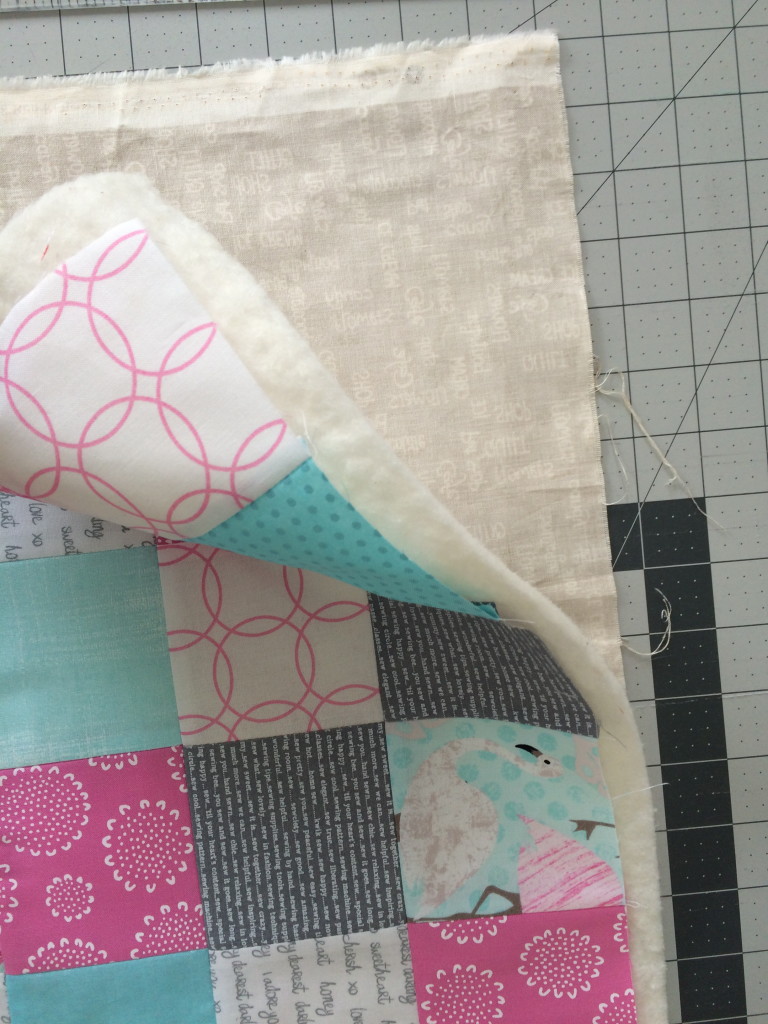
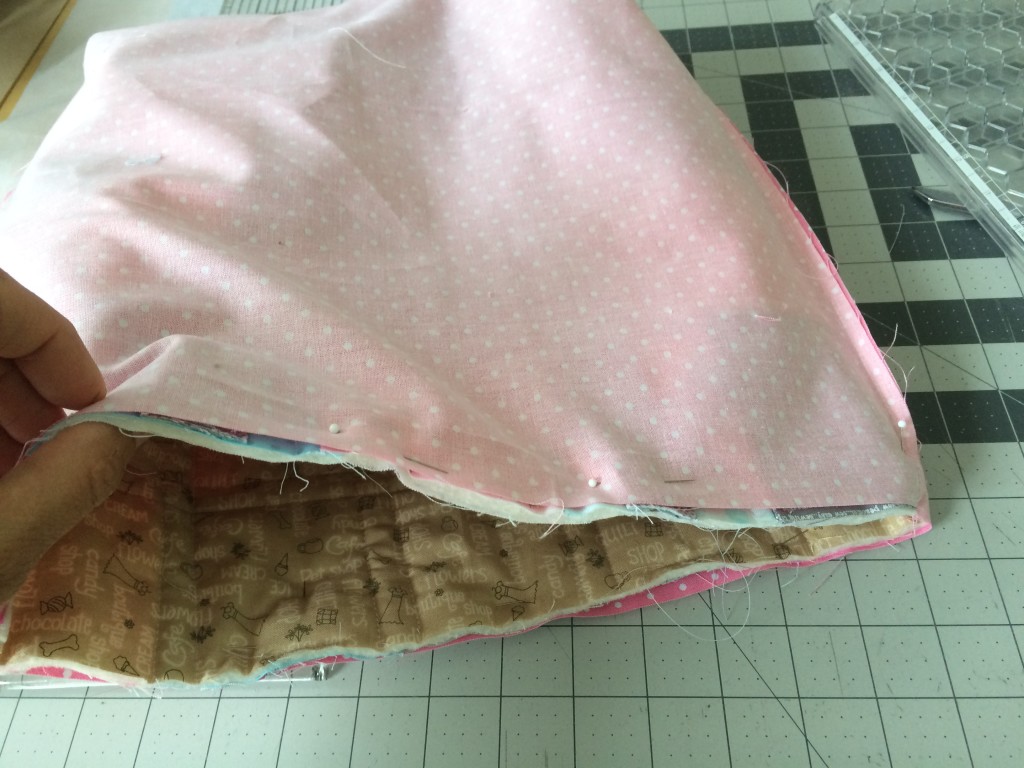
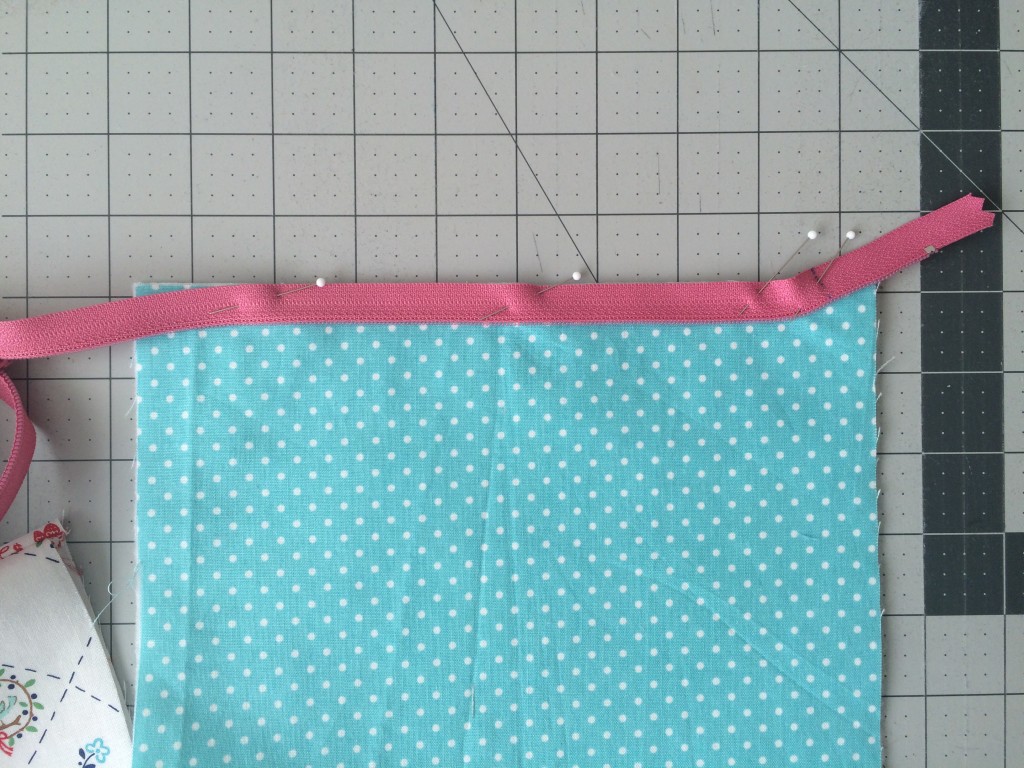
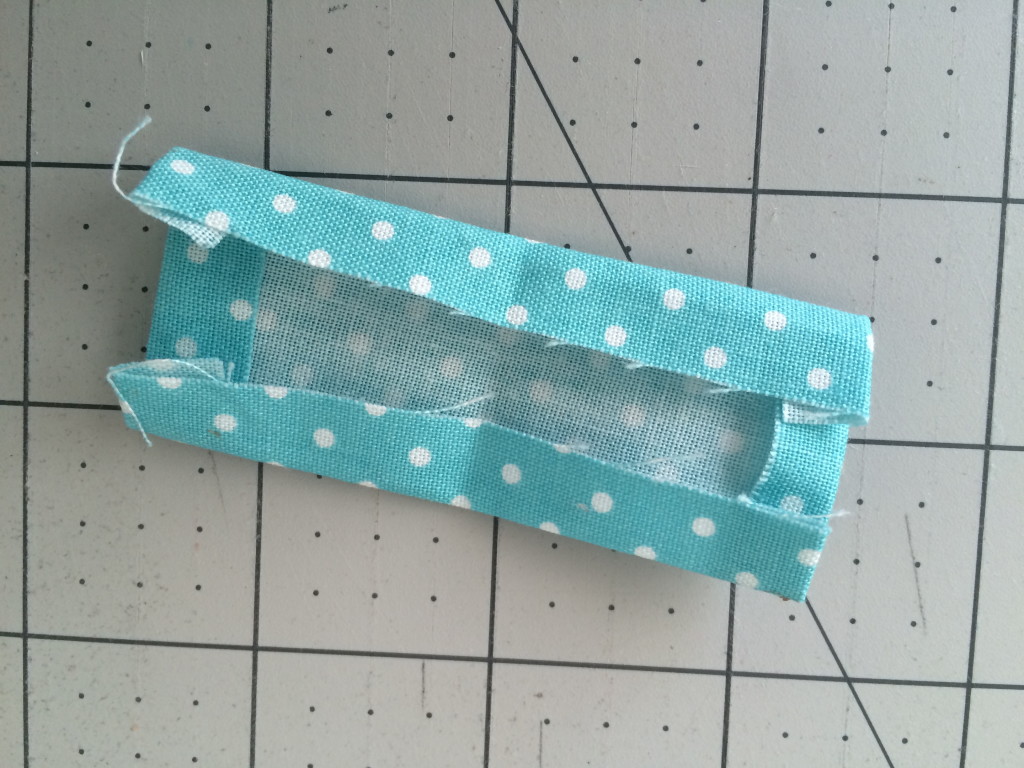
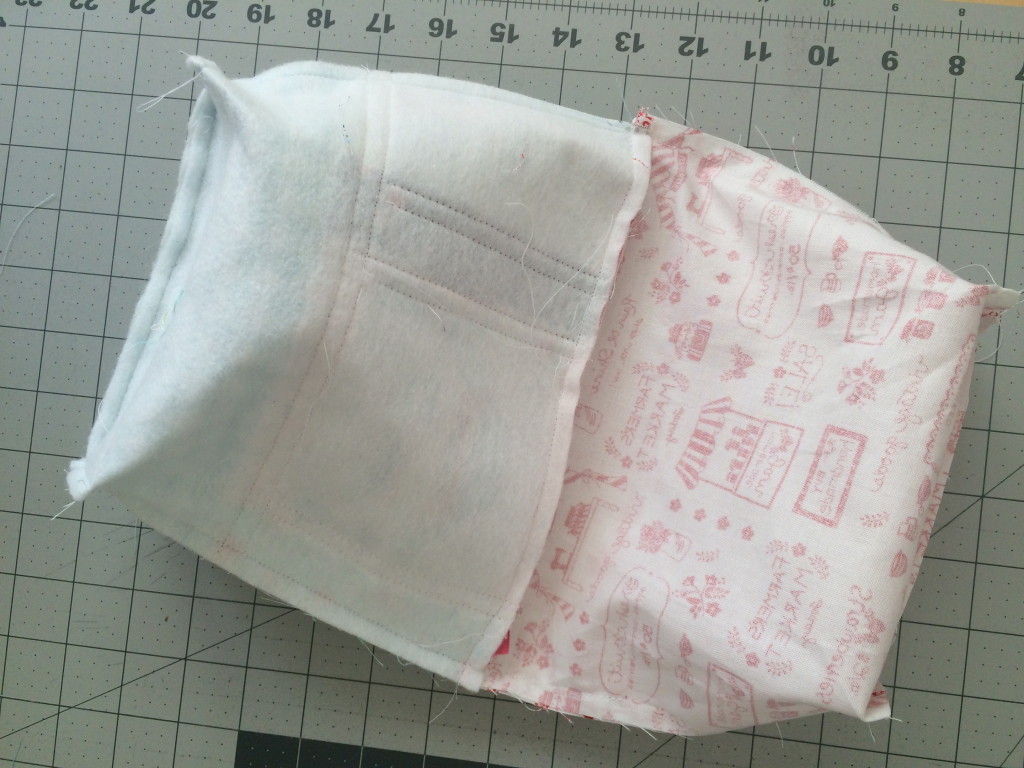 This is how the bag should look now (above). Turn the bag right side out and top stitch the opening closed.
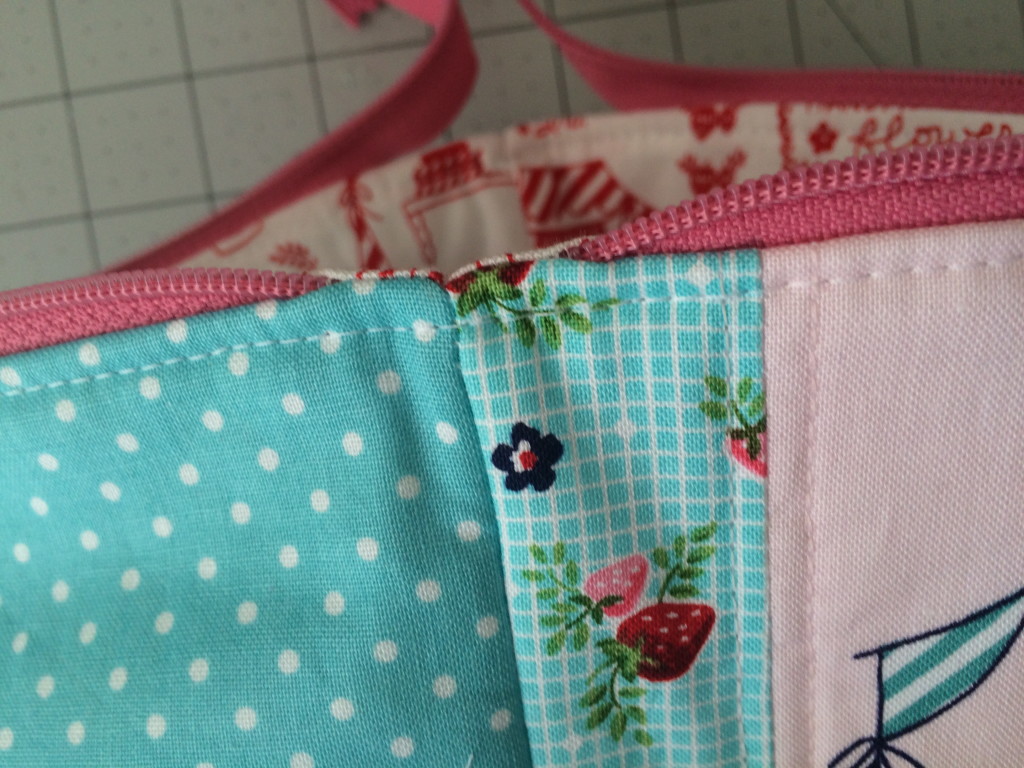


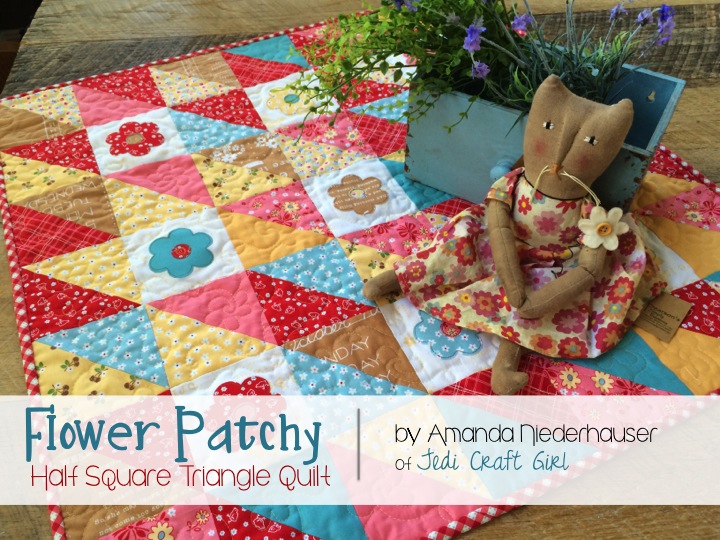
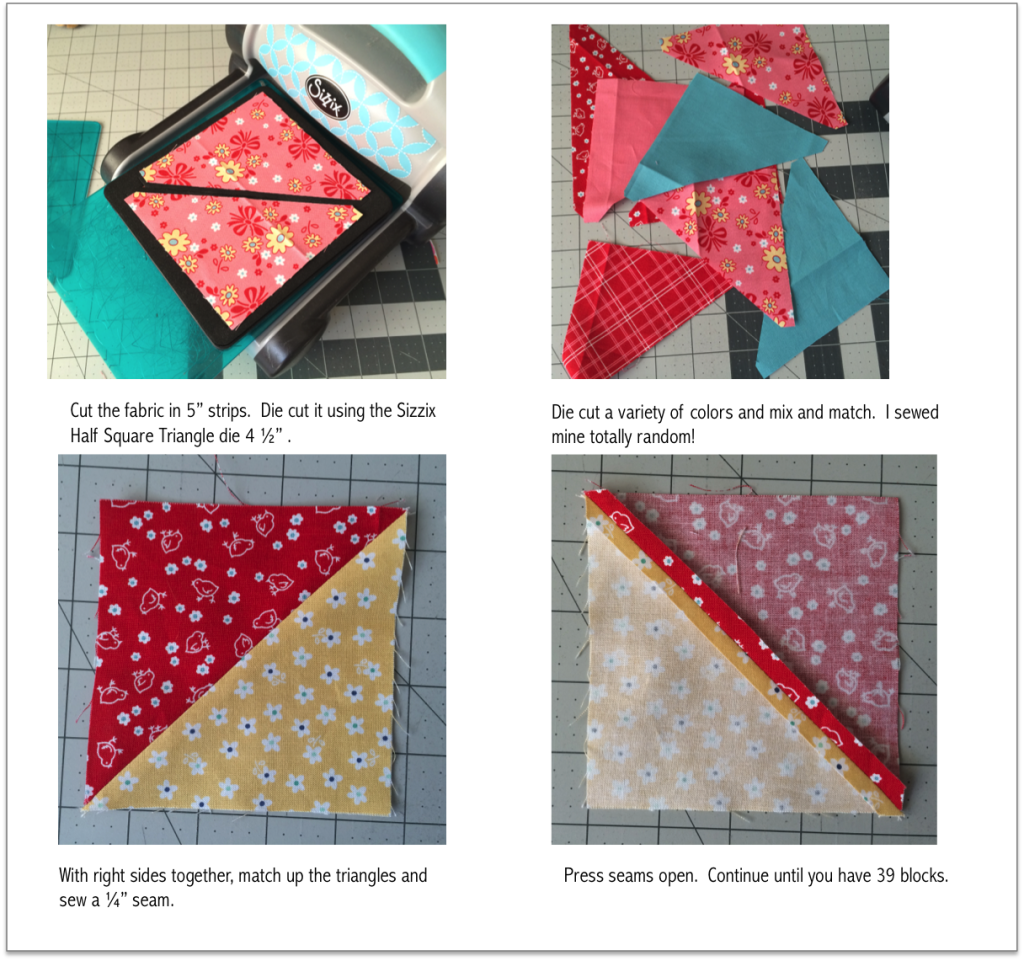
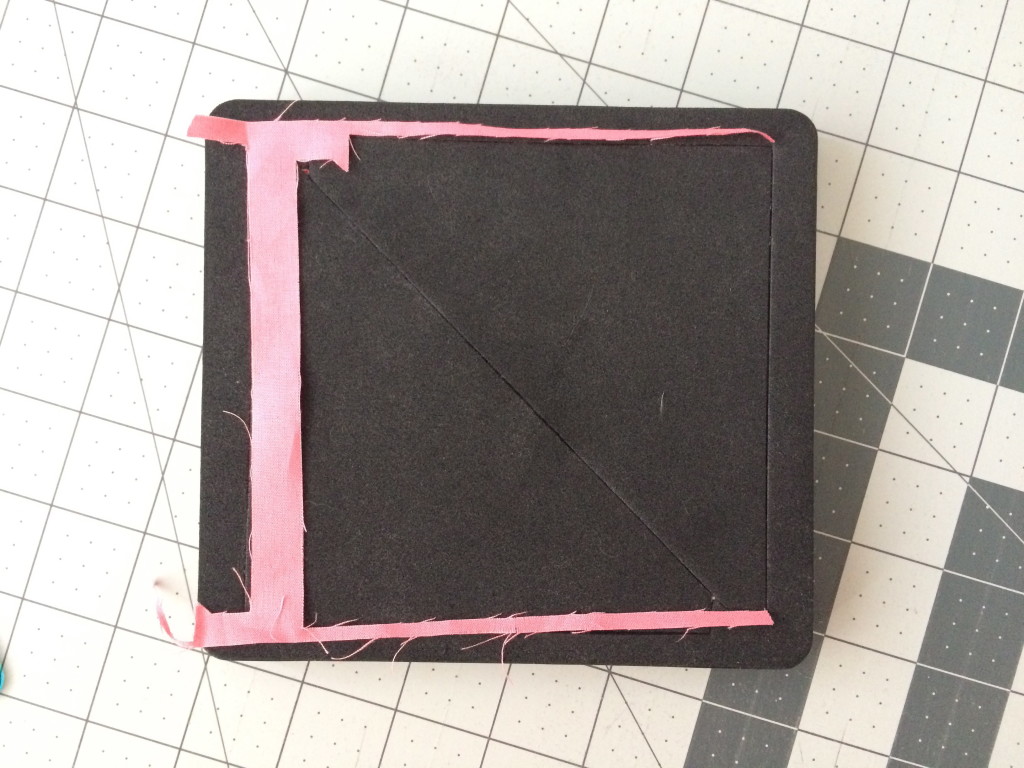

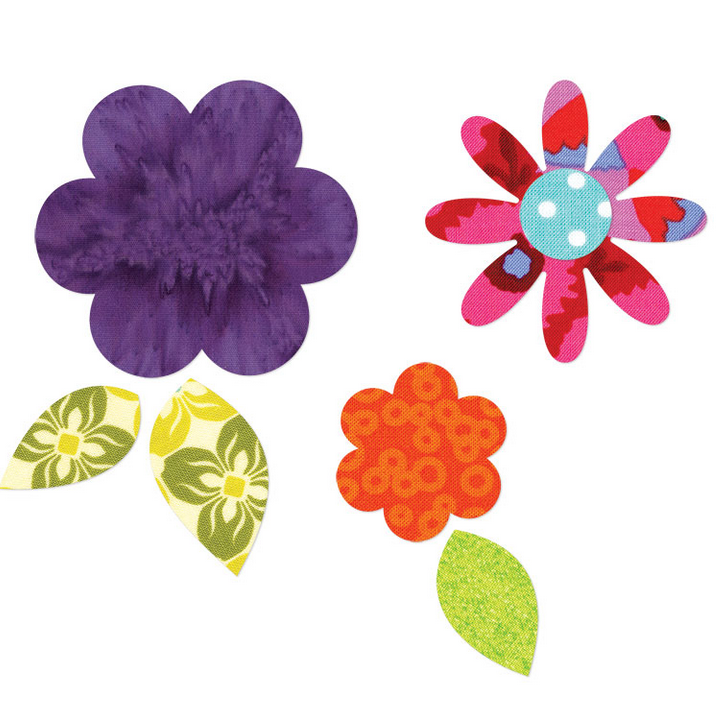
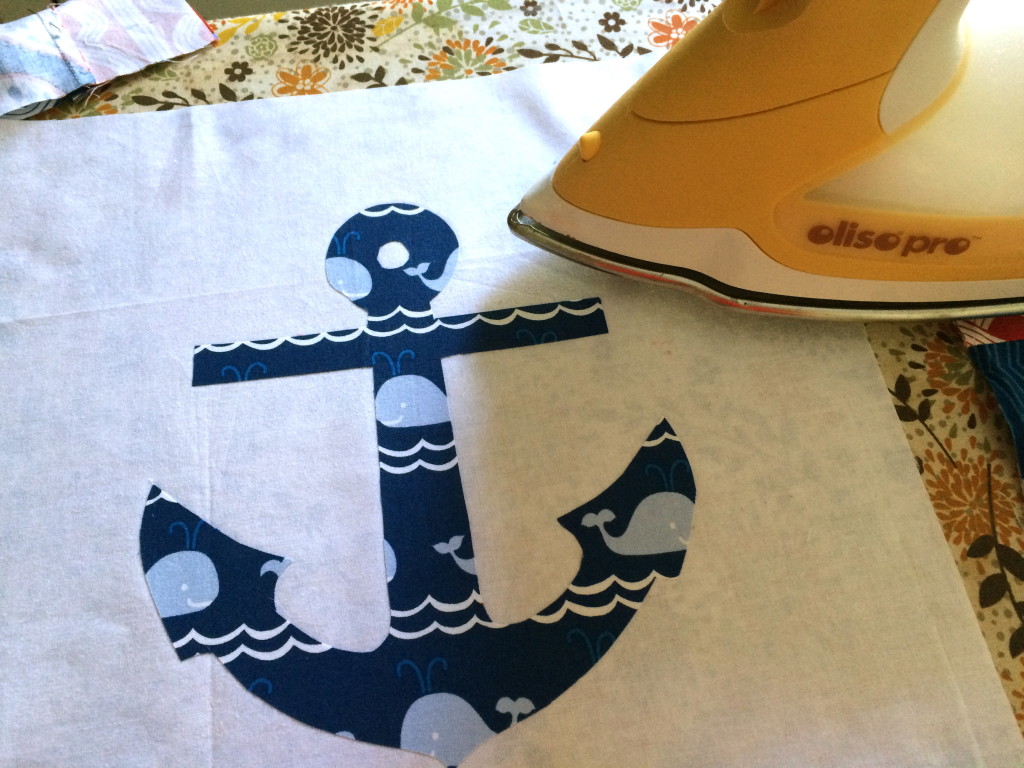
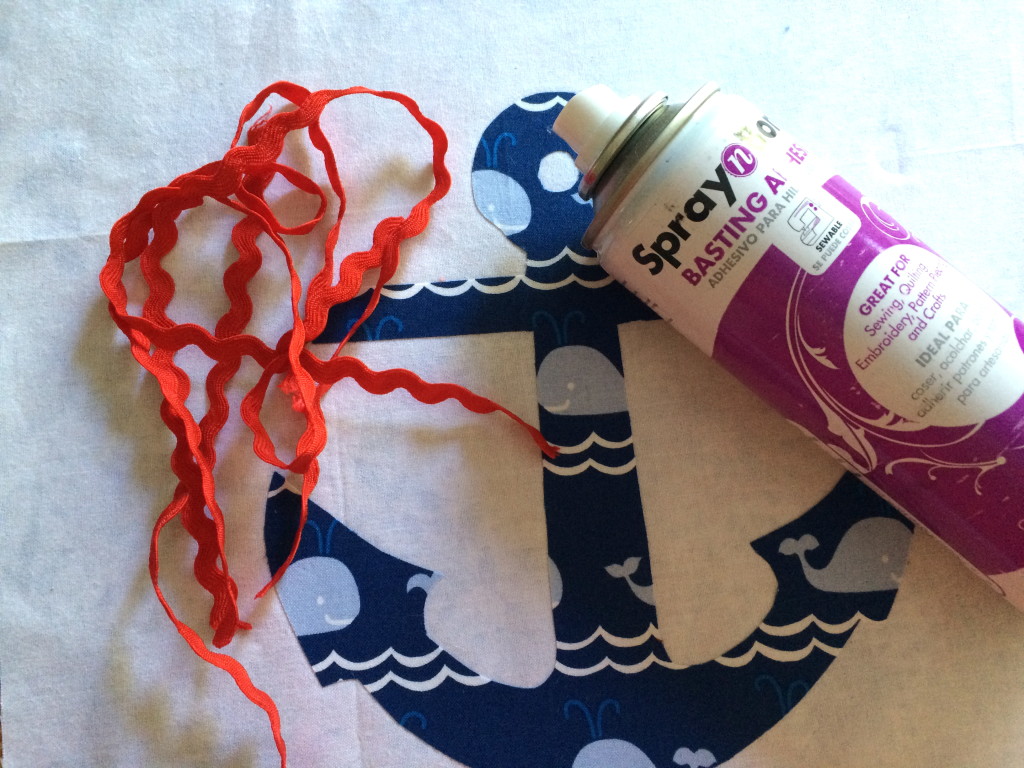
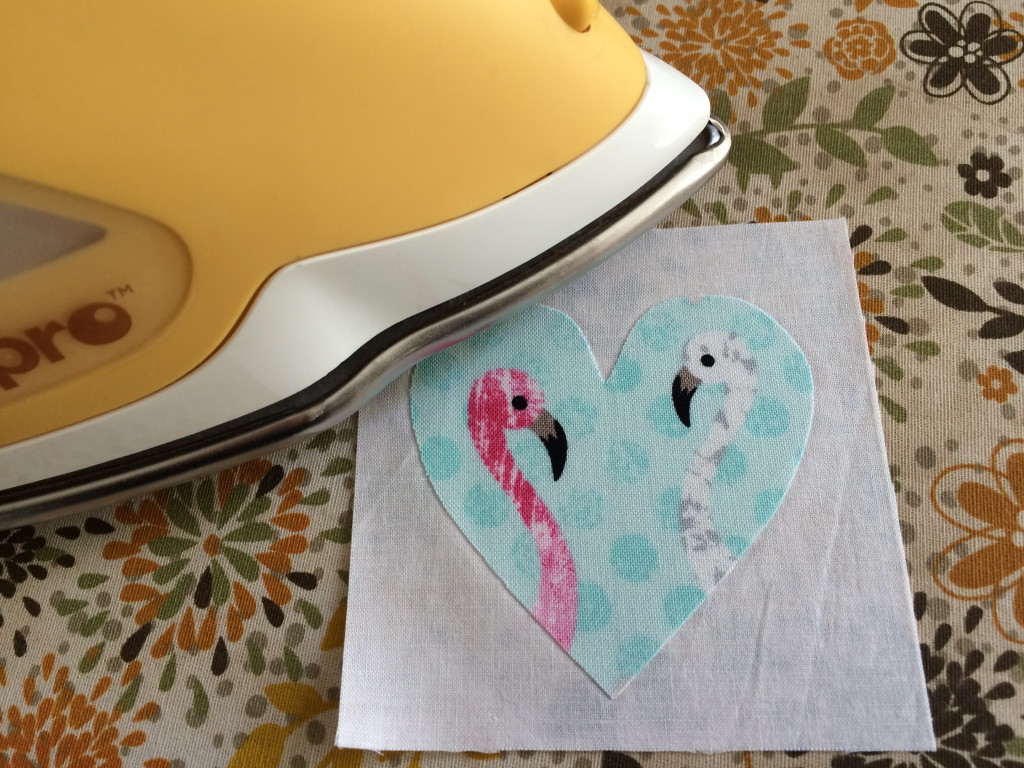
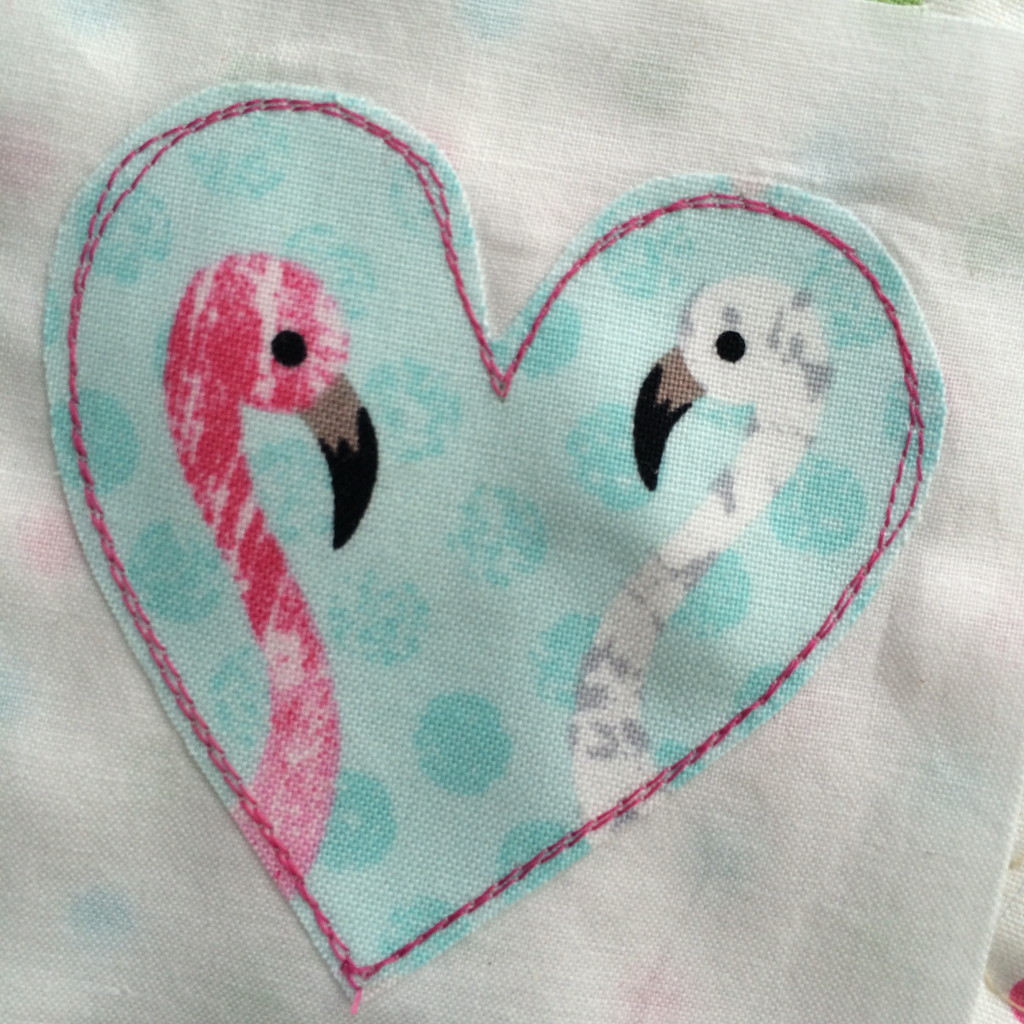
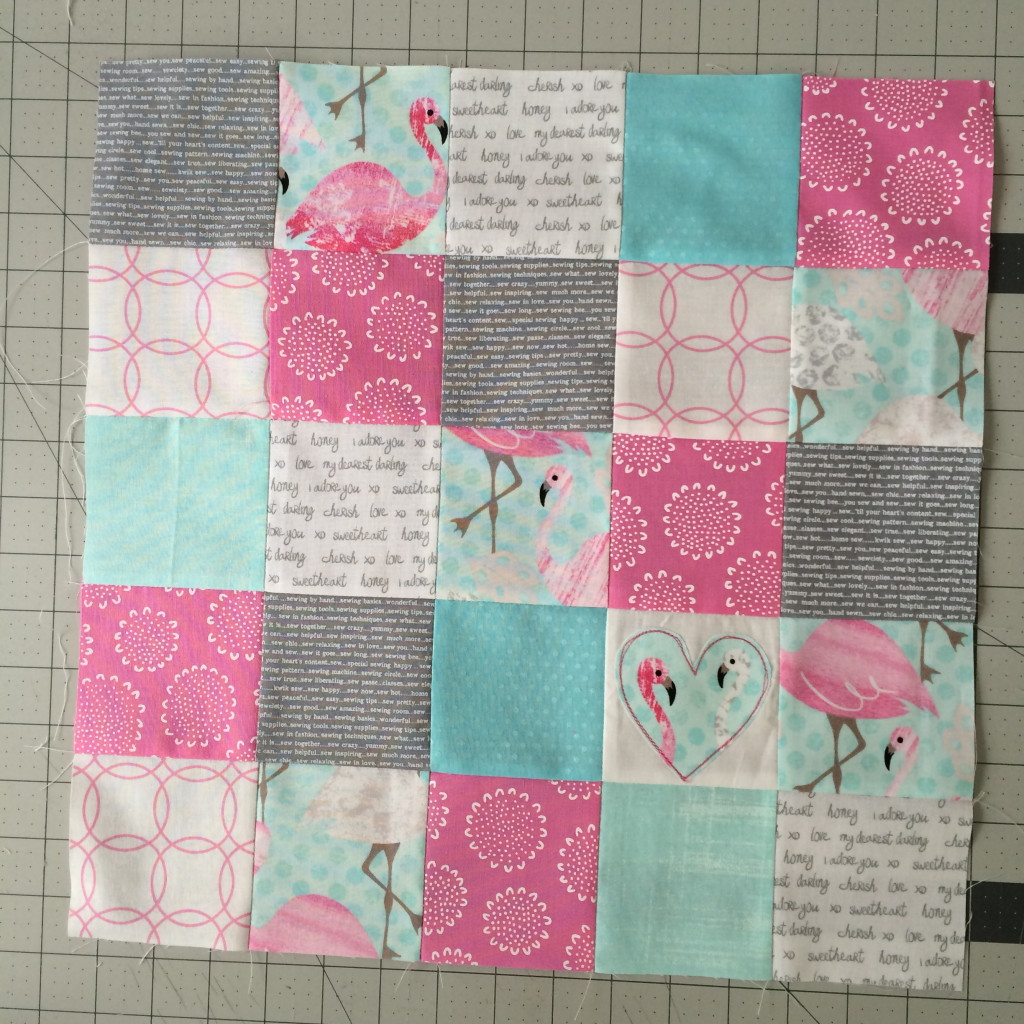
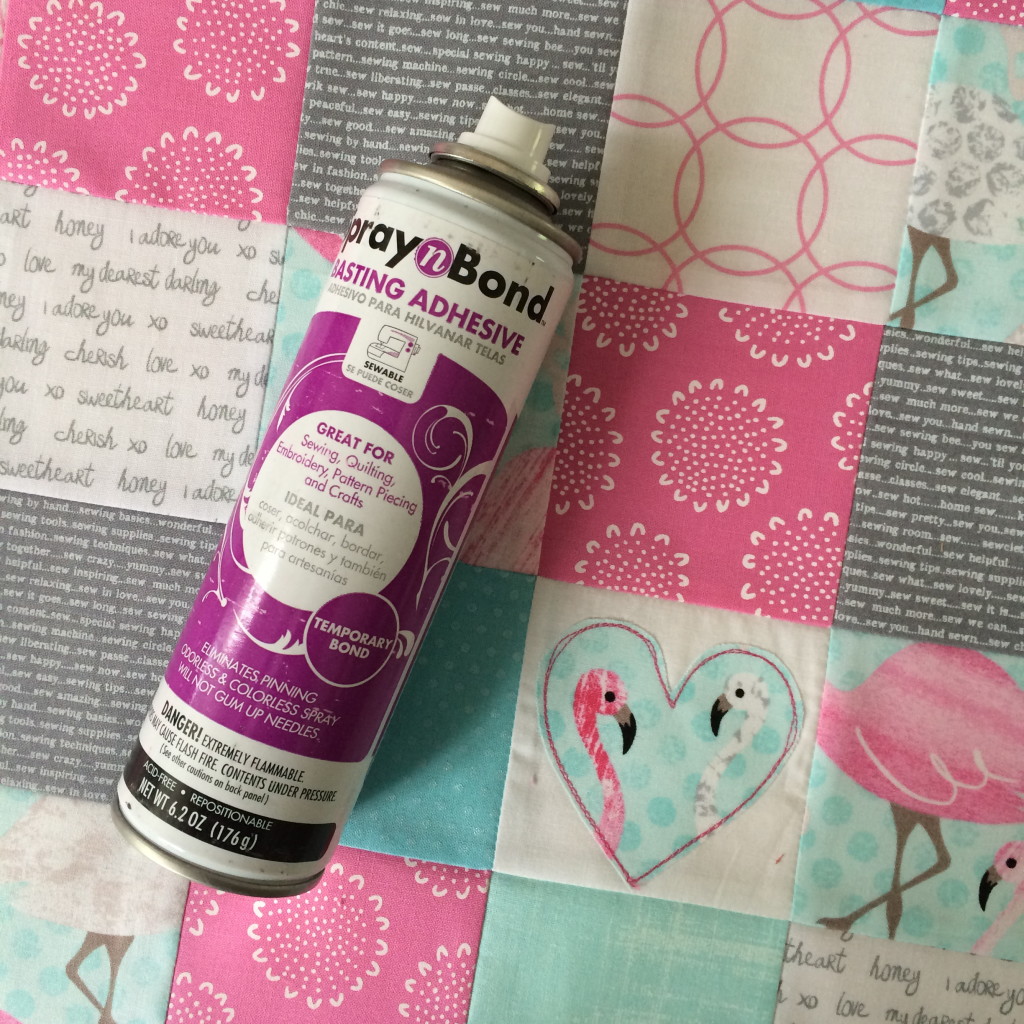
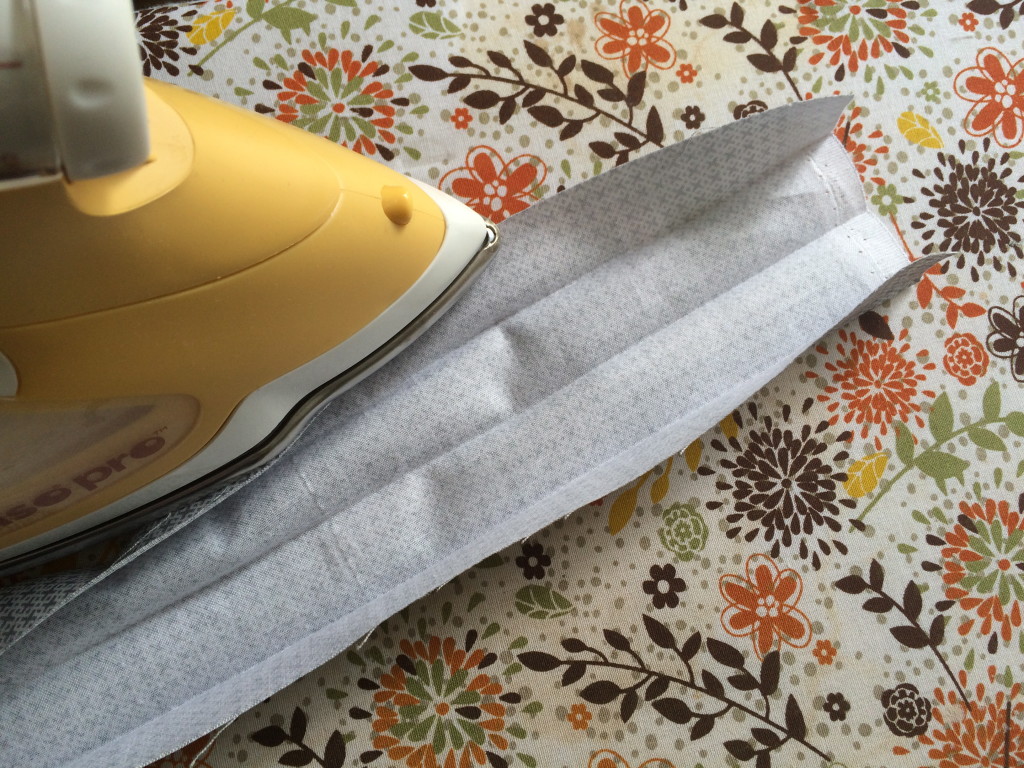
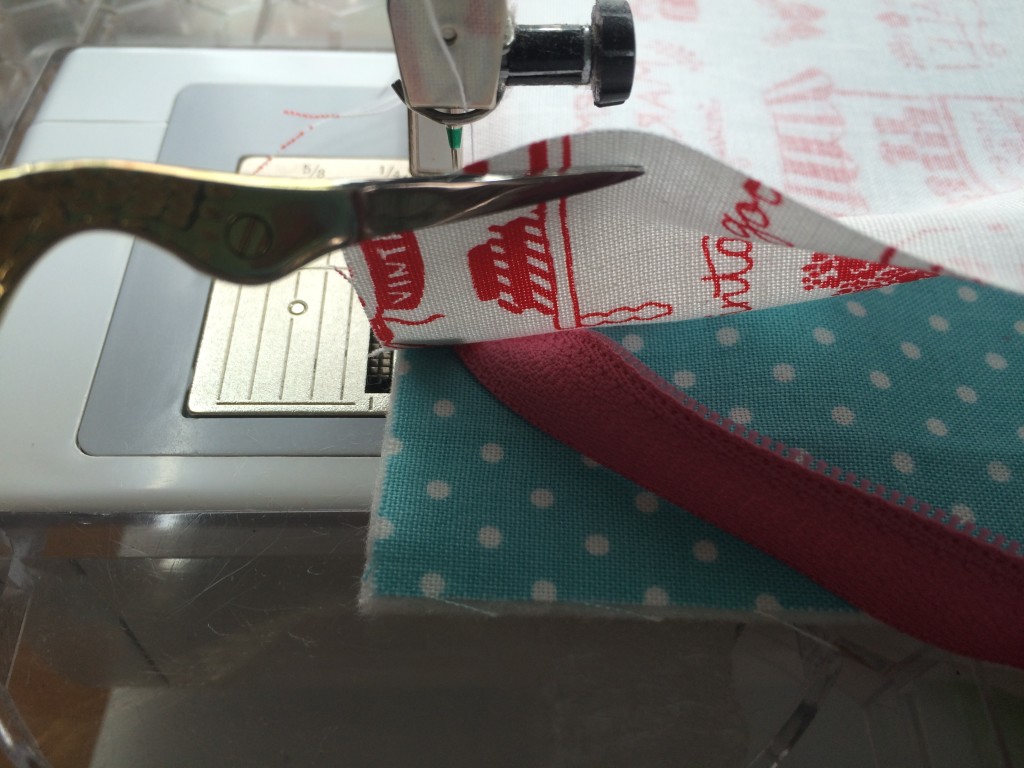
 Once you have cut the flowers, peel off the baking paper and fuse them to the 4 1/2″ squares. Top stitch around each piece.
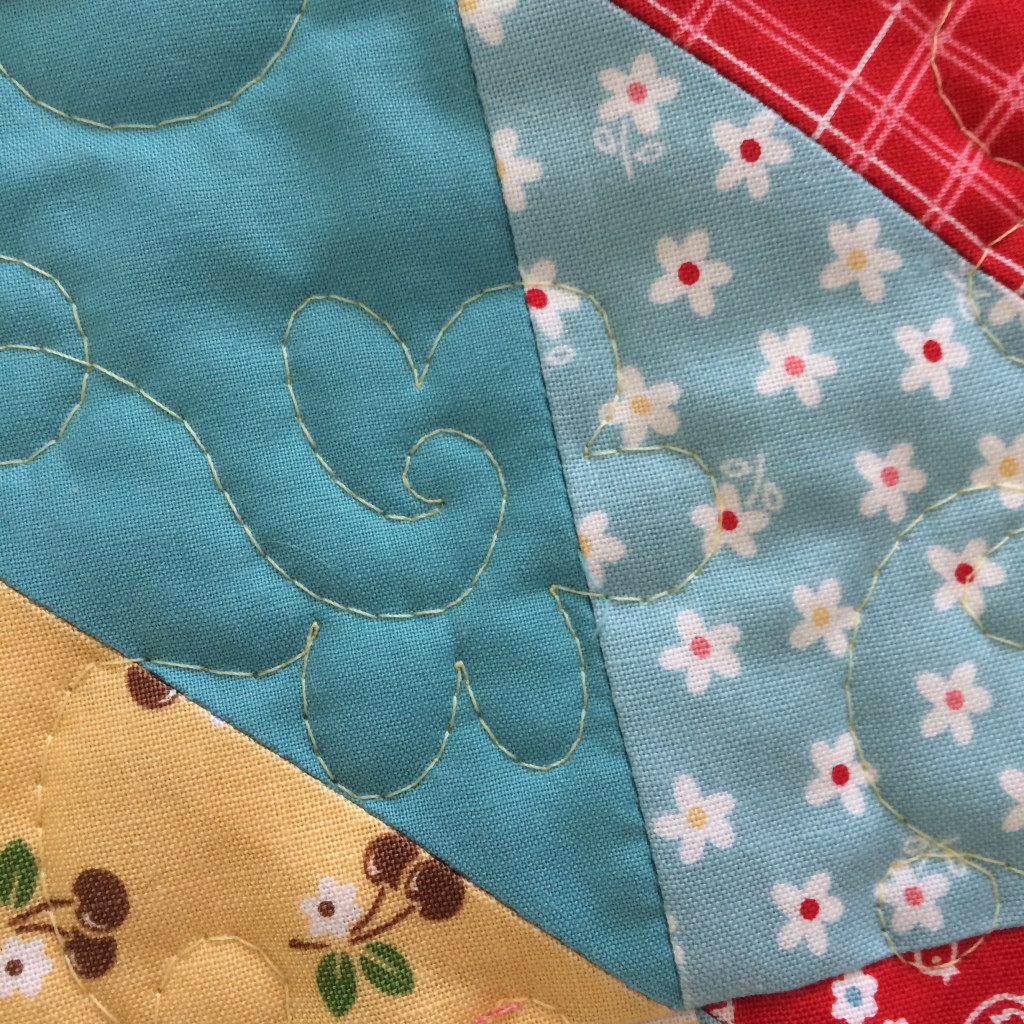
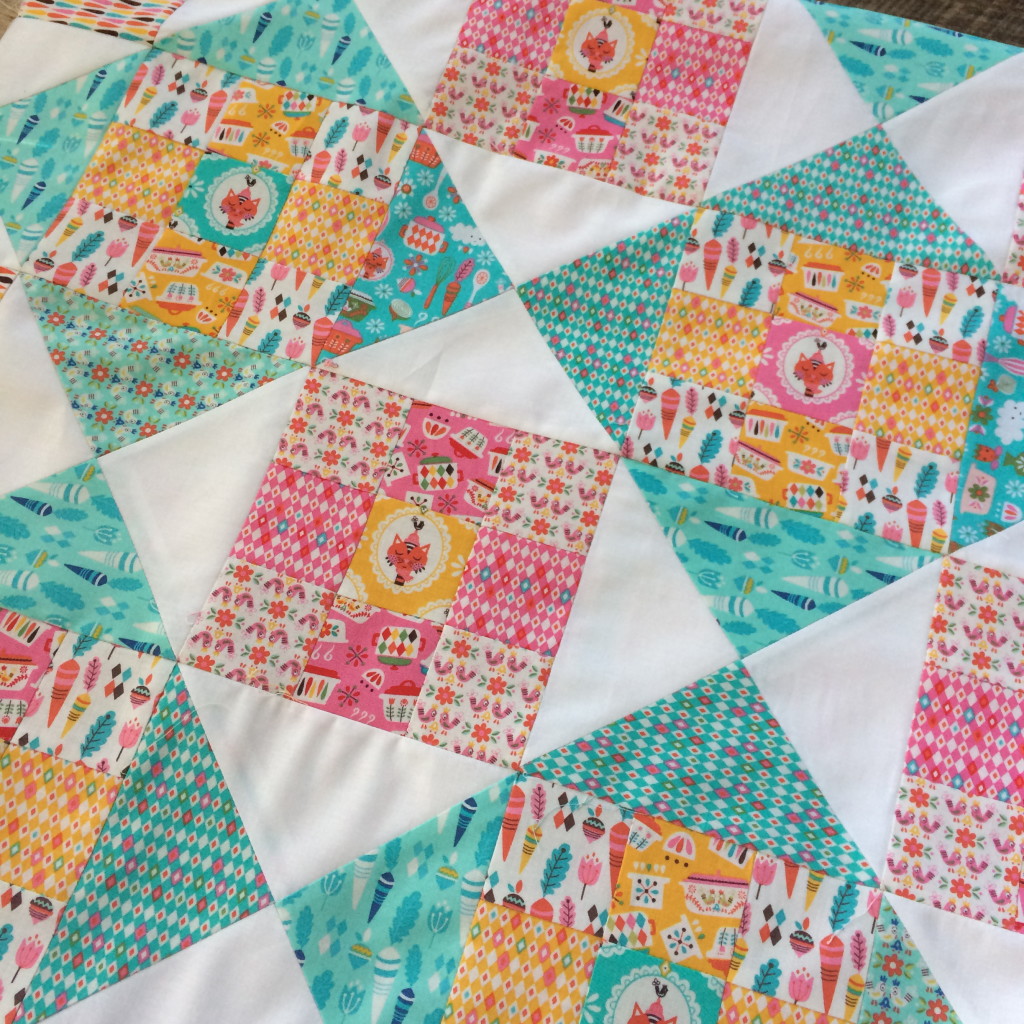
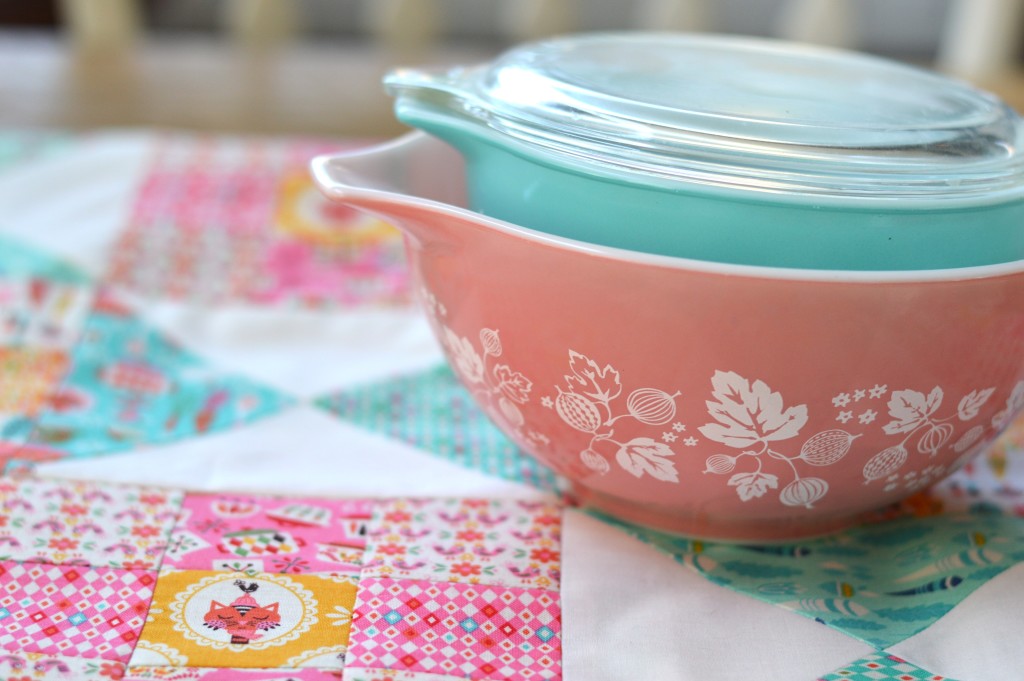
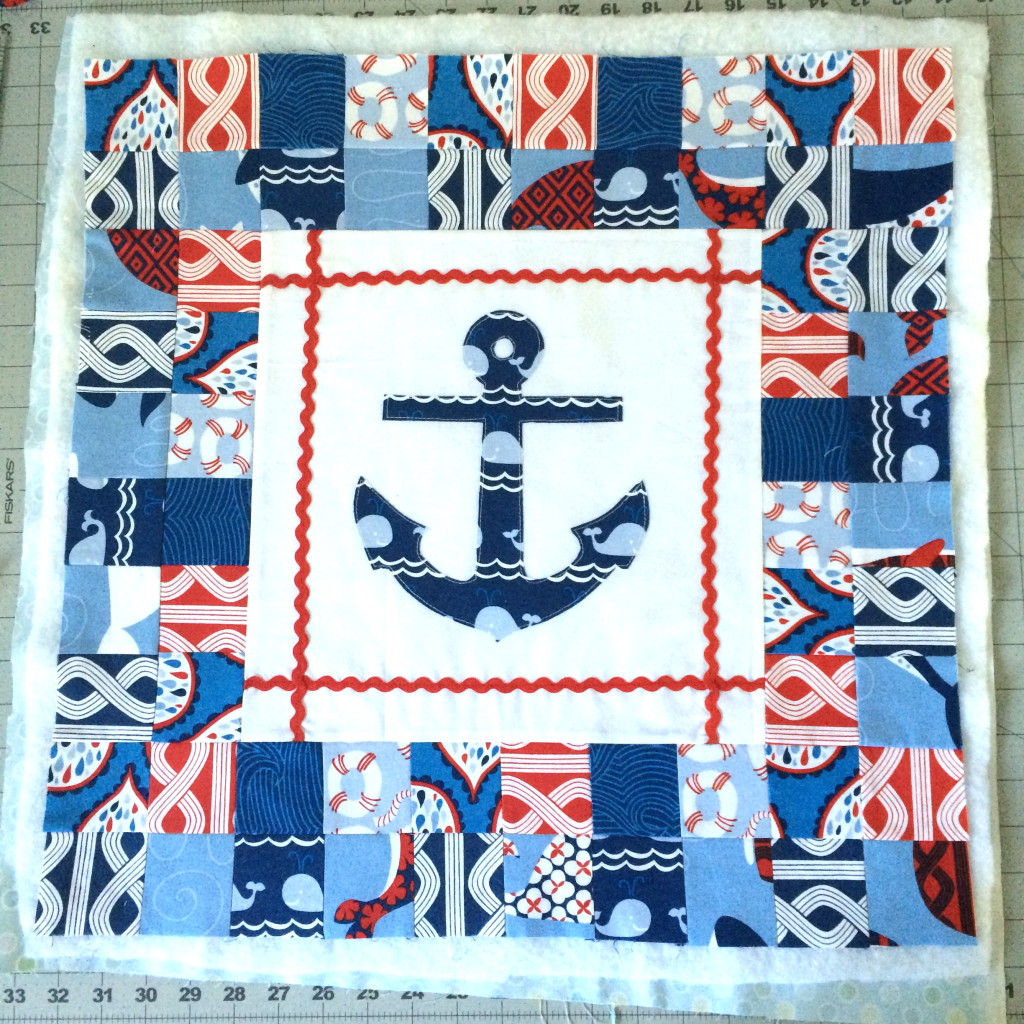
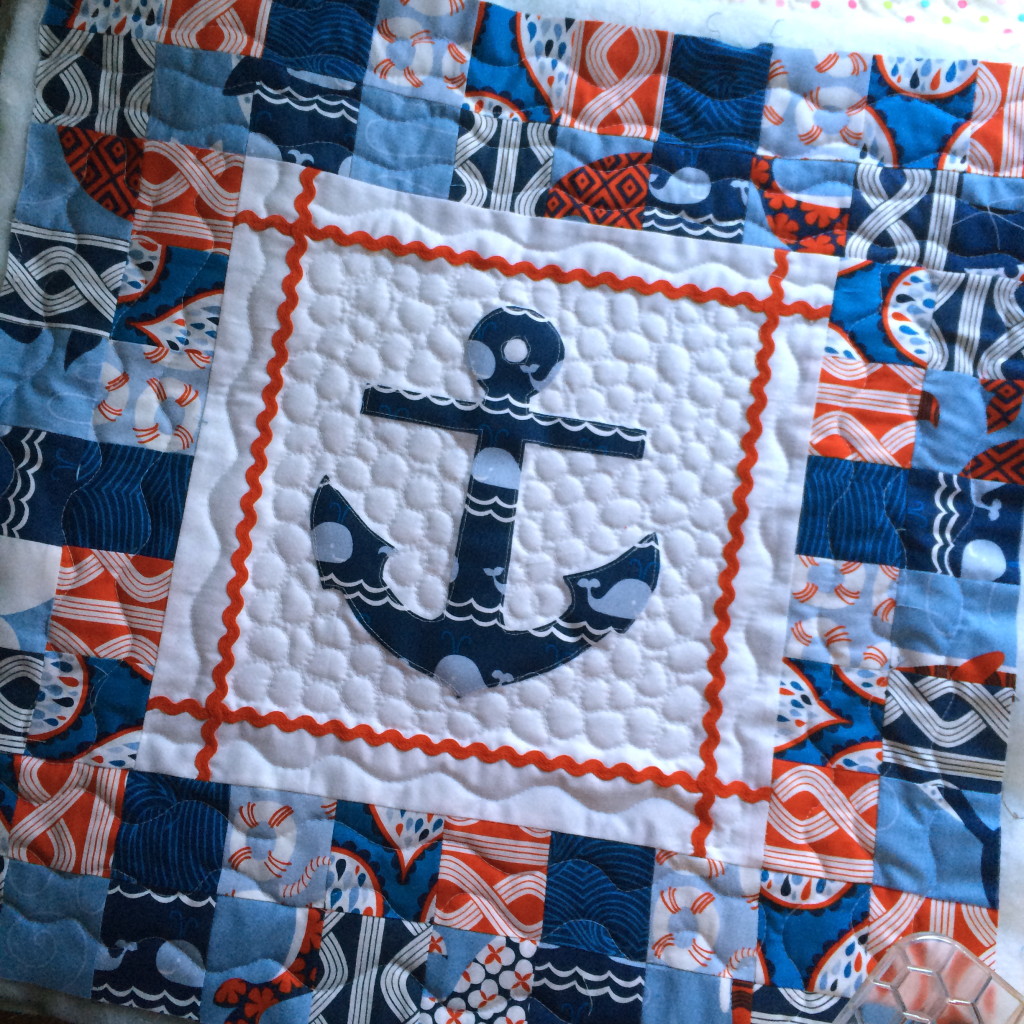
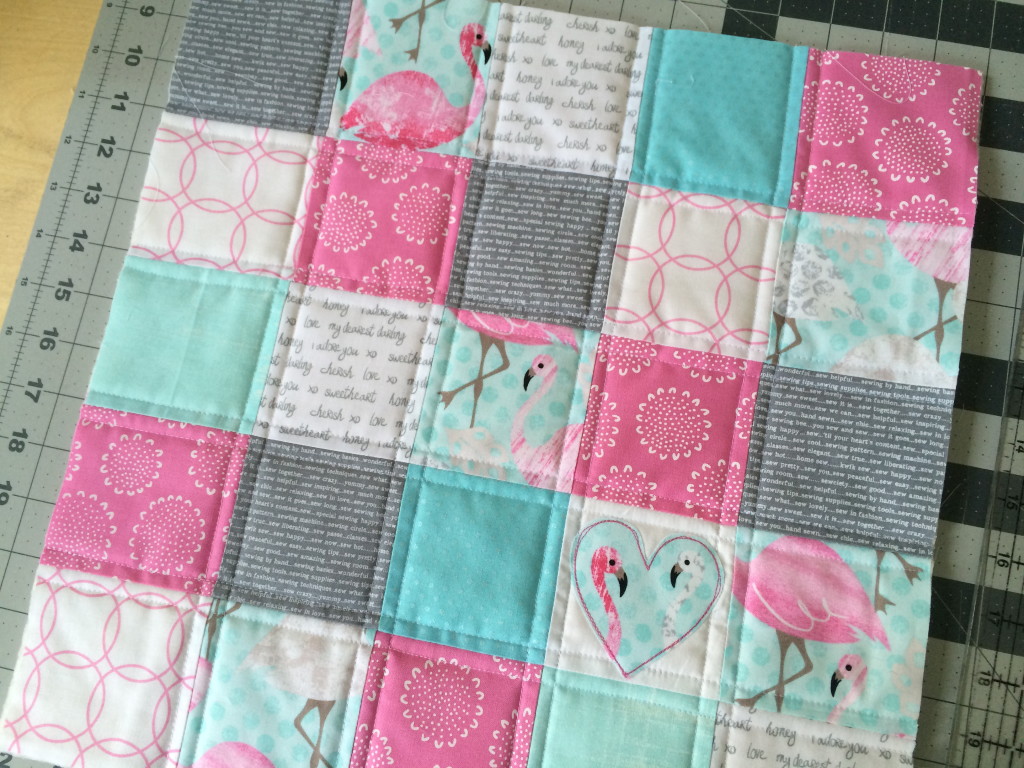
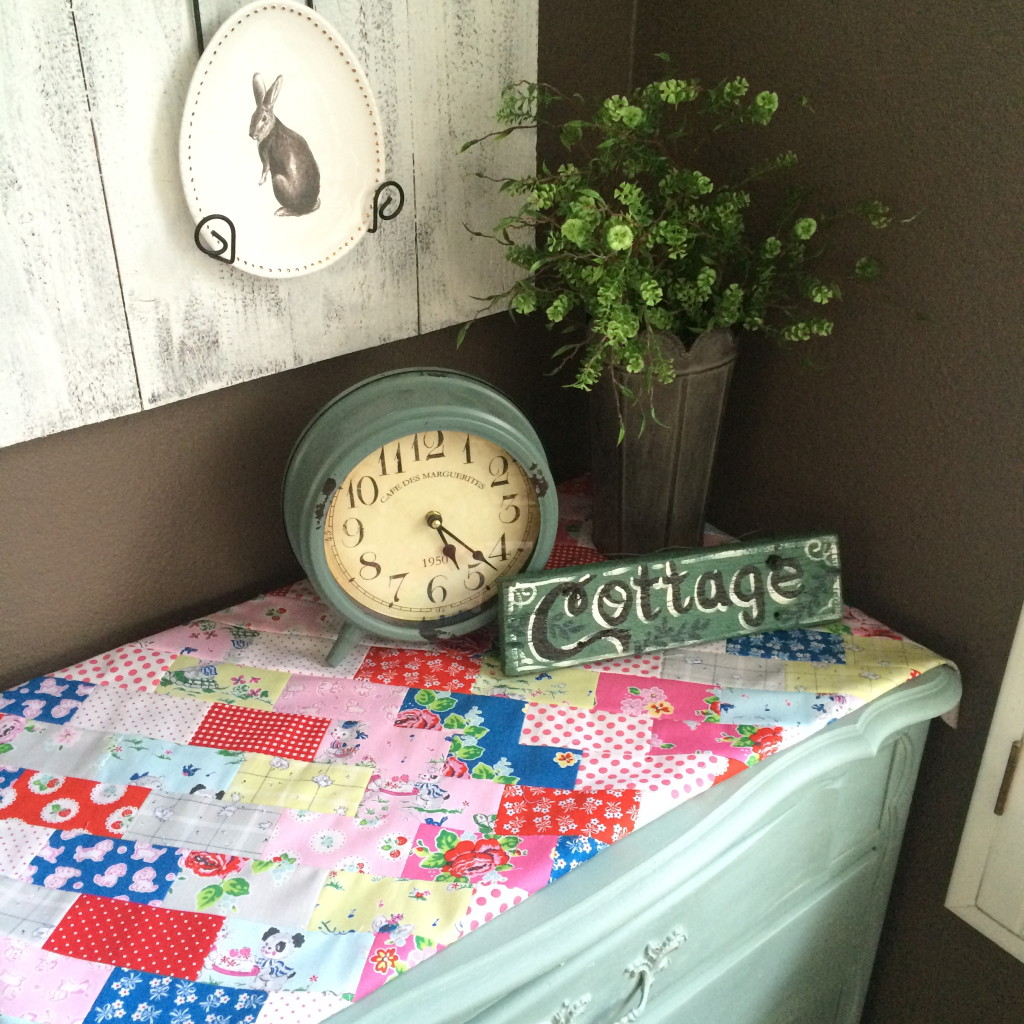
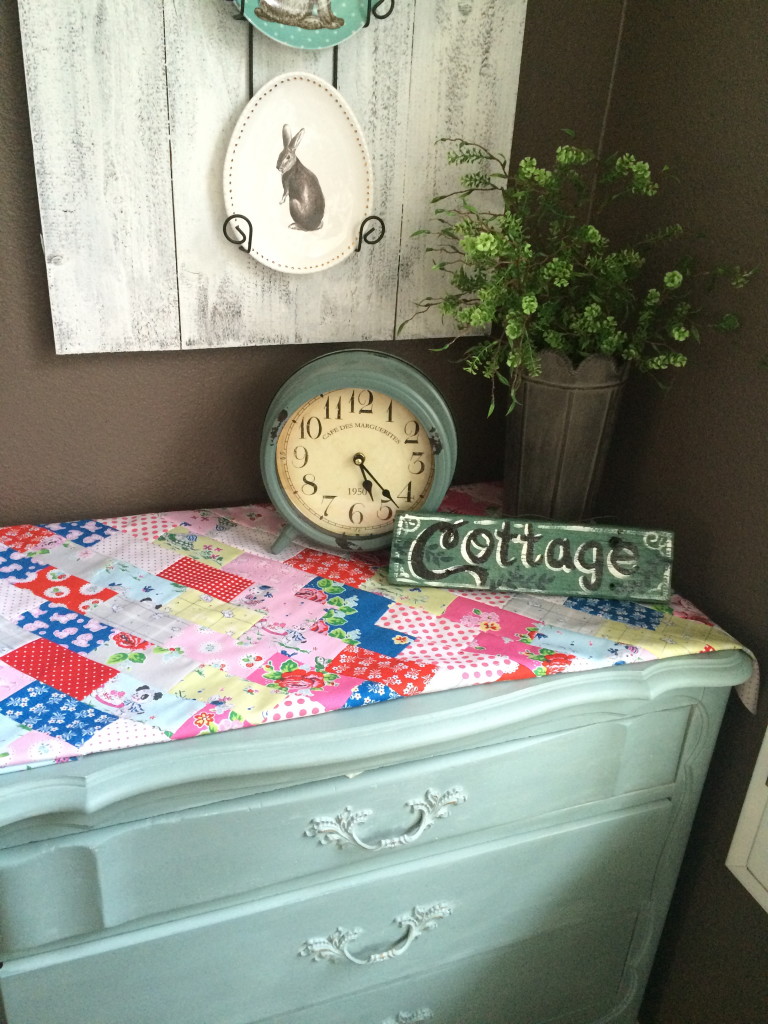
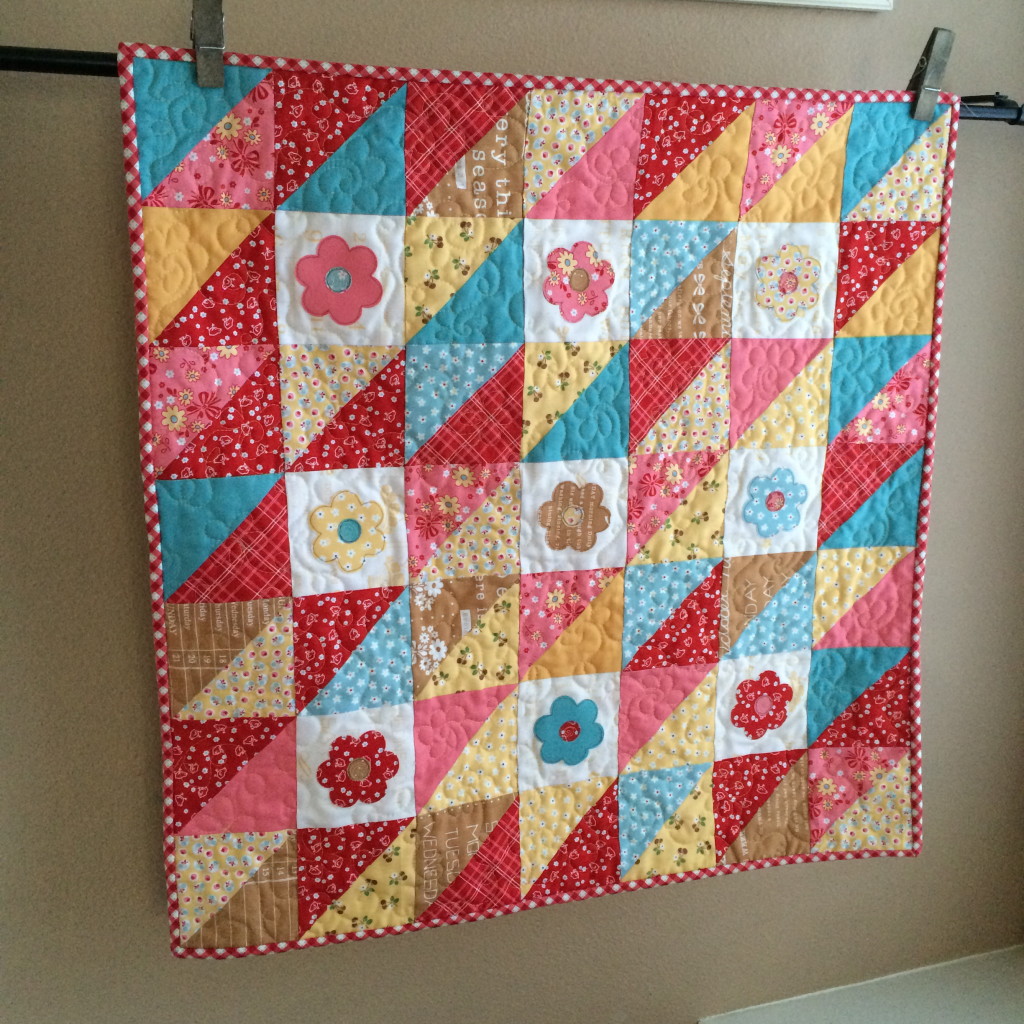
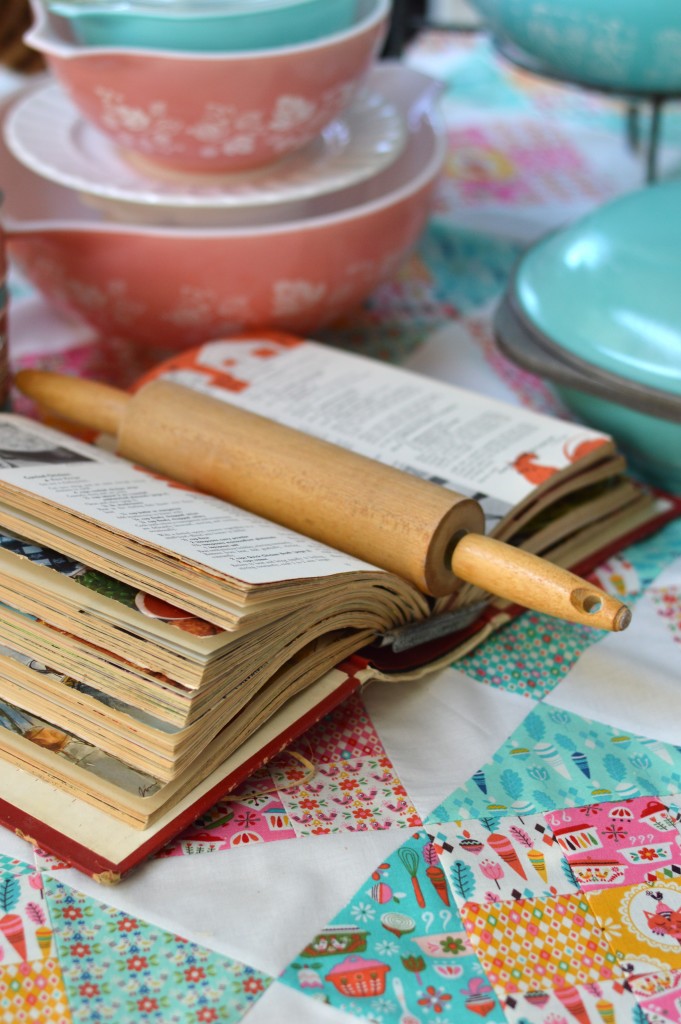
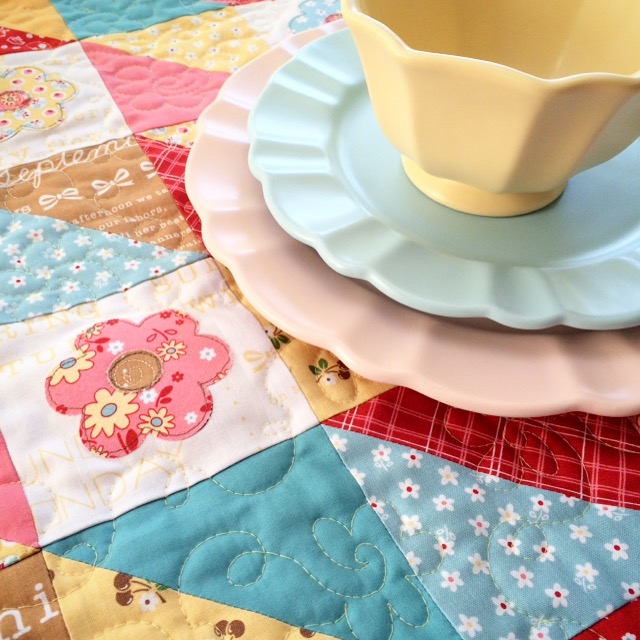 I love how charming this little quilt turned out. And I sewed it in a few hours!!
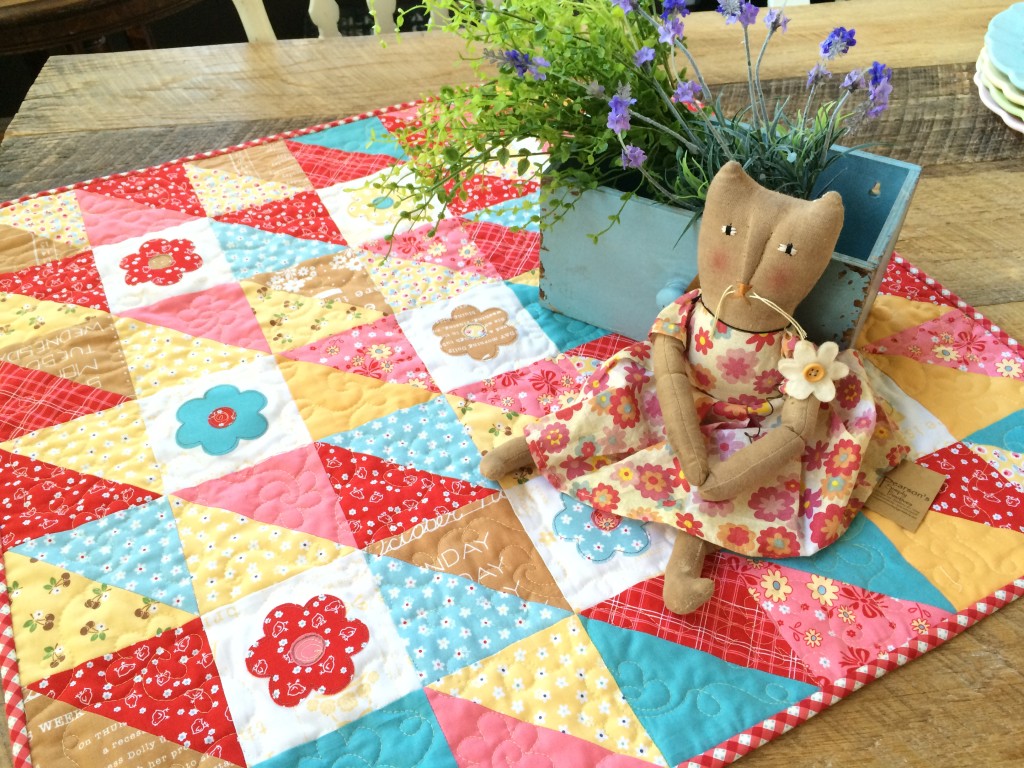


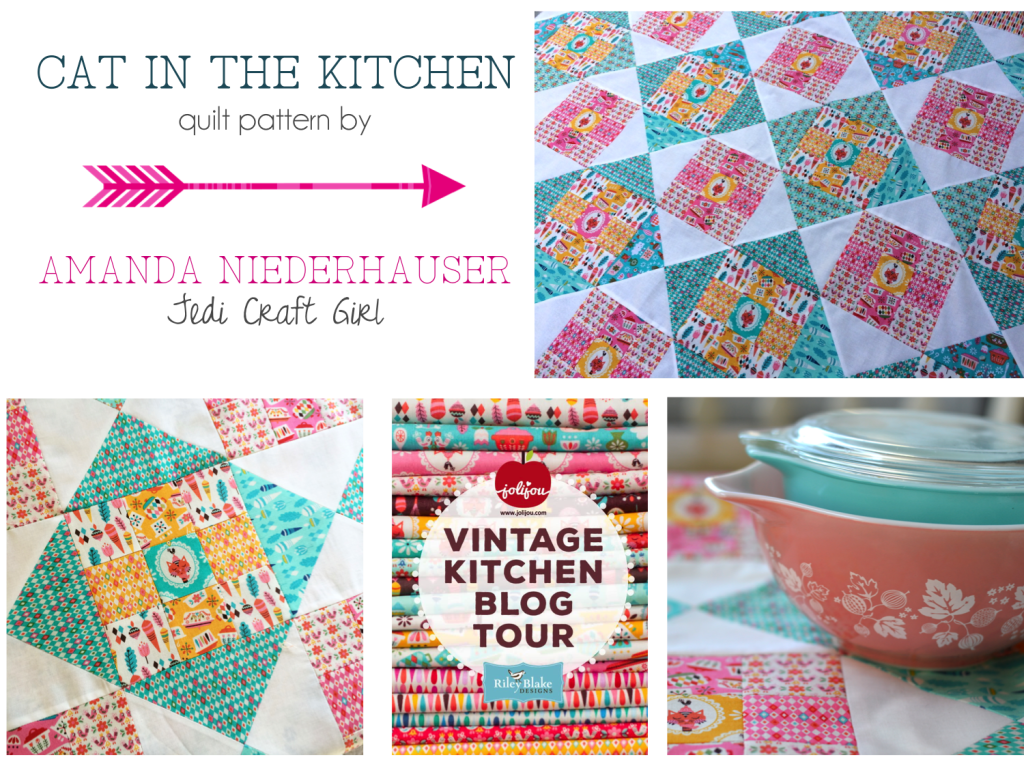
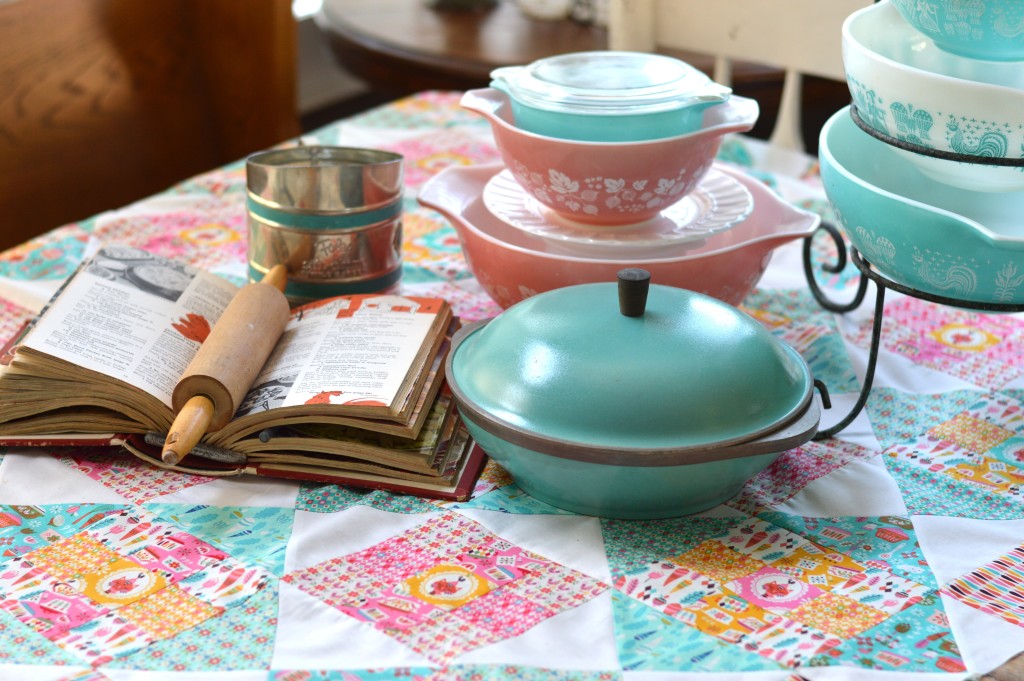
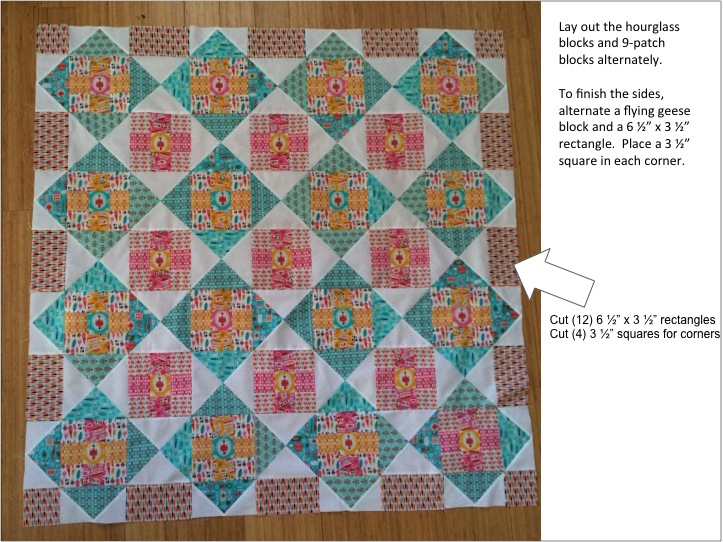
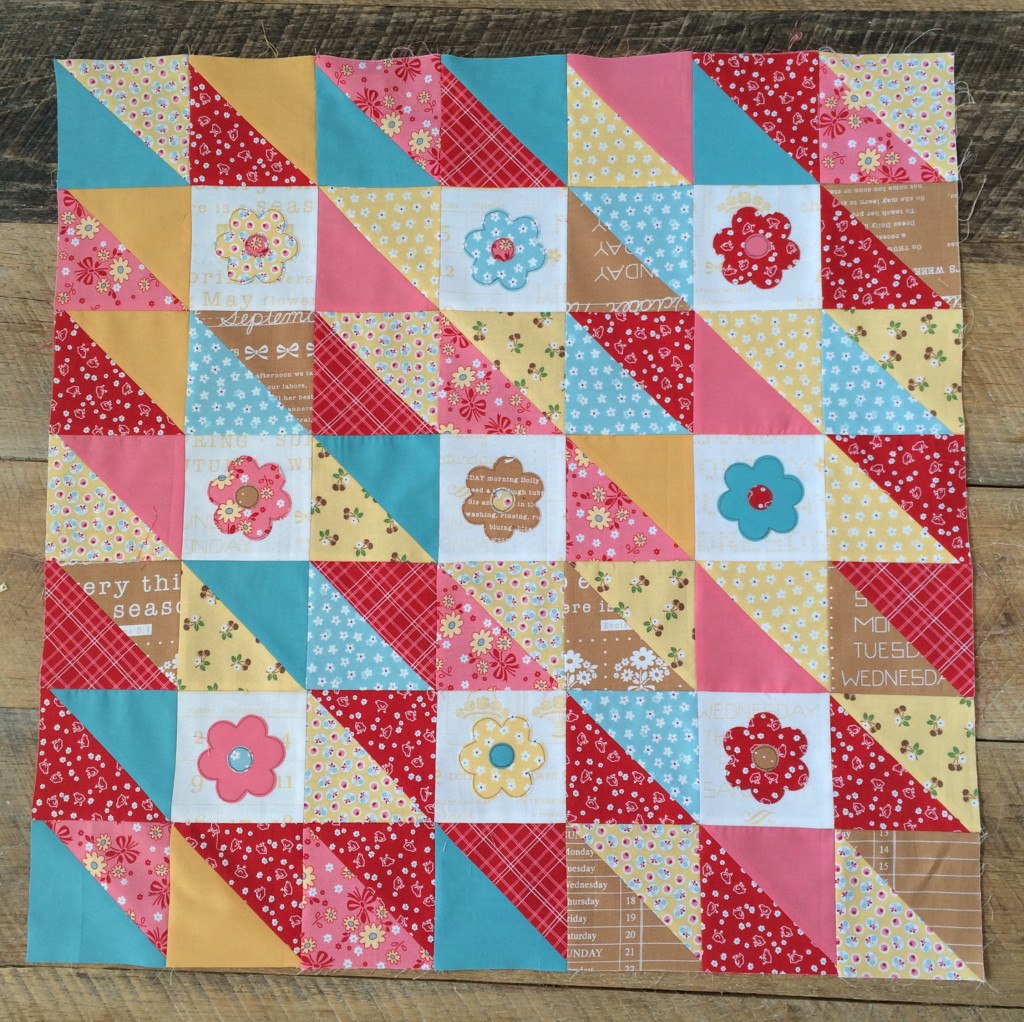
 I created this quilt called “Cat in the Kitchen”. It is made up of hourglass blocks and 9-patch blocks. What could be more fun!!
 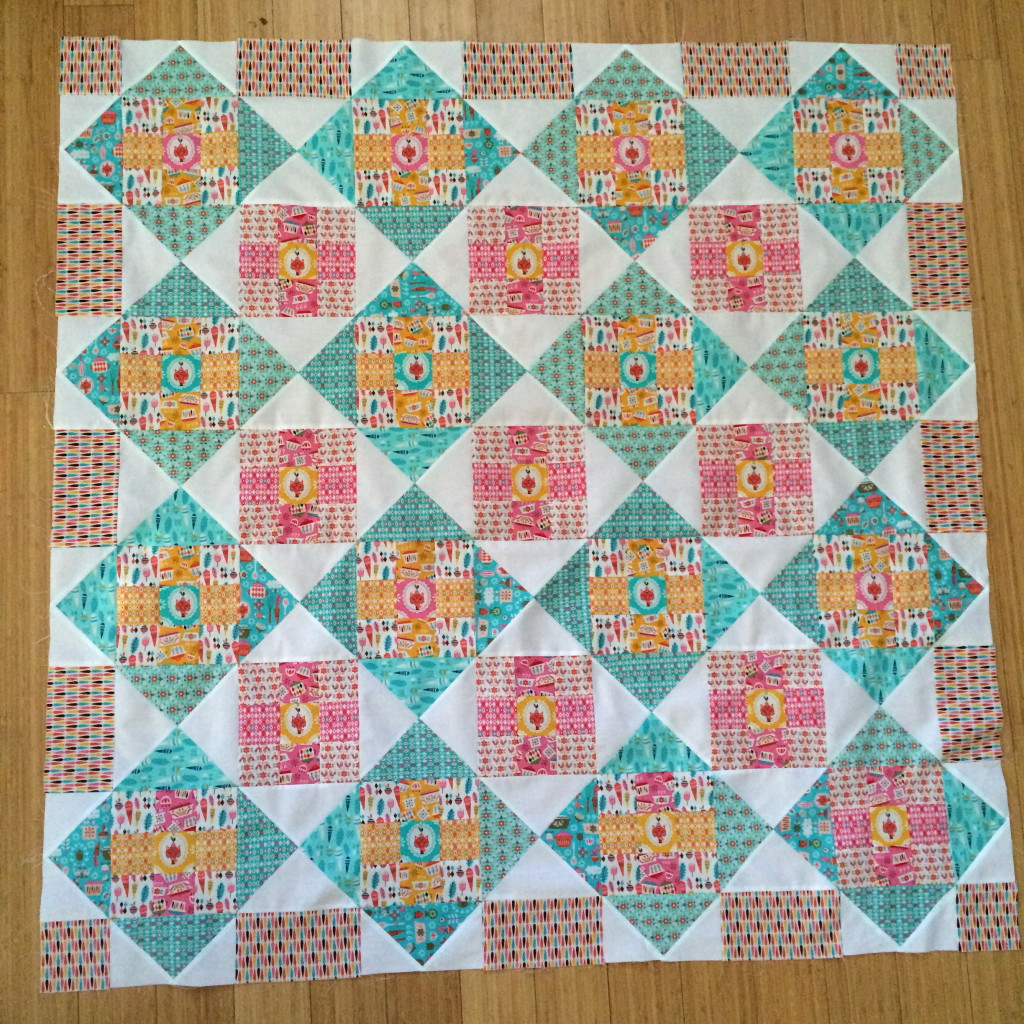 Each of the 9-patch blocks has a kitty in the center – just like in my kitchen….with Mufasa constantly in the center of it all.
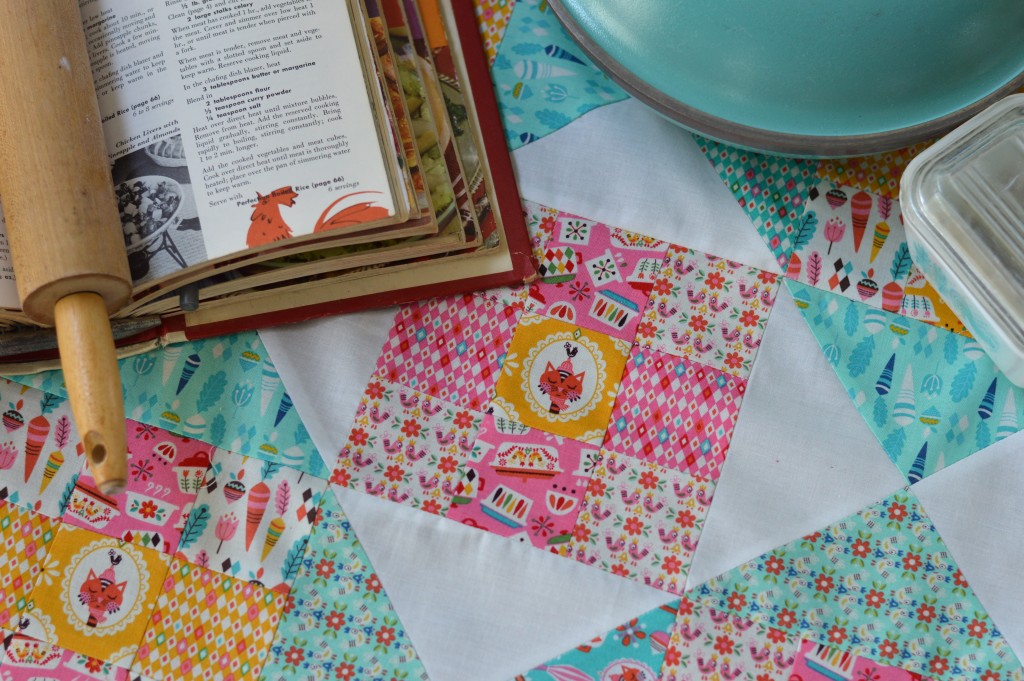 I have created a few little instruction guides to help you put this quilt together.
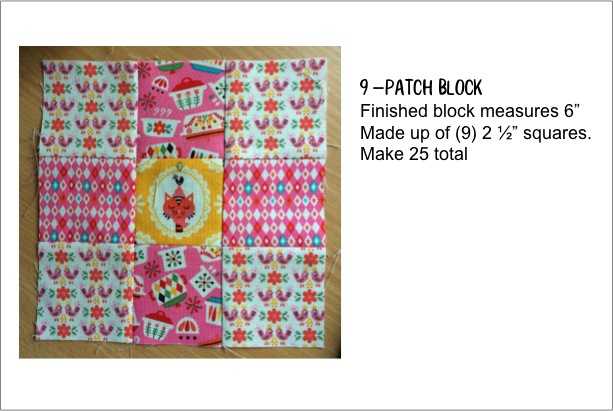
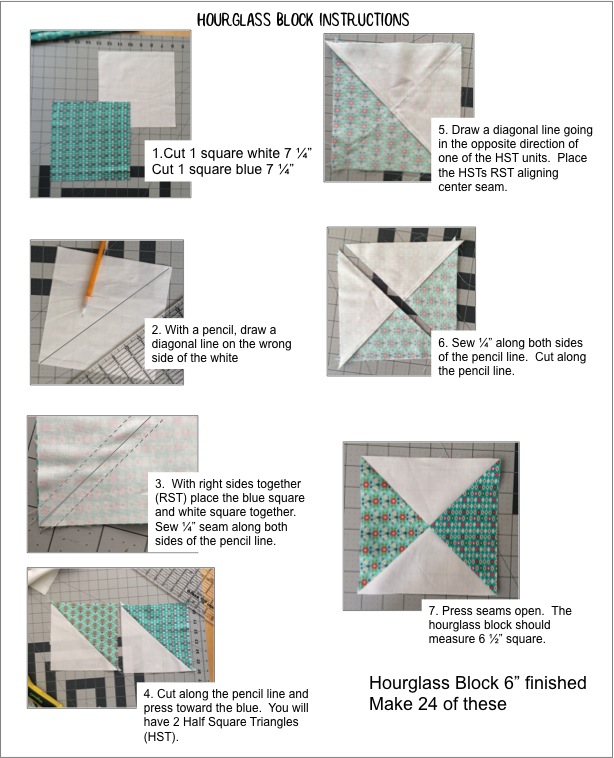
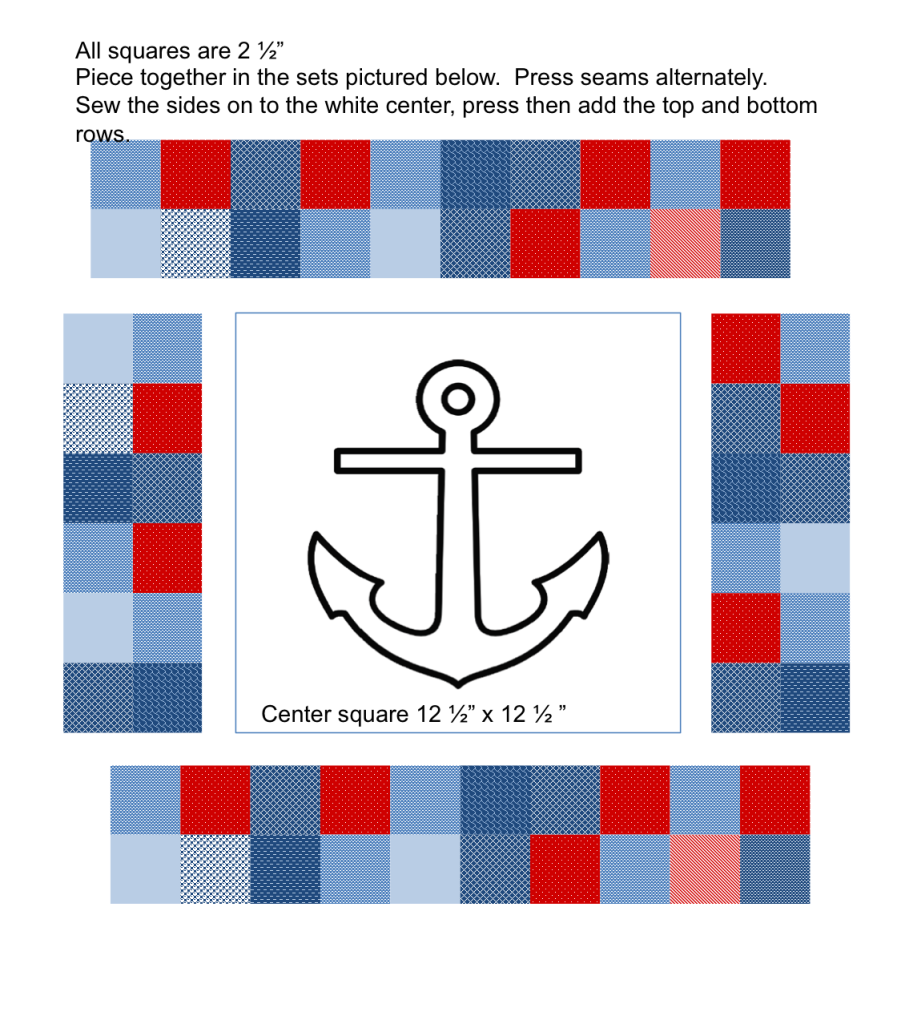
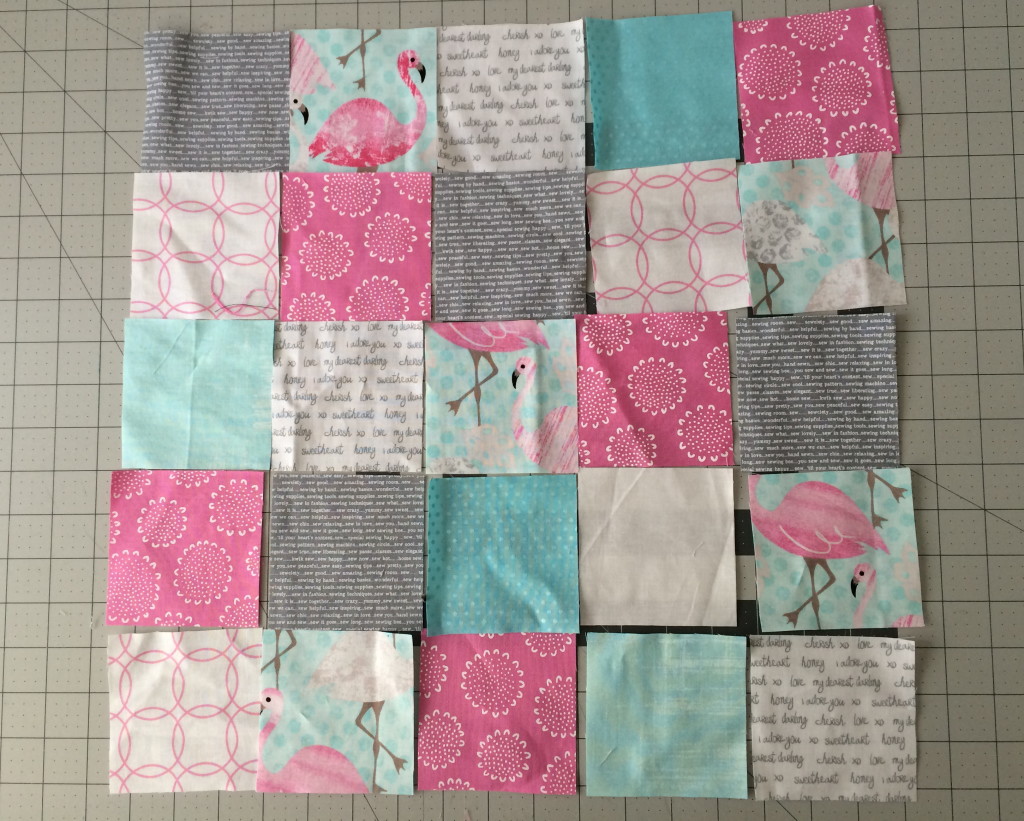
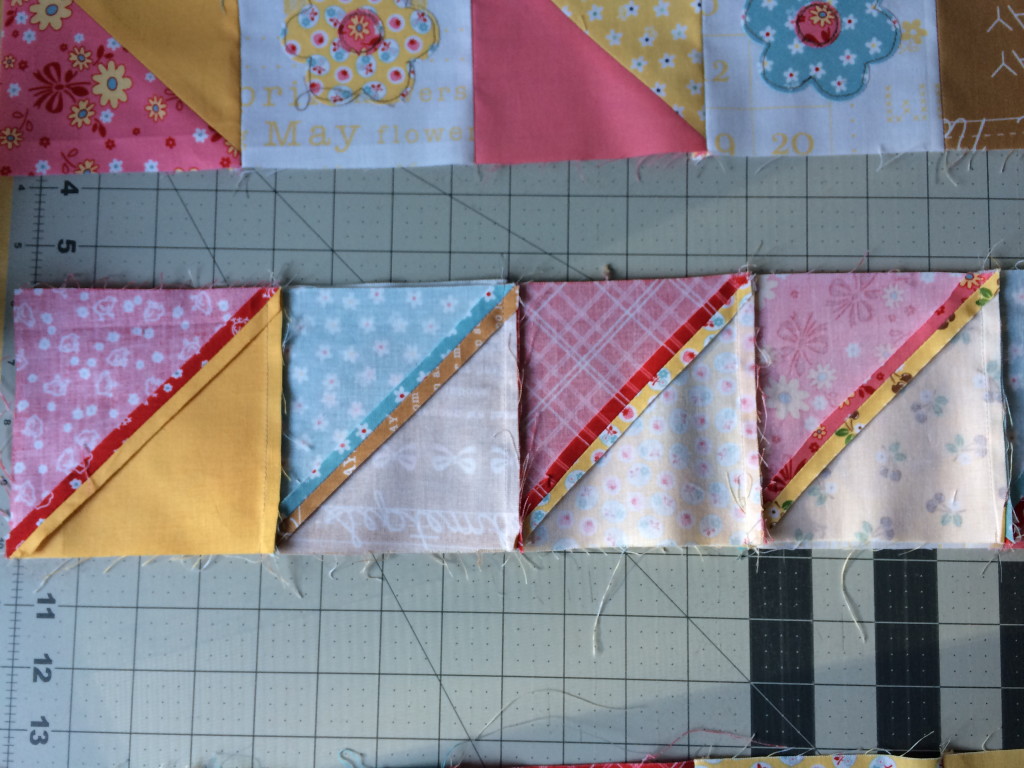
 Lay out the quilt as suggested below: