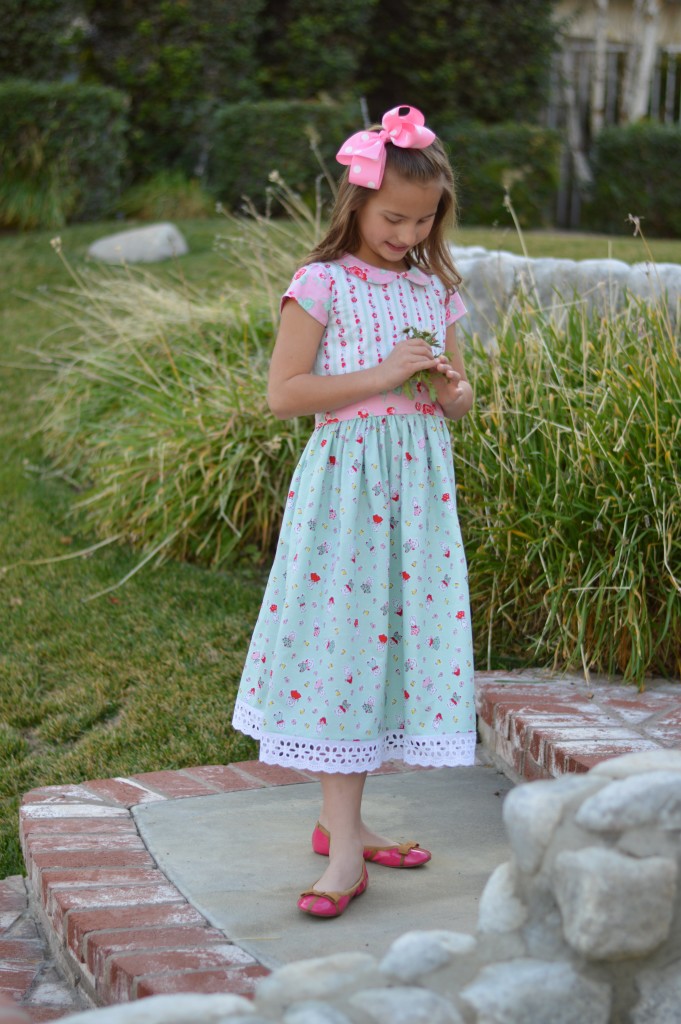
I am so in love Milk Sugar & Flower from Penny Rose! I have been saving it until I found the perfect project. And I found it! A dress for Sally! Sally will be getting baptized this month and I wanted her to have a special dress to wear after her Baptism.
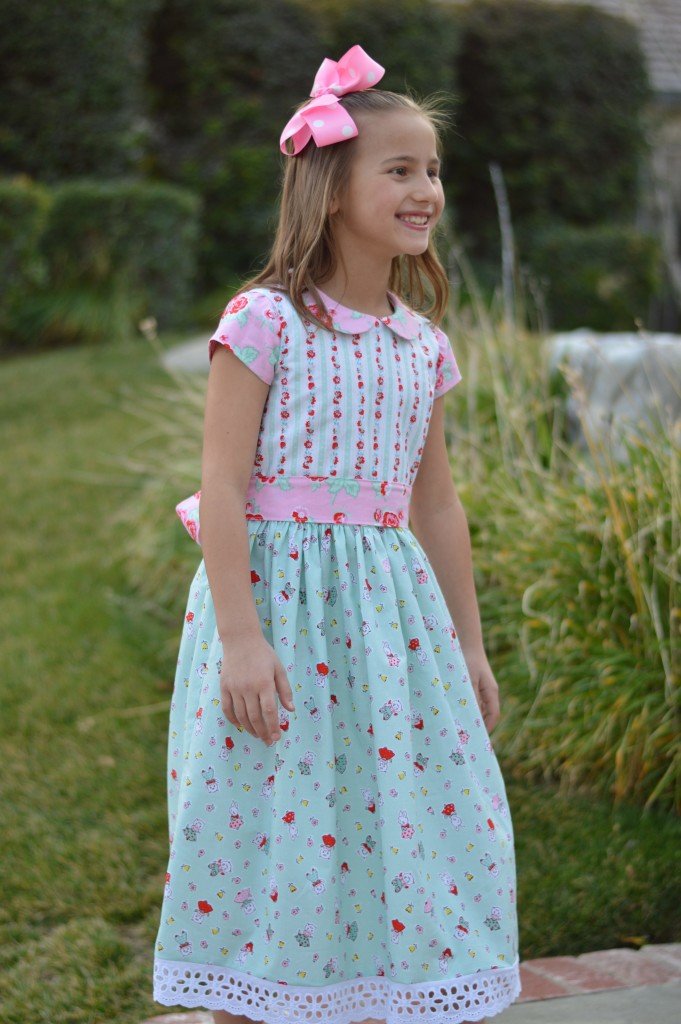
The style of the dress is classic little girl and fits Sally’s personality. She is a girl after my own vintage heart: lover of Elvis, old TV shows, and classic dress style. It’s just how little girls should be dressing.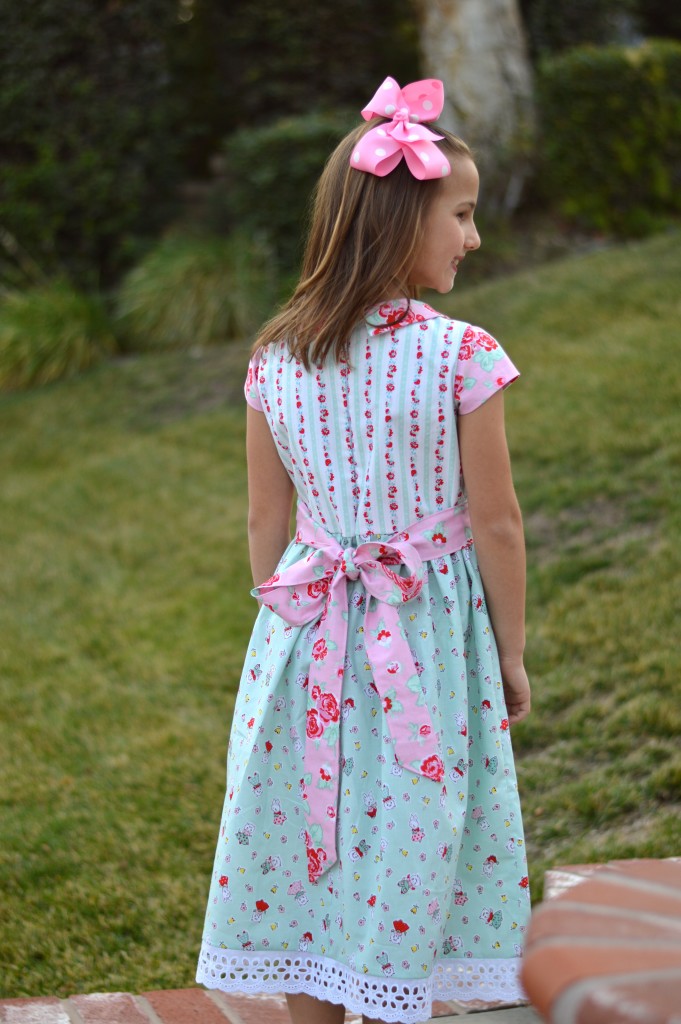
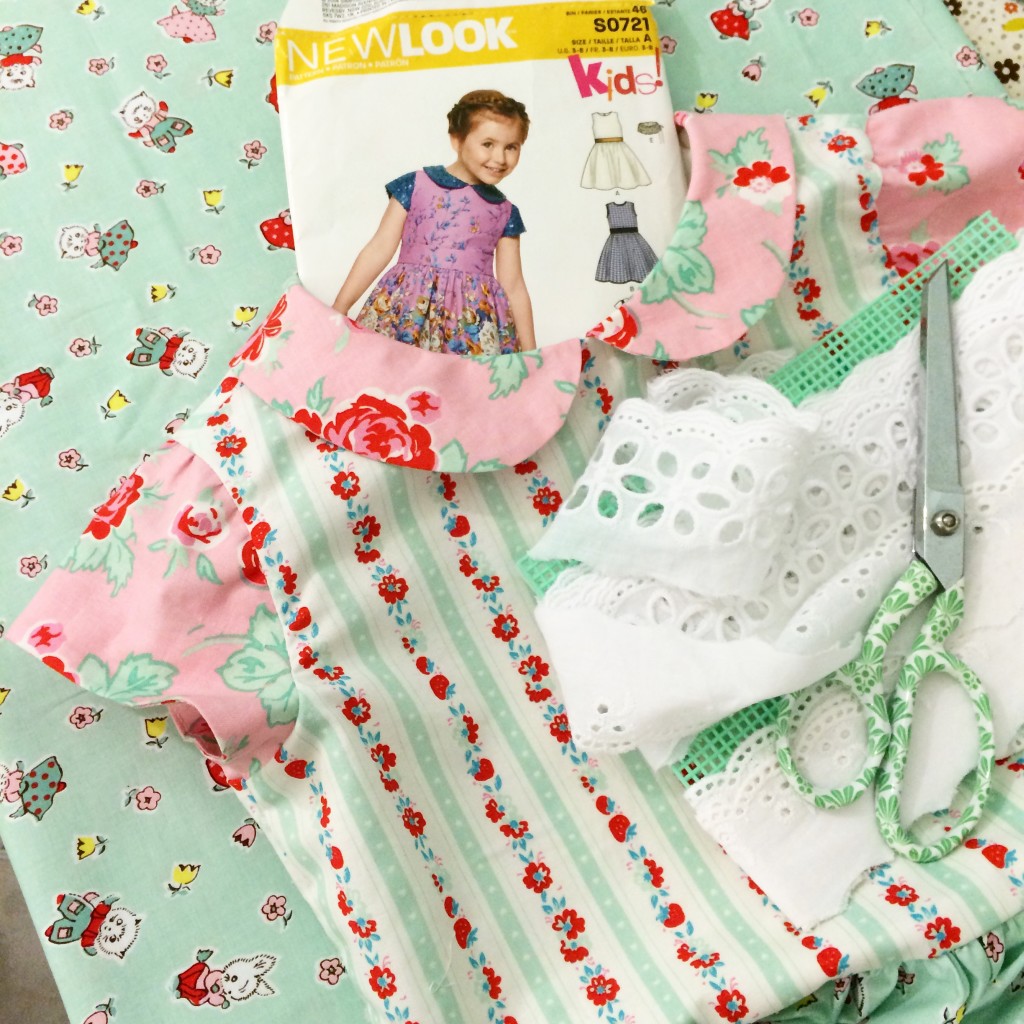
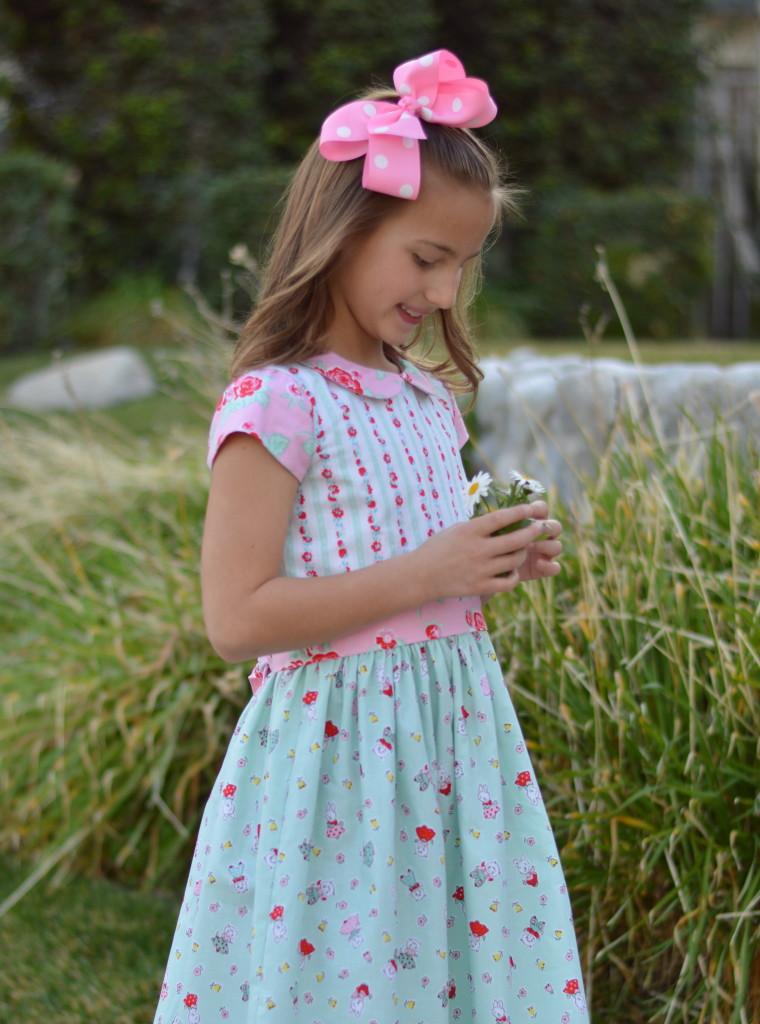
I have to admit I did not like the pattern at all. Upon completion of the dress I wadded the whole pattern up and threw it in the garbage! Which, by the way, saved me a good 30 minutes of folding the dang thing up so it would fit in the envelope!
Despite the frustration with the pattern, I love the finished dress and so does Sally.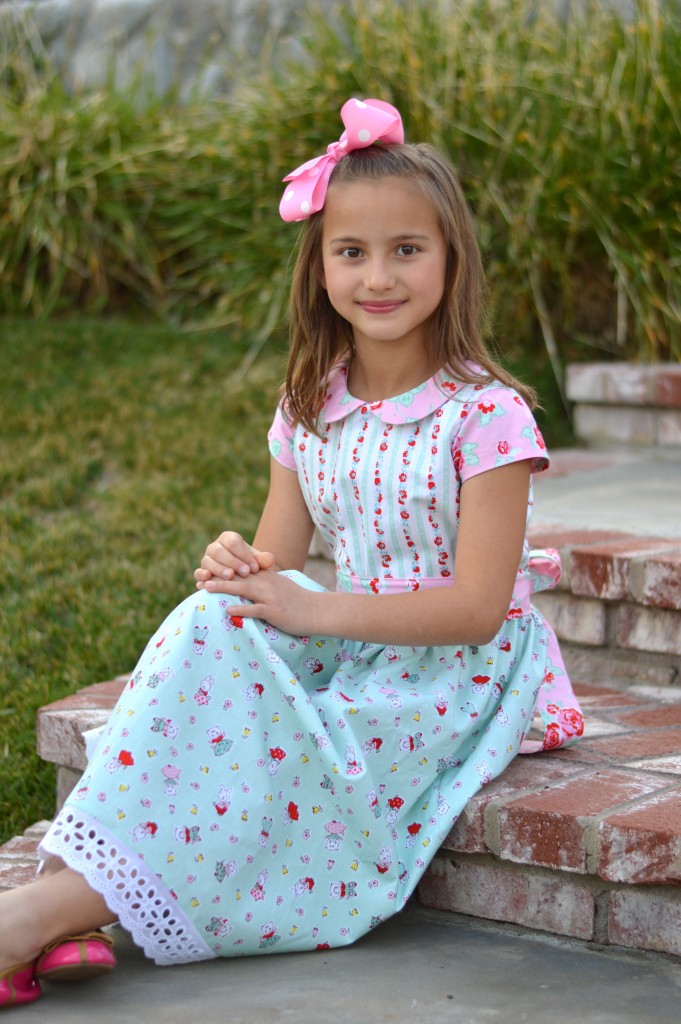
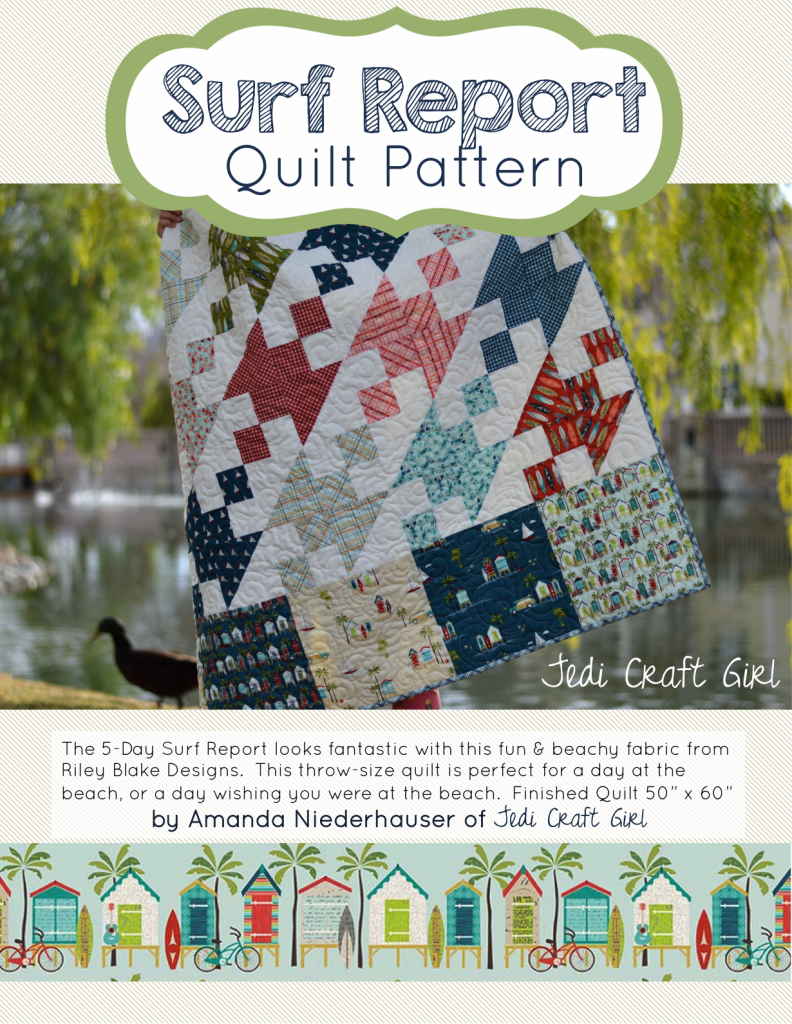

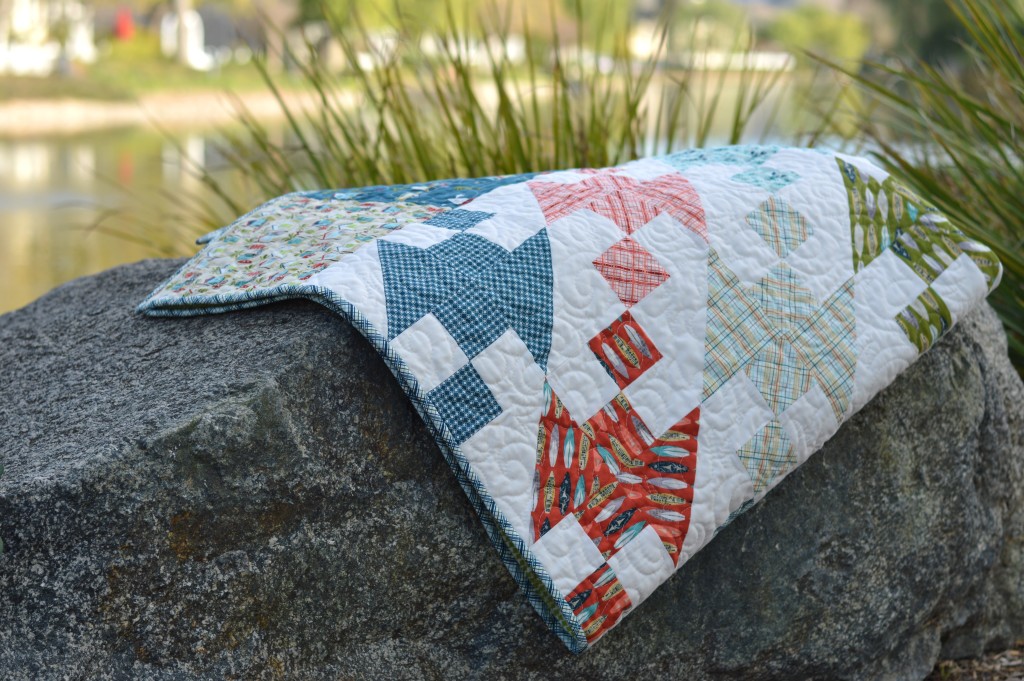
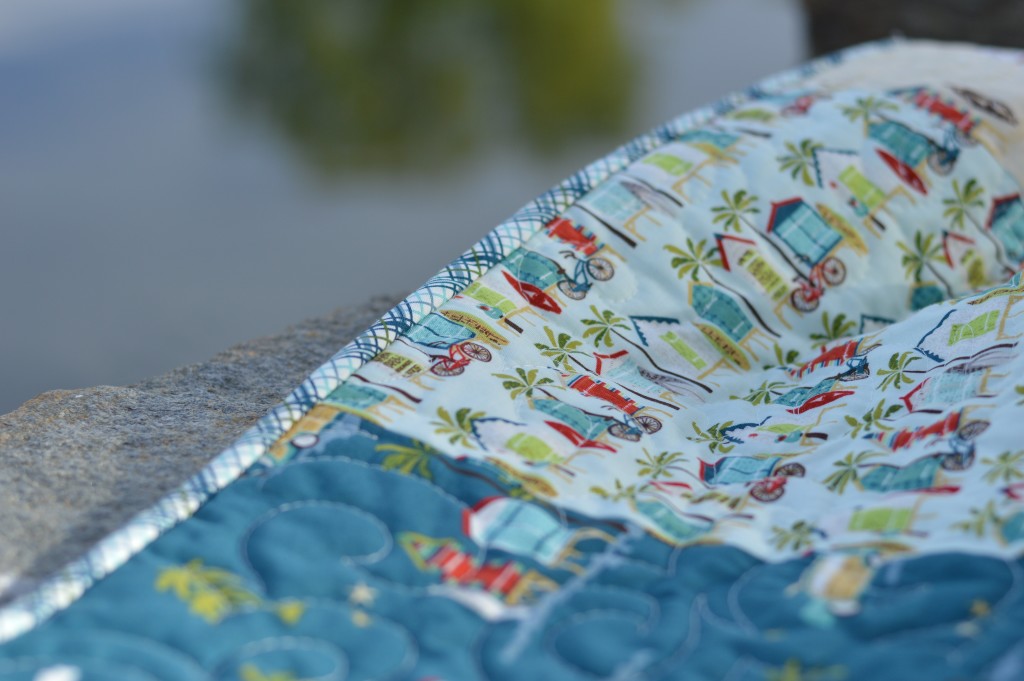 Surfing is the life, the rest is details 🙂
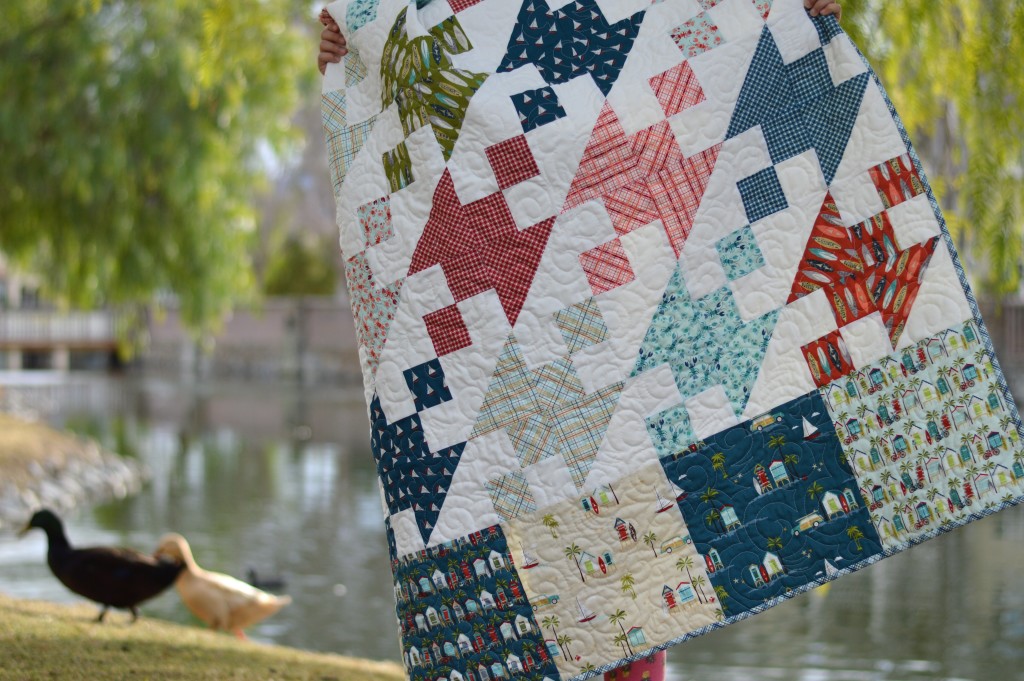
 Iron
Iron 


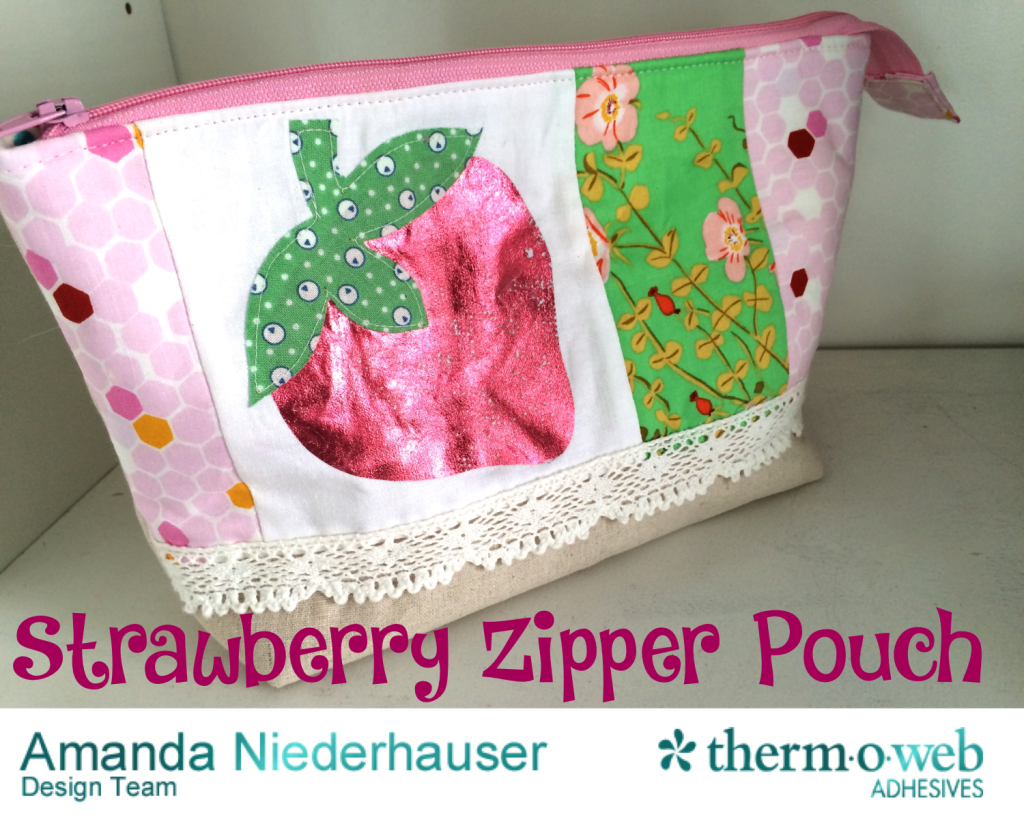


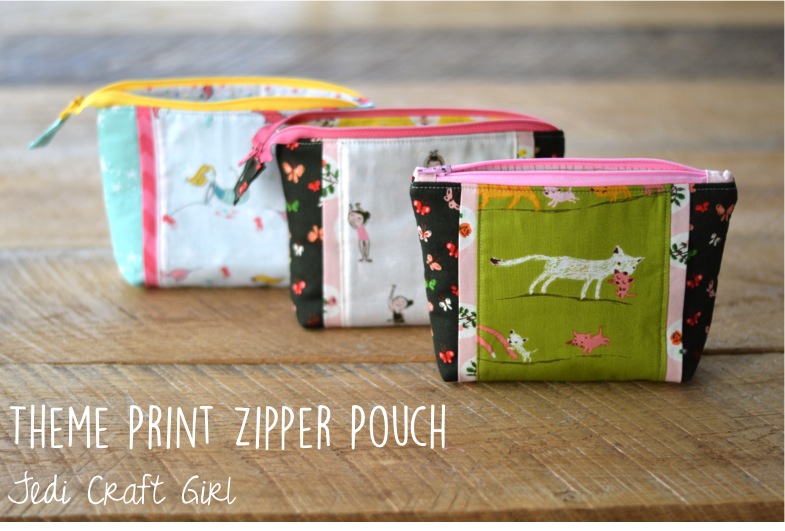
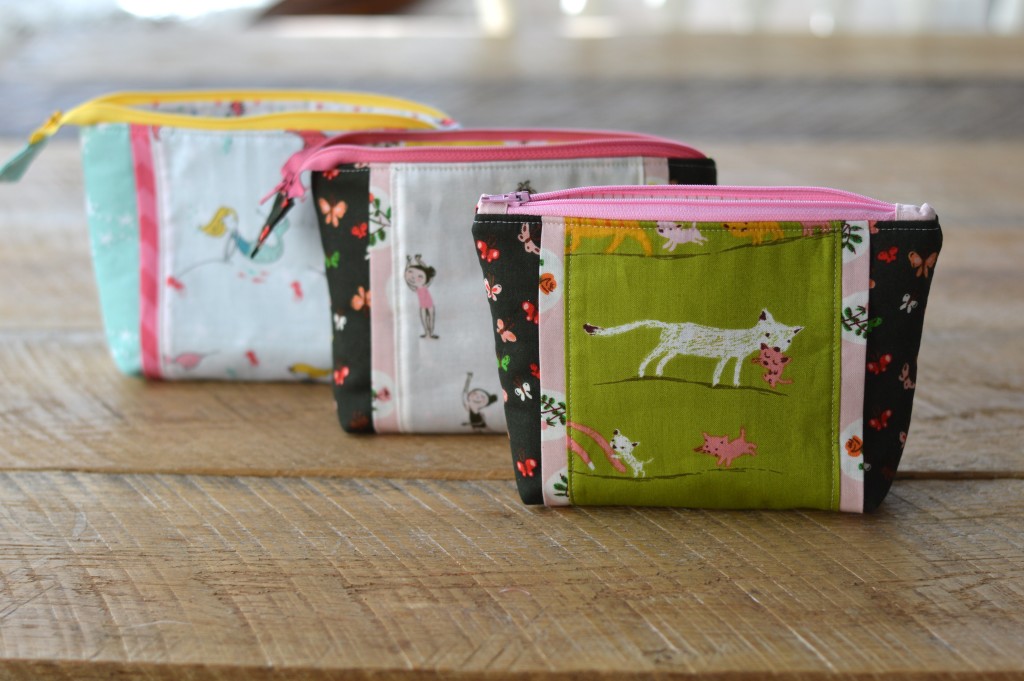
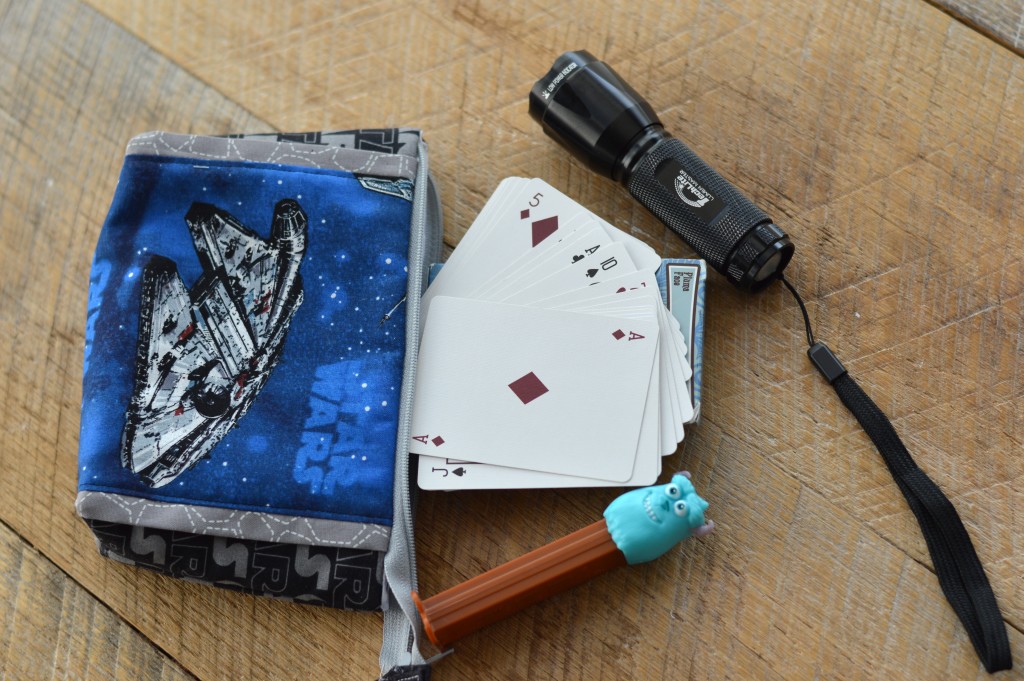
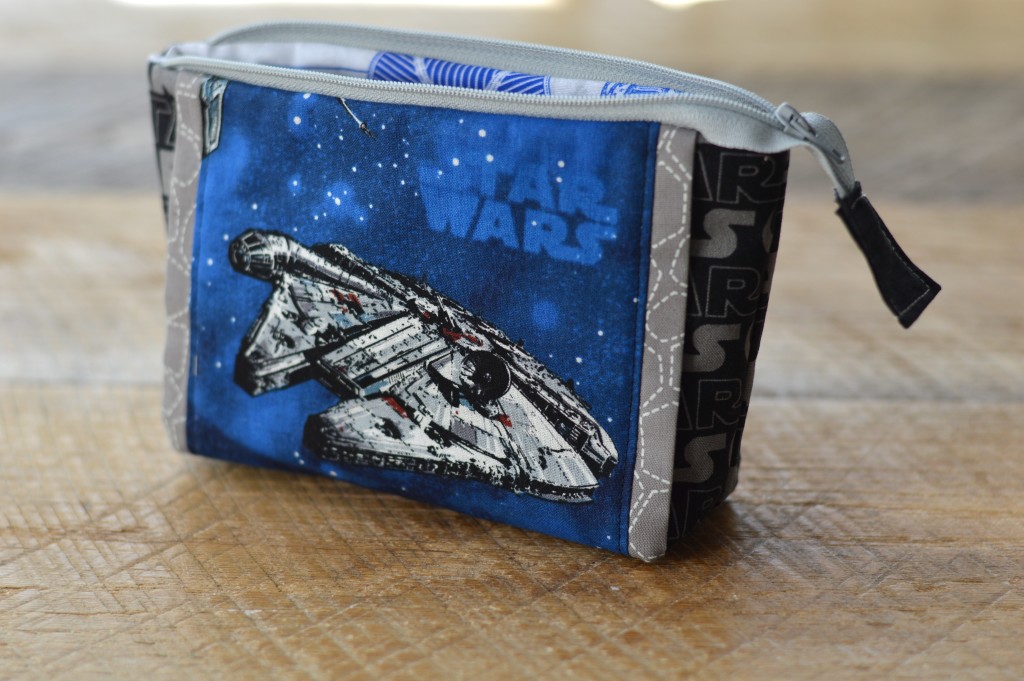
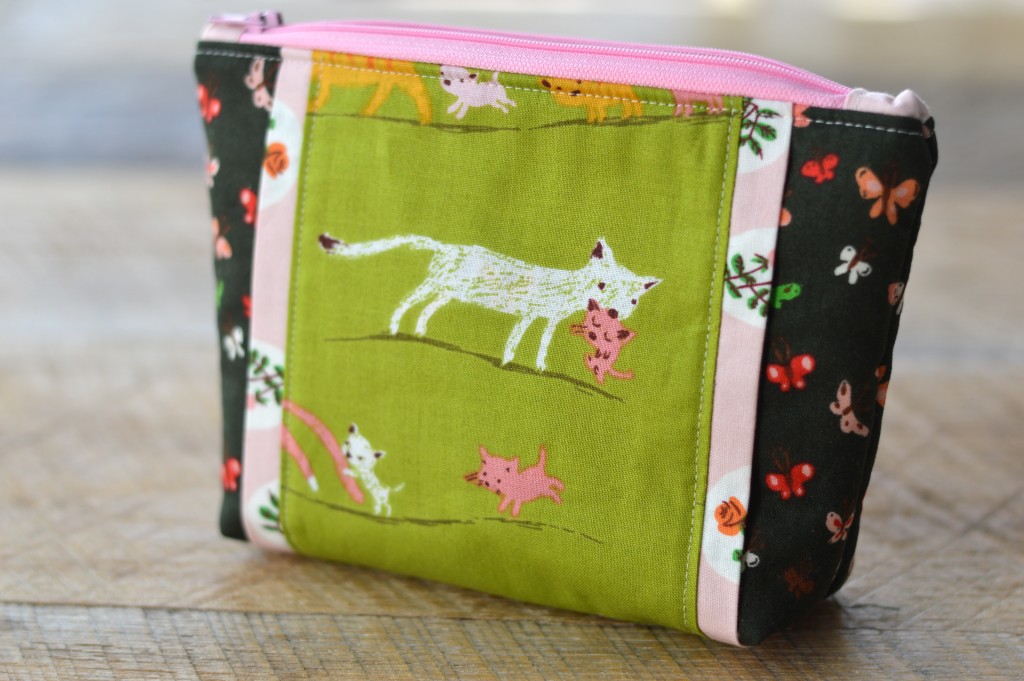
 I have created this pattern so you can use your favorite theme print fabric and tailor it to who you are giving it to. I even have Star Wars version!! Let’s get started!!
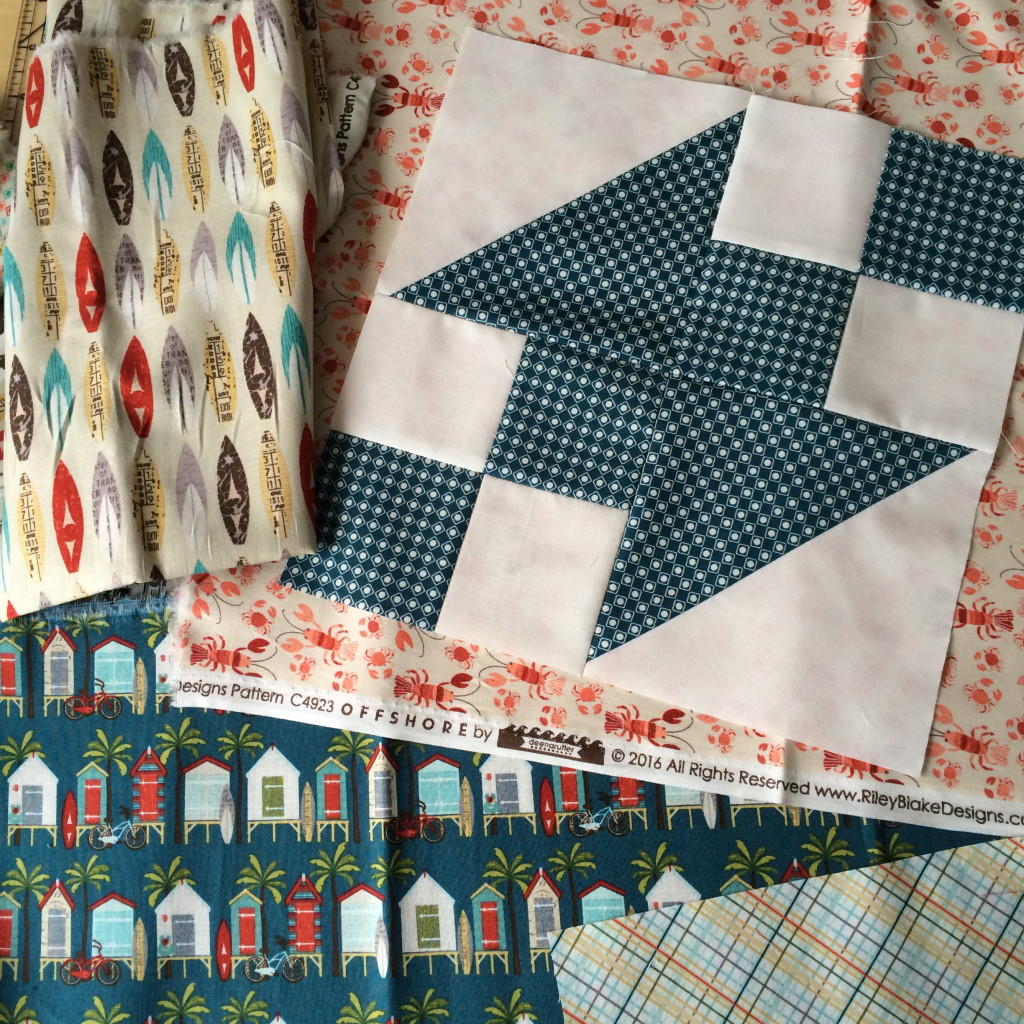
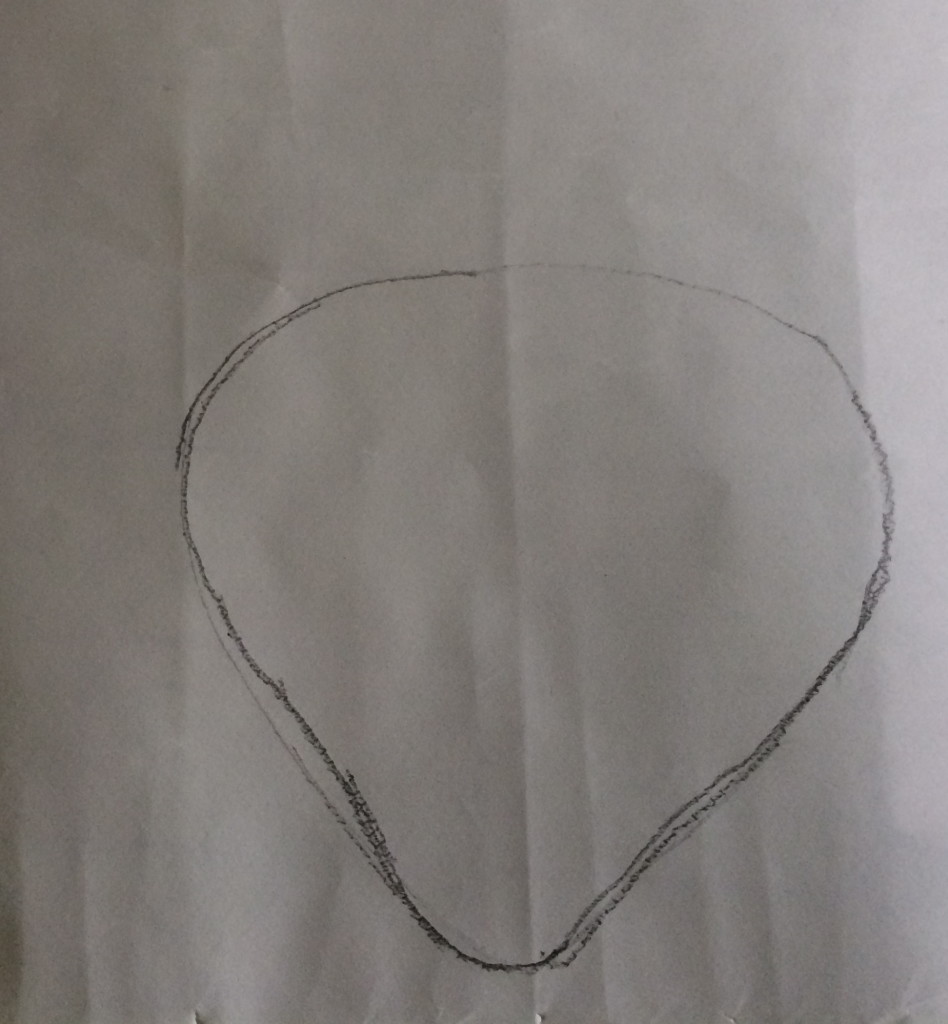
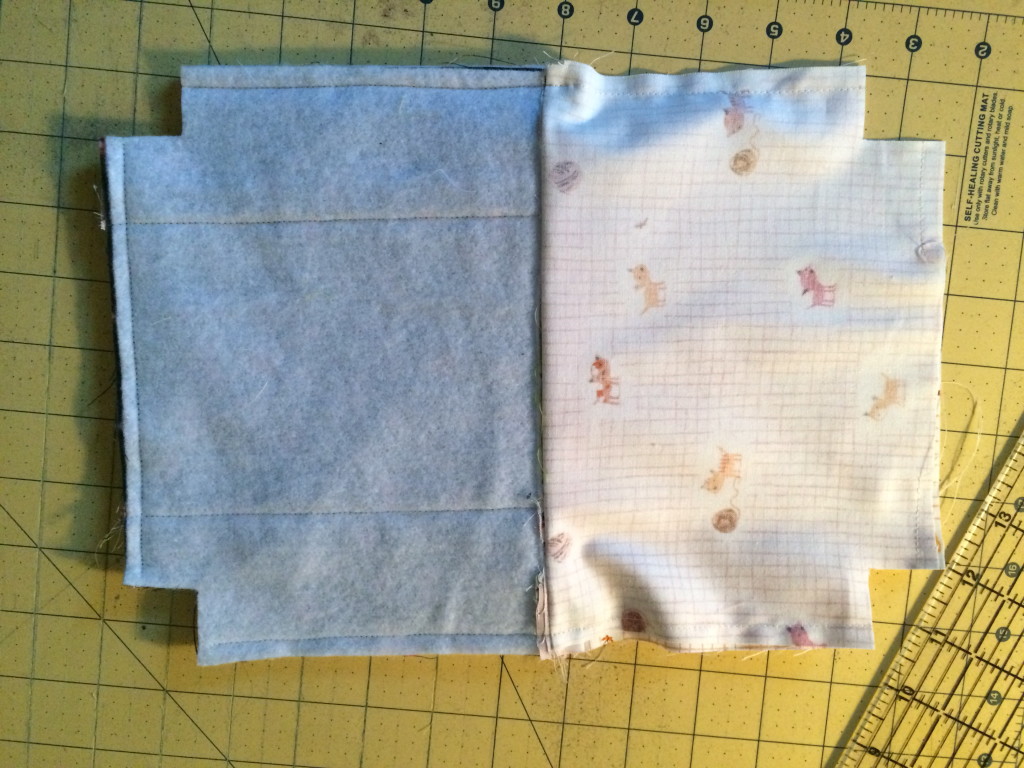
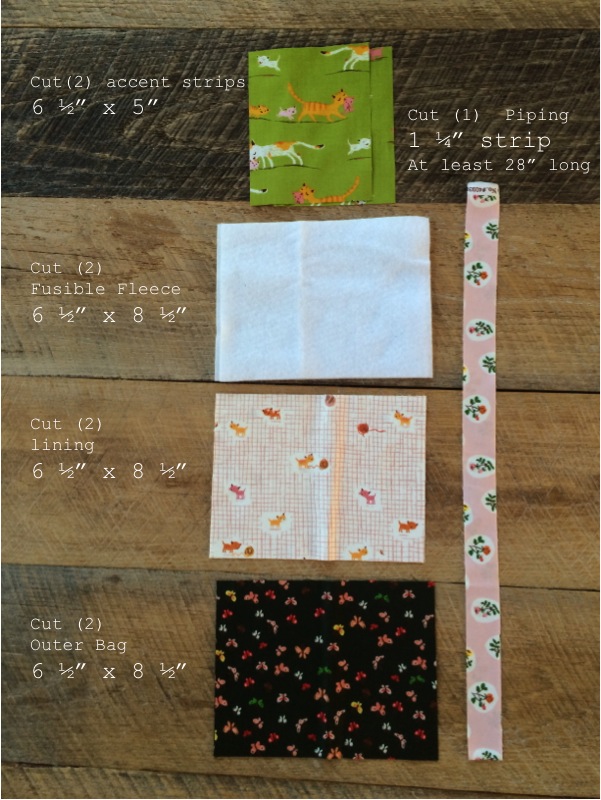 Cut the pieces according to the above cutting guide.
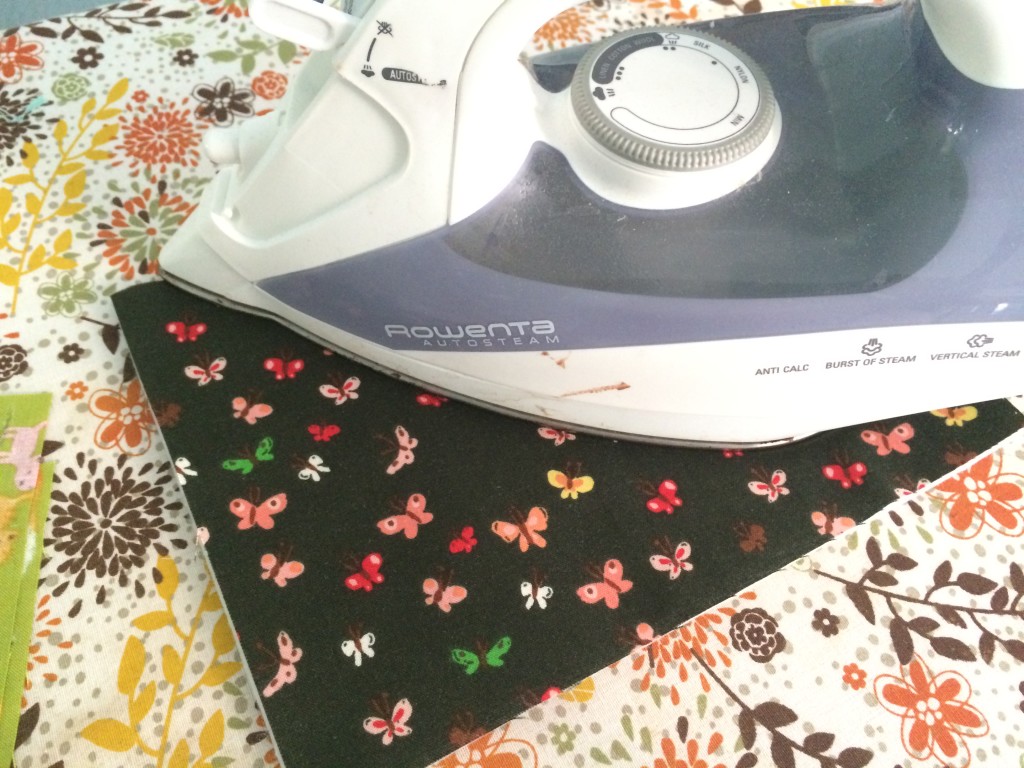
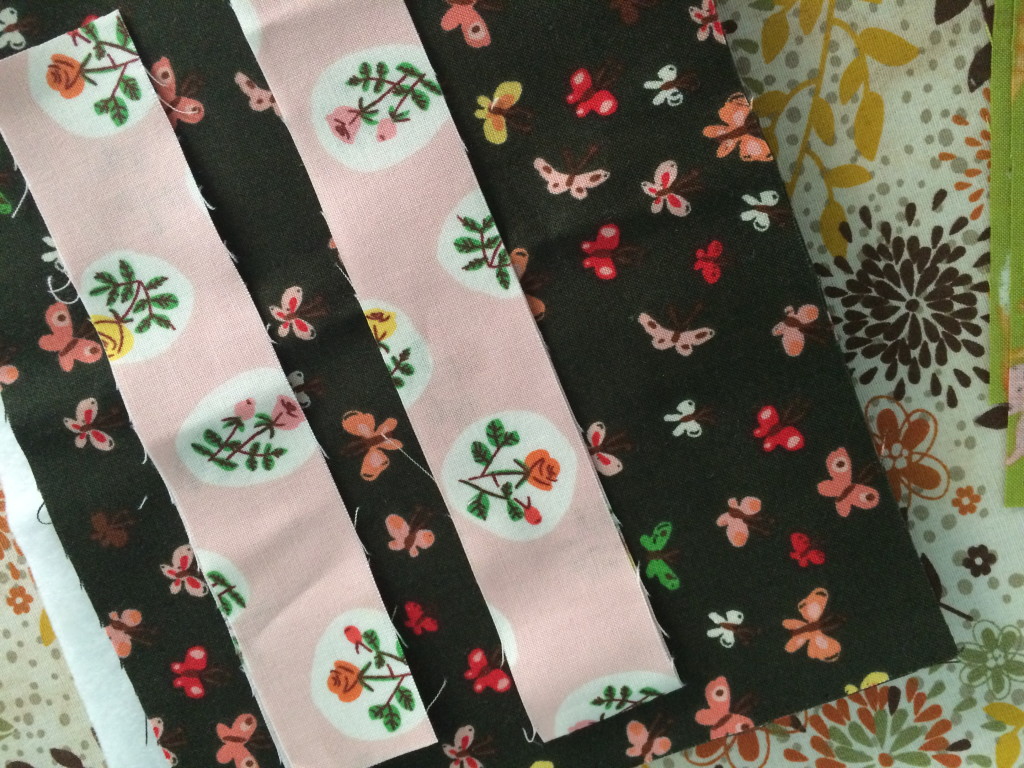
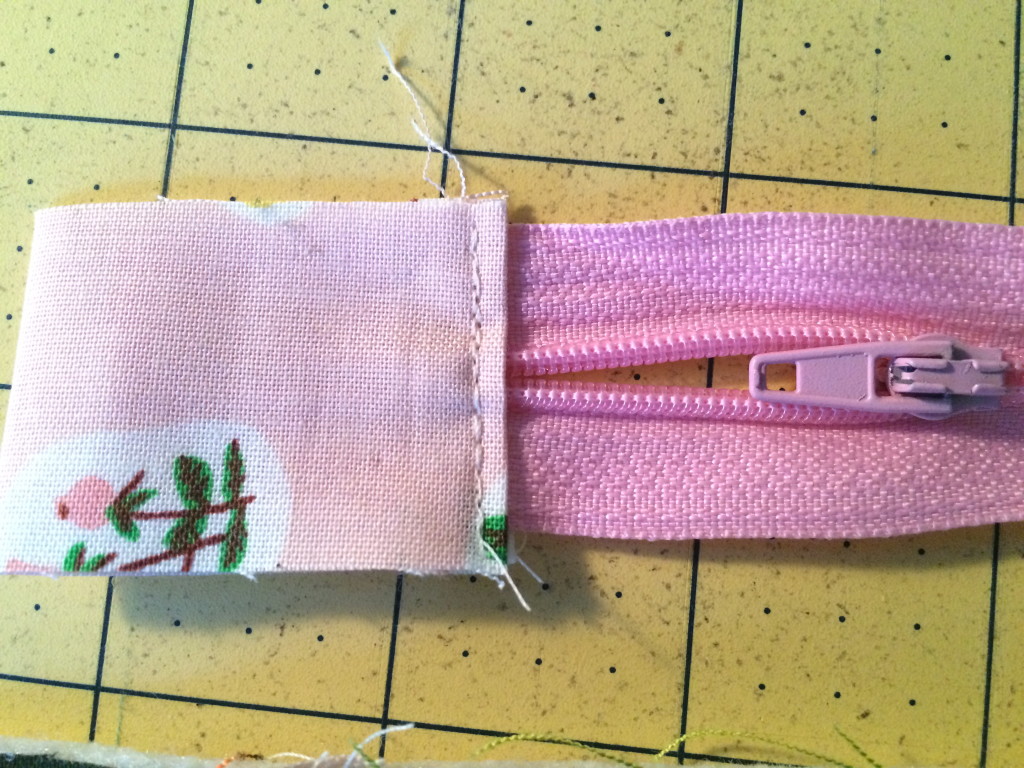
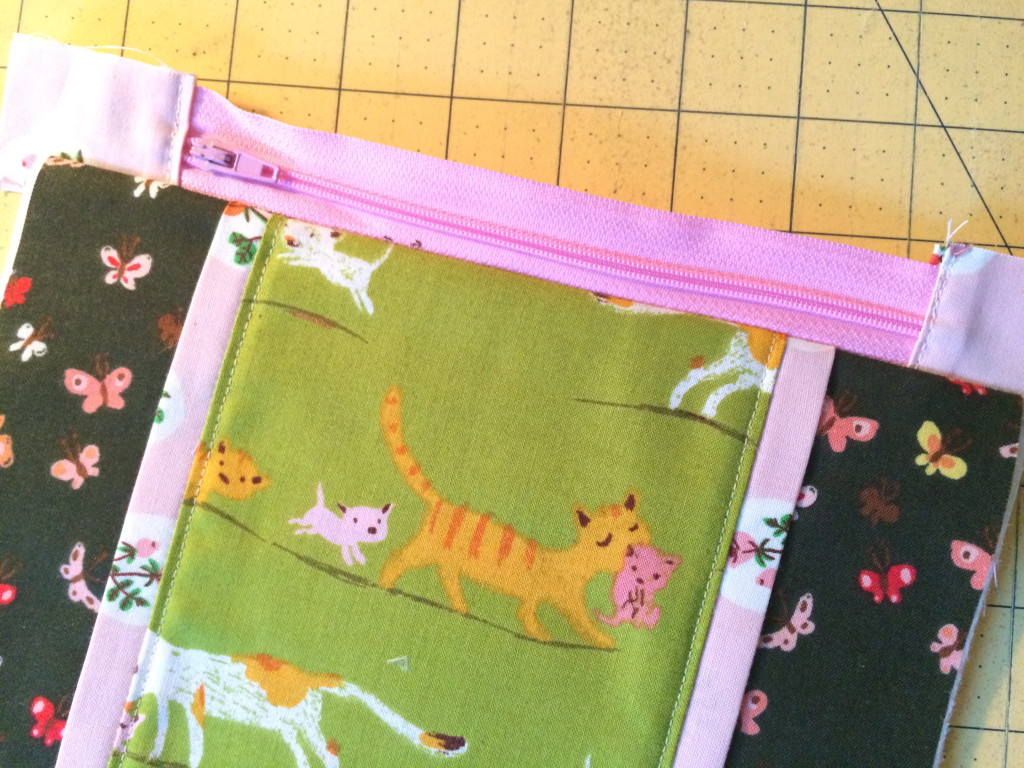
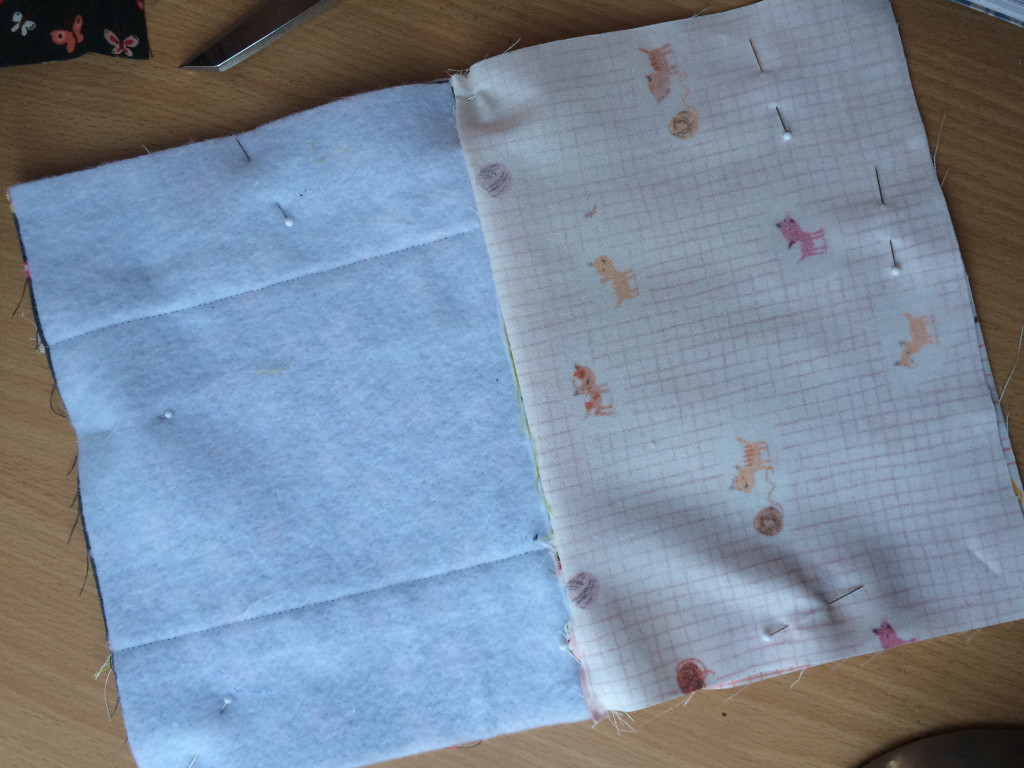
 Align the raw edges with the edge of the theme print fabric and sew a 1/4″ seam. Do this to all (4) sides of the (2) theme print pieces.
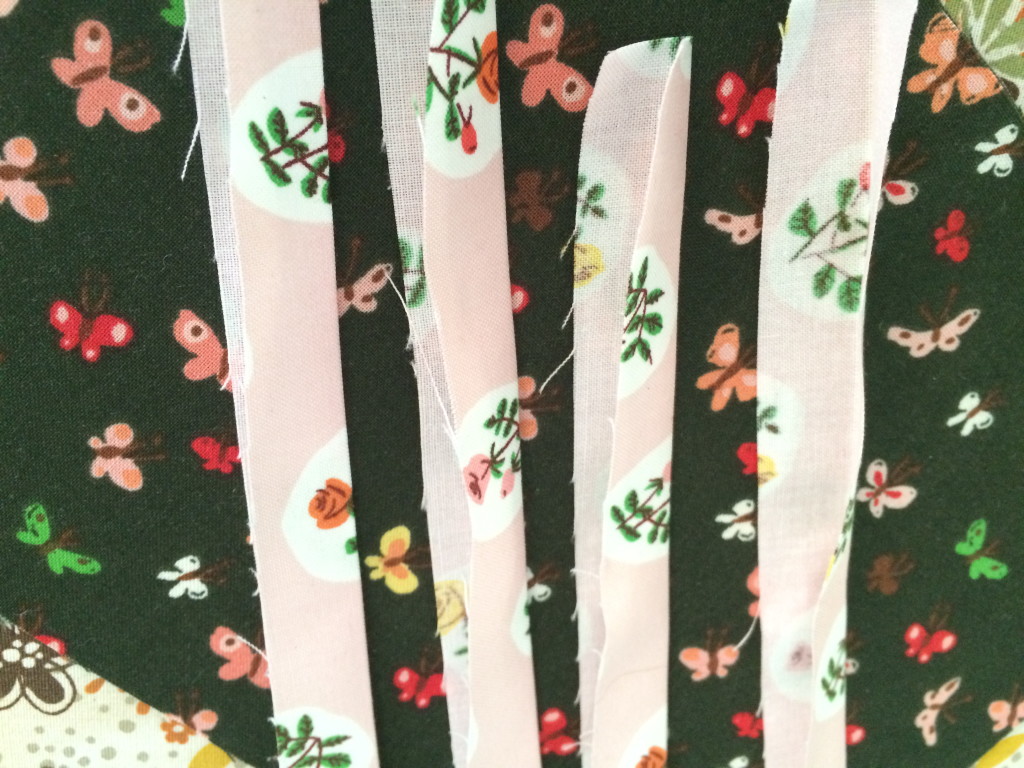
 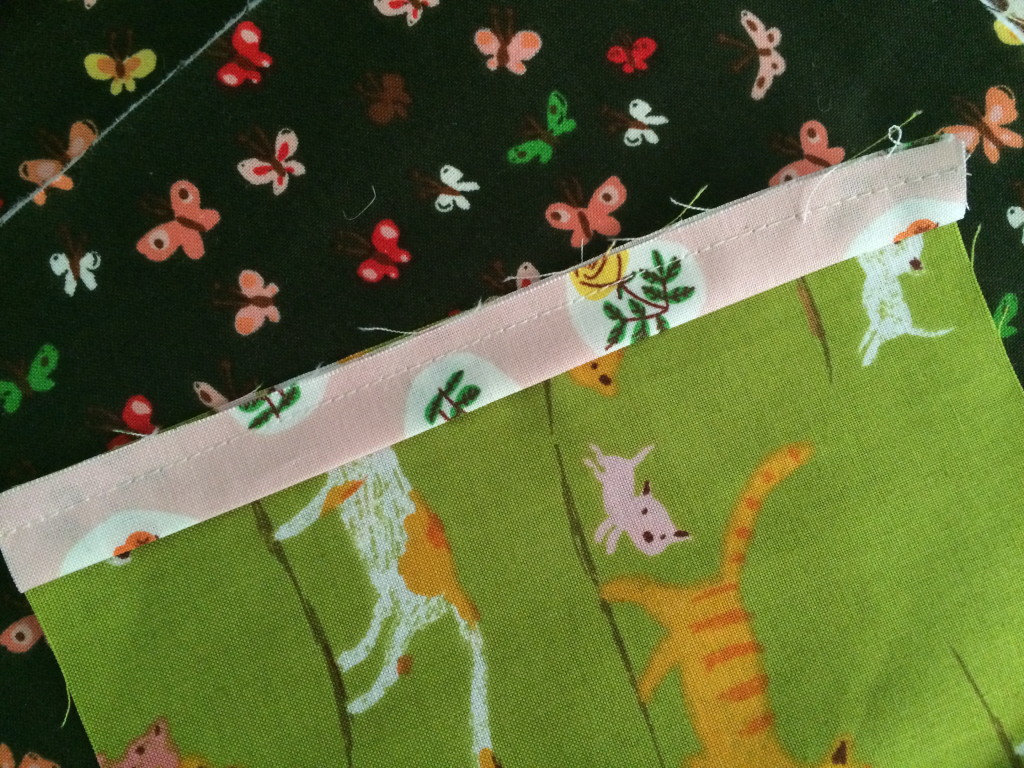 Press the accent strips so the seam allowance is toward the theme print.
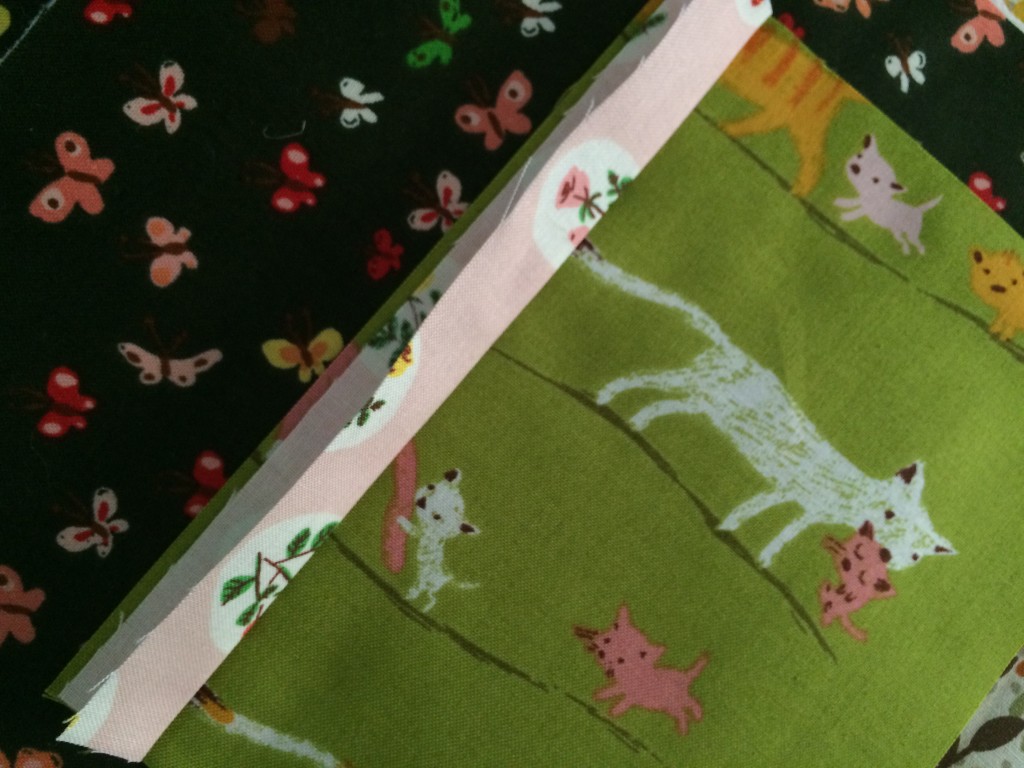
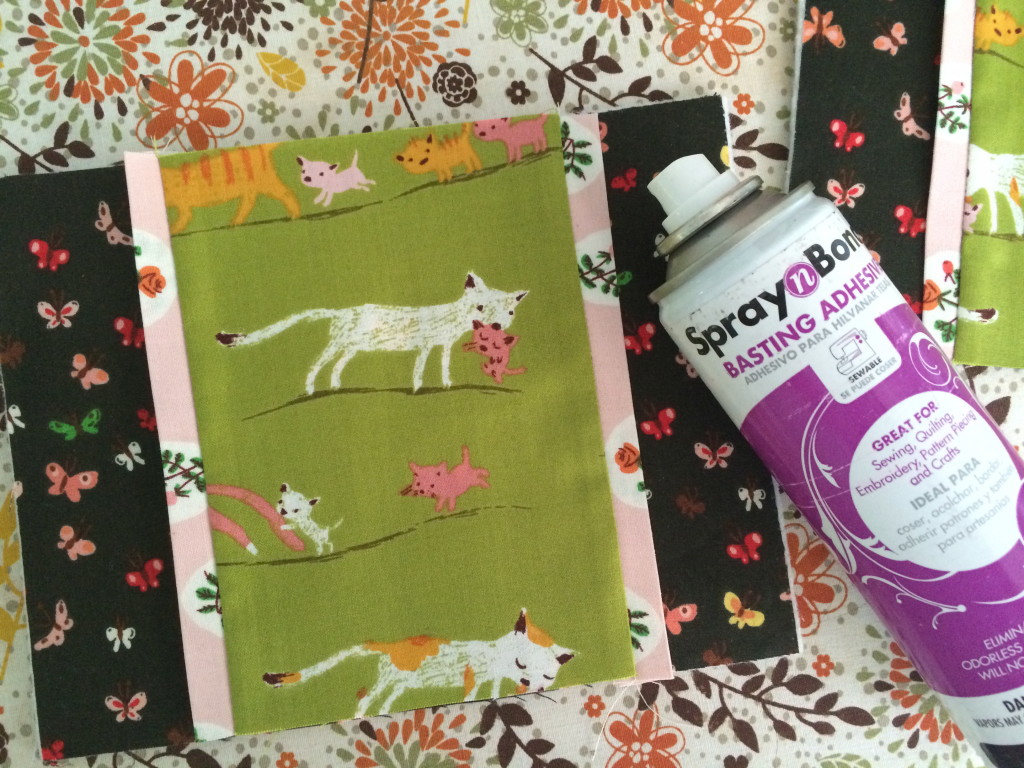
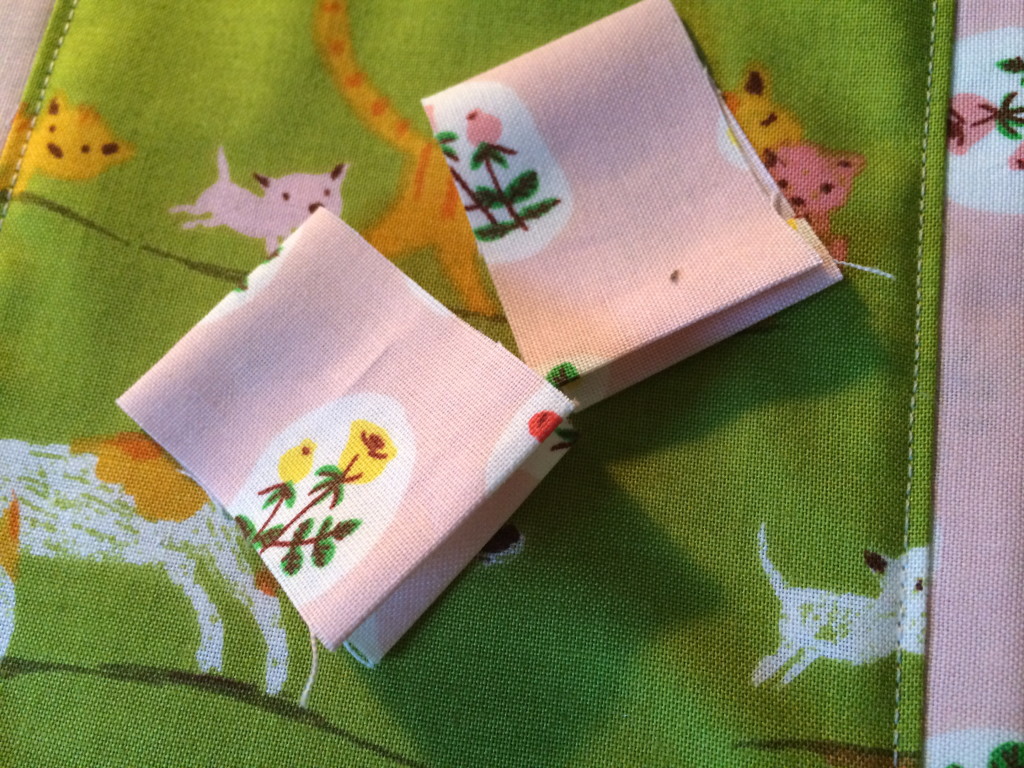
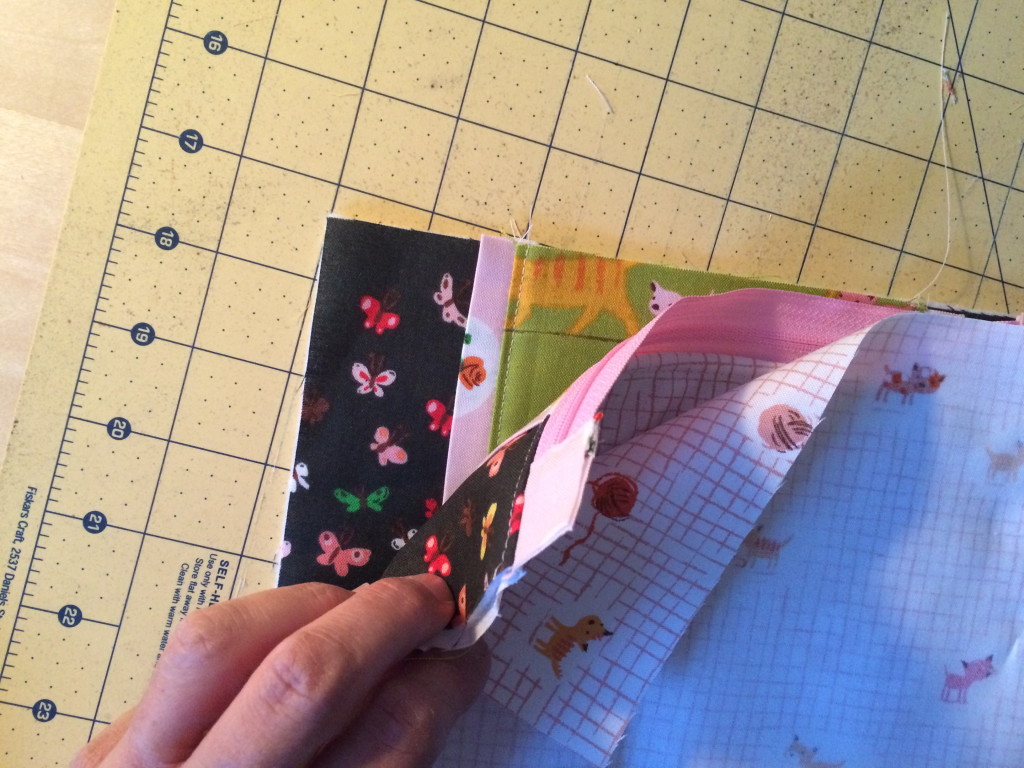
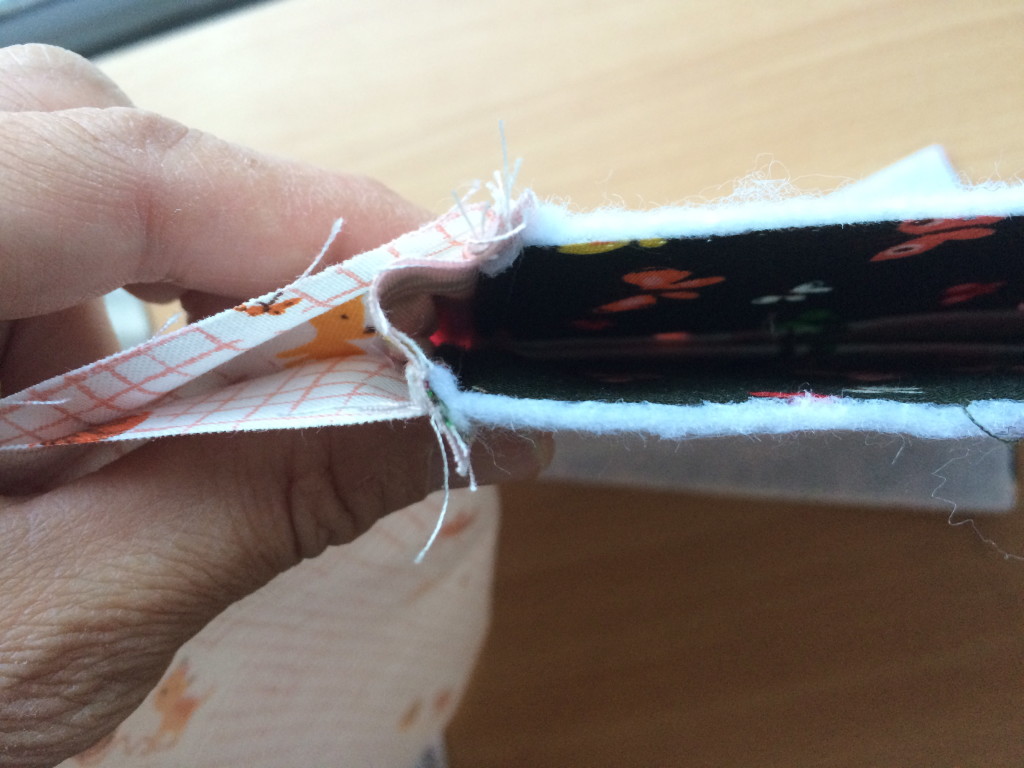
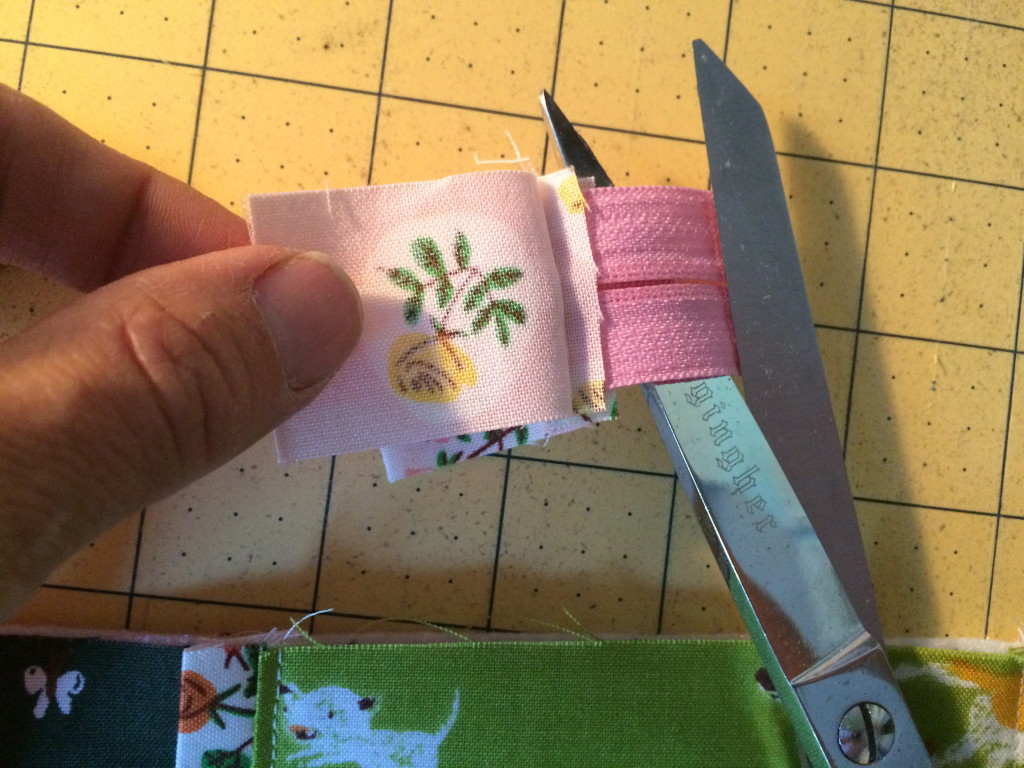 http://www.jedicraftgirl.com/wp-admin/post-new.phpCut along the fold of the zipper tab and cut away the excess zipper, leaving about 1/8″ of zipper. This makes it so there is no bulky zipper in the side seam of the zipper pouch.
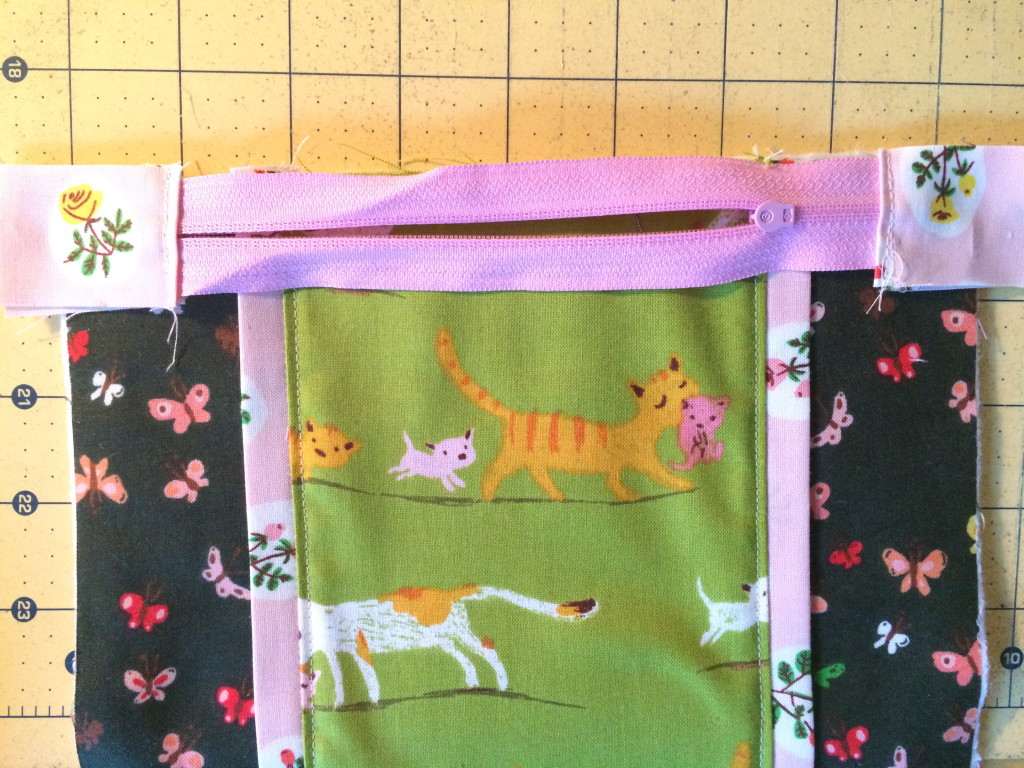
 The
The 


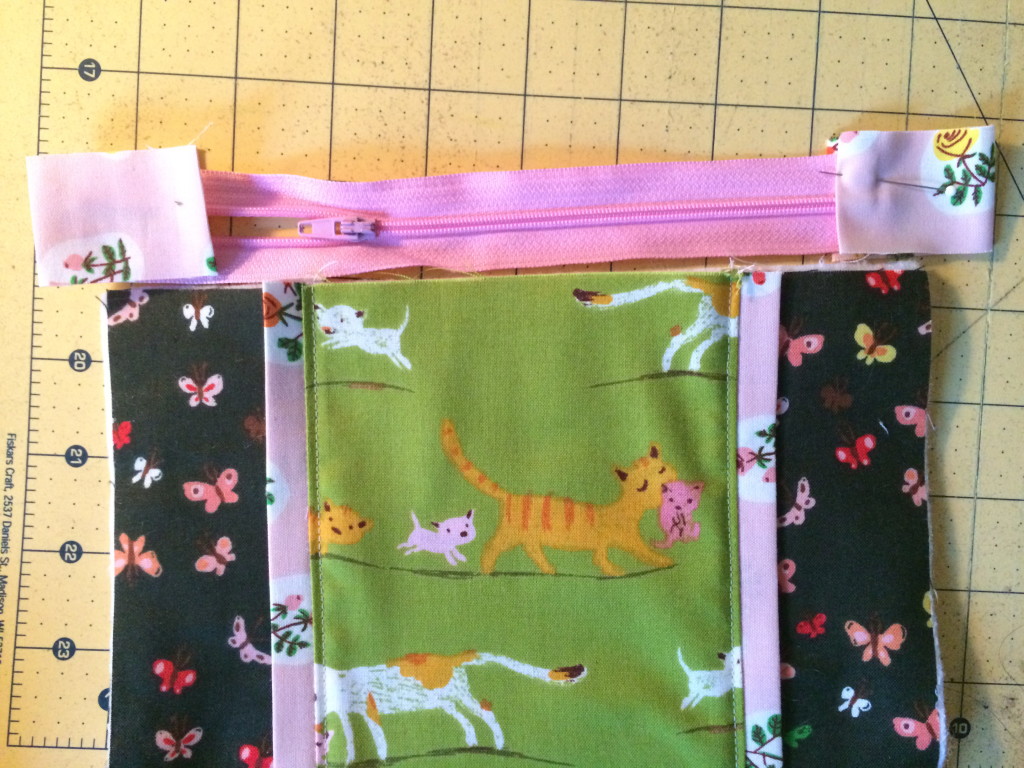
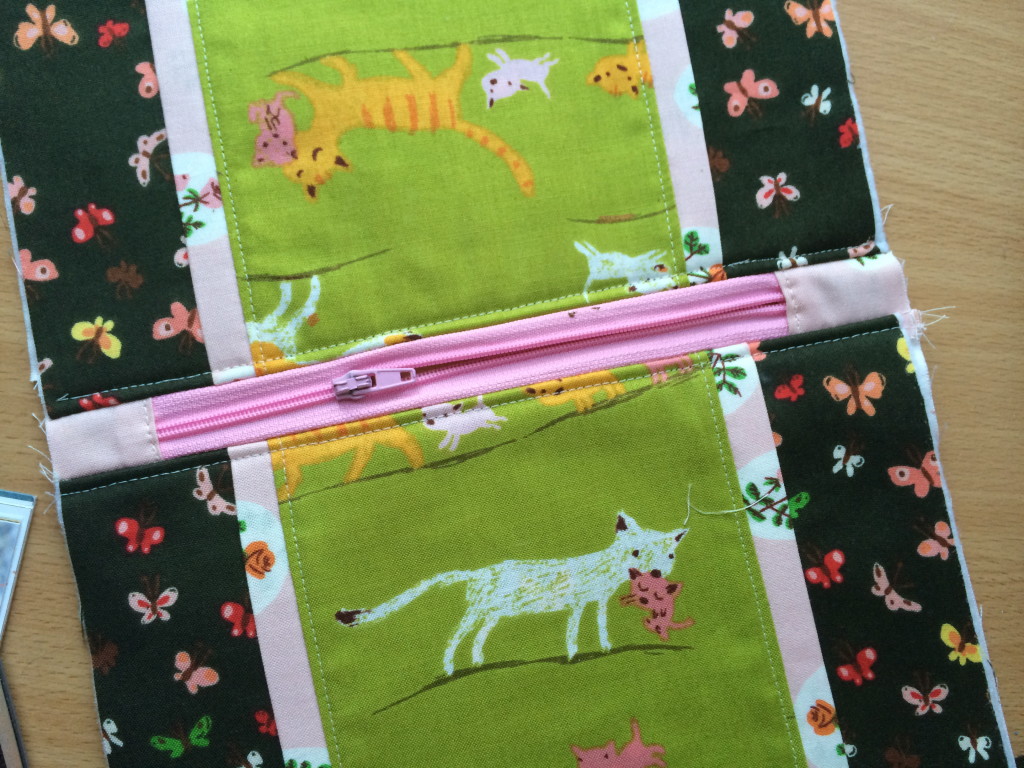
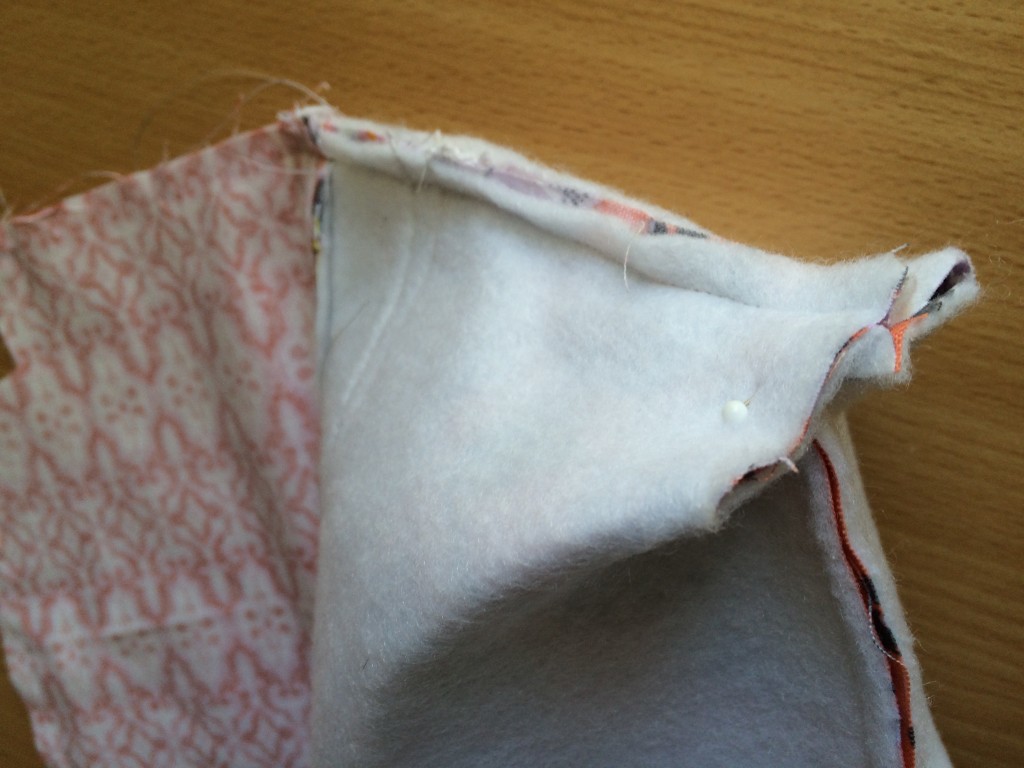
 Open the notch and match the side seam and the bottom seam. Pin. Do this to each of the notched corners.


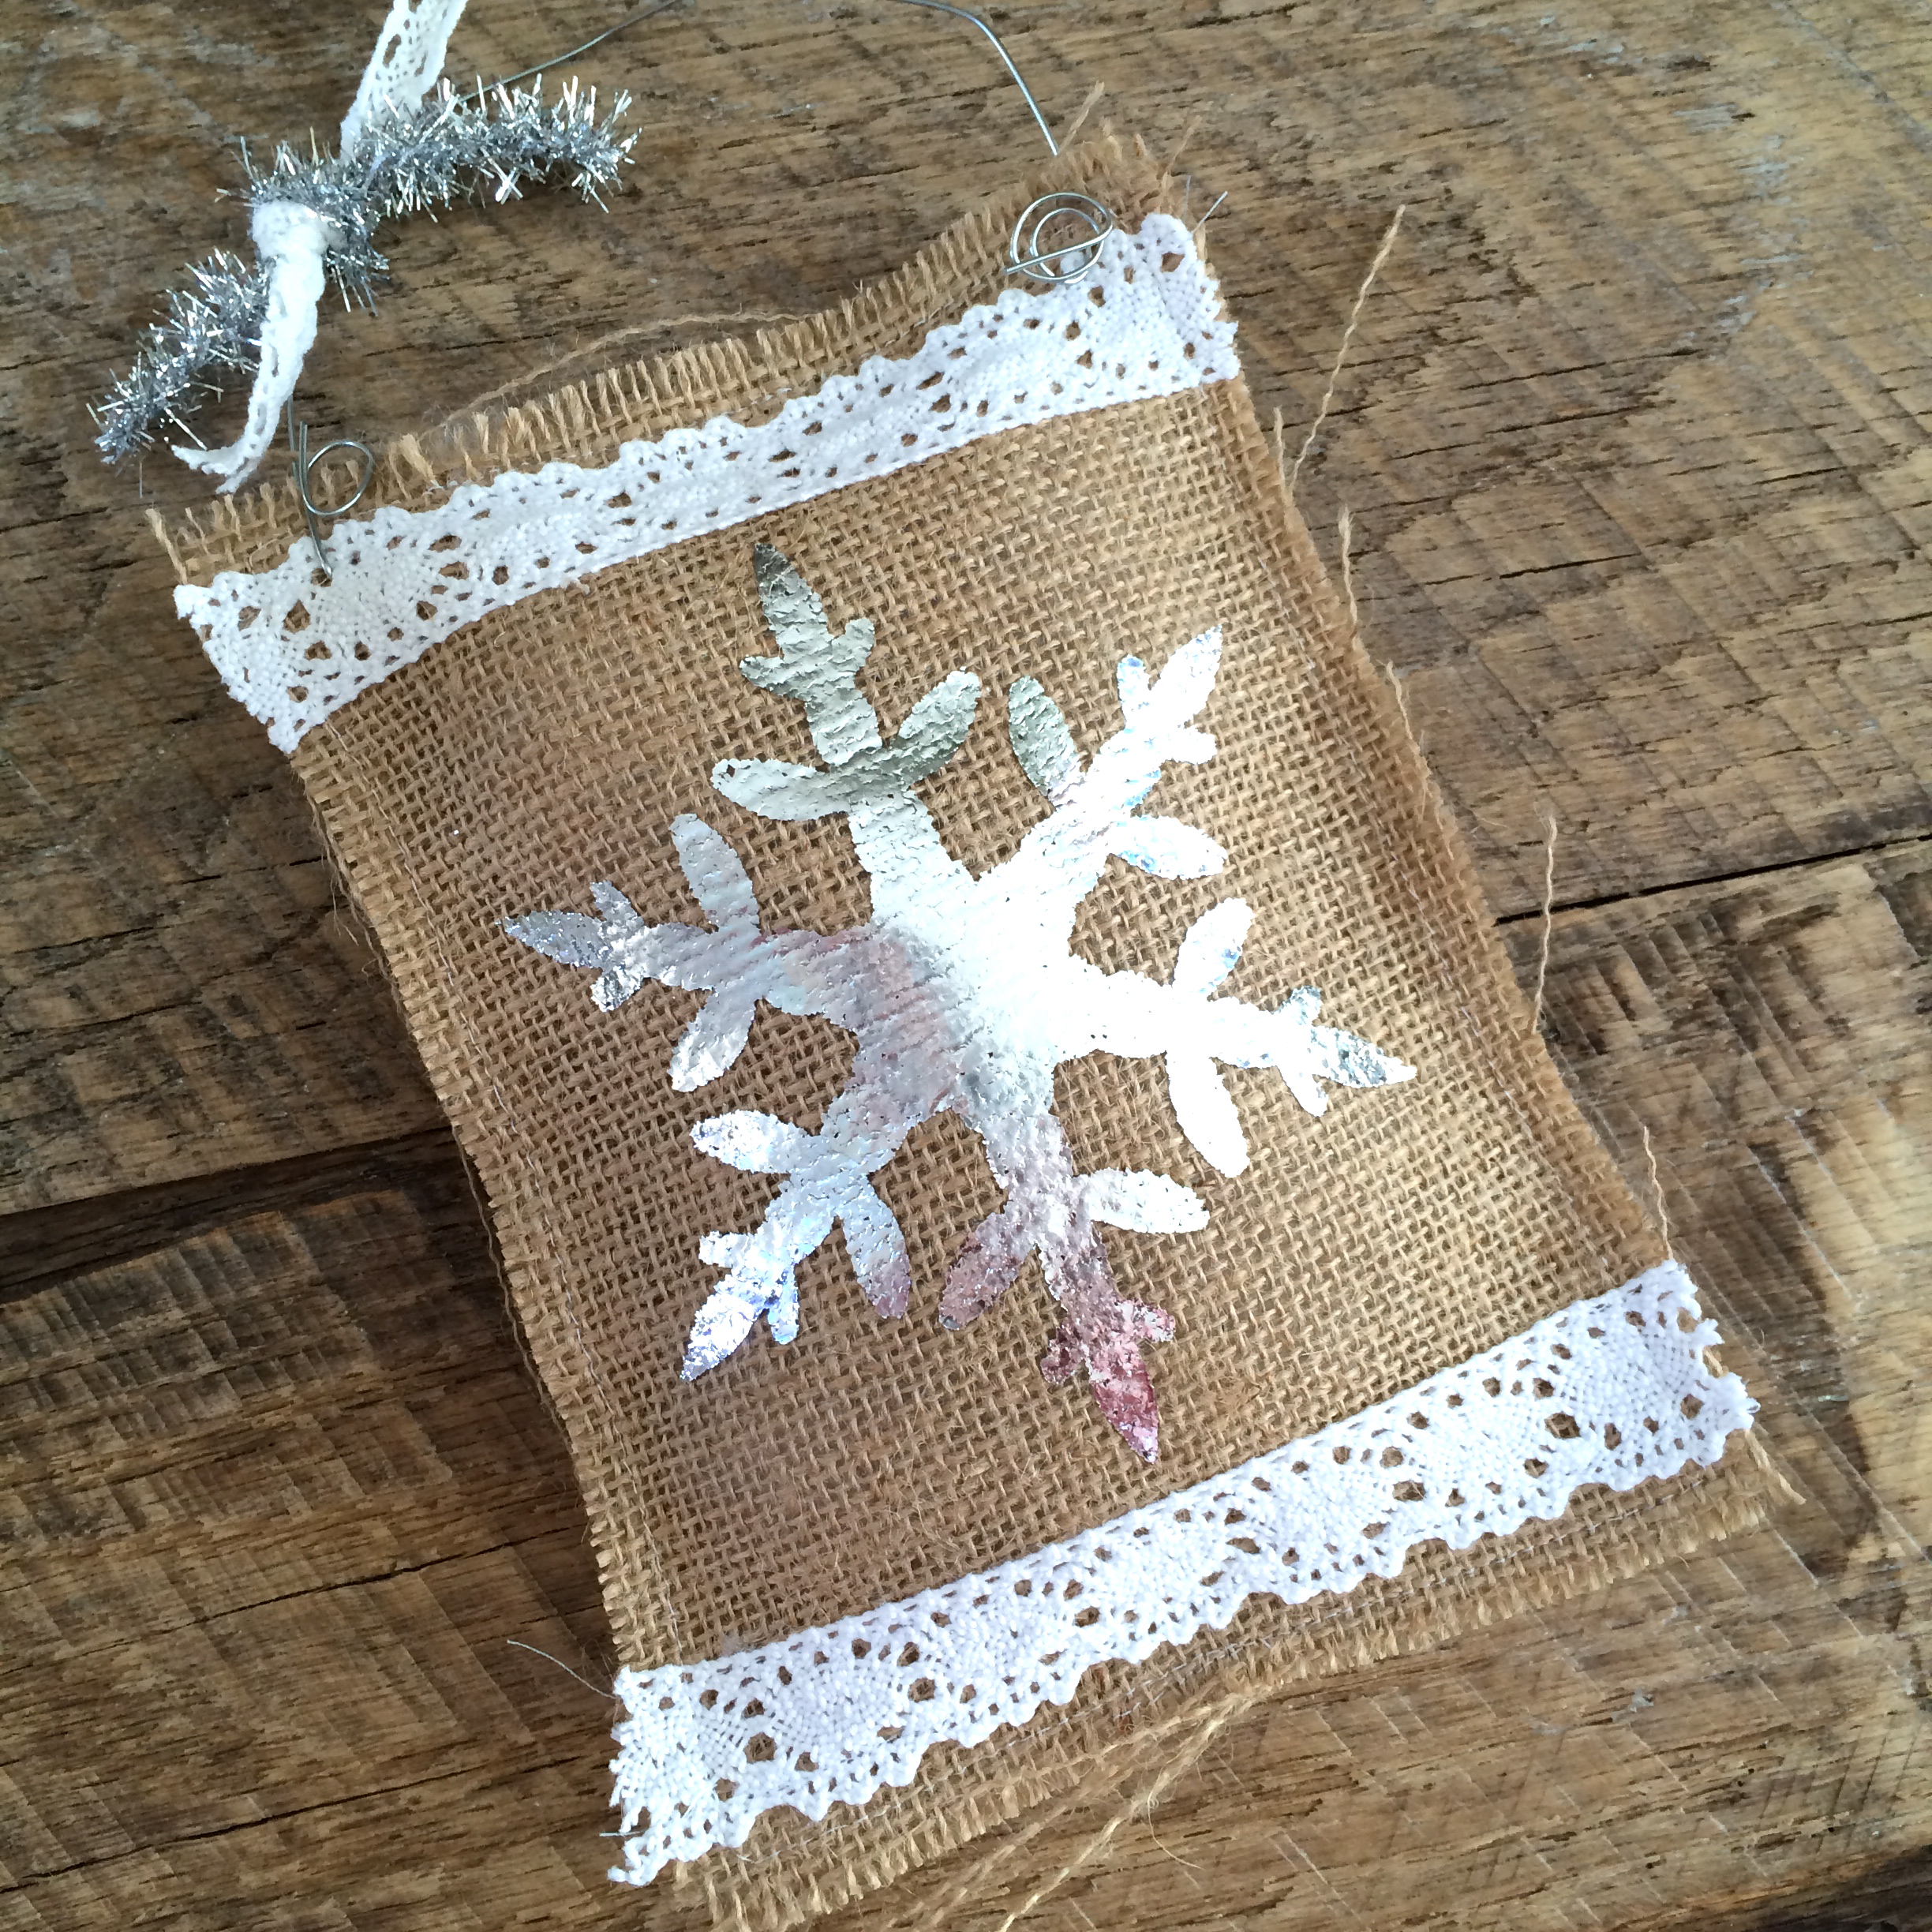
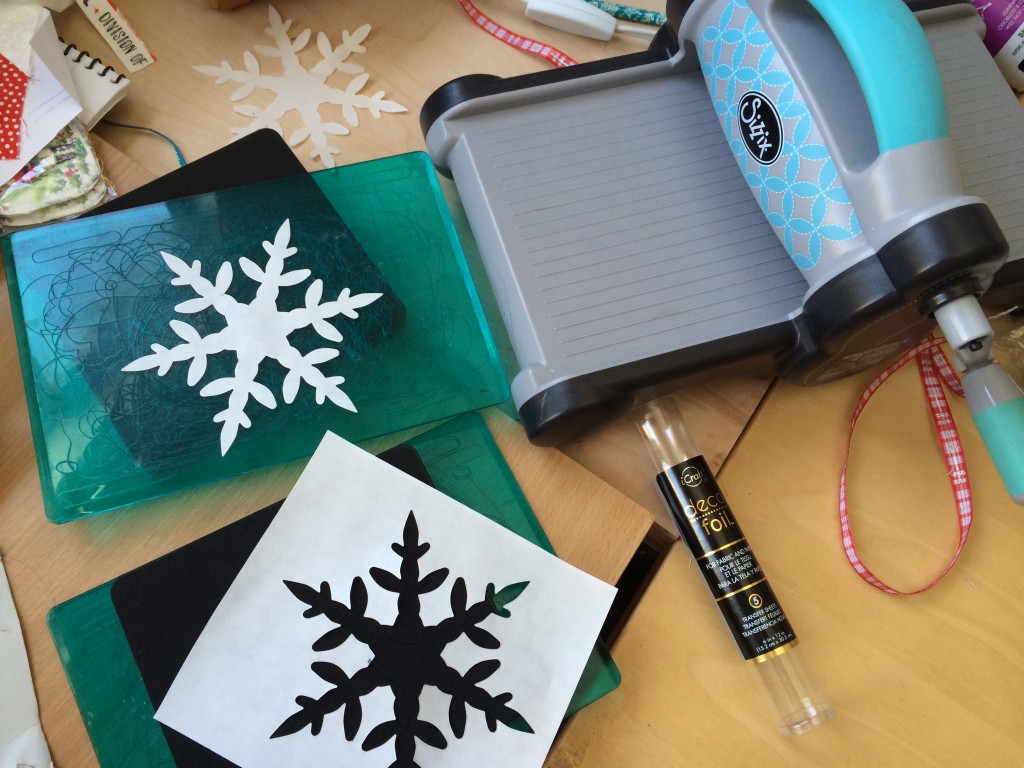
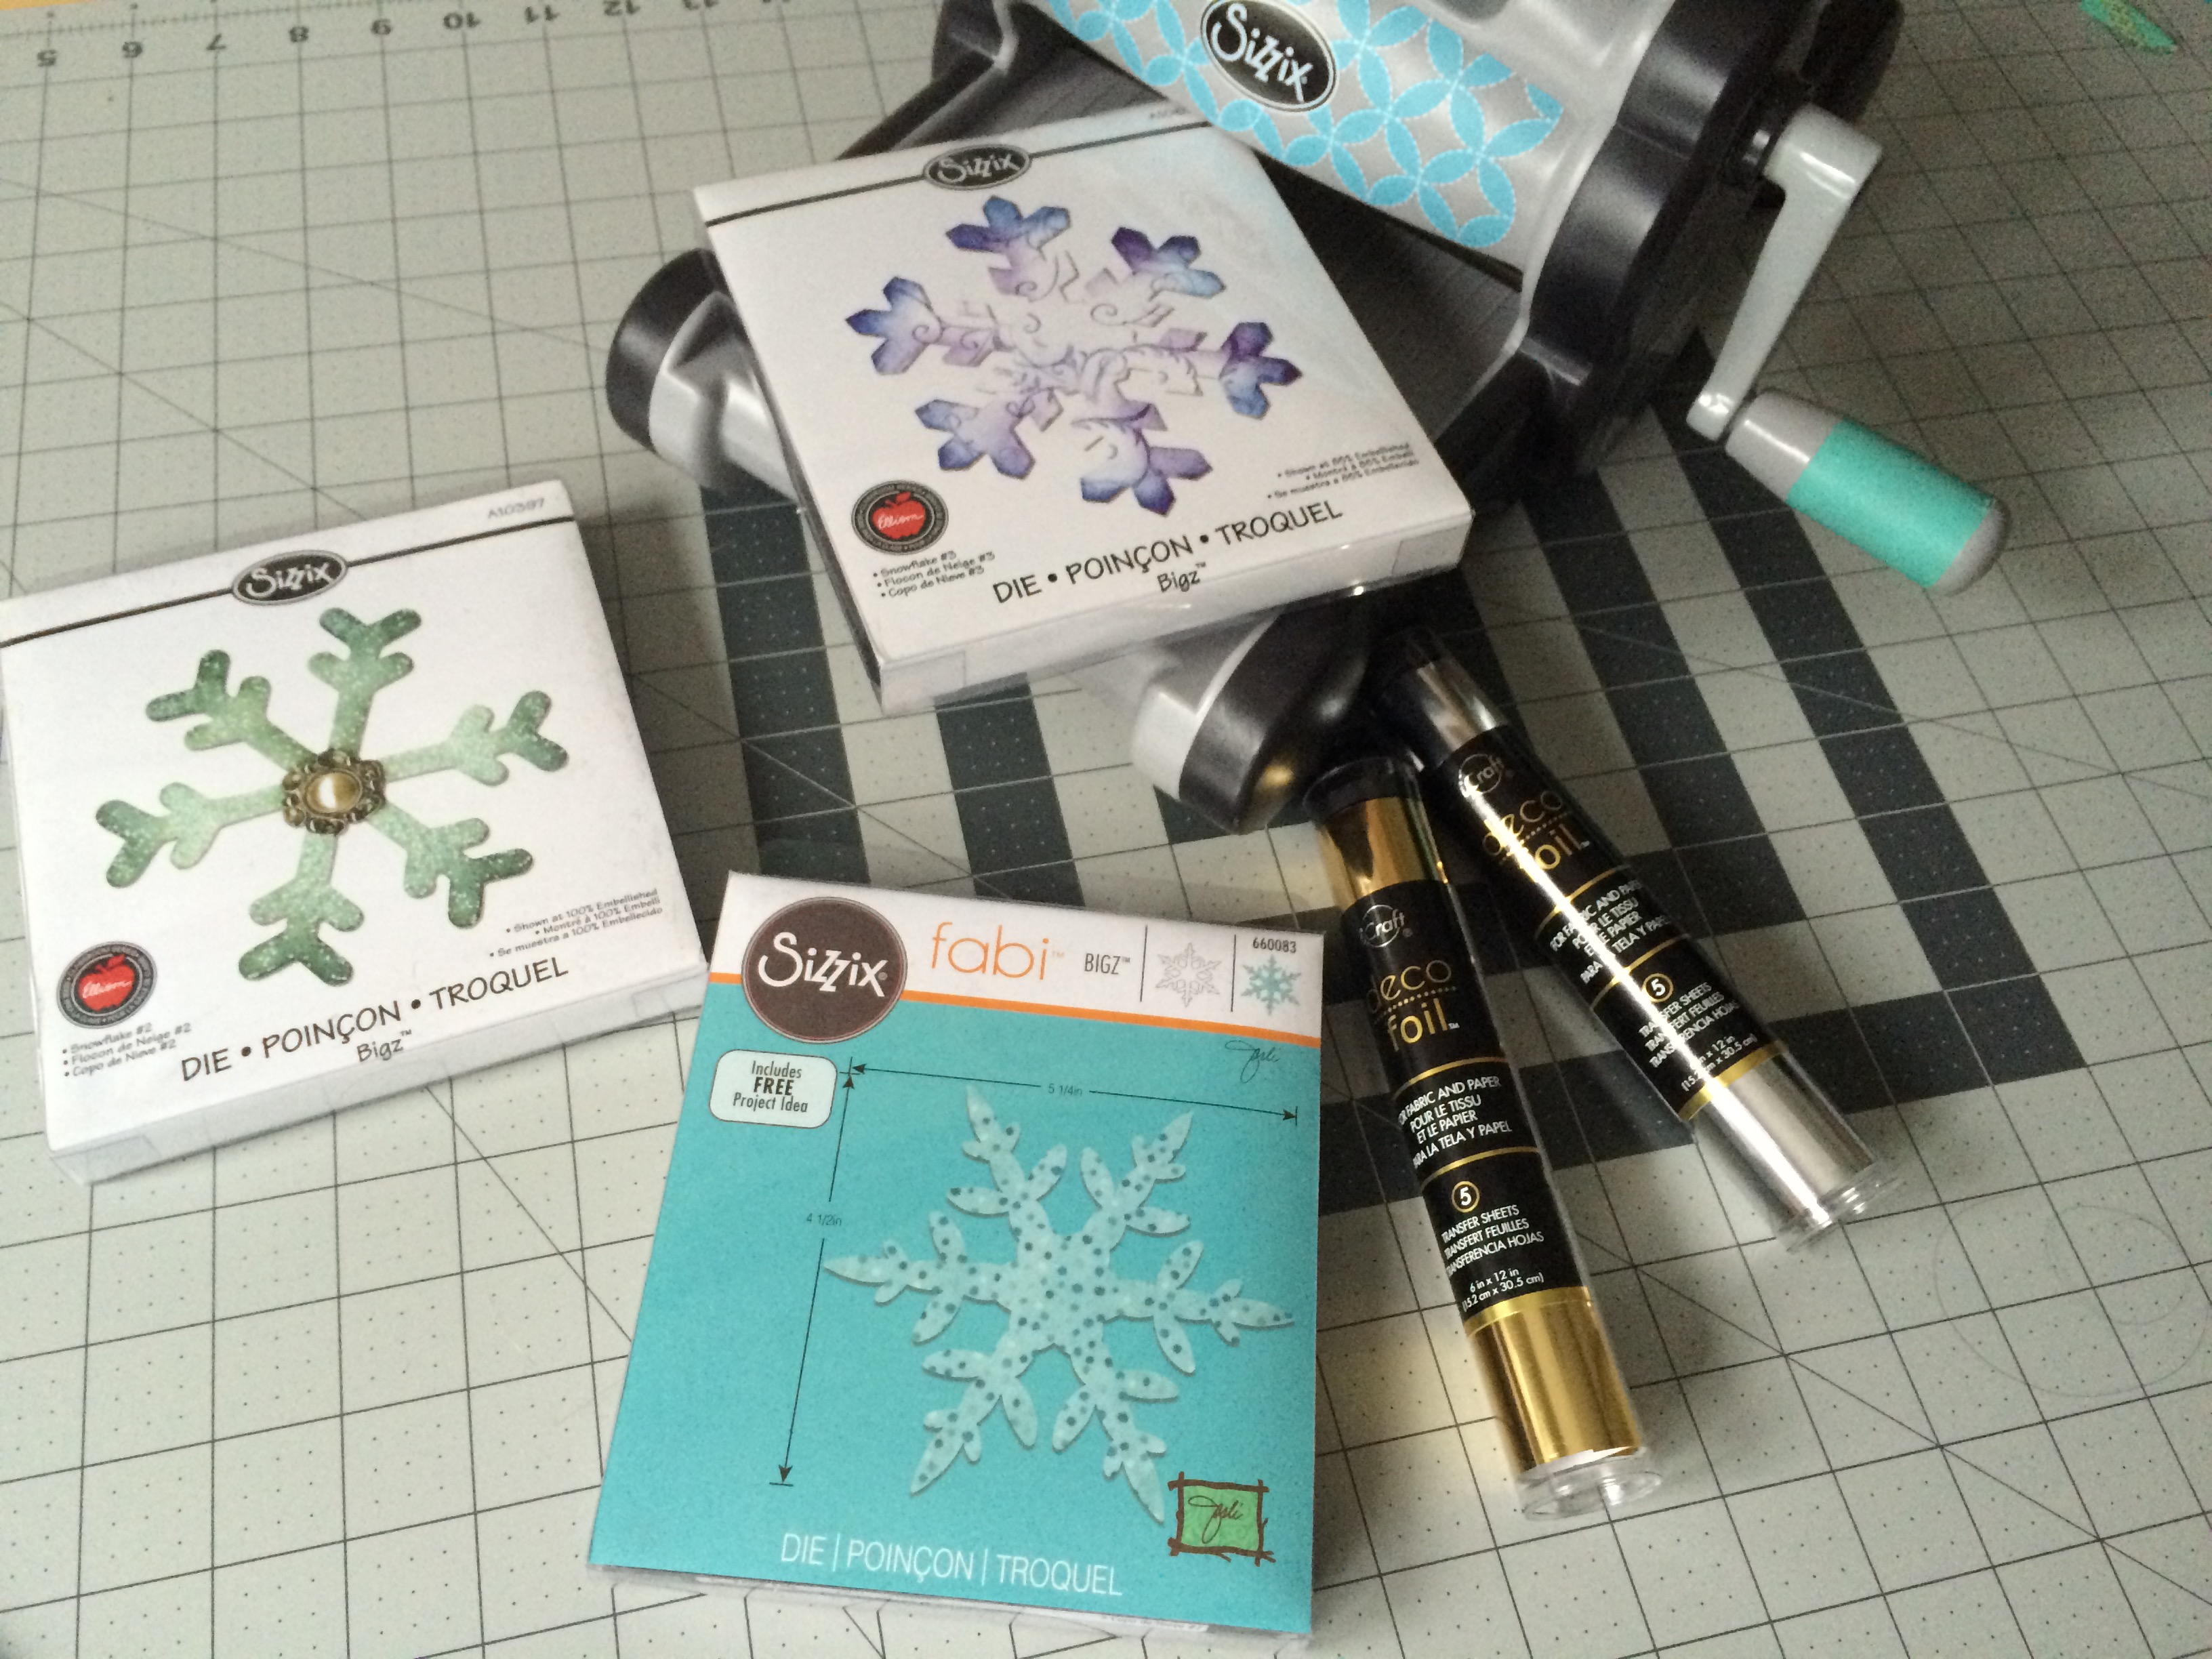
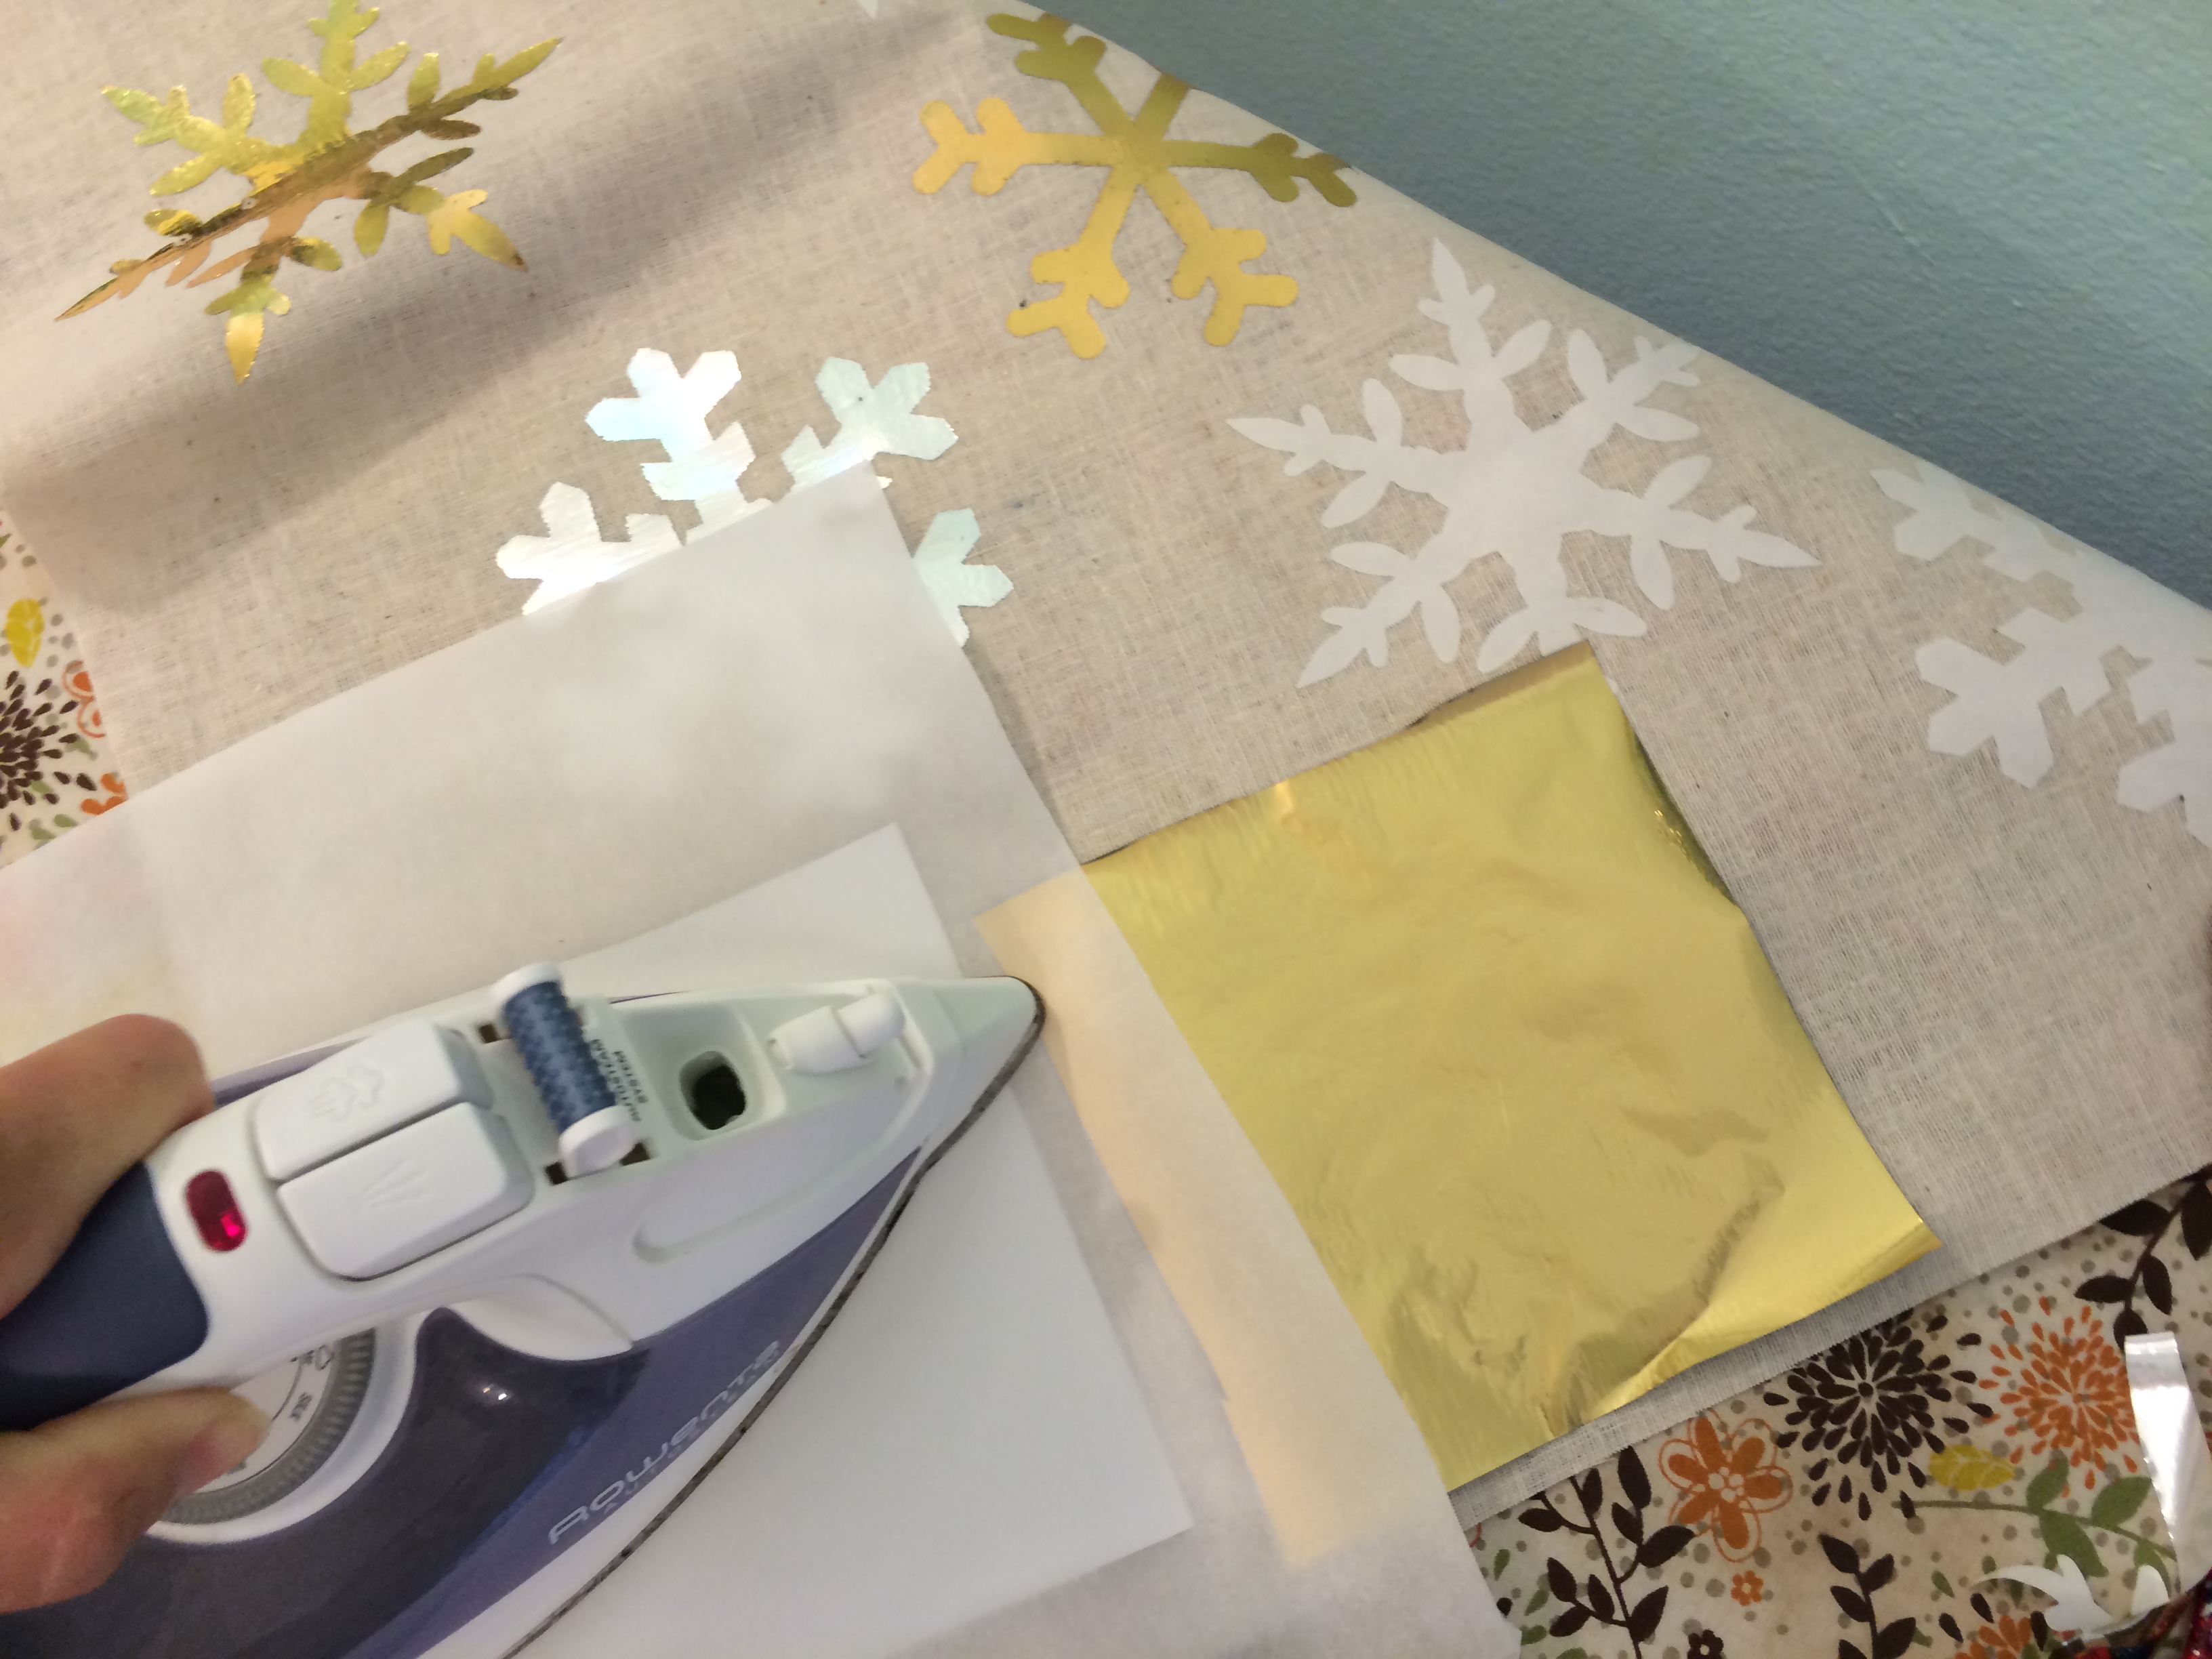
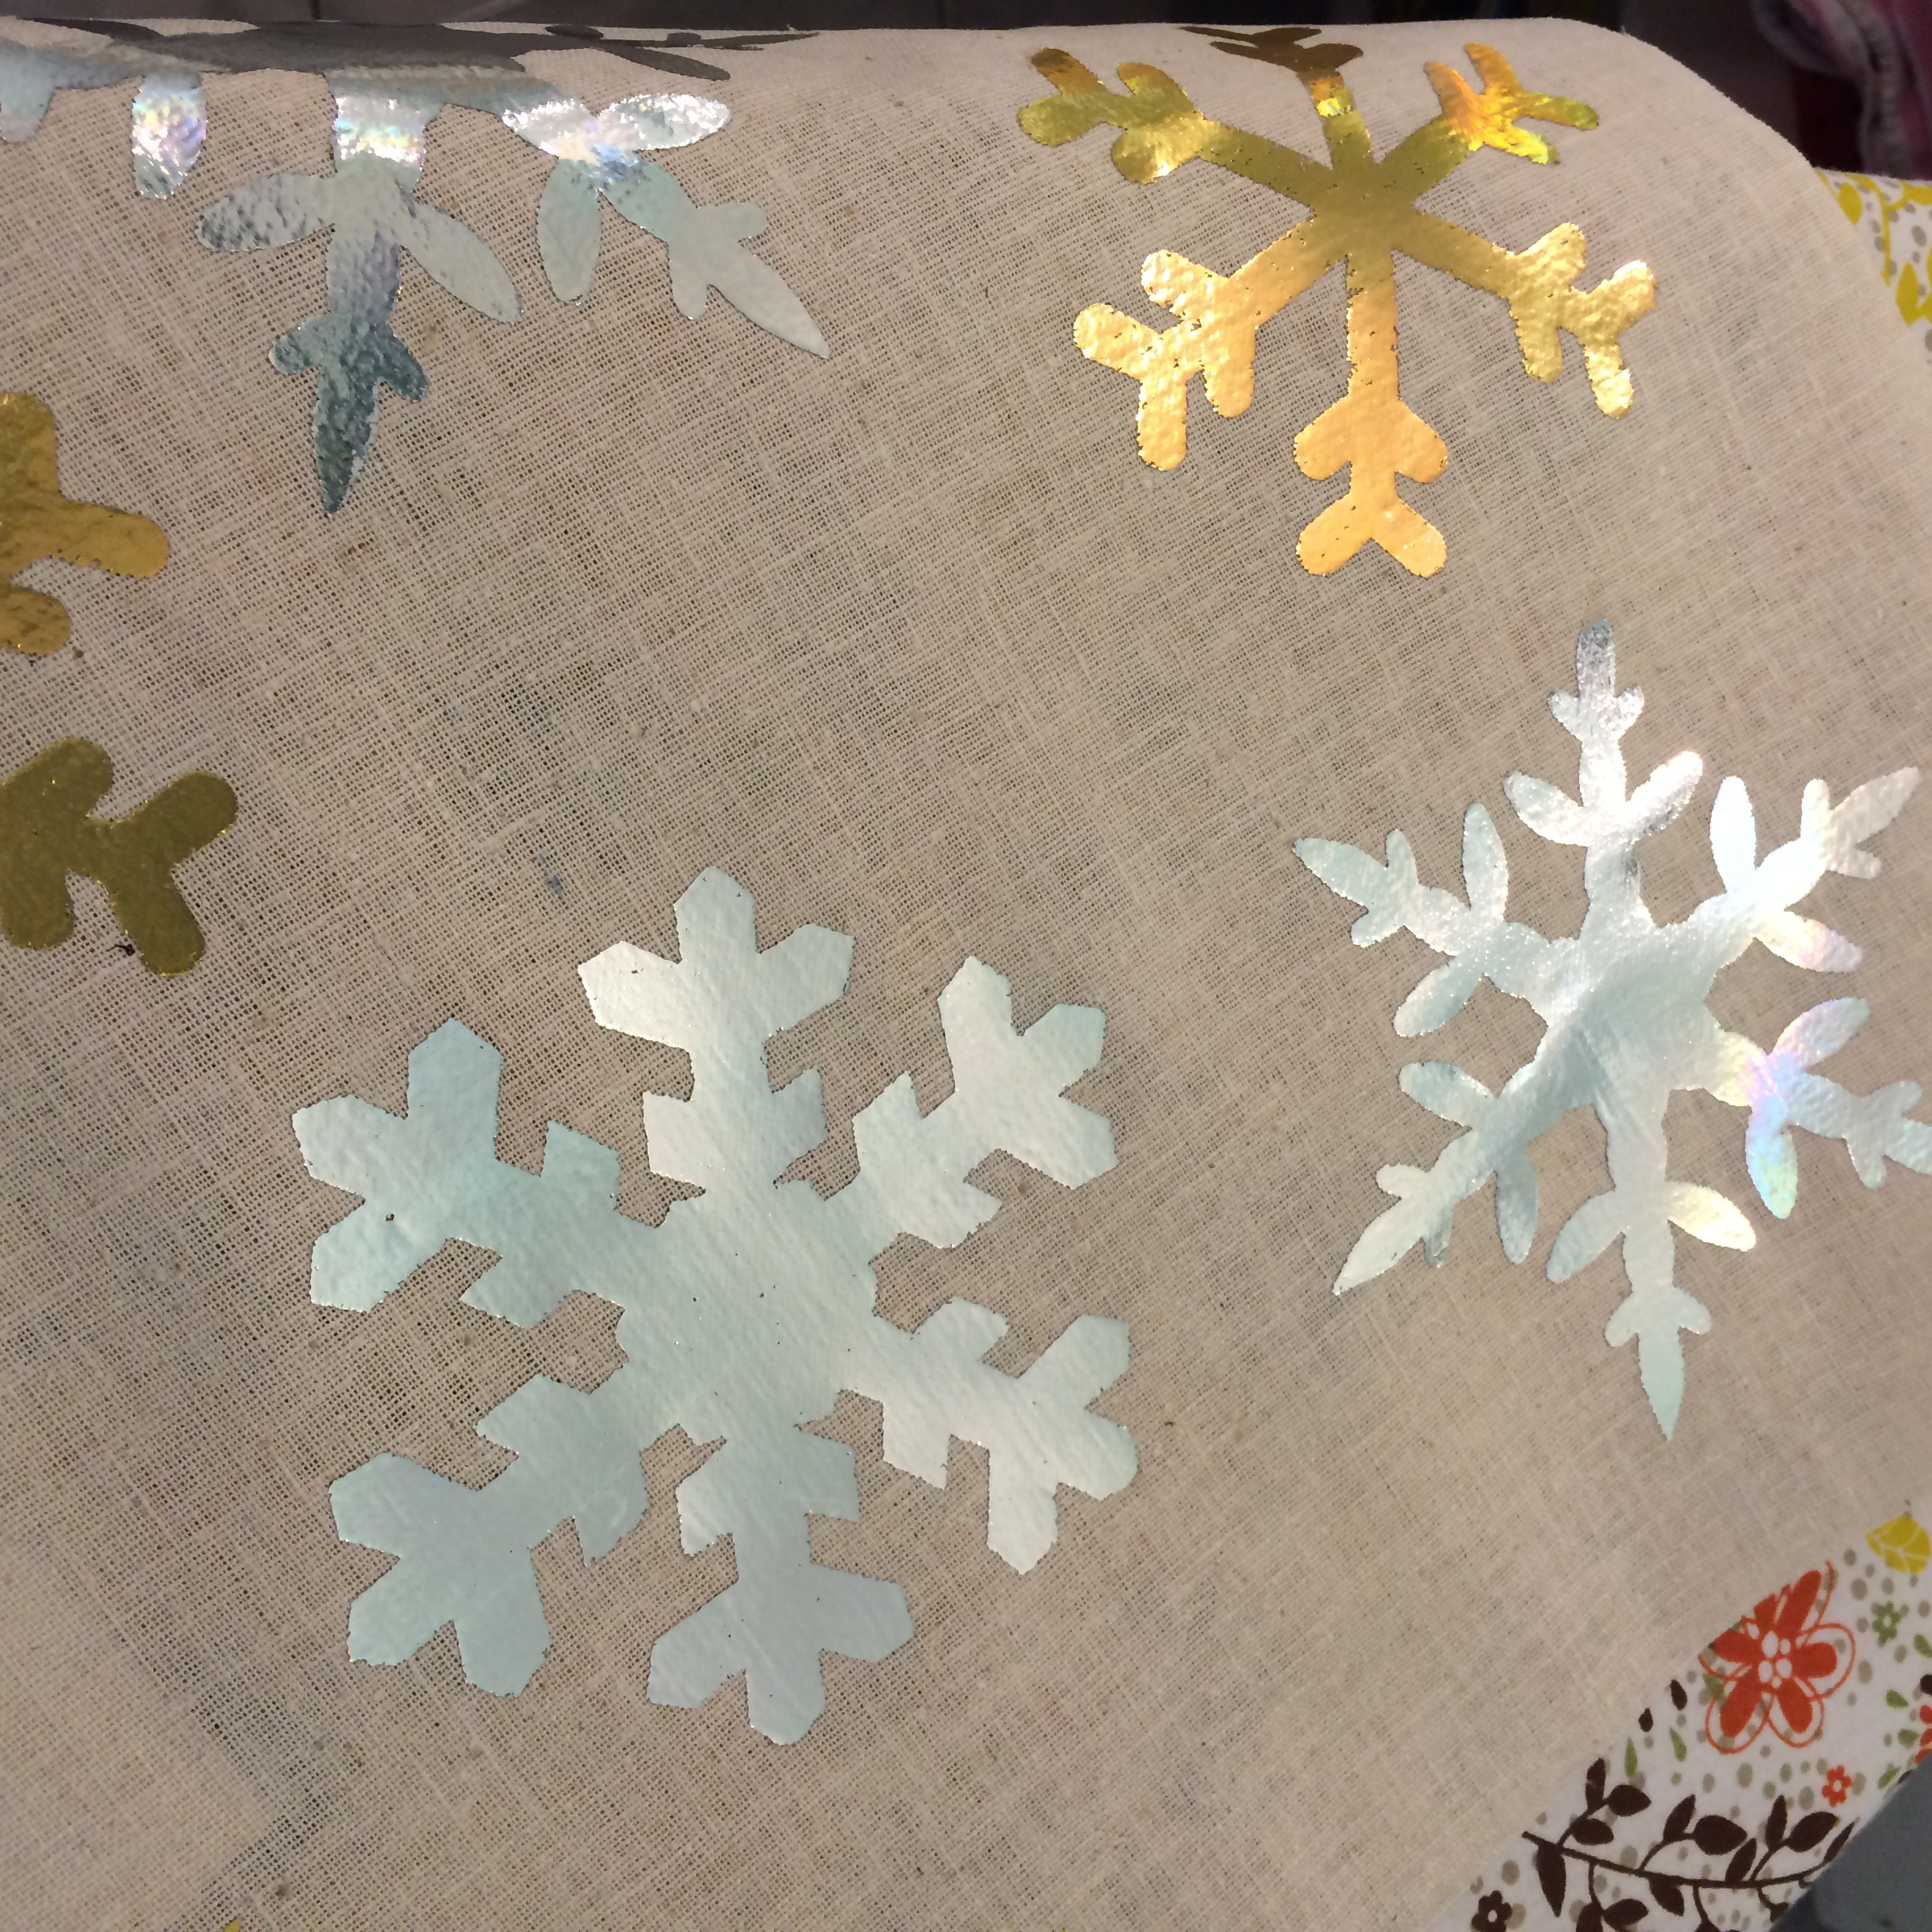
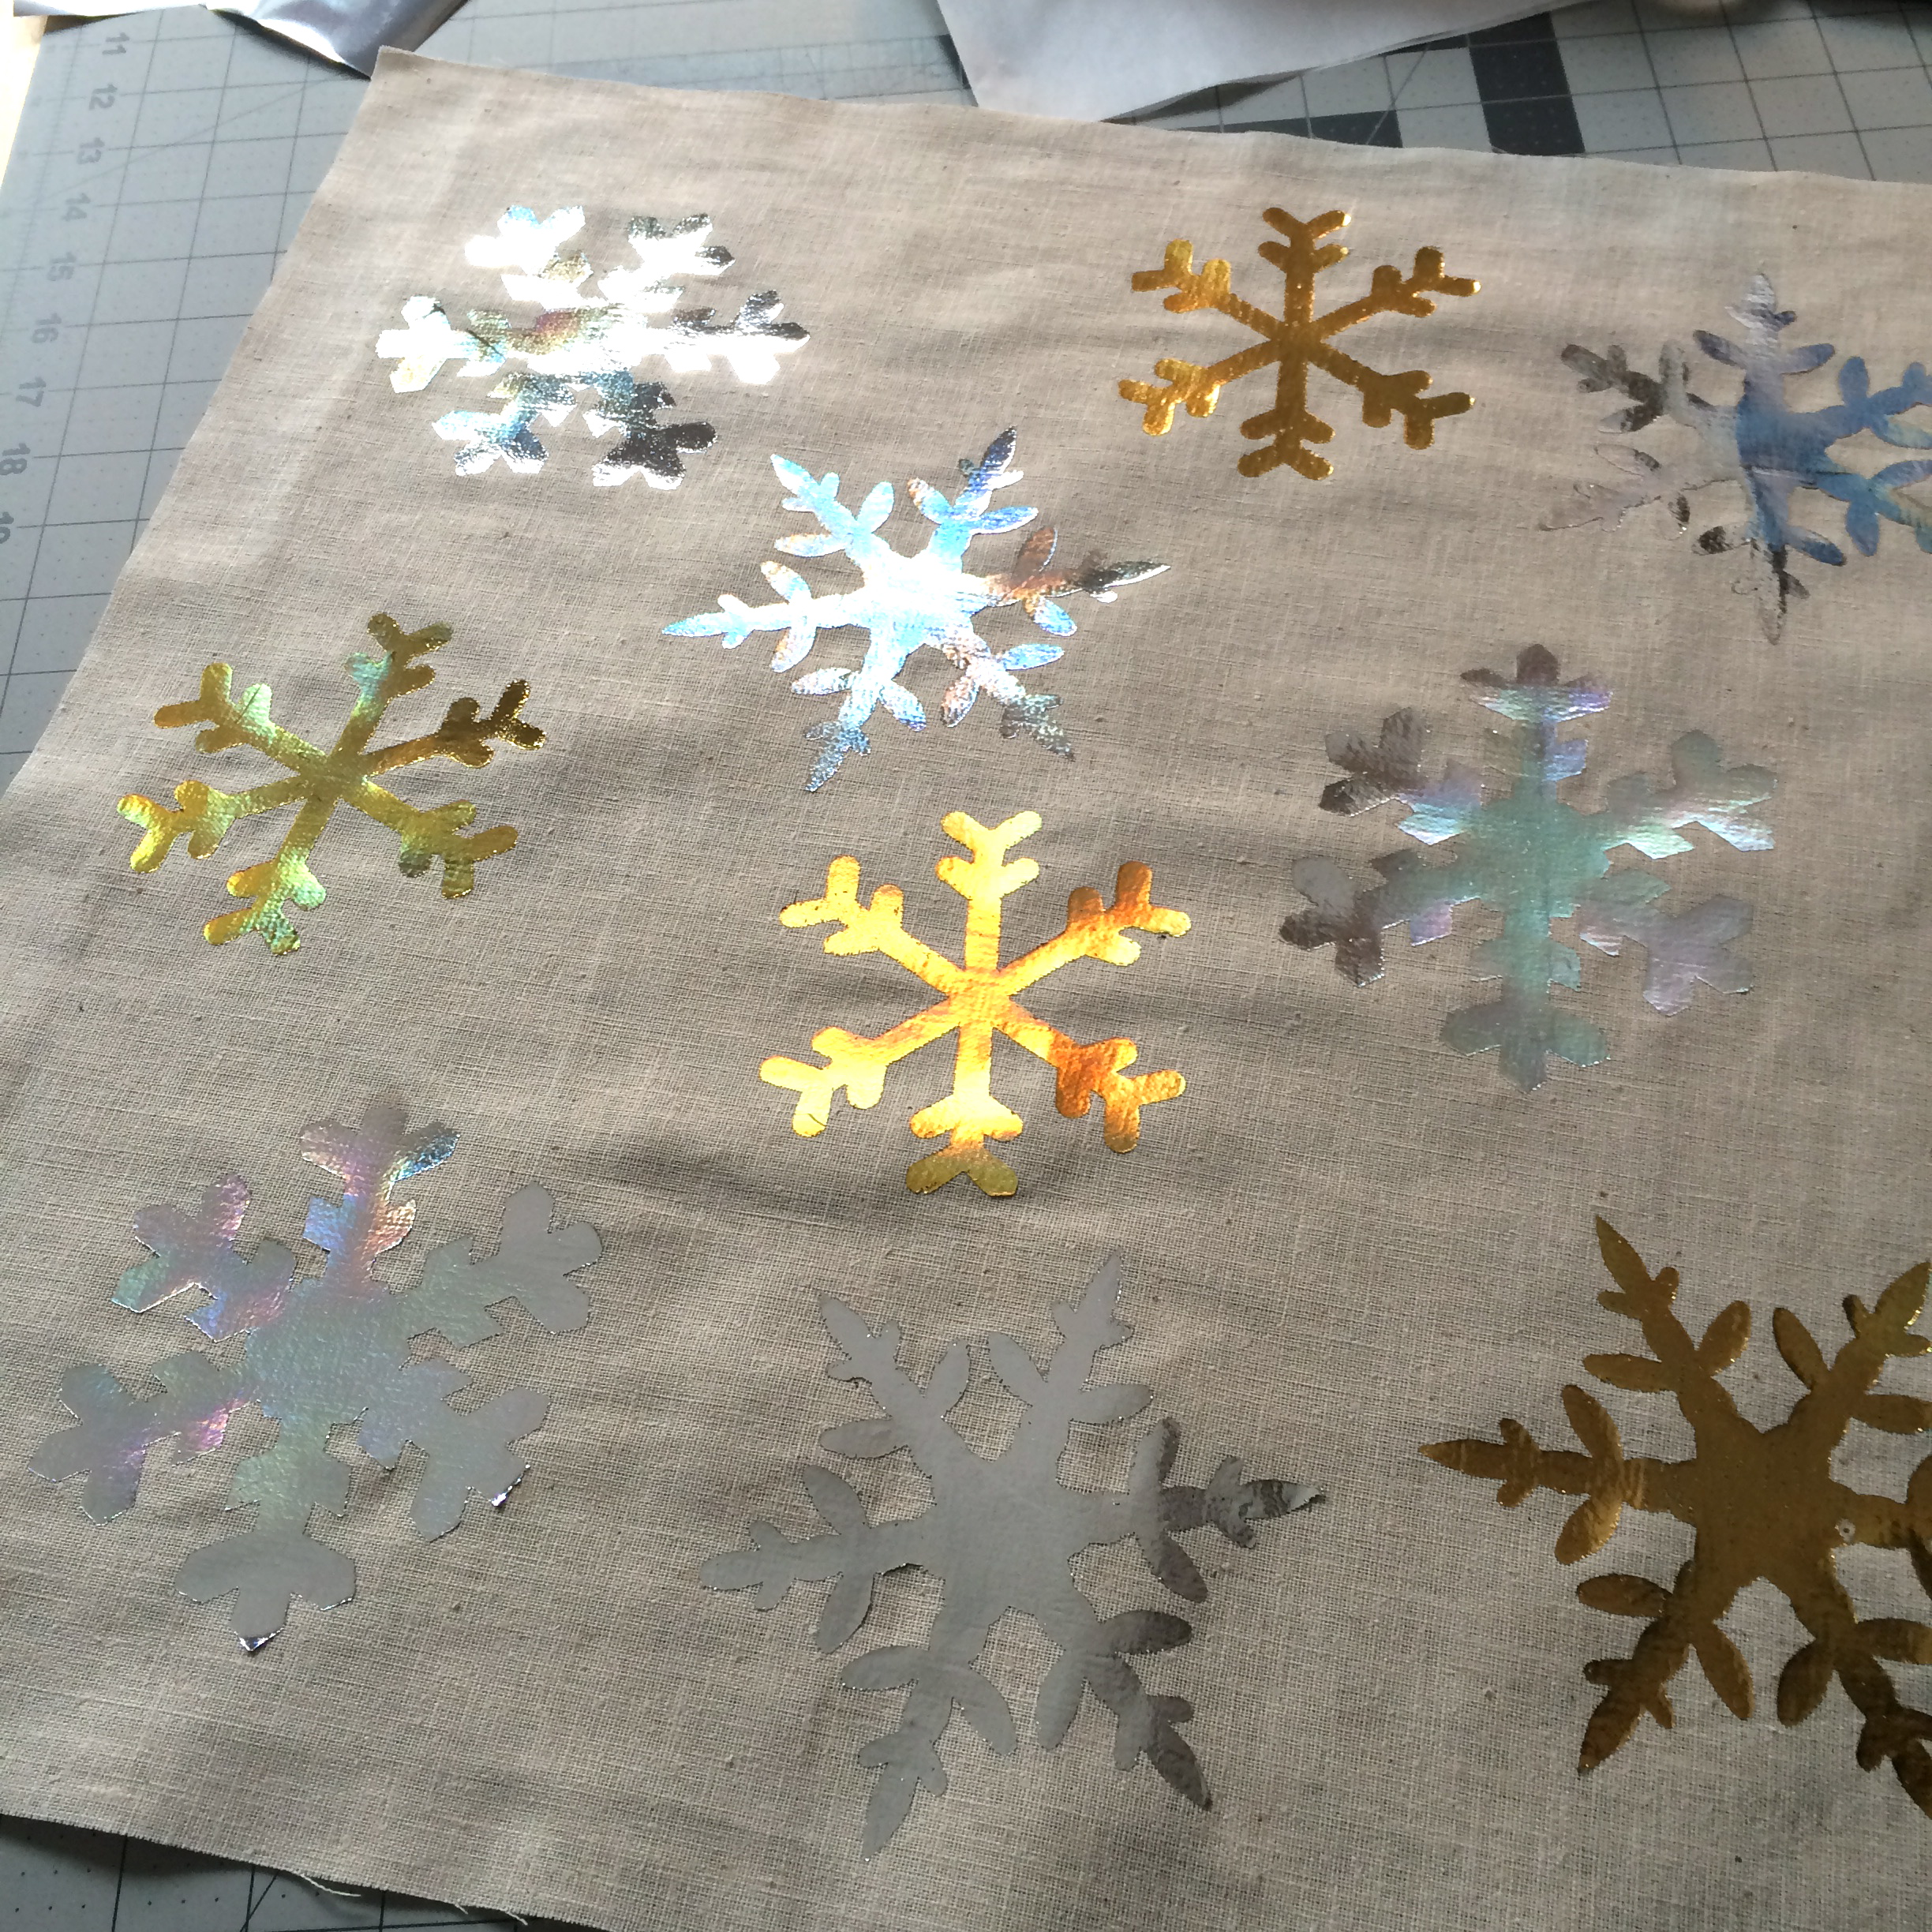
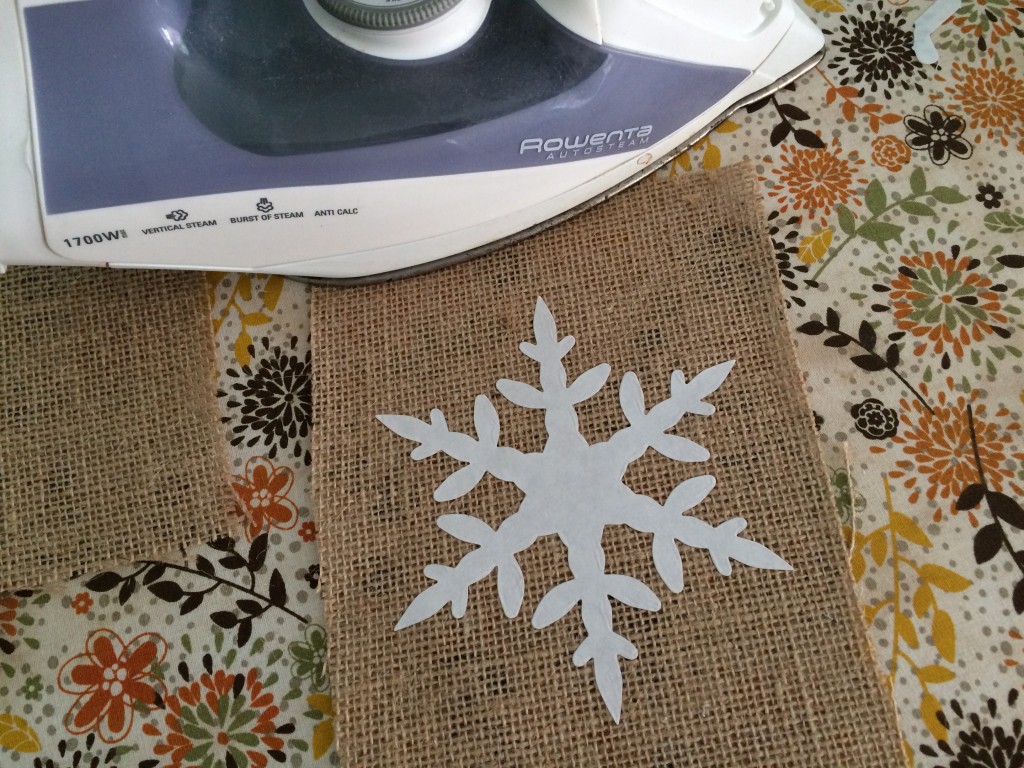 Cut the burlap (2) 6″ x 8″. Position the snowflake and heat set with a medium hot iron, about 20 seconds. Let completely dry and peel off backing paper.
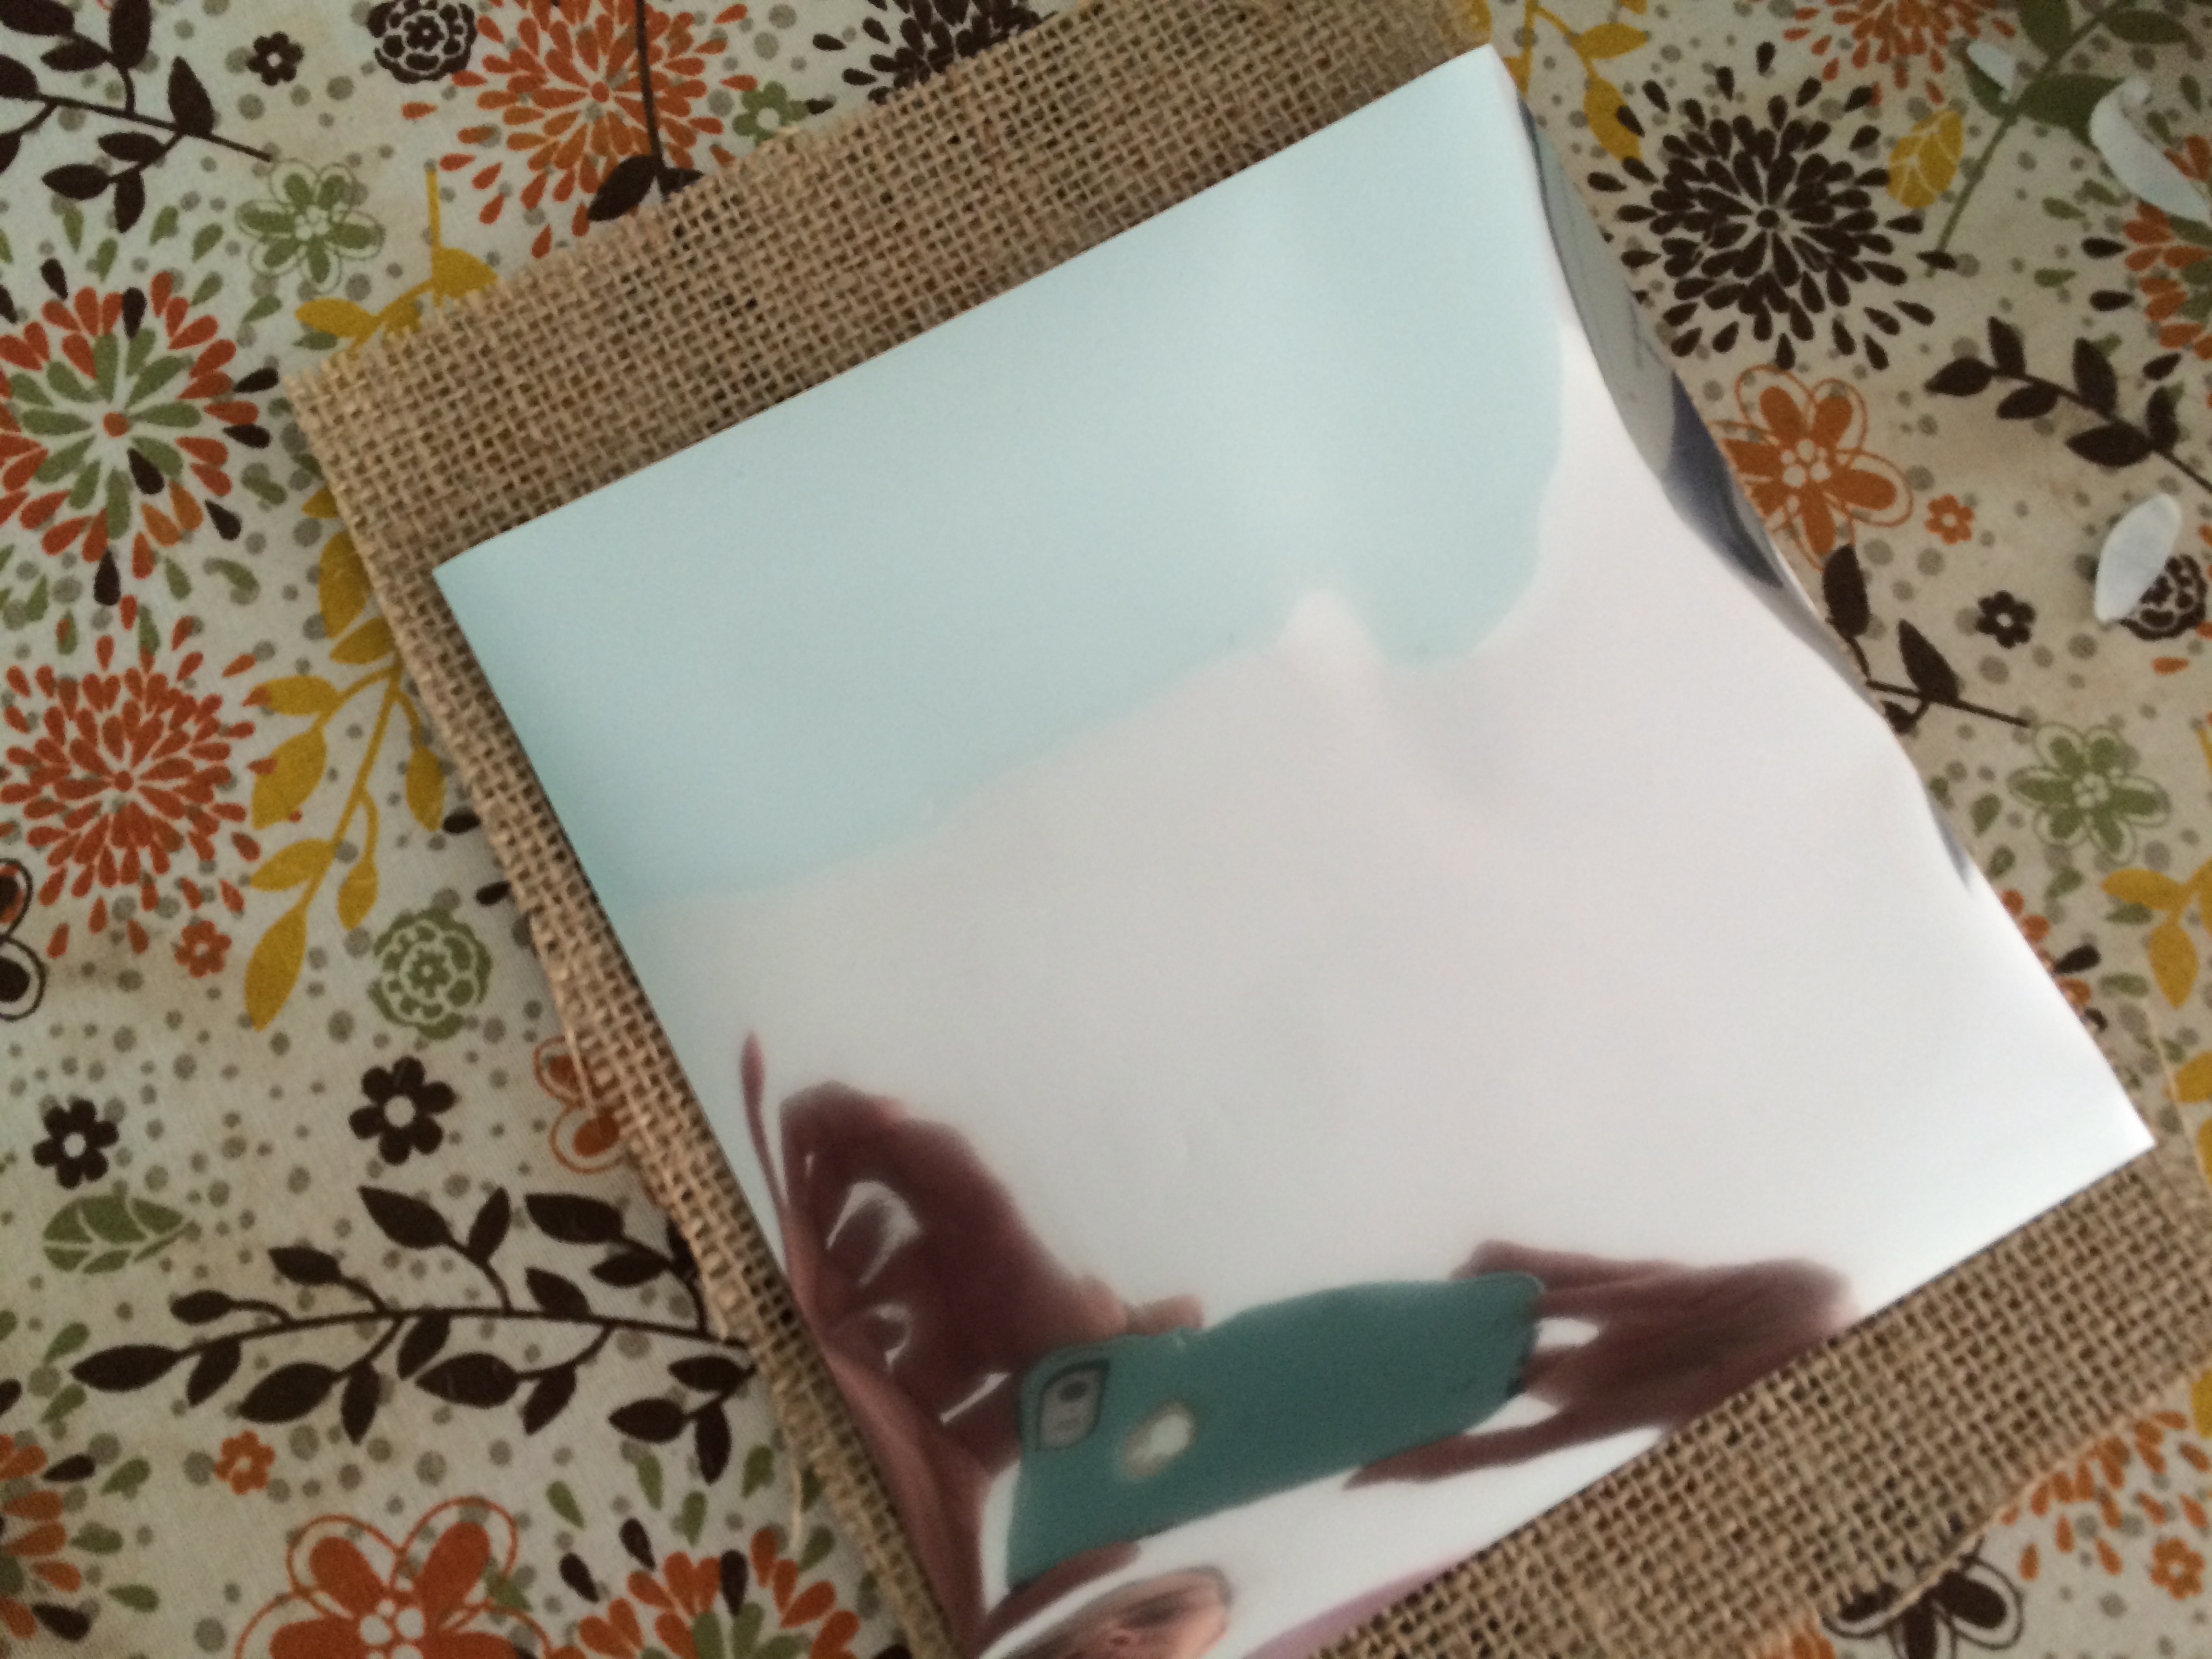
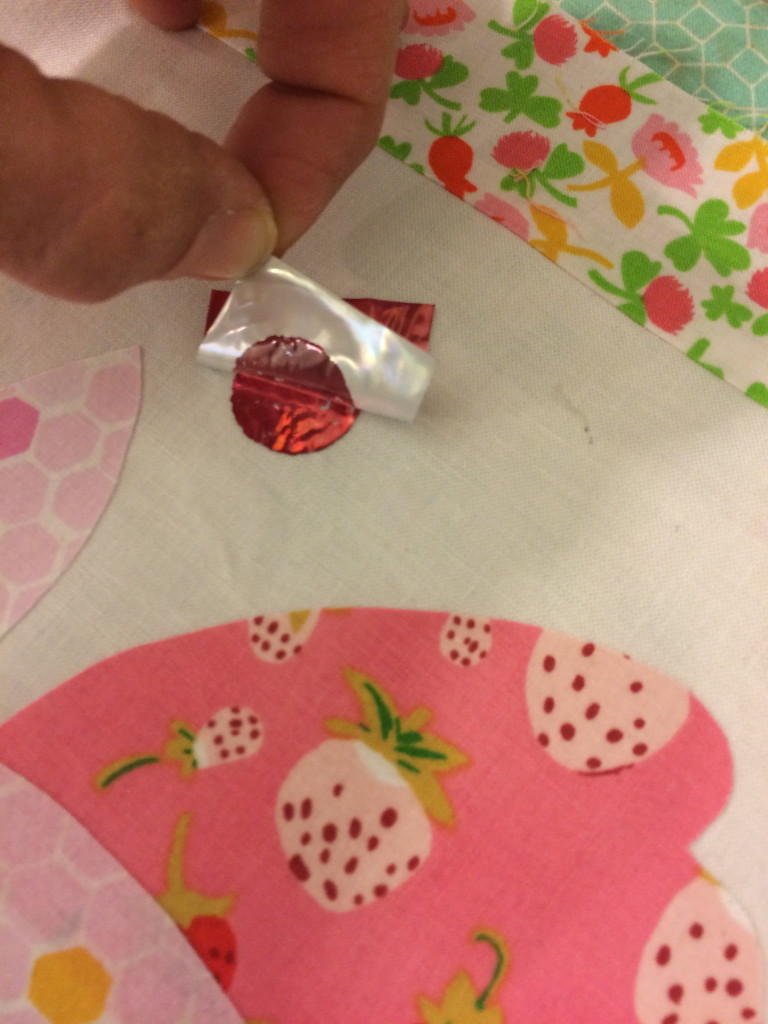
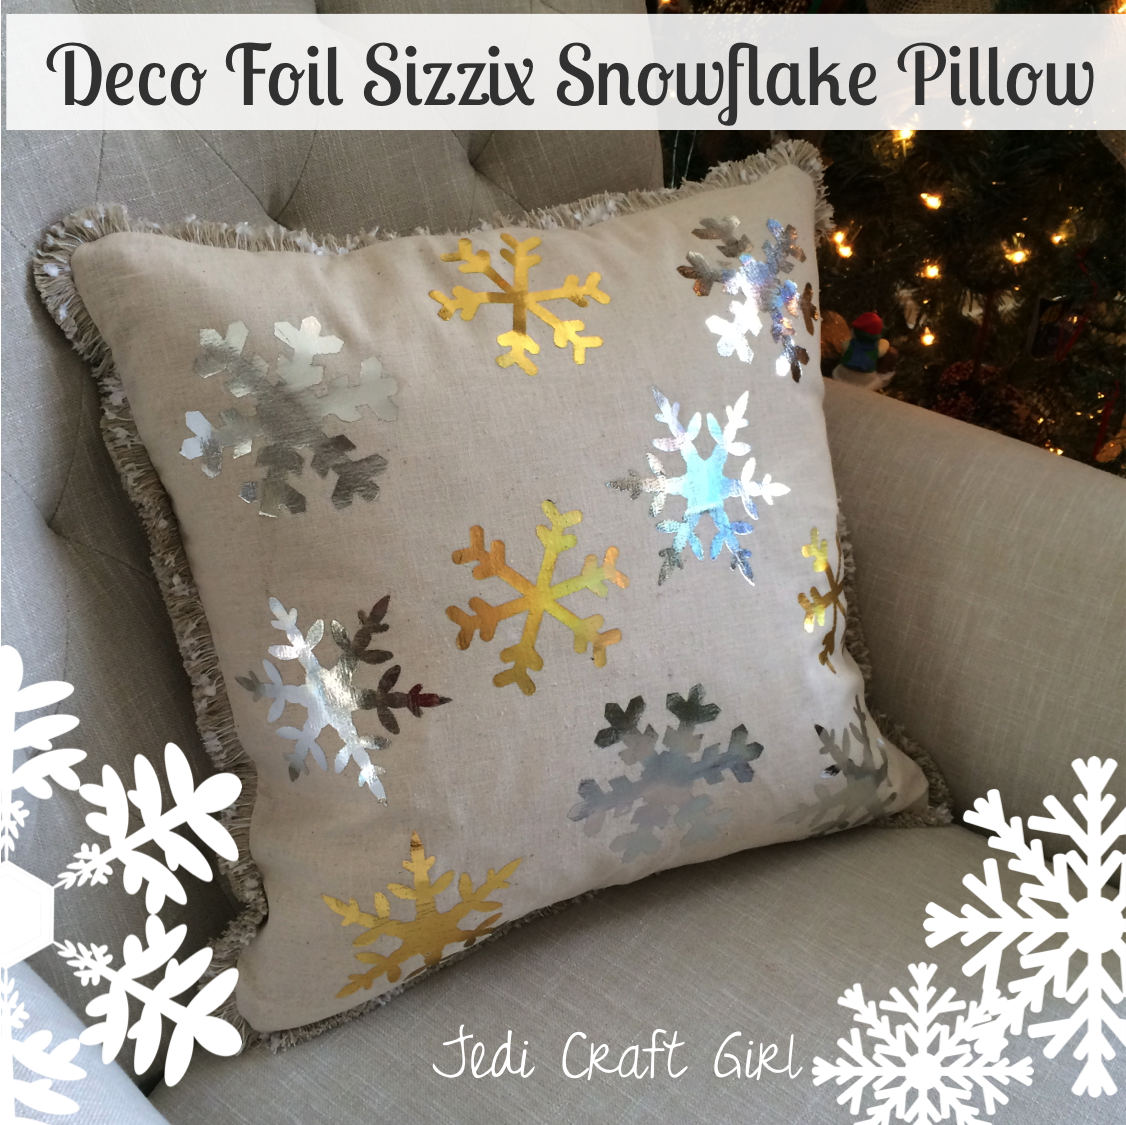
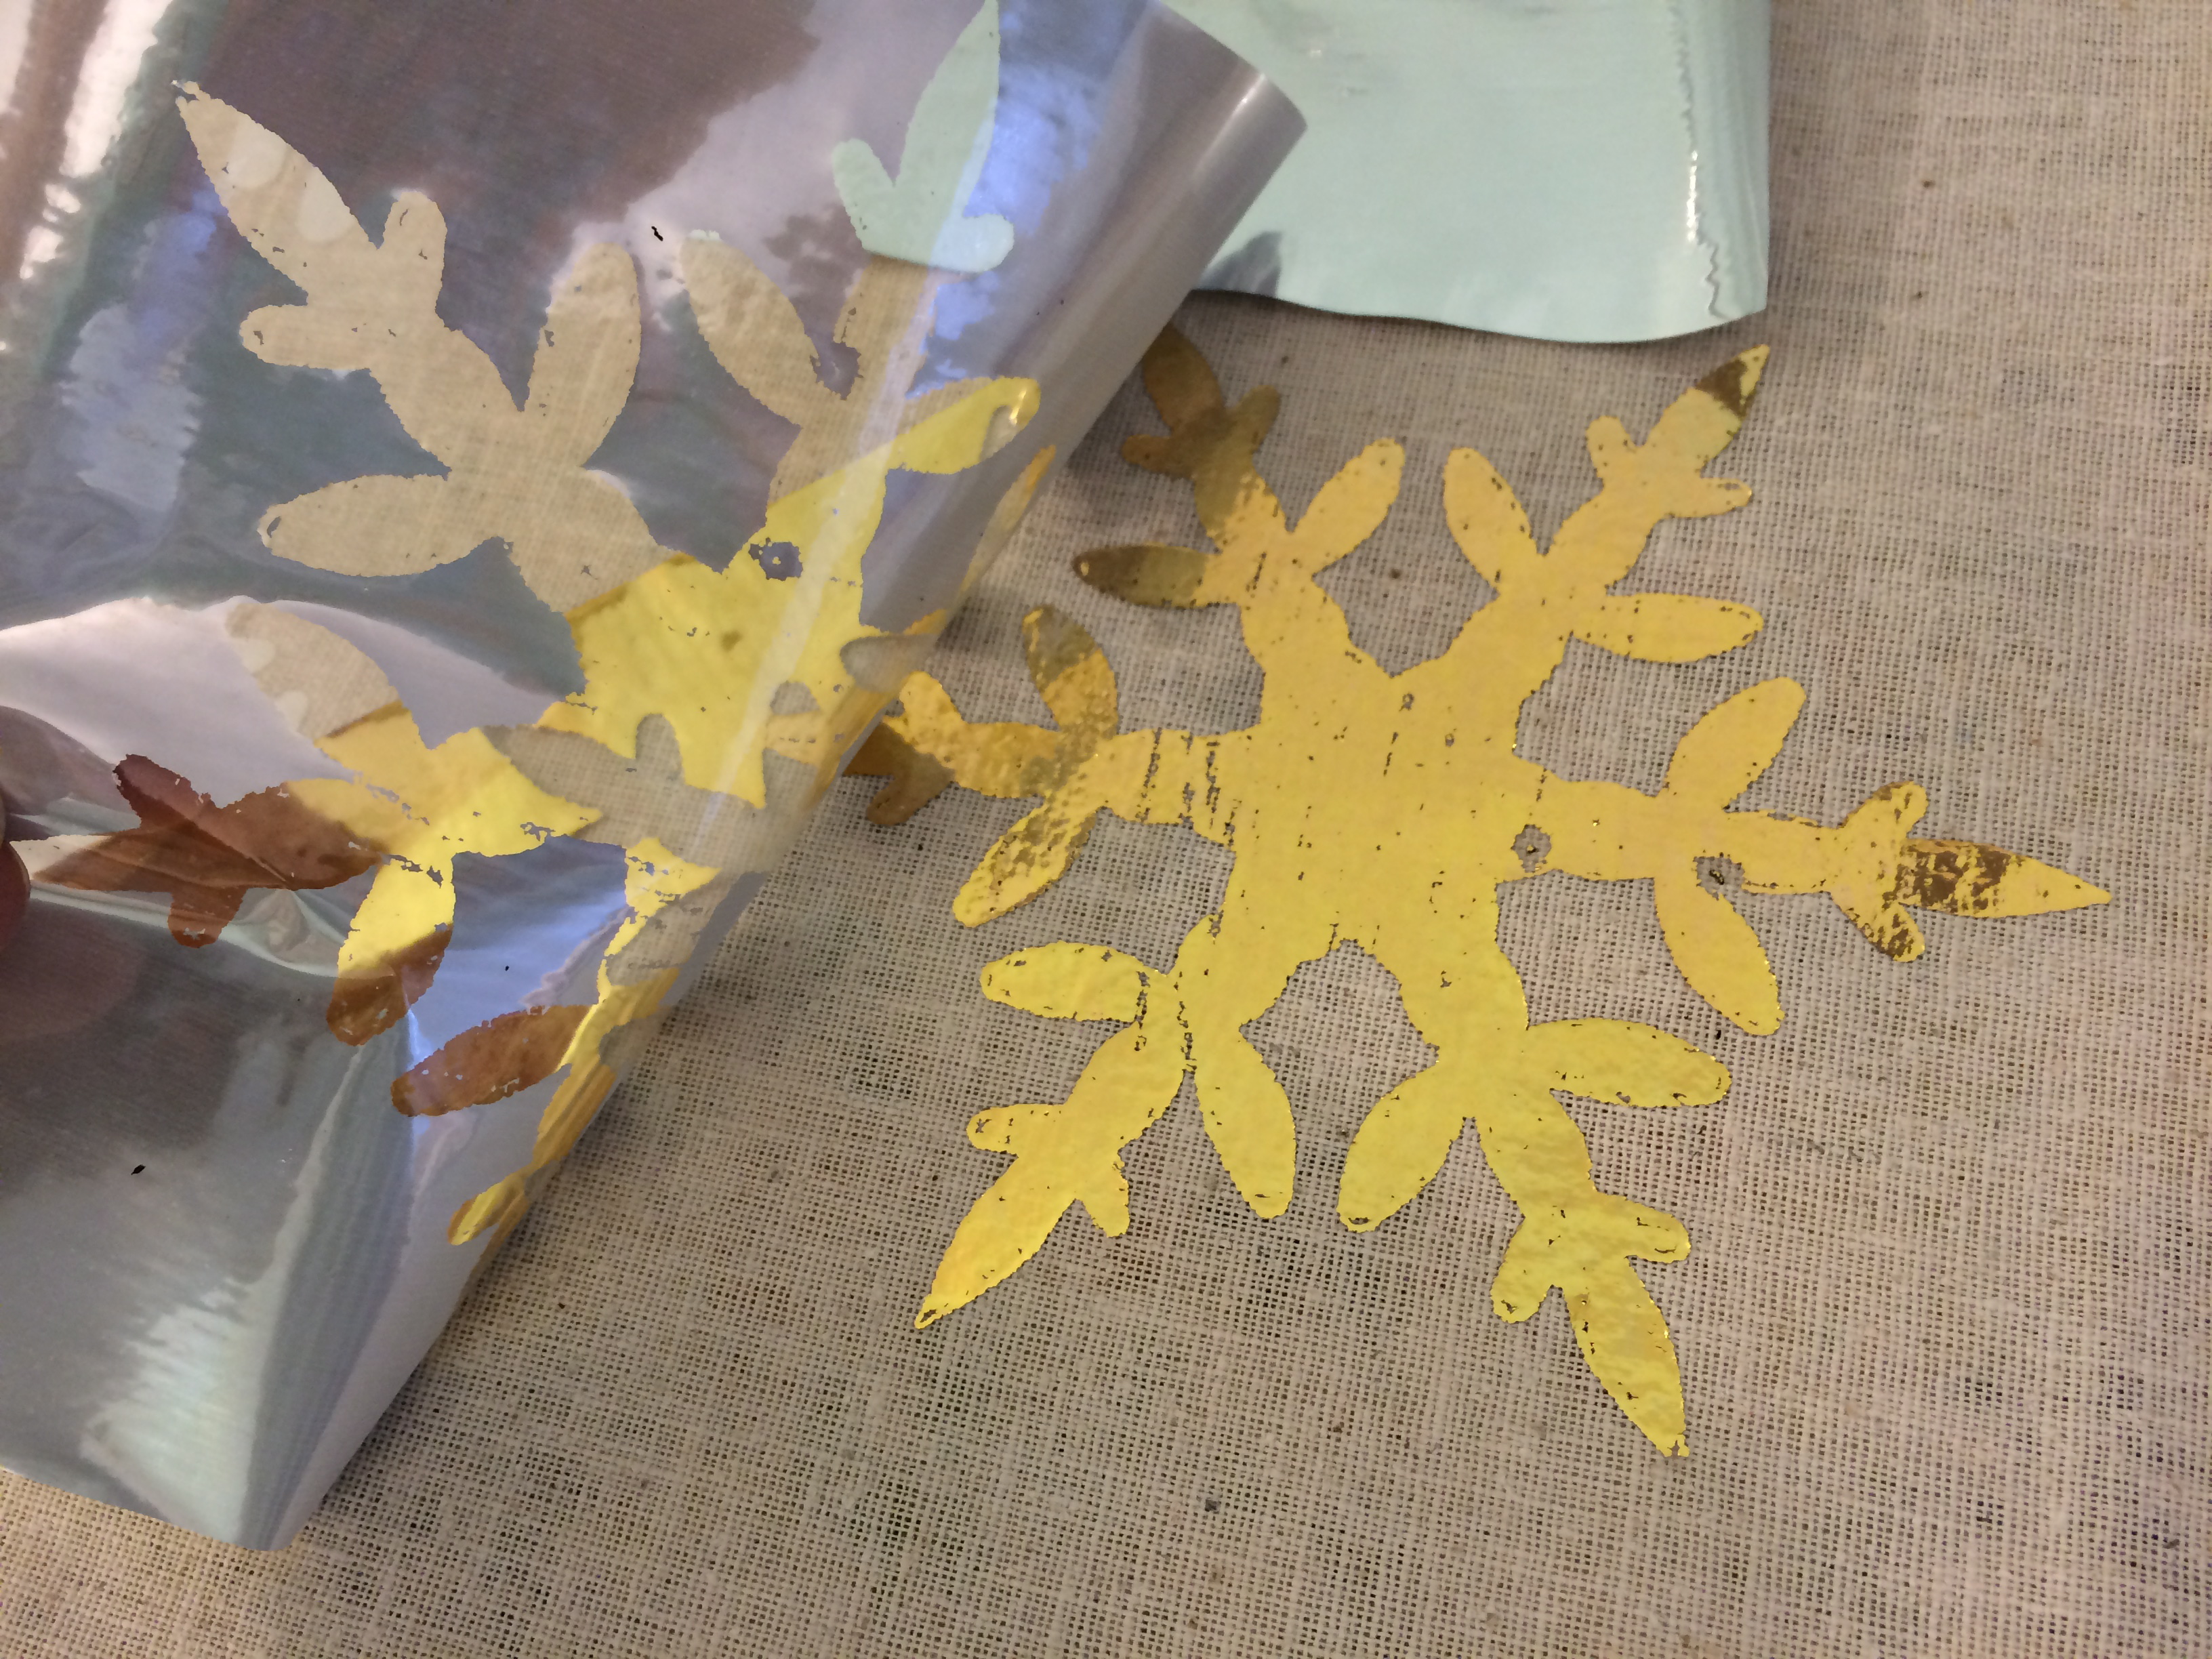
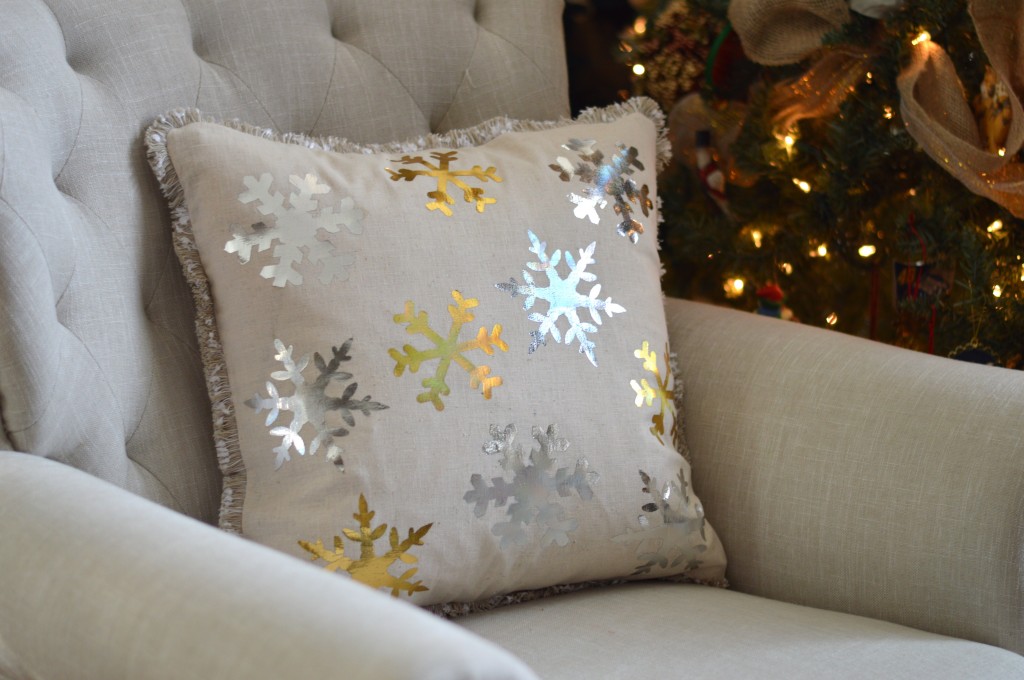
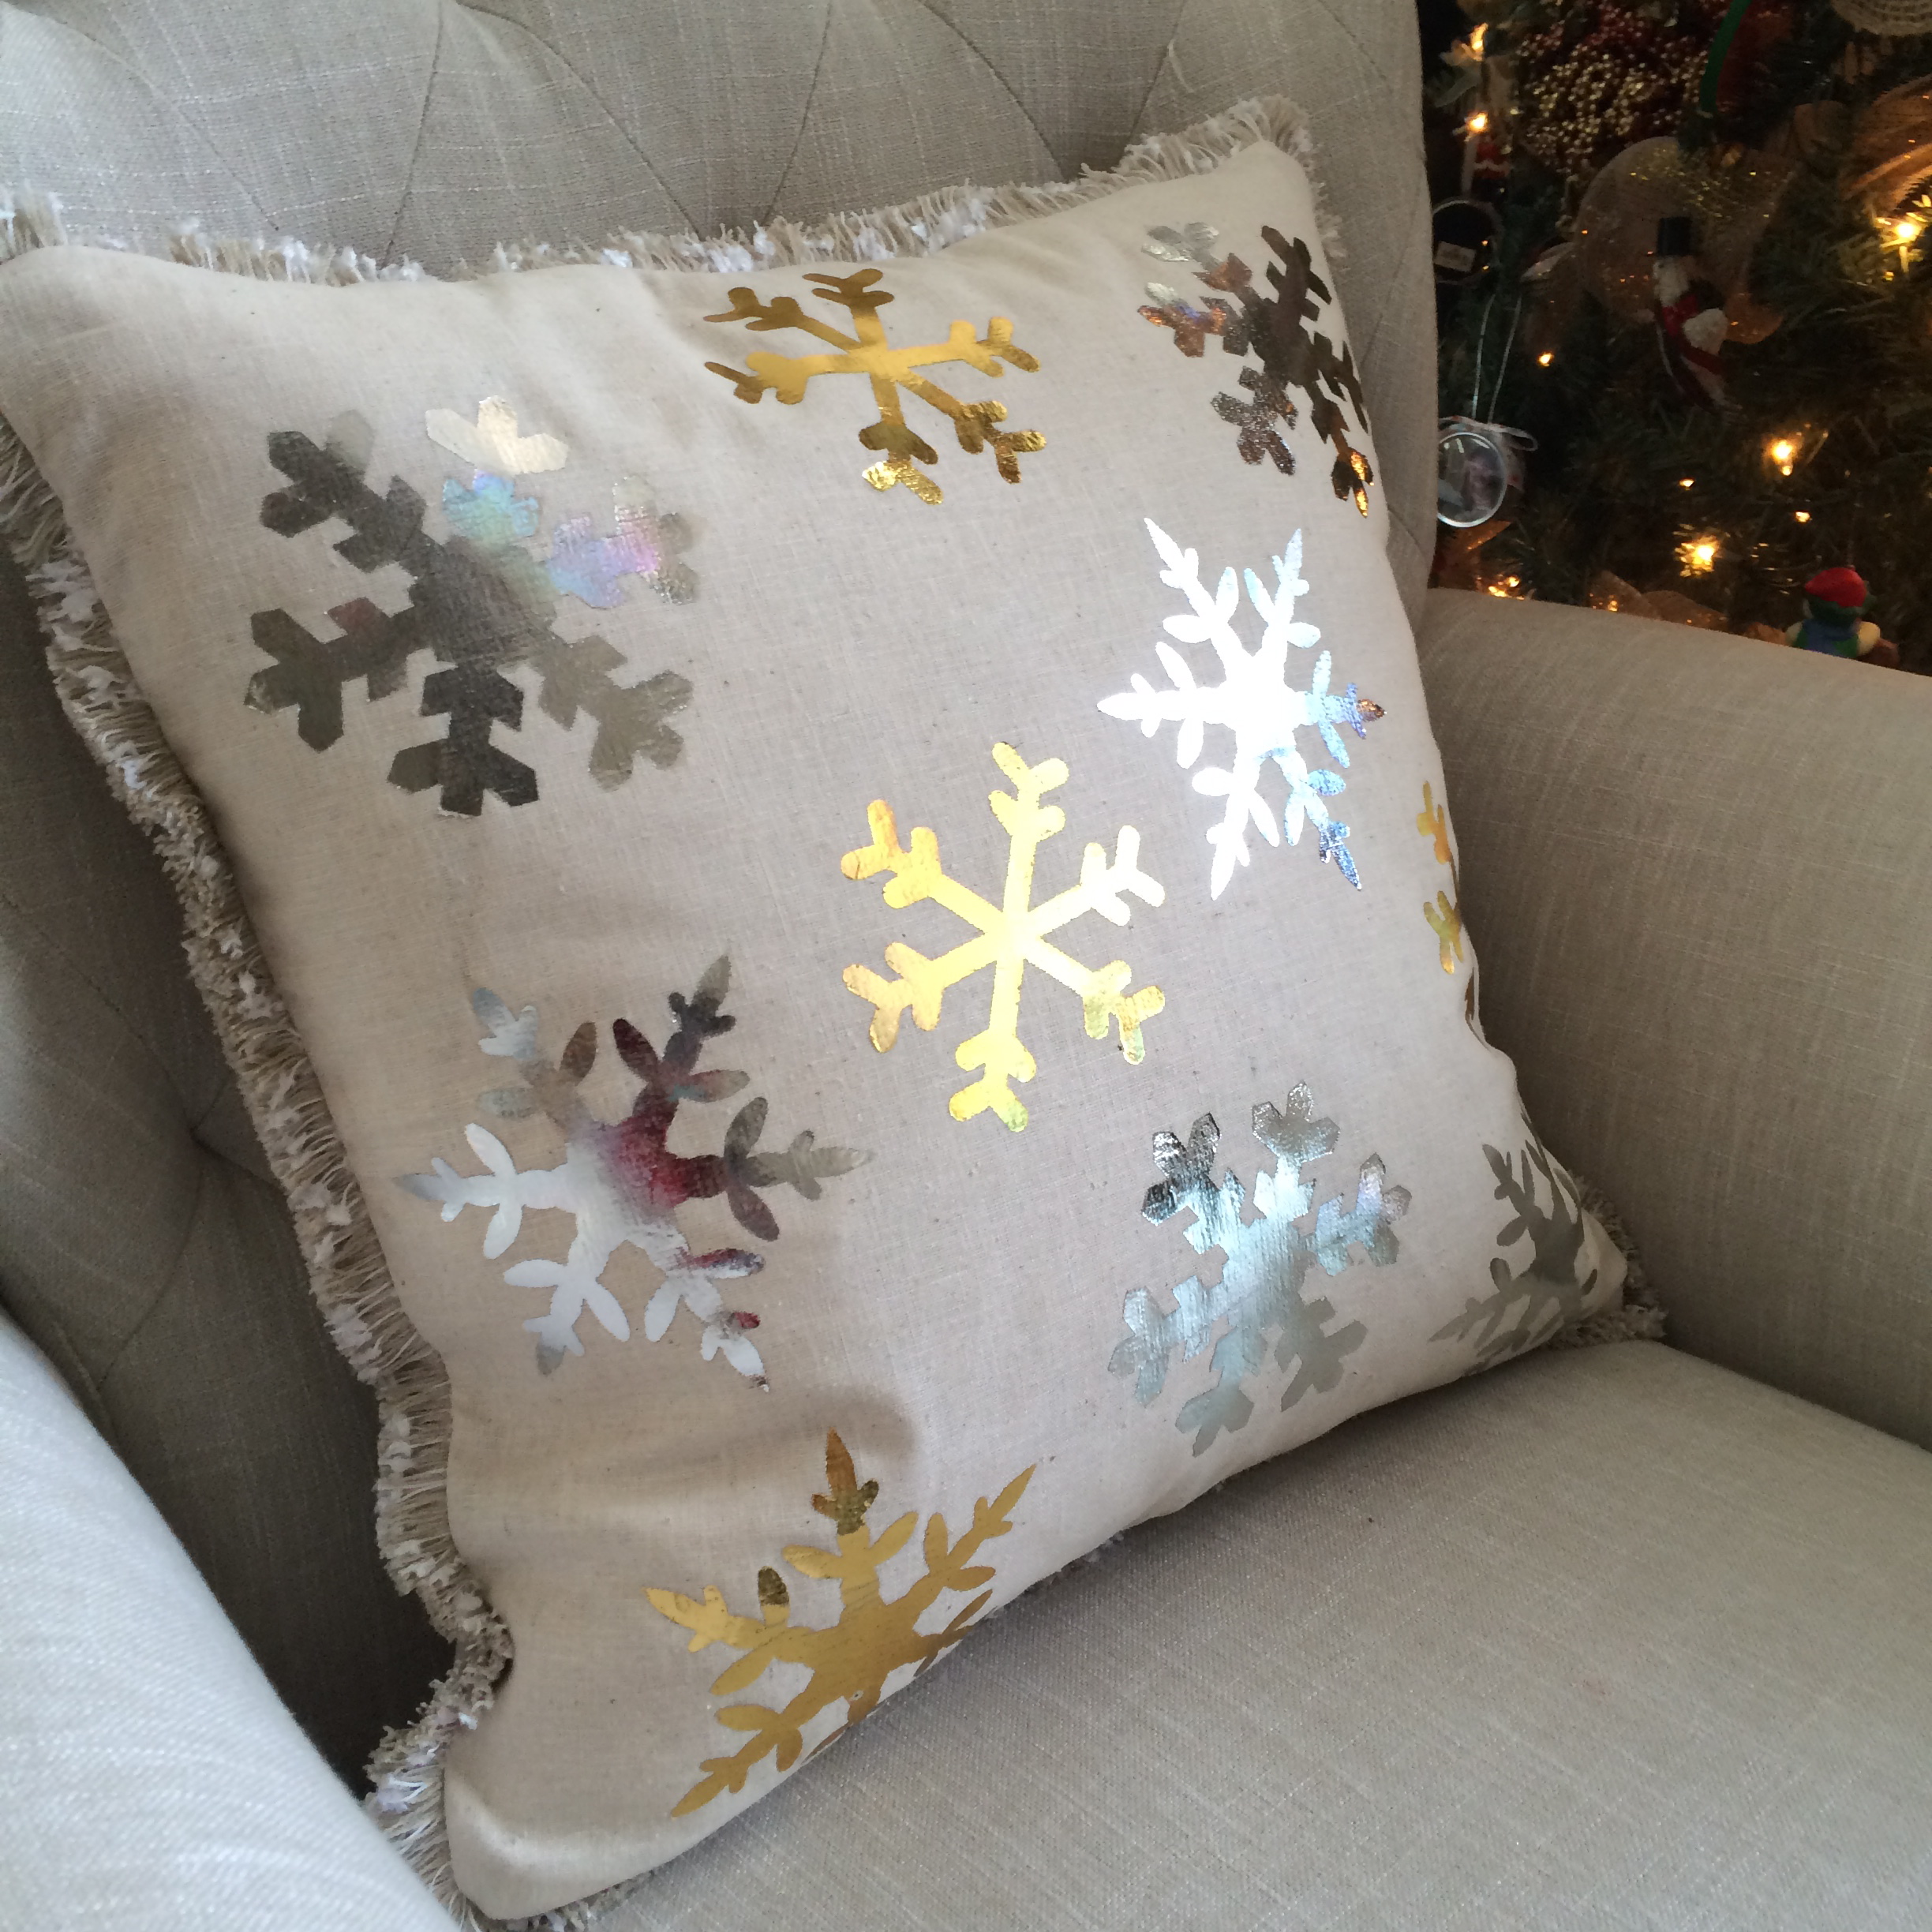
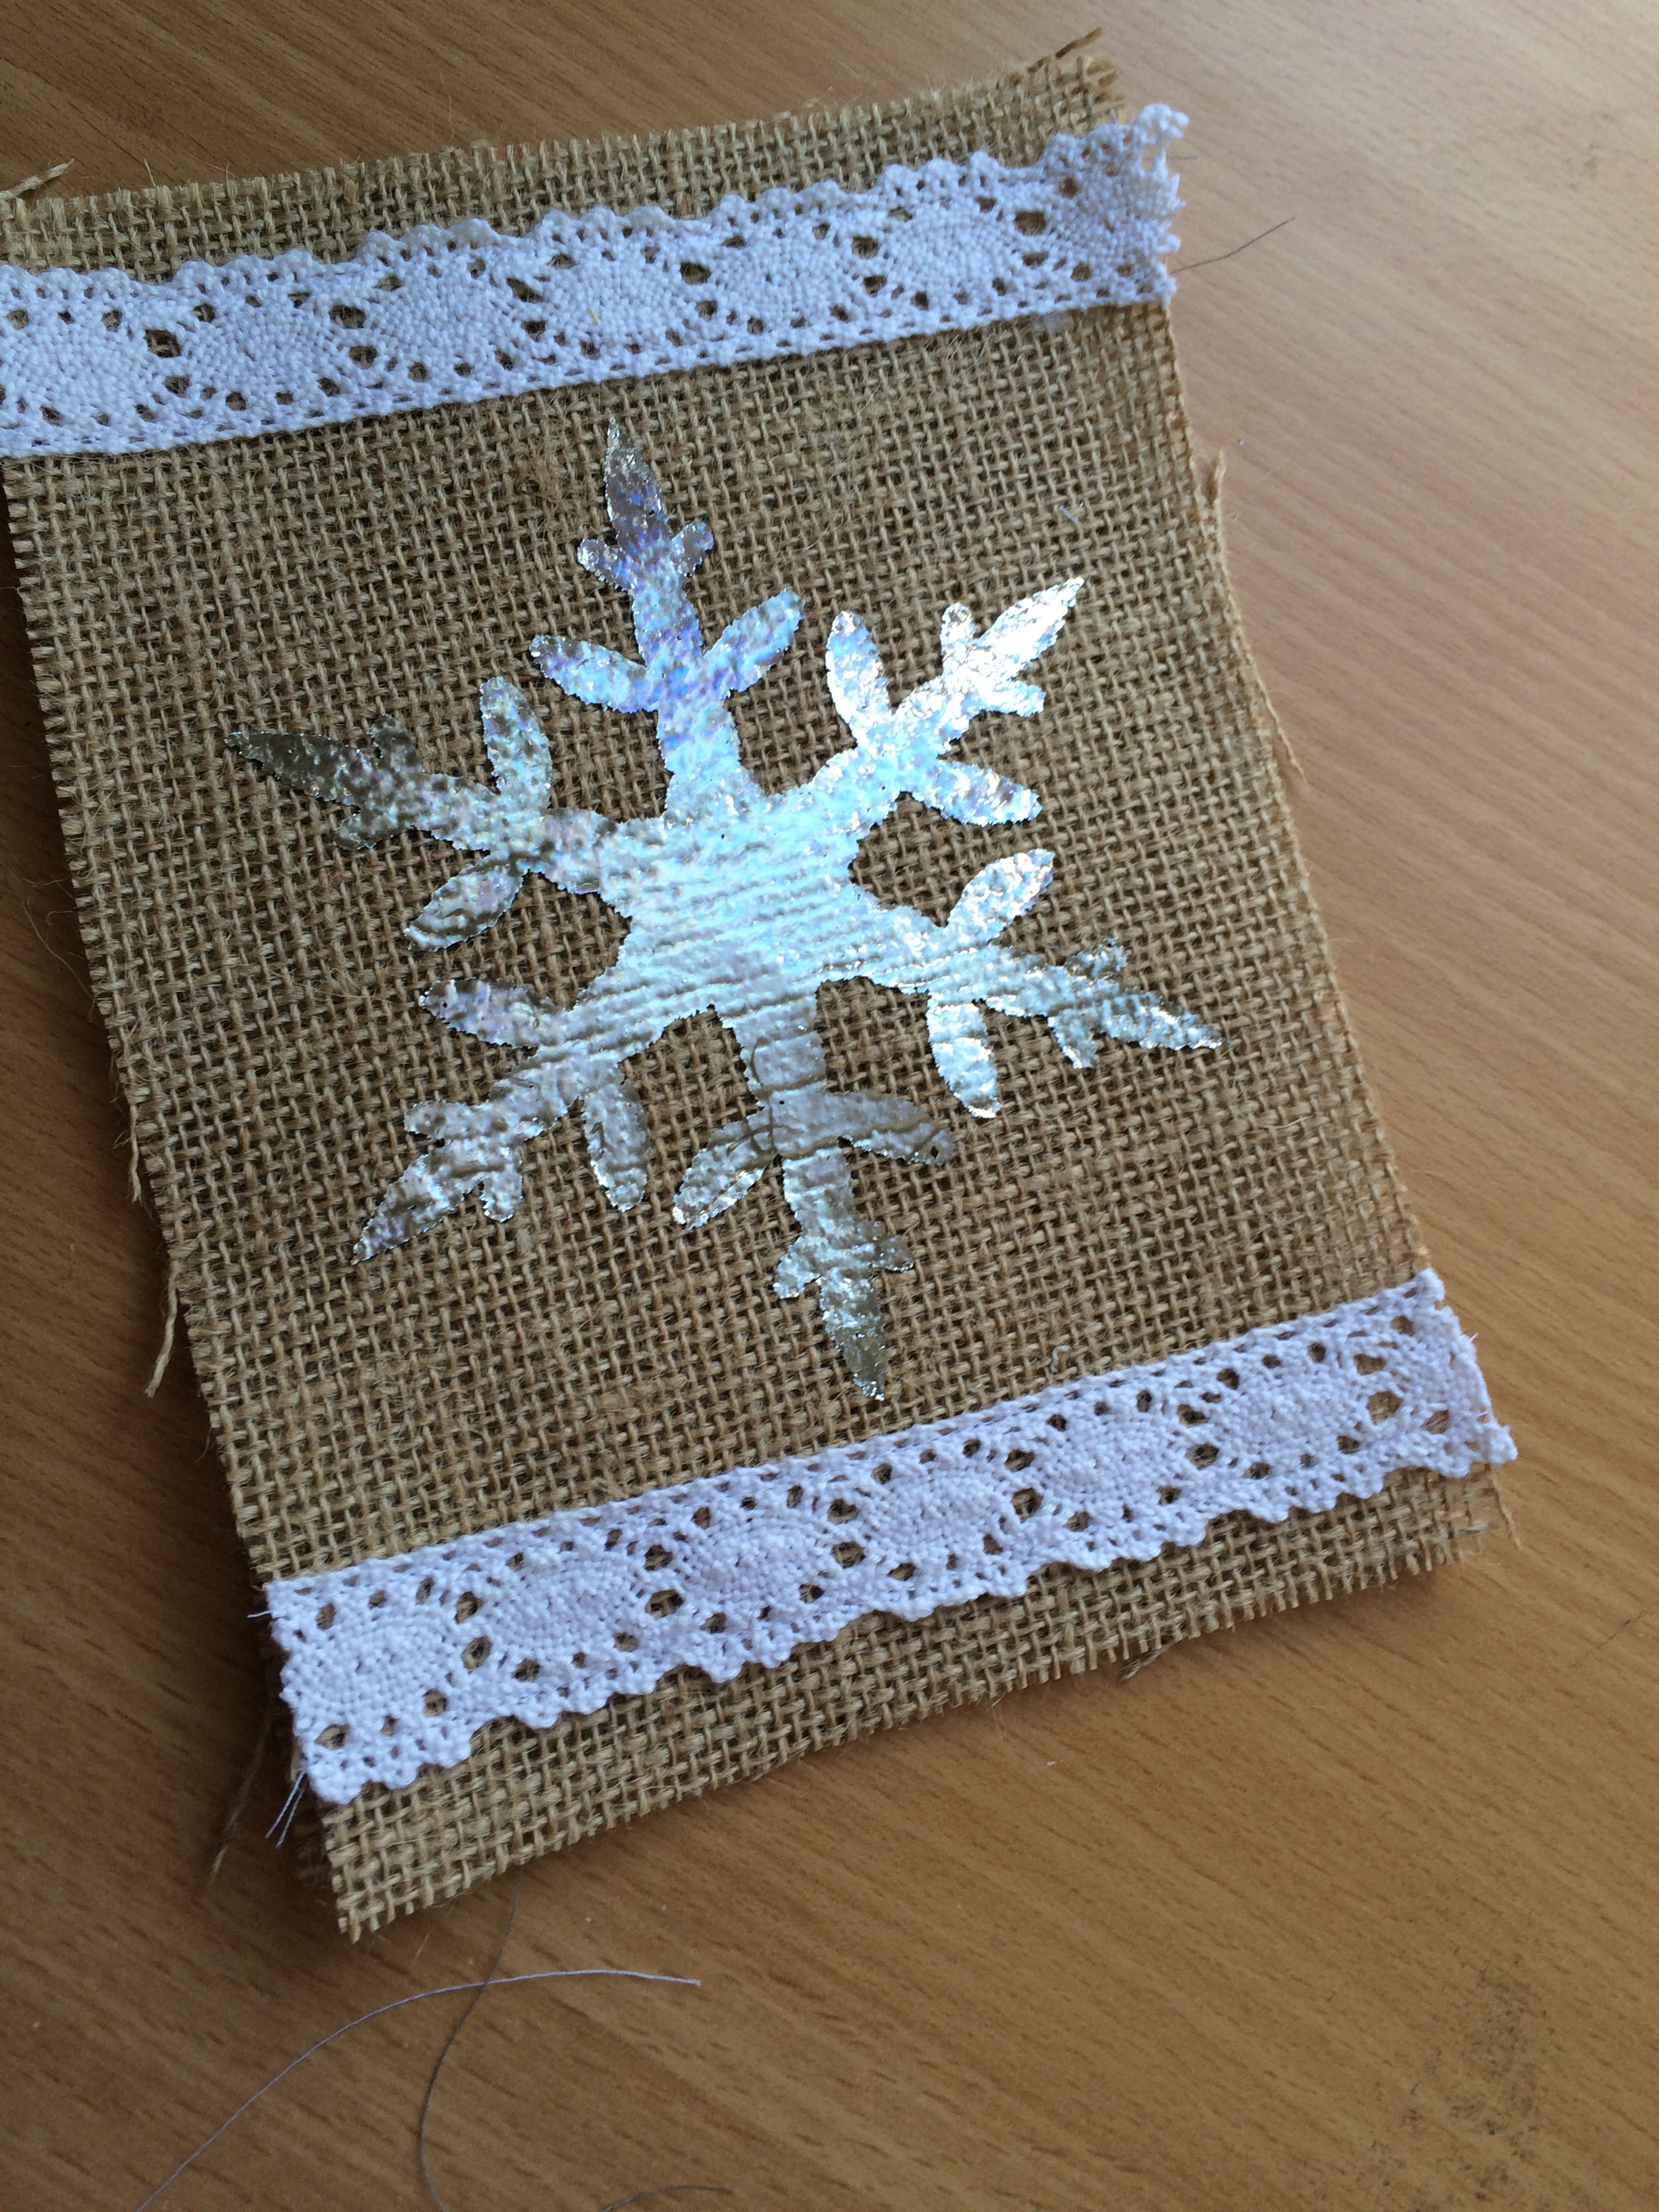
 Gently peel off the foil leaving a beautiful snowflake!
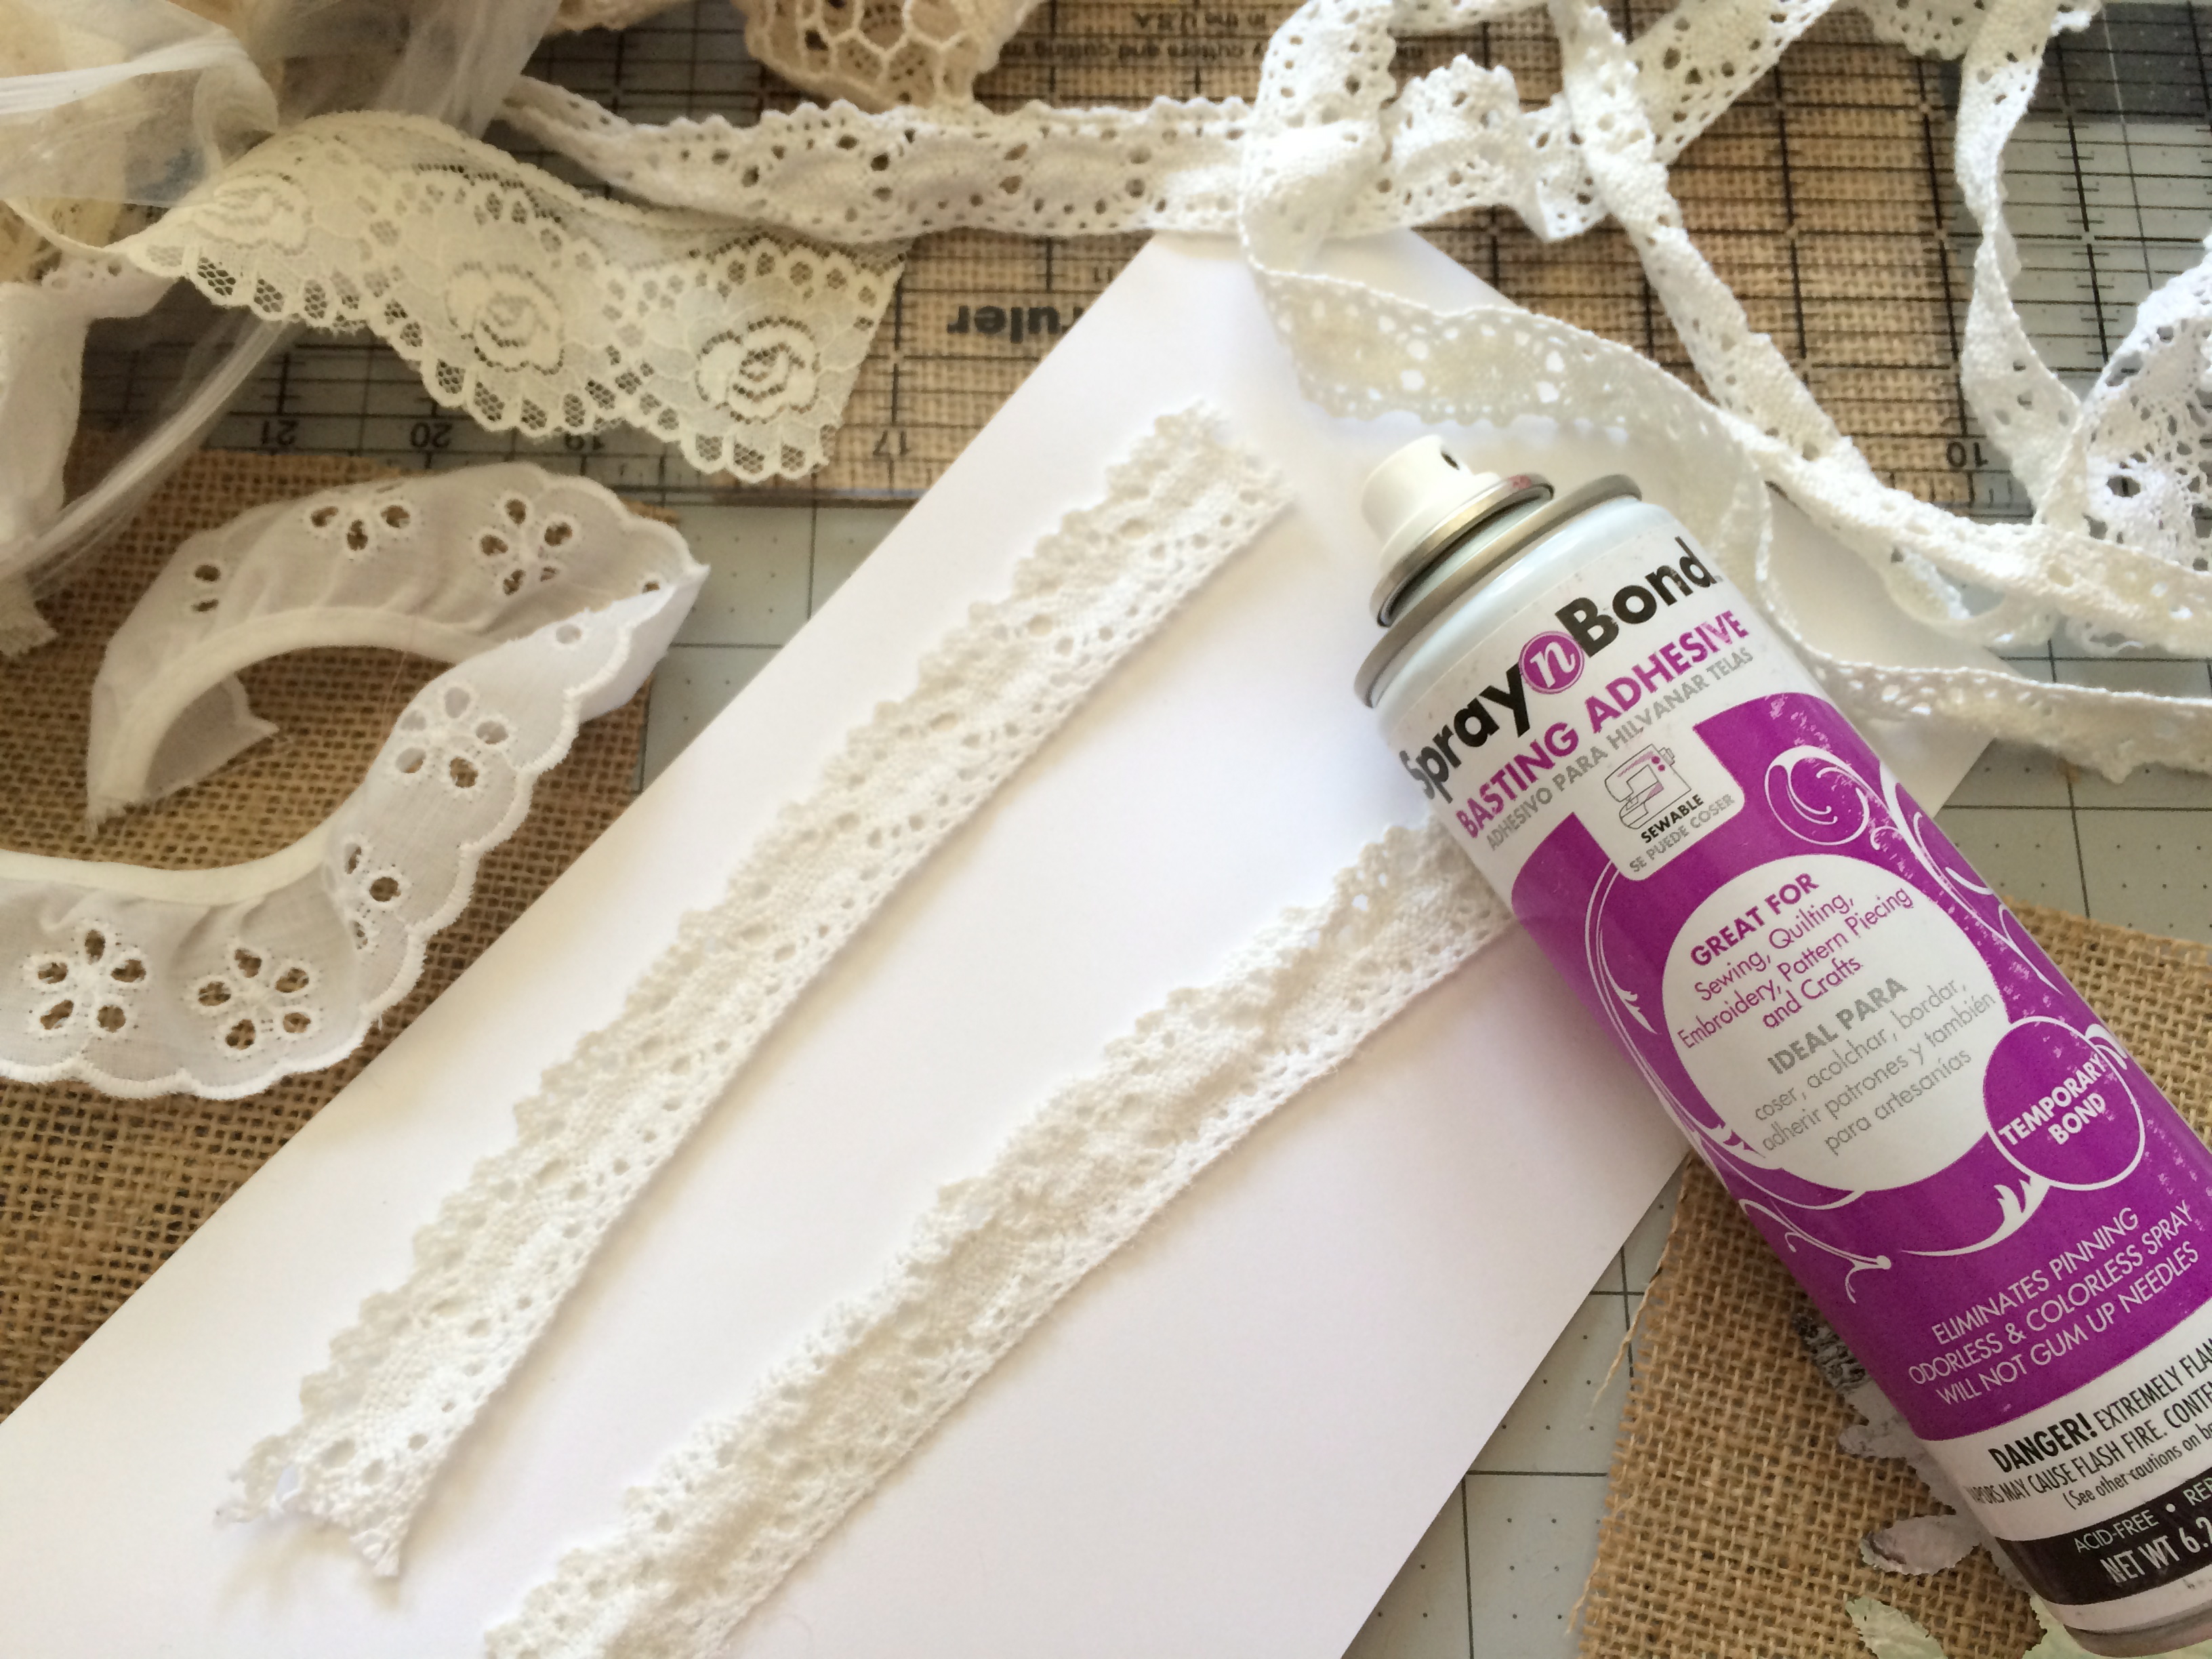


