This is not a paid review, I purchased the skirt pattern from Tie Dye Diva’s online shop.
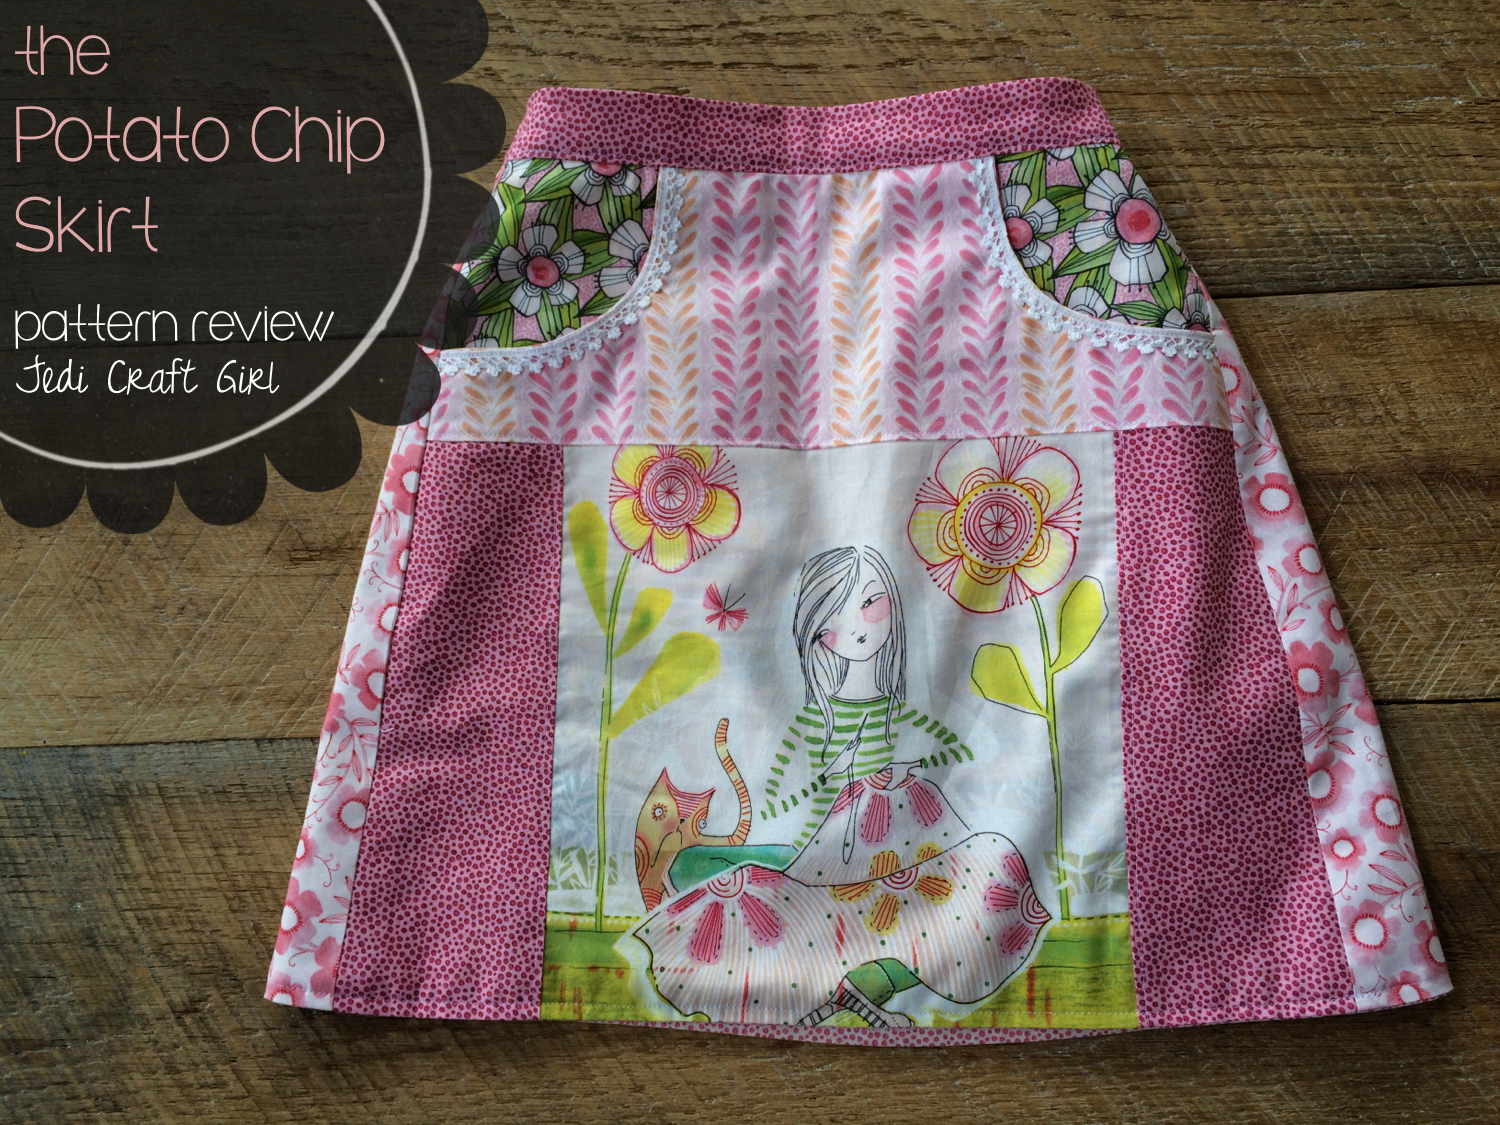
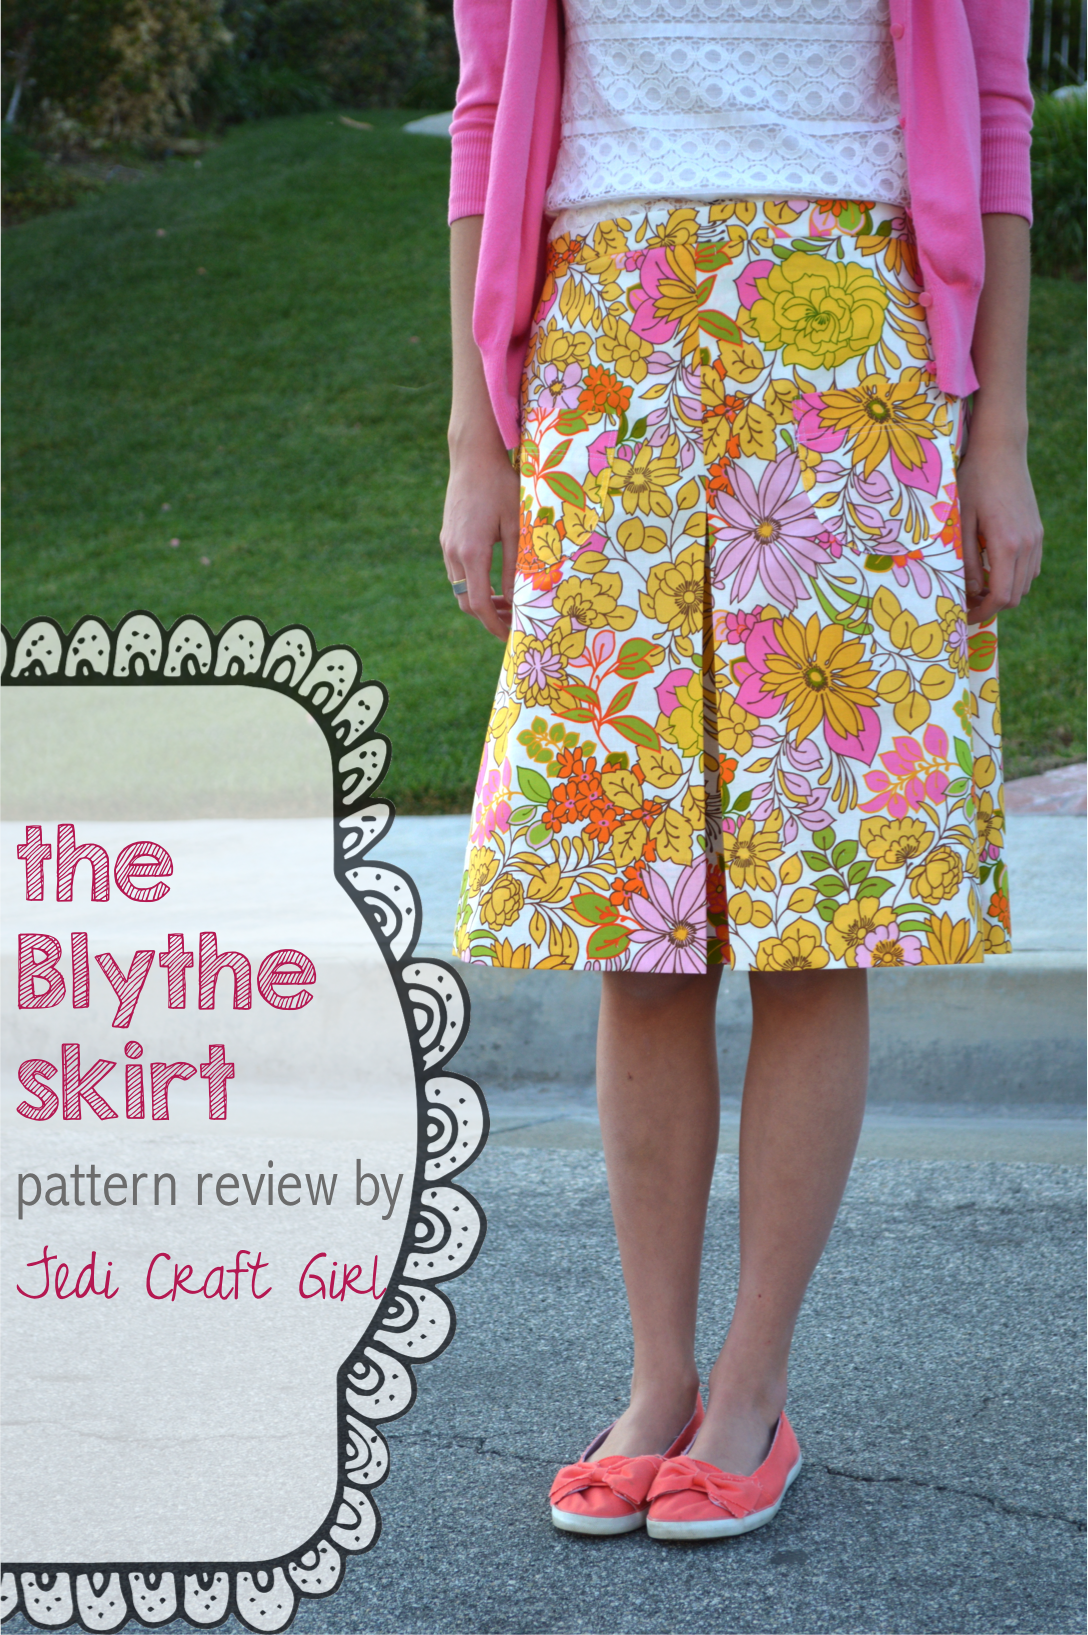
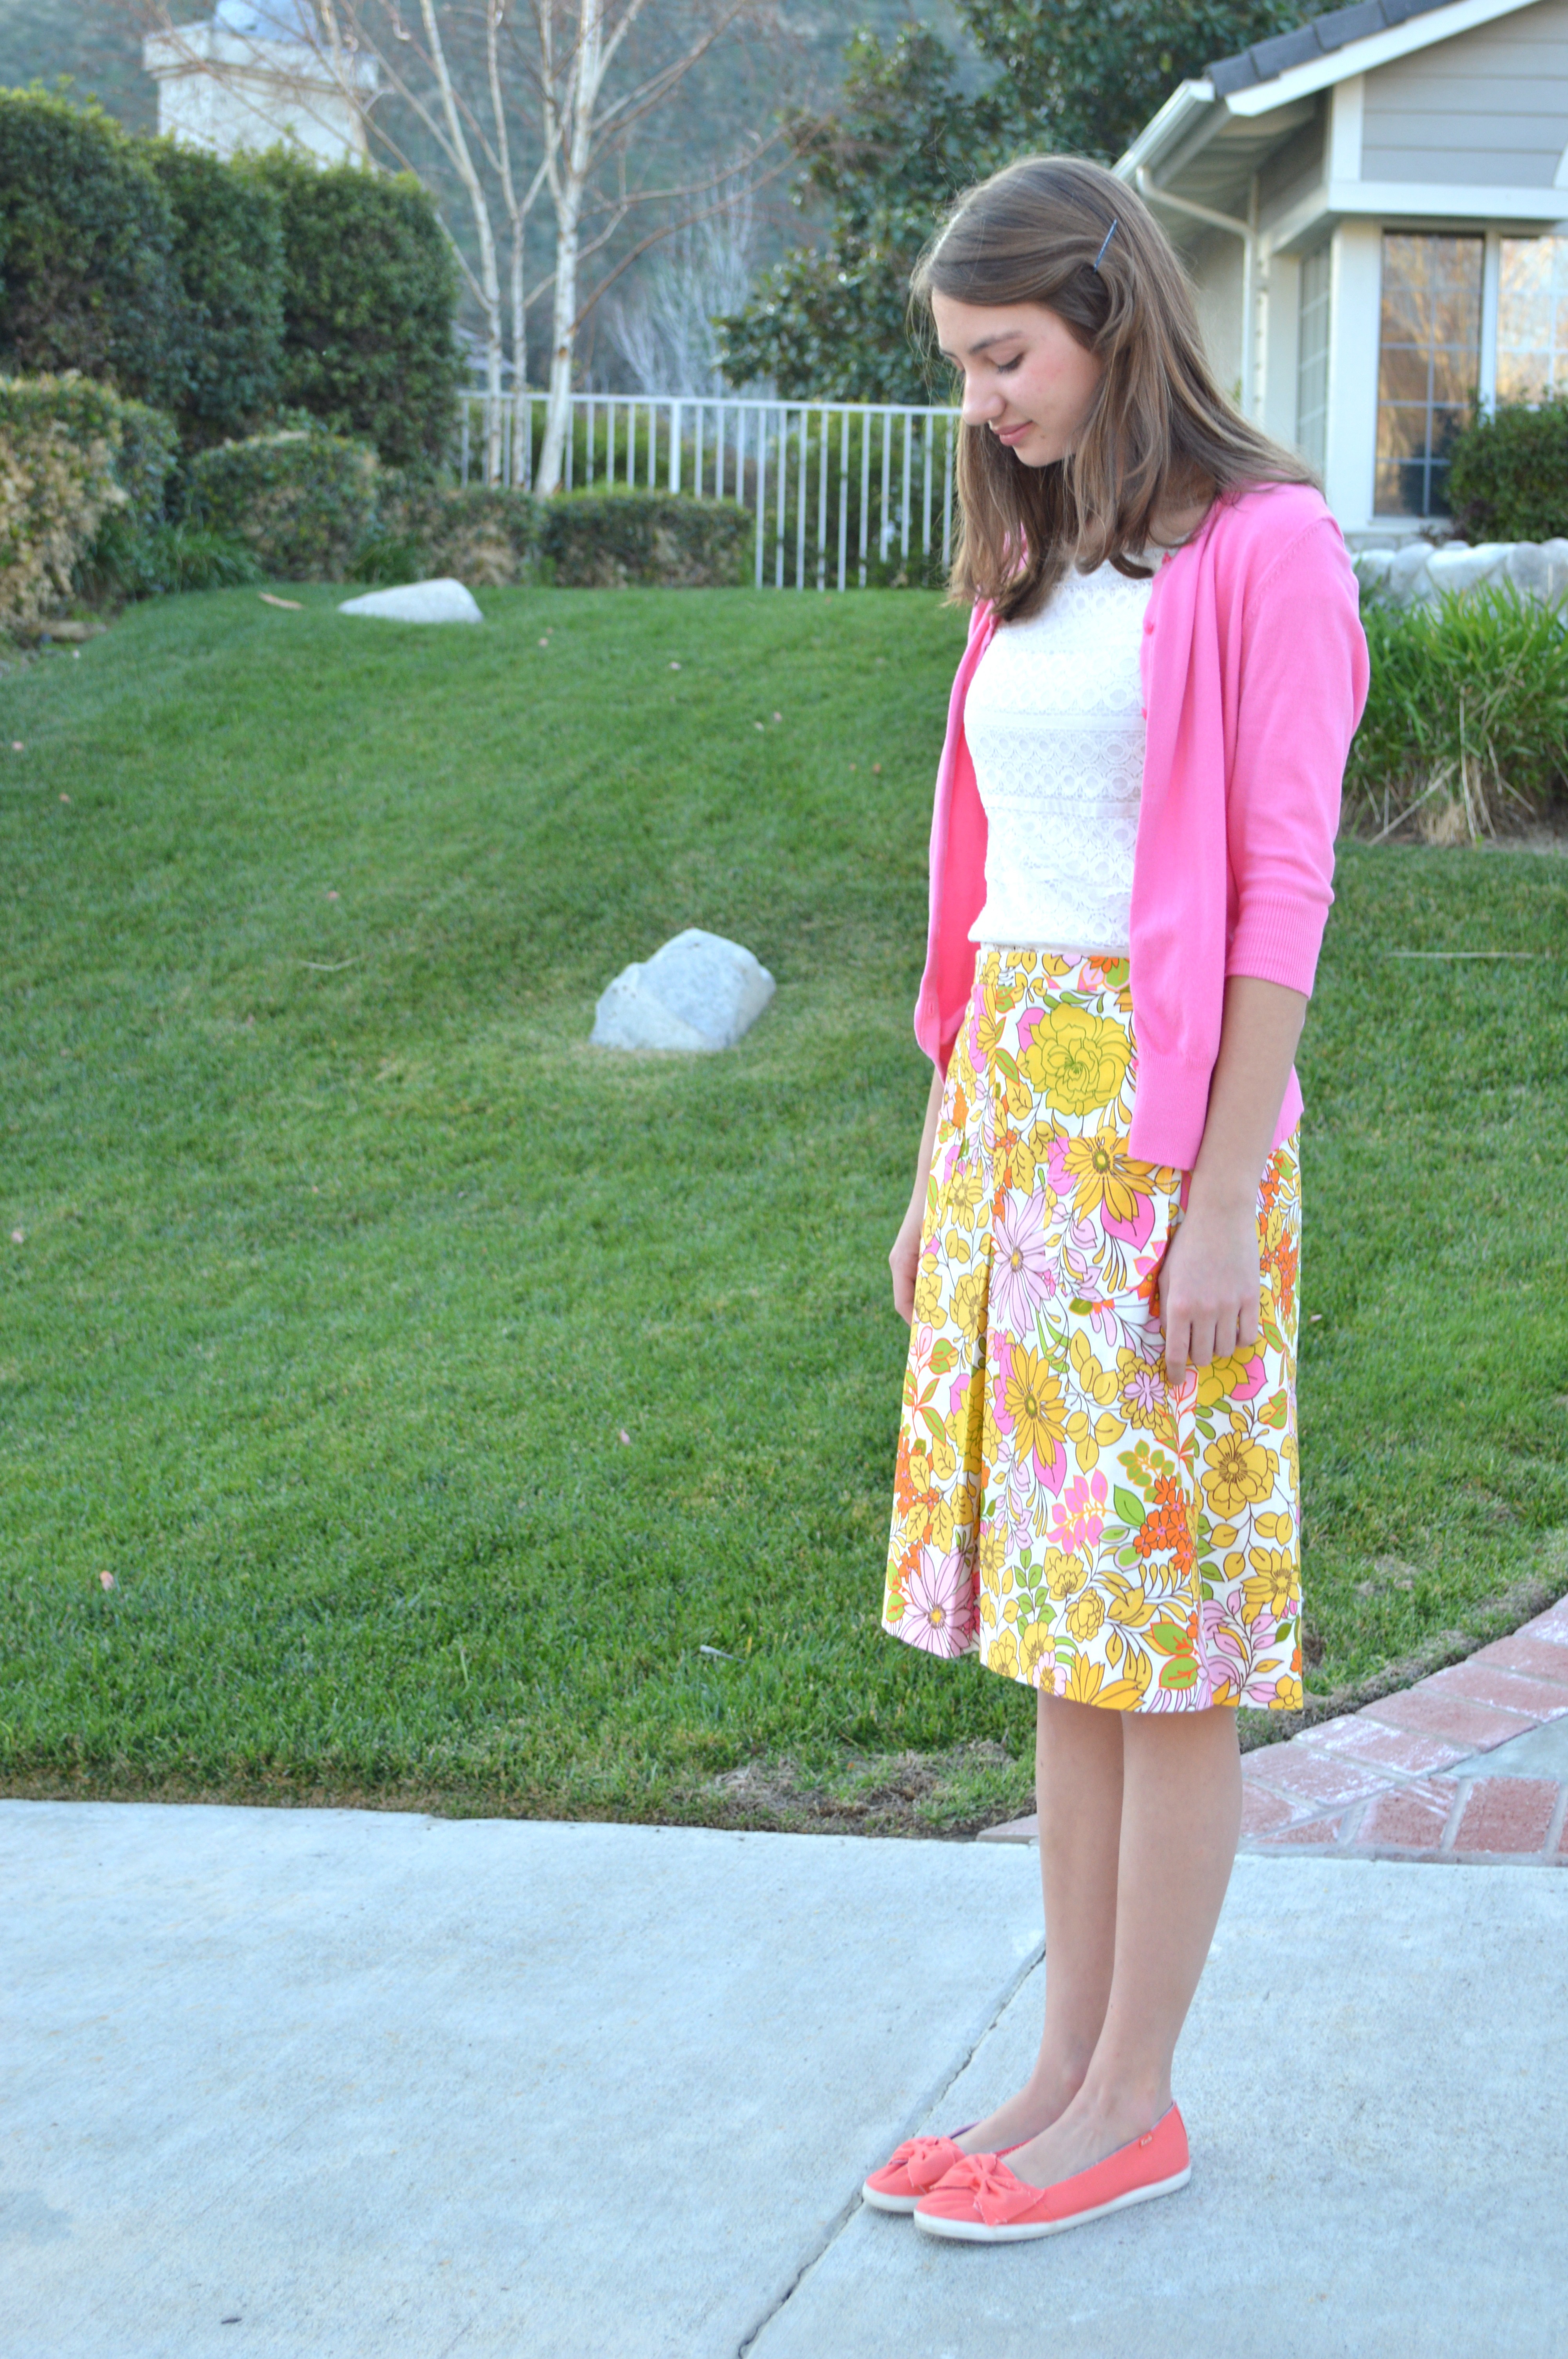
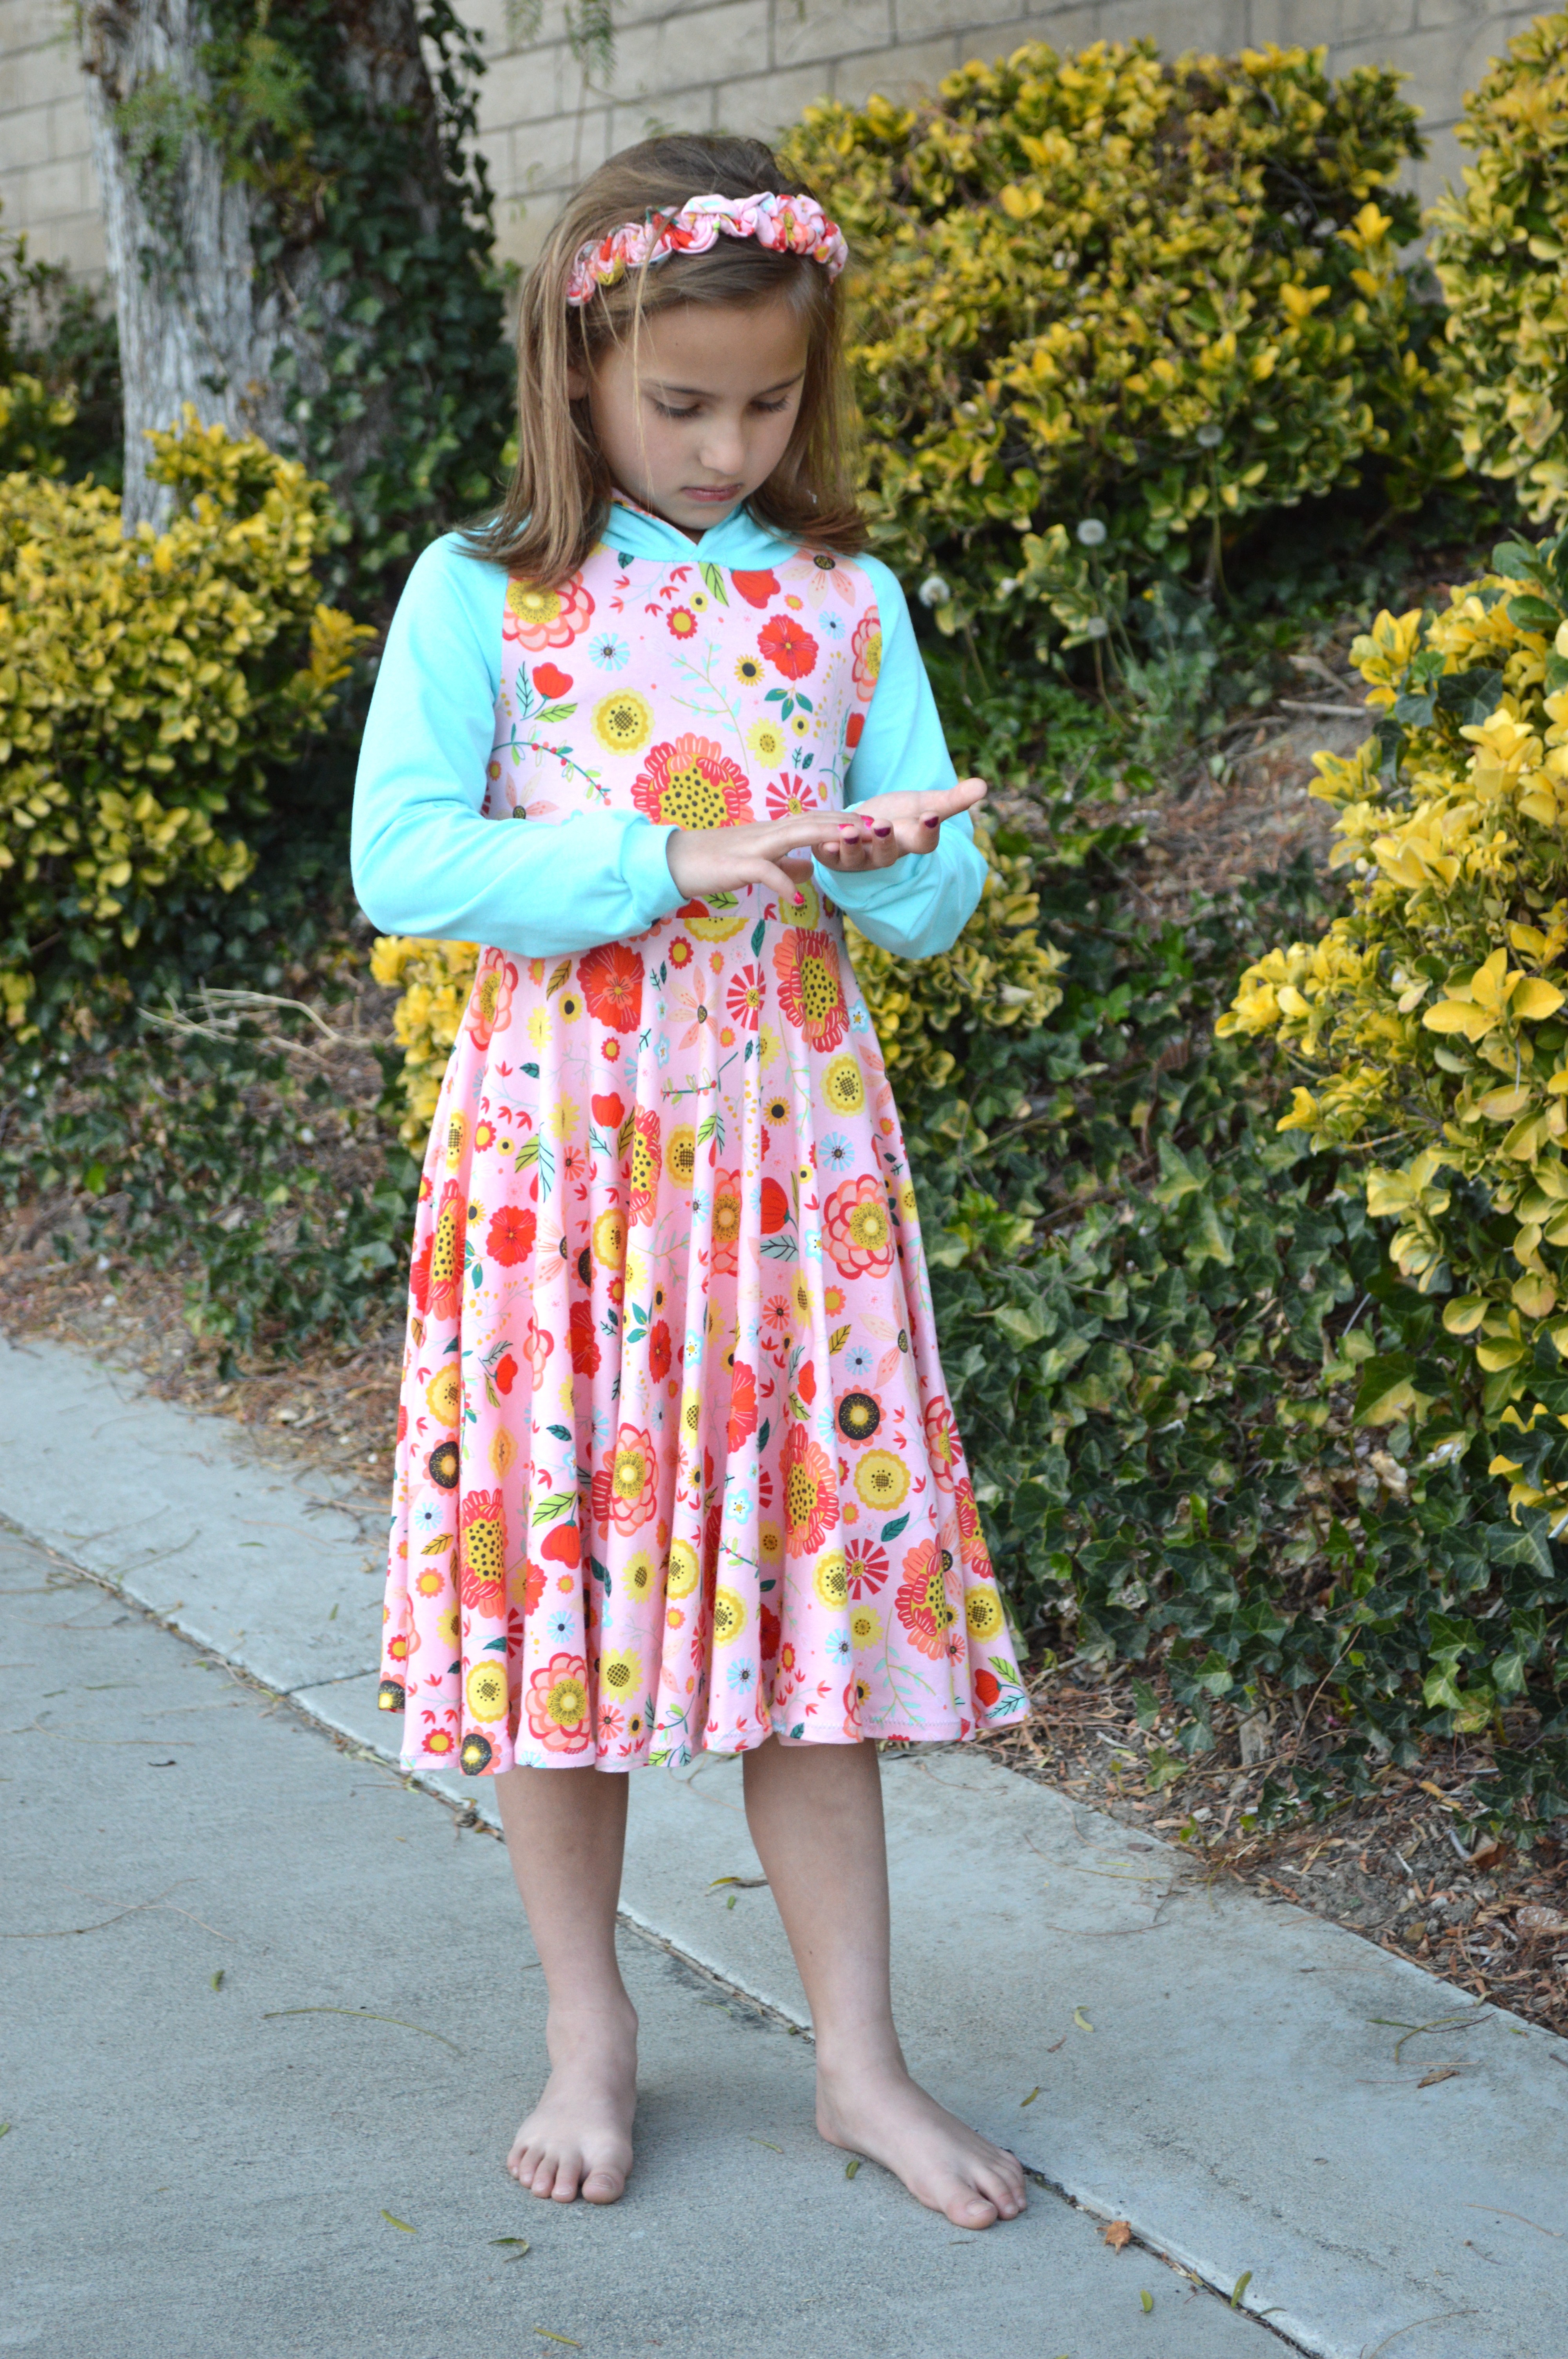
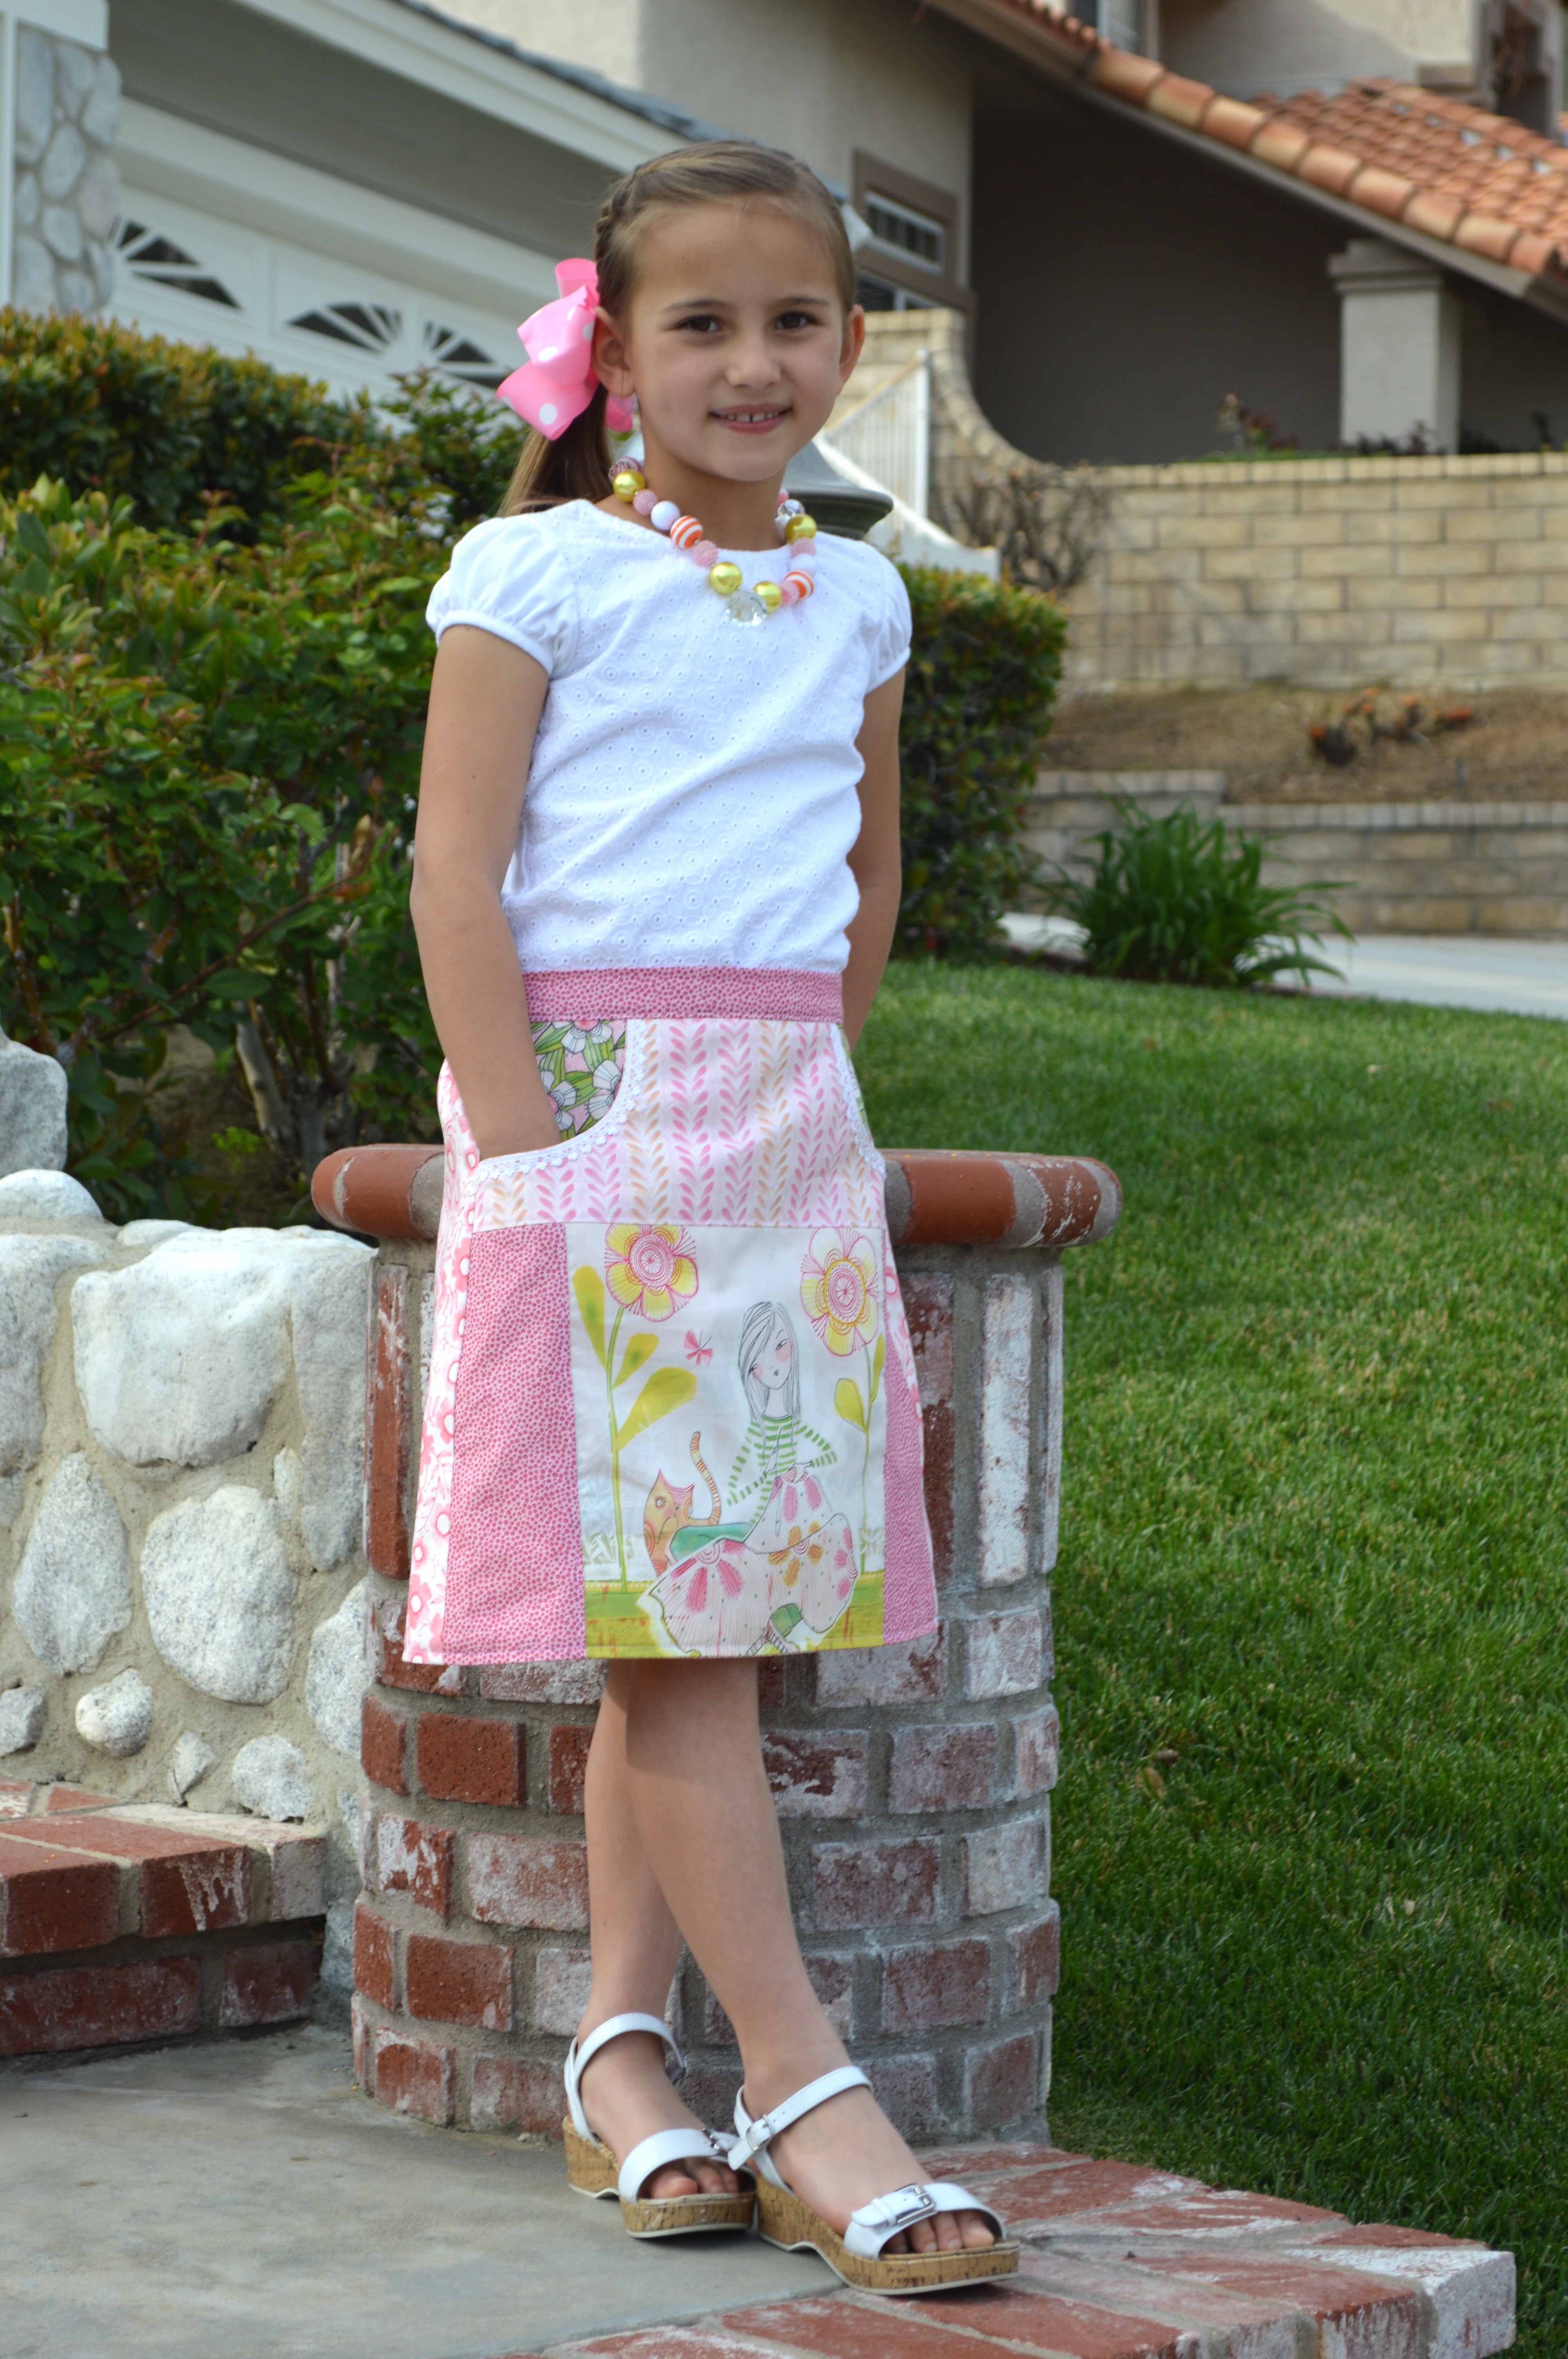
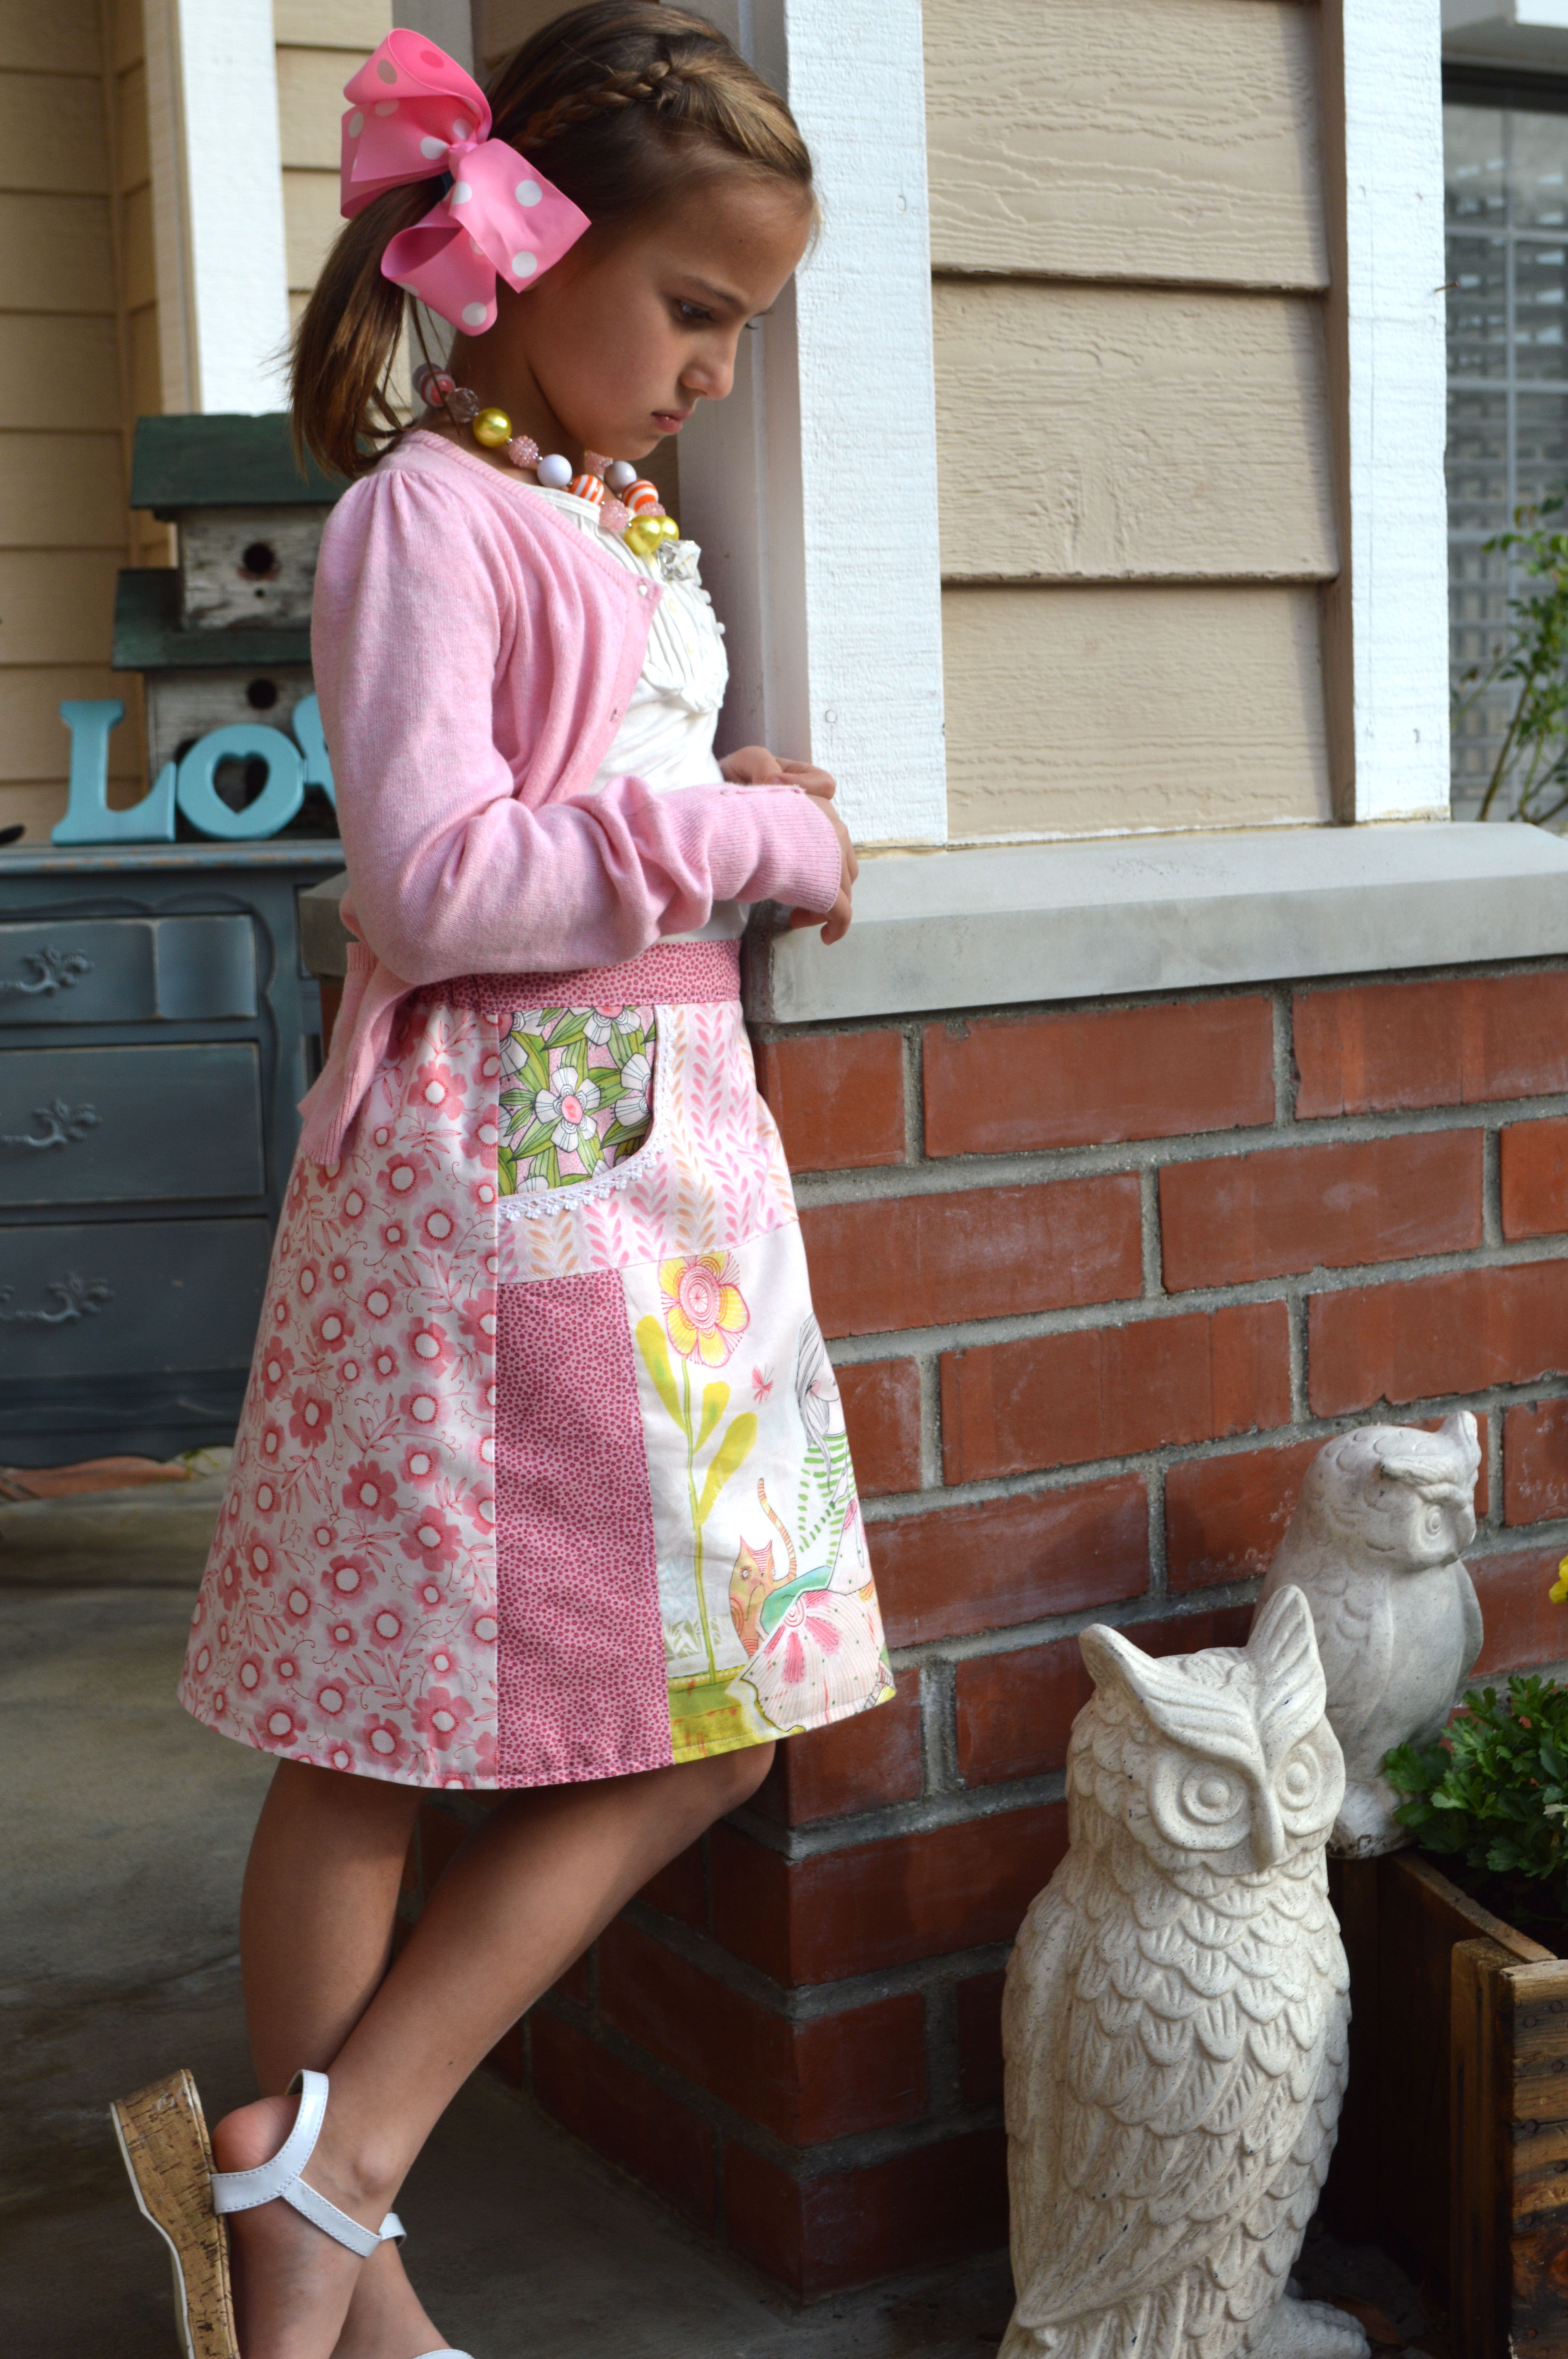
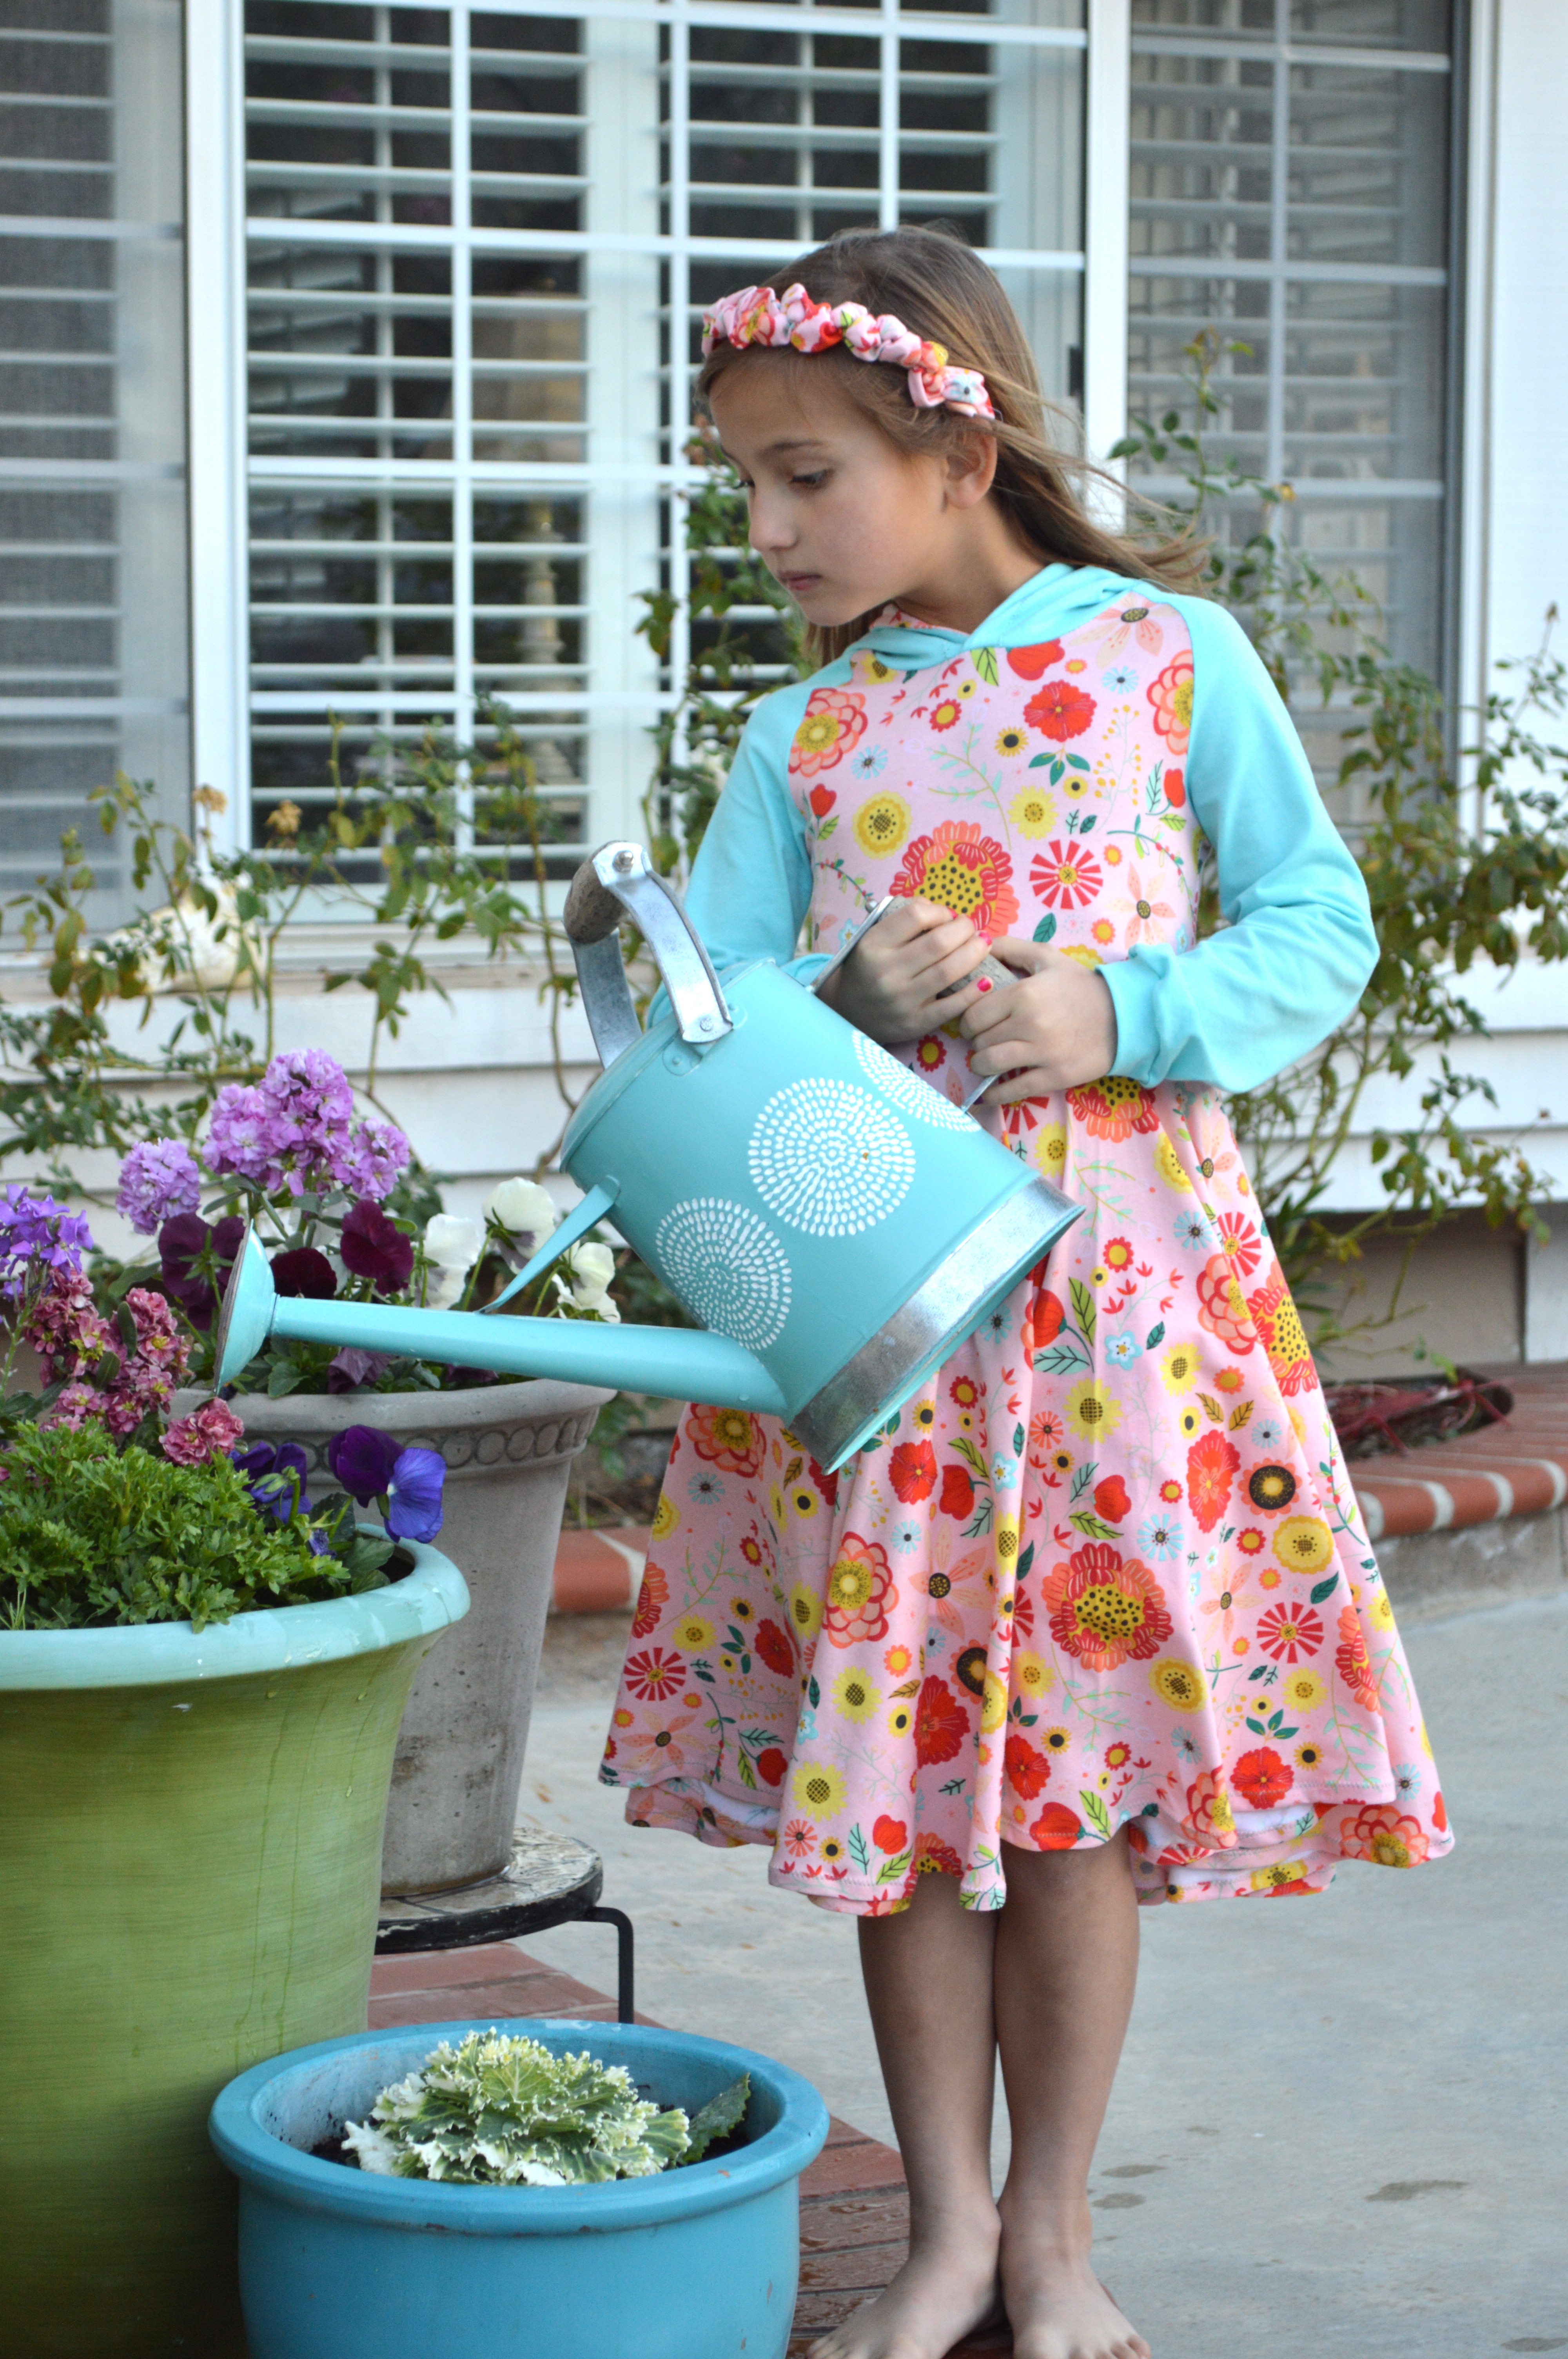
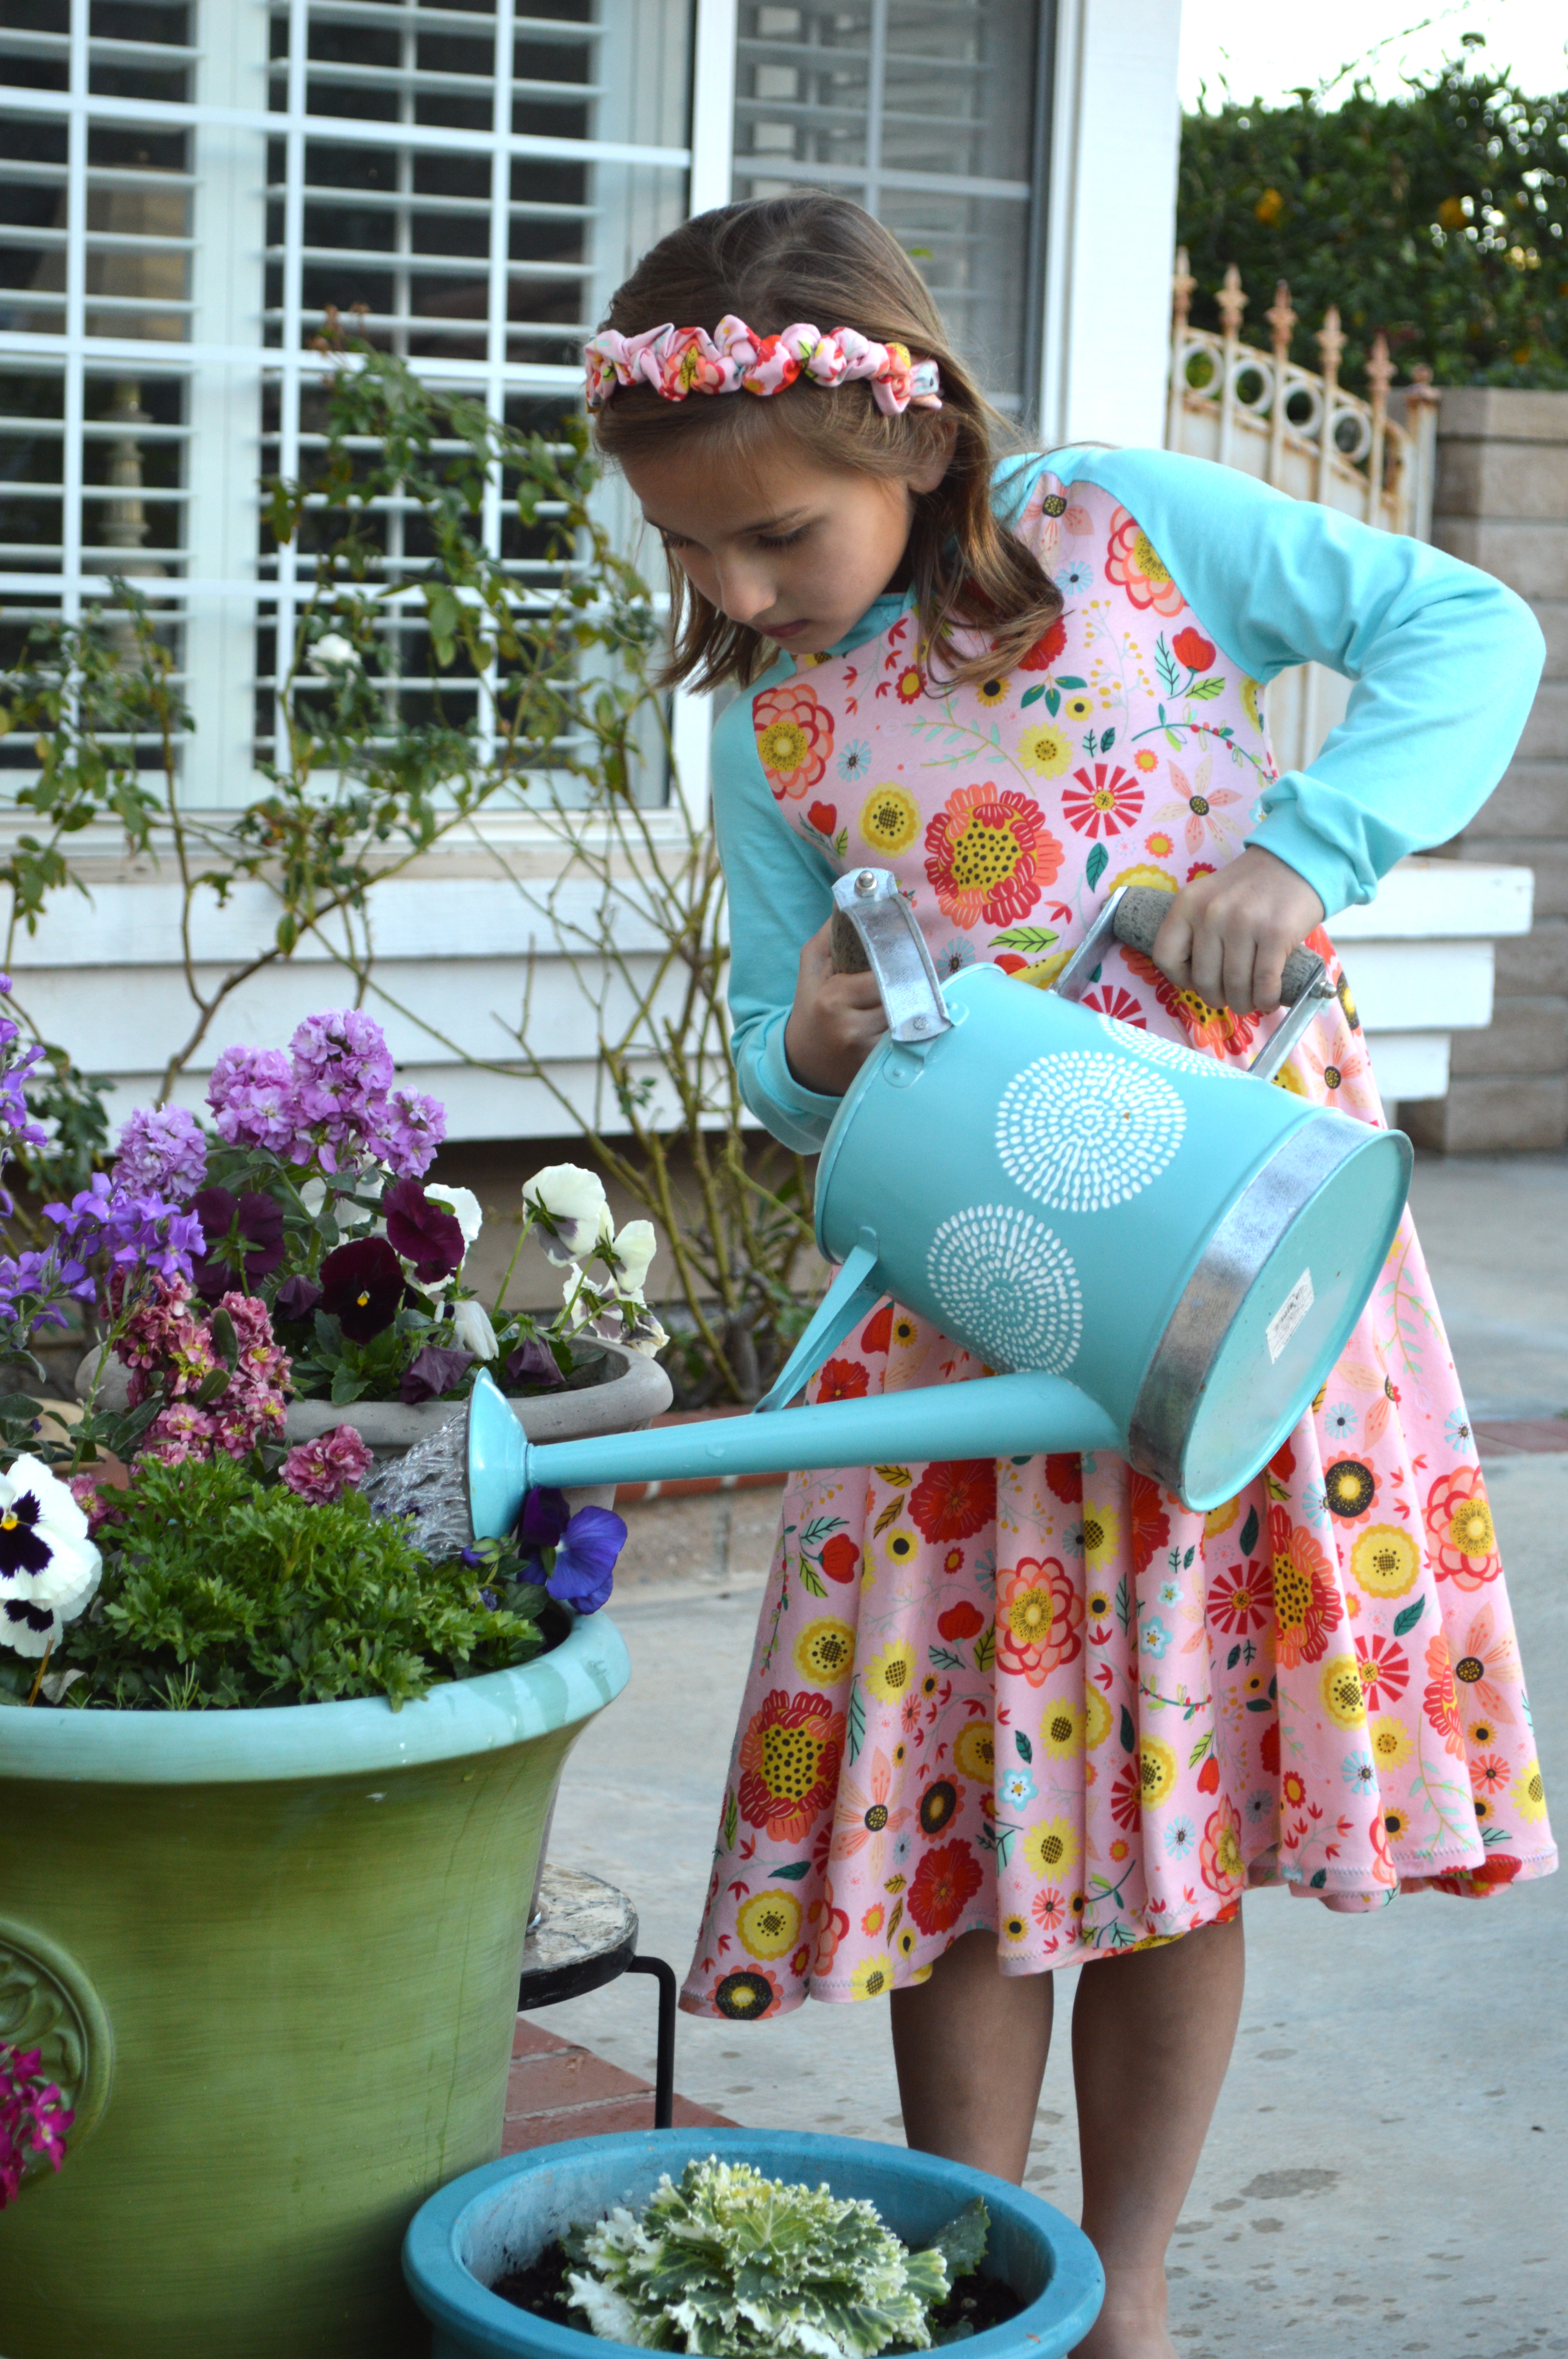
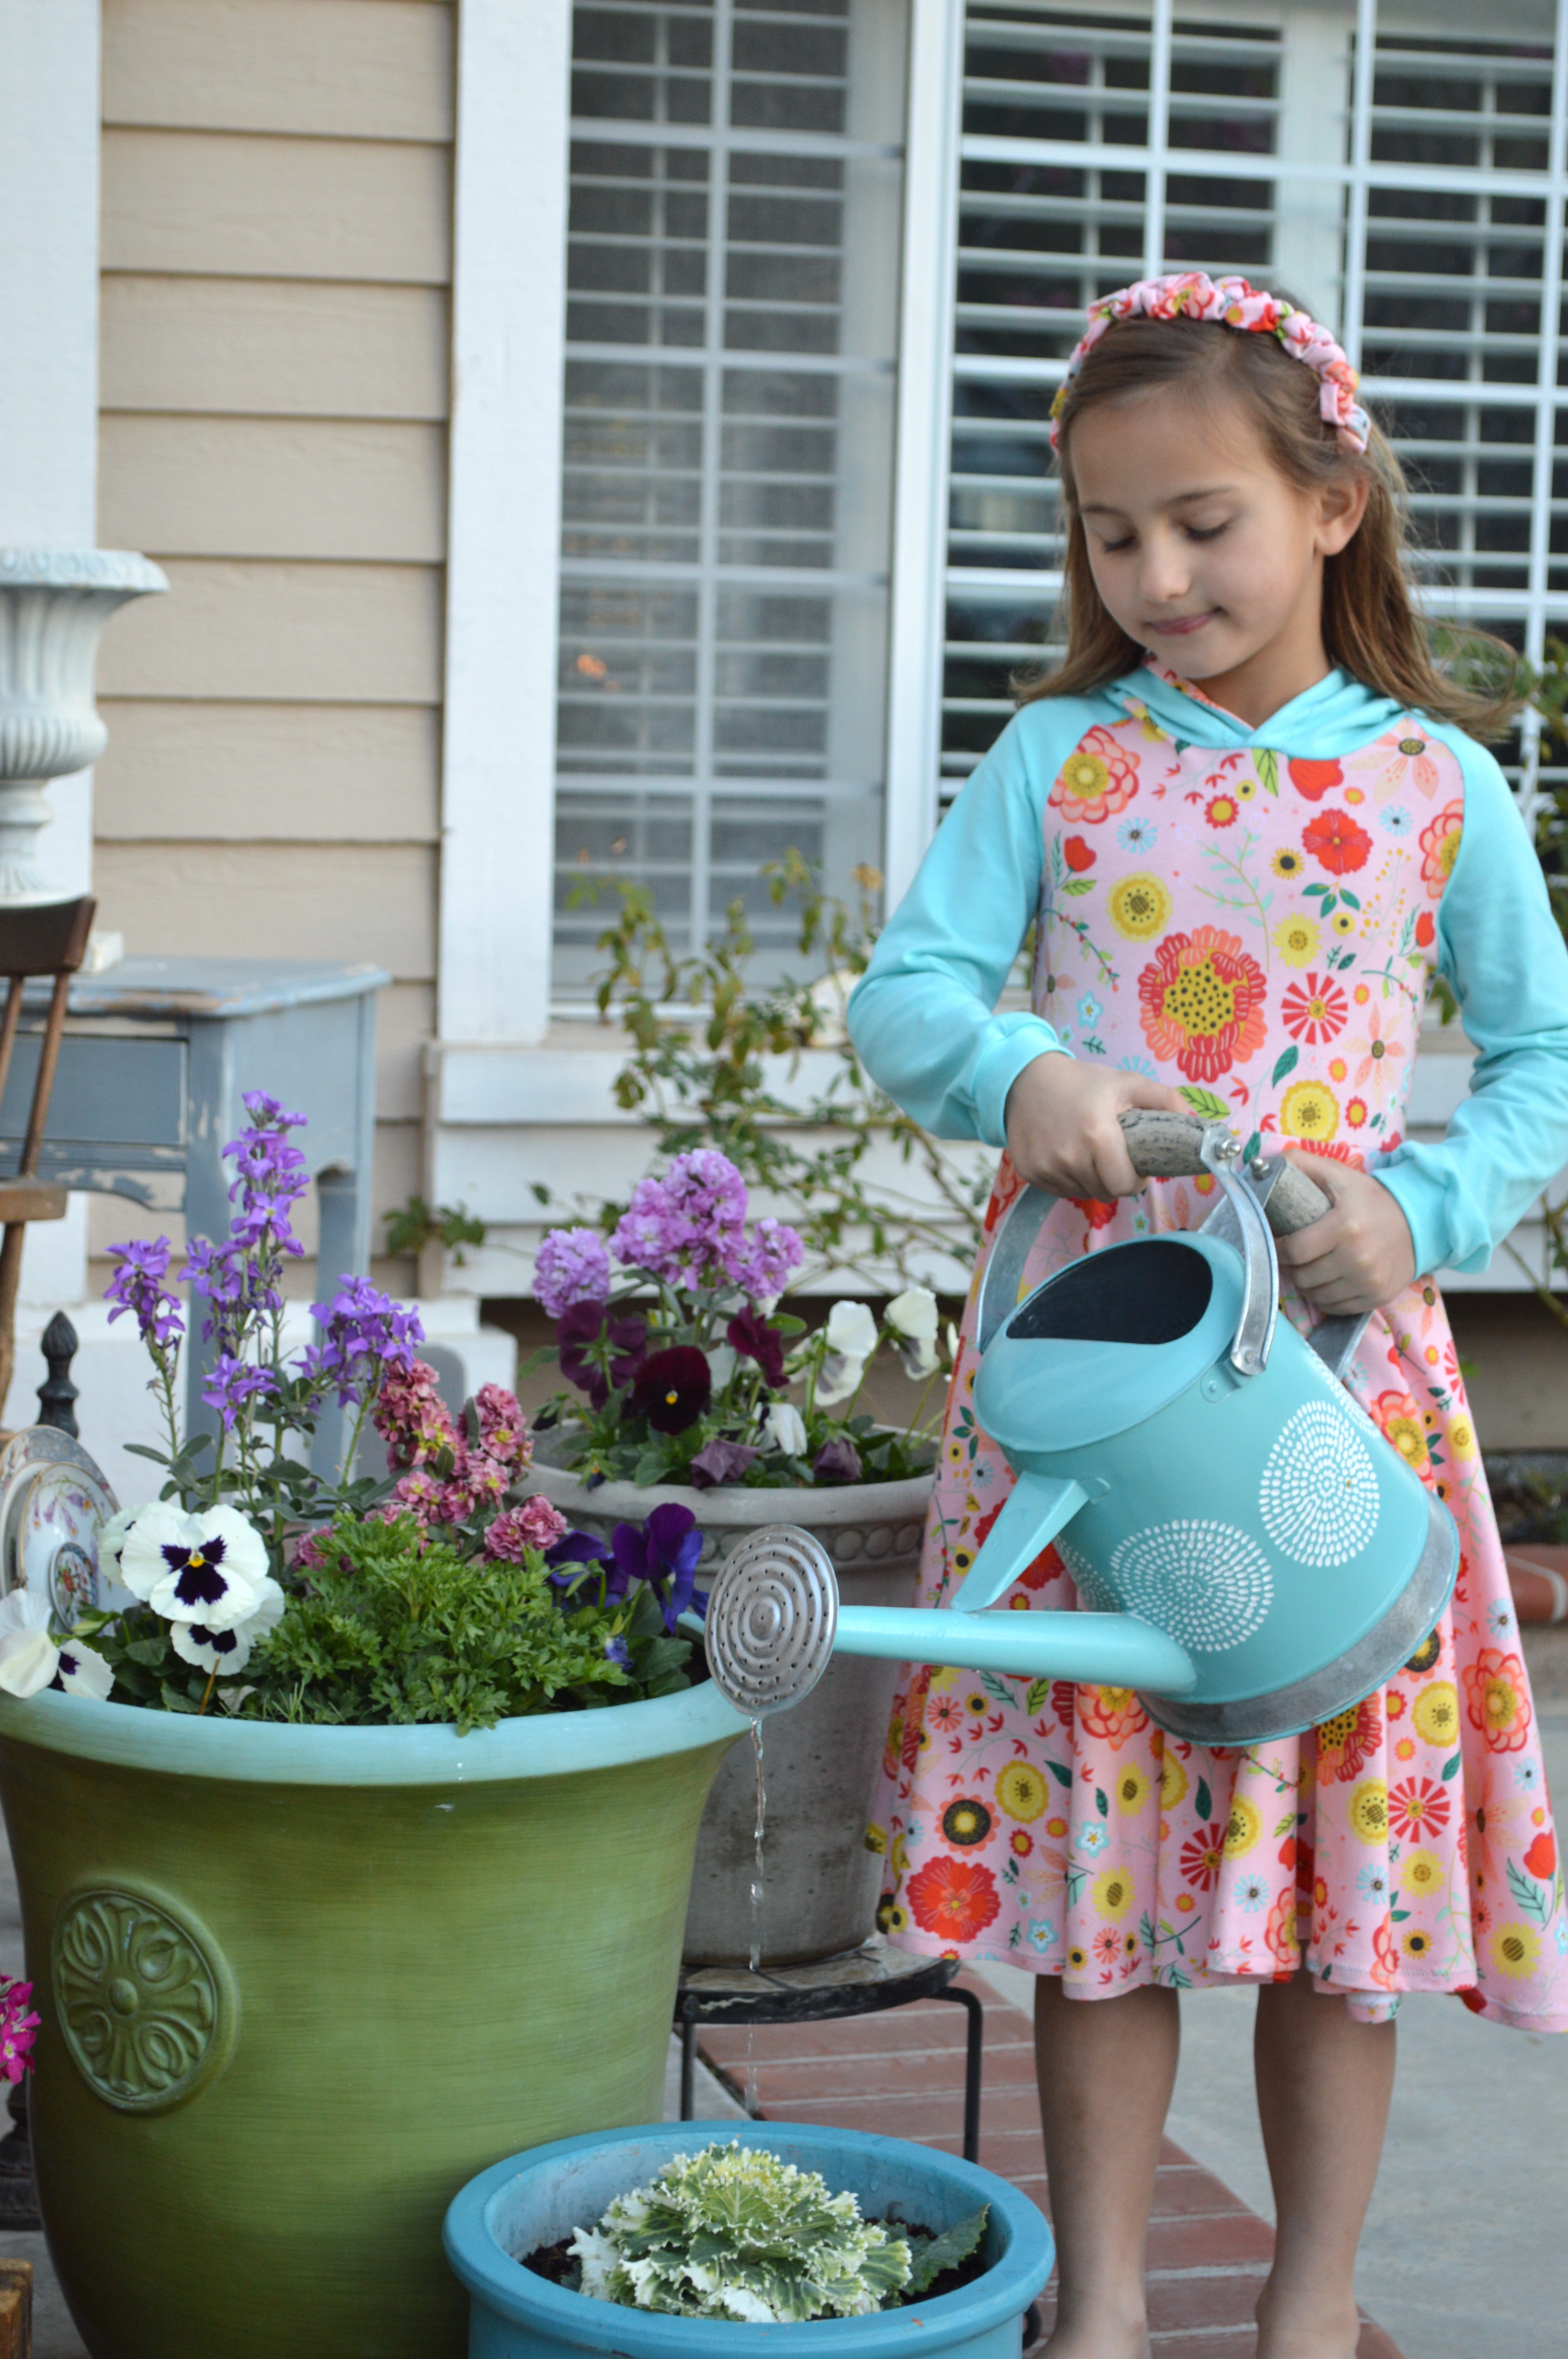
I am so excited to be sharing my experience of making this super cute girls skirt called The Potato Chip Skirt by Tie Dye Diva. I don’t think it’s possible to say how much I love this skirt, how it fits so perfectly and how wonderfully the pattern is written. Tie Dye Diva has many fabulous patterns and this is my first experience sewing one of them. You can purchase the pattern and download it immediately. The pattern was easy to tape together and assemble. The step by step instructions were very clear and thorough. I am confident a beginner could tackle this pattern as it is so well written. This pattern is sized from 12 months to size girls 14. 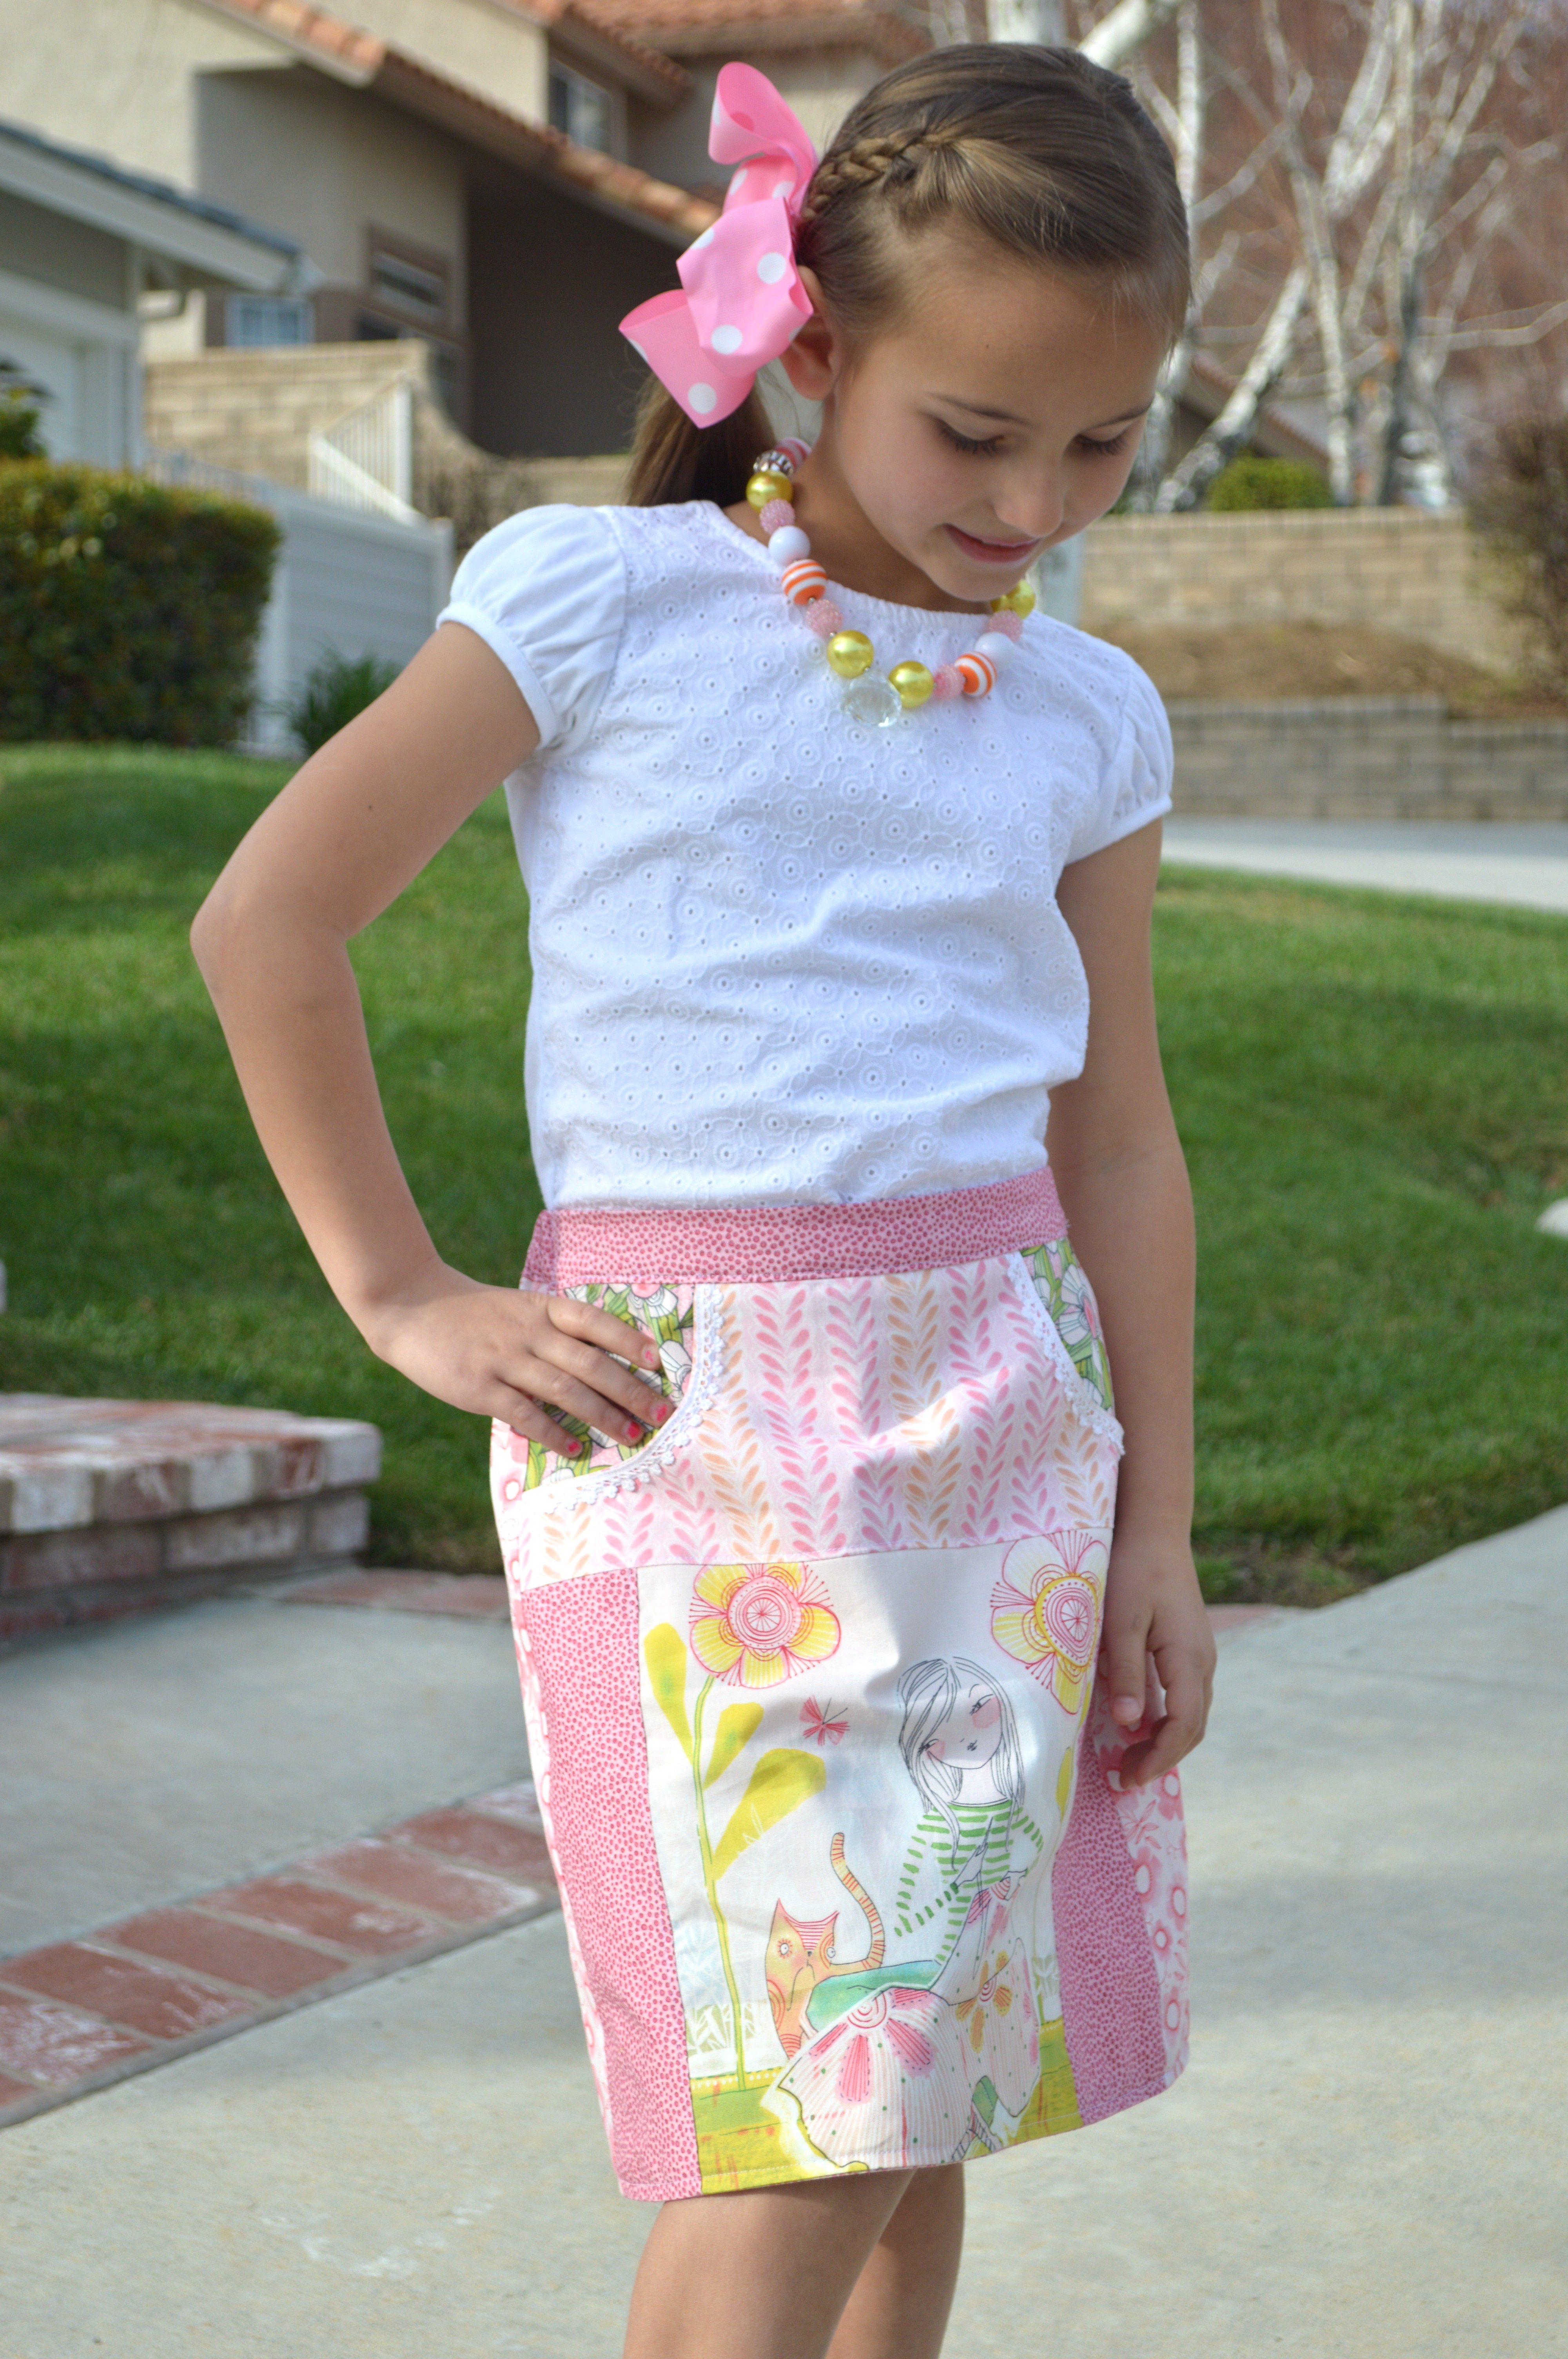
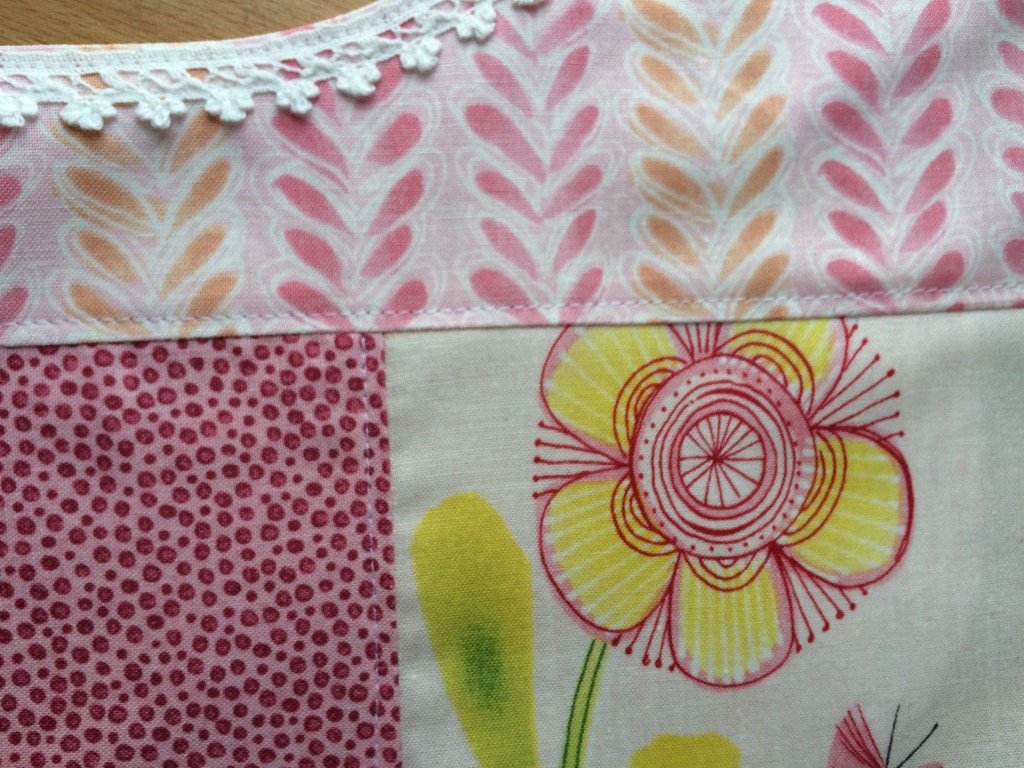
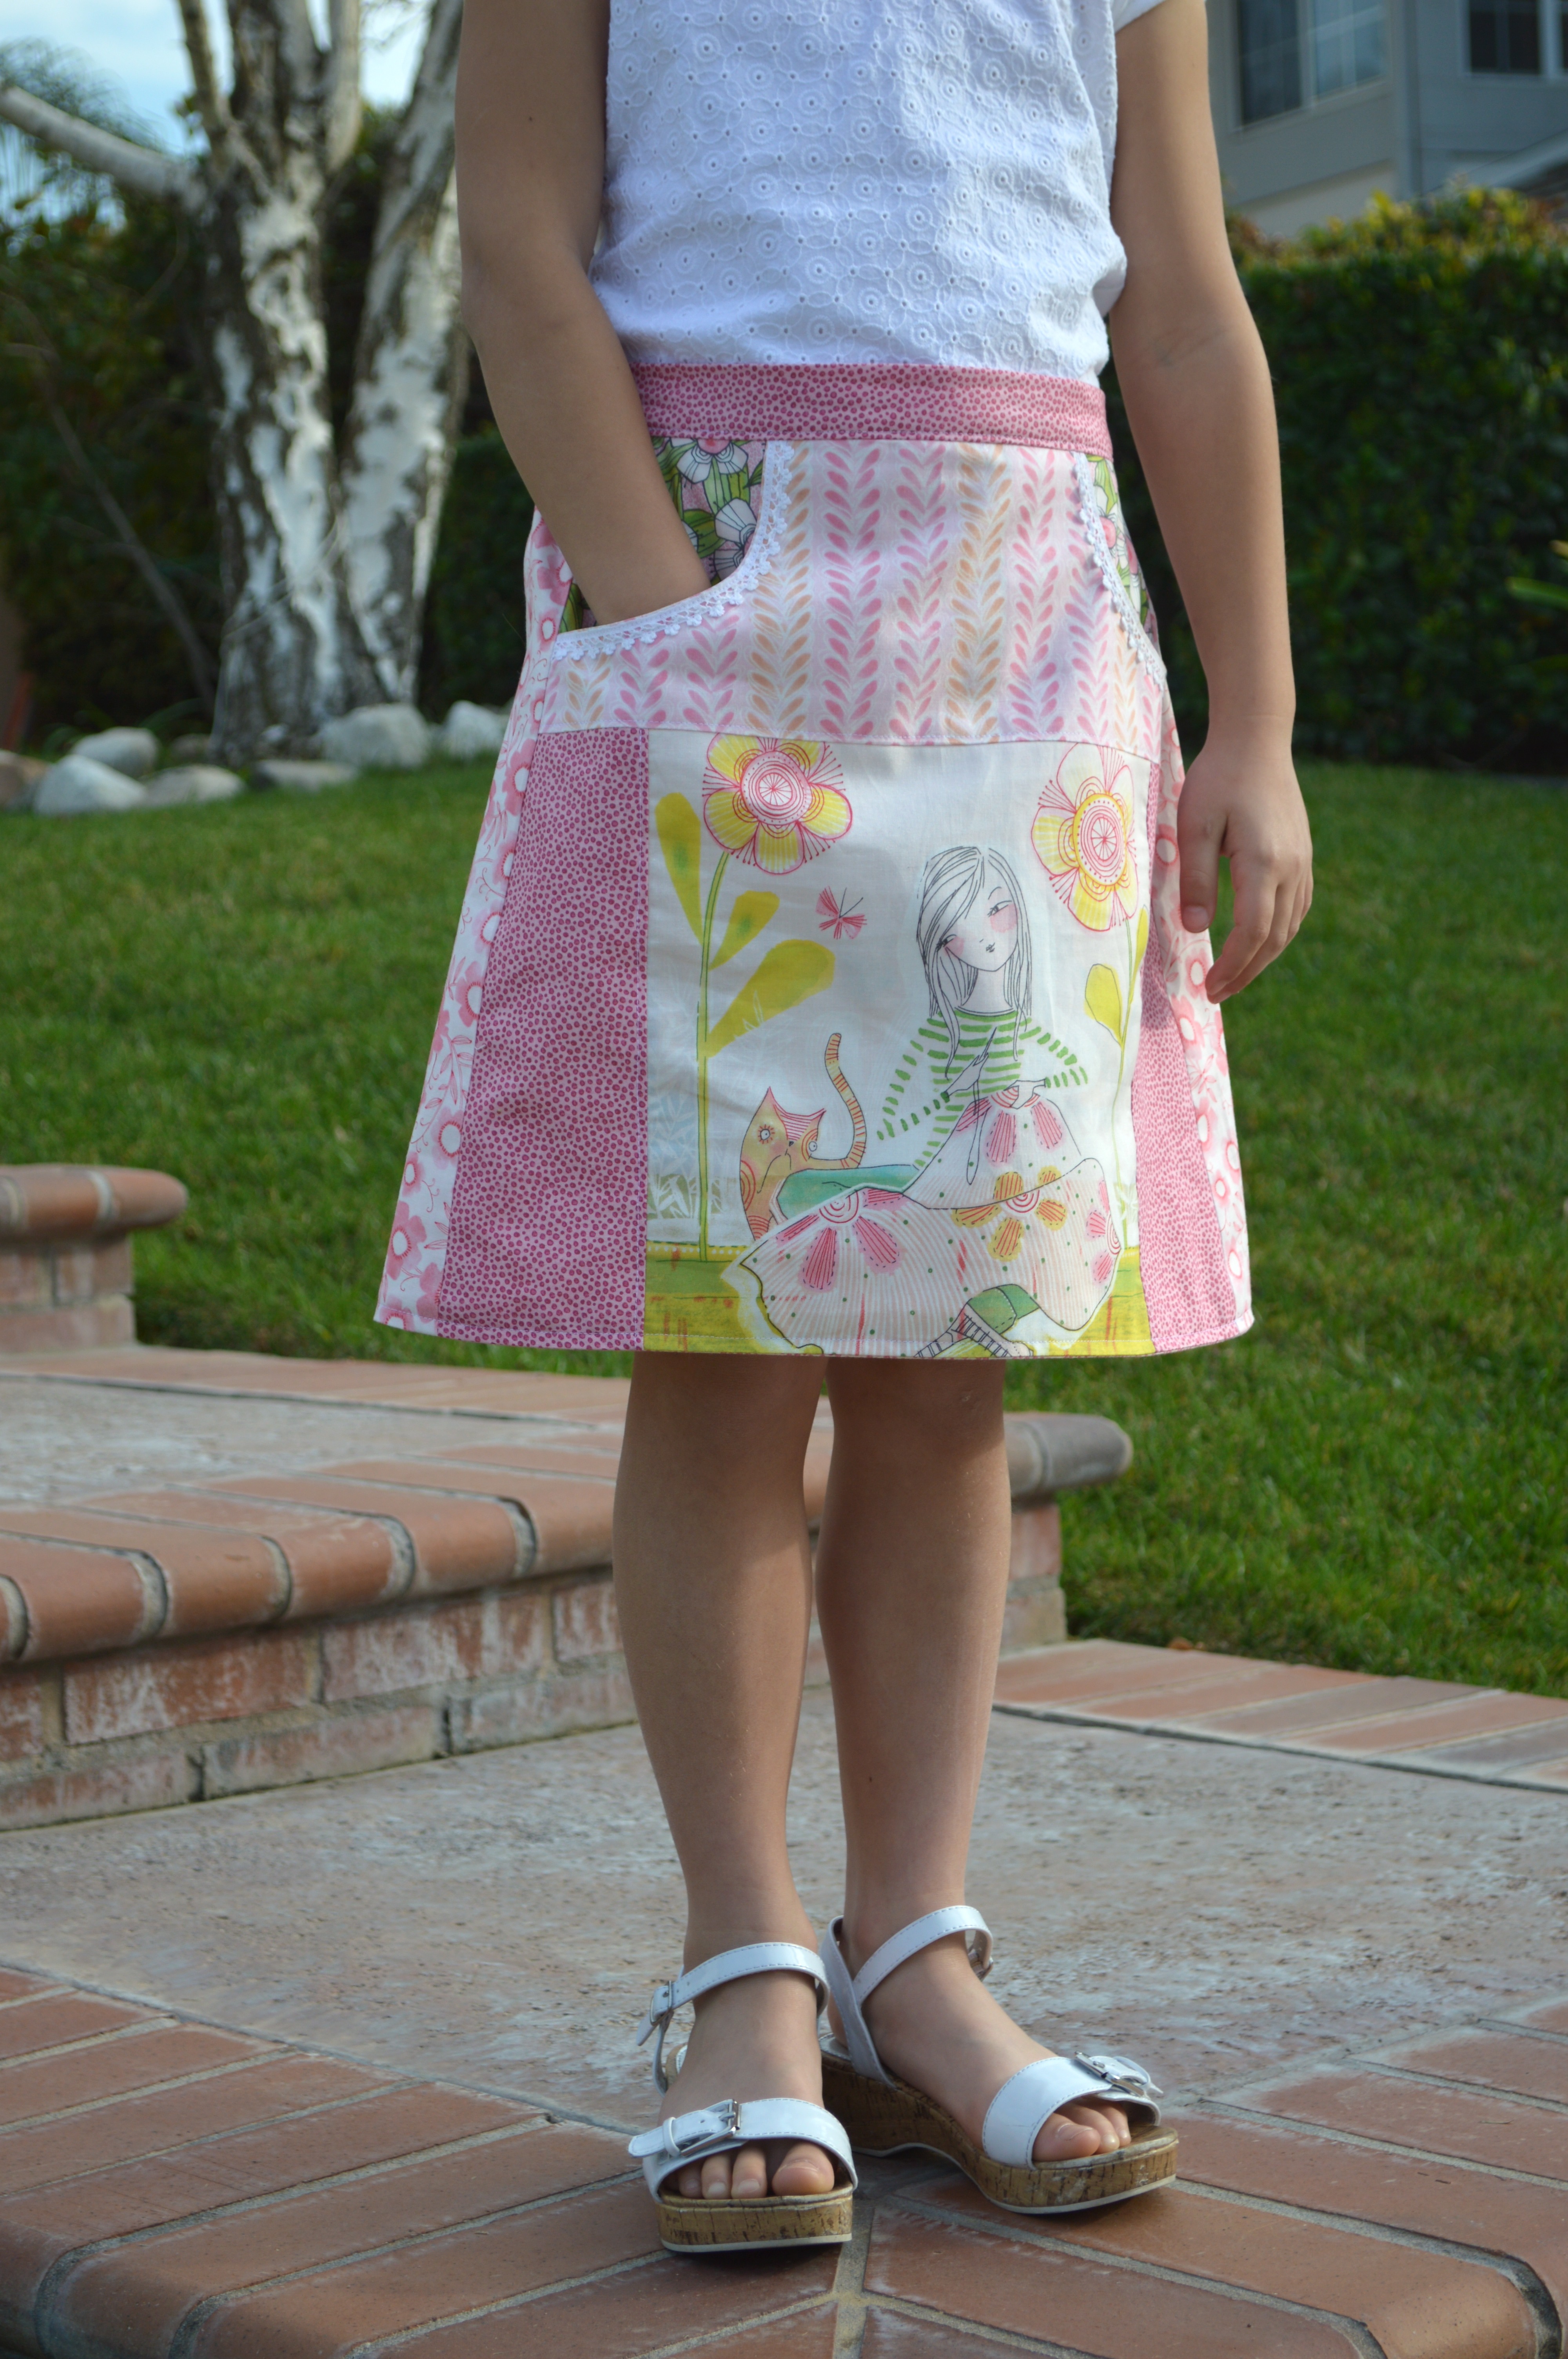
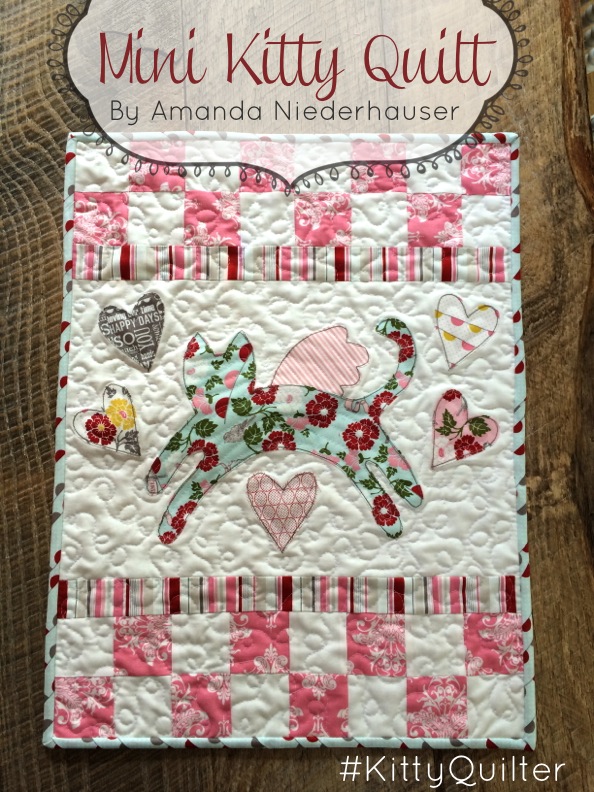
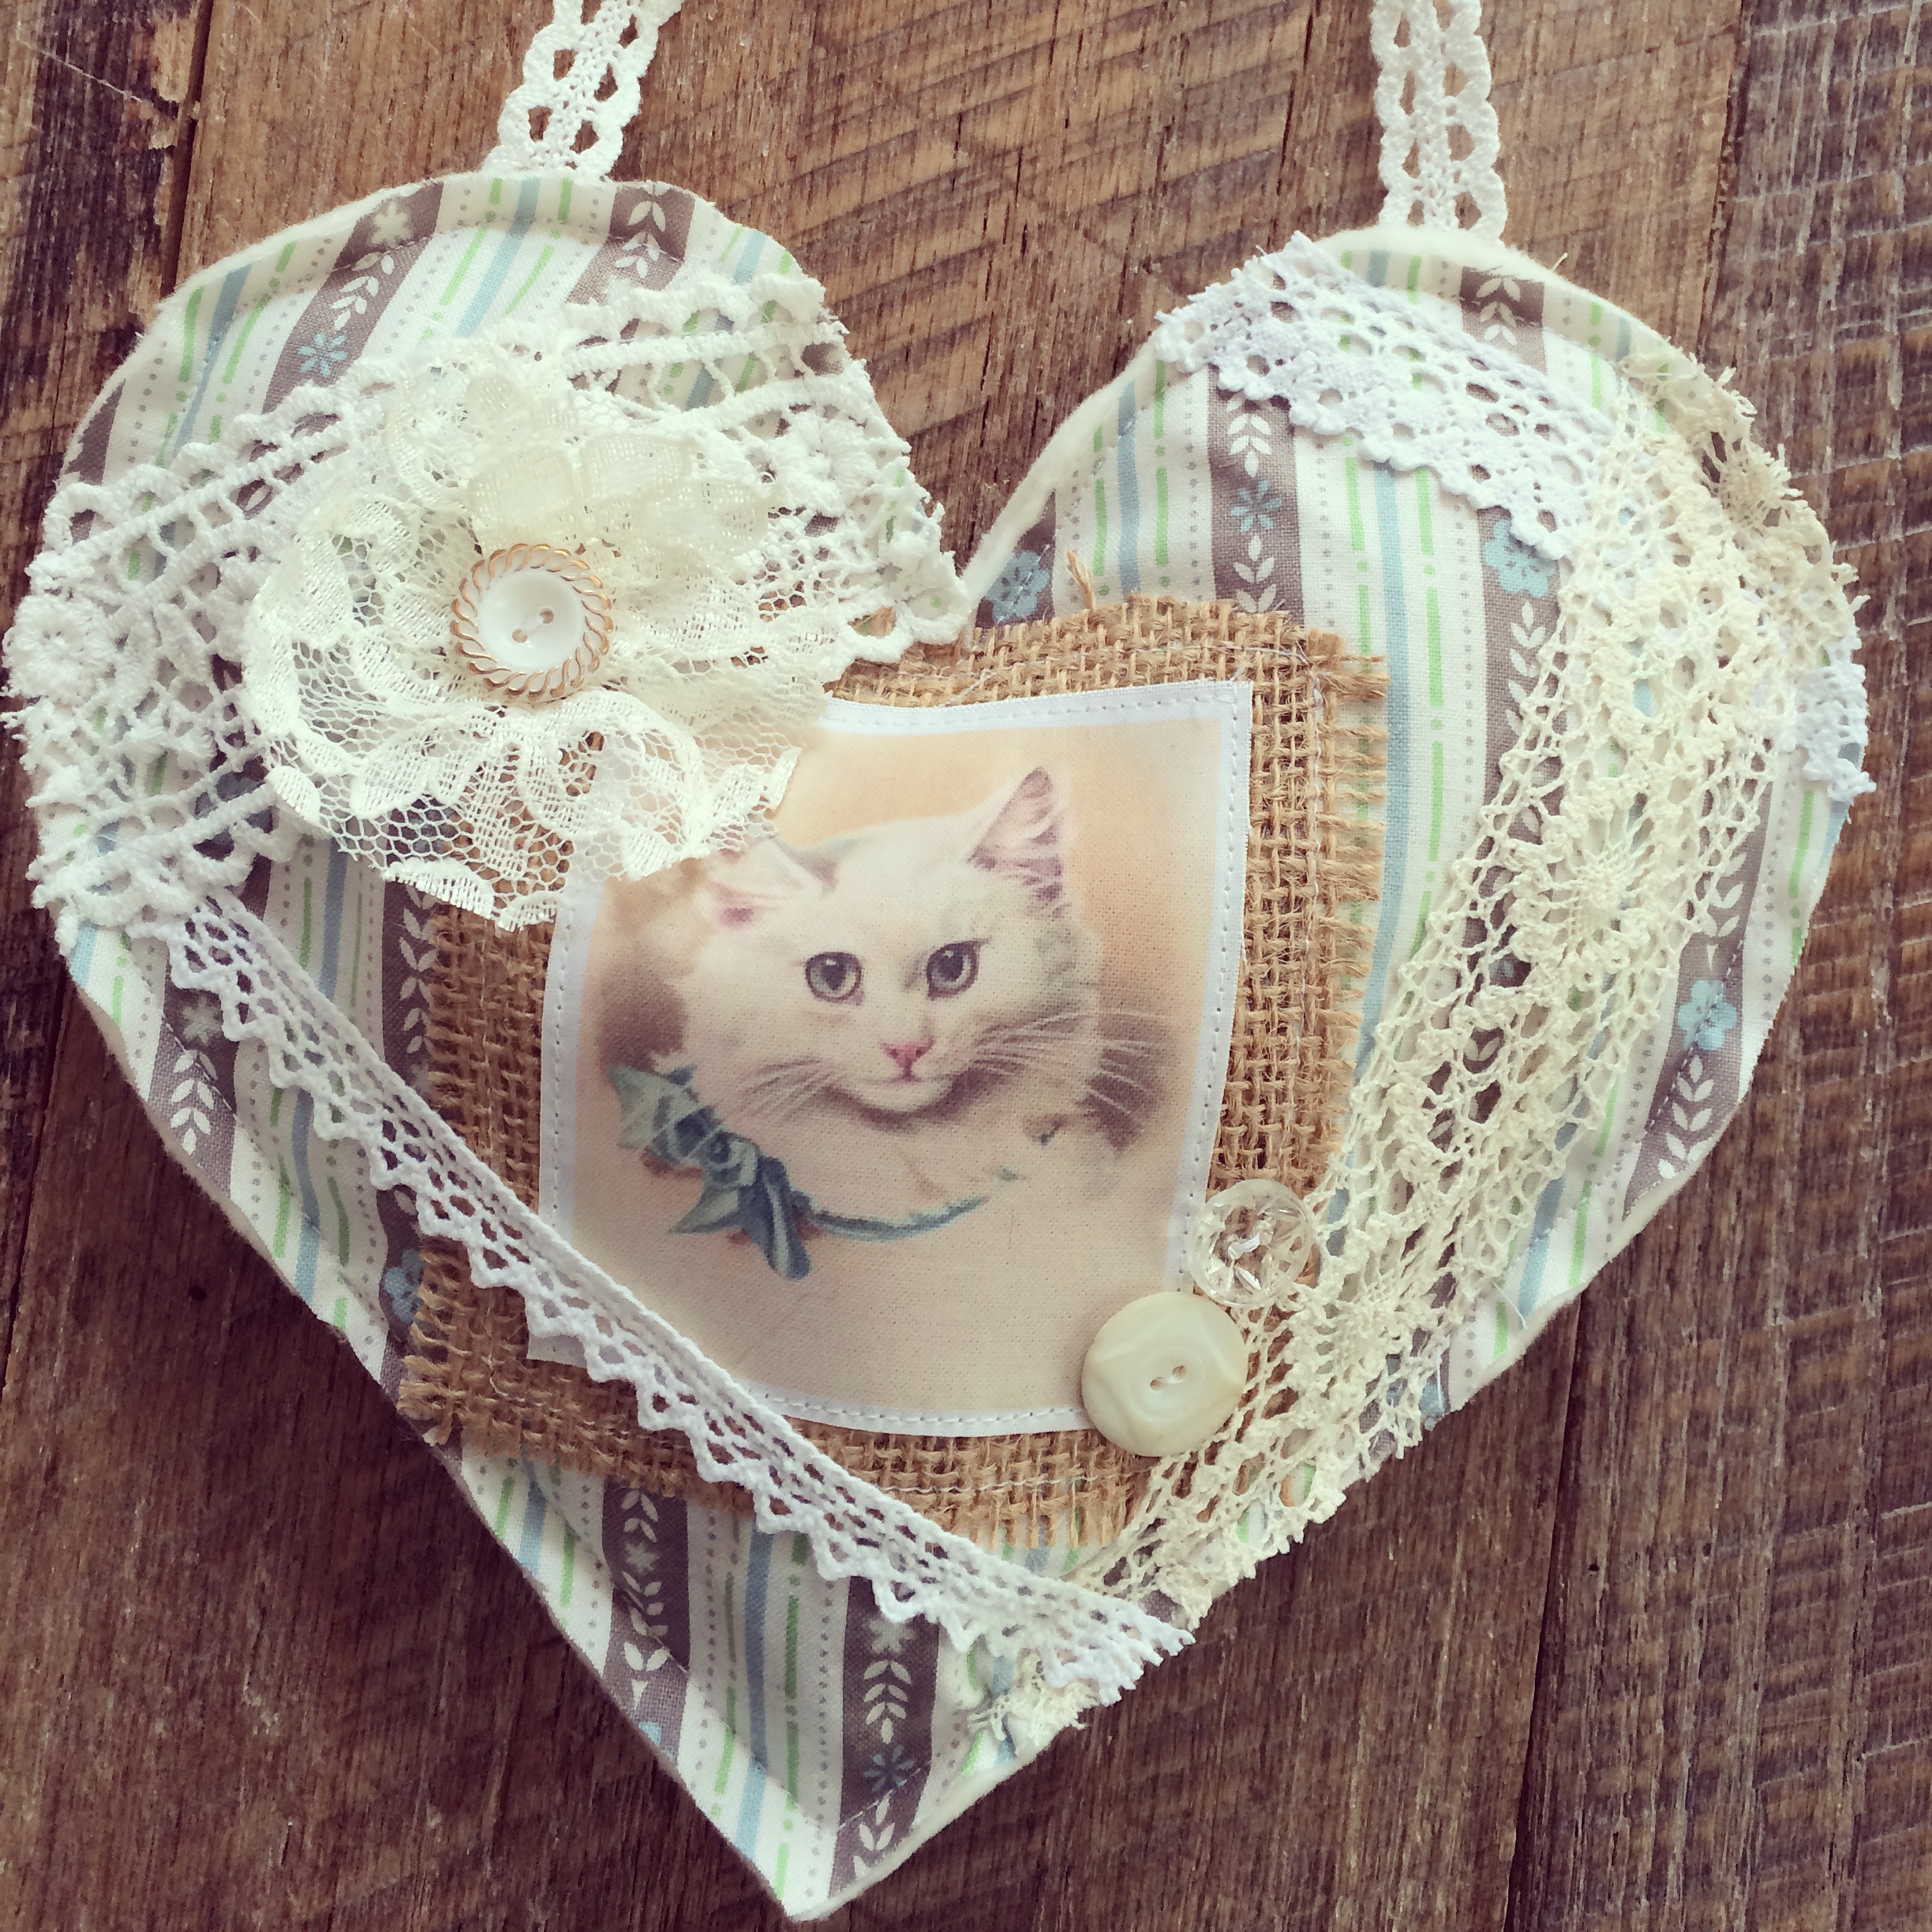
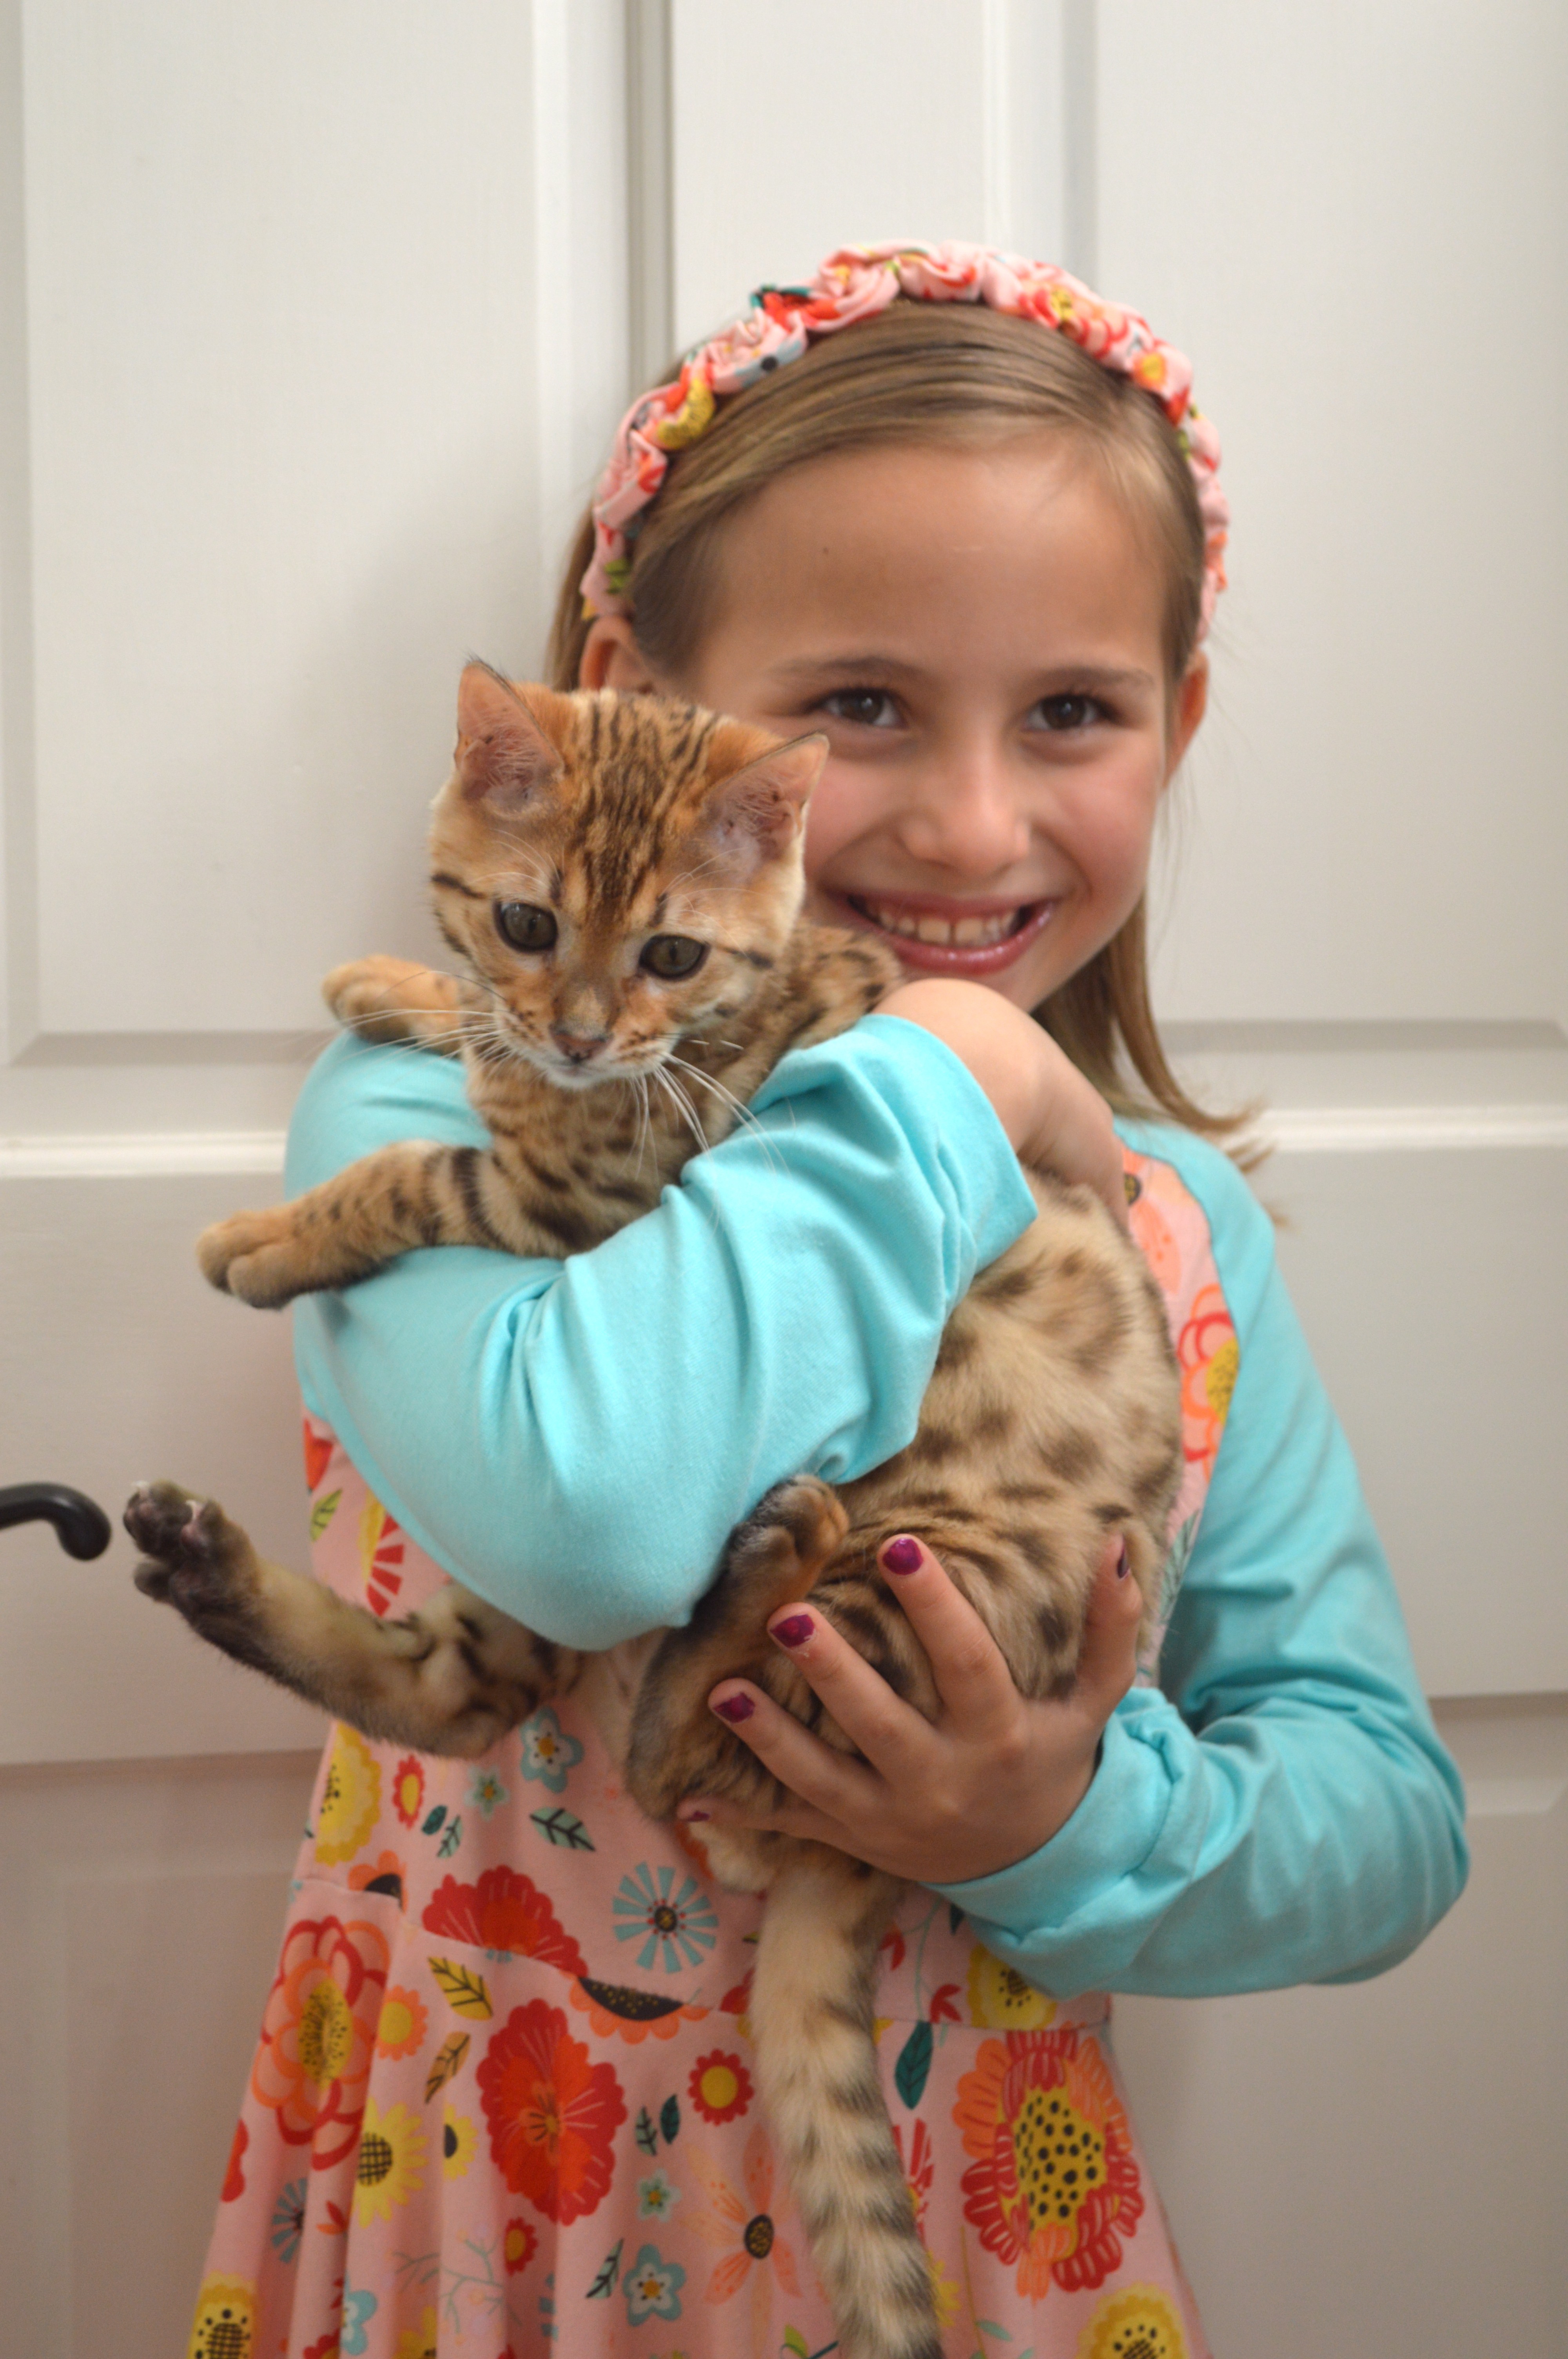
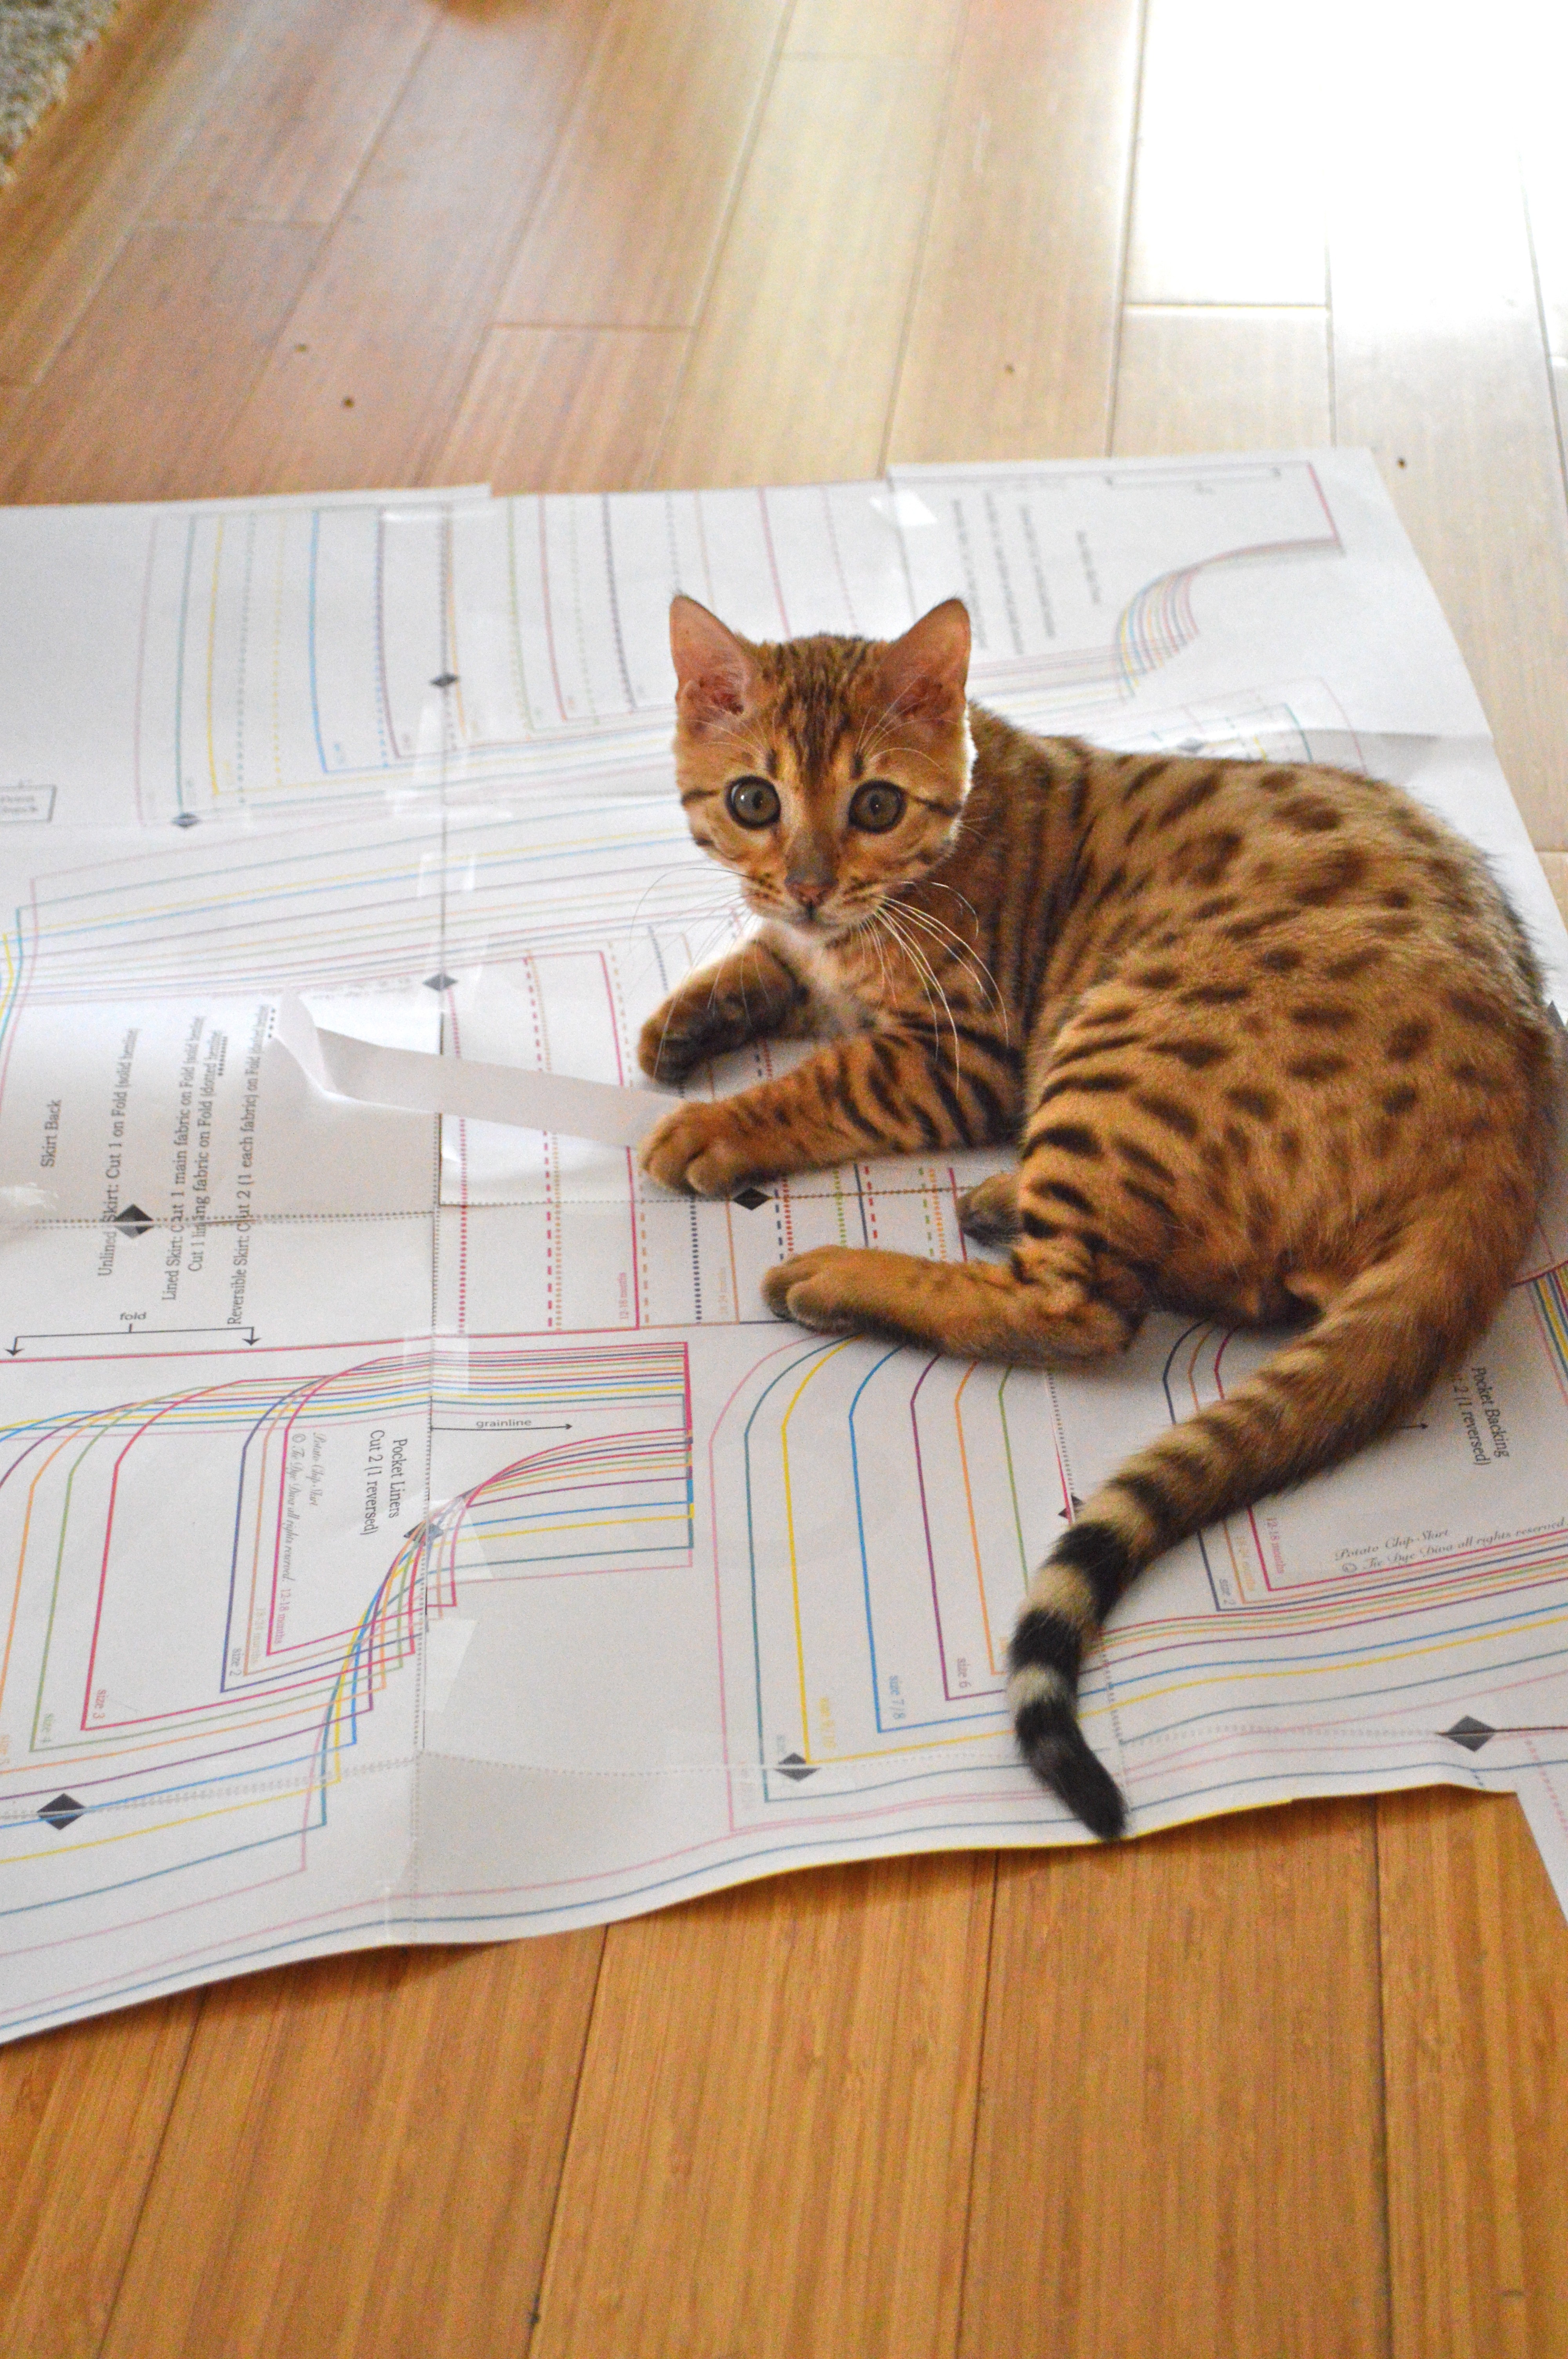
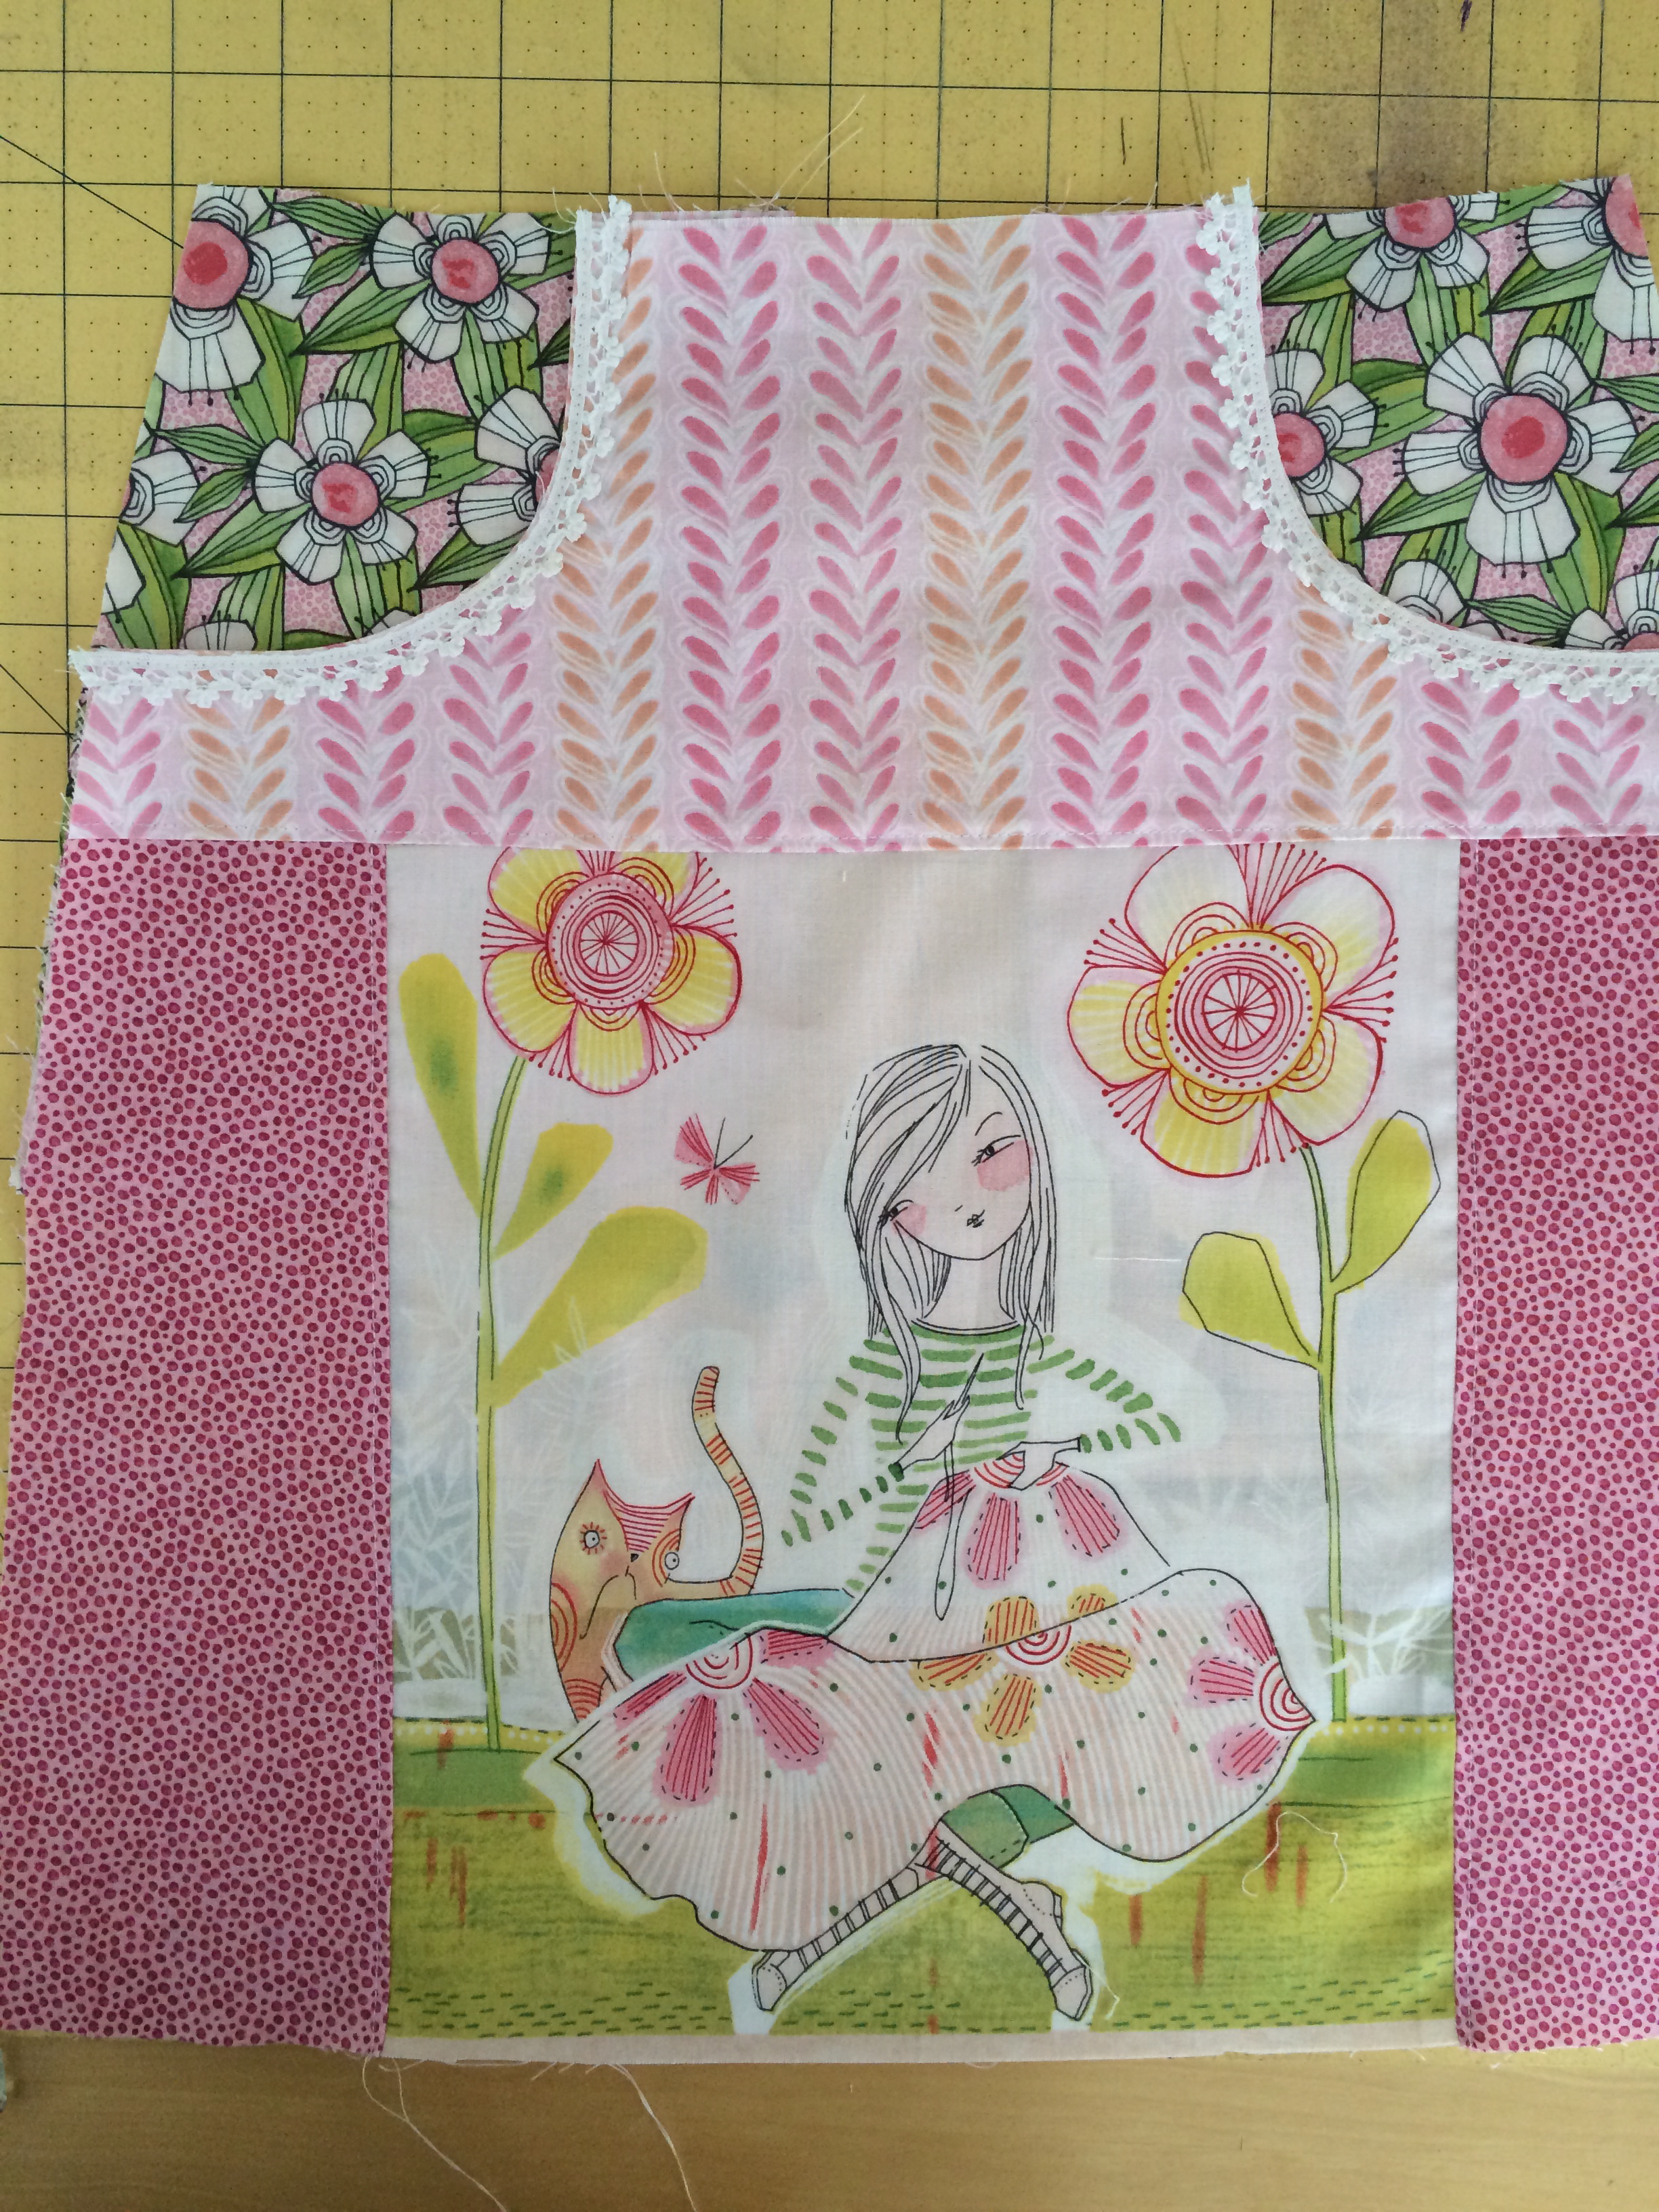
Baby Mufasa loves helping with the pattern pieces! He chewed one of the pieces and I had to tape it back together! The fabrics are from Blend’s The Makers line. The fabrics are a light whimsical feel with several panel prints. I fell in love with this print of a girl sewing with her kitty!!! The panel was slightly smaller than the skirt pattern so I added some coordinates: 5″ to each side and 6″ to the top.
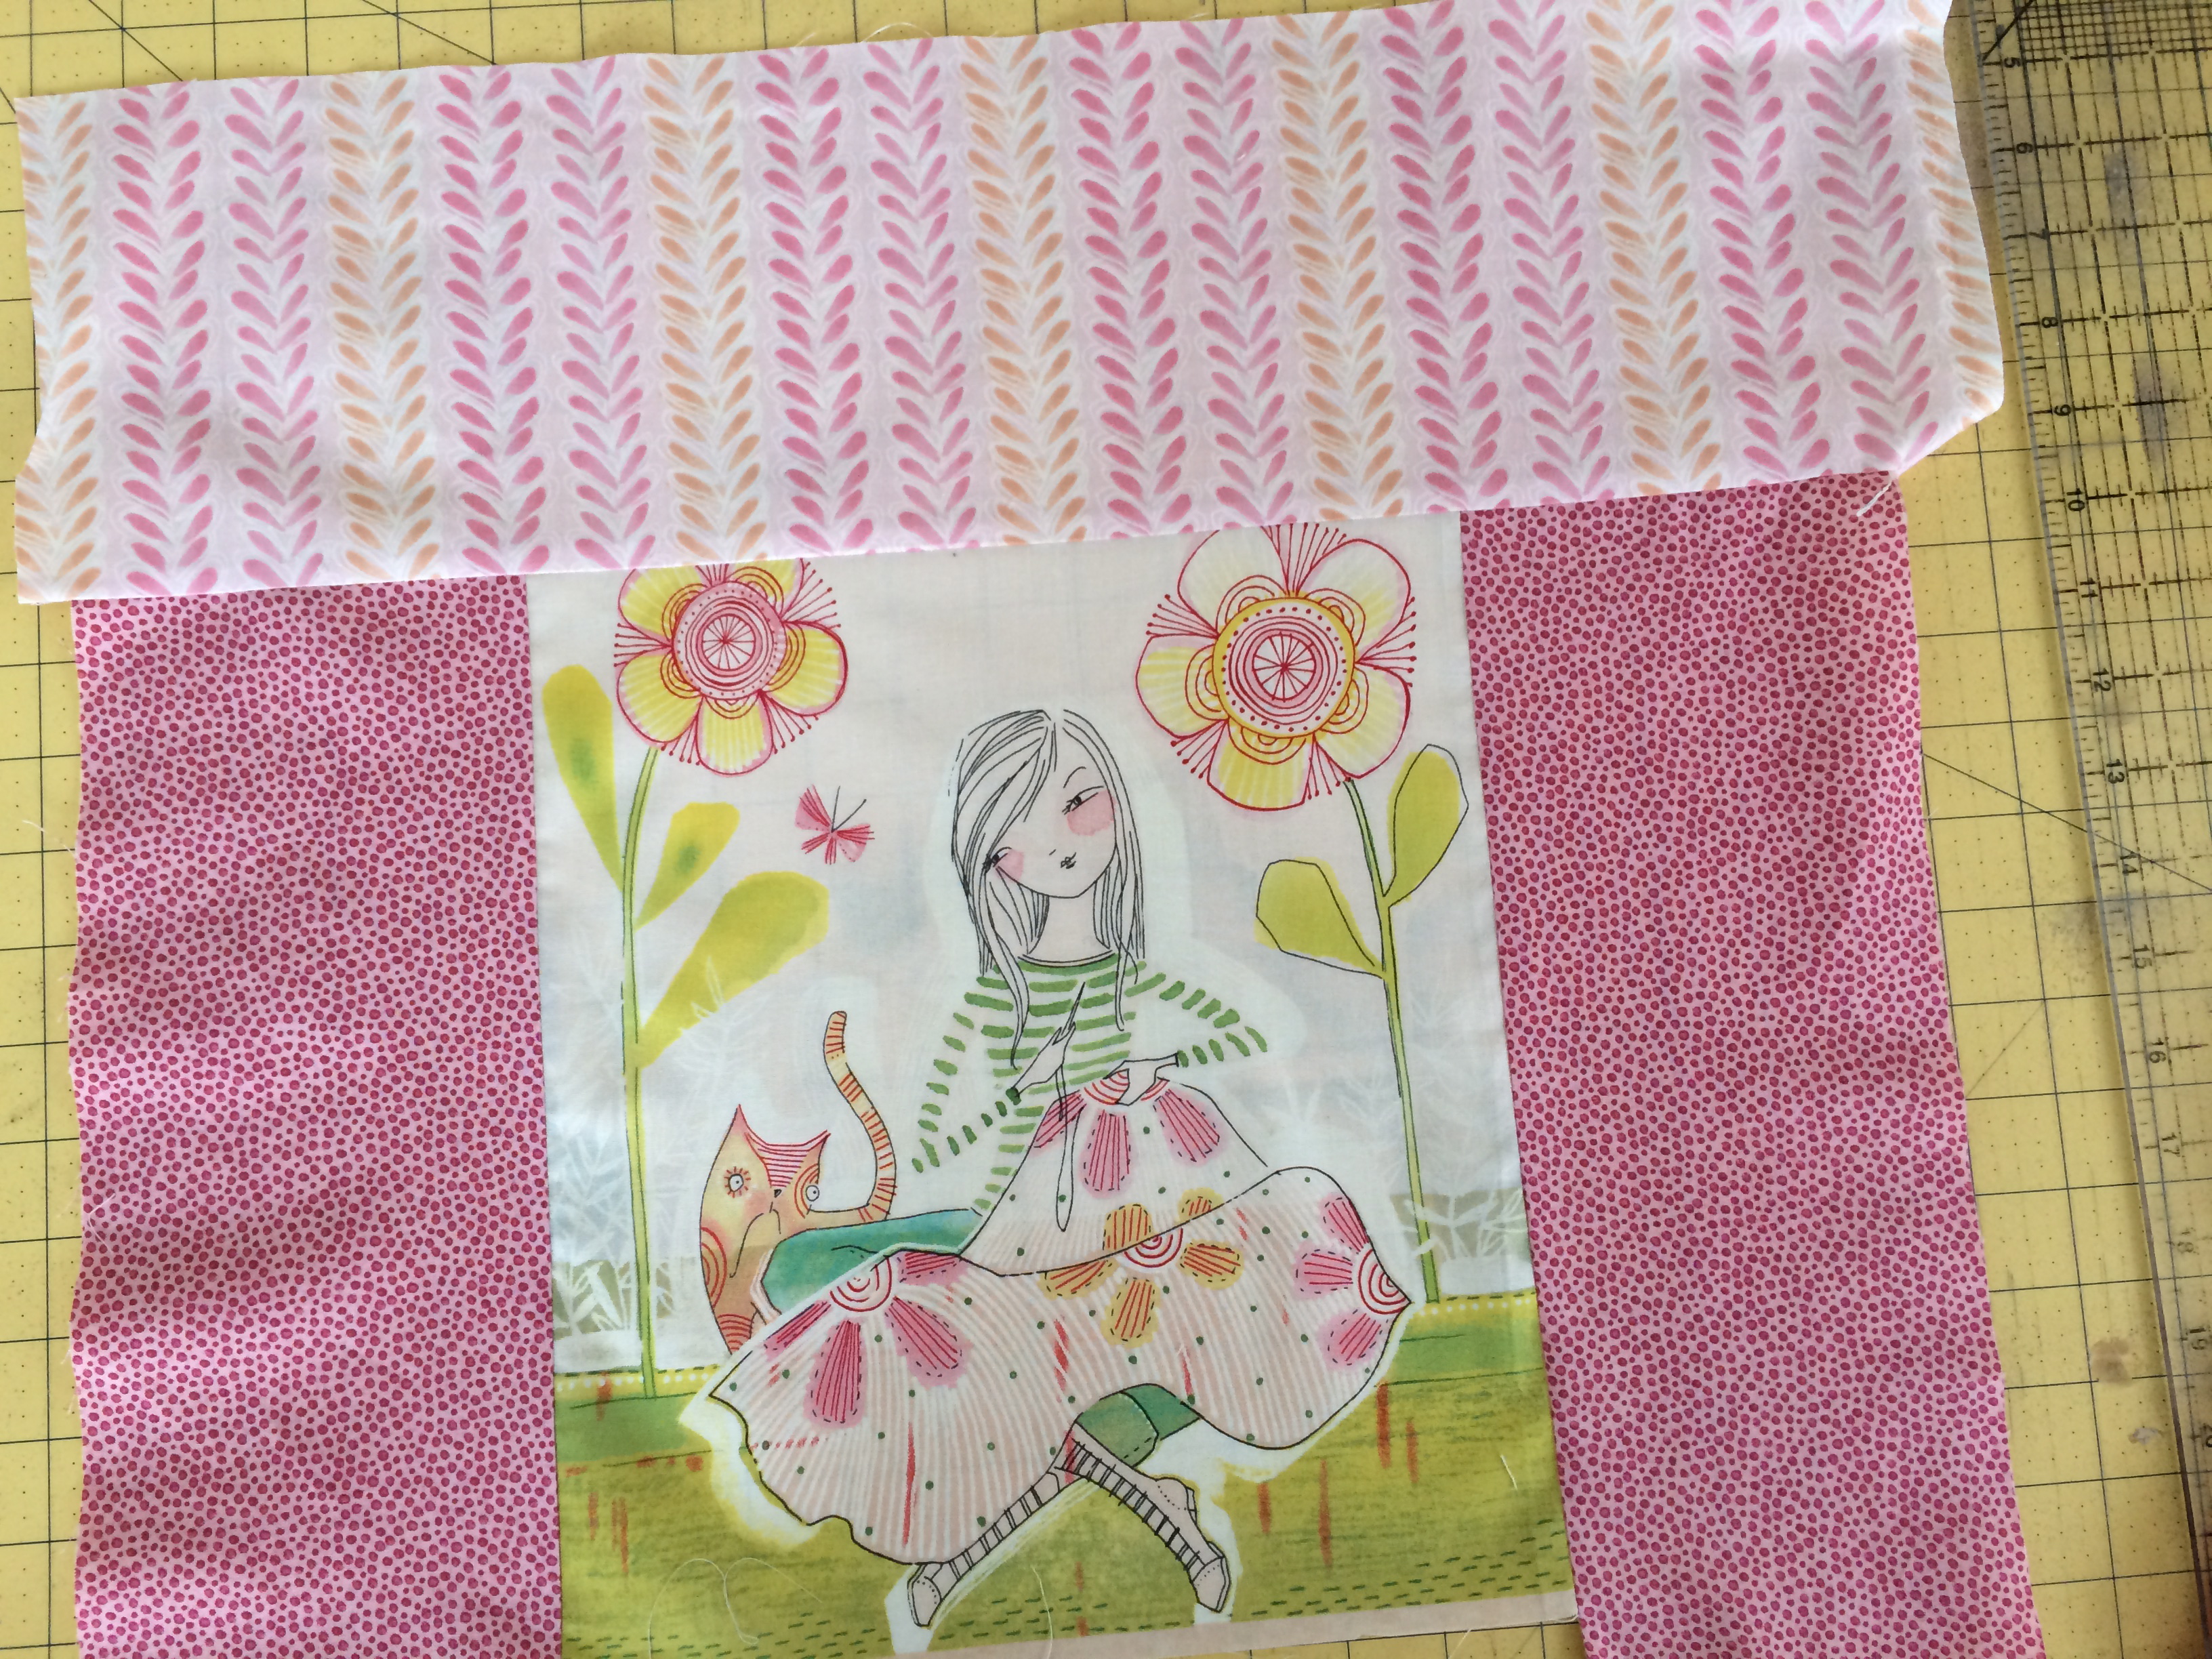
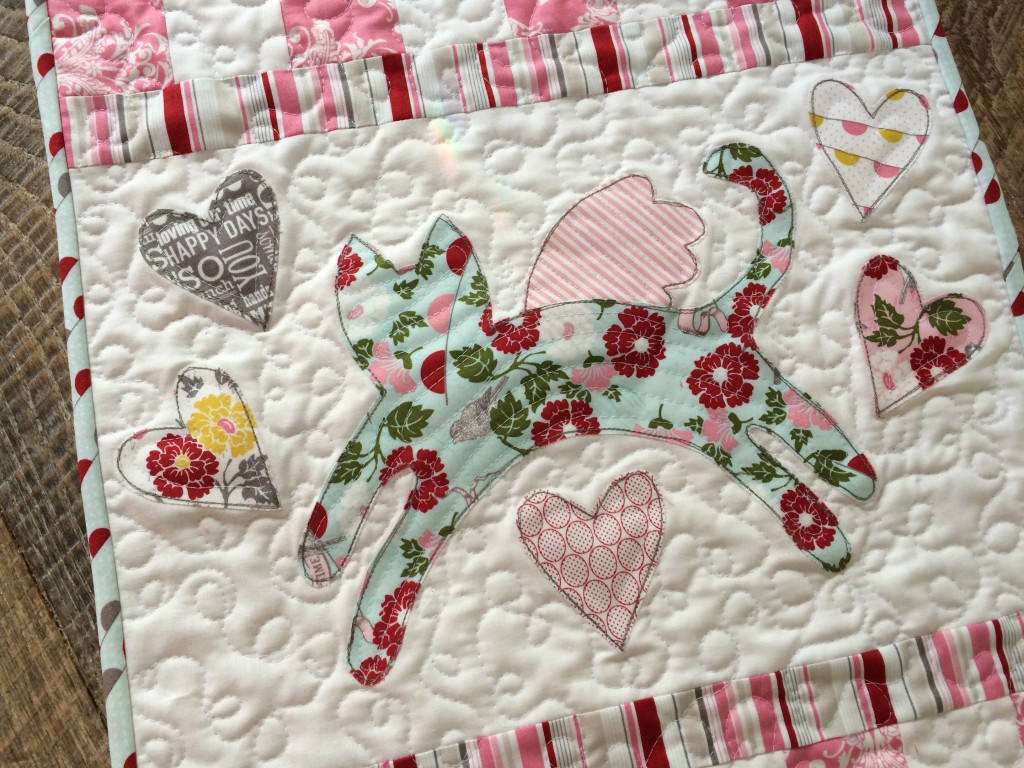
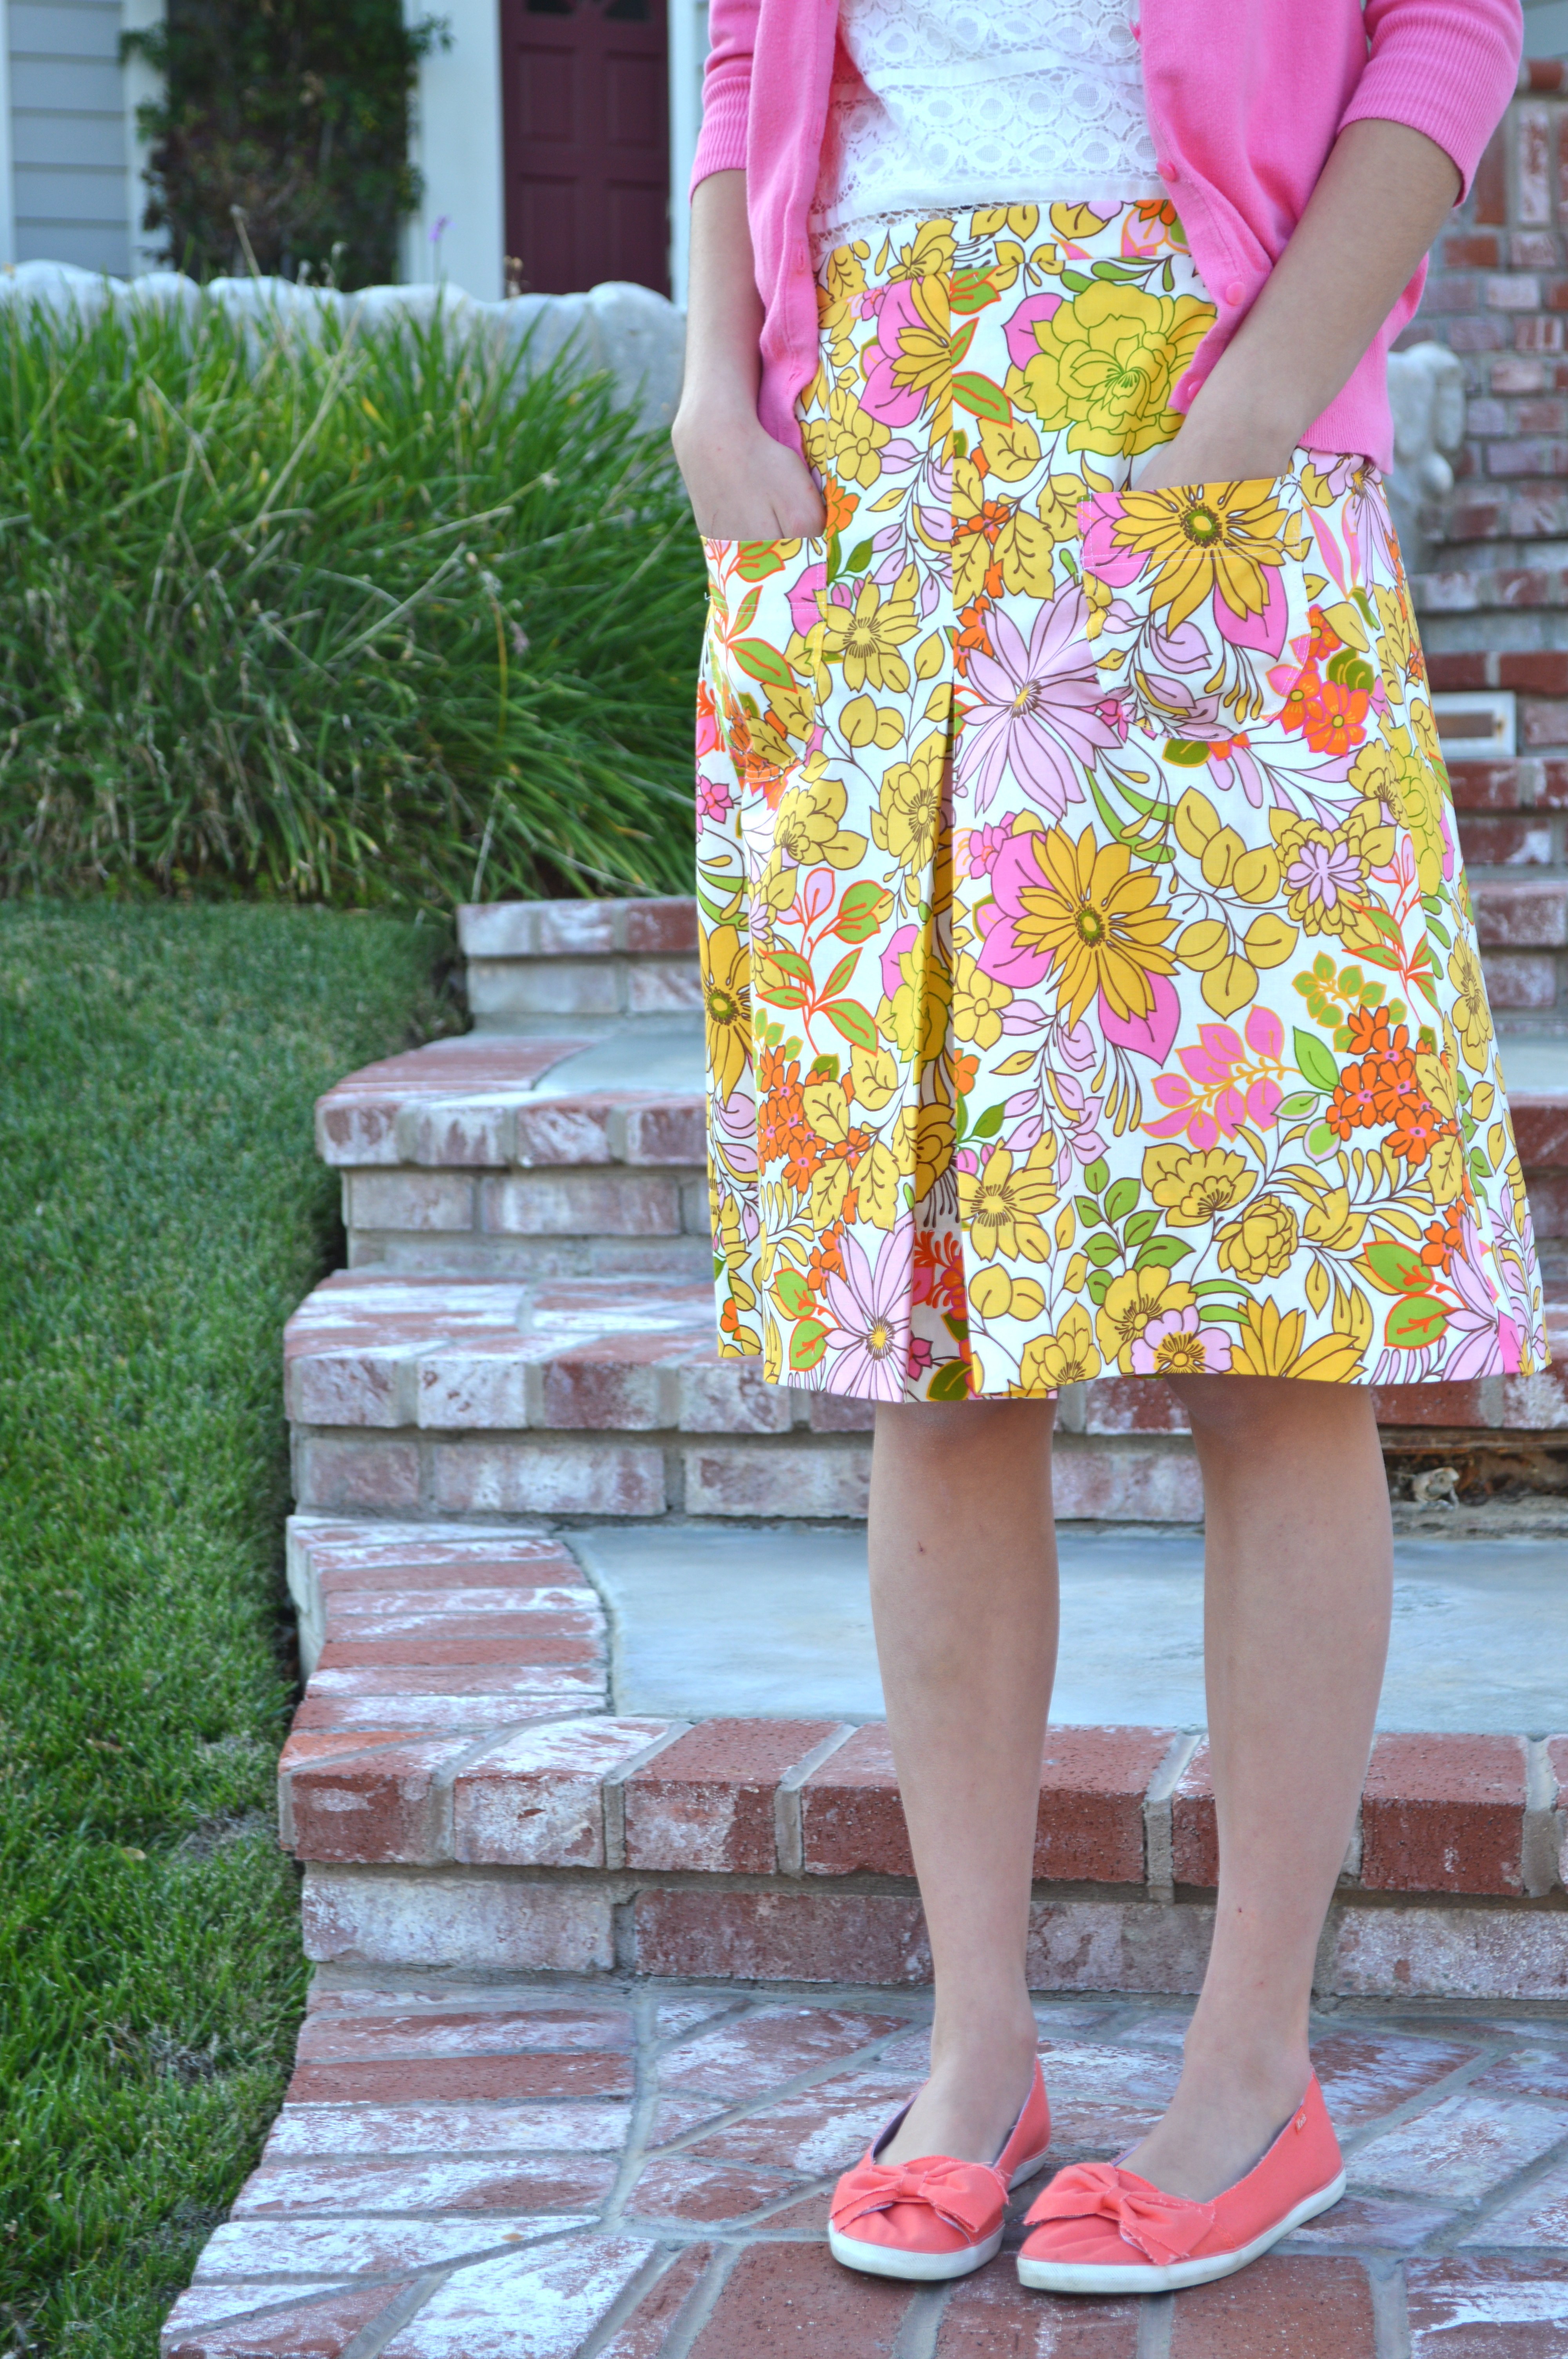
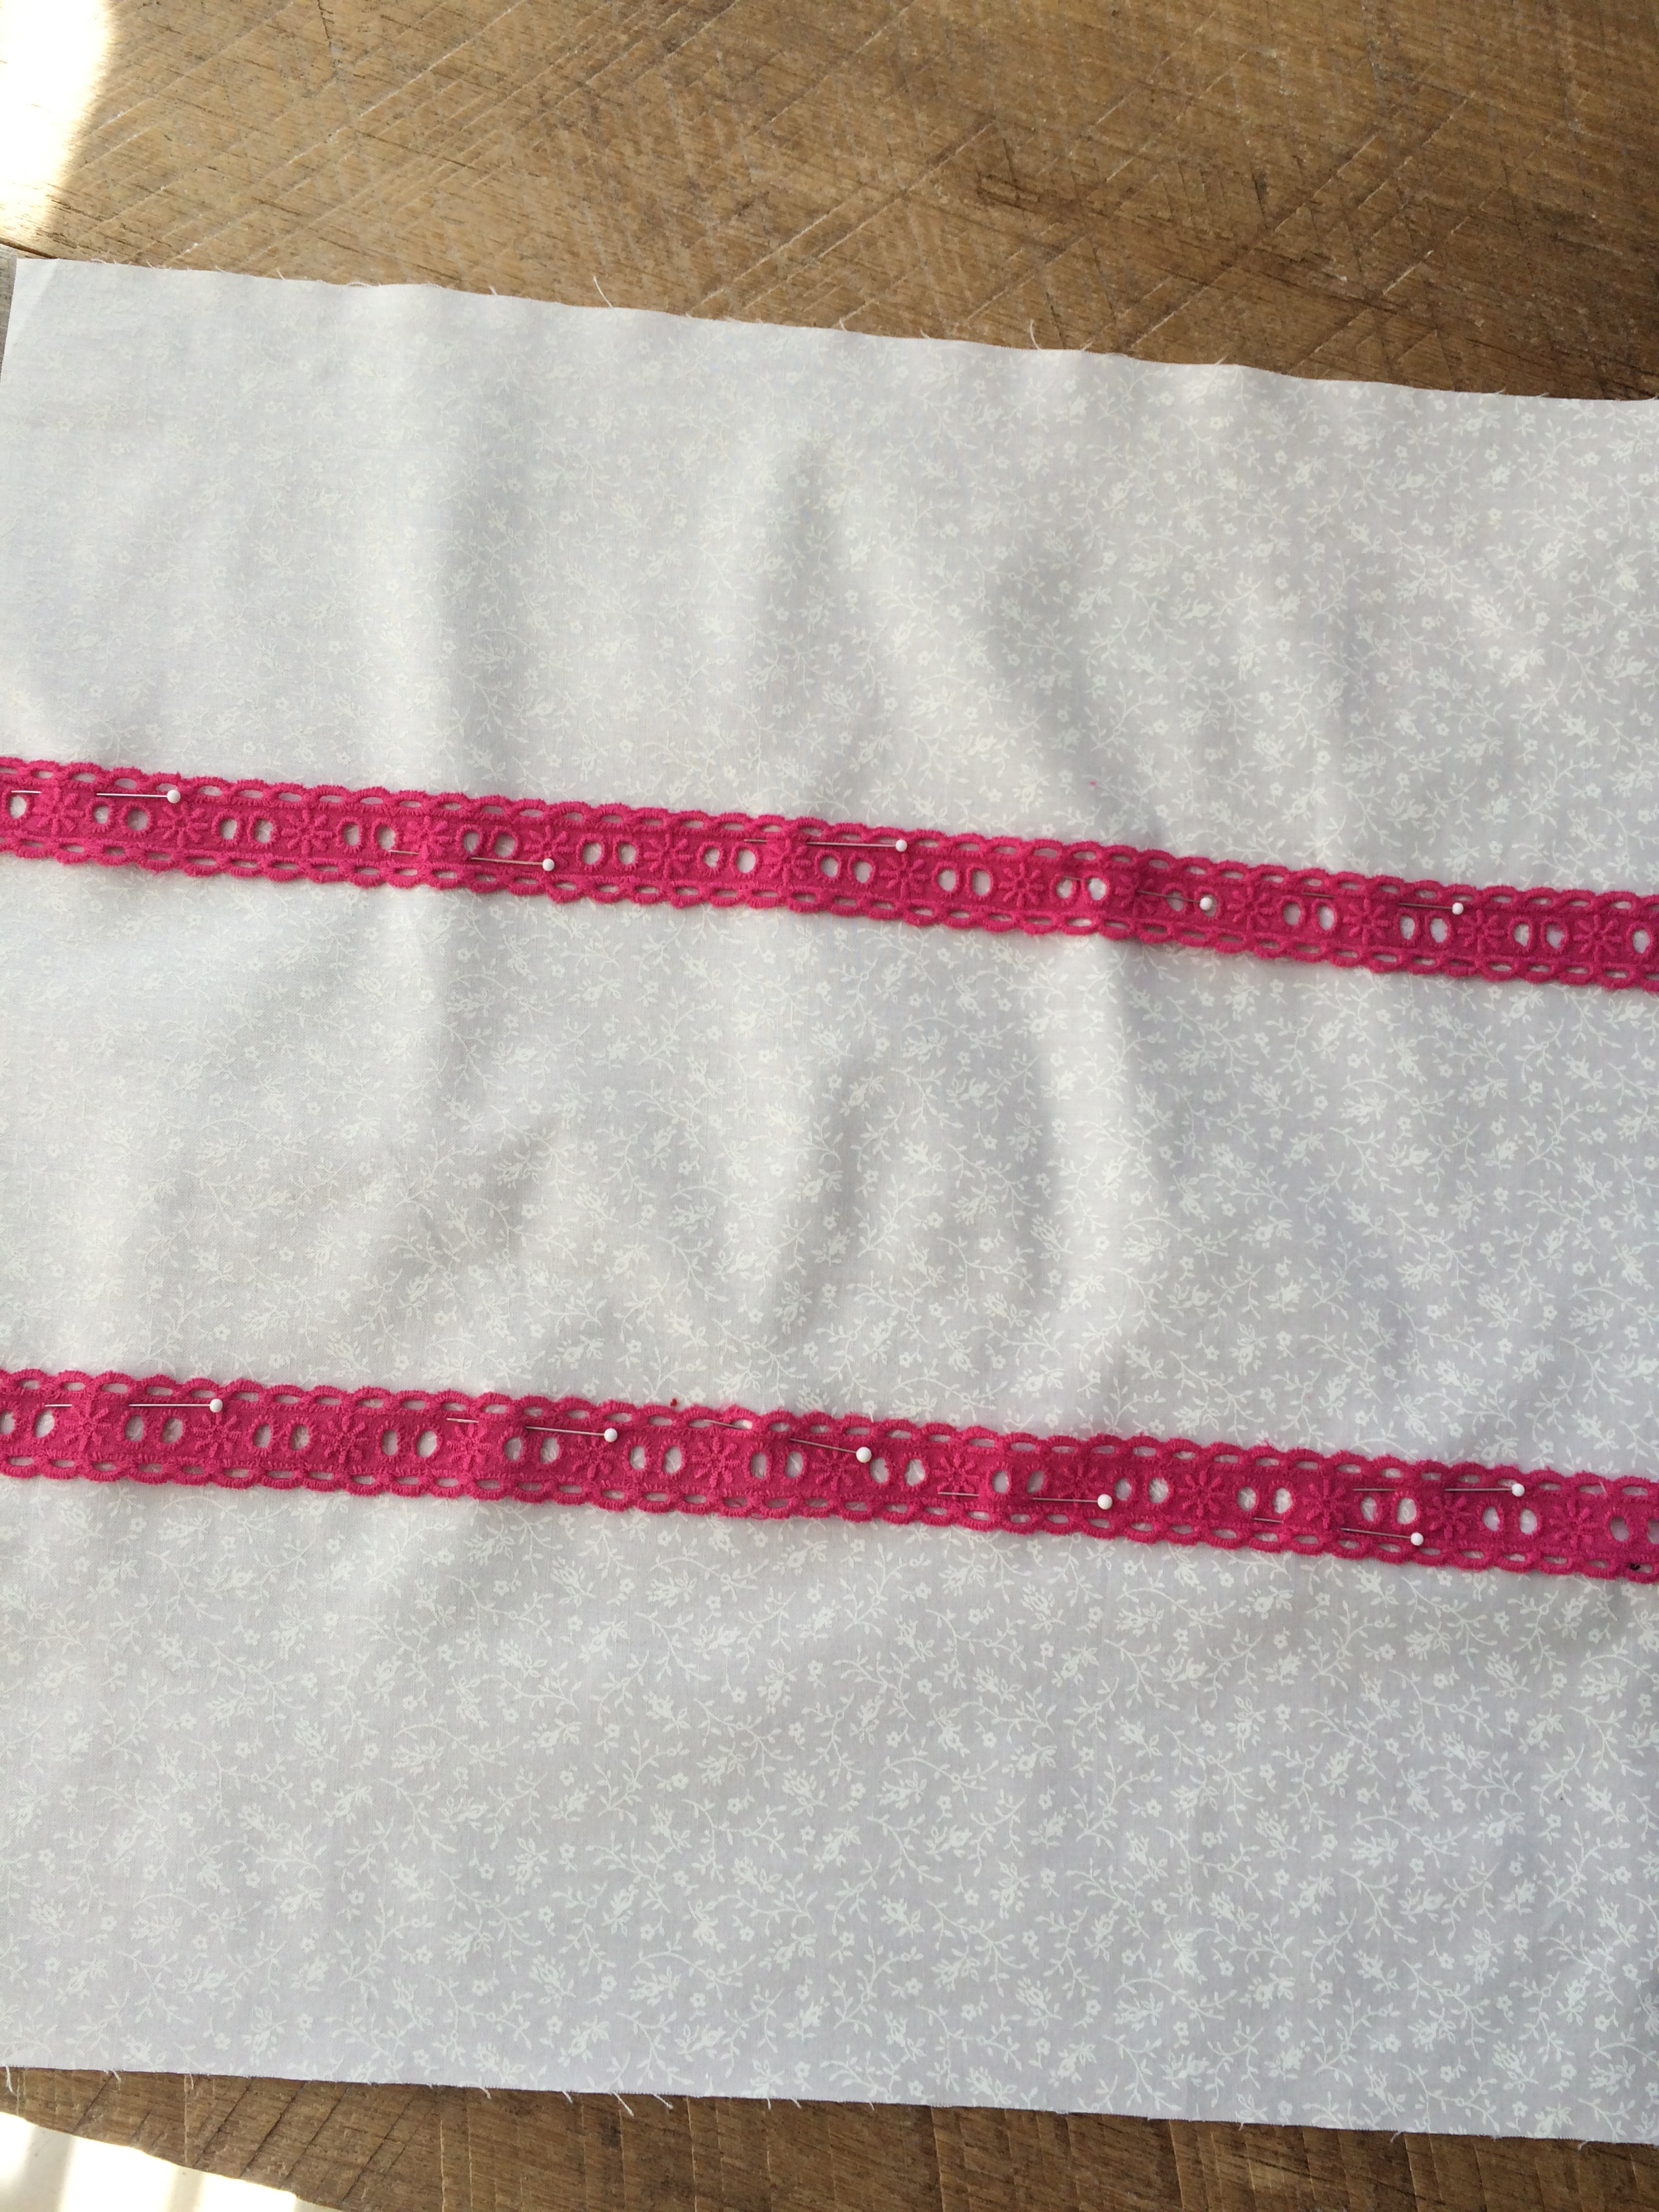
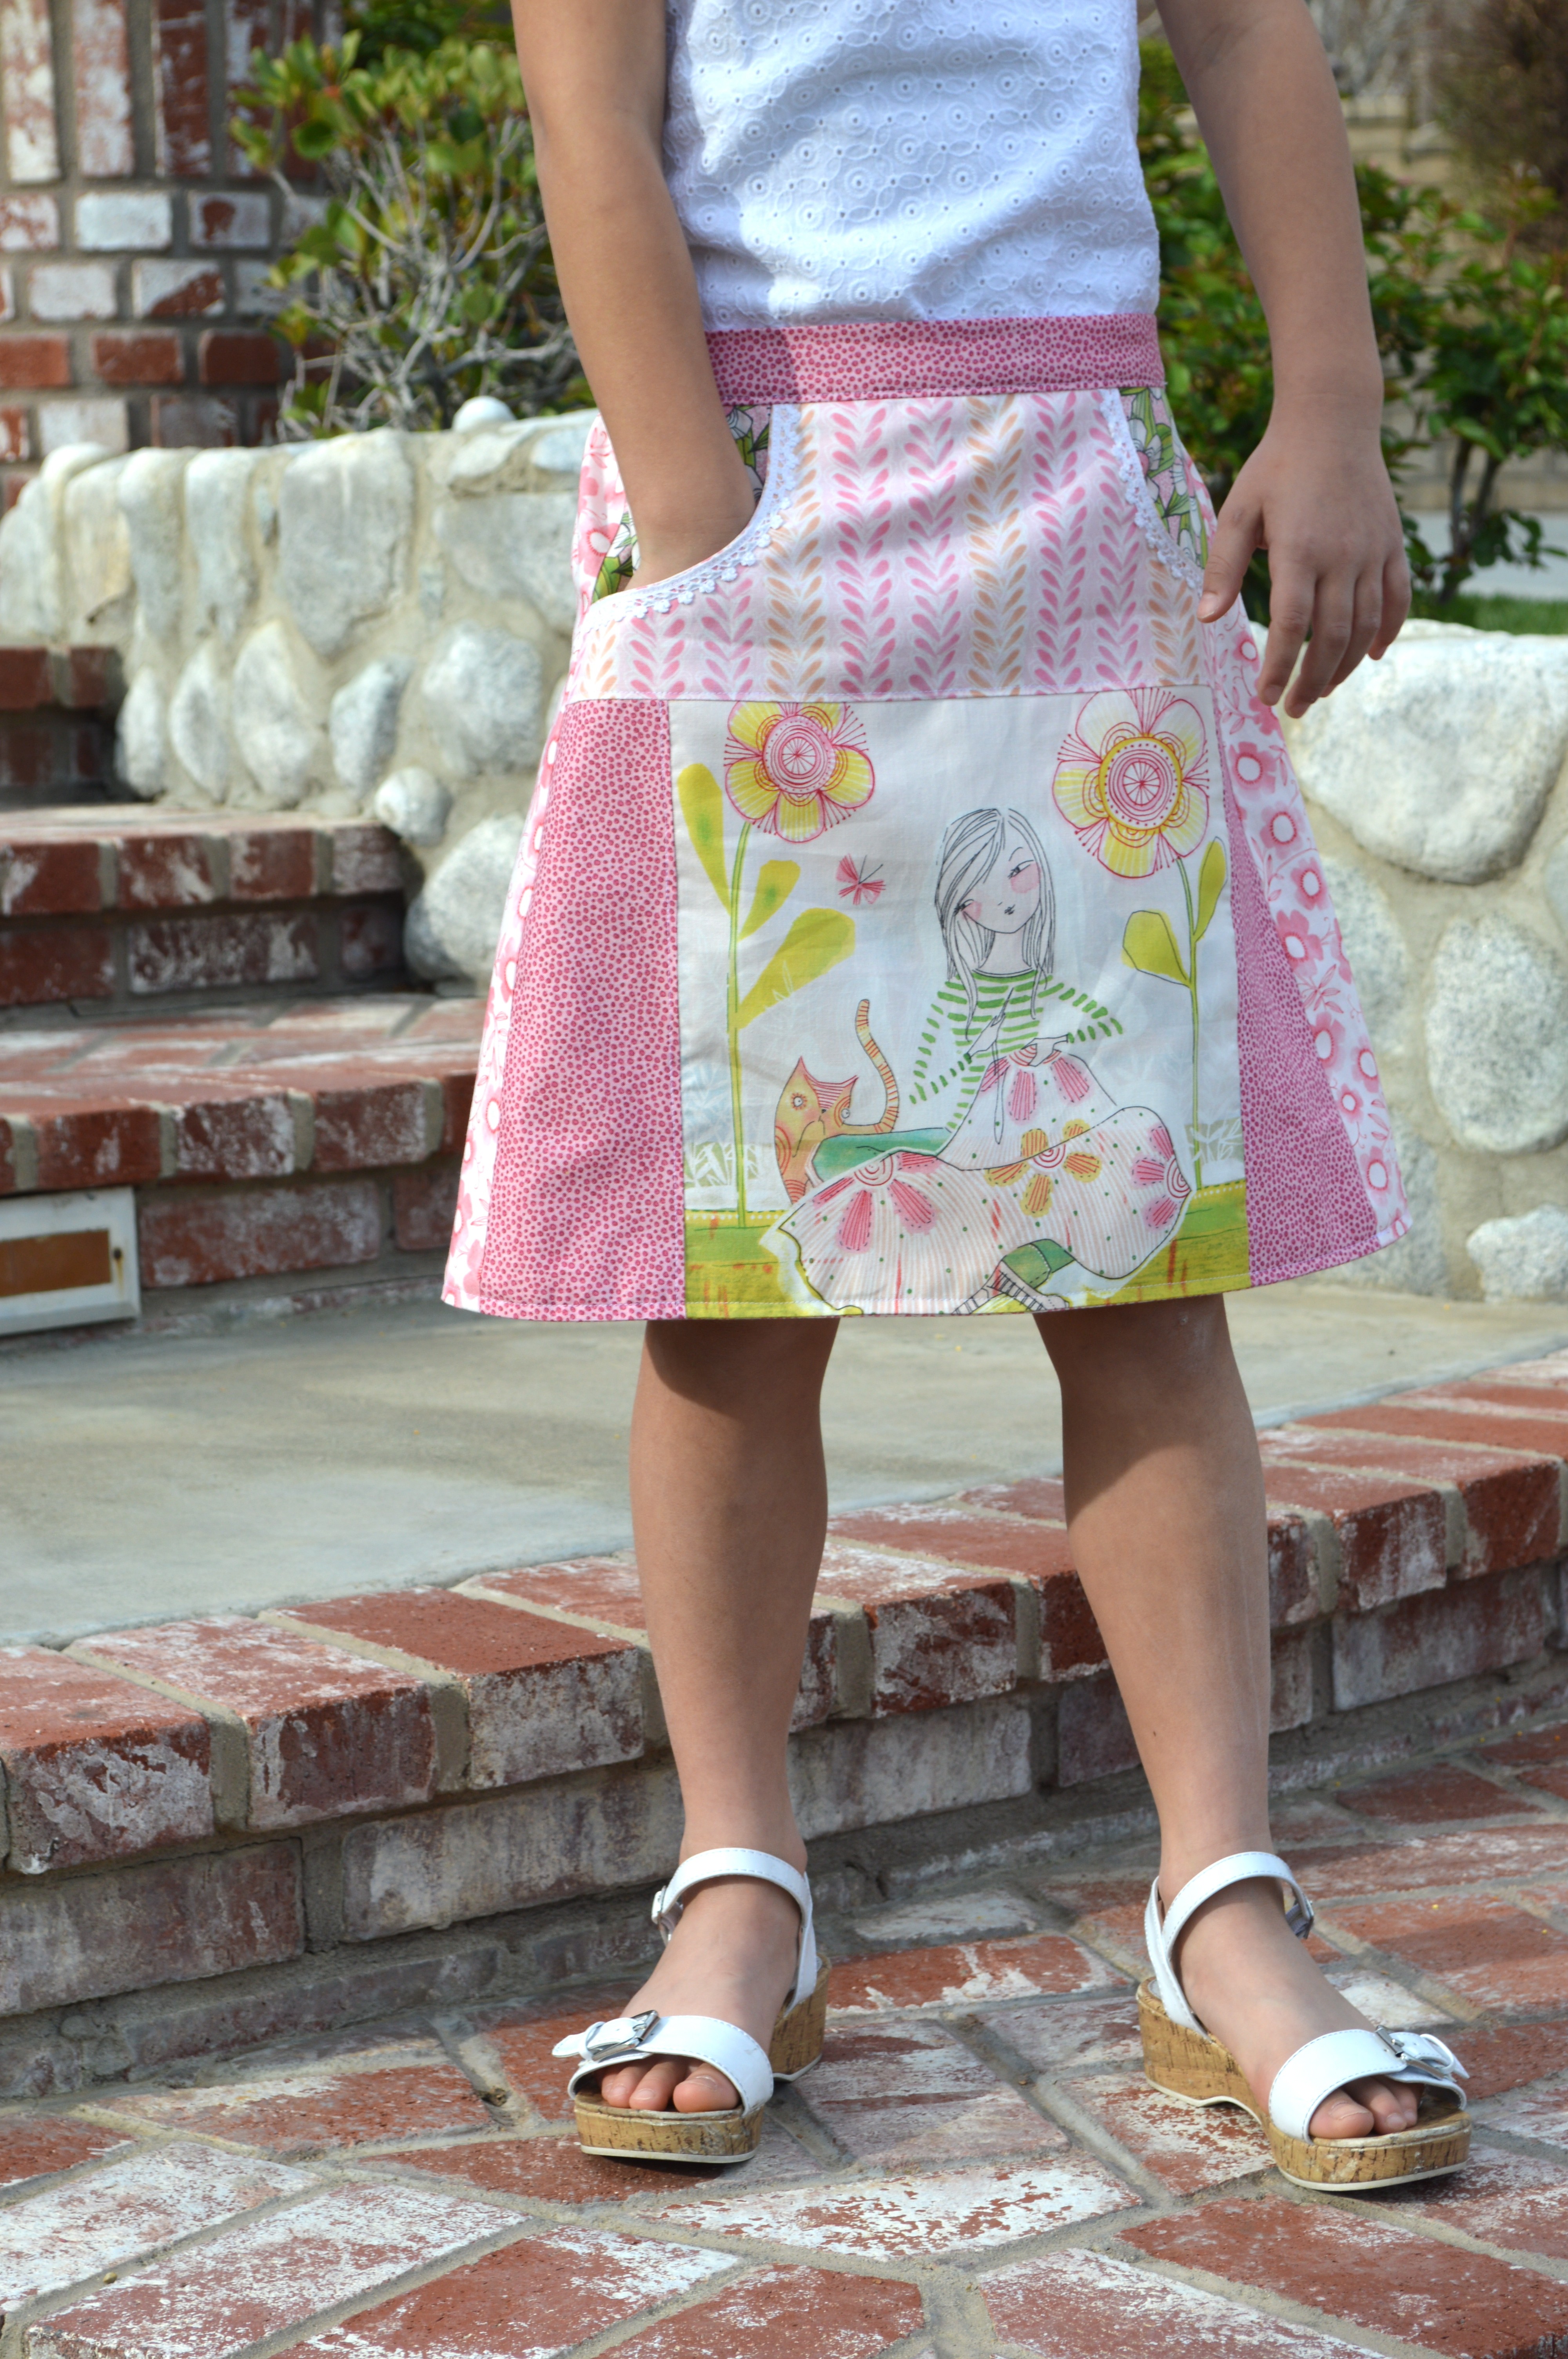
OK, I really can’t get enough of the girl & the kitty!! I top stitched a little lace around the pockets. Sally is so thrilled to have a skirt with pockets!!!!
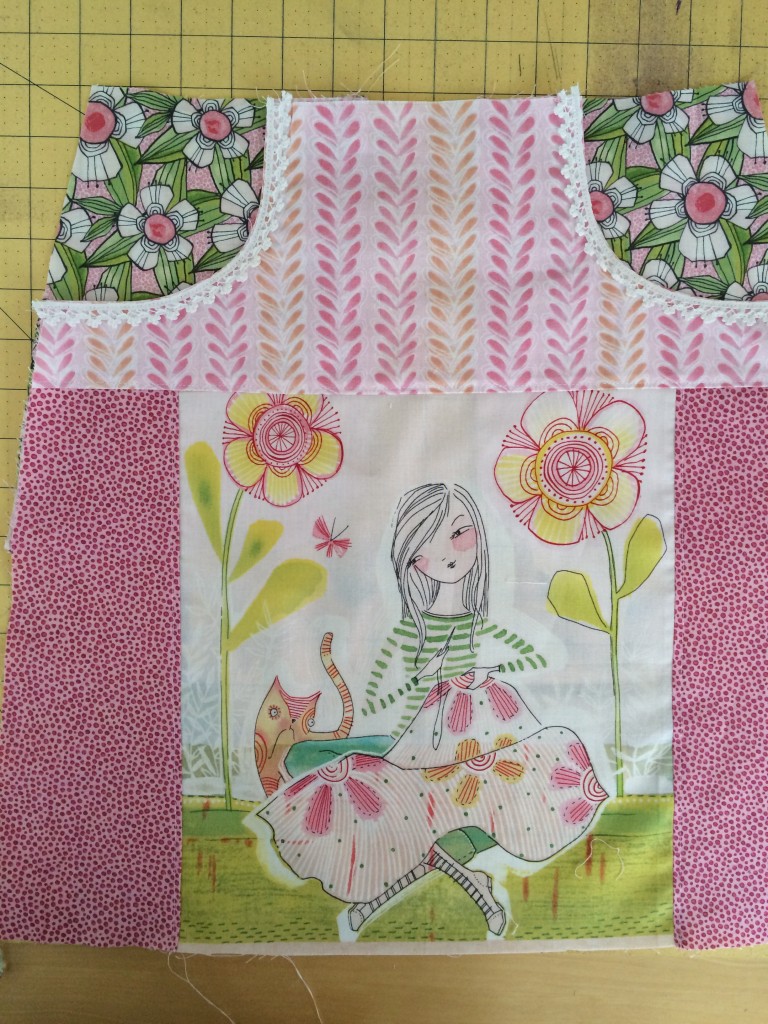
I also top stitched along the seams where I pieced the panel so they would stay in place after washing.
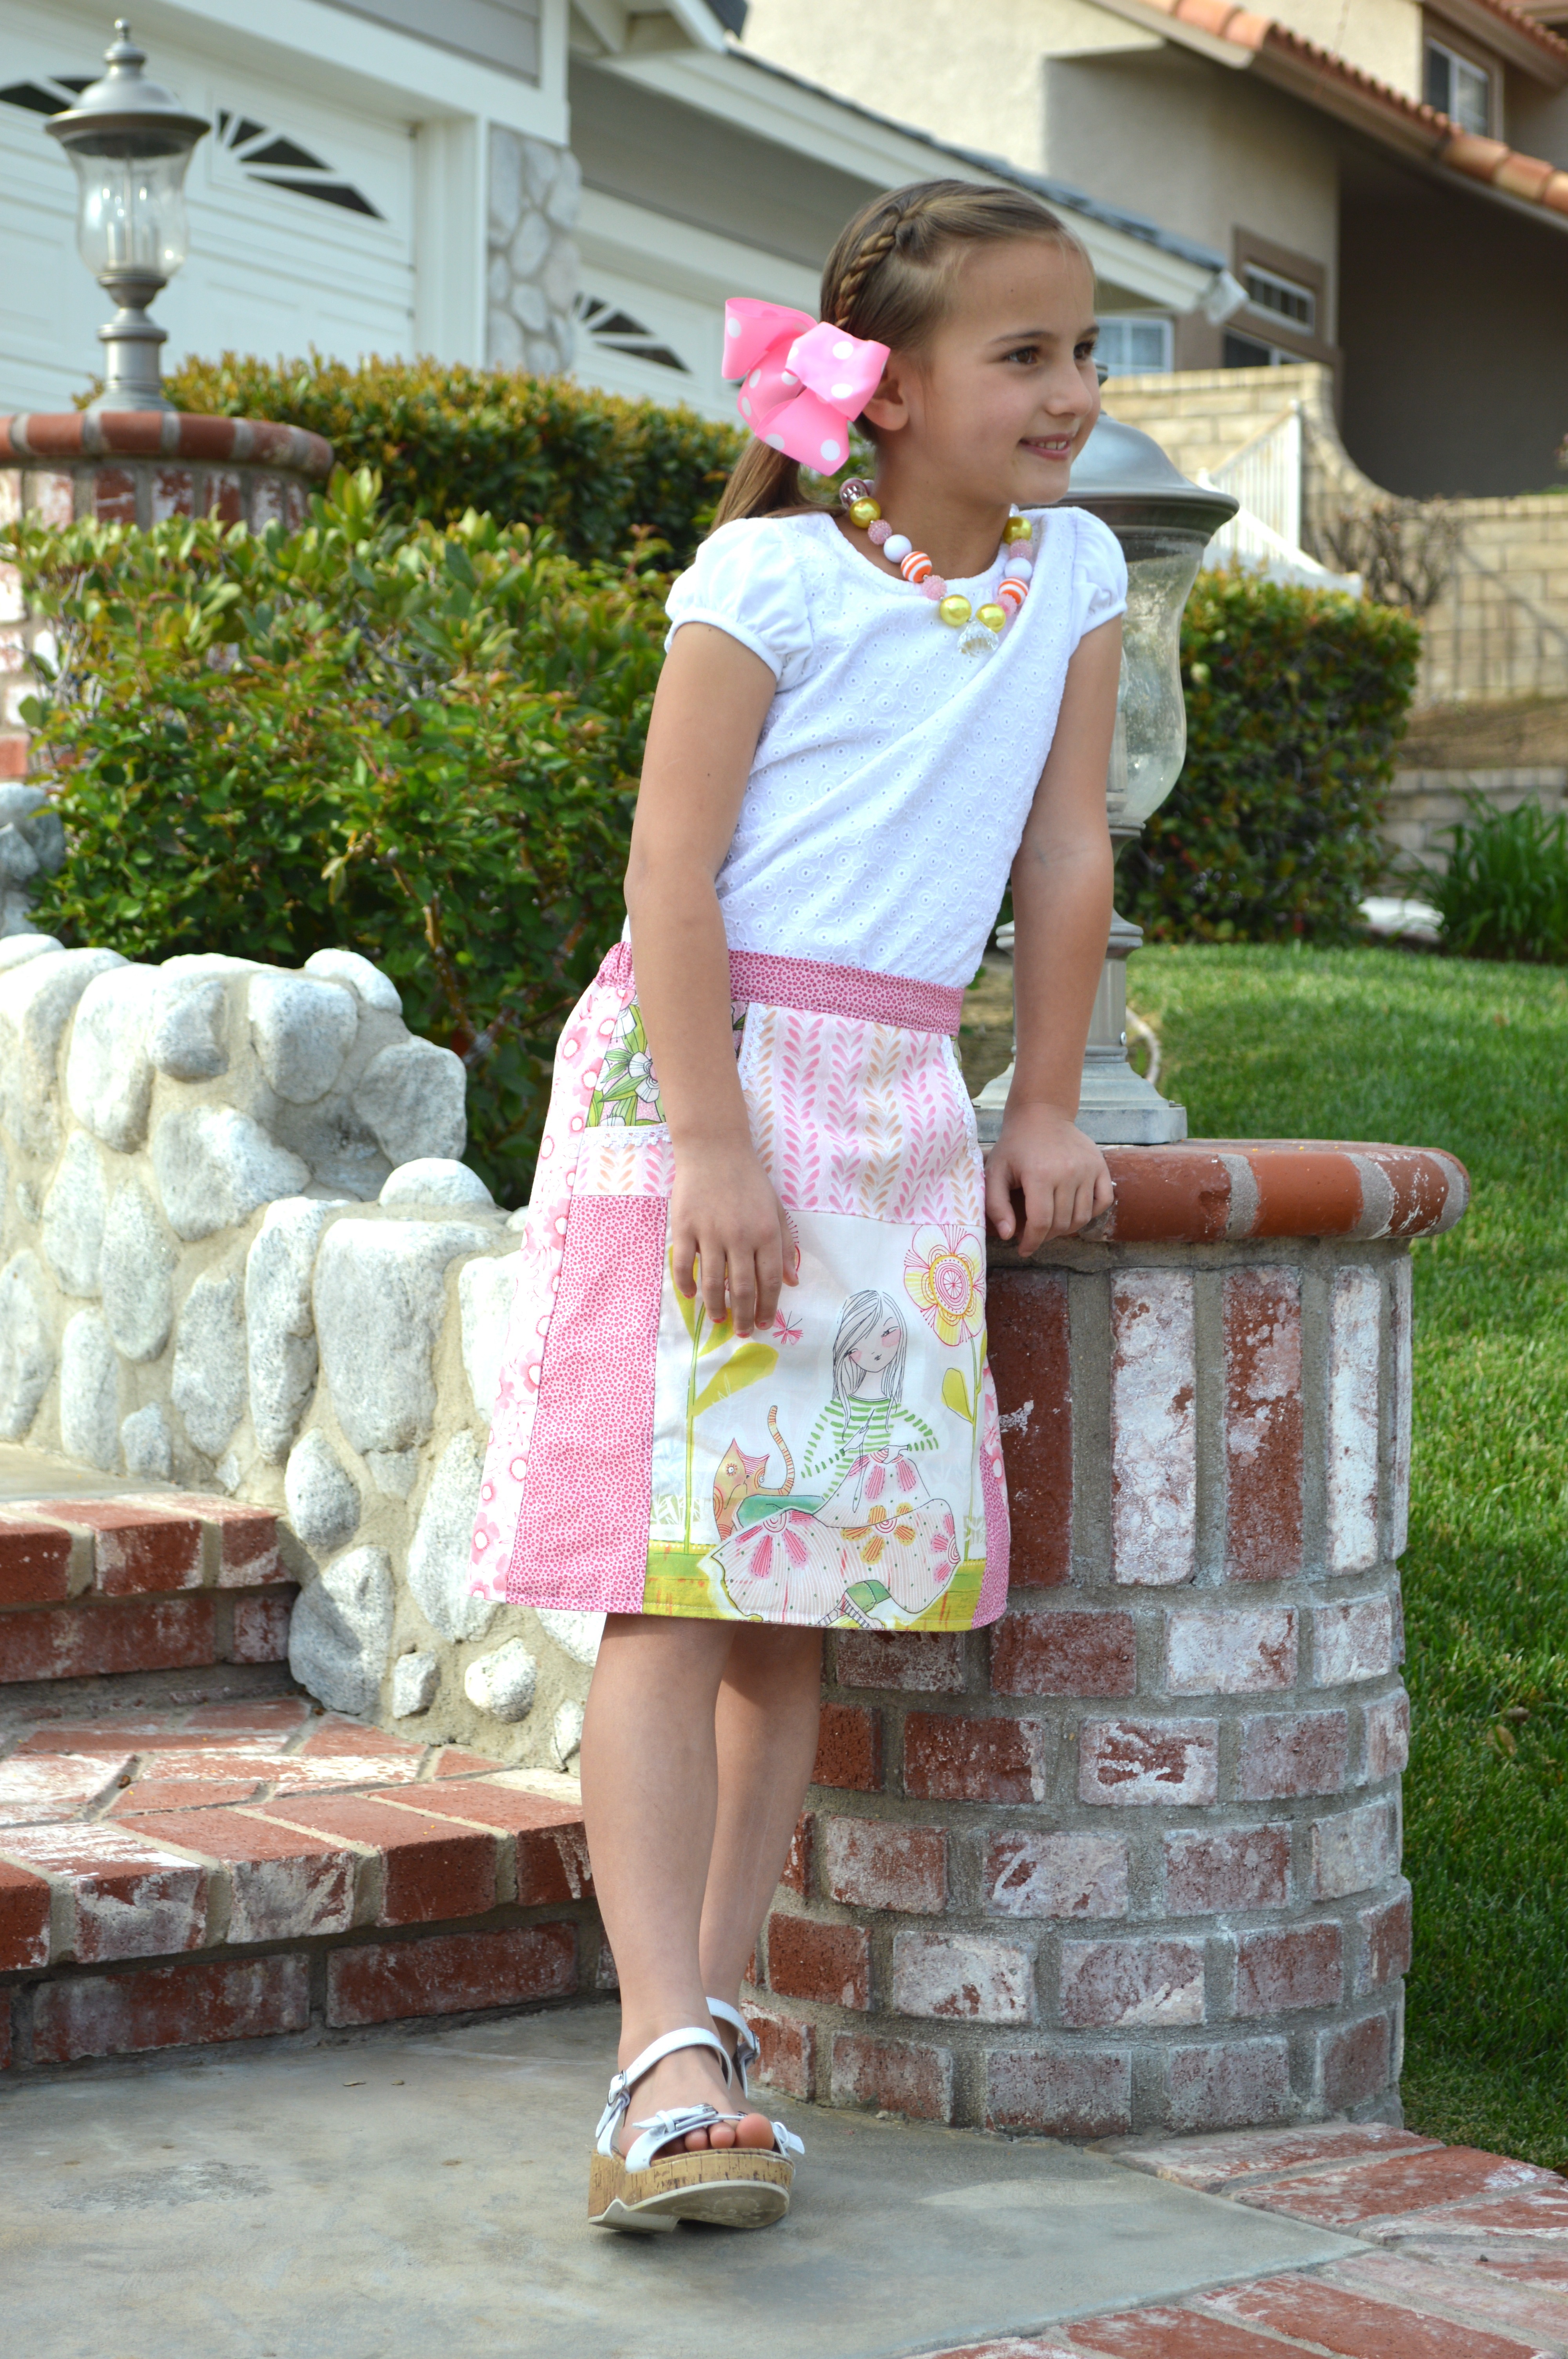
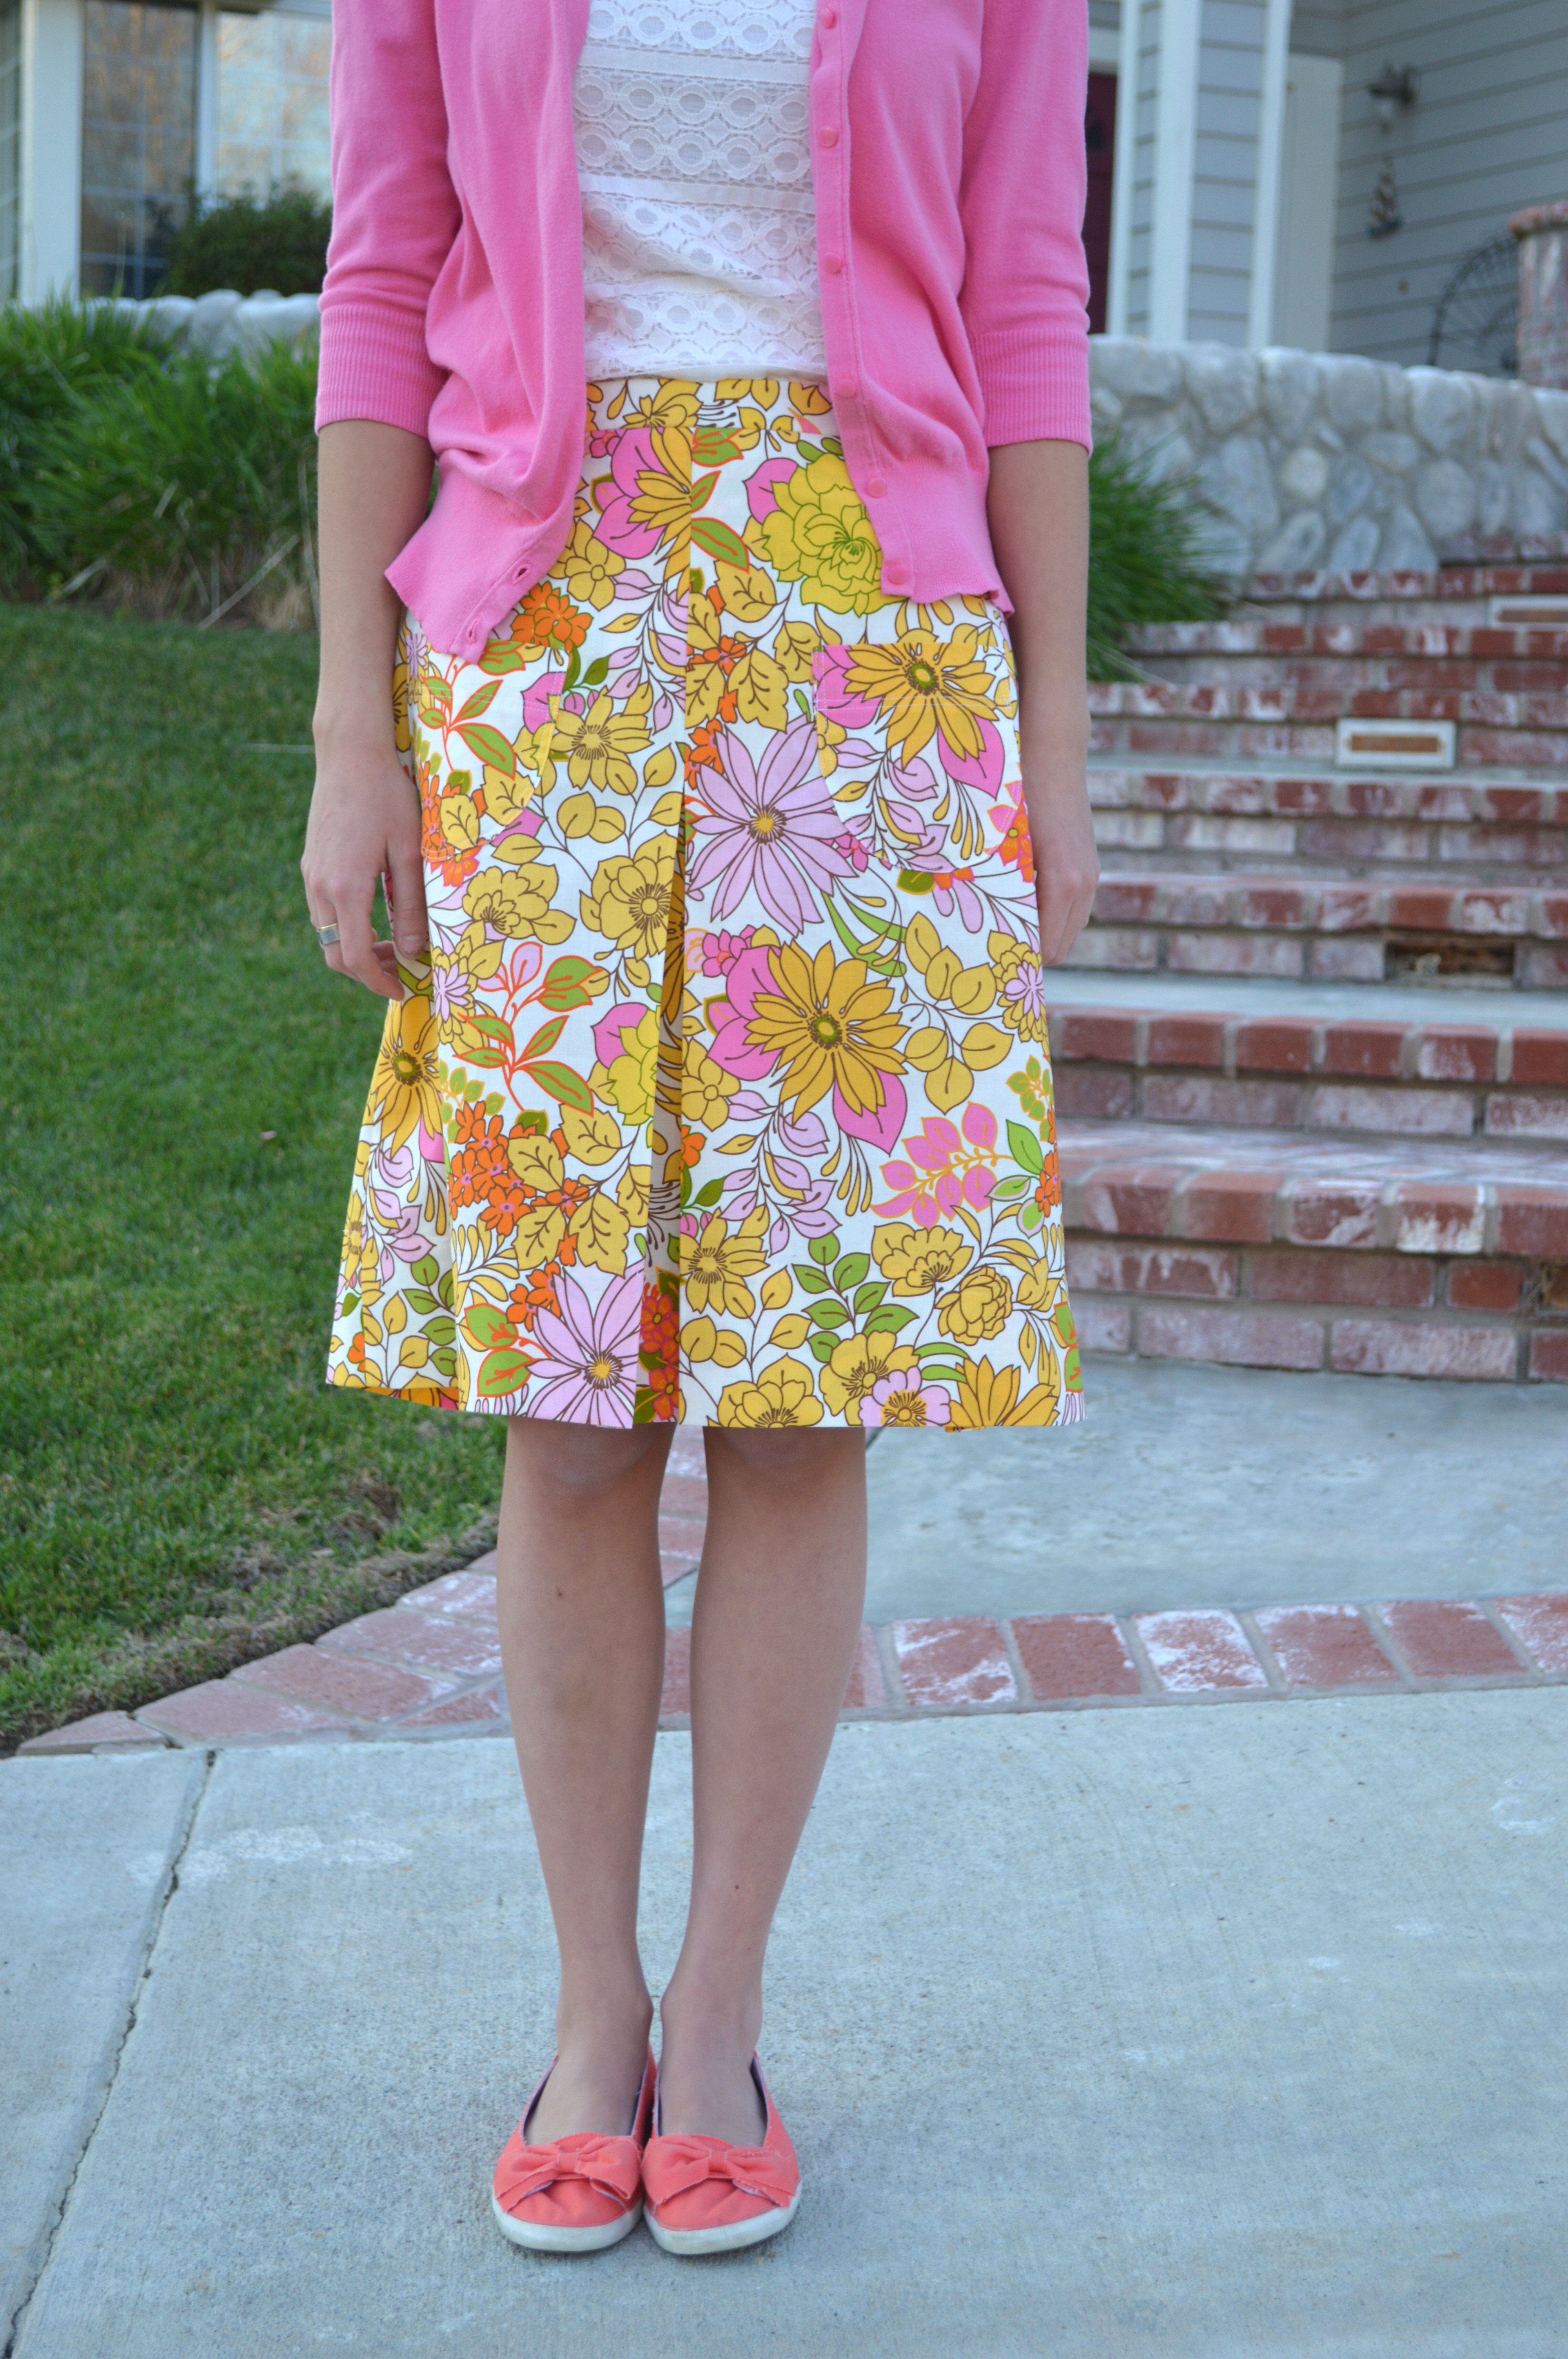
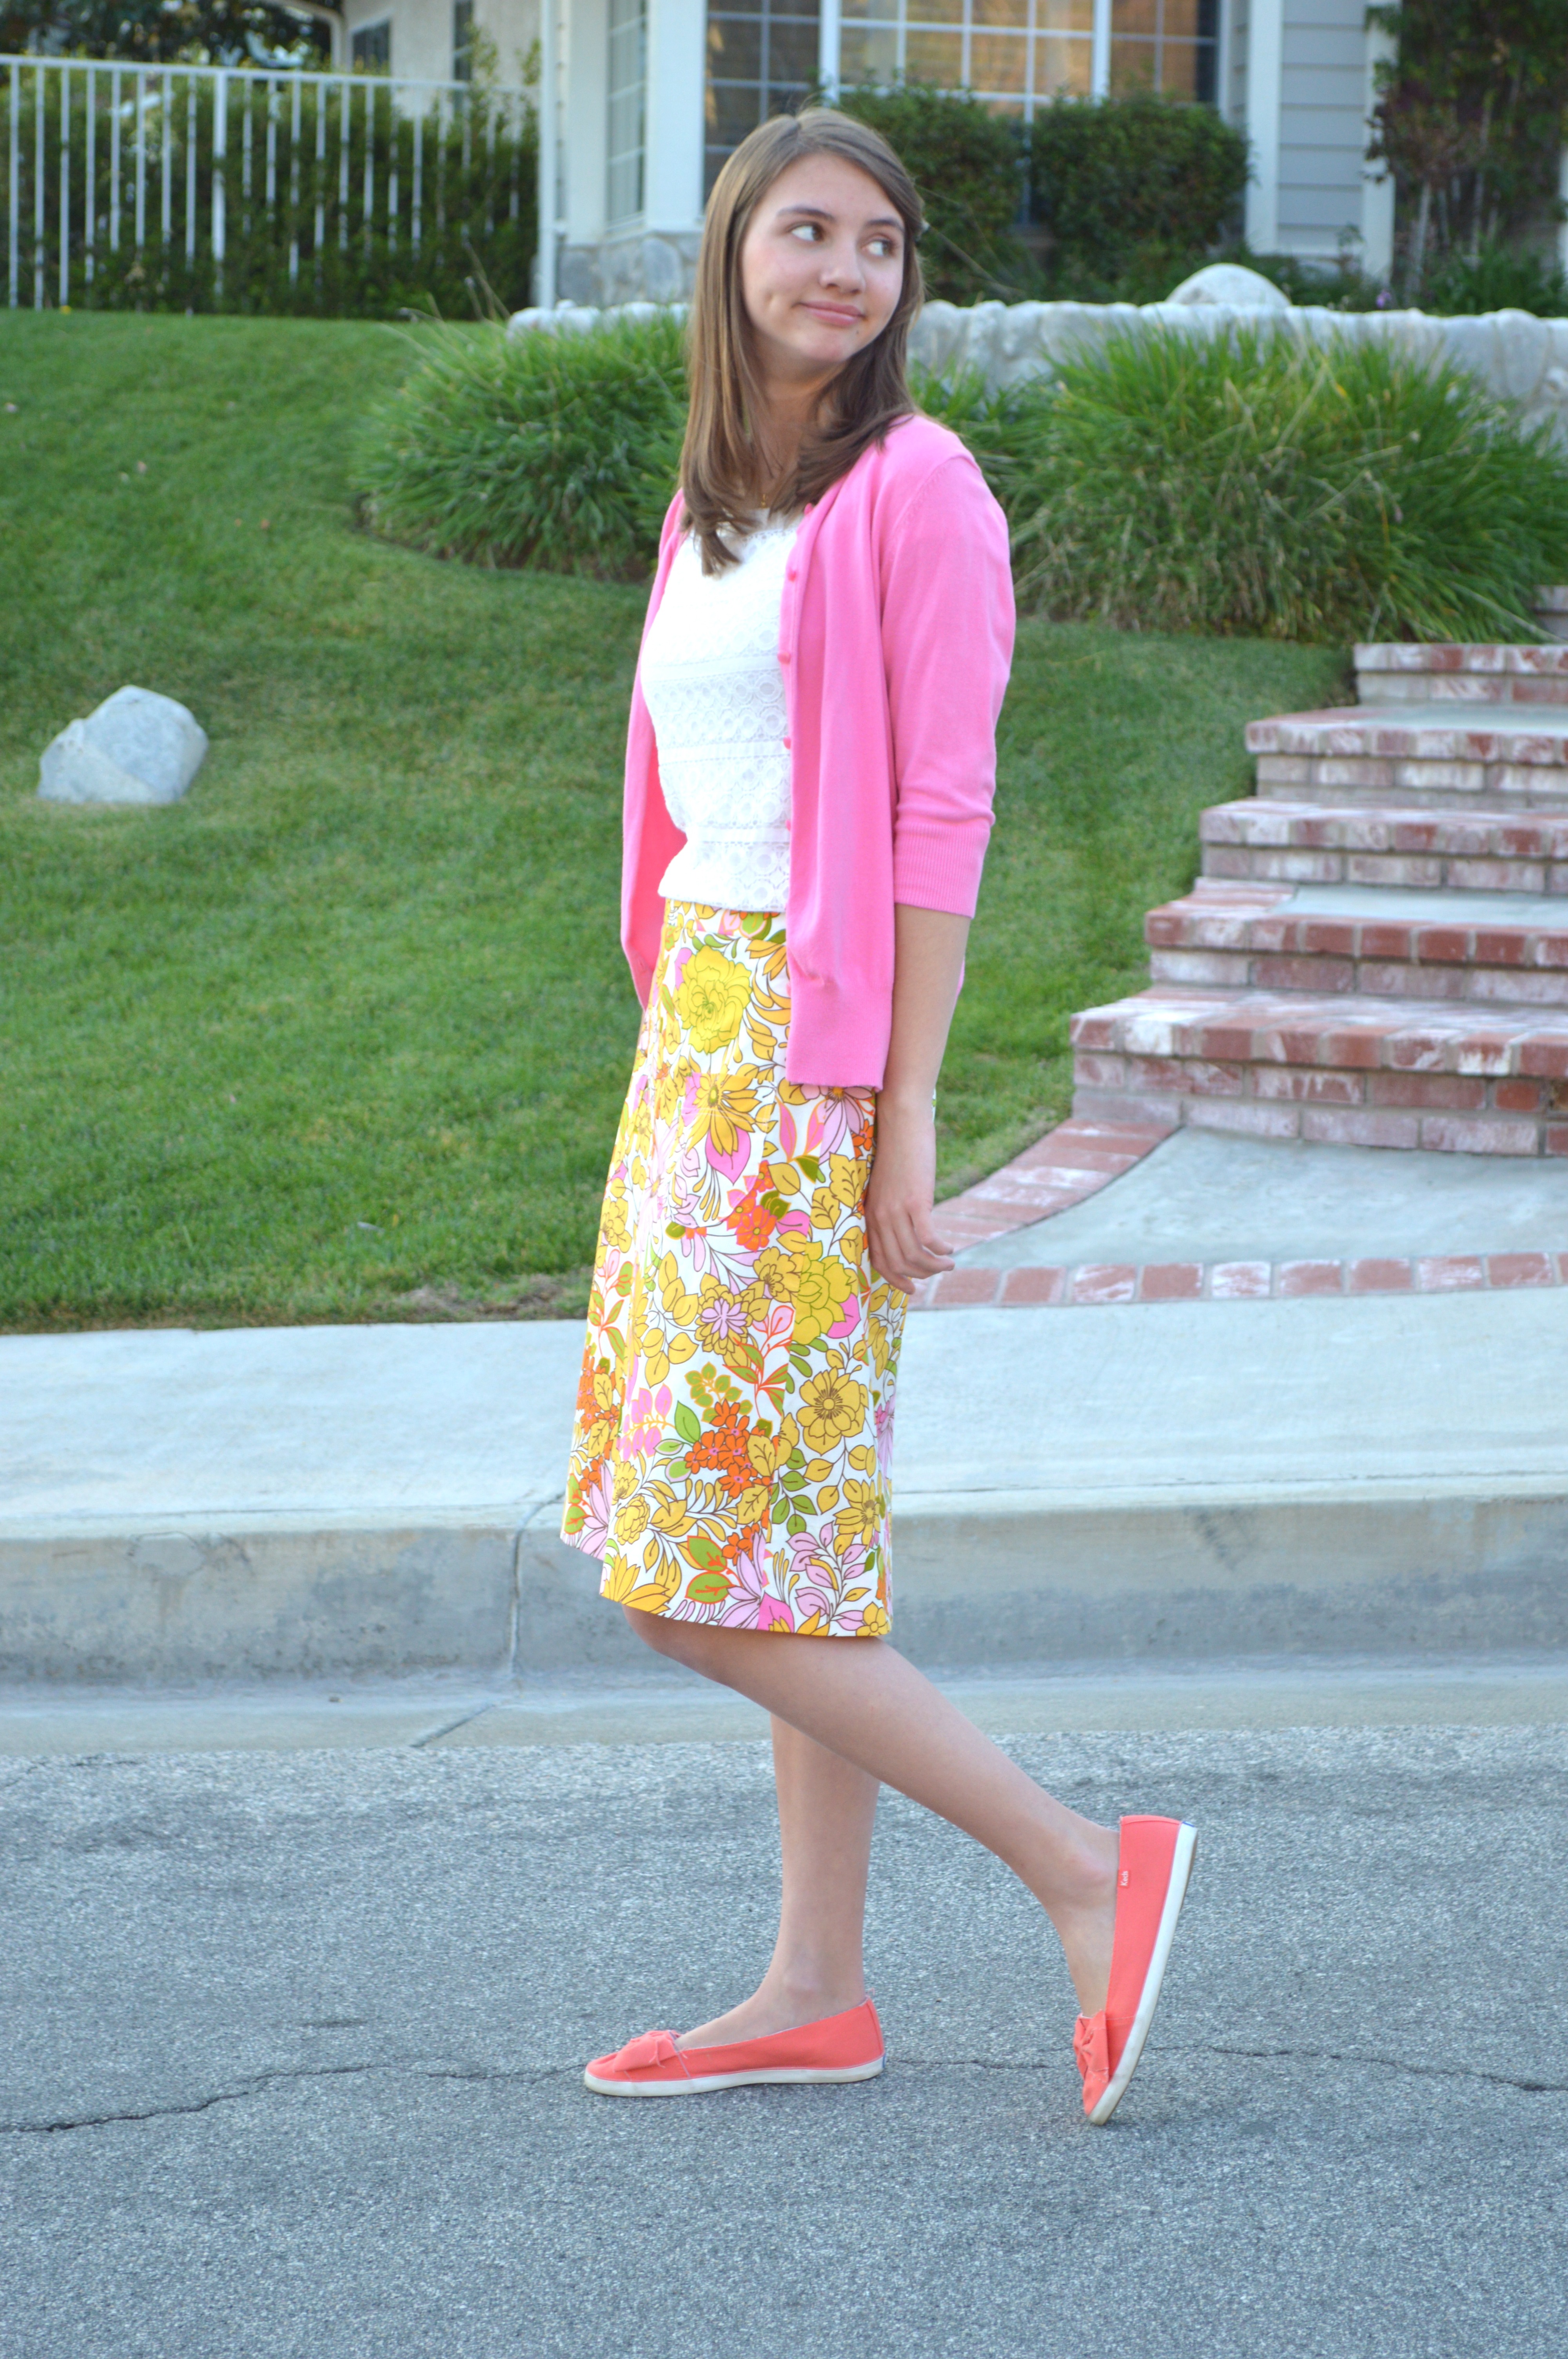
I love the scrappy look of this skirt, with the back having a totally different fabric. My teenage daughter was begging for one in her size 🙂
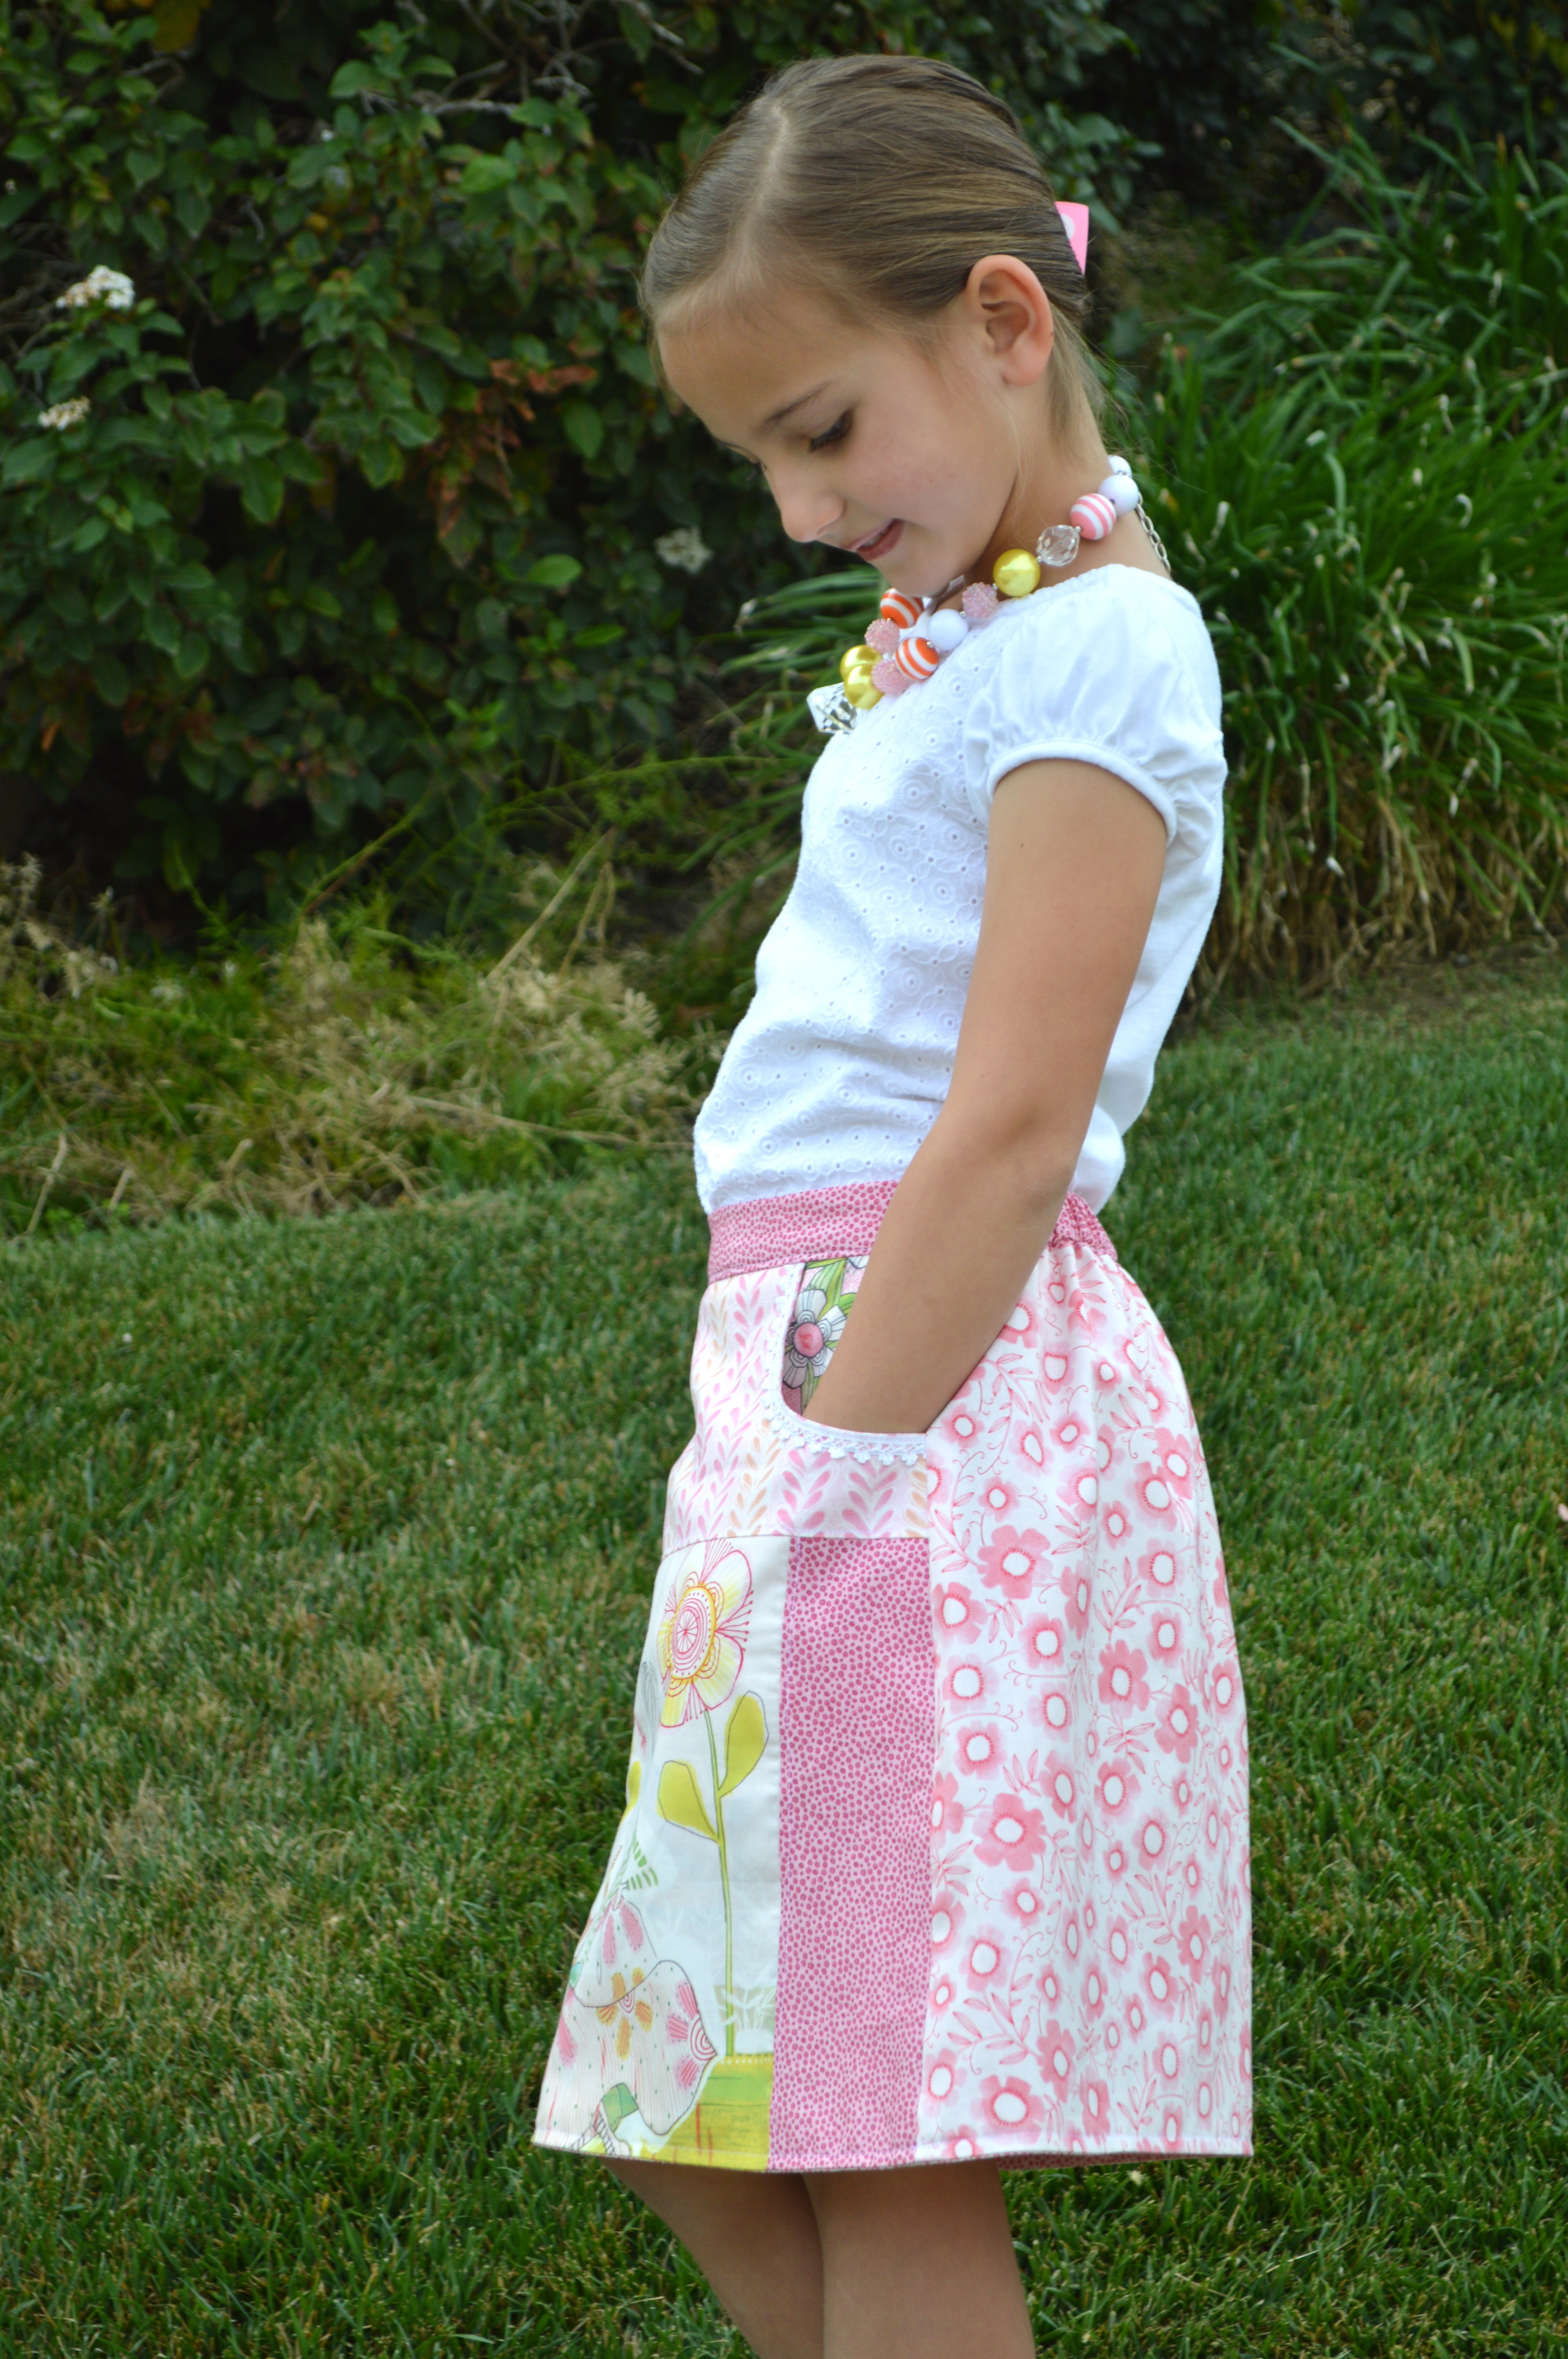
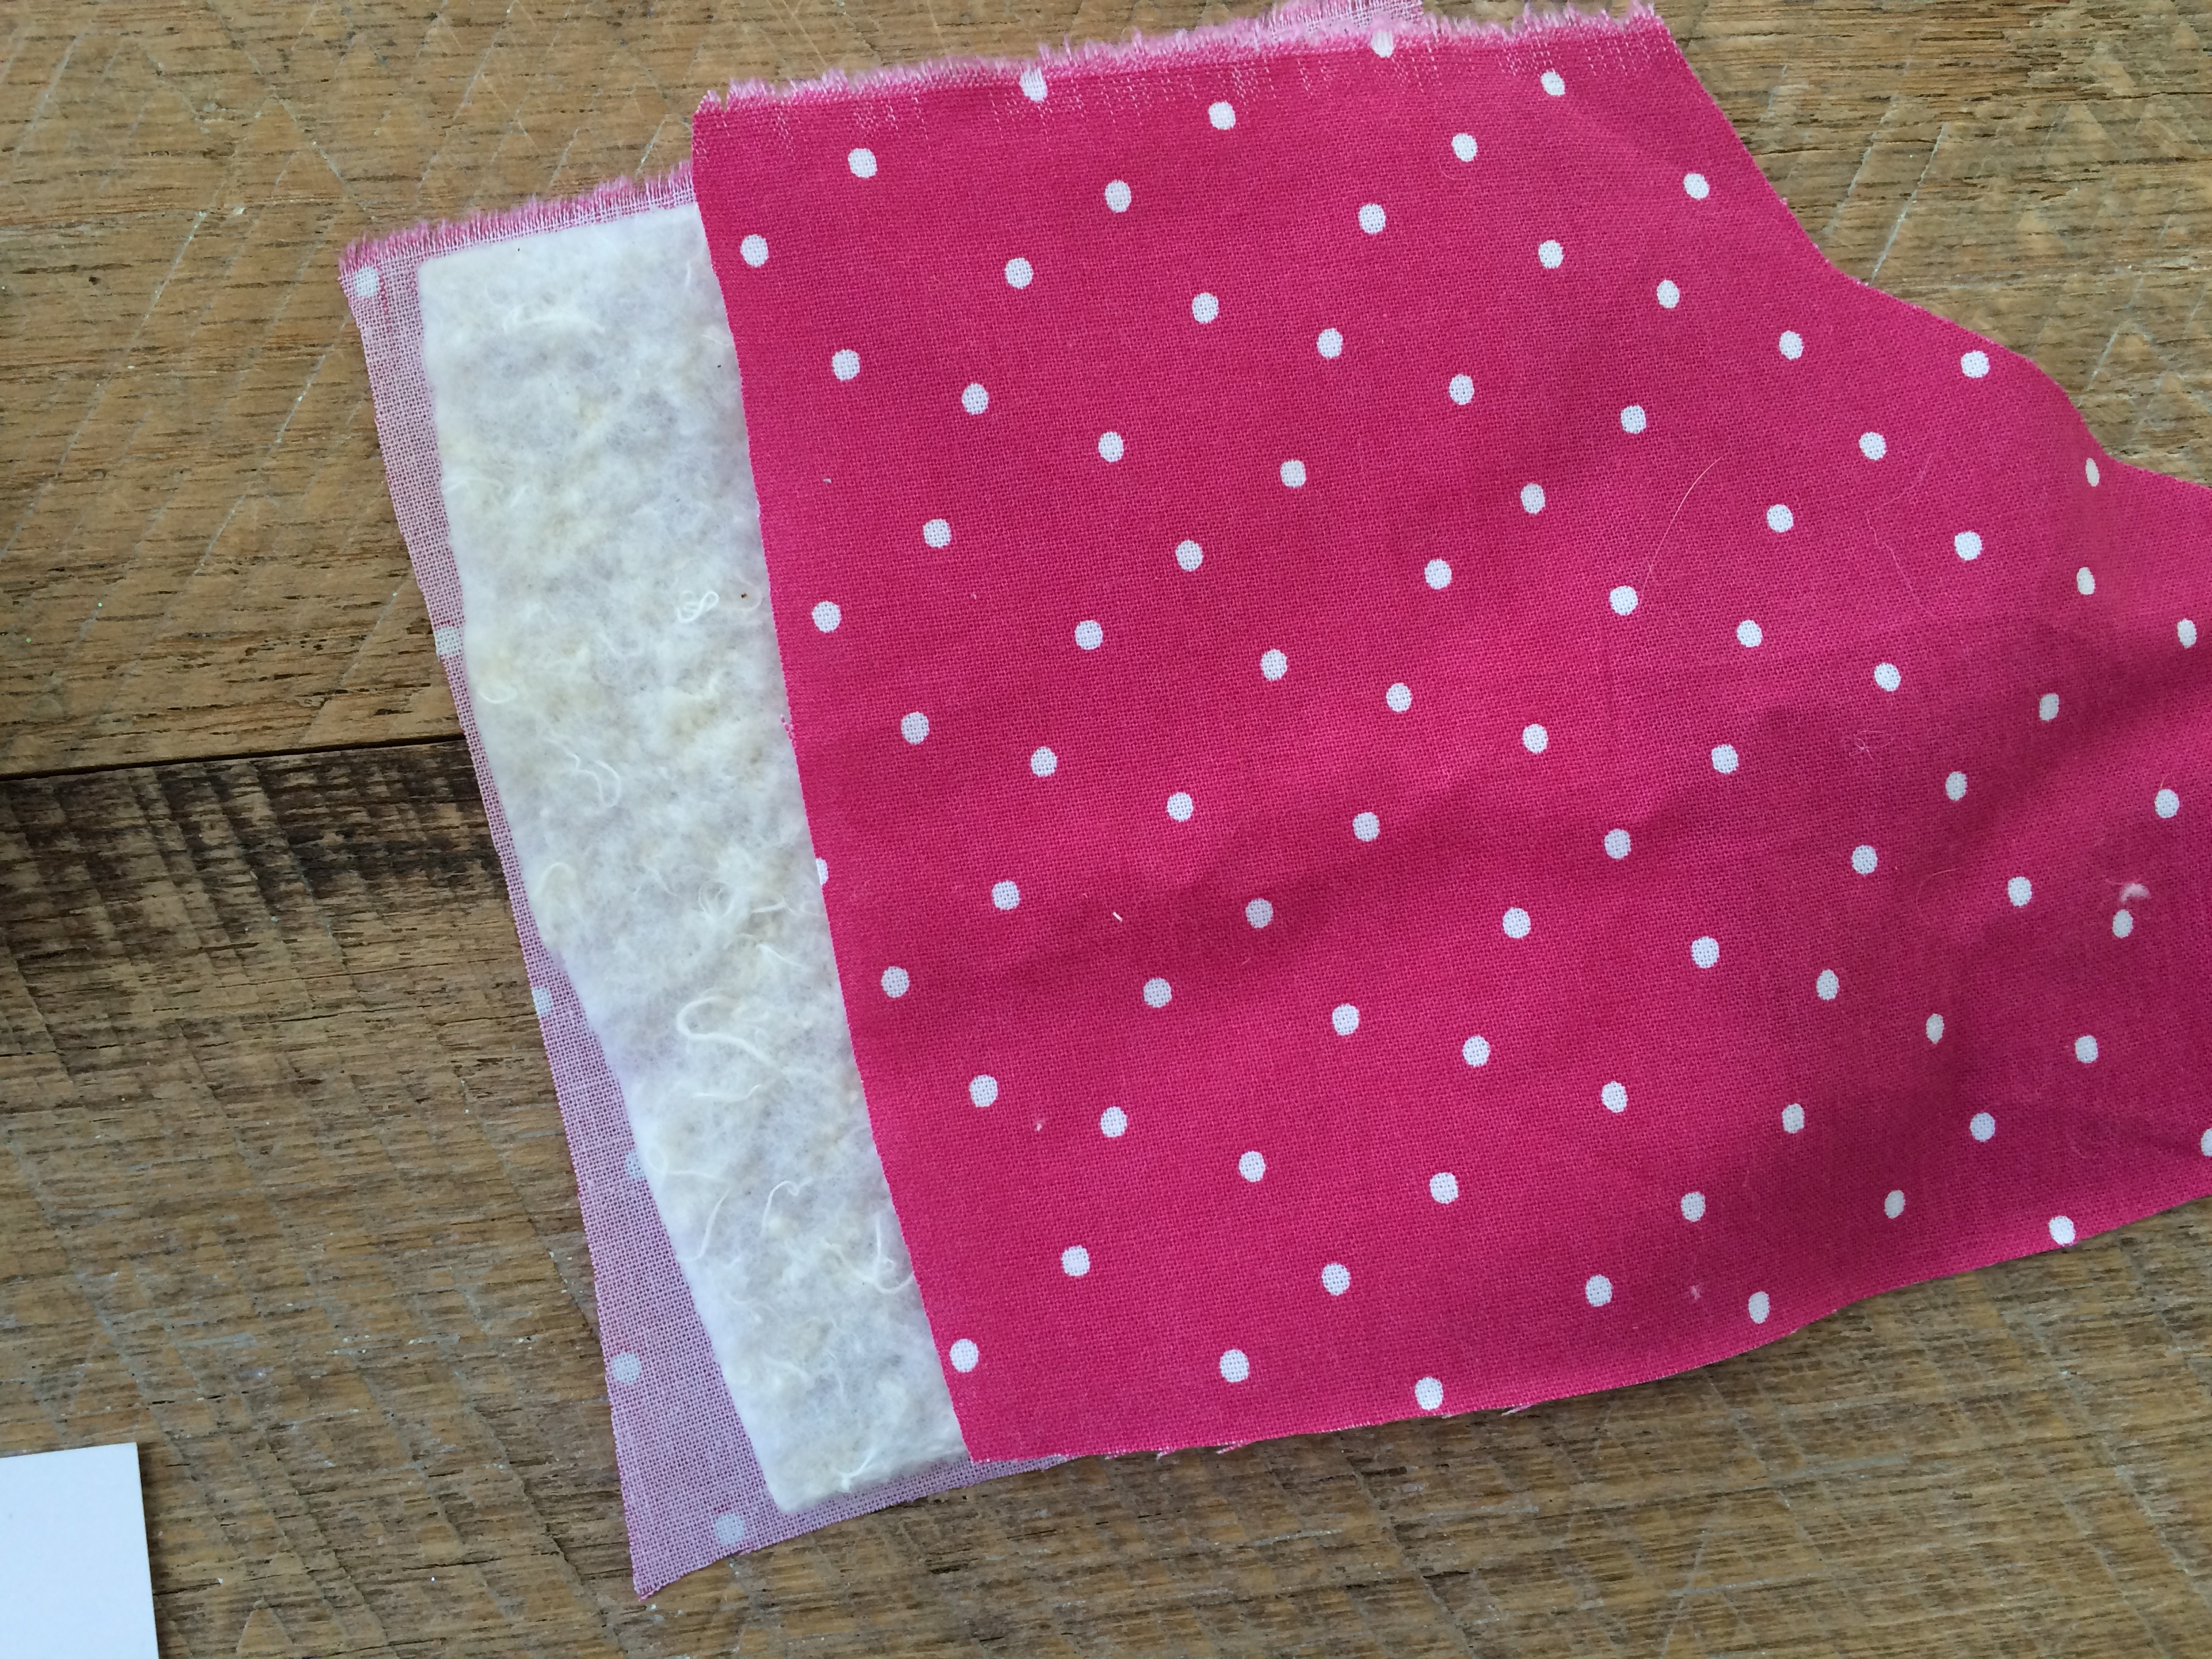
The skirt pattern has 3 options: no lining, lining, and reversible. I choose to make the reversible version. I love the weight the skirt has with the lining – it hangs really nice. The waistband is super simple because it has elastic in the back portion. I used some Heat n Bond fusible stabilizer in the waistband to give it some strength.
This skirt can easily be downloaded, printed, cut & sewn in 2 hours. It’s called the Potato Chip Skirt because you can’t make just one! That’s true, I already have several more in the works! Sally is happy because I pay her $1.00 for each modeling session 🙂
I can’t stop gushing about this pattern. The length is perfect and the fit is perfect. Sally is 7 years old, wears a size 10 and I cut out the size 9/10 skirt. It’s PERFECT!!!!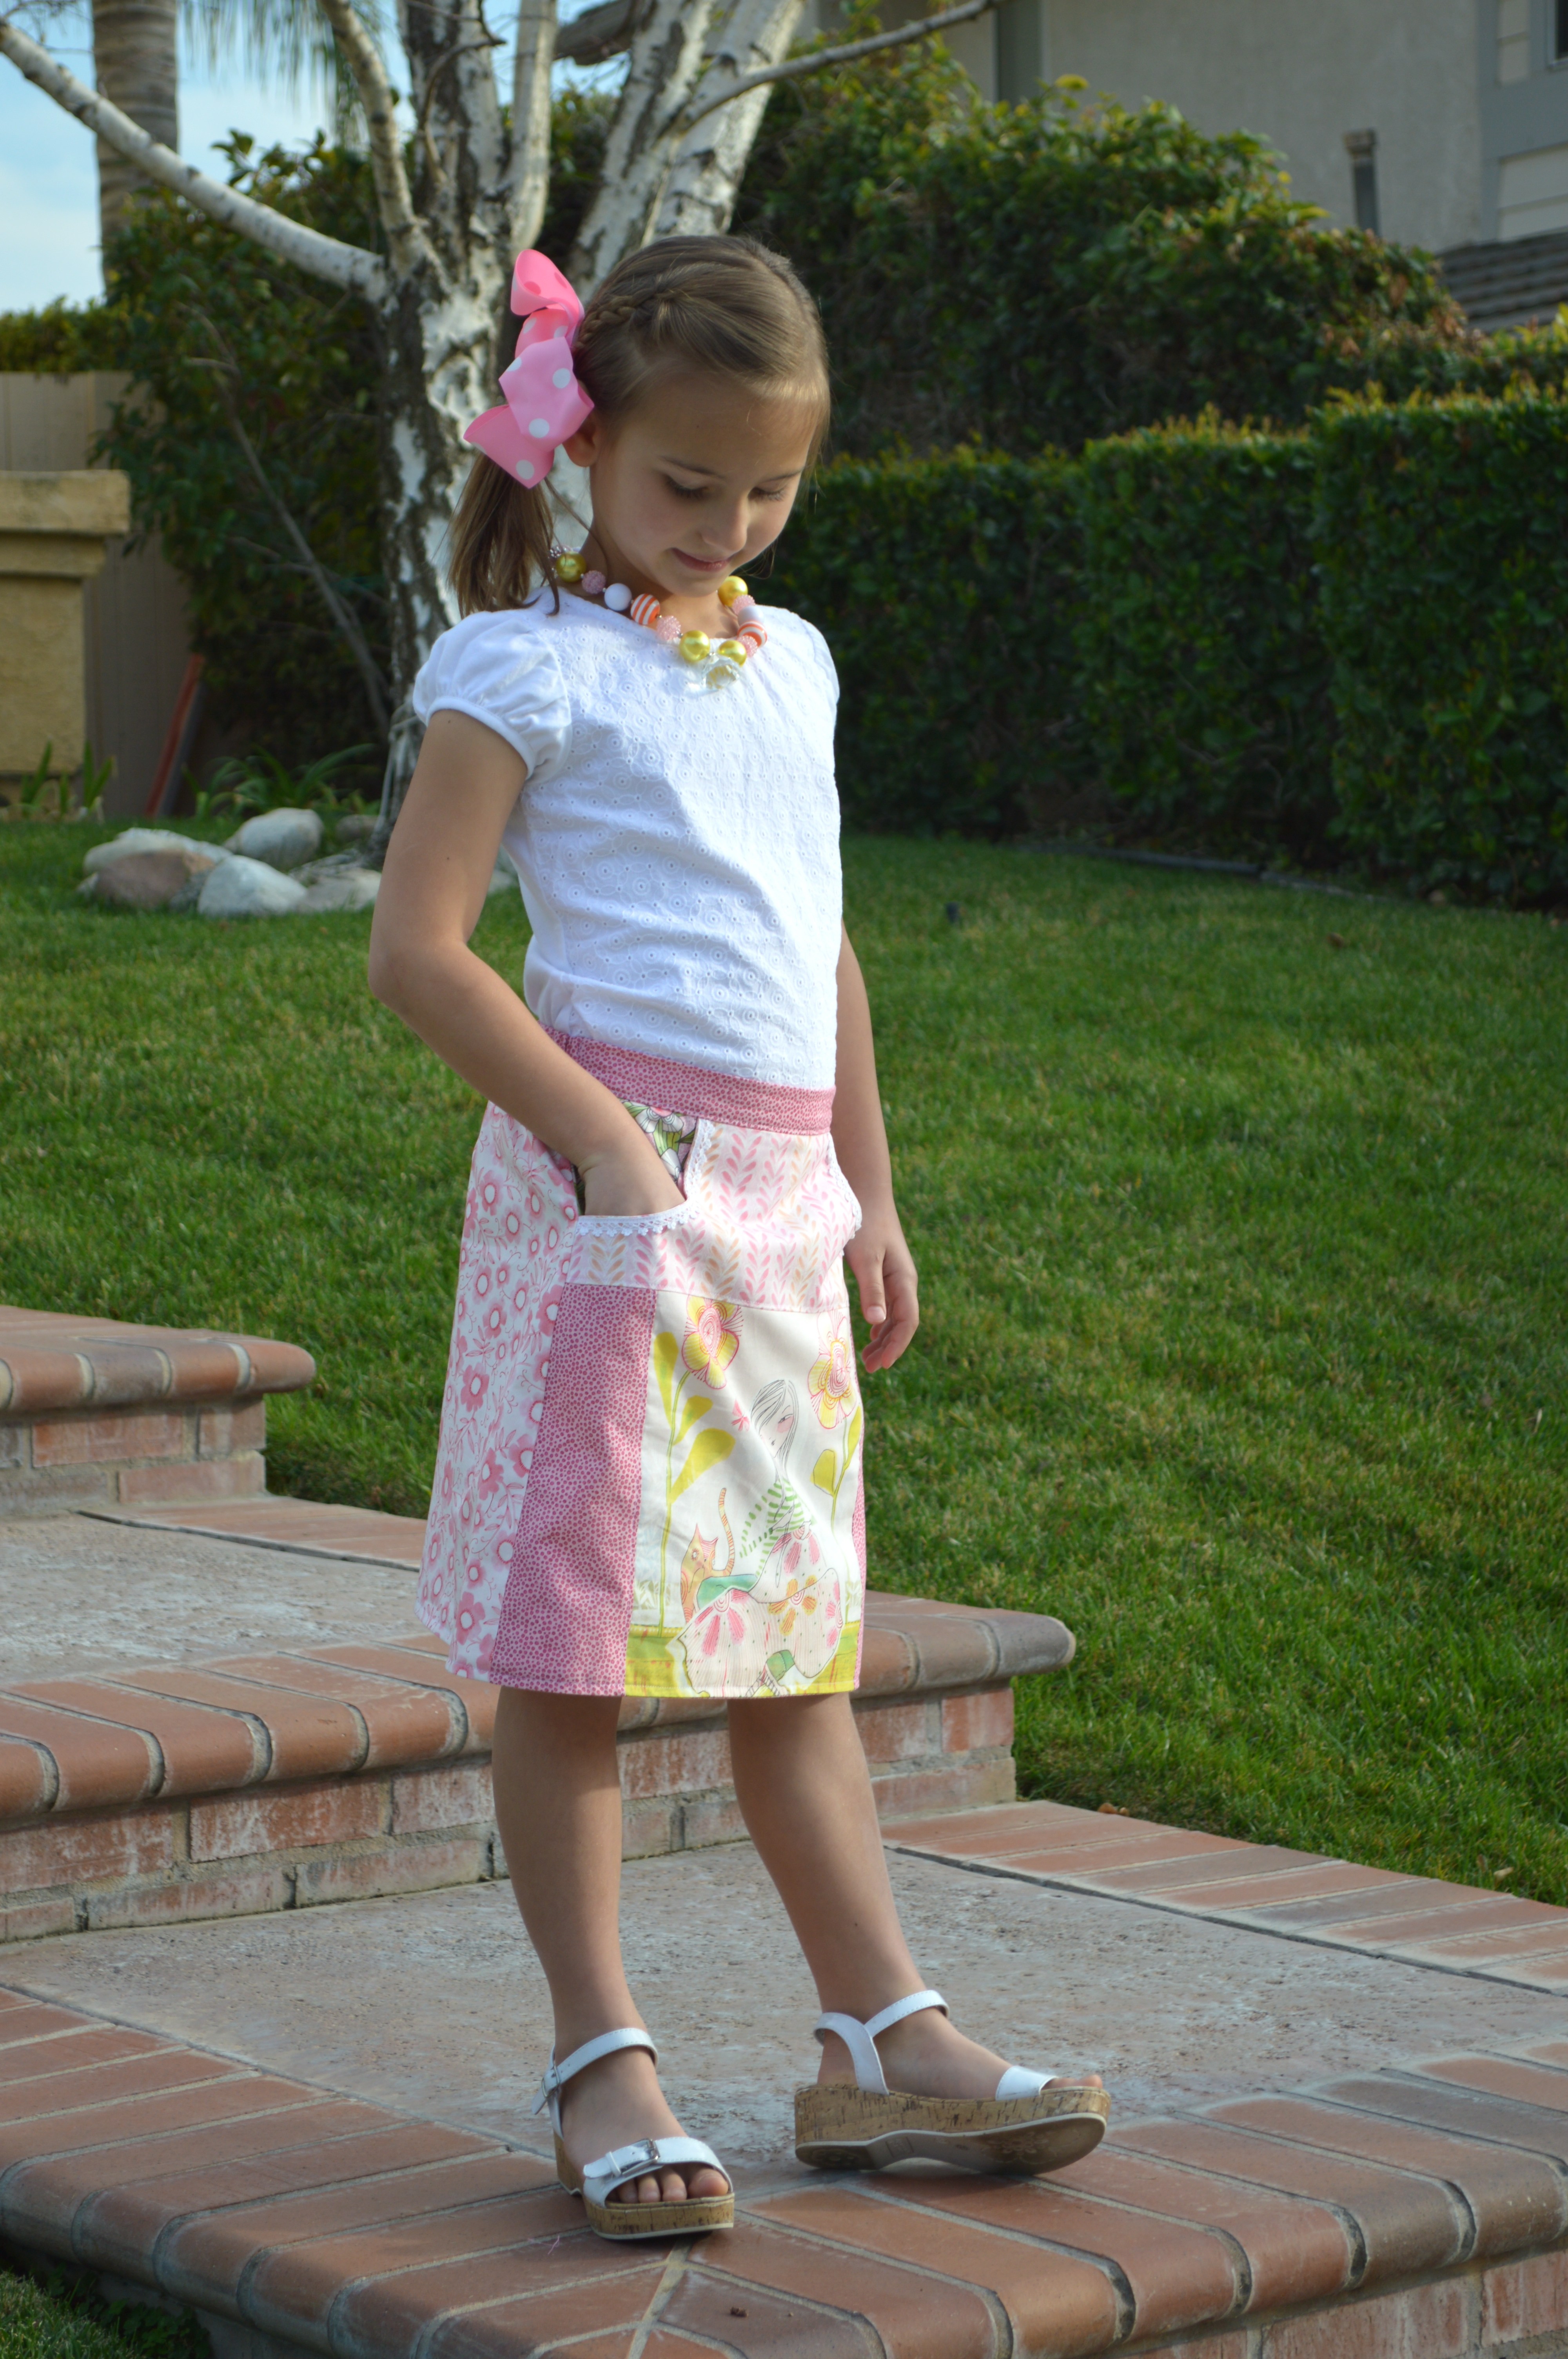

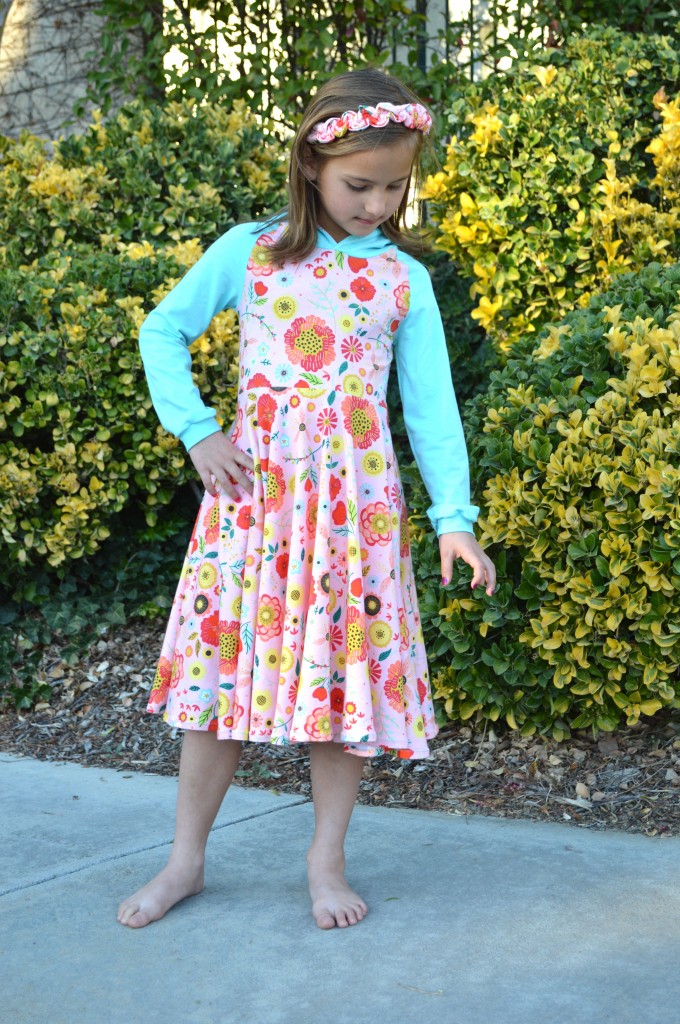
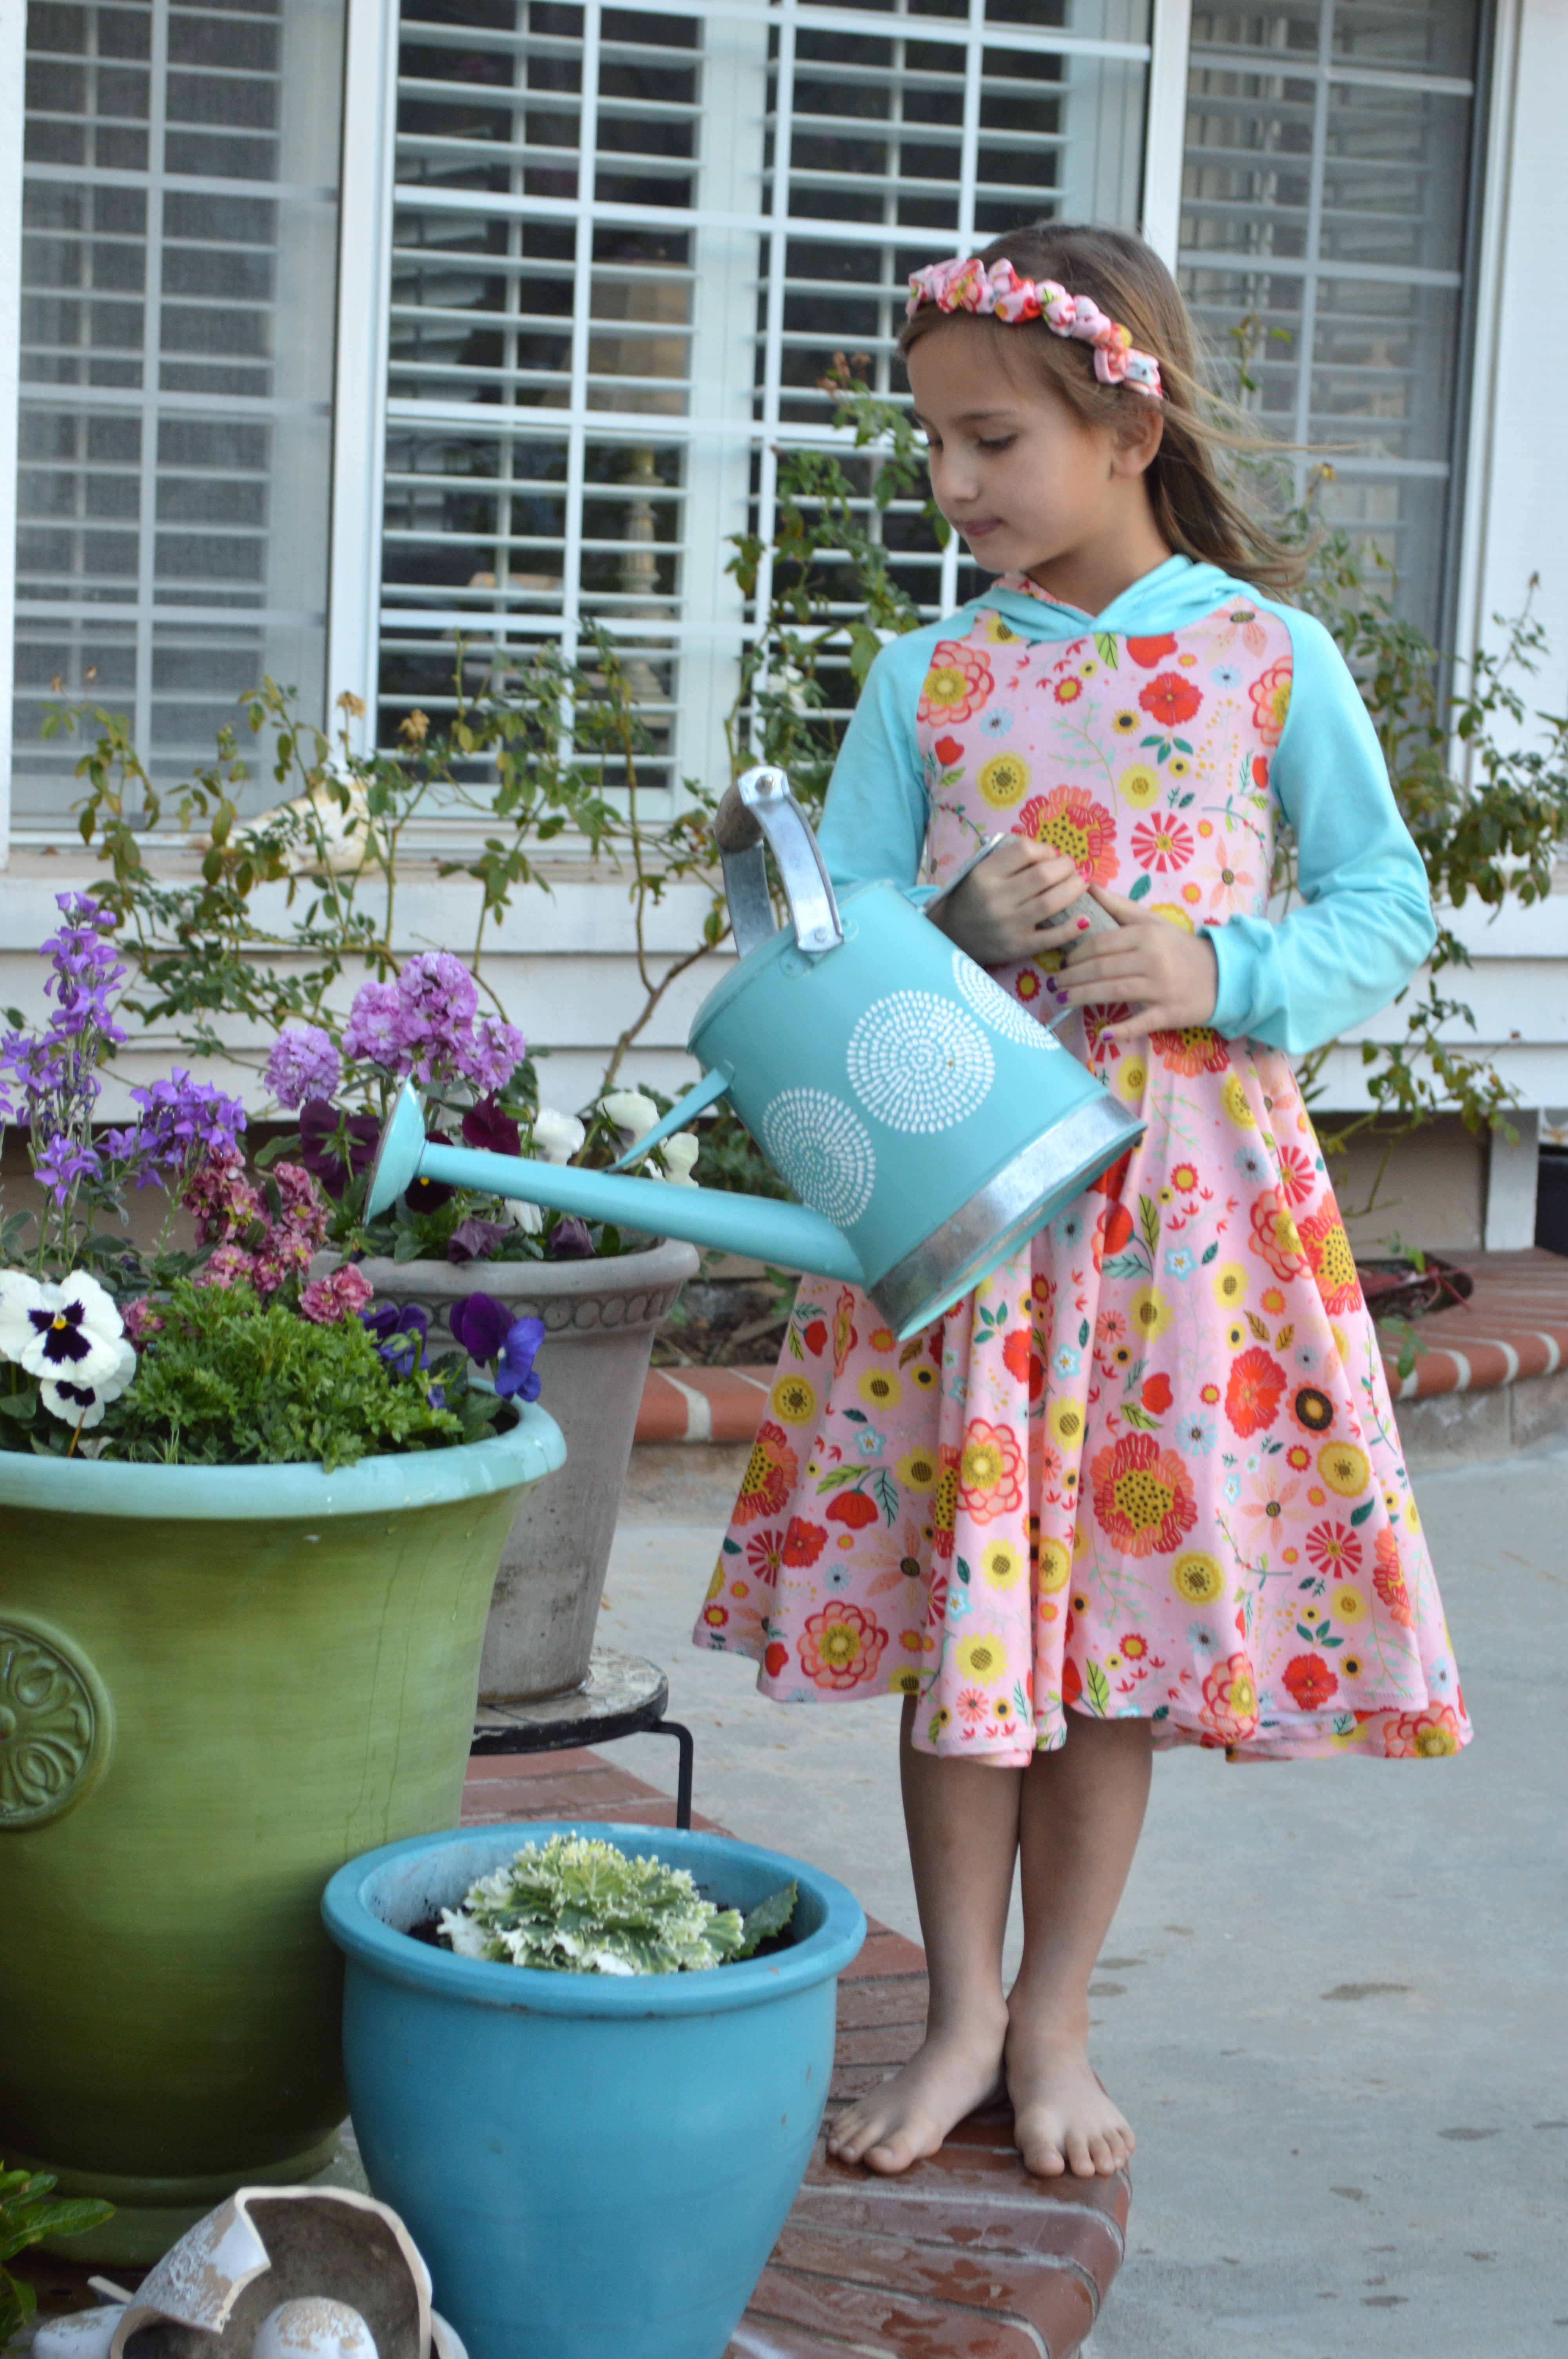
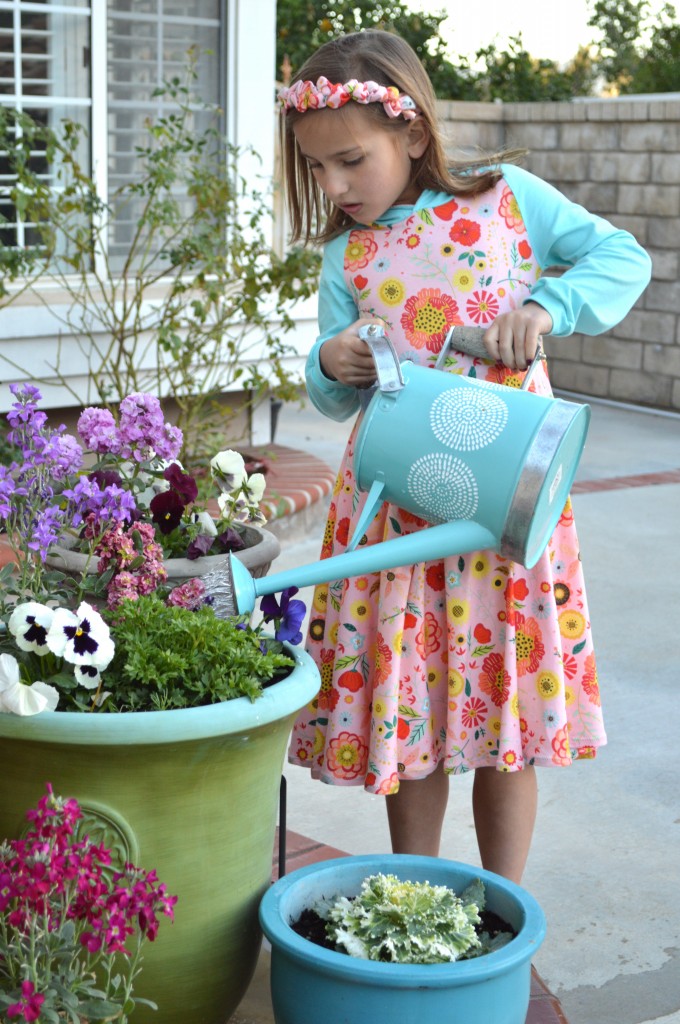 I also made a matching headband out of the left over knit fabric. Cut a 5″ x 24″ strip and fold in half lengthwise, right sides together. Sew a 1/4″ seam and turn the tube right side out. With the seam centered on the back, adjust the stitch length to a gathering stitch and sew a serpentine/wavy seam down the center. I tried first to zig zag back and forth but the thread and the knit kept catching at the corners. The curvy line worked better. Then gather the threads to form a wavy type of ruffle. I was in a hurry so I hot glued it to an existing headband.
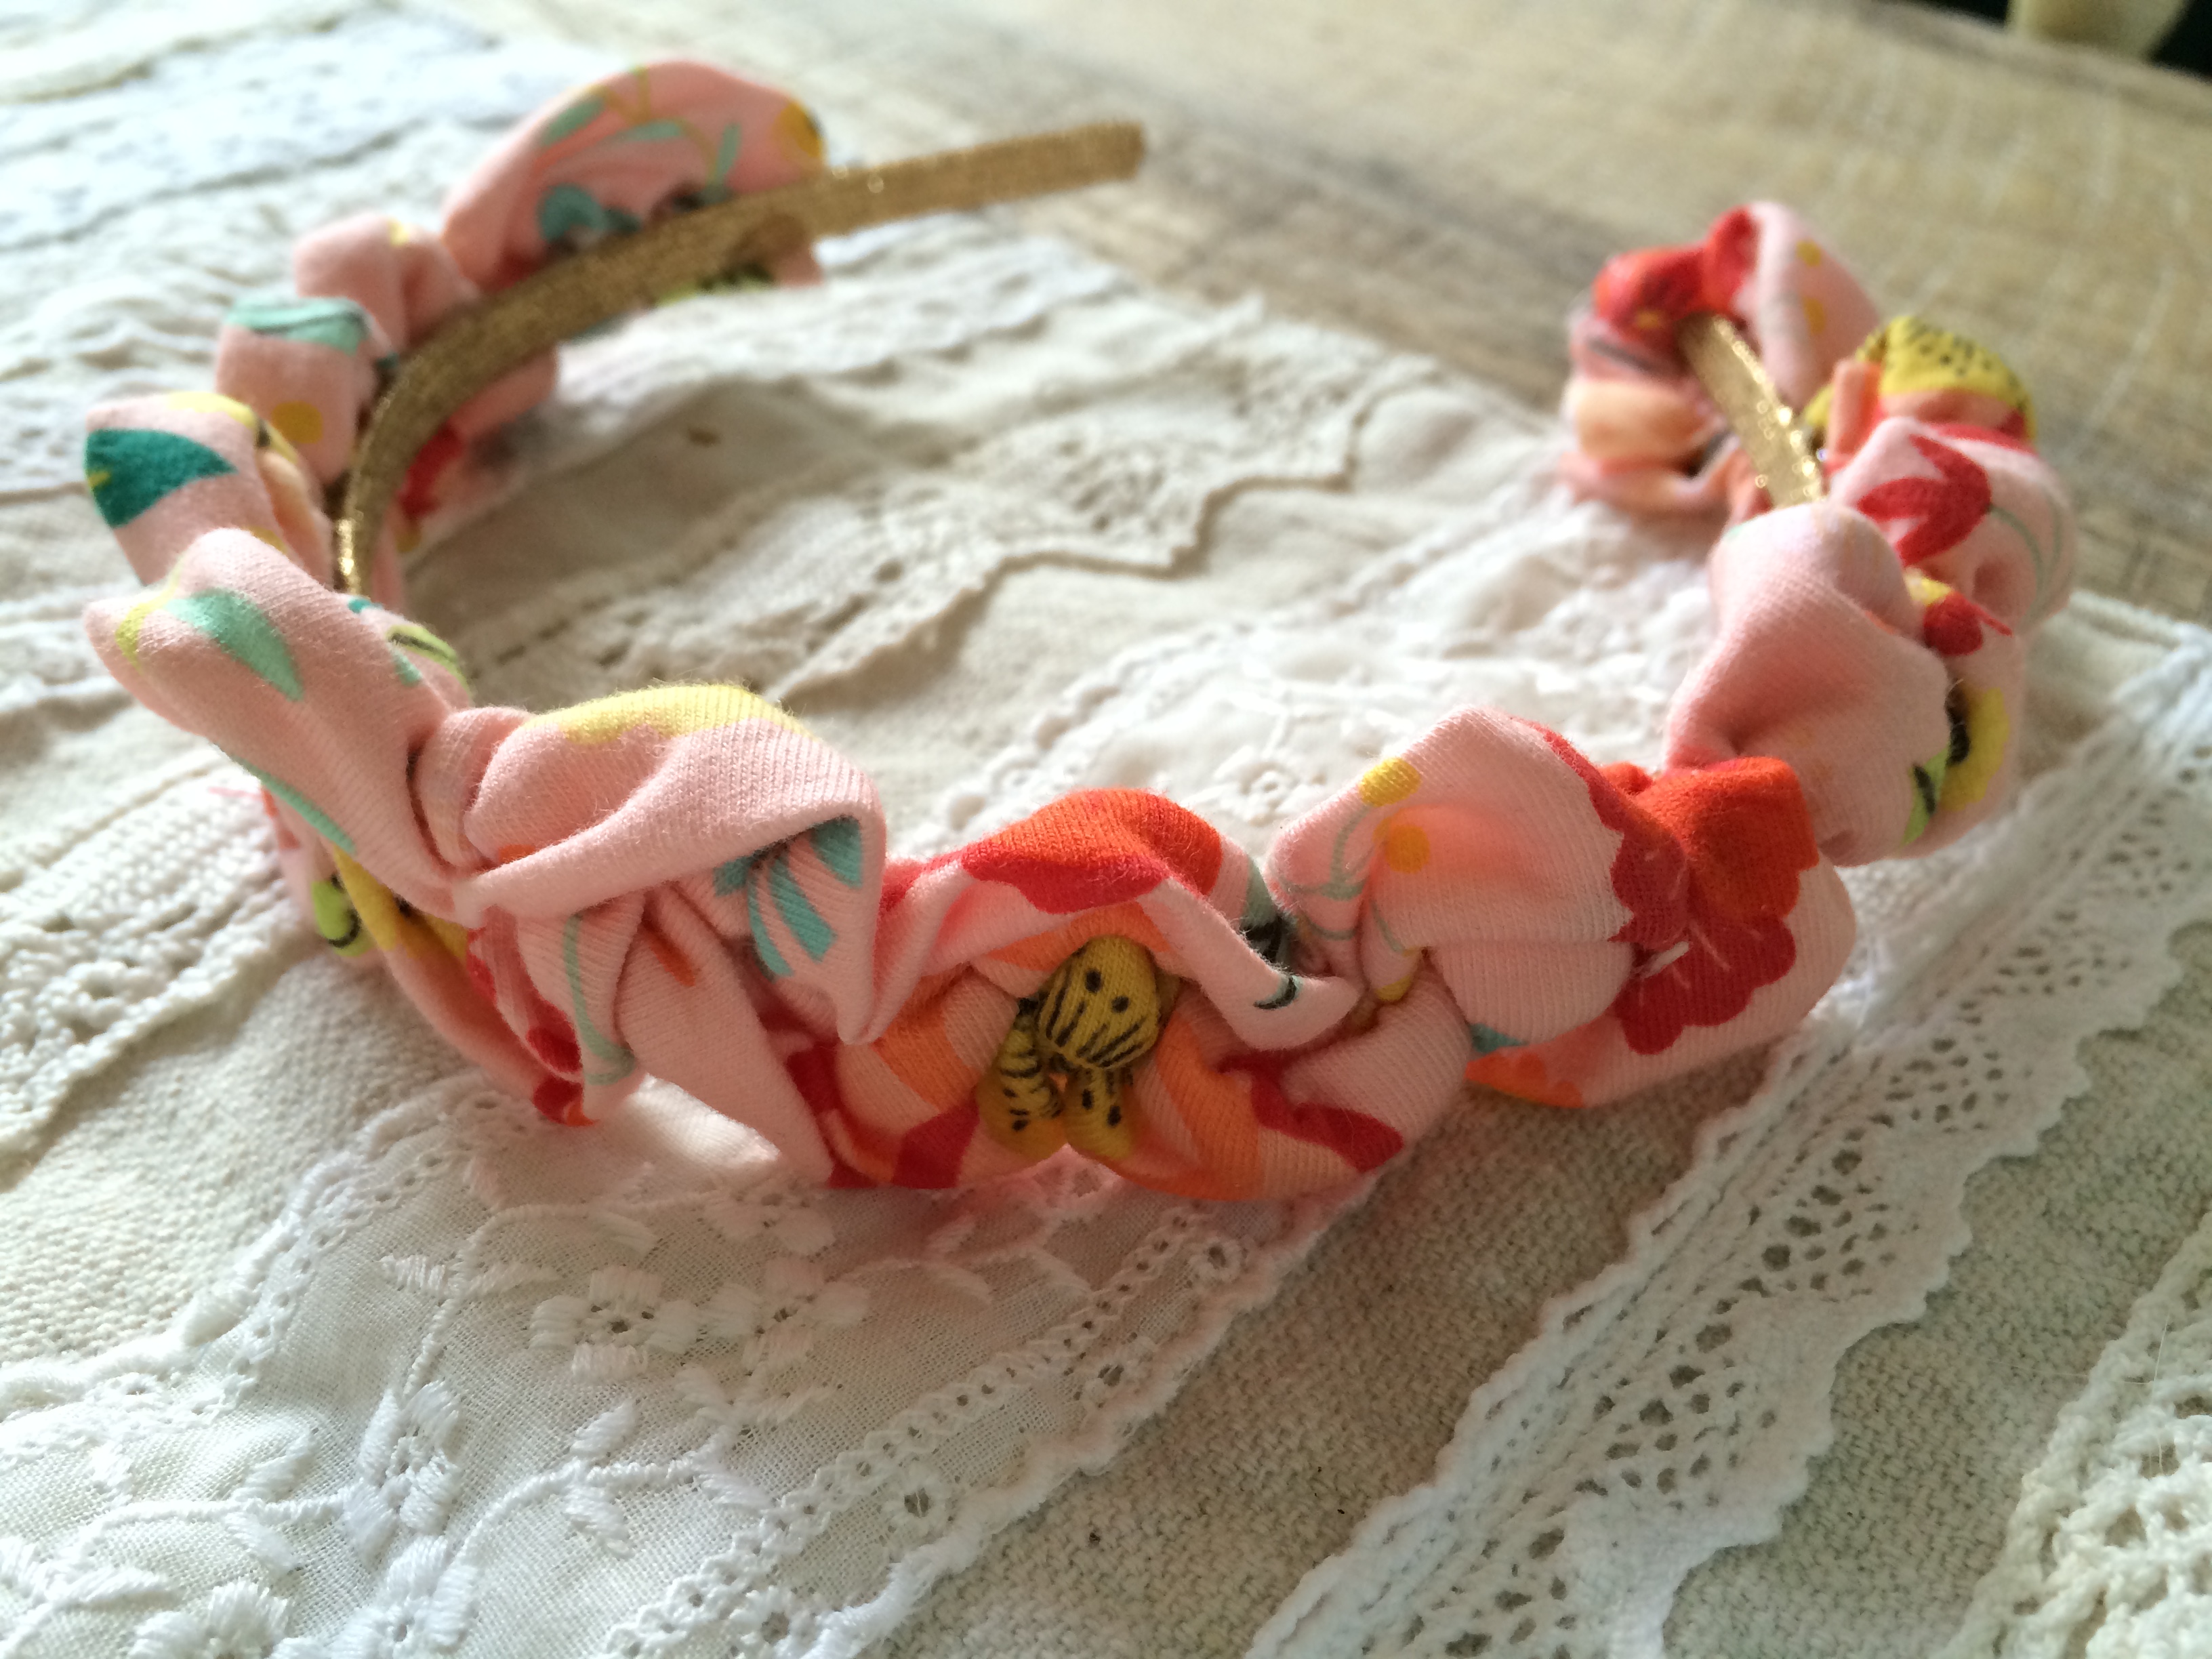
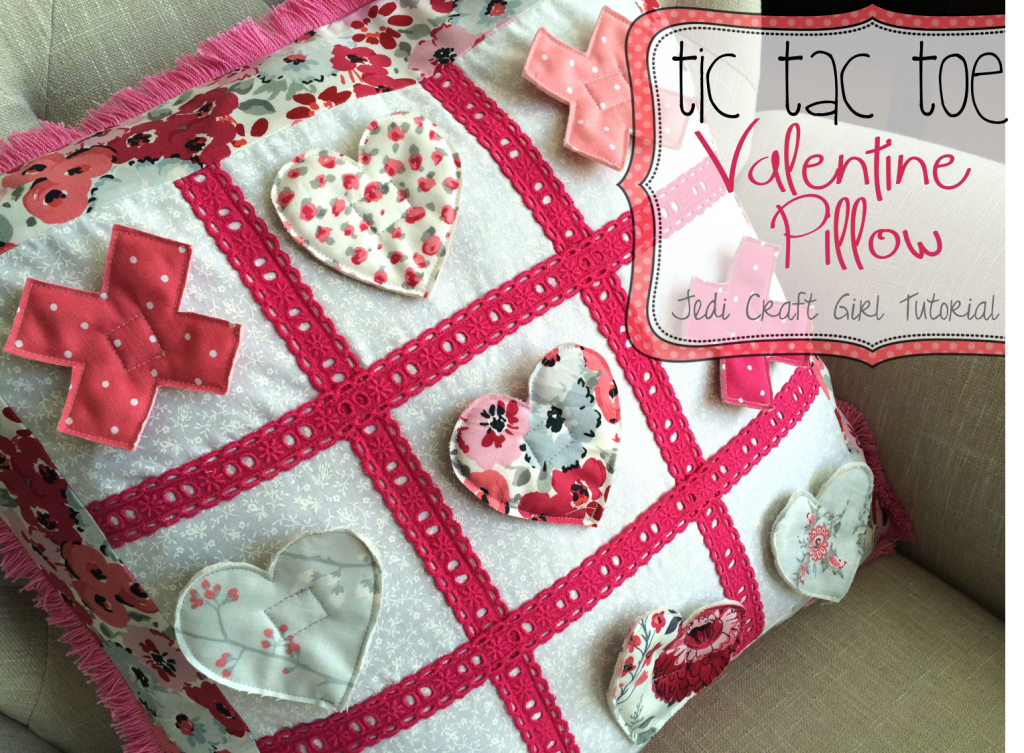

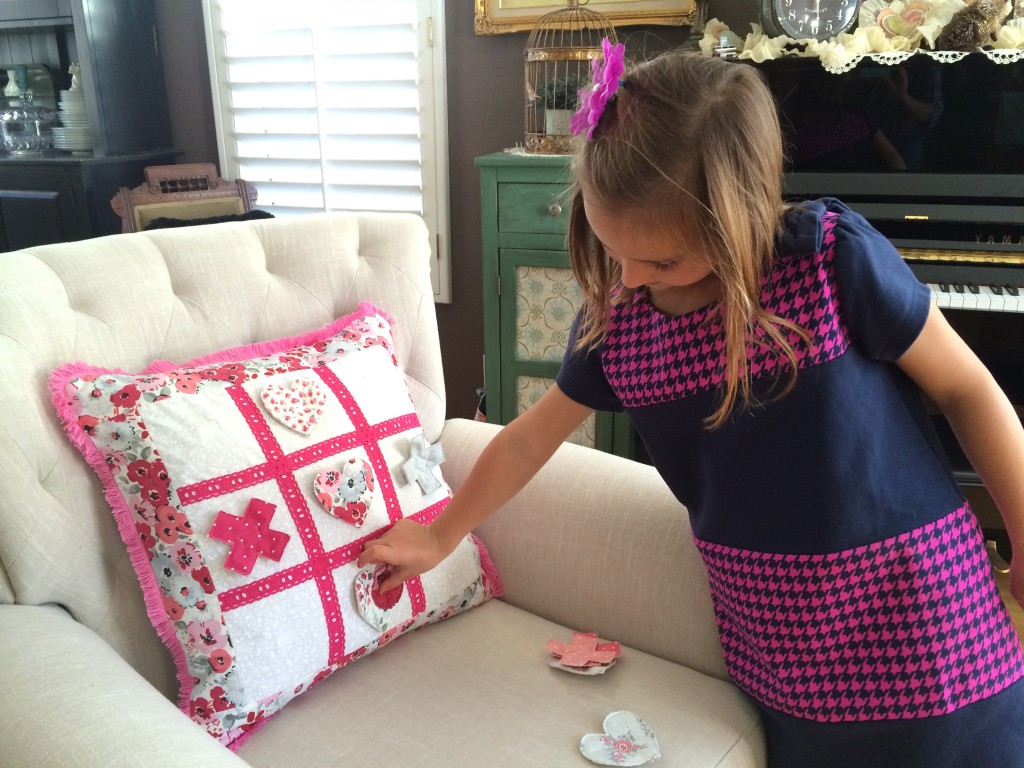
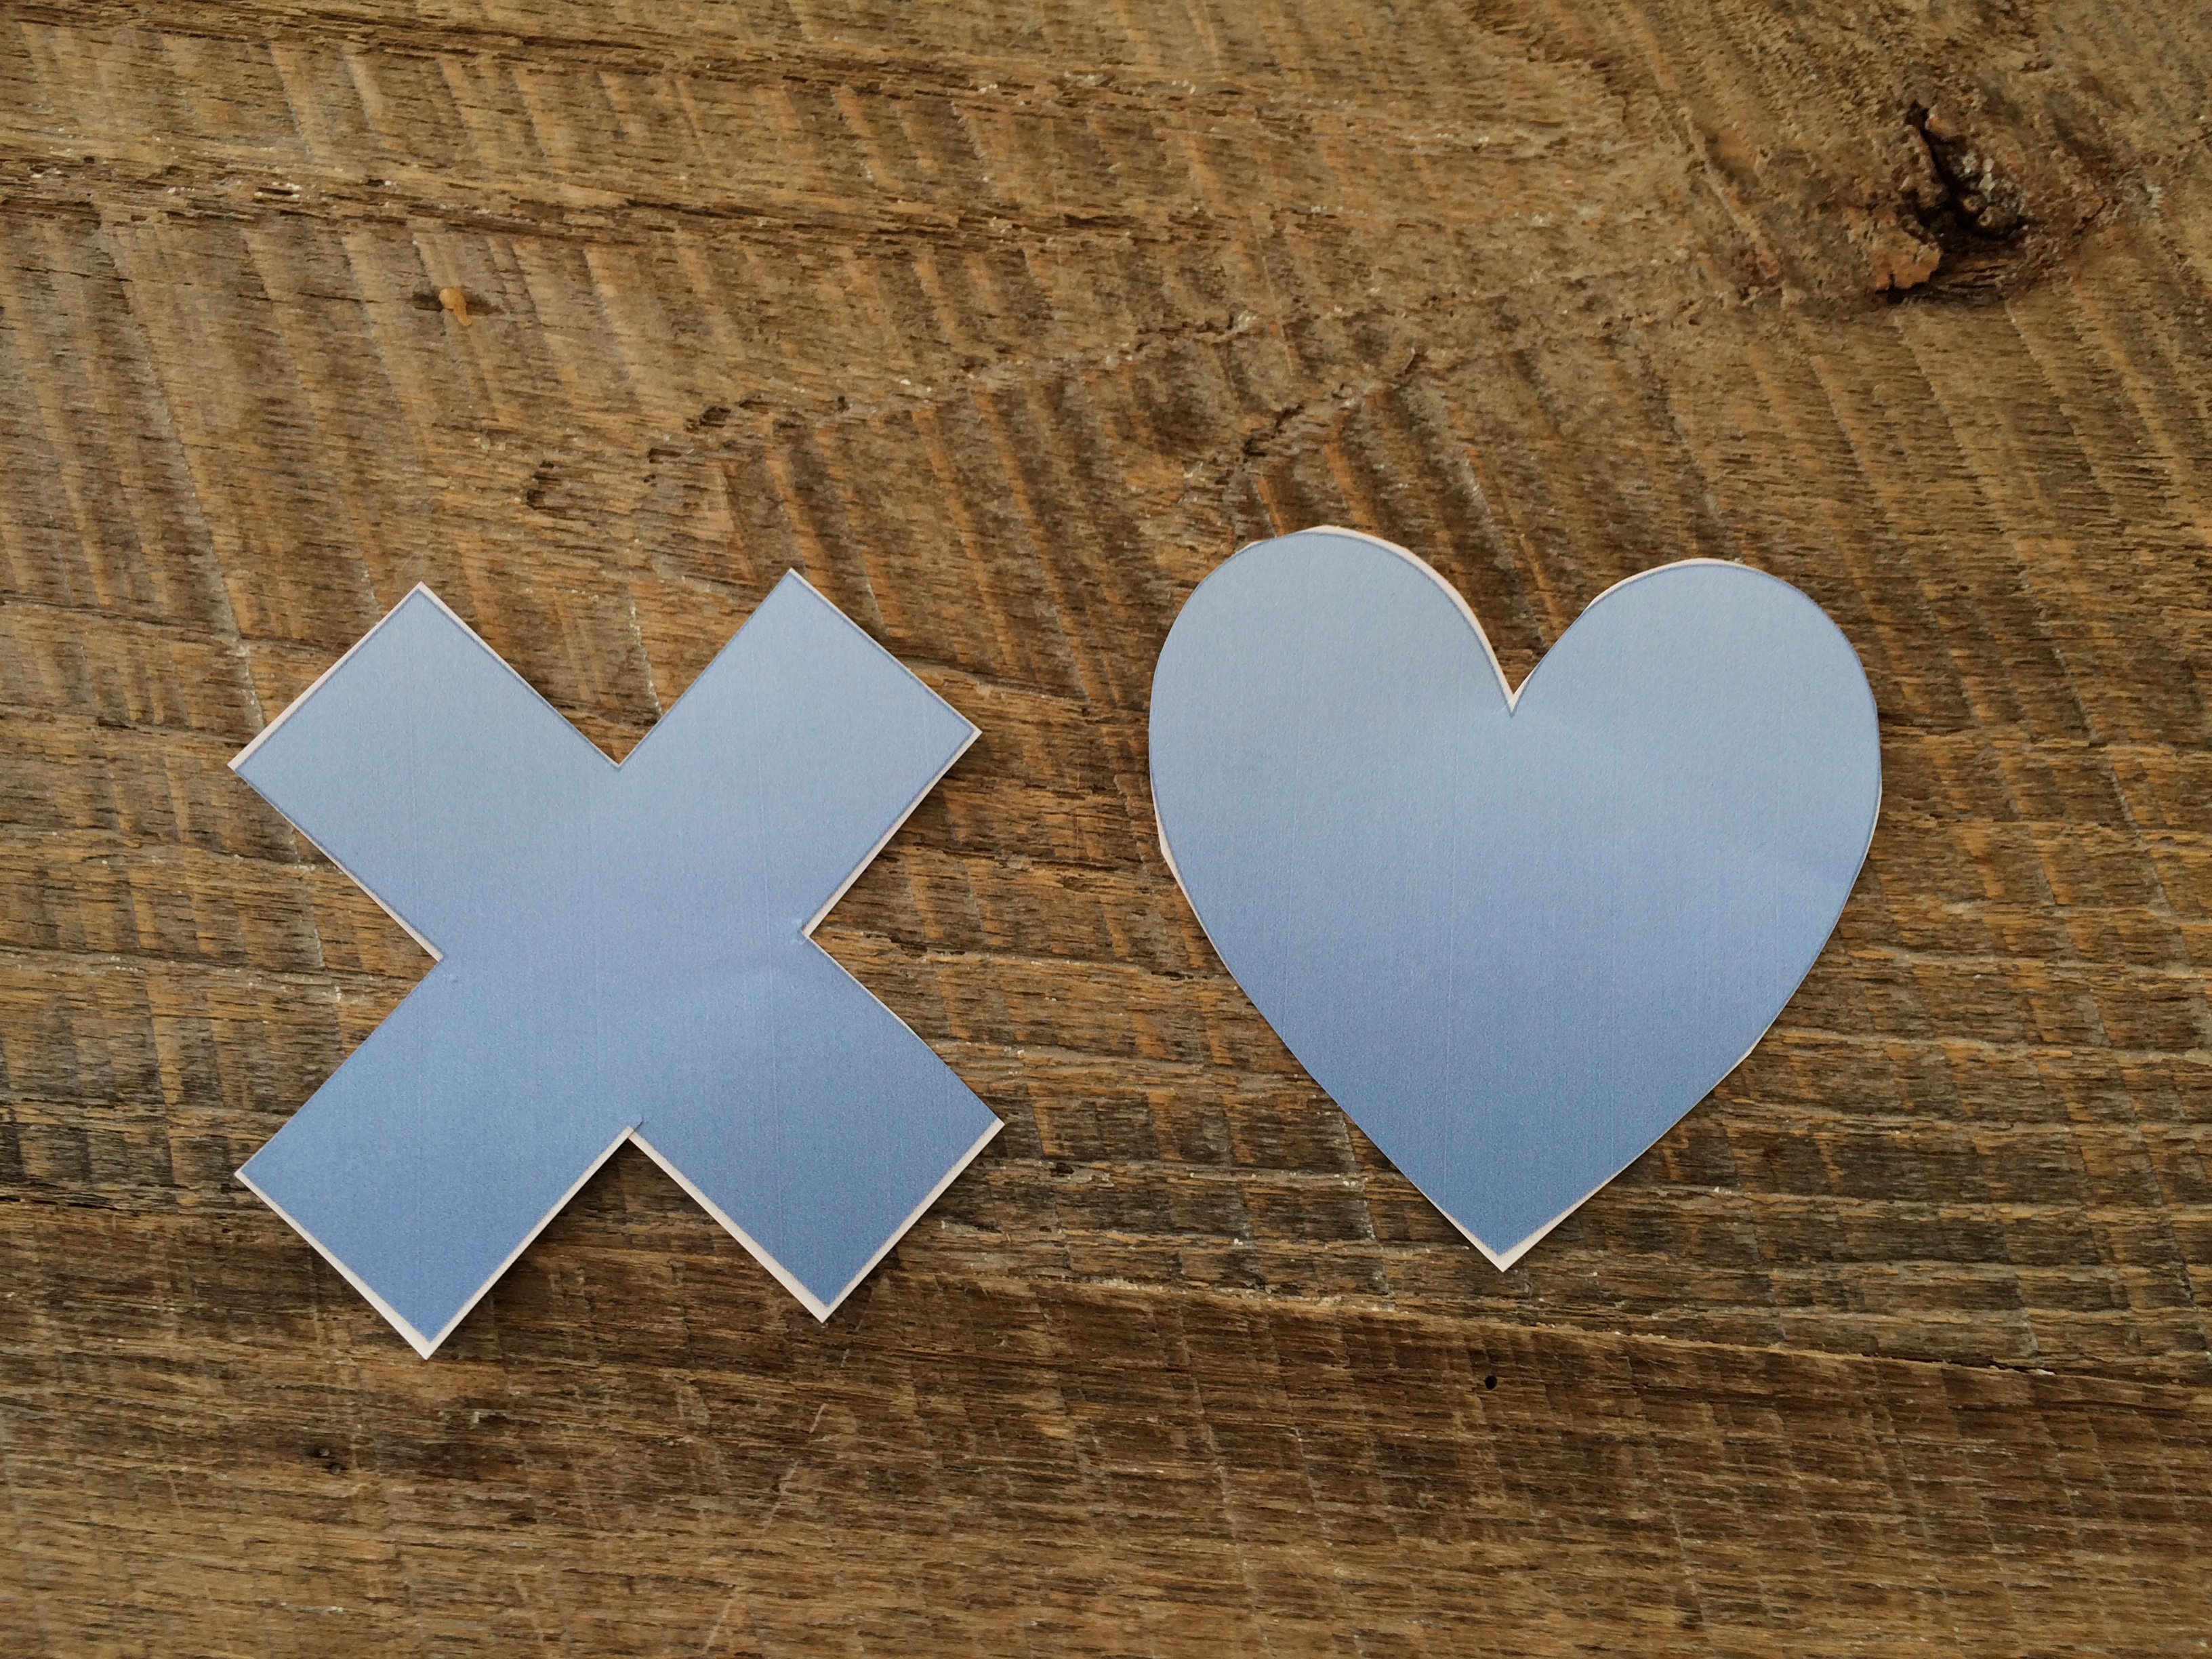
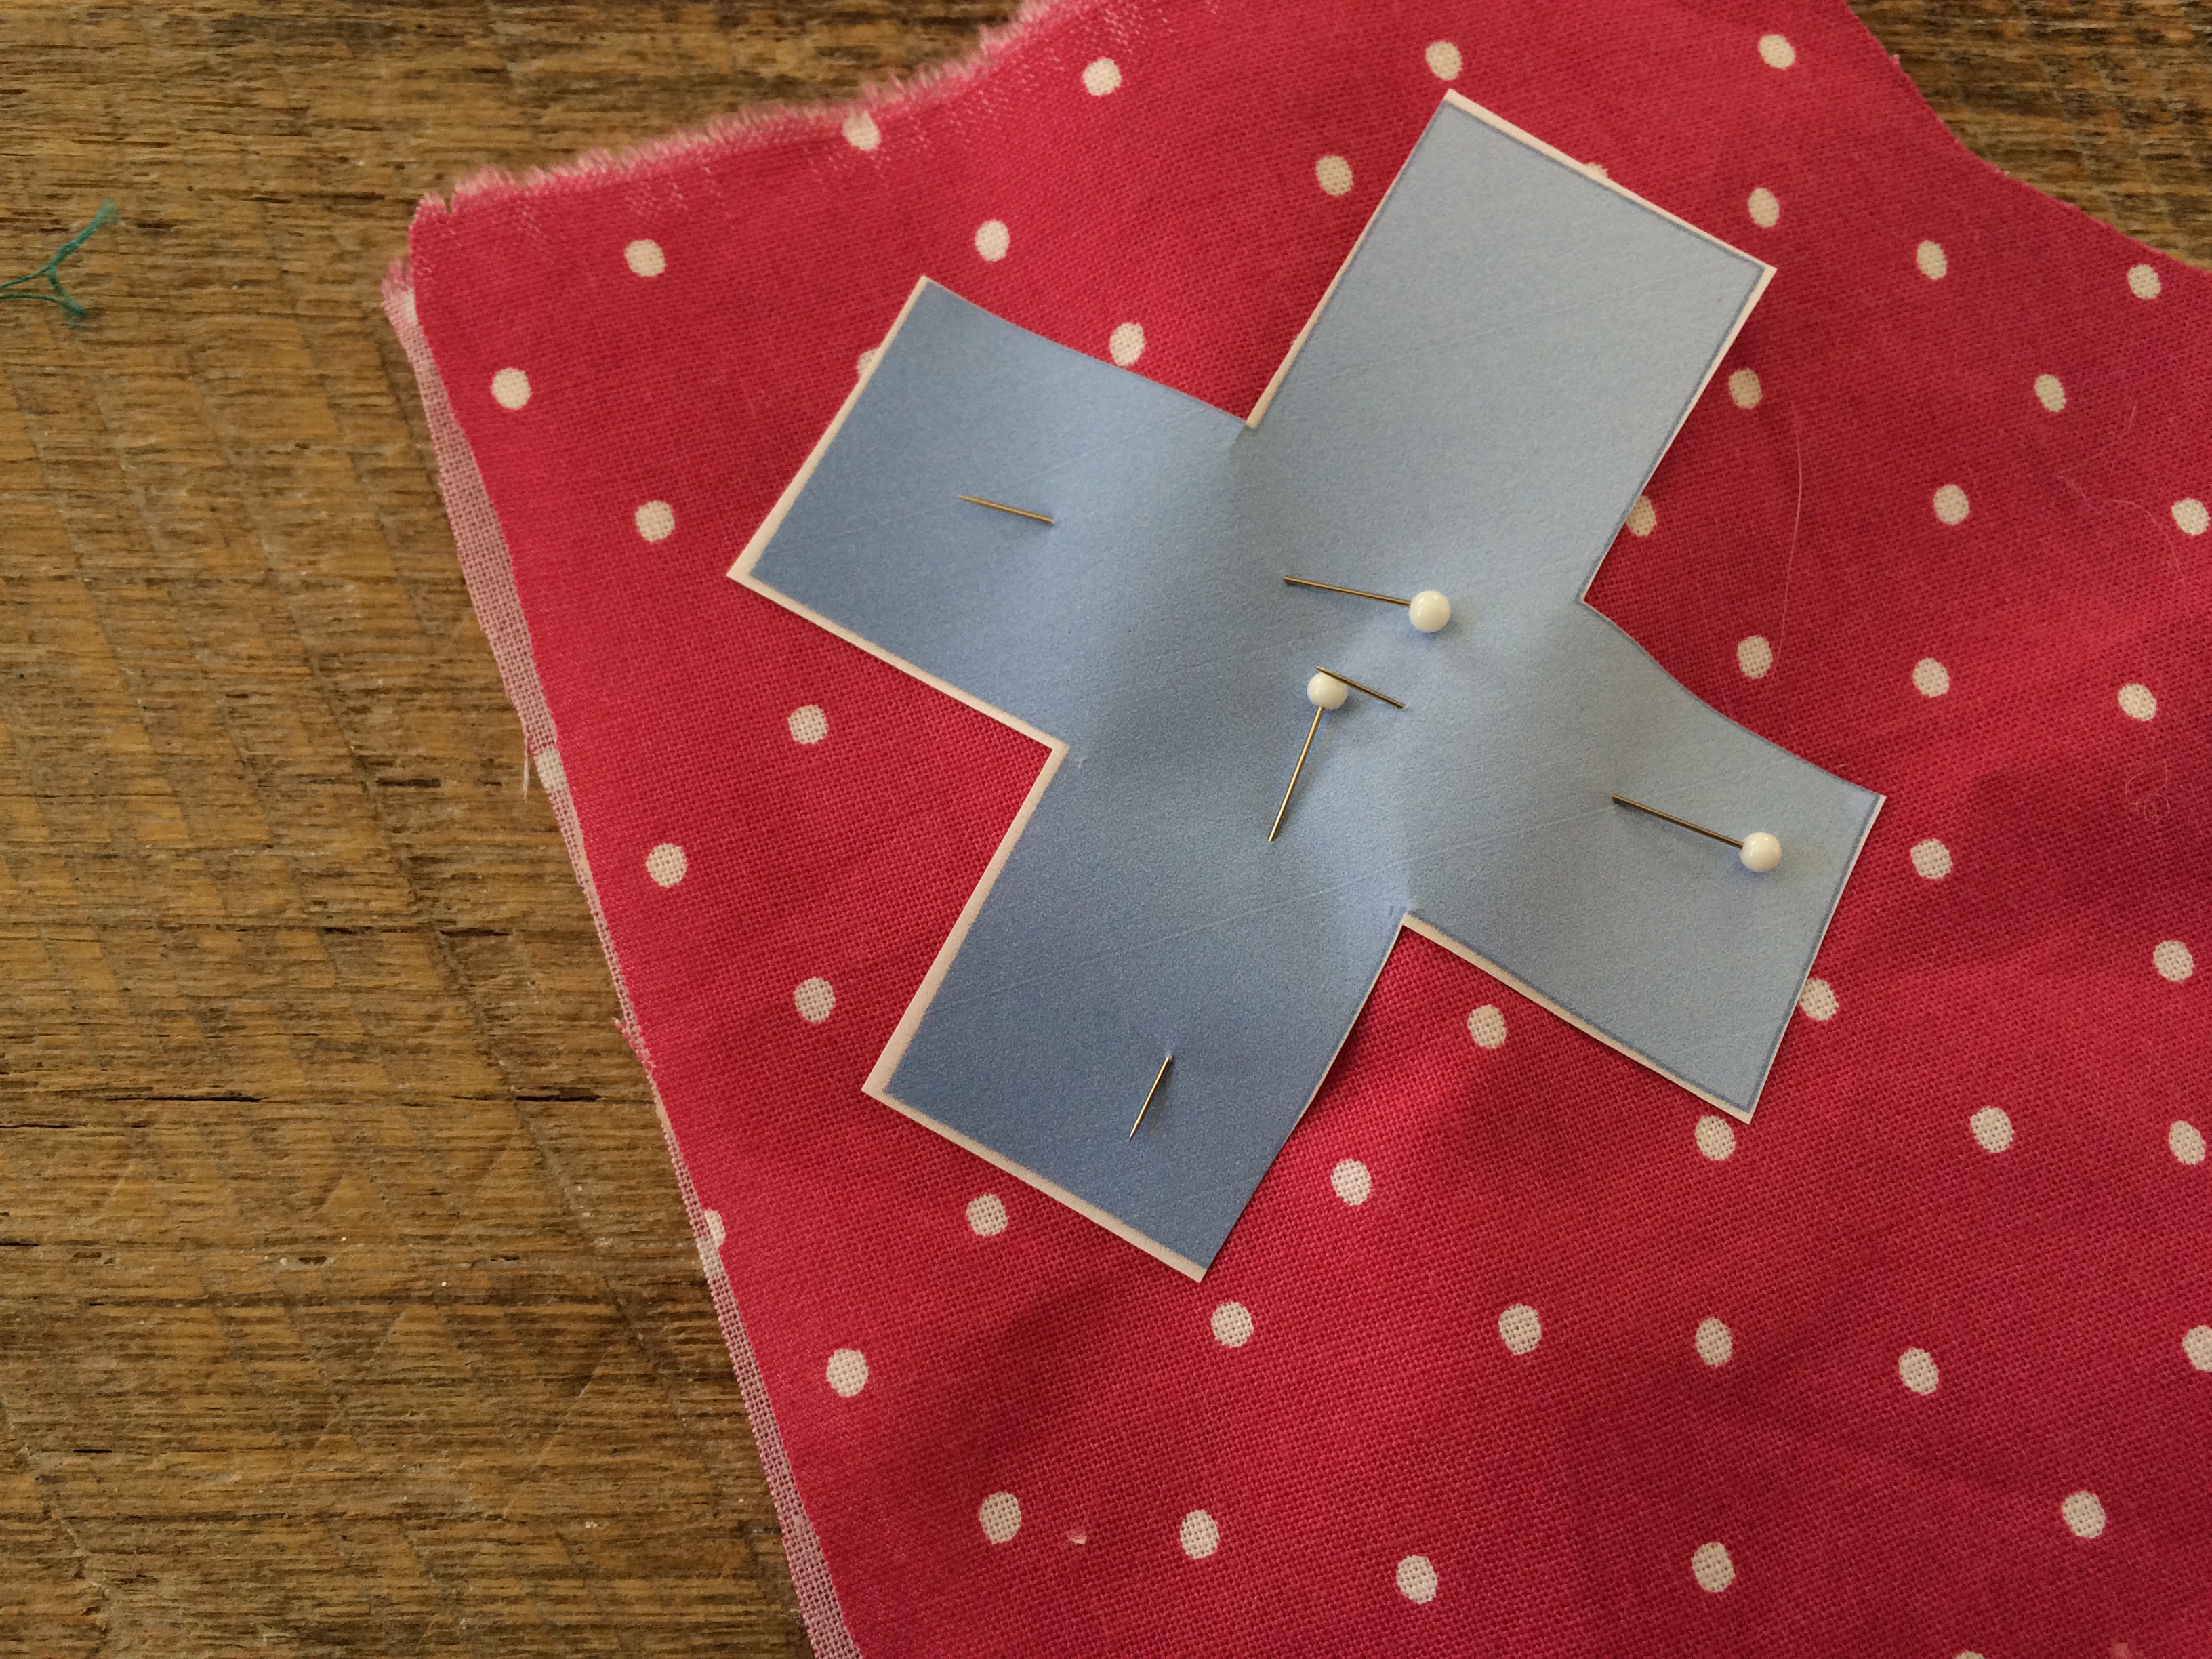


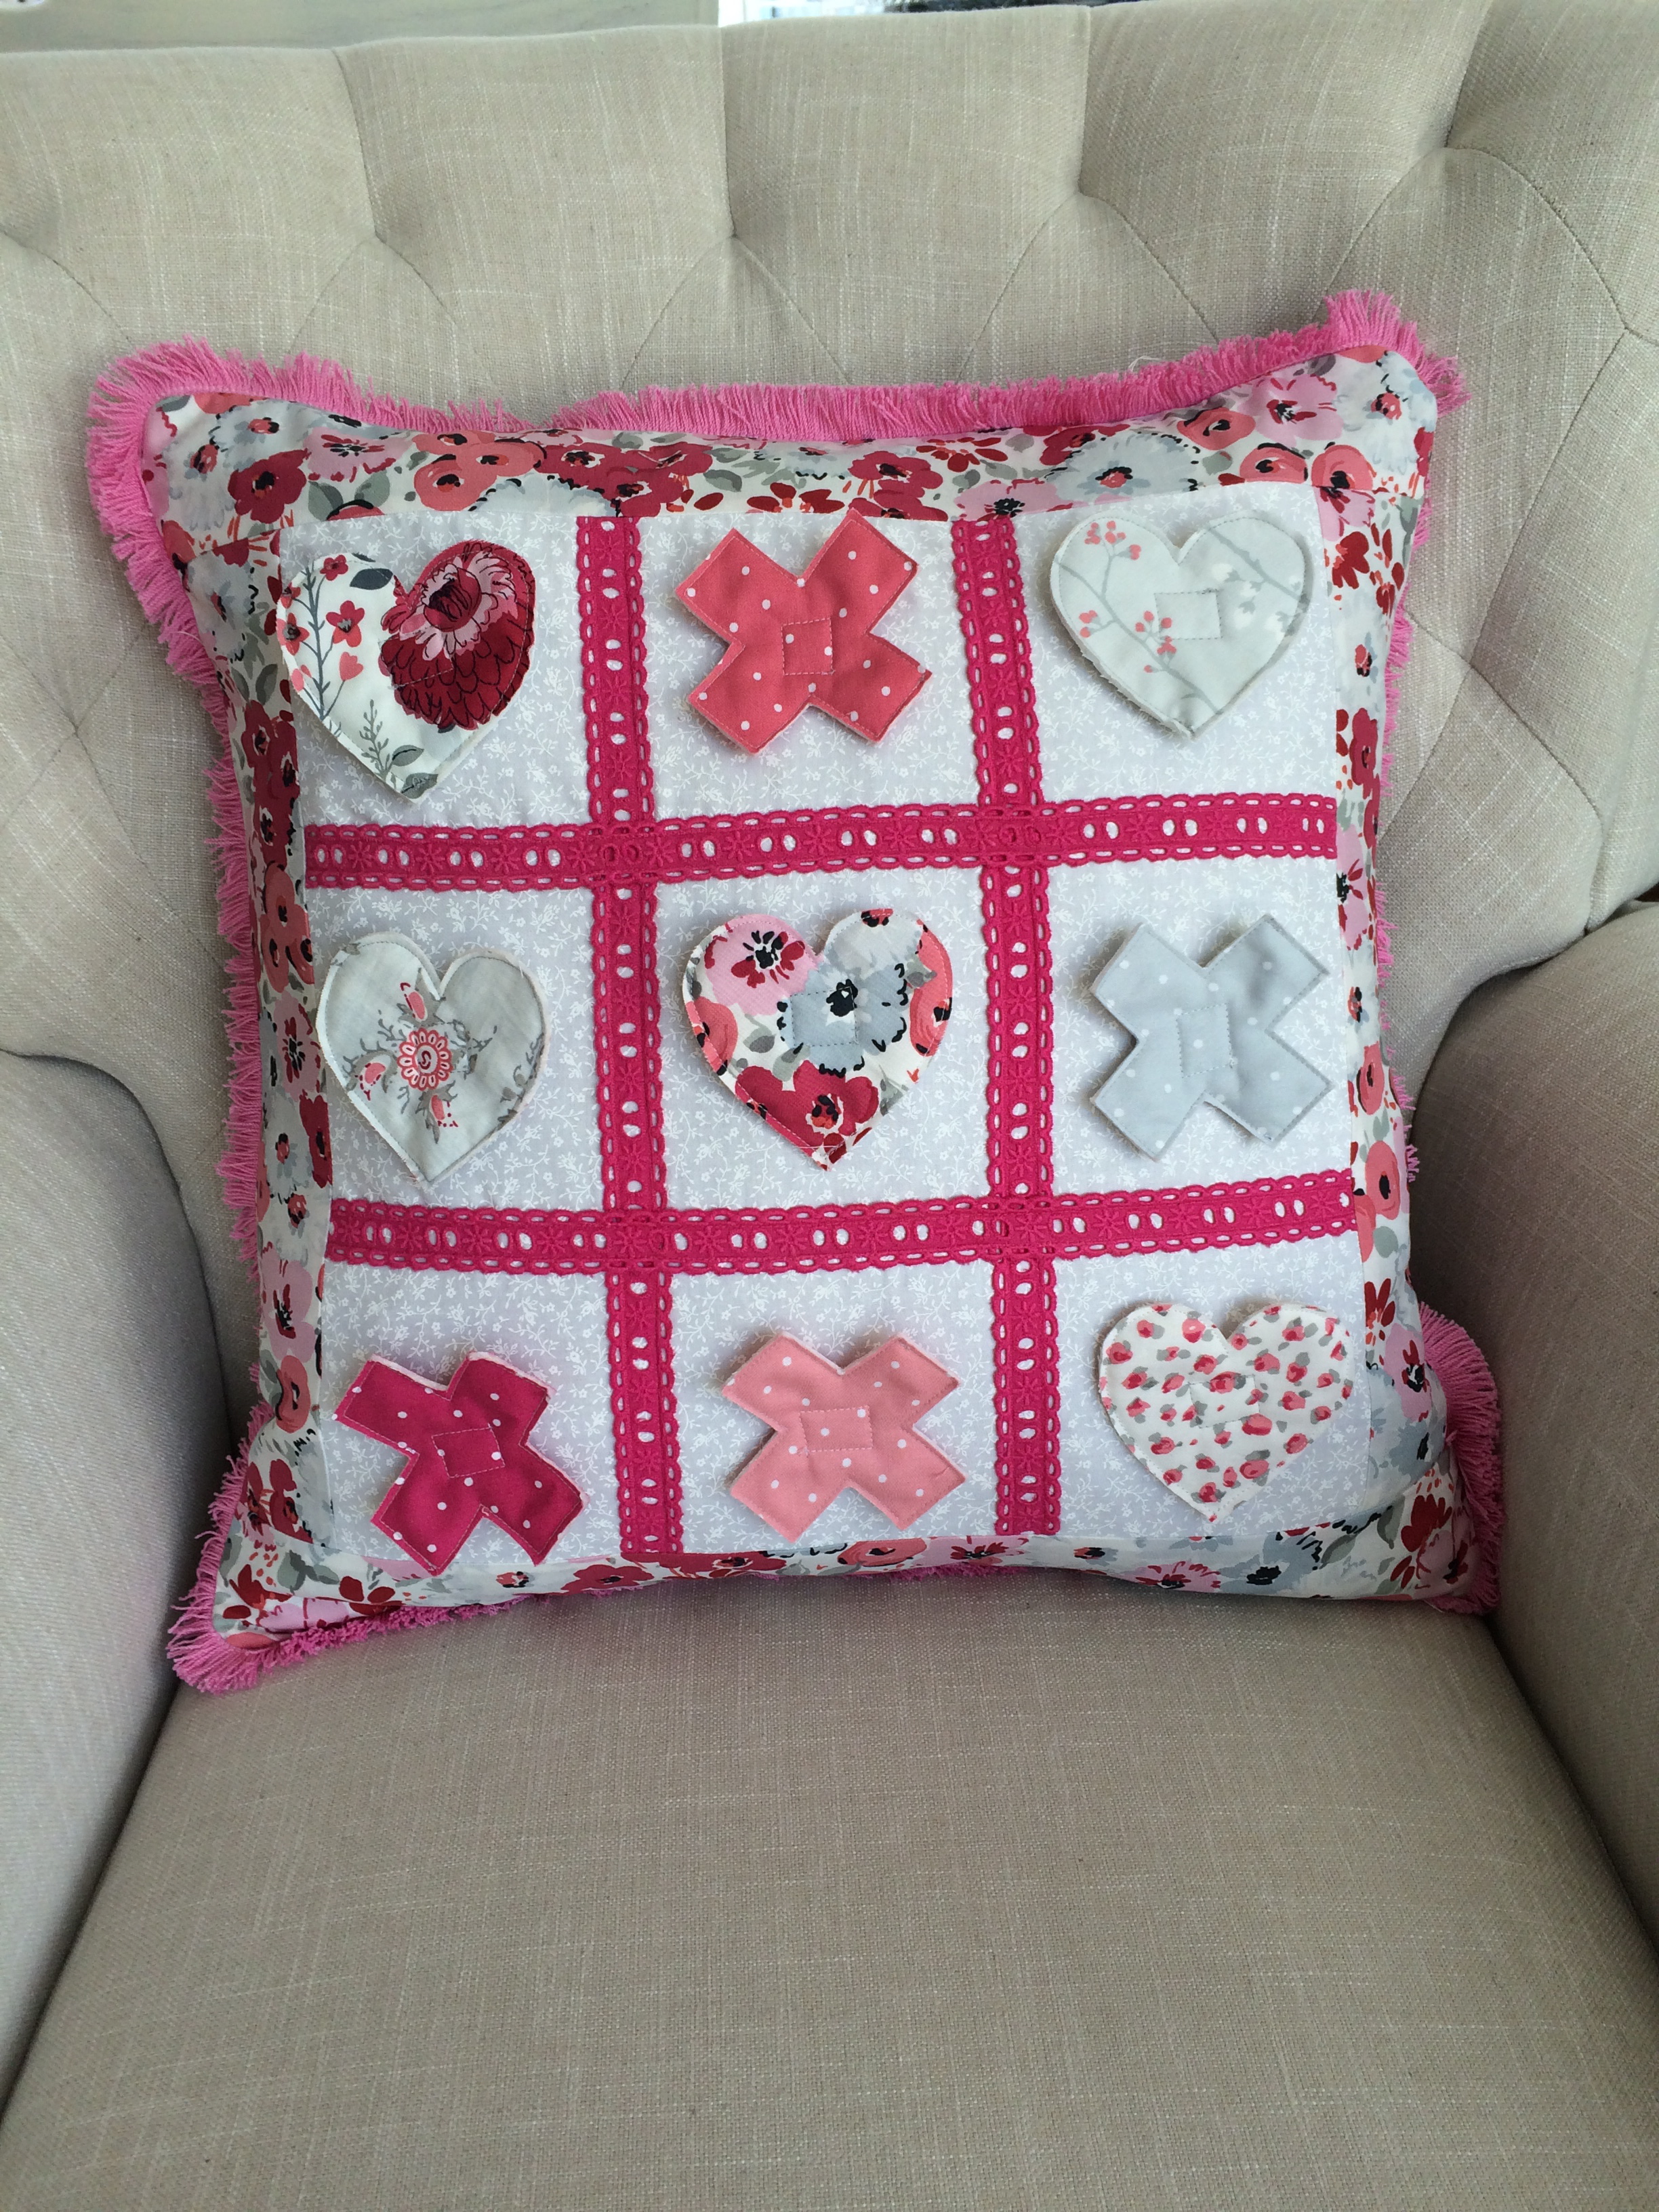
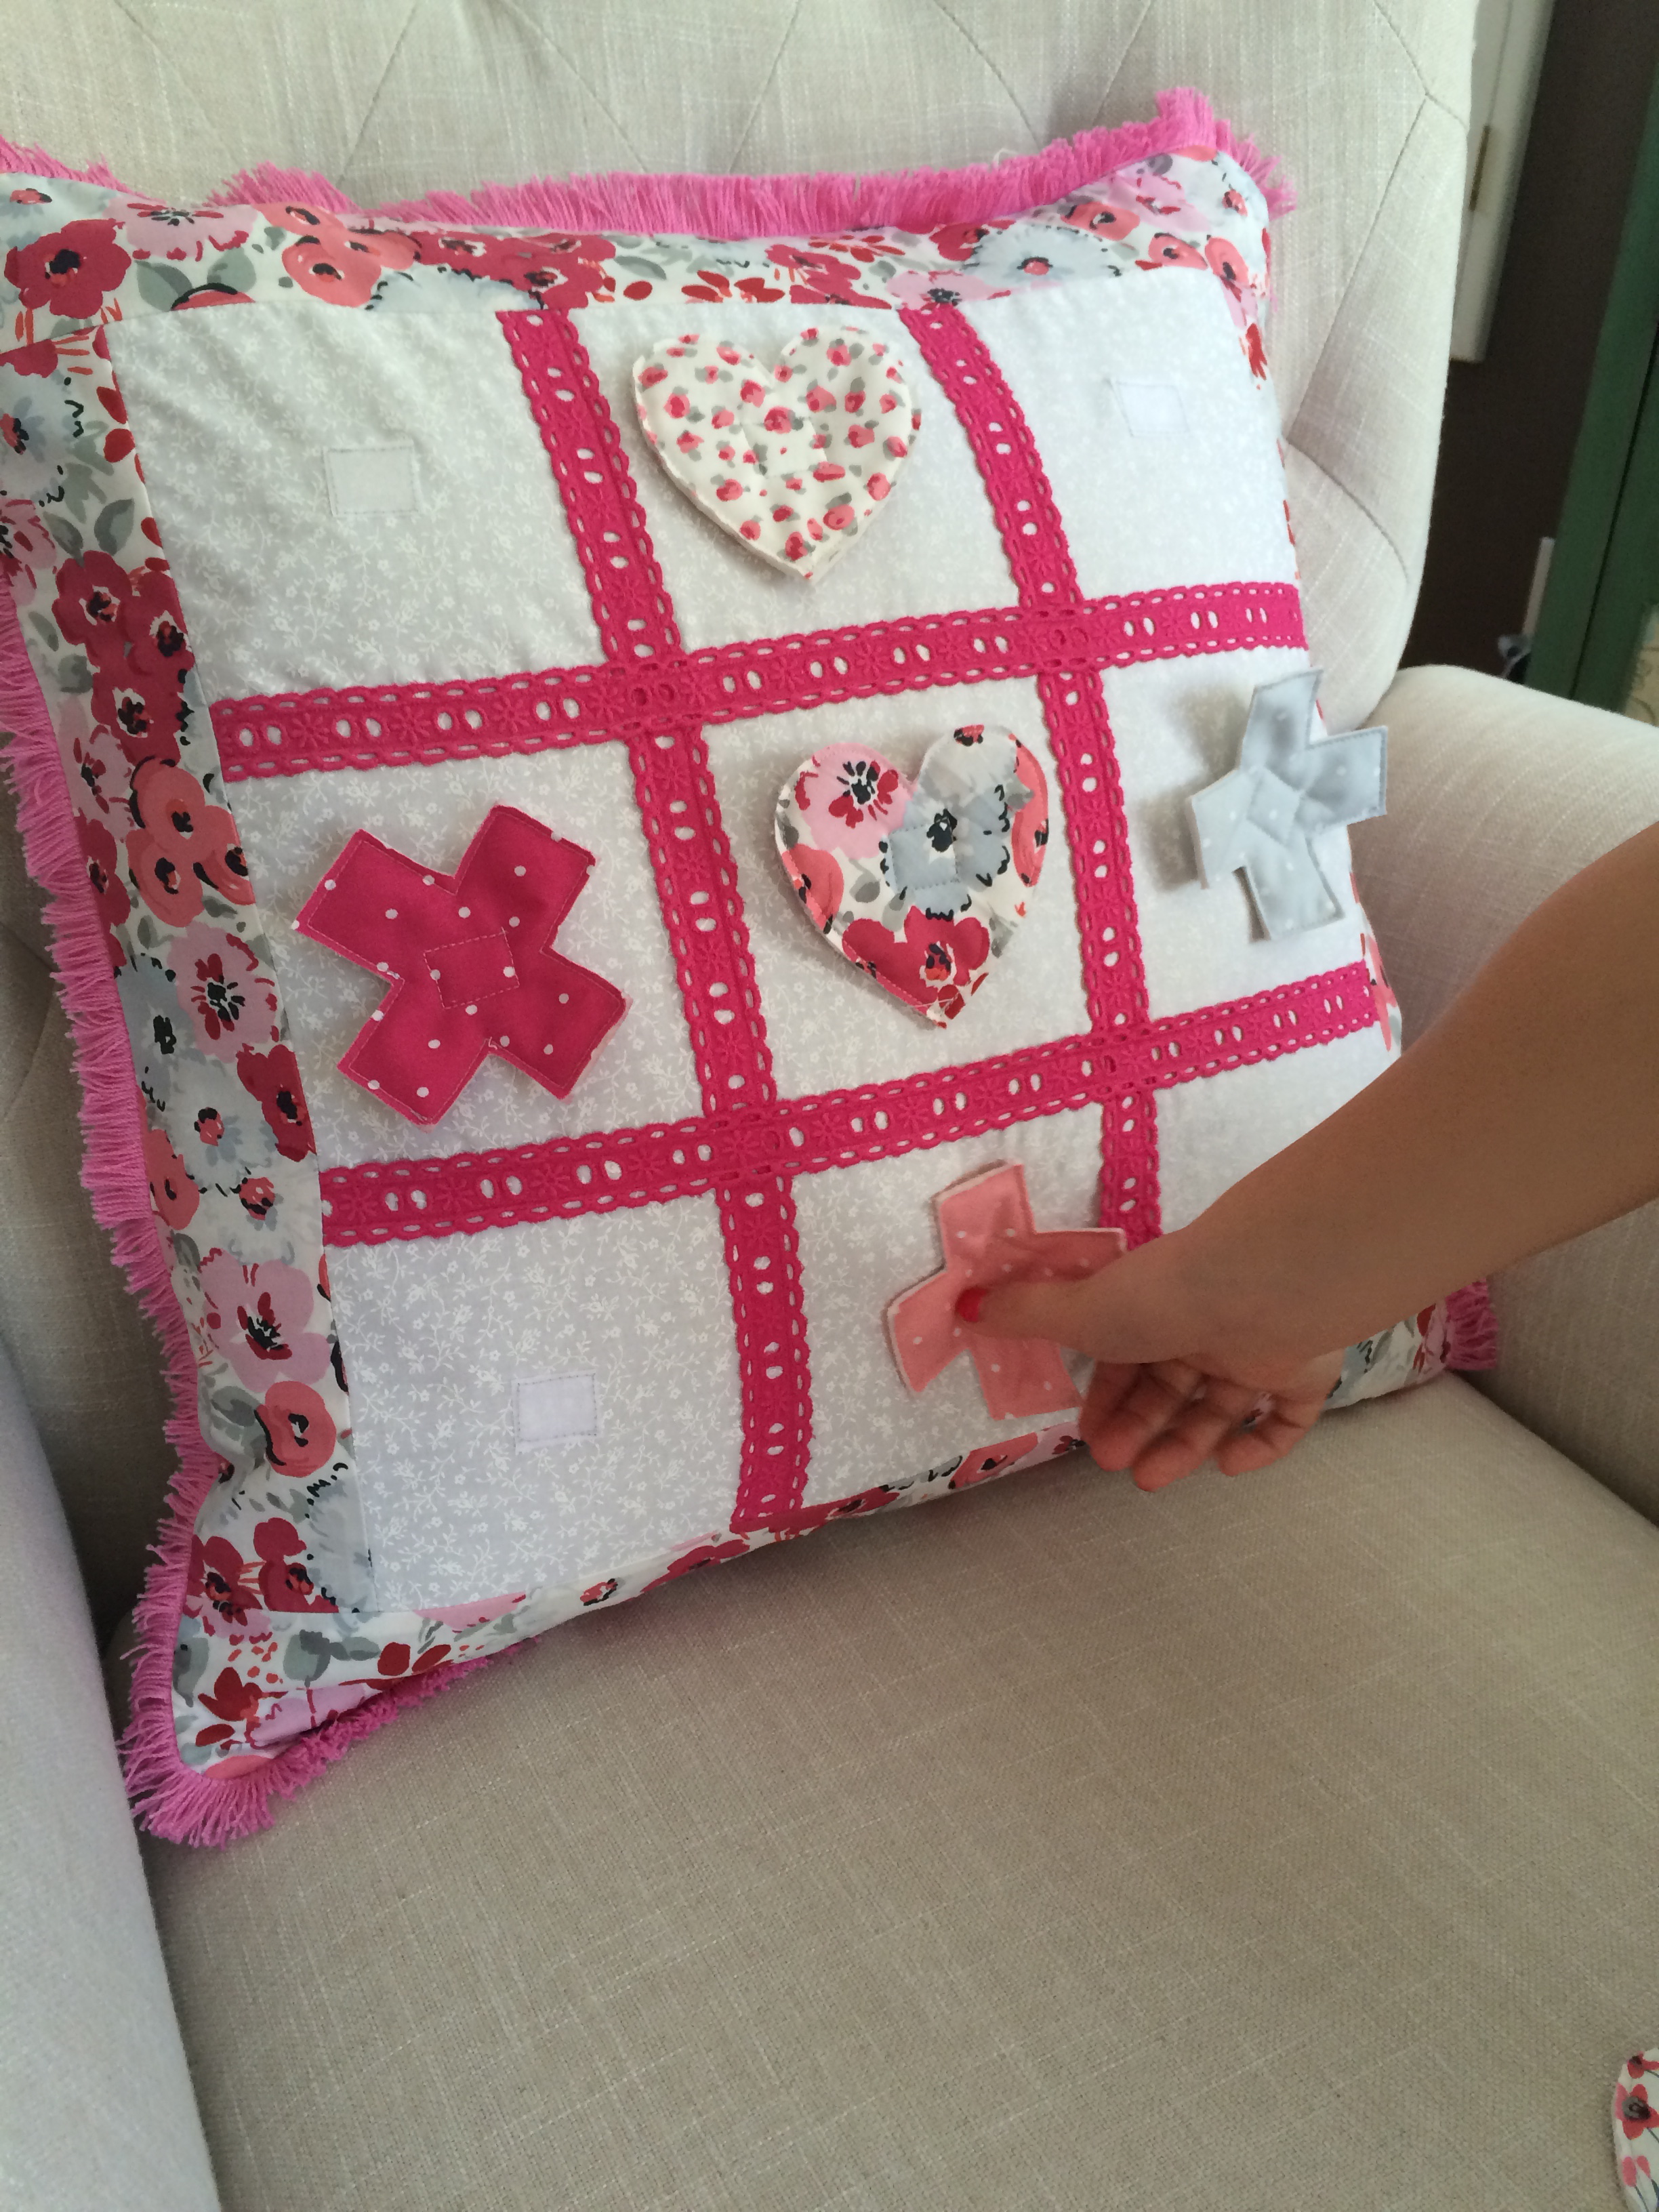
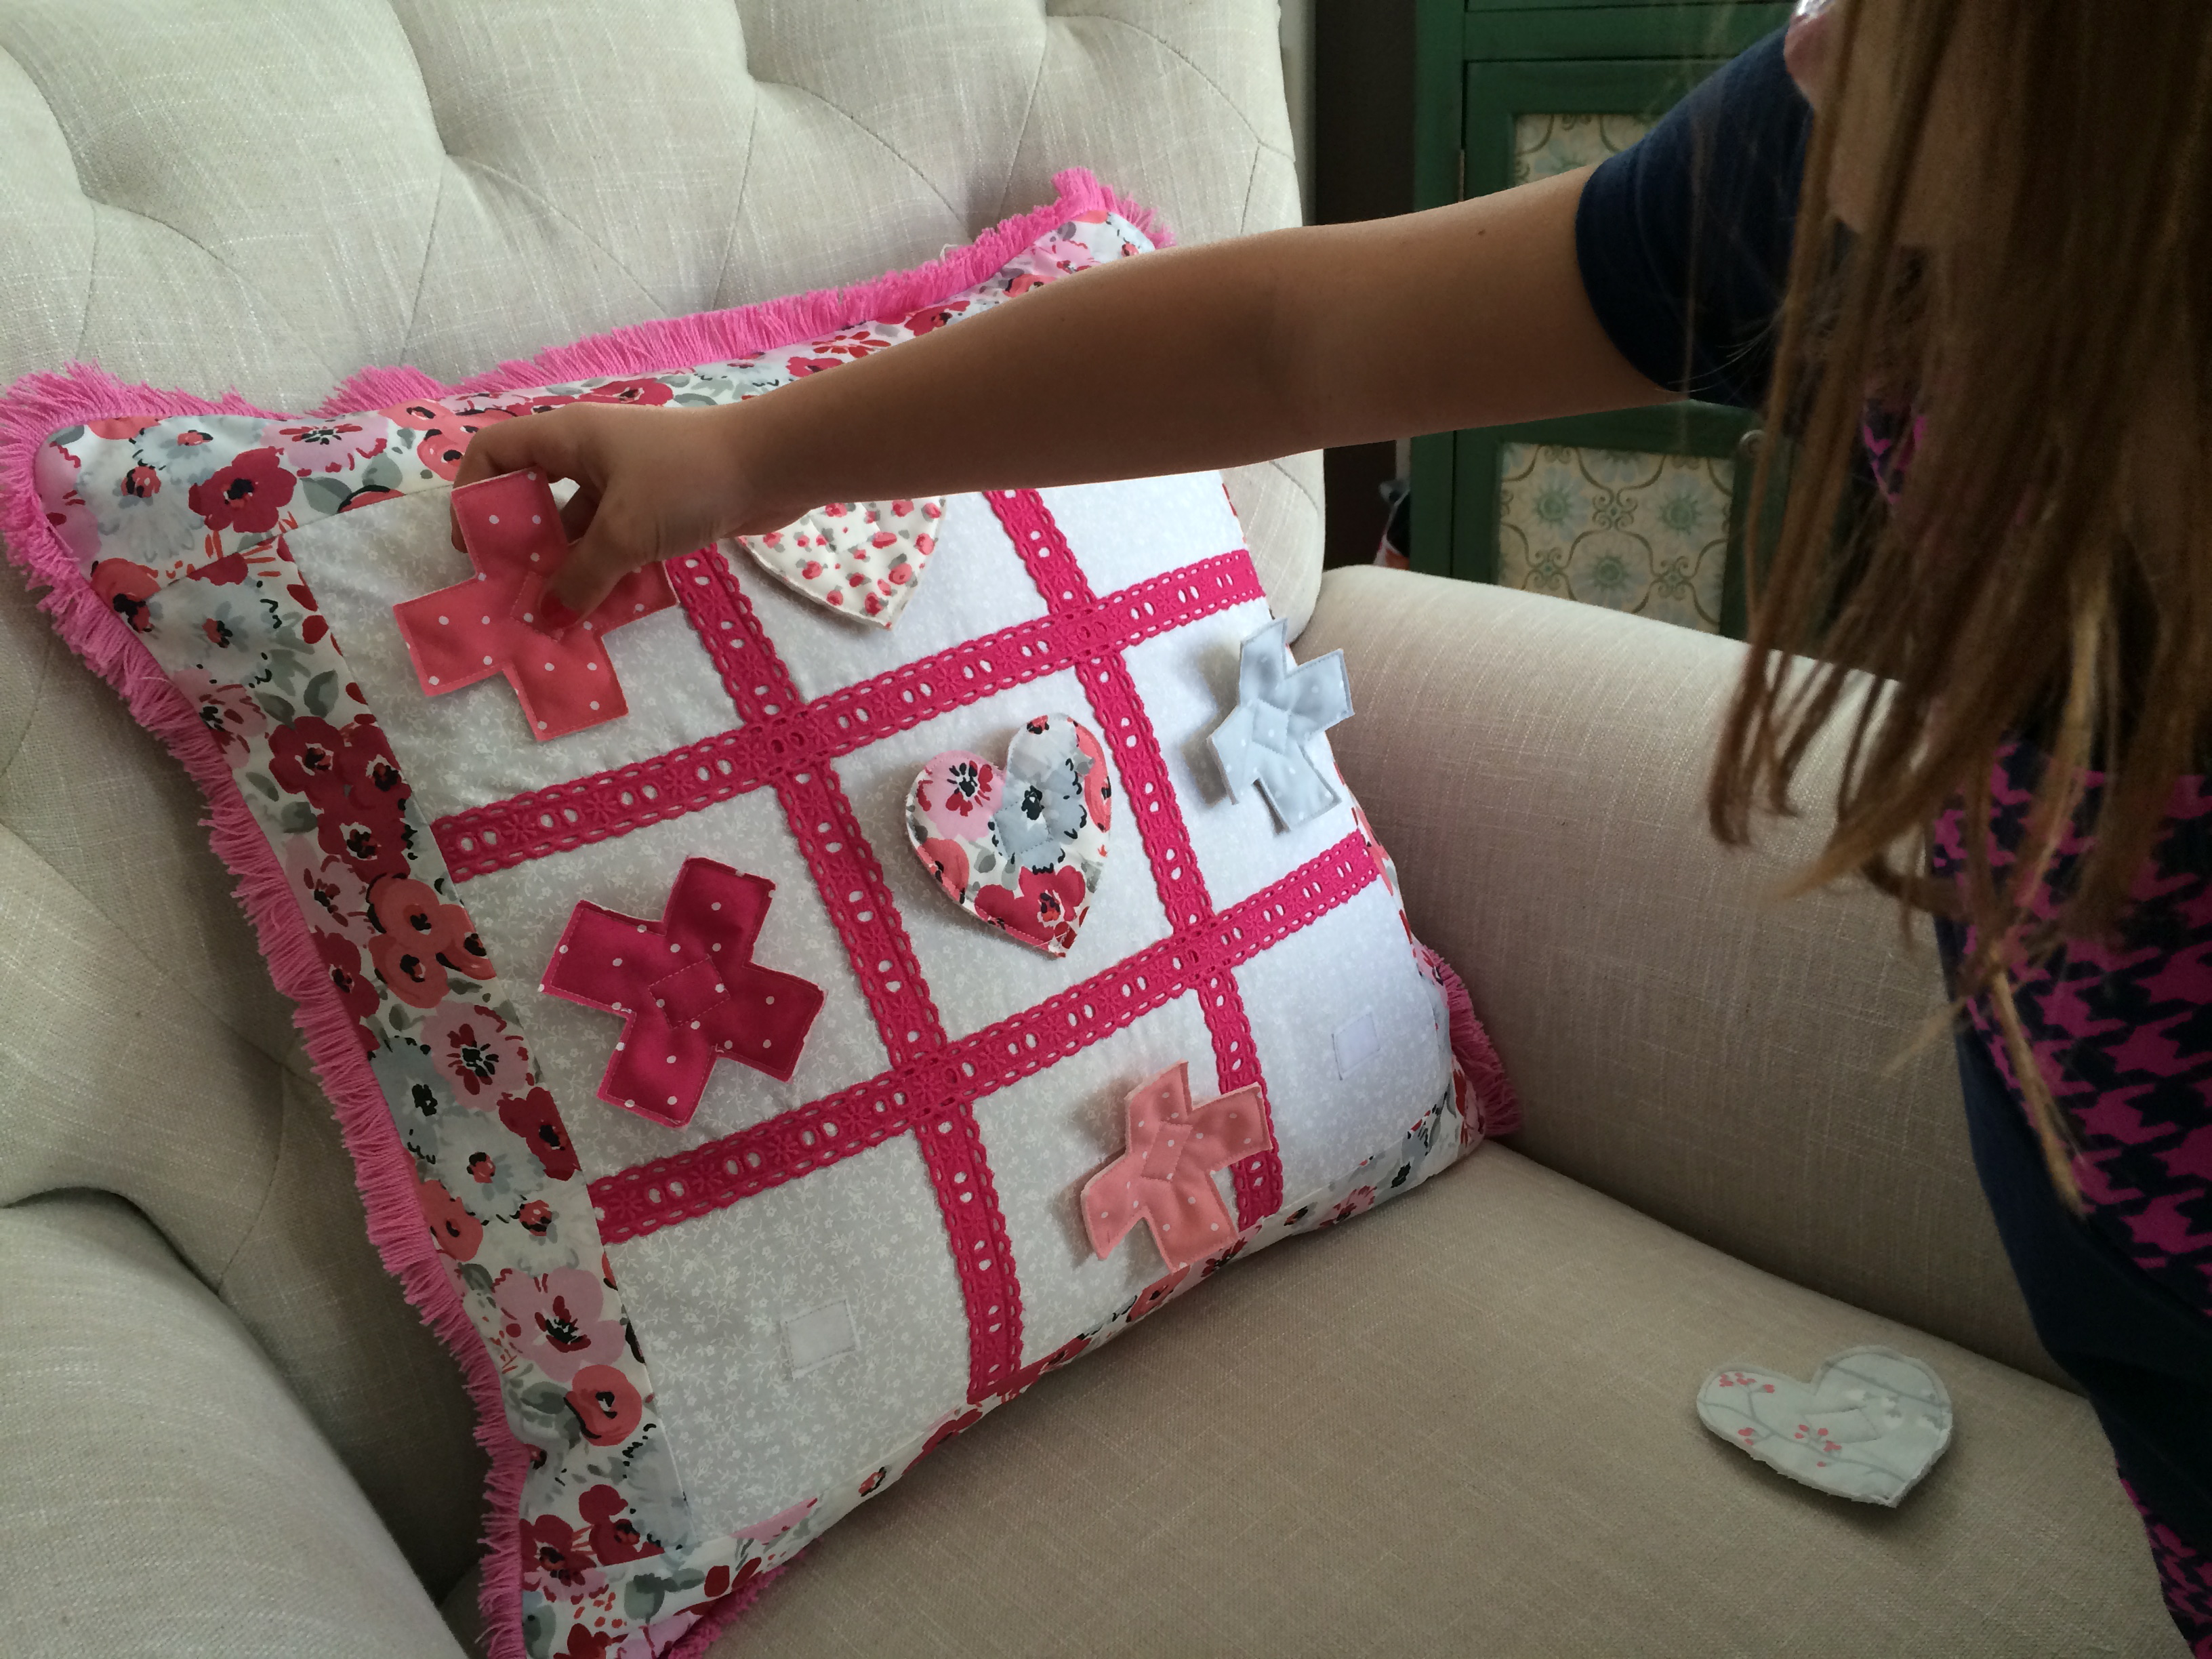
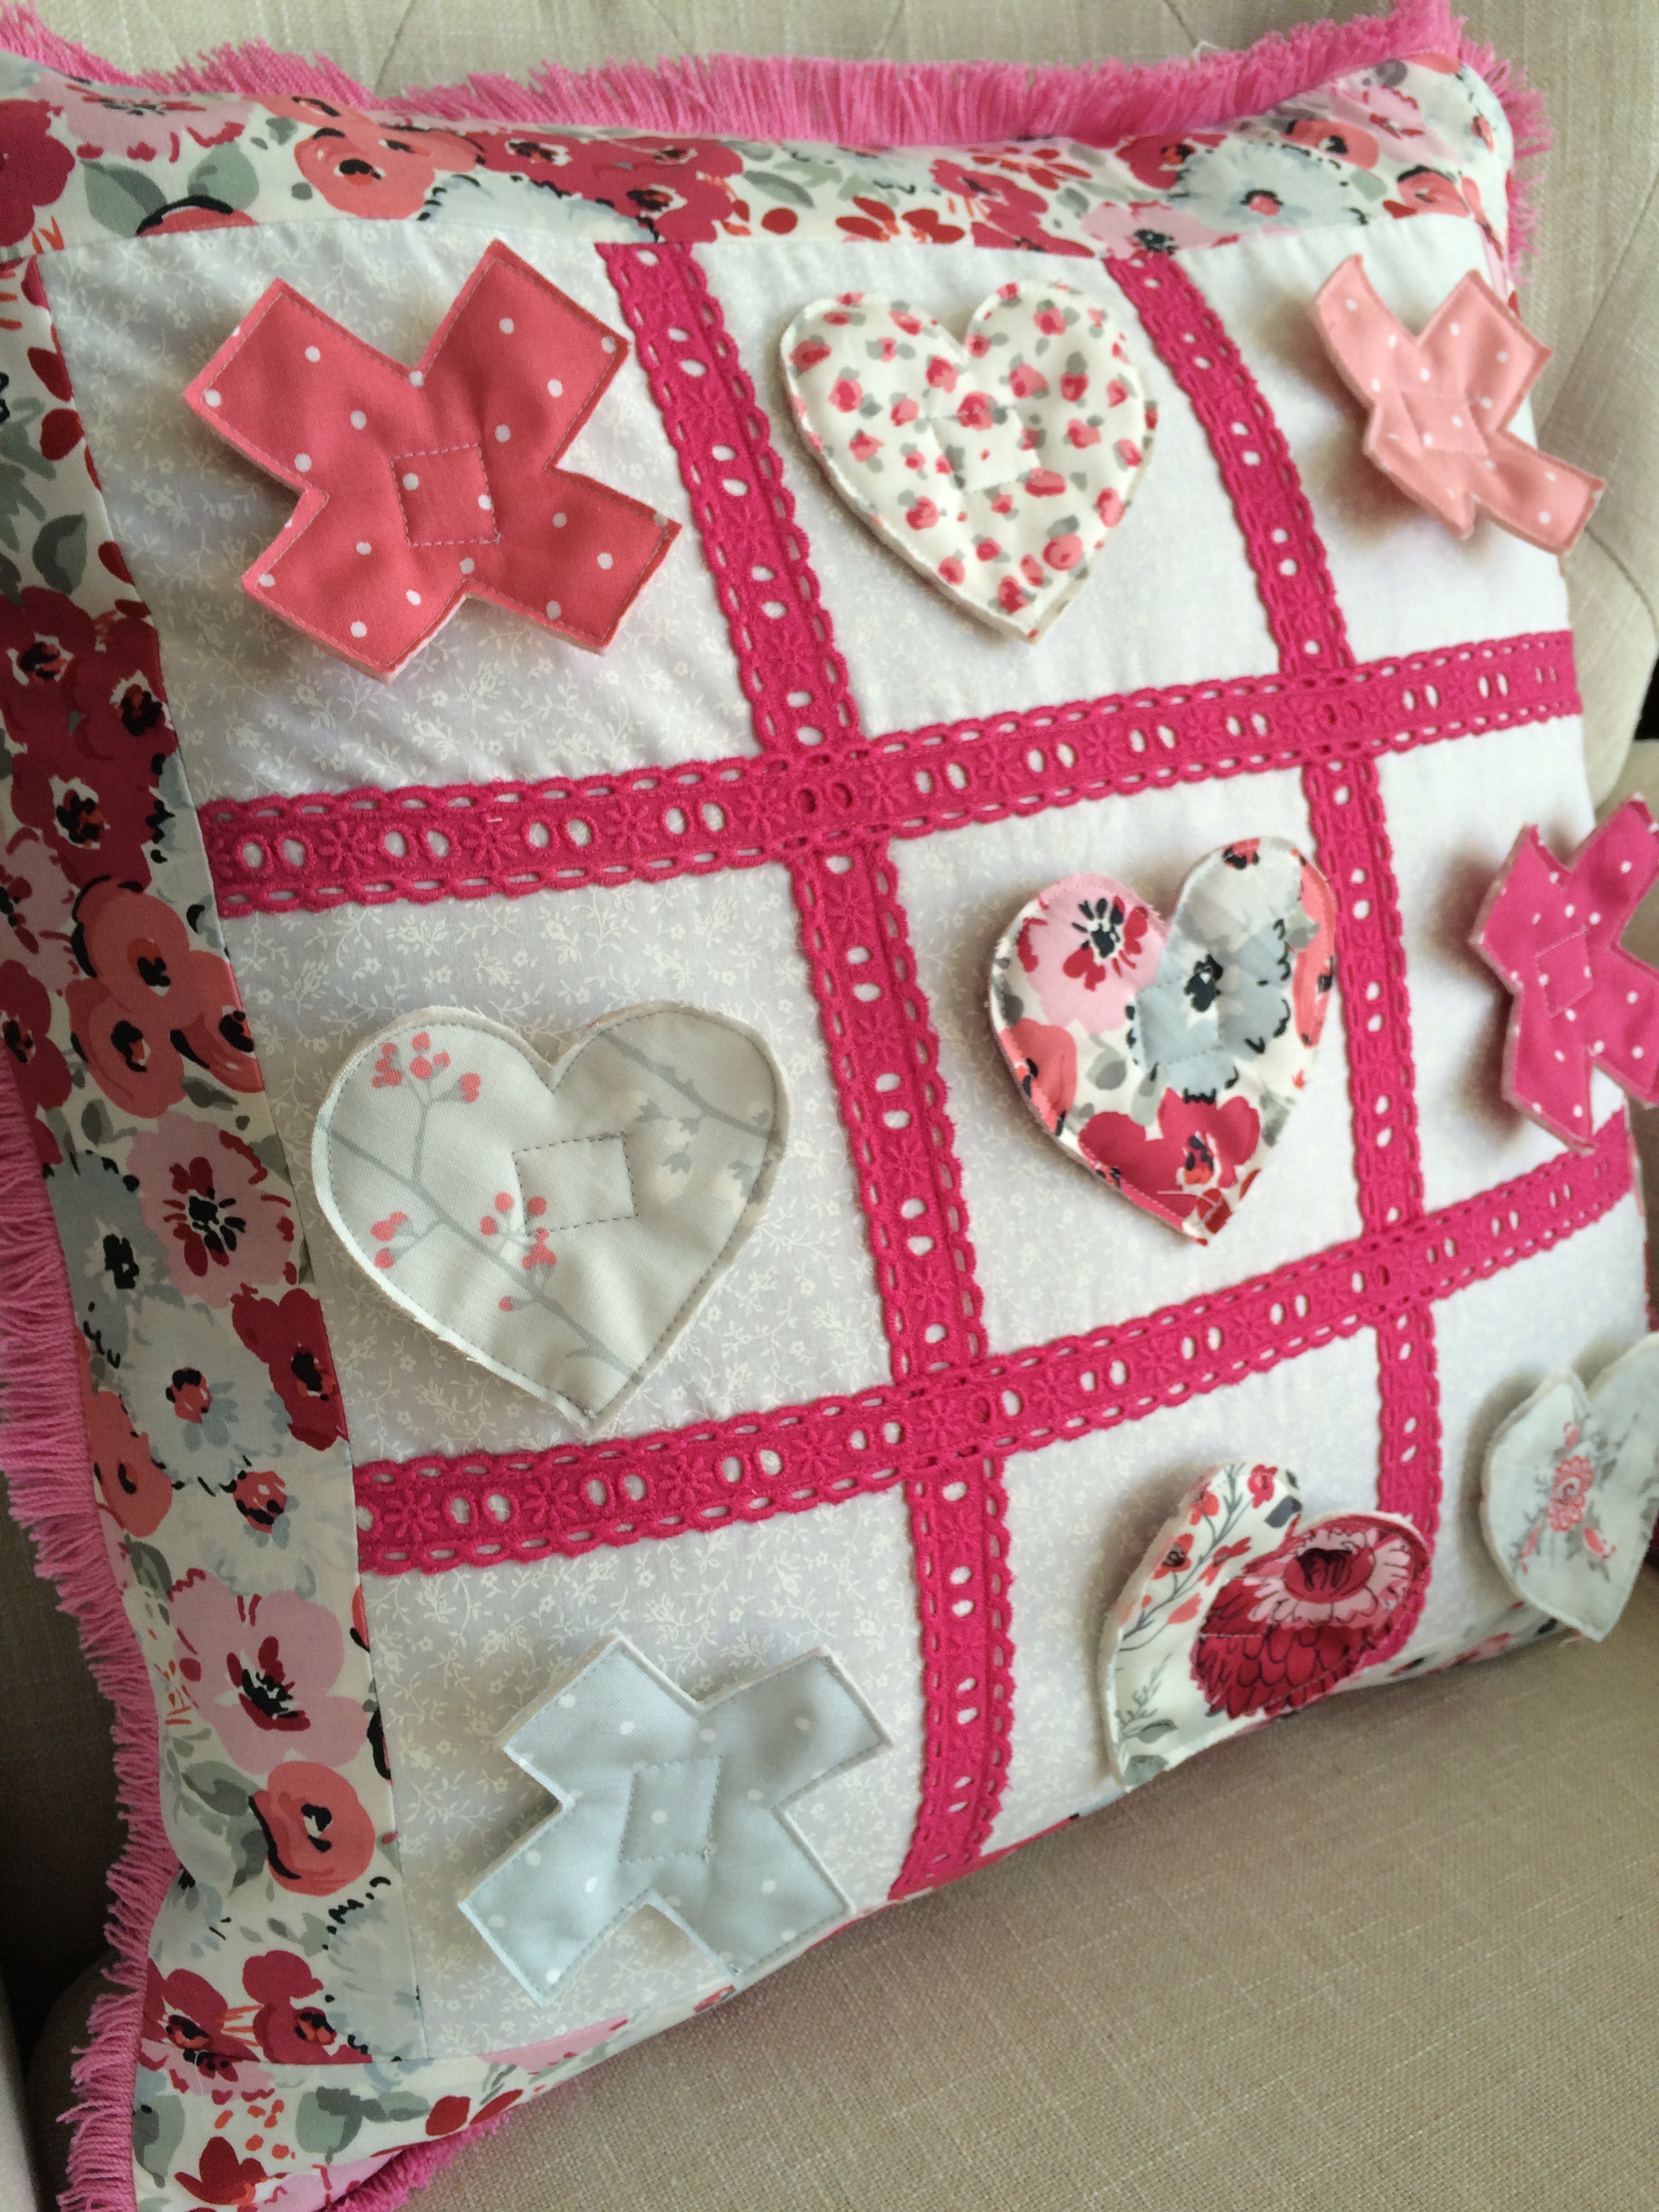
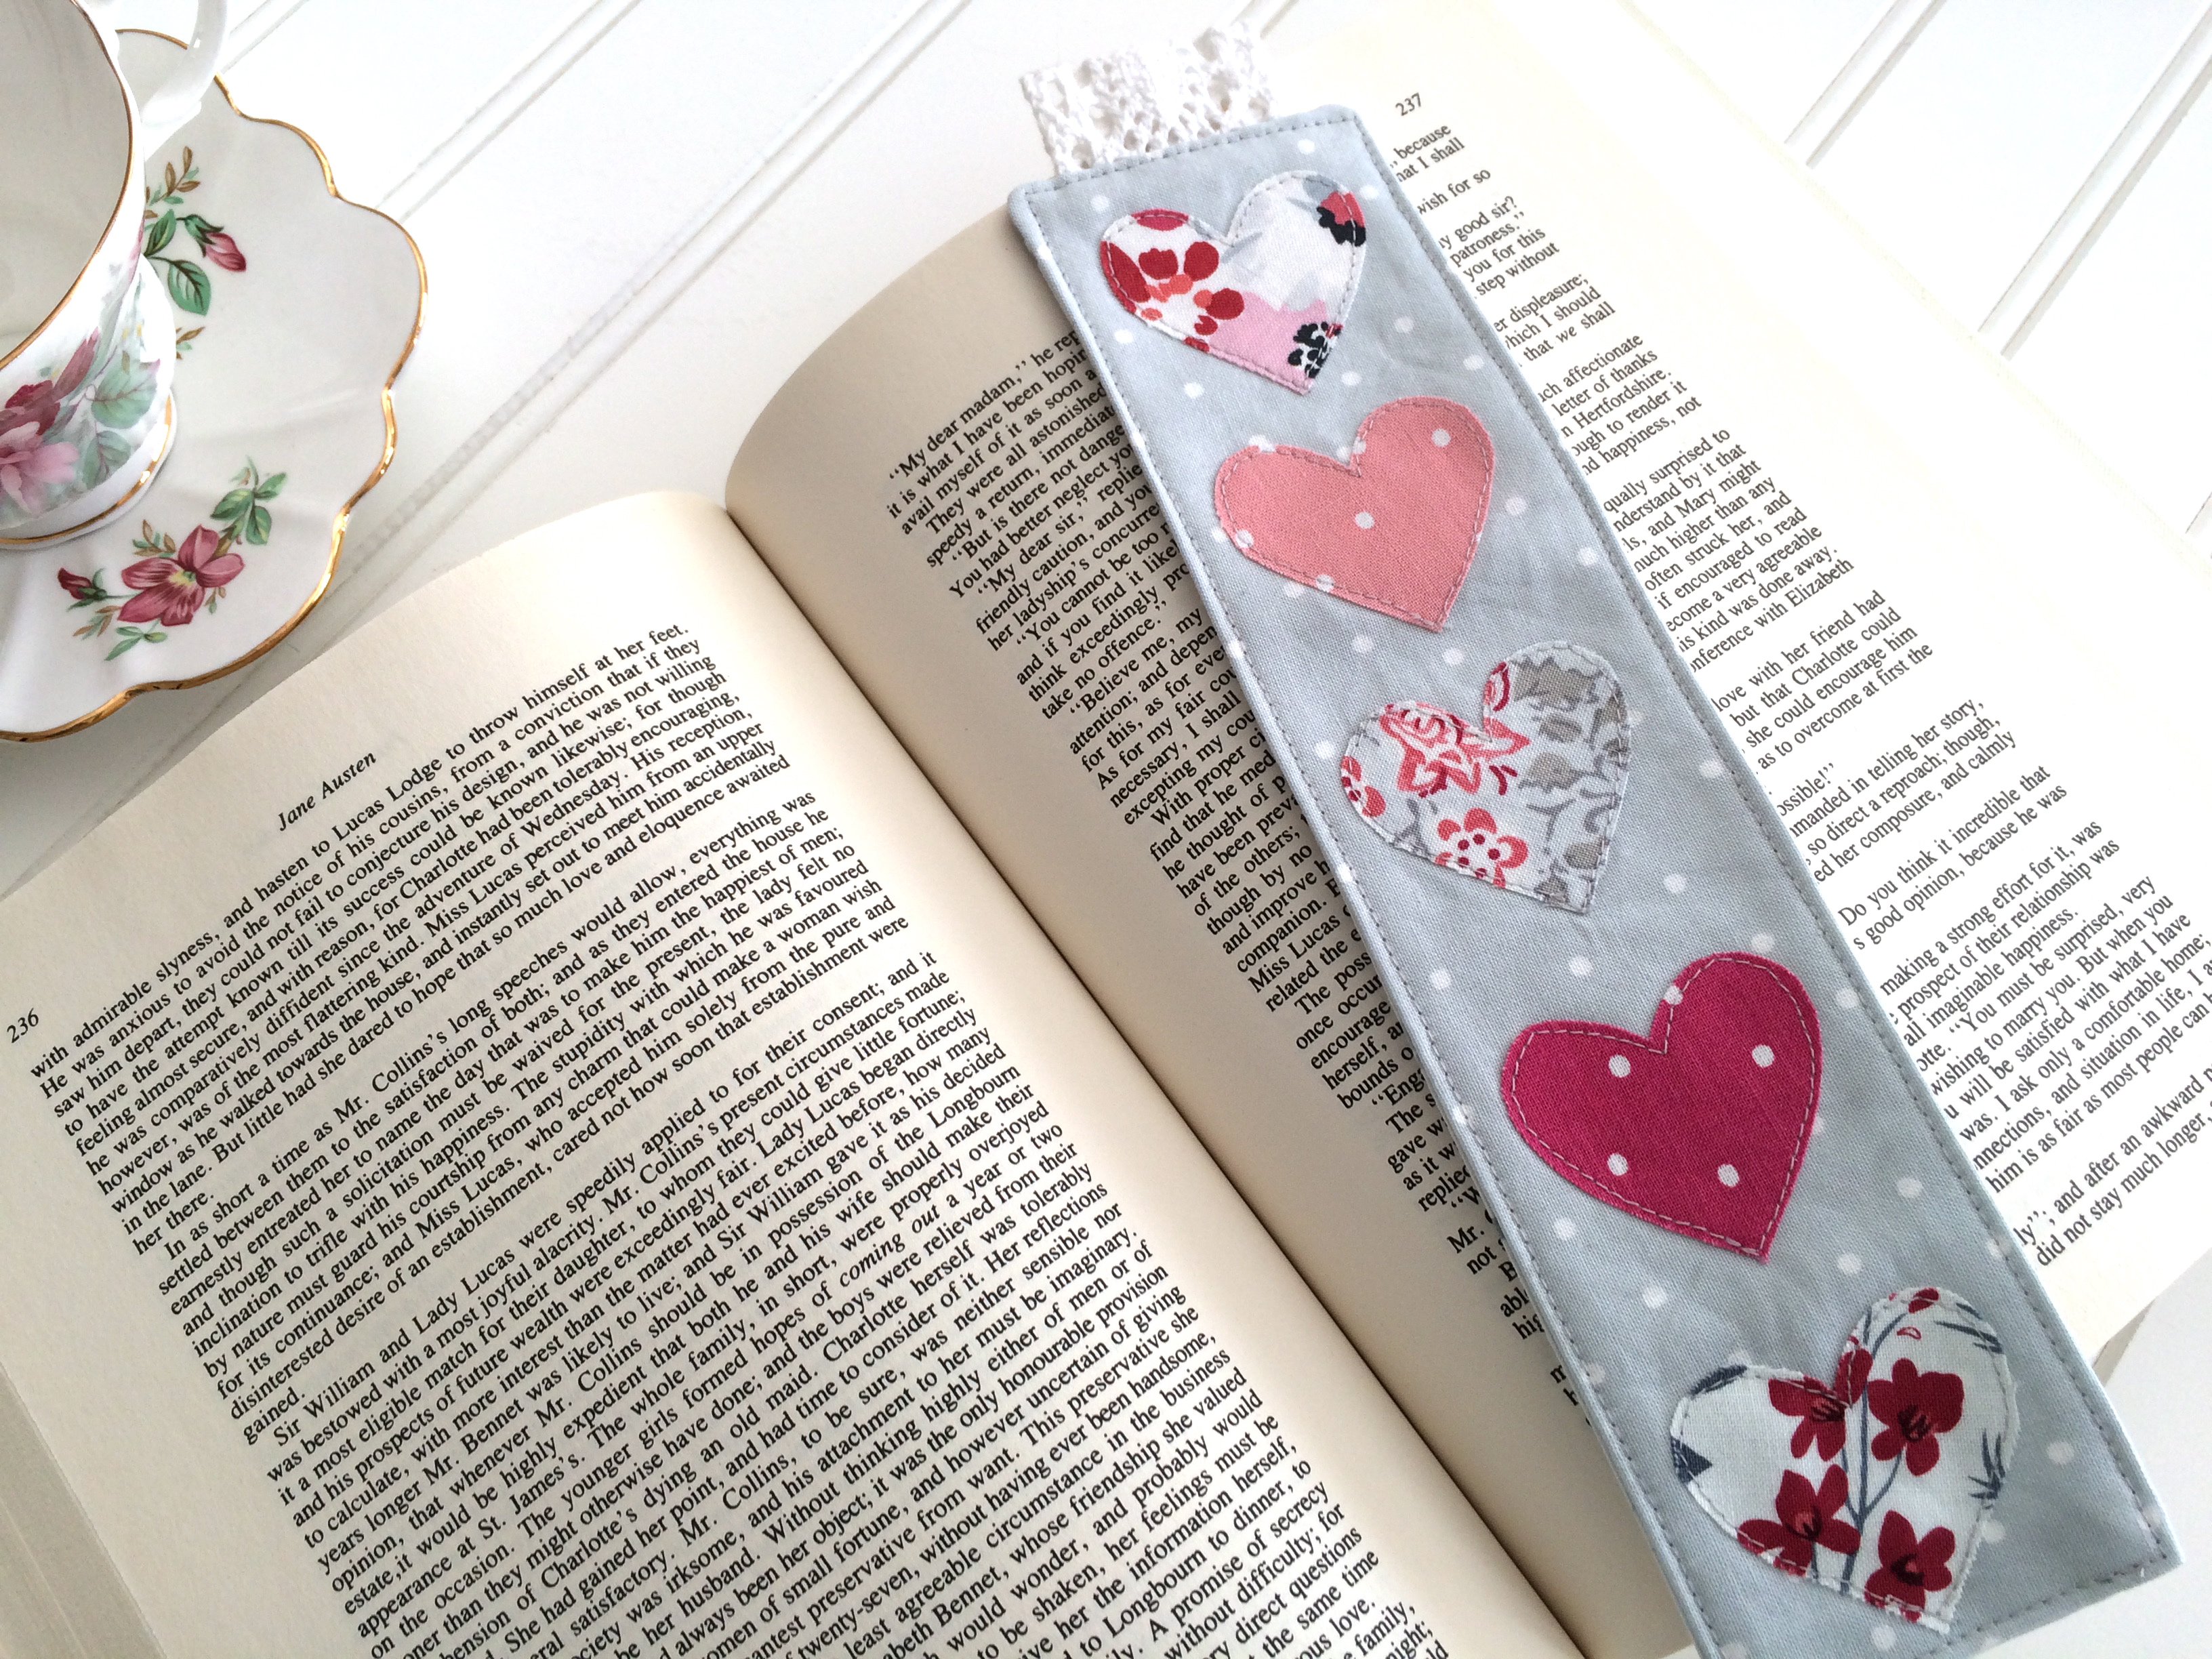
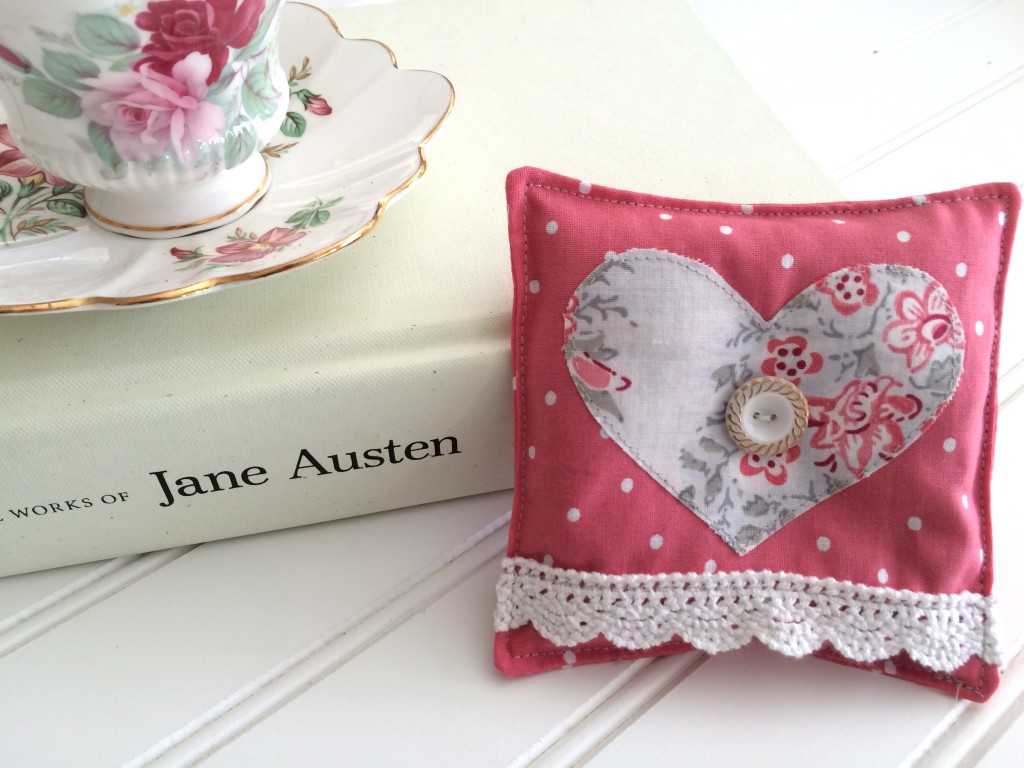
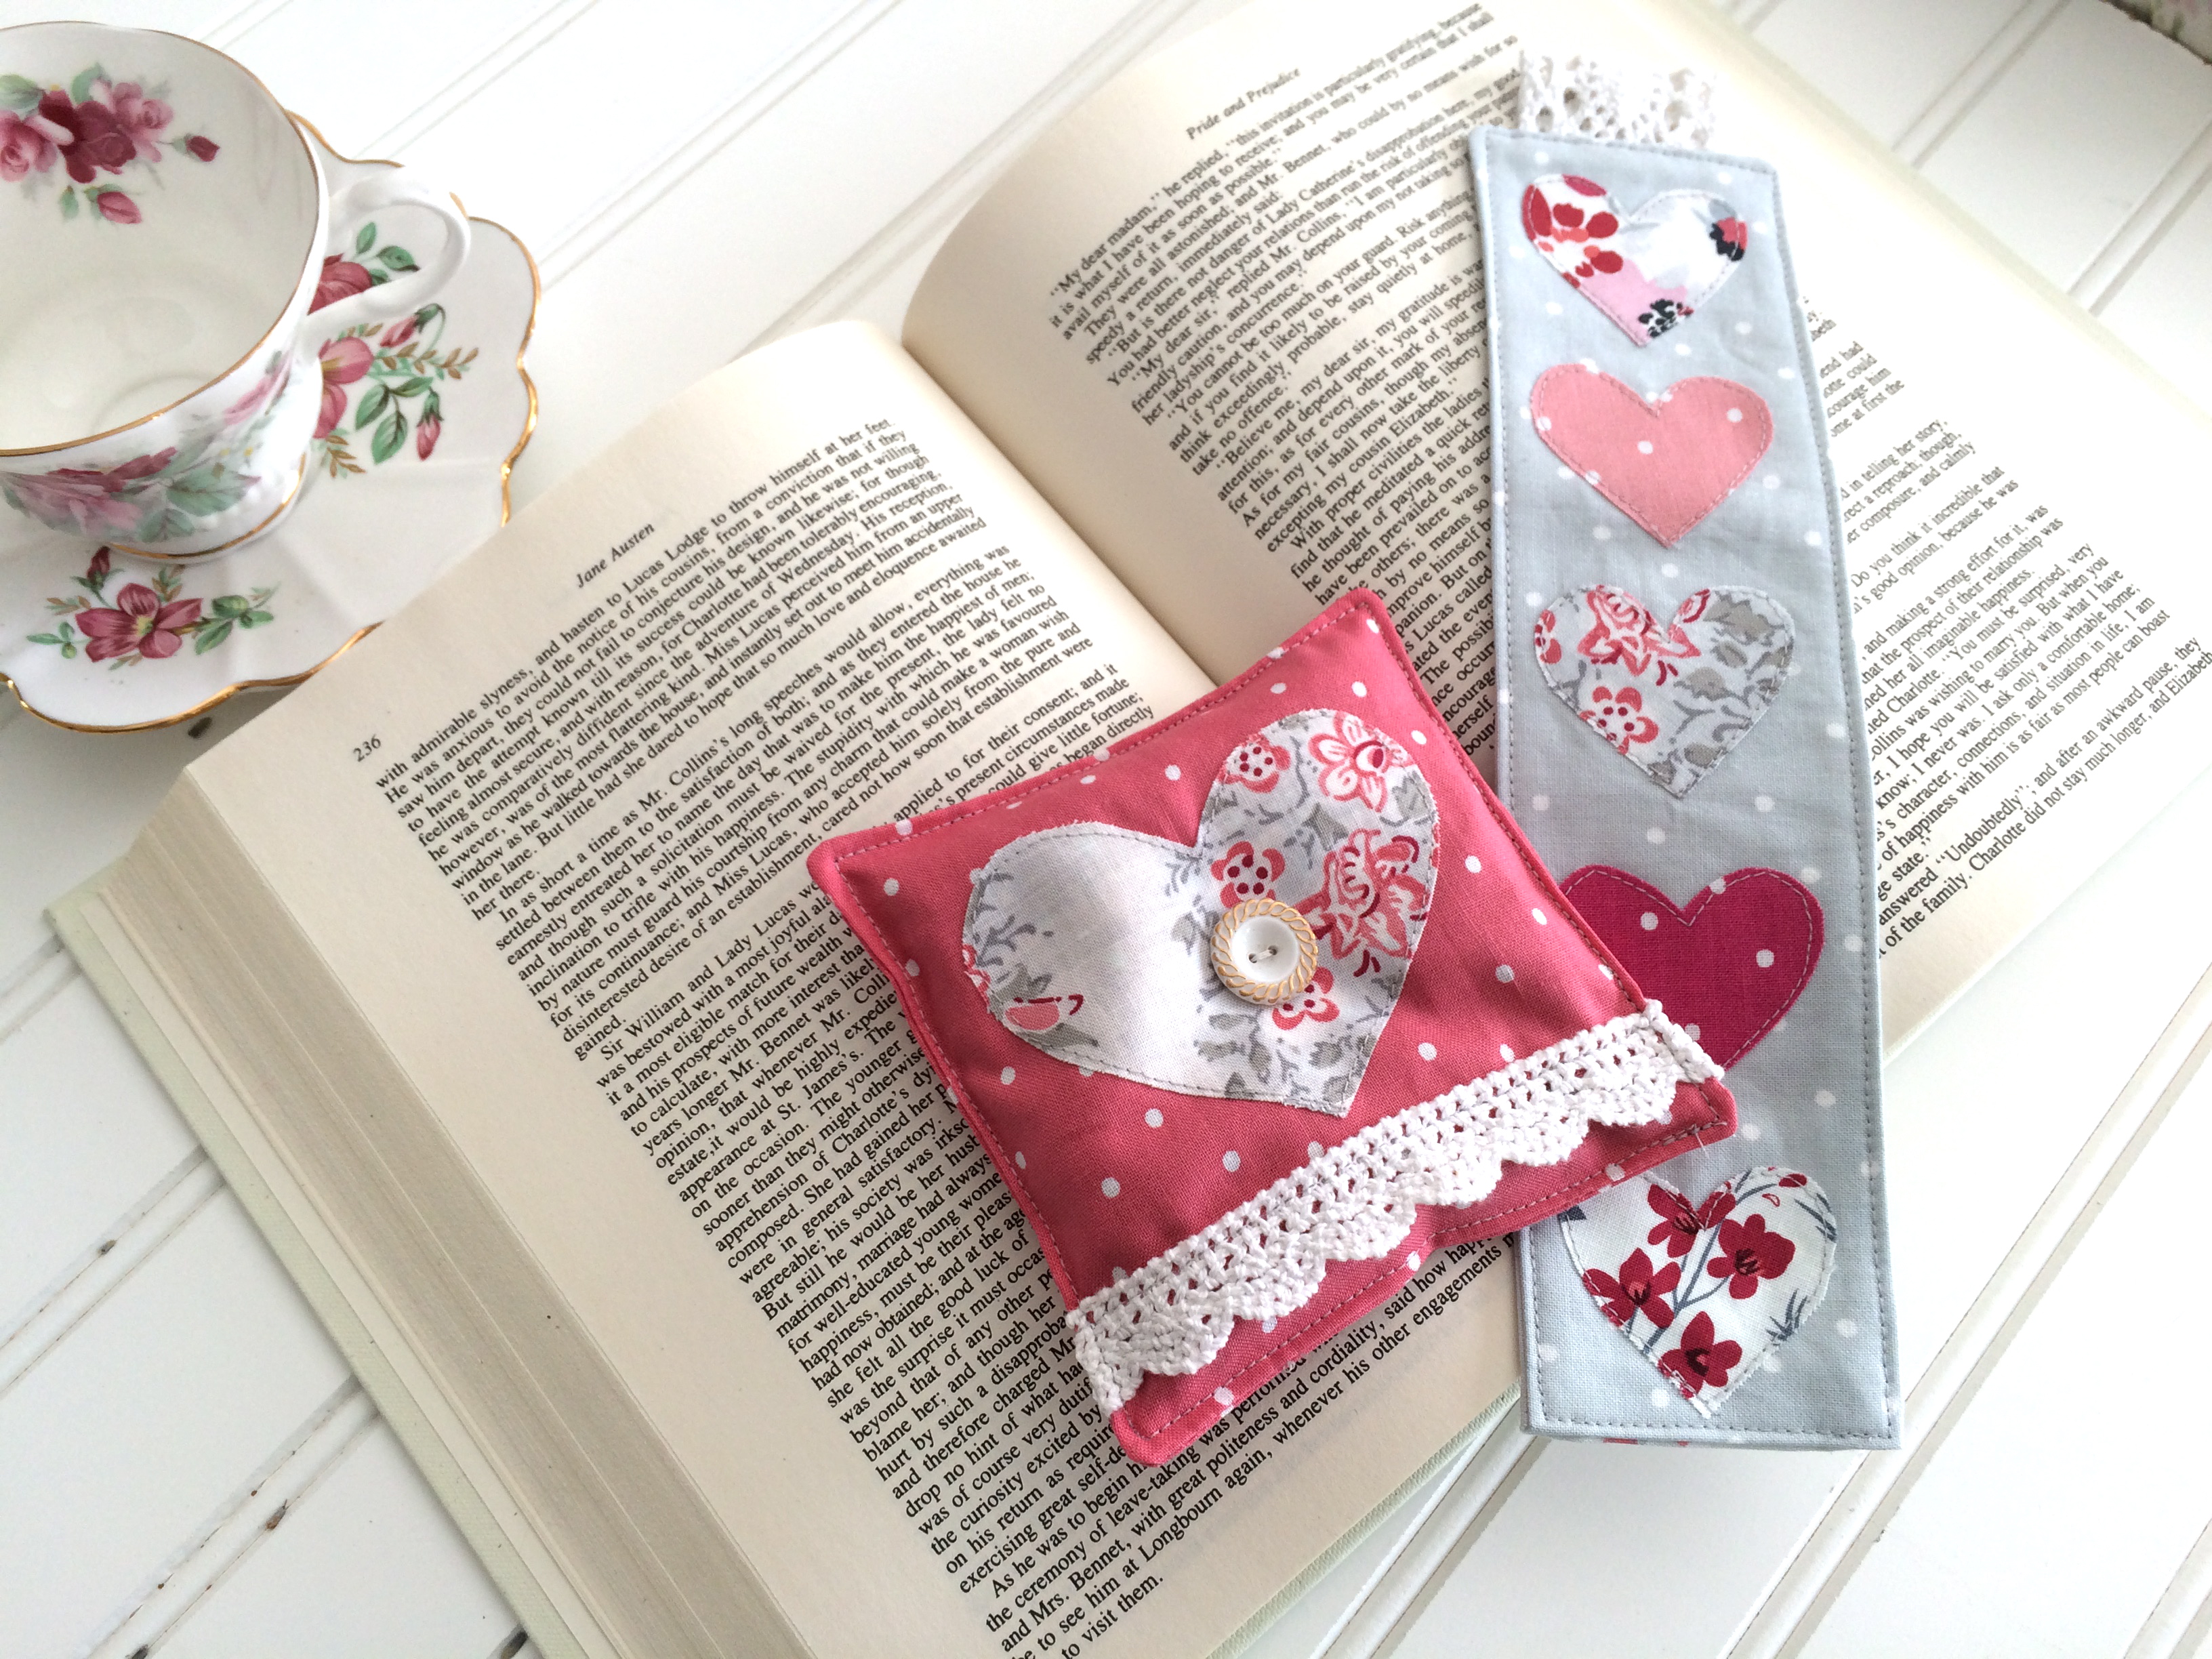

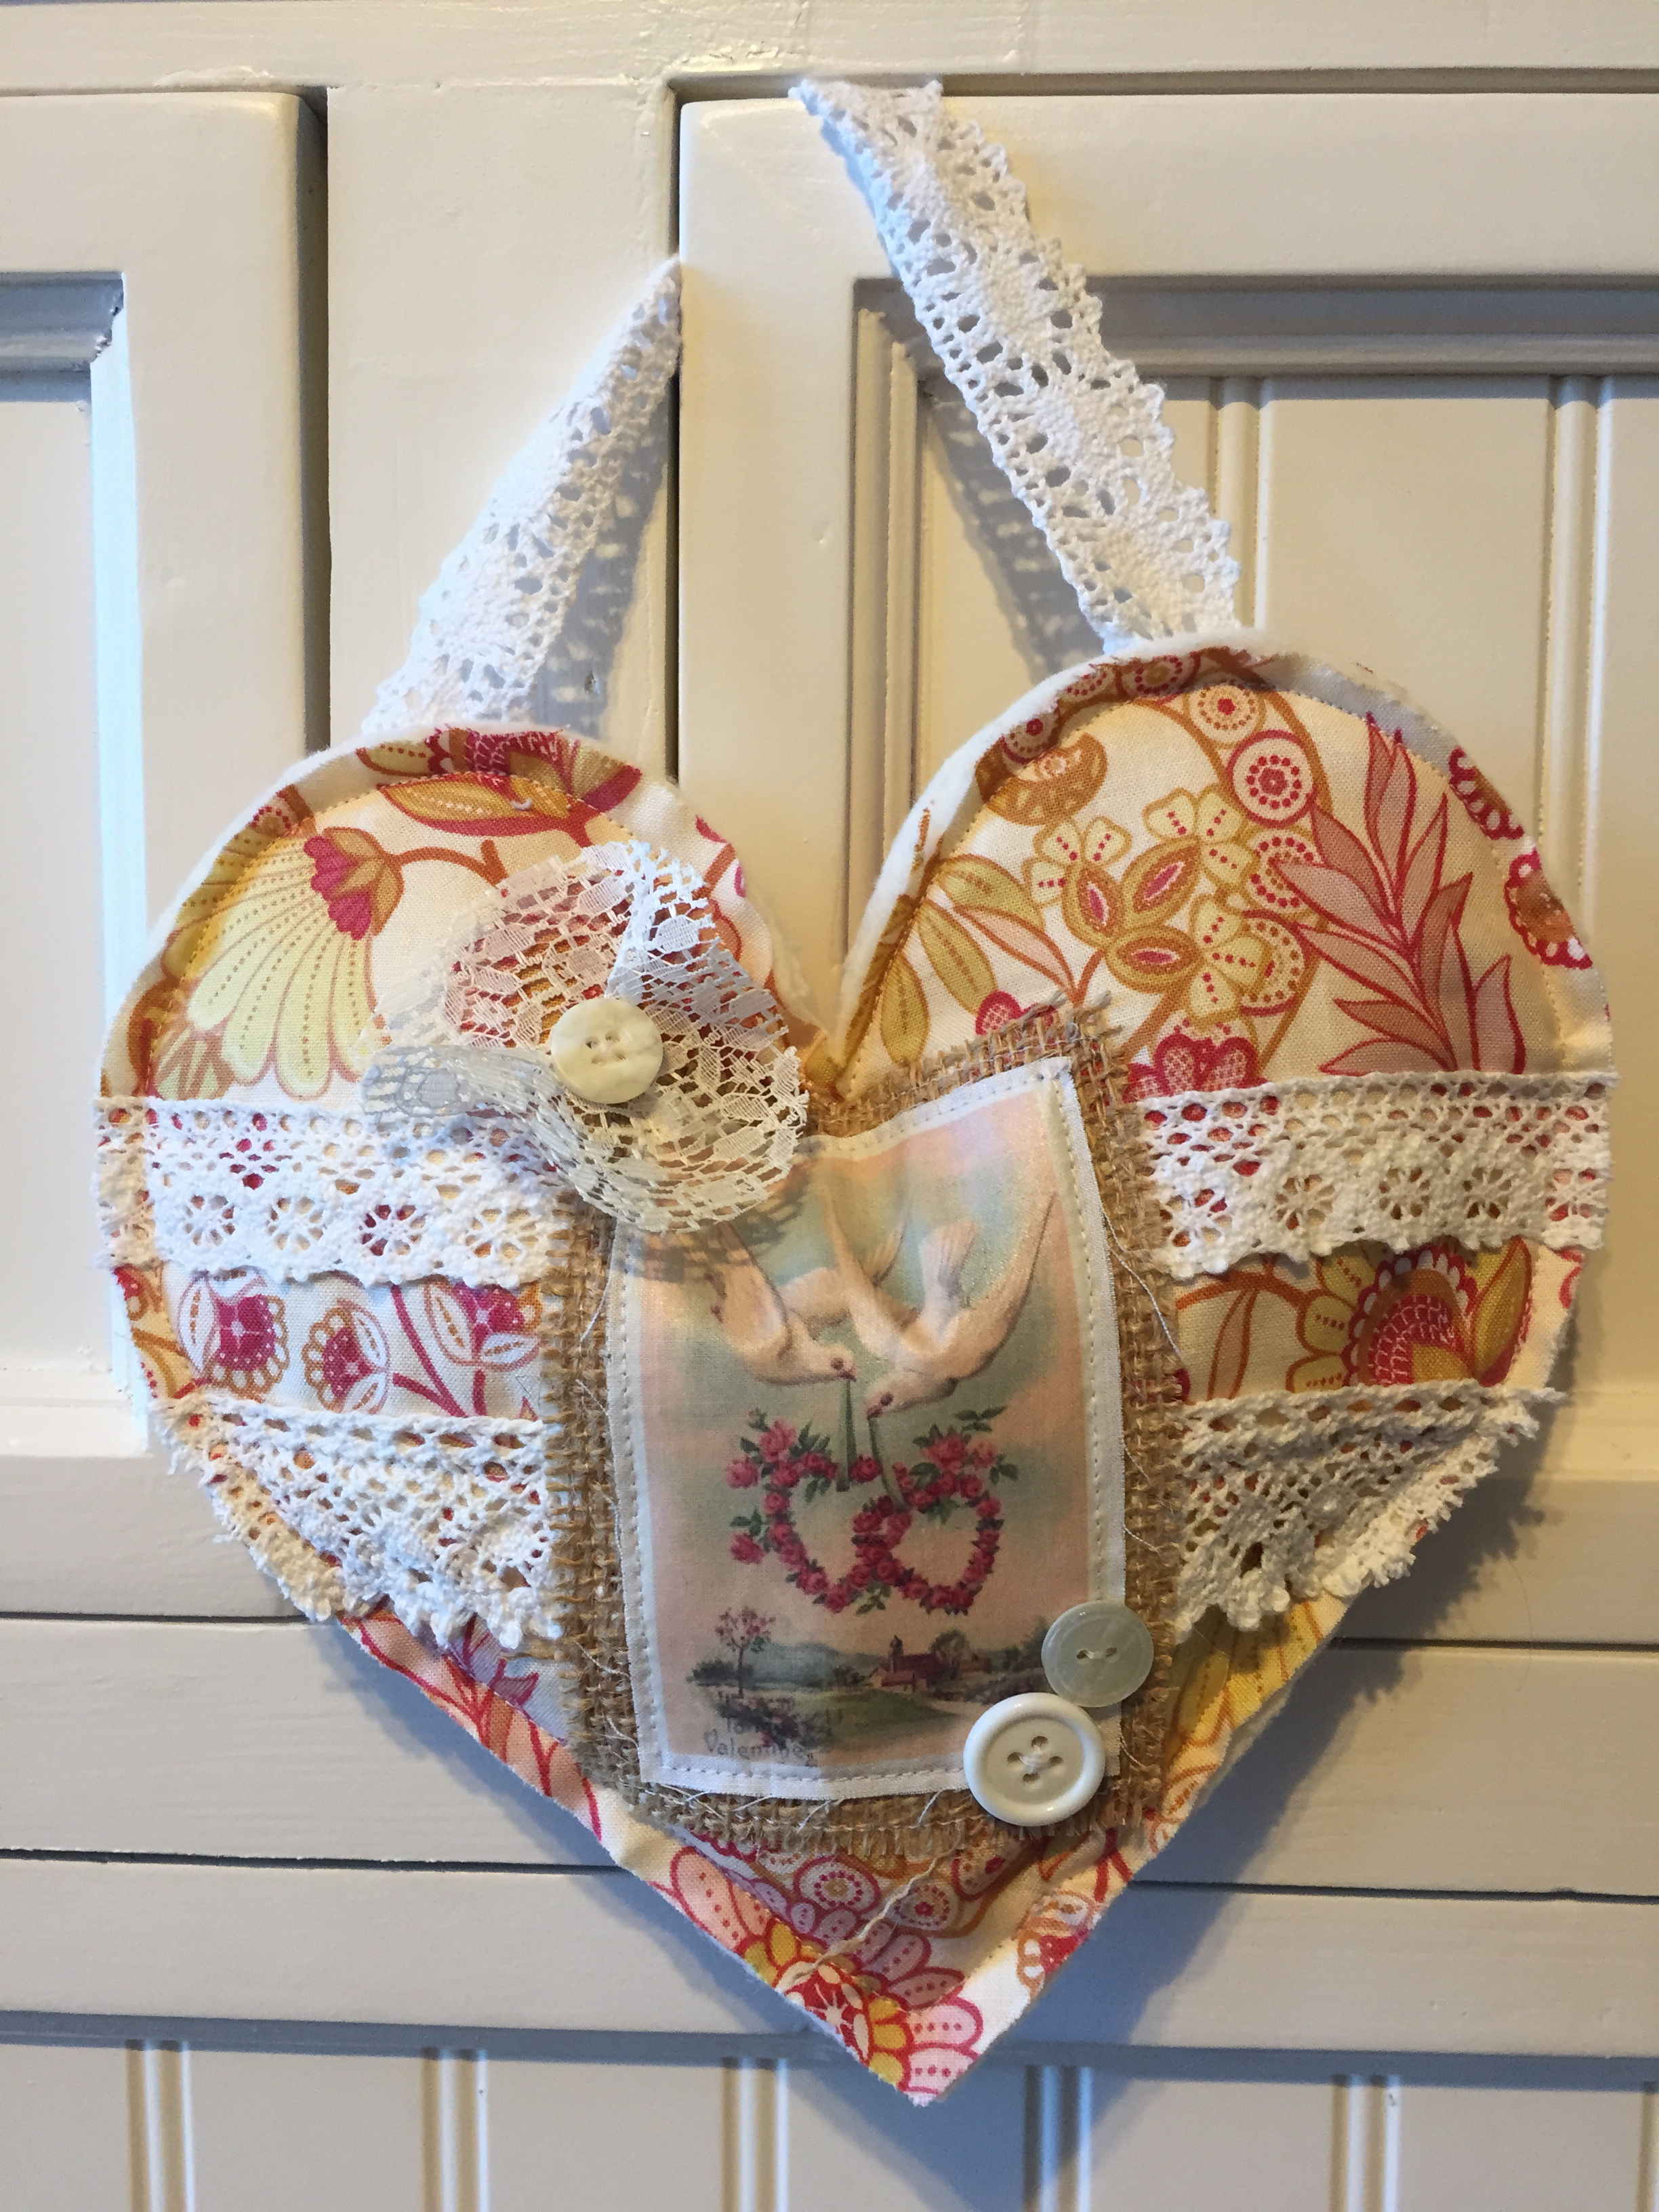
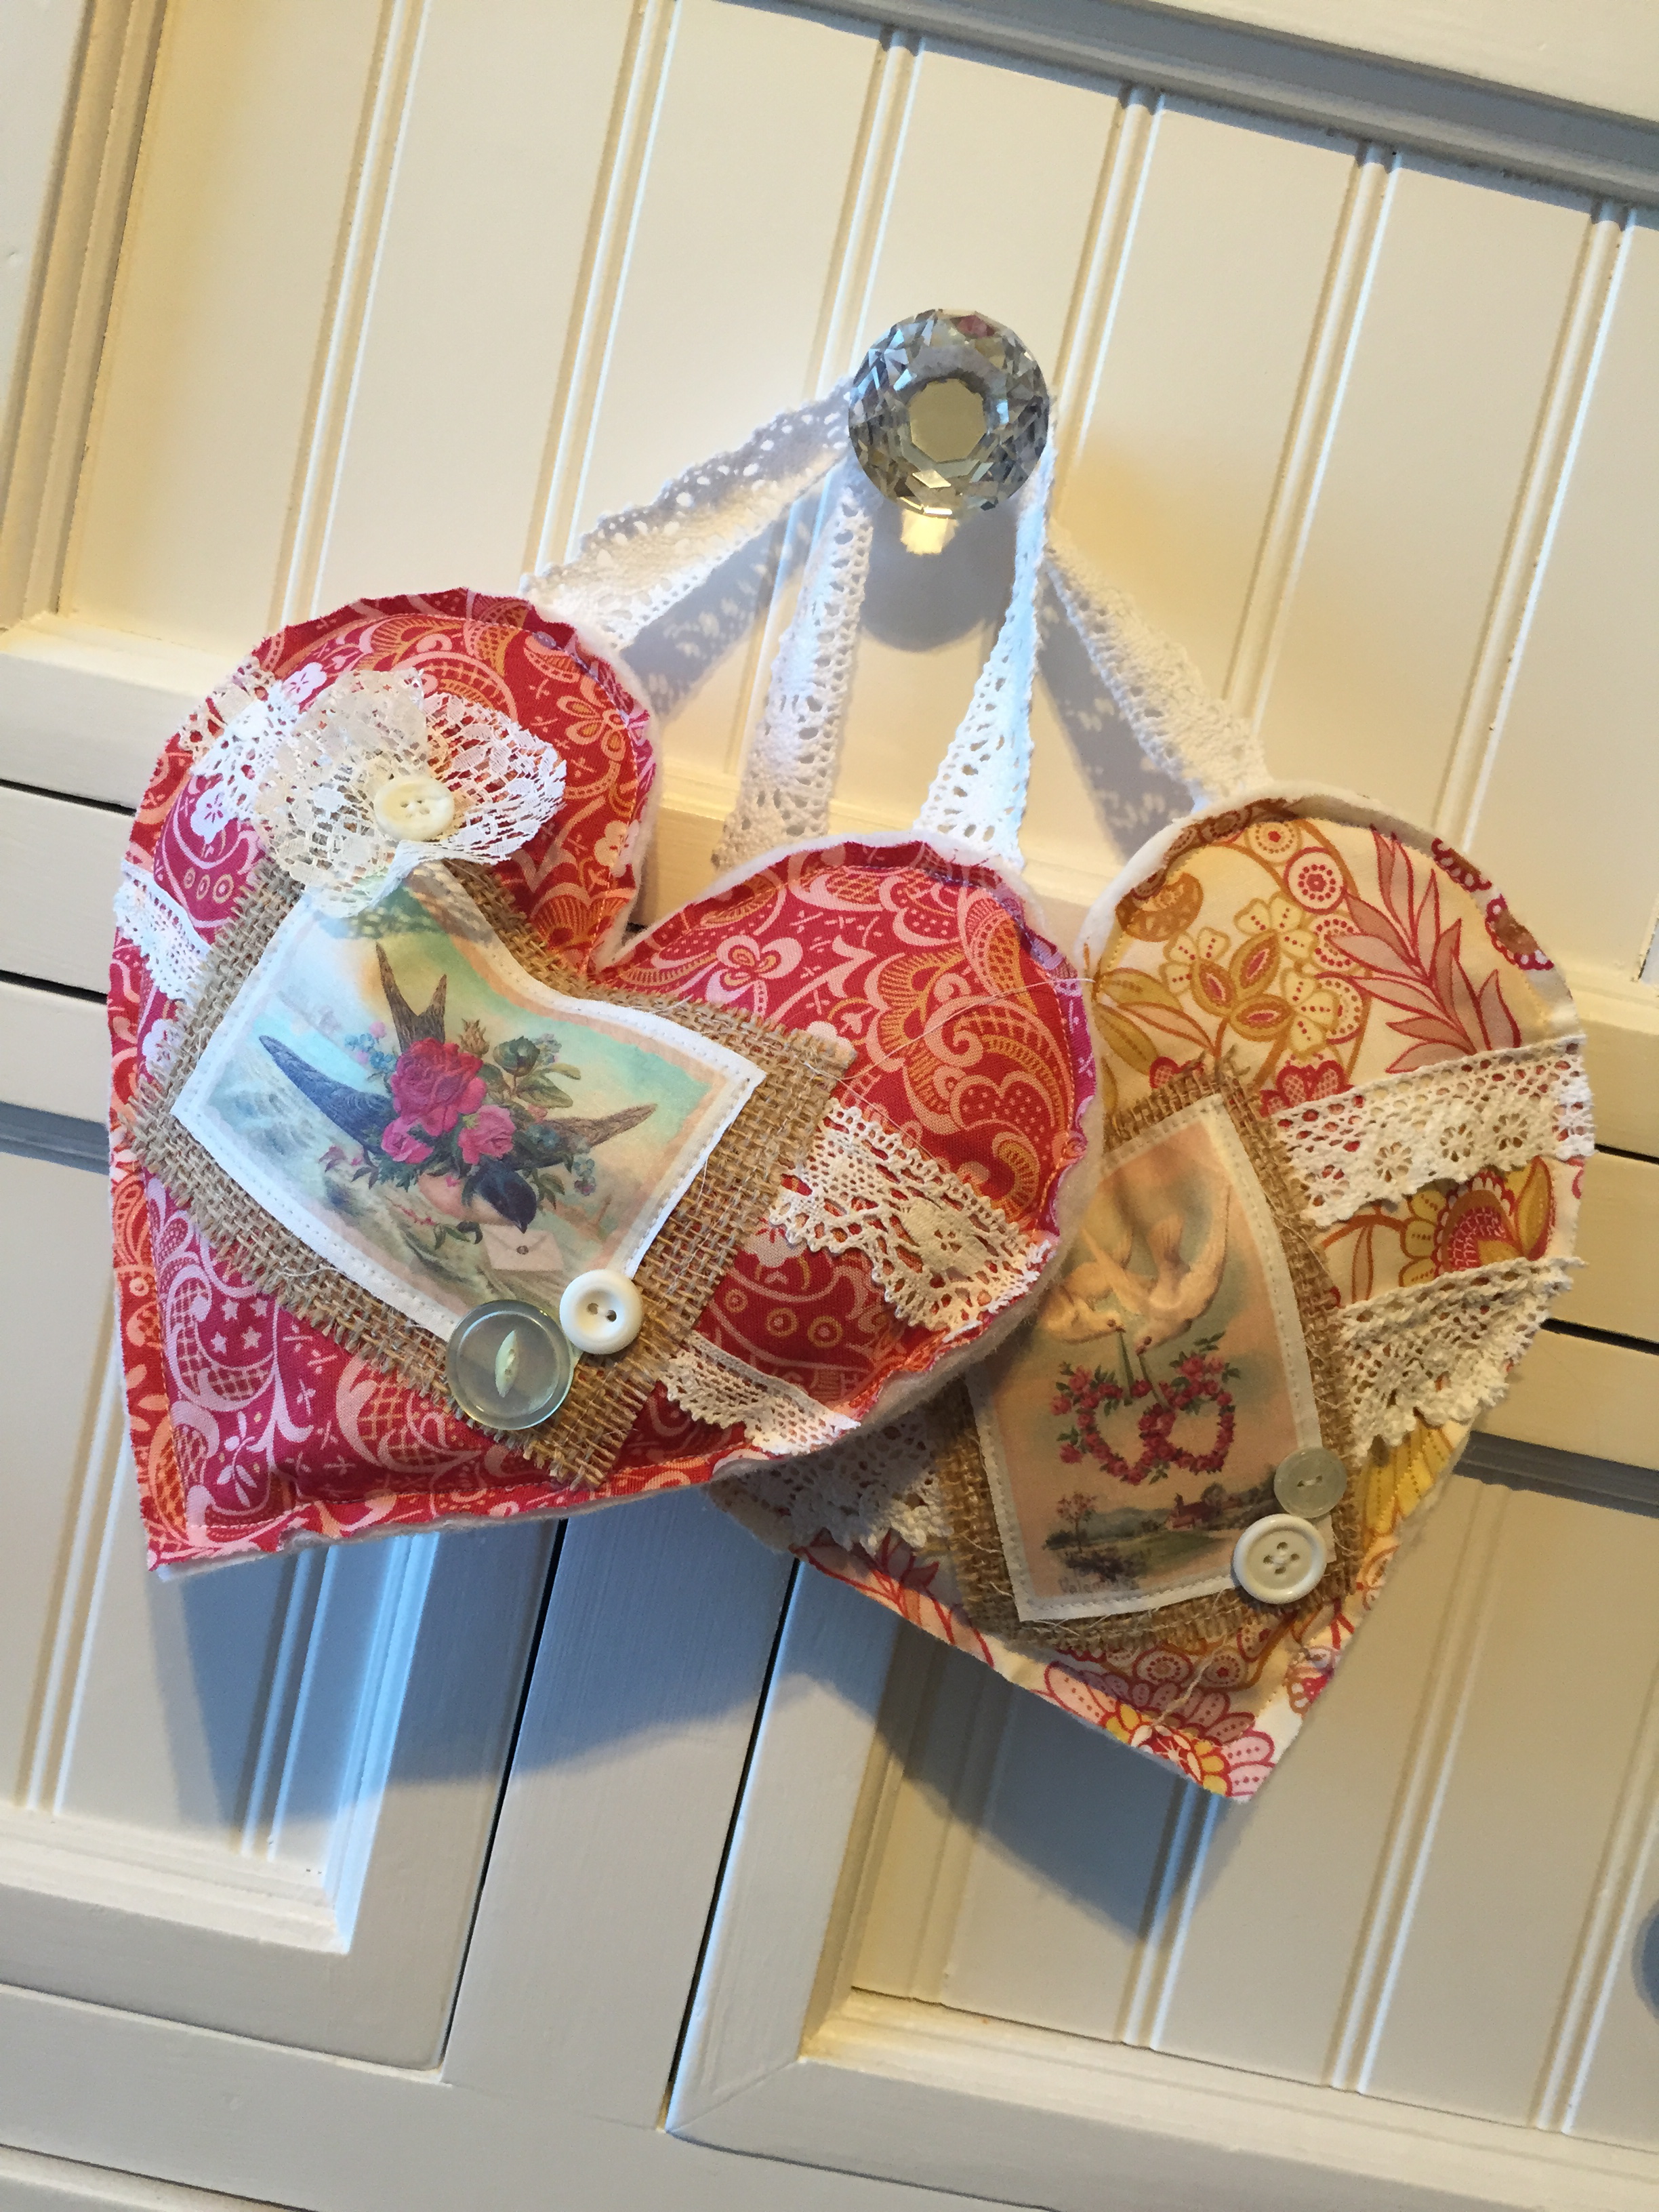
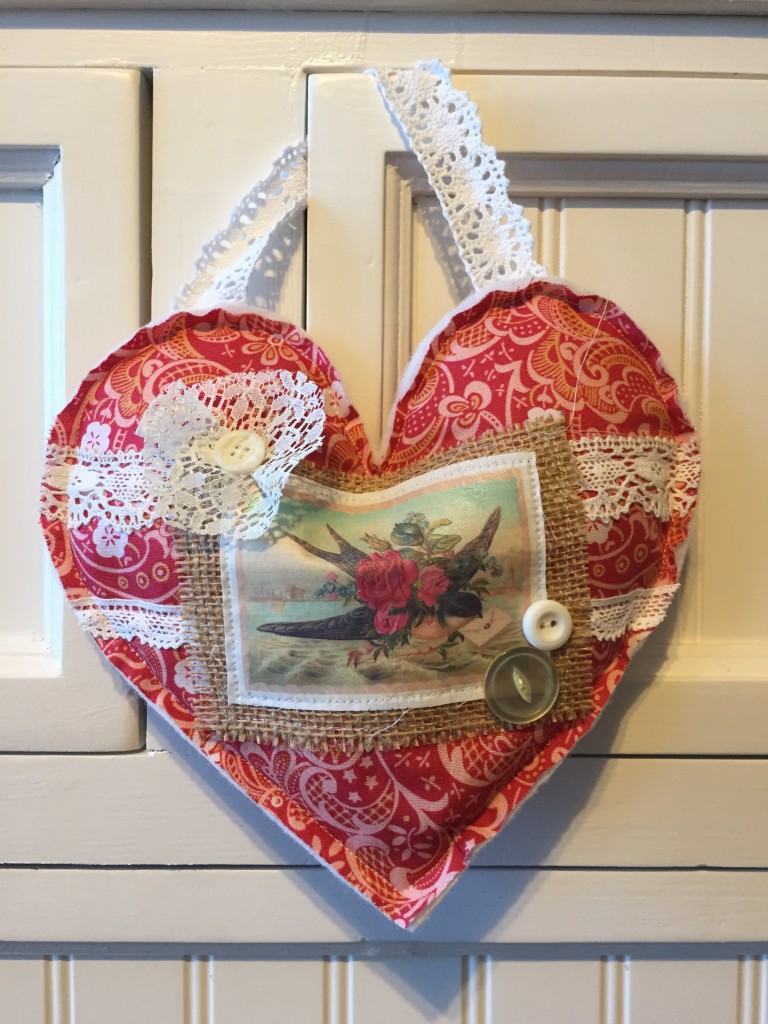
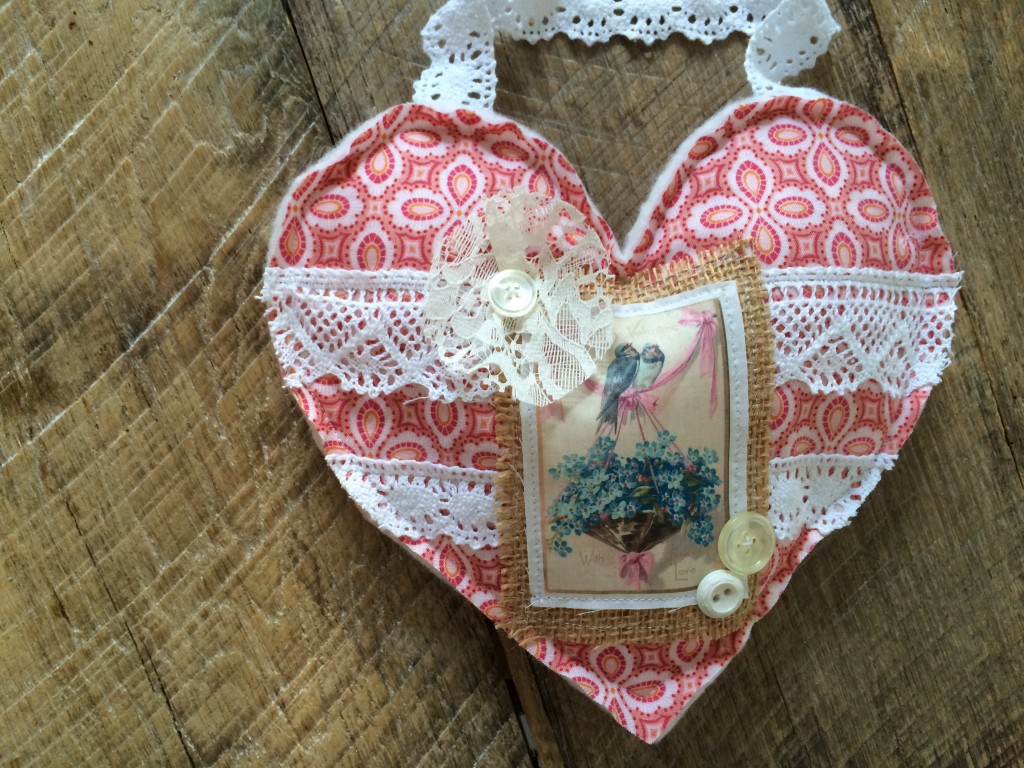
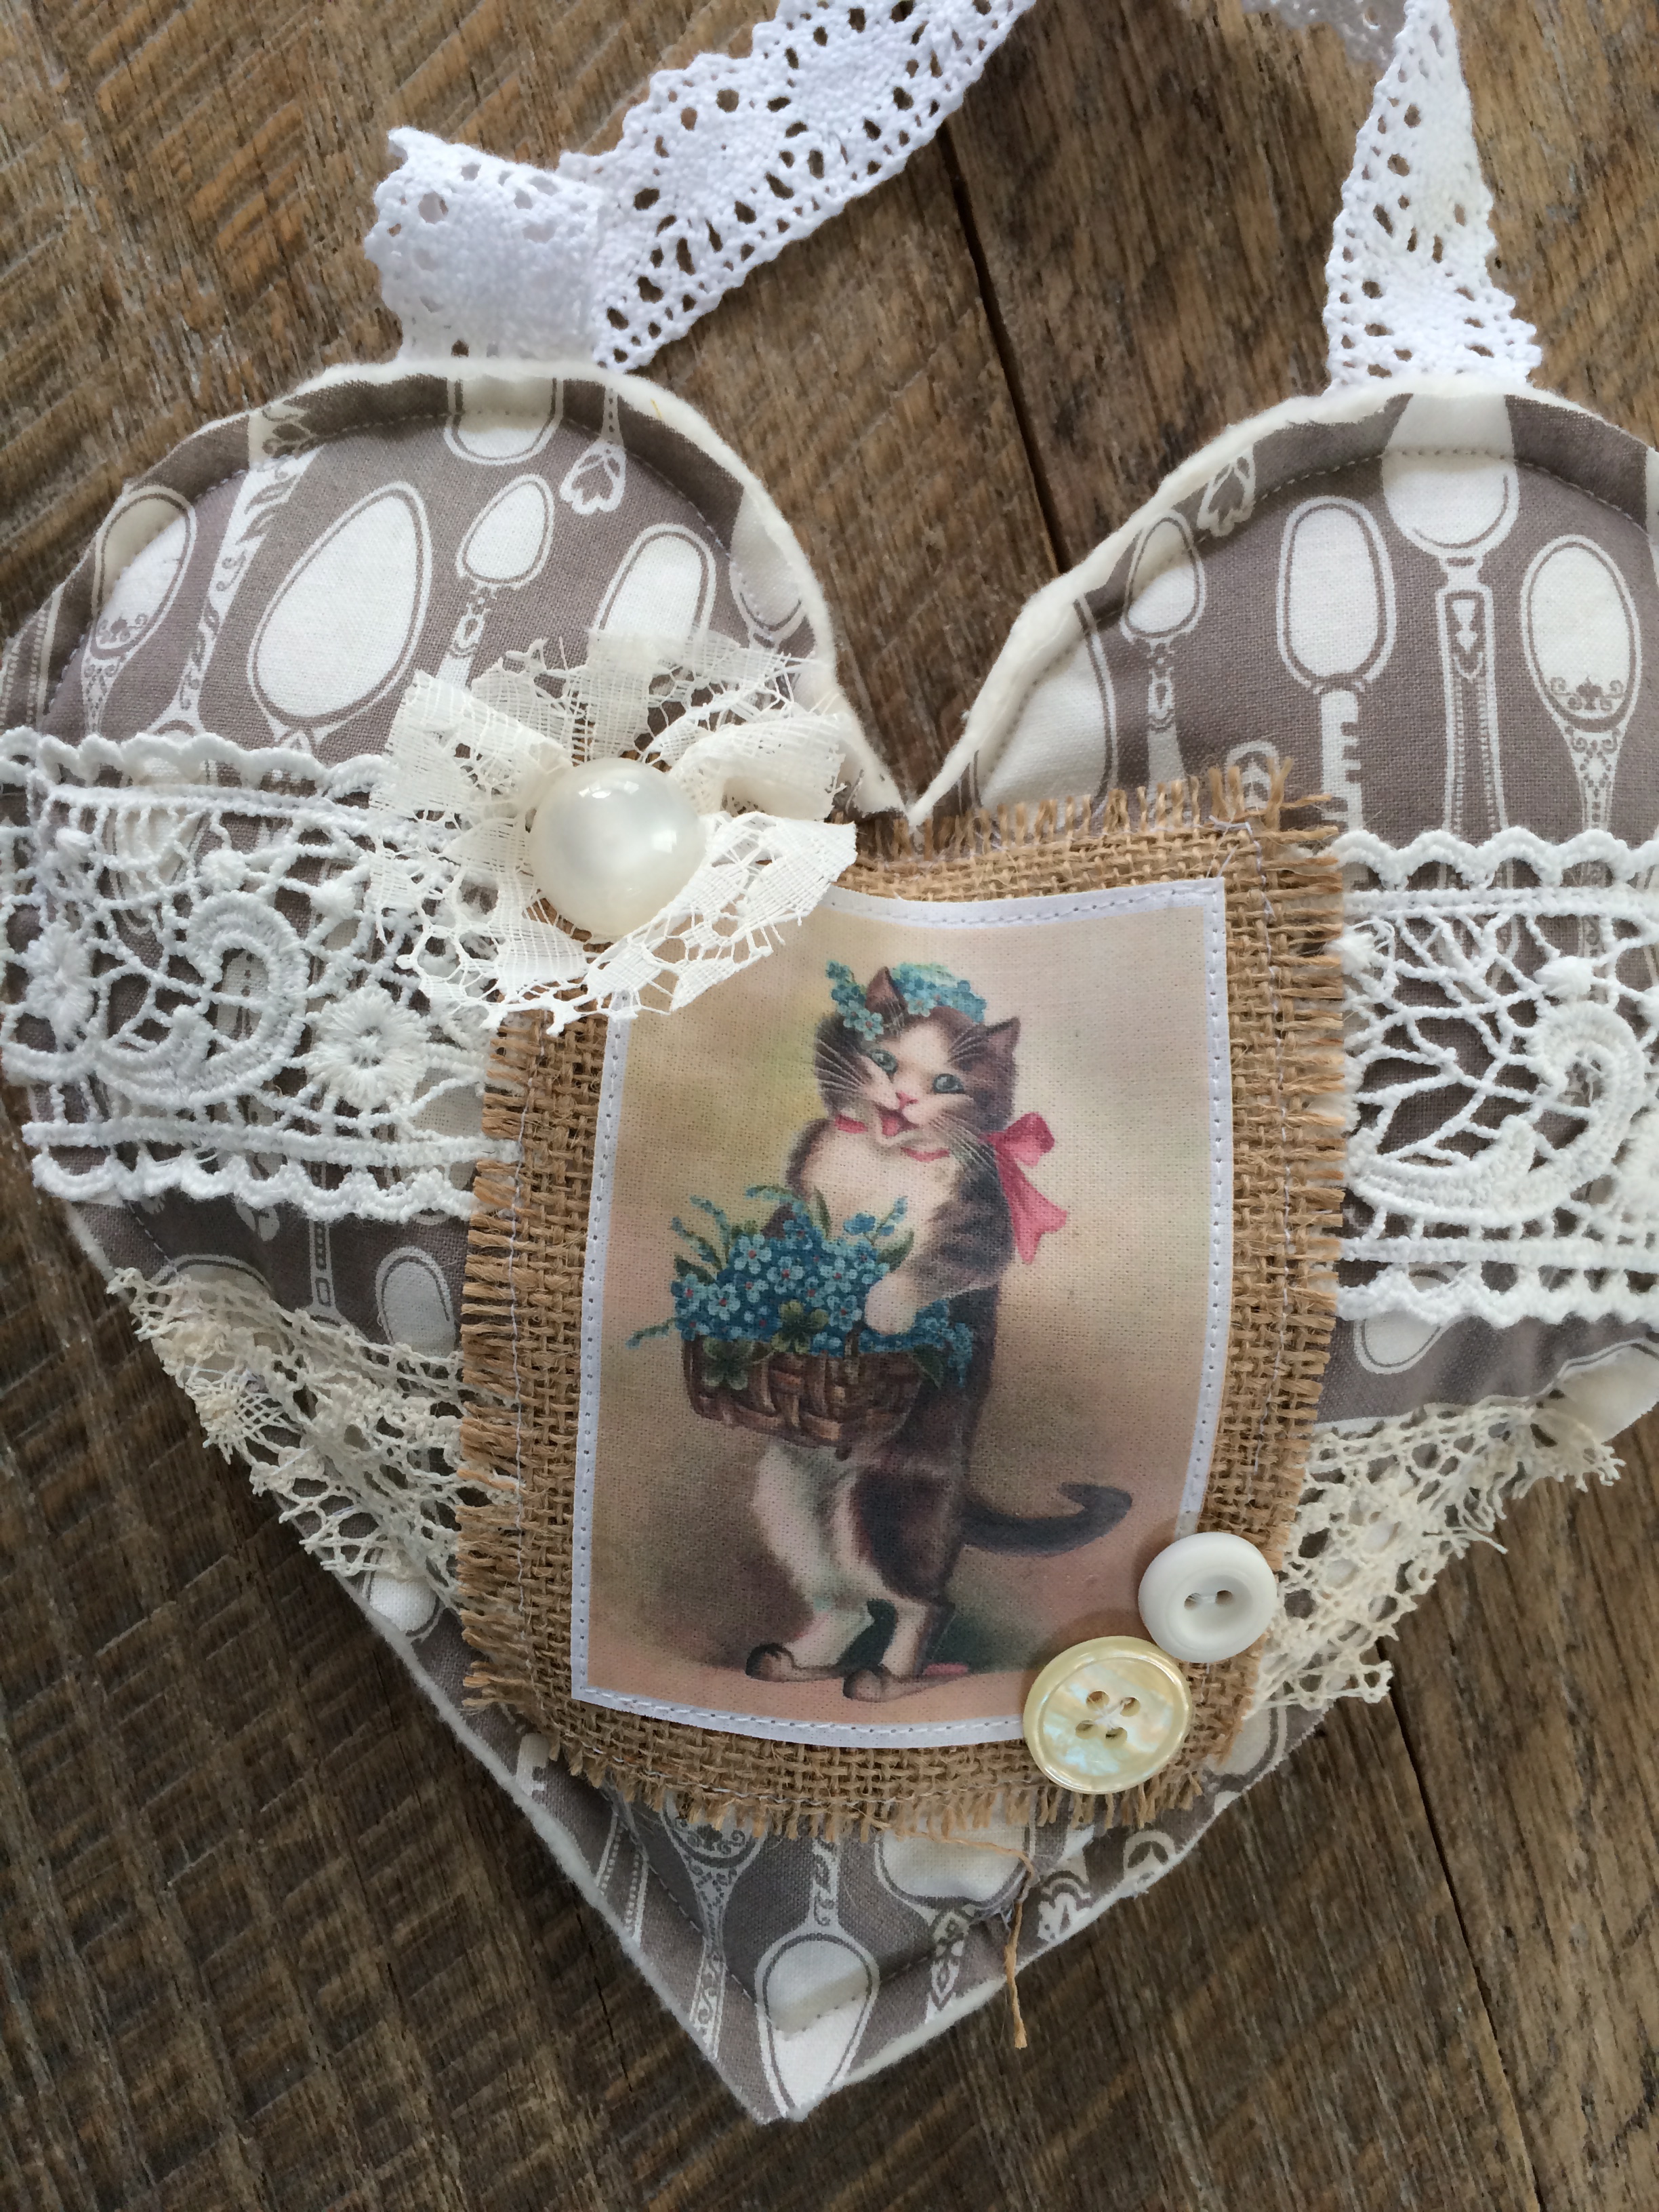
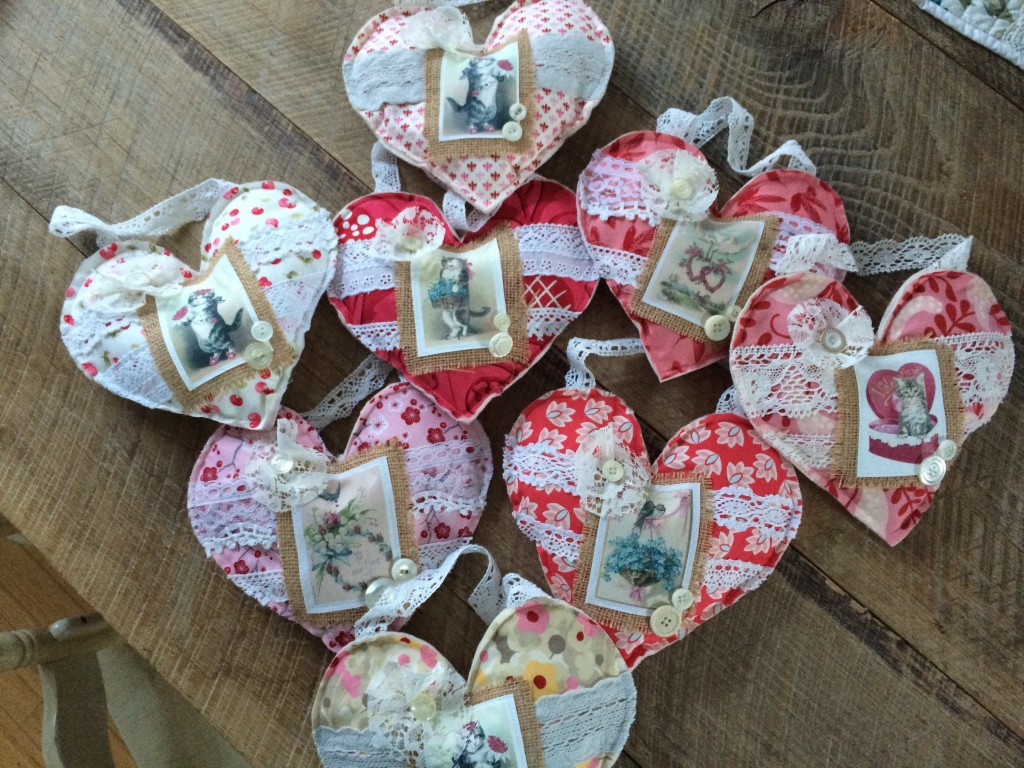
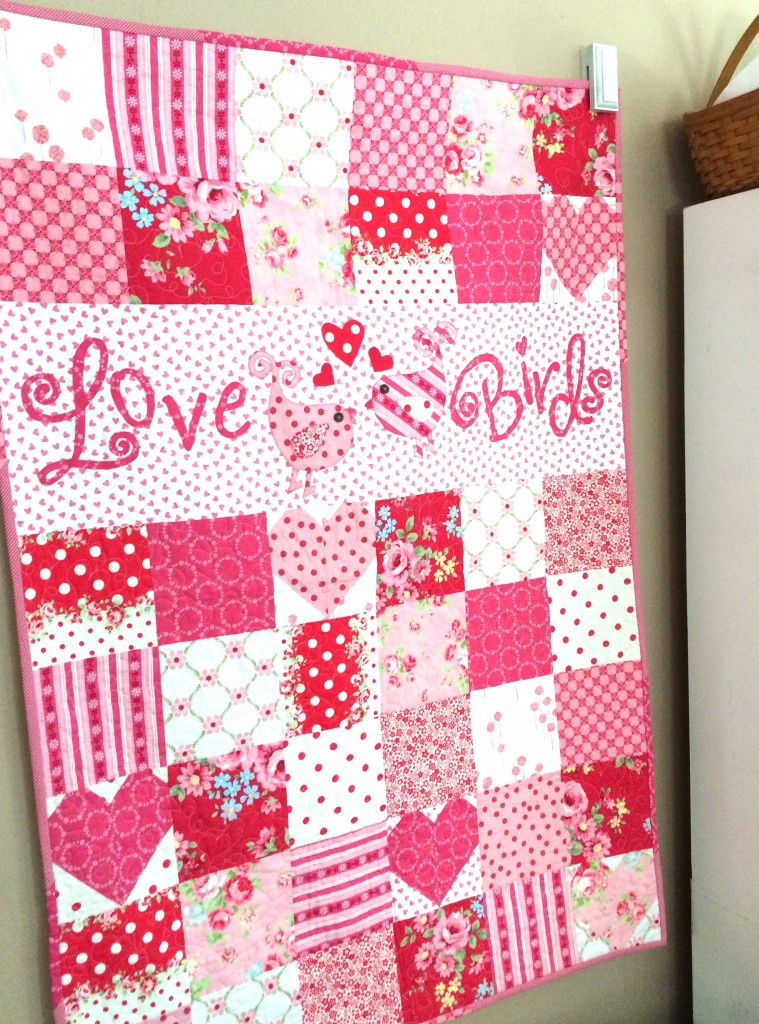
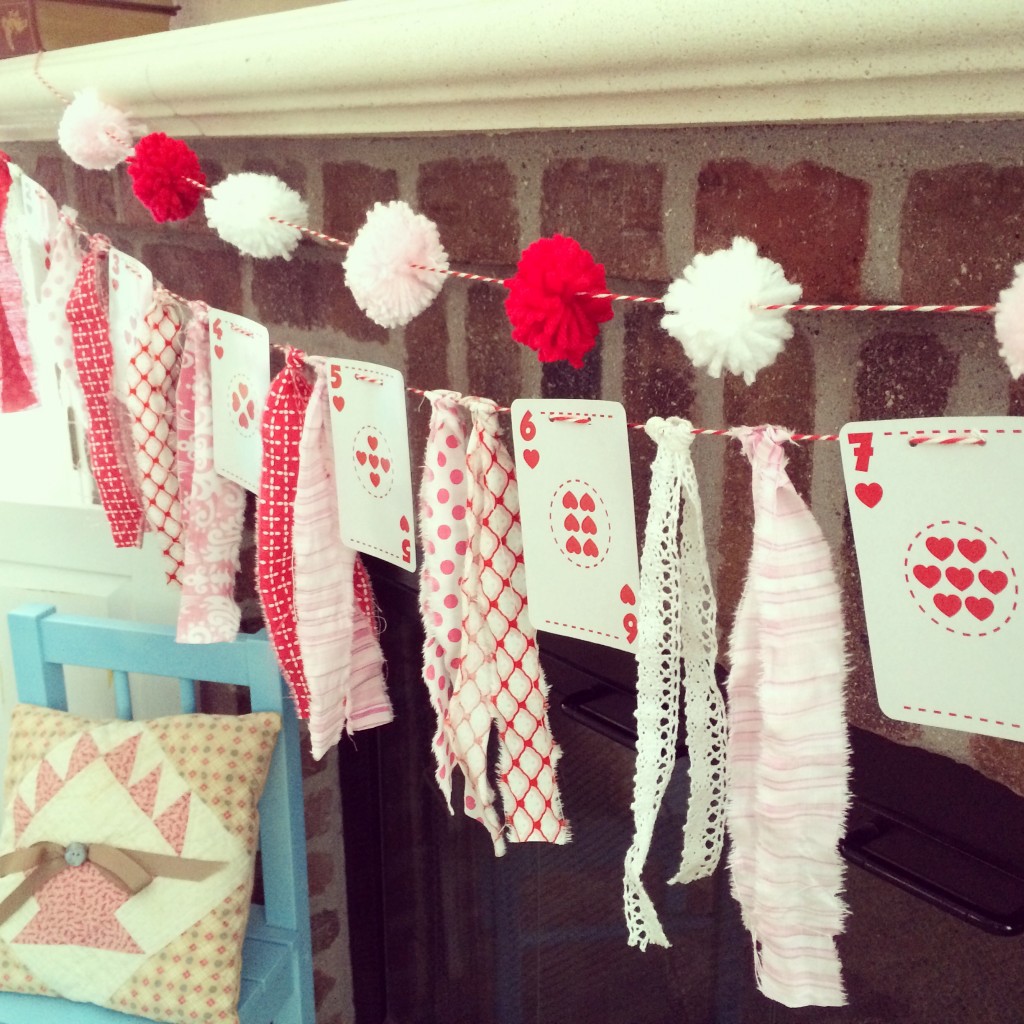
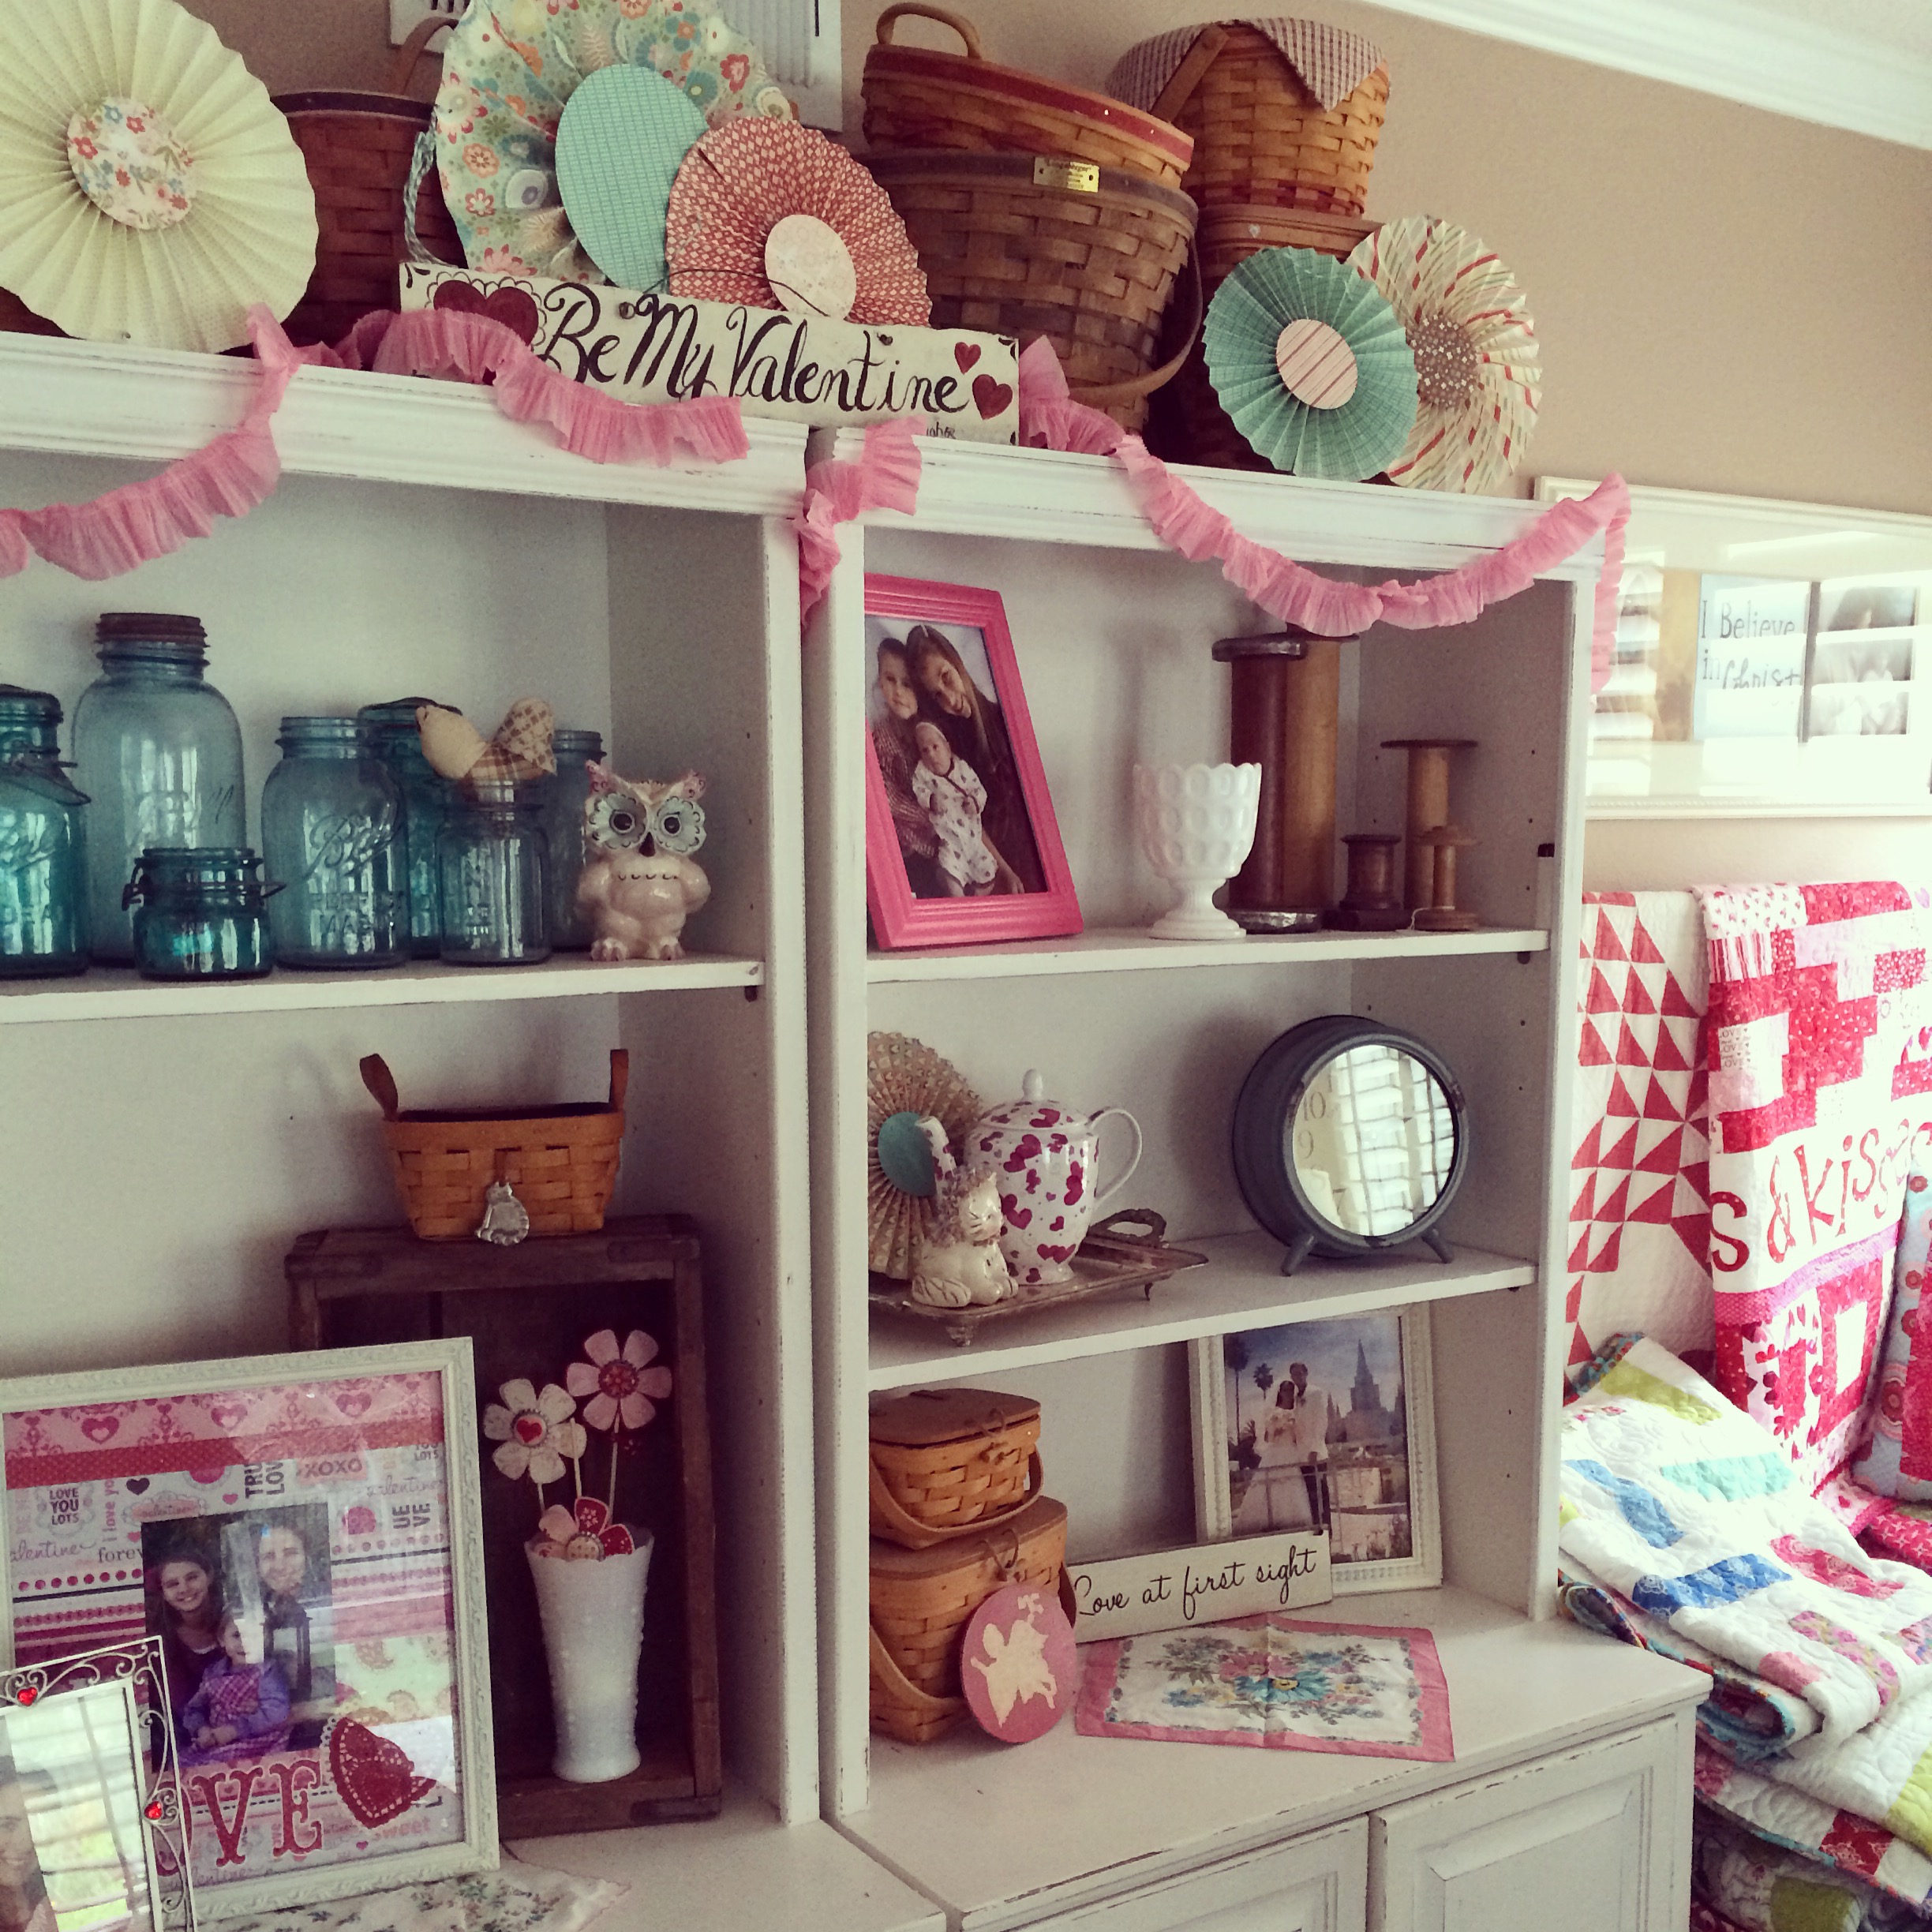
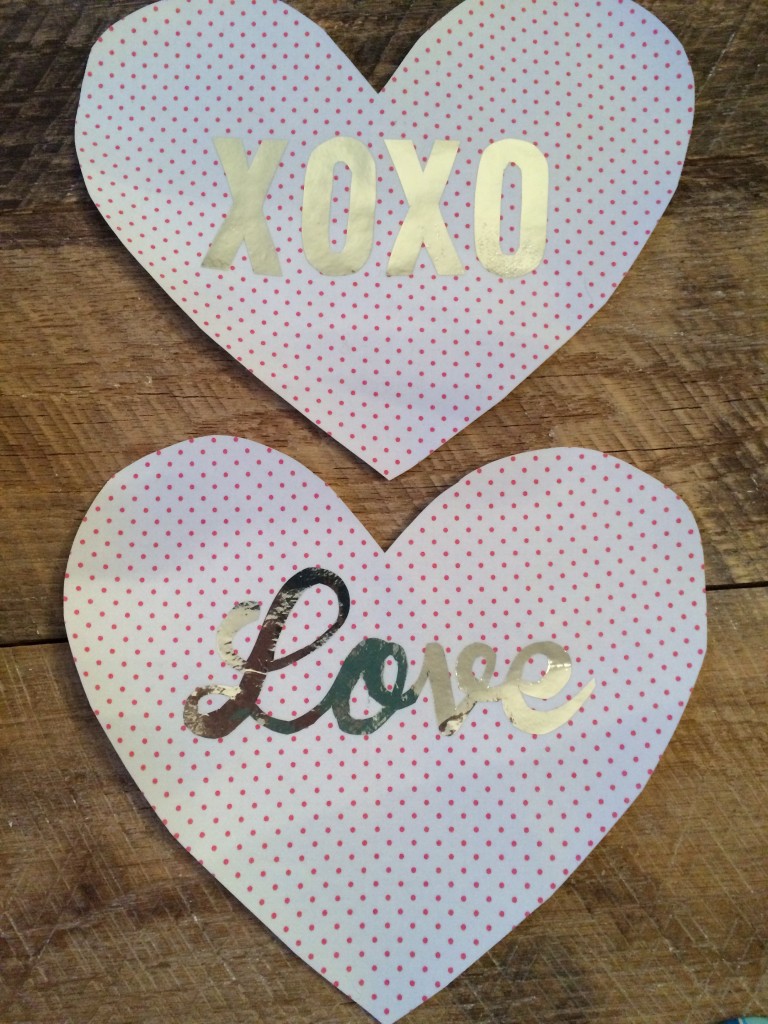
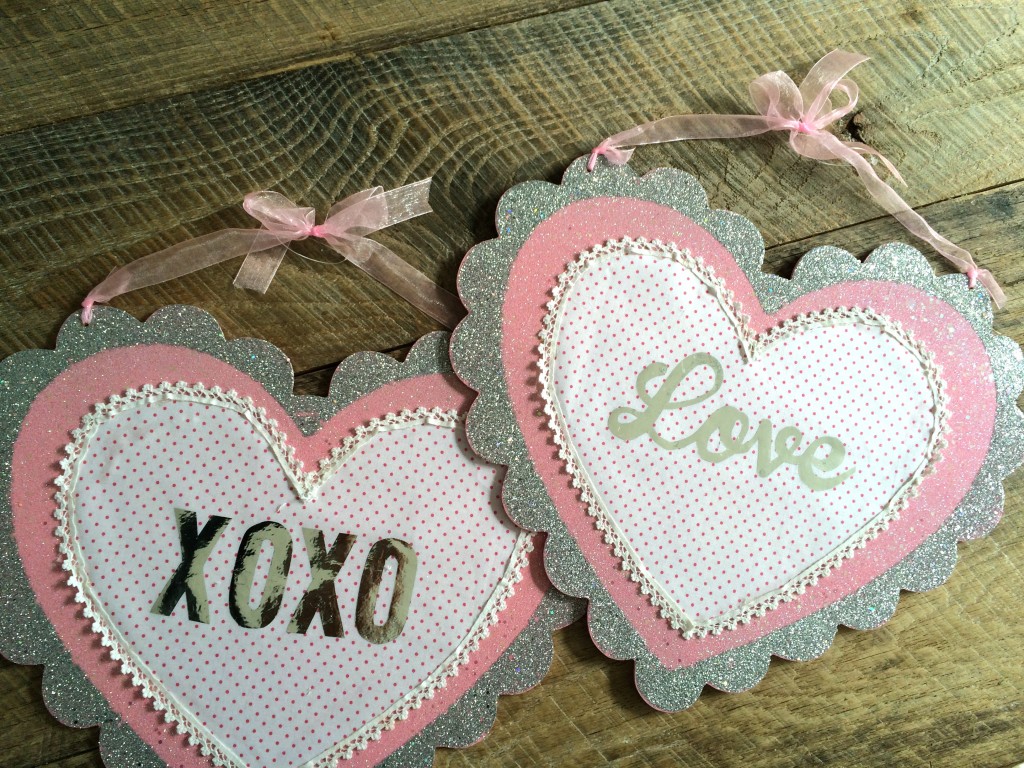
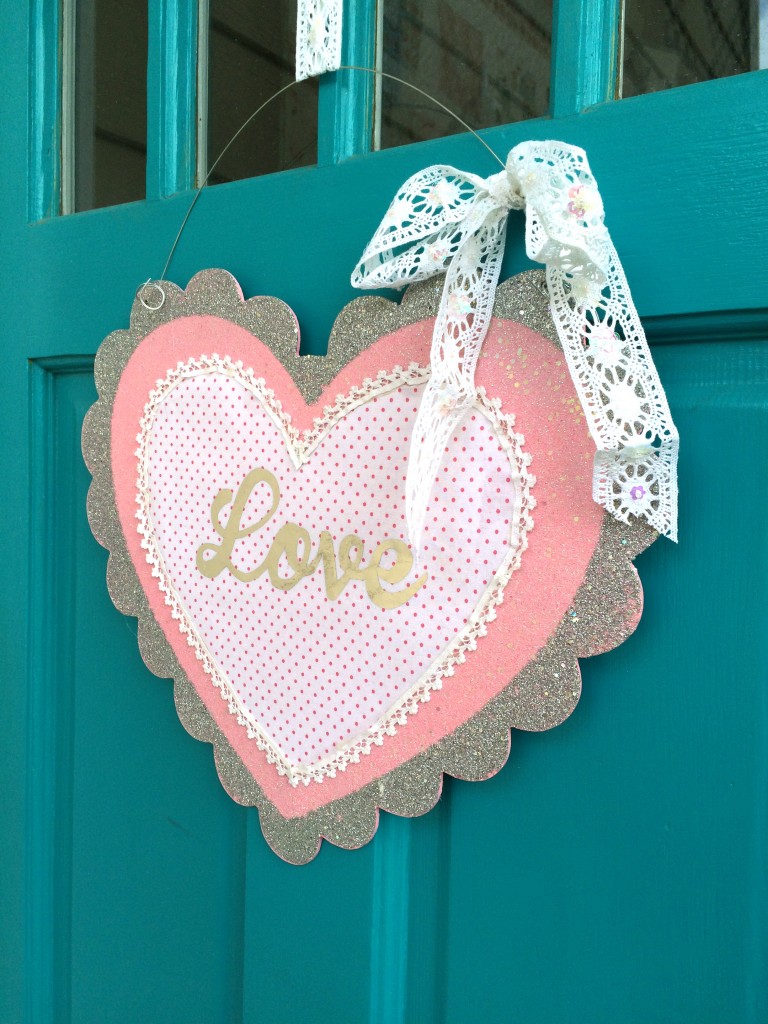
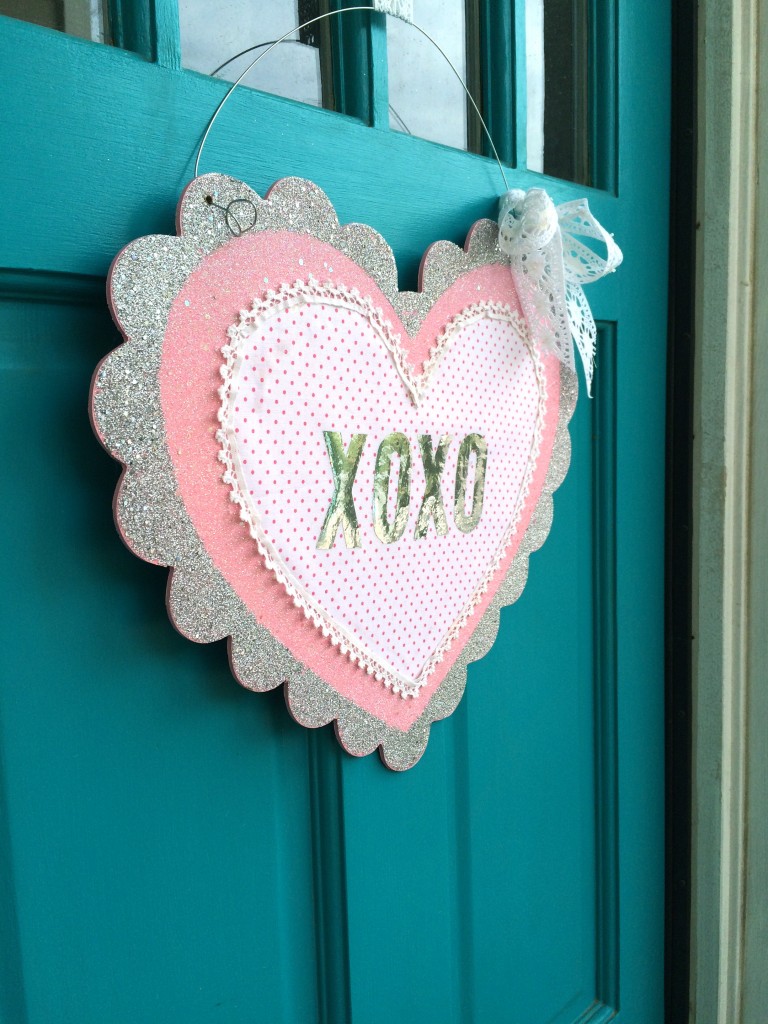
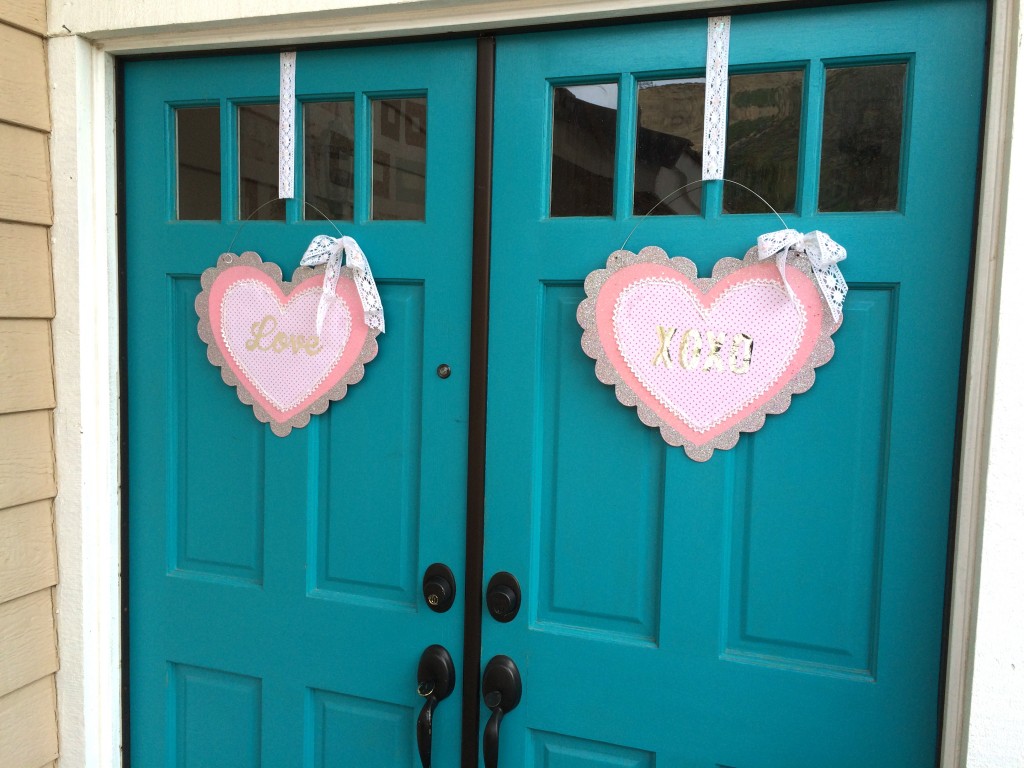
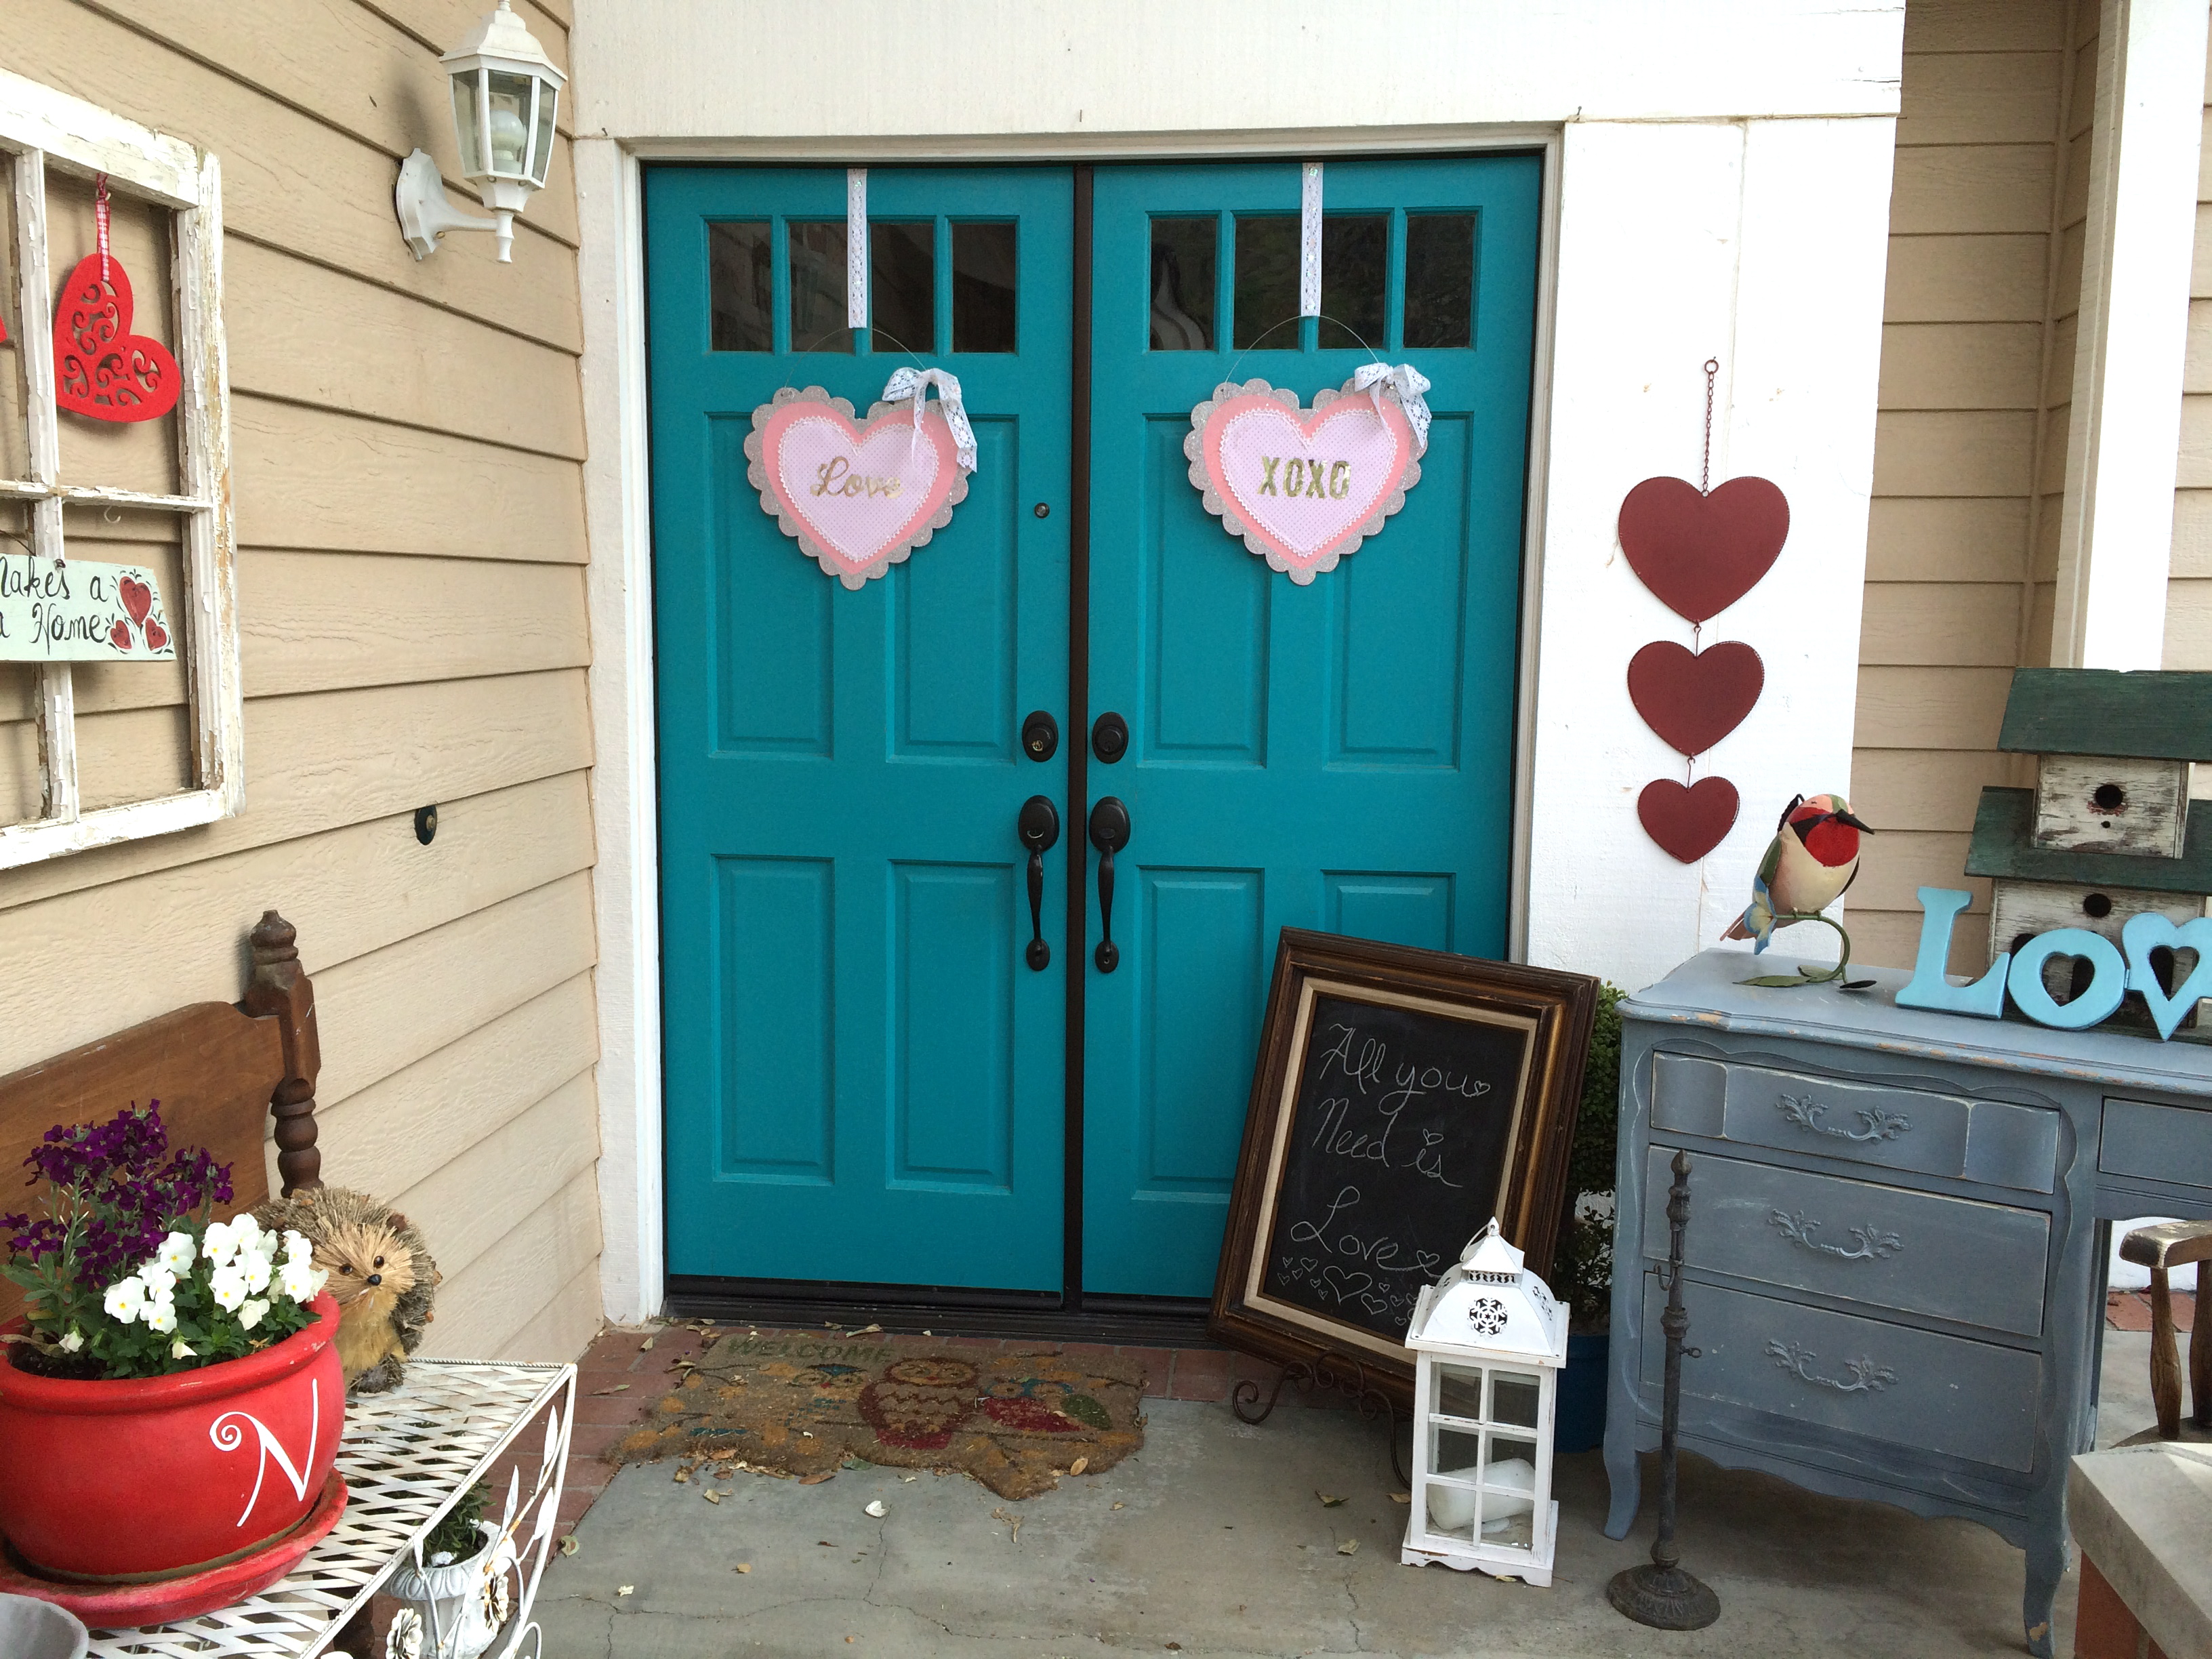
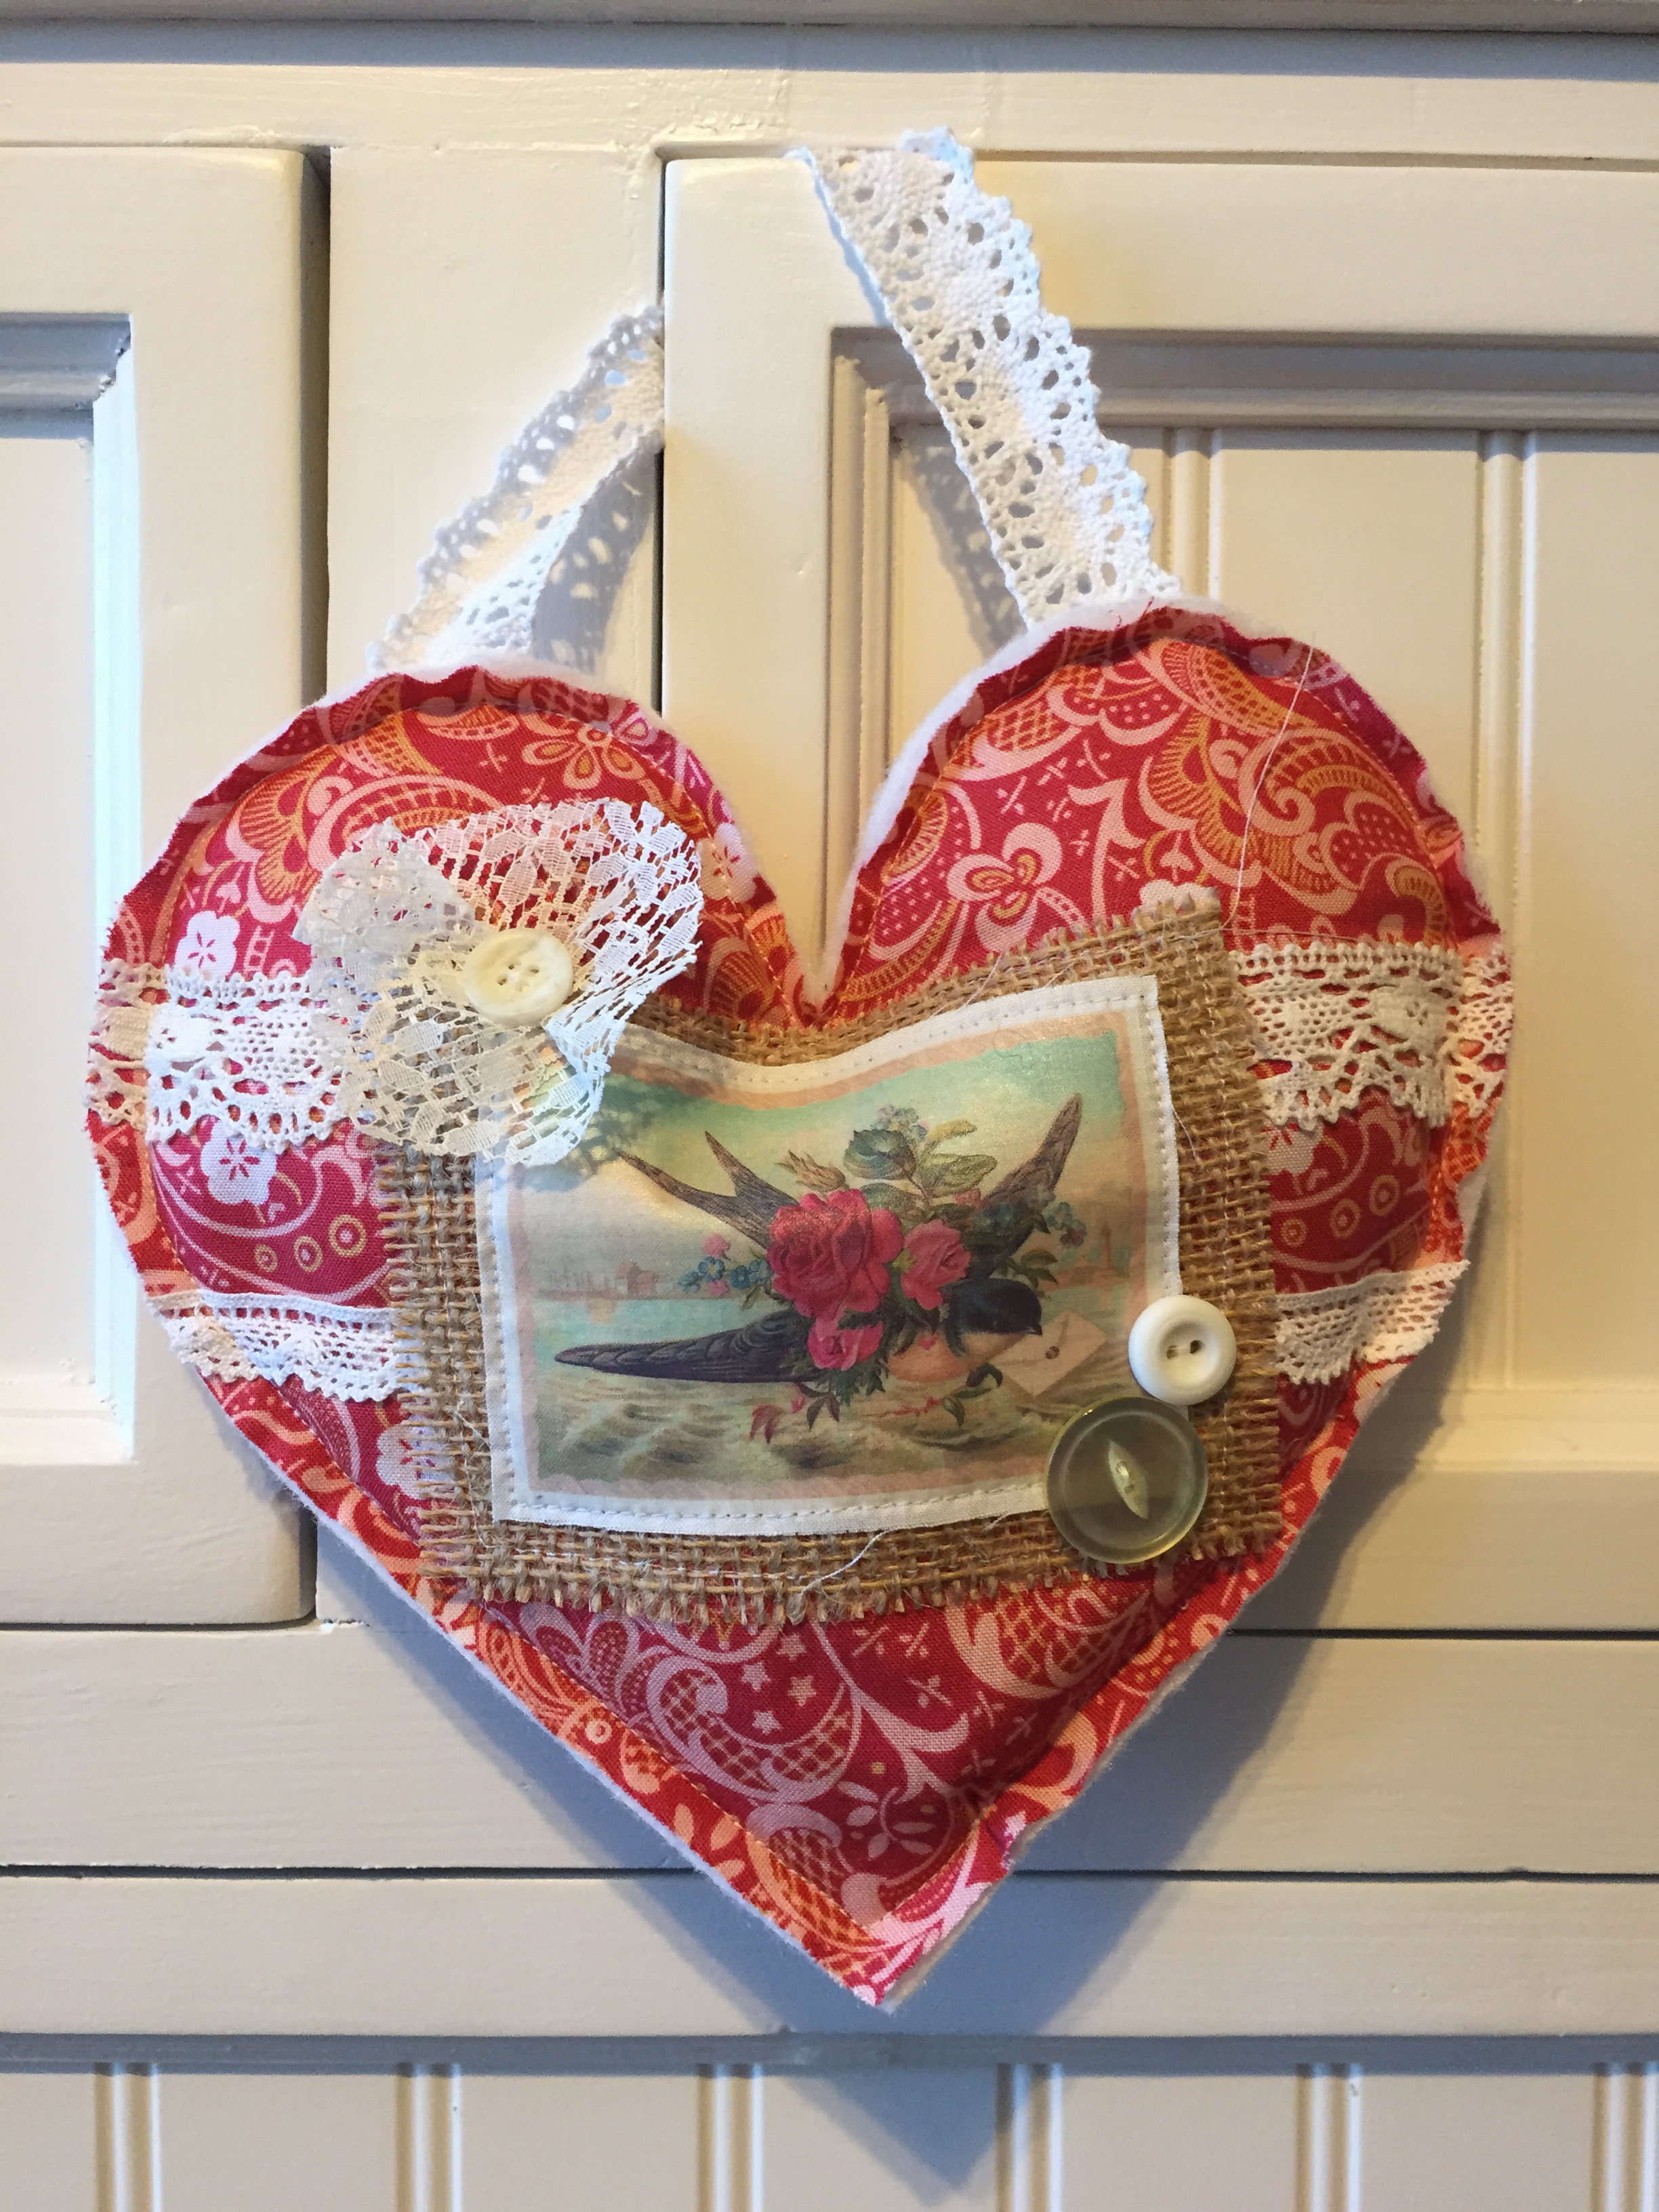
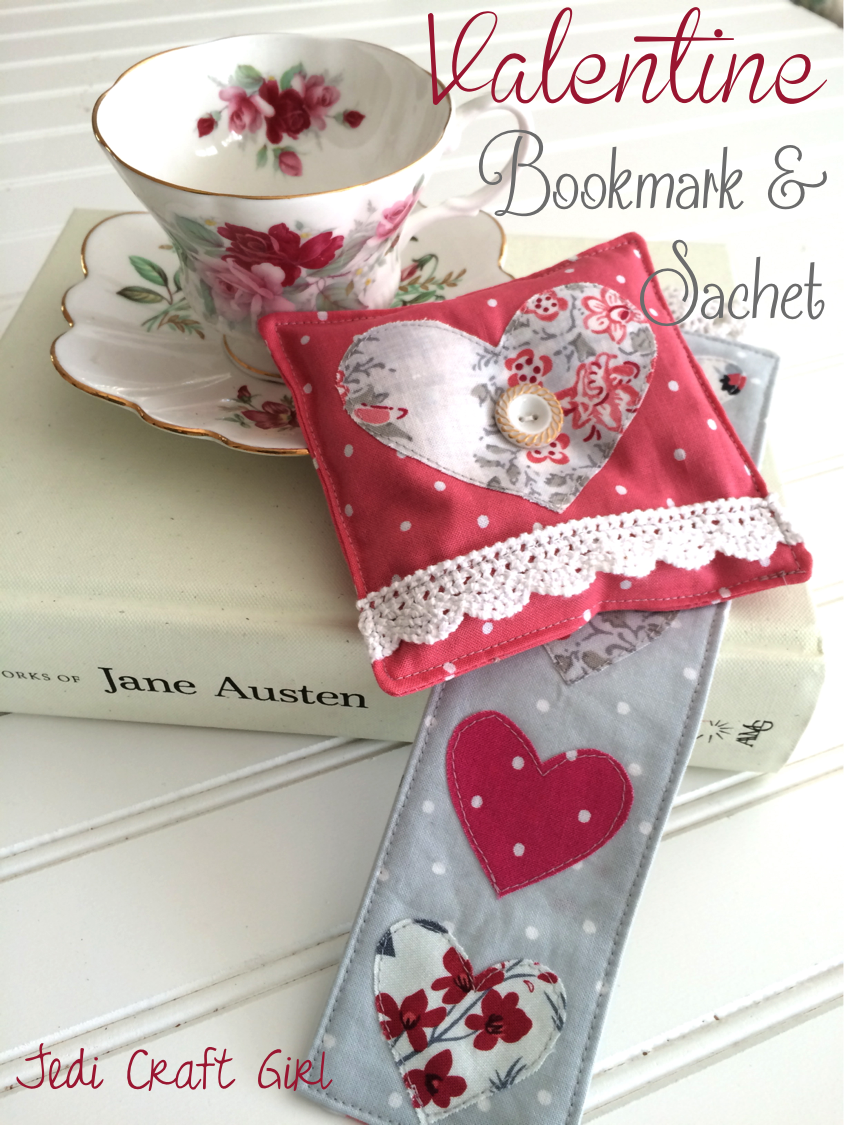
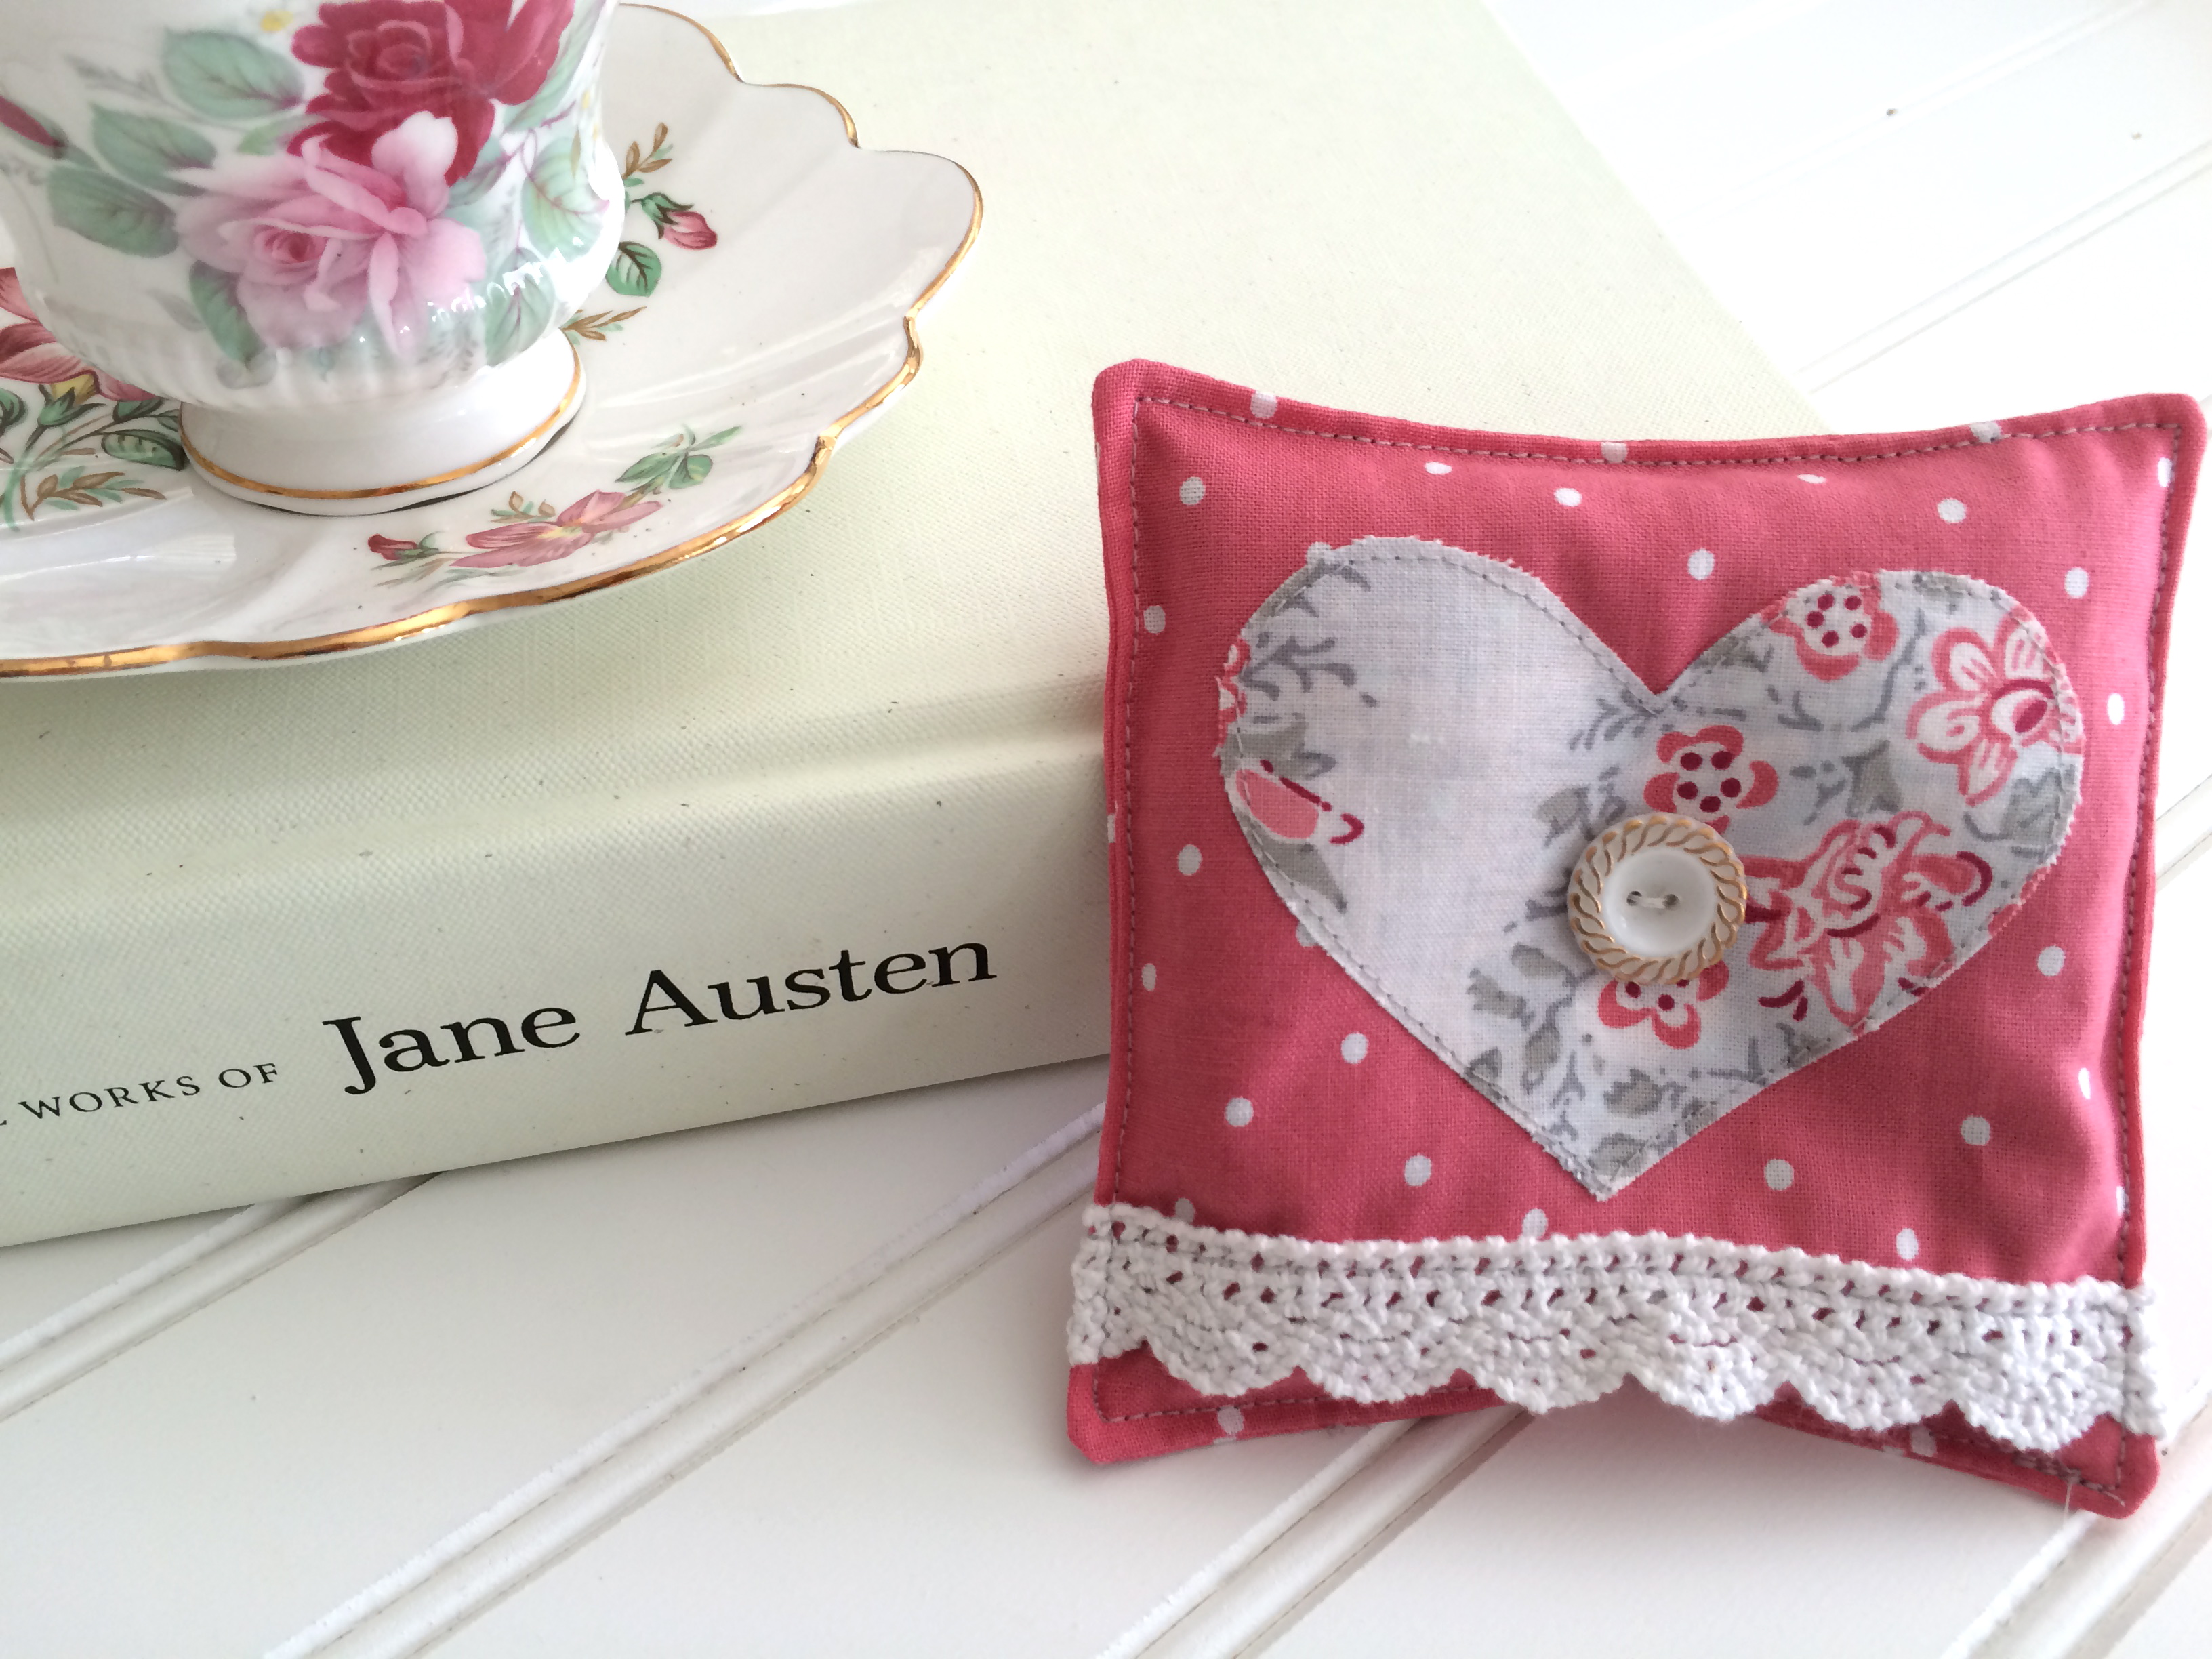
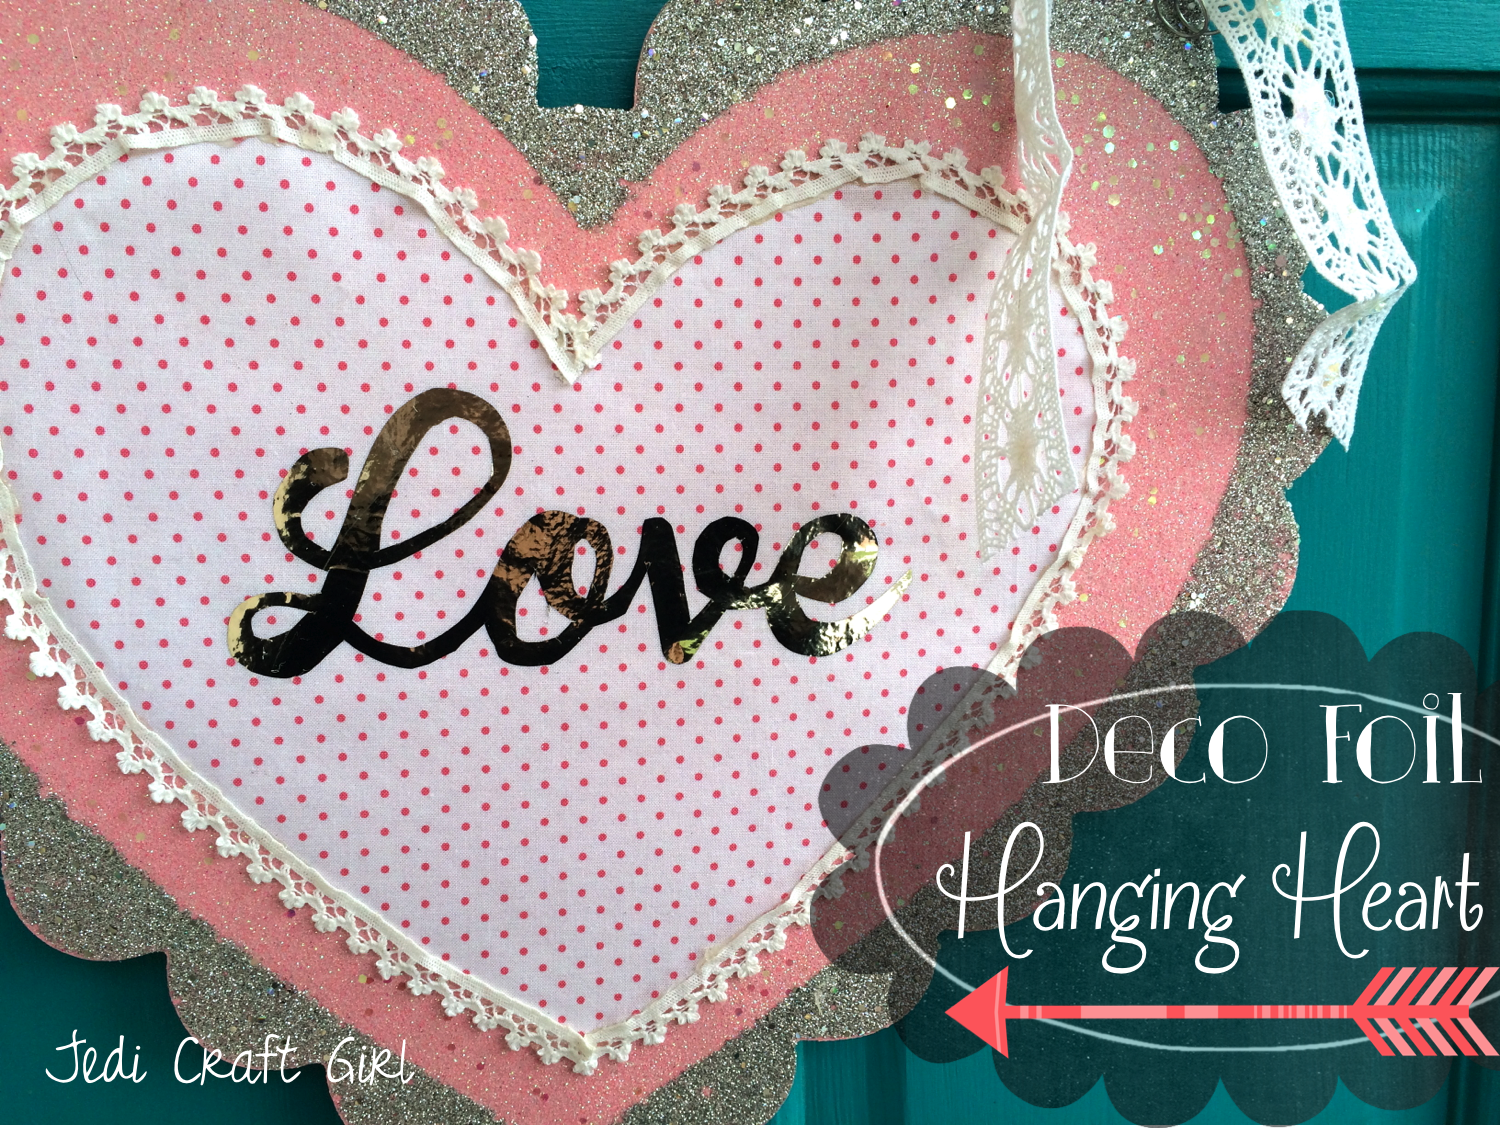
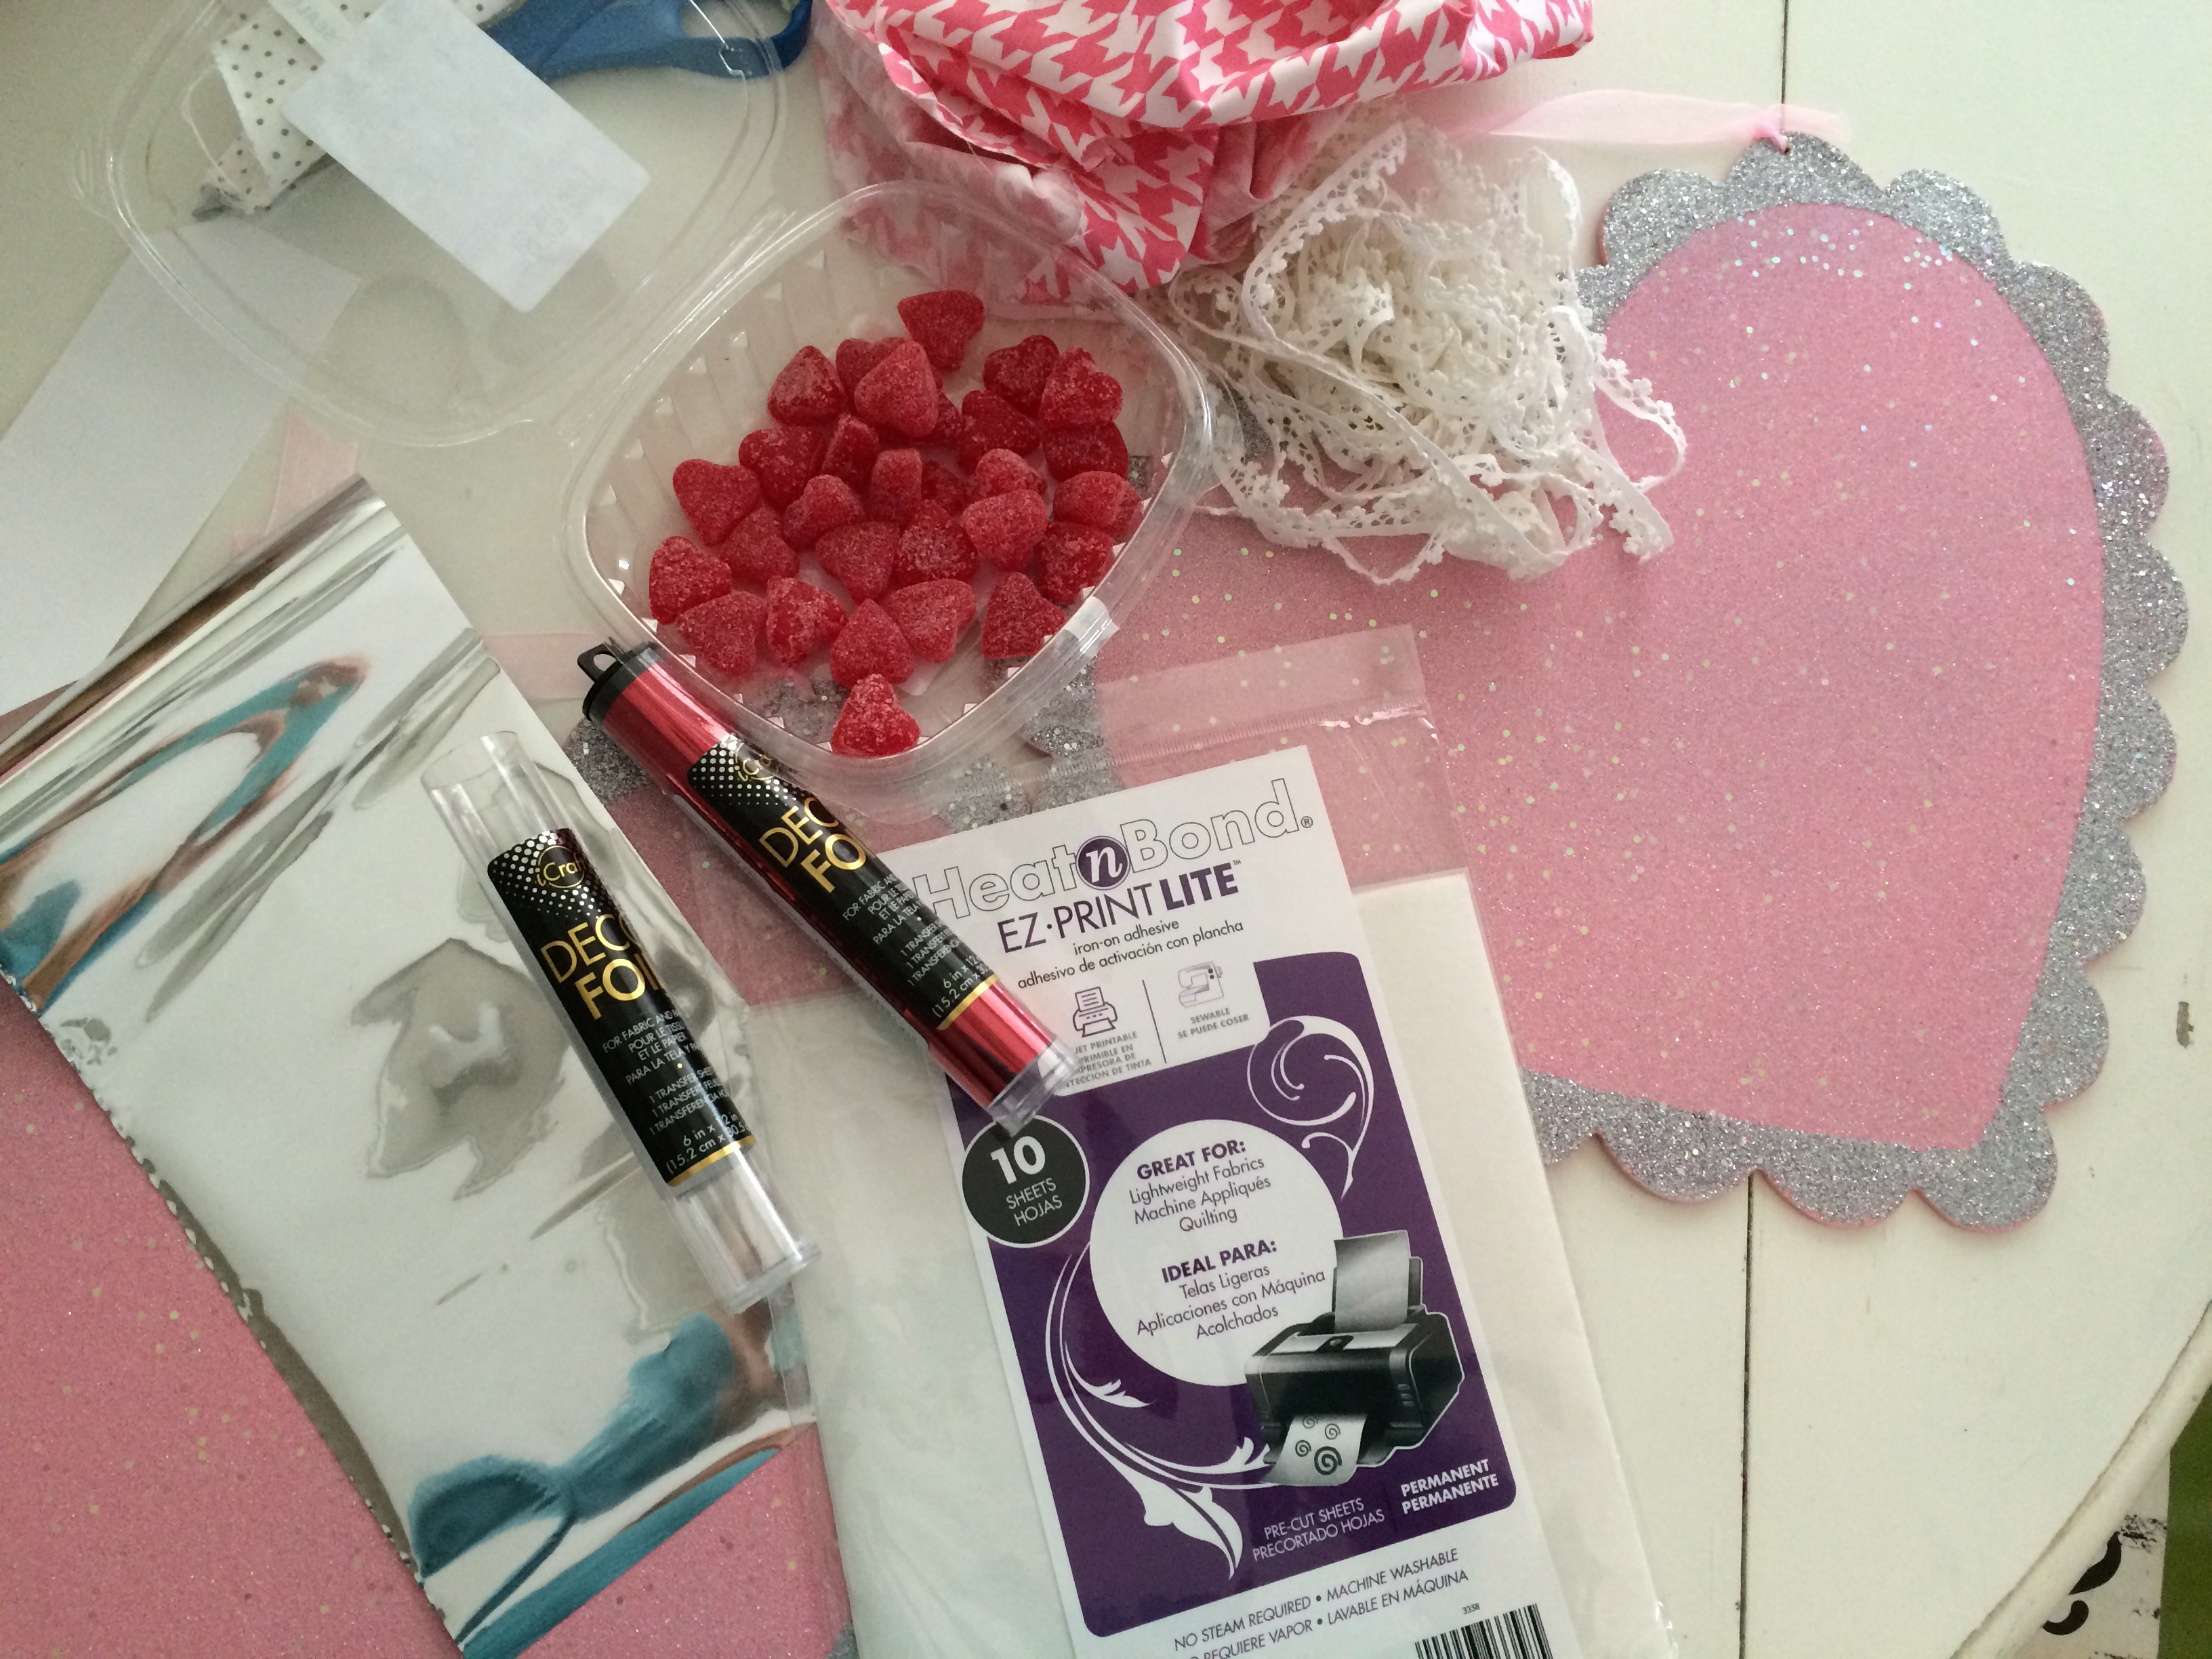
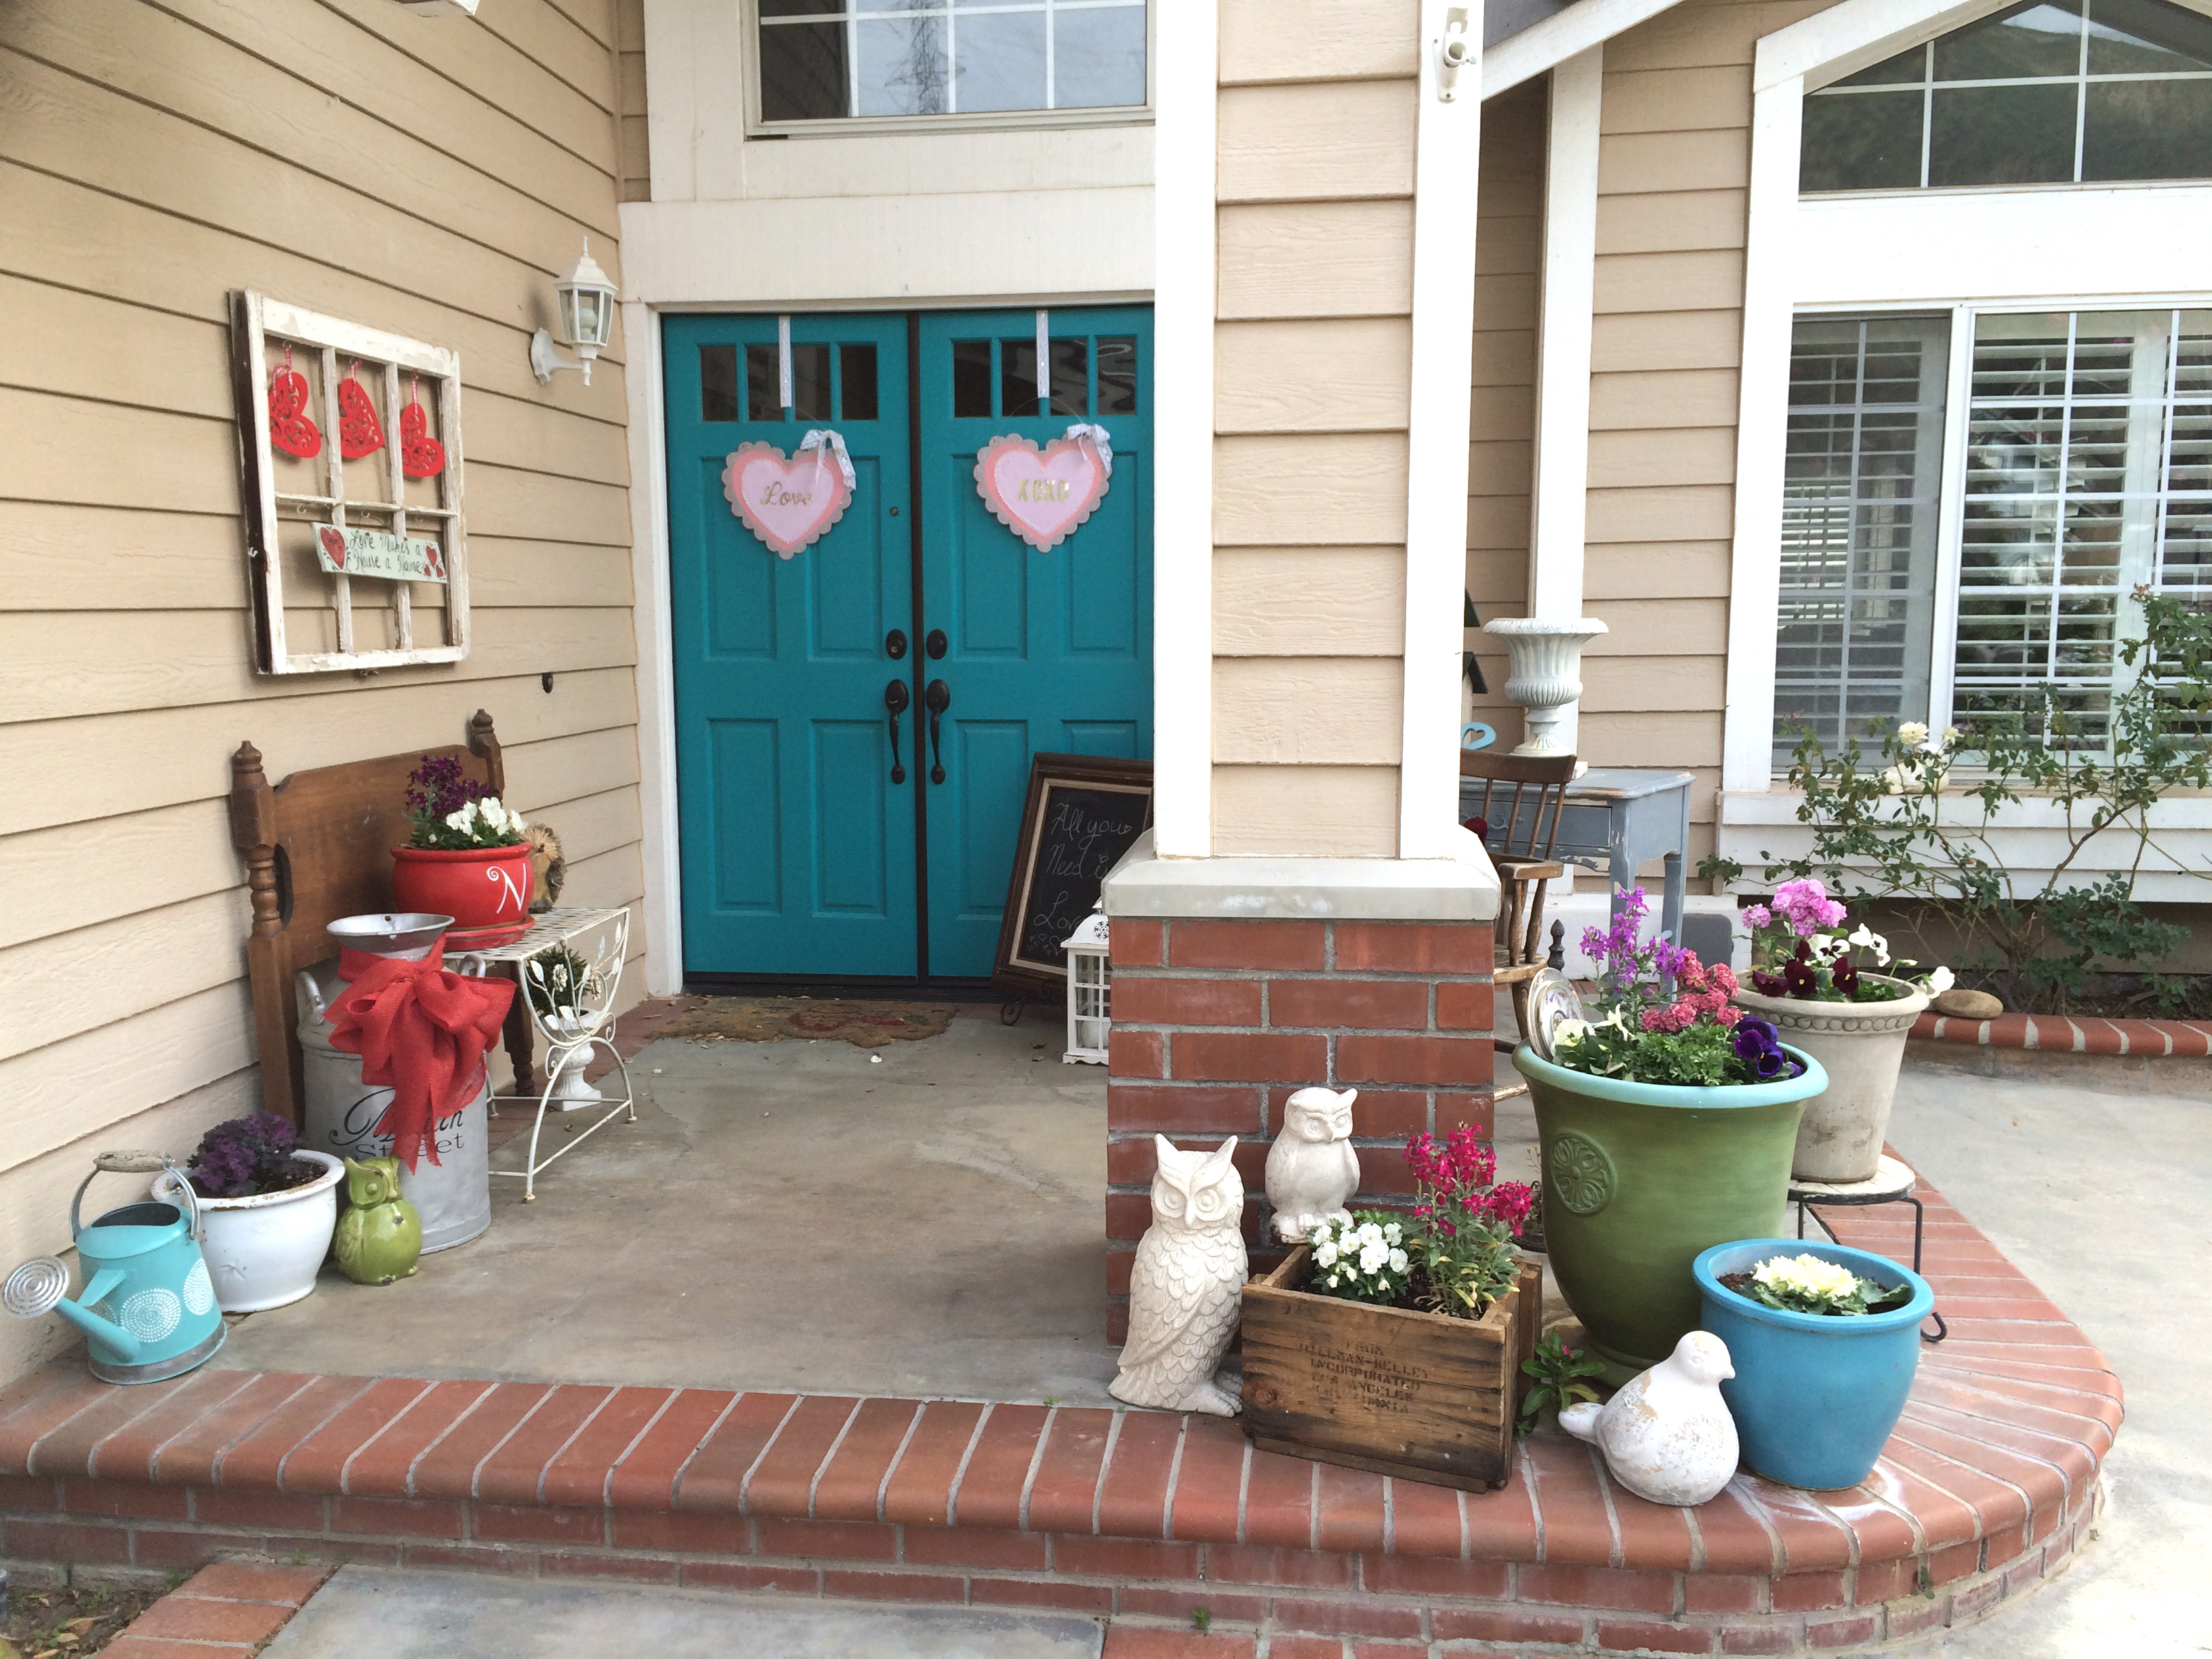
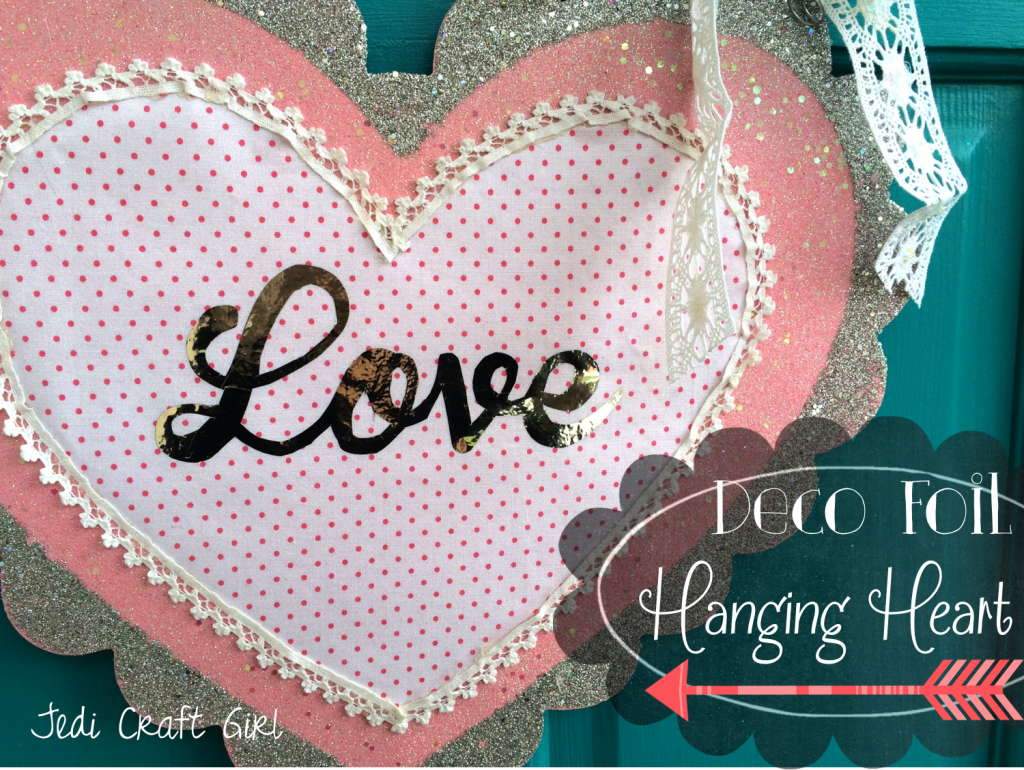 I didn’t quite know what to hang on my front doors this Valentine’s Day season. Do any of you have the problem of having 2 front doors? It’s always a delllama, do I hang just one item on the door we use, leaving the other one bare? Do I hang two of the same thing? Two different things? If I hang 2 wreaths, does it look like my doors have eyes? I came across these sparkly scalloped wood heart hangers at the craft store and I thought they might solve my front door problem. They were just screaming for some embellishment, don’t you think? I ran around the house, gathering items that might be cute all while eating cinnamon gummy hearts (highly addictive). If you don’t have wood heart hangers like these, you can add this heart to a pillow, a frame, or pretty much anything! Here goes!!
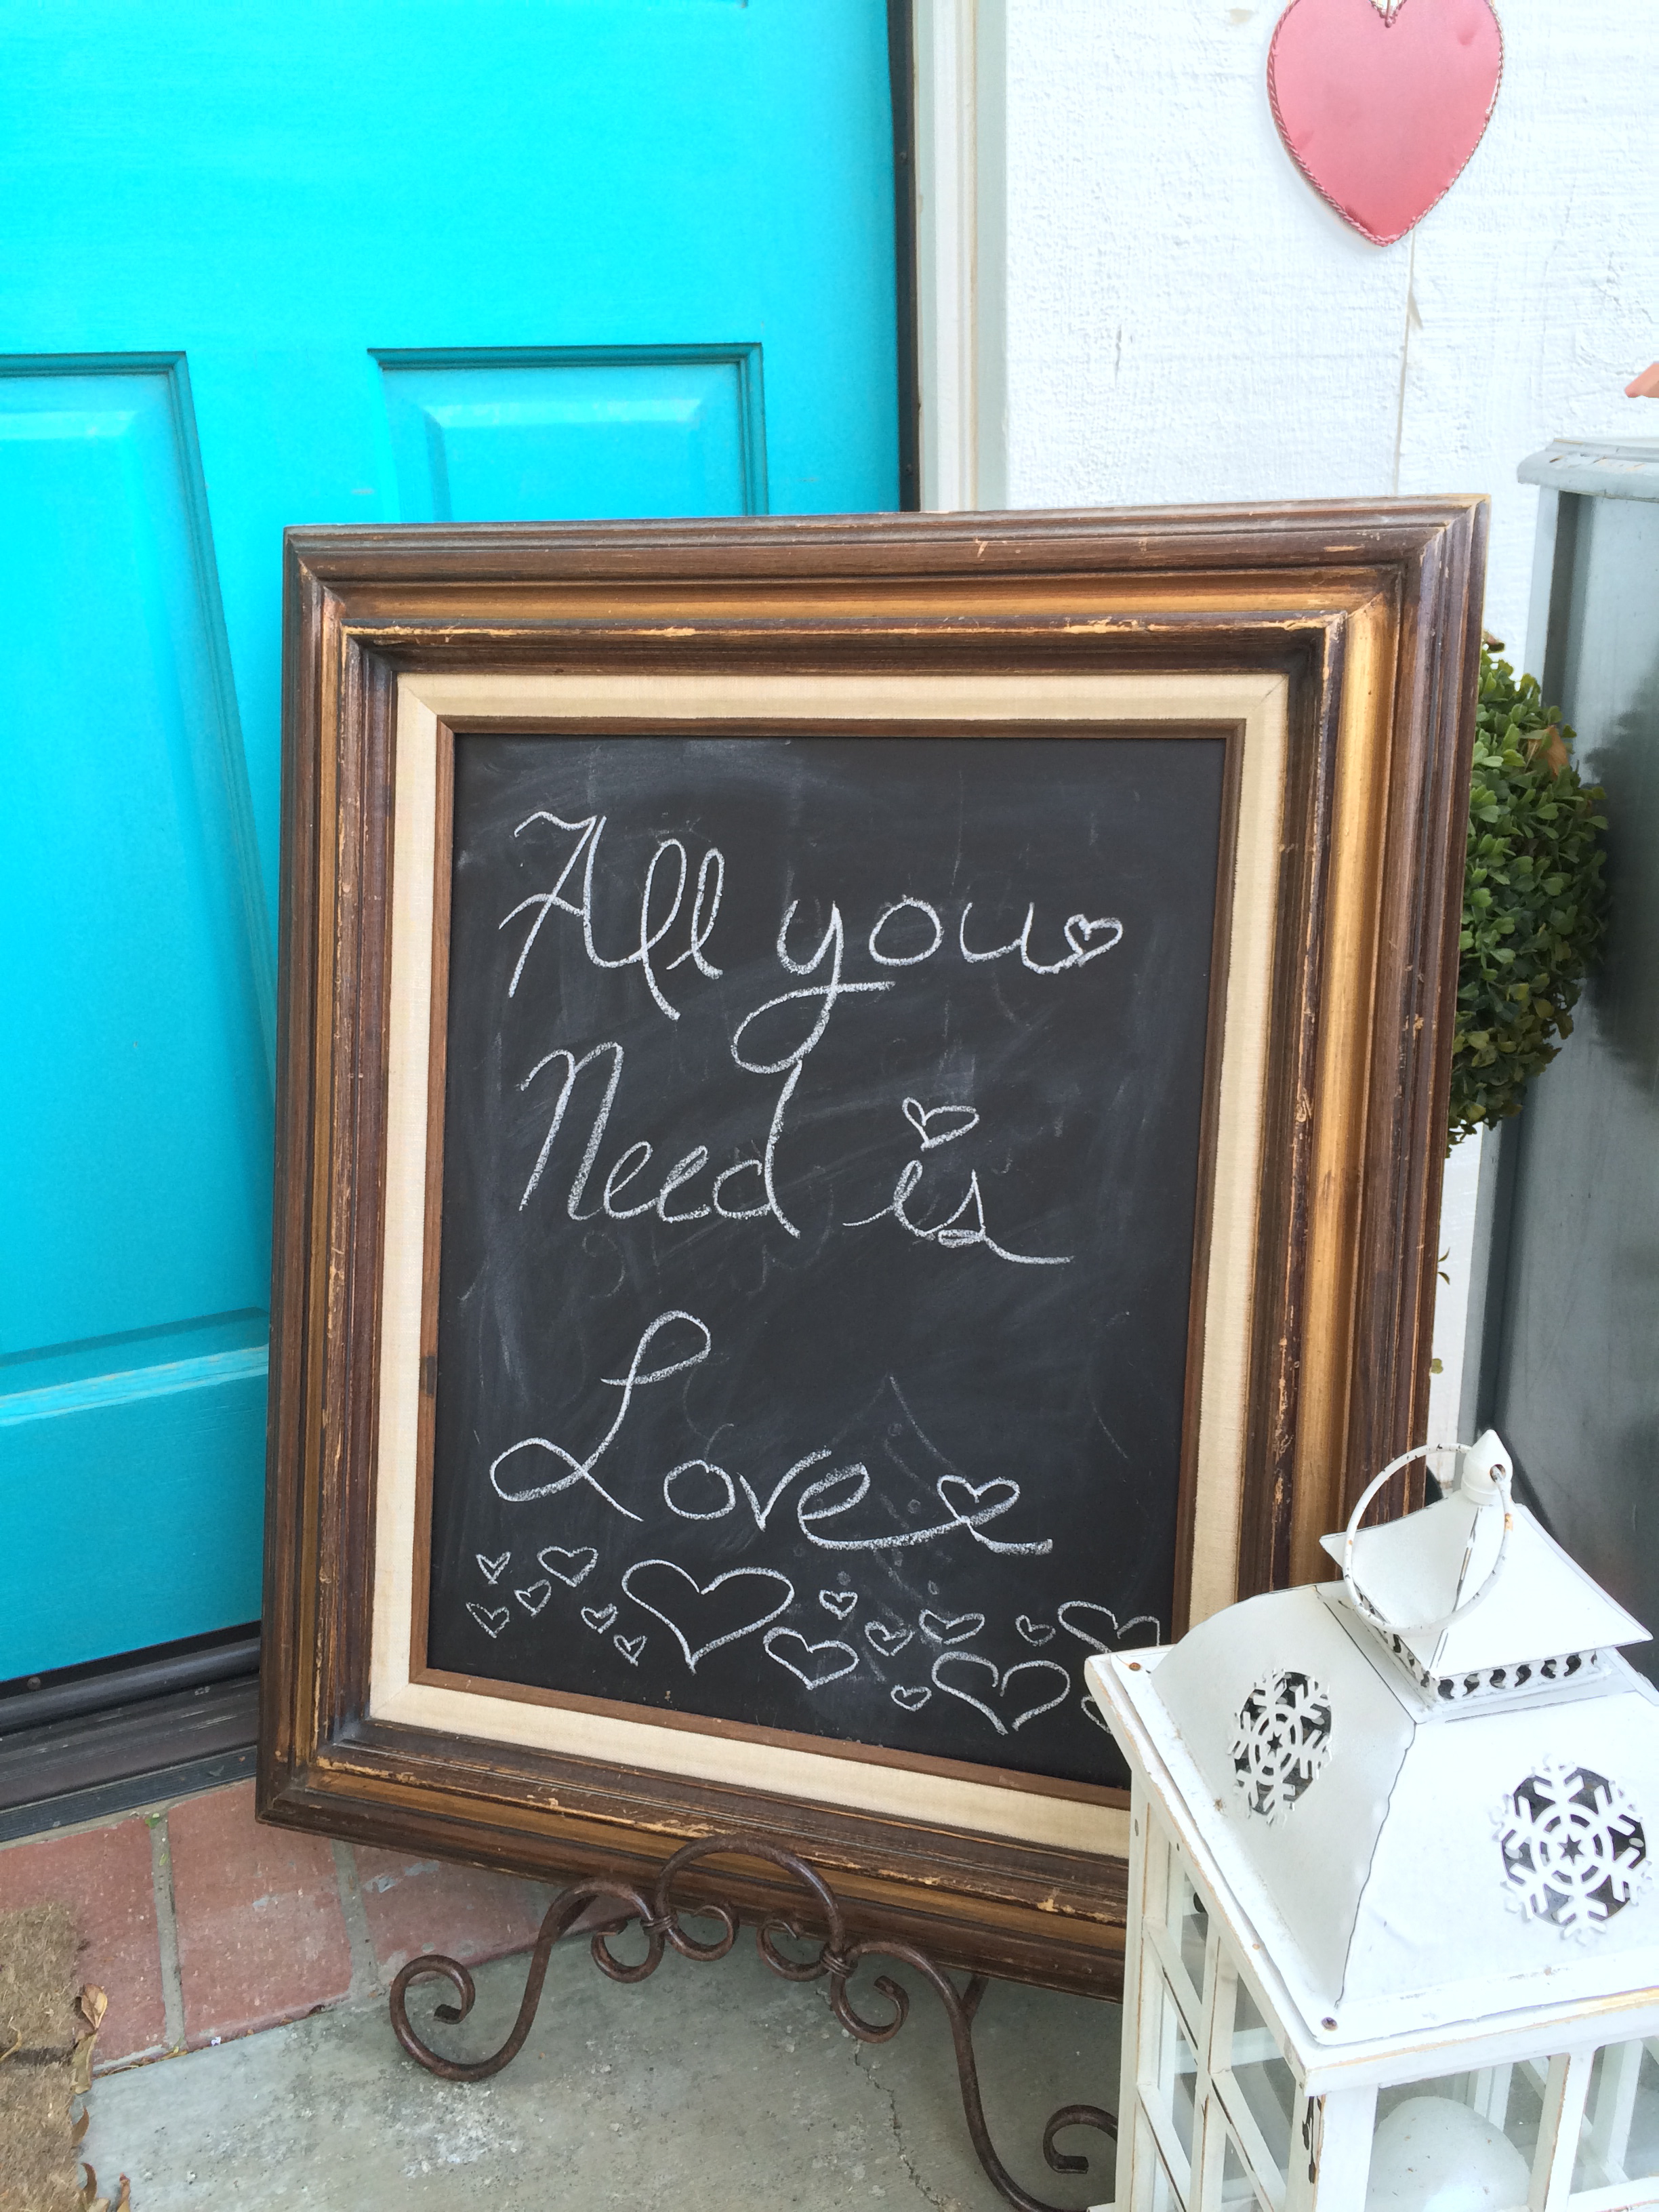


