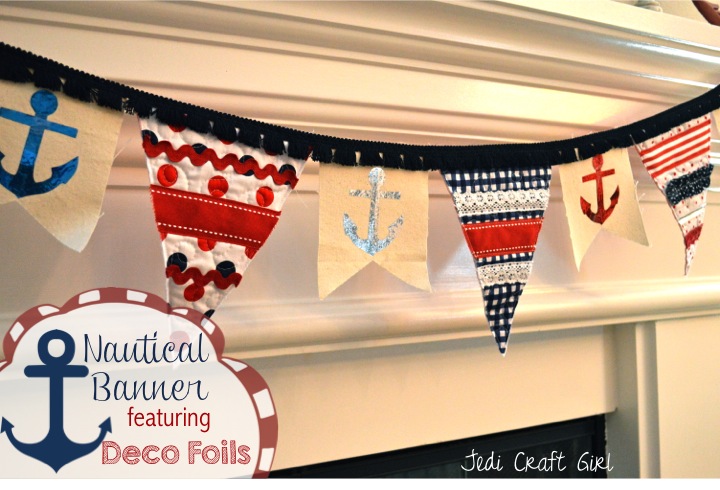
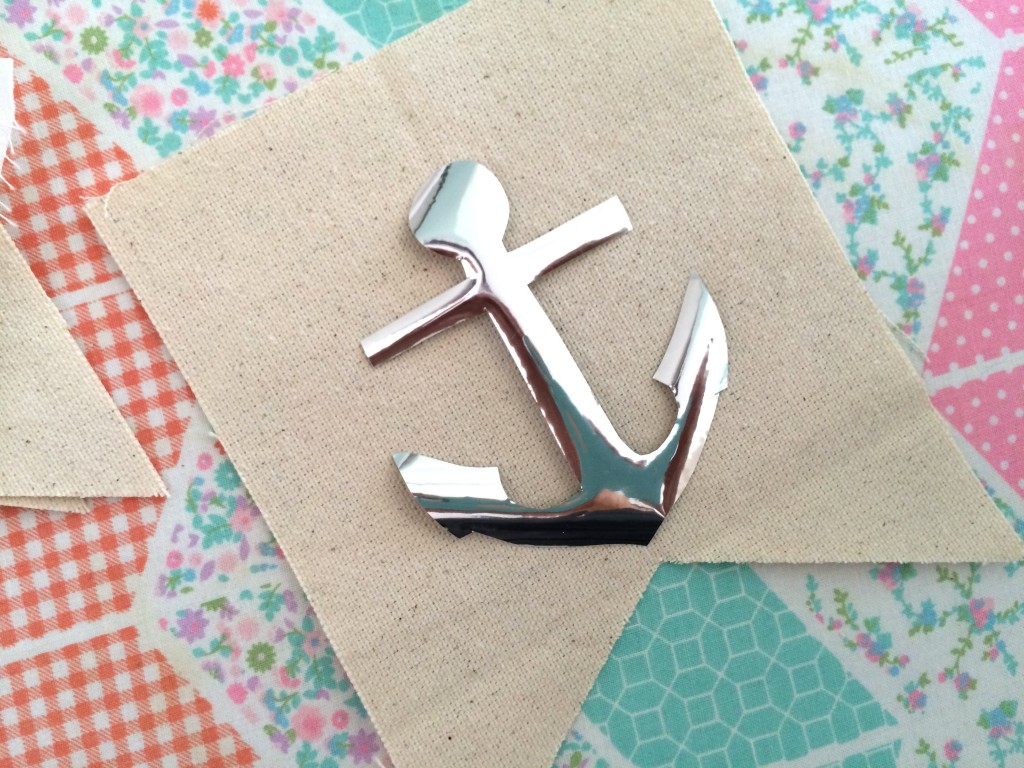
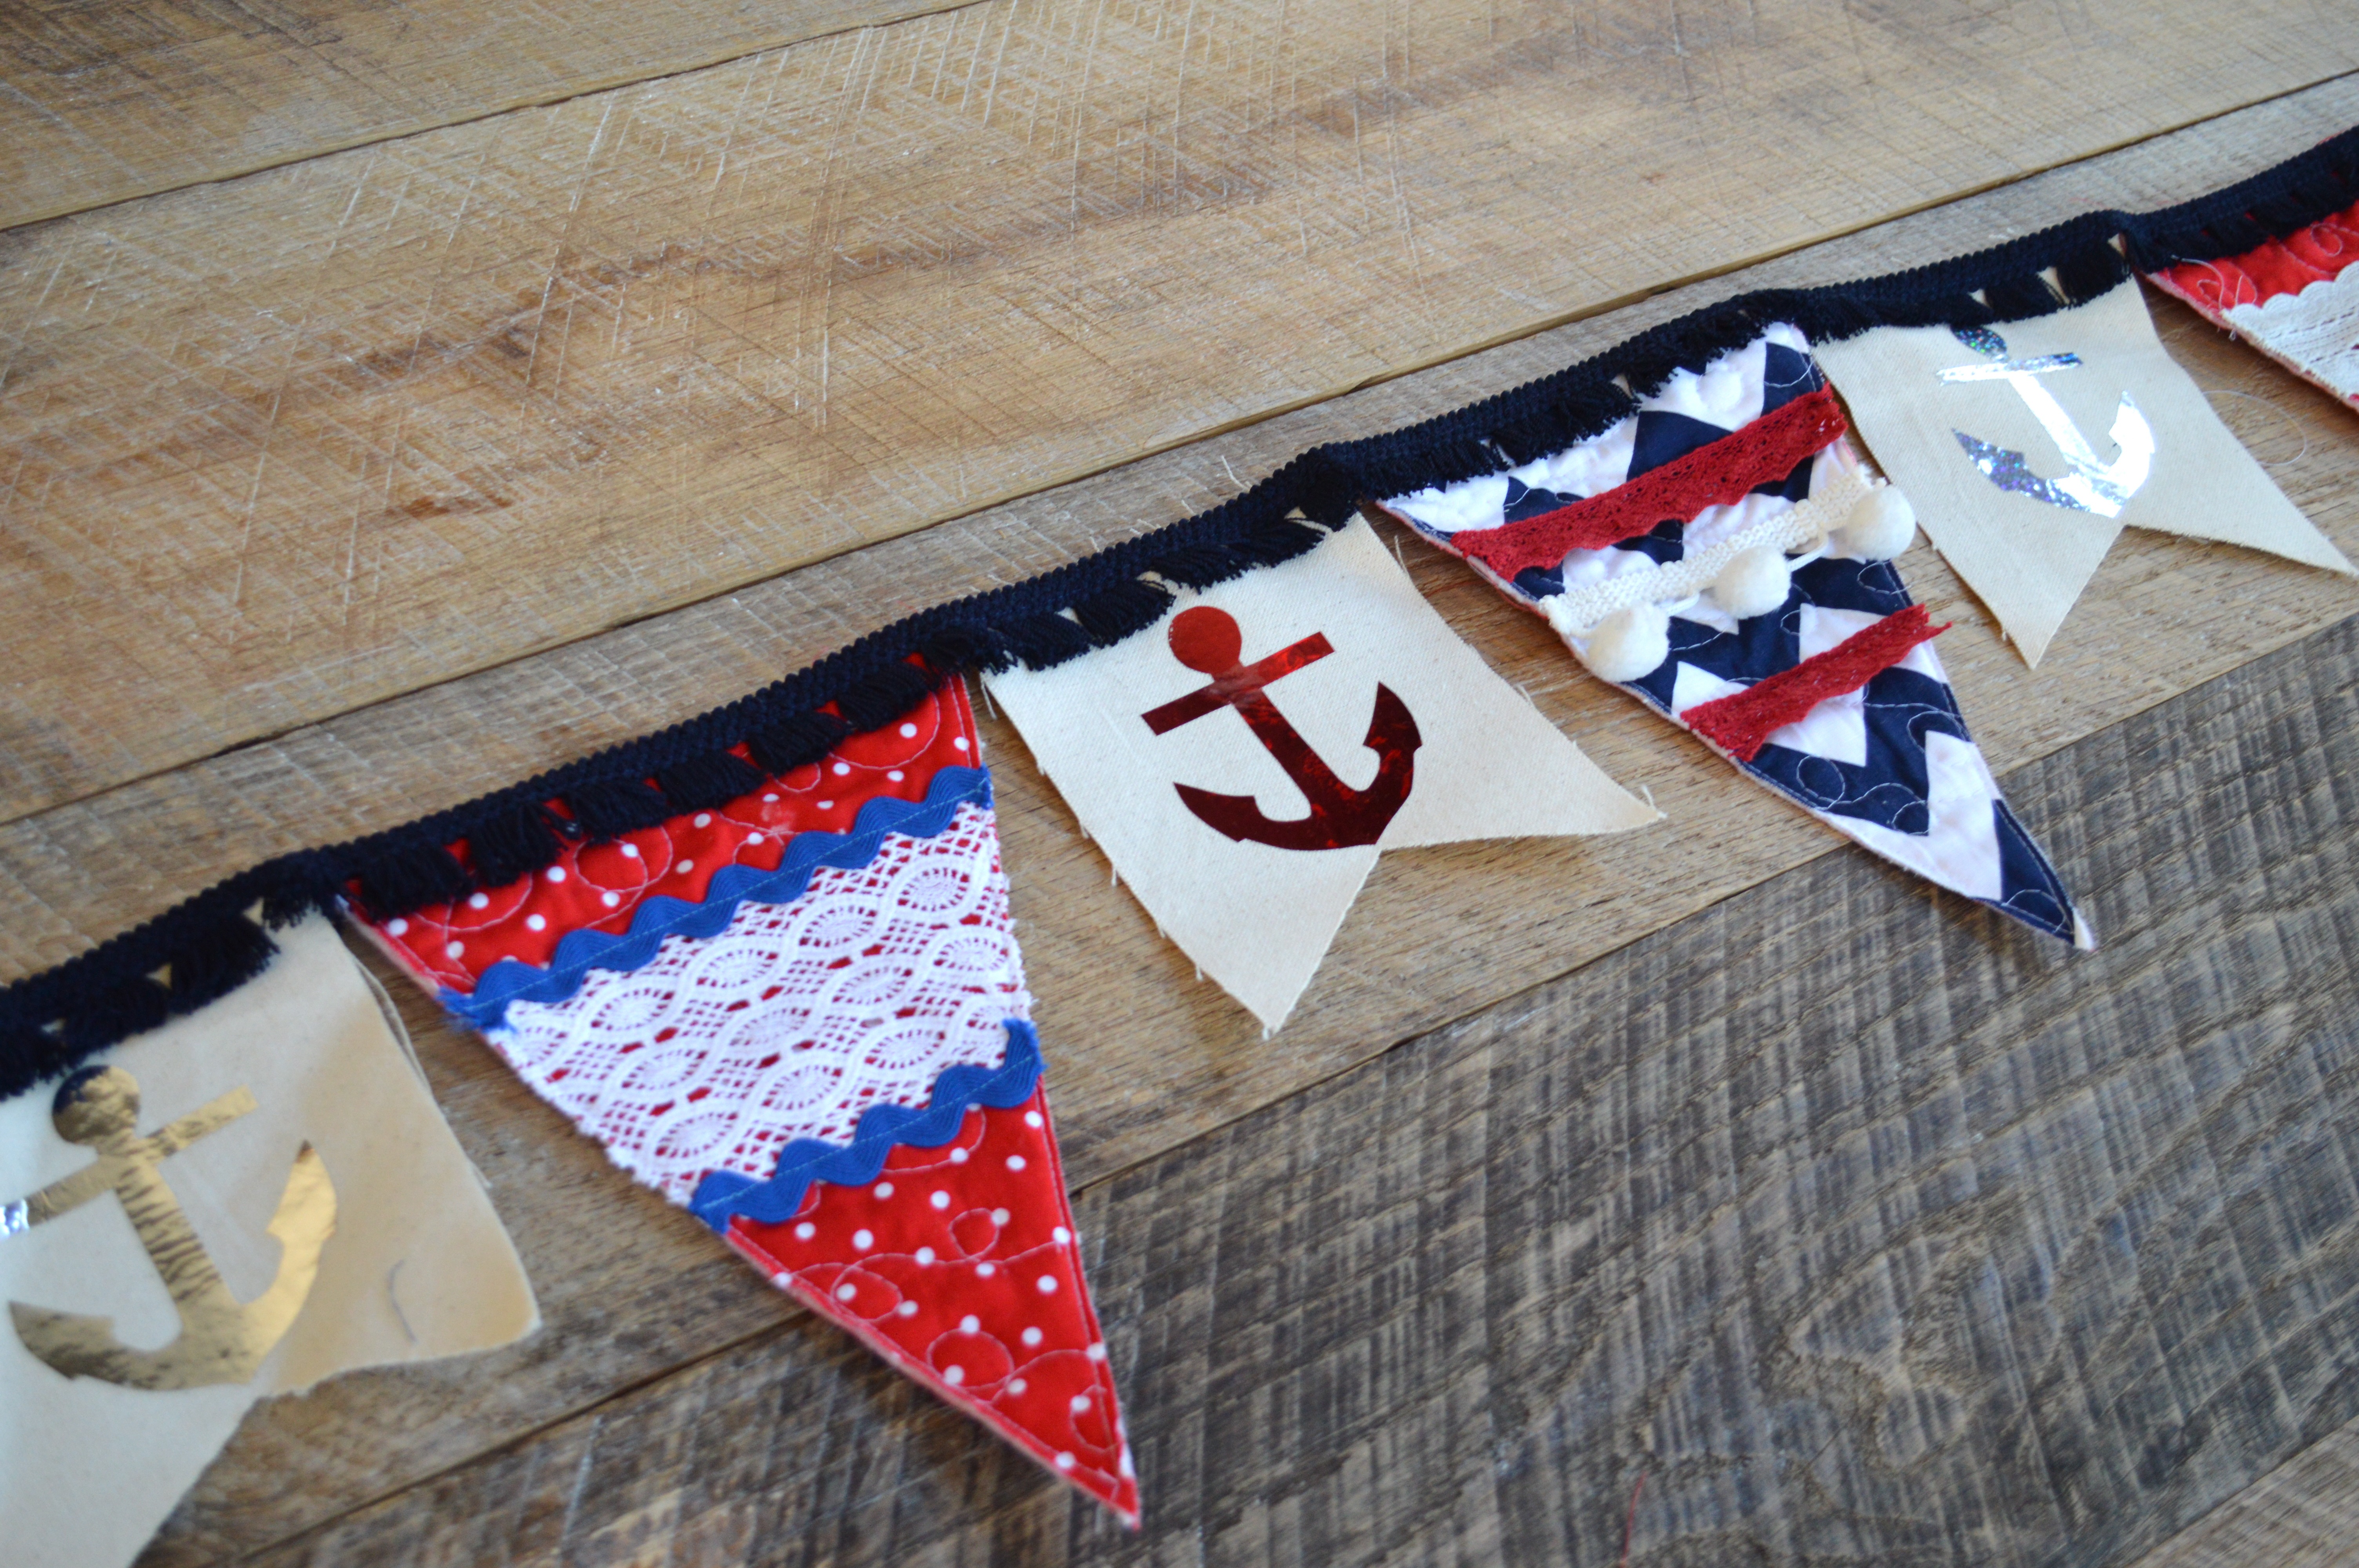
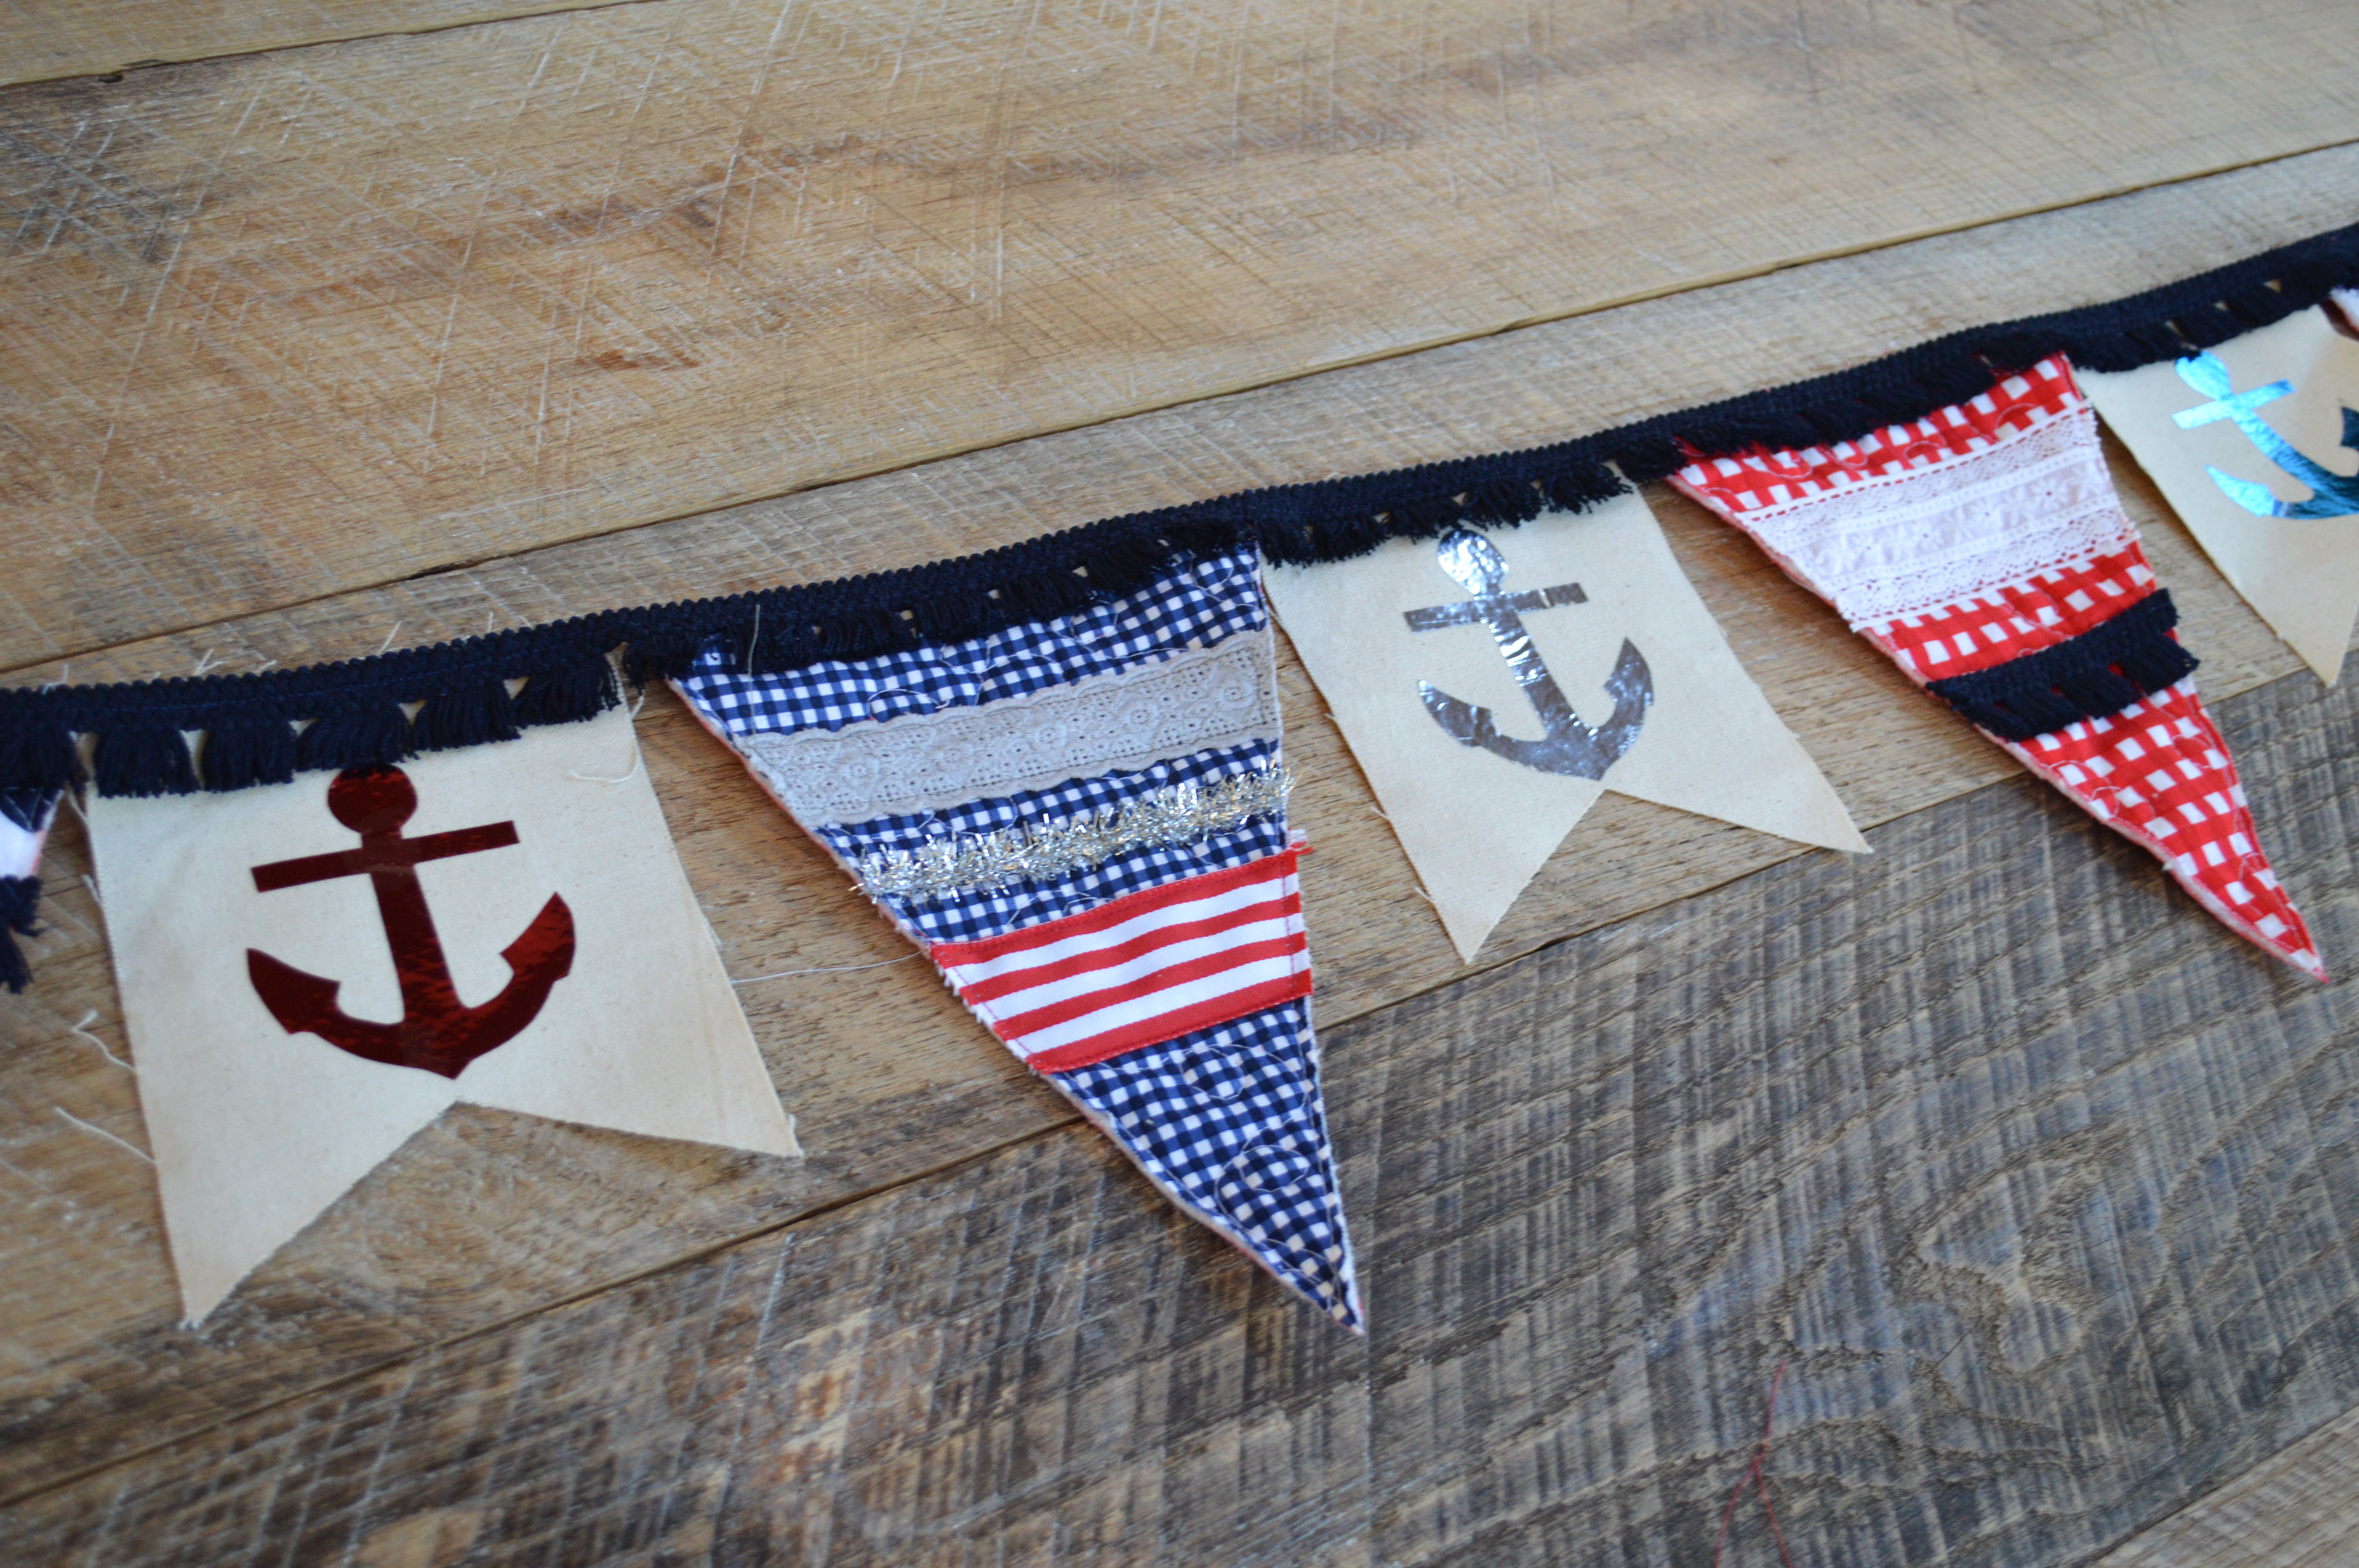
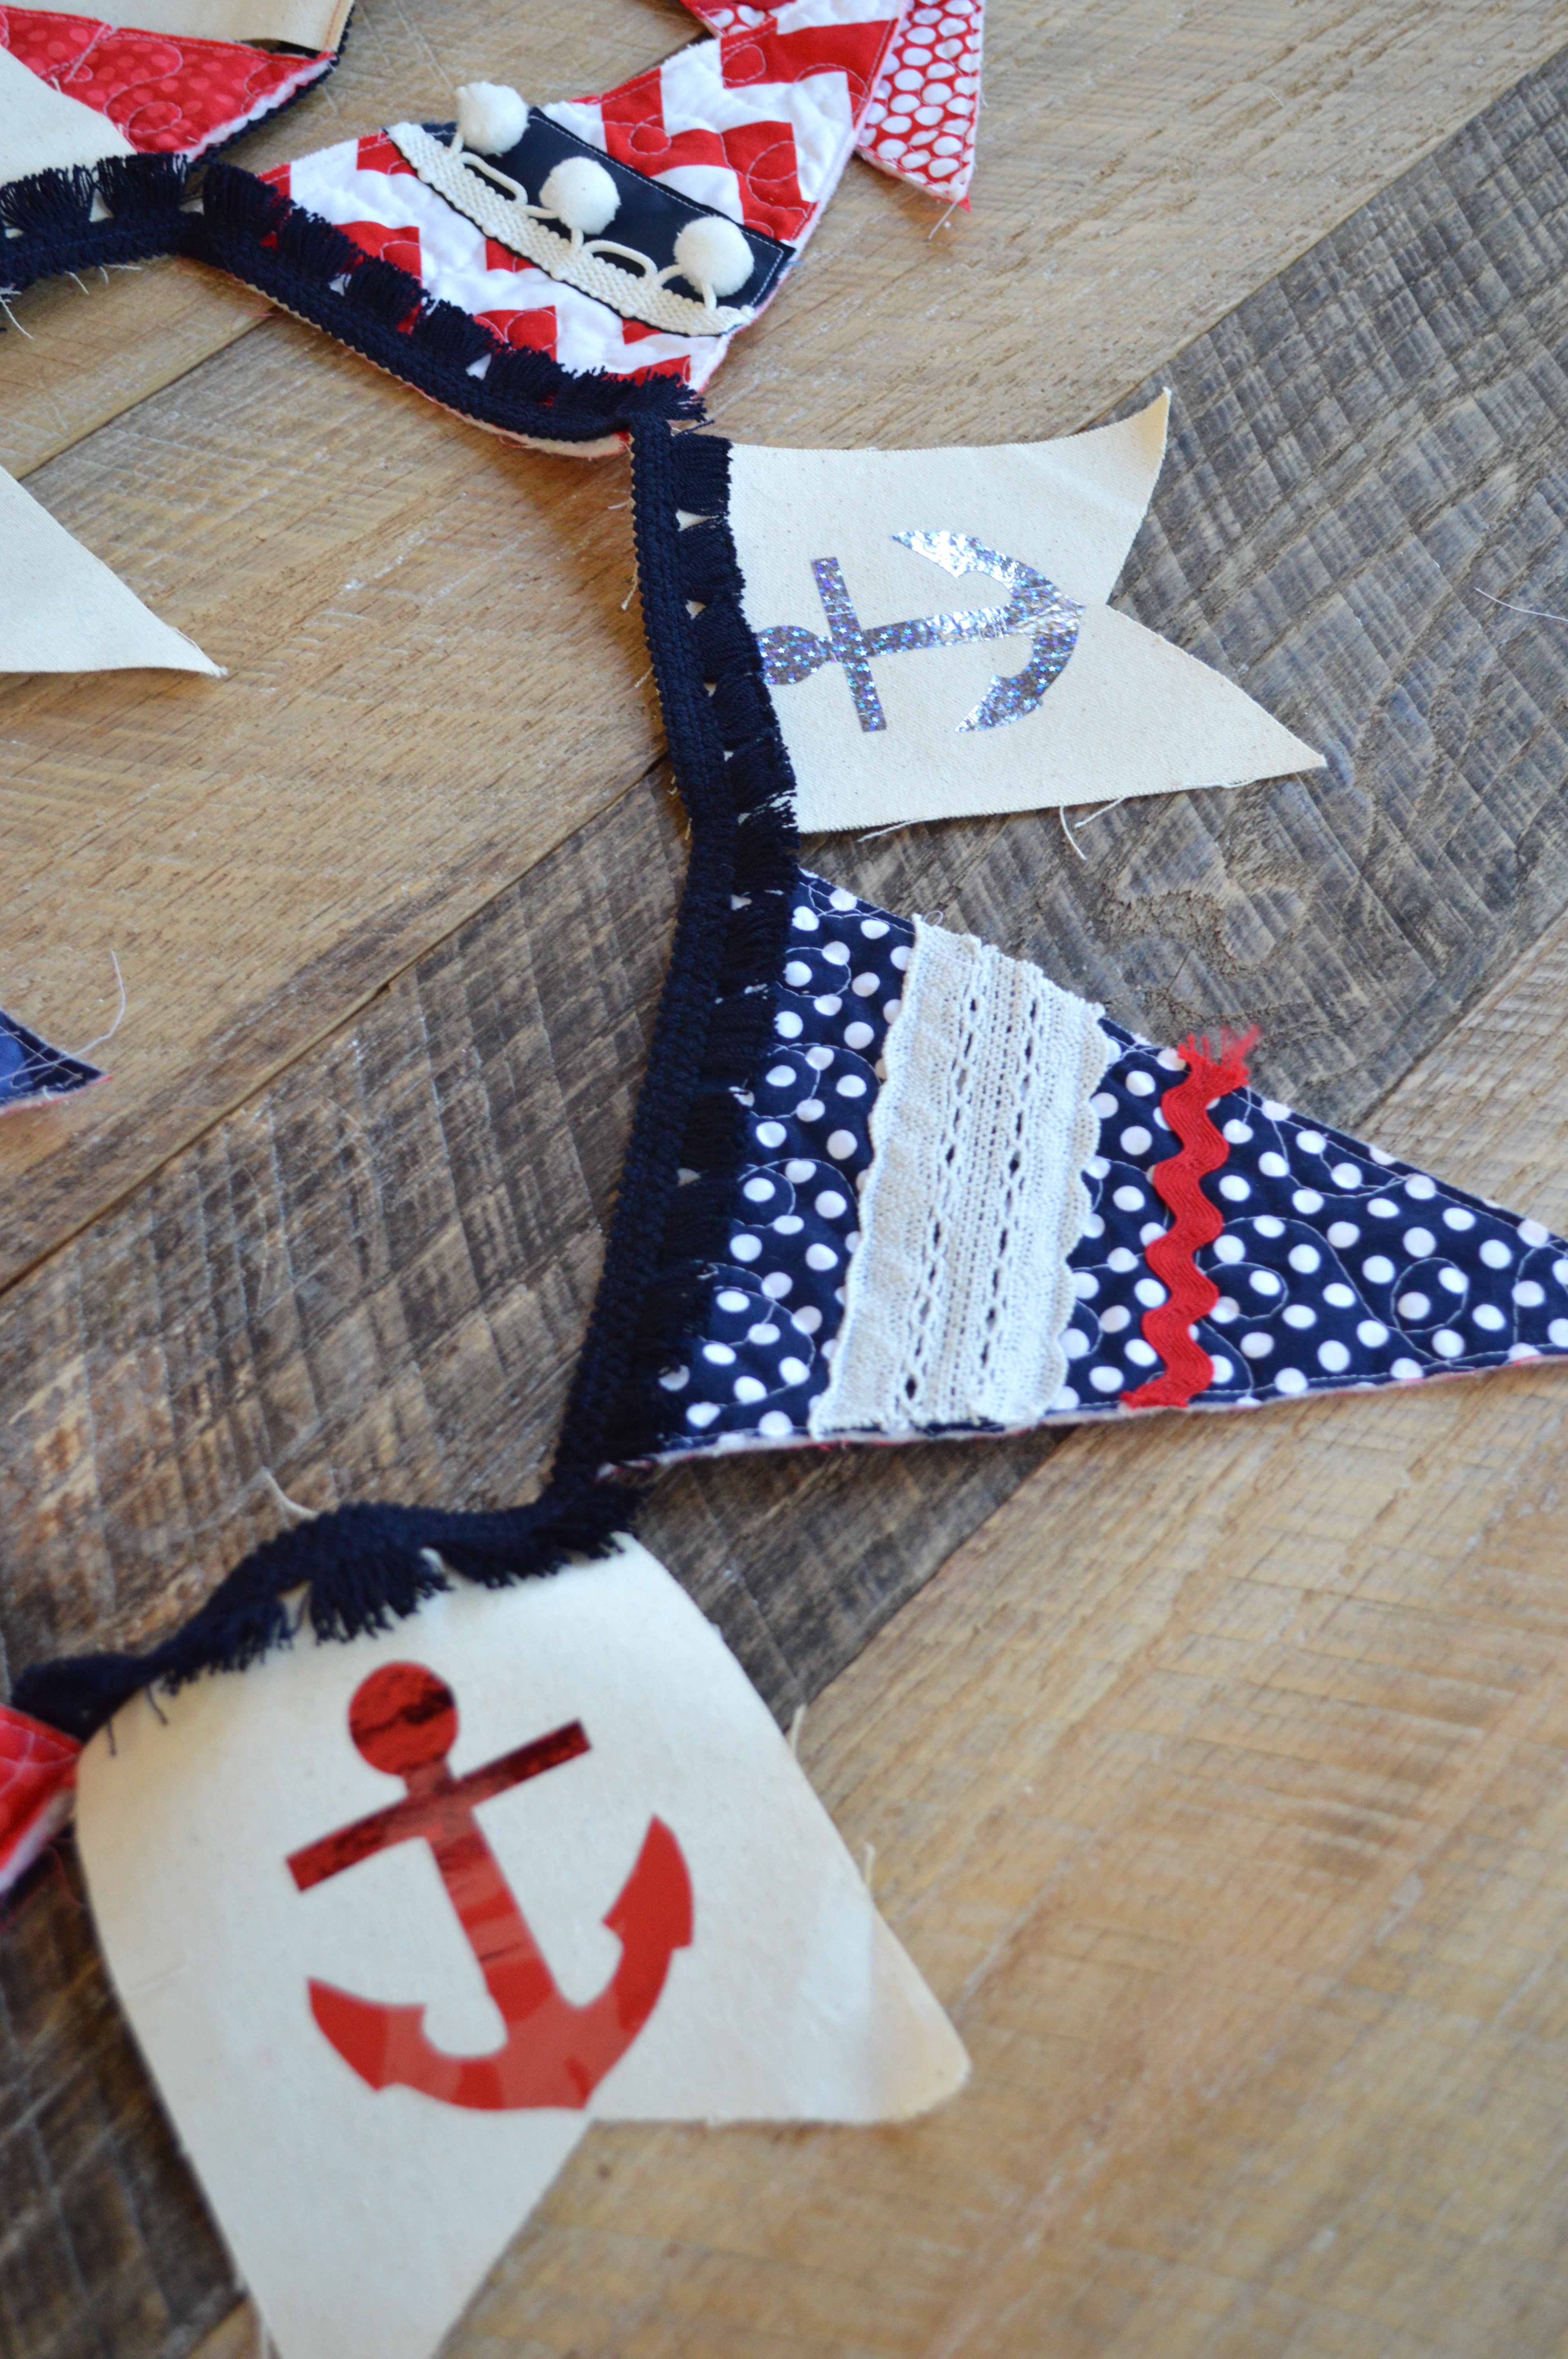
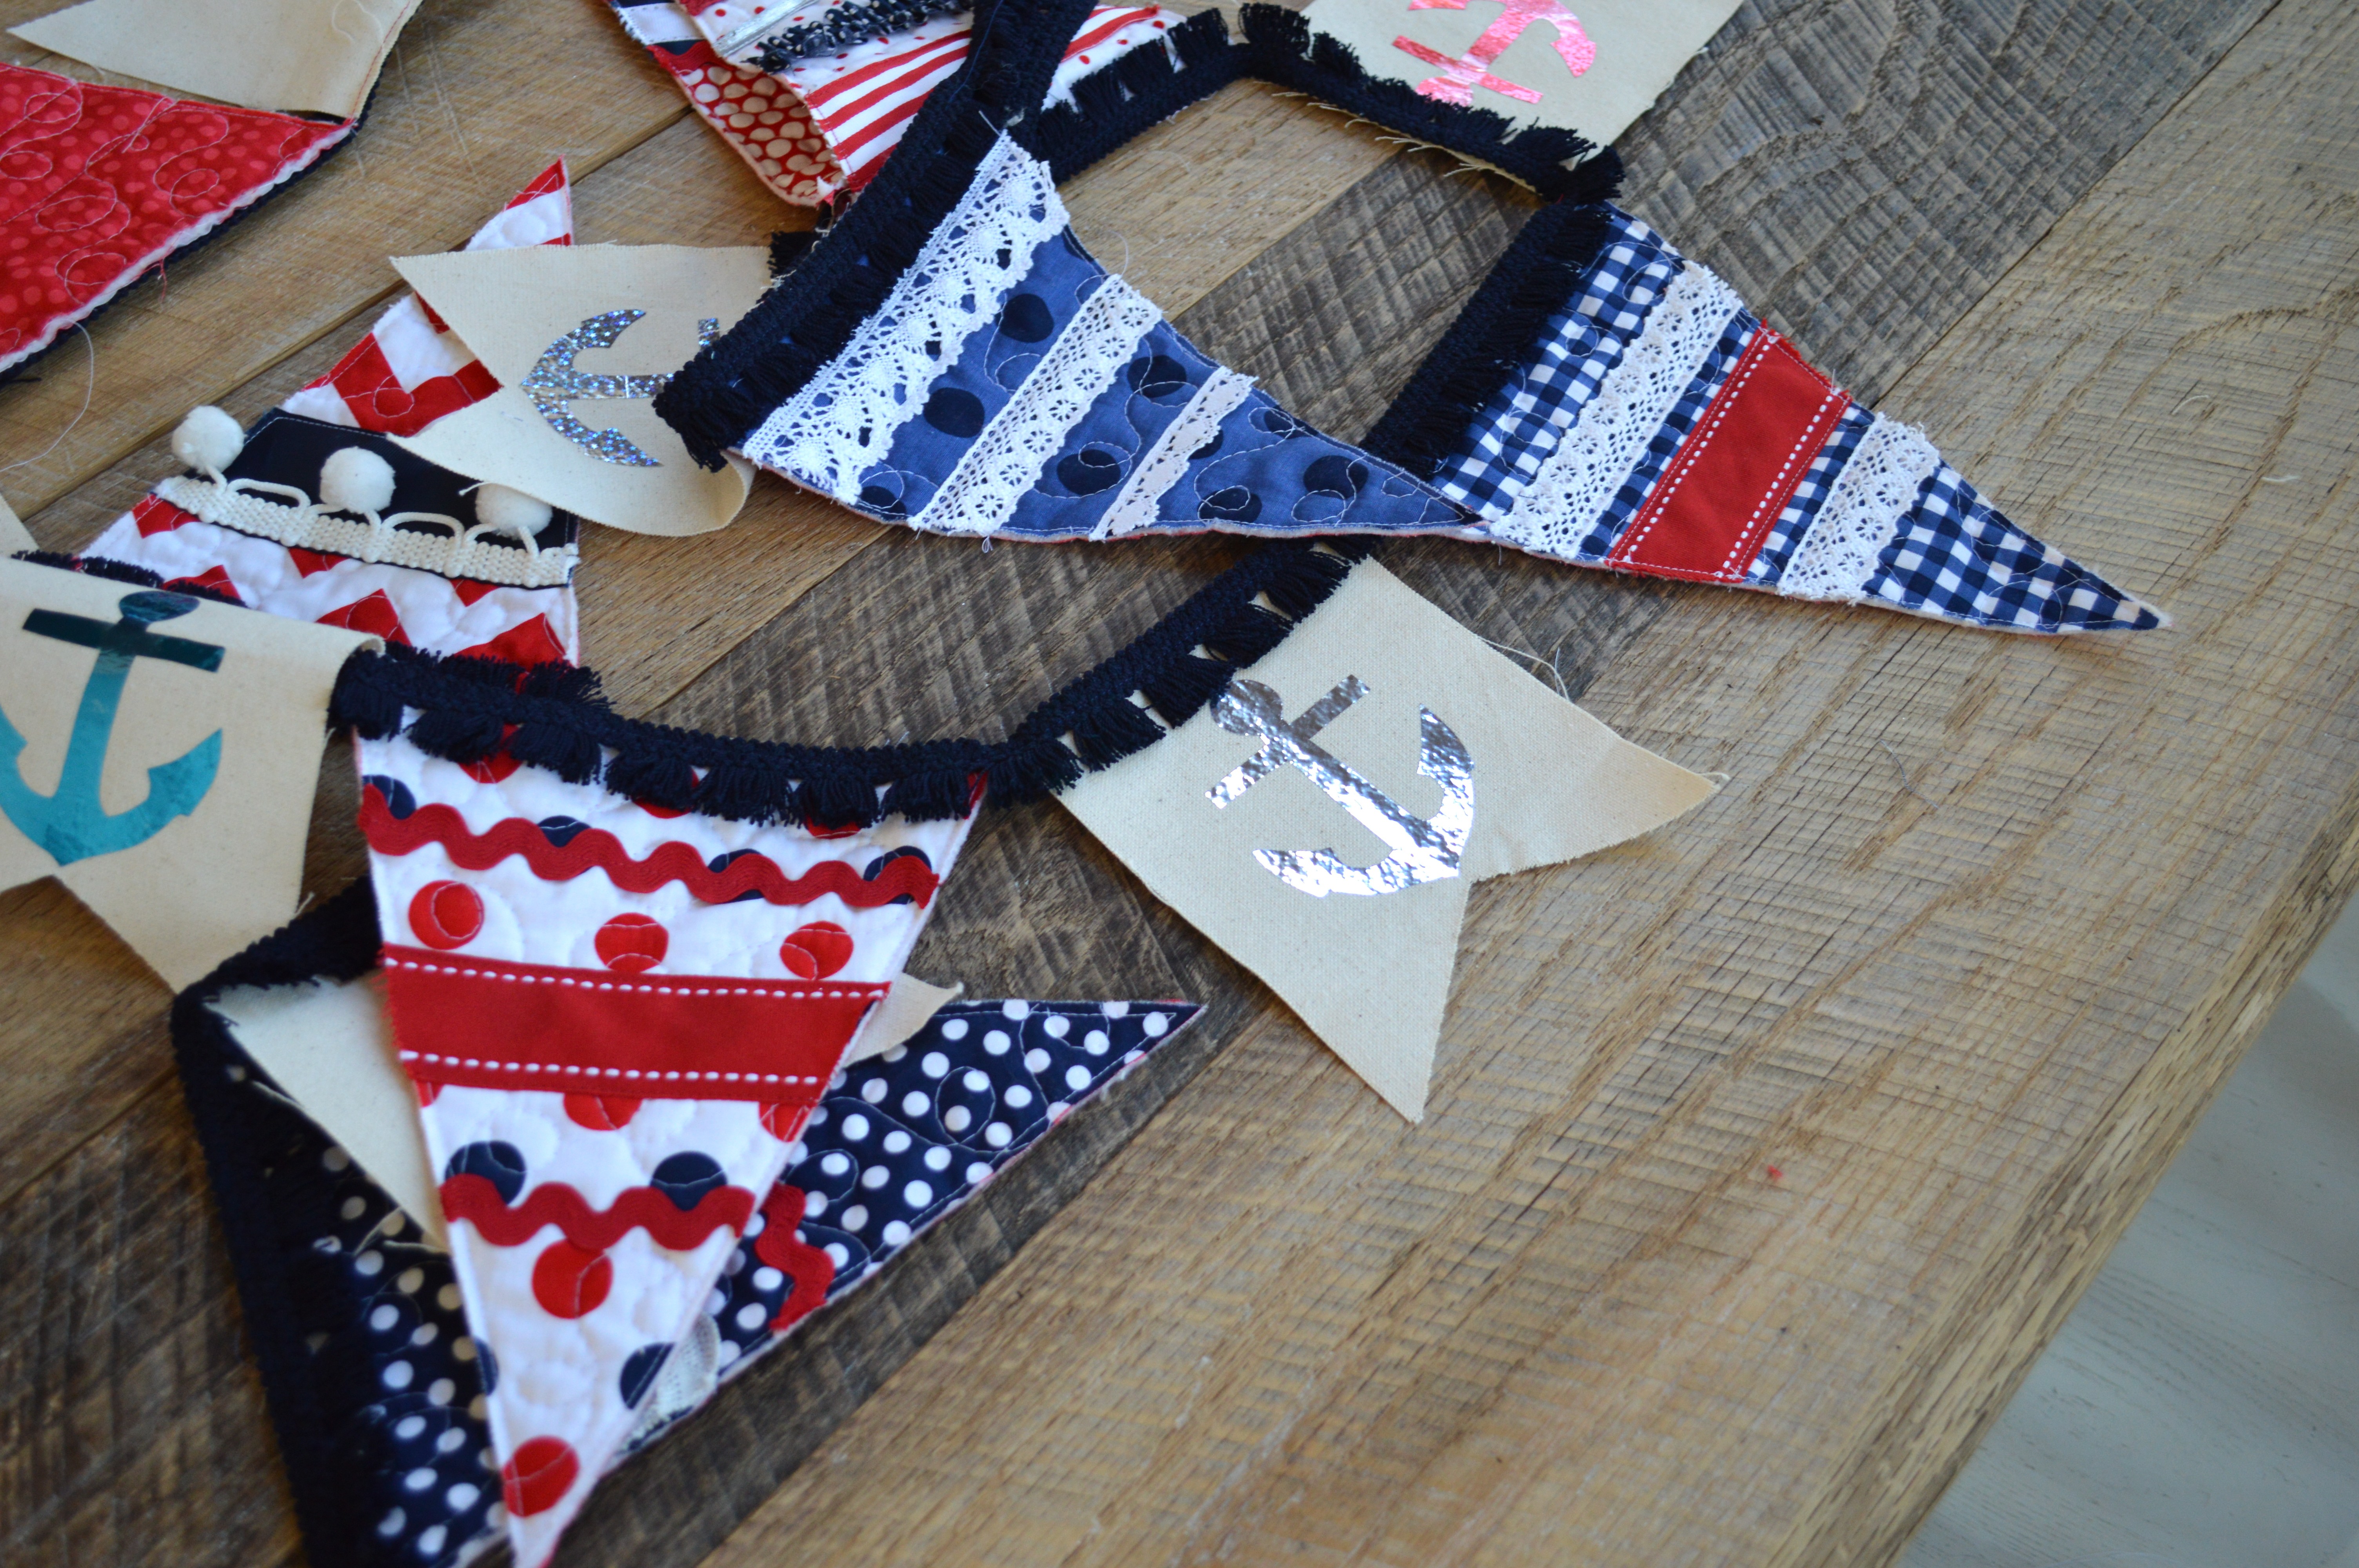
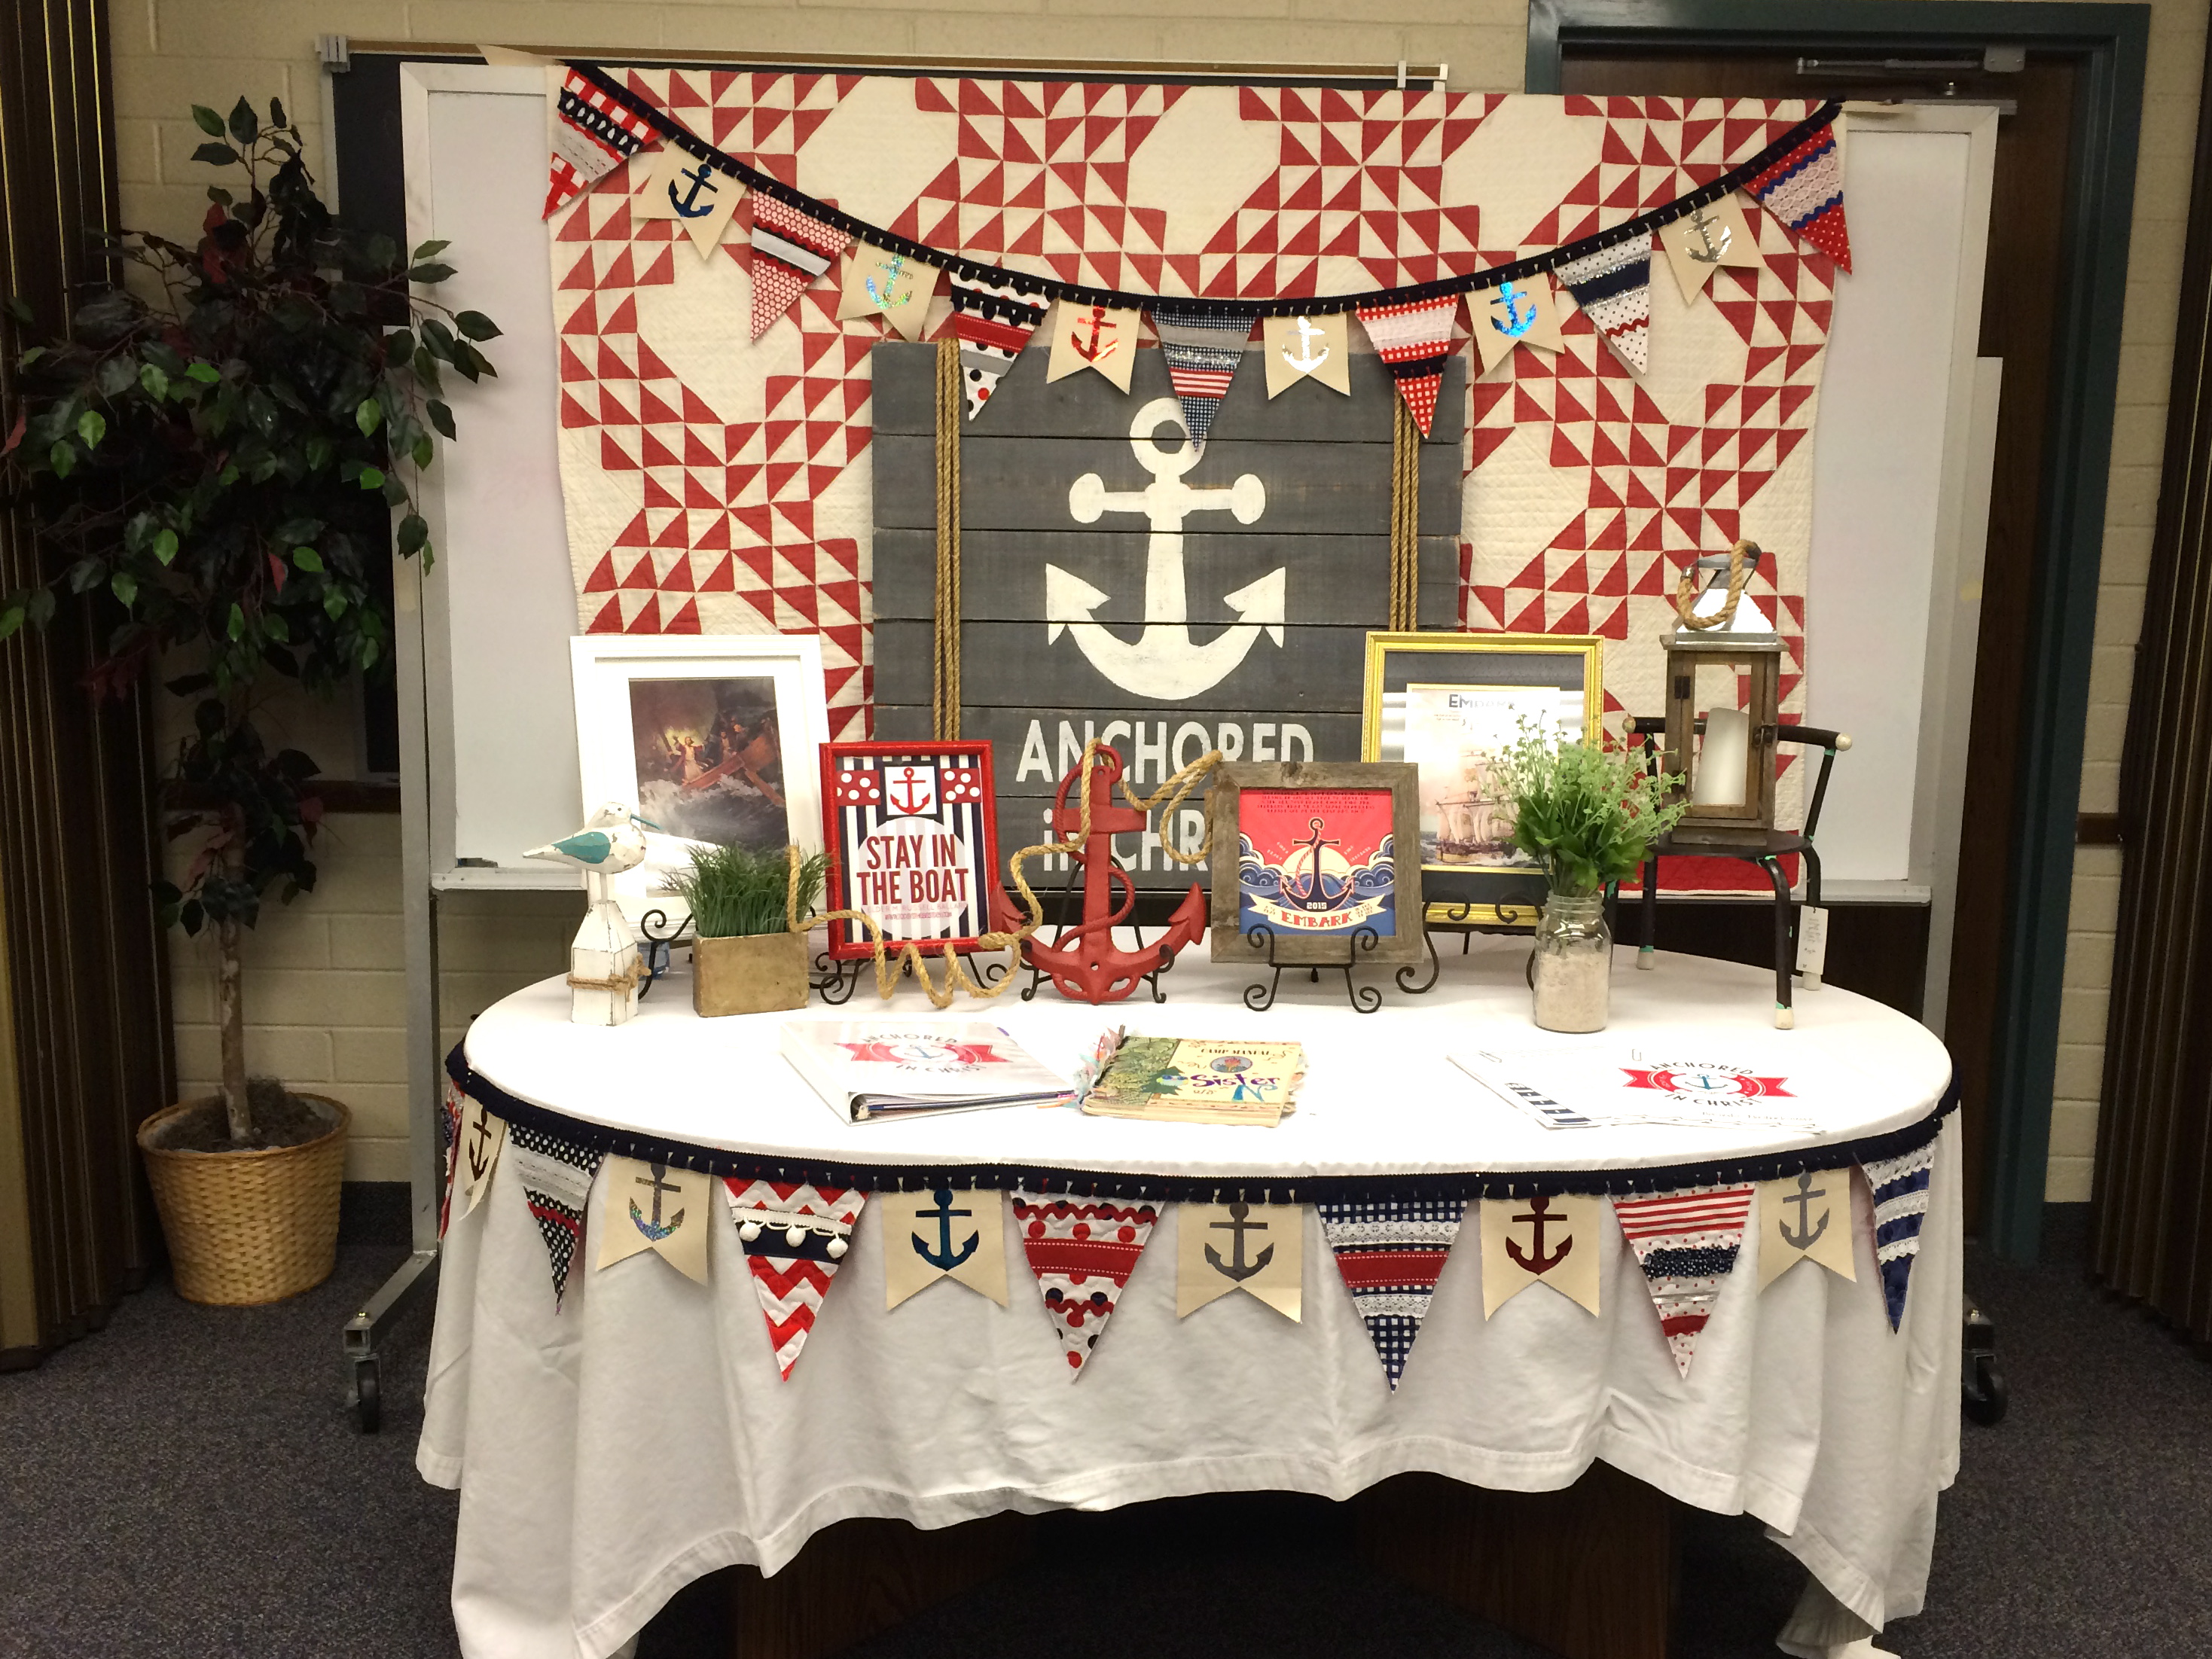
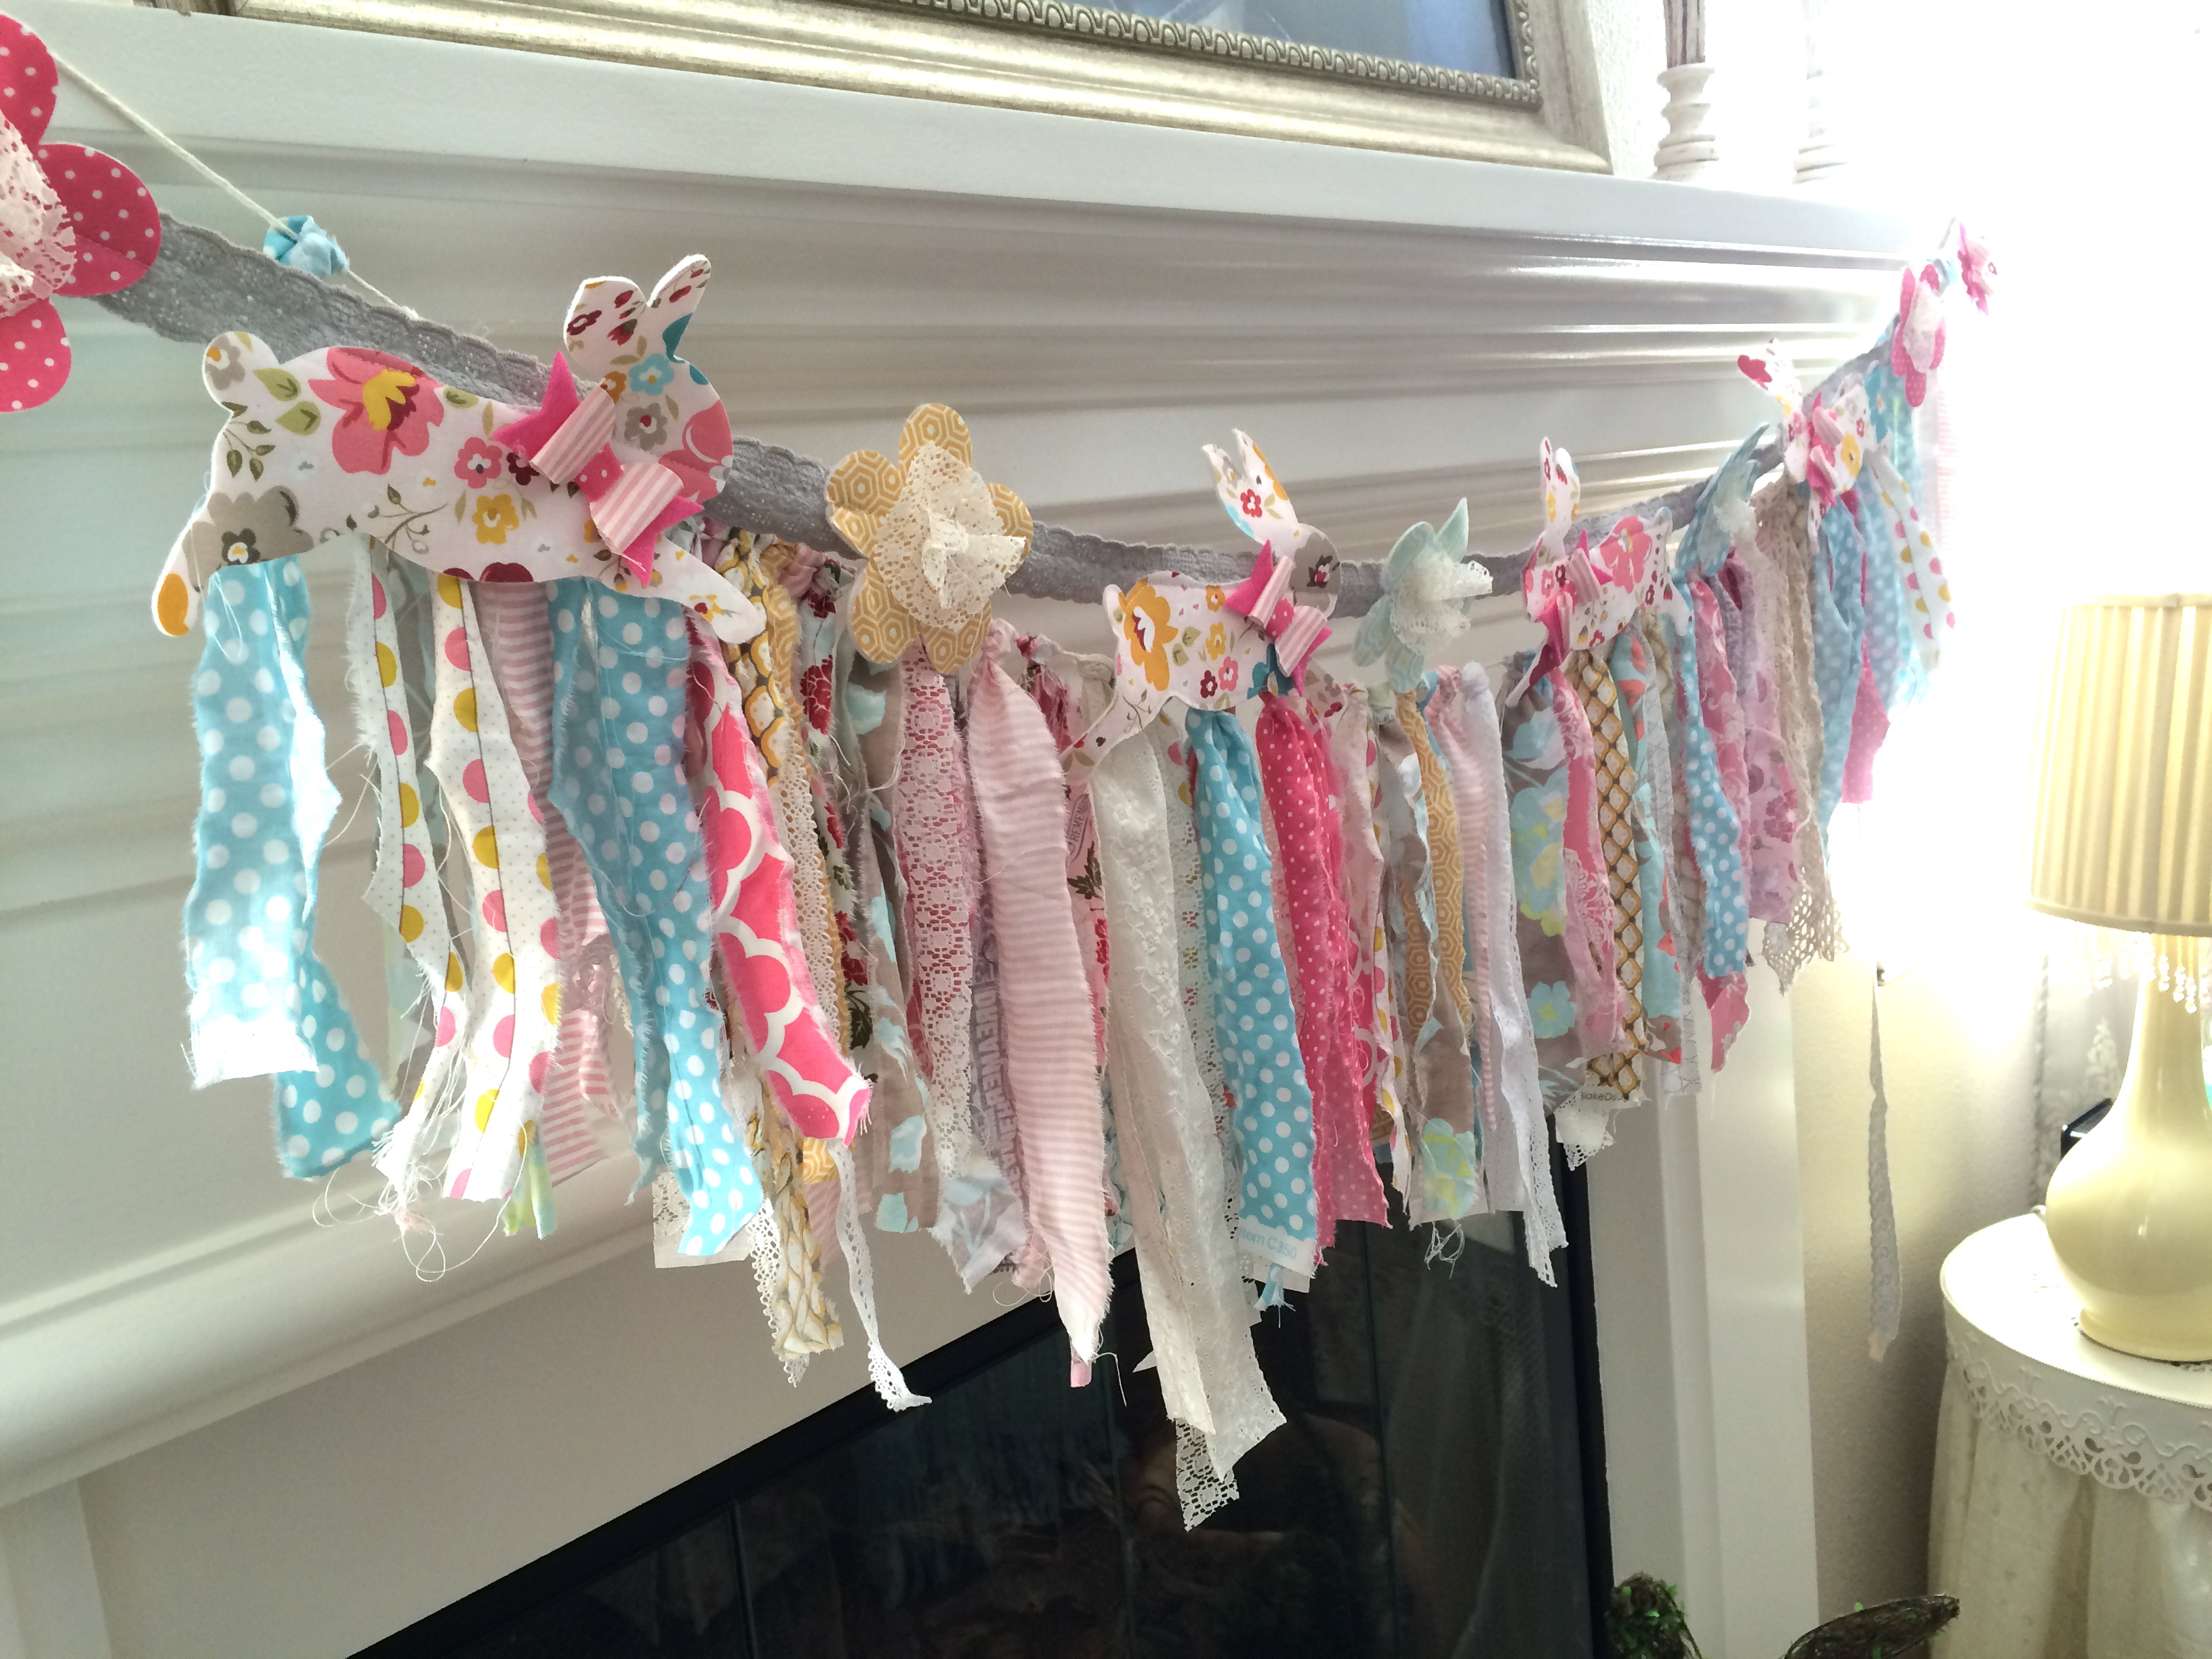
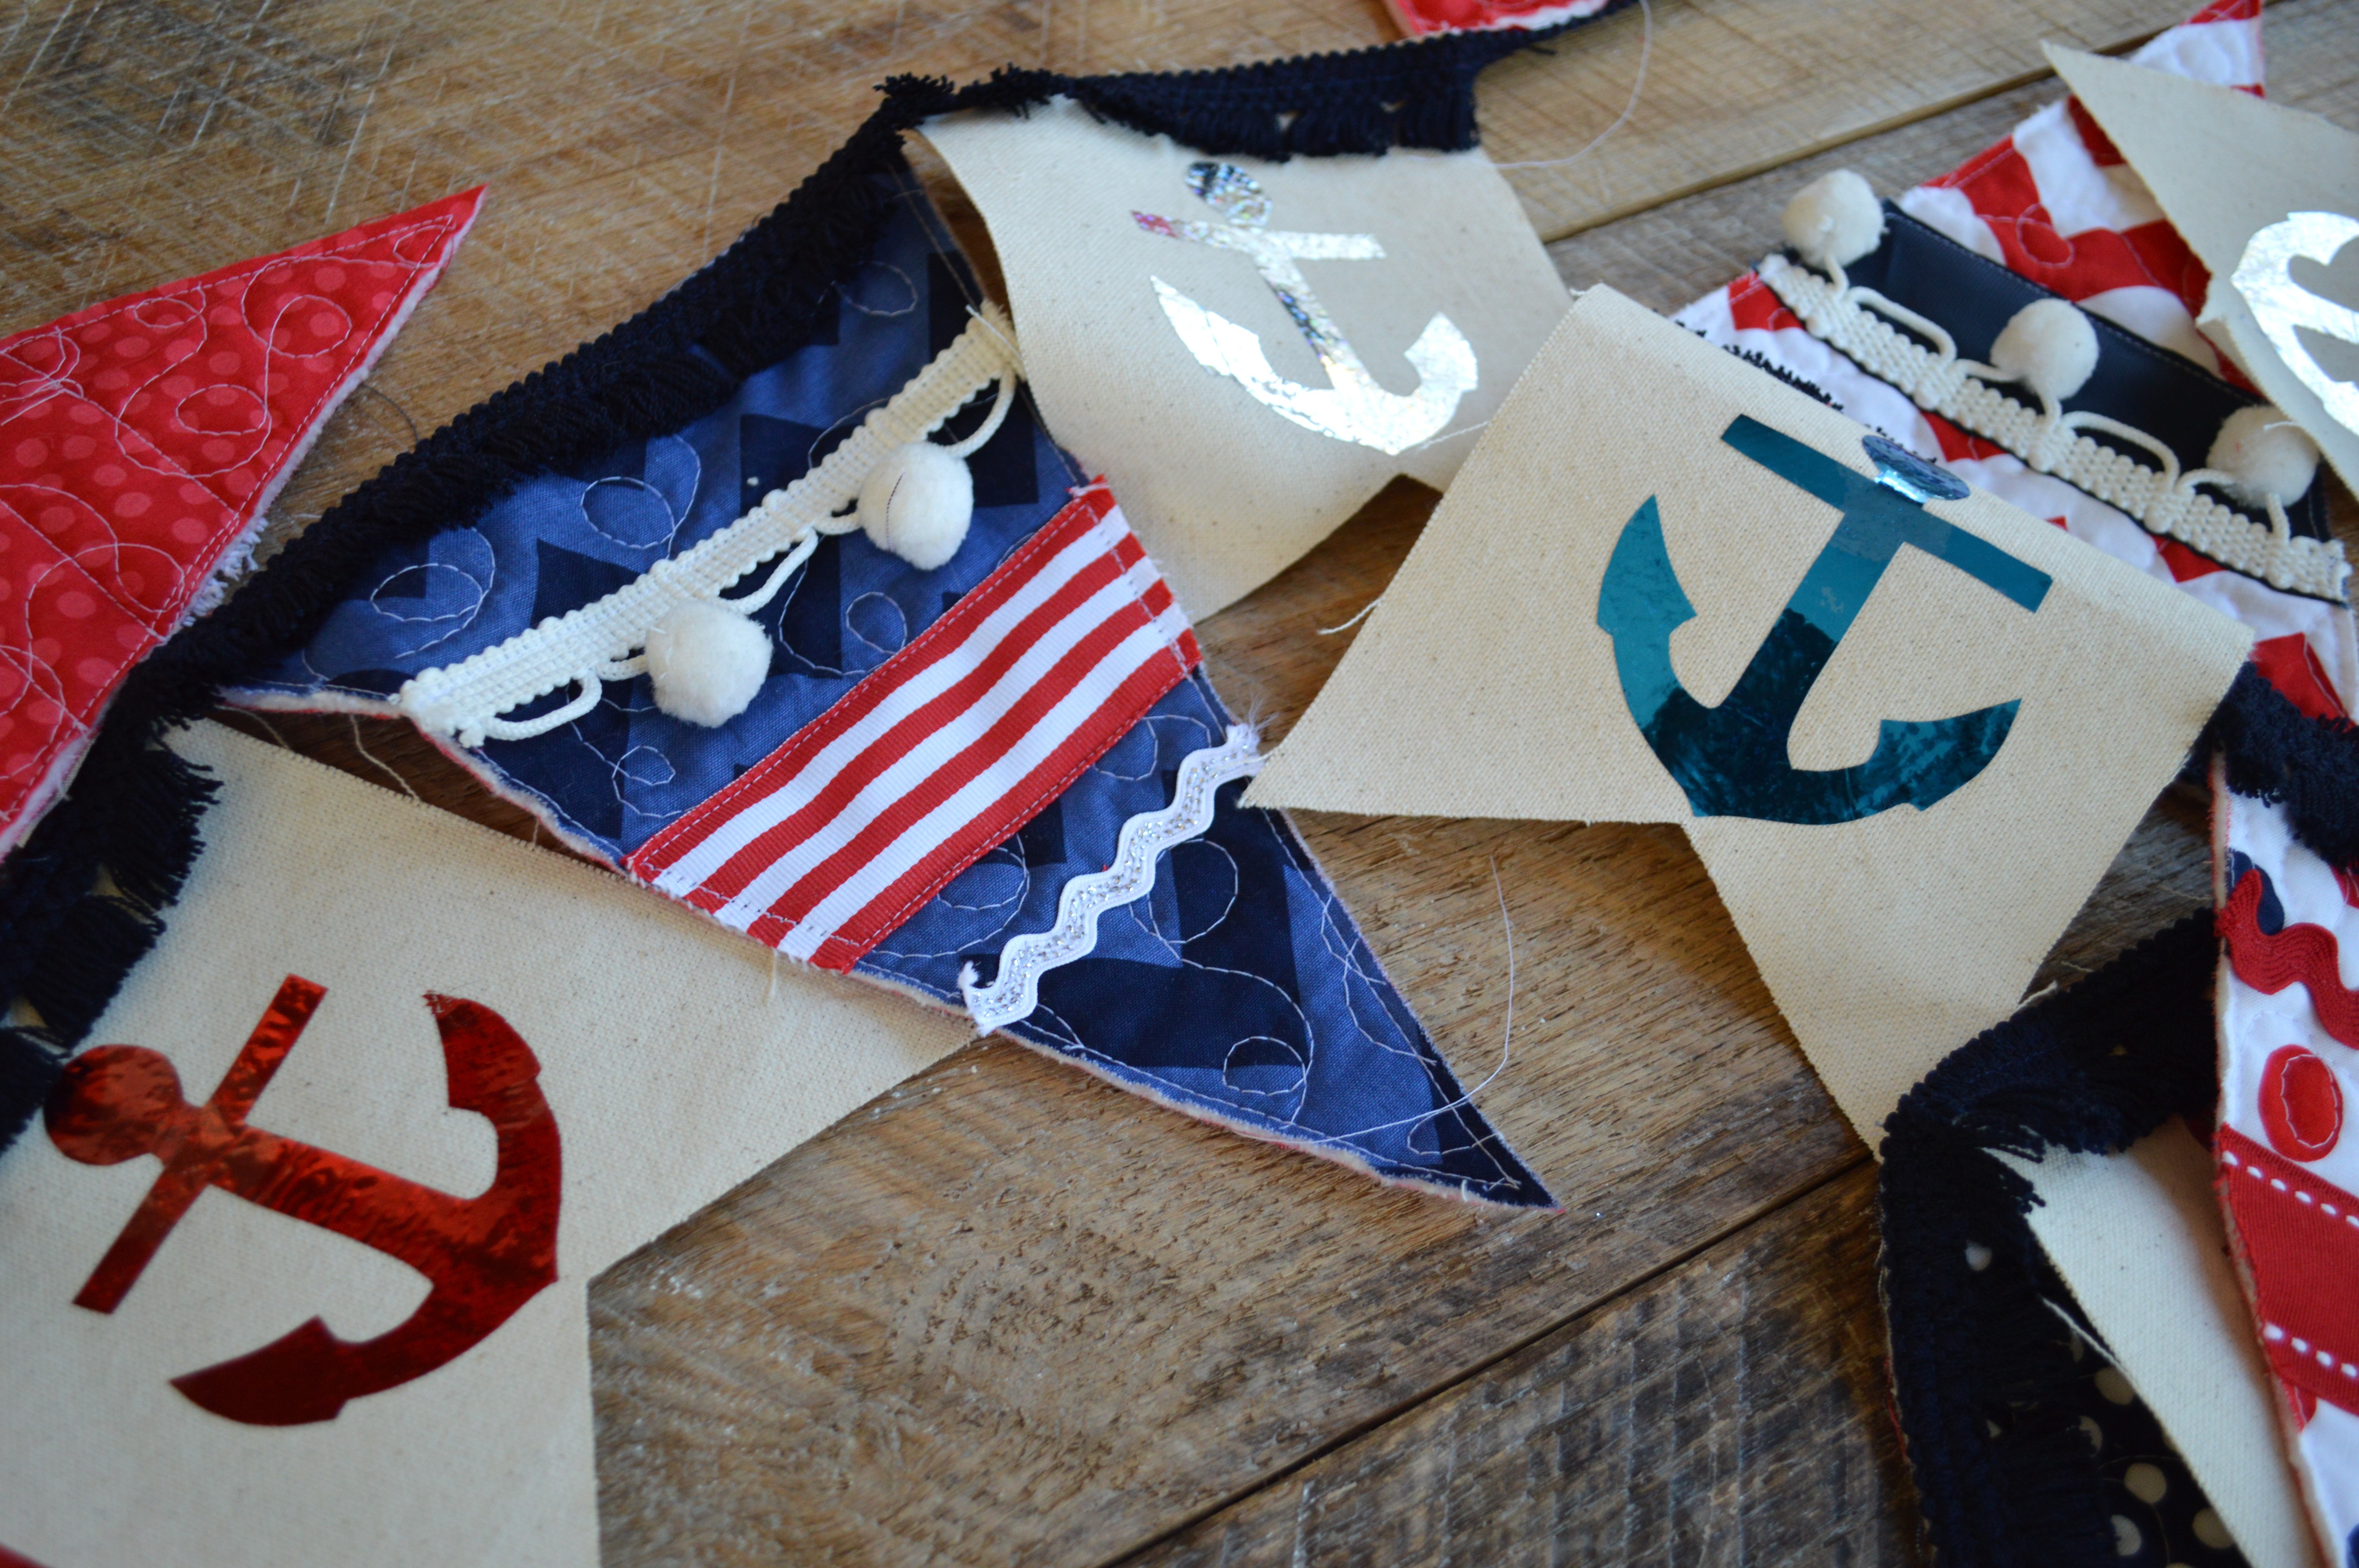
It wouldn’t be Nautical Week without a banner! I LOVE Riley Blake Designs. They have come up with the brilliant idea of printing banner triangles on a panel of fabric. For one panel you get 18 triangles – each one a totally different print! You can cut them up and sew them together or you can embellish them. I added a canvas flag with Therm O Web Deco Foil anchors in-between each triangle.
Here’s how you can make one:
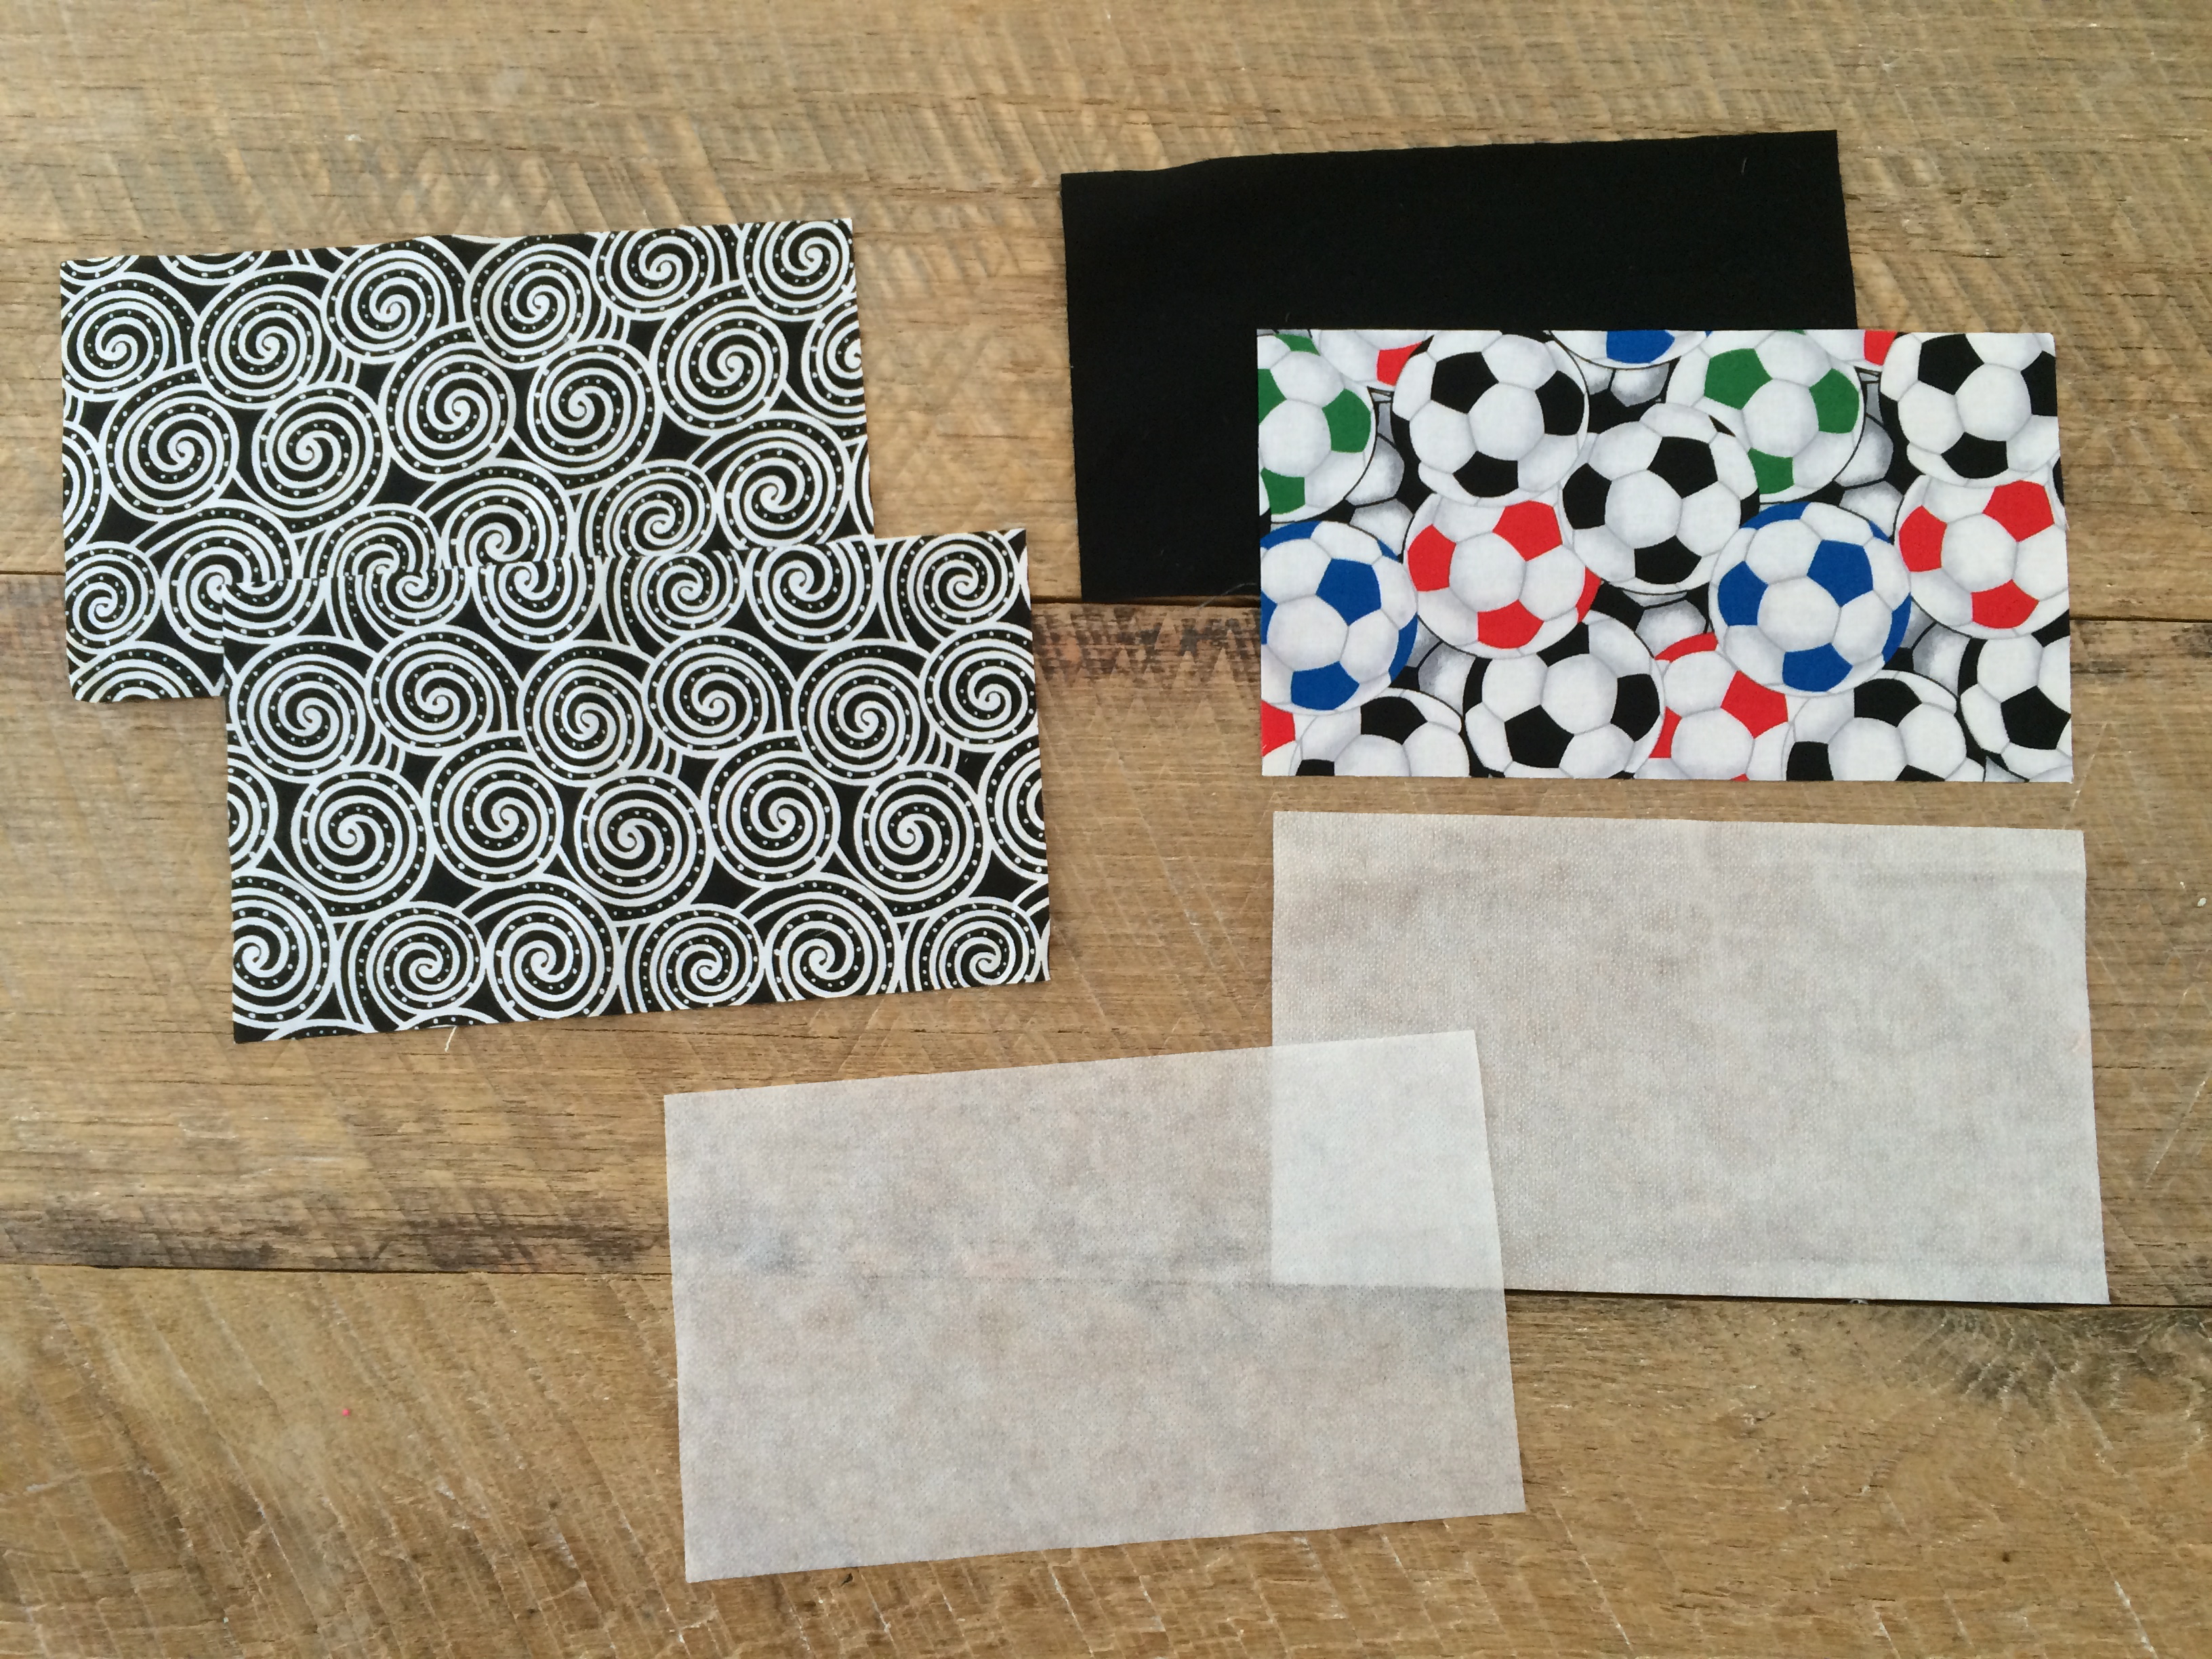
Supplies:
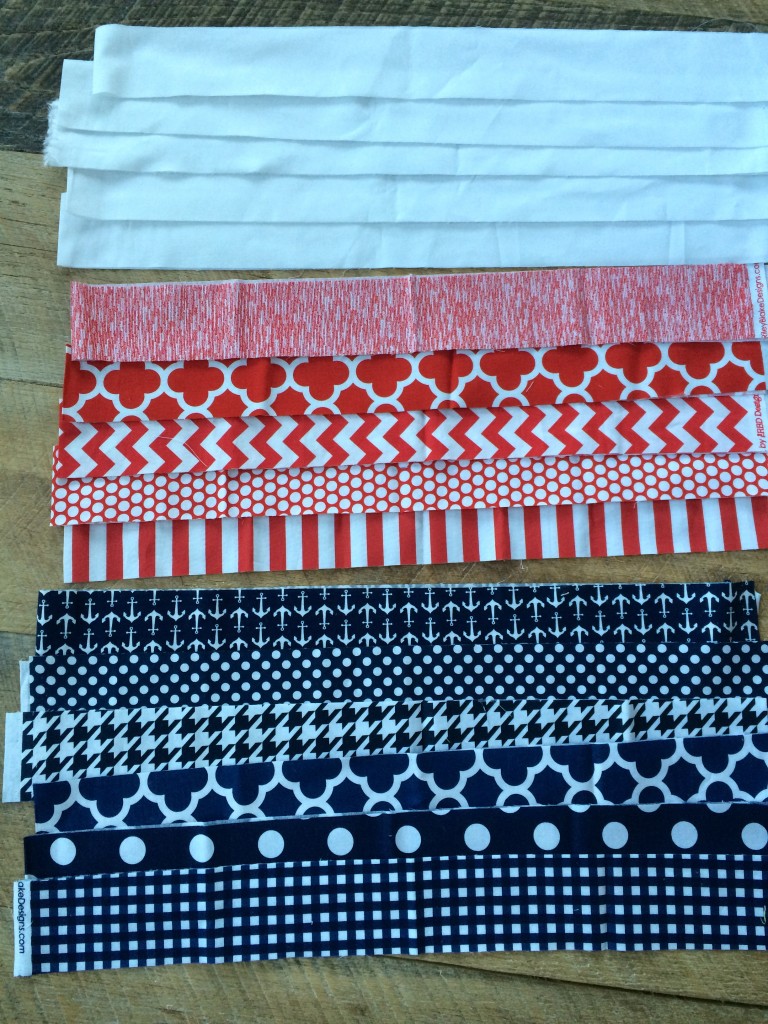
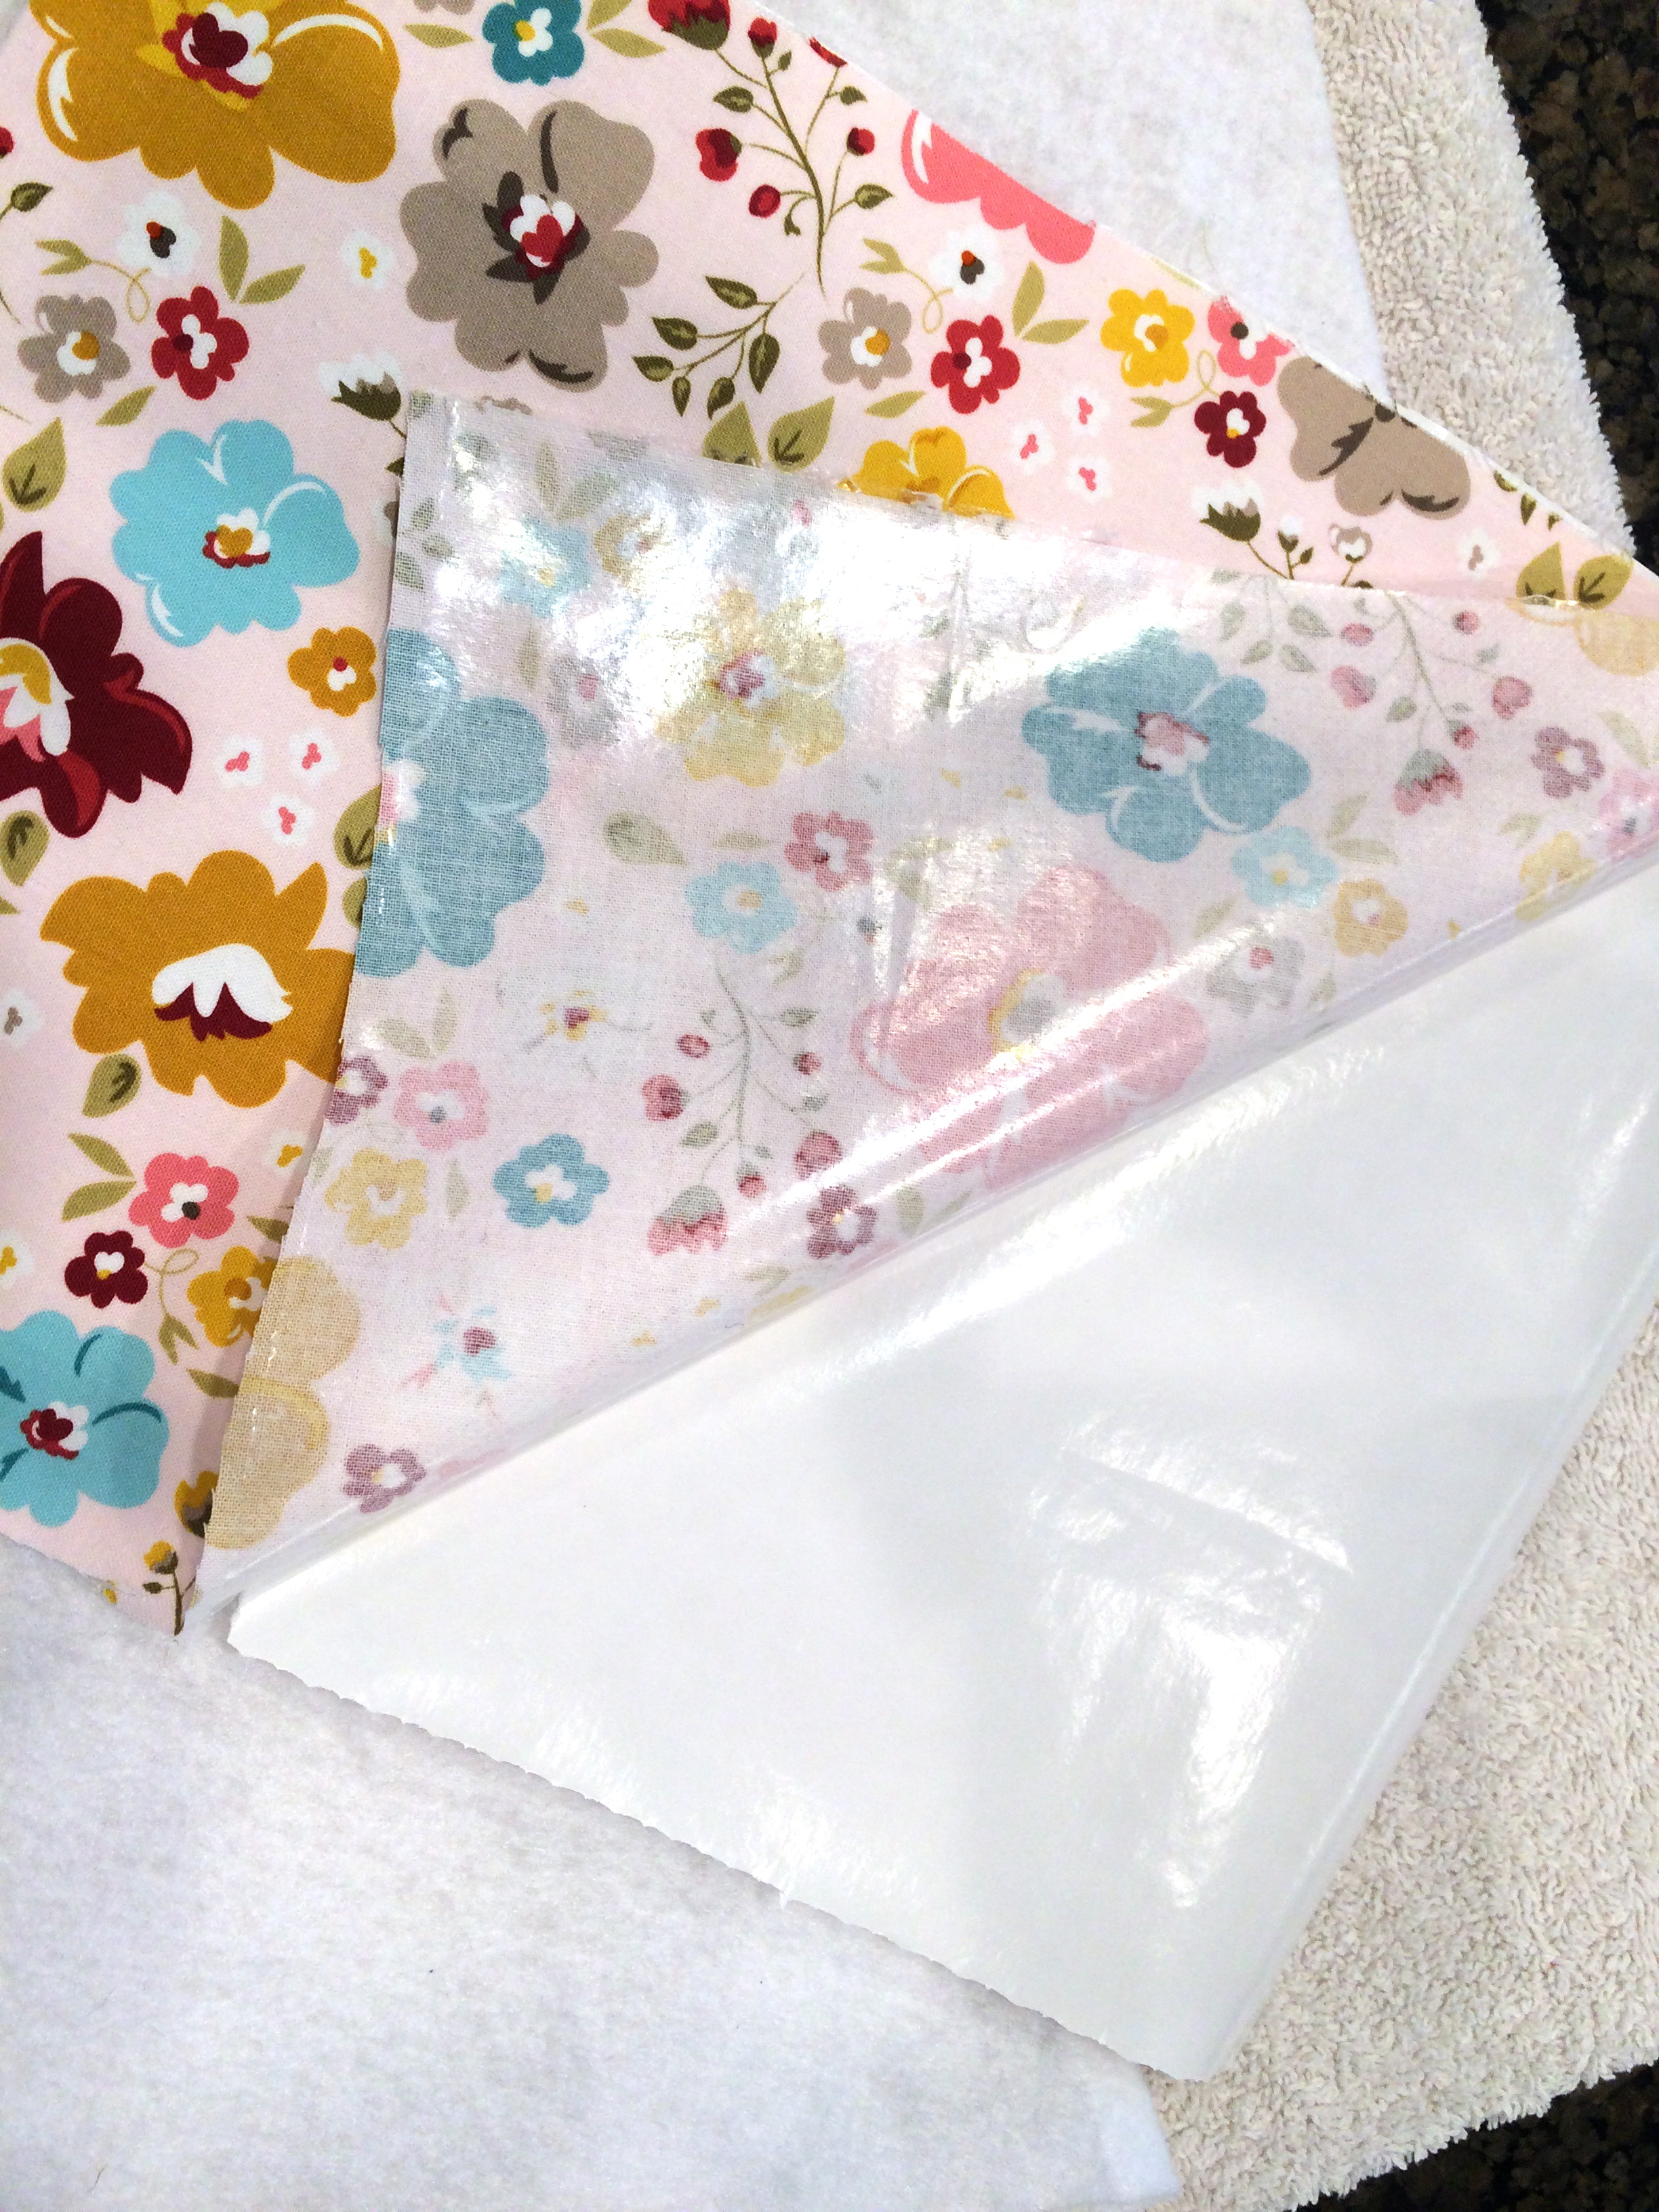
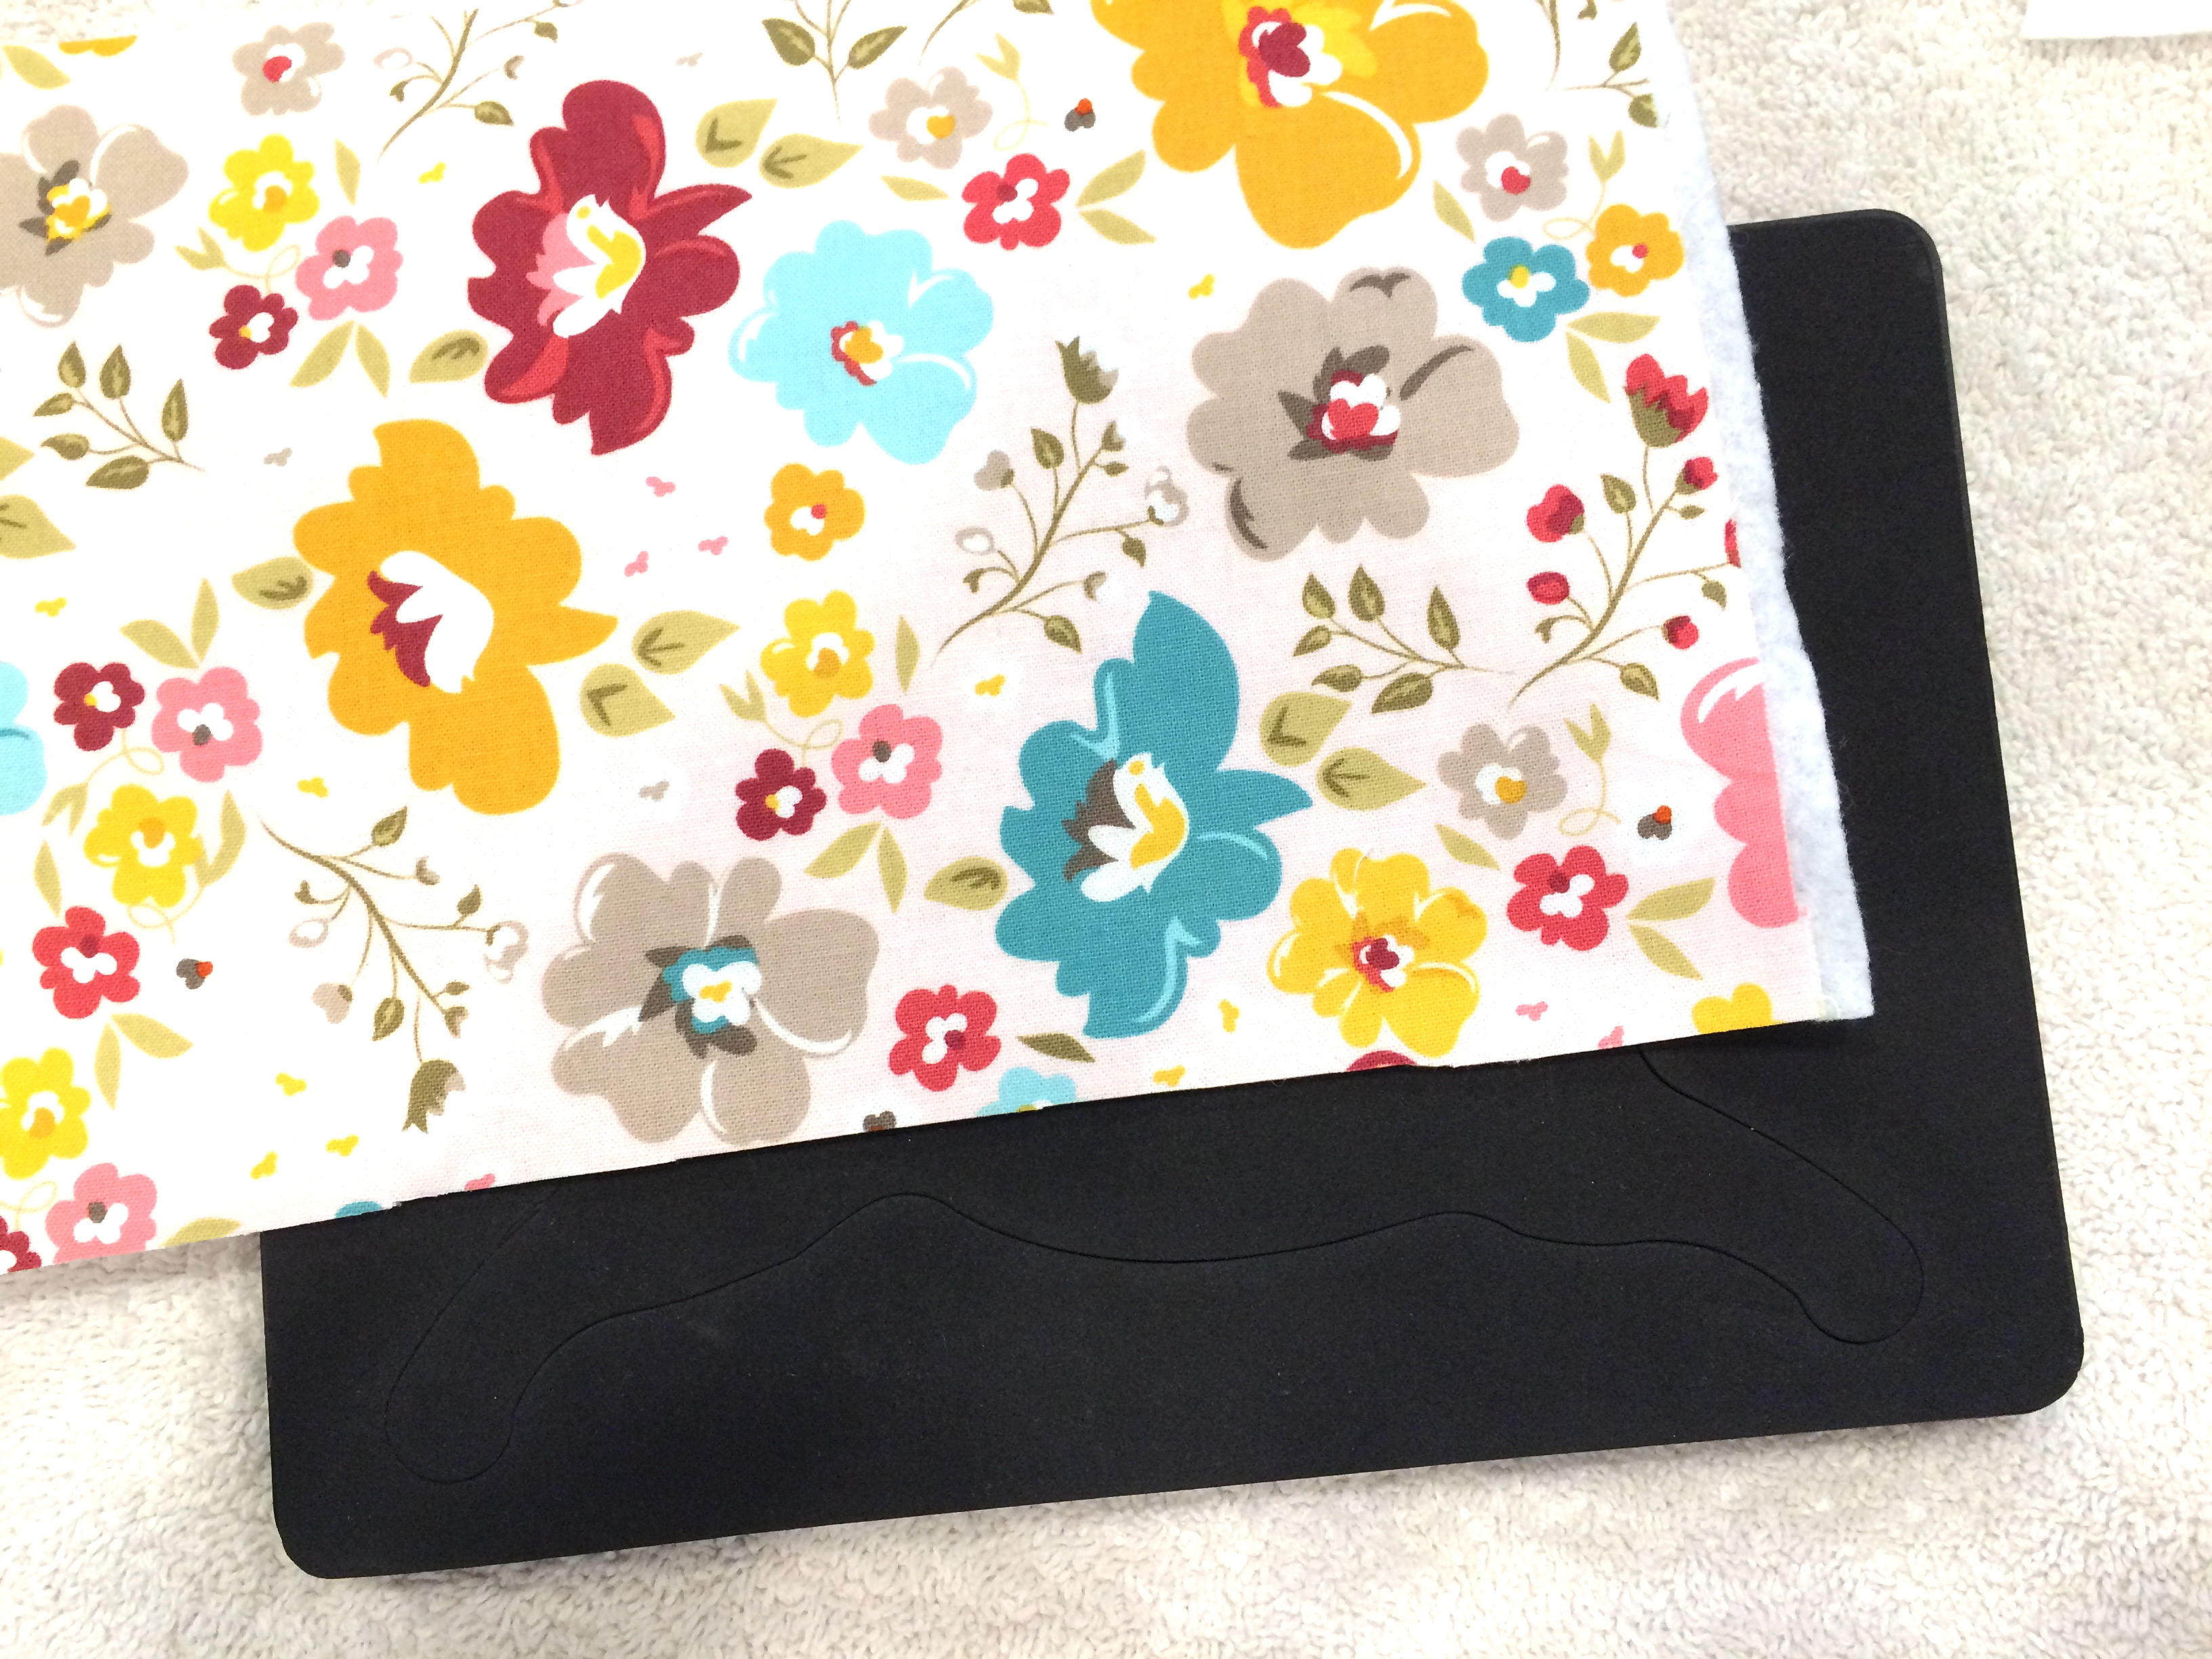
Riley Blake Designs banner panal or red white and blue patterned fabric
3/4 yard backing fabric
cotton batting
iCraft® Deco Foil™ – Silver, Red, Silver Star and Blue
Natural canvas
Navy fringe trim
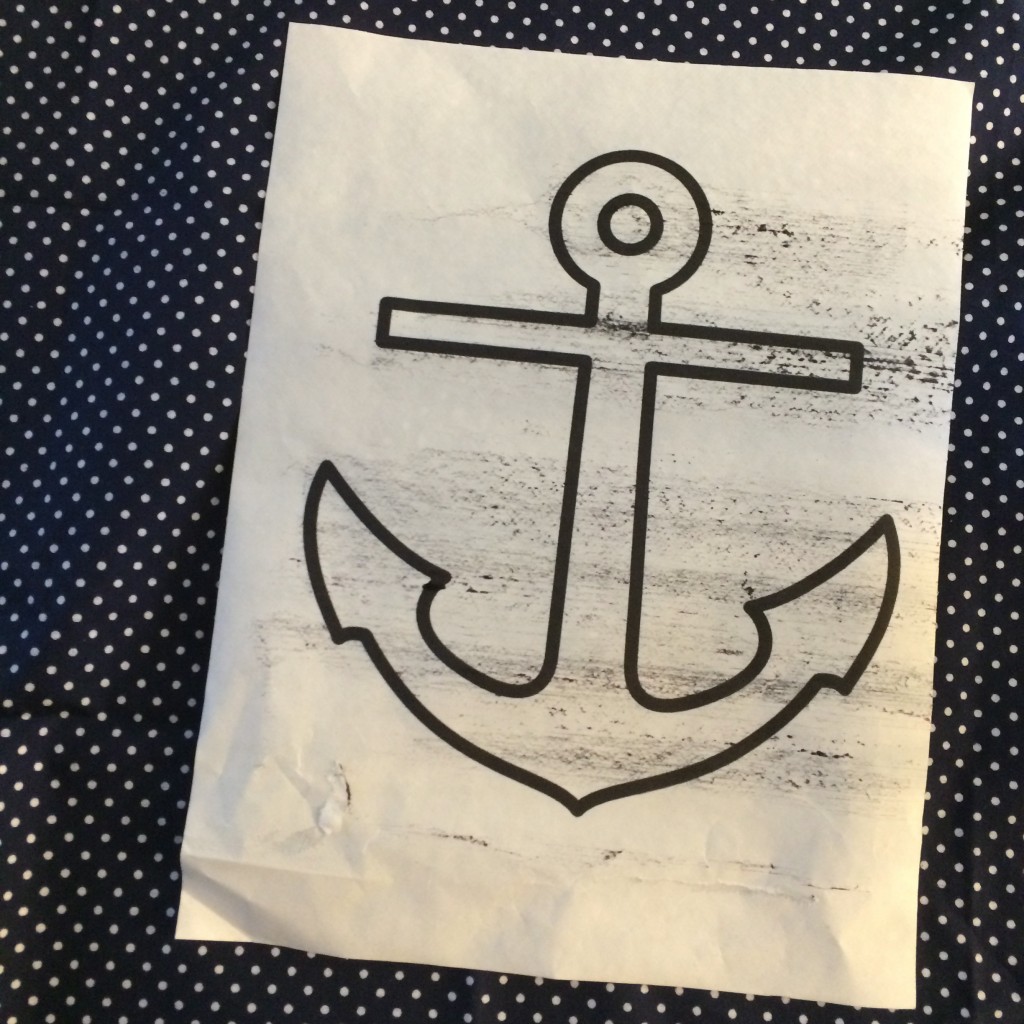
Anchor pattern, click HERE
Spray n Bond®
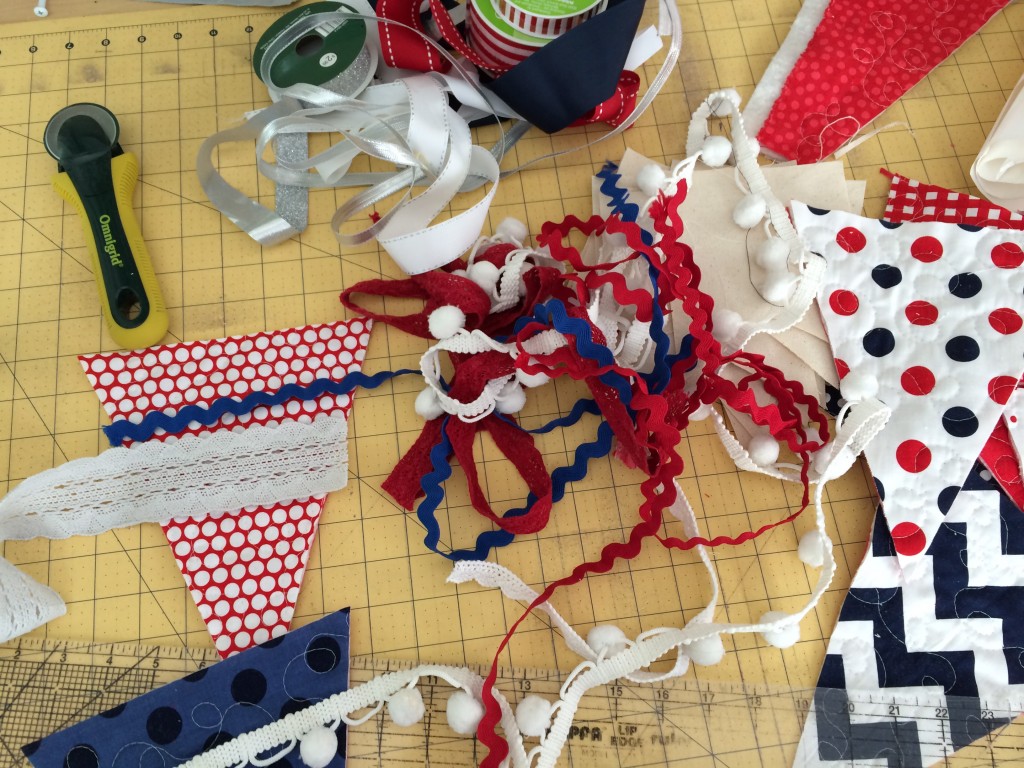
Scraps of ribbon, lace, ric rac, pom poms and any trim you can round up!
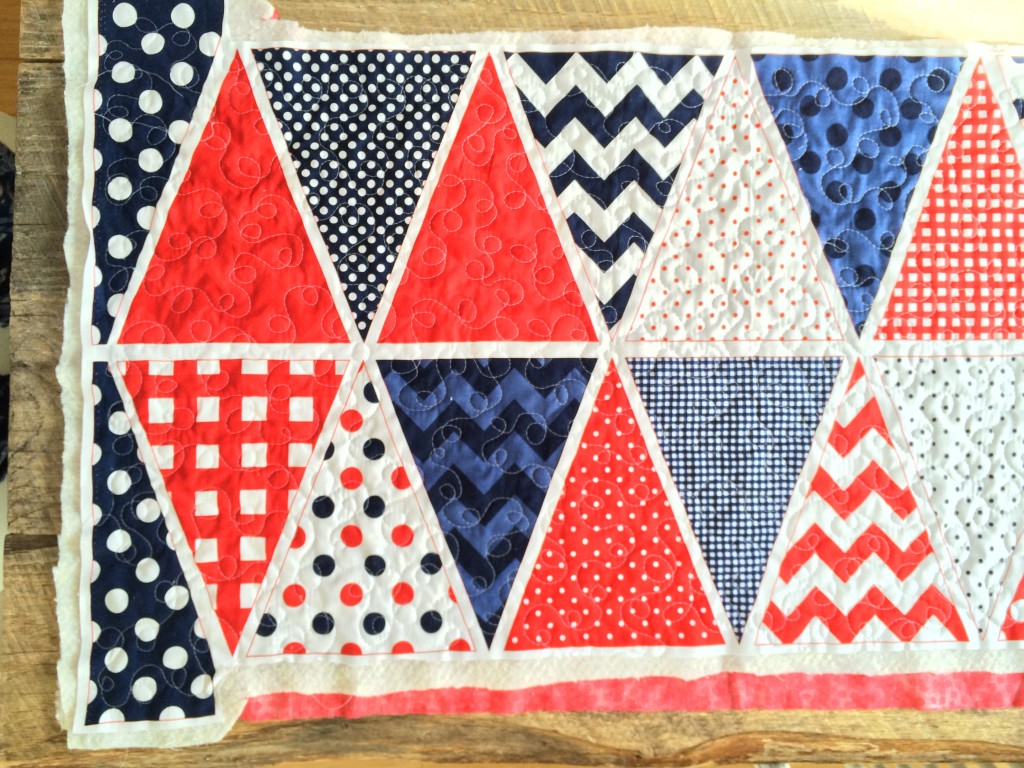
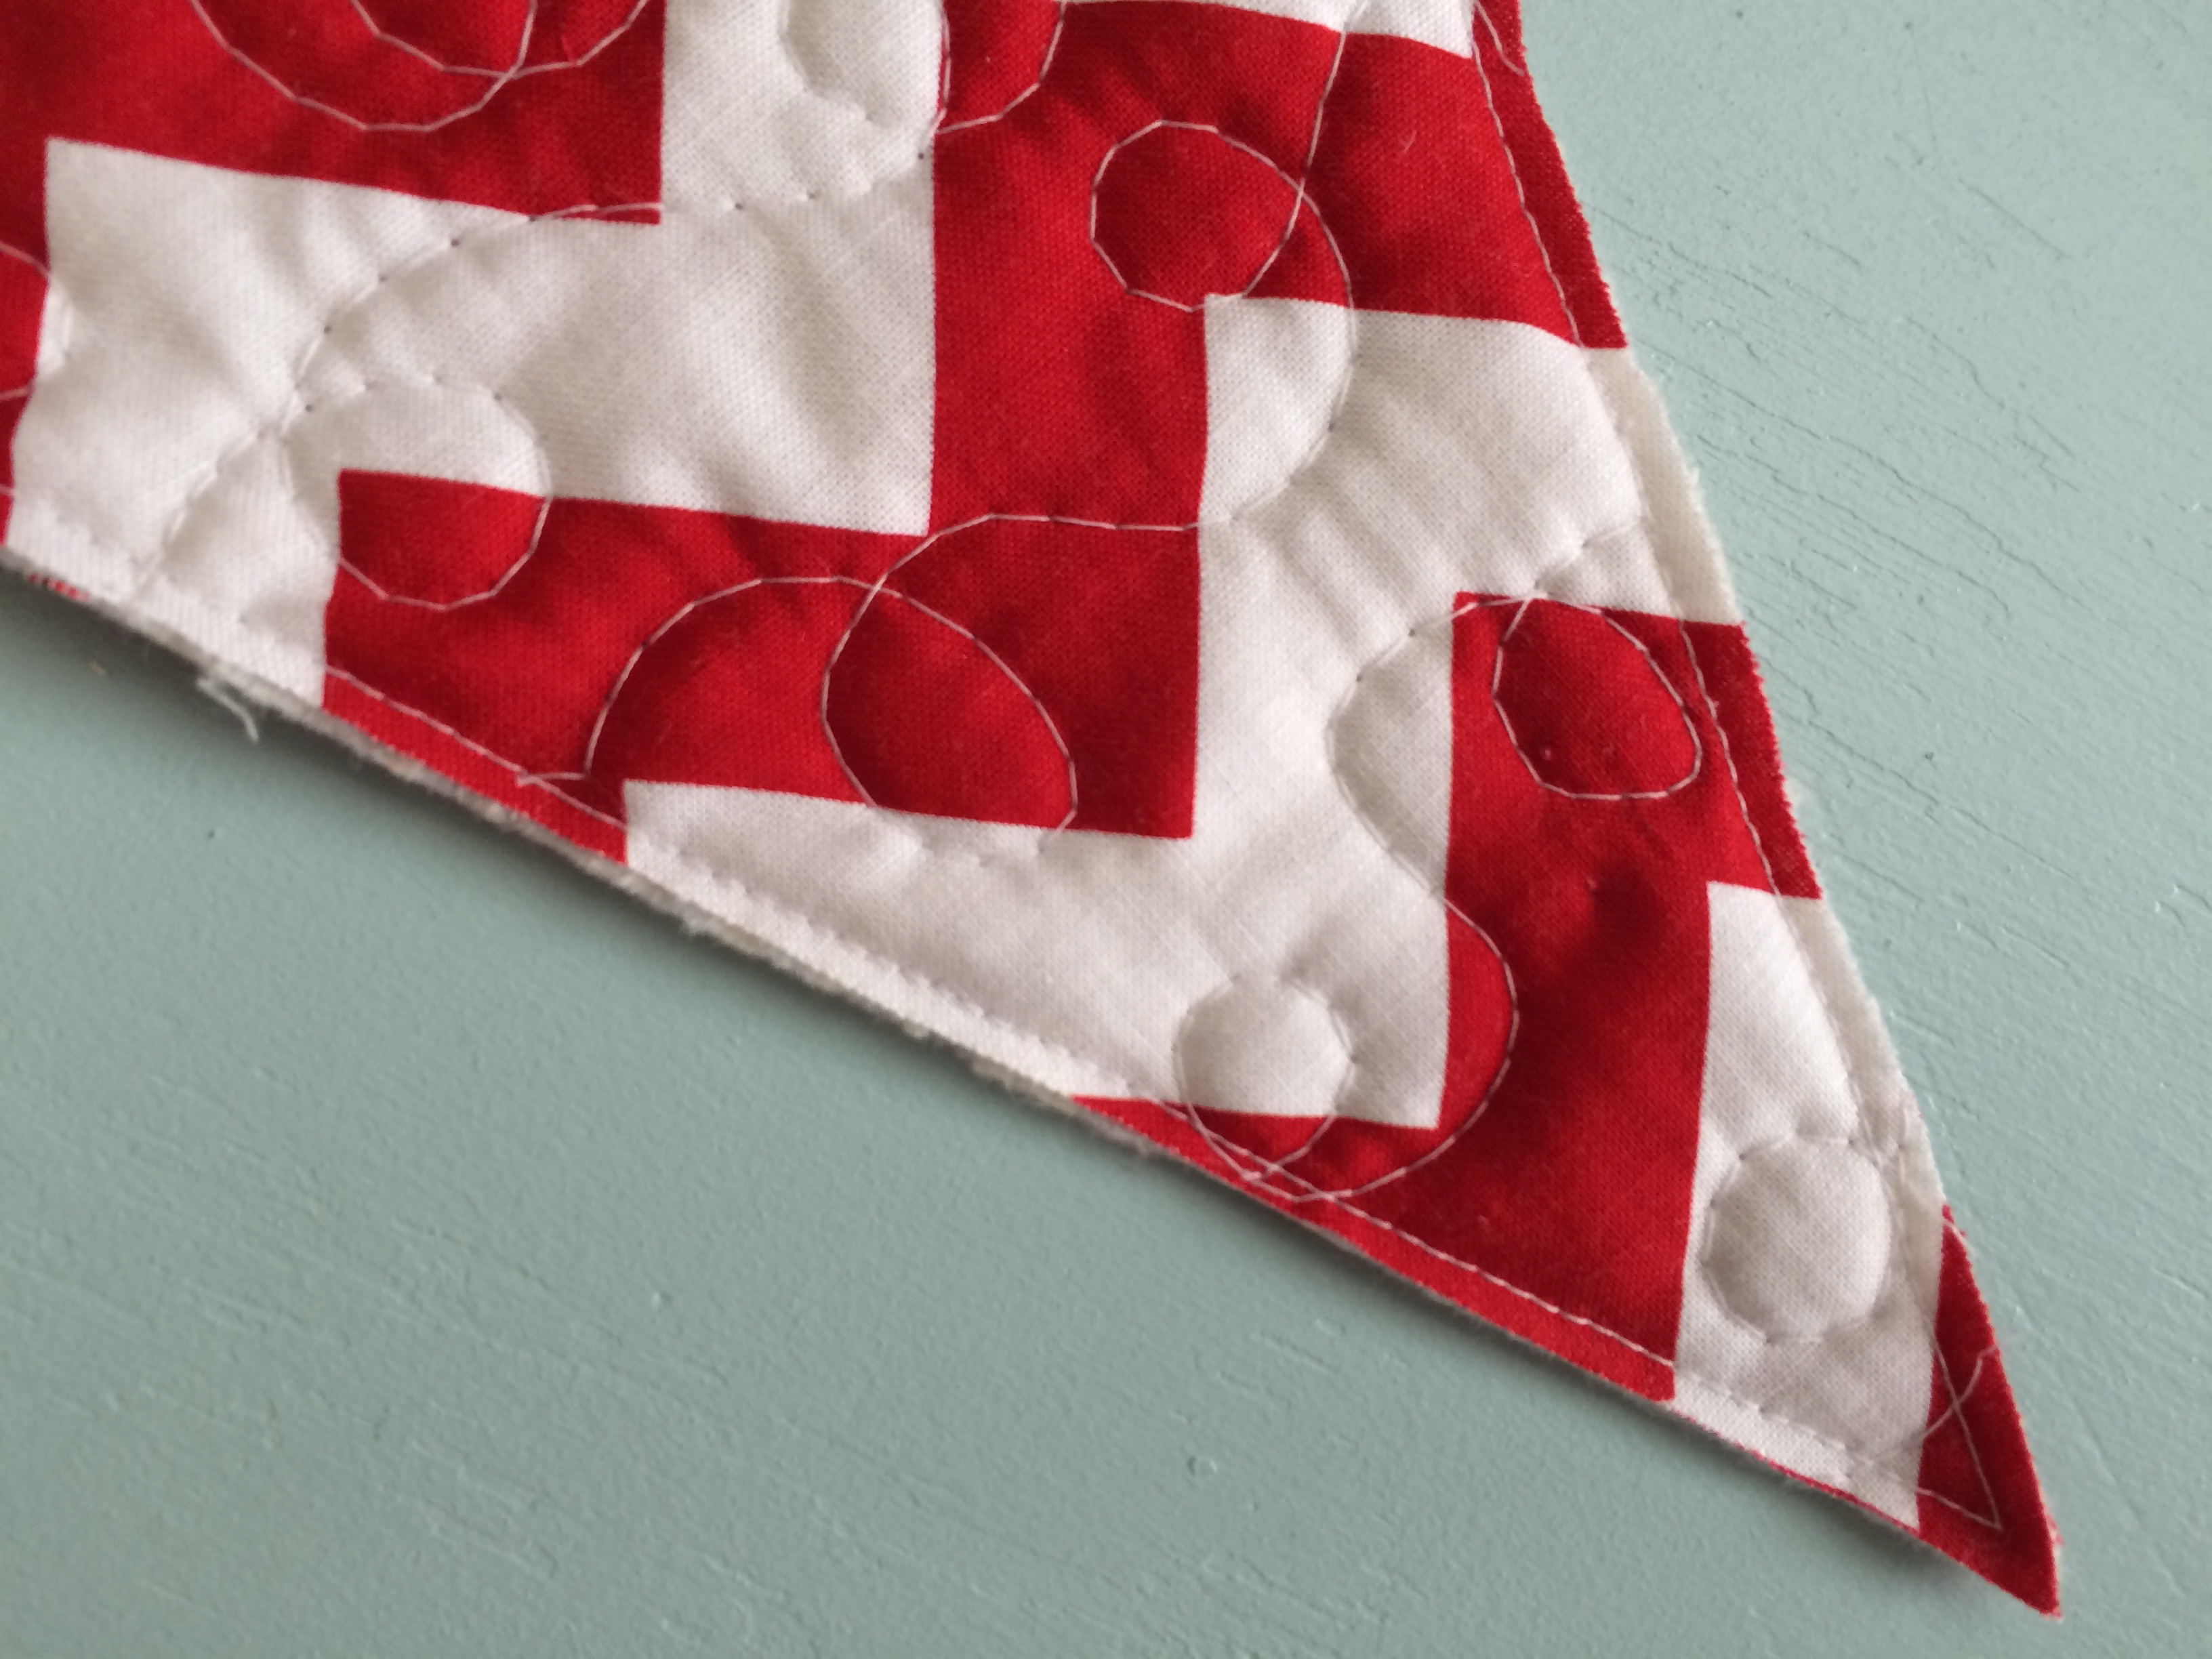
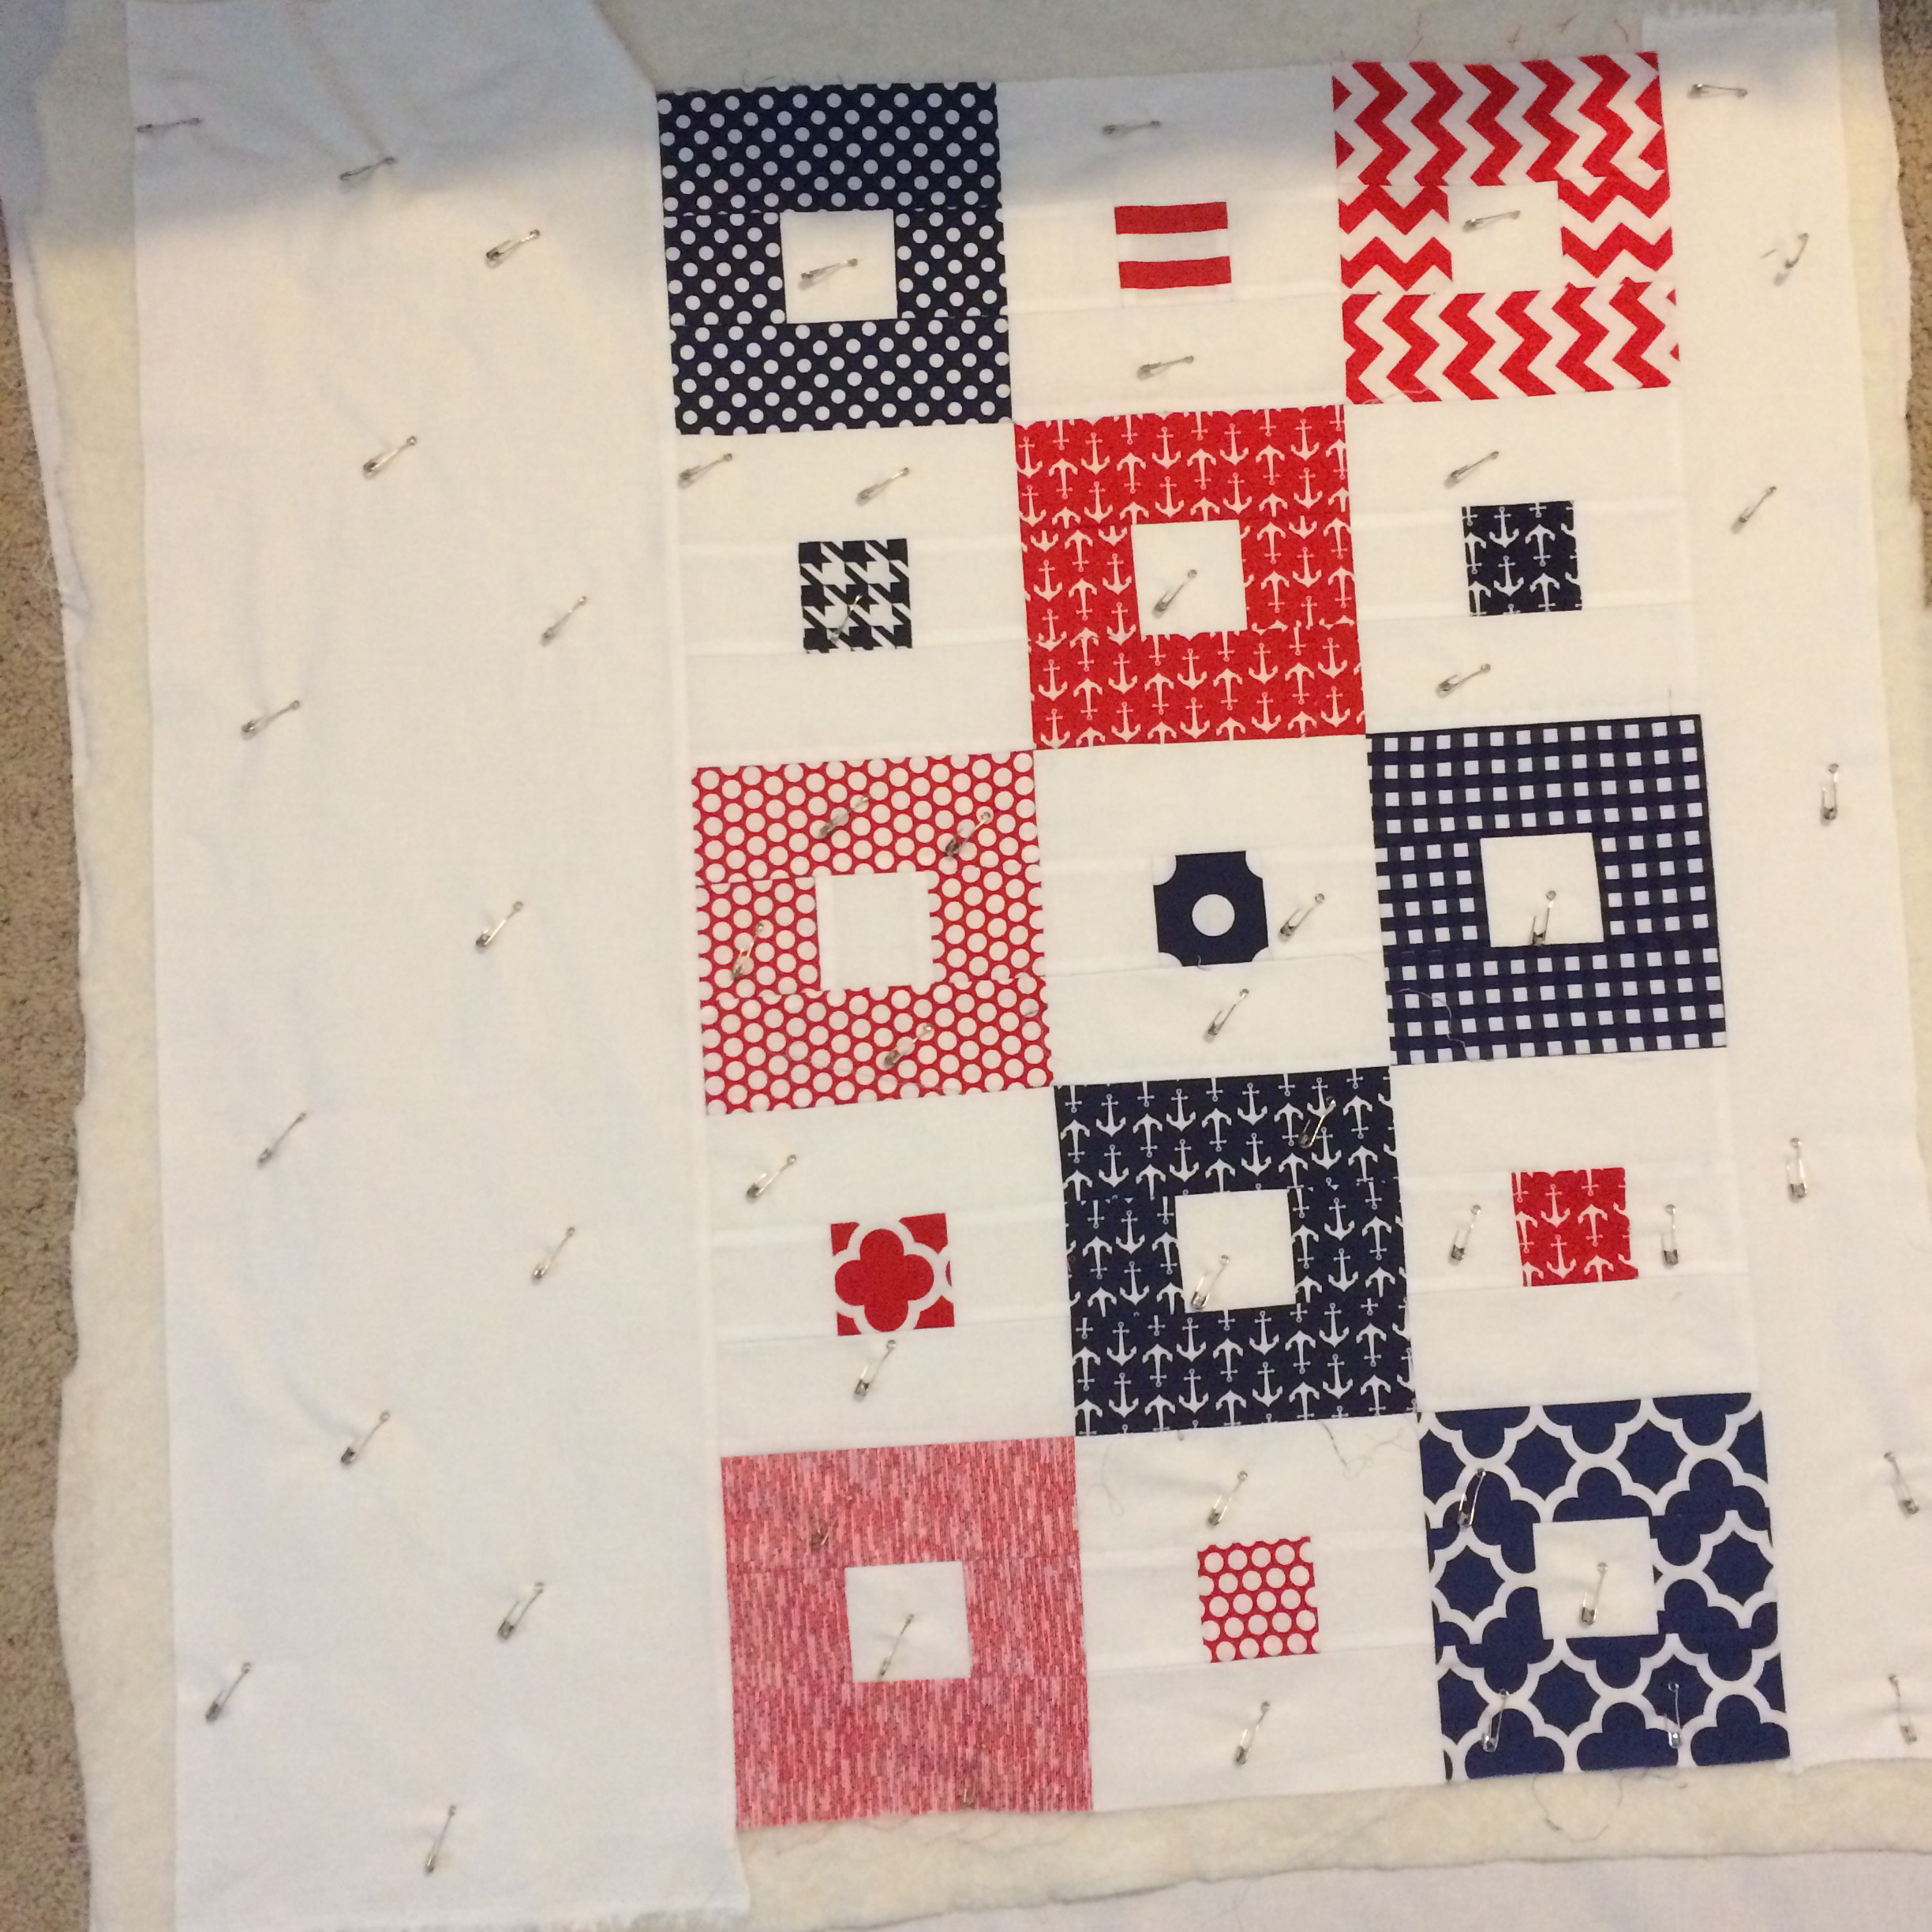
Begin by quilting the banner panel – I quilted mine with loop-de loos.
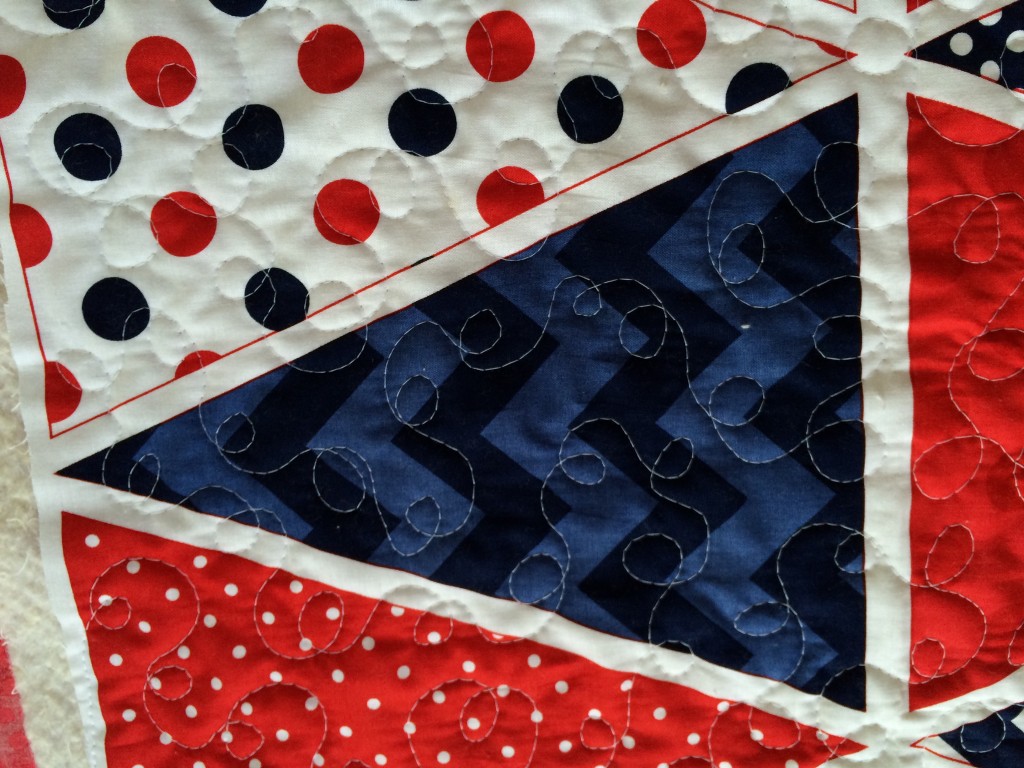
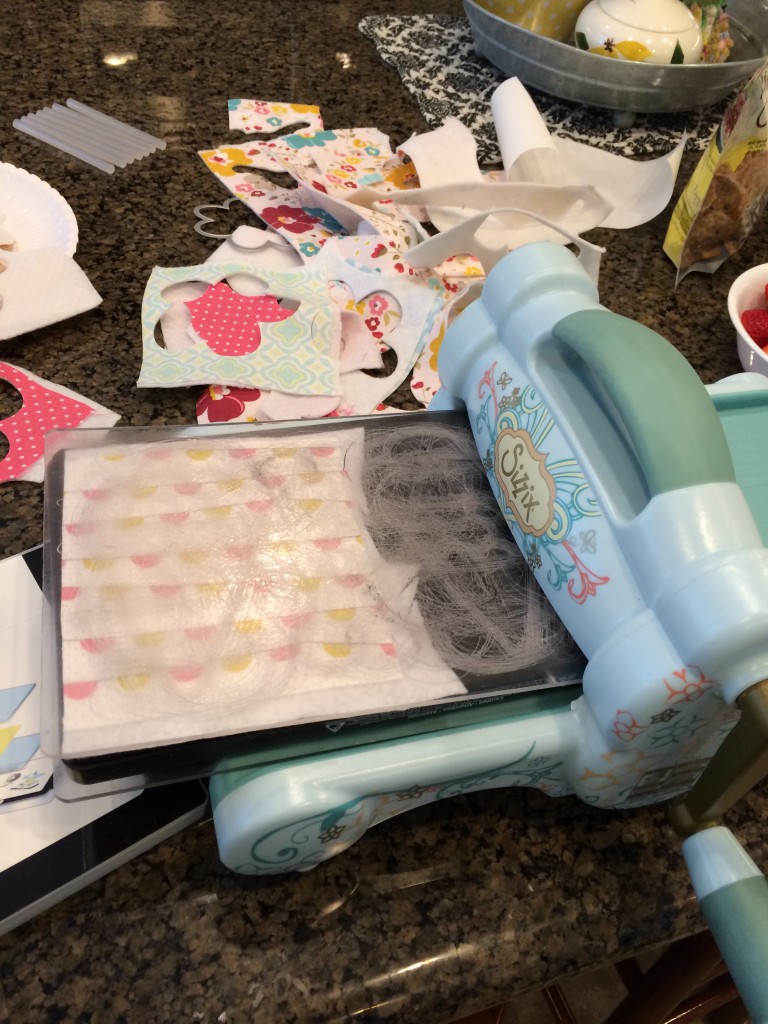
After quilting the pane, cut the triangles out on the line and top stitch 1/8″ from the edge to prevent the quilting from unraveling.
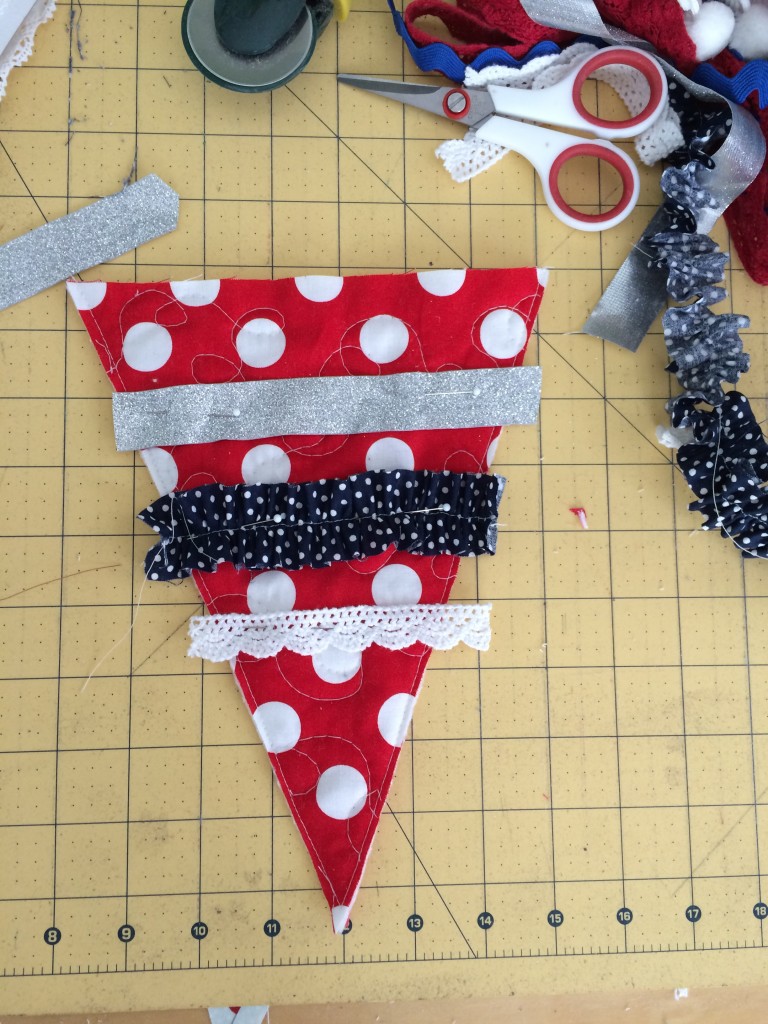
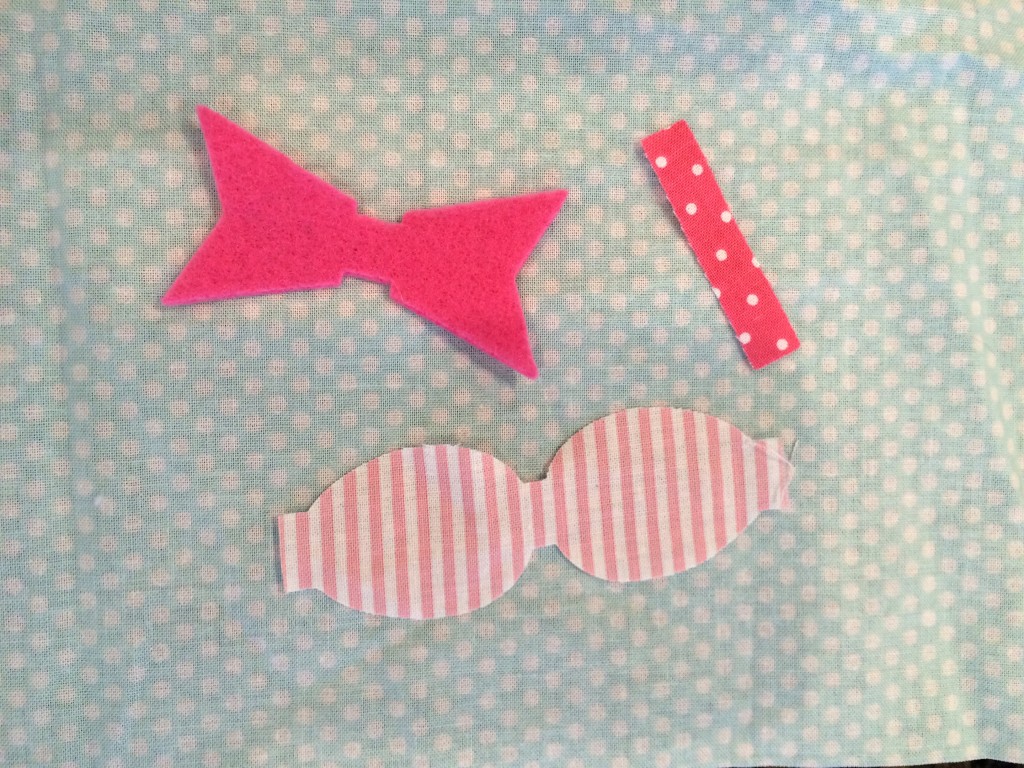
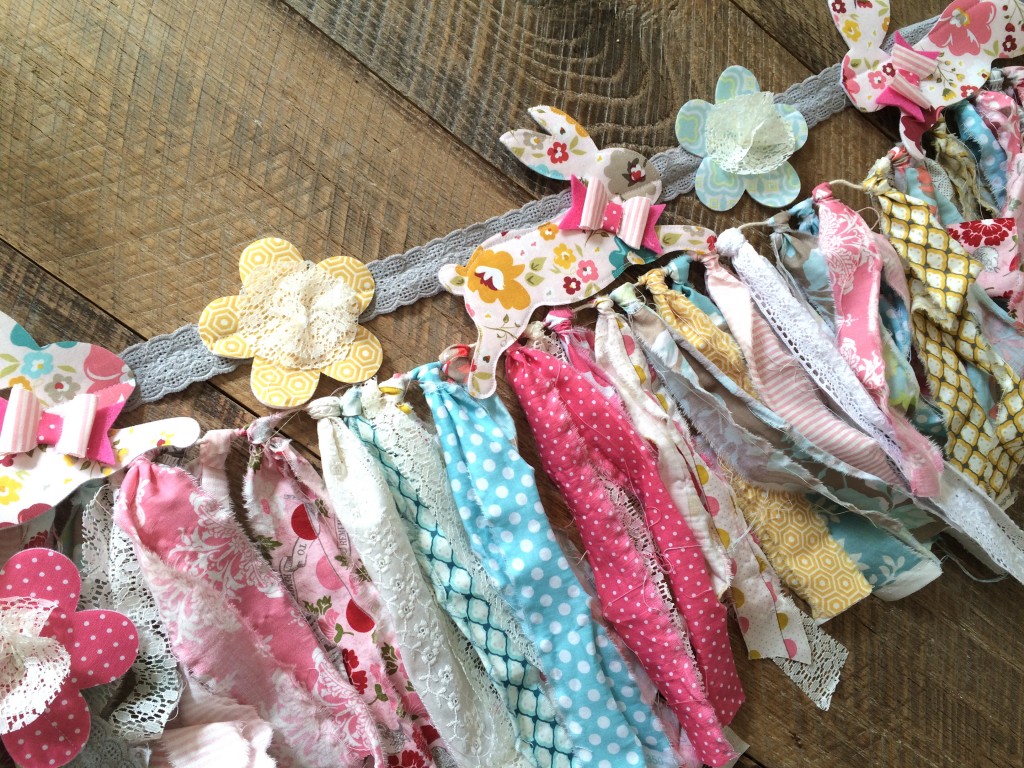
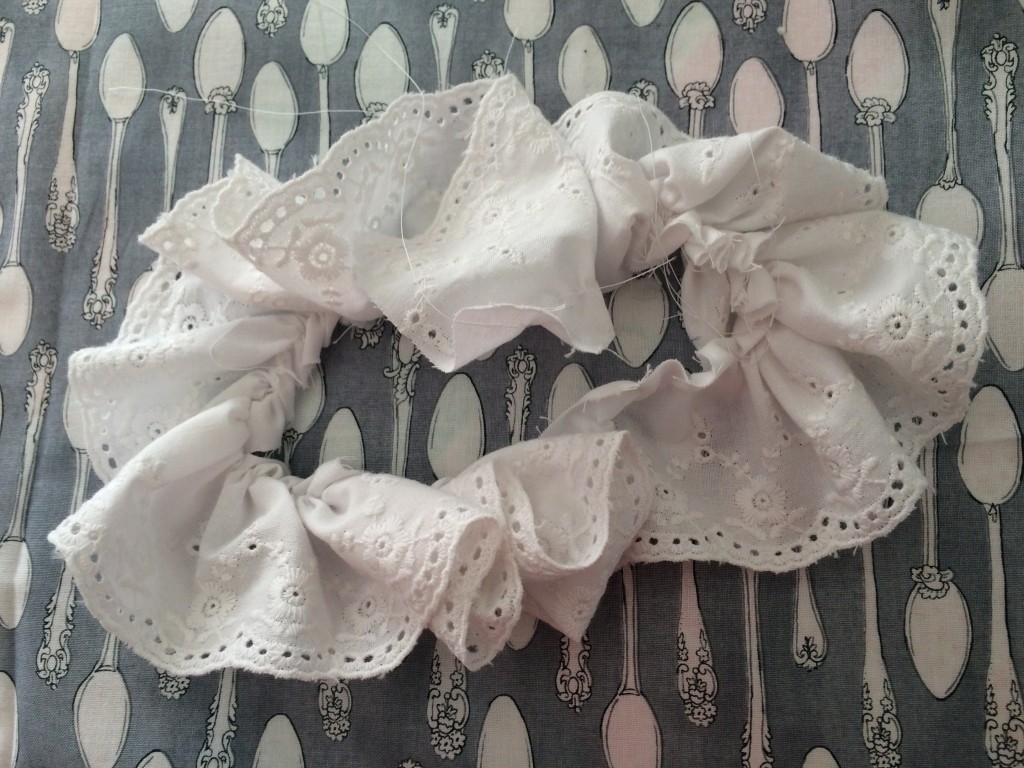
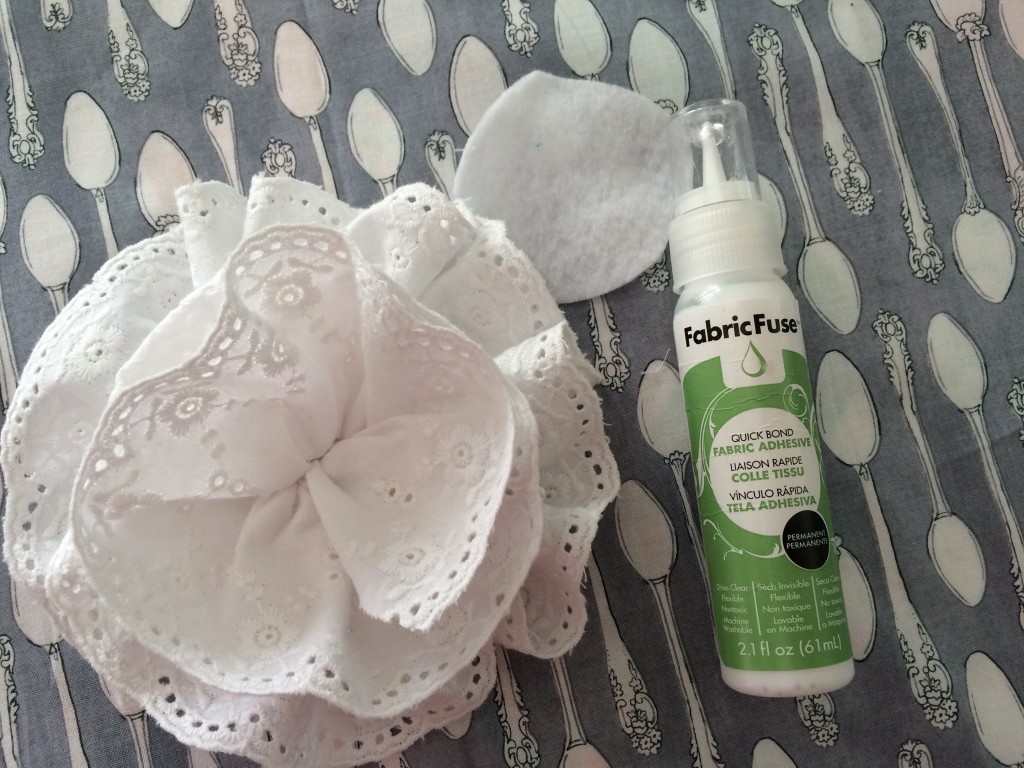
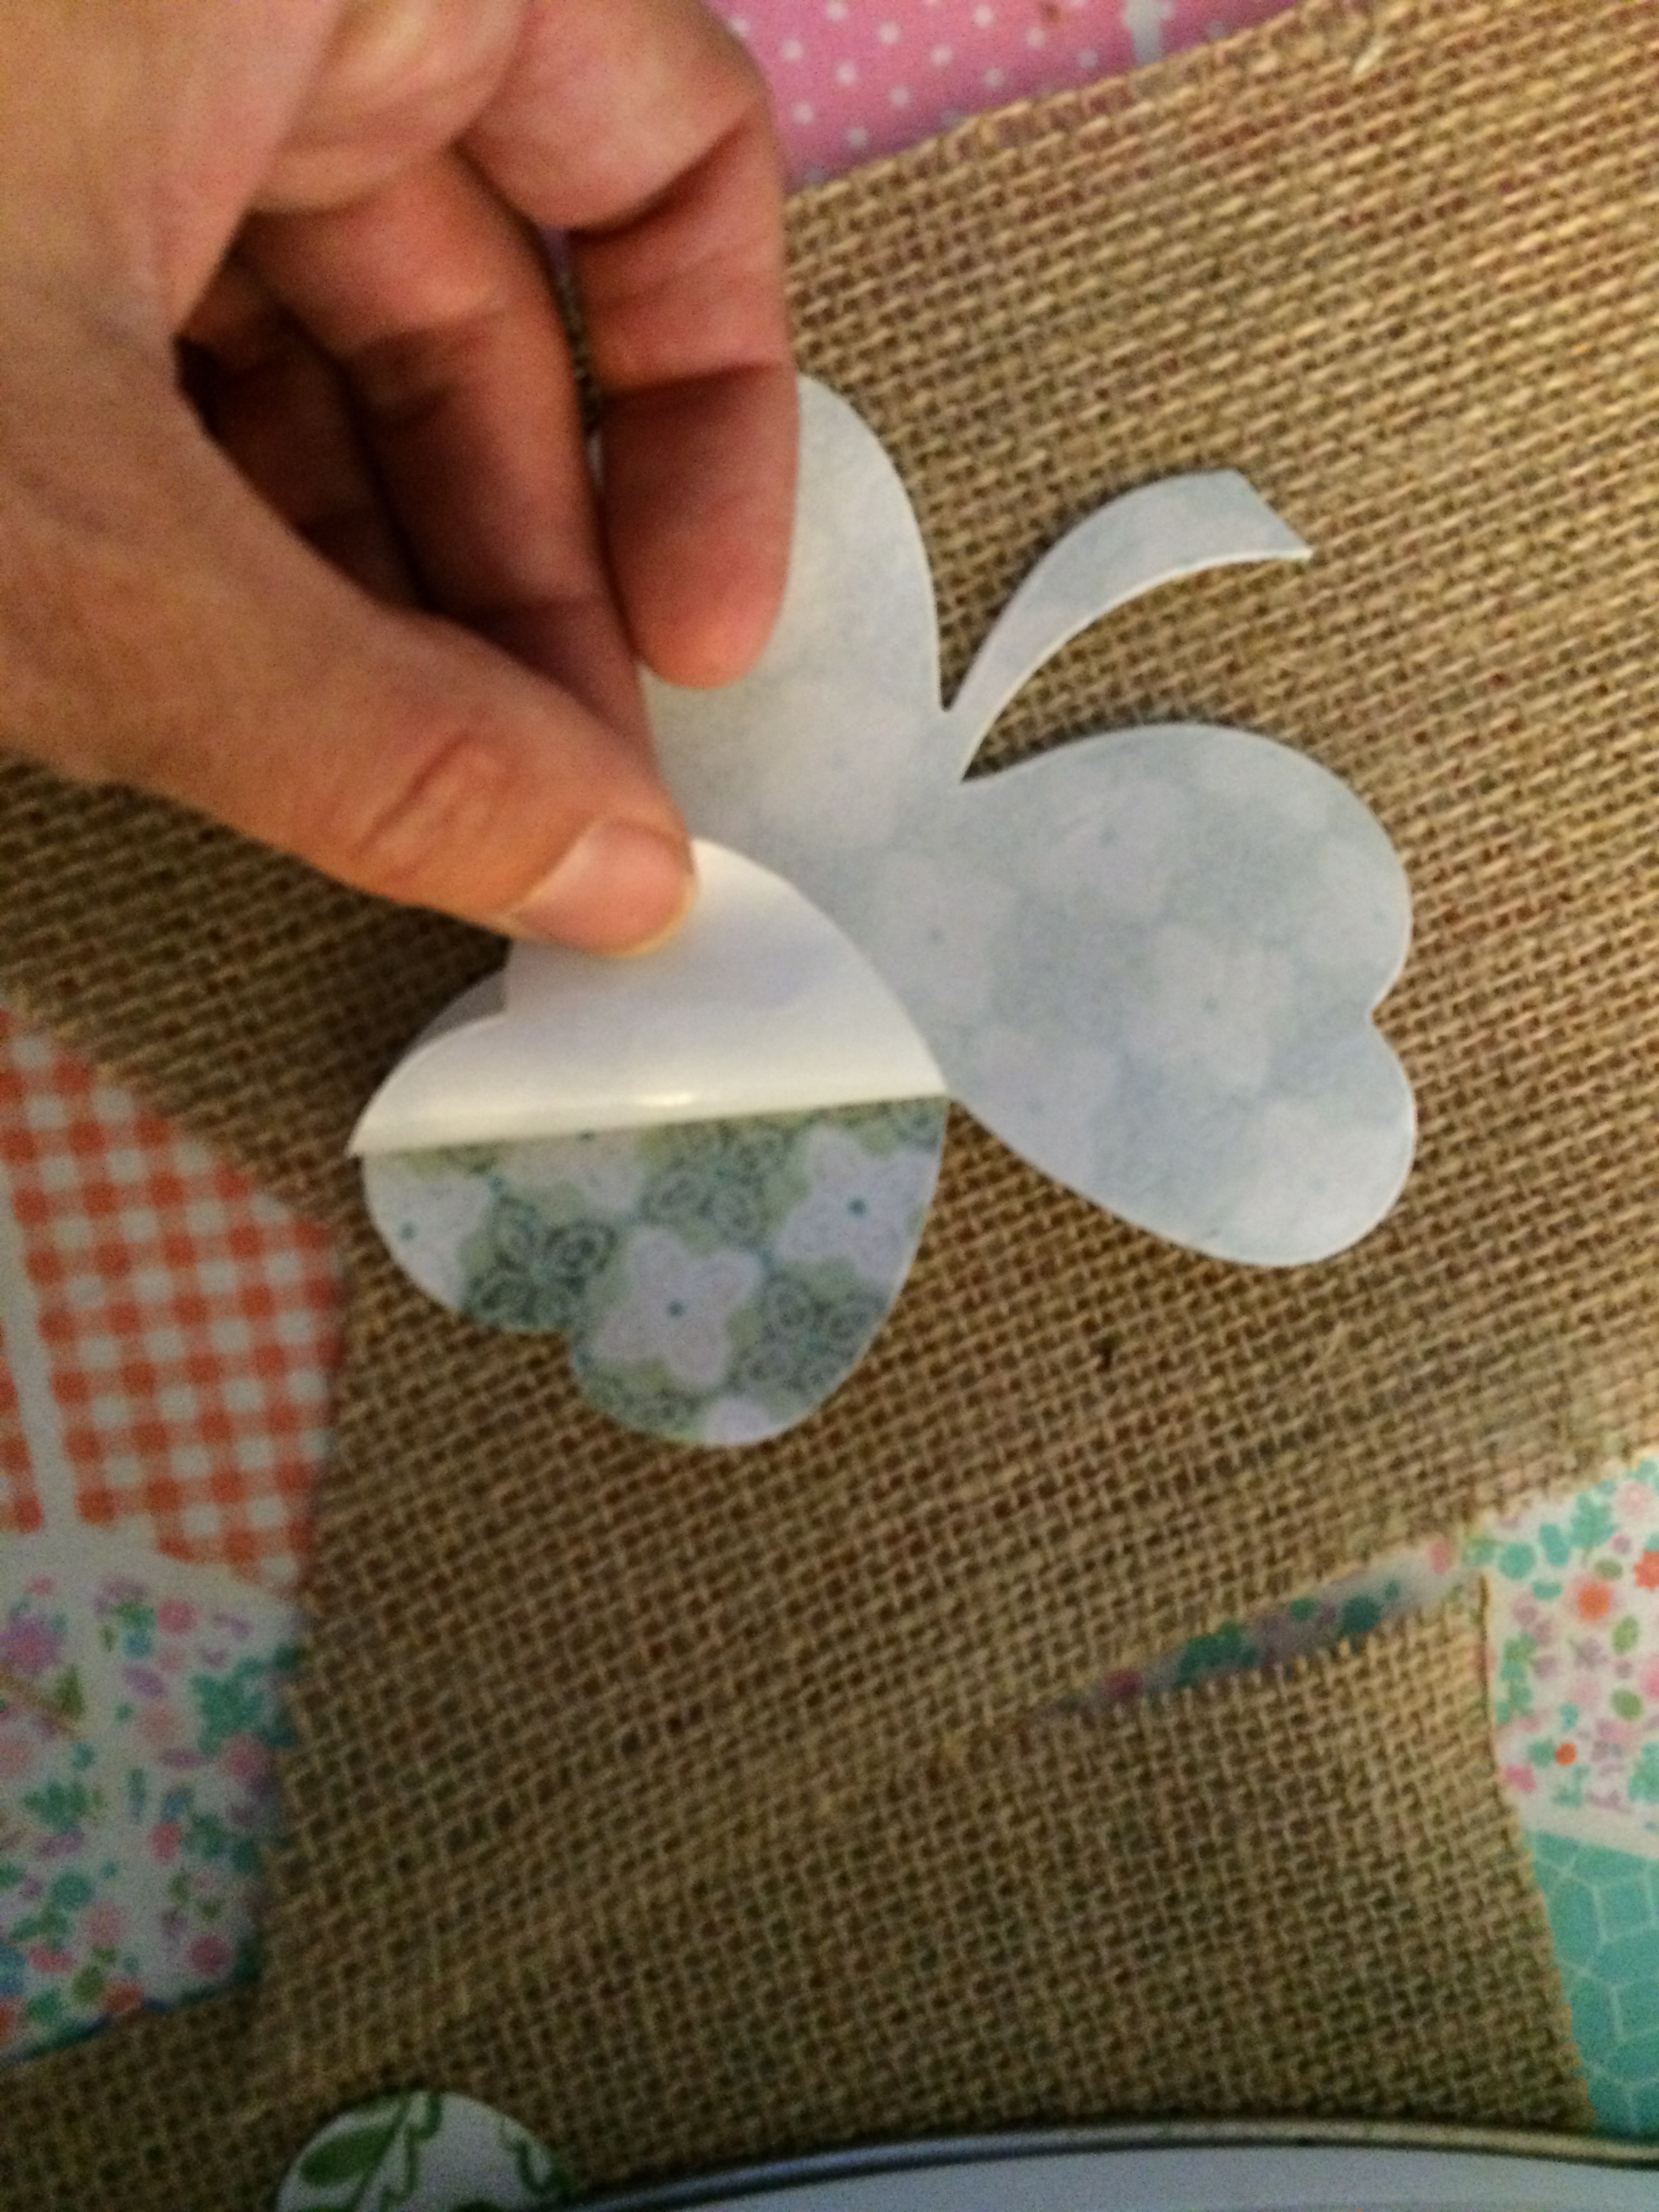
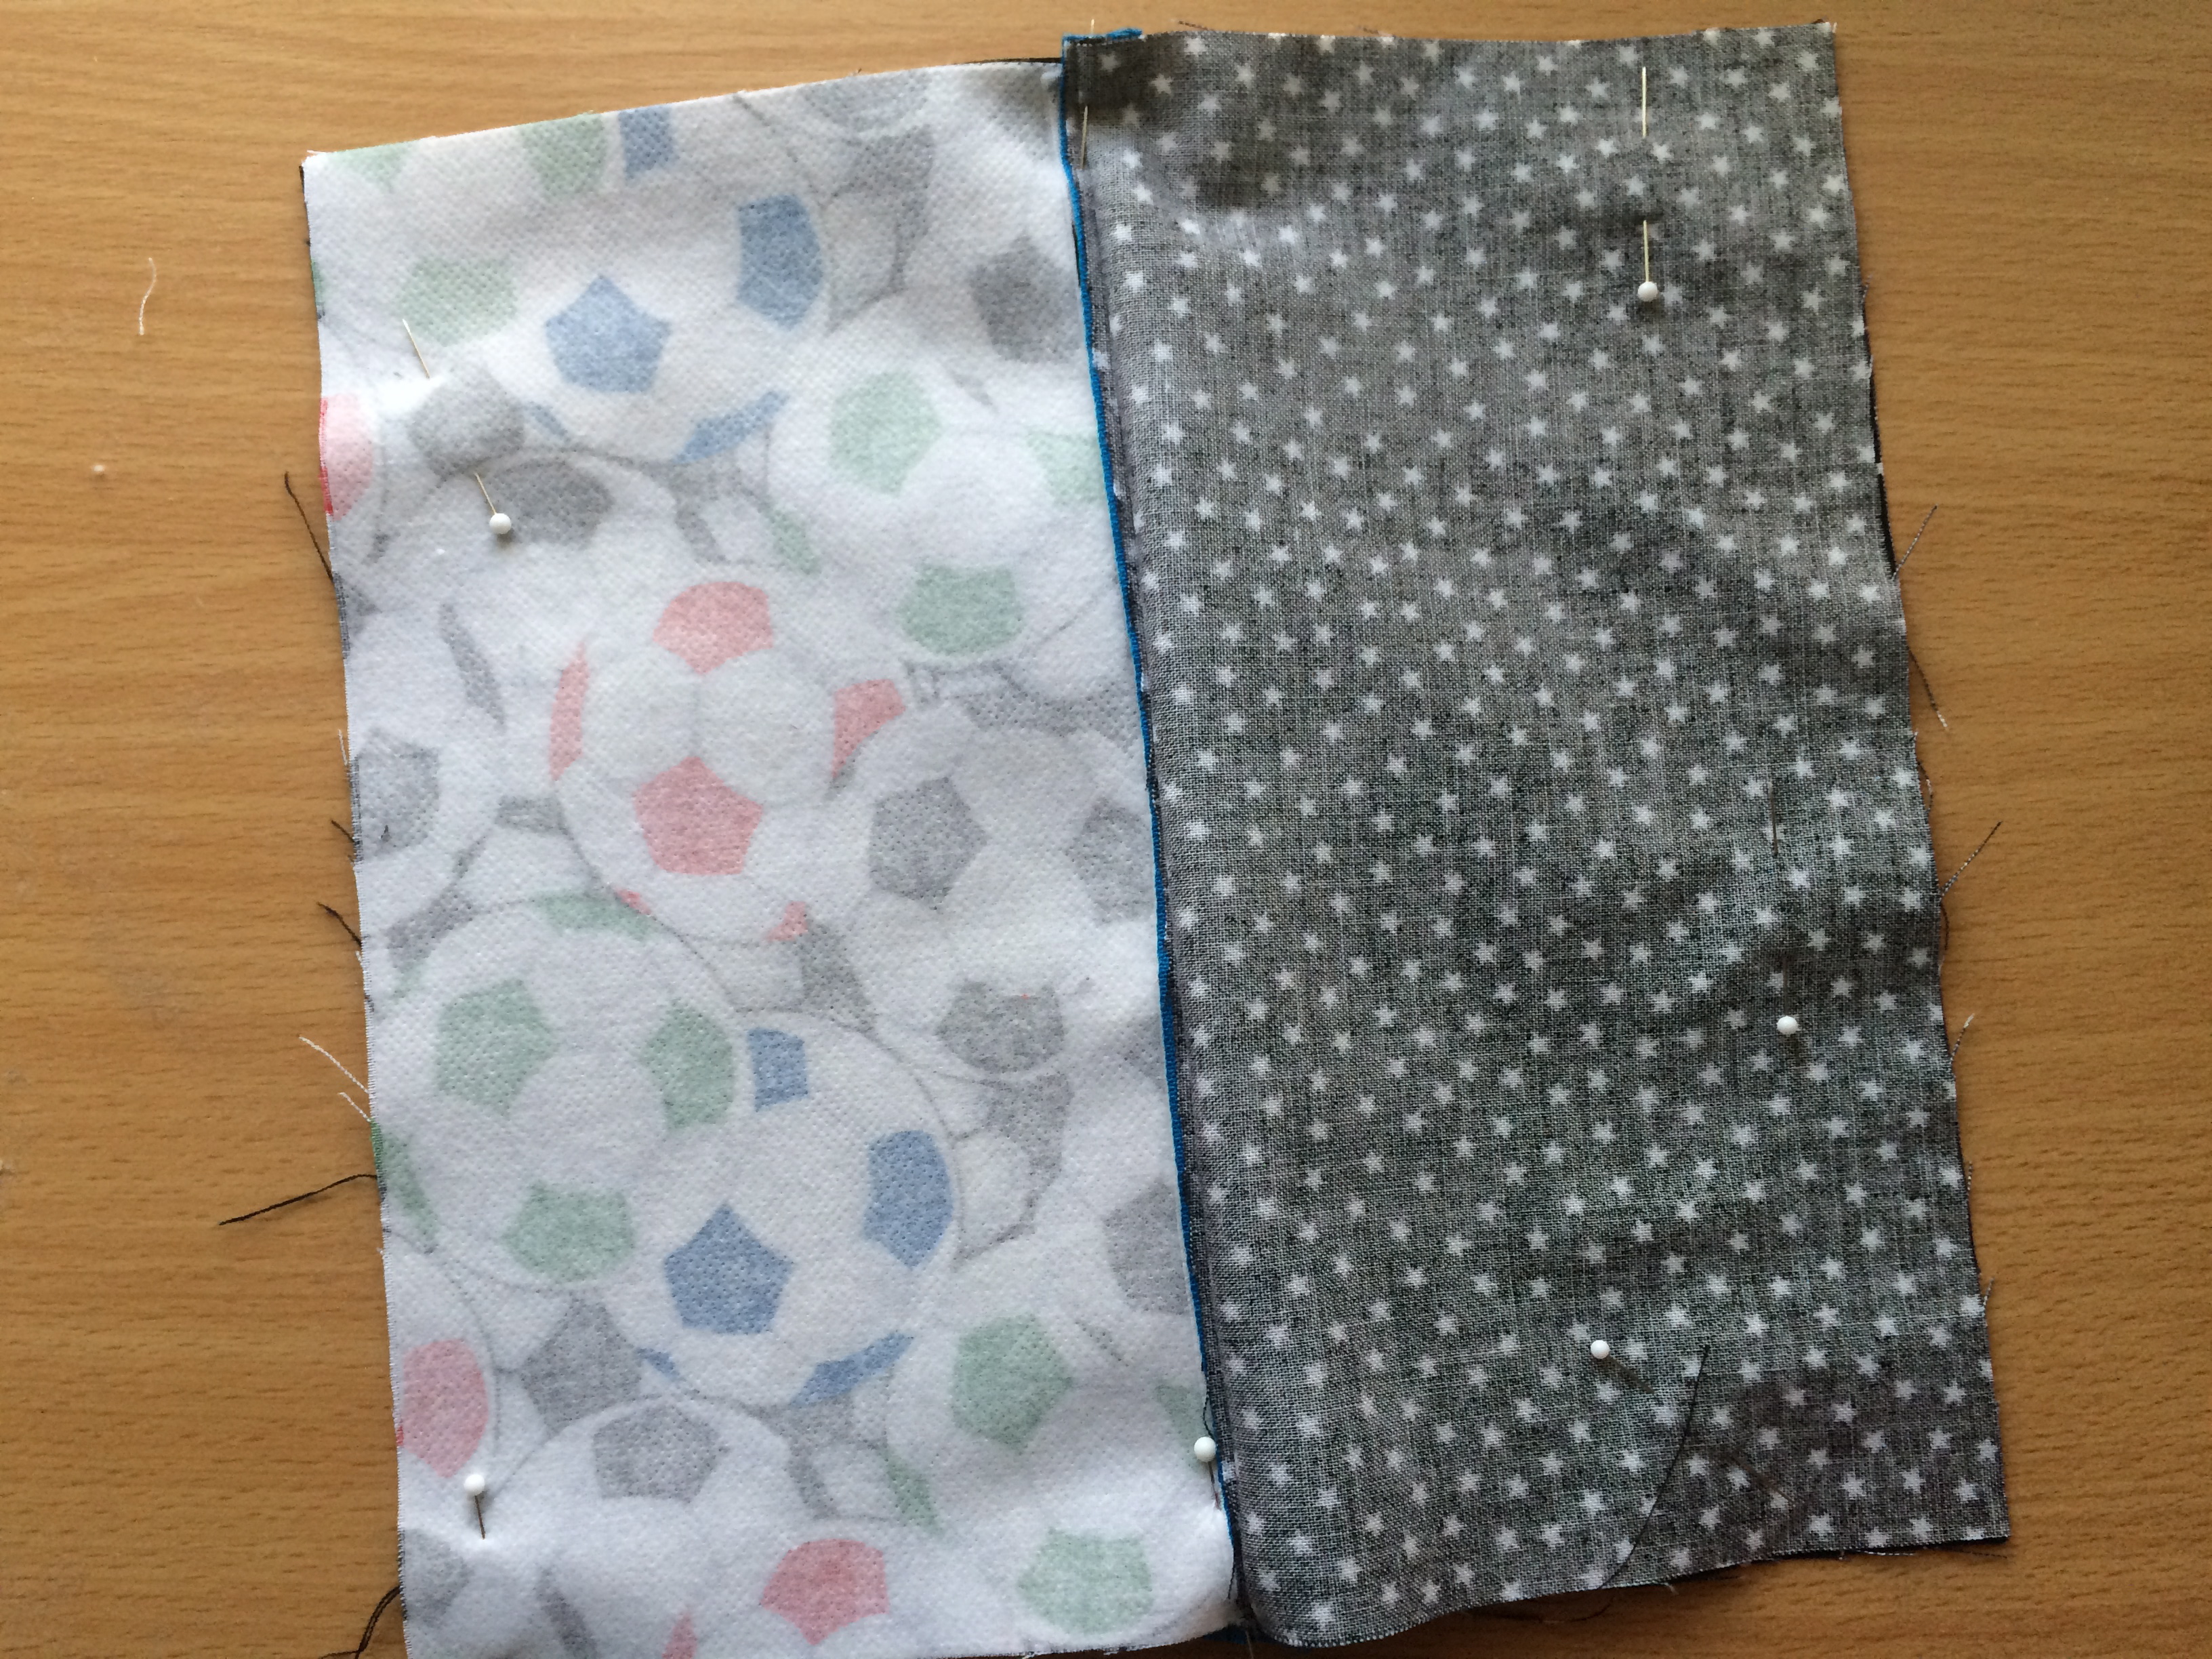
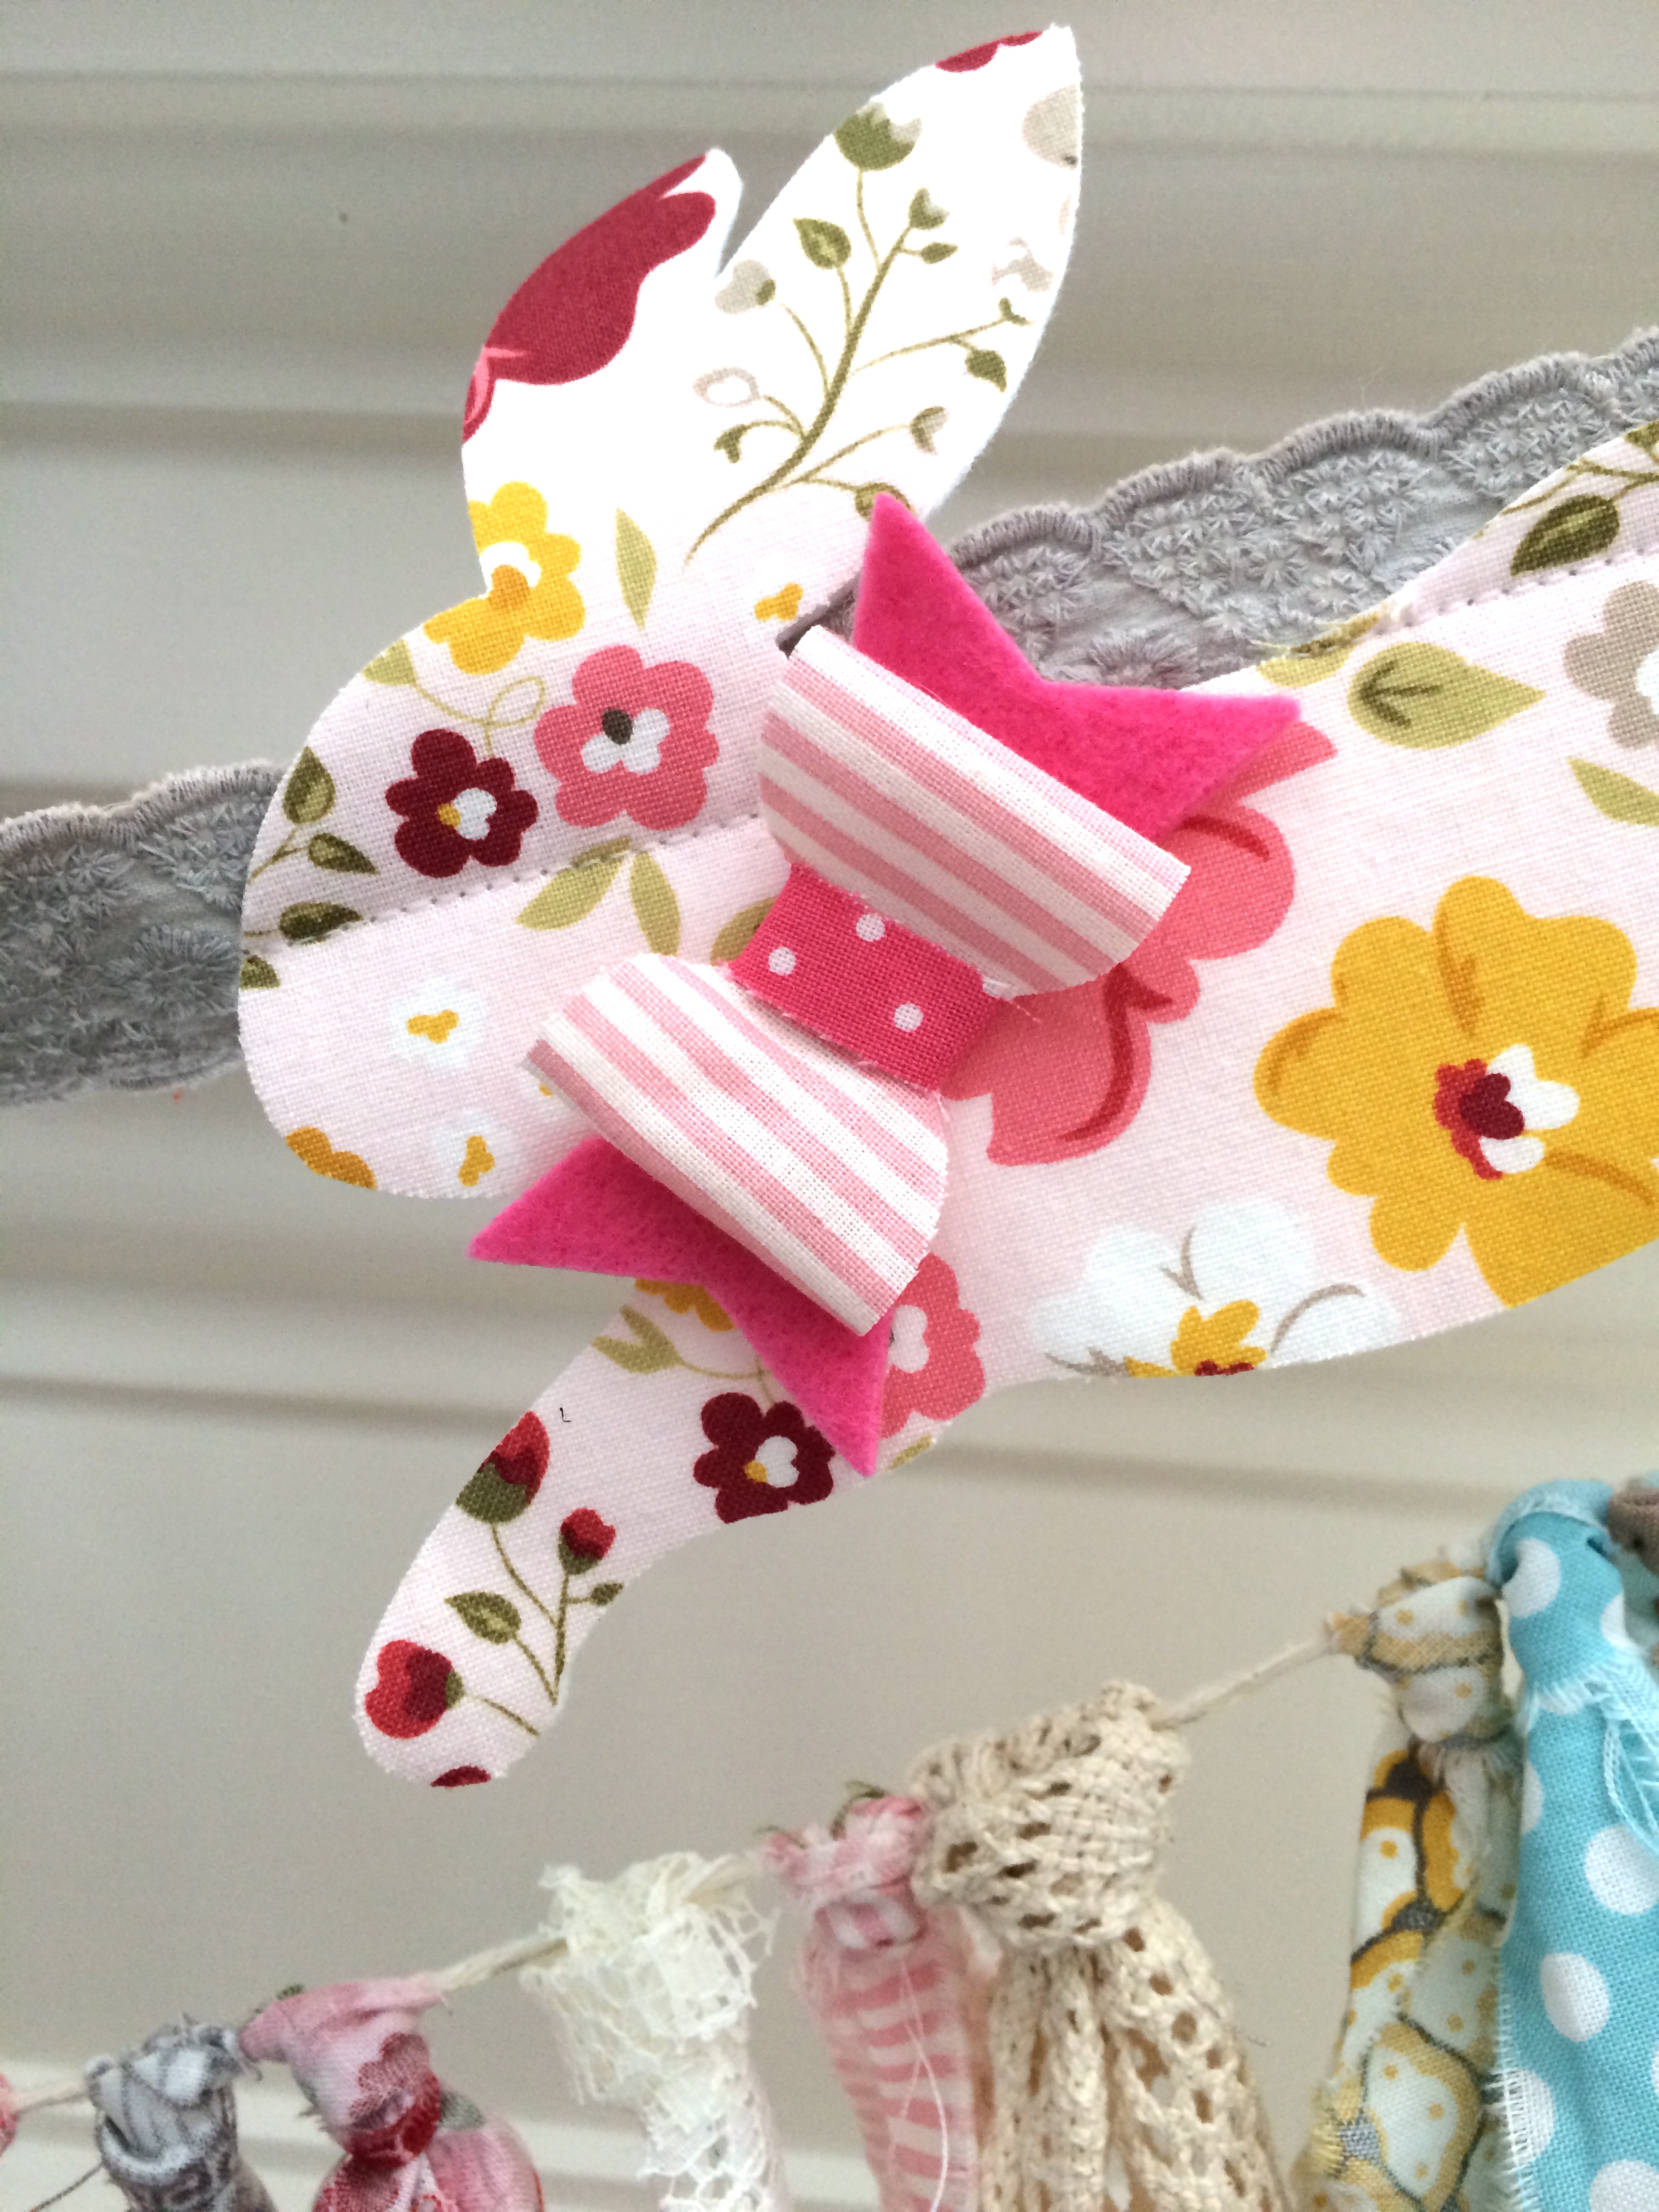
Now comes the fun part. Run around your house and gather every bit of ribbon, trim, lace, etc. in red, white, blue, gray, and silver. I even ruffled a few pieces of fabric. Use Spray n Bond® to position the trim in place and top stitch on the triangles. This takes a while – I didn’t want any of mine to be the same.
Once the triangles are completed, move on to the flag portion of the banner.
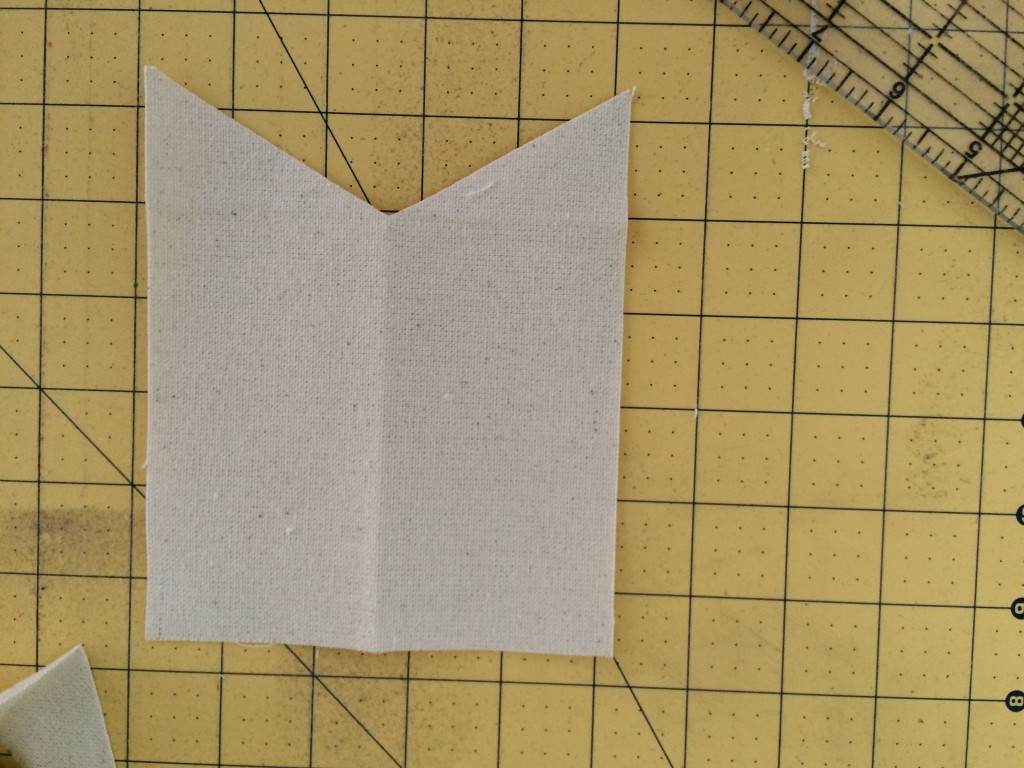
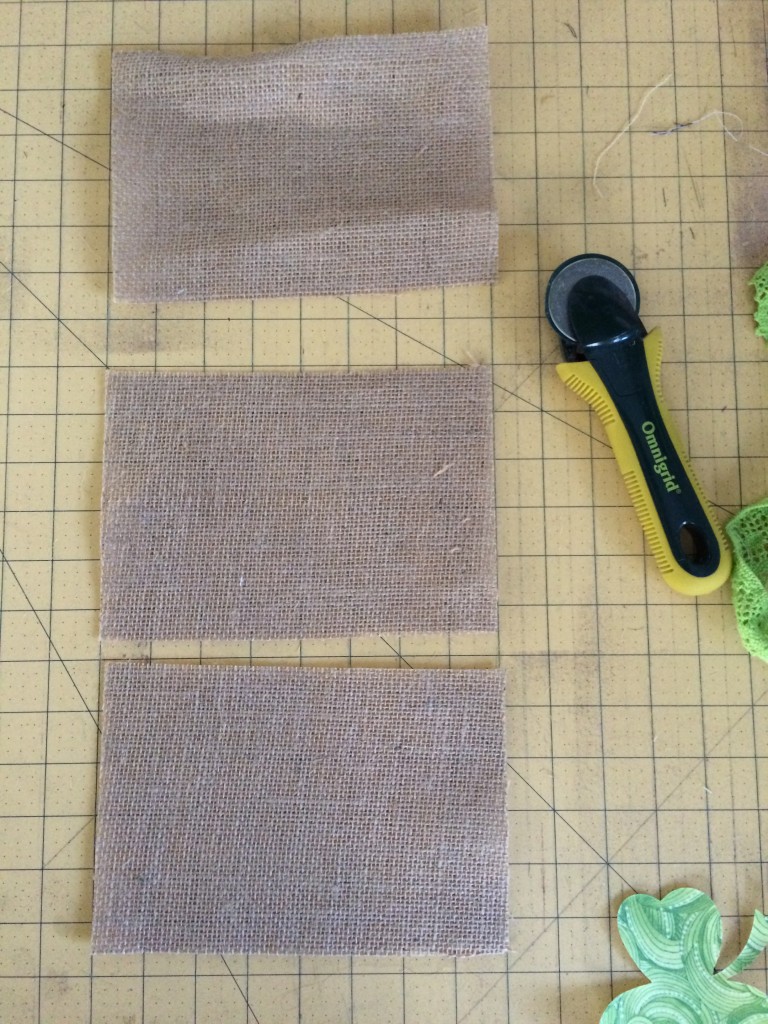
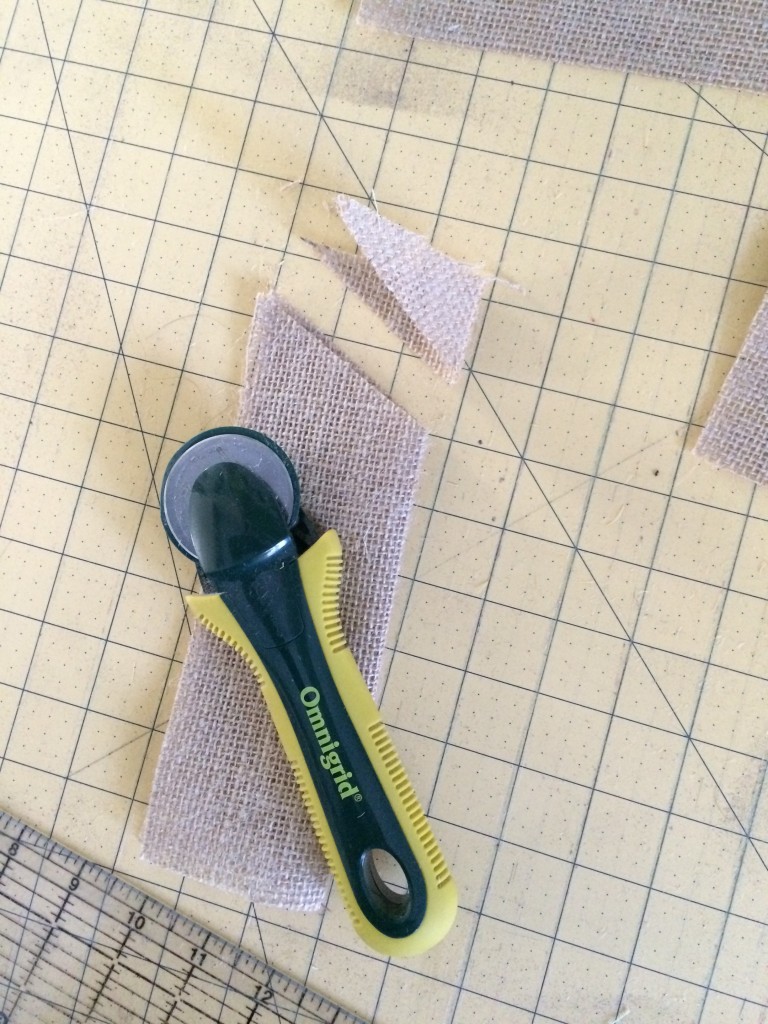
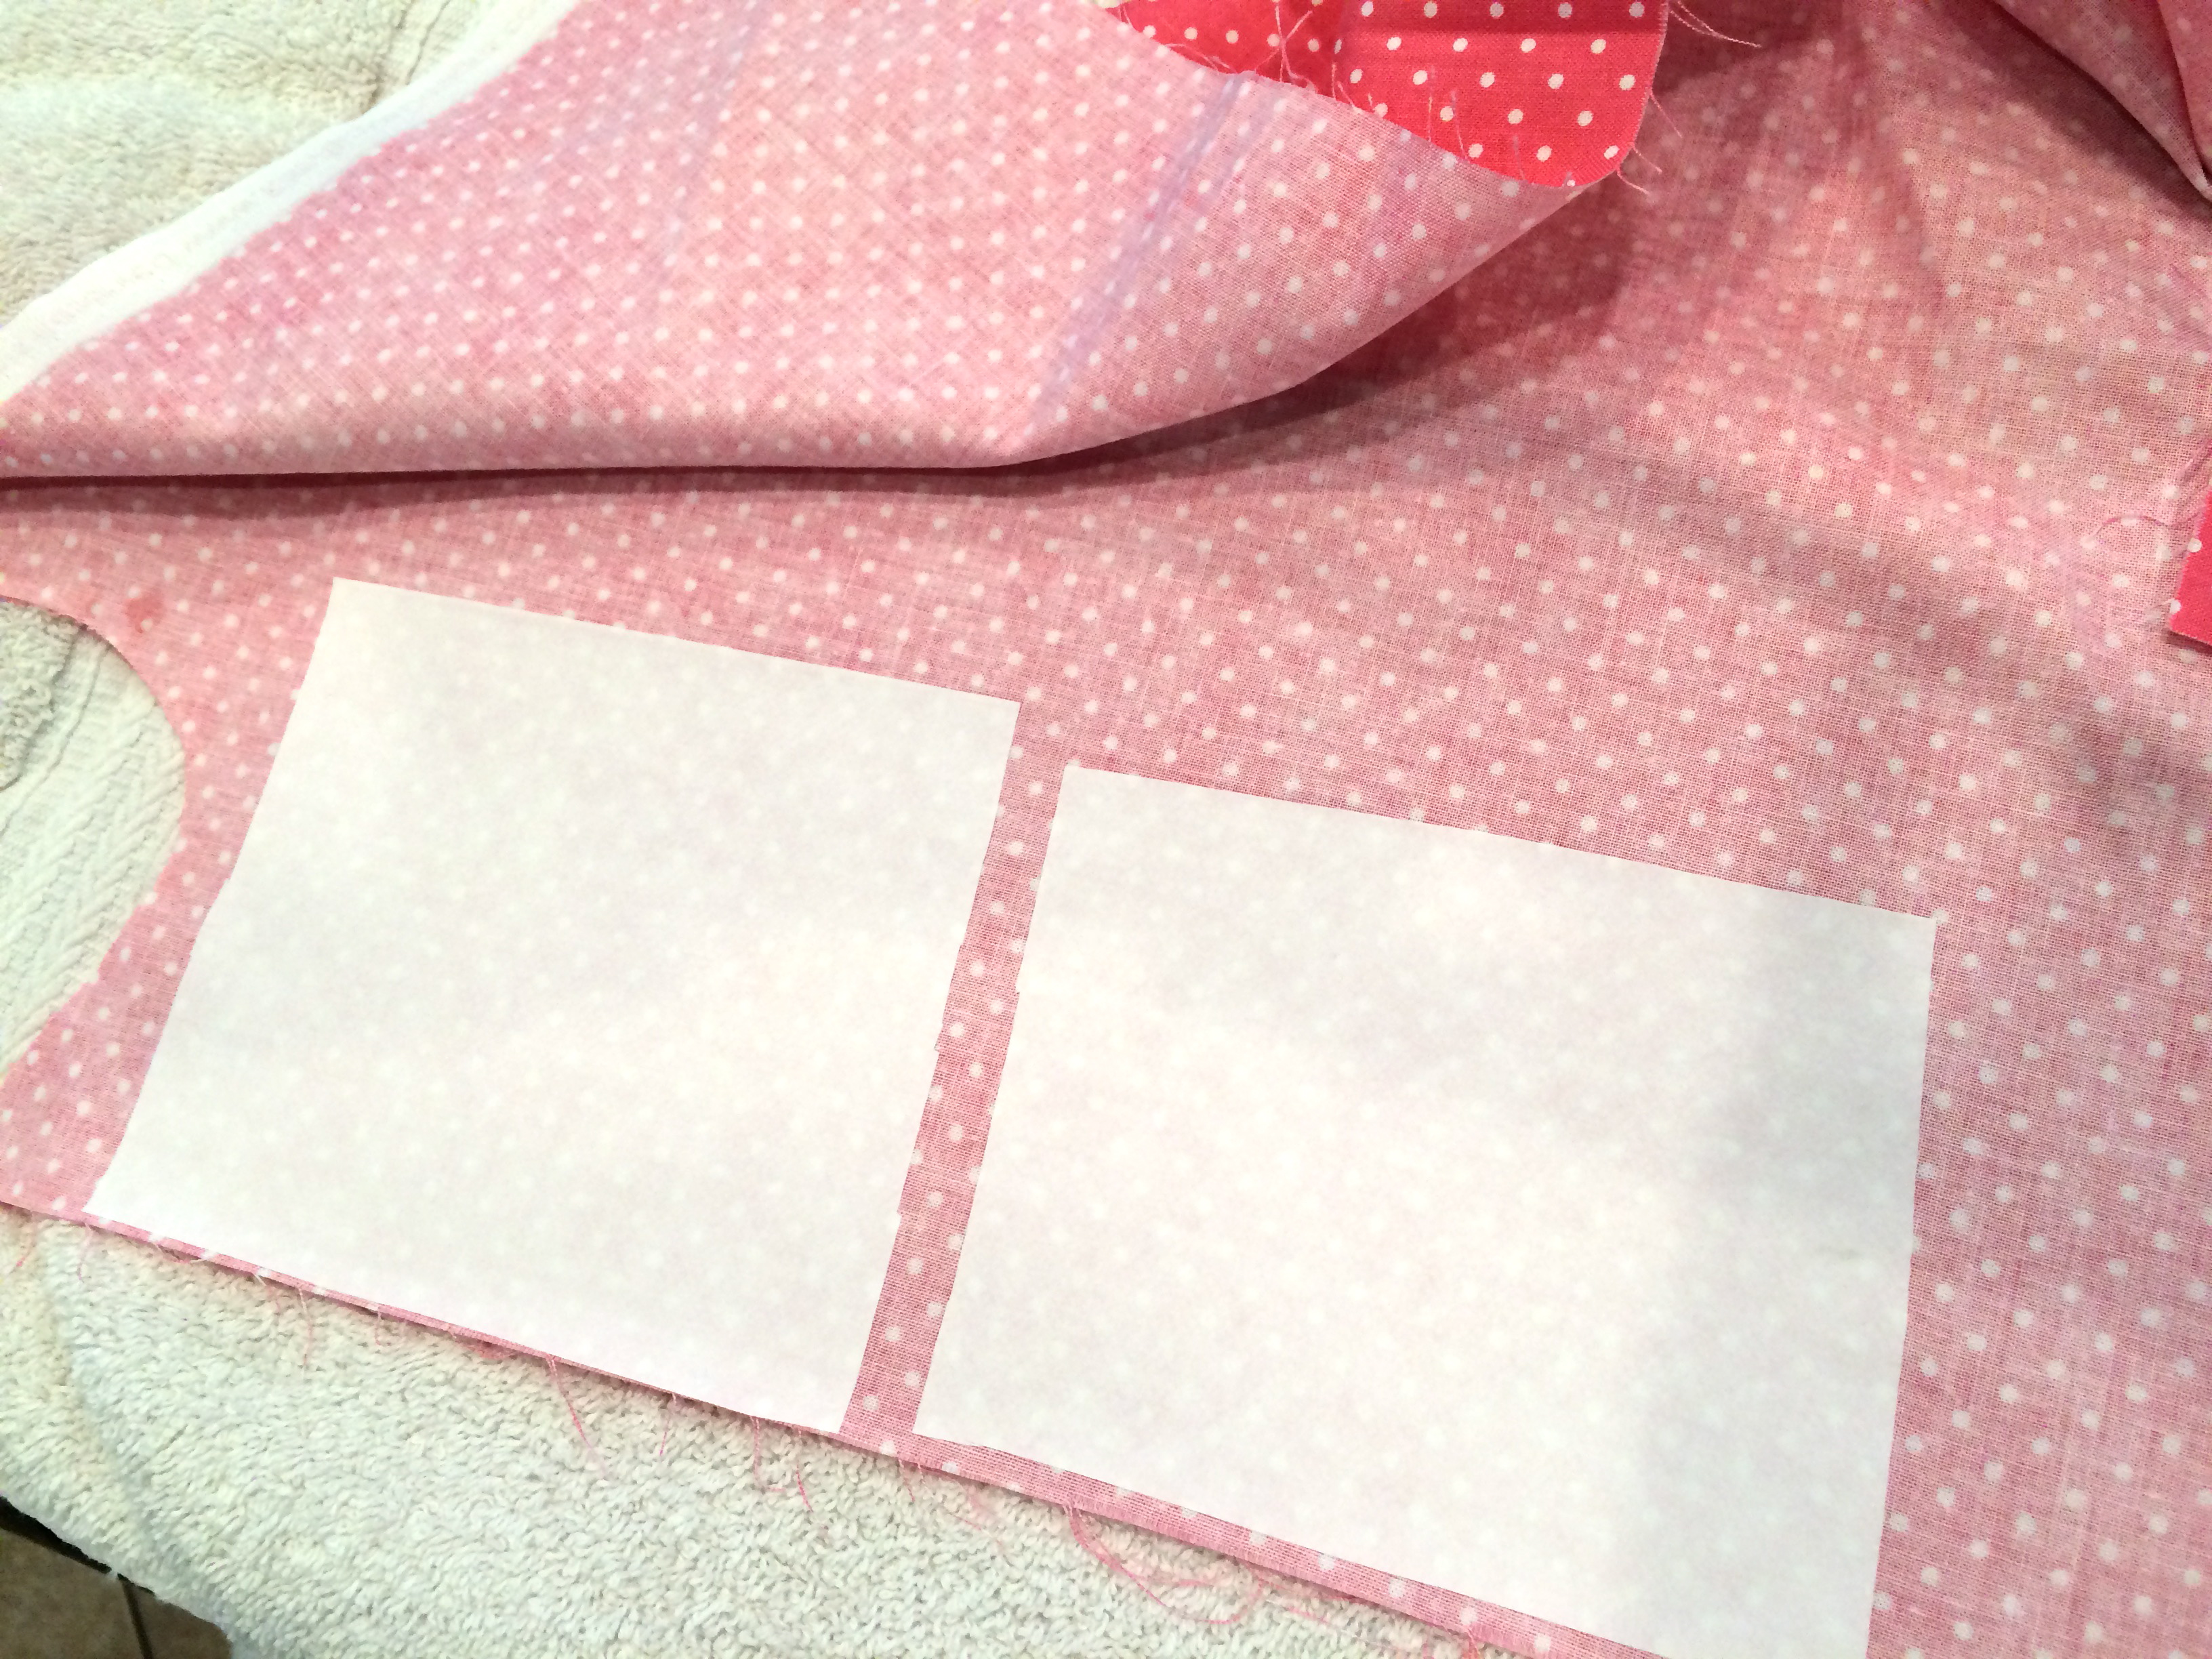
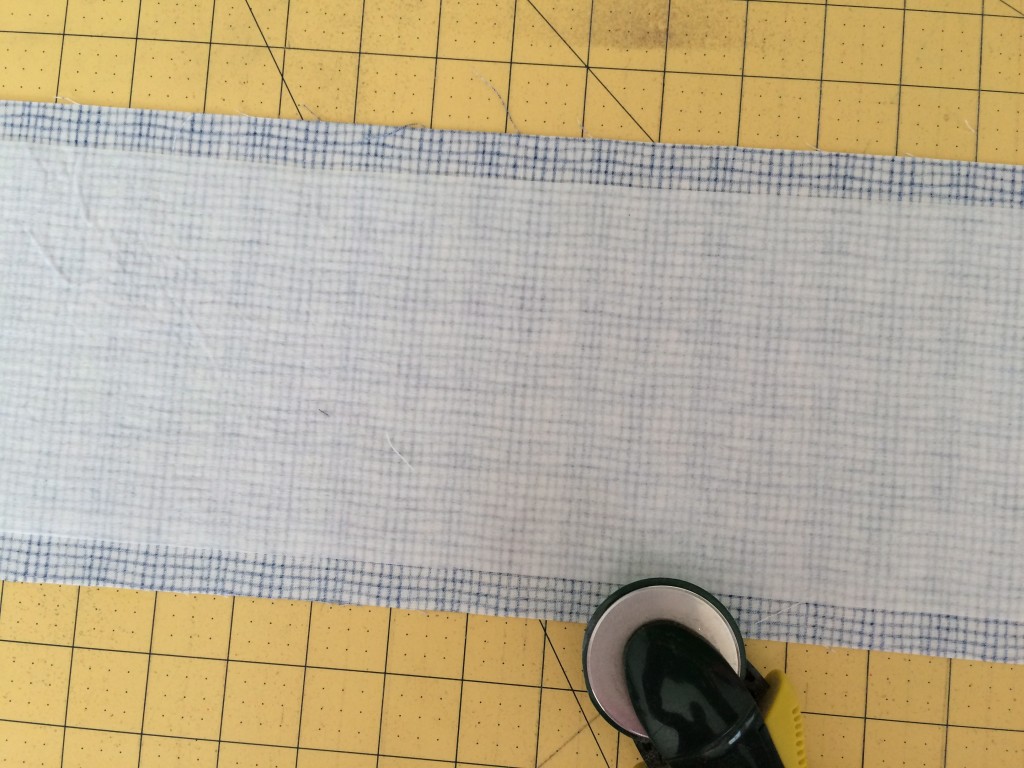
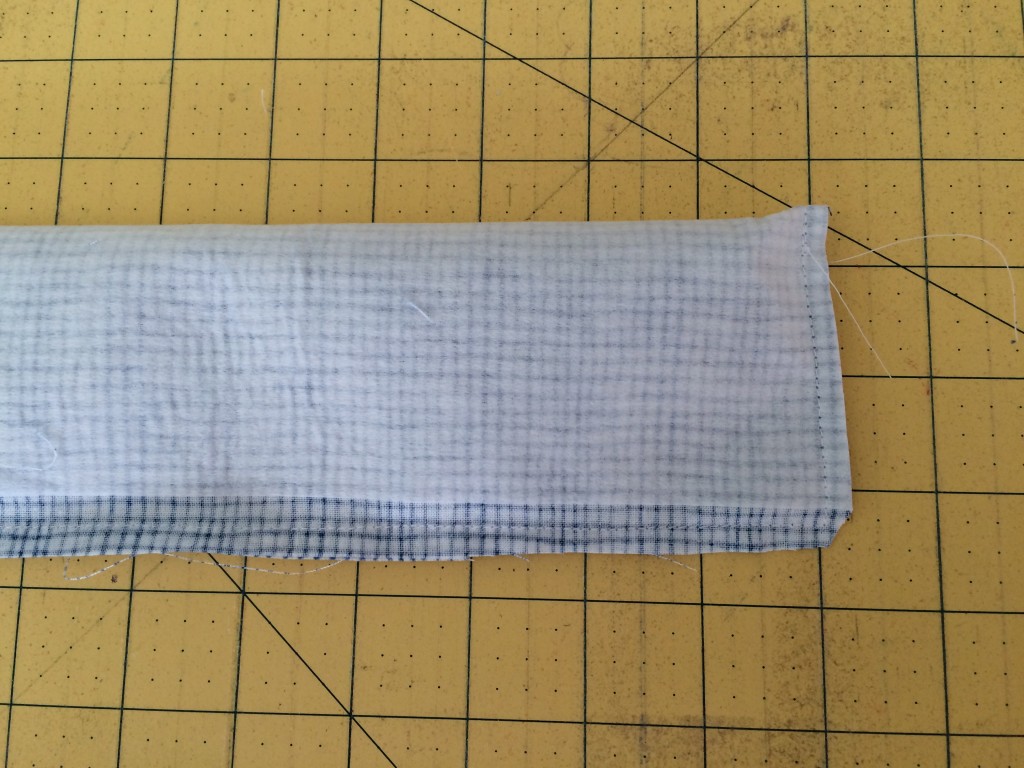
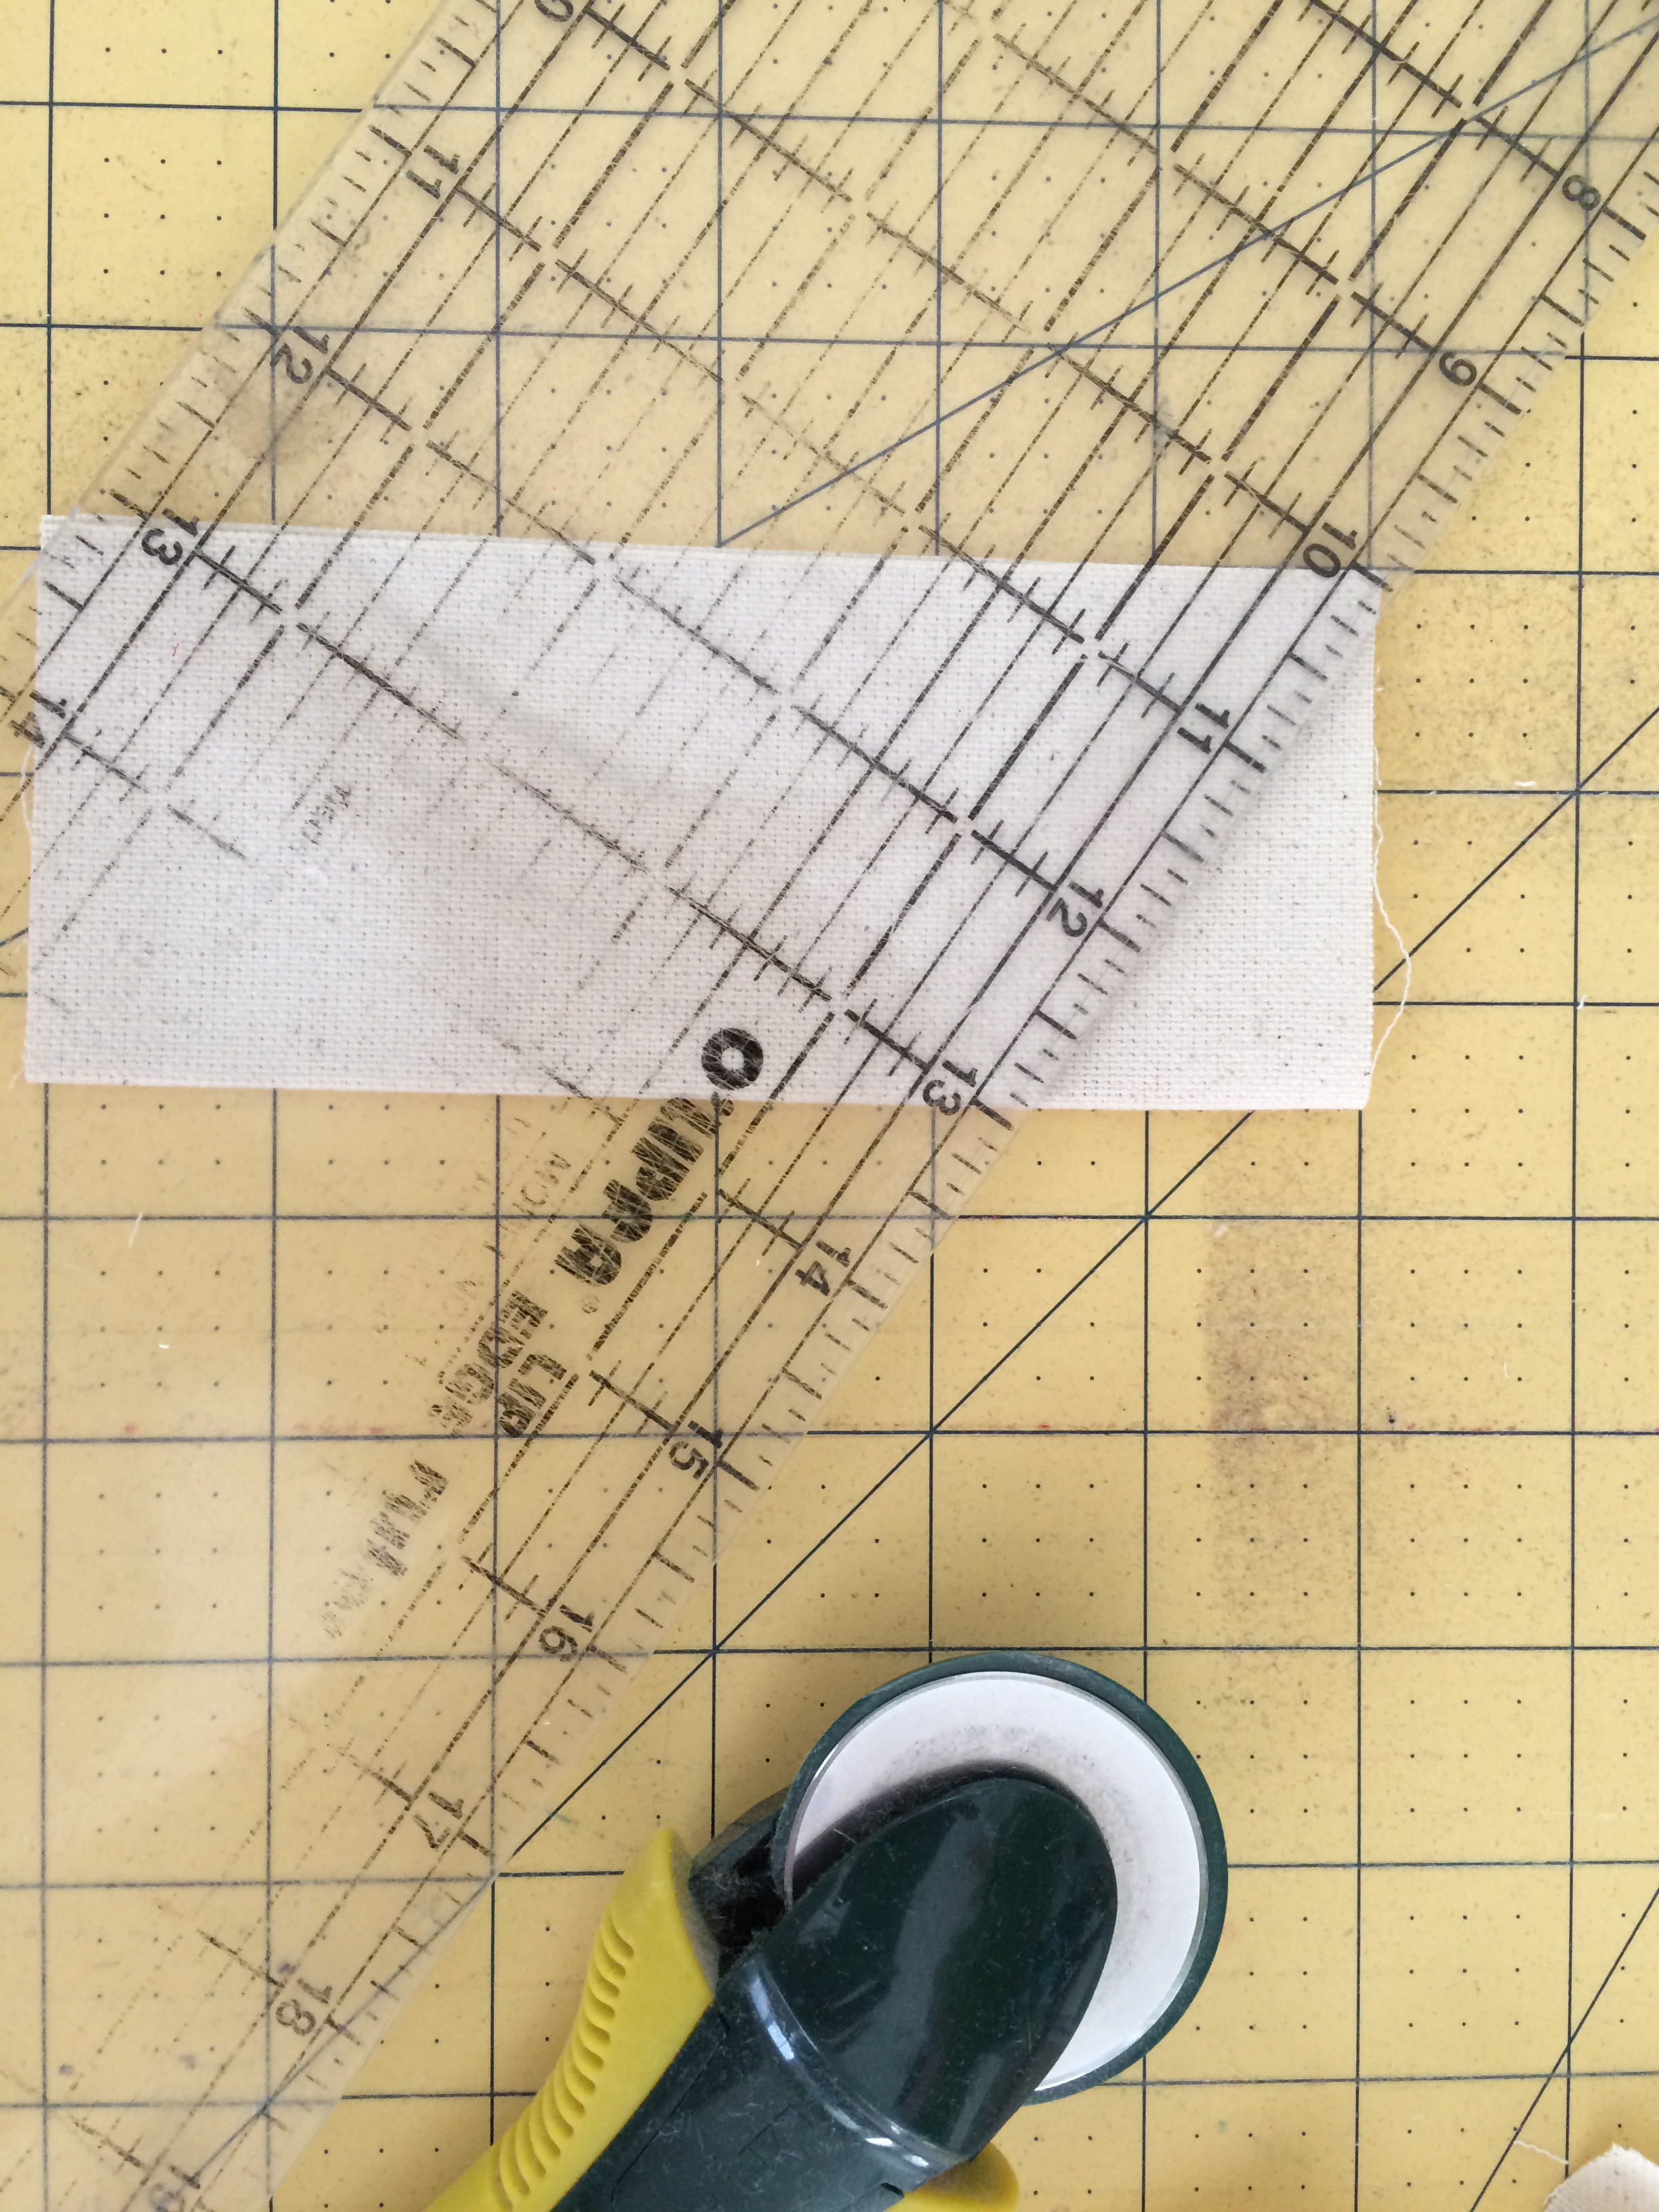
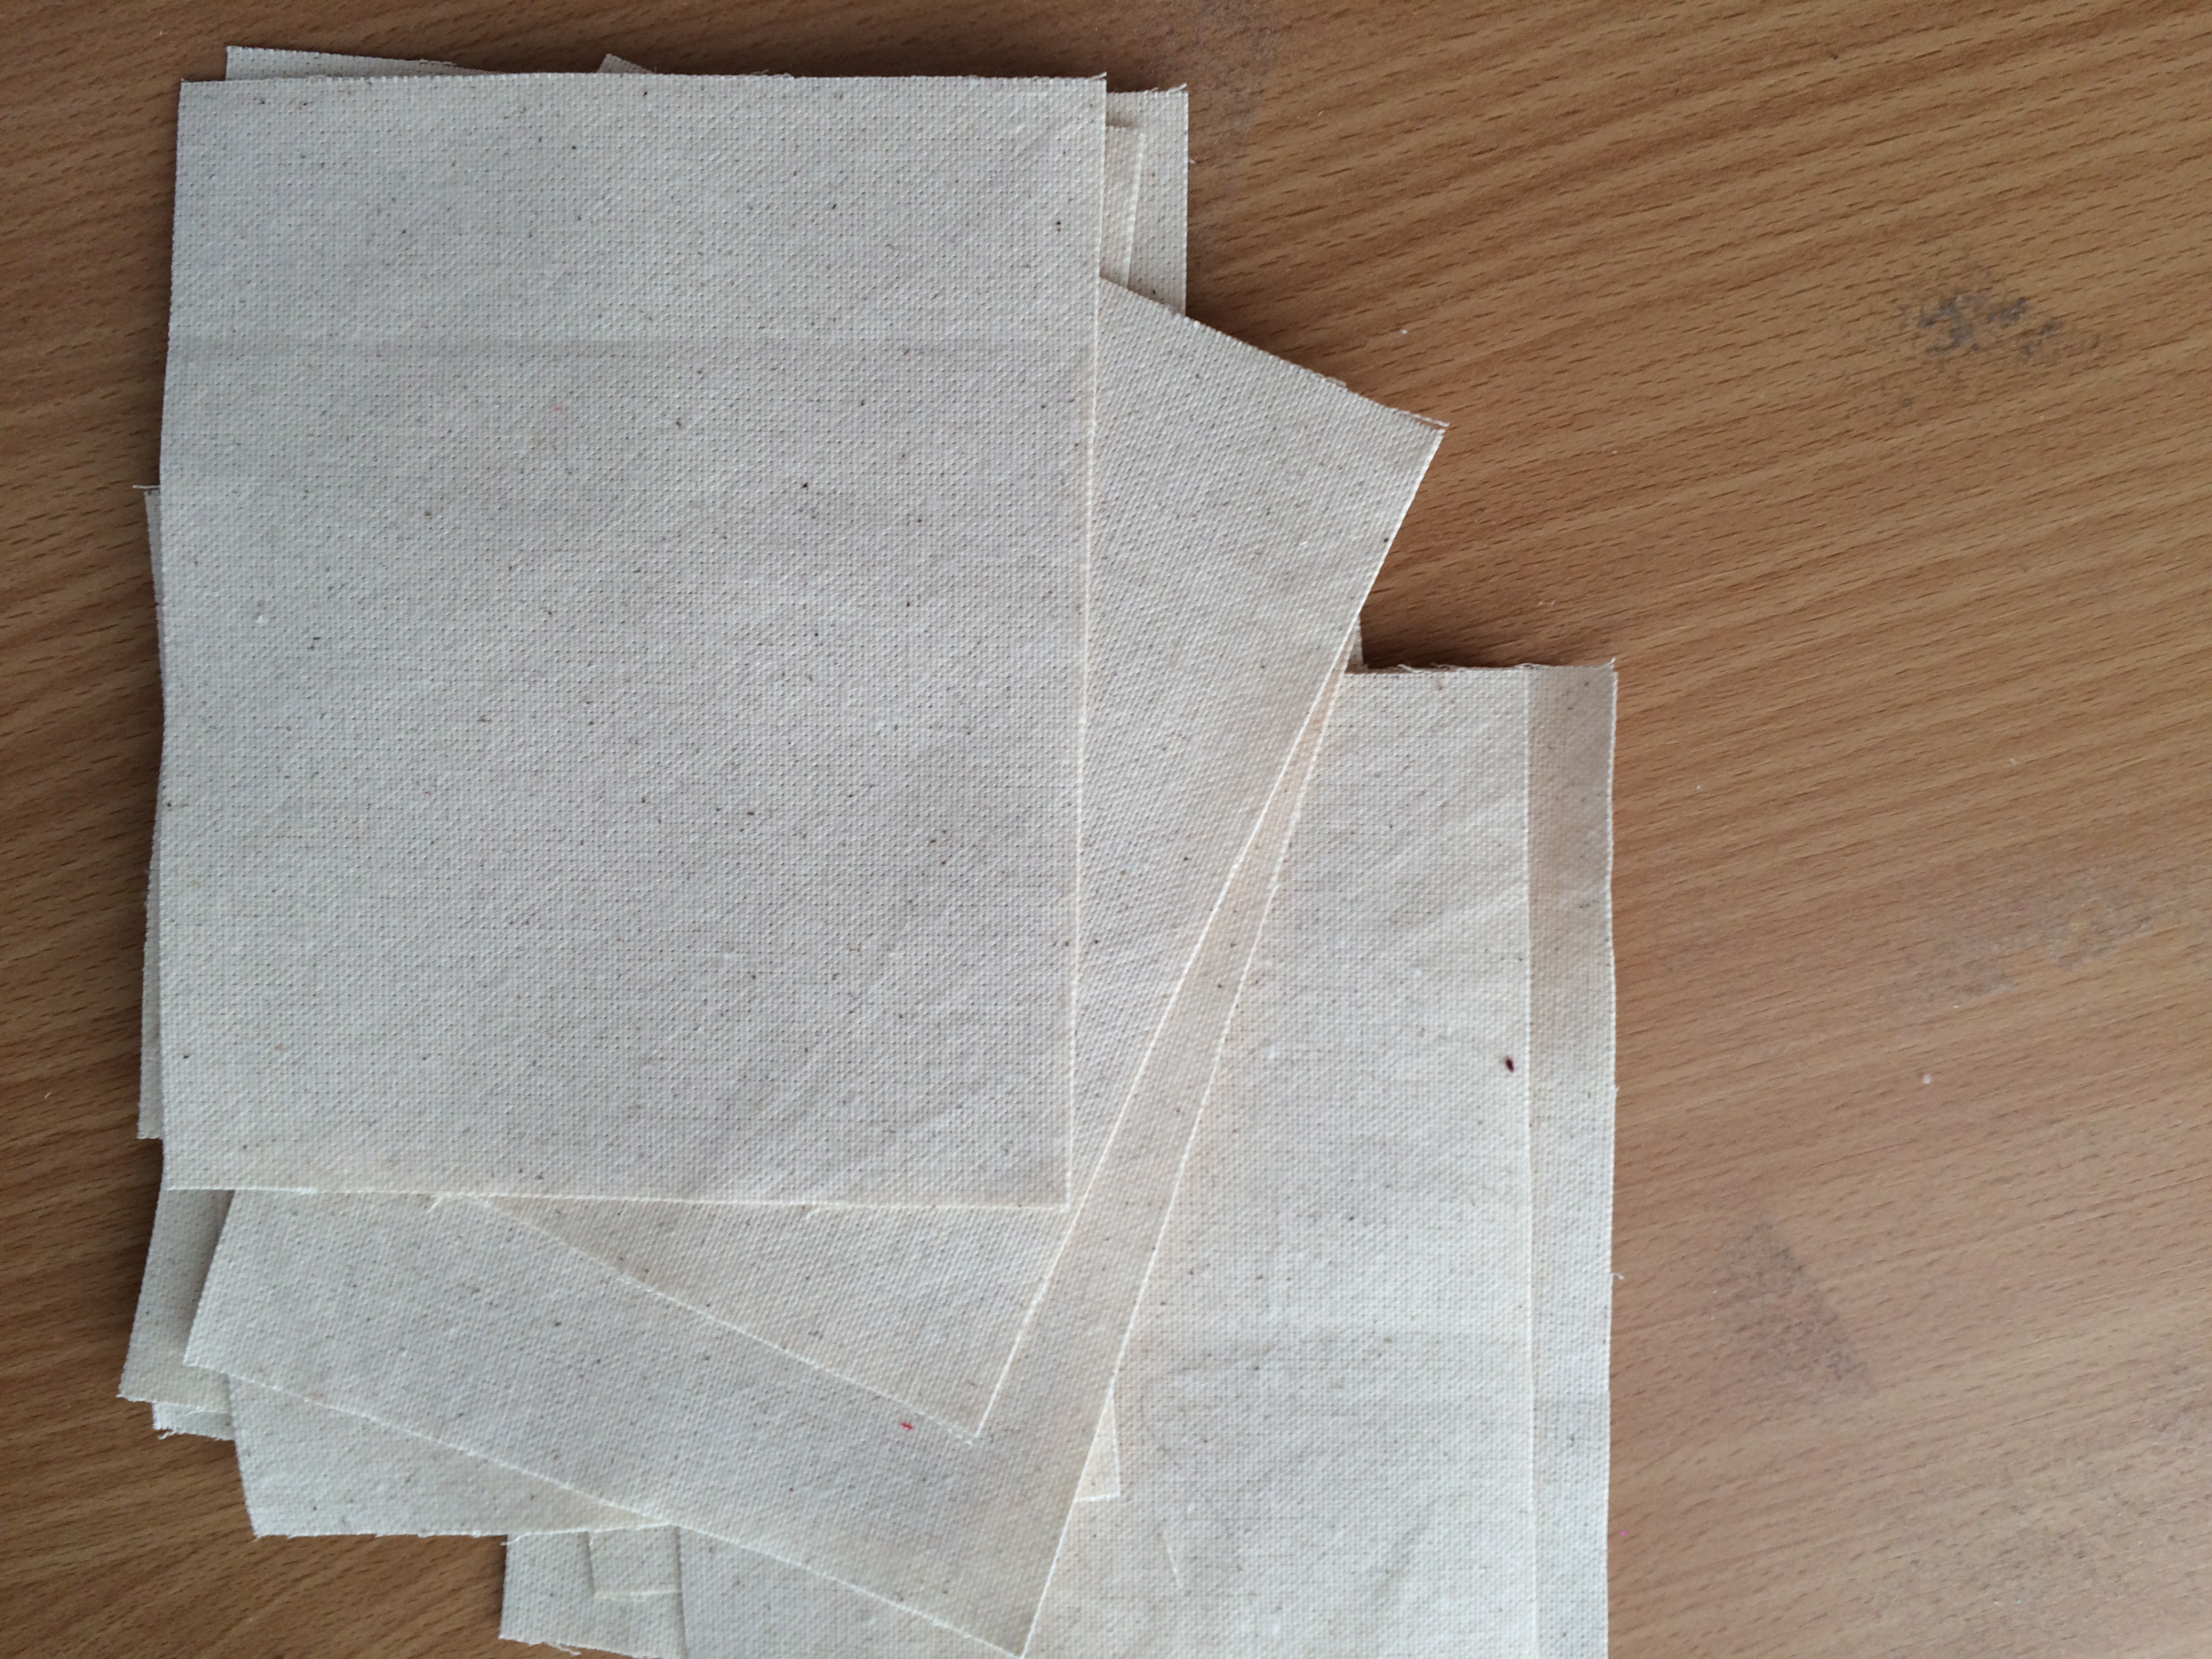
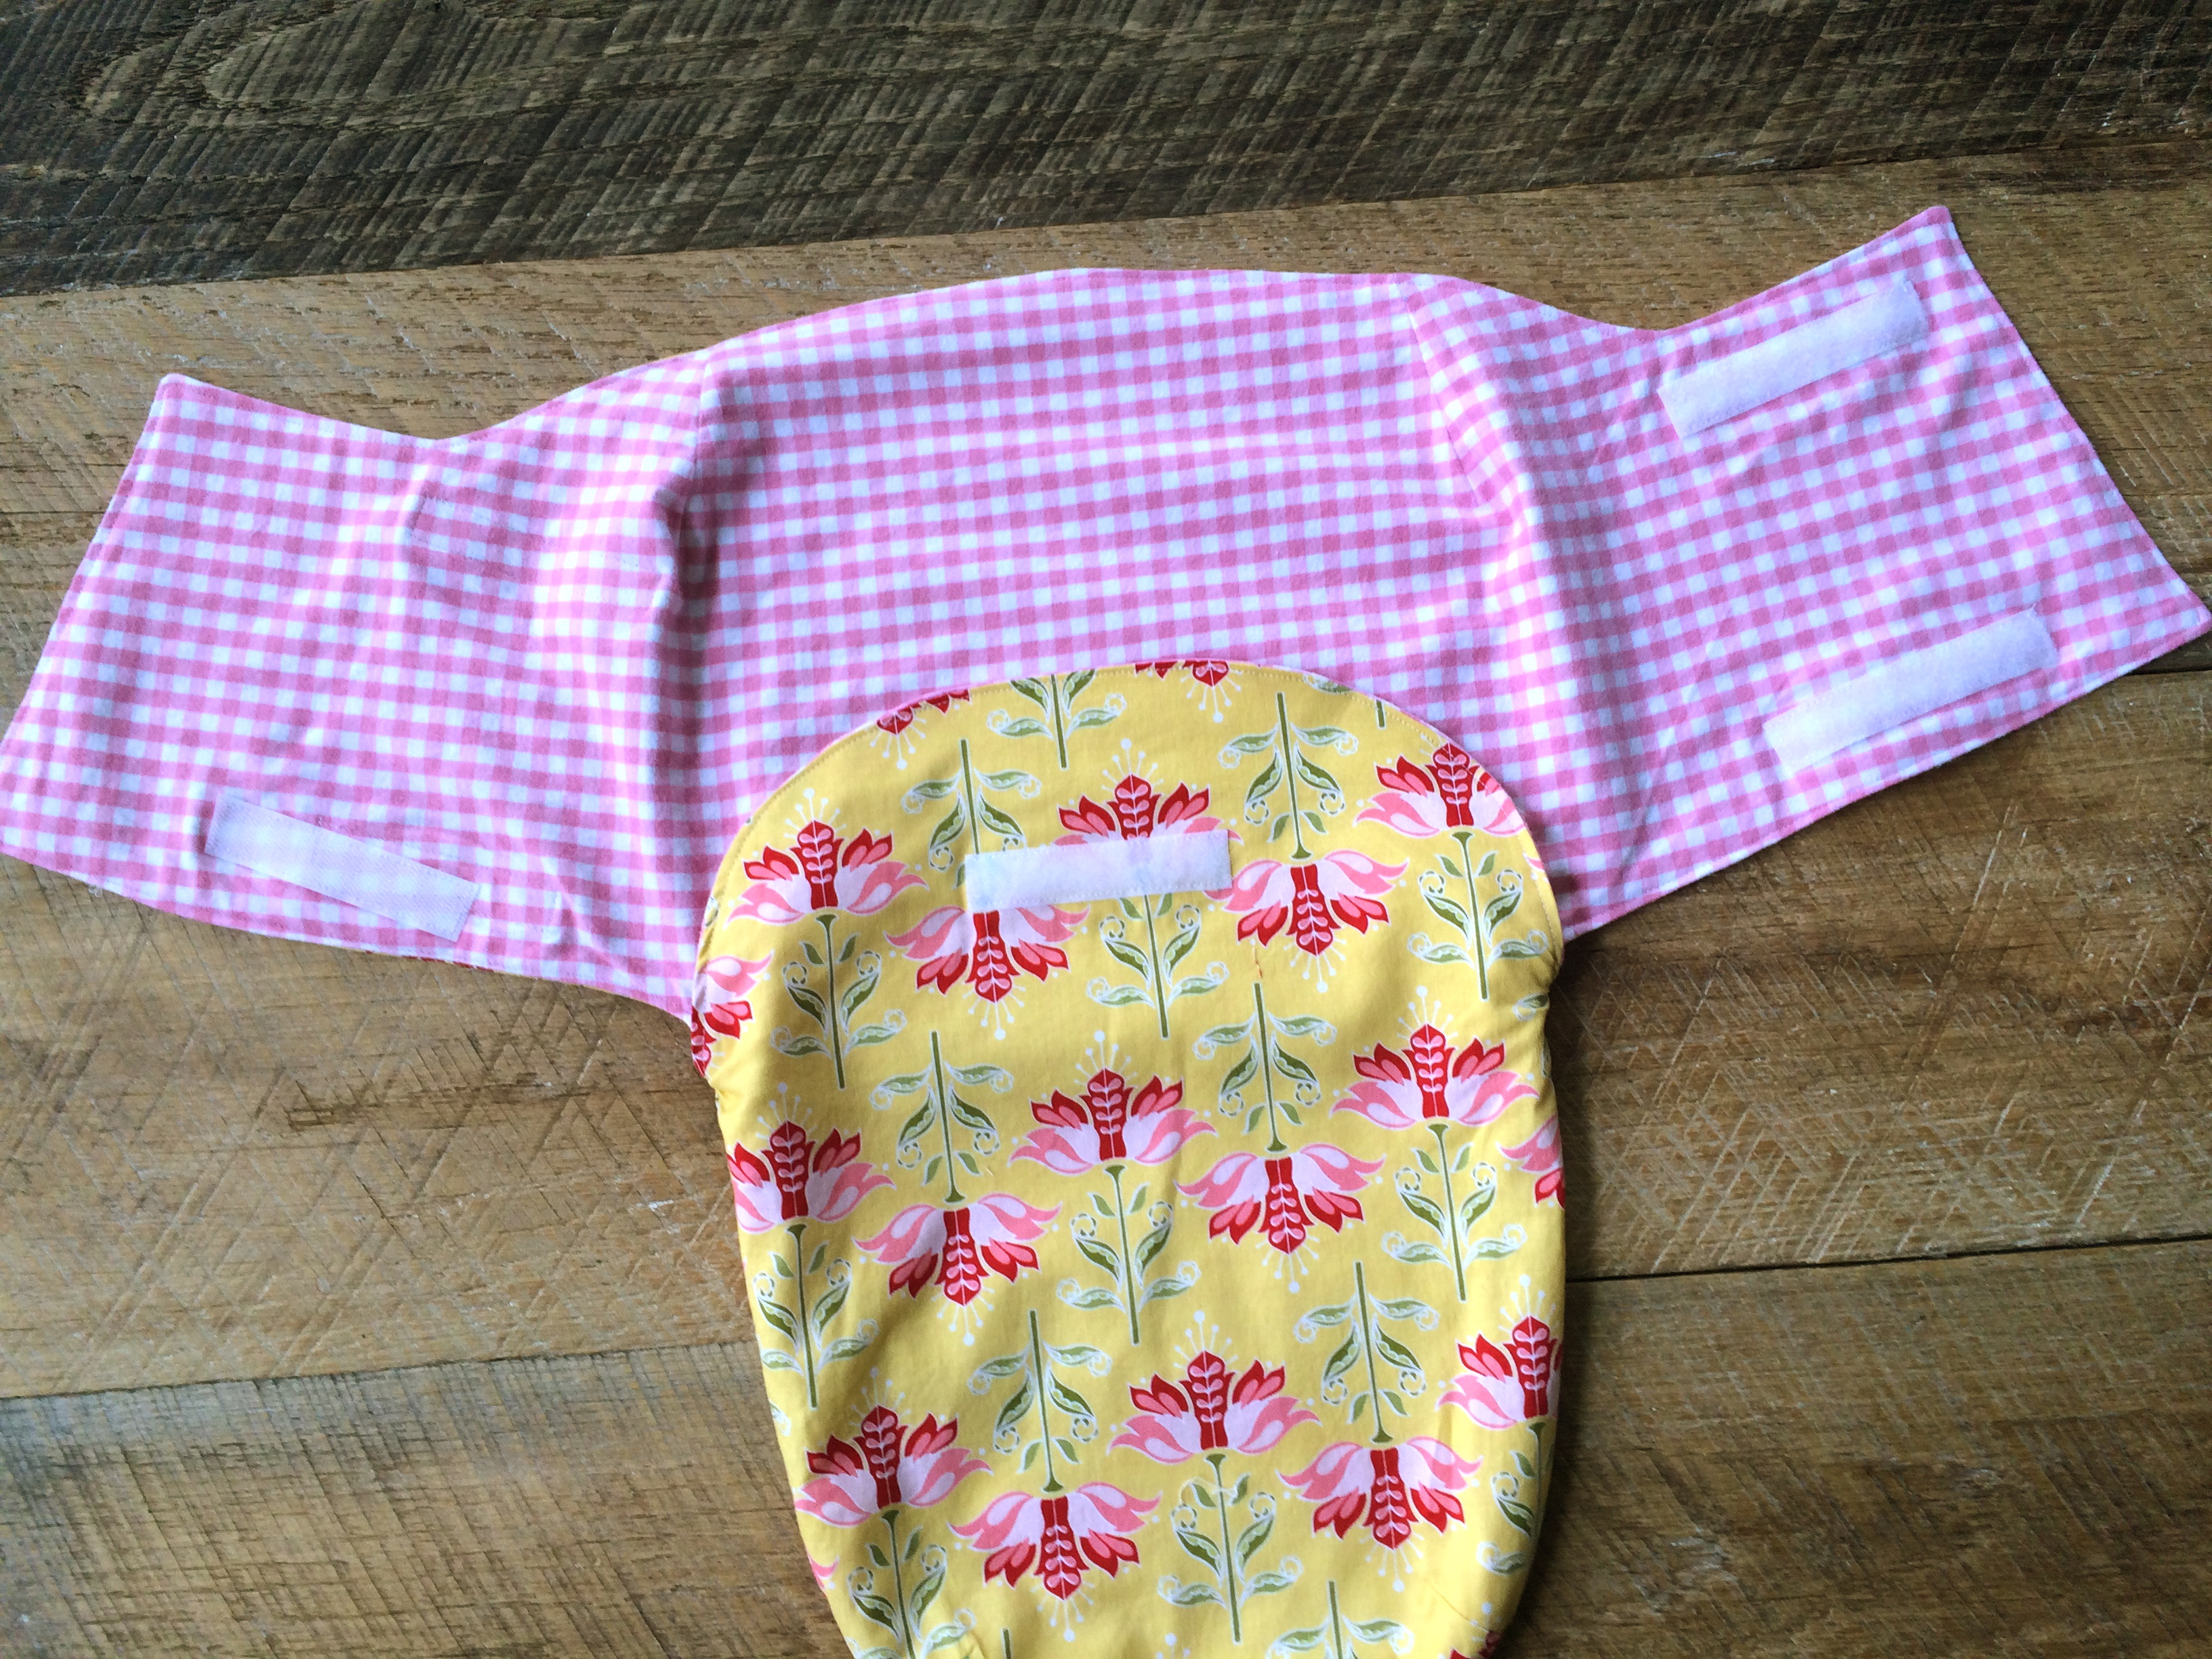
Begin by cutting (16) canvas rectangles in 5.5″ x 6″. Fold the rectangles in half and cut a diagonal line by angling the ruler from the corner to the 1.5″ mark:

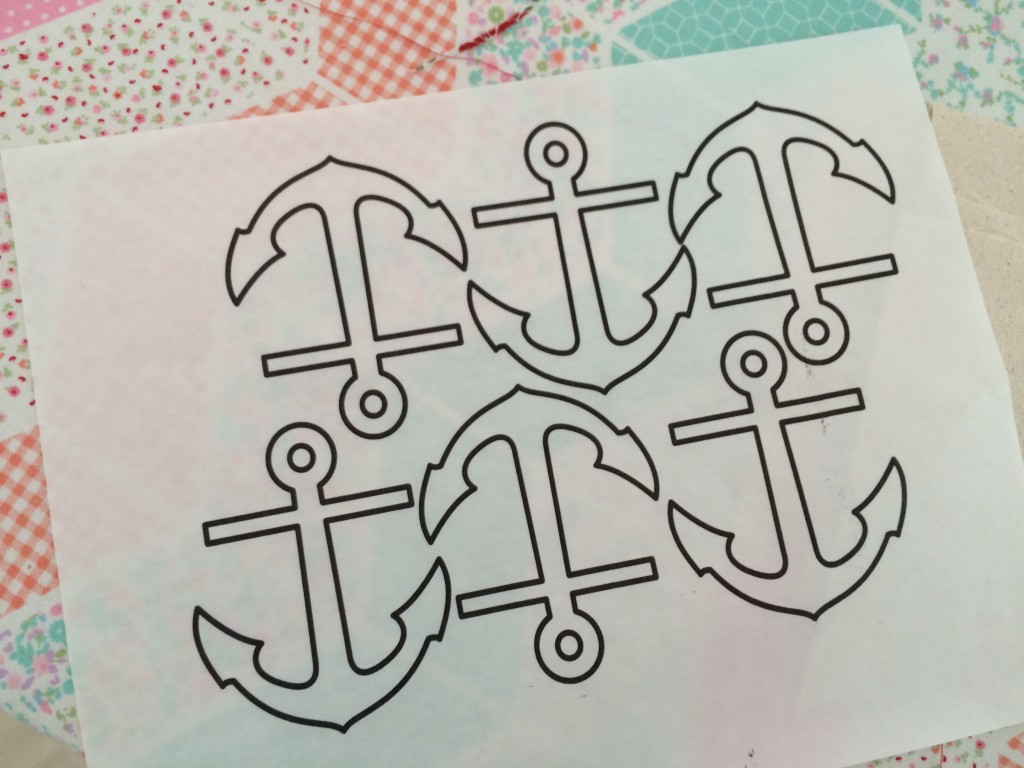
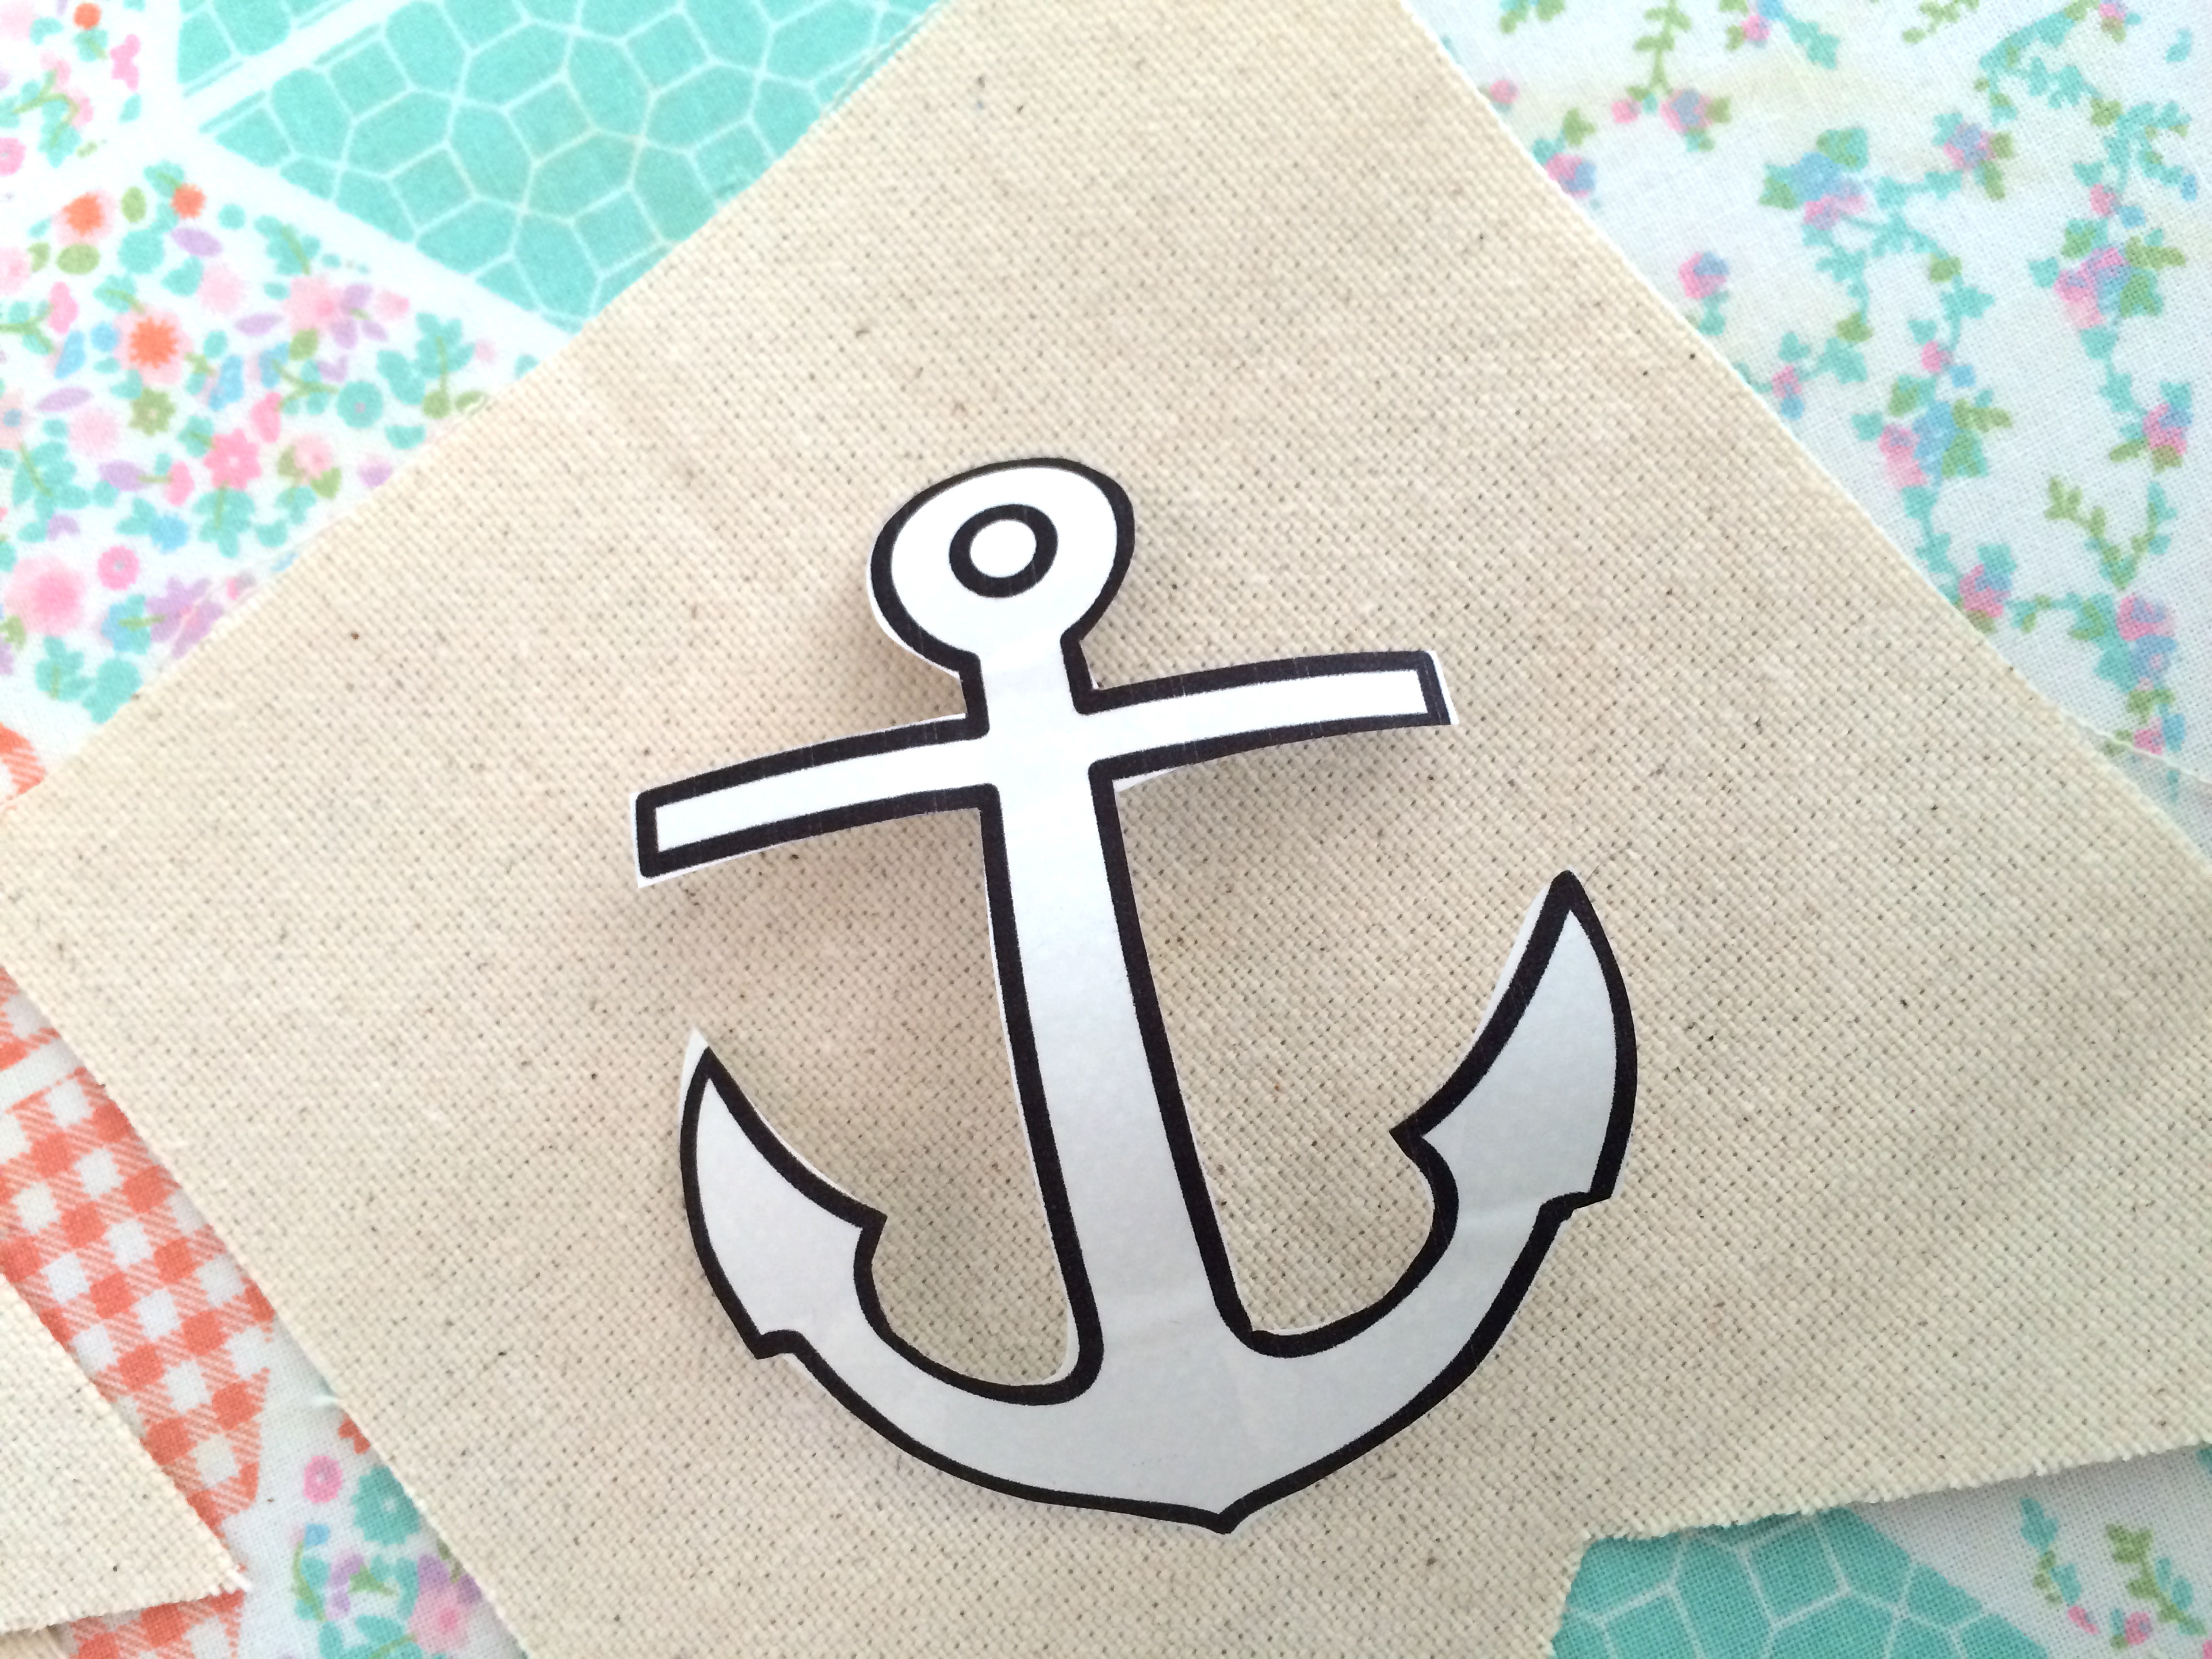
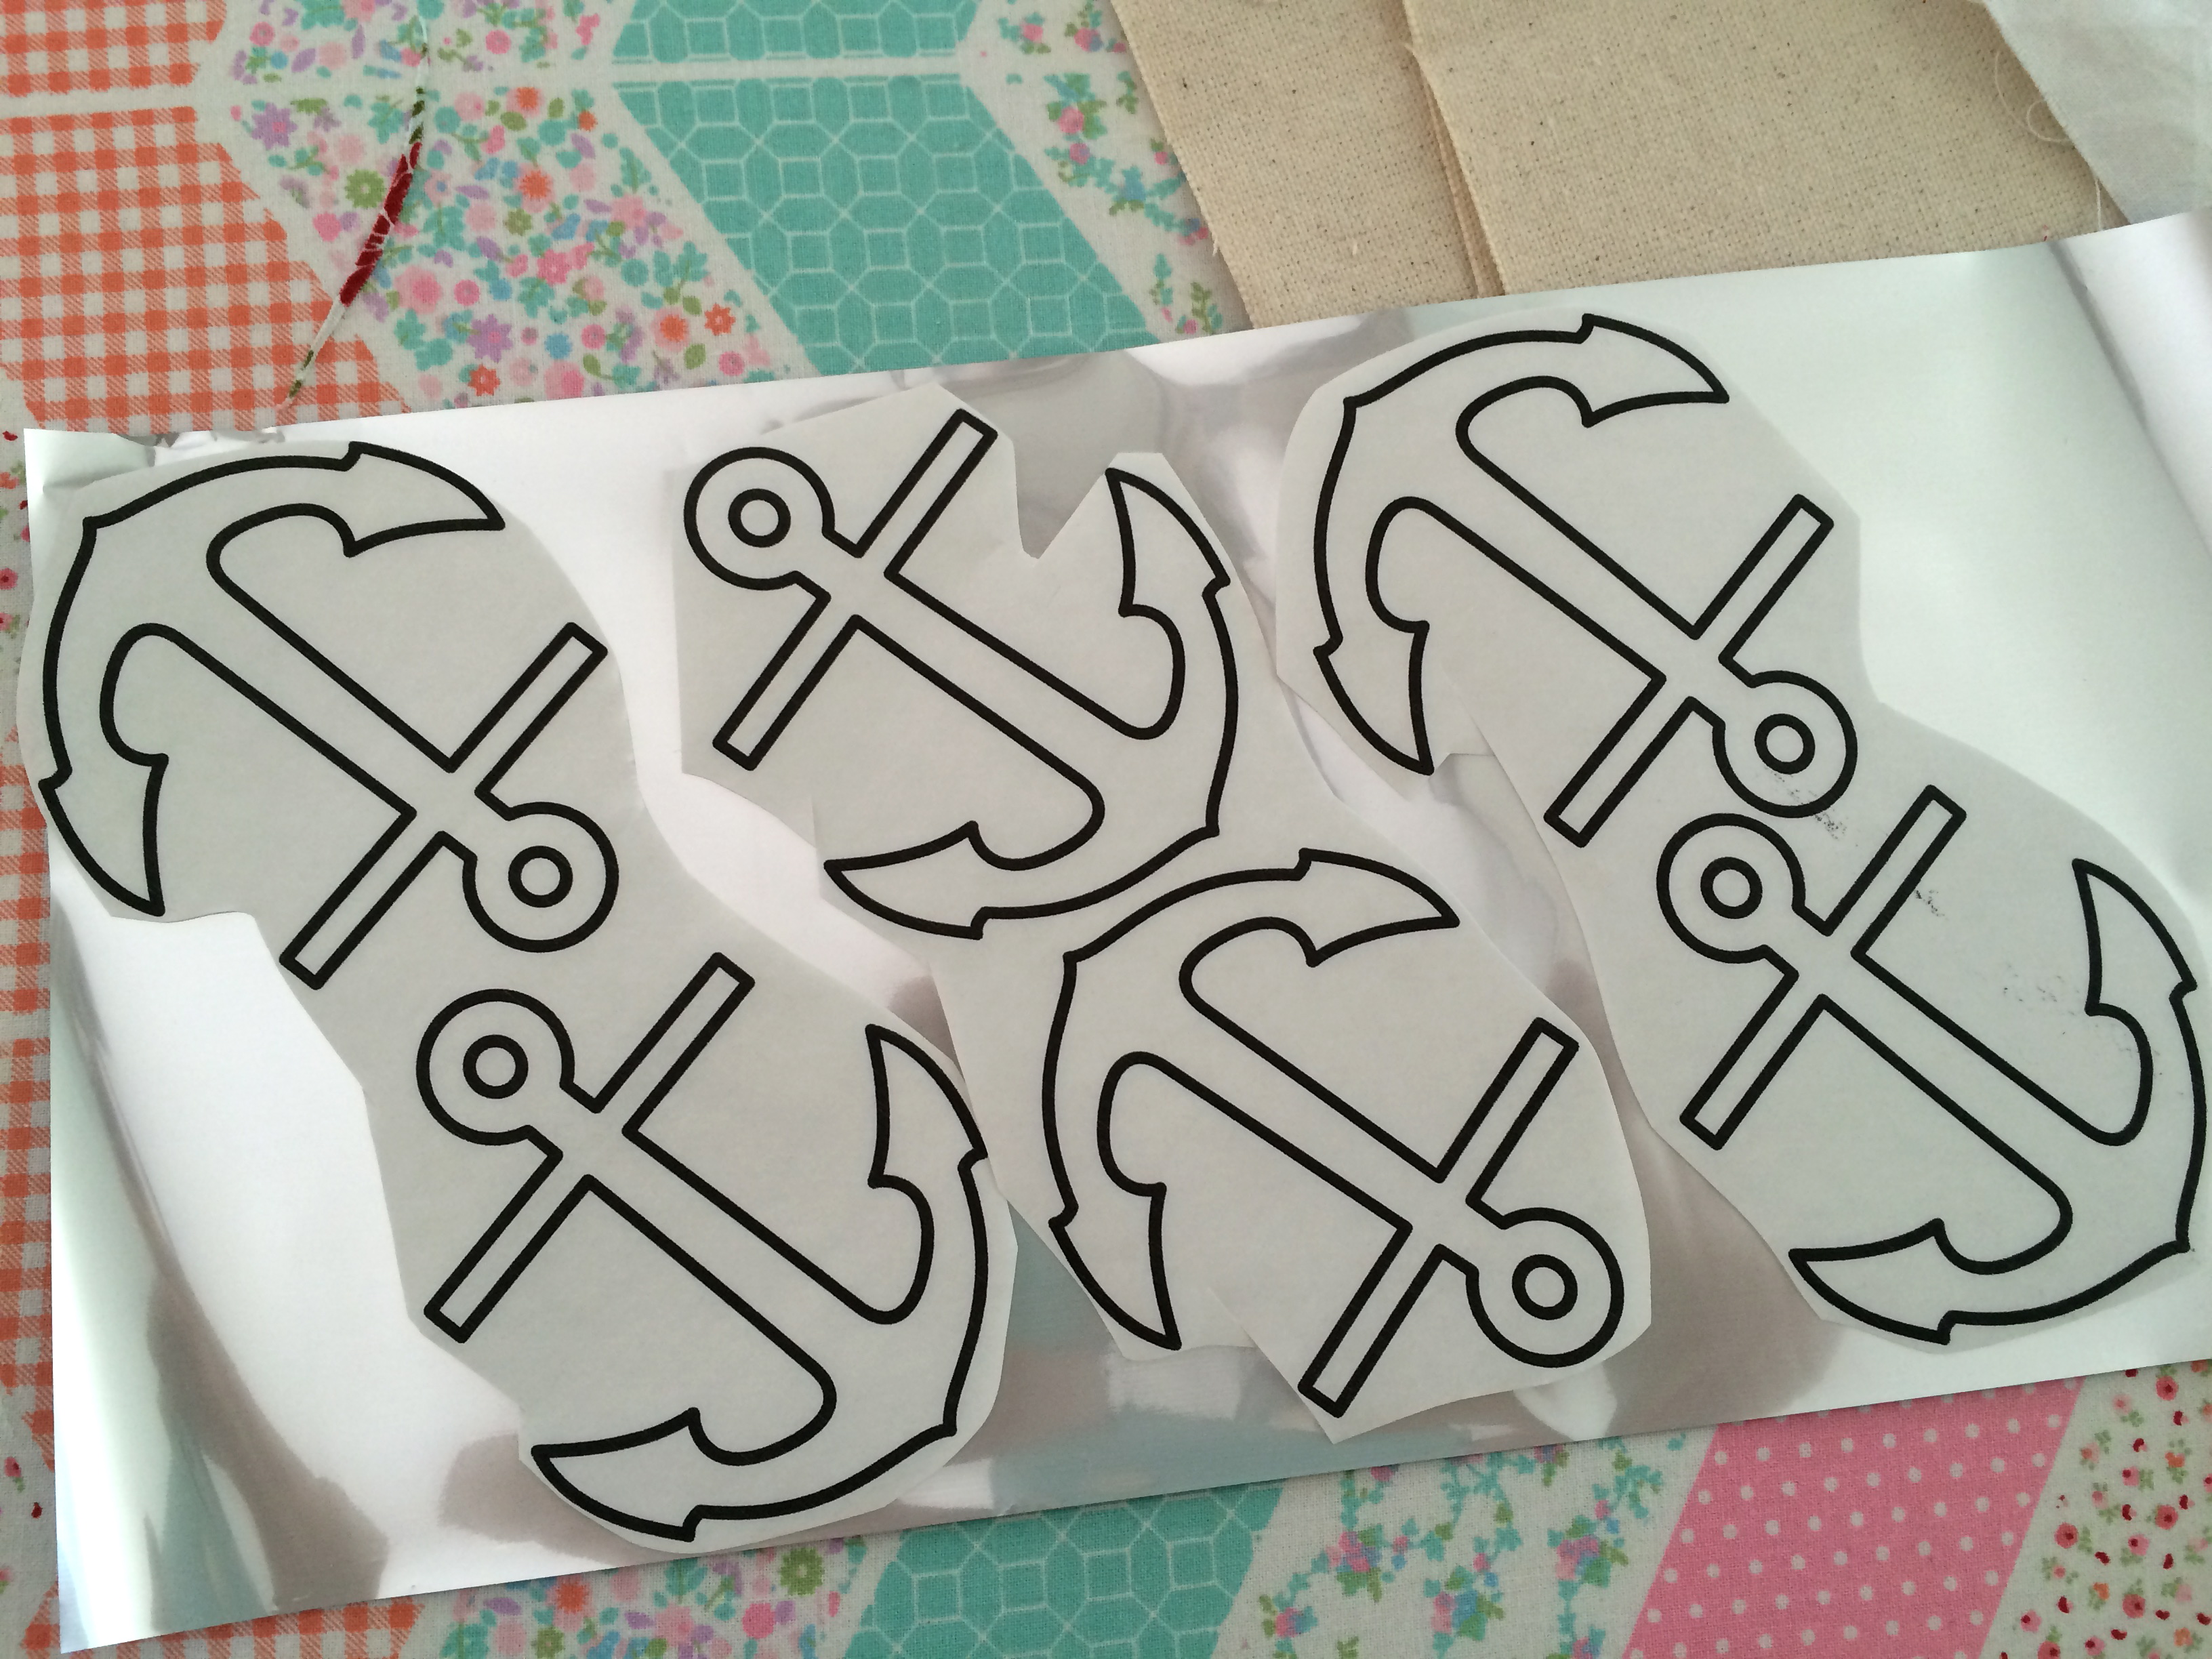
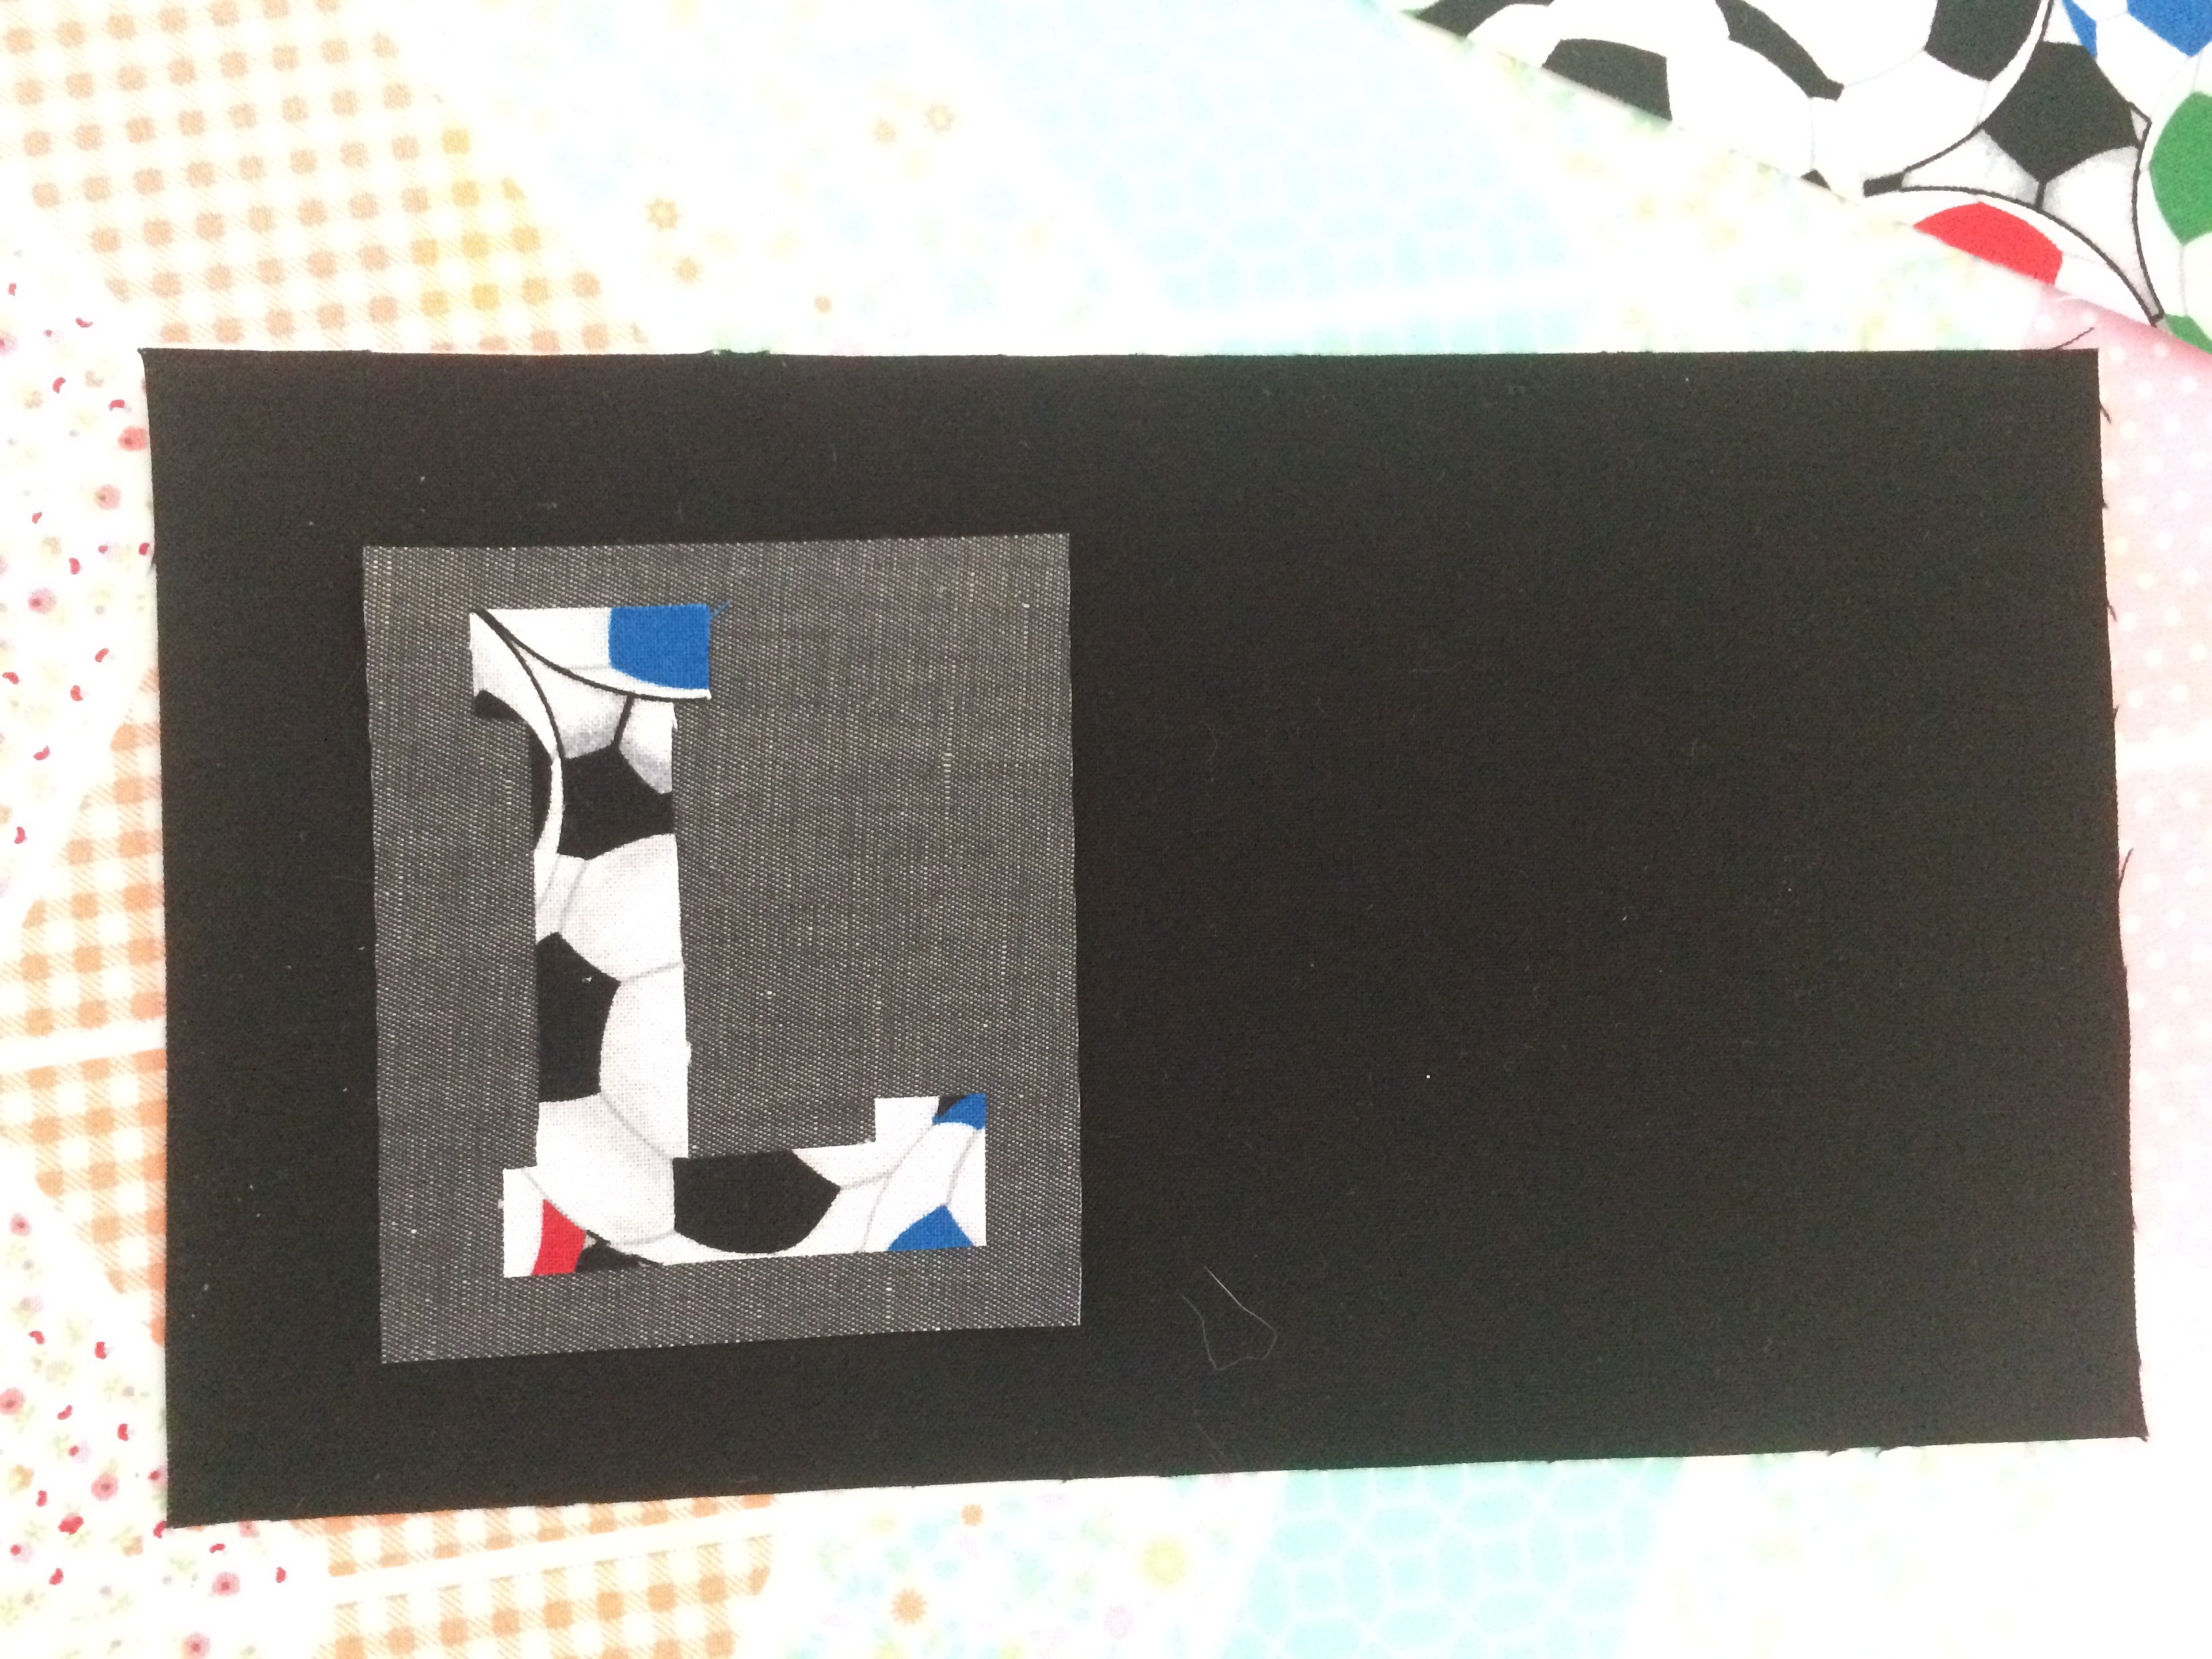
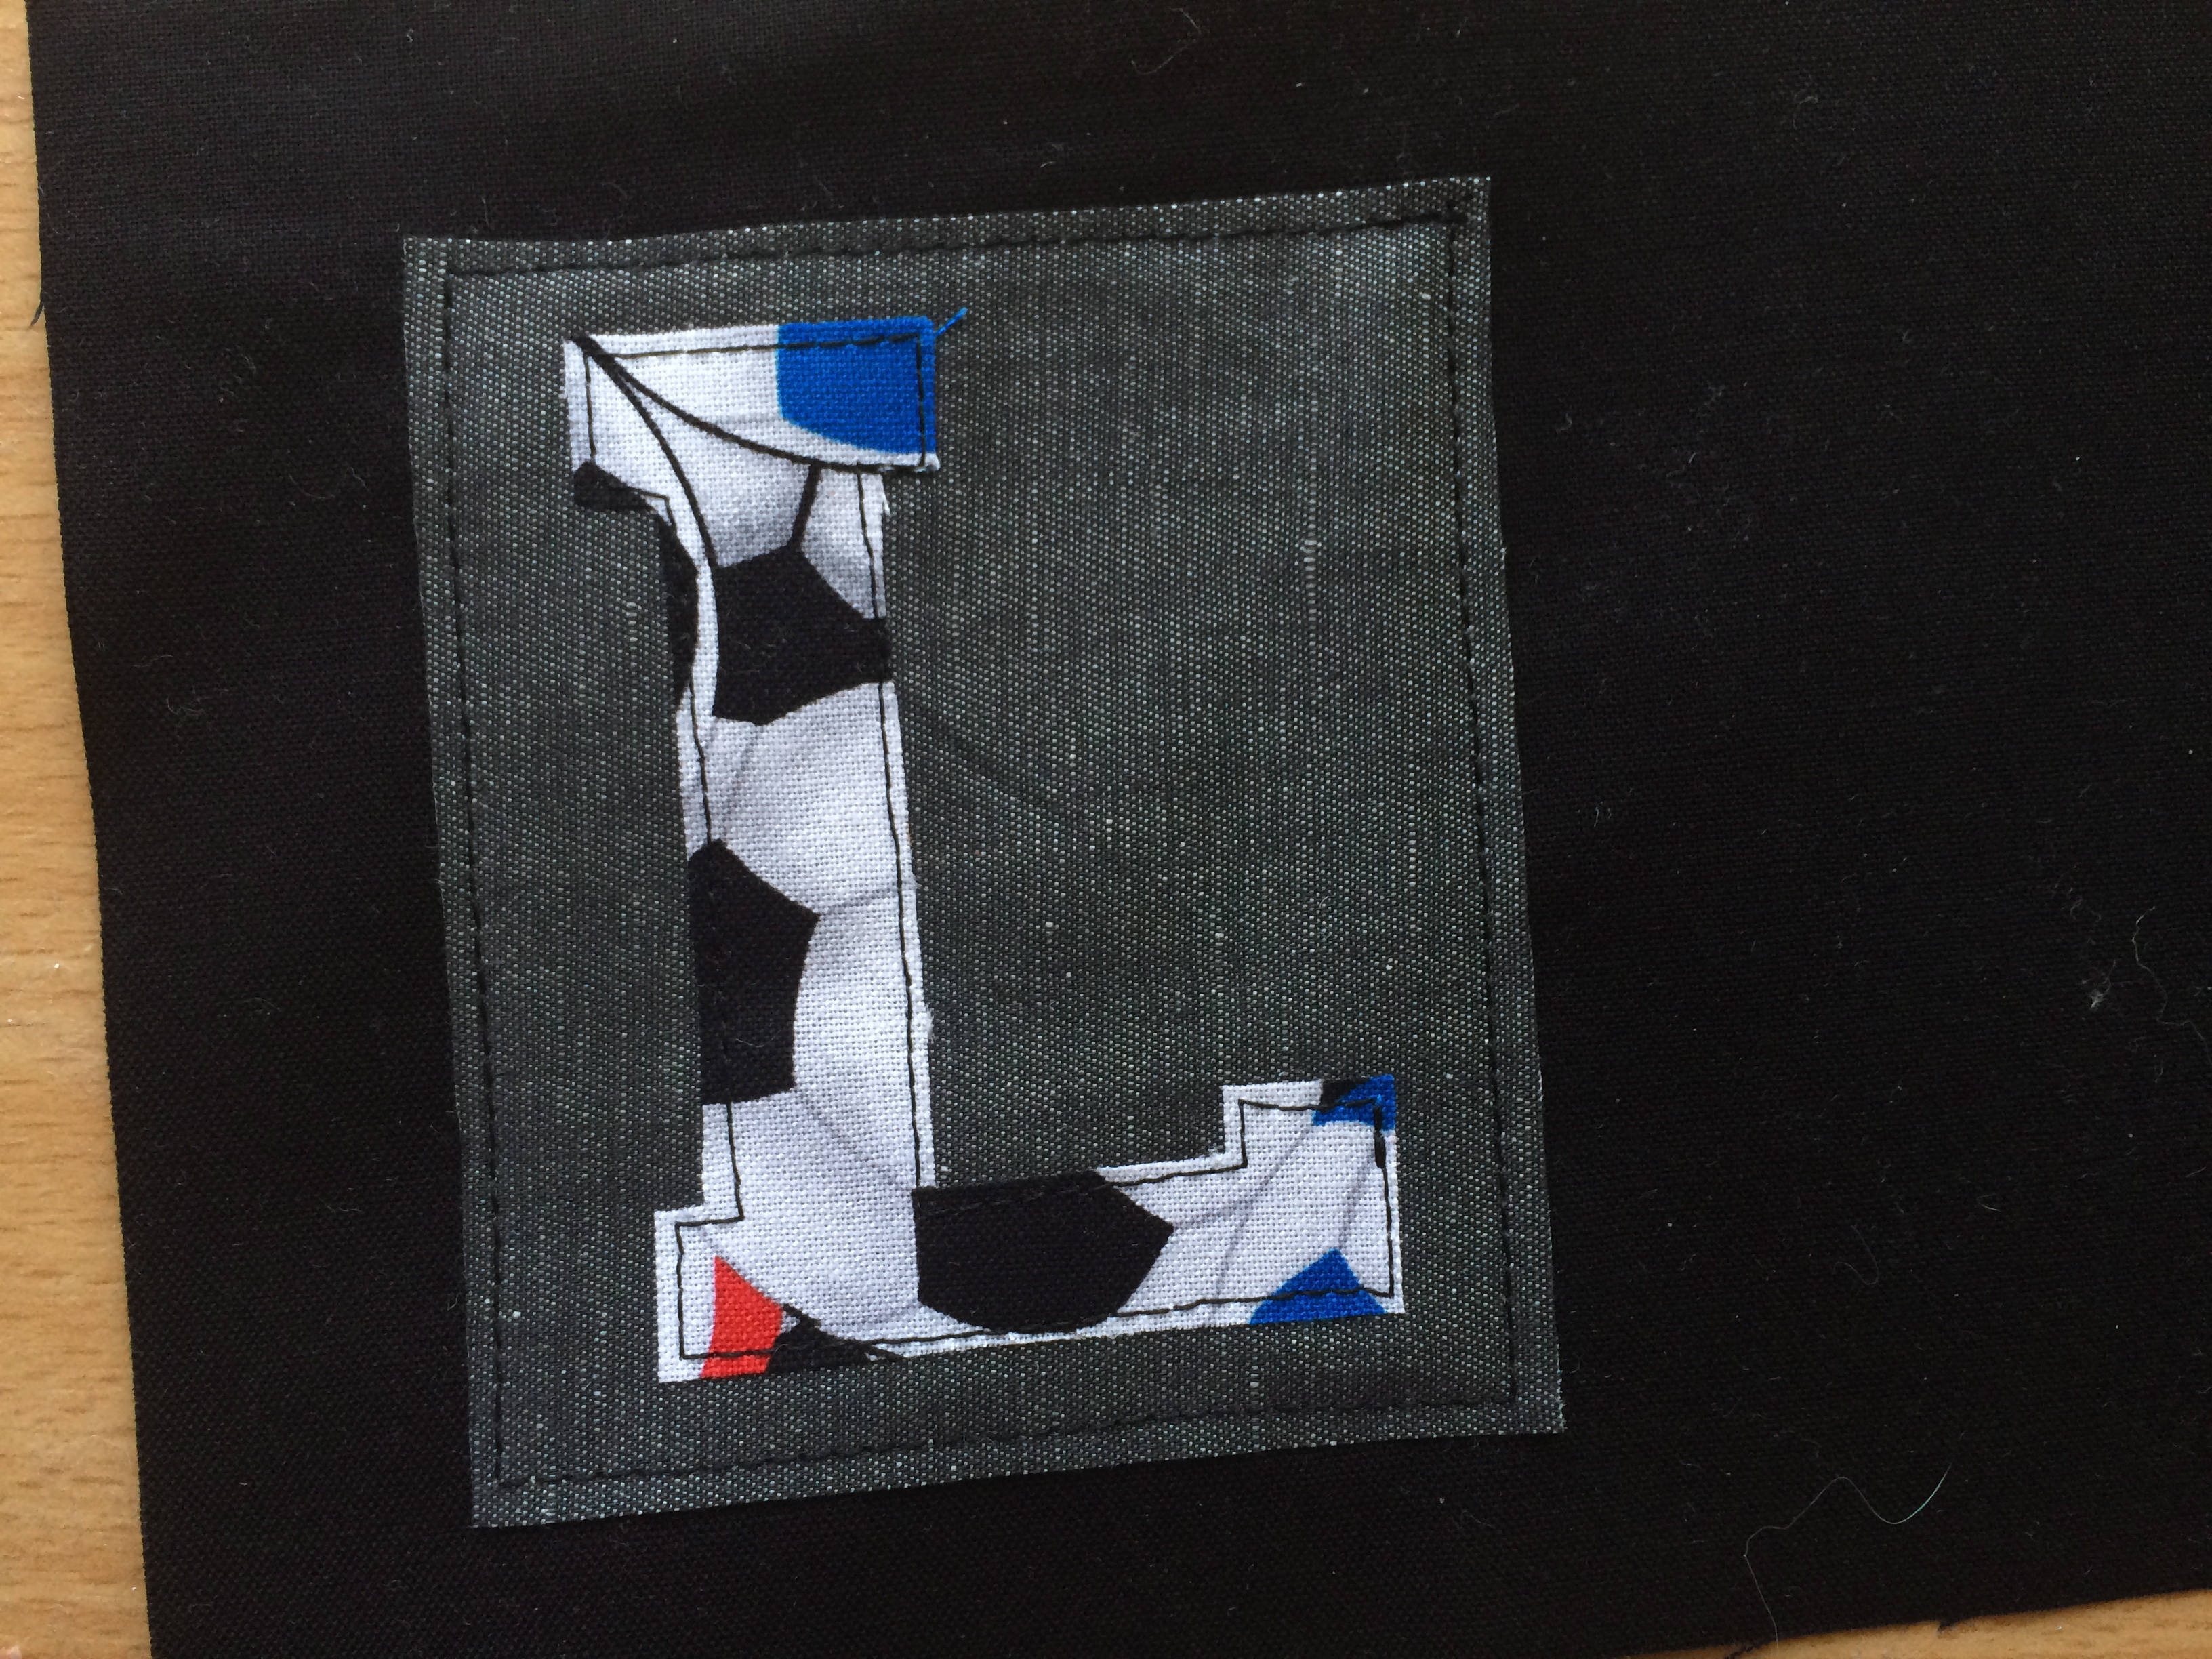
Print out the anchors on the EZ print sheets.
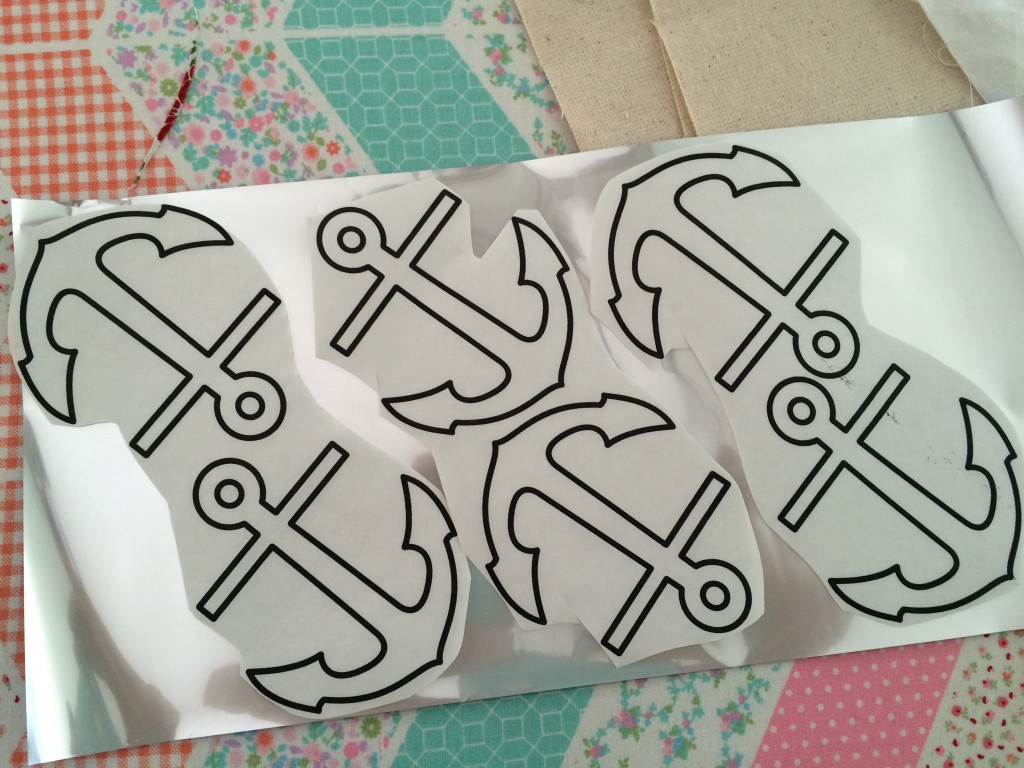
Then cut around the anchors and position them on the back of the Deco Foil. Six fit on one piece of foil. Cover with a piece of cotton fabric and press to set. It only takes seconds.
Cut around the anchor and peel off the backing paper.
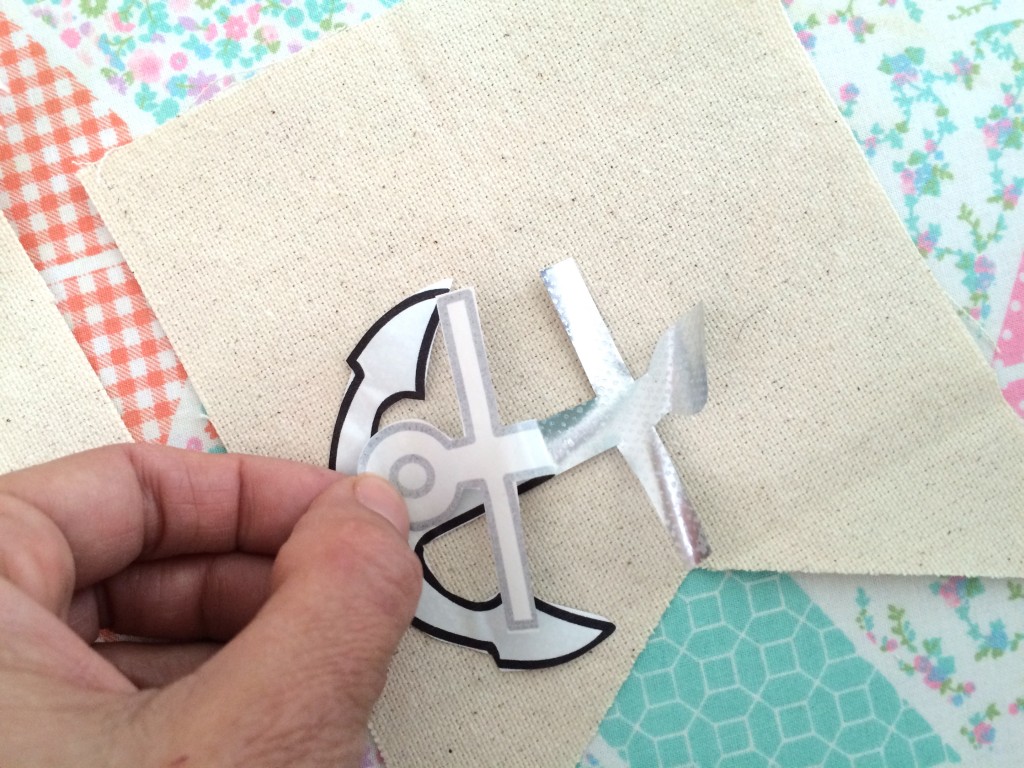
Position the foil side up, cover with a piece of cotton and press.
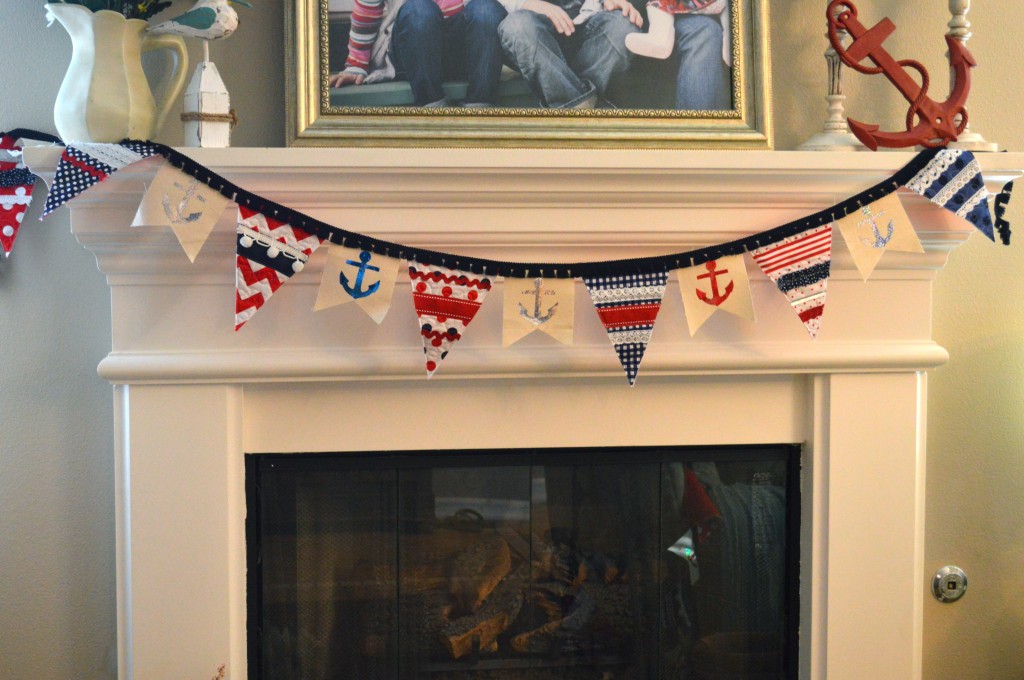
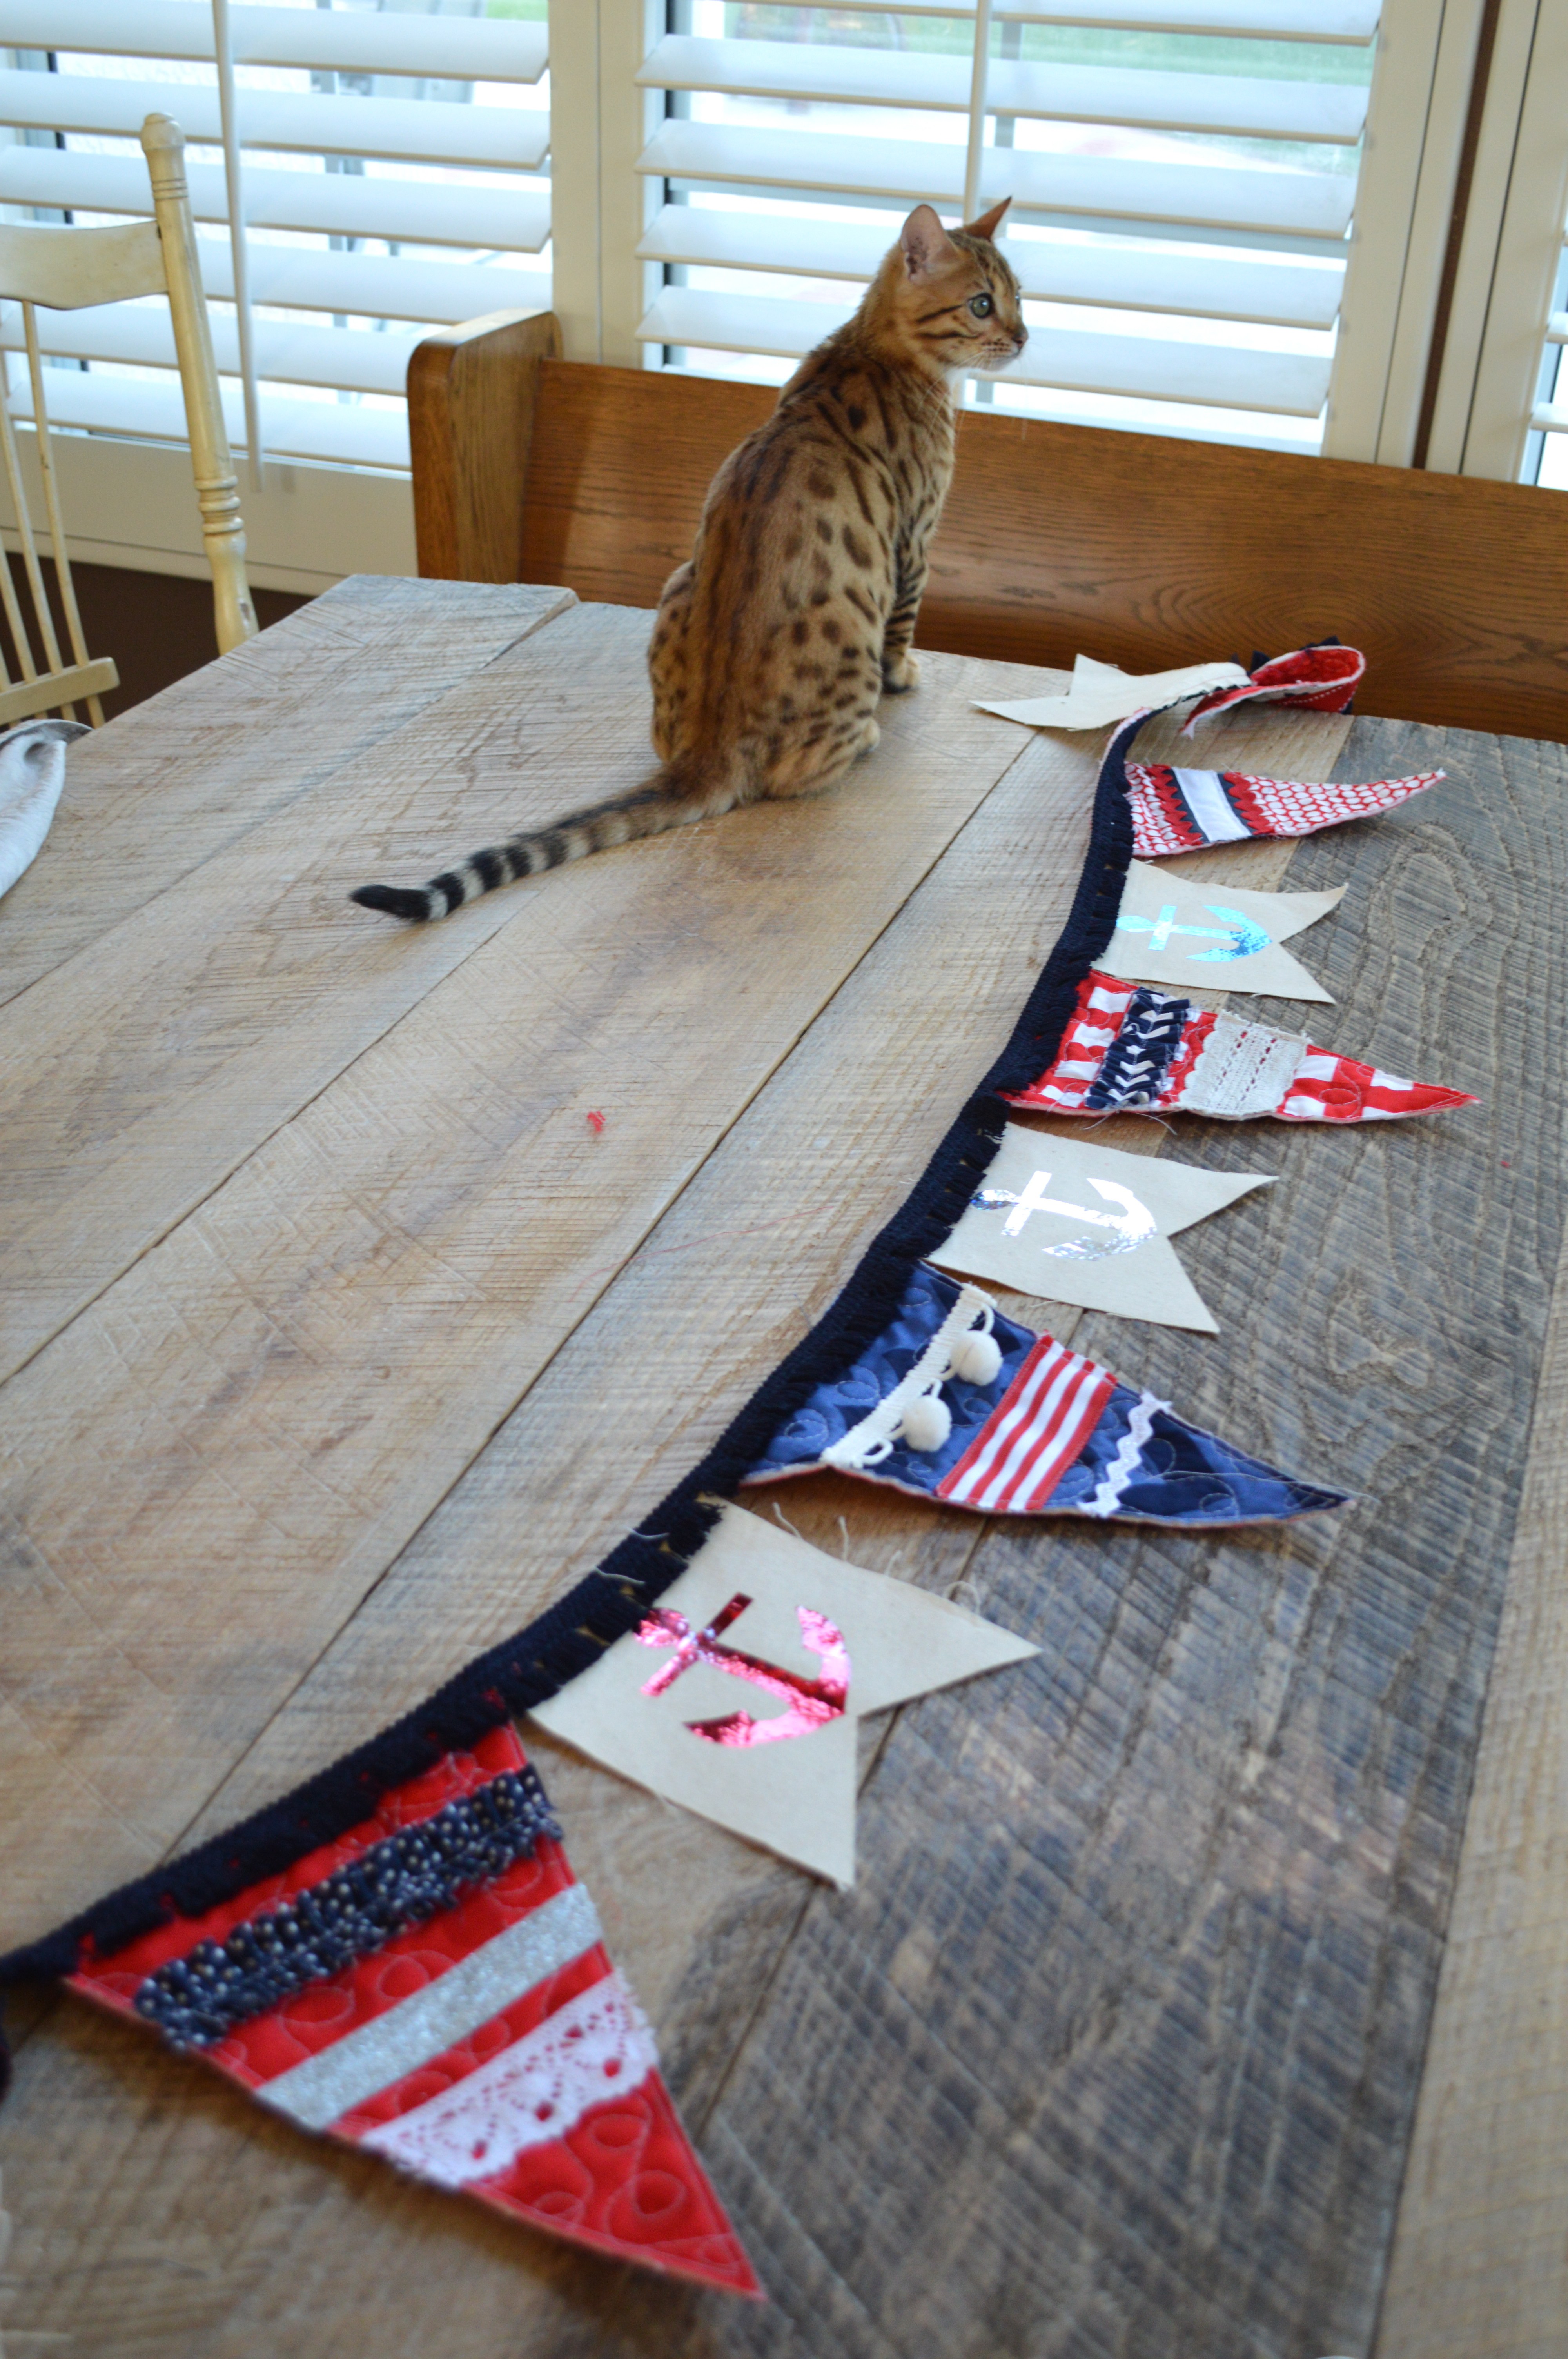
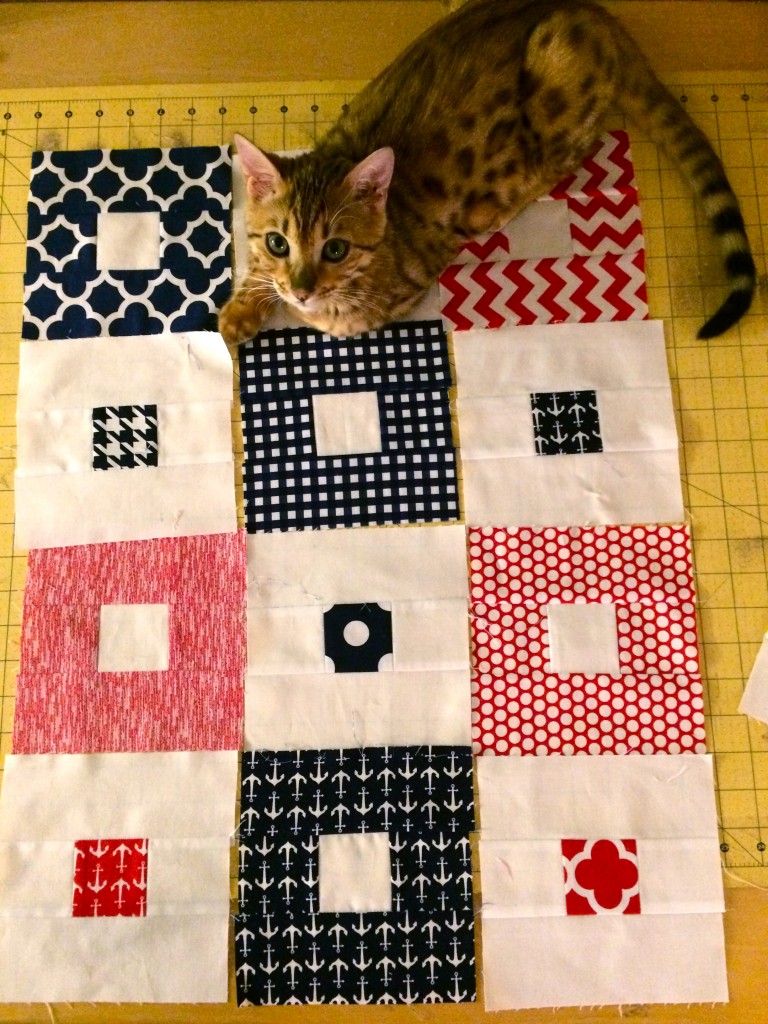
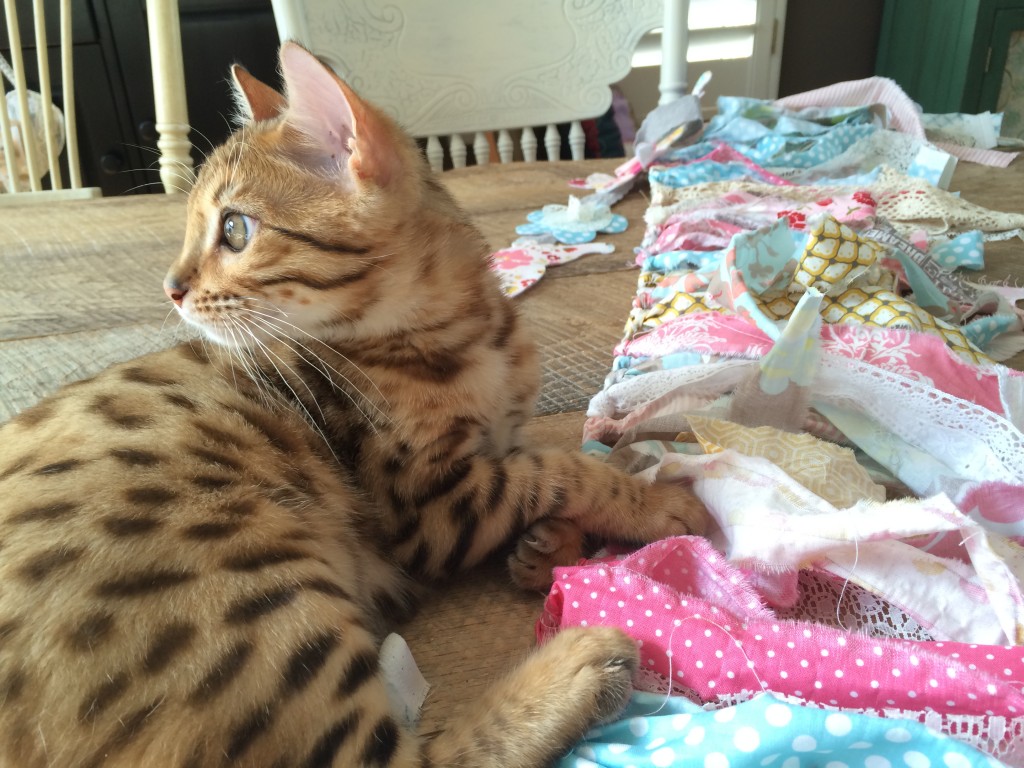
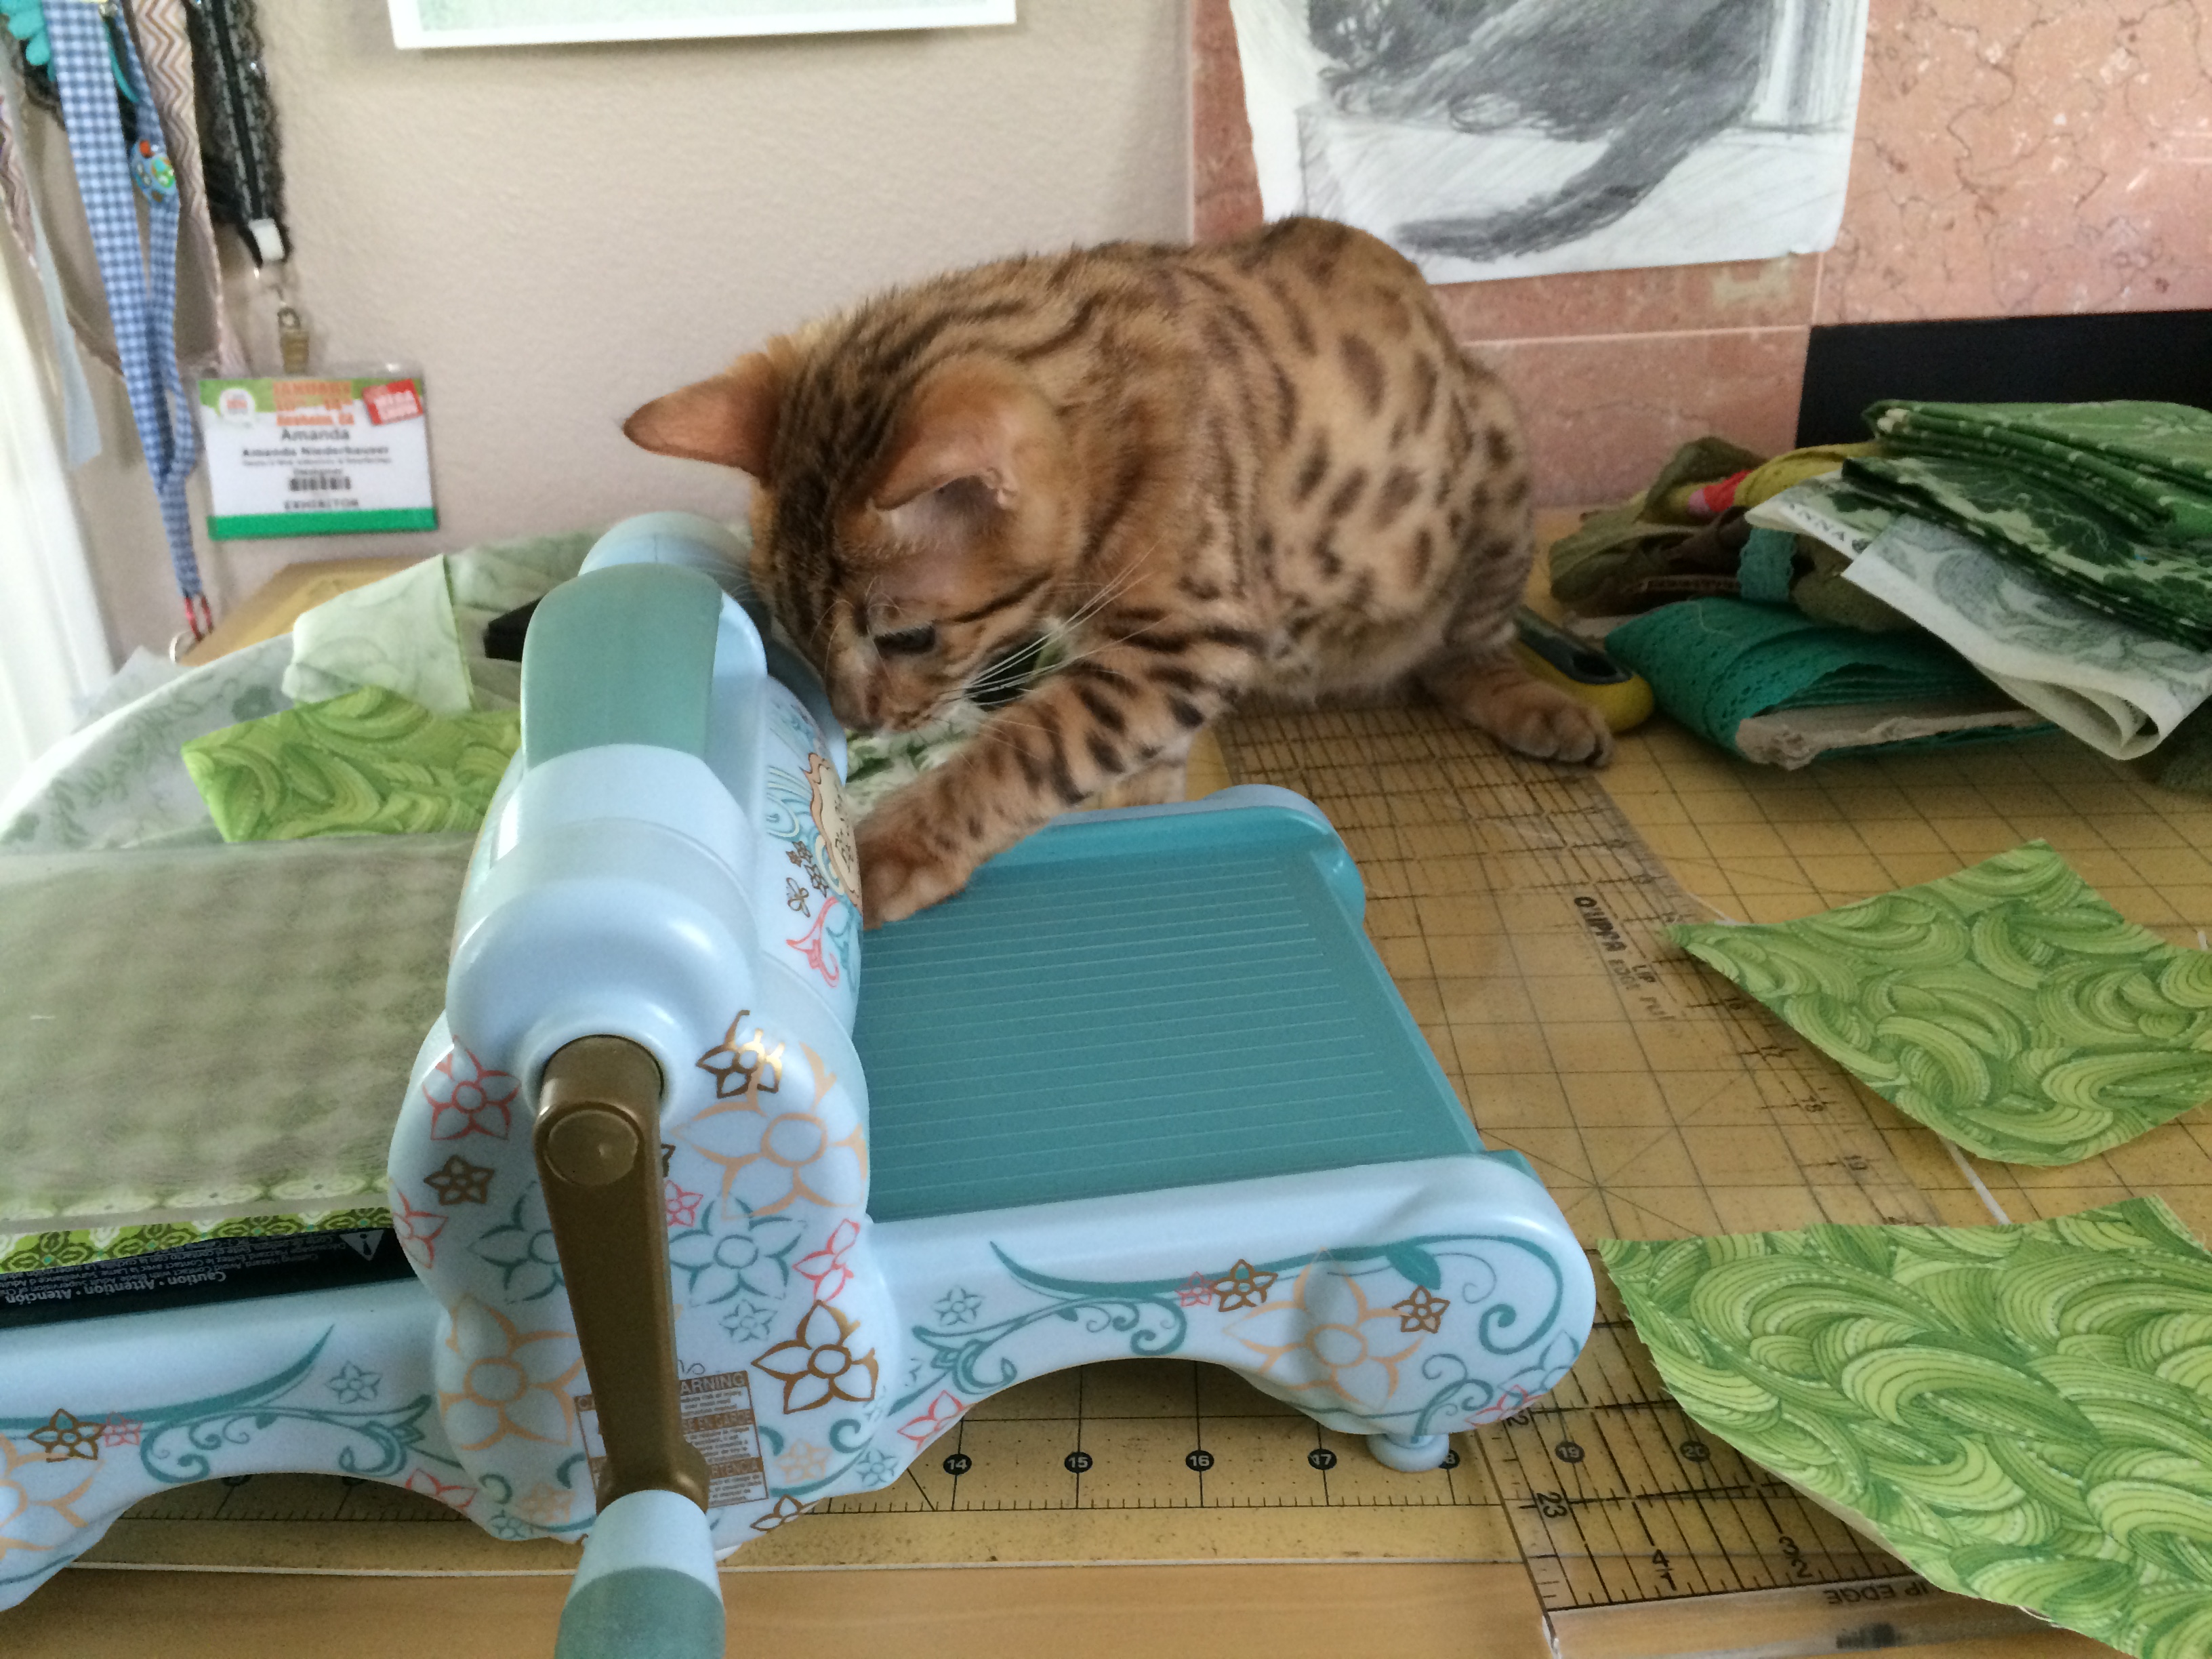
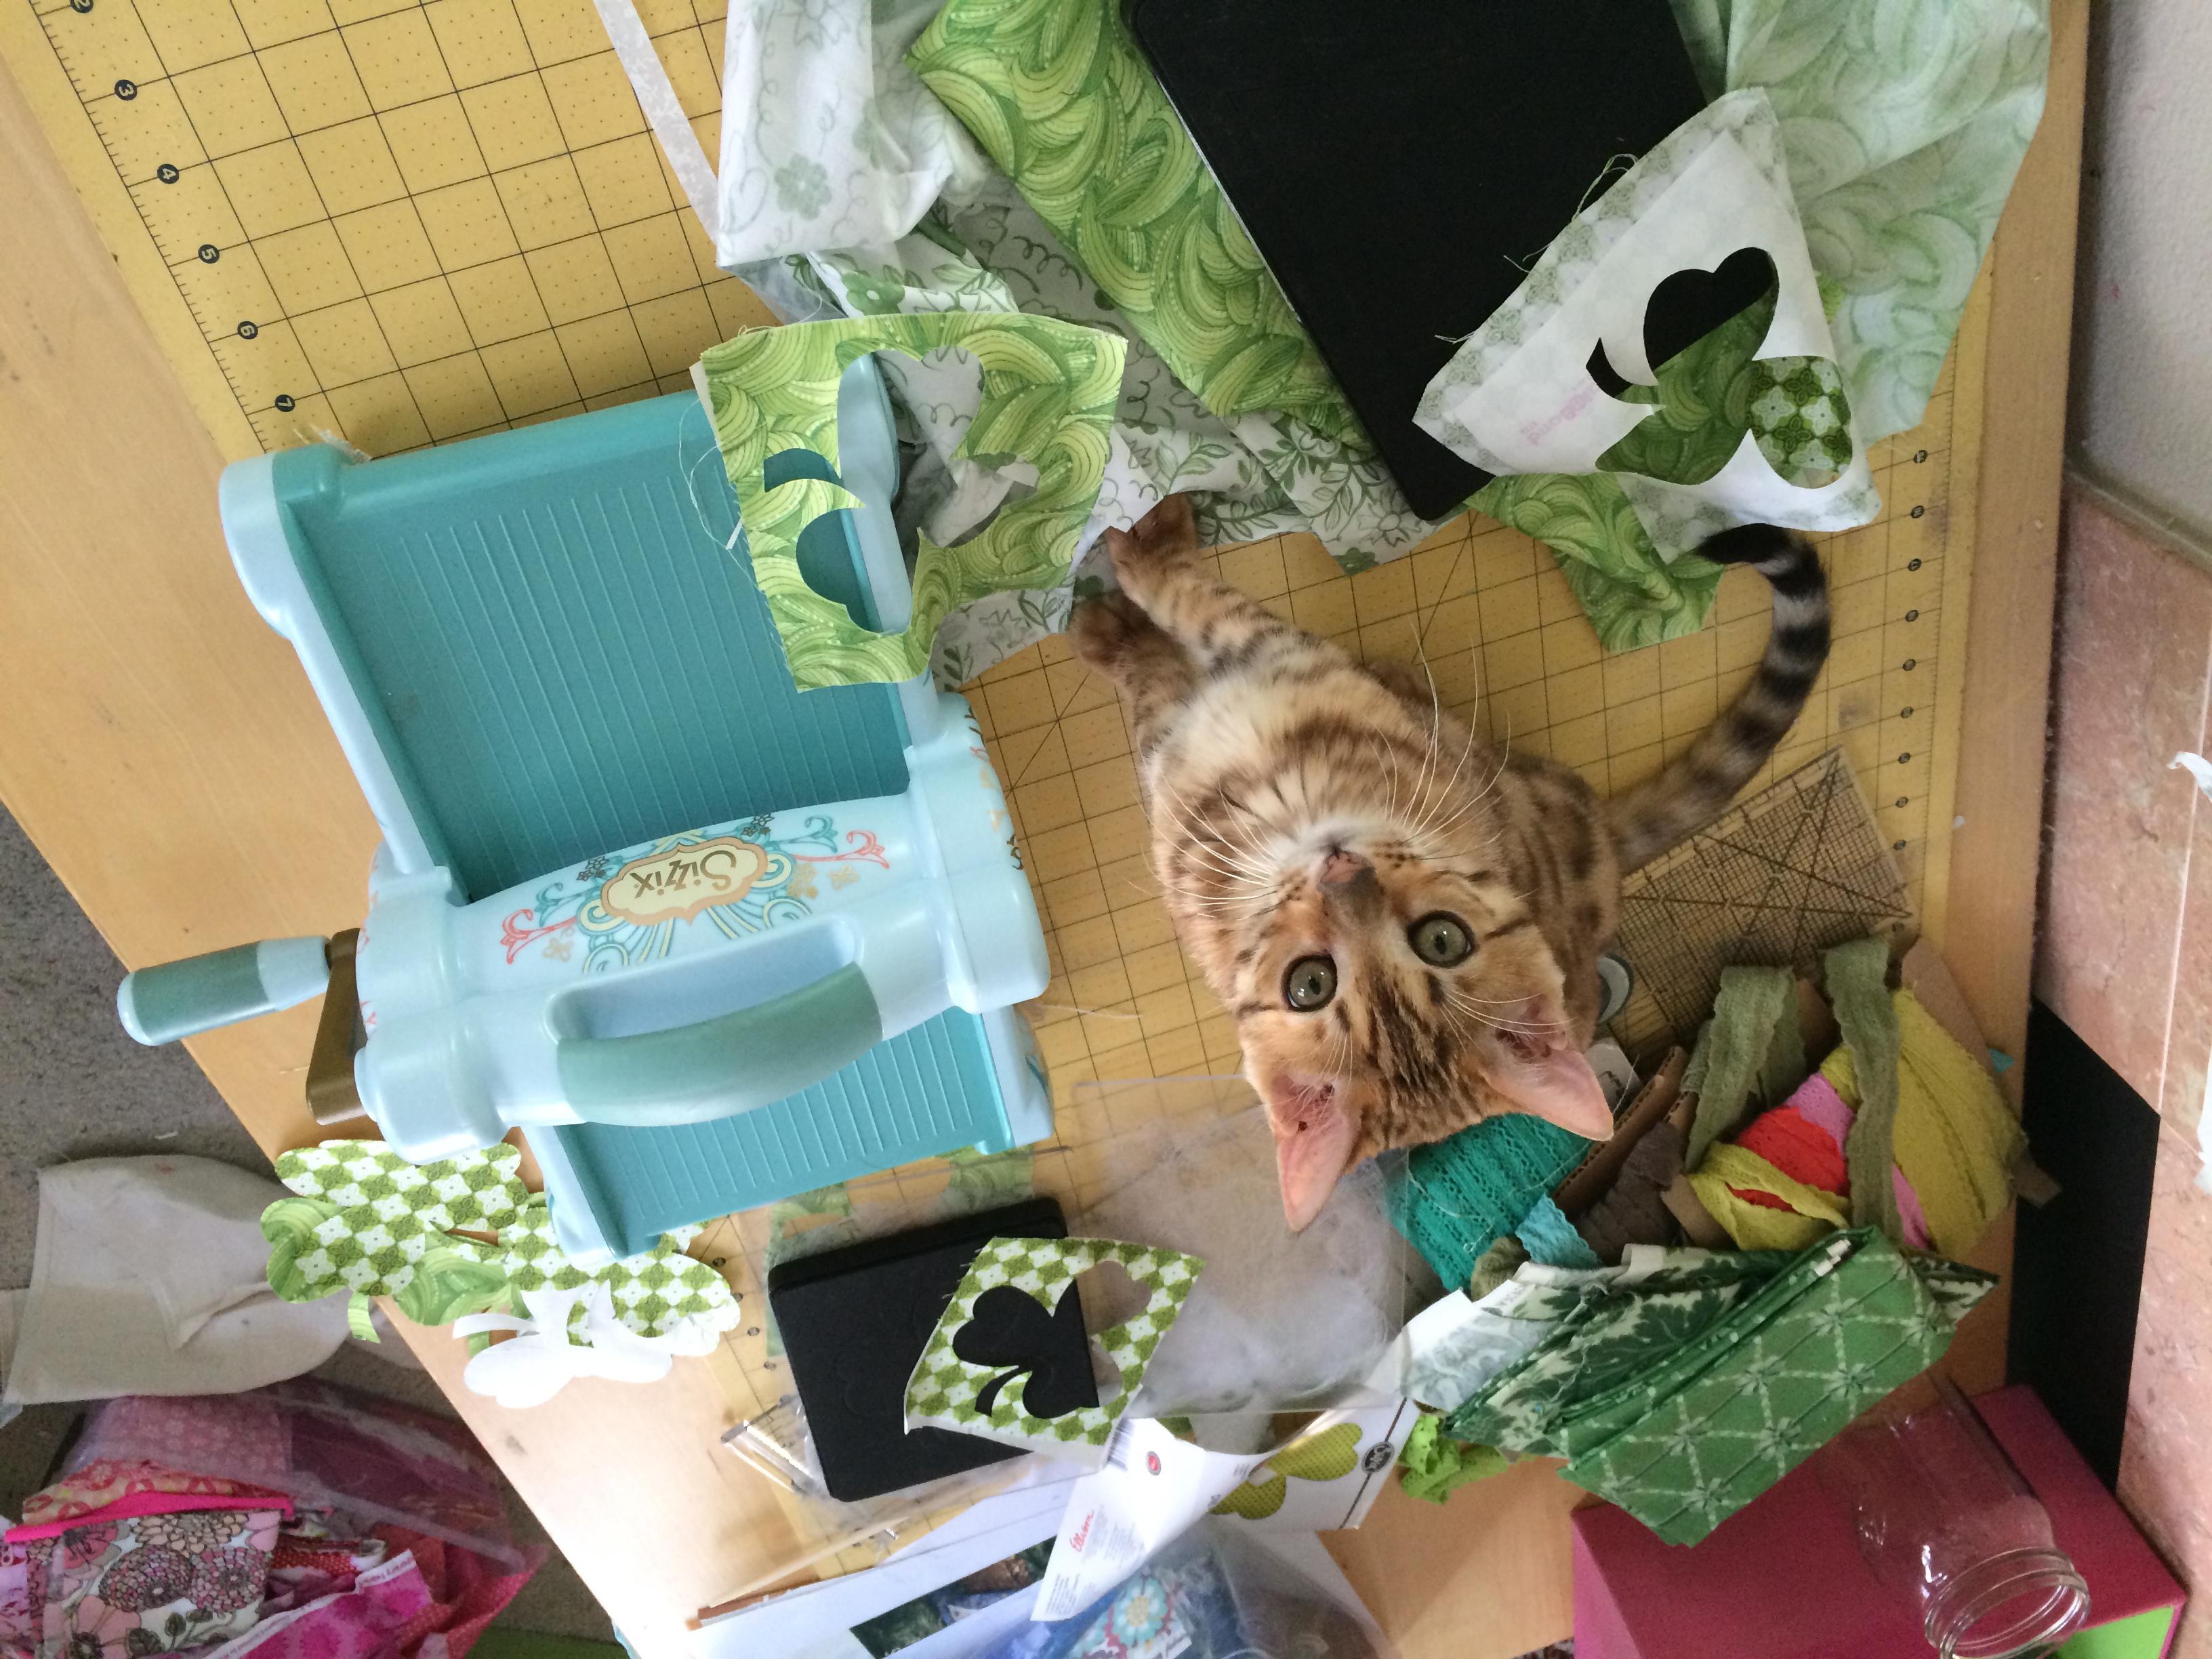
Lay out the banner and use navy blue fringe trim to sew the flags together. This mades a long banner – I divided it in half and made two separate ones. It helps if your kitty assists in this process 🙂
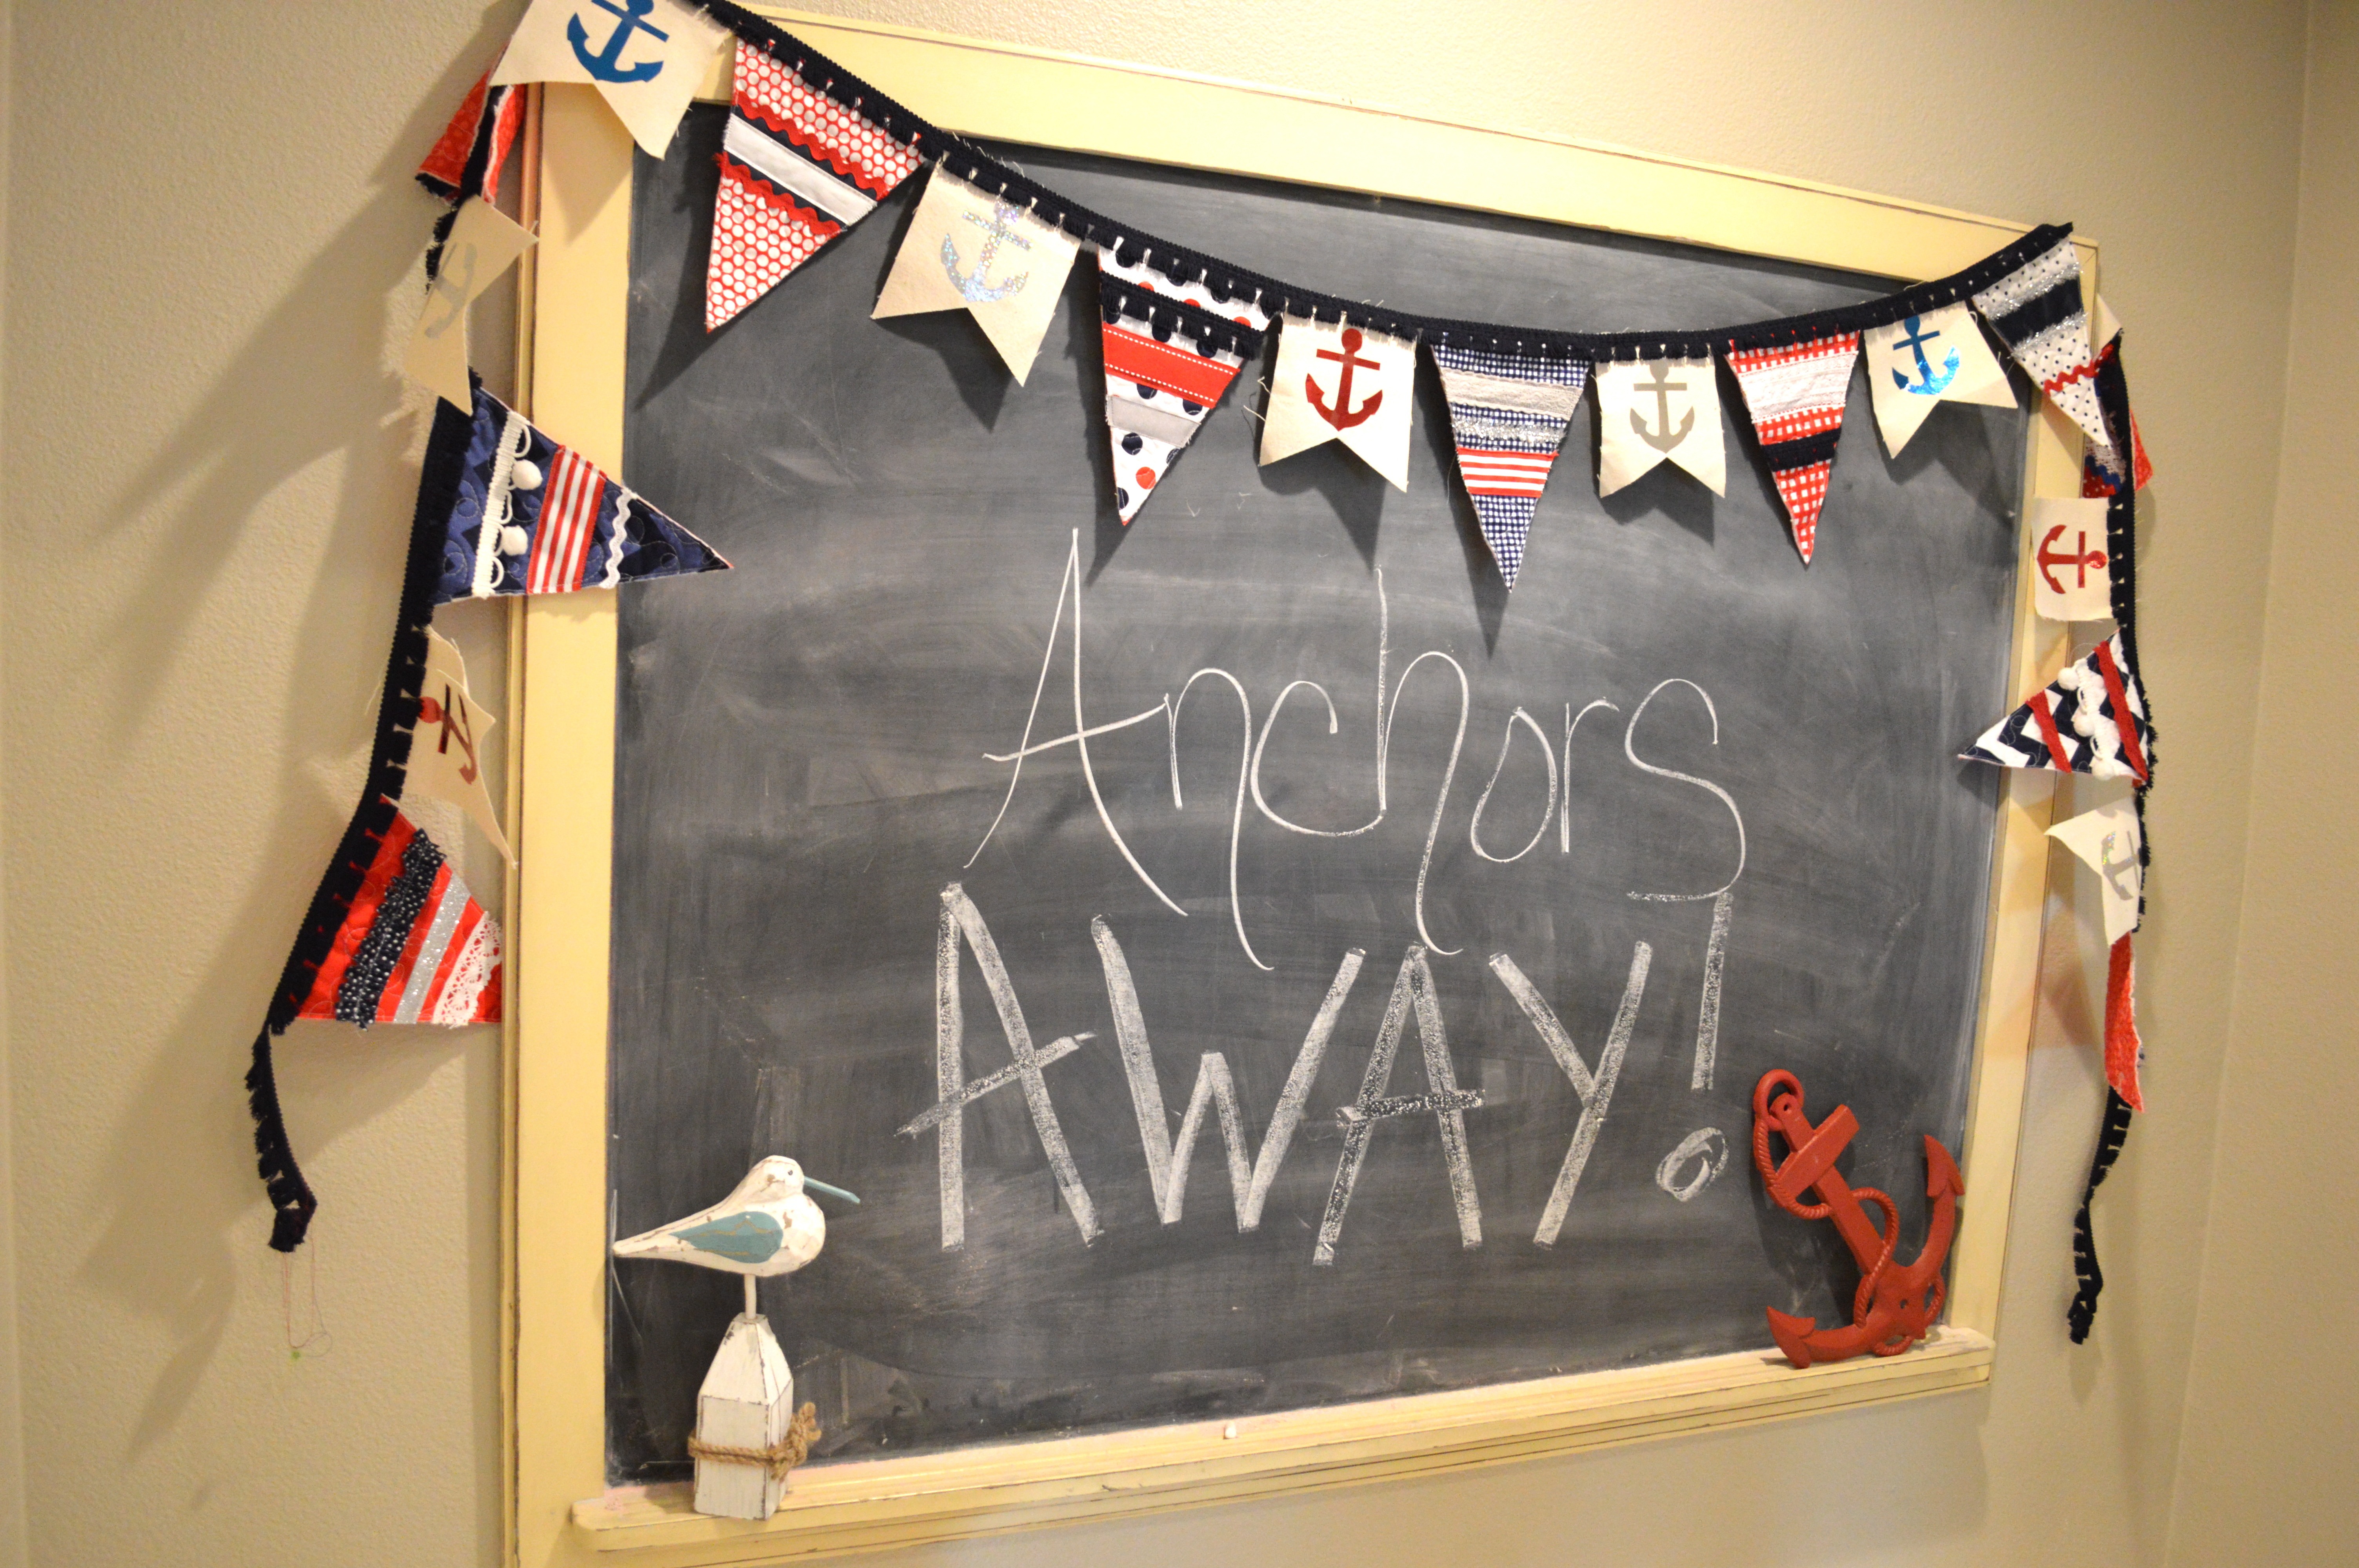
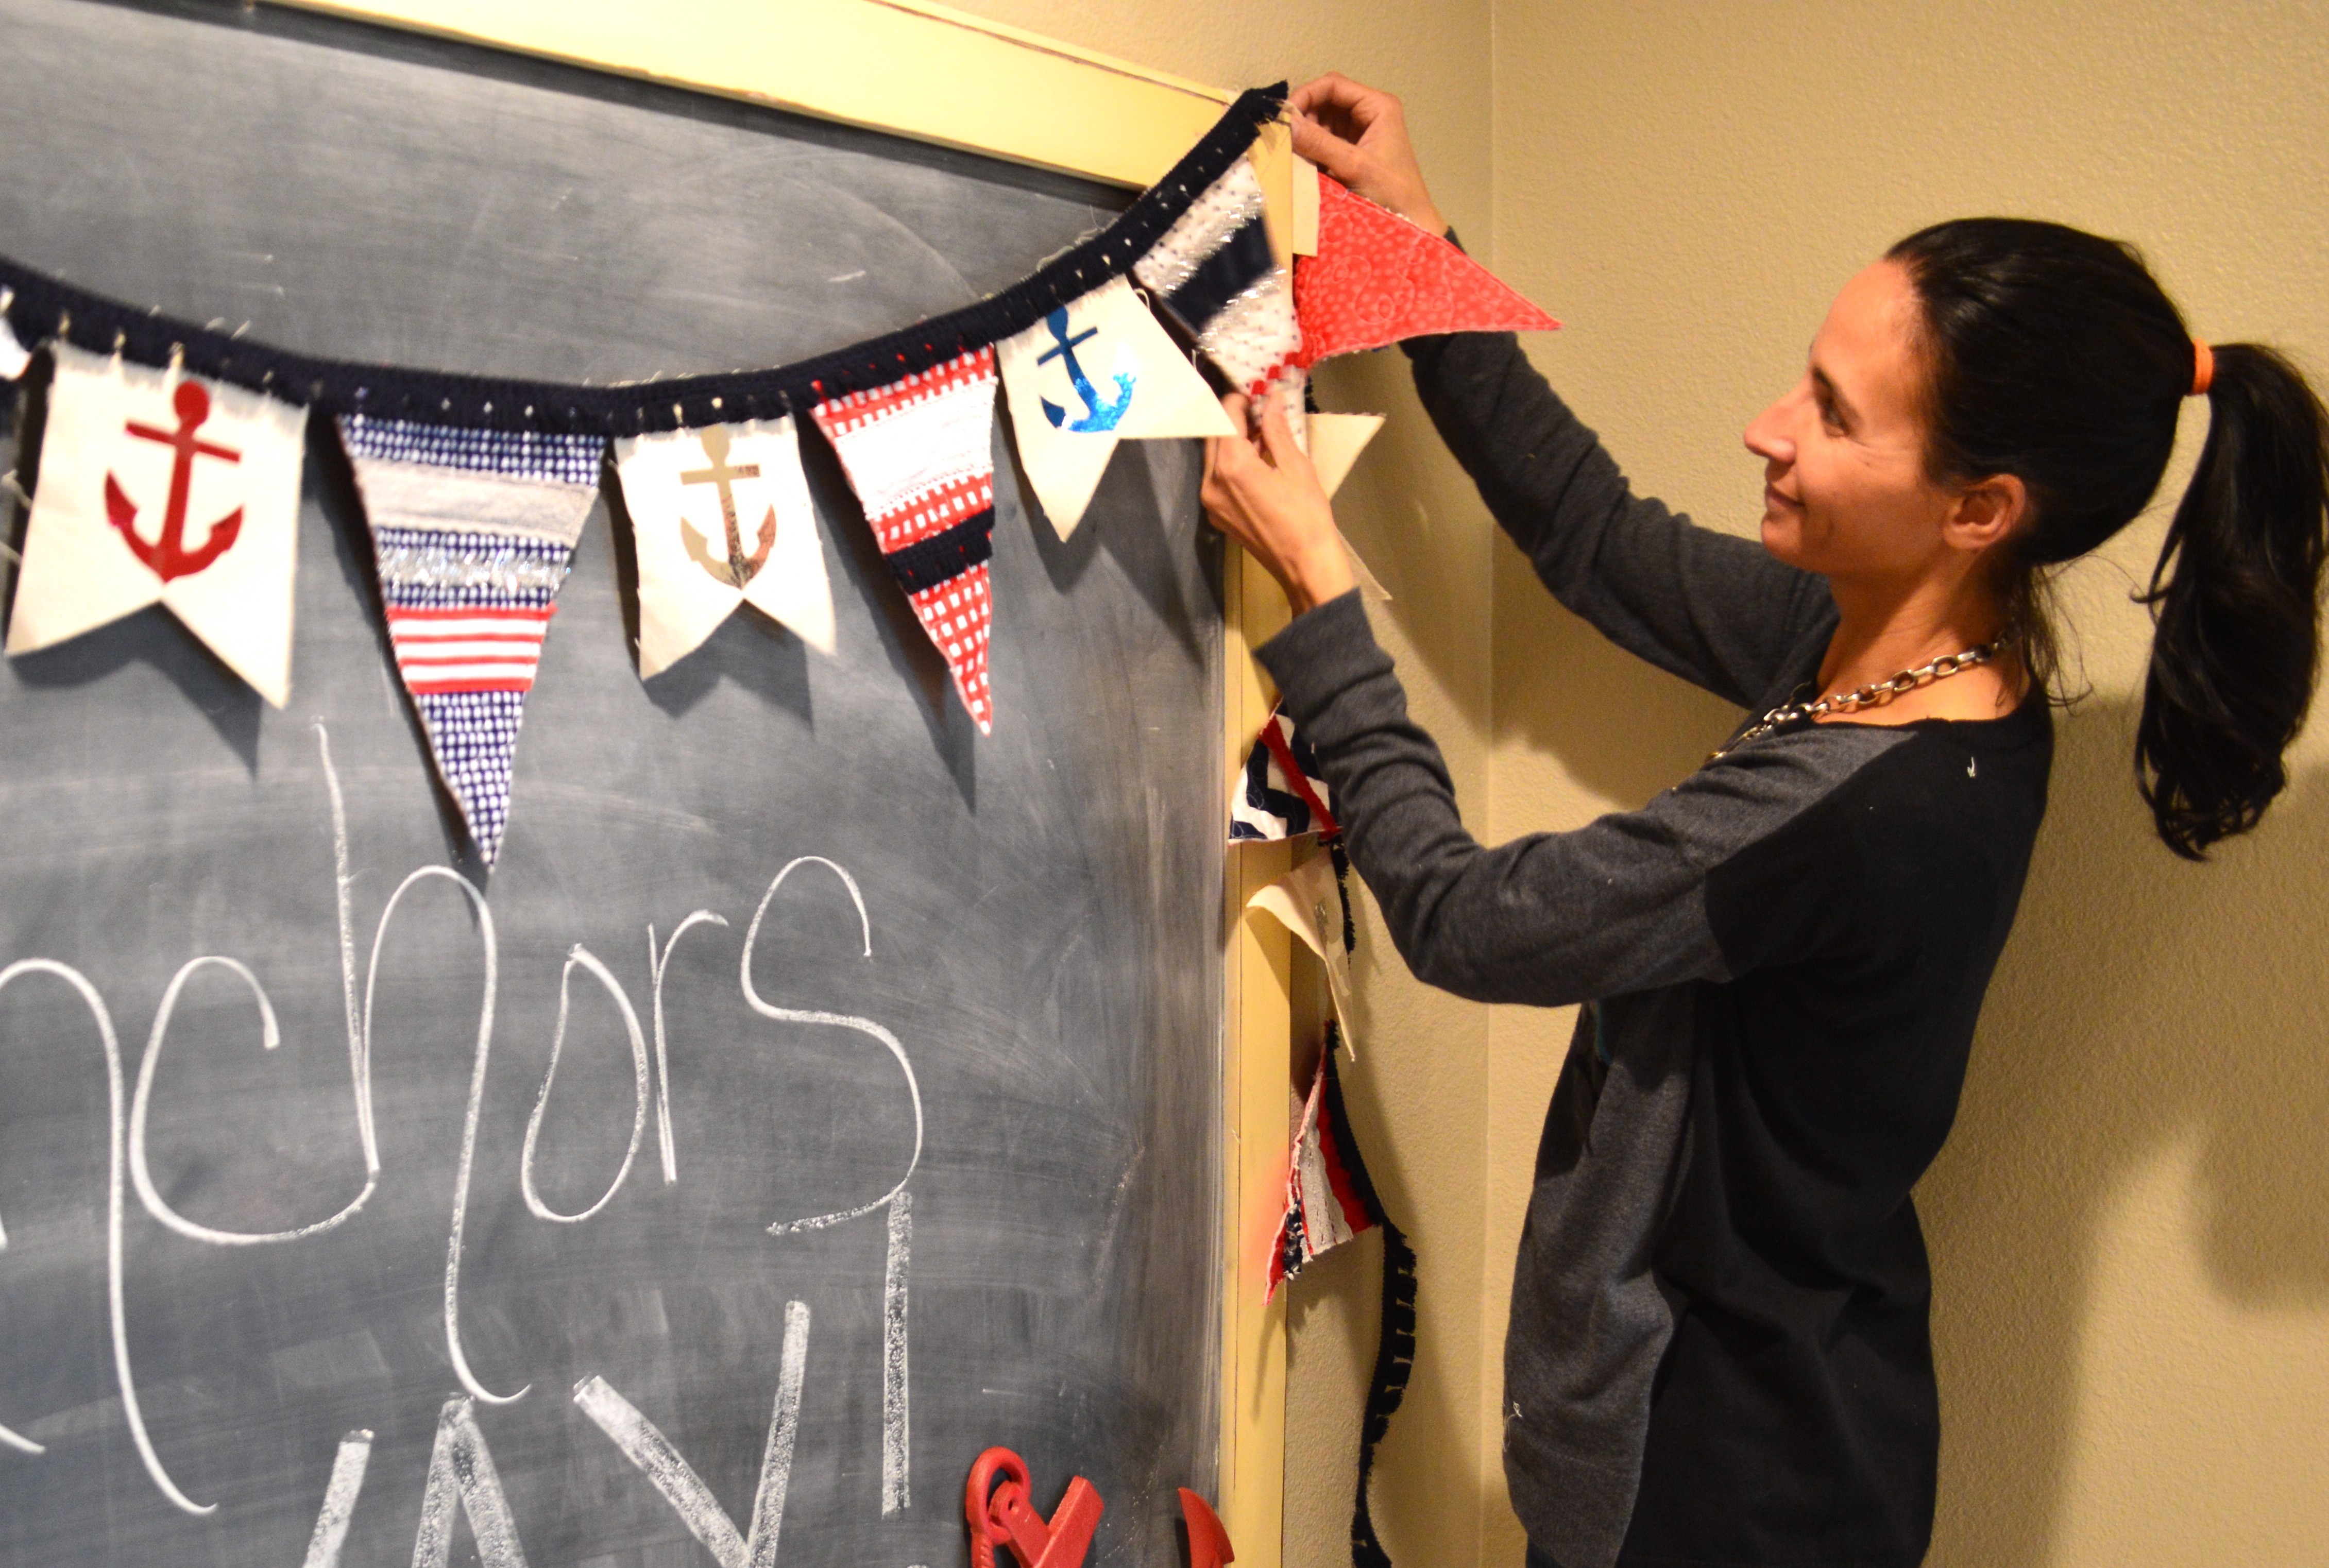
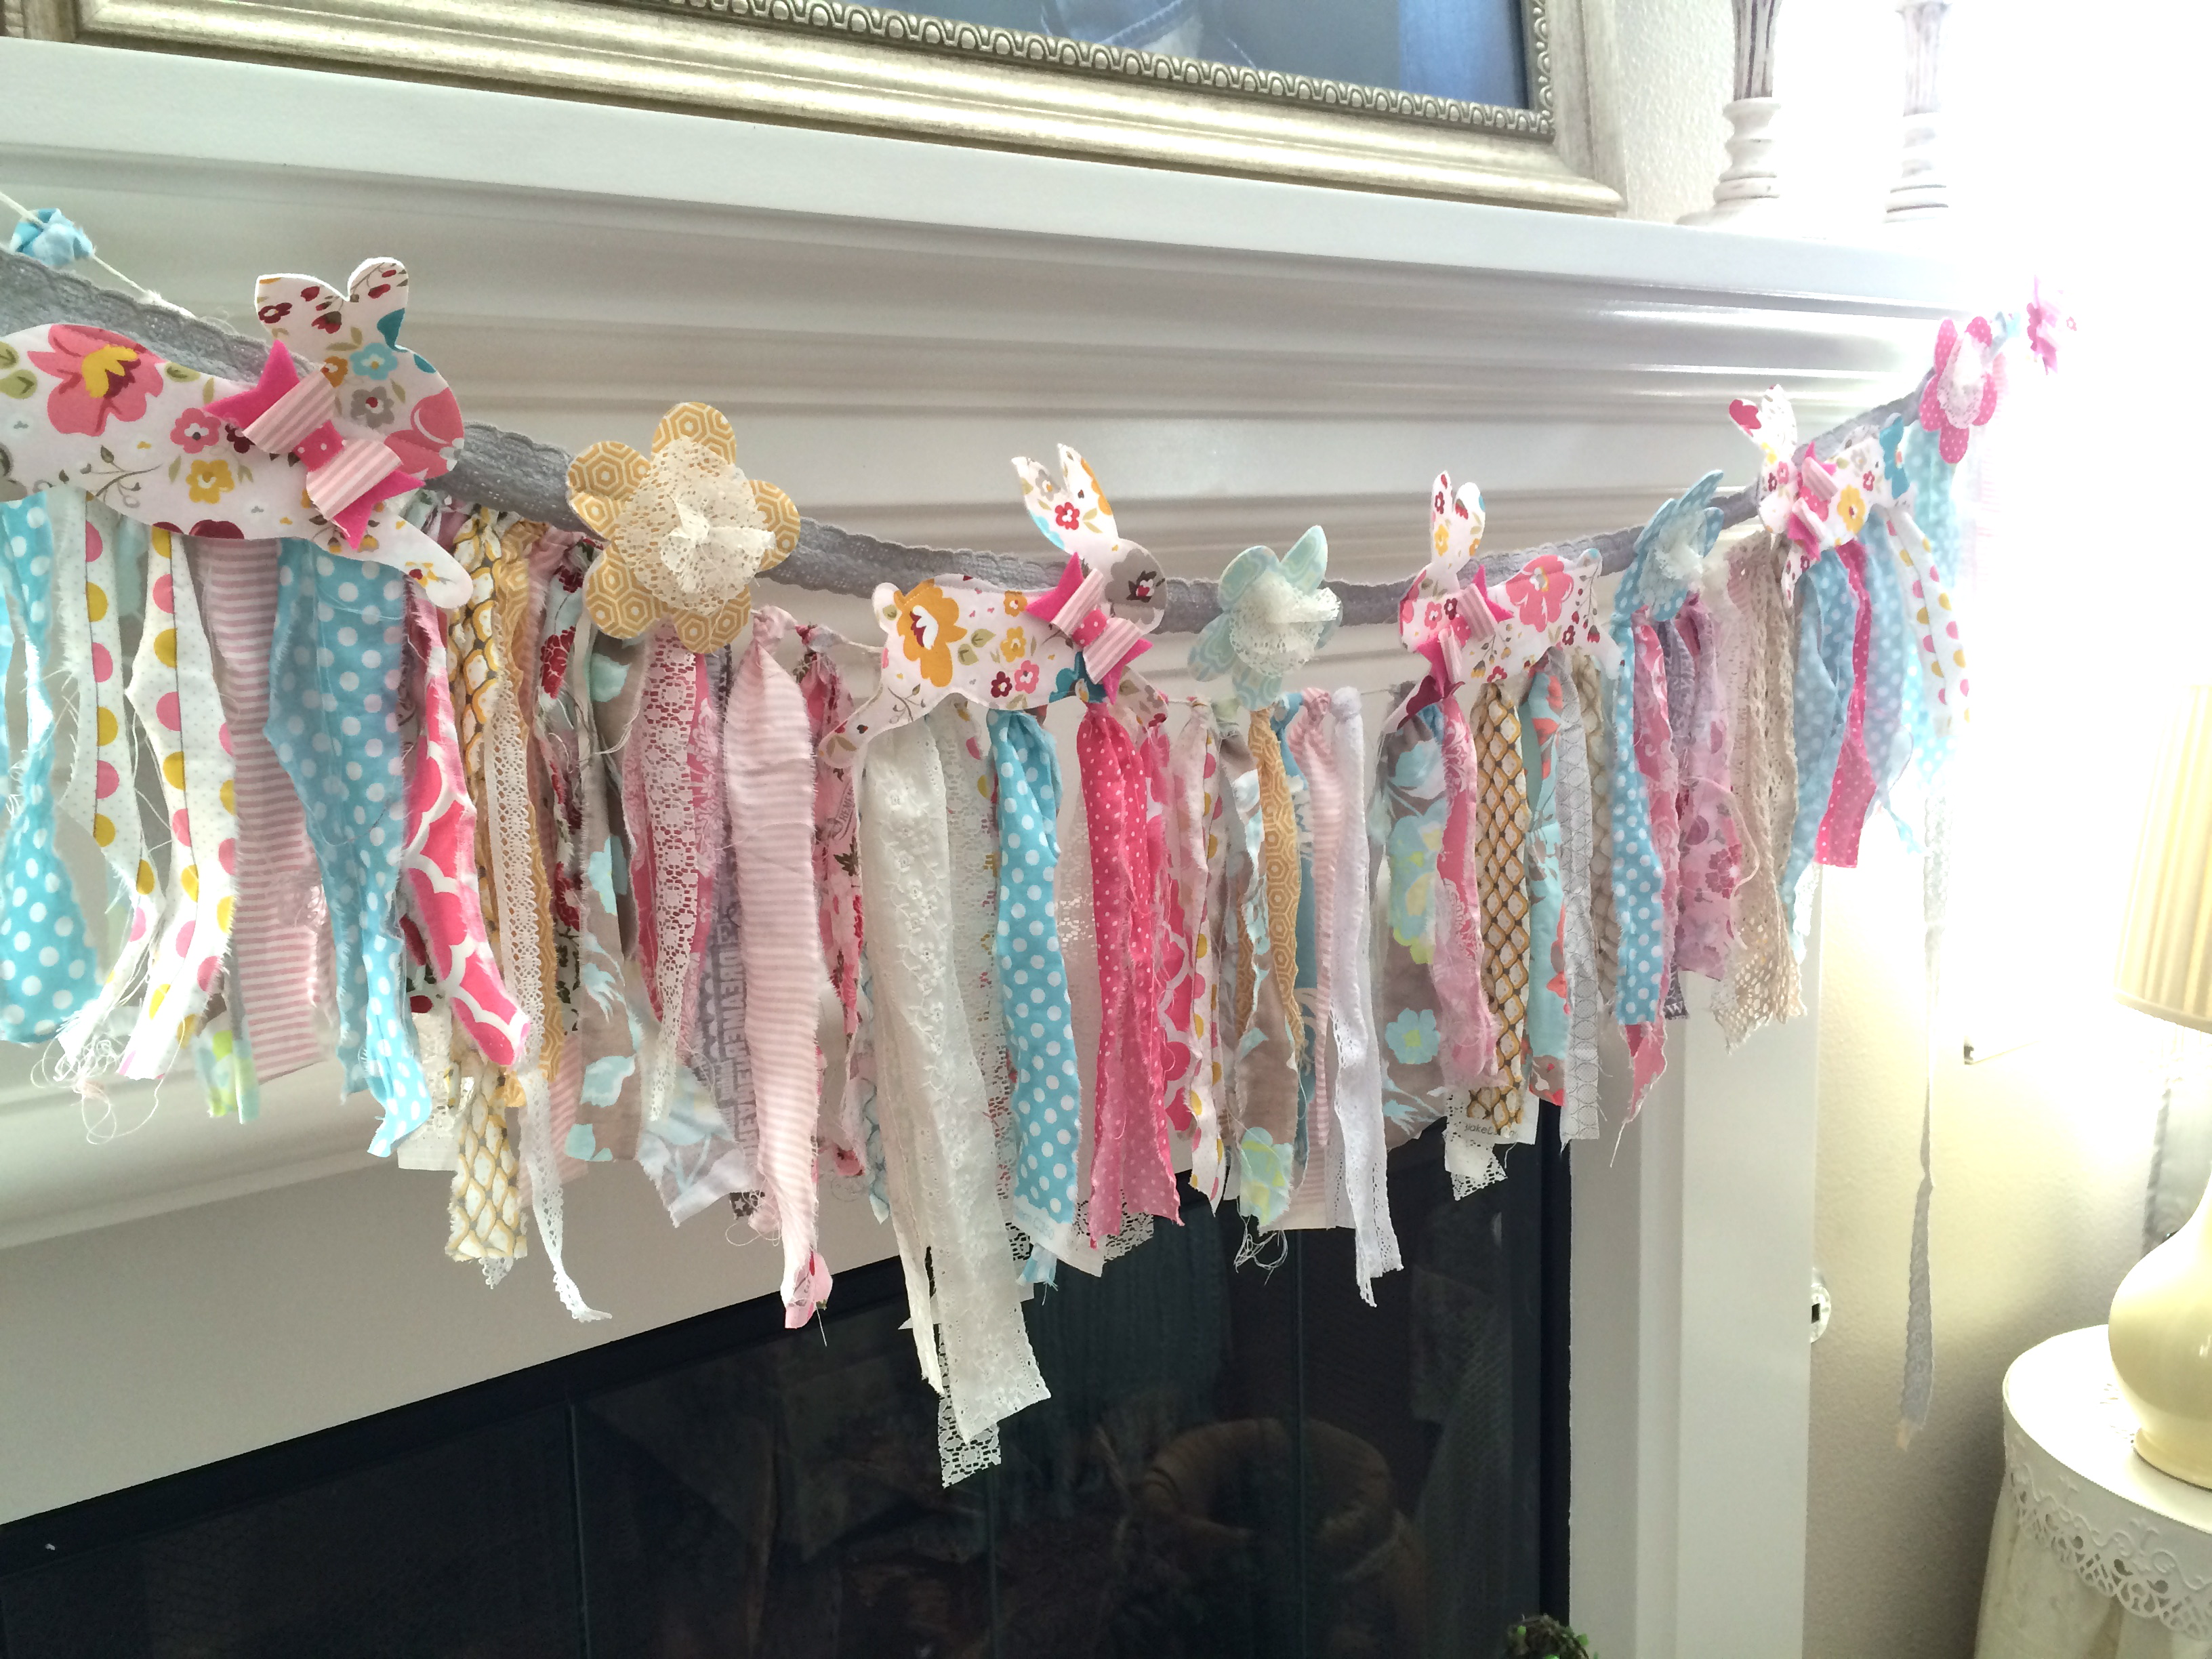
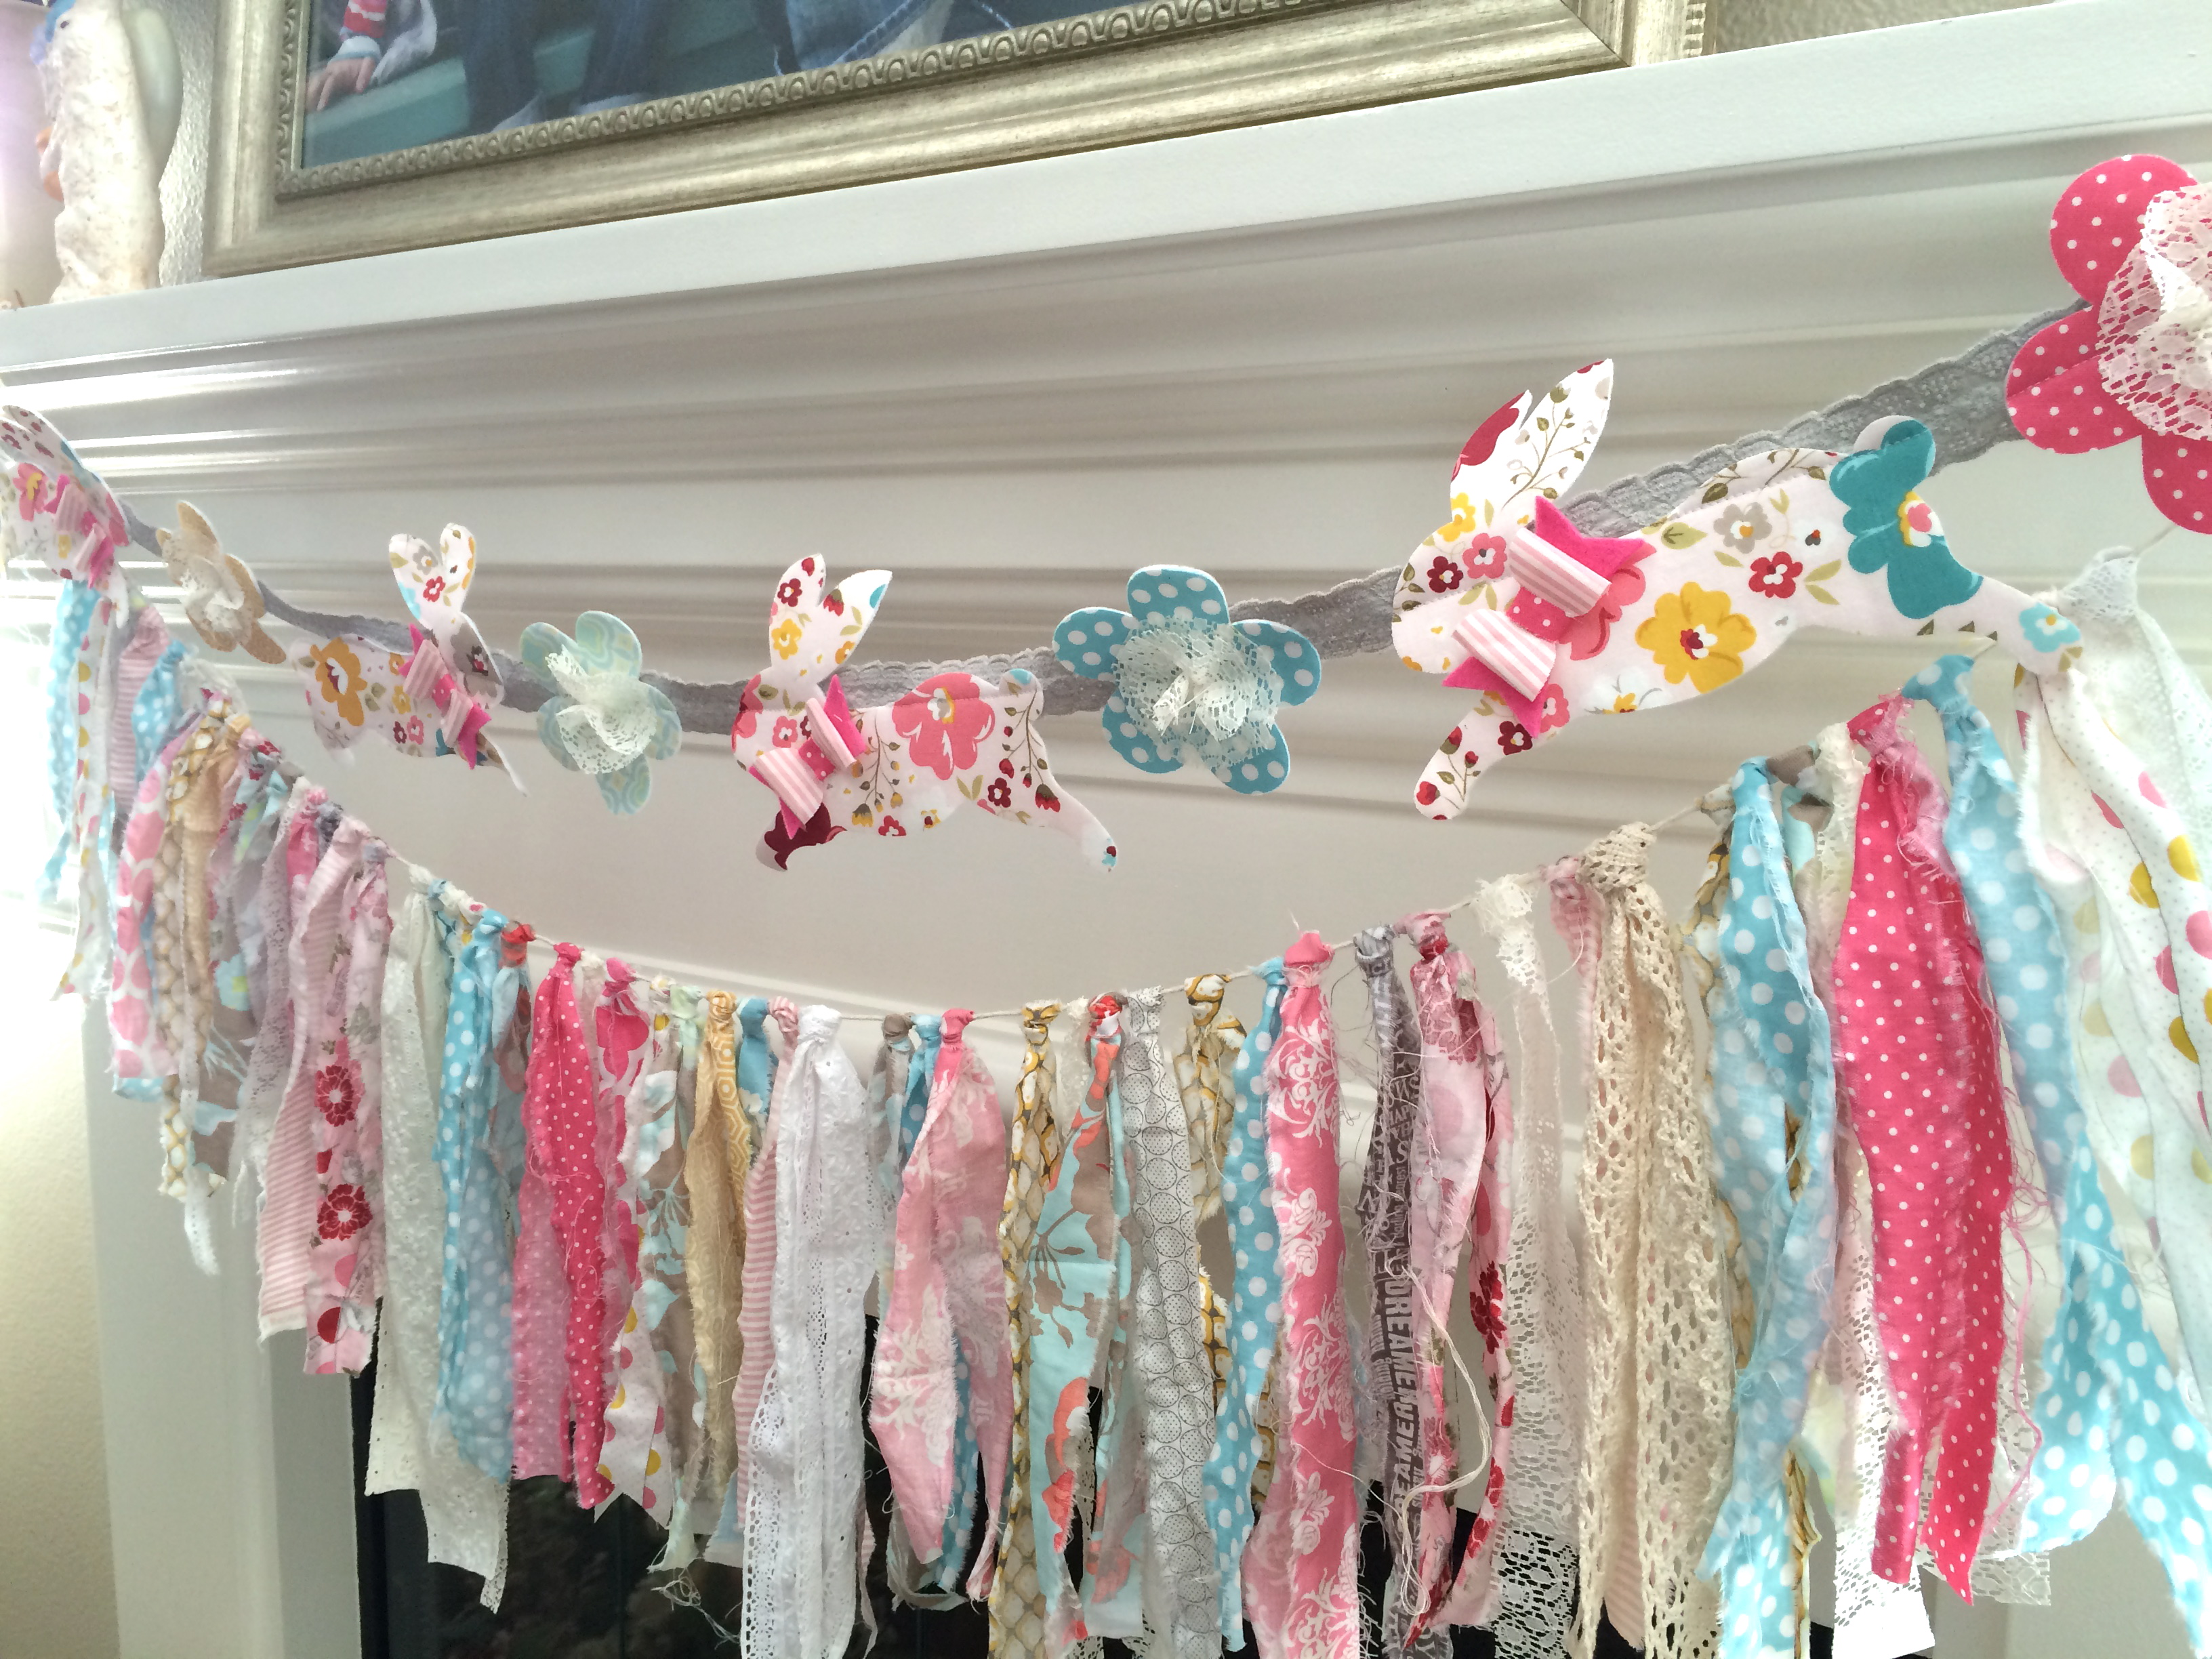
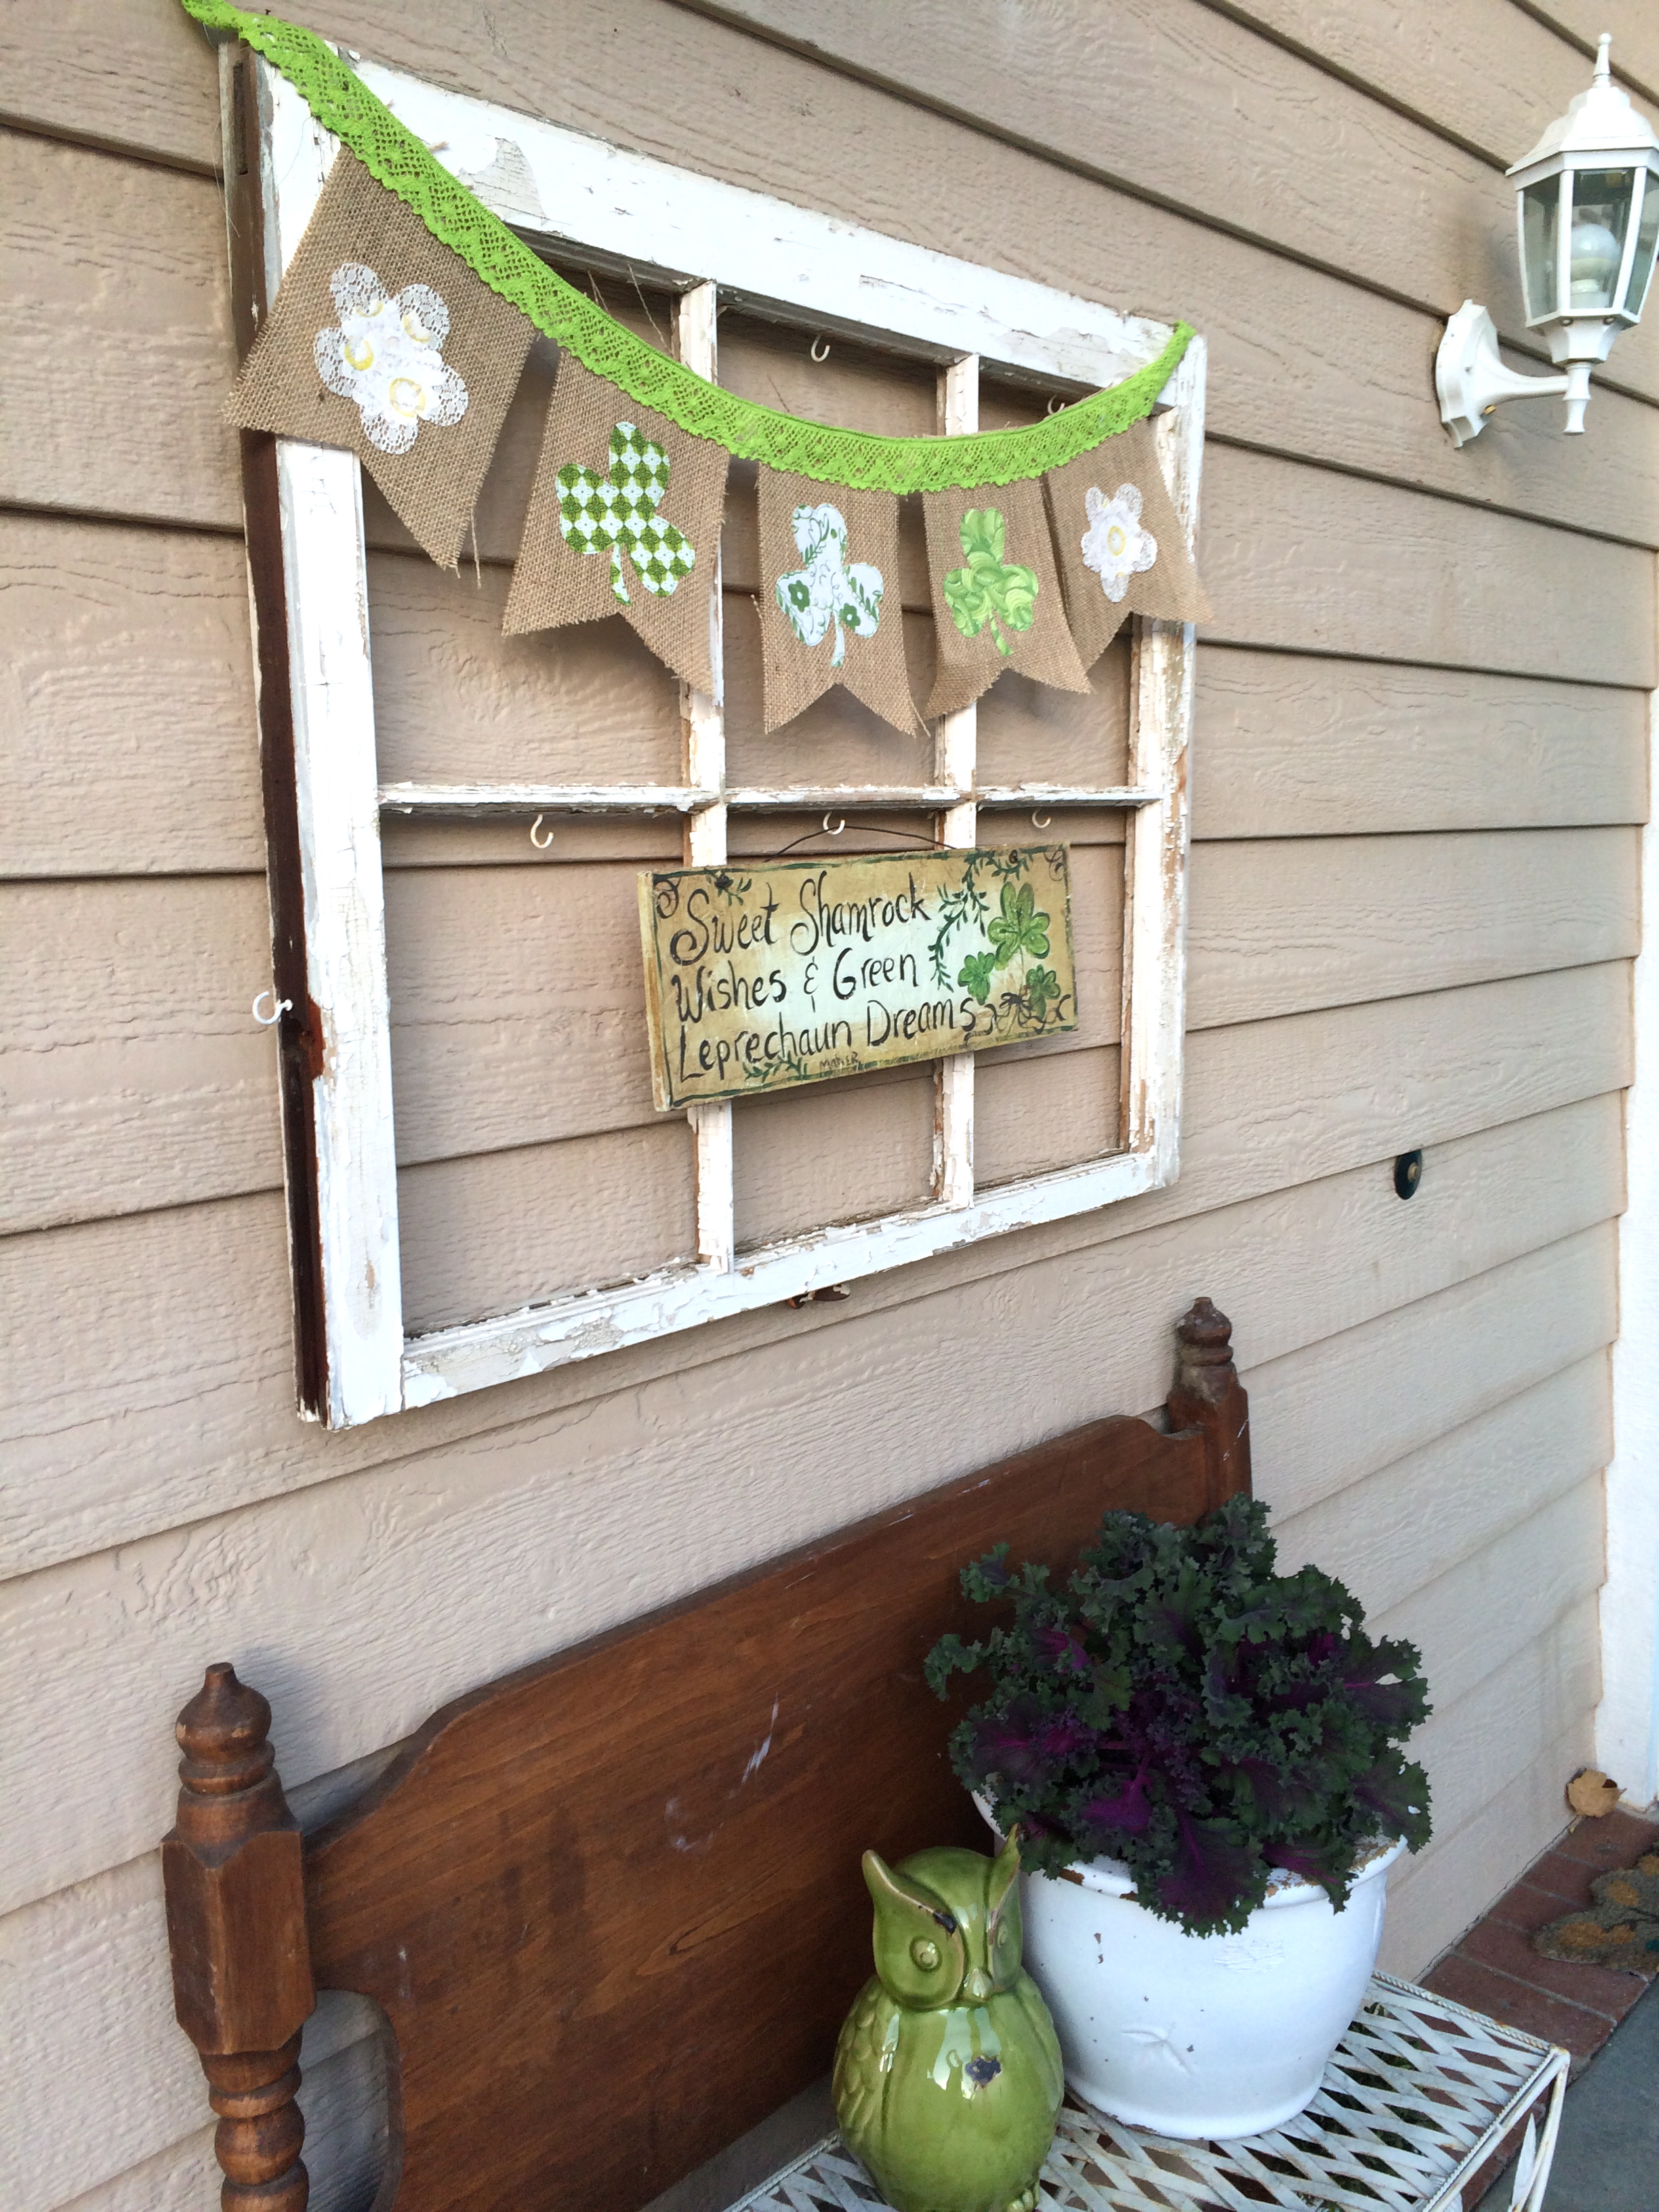
Hang around your home and enjoy!!
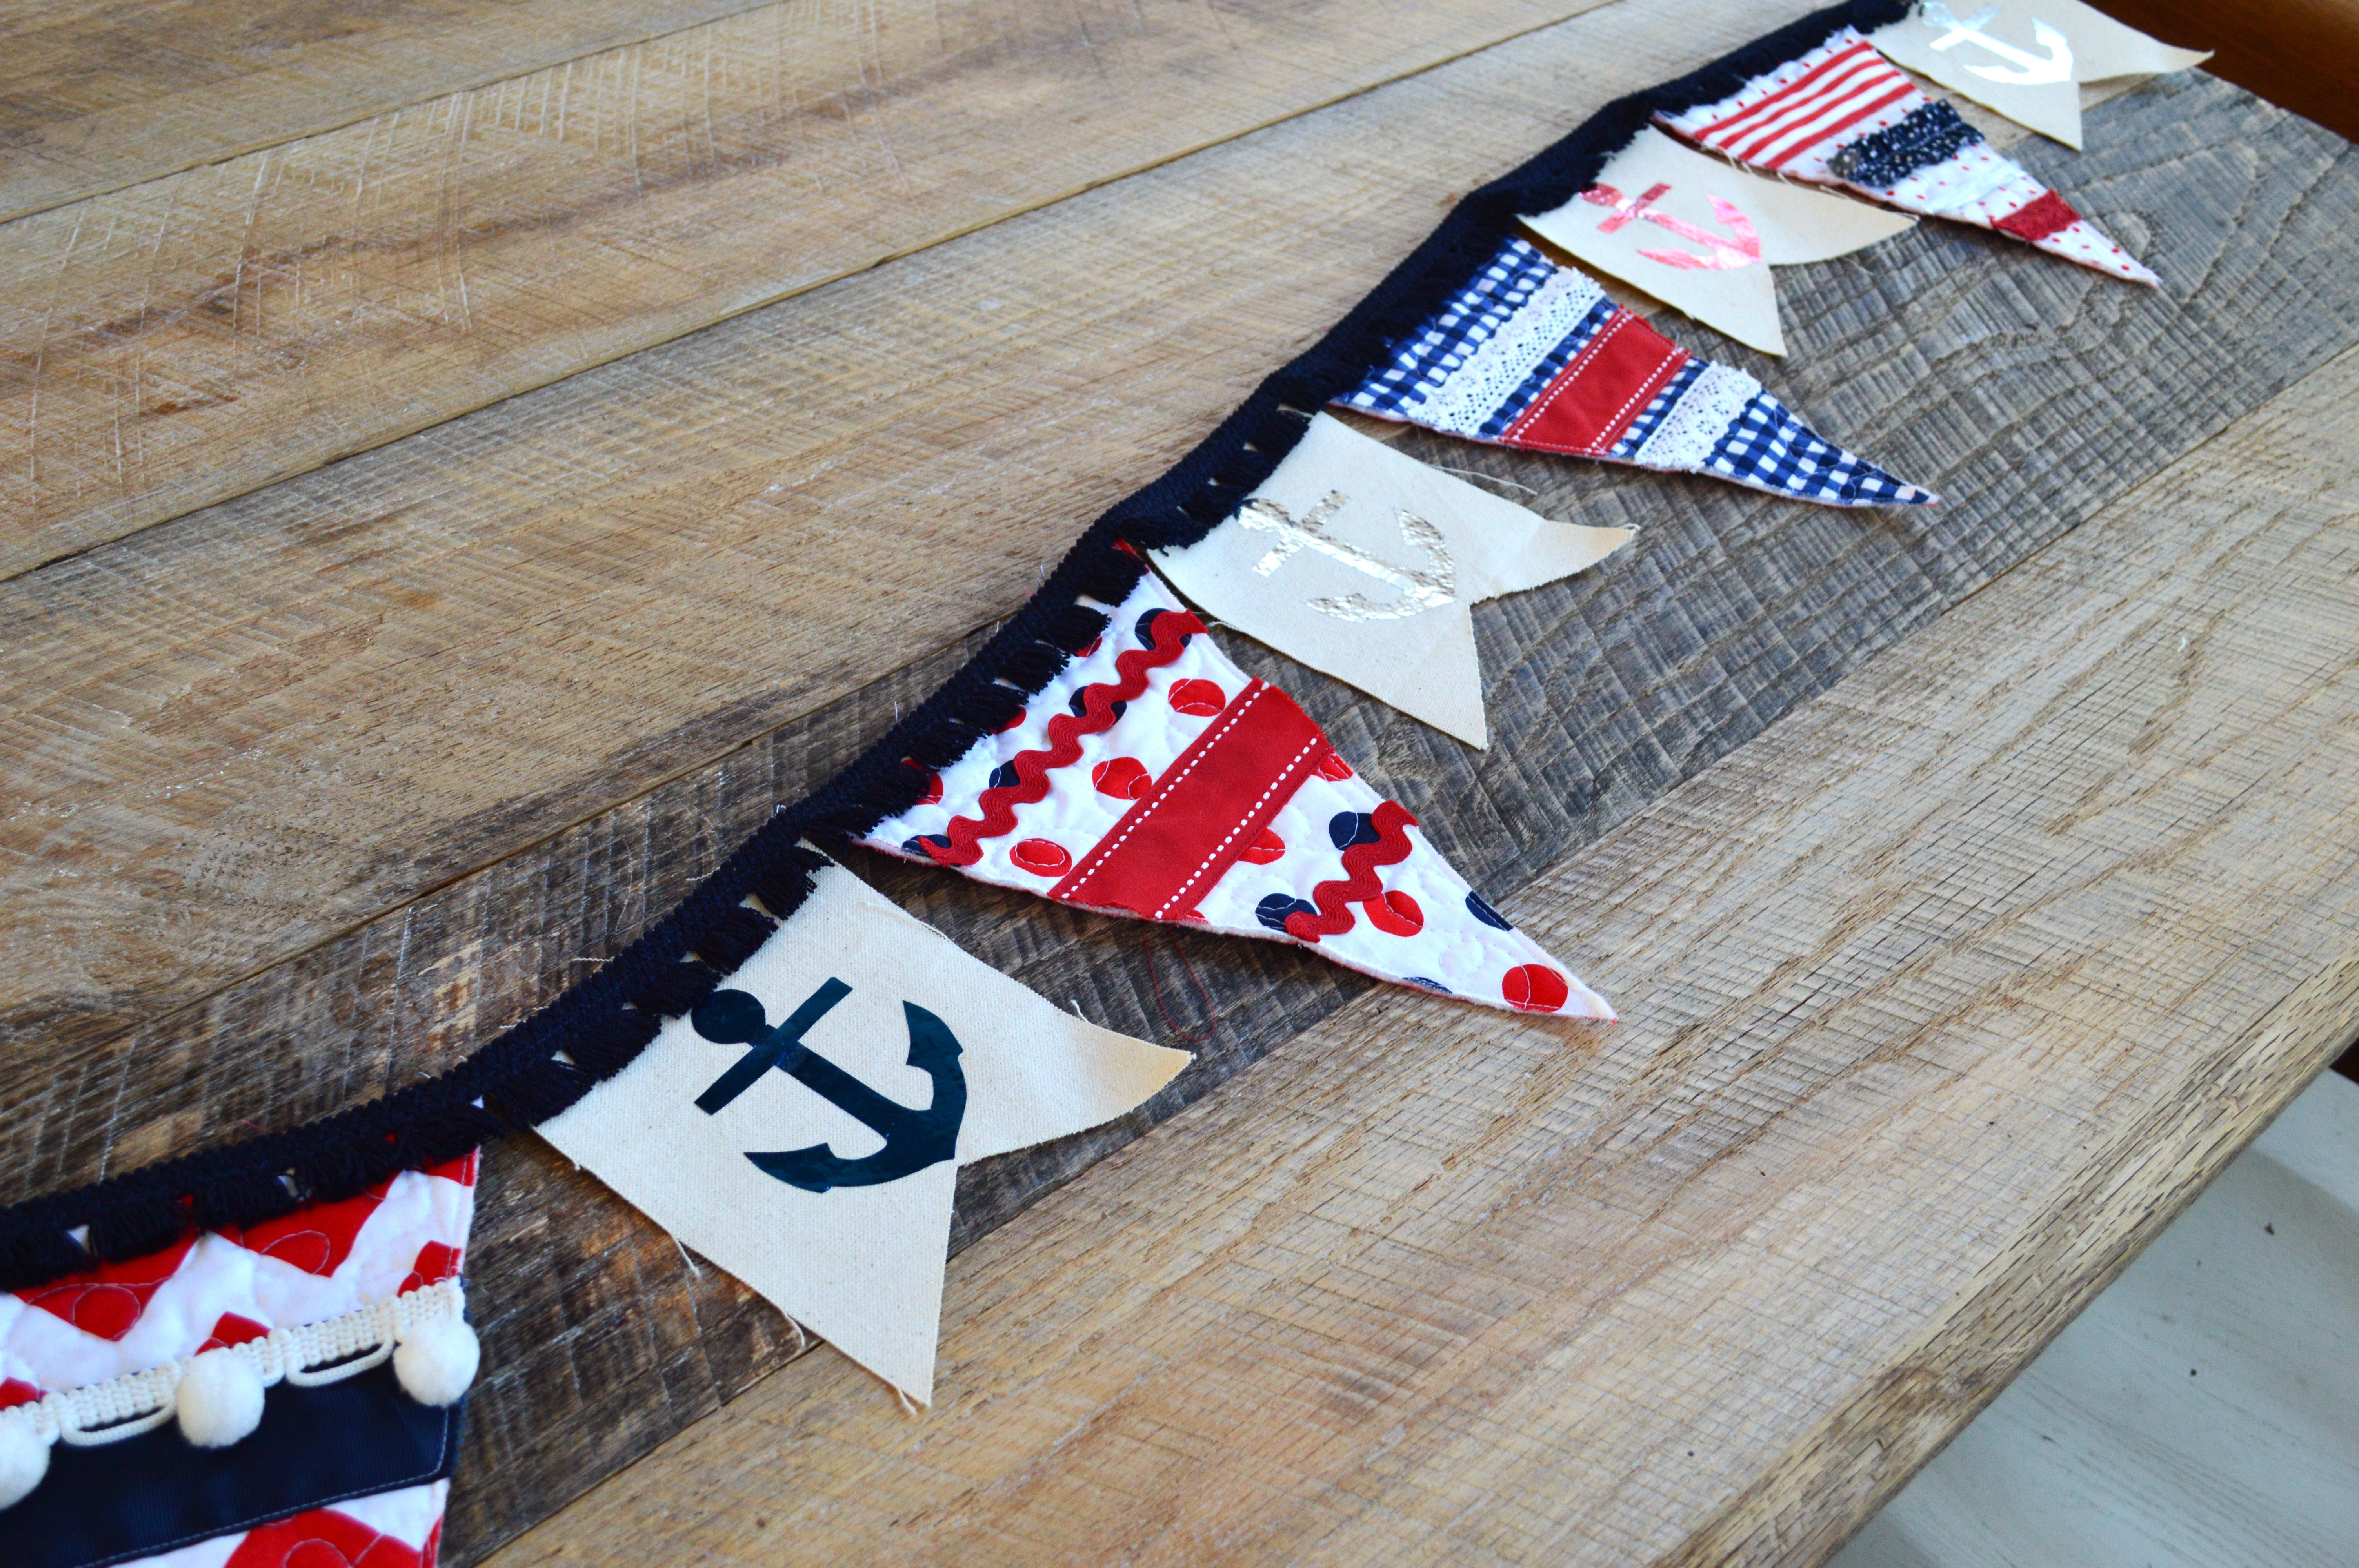
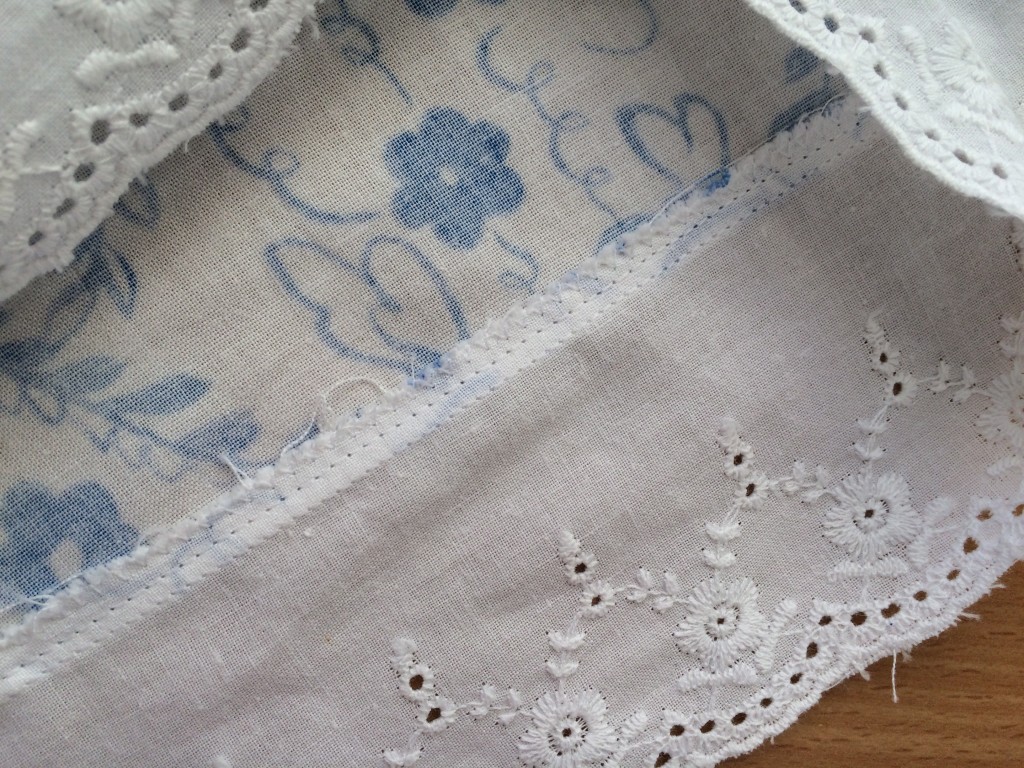
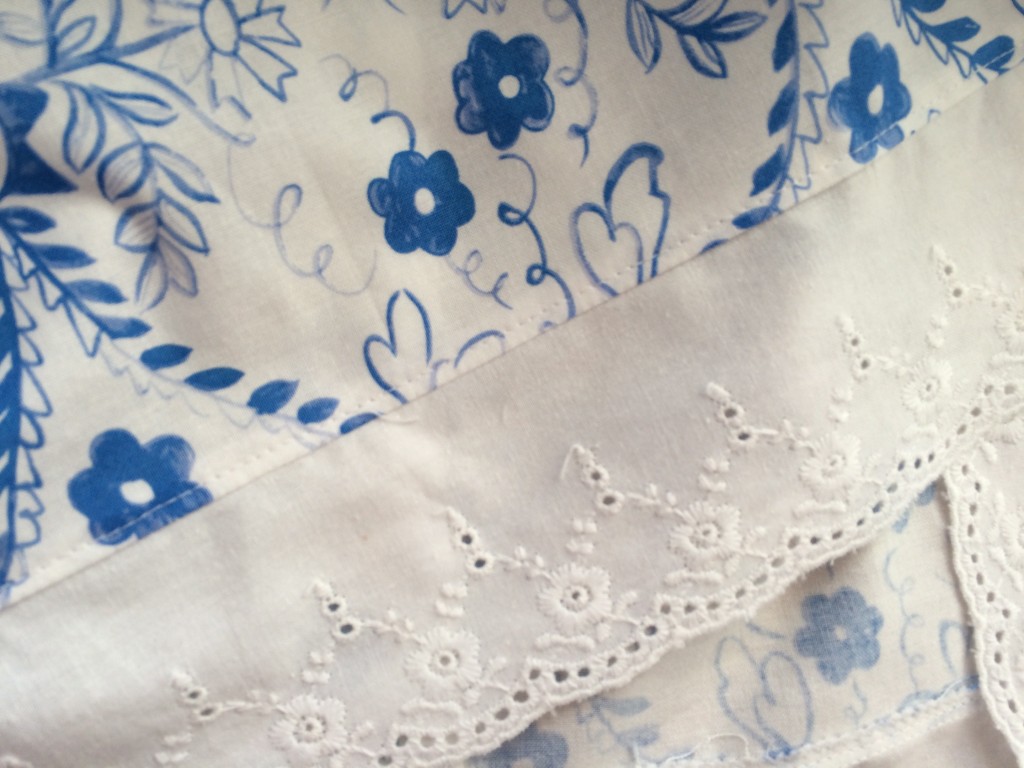
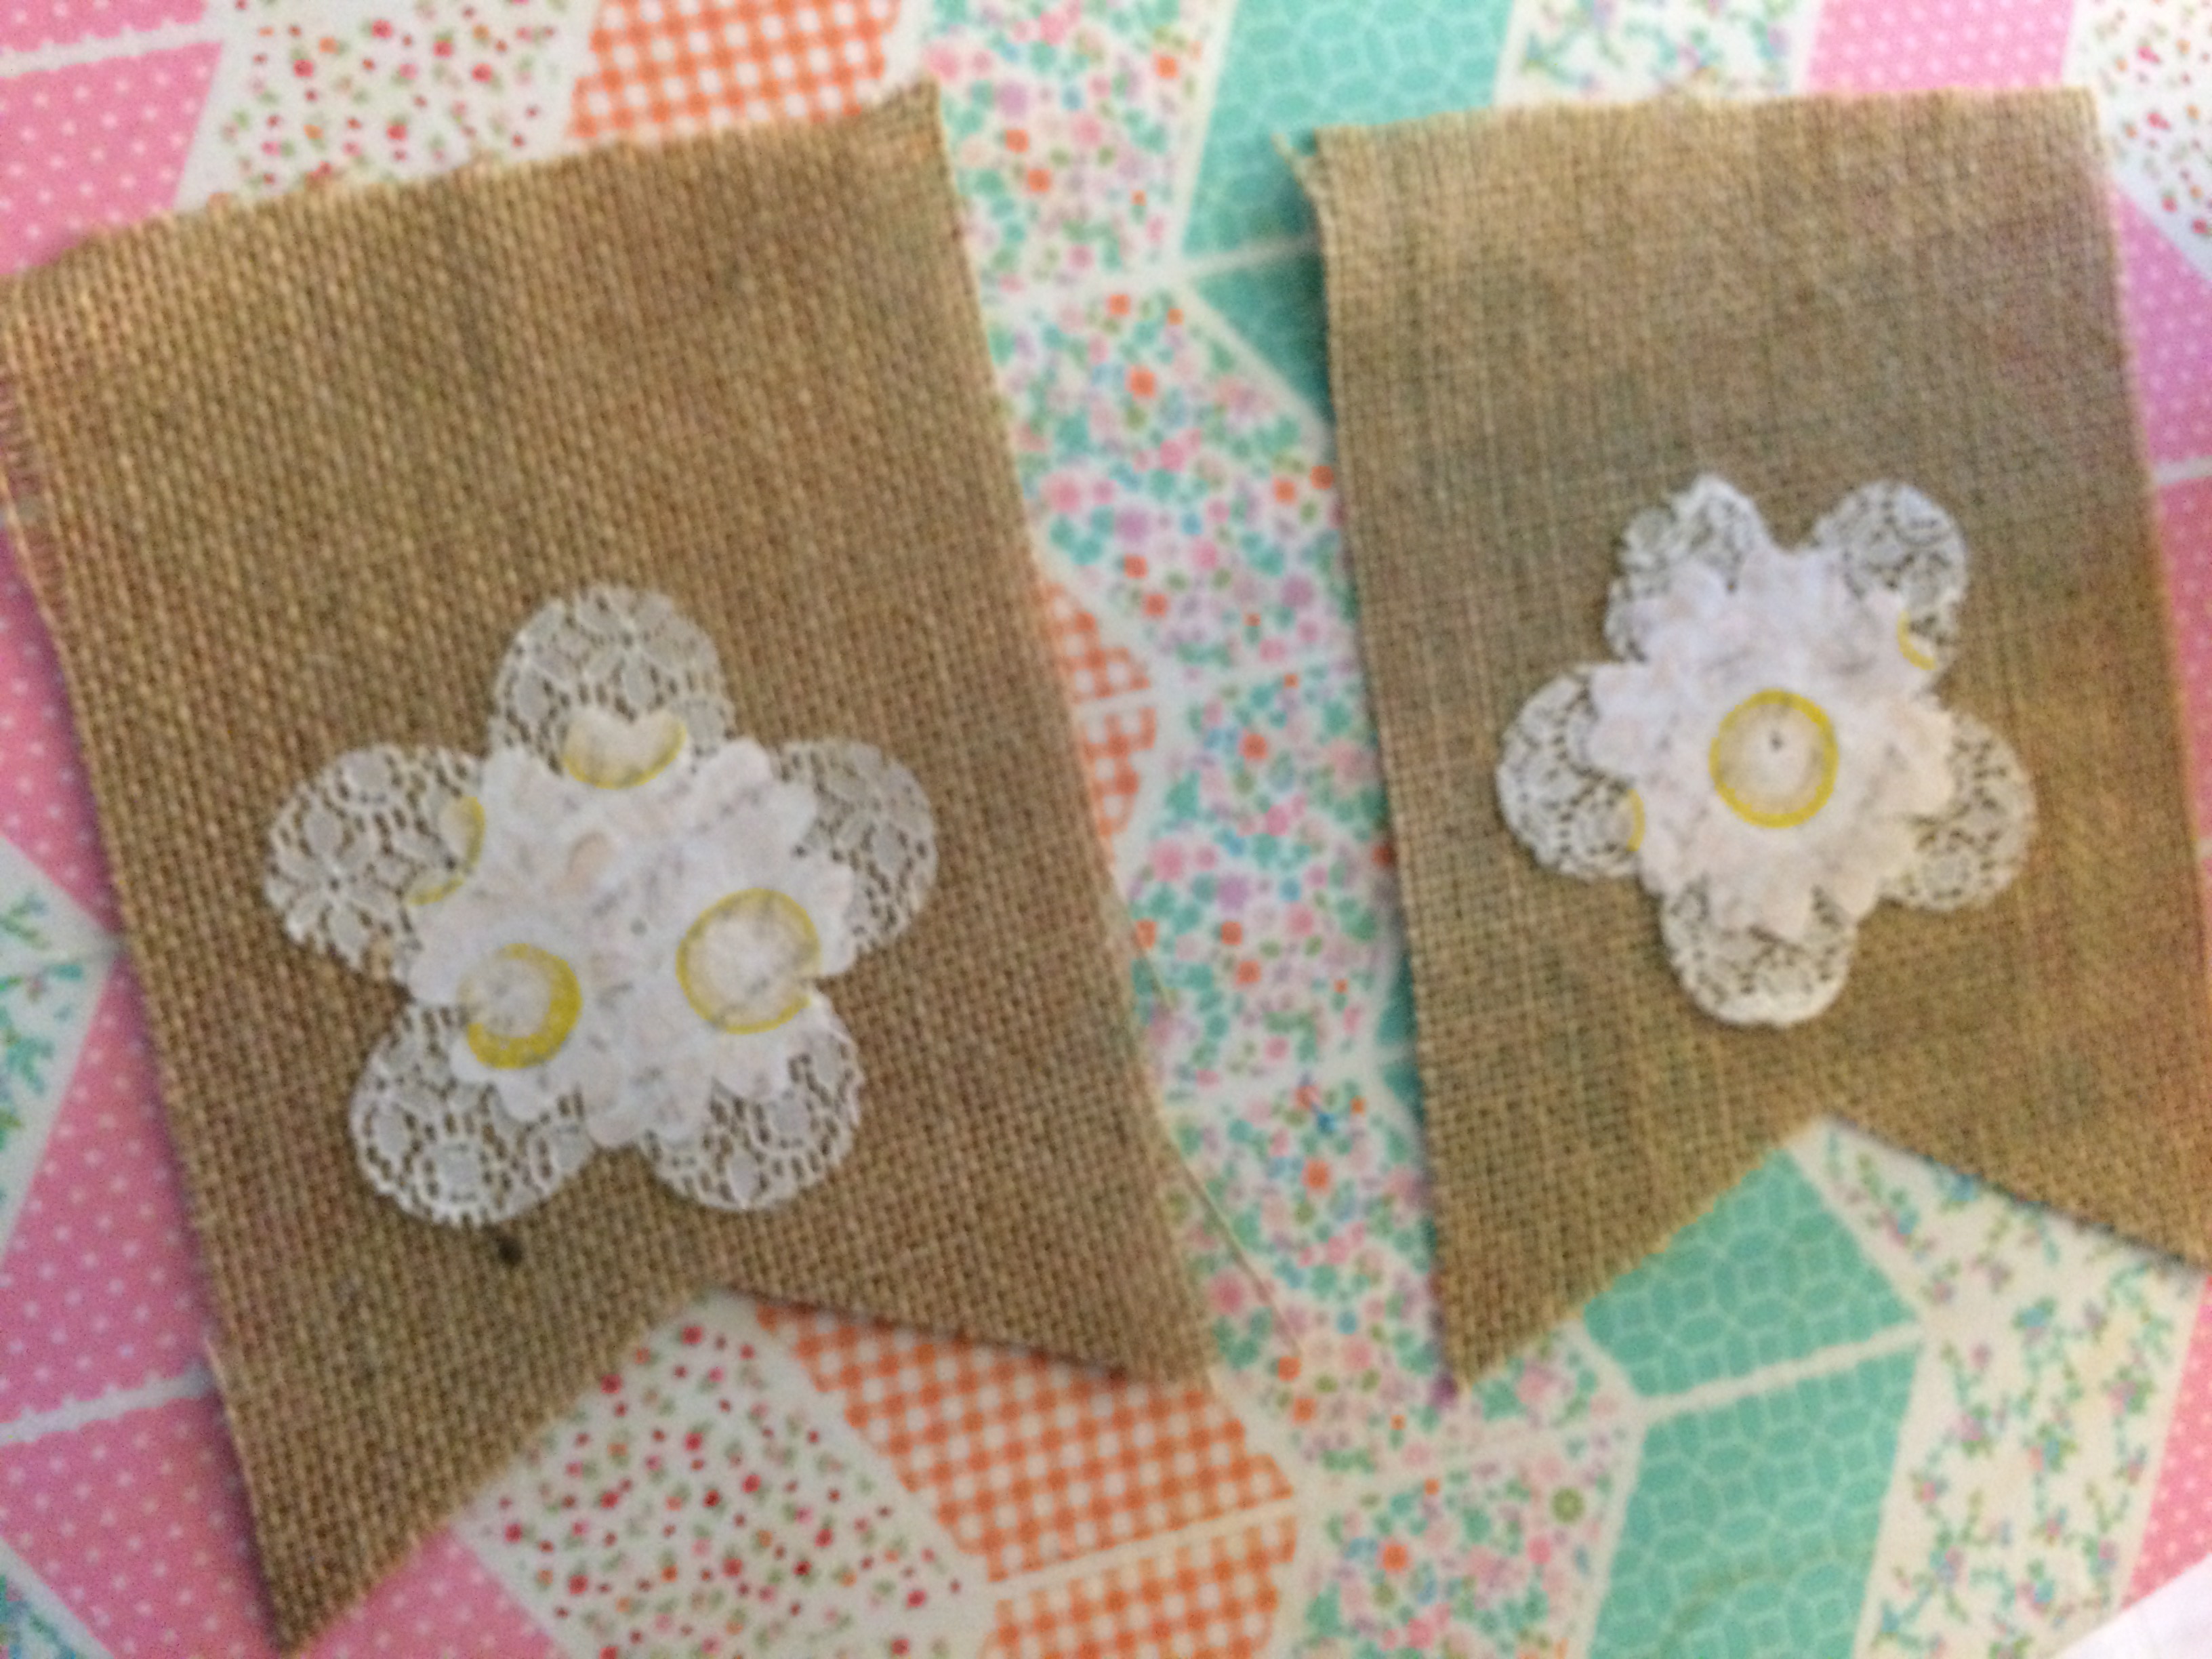
Here are a few photos of different segments to give you an idea of the different trims and fabrics. It was too long to photograph all together.
I am the Young Women Camp Director at my church and our theme is Anchored in Christ. The banner was a perfect addition to my table scape for our leader meeting!


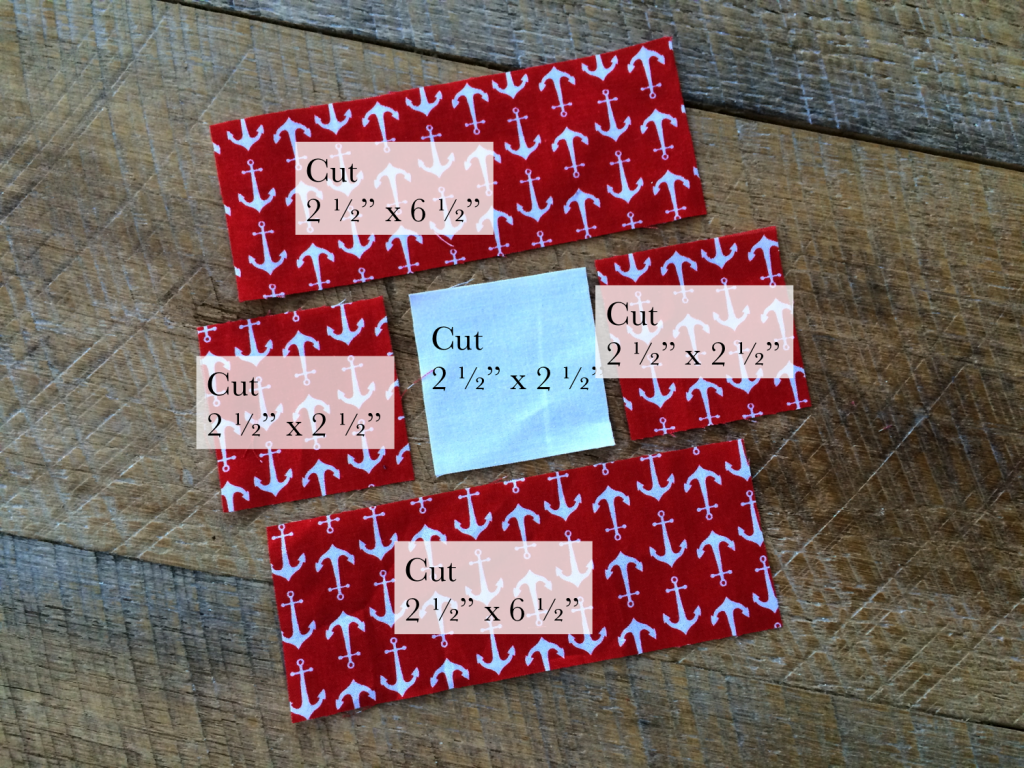
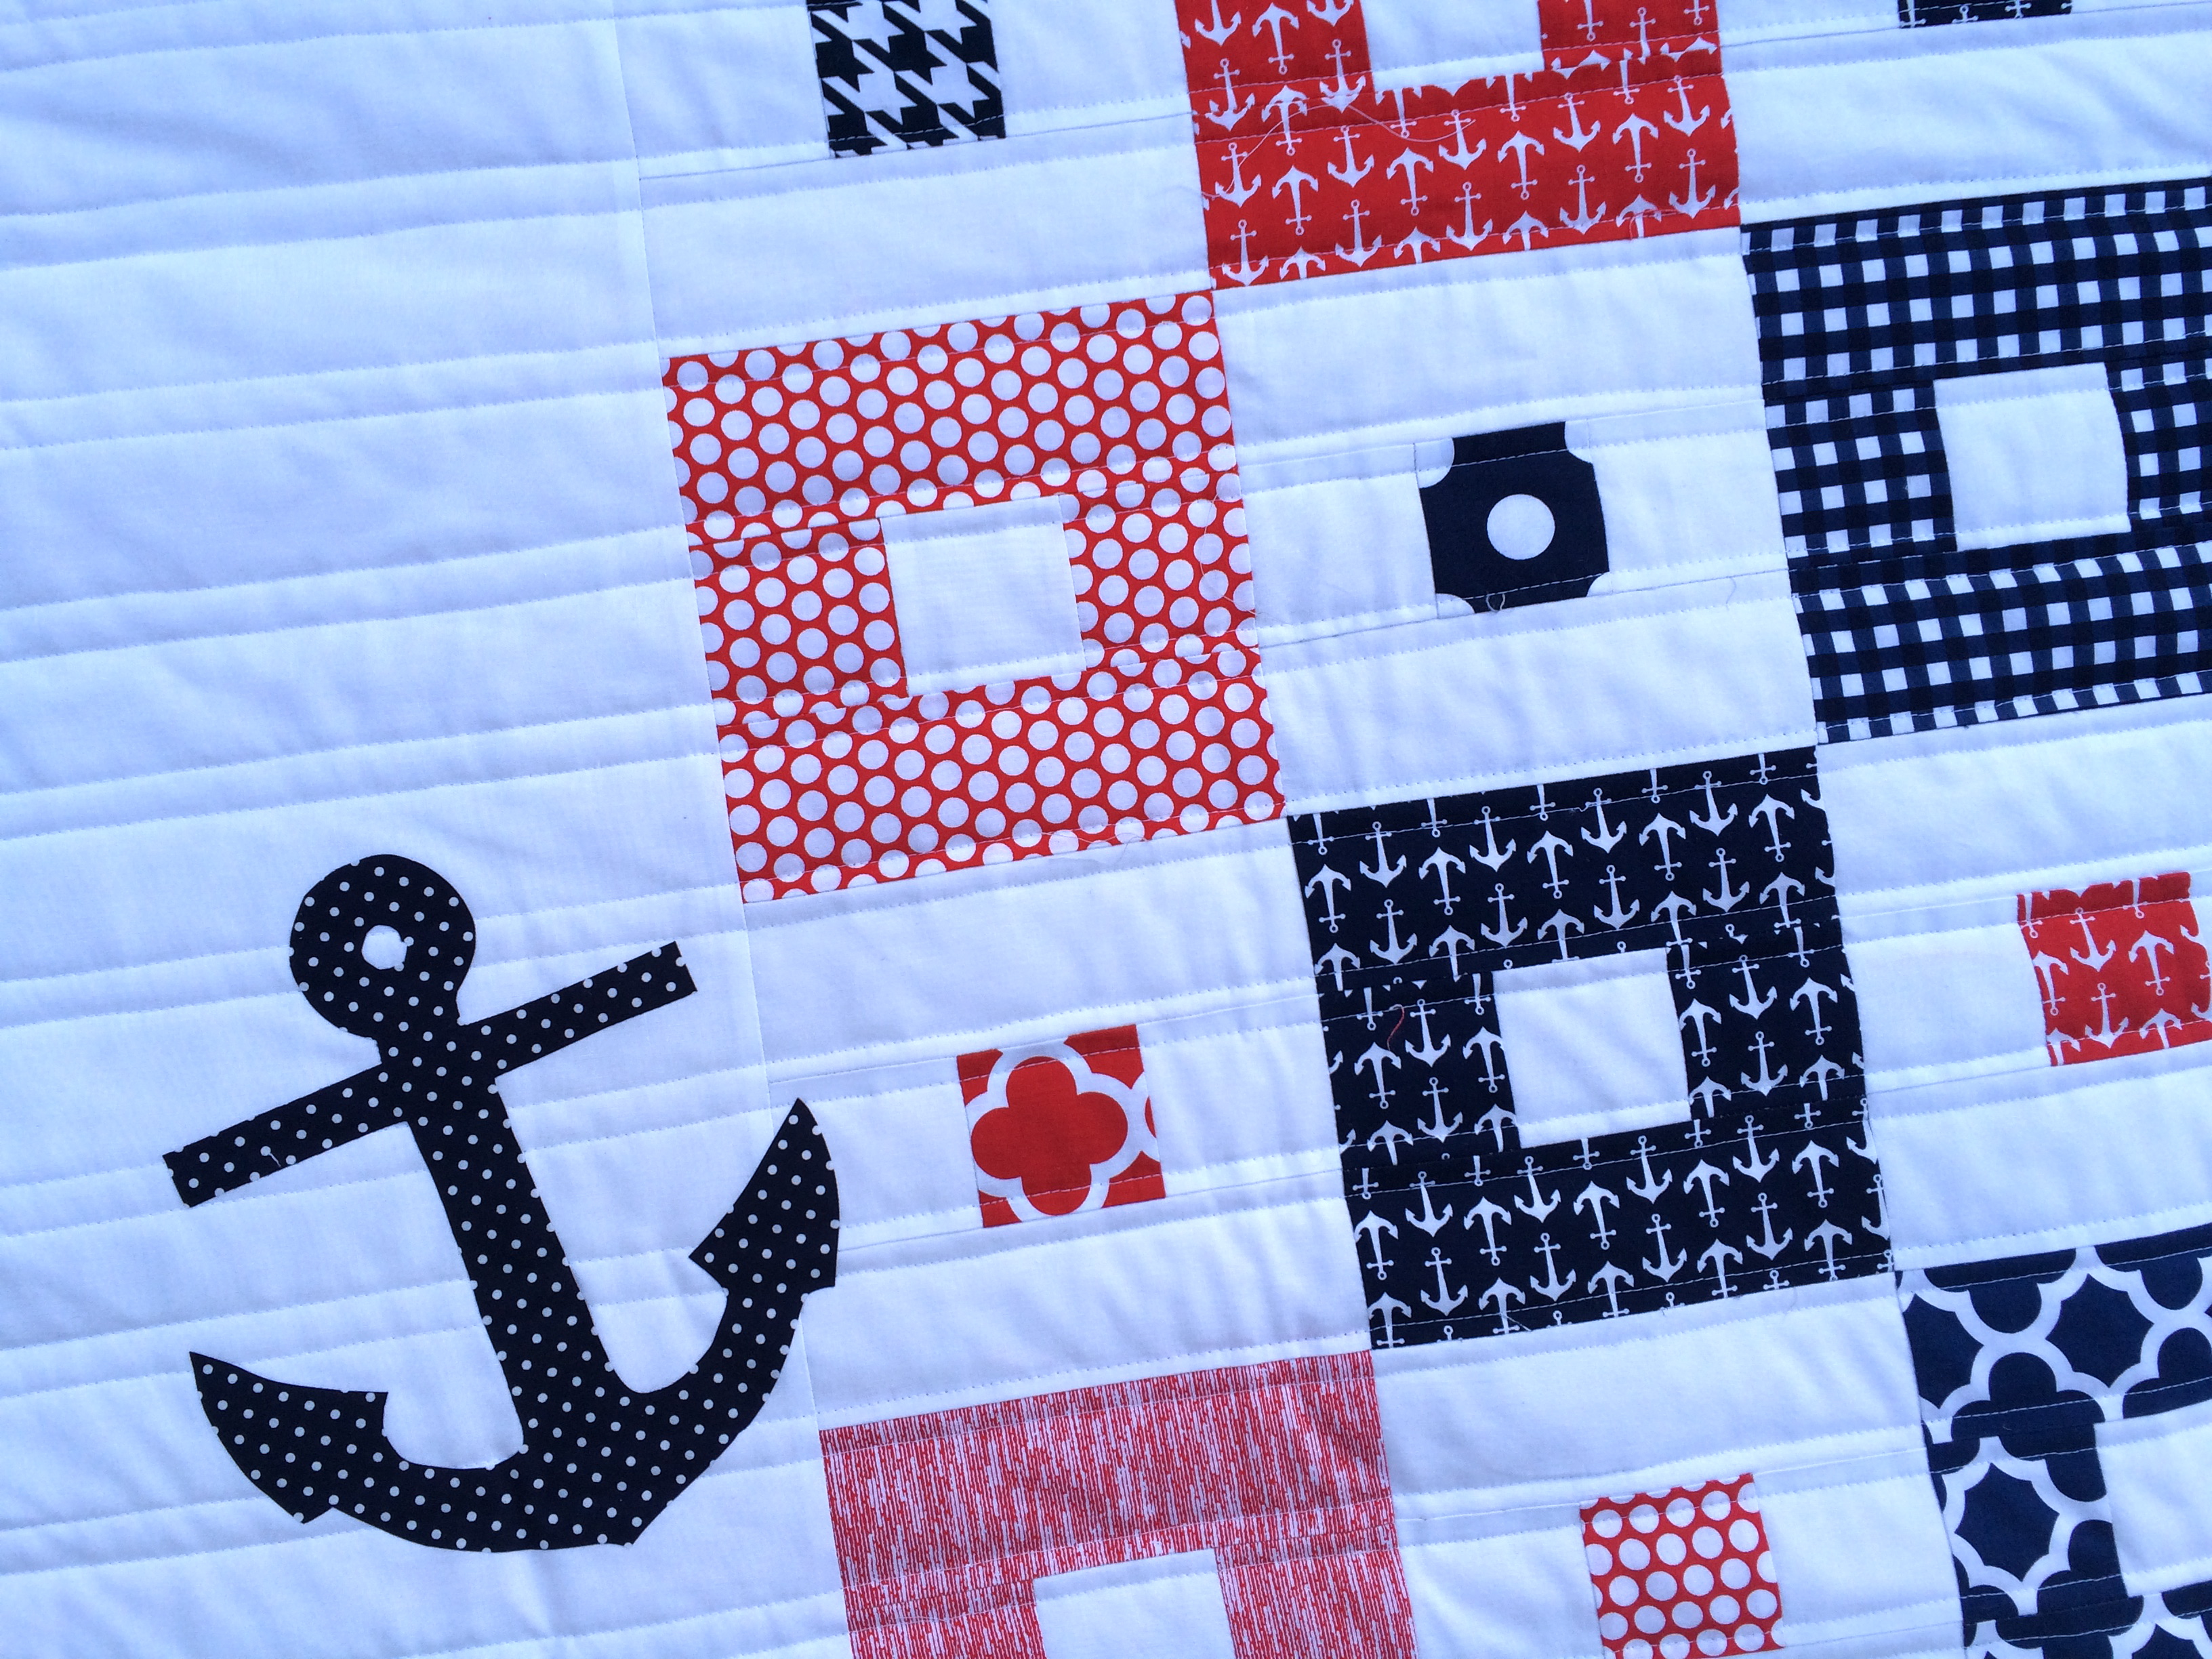
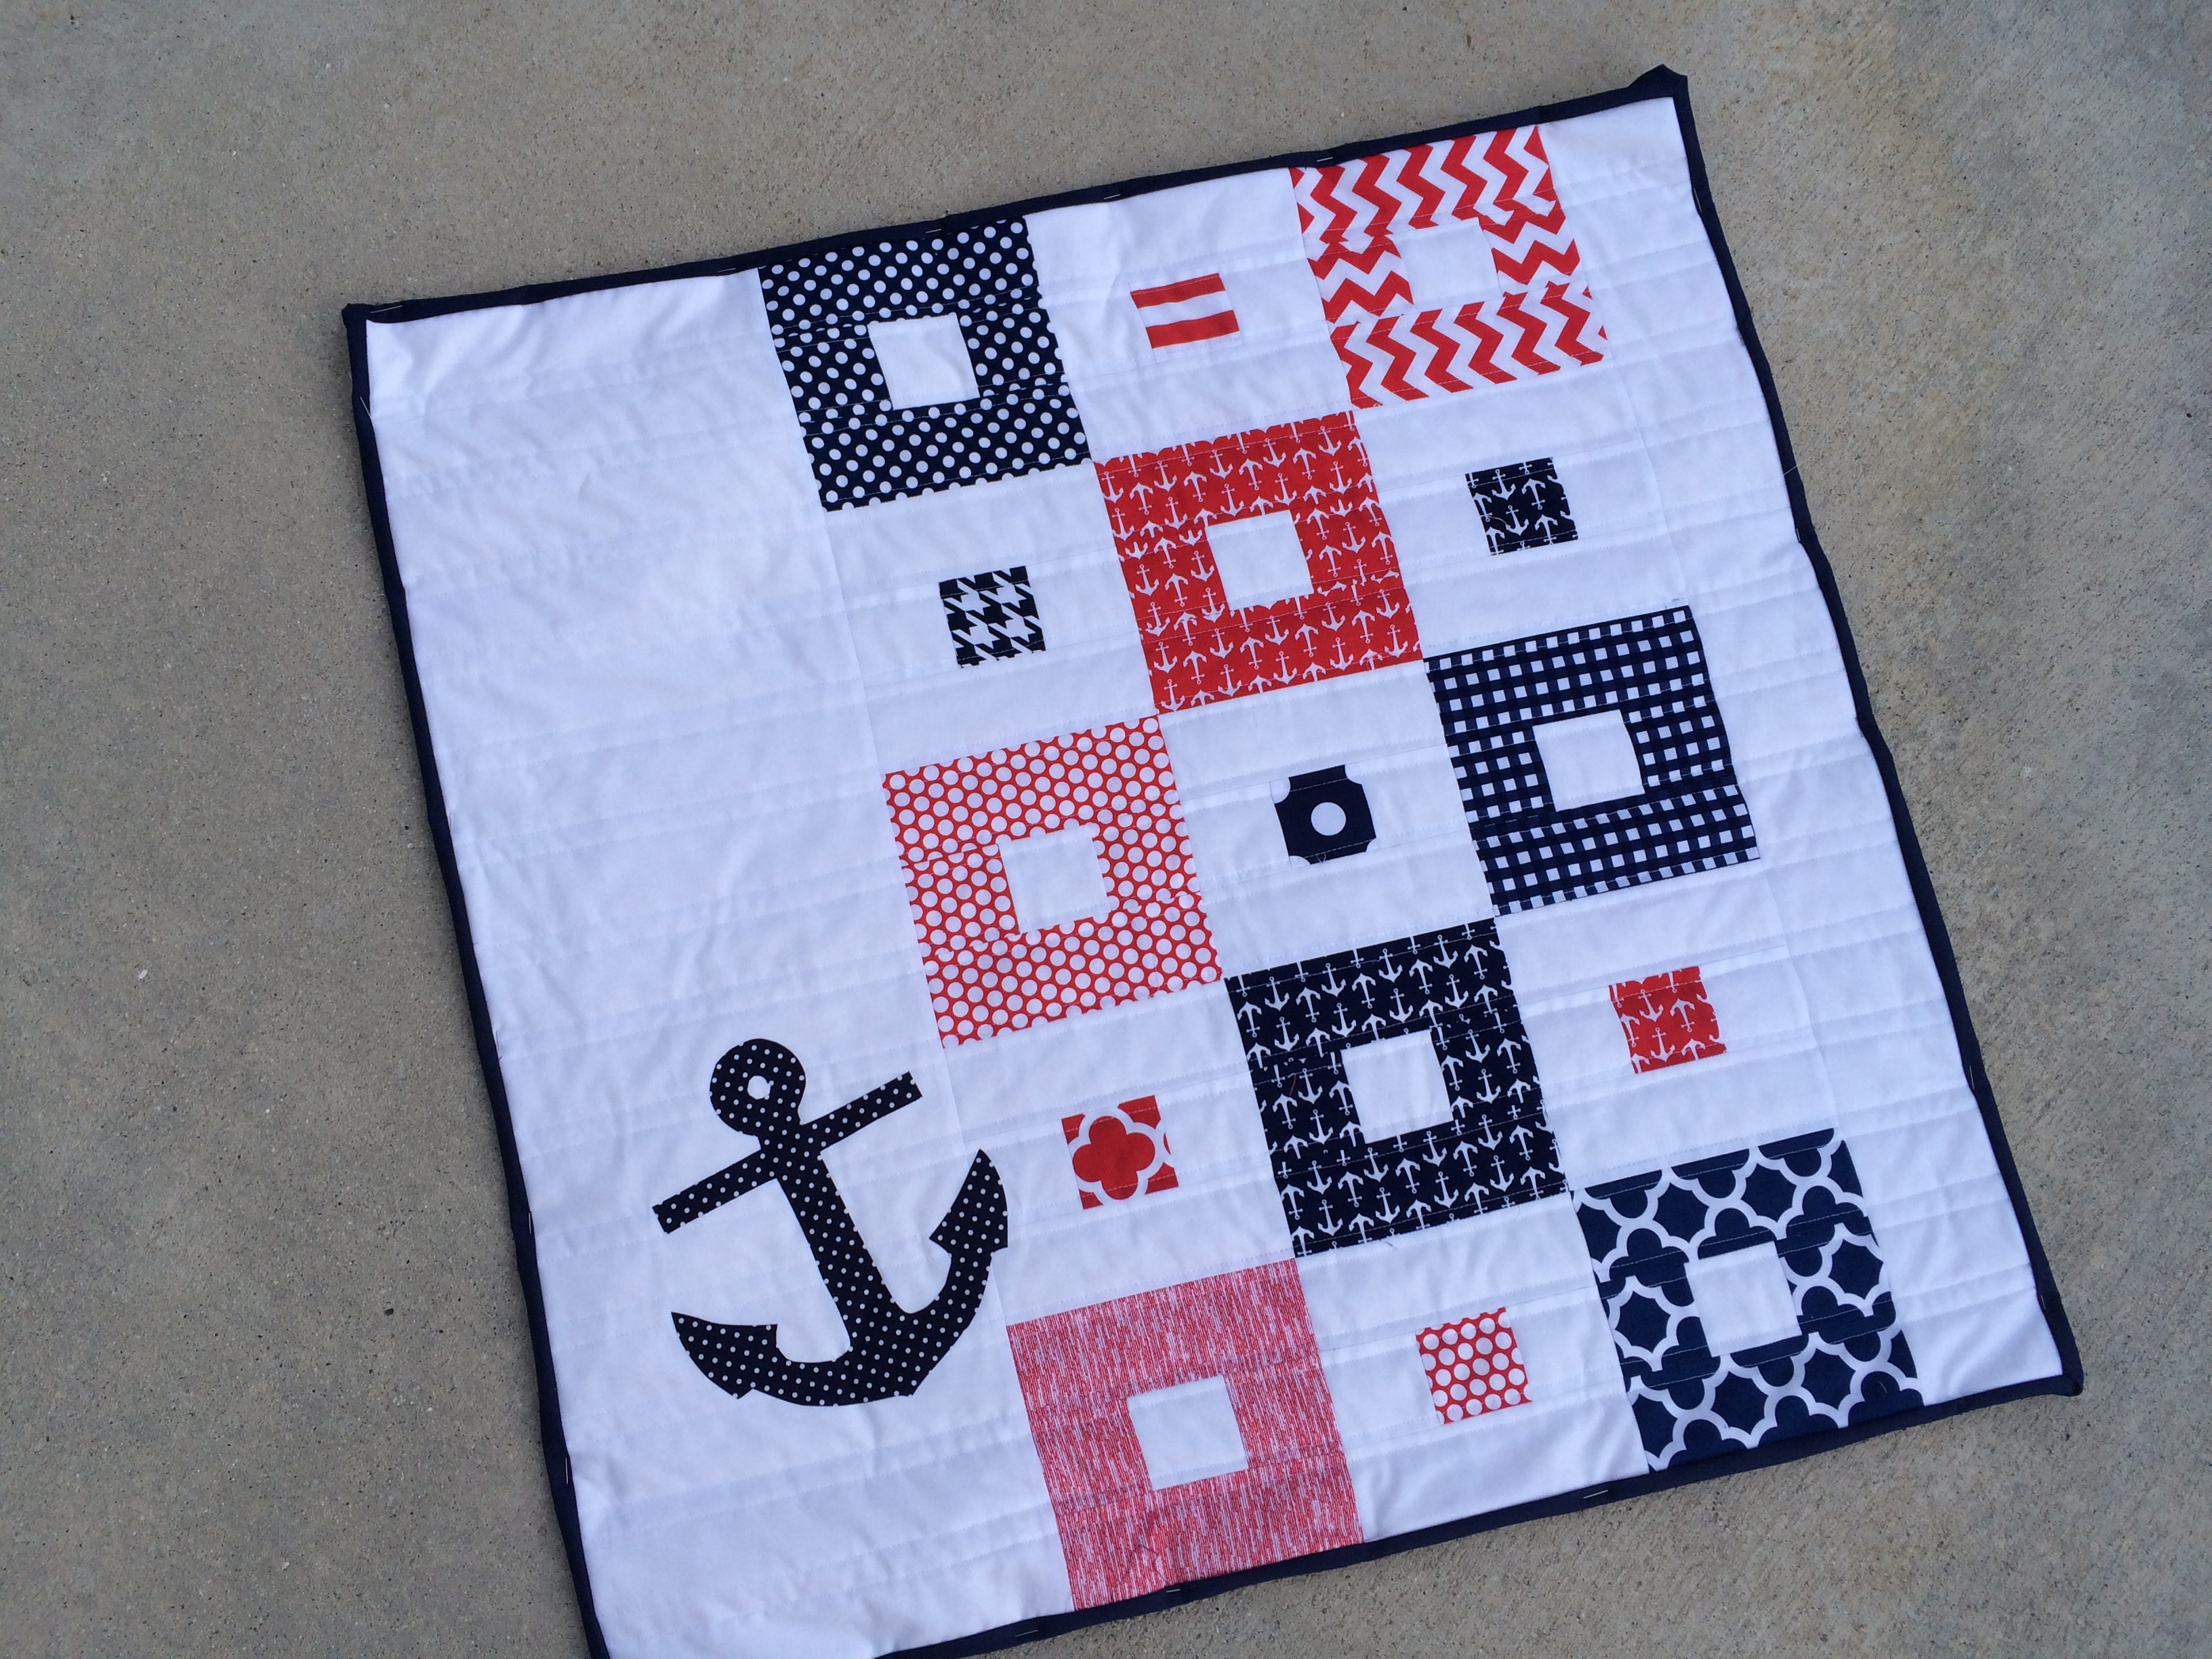
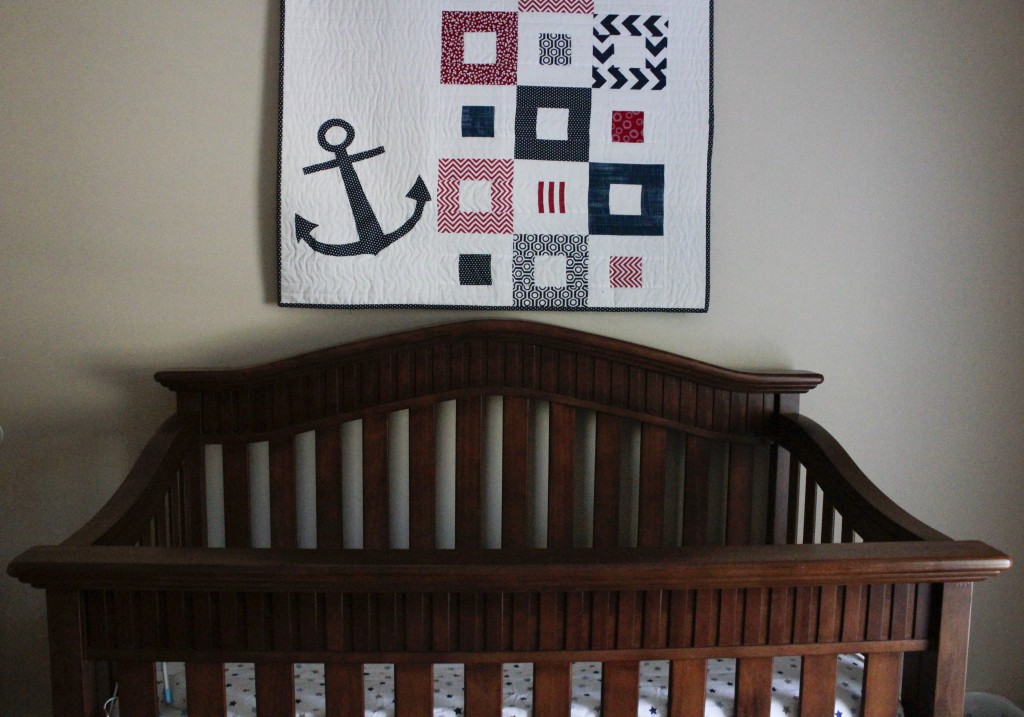 Today I am sharing with you a mini version of this quilt – something you can make in an afternoon! It measures 30.5″ square. And even better – you can go to

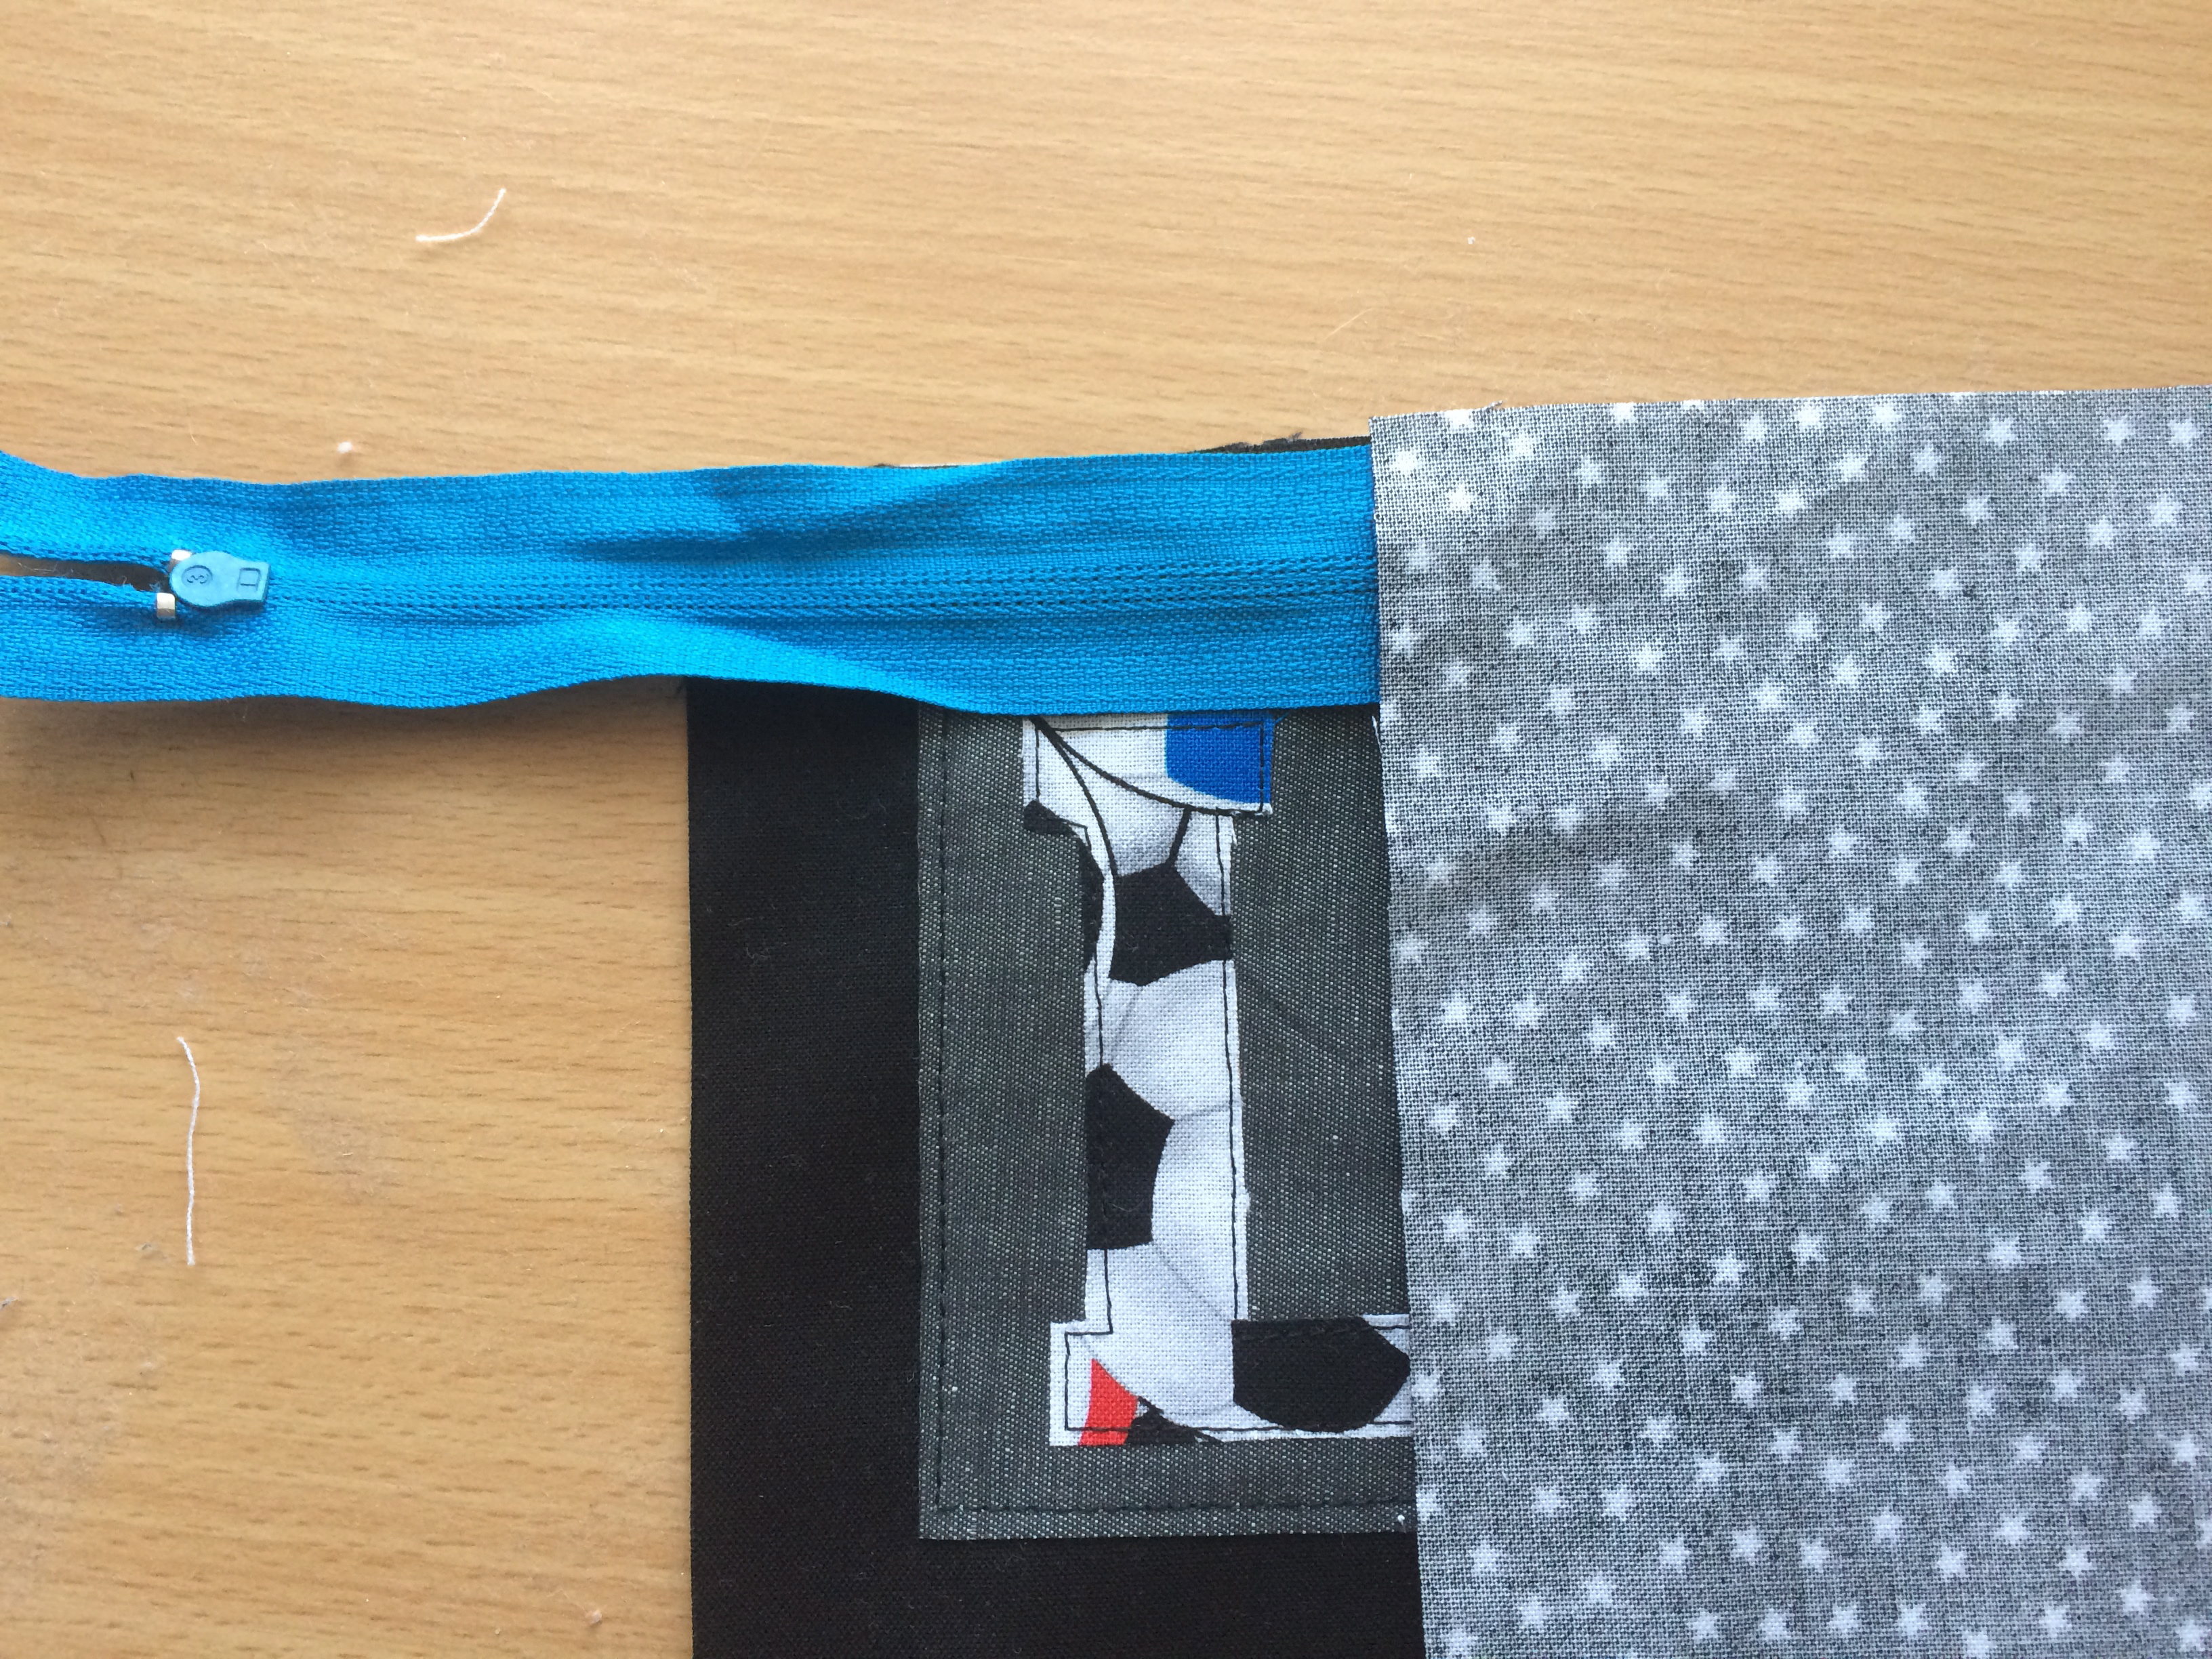
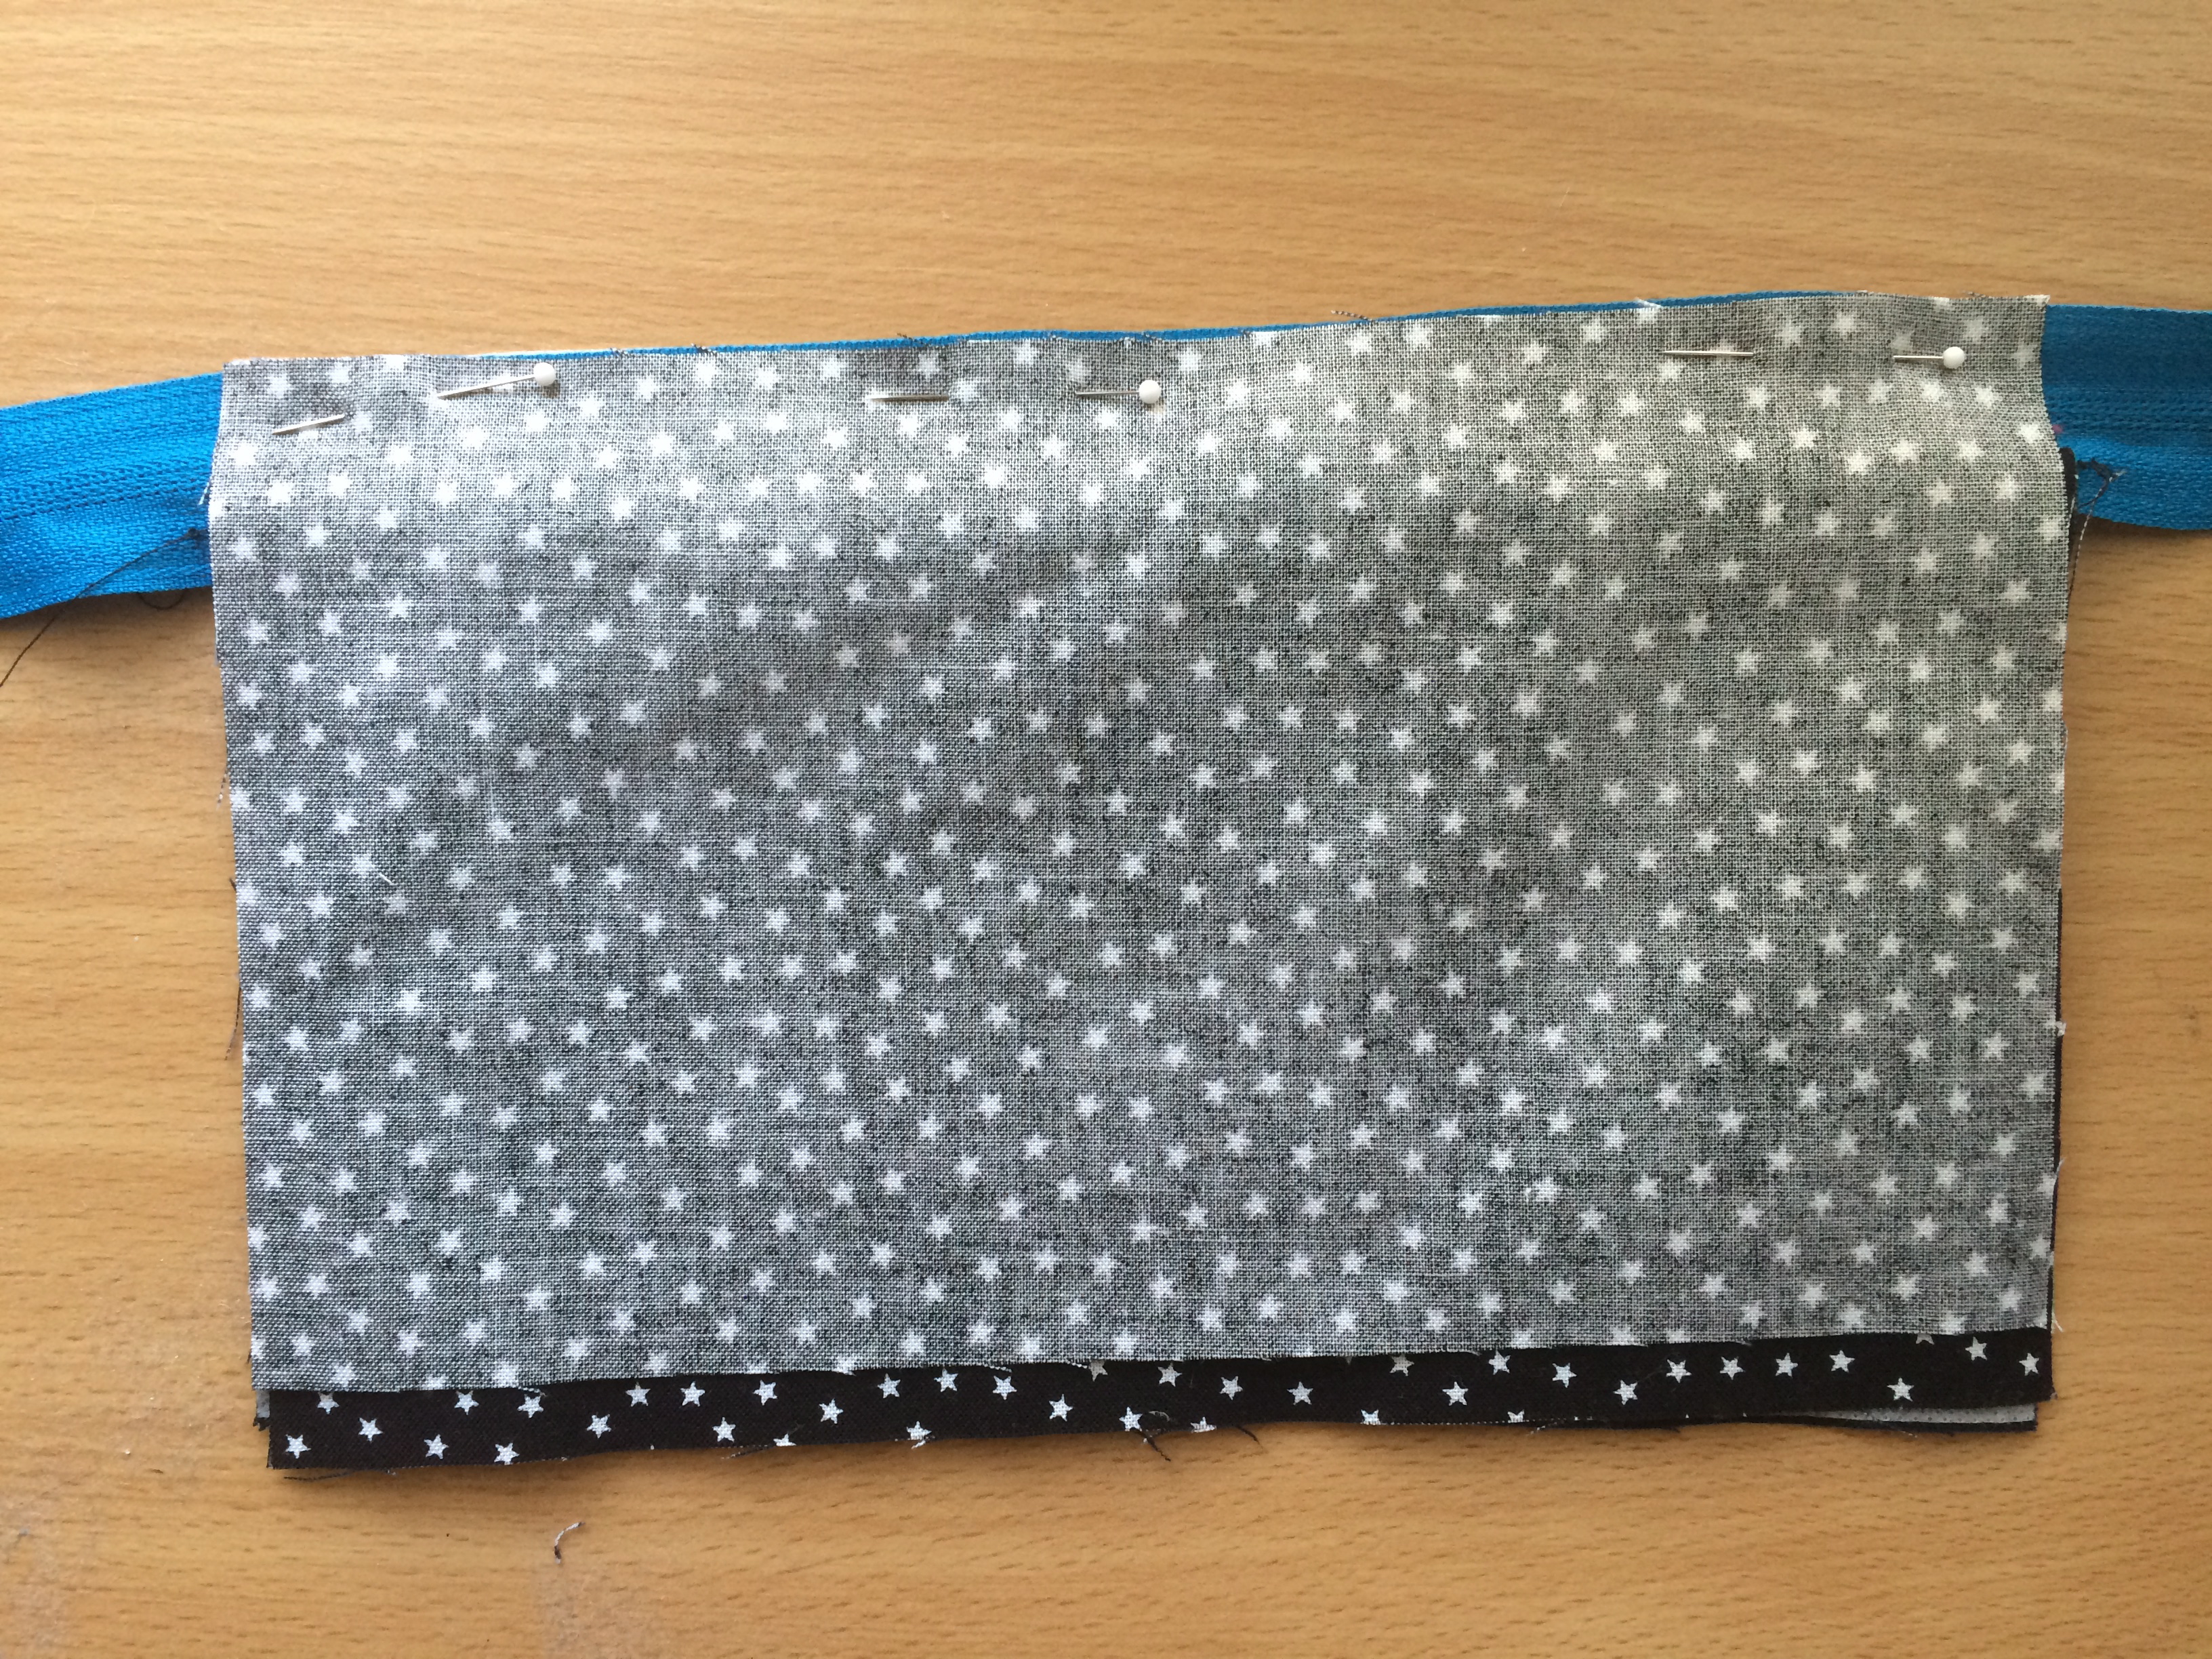
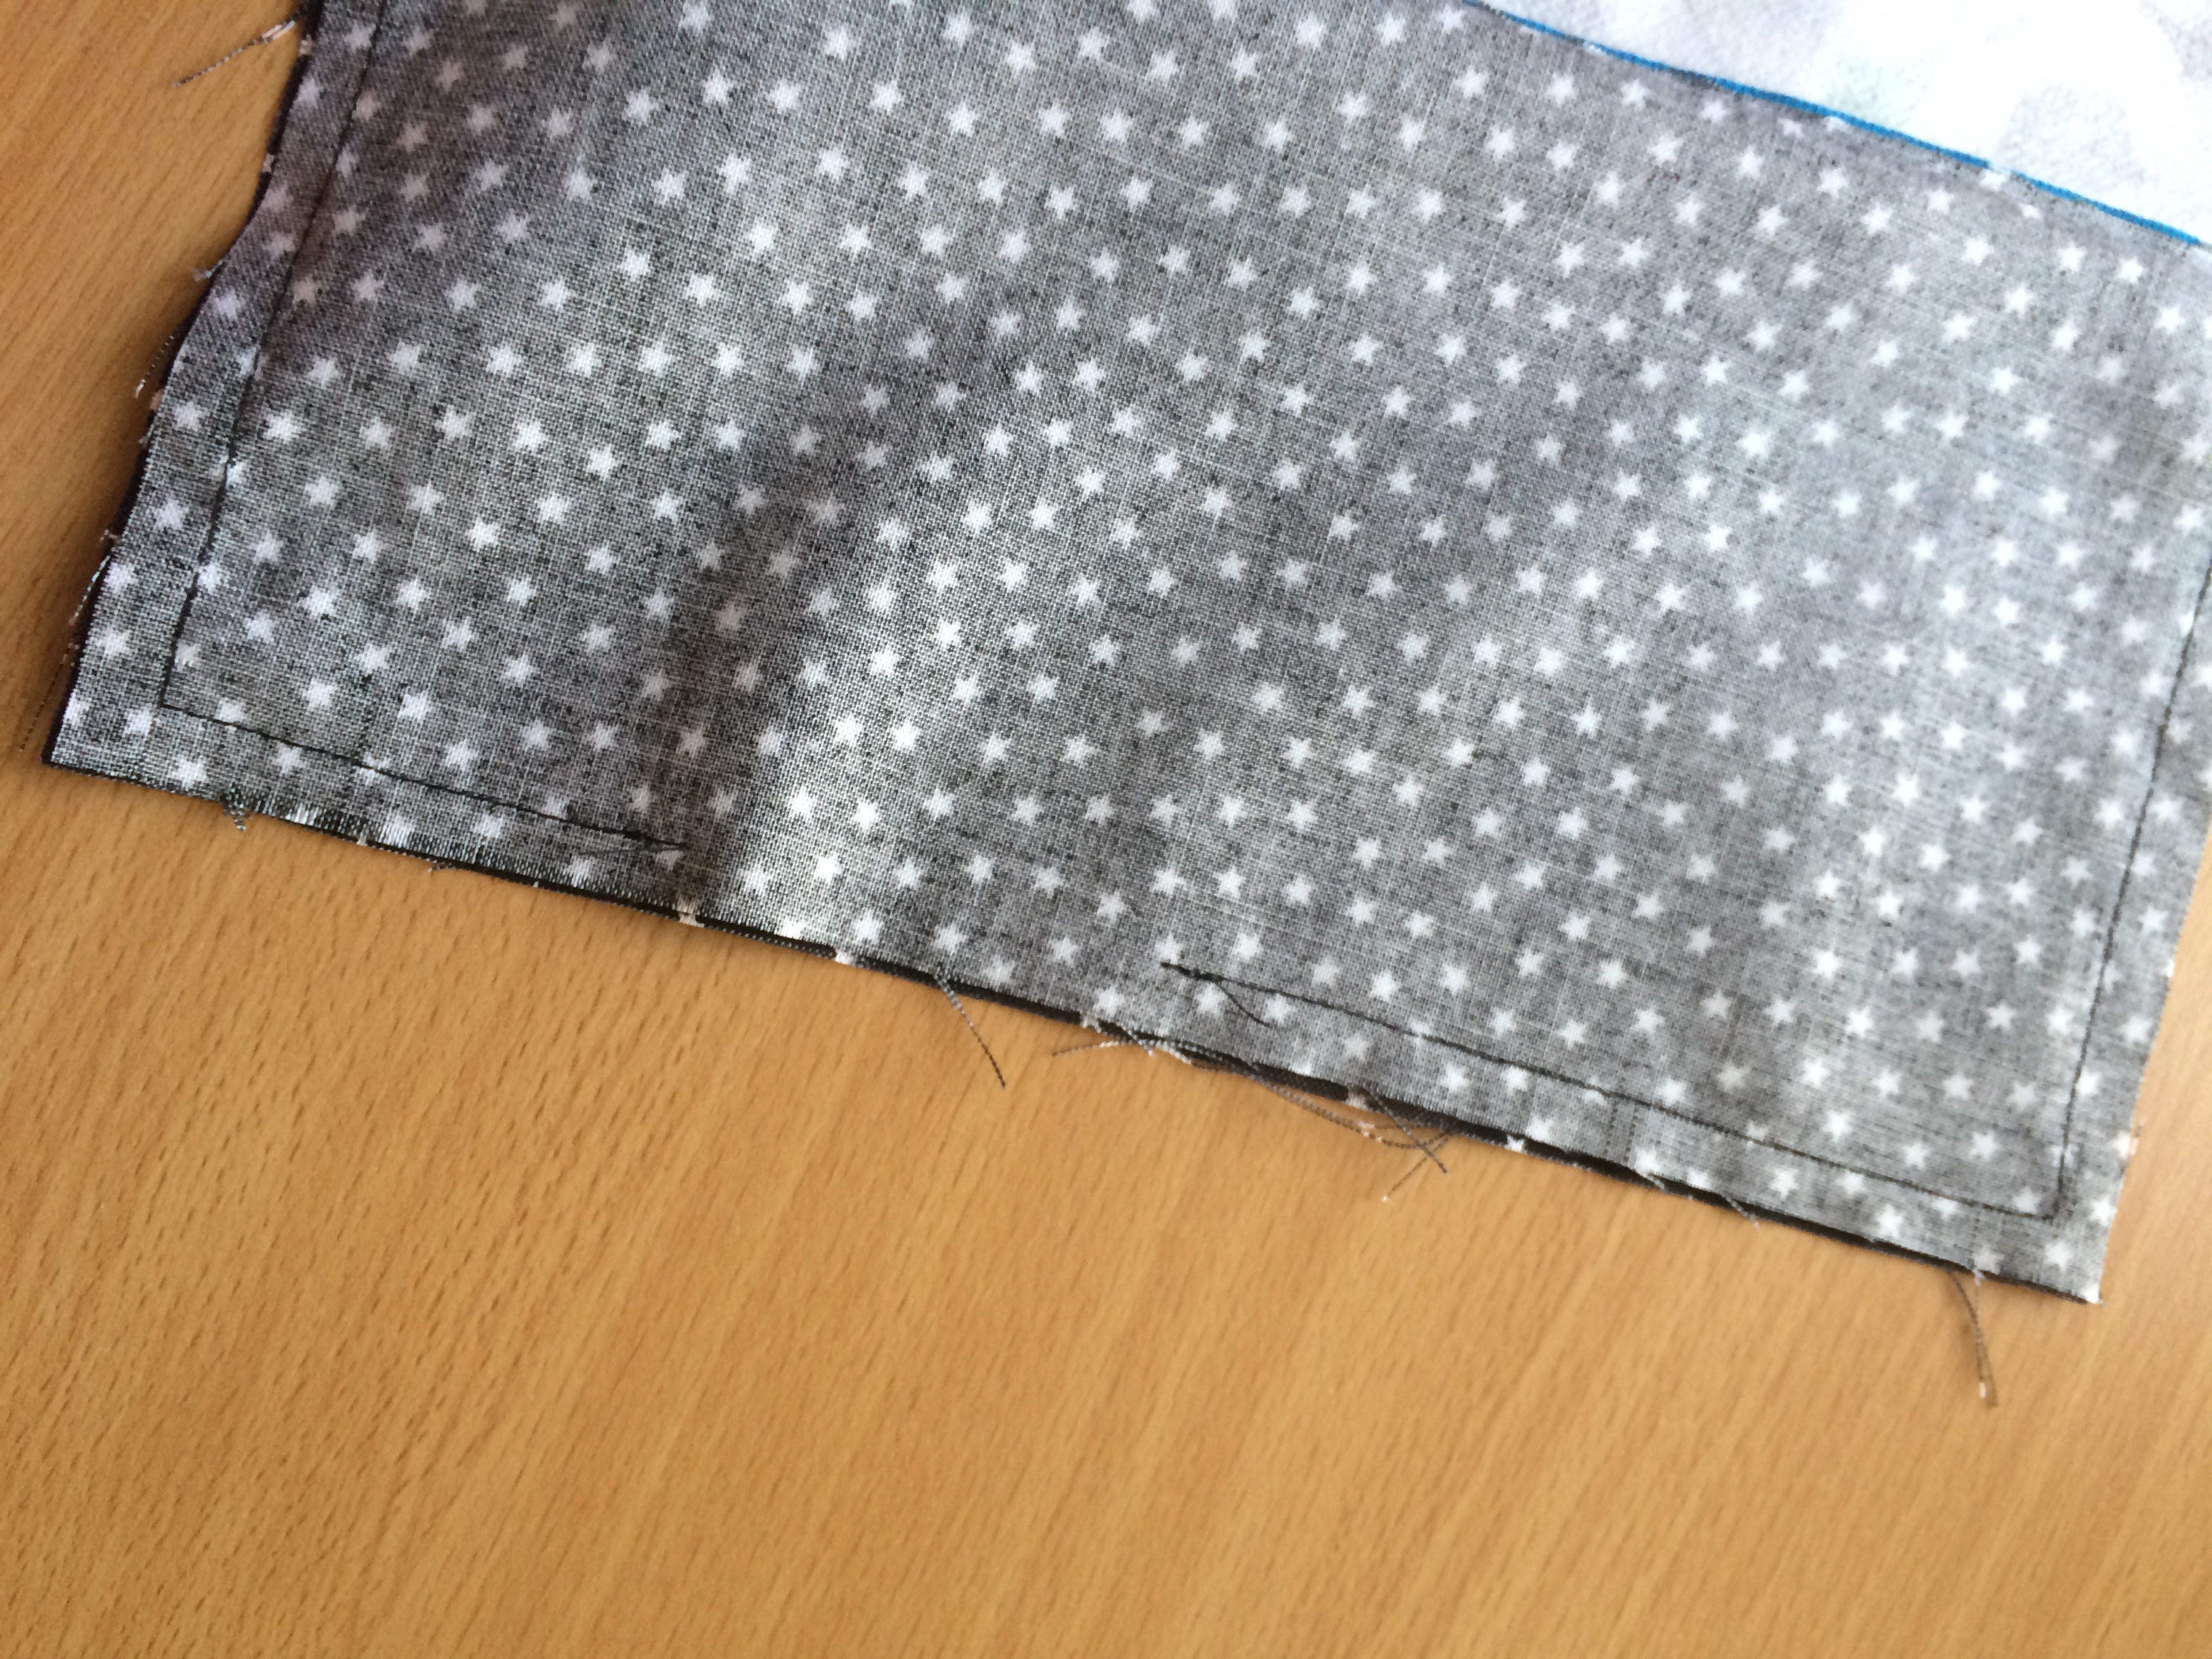
 Cut off the excess zipper ends. Partially open the zipper and place the pillow top and the pillow back, right sides together. matching and pinning all edges. Sew 1/4″ all the way around the pillow.
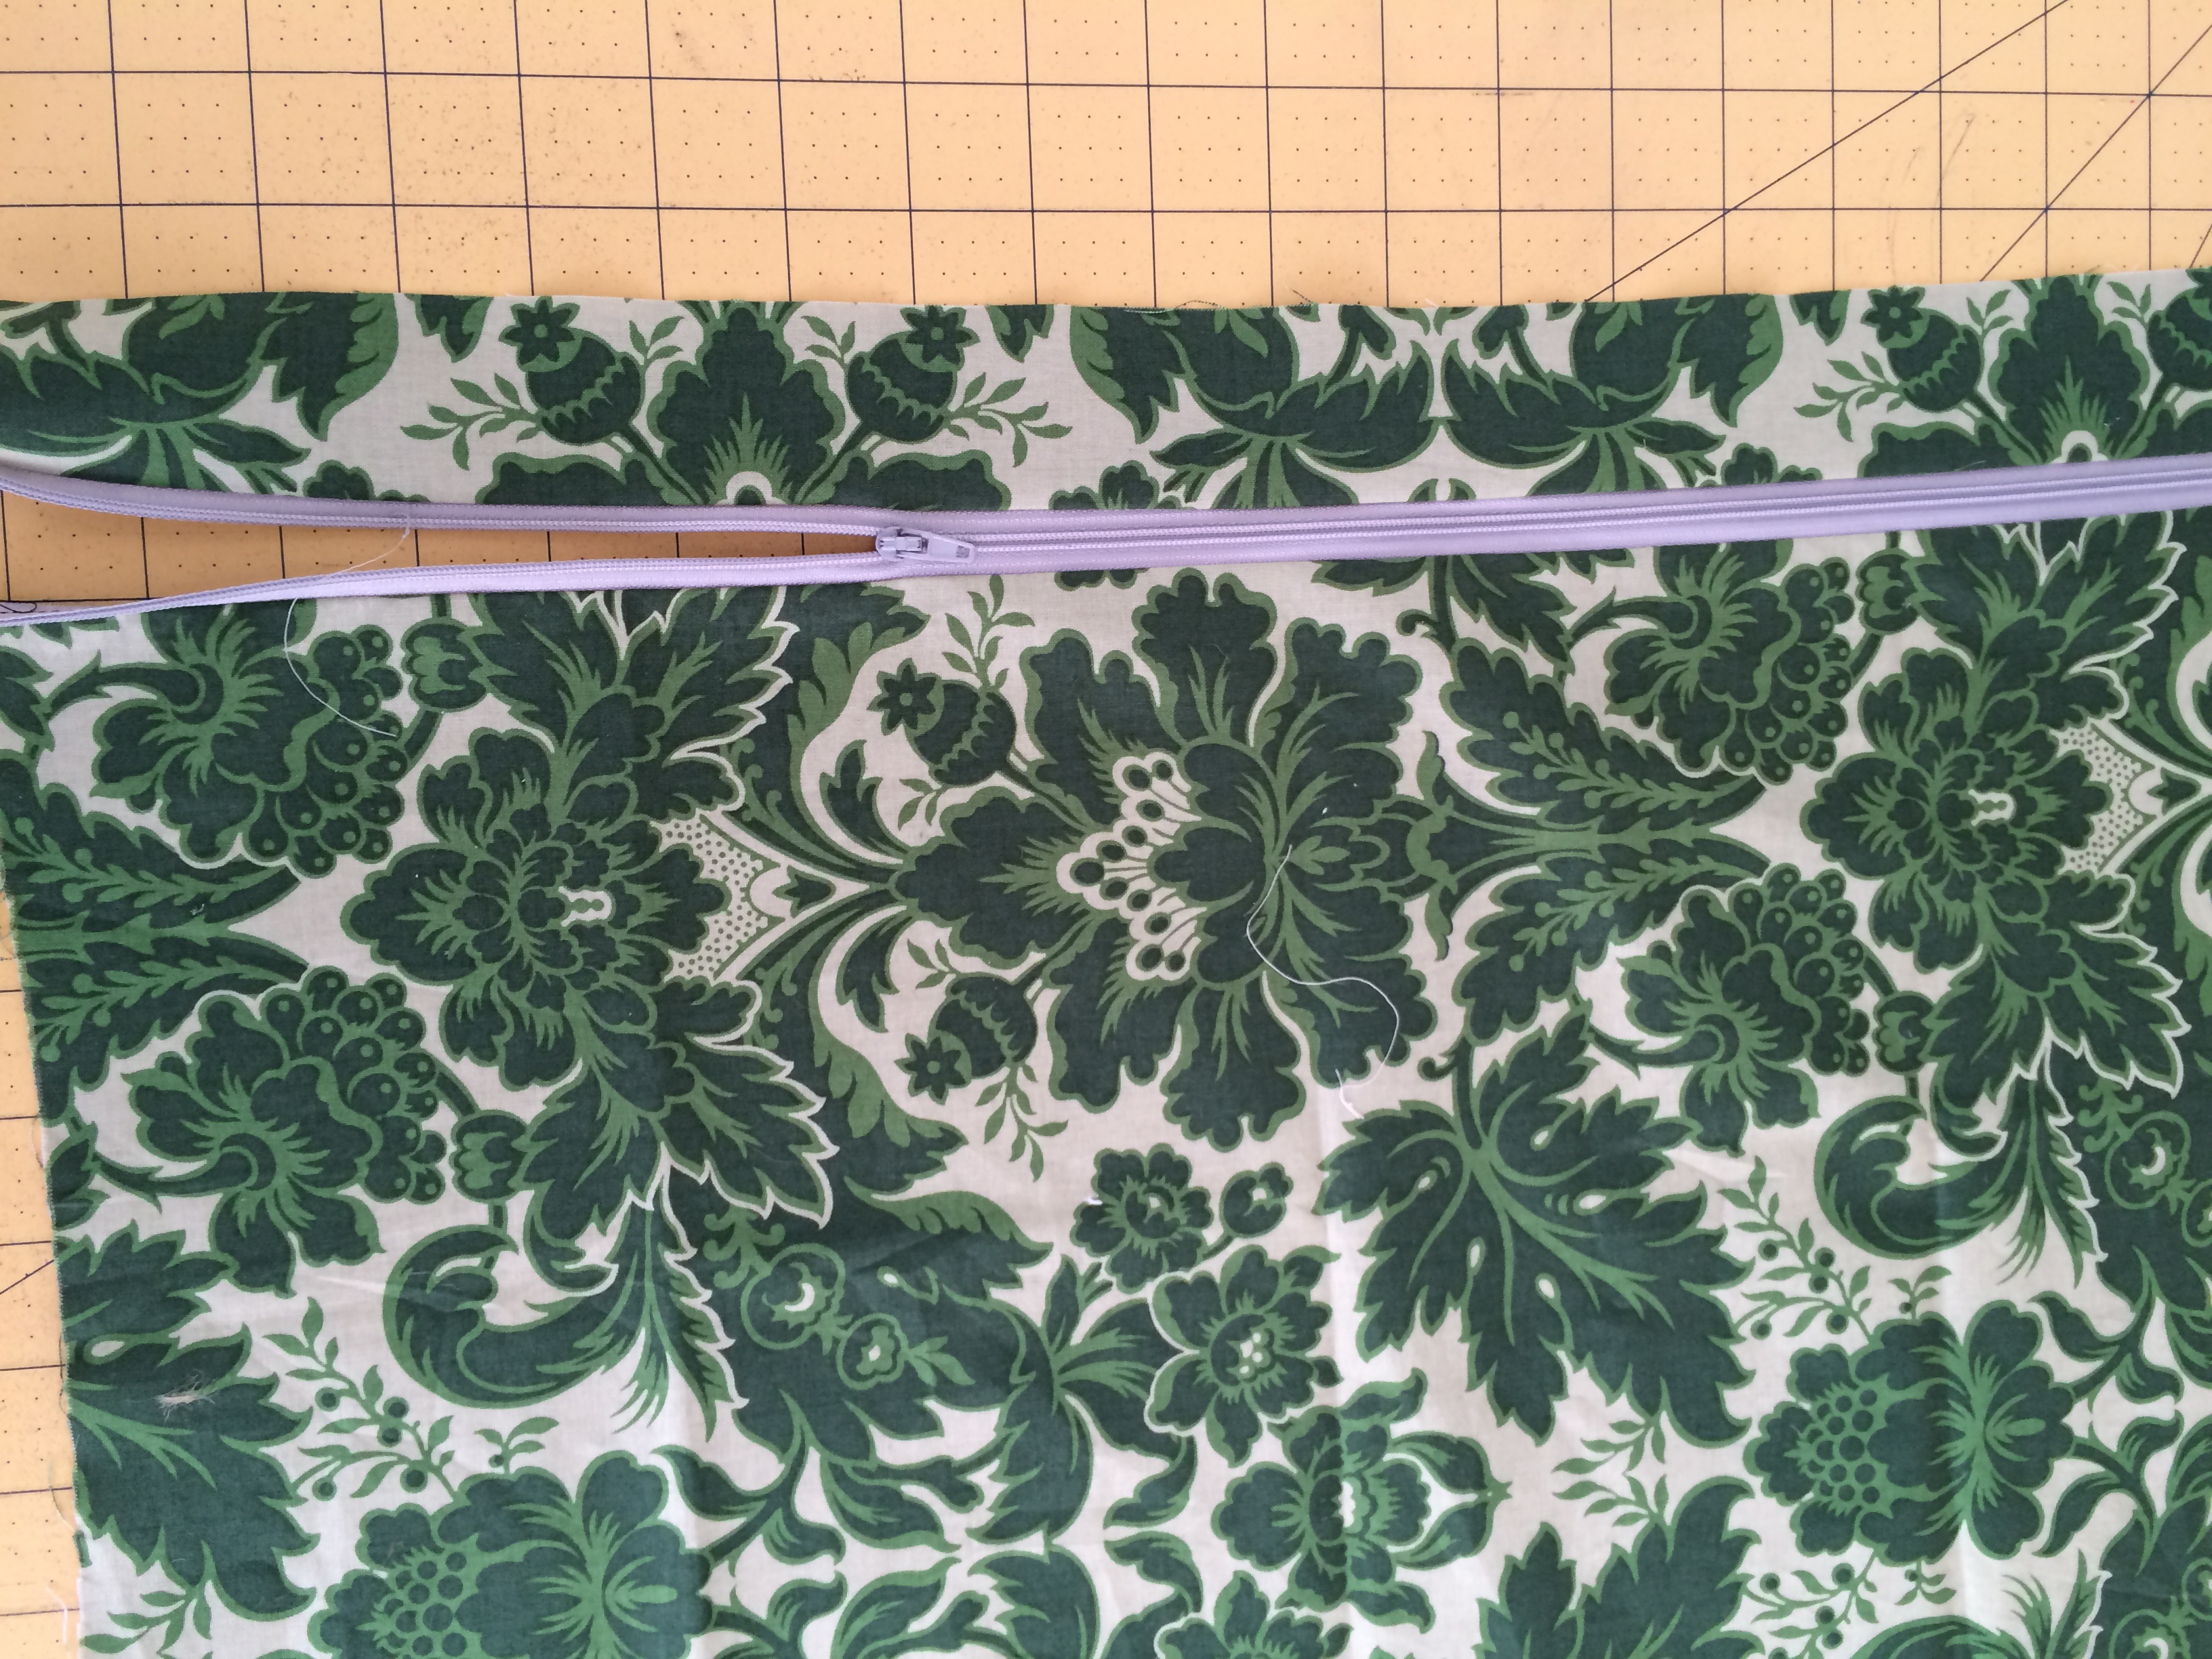
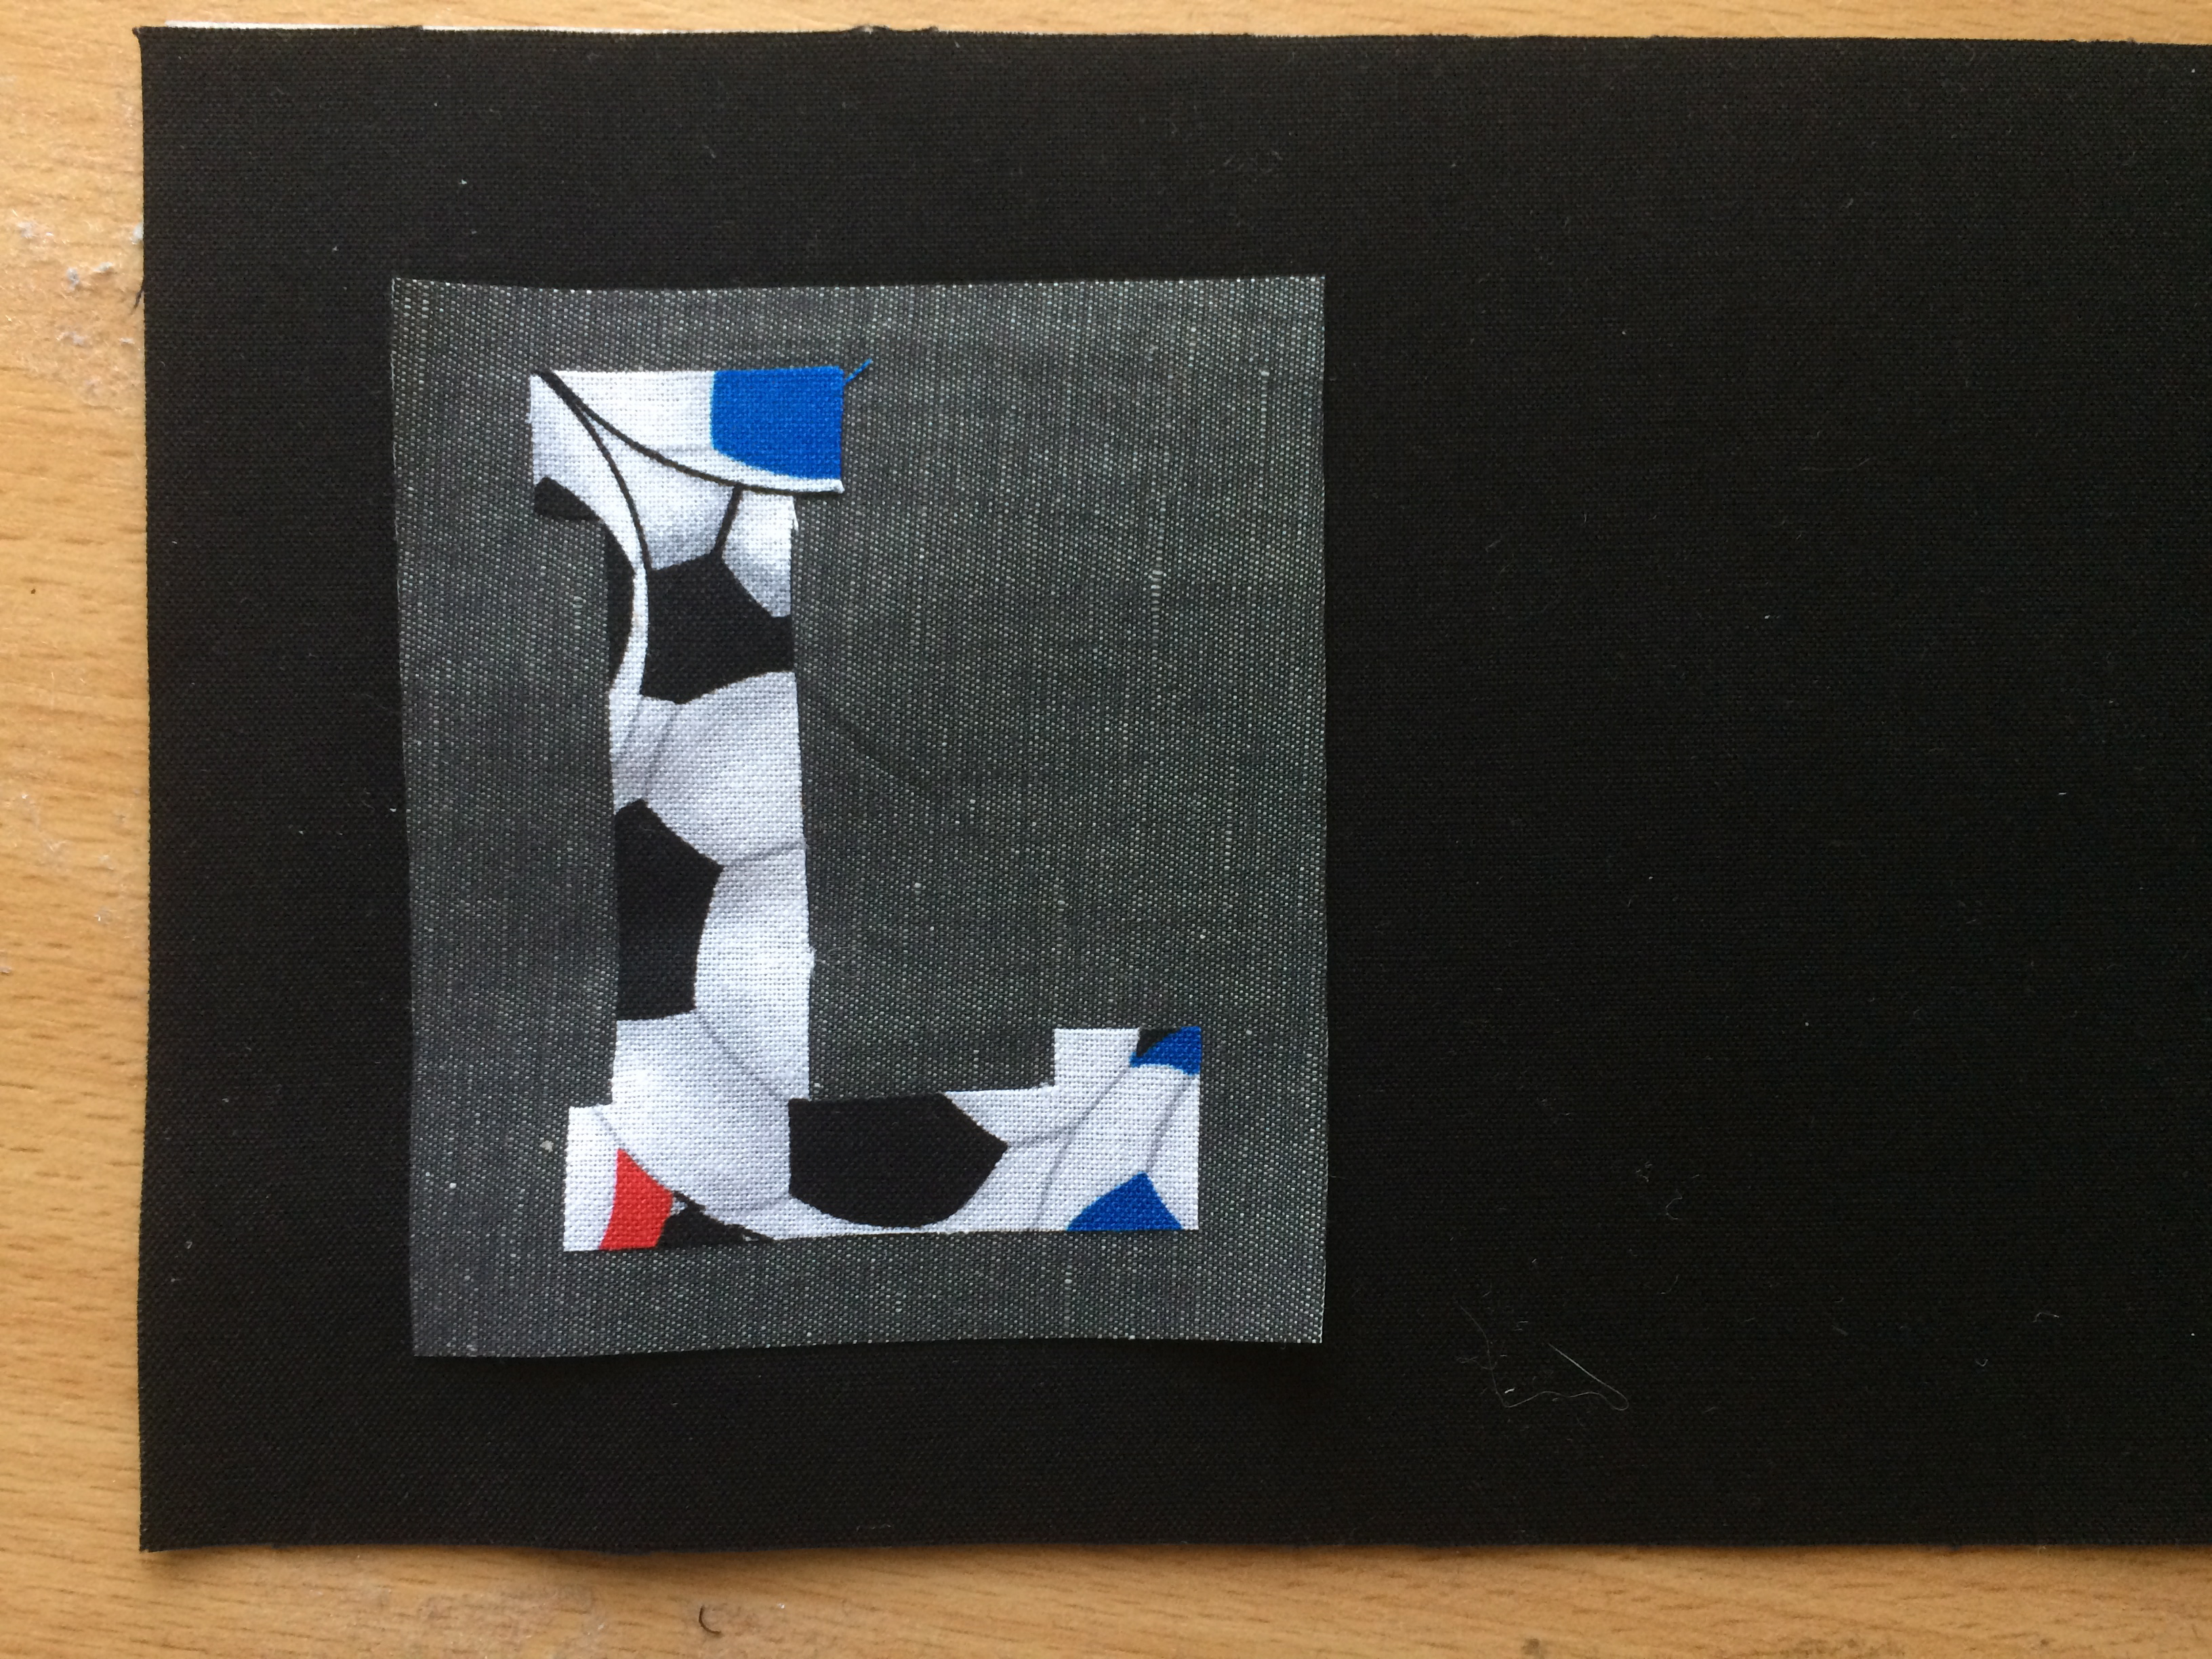
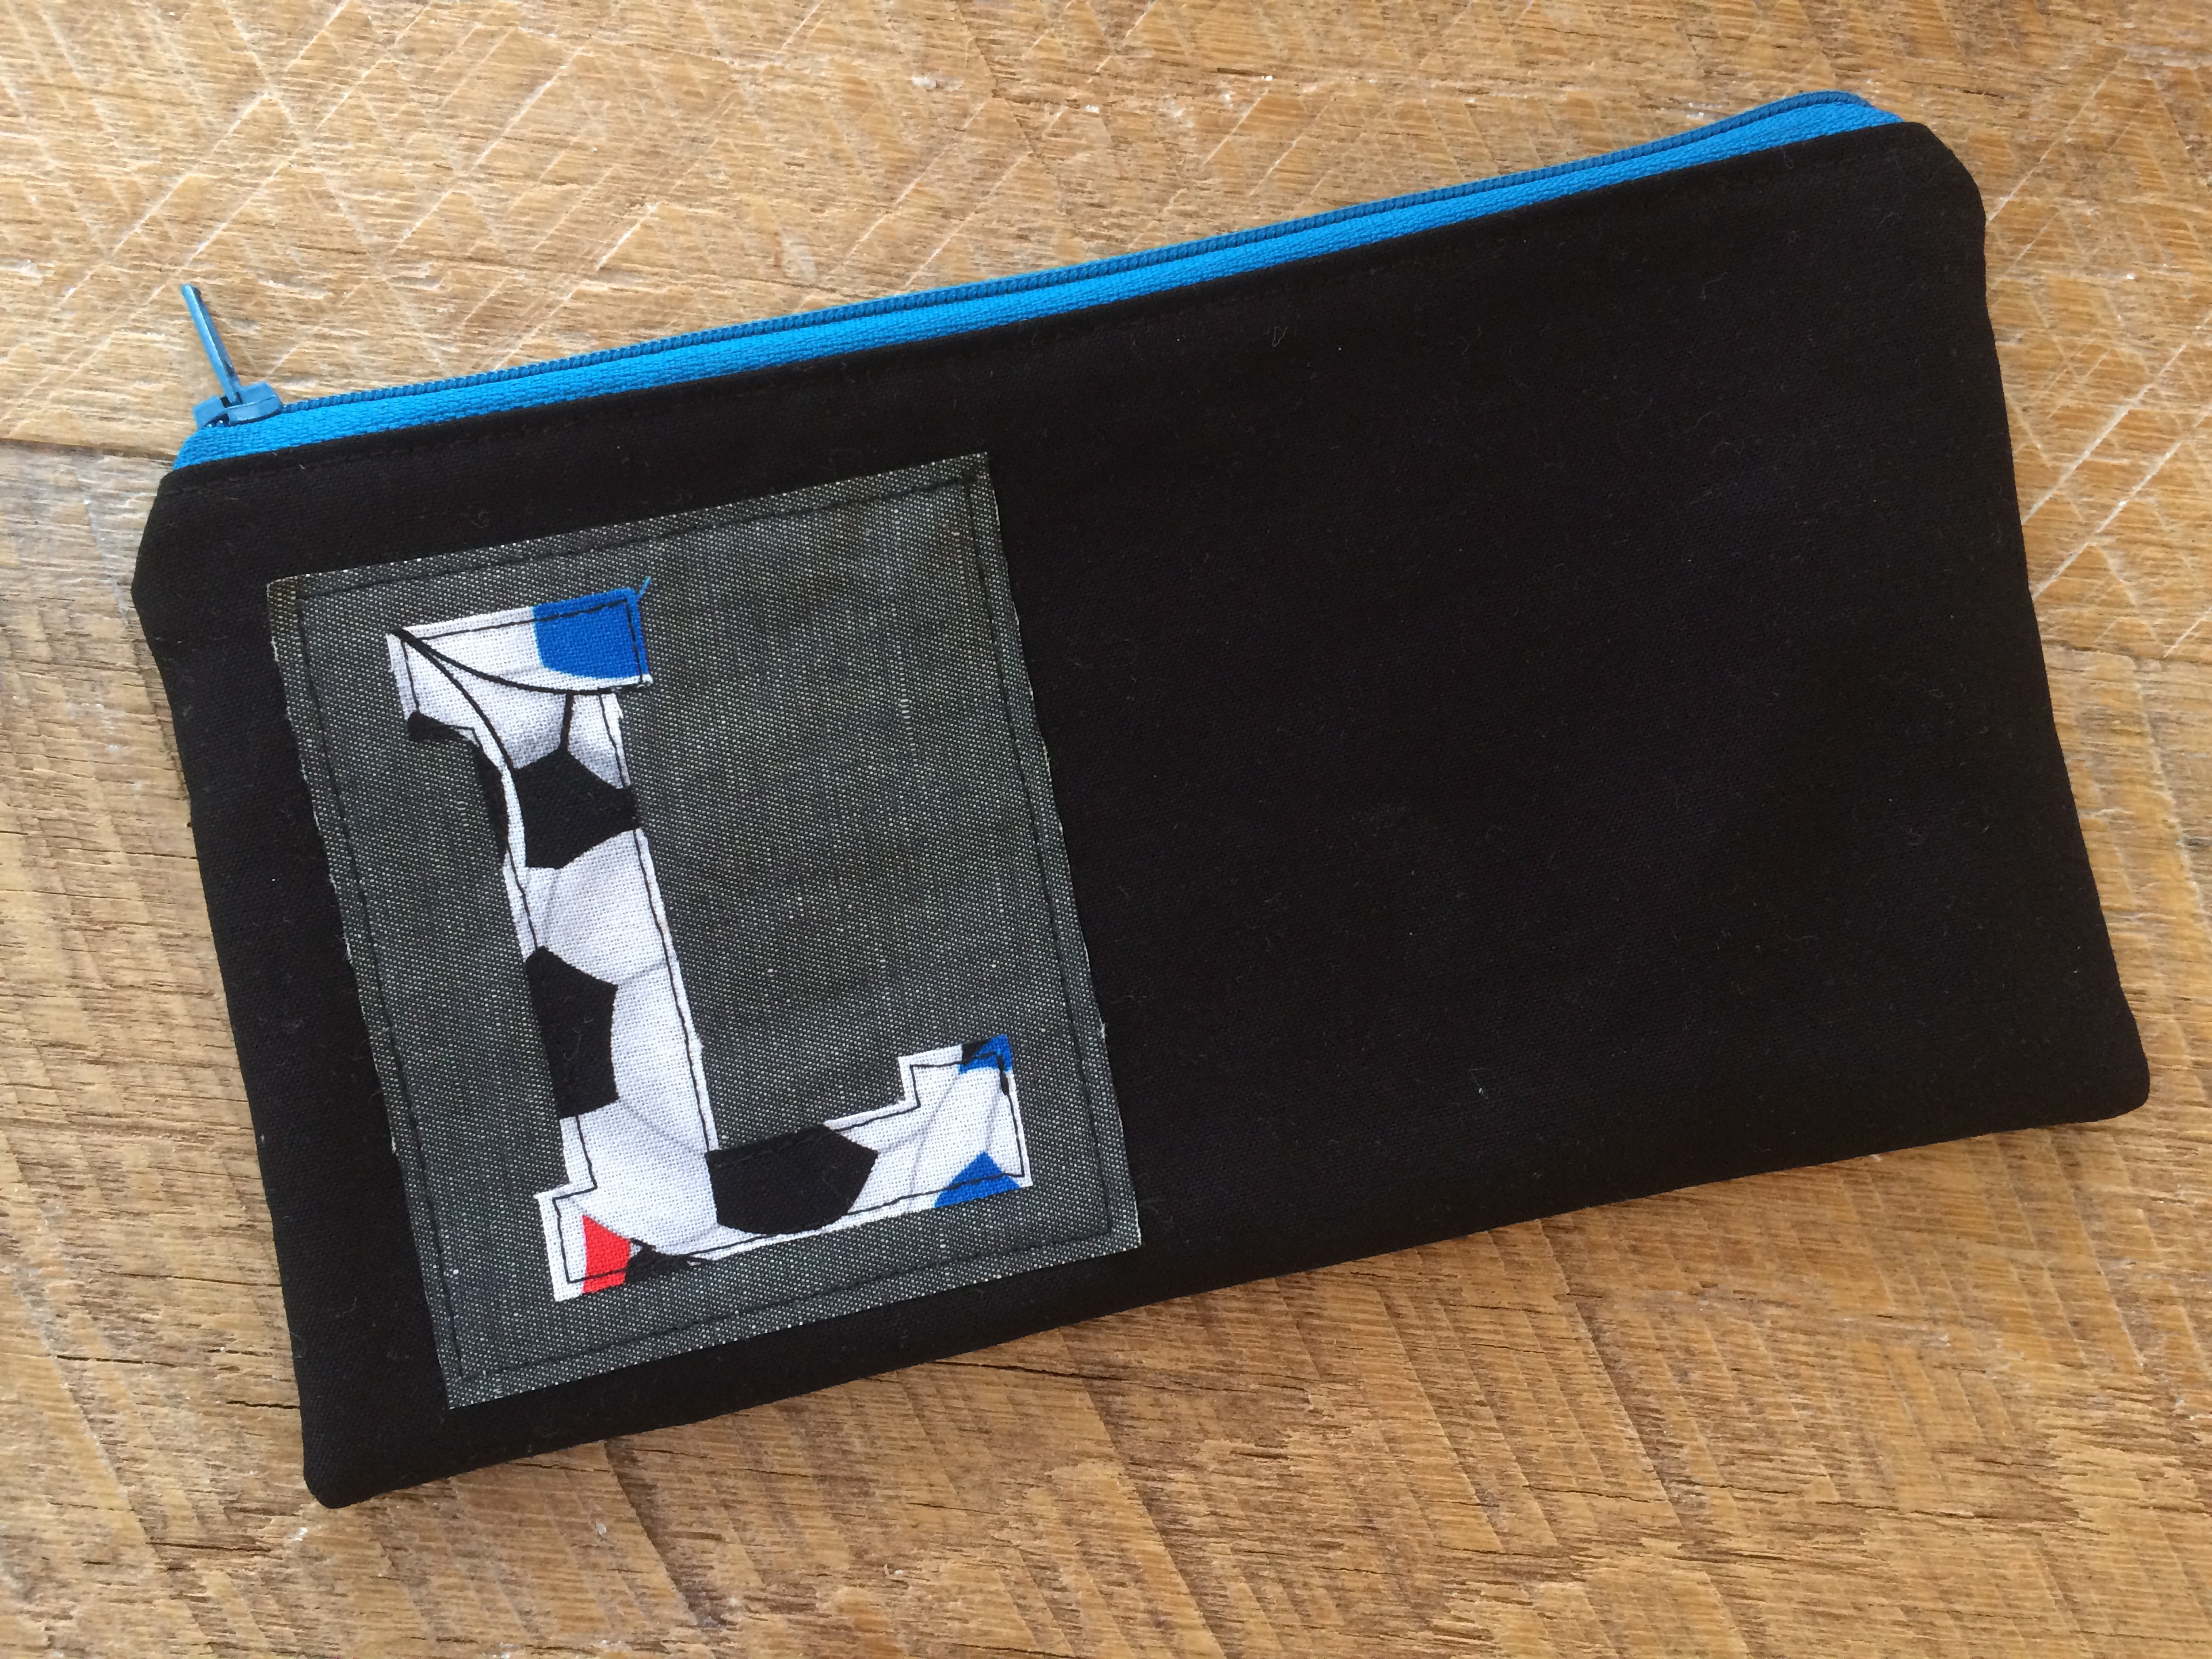
 I put the zipper in the bottom portion of the pillow. I like that you can see the zipper.
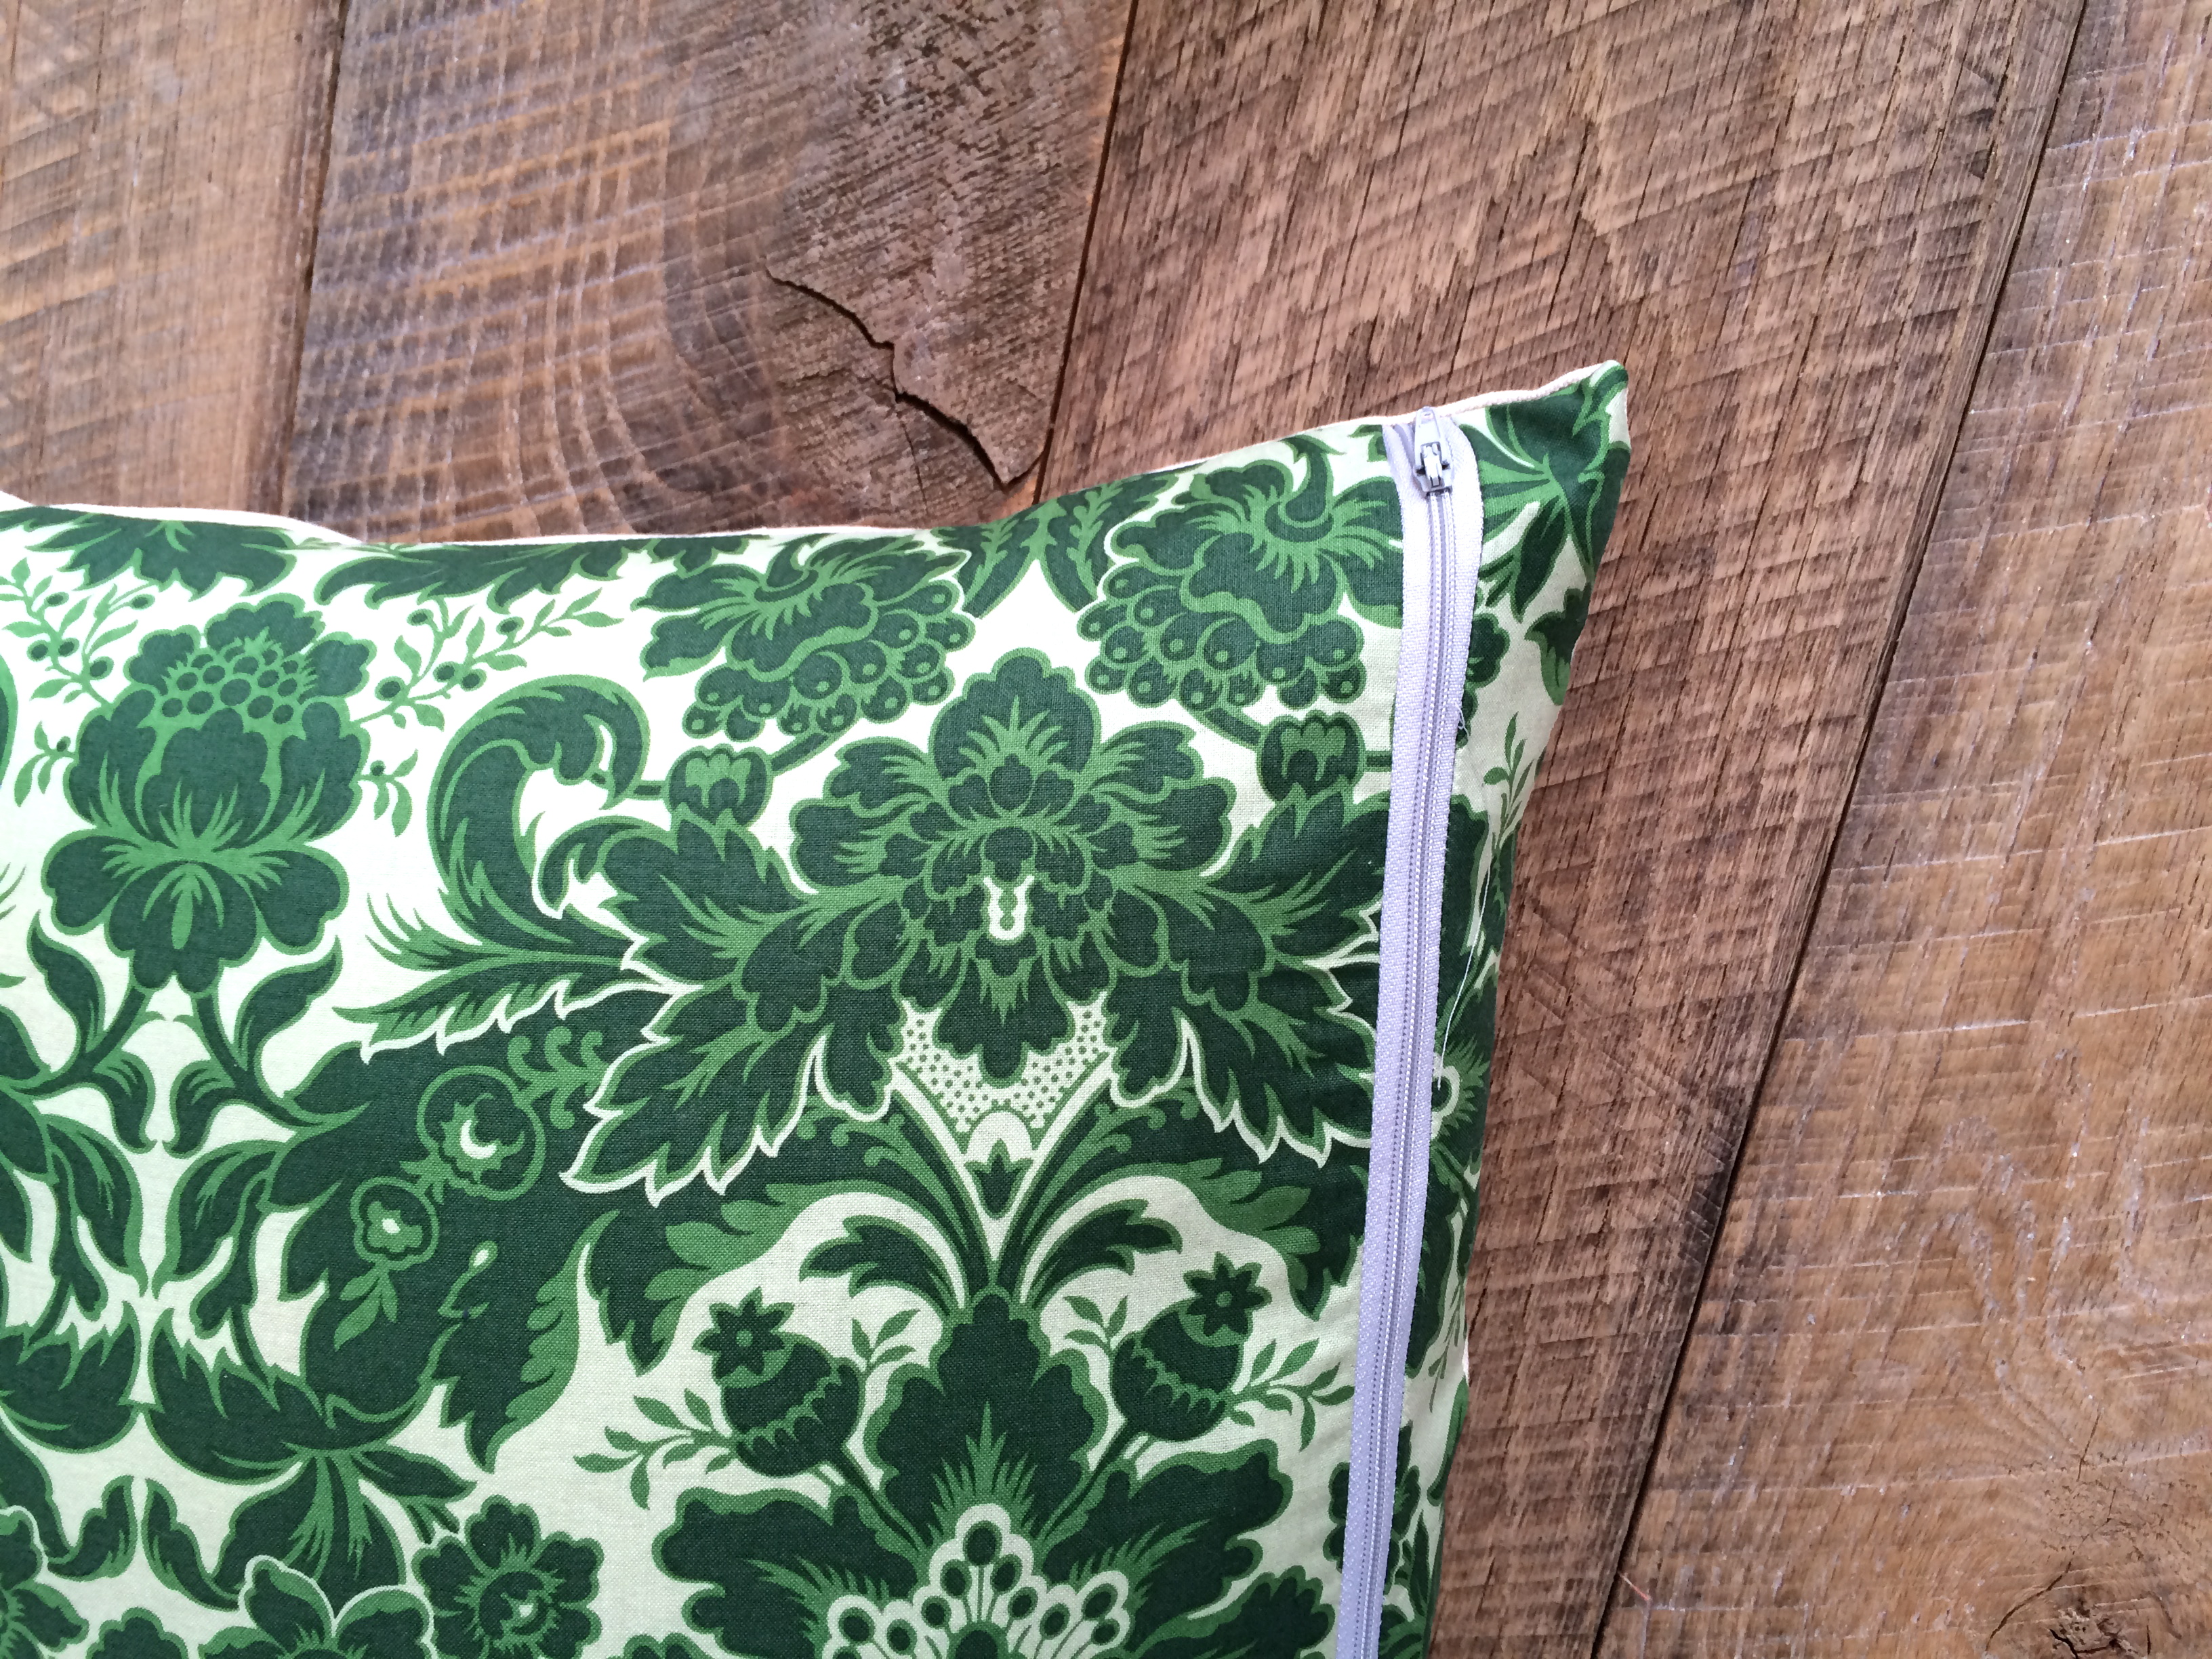


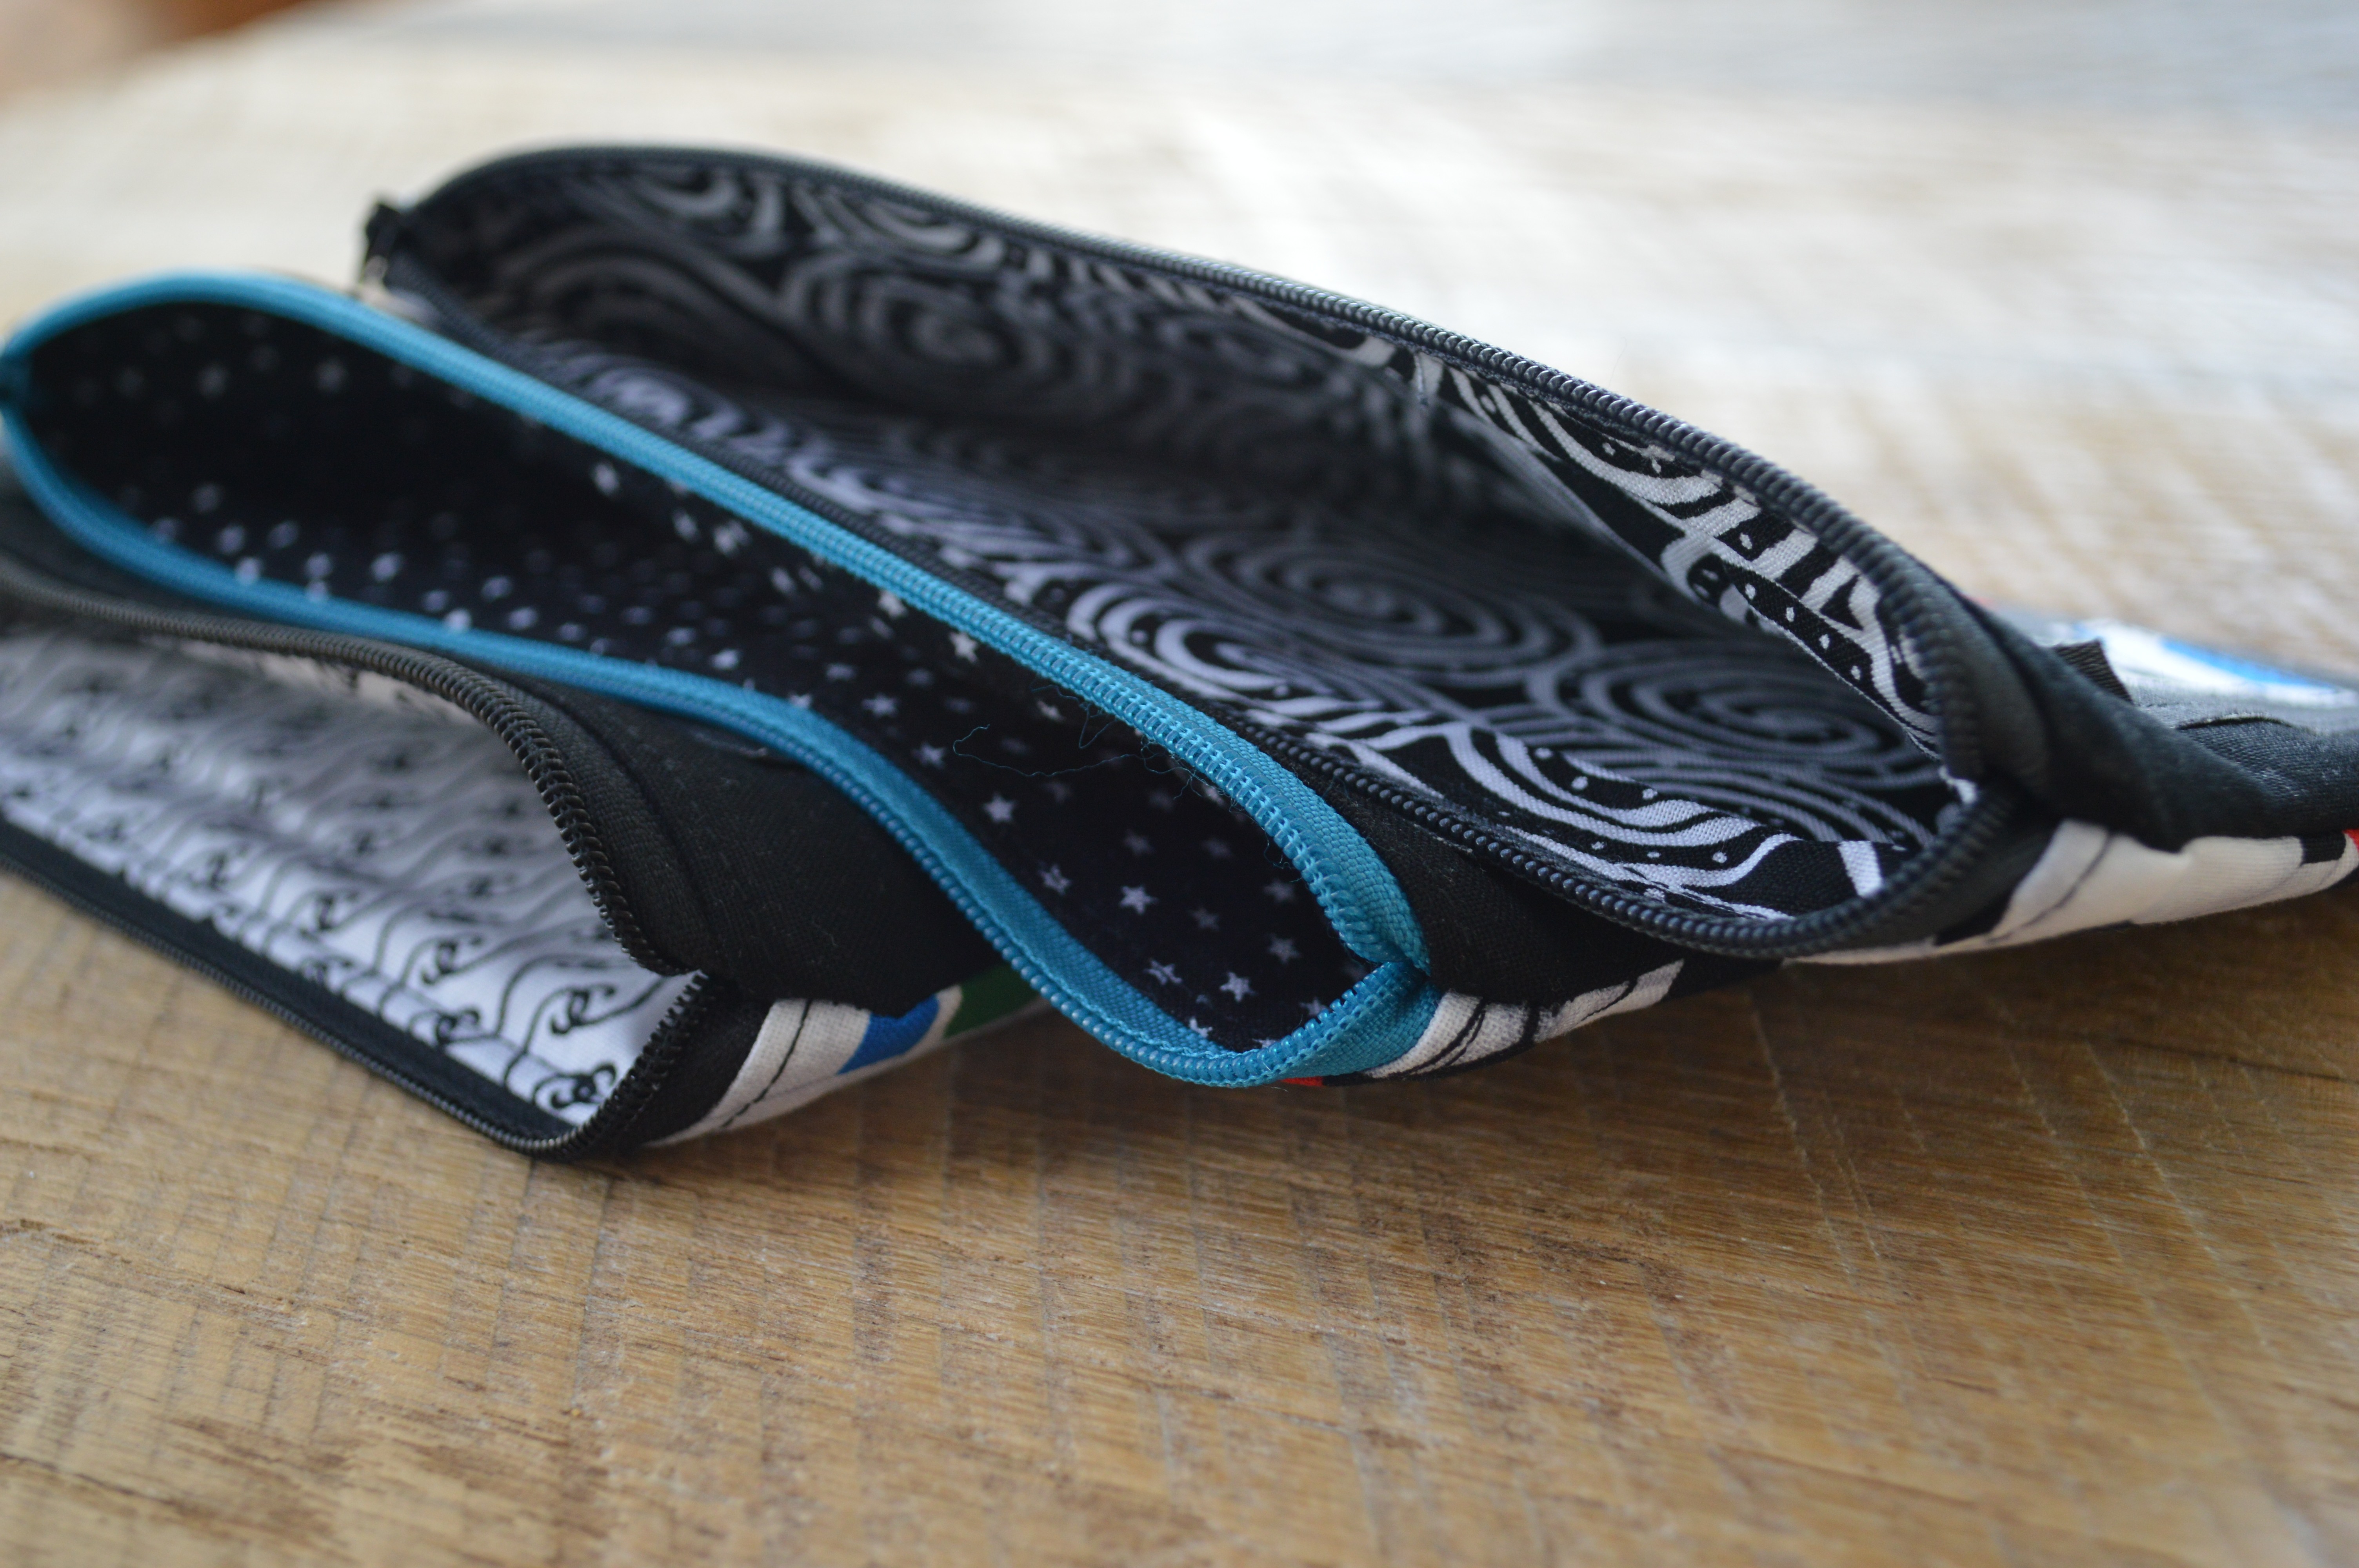

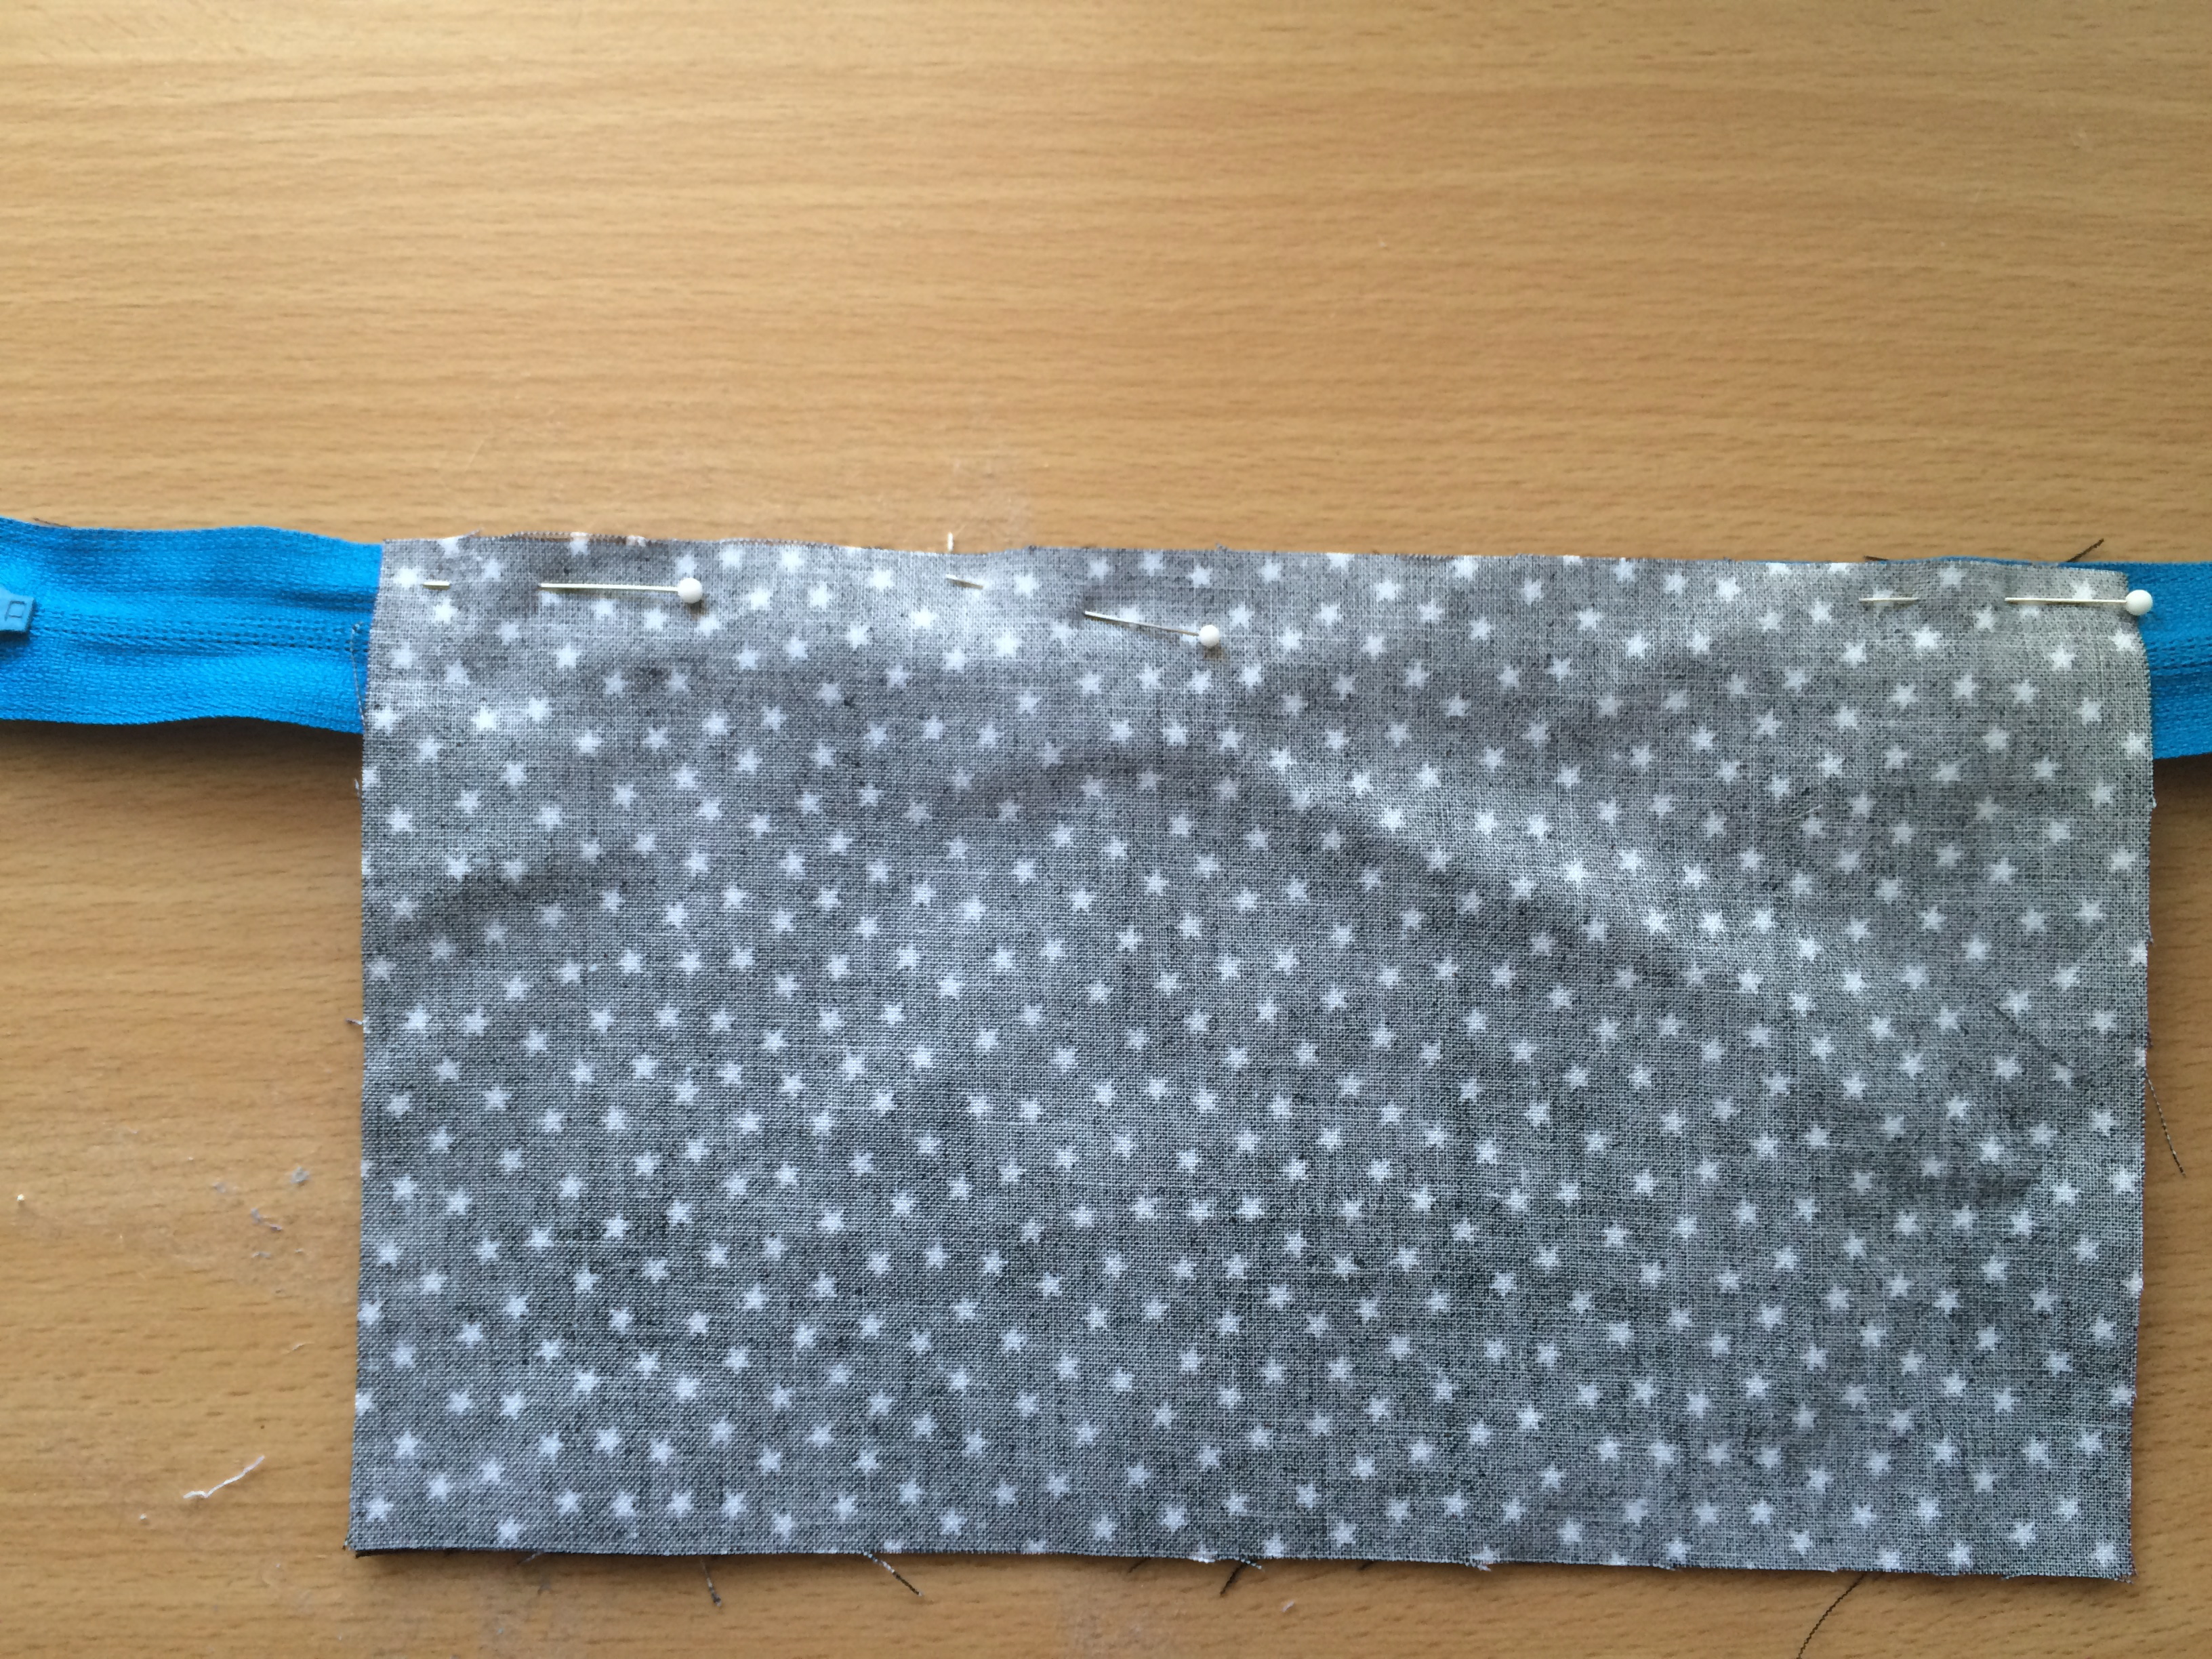

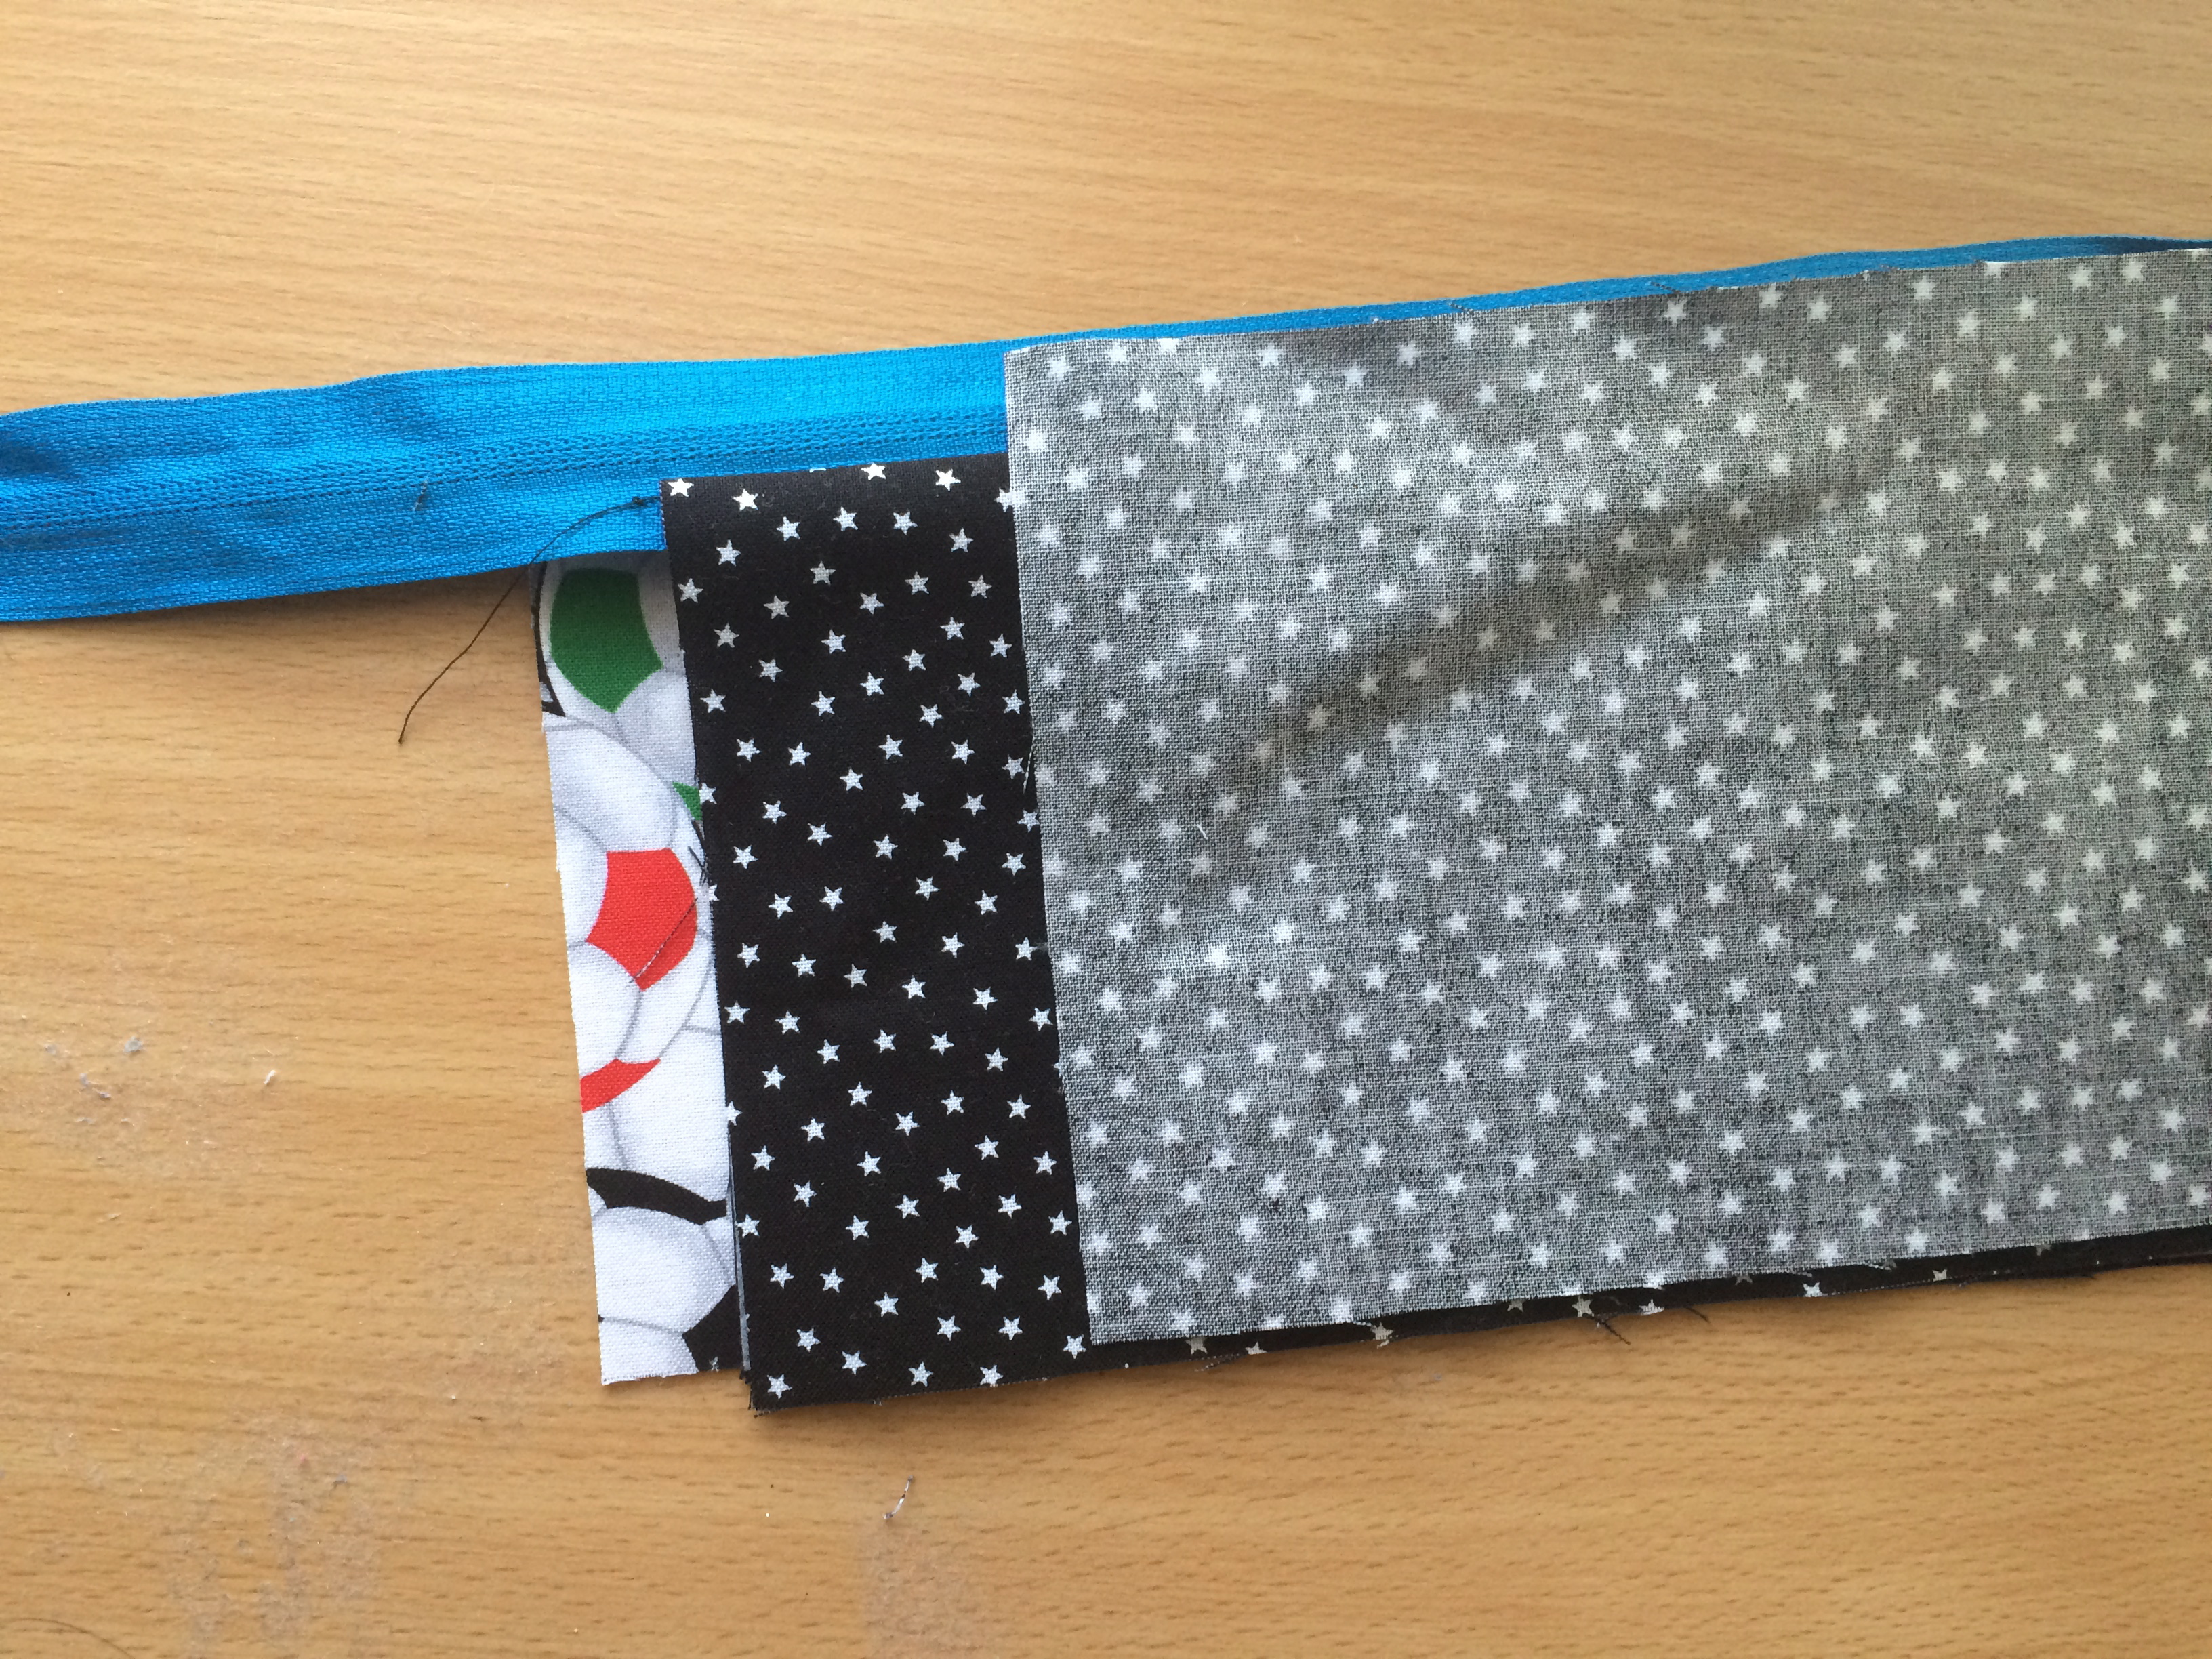

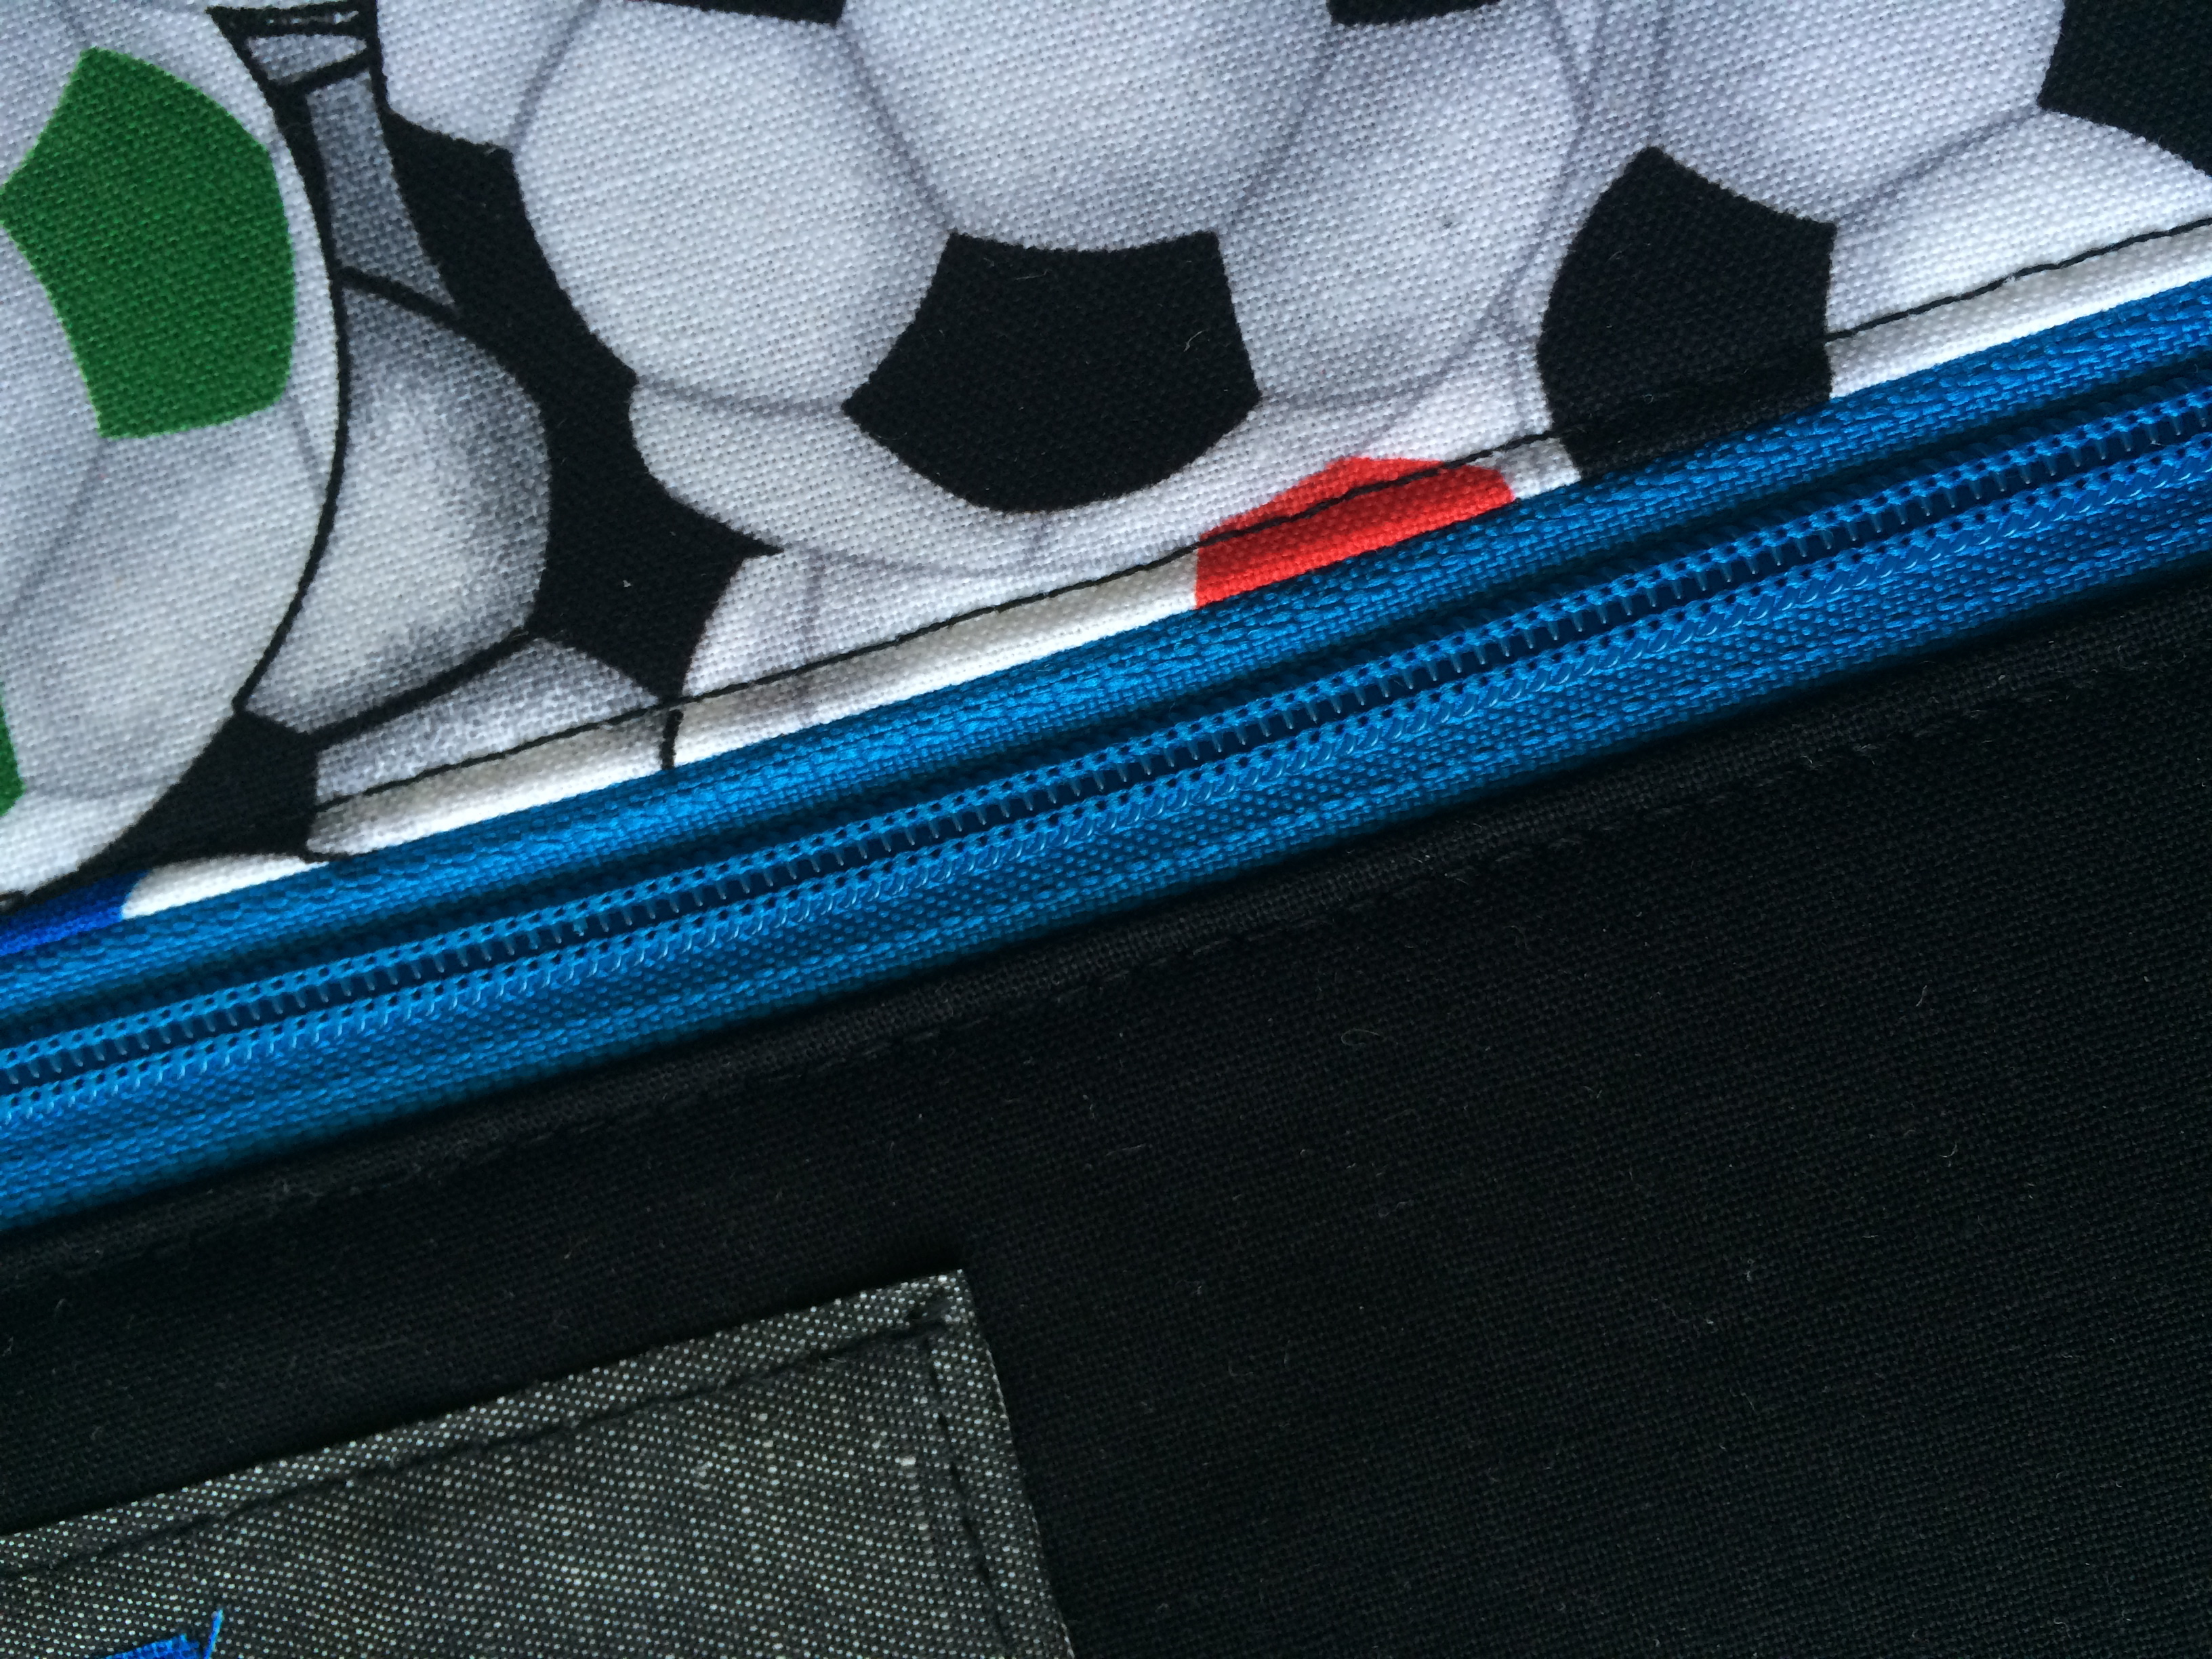
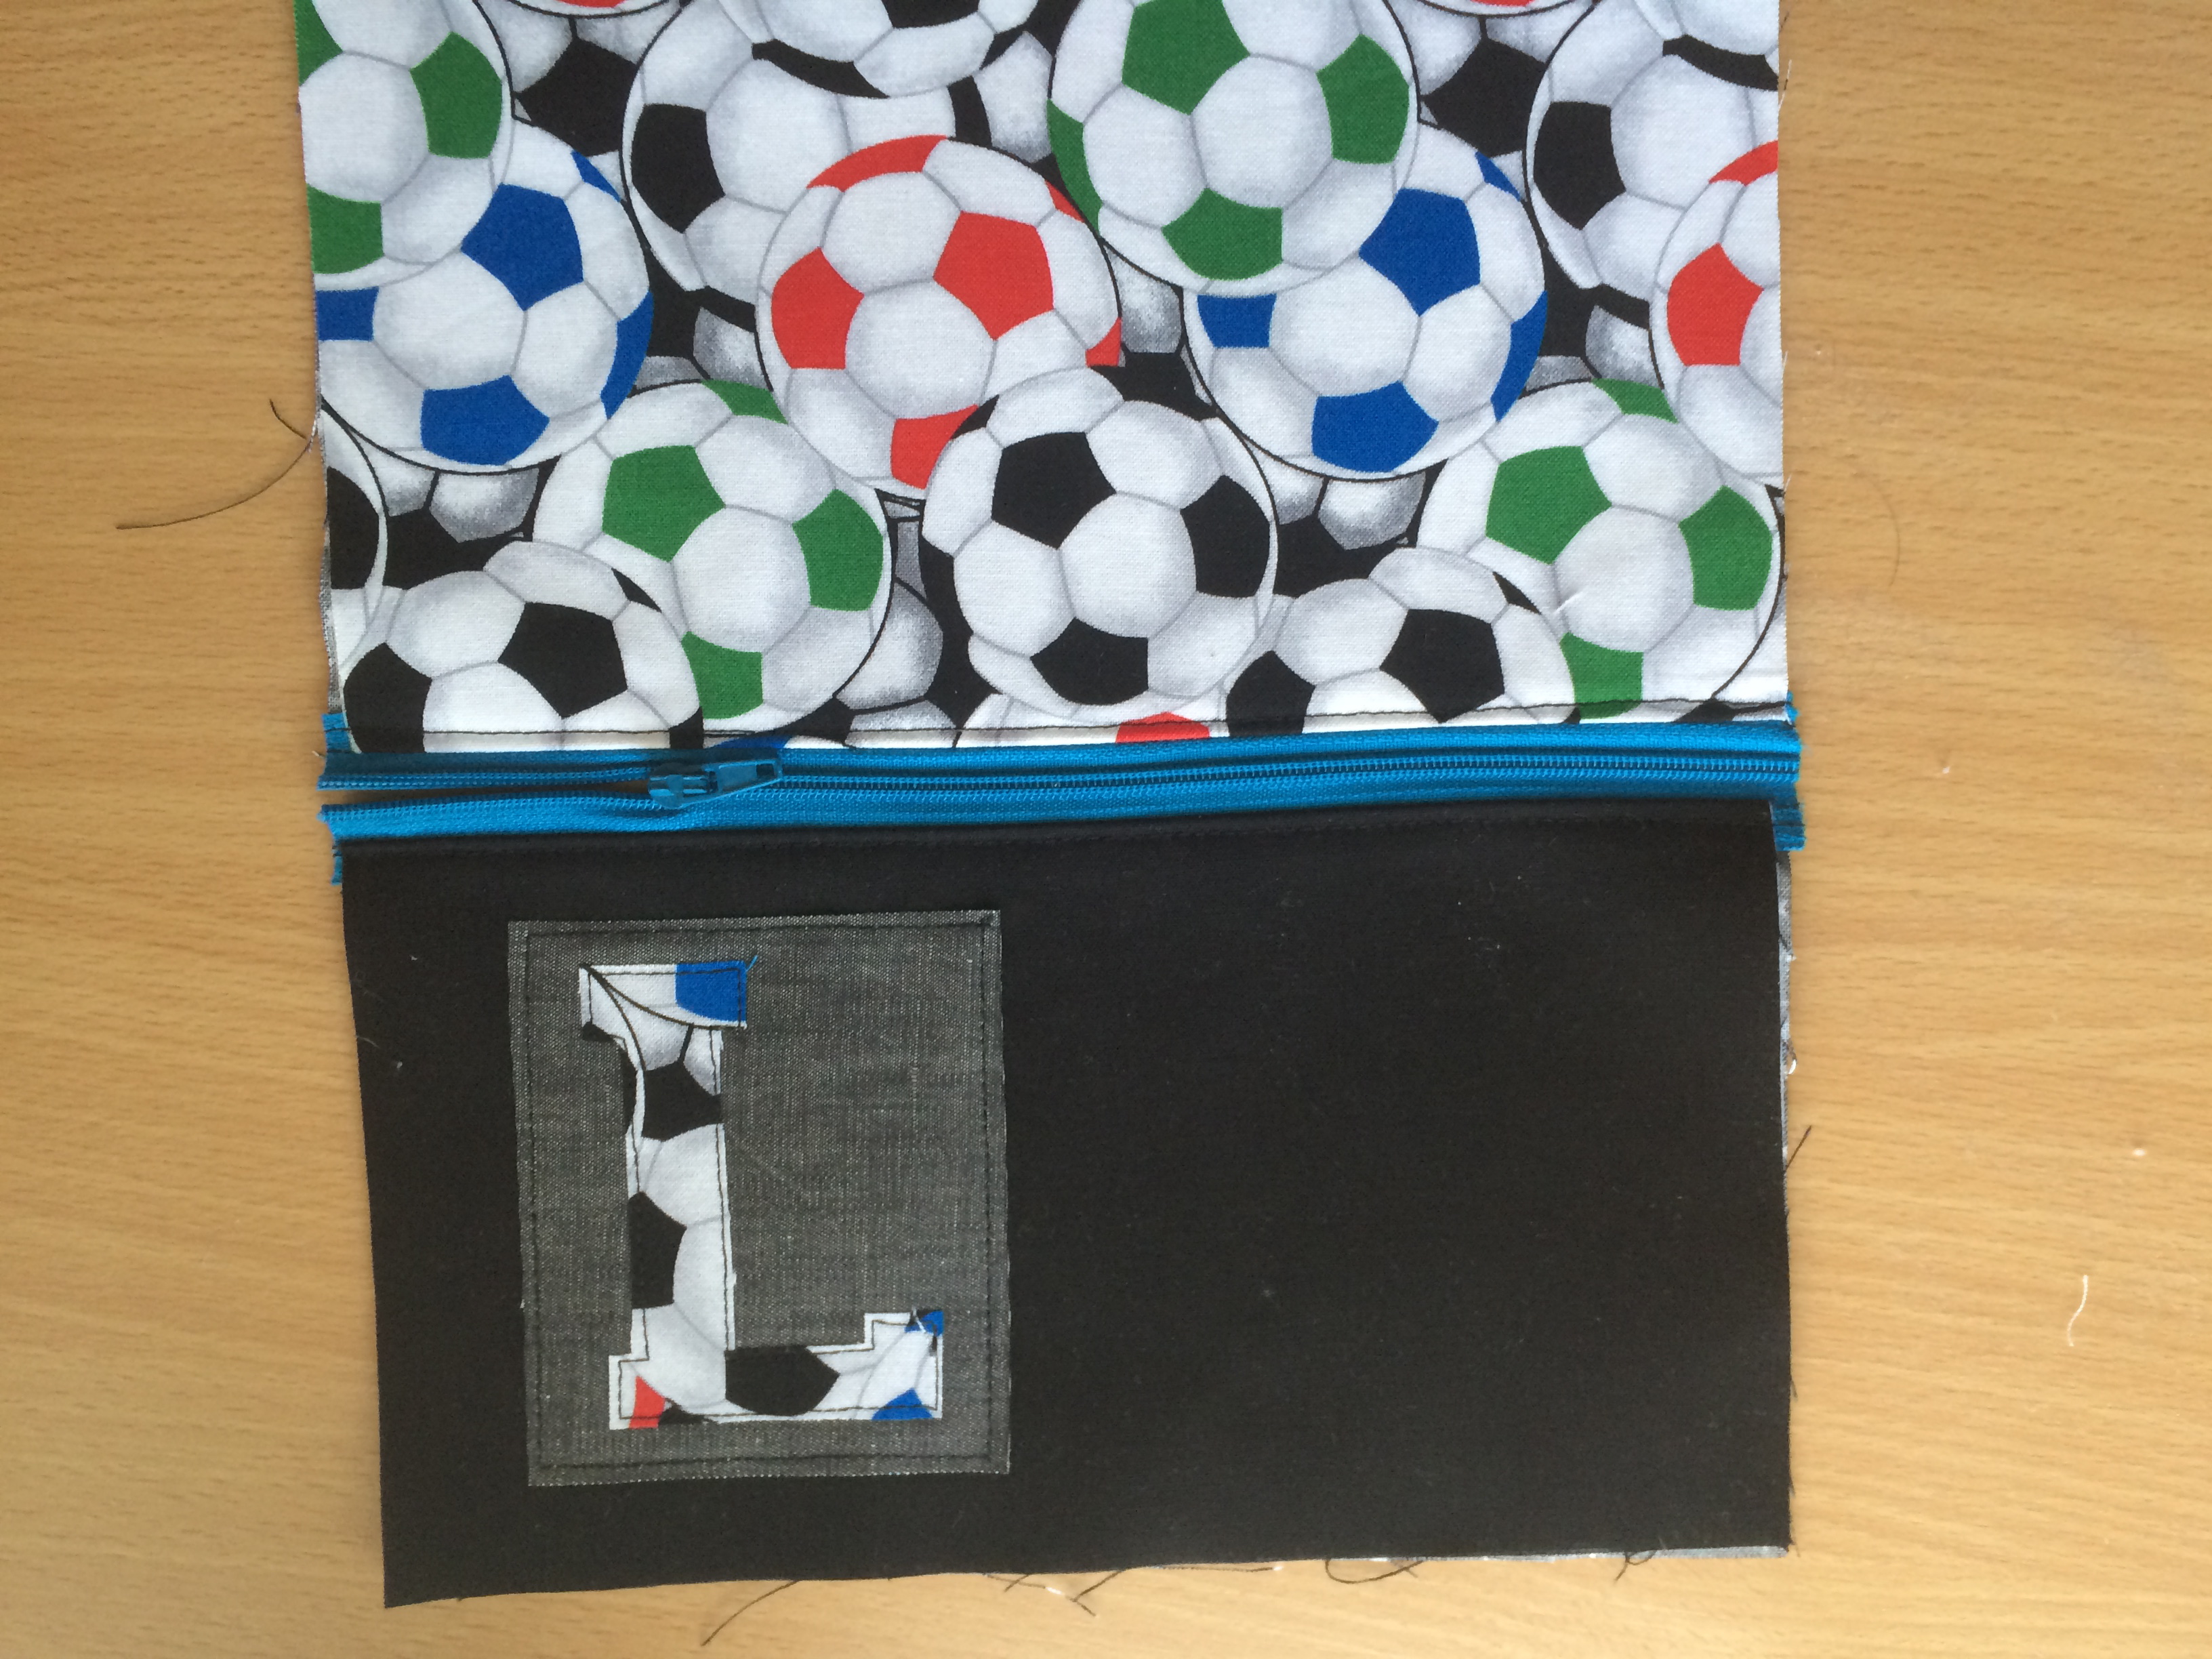
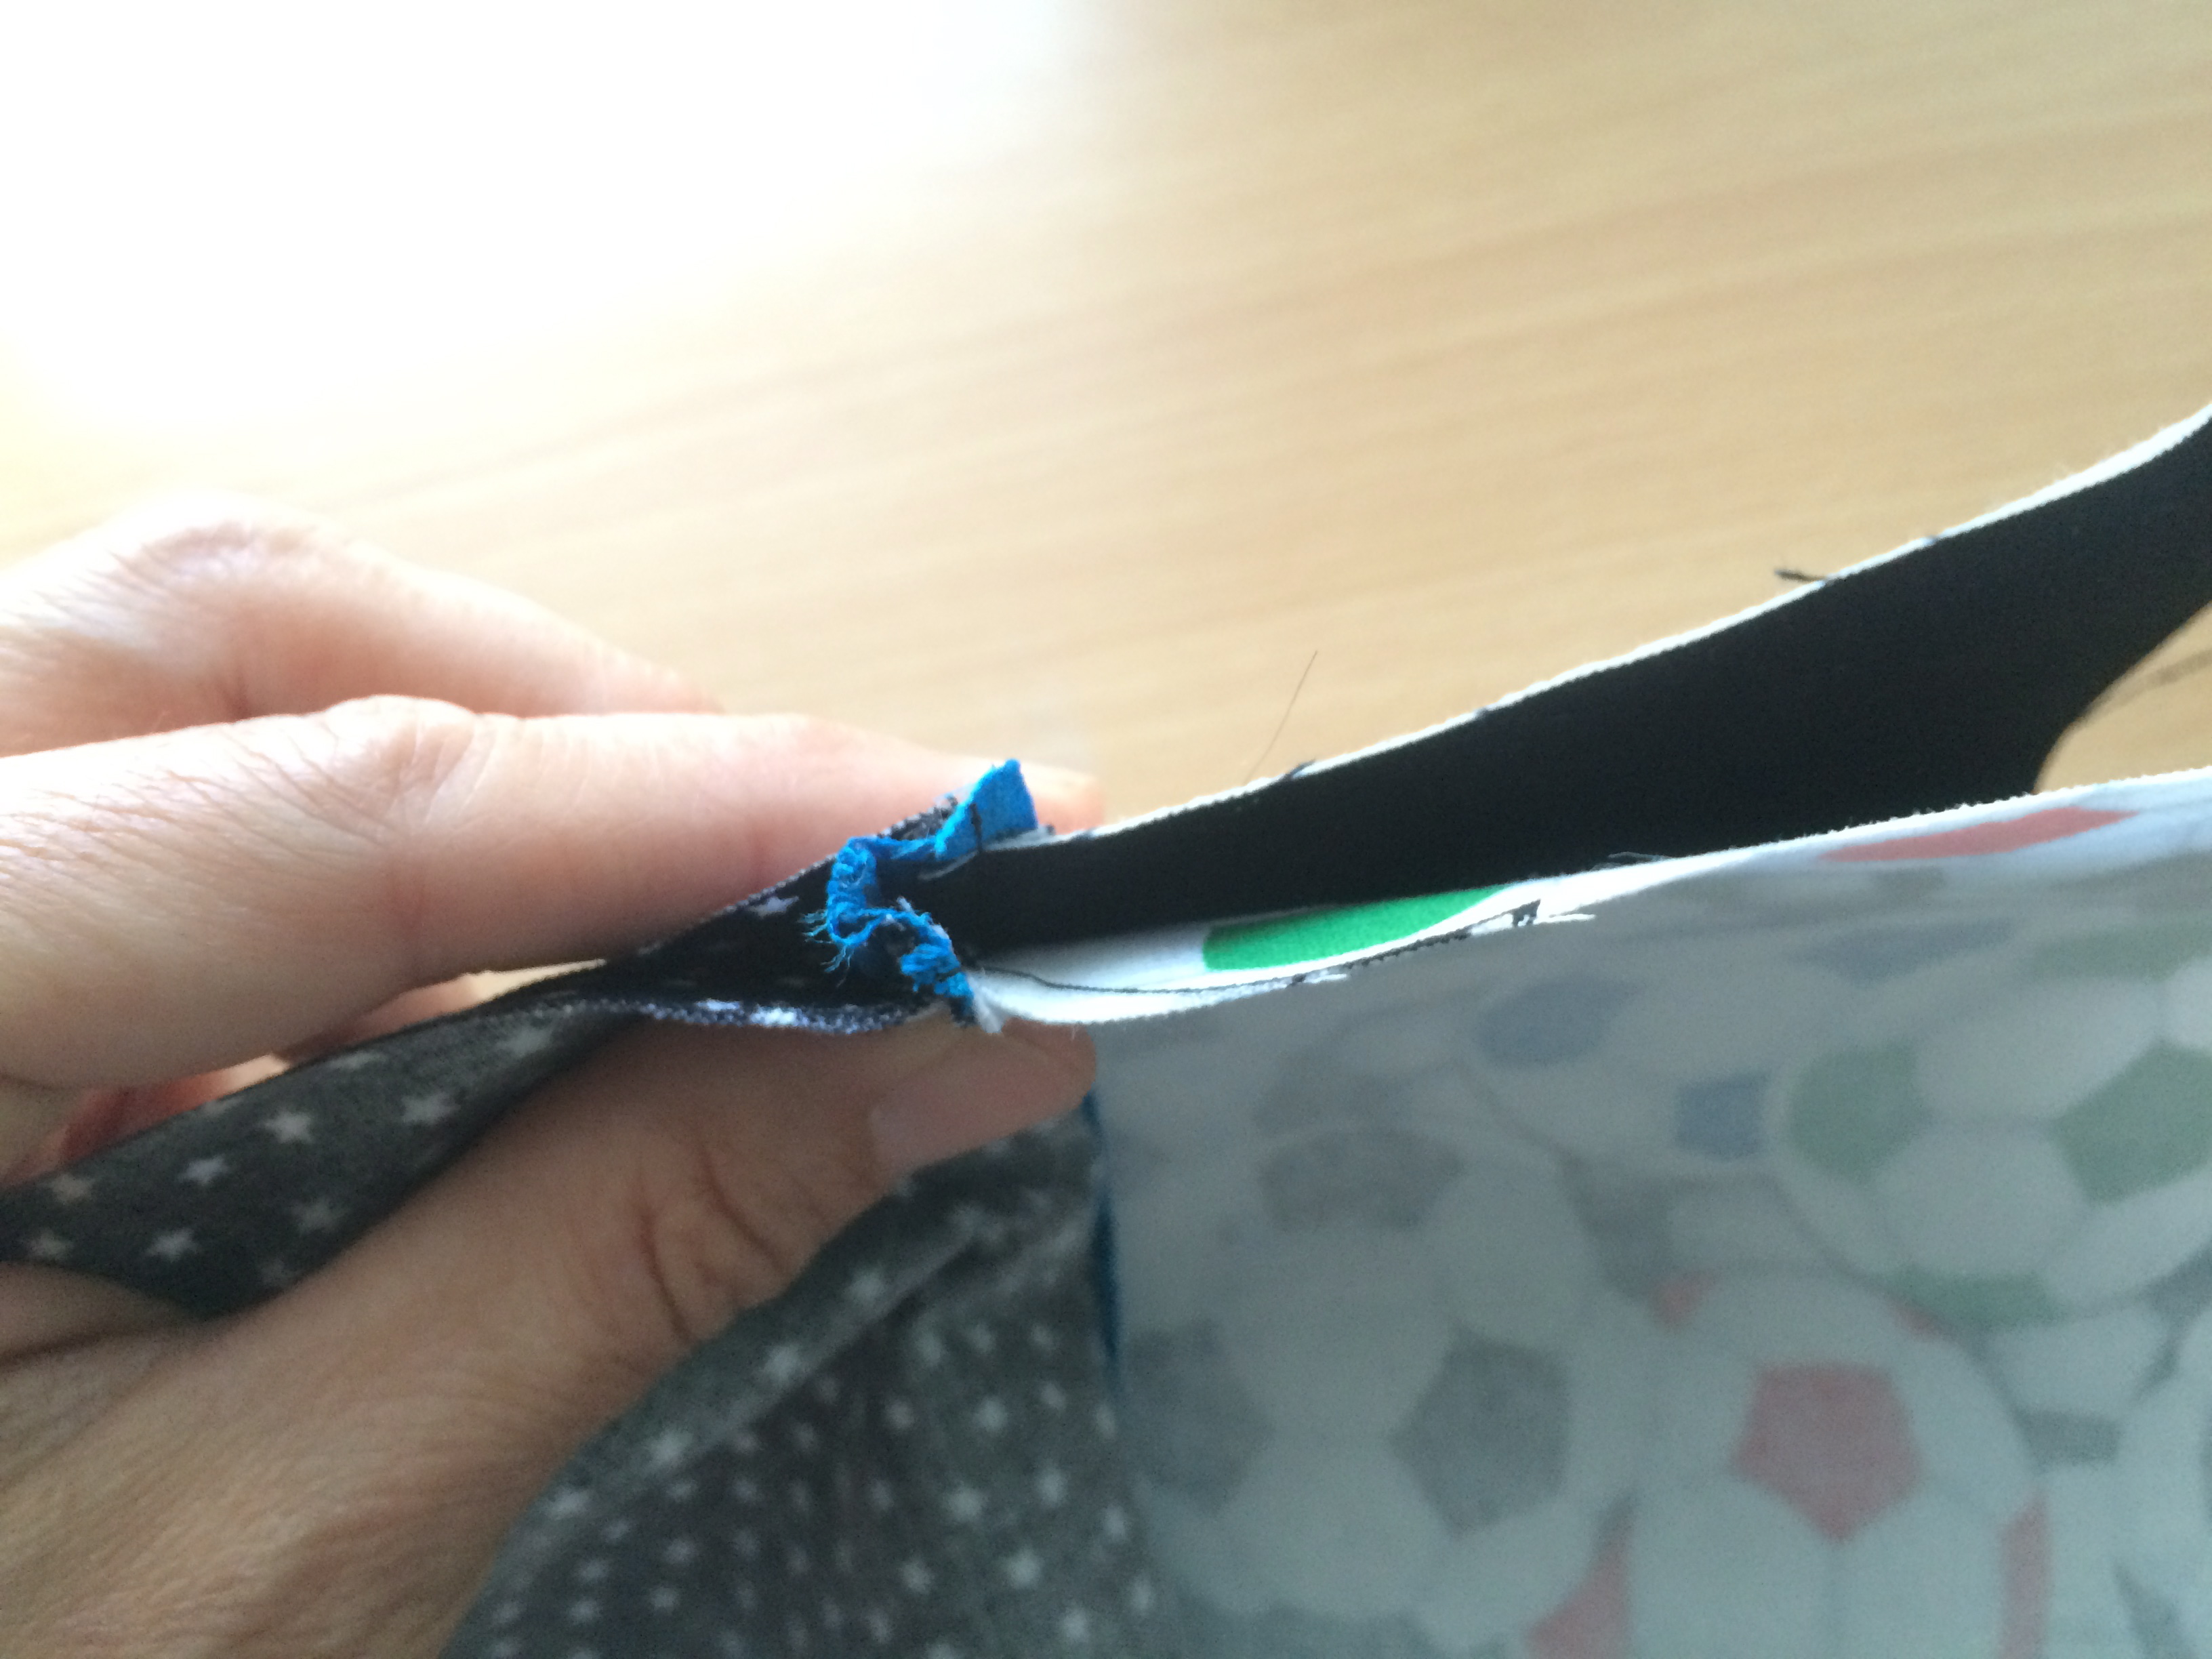
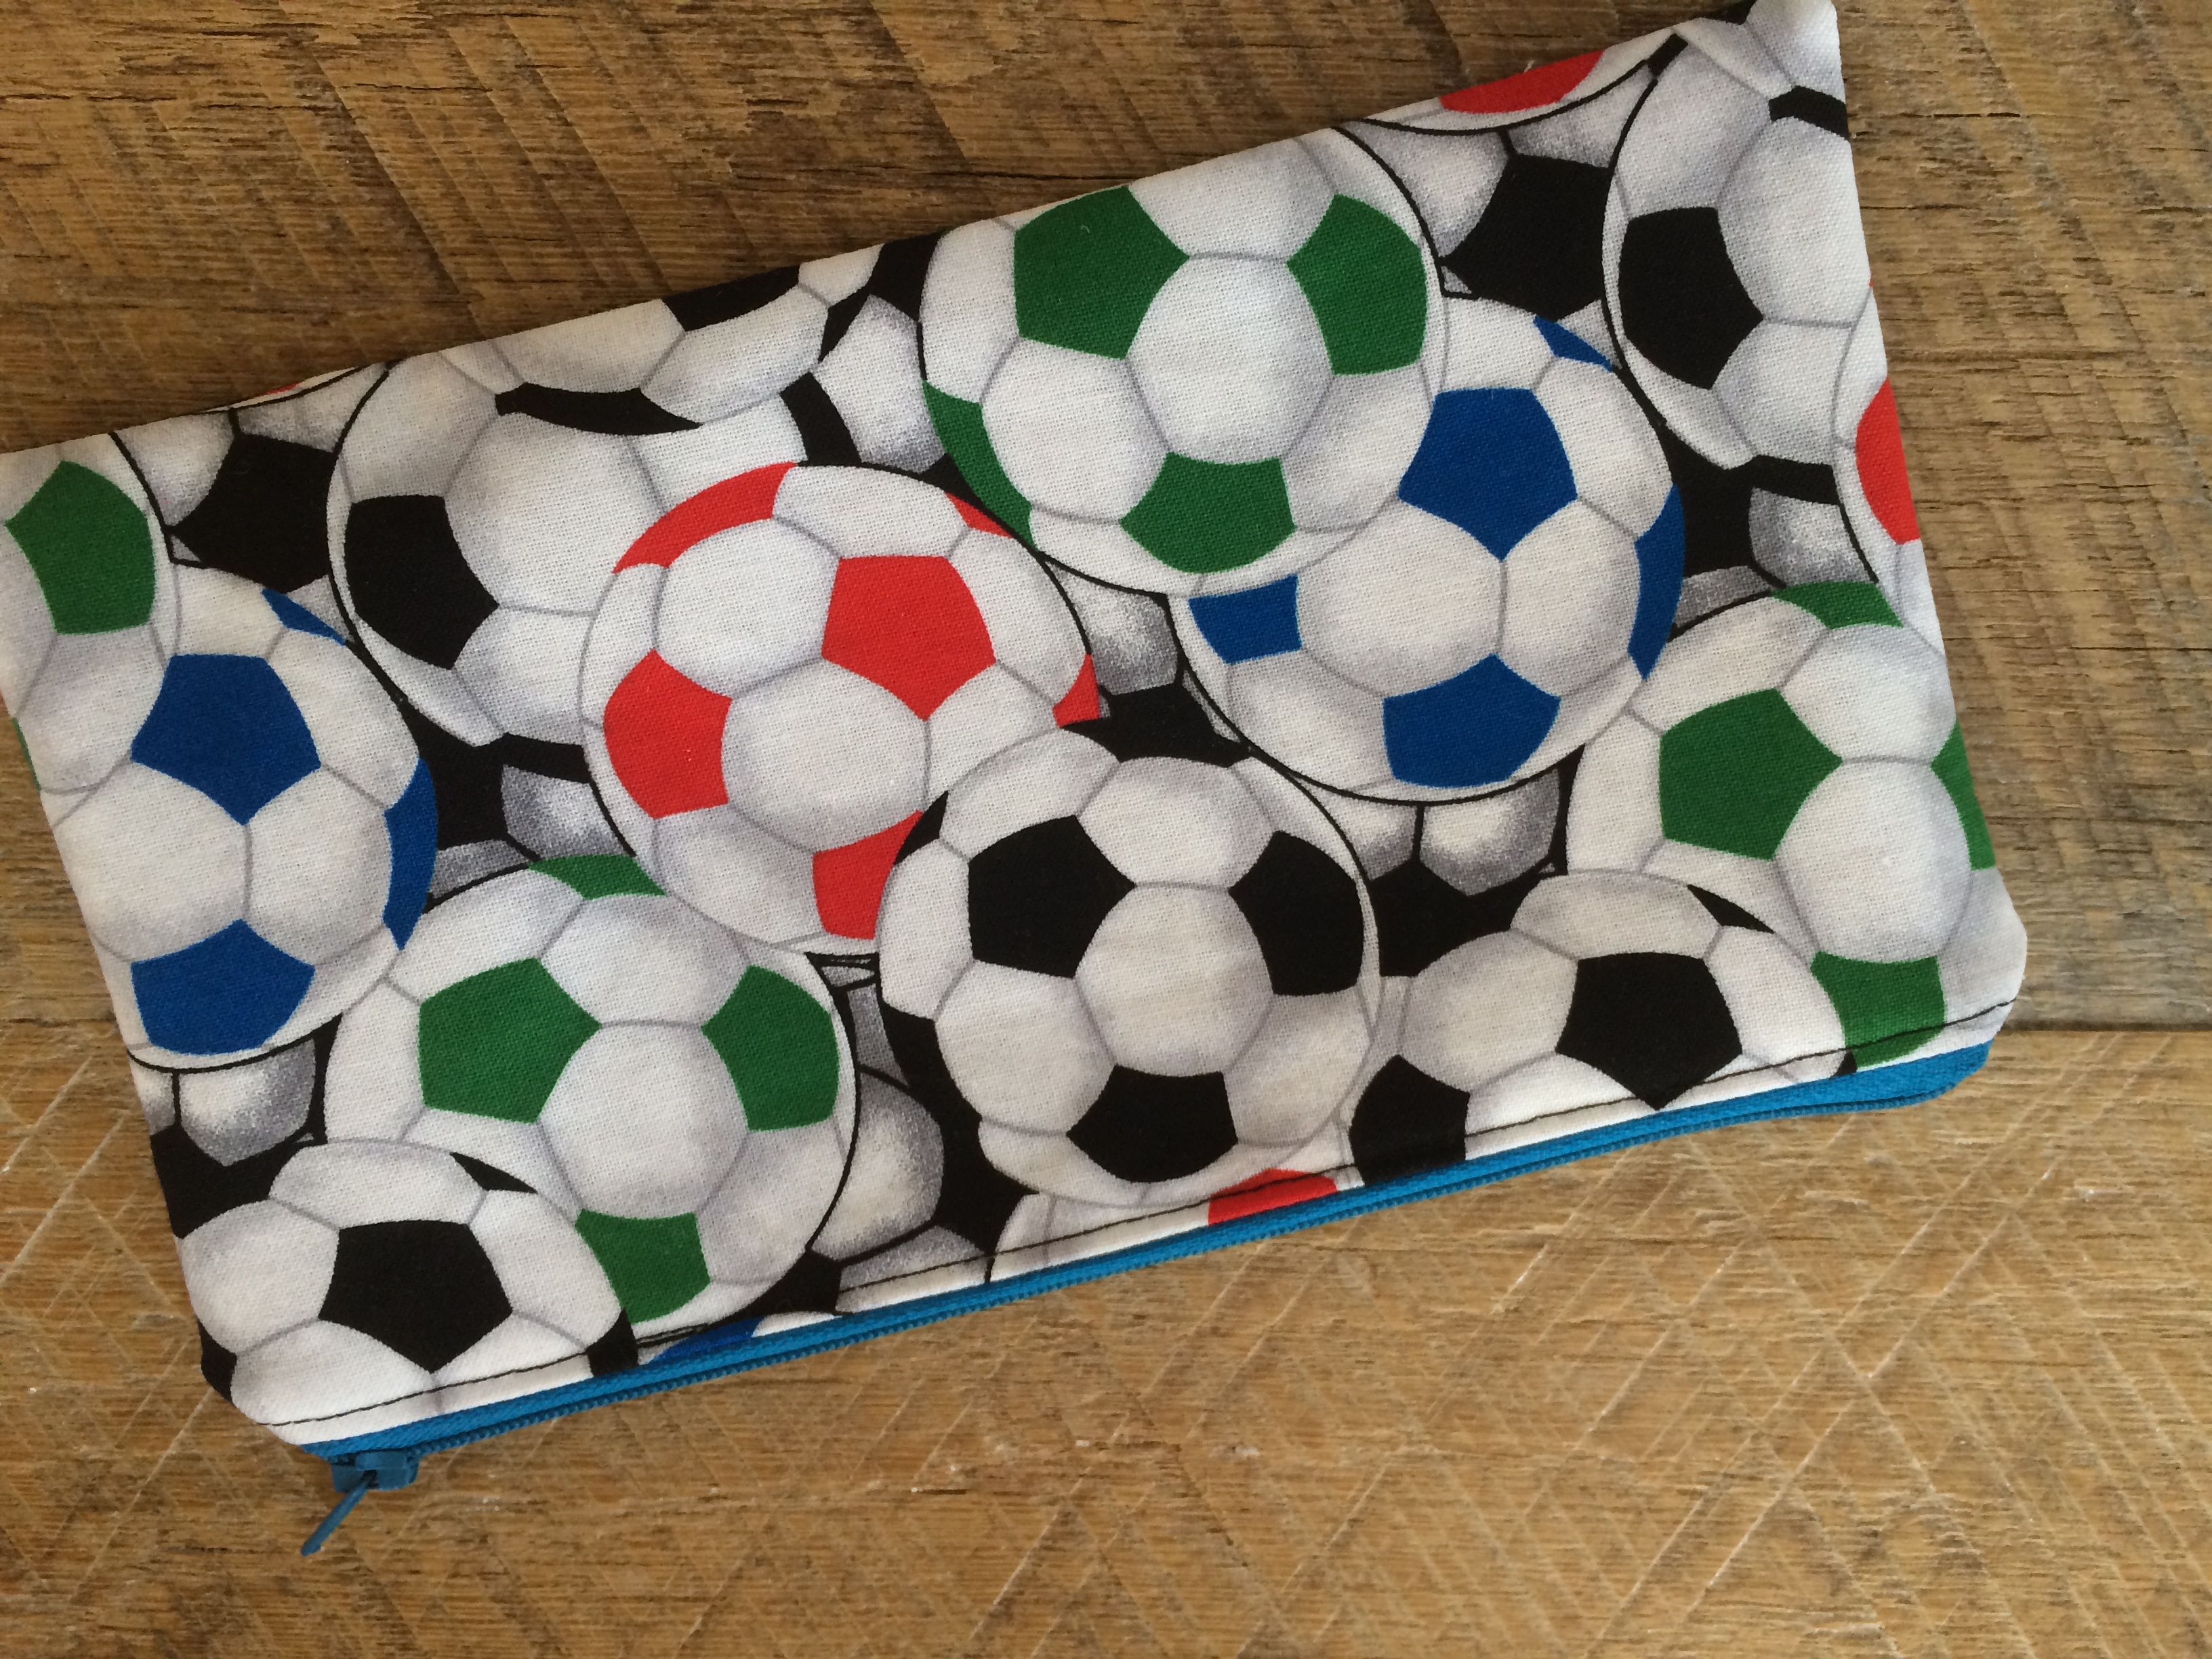
 Making sure the zipper is open, place right sides of the outer bag together and right sides of the lining together and pin all the way around.


