
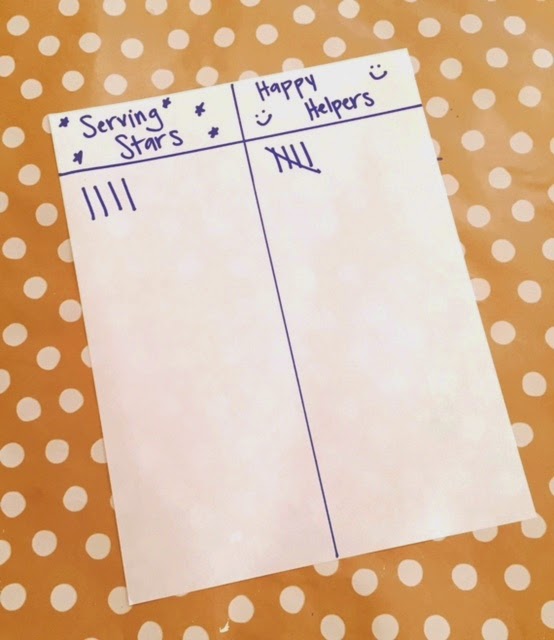
I have used my Service Cranium game for Sharing Time, but would be great for Family Home Evening as well.

Saving the universe one project at a time!
Do you and your fur-baby love to quilt together? We want to hear about it! We are promoting the #KittyQuilter on Instagram as a way to connect to all the wonderful friends and fury friends out there we might no know yet. Tina from @emilyannskloset who blogs over at One Little Pooh and I have become friends through our quilty-kitty photos on Instagram. Even though we live on opposite coasts we know our felines would be best friends. We want to get to know you and your kitties! So, post post your quilty-kitty photos and tag them #kittyquilter. You just might win a prize!!!
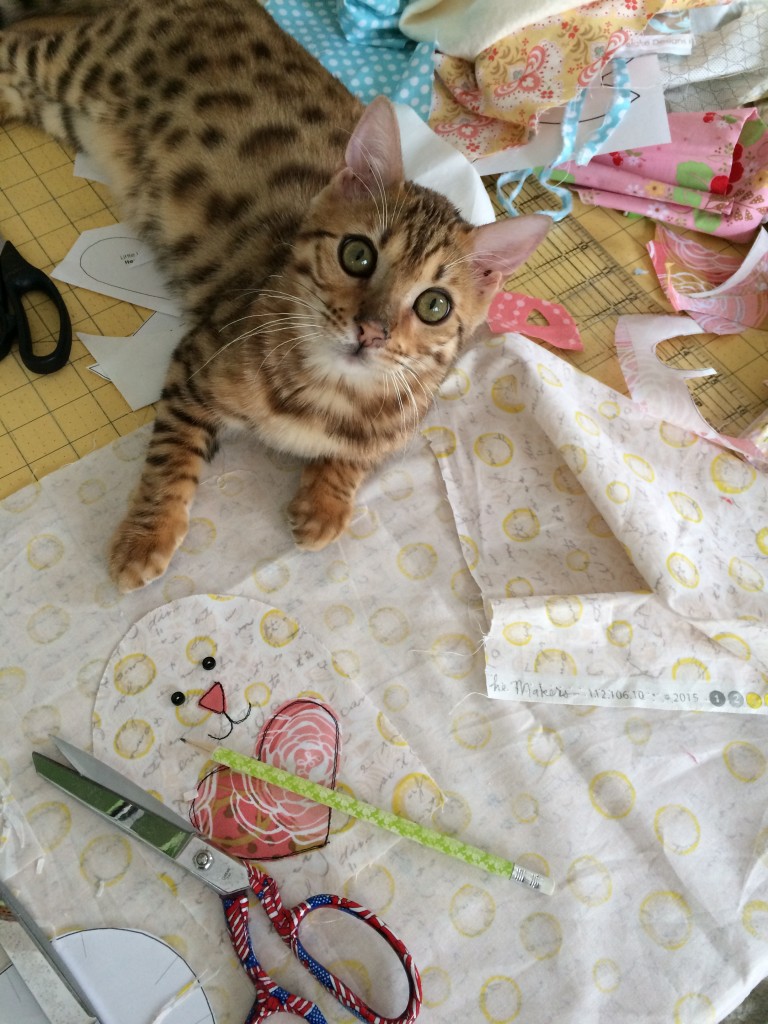
Meet my kitty, Mufasa!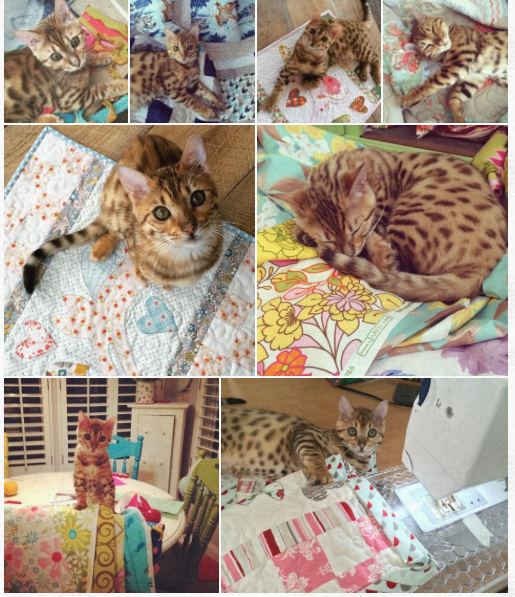
Meet Tina’s kitty, Roo!

Our Savior gave Himself in unselfish service. He taught that each of us should follow Him by denying ourselves of selfish interests in order to serve others.
“If any man will come after me, let him deny himself, and take up his cross, and follow me.
“For whosoever will save his life shall lose it: and whosoever will lose his life for my sake shall find it” (Matthew 16:24–25; see also Matthew 10:39).
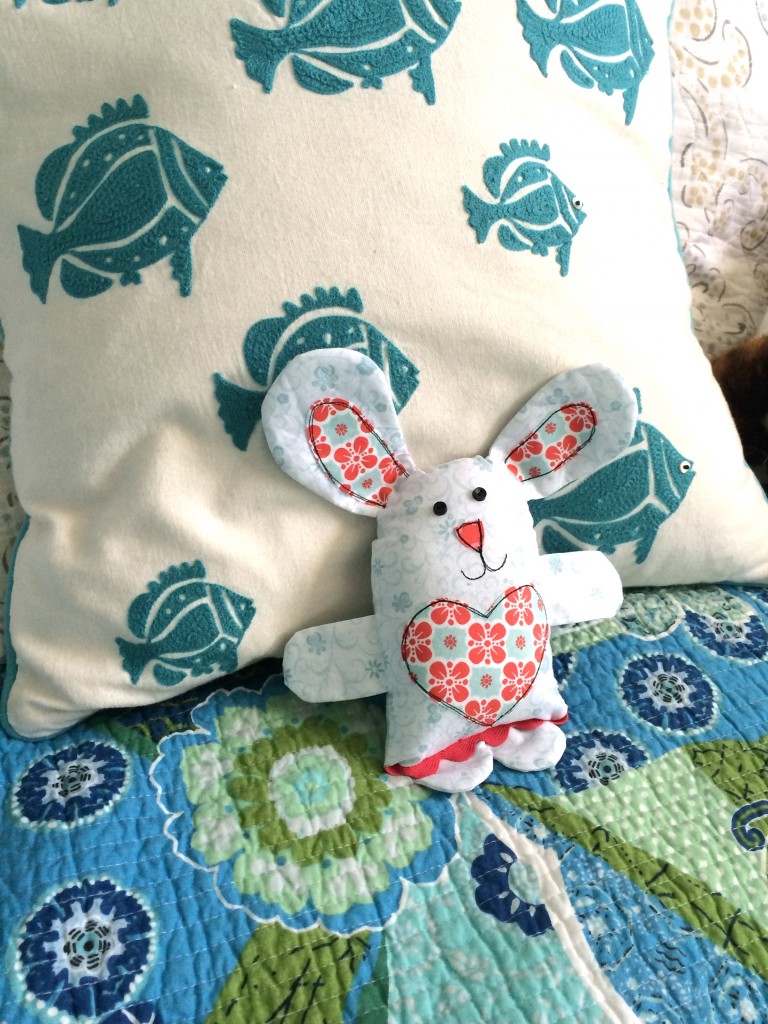
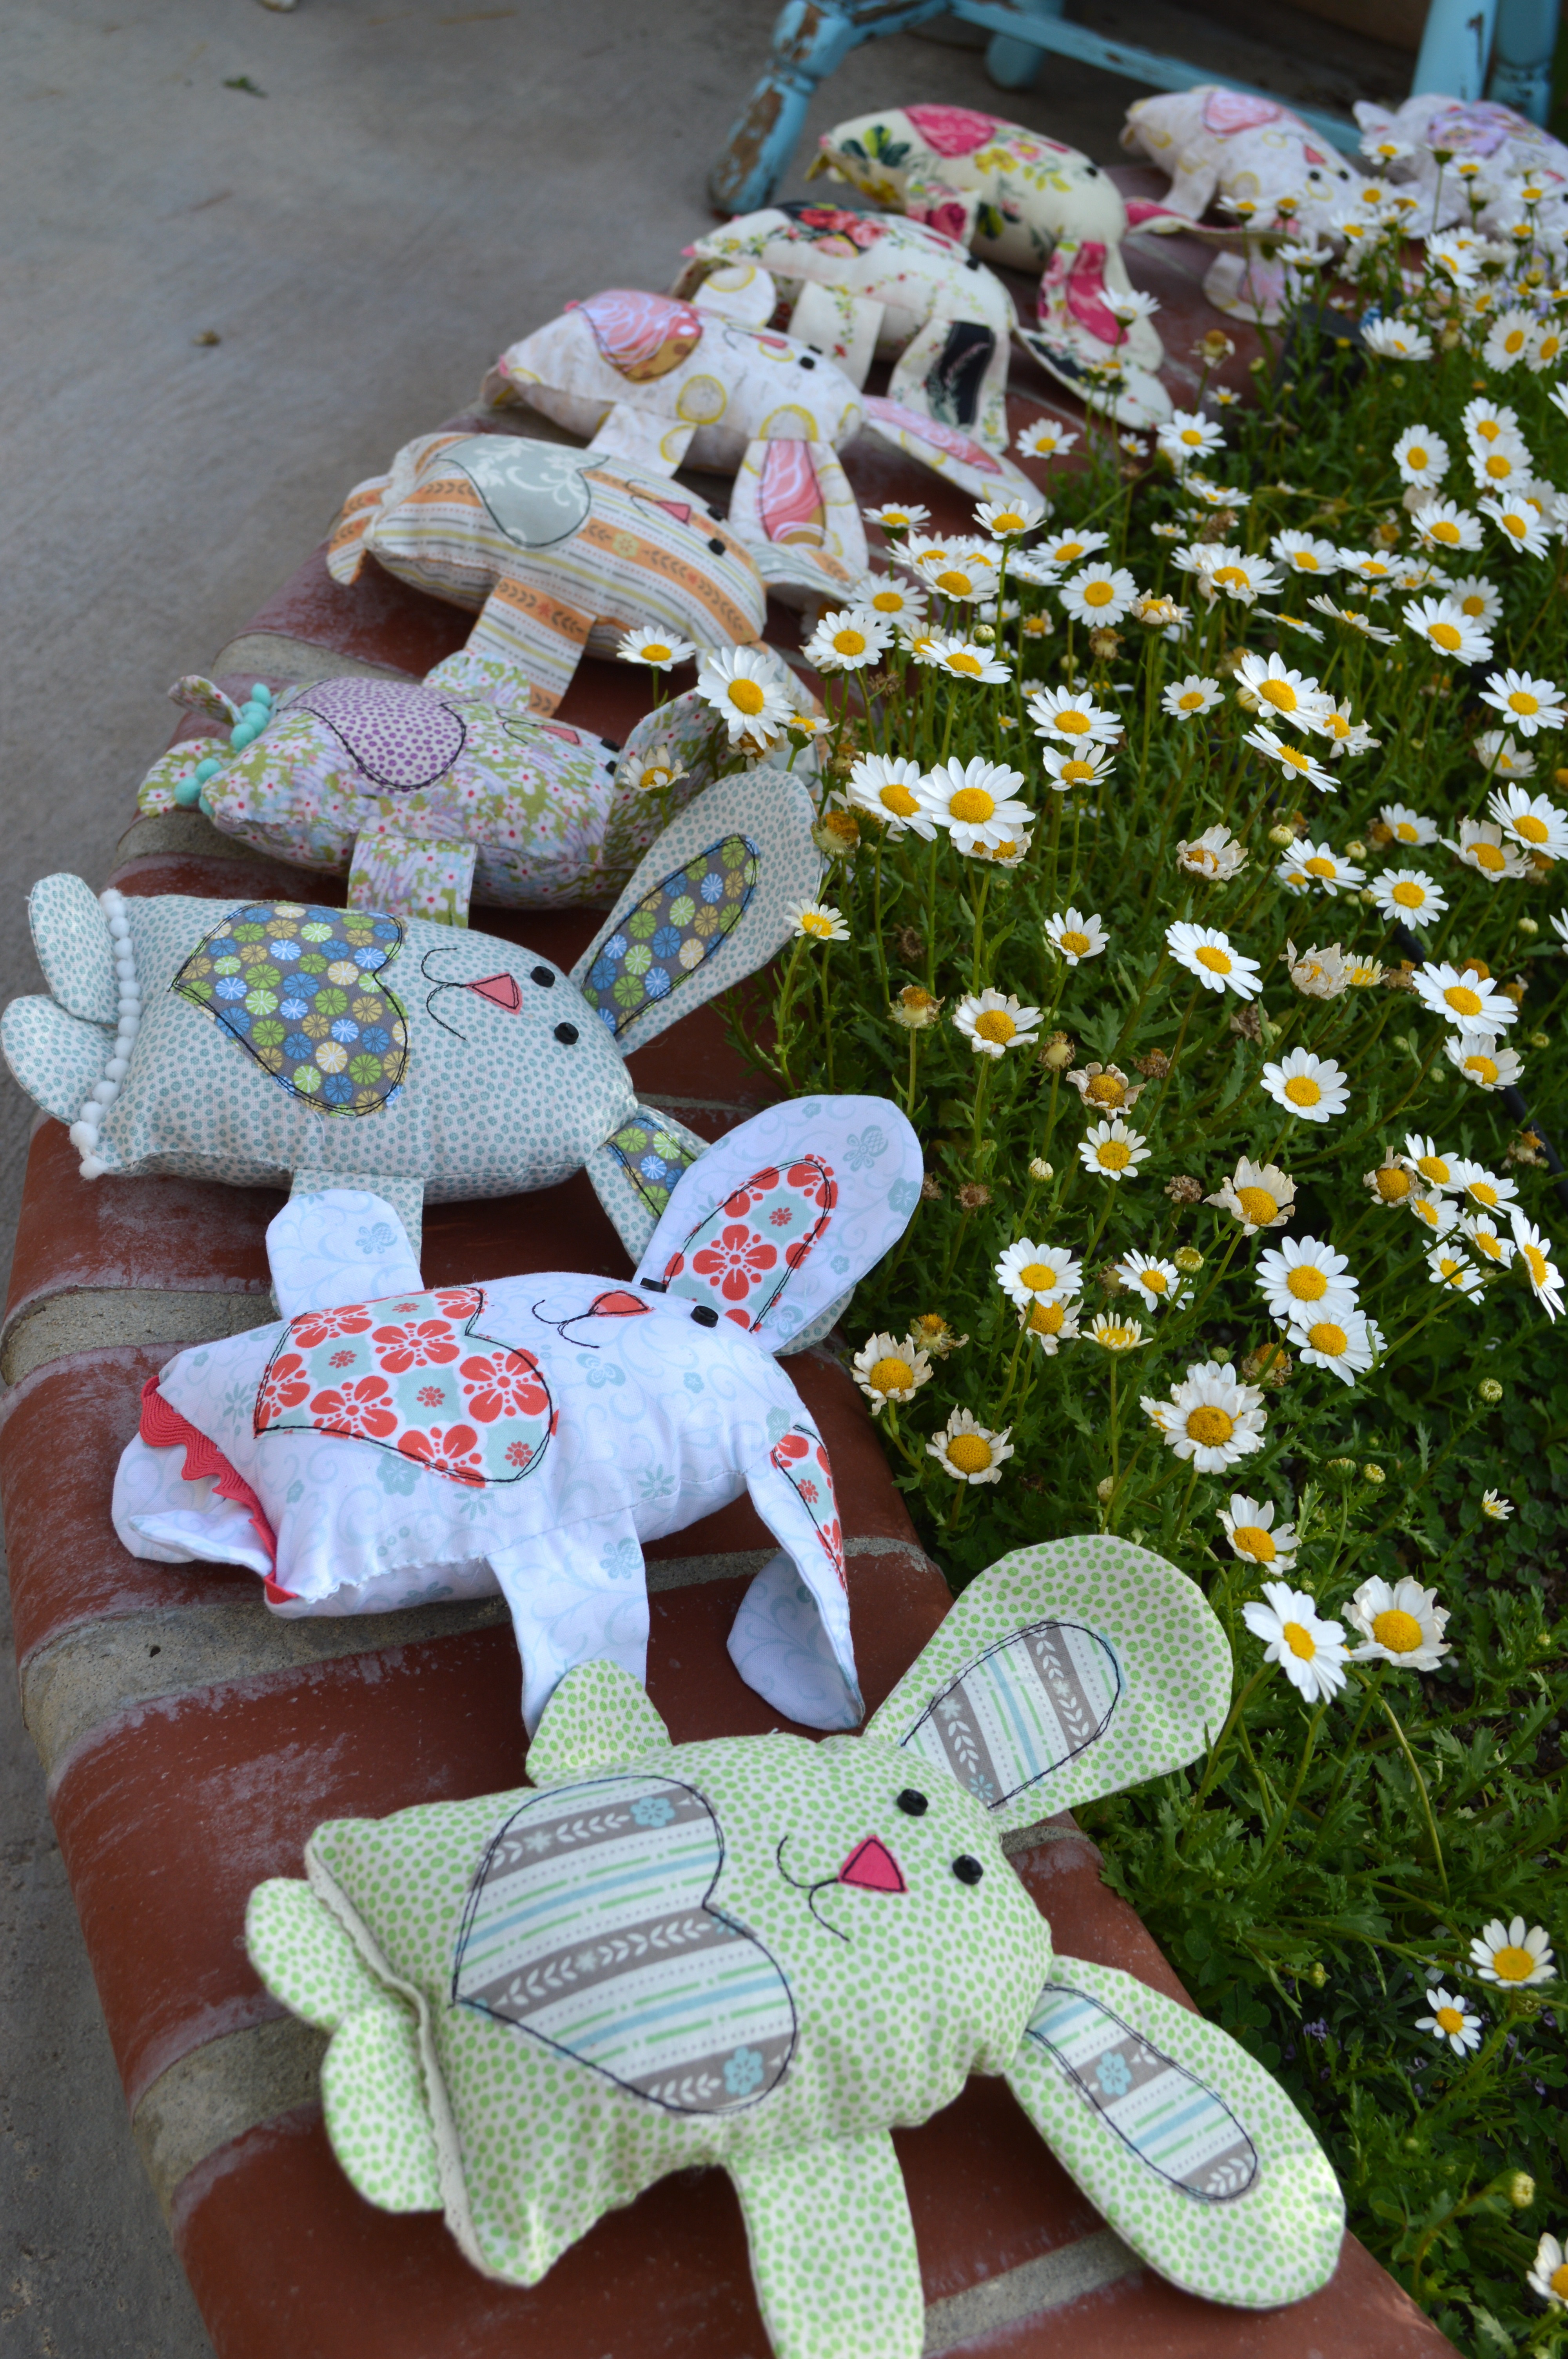
Service Bunnies – Hop To It!
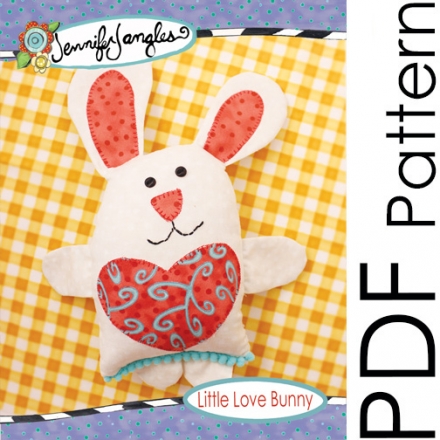
I have been sewing these little bunnies last week for this little idea I had. If you want to make your own, here is where I got the pattern. You can also use store-bought bunnies, paper bunnies, or bunnies you already have.
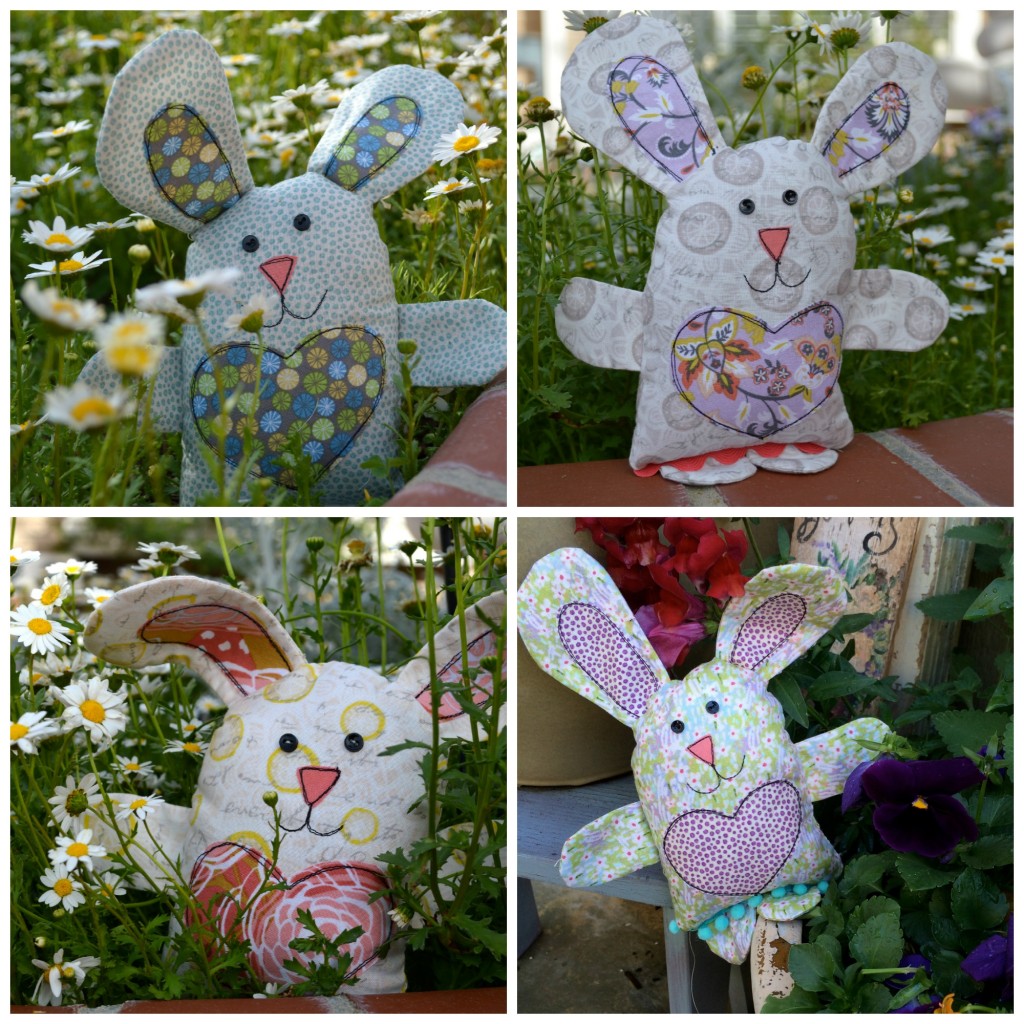
The idea is to begin with one bunny. Tell your family that the little bunny is going to help bring some love into your home. Ask for a volunteer who wants to begin. That person then takes the bunny and thinks of something nice or thoughtful he/she can do for someone in the family. After that person has done their little act of service, the bunny is placed on the recipient’s bed.
 That person is then next for the service task. What they don’t know is that bunnies tend to multiply. Give it a few days and then introduce another bunny. Keep the bunnies hopping around to each person in the family.
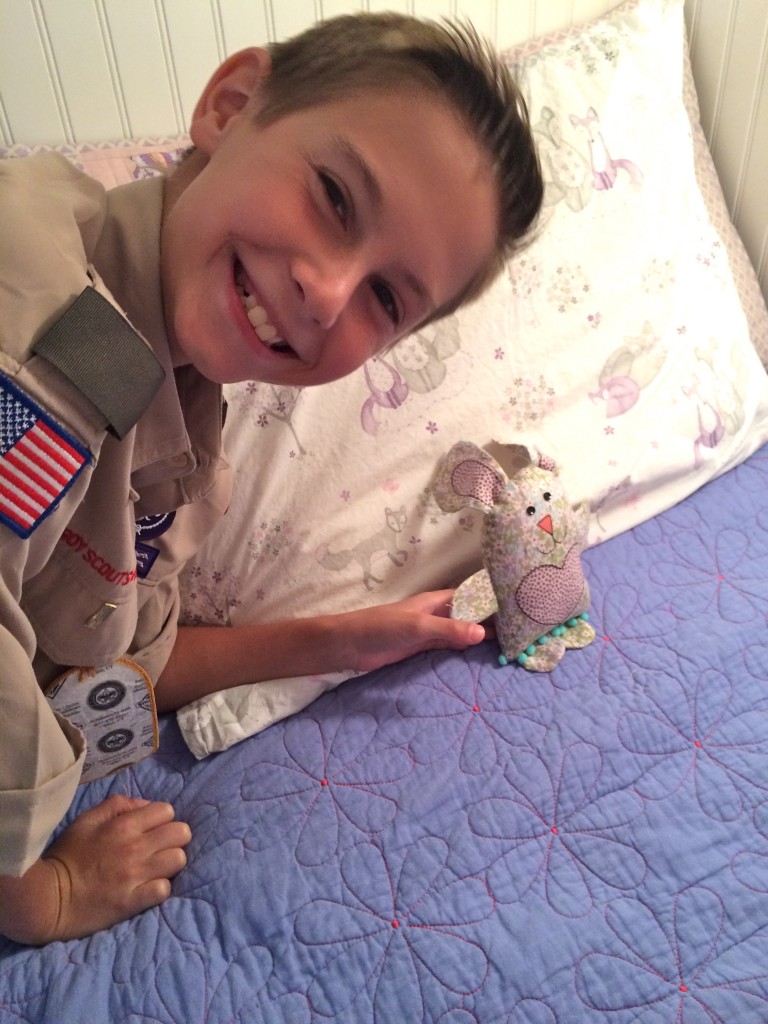 Then a few more days, introduce another bunny – until you have more bunnies then you can handle! At the end of the 2 weeks, hopefully there will be a little more peace in your home and the children get to each keep a bunny as a reminder to have more love in our families.
It’s officially spring! Bunnies are popping up all over the place!
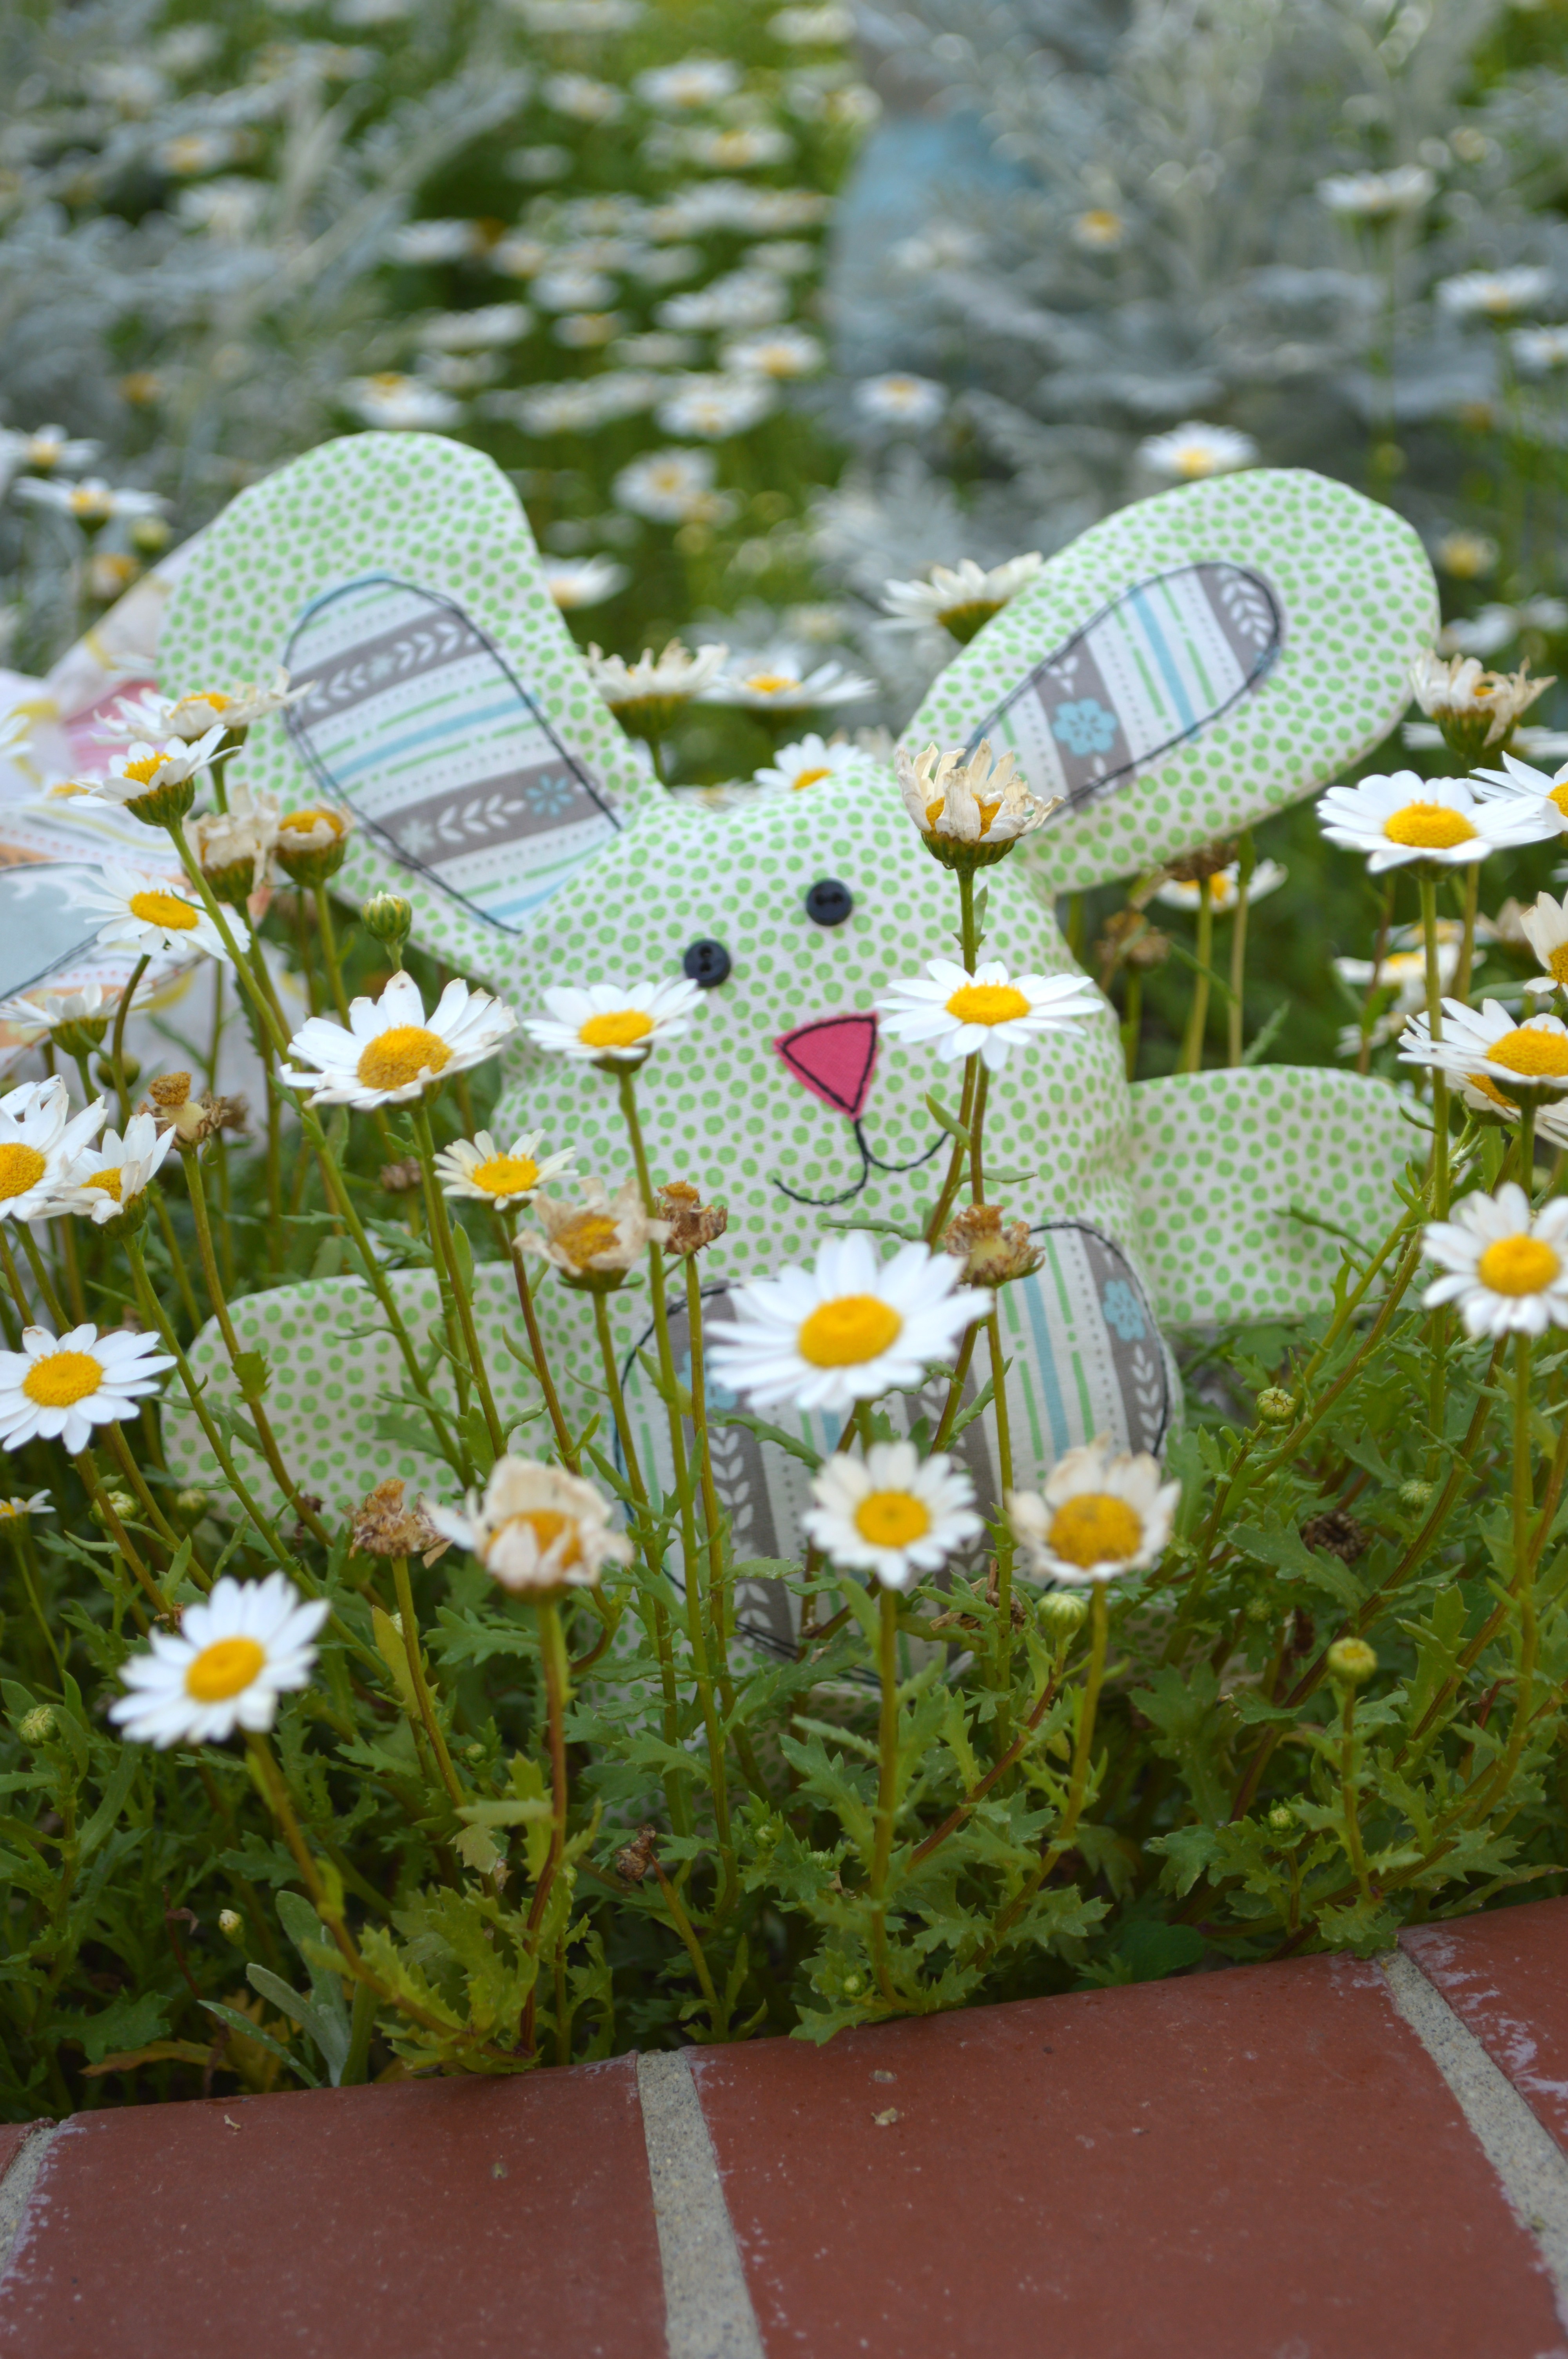
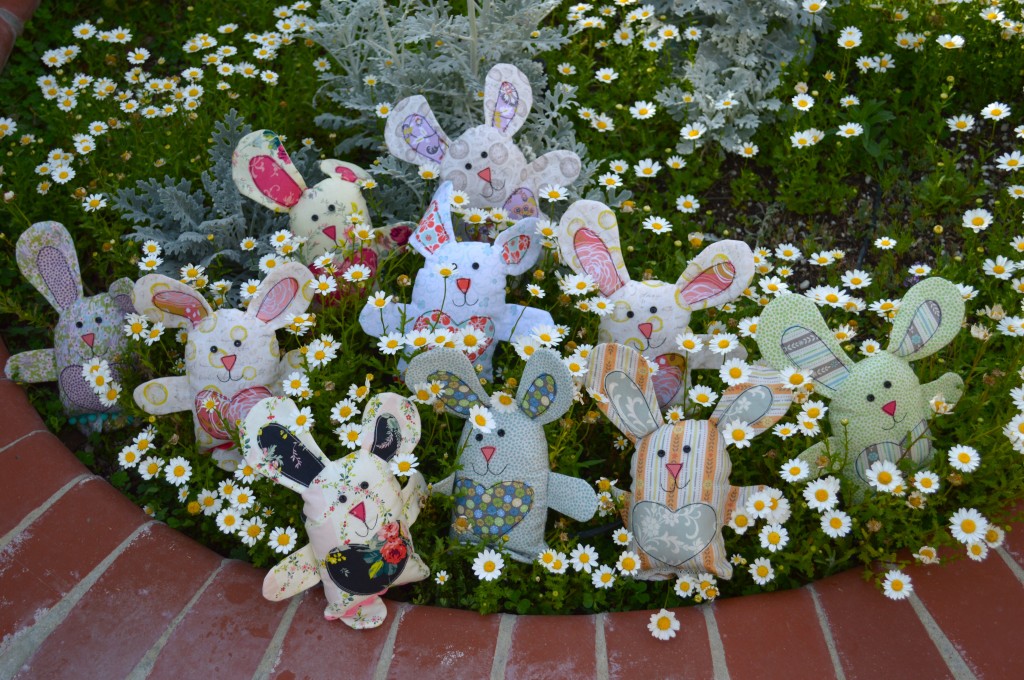
I LOVE spring bunny projects. I have had so much fun making these cute little critters!
The pattern is from the very talented Jennifer Jangles. Her pattern is available to download from her website. The instructions are very clear and it’s an easy project to put together. All the fabrics are from Blend Fabrics. With so many fun patterns to choose from, I mixed and matched their fabric lines to come up with some fun combinations.
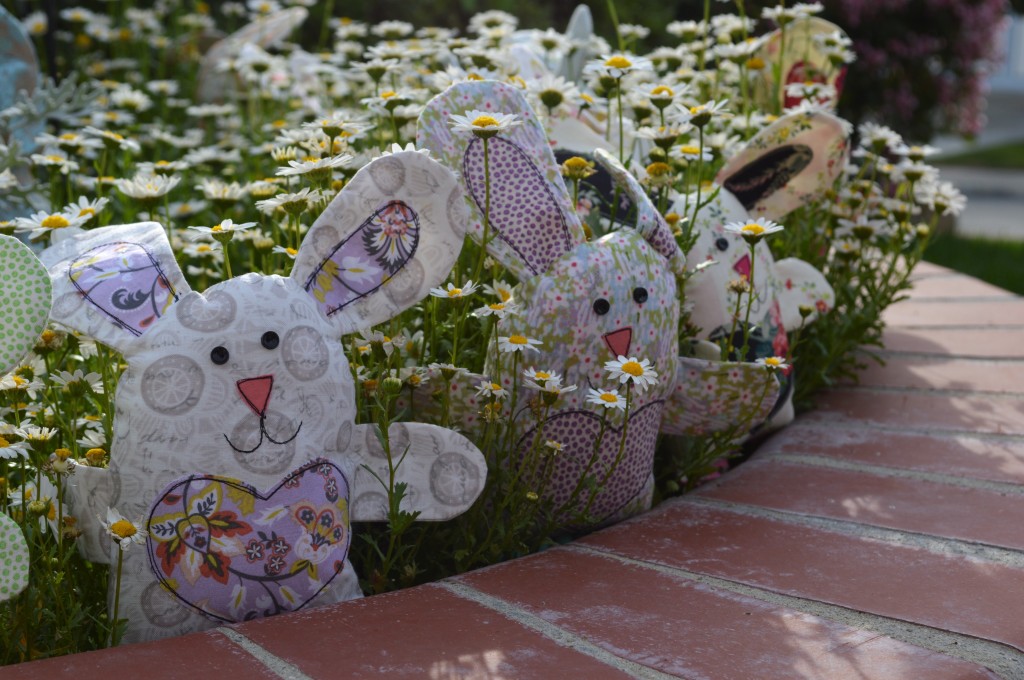
I went a little crazy and made 10 of them!!
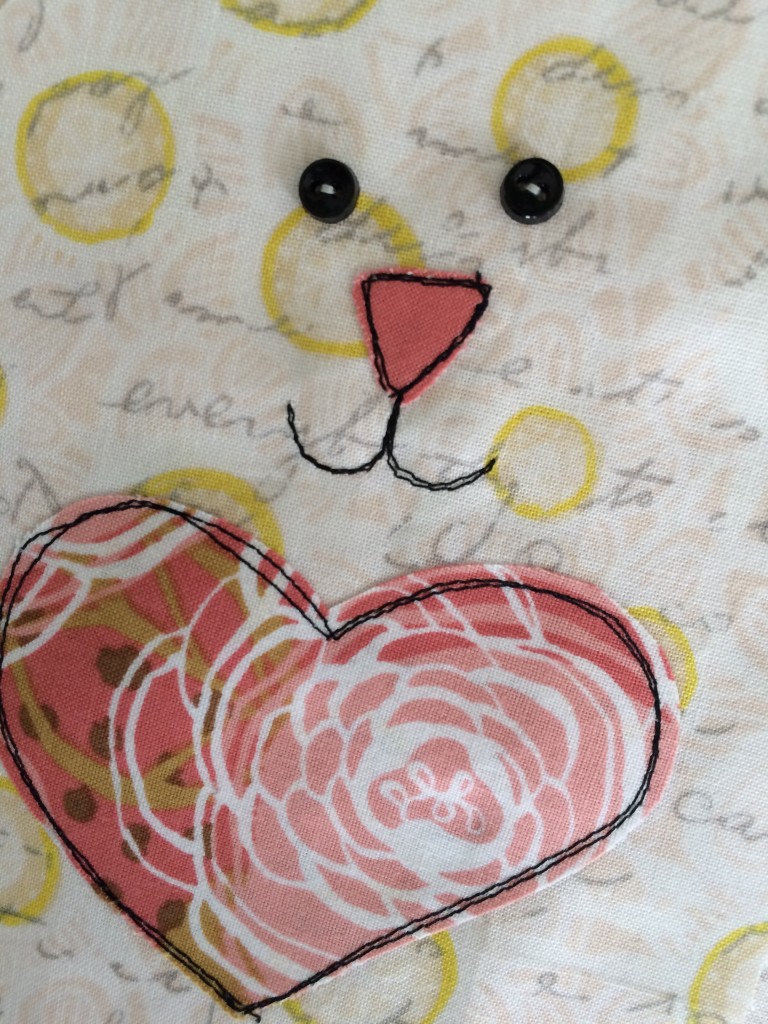
Instead of hand stitching the nose and mouth, I used the sewing machine. The nose, heart, and inner ears are all appliquéd with Heat n Bond Lite. I used black thread and outlined stitched the appliqué pieces 2 to 3 times each. The black really helps the fabrics pop.
Baby Mufasa is always helping with the sewing projects. I was thinking I might fill one of the bunnies with some catnip 🙂
Once you make one, I bet you have to make more and more! They each have unique personalities!

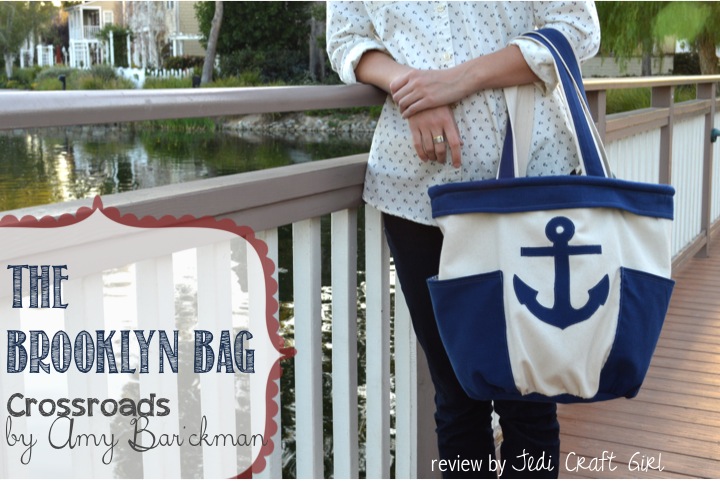
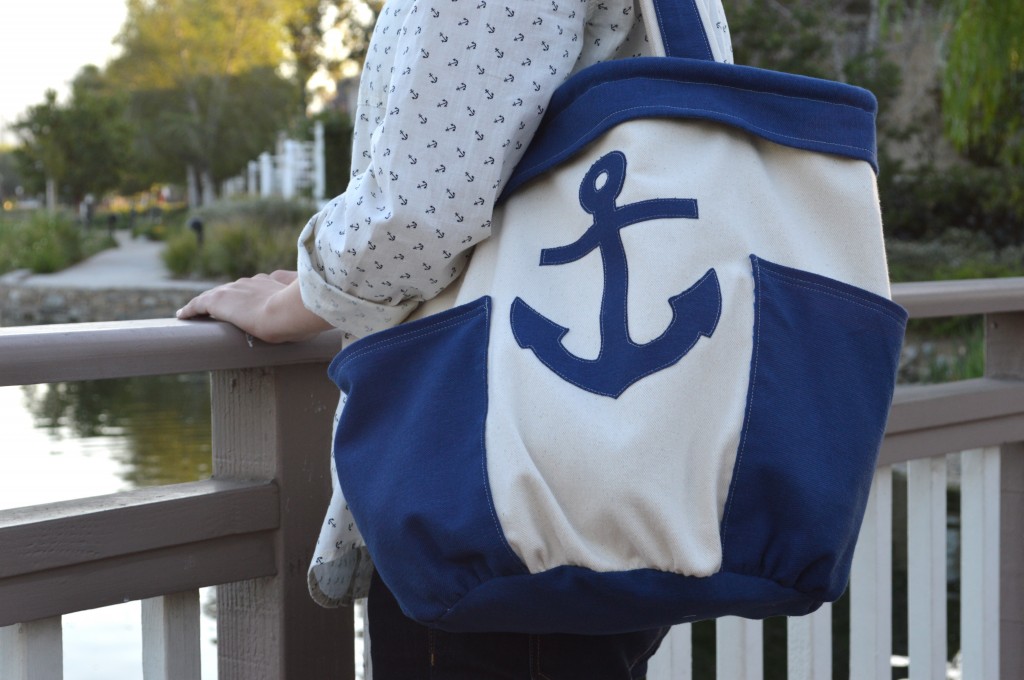
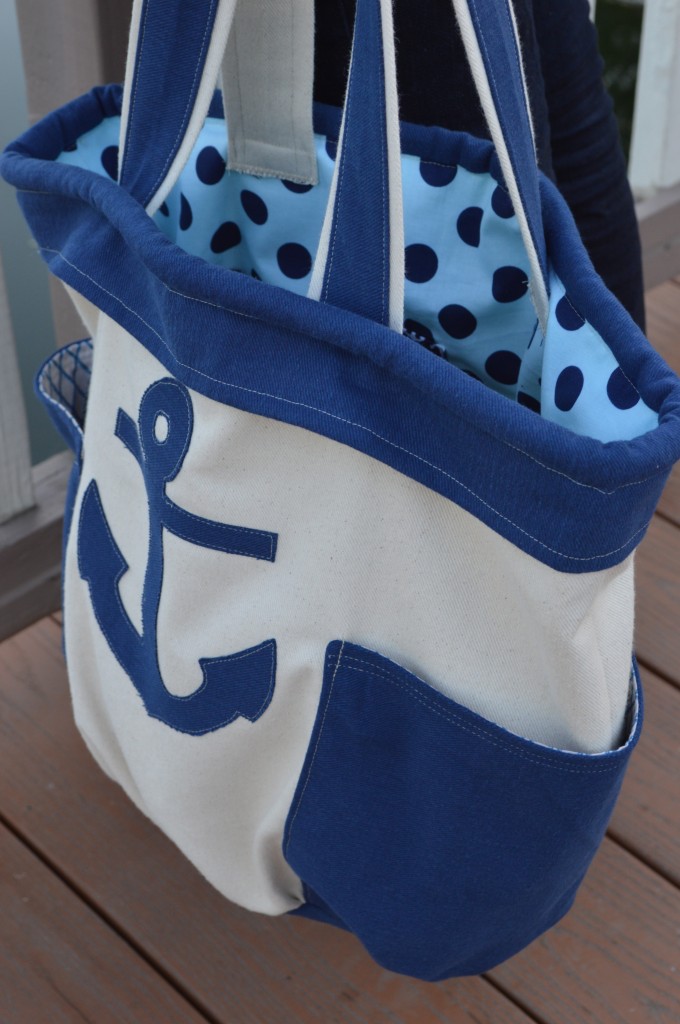
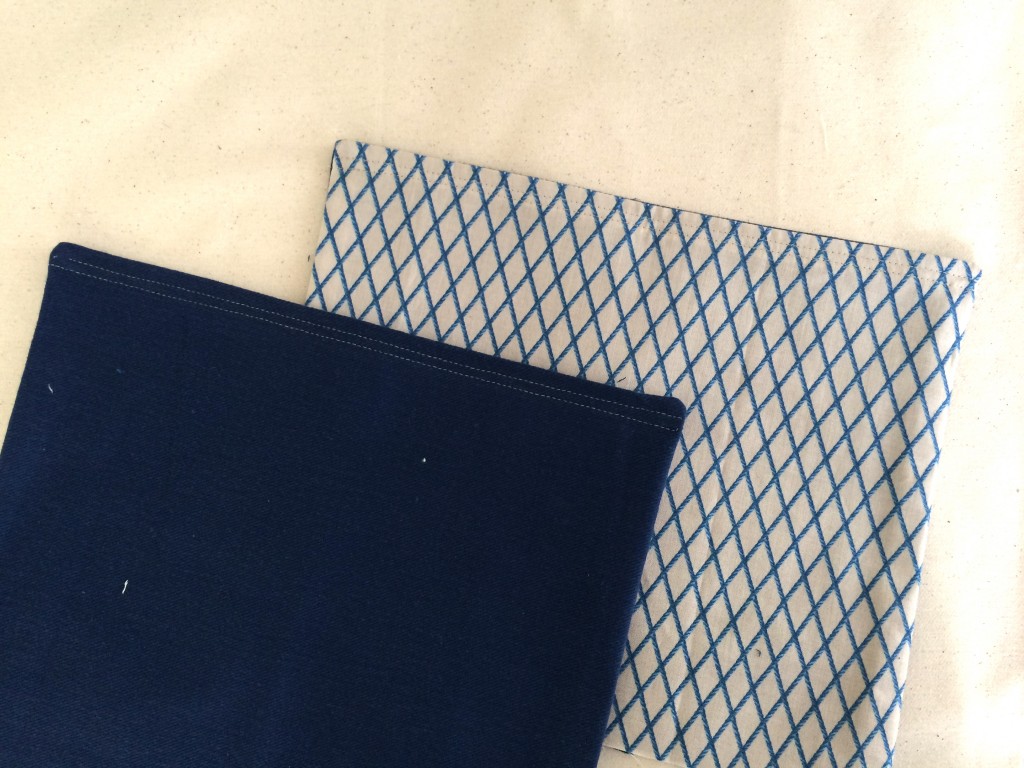
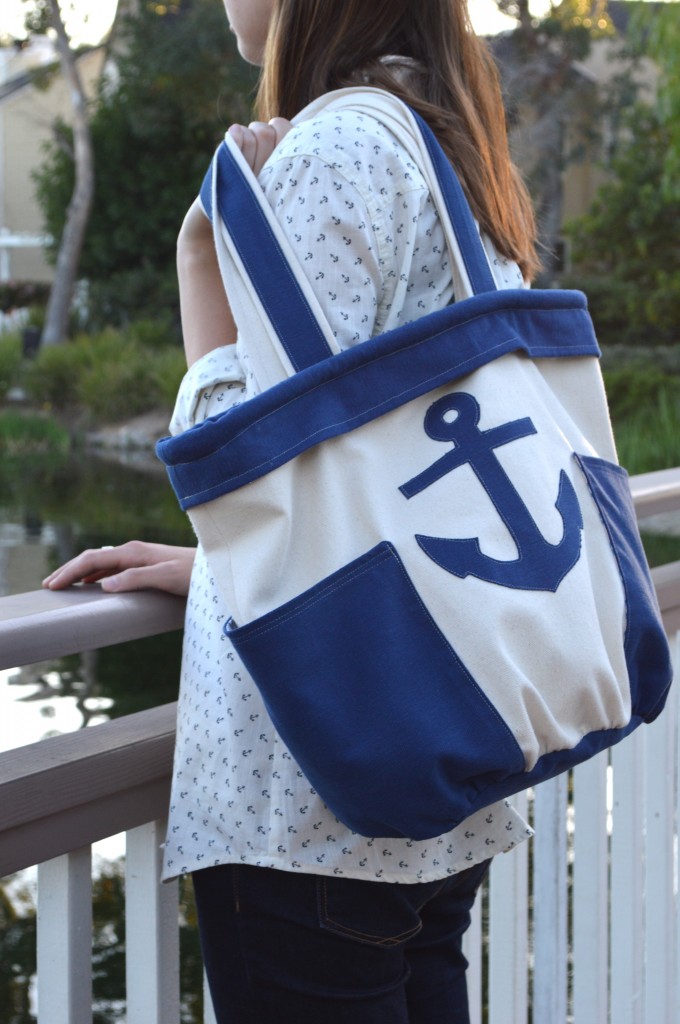
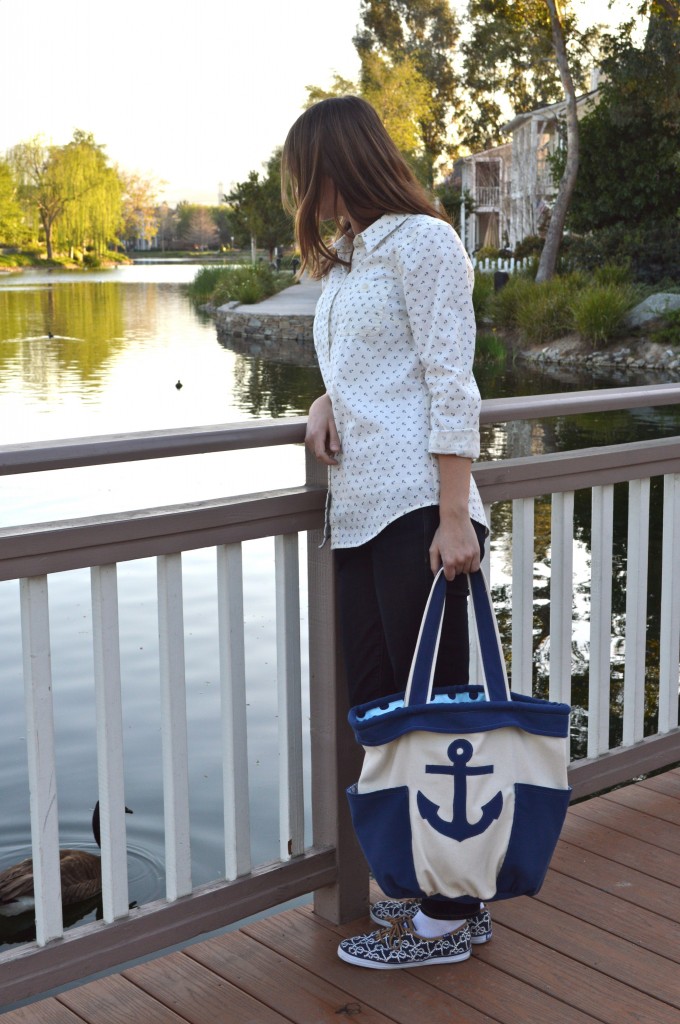
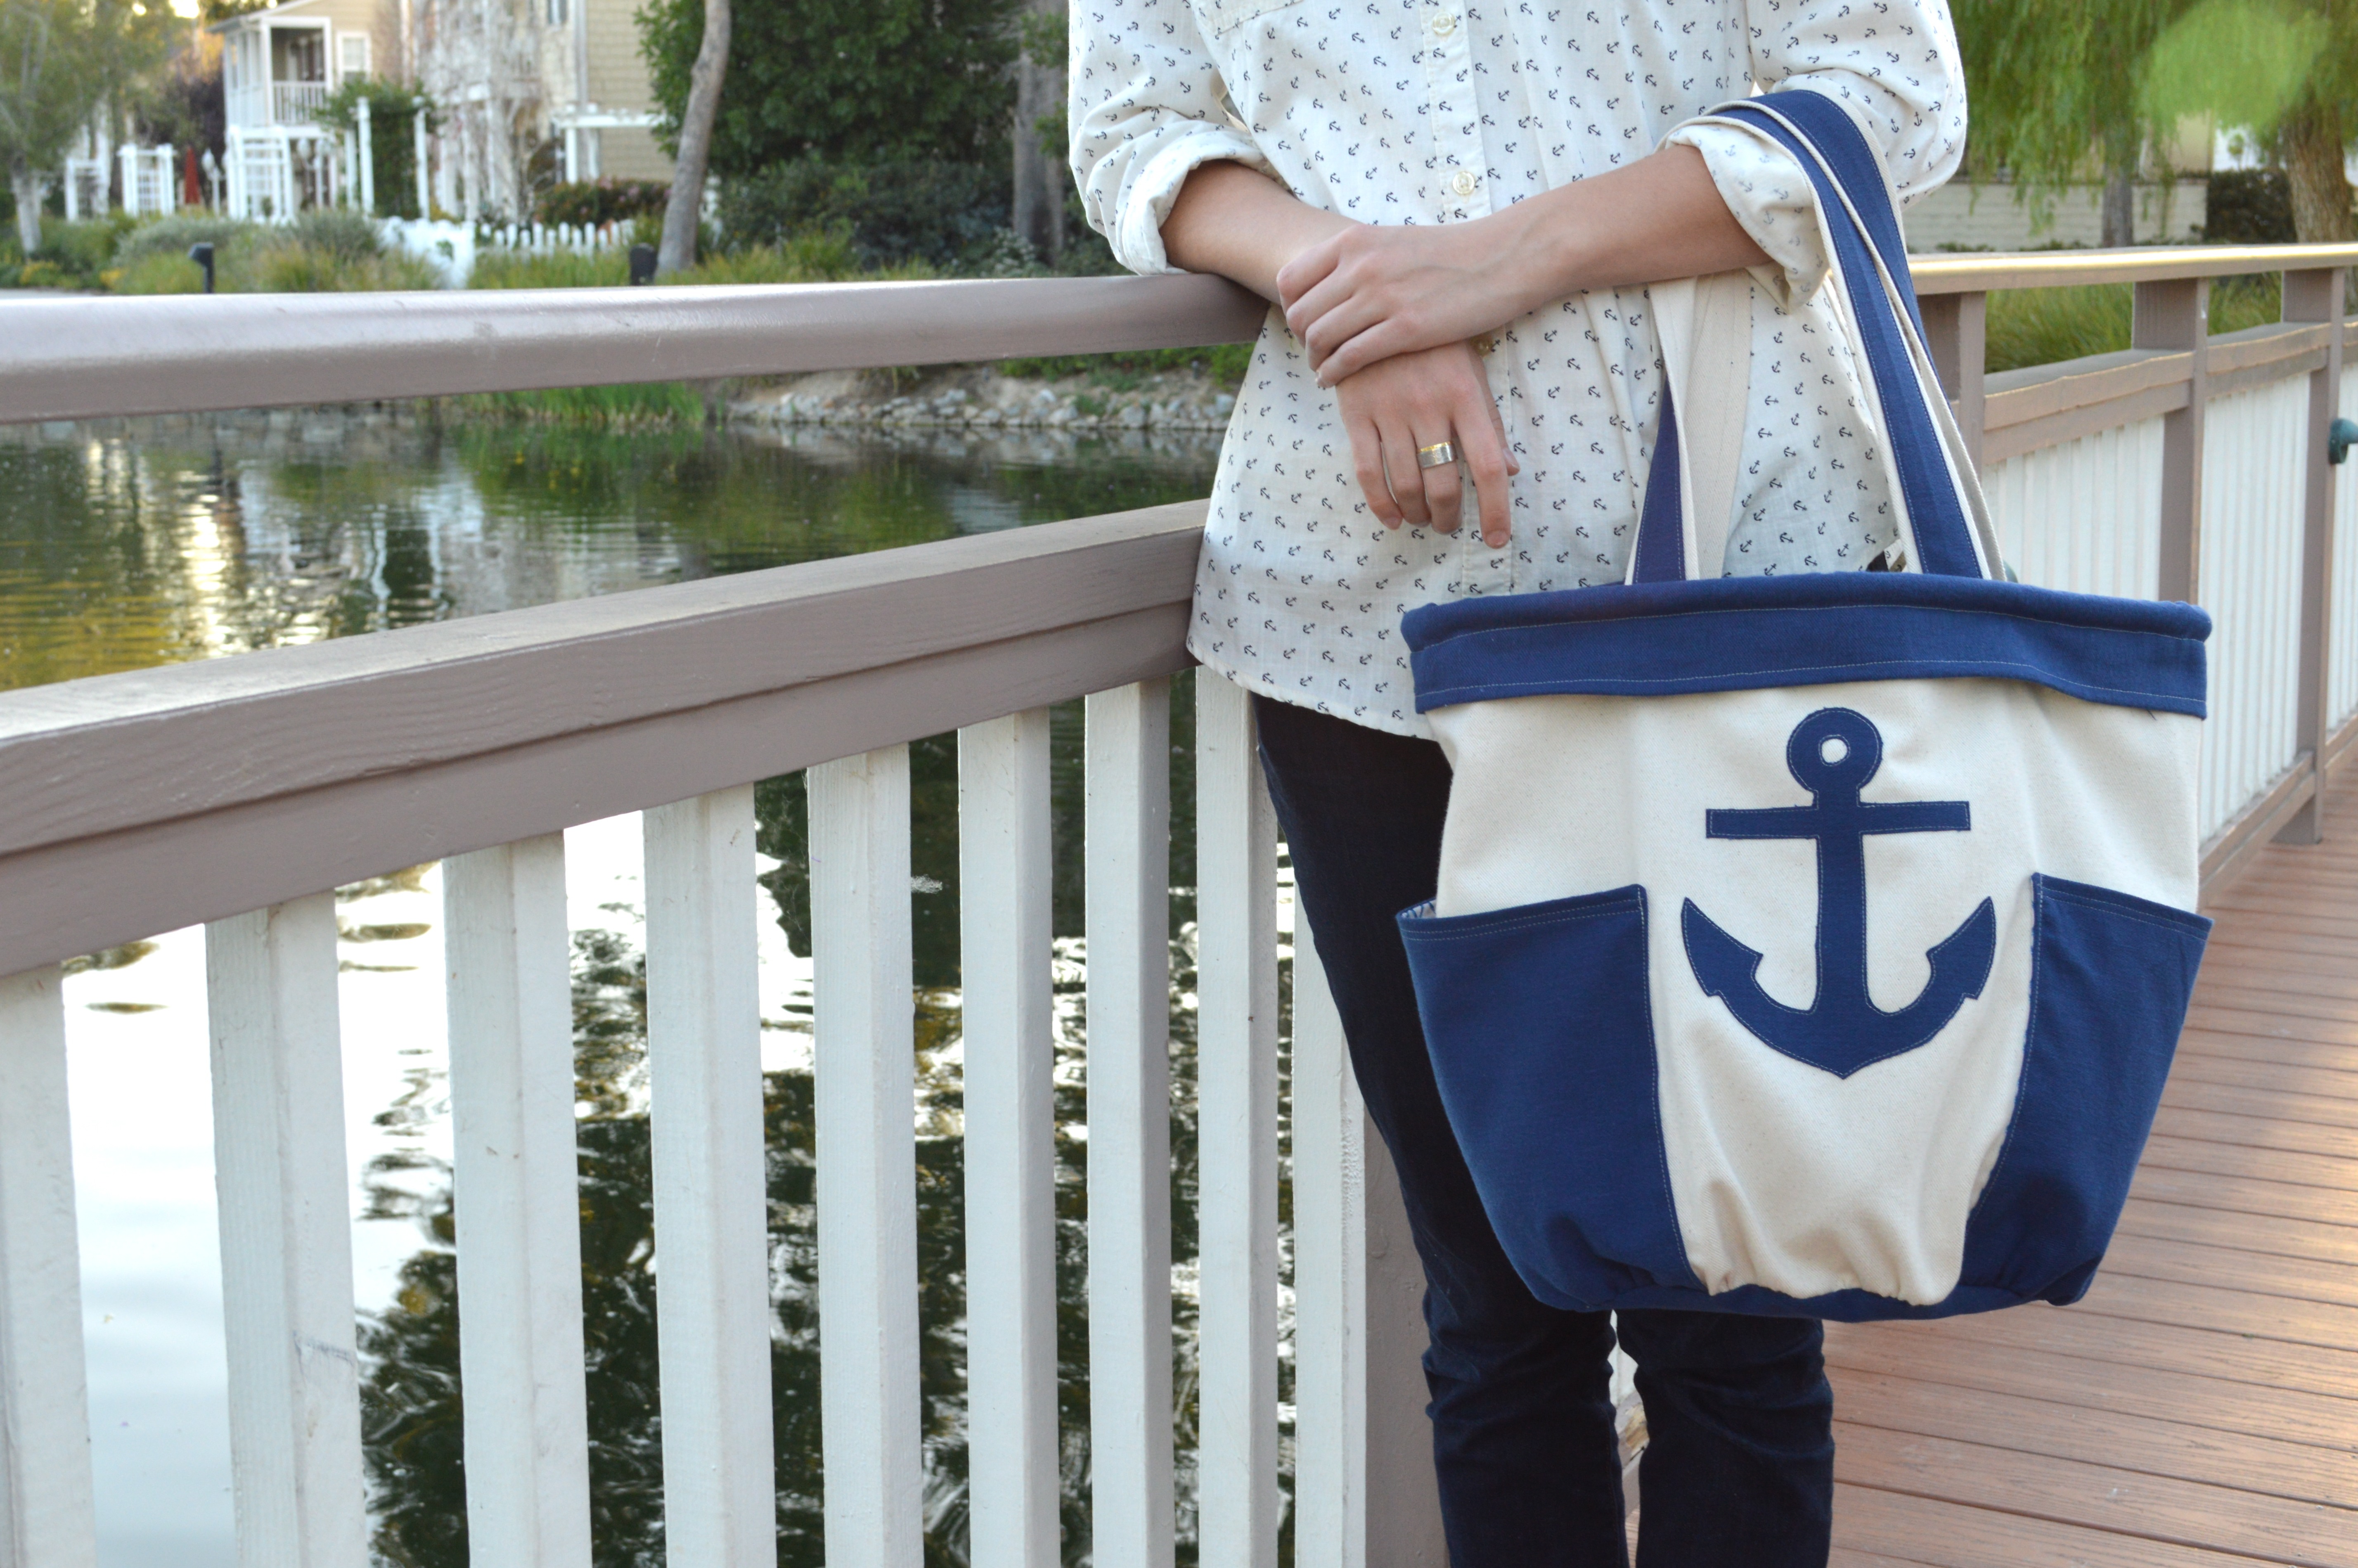
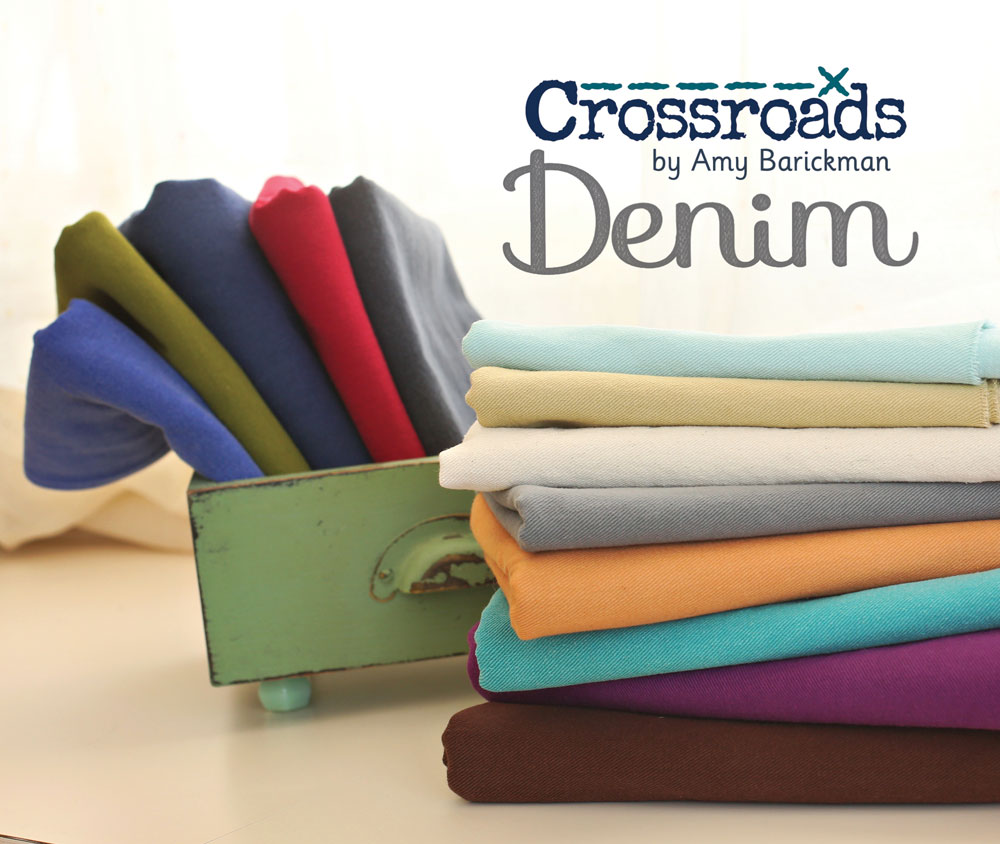 Scroll down to see a complete list of all the fabulous bloggers making wonderful projects with this soft & cozy denim. I have loved getting my hands the Crossroads denim and can’t wait to make a skirt, zipper pouch, and throw pillow next! It is the softest denim I have ever sewn with and it comes in so many wonderful colors! The possibilities are endless! When I met The Brooklyn Bag pattern I knew I wanted to give it a little Nautical flair – I am obsessed with all things Nautical if you haven’t noticed 🙂
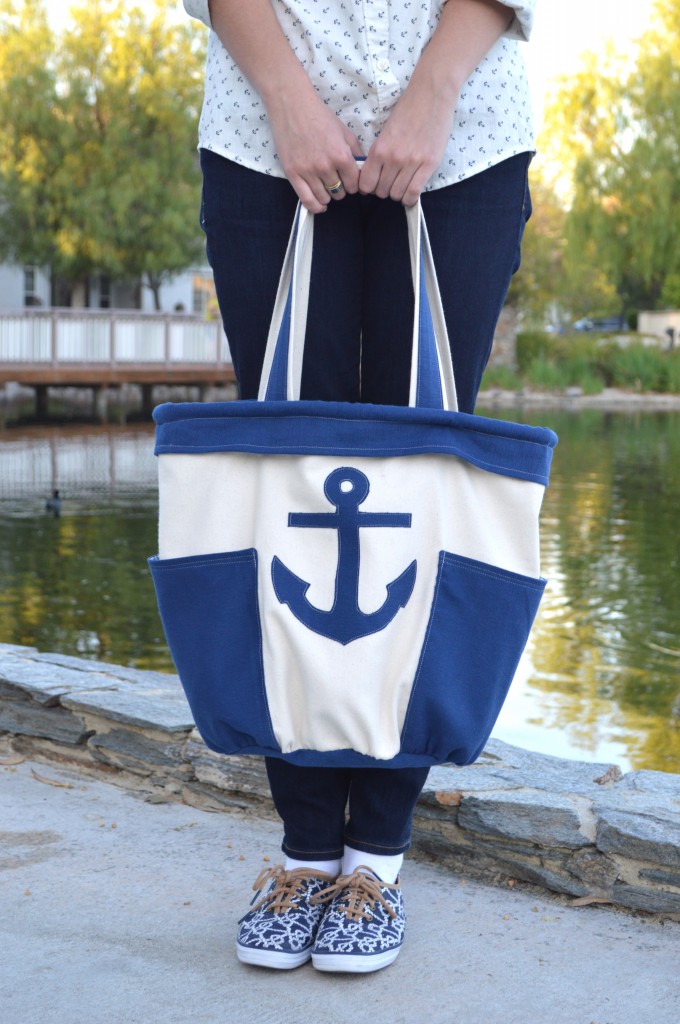


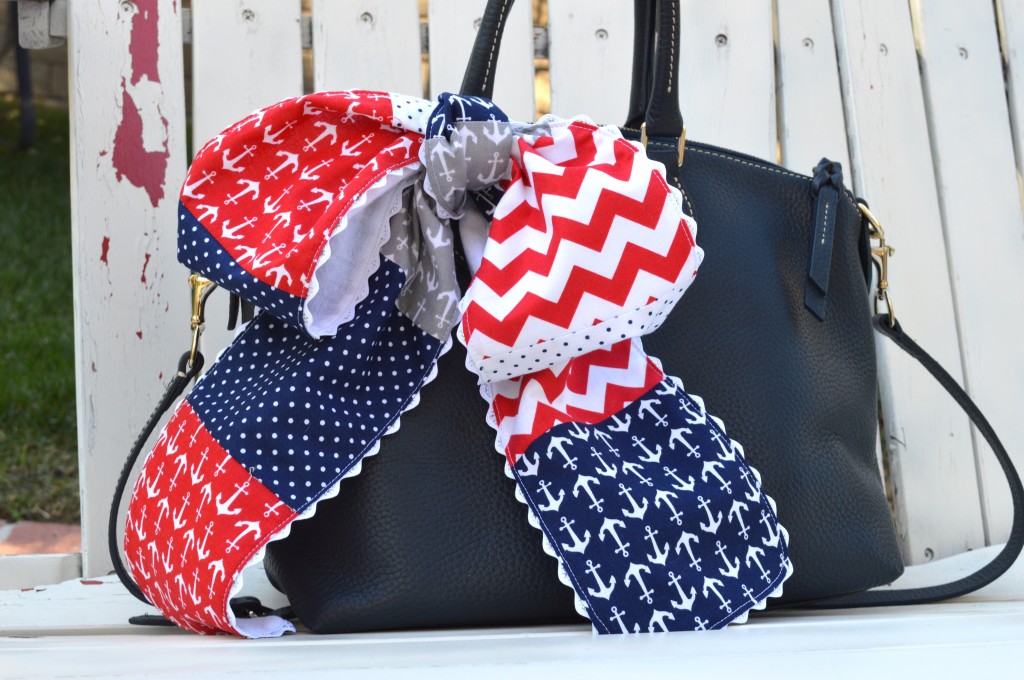
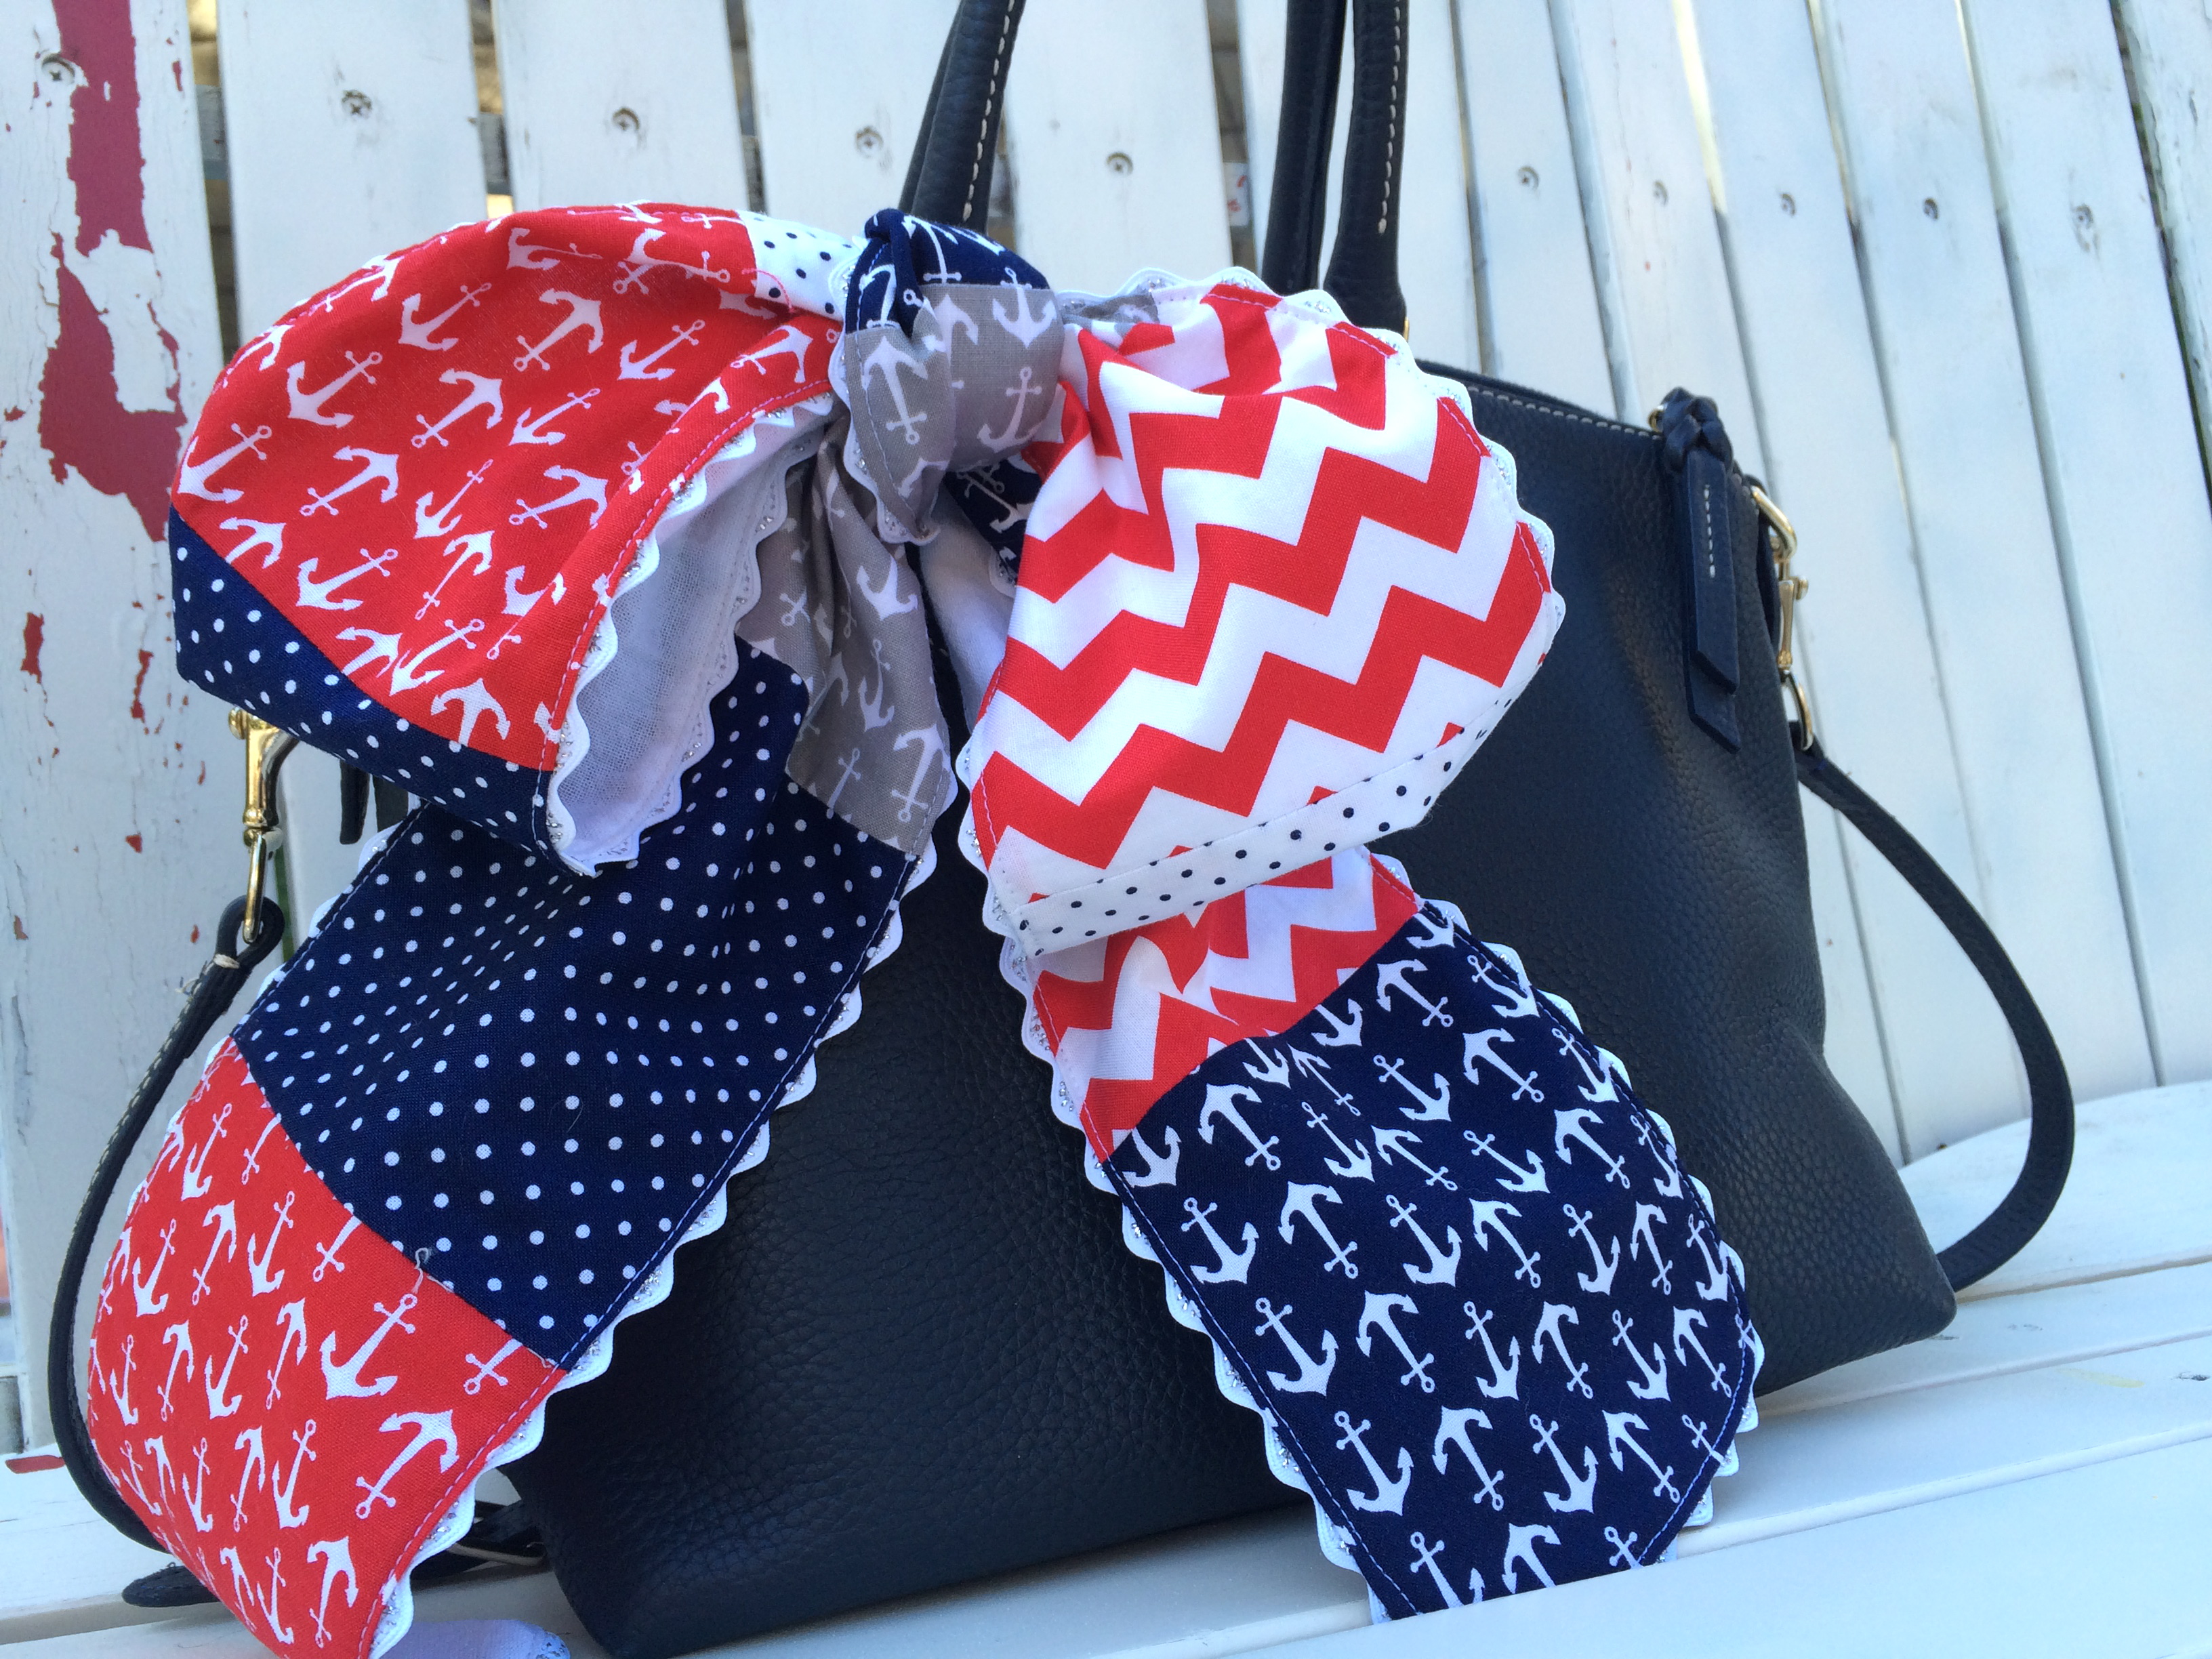
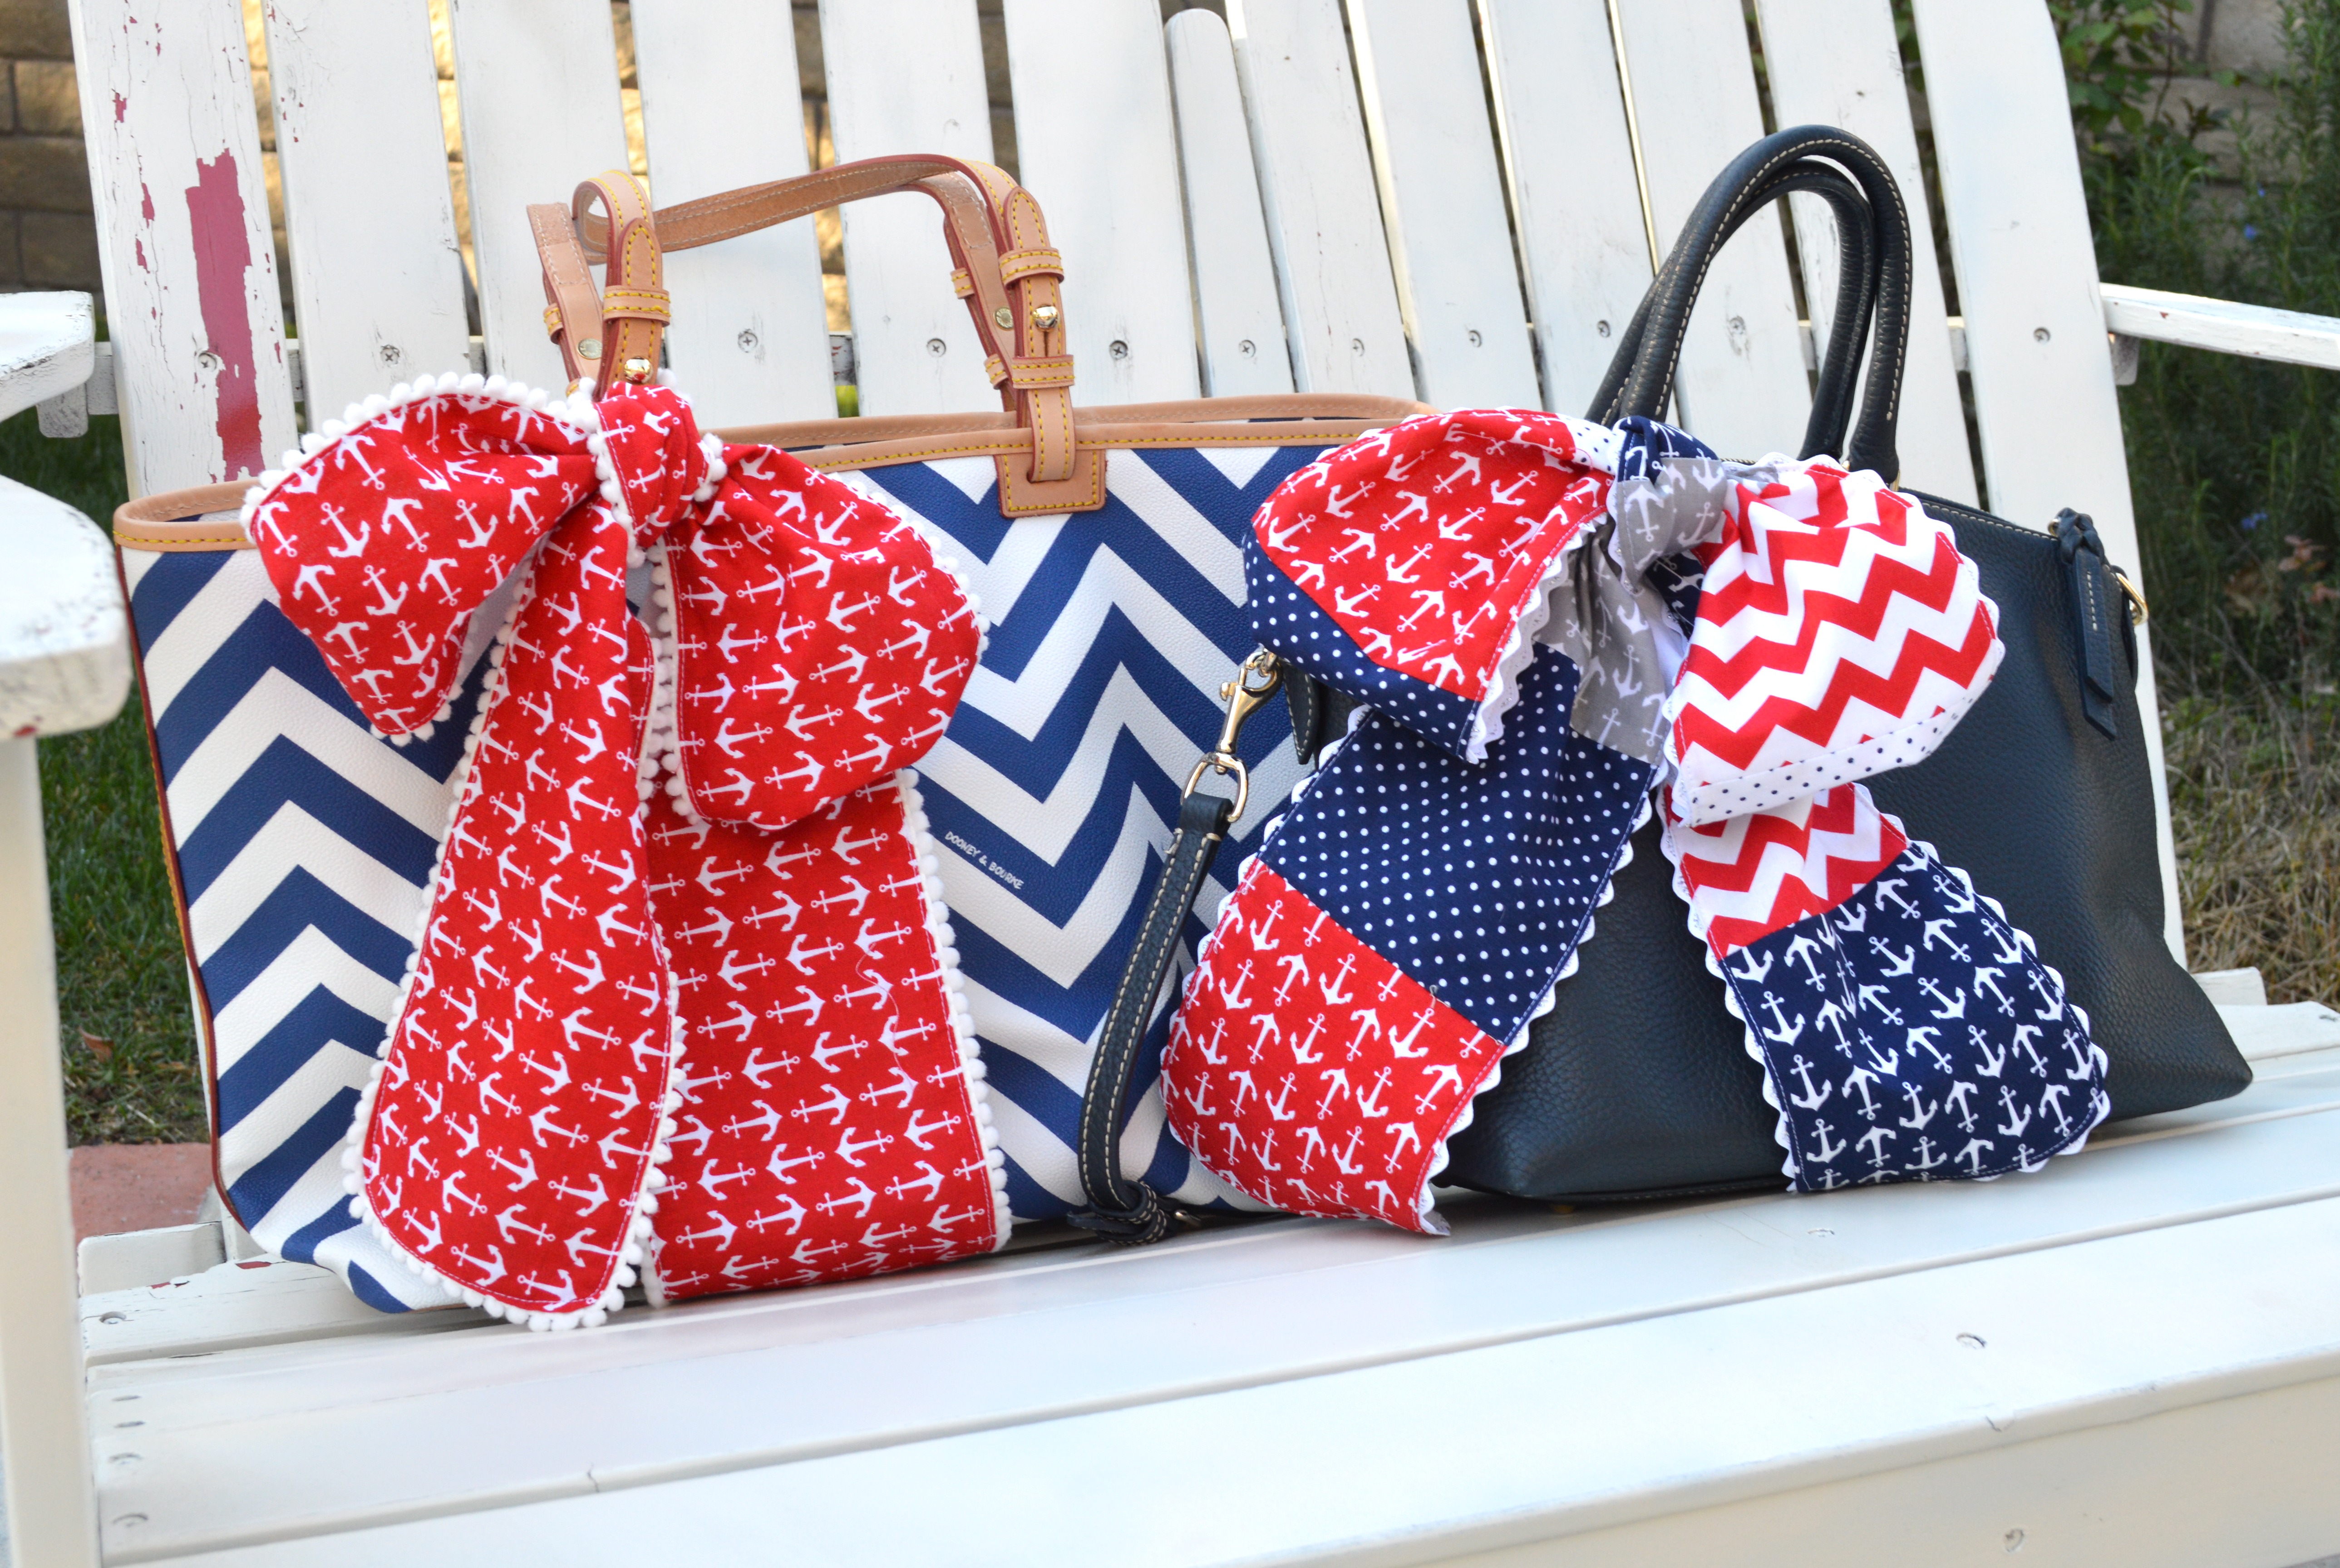
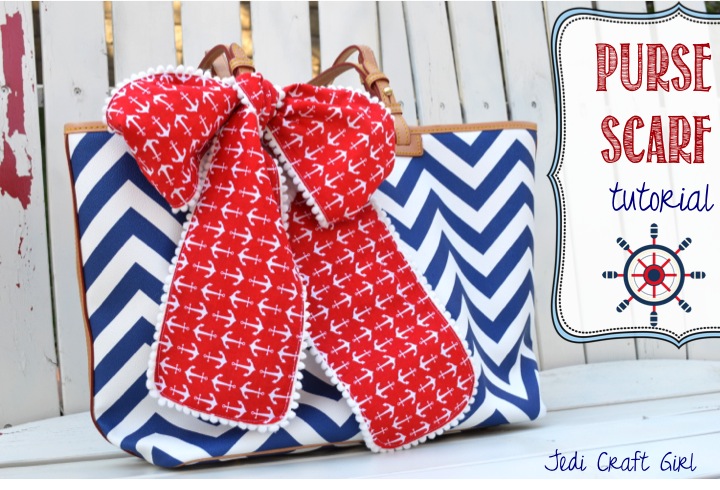
I think Nautical Week turned into Nautical Life! I guess there are many more Nautical-inspired projects to come! I love wearing scarves on my purses, I should first say I love buying purses!! Sometimes the scarves you buy are too bulky for a purse handle. I wanted to add a little “home sewn” feel to my handbag so I came up with these scarves. They can easily be sewn in under 30 minutes which means you can make as many as you want to coordinate with your look or the season, or in my case, obsession 🙂 I love these basics from Riley Blake Designs.
Supplies:
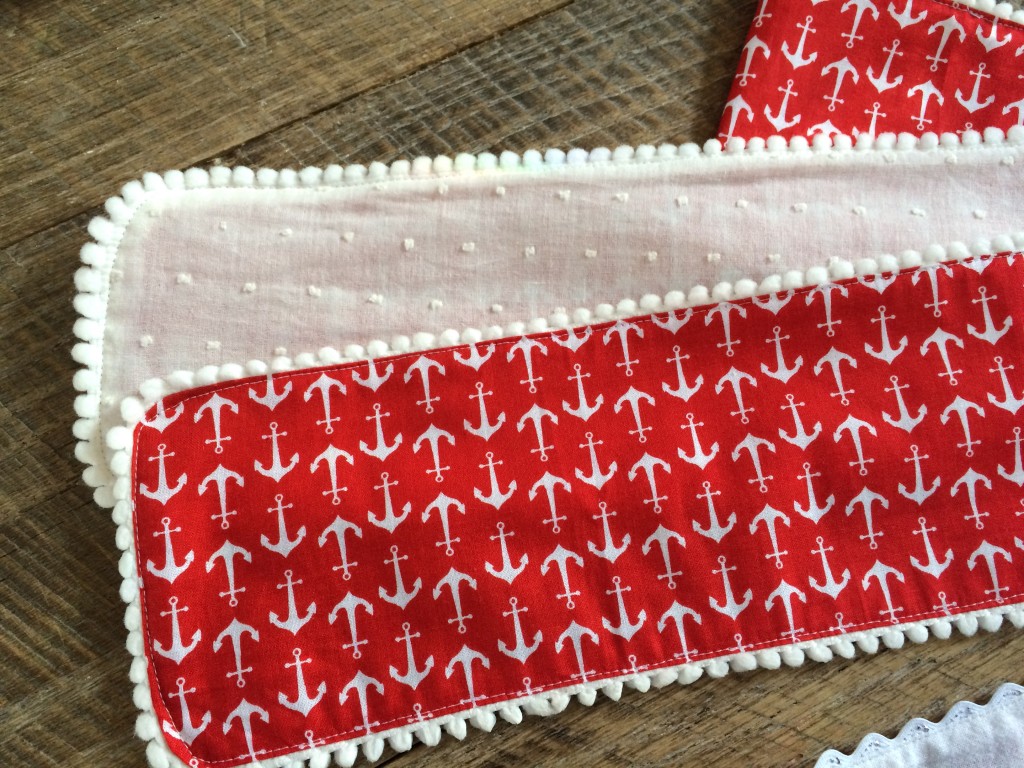
(13) 5″ squares for patchwork scarf
5″ x 60″ light weight fabric such as gauze, raised swiss dot, etc
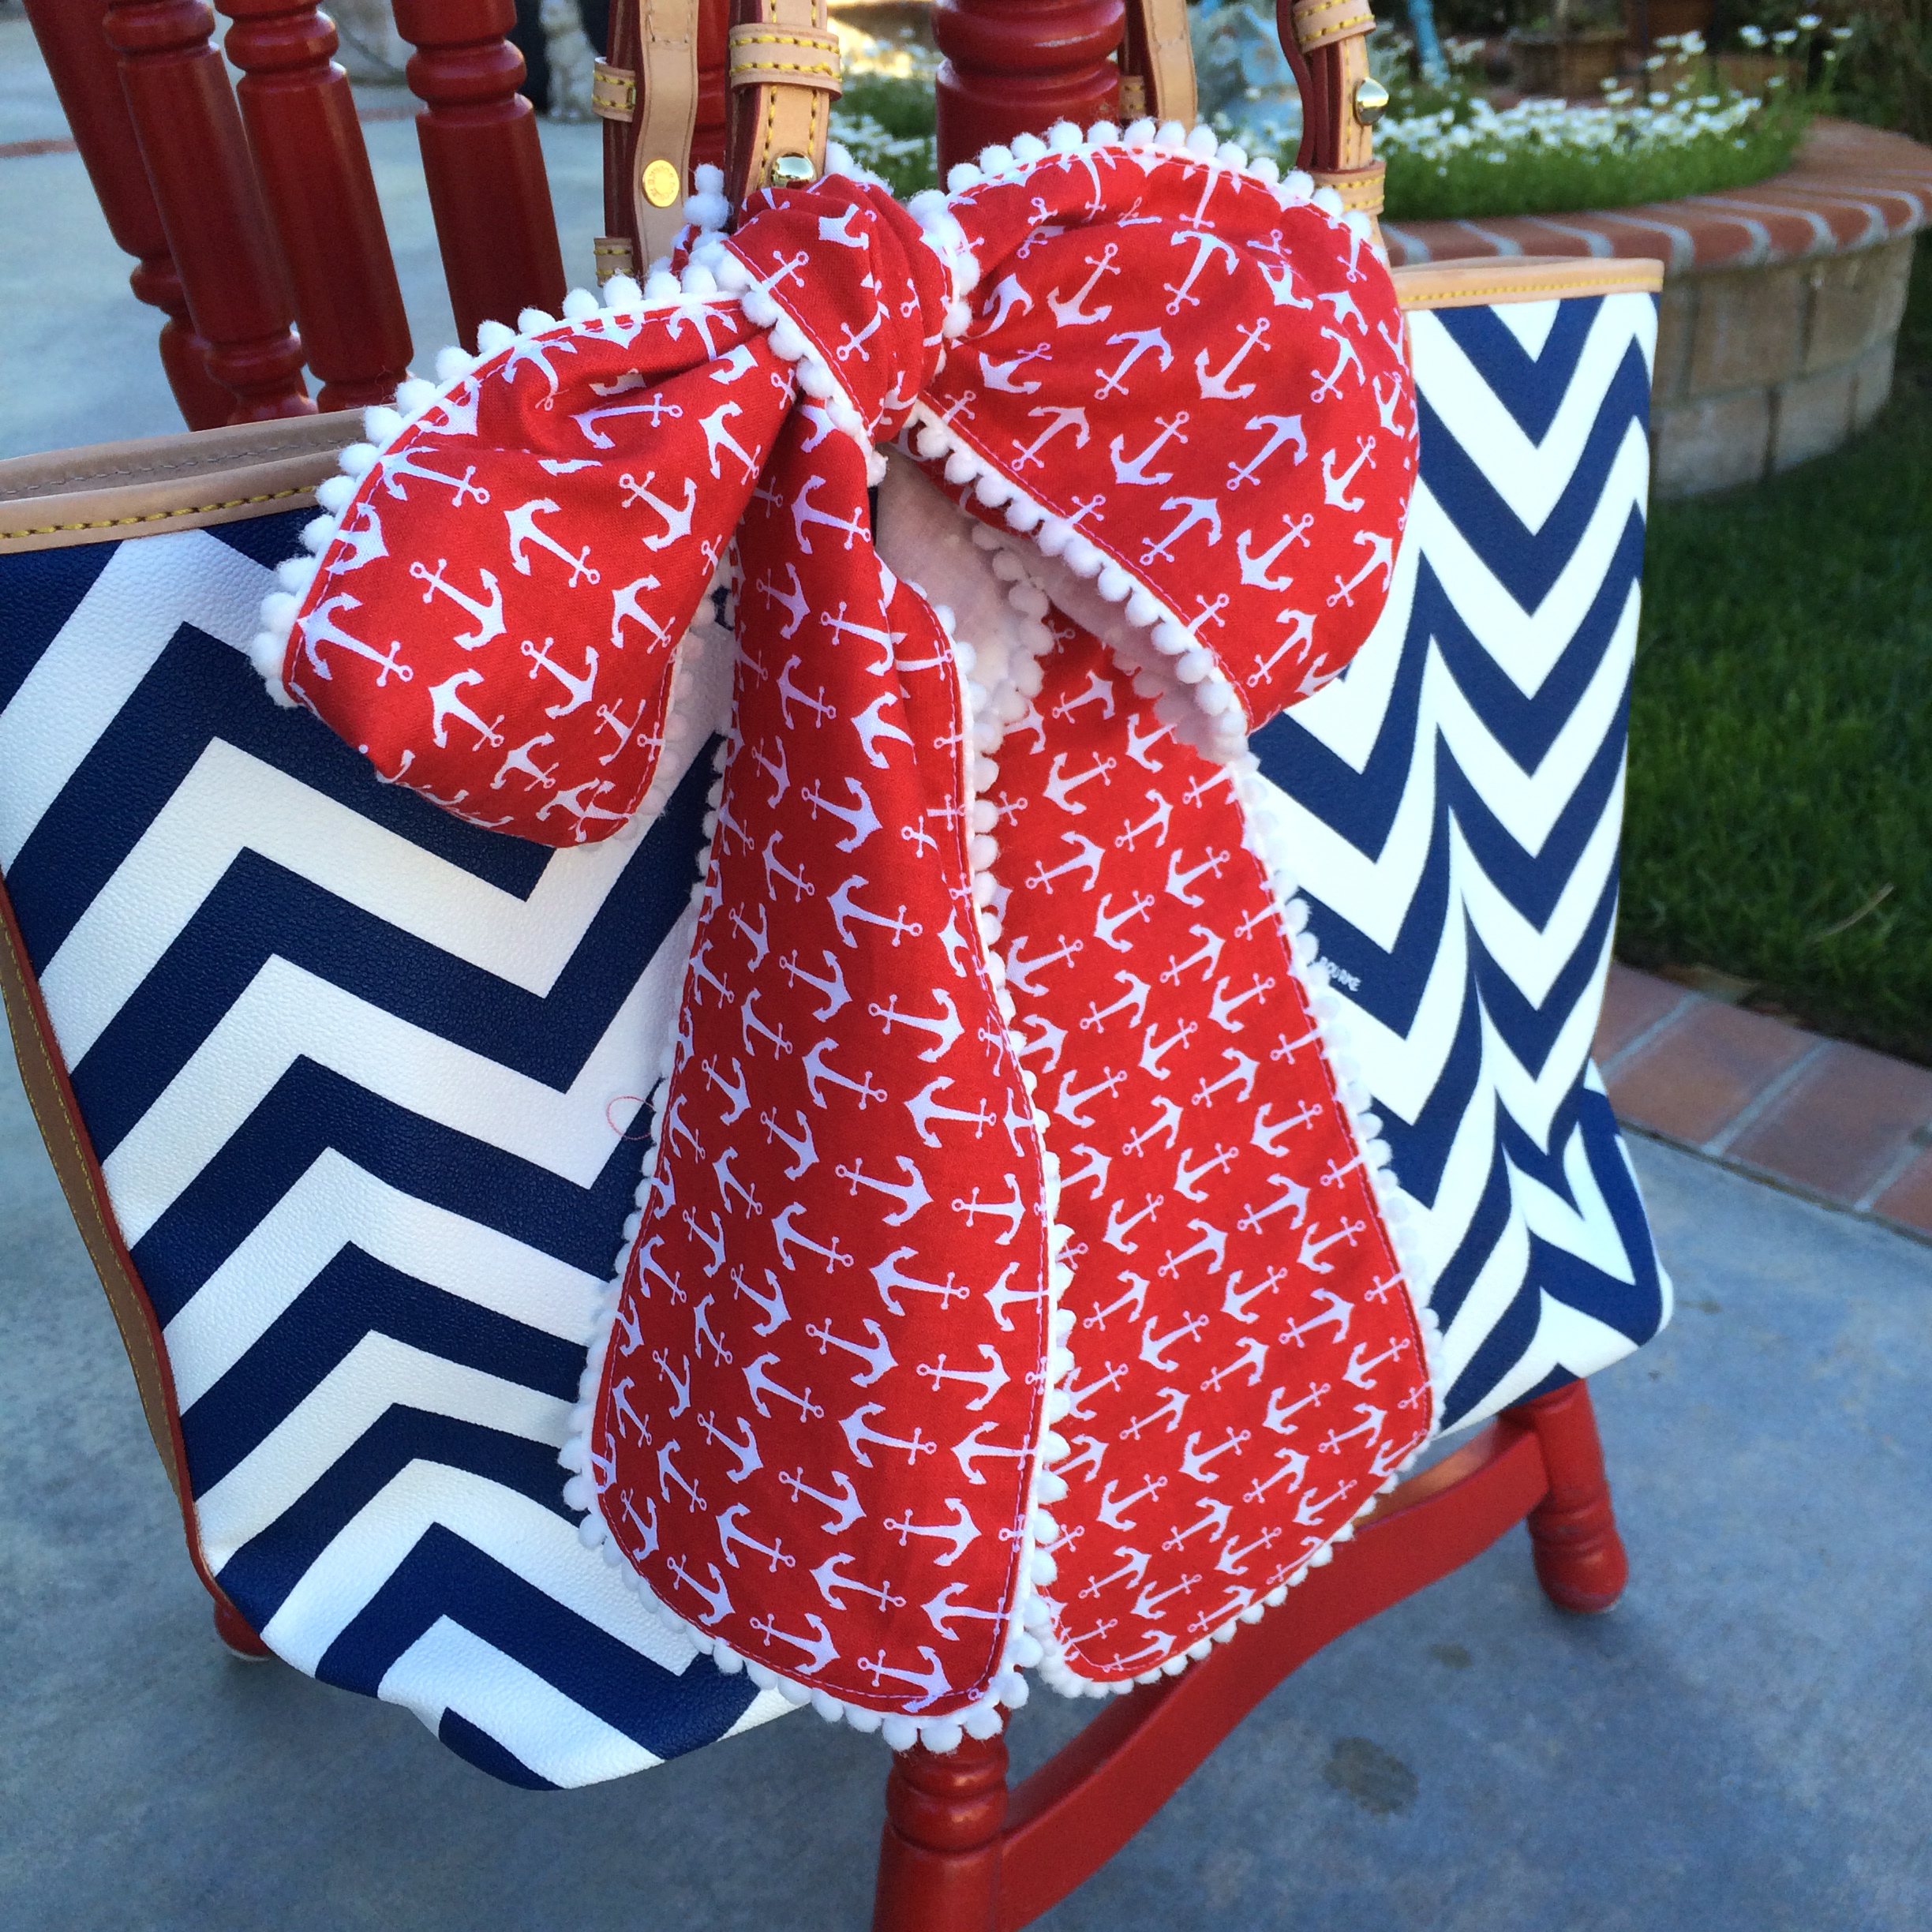
(2) 5″ x WOF for solid scarf
4 yards trim, I used small pom pom and ric rac
Begin by cutting (13) 5″ squares
Sew them end to end with 1/4″ seams and press seams to one side. Consider placement. If you are making the solid scarf, sew the (2) 5″ strips together and cut to make 60″ in length. Center the seam in the center so it does not show up on the bow. Bast the trim around the edge. Place right sides together and sew along the basting stitch. Leave an opening in the center of the scarf about 3″ for turning. I curved the corners slightly. Turn right side out and press.
Top stitch all the way around. This will close the opening.
Tie on your favorite bag!!!
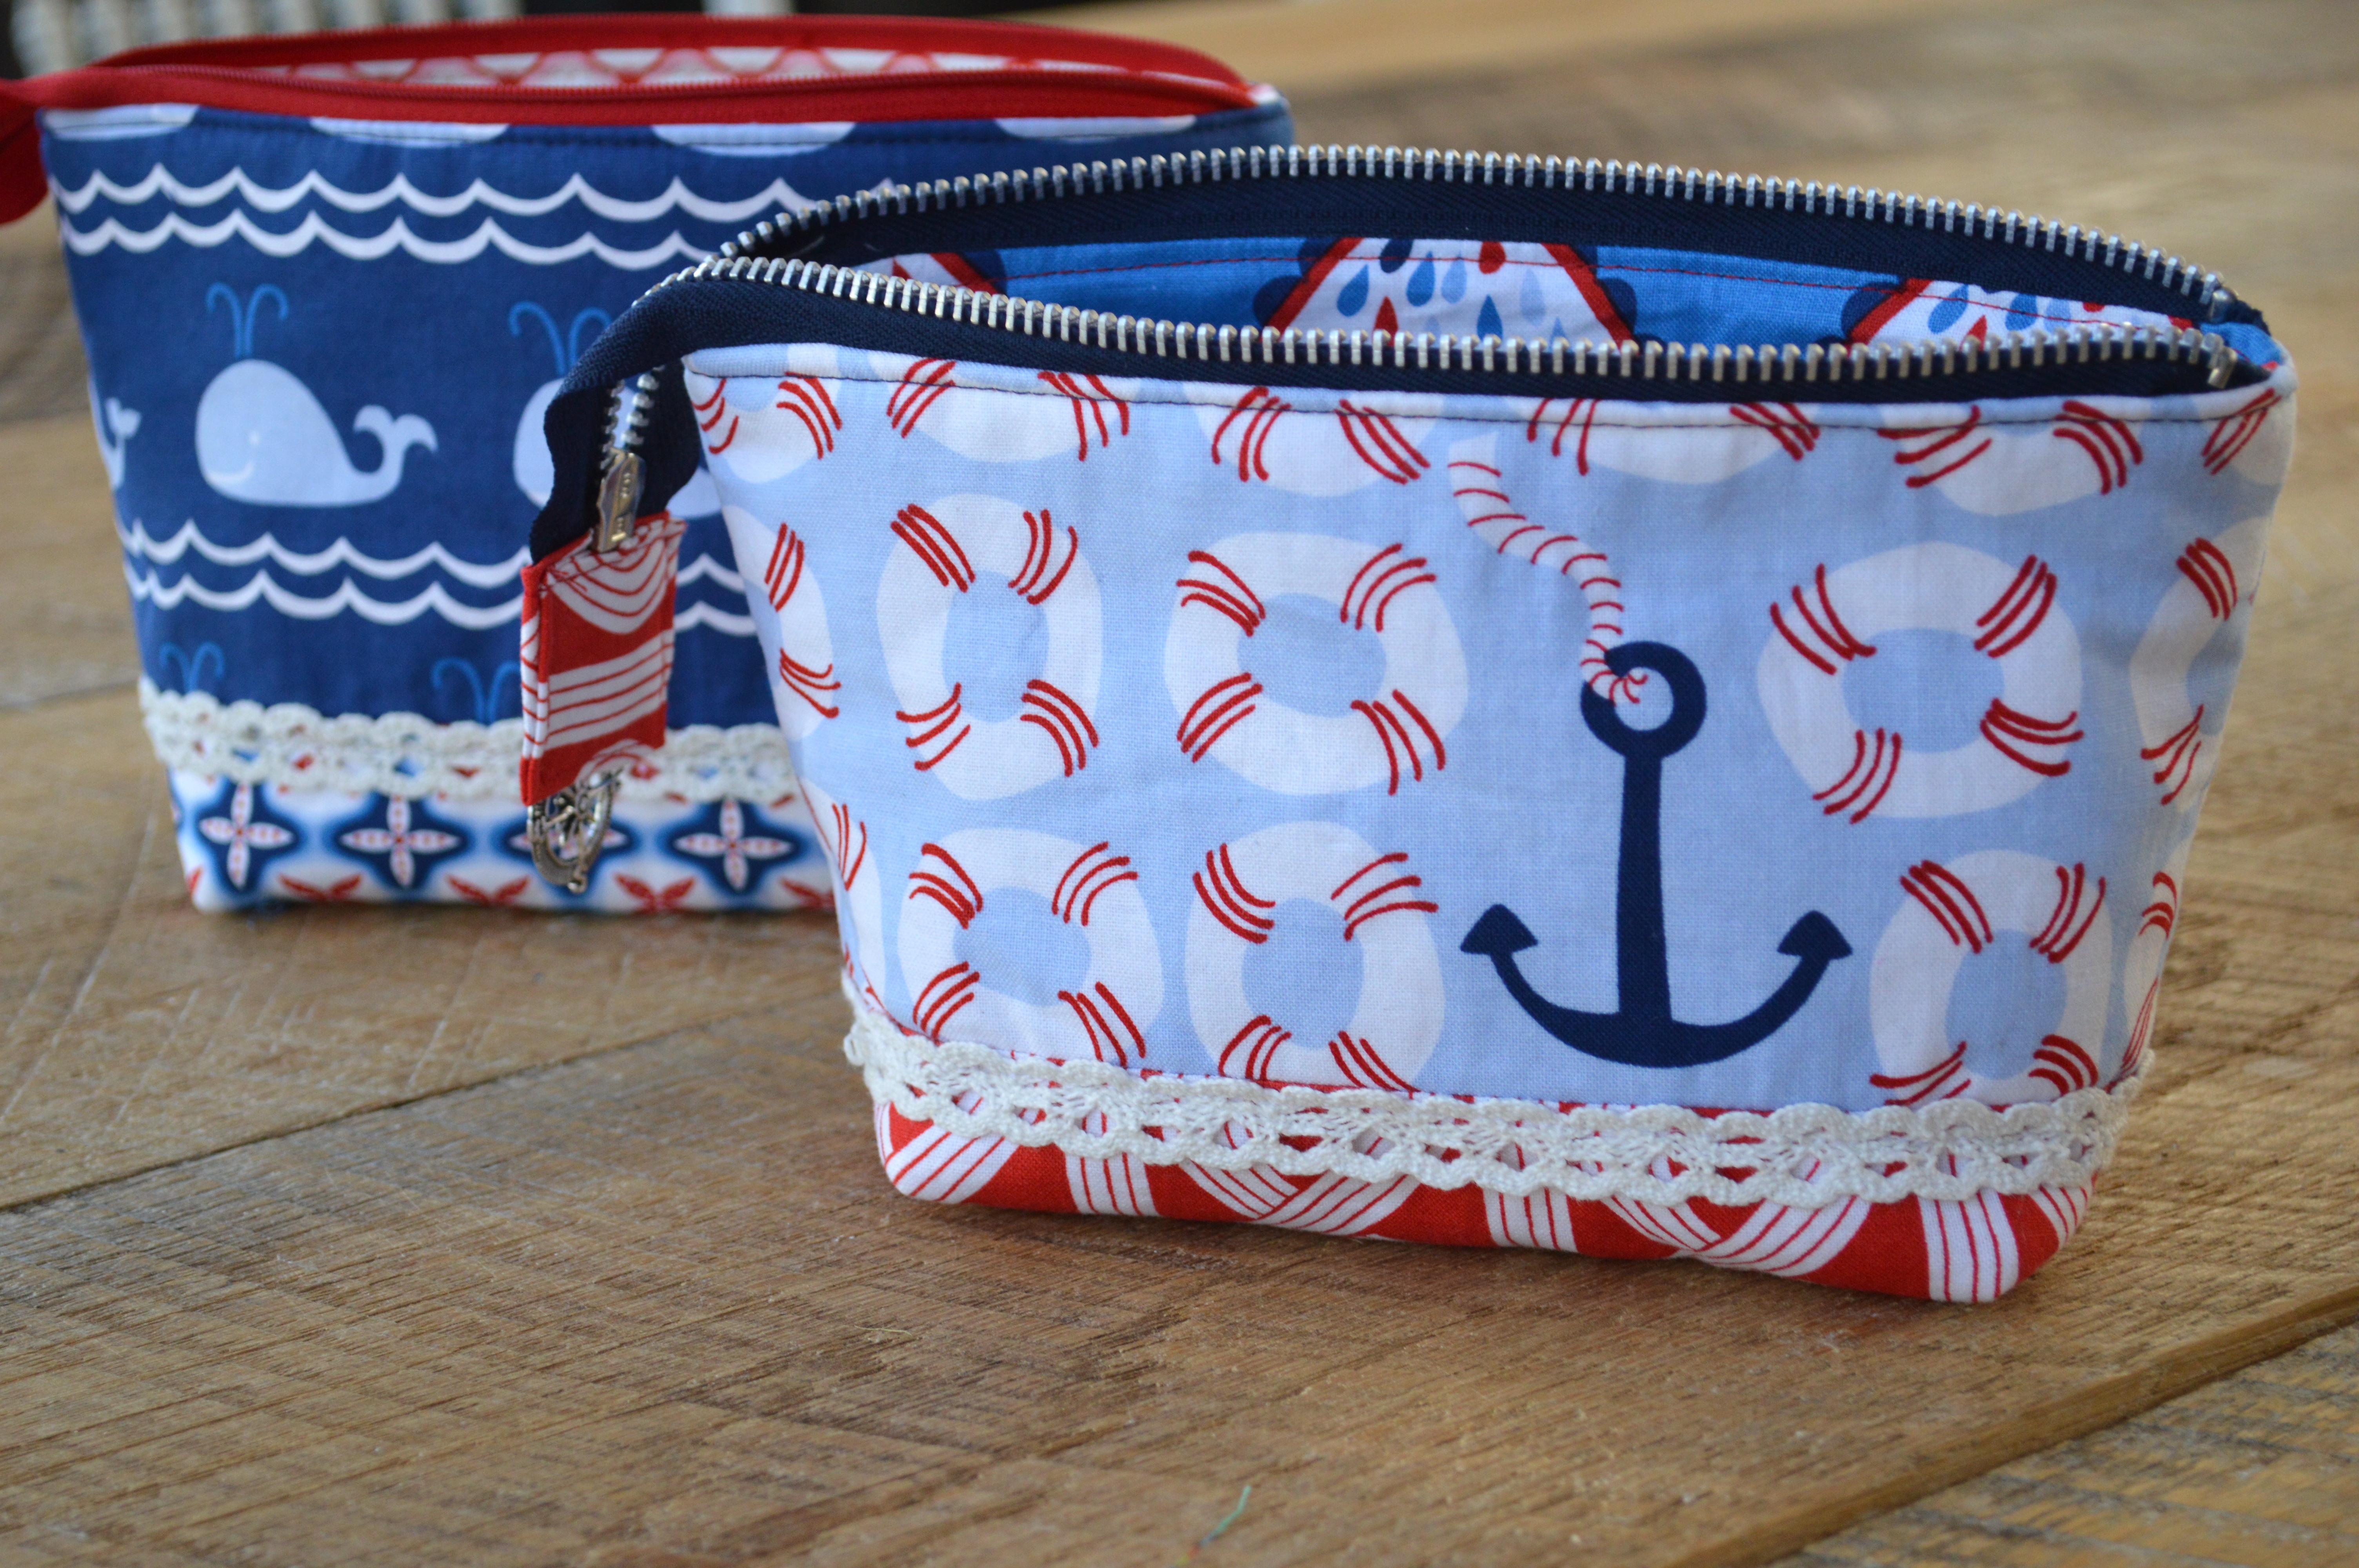
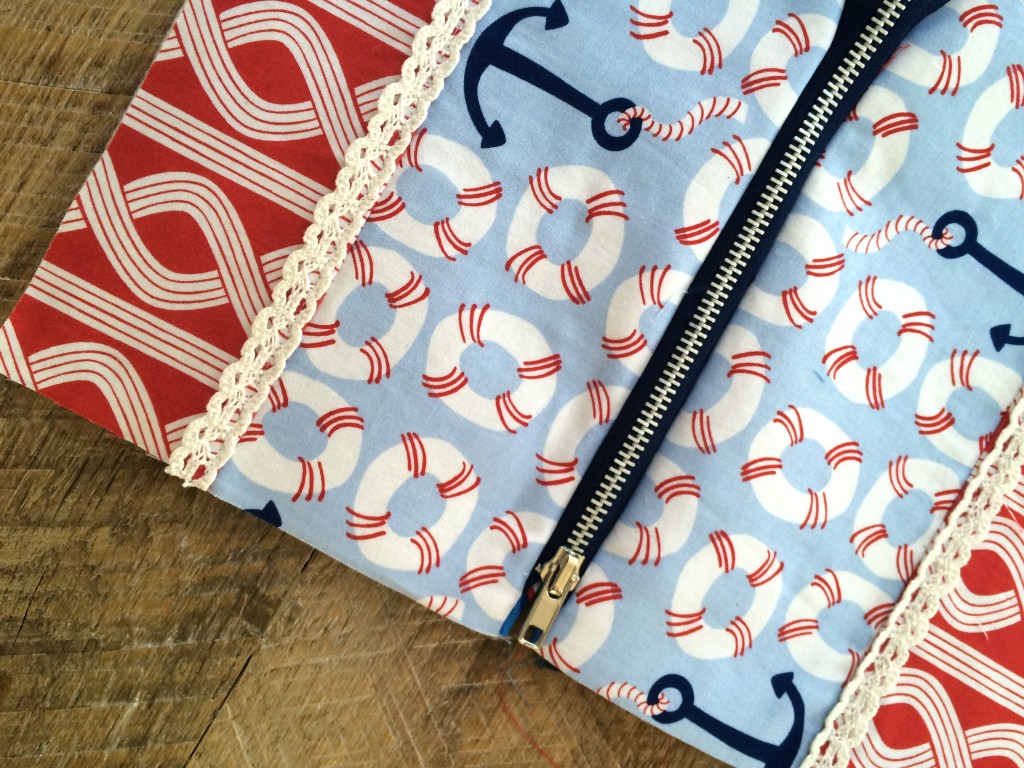
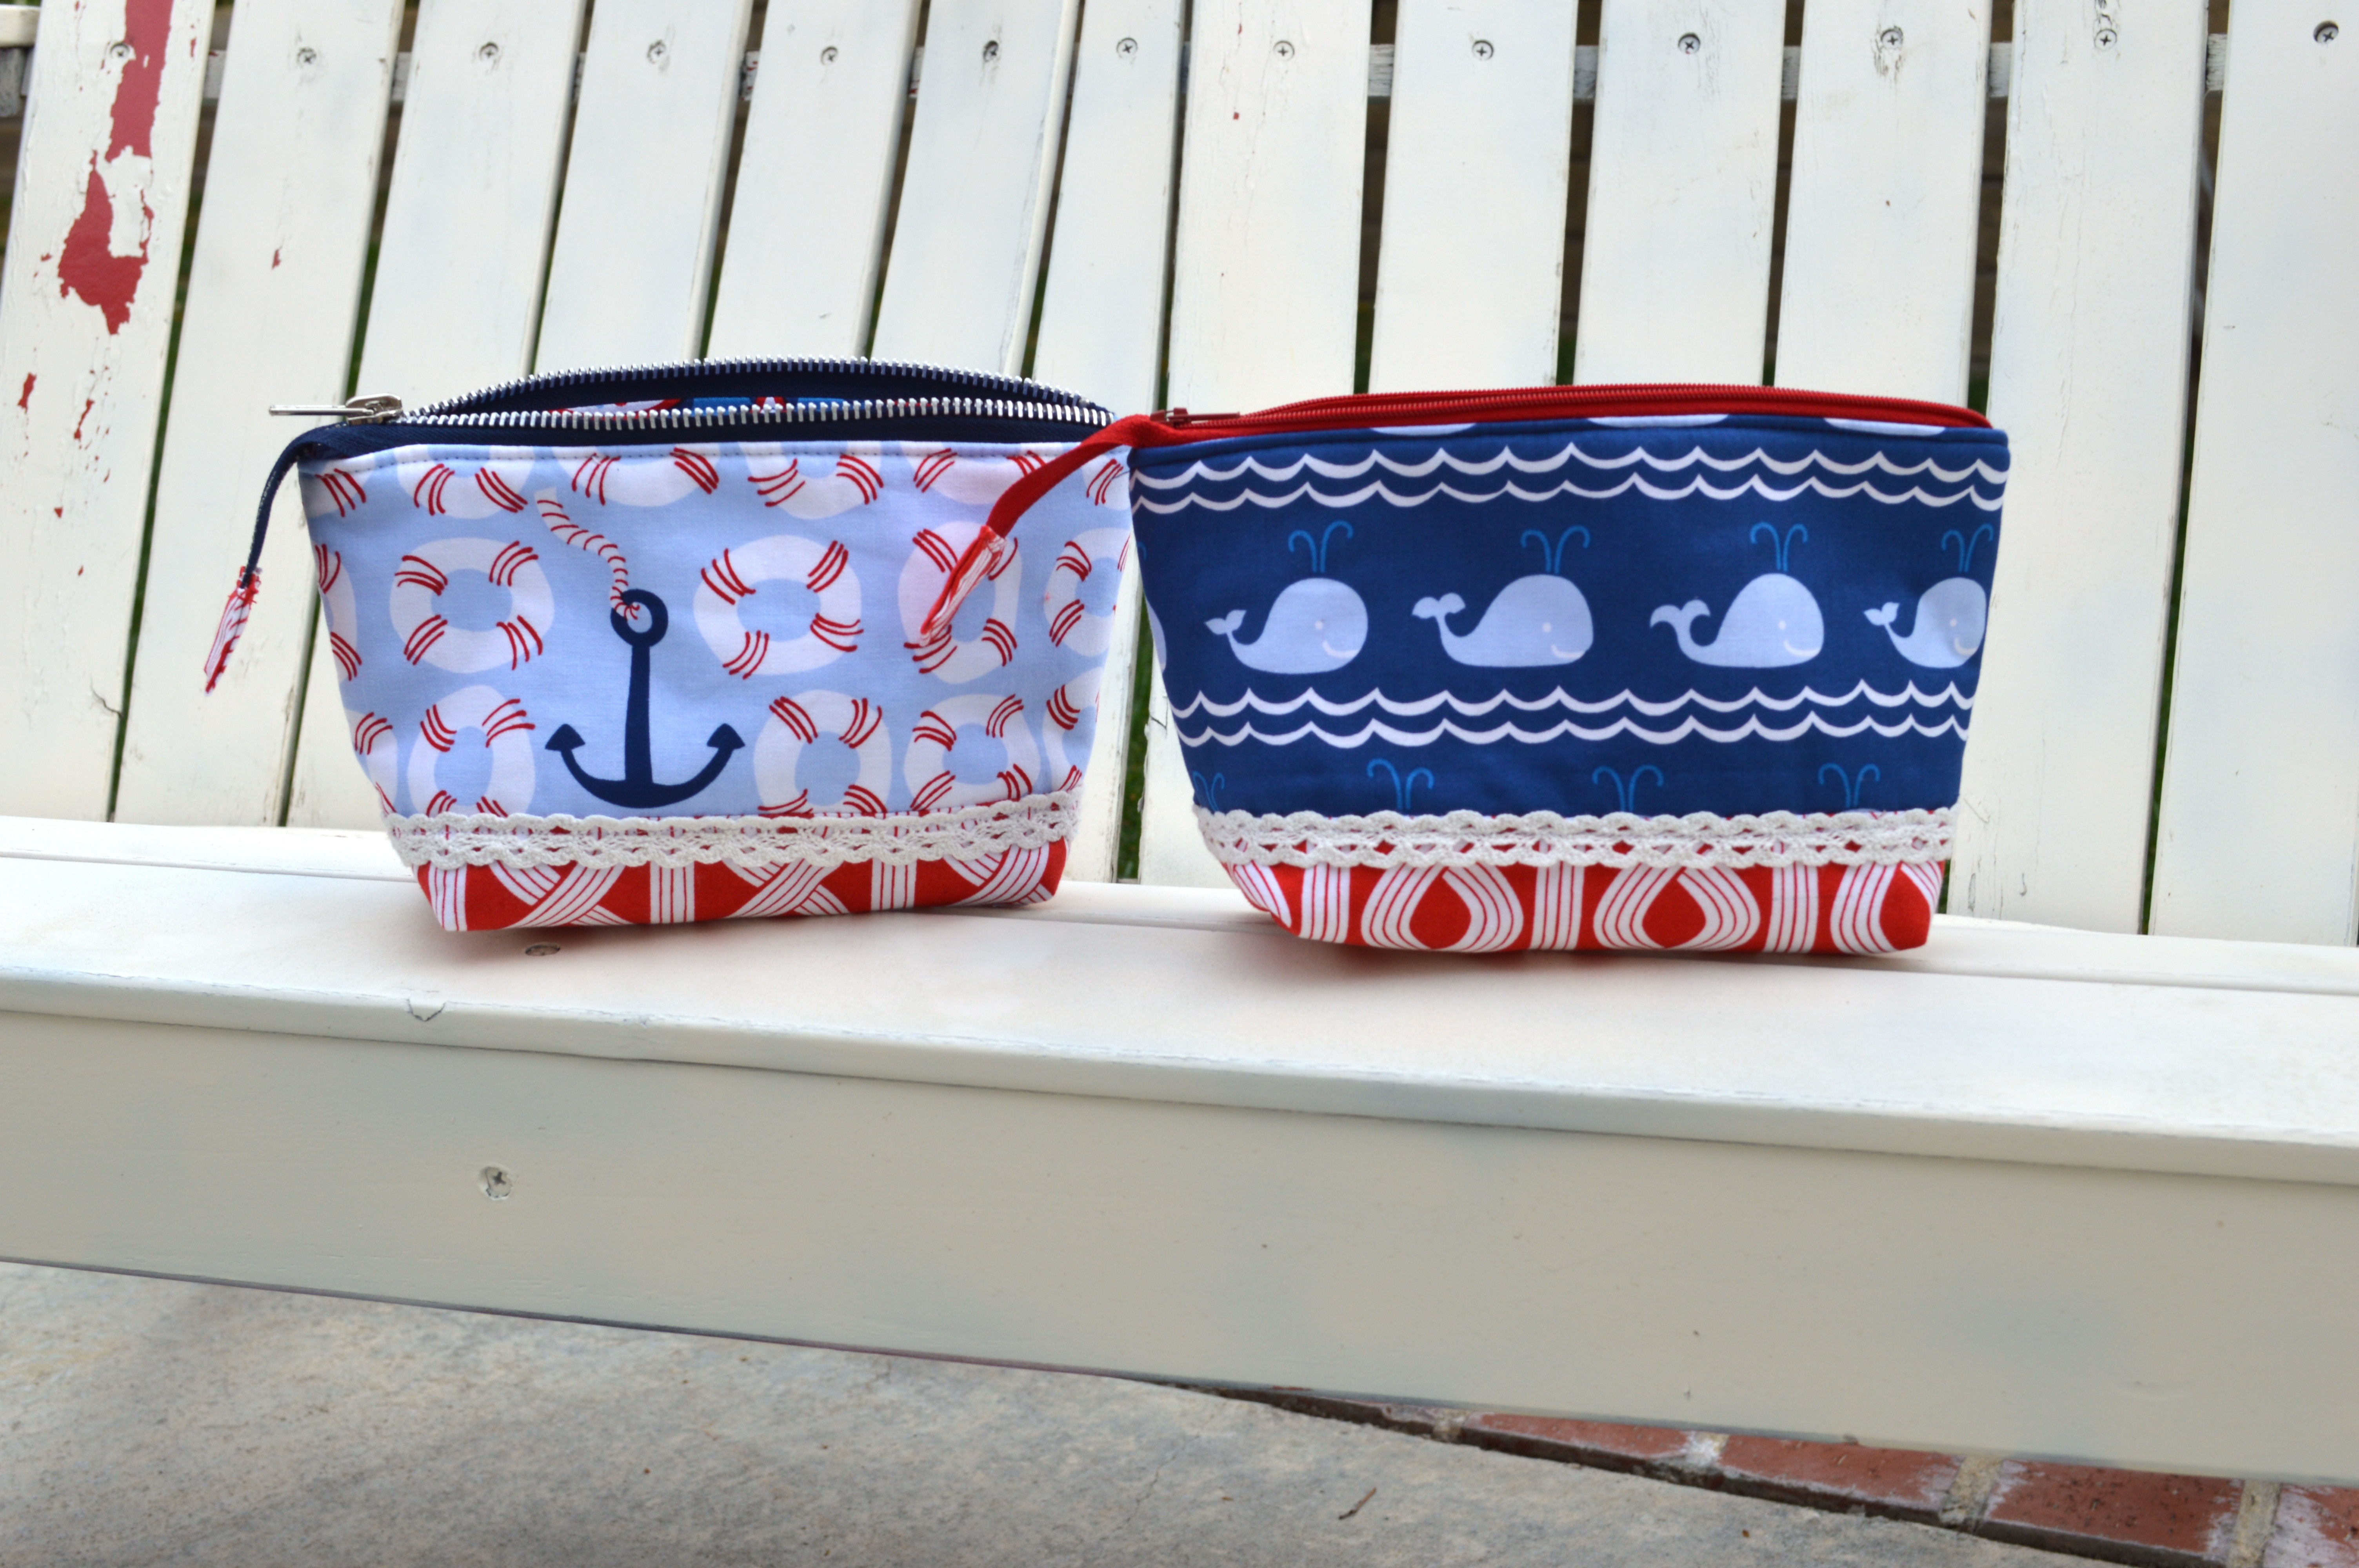
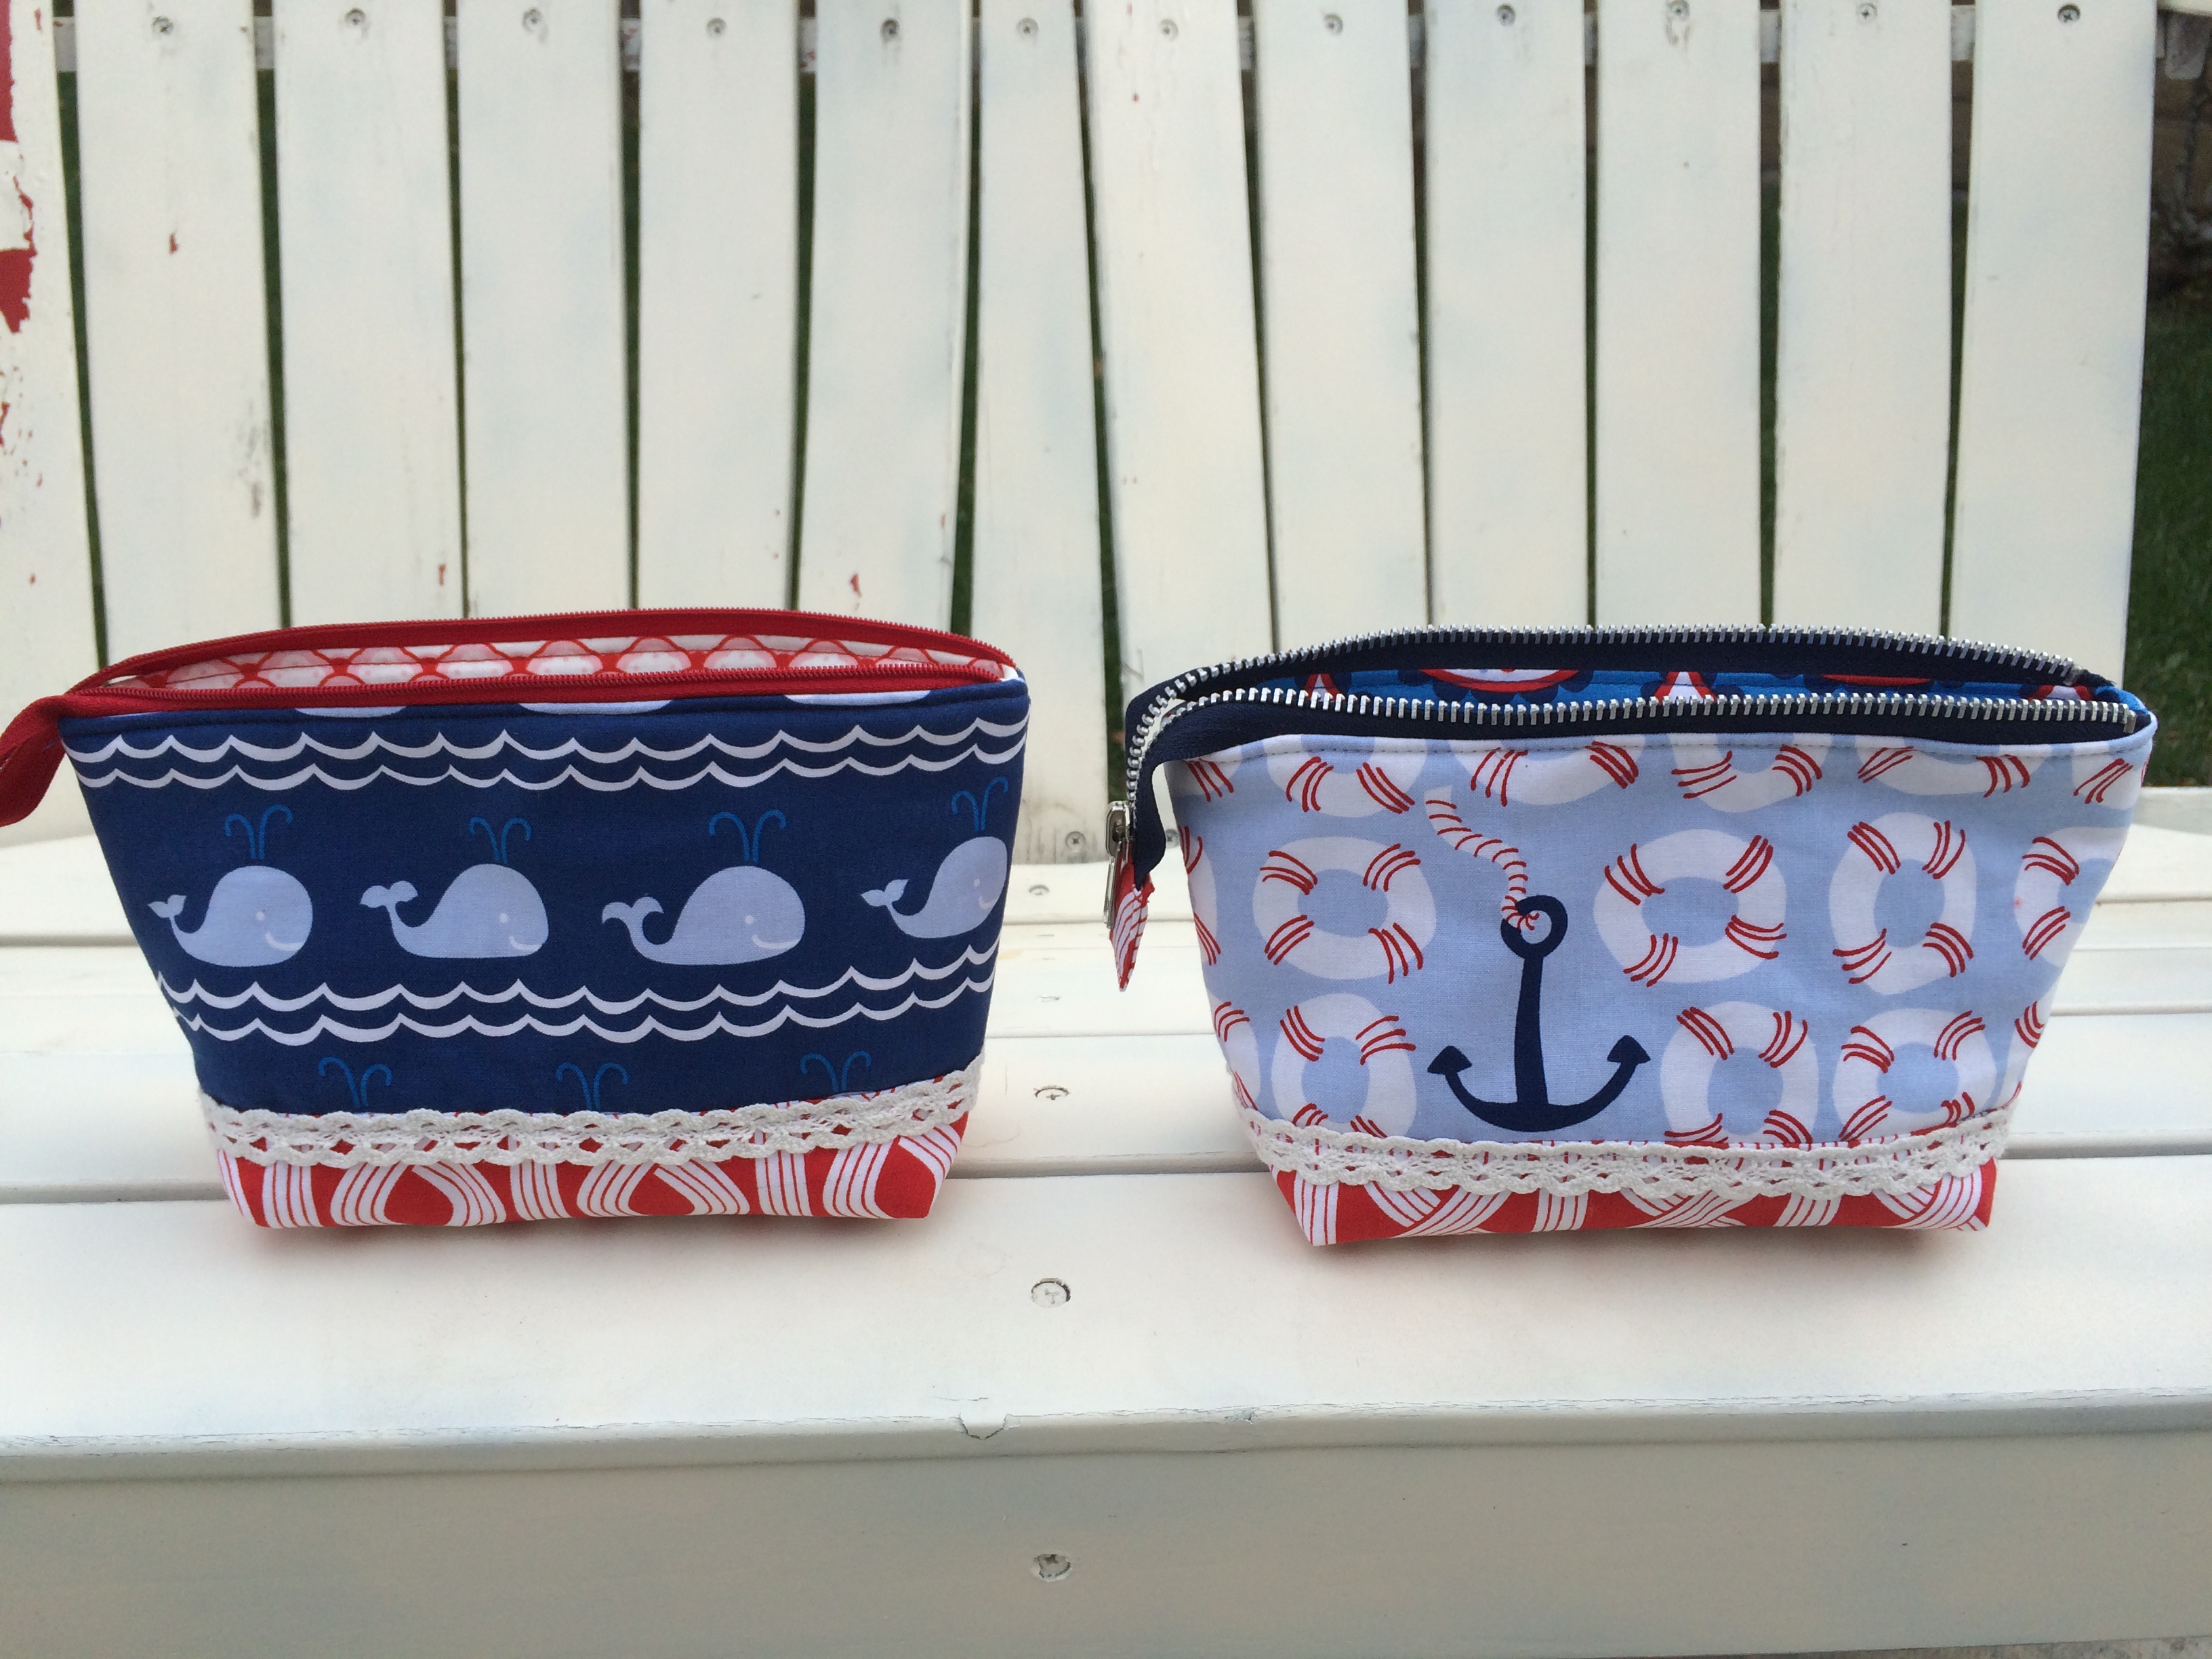
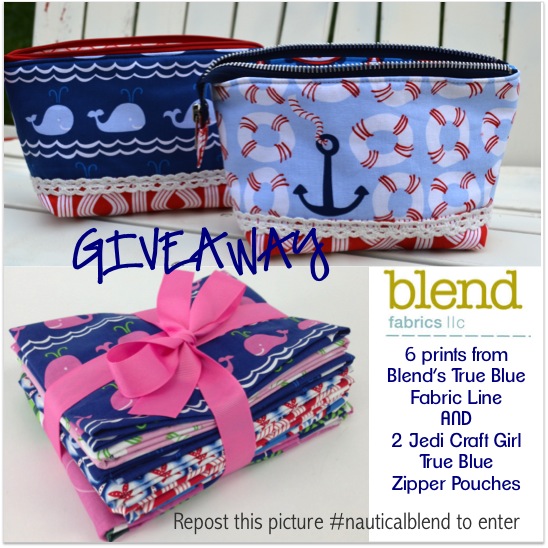
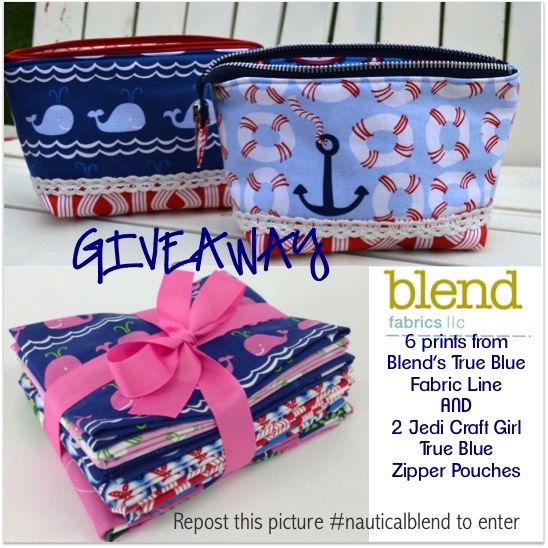
You knew it was coming! Of course I need a Nautical Zipper pouch to go along with my Sailboat skirt!! I love these fabrics and I am down to only scraps in my stash. It’s called True Blue by Blend Fabrics.
This is a modified version of my original My Favorite Zipper Pouch Pattern version 1.0 and version 2.0. If you would like to make your own zipper pouches here are the instructions:
CUT:
Outer bag anchor print (2) 4″ x 9″
Outer bag red accent (2) 3″ x 9″
Lining (2) 6.5″ x 9″
Heat n Bond Fusible Fleece (2) 6.5″ x 9″
(2) pieces of lace 9″ each
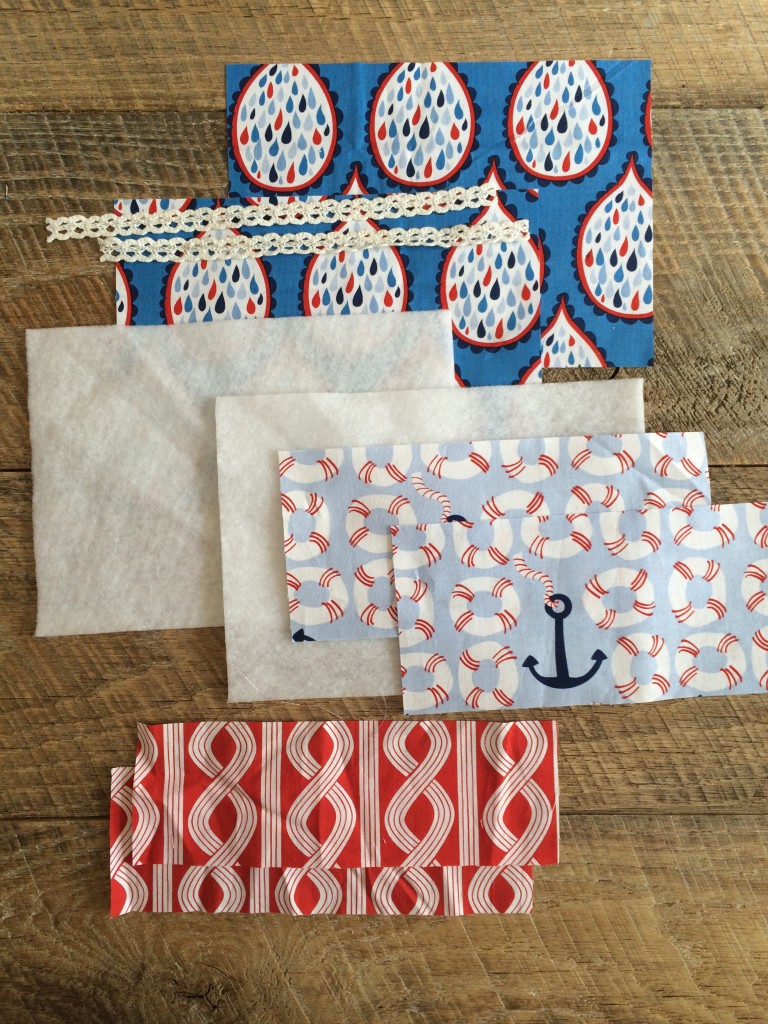
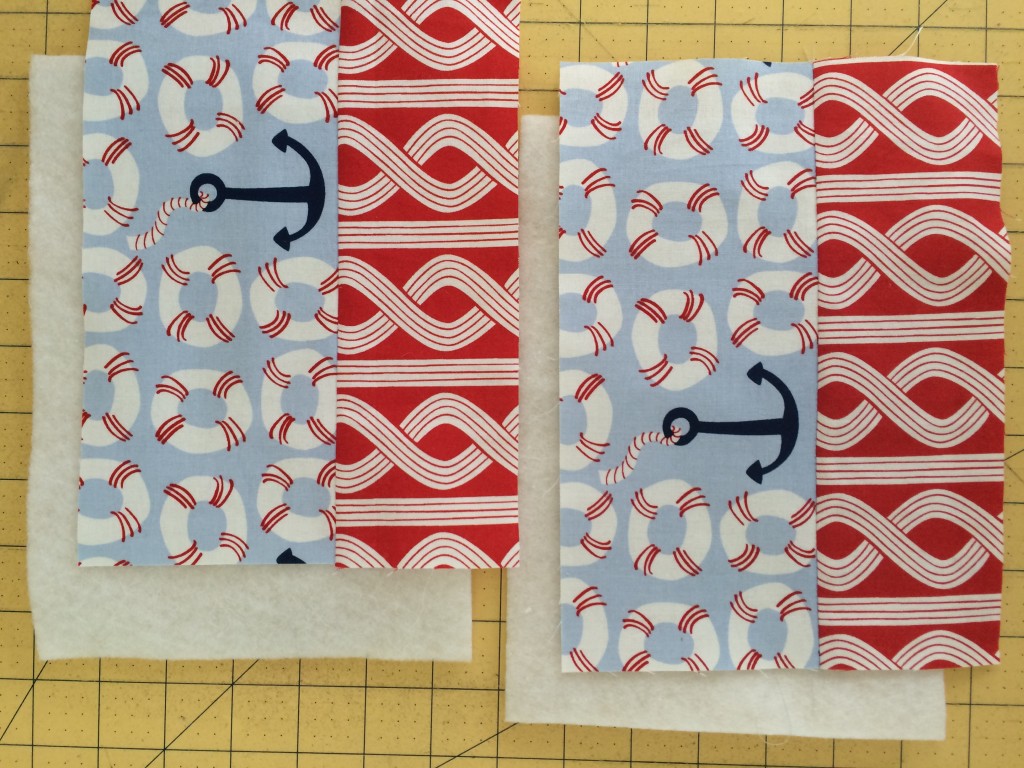
Sew the red fabric to the anchor fabric using 1/4″ seams. Press toward the red. Press these two units to the Heat n Bond Fusible Fleece. Then sew the lace on.
To insert the zipper, follow THIS tutorial. It is from my friend Jennifer. I keep thinking I should write my own, but hers is so perfect. I go to it every time I sew an “open wide” zipper pouch because I can never remember the measurements! Insert the zipper just like she instructs. Once you’re done, it should look like this:
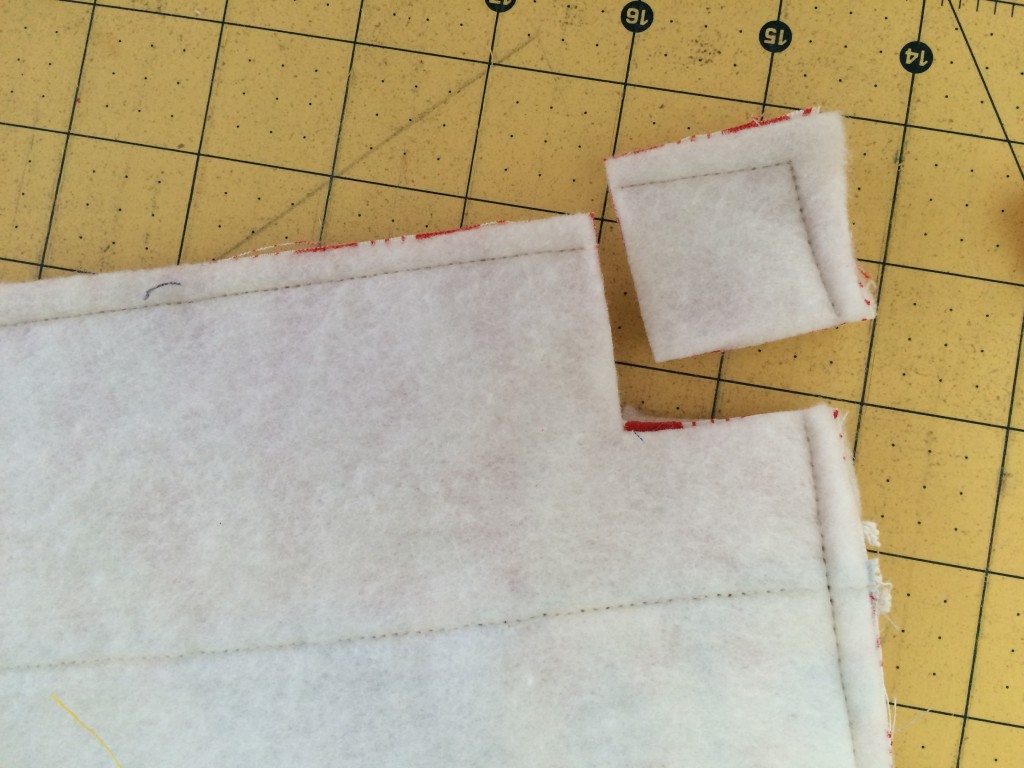
Open the zipper, and place right sides of the outer bag together, and right sides of the lining together, make sure to tuck the end of the zipper in. Match the side seams. Pin all the way around. Sew all the way around using 1/4″ seams, leaving a 3″ opening at the bottom of the lining. Notch all the corners with a 1.5″ square:
Fold out the corners and match the seams. Sew using a scant 1/4″ seam. For more details, visit my post here. Then turn right side out, and top stitch the opening closed. Top stitch all the way around the zipper pouch 1/8″ away from the zipper. To finish the zipper end, cut it at the desired length. Cut a piece of accent fabric 2.5″ x 3″. Fold it like this and press:
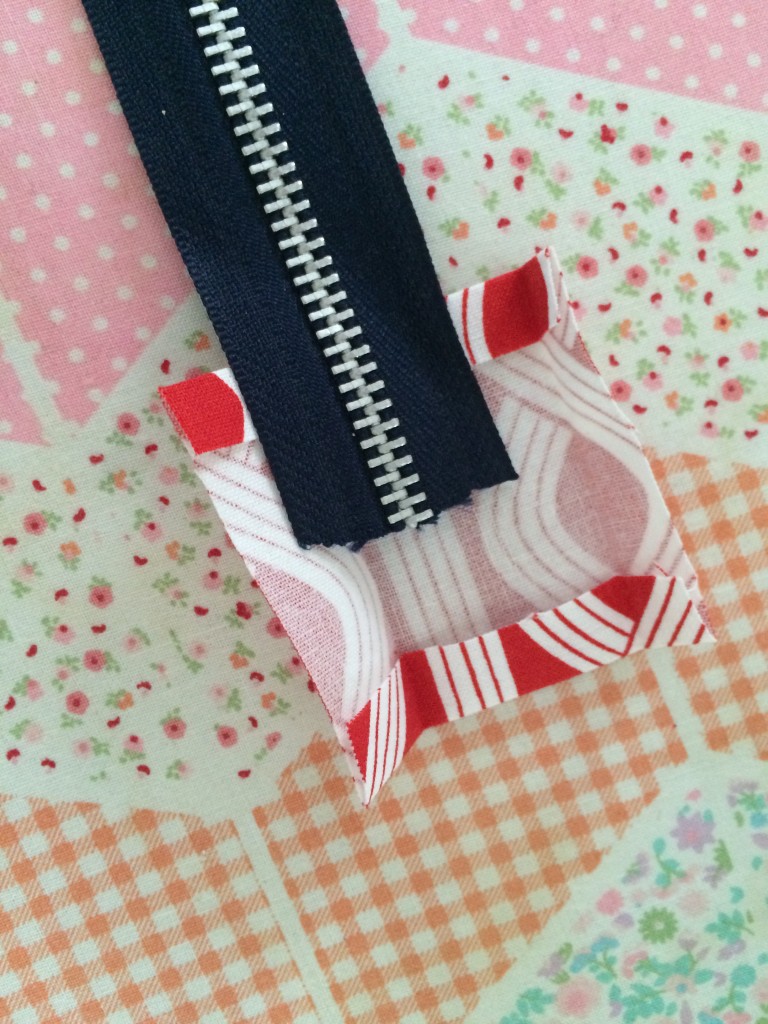
You kind of fold it around the zipper and press. Then insert the zipper in and sew around the seams. Careful on the metal zipper!! Here you can see what it looks like. I added a little compass zipper pull. My anchor charms haven’t arrived in the mail yet 🙁
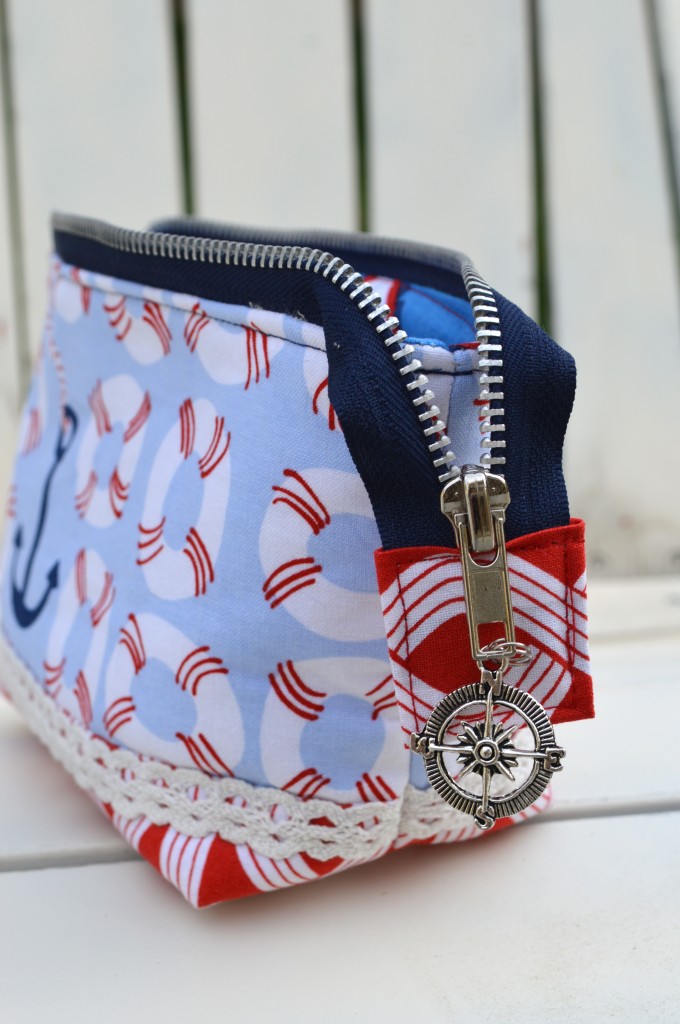
I just love them!!!
 Here are a few other of my True Blue Projects:
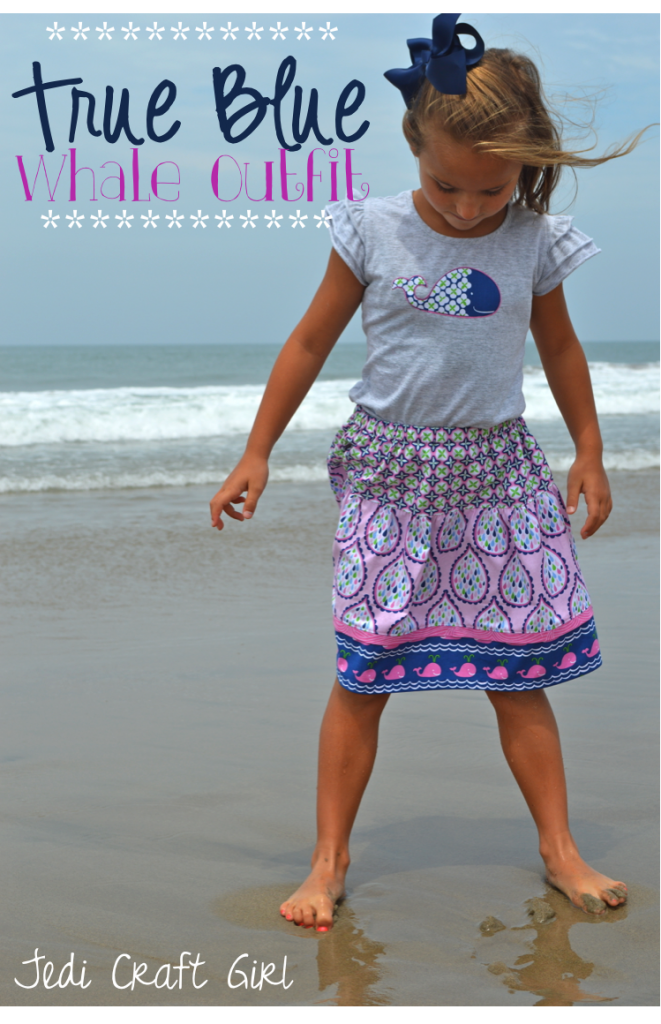

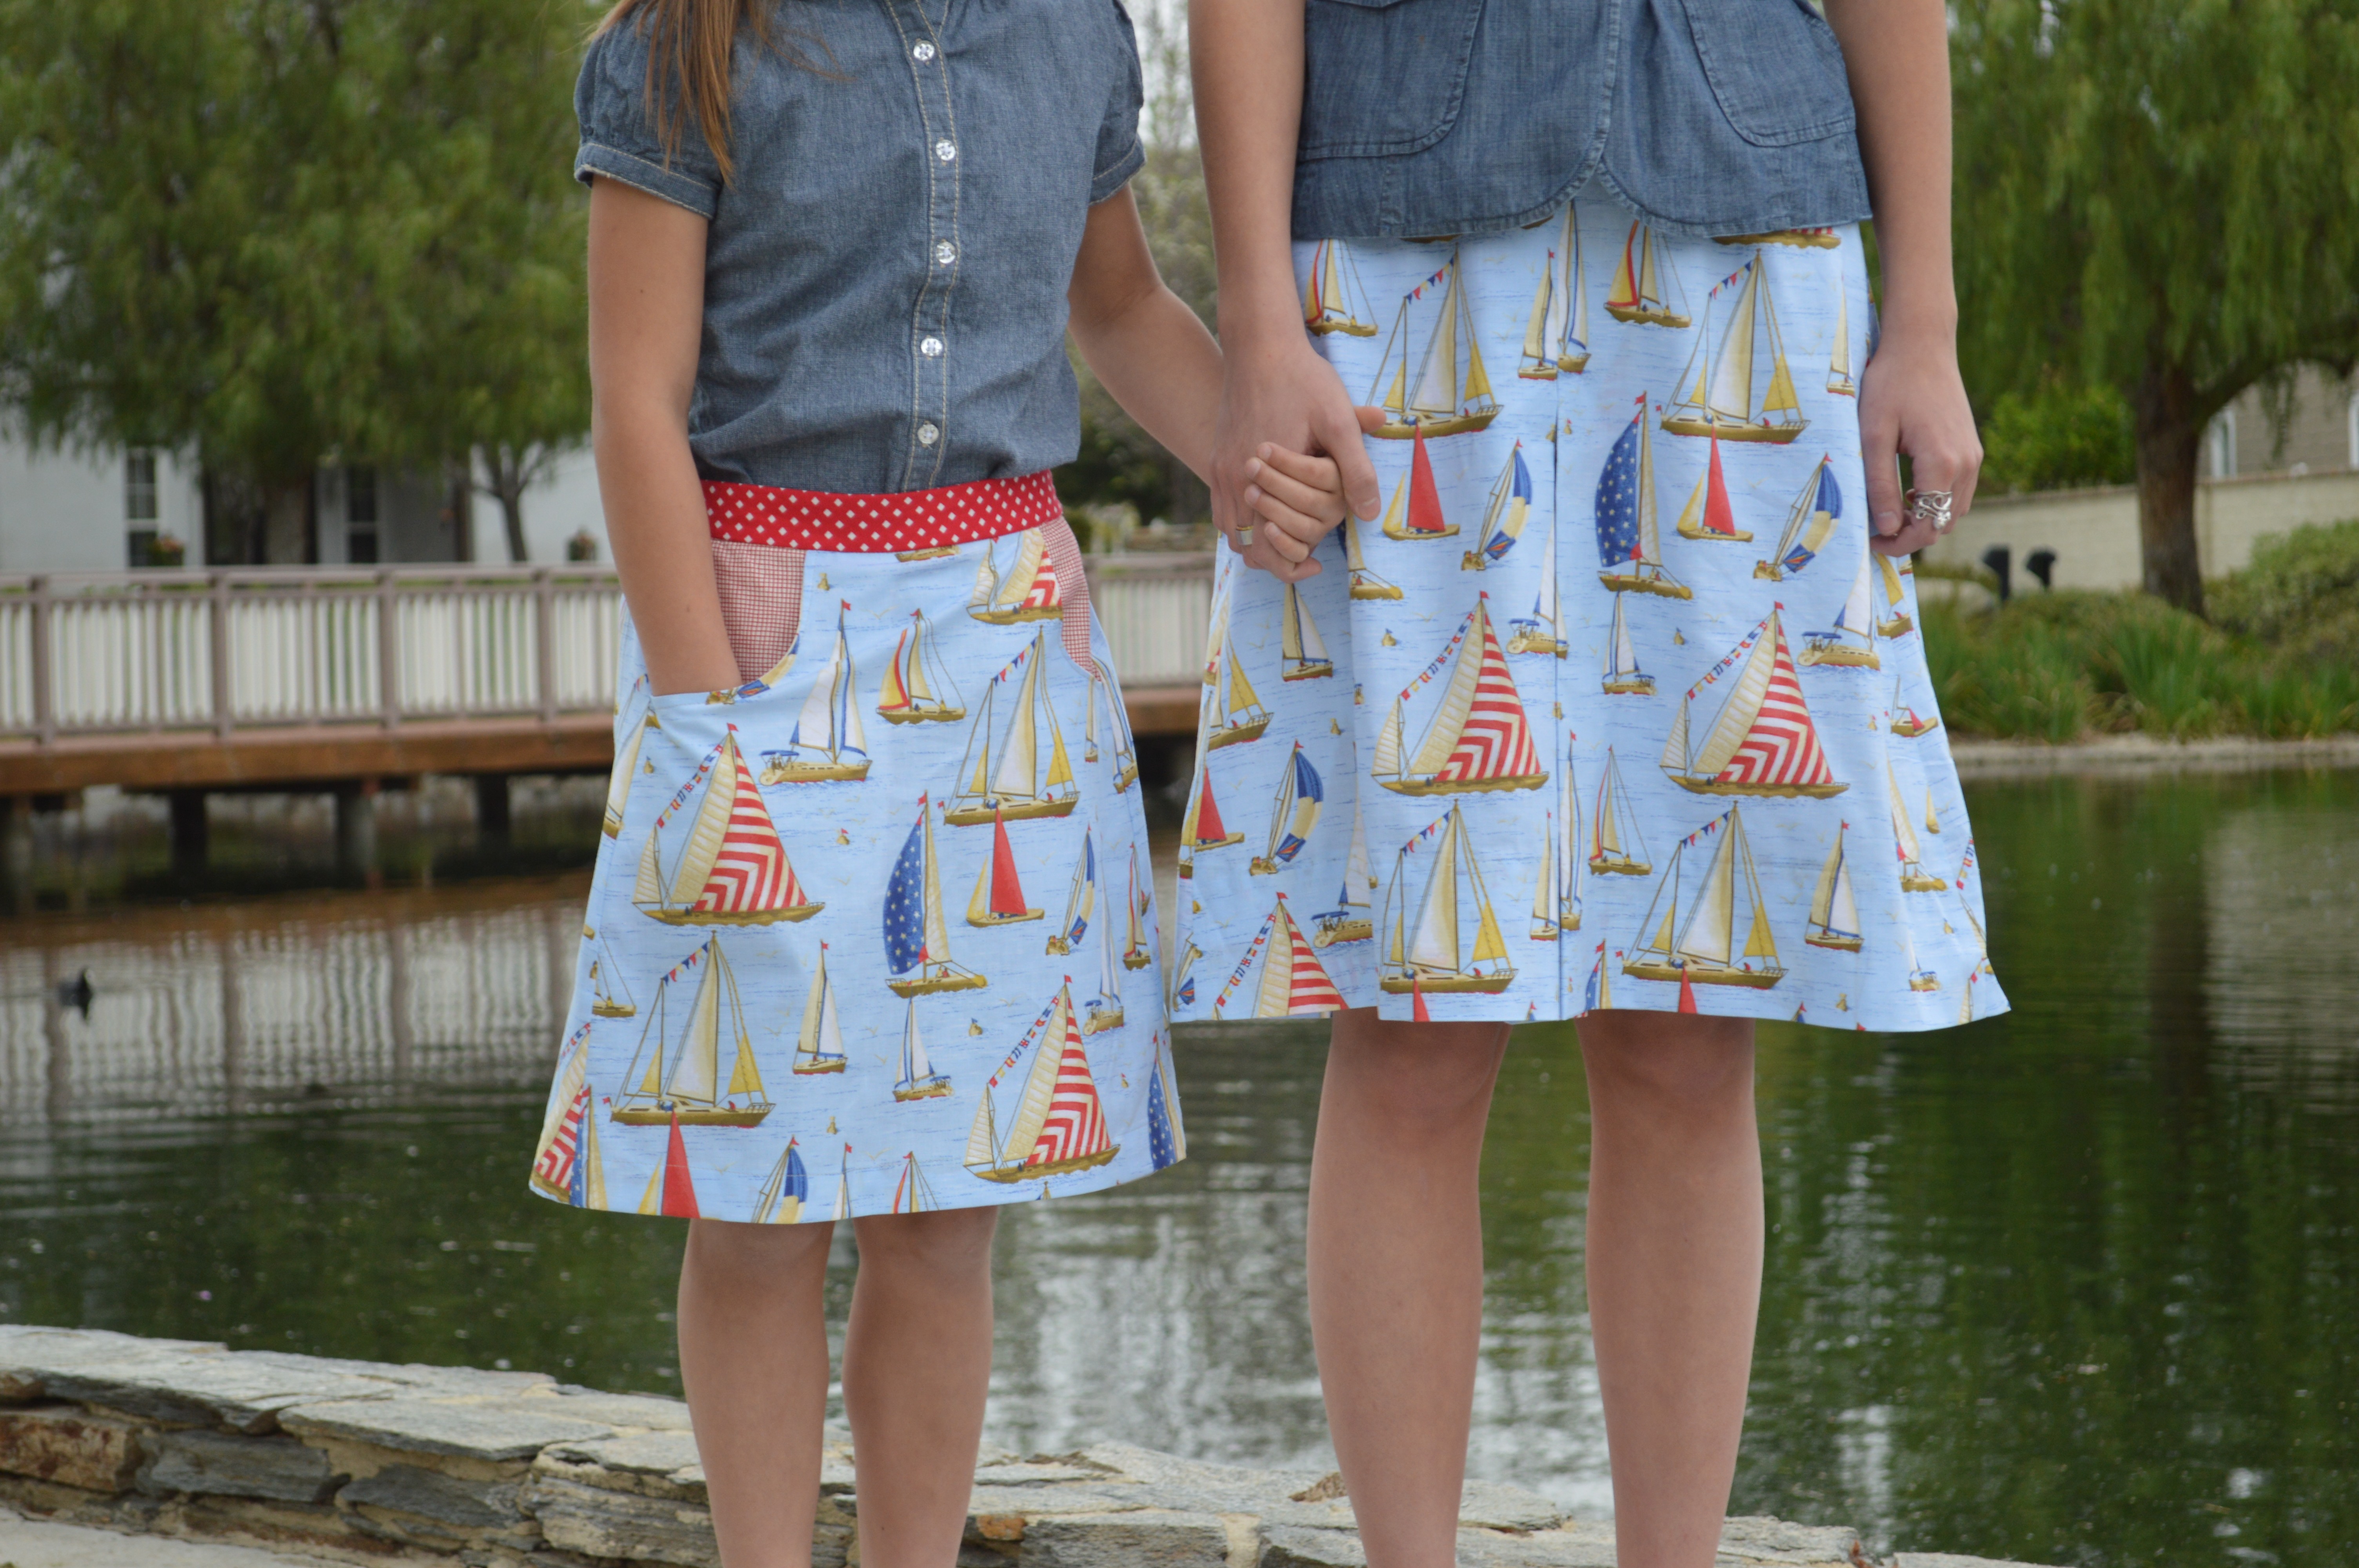
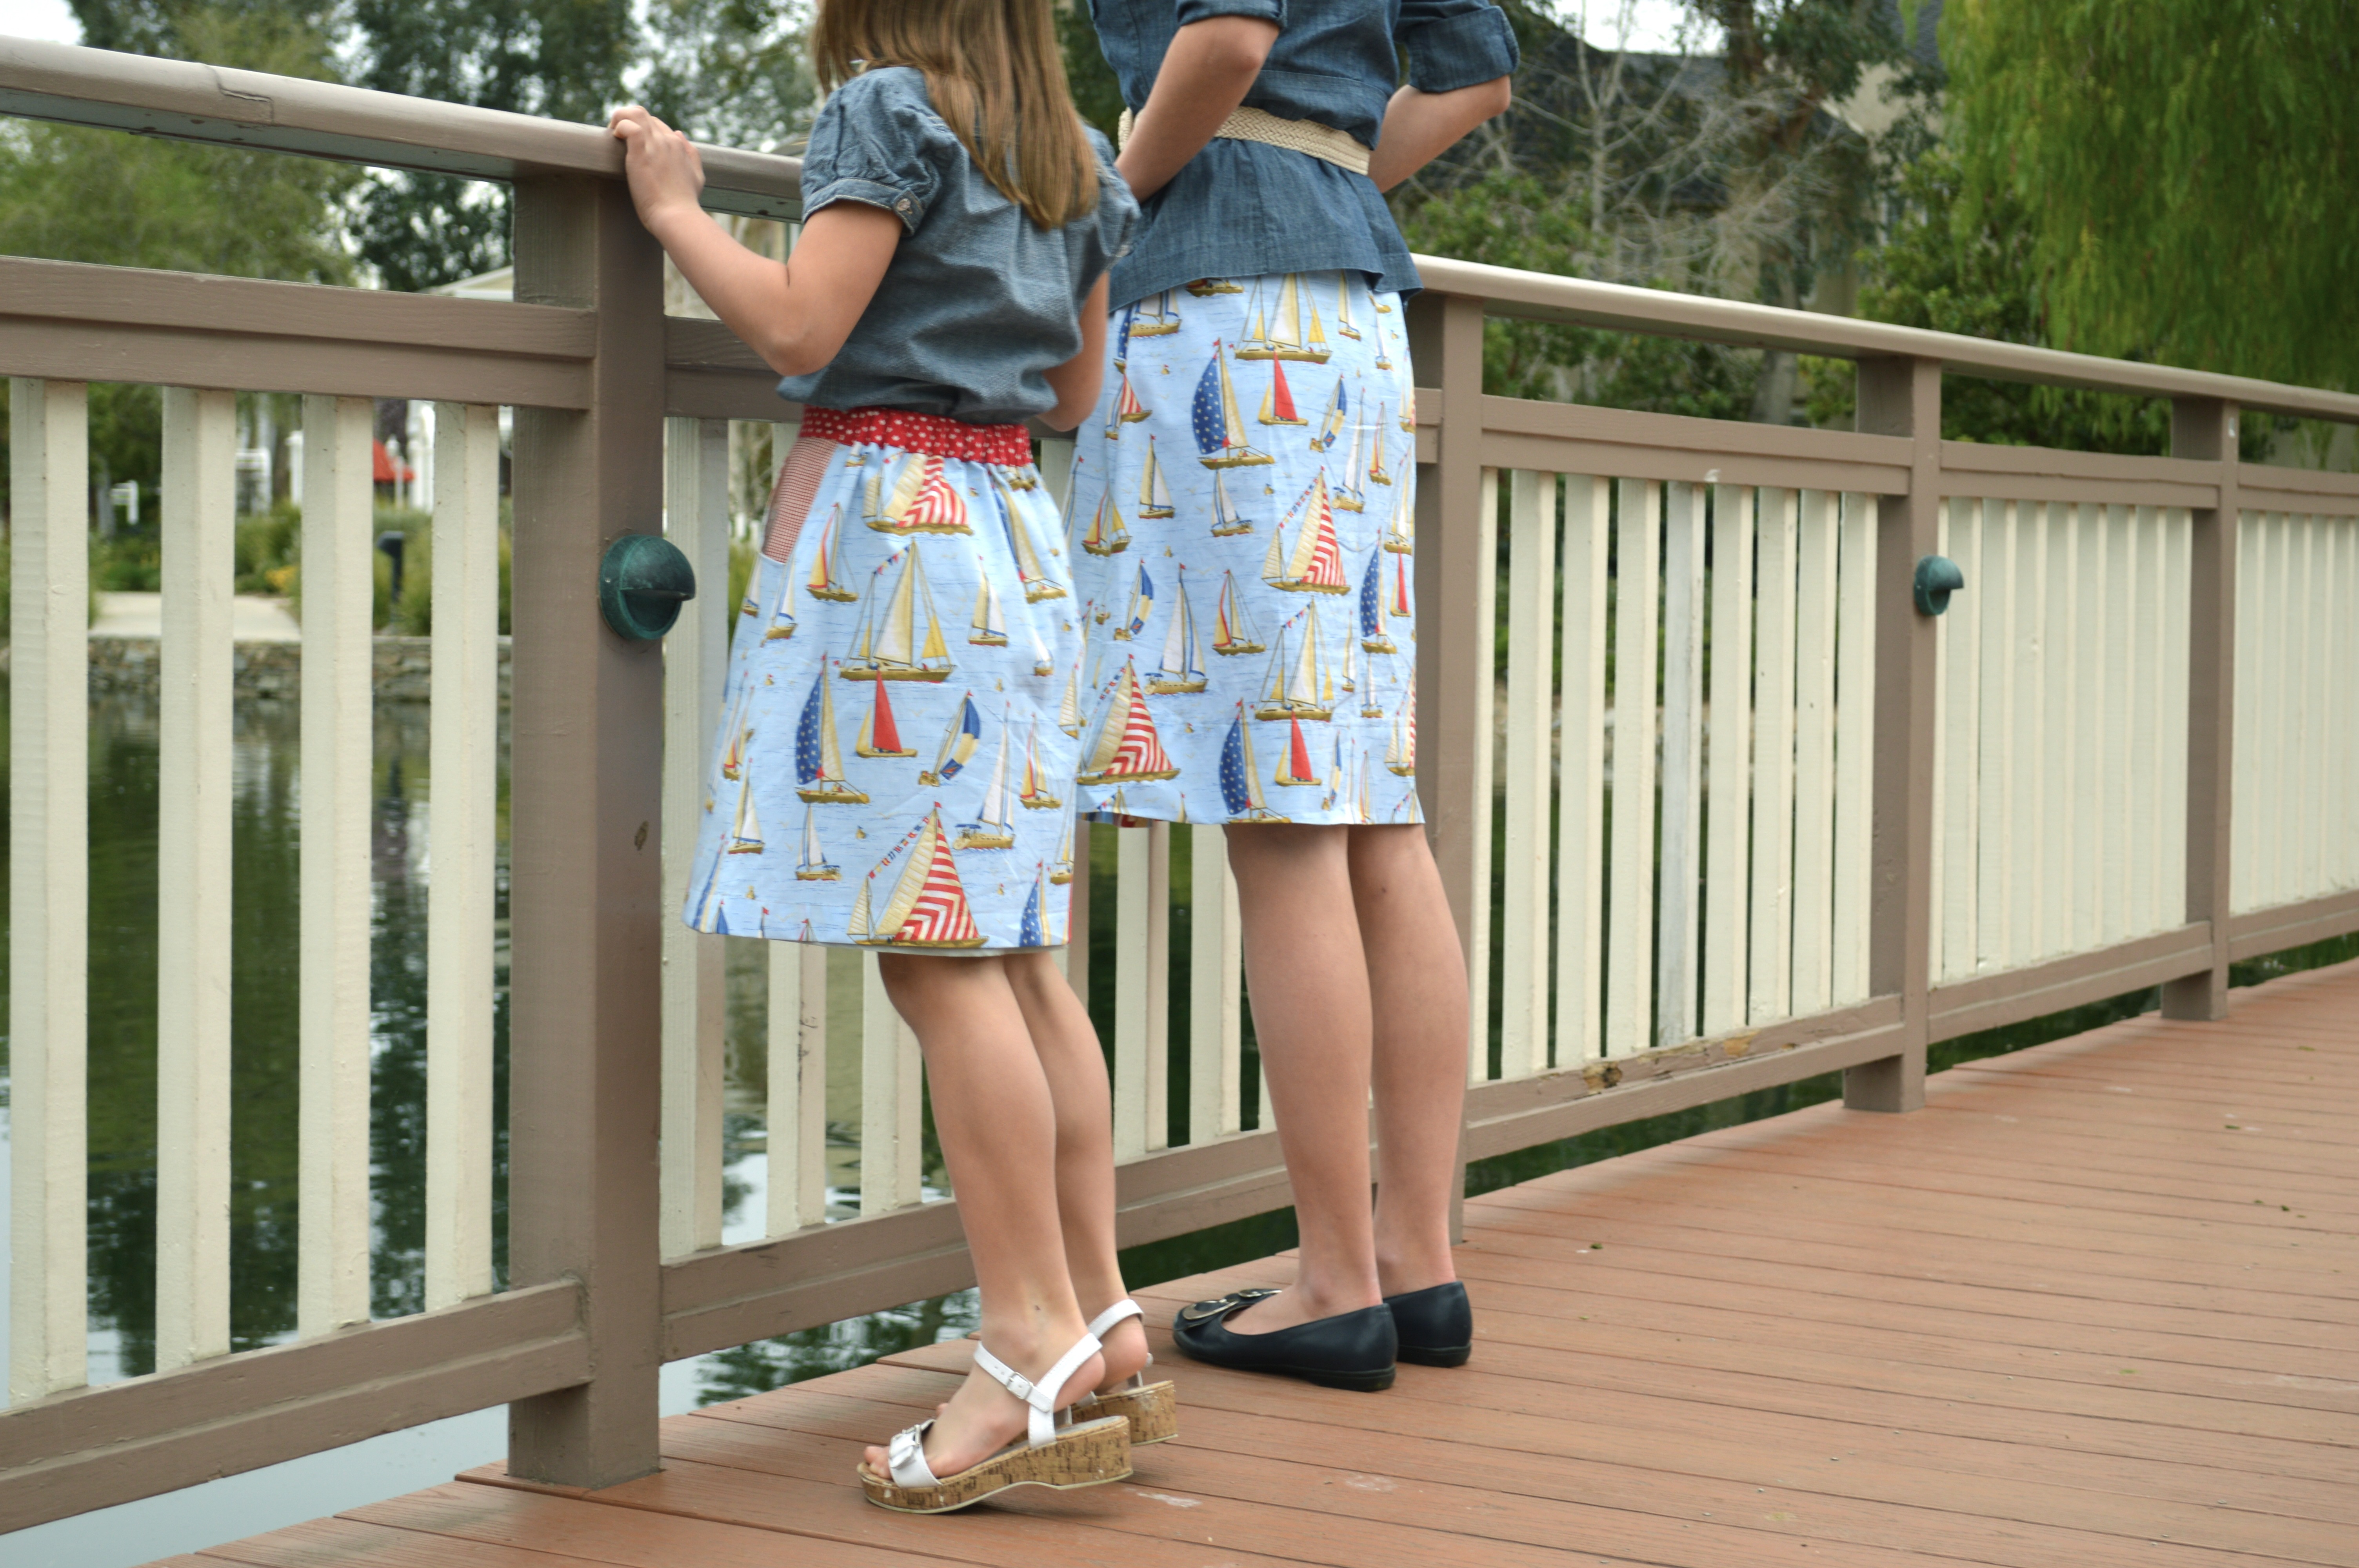
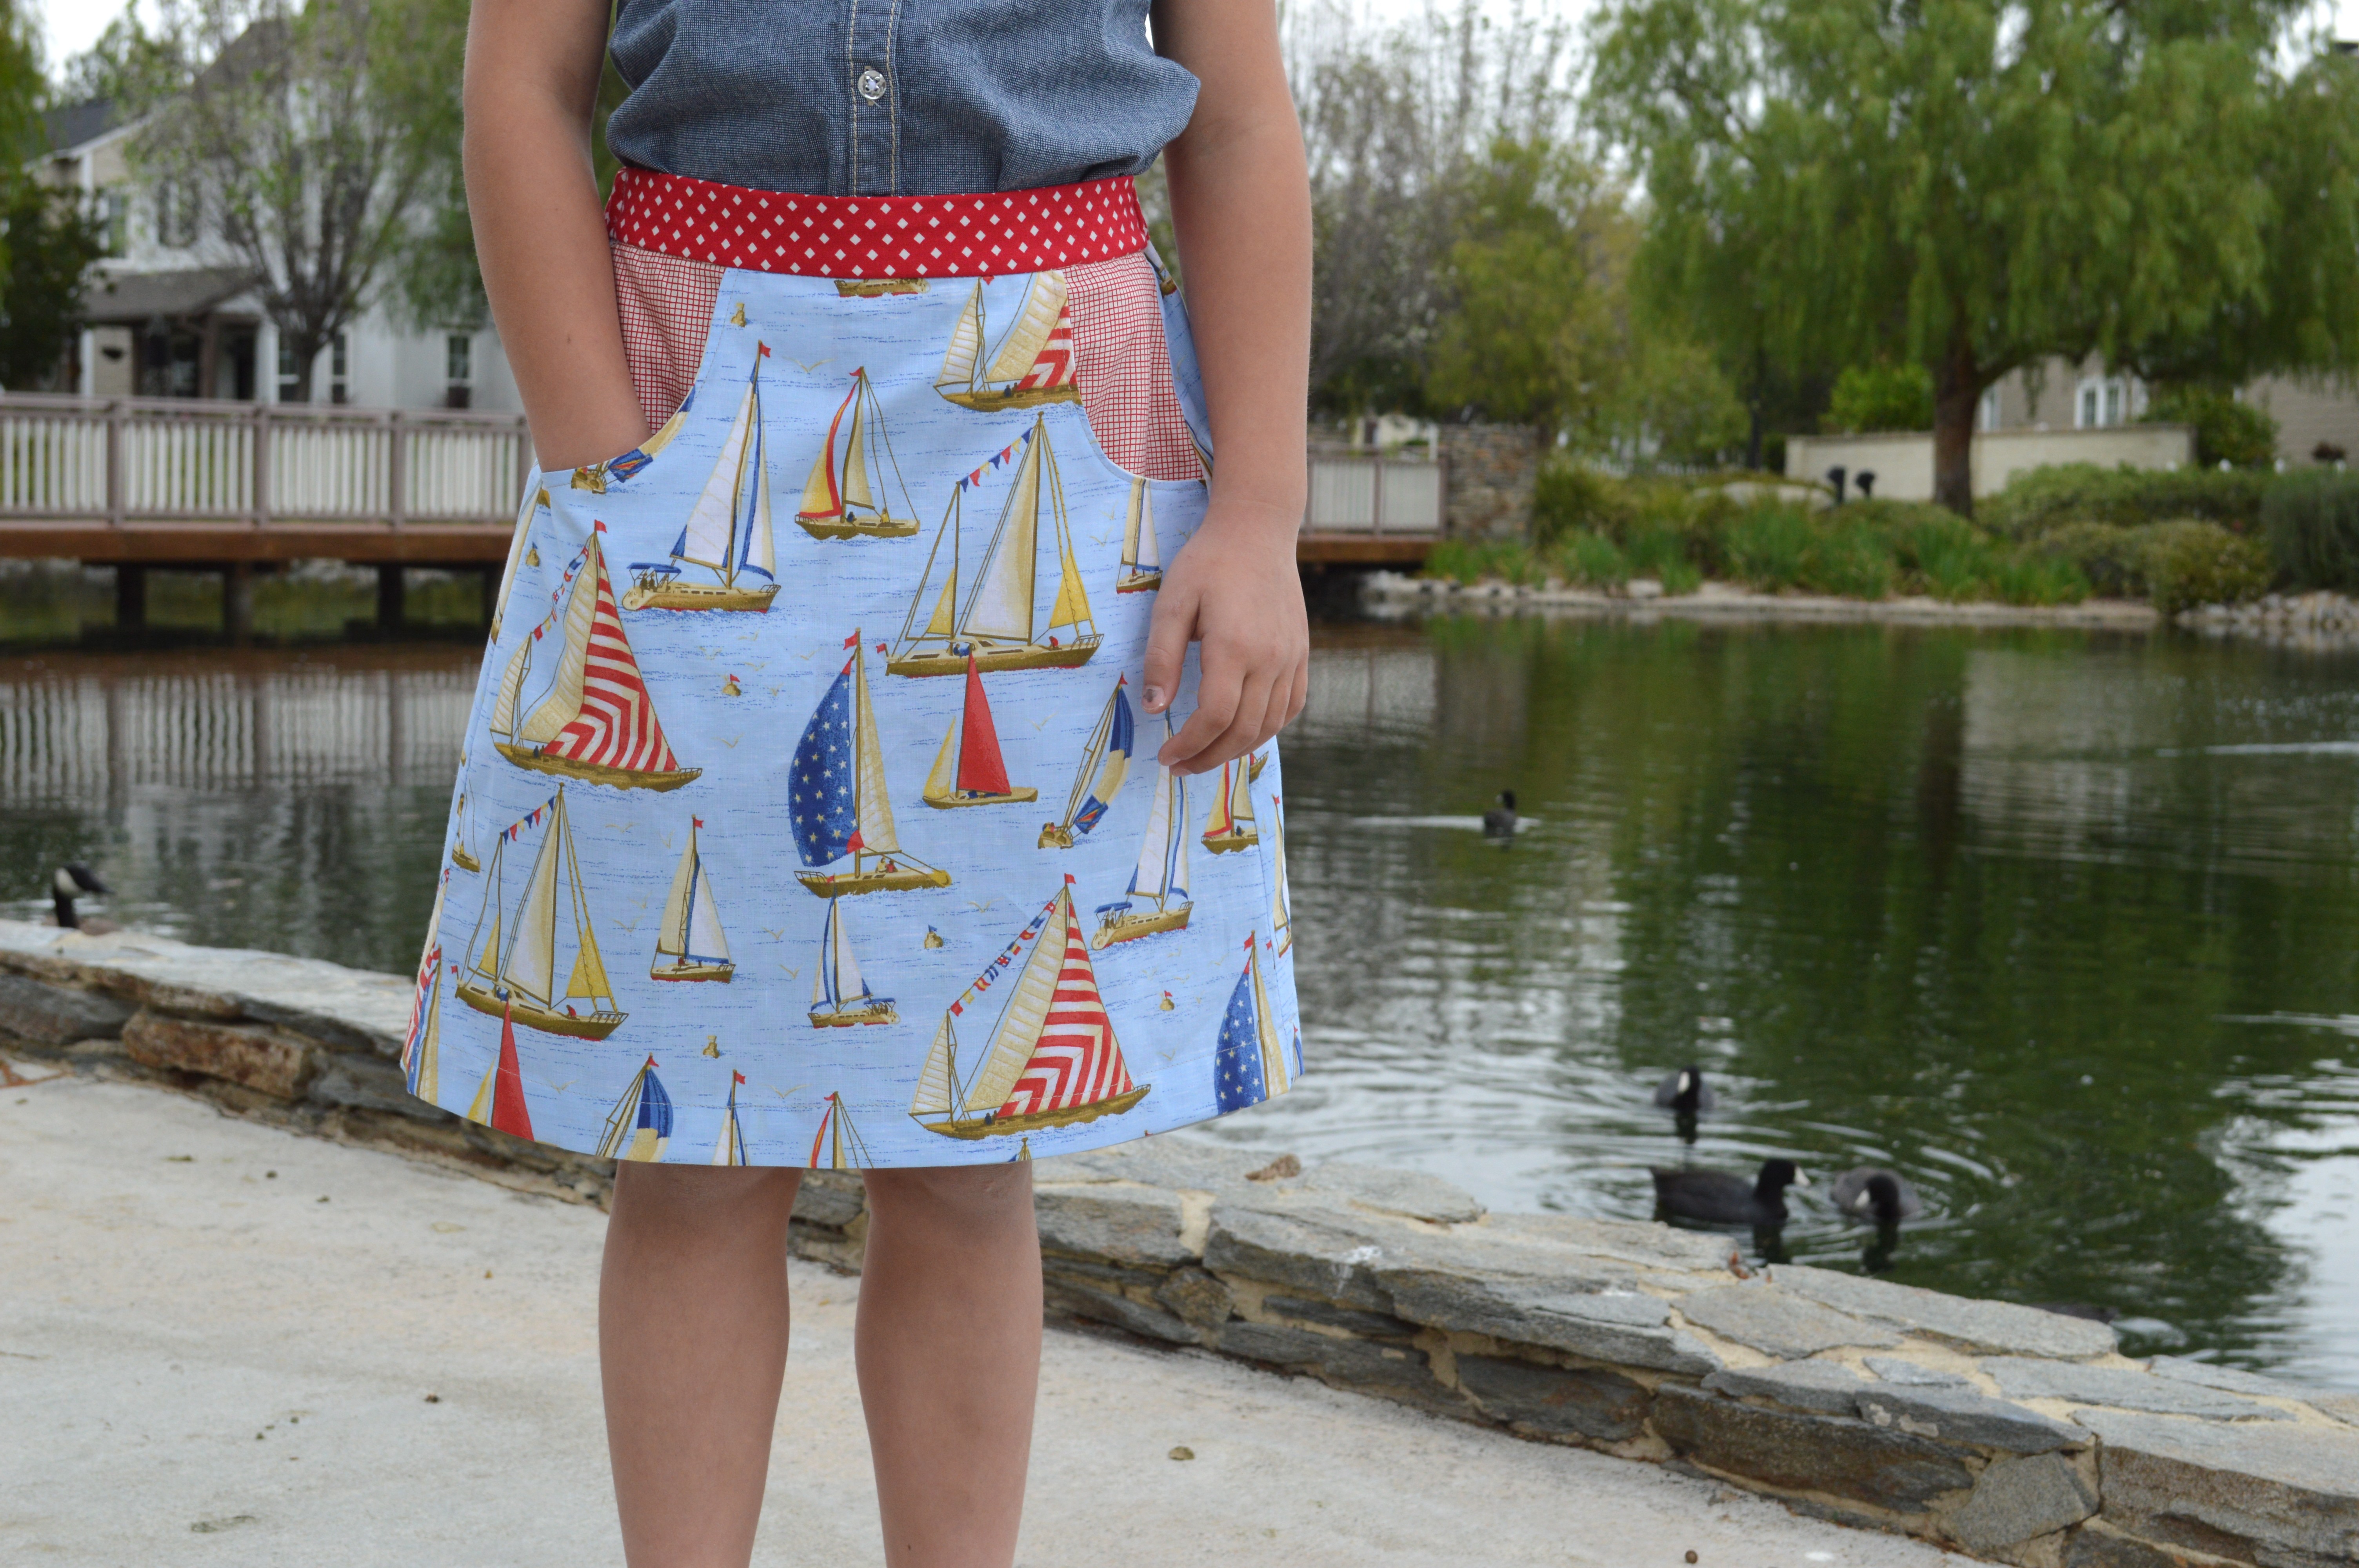
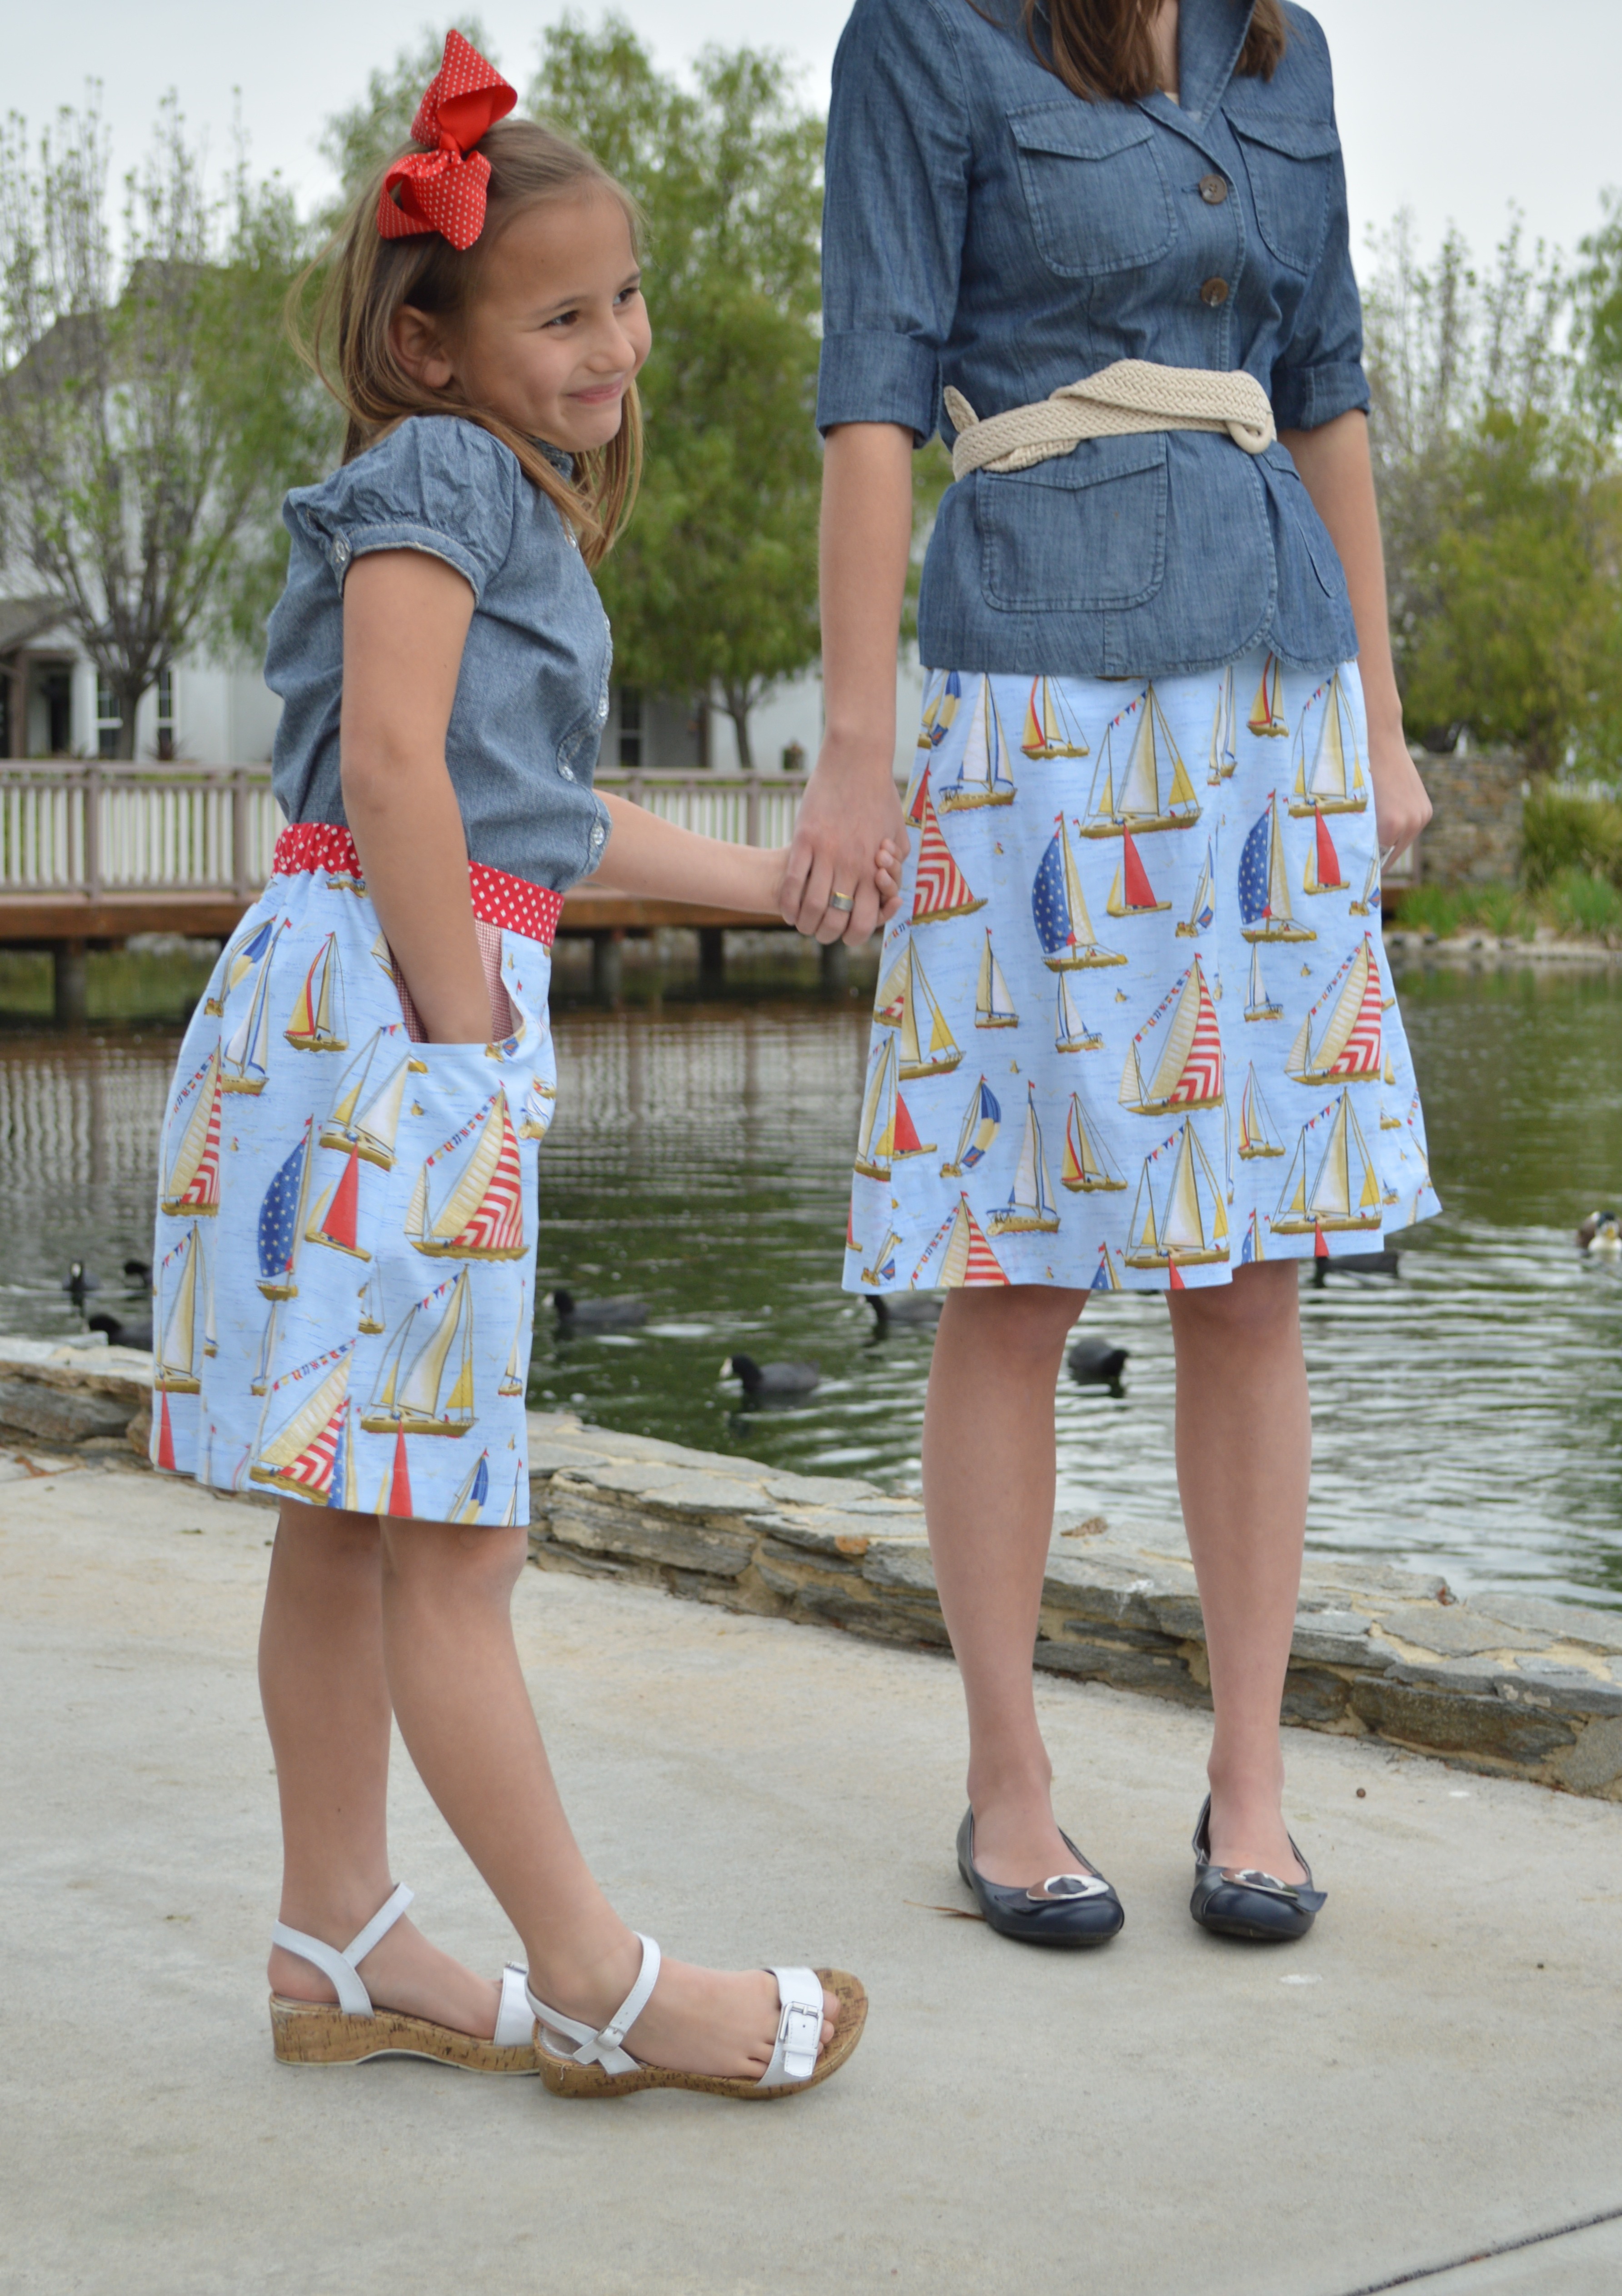
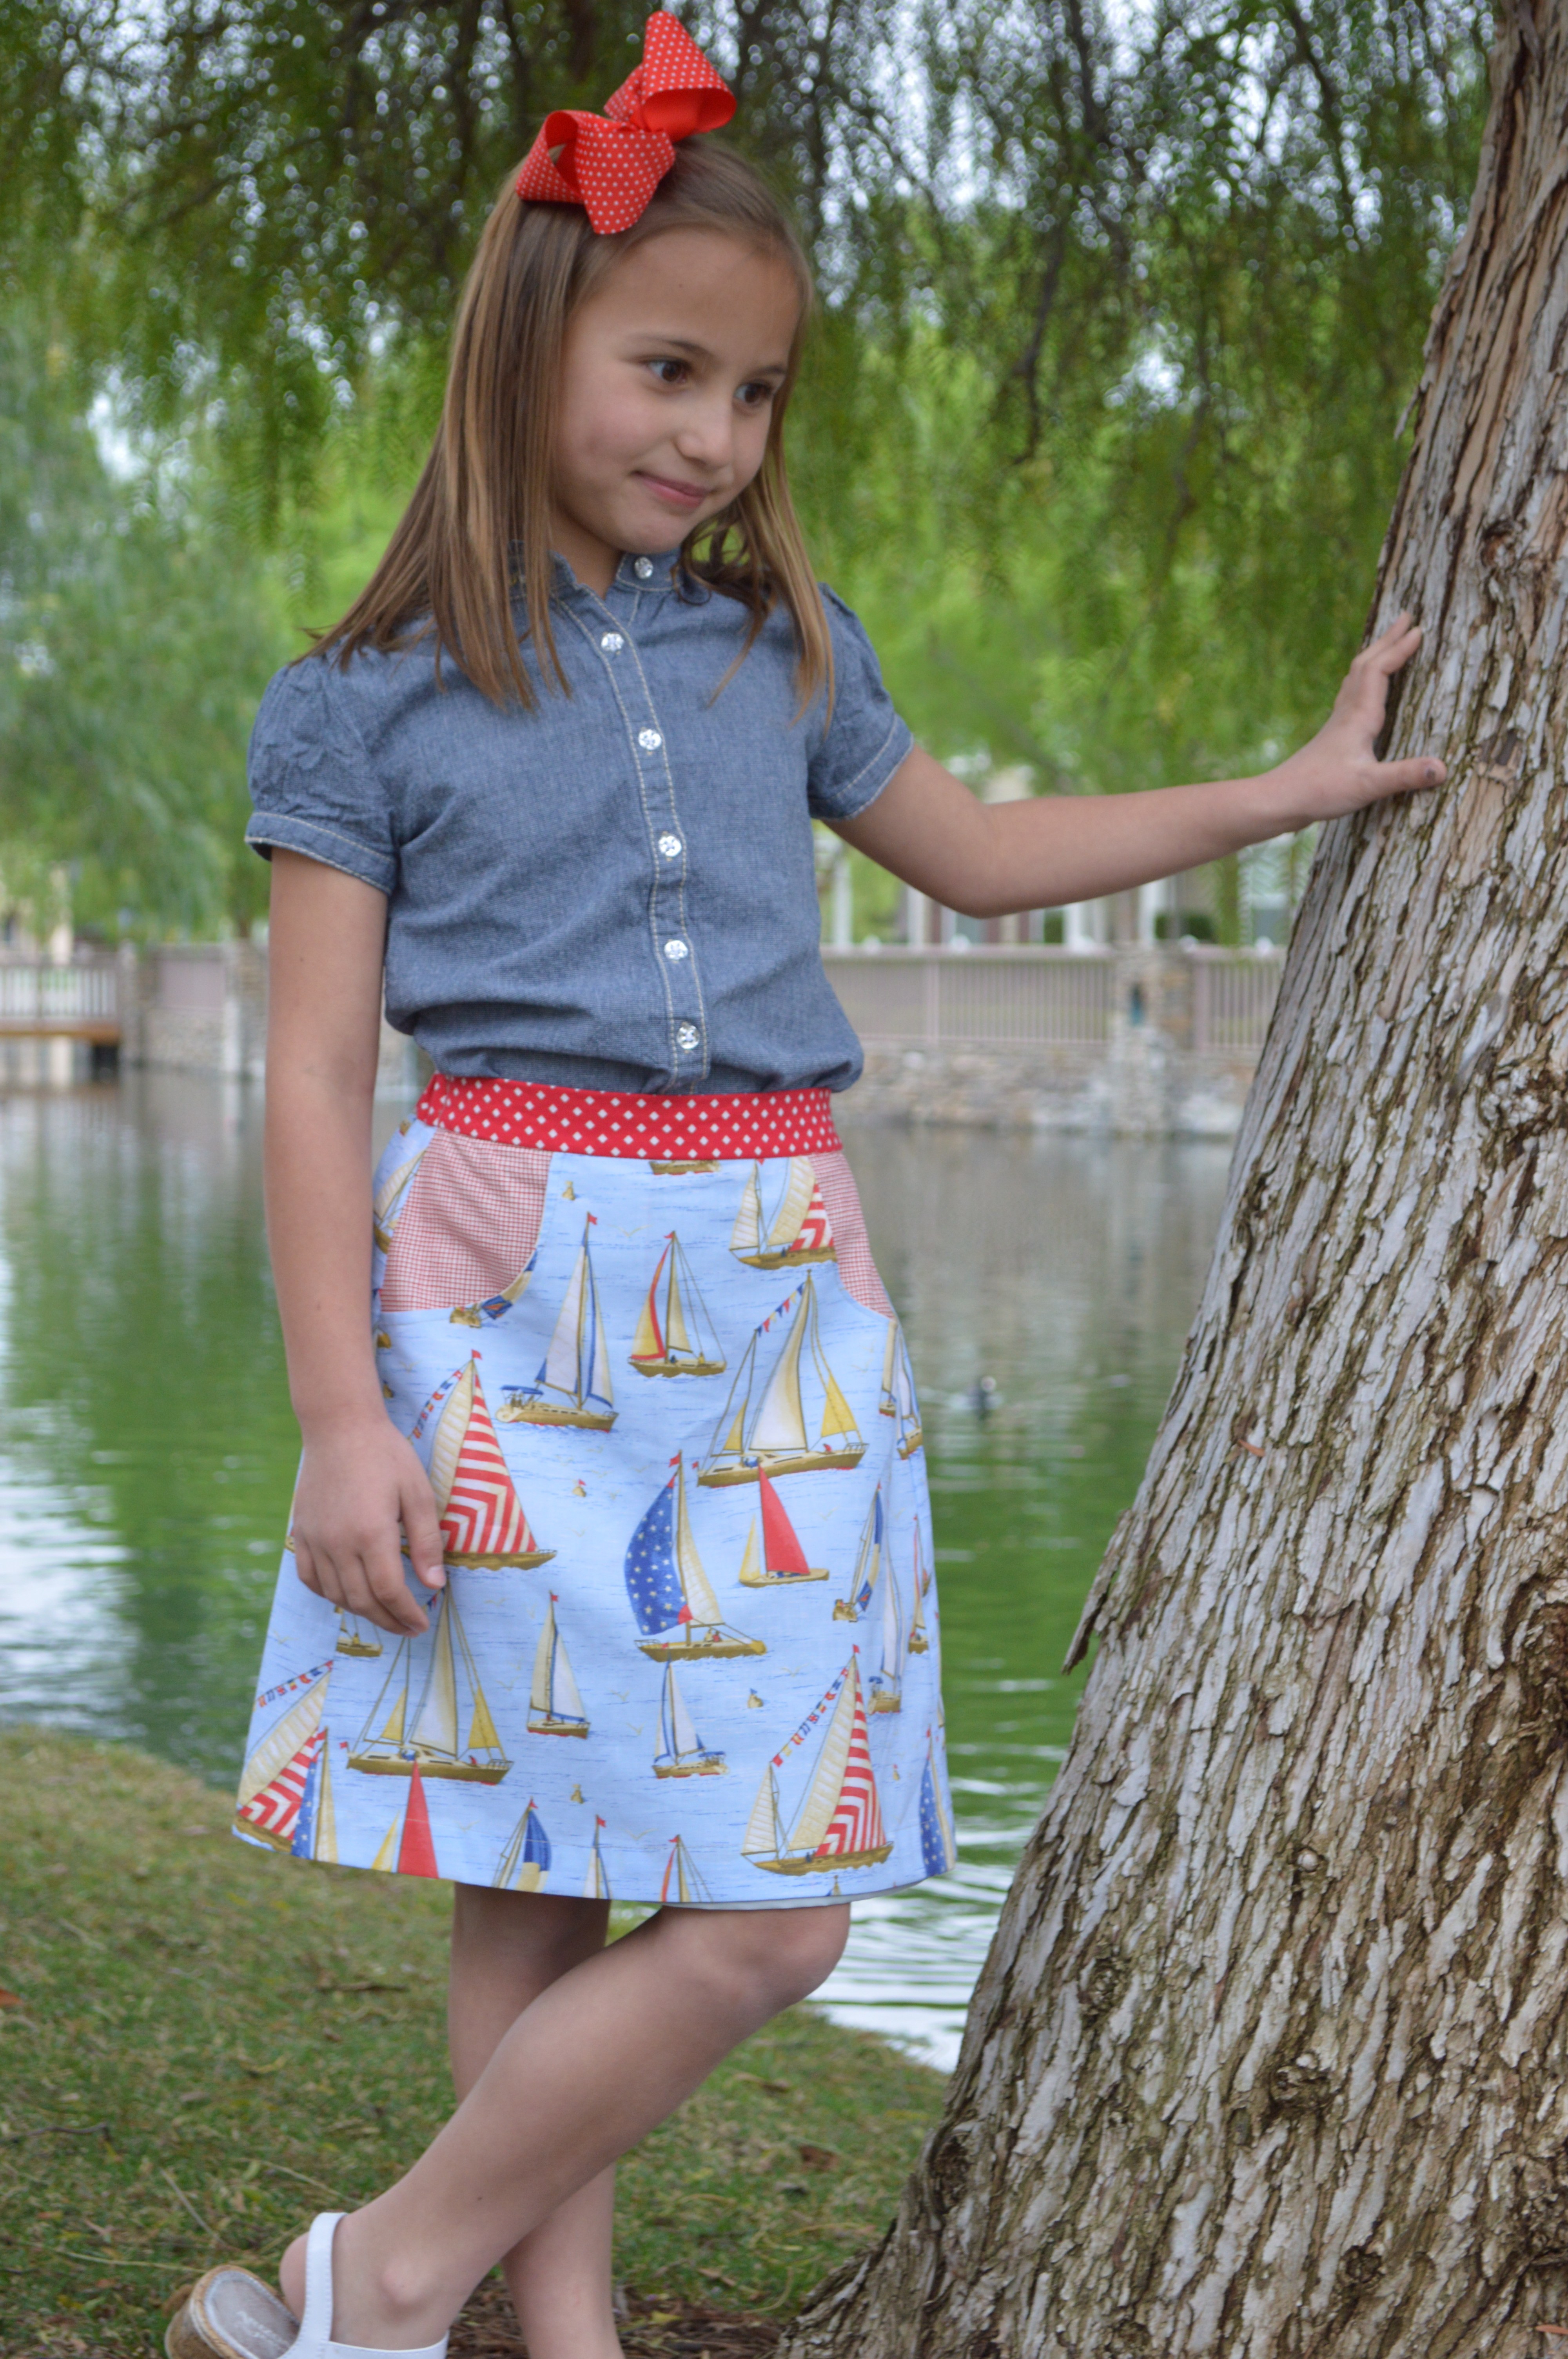
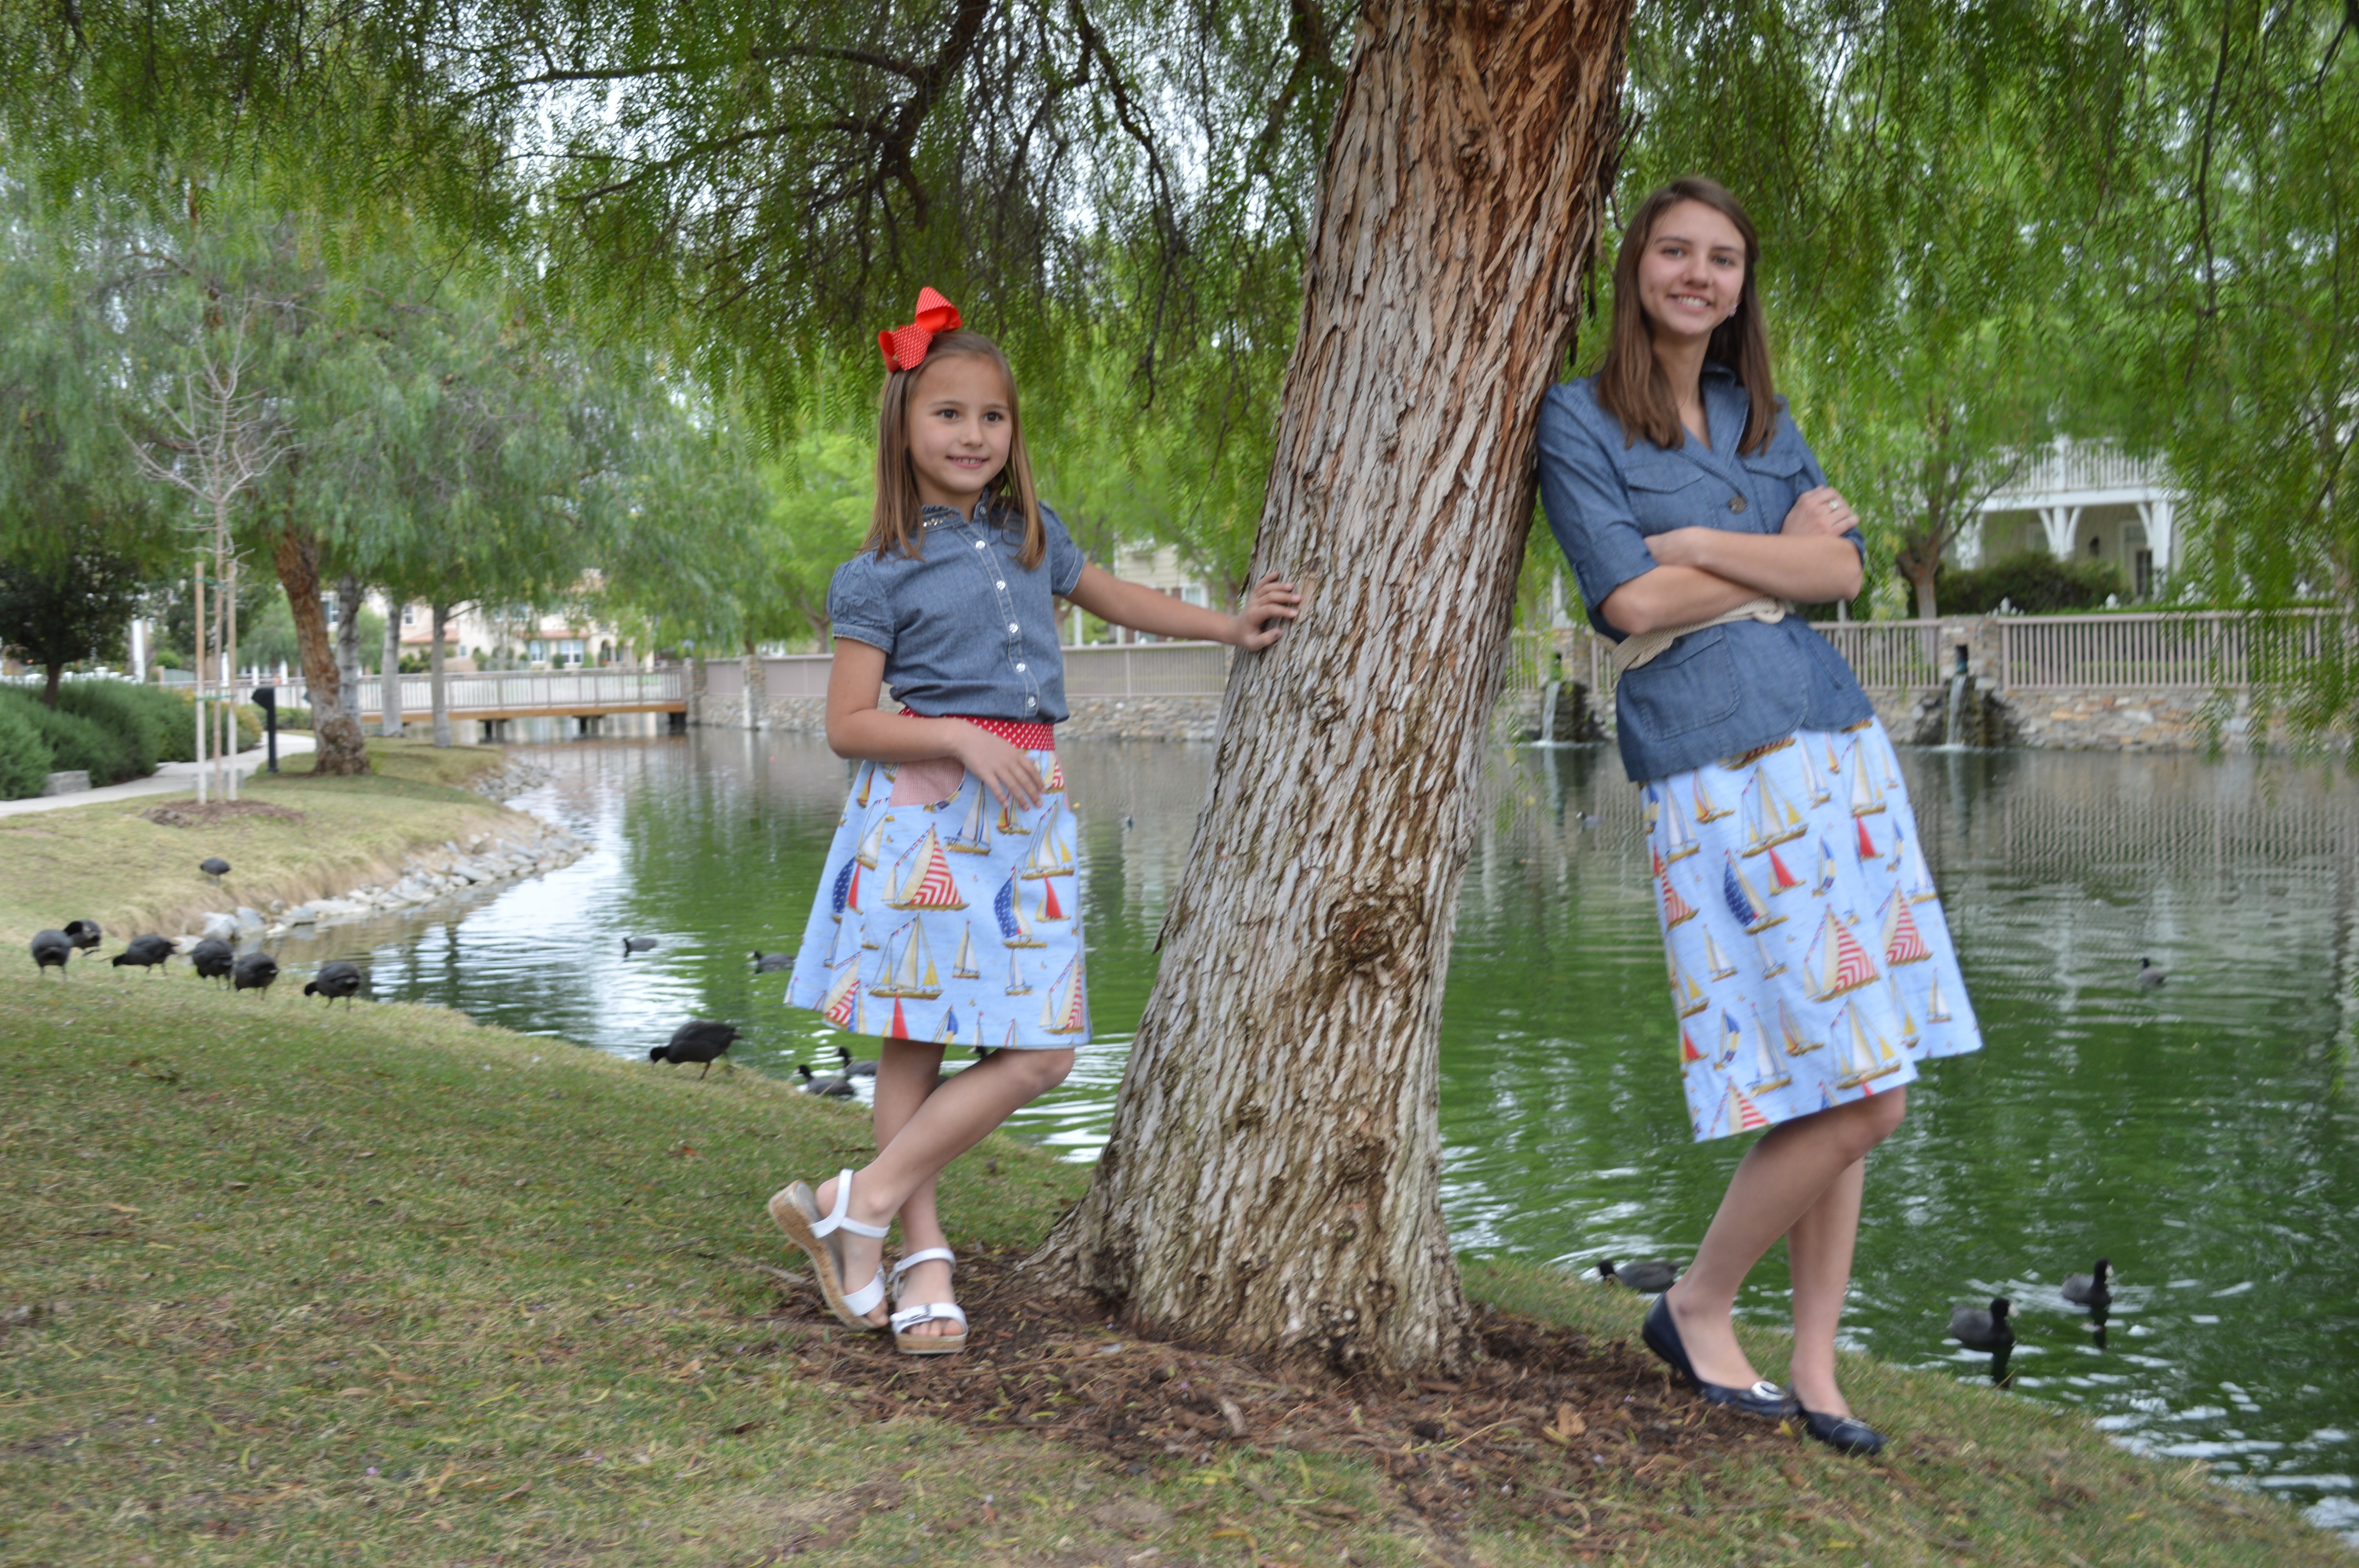
Here you can see the cute center pleat in the women’s size skirt. For Sally’s skirt, I choose a different fabric for the waistband and for the pocket backing. 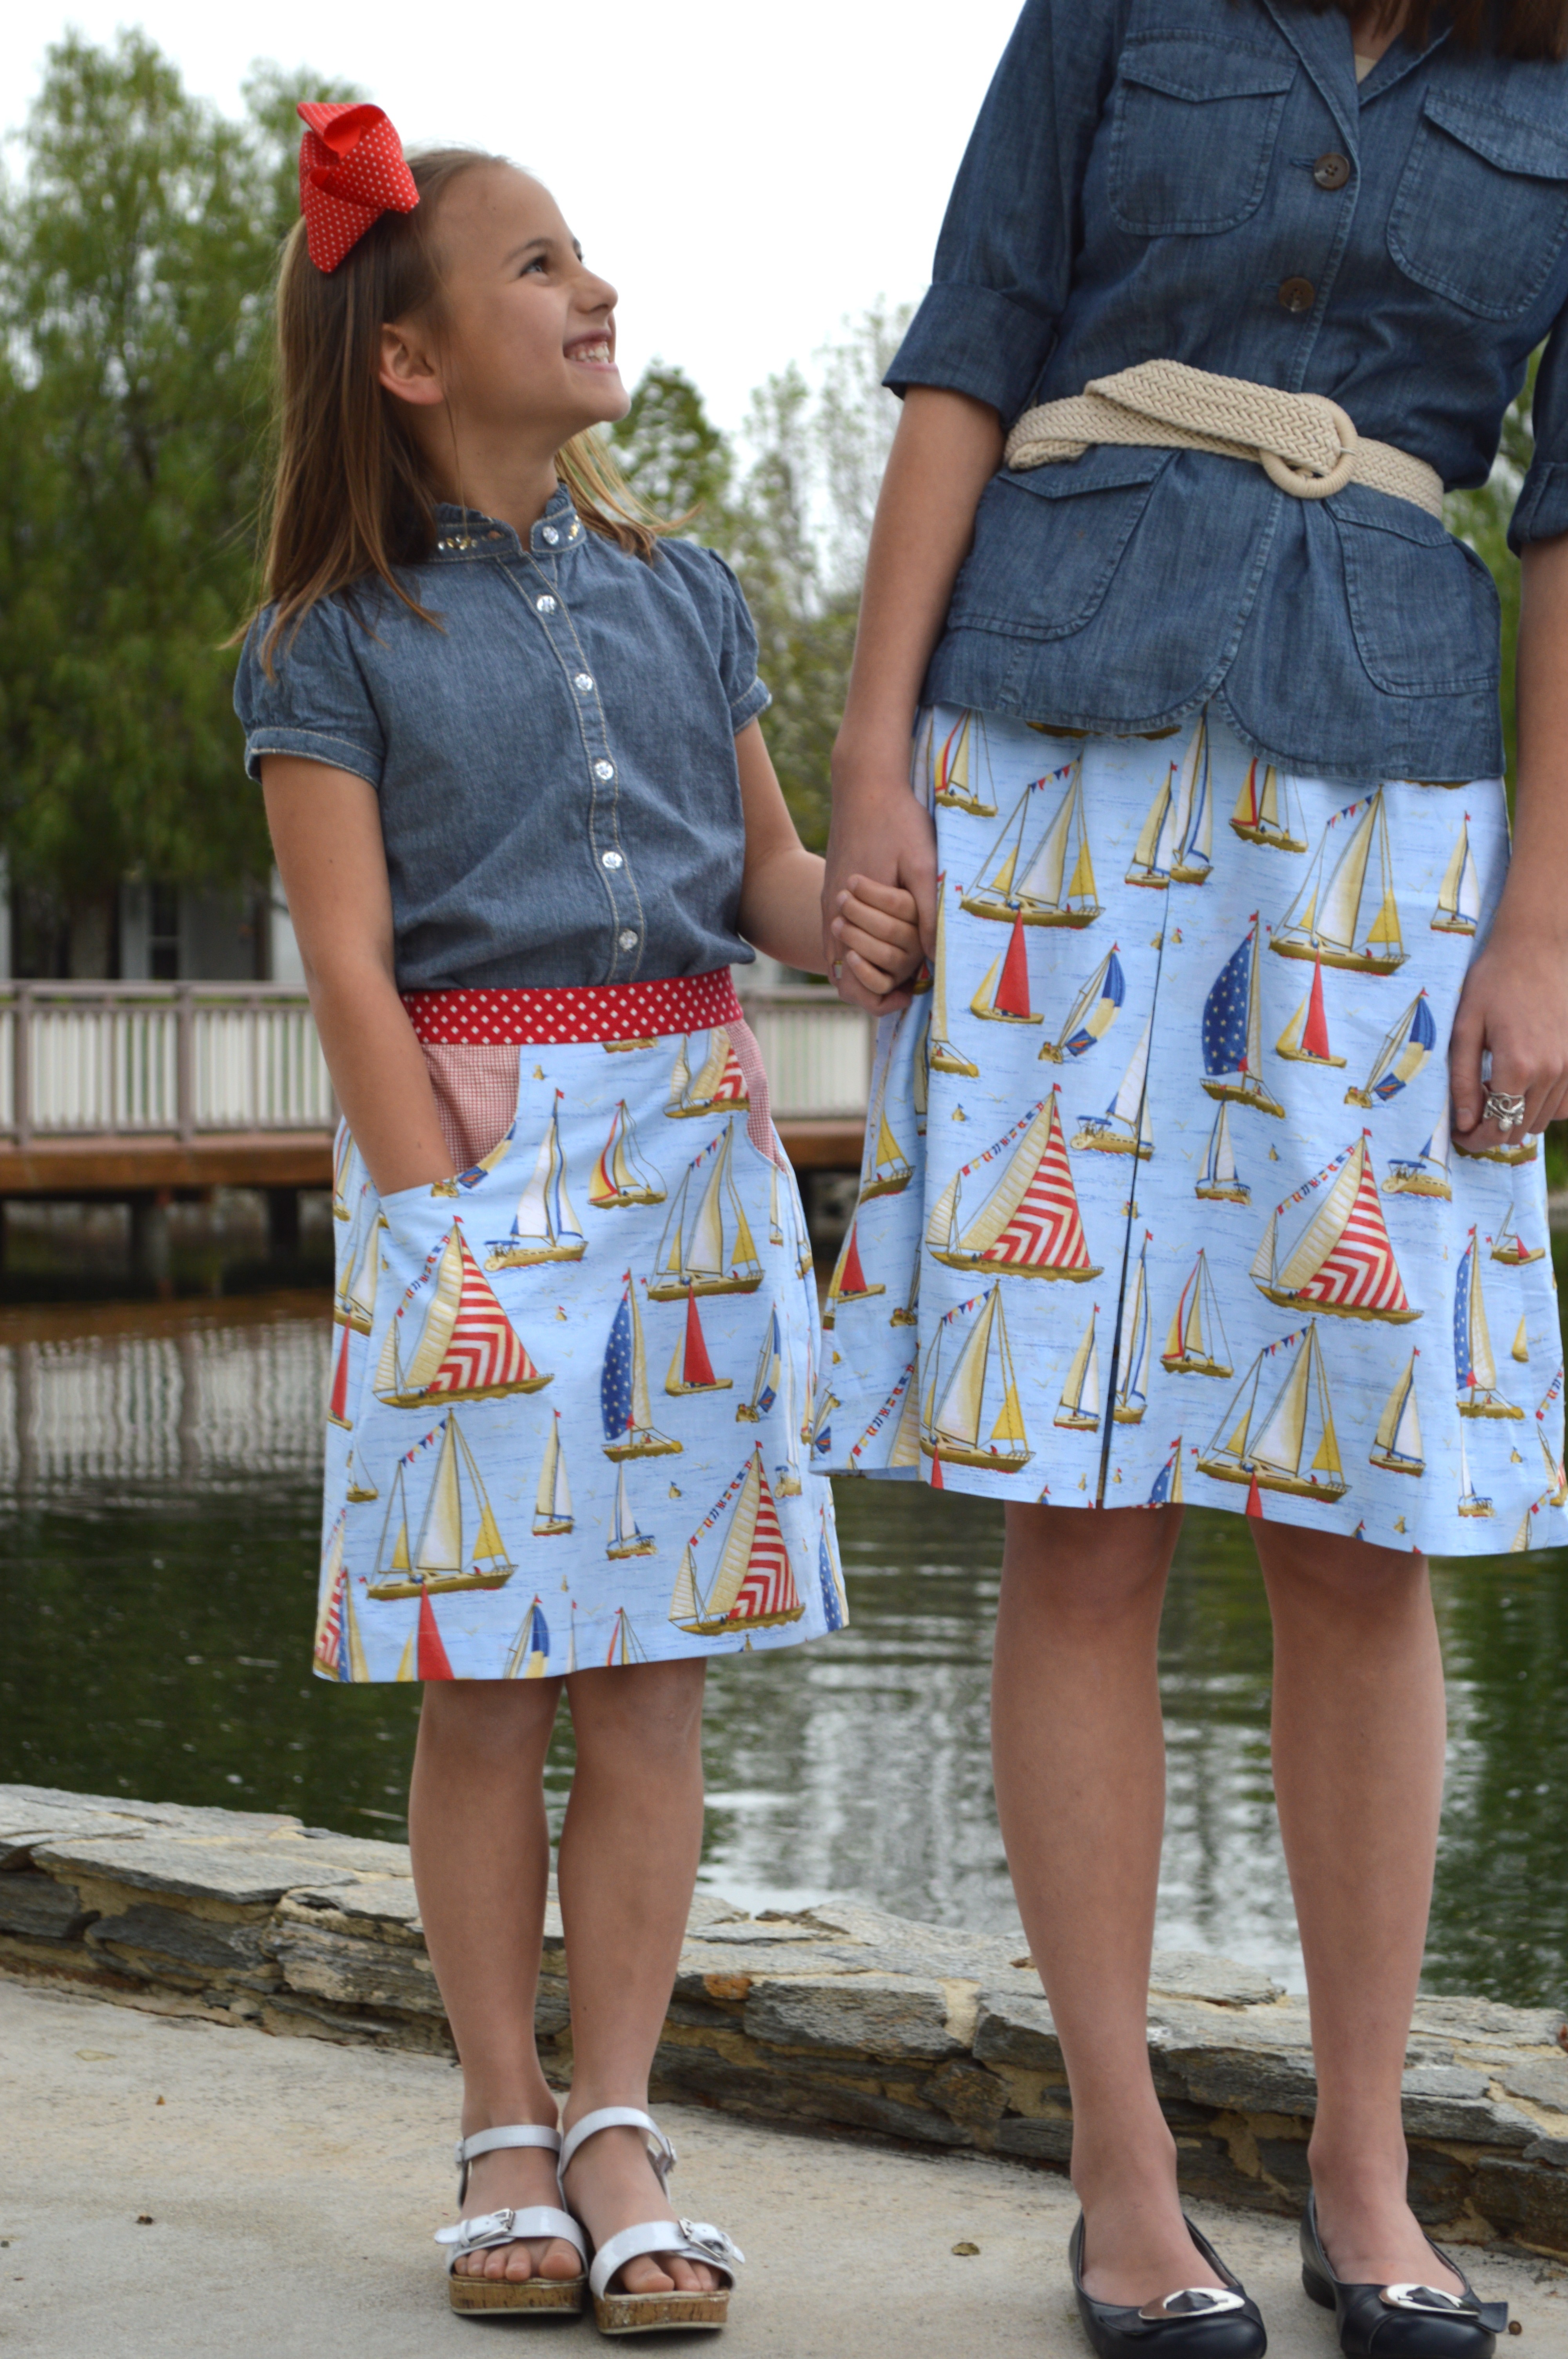
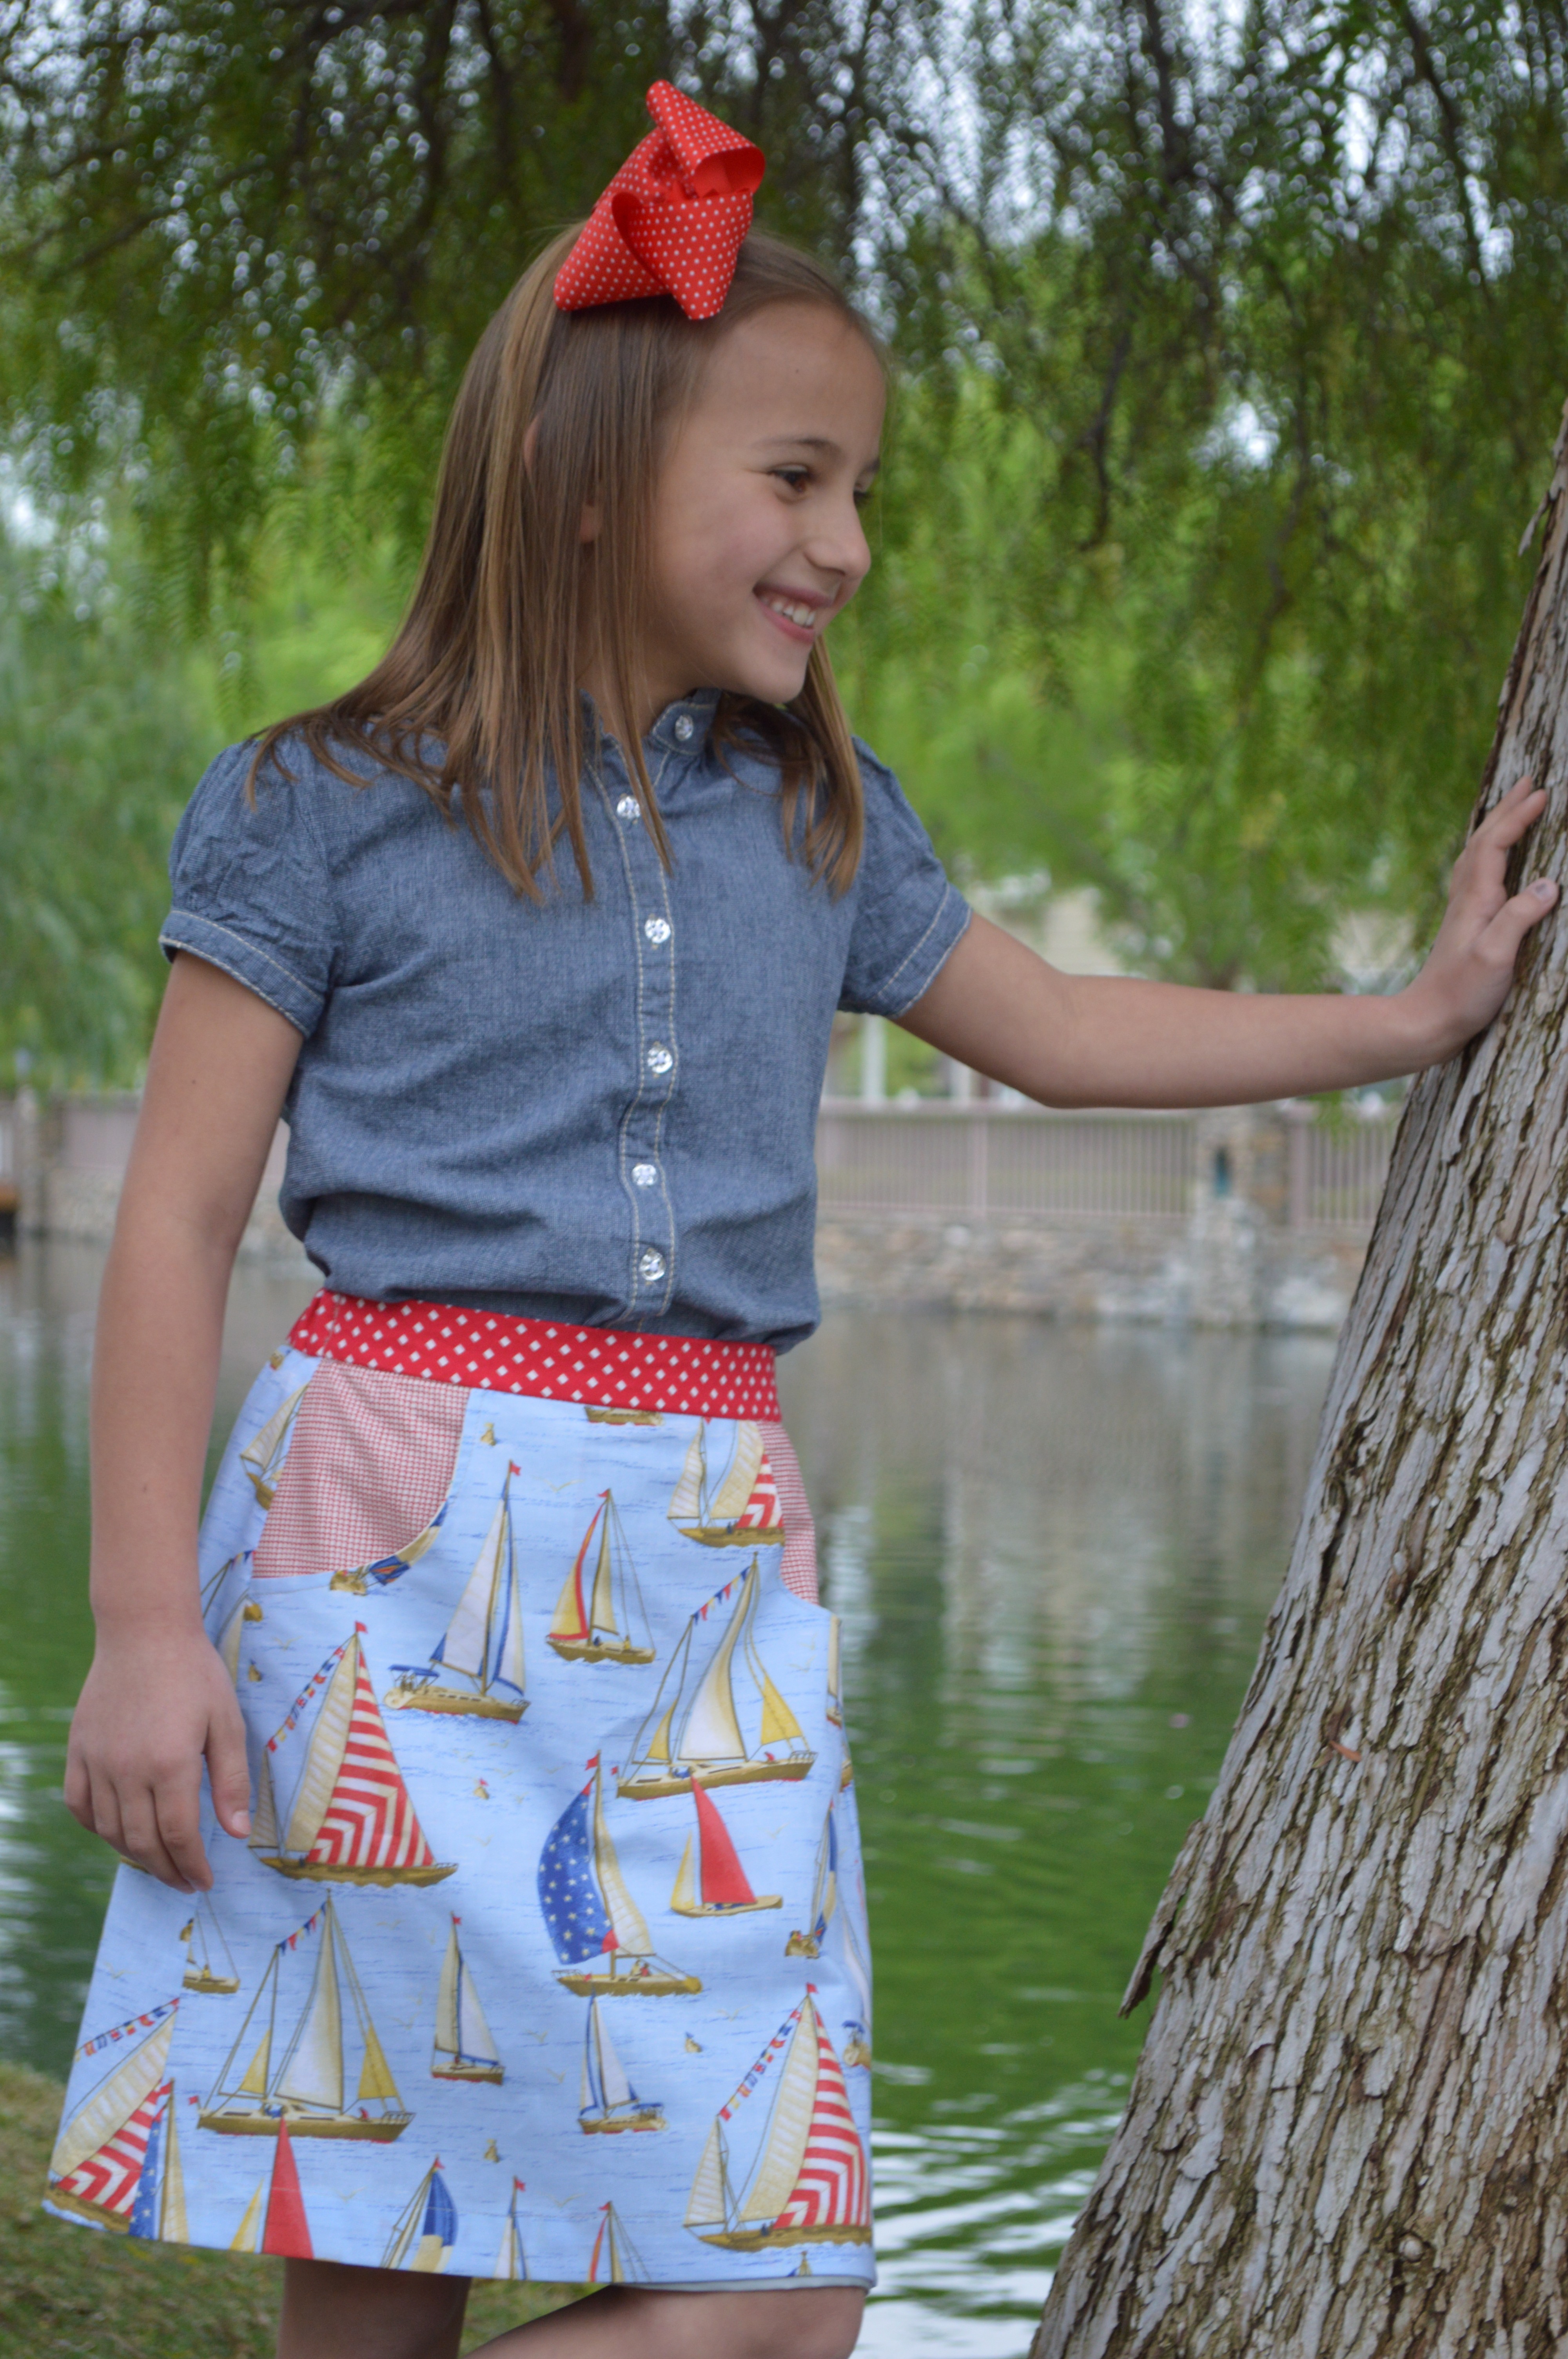
Sally’s very serious modeling pose 🙂
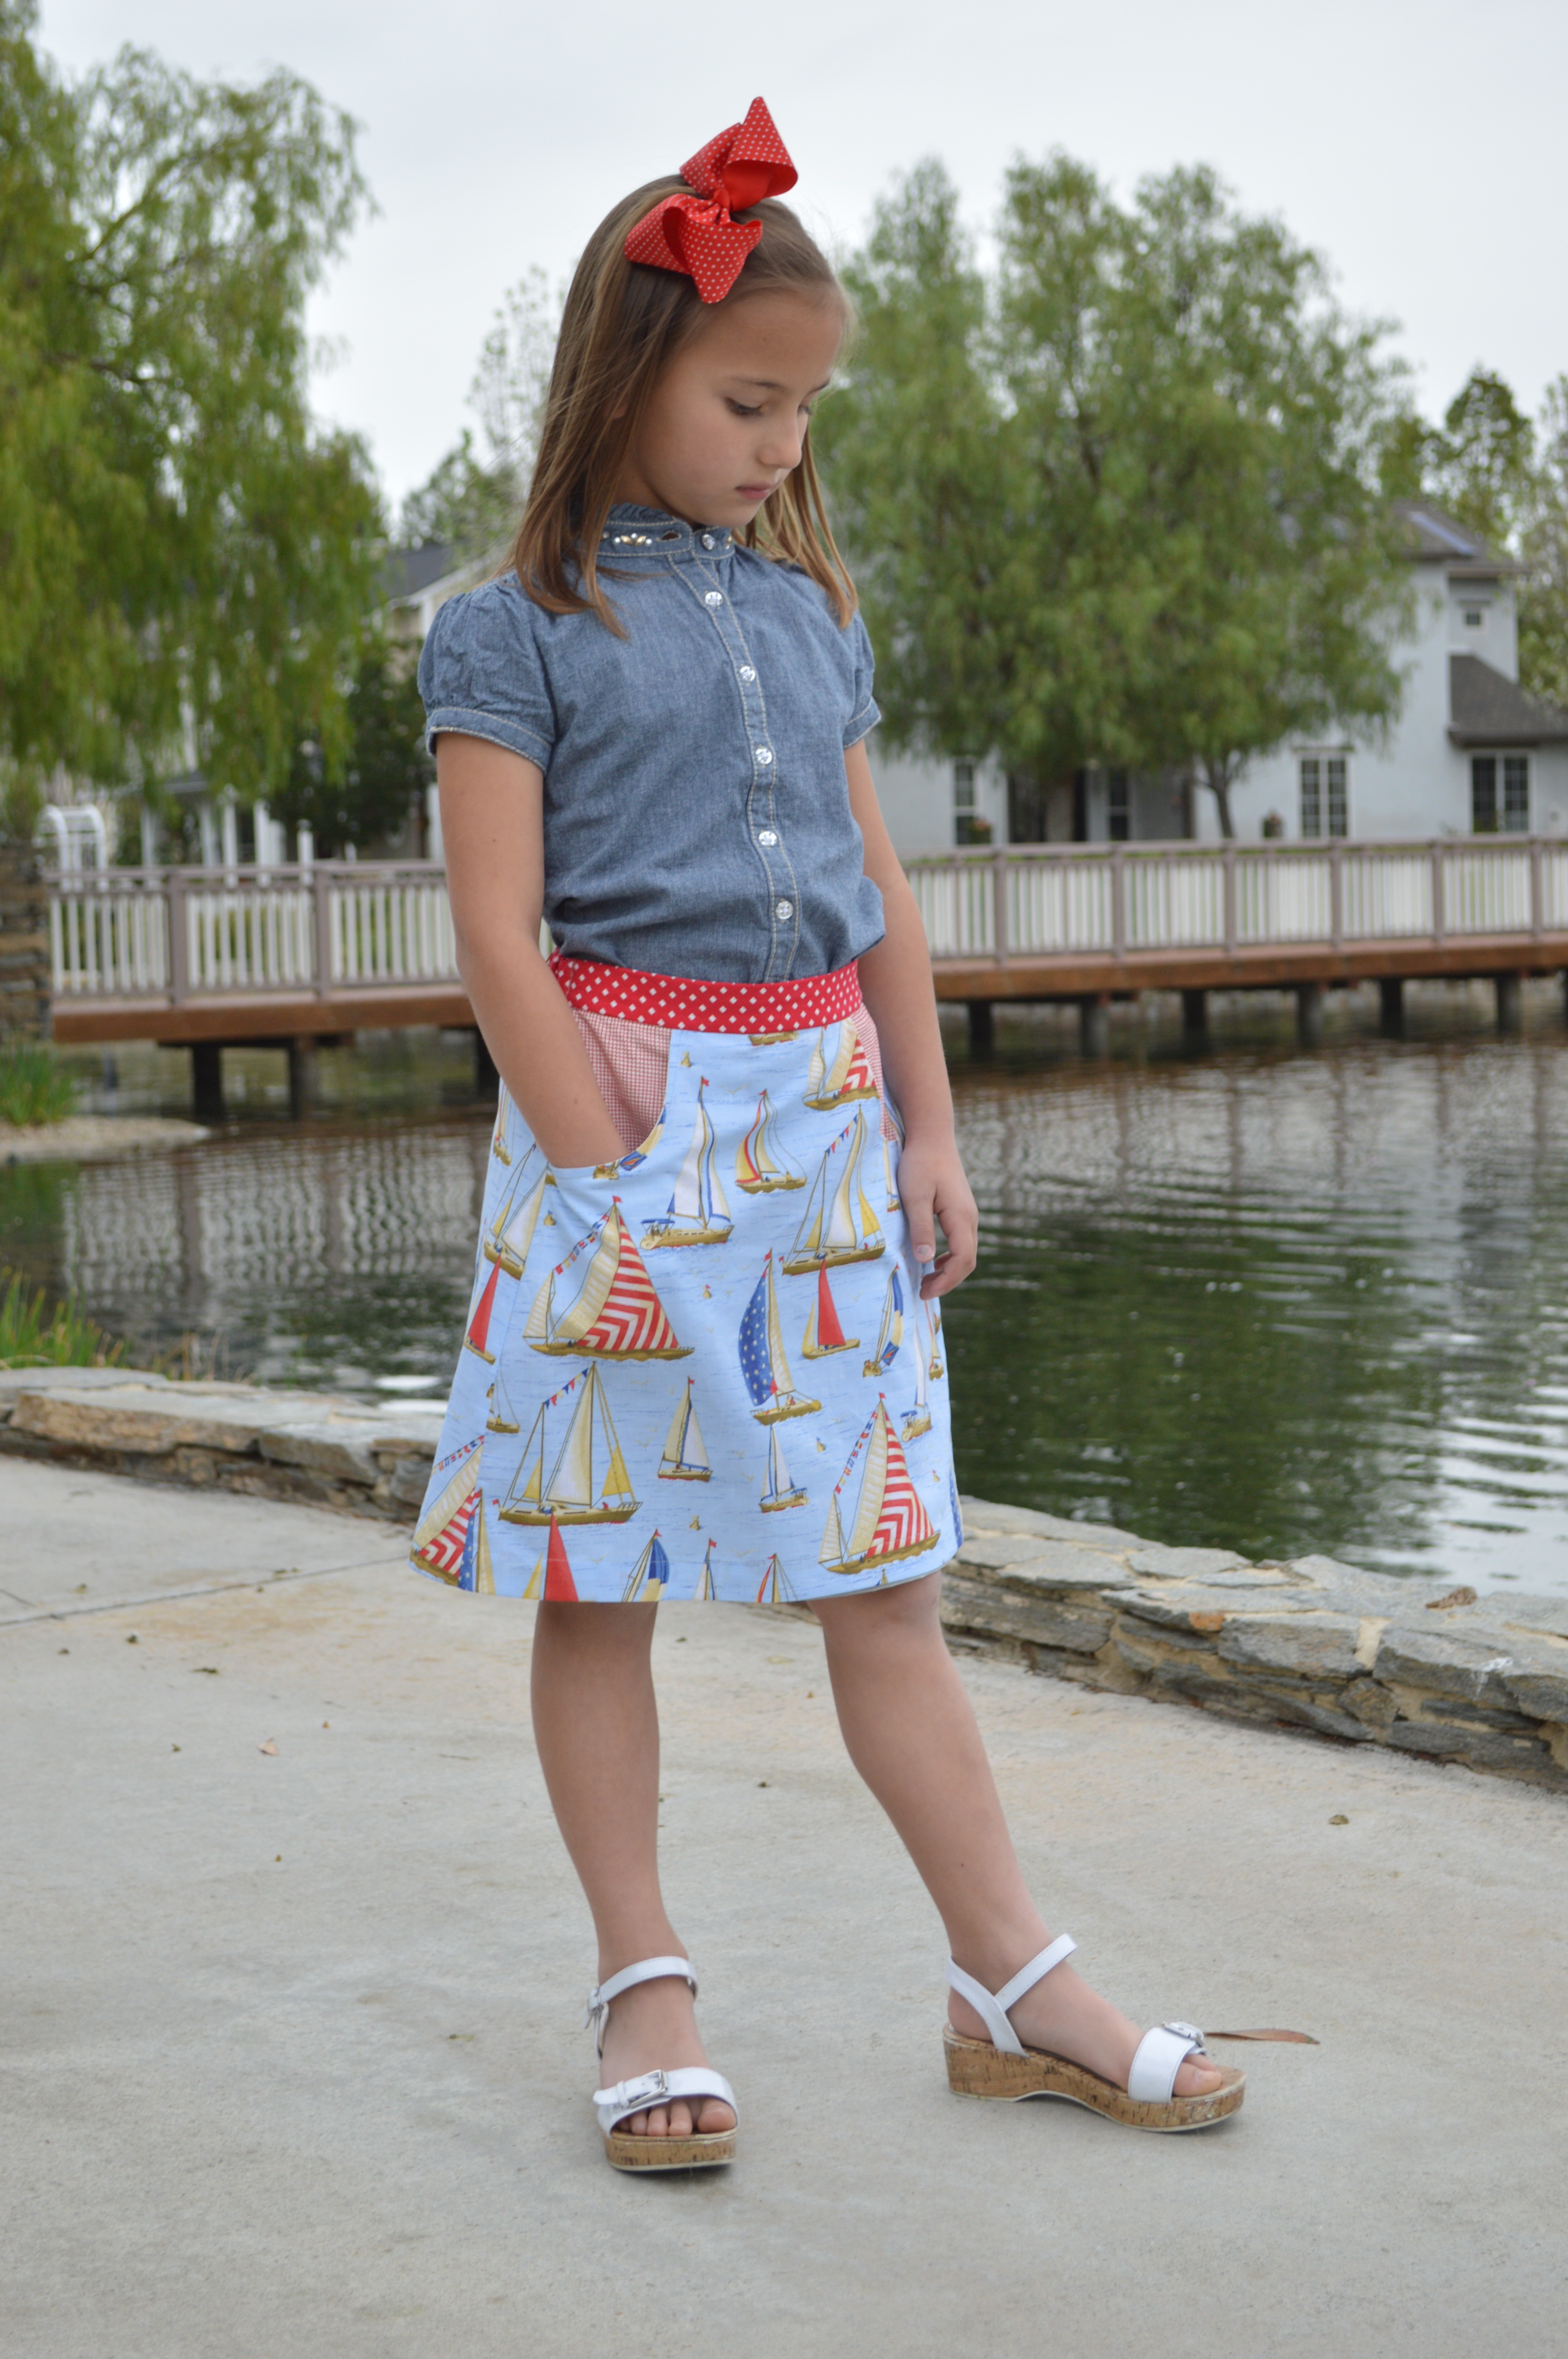 I actually made this skirt for me, but I made my teenage daughter wear it for the photos 🙂 I think I will wear it tomorrow!
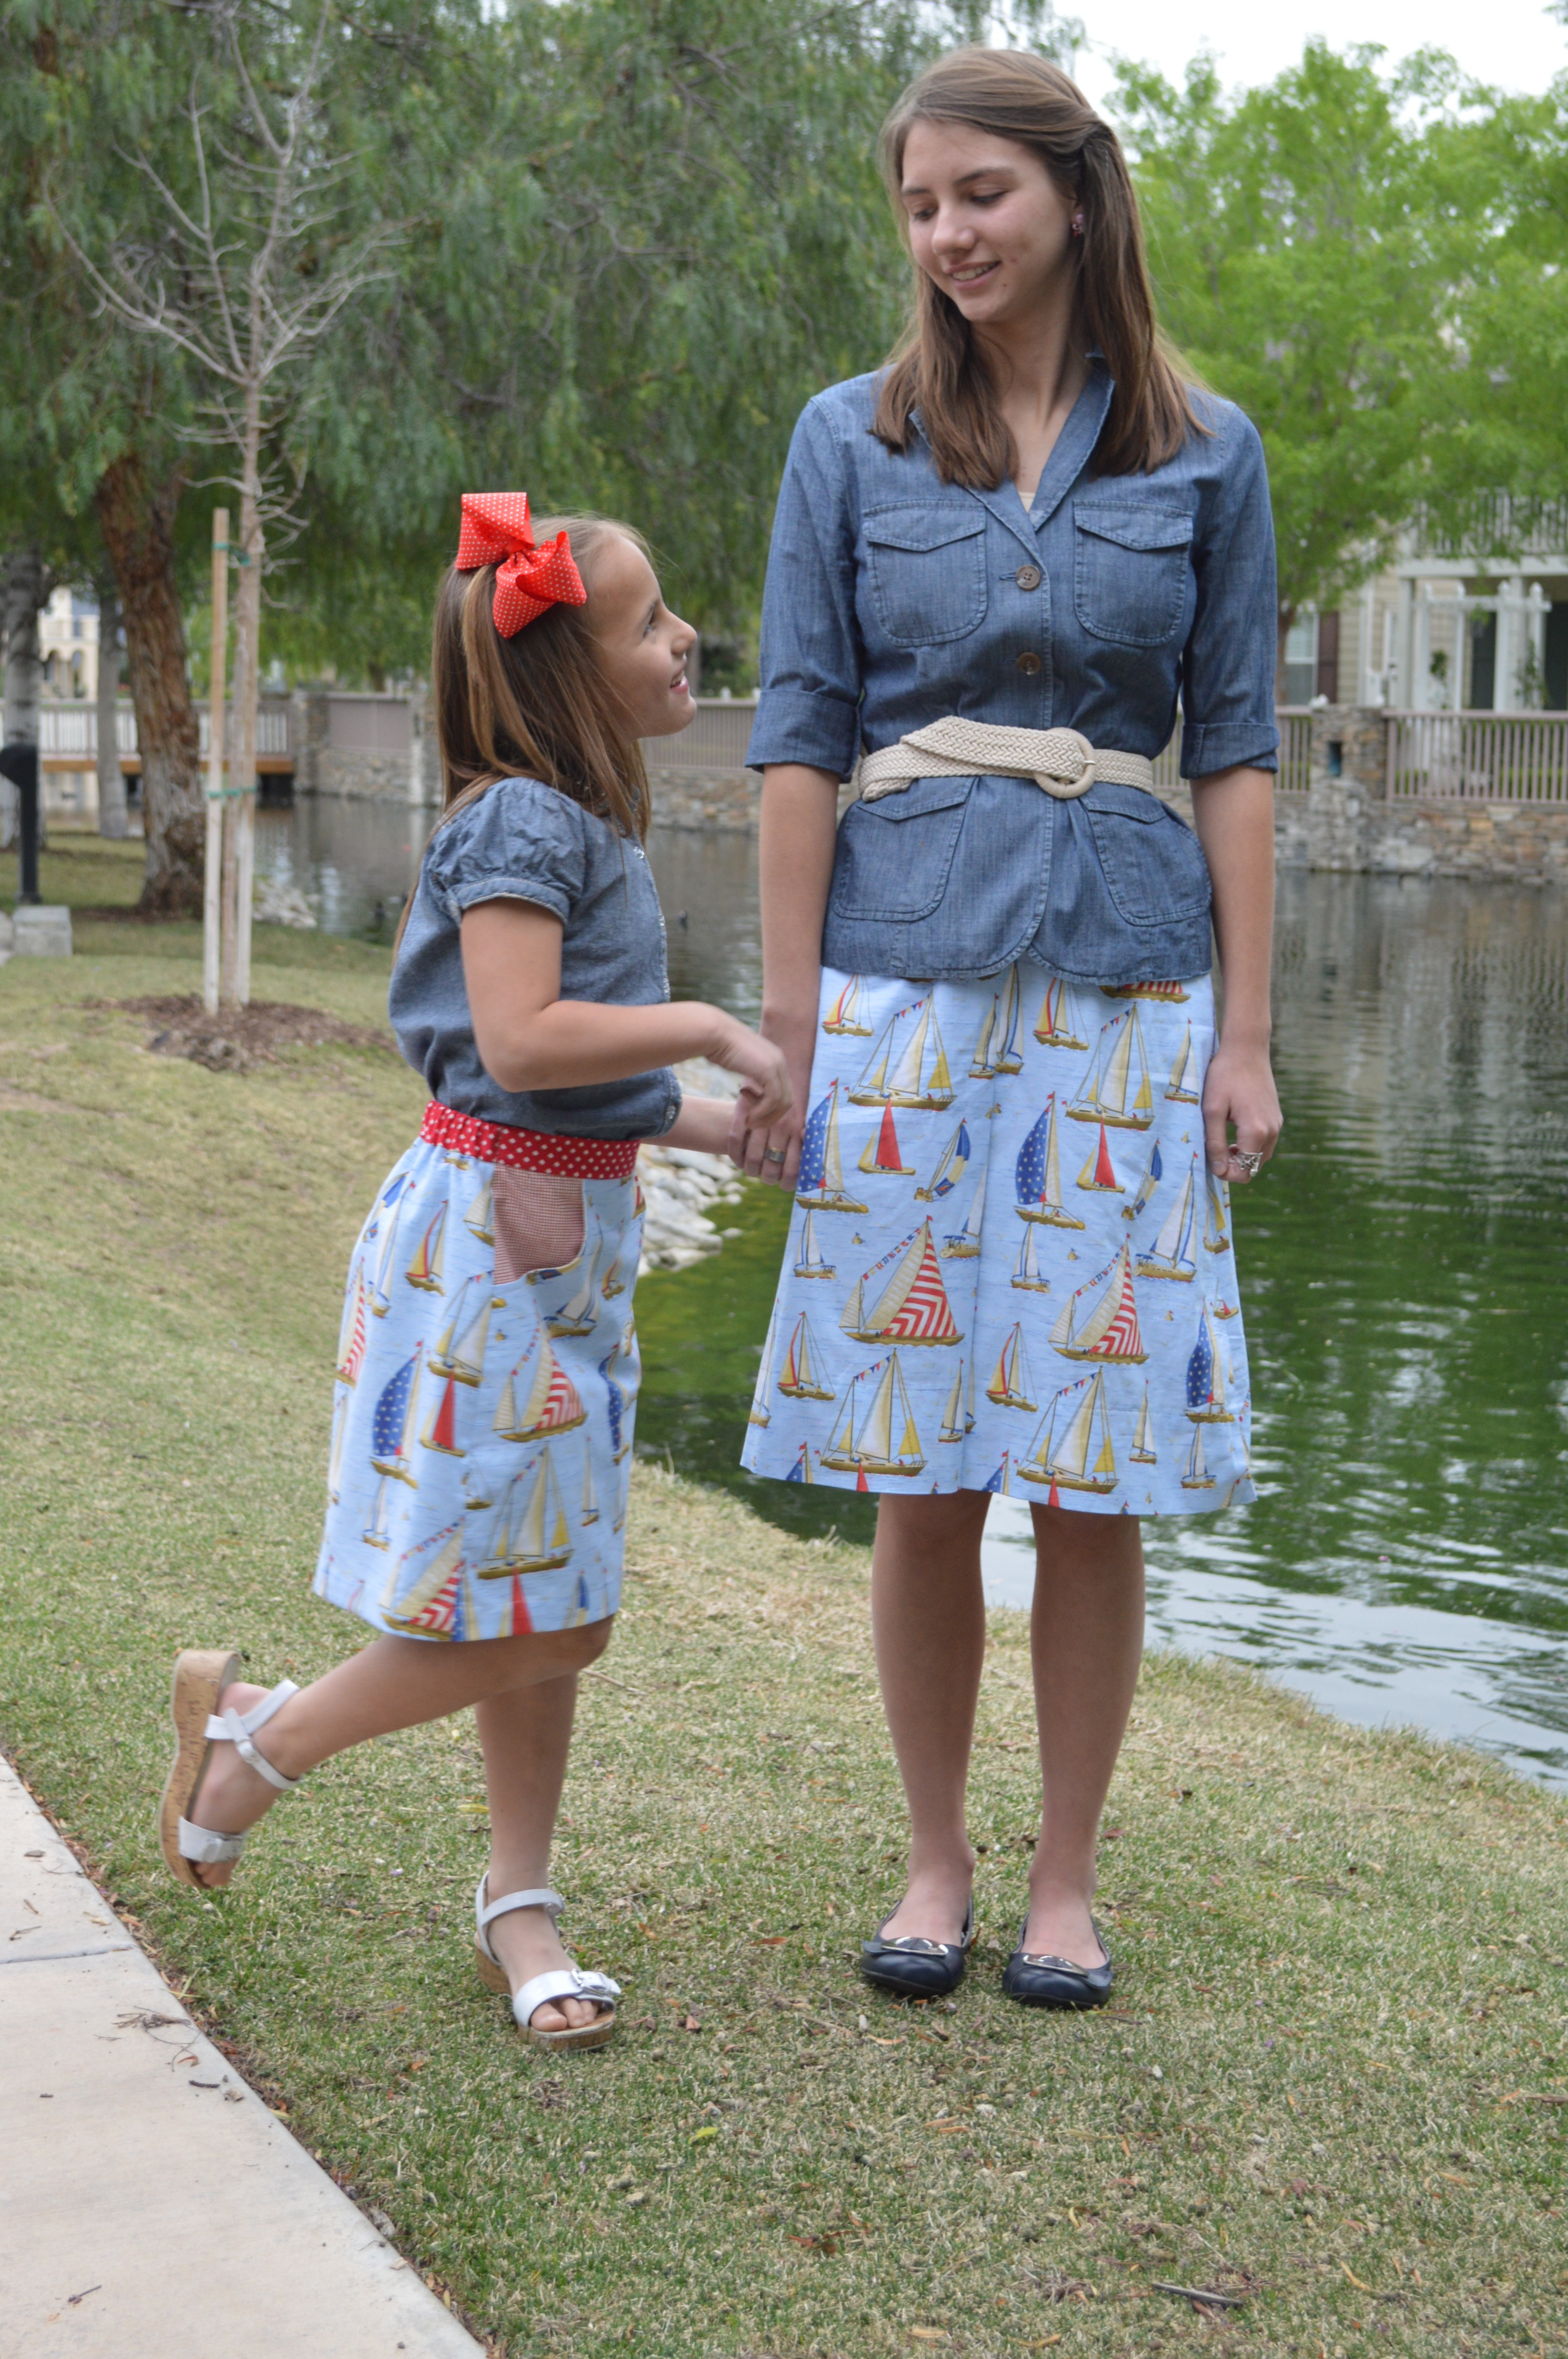
Having a sailboat skirt looks like so much fun, doesn’t it? (OK, it’s really late and I just ate a lot of chocolate cake)
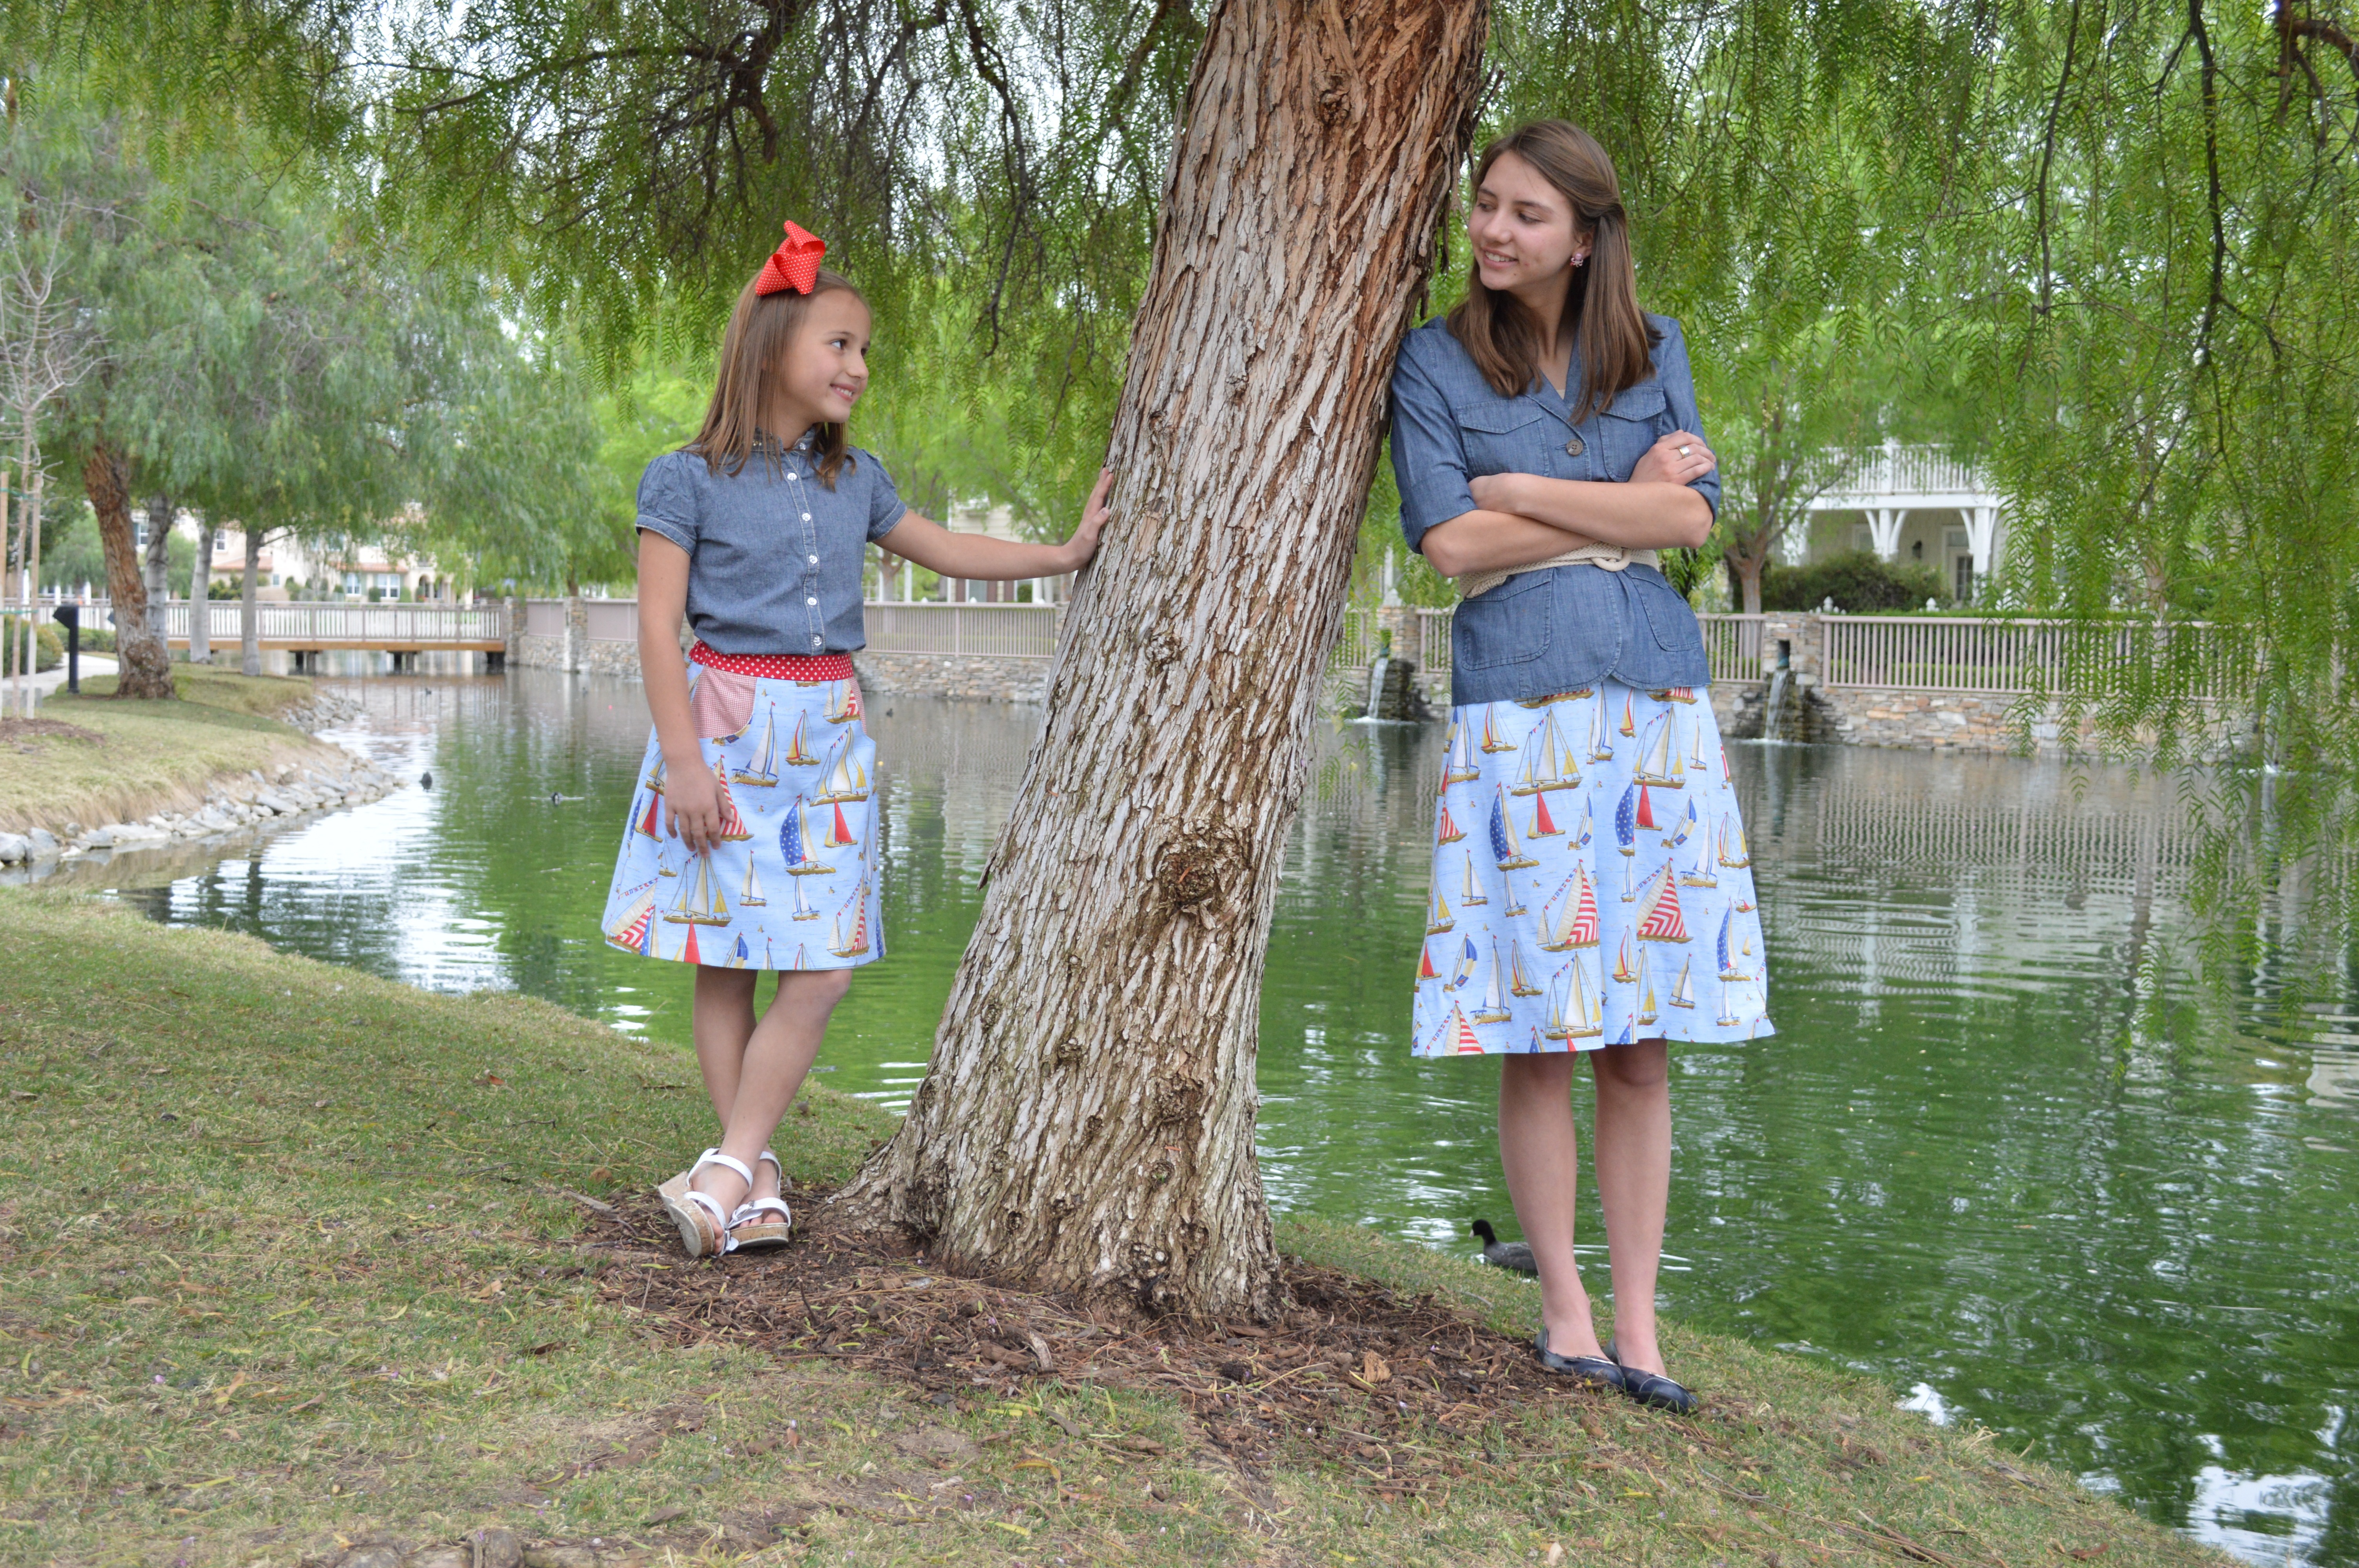
My cute girls!!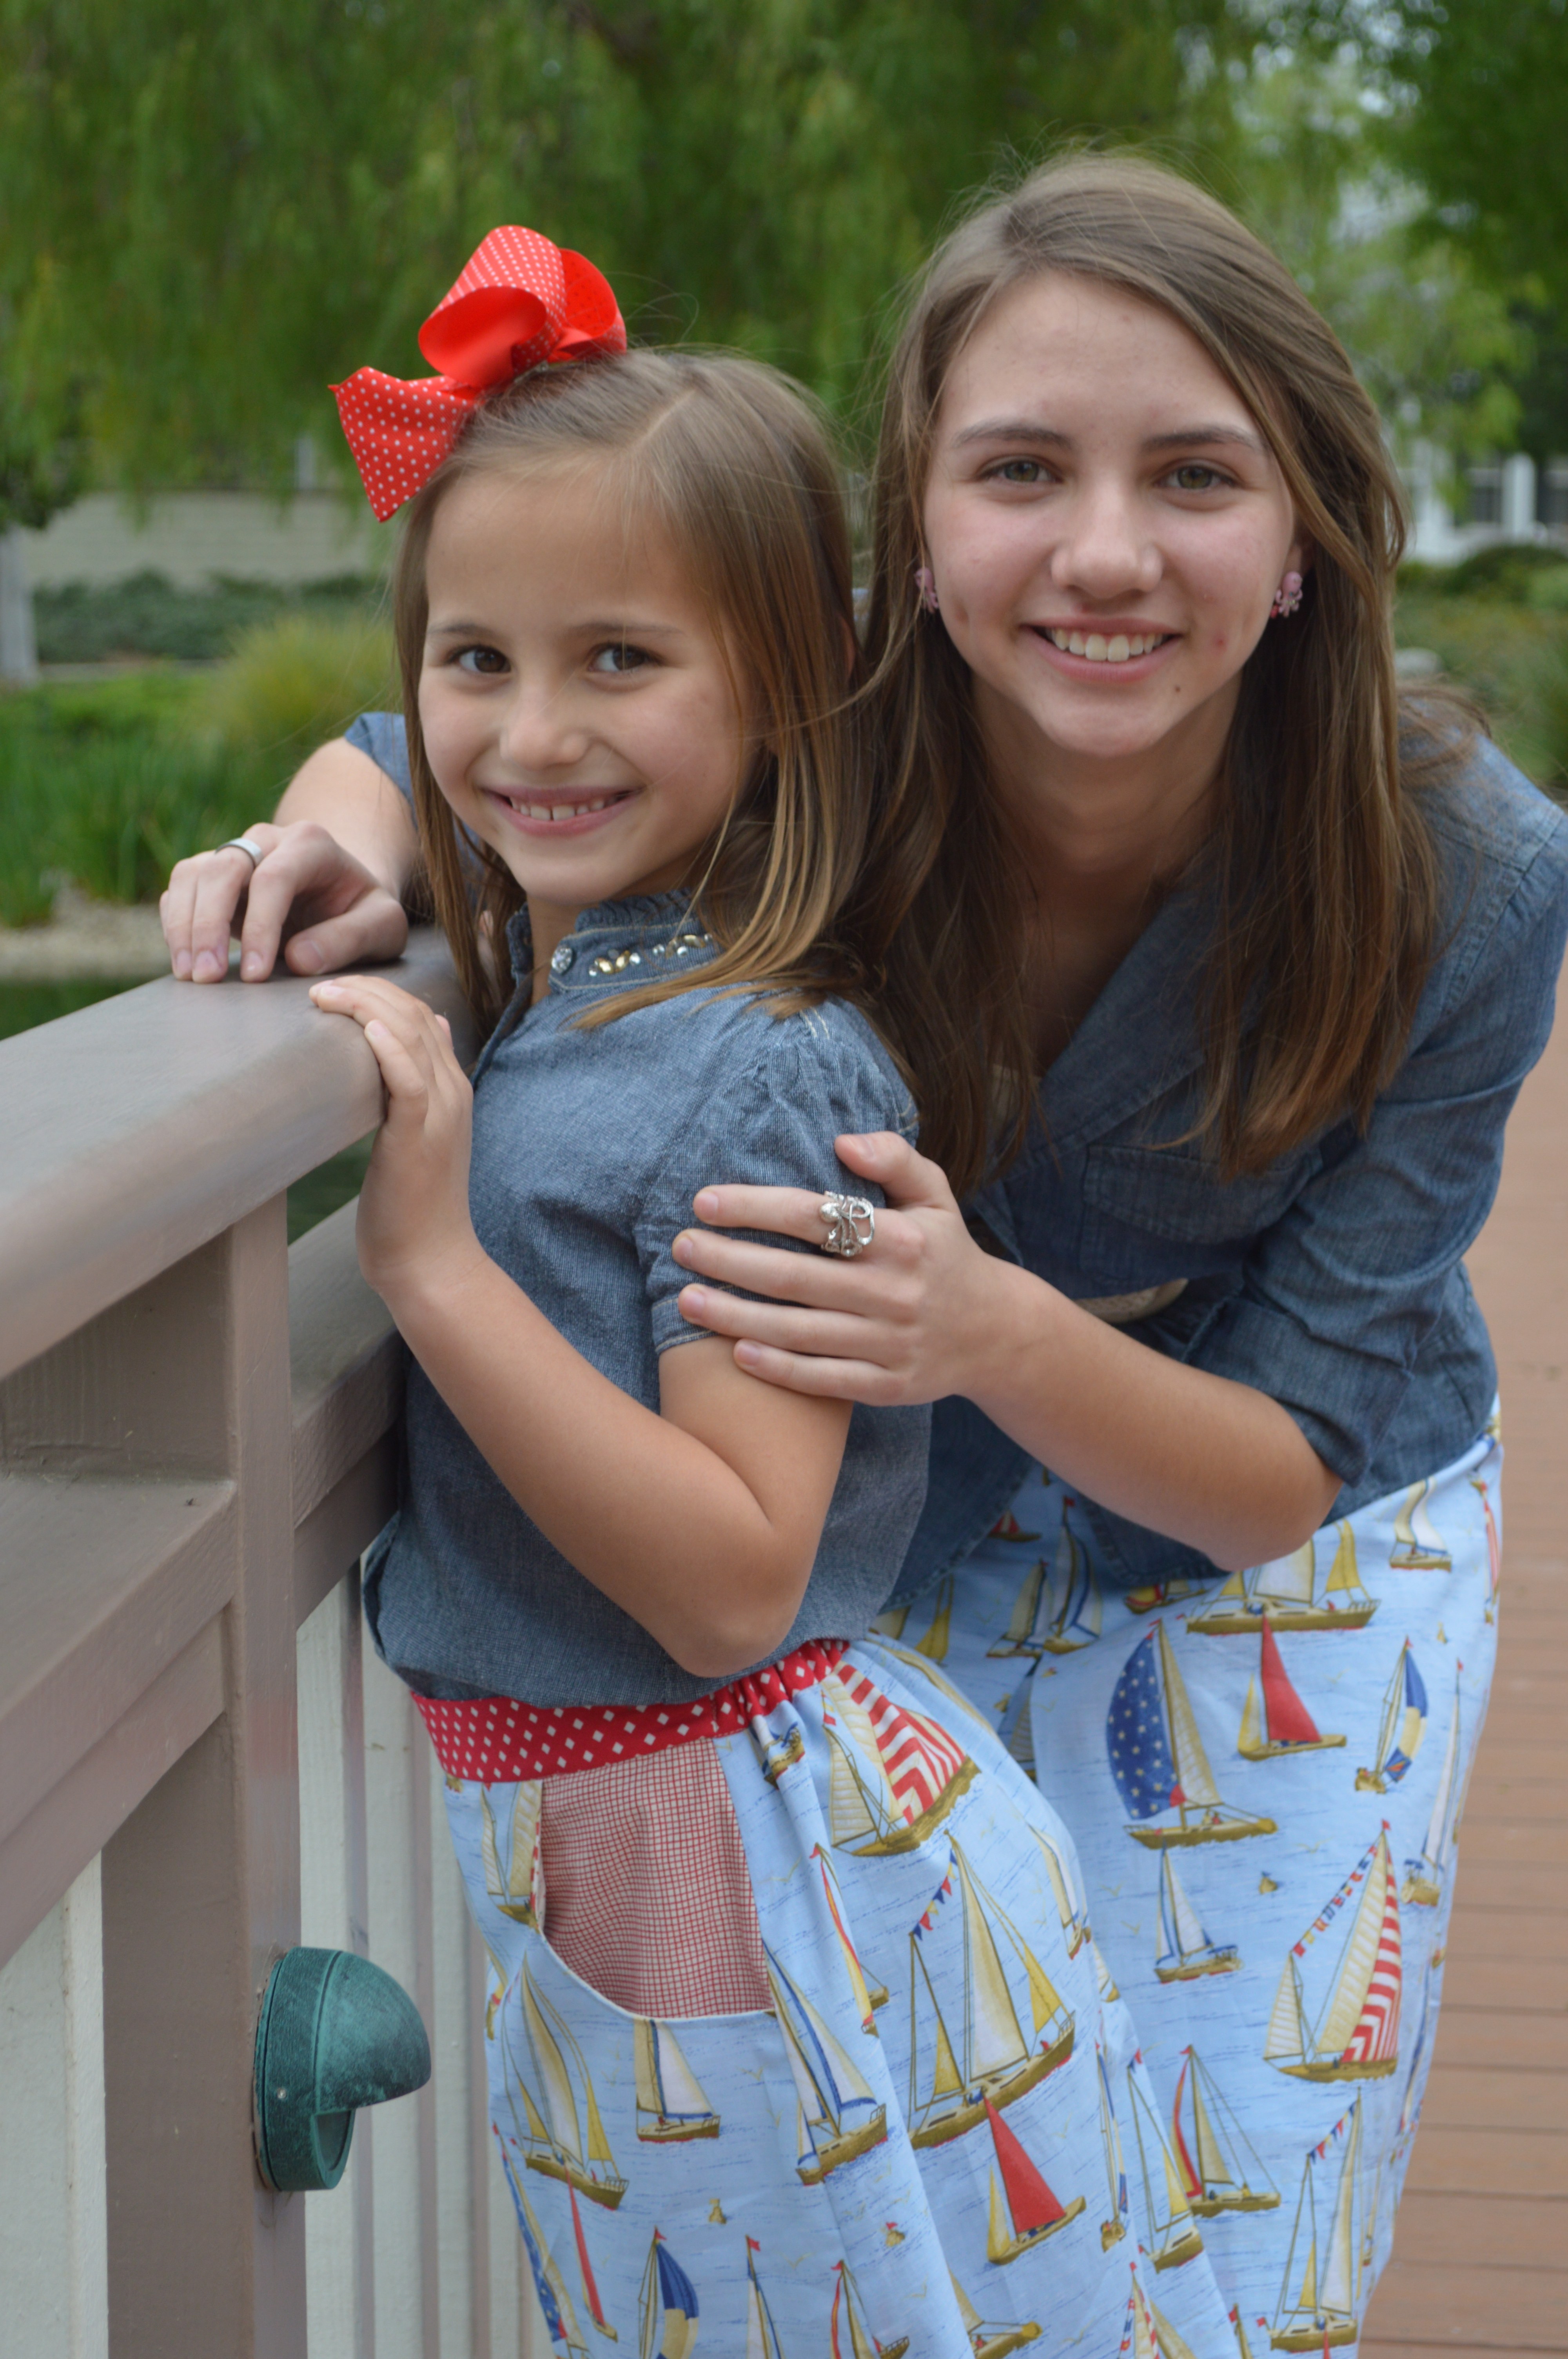
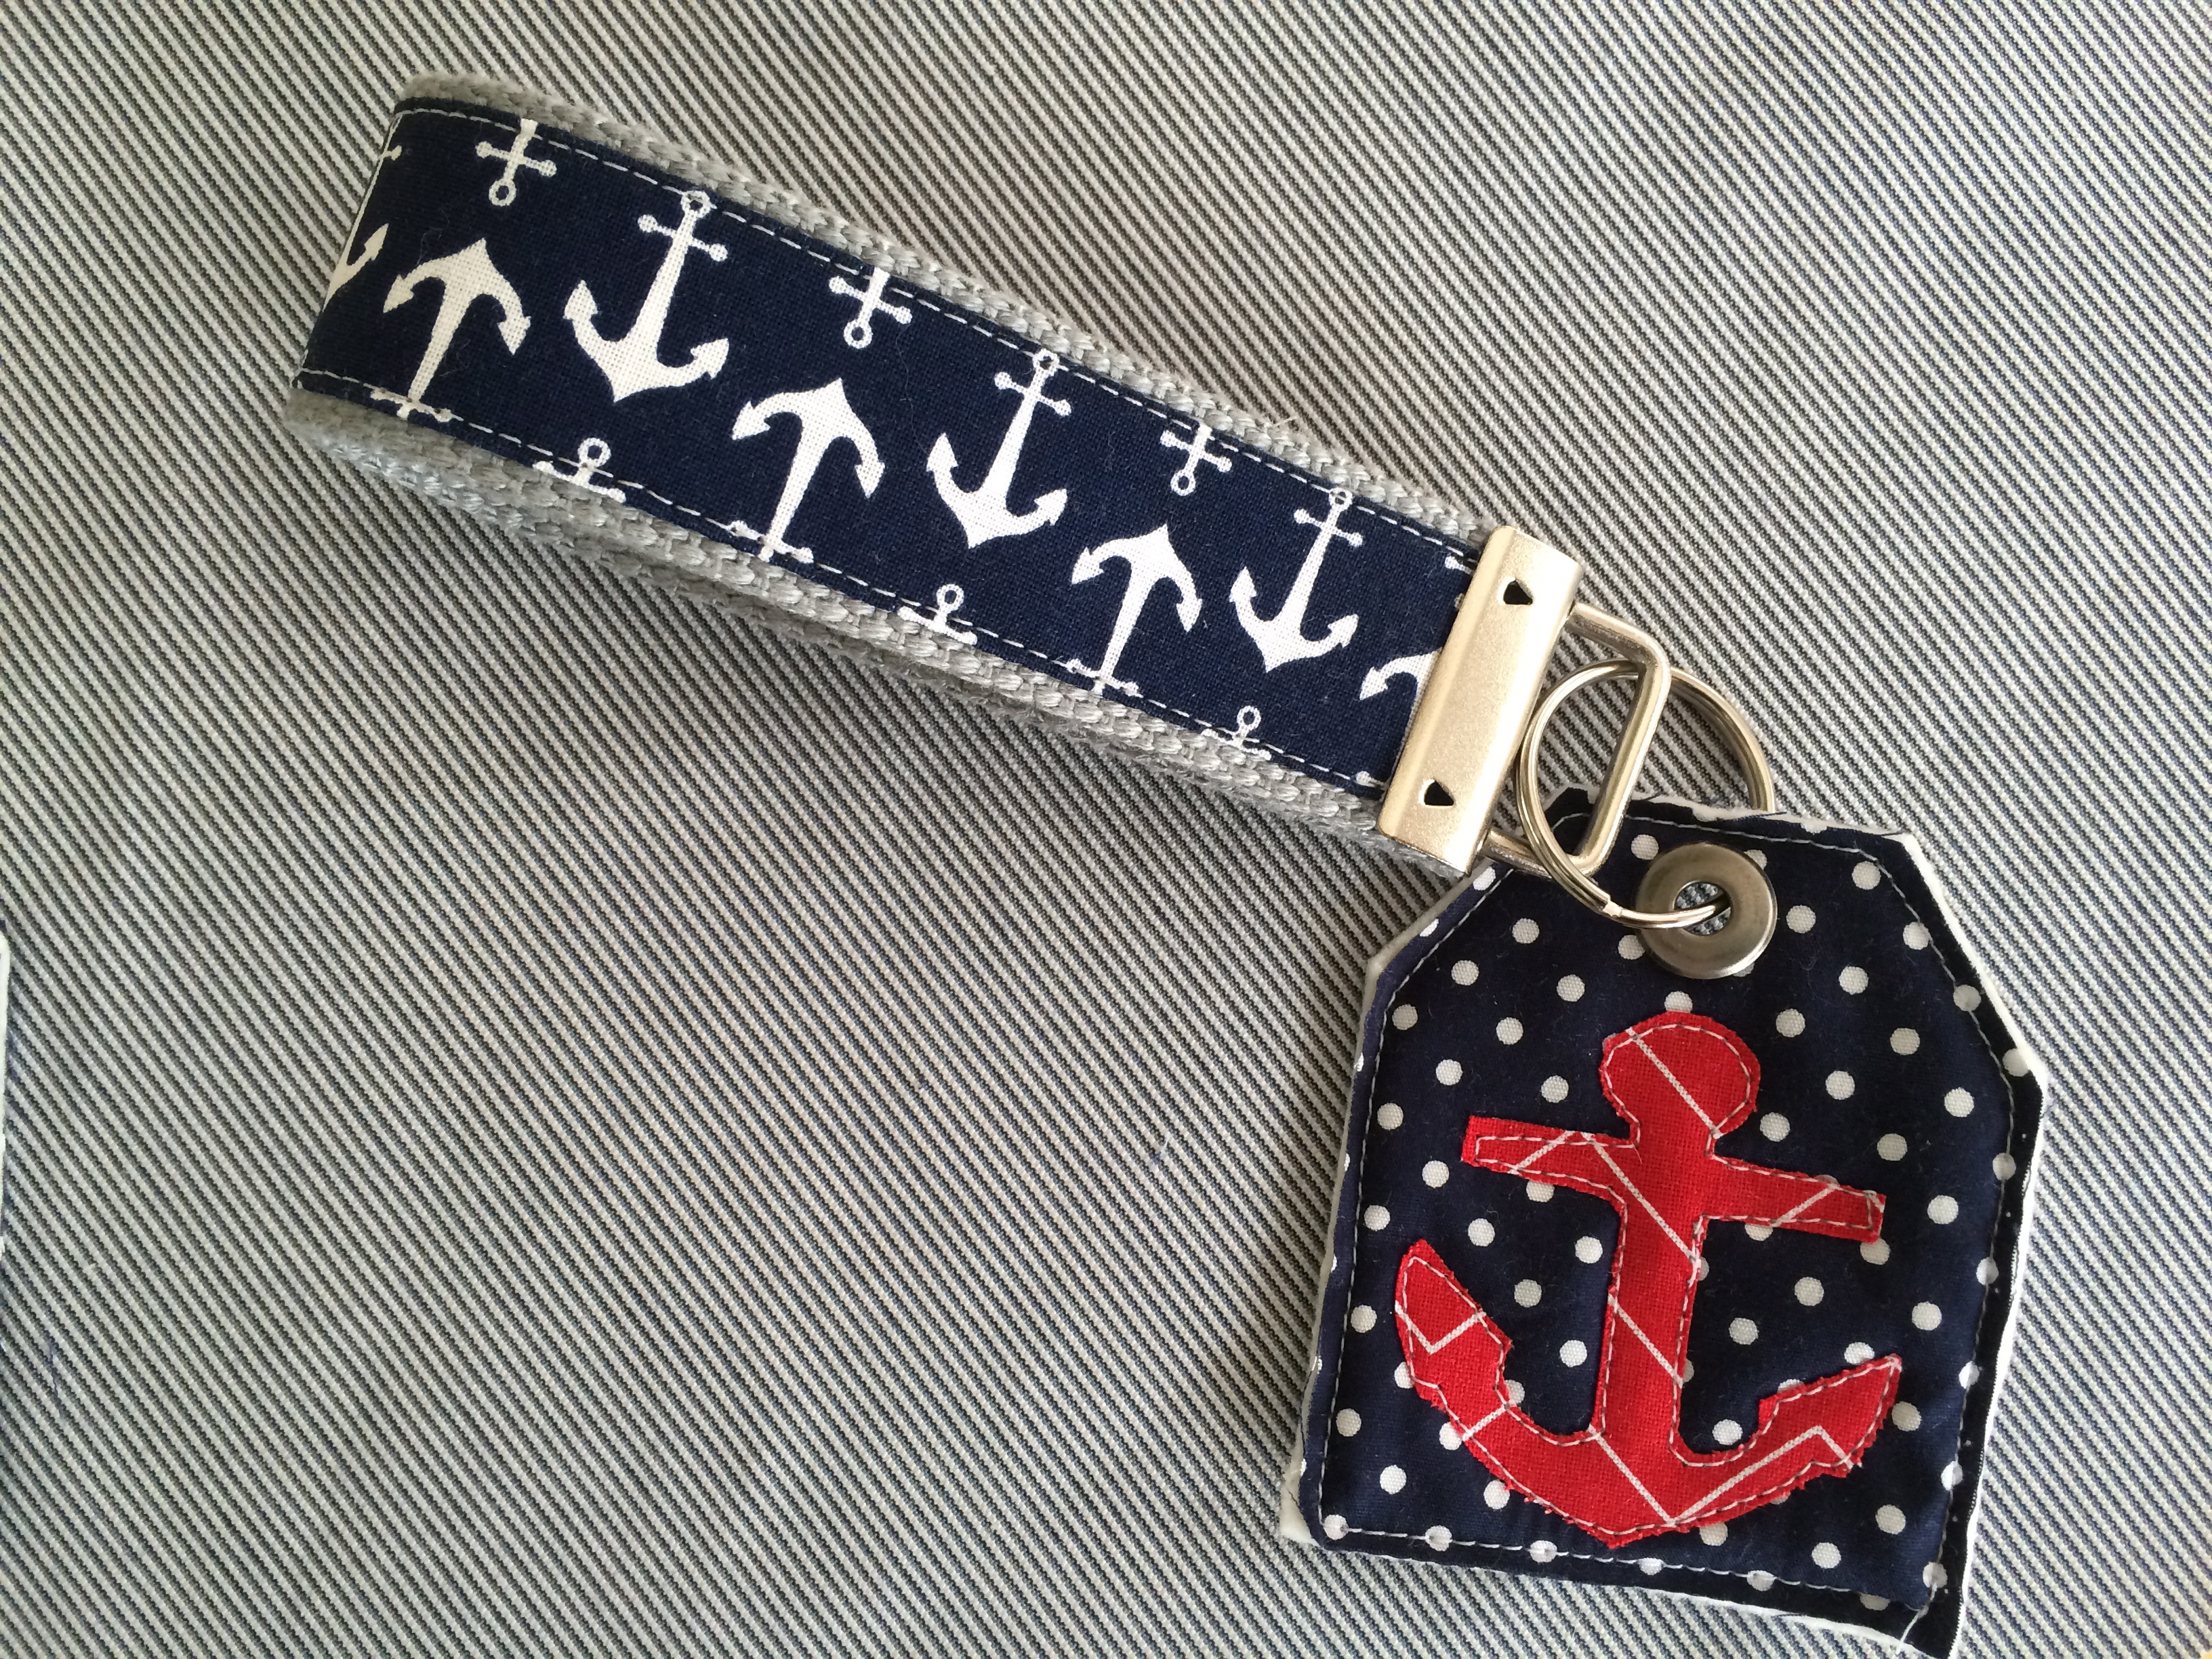
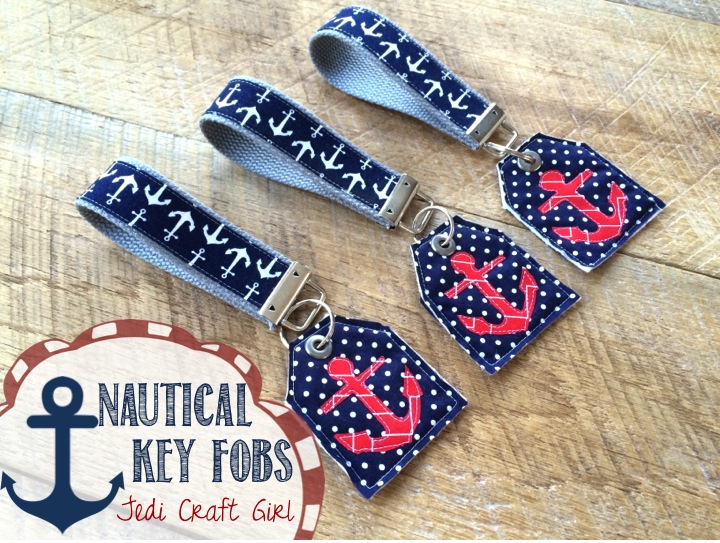 I like to make a statement with my key chains. For Christmas I enjoyed jingling everywhere I went with this keychain. Now that it’s spring, I definitely need to be saying “I love everything Nautcial” with my keychain. These make great gifts and you can sew one in about 20 minutes. I used Riley Blake’s Anchor print for the fabric on the key fob. The gray cotton twill tape I ordered from Everything Ribbons on Etsy. The twill tape and hardware are 1.25″ wide and are available at that shop in a wide variety of colors.
Follow my tutorial here to complete the key fob portion.
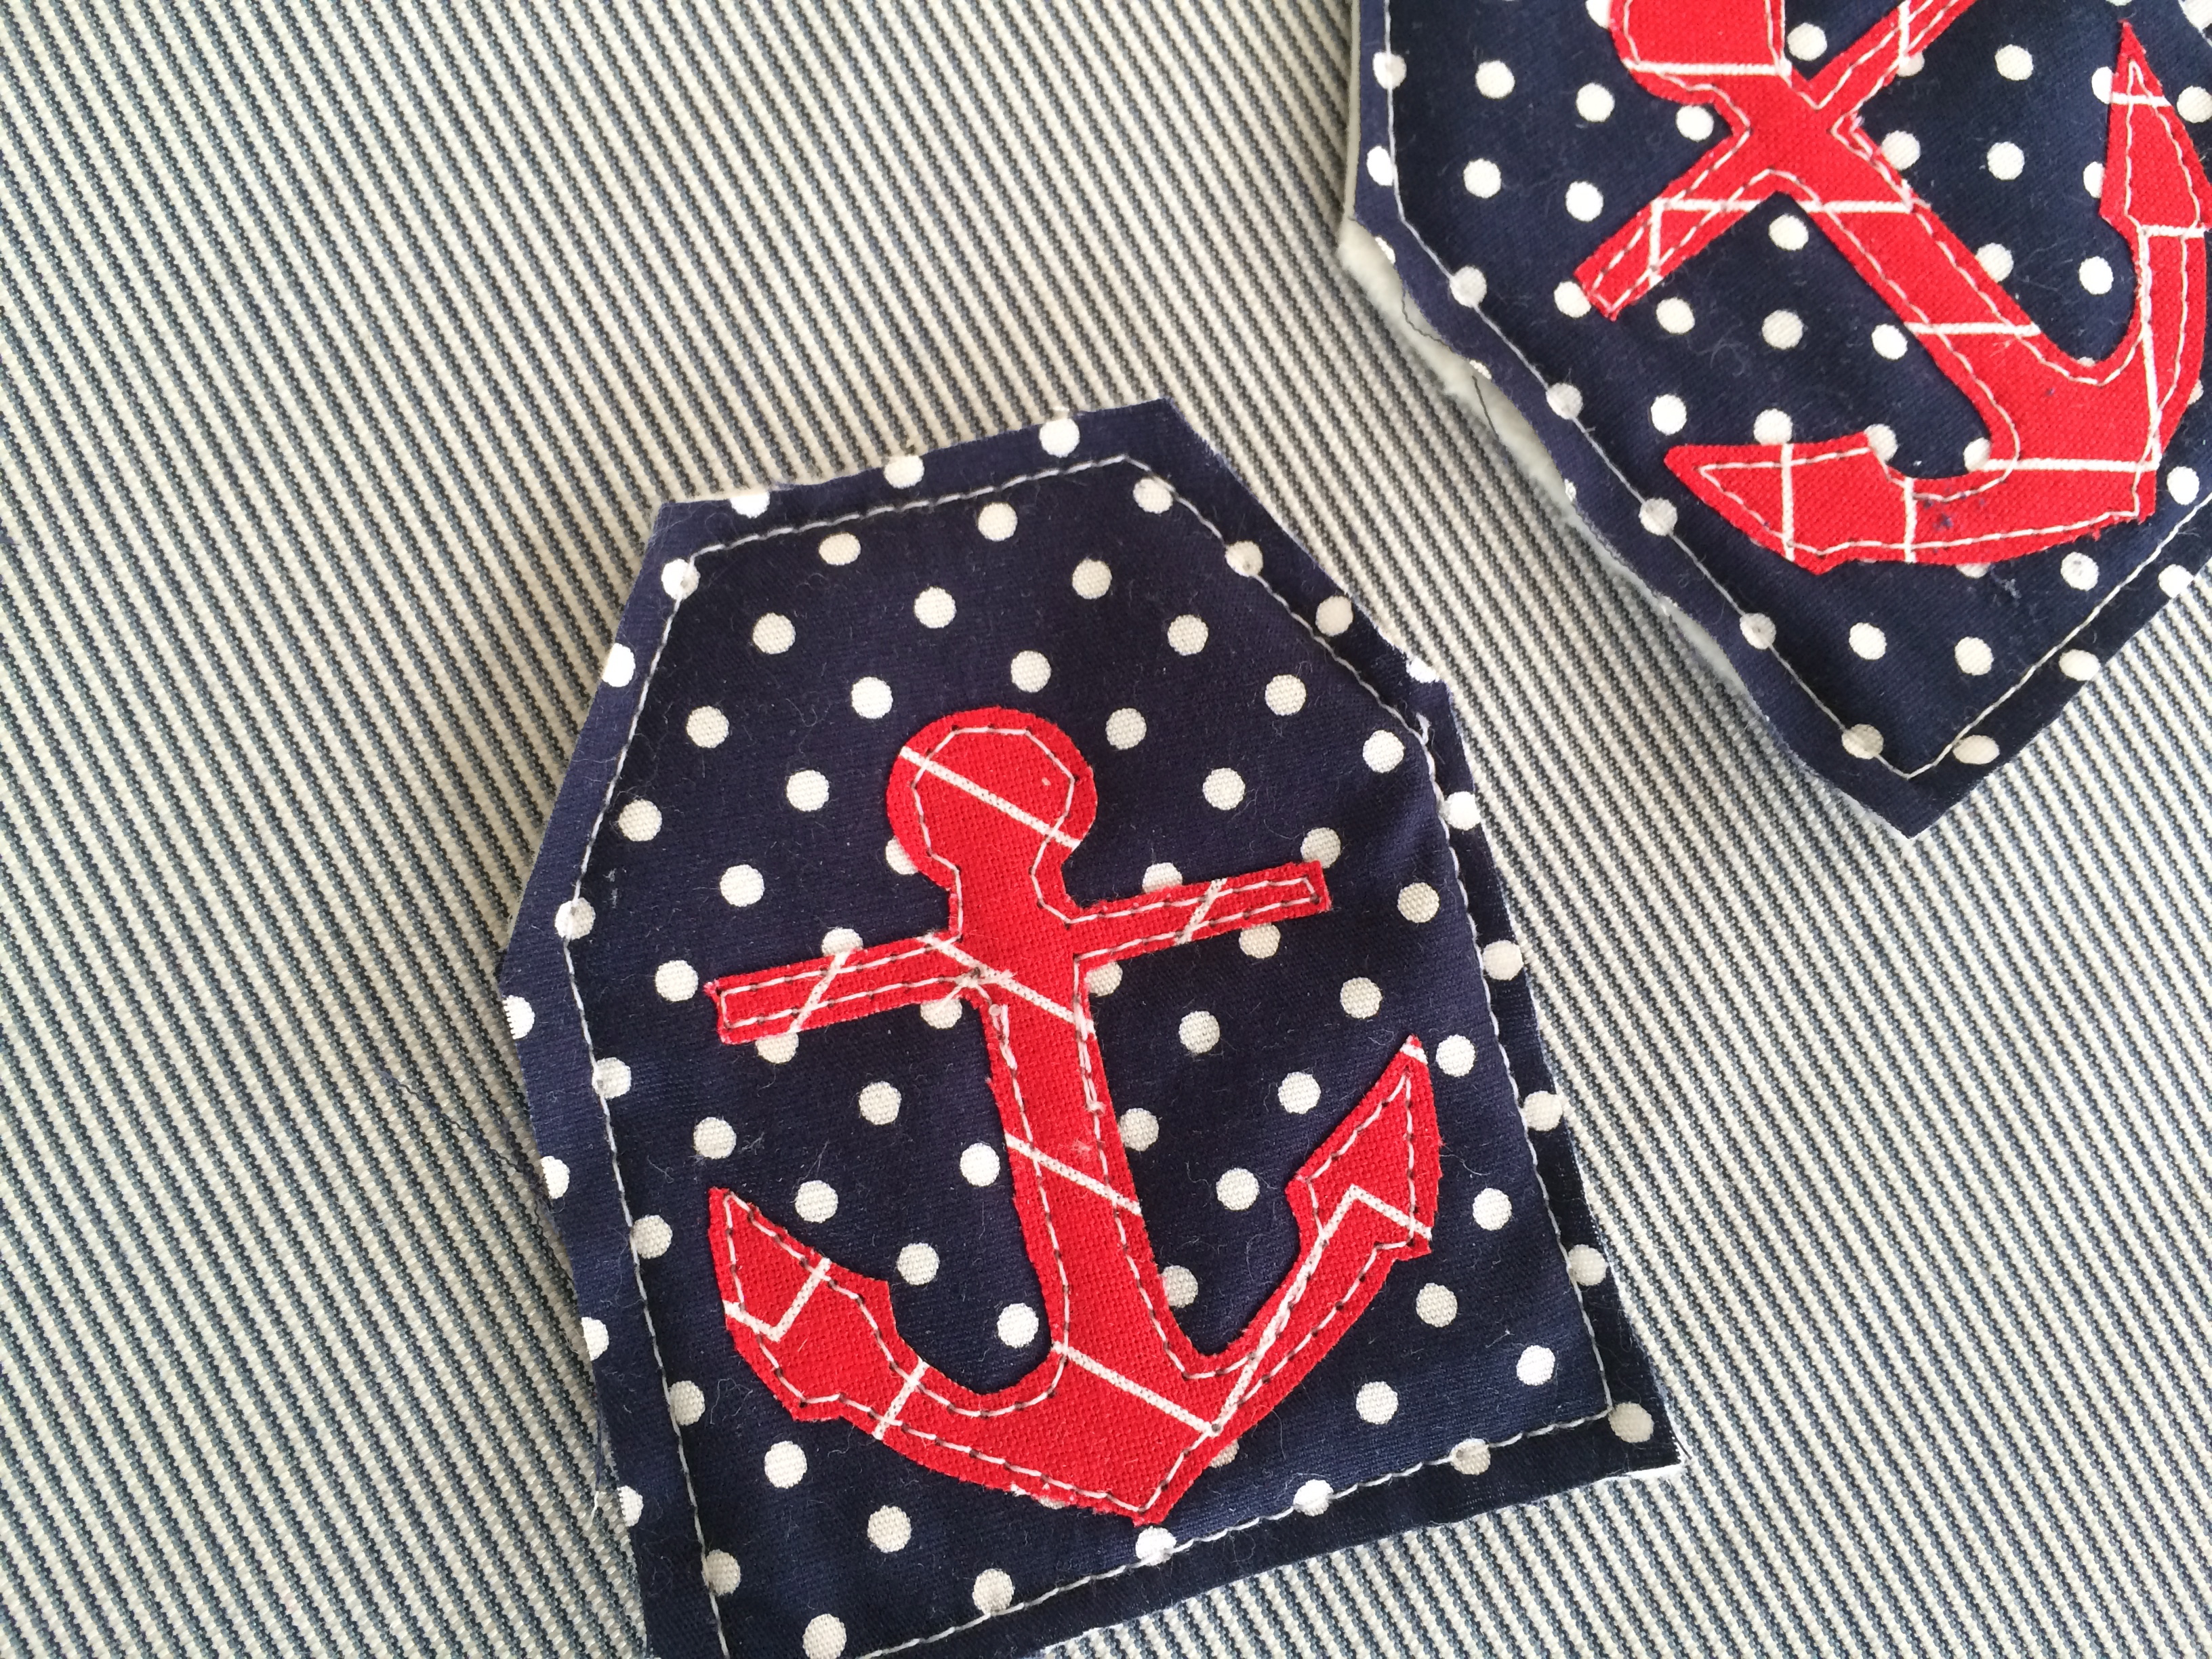
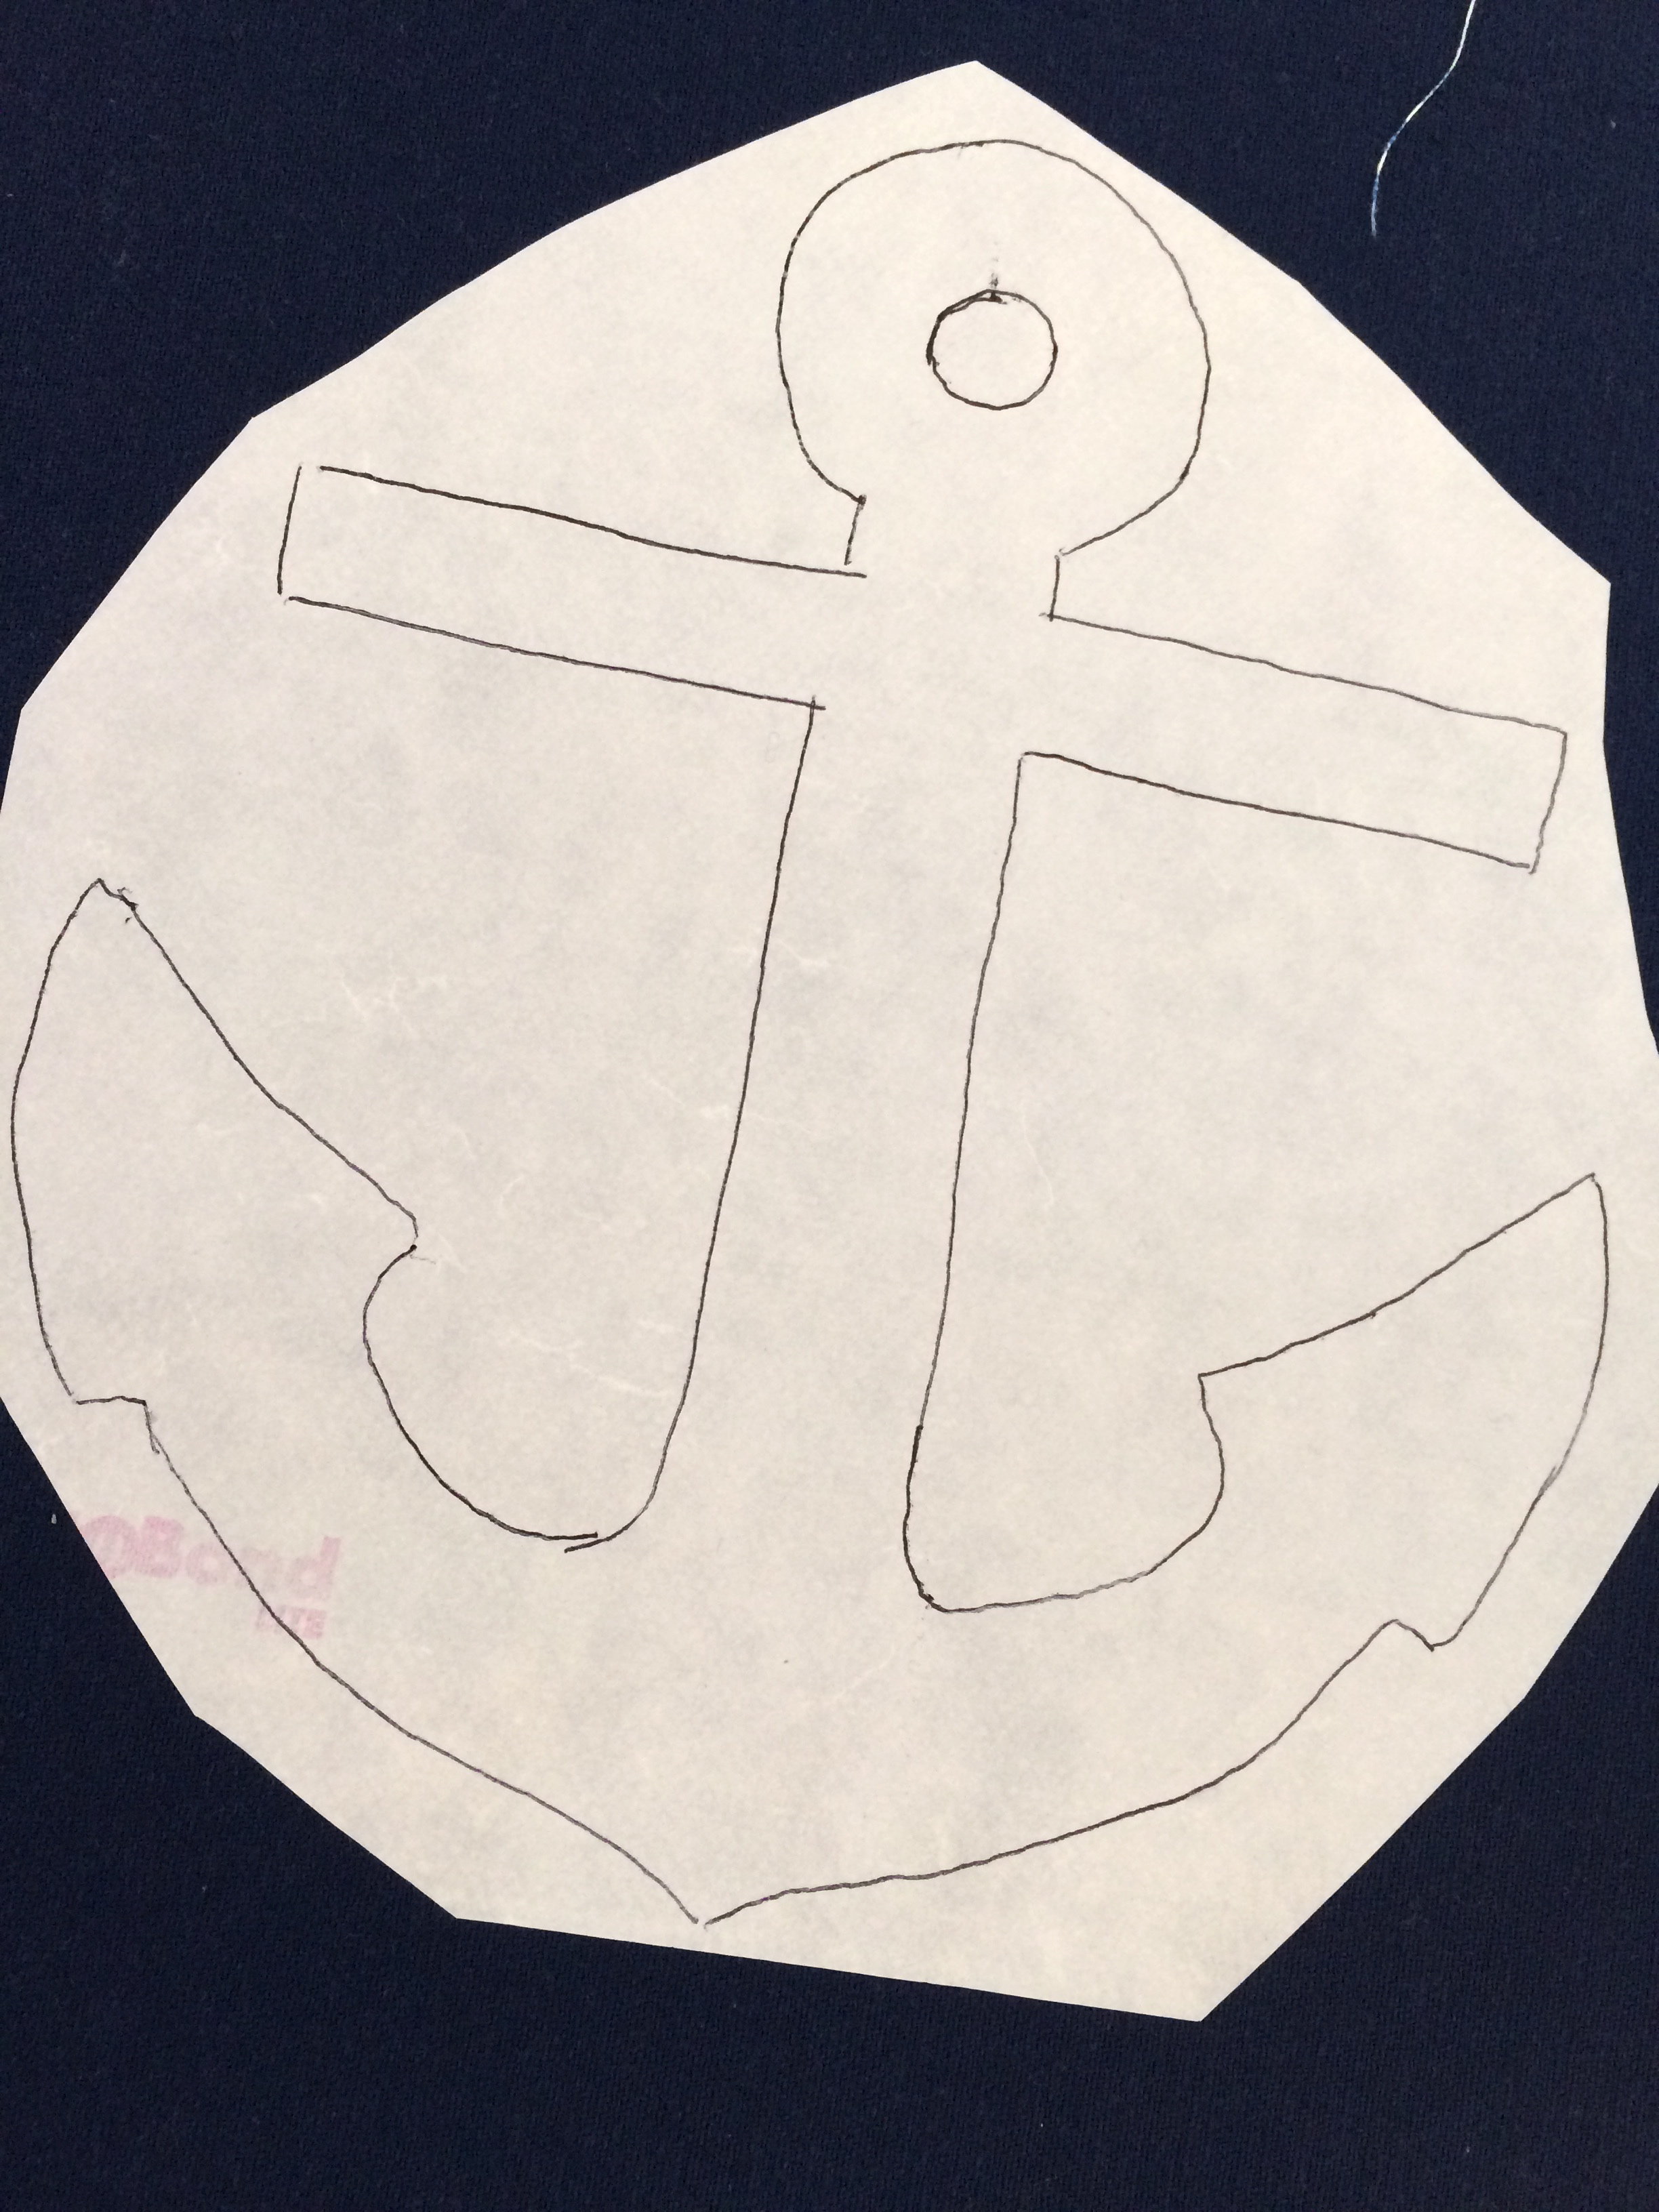
To make the anchor tag, you need a few scraps of fabric, cotton batting, and some Therm O Web Heat n Bond Lite EZ print sheets. I used an antique metal grommet to attach it to the key ring.
Cut a piece of navy dot fabric 2.5″ x 3″. Fold in half and cut off an angle like this:
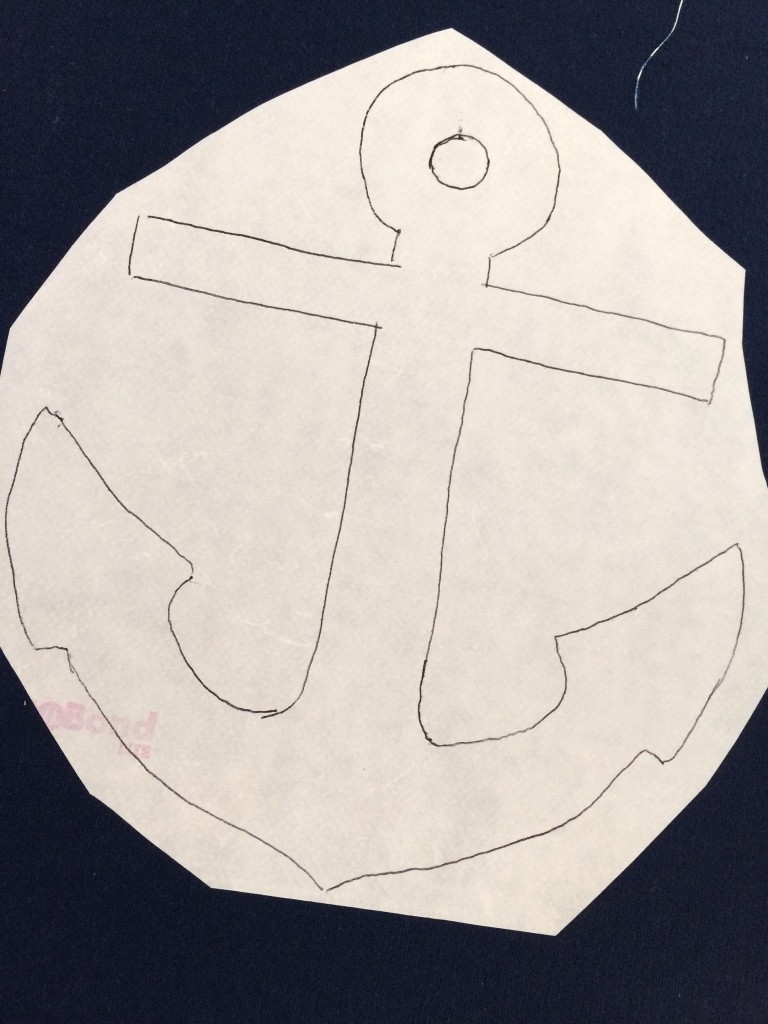
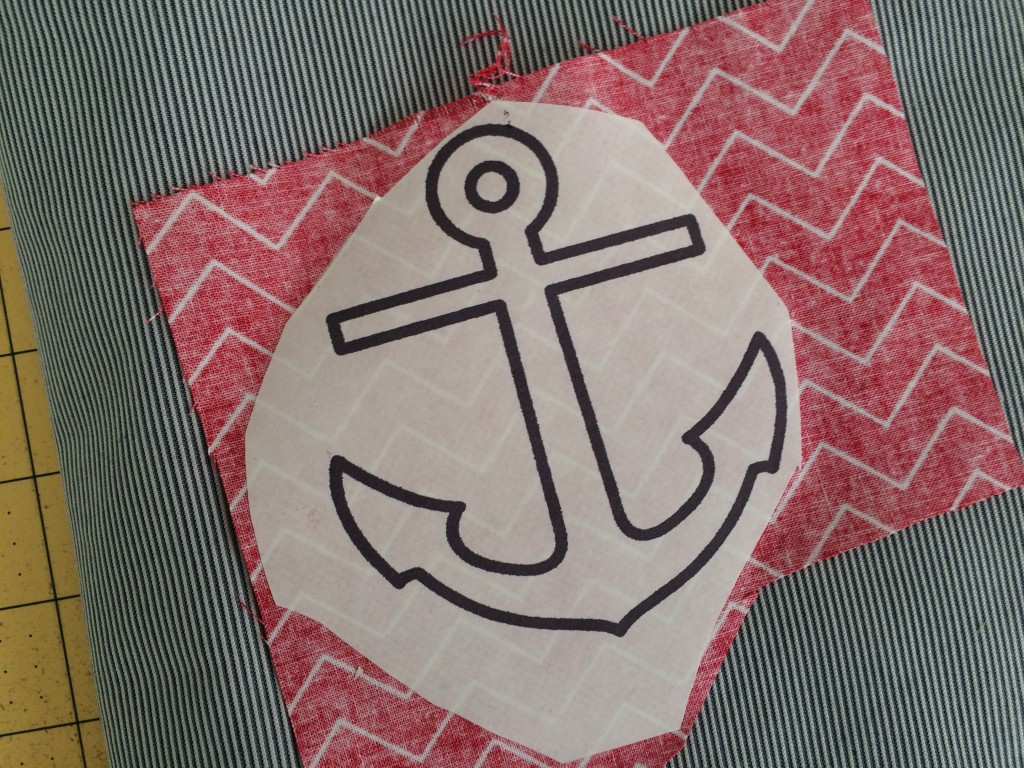
 Download the anchor pattern here and print it on the EZ print sheets. Cut out around the anchor, iron it to the wrong side of the anchor fabric. Cut out the anchor and peel off the backing paper.
Cut another piece of navy dot fabric 2.5″ x 3″ but don’t cut the angles. Layer them together like a quilt and sew all the way around the tag shape. Then sew around the anchor.
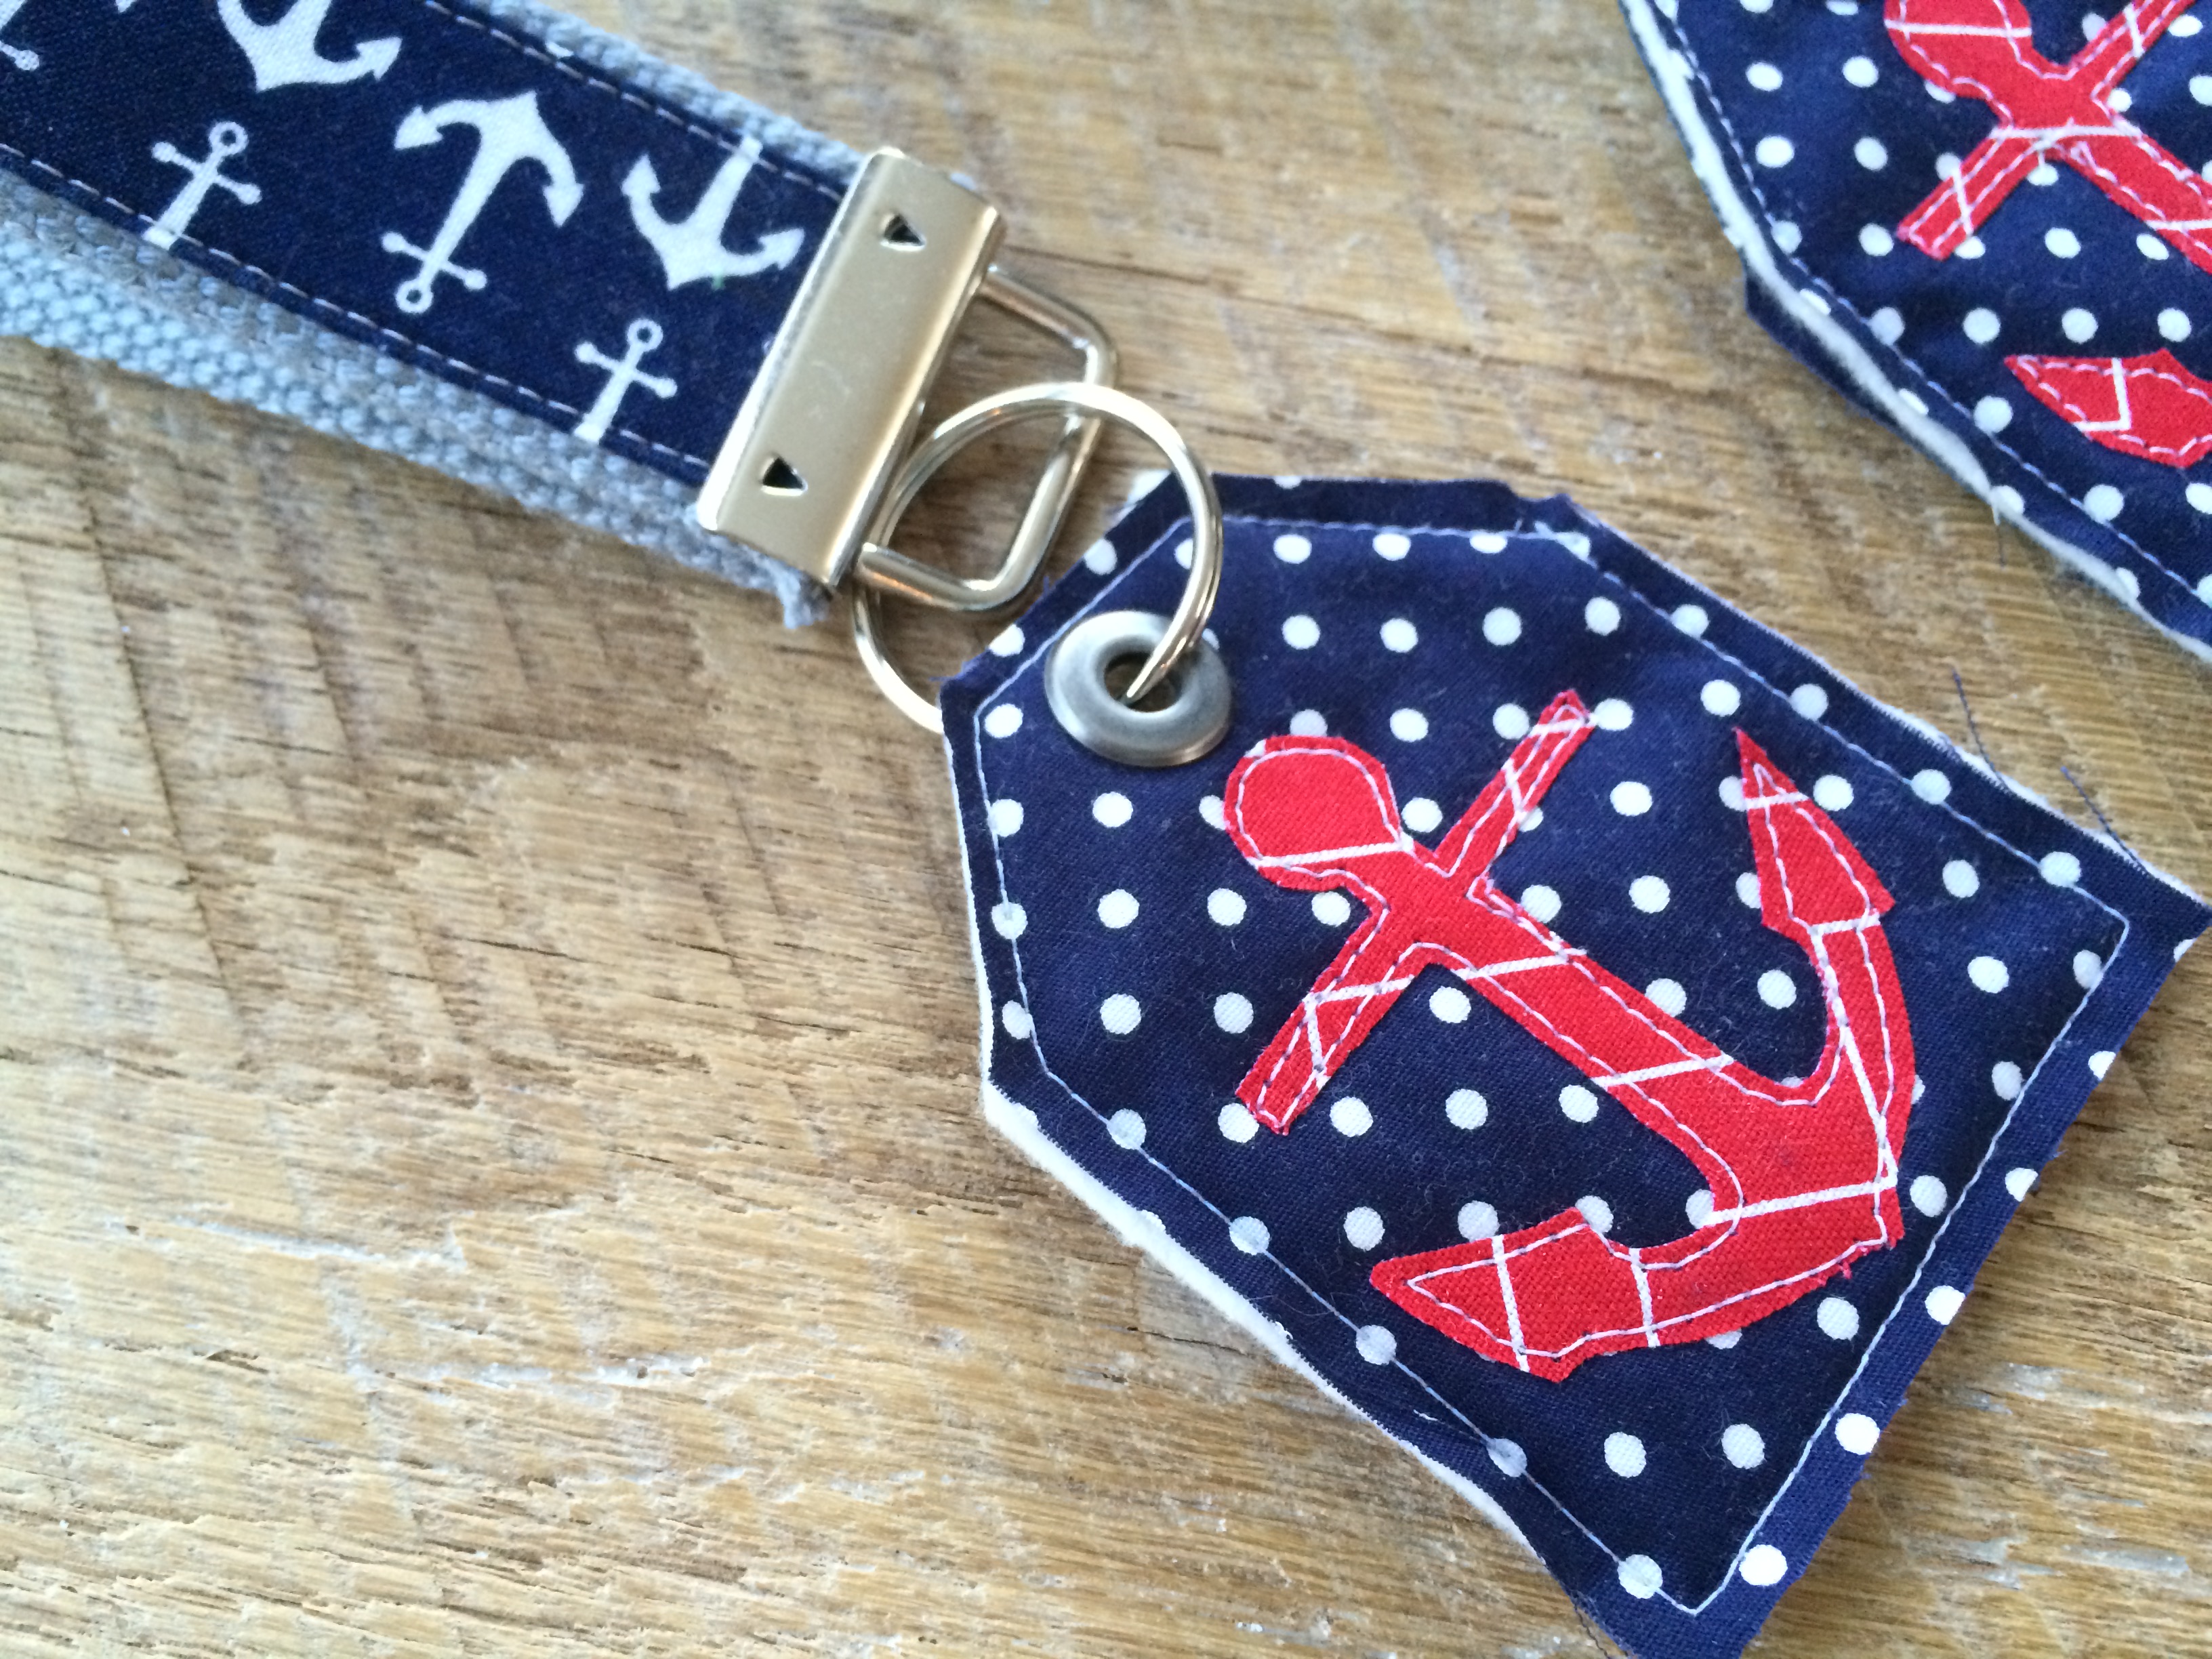
Cut the excess off around the tag.Attach the grommet and put a split ring on. Attach it to the key fob.
 Let me know if you like this project! I love to give handmade gifts and this is a great one to whip up in a short amount of time.
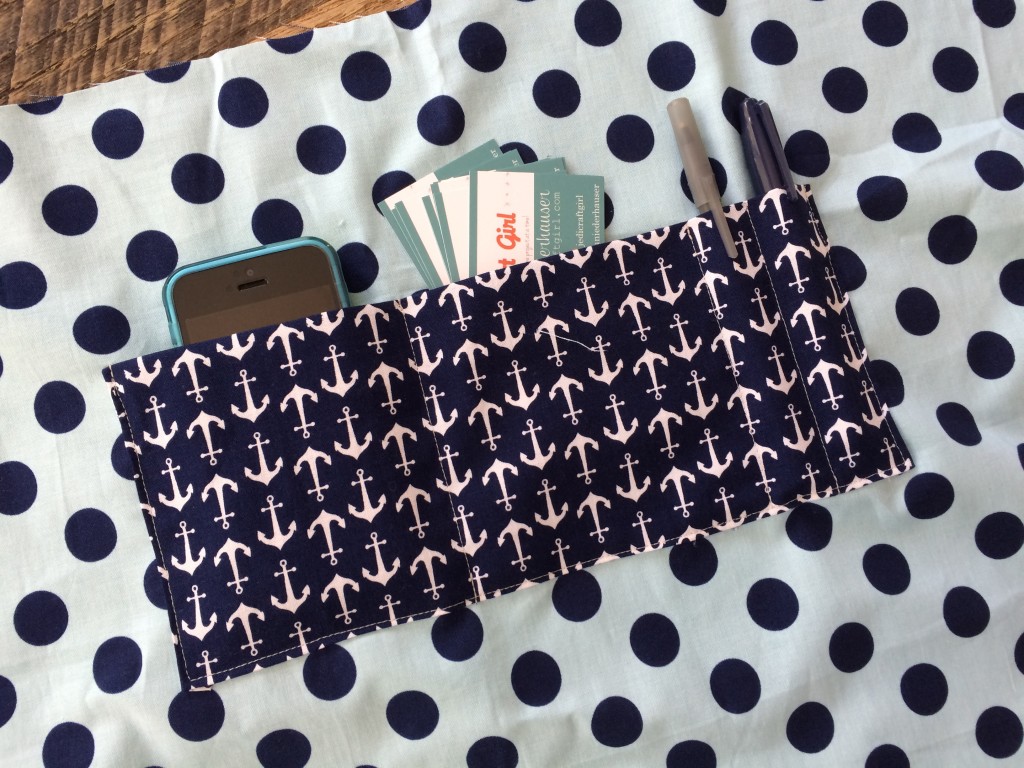
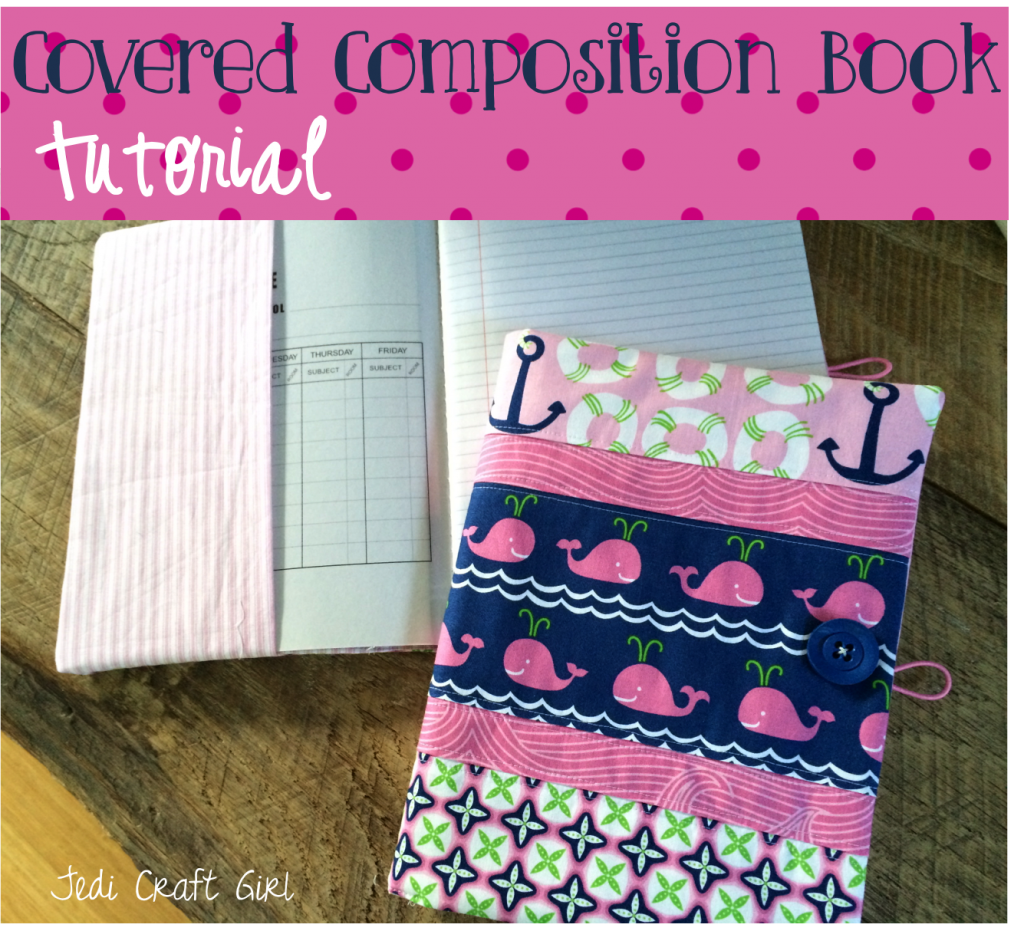
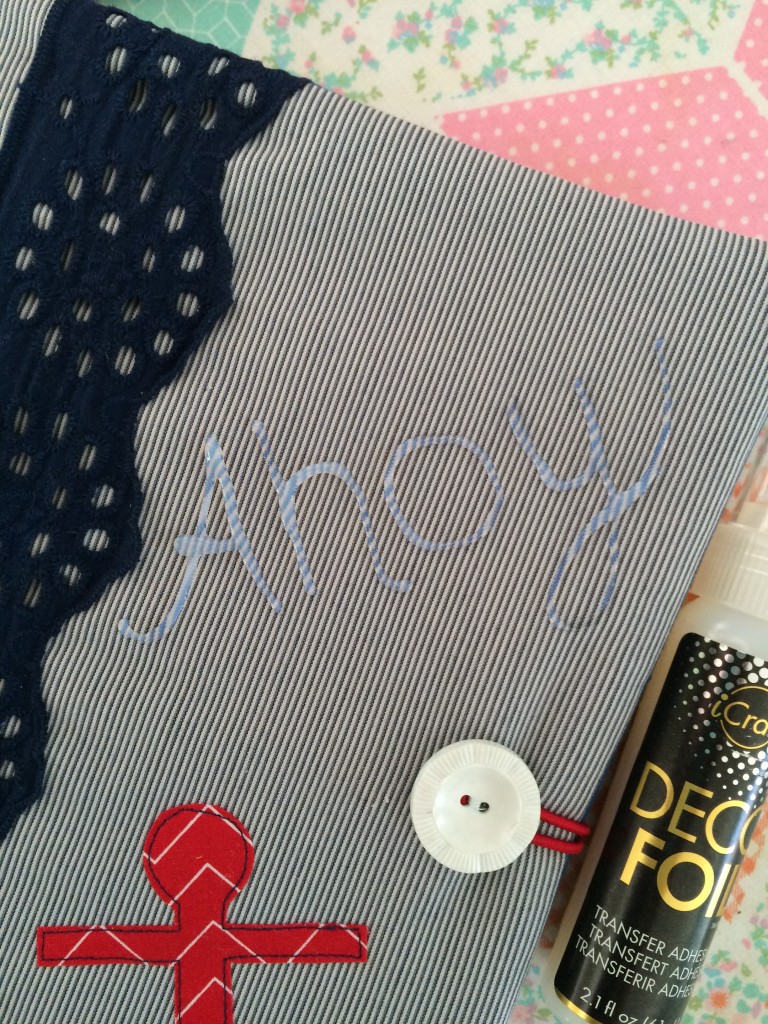
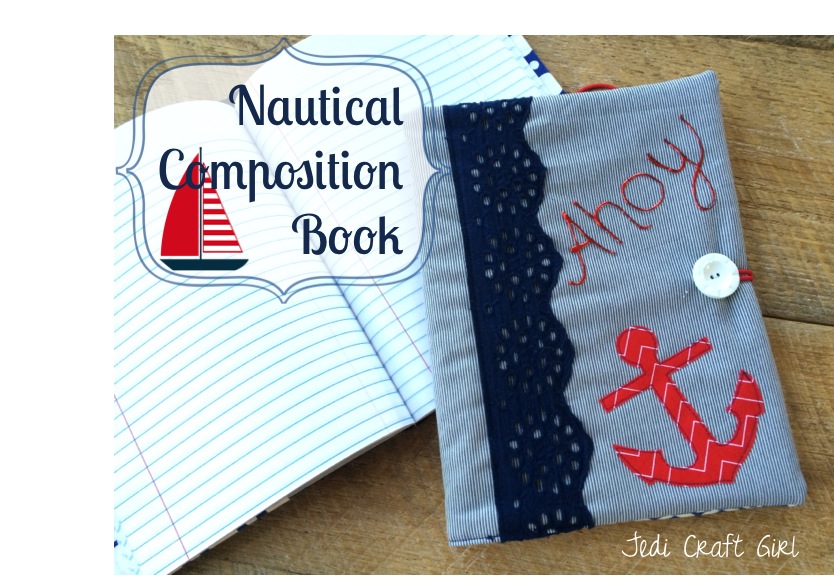
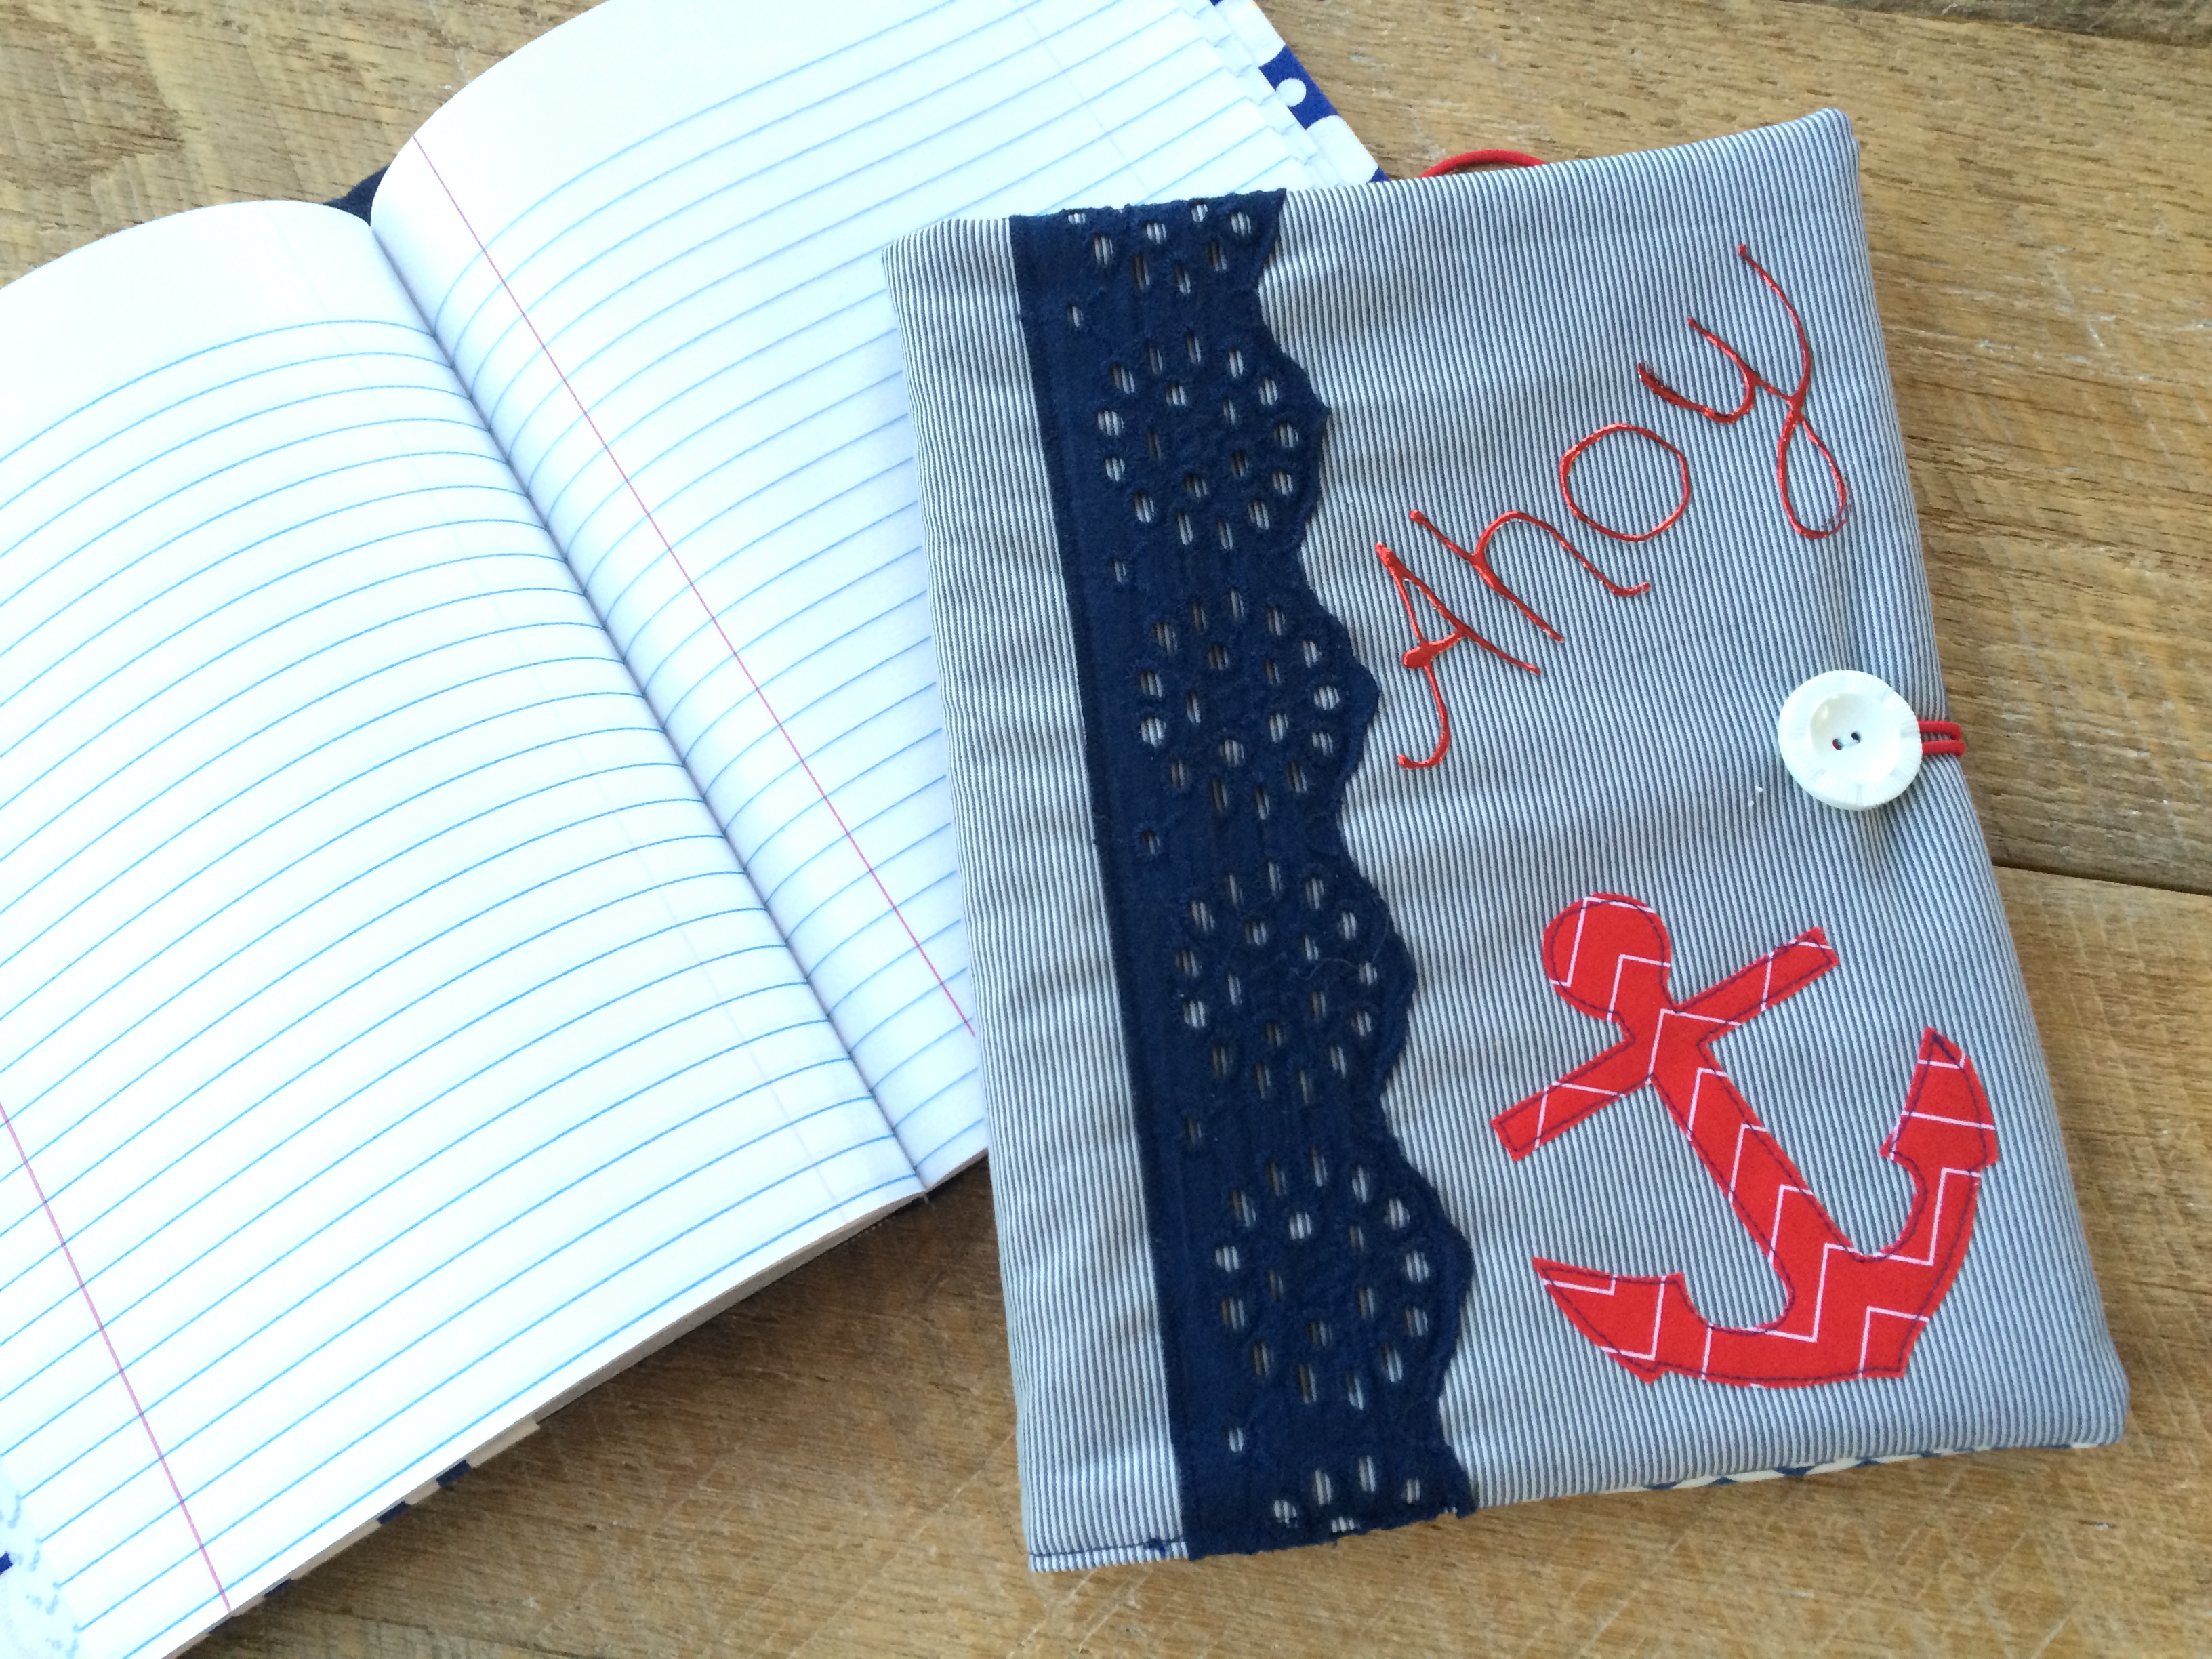
I am having so much fun with my nautical projects – I hope you are enjoying them. I ready to buy a sailboat!!! (haha) I take a covered composition book with me everywhere I go. I have one in my purse for daily notes, lists, etc. I have one I take to church and keep inspirational thoughts in. I have one as a gratitude journal. I have one for my sewing journal where I write down everything I sew, measurements, etc. I know it’s totally old school – but I love notebooks!!! You can see my other composition book tutorials here, here, and here. I change them up each time I make one. This one has lace, an appliqué anchor and writing that I foiled with Deco Foil!
Here’s how you can make one:
Supplies:
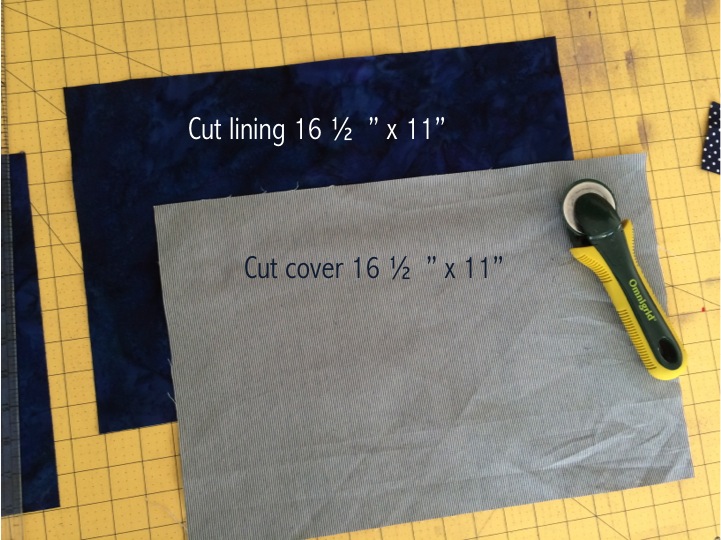
1/3 yard fabric for outside cover
1/3 yard for lining
piece of cotton batting
scrap for applique
11″ piece of navy lace trim
Heat n Bond Lite EZ Print Sheets
Anchor pattern, click here
Hair Elastic
Button
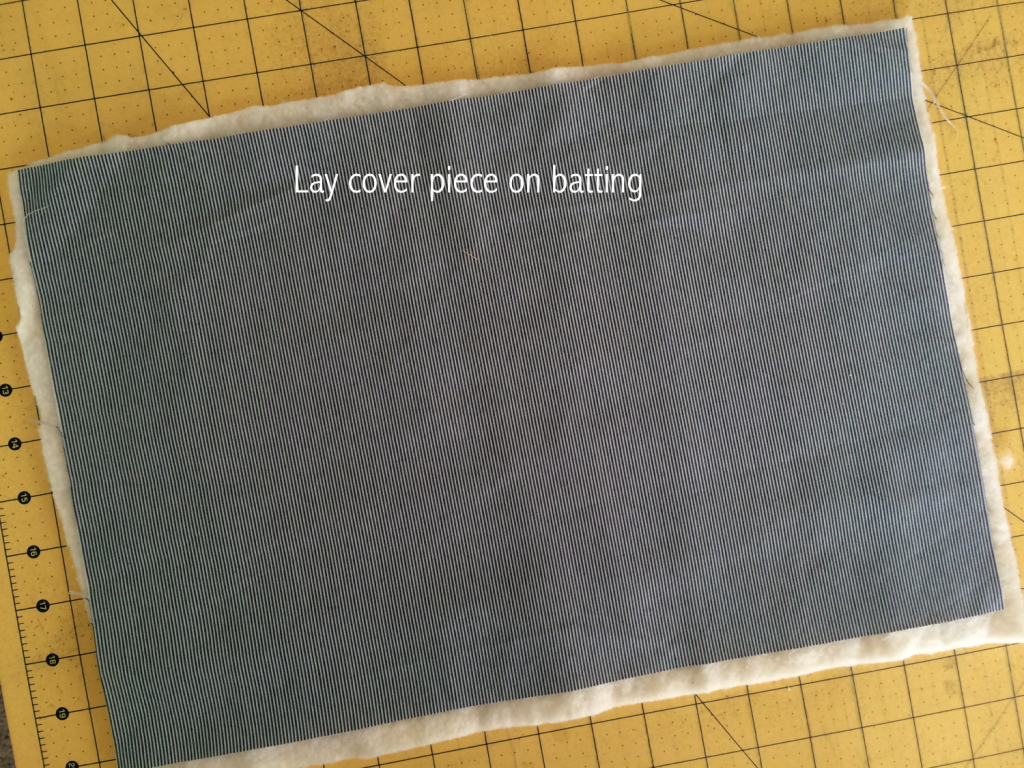
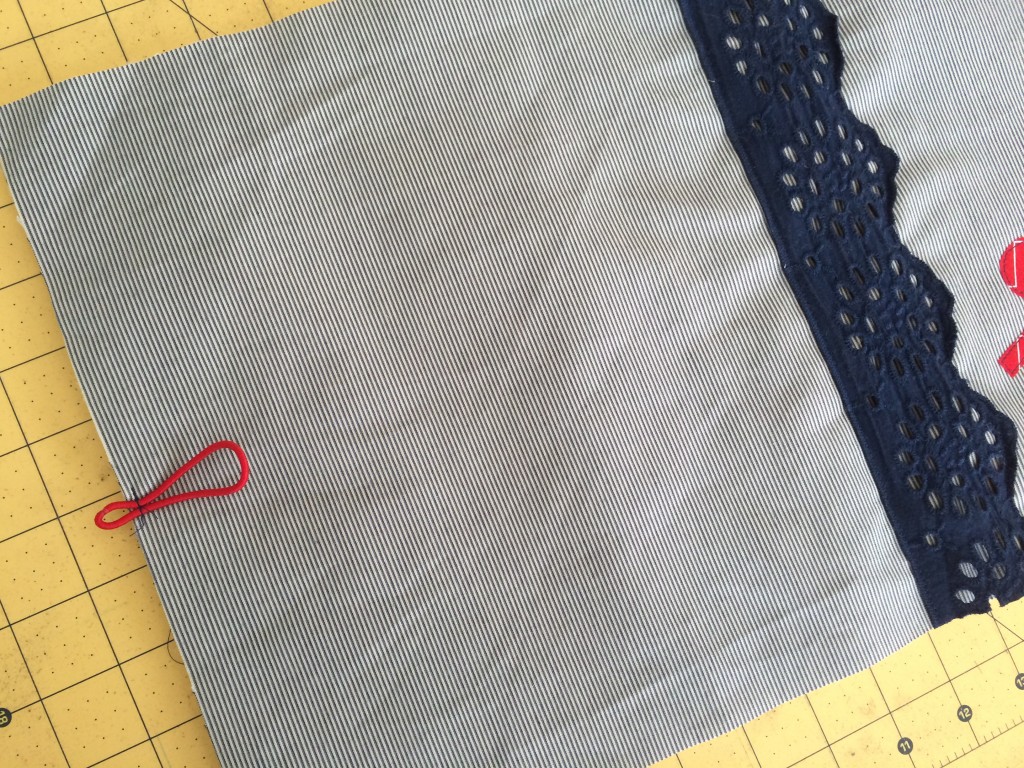
You can pin to hold in place, or add a little Spray n Bond basting spray. (You can see my I cut my batting with scissors, I will square it up in a minute.) Fold the cover in half and position the lace as pictured. Use the basting spray or pin to secure. Sew in matching thread along both sides of the lace.
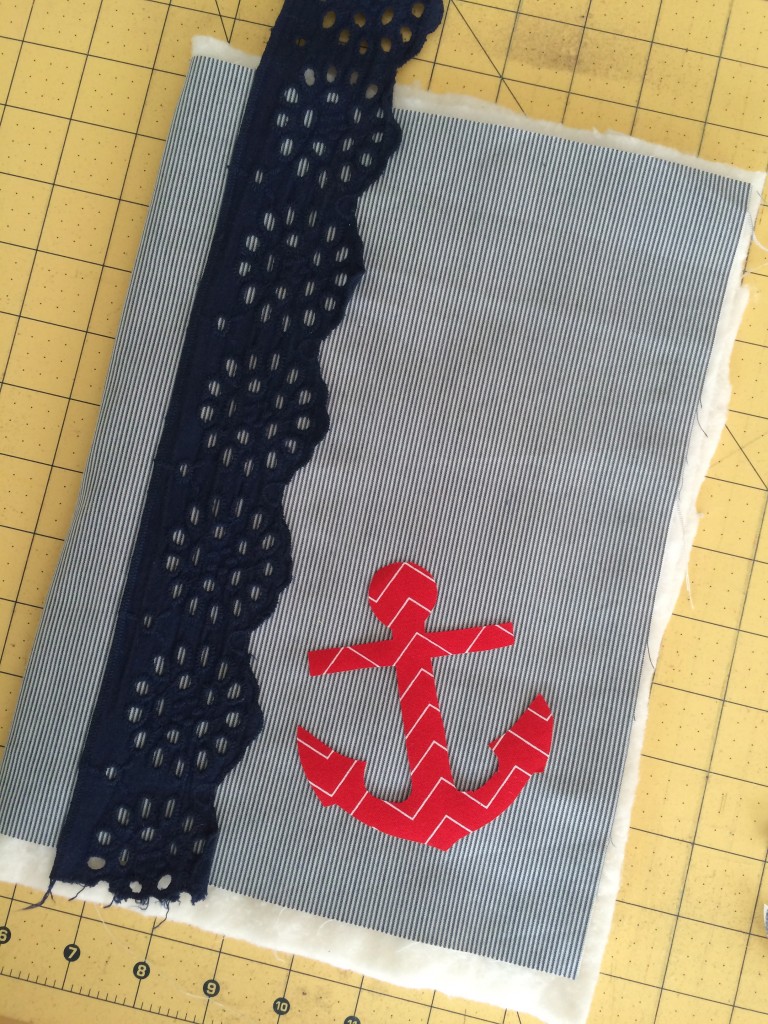
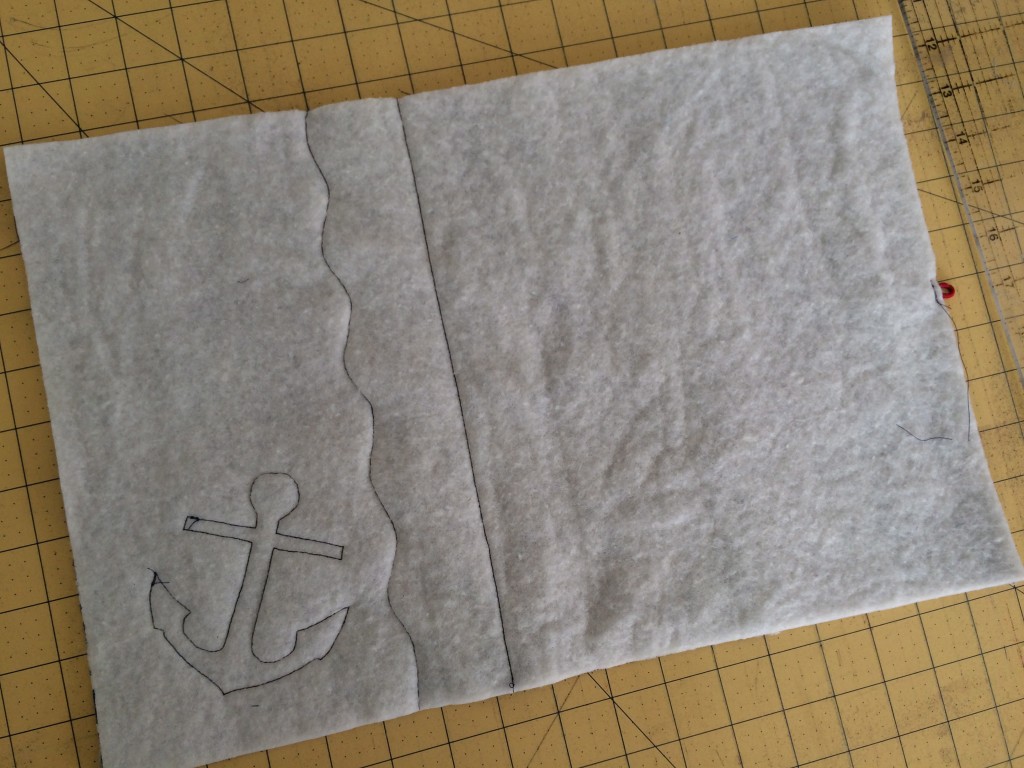
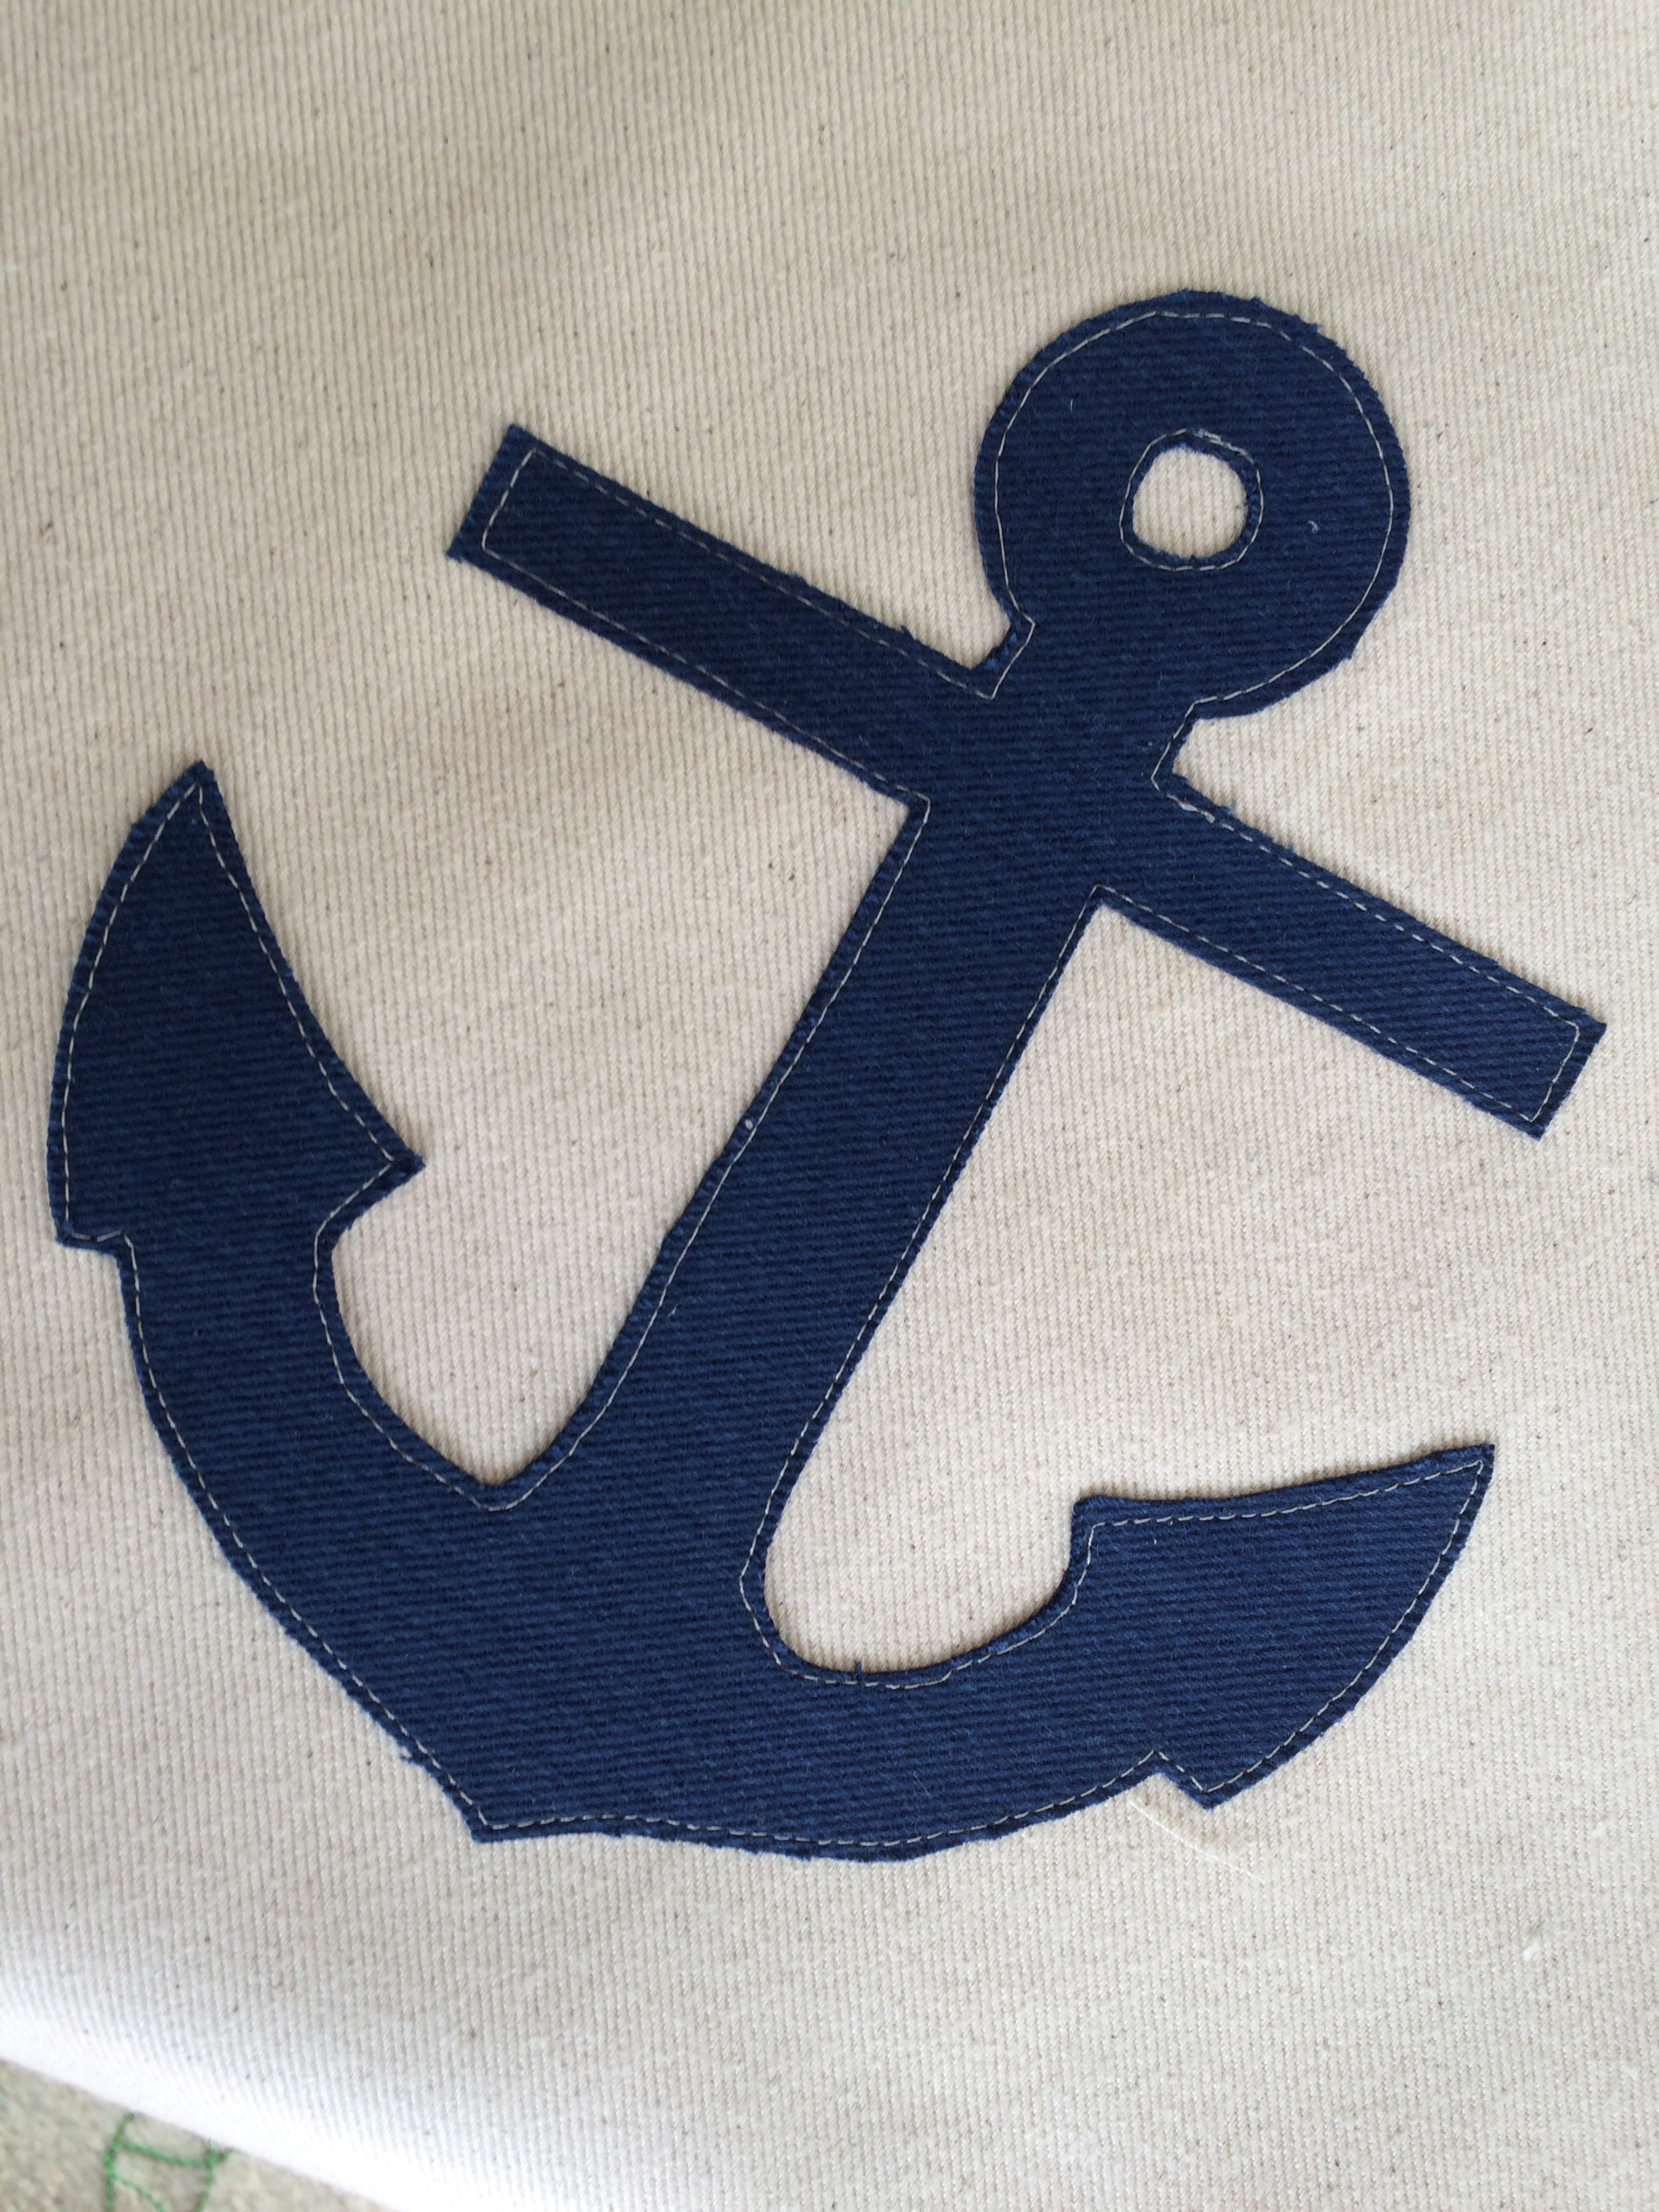
For the anchor, print it on the EZ print sheets, or trace to fusible appliqué paper. Cut out the anchor and iron in place.
Top stitch around the anchor. Cut off any excess batting. Find the center of the left side of the cover. Mark and baste the hair elastic in place:
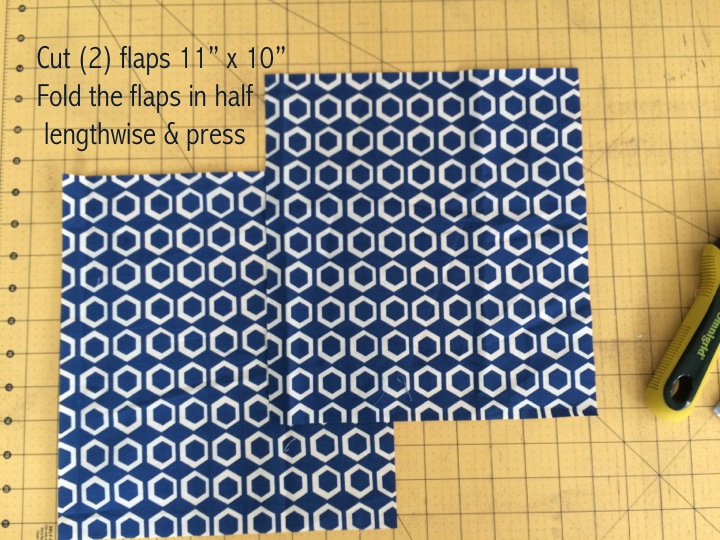
Lay the flaps on the lining fabric, lining up raw edges. The fold of the flaps should be toward the center.
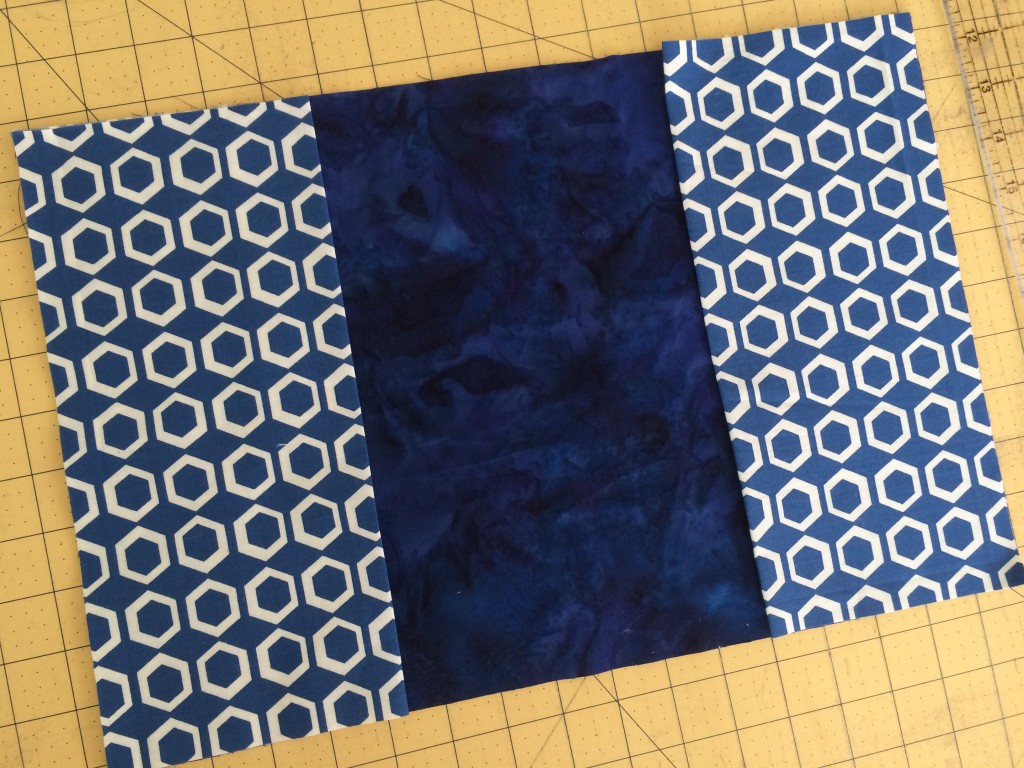
Place the cover on top of the lining/flap piece, right sides together. Pin all the way around. Sew, using 1/4″ seams all the way around. Leave a 3″ opening at the bottom center. Turn right side out and press. Tuck the opening in, press, and top stitch to secure.
Mark where the button should go and sew the button by hand, careful not to catch the flap. Mufasa was trying his hardest to bite off the button!!

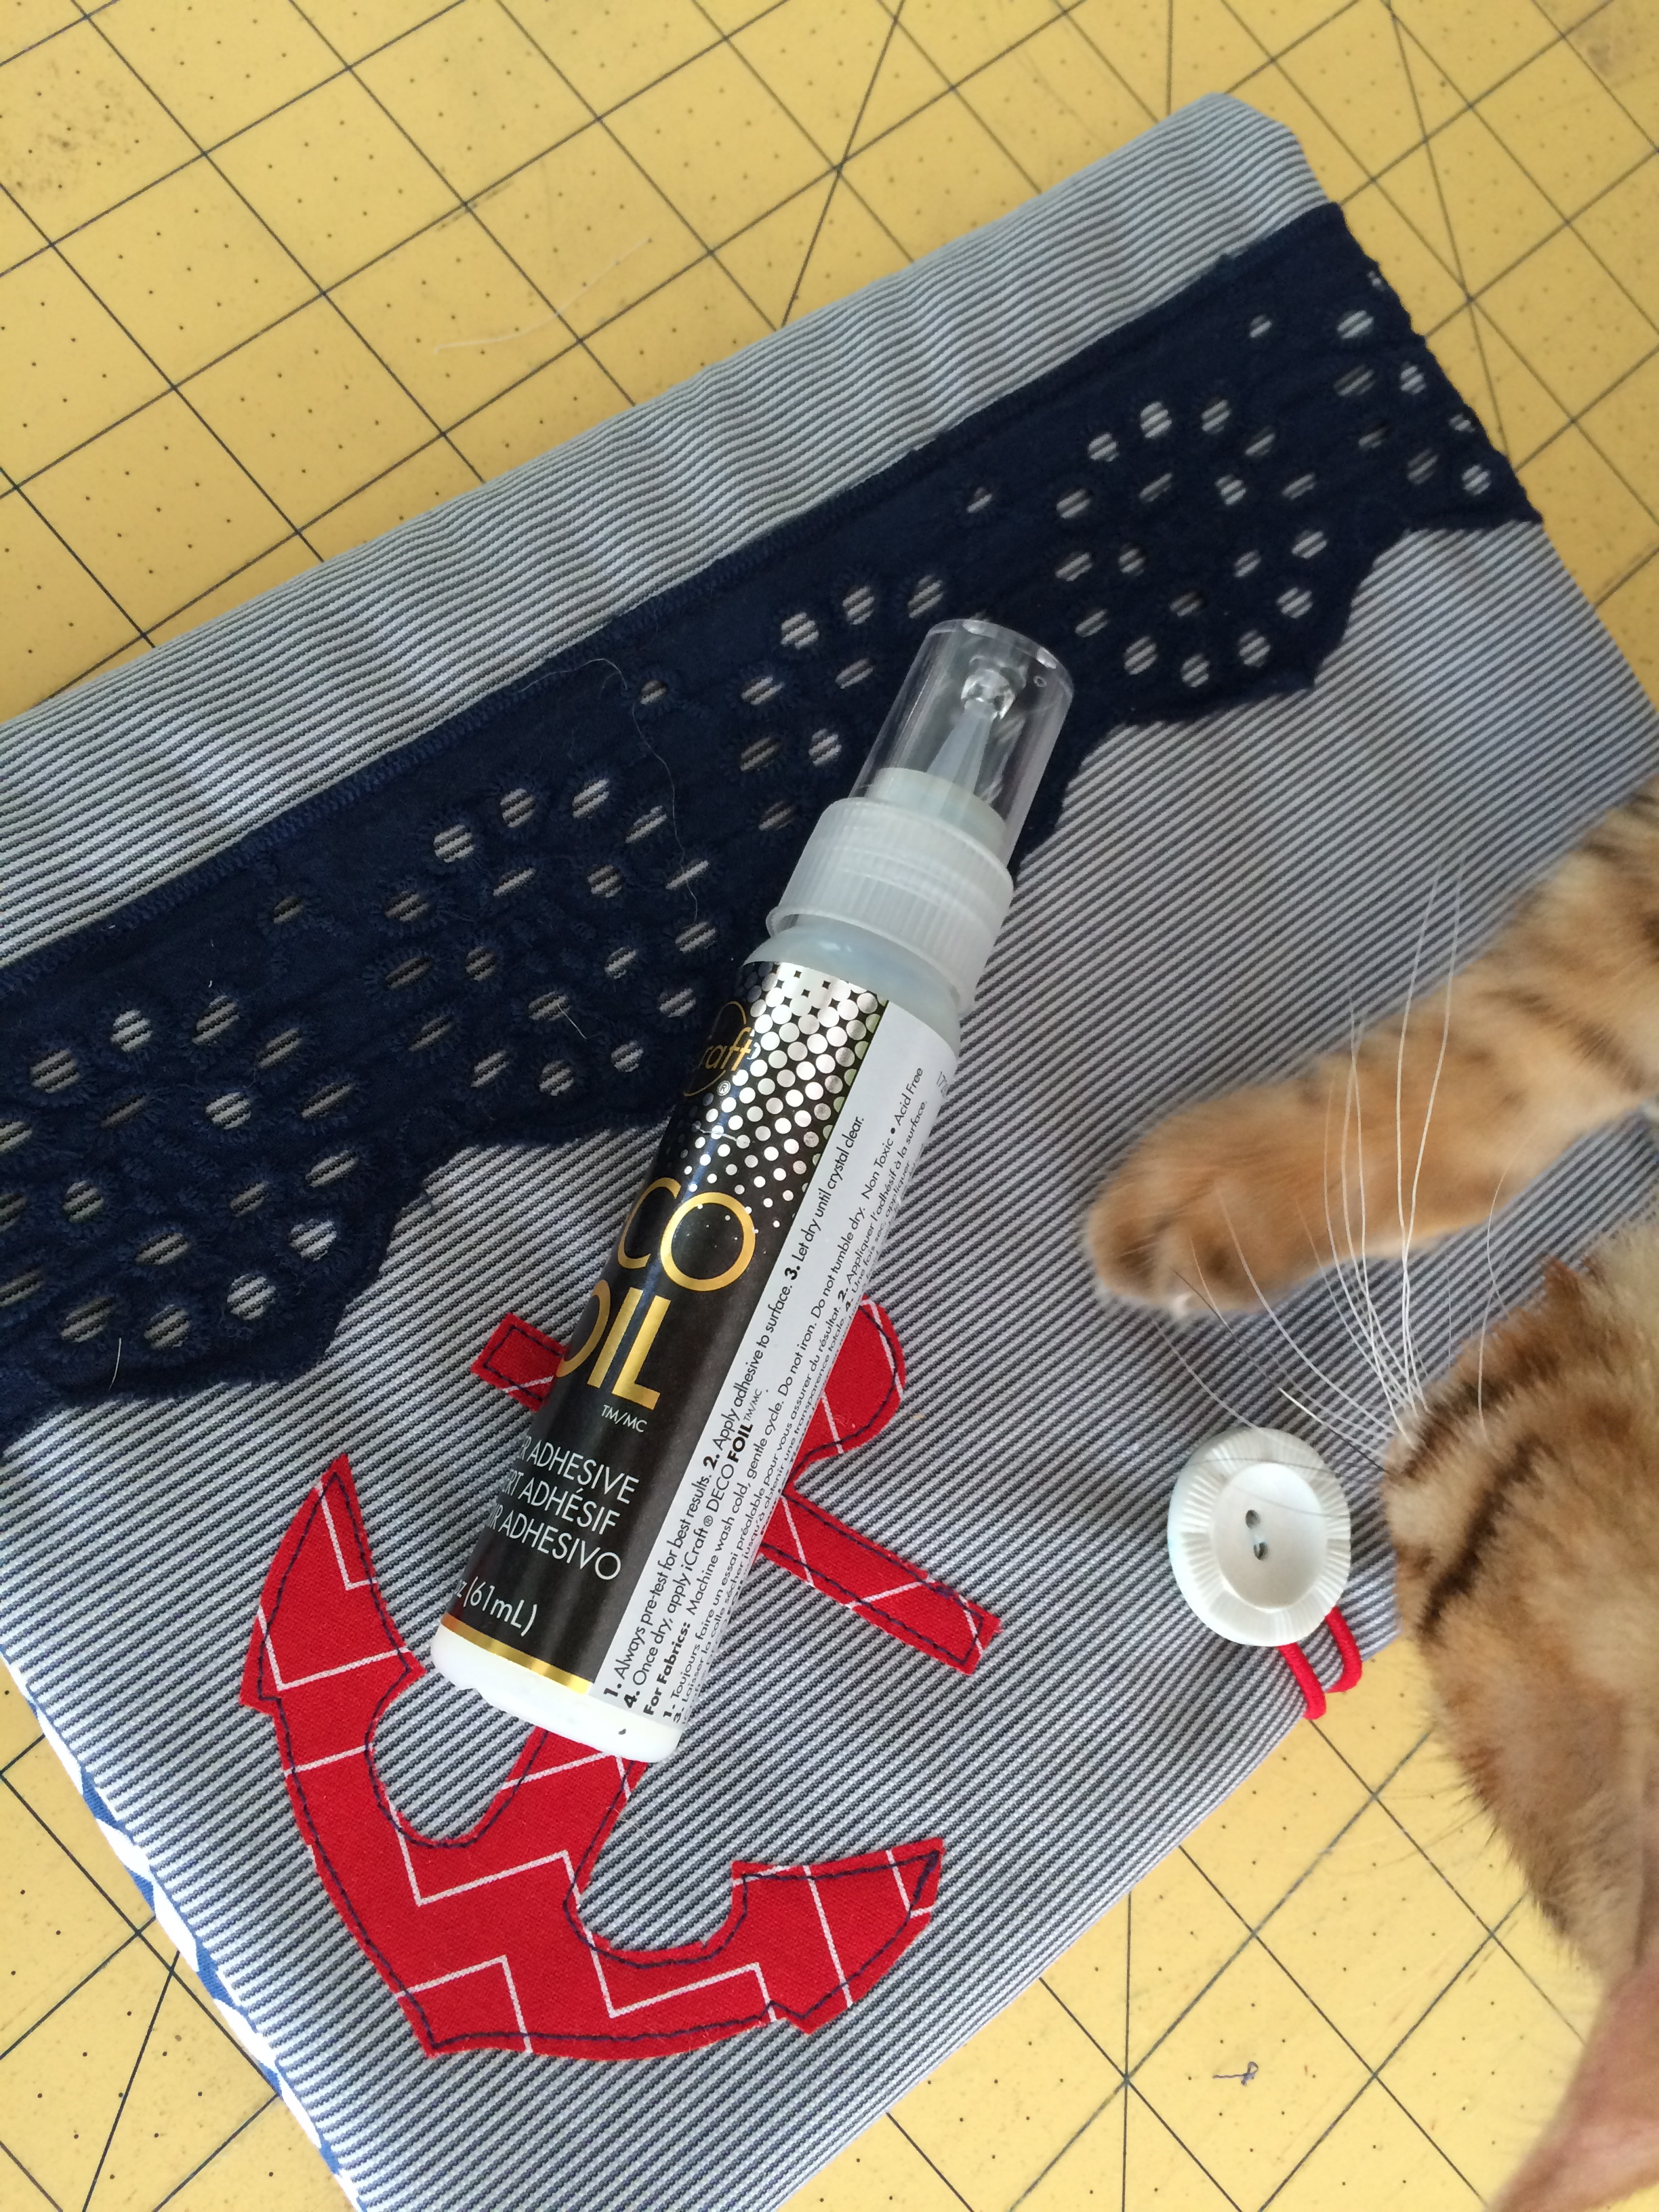
Take the Deco Foil Transfer Adhesive and write Ahoy (or any word you want). This totally brought back memories of cheerleading days in the 90’s – we rocked the puffy paint!!! I was bad at writing with it then, and I’m still not that great at it! Let the adhesive dry until completely clear. I let mine sit for a few hours.
 Once the adhesive is dry, rub the wrong side of the foil on the letters. This part feels super magical!! The foil sticks to the adhesive only! This stuff is awesome!!!
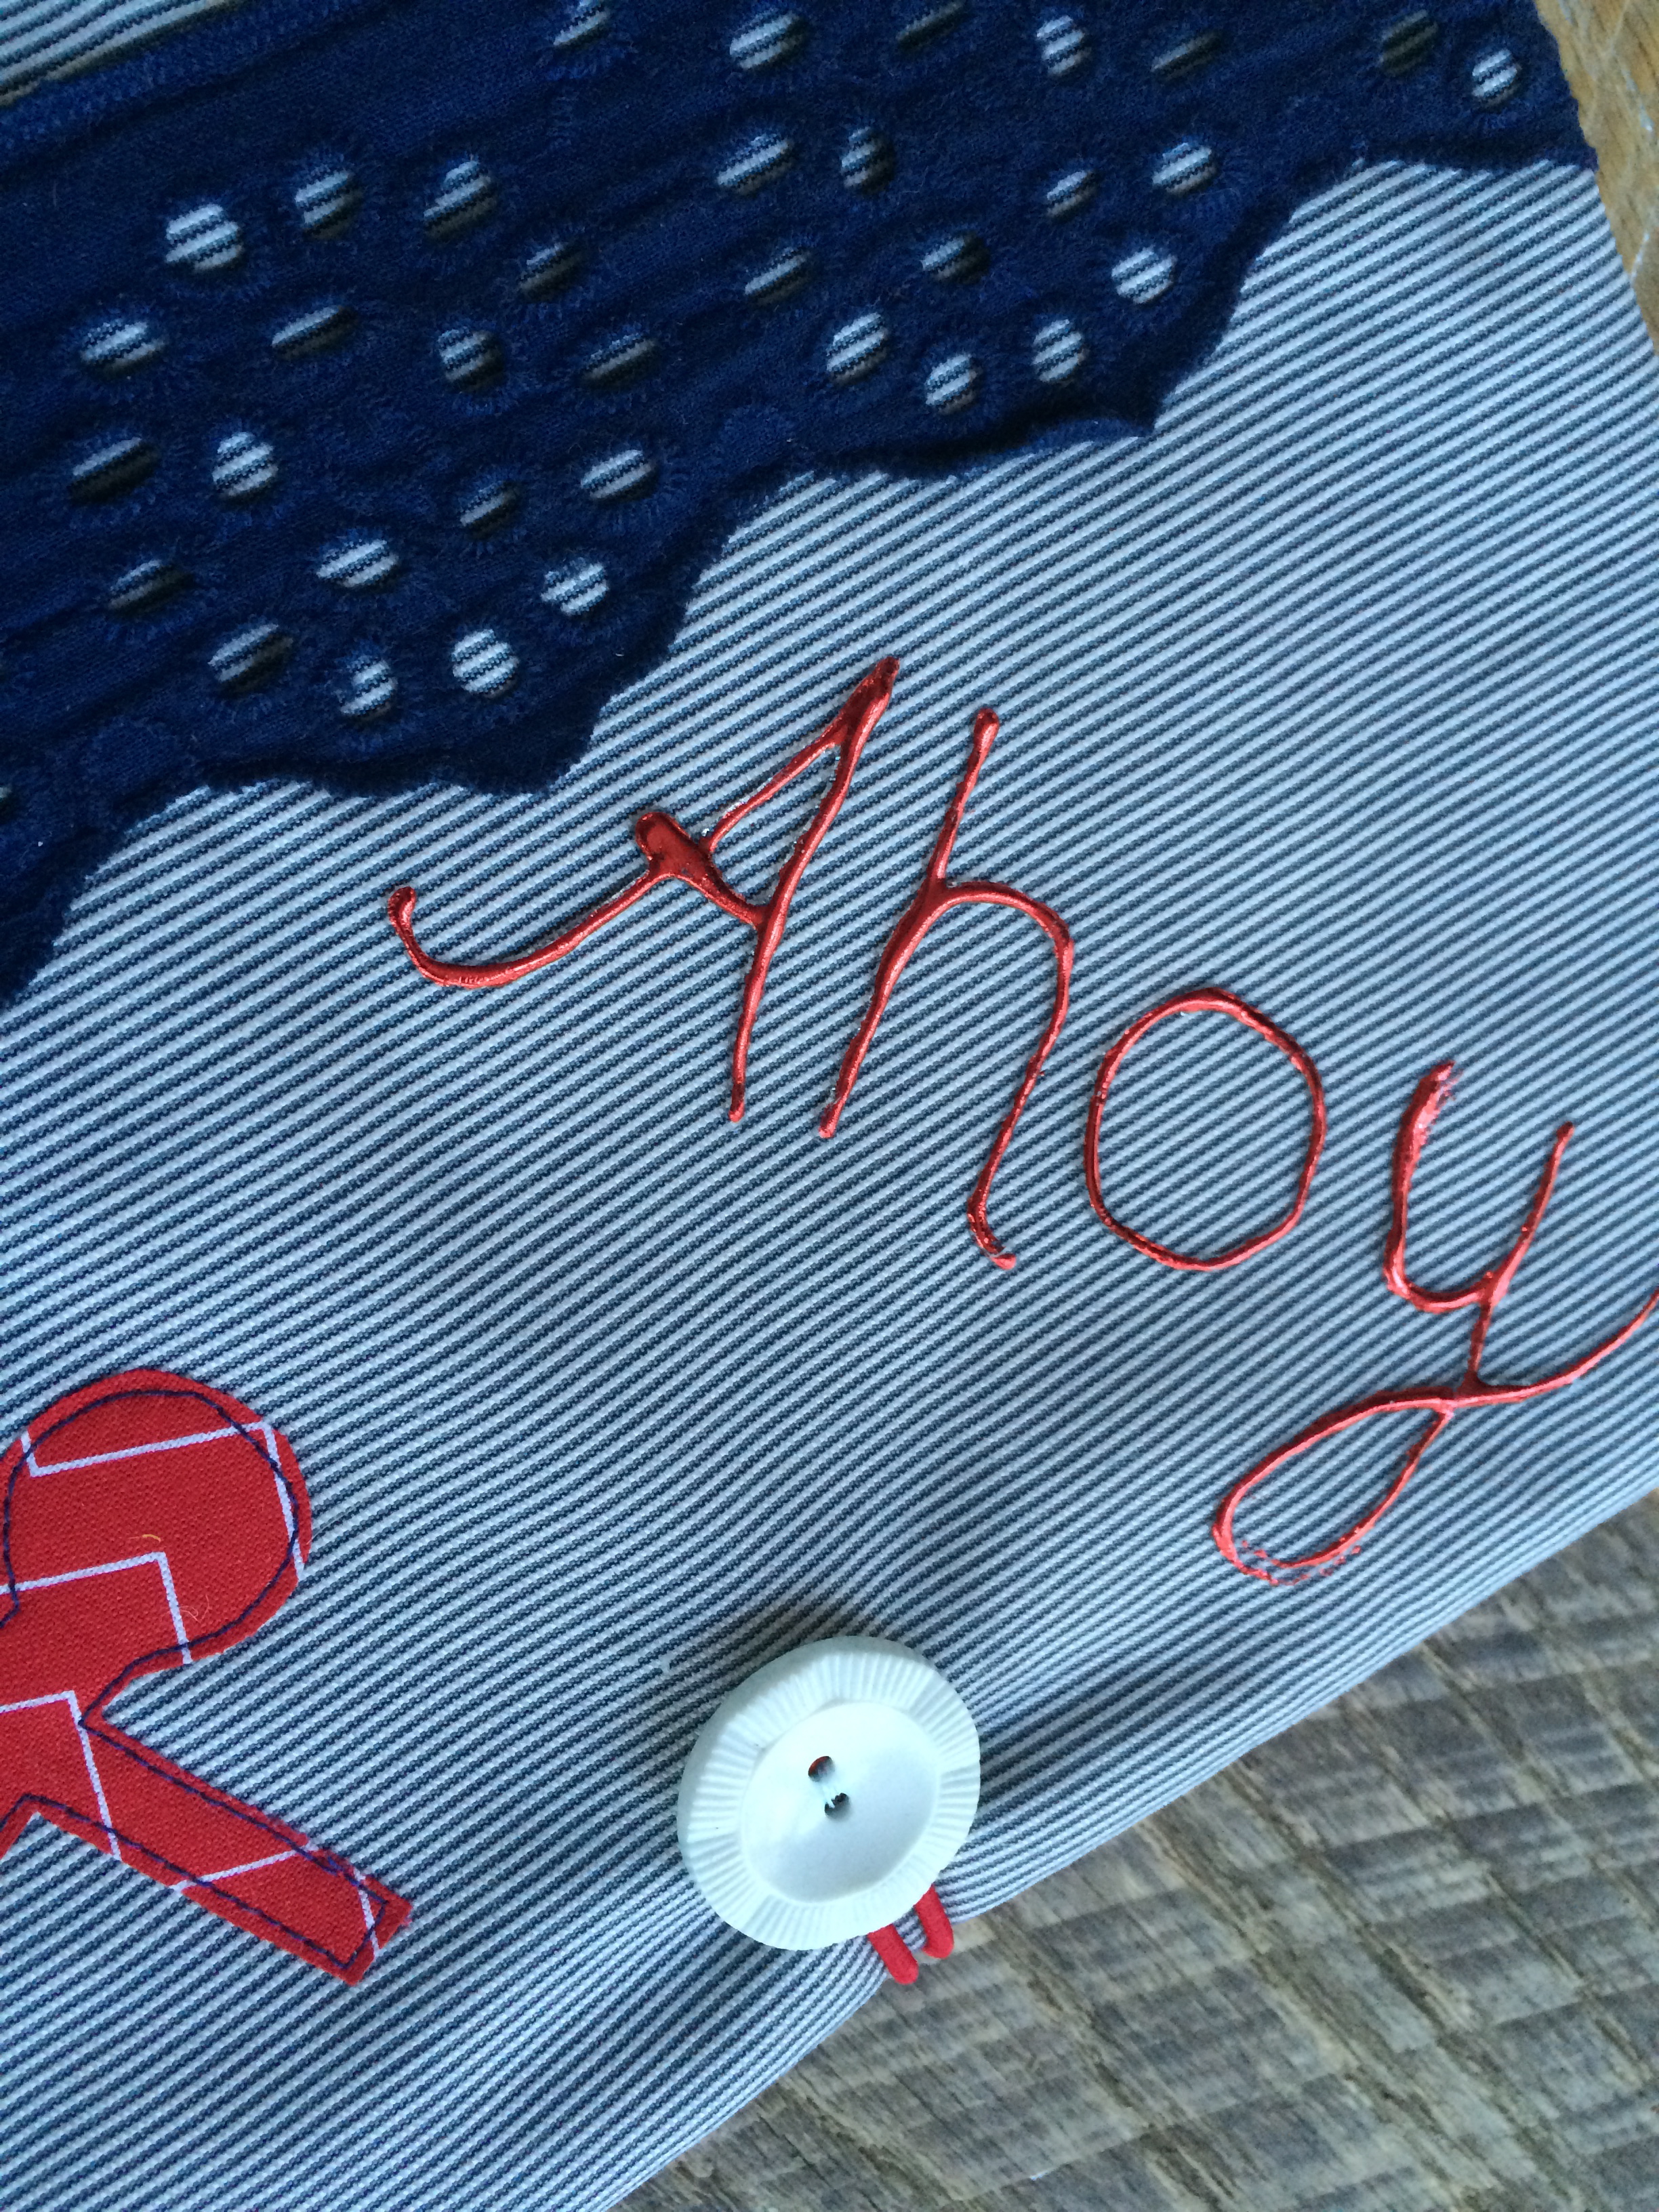
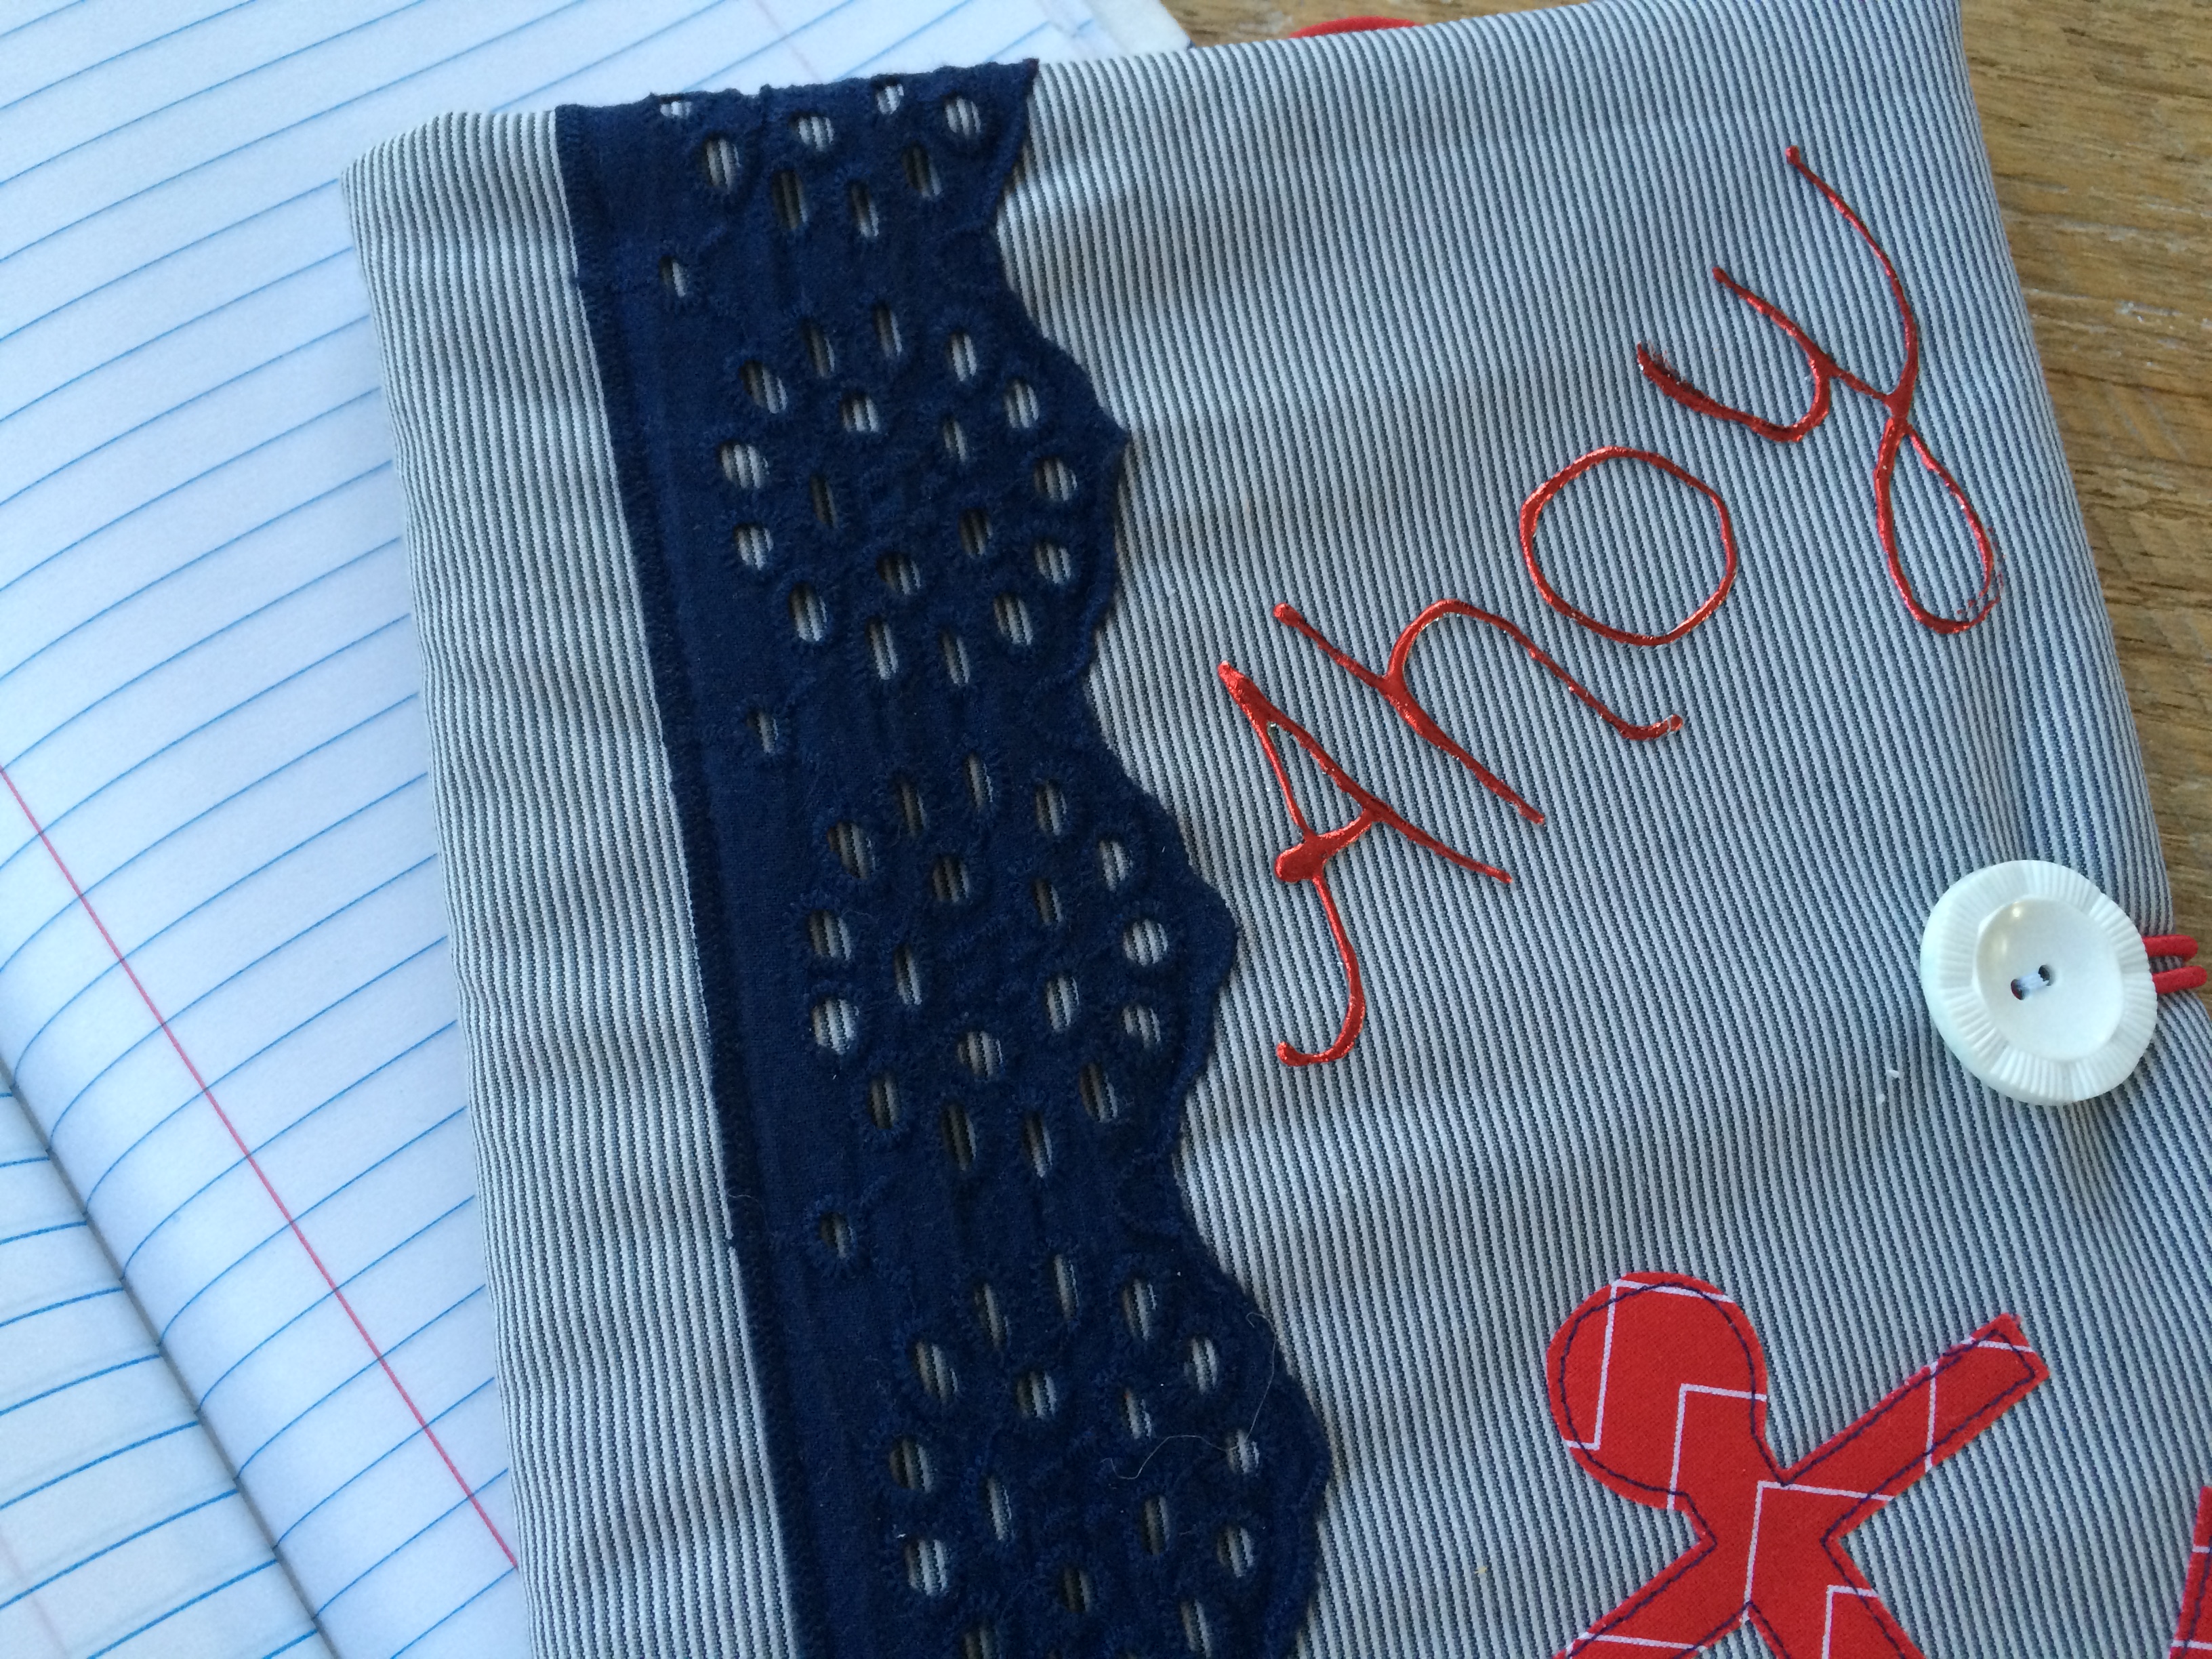
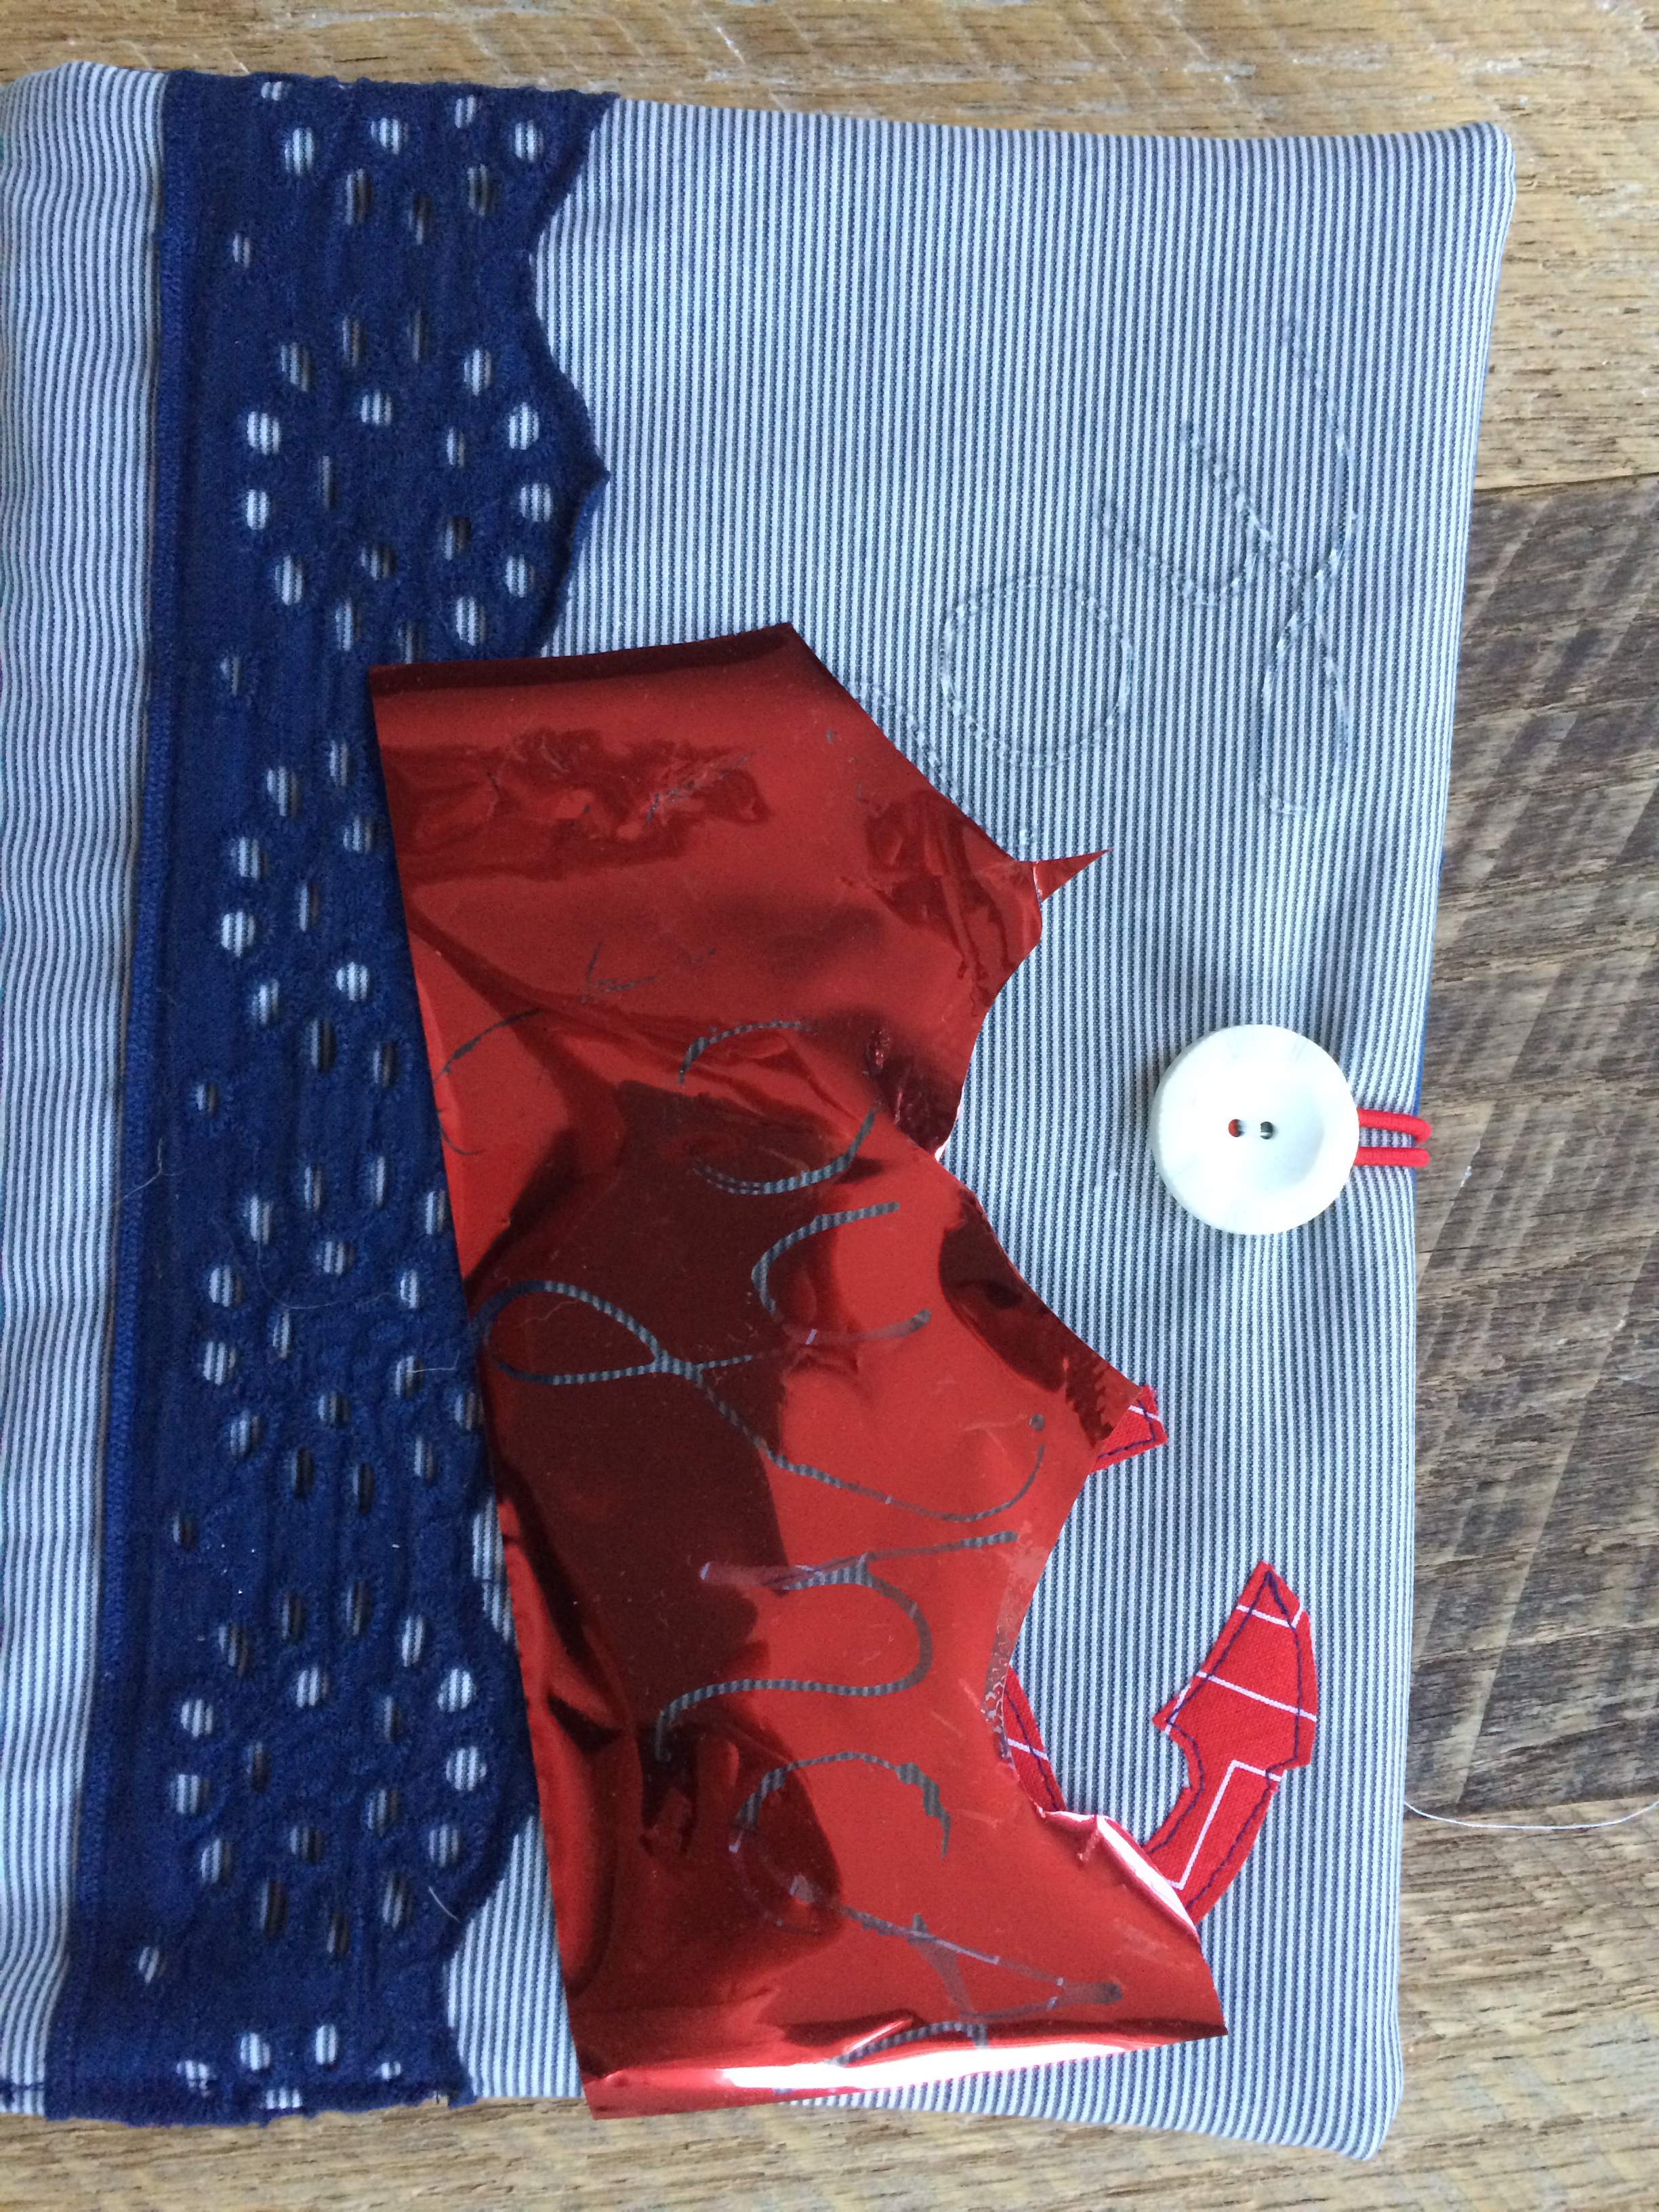 Now I am left with shiny foil letters!!
Make more than one and give them to your friends!! I will be giving one away on Instagram later in the week 🙂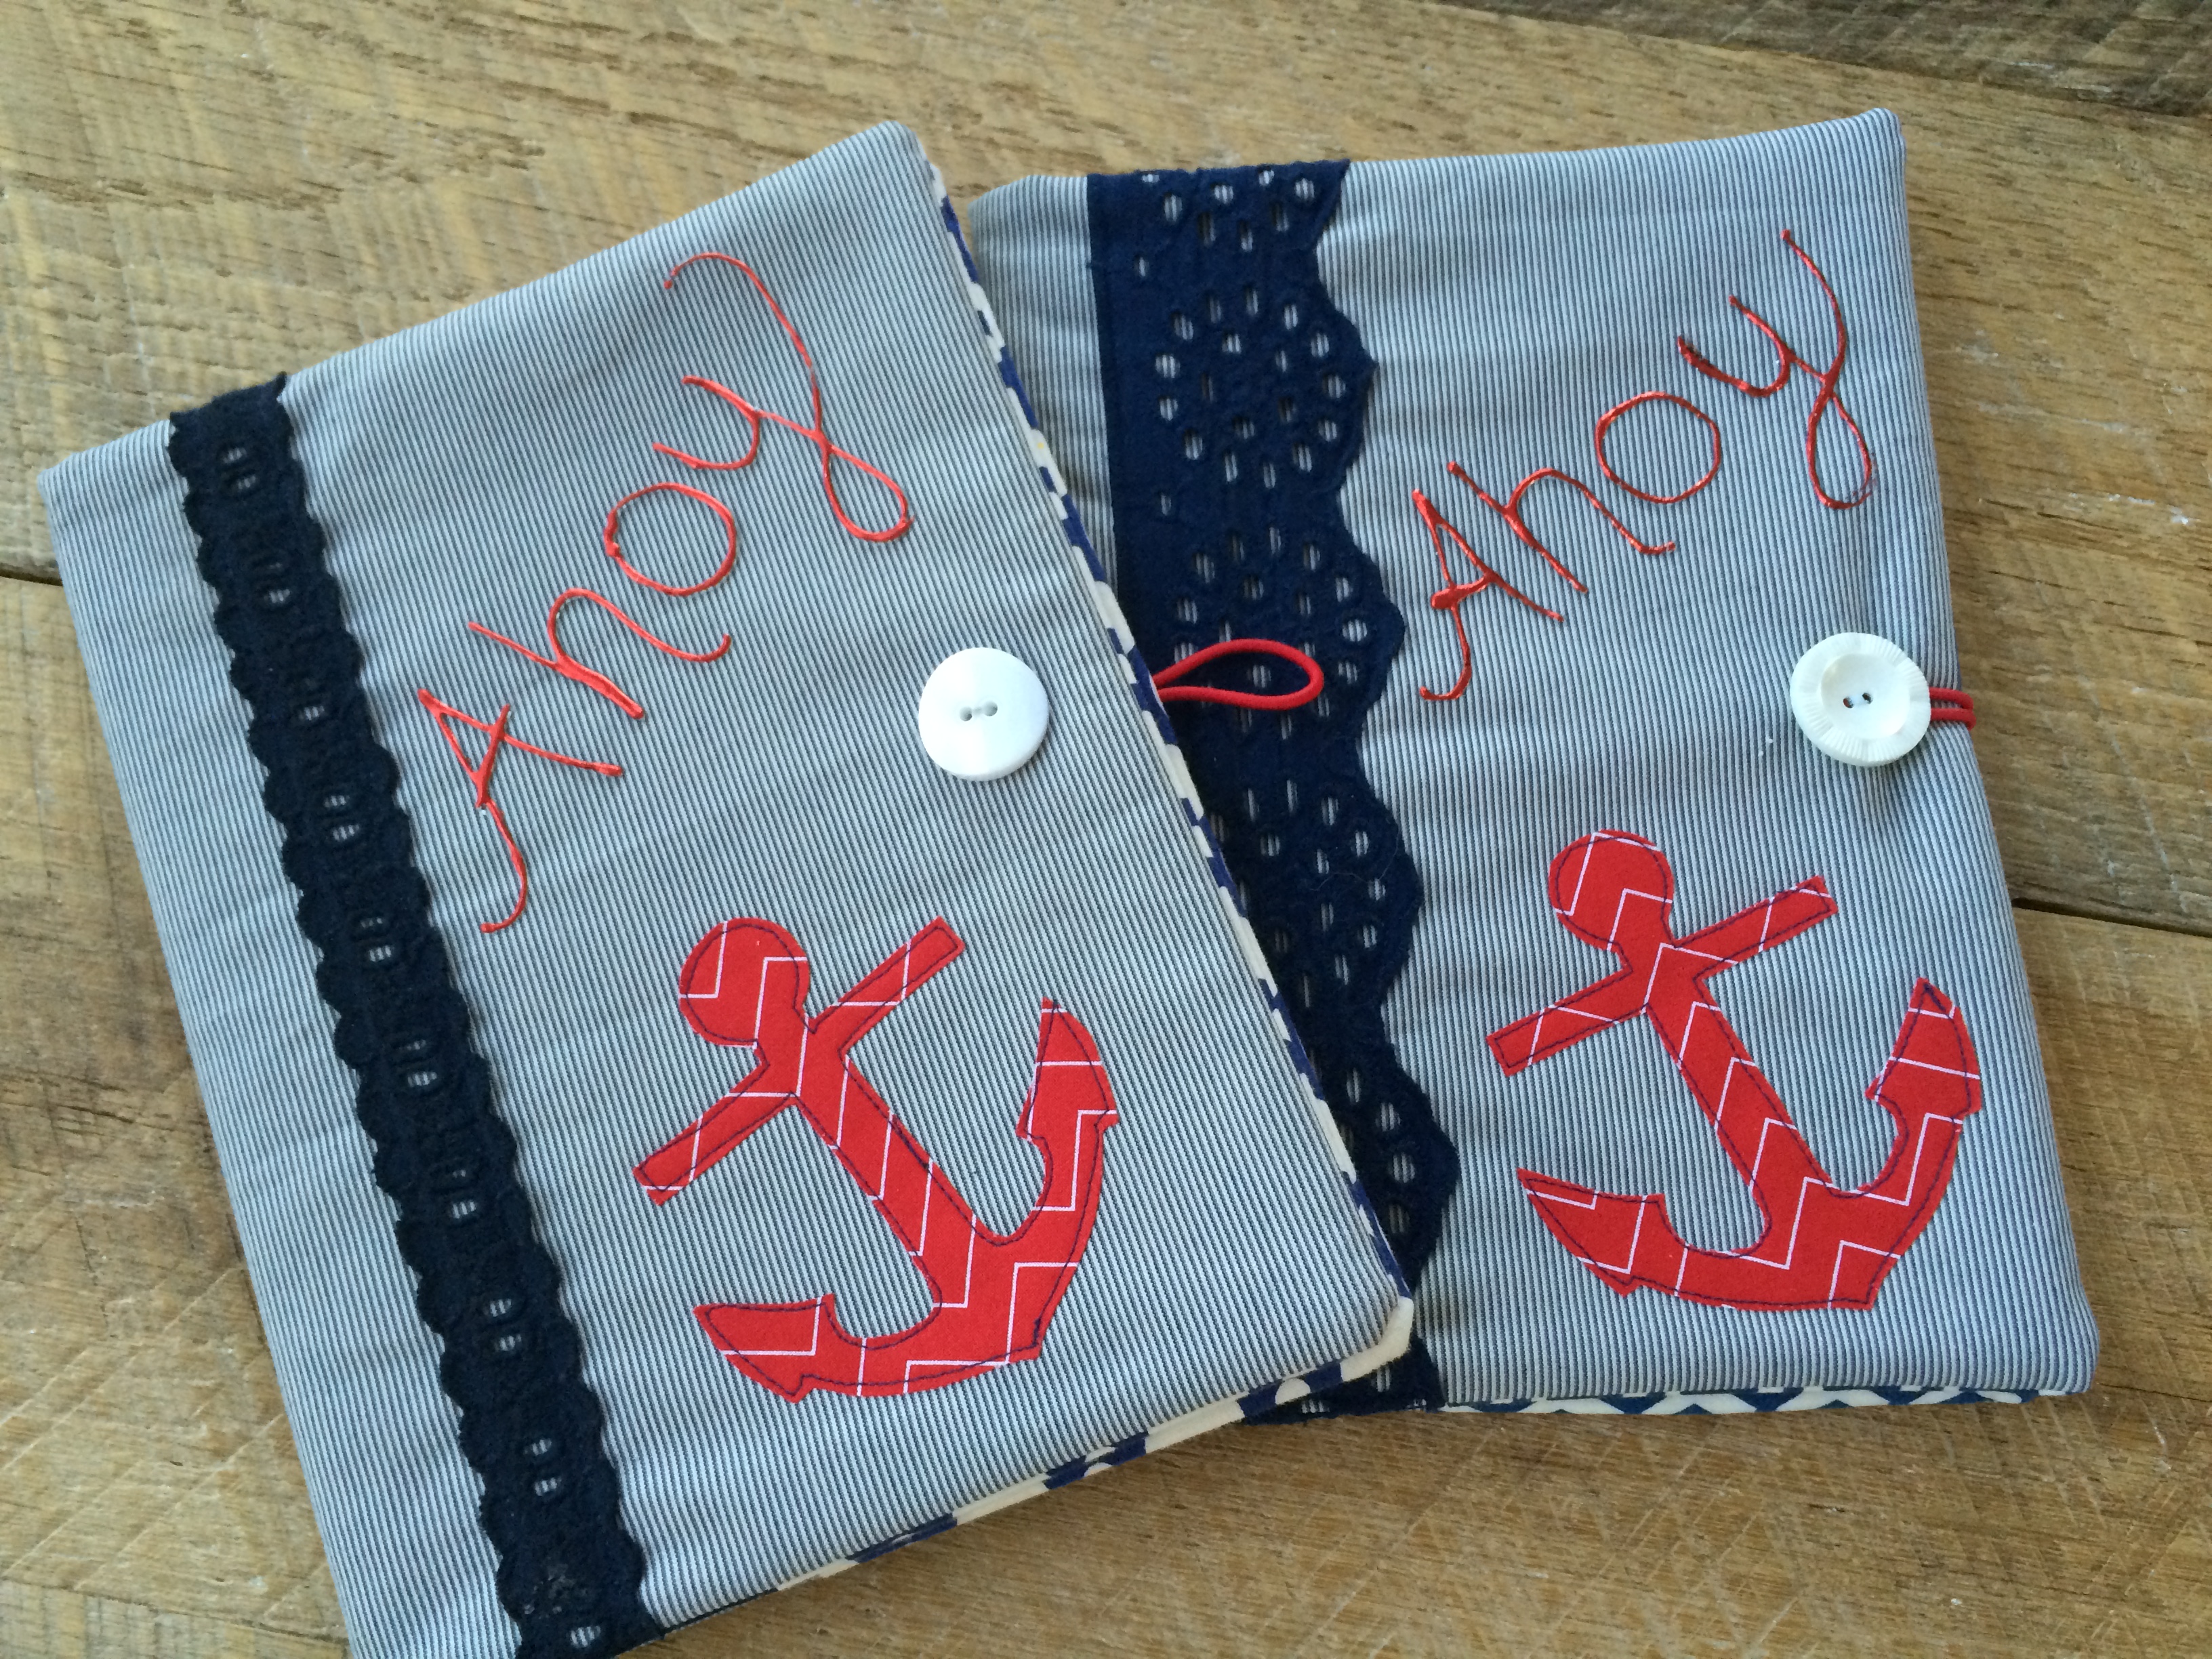


