![]()
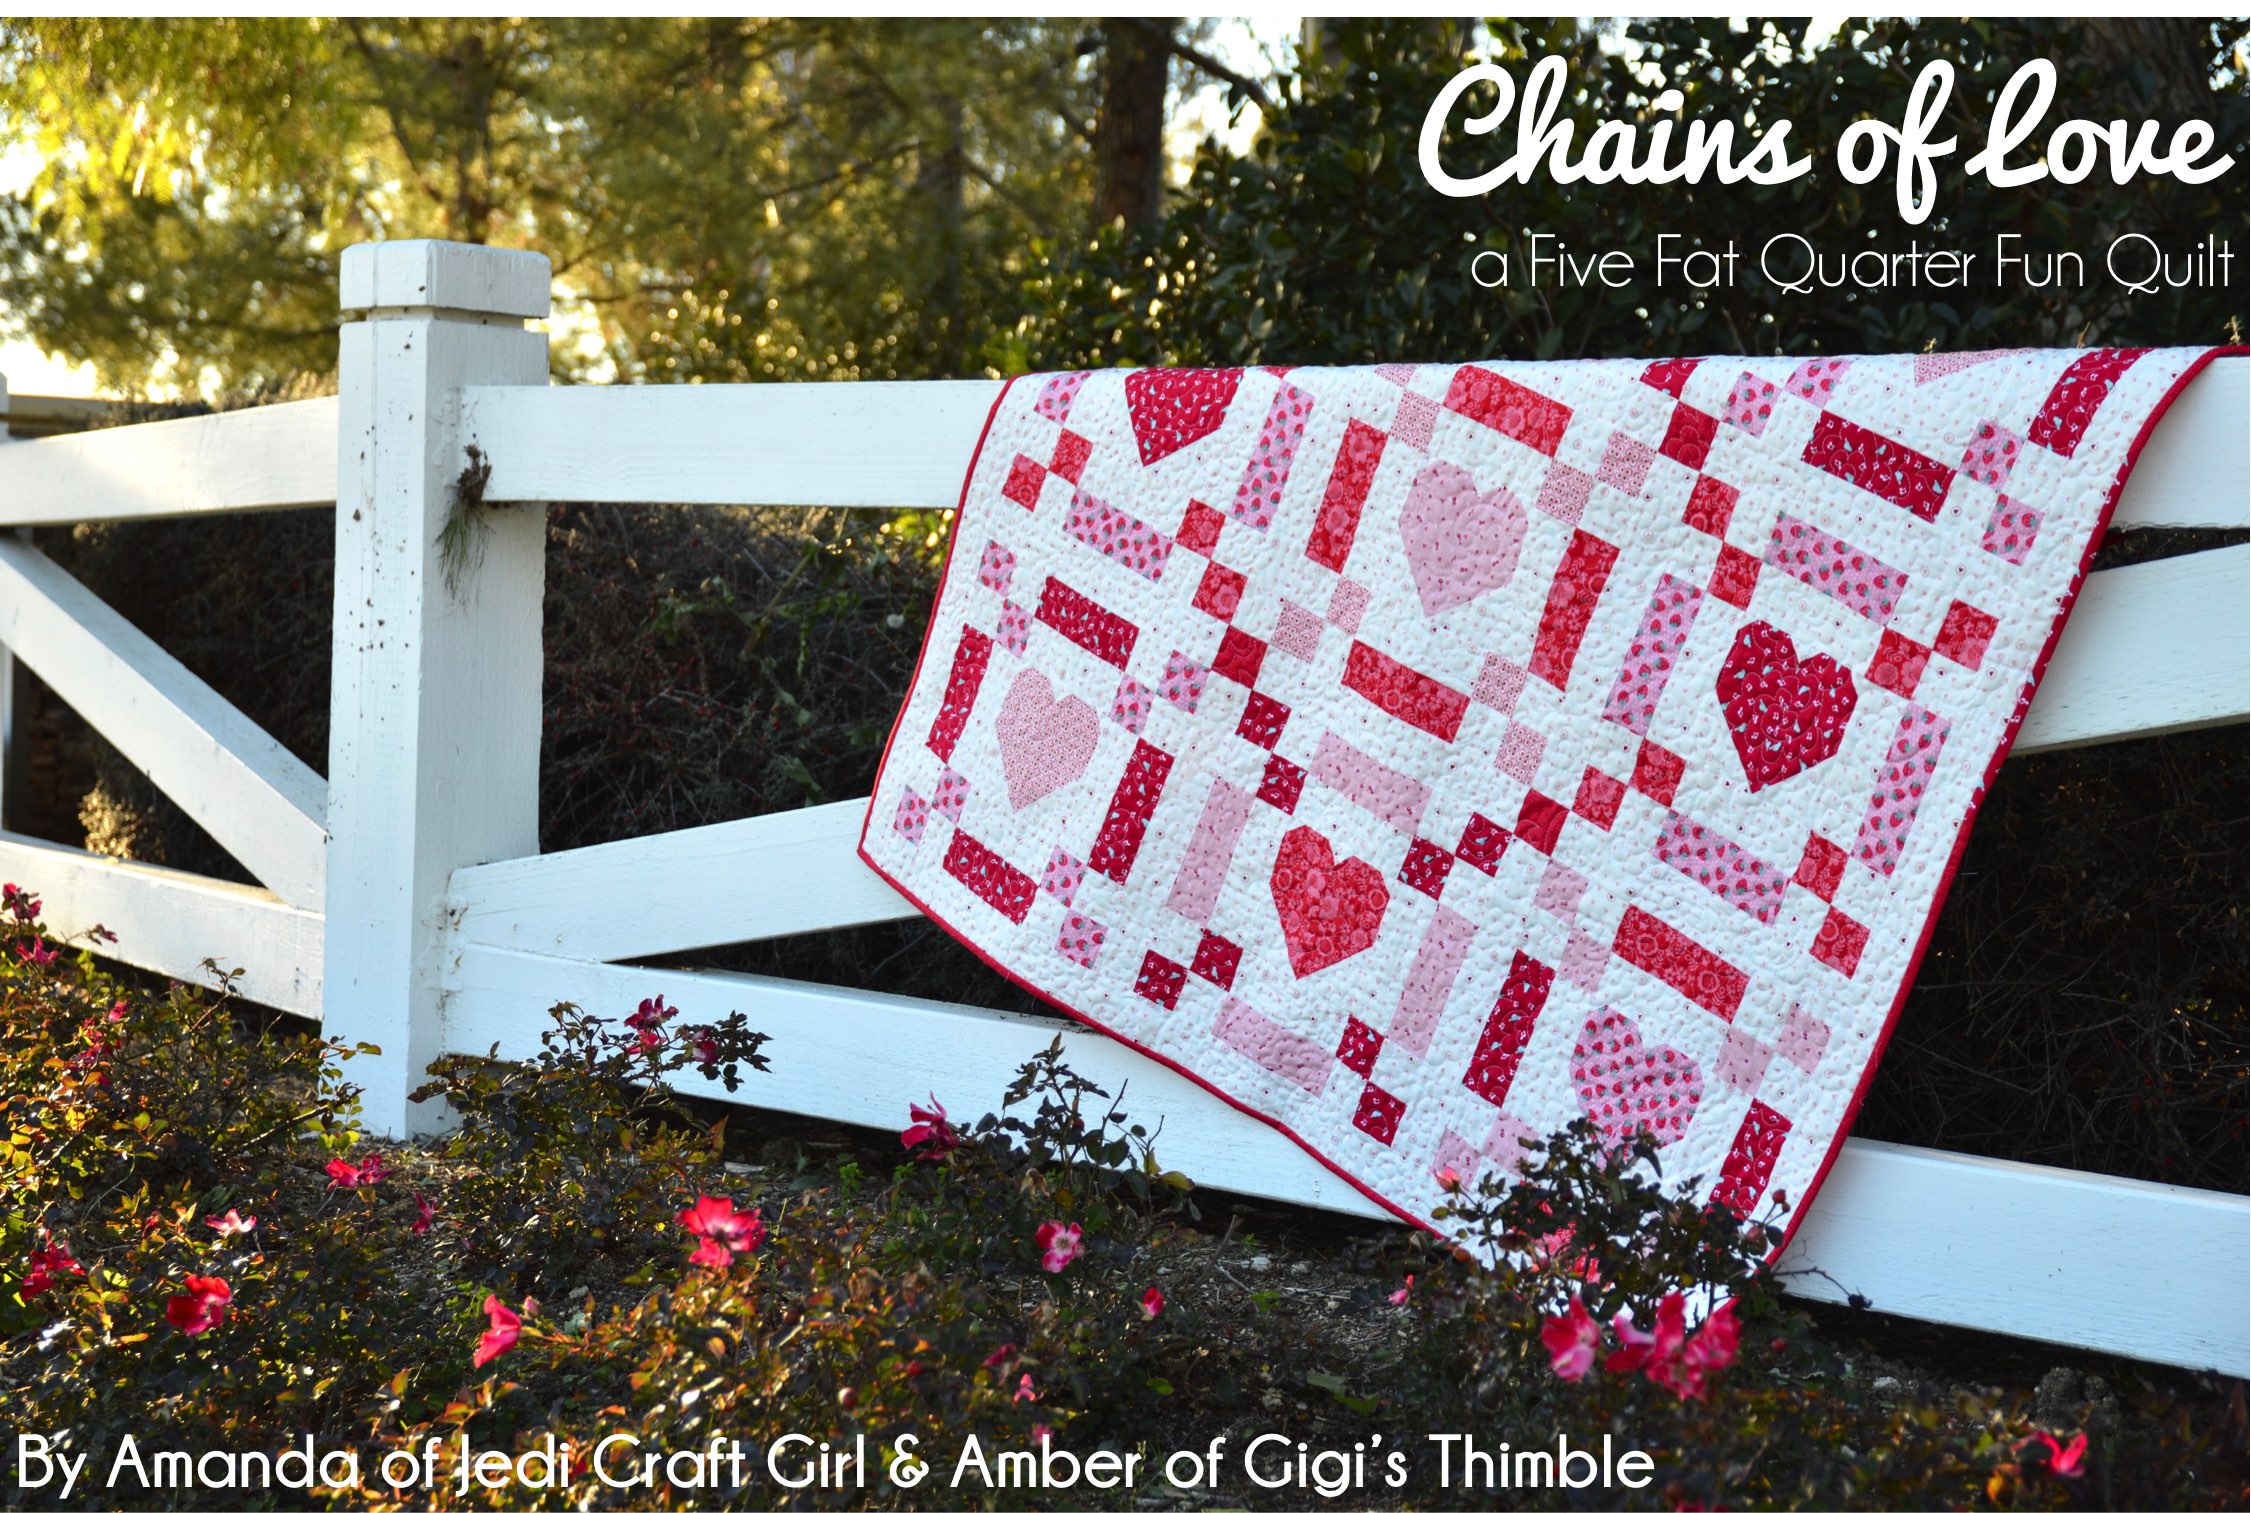
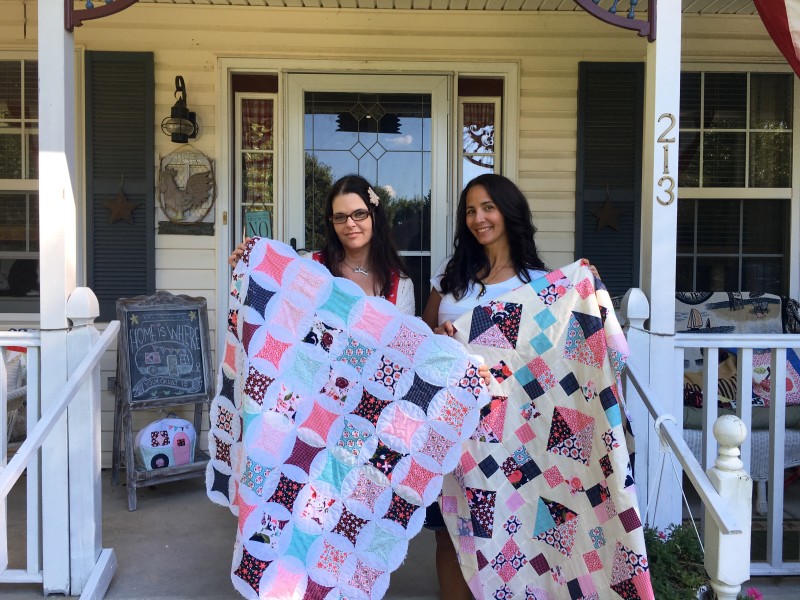
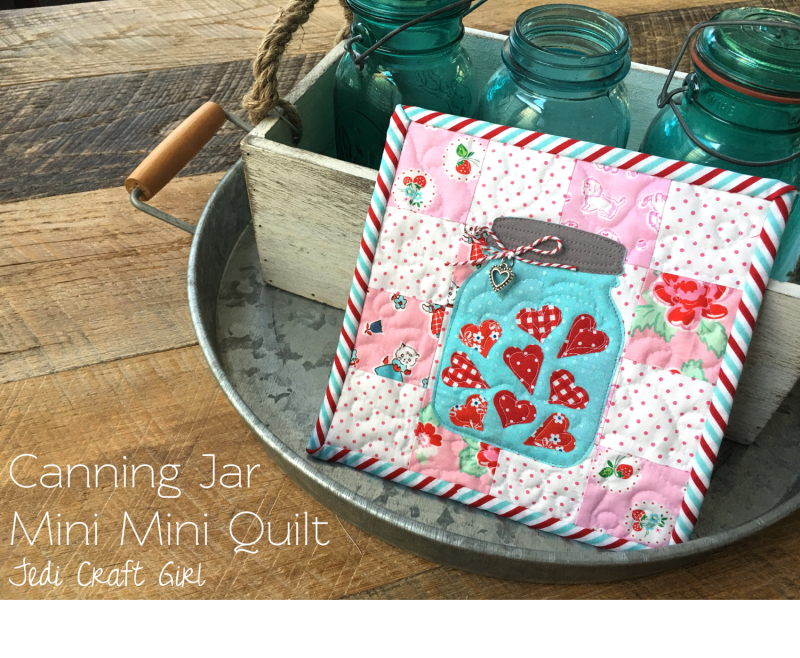
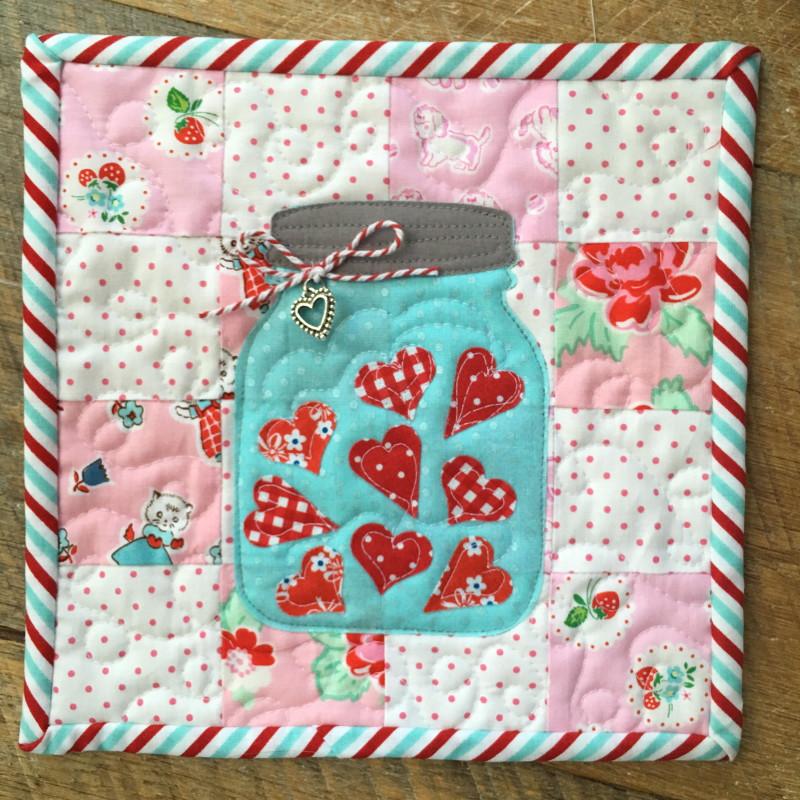
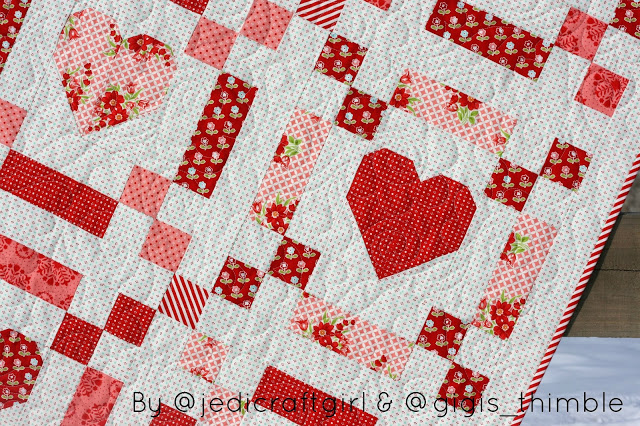
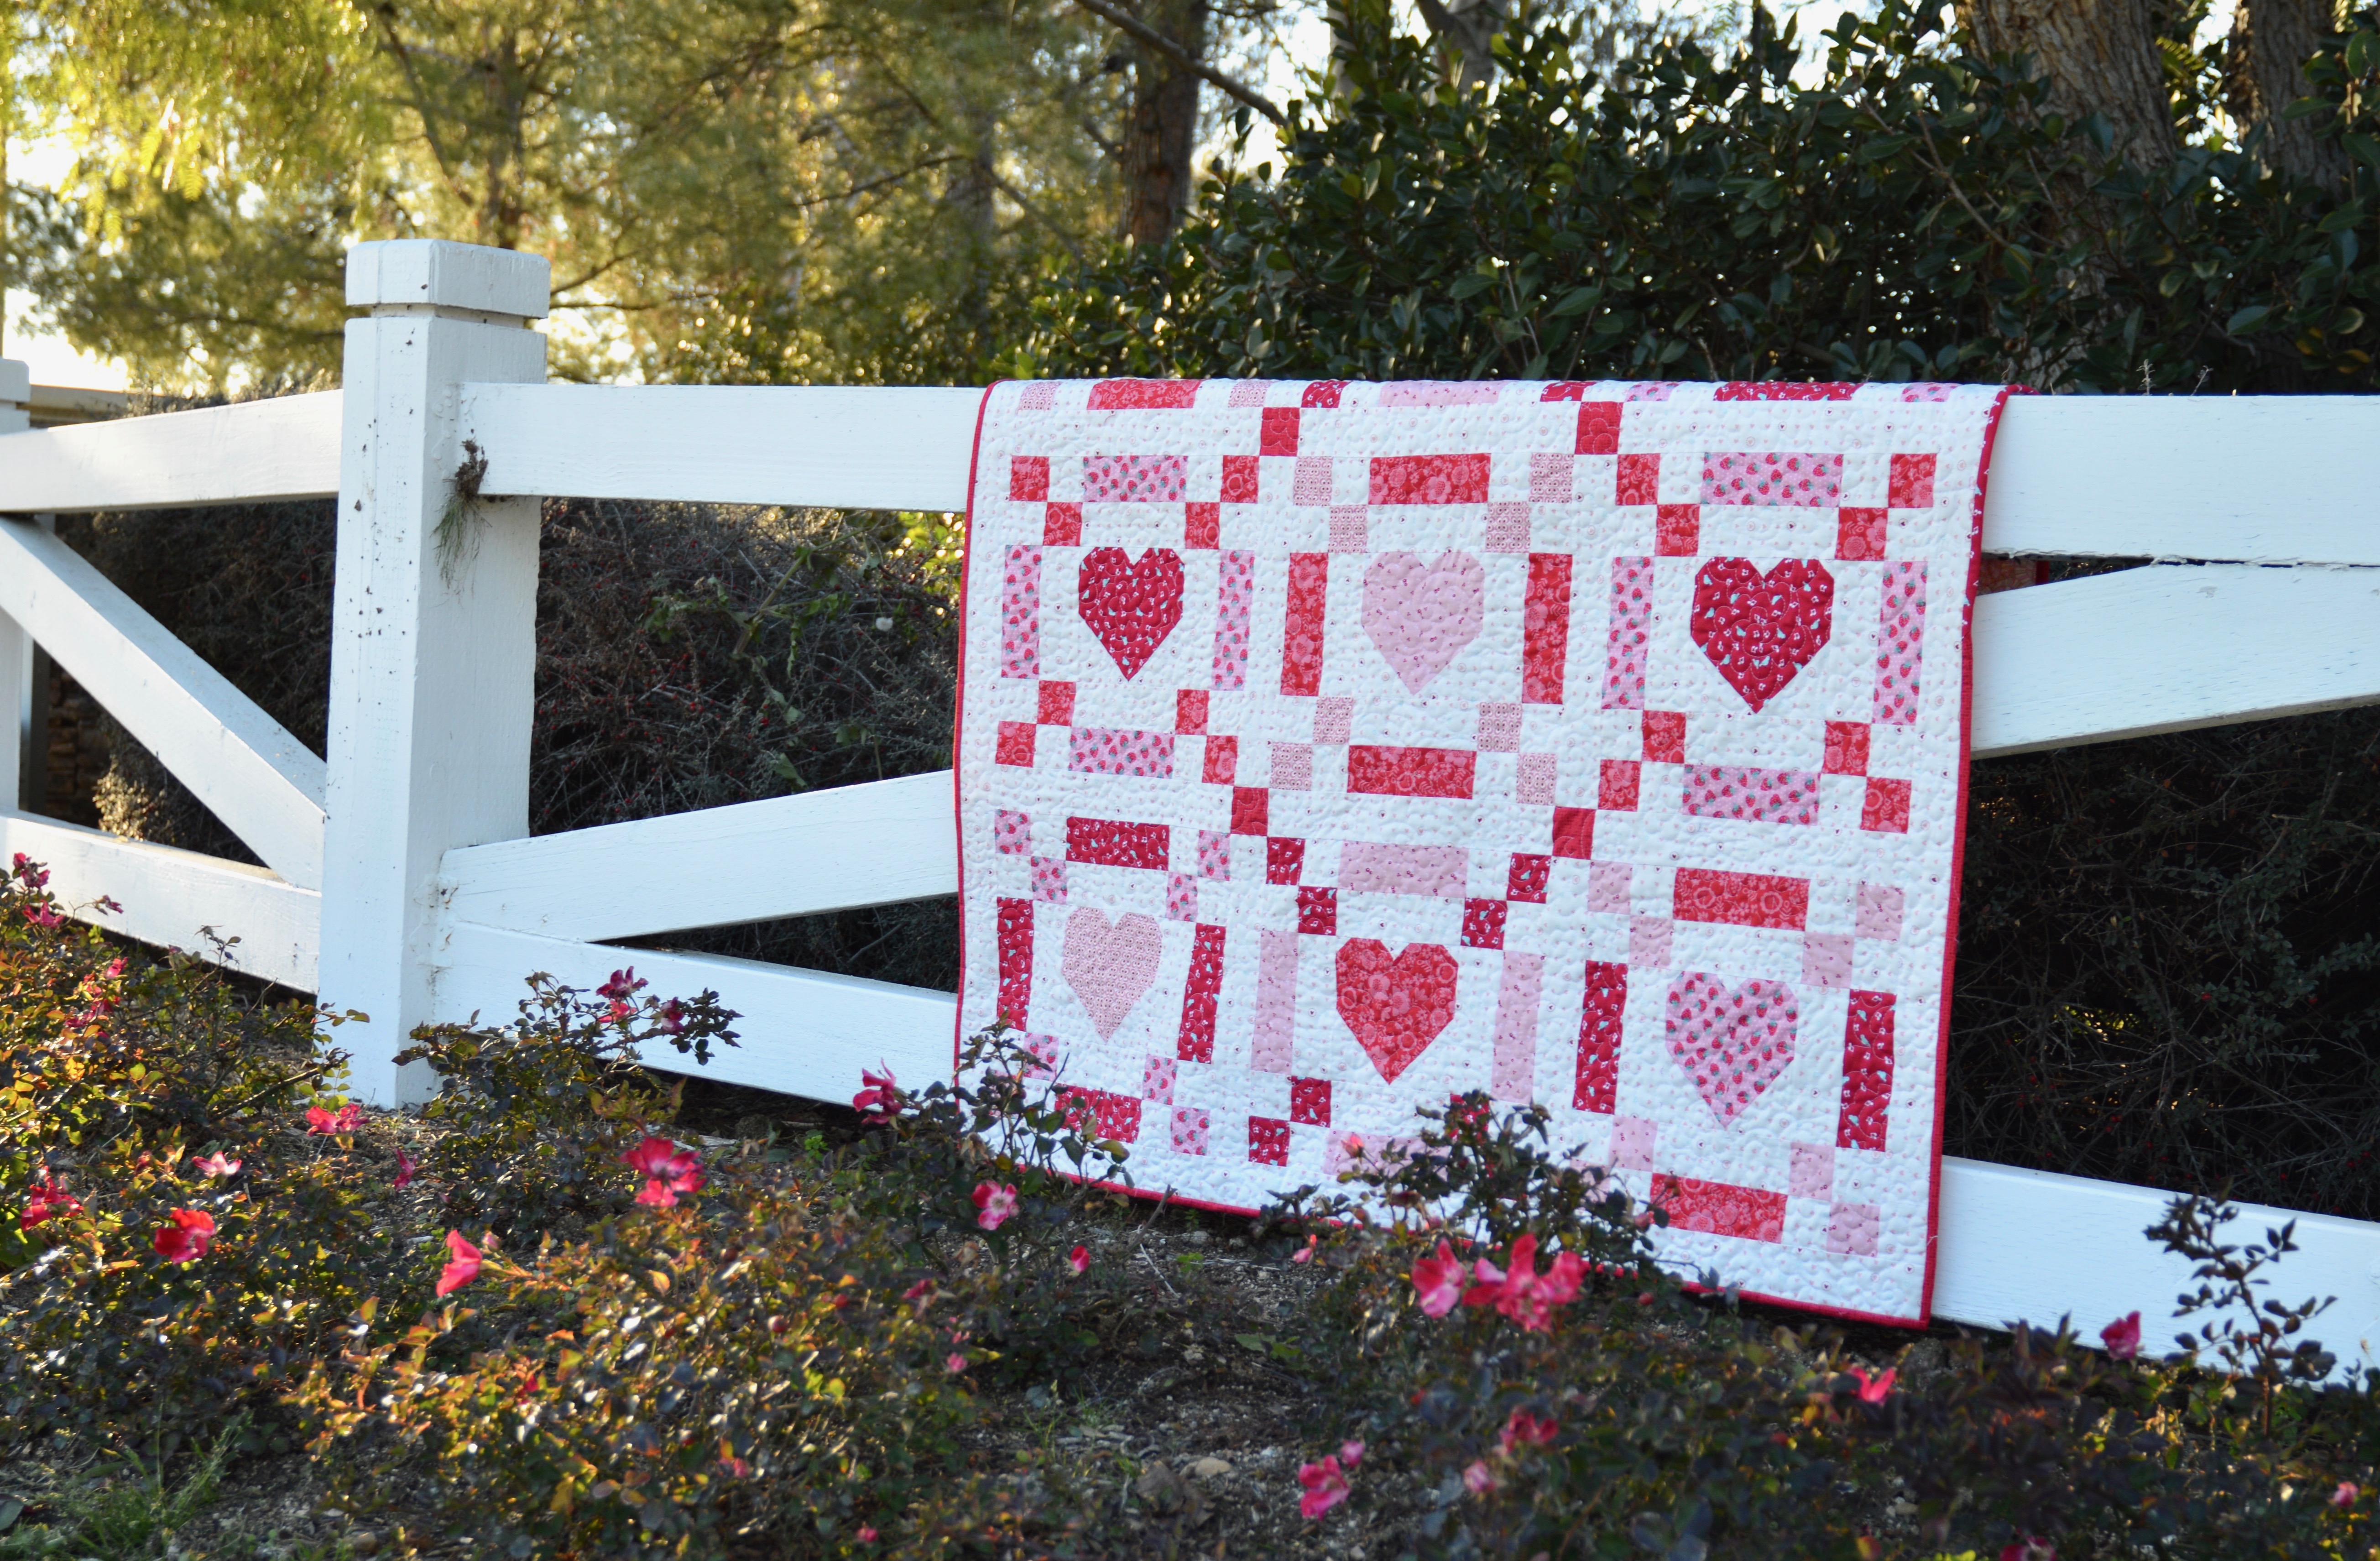
Amber and I are SUPER EXCITED to bring you our 3rd 5 Fat Quarter Fun Quilt – and this one is our Valentine’s edition!!!! We can’t get enough of red and pink and hearts so we pushed the limits on our 5 fat quarters and came up with this!!!! It’s a 50″ square quilt with an Irish Chain style and pieced hearts in the center. And of course we were listening to Erasure the whole time we were sewing!!! hahahah 🙂
Here is Amber’s version, you can read all about it on her blog. I love her Moda fabric choice!!!

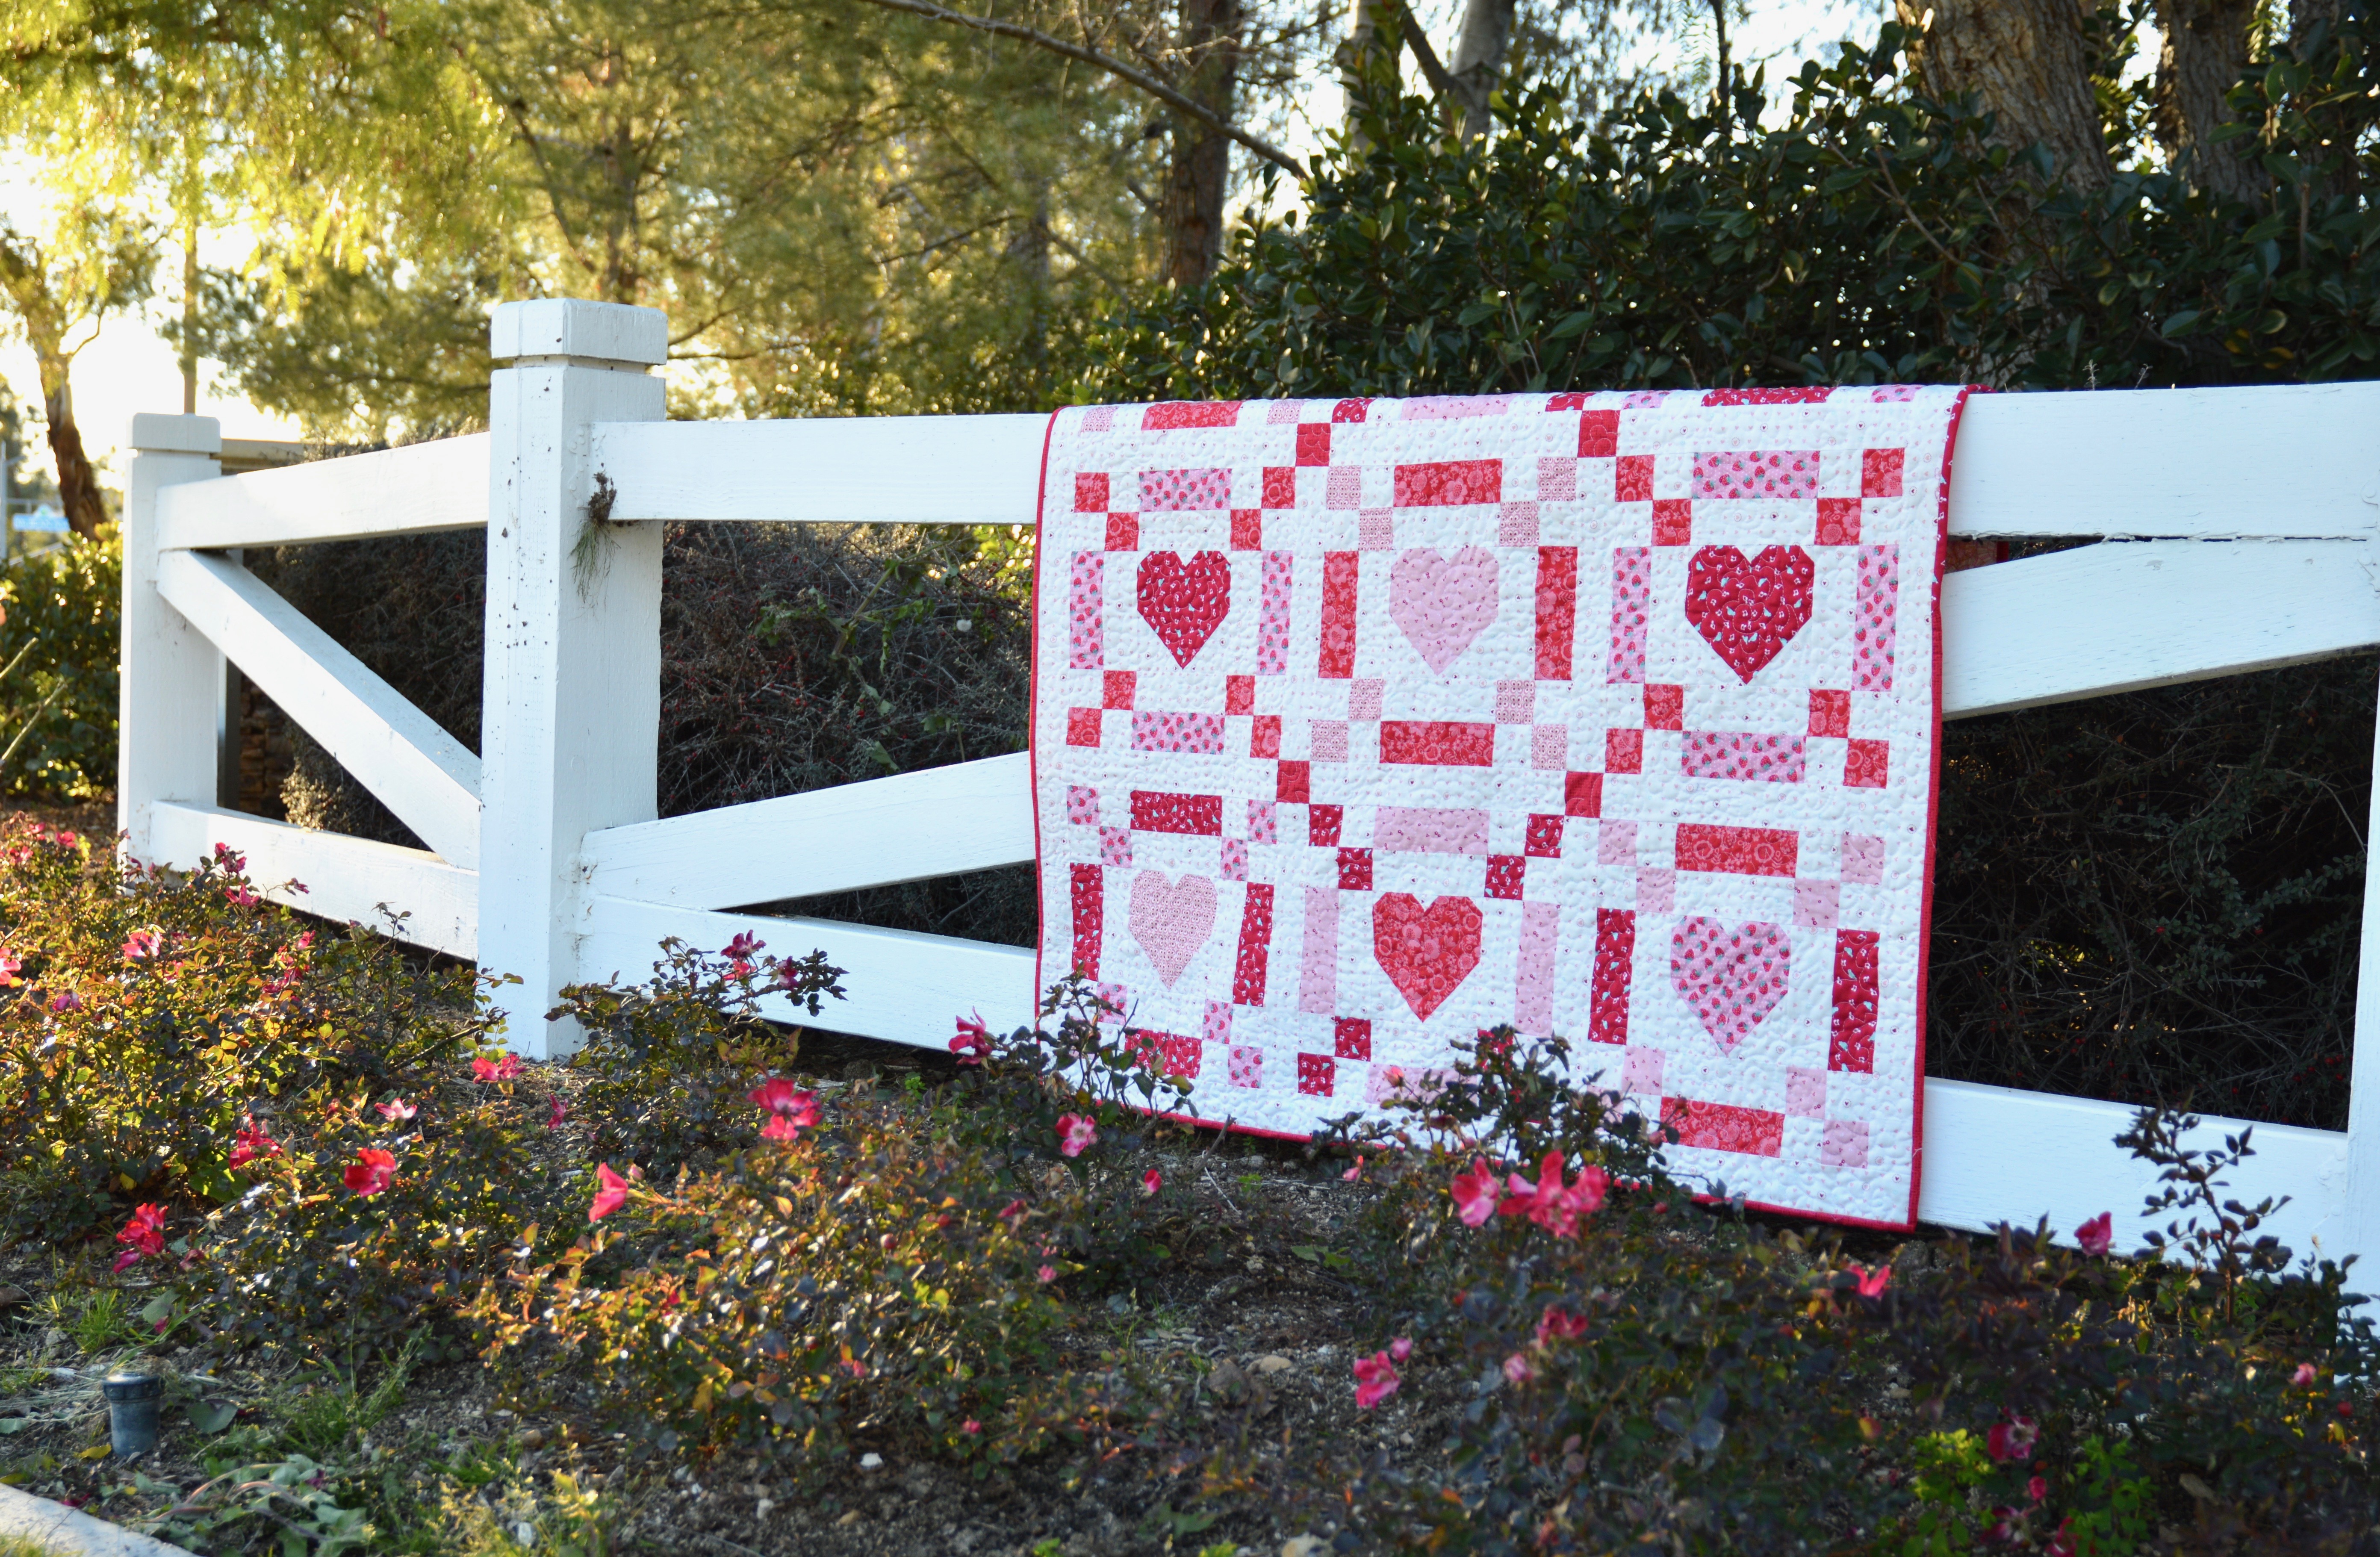
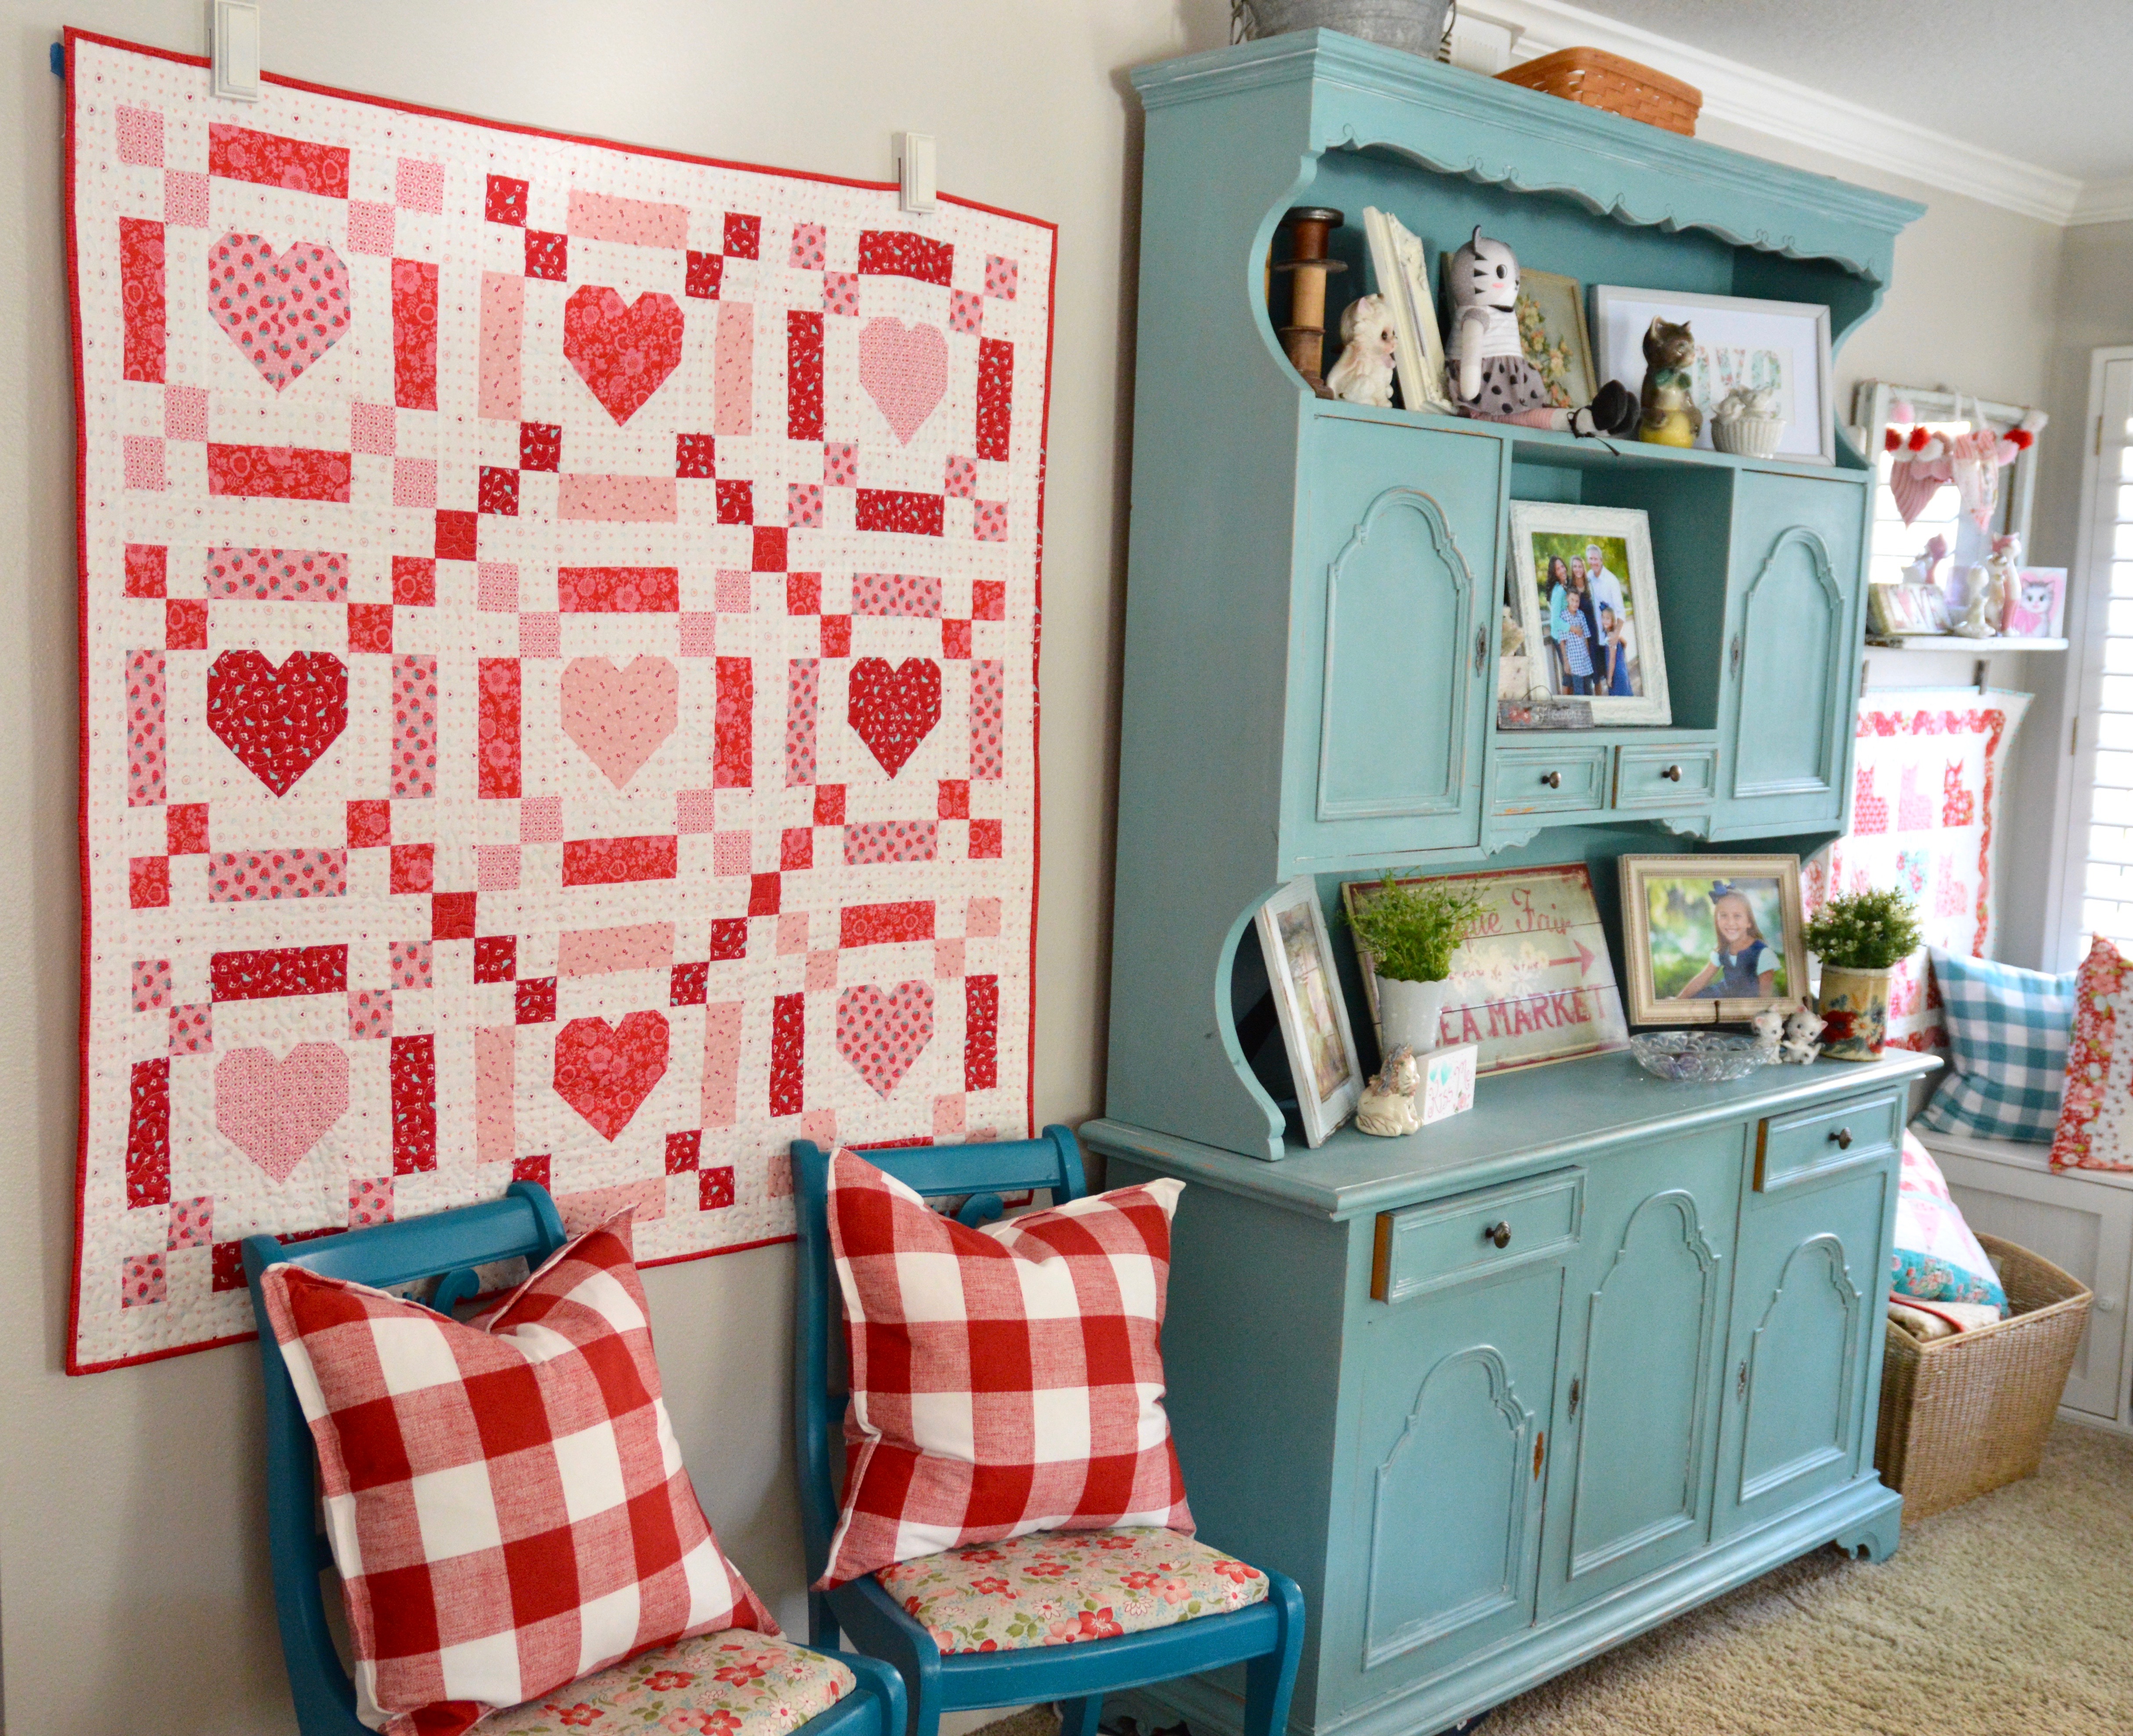
I am so thrilled to have a new quilt to hang in the family room! And it fits perfectly!!!
Fabric Requirements
2 red fat quarters (non directional)
3 pink fat quarters (non directional)
2 yards background fabric
3 ½ yards backing fabric
½ yard binding fabric
(4) Additional red 2 ½” squares for sashing – can cut from your binding fabric if it matches
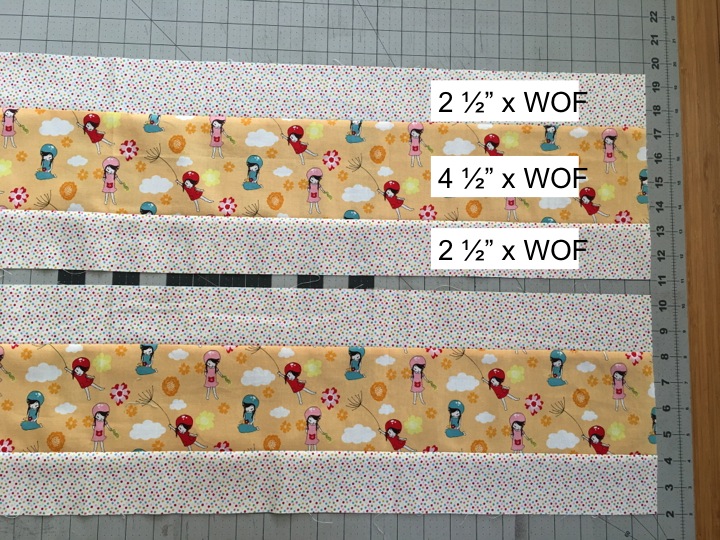
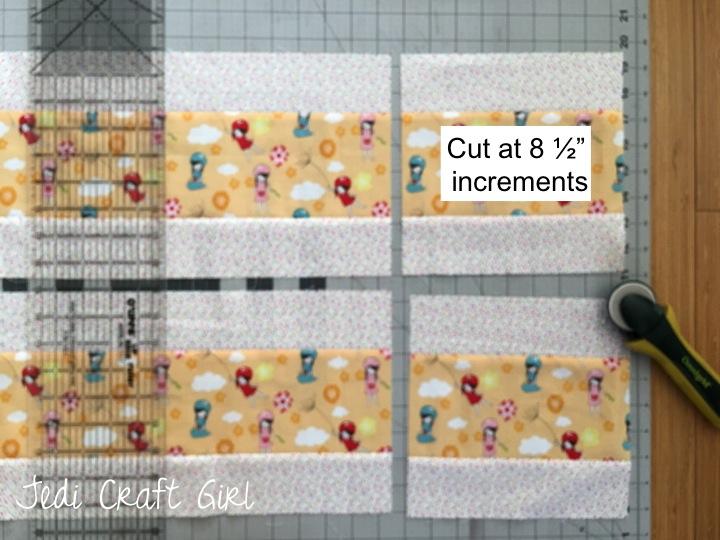
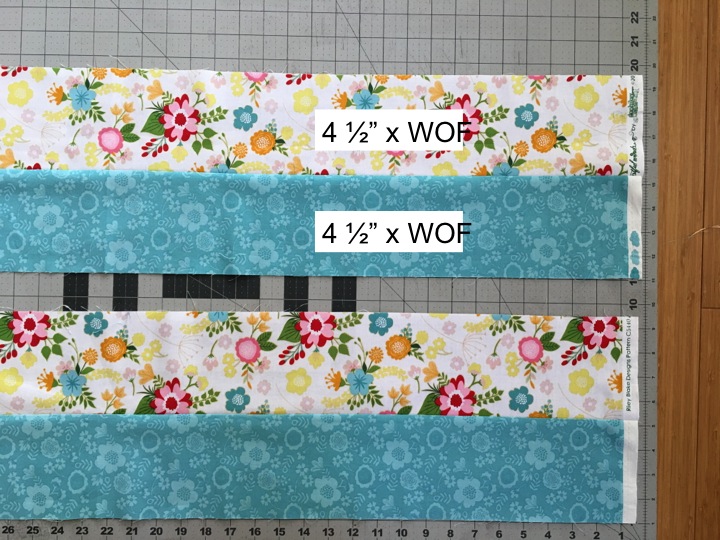
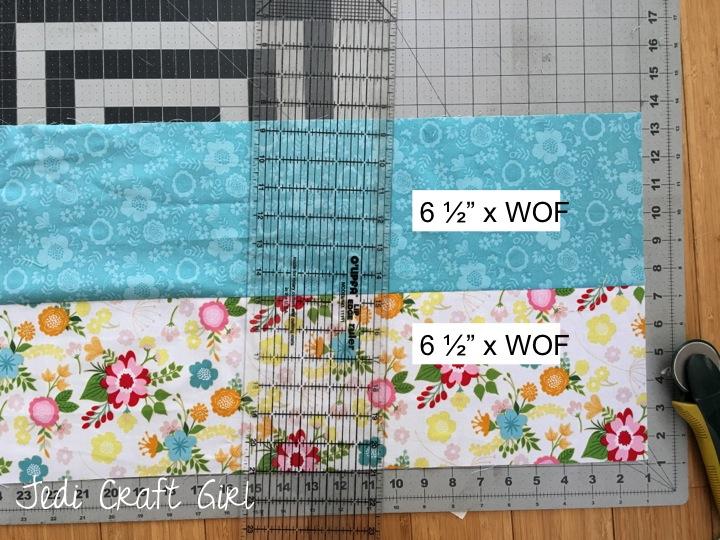
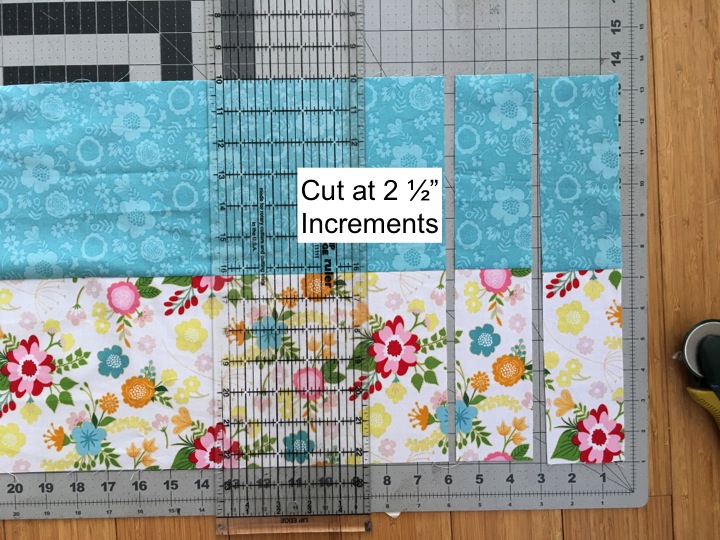
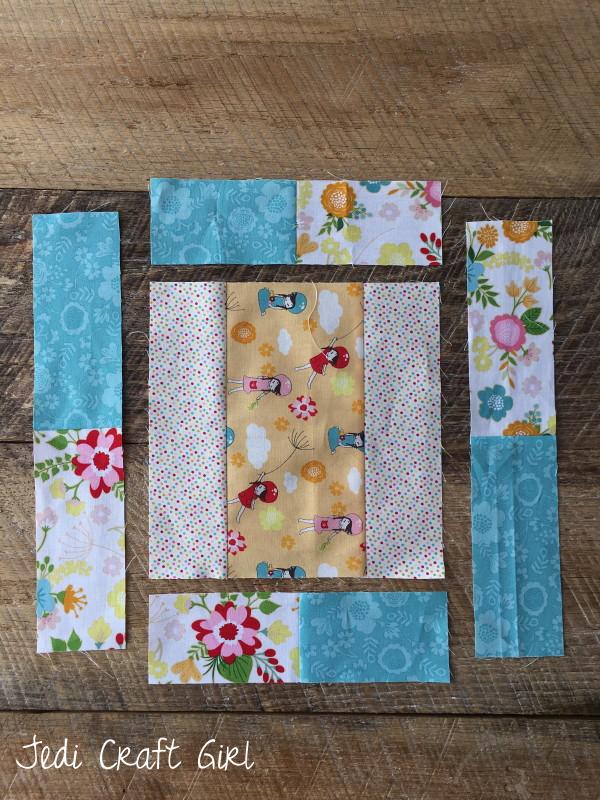
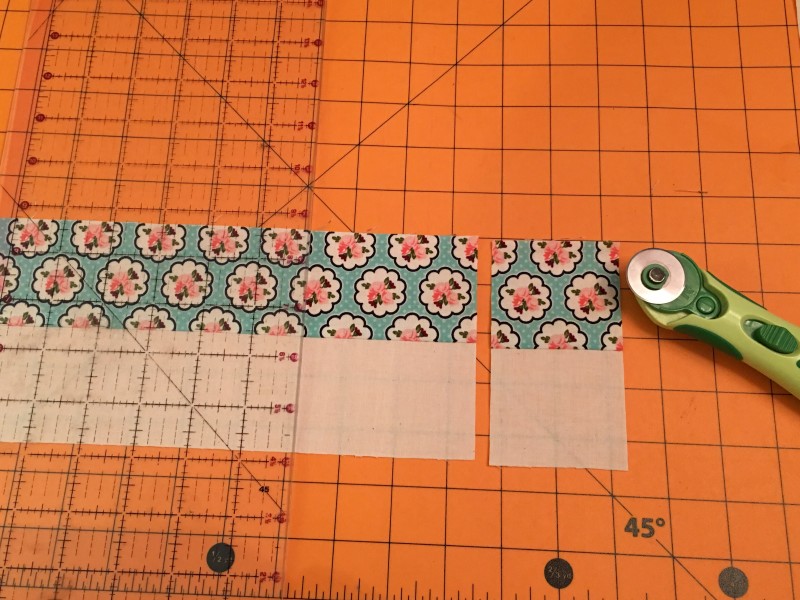
NOTE: Make sure your fat quarter measure 21″ in length. You need every inch possible out of the fat quarters and they have to be cut a certain way.
So be sure to read all instructions first. Don’t square up the fat quarters and only cut one at a time.
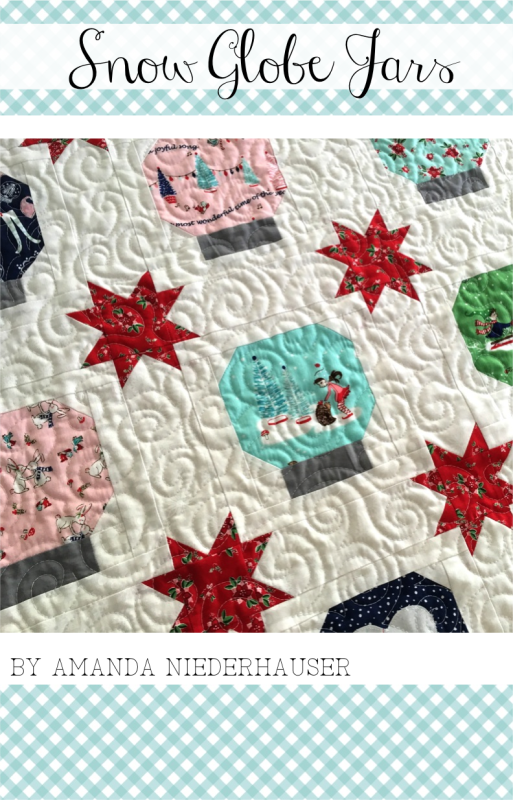
You can download the pattern HERE.

We hope you join in the fun! We would love to connect with you on Instagram! Post photos of your fabric selections, progress, and finished quilt! Don’t forget to tag @jedicraftgirl and @gigis_thimble and #fivefatquarterfun #chainsoflovequilt
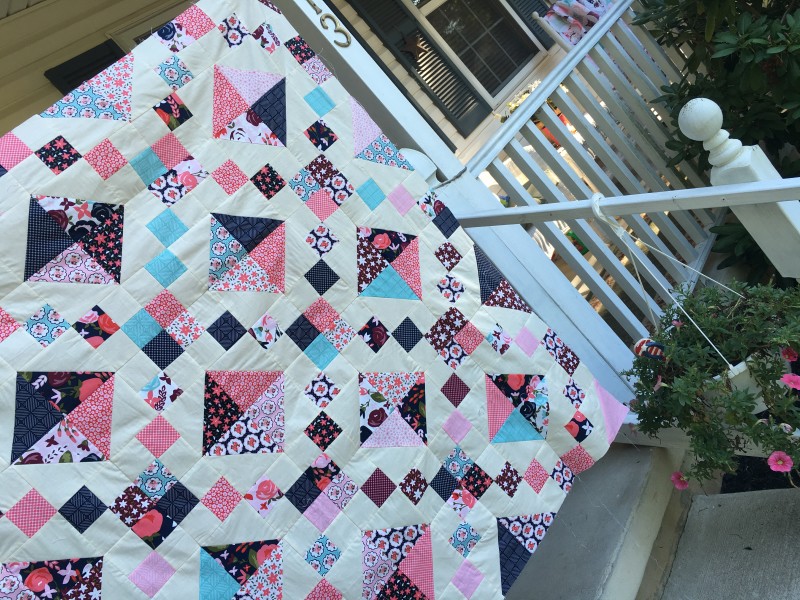
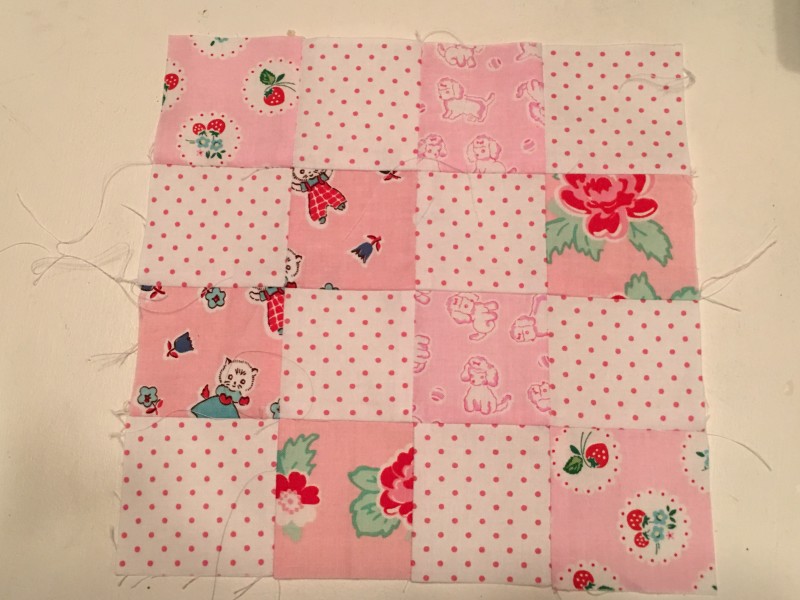
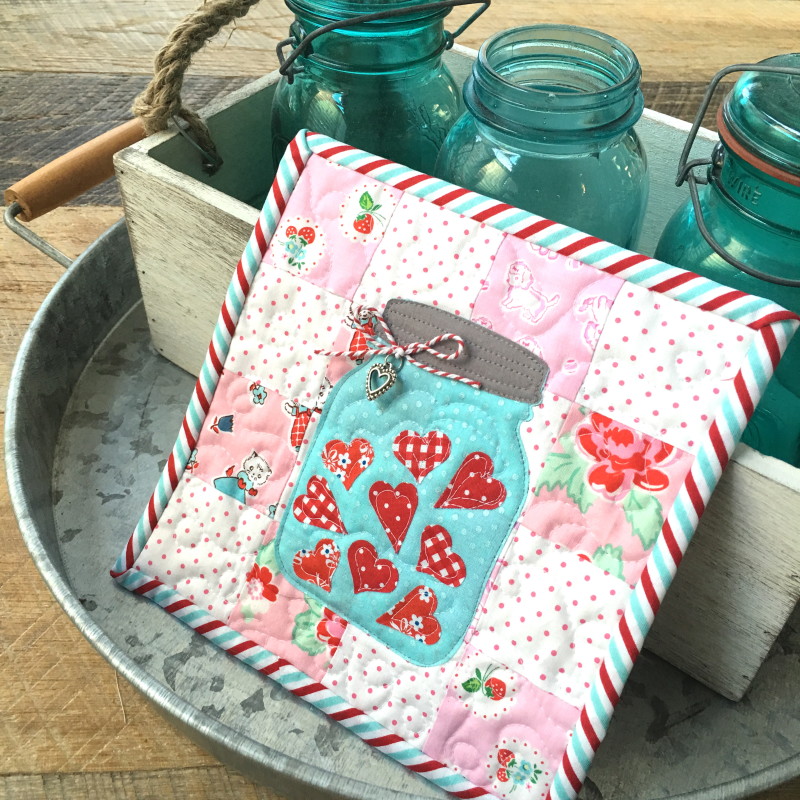
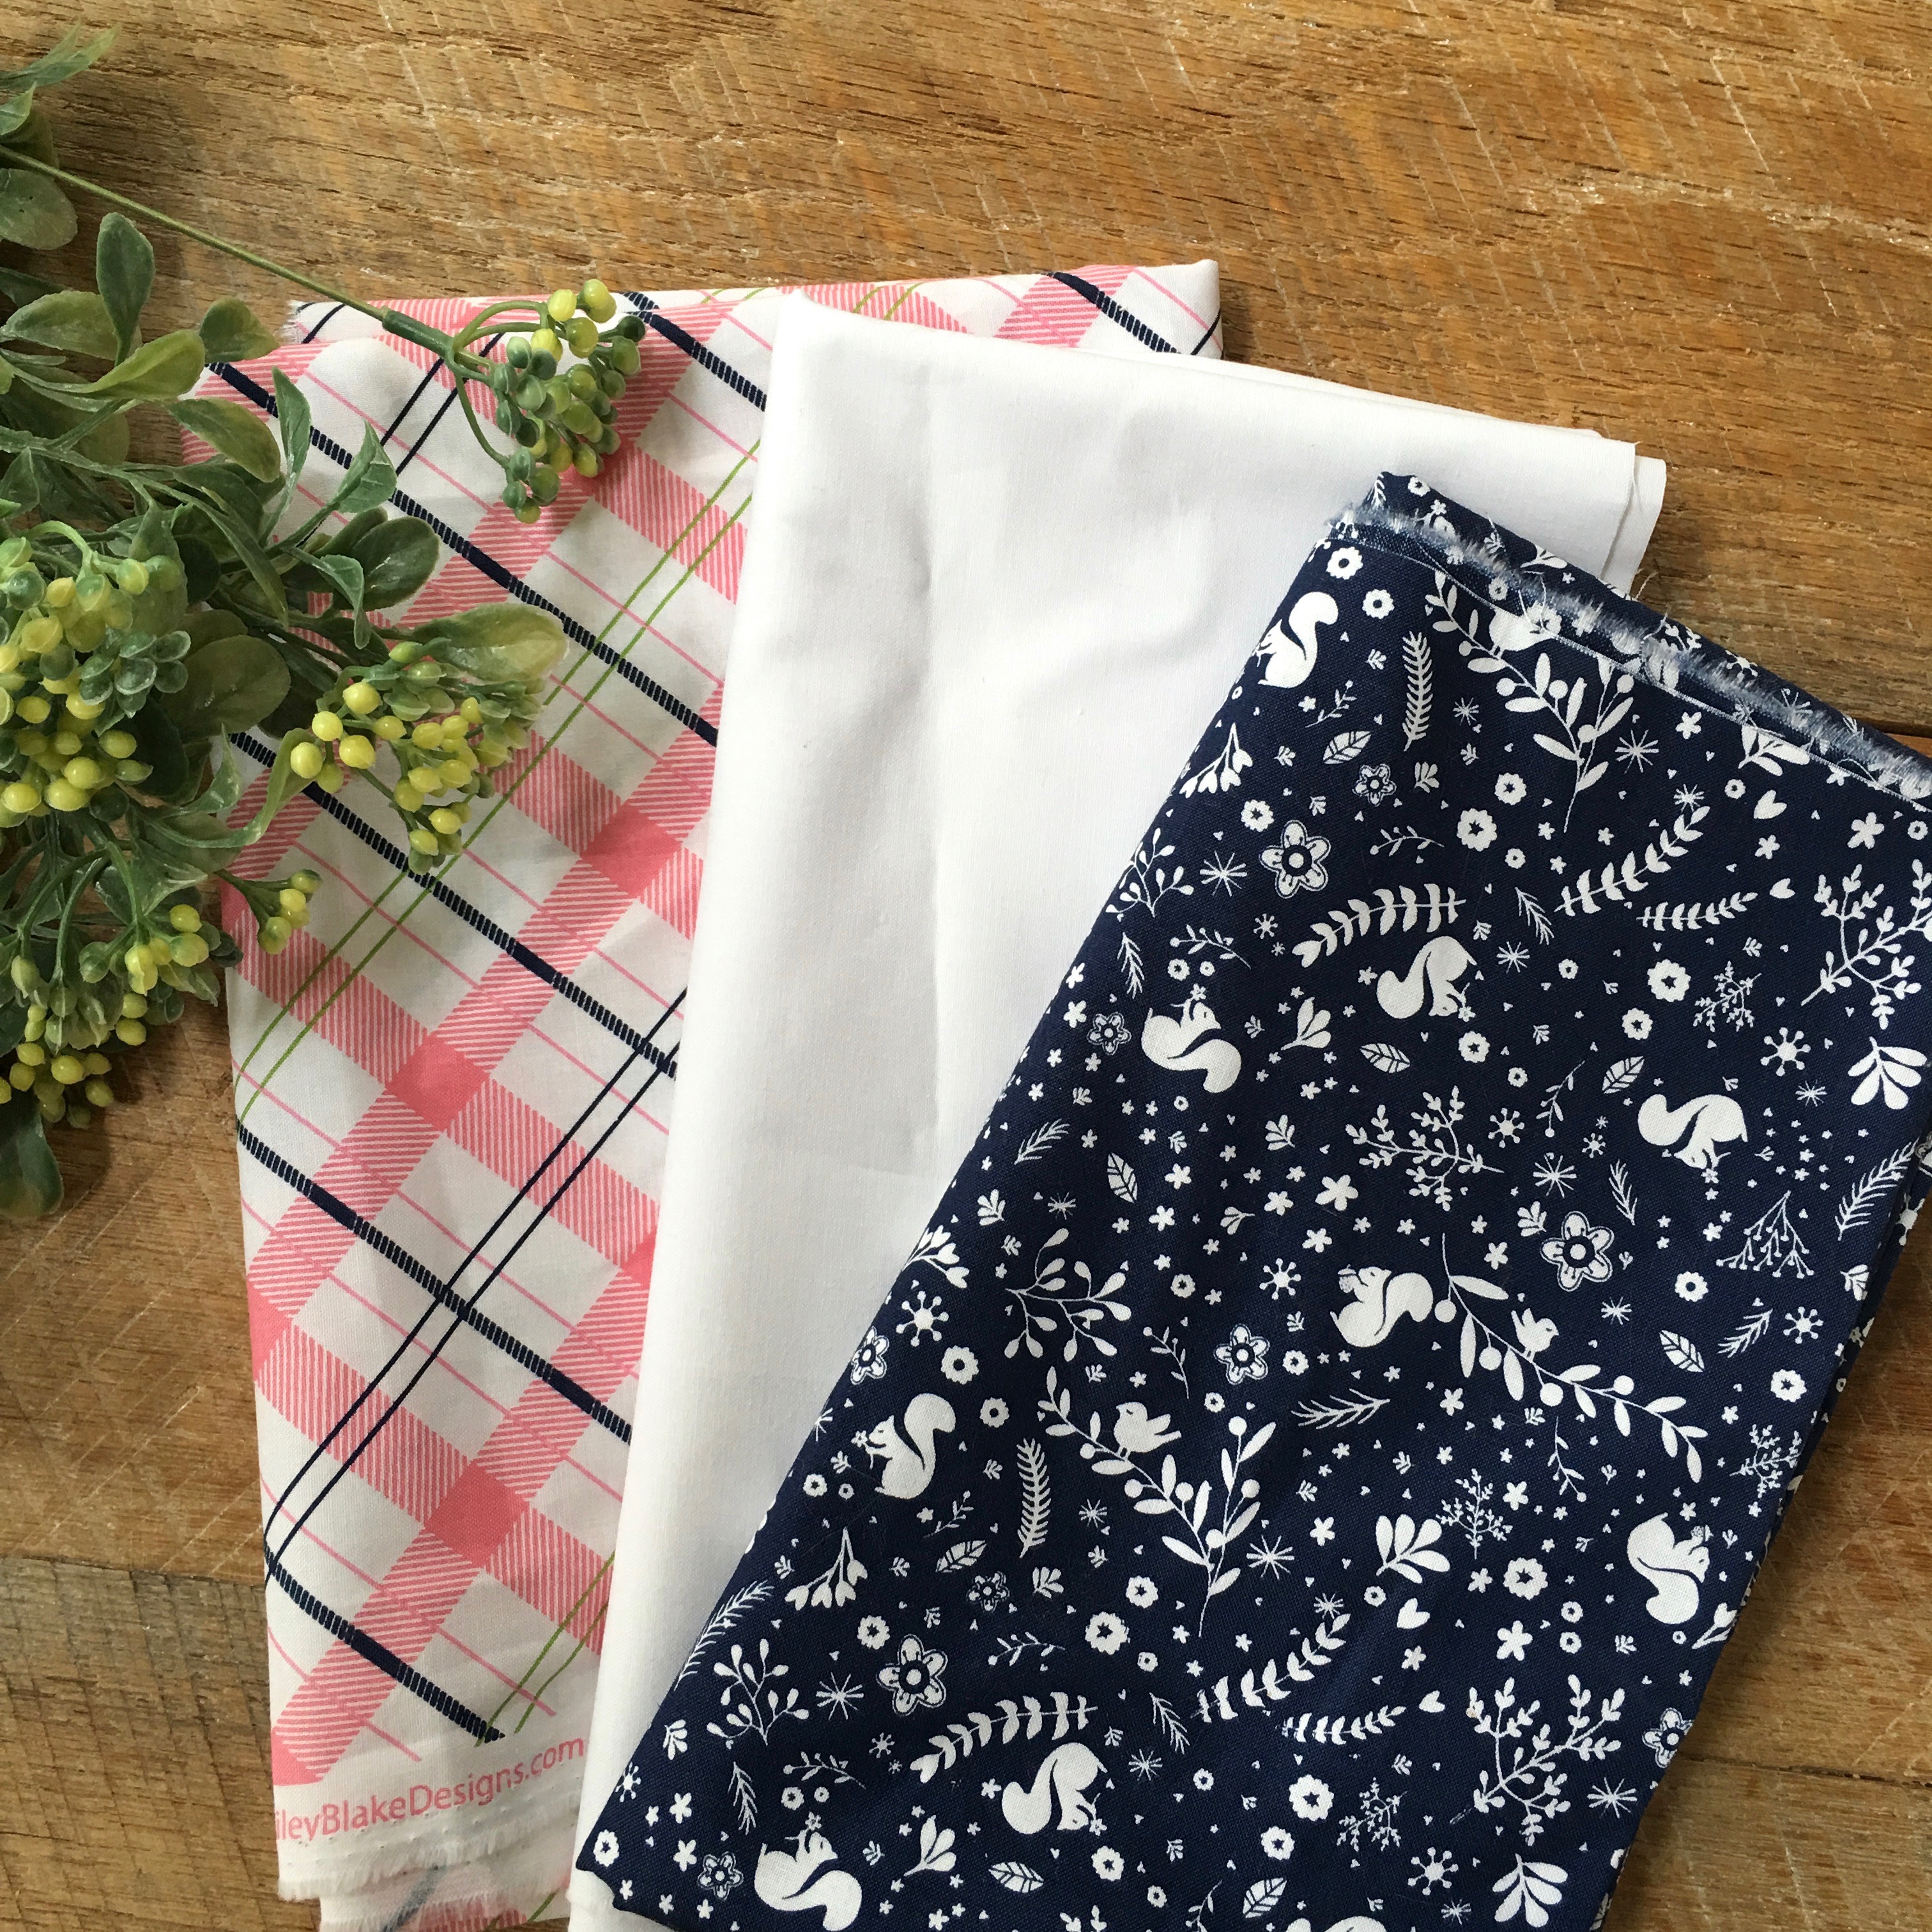
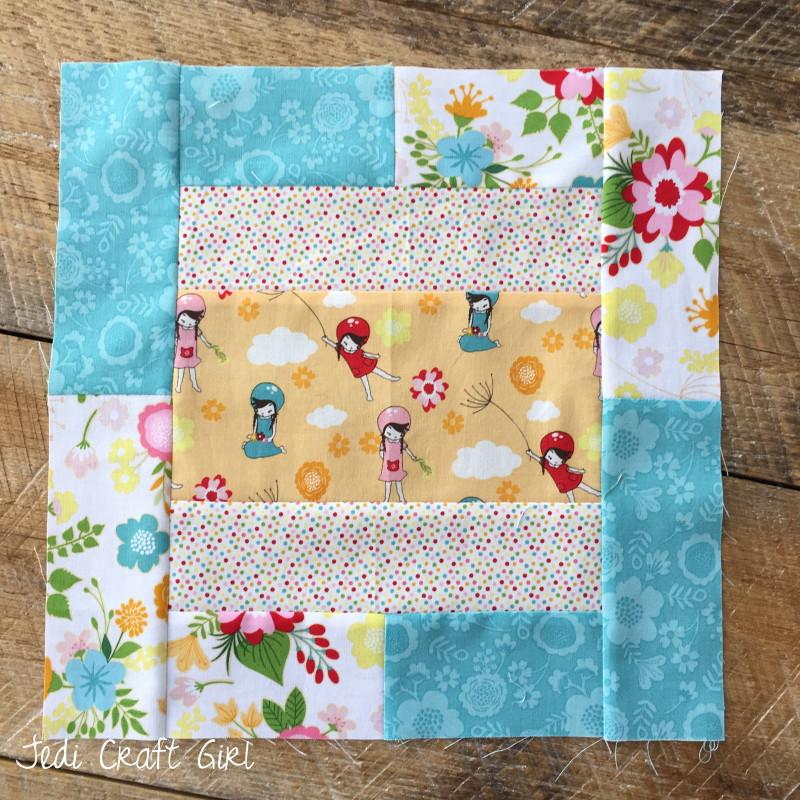
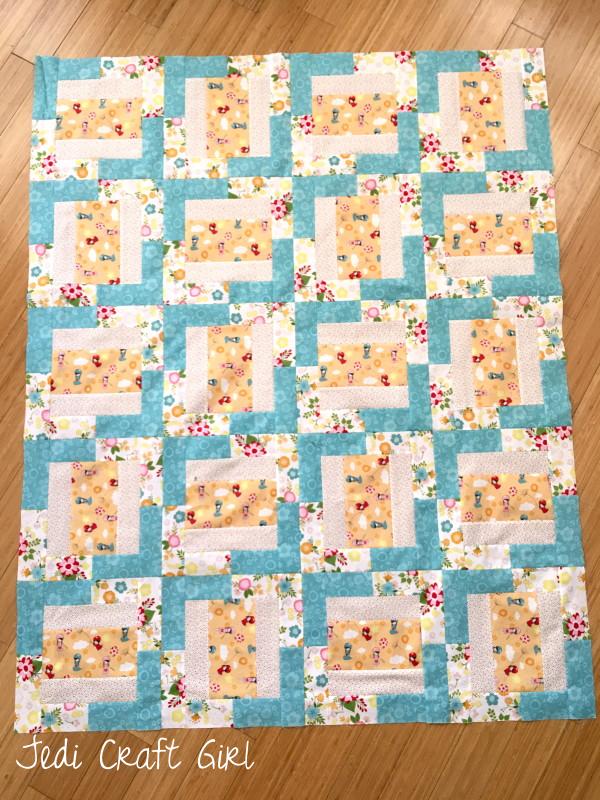
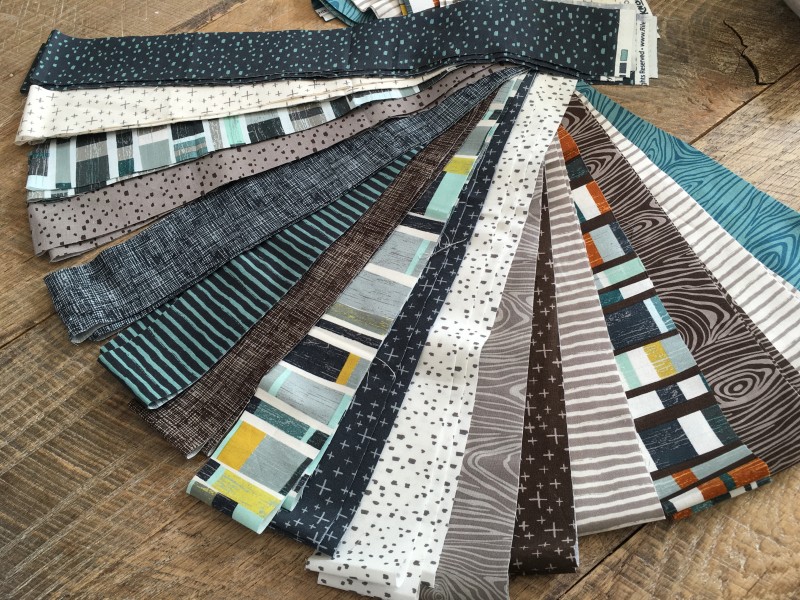
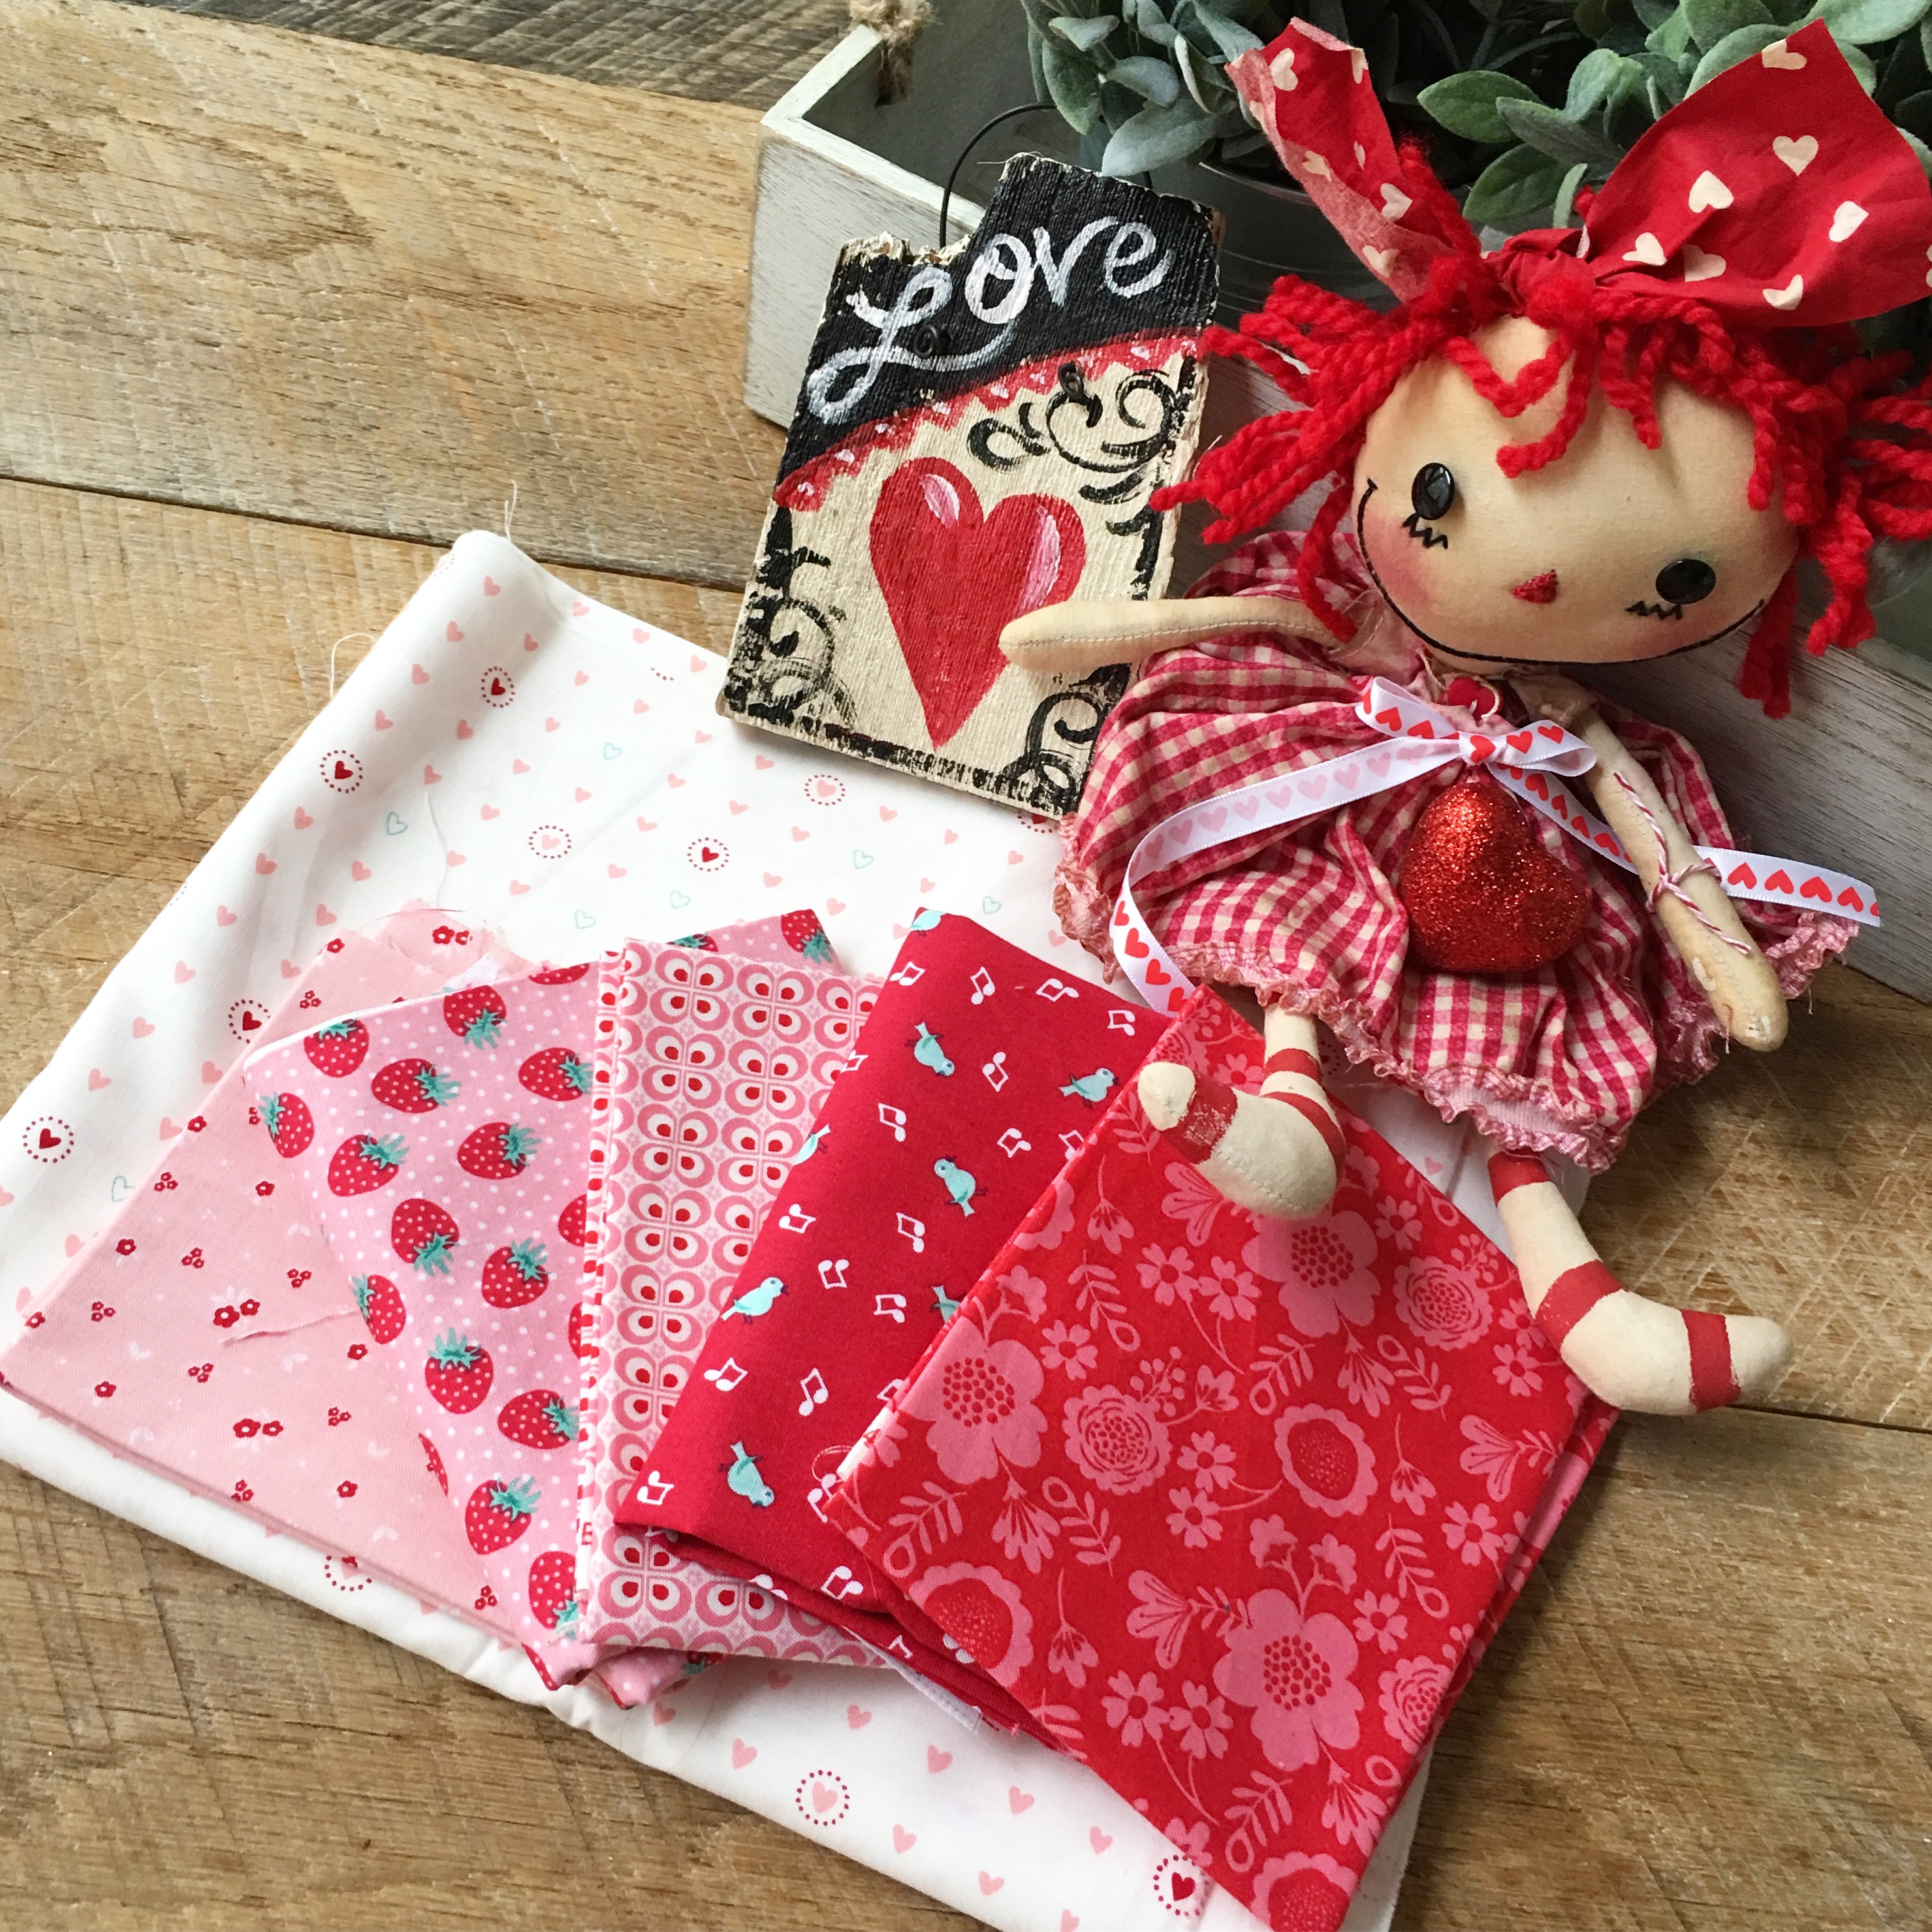 The fabrics I used are a selection of fat quarters from Riley Blake Designs and background fabric ‘Lil Red by Moda.
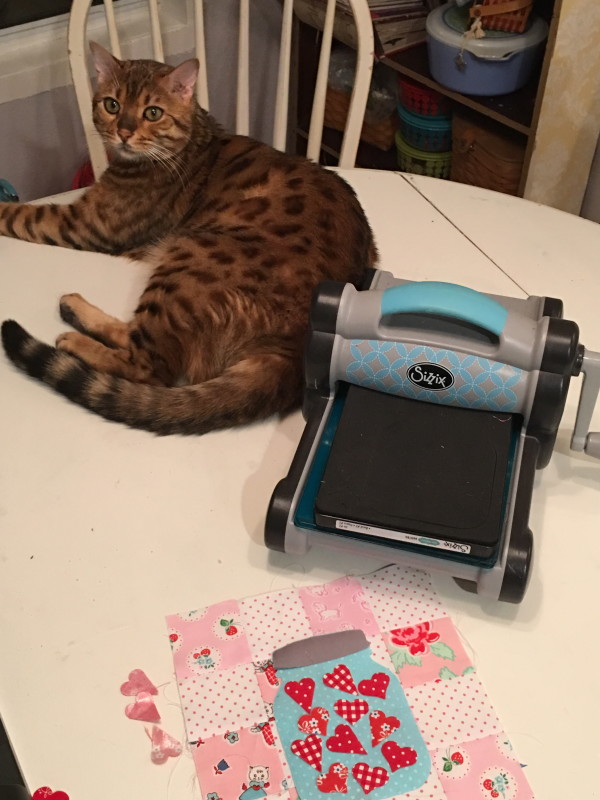
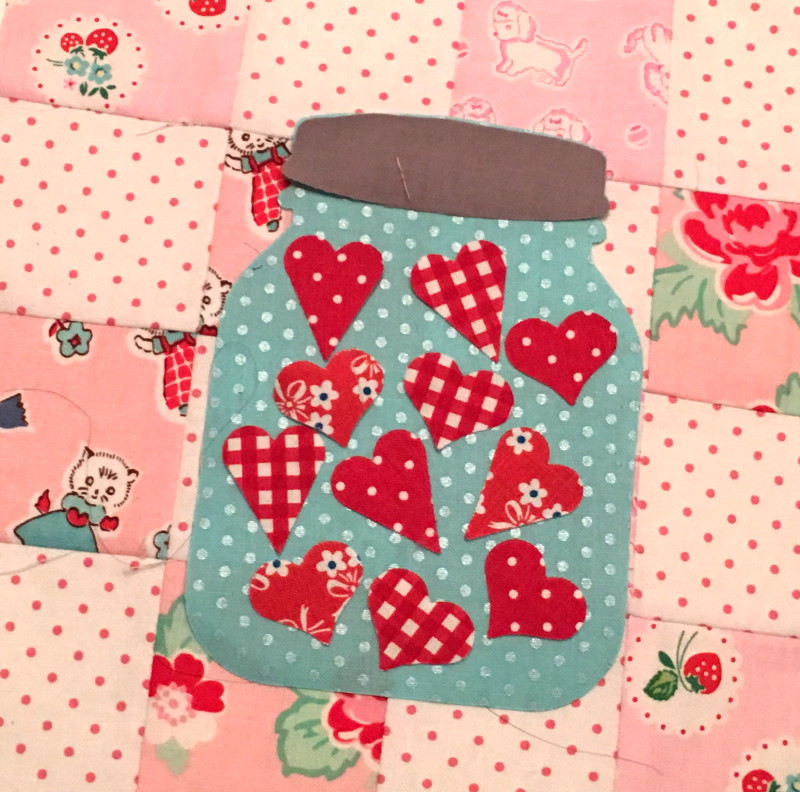
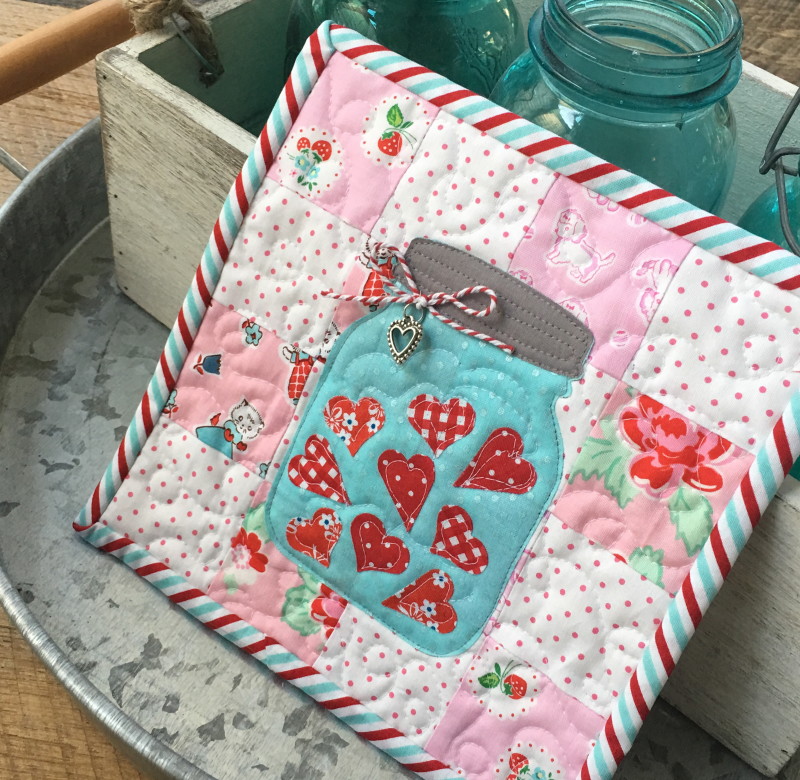
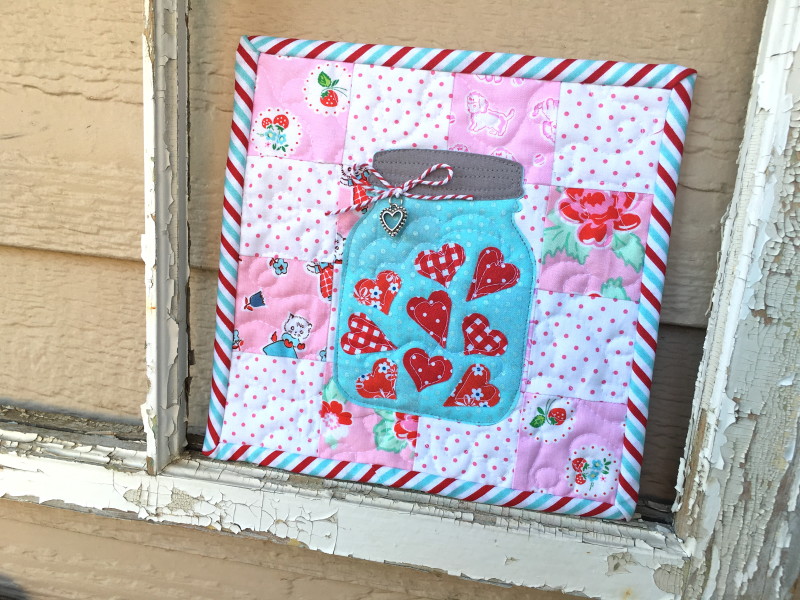
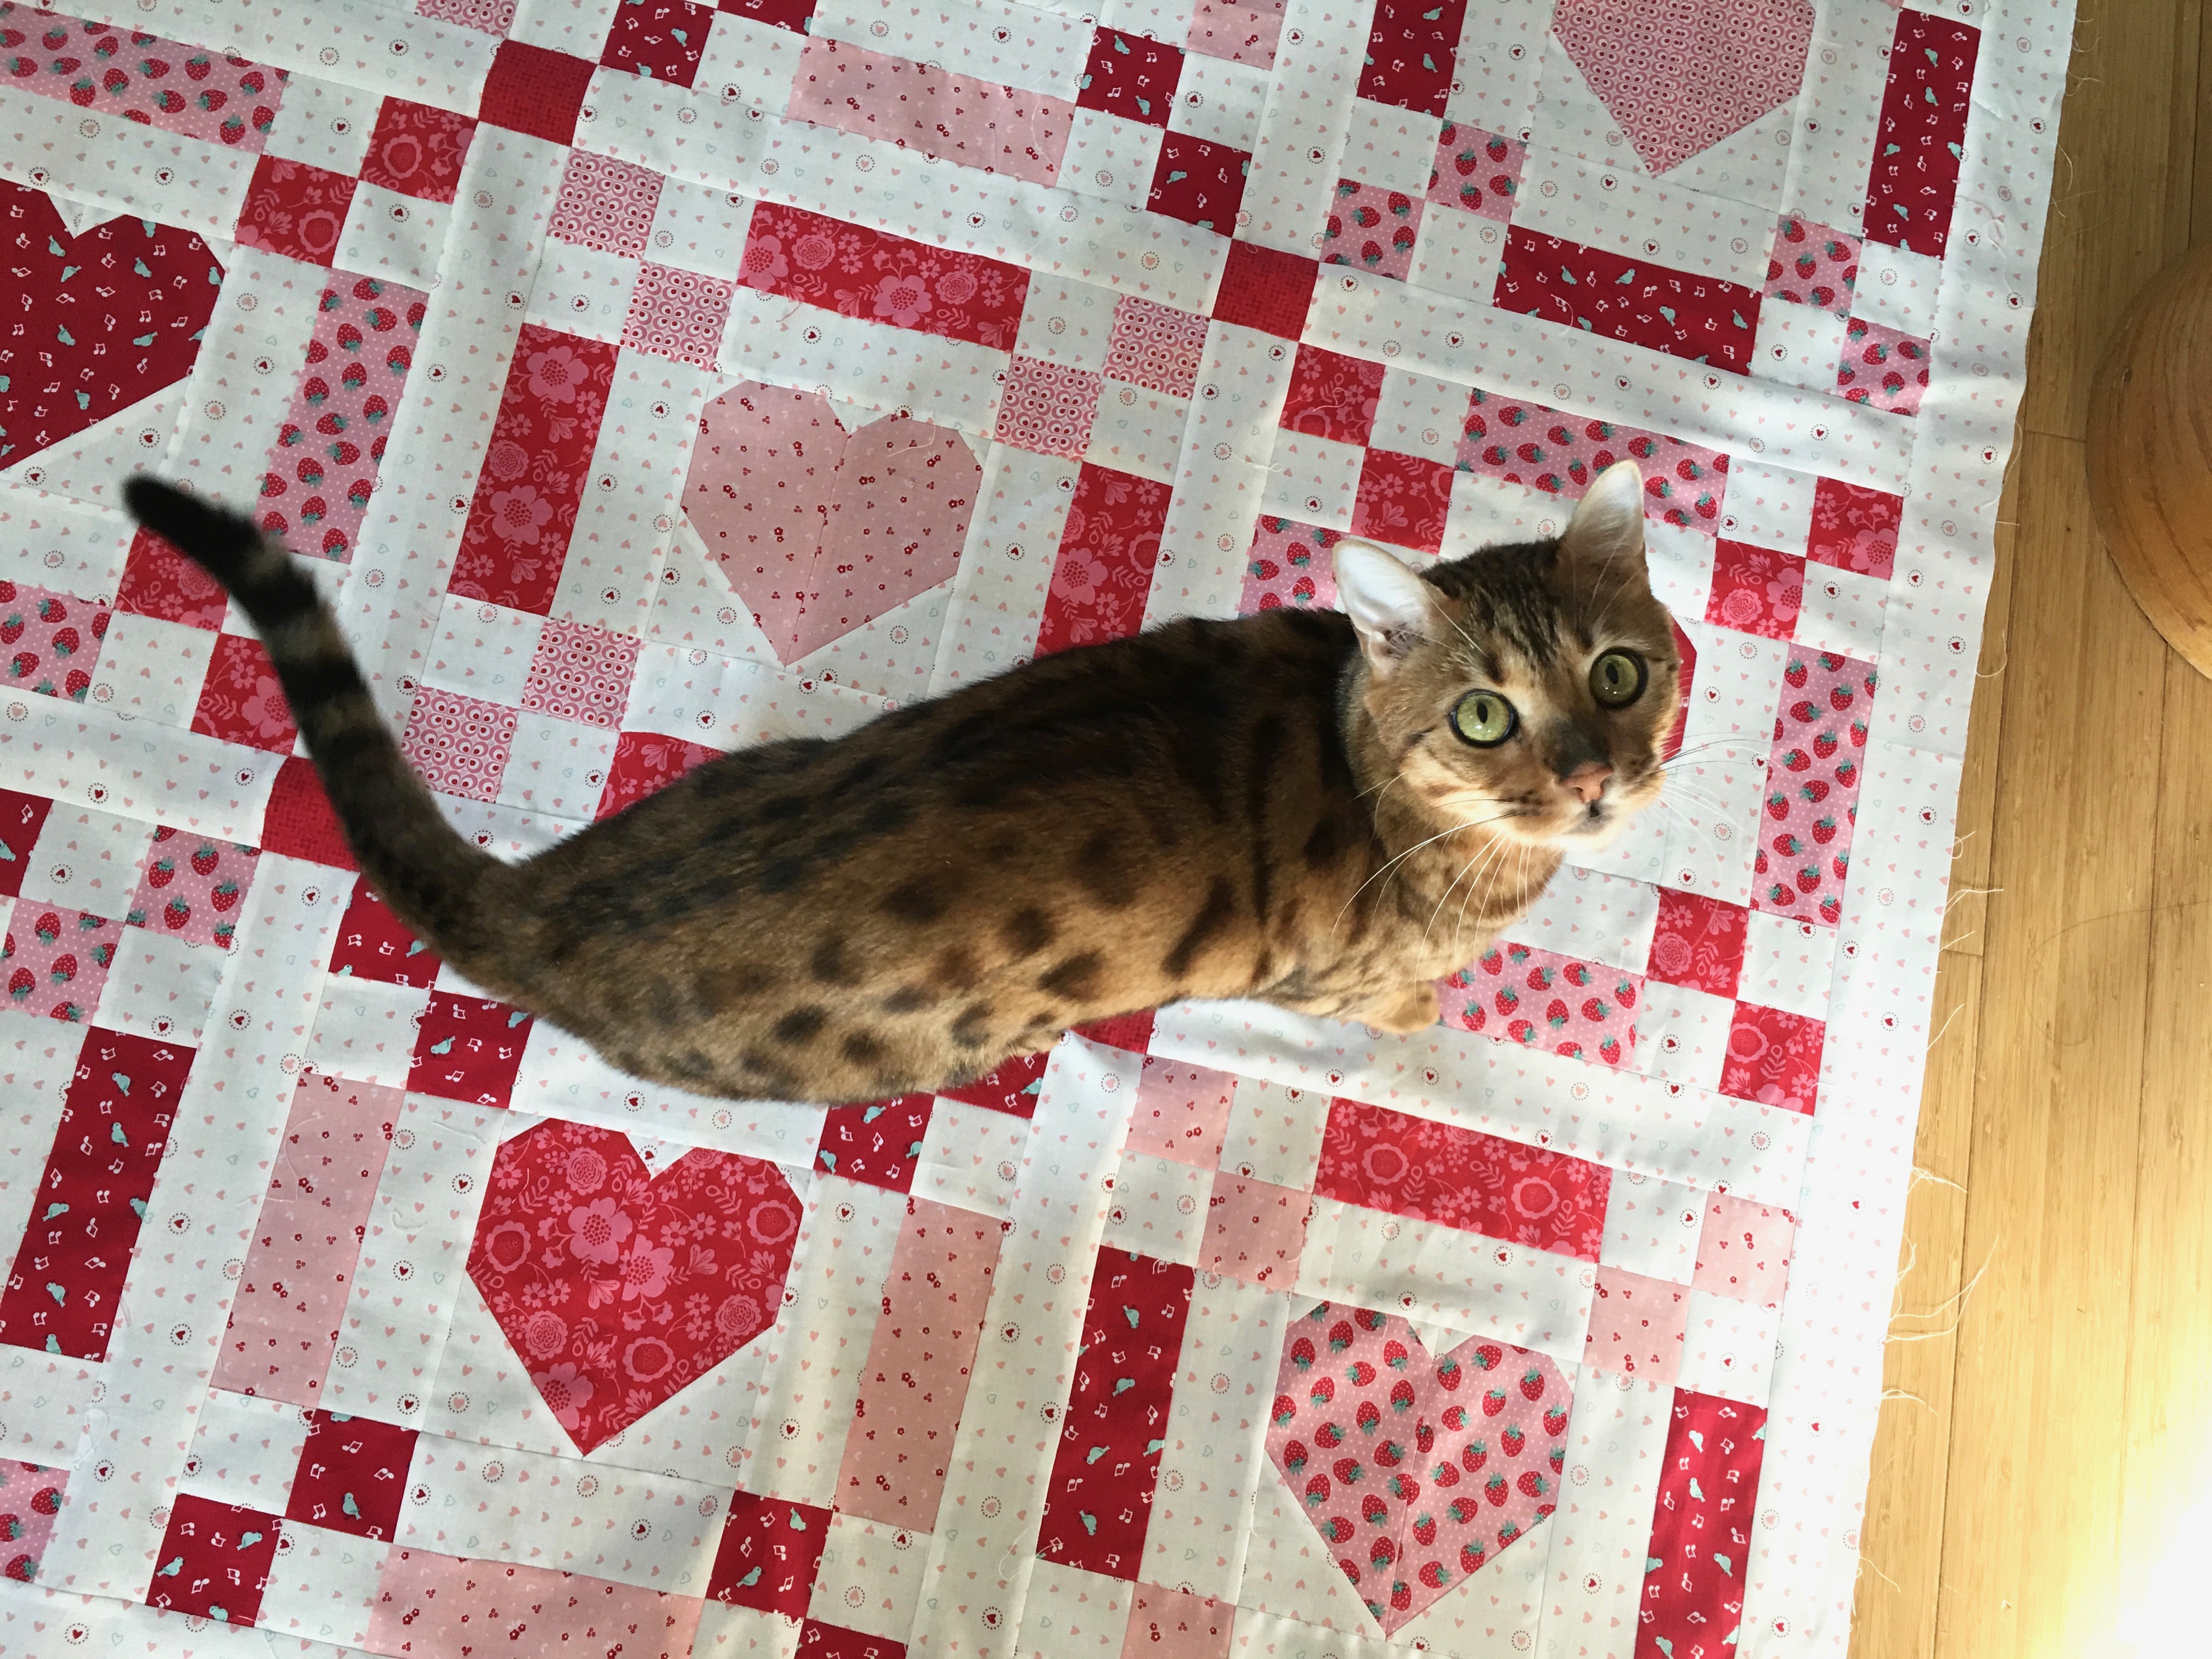
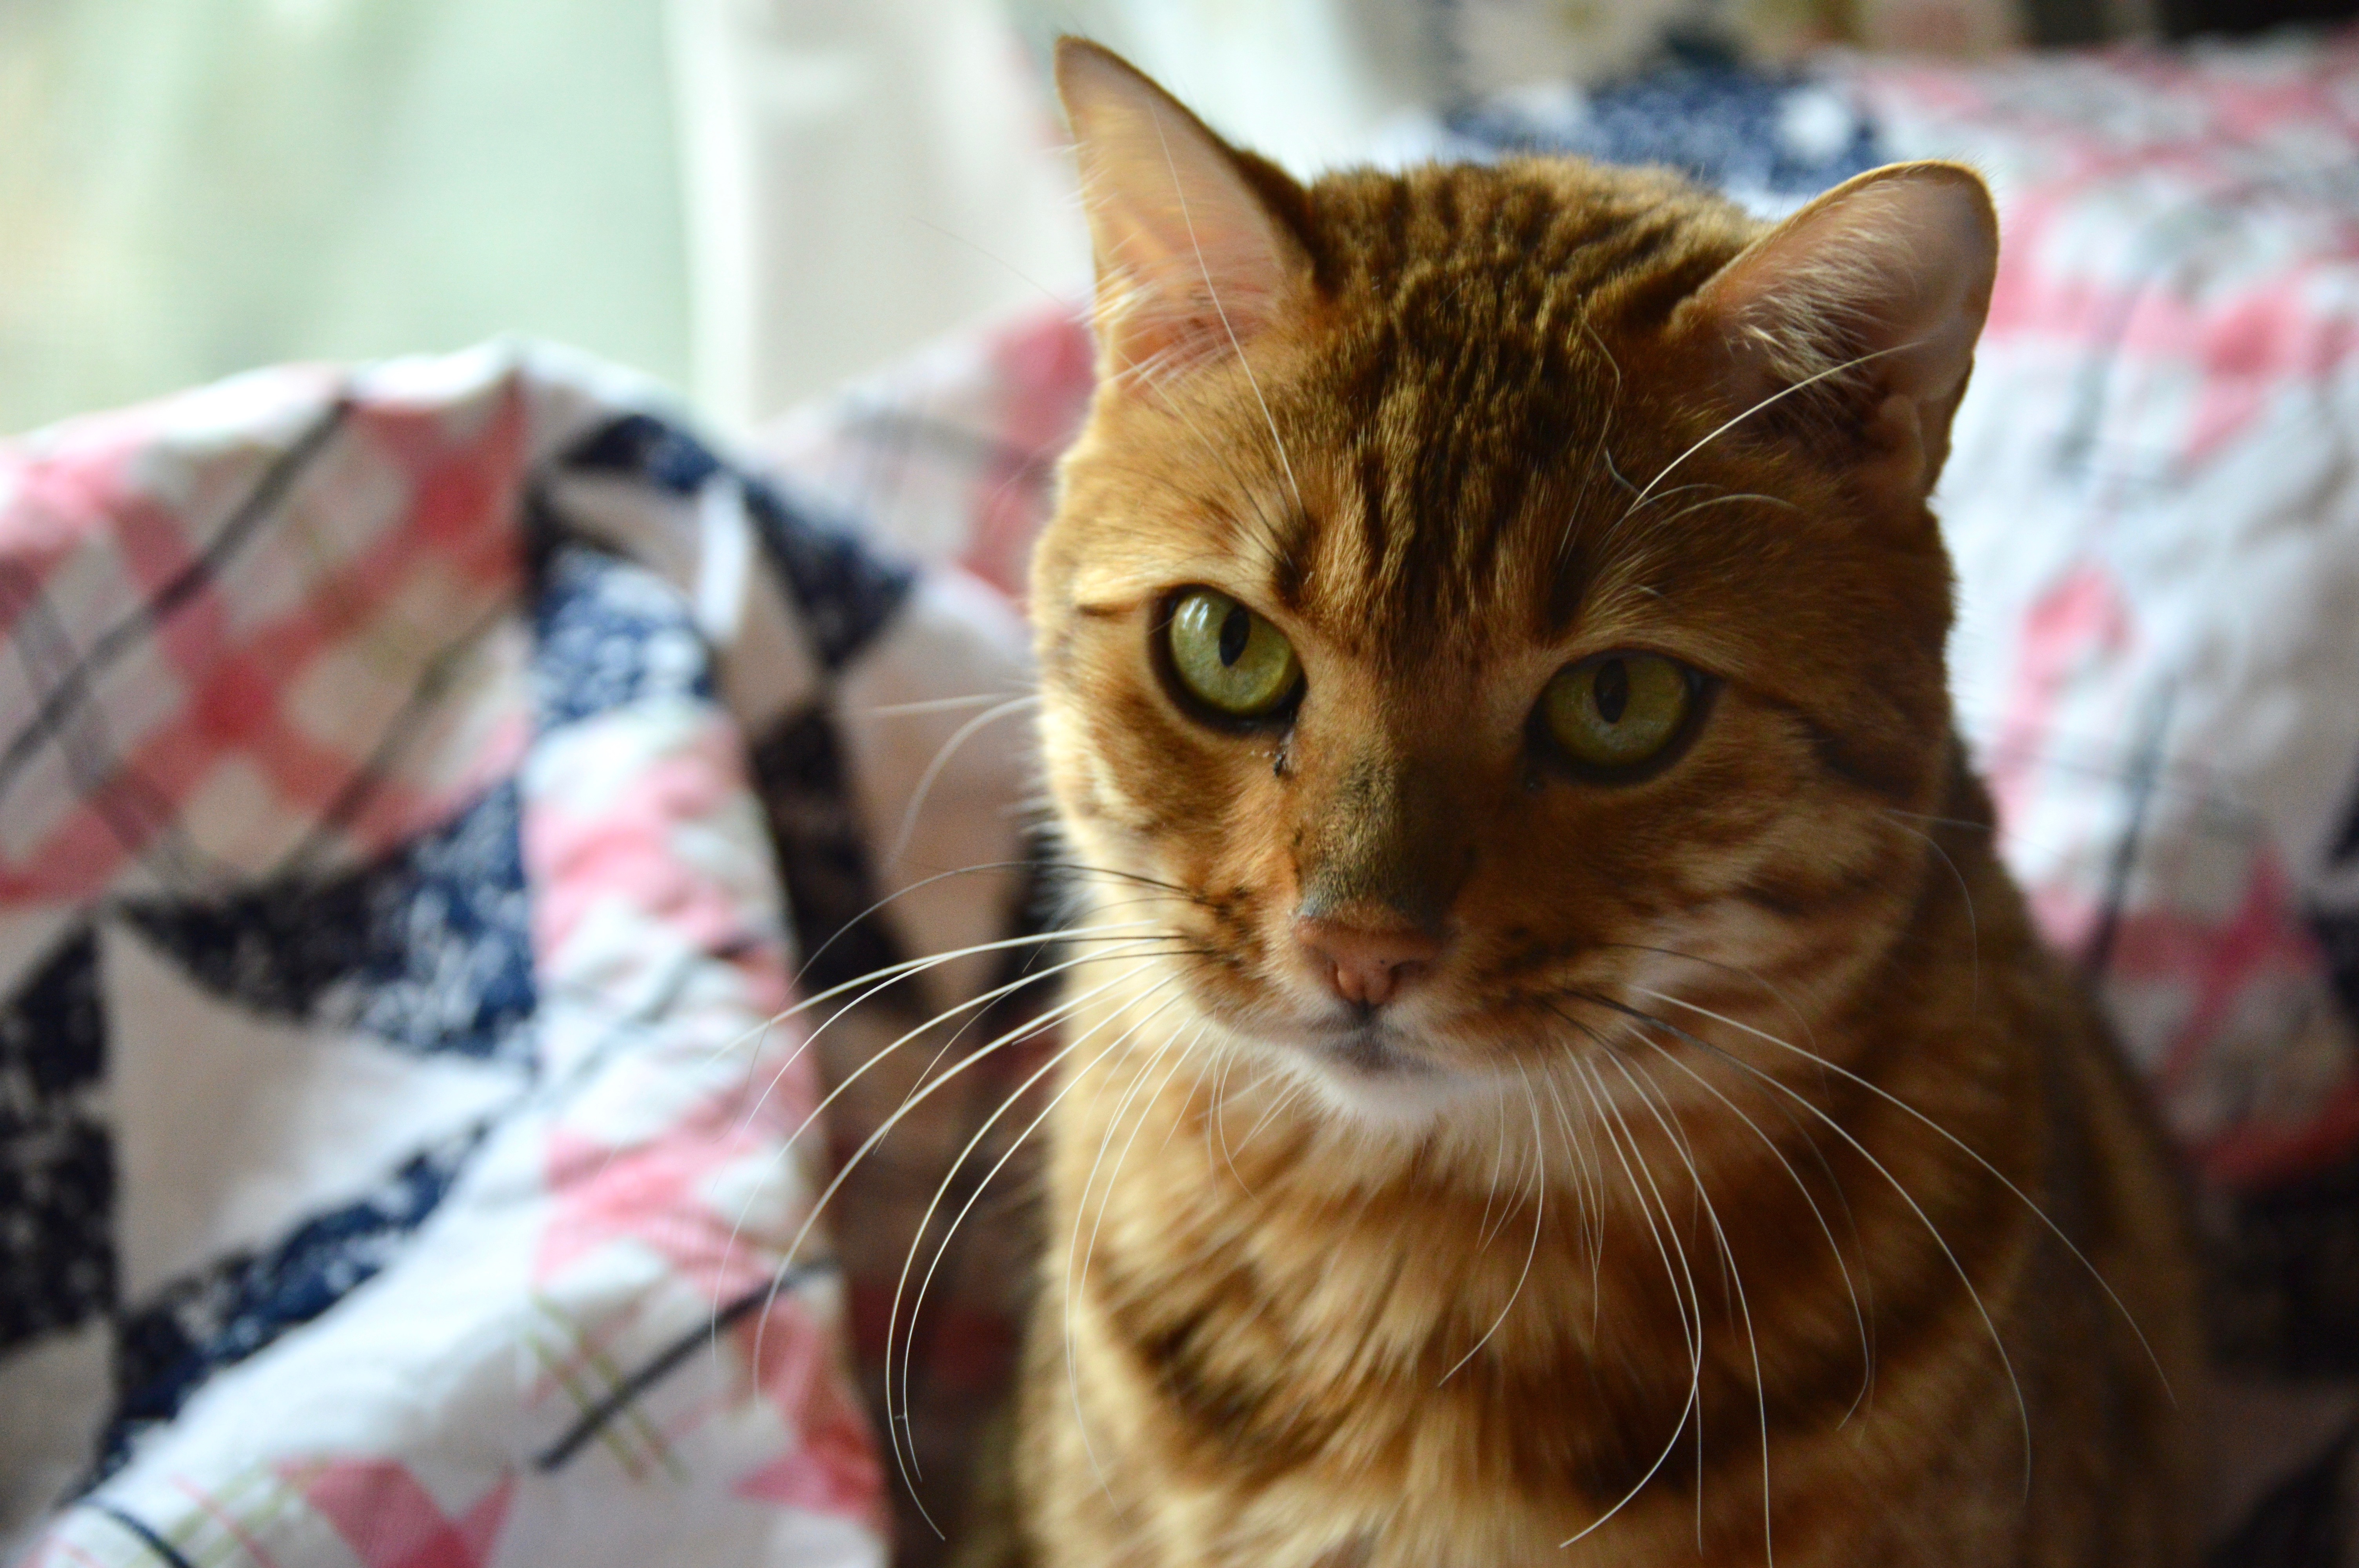
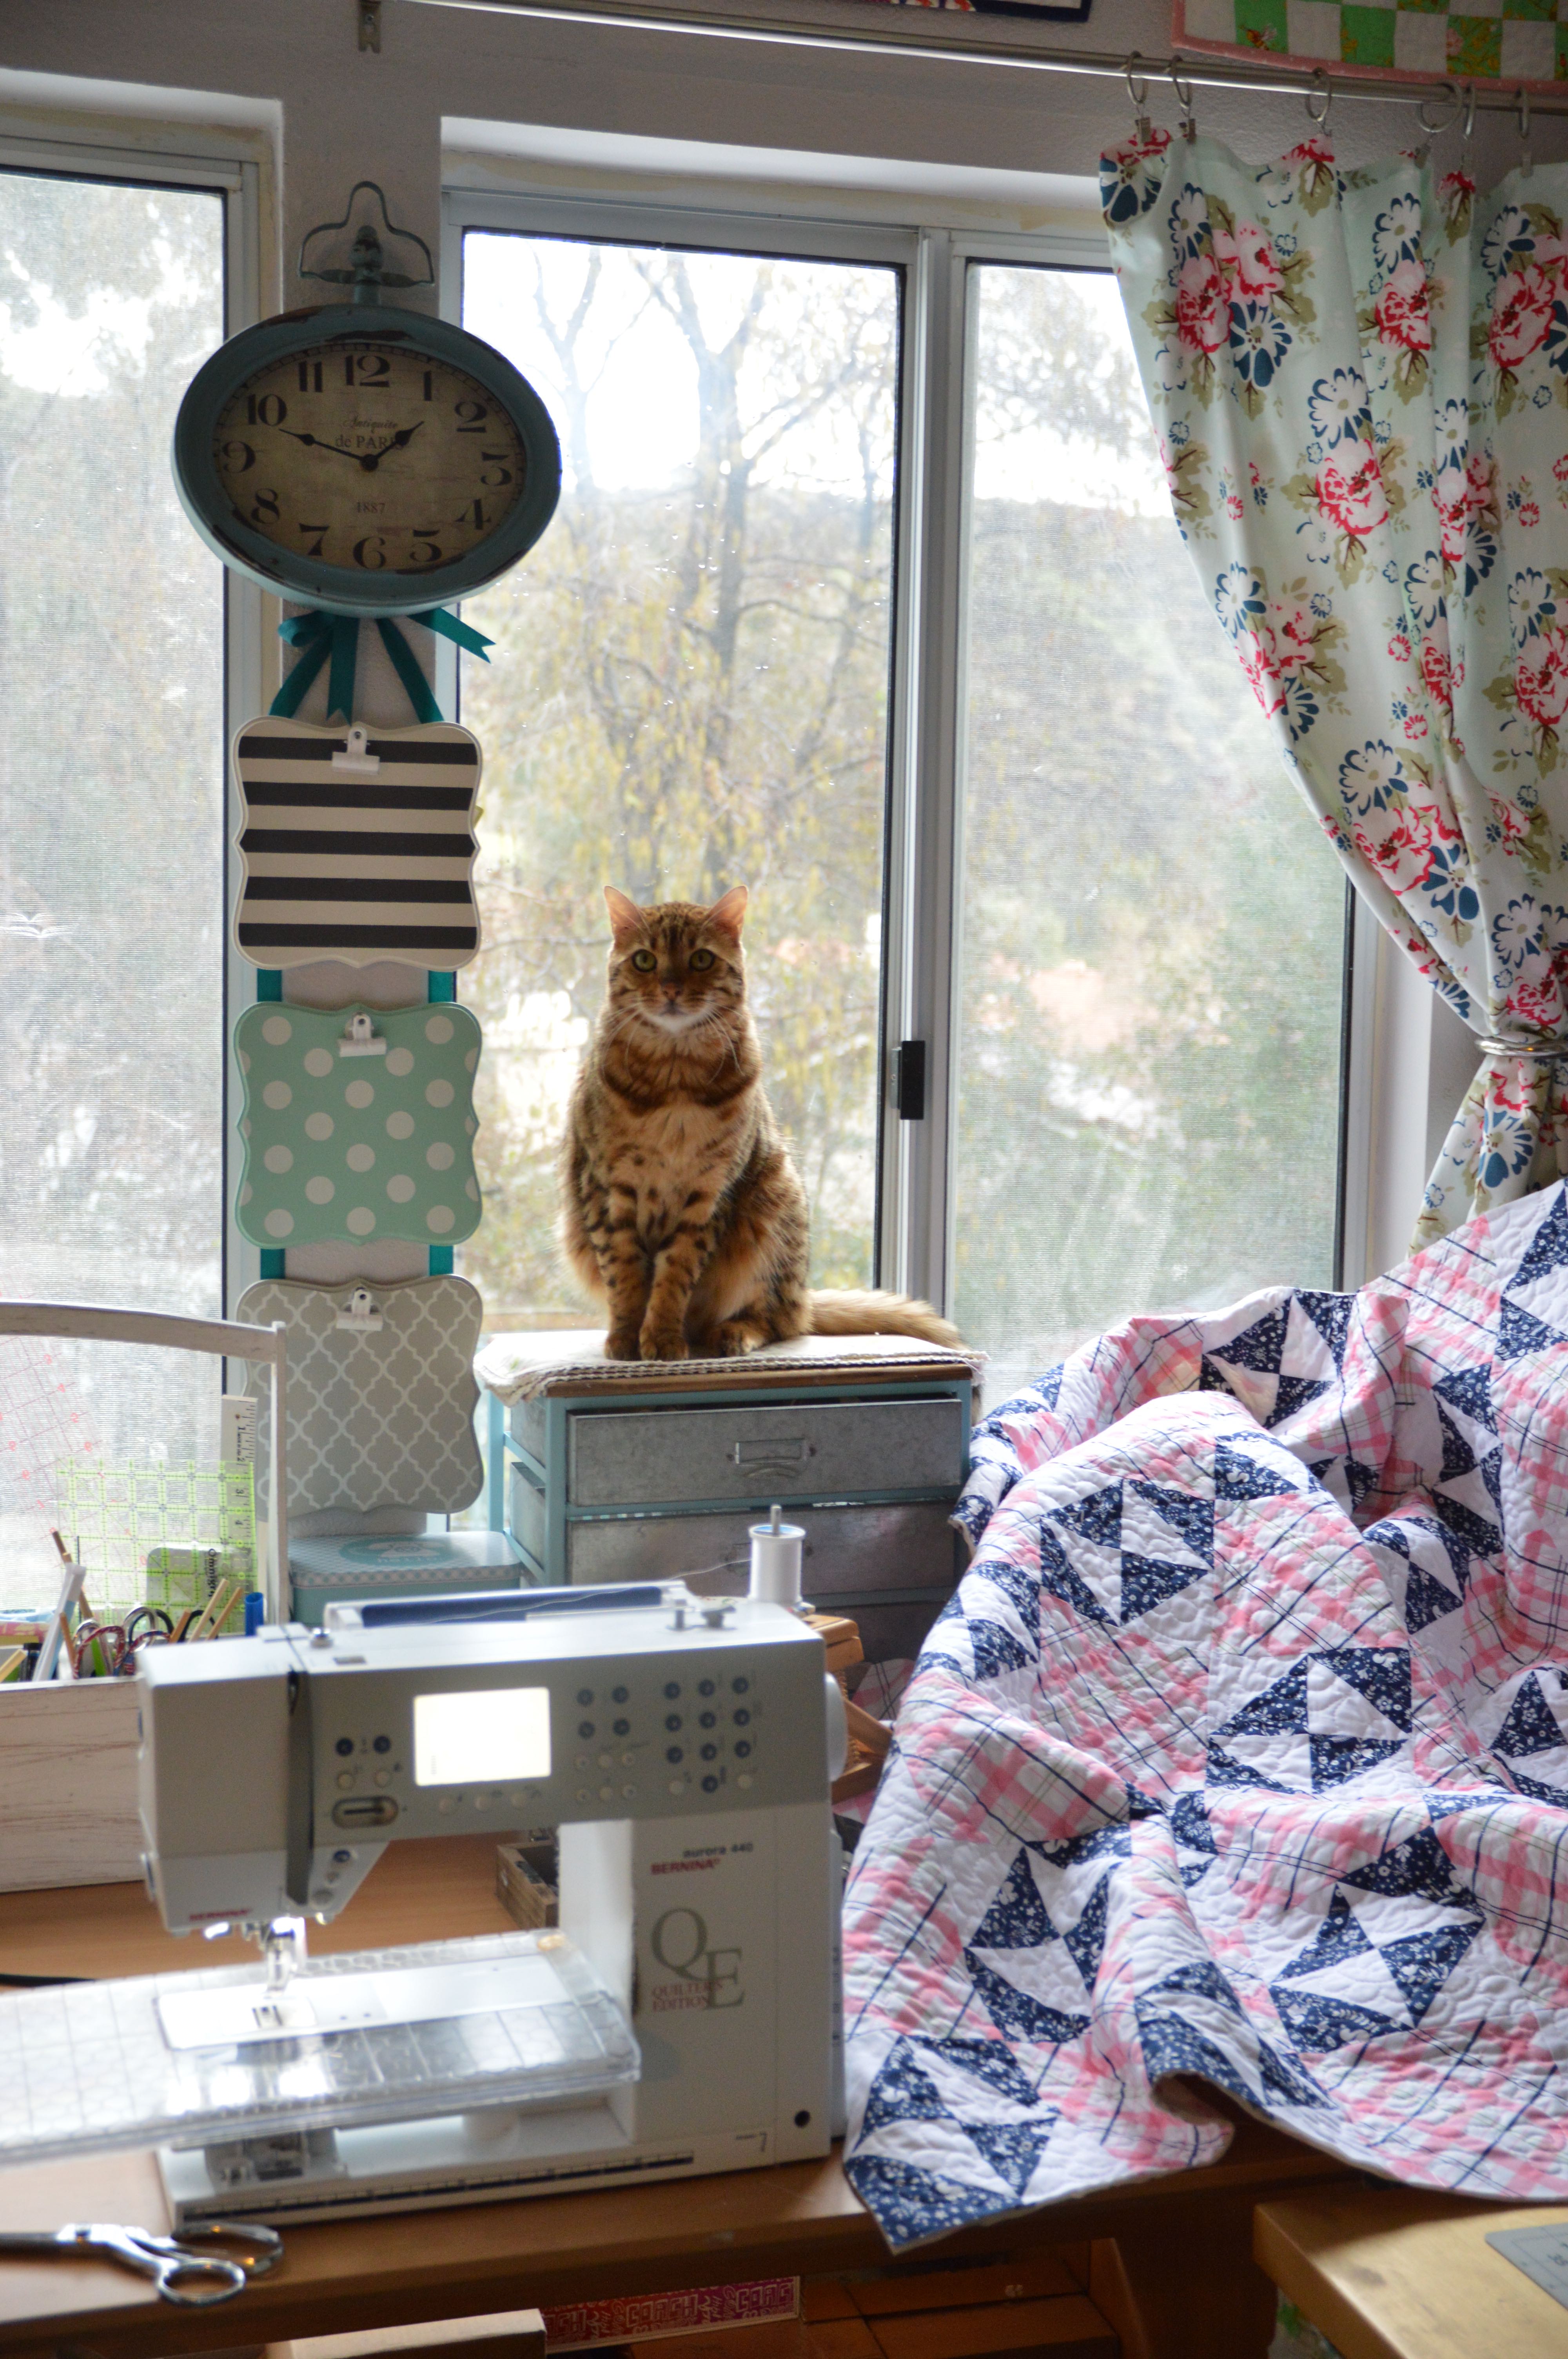
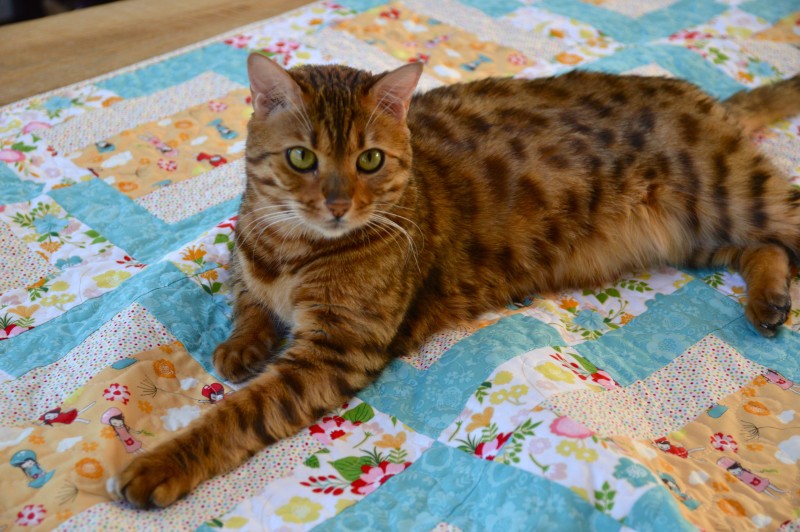
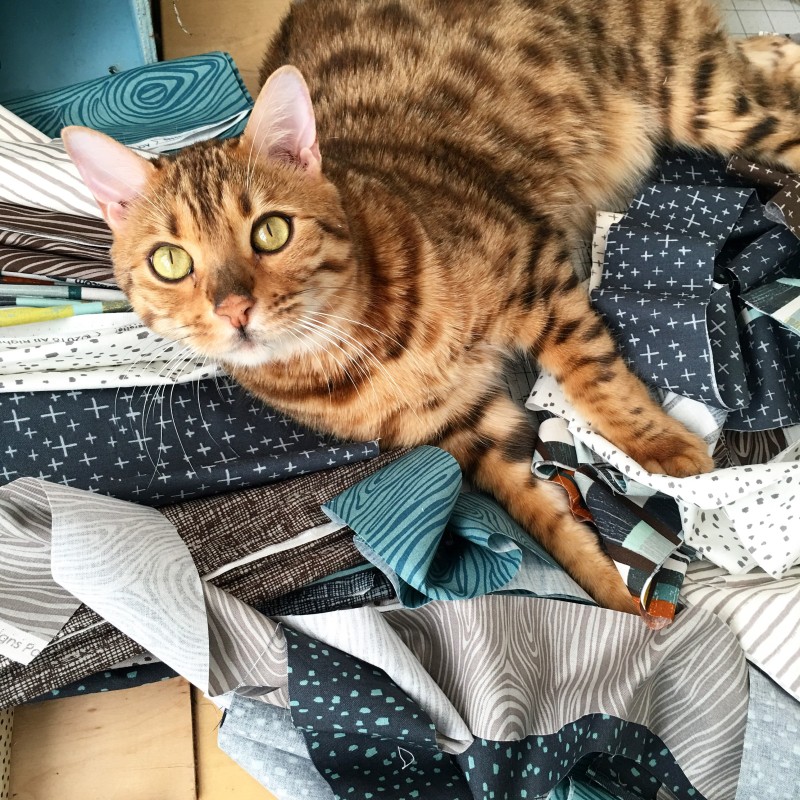
 And Happy Valentine’s Day from me and Mufasa!!!
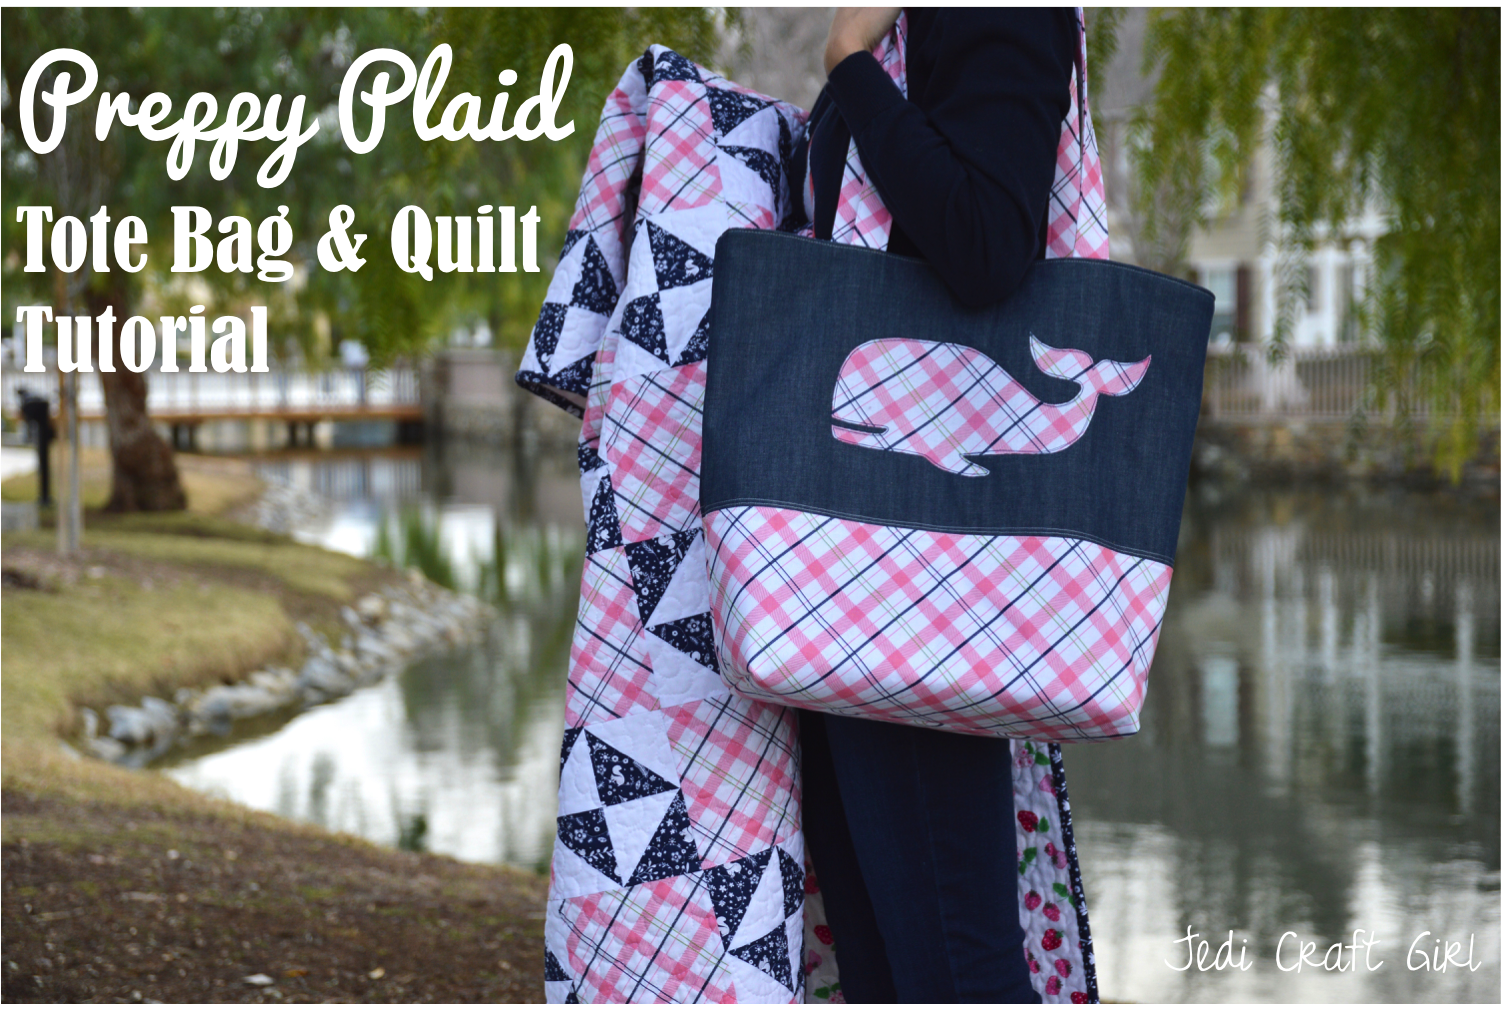
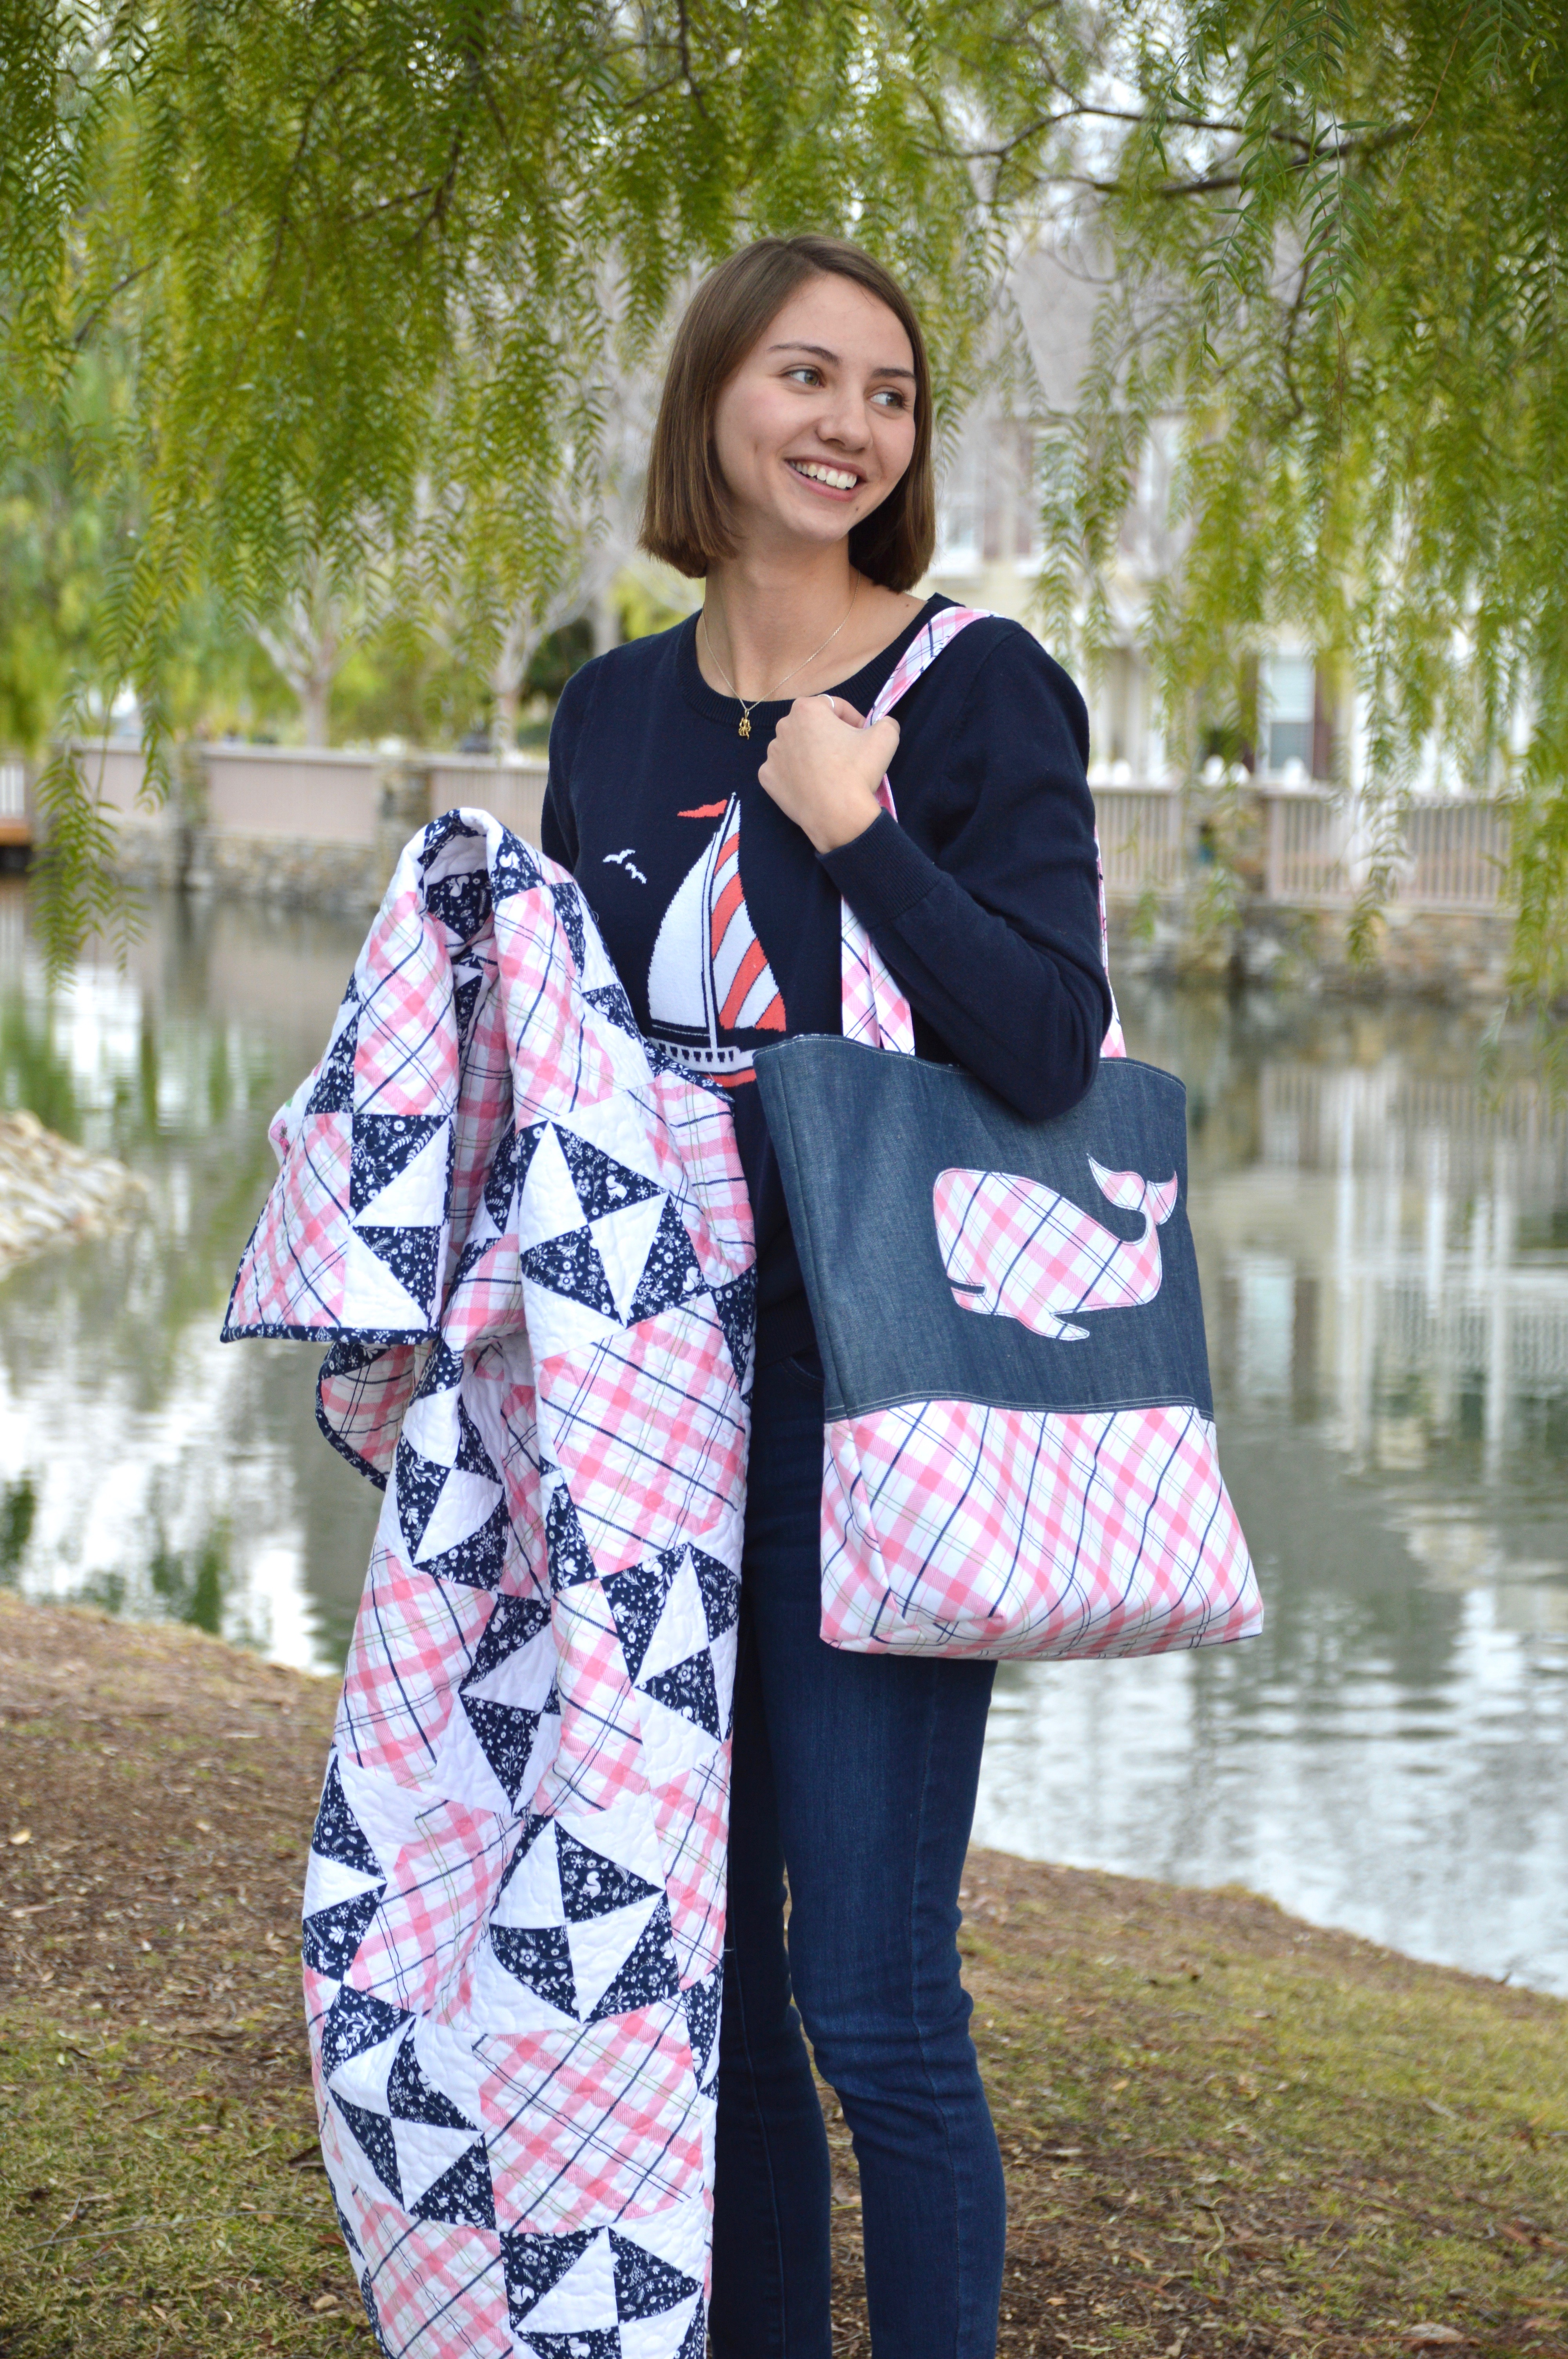
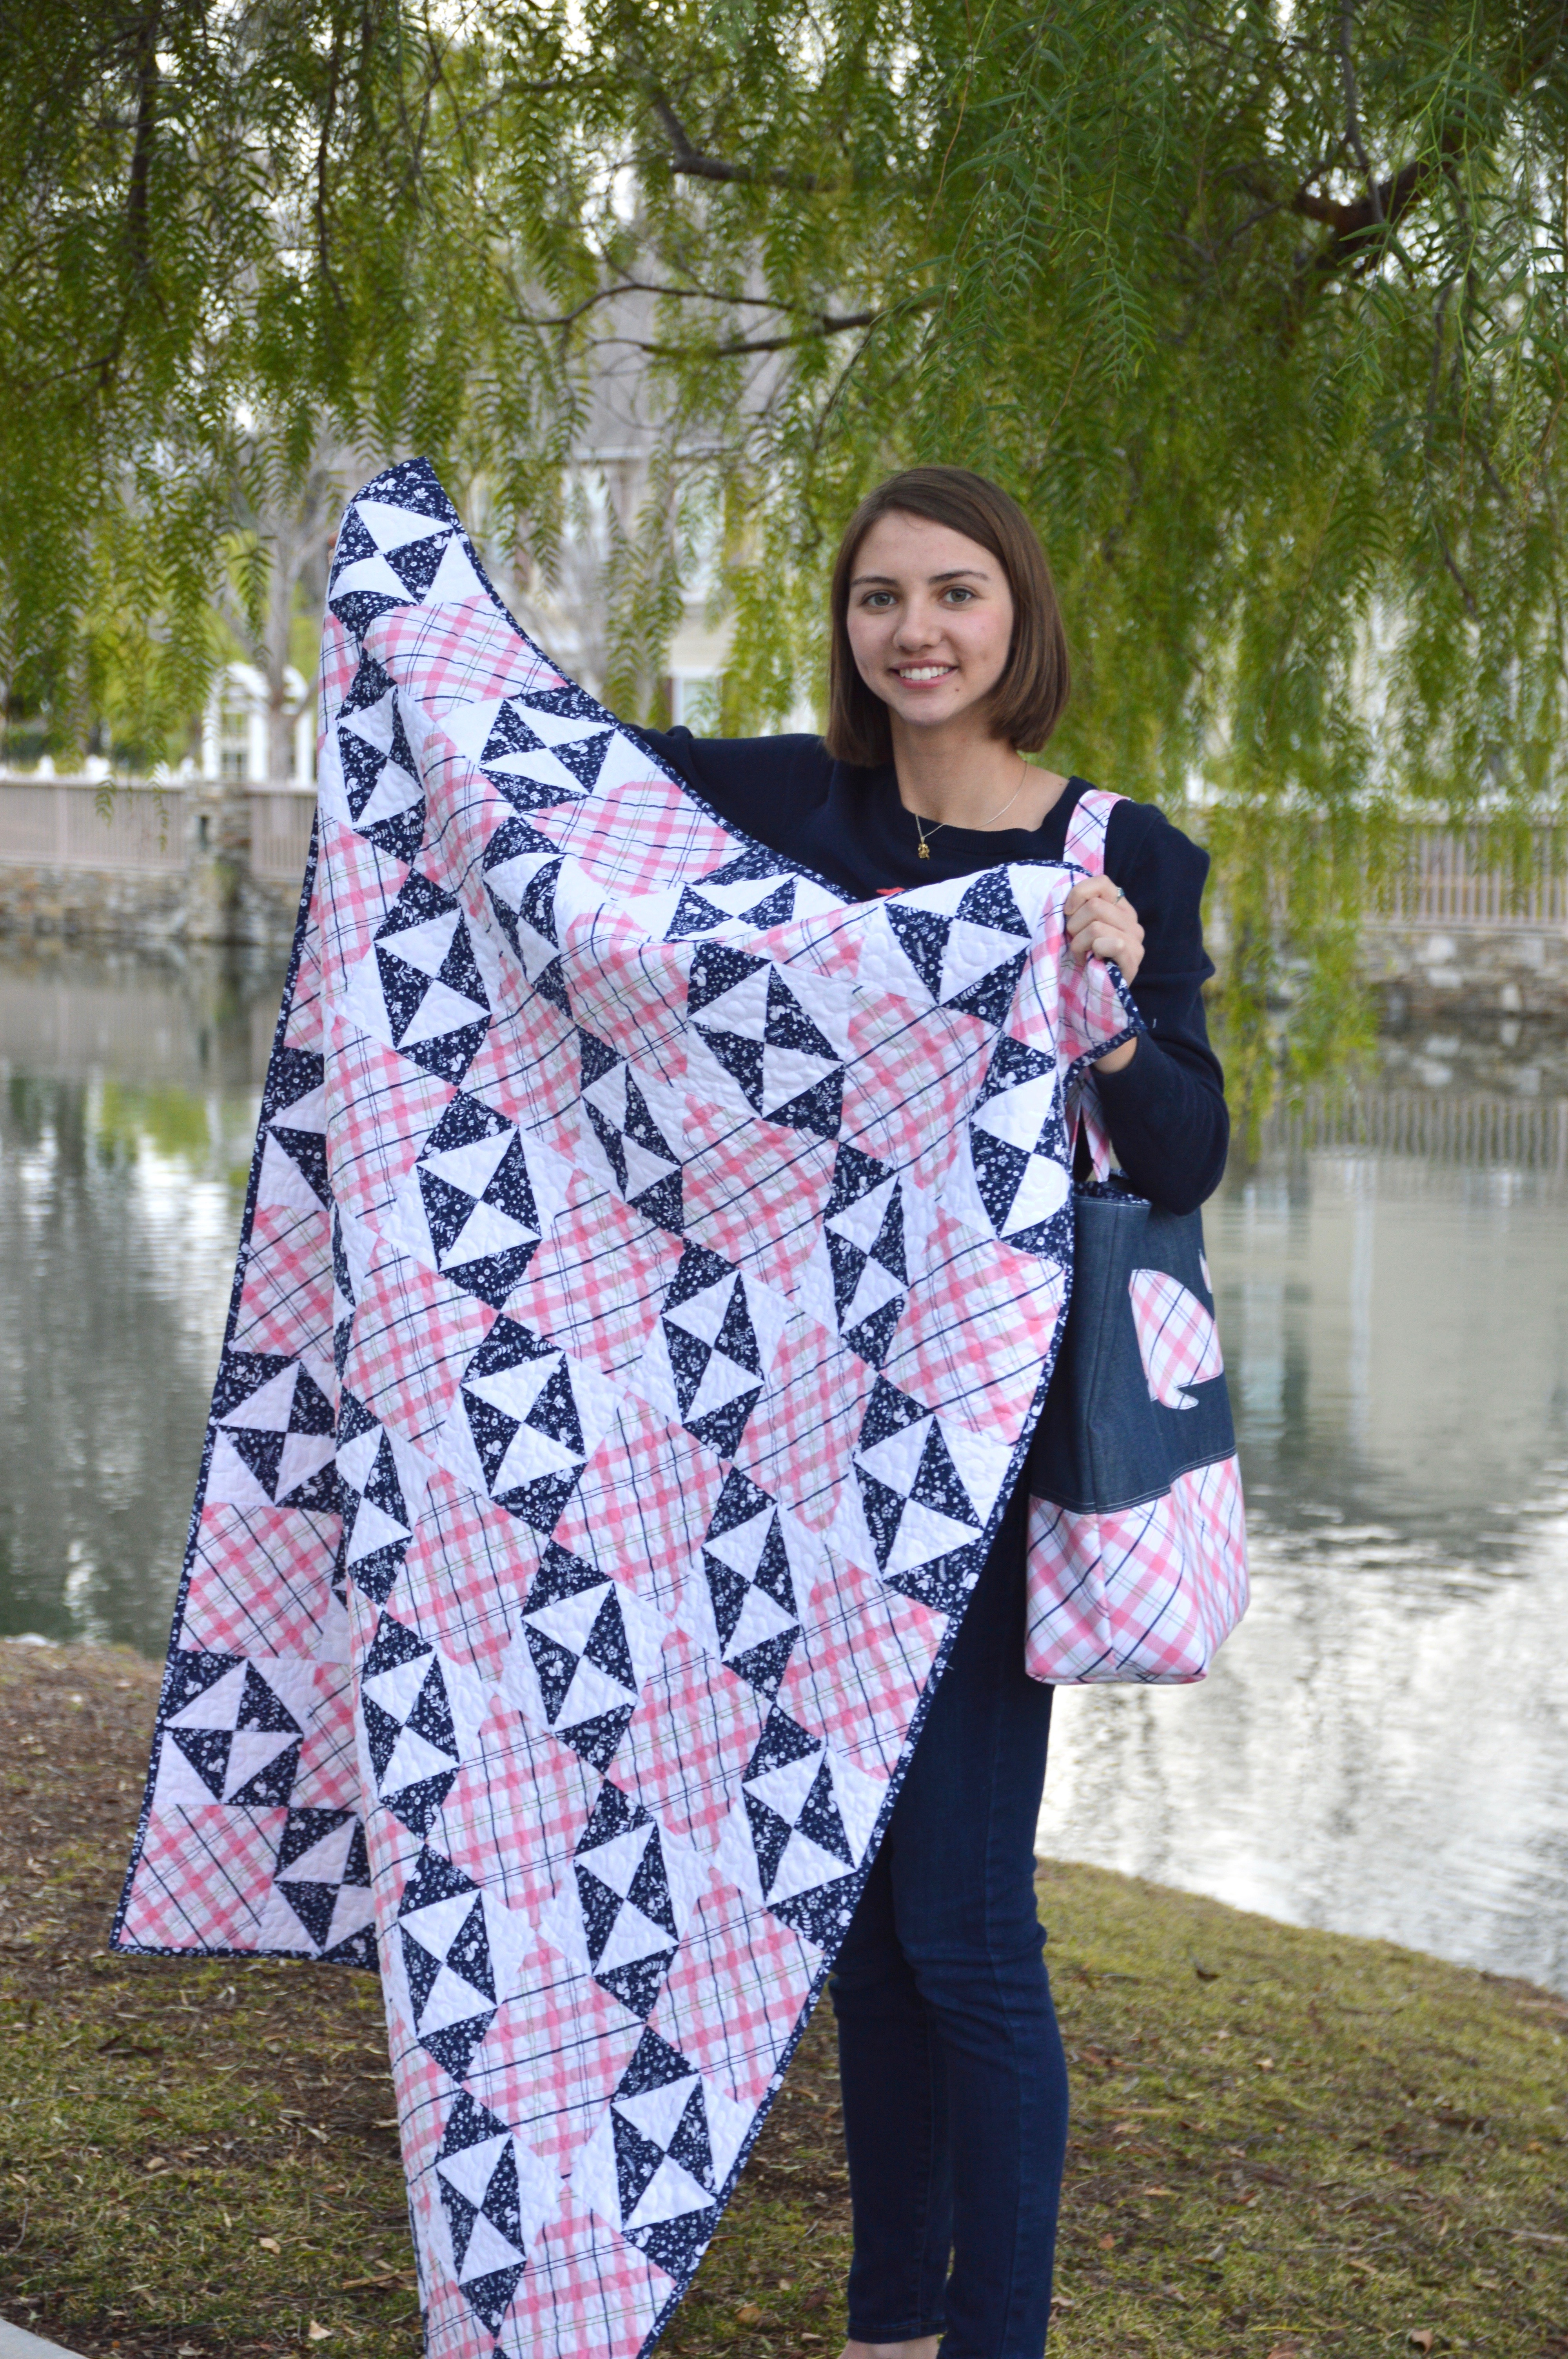
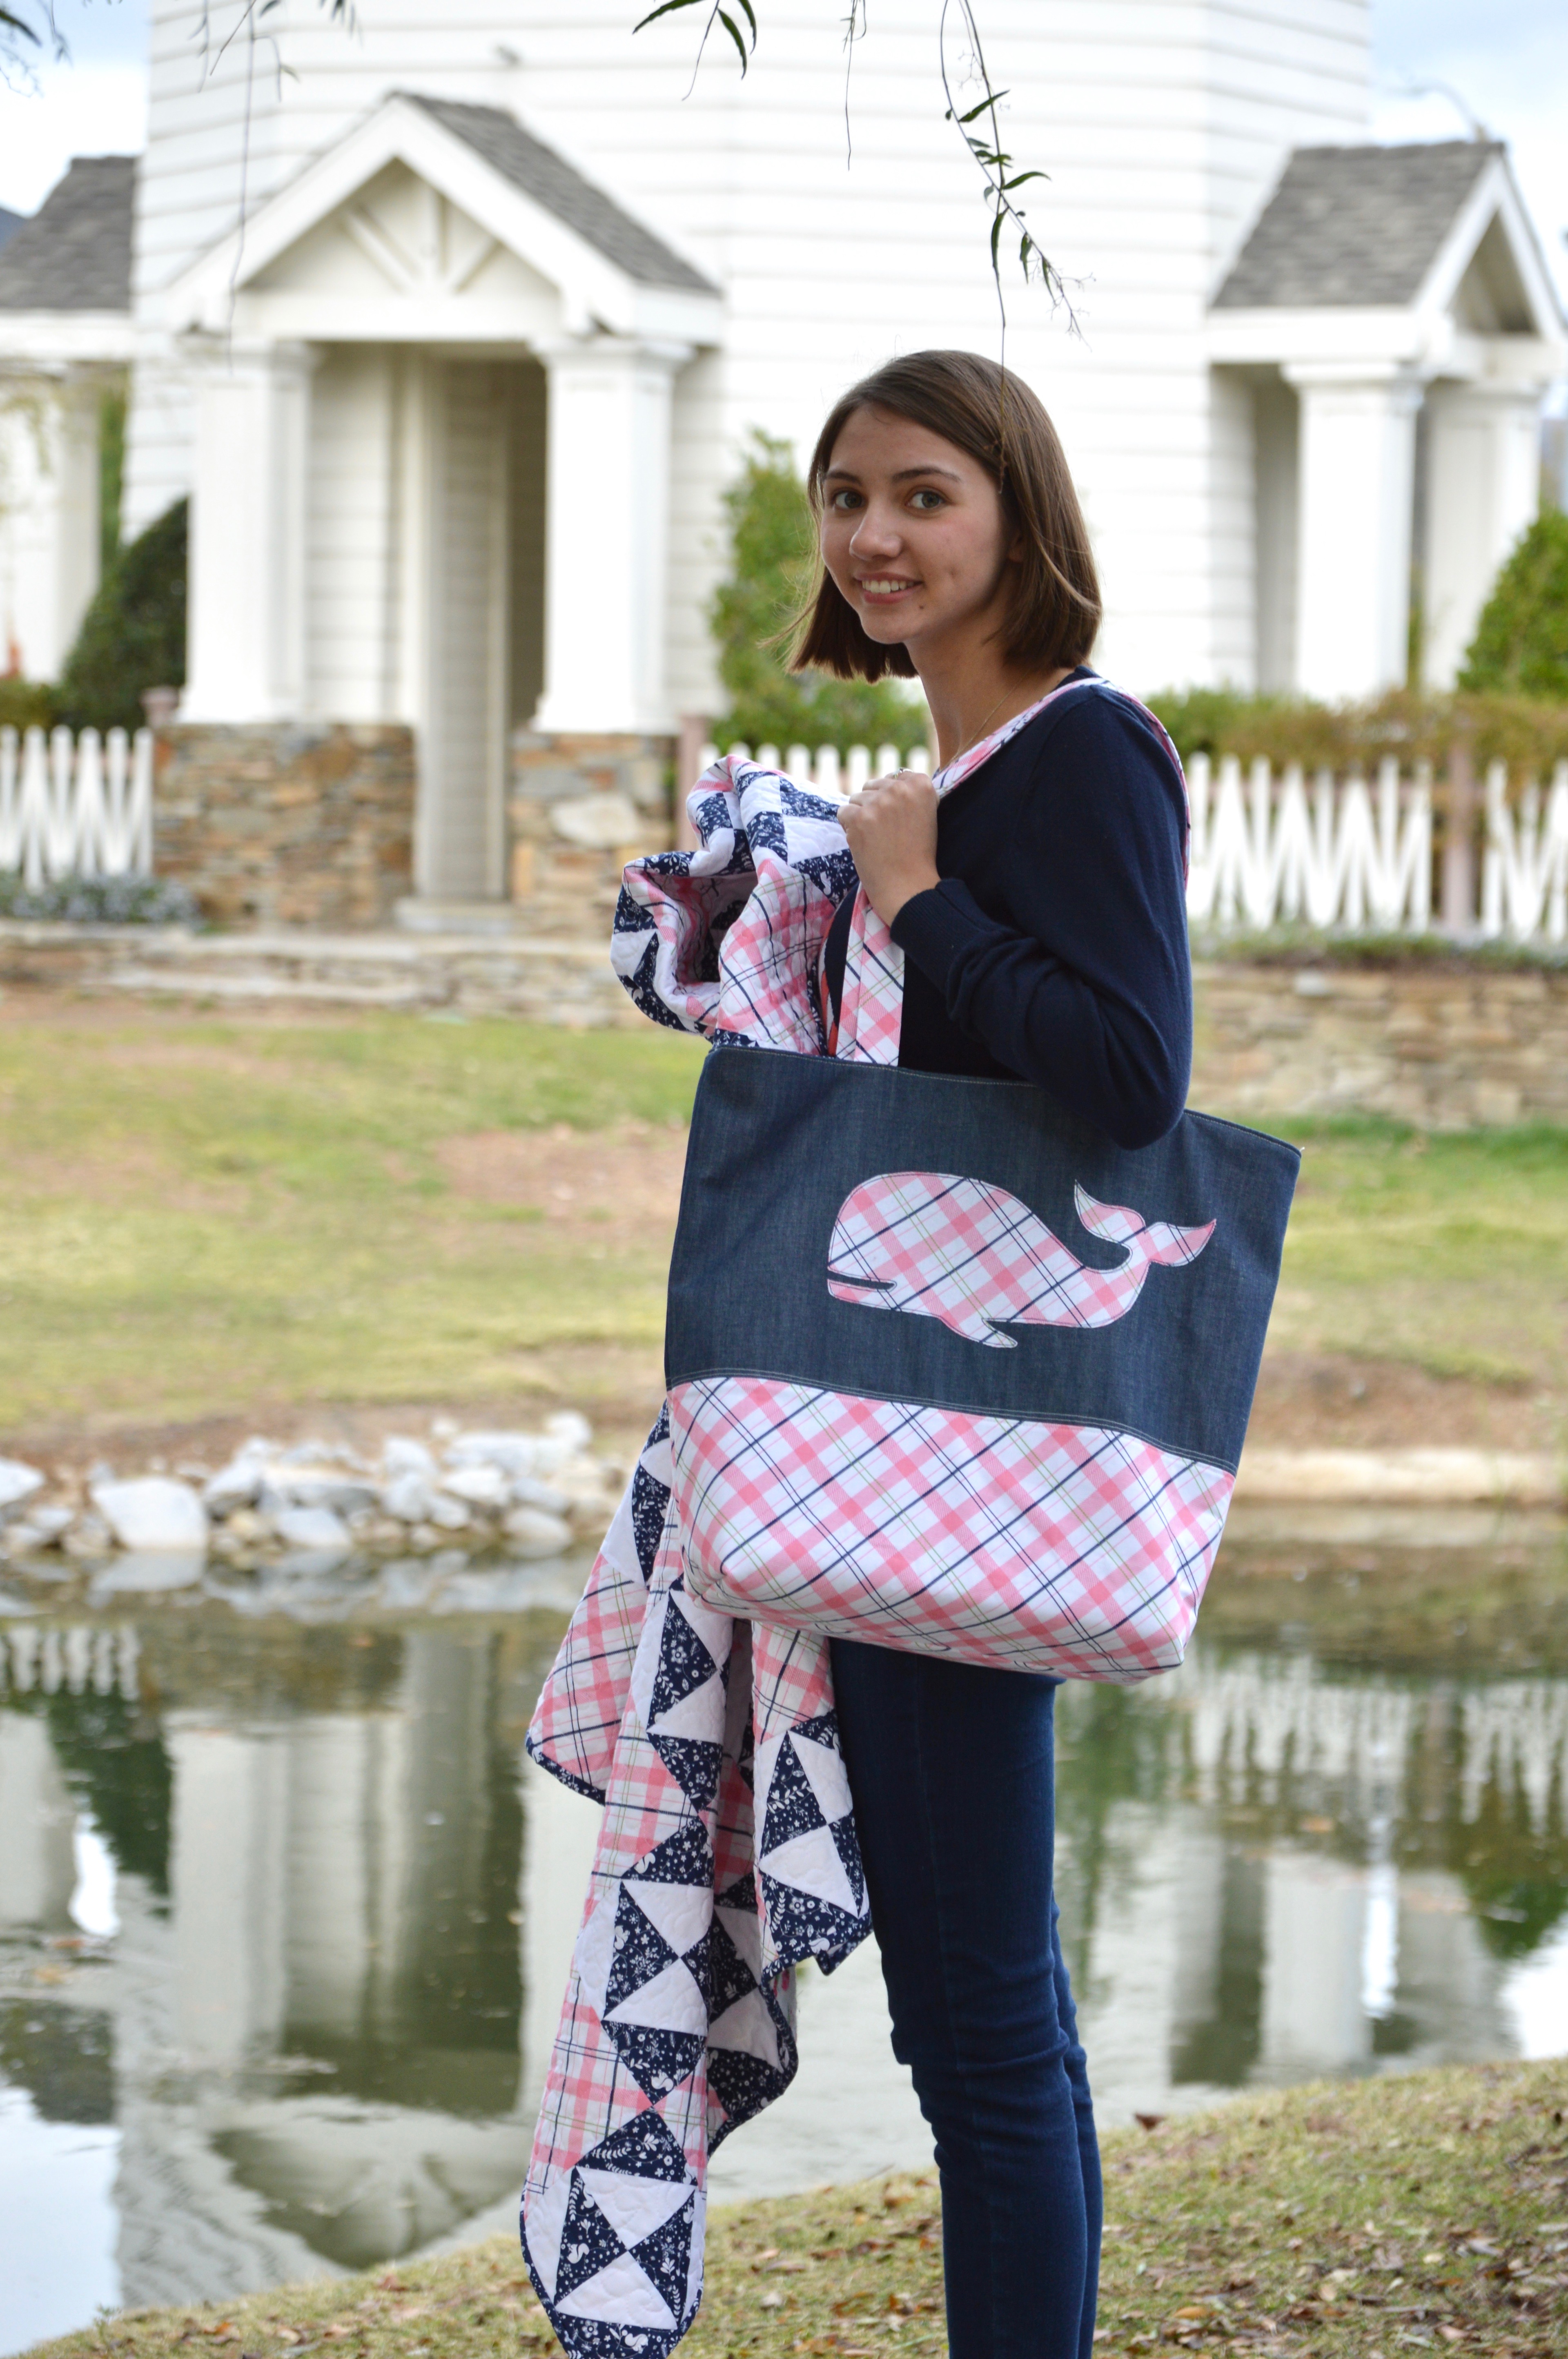
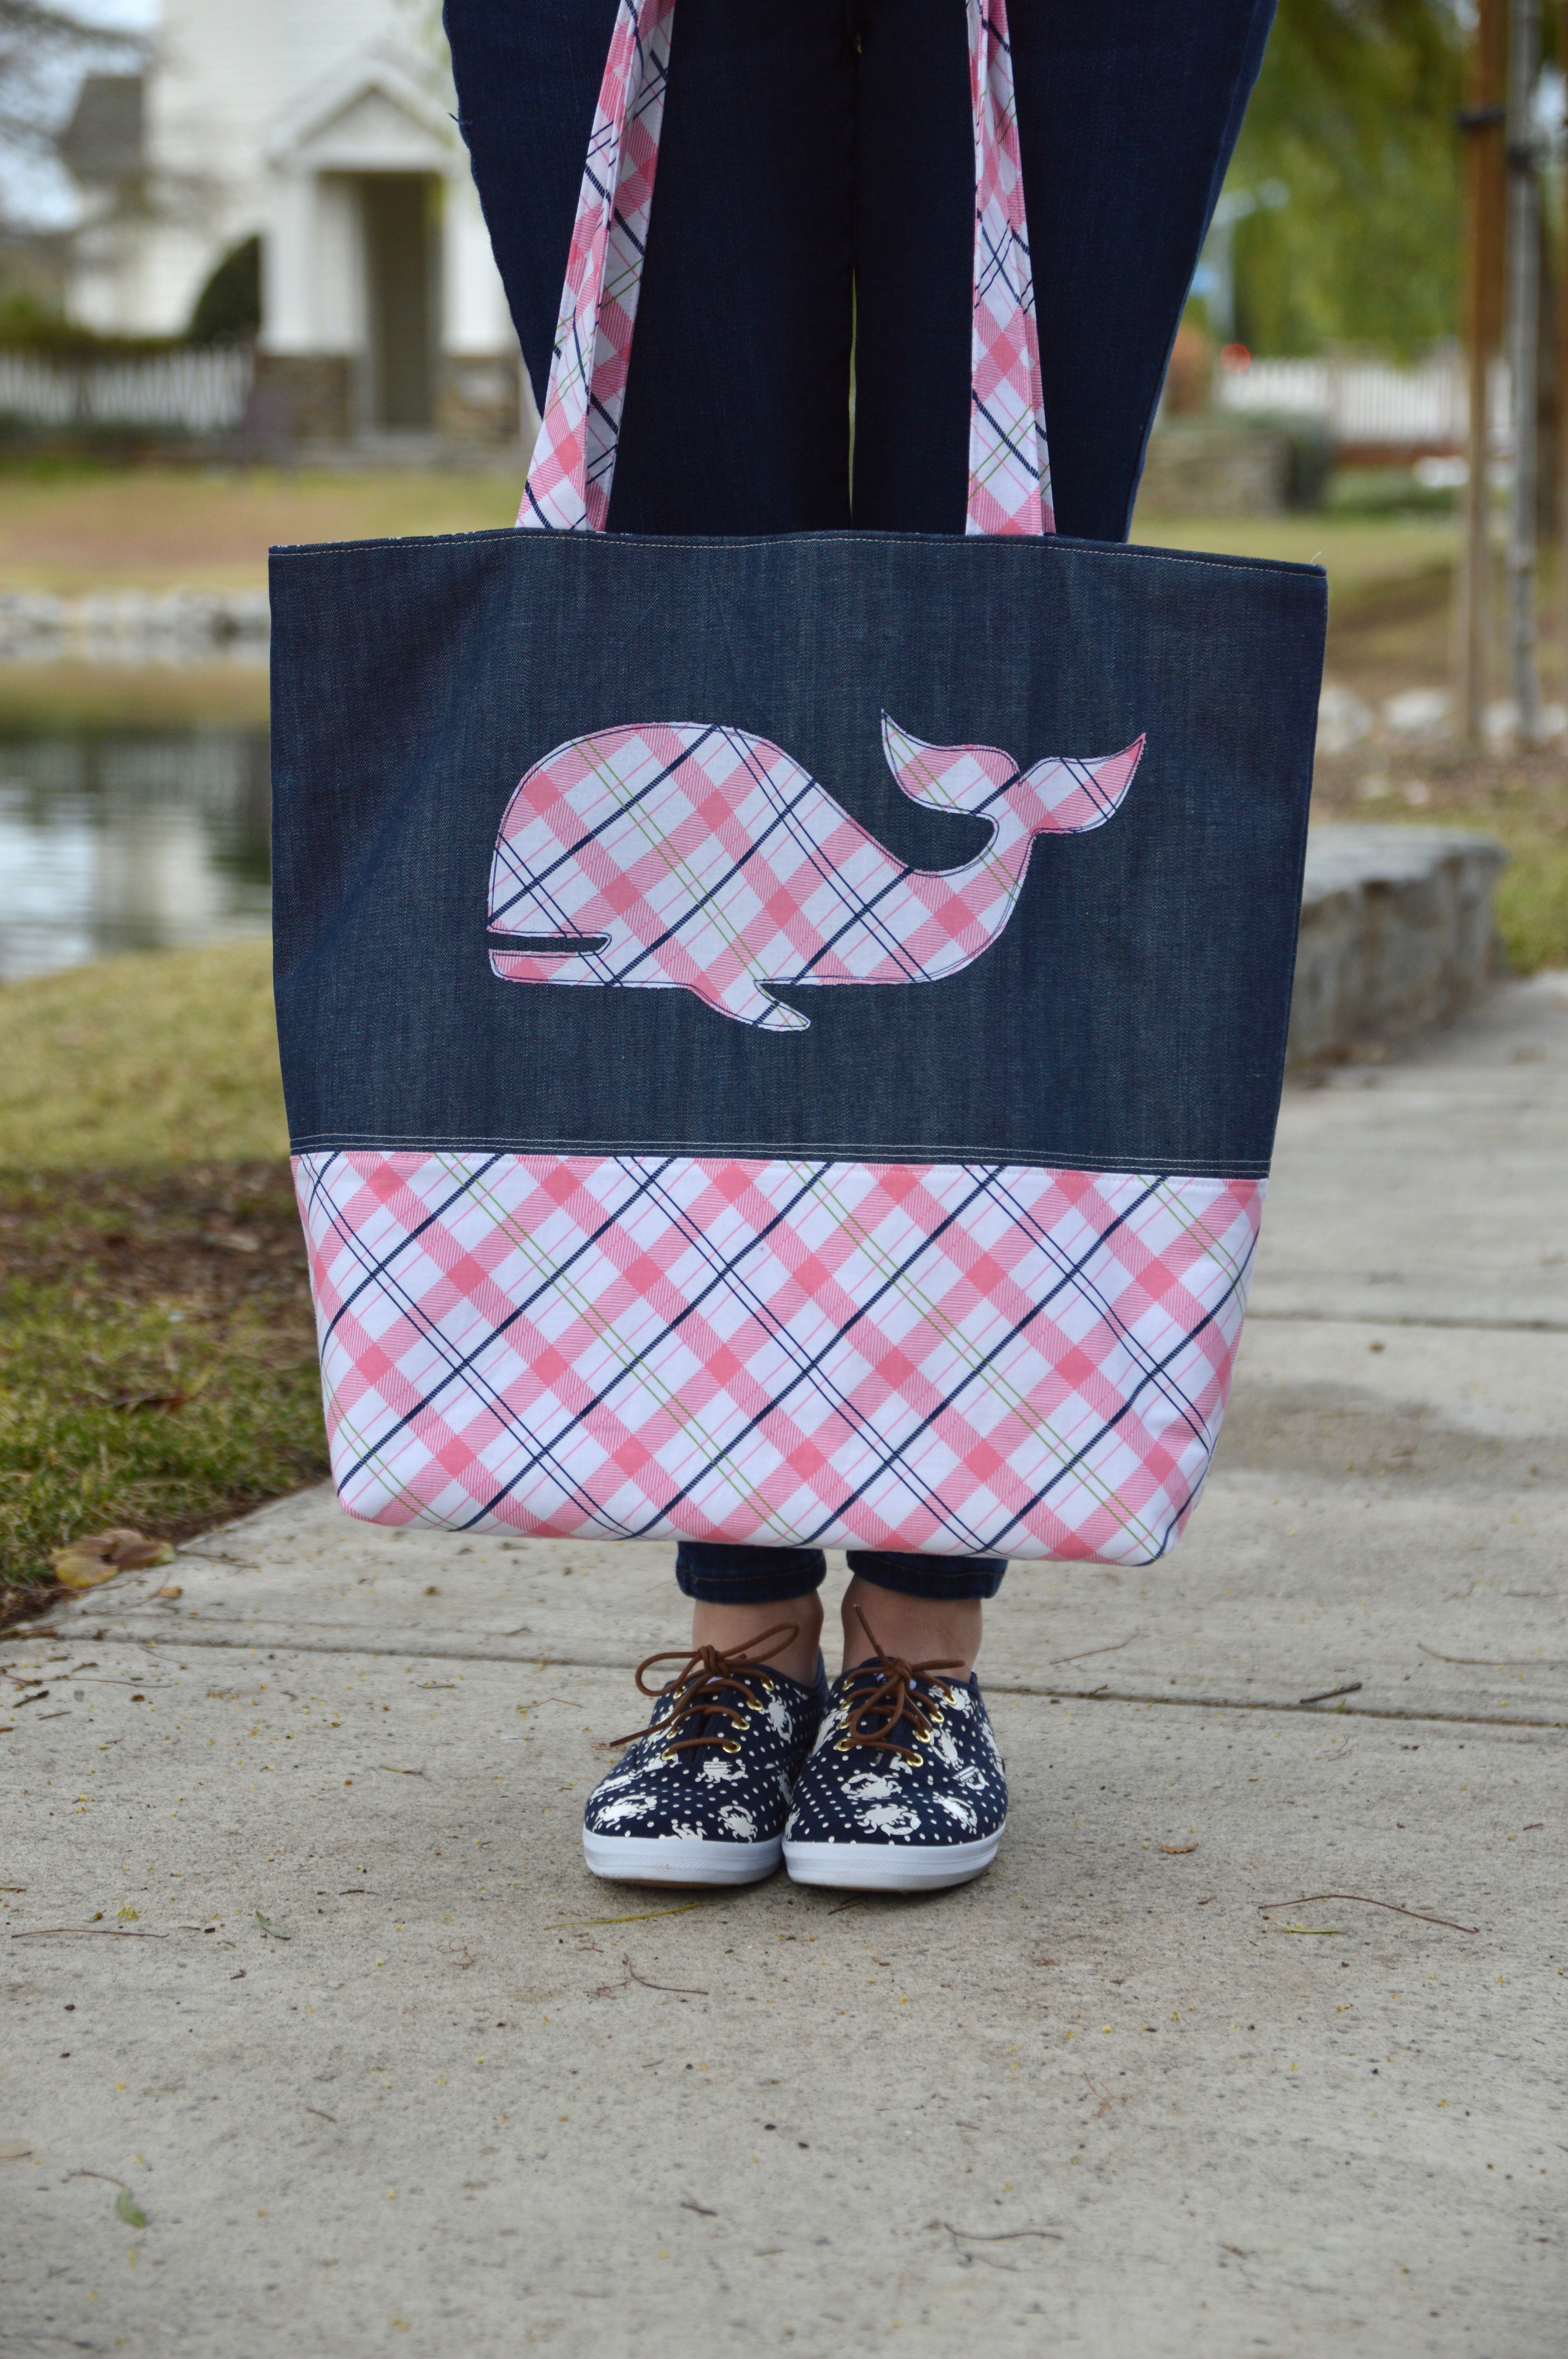

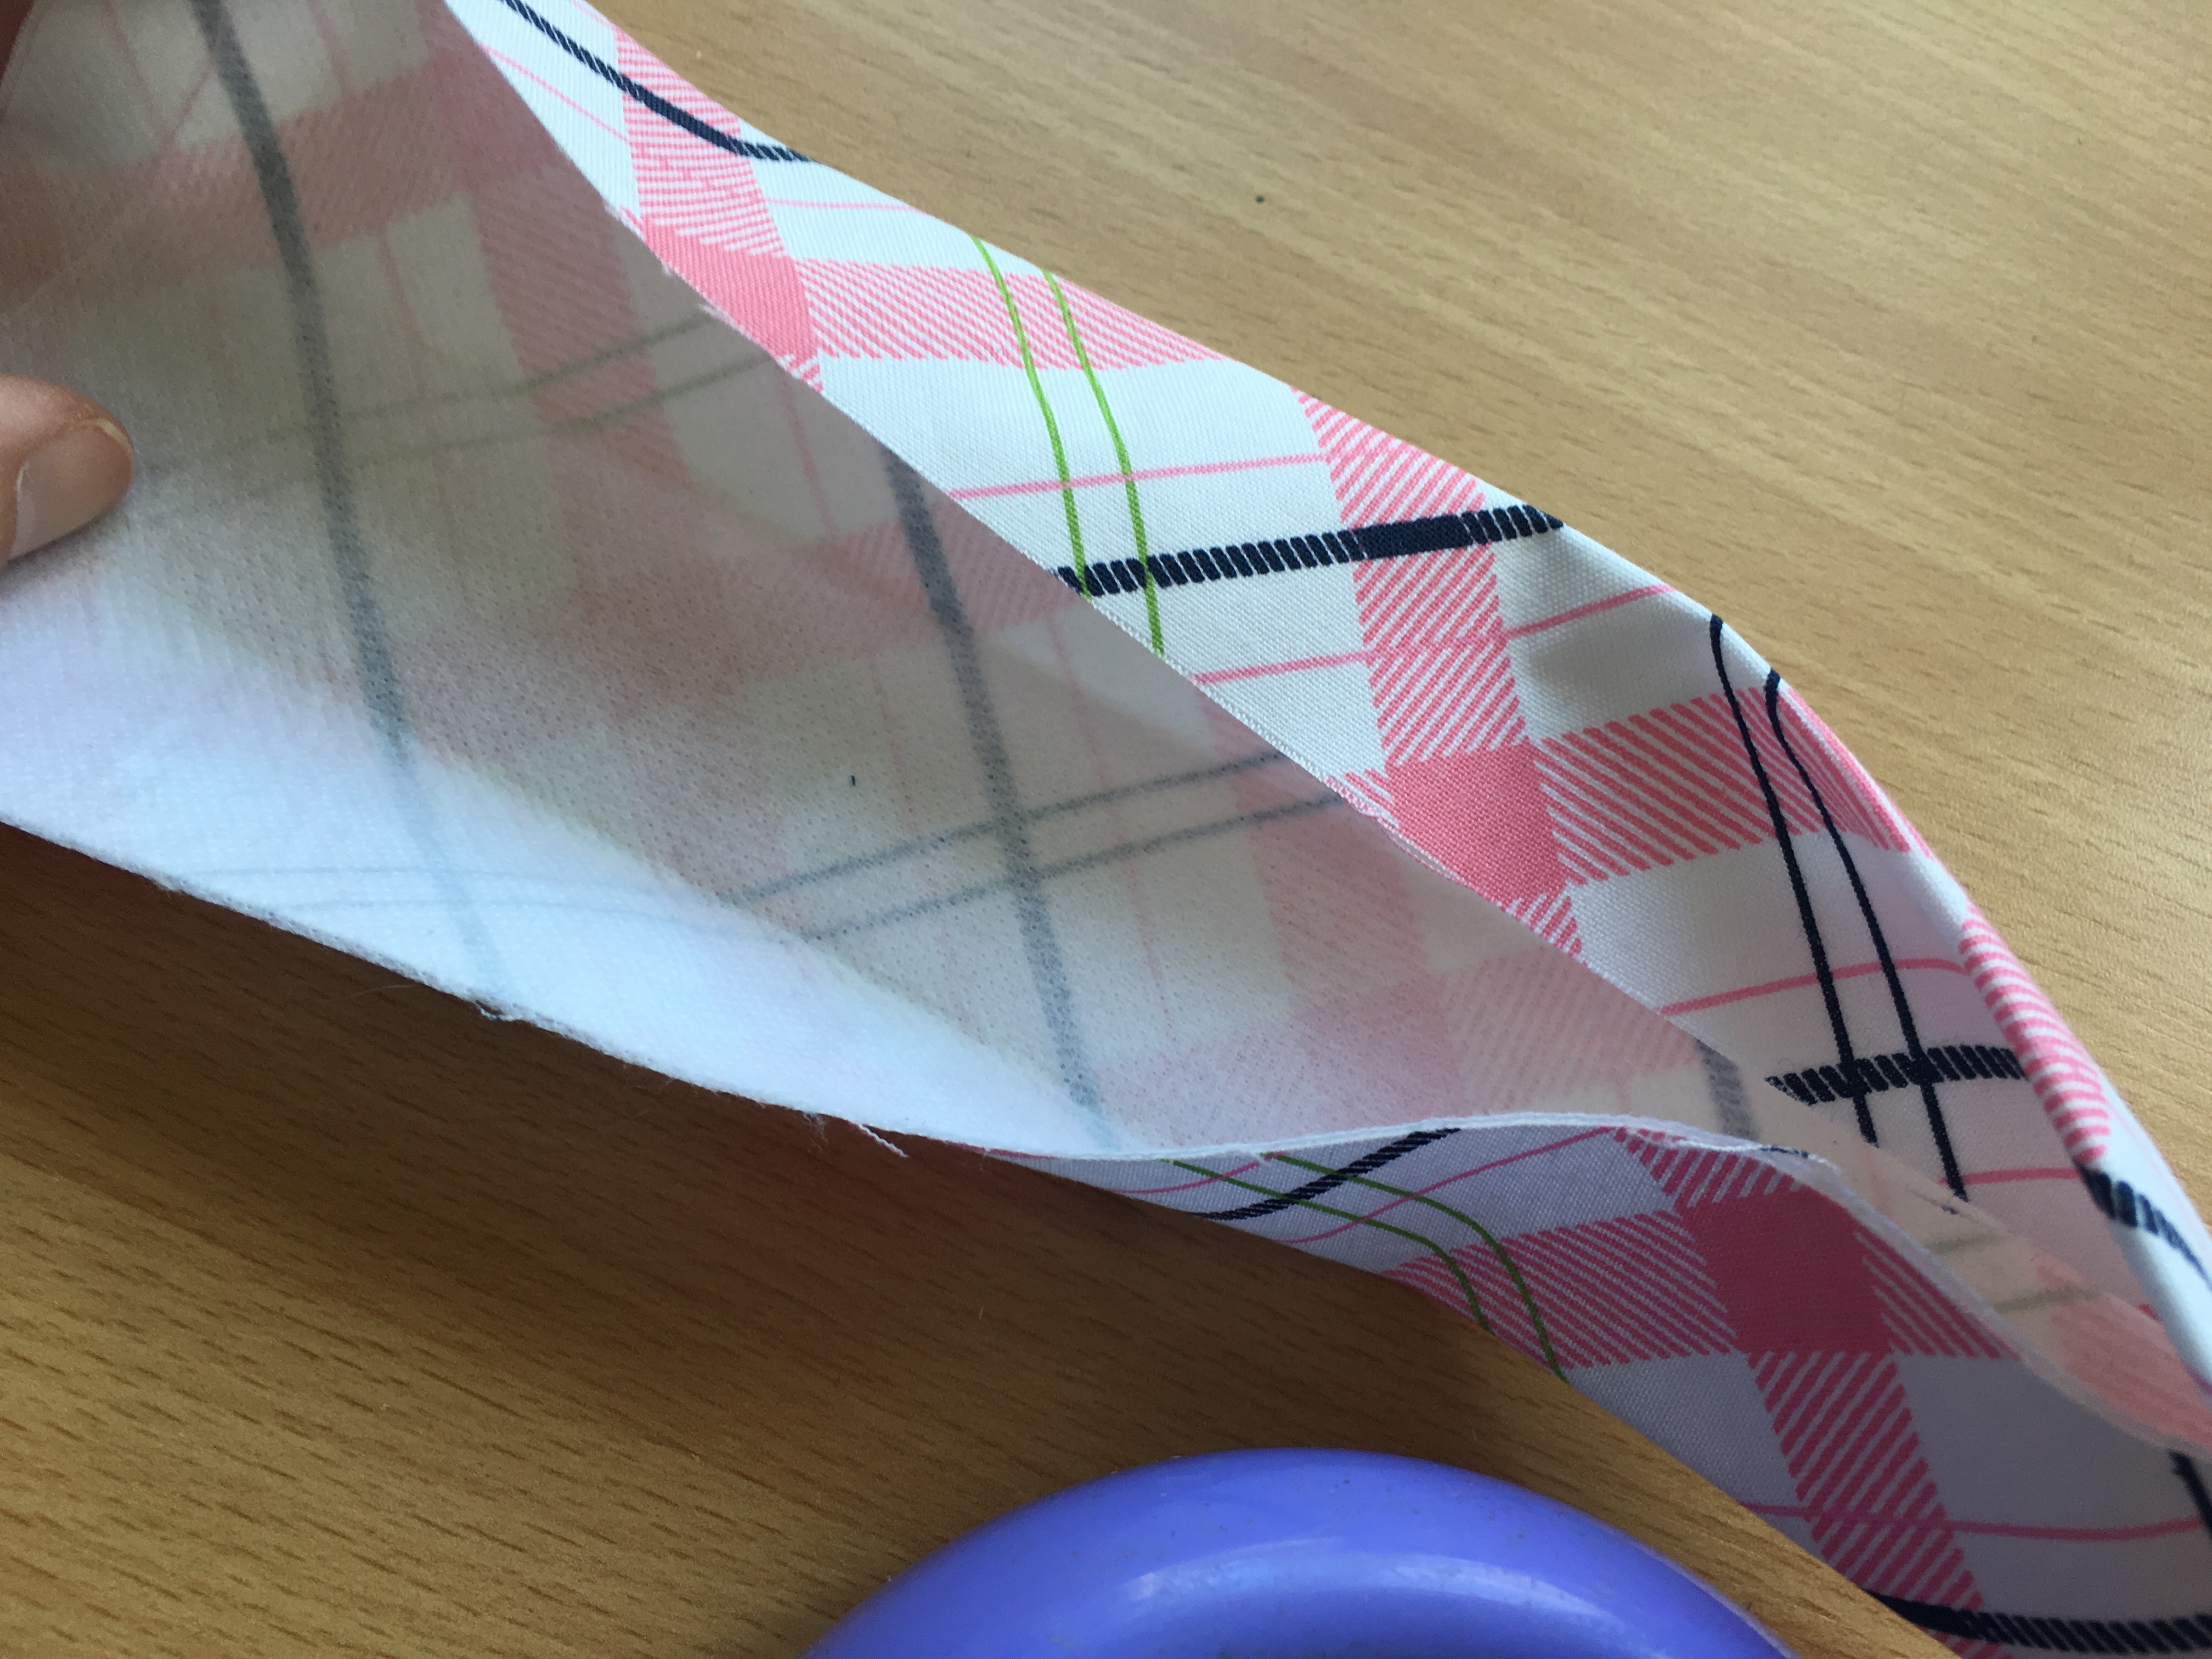
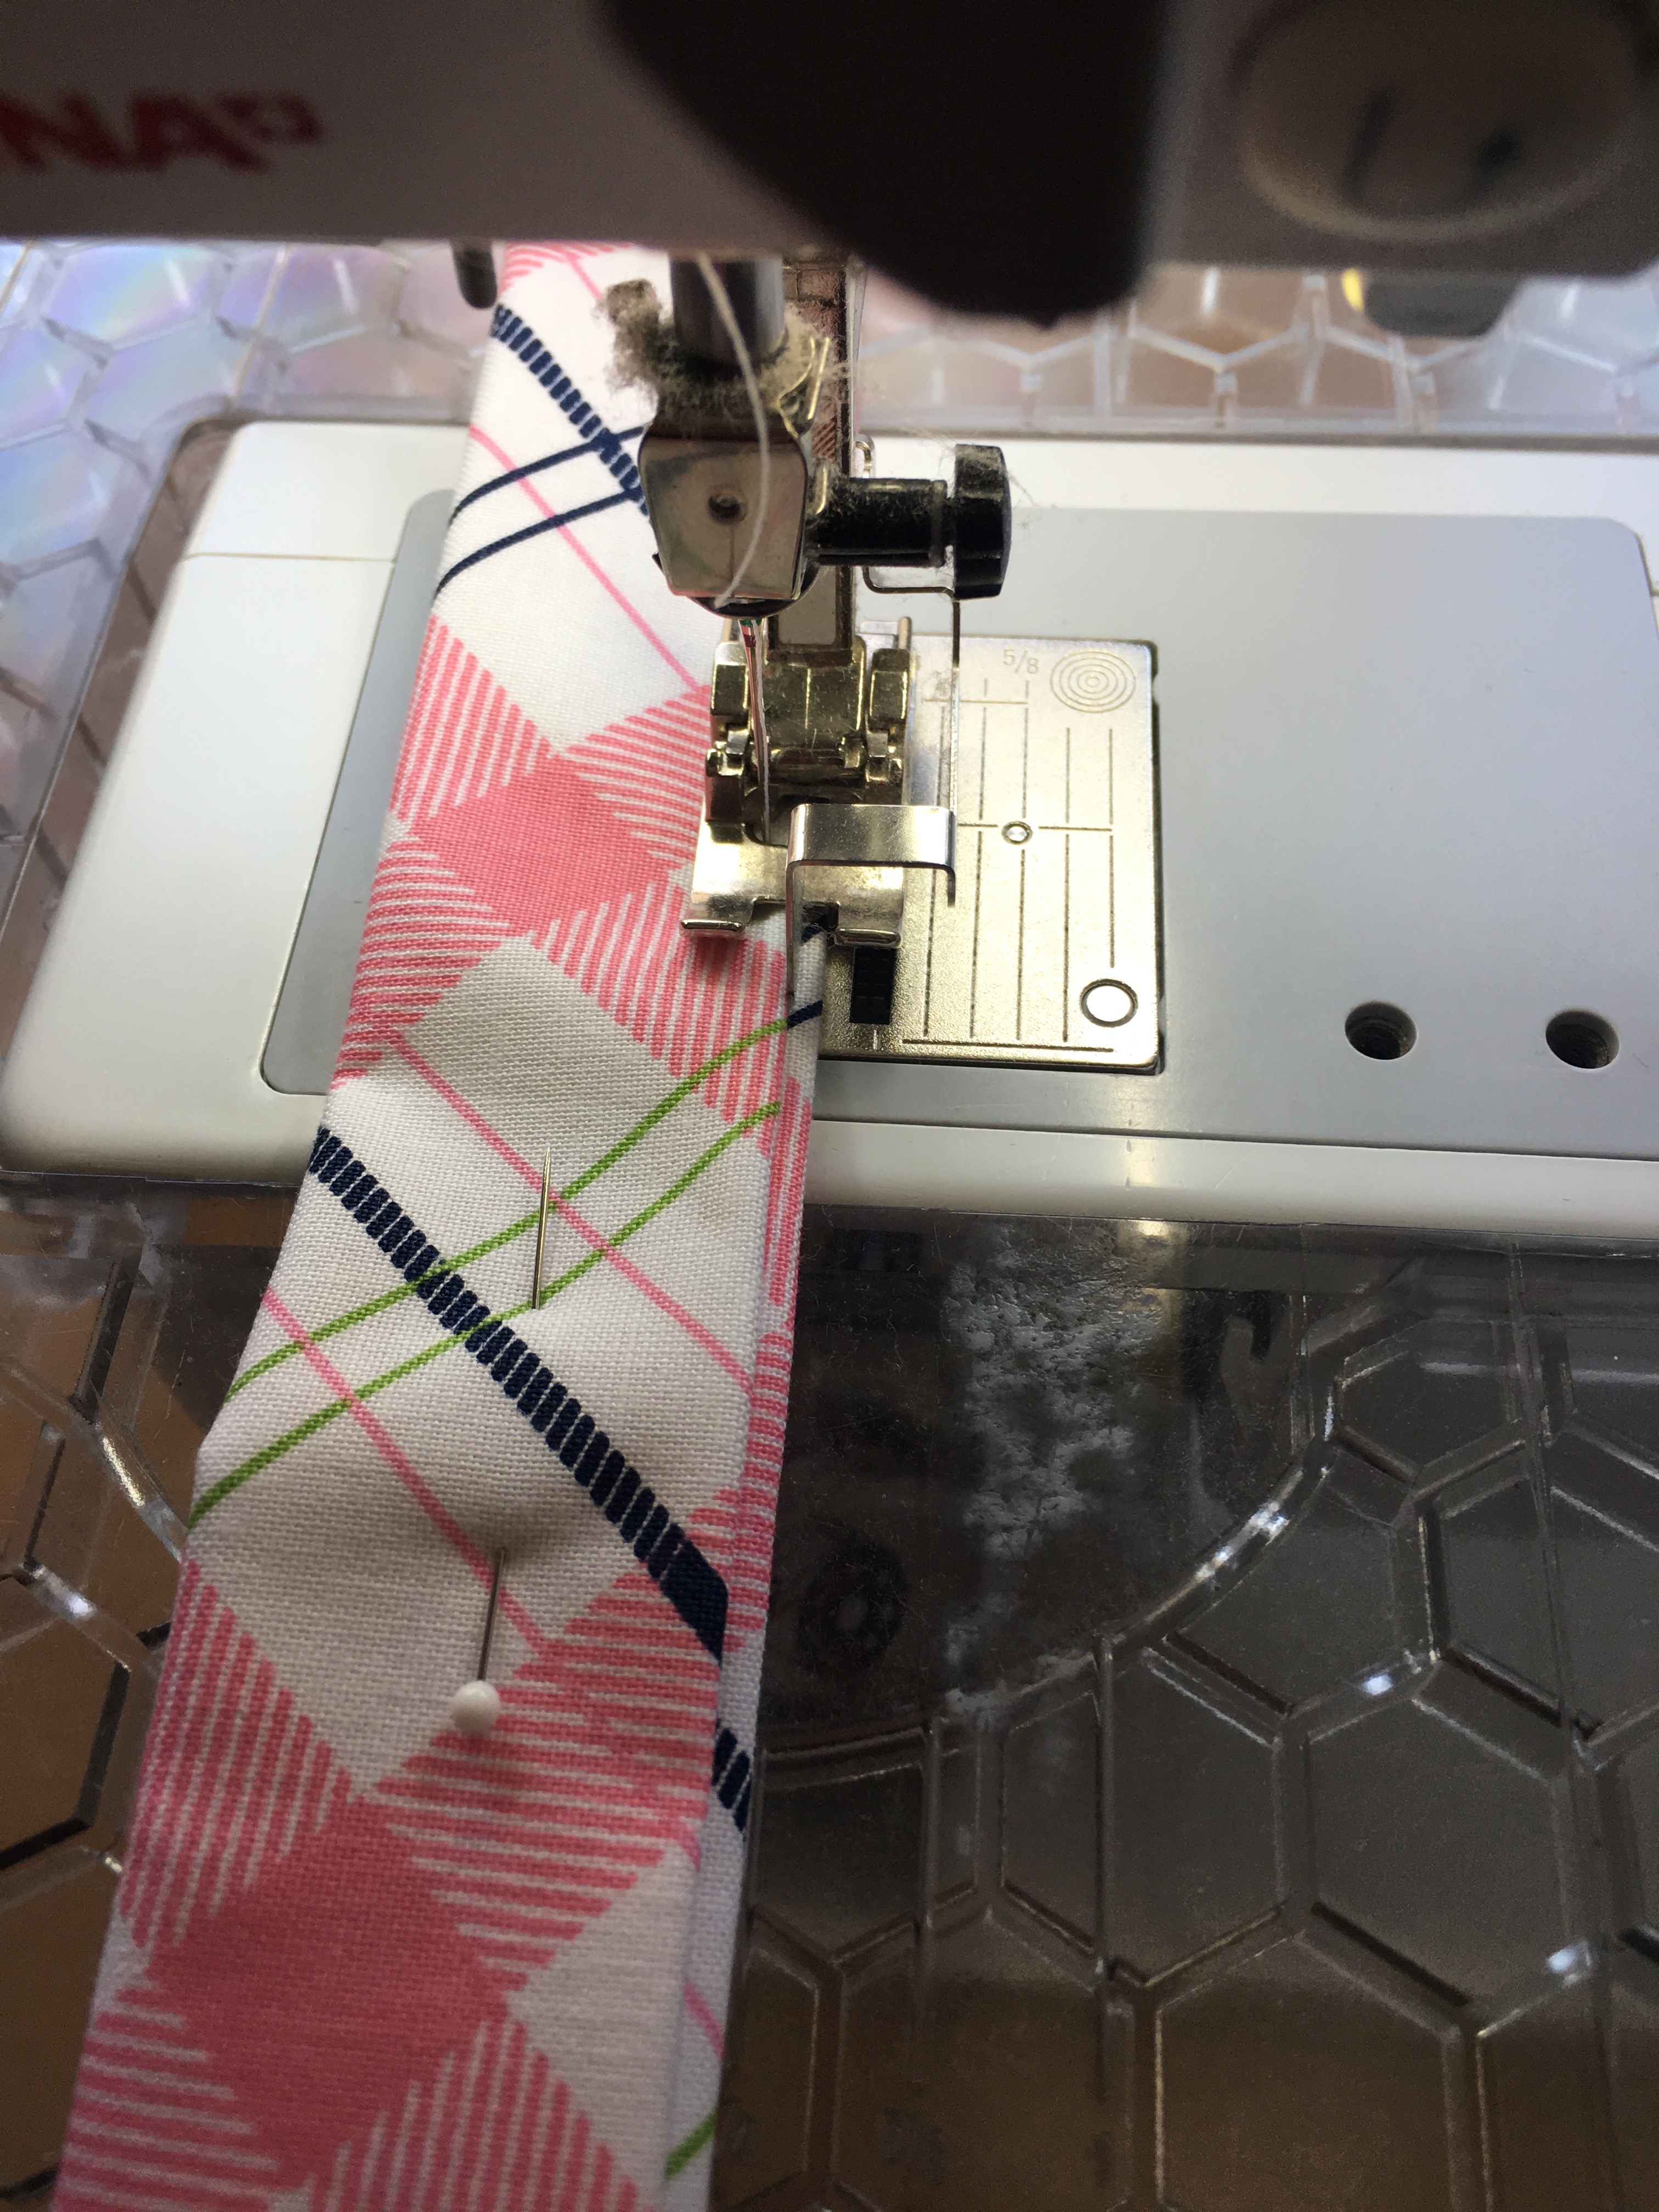
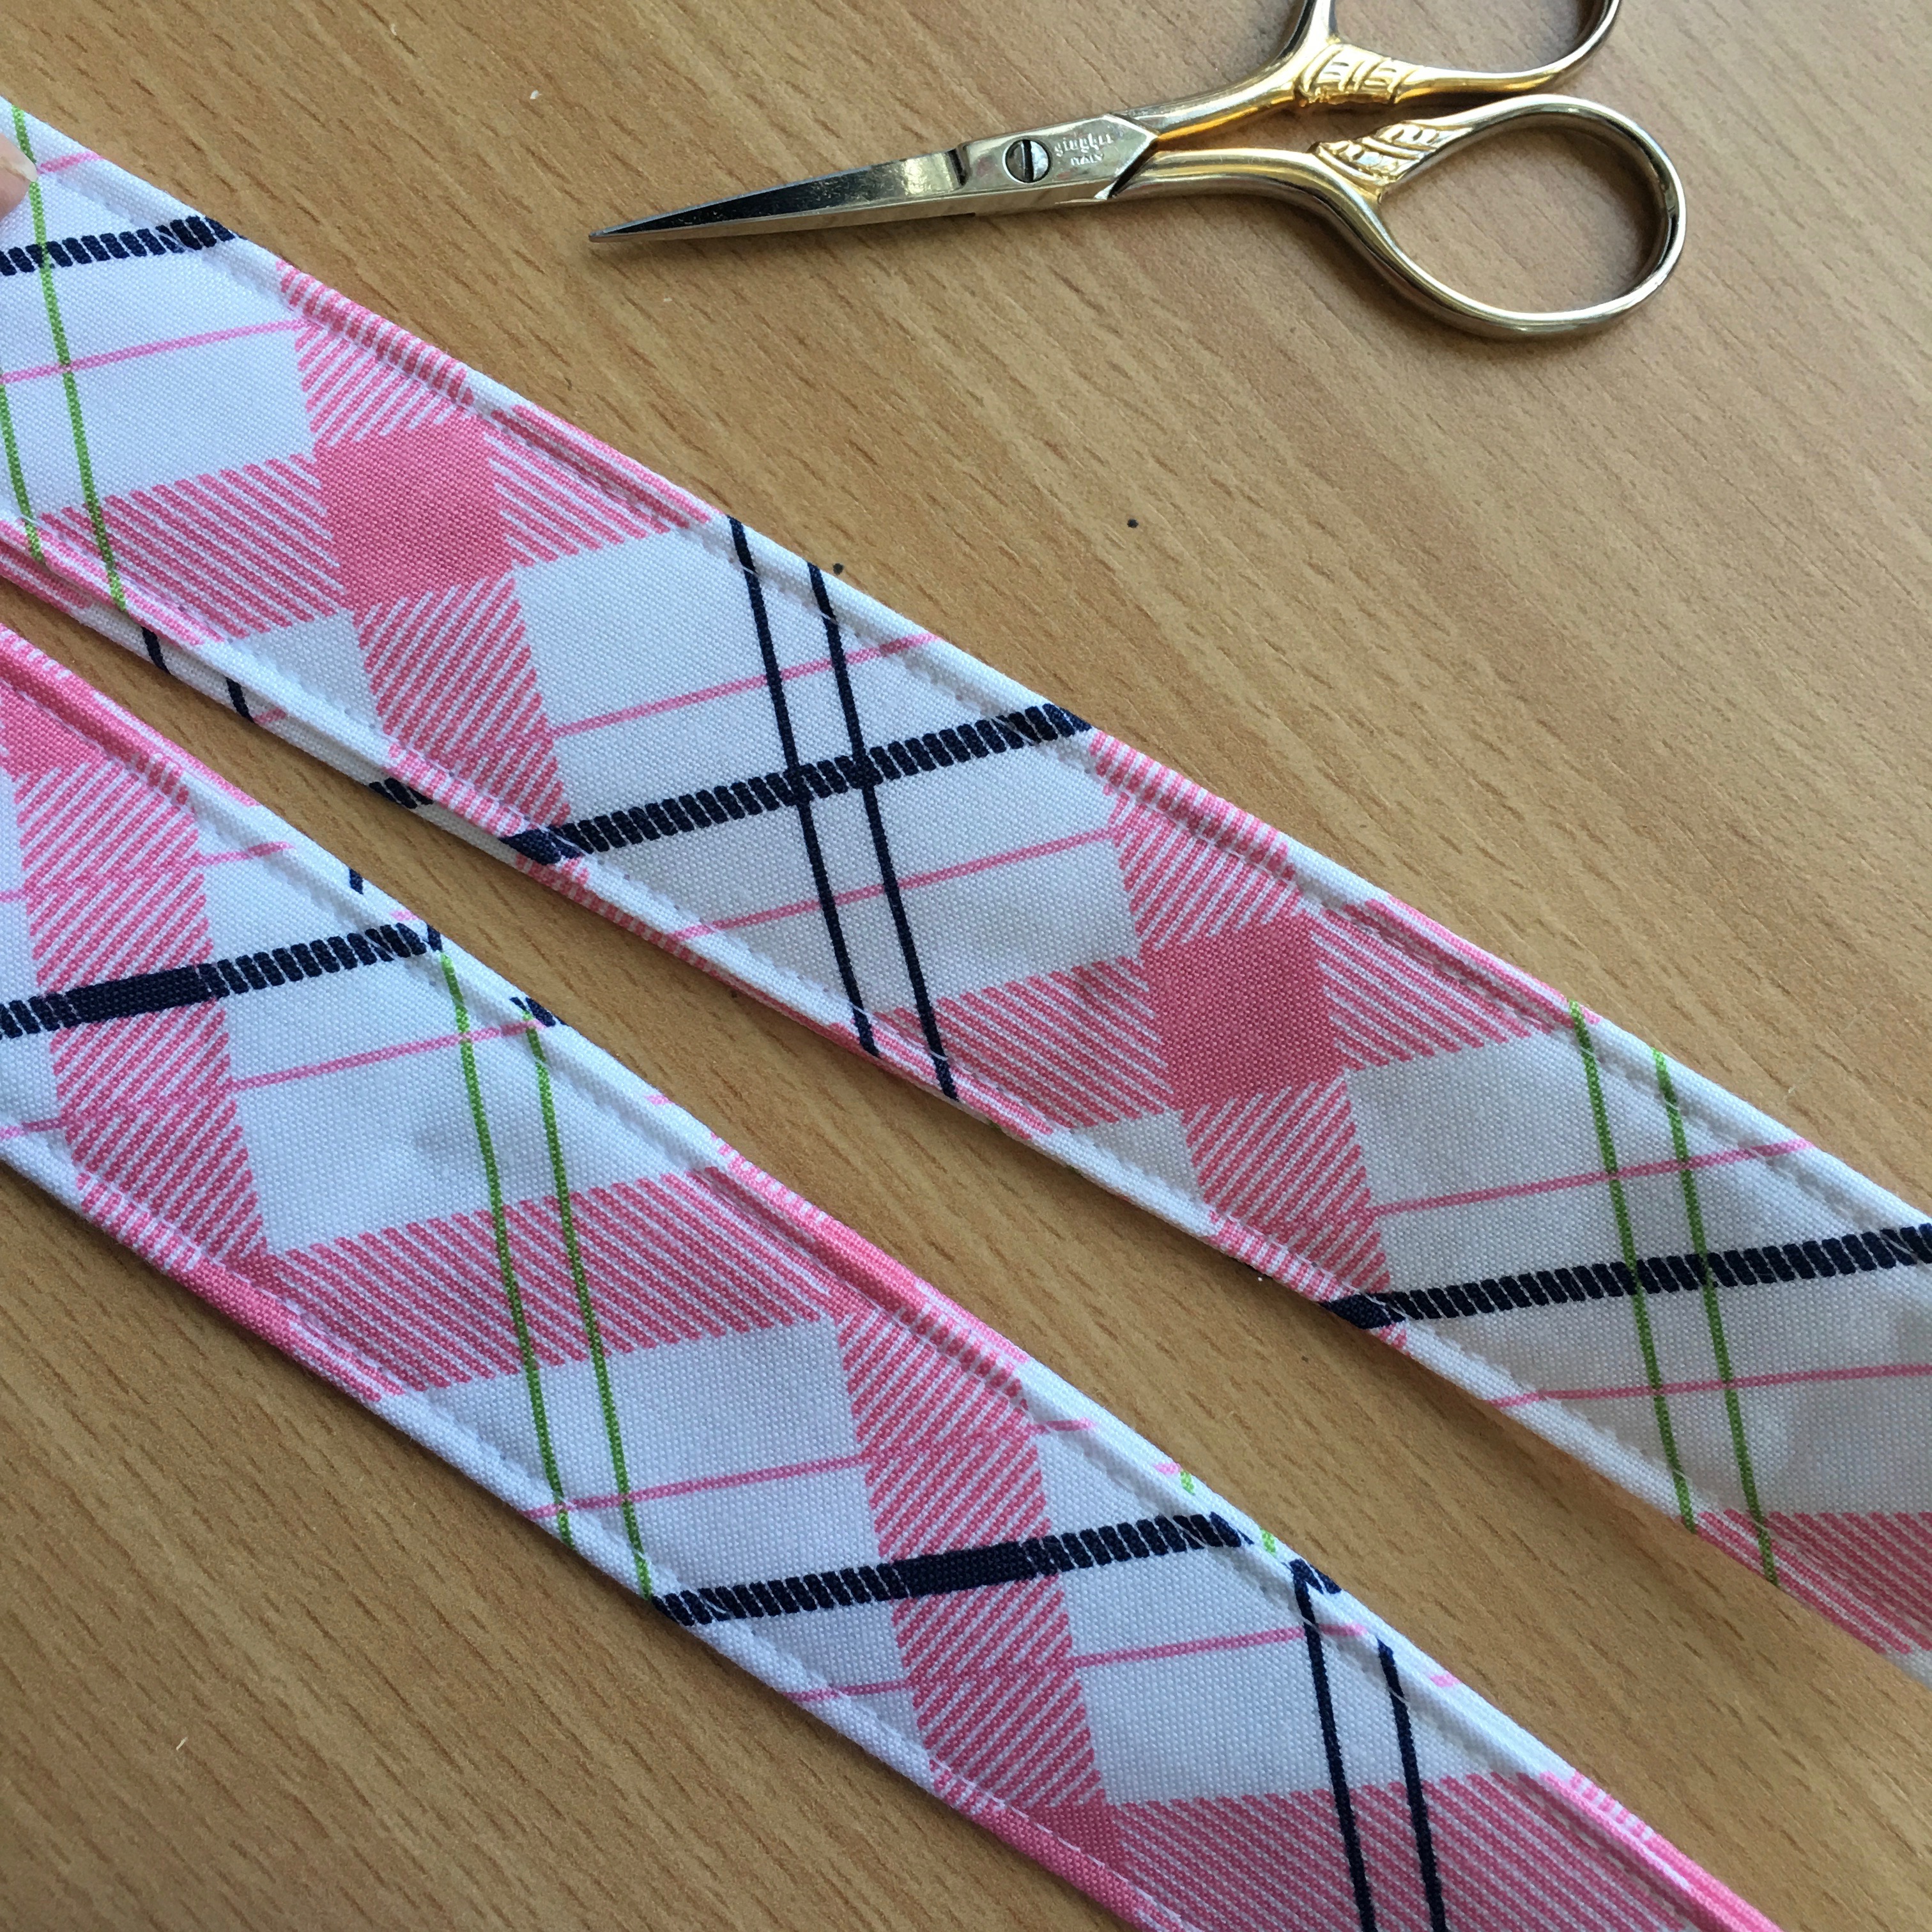
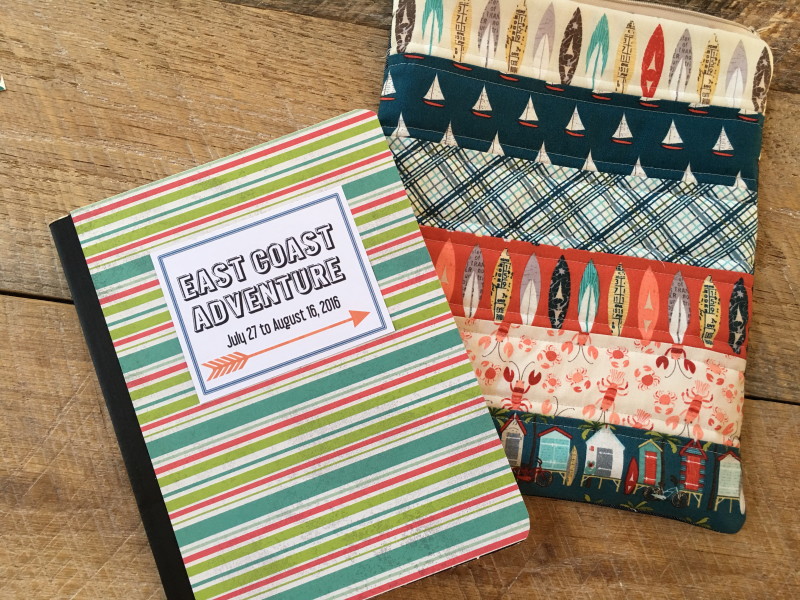
 I am so in love with this tote bag! It is such a great size, and if feels sturdy and it is super preppy plaid cute!!
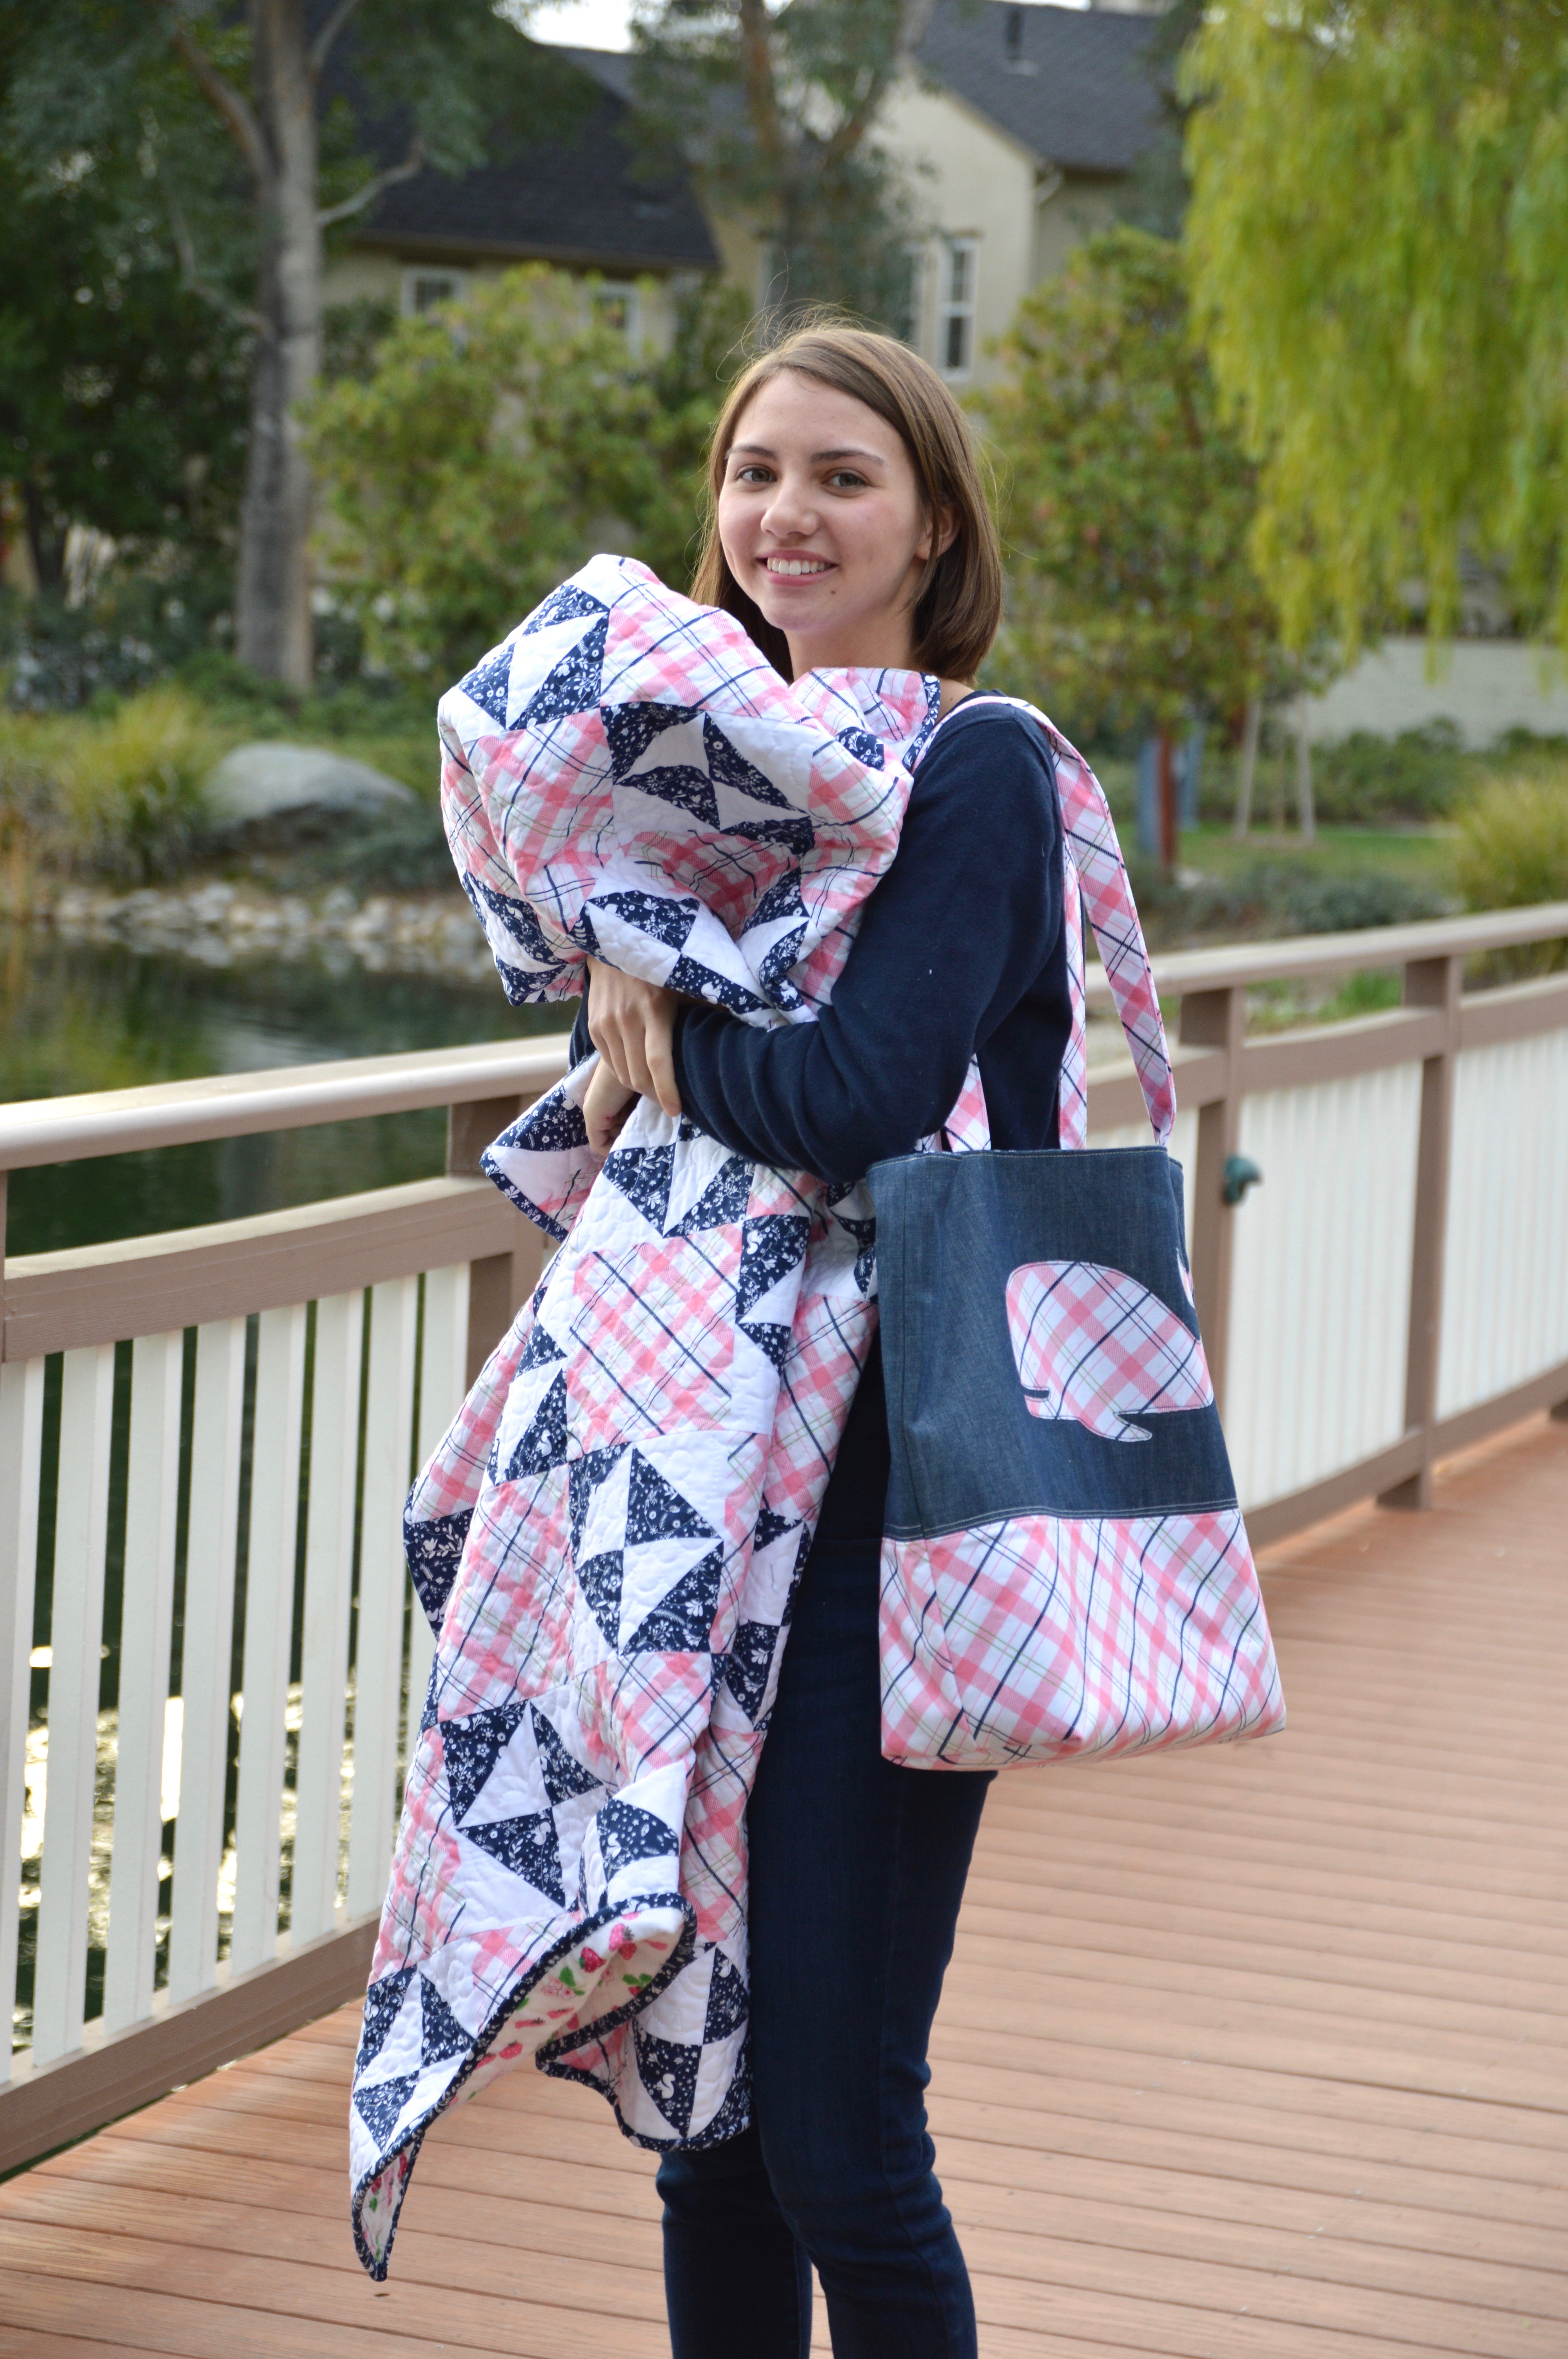 I’m ready for an Eastern Seaboard Vacation!!!
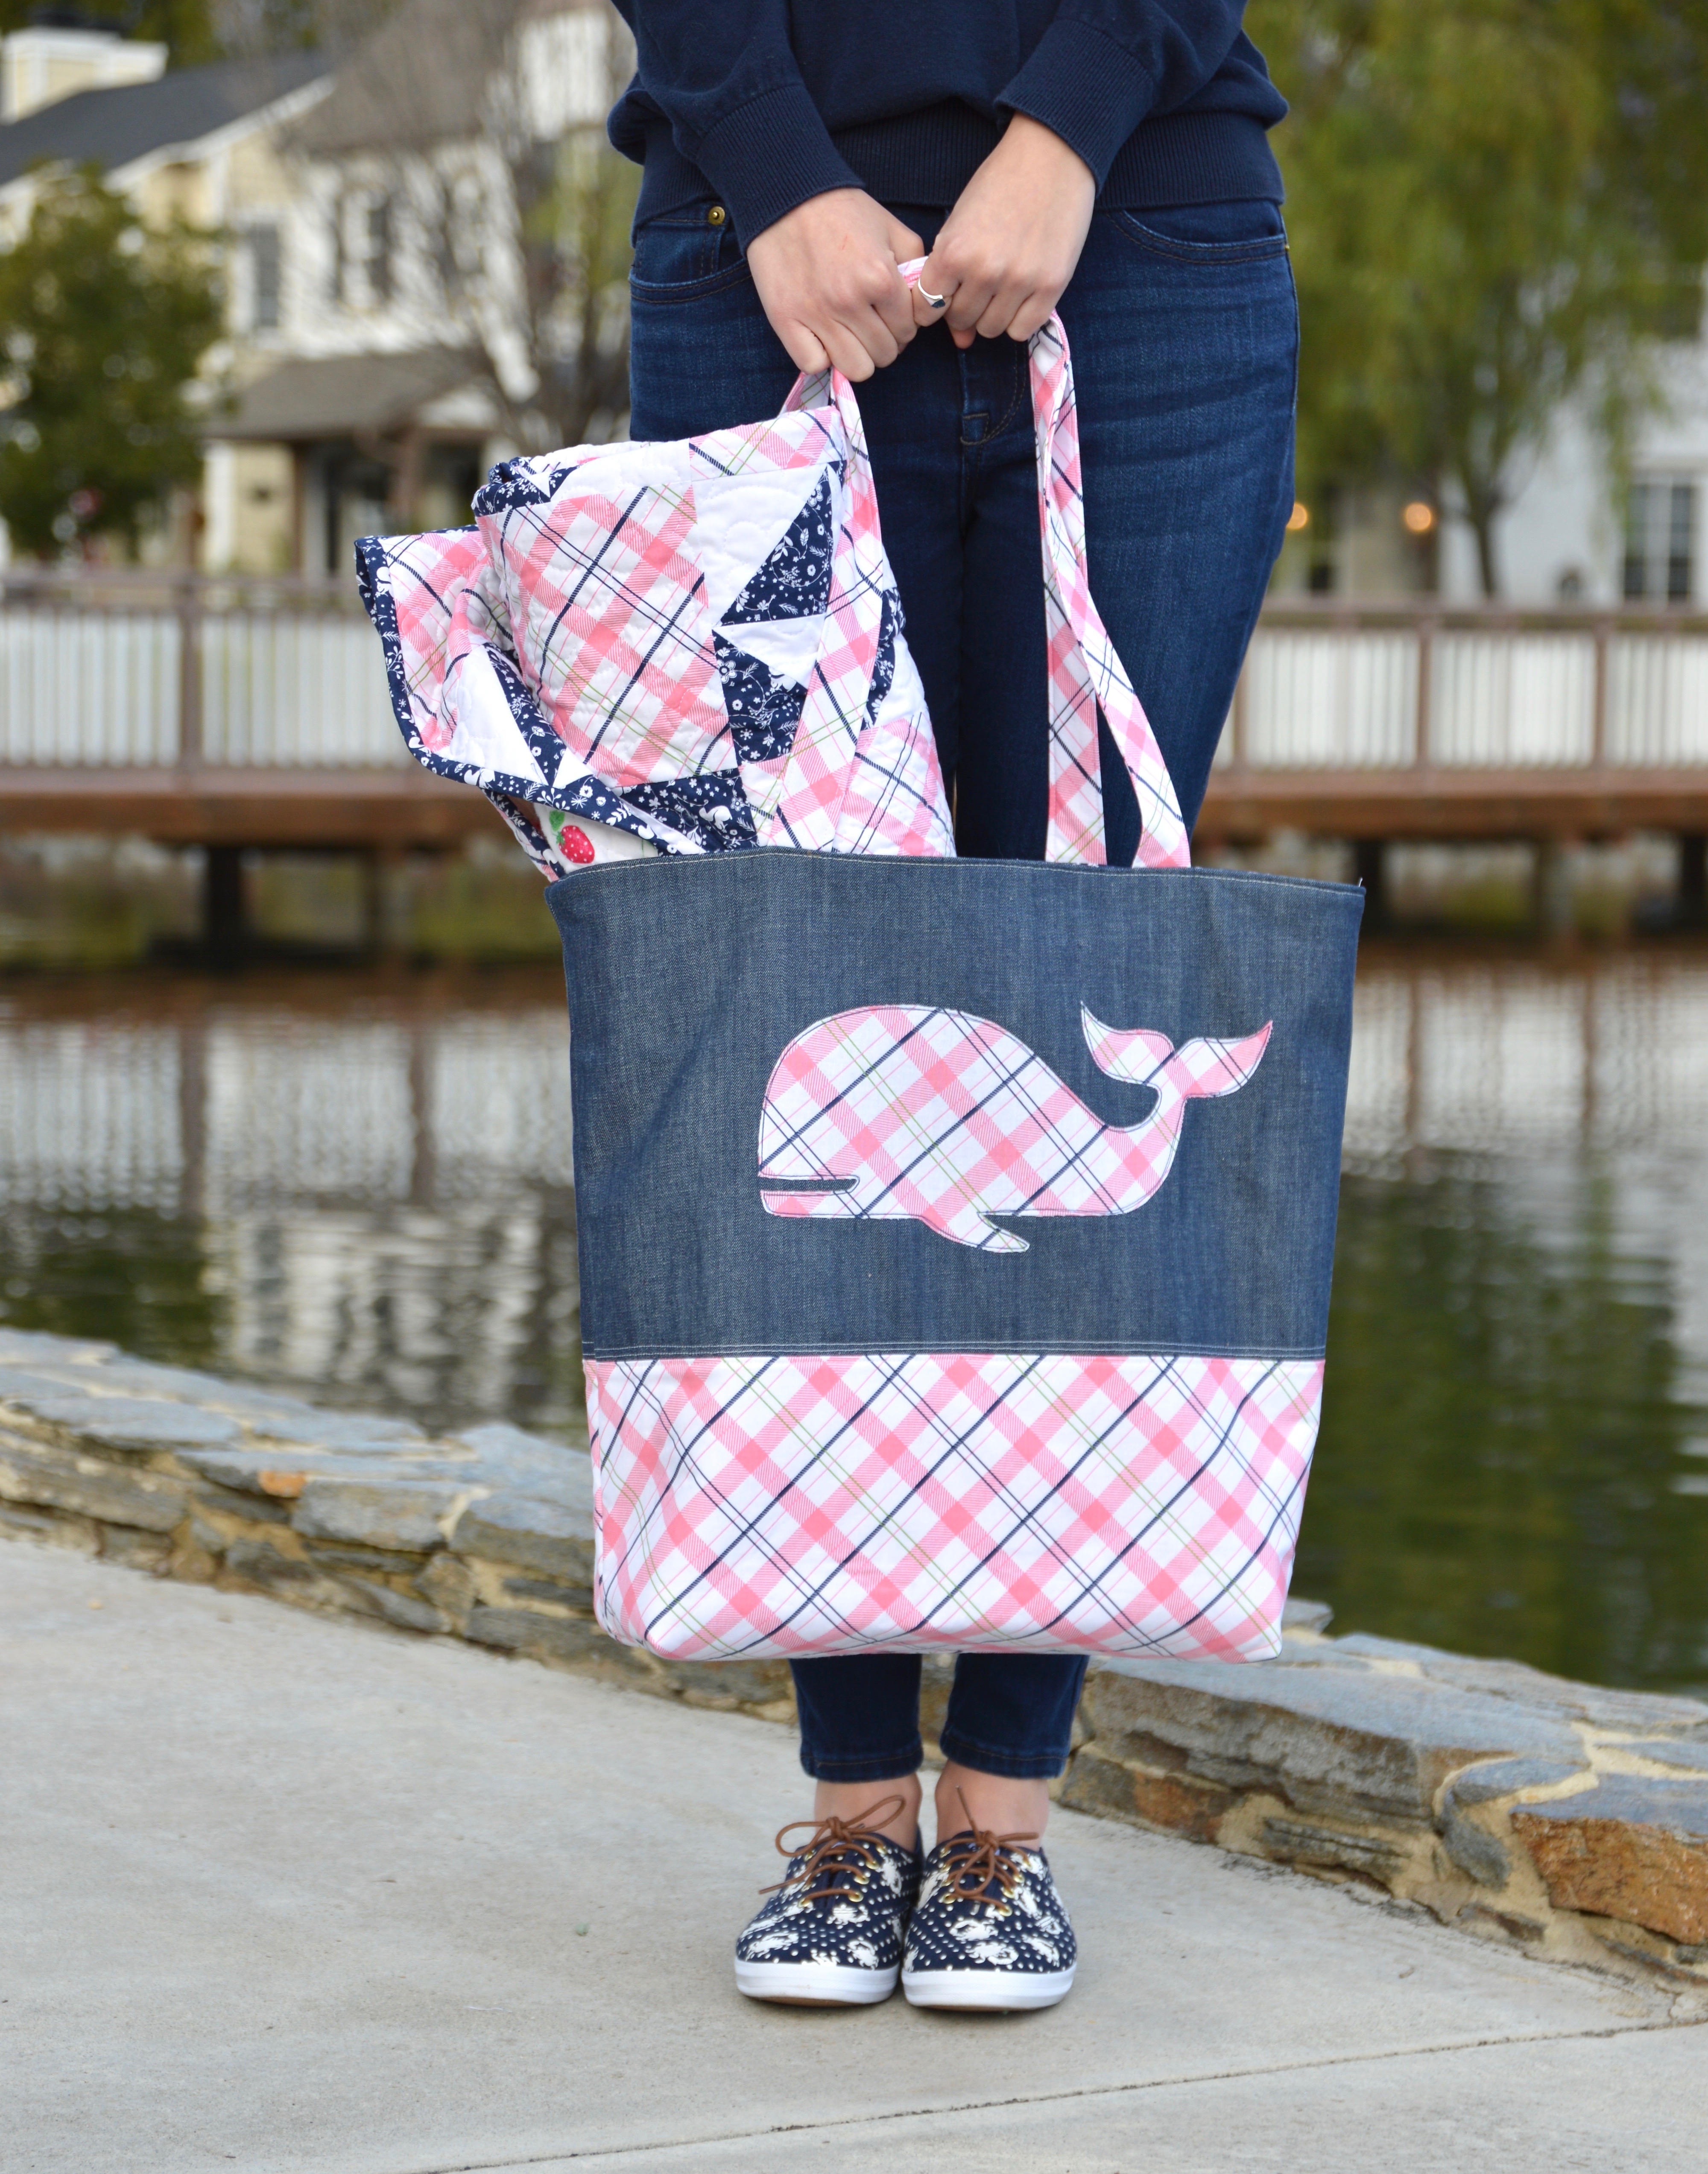
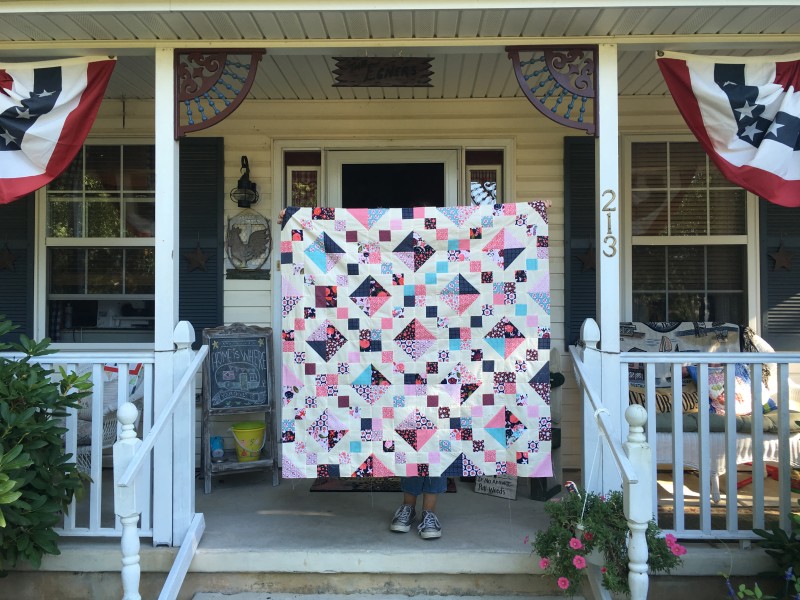
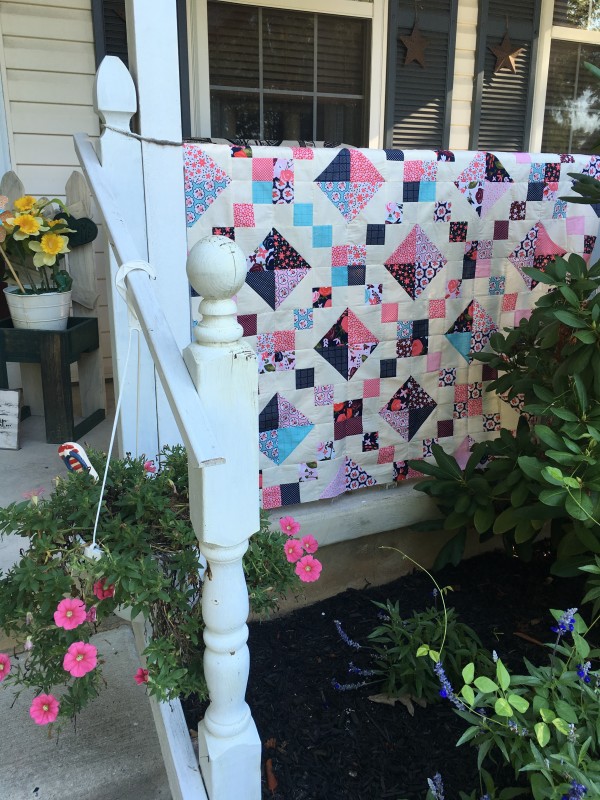
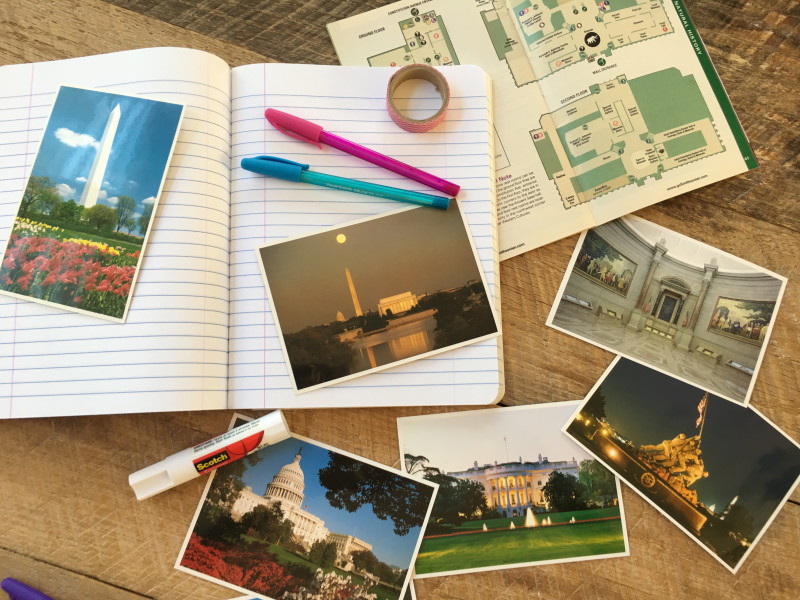
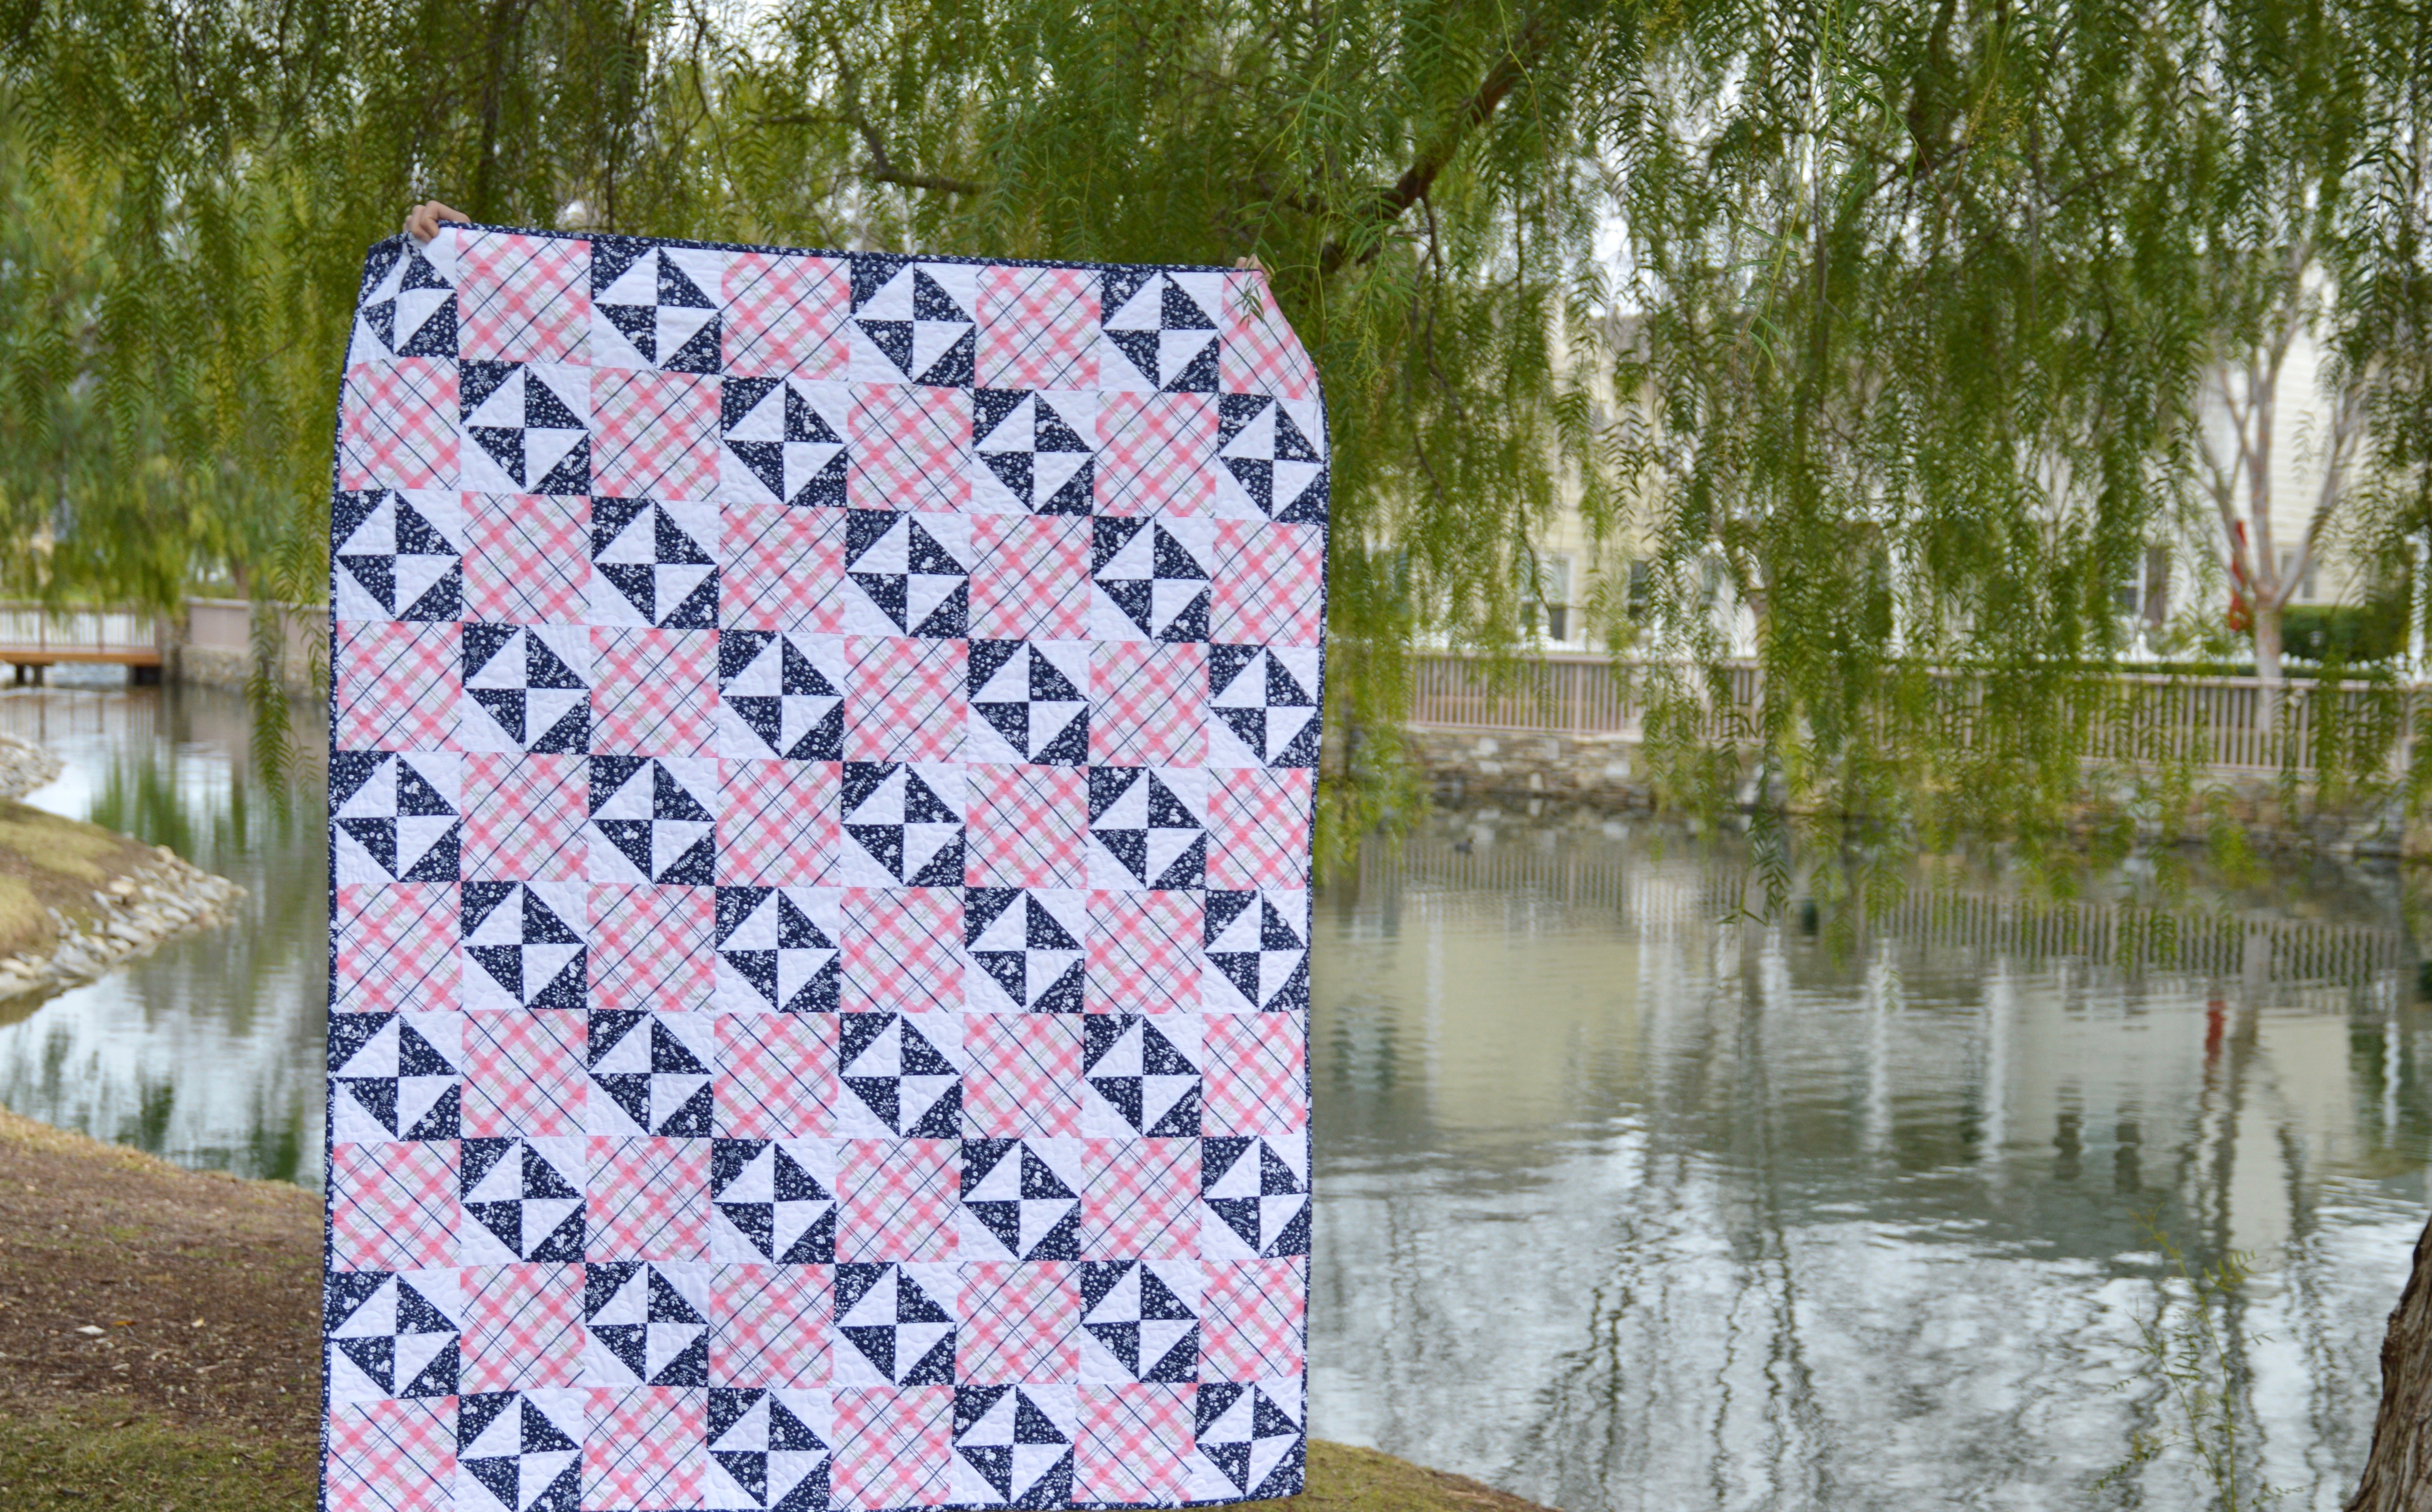
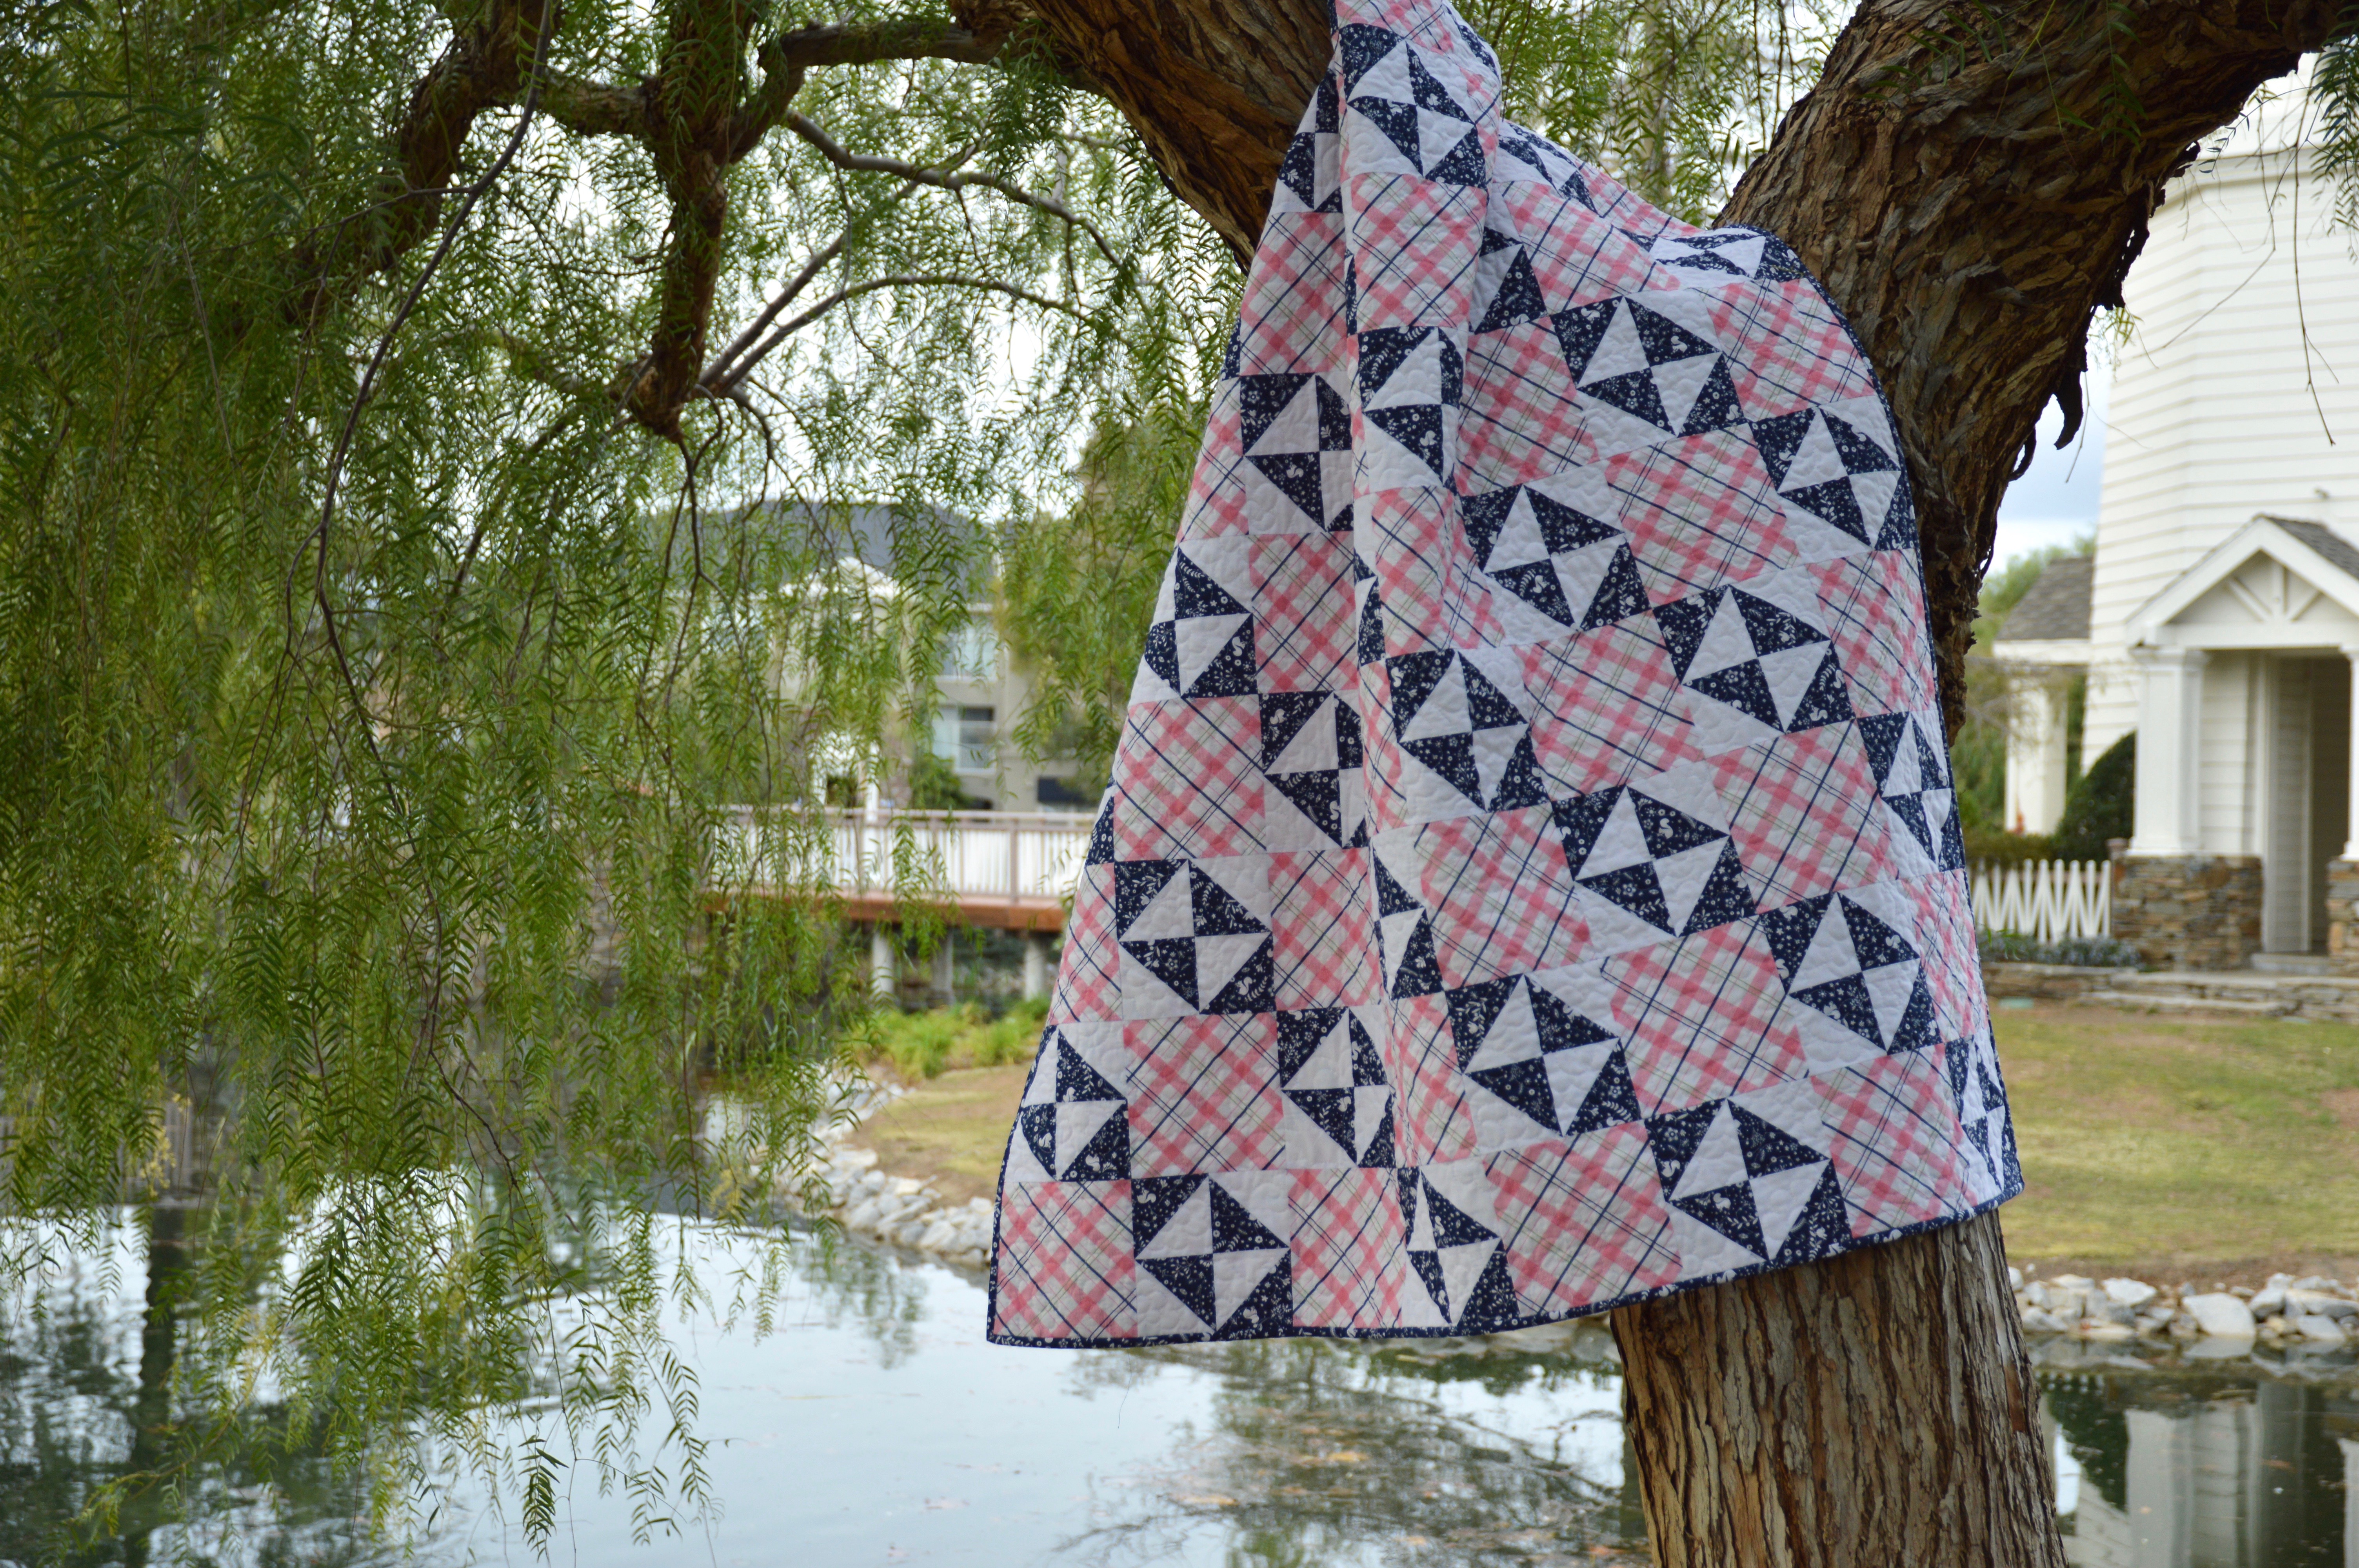
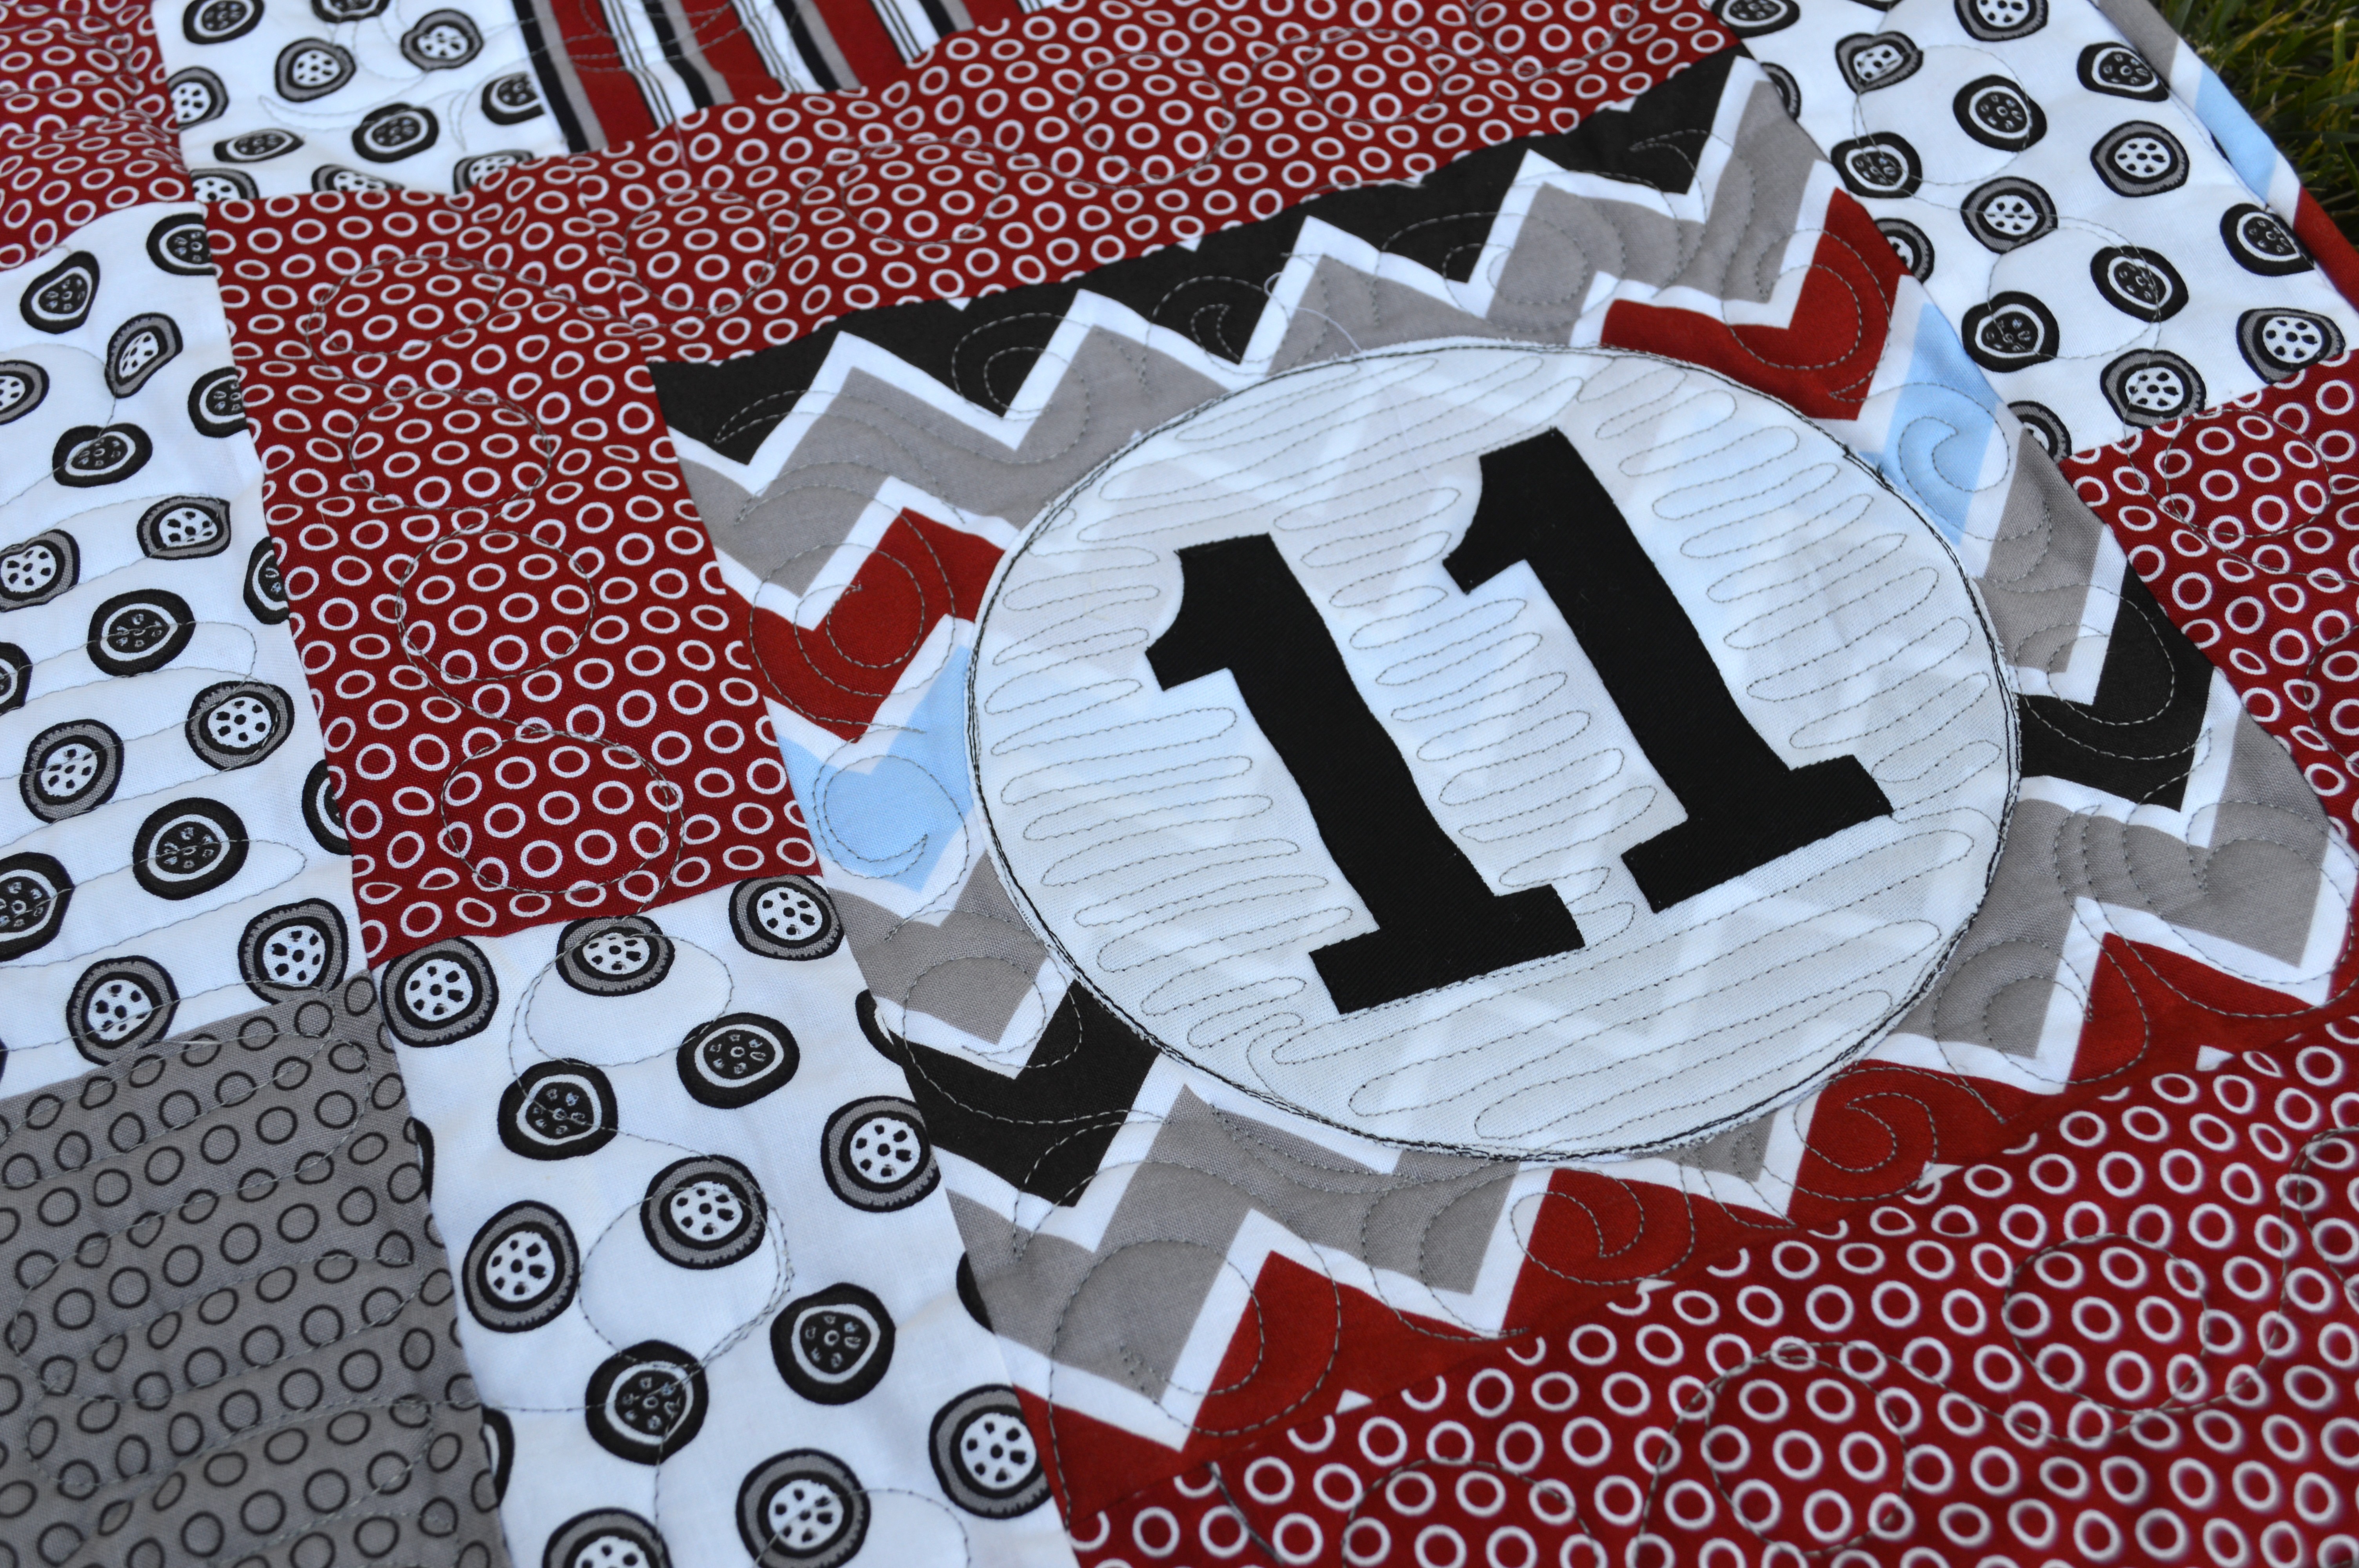
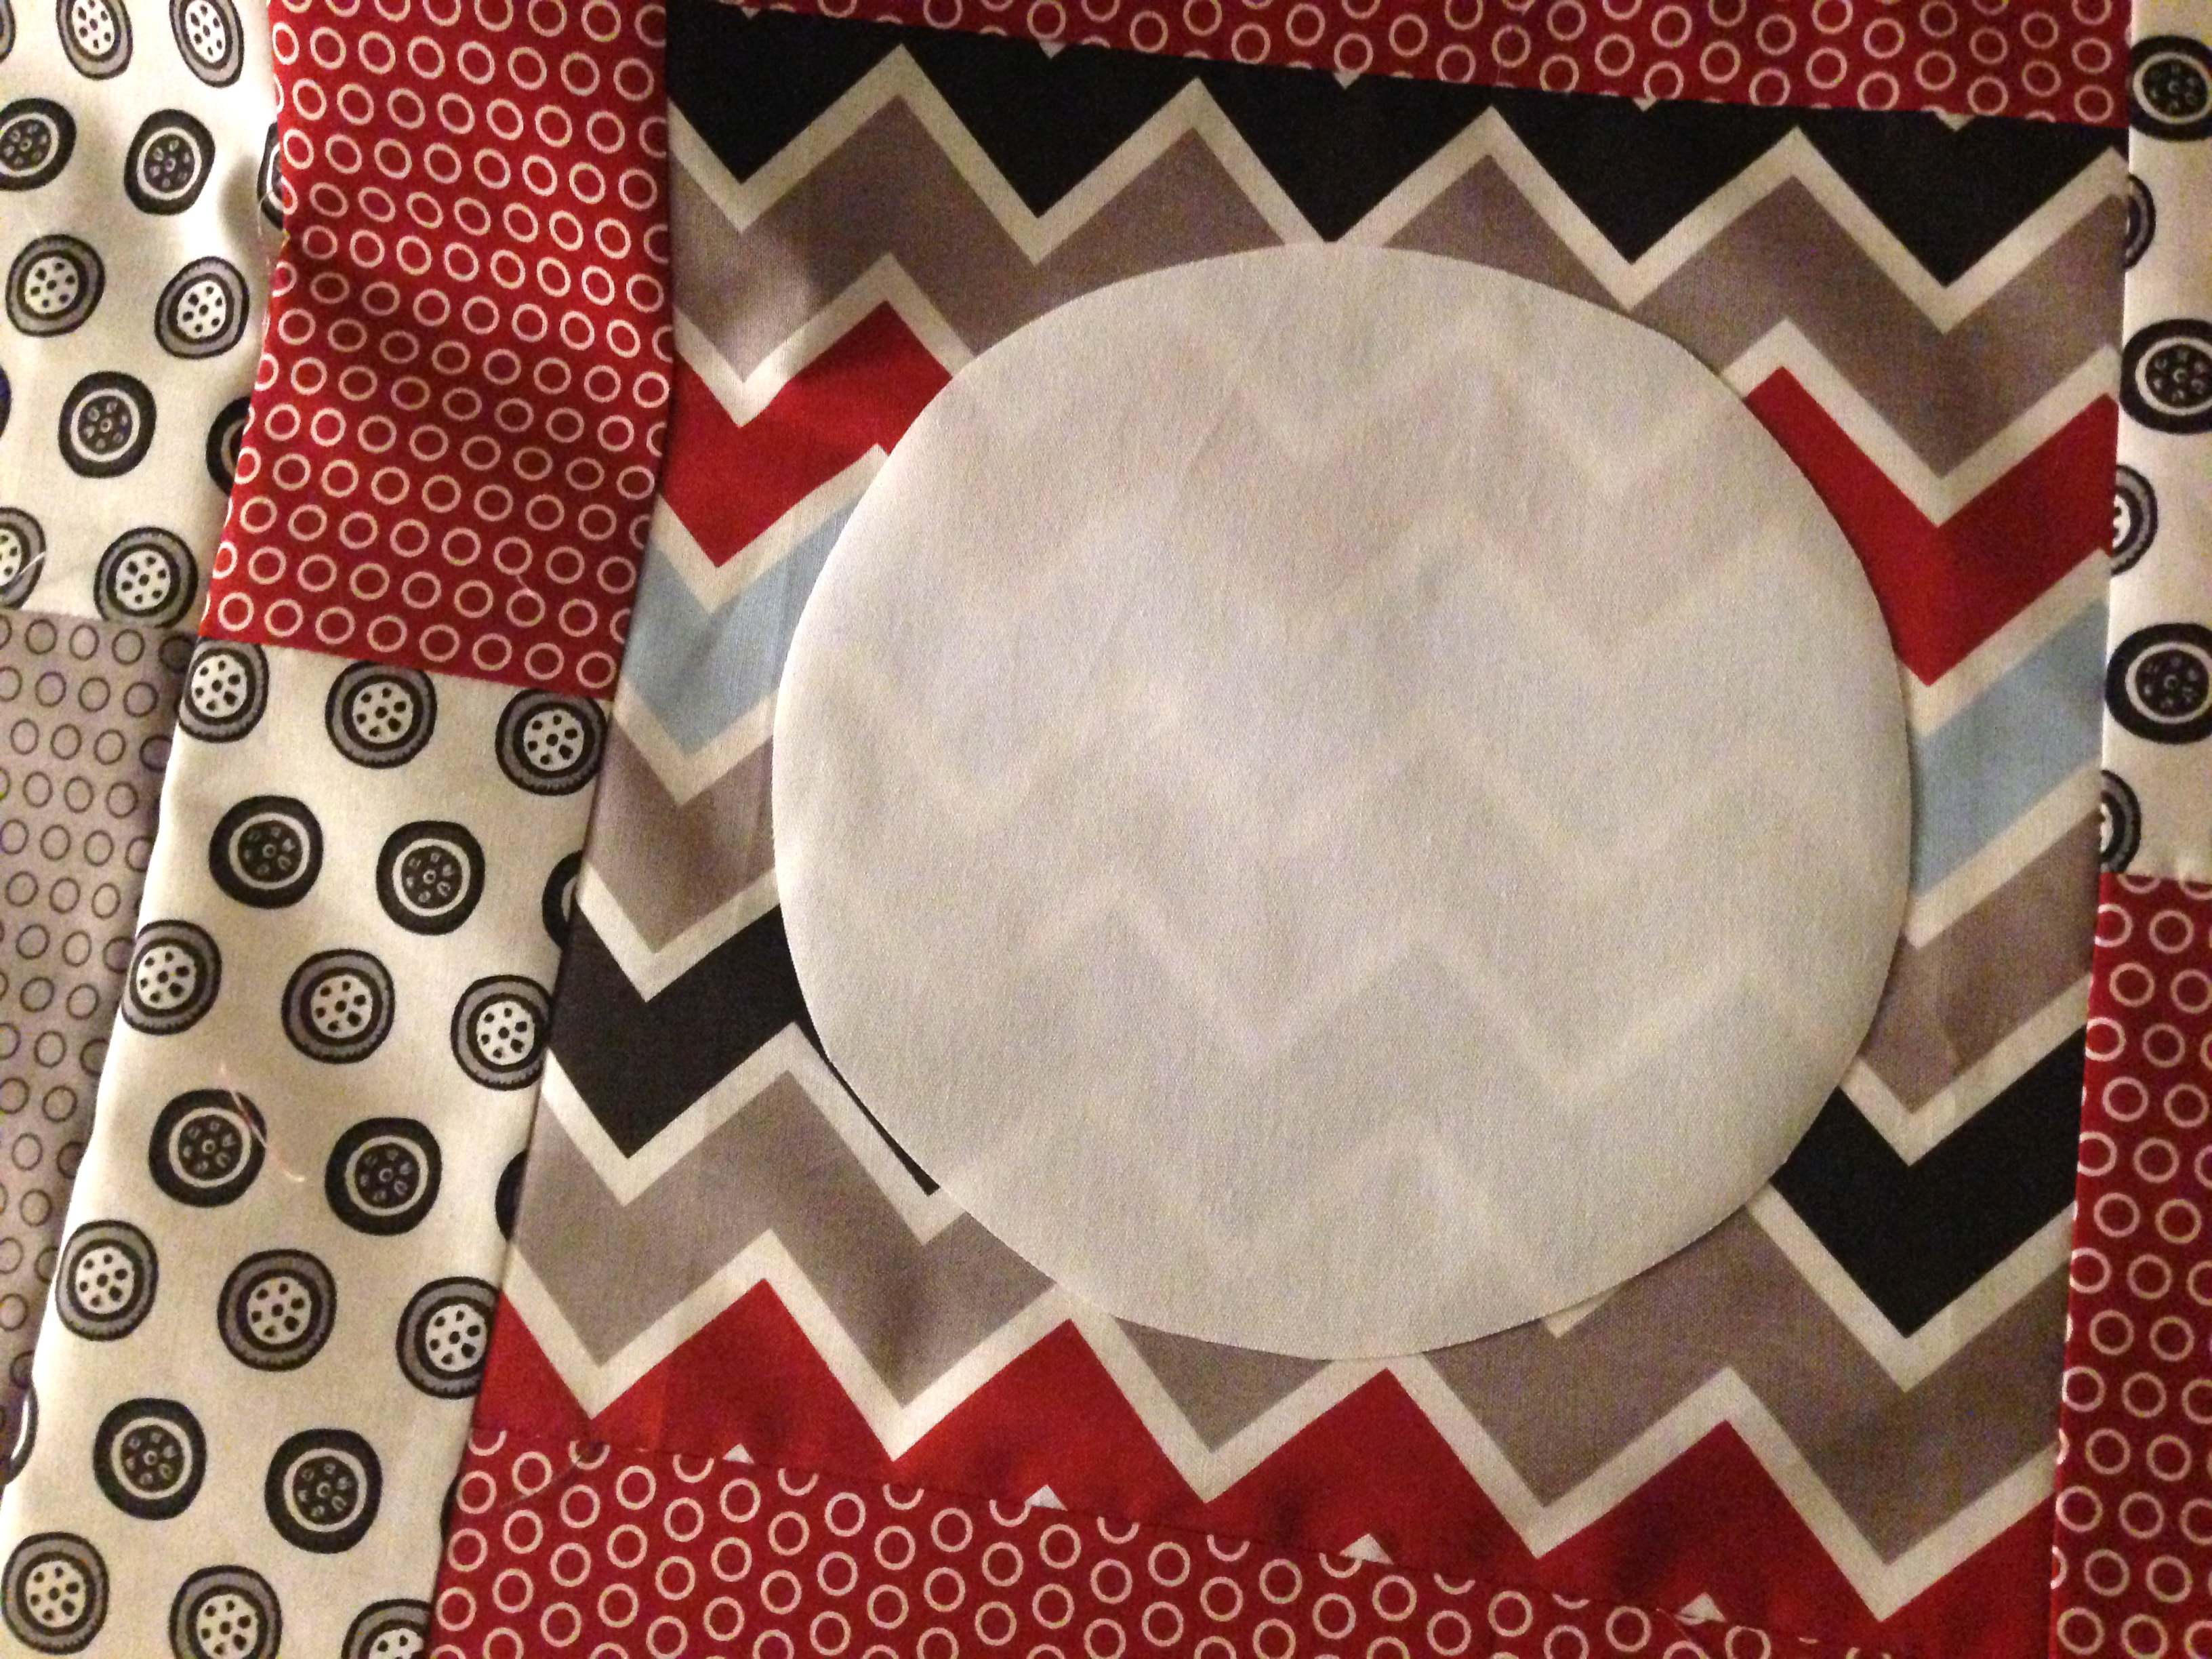
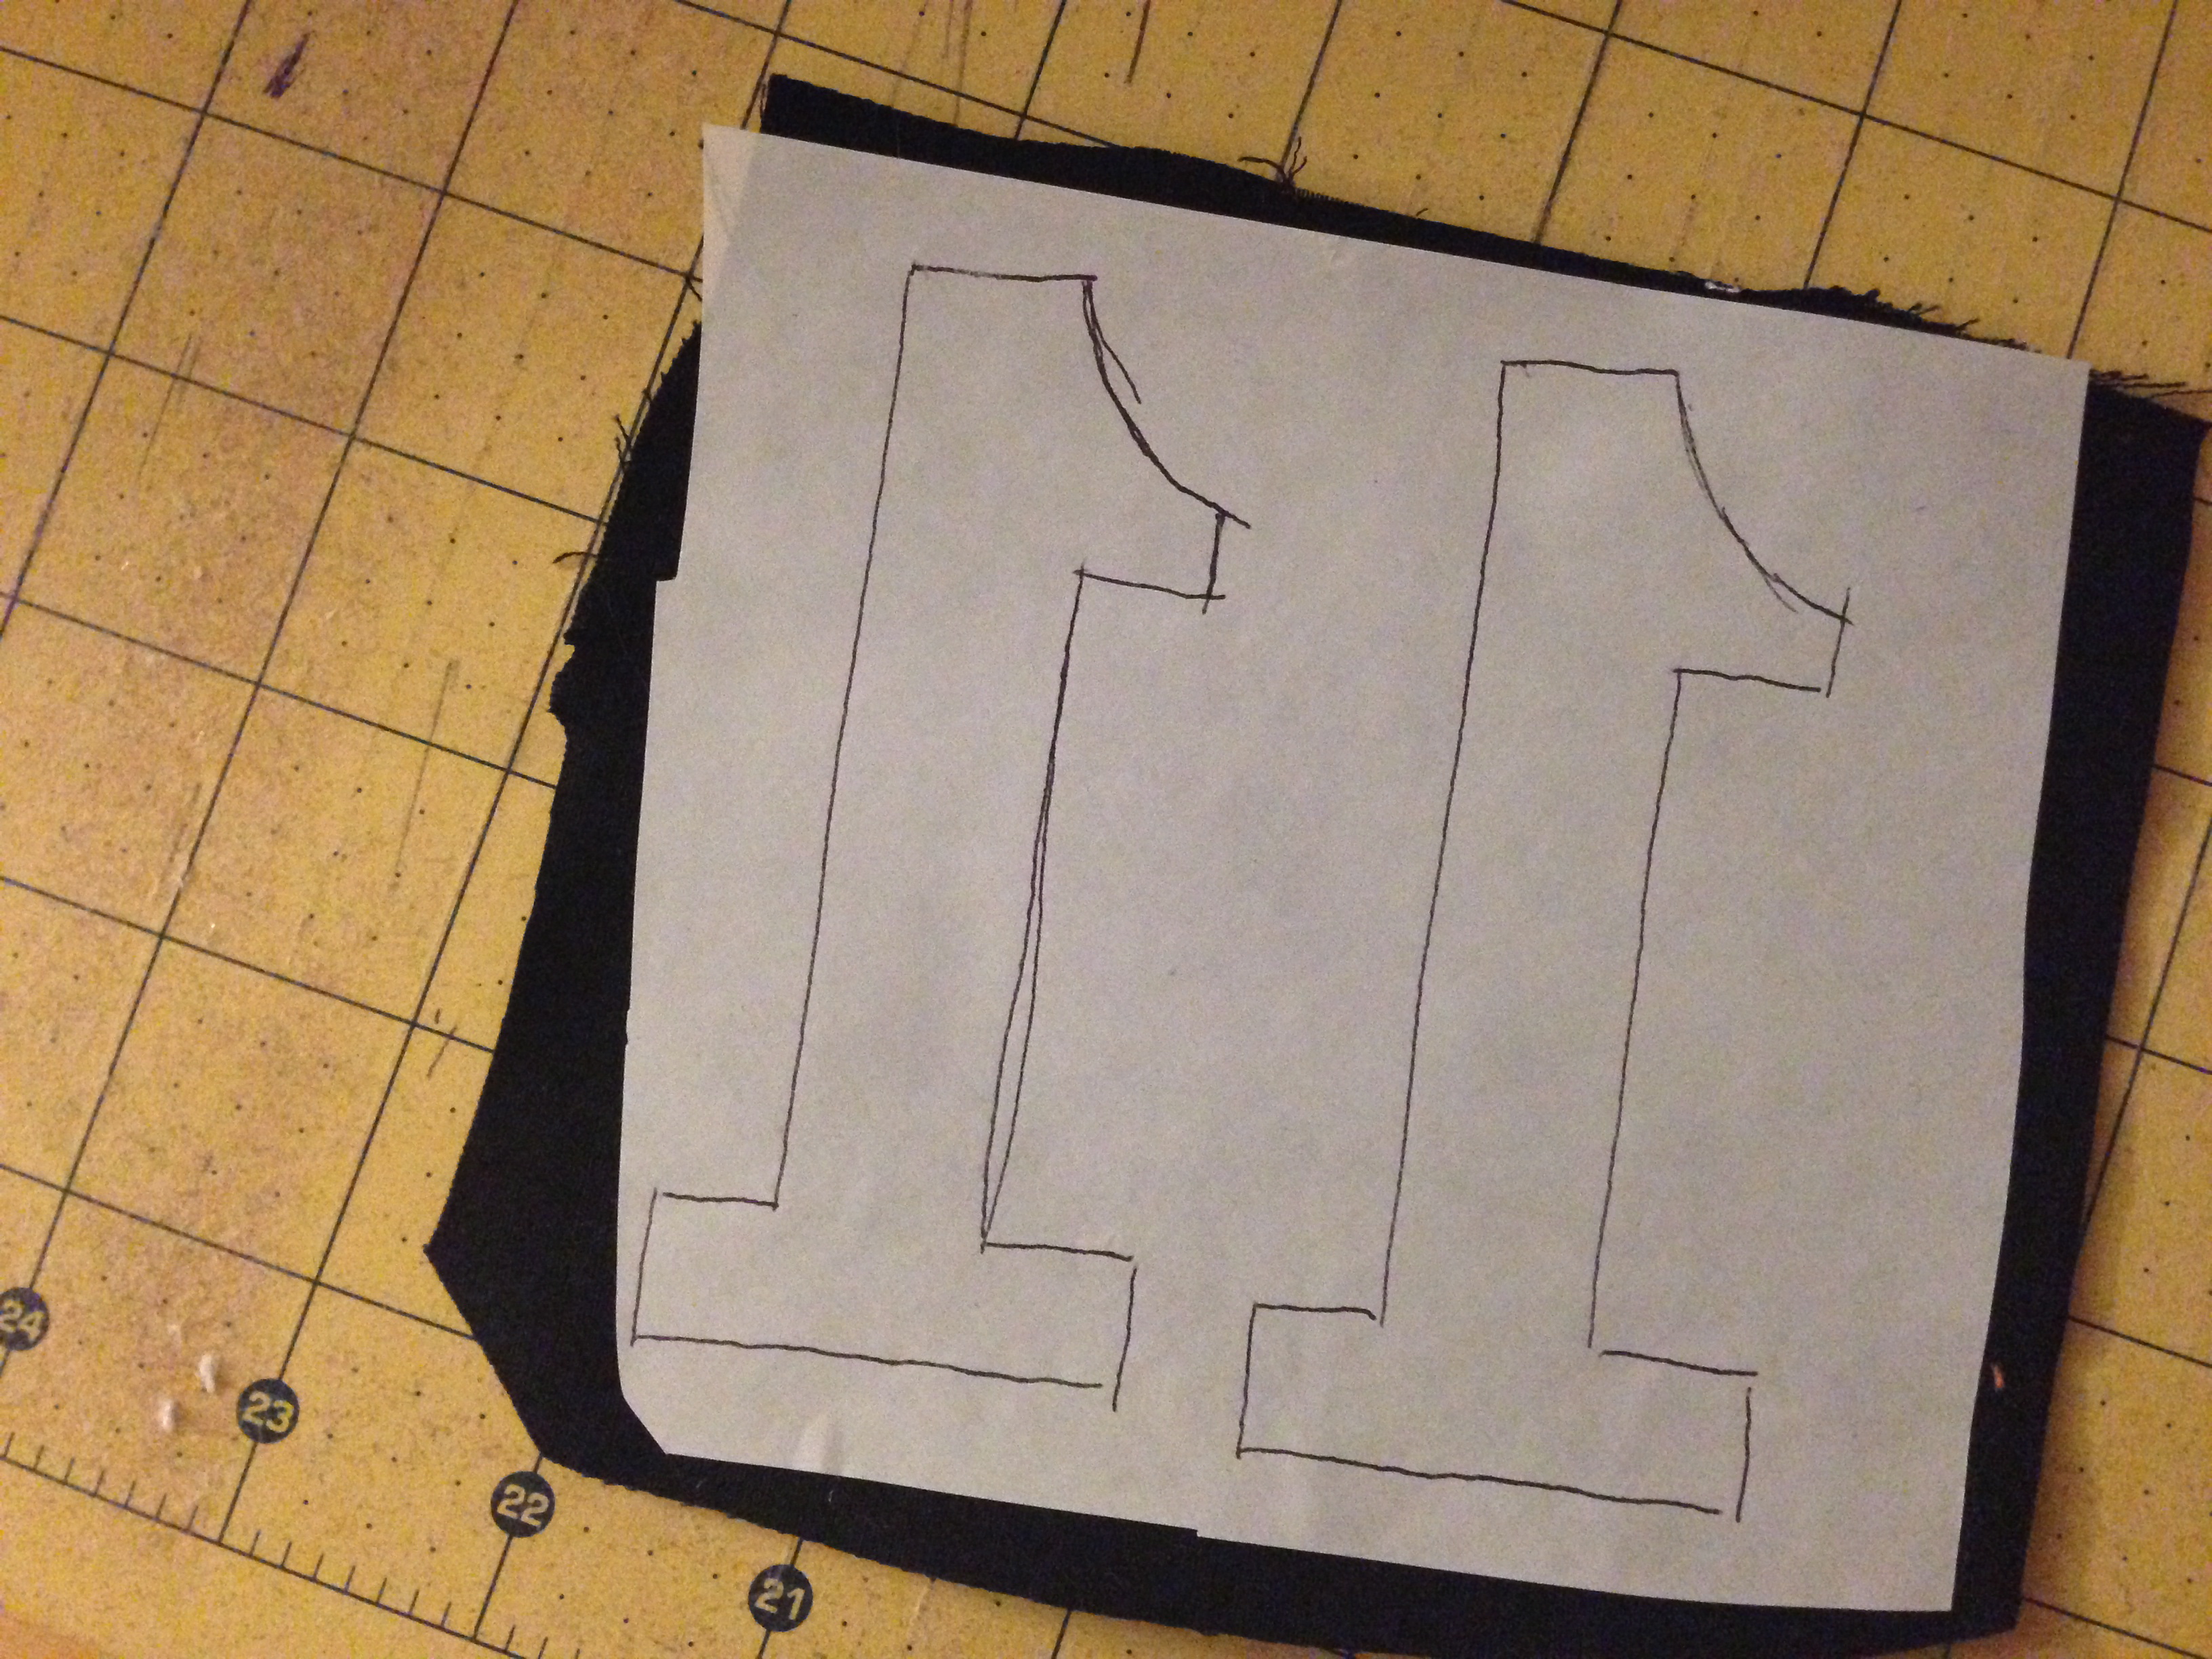
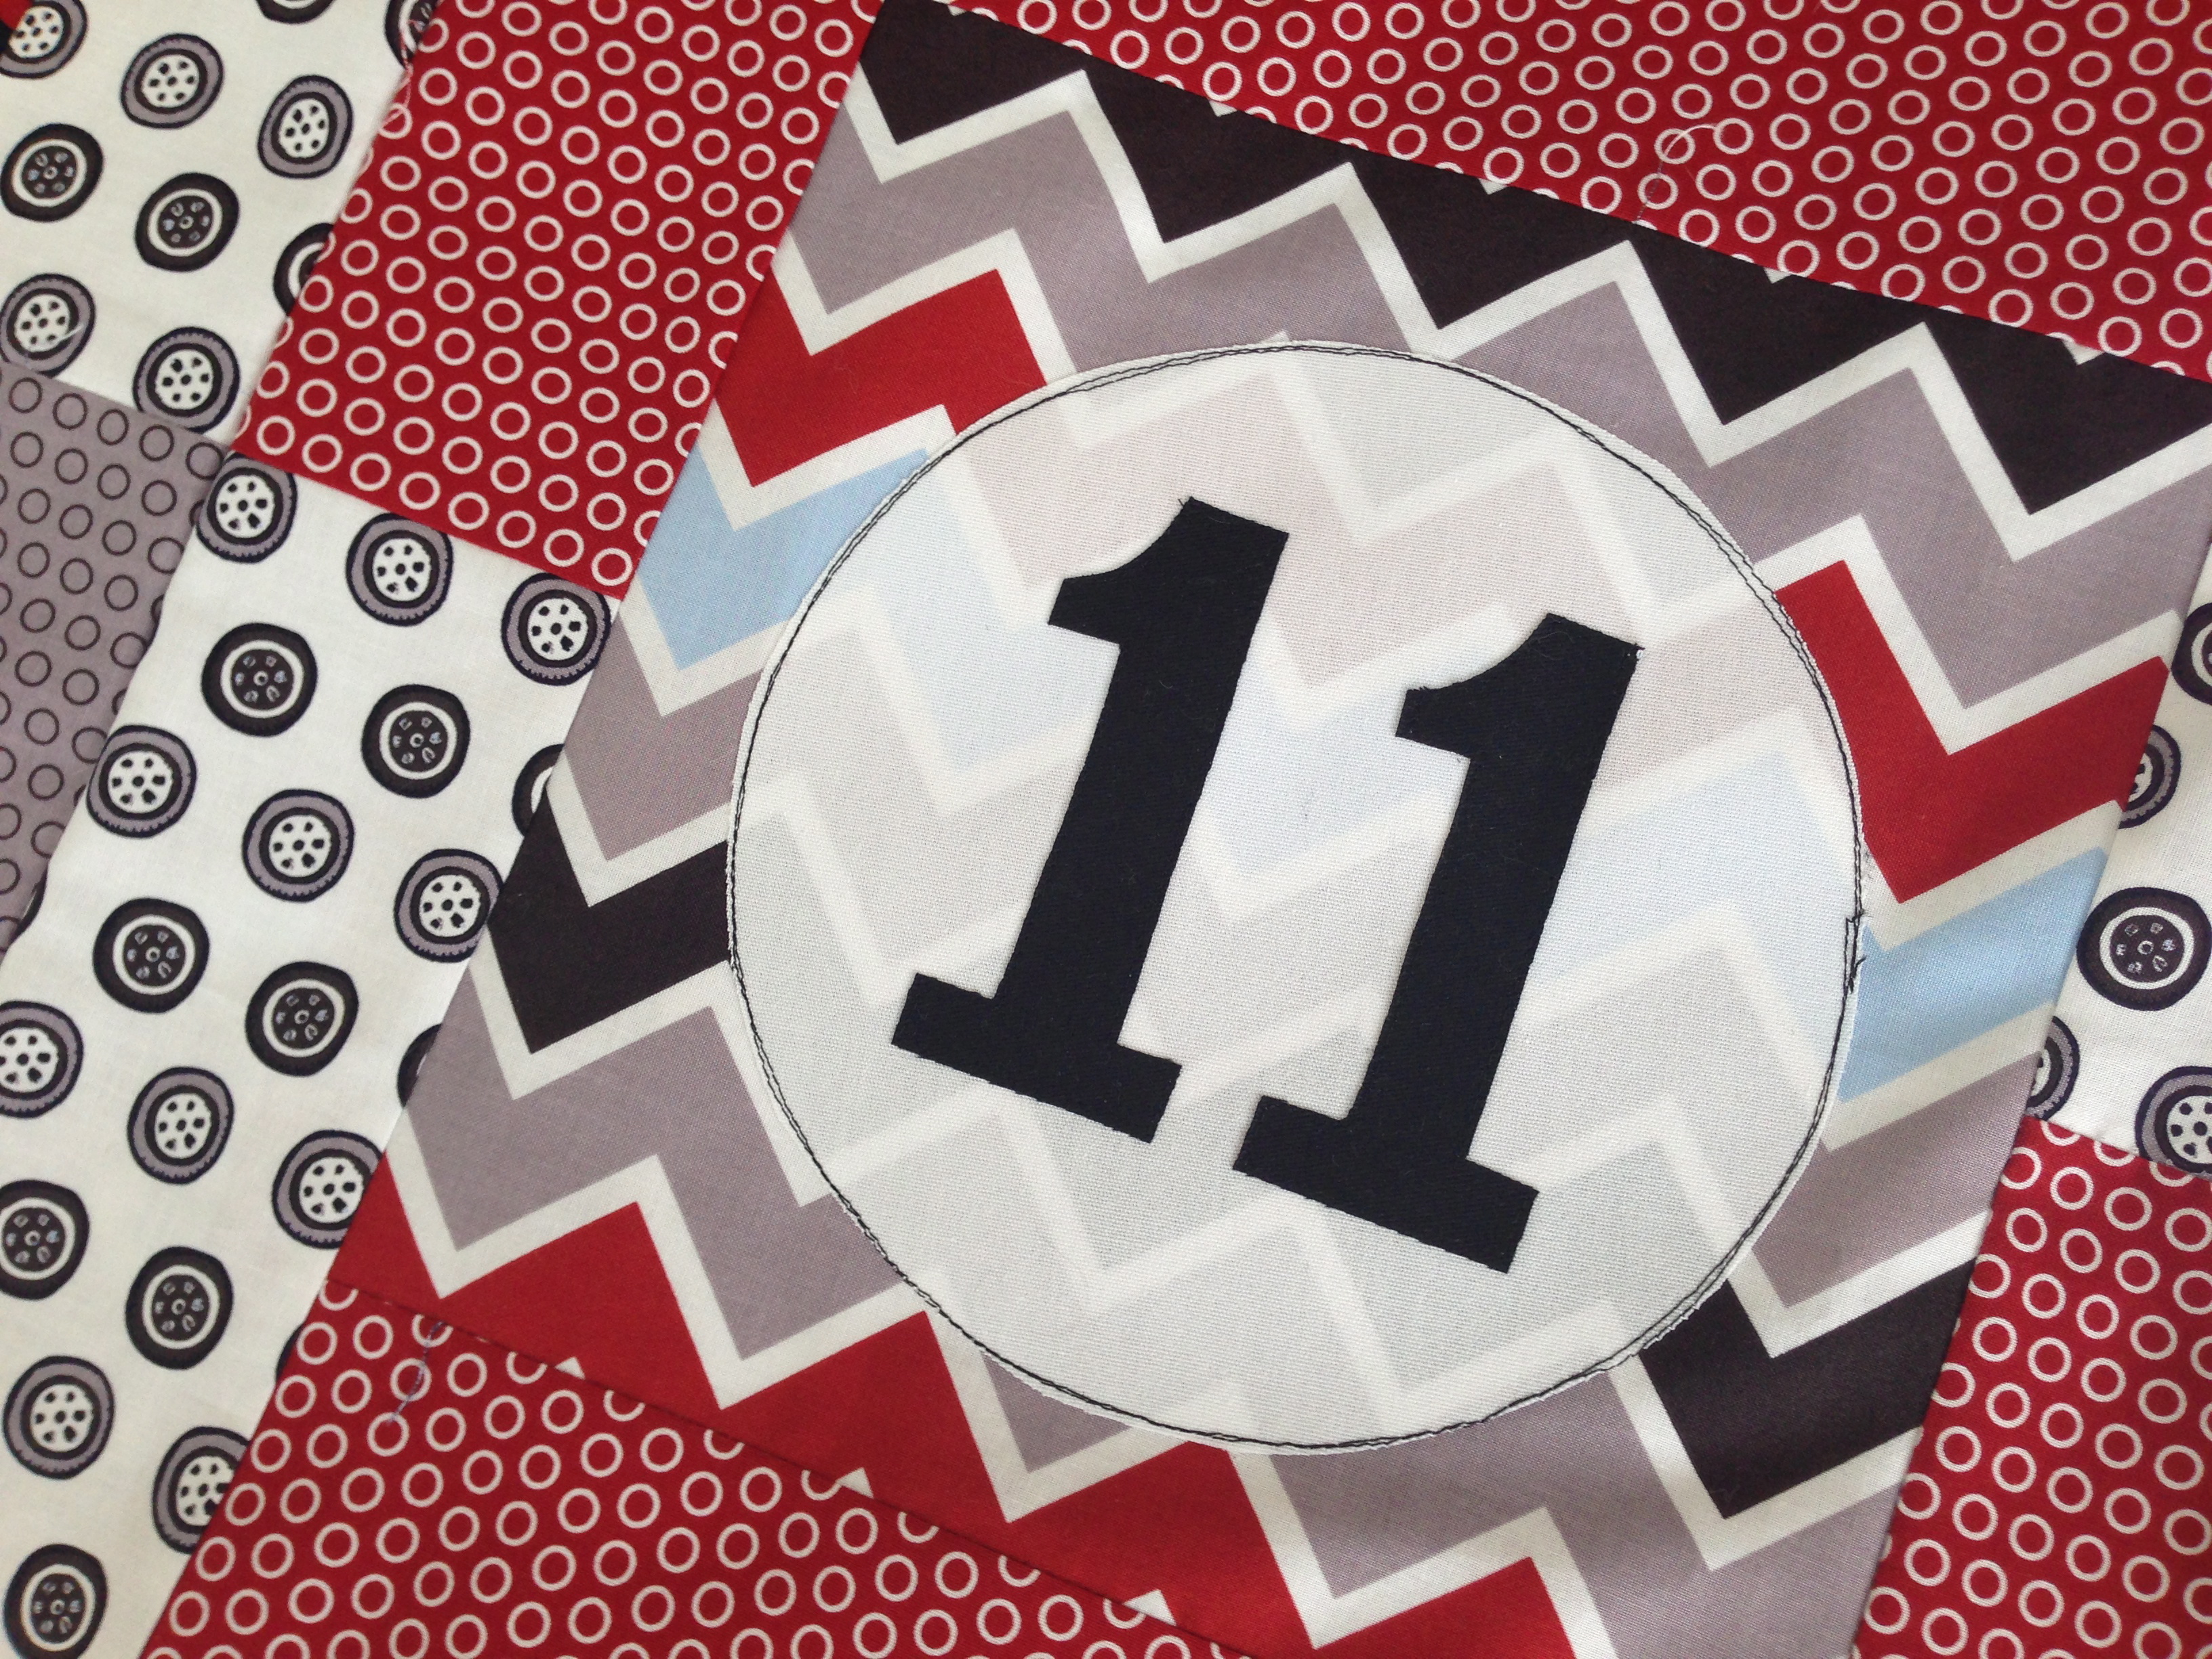
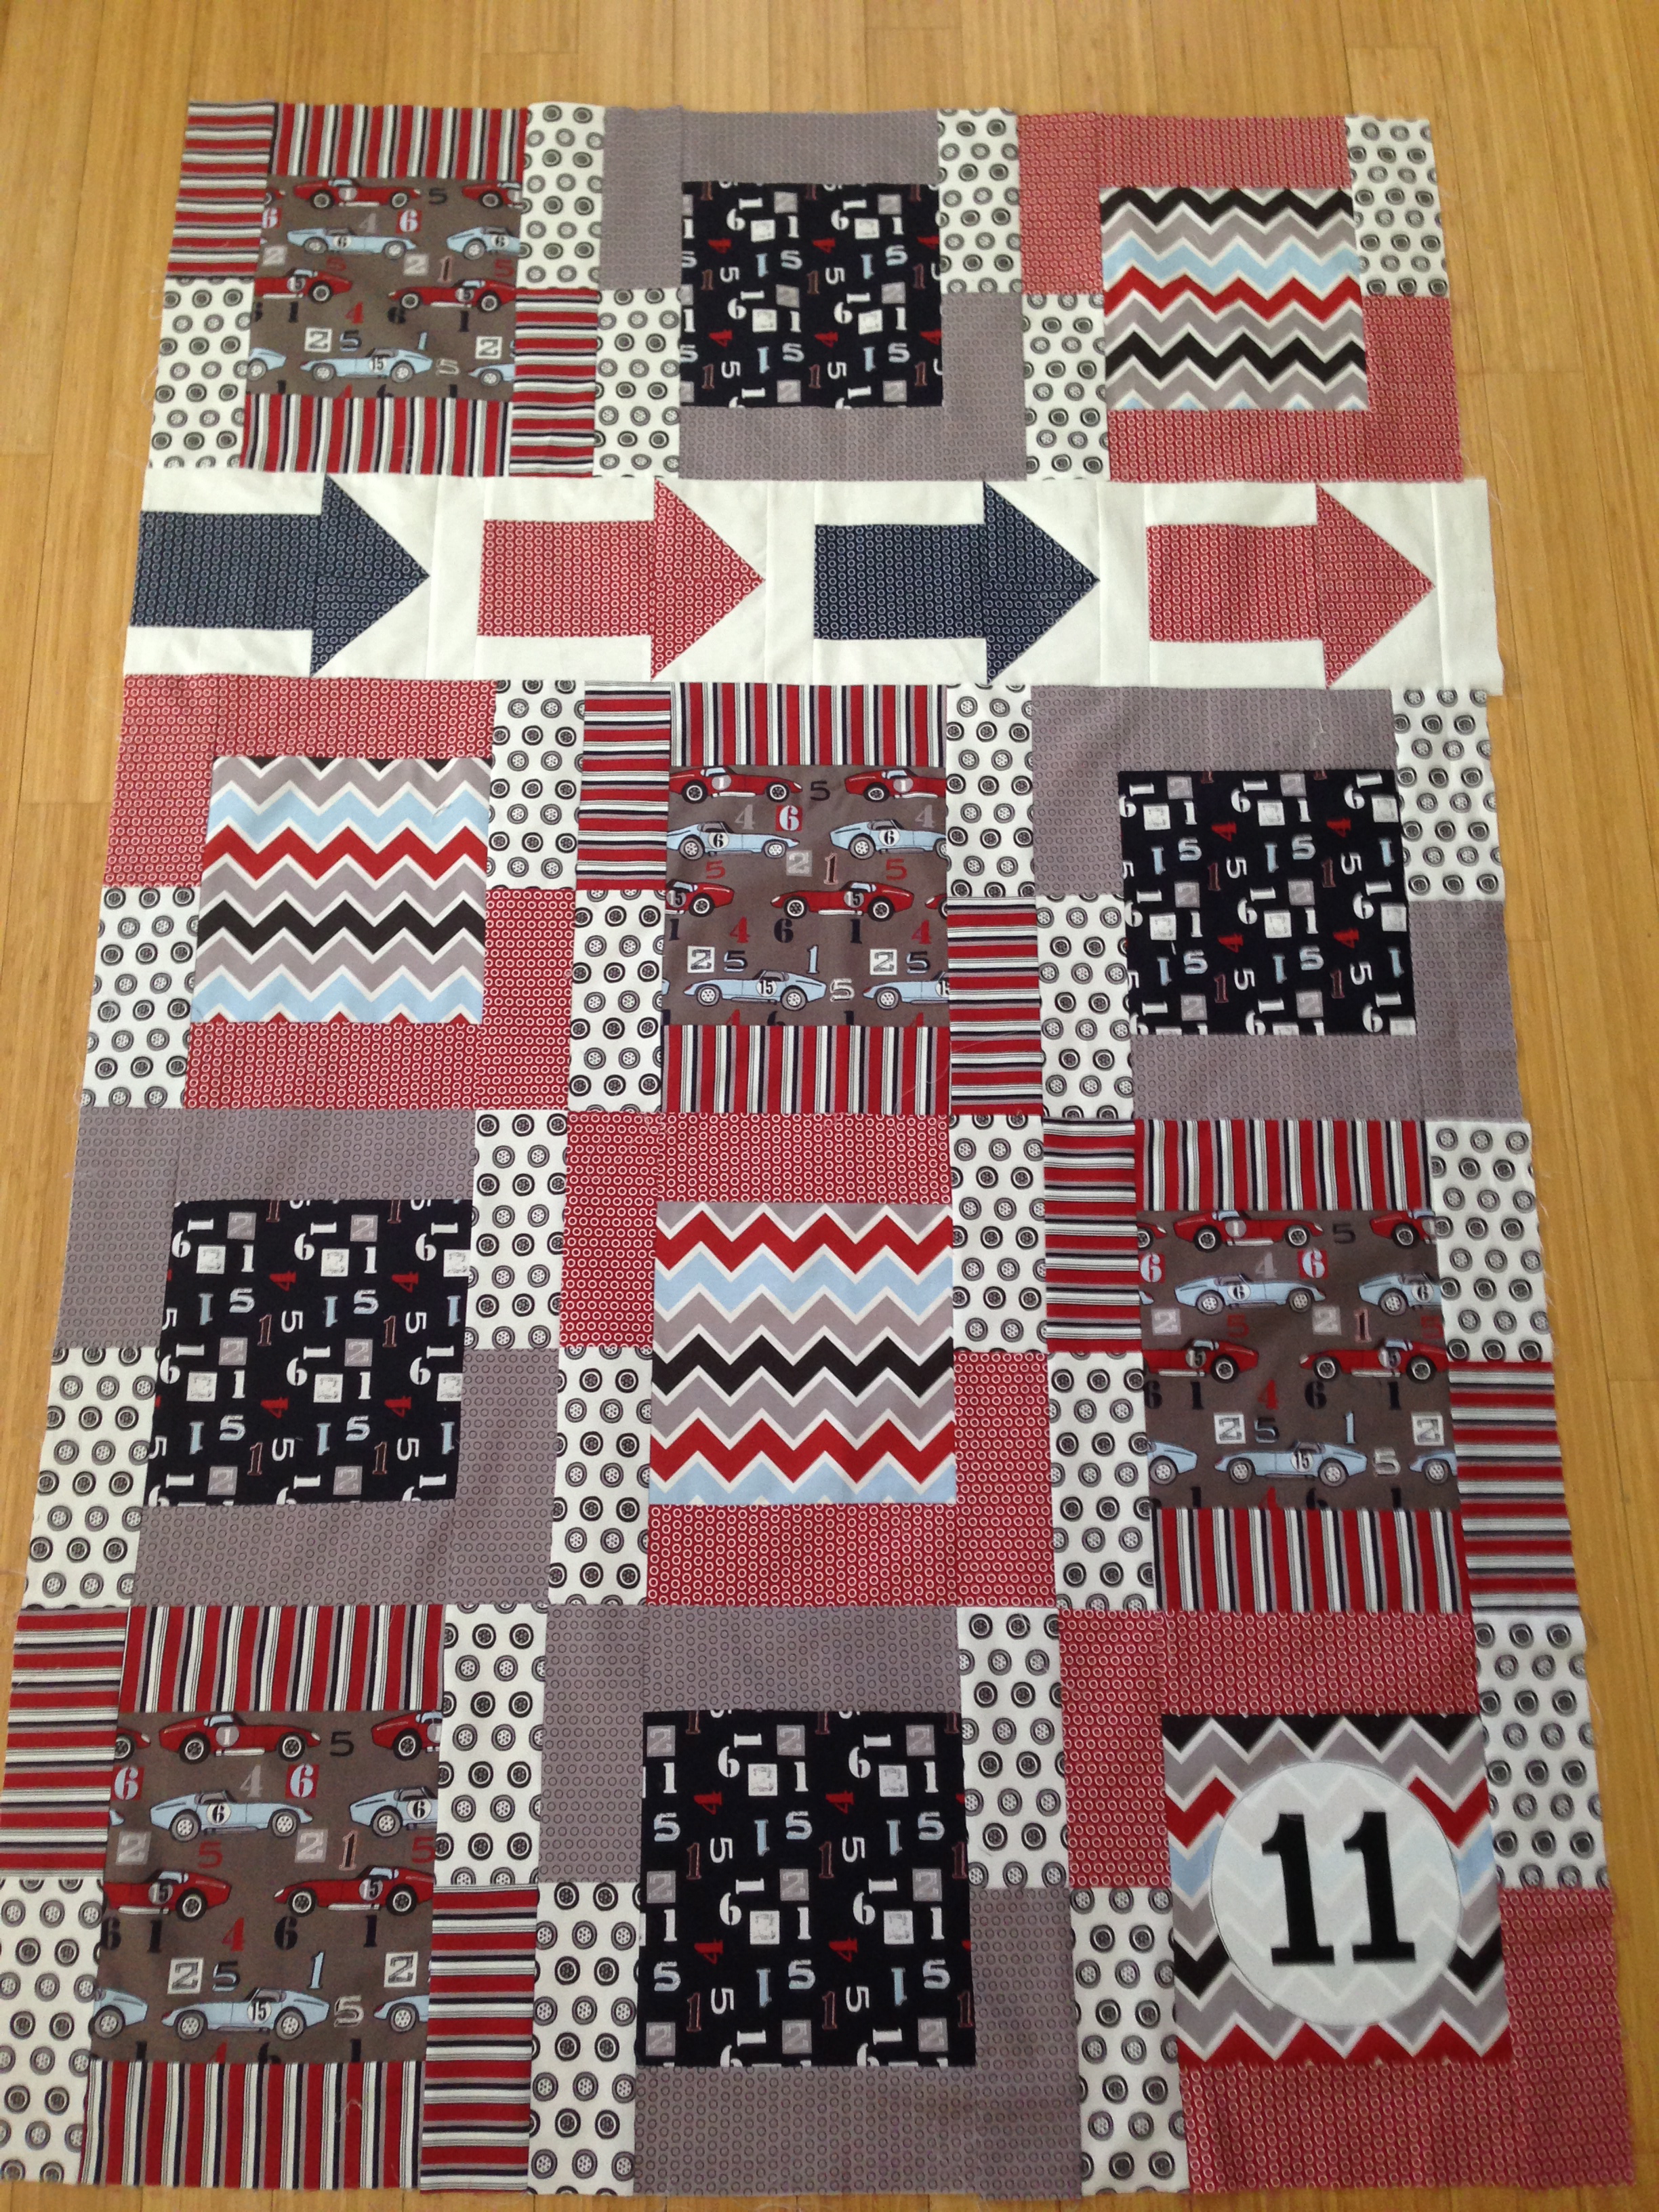
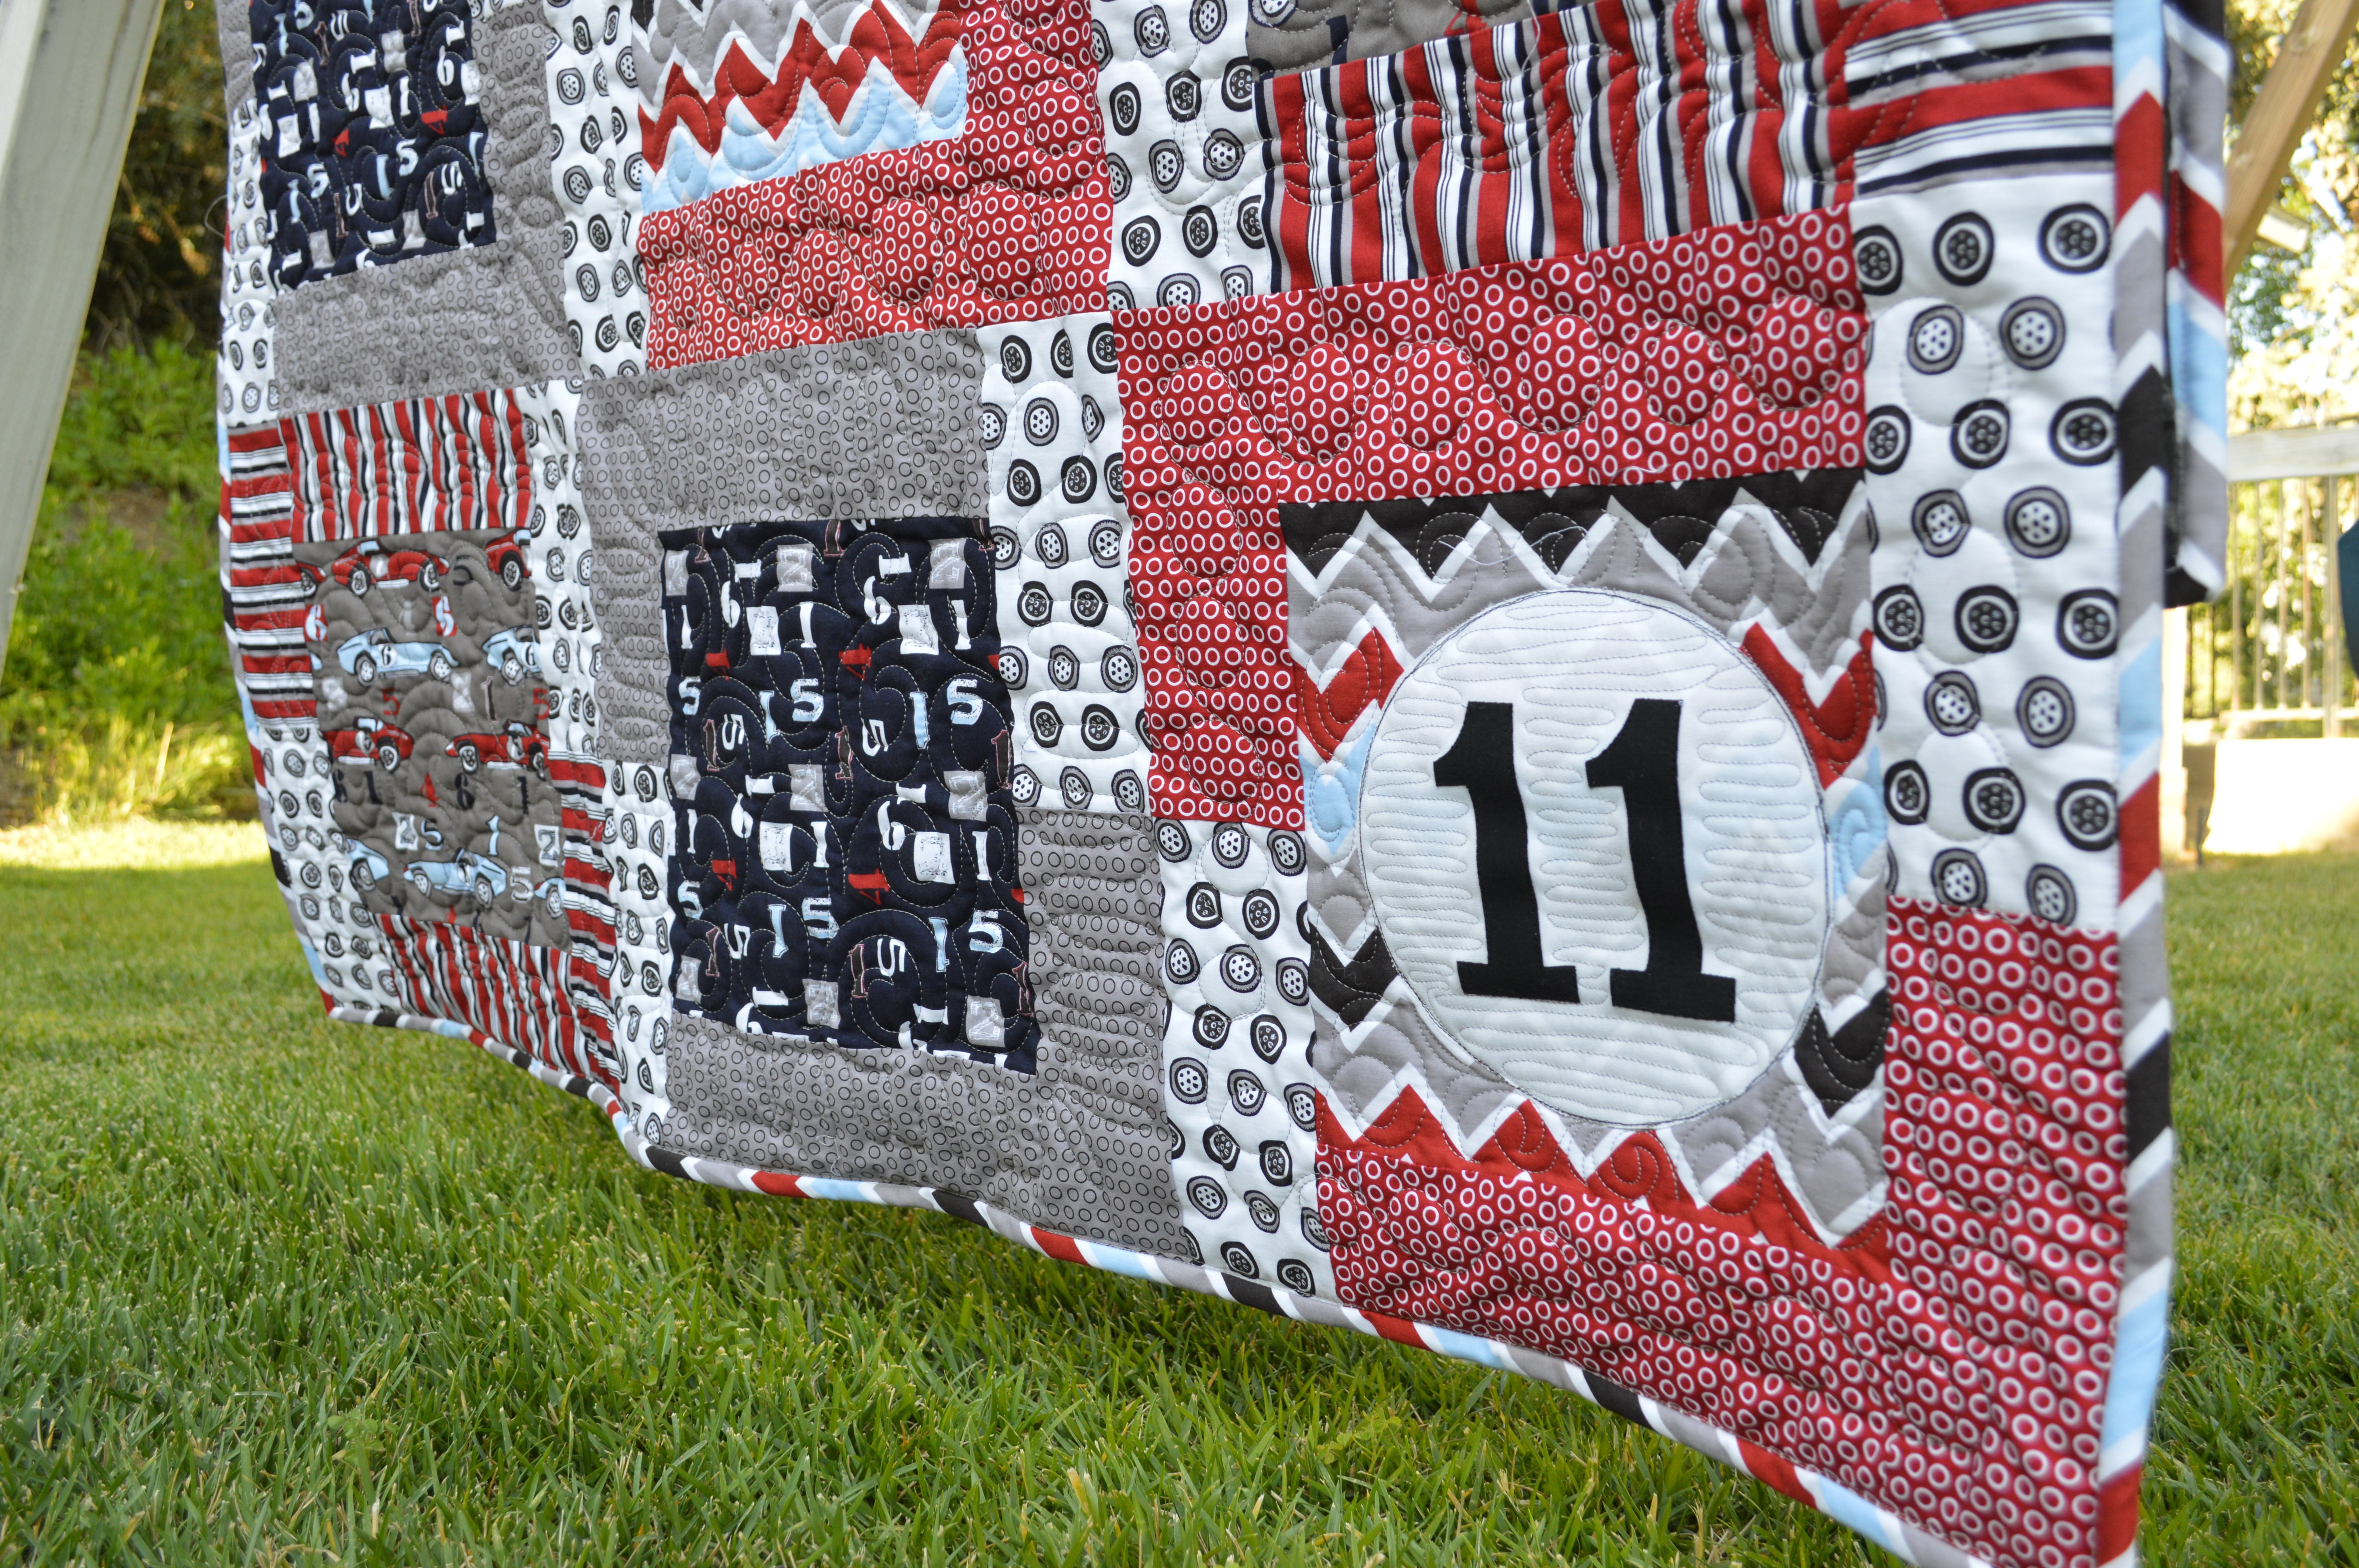
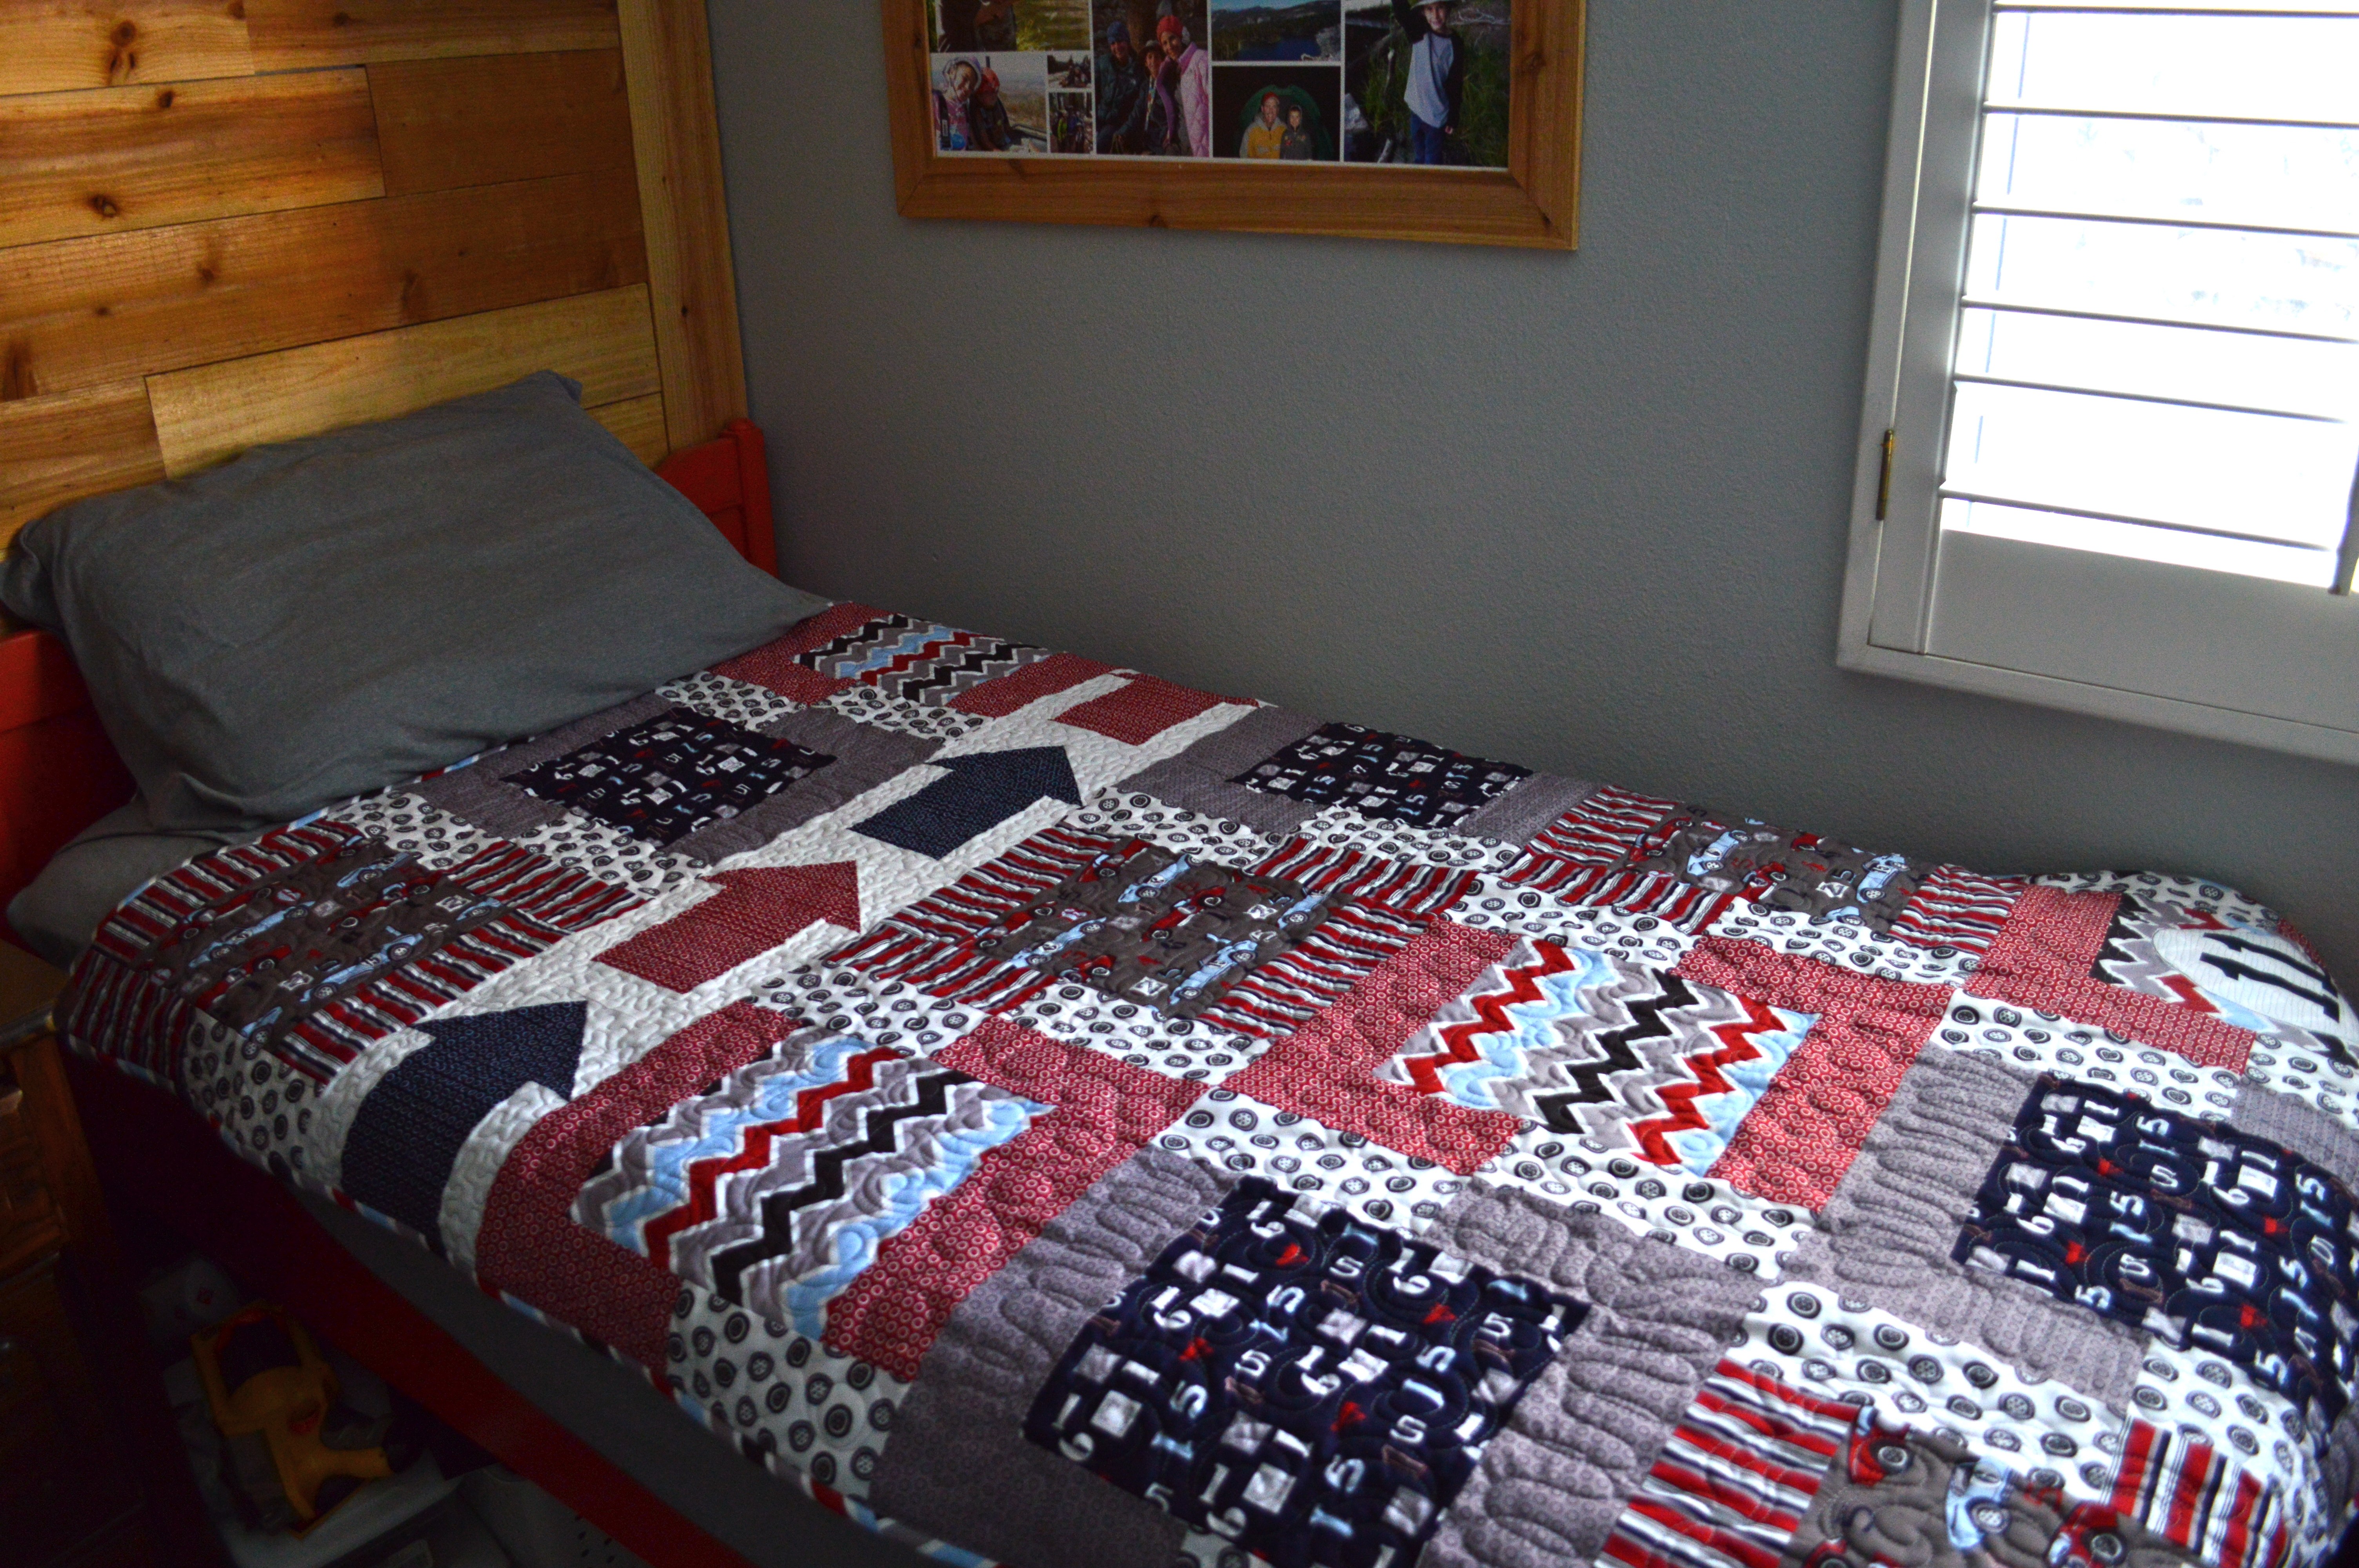
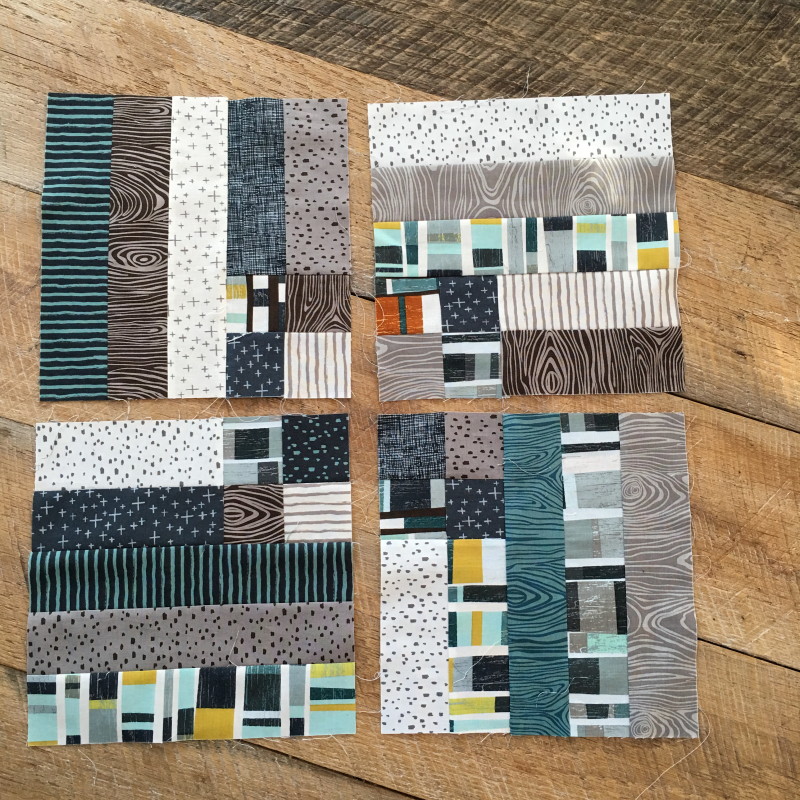
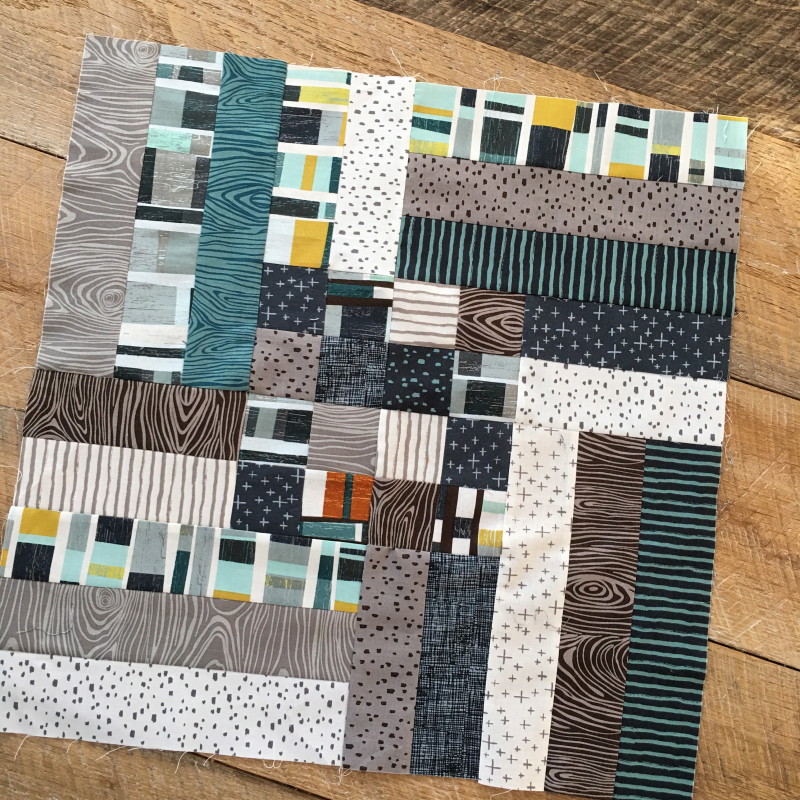
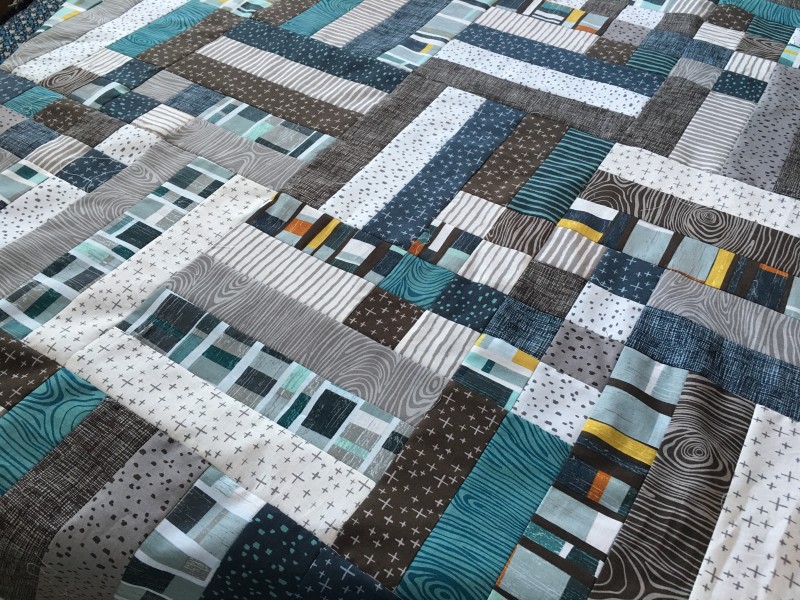
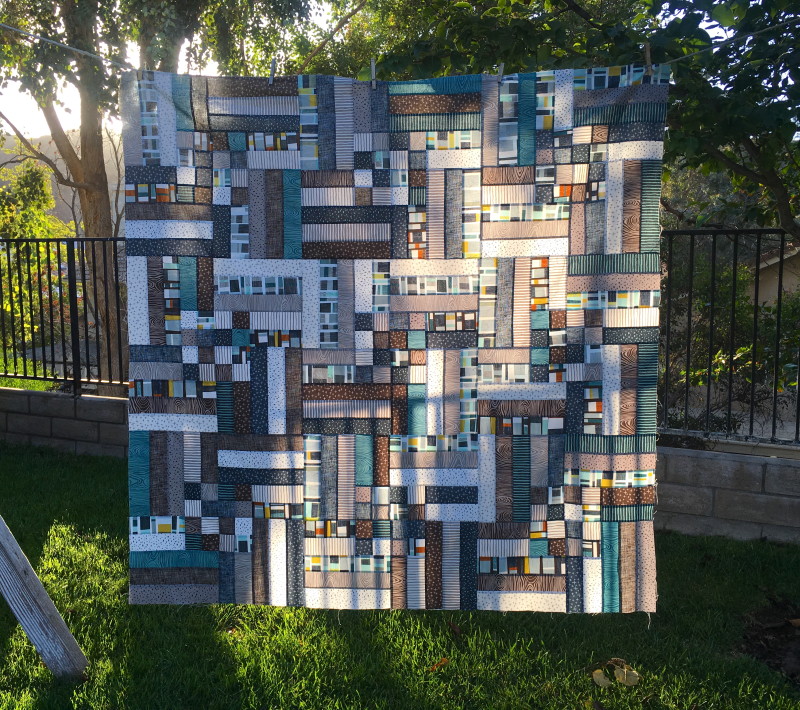
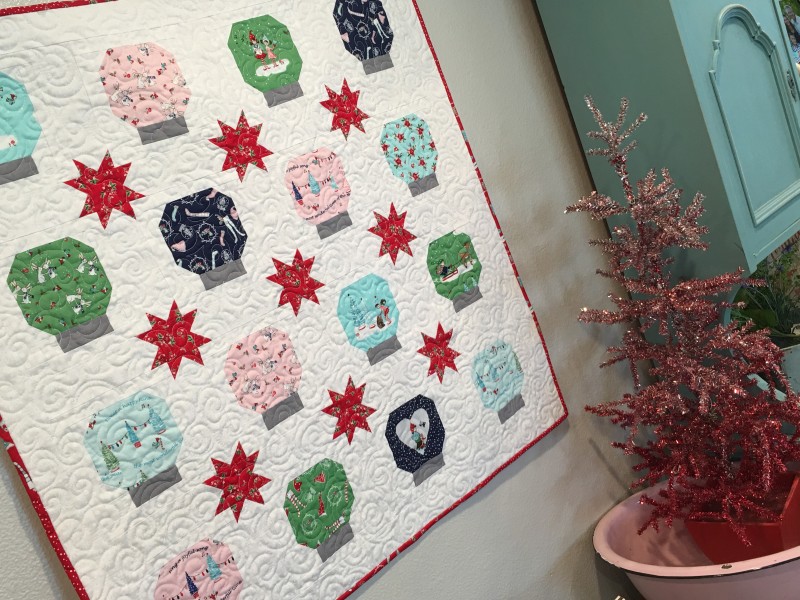
 A little update on one of my favorite quilts…..
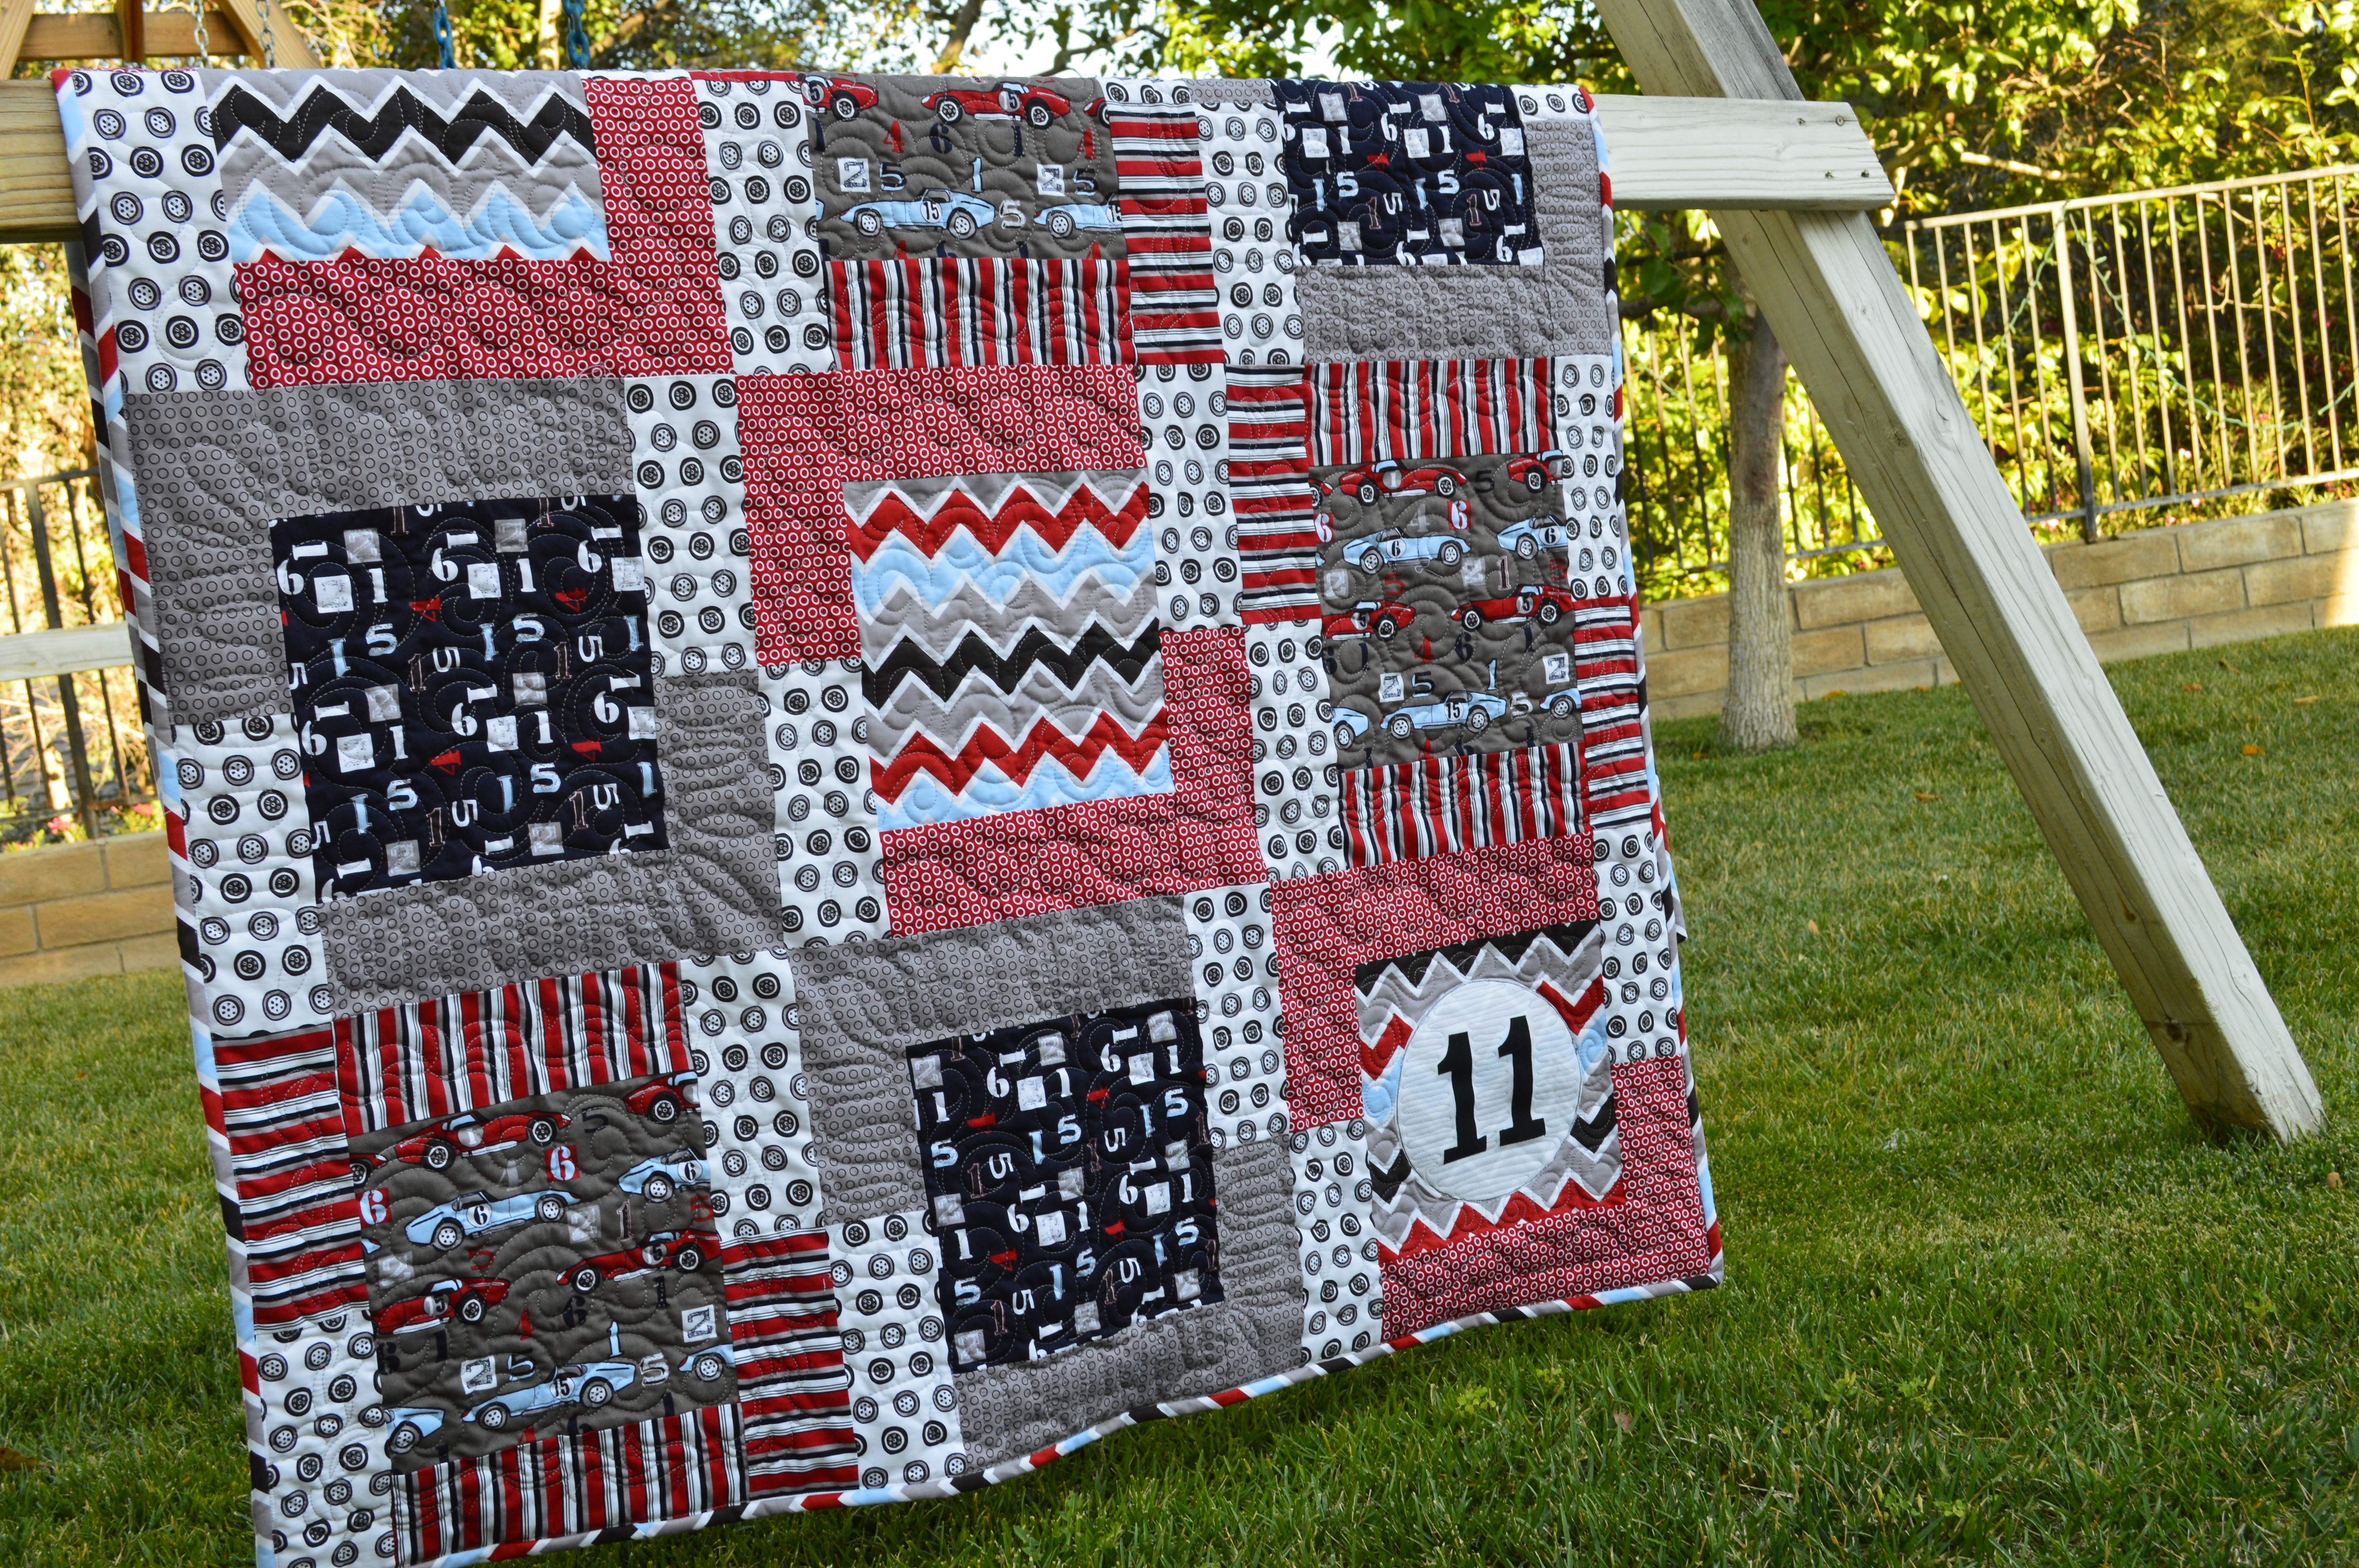
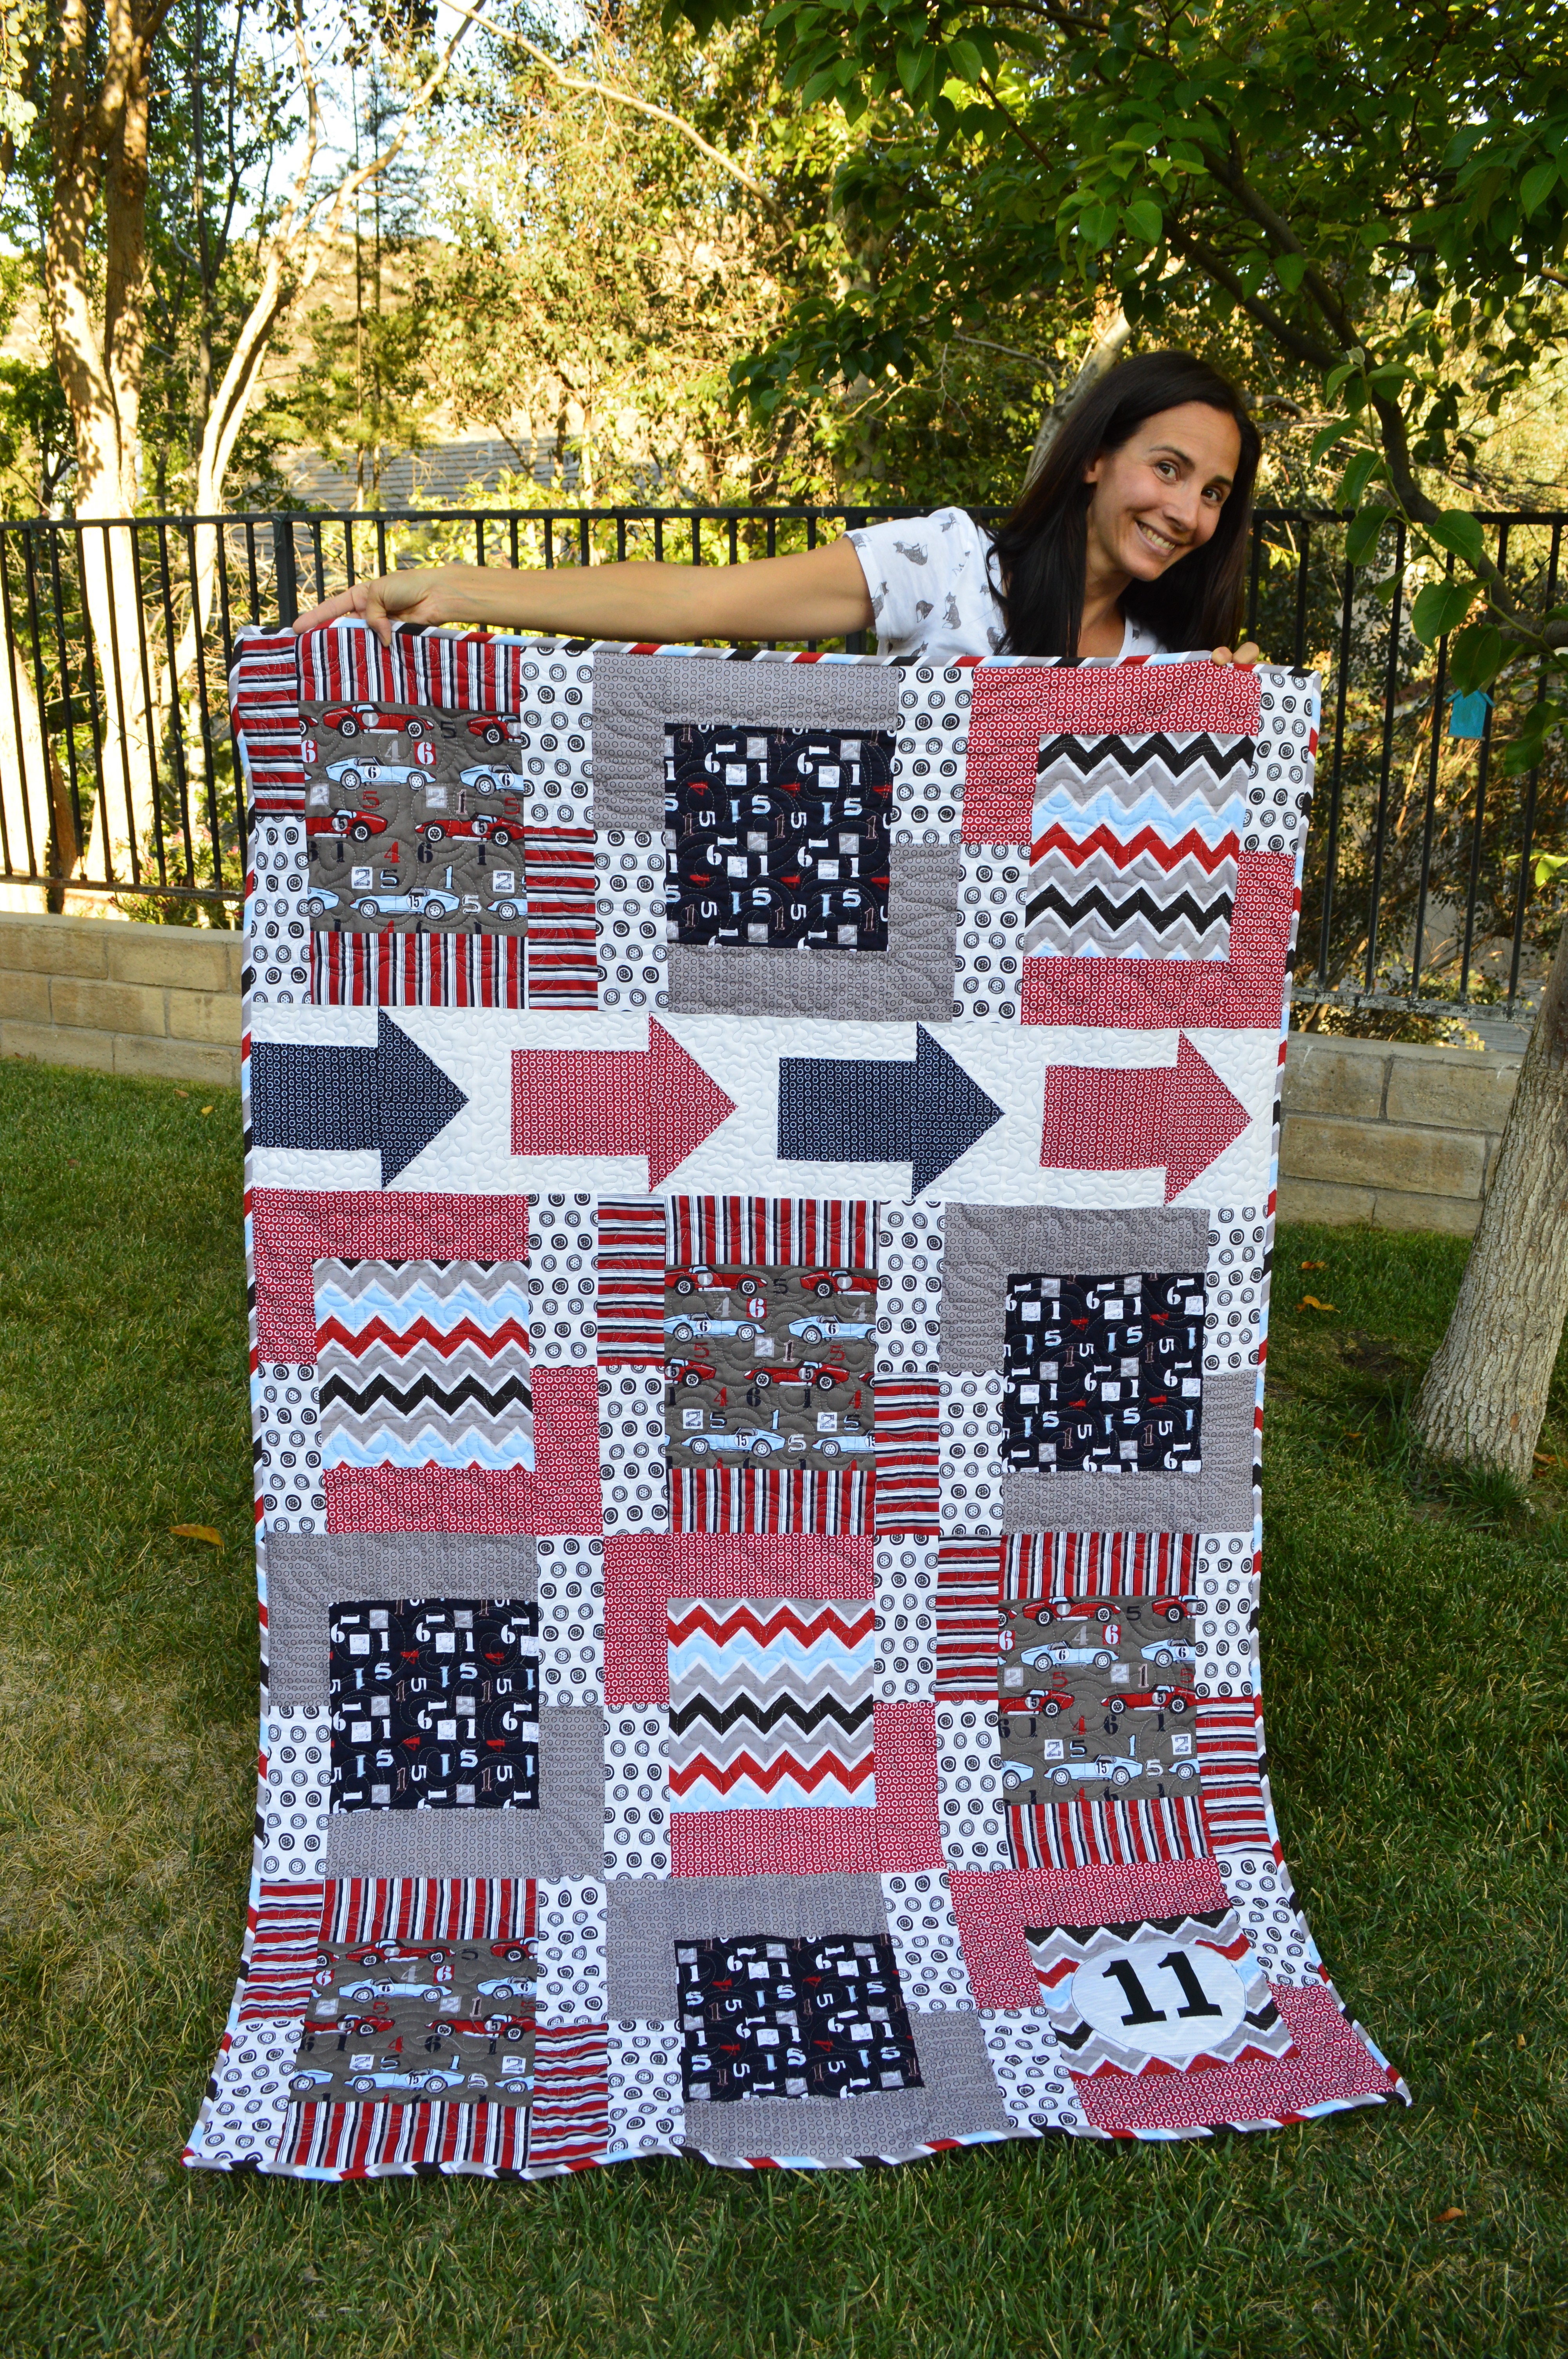
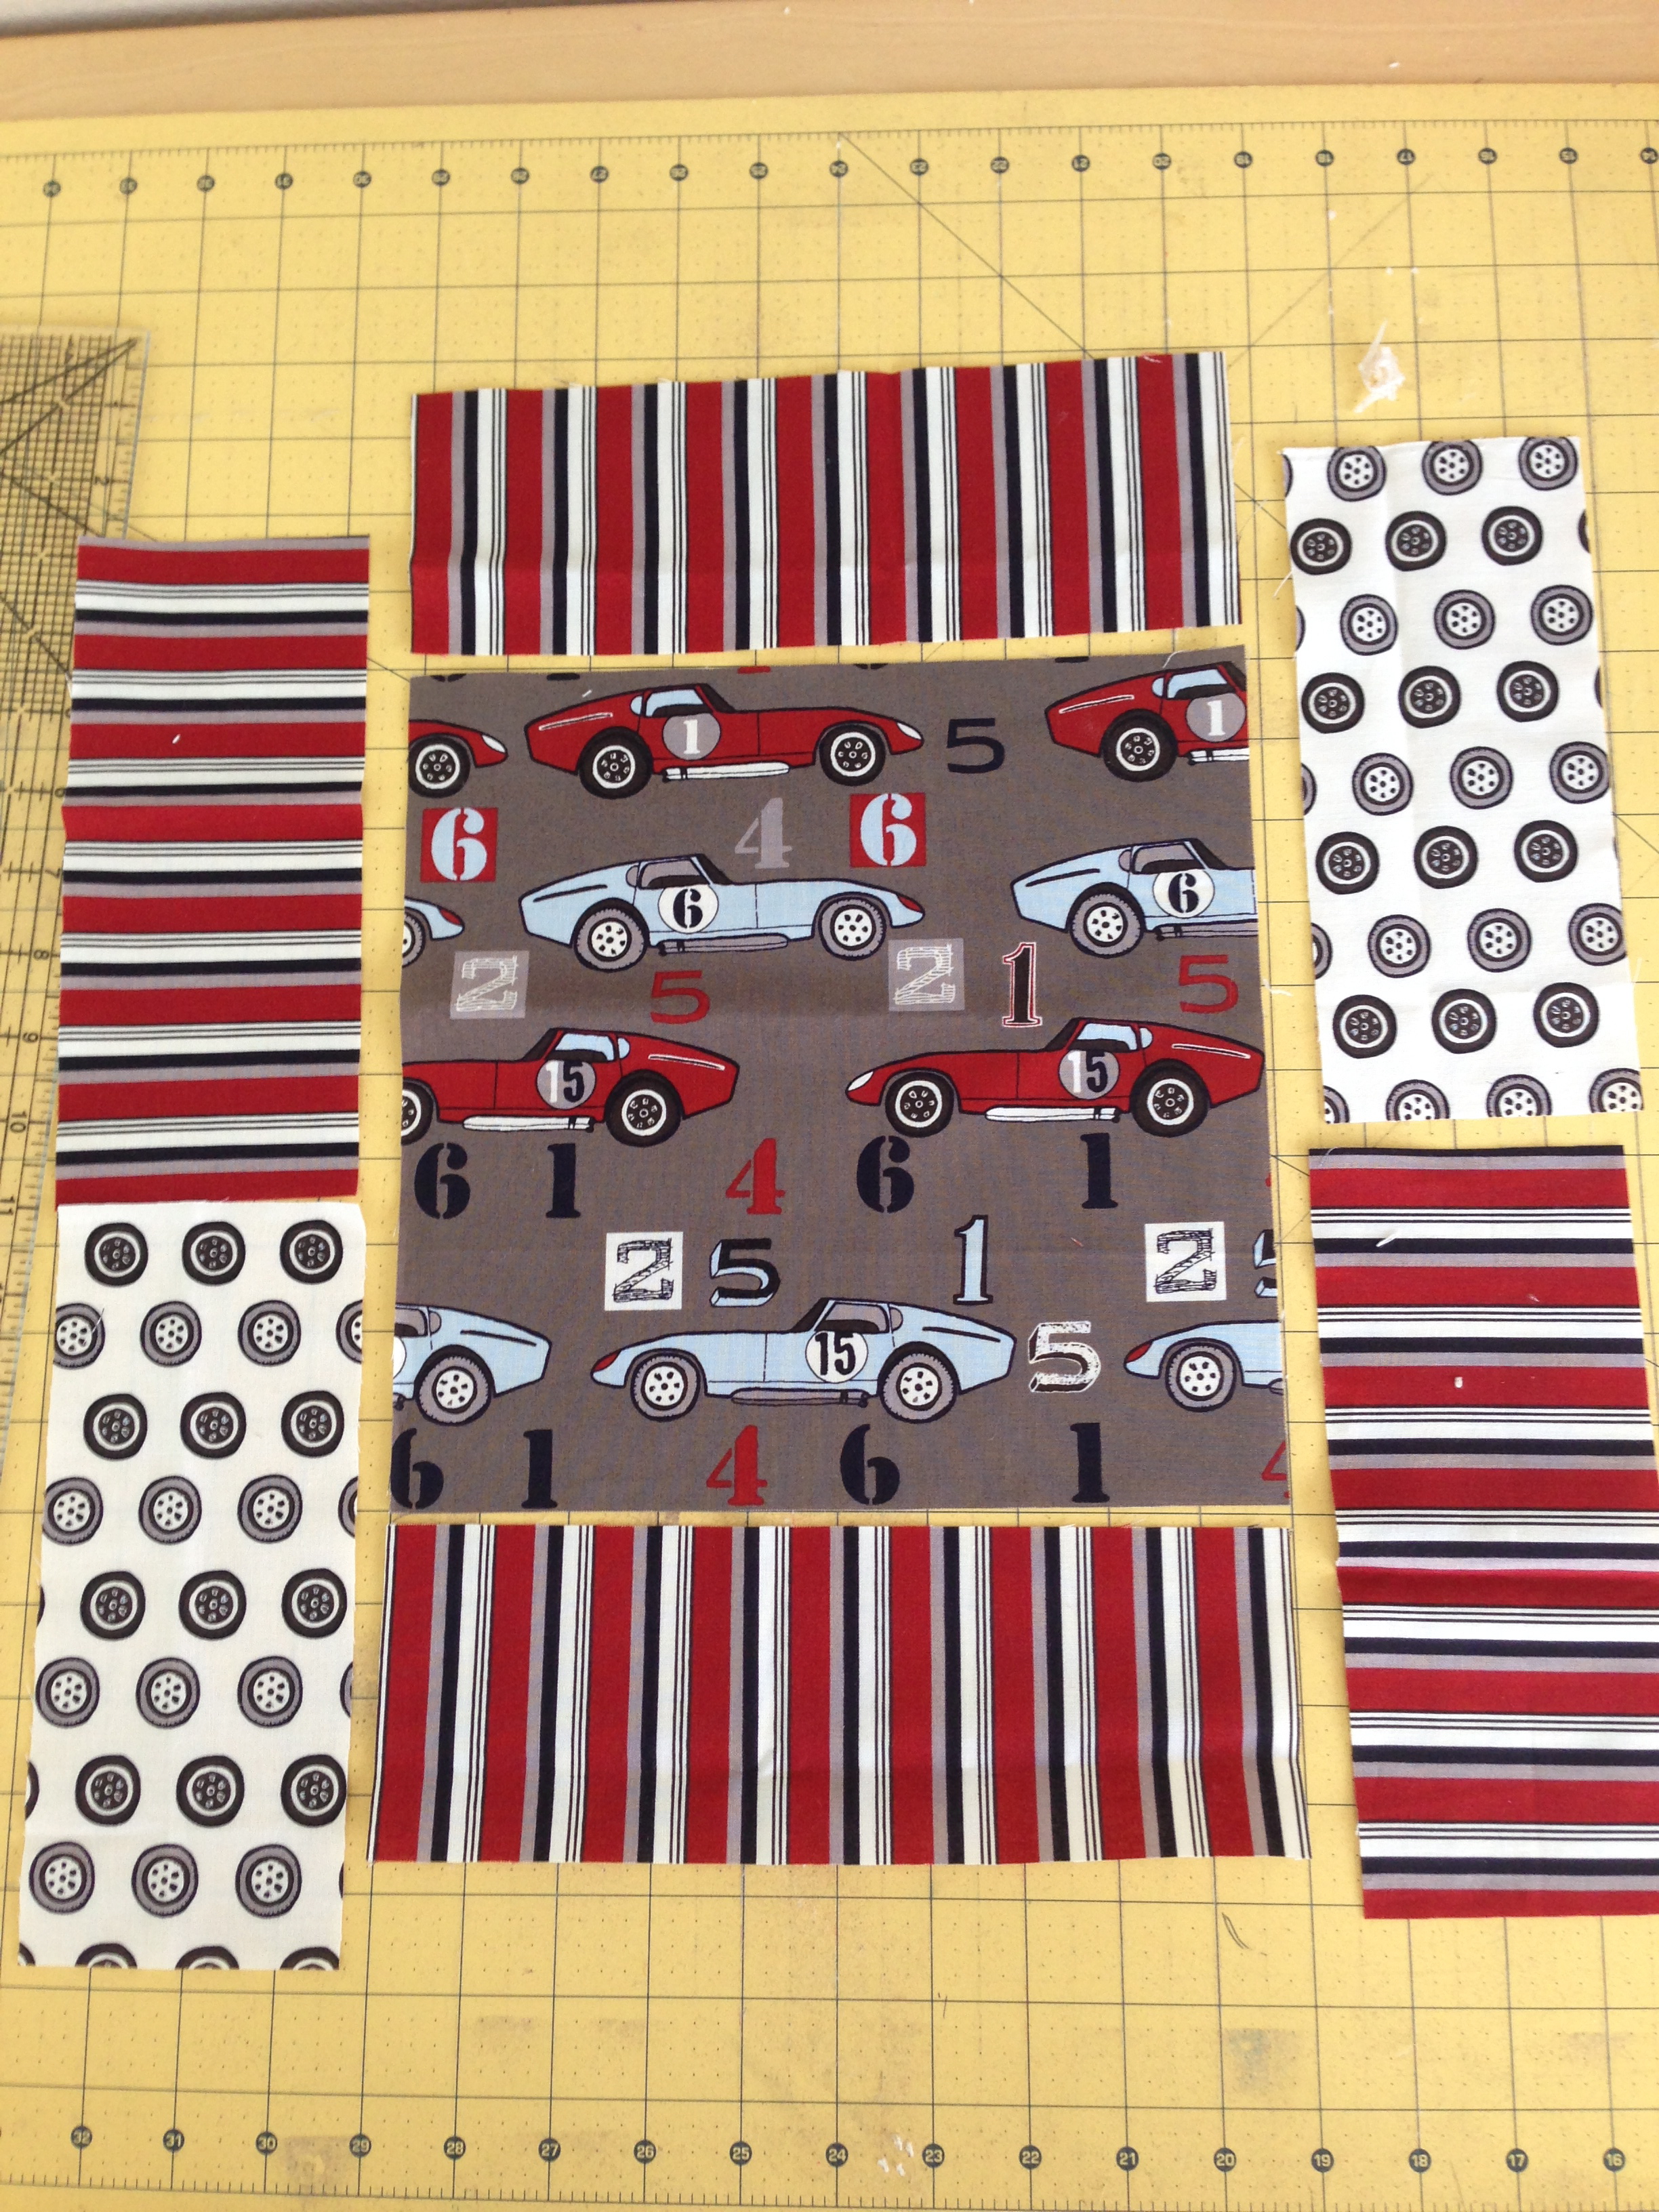
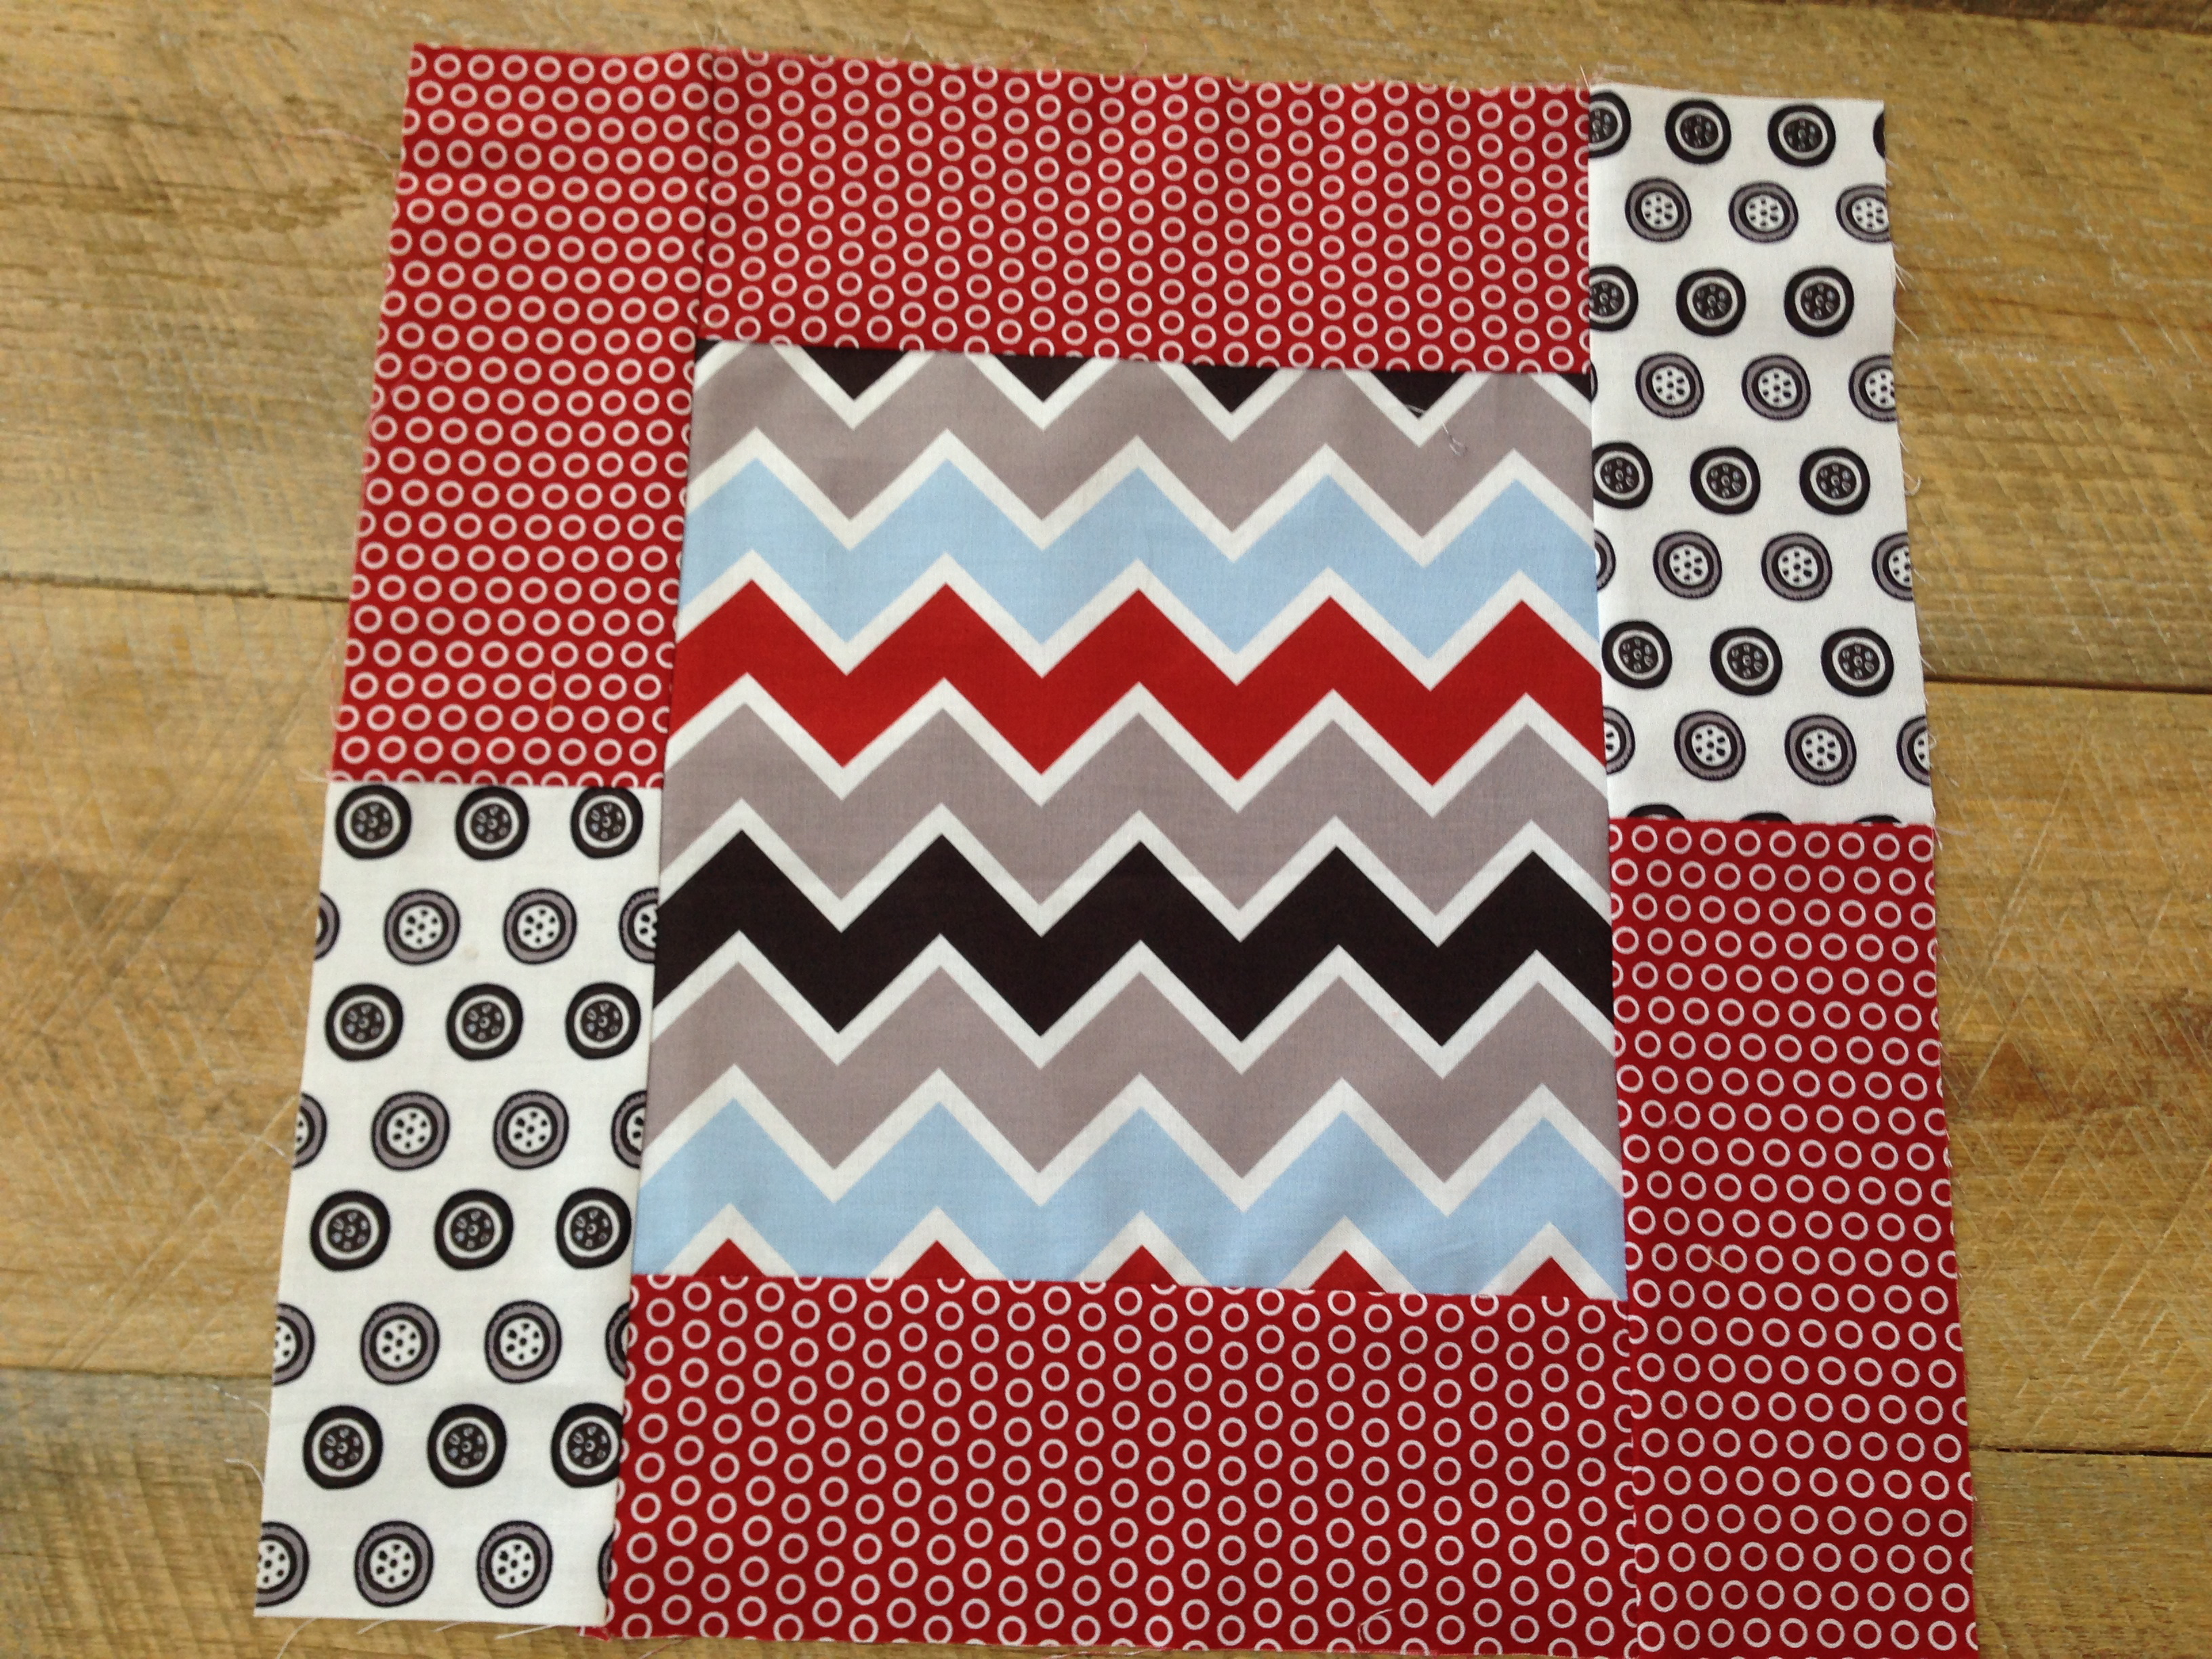

 So I set out plans to sew her a dress. I had 4 different prints of yardage which was what the dress required. Then, Sally told me she did not want a dress and that she had too many dresses as it was. She asked if I would make her a quilt and I did a little happy dance in my head 🙂 Sewing clothes stresses me out and quilting makes me happy!
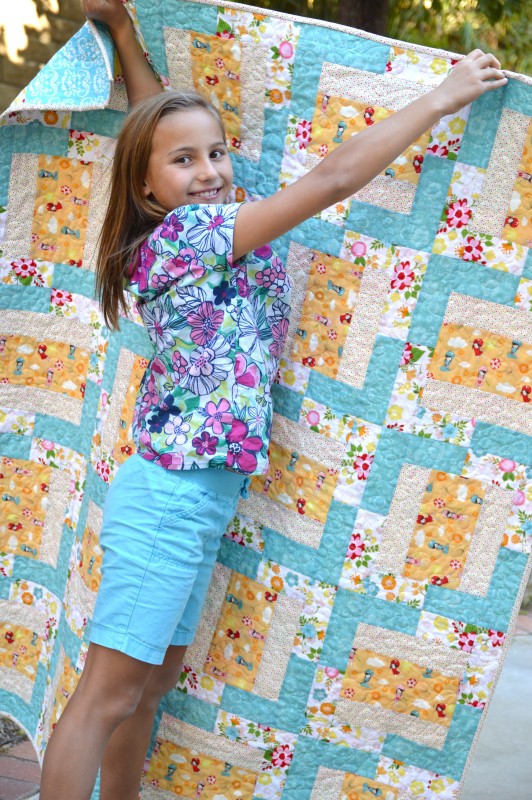


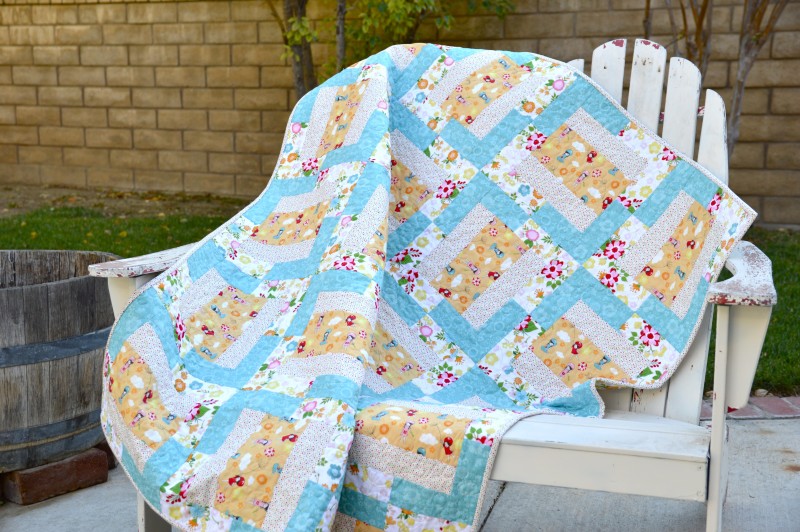
 Someone is pretty happy!! It’s not everyday your mom sews a quilt just for YOU!!!!
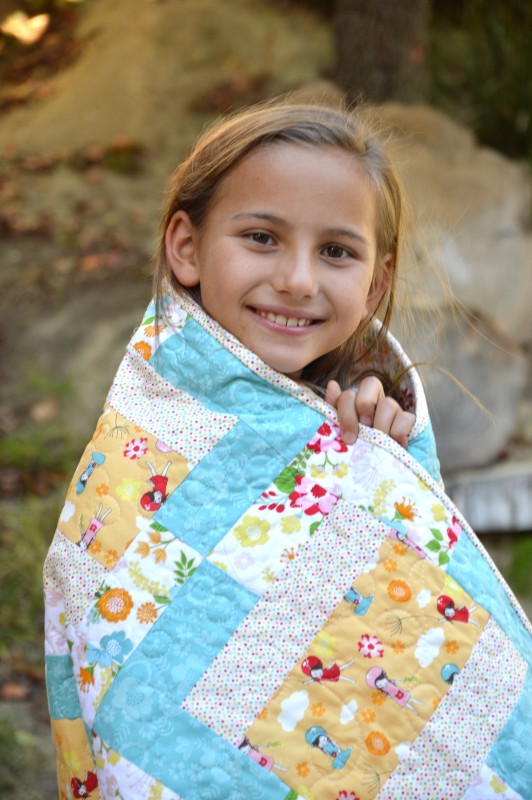
 Mufasa looks a touch jealous!
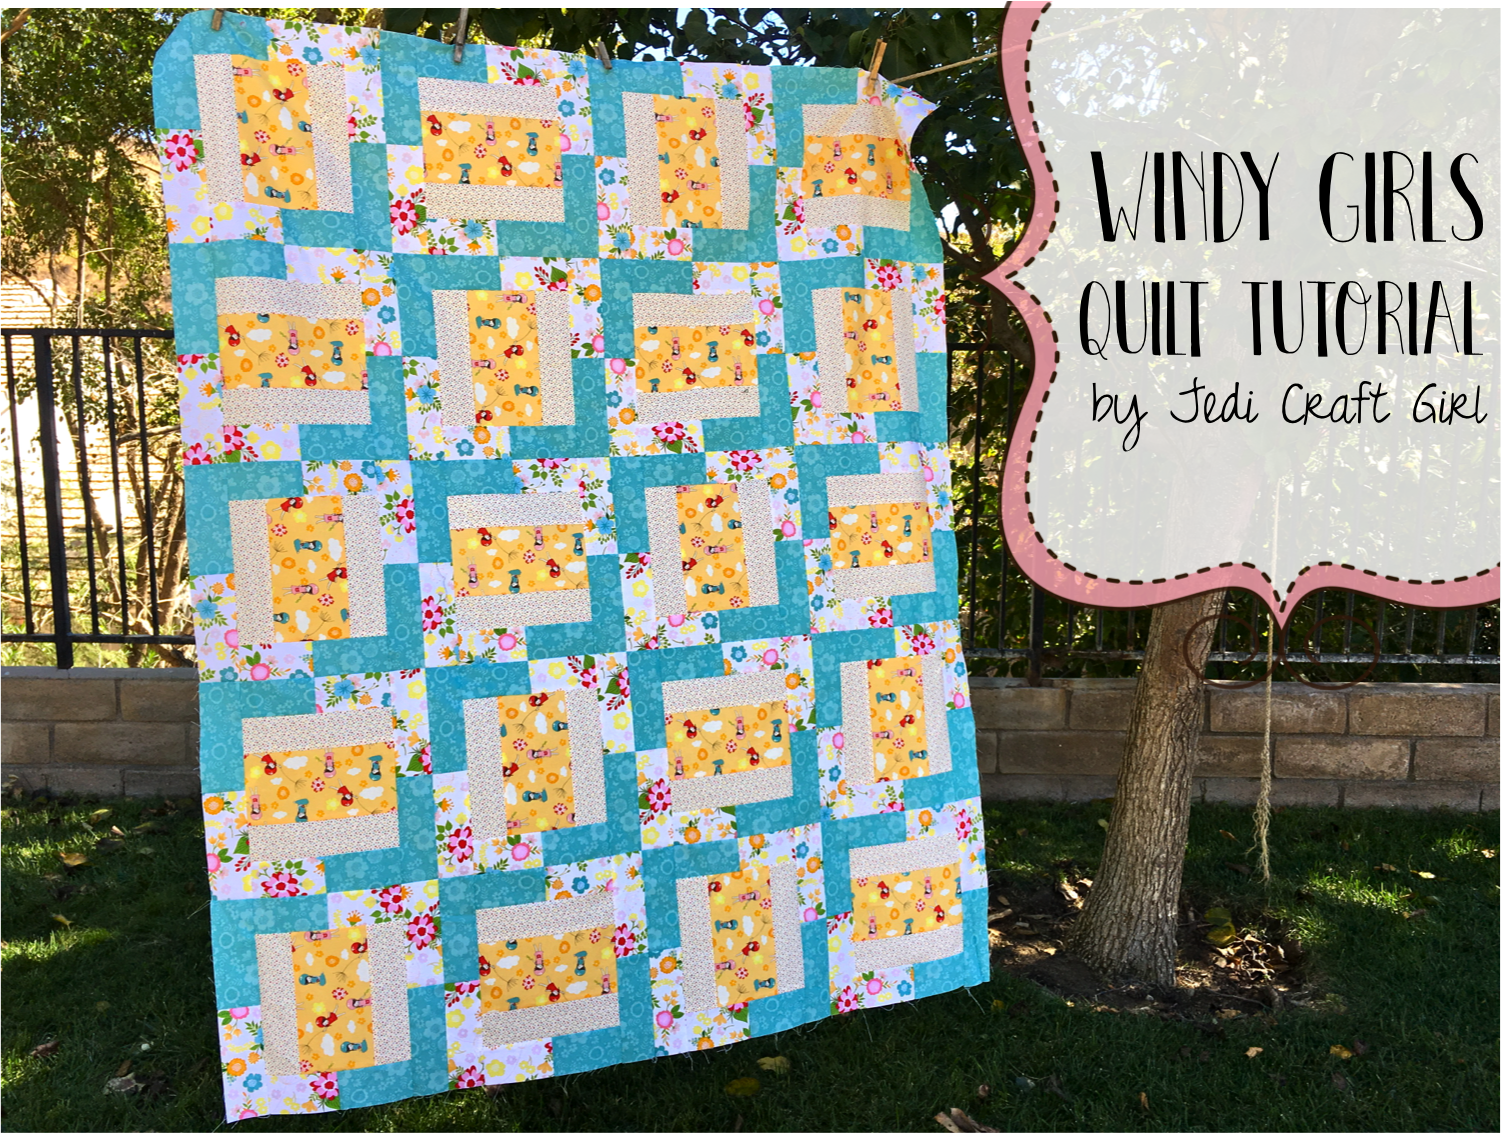
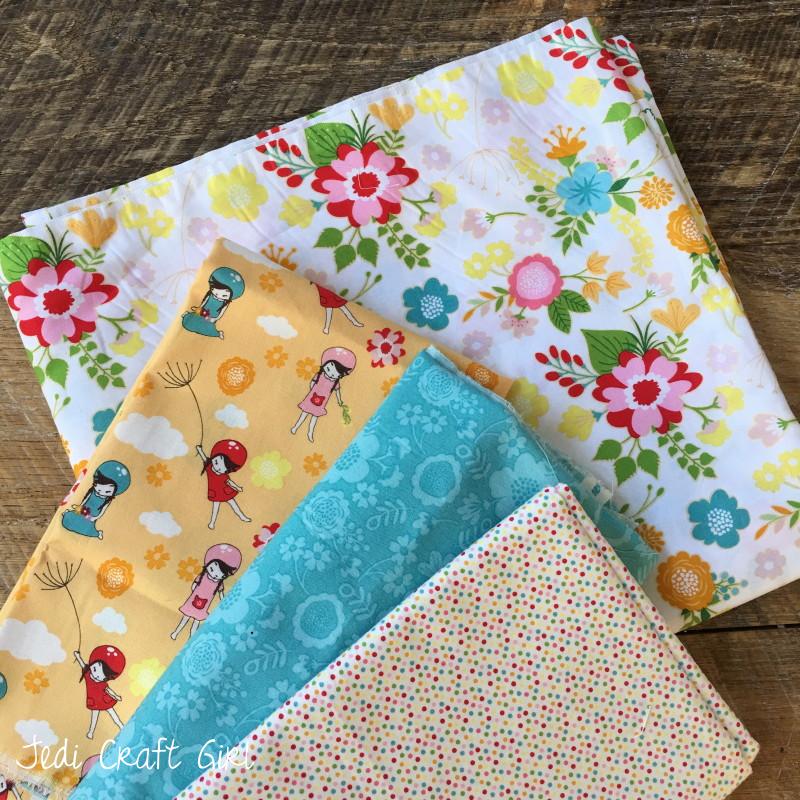
 Check out these amazing designers and the awesome projects they’ve created using Wistful Winds by Riley Blake Designs!
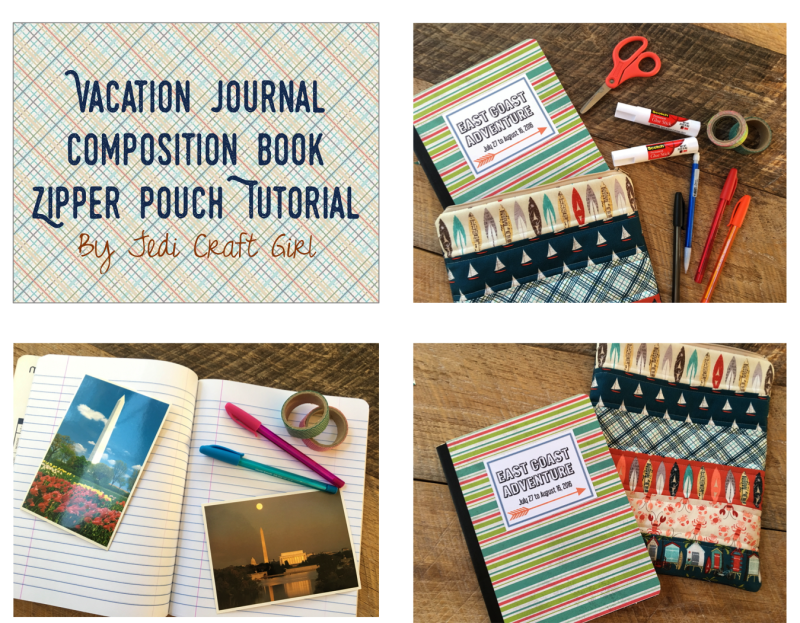
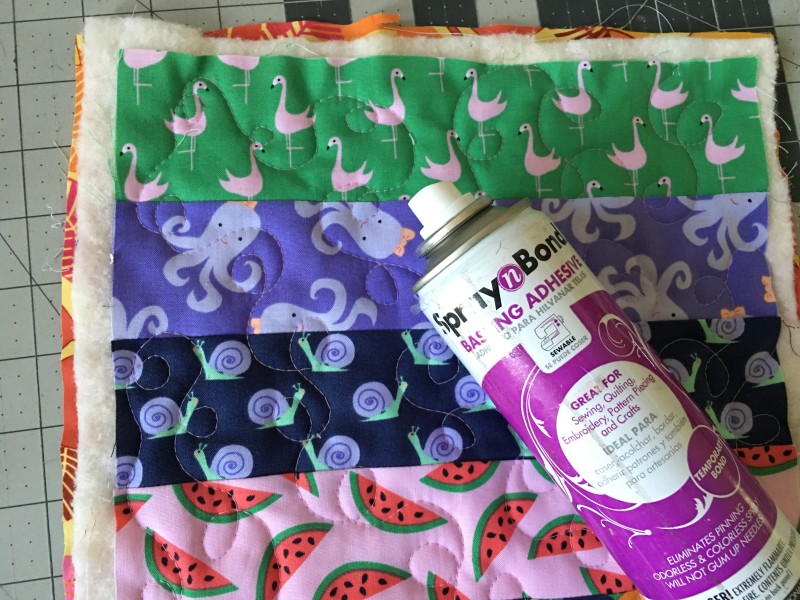
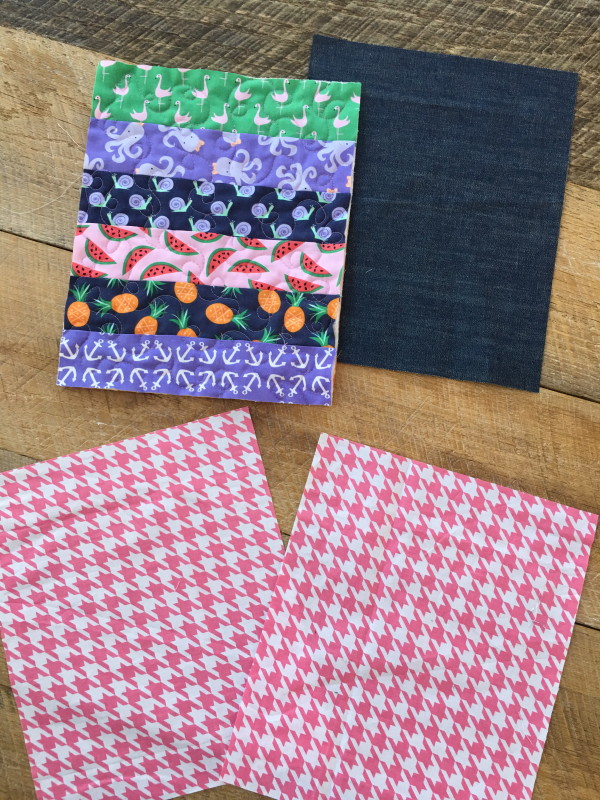
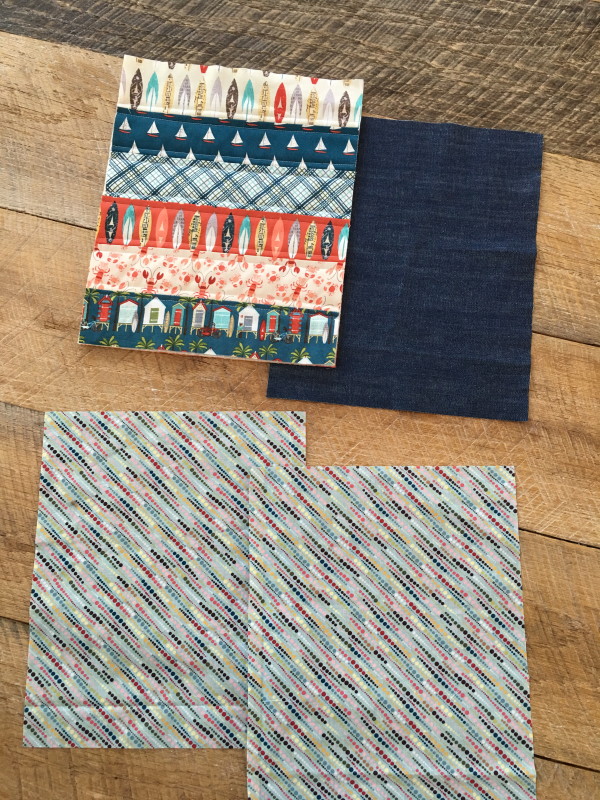
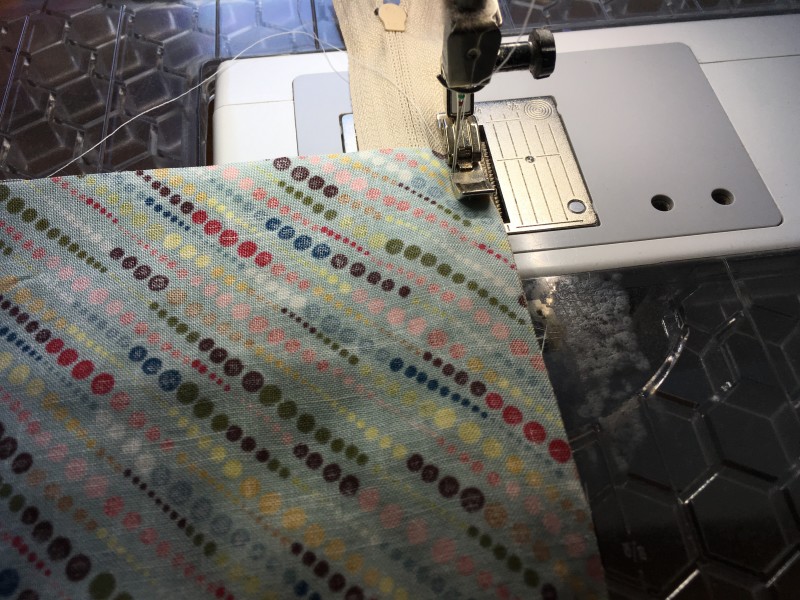
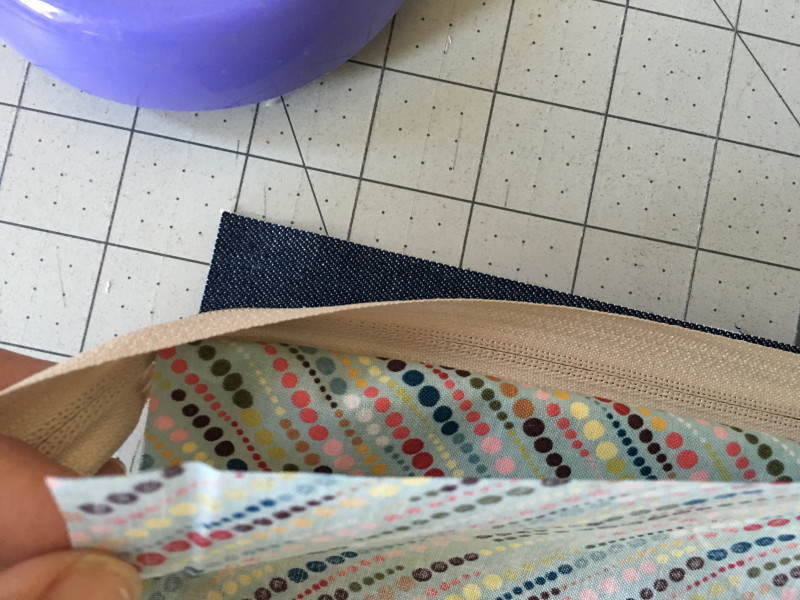
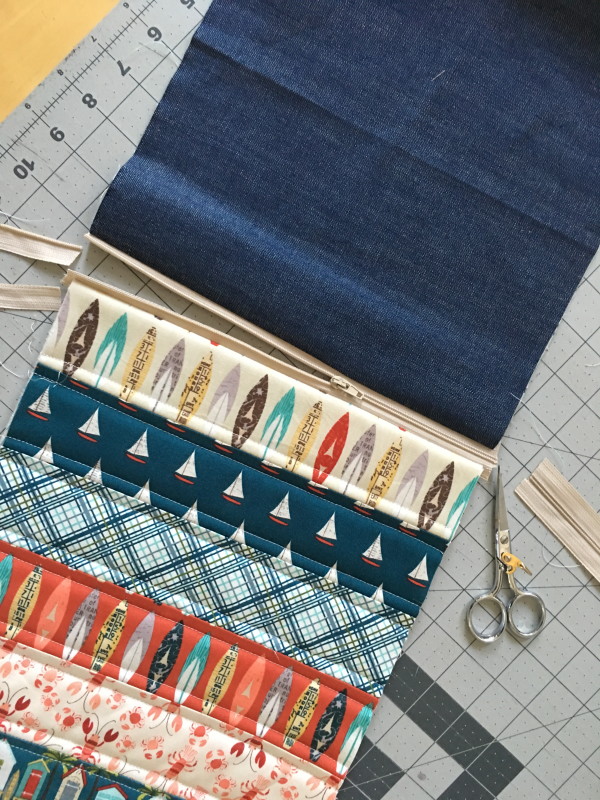
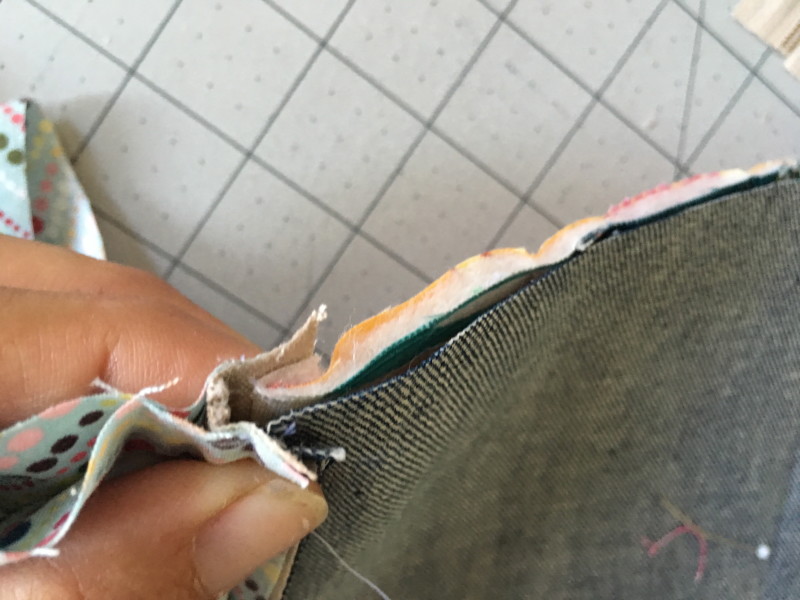
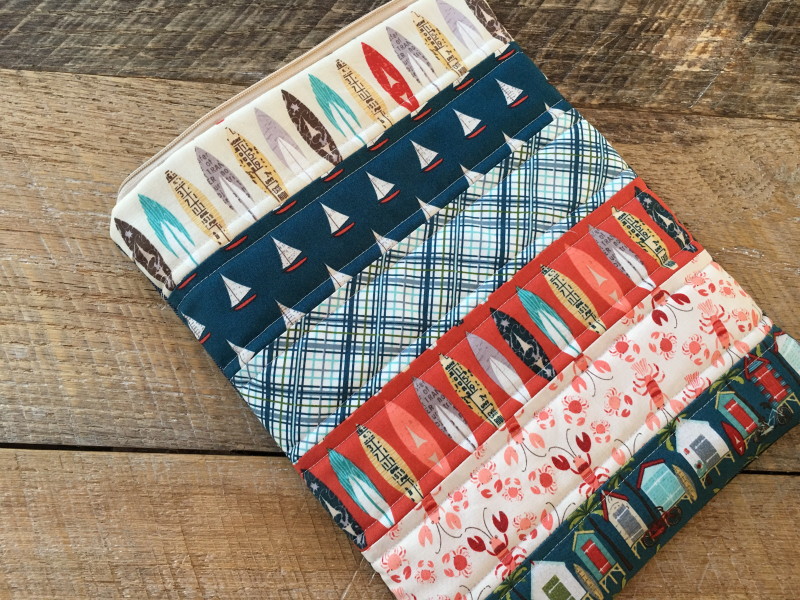
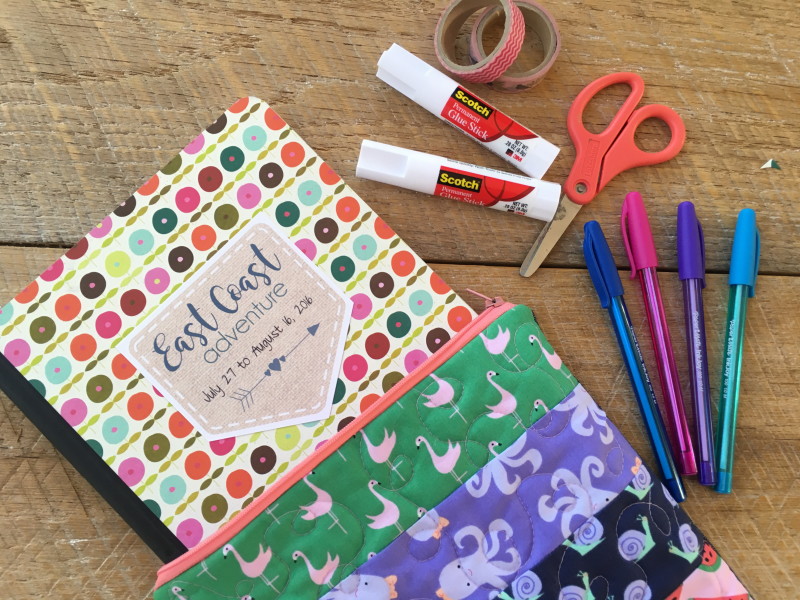
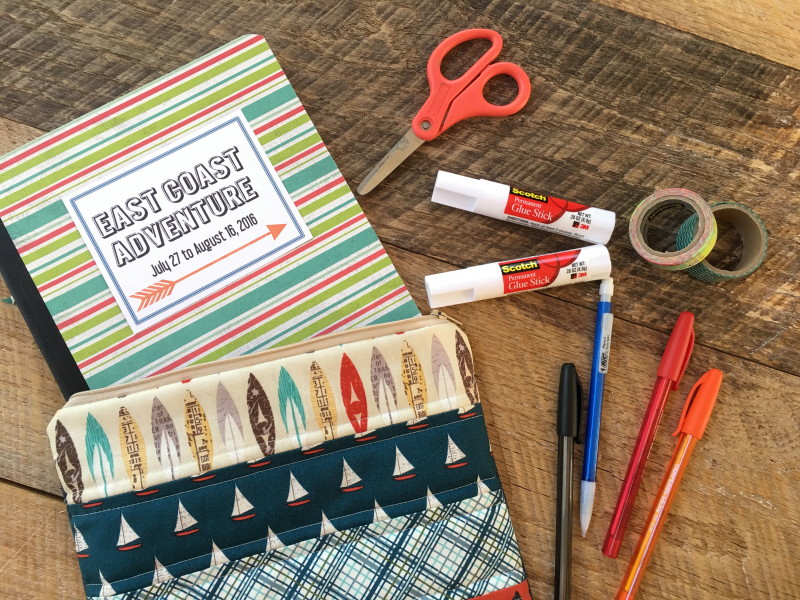
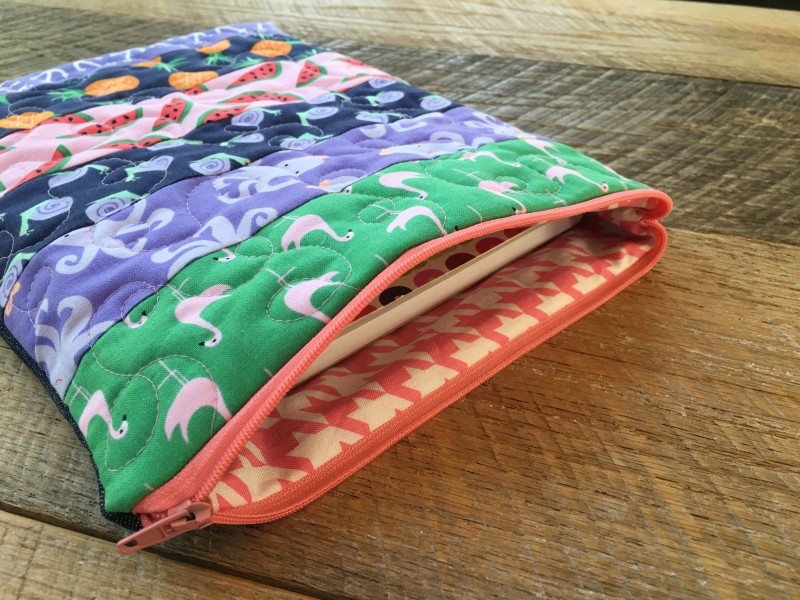
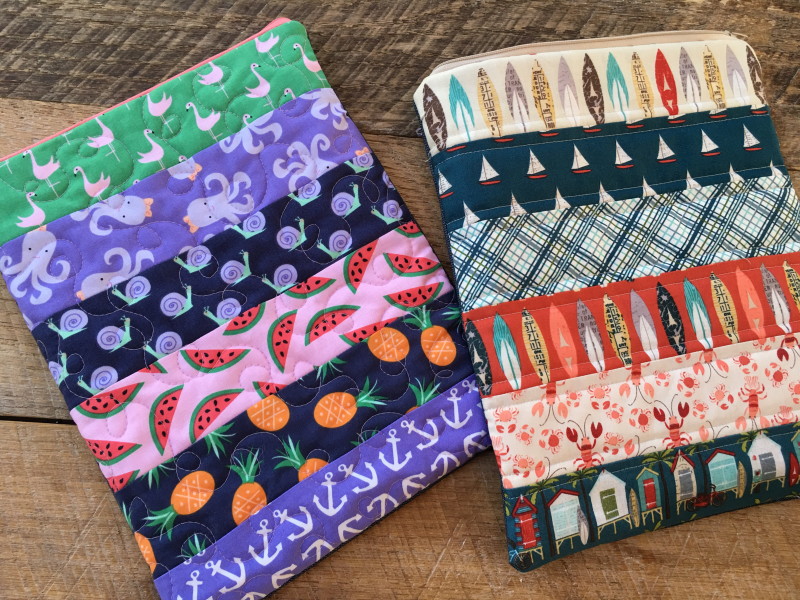
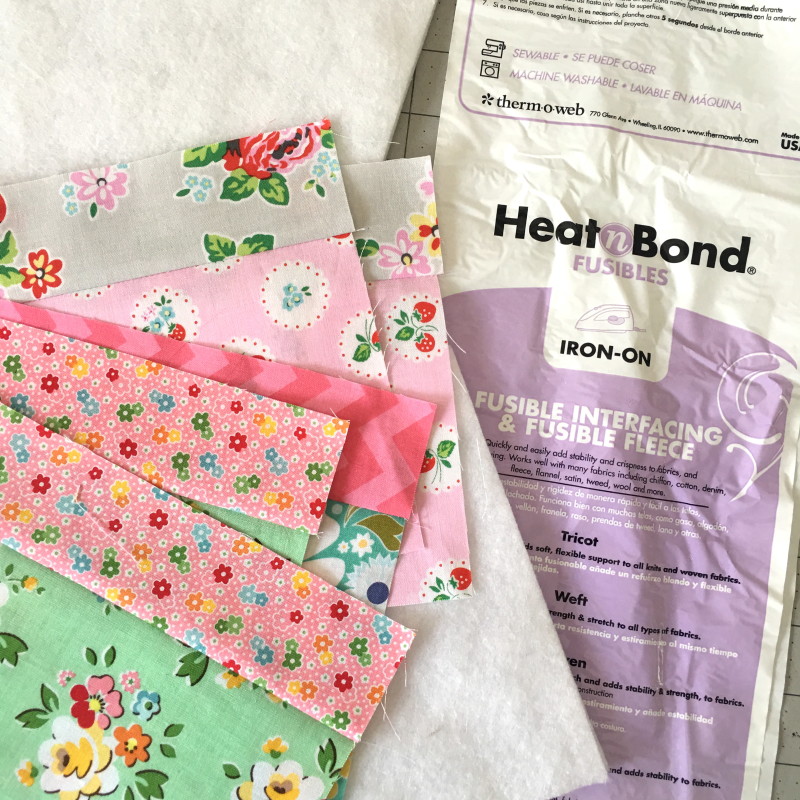
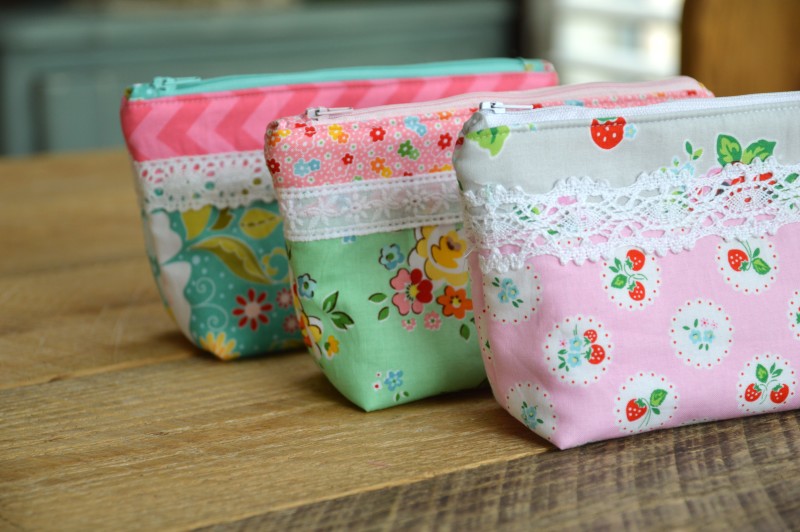
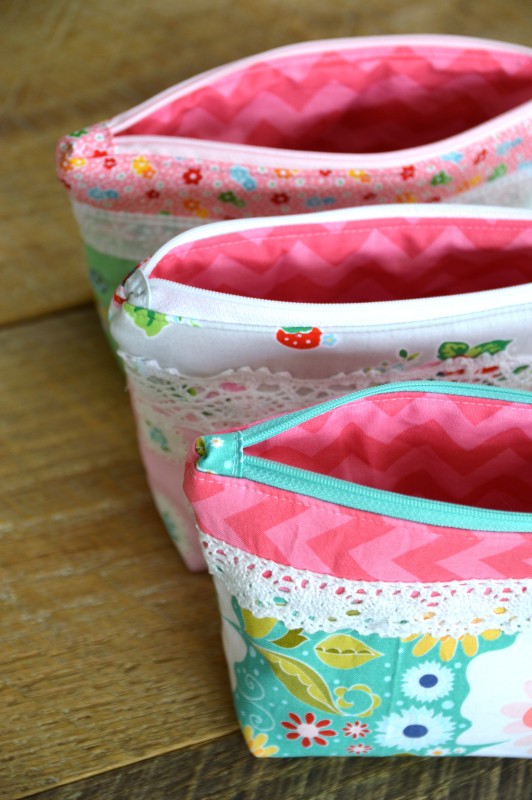
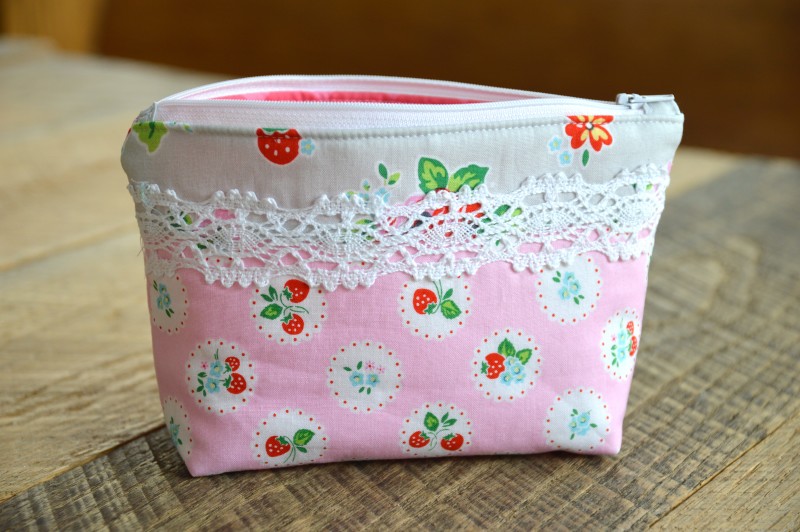
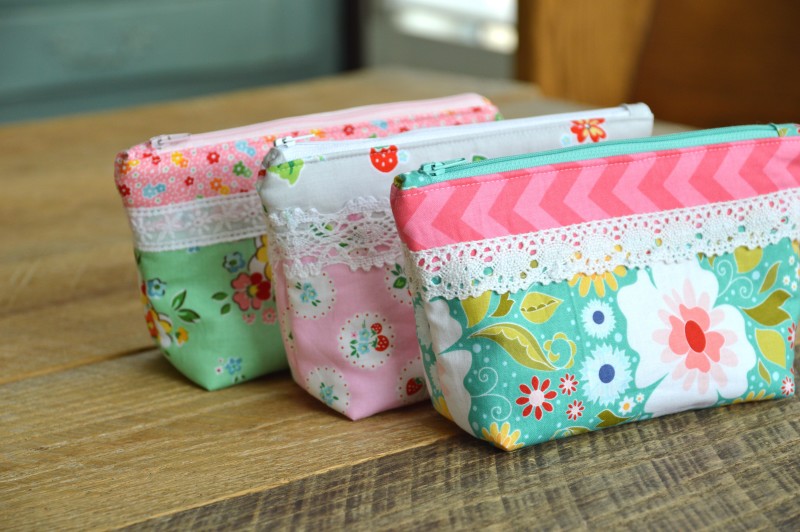
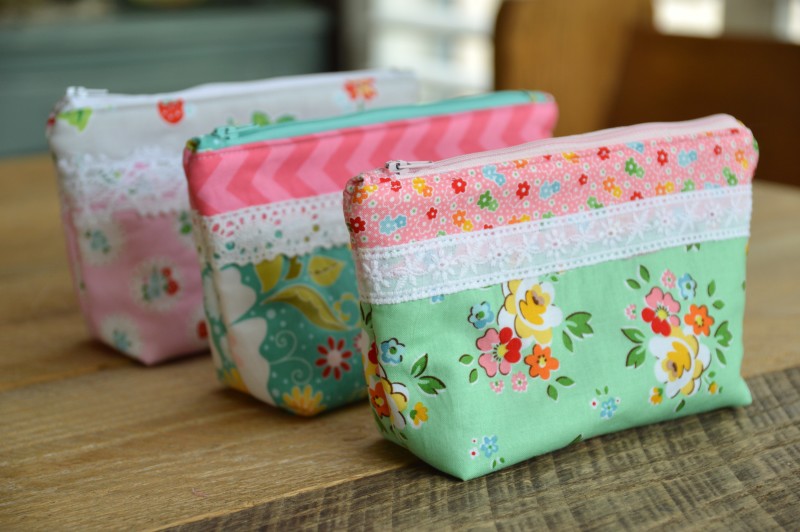 It’s been a while since I made zipper pouches! I needed 3 gifts to give for the September birthdays on Sally’s soccer team. Instead of going to the store and spending money on the gifts, I stayed home and sewed these darling zipper pouches! I used
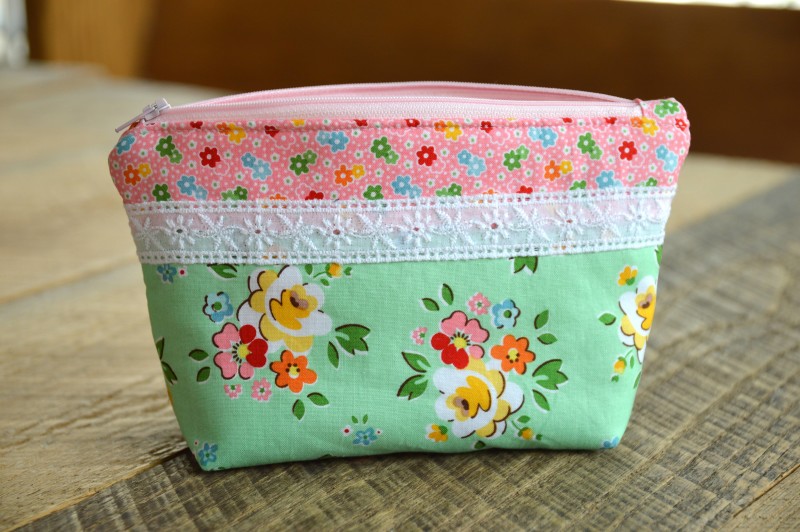
 Andy from
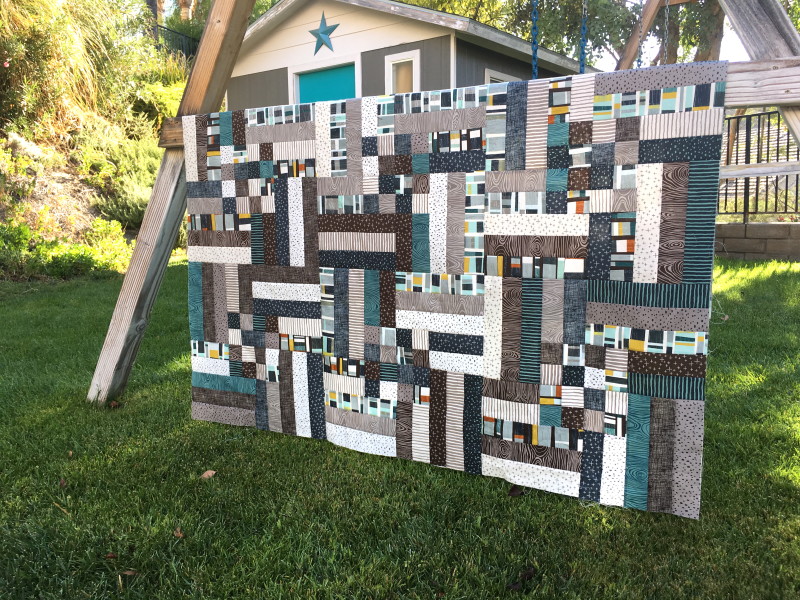
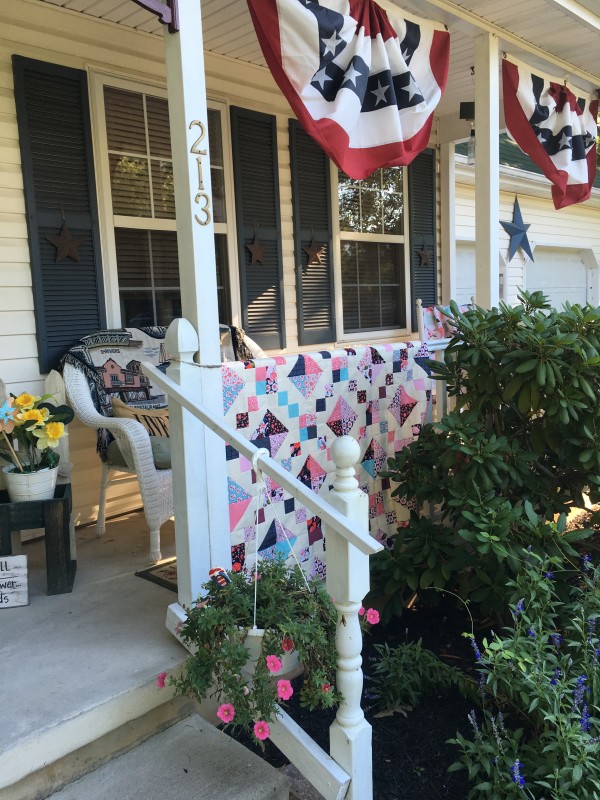
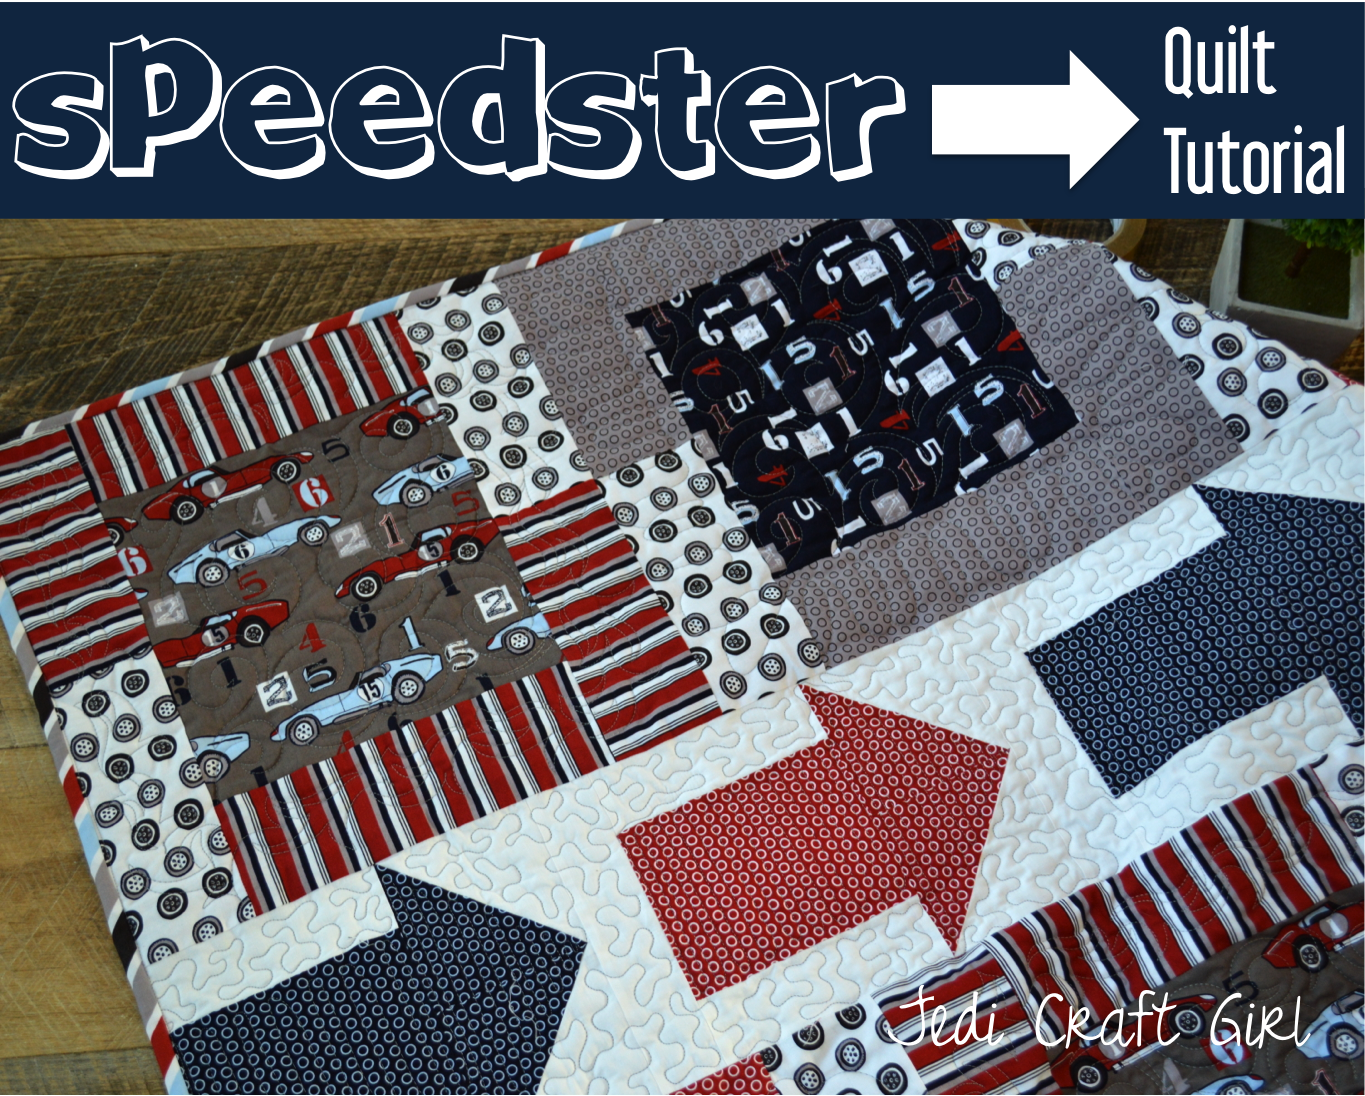
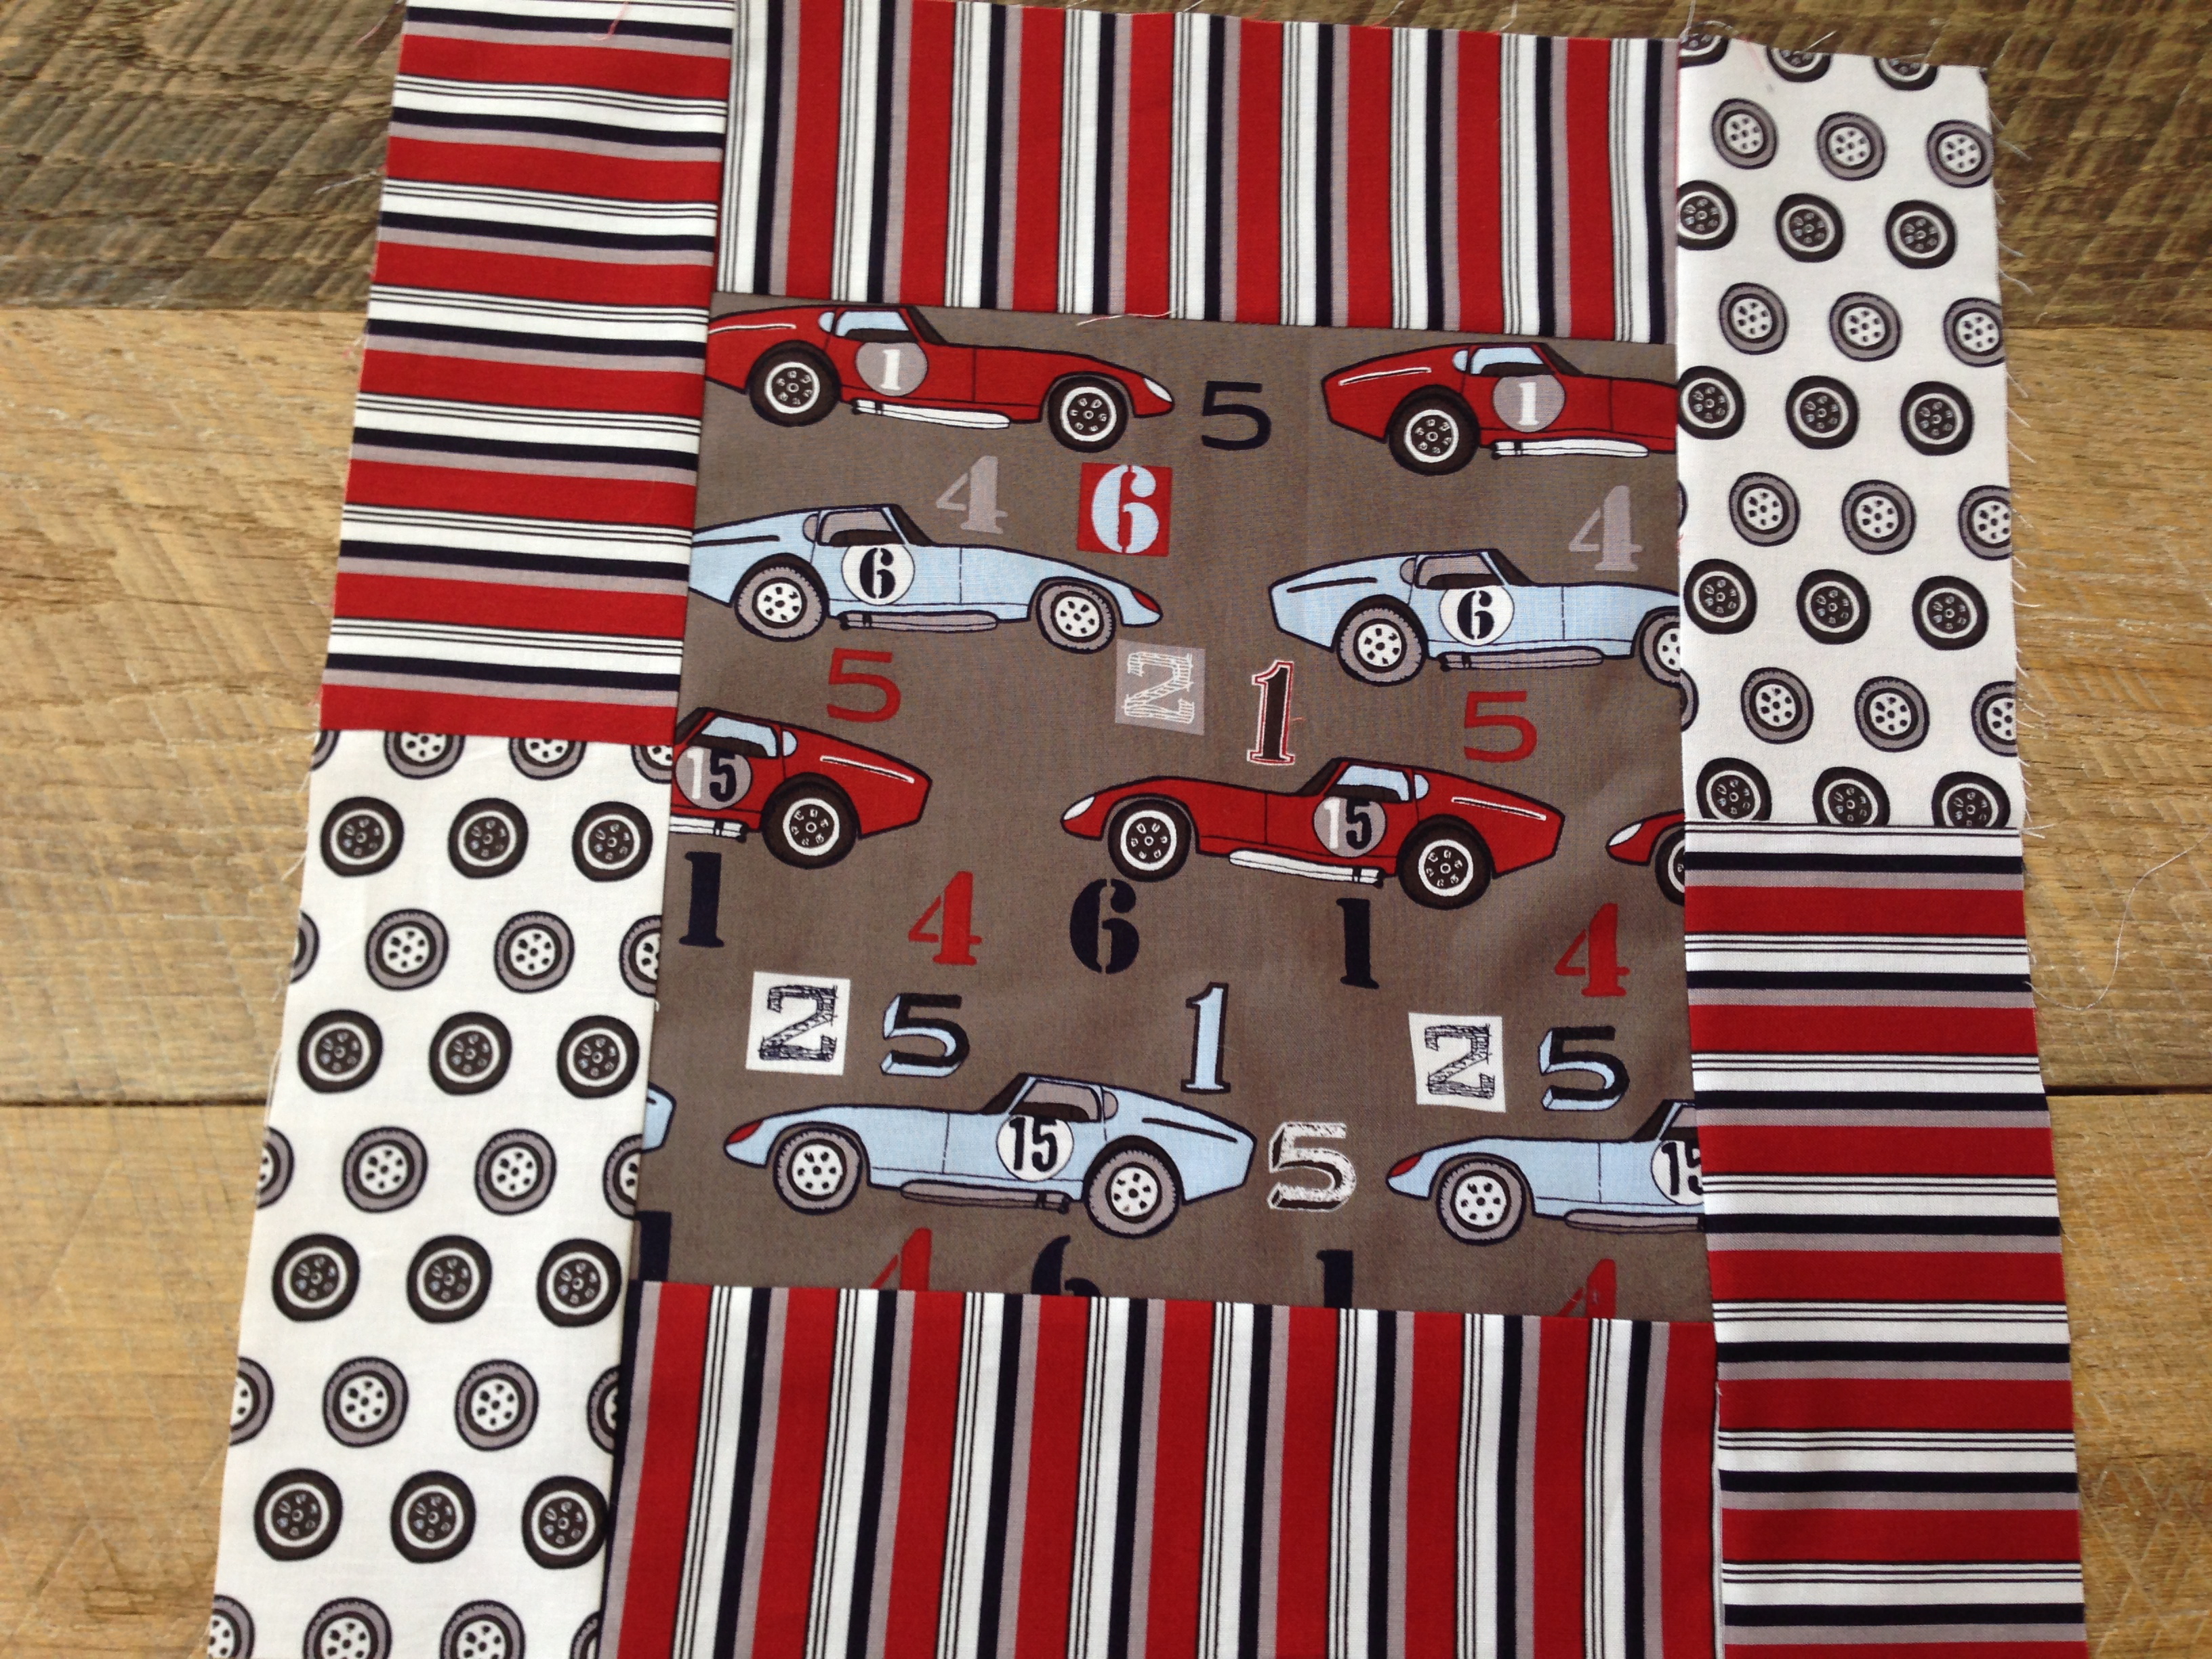
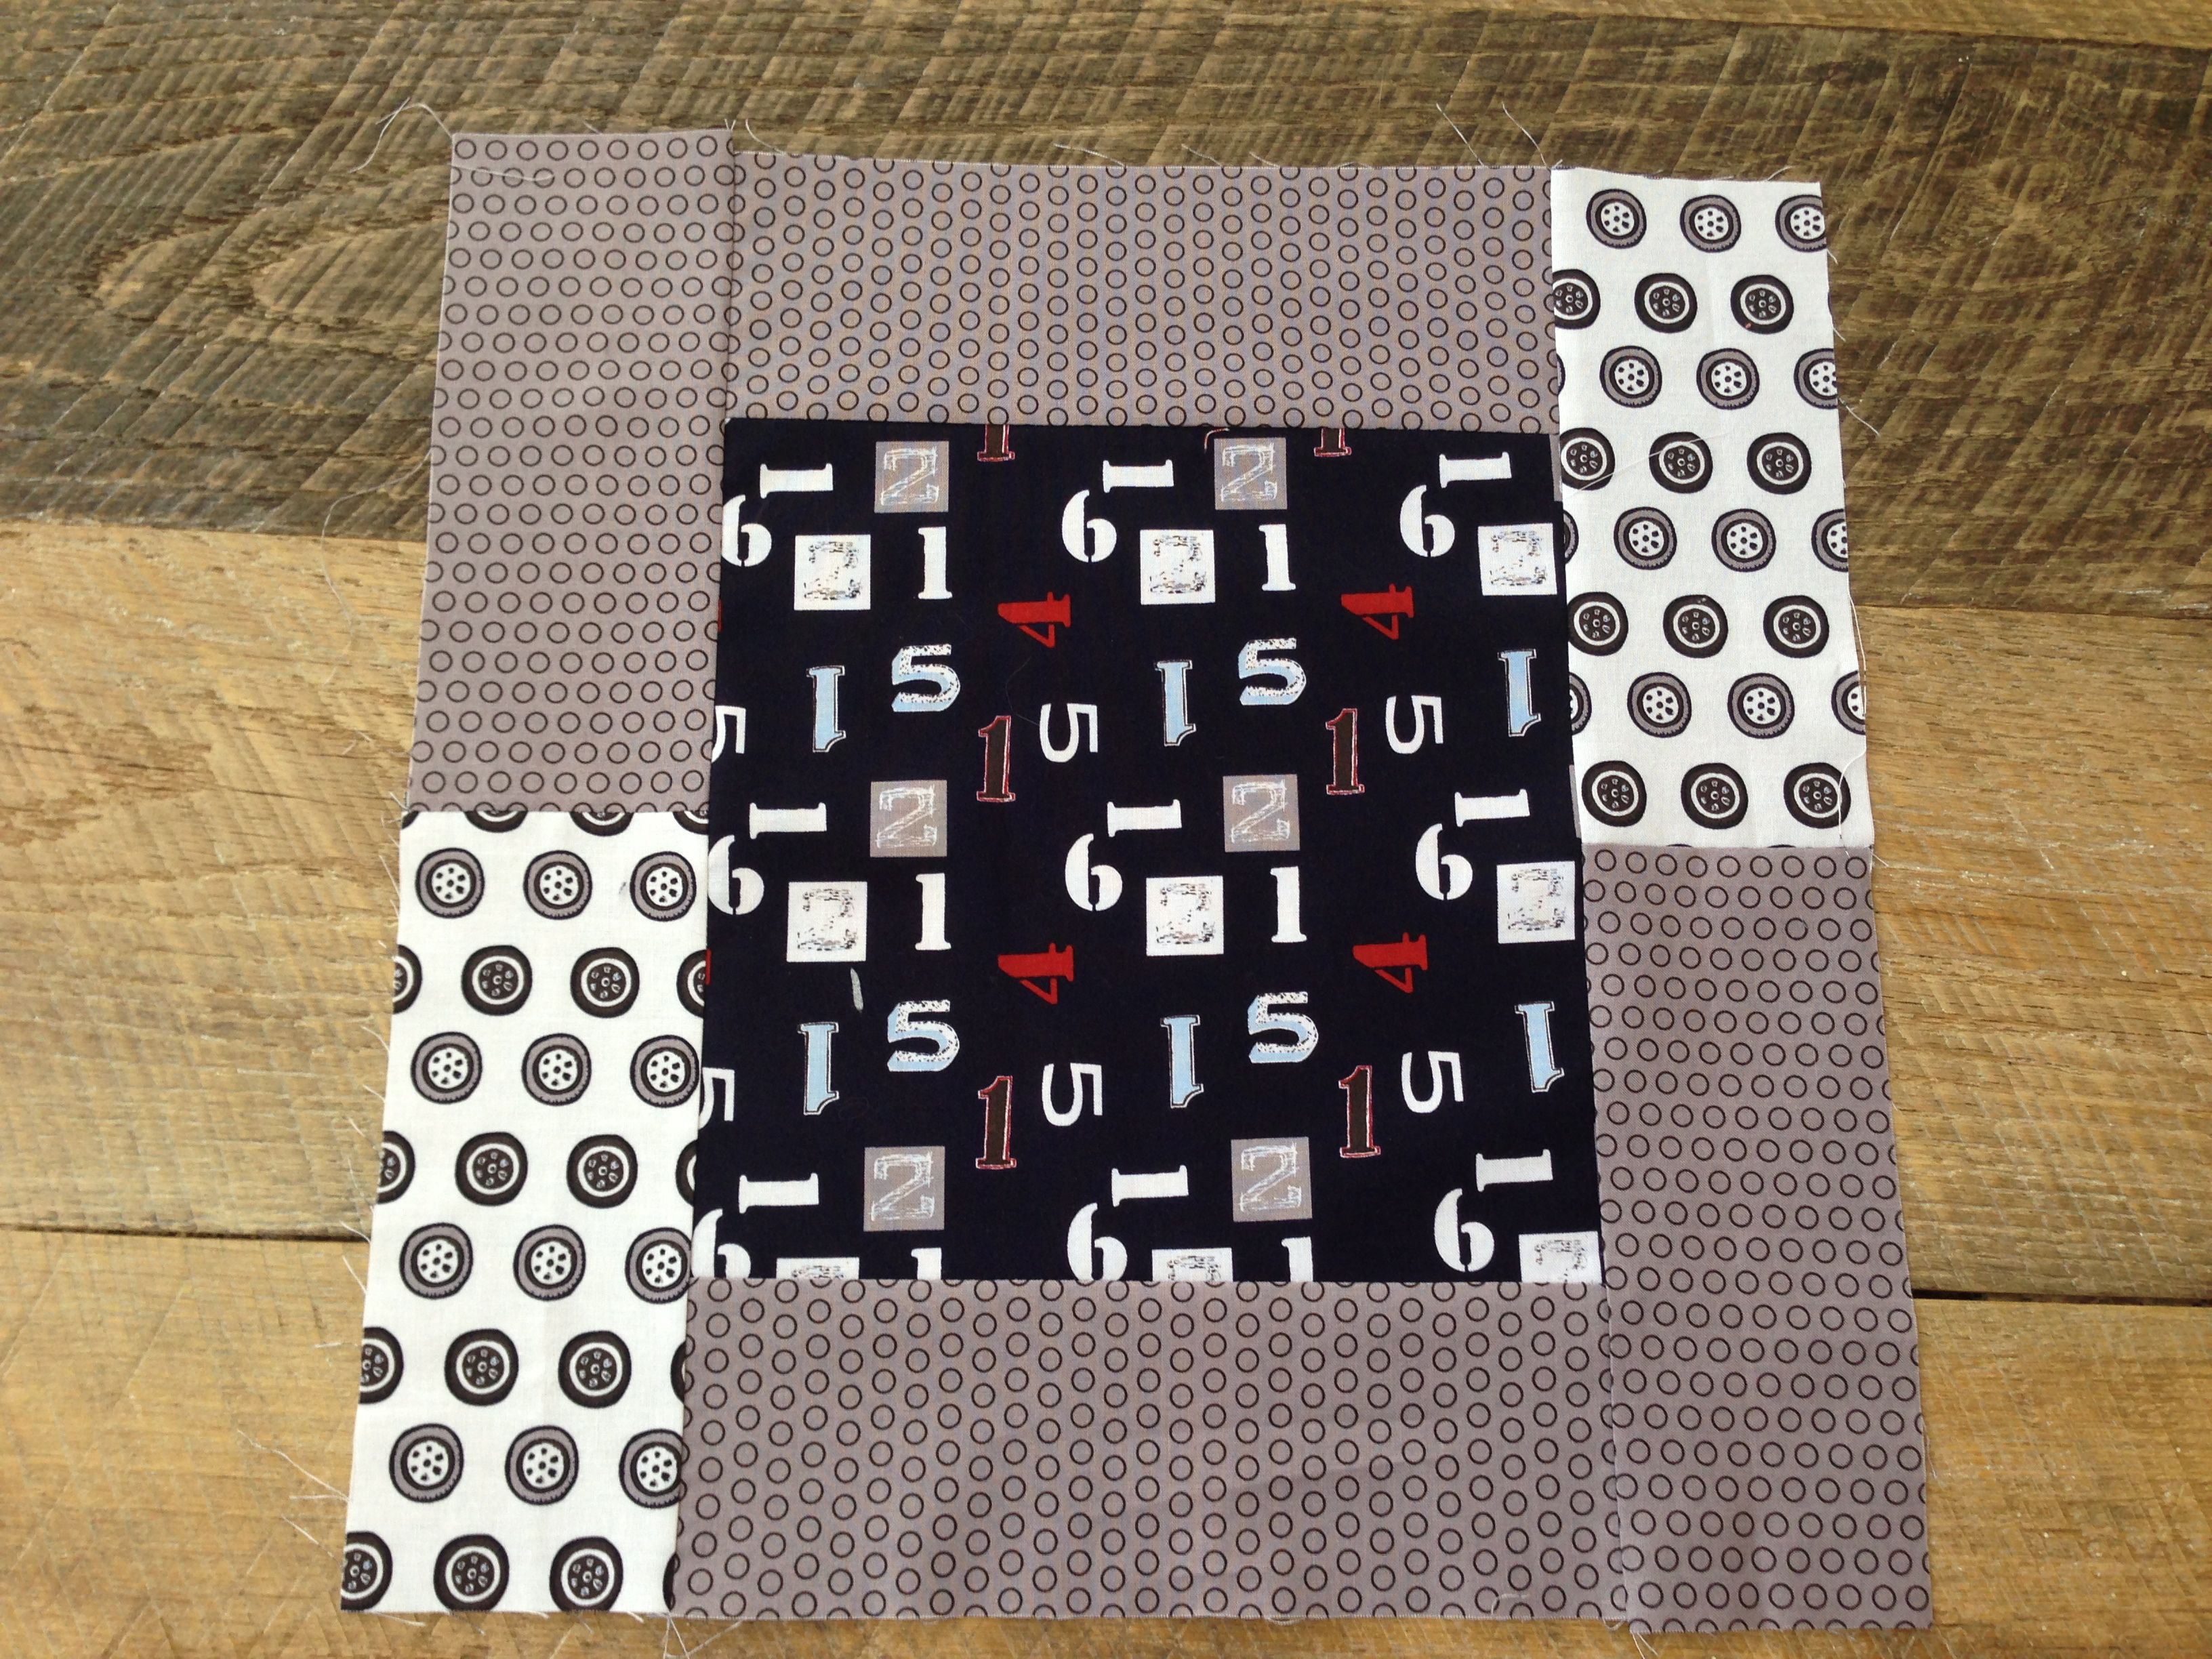
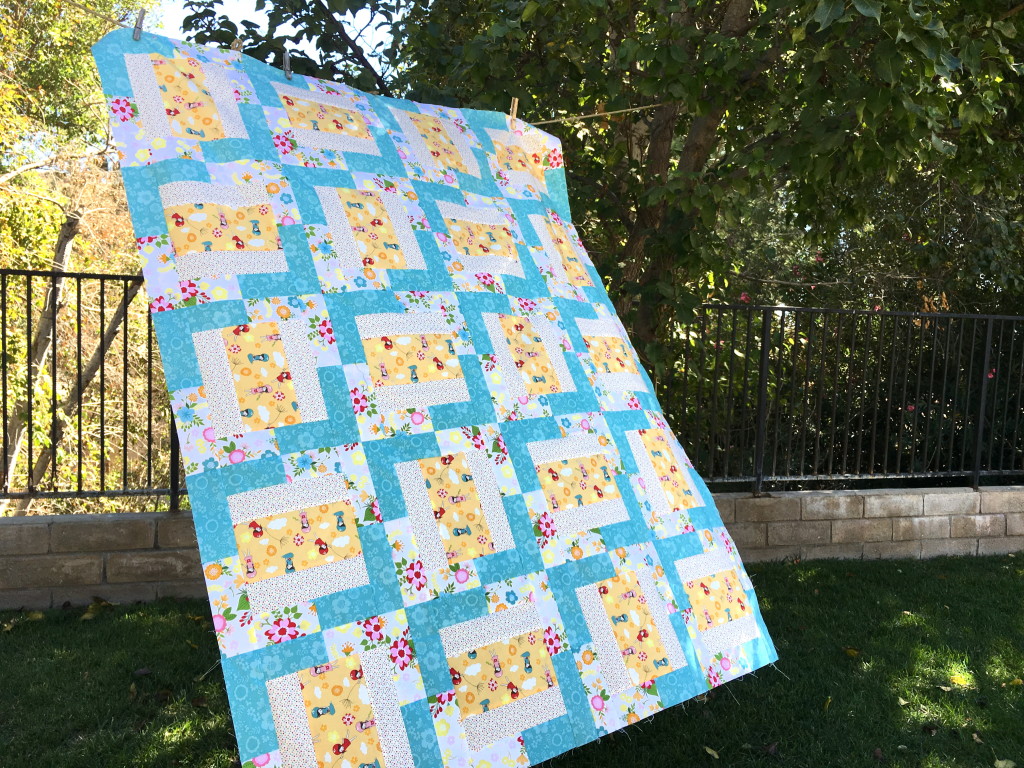
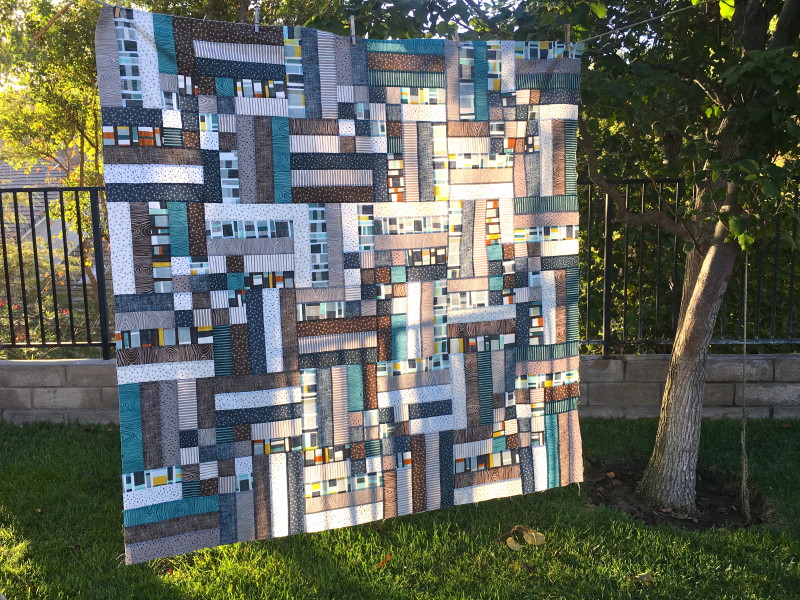
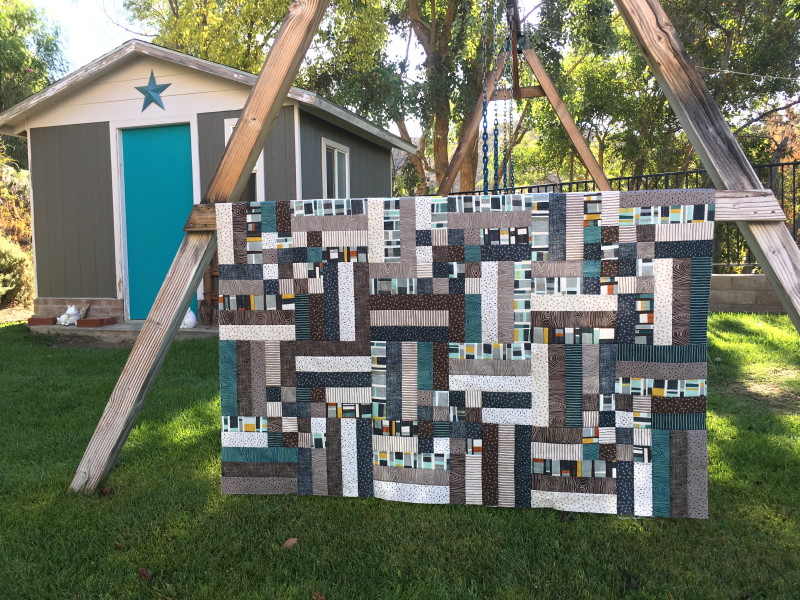 The shed in my backyard and the quilt totally match….hahaha!!!
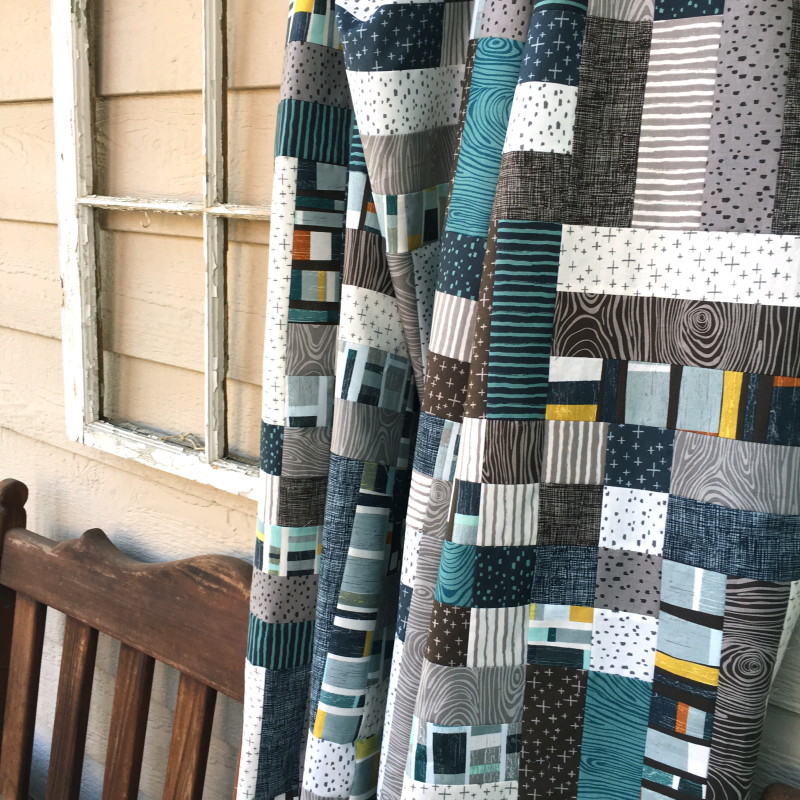
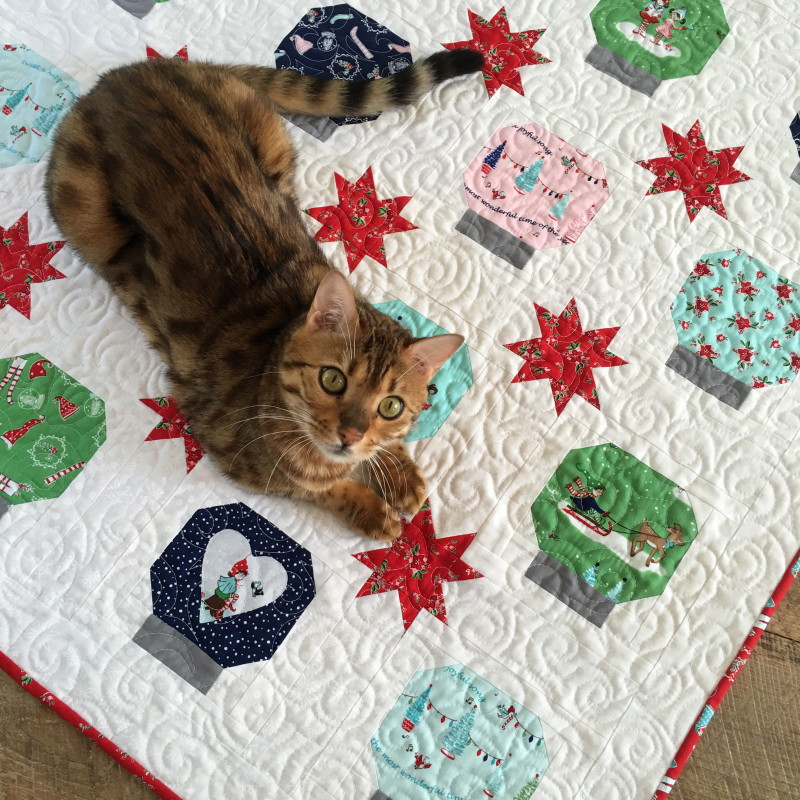


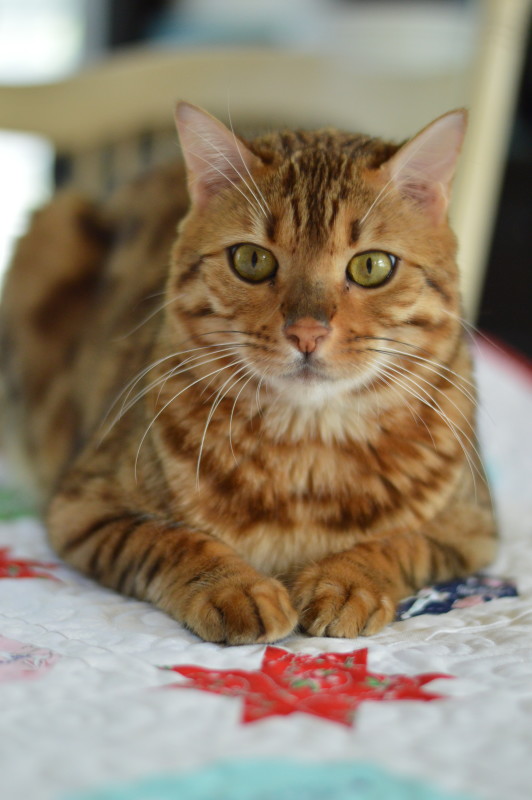 And one more picture of Mufasa just because he is so handsome and takes such great pictures!
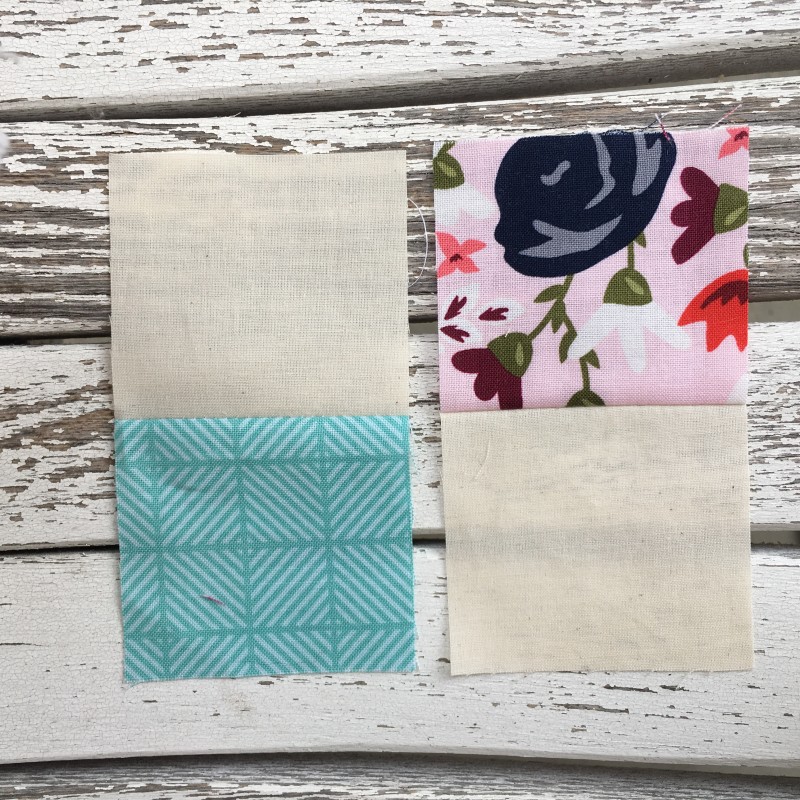
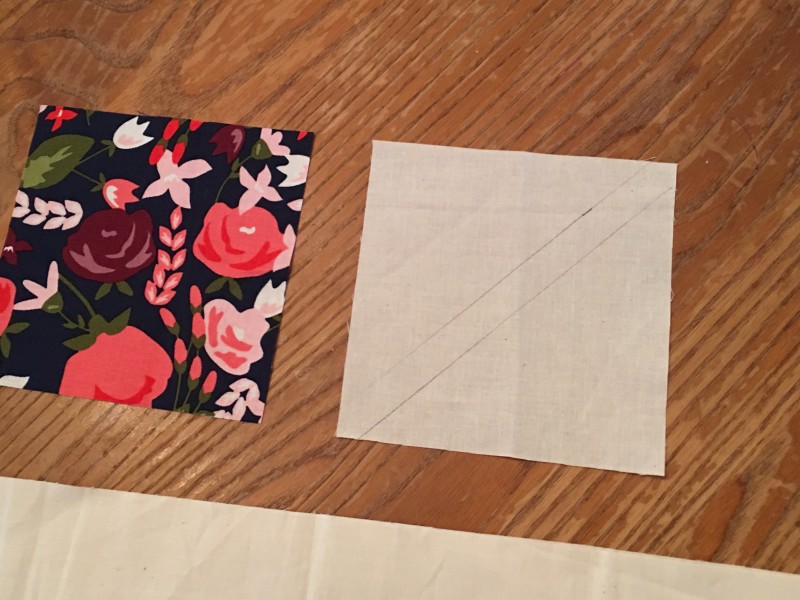
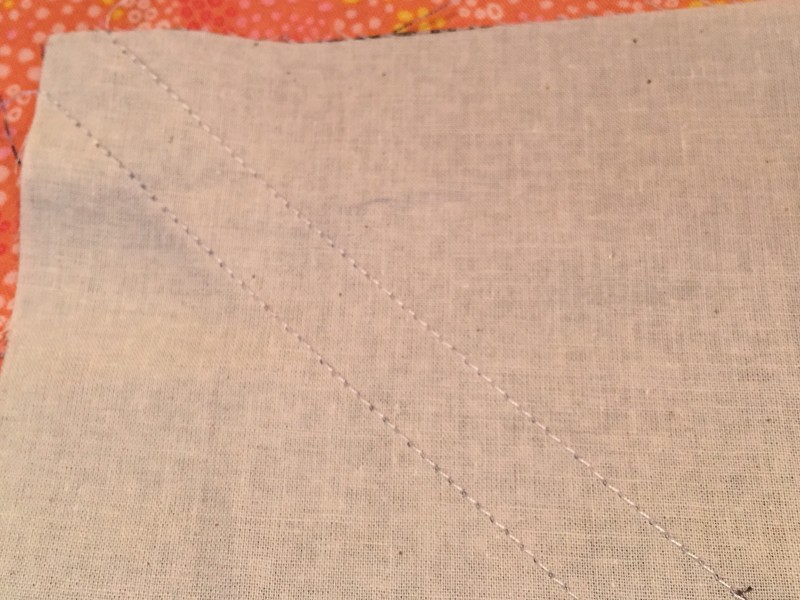
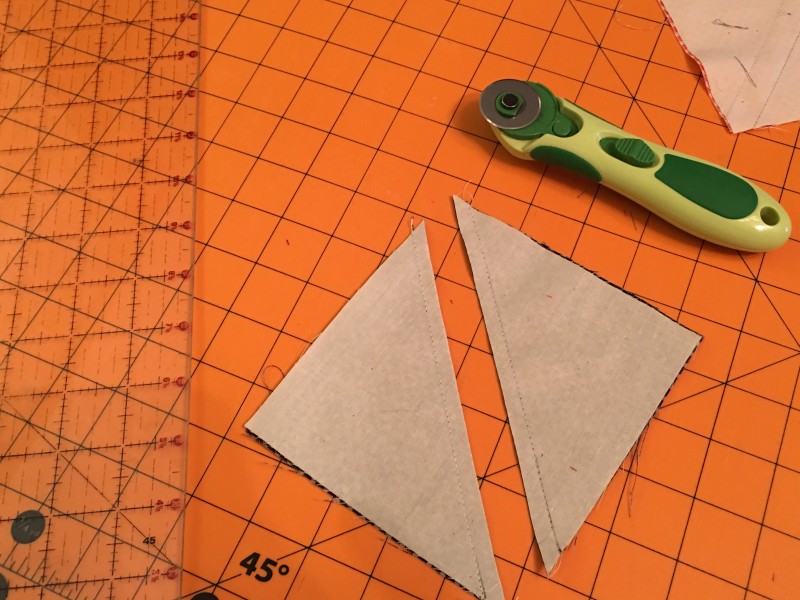
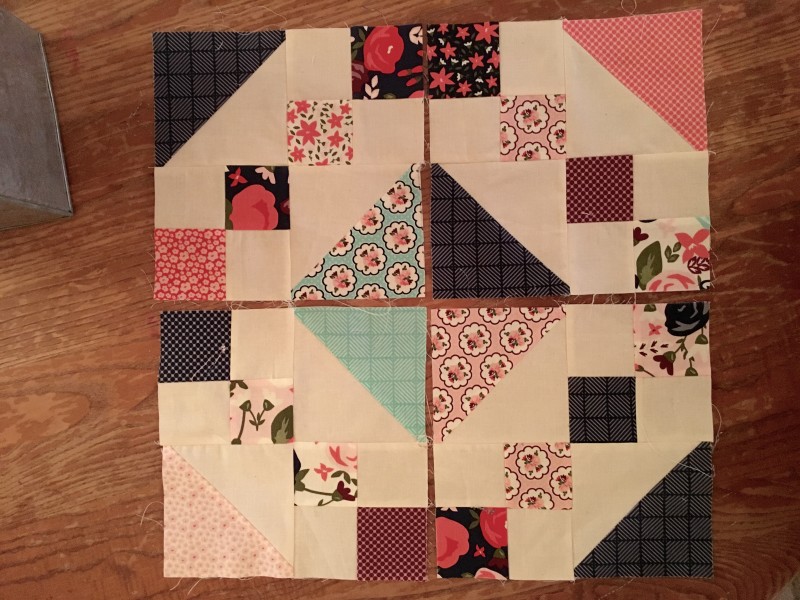
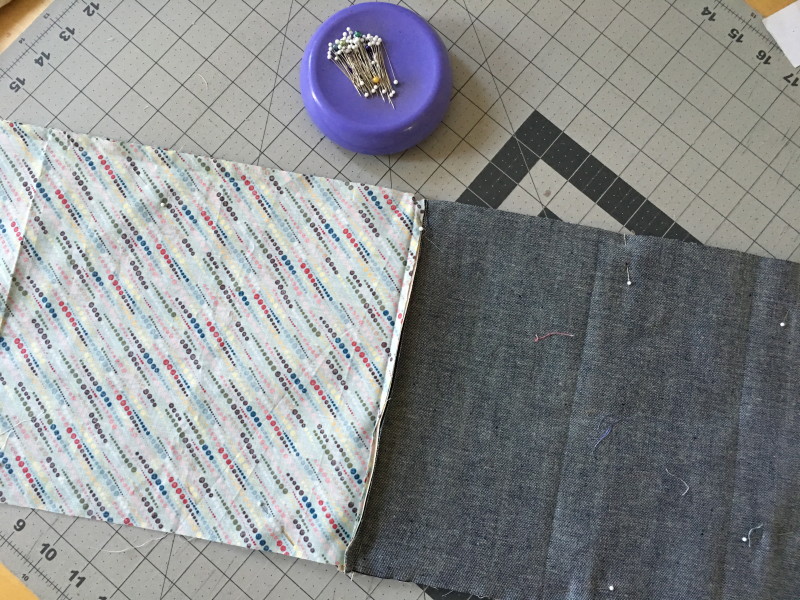
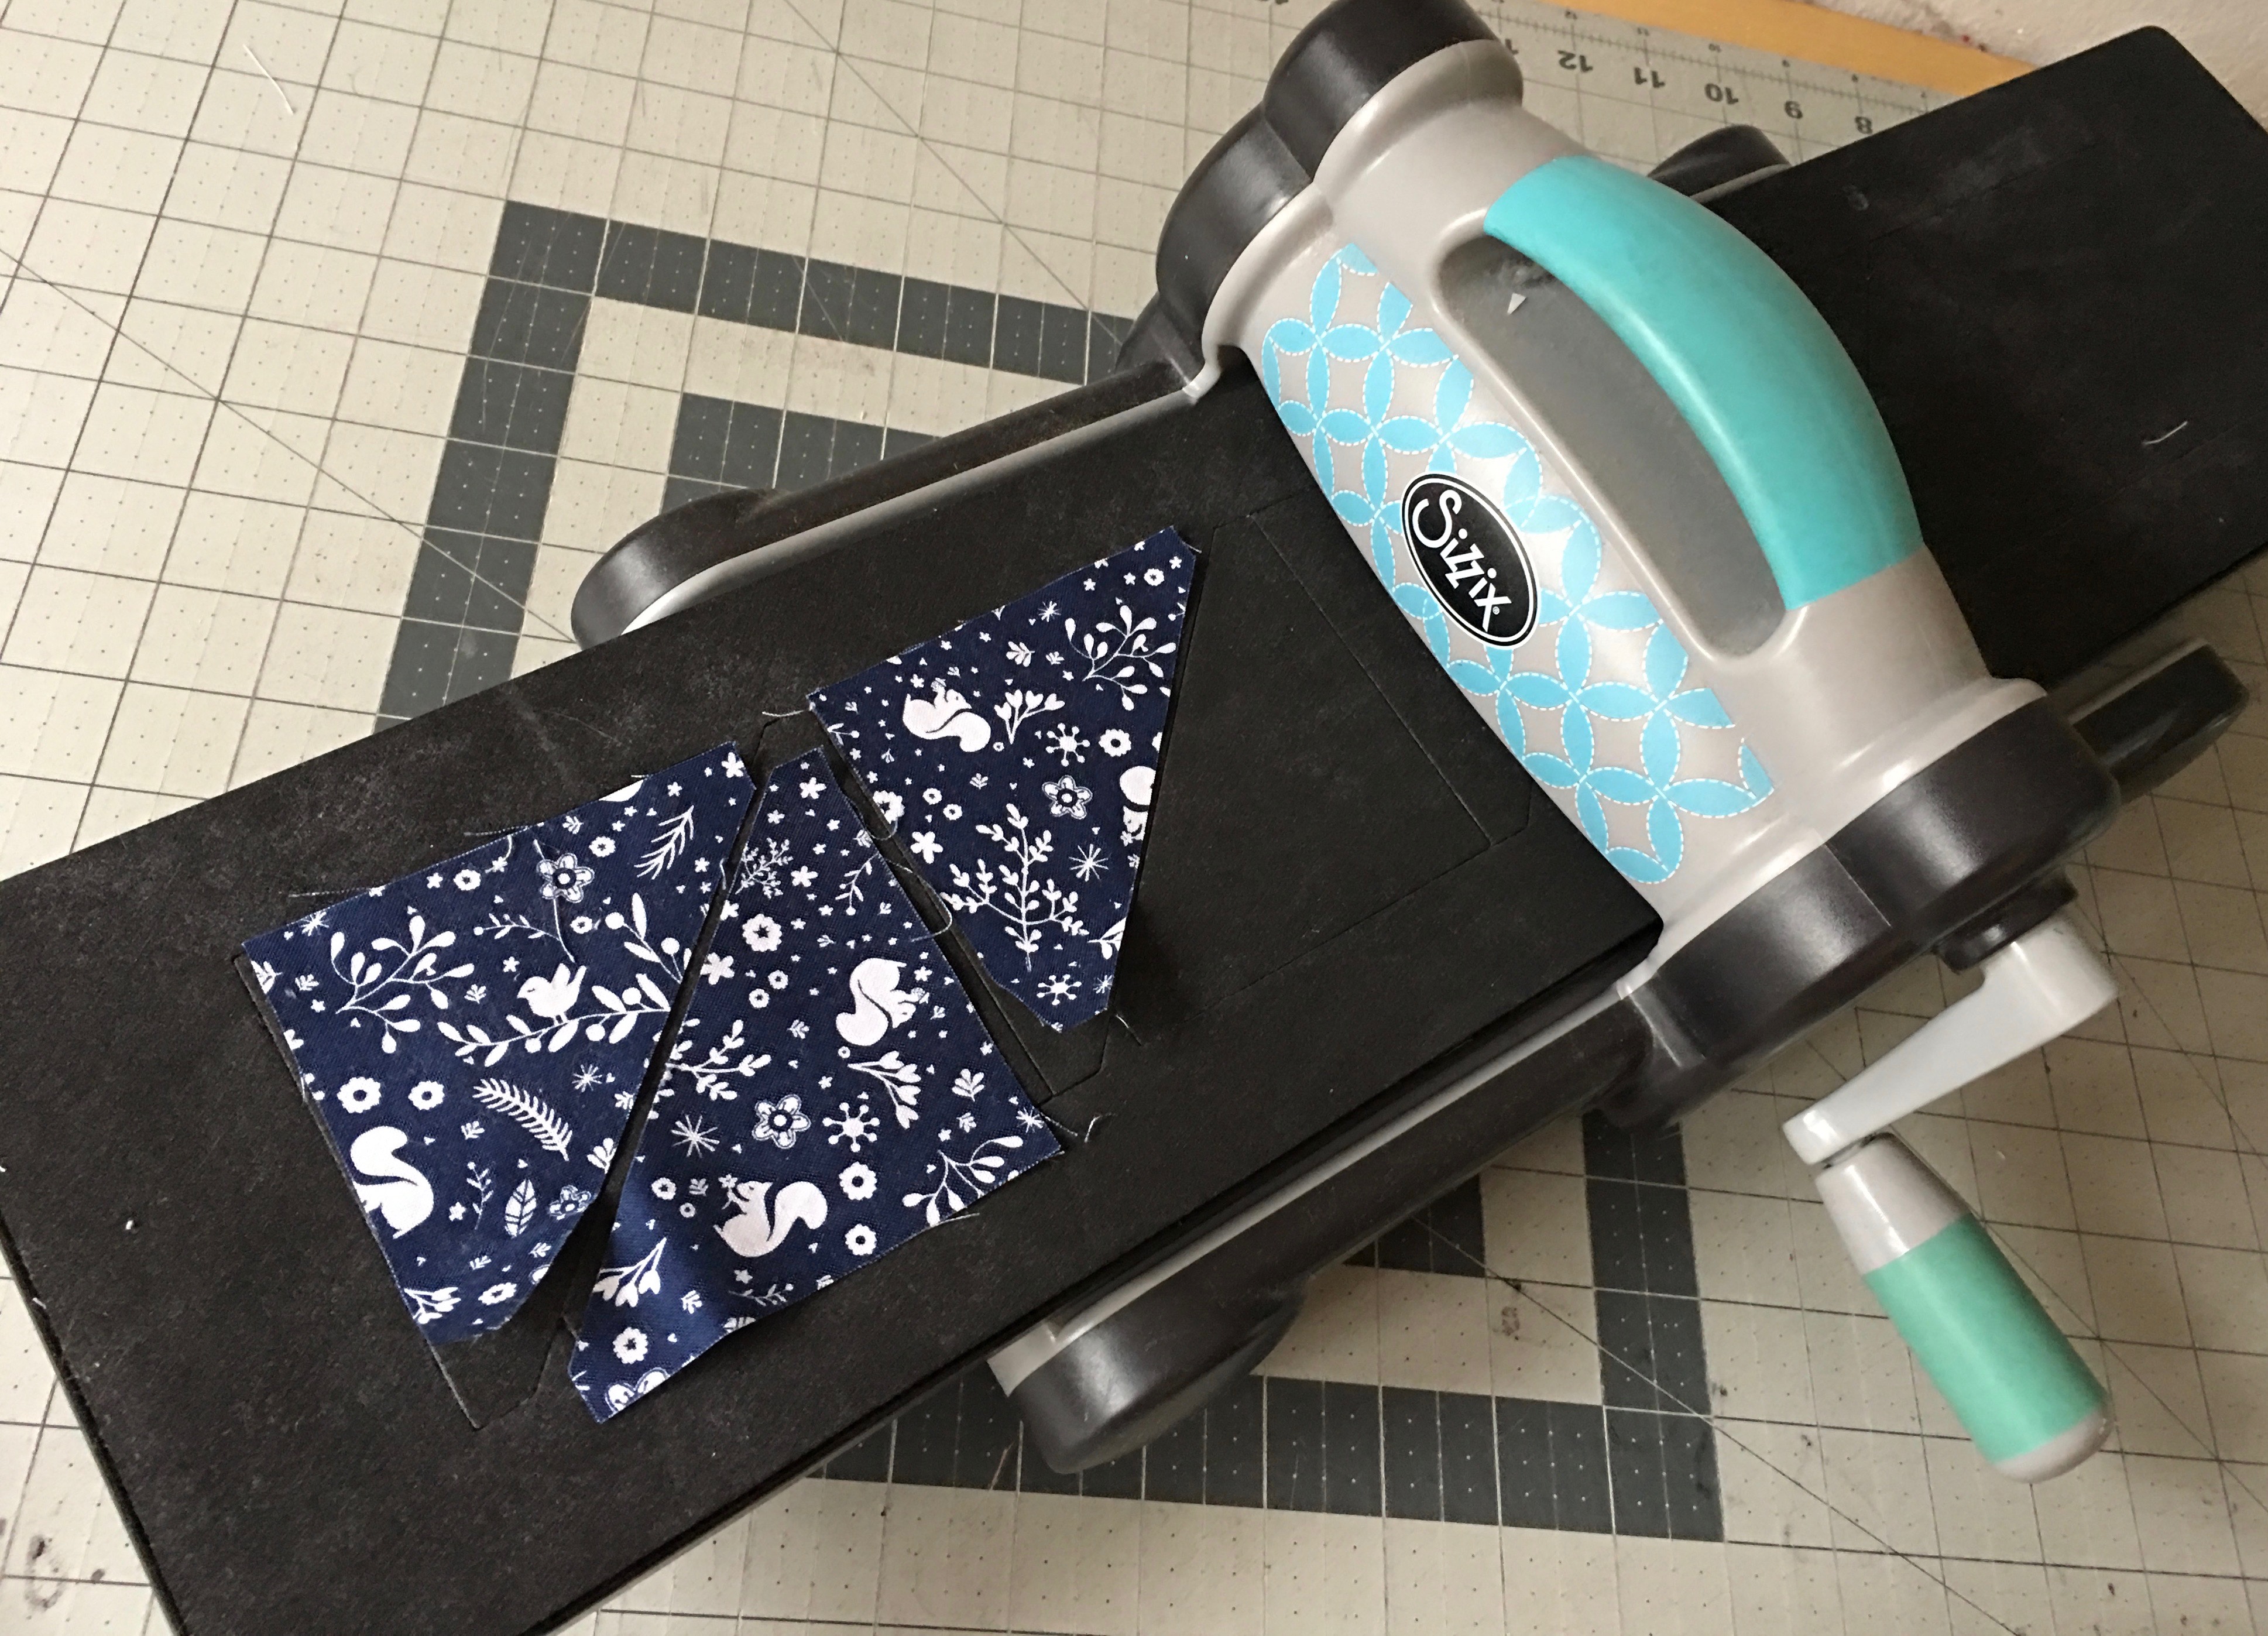
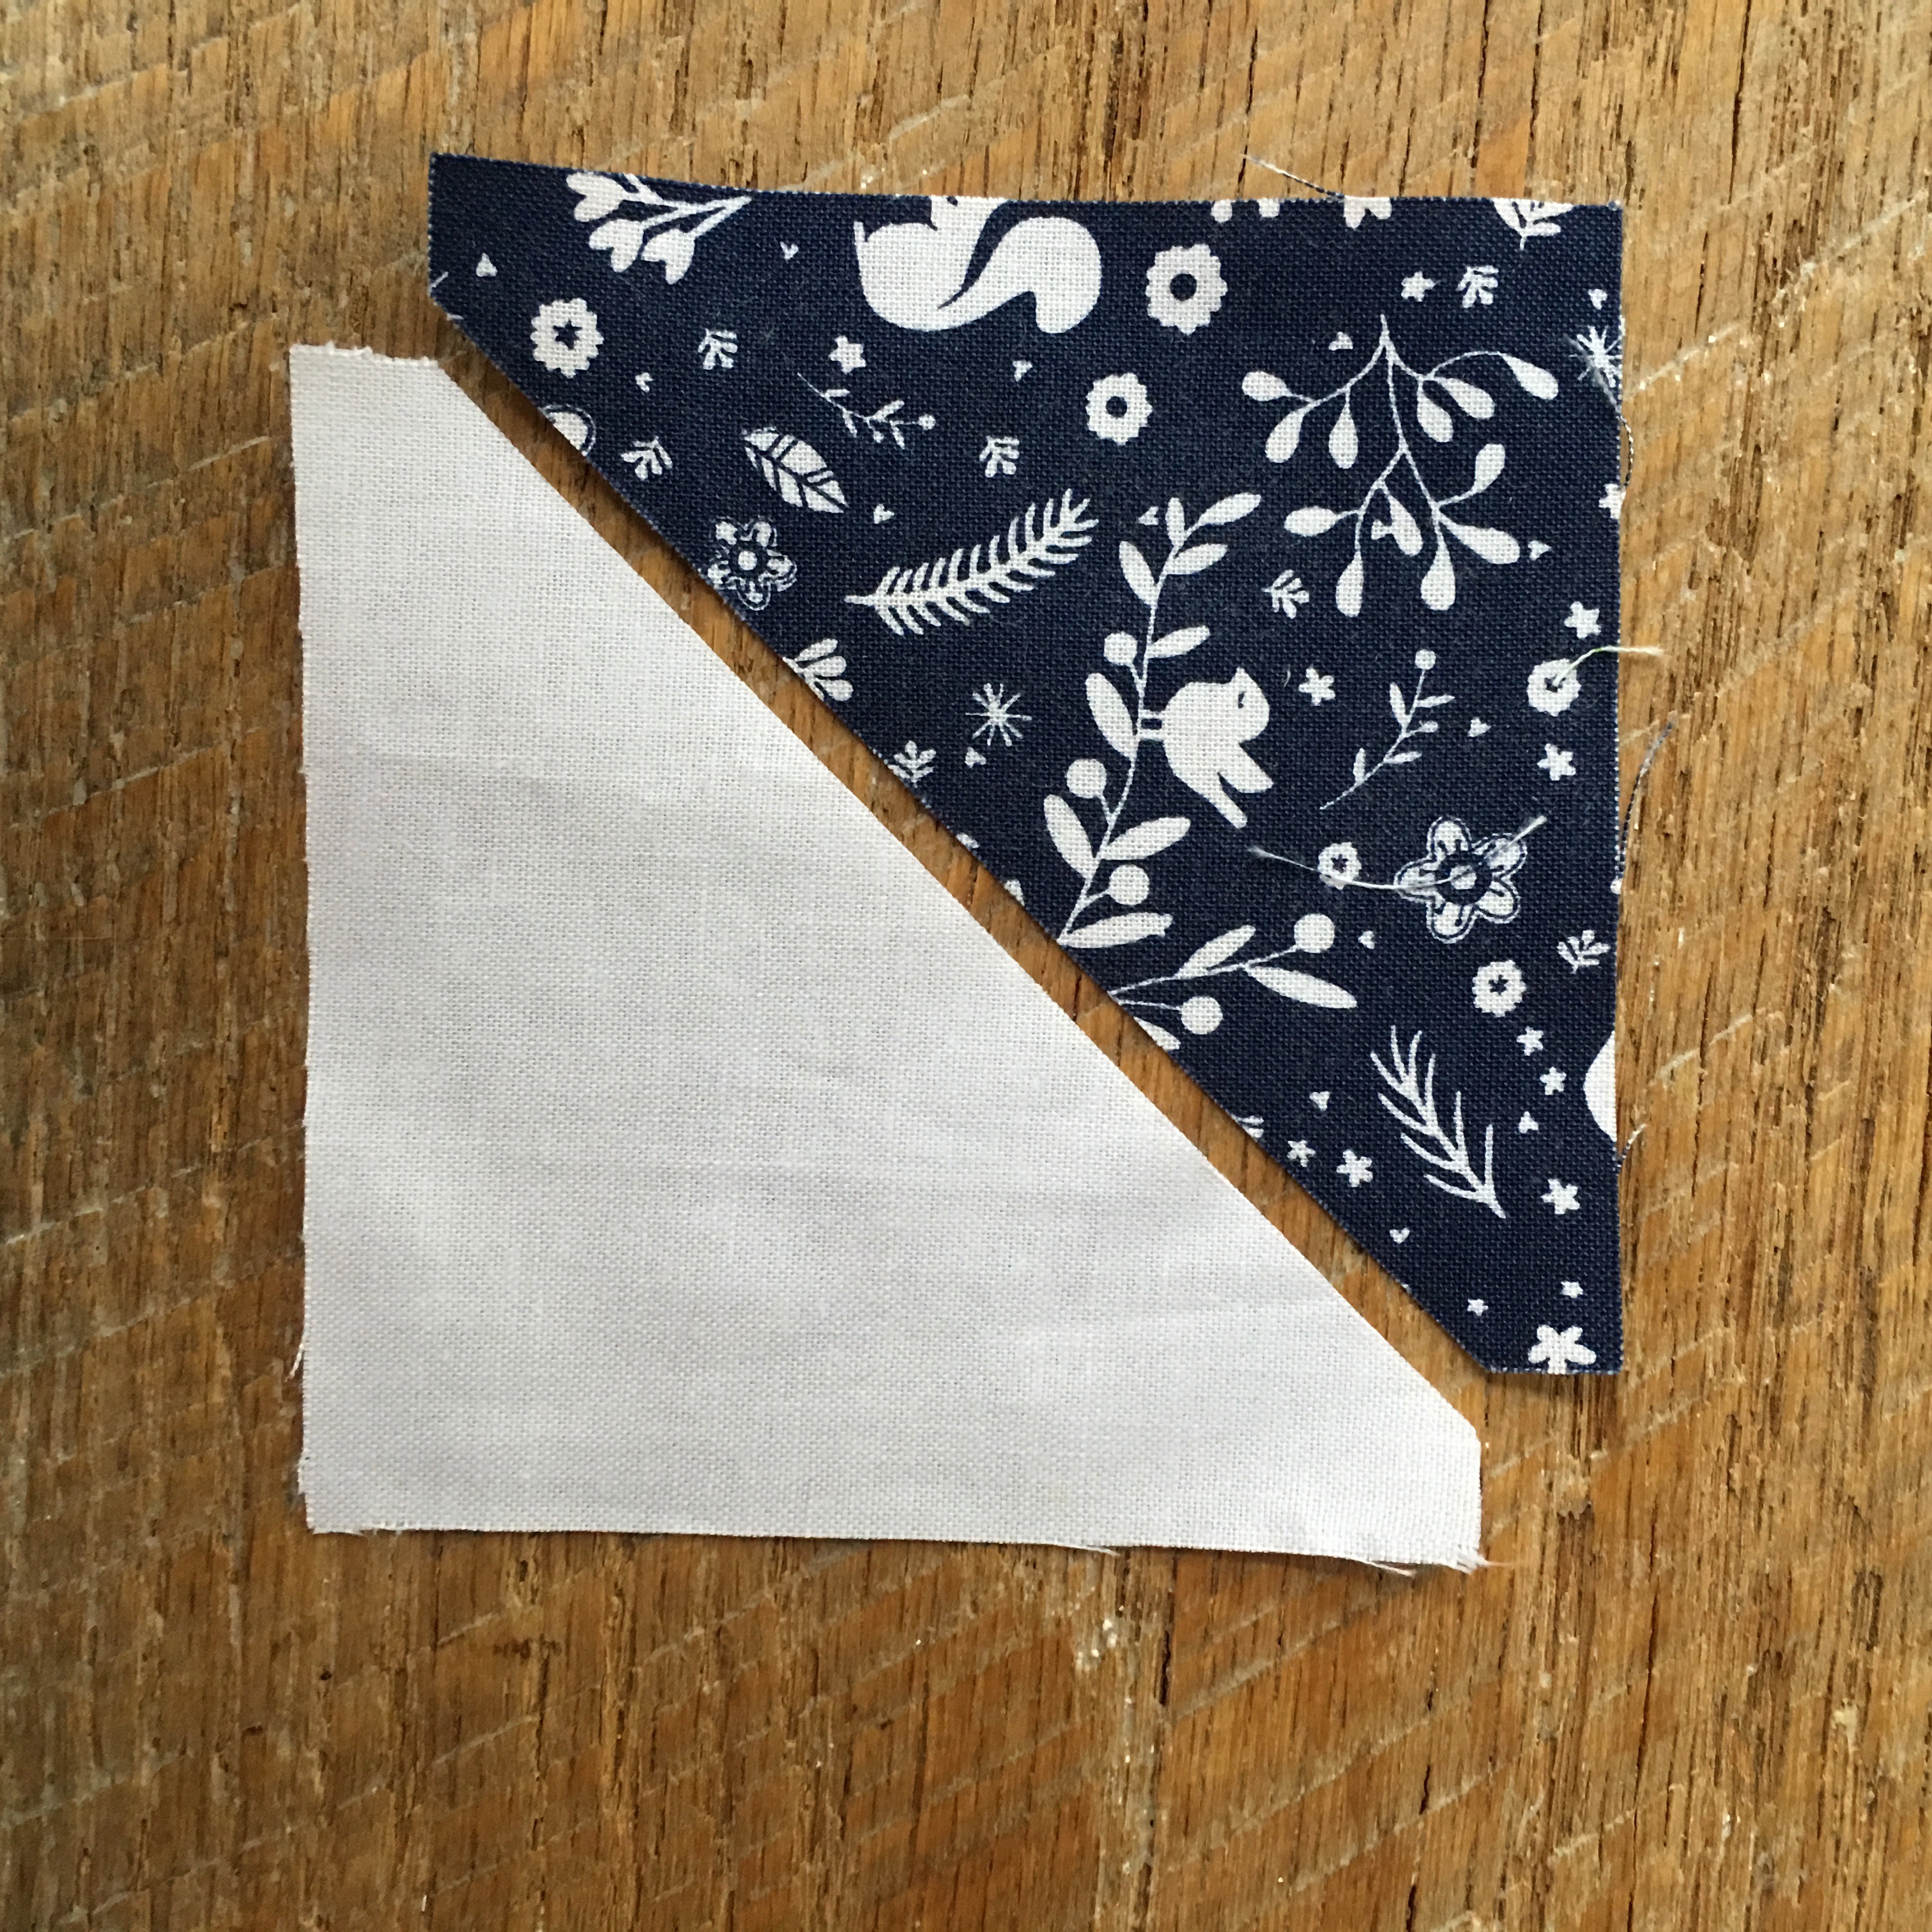
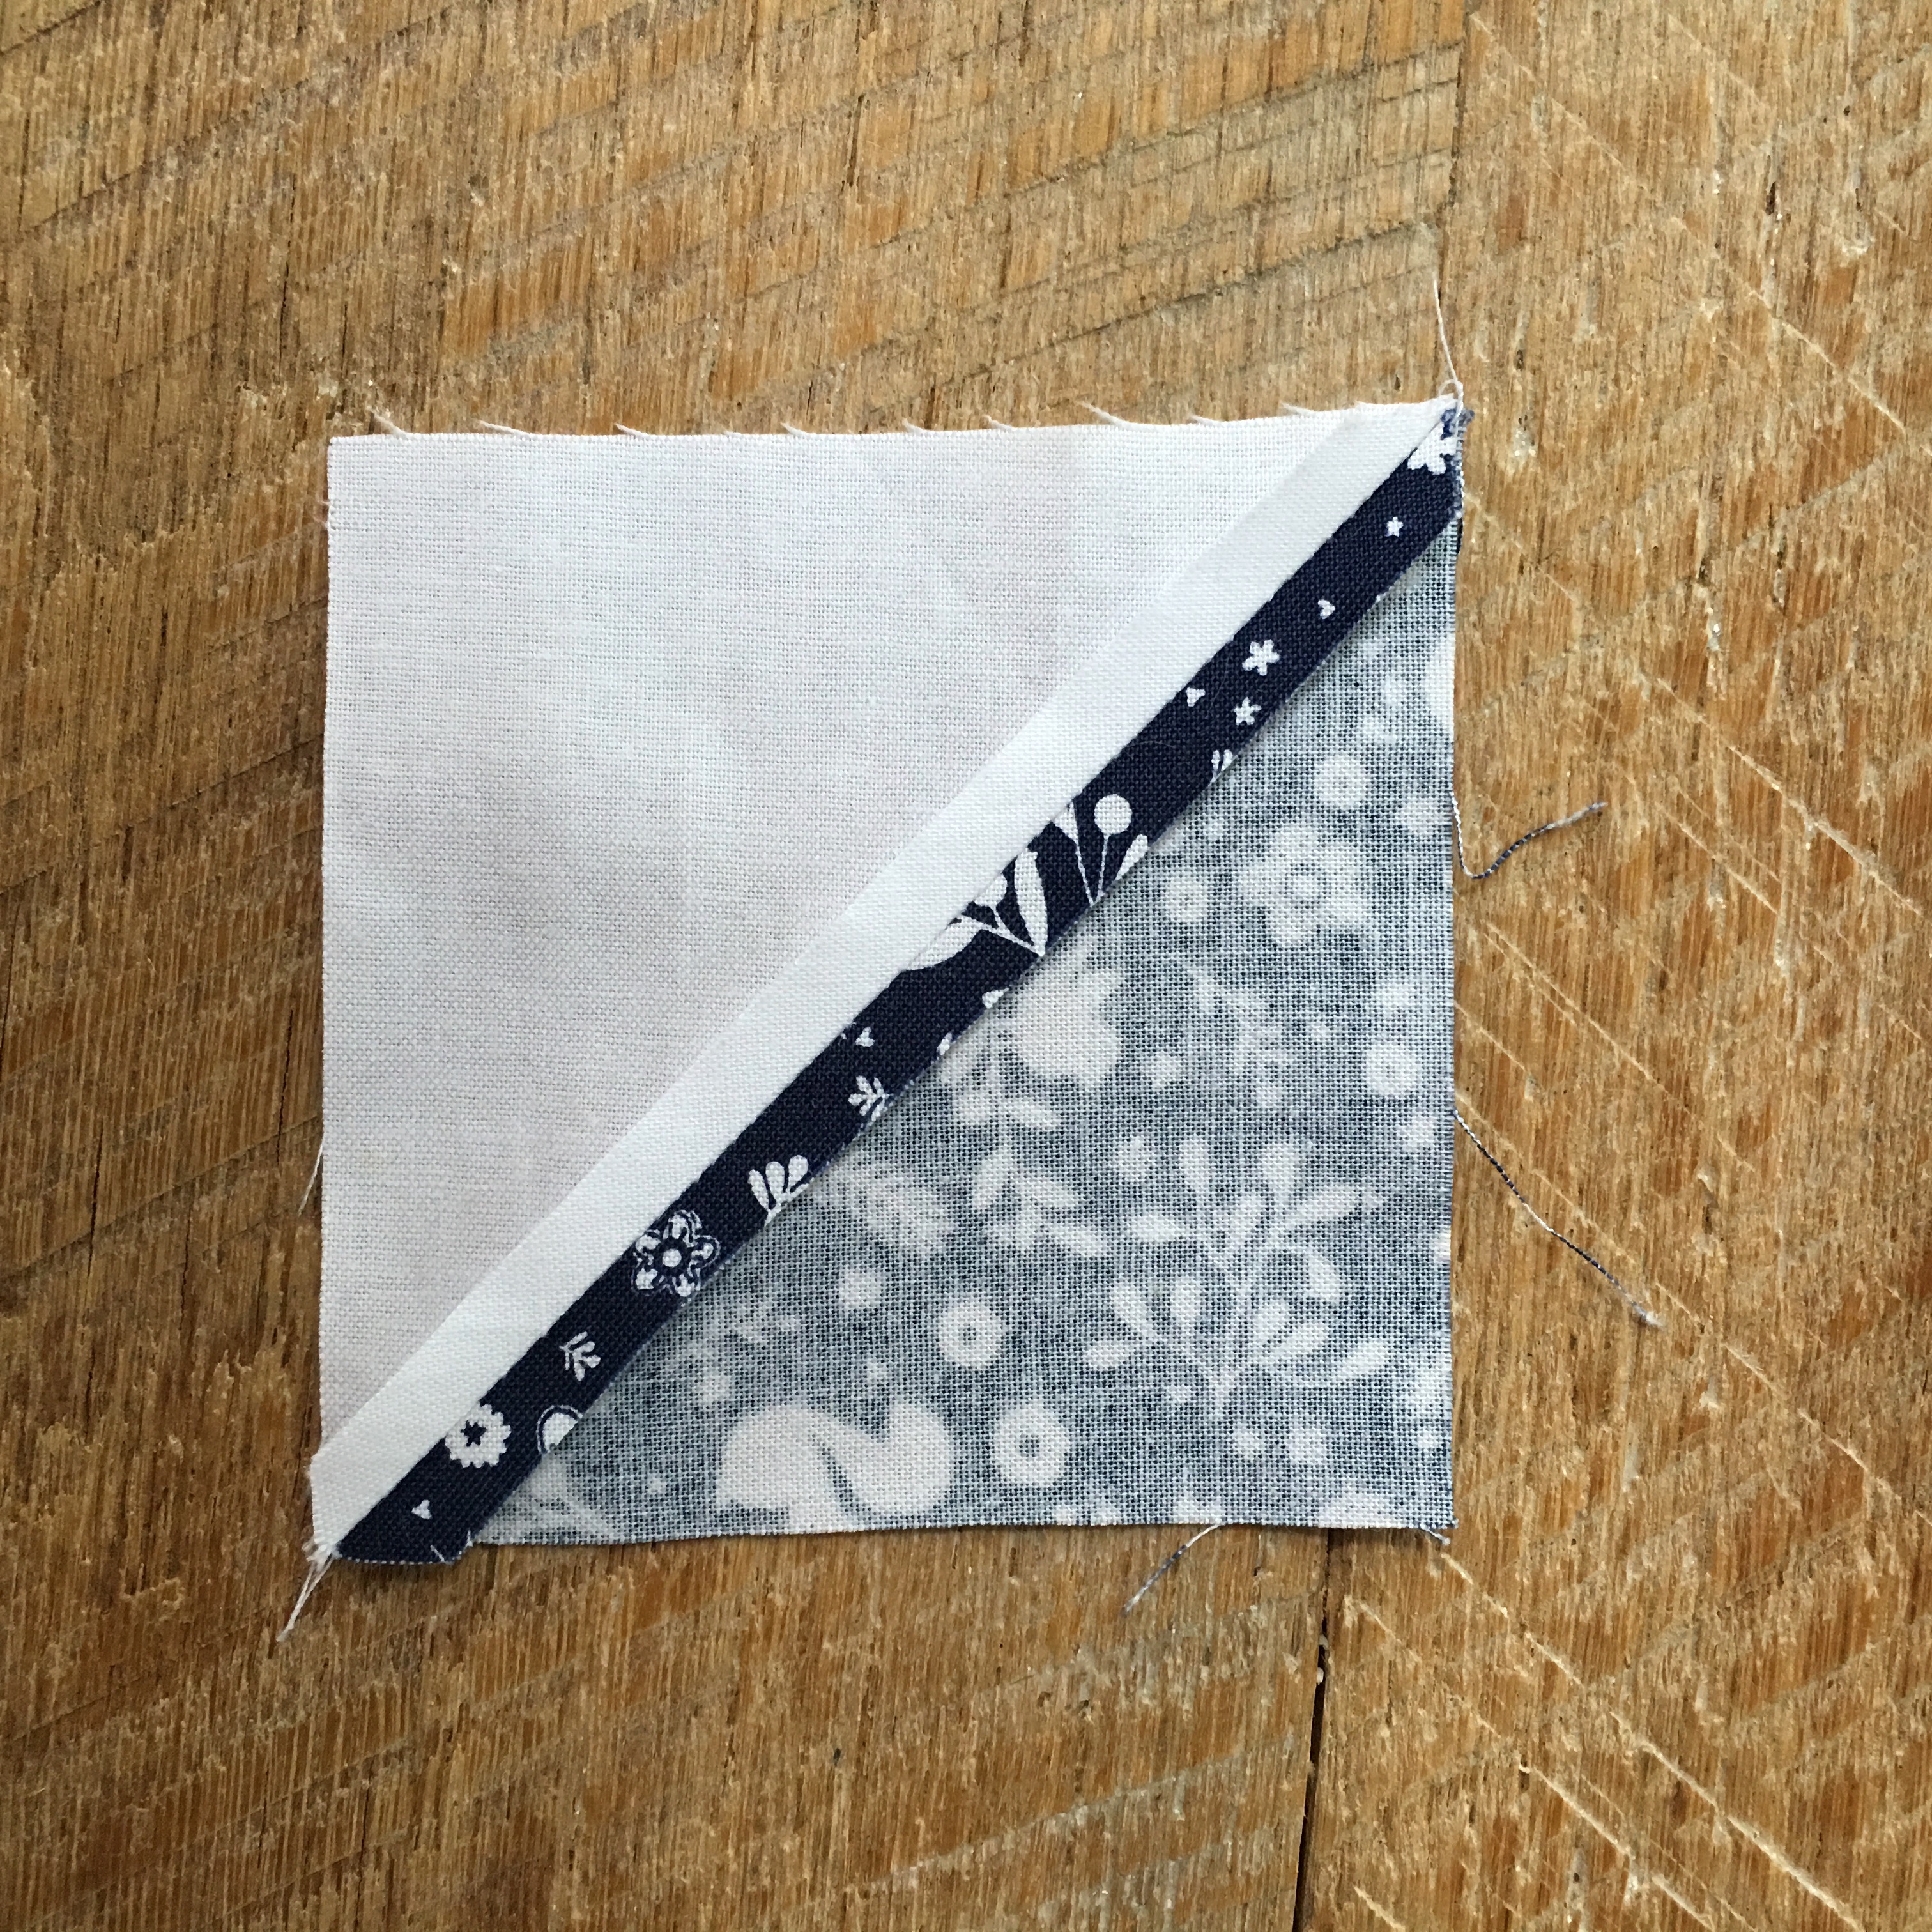
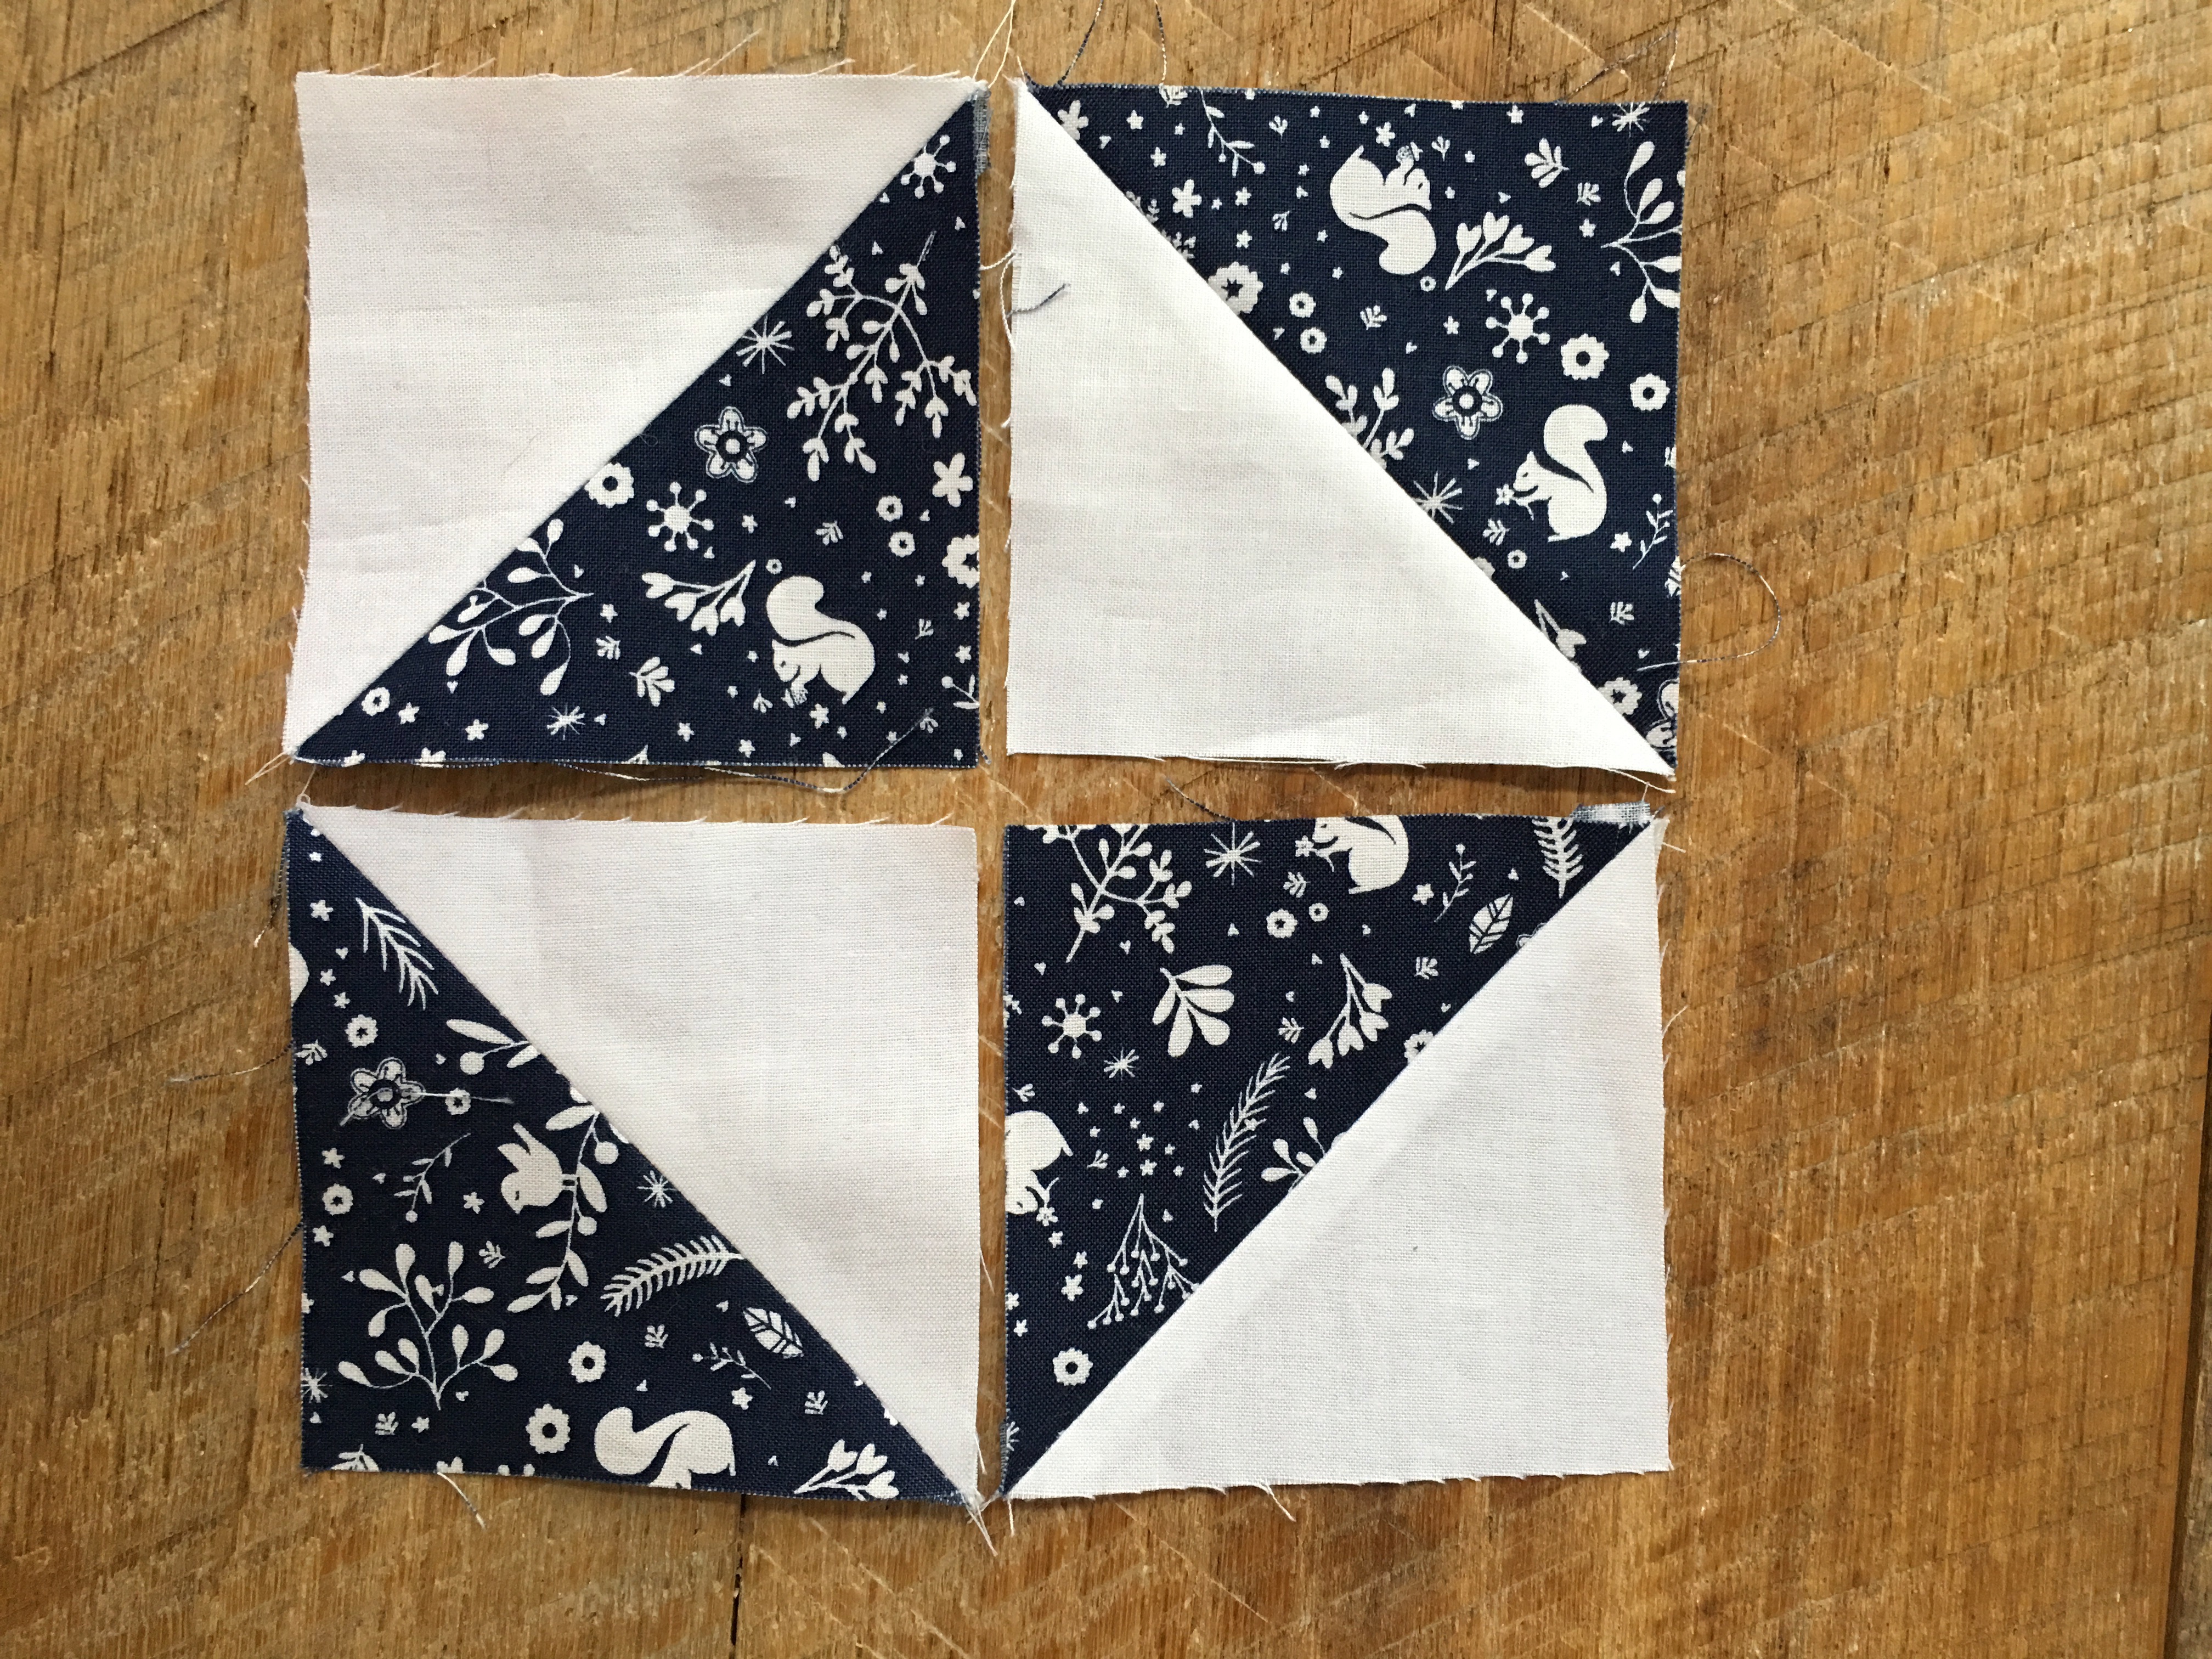
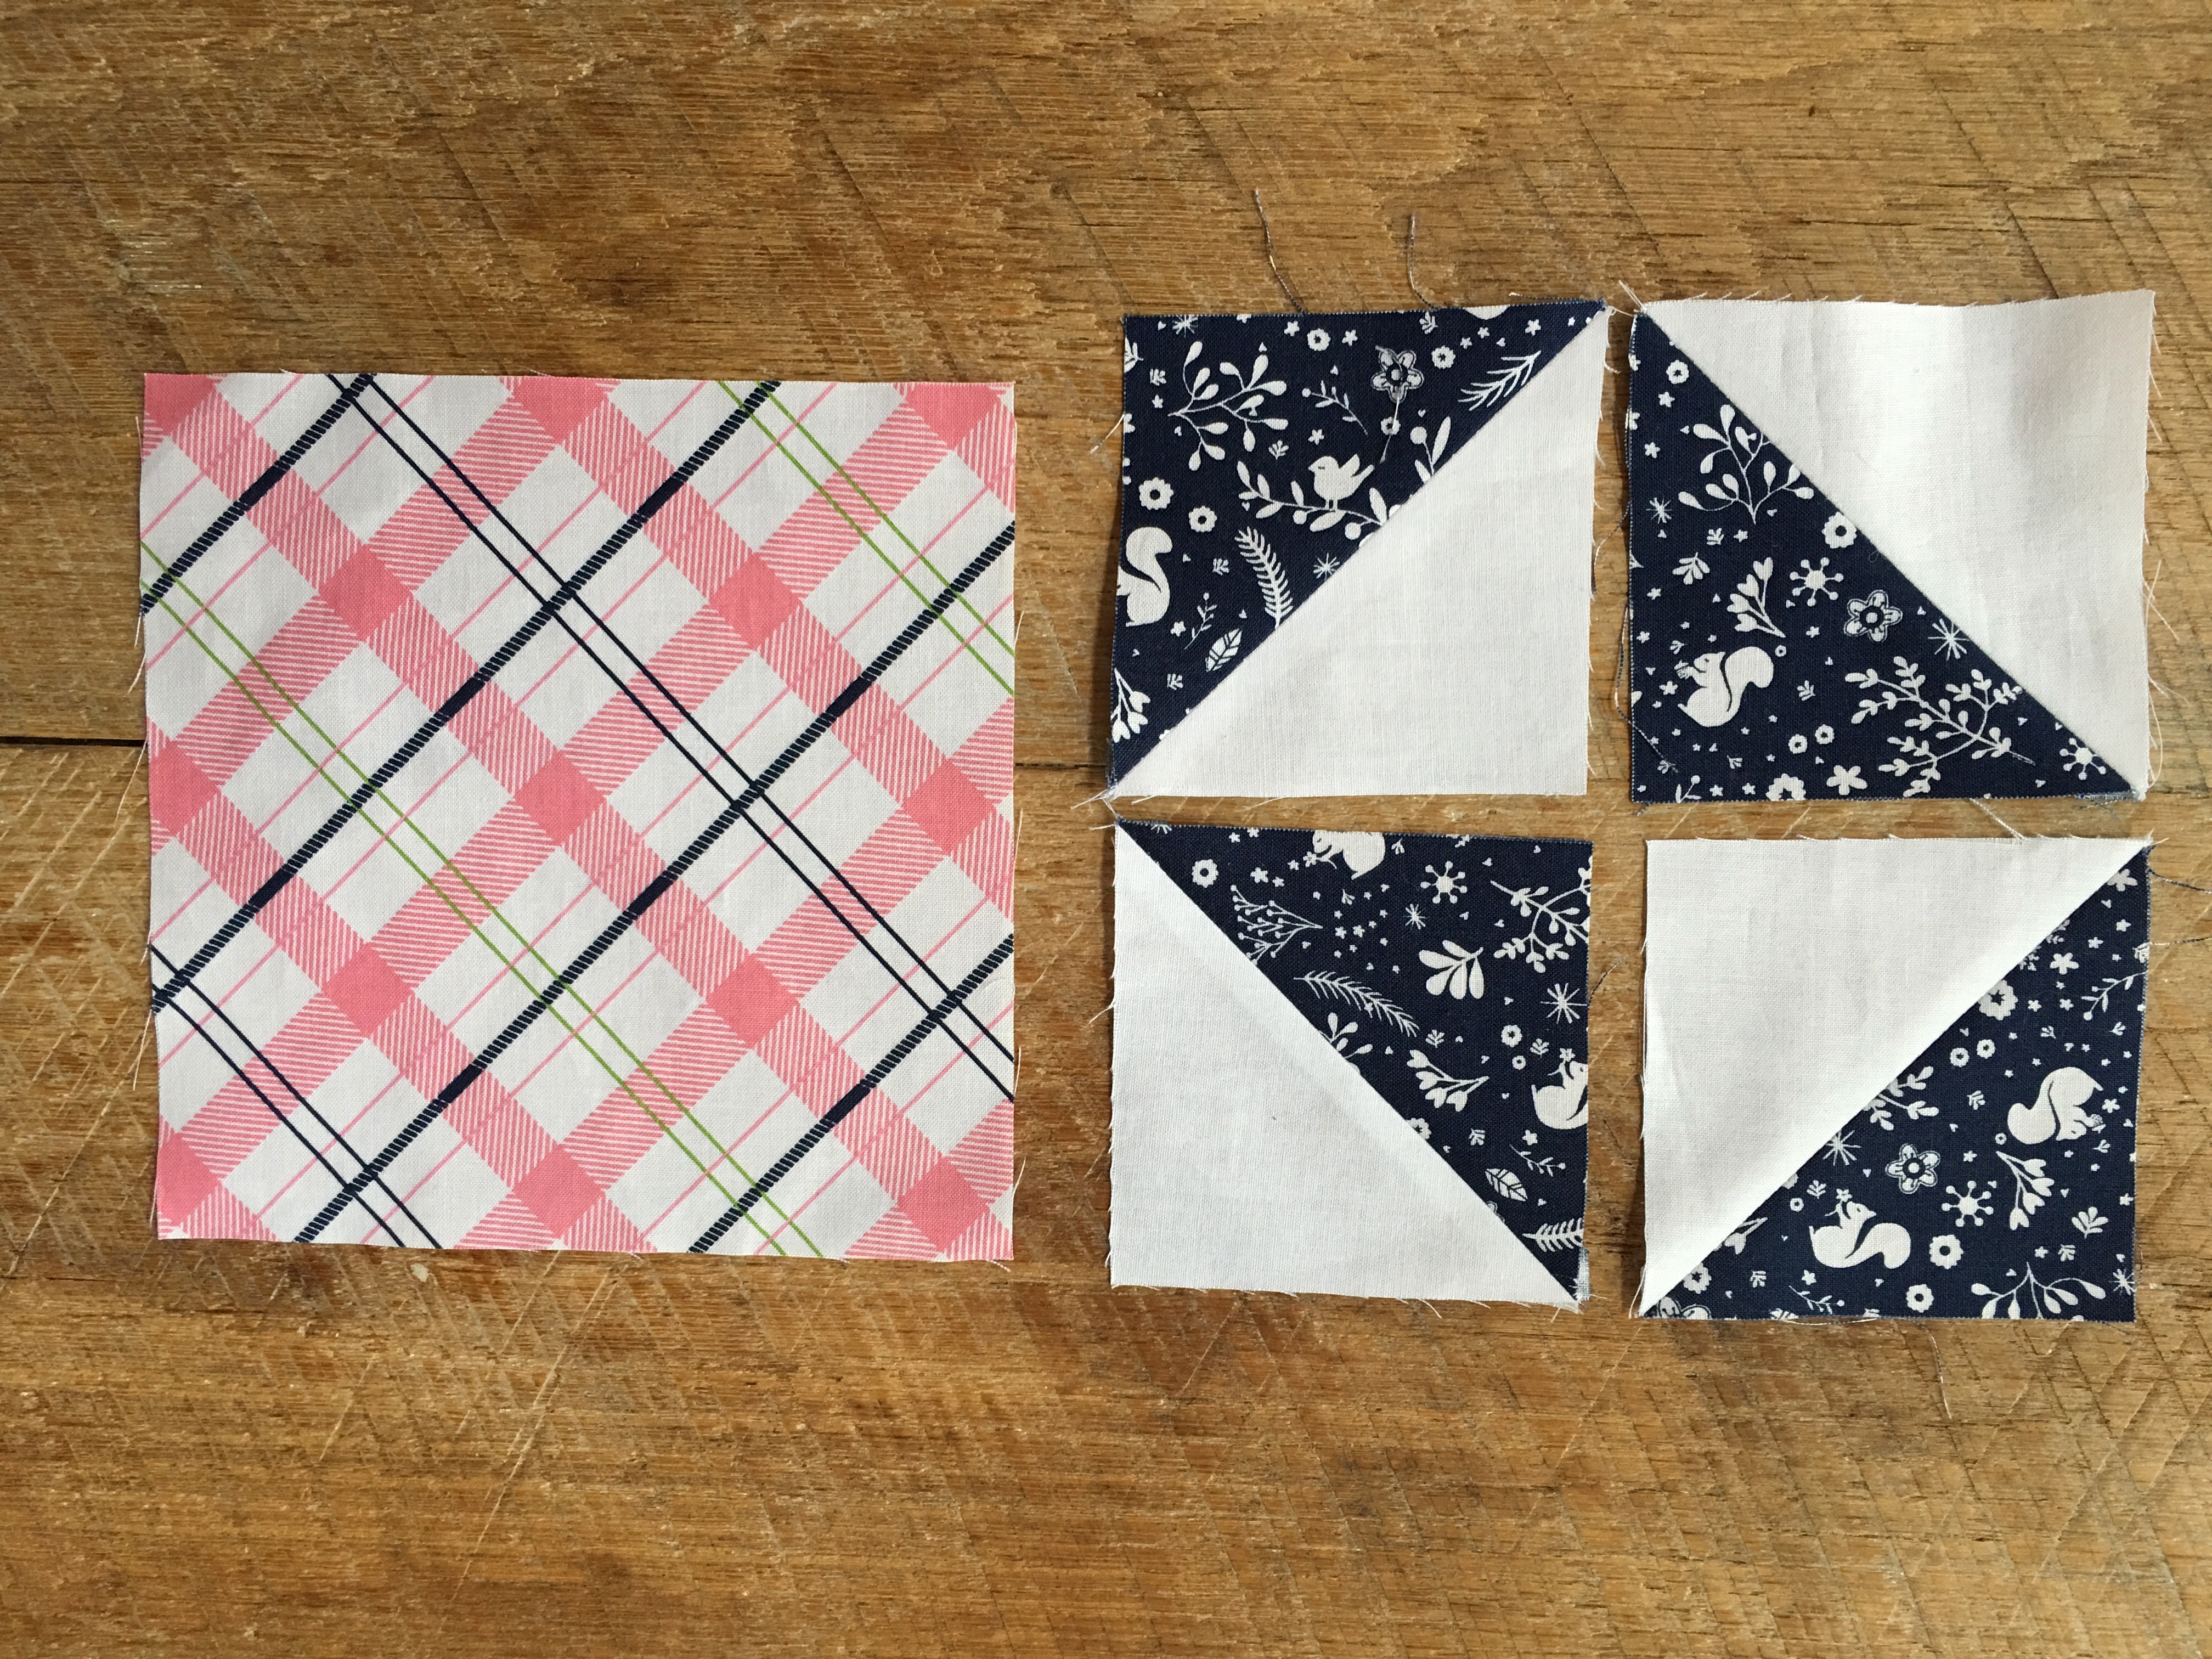
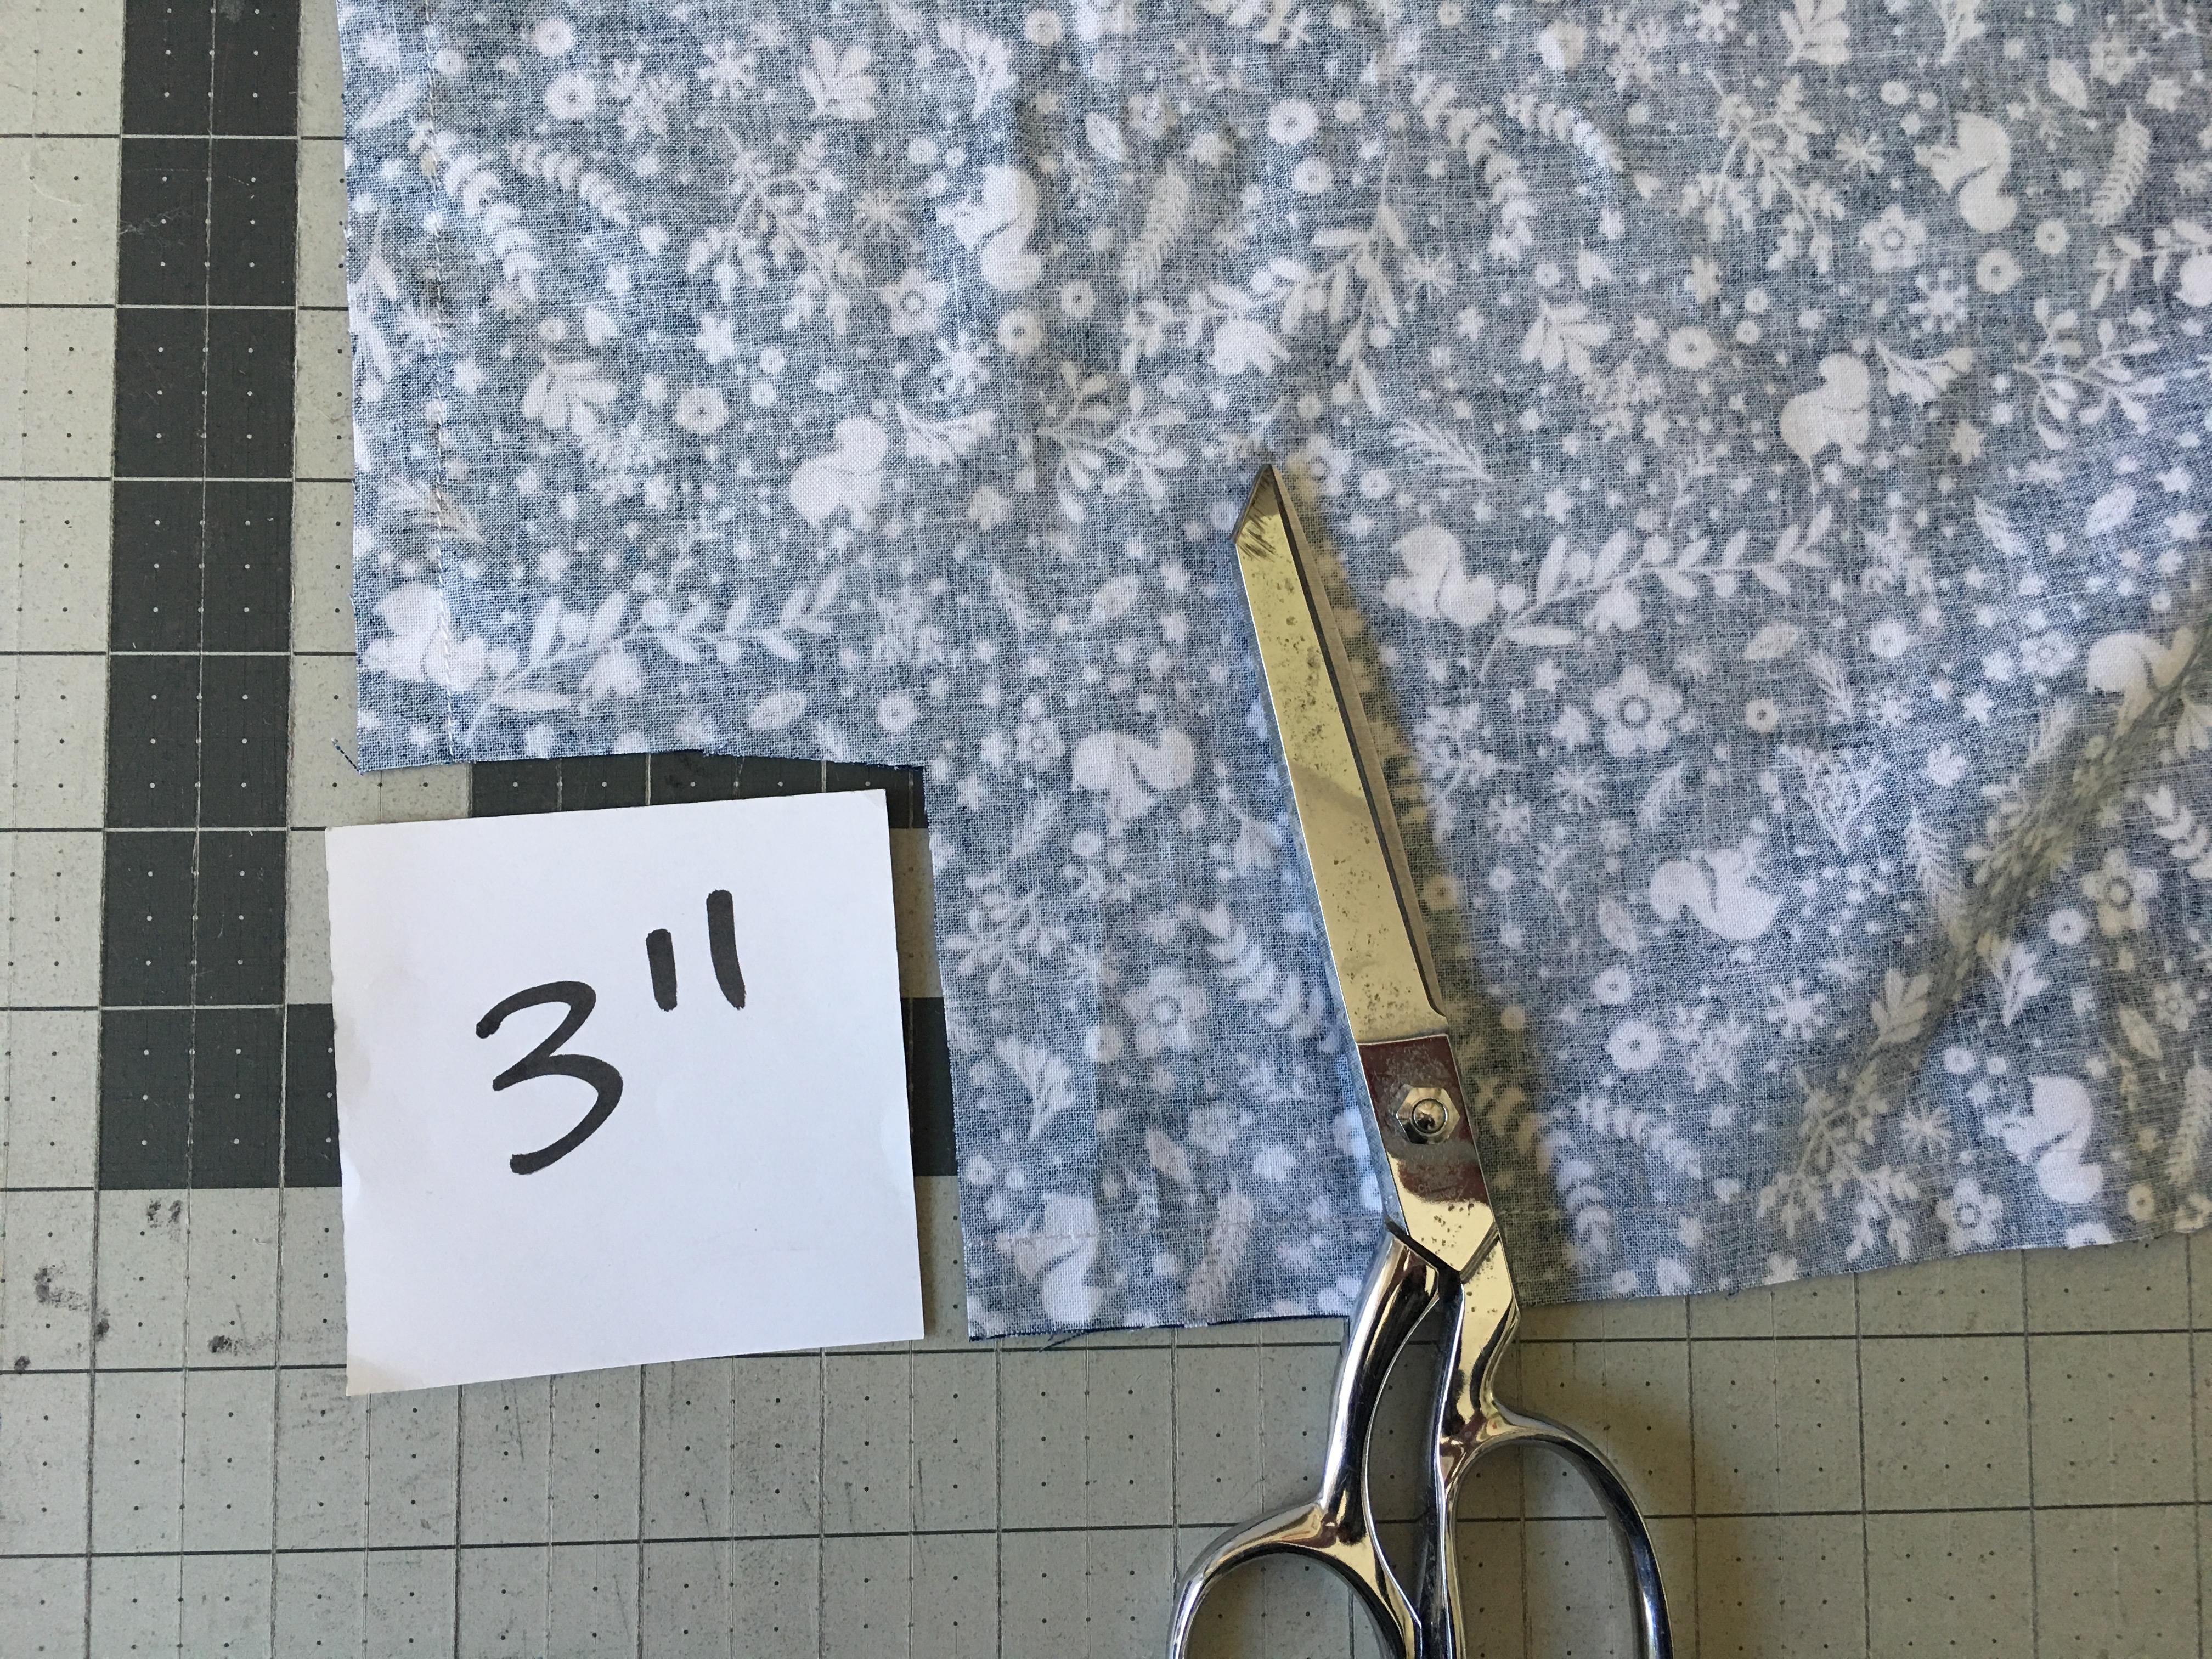
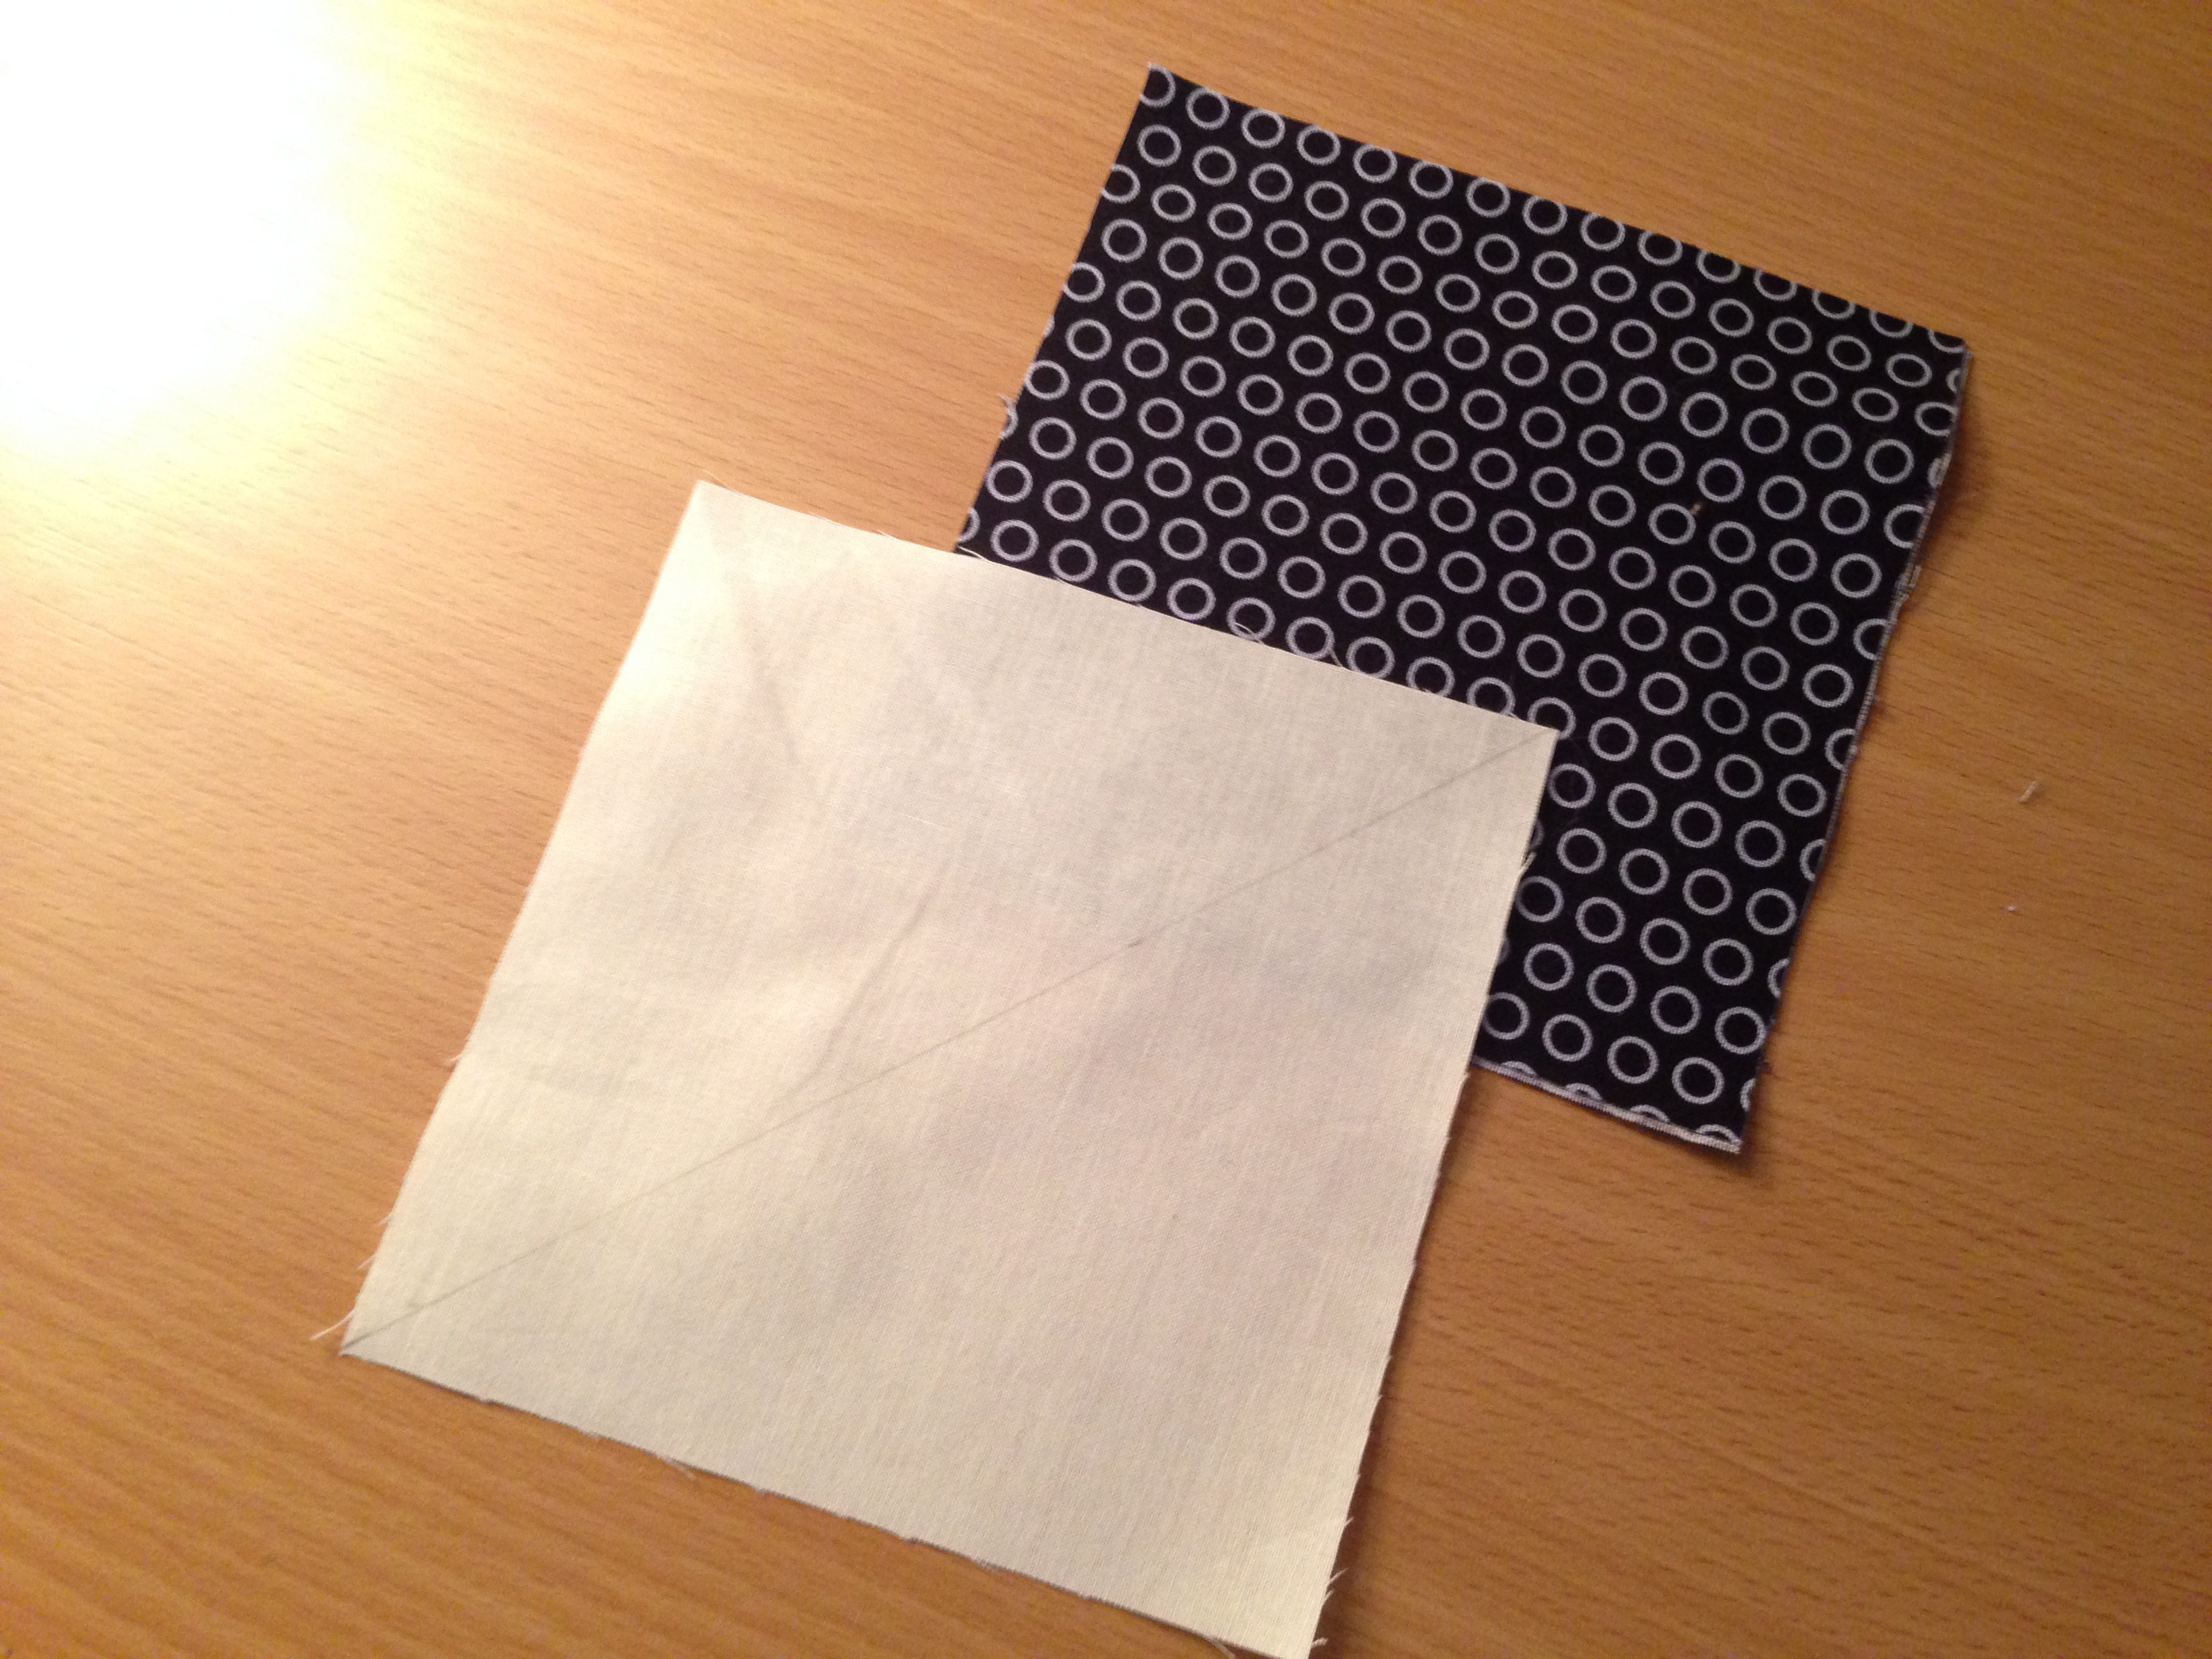
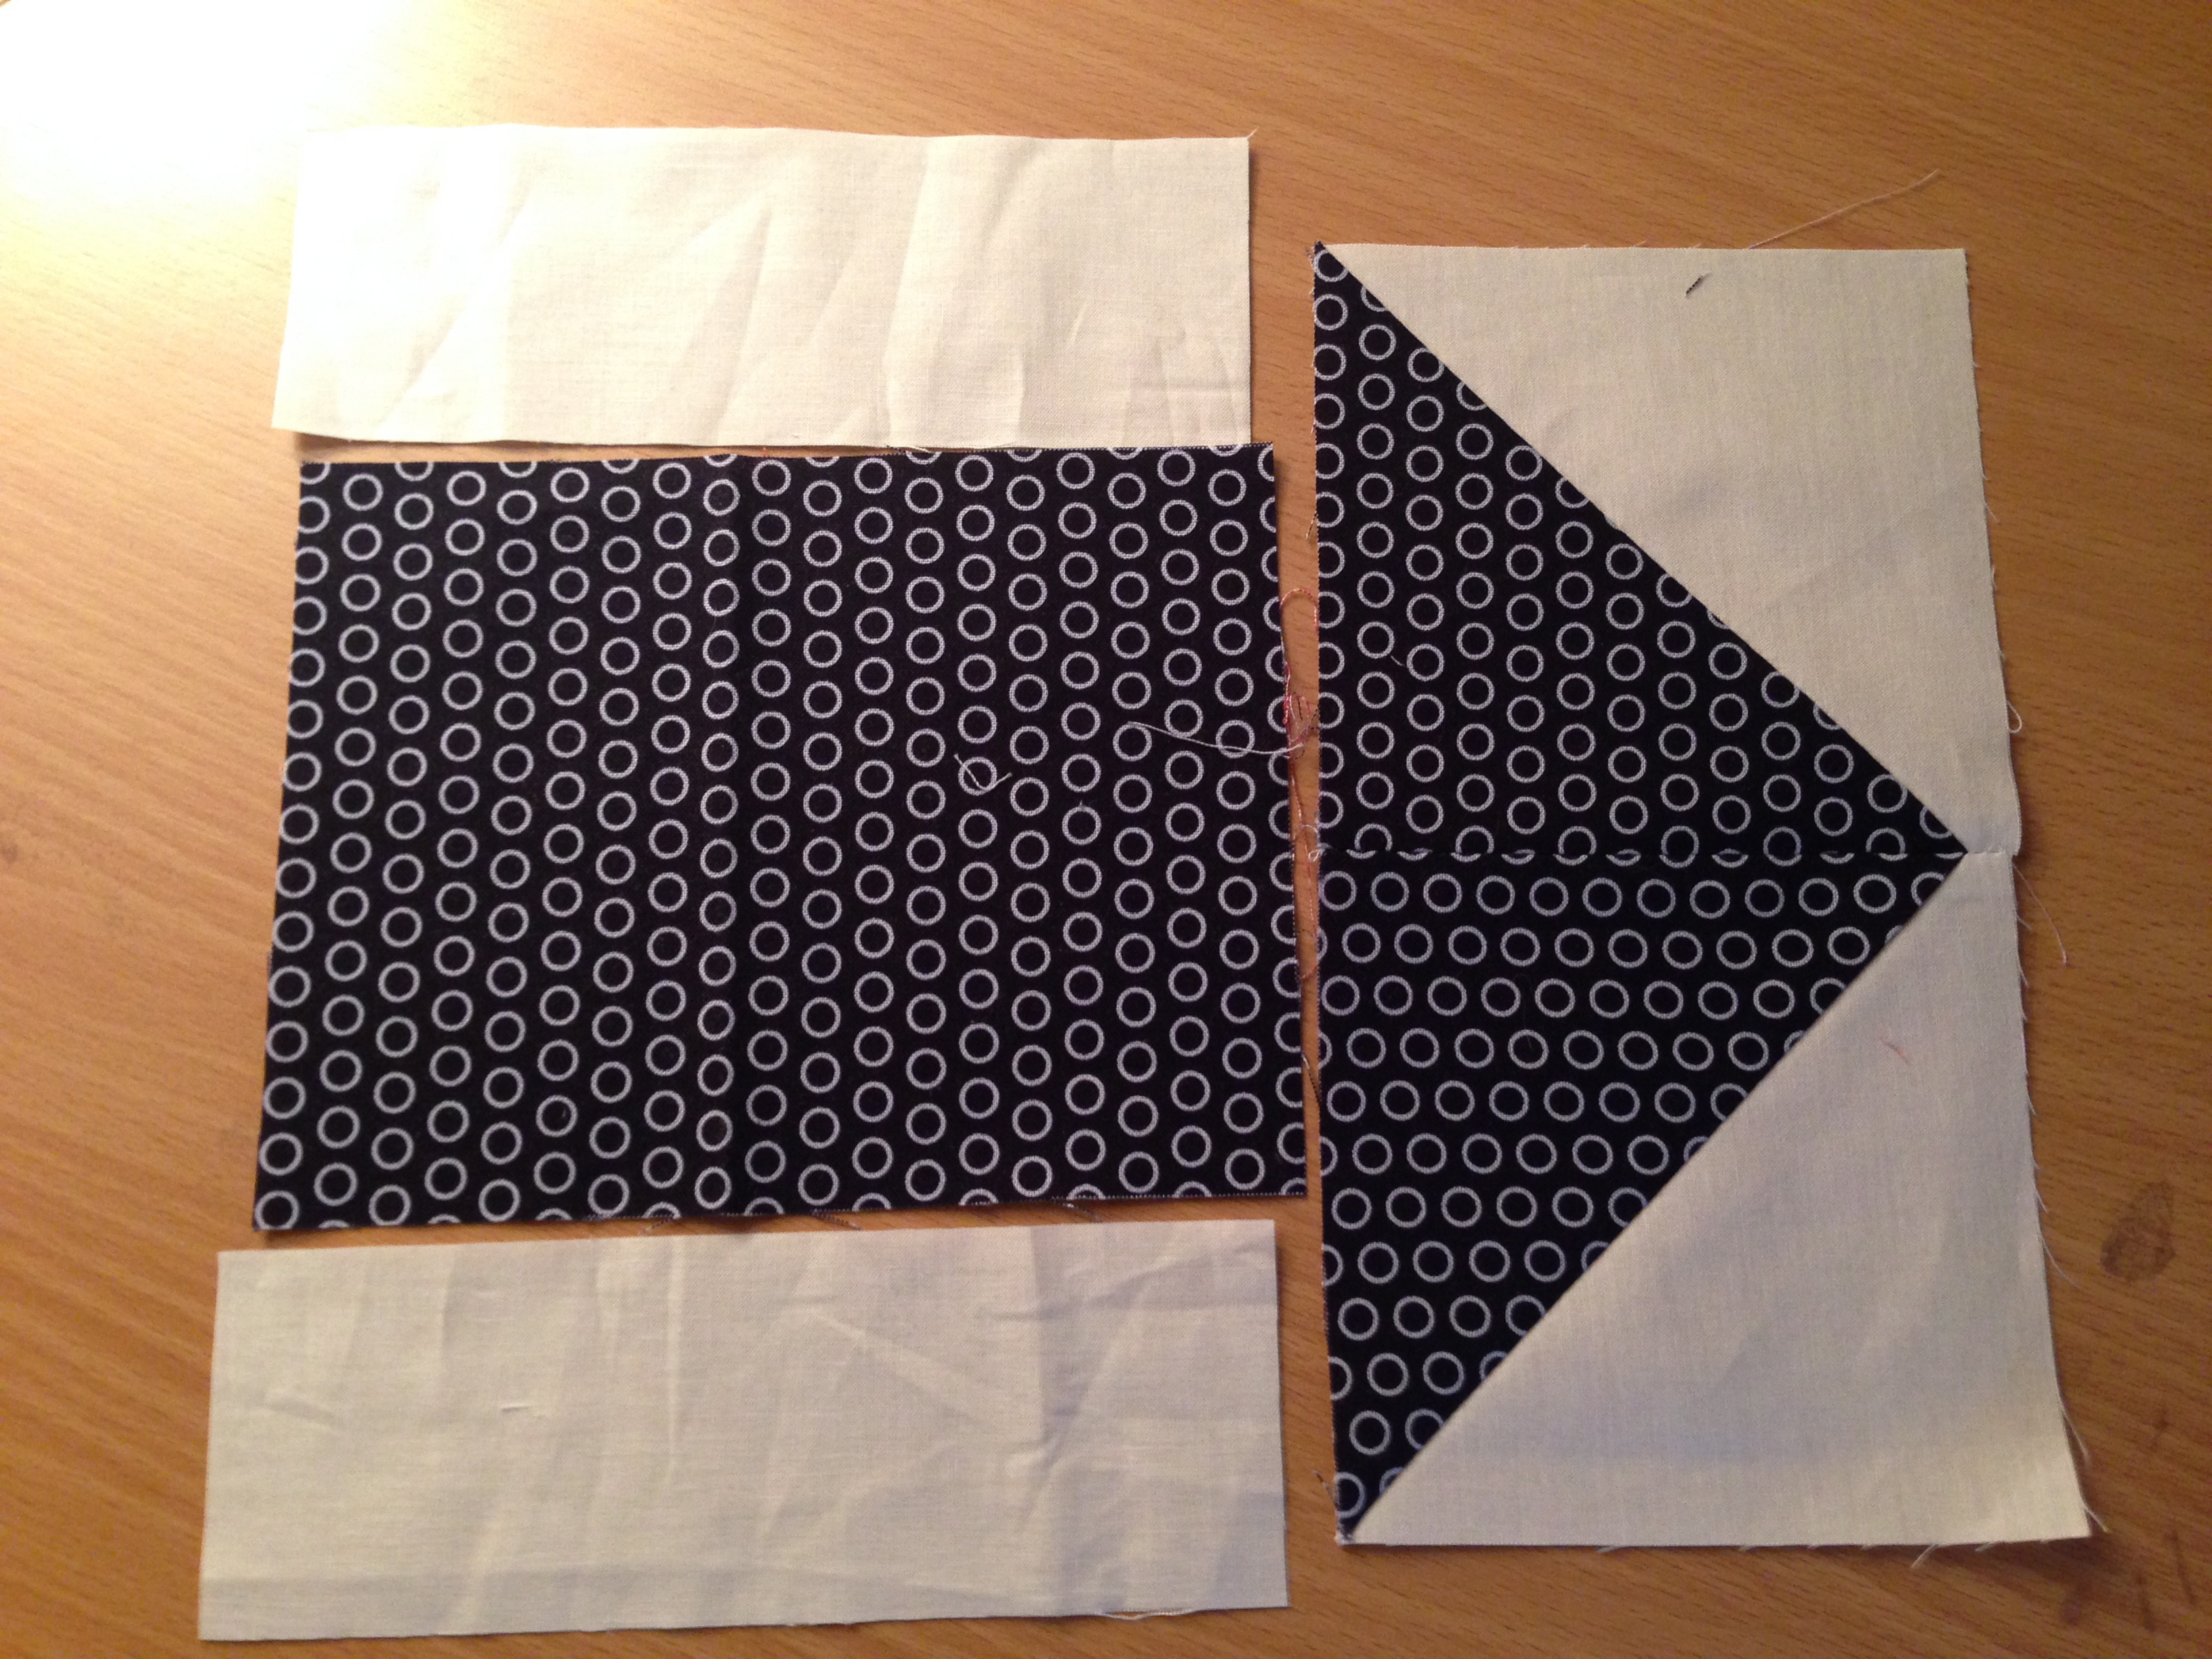
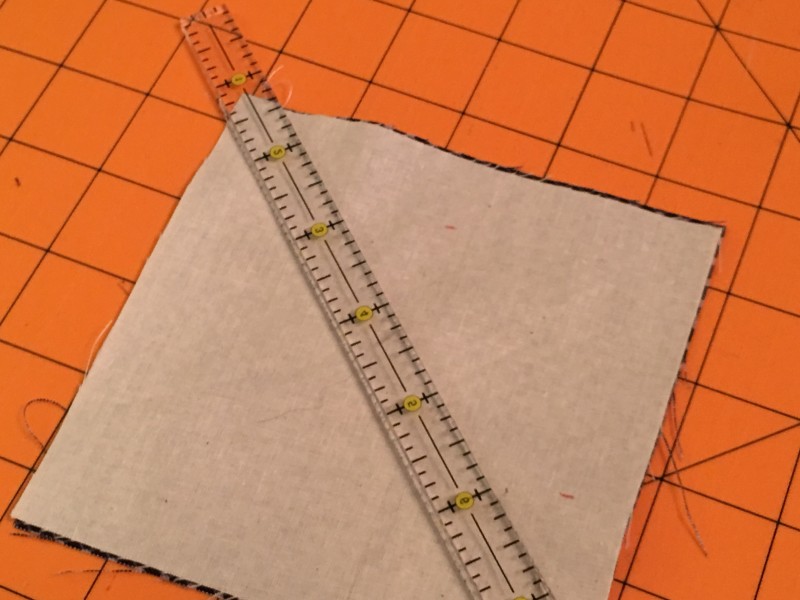 Draw a diagonal line on the wrong side of the muslin squares. I like to use this tool. Instead of drawing the diagonal line, you draw the 1/4” lines that are on the side of the diagonal line.
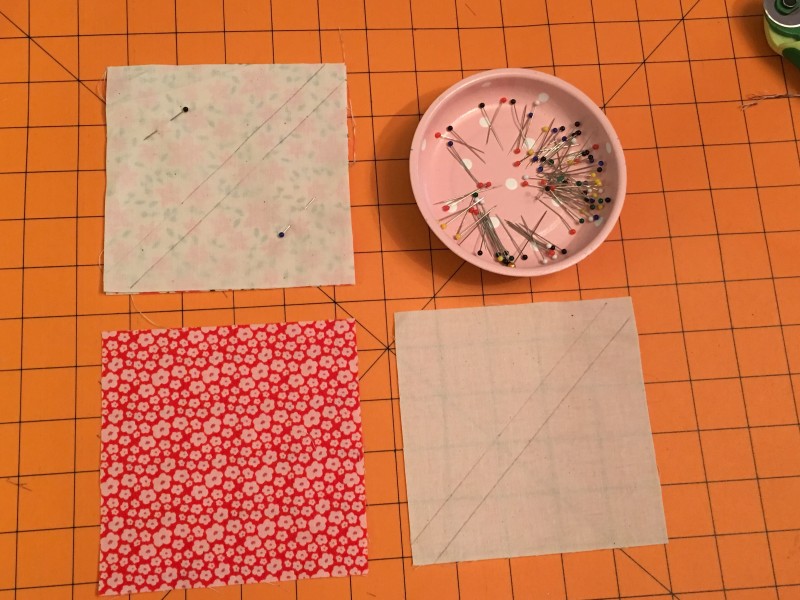 However you choose to do this, sew 1/4” away from the center line. I like to pin my squares together so they don’t move around.