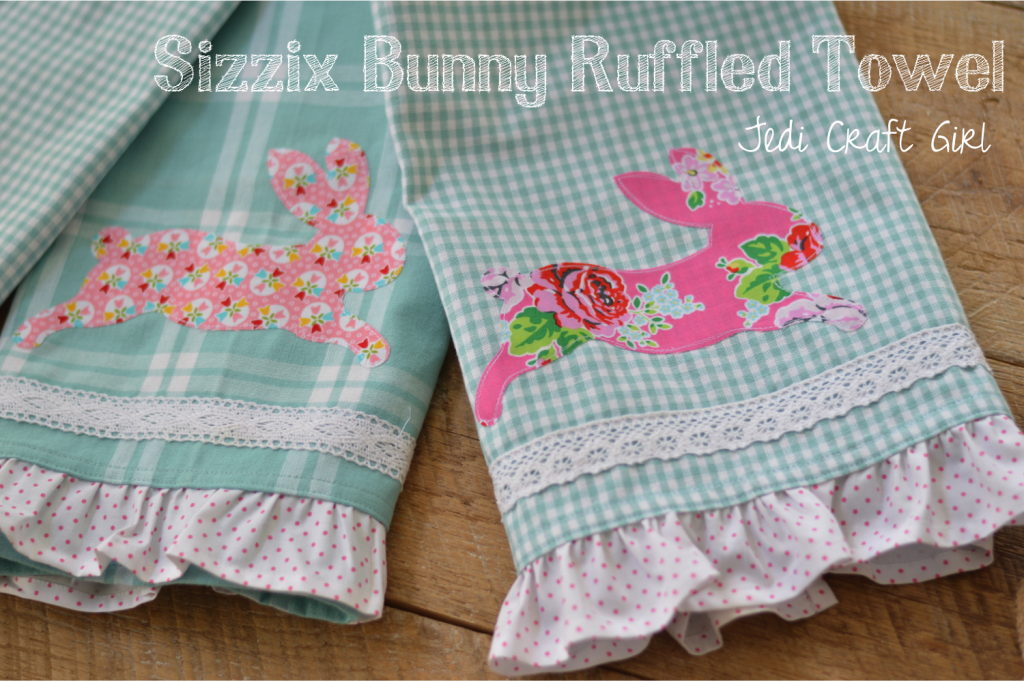
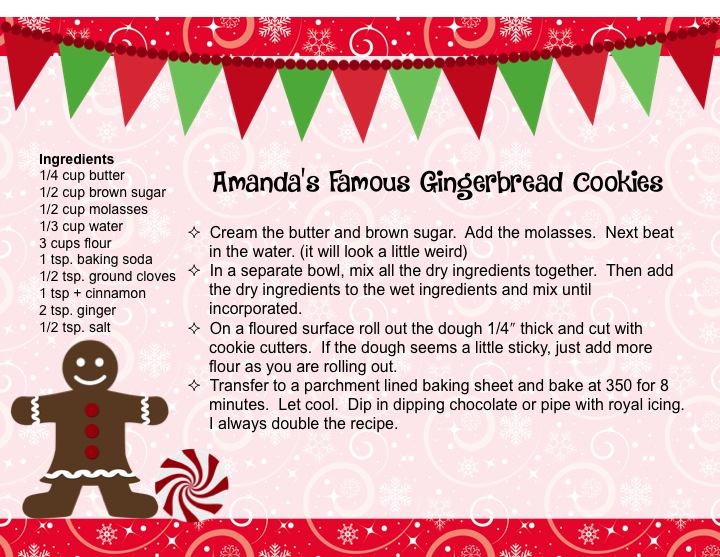
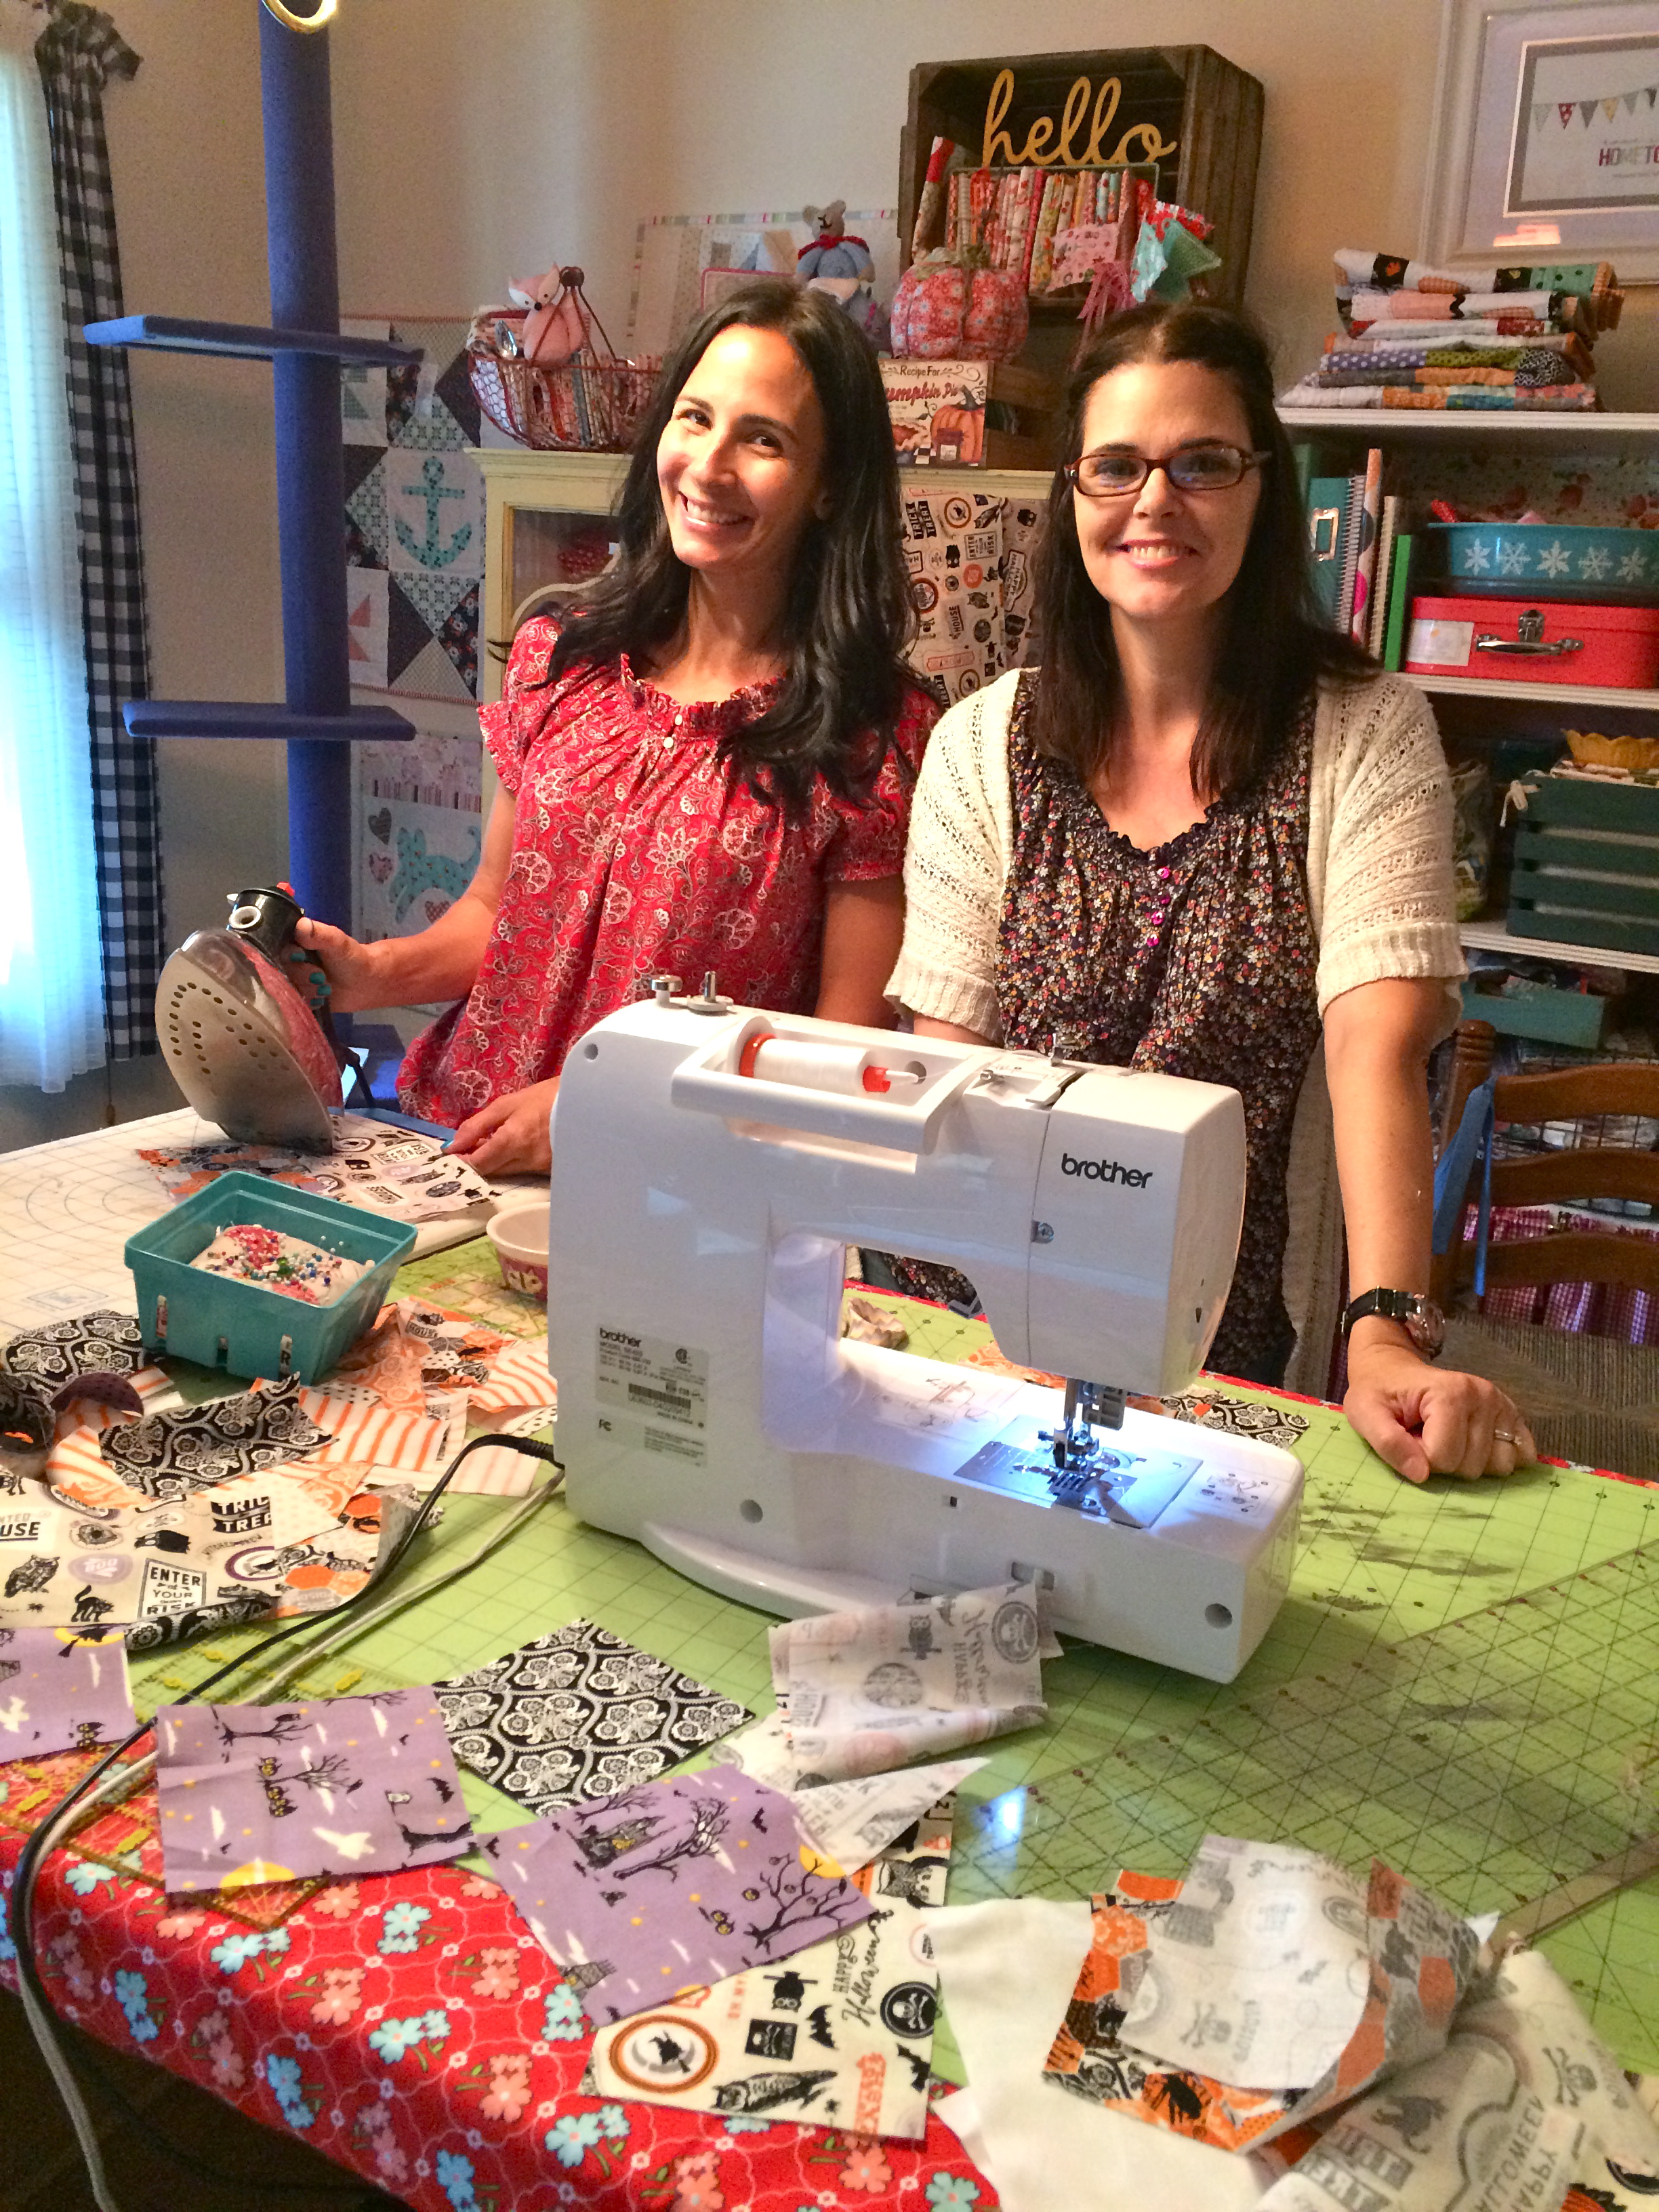
Today, on the Sizzix blog, I am sharing one of my favorite little projects to sew: Kitchen Towels! Hop on over there for the full tutorial!
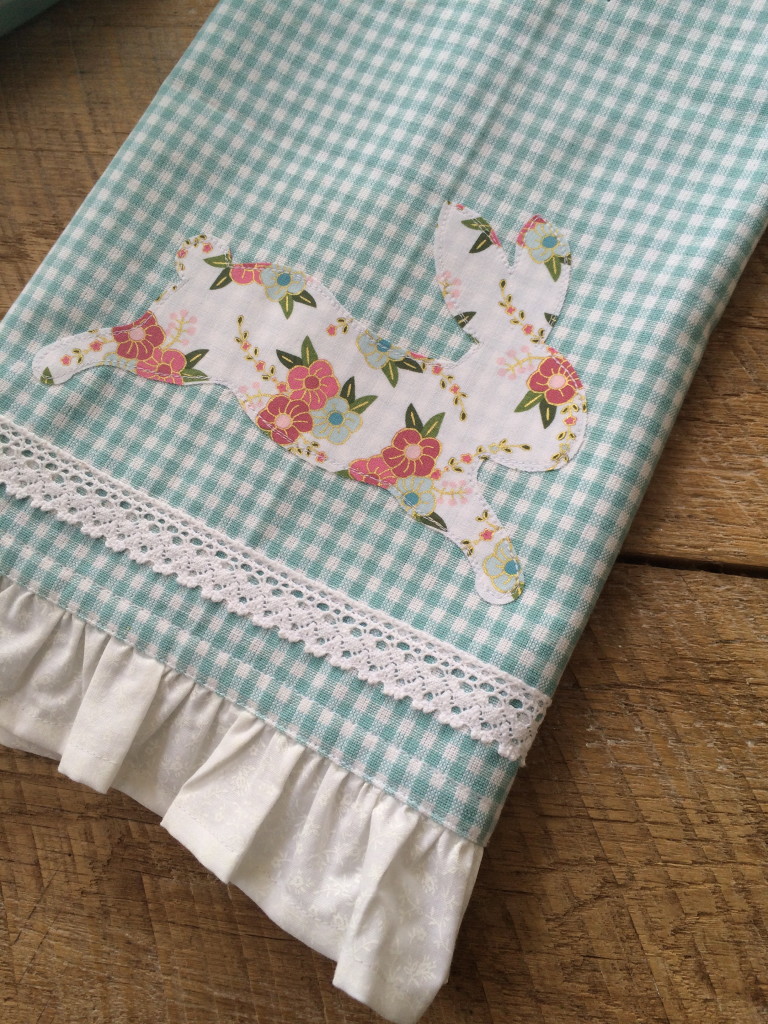
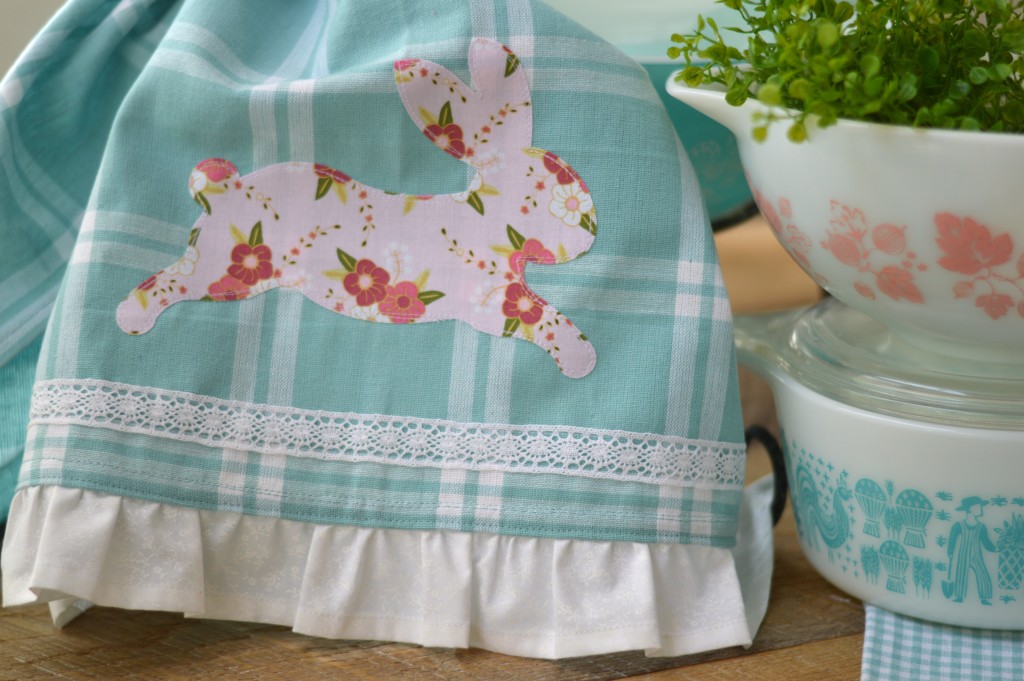
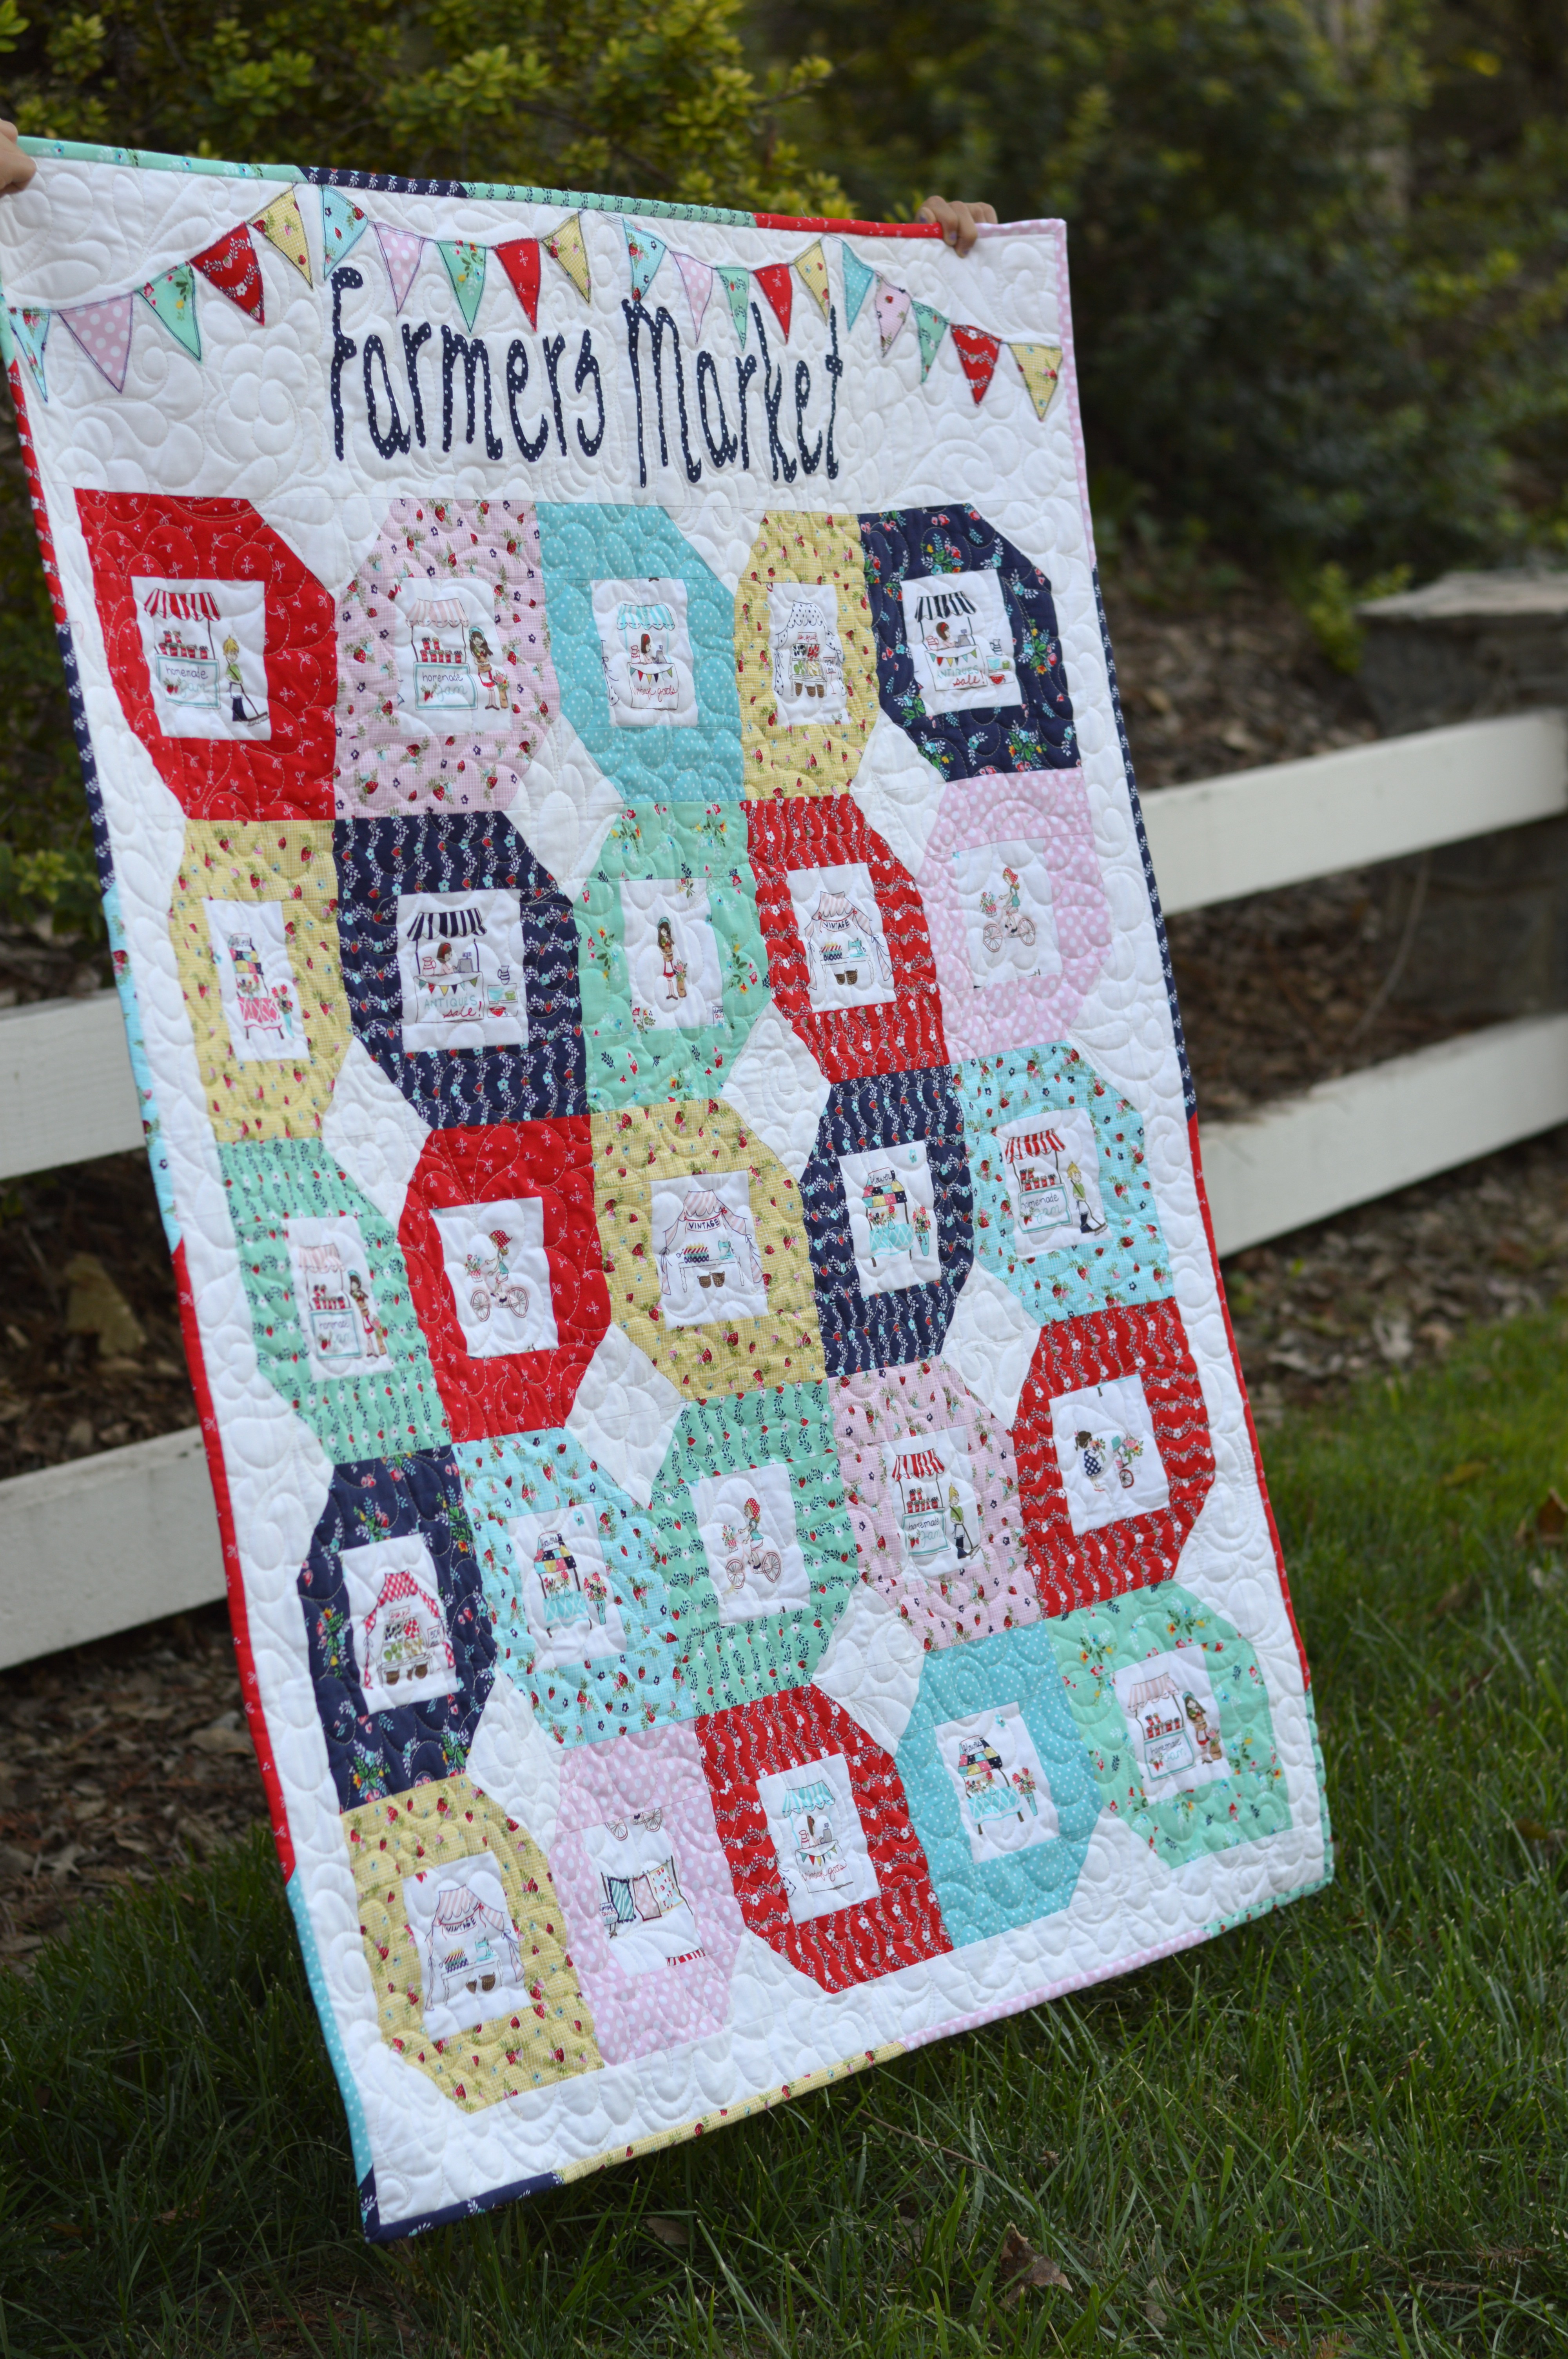
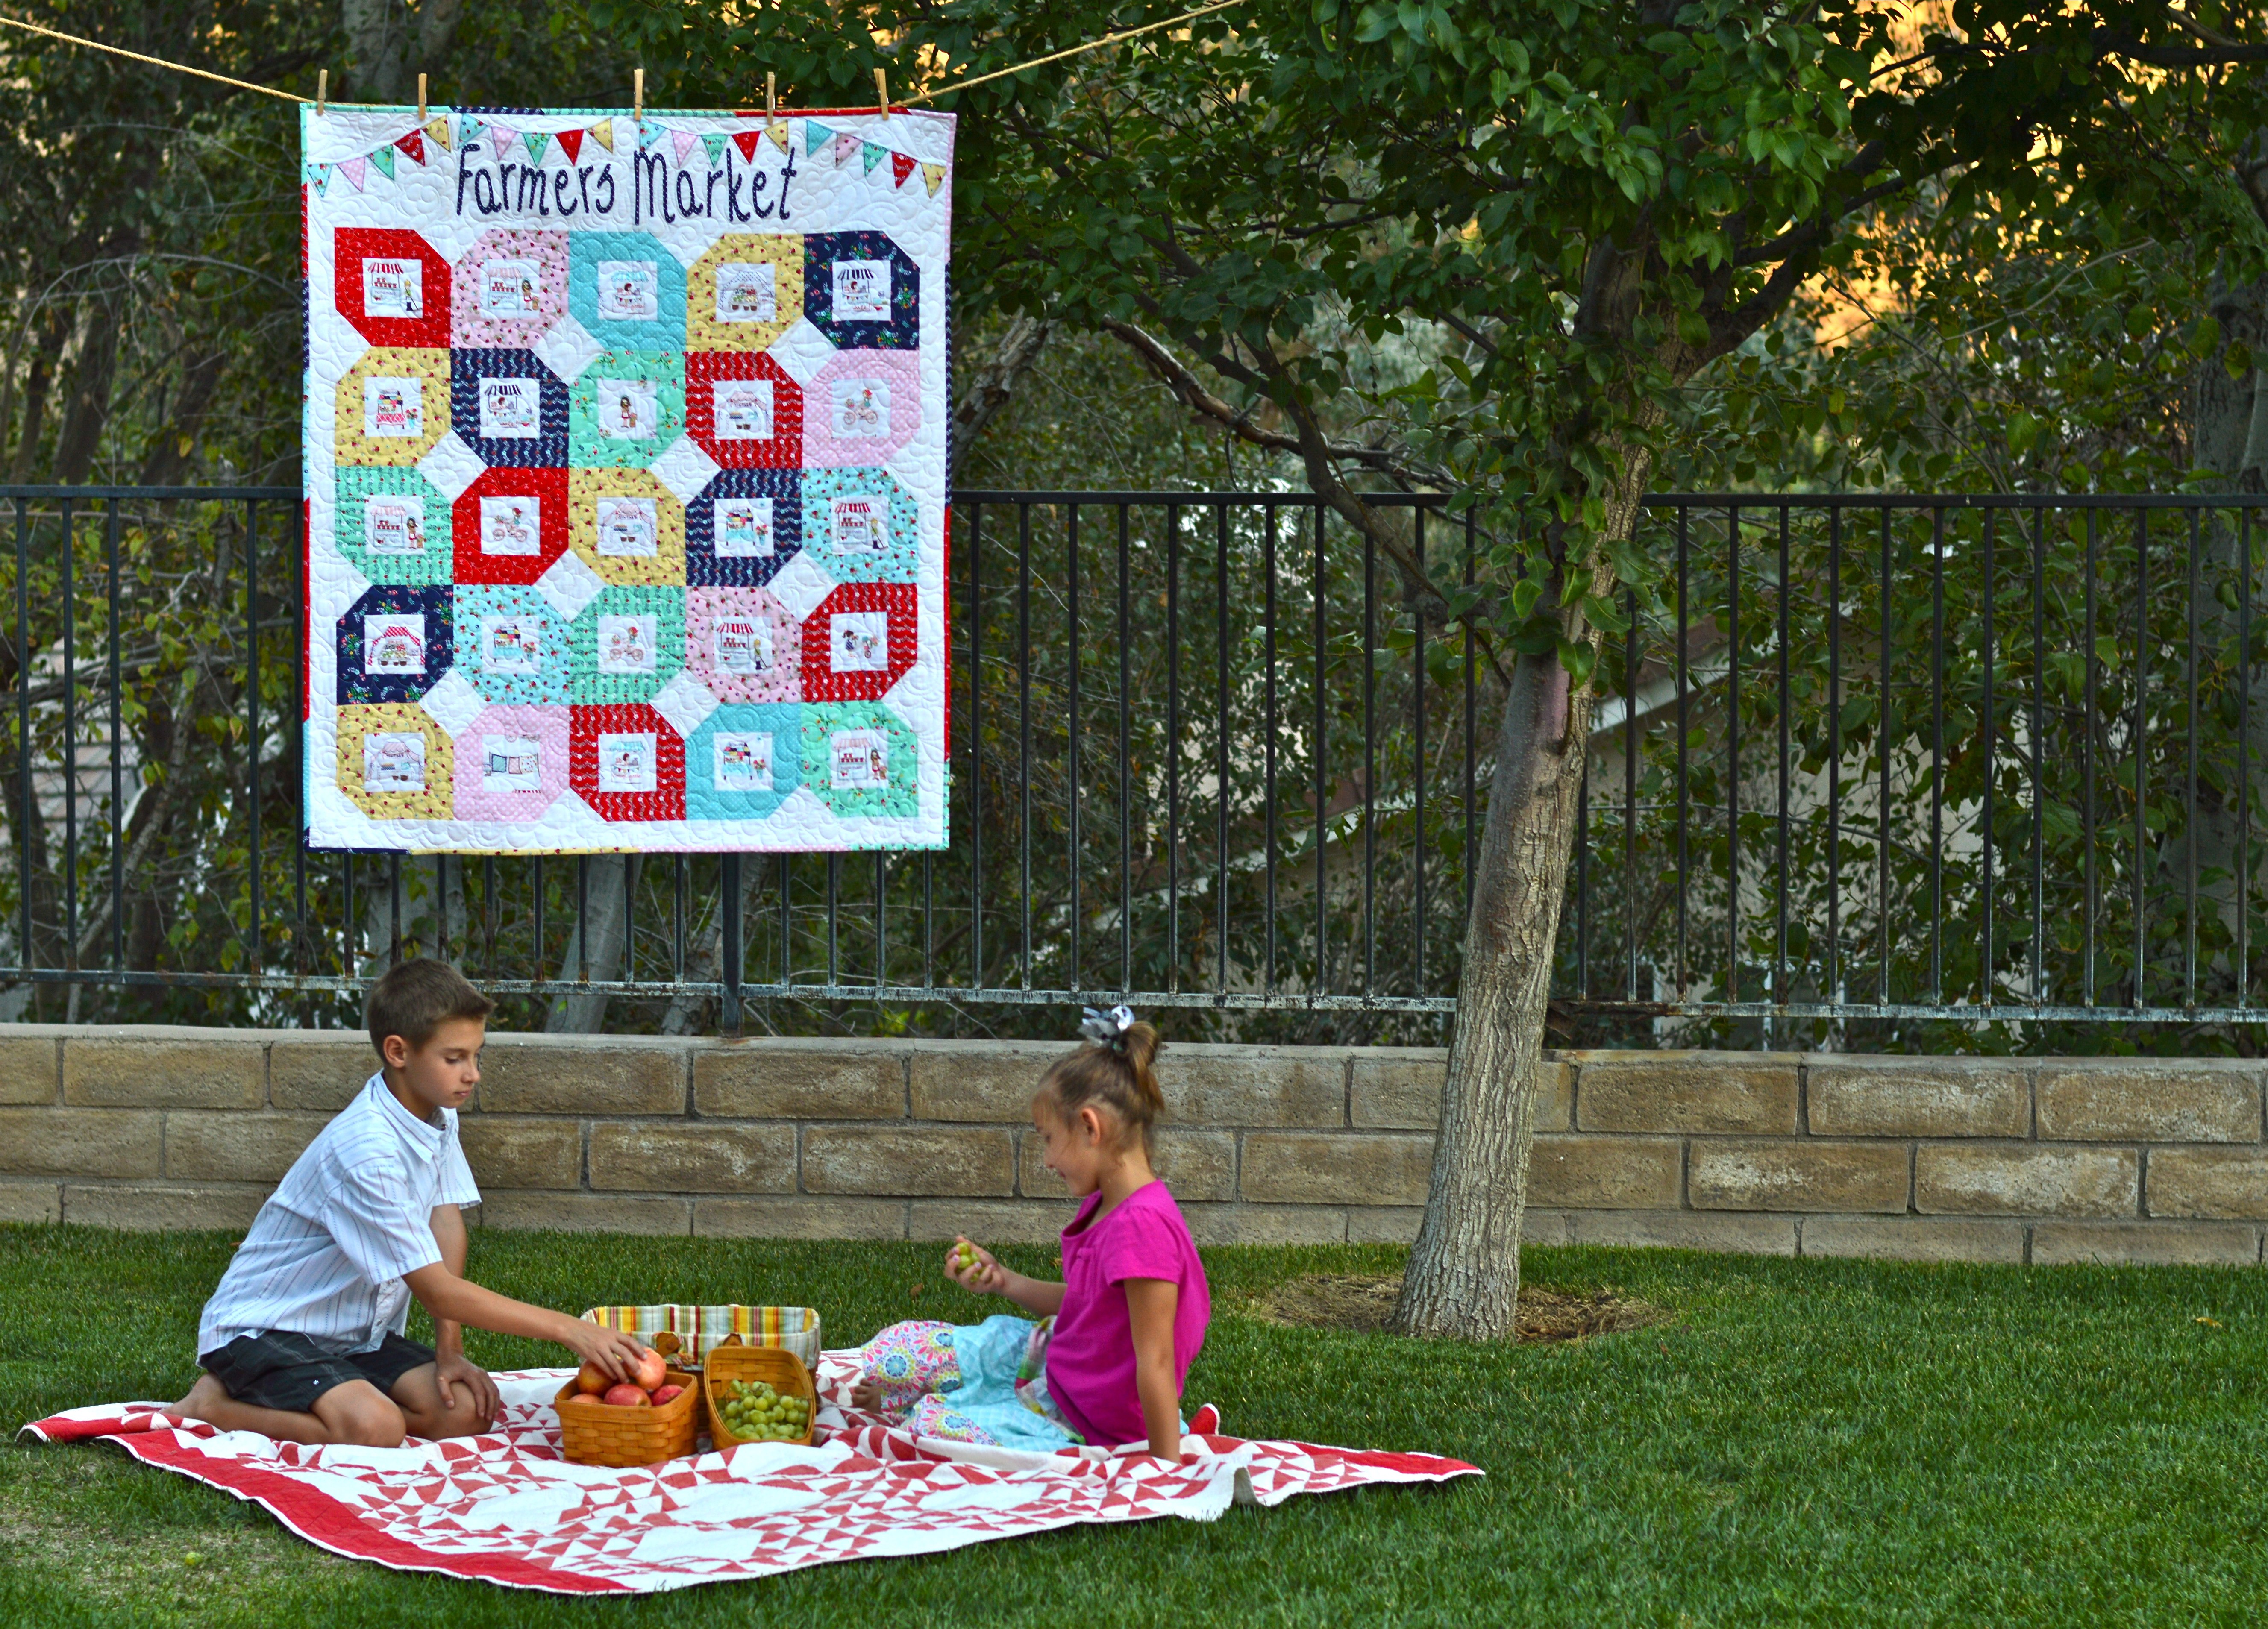
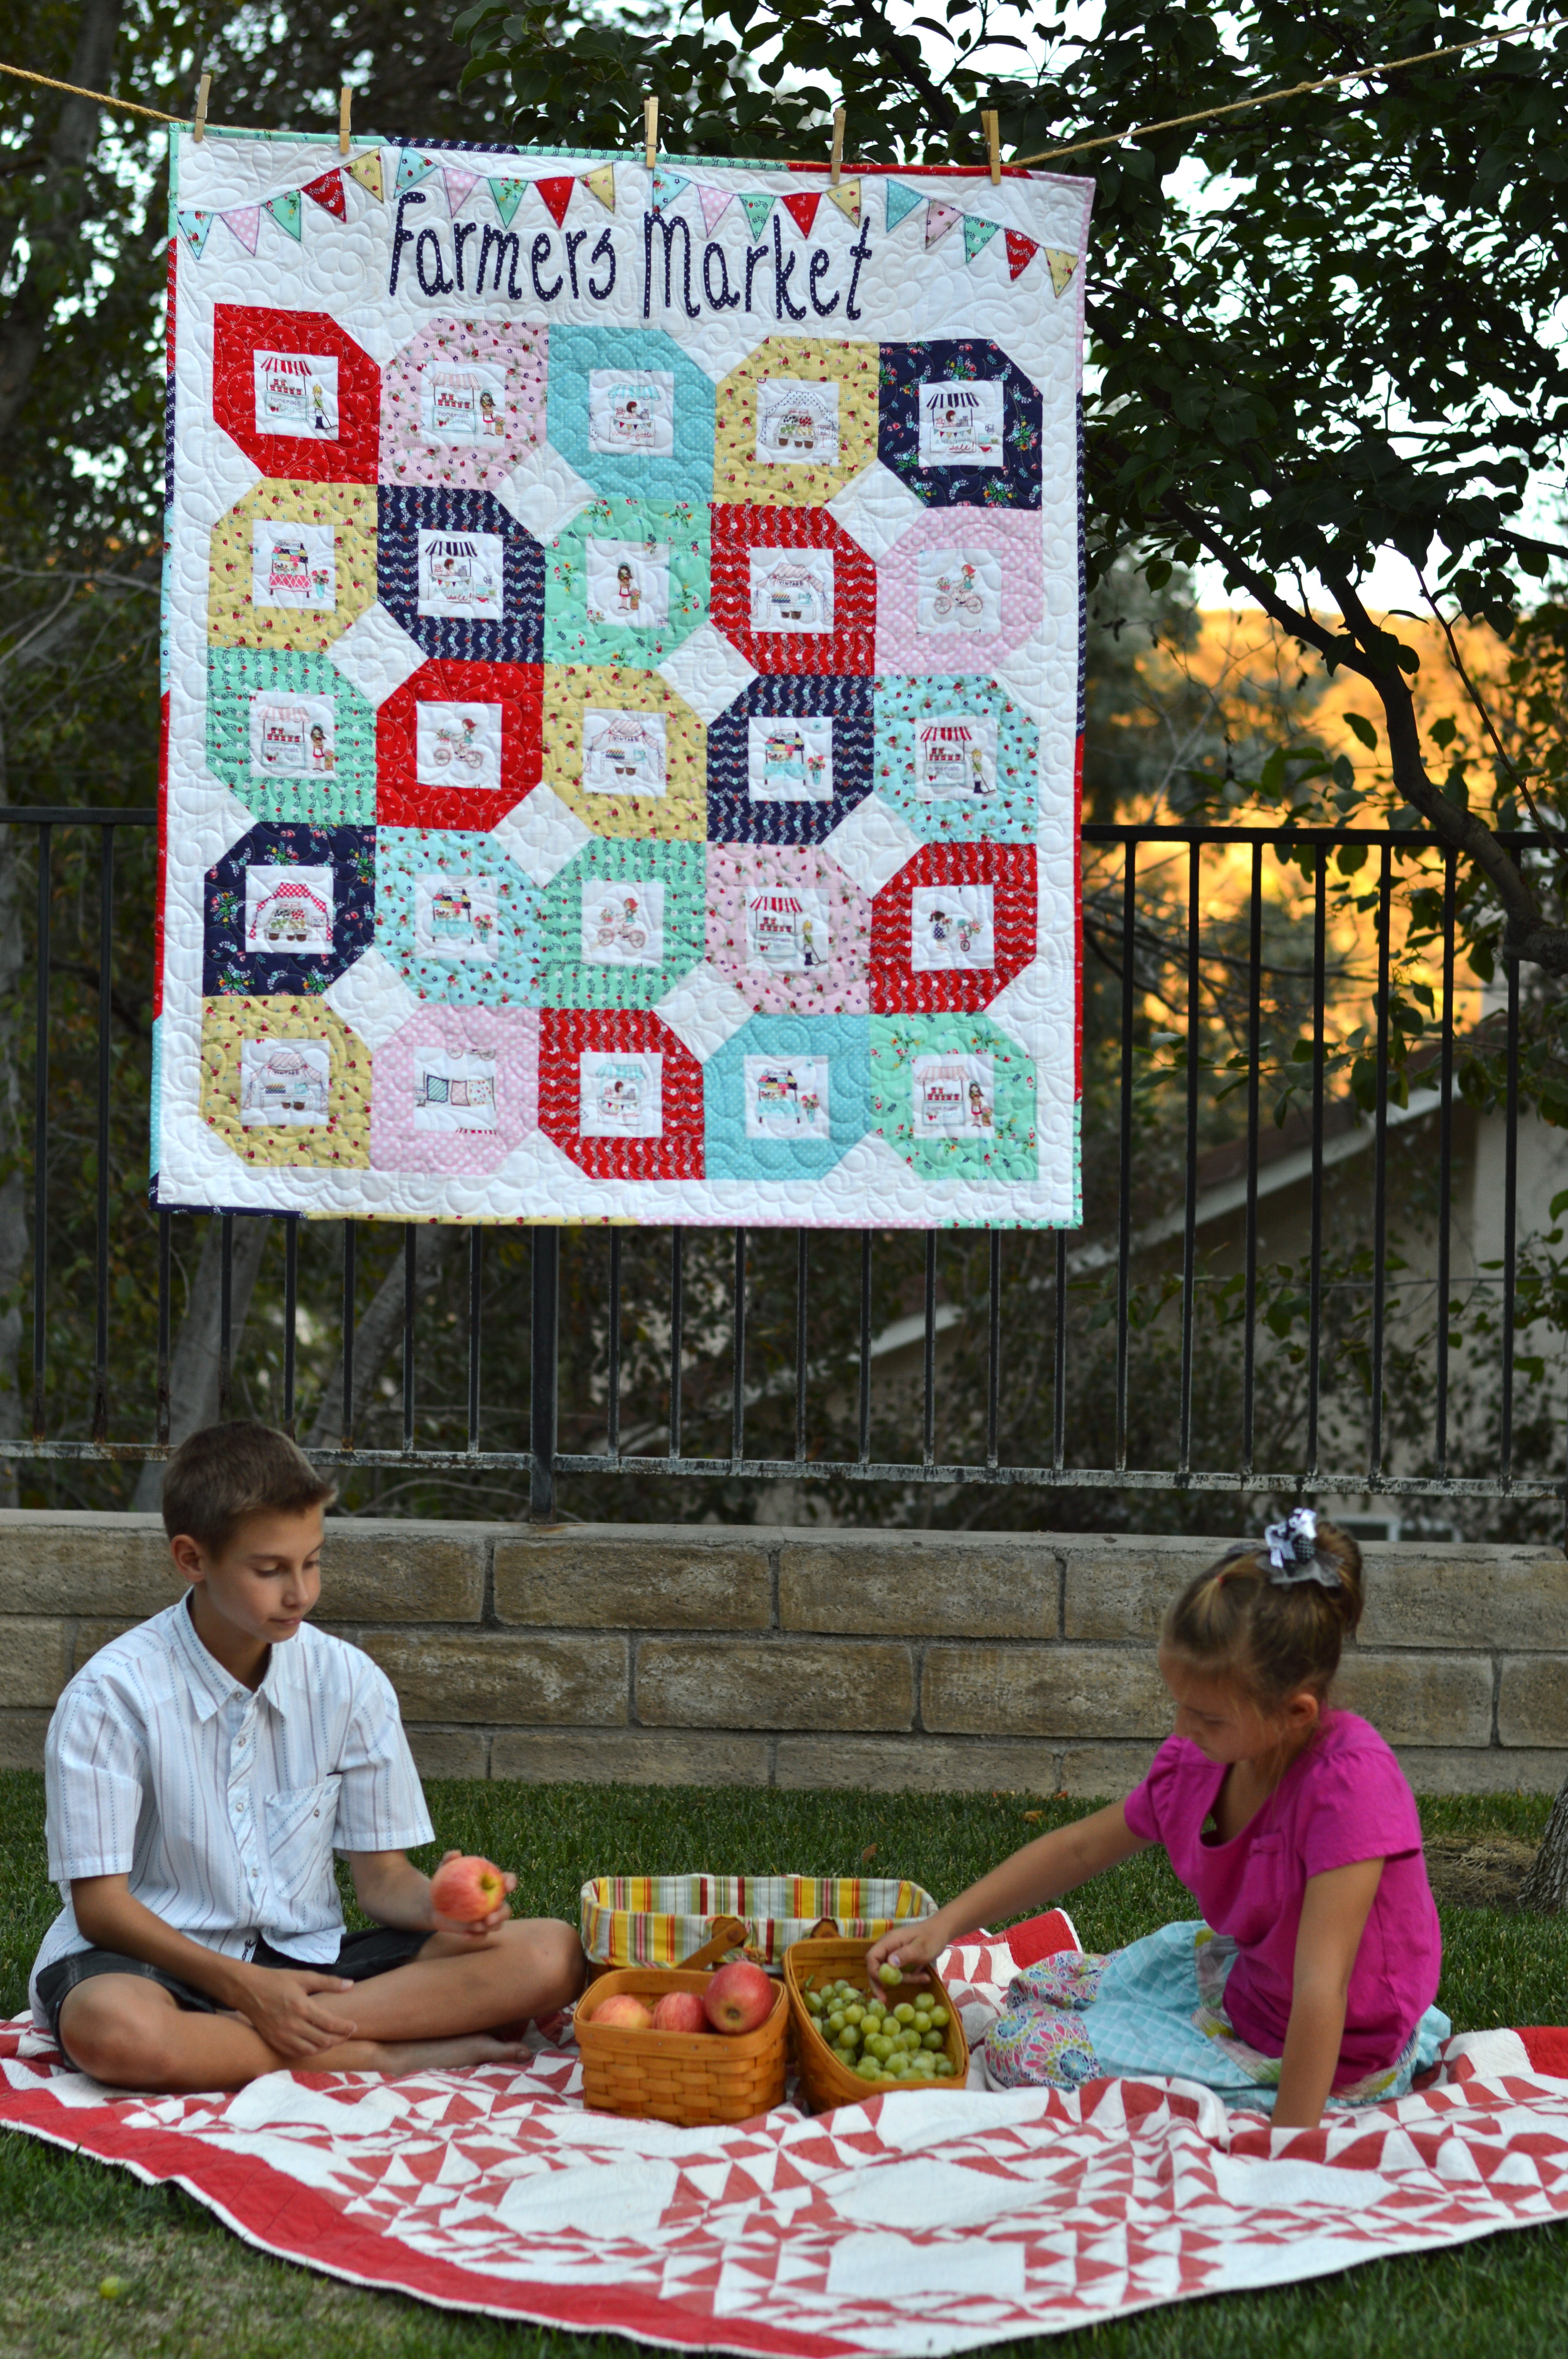
 Kitchens usually don’t have a lot of wall space or places to hang quilts or cute crafty projects. I love hanging home made towels on my oven, it gives the kitchen that cozy feeling! Theses sweet towels also make the perfect gift! Who wouldn’t want one of these! I choose some of my favorite Riley Blake Fabric Prints from some of my favorite designers.
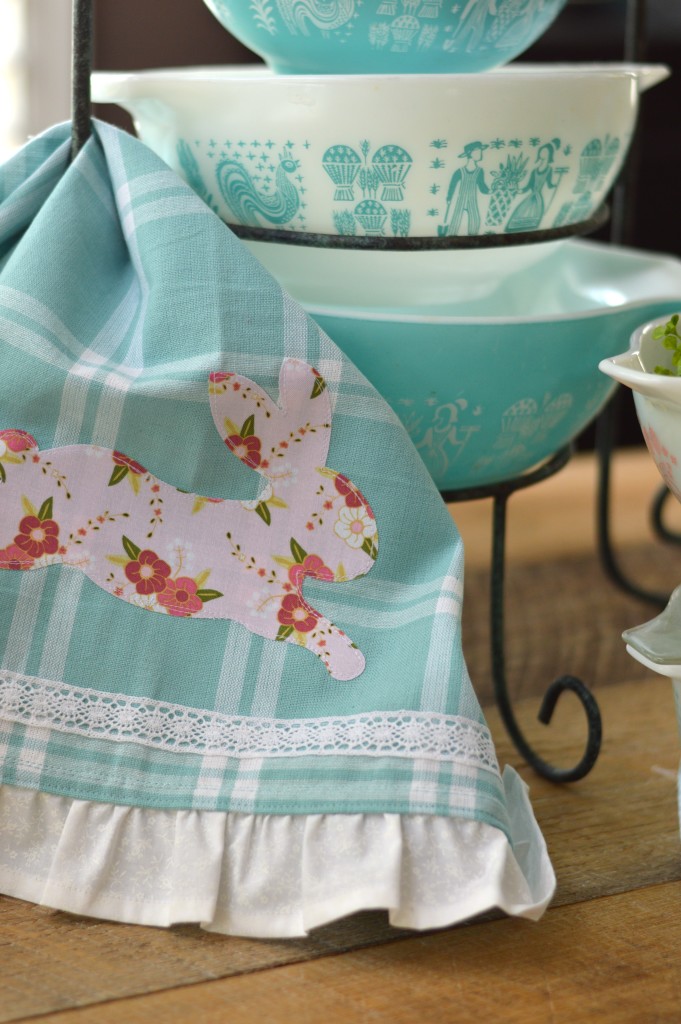
I am also using my most favorite Sizzix Bunny Die (I’m sure I’ve said that many times!!) I love using my Sizzix Fabi to cut these bunnies! It’s so fast and easy!
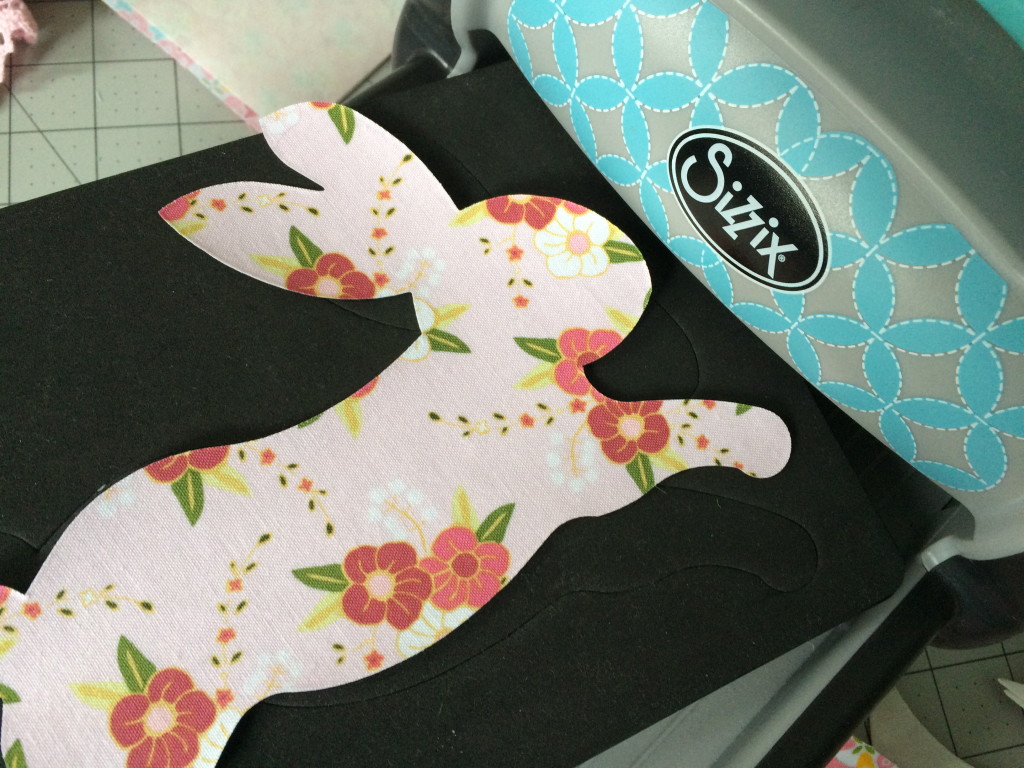
And you can die cut several at one time!
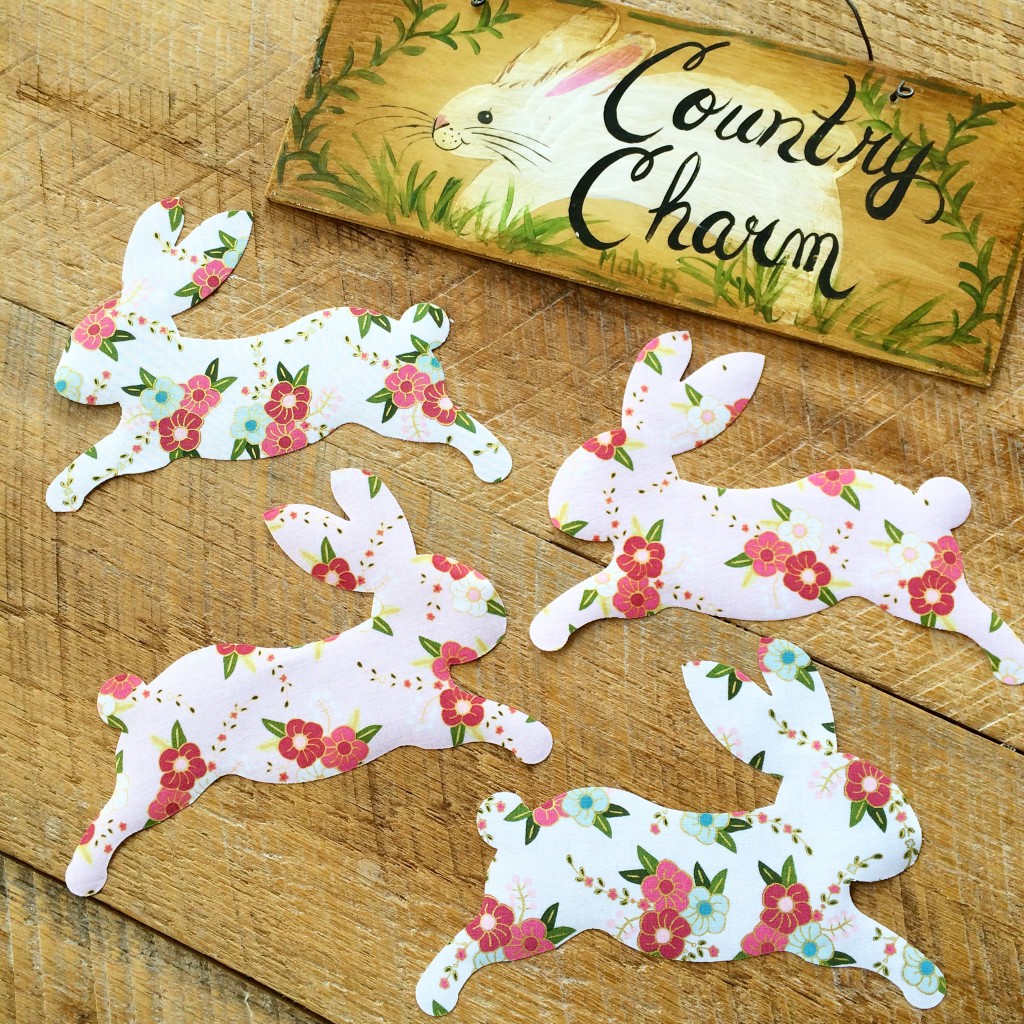
I could cut these bunnies out all day long! They are so much fun and oh so cute when they are leaping all over!
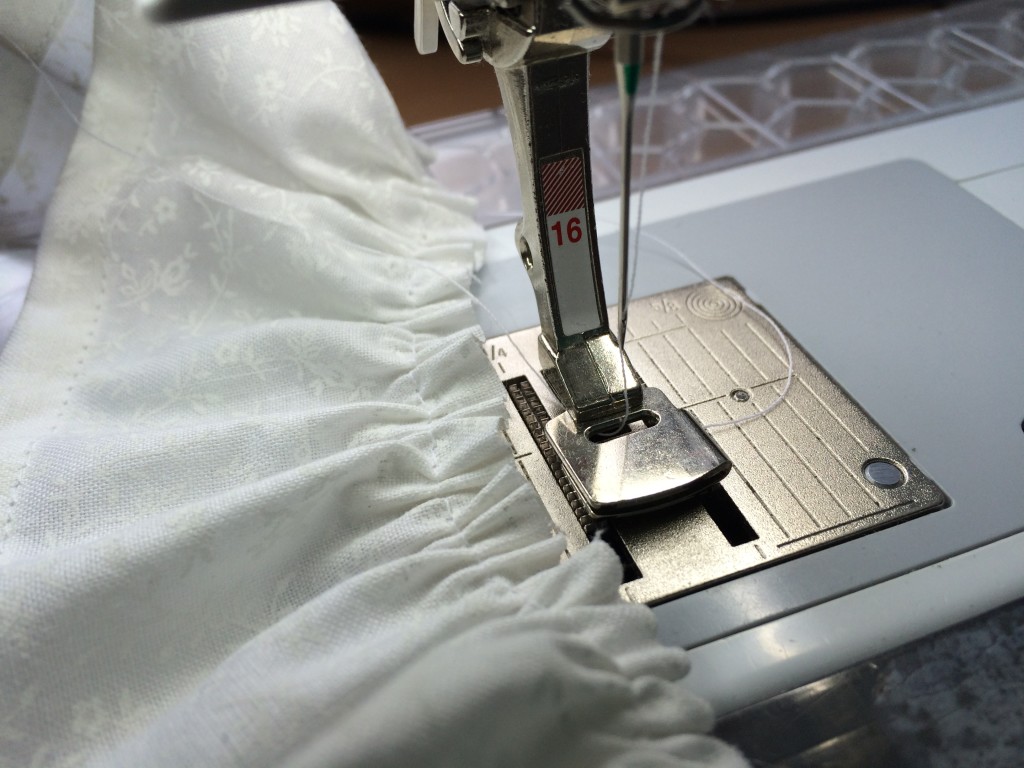
I used my ruffling foot to sew the ruffle – this is also a time saver!
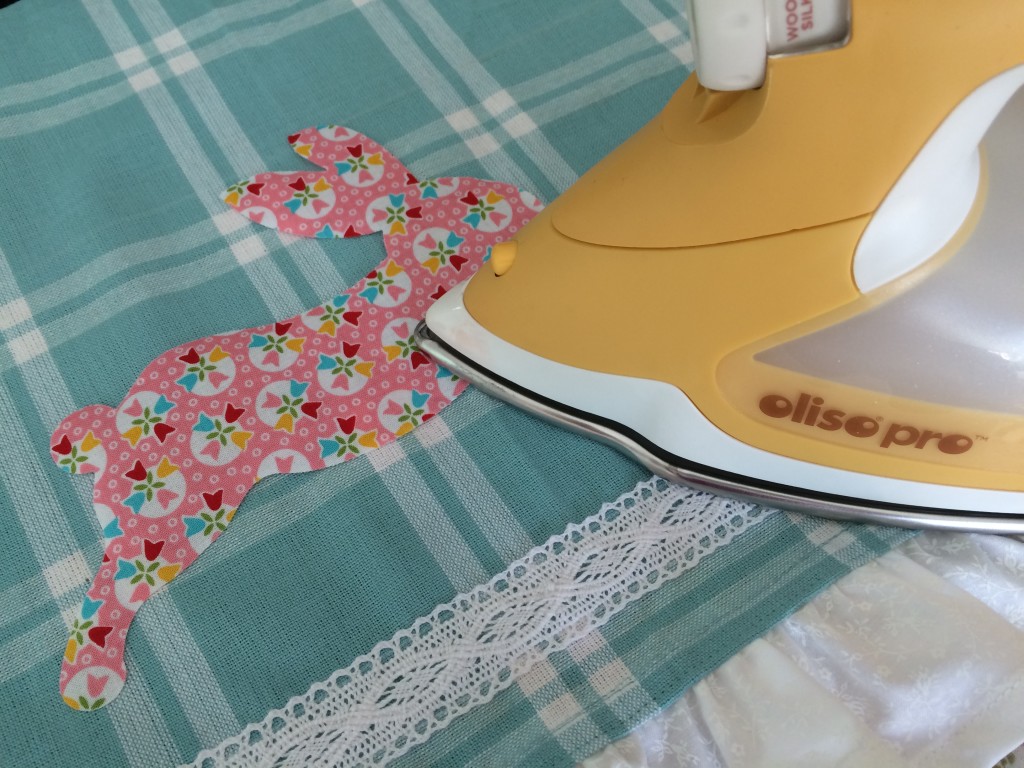
I used Heat n Bond Lite to fuse the bunny. I also used my new Oliso Pro iron. It’s a dream!!!
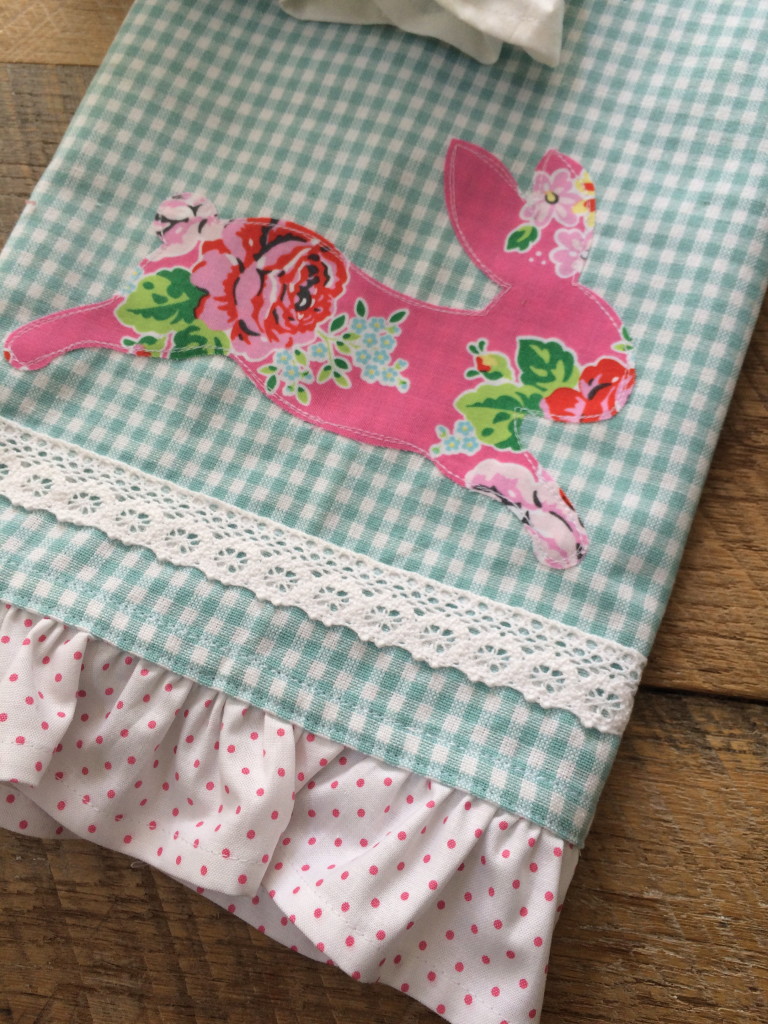
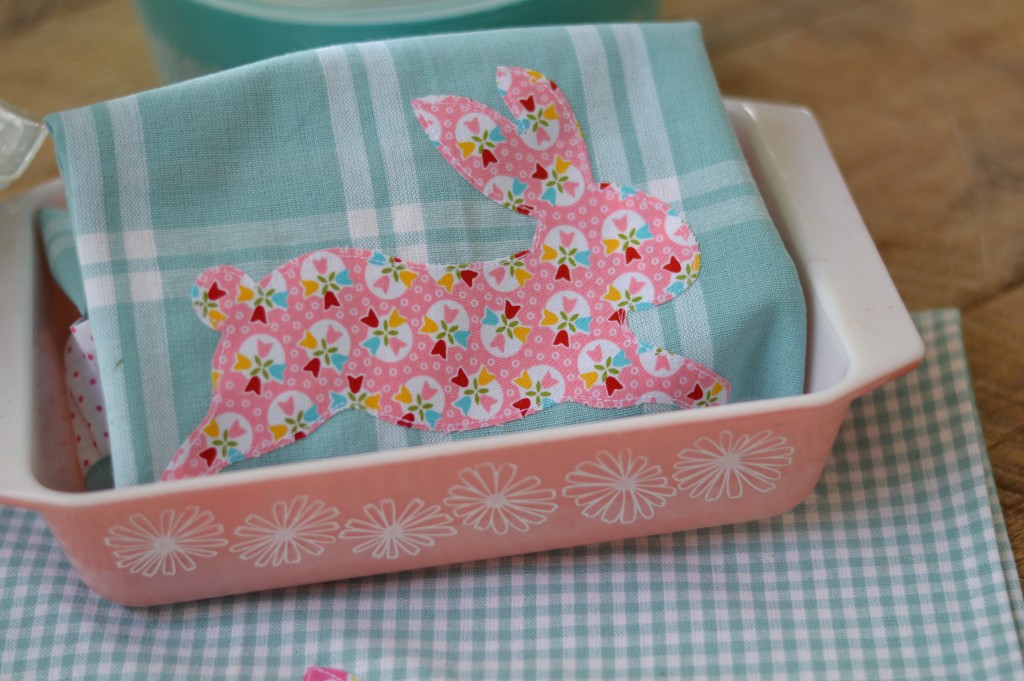
I love how sweet they are with the soft colors!
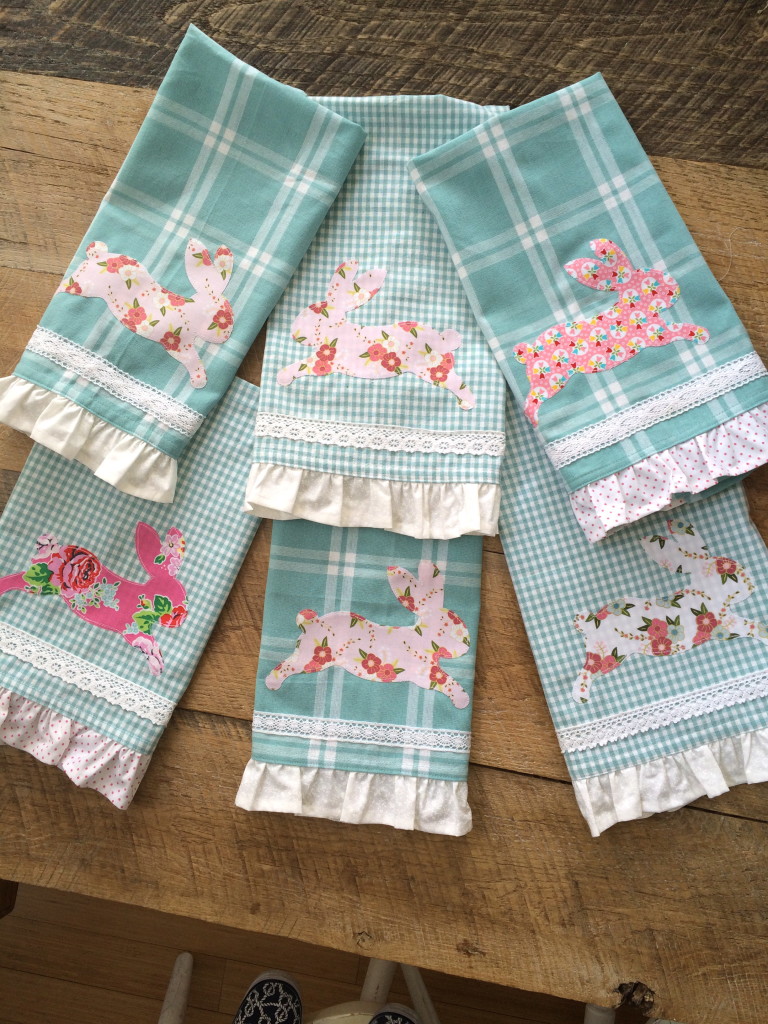
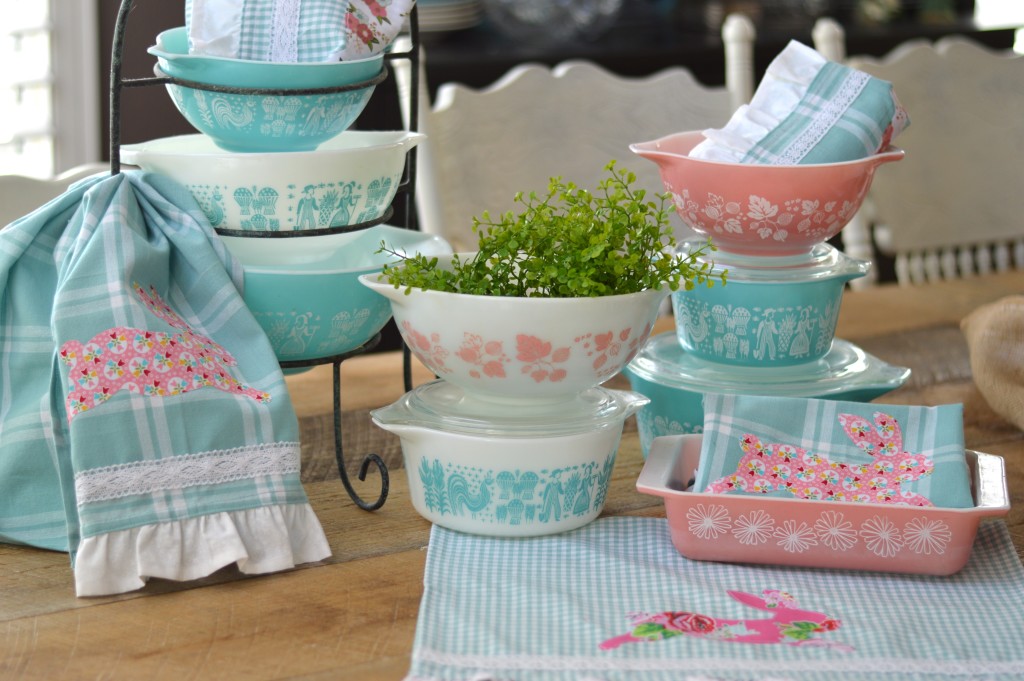
I want to keep them all for myself!! I love that these colors are perfect Pyrex colors! I might just have a slight Pyrex obsession!!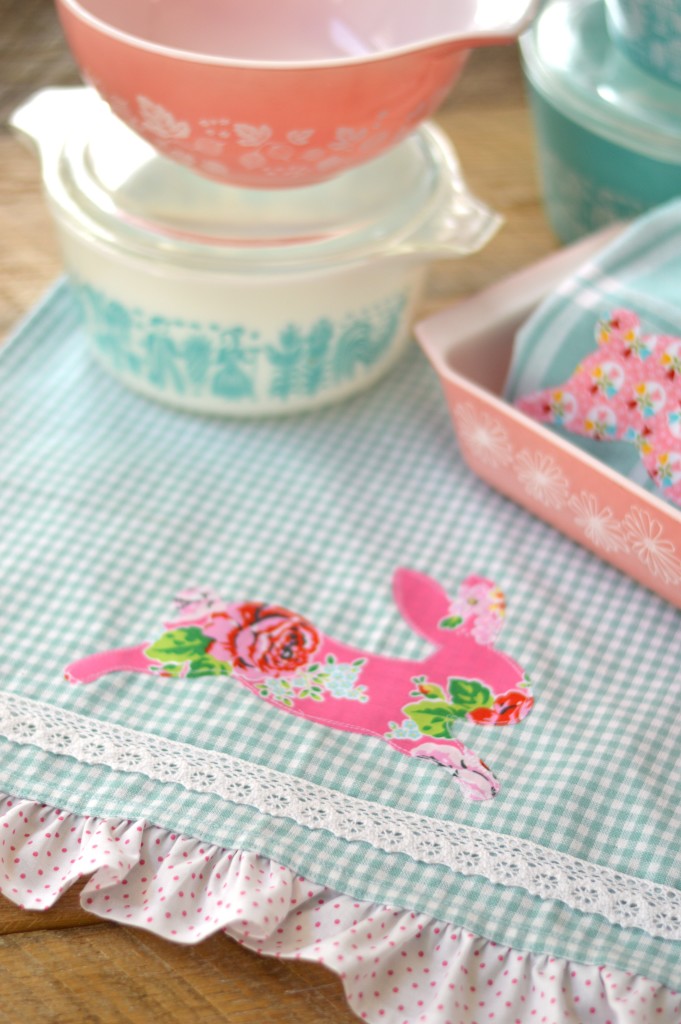

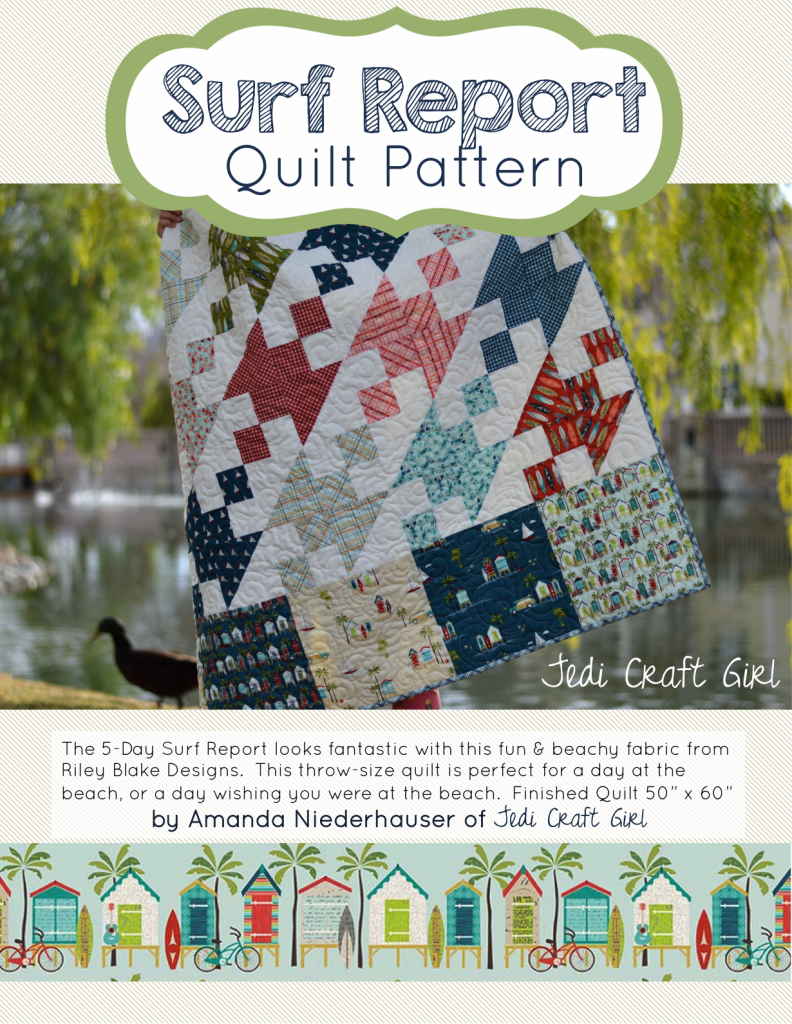

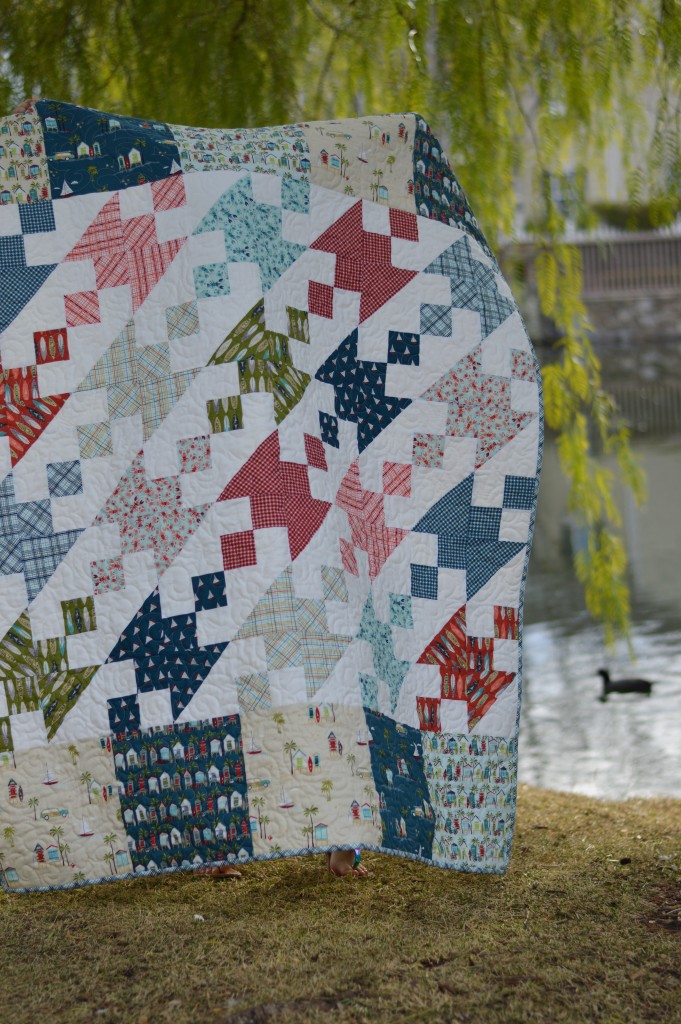
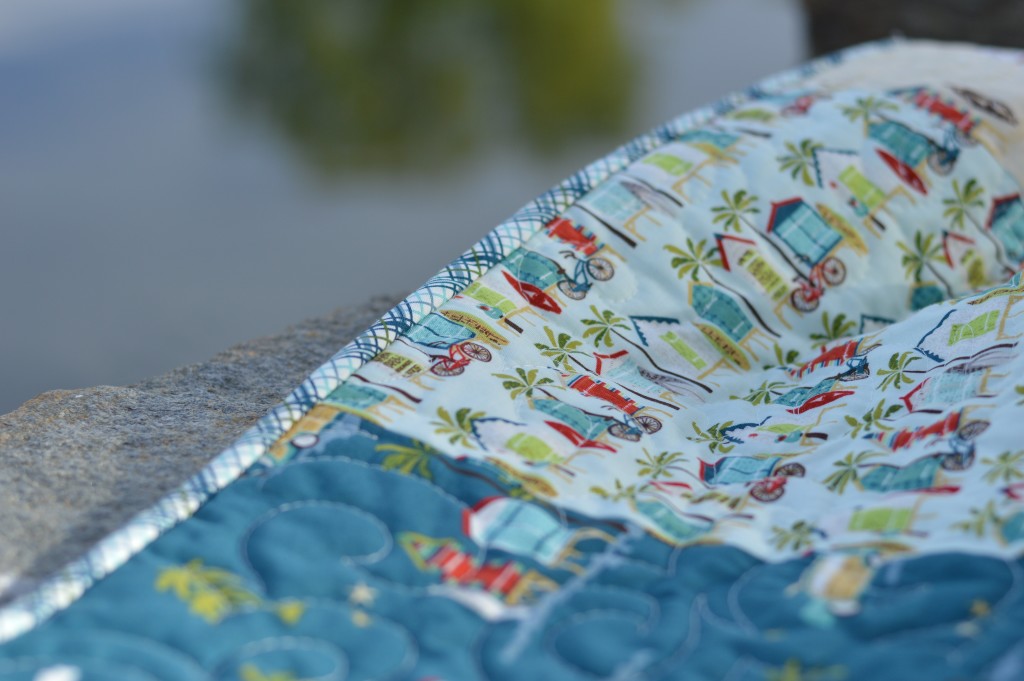 Surfing is the life, the rest is details 🙂
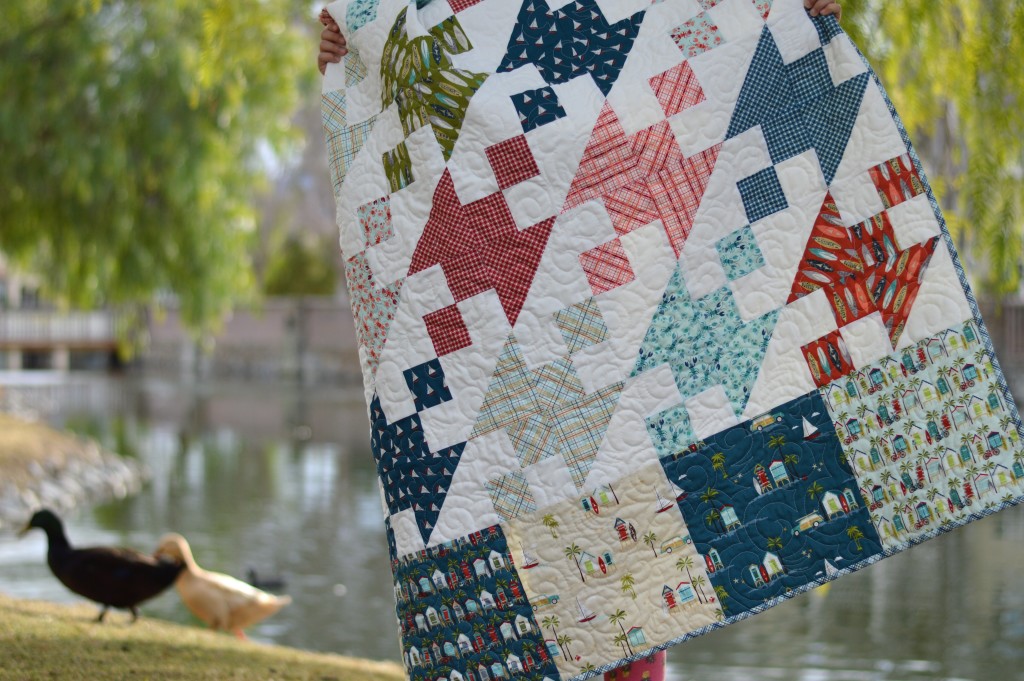
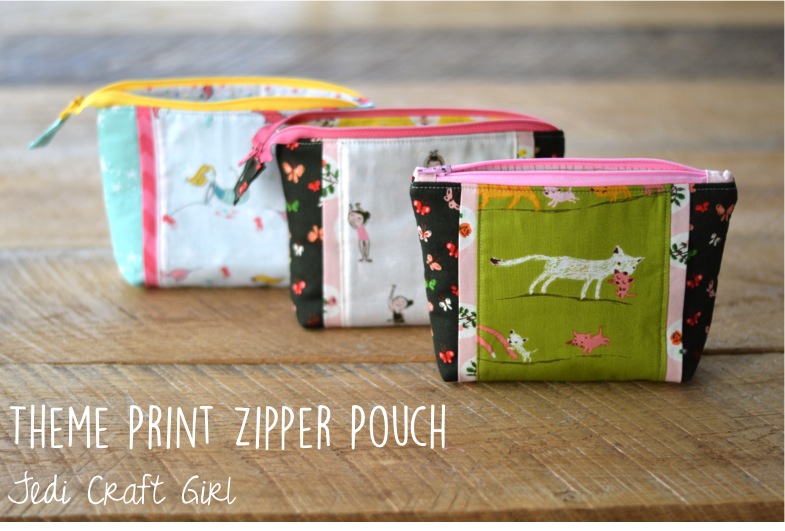
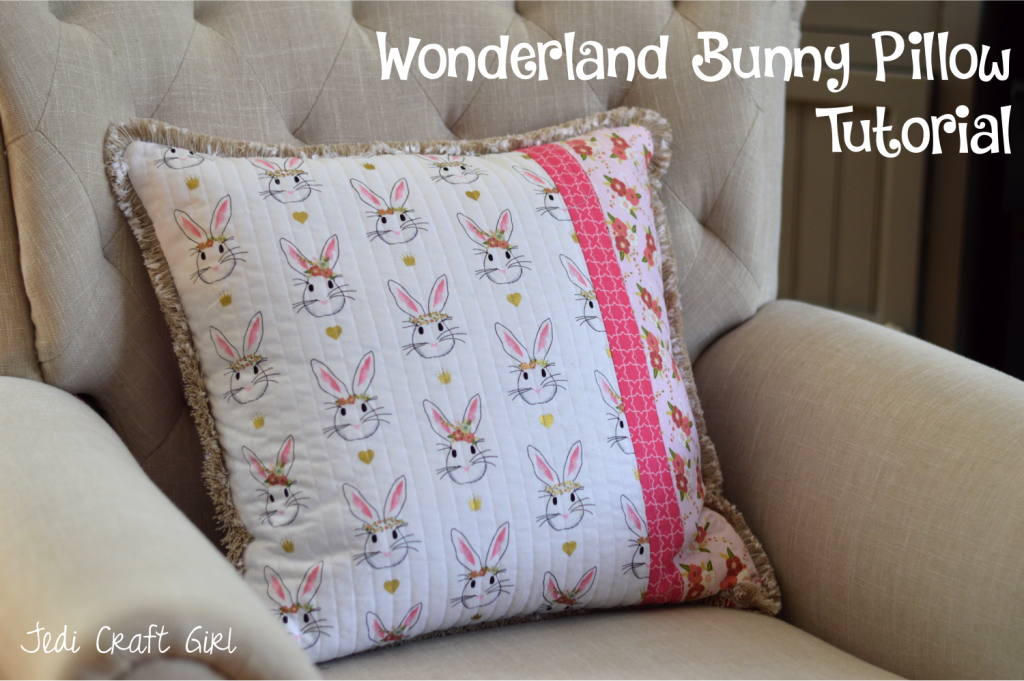
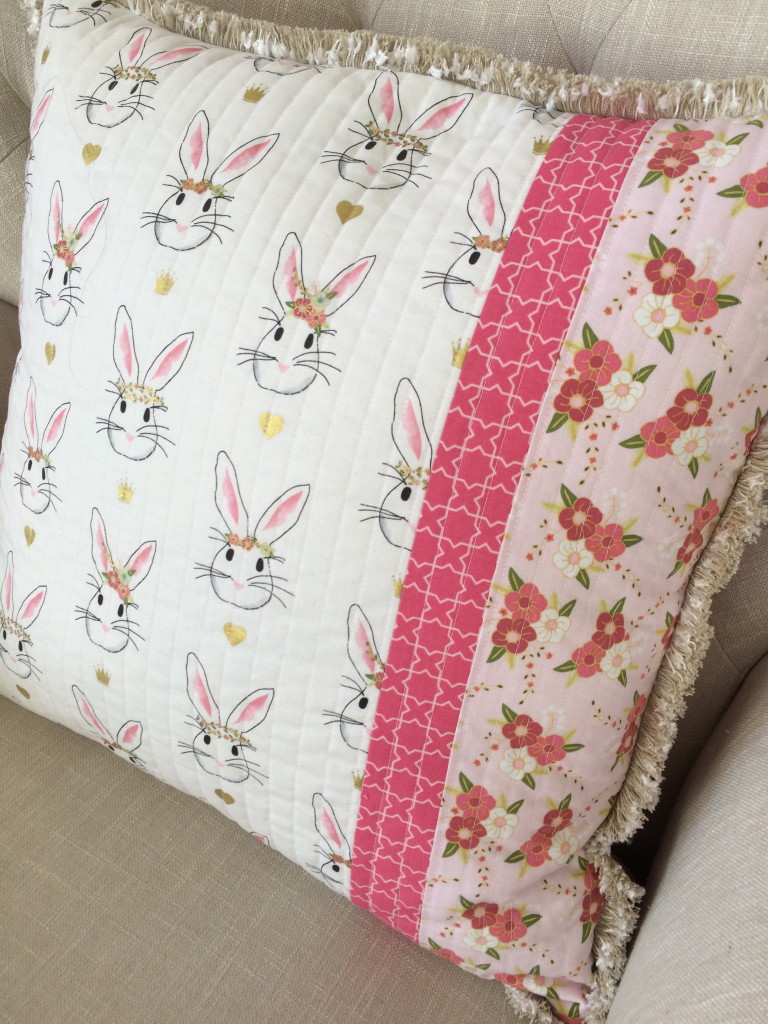
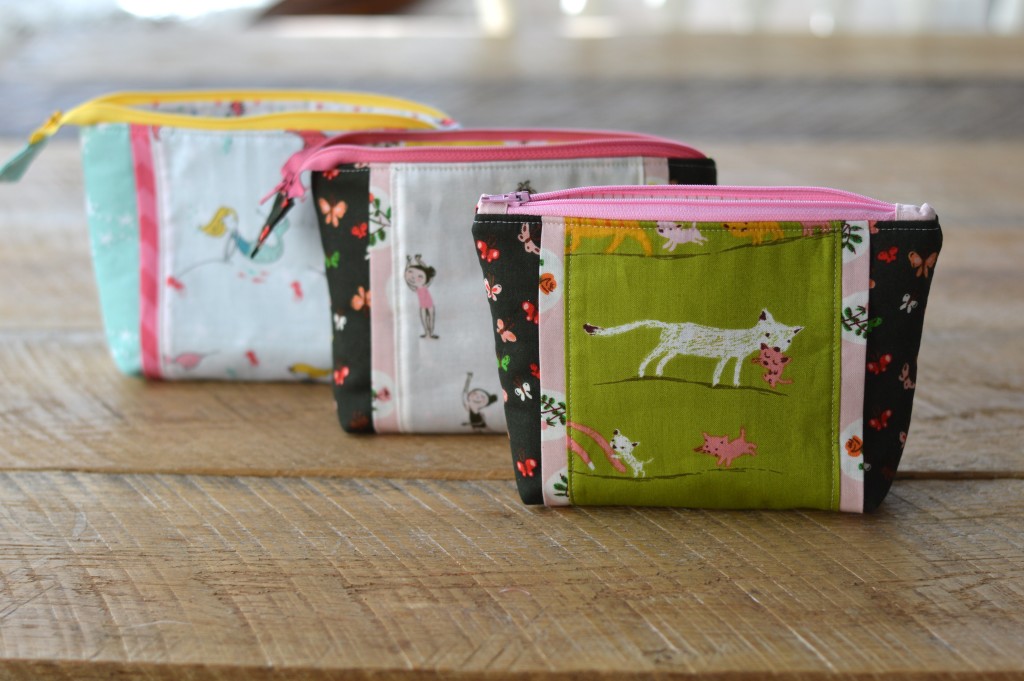
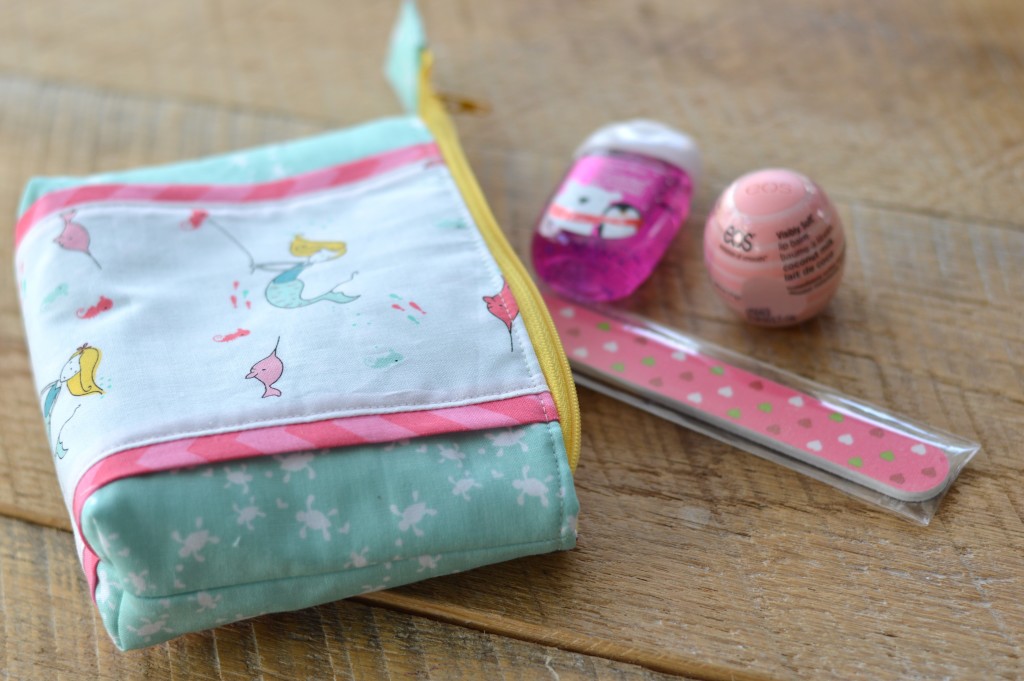
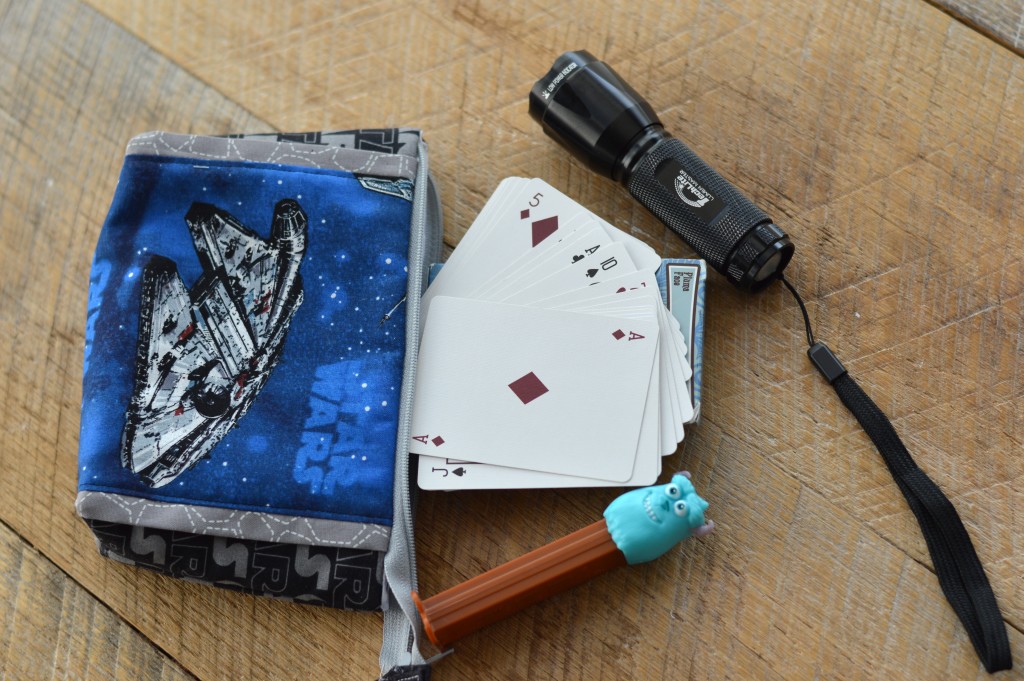
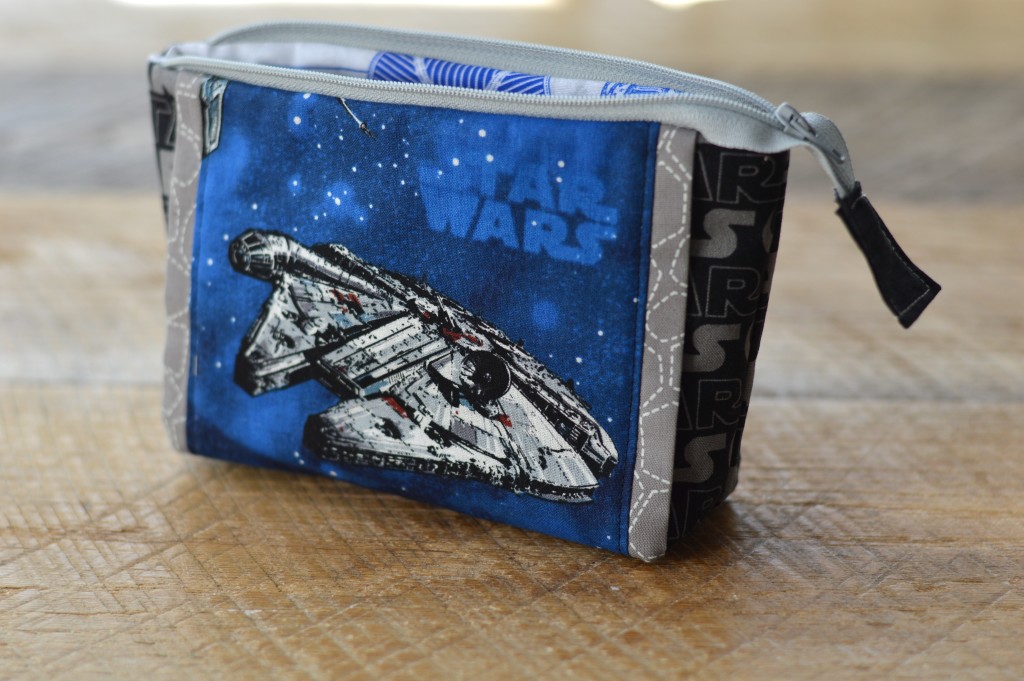
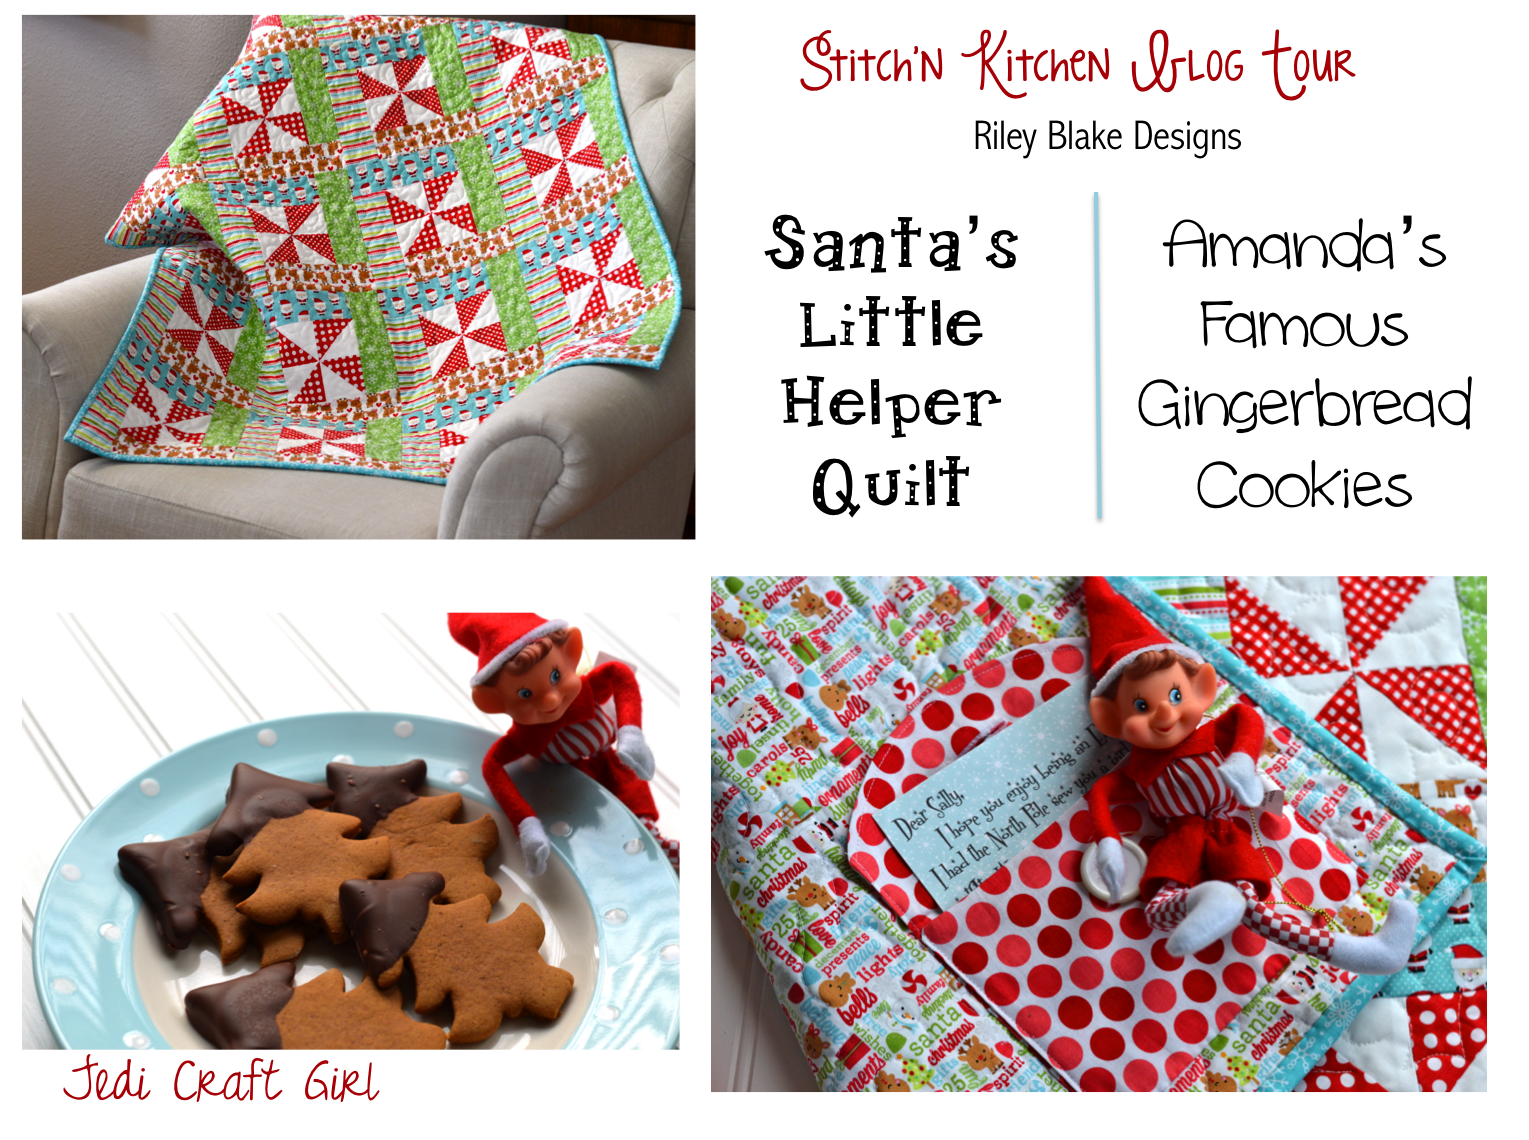
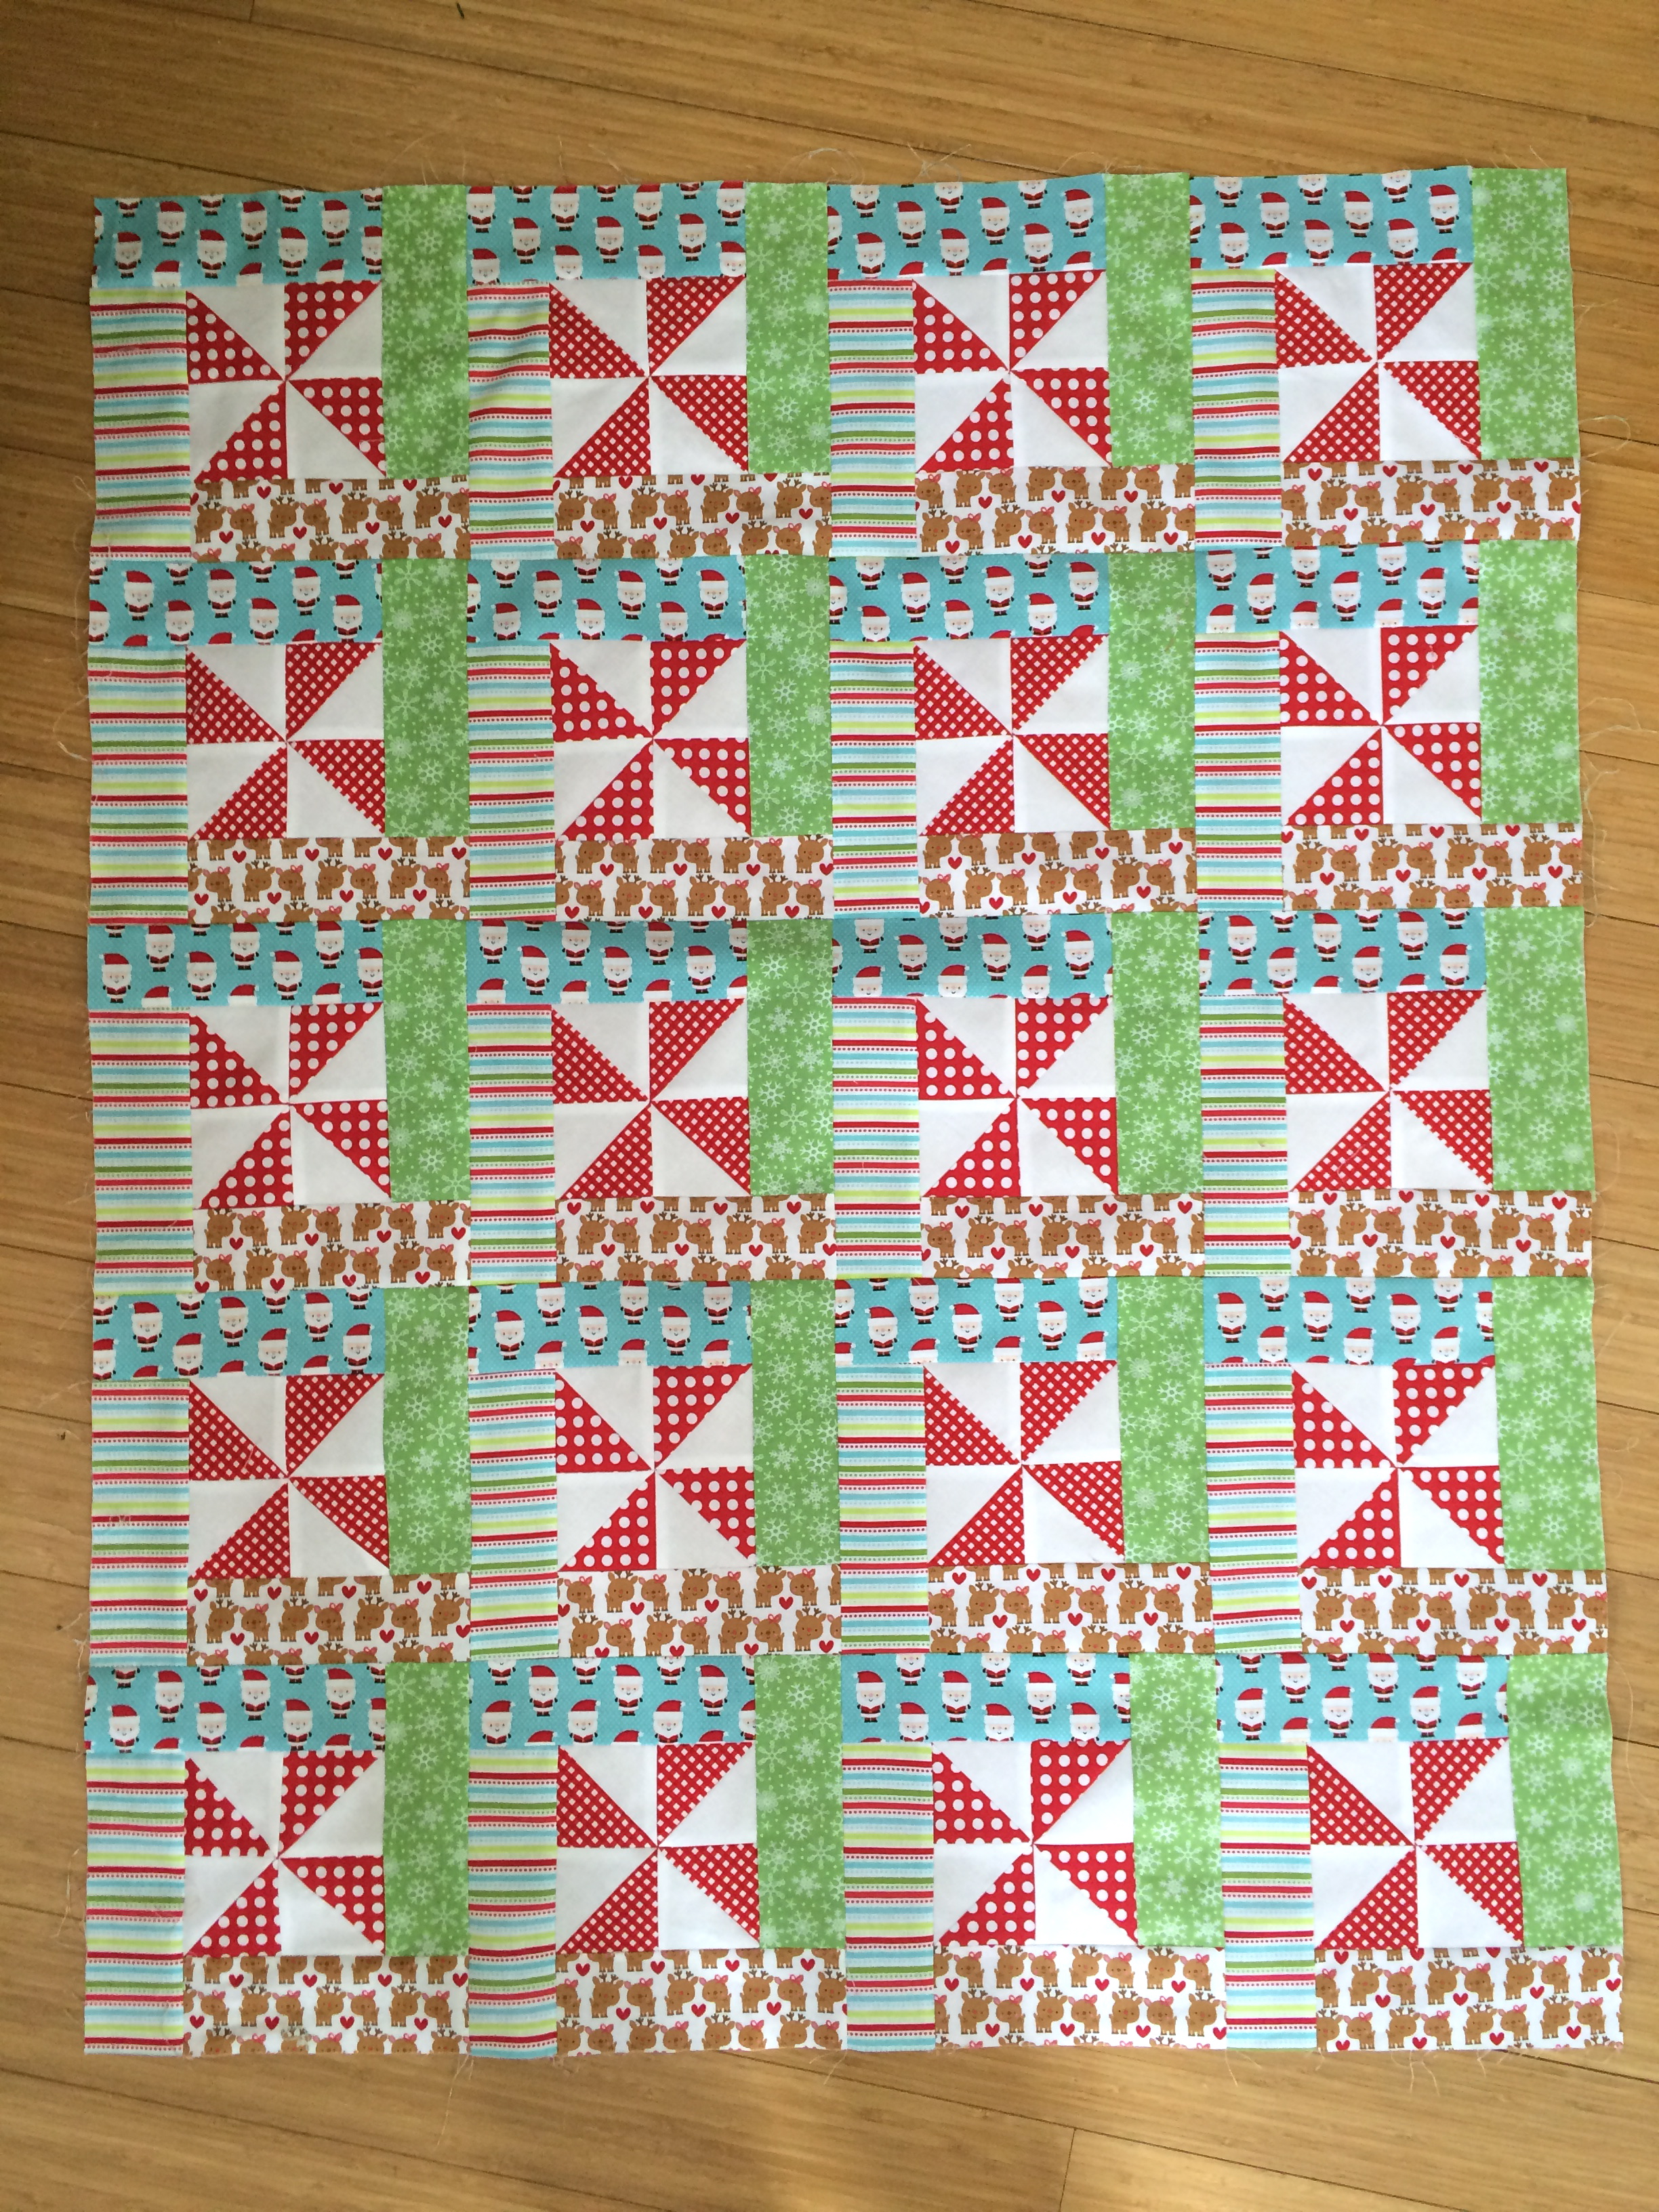
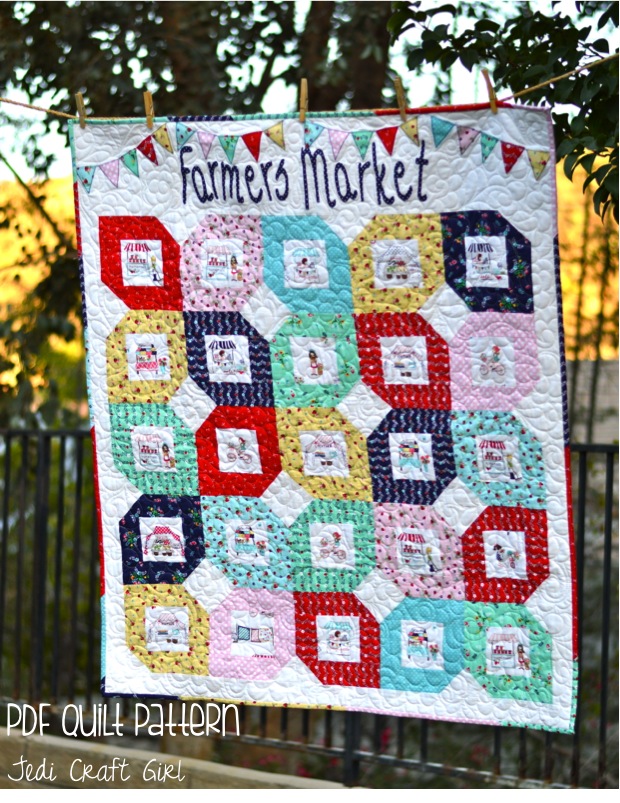
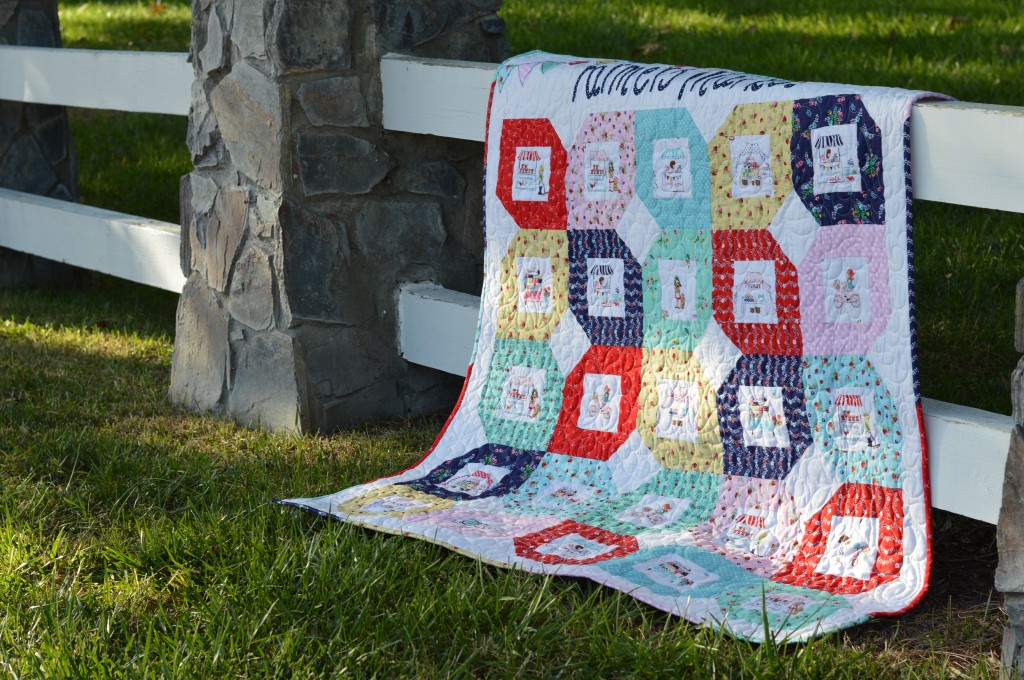
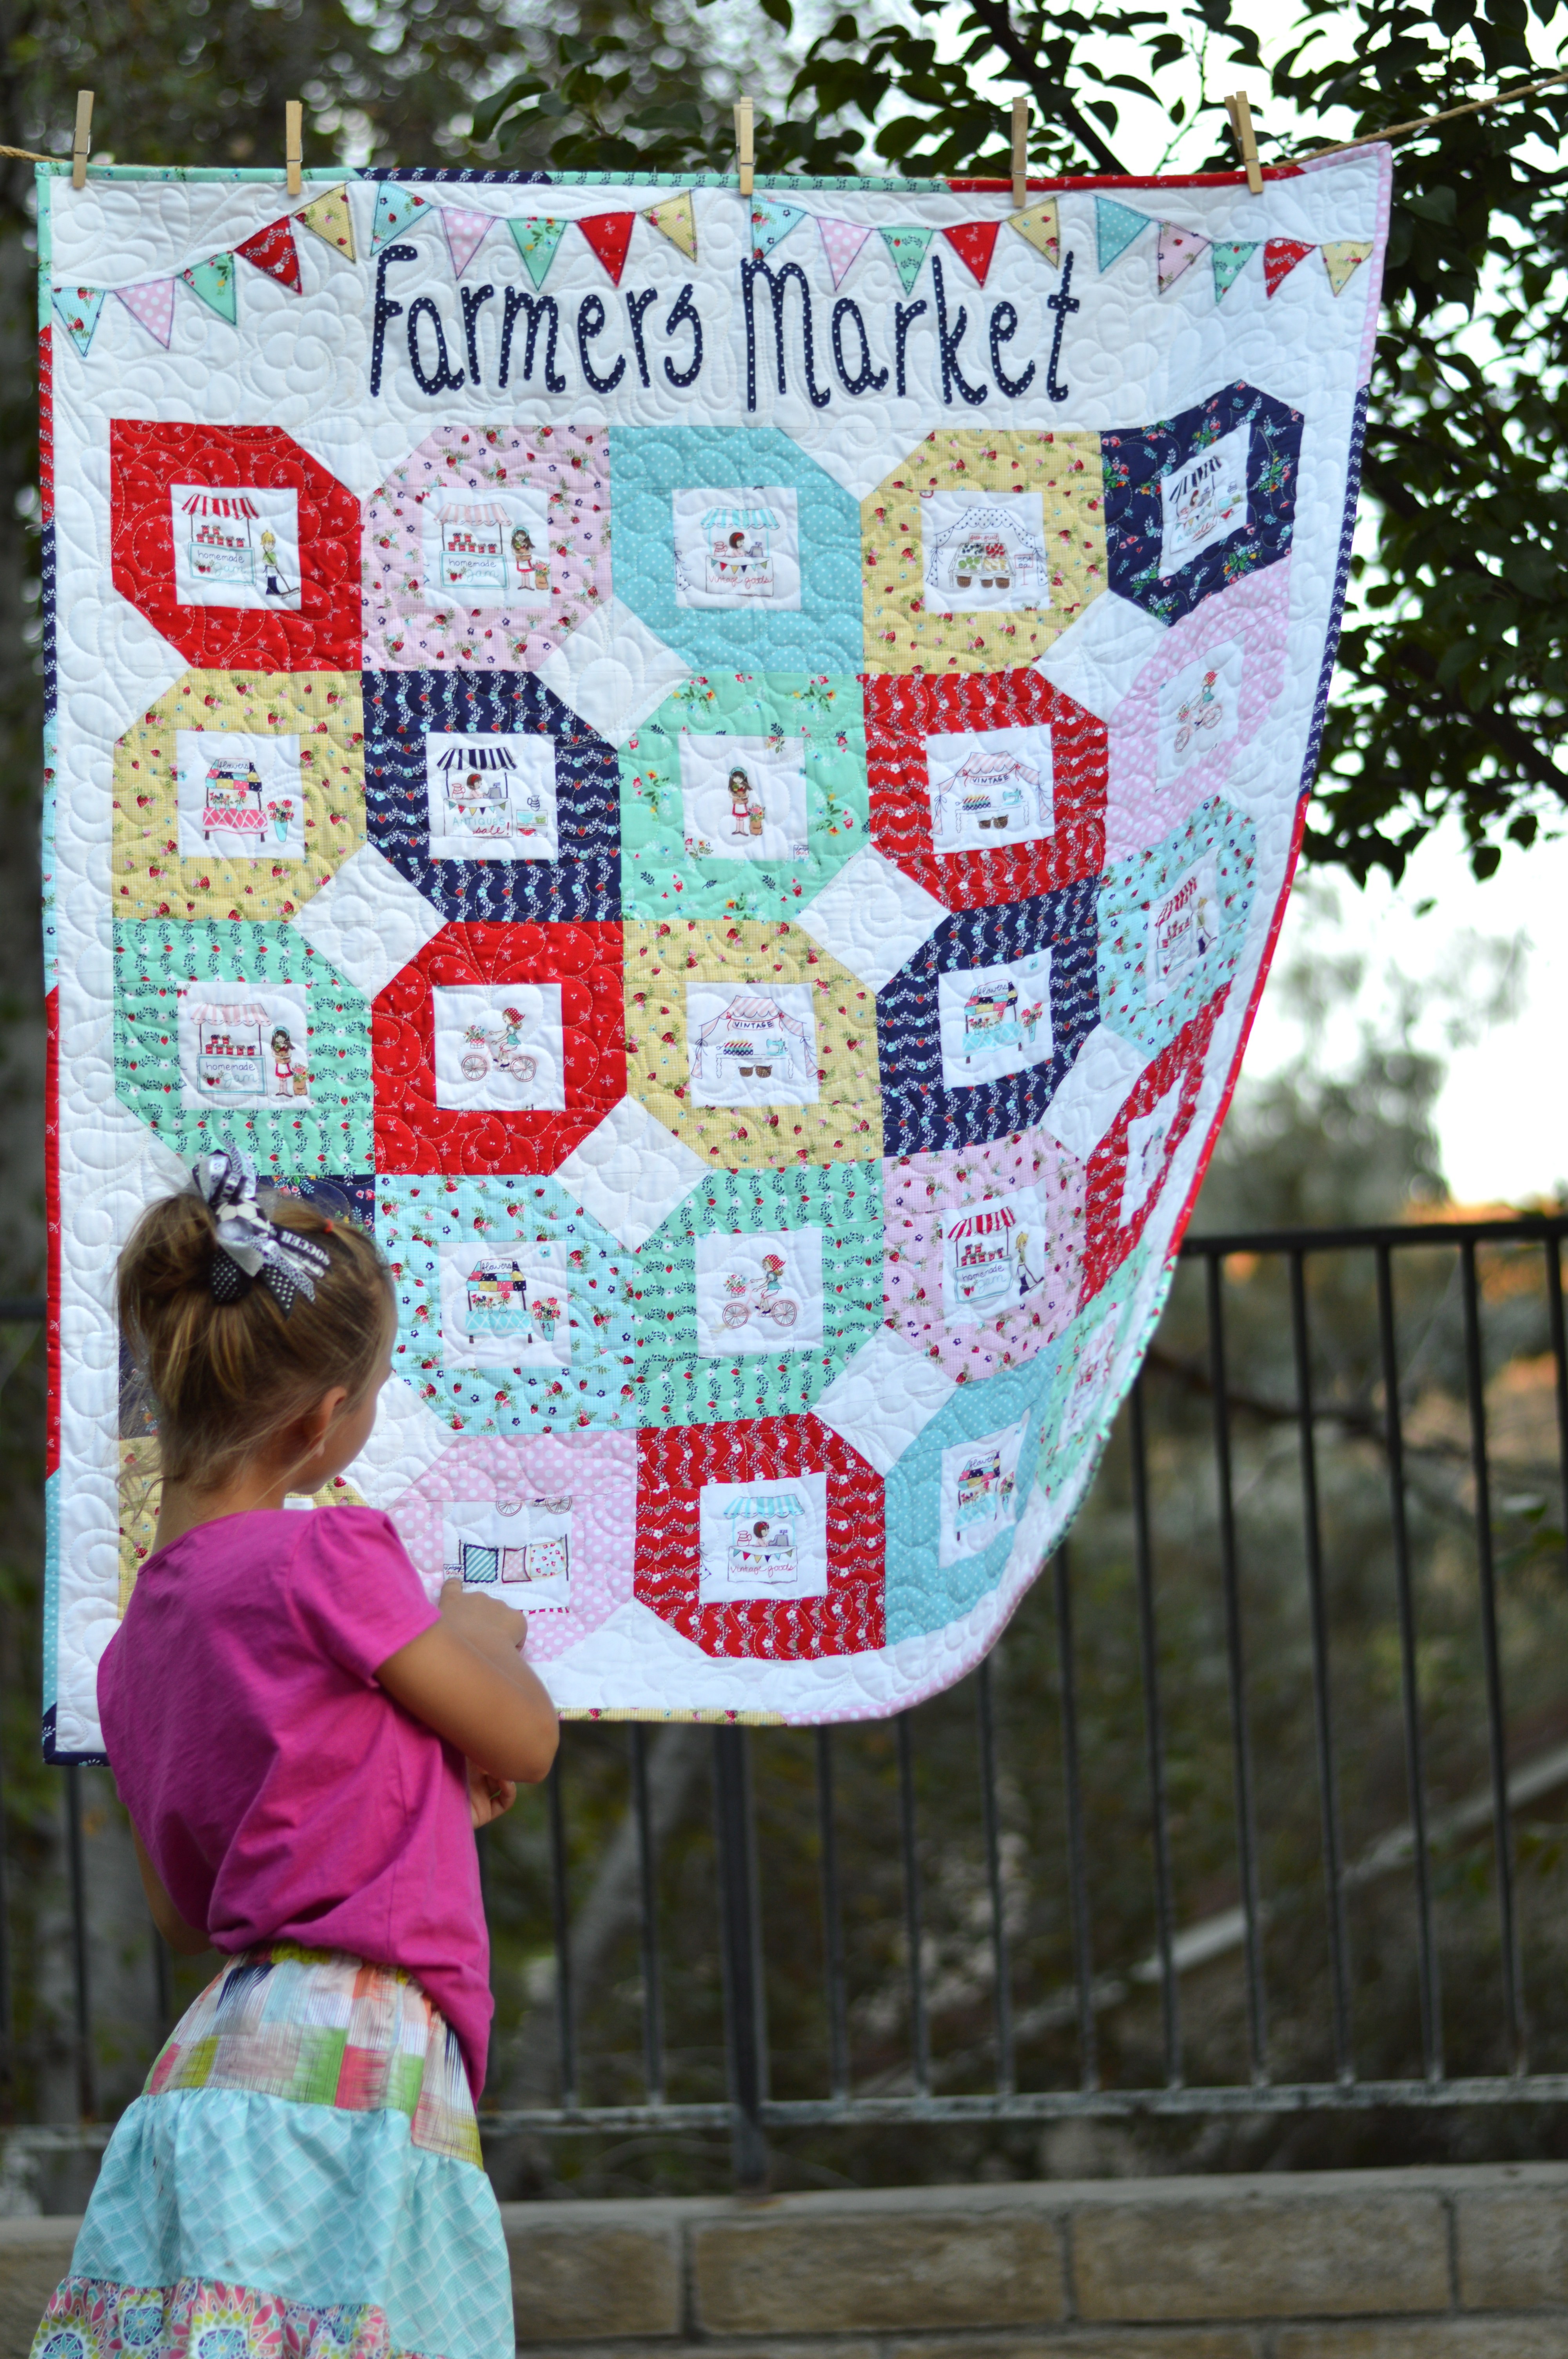
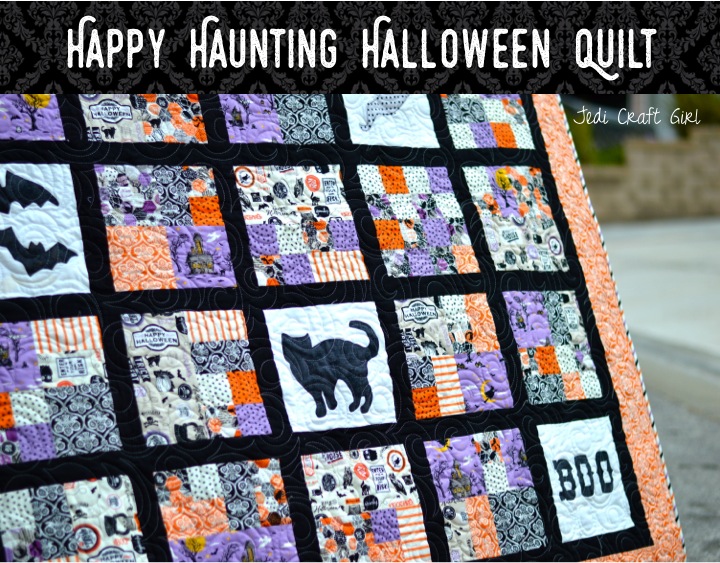
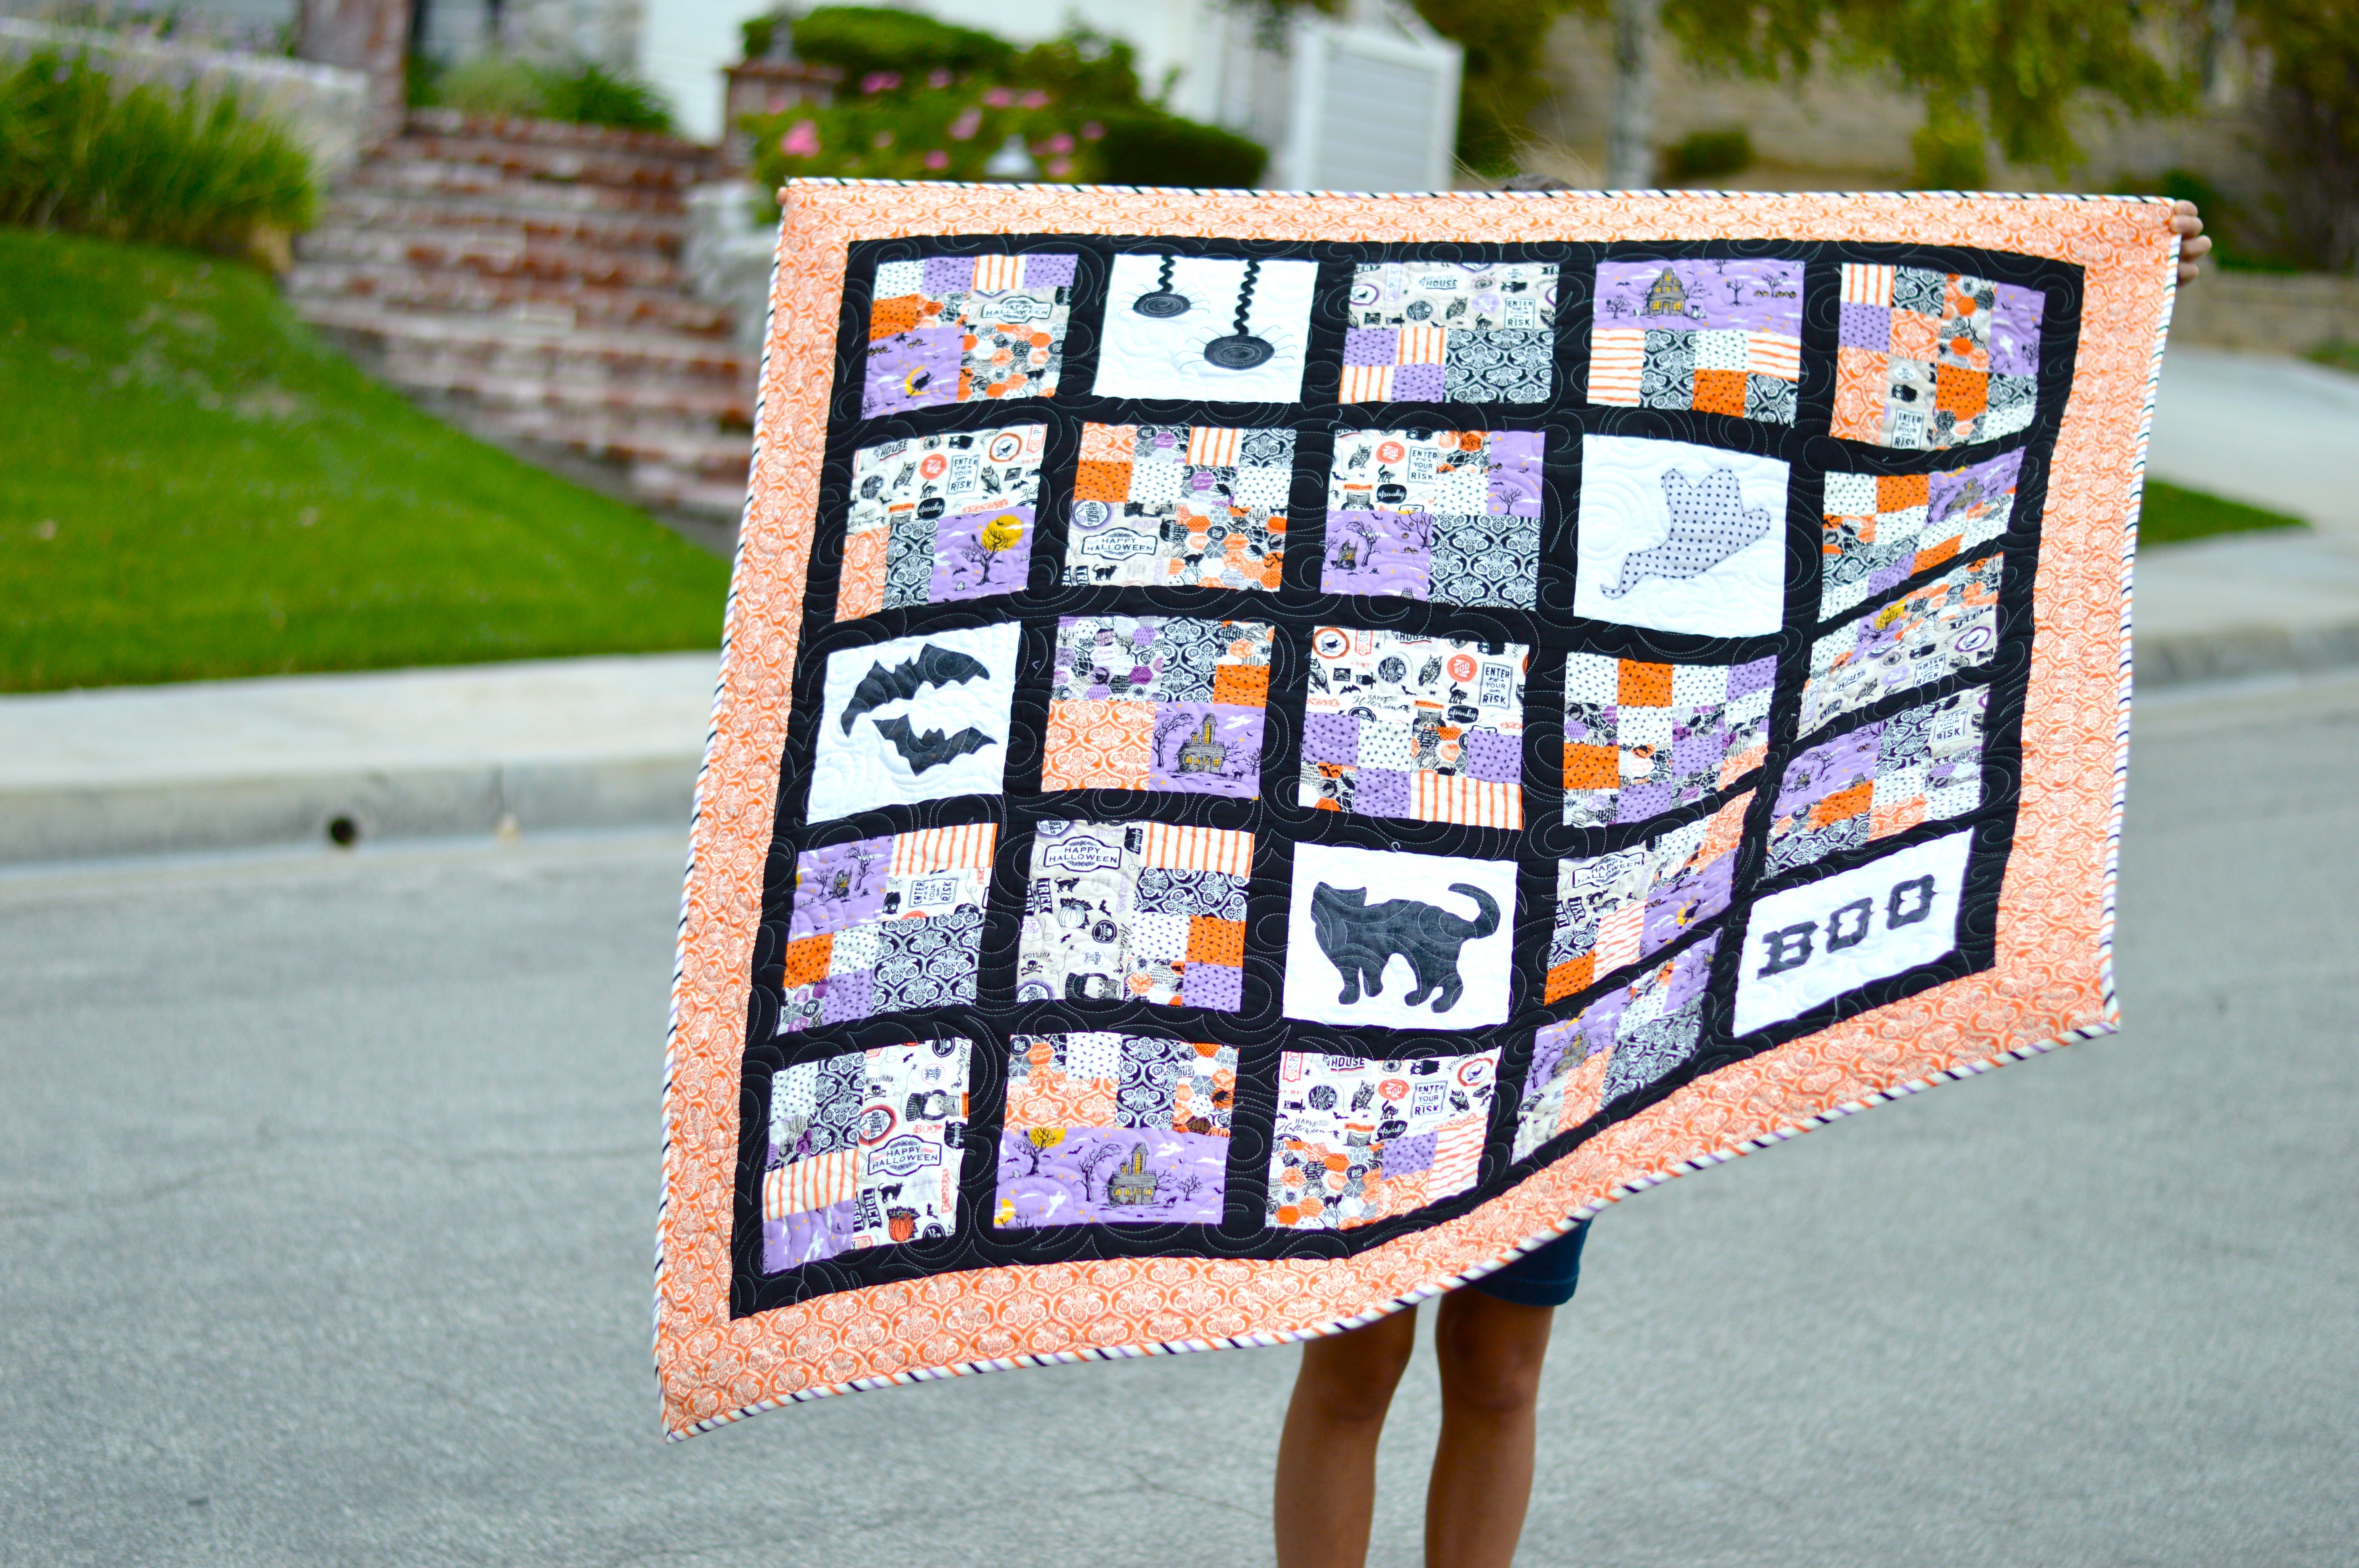
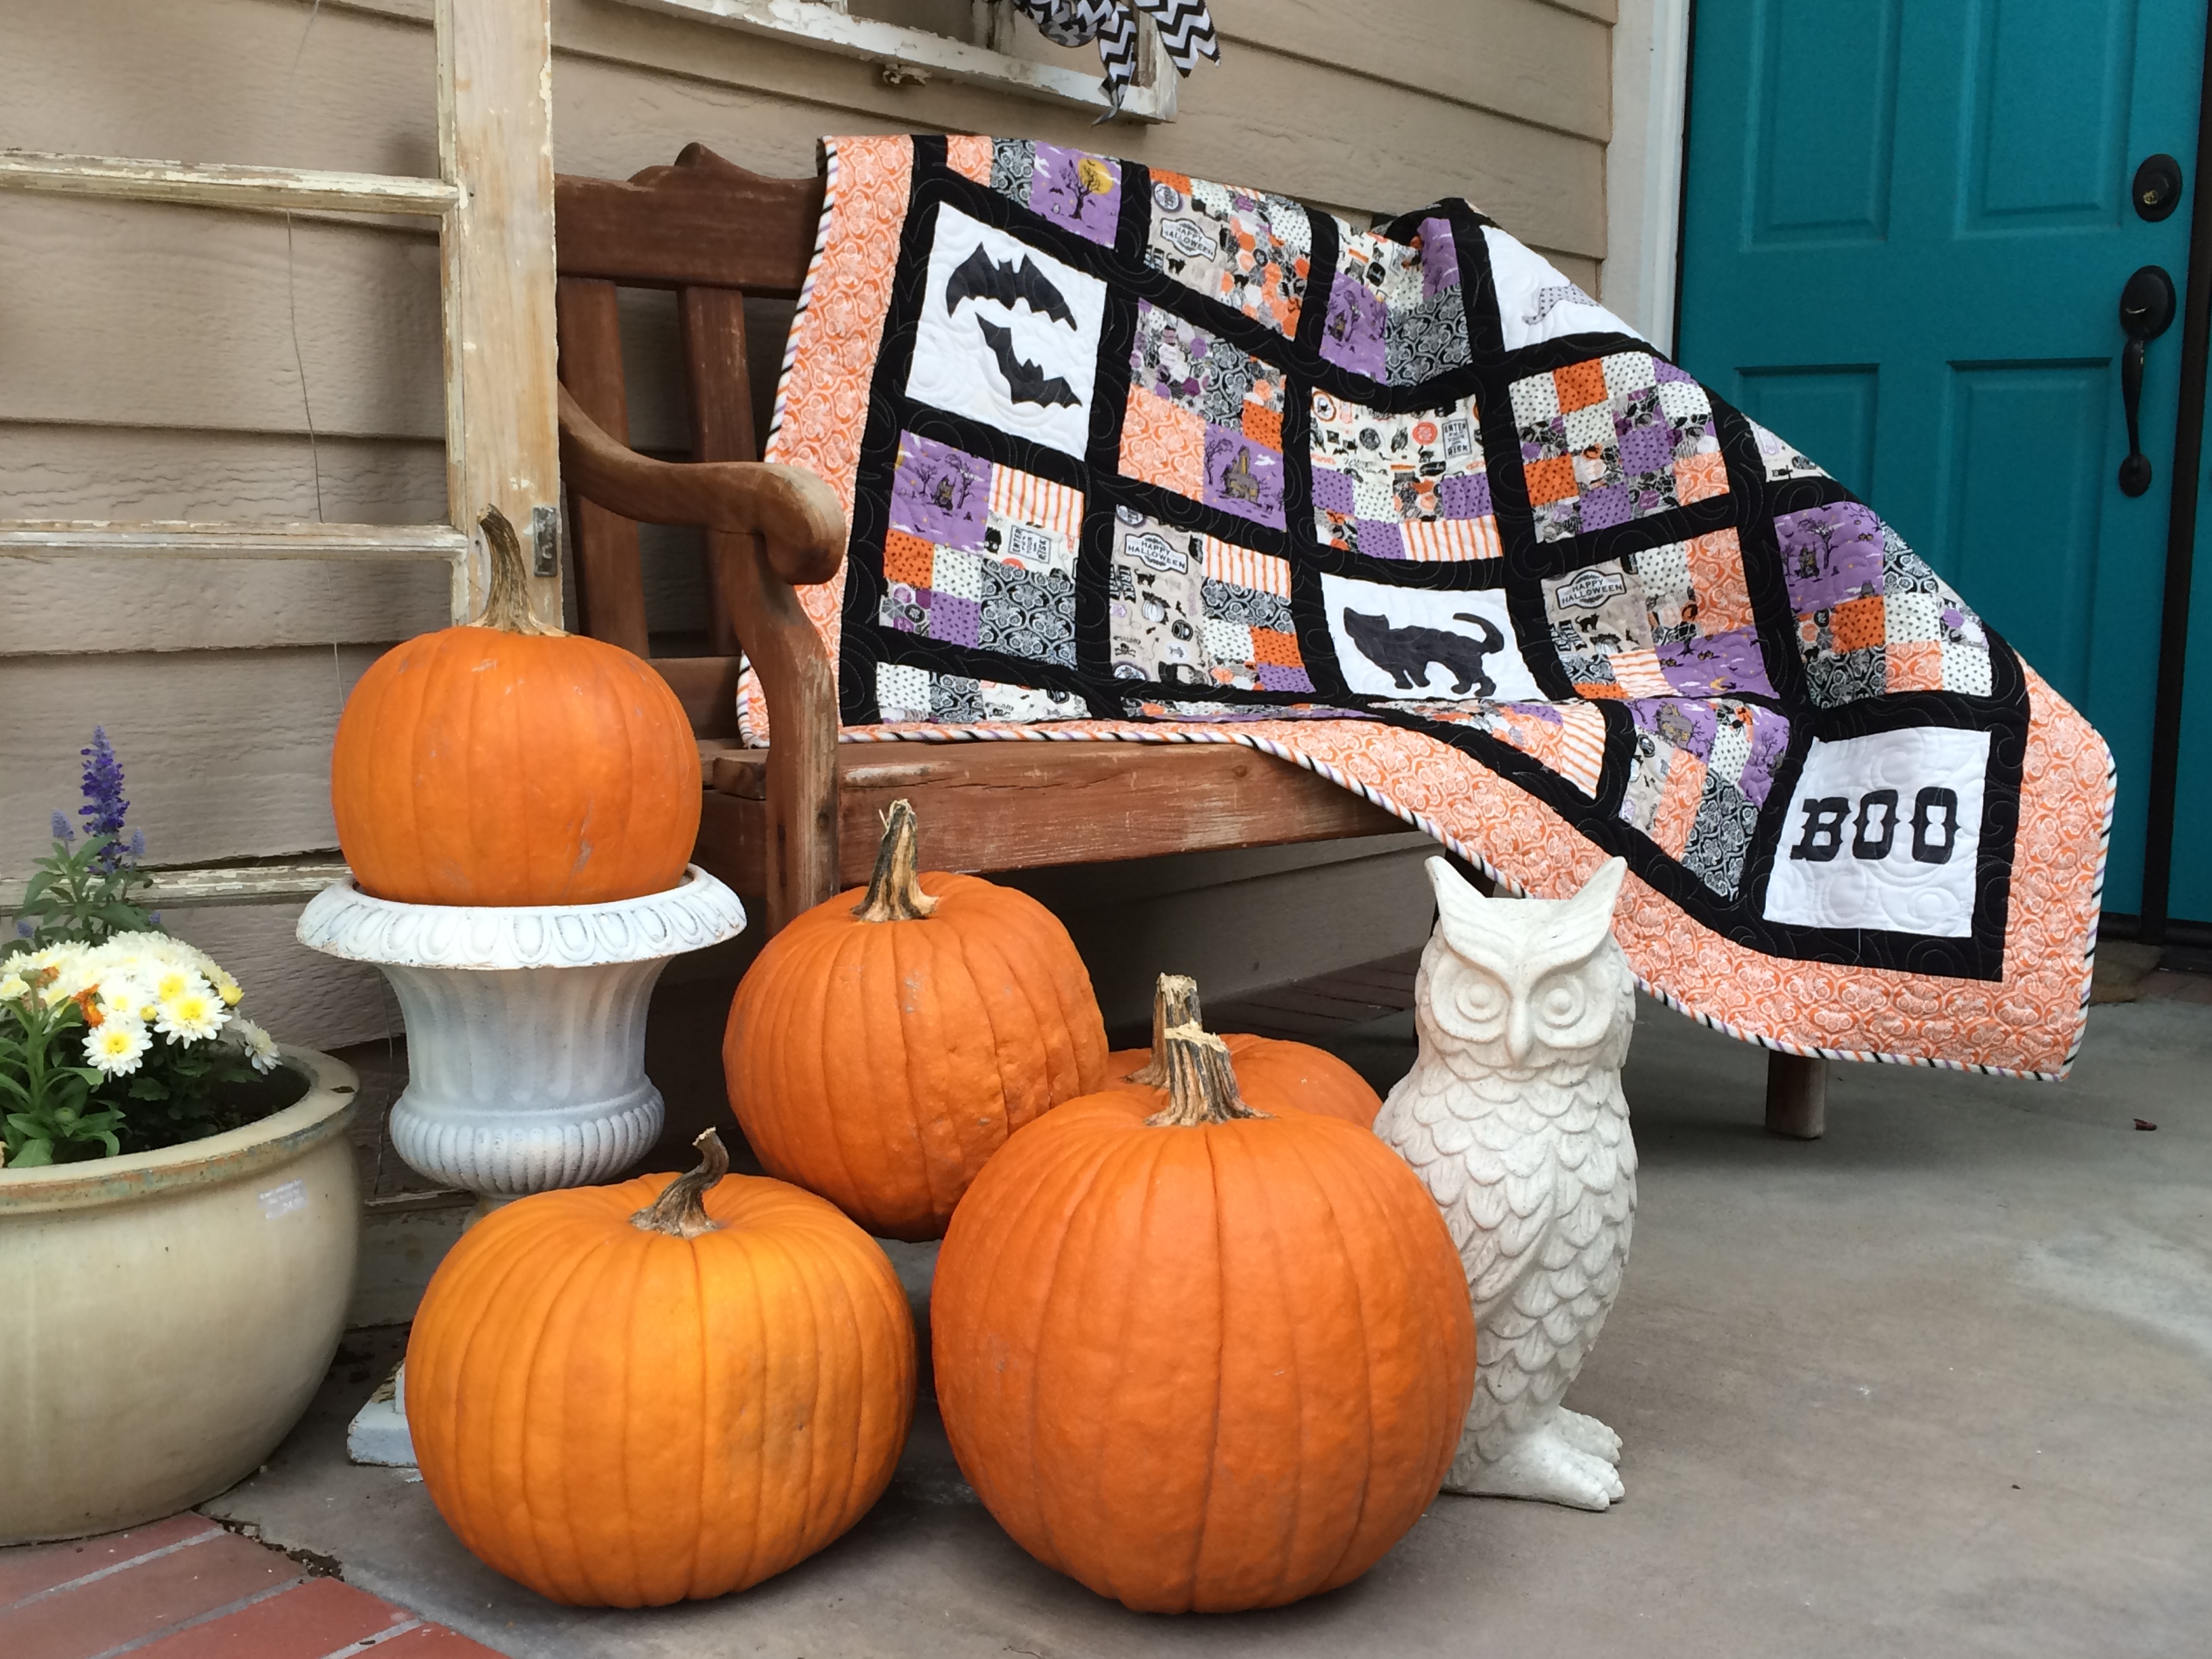
 I have created this pattern so you can use your favorite theme print fabric and tailor it to who you are giving it to. I even have Star Wars version!! Let’s get started!!
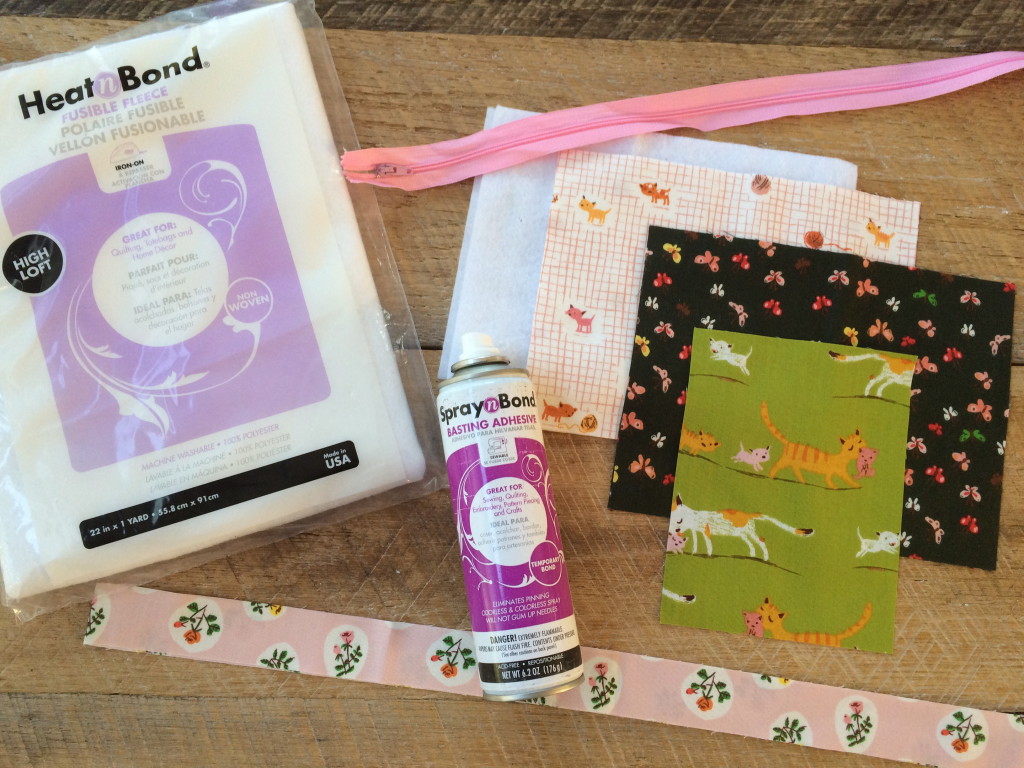
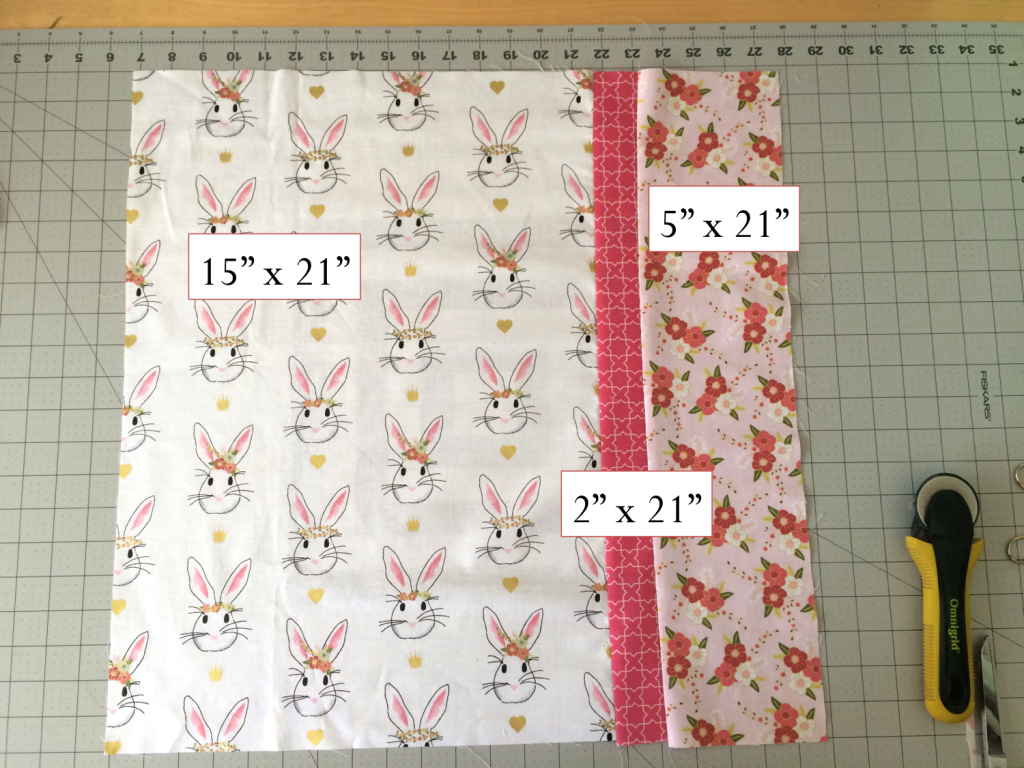
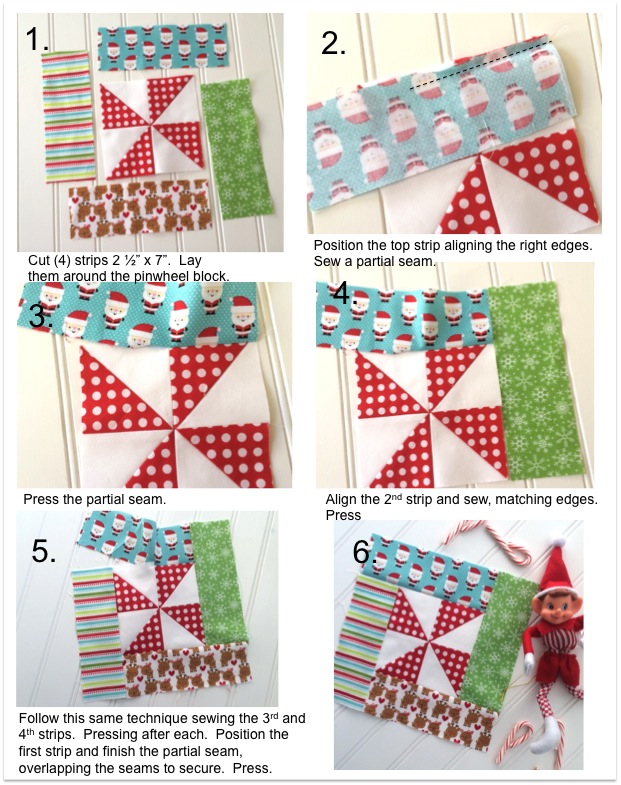
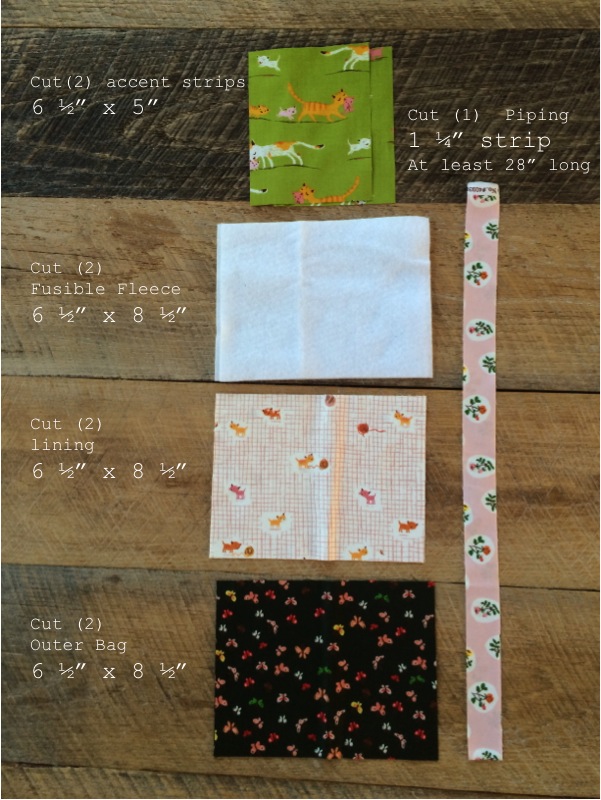 Cut the pieces according to the above cutting guide.
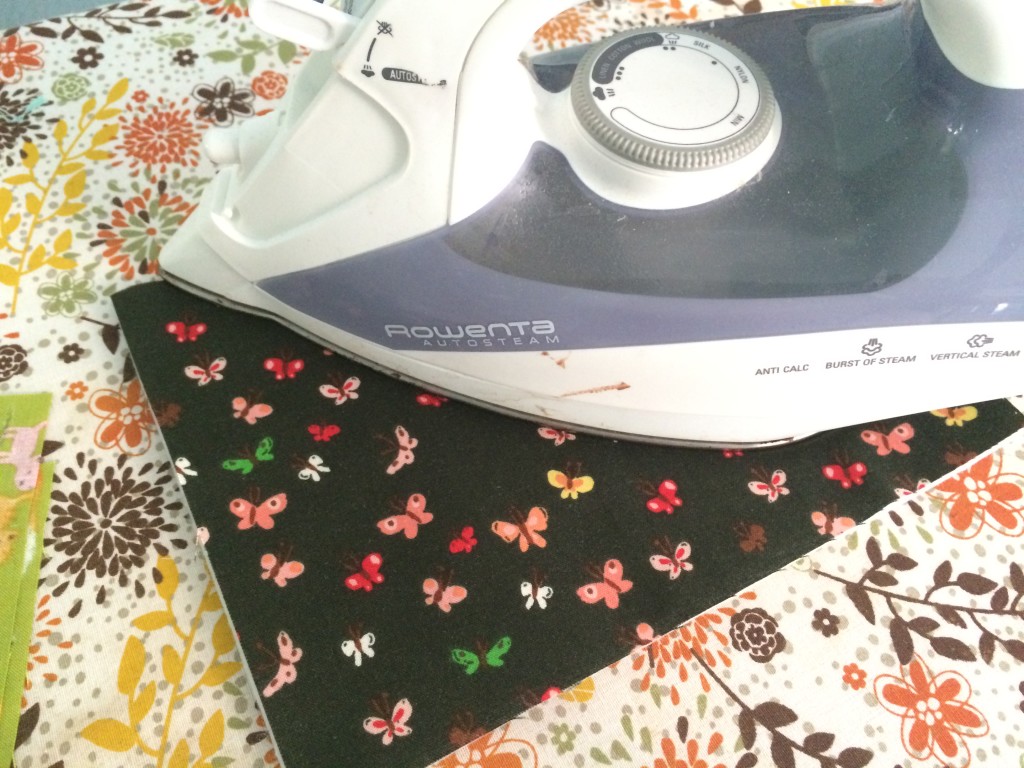
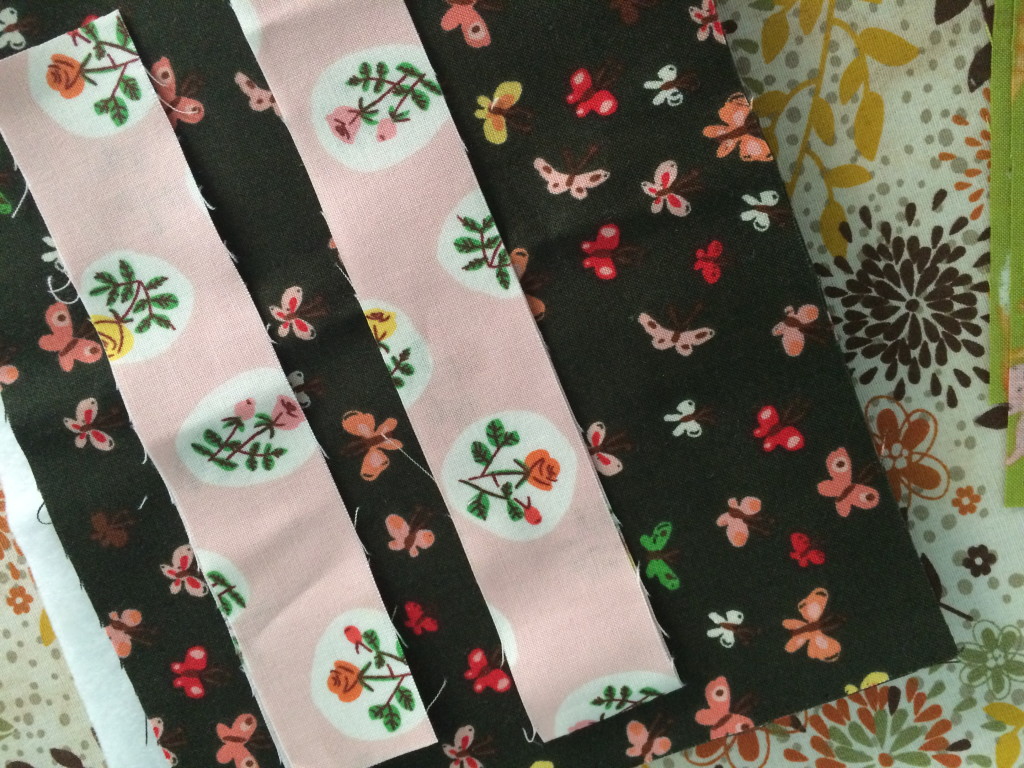
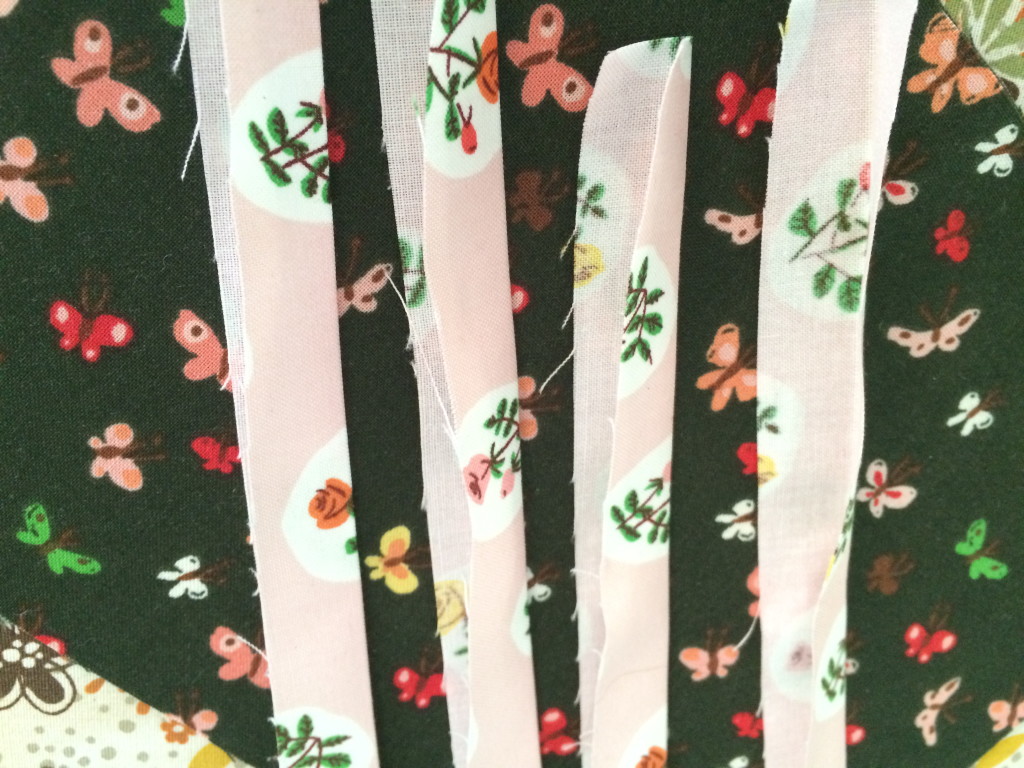
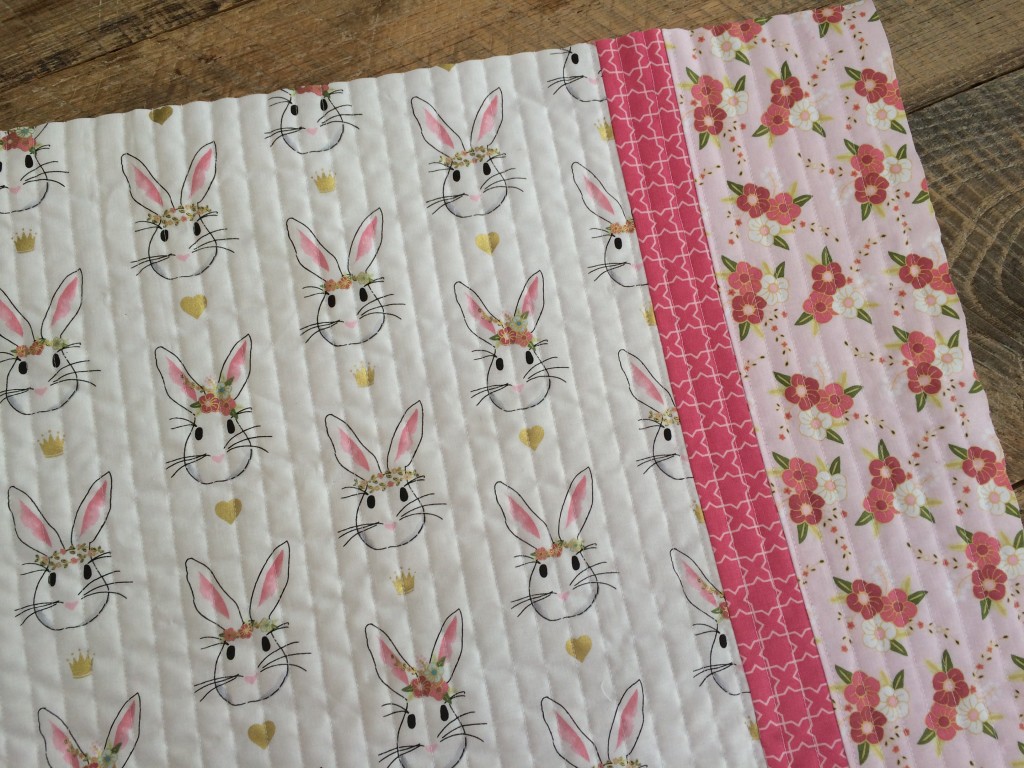
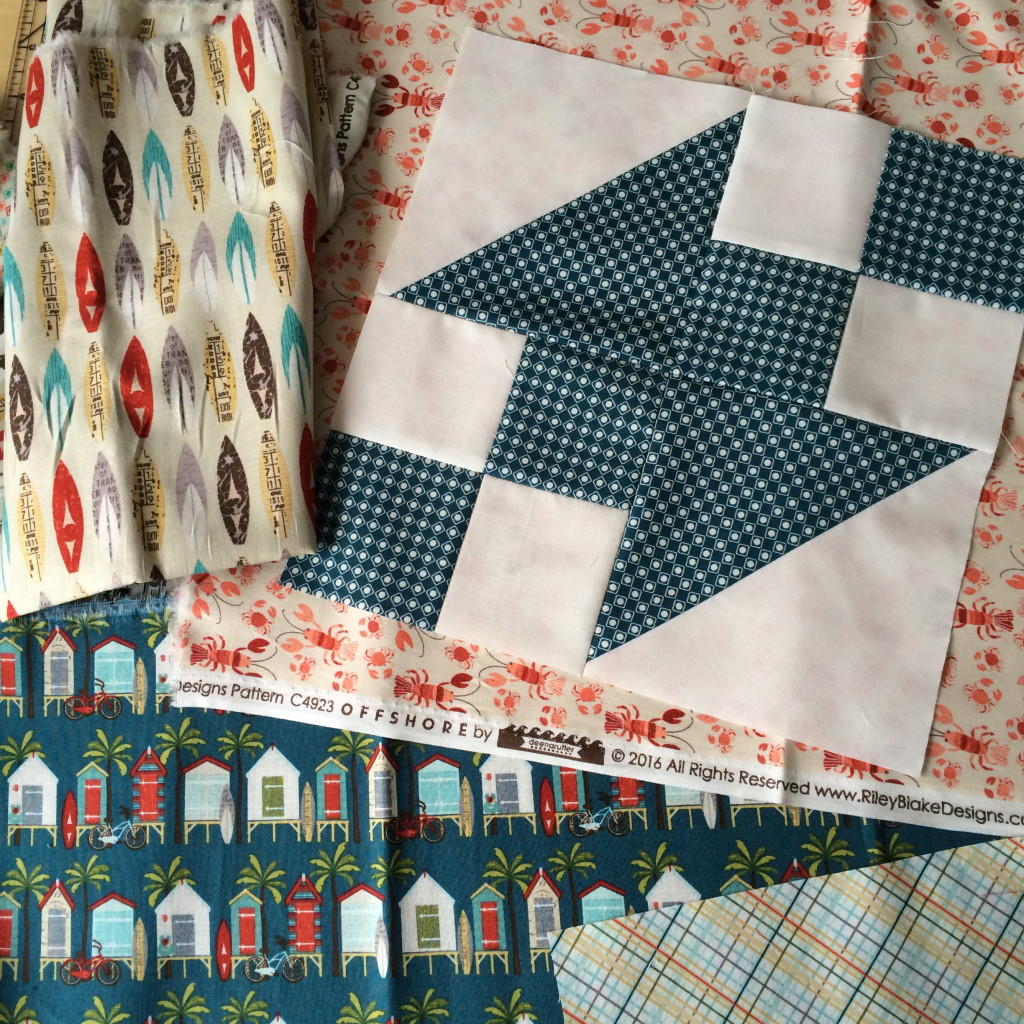
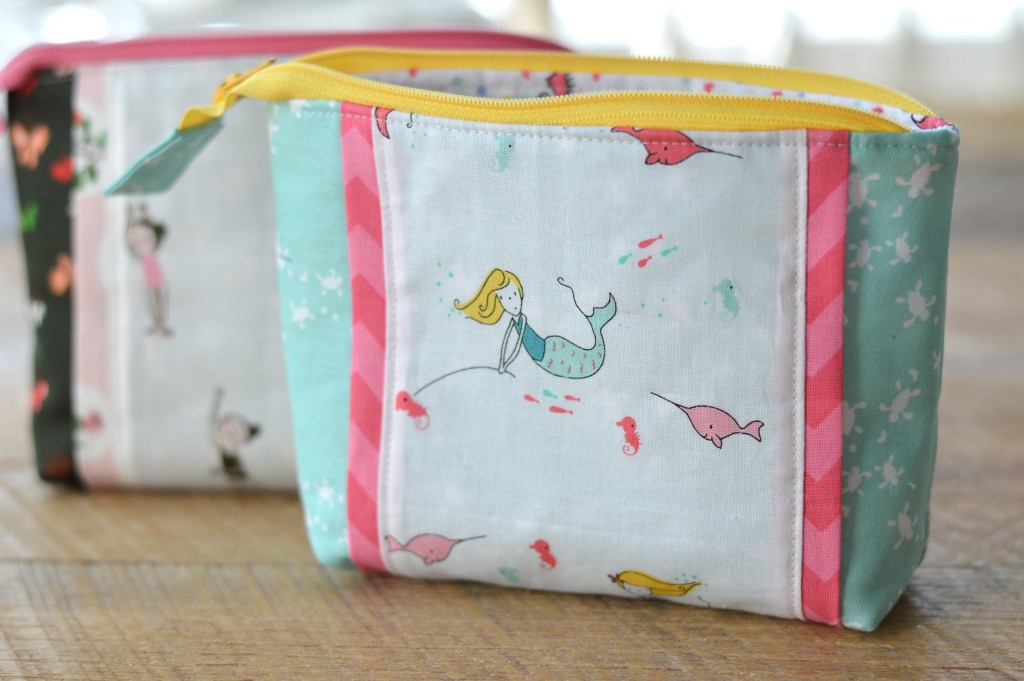
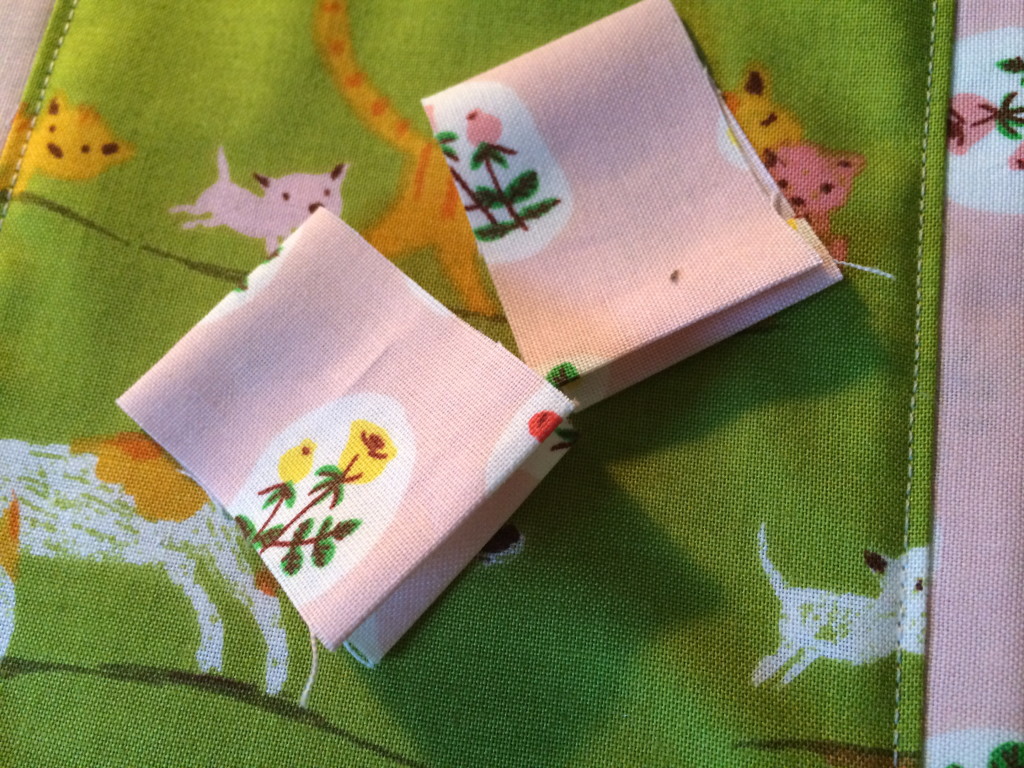
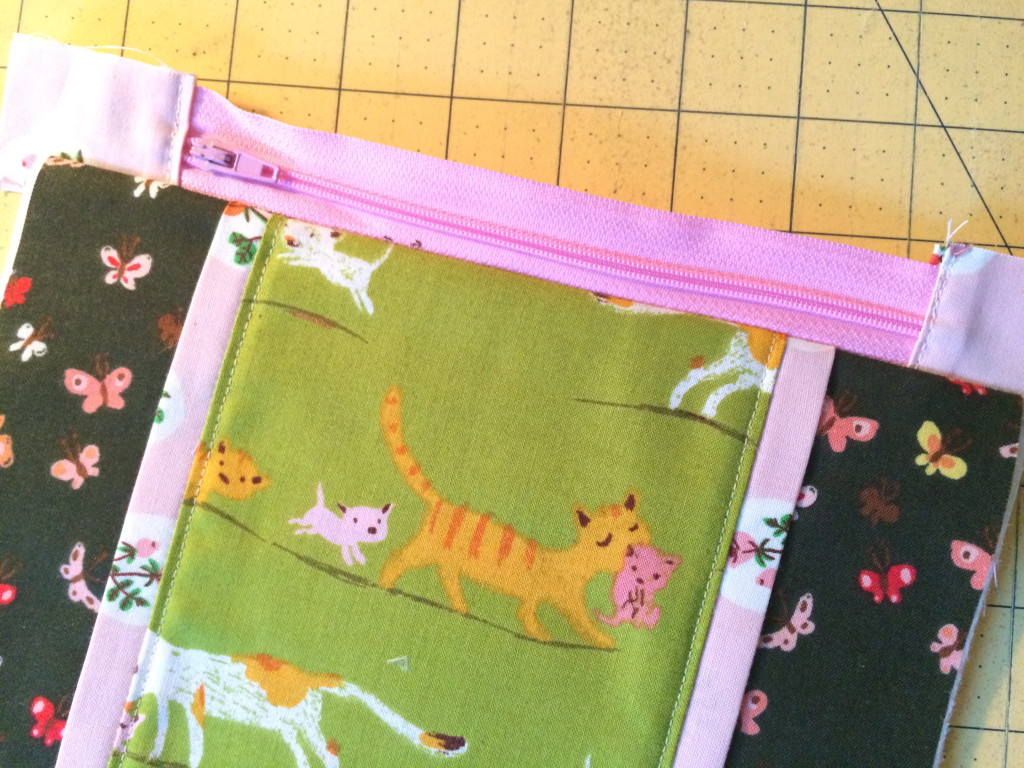
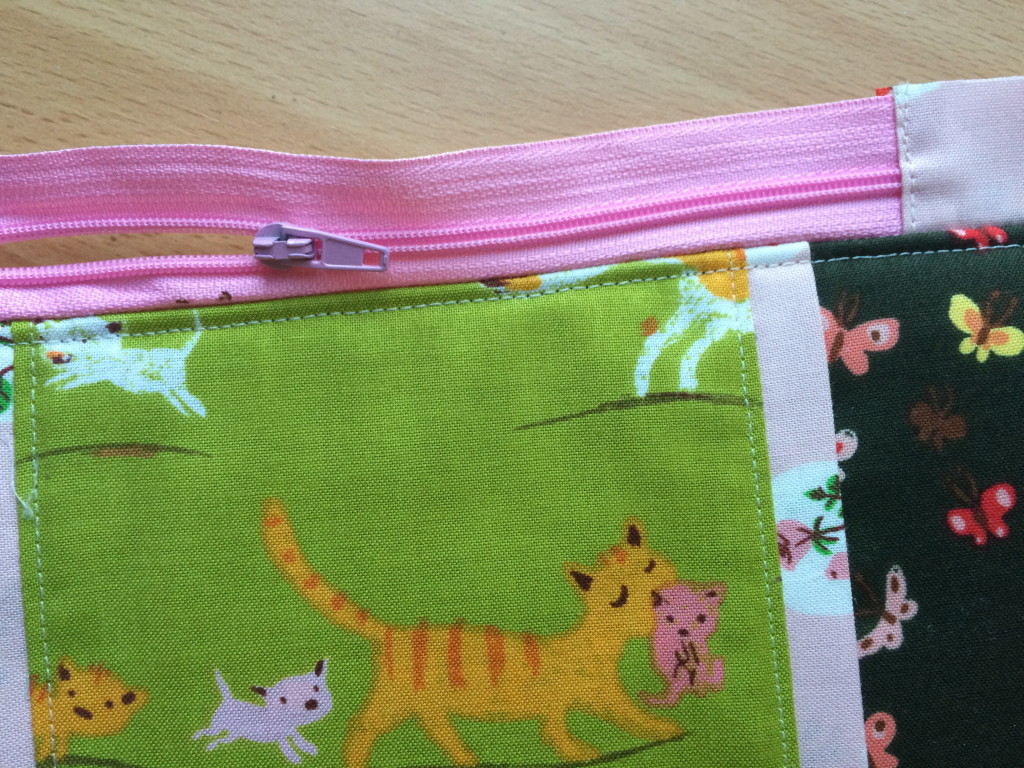
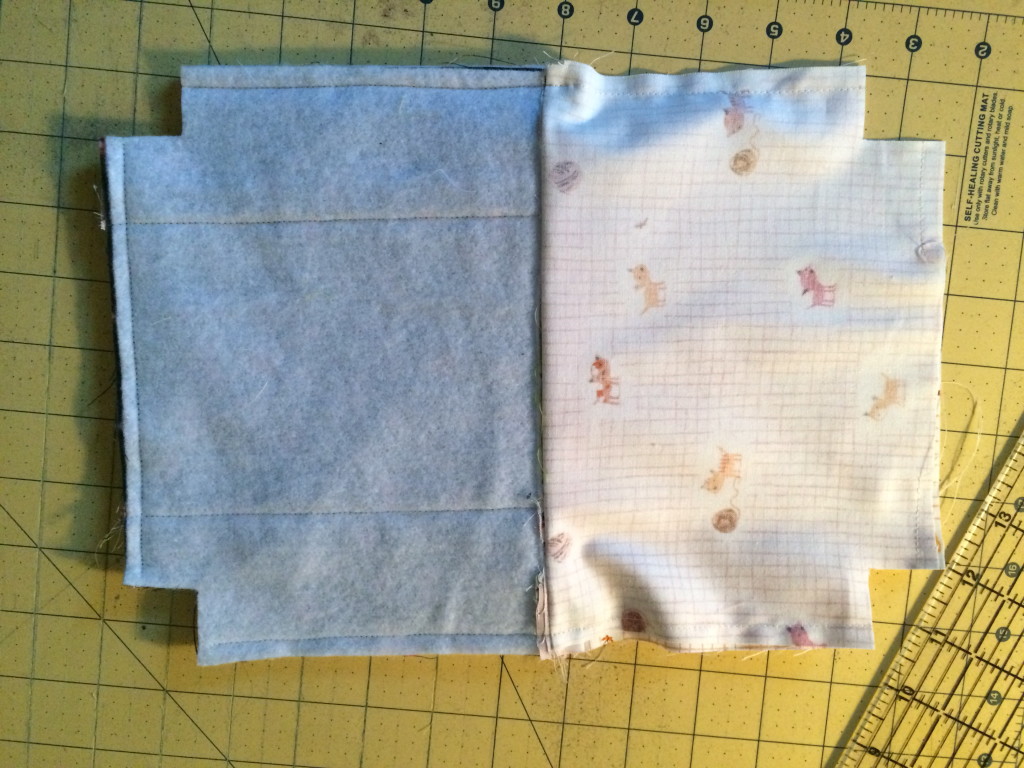
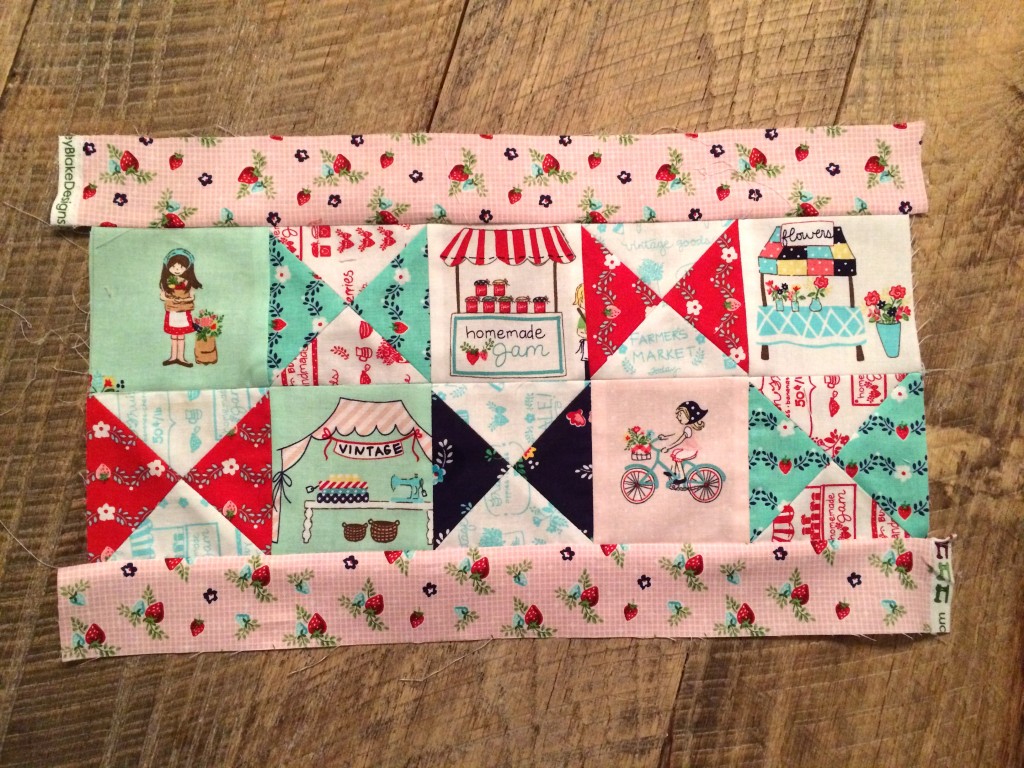
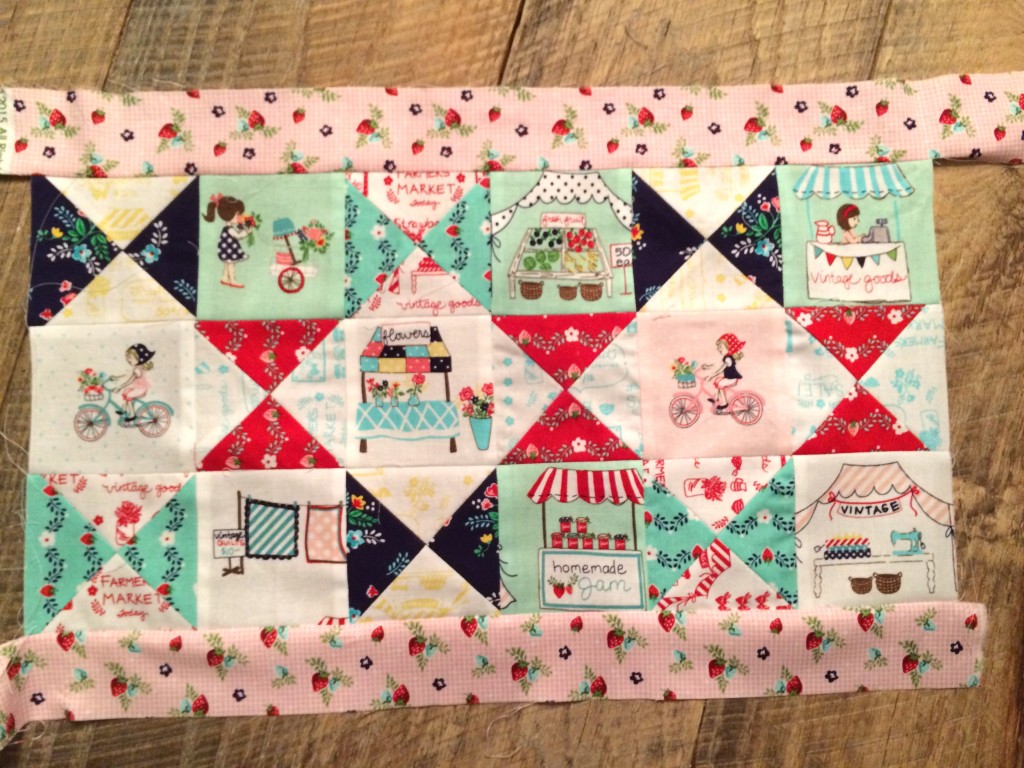
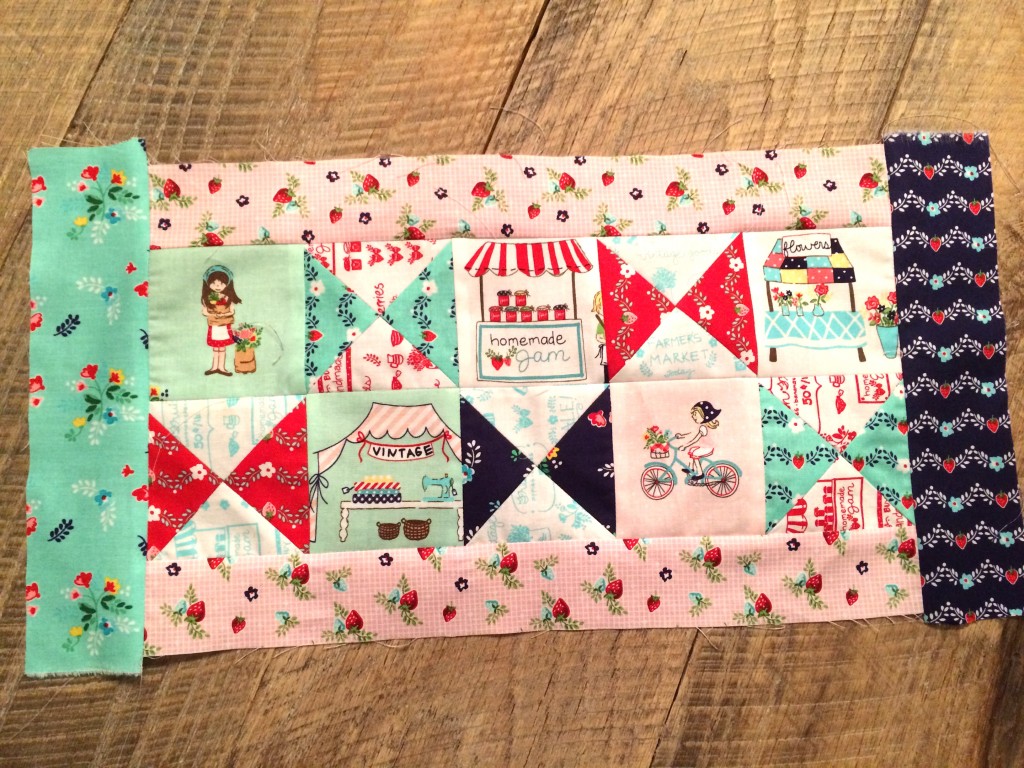
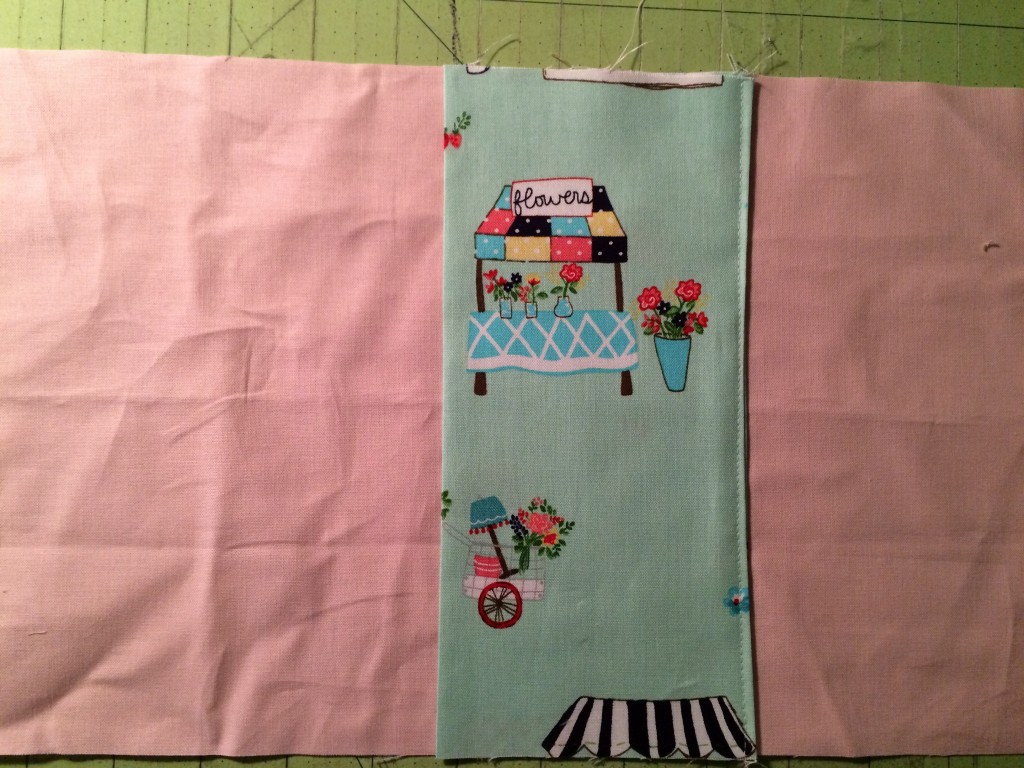
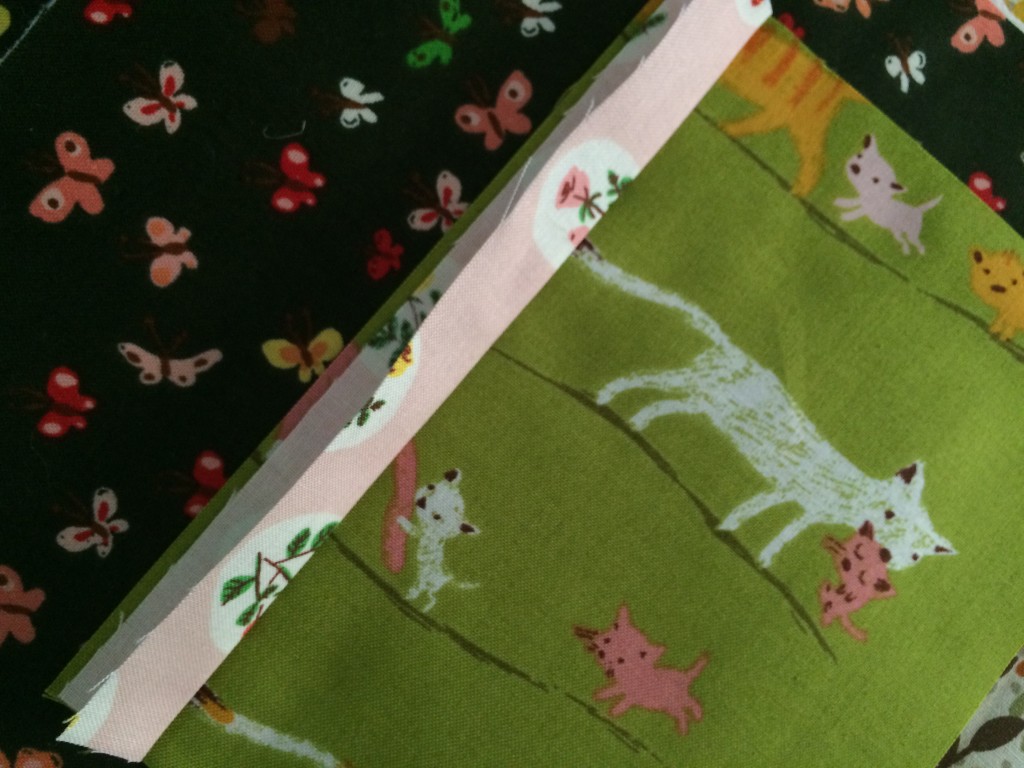 Align the raw edges with the edge of the theme print fabric and sew a 1/4″ seam. Do this to all (4) sides of the (2) theme print pieces.
 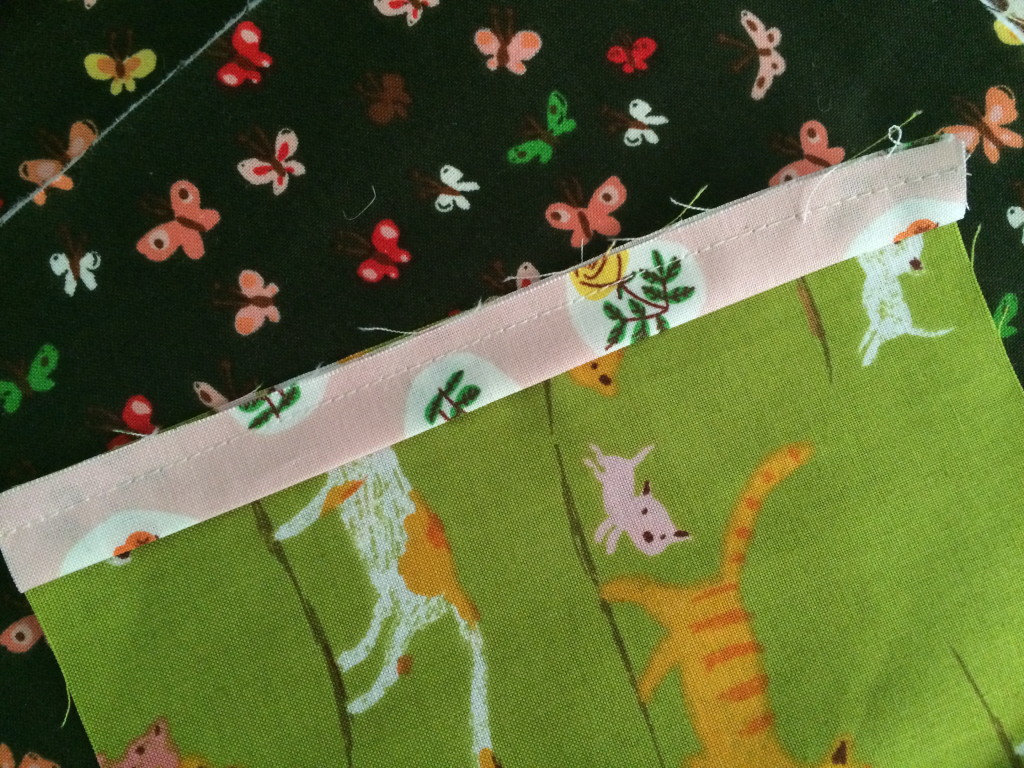 Press the accent strips so the seam allowance is toward the theme print.
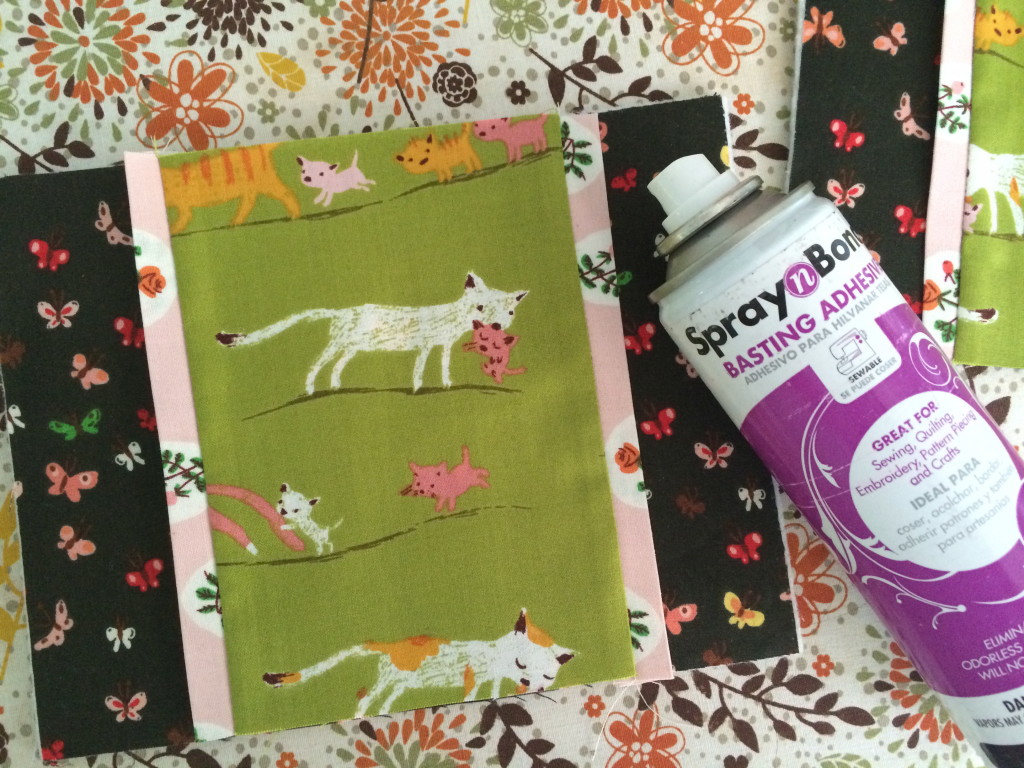
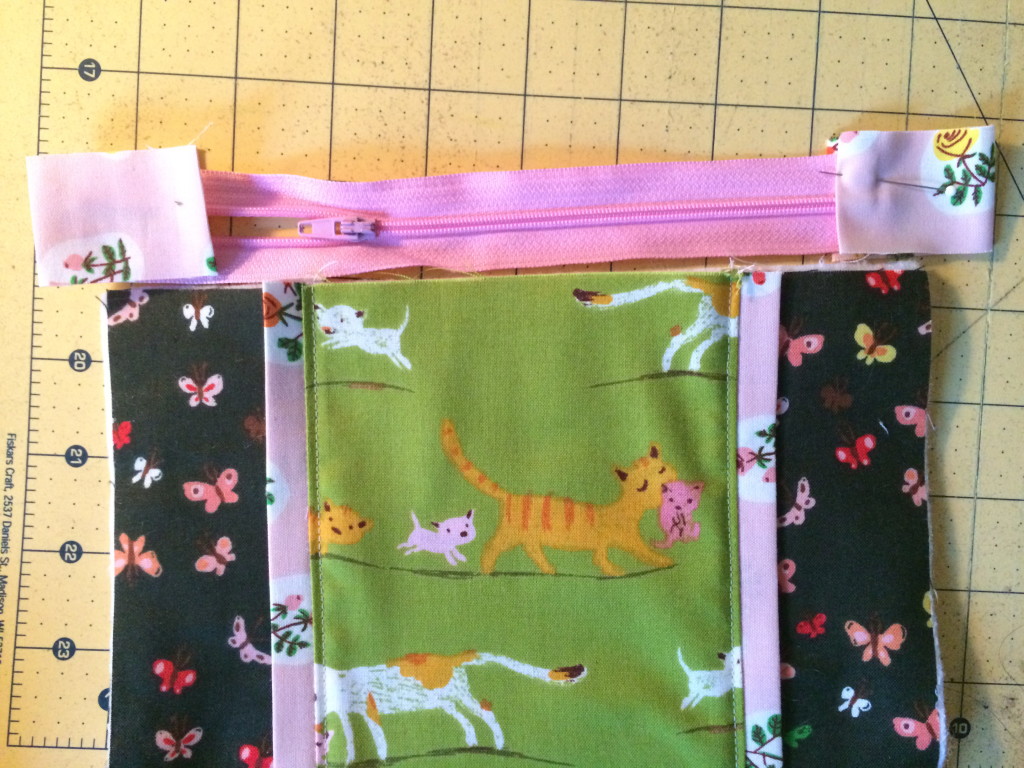
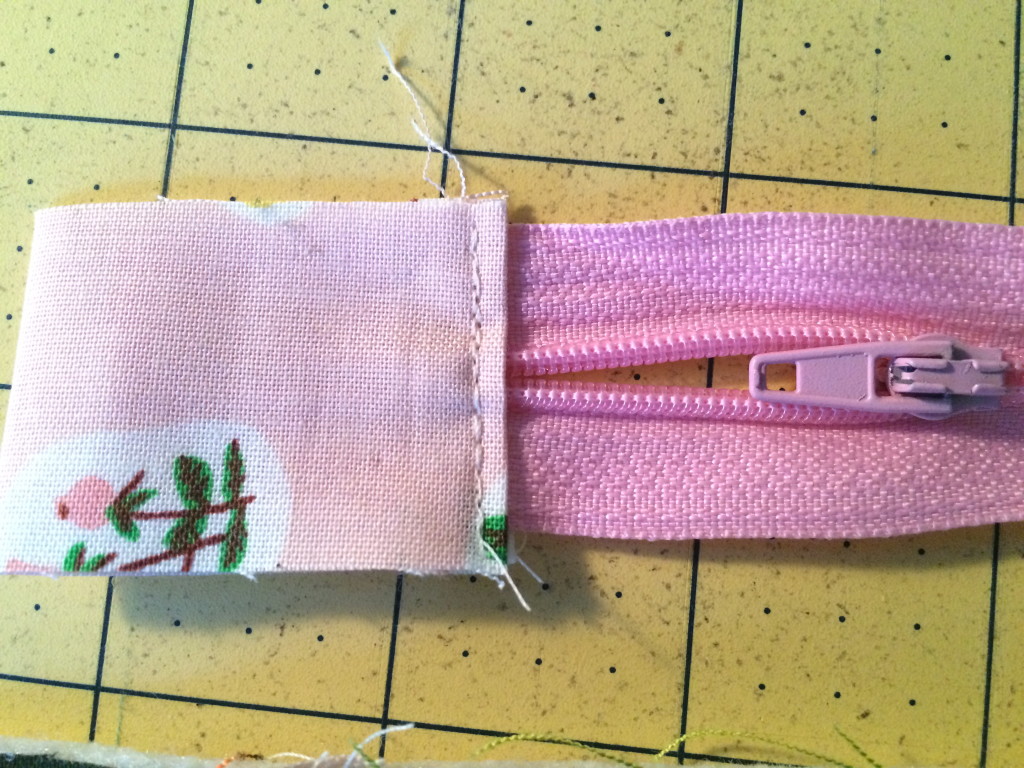
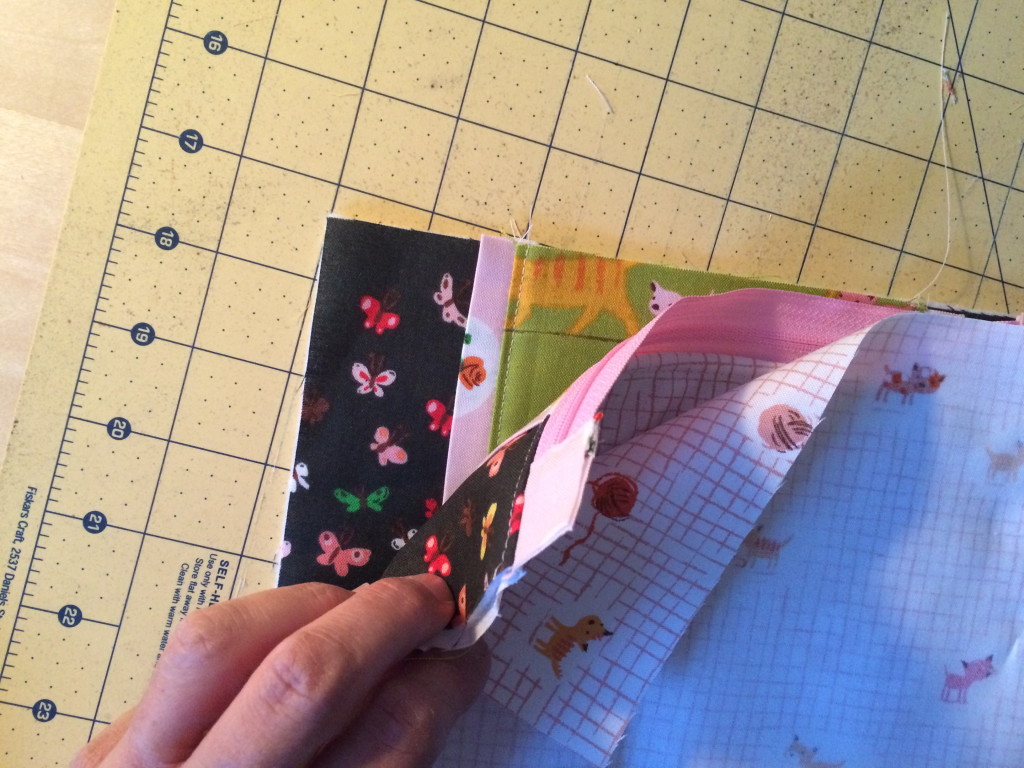
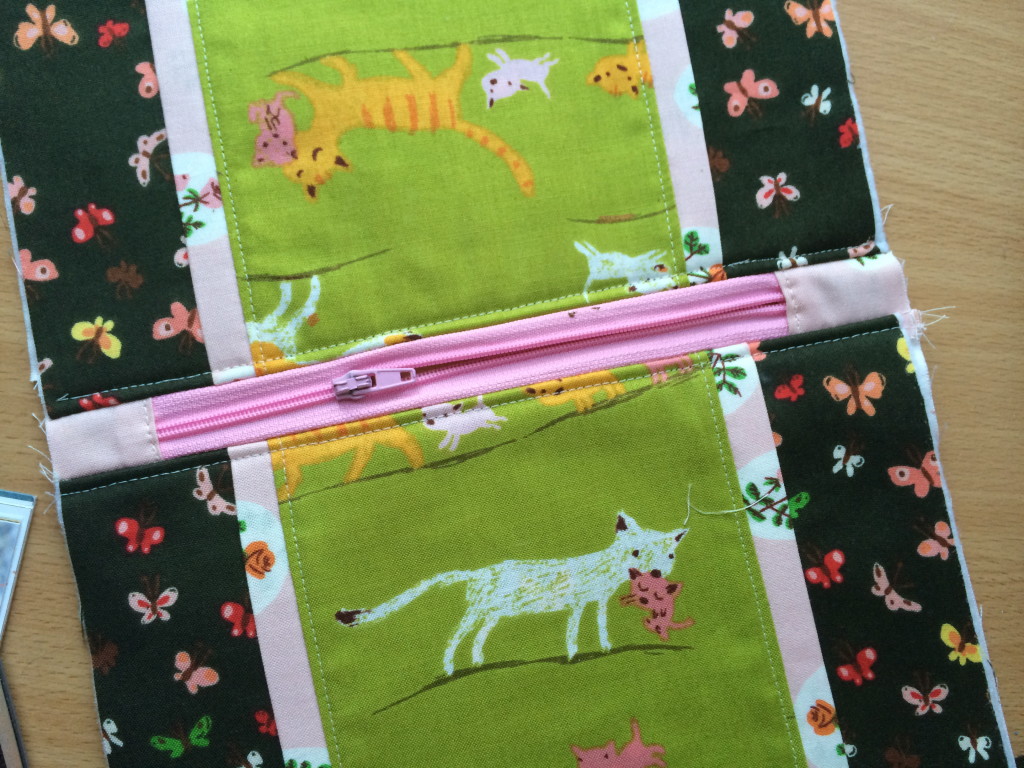
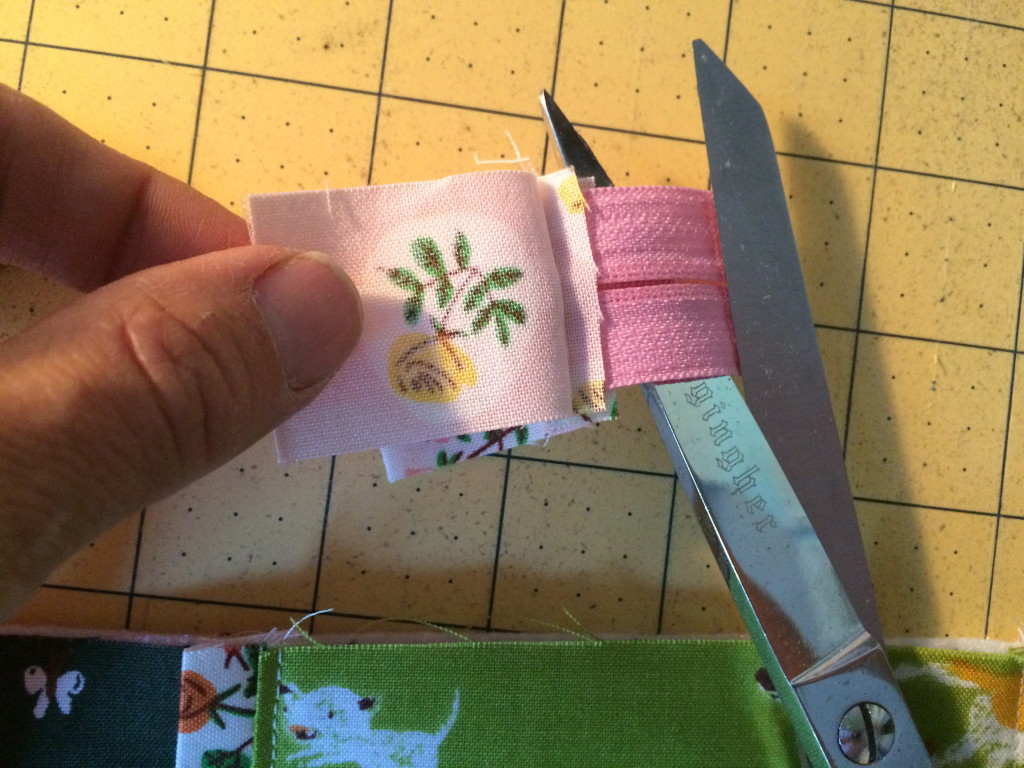 http://www.jedicraftgirl.com/wp-admin/post-new.phpCut along the fold of the zipper tab and cut away the excess zipper, leaving about 1/8″ of zipper. This makes it so there is no bulky zipper in the side seam of the zipper pouch.
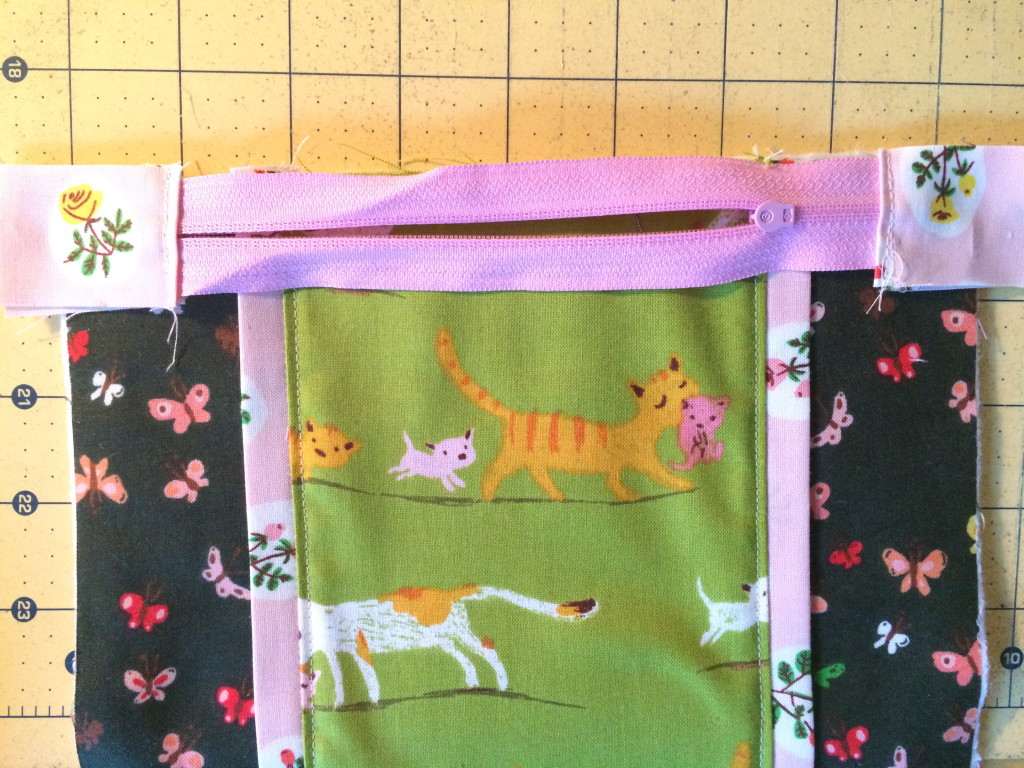

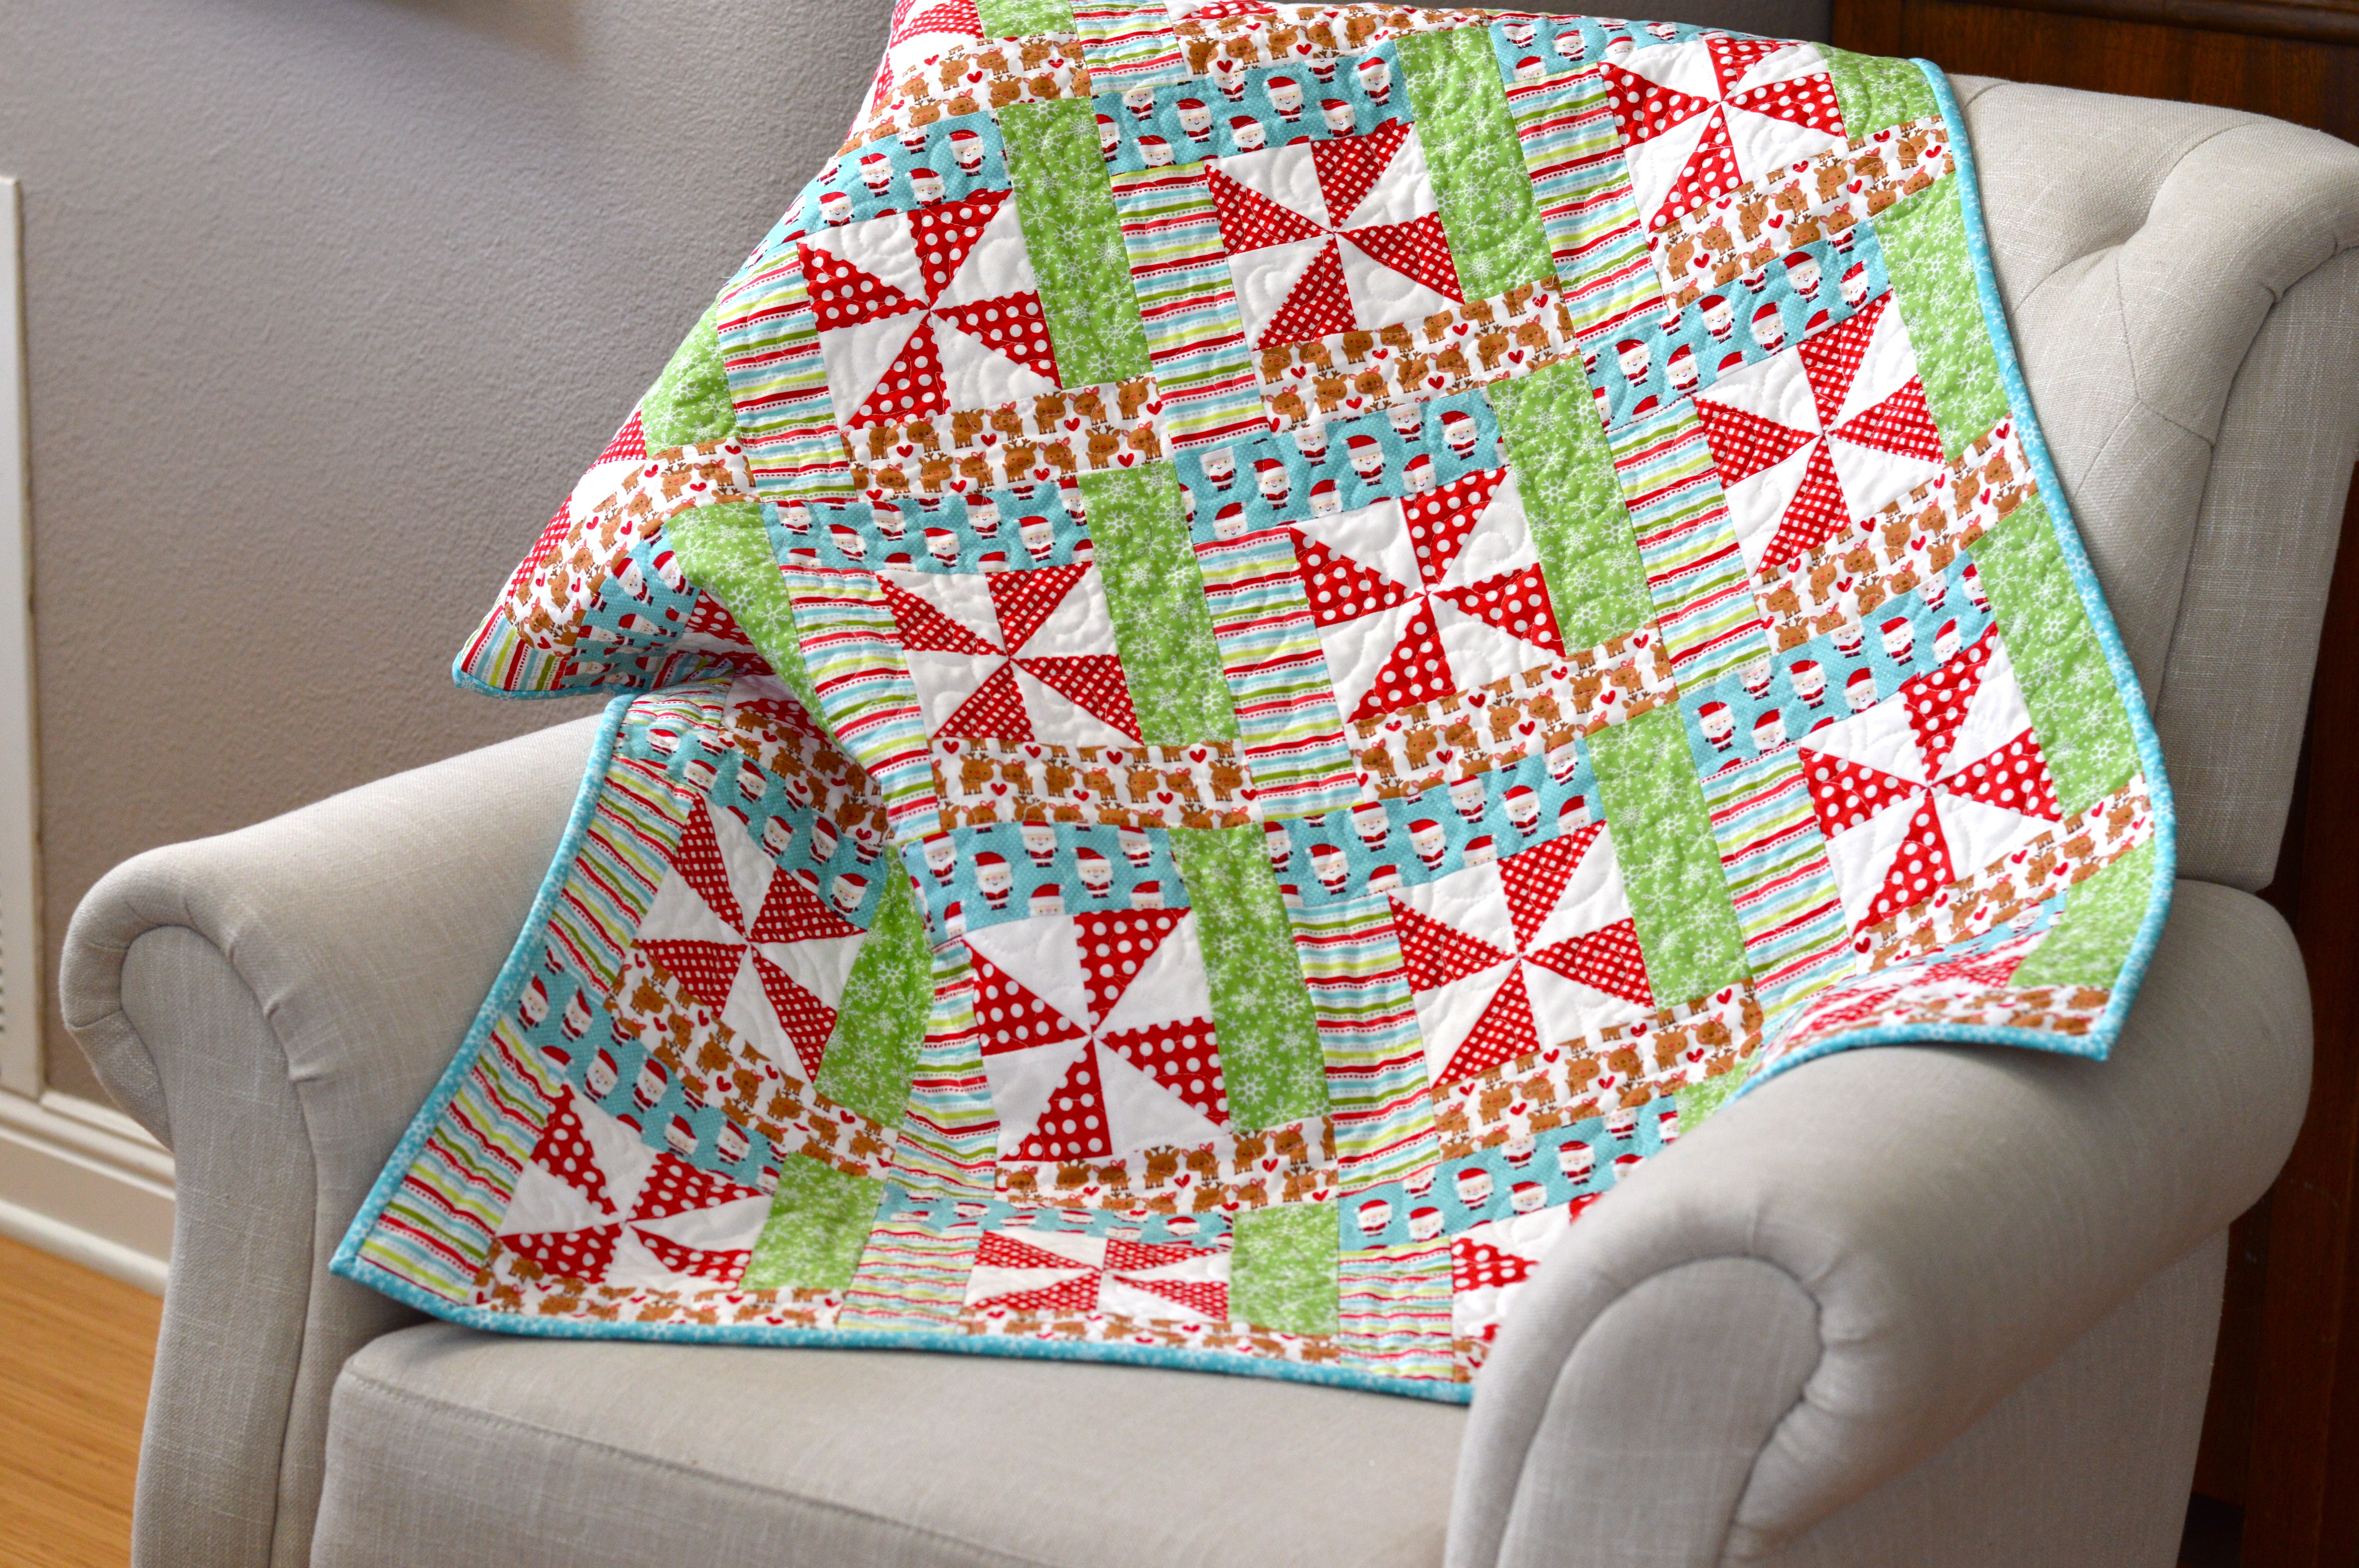
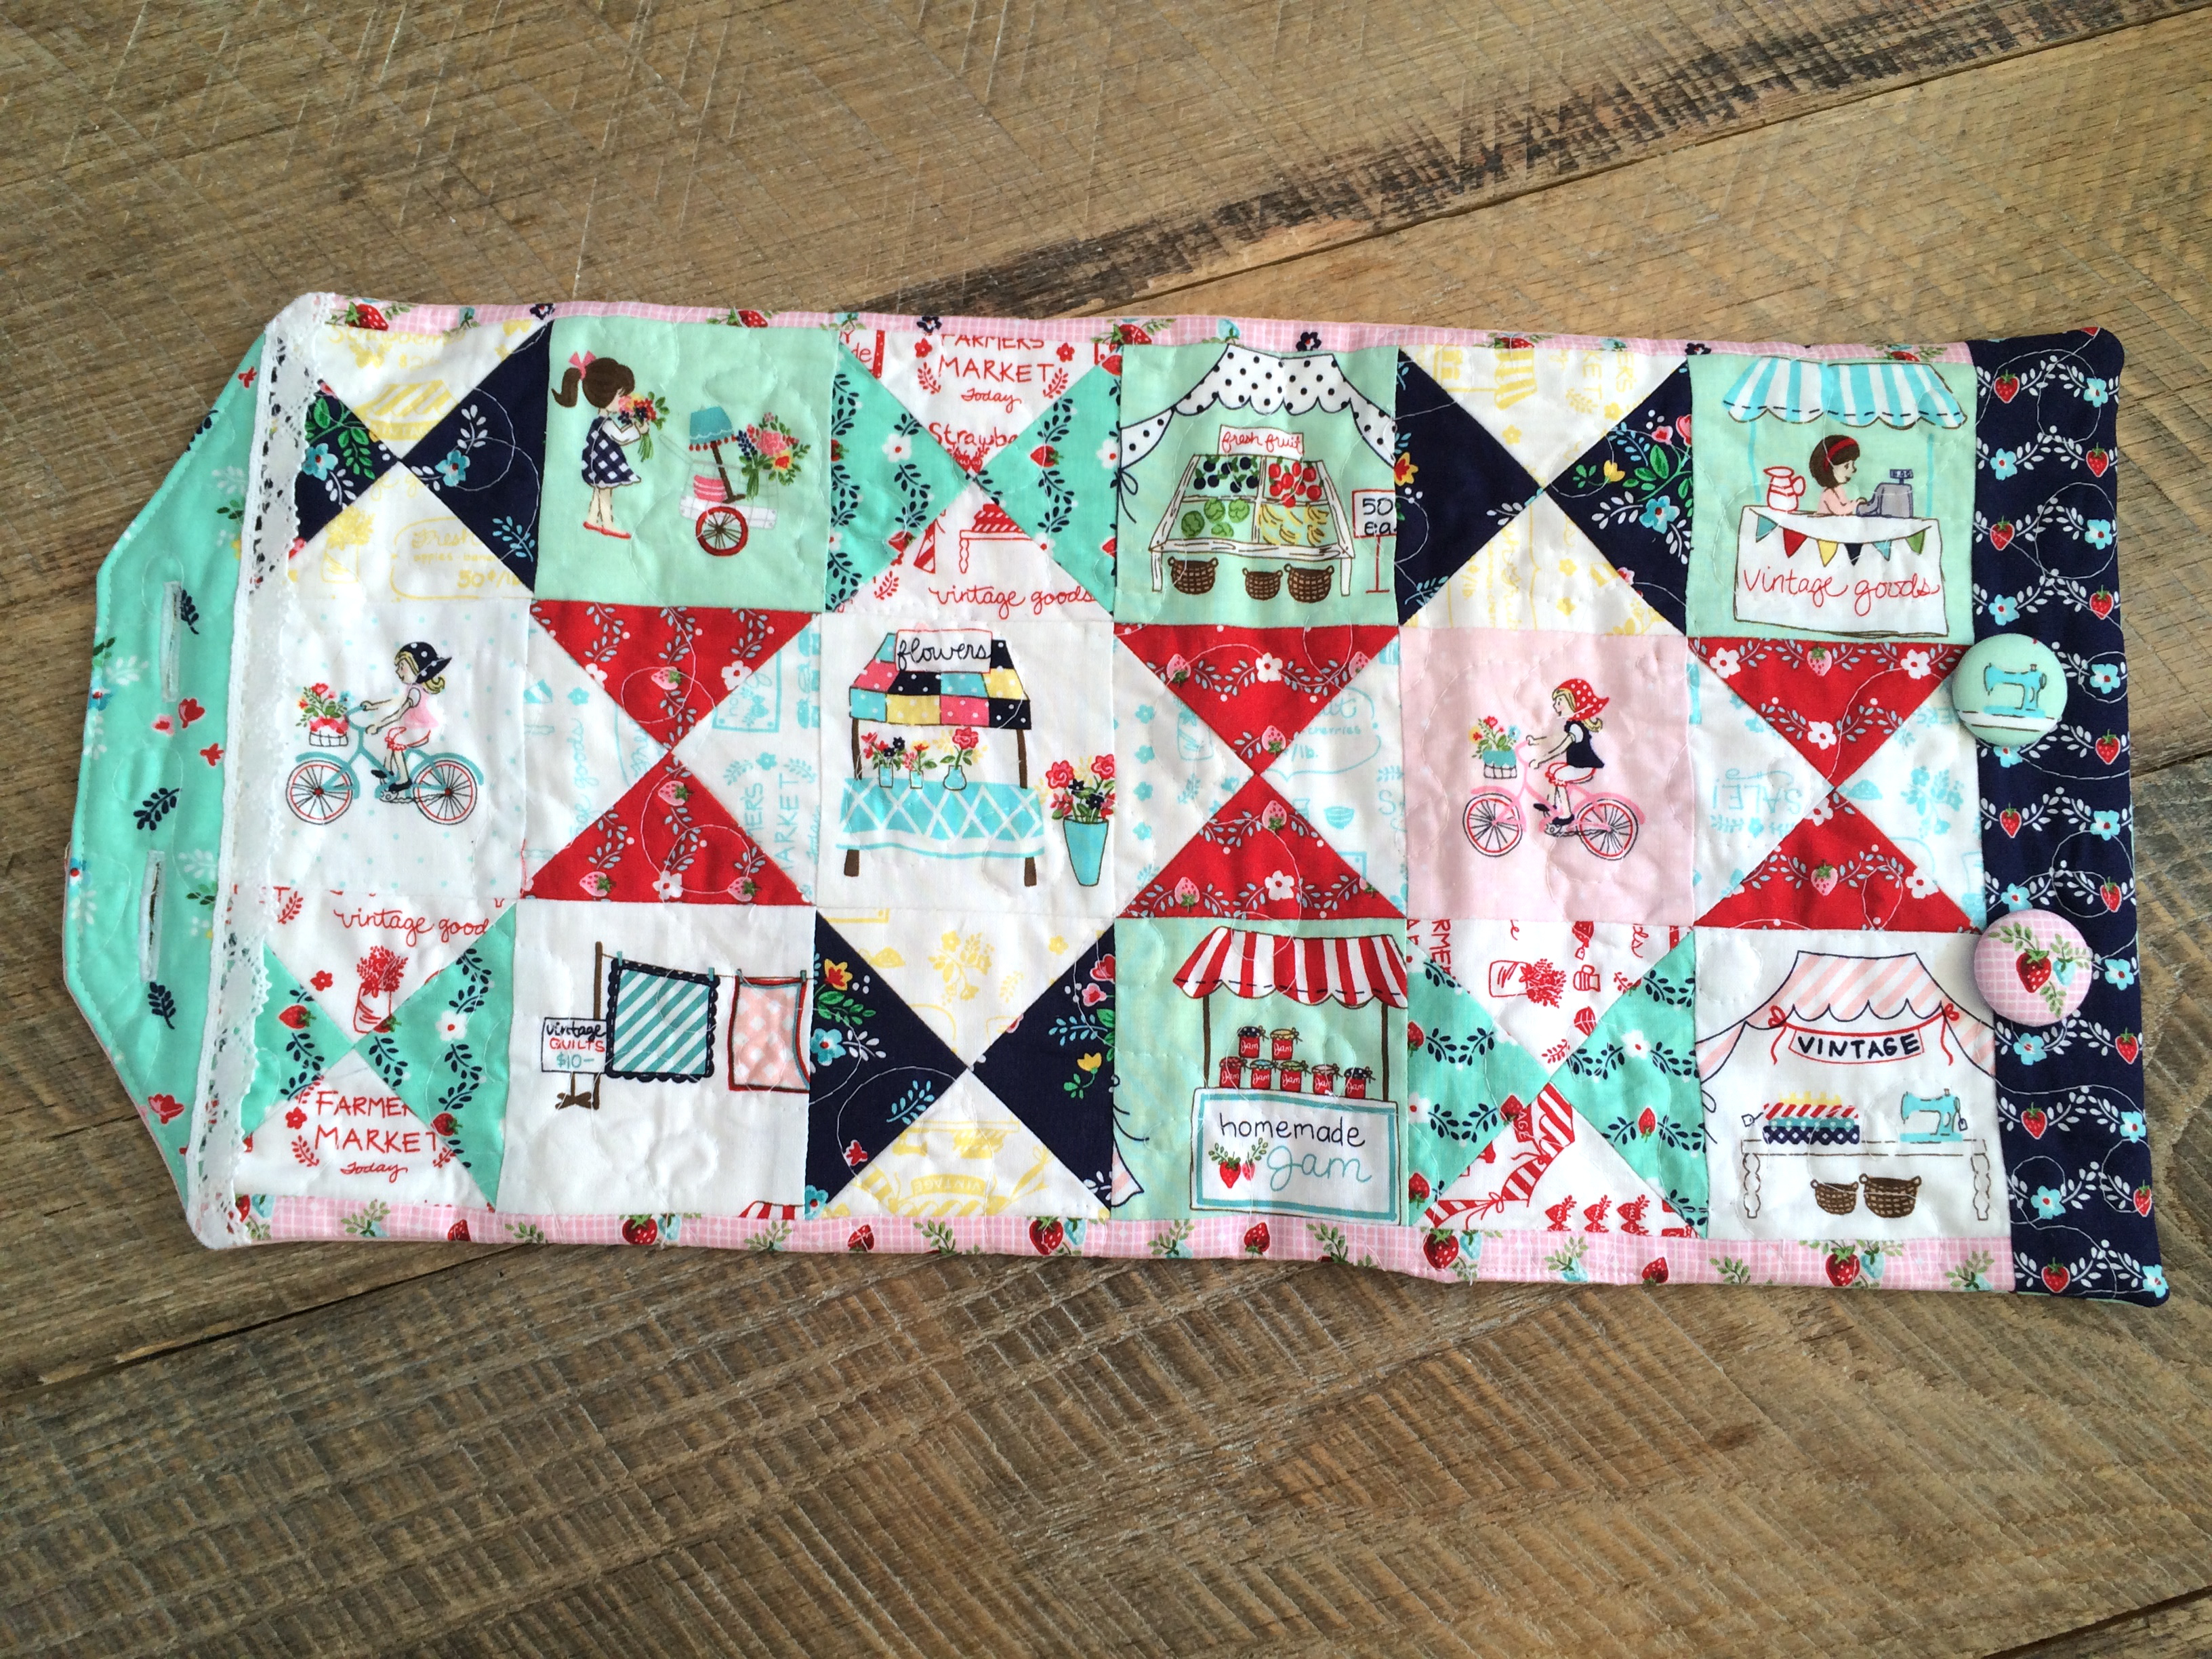
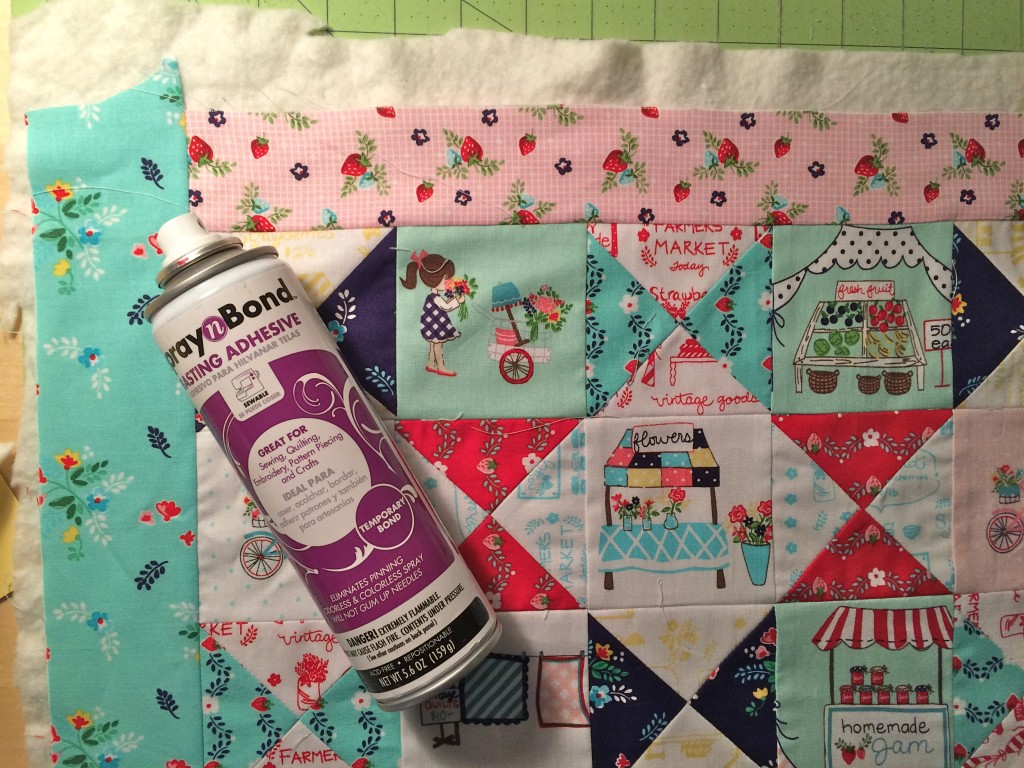
 Pressing the seams open helps the pinwheel lay flat.
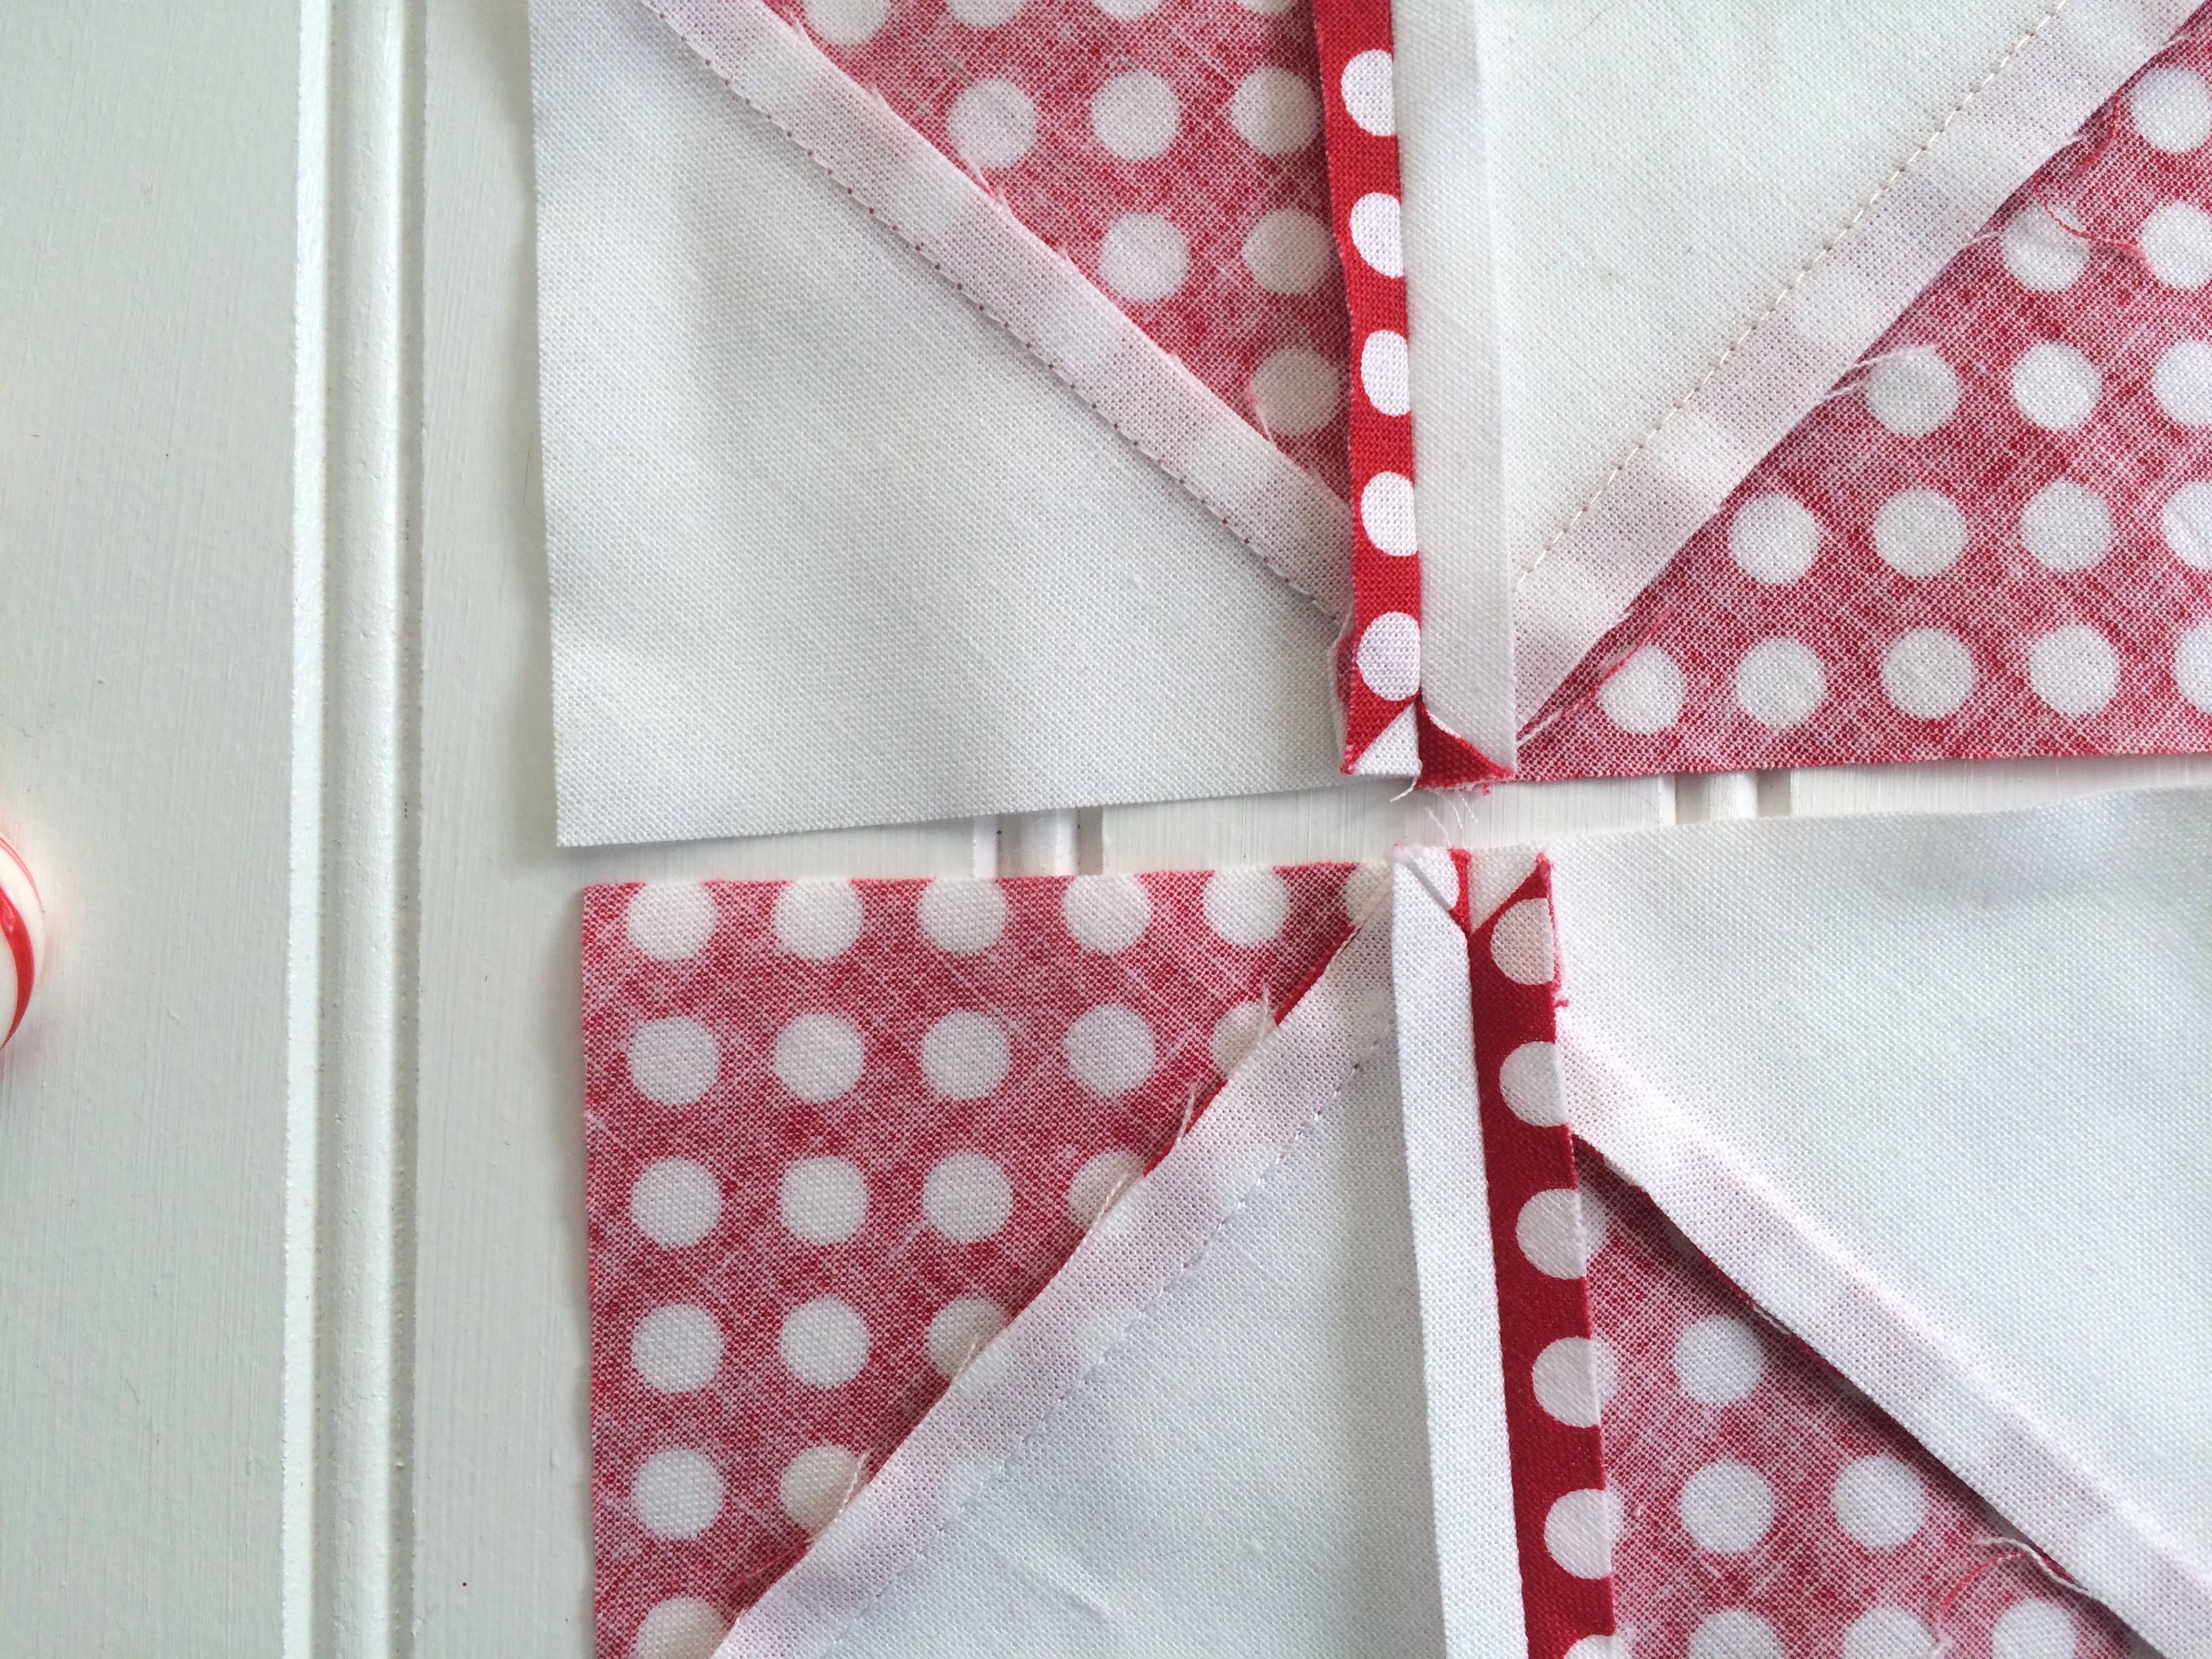
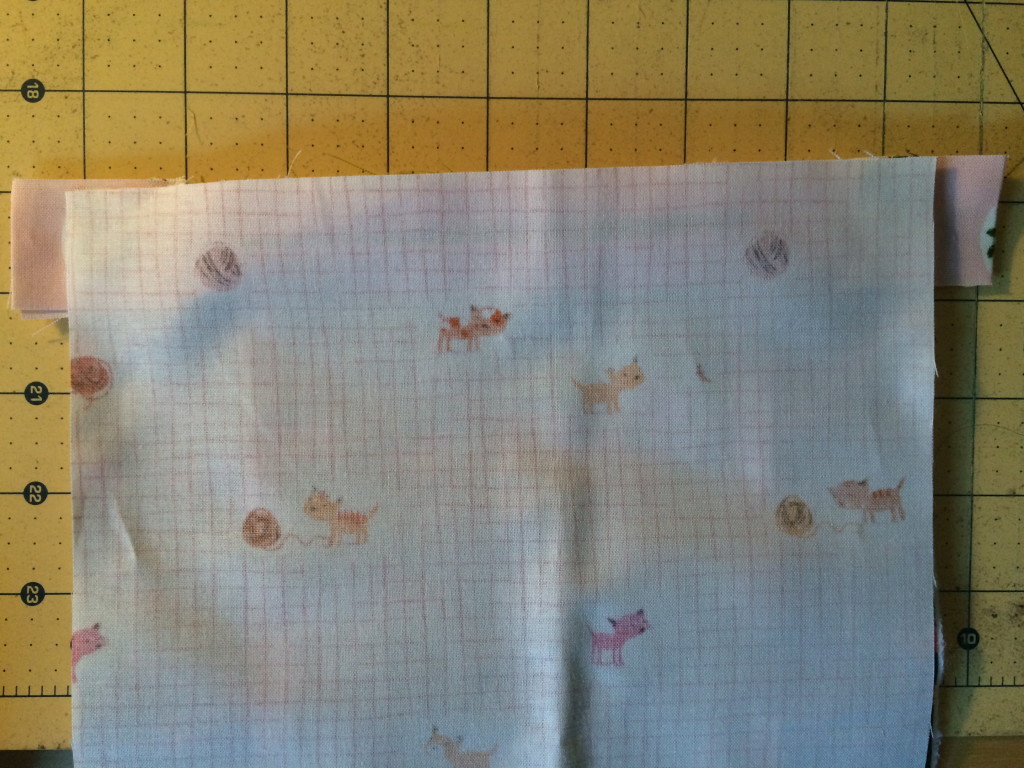
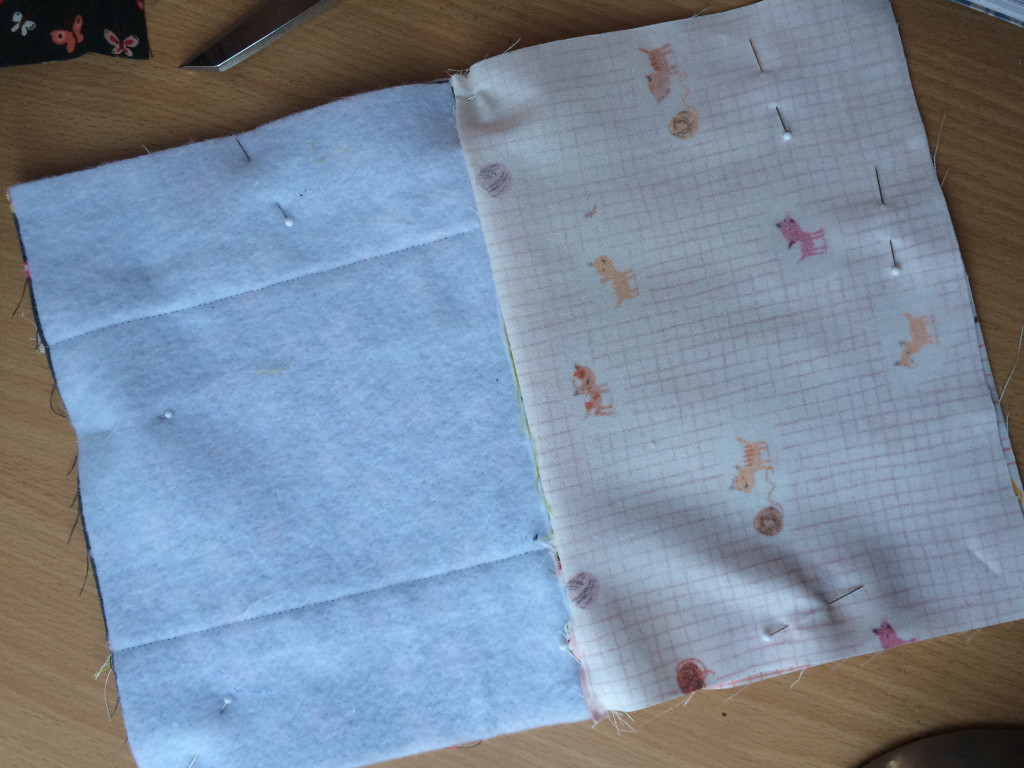
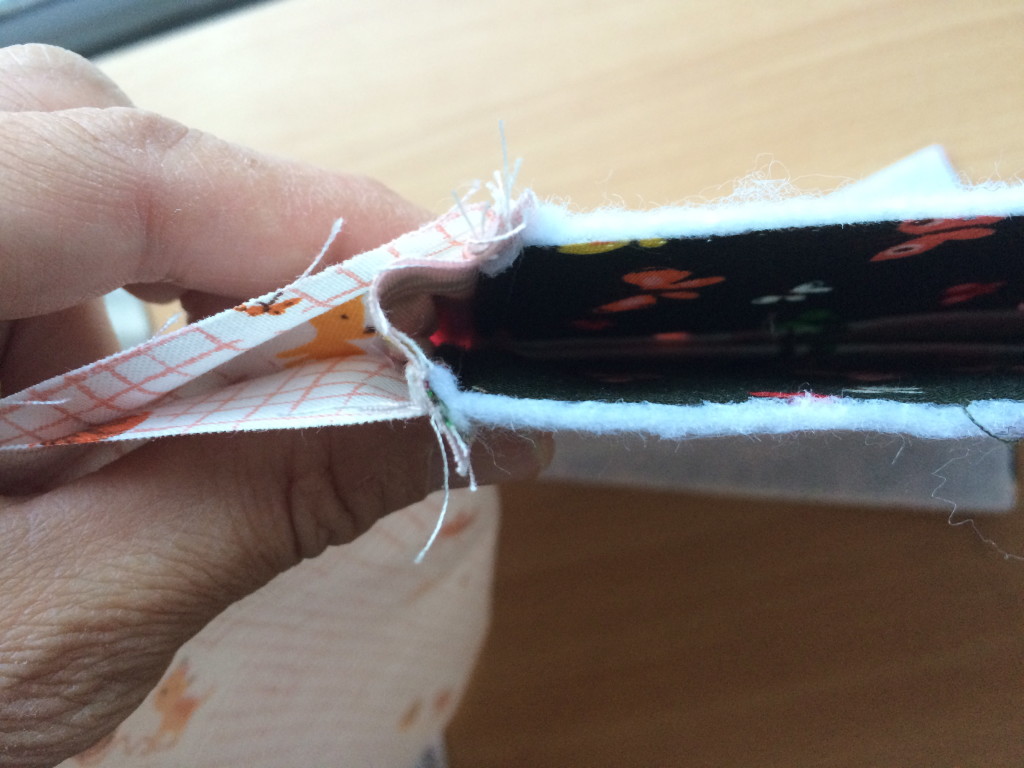
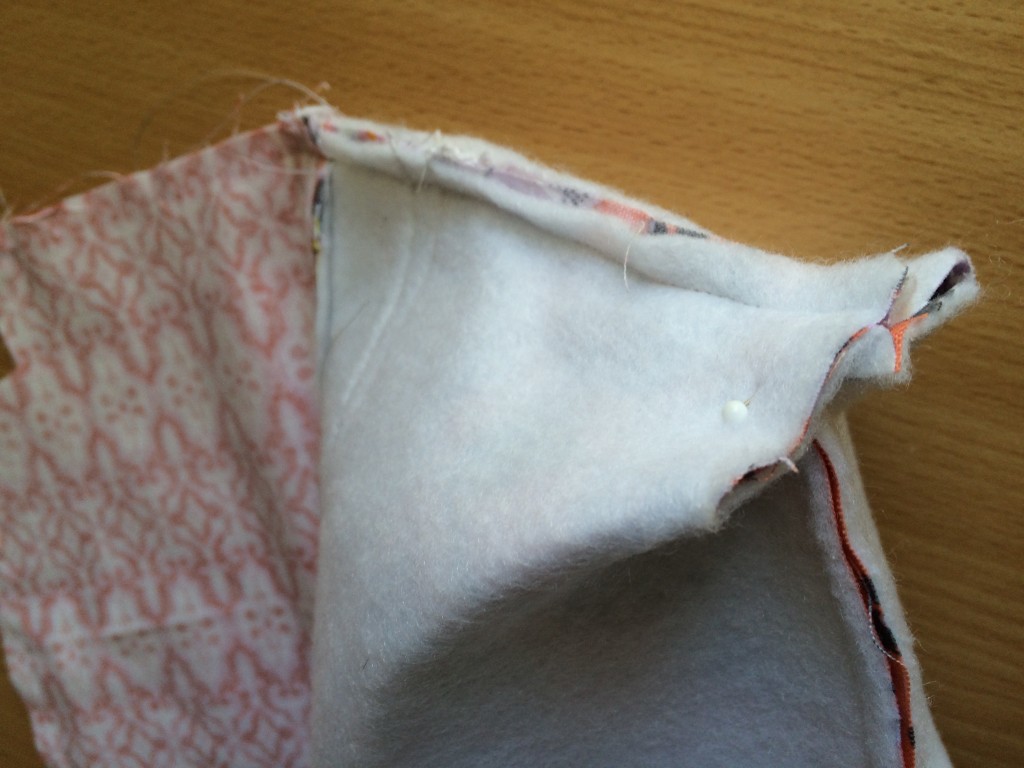
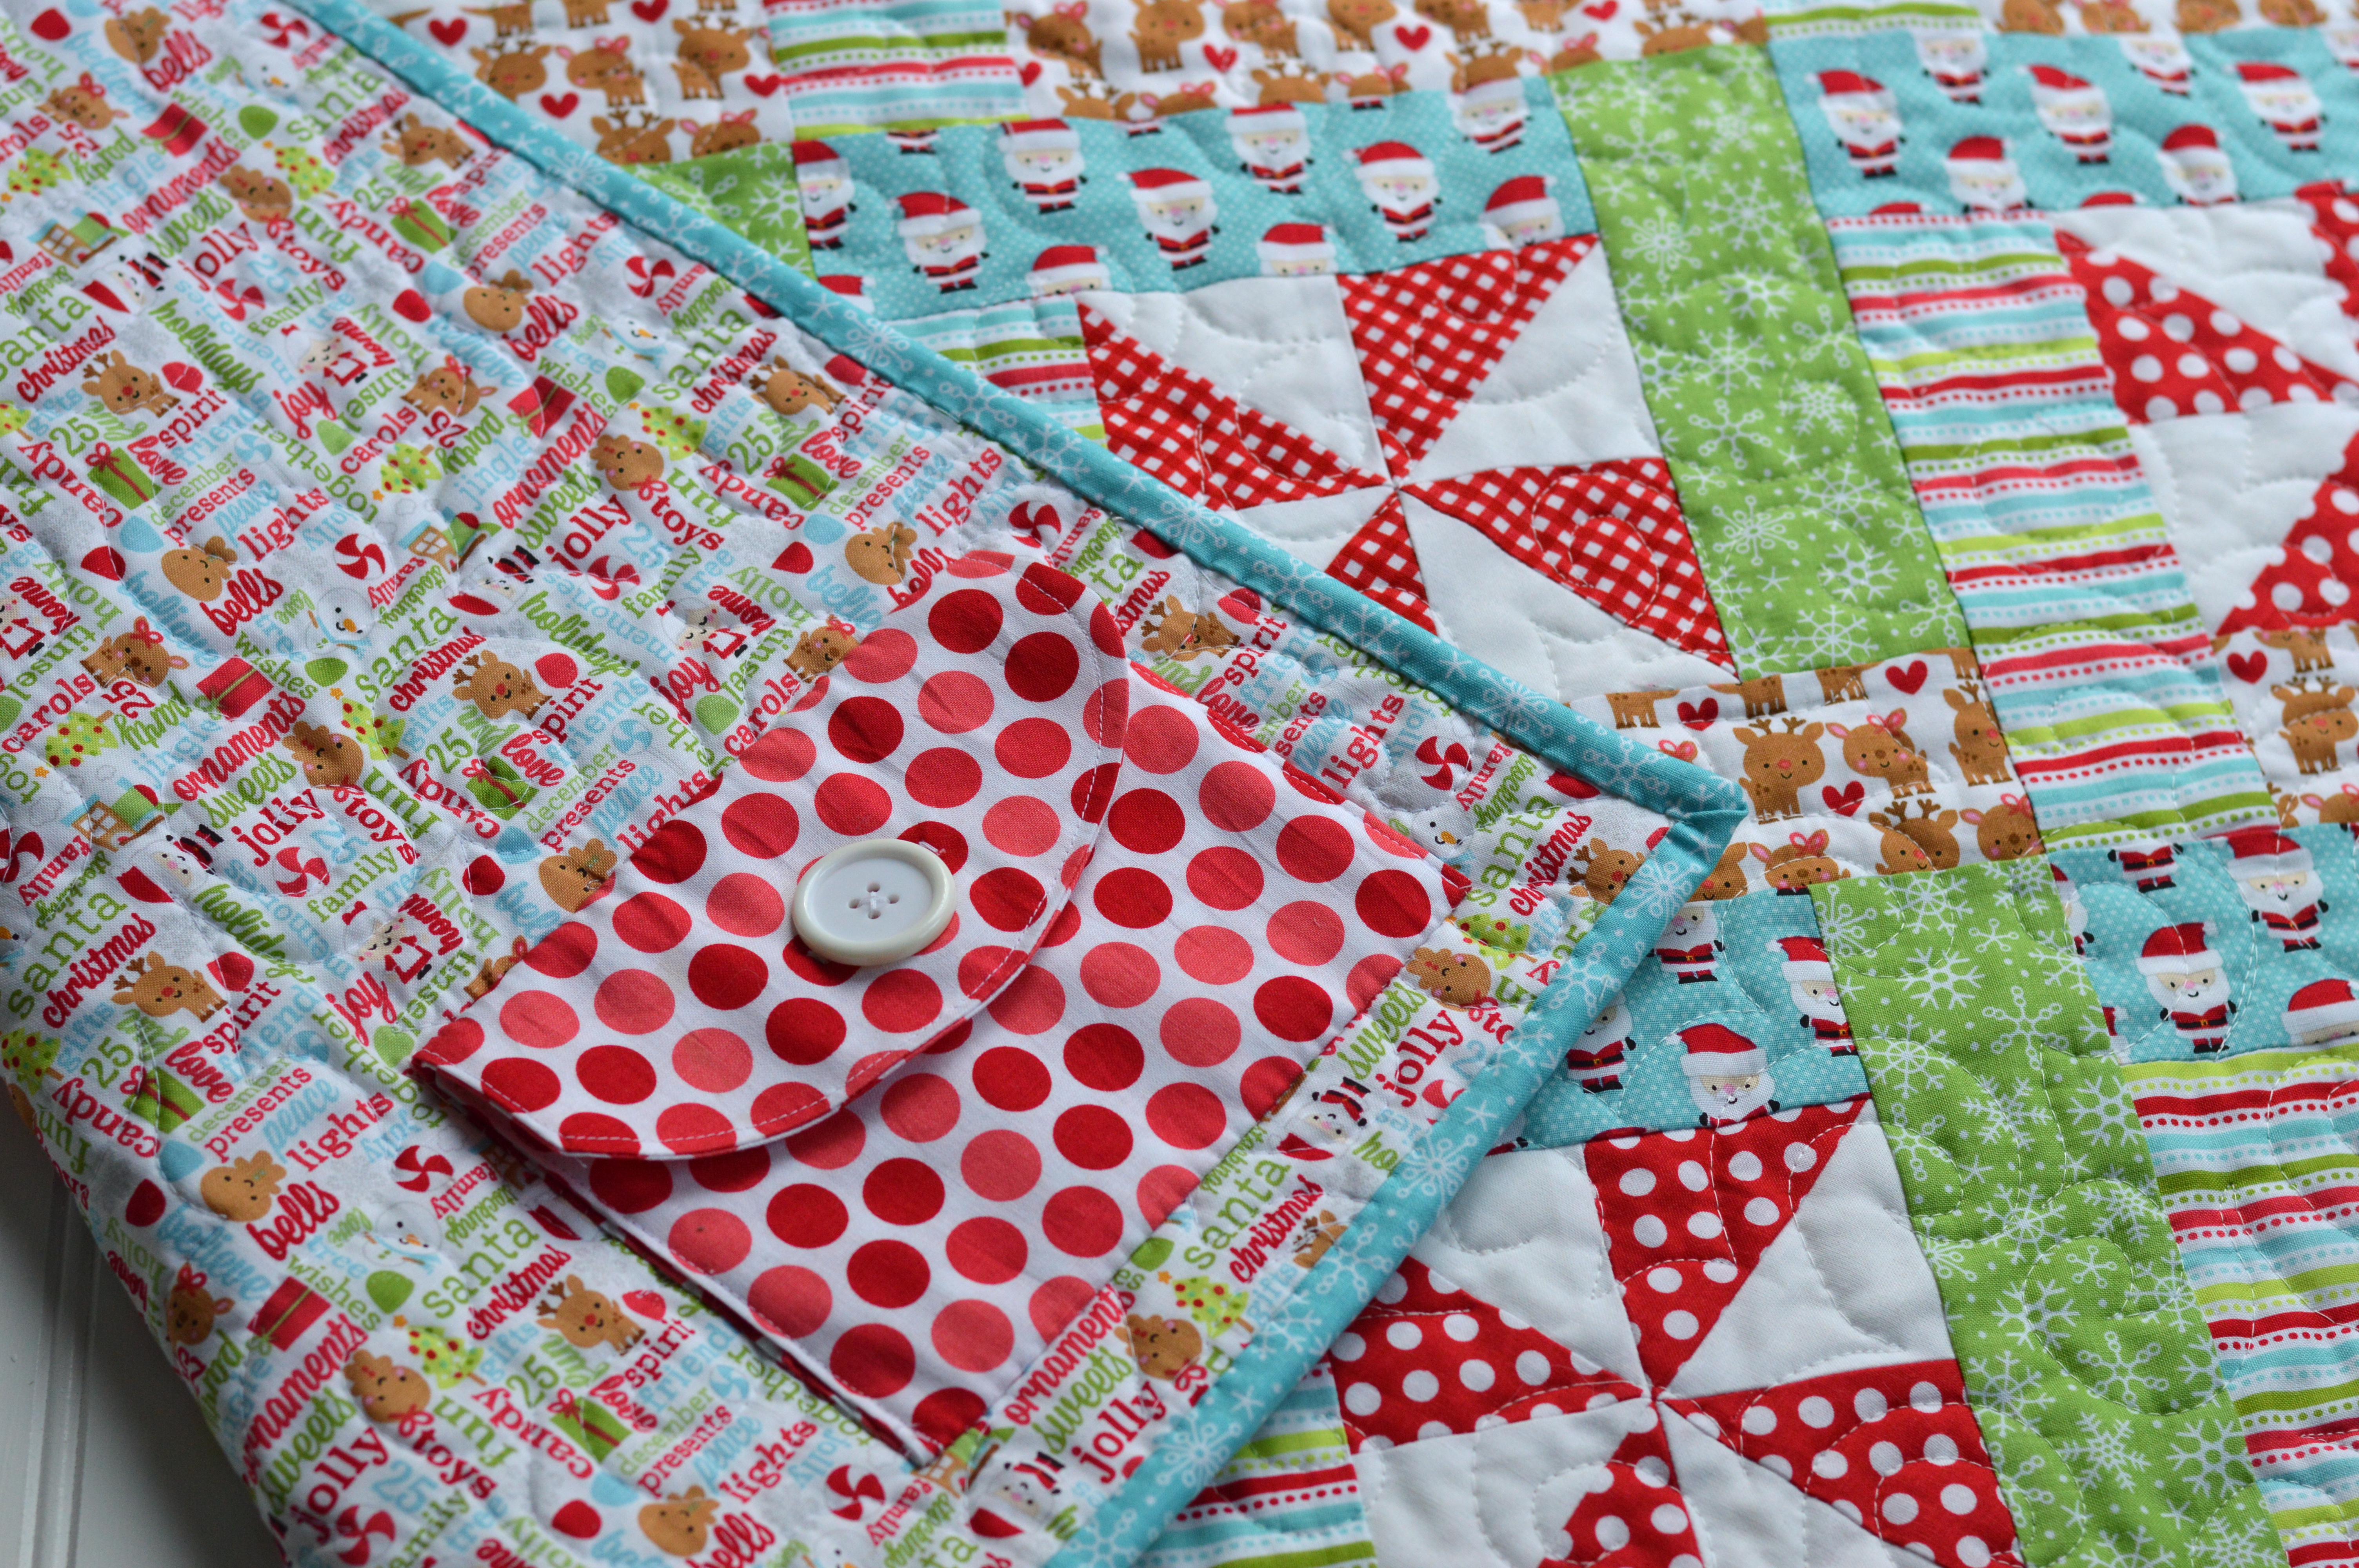
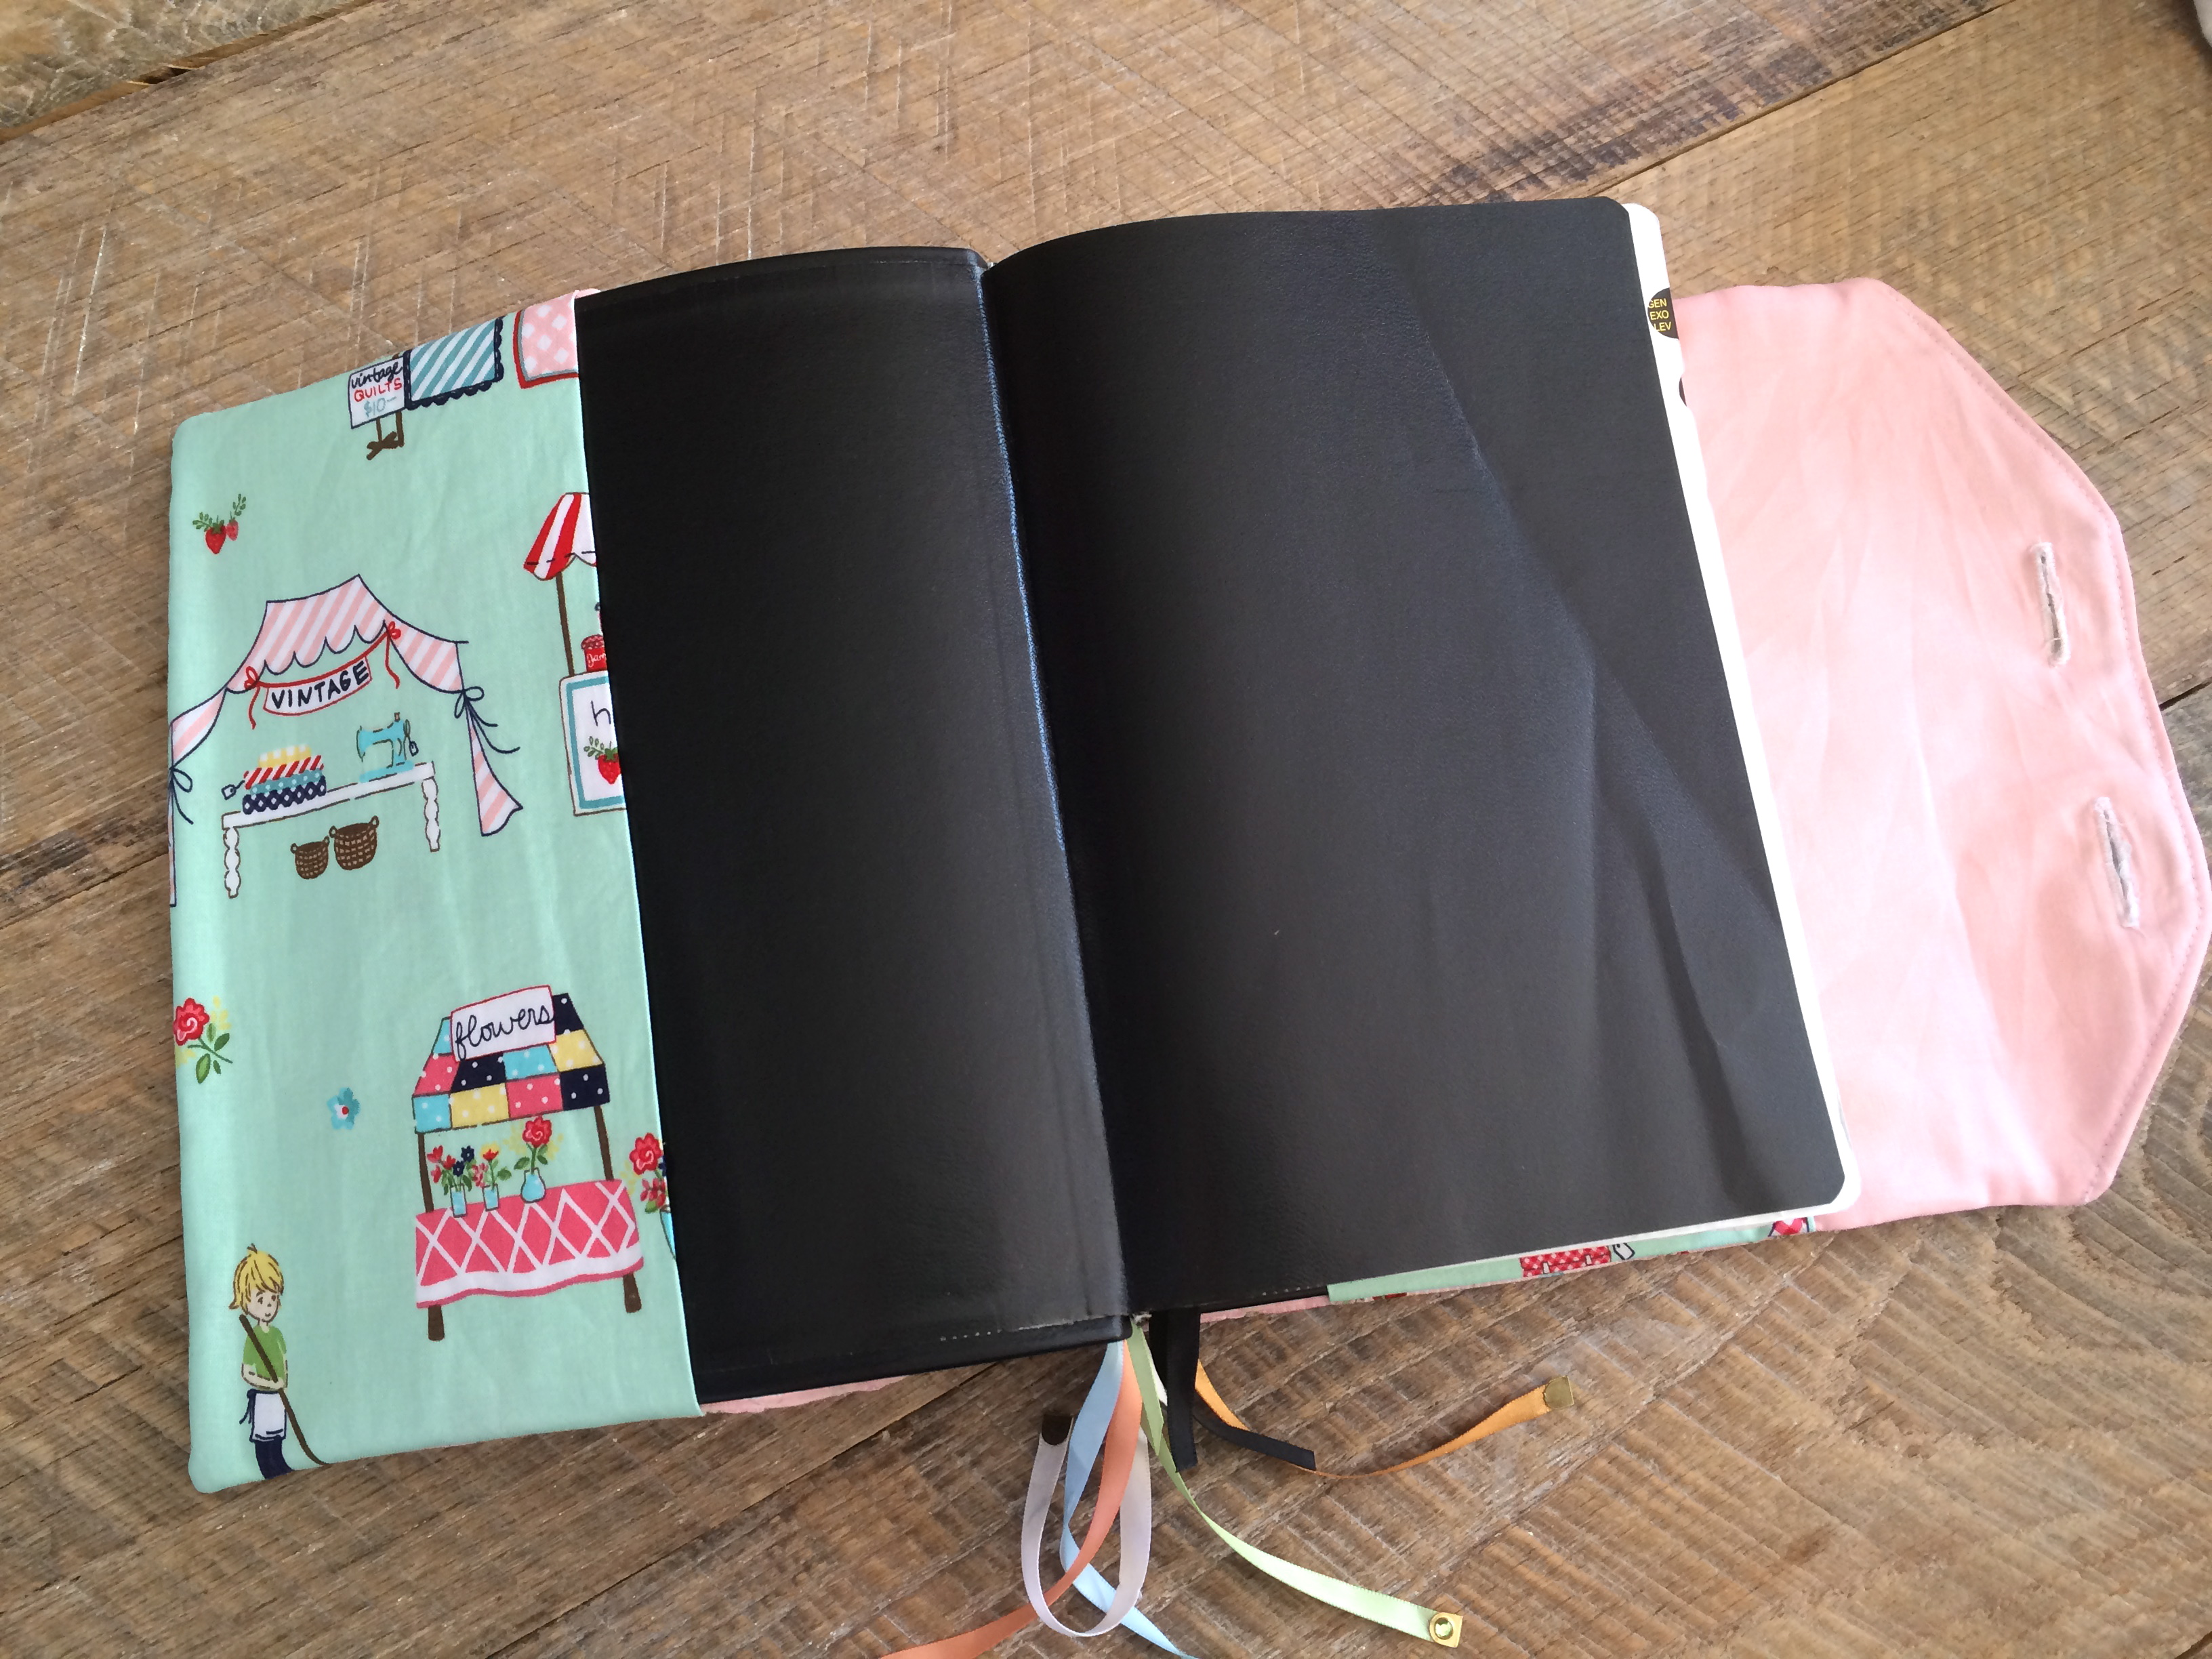
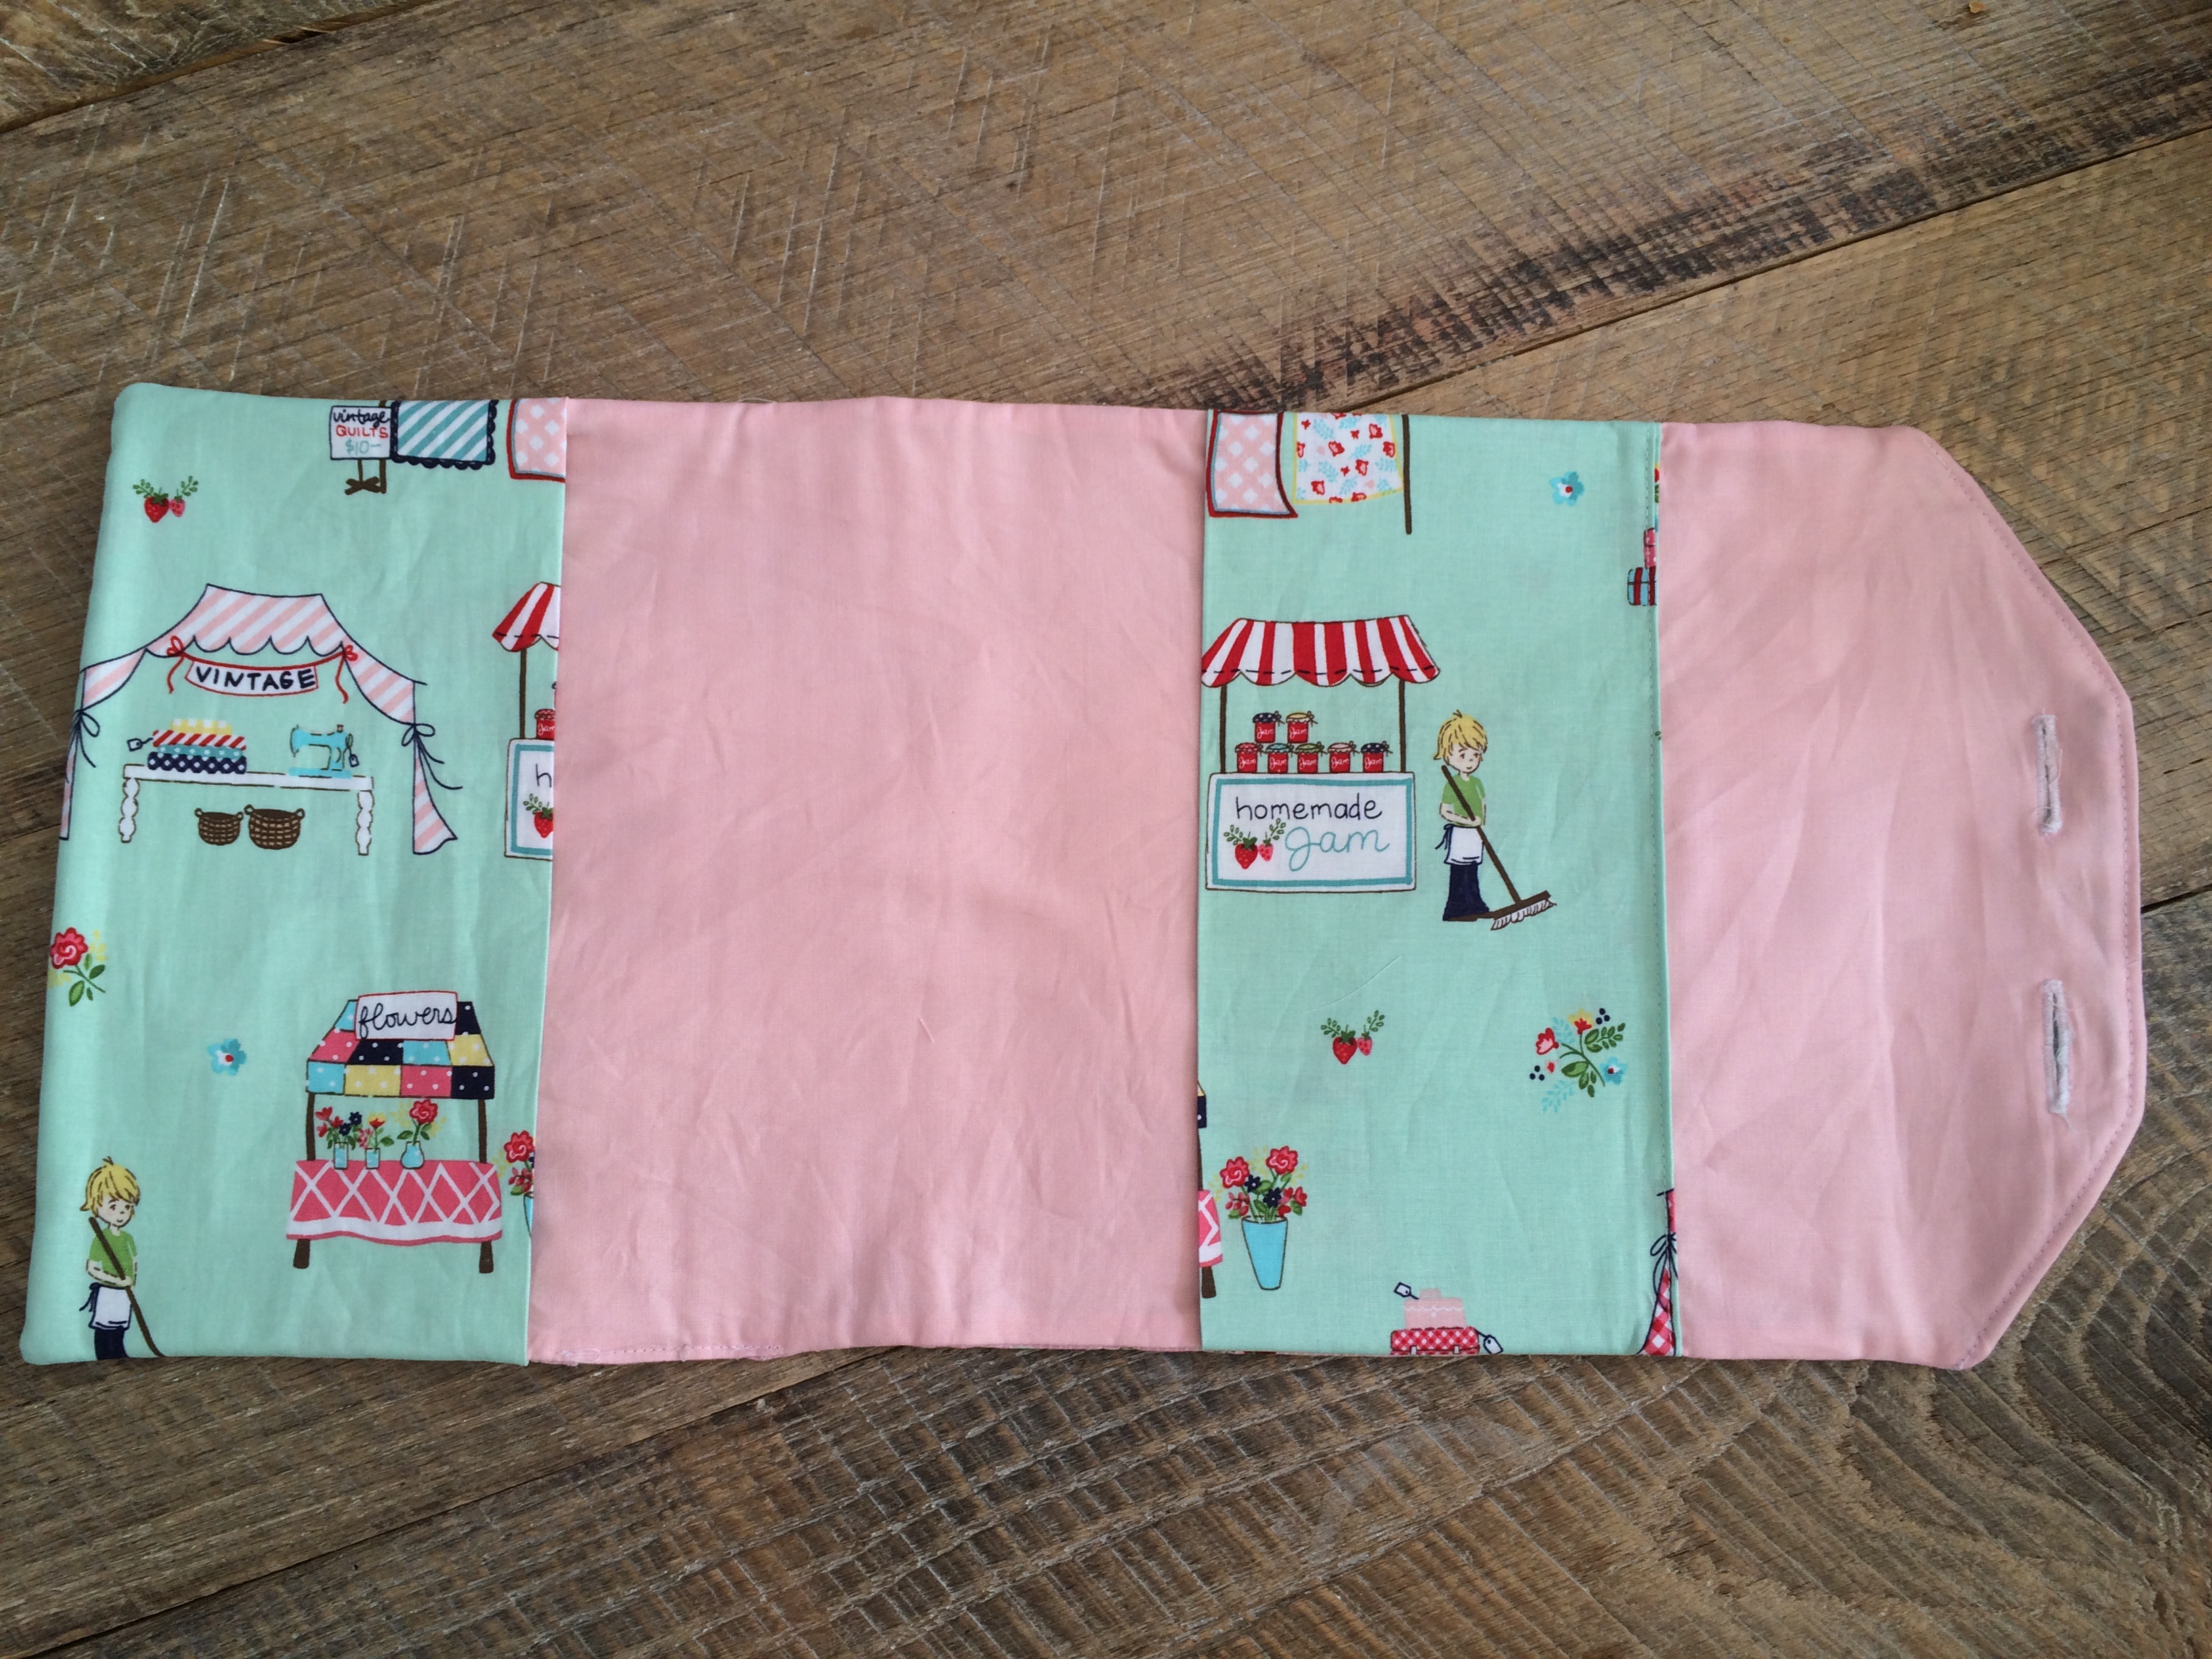
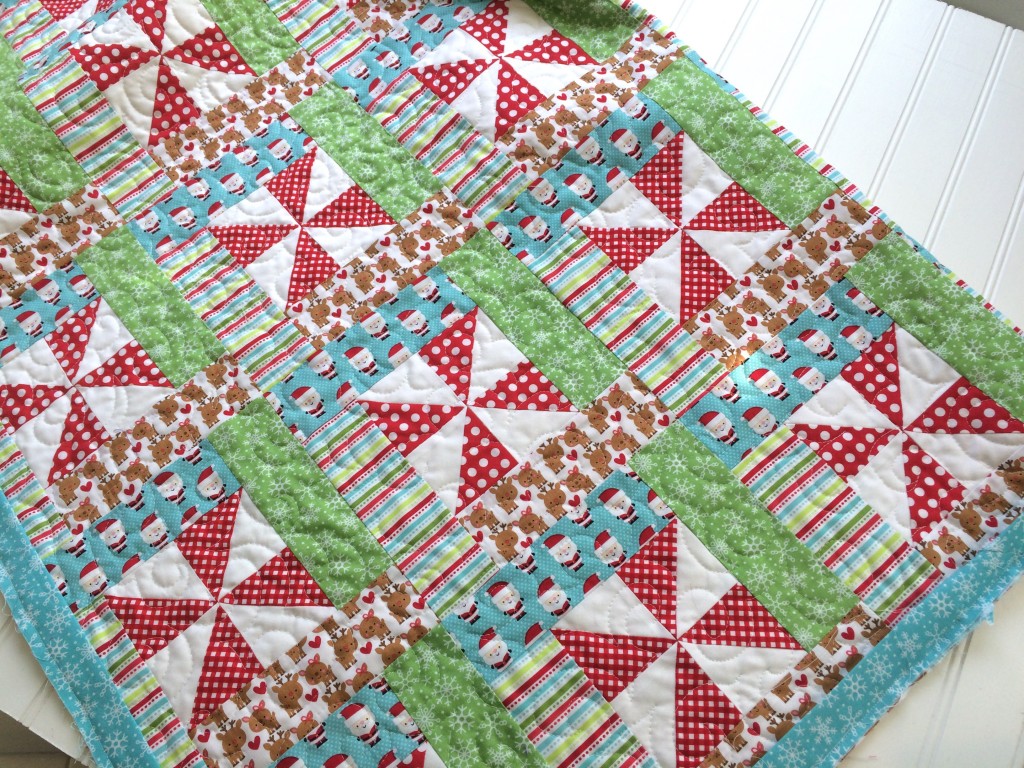 To make the little envelope for the back, follow the instructions below:
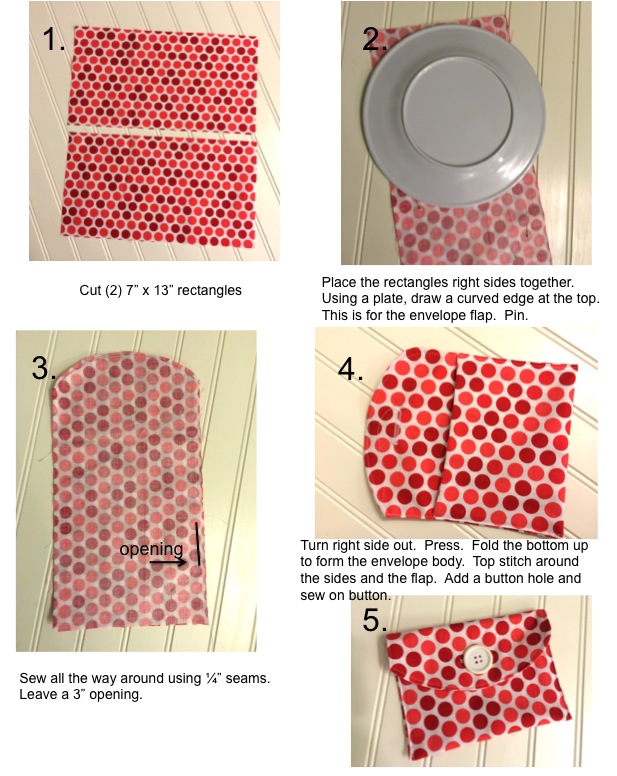


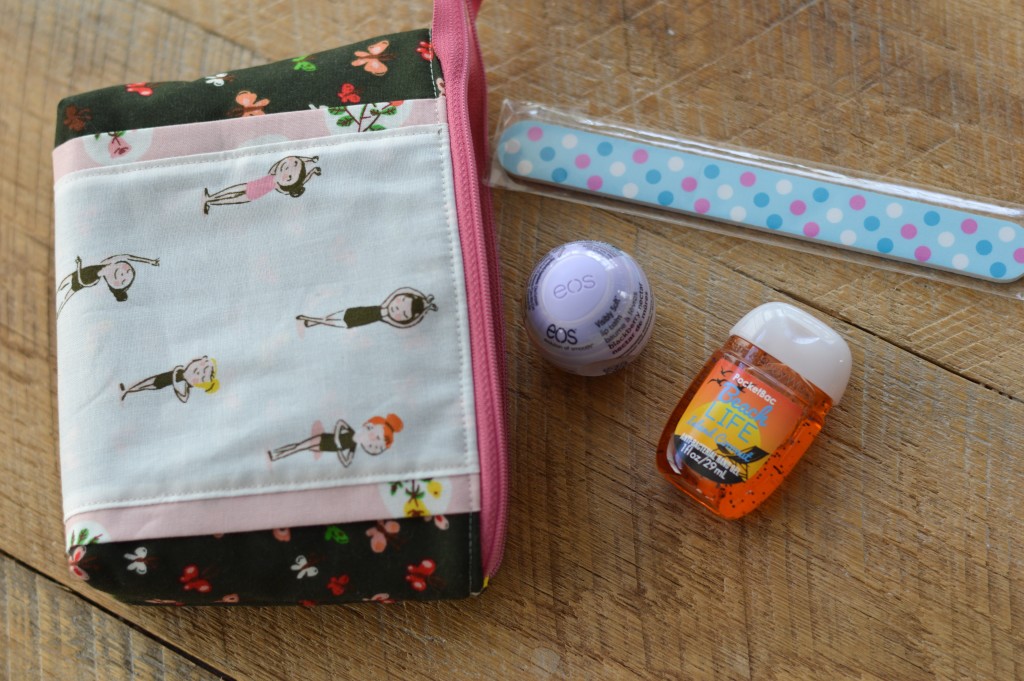
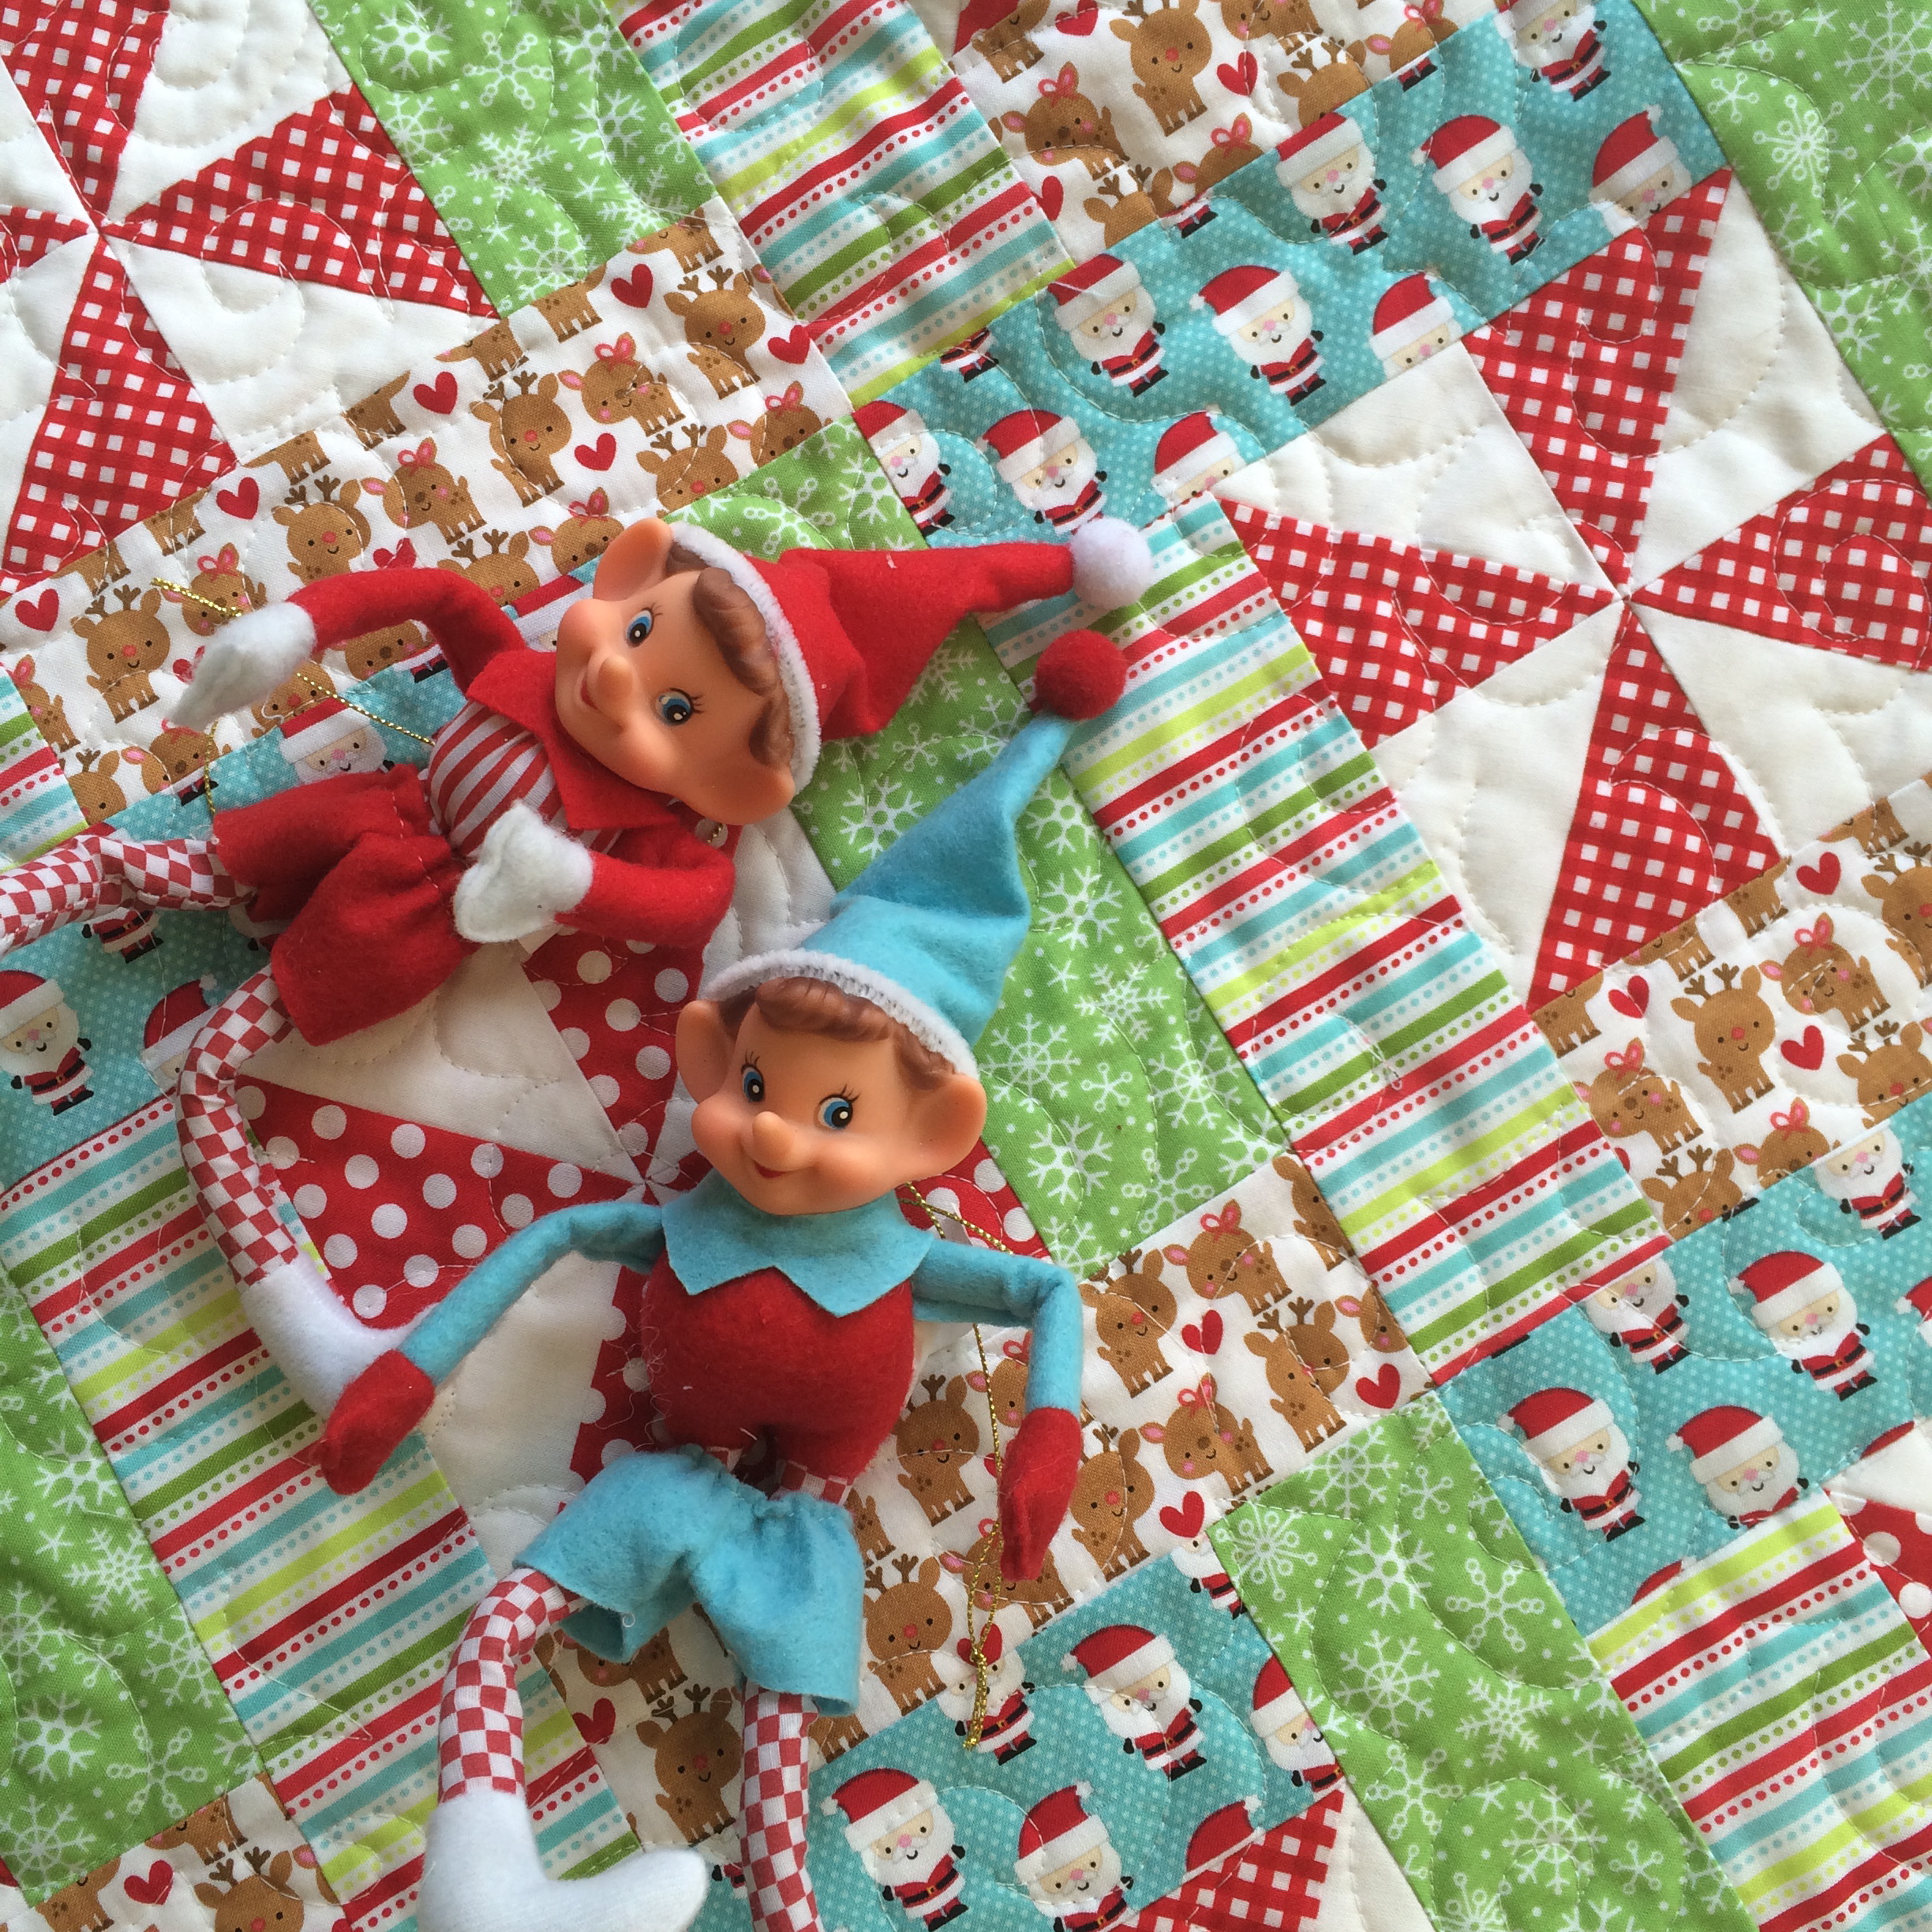
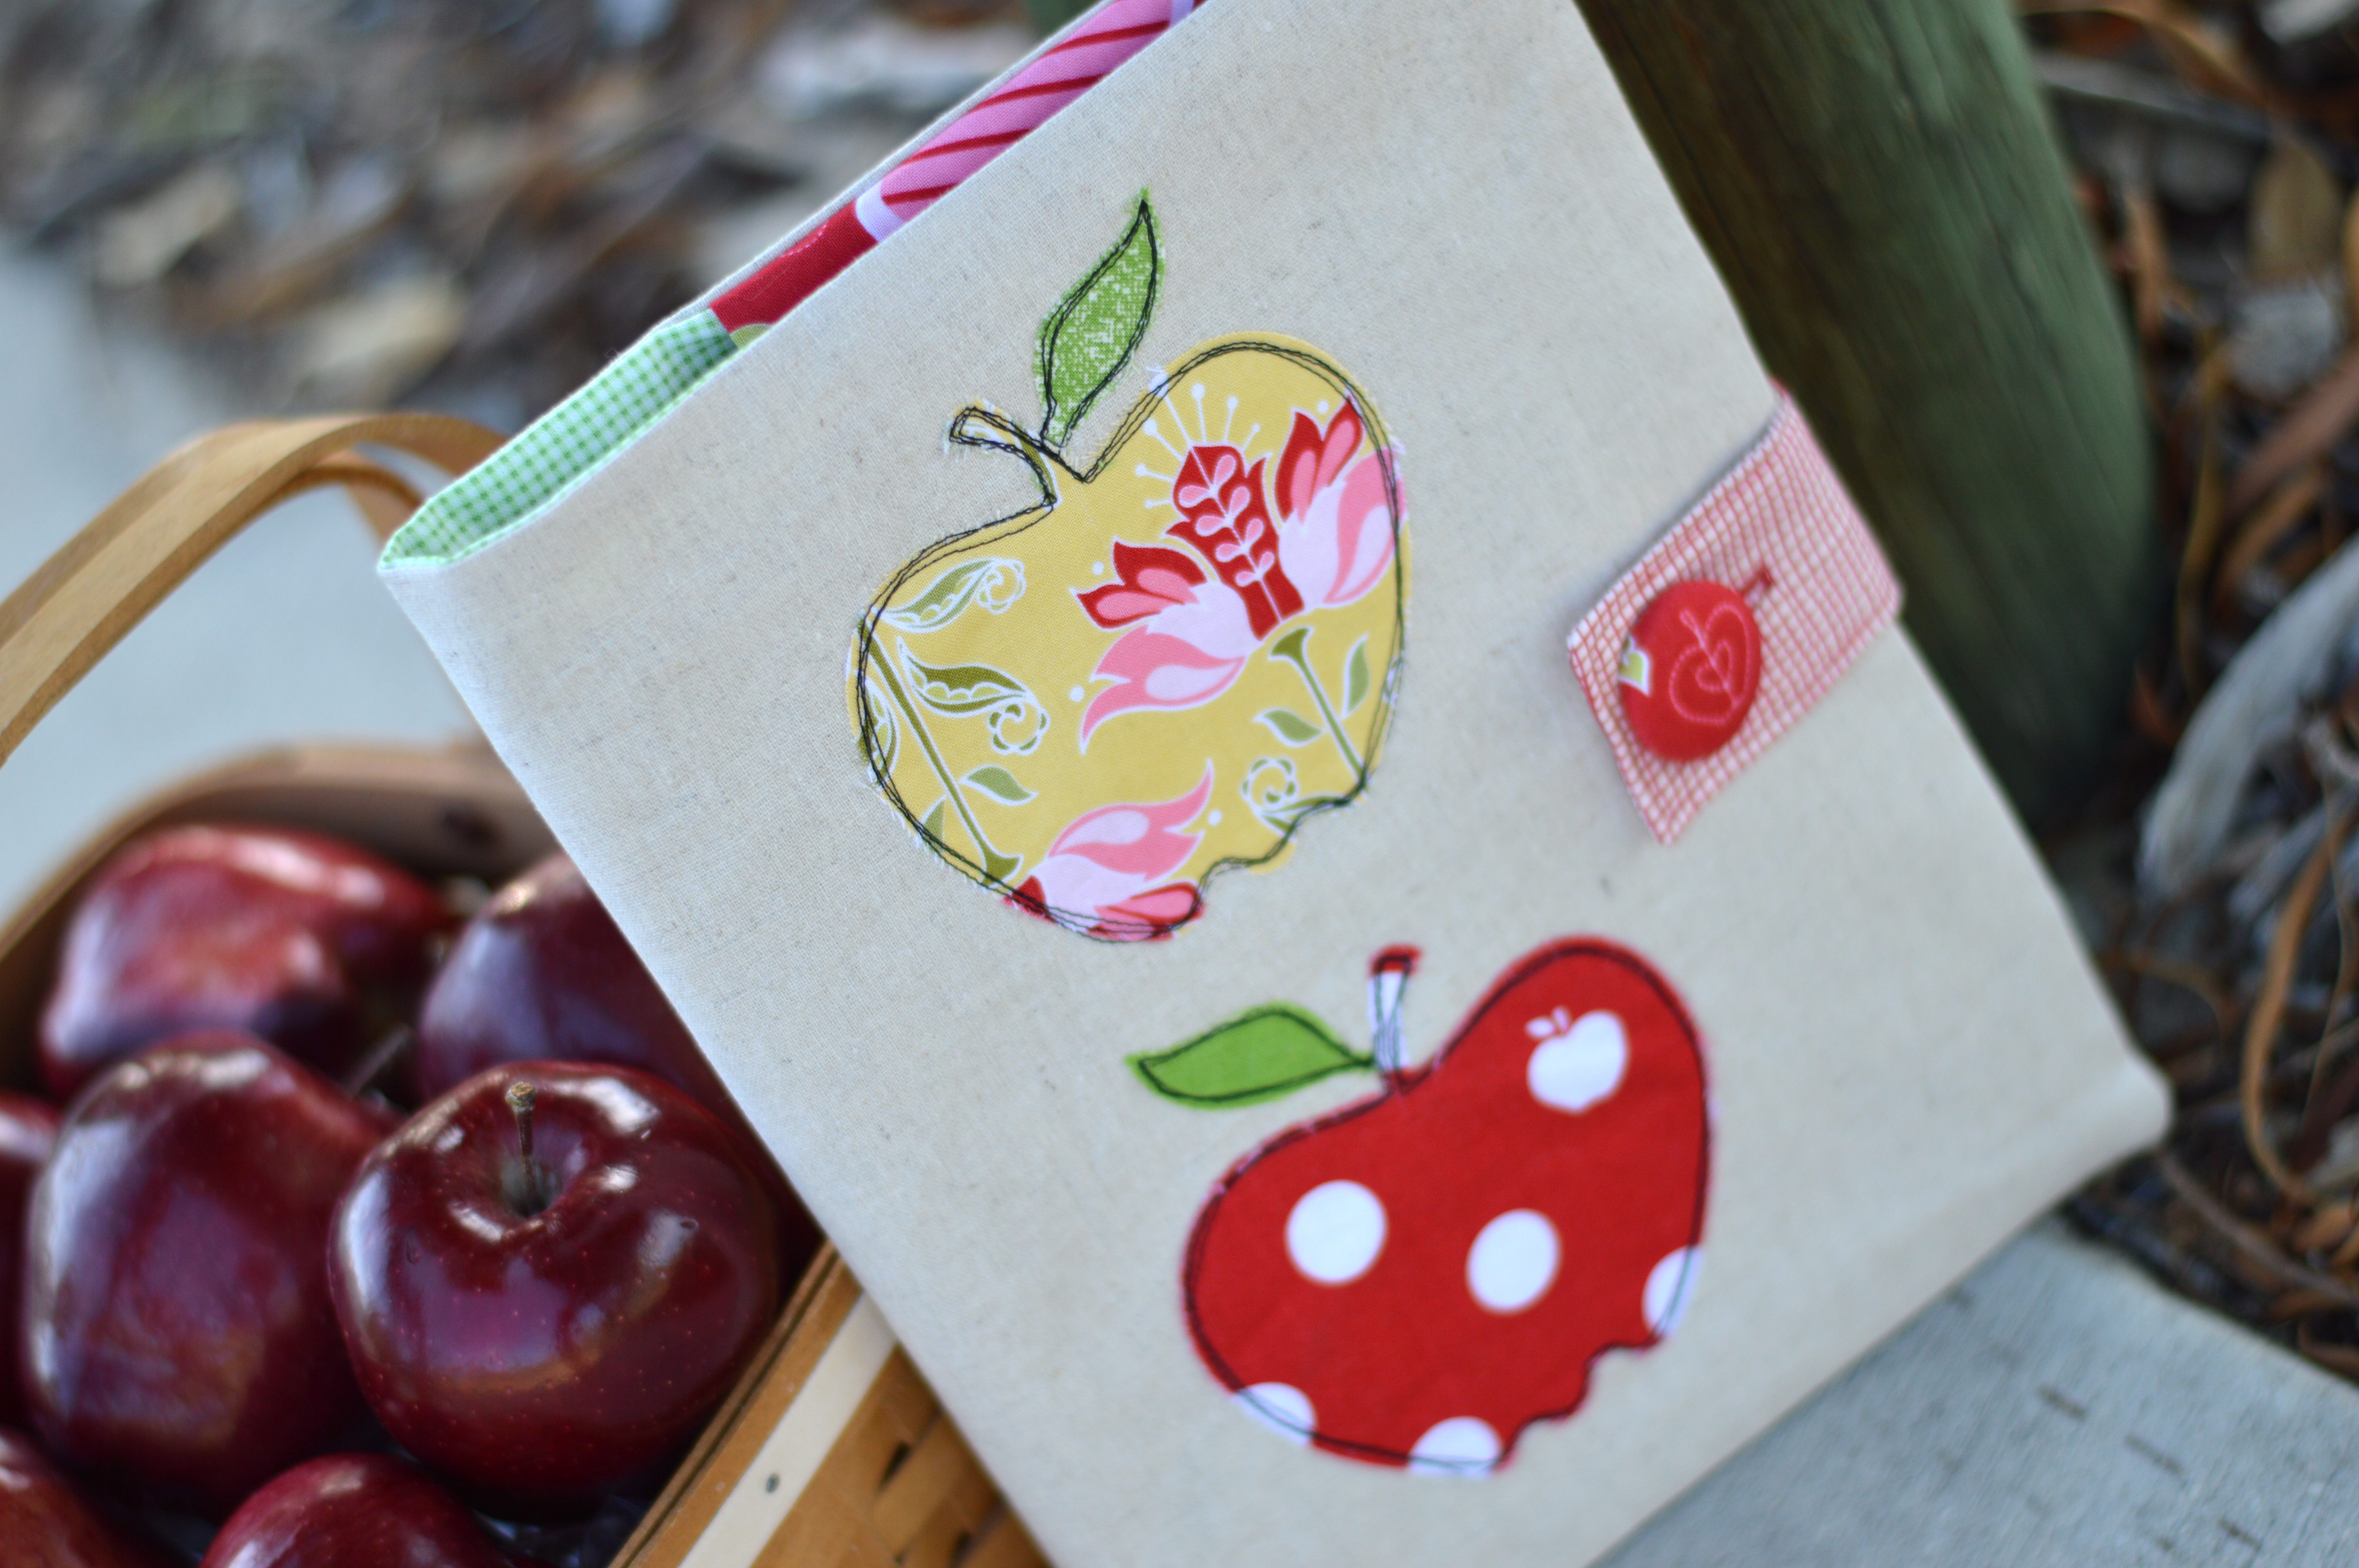
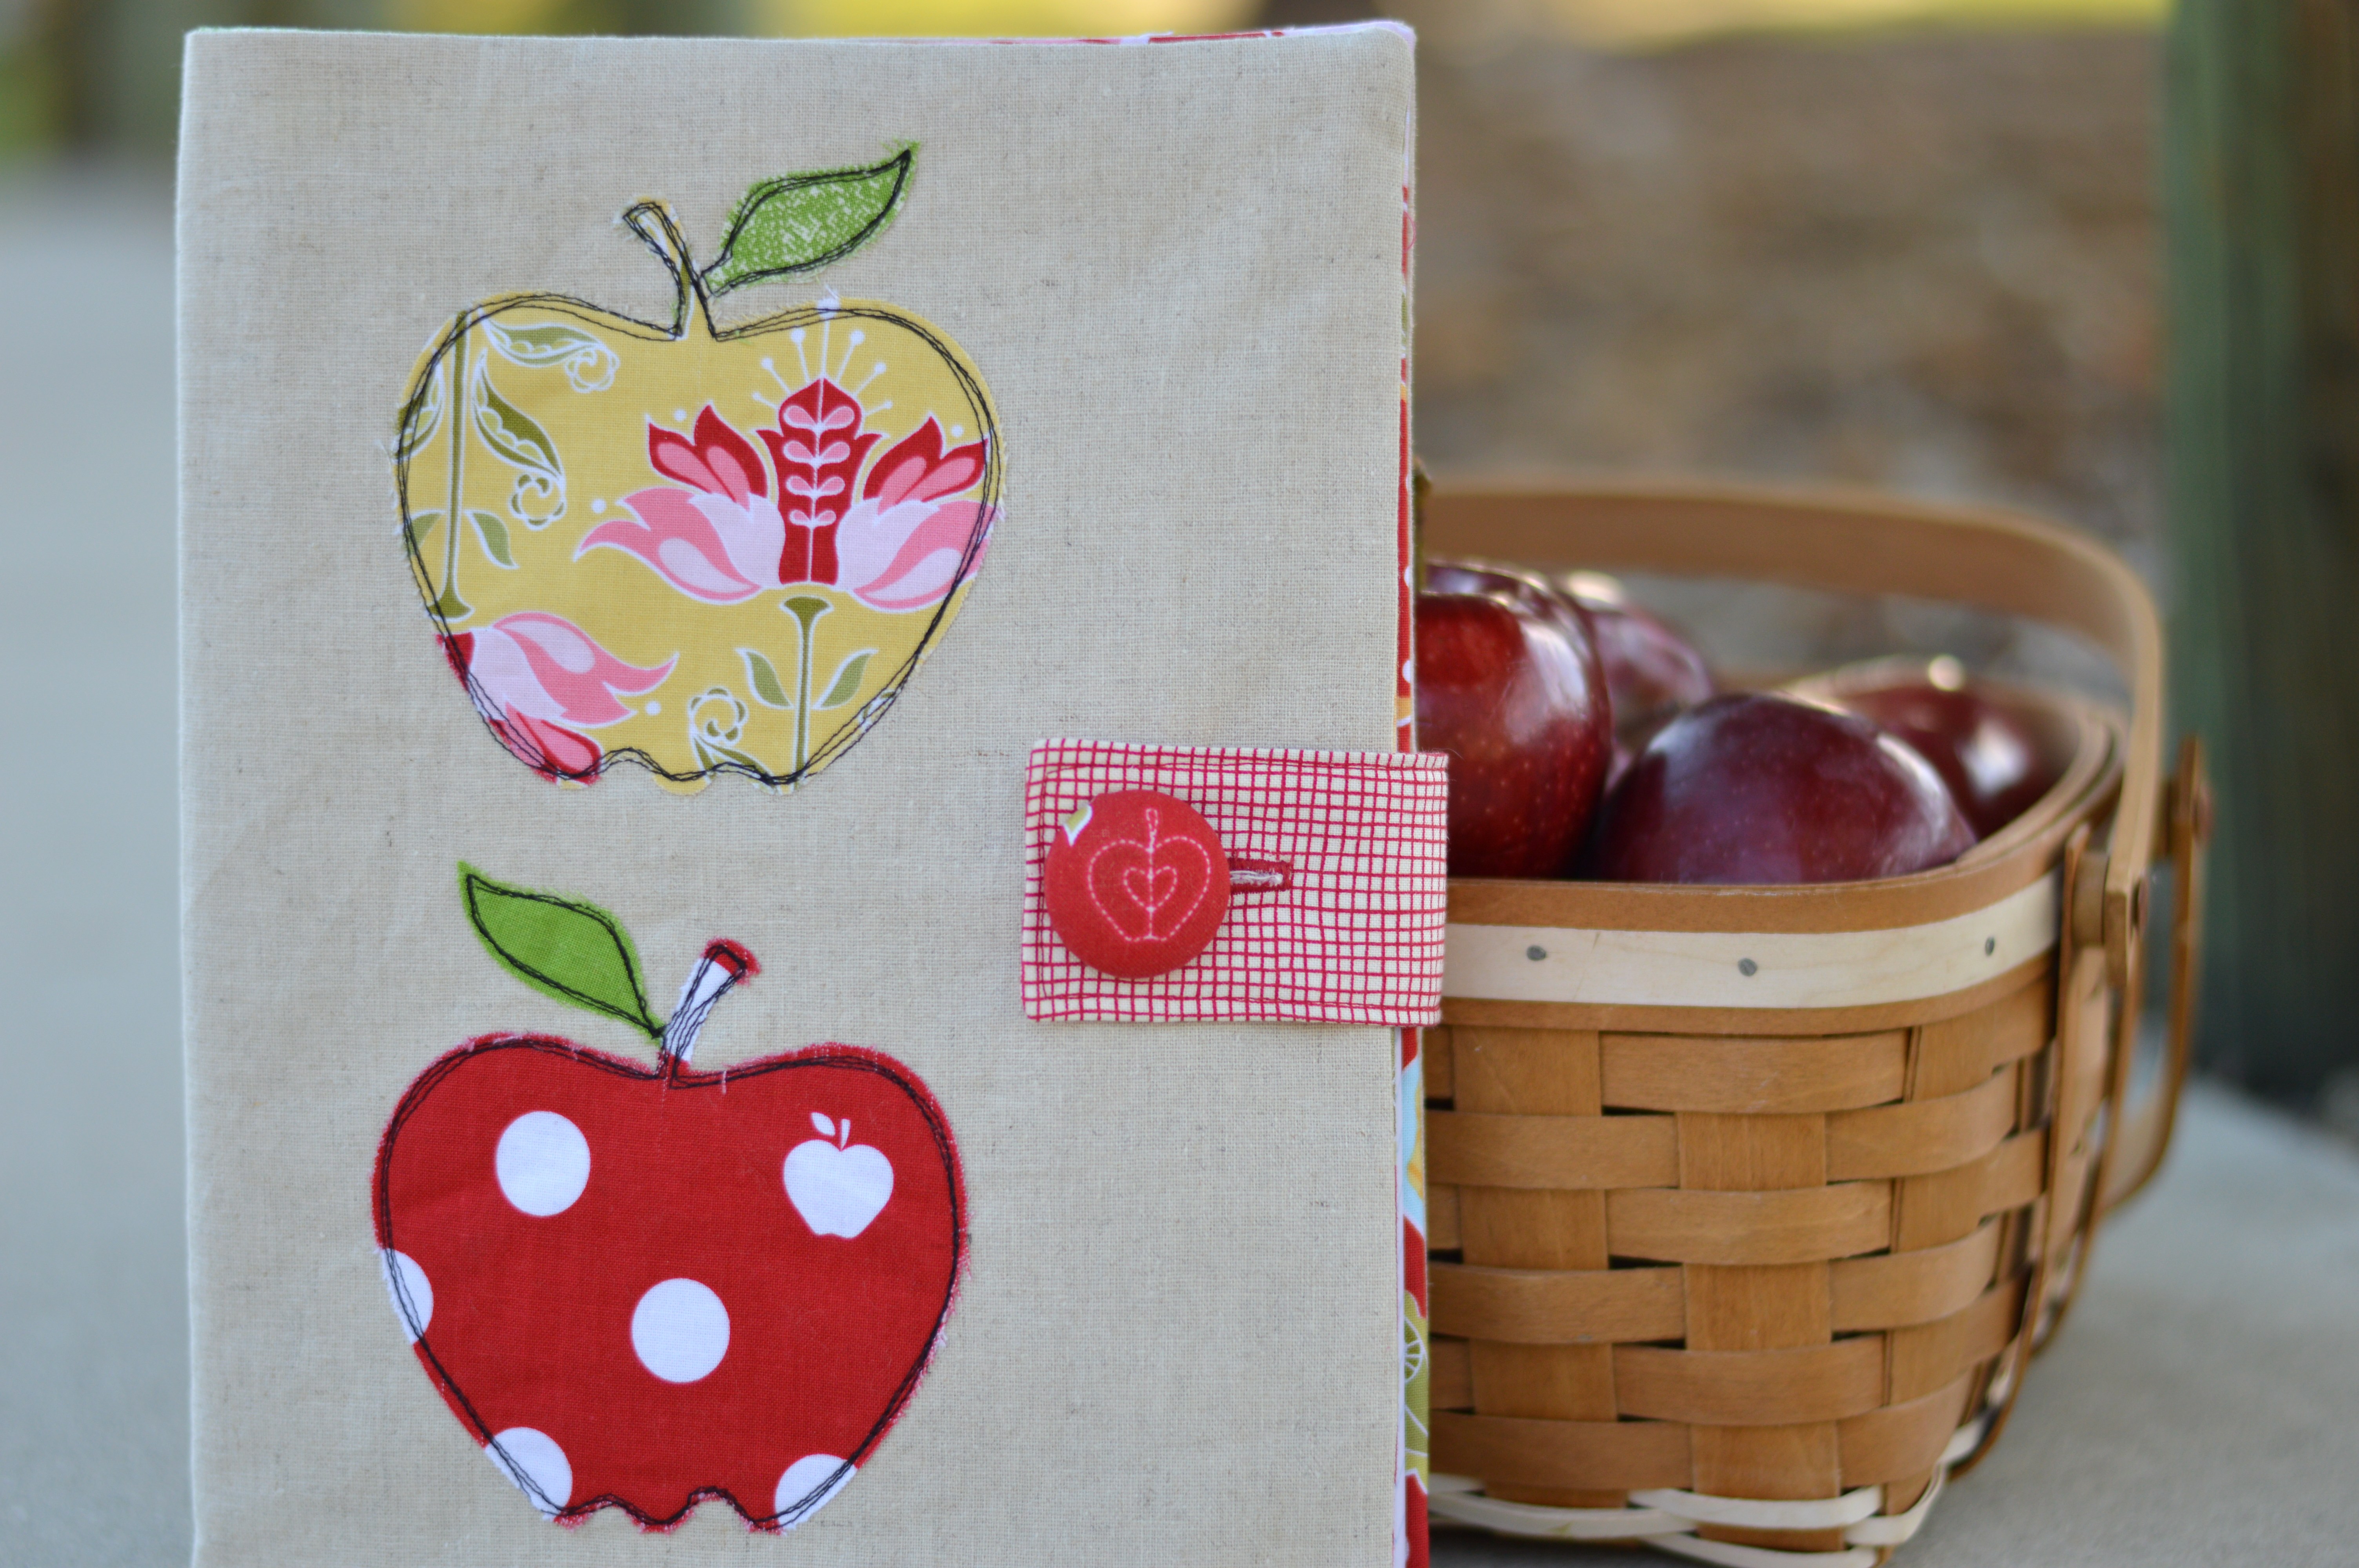
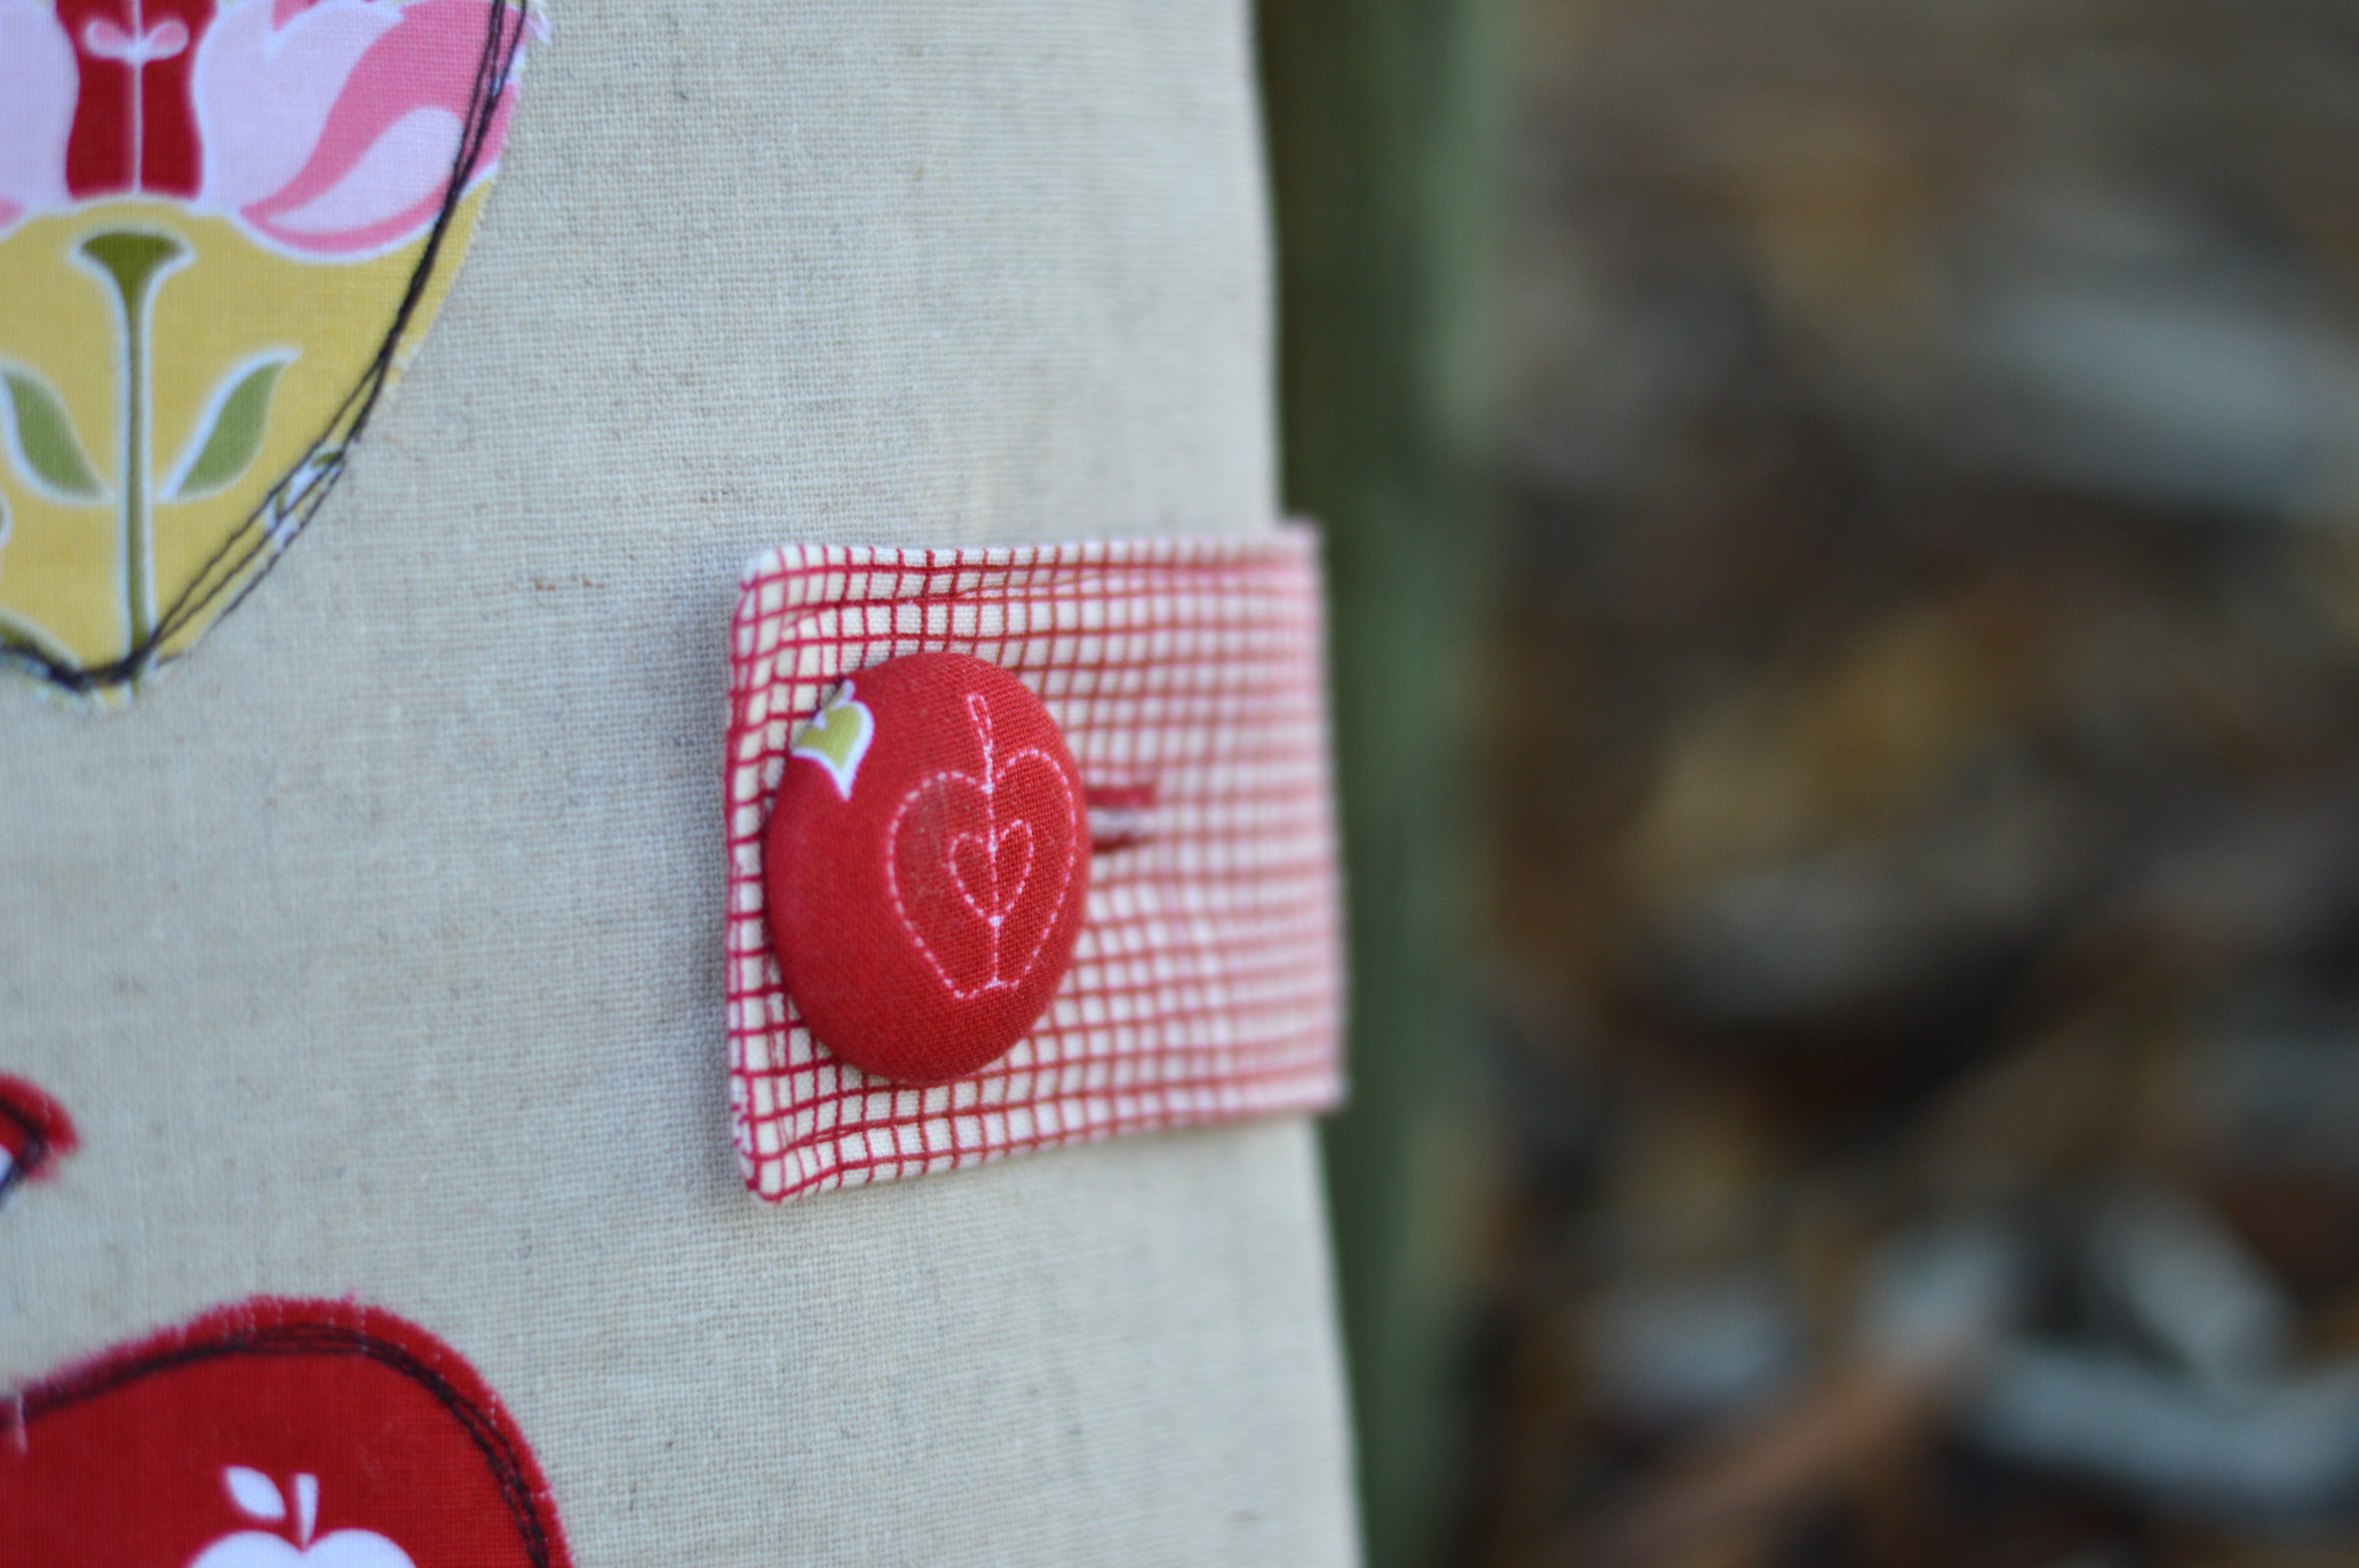
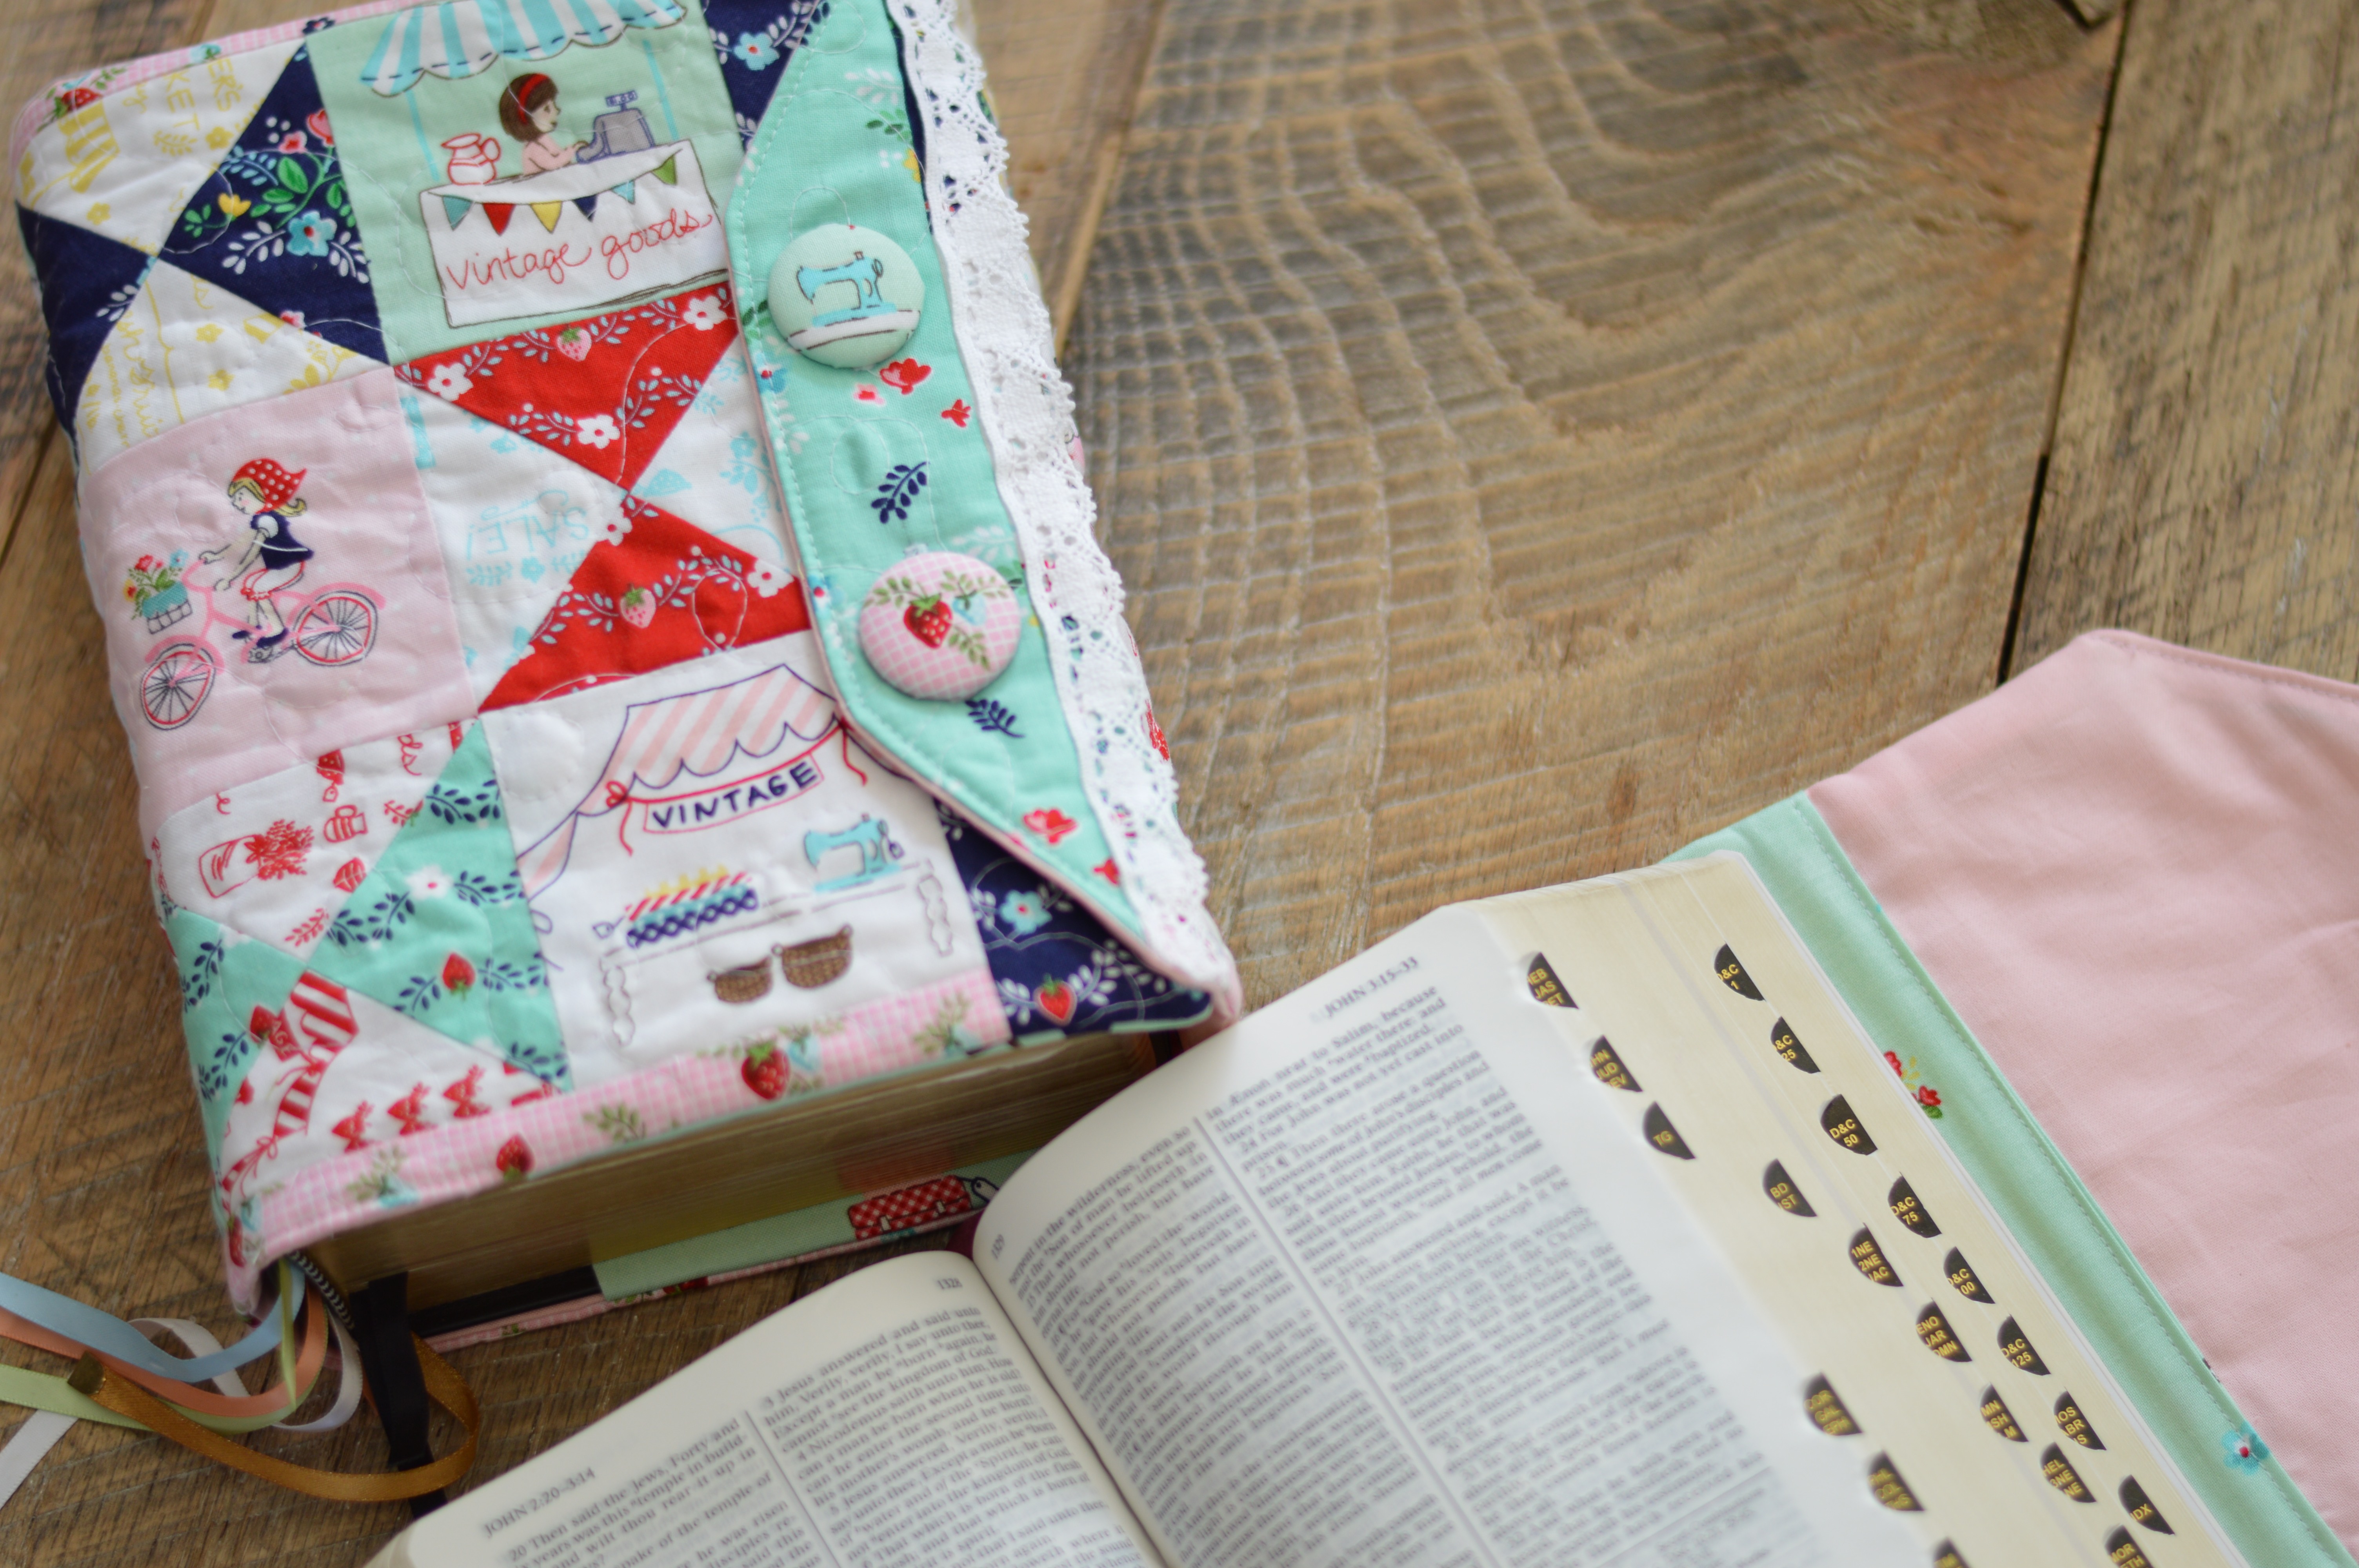
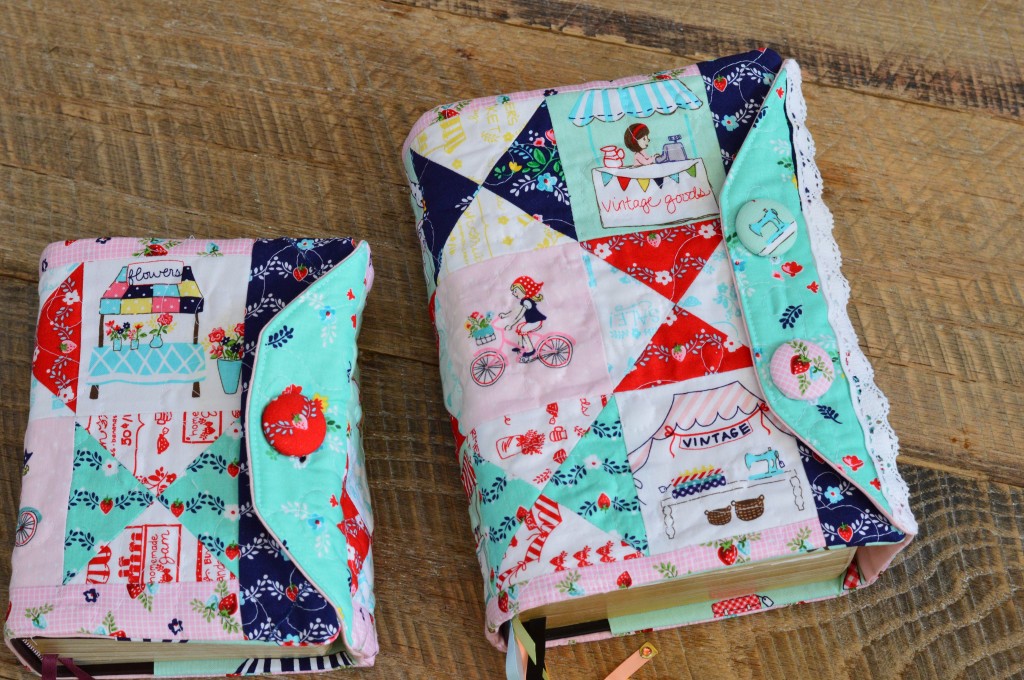
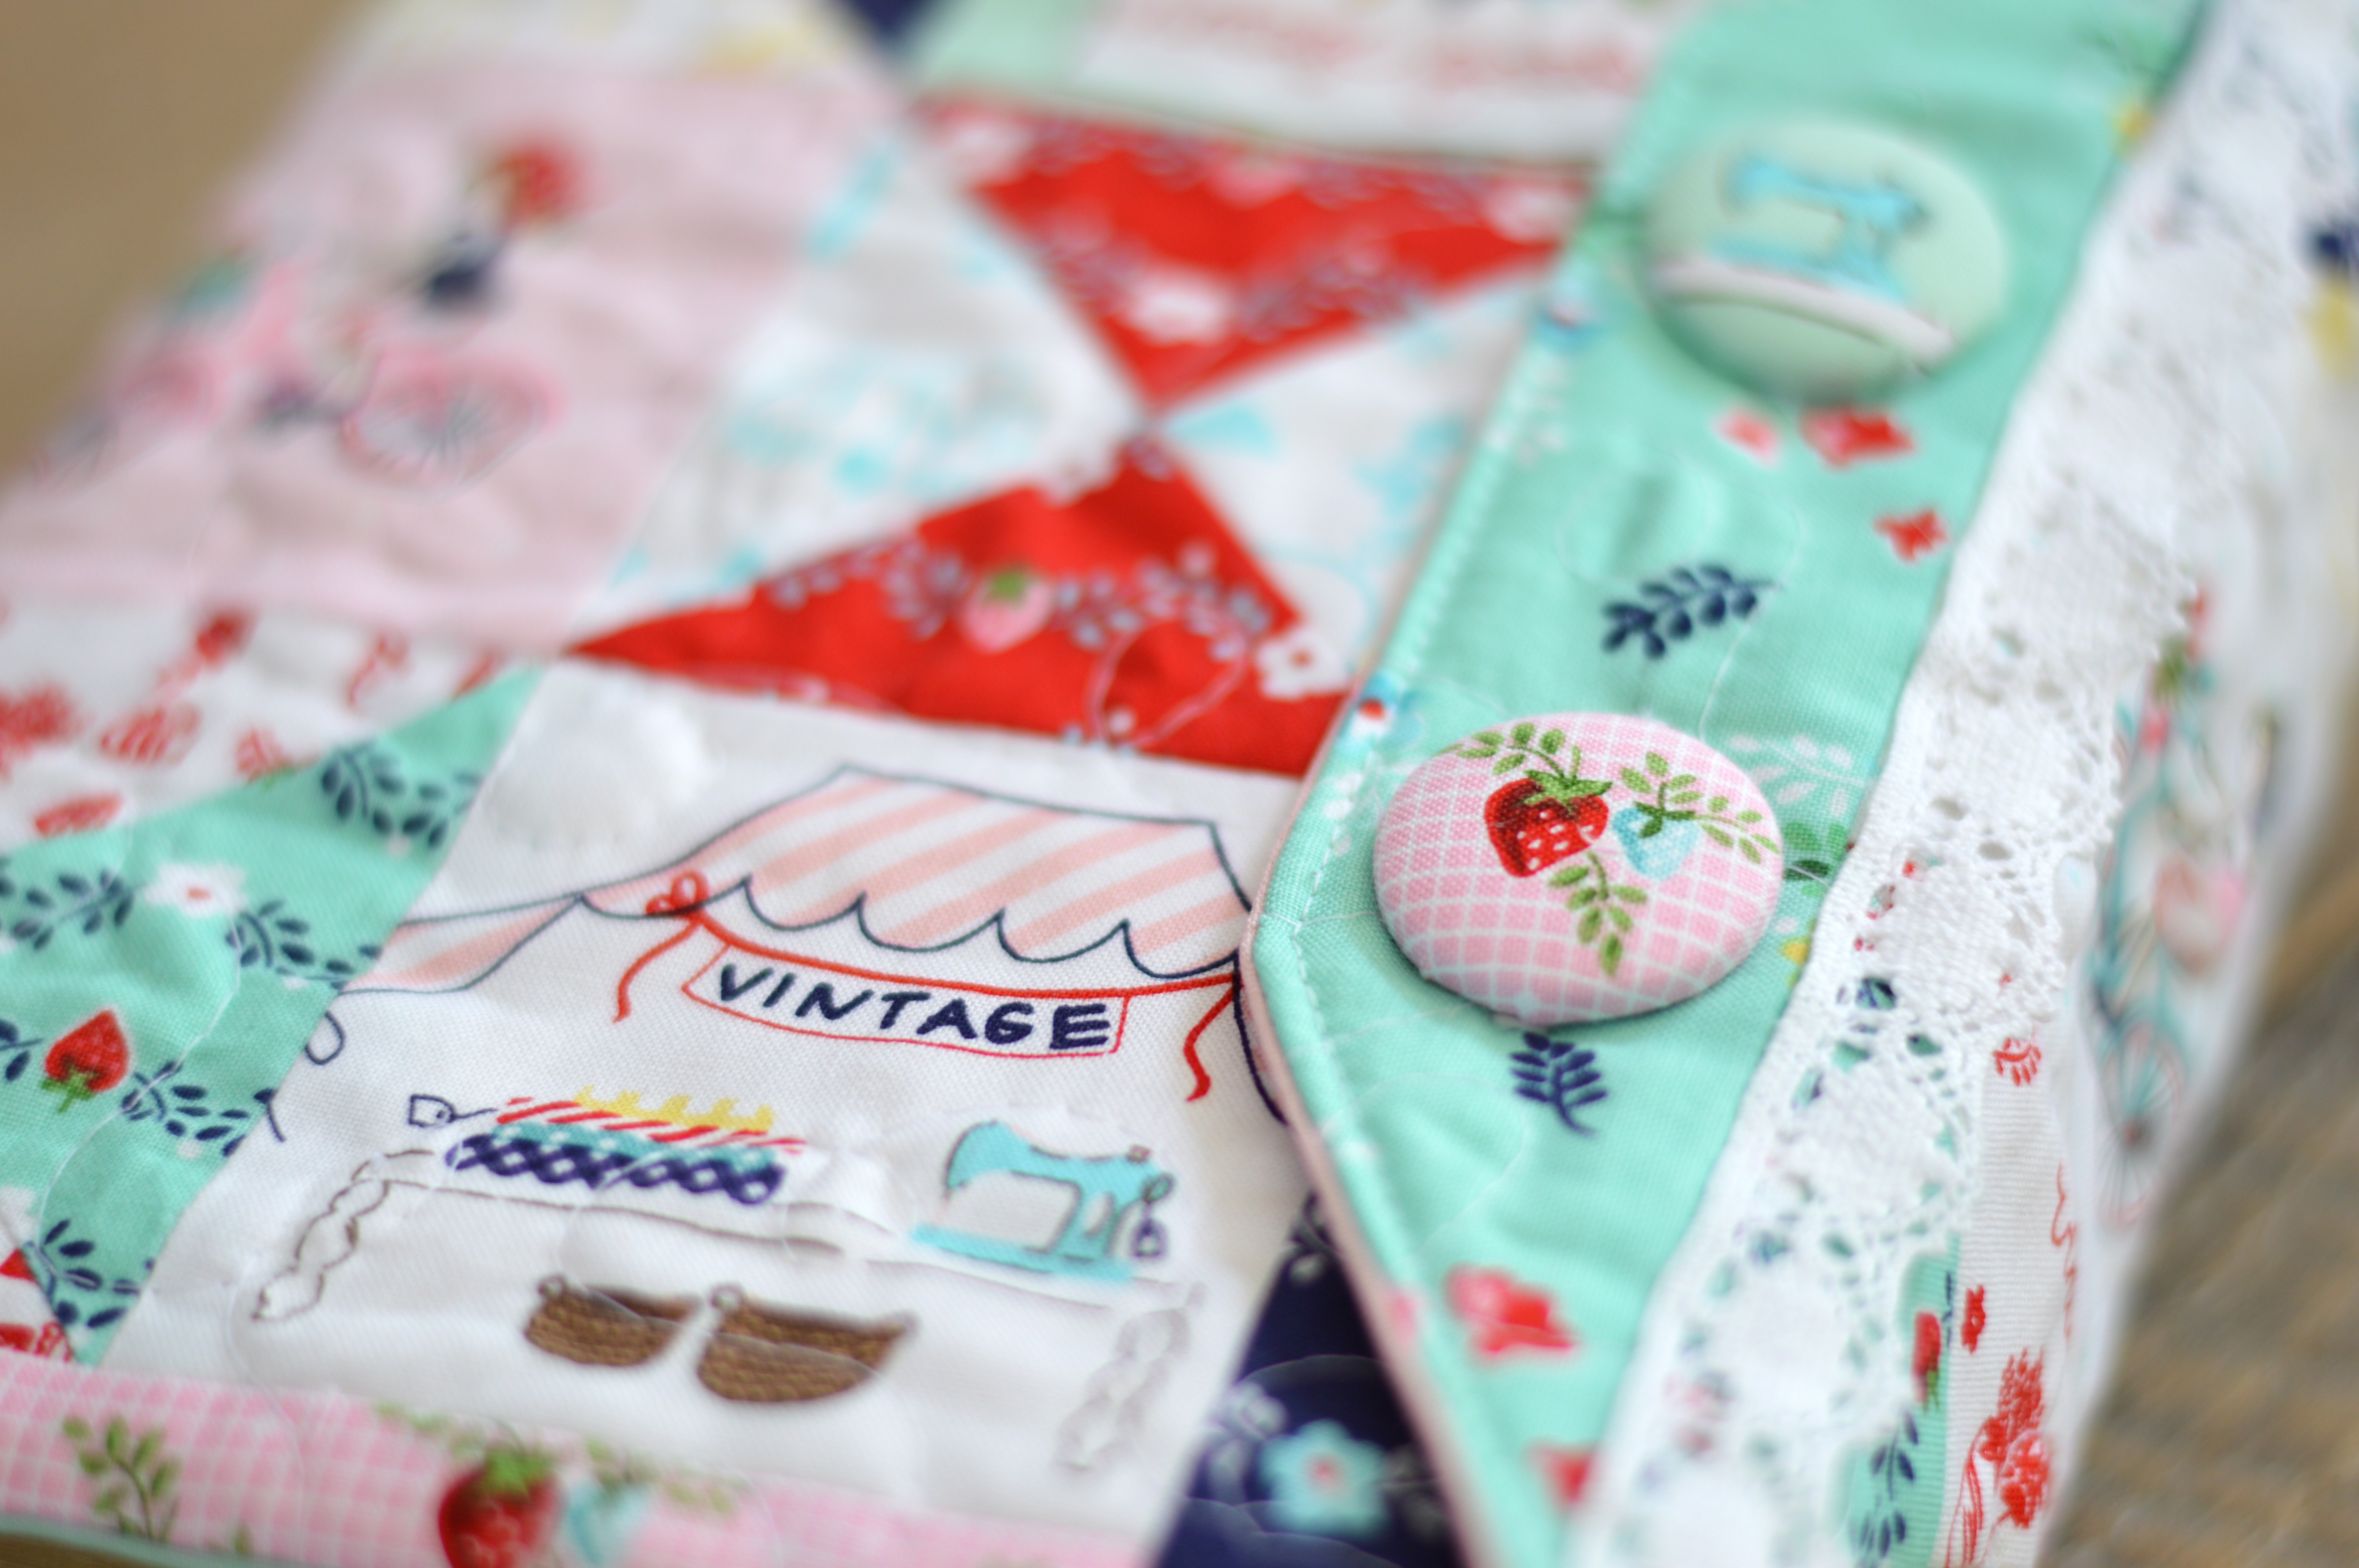
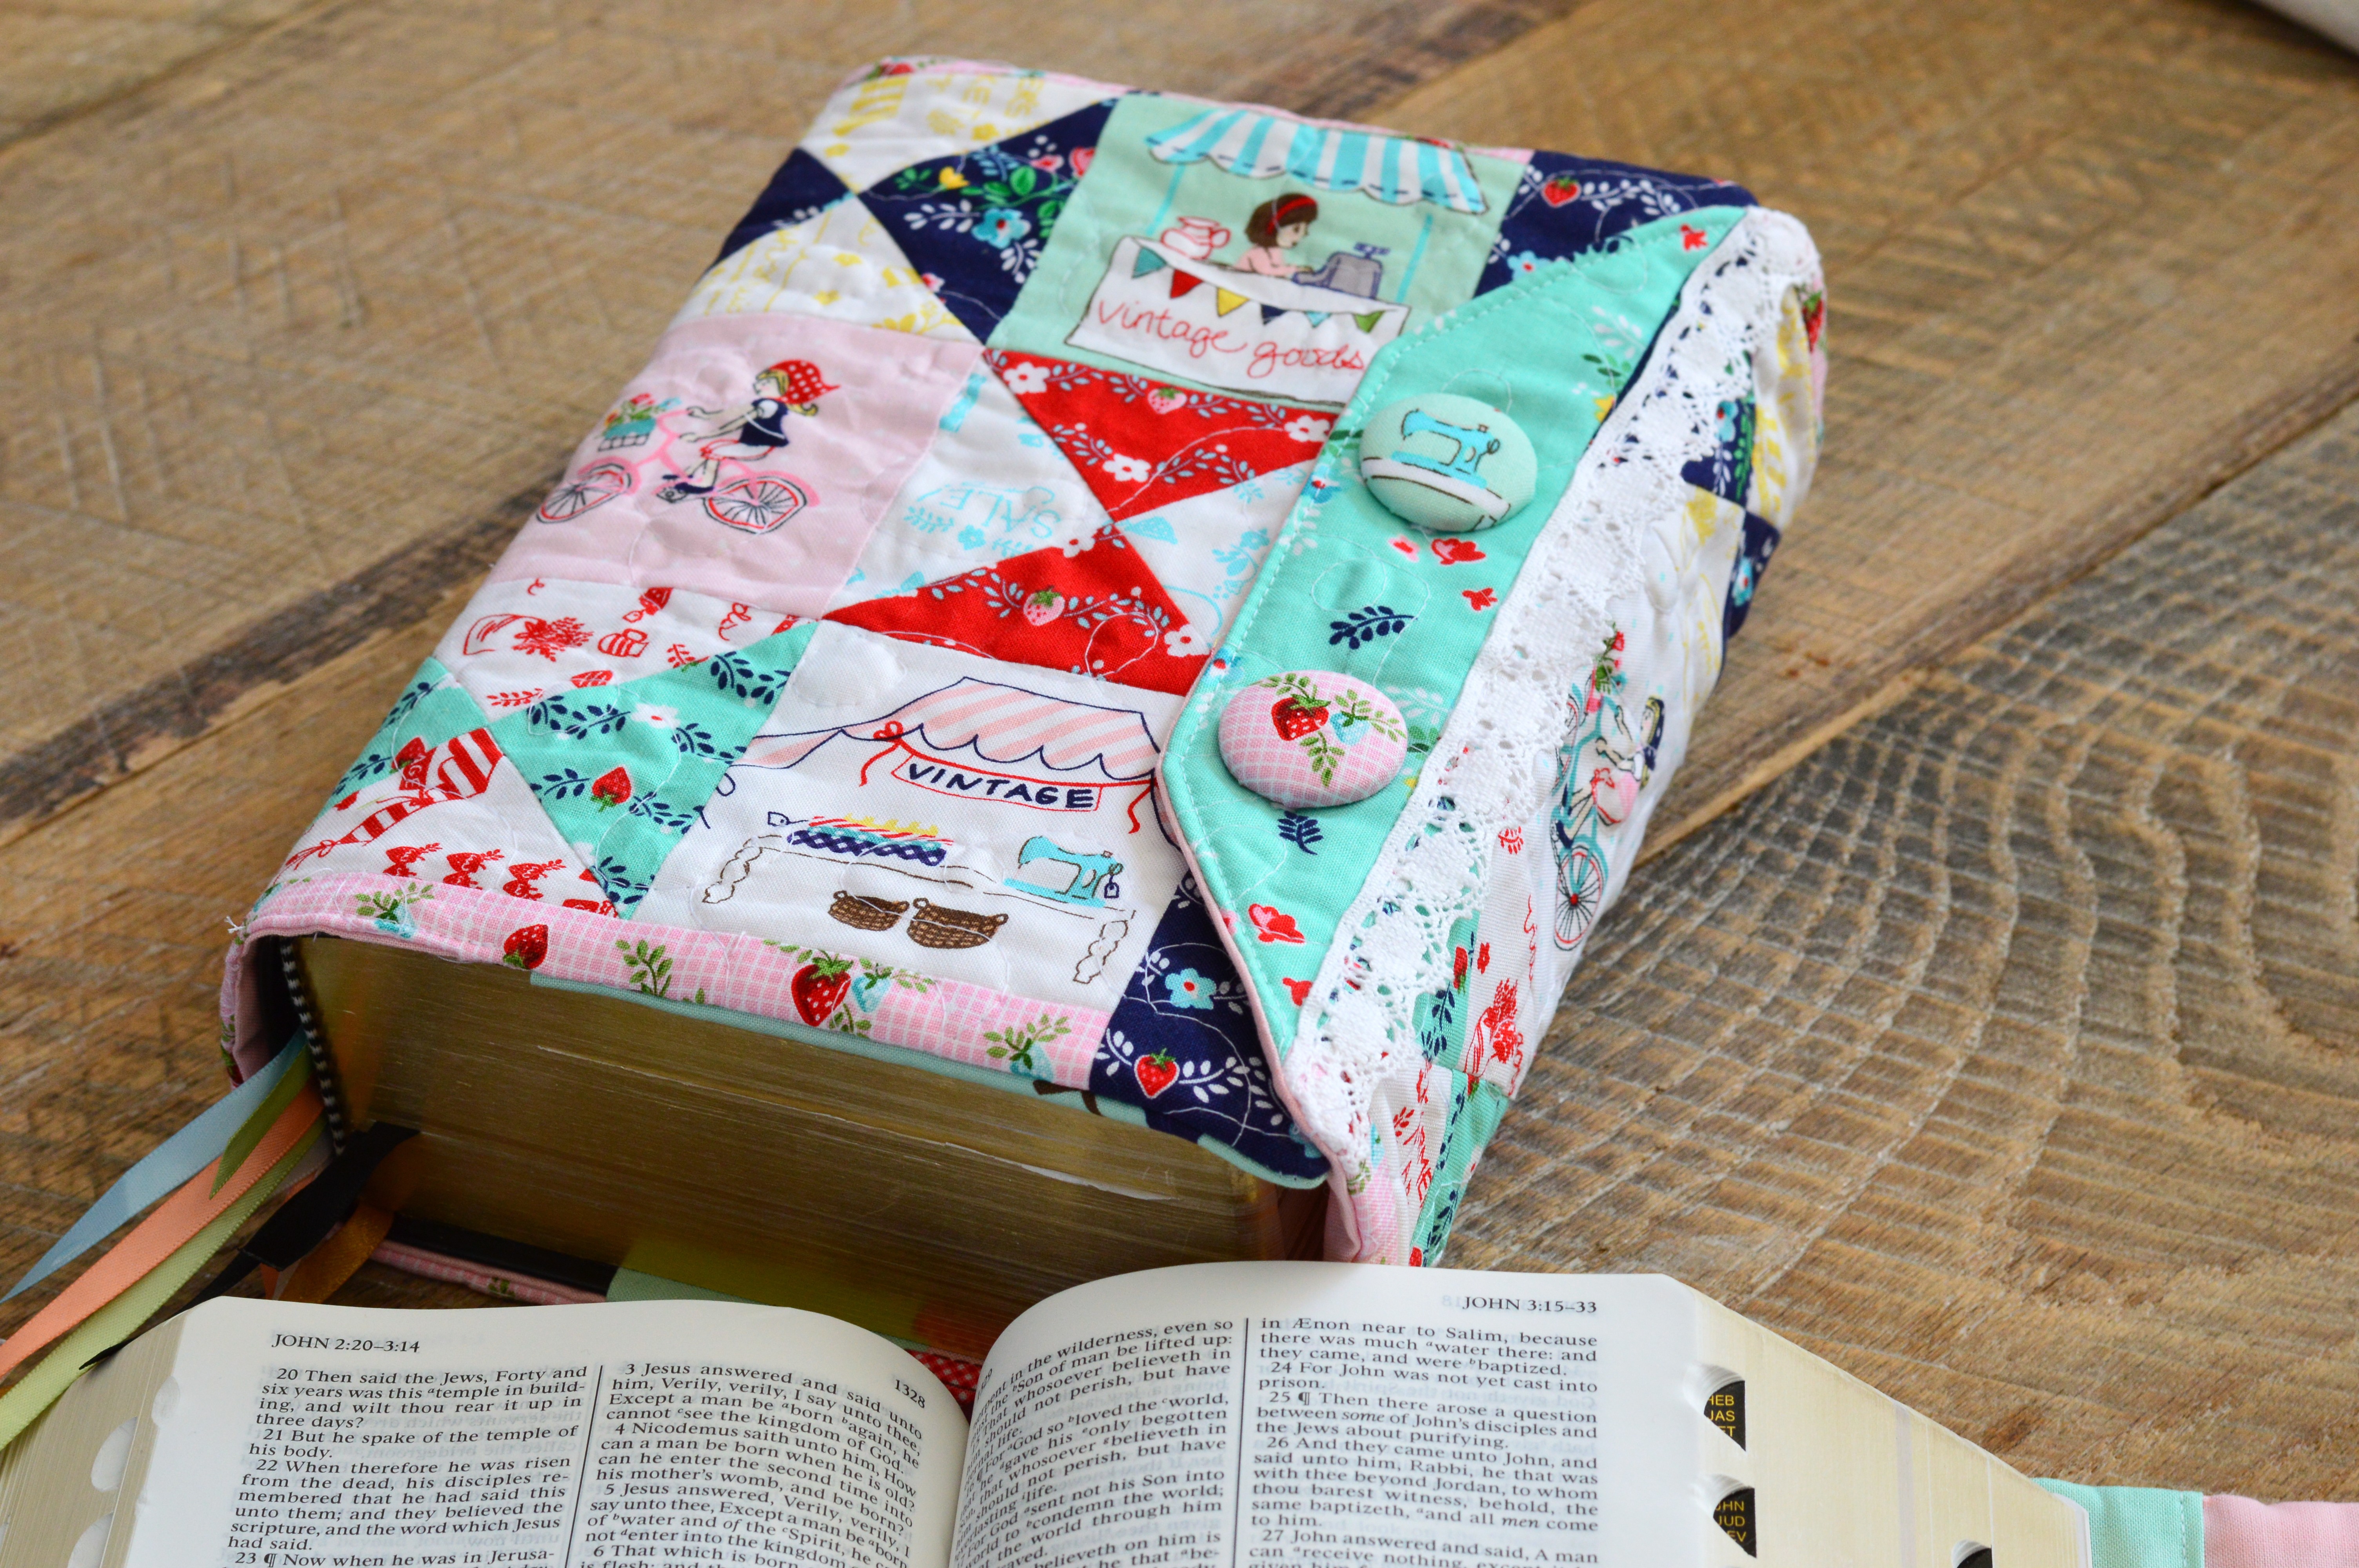
 I love it so much!!!!
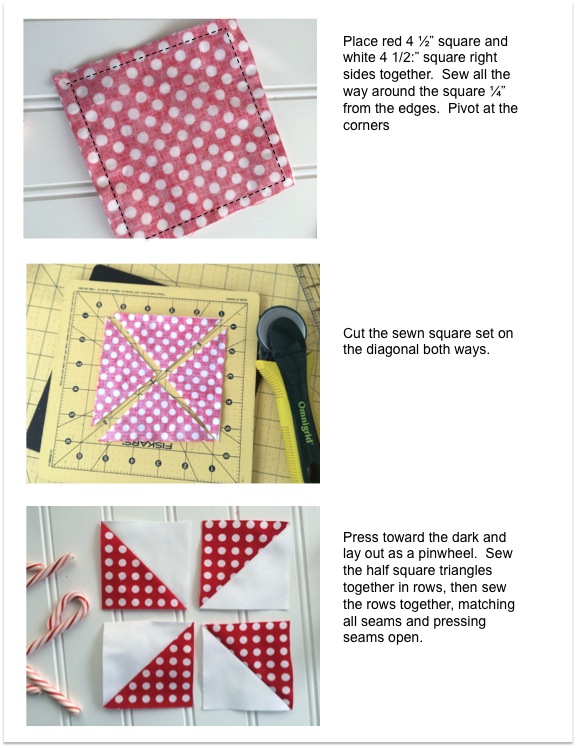
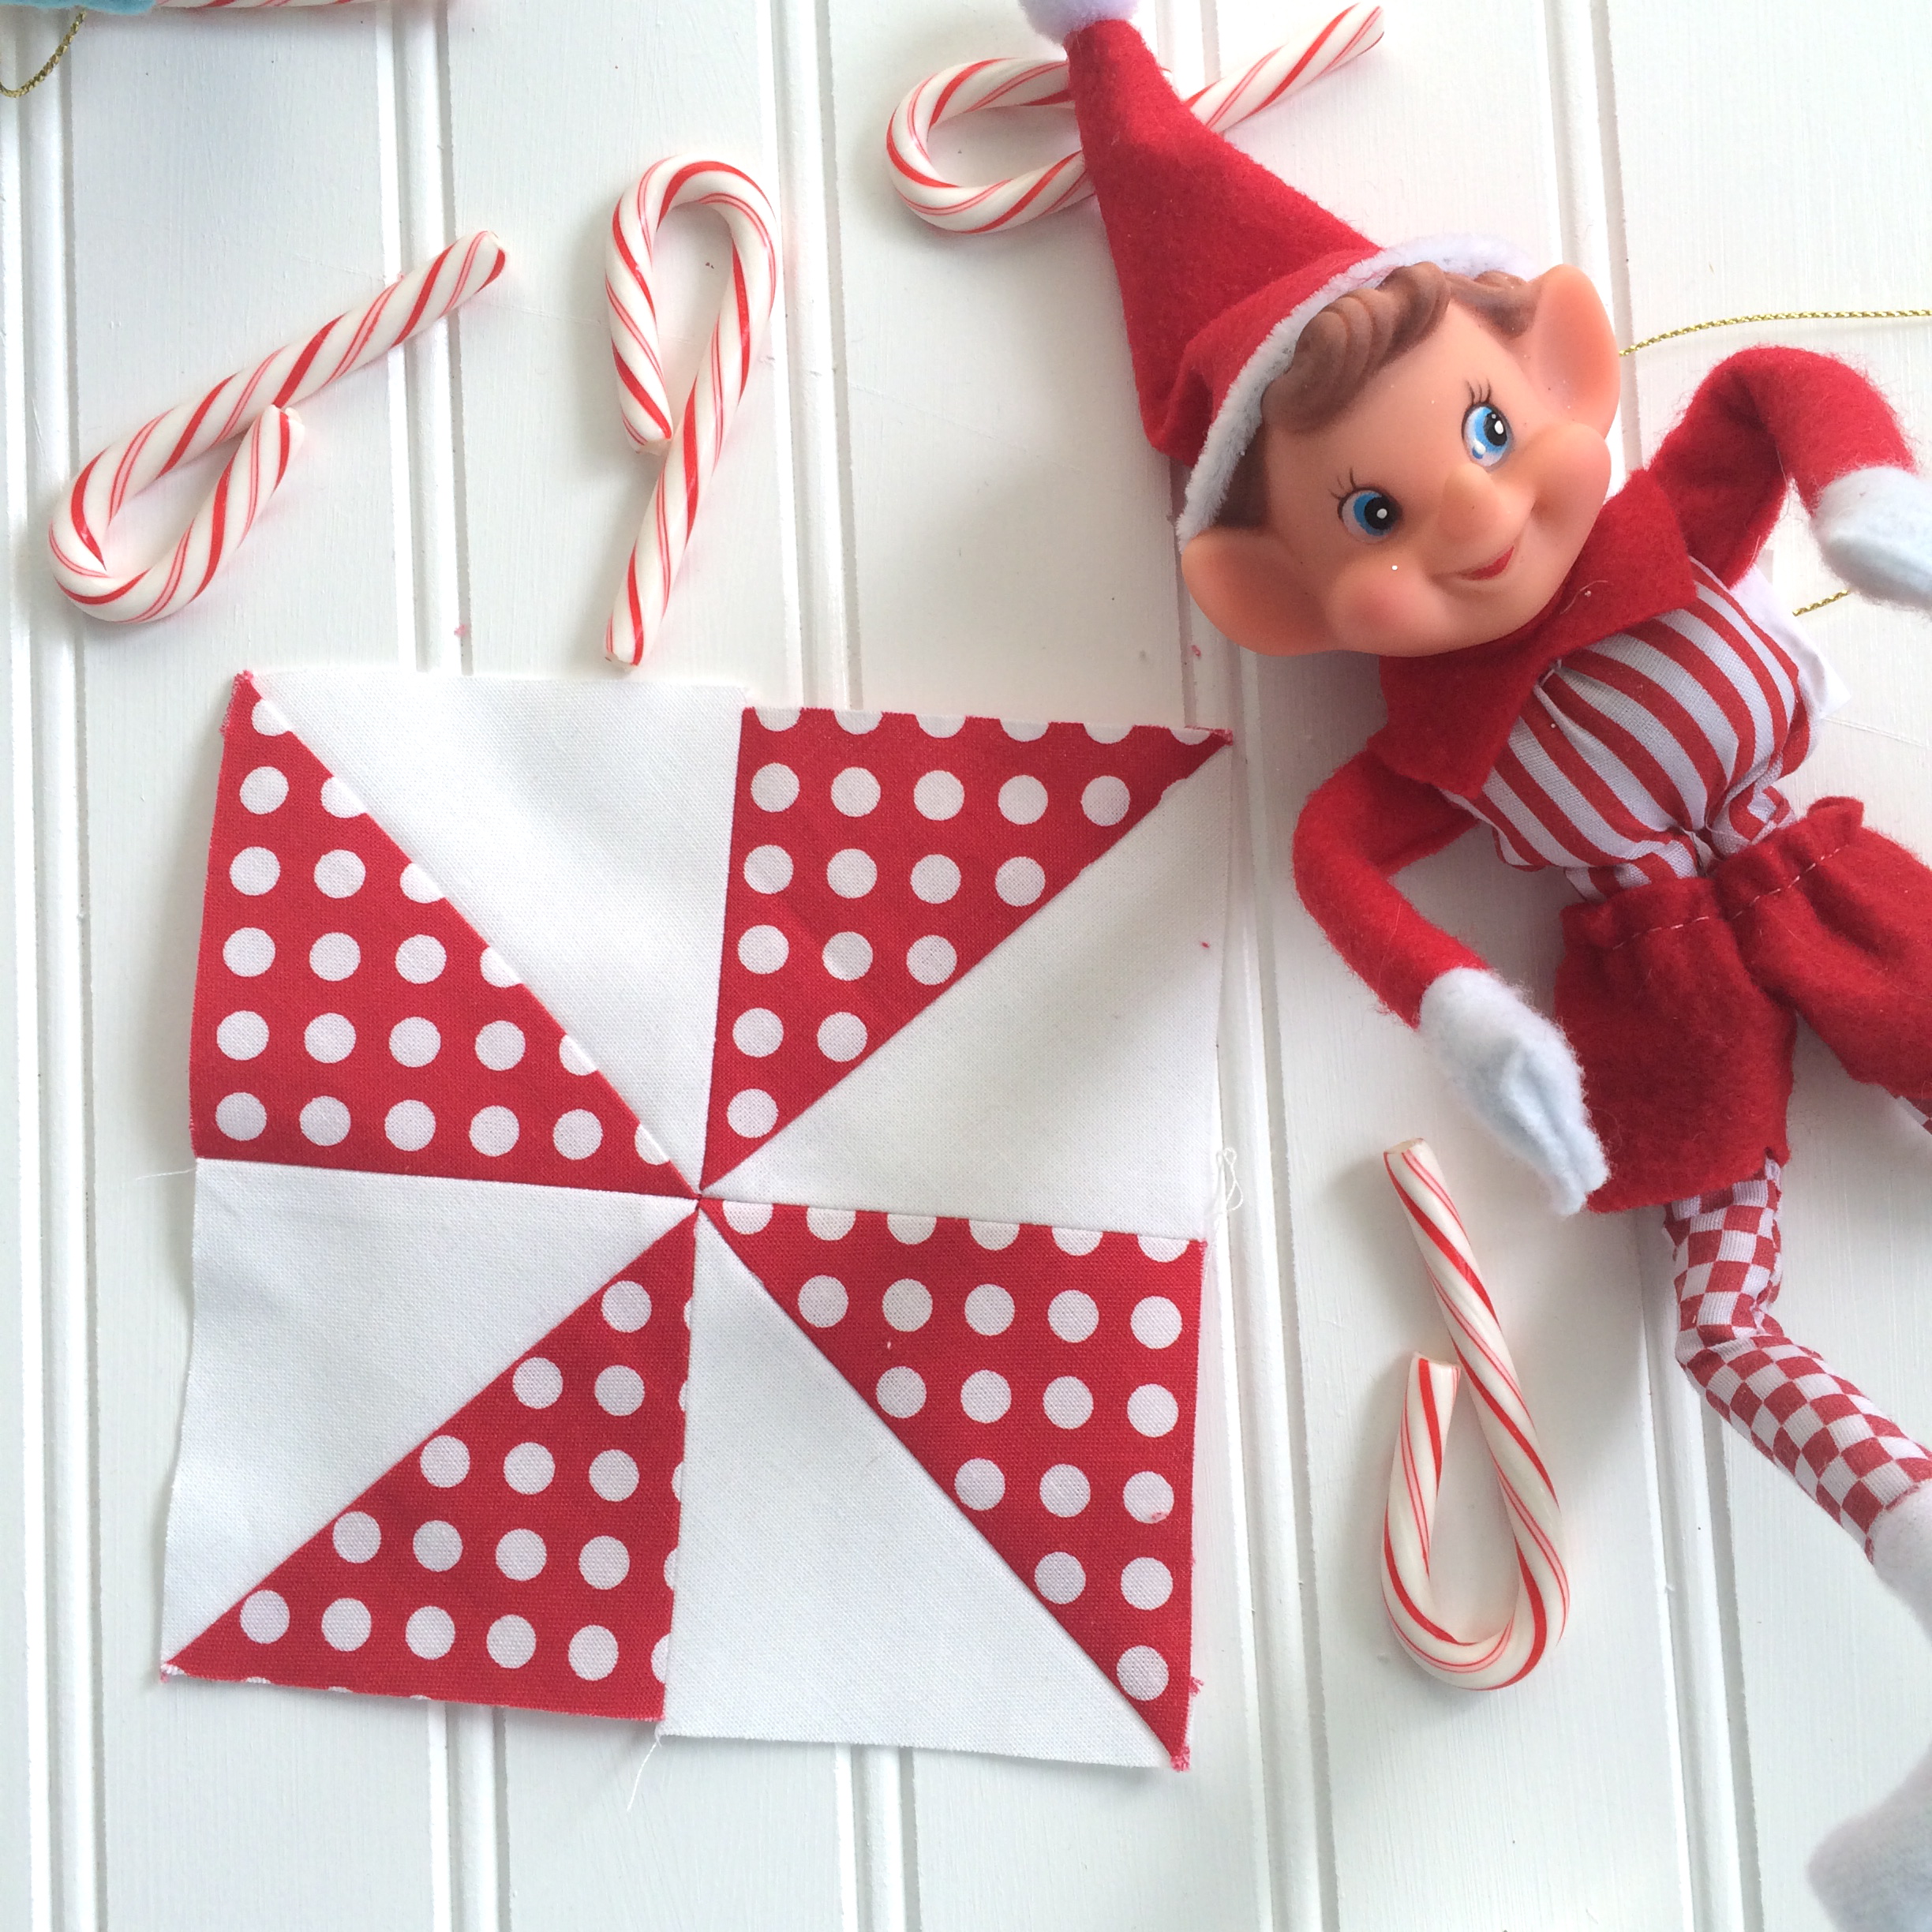
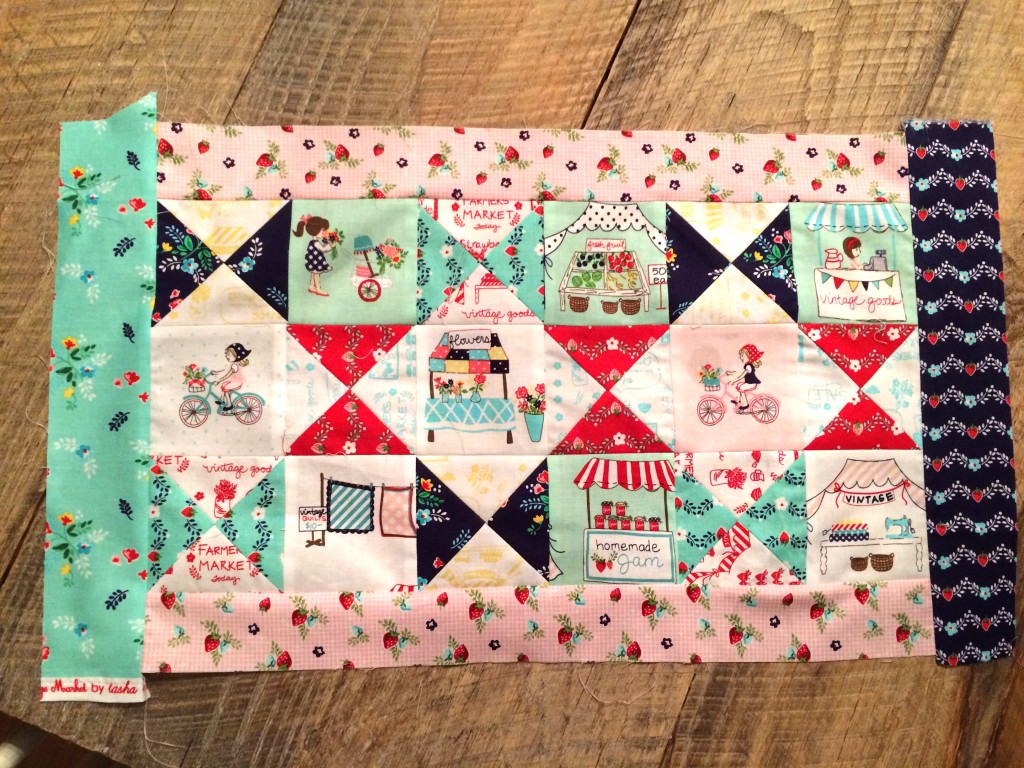
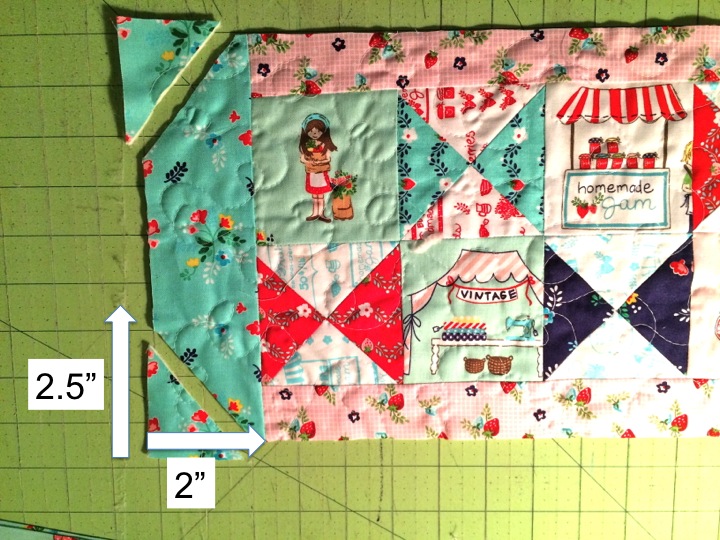
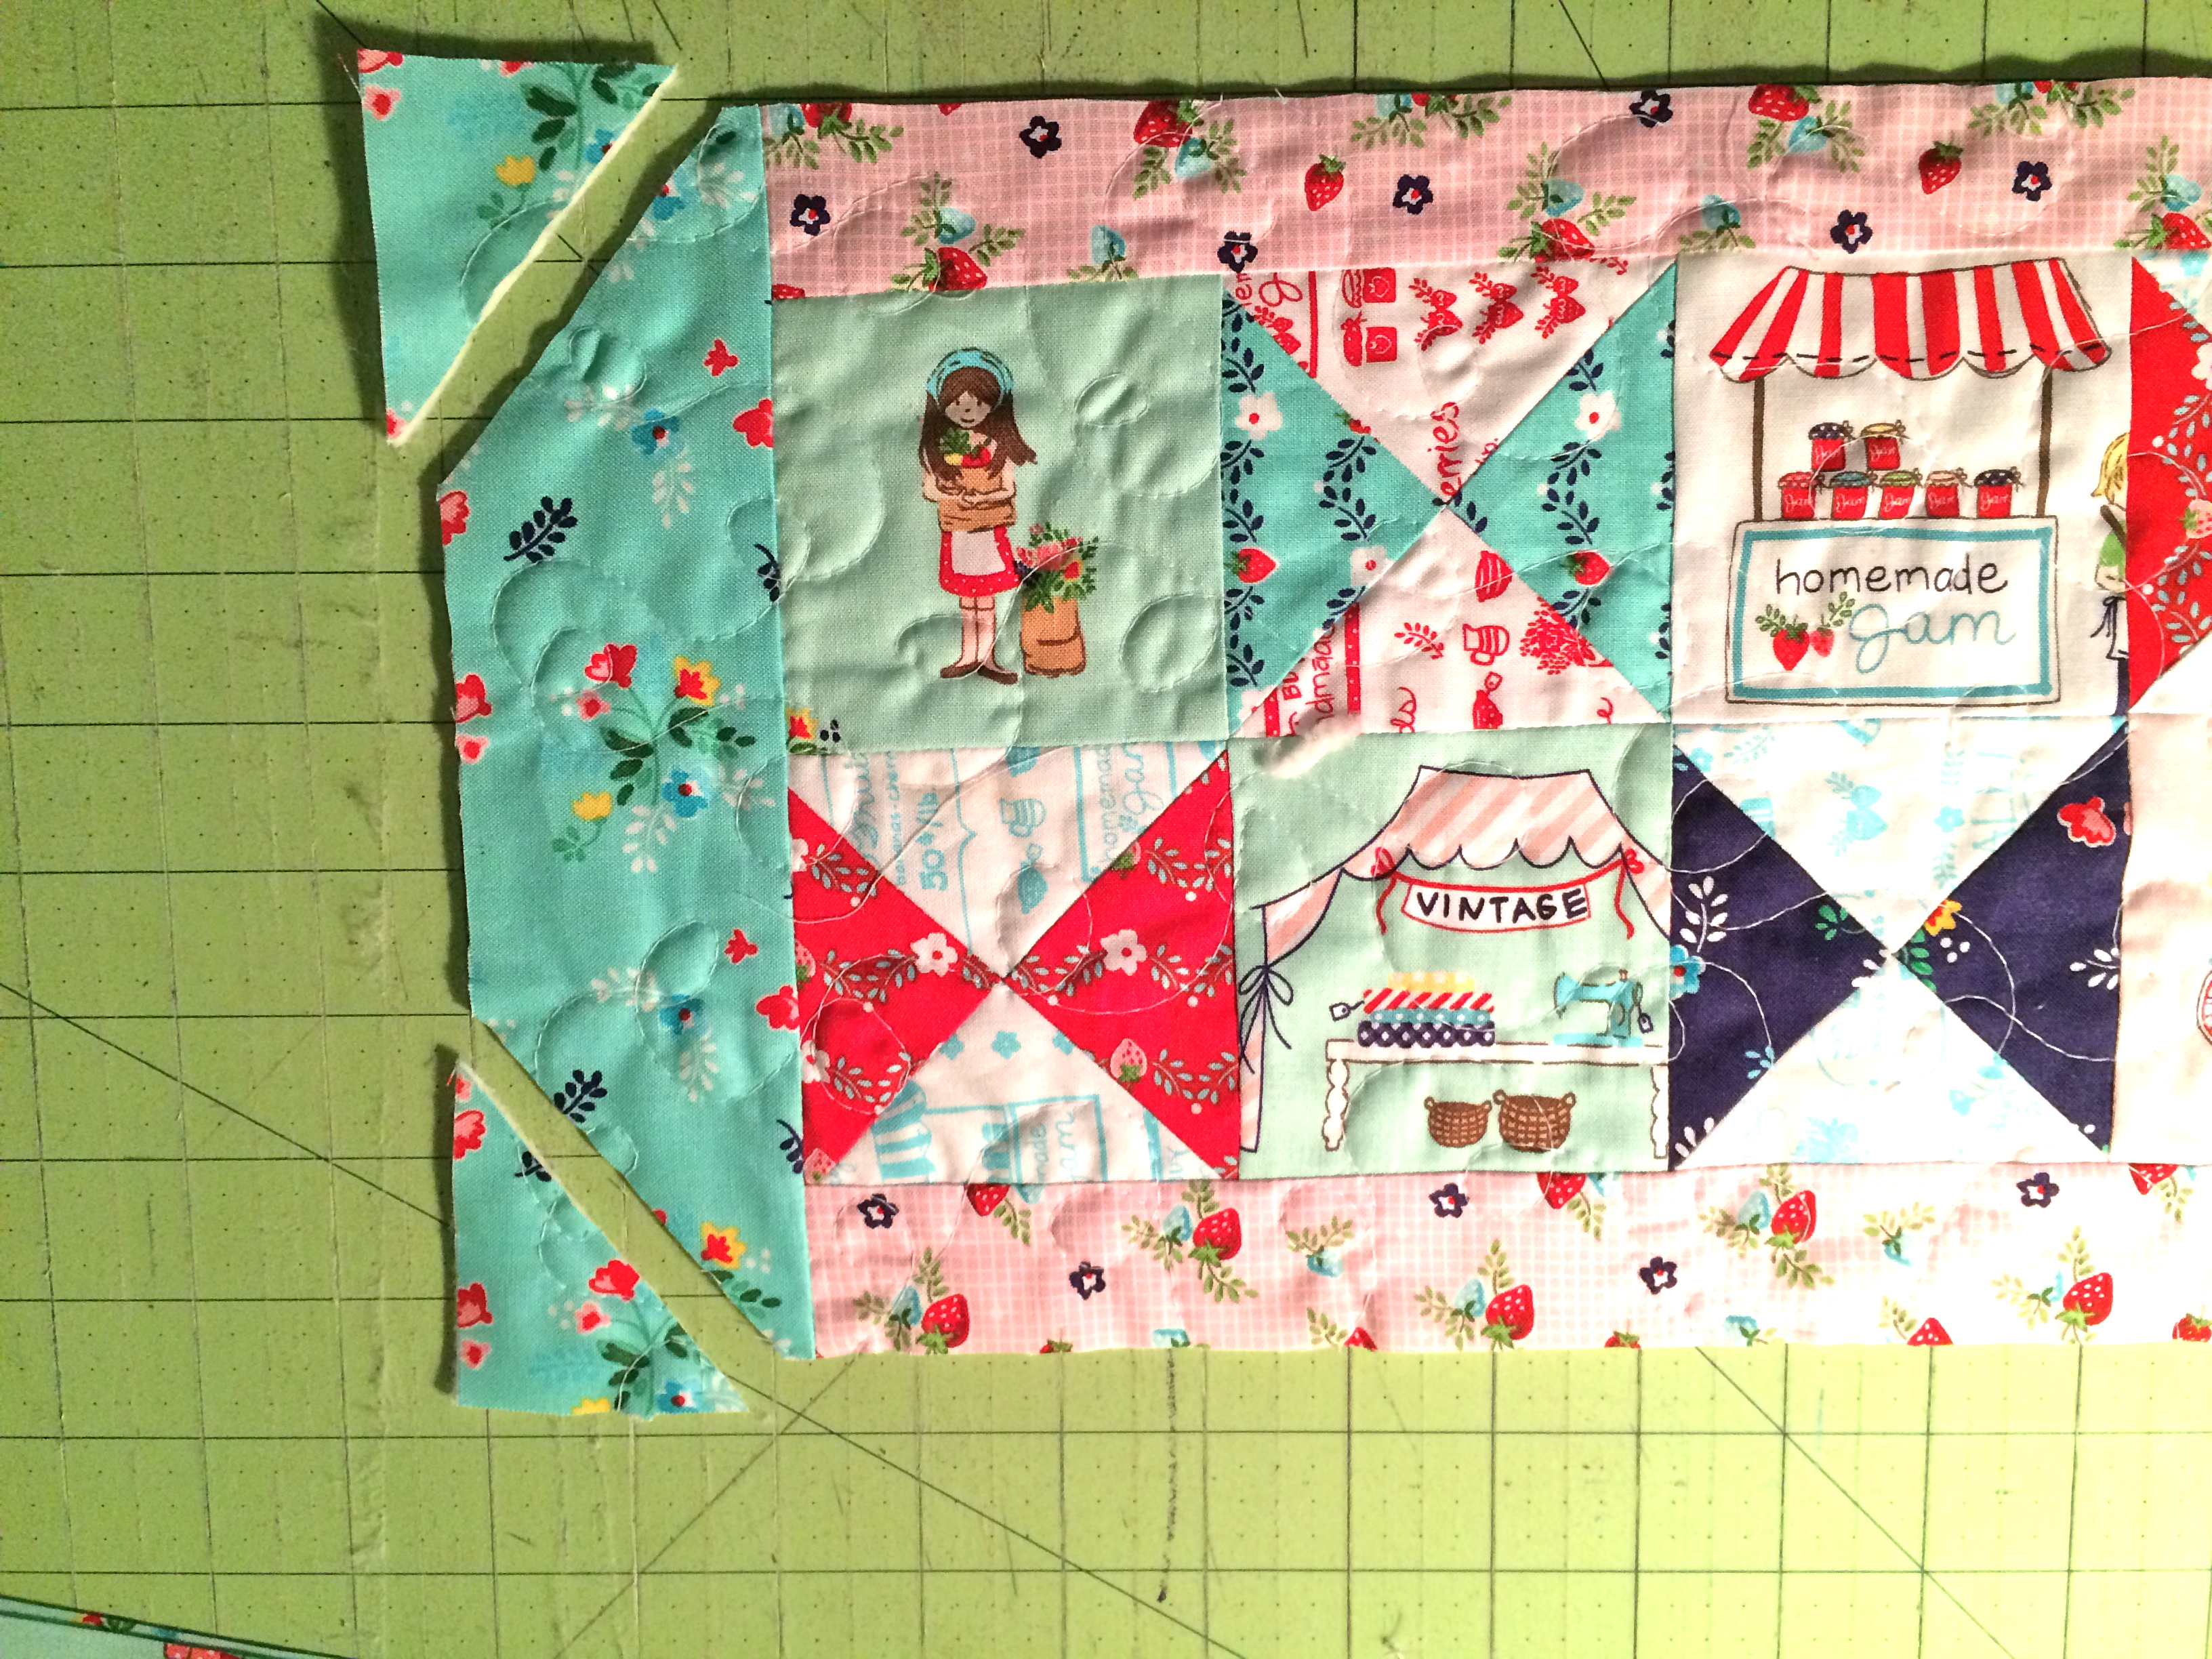
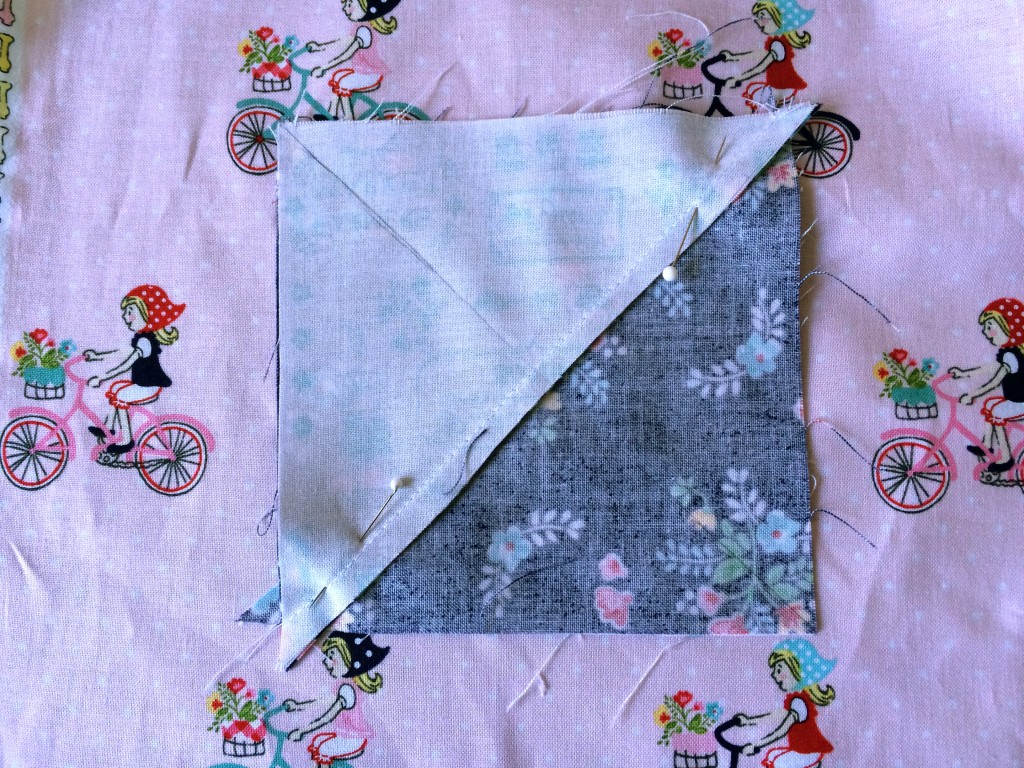 This will give you 2 hour glass blocks. Next, place the hourglass block on the cutting mat and “square up” to measure 3.5″. Make sure to align each diagonal seam with the 45 degree lines on the cutting grid.
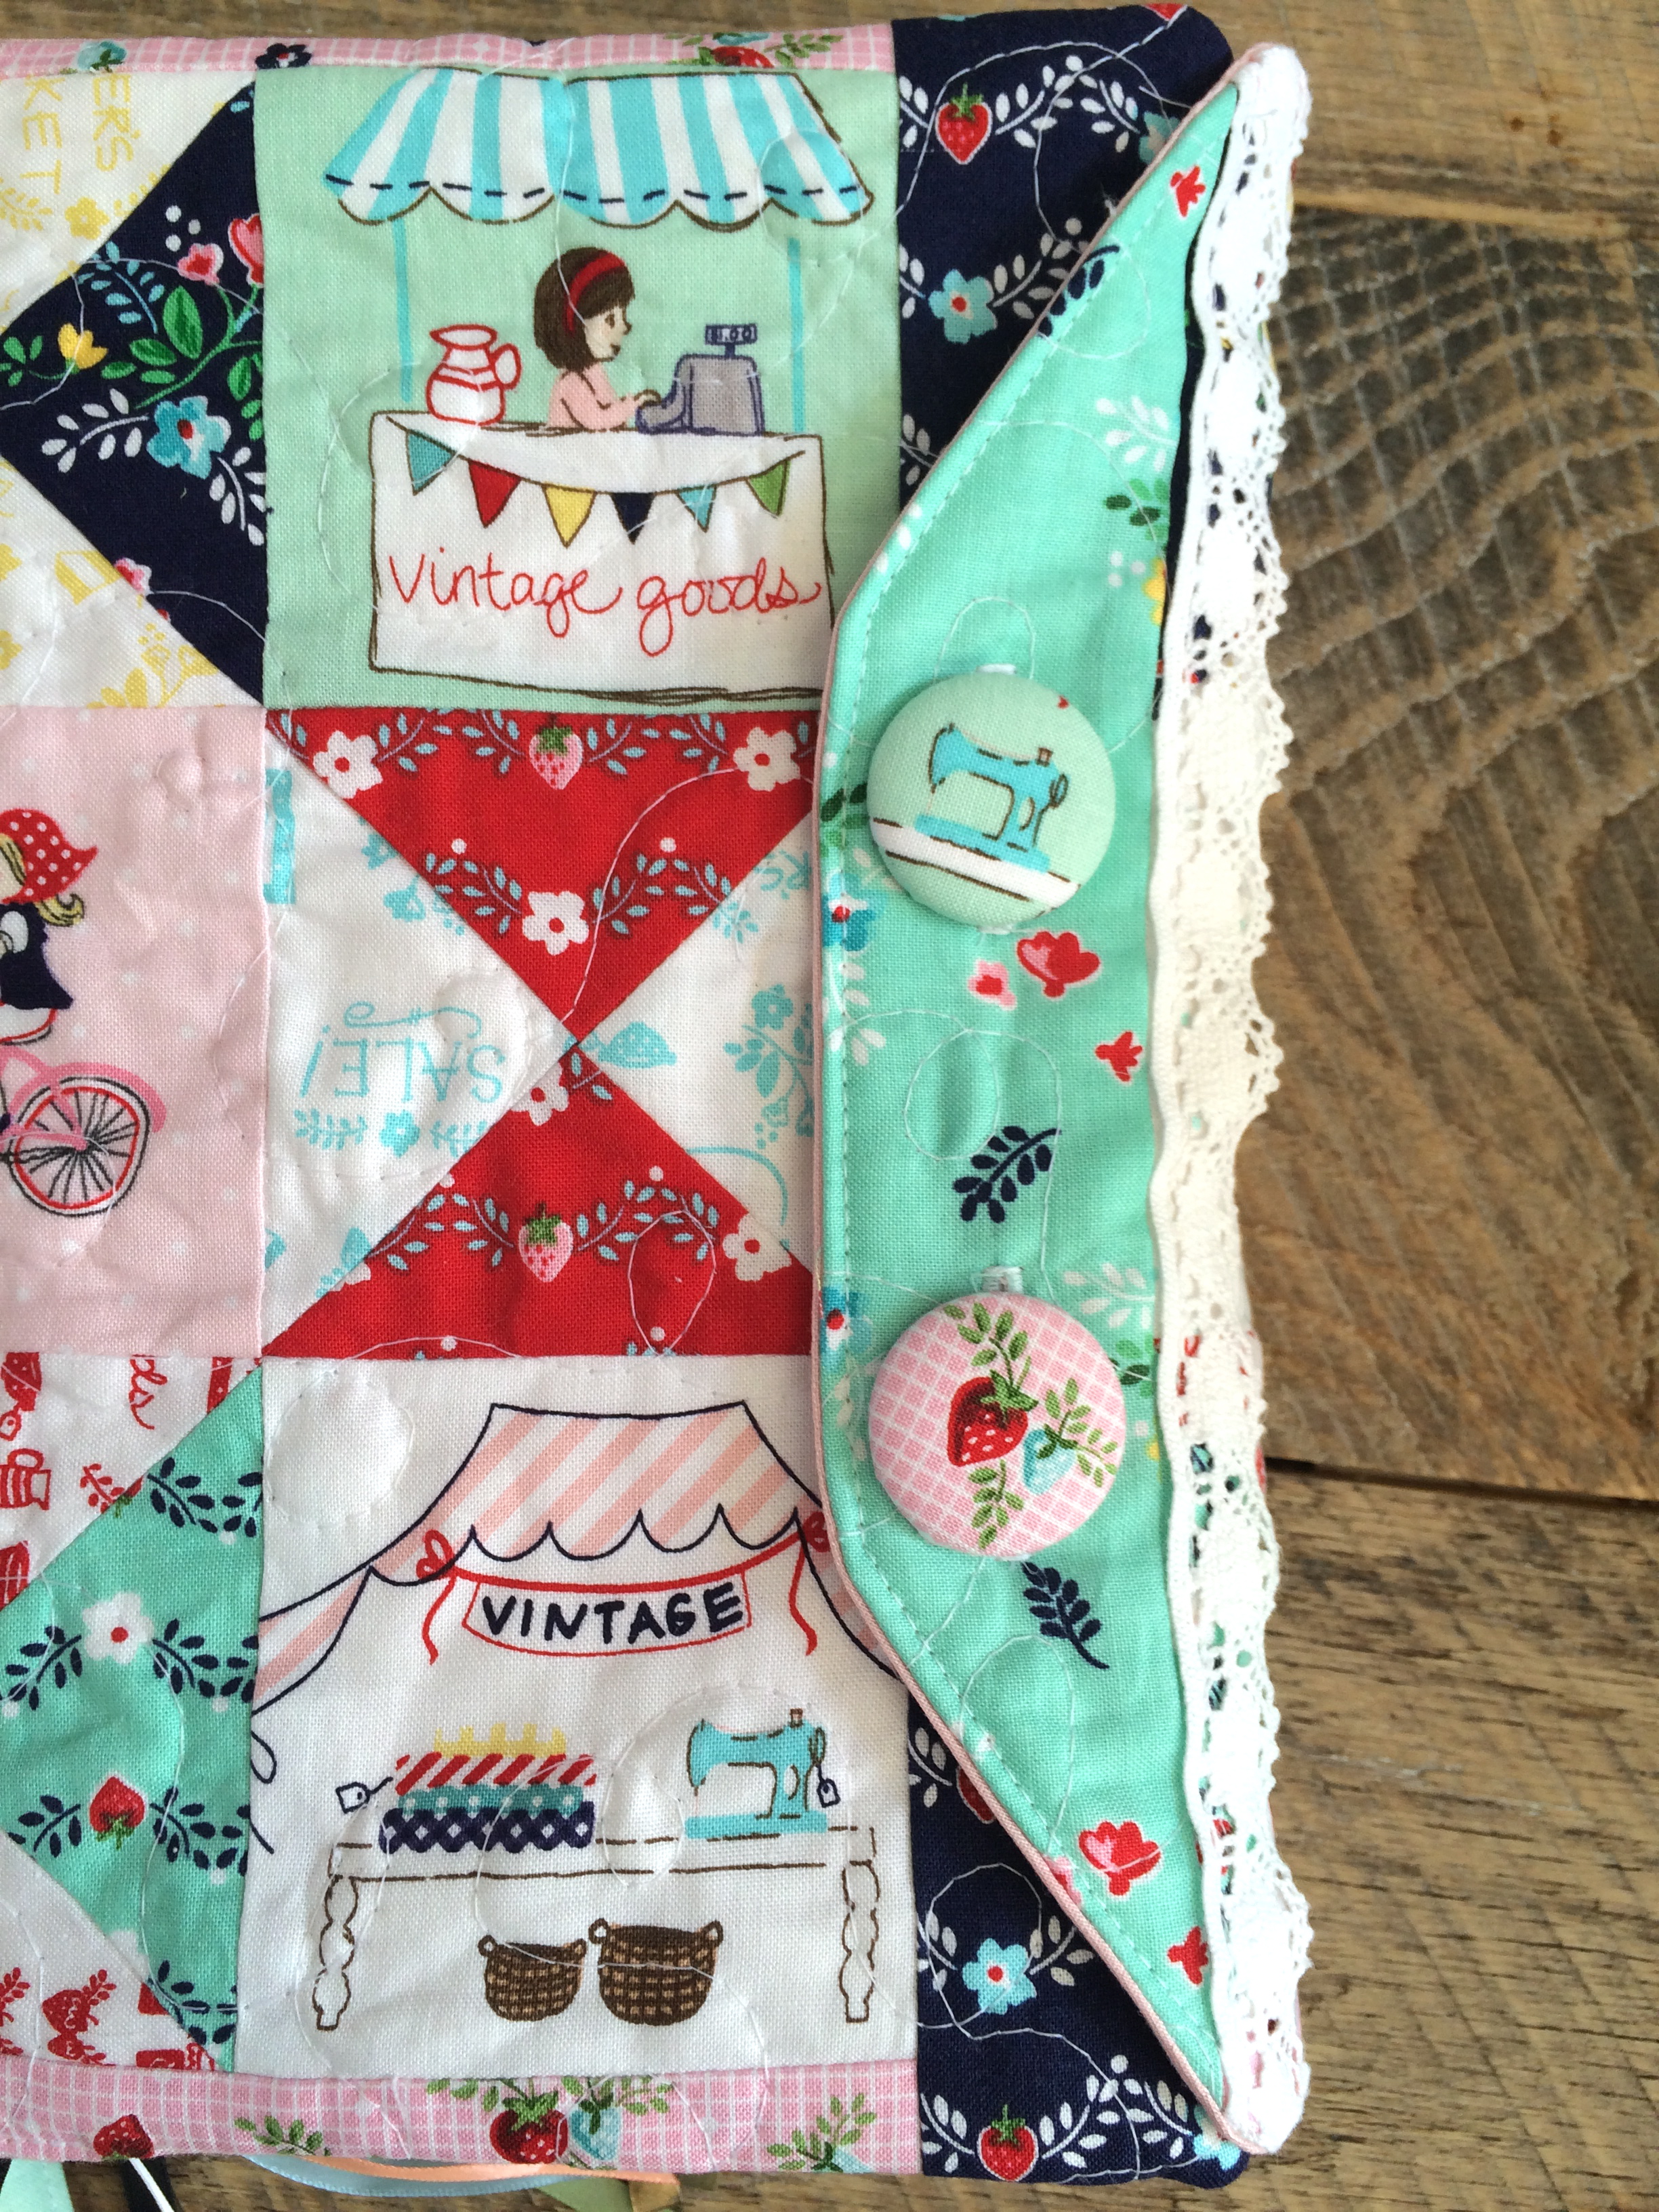


