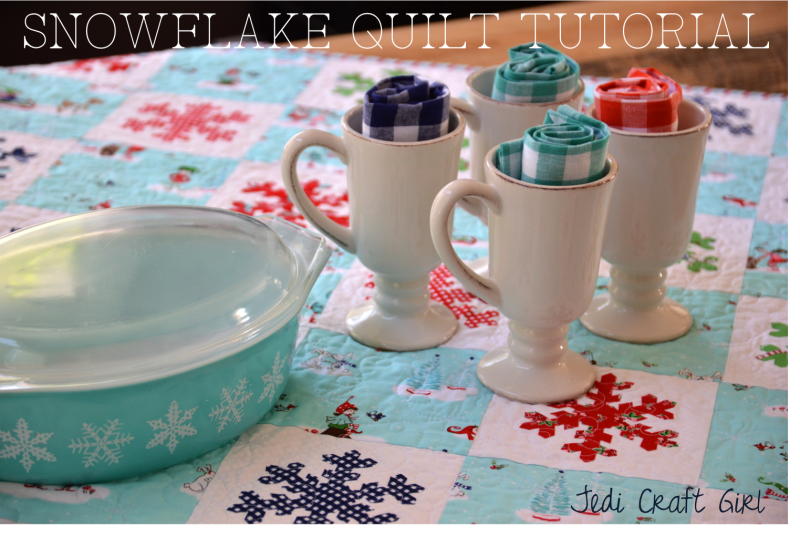
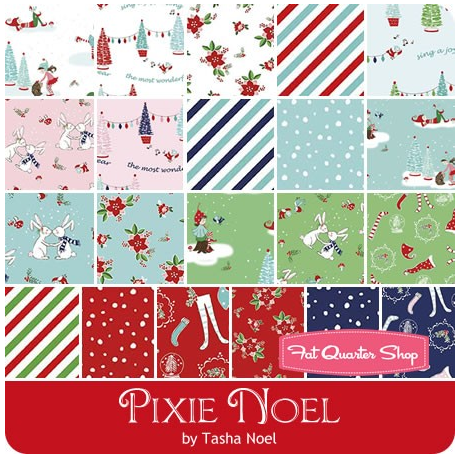
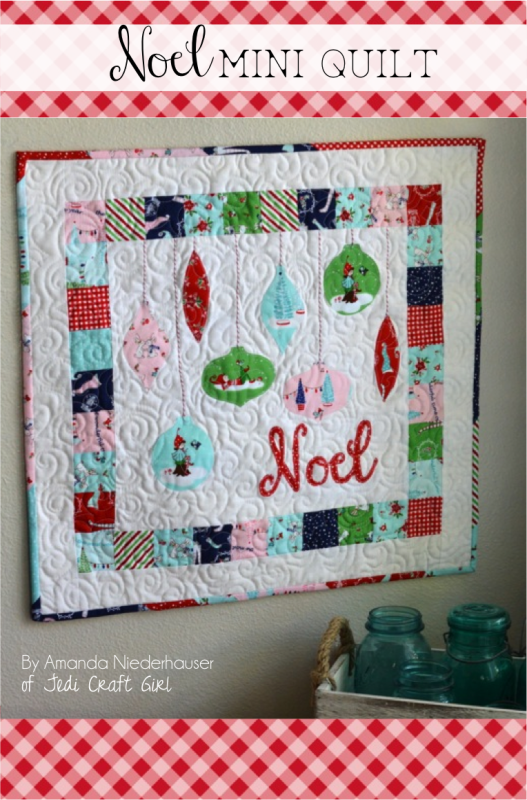
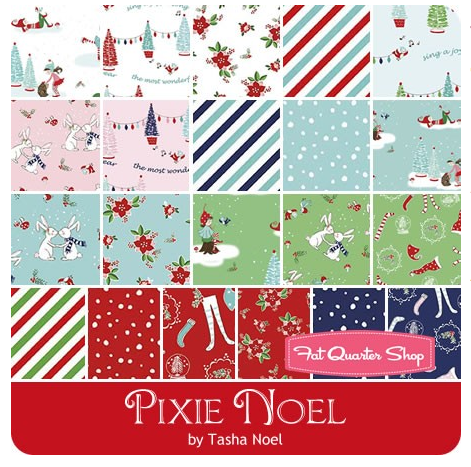
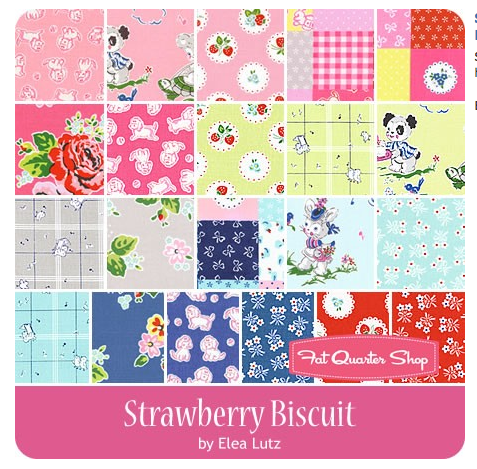
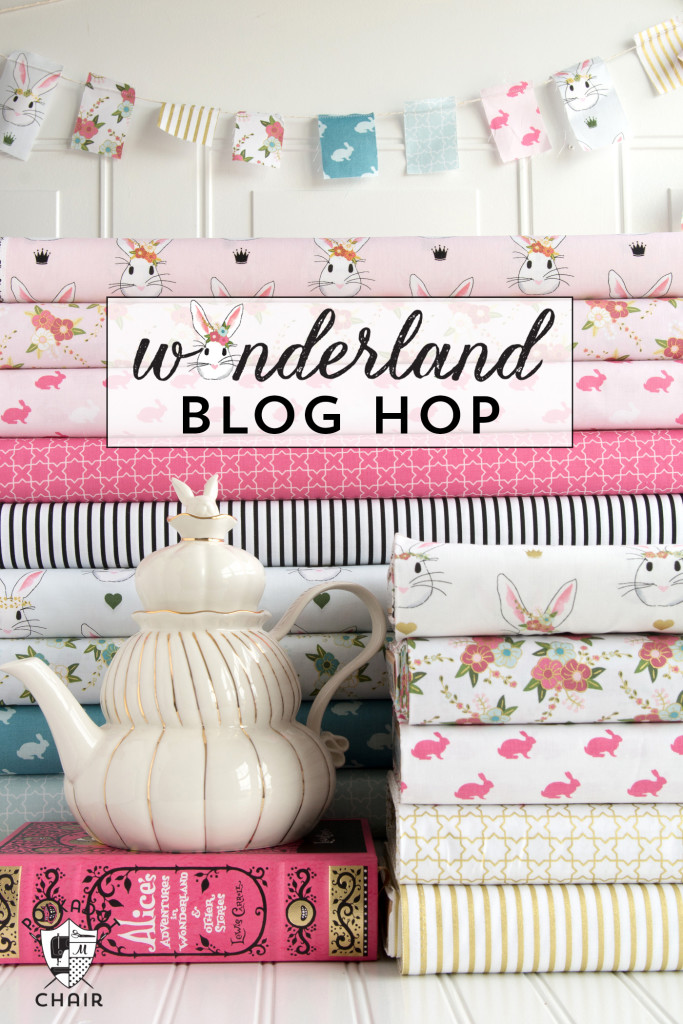
It’s my turn on the Pixie Noel Blog Tour! Yay! I have been in love with this fabric as soon as I saw Tasha Noel post a few sneak peeks months and months ago! I love how whimsical her art is and I love her choice of colors!
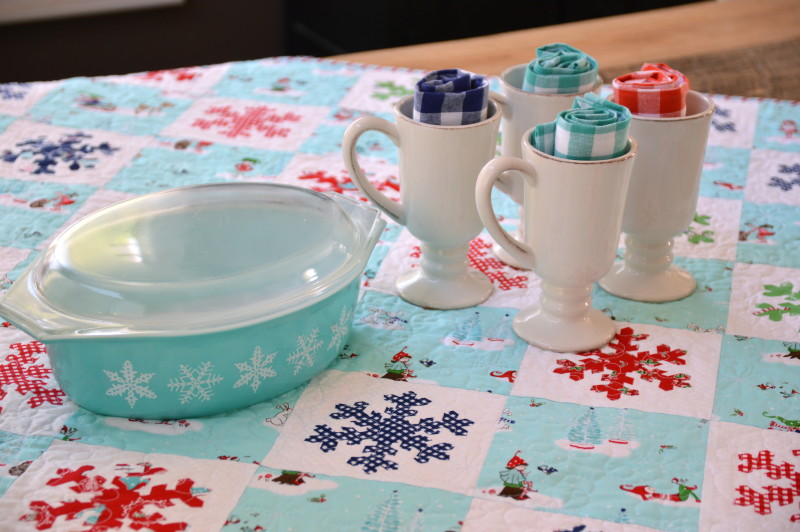
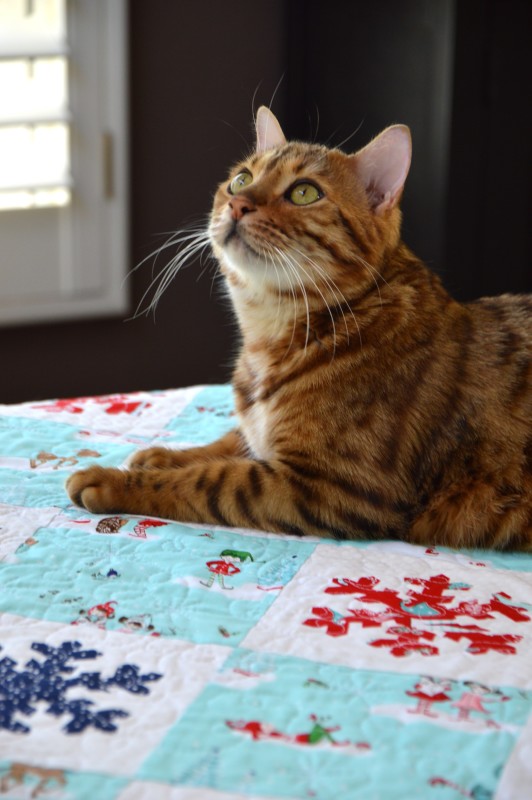
 It was a little bit challenging to sew with winter fabric when the temperatures here in Southern California have been in the 110’s and our town is literally ablaze! I decided to beat the heat by creating this whimsical snowflake quilt.
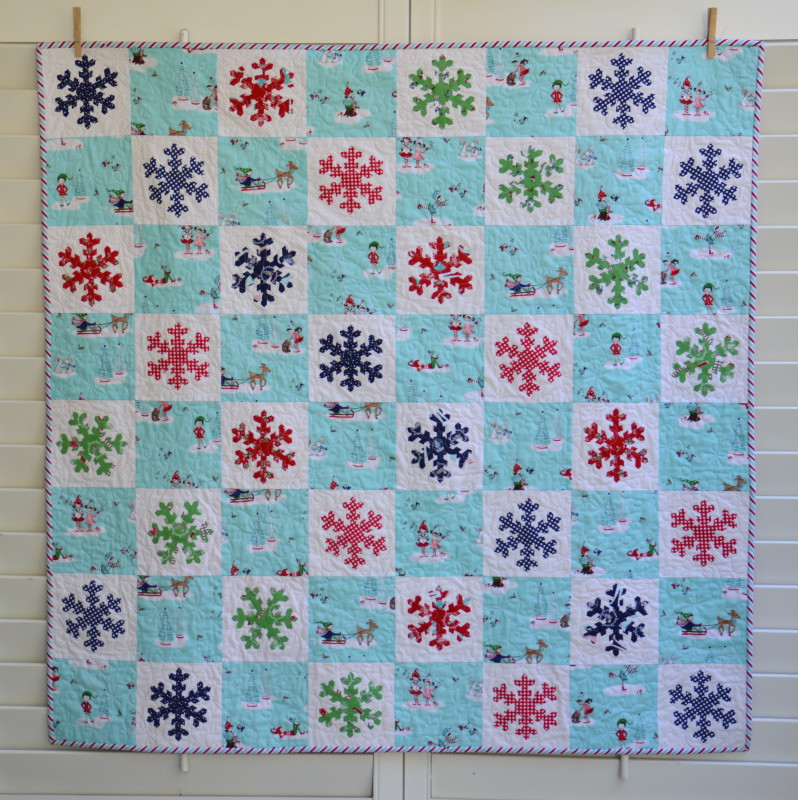
I don’t know about you, but cutting snowflakes and sewing snowflakes is not on my top 10 list of favorite things to do. Super time consuming! This quilt has 2 amazing shortcuts that will have you whipping one up in an afternoon.
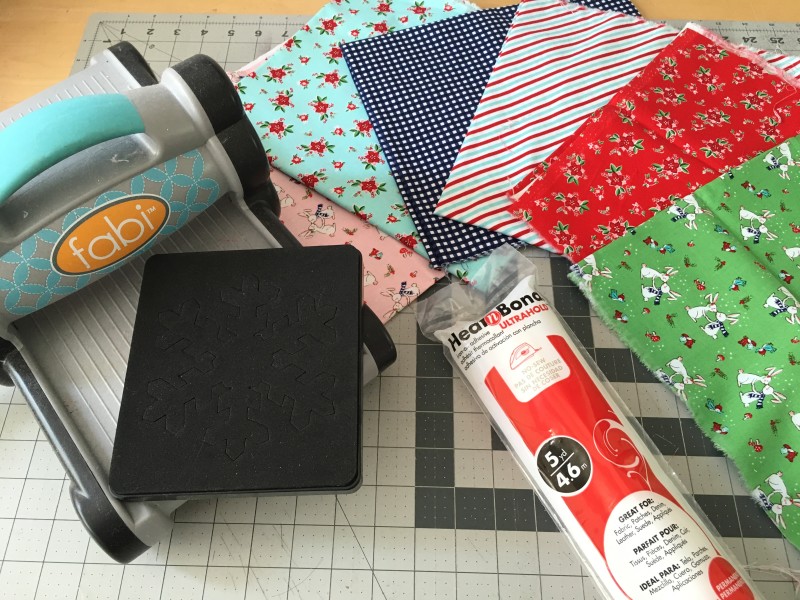
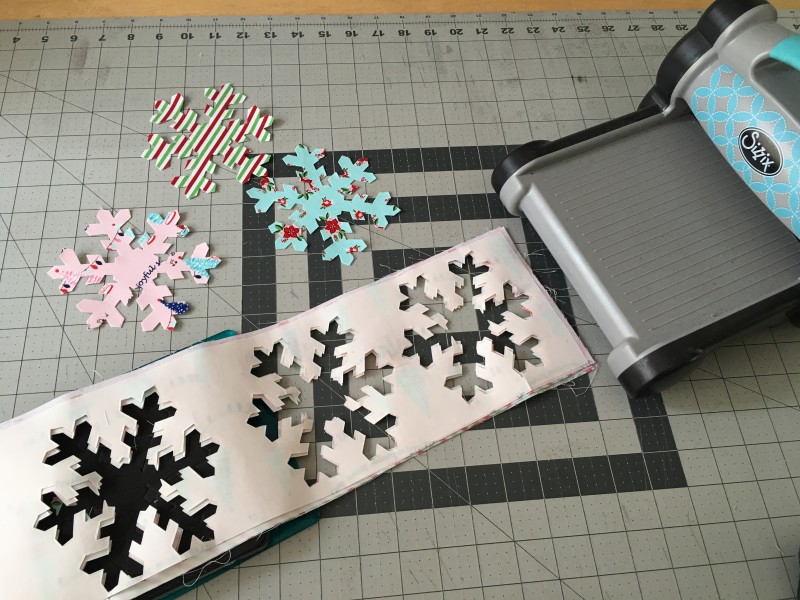
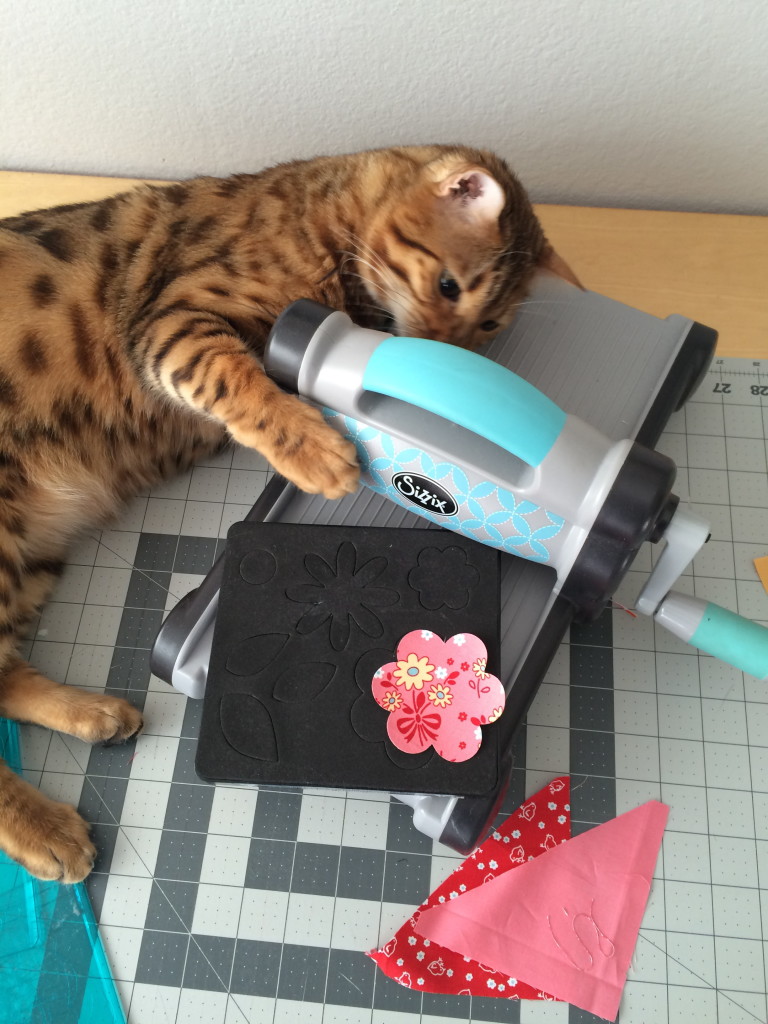
First, all the snowflakes were die cut on my Sizzix Fabi – 3 at a time!
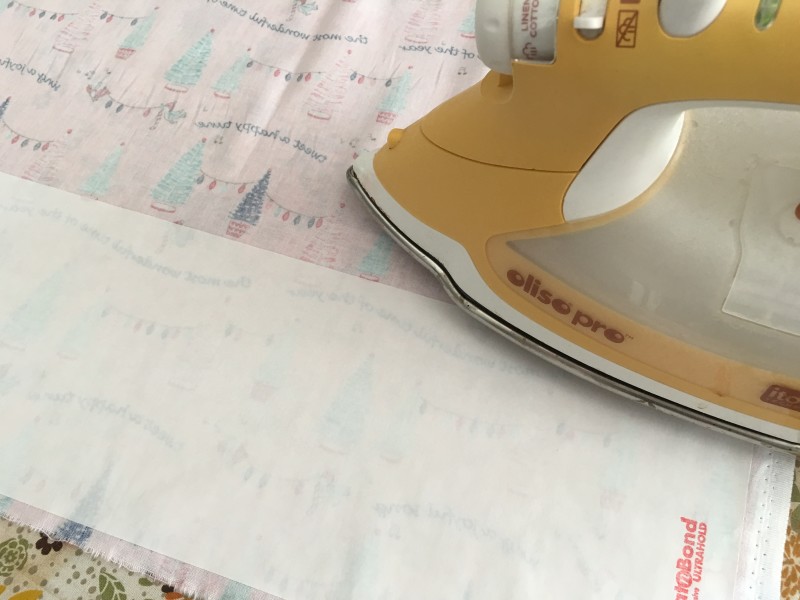
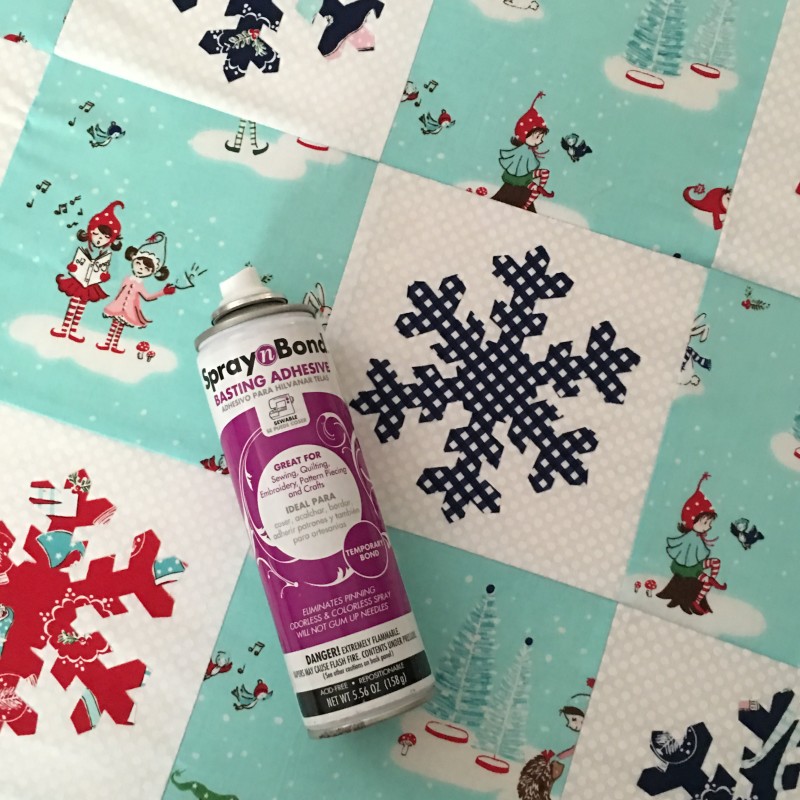
Second, the snowflakes are appliqued using Heat n Bond Ultra which means no tedious applique top stitching necessary! Heat n Bond Ultra is heavier than Heat n Bond Lite which I normally use for applique. The Ultra requires no sewing. Just cut, press, and go! The snowflakes get sewn over during the quilting process – which helps incorporate them into the quilt and makes it even more durable.
Here’s how you can make one:
Supplies:
1 yard white fabric
1 yard aqua main fabric (or additional if you want to fussy cut)
fat quarters for applique, red, navy, green
Instructions:
Cut (32) 6.5″ squares of white fabric
Cut (32) 6.5″ squares of the aqua Pixie Noel theme print
Cut the Heat n Bond Ultra into 5″ strips. Fuse to the wrong side of the snowflake fat quarters.
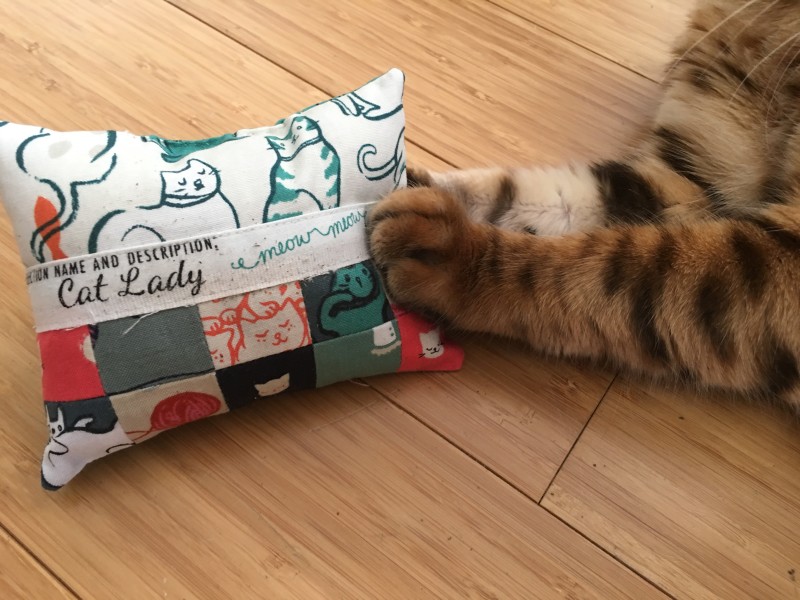
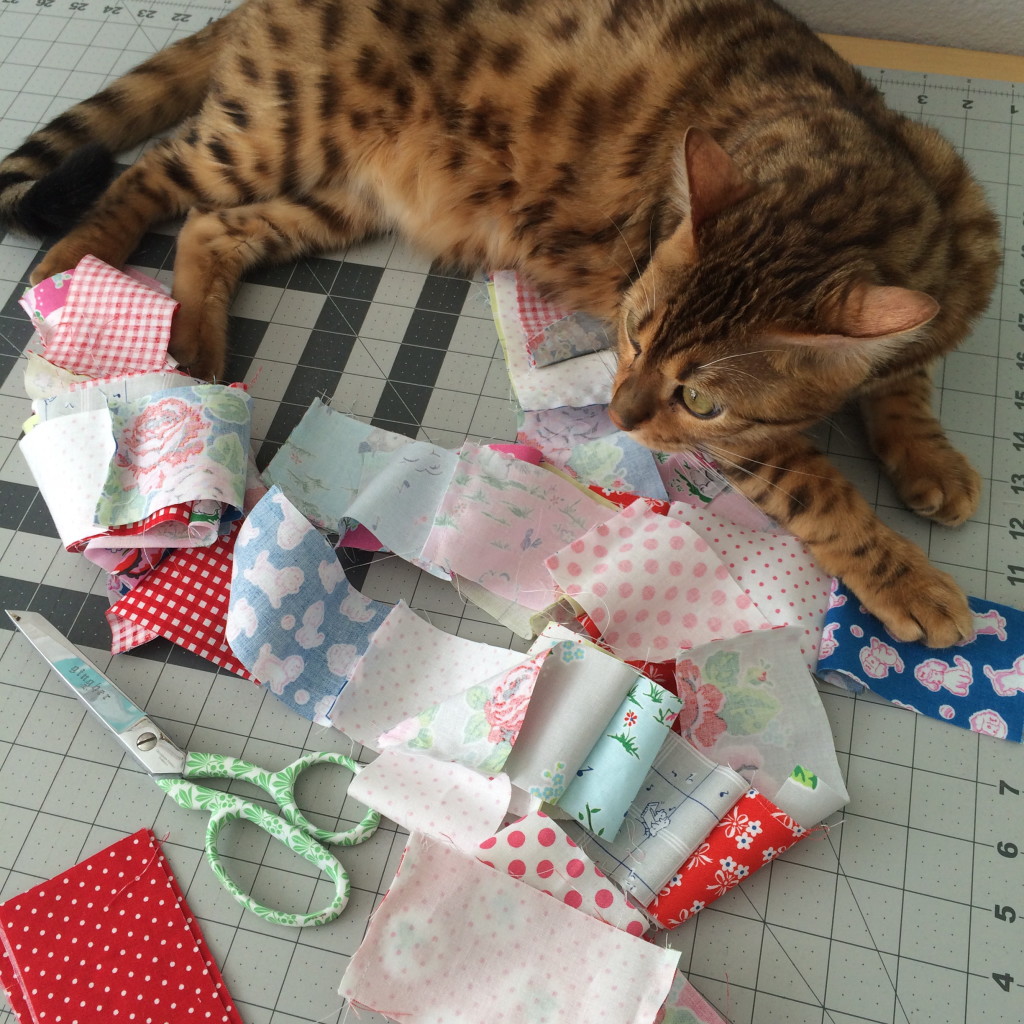
Make sure your cat helps you die cut the snowflakes.

We cut 3 at a time.
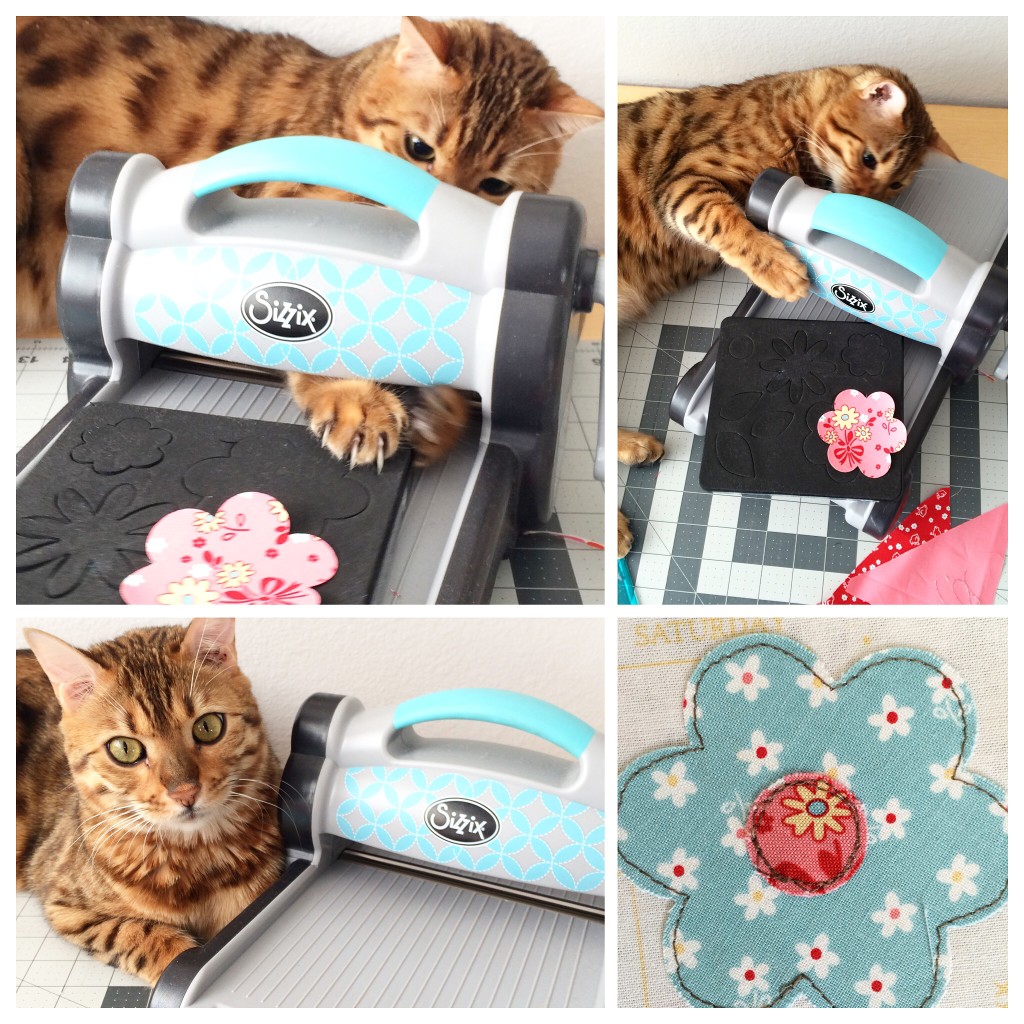
 Peel off the backing.
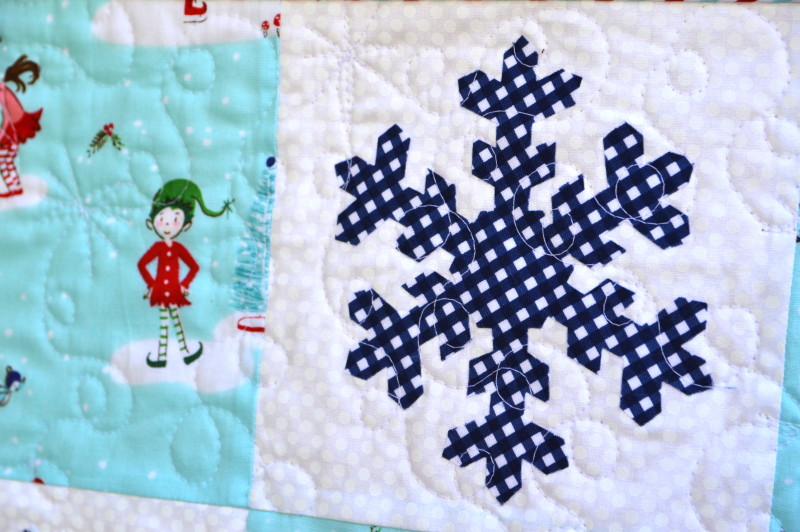
Center the snowflakes on the white squares and heat set with hot dry iron.

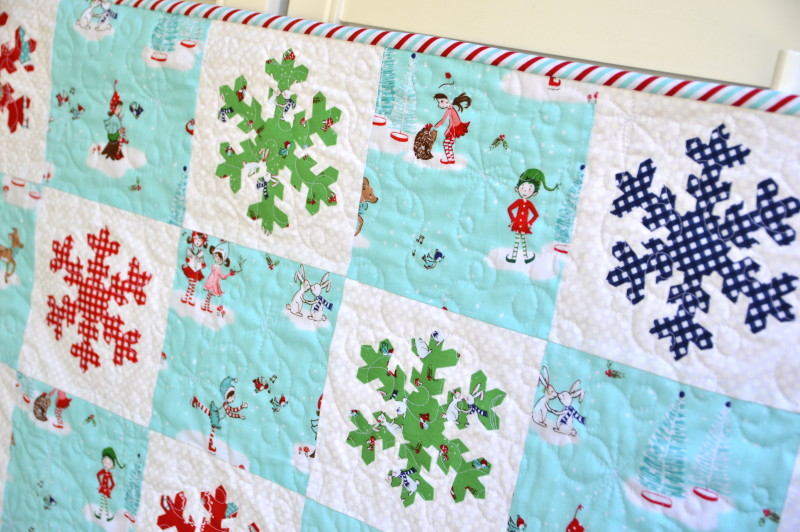
Die cut 6 green snowflakes, 12 navy snowflakes, and 12 red snowflakes.
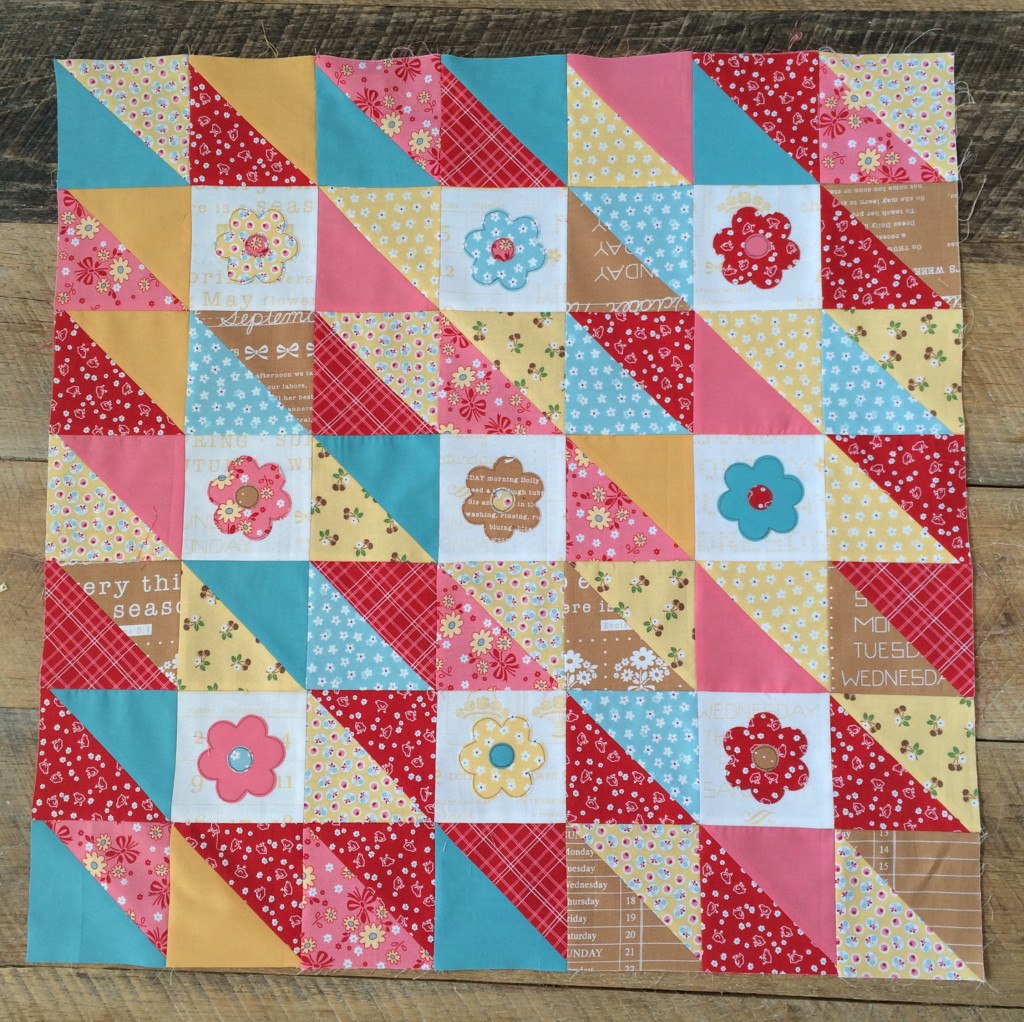
Lay out the quilt according to the diagram below:
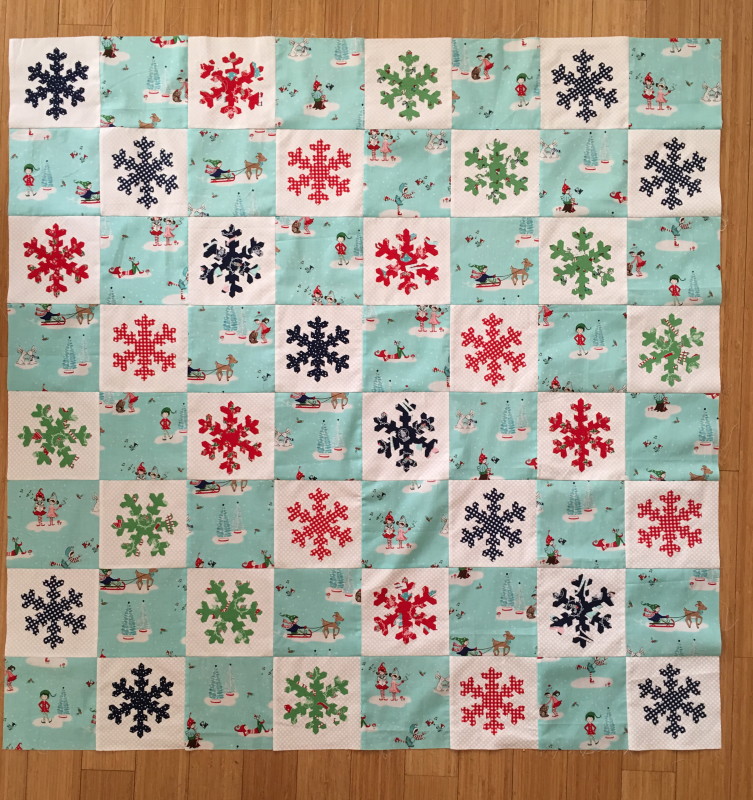
Sew the squares together in rows using 1/4″ seams. Press each row alternately. Sew rows together pinning at each intersection.
I always use Spray n Bond to baste my quilts – its fast, secure, and no pinning! Seriously this quilt can be made in a matter of hours!!
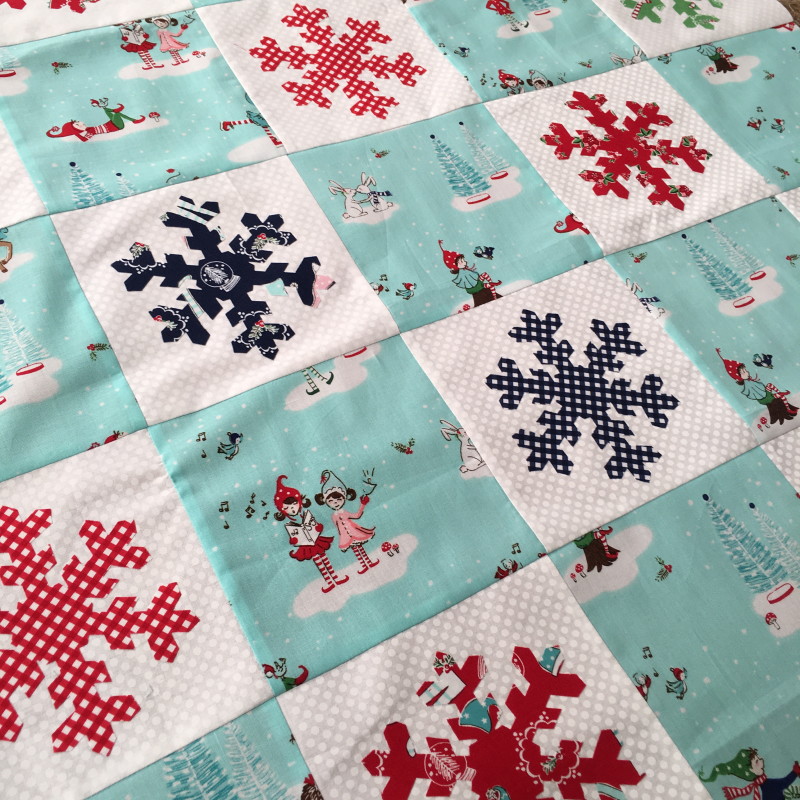
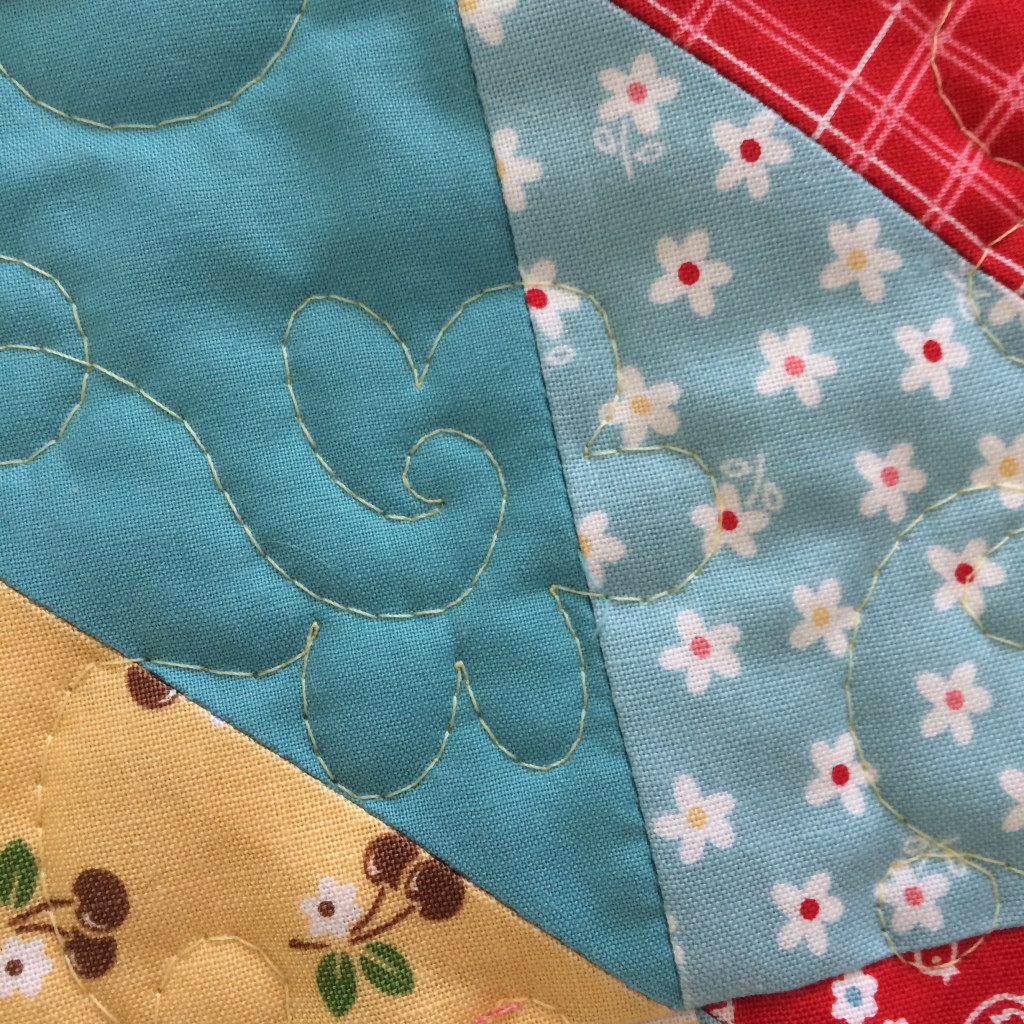
I quilted loops and stars. I sewed right over the snowflakes. It helps to make them feel like part of the quilt and not puff out.
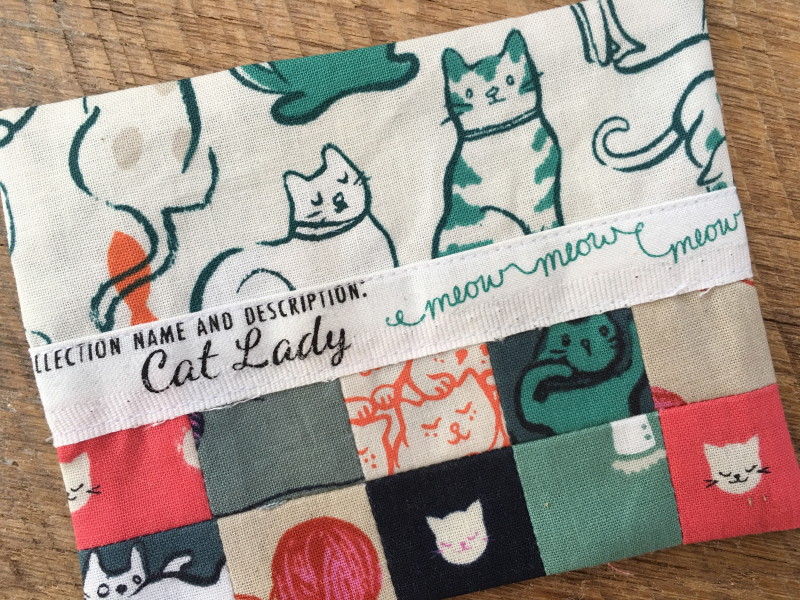
I love that there are 3 stripe colors to choose from in Pixie Noel. Even better, they are printed on the bias which makes cutting bias striped binding a snap!!!
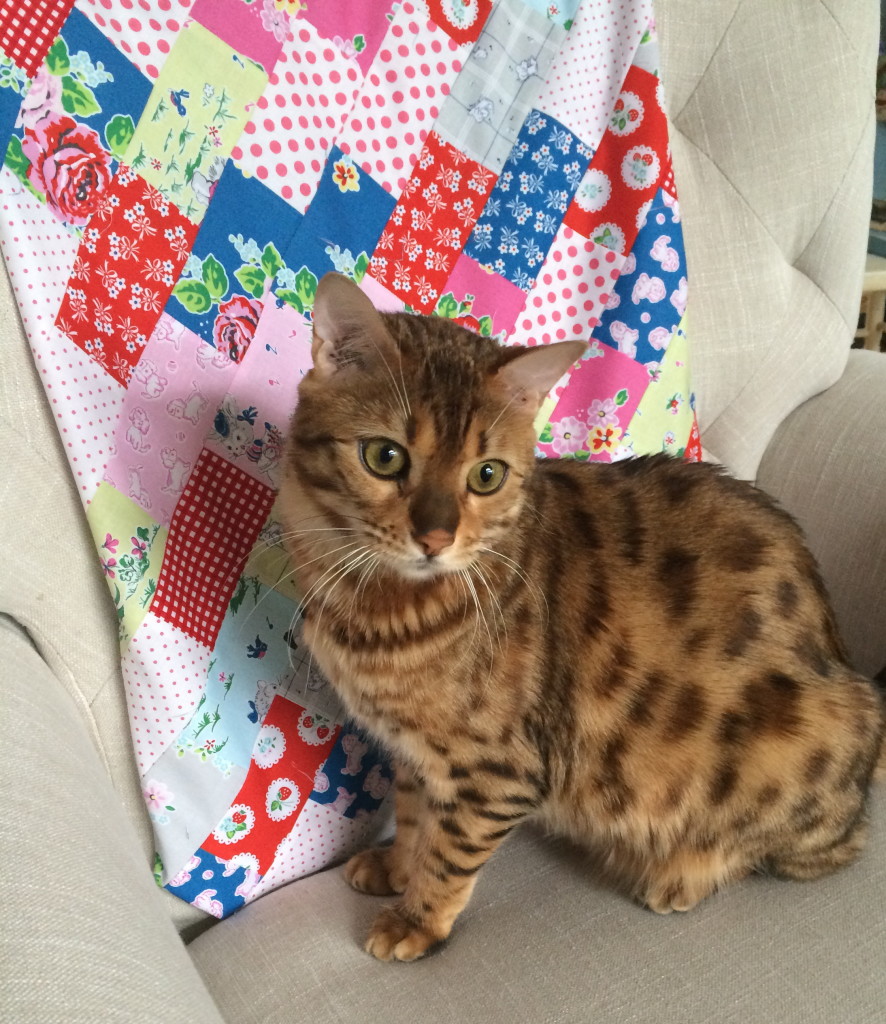
Mufasa loves the quilt! Don’t tell him it’s not for him 🙂
Thanks for stopping by!!!! Happy Christmas in July 🙂 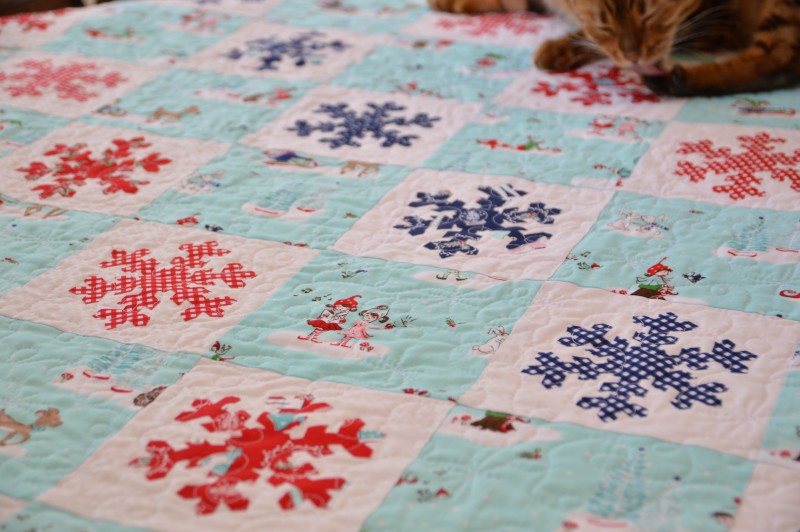
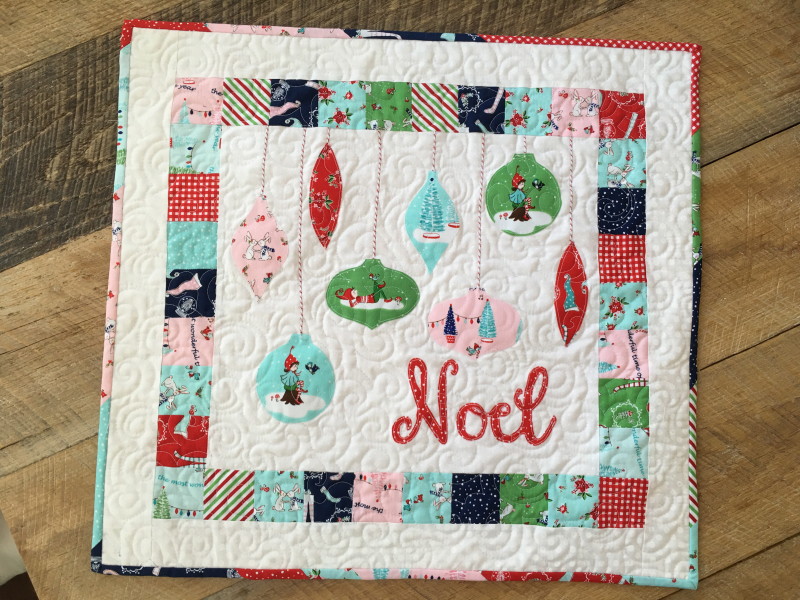
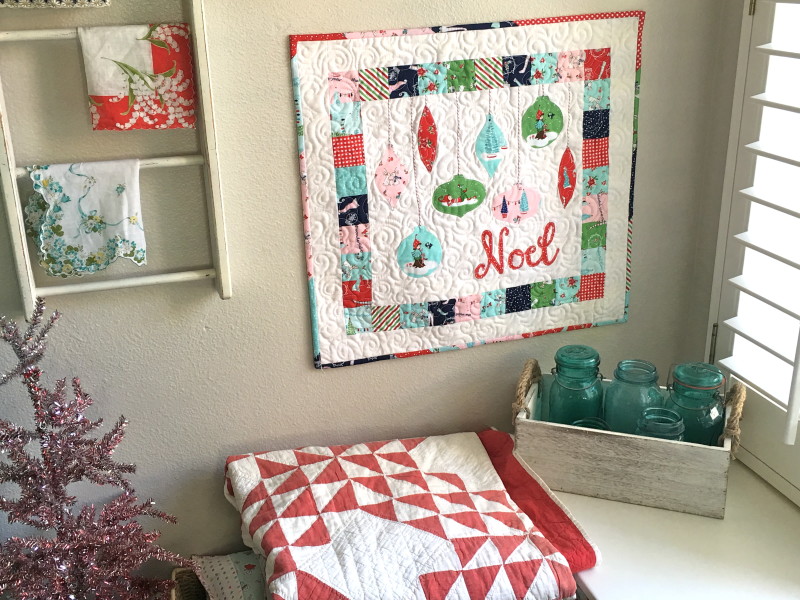
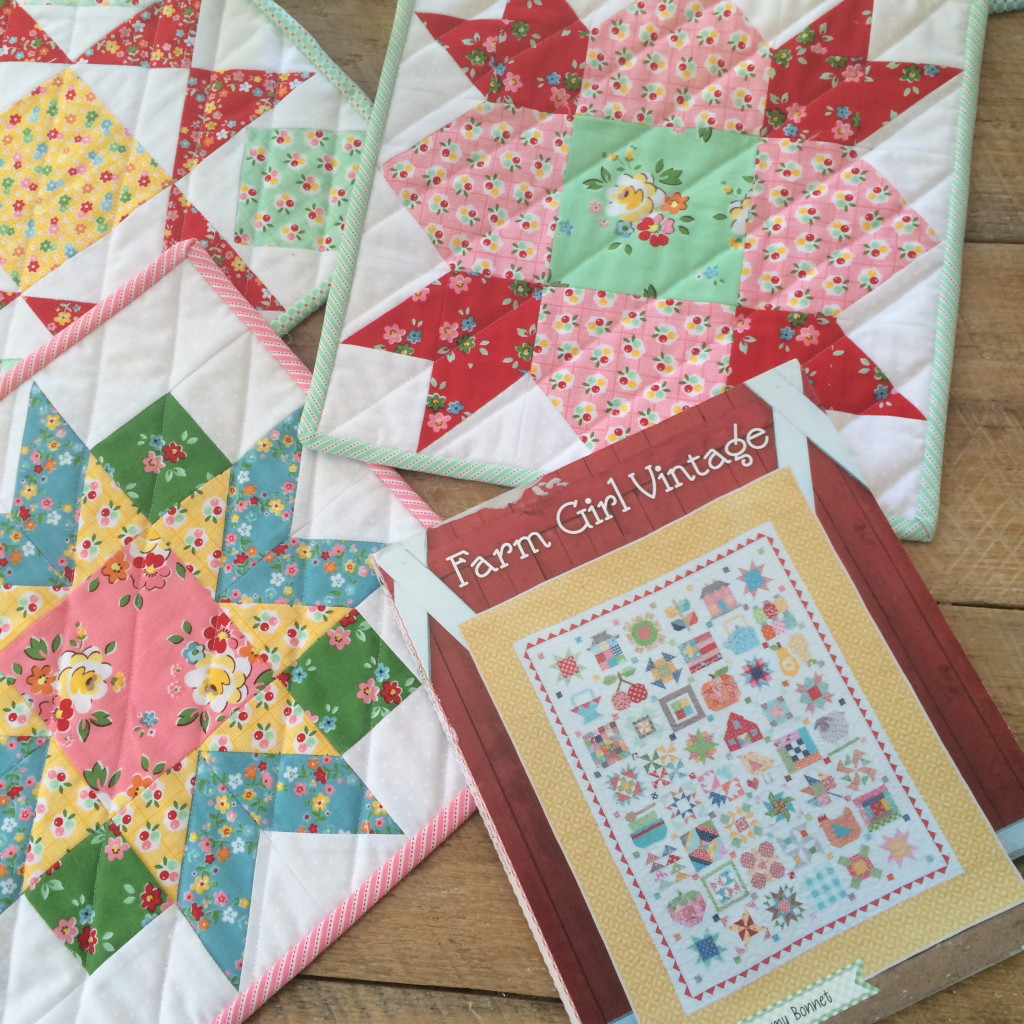
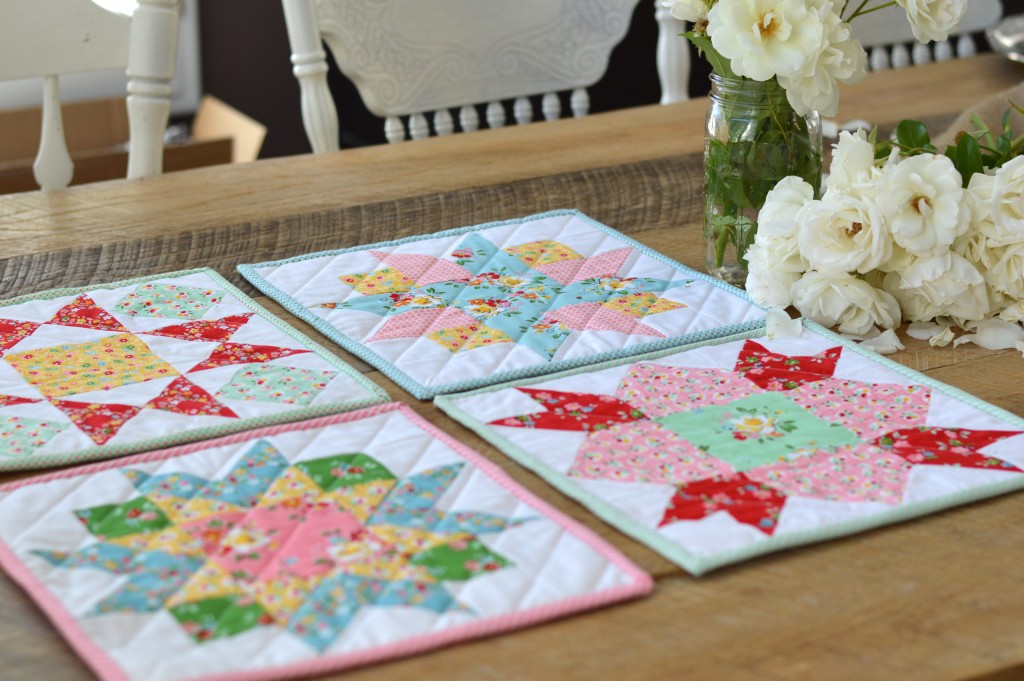
 I created this little mini quilt for her to hang in her Quilt Market booth. You can purchase this quilt pattern as a PDF download in my
 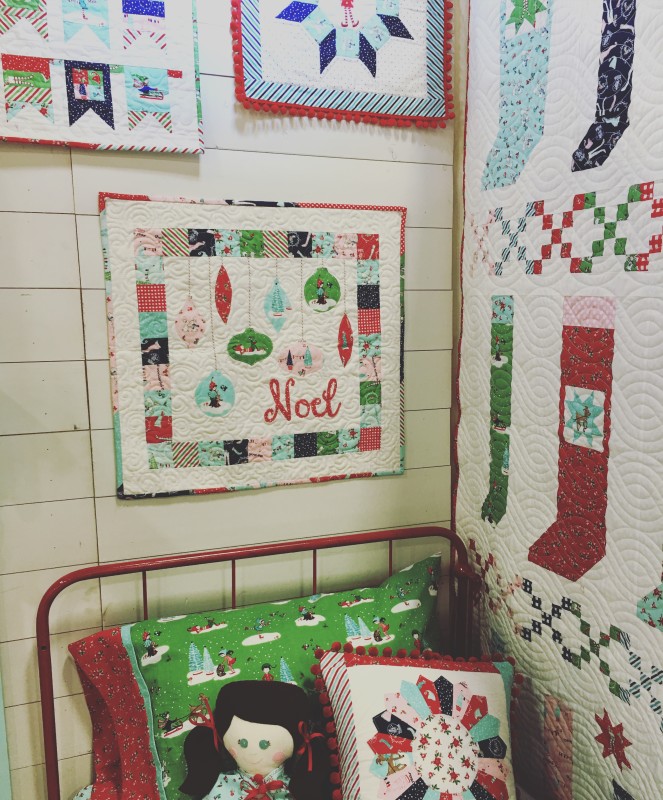 Her booth was the cutest!
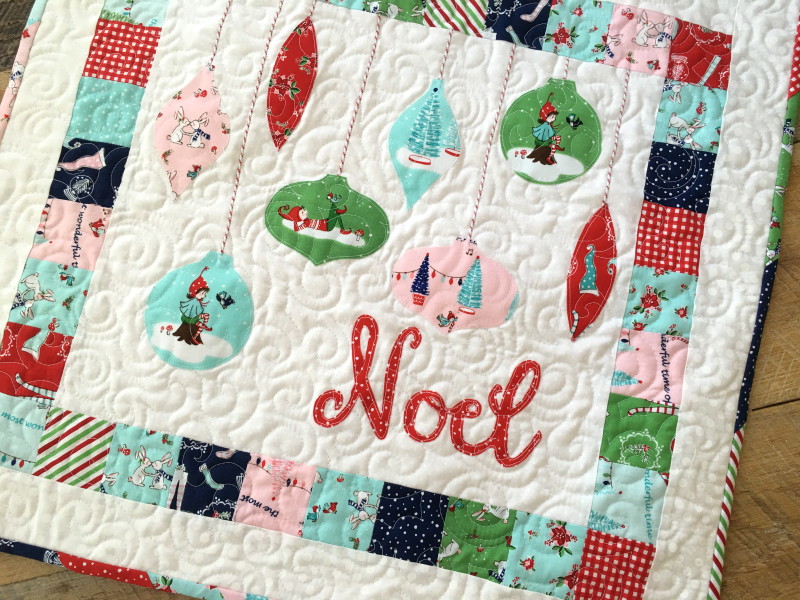
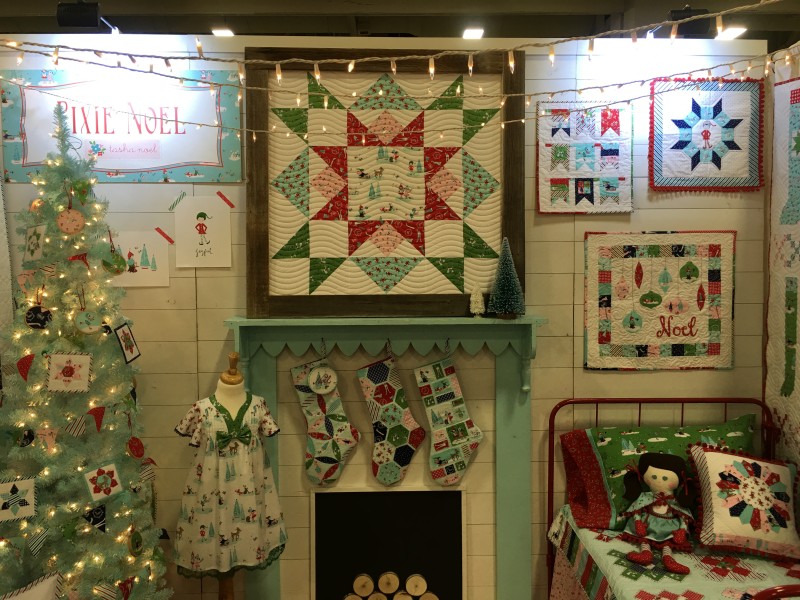


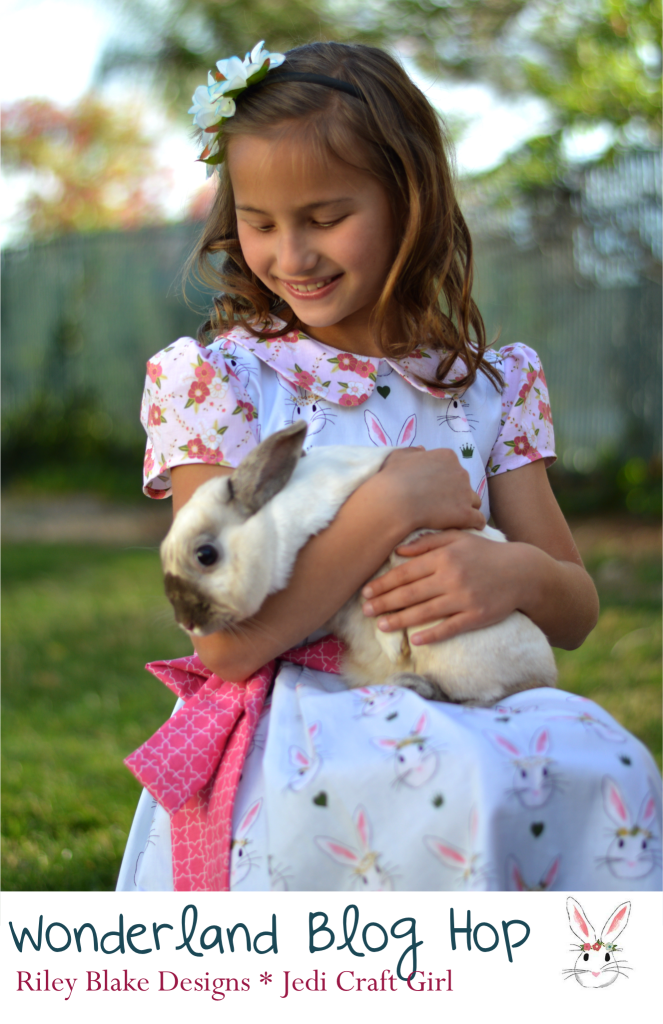
 I love all the amazing projects on this blog hop. Check out this list of all the talented designers participating. Thanks so much to Nadra and Riley Blake Designs for the wonderful fabric and all the inspiration 🙂

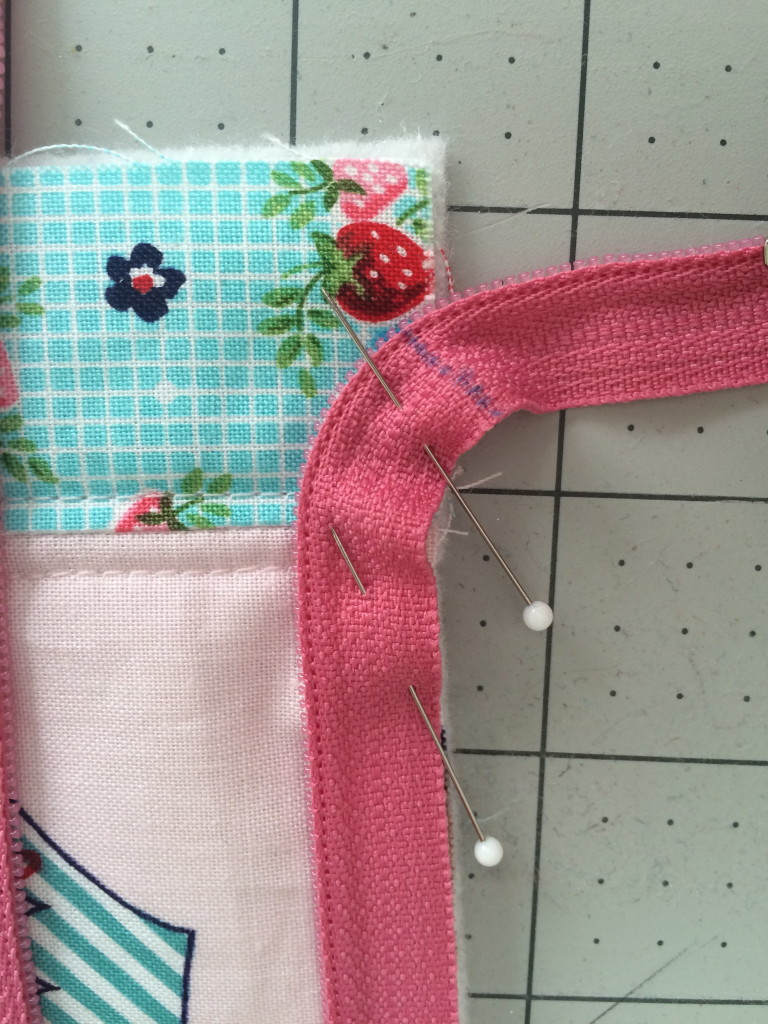
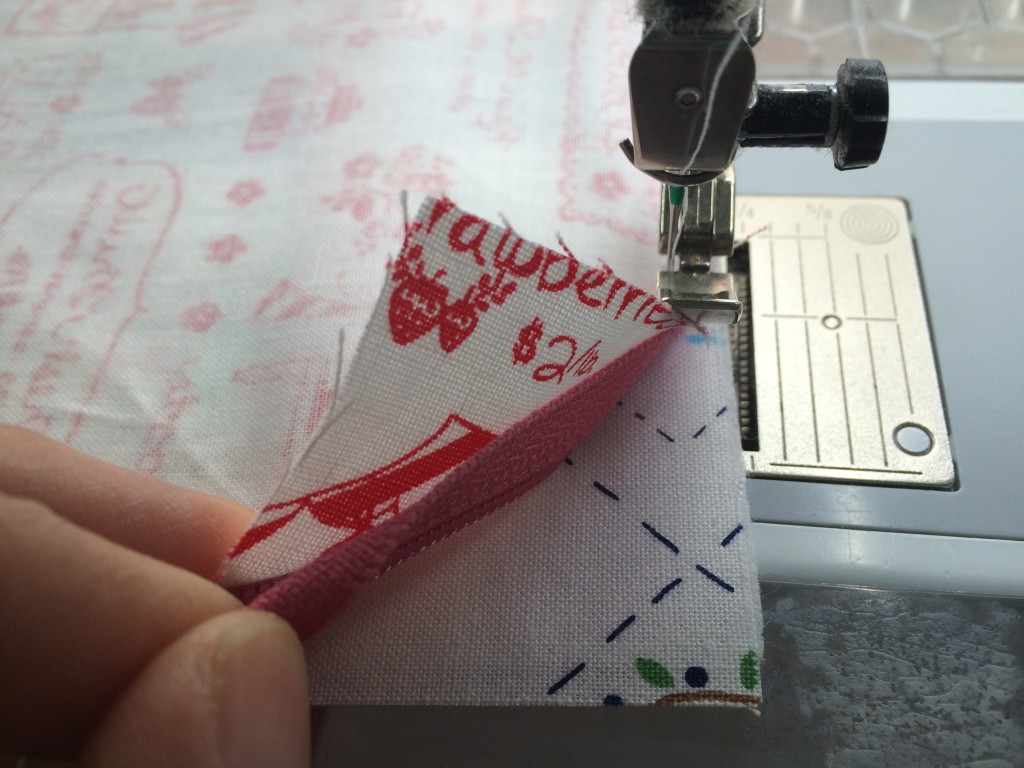
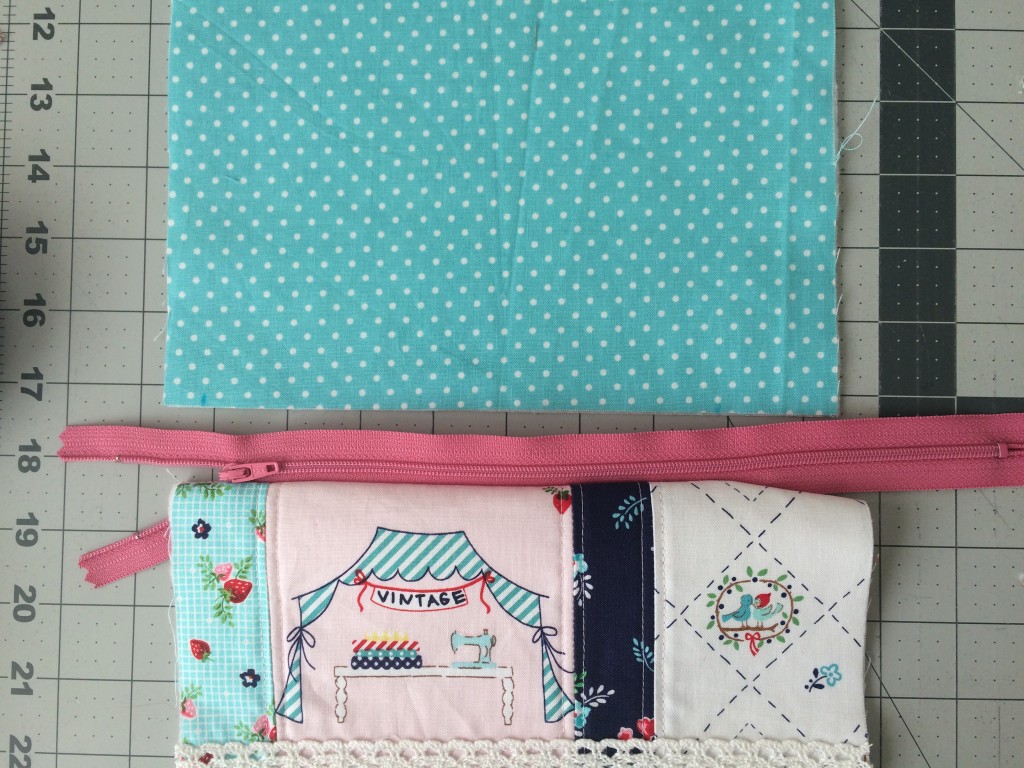
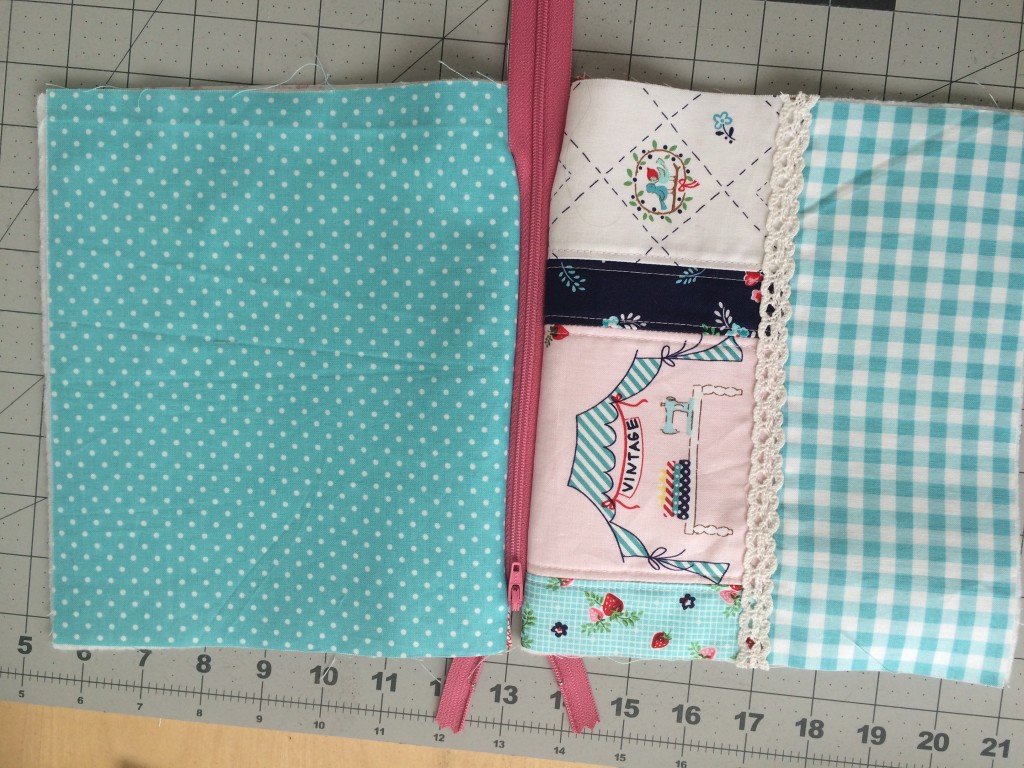
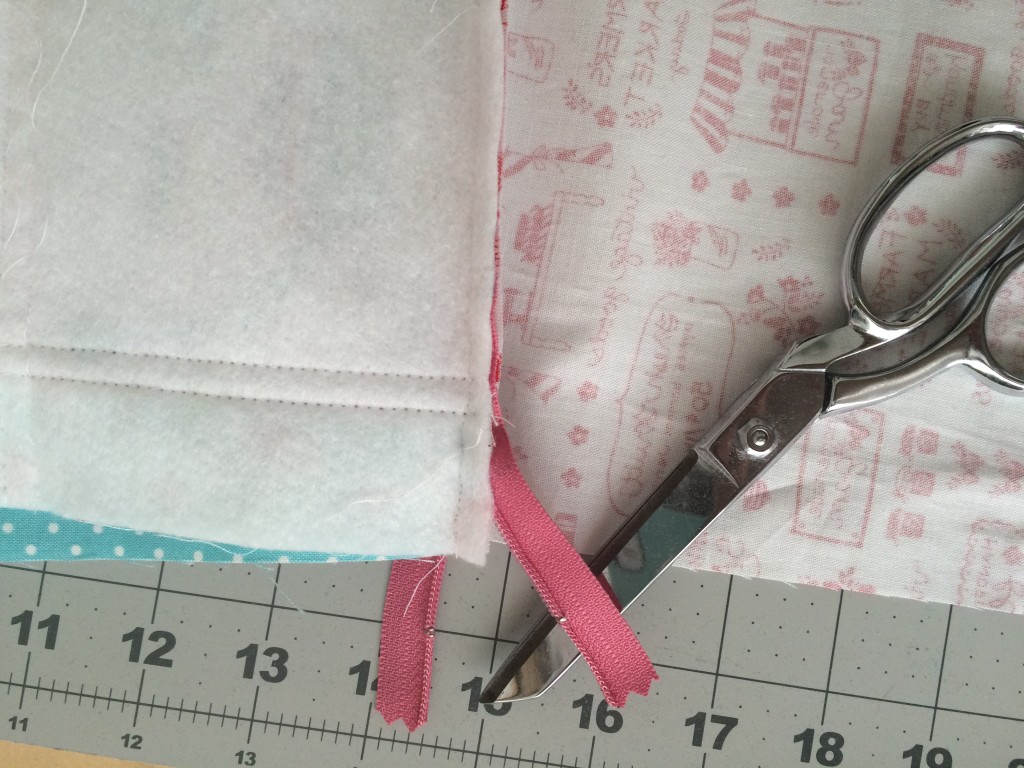
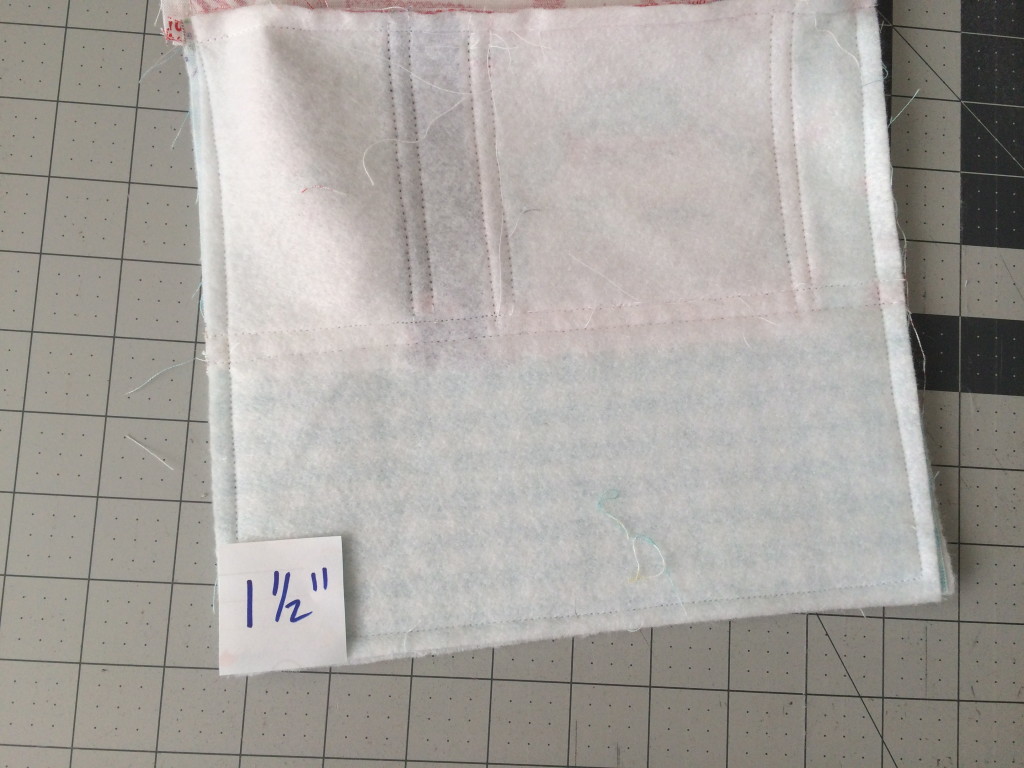
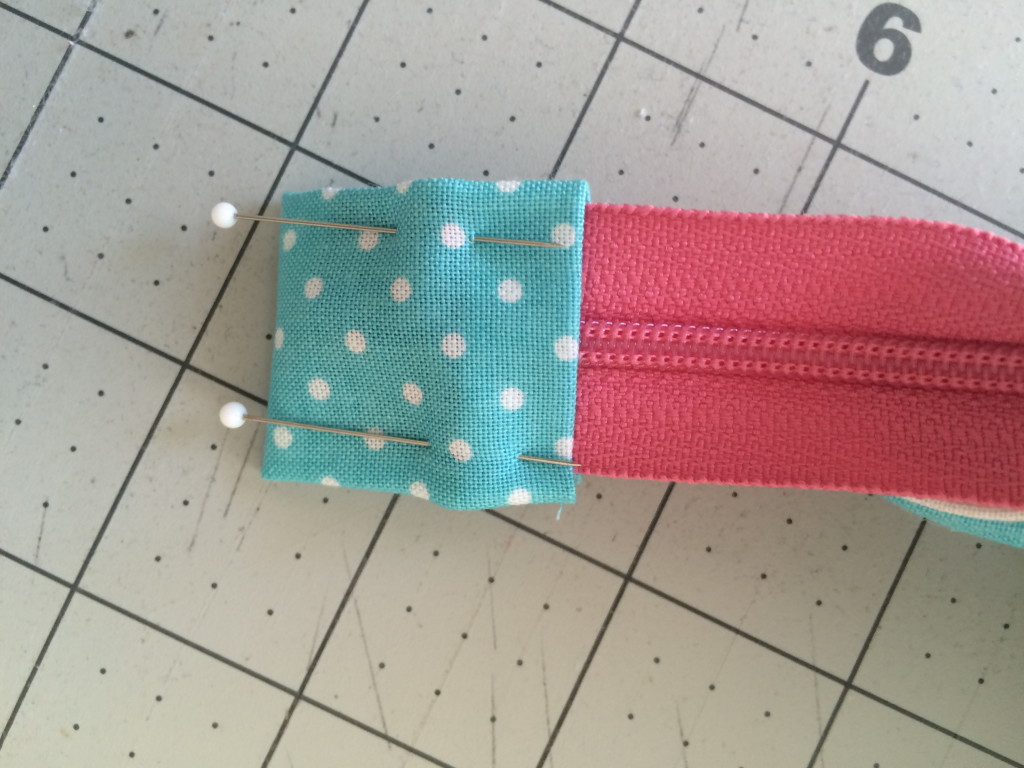
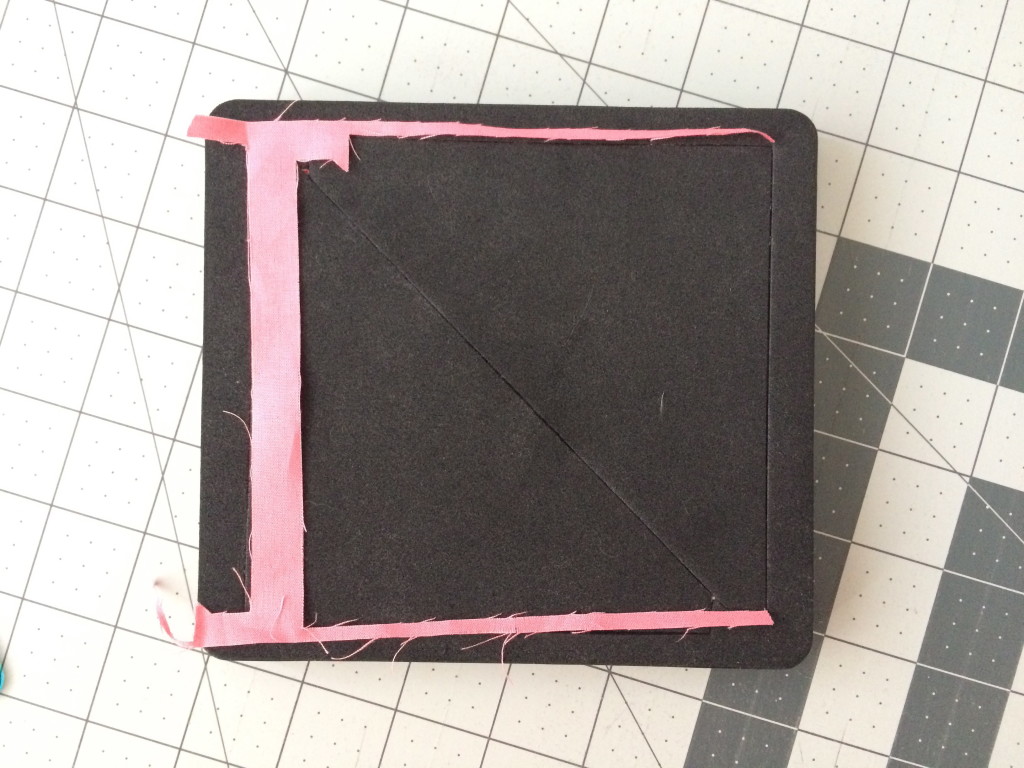
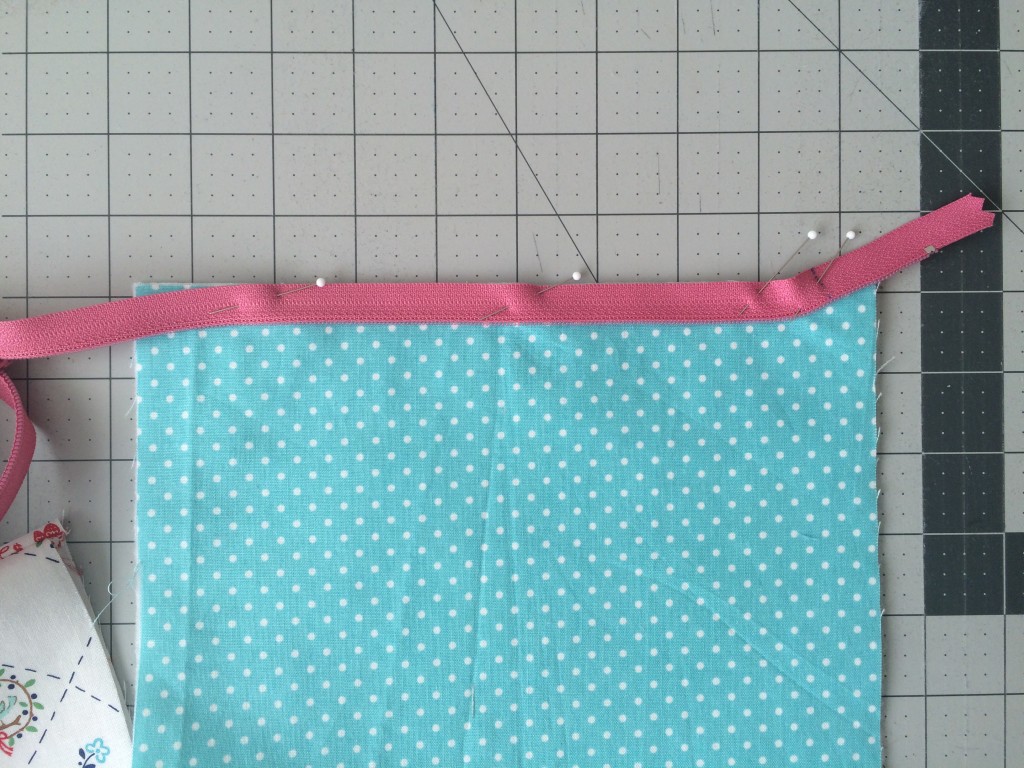 You will need to sew this portion “opposite” with the needle moved all the way over to the opposite side and the bulk of the zipper pouch next to the throat of the sewing machine.
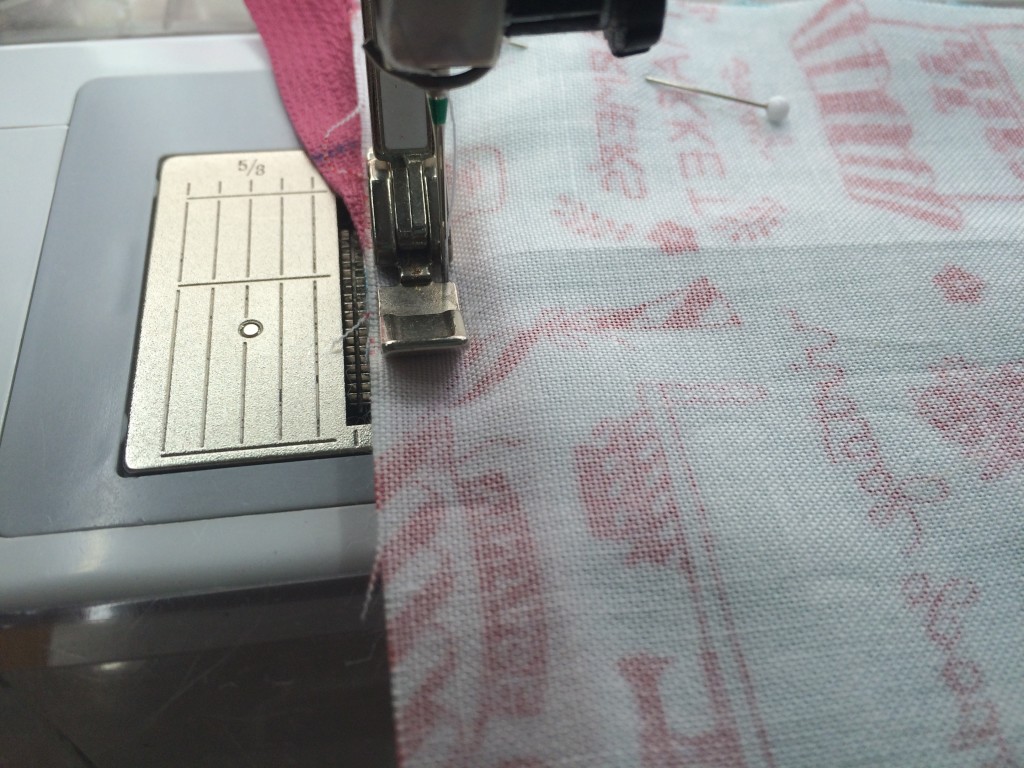
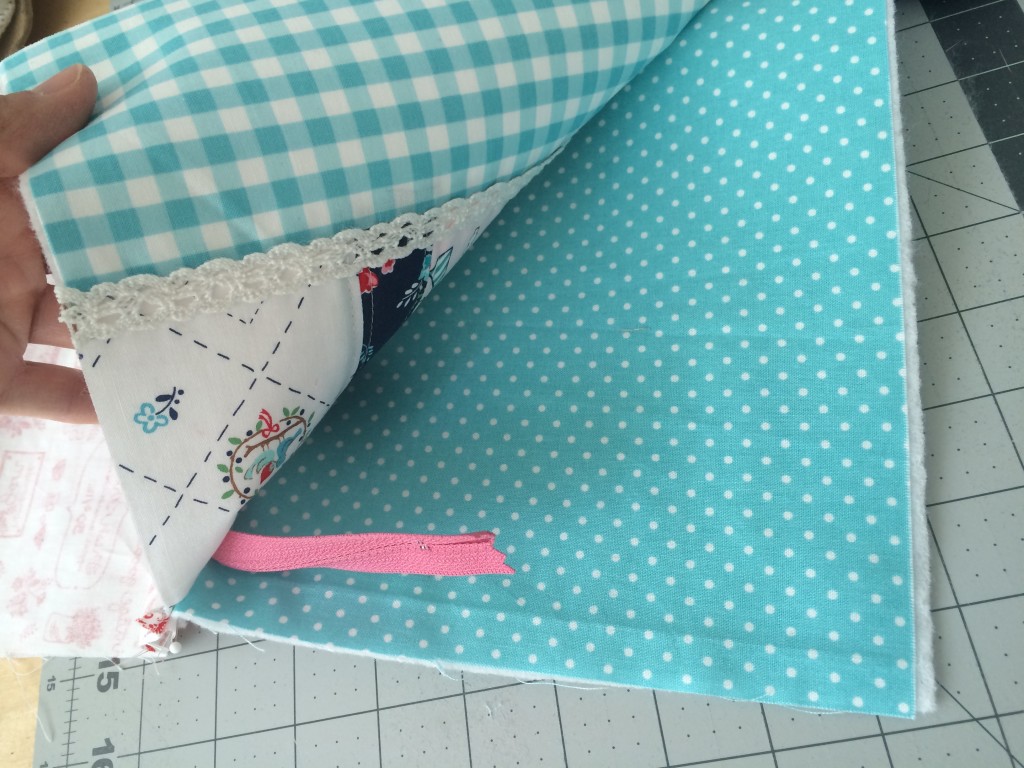
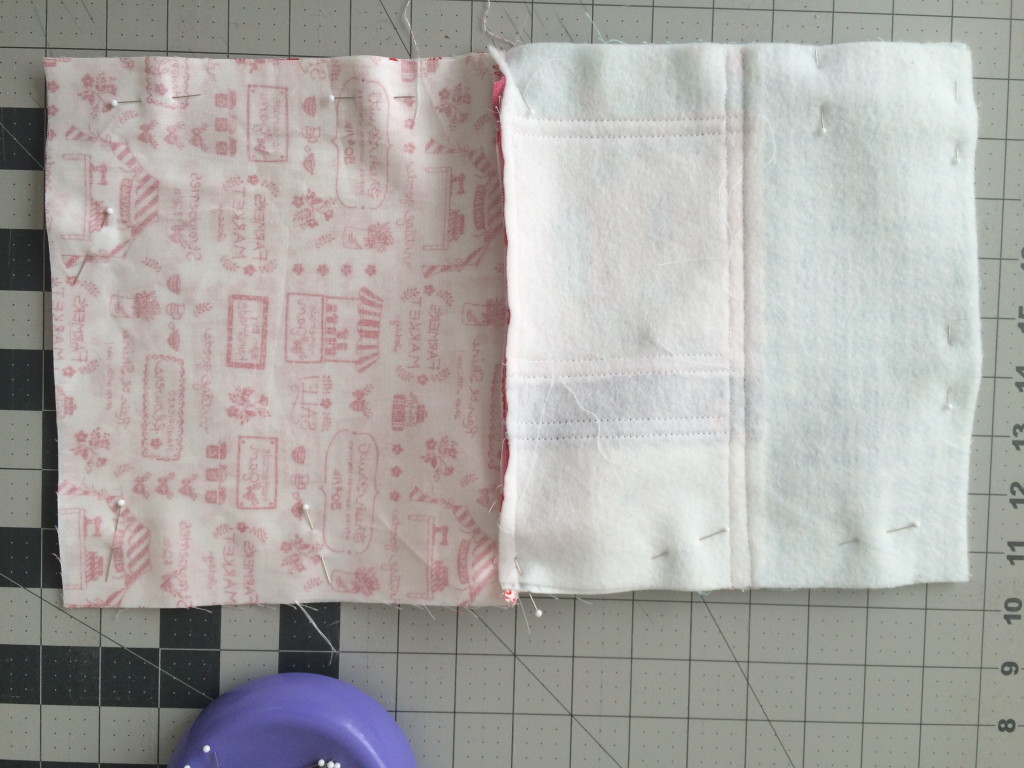
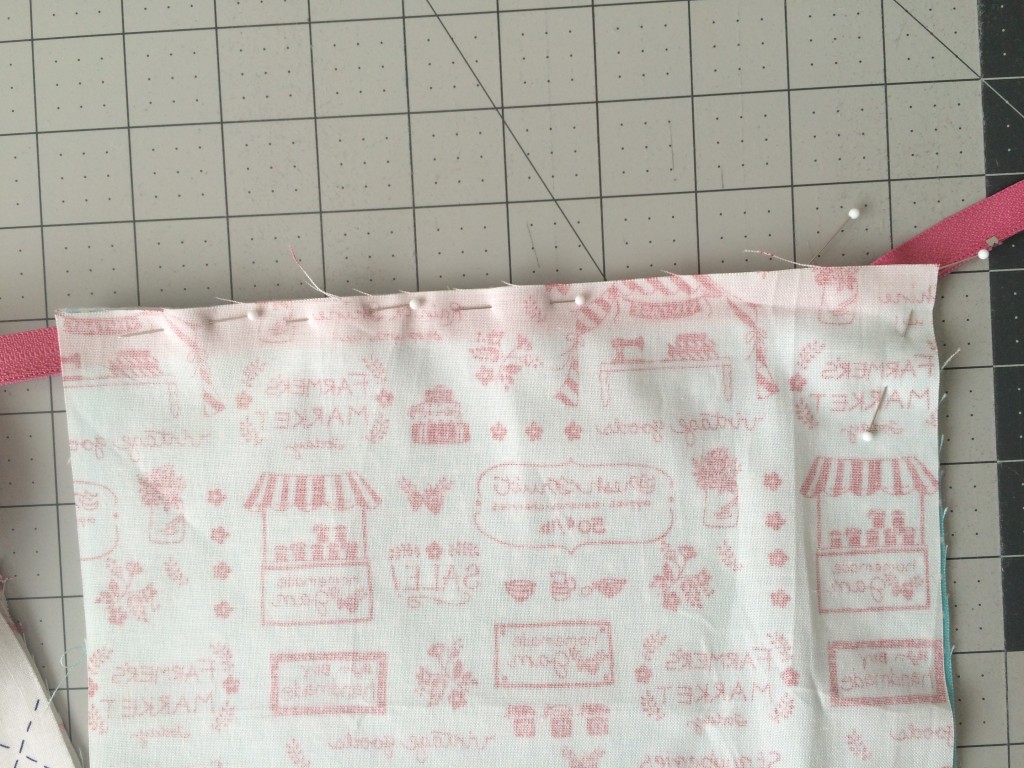
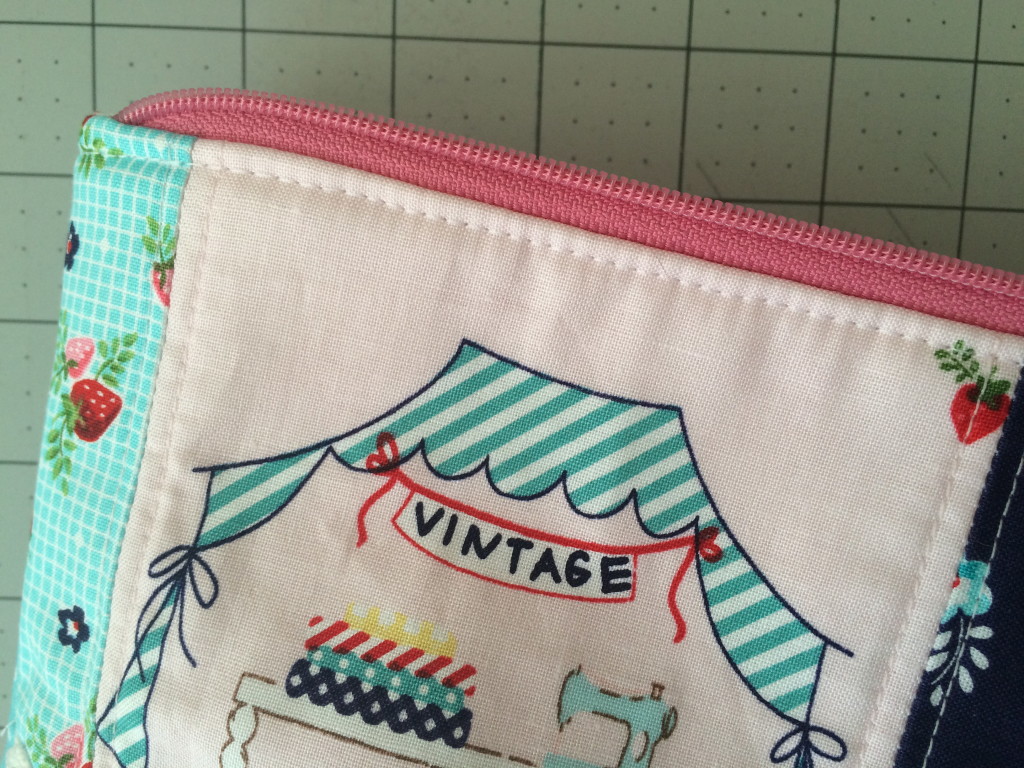
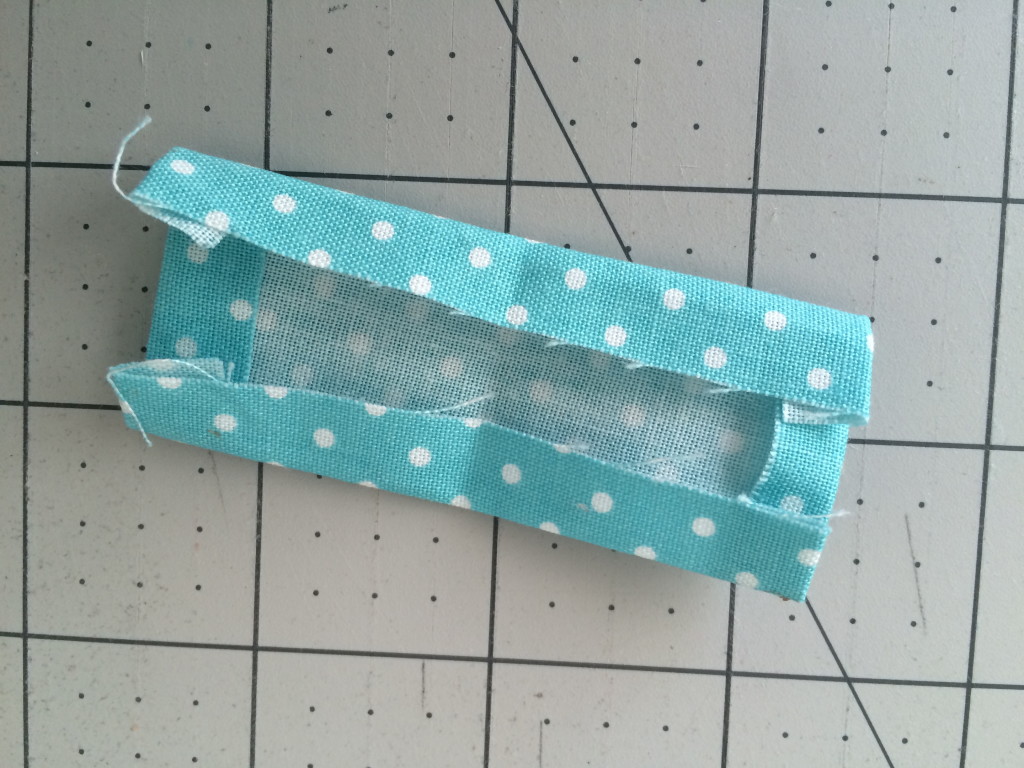
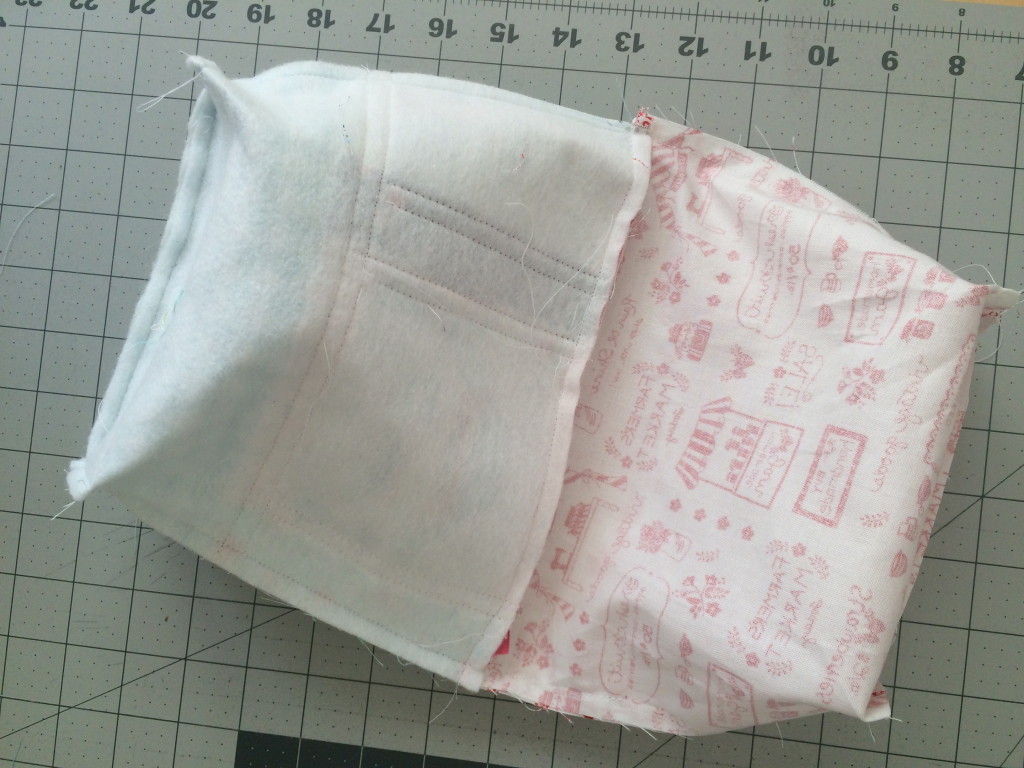 This is how the bag should look now (above). Turn the bag right side out and top stitch the opening closed.
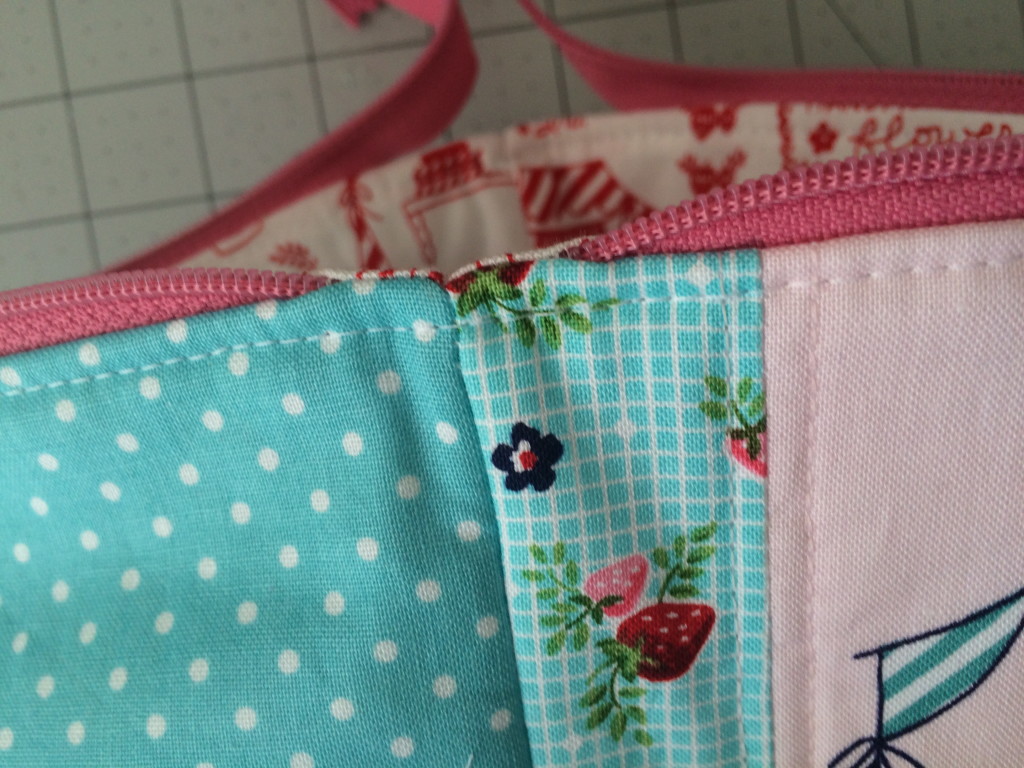


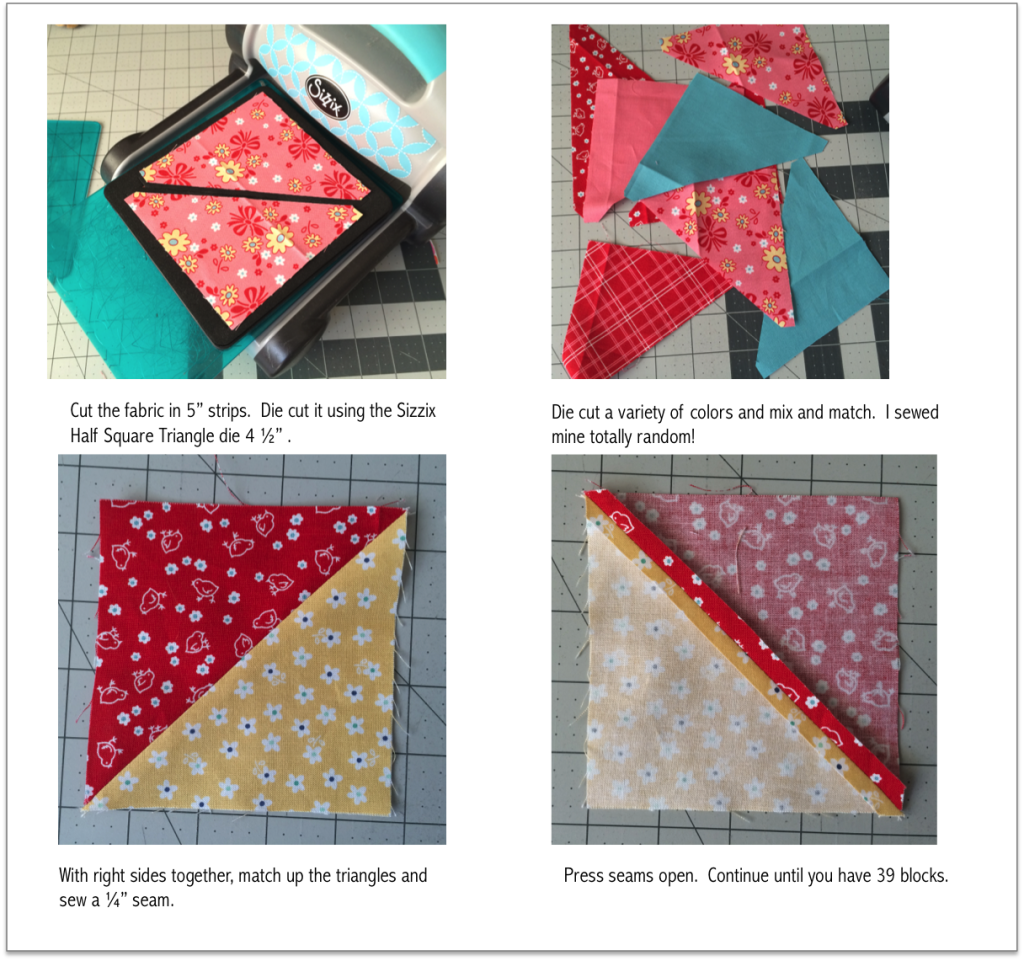

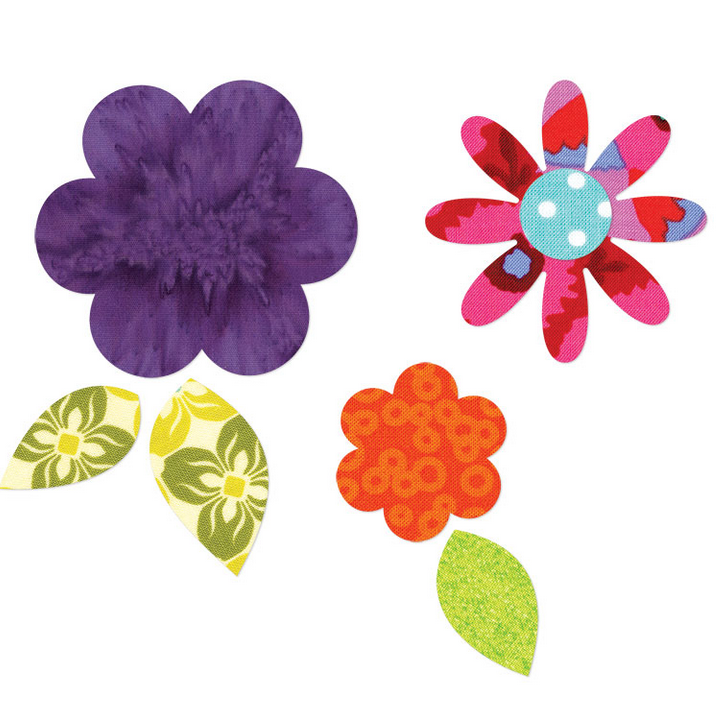
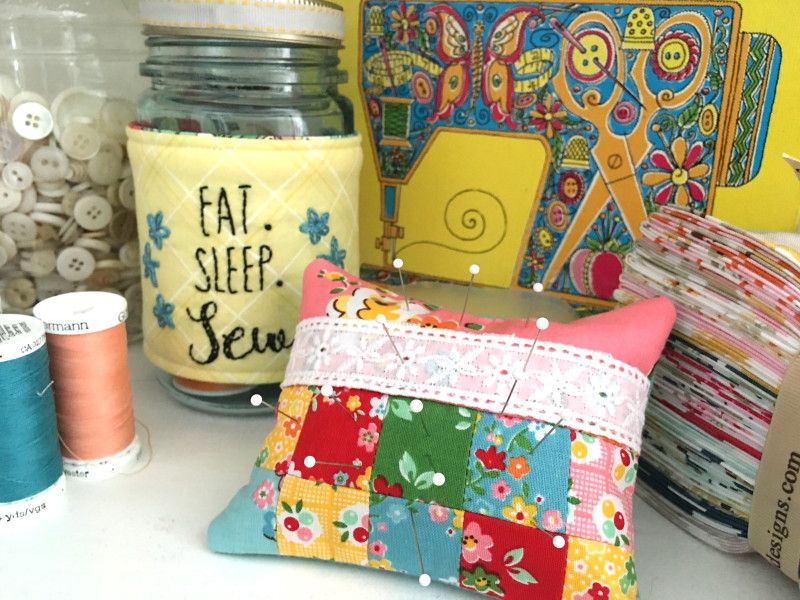
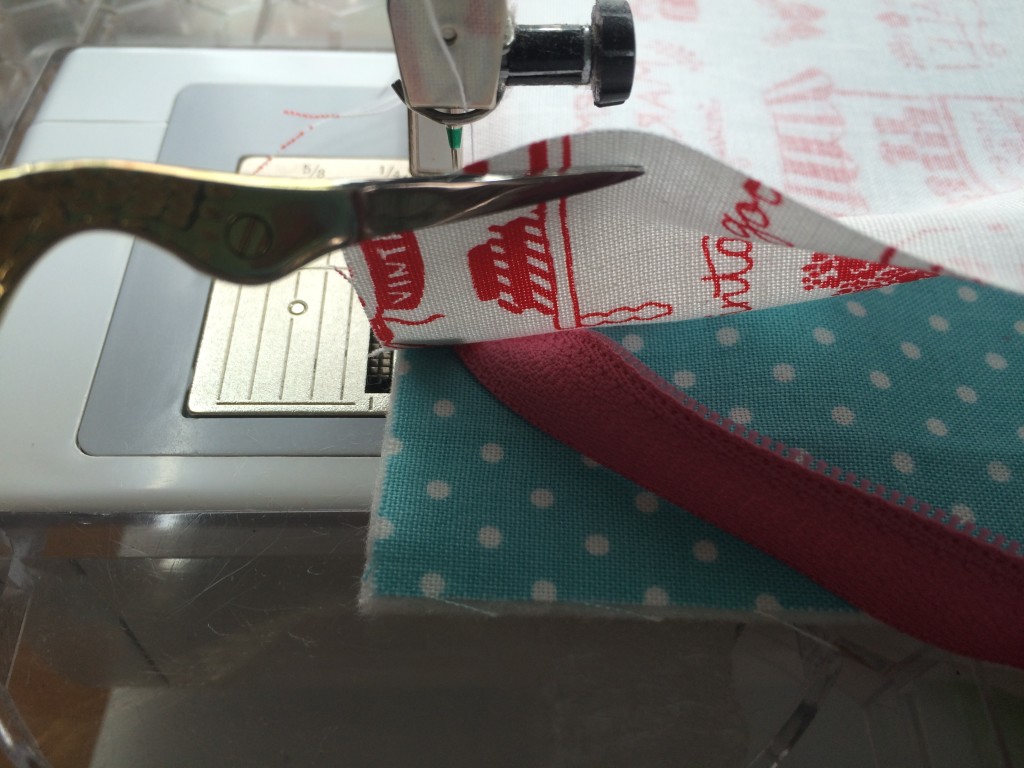
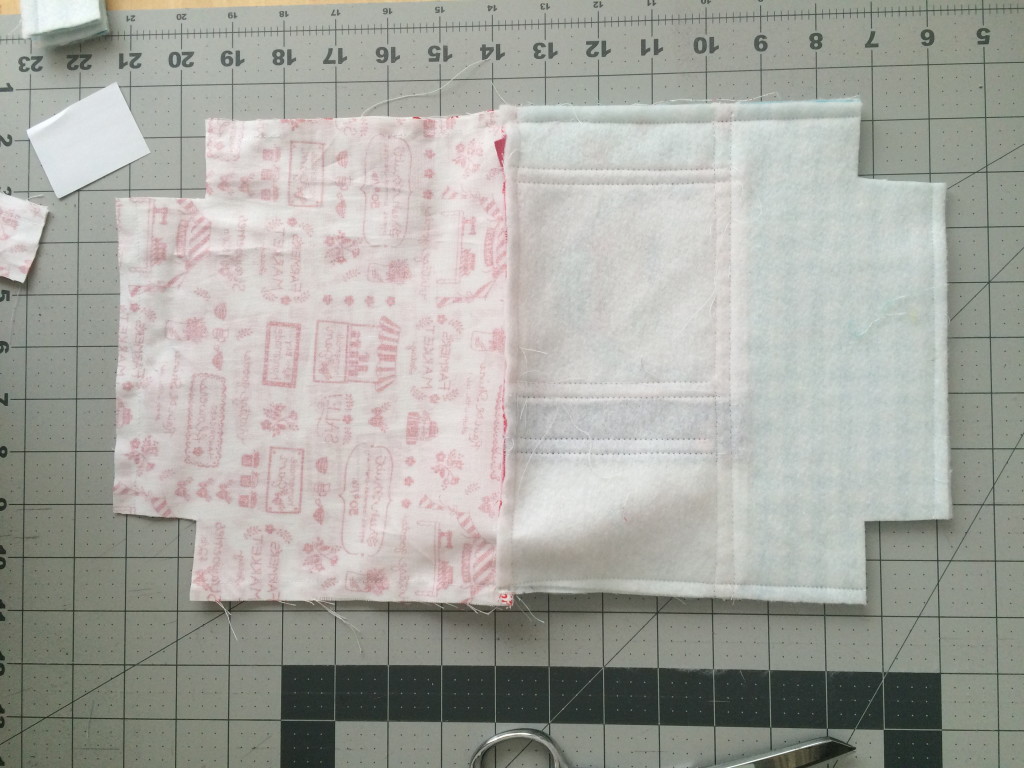
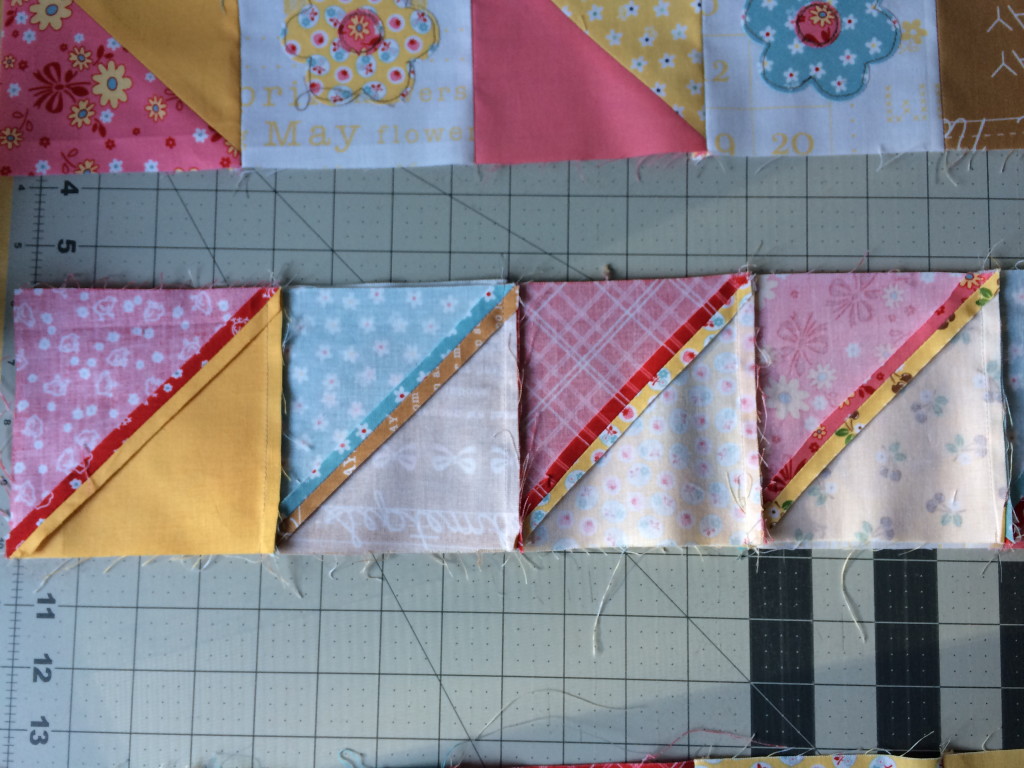
 Once you have cut the flowers, peel off the baking paper and fuse them to the 4 1/2″ squares. Top stitch around each piece.
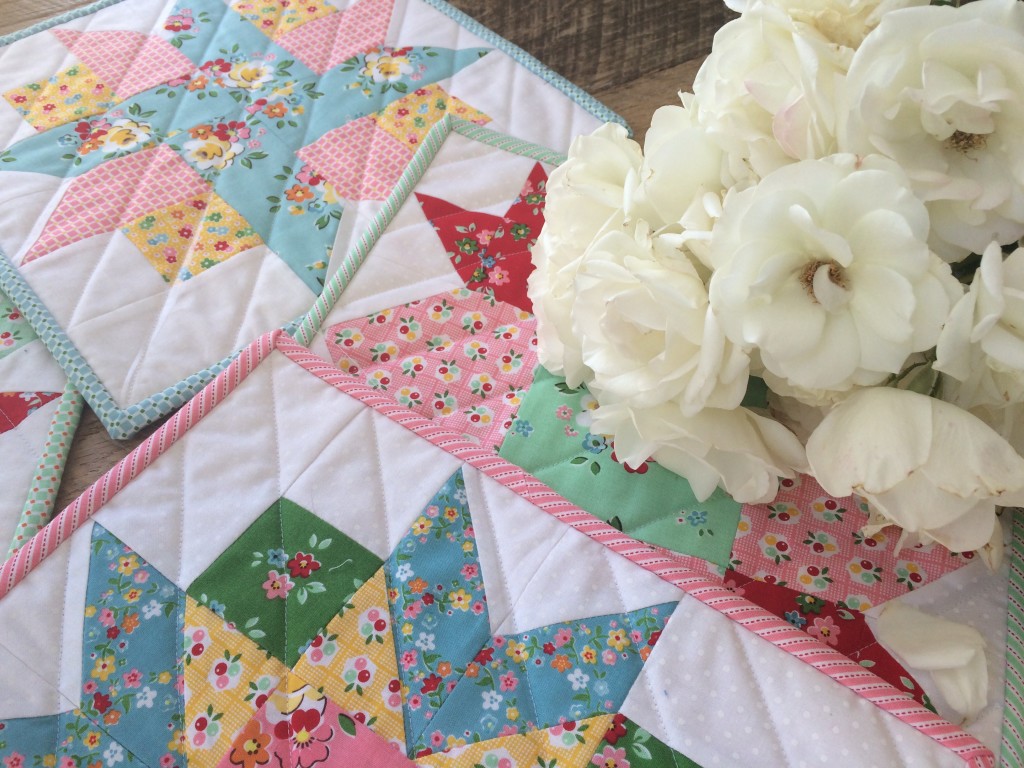
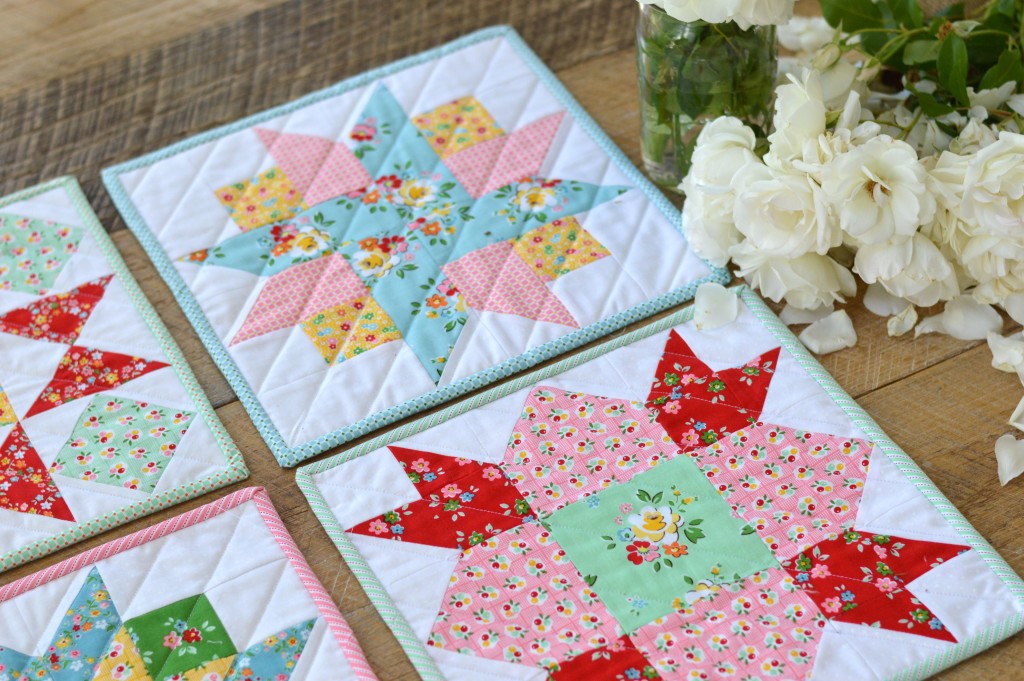
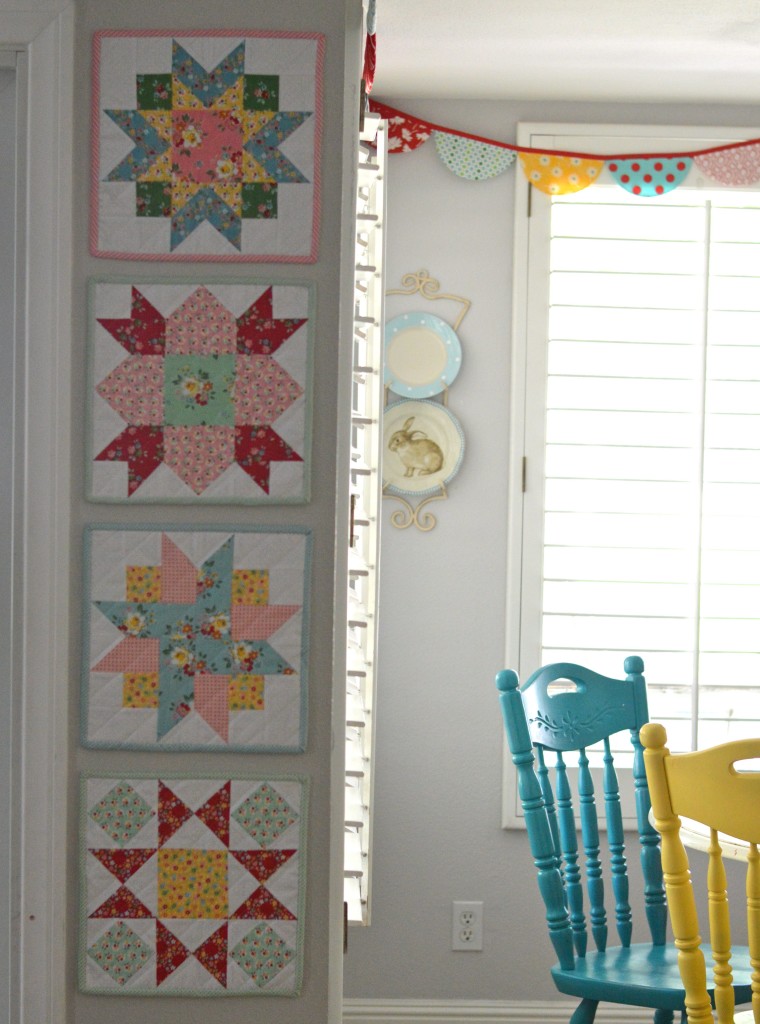
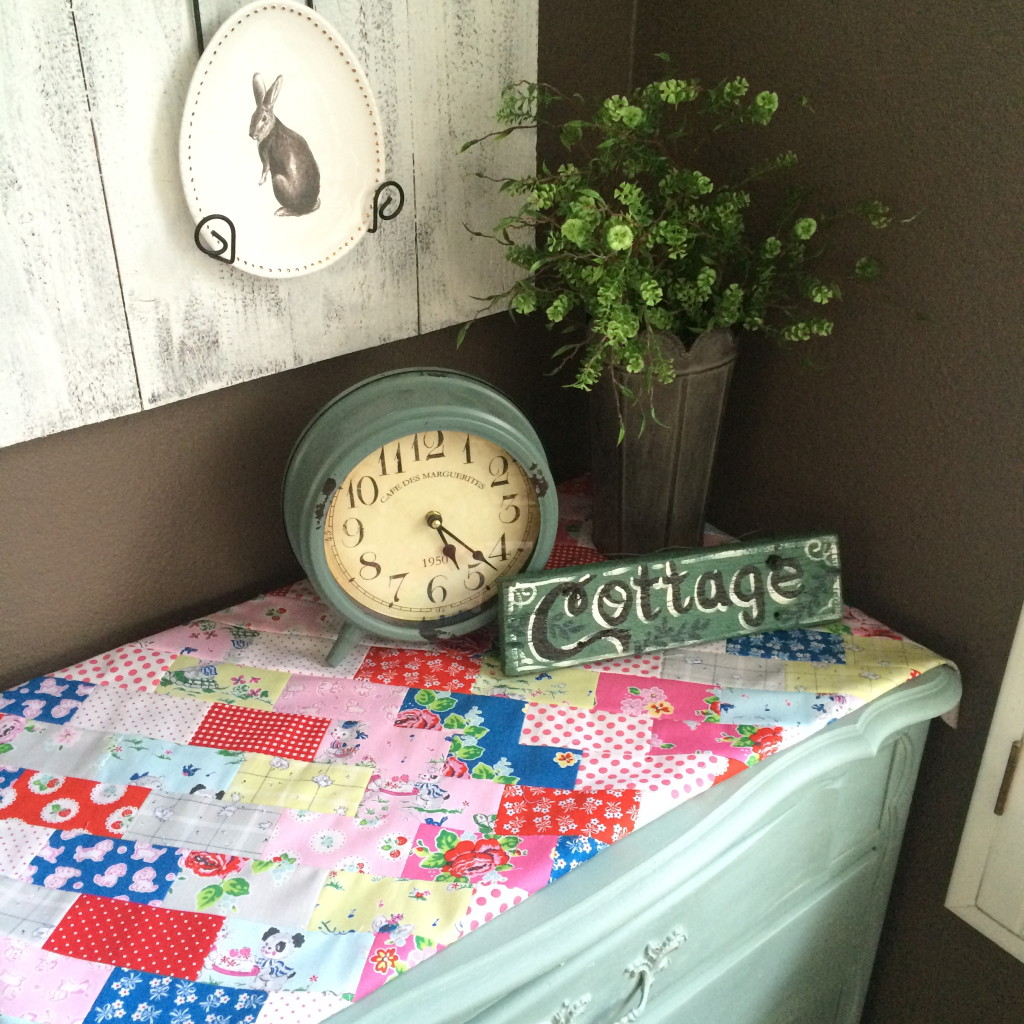
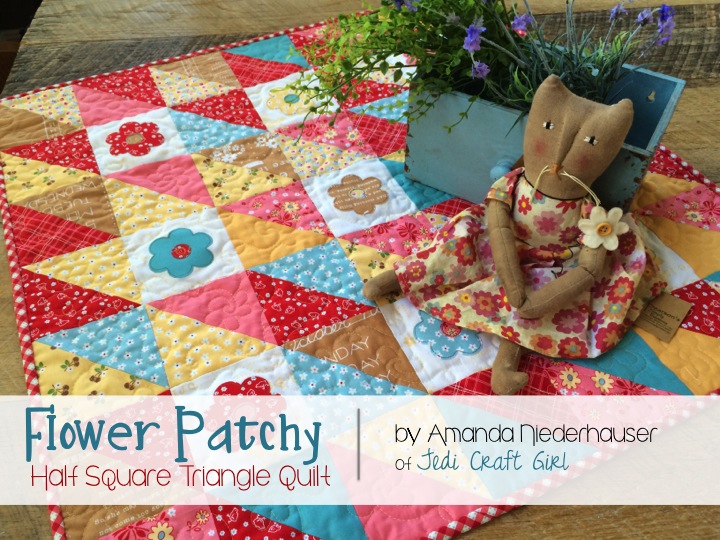
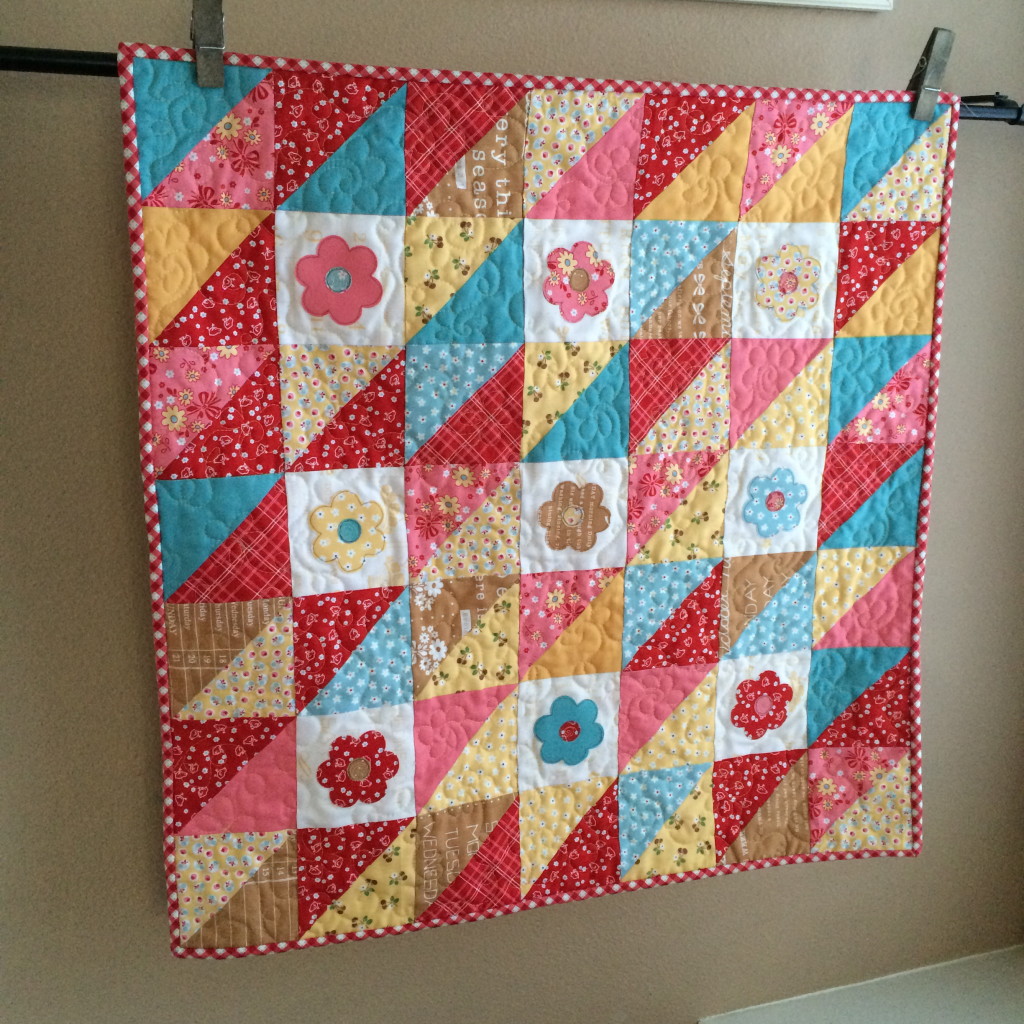
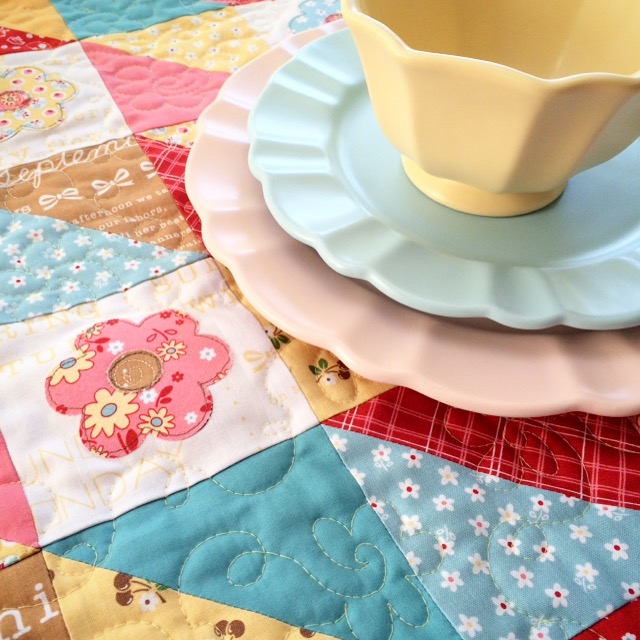 I love how charming this little quilt turned out. And I sewed it in a few hours!!
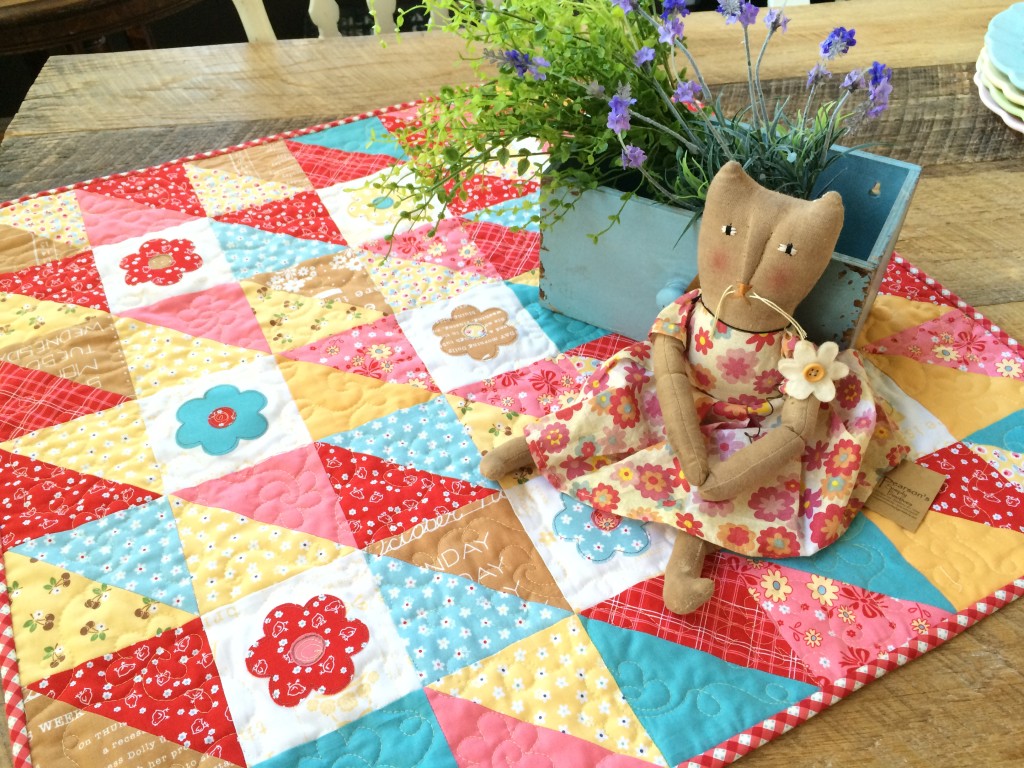
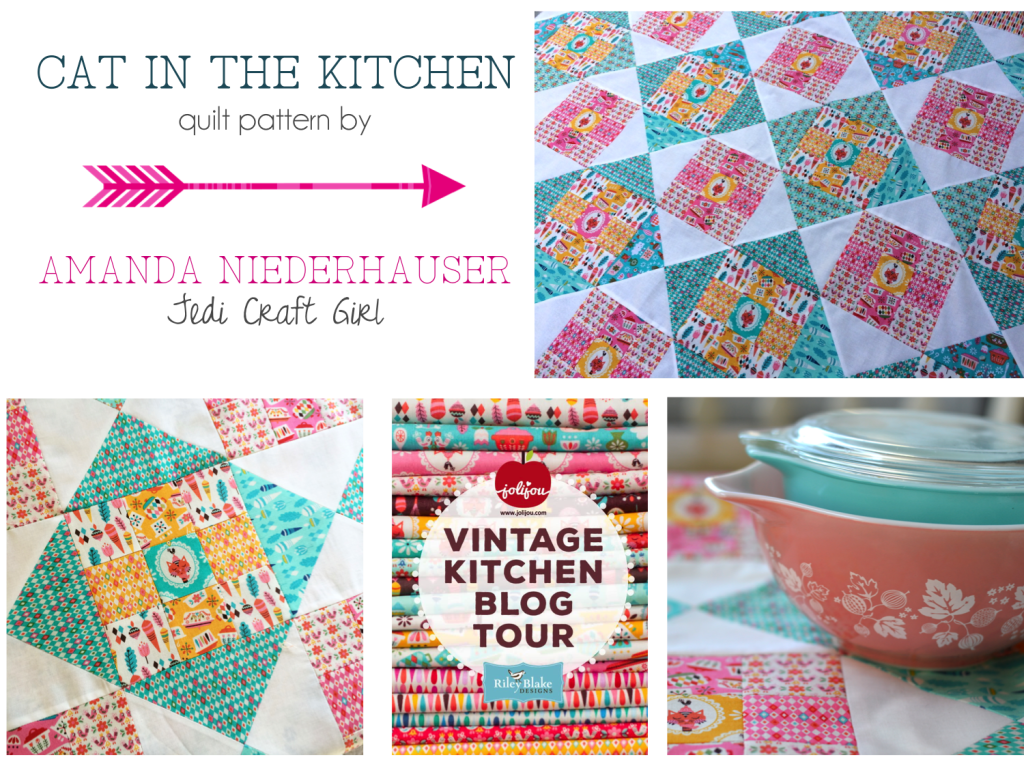
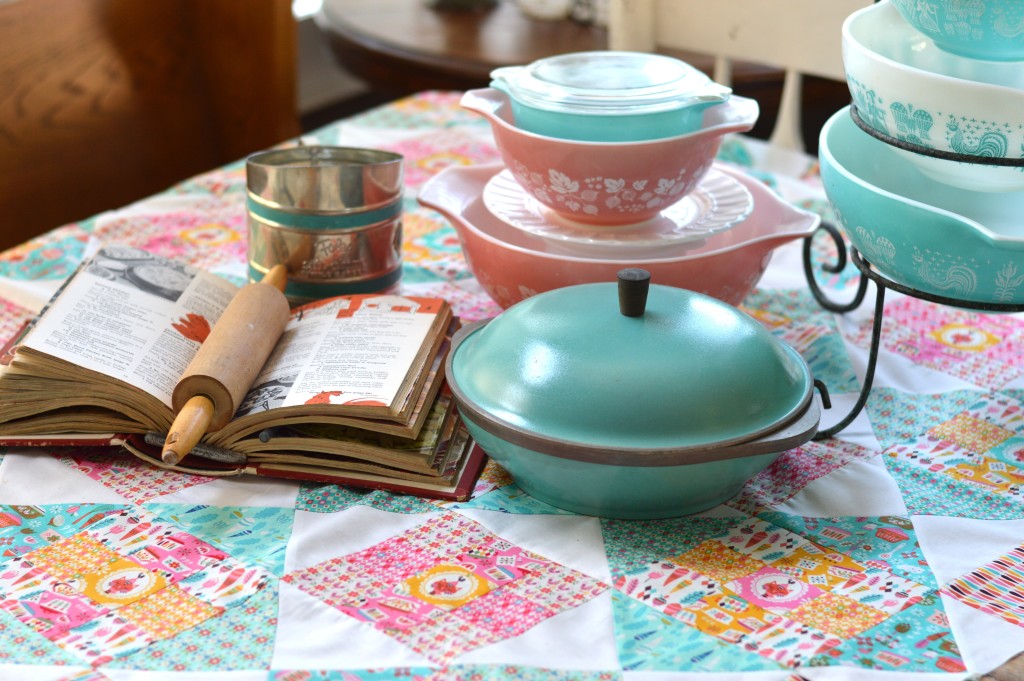
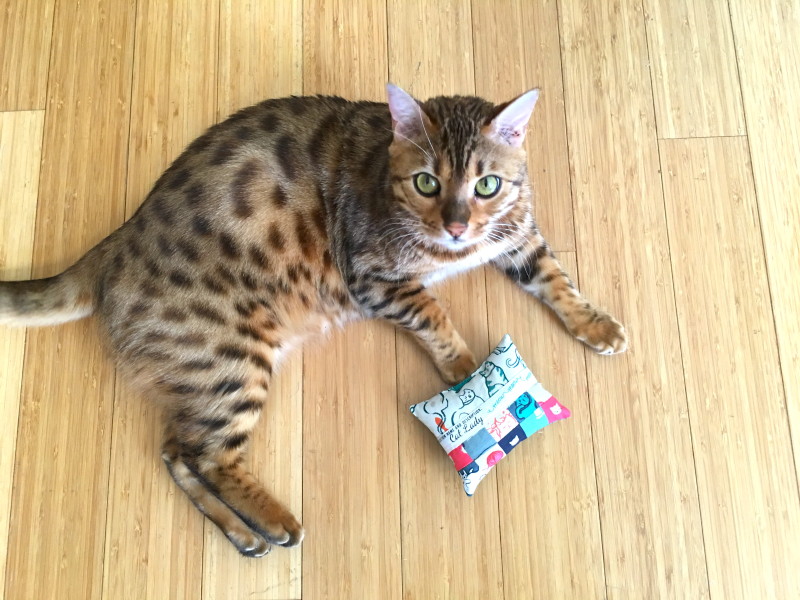
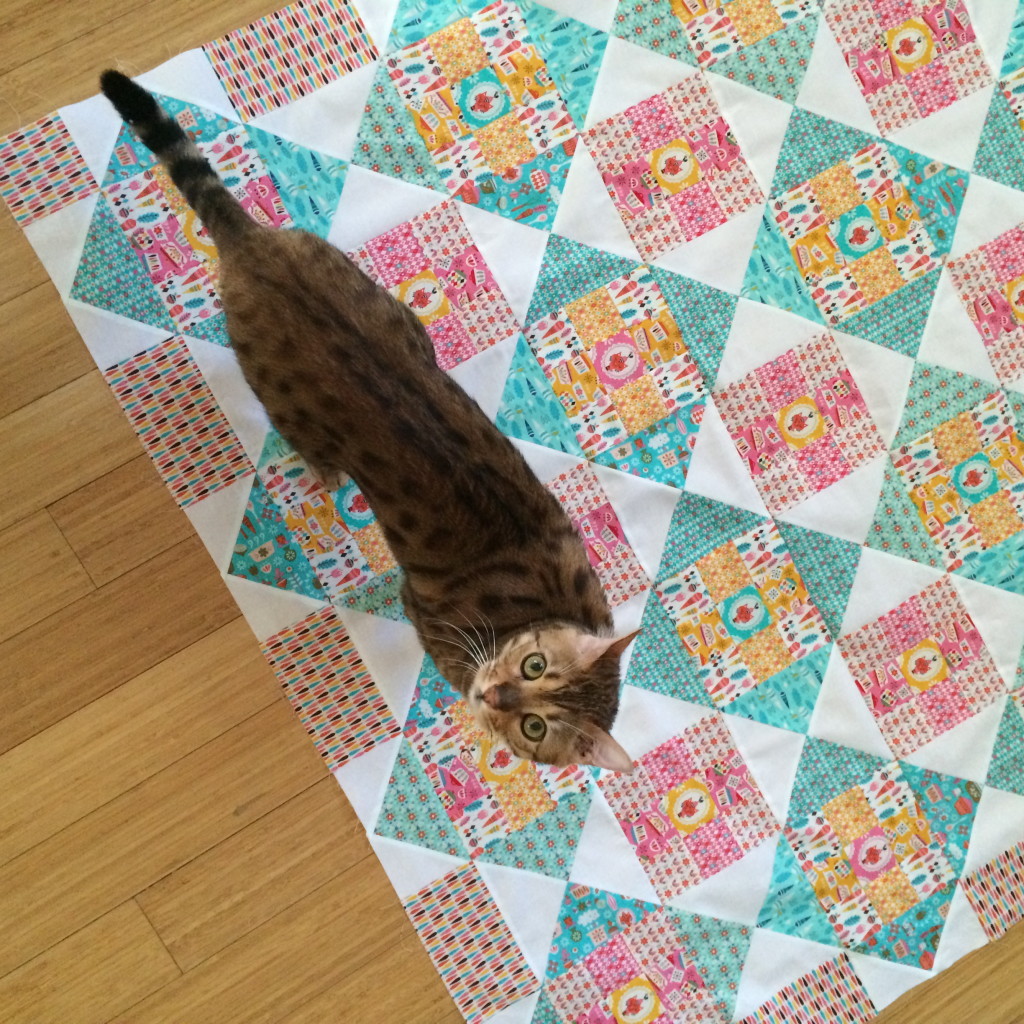
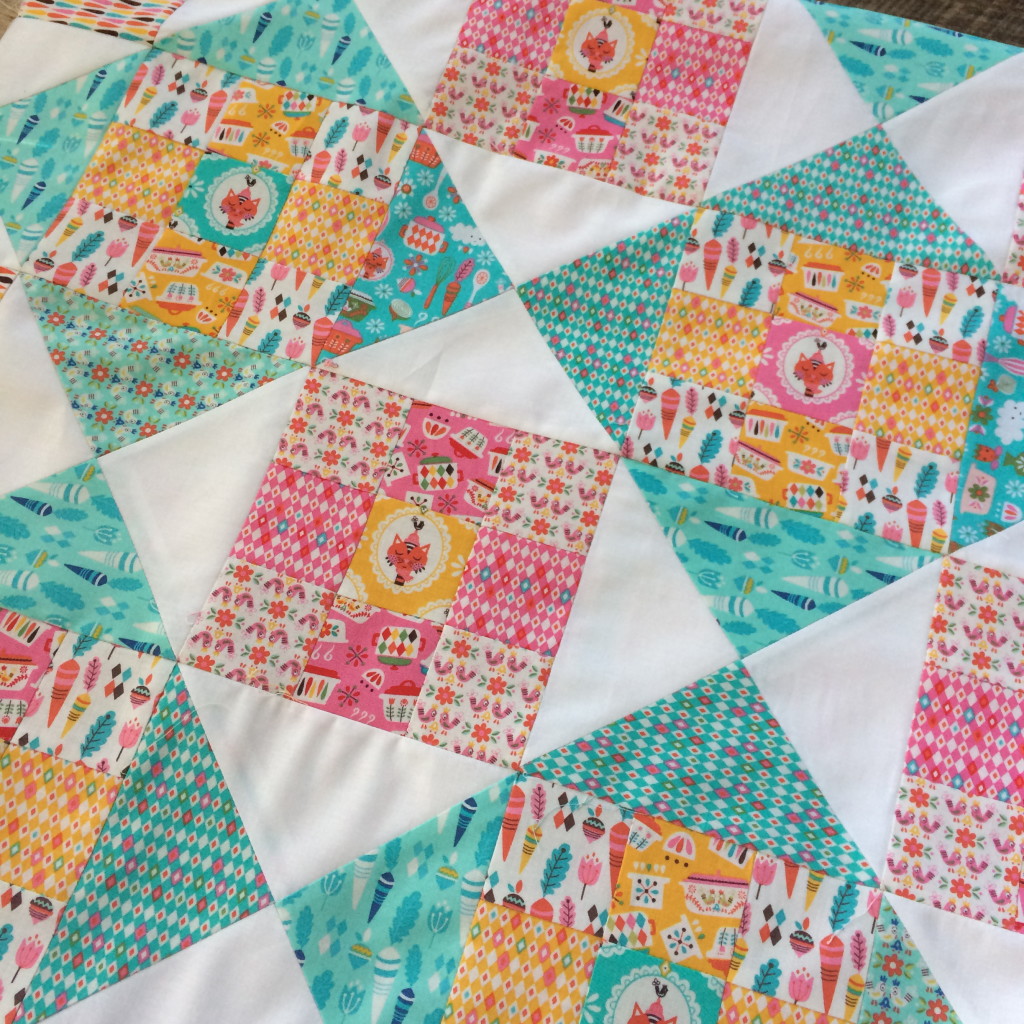
 I created this quilt called “Cat in the Kitchen”. It is made up of hourglass blocks and 9-patch blocks. What could be more fun!!
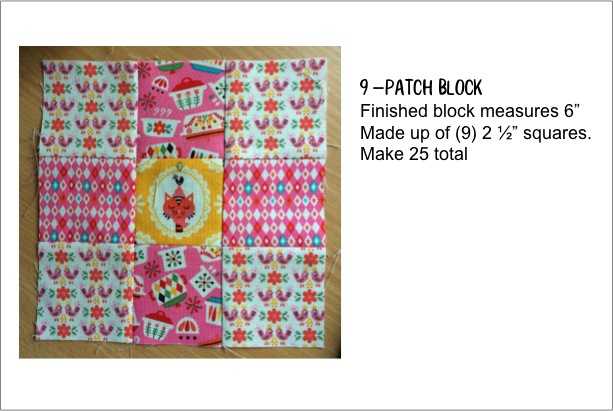
 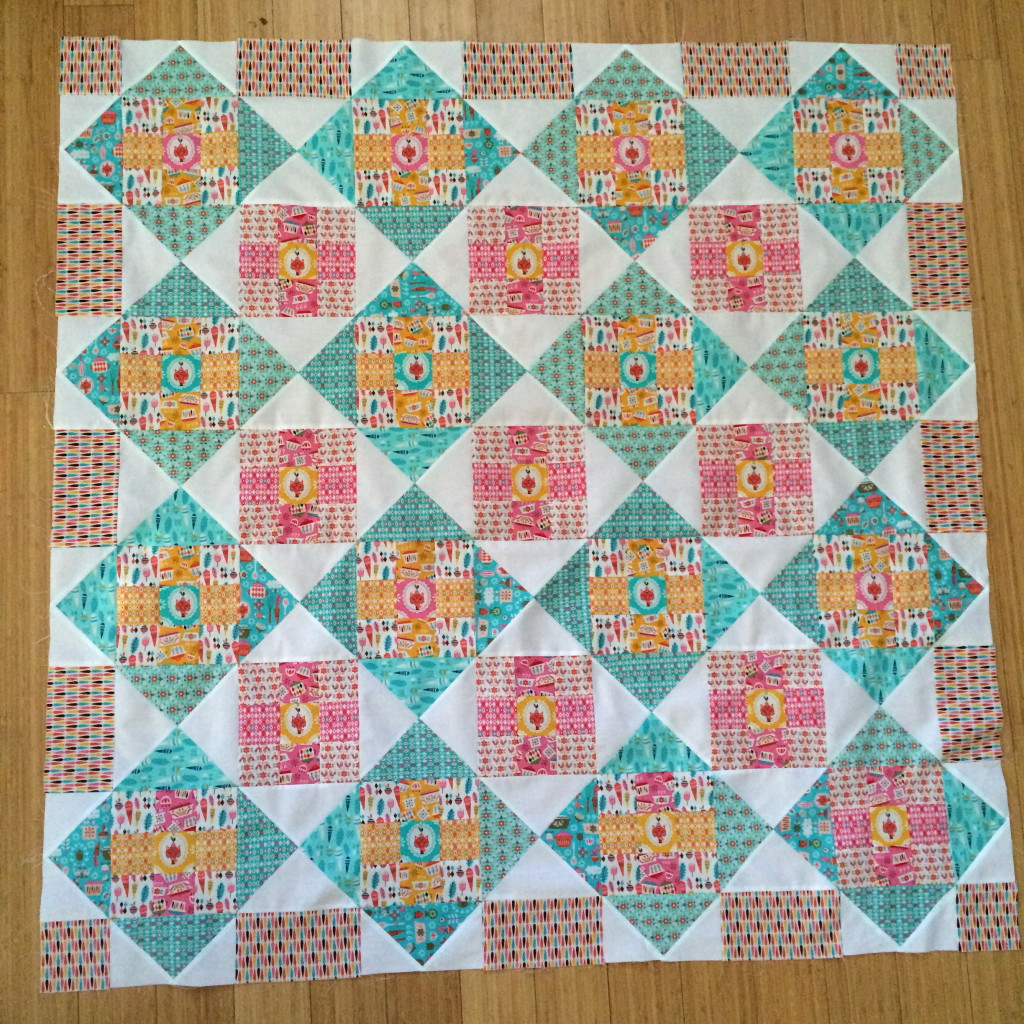 Each of the 9-patch blocks has a kitty in the center – just like in my kitchen….with Mufasa constantly in the center of it all.
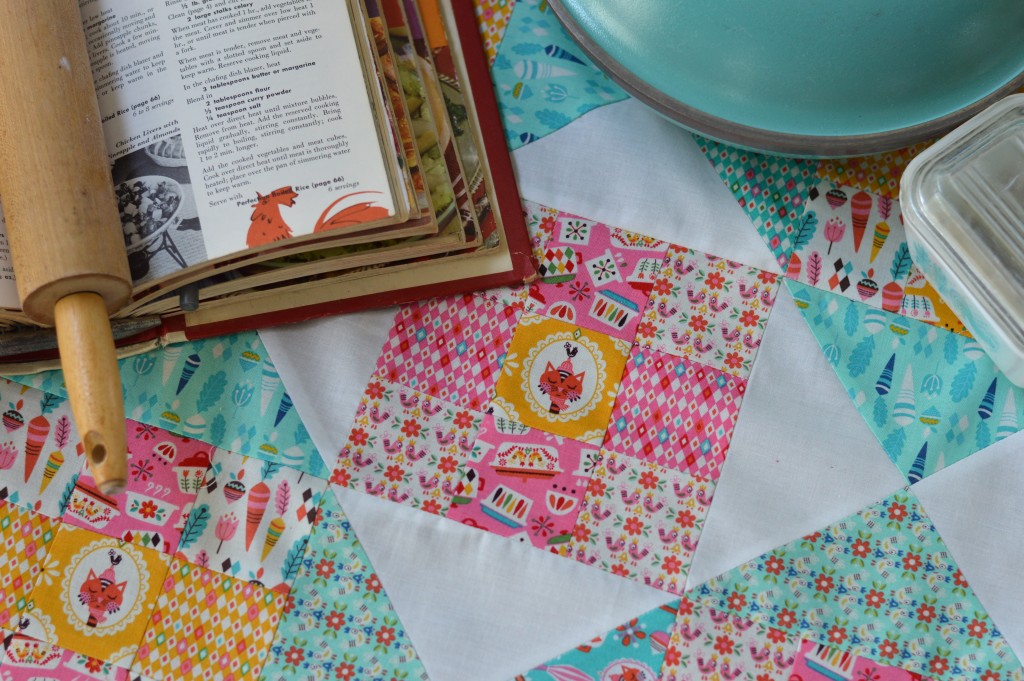 I have created a few little instruction guides to help you put this quilt together.
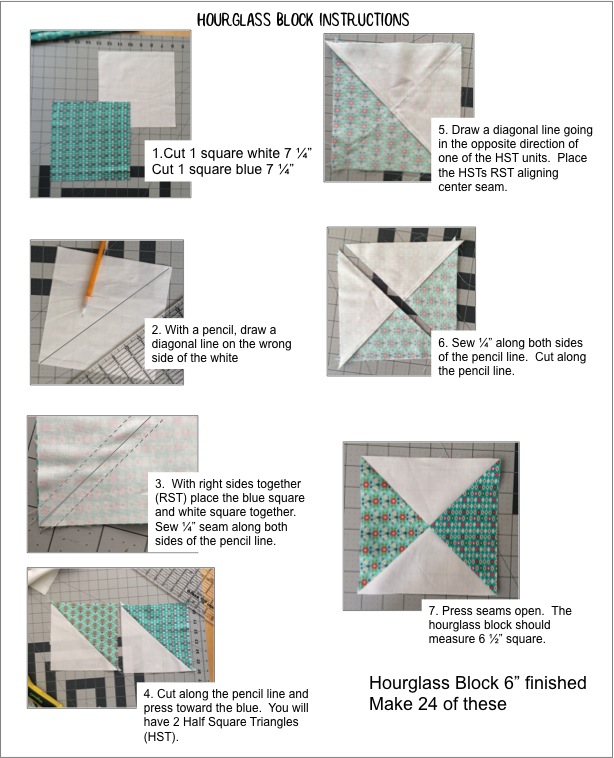
 Lay out the quilt as suggested below:
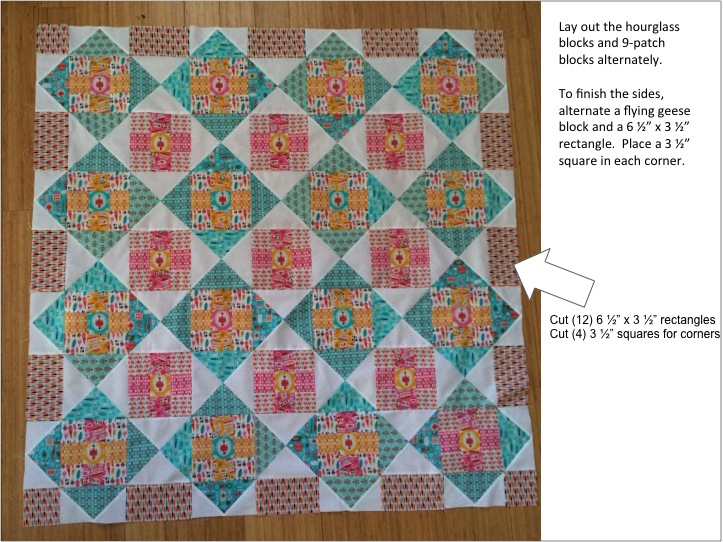


 Thanks for stopping by! I can’t wait to see all the other fabulous projects on this blog hop!!


