Backyard Roses Quilt Blocks

IMG_6512

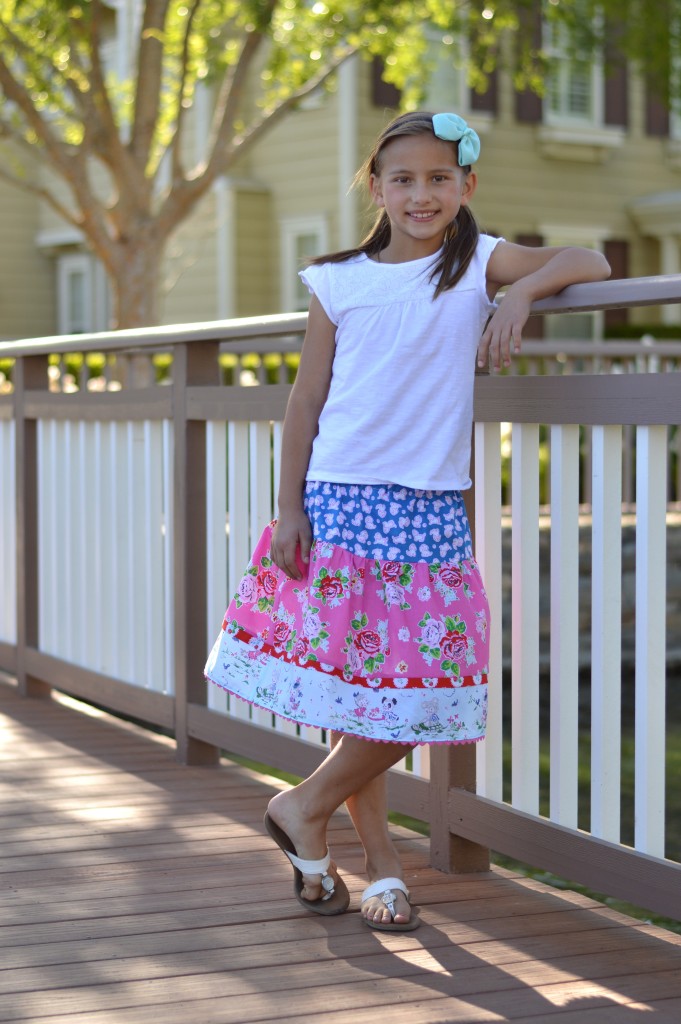
I am so happy to be part of the Backyard Roses blog tour!  And how timely is the release of this fabric as all the “Backyard” roses in Southern California are in full bloom today!

backyard roses fabric 2

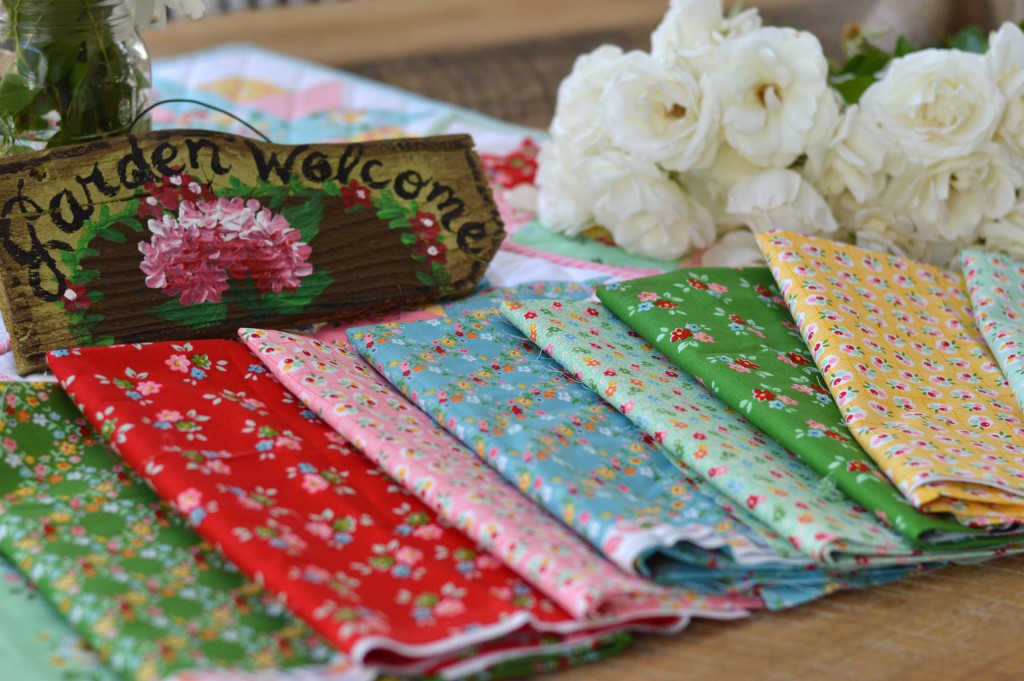
I am so excited about this new fabric line from Riley Blake Designs designed by Nadra Ridgeway!!  The colors are so bright and cheerful and they match my house perfectly!

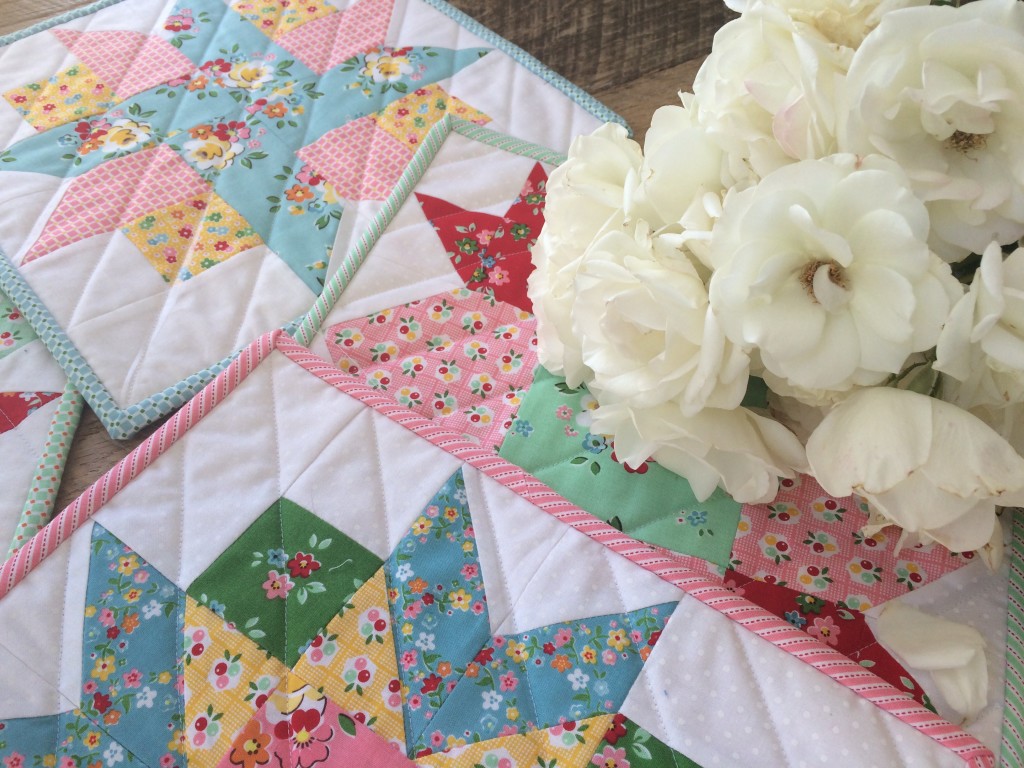
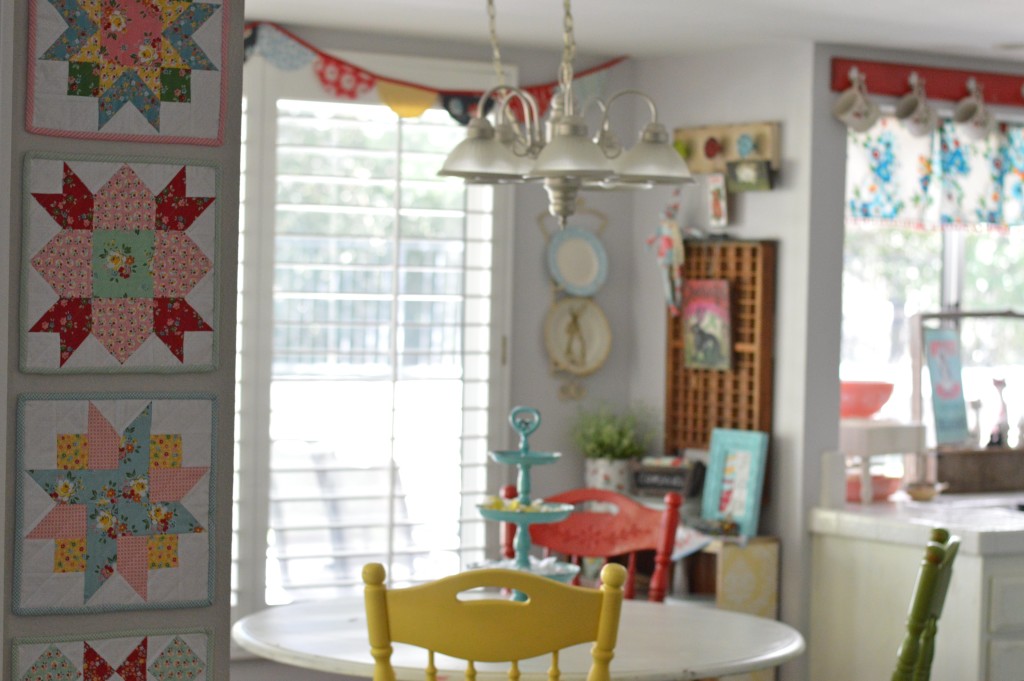
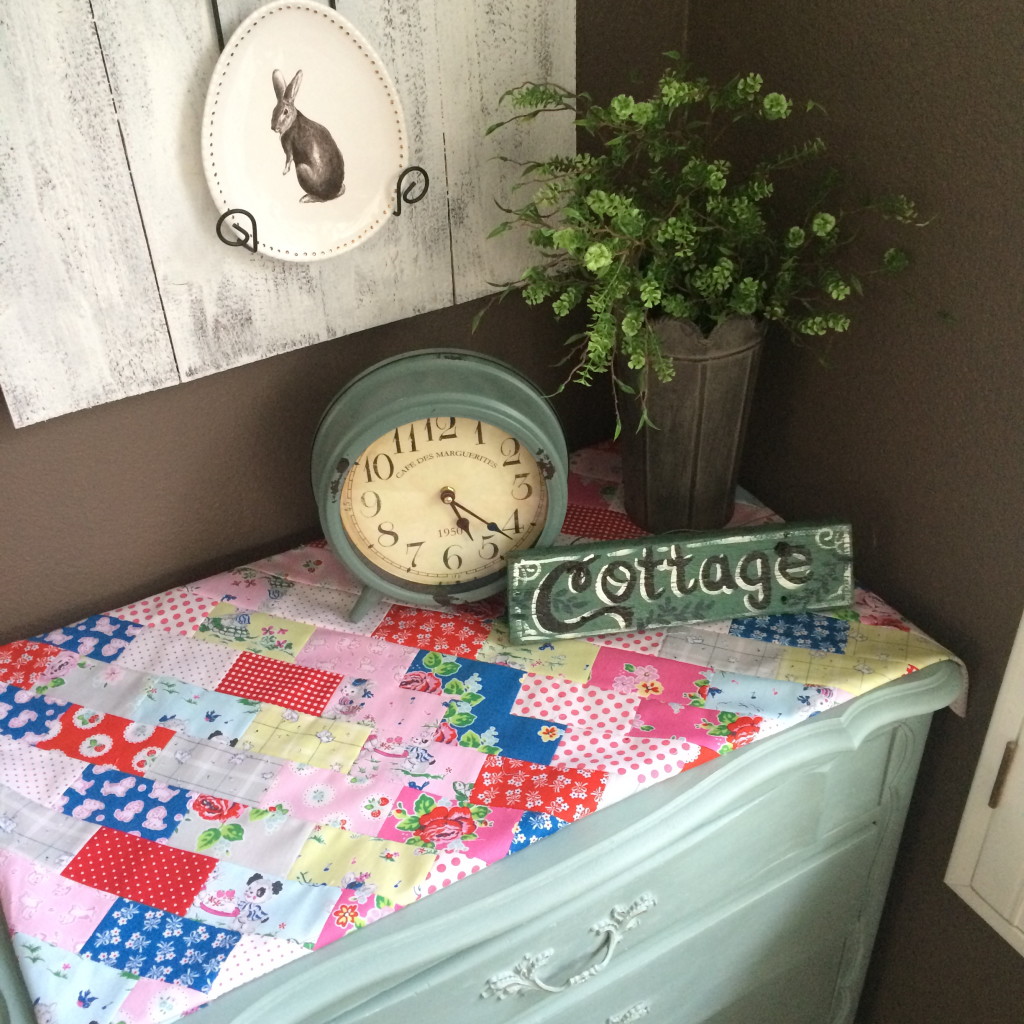
For my project I decided to problem solve.  I have this narrow strip of wall in my family room that corners into the kitchen.  I just repainted my family room last week and I wanted something new and fresh hanging there.  Backyard roses was the perfect solution!  I got out my Farm Girl Vintage Book and began selecting some of my favorite quilt blocks.

IMG_6510

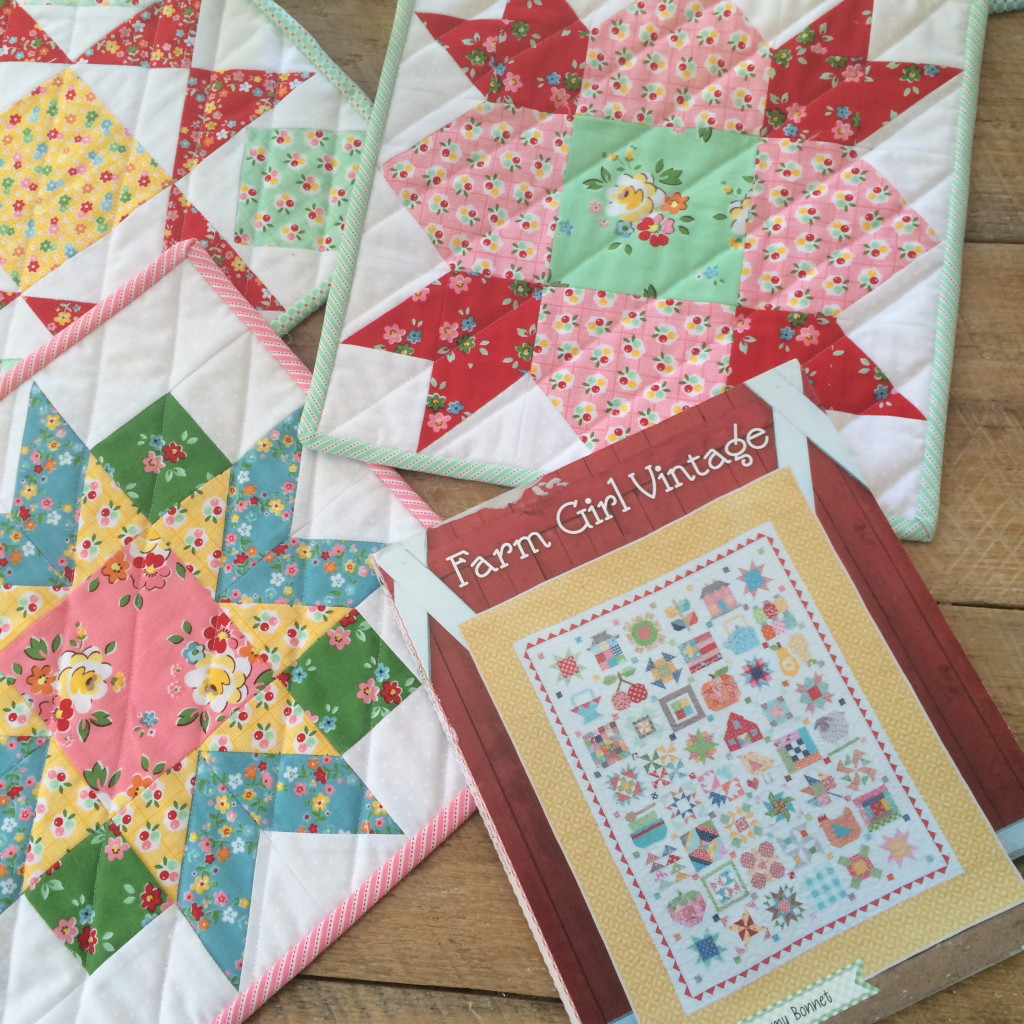
I made each of the 4 quilt blocks in the 12″ size.  I quilted diagonal lines going one direction about 1.5″ apart.  Then I bound each of the four little quilts.

backyard roses fabric 6

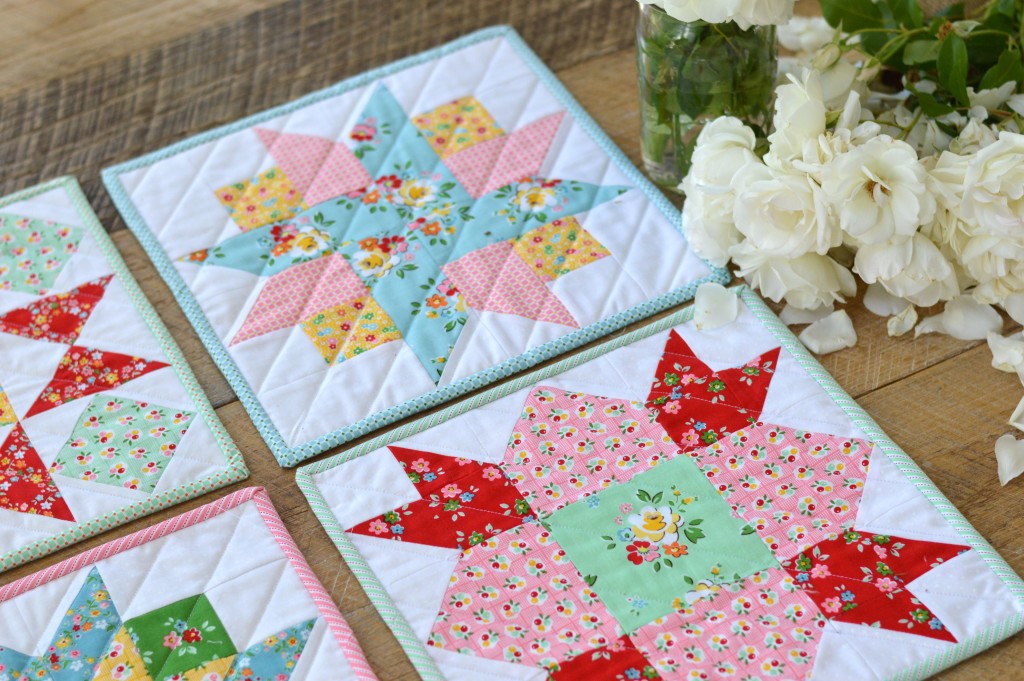
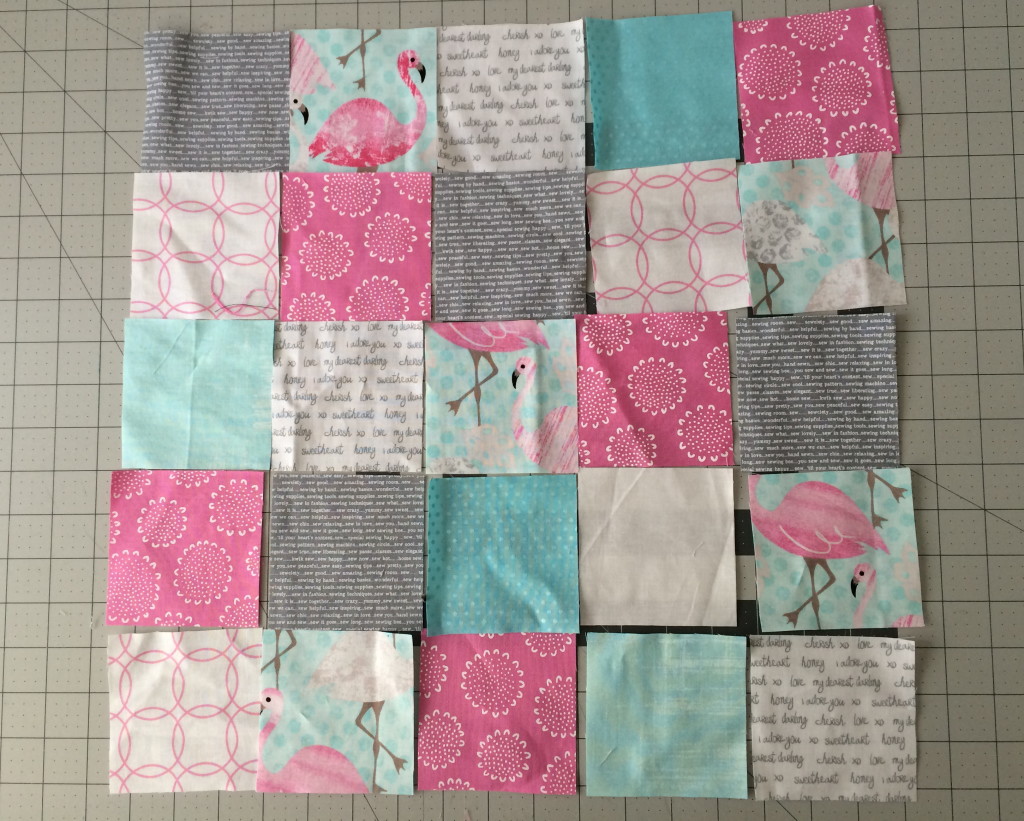
I love how the fabrics play together!!

backyard roses fabric 10

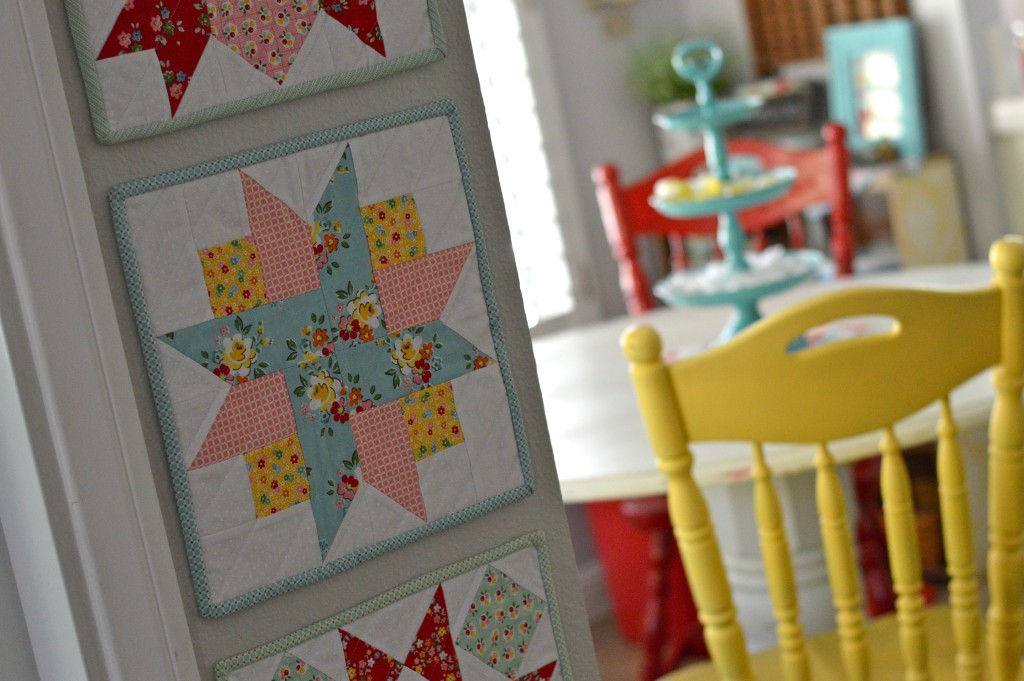
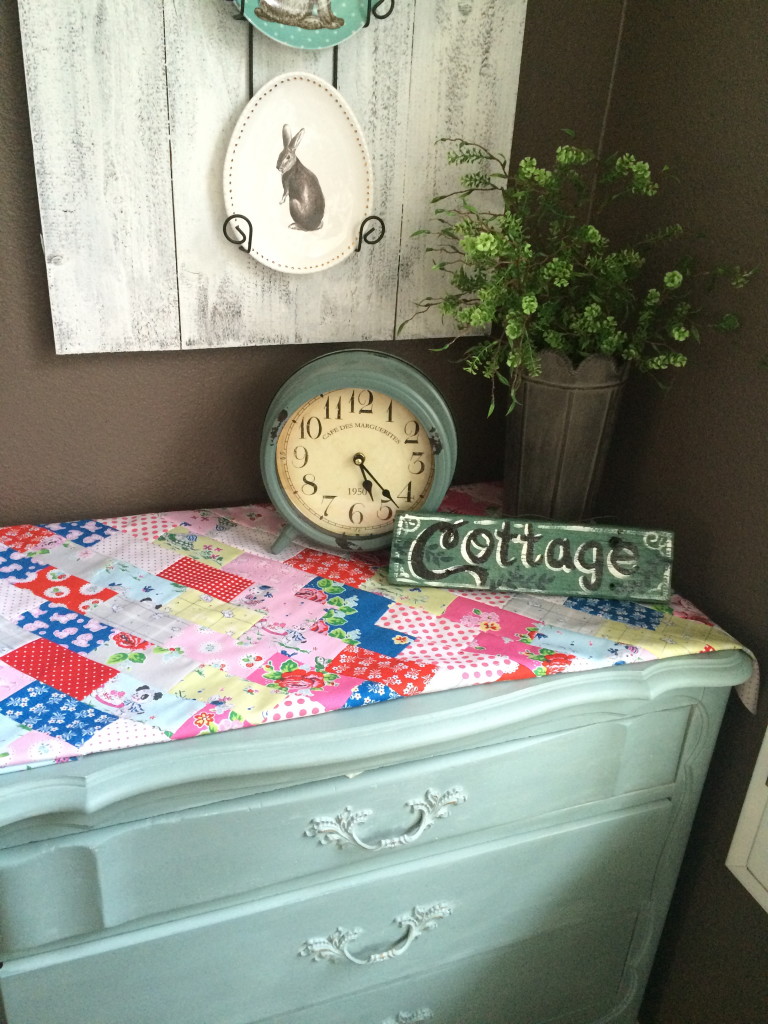
Here you can see a little peek into my kitchen from the wall where I hung them.

backyard roses fabric 8

How do you hang your little quilts?  I find the smallest pins possible and I hammer them in through the corners of the quilt into the wall.  I figure my quilts usually have pins in them so no harm there and it makes a super tiny hole in the wall!backyard roses fabric 5

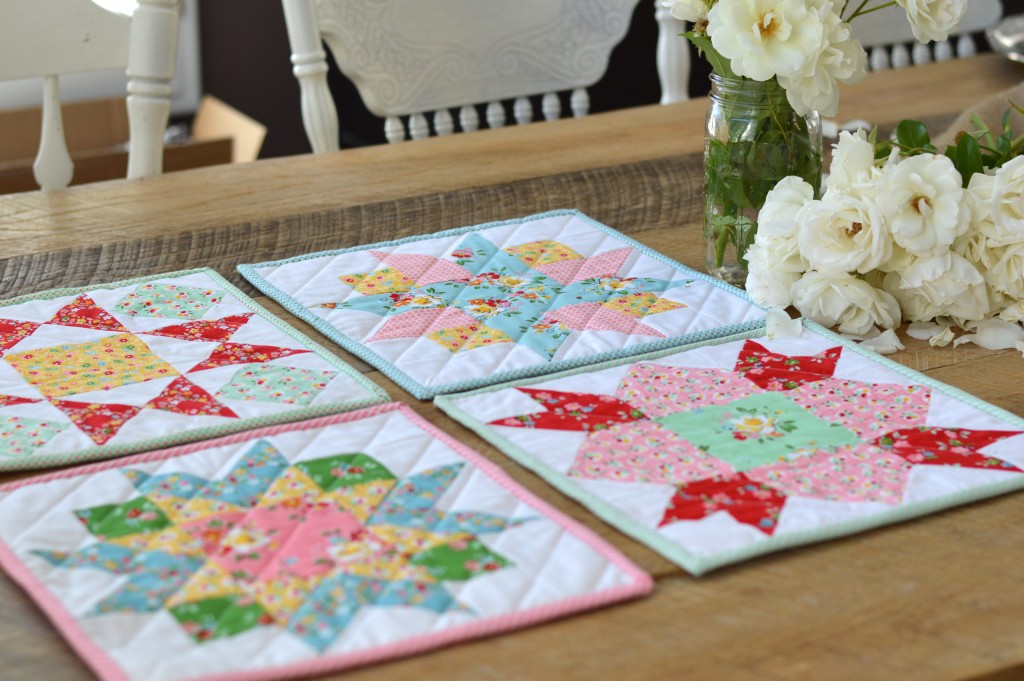
I am so excited how this little project turned out and don’t the colors totally just go with my kitchen!

backyard roses fabric 9

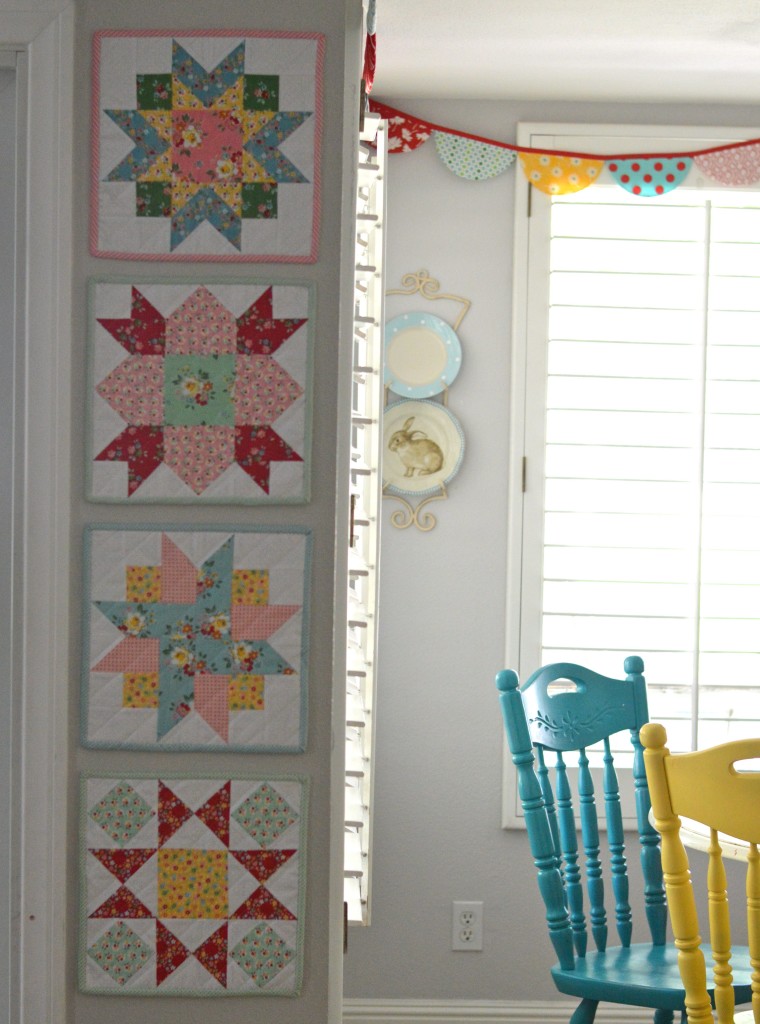
I get excited every time I walk by this little wall!!

IMG_6514  I love all the amazing projects on this blog hop.  Check out this list of all the talented designers participating.   Thanks so much to Nadra and Riley Blake Designs for the wonderful fabric and all the inspiration  🙂

4/18/2016 Julia rileyblakedesigns.com/blog
4/19/2016 Christina onelittlepooh.net
4/20/2016 Dorthe lalala-patchwork.blogspot.com
4/21/2016 Liz simplesimonandco.com
4/22/2016 Sedef downgrapevinelane.com
4/23/2016 Vicky venividivicky.wordpress.com
4/25/2016 Erin whynotsew.blogspot.com
4/26/2016 Amanda www.jedicraftgirl.com
4/27/2016 Gesine allie-and-me-design.blogspot.com
4/28/2016 Peta shequiltsalot.com
4/29/2016 Sharon lilabellelane.blogspot.com
4/30/2016 Barbara das-mach-ich-nachts.com
5/2/2016 Jemima tiedwitharibbon.com
5/3/2016 Ashley mommybydaycrafterbynight.com
5/4/2016 Taunja carriedawayquilting.blogspot.com
5/5/2016 Judith septembersquiltdelight.blogspot.com
5/6/2016 Melissa ohhowsweet.com
5/7/2016 Iva schnigschnag-quiltsandmore.com
5/9/2016 Lisa aspoonfulofsugardesigns.com
5/10/2016 Katharina greenfietsen.blogspot.com
5/11/2016 Andy abrightcorner.com
5/12/2016 Nadra ellisandhiggs.com

Spooky Delights Quilt Along from Fat Quarter Shop

SpookyDelights-Header

Whose ready for a super fun quilt-along!!!  I am!!!  I am totally excited for this FREE Spooky Delights Quilt Along from Fat Quarter Shop!  October is such a busy month that I never have time to sew anything fun for Halloween.  I love sewing holiday projects early so I can look forward to using them.  This Spooky Delights table runner is perfect for a dining table, a coffee table, a buffet, or even folded over the arm of a chair or a couch!

SpookyDelights-SM2

Best of all this little project is divided up into 3 manageable tasks:

SpookyDelights-Schedule

You can download the Fabric Requirements right now by clicking HERE.

IMG_6547

The fabrics I choose are traditional black prints and orange prints with a touch of light teal tossed in for fun.  I can’t wait to get started!

IMG_6558

Of course I always consult Mufasa for all my fabric selections.  If he lays on them it means he approves!!

So join in the fun – all you have to do today is download the fabric requirements and choose your fabrics!  Super easy – you’ll be so happy you made this come October 1st!SpookyDelights-SM

Strawberry Biscuit Matching Skirts

Strawberry Biscuit Fabric 13

Yay!  It’s my turn on the Strawberry Biscuit Blog Hop!!!  I have loved seeing all the AMAZING creations on this super fun blog hop!  I love strawberries, I love fabric, and I love this new line of fabric by the talented Elea Lutz for Penny Rose Fabrics.  I could sew with it all day long!

strawberry_biscuit_blog_hop

Upon receiving my fabric I put my guard cat on duty so no one would touch or take my new fabric!

Strawberry Biscuit Fabrc 5

I knew as soon as I saw this fabric I wanted to make several quilts with it and I was dying to make my girls coordinating skirts.  I got out my two favorite skirt patterns and began sewing away.  For Sally’s skirt I used the Little Sassy Skirts book and for Ella’s skirt I used the Blythe skirt from the Magic Pattern Book.  Both of which I have sewed many times and I always return to.Strawberry Biscuit Fabric

I always get a little nervous cutting into a piece of fabric – especially when it’s this pretty!

The Blythe skirt is an A-line skirt that has an elastic back, a flat front waist band, and a center pleat.  You can totally make this skirt in an hour.  I am so in love with the large floral print on this style of skirt!!

Strawberry Biscuit Fabric 6

Sally’s skirt has several tiers, an accent band, and ric rac trim on the bottom.  This style is perfect for showing off several prints and I love how they all work together in this skirt!  That’s what’s so fun about this fabric line!!

Strawberry Biscuit Fabric 12

I love having girls to sew with and I can’t believe how grown-up they are getting!  Time sure flies.  I am so happy to have pictures like this with them looking so happy wearing something their mom made 🙂

Strawberry Biscuit Fabric 9

Be sure to visit Taunja from Carried Away Quilting today also for her stop on the tour.  And tomorrow you’ll have to pop over to see what Jemima from Tied With A Ribbon is making!! These girls are all so talented!  This blog hop is making me hungry for more strawberries! Thanks so much to Elea and Penny Rose for making it all possible! Strawberry Biscuit Fabric 14

I also made this cute little quilt out of Strawberry Biscuit and you can read all about it HERE.     IMG_5990 copy

True Blue Summer Satchel


summer satchel
I love summer! Isn’t it the best!!!! In our family we have lots of outdoor actives and camps scheduled. Sometimes I need to carry a few items around that I can have quick access too, like my clipboard, water, bug spray and flashlight. I came up with this pattern for a cross-body satchel. It’s not complicated and sews up quick – it would be fun to make one for the whole family – you can match at your family reunion!IMG_8140_2

I used Heat n Bond® Medium Weight Fusible Stabilizer to give the bag more stability. Don’t you just love these whales by Blend Fabrics!!!
IMG_8136_2


Here is how you can make one:

Supplies:

1/2 yard outer bag
1/2 yard lining
1/3 yard bag strap
1 yard Heat n Bond® Fusible staibilizer

Cut:

(2) outer bag 15″wide x 16″ tall
(2) lining 15″wide x 16″ tall
(2) stabilizer 15″wide x 16″ tall
(2) Strap 5″ x WOF


IMG_8108_2

Fuse the HeatnBond® stabilizer to the wrong side of the (2) outer bag pieces.IMG_8109_2

With right sides together, pin all the way around the outer bag, leaving the top open. Do the same with the lining pieces. Sew using 1/3″ seam all the way around leaving the top open. You should have (2) bags, one outer and one lining.IMG_8110_2

To form a pleate in the bottom, cut a 1″ notch out of the bottom corners of the outer bag and the lining.IMG_8111

Match seams, pin, and sew 1/4″ seam, backstitching to start and stop.IMG_8112

Sew the (2) 5″ strap pieces together end to end. Press the seams open. Measure how long you want your strap. Mine was 48″. Cut at the desired length. Fold in half, right sides together and sew 1/3″ seam all the way down.
IMG_8113

Turn right side out, press and top stitch.IMG_8114

Baste (1/8″) the ends of the strap centering on the side seams on the right side of the outer bag.IMG_8115

Place the lining inside the bag so that right sides are facing each other. Match side seams and pin all the way around.IMG_8116Sew 1/4″ seam all the way around the top of the bag leaving a 3″ opening. Turn bag right side out and press. Sew a 1/8″ top stitch around the bag top, sewing the opening closed.
IMG_8117_2

IMG_8130

IMG_8122

To add a little detail to the fabric, I used Deco Foil™ Transfer Adhesive and followed the loops on the fabric. After it dried I rubbed the Deco Foils™ on the adhesive. You can add a little shine to any project this way!!

IMG_8142

Anchor Pillow Tutorial

anchor pillow tutorial

It’s feeling like summer here in Southern California with temperatures reaching up to 90 degrees!  Let the fun begin!  I’m such a summer girl – I hate to be cold!  In celebration of the wonderful warm weather we’re having I thought I would share this fun nautical pillow with you.  The fabrics are from Blend’s True Blue line which is in reproduction since it was so popular!  Which is great news because it’s one of my favorites!!

anchor pillow 1

Let’s get started!

Supplies:

Fat Quarters or quarter yard cuts of a variety of the True Blue Fabrics

fat quarter or 1/2 yard white fabric for center

2/3 yard backing

2 yards ric rac

Heat n Bond Lite EZ Print Sheets

20″ pillow insert

2.5 yards pillow trim

Anchor Pattern, Click HERE

IMG_6370

Cut the center white fabric 12.5″ x 12.5″.  Print out the anchor on the Heat n Bond Lite EZ print sheets or trace the anchor onto Heat n Bond Lite.  Press the Heat n Bond to the wrong side of the anchor fabric.  Cut the anchor out and peel off the backing paper.  Press the anchor in the center of the white fabric.  Top stitch around the anchor.

IMG_6371

Position the ric rac as picture:

IMG_6372

I used Spray n Bond to hold it in place while I sewed.  You can also use pins.  Sew the ric rac on with matching thread.

anchor pillow diagram

Refer to the above diagram for sewing the patchy boarder.  All squares are 2.5″ and all seams are 1/4″.

IMG_6375

Once the pillow top is complete, spray baste it to the batting and then to a backing.  The backing fabric won’t be seen, it just gives the pillow added stability.  Quilt as desired.

IMG_6376

I quilted mine with wavy lines and then “pebbles” in the center.  After quilting square up each side.  The final measurement should be pretty close to 20″.  You loose a little with the quilting.

Baste the pillow trim onto the pillow top.  Finish the quilt as desired.  I always put a zipper in the back of my pillow and you can follow the instructions in this tutorial.

anchor pillow 4

I love how this pillow turned out and it goes great with all my other nautical sewing projects!  For more nautical projects, click HERE.

anchor pillow 9

anchor pillow 6

Mufasa was especially impressed with this project 🙂

anchor pillow 3

anchor pillow 5


Patchwork Tote Bag Tutorial

patchwork tote bag tutorial

I love sewing for Sally!  And I love that she loves everything I make for her!  I was thrilled to receive this bundle of fat quarters from Ft. Worth Fabric Studio.  Every Friday they feature a fun Friday bundle!  This is the perfect project to make with a handful of fat quarters and a few cuts of yardage. patchwork tote bag 3
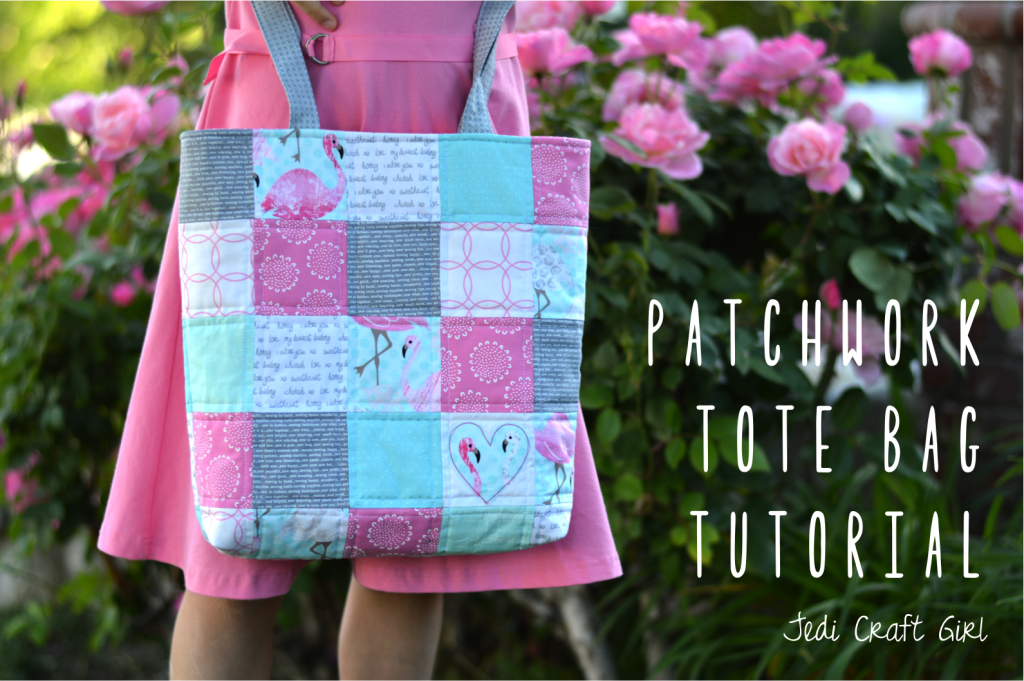
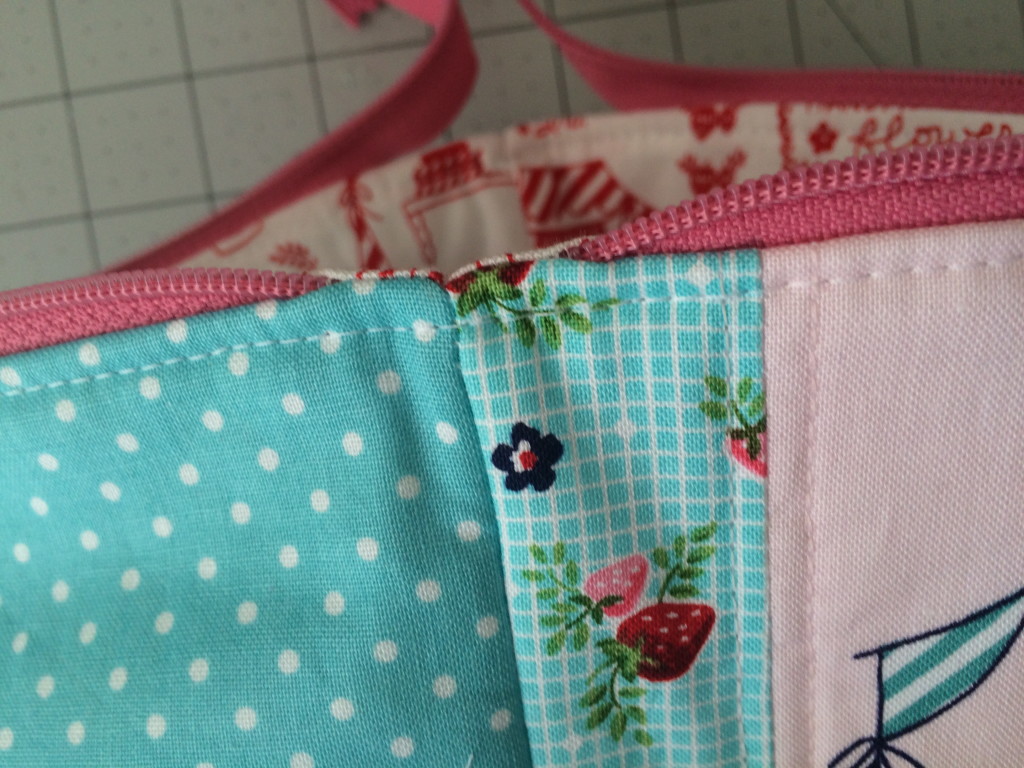
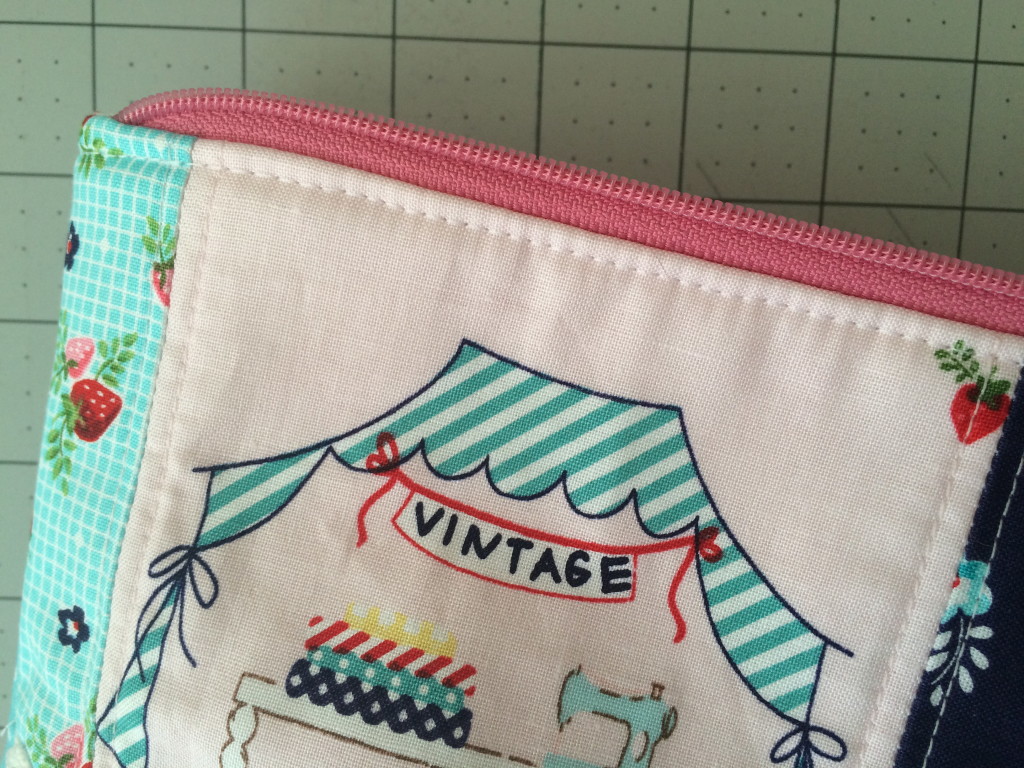
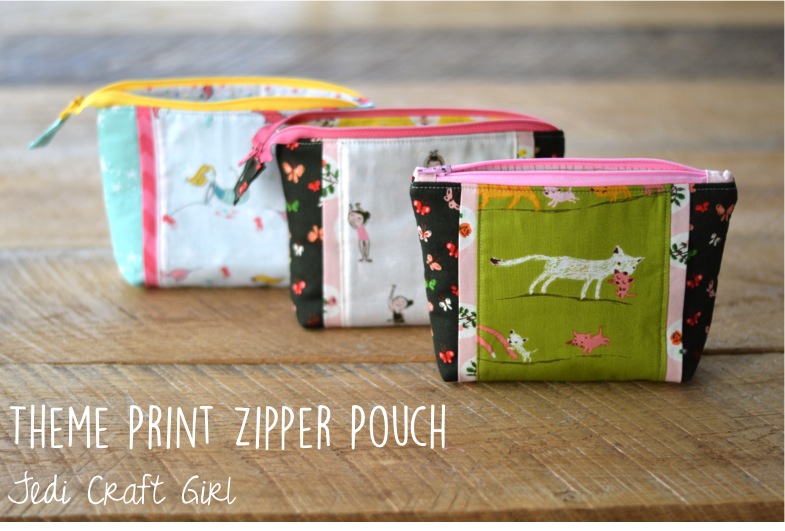
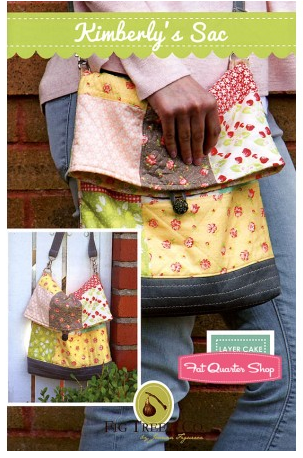
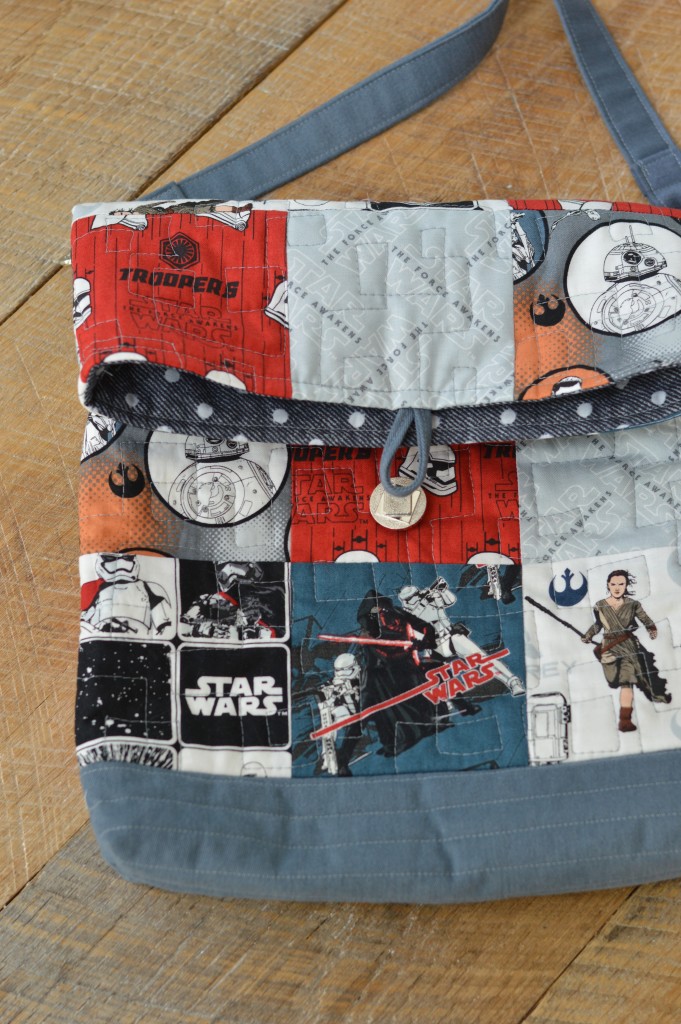
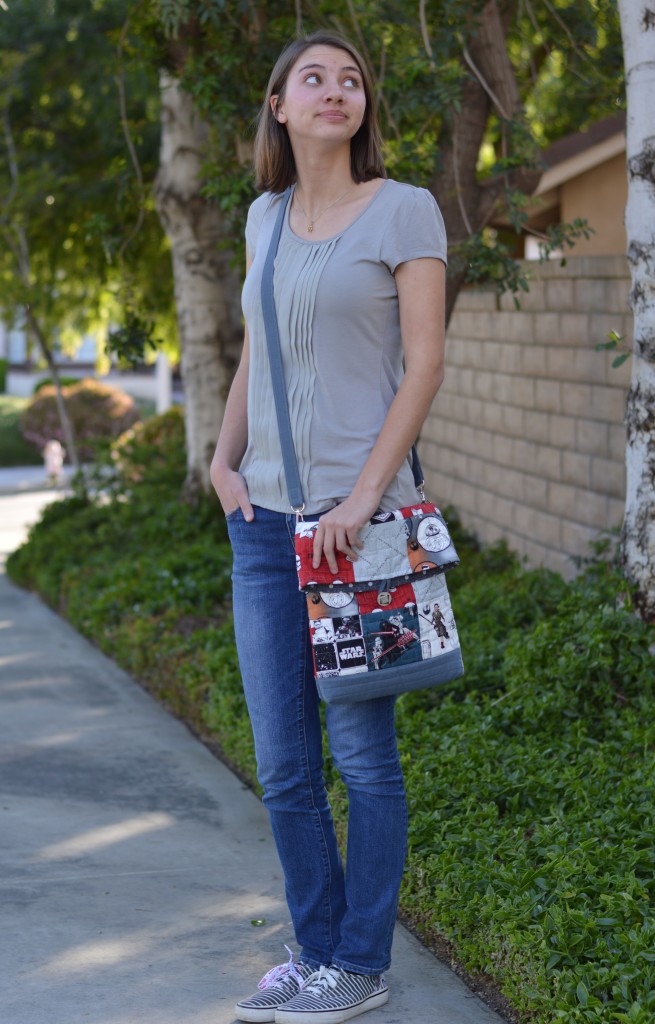
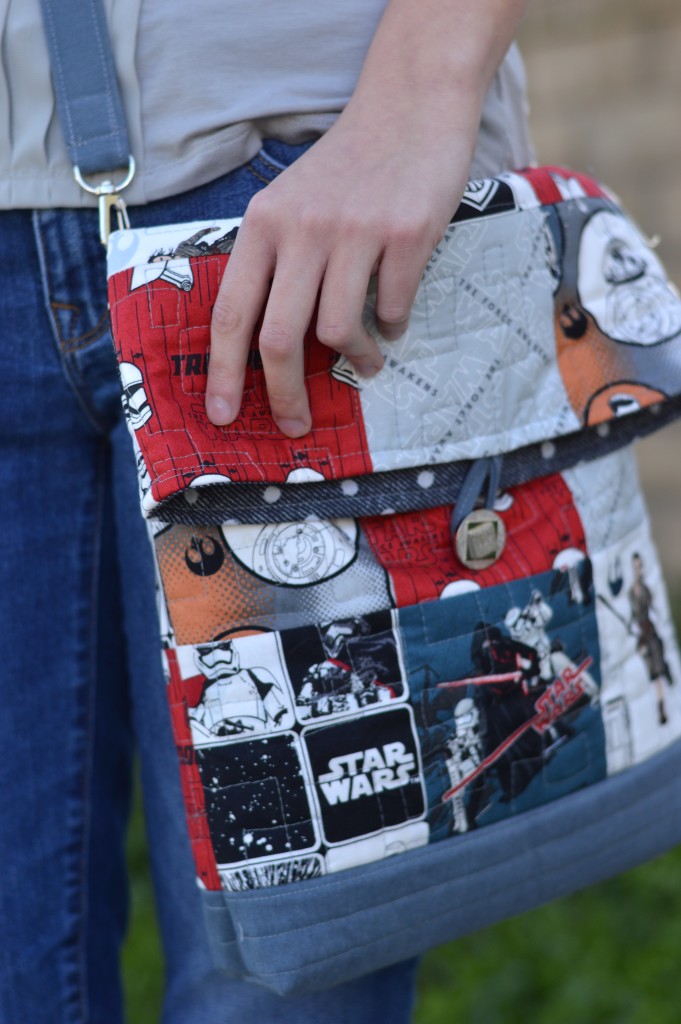
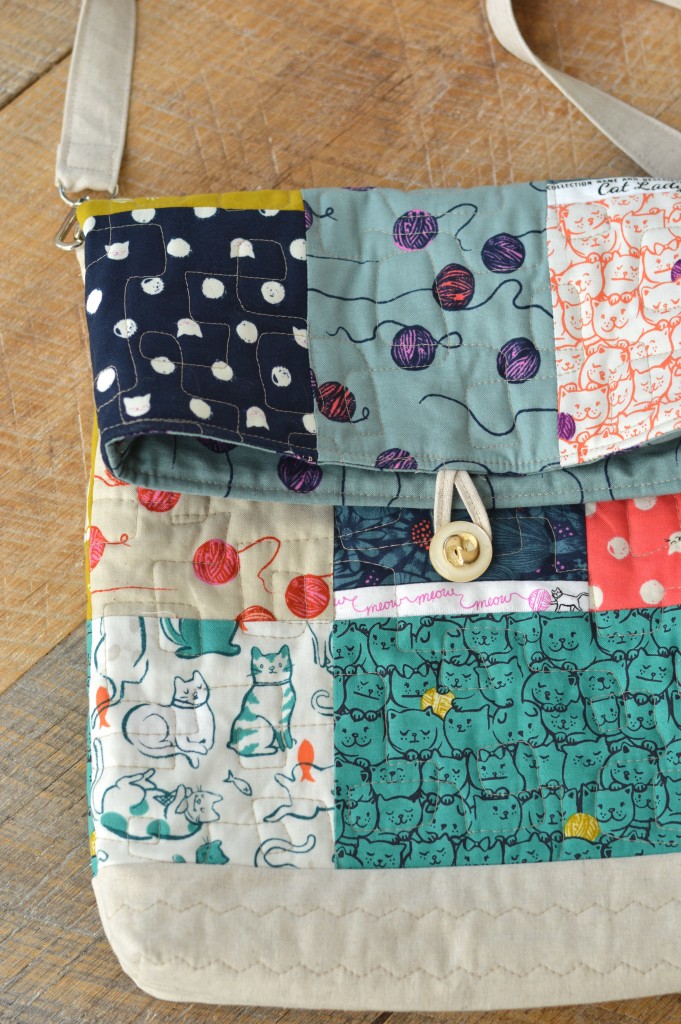
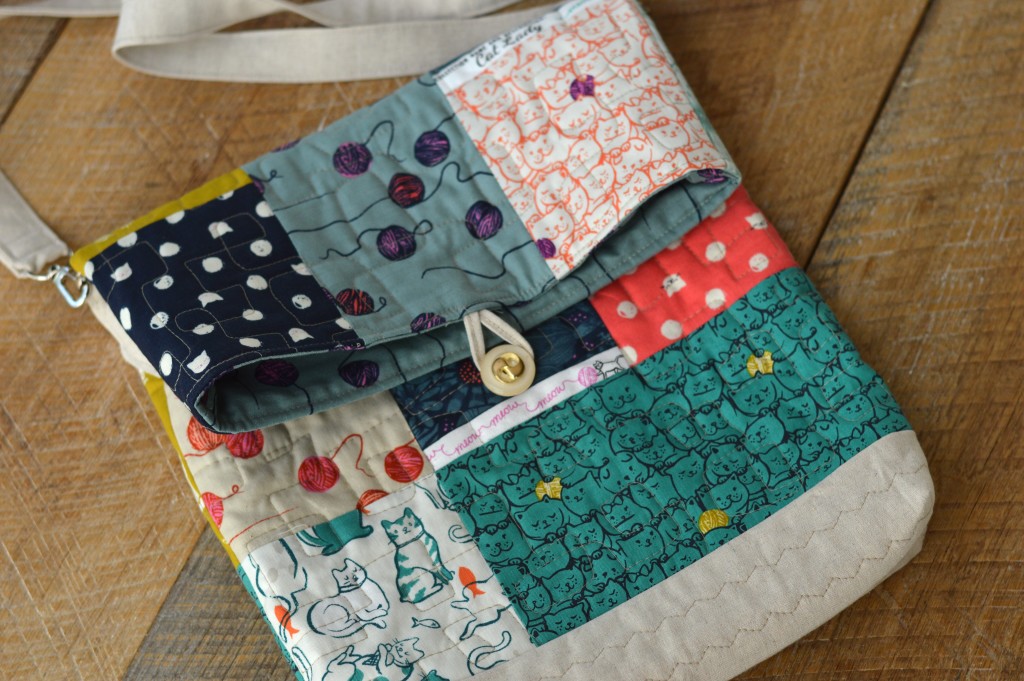
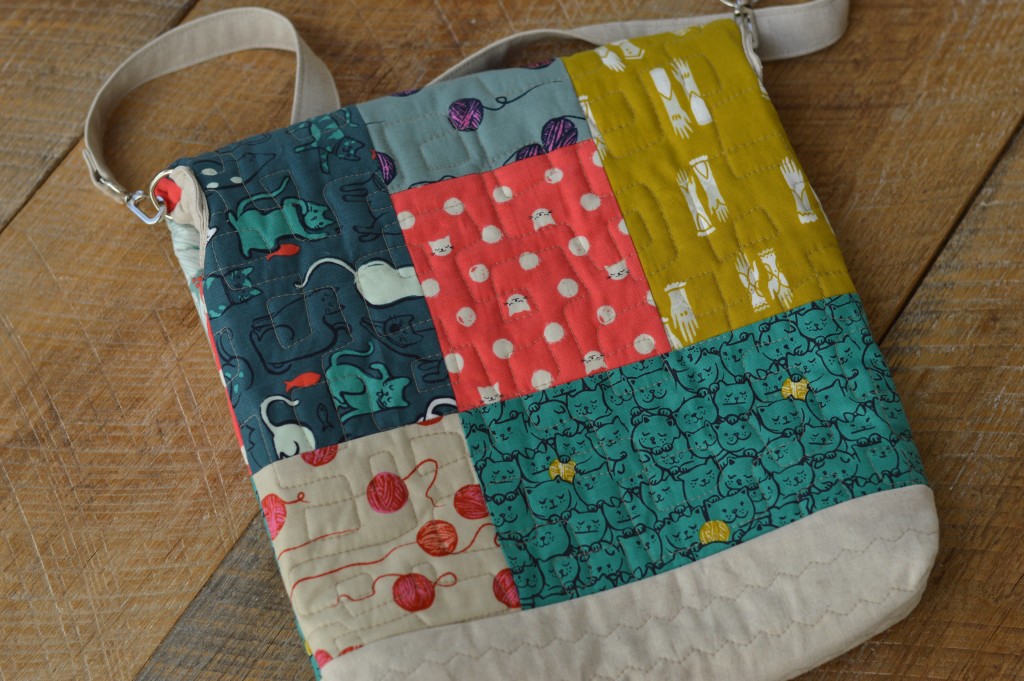
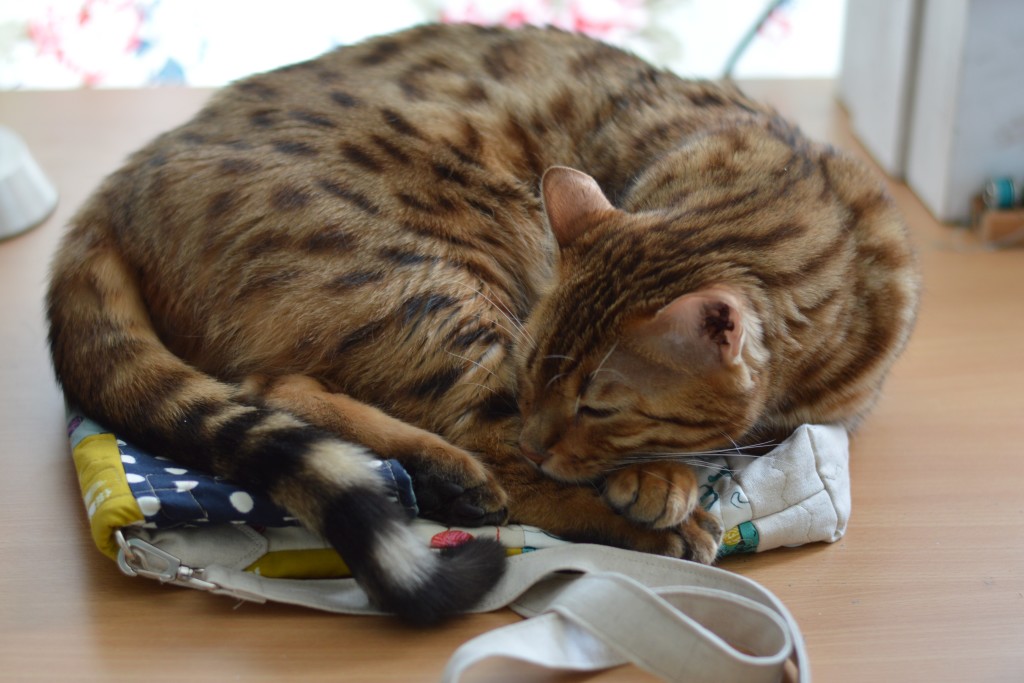
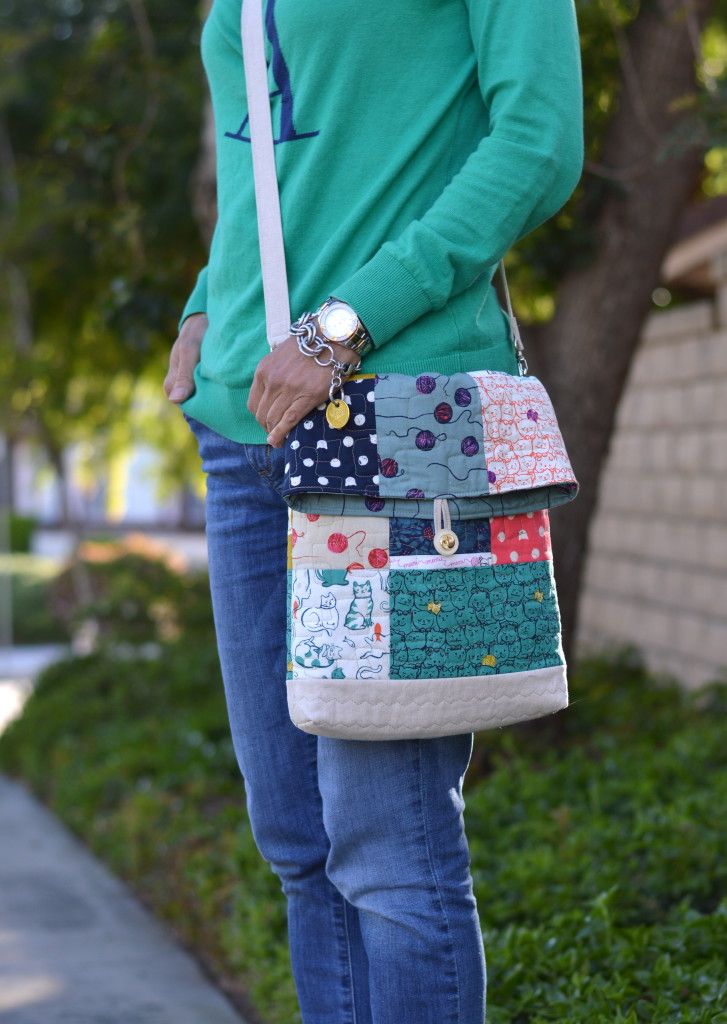
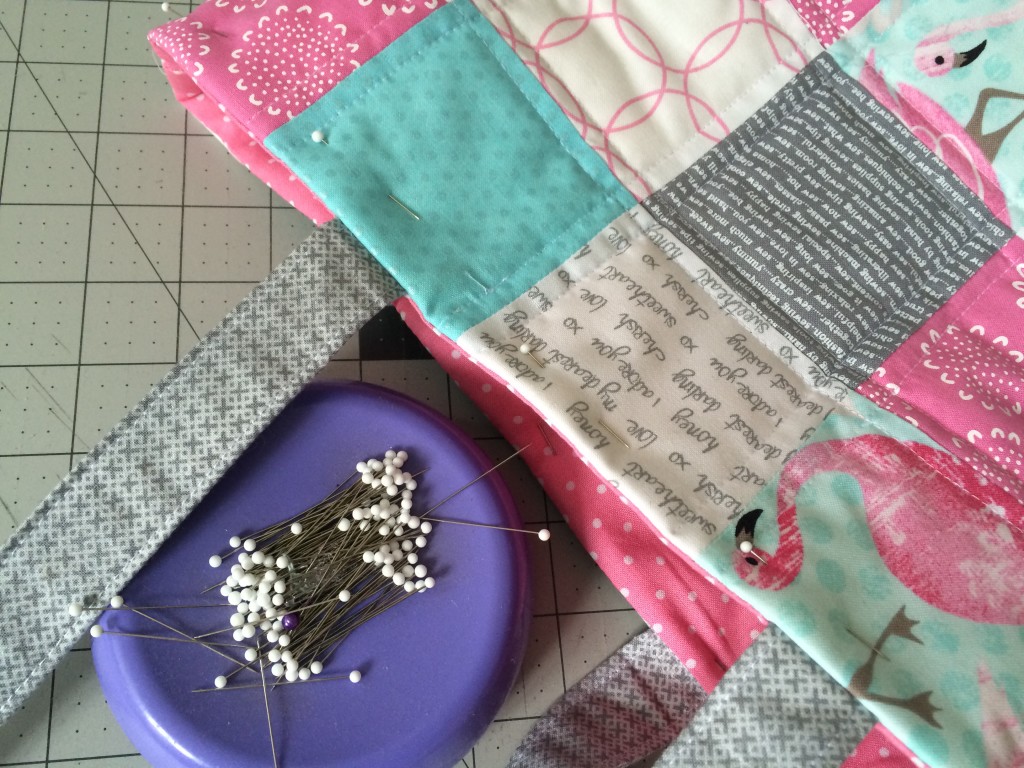
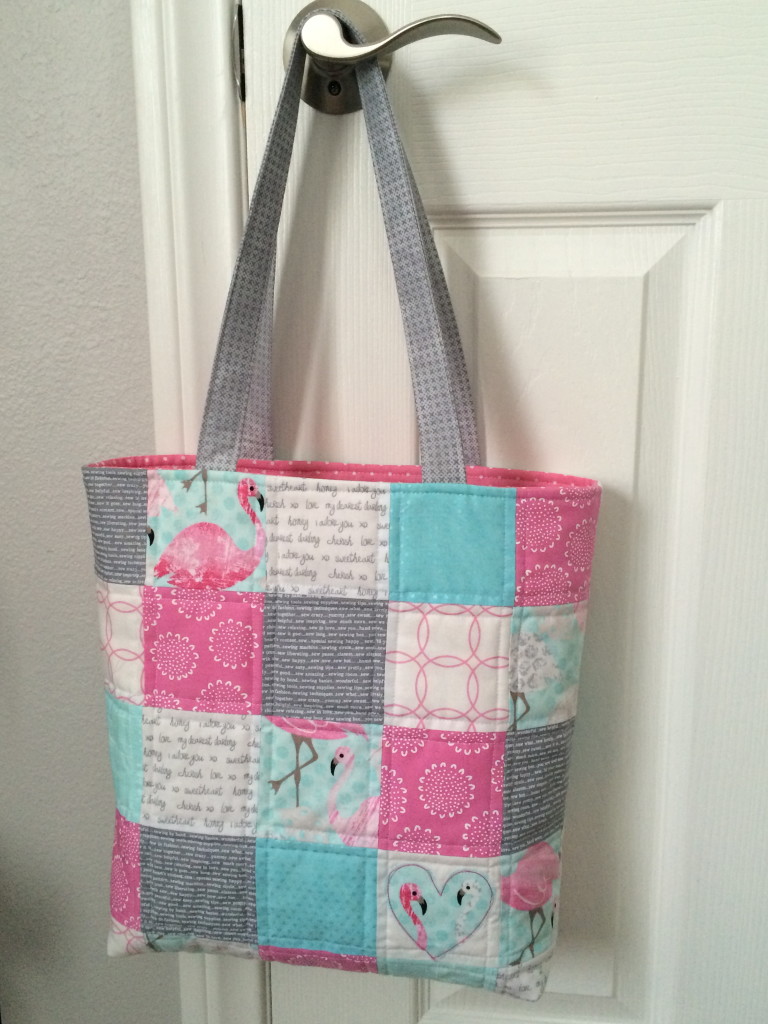
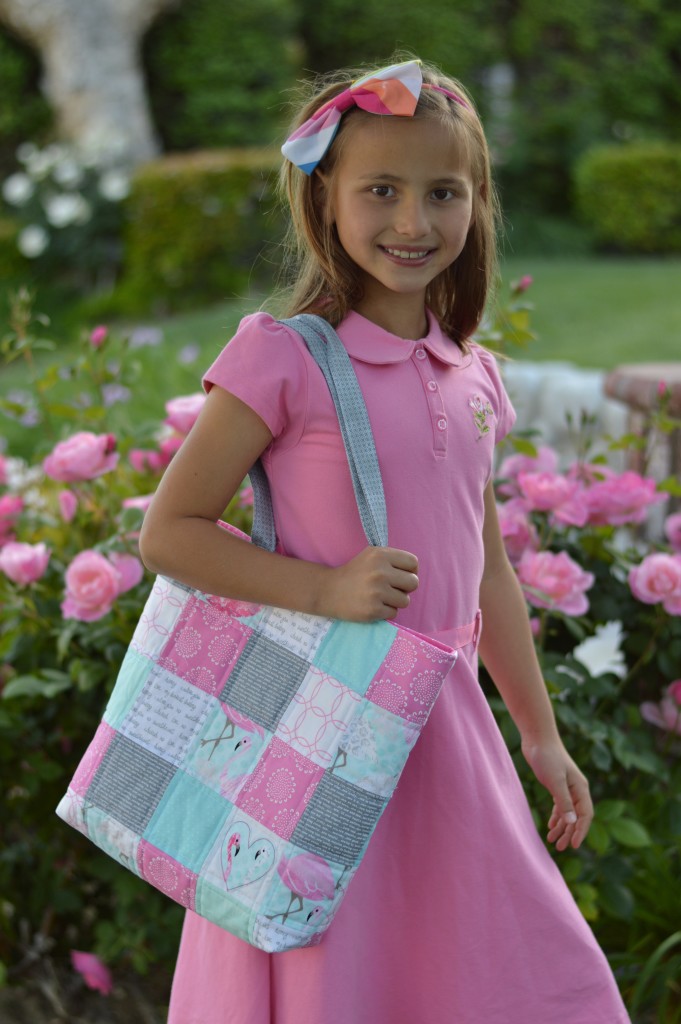
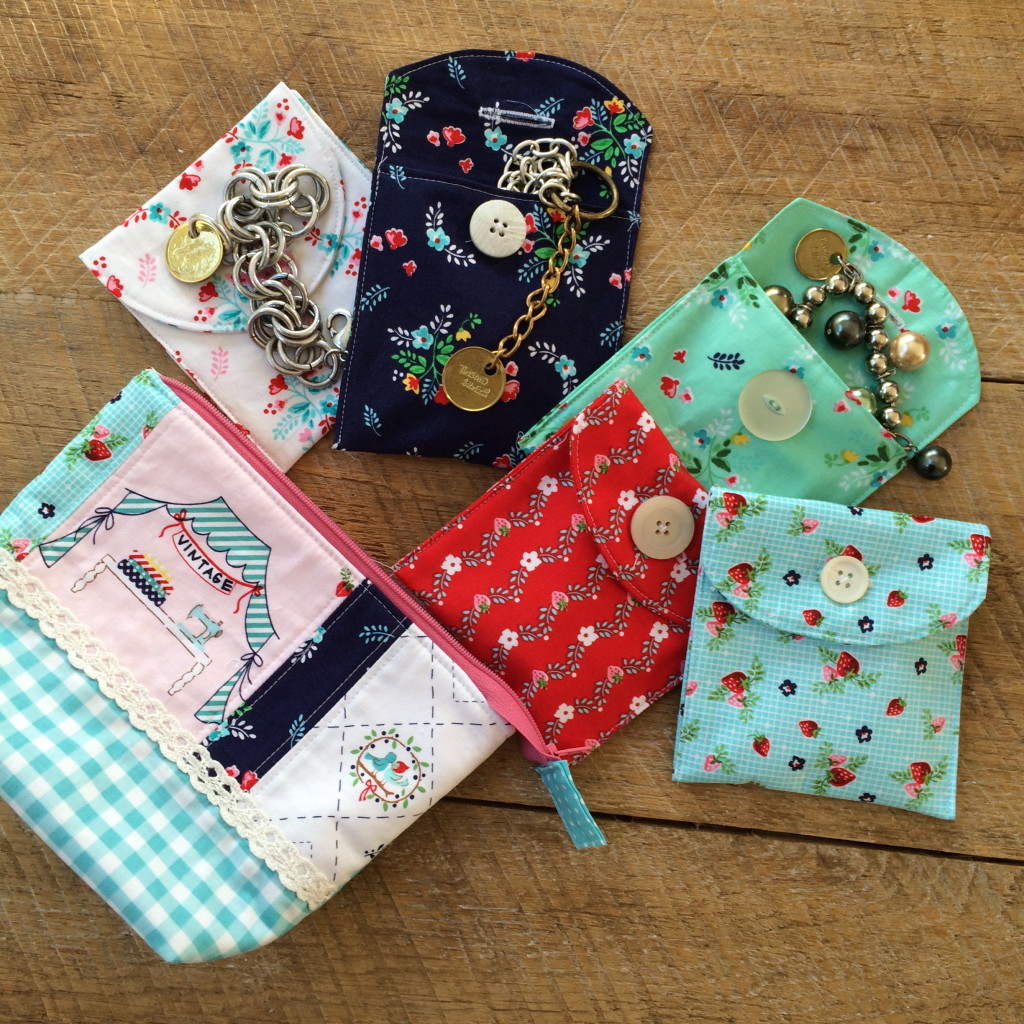
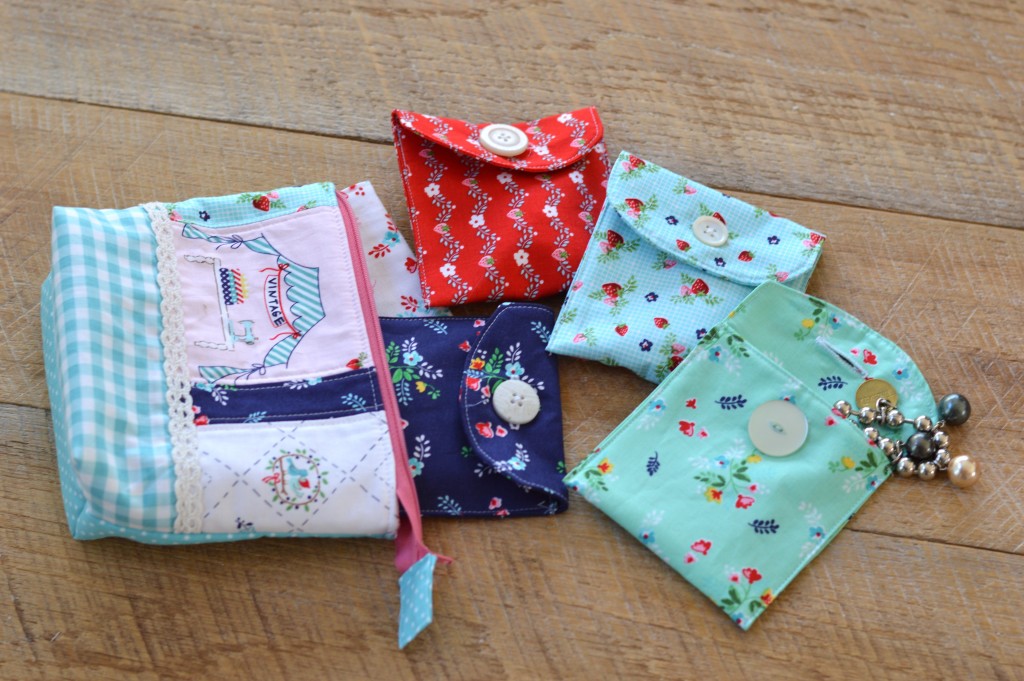
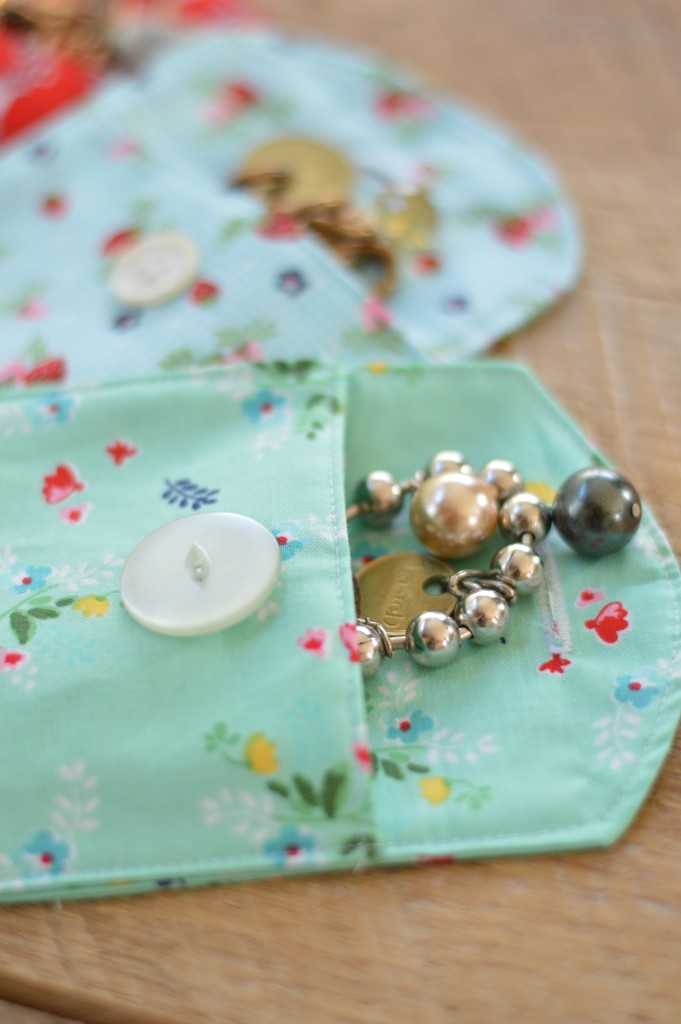
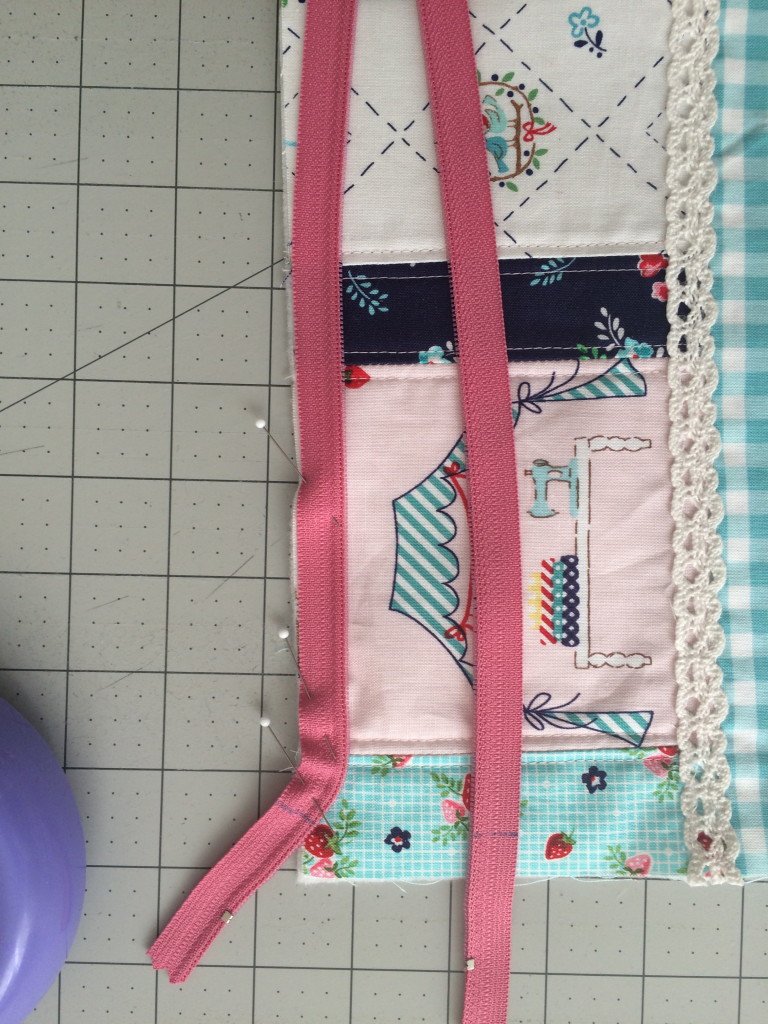
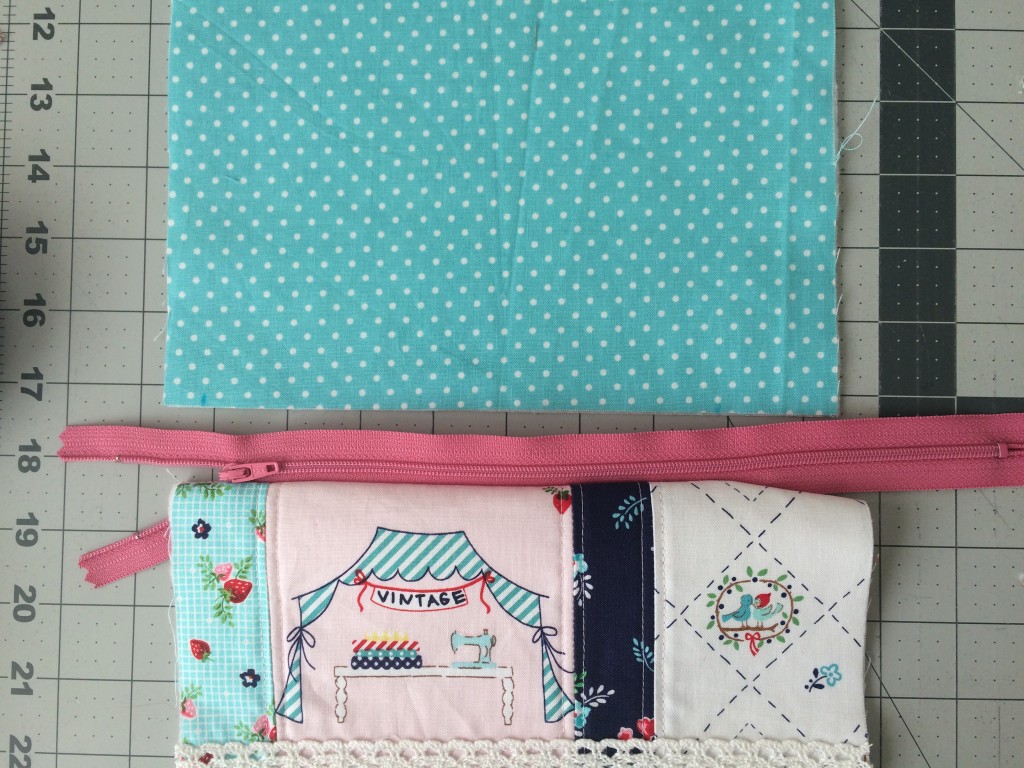
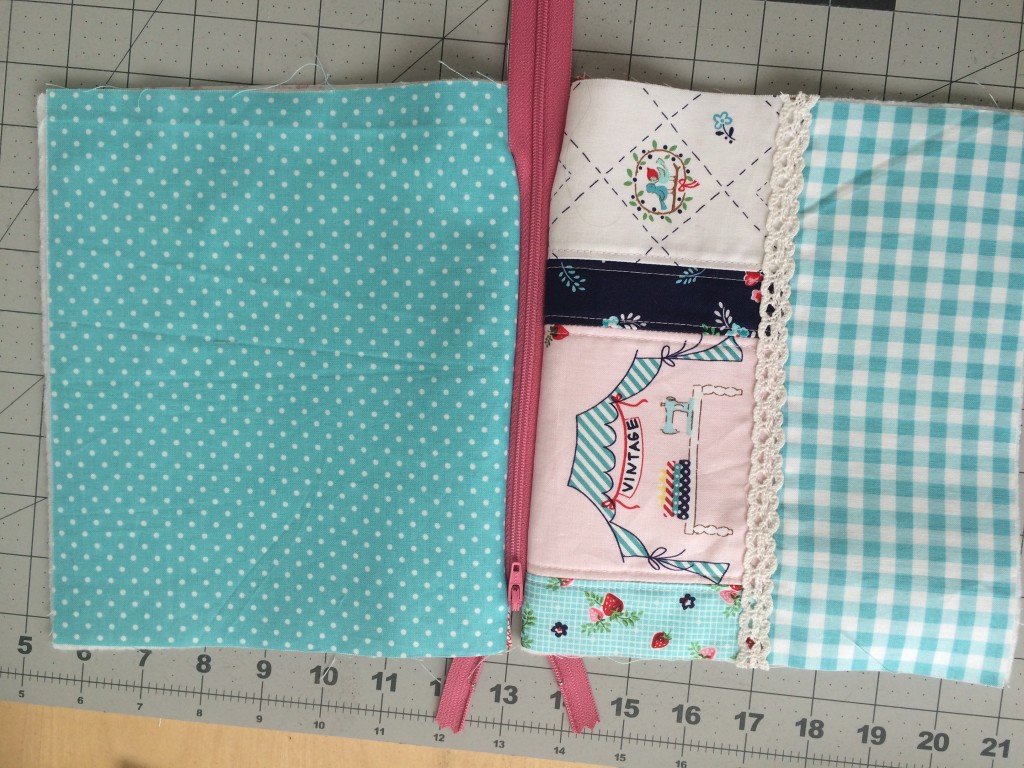
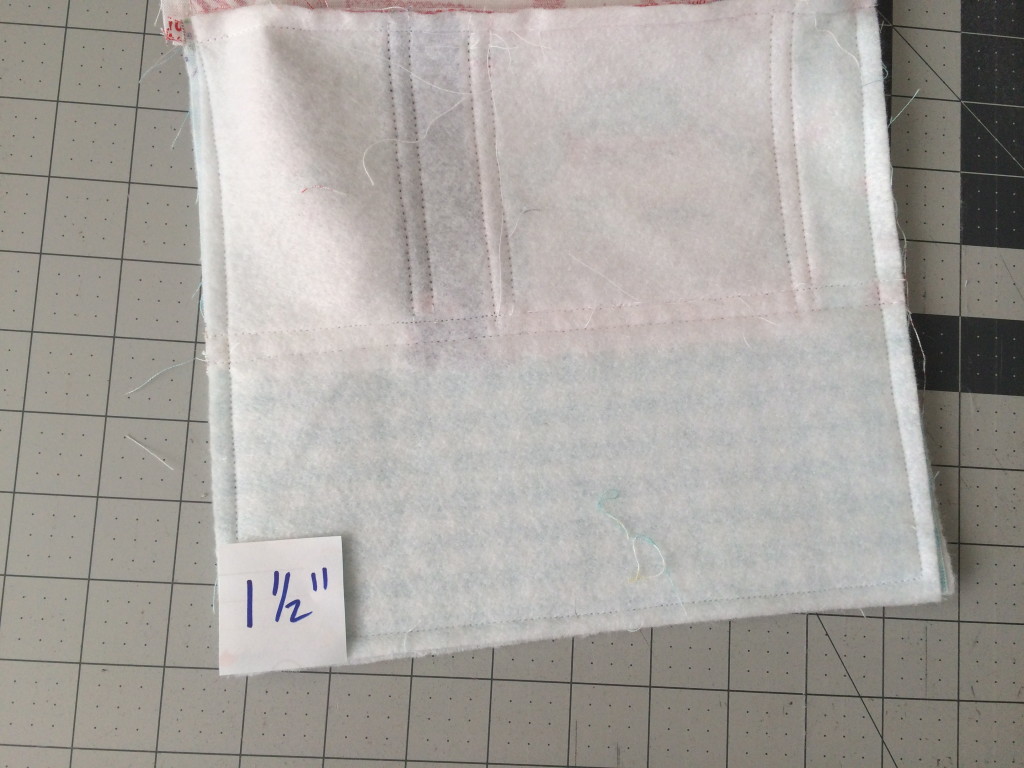
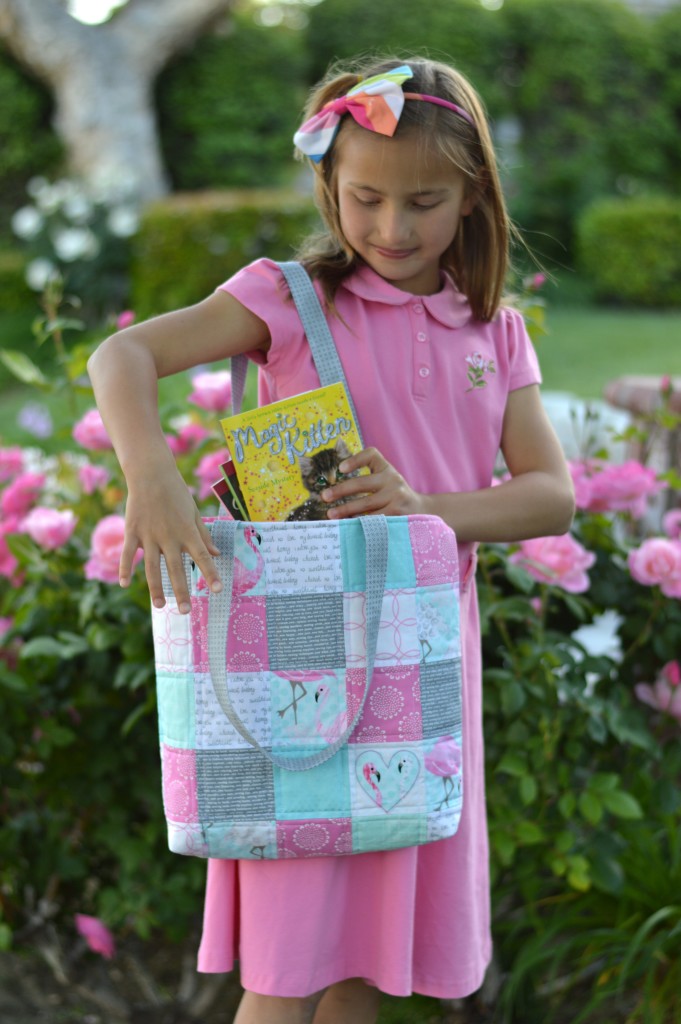
This is such a versatile size of bag!  And the fabrics are so perfect for a little girl 🙂

Let’s get started!

Supplies:

7 Fat Quarters assorted prints

1/2 yard lining

1/4 yard handles

quilt batting

patchwork tote bag 9

Press all your fat quarters so they are nice and smooth.

patchwork tote bag 12

And by “press” I don’t mean let your cat lay on the fabrics!

The bag is made up of 2 outer pieces and 2 lining pieces.  For the outer bag, cut 3.5″ blocks.  You will need 25 for the front and 25 for the back.  I added in 1 solid white square to applique a heart on.

patchwork tote bag 10

For the applique, draw a heart onto Heat n Bond Lite.  Cut the heart out 1/4″ larger than the drawn heart.  Iron it to the wrong side of the flaming fabric.  Press.  Then cut out on the heart line.  Peel off backing paper and press the heart onto the white fabric.

Top stitch around the heart a few times in an accent color.

patchwork tote bag 14

Once you have all the blocks cut and arranged, sew them together using 1/4″ seams, just like you would a quilt.  Press each row in opposite direction so the seams match up nicely.  Make 2 of these.  This should measure 15 1/2″ square.

patchwork tote bag 16

Next we will be making a quilt.  Baste each patchwork outer bag piece onto the quilt batting.  Then baste onto plain fabric for the backing.  This backing will NOT be seen.  I used some fabric I didn’t like very much 🙂  This extra layer will give the bag a bit more weight and stability.

patchwork tote bag 17

Basting spray is the greatest invention ever!!!

patchwork tote bag 19

Here you can see my “junky” fabric on the back.

Quilt as desired.  I quilted 1/4″ away from each of the seams.  The quilting will shrink the up the quilt a little bit.  Measure the size of the patchwork piece, mine measured about 15.25″

patchwork tote bag 21

Once each of the 2 pieces is quilted, trim off any excess batting.  Pin right sides together, matching at all side seams, leaving the top open.  Sew around the sides and the bottom using 1/4″ seam allowance.

Cut (2) lining pieces 15.25″.  This should be the exact measurement as the patchwork outer bag.  Place the two lining pieces right sides together, and sew around the sides and bottom, leaving the top open.  I like to take a slightly larger seam on the lining, so a generous 1/4″ seam allowance.

patchwork tote bag 23

Cut a 1 3/4″ notch out of the bottom of each corner.

patchwork tote bag 25

Open each notch, and match the seams, pinning.  Sew a 1/4″ seams across.  The picture below is slightly confusing because I used 2 different fabrics on my quilt back.

patchwork tote bag 27

Once each of the corners are sewn, it’s time to make the handles.

Cut (2) 4″ x 23″ strips.  Press in half lengthwise.  Then fold each side up to the center.  Then fold again, giving you a 1″ wide handle.

patchwork tote bag 31

Top stitch each handle 1/8″ from the edge.  Position the handle 4″ from the side seam.  Pin in place.  Baste in place.

patchwork tote bag 32

Place the outer bag and the lining right sides together, matching side seams, and pinning all the way around.  Sew all the way around the top of the bag using a 1/4″ seam.

patchwork tote bag 30

Unstitch a little section on the side of the lining and turn the bag right side out.

patchwork tote bag 34

Top stitch the opening closed.  Tuck the lining down inside and press the top edge of the bag.  Pin along the edge so the lining stays down.  Top stitch all the way around the bag using a 1/4″ seams allowance.

patchwork tote bag 33

It’s all done!!!  And it’s oh so sweet!!

patchwork tote bag 35

patchwork tote bag 8


Classic Heirloom Quilts – Fat Quarter Shop Sew Along

IMG_5990

I love the classic style of Heirloom quilts, don’t you!  I have inherited several quilts from my Great-Great Grandmother, Veda.  These quilts are such treasures to me.  When I look at these quilts with their hand cutting, hand piecing and hand quilting, I marvel at the the time and love that went into their construction.  Veda was a poor farmer’s wife with 3 daughters living in Kansas.  I hope my attempts at quilting make her proud.

IMG_6004

This is one of Veda’s red and white quilts – all those triangles!!  I love this book, Classic & Heirloom Quilts inspired from the 1800’s.  There is even a video you can watch!! I choose to make a small quilt with Riley Blake Designs Strawberry Biscuit fabric.  Screen Shot 2016-04-06 at 9.03.14 PMI love this pattern because it uses 2.5″ cuts and it’s a perfect scrap-buster as well.  This book shows how to make each of the 8 patterns in a mini, throw, or queen size quilt.

IMG_5957

Mufasa was very helpful in messing up all my rows I had lined up!IMG_5979

Then he redeemed himself by taking a very smart photo next to the finished quilt 🙂  IMG_5996

In piecing this quilt I used my favorite method of “grab and go” which means I didn’t lay any blocks out – it’s totally random.  Some “like” prints ended up next to each other and I’m totally ok with that, it makes it unique!IMG_5998

Jewelry Pouch Travel Set

jewelry pouch

I am so excited to share this project with you!!  I LOVE jewelry!  (Especially Twisted Silver Jewelry) This is the perfect way to store your jewelry when you travel so it doesn’t get tangled or damaged.  You can sew as many of these little pouches as you want and they all fit in this zipper bag.  This would make such a great gift for Mother’s Day, Birthday, or Graduation.  The full tutorial is over on the Therm O Web Blog.jewelry zipper pouch 21

All the fabrics are from Riley Blake Designs Vintage Market Fabric Line by Tasha Noel.  I used Heat n Bond Fusible Fleece in the zipper bag and then a medium weight fusible stabilizer in the little pouches.

jewelry zipper pouch 9

Each little pouch has a button closure.

jewelry zipper pouch 13


Full Access Zipper Pouch Tutorial

full access zipper pouch tutorial

I love making zipper pouches – any shape and any size!  They are perfect for every situation and every occasion!!  This is a tutorial for how to make a “full access” or “open wide” zipper pouch.  This method will work for any measurements of zipper pouch.  Before we get started, prepare the outer bag, lining, and stabilizer or quilt batting.

My favorite zipper pouch dimensions:

6.5″ x 9″

8″ x 11″

and this one is 7.5″ x 9″

Cut (2) outer bag pieces the same size.  The one above is pieced.  You can piece the outer bag in any design, as long as the measurements are the same as the back and the lining.

Cut (2) lining fabrics the same size

Cut (2) stabilizer pieces or batting pieces also the same size

Fuse the stabilizer to the outer bag pieces, or quilt the outer bag pieces.

And now for the zipper…..

I always use a zipper that is larger than I need.

Mark a straight line on the wrong side of the zipper, as pictured below.  This will provide a way to make sure the zipper matches up.

zipper pouch tutorial

Place the 2 outer bag pieces as pictured below, as thought the zipper was in the center.  Place a mark 1/2″ from the left edge and 1 1/2″ from the right edge, as shown below.

zipper pouch marking guide

Place the zipper face down on the front piece of the bag:

zipper pouch tutorial. 4

Match up the mark on the zipper and the 1/2″ mark on the bag with the end of the zipper trailing off as pictured below:zipper pouch tutorial. 3

Continue to pin the zipper along the raw edge of the bag front.   zipper pouch tutorial. 6

Now place one of the lining pieces face down on the bag front/zipper portion.  Align the raw edges along the top and pin in place.

zipper pouch tutorial. 10

Using a zipper foot, sew along the pinned edge.  The front end of the zipper should be trailing out of the seam, and the marked lines should match up.  Kind of curve the zipper in to make sure the marks meet exactly.

Continue sewing and stop the needle in the down position at the 1 1/2″ mark.  Move the zipper tail to the right  and continue sewing right off the zipper and all the way along the raw edge.  You should not be sewing the zipper once you hit the 1 1/2″ mark.

zipper pouch tutorial. 1

Once you turn the outer bag piece facing out, this is what it should look like:

zipper pouch tutorial. 7

Position the outer bag back piece next to the zipper as pictured above. Repeat the same process of sewing the zipper, only on the opposite side.  Match the marks at the 1/2″ point.  Then put the second bag lining piece on top, right side down.  Pin along the top and sew with the zipper foot.

zipper pouch tutorial. 9  
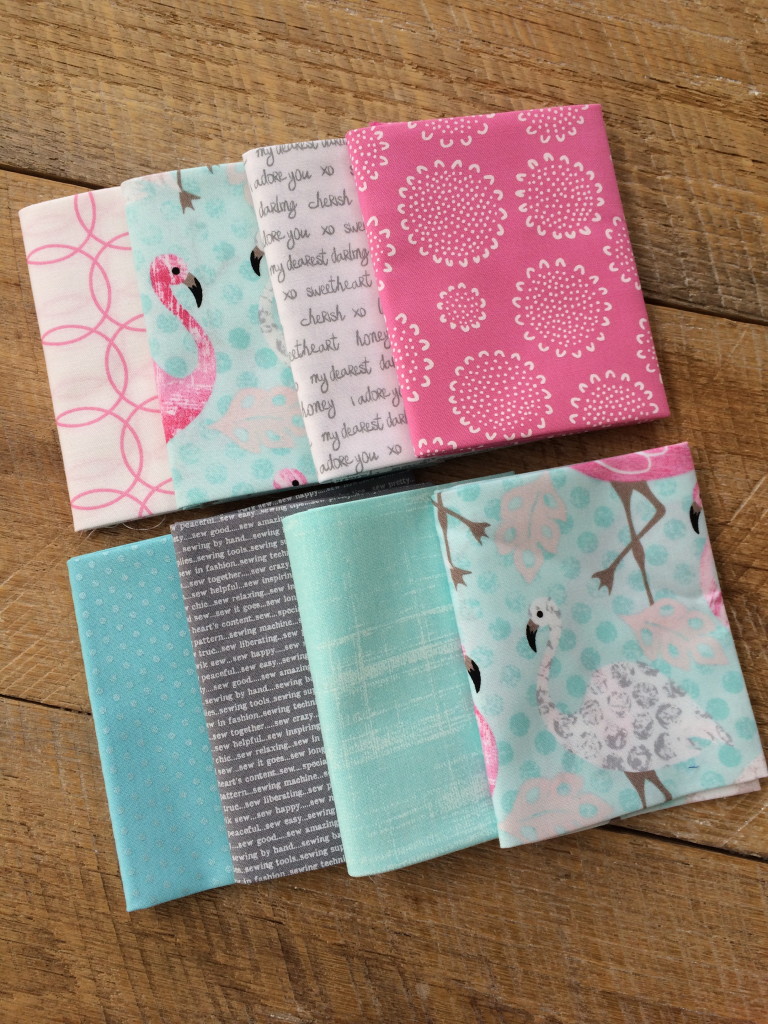
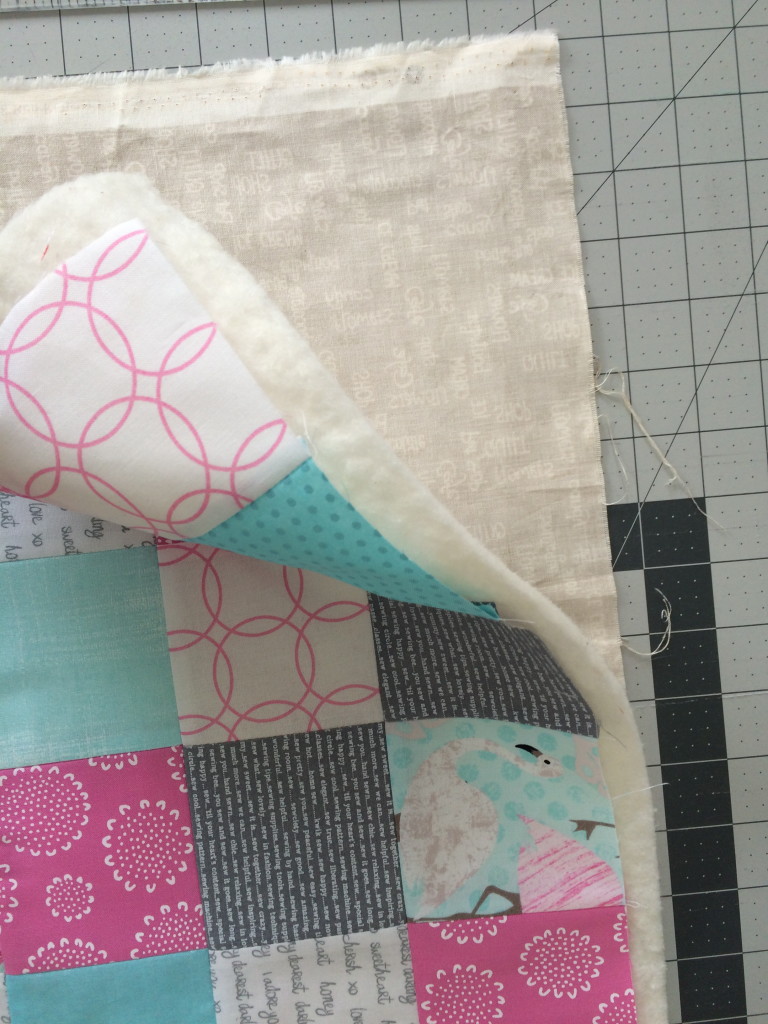
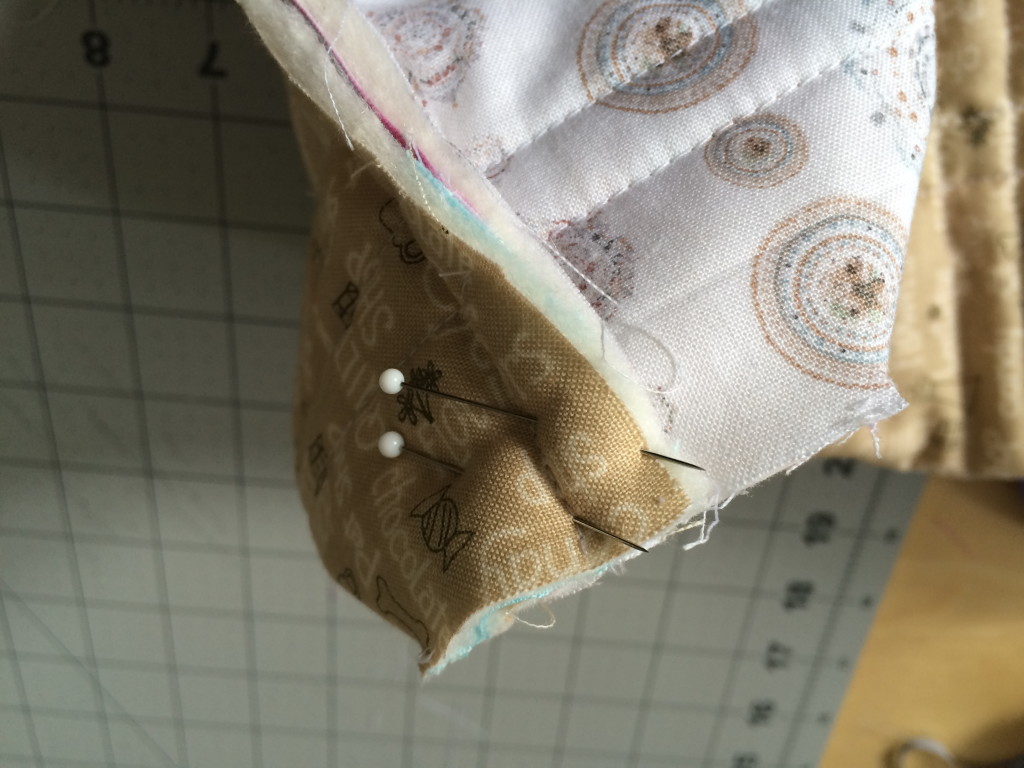
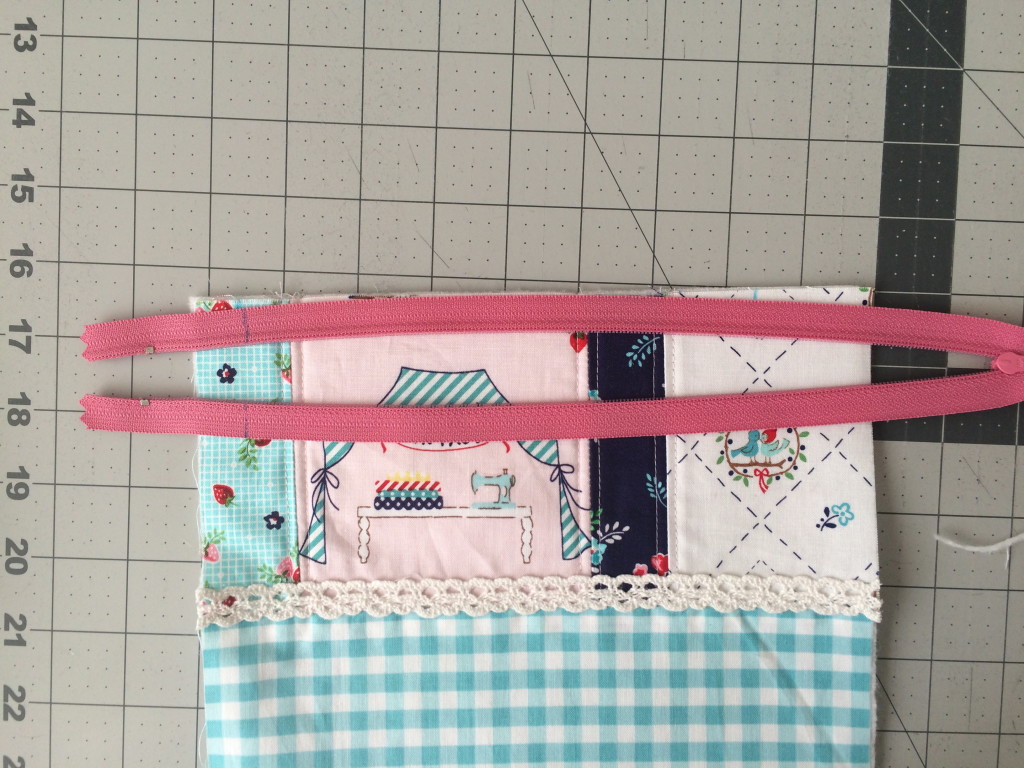
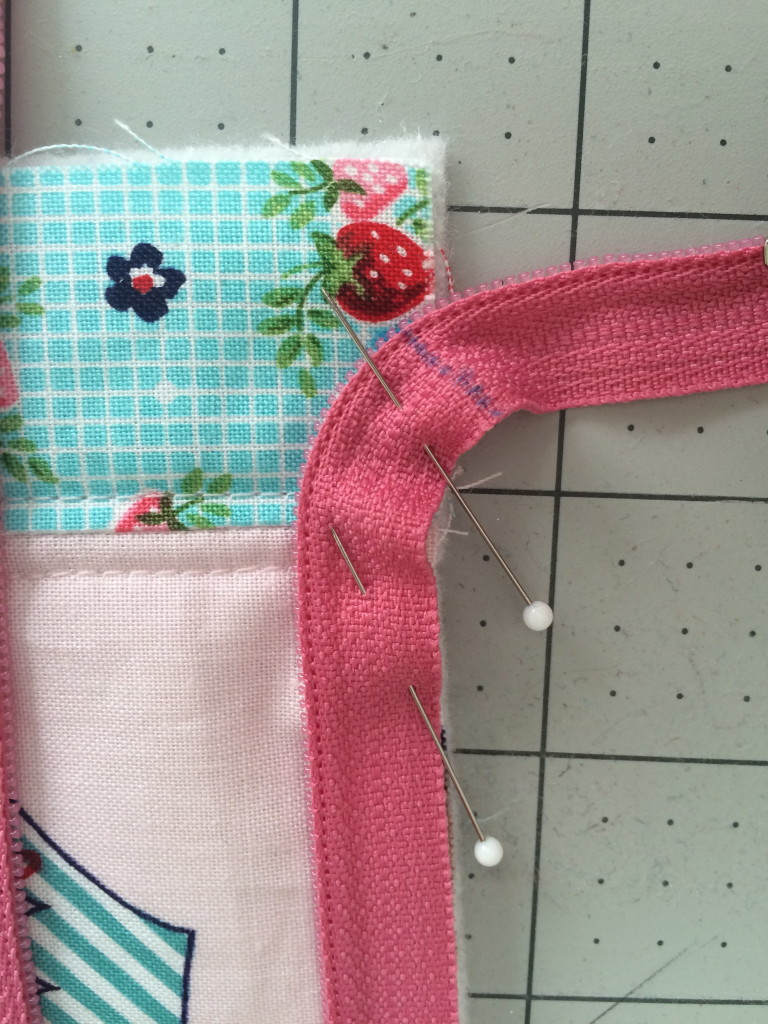
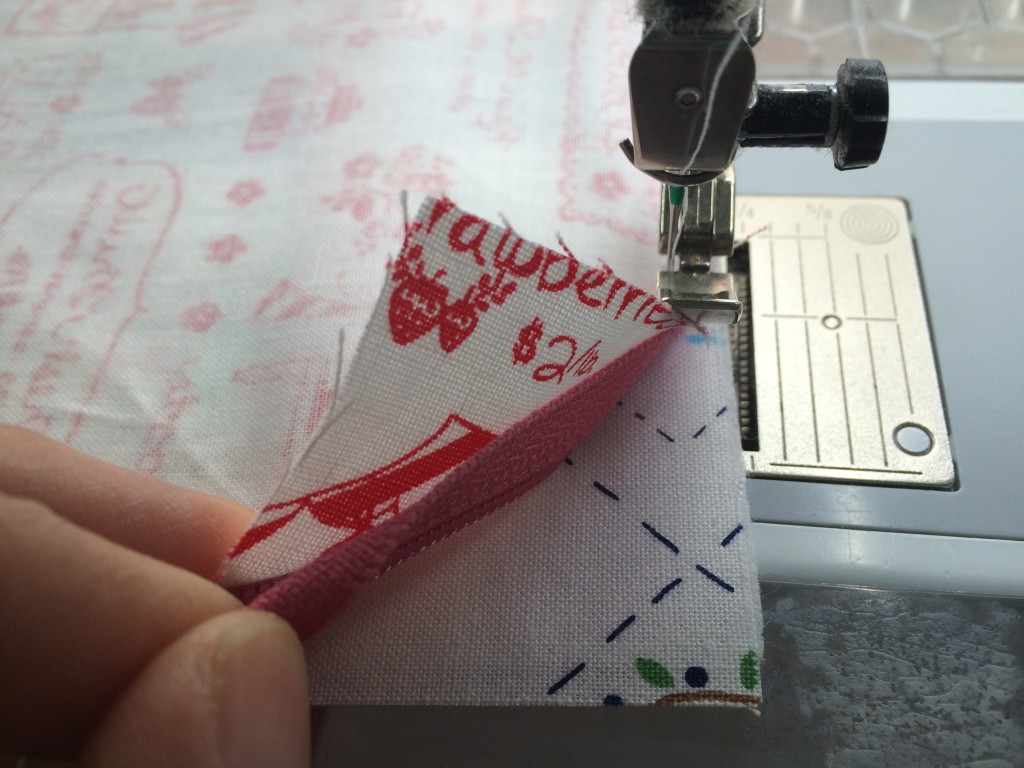
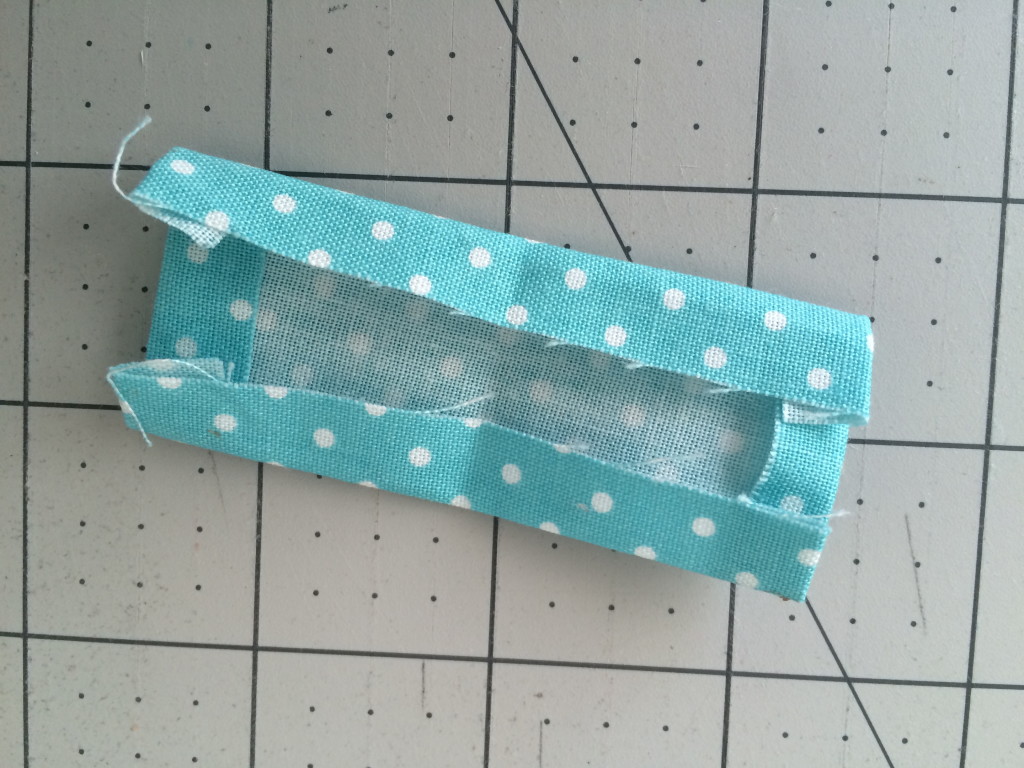
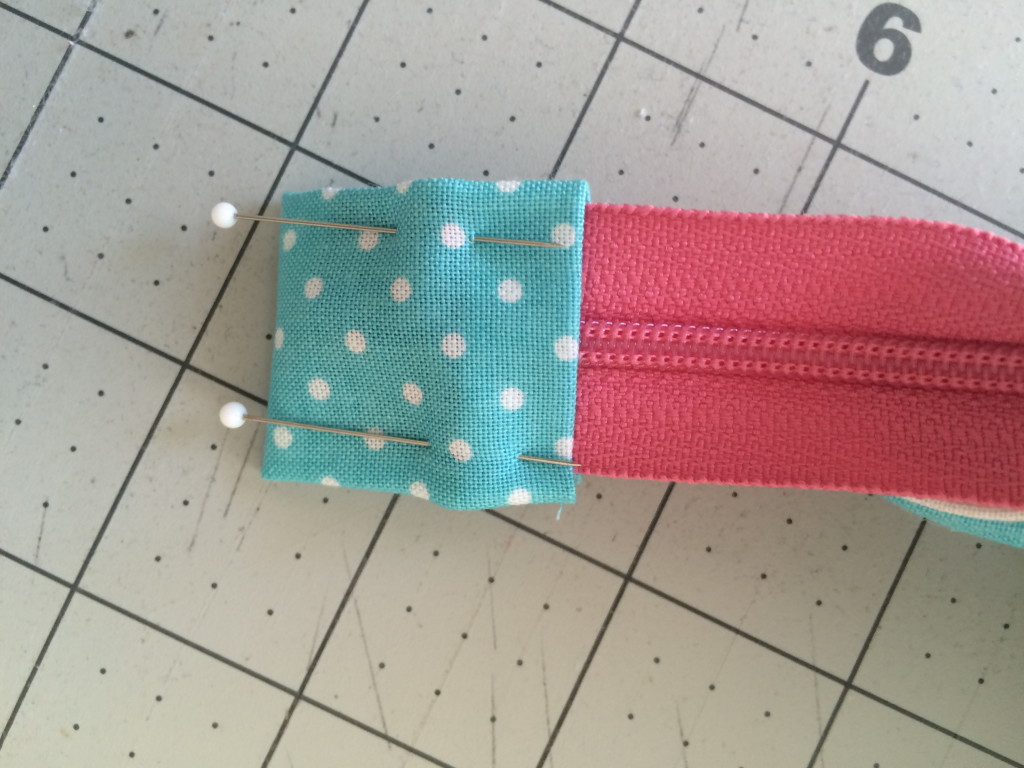
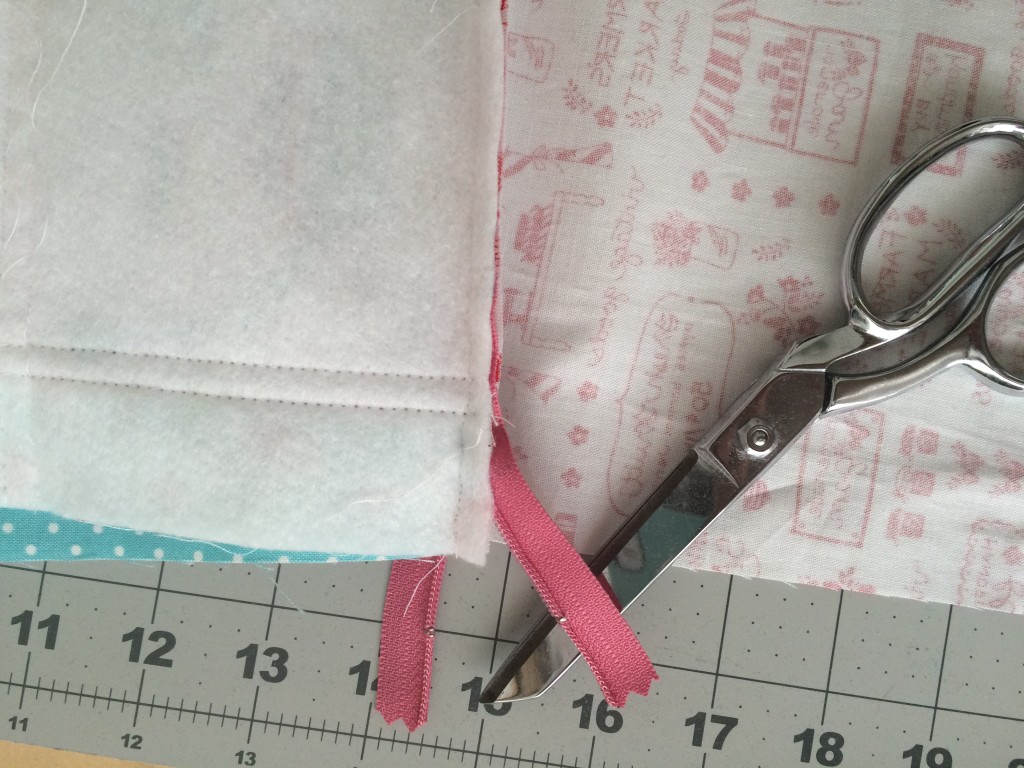
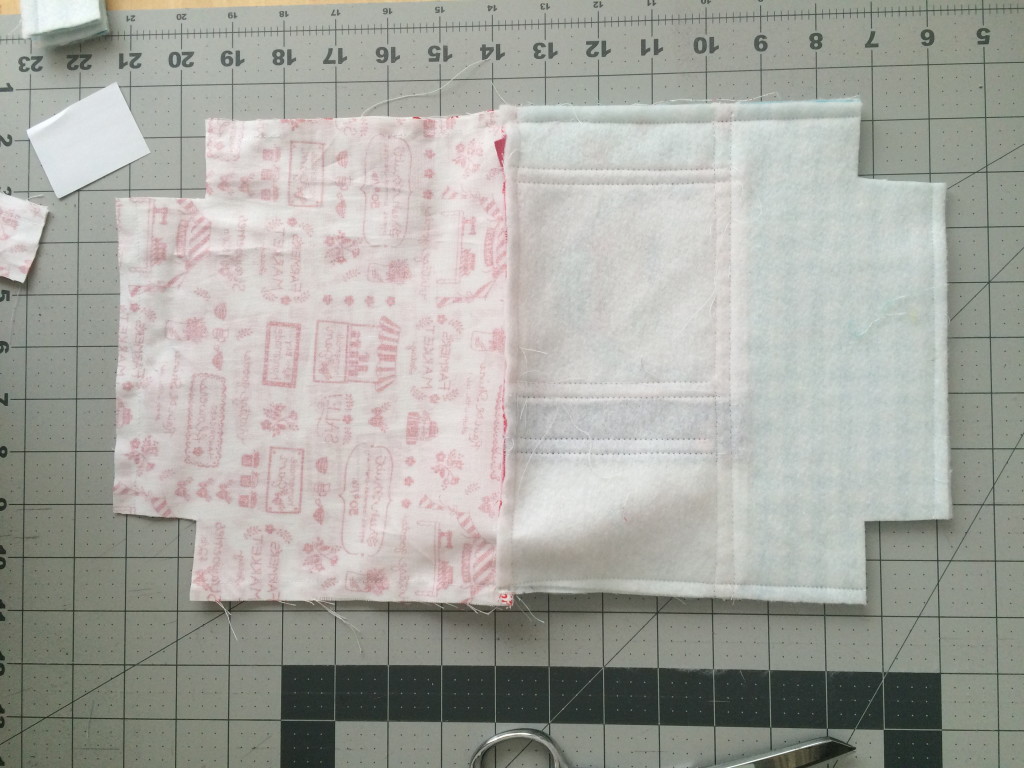
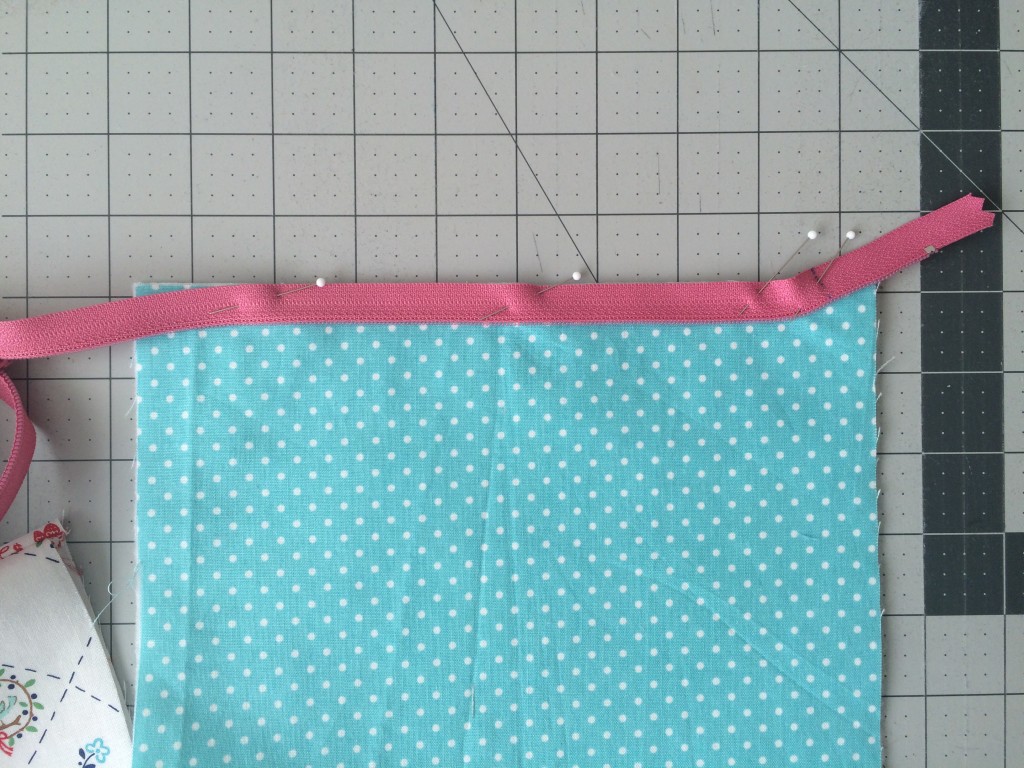
You will need to sew this portion “opposite” with the needle moved all the way over to the opposite side and the bulk of the zipper pouch next to the throat of the sewing machine.

zipper pouch tutorial. 11

Stop sewing at the 1 1/2″ mark and pull the zipper end to the right and continue sewing (below)

zipper pouch tutorial. 12

This is how the bag should look now:zipper pouch tutorial. 13

zipper pouch tutorial. 14

Trim off the excess zipper of the front only, leave the tail.zipper pouch tutorial. 15

WITH THE ZIPPER PARTIALLY OPEN, match right sides together of the lining pieces and right sides together of the outer bag pieces, tuck the zipper tail way inside this unit so it doesn’t get caught in the seam.  Pin all the way around, matching the seams.zipper pouch tutorial. 16

Sew all the way around the bag using a 1/4″ seam allowance.  Leave a 3″ opening on one of the bag lining sides for turning.zipper pouch tutorial. 18

This part will differ depending on the bag you are making.  I like to use a 1 1/4″ or a 1 1/2″ notch.  Cut a pattern square the desired size of the notch.  Cut this notch out of each corner.zipper pouch tutorial. 19

After the notches have been cut, open the corner of the bag so the bottom seams match up and pin:zipper pouch tutorial. 20

Sew a 1/4″ seam along each of the 4 corners, back-stitching at the start and stop of the seam.zipper pouch tutorial. 22
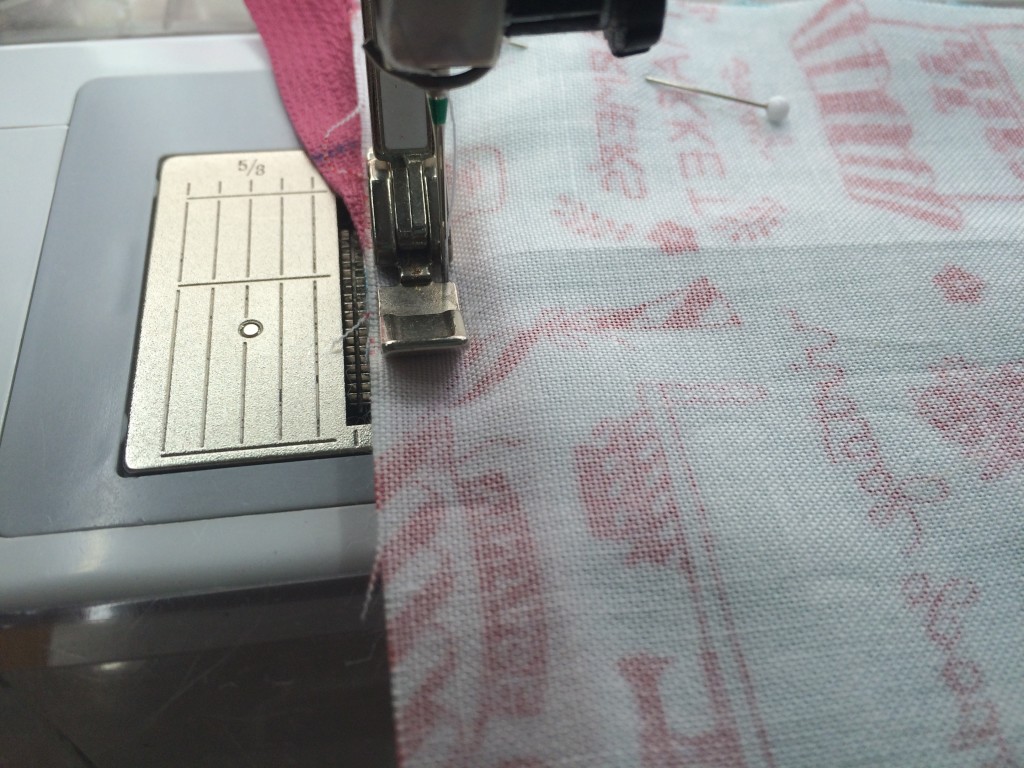
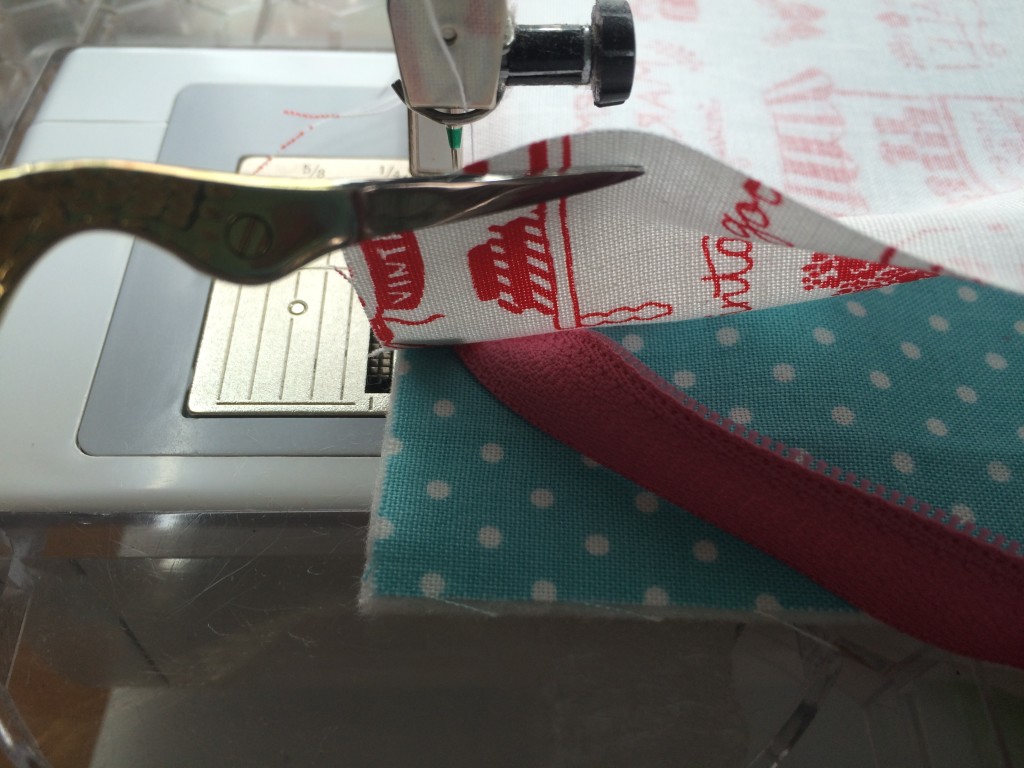
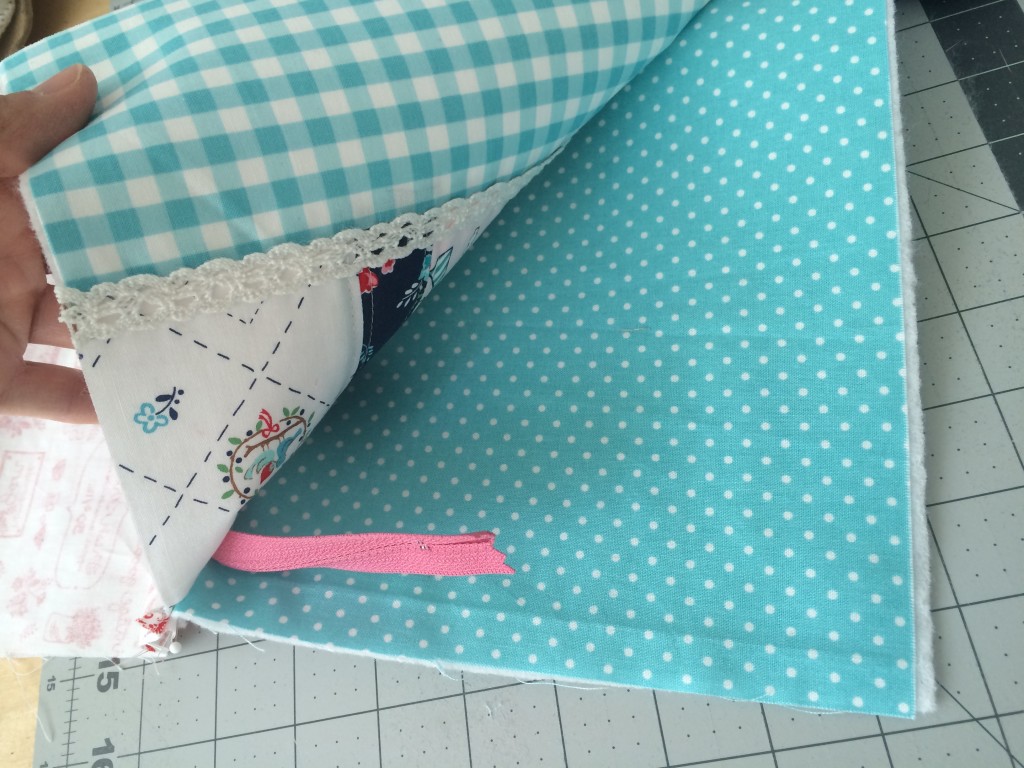
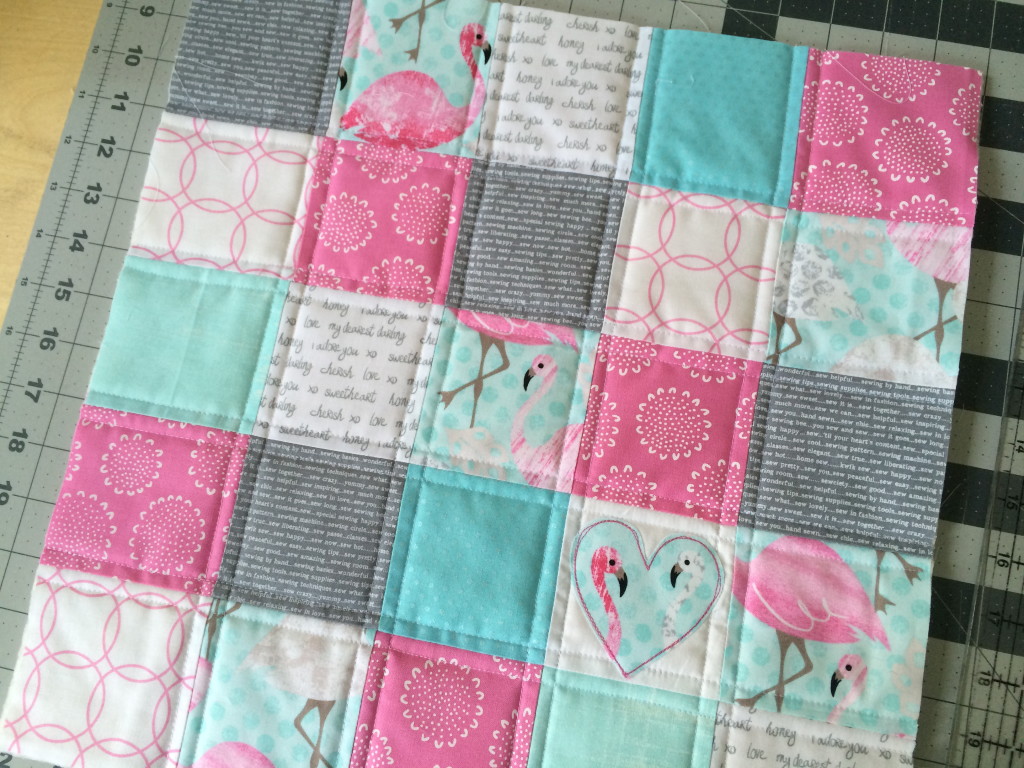
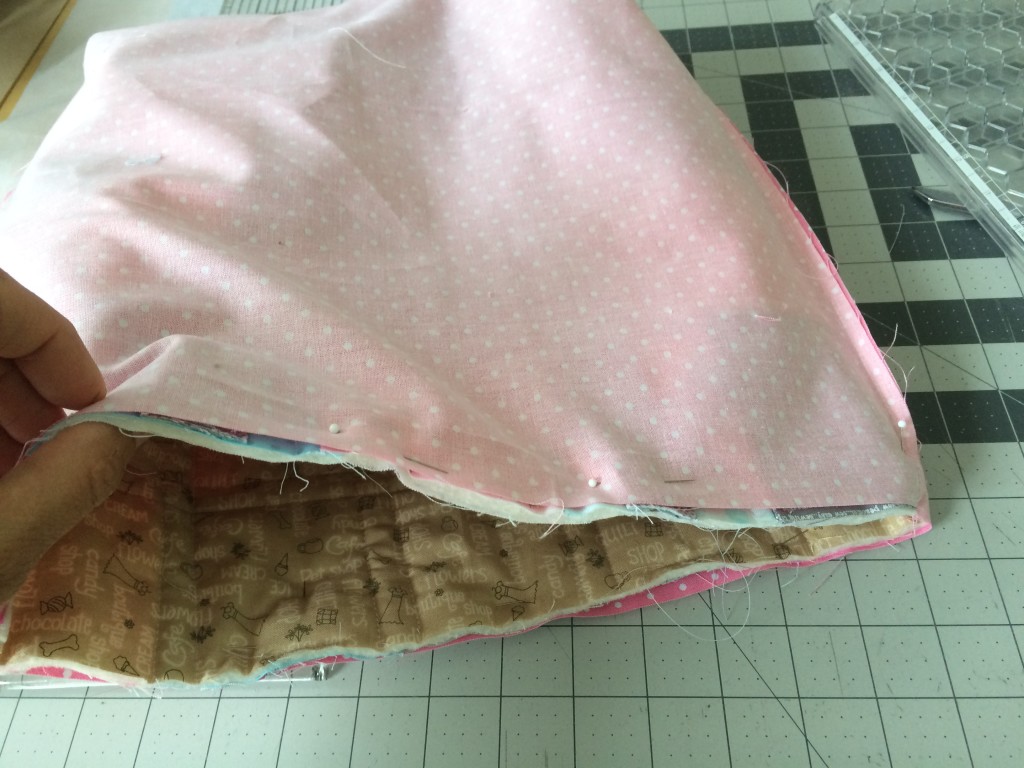
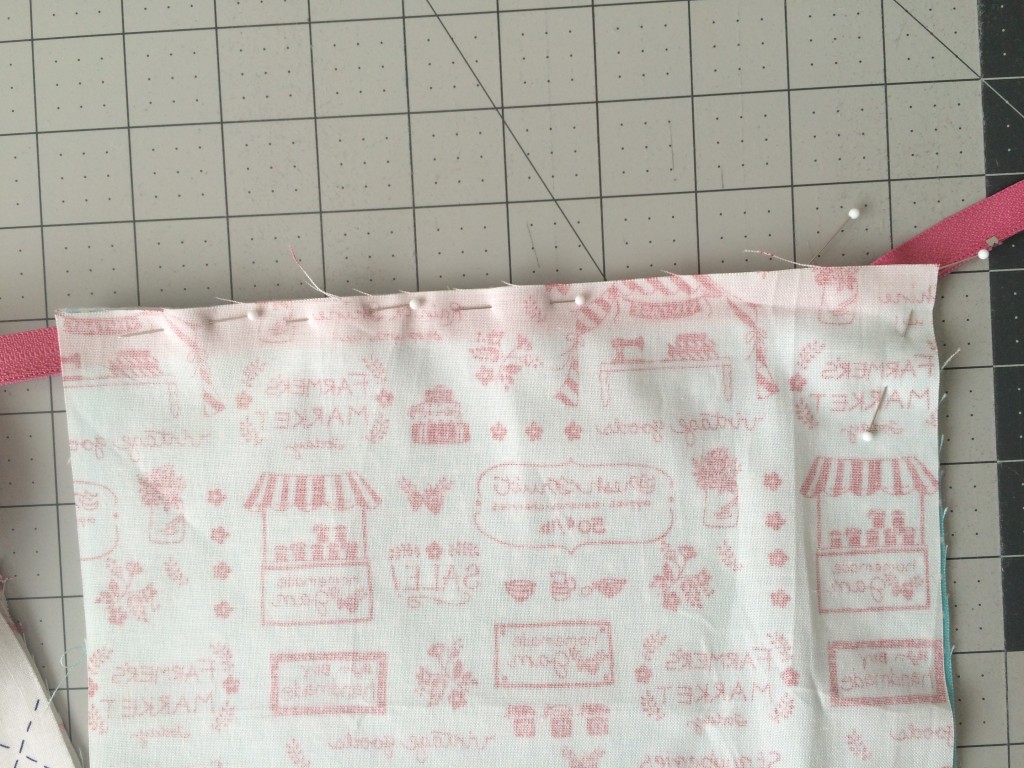
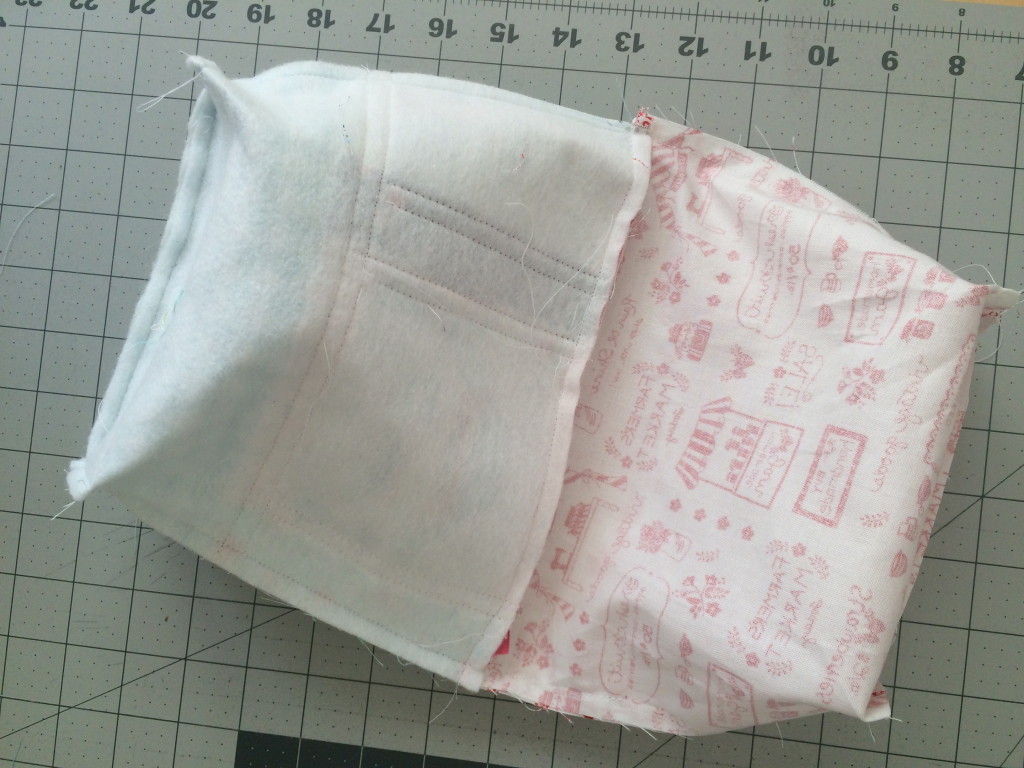
This is how the bag should look now (above).  Turn the bag right side out and top stitch the opening closed.
zipper pouch tutorial. 23

Press the lining down inside the bag and top stitch all the way around the top of the bag 1/4″ away from the top.zipper pouch tutorial. 24

To finish the zipper, make a zipper tab.  Cut an accent piece 3 1/2″ x 2″.zipper pouch tutorial. 25

Press the short ends under 1/4″ and the sides in enough to match the width of the zipper.  Then press in half.zipper pouch tutorial. 26

Cut the zipper tail to the desired length and then place the zipper tab over the end of the zipper.  Pin.  Top stitch all the way around the zipper tab.zipper pouch tutorial. 27

And it’s finished!!!

zipper pouch tutorial. 28

These are some of my favorite zipper pouch tutorials:

theme print zipper pouch tiger lilyanchor zipper pouchzipper pouch father's day

Kimberly’s Sac Pattern from Fat Quarter Shop

cat lady bag 12

Today I am participating in a blog hop with the Fat Quarter Shop!  We are showing off this super cute, super easy cross-body bag called Kimberly’s Sac.  This bag is so much fun to make that I had to make two of them!  One is for me and one is for my daughter.  There is even a video you can watch to help you as you sew along!                    Screen Shot 2016-03-22 at 6.38.40 PM

This bag is great because it’s comfy and slouchy!  I used quilt batting inside so it feels like a soft quilt.

cat lady 18

I made 2 versions: one is with Cat Lady Fabric by Cotton and Steel and the other, for my daughter, is sewn with the latest Star Wars fabric.

kimberlay sac star wars bag 2

For Star Wars bag, I used only squares for the outer bag.  This was easier for Ella to cut out and design by herself.

DSC_0674

She LOVES it!  This would make the perfect gift for the Star Wars Nerd in your life 🙂

kimberlay sac star wars bag 4

kimberlay sac star wars bag 7

And this Cat Lady version would be the perfect gift for that Crazy Cat Lady in your life (or yourself)…..hahahaha!

cat lady tote bag

I used parts of the selvage in the Cat Lady bag – I love Cotton and Steel’s creative use of fabric selvage!

cat lady bag

cat lady bag 2

Since this bag is soft and cuddly just like a quilt, of course Mufasa sought it out as the perfect place for an afternoon nap 🙂

cat lady bag 6

I suppose it’s fitting that my Cat Lady bag has cat fur on it!!

cat lady bag 5

cat lady bag 3

This is such a fun bag to use!  I can’t wait to make another one!

cat lady bag 14FatQuarterShop-250x250(1)