Choose Happy {quilt pattern}

choose happy cover

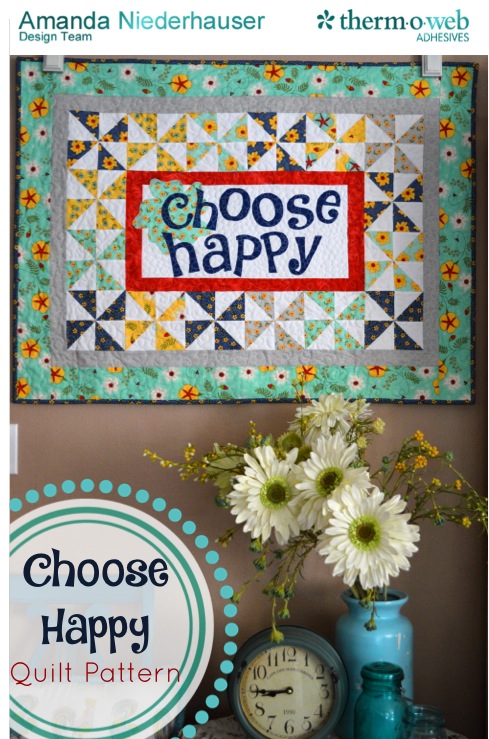
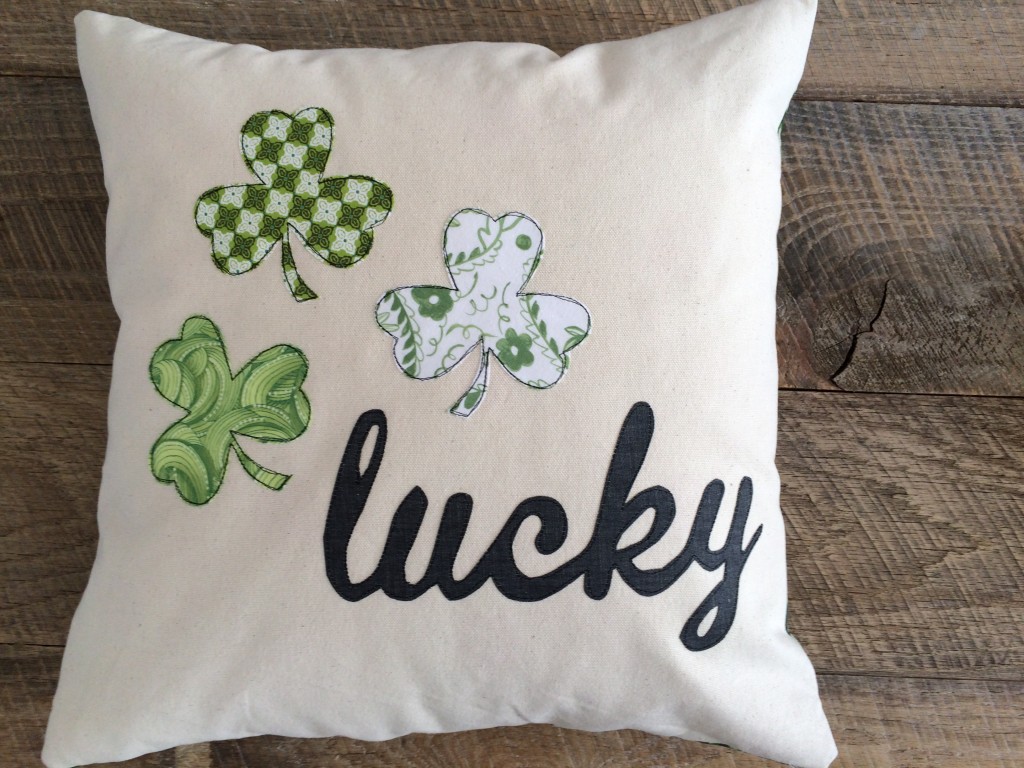
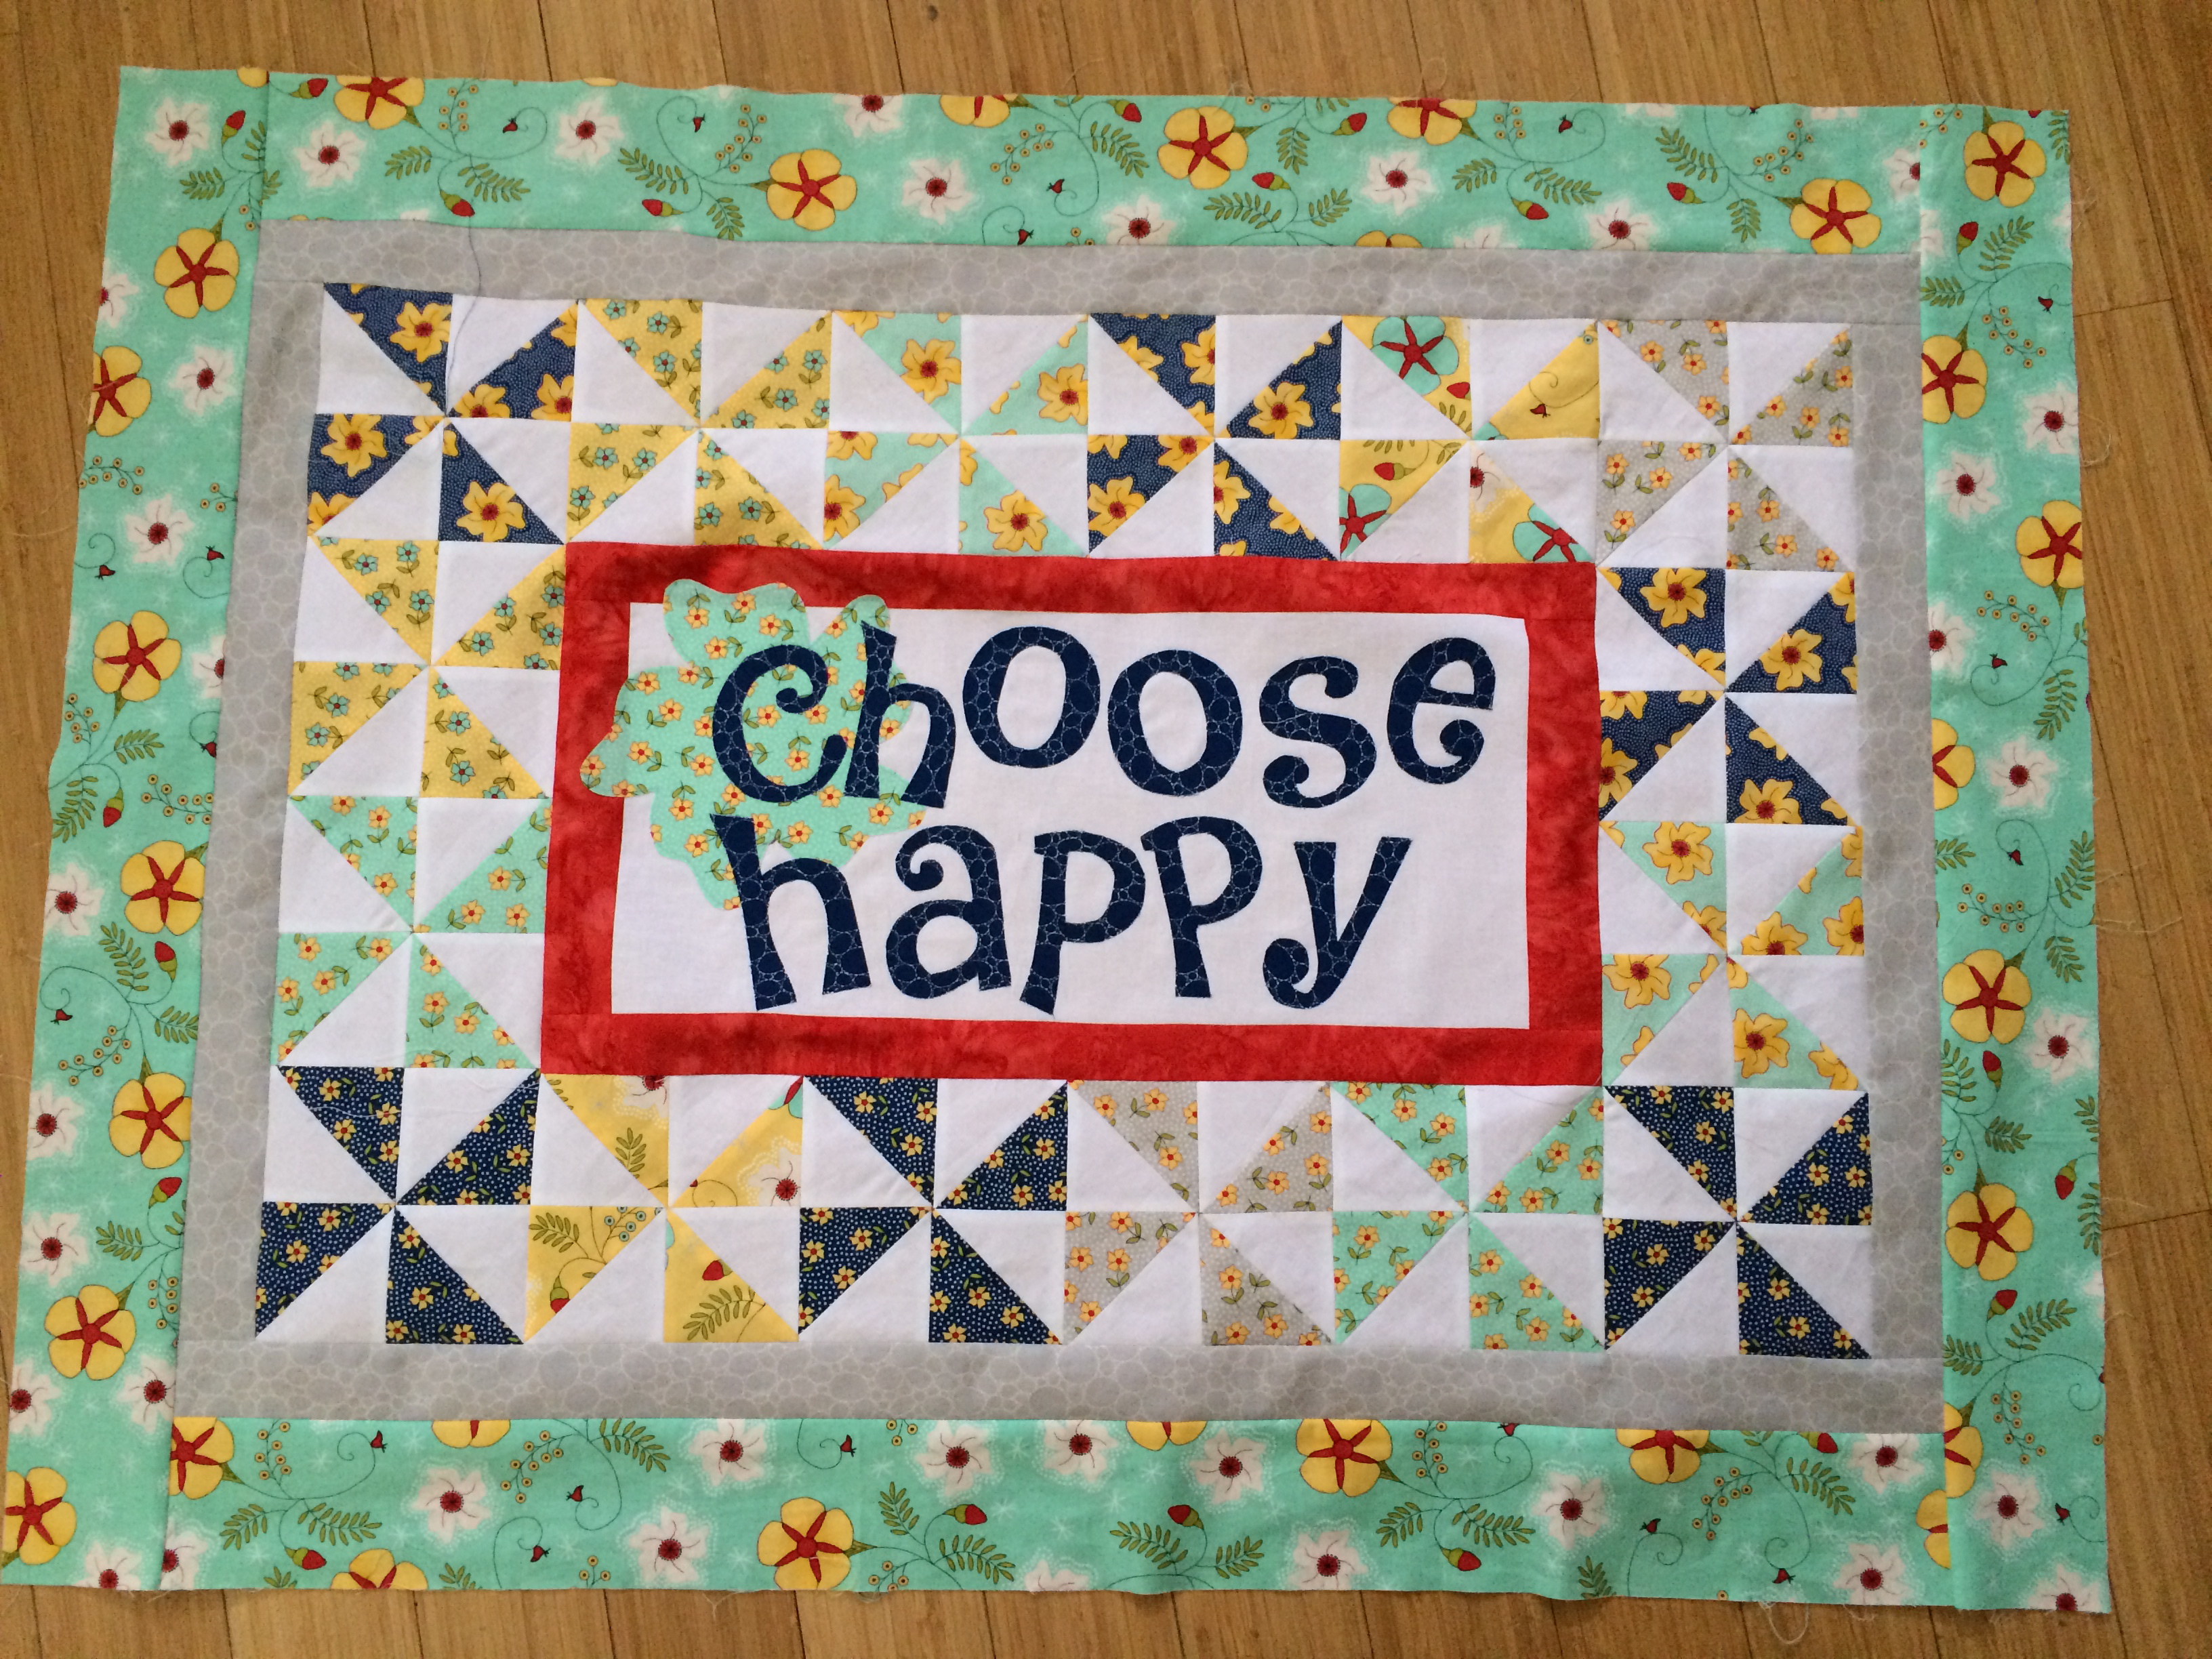
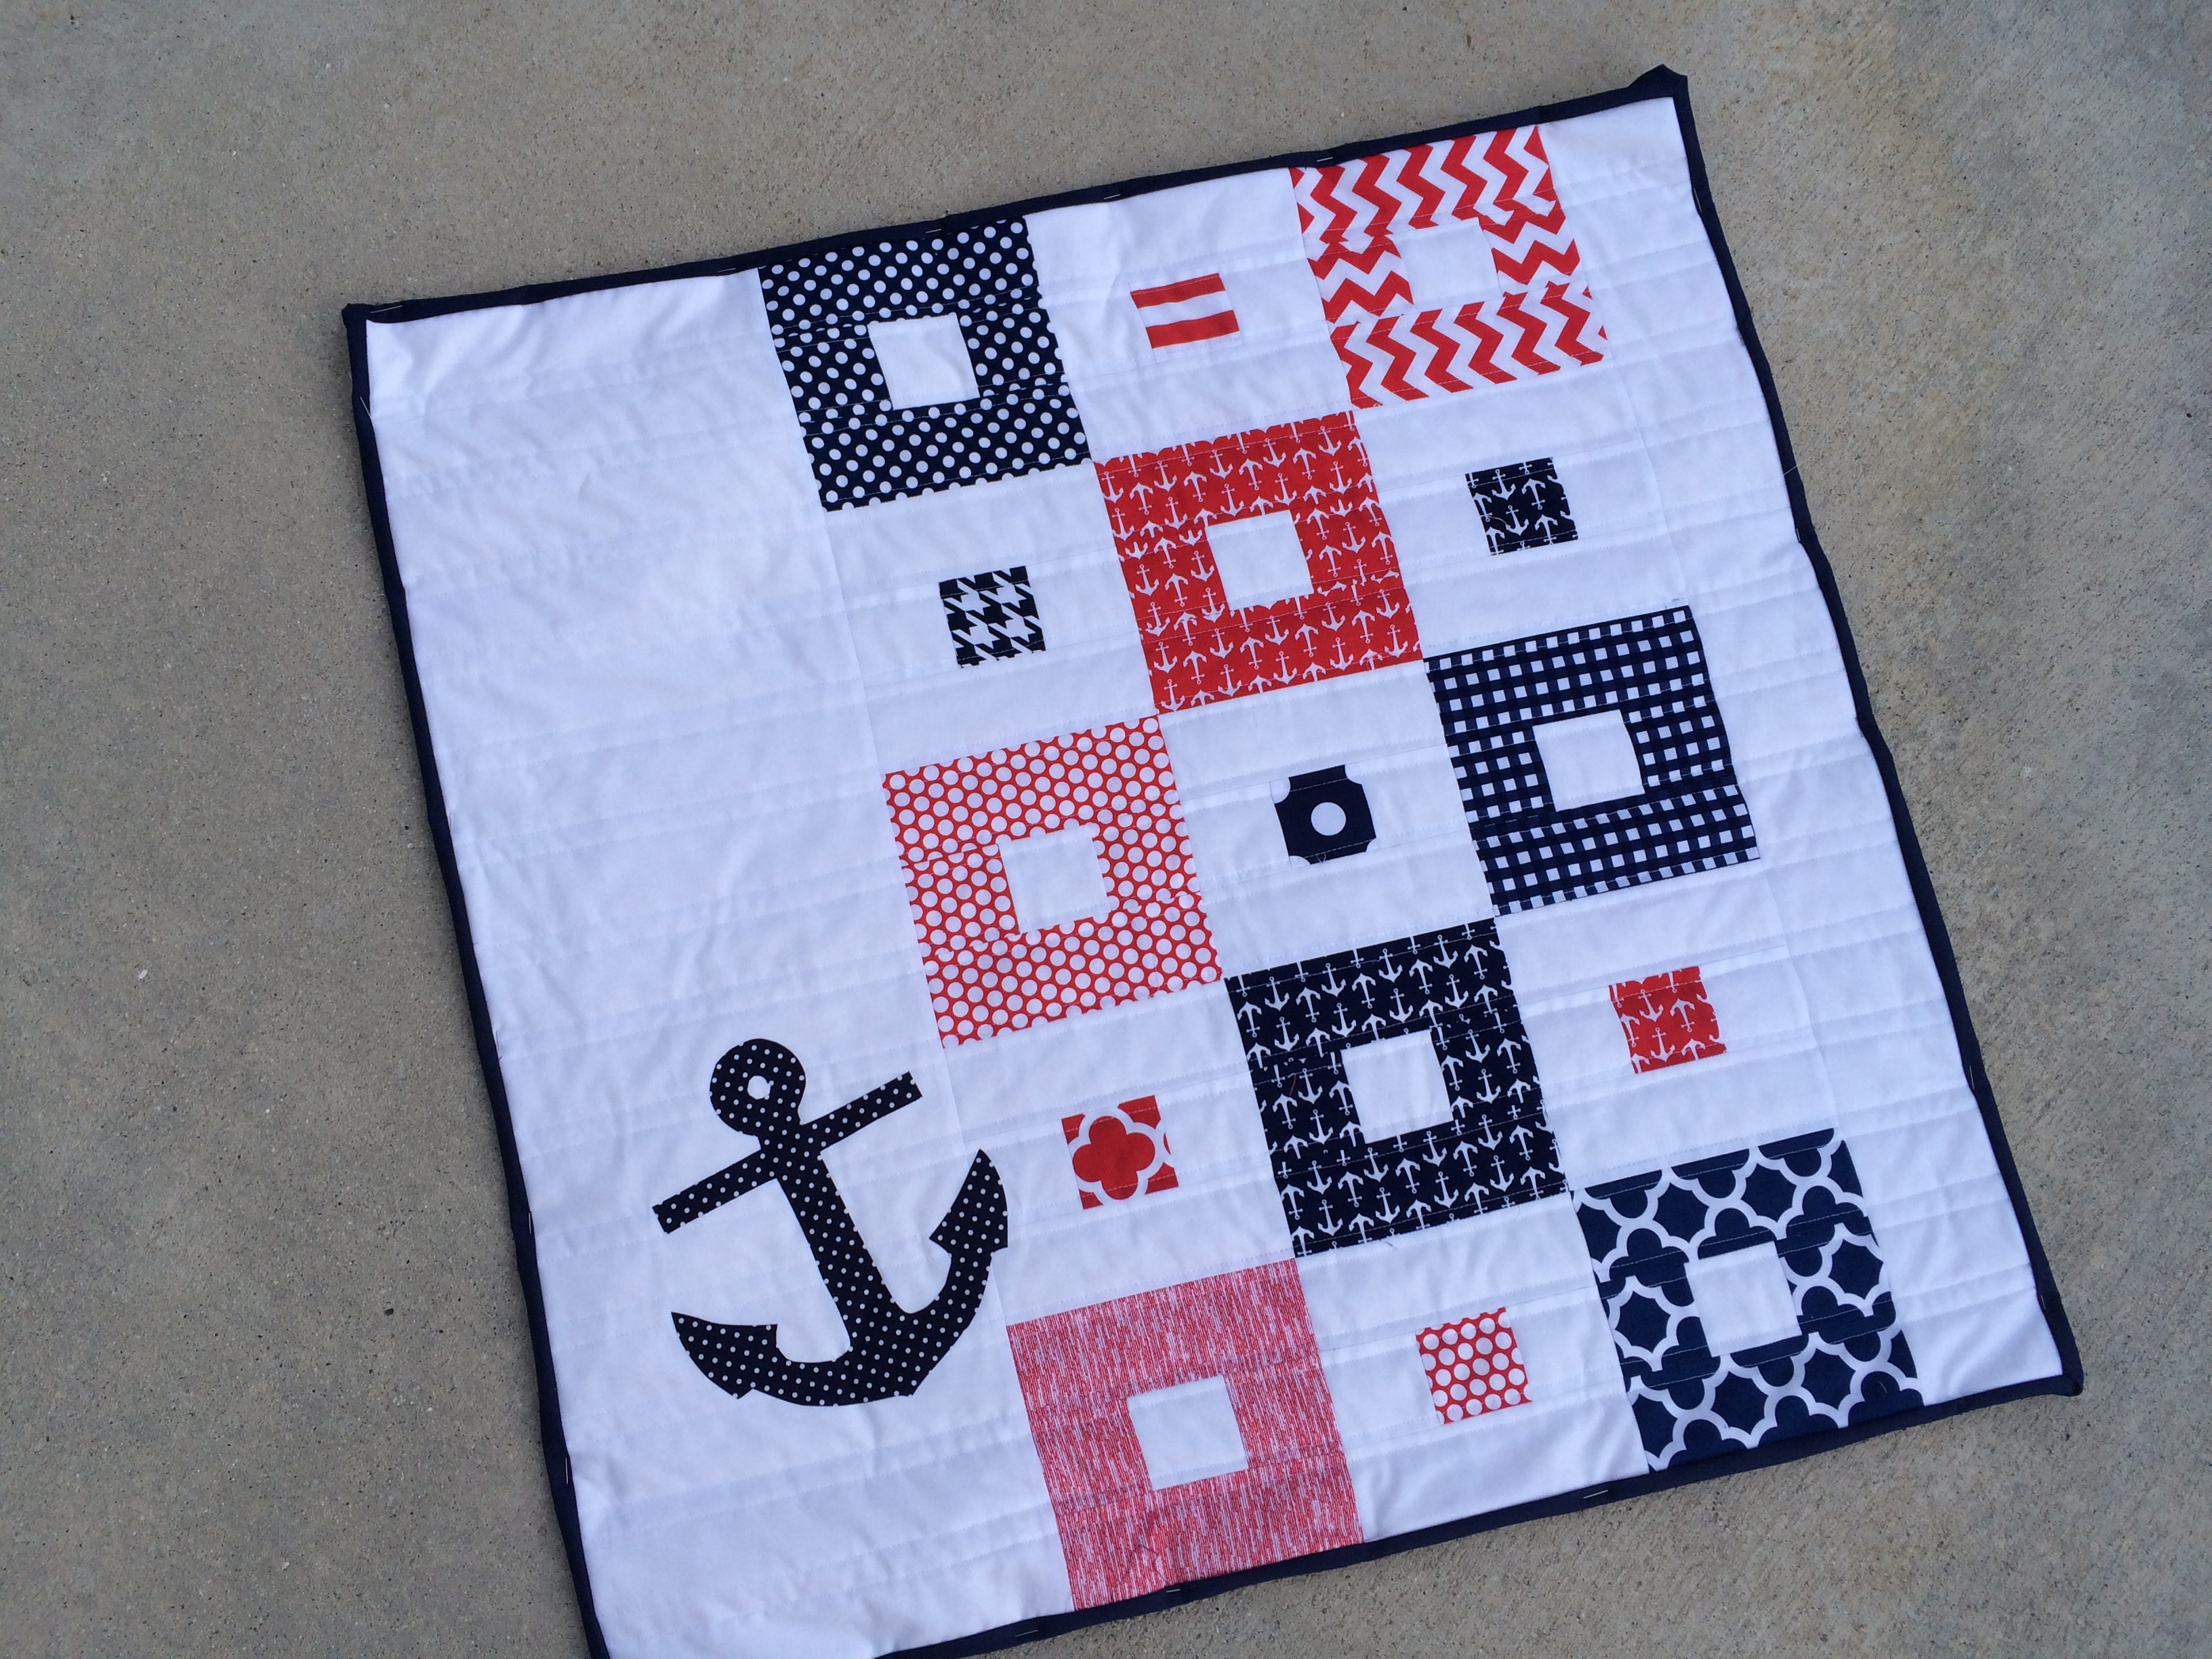
Meet my newest quilt pattern “Choose Happy”!!!!!  Its a free pattern available on the Therm O Web Blog.  The fabrics are from Pat Sloan’s newest Moda line called “The Sweet Life”.  They are so bright and cheerful and HAPPY!!!

choose happy quilt 25

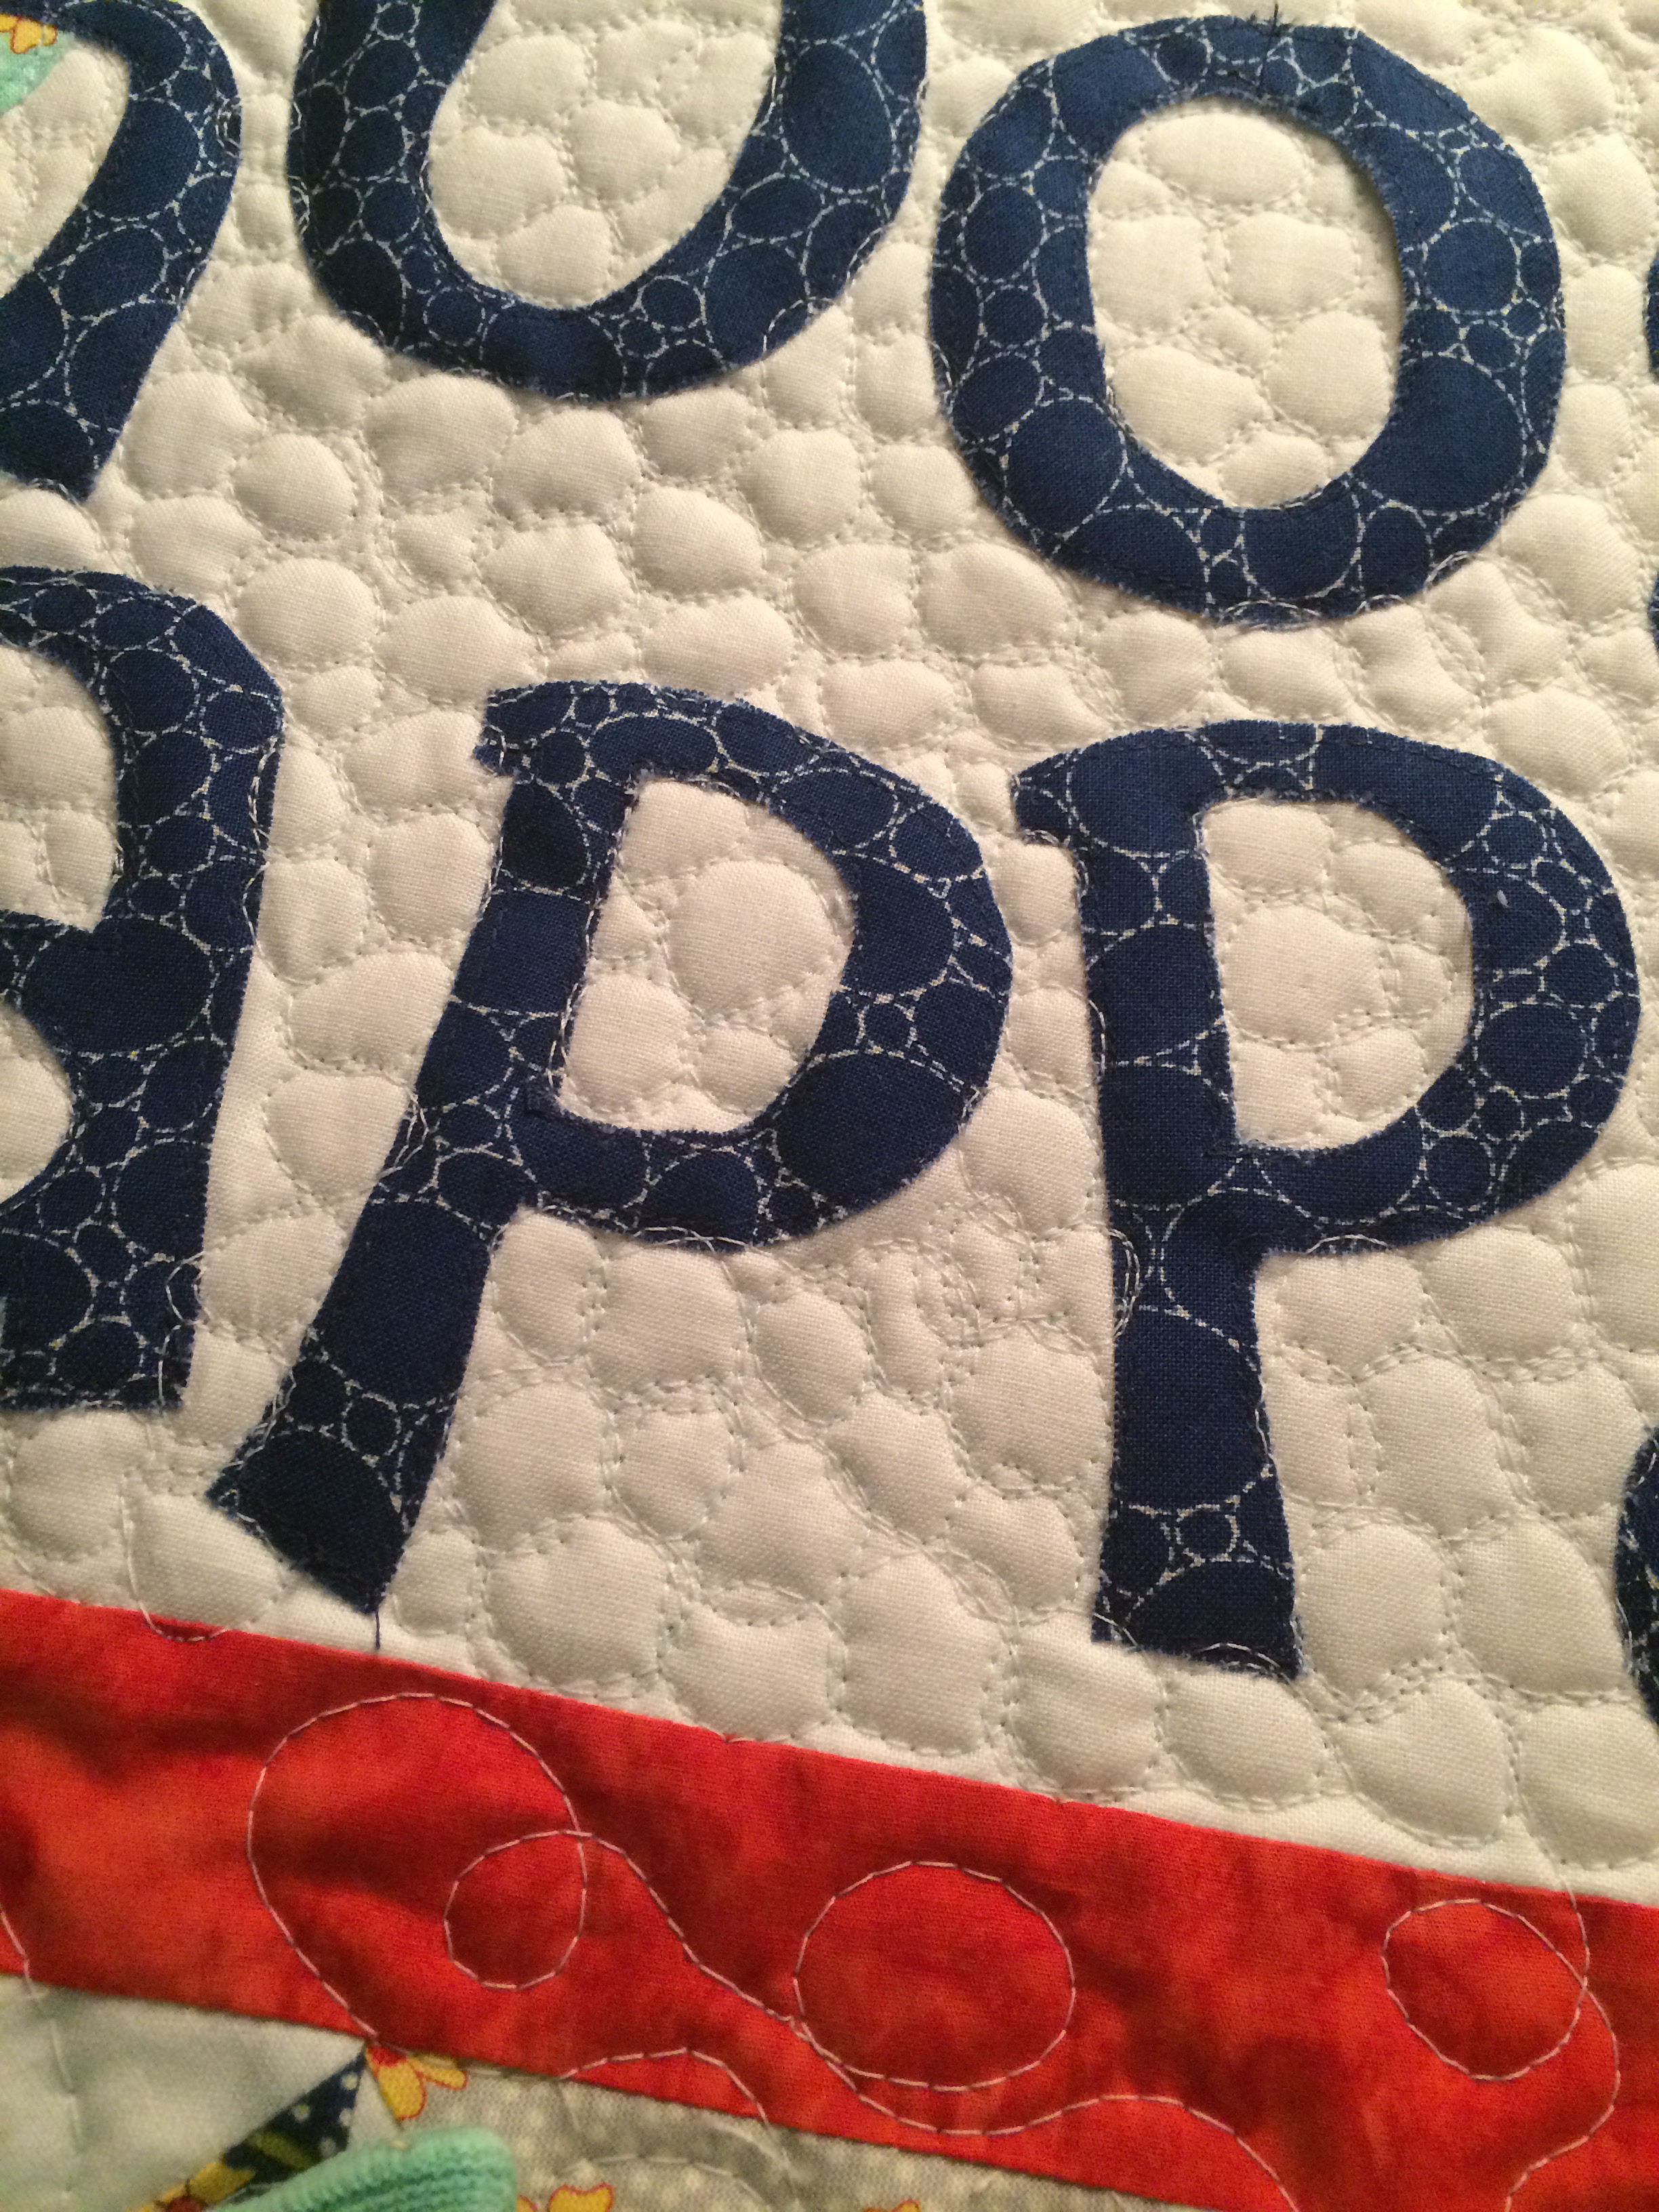
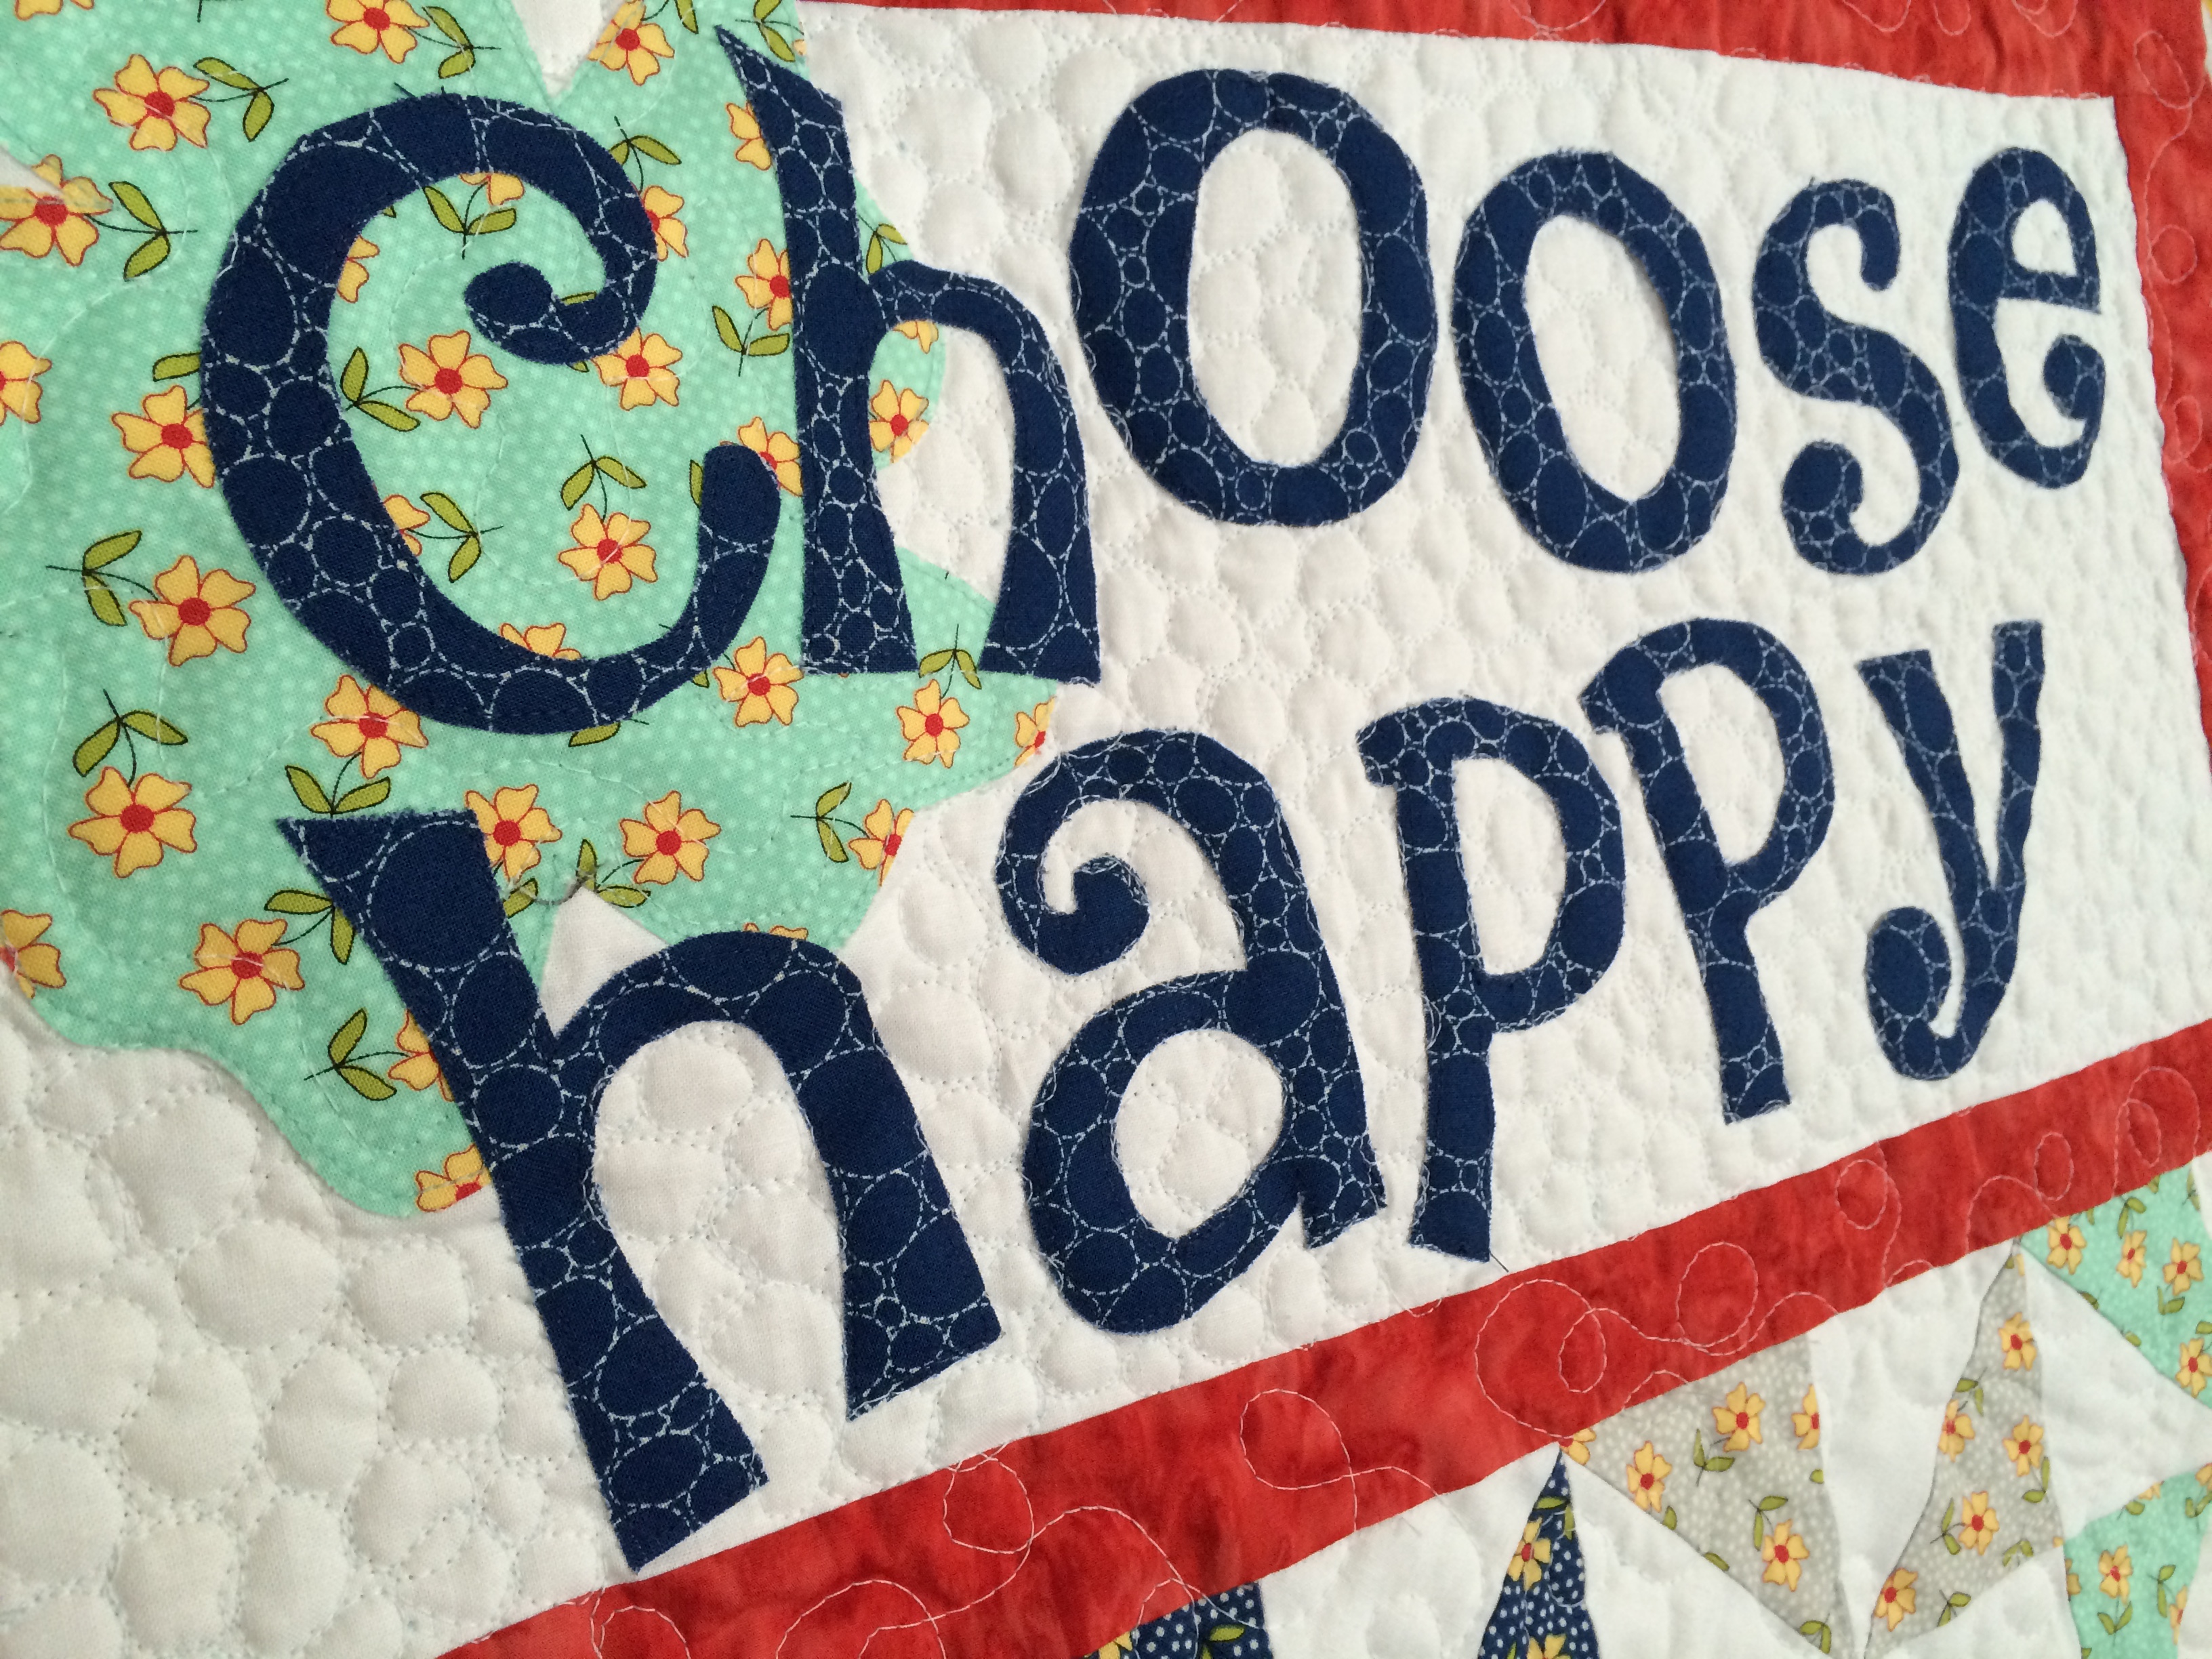
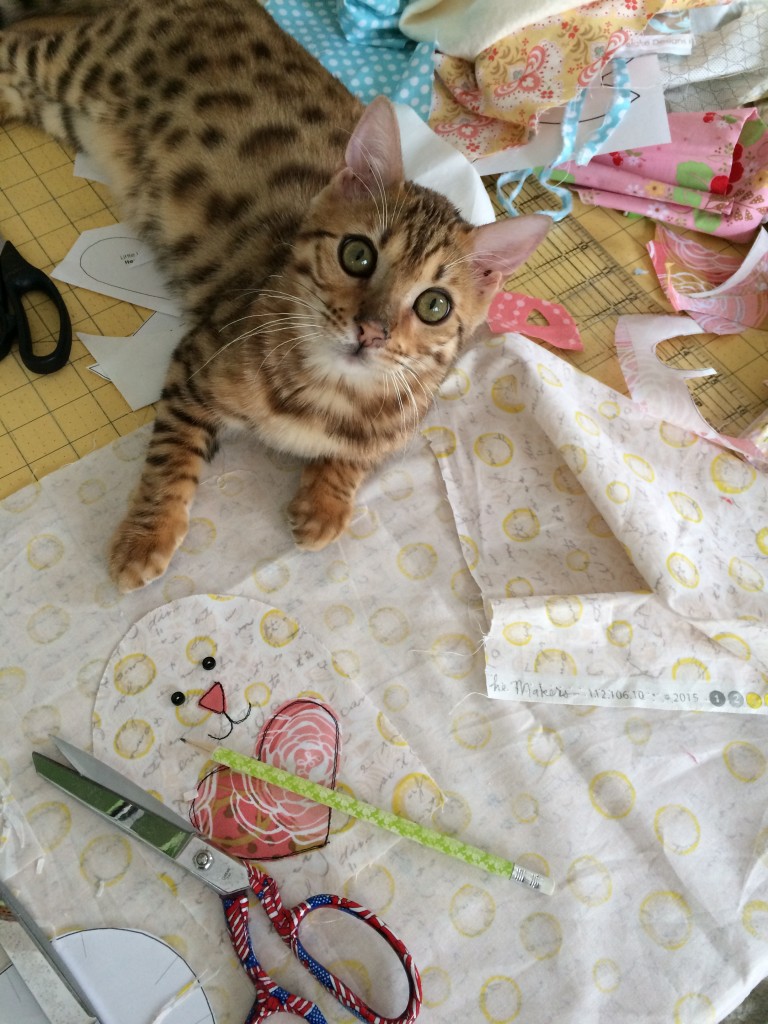
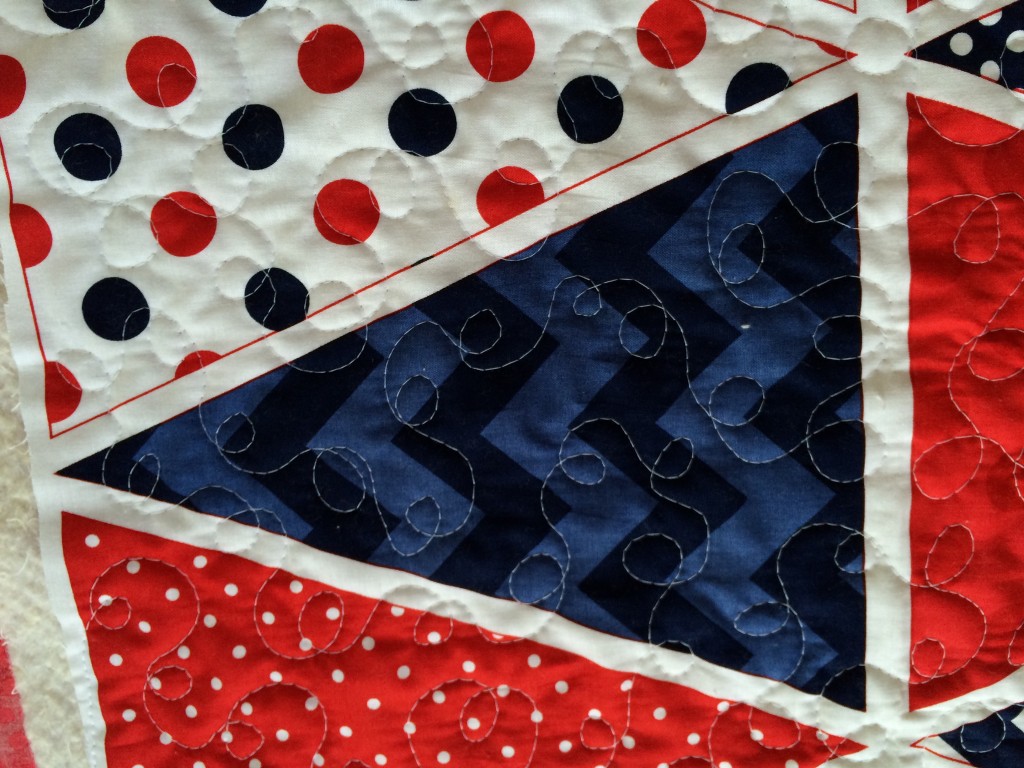
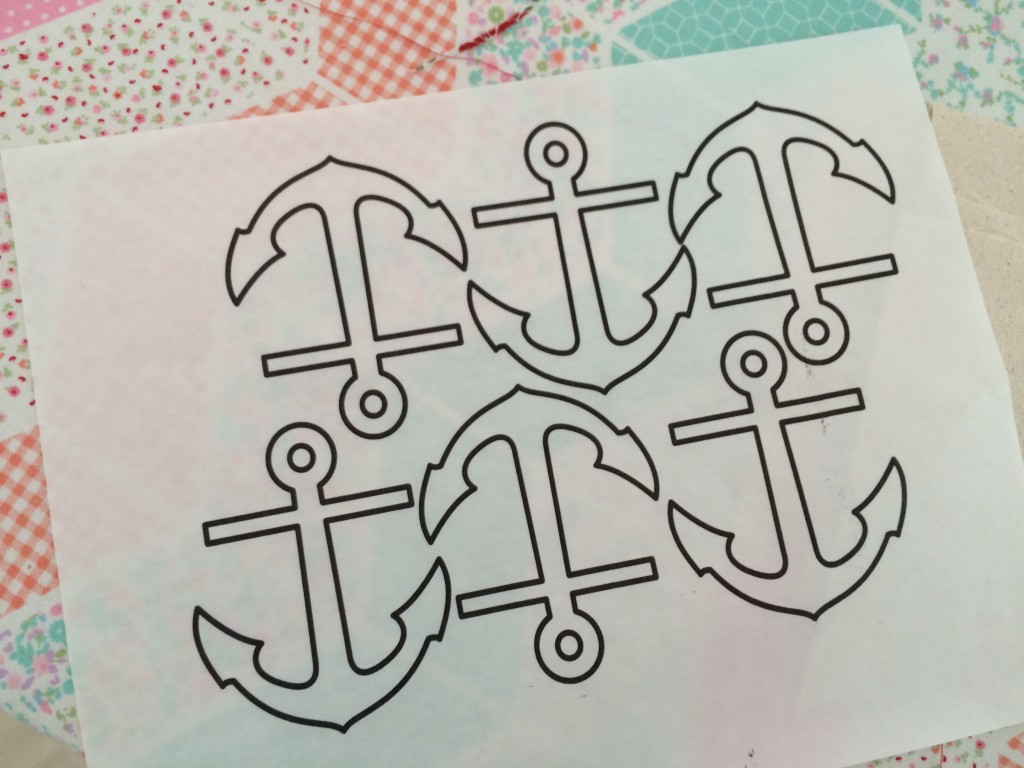
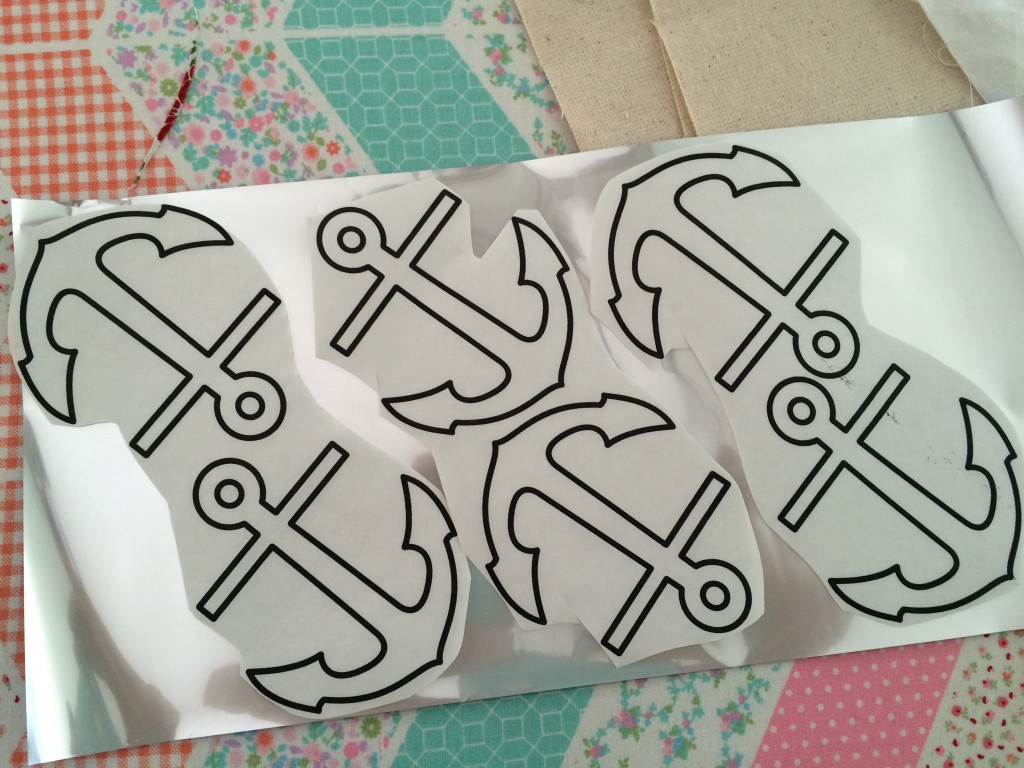
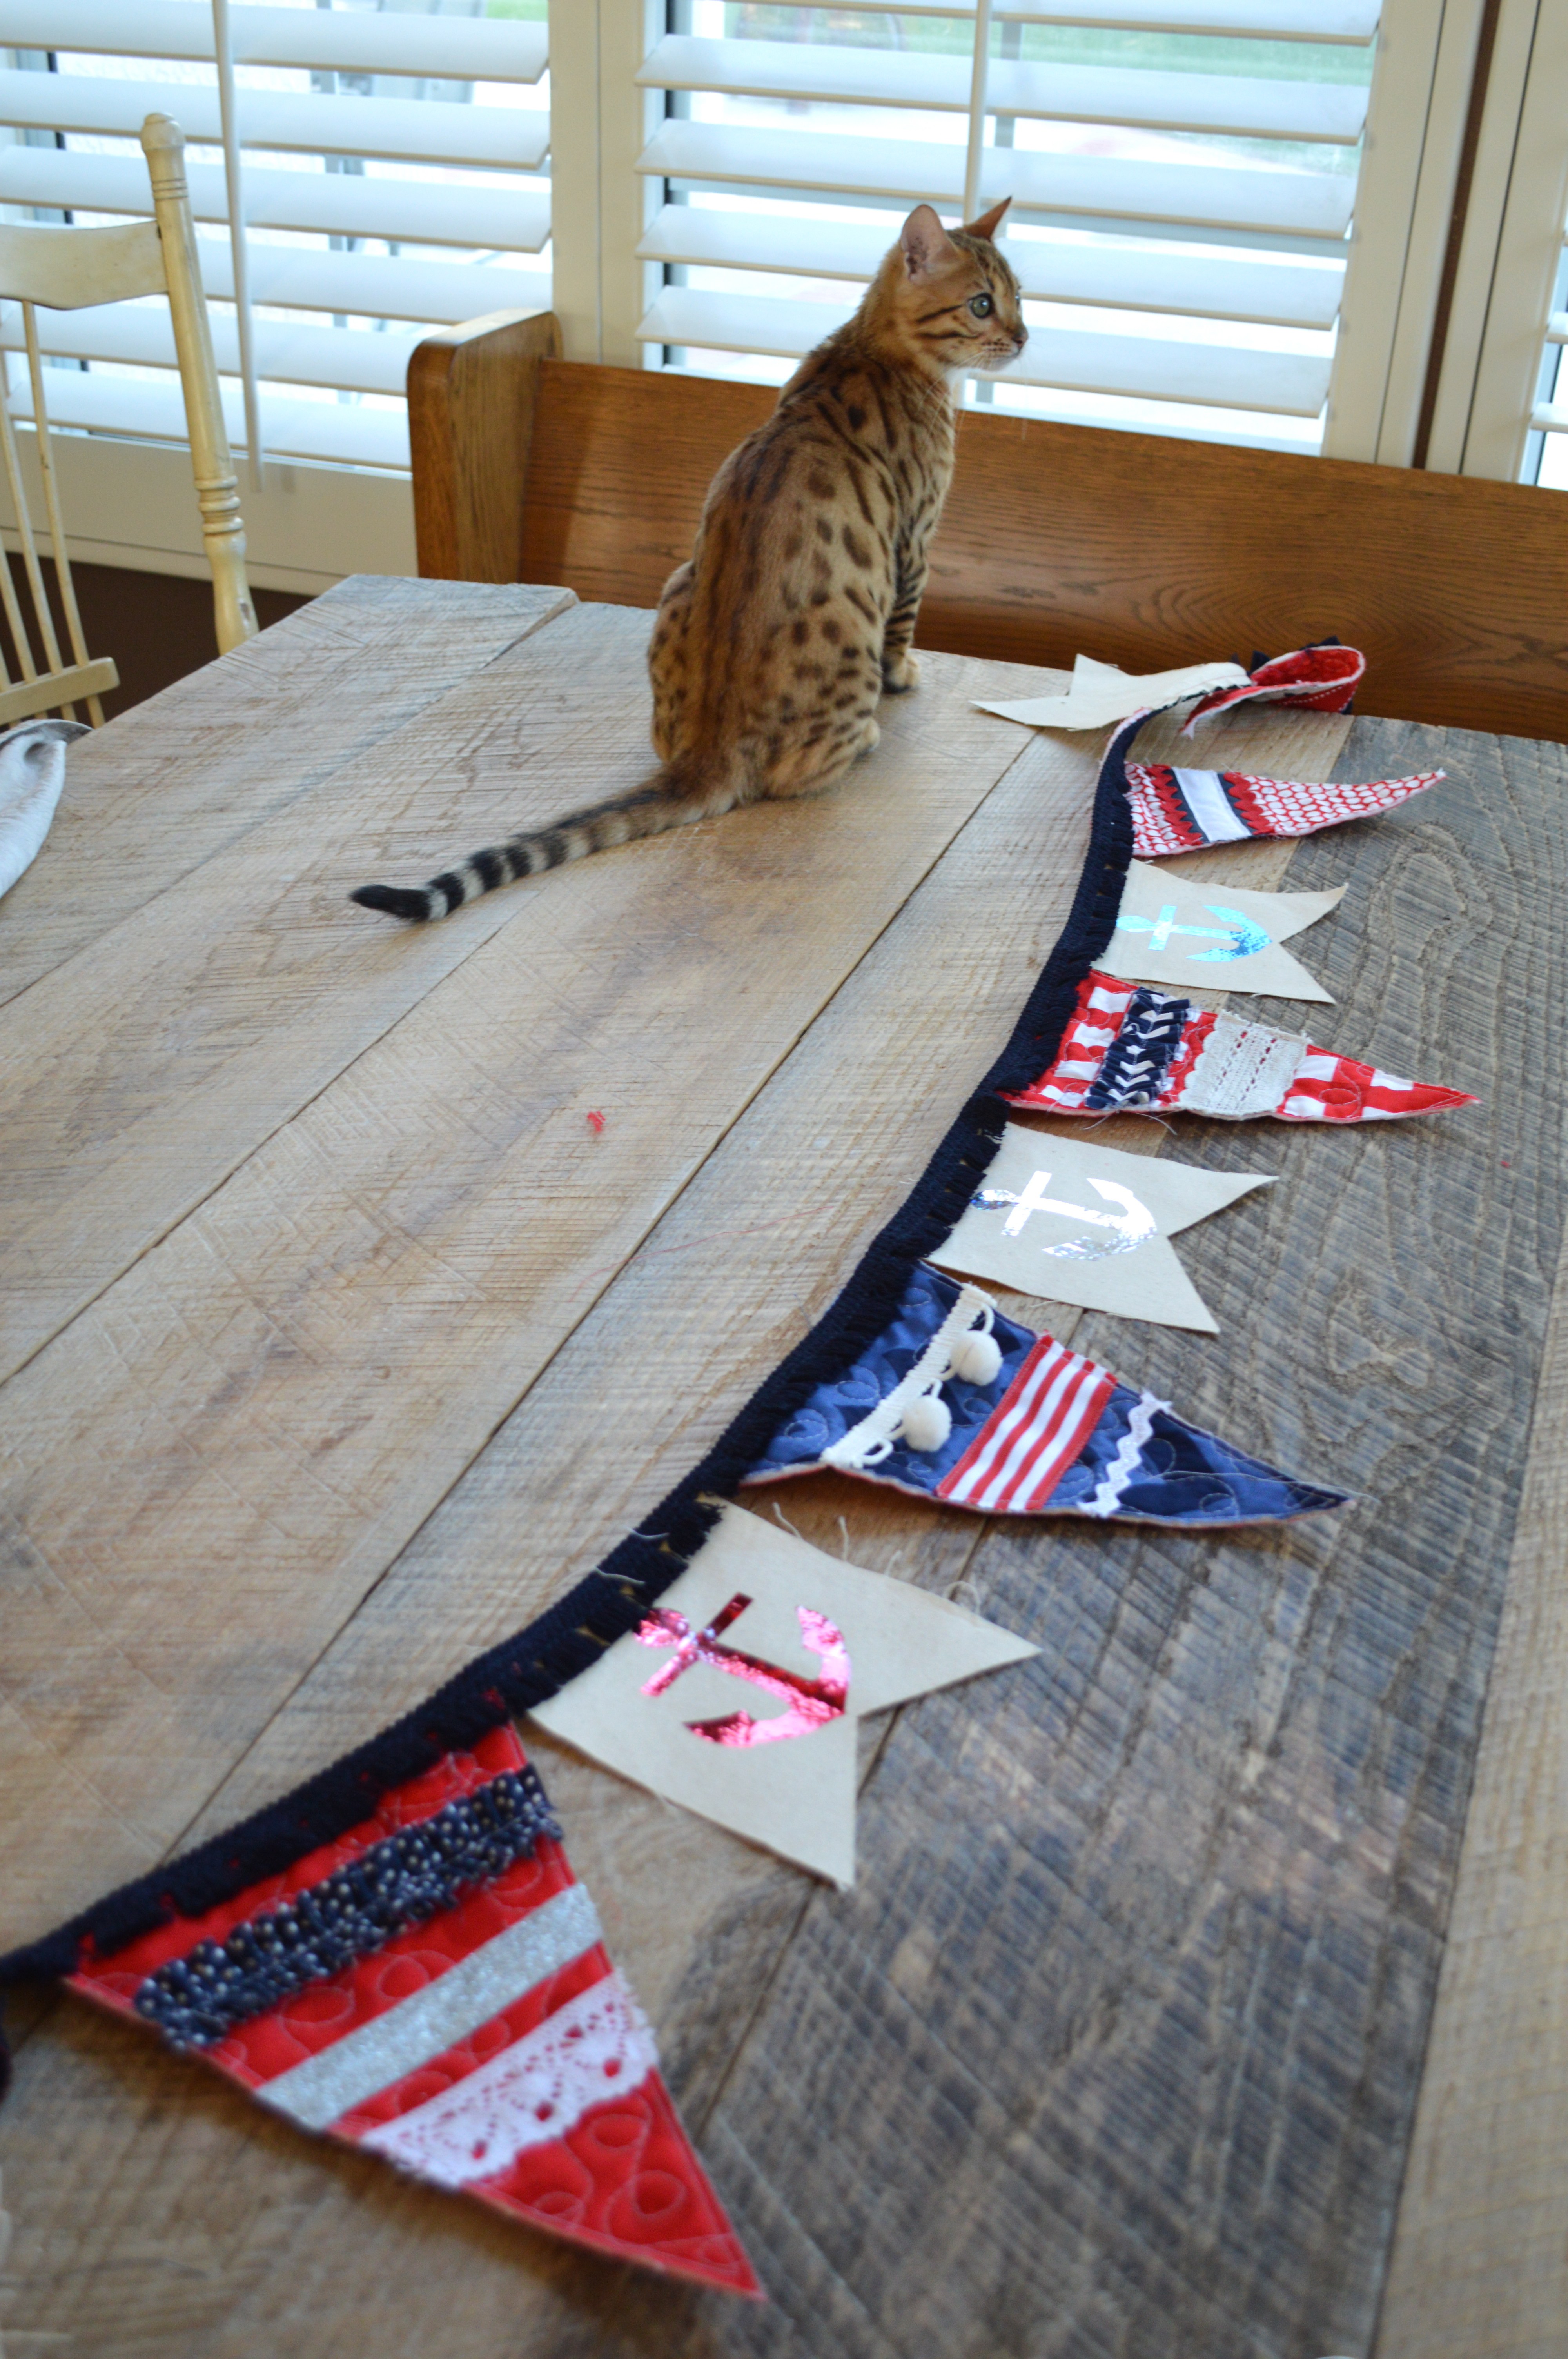
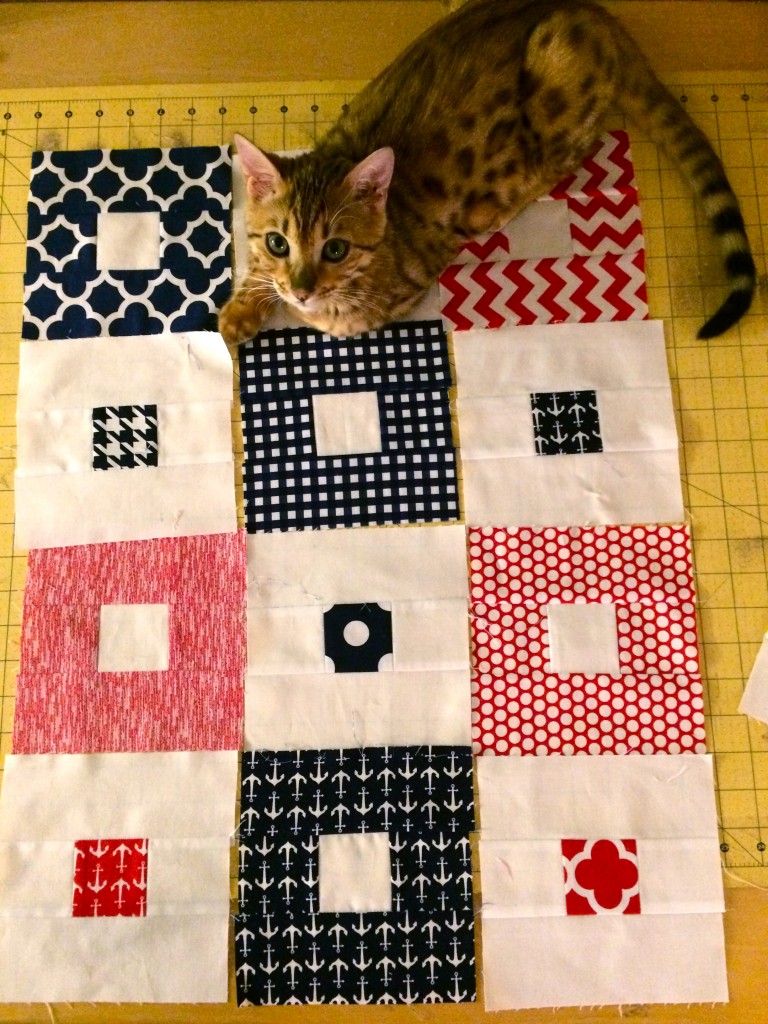
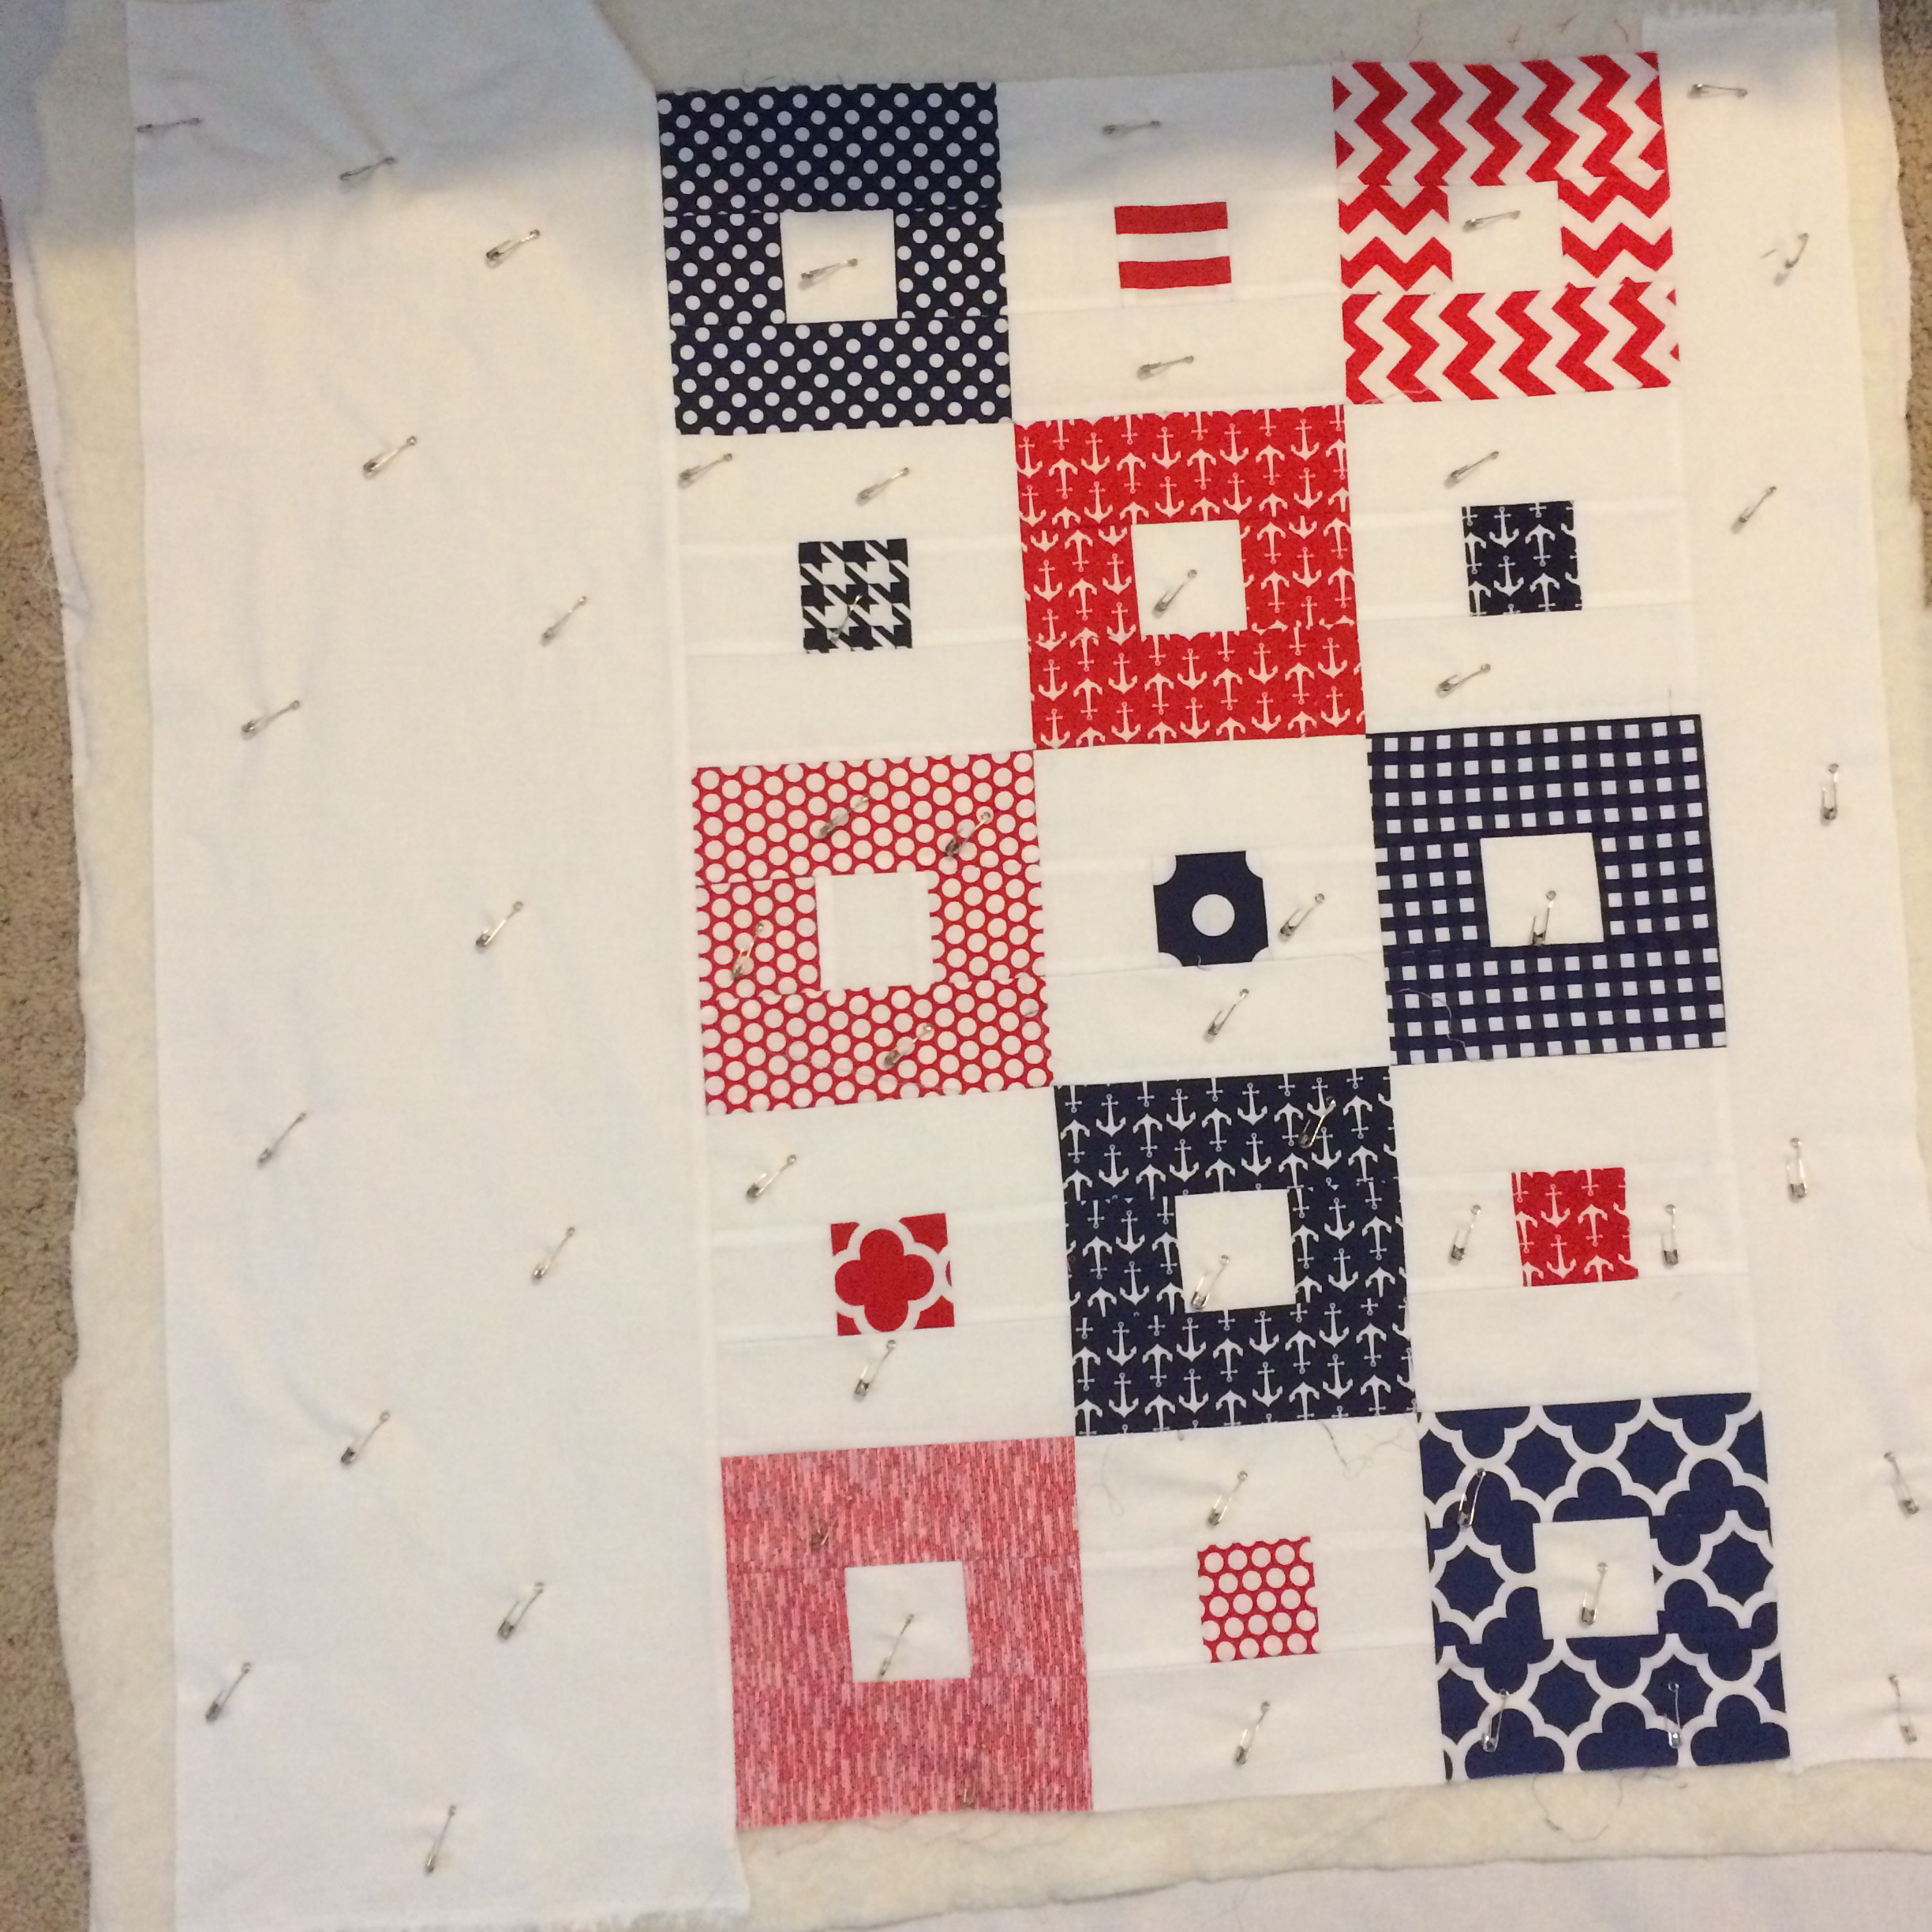
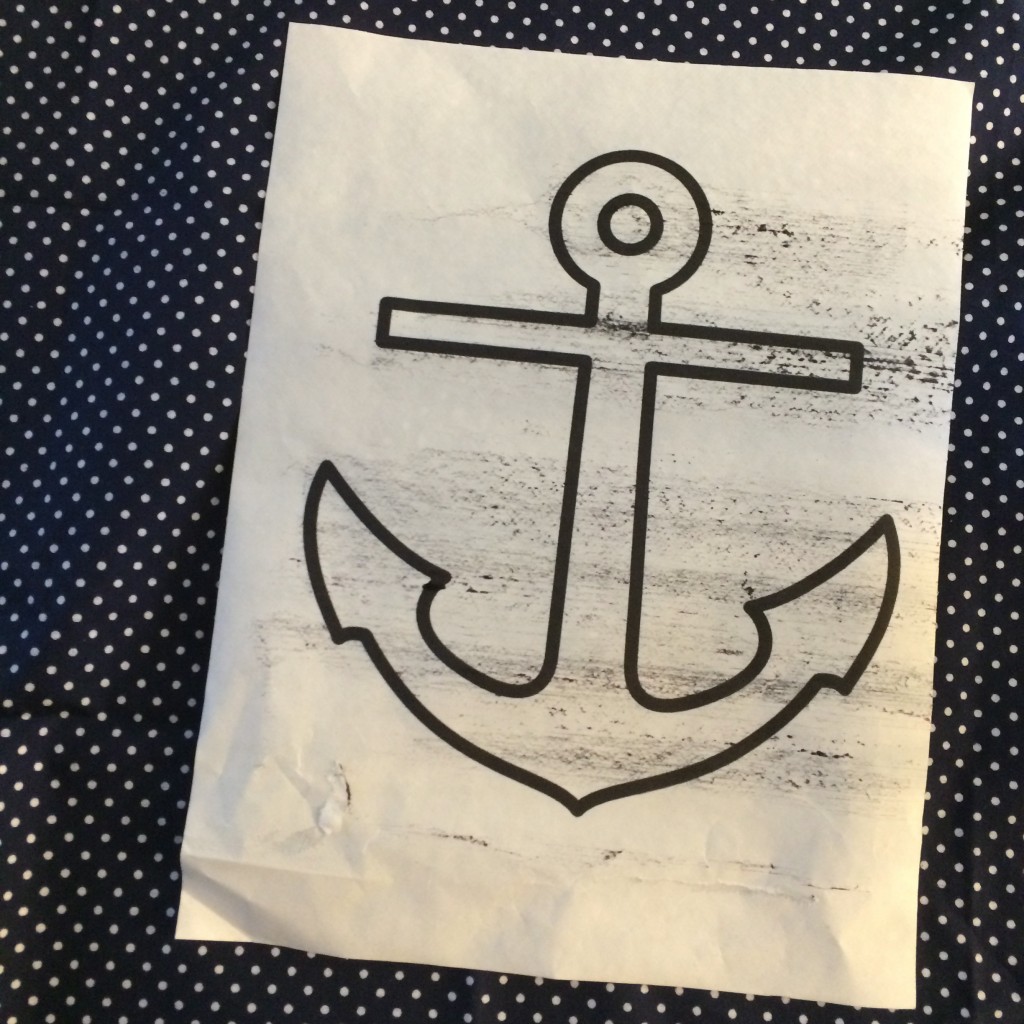
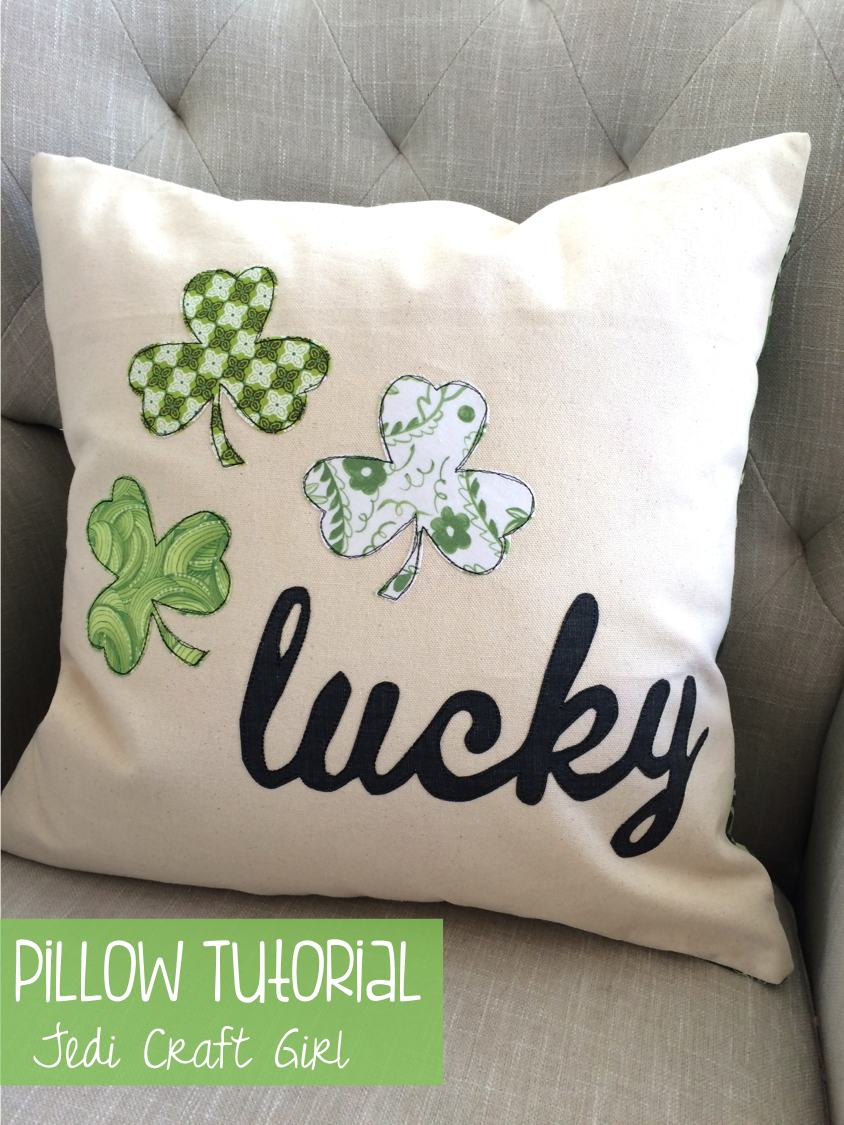
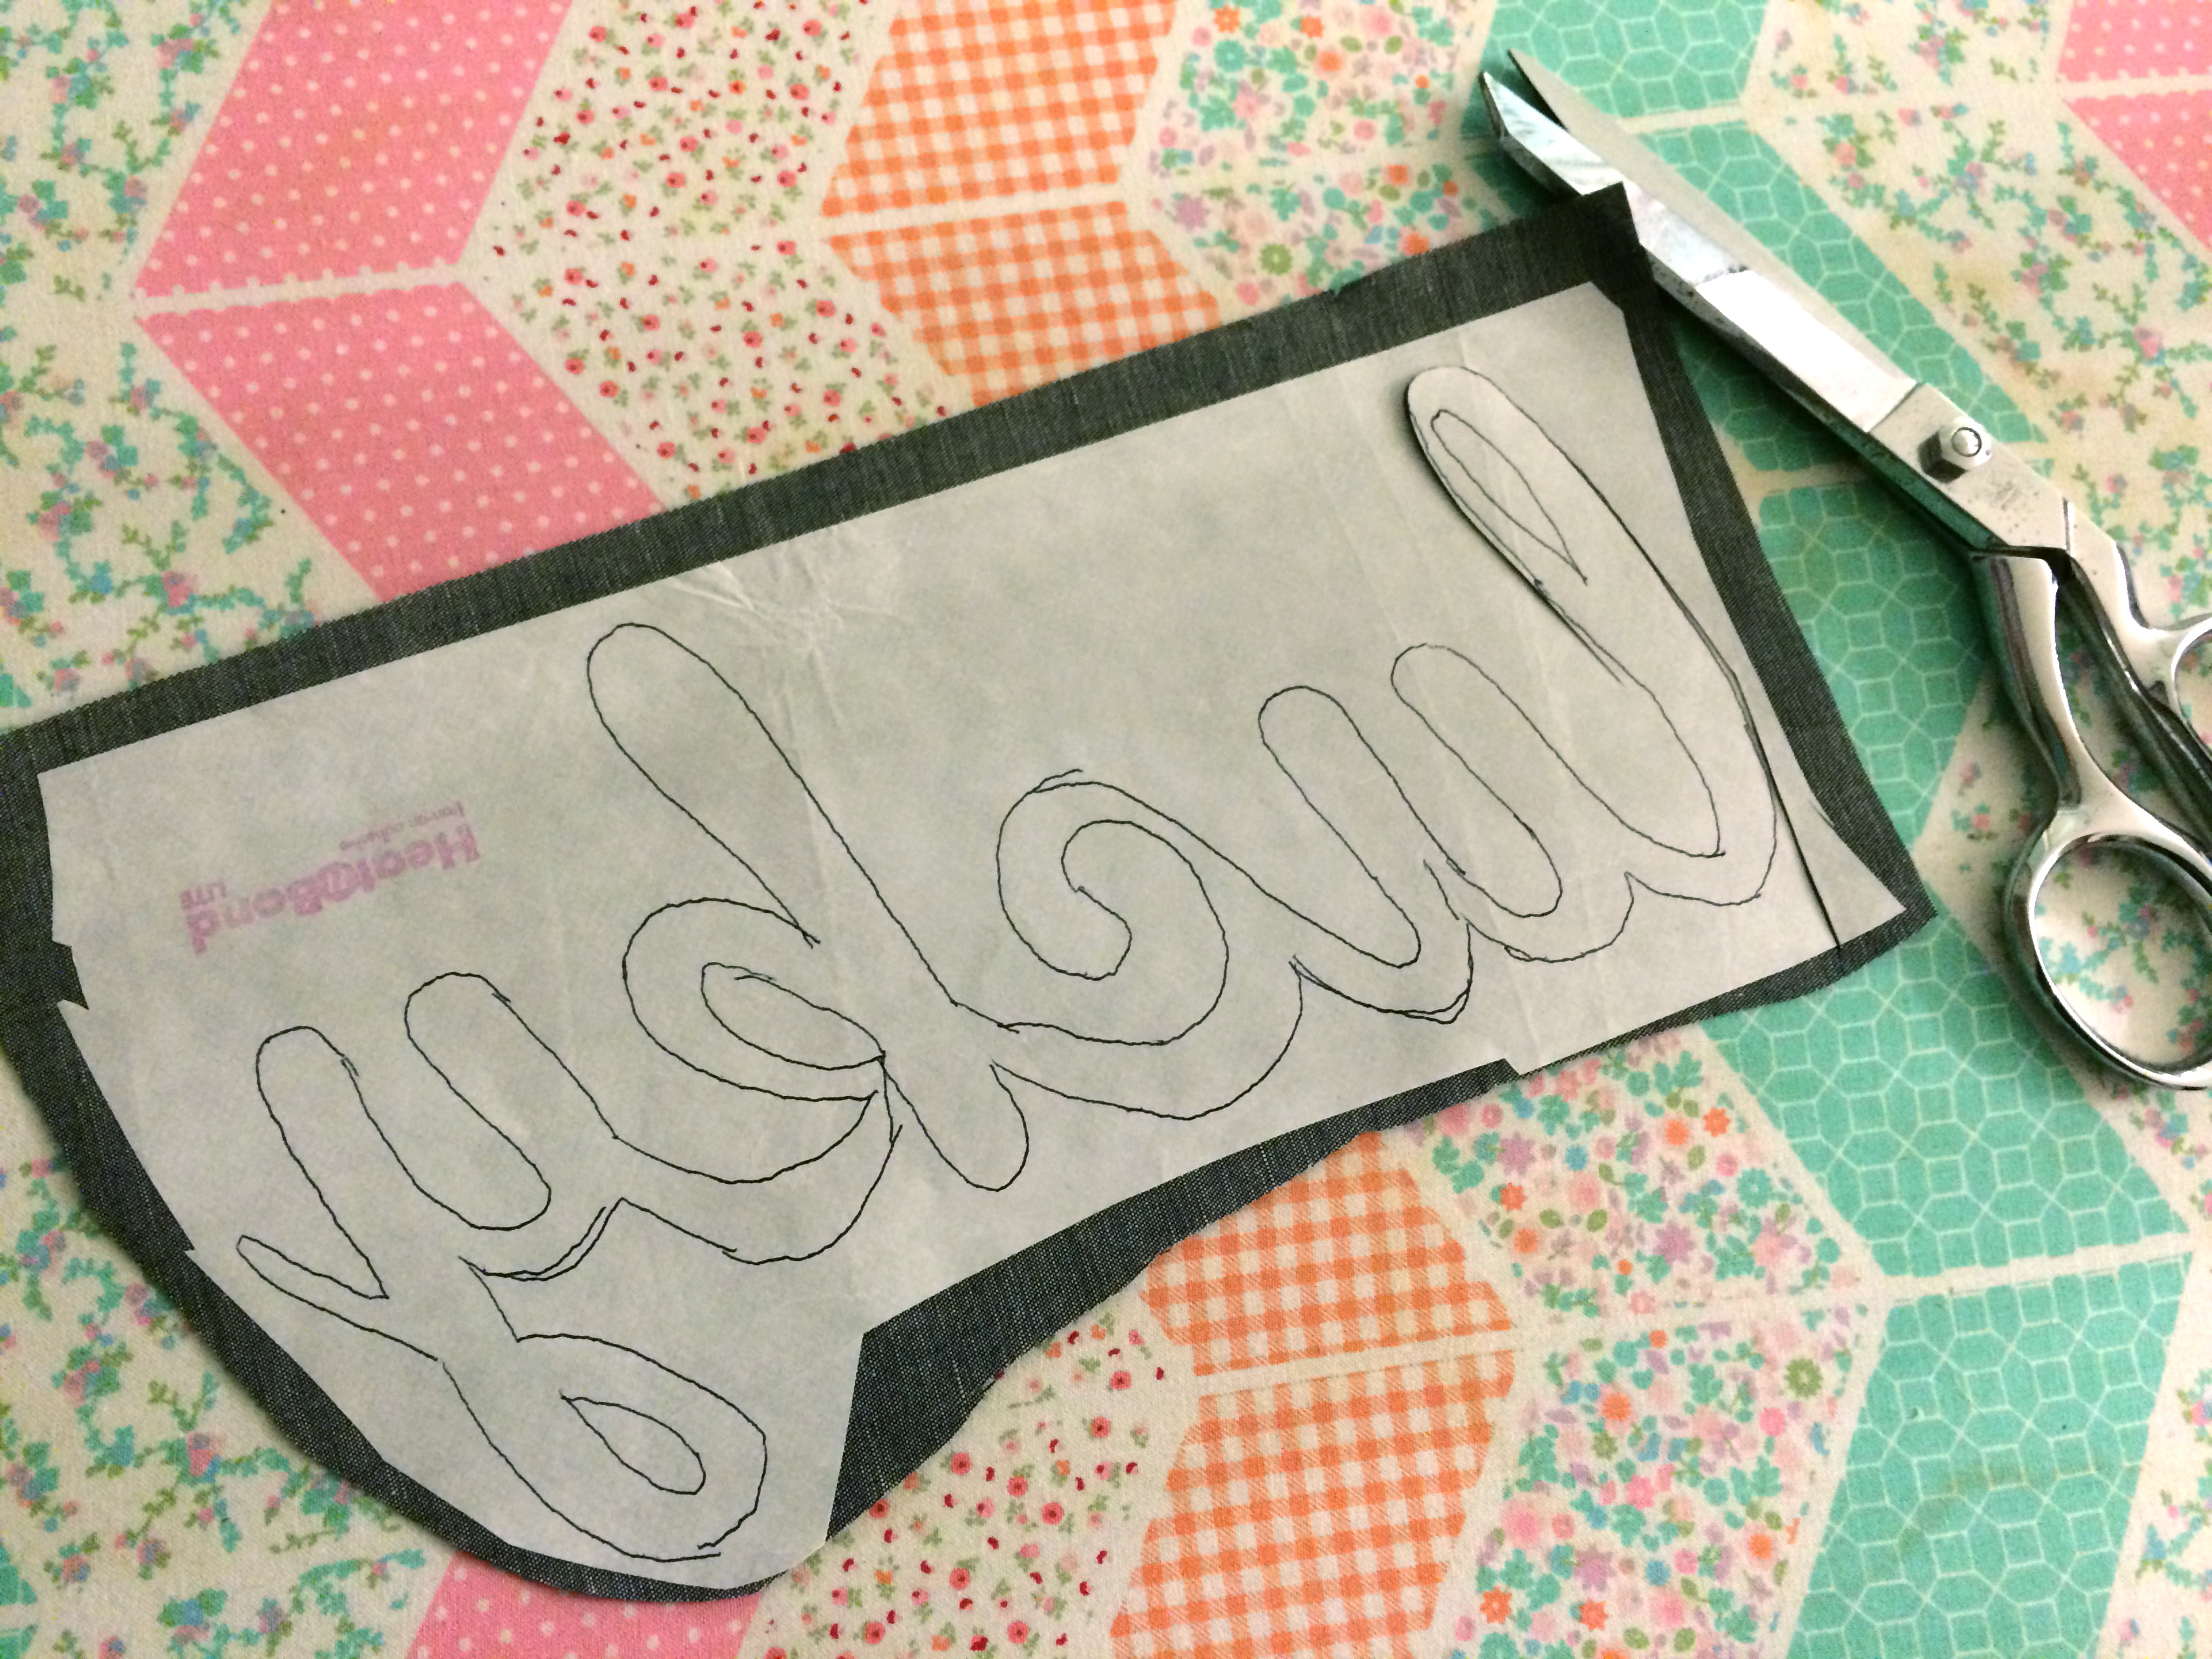
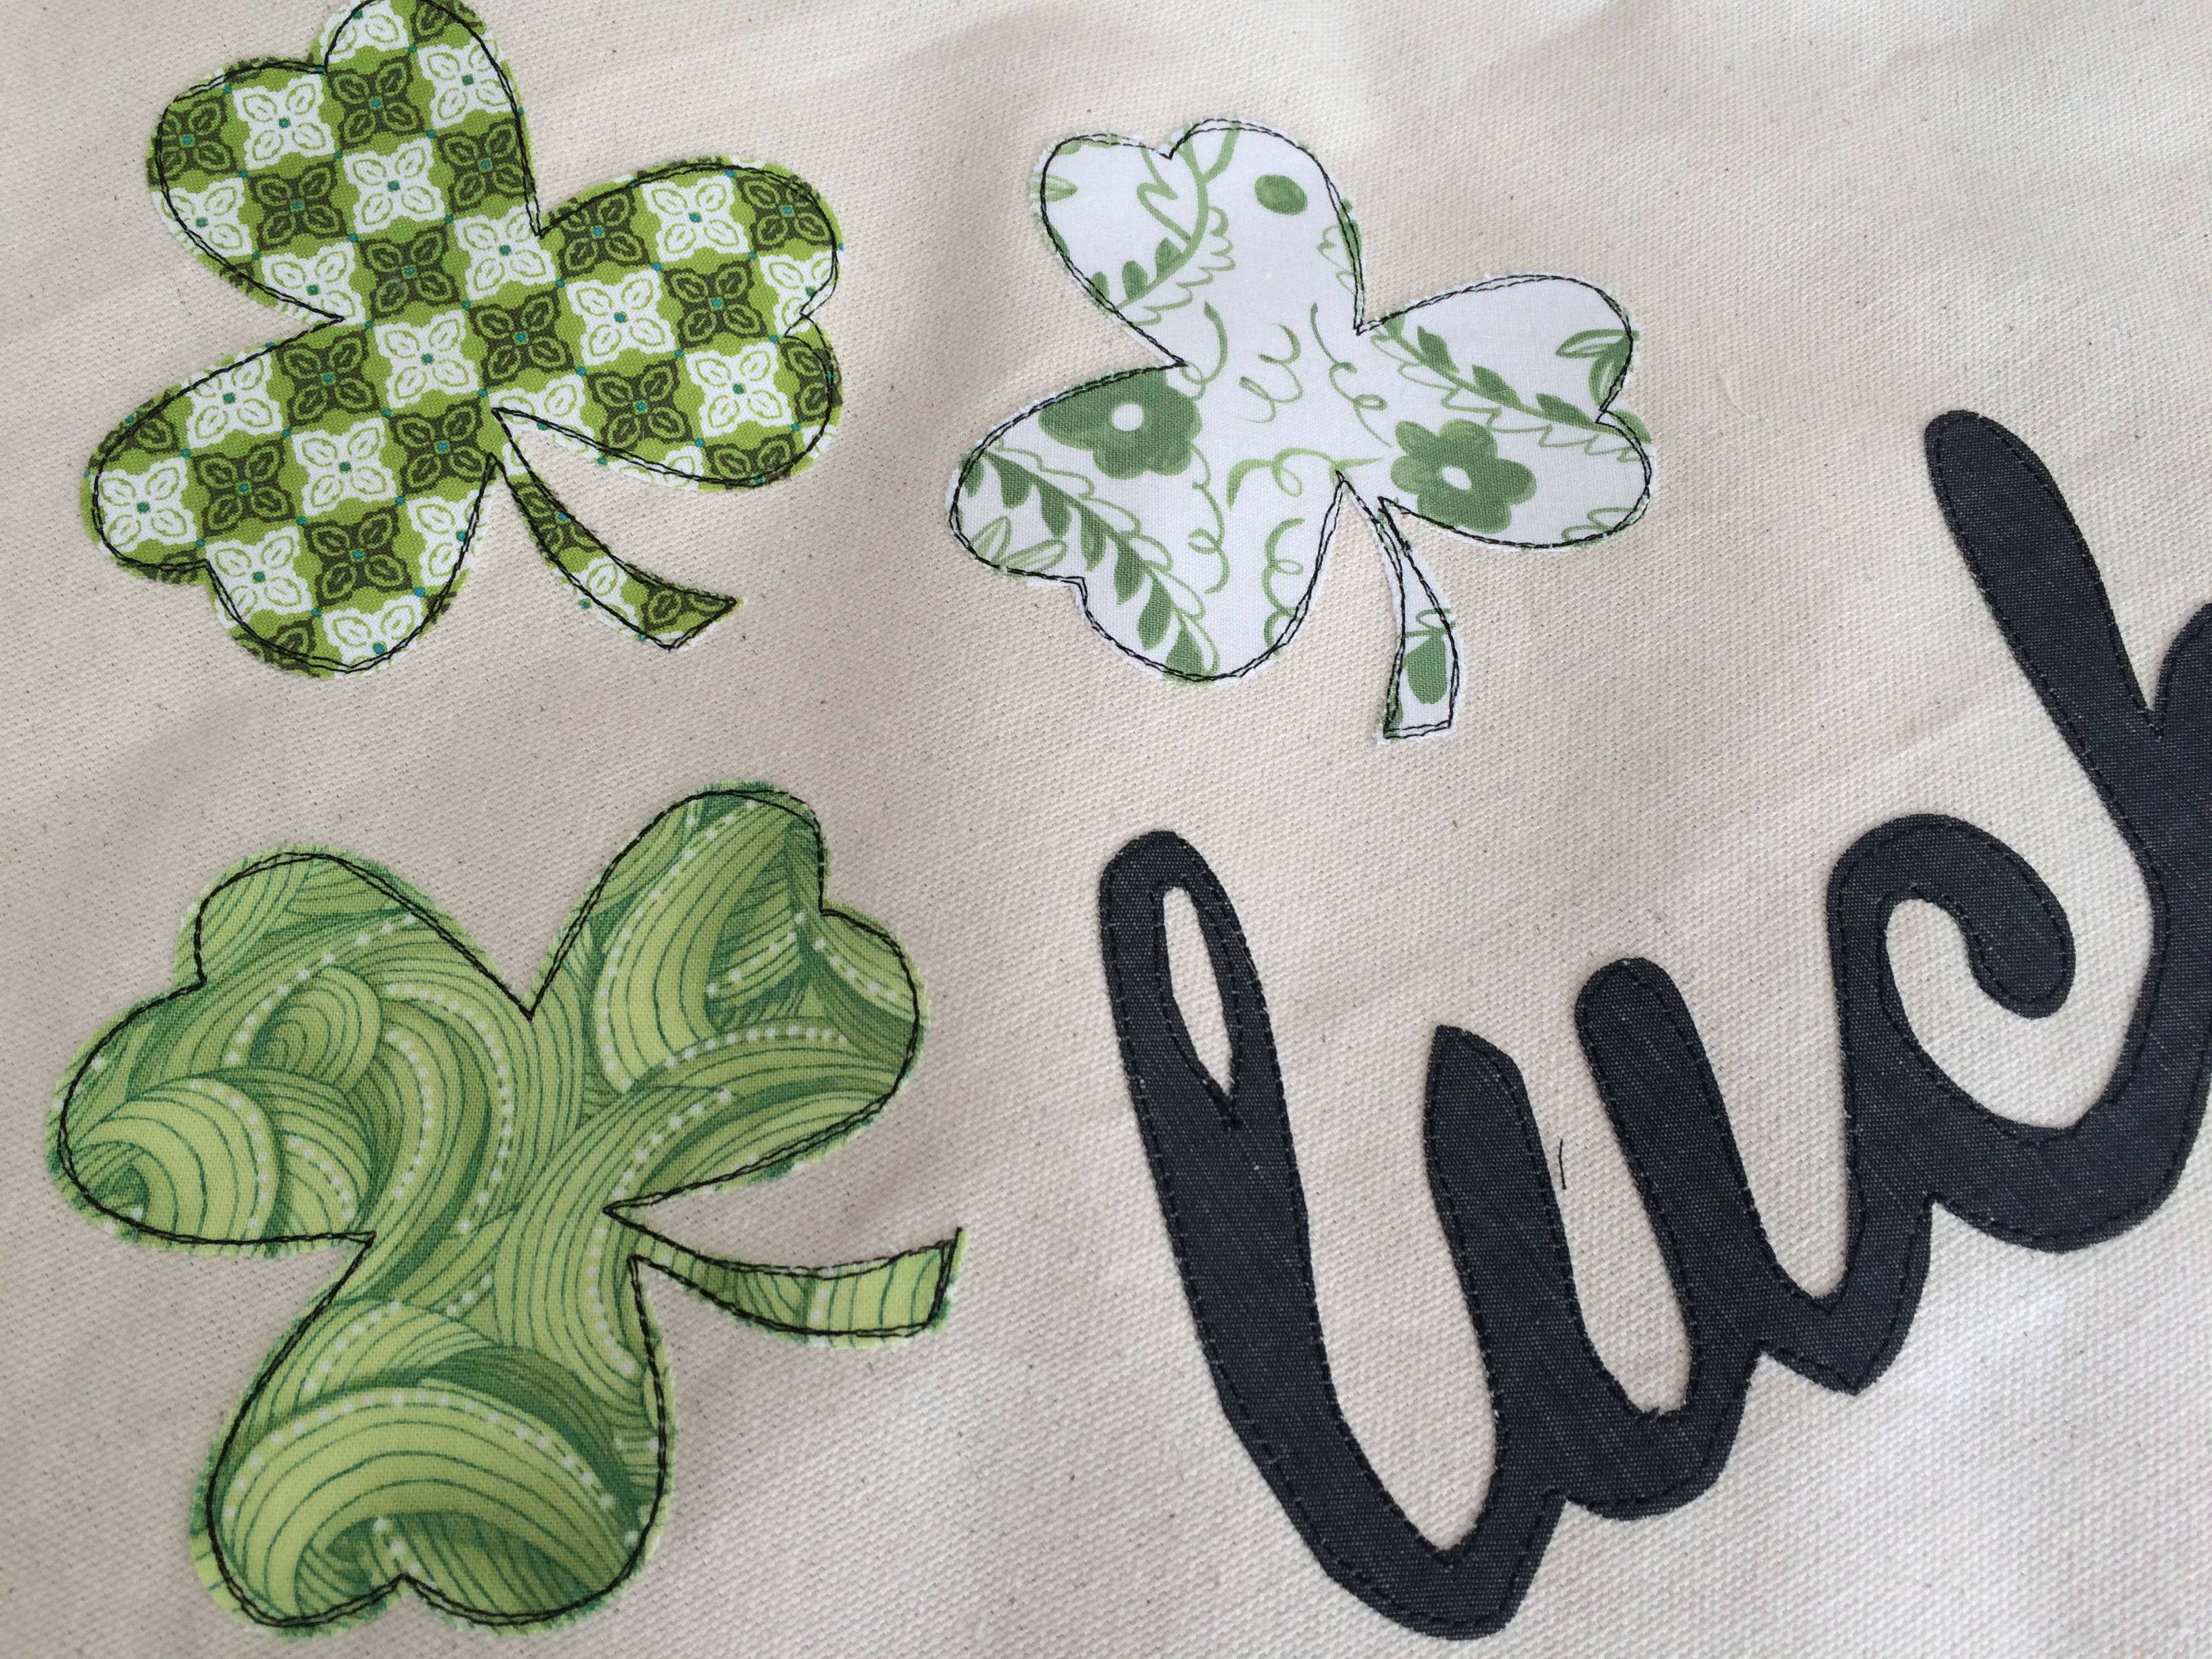
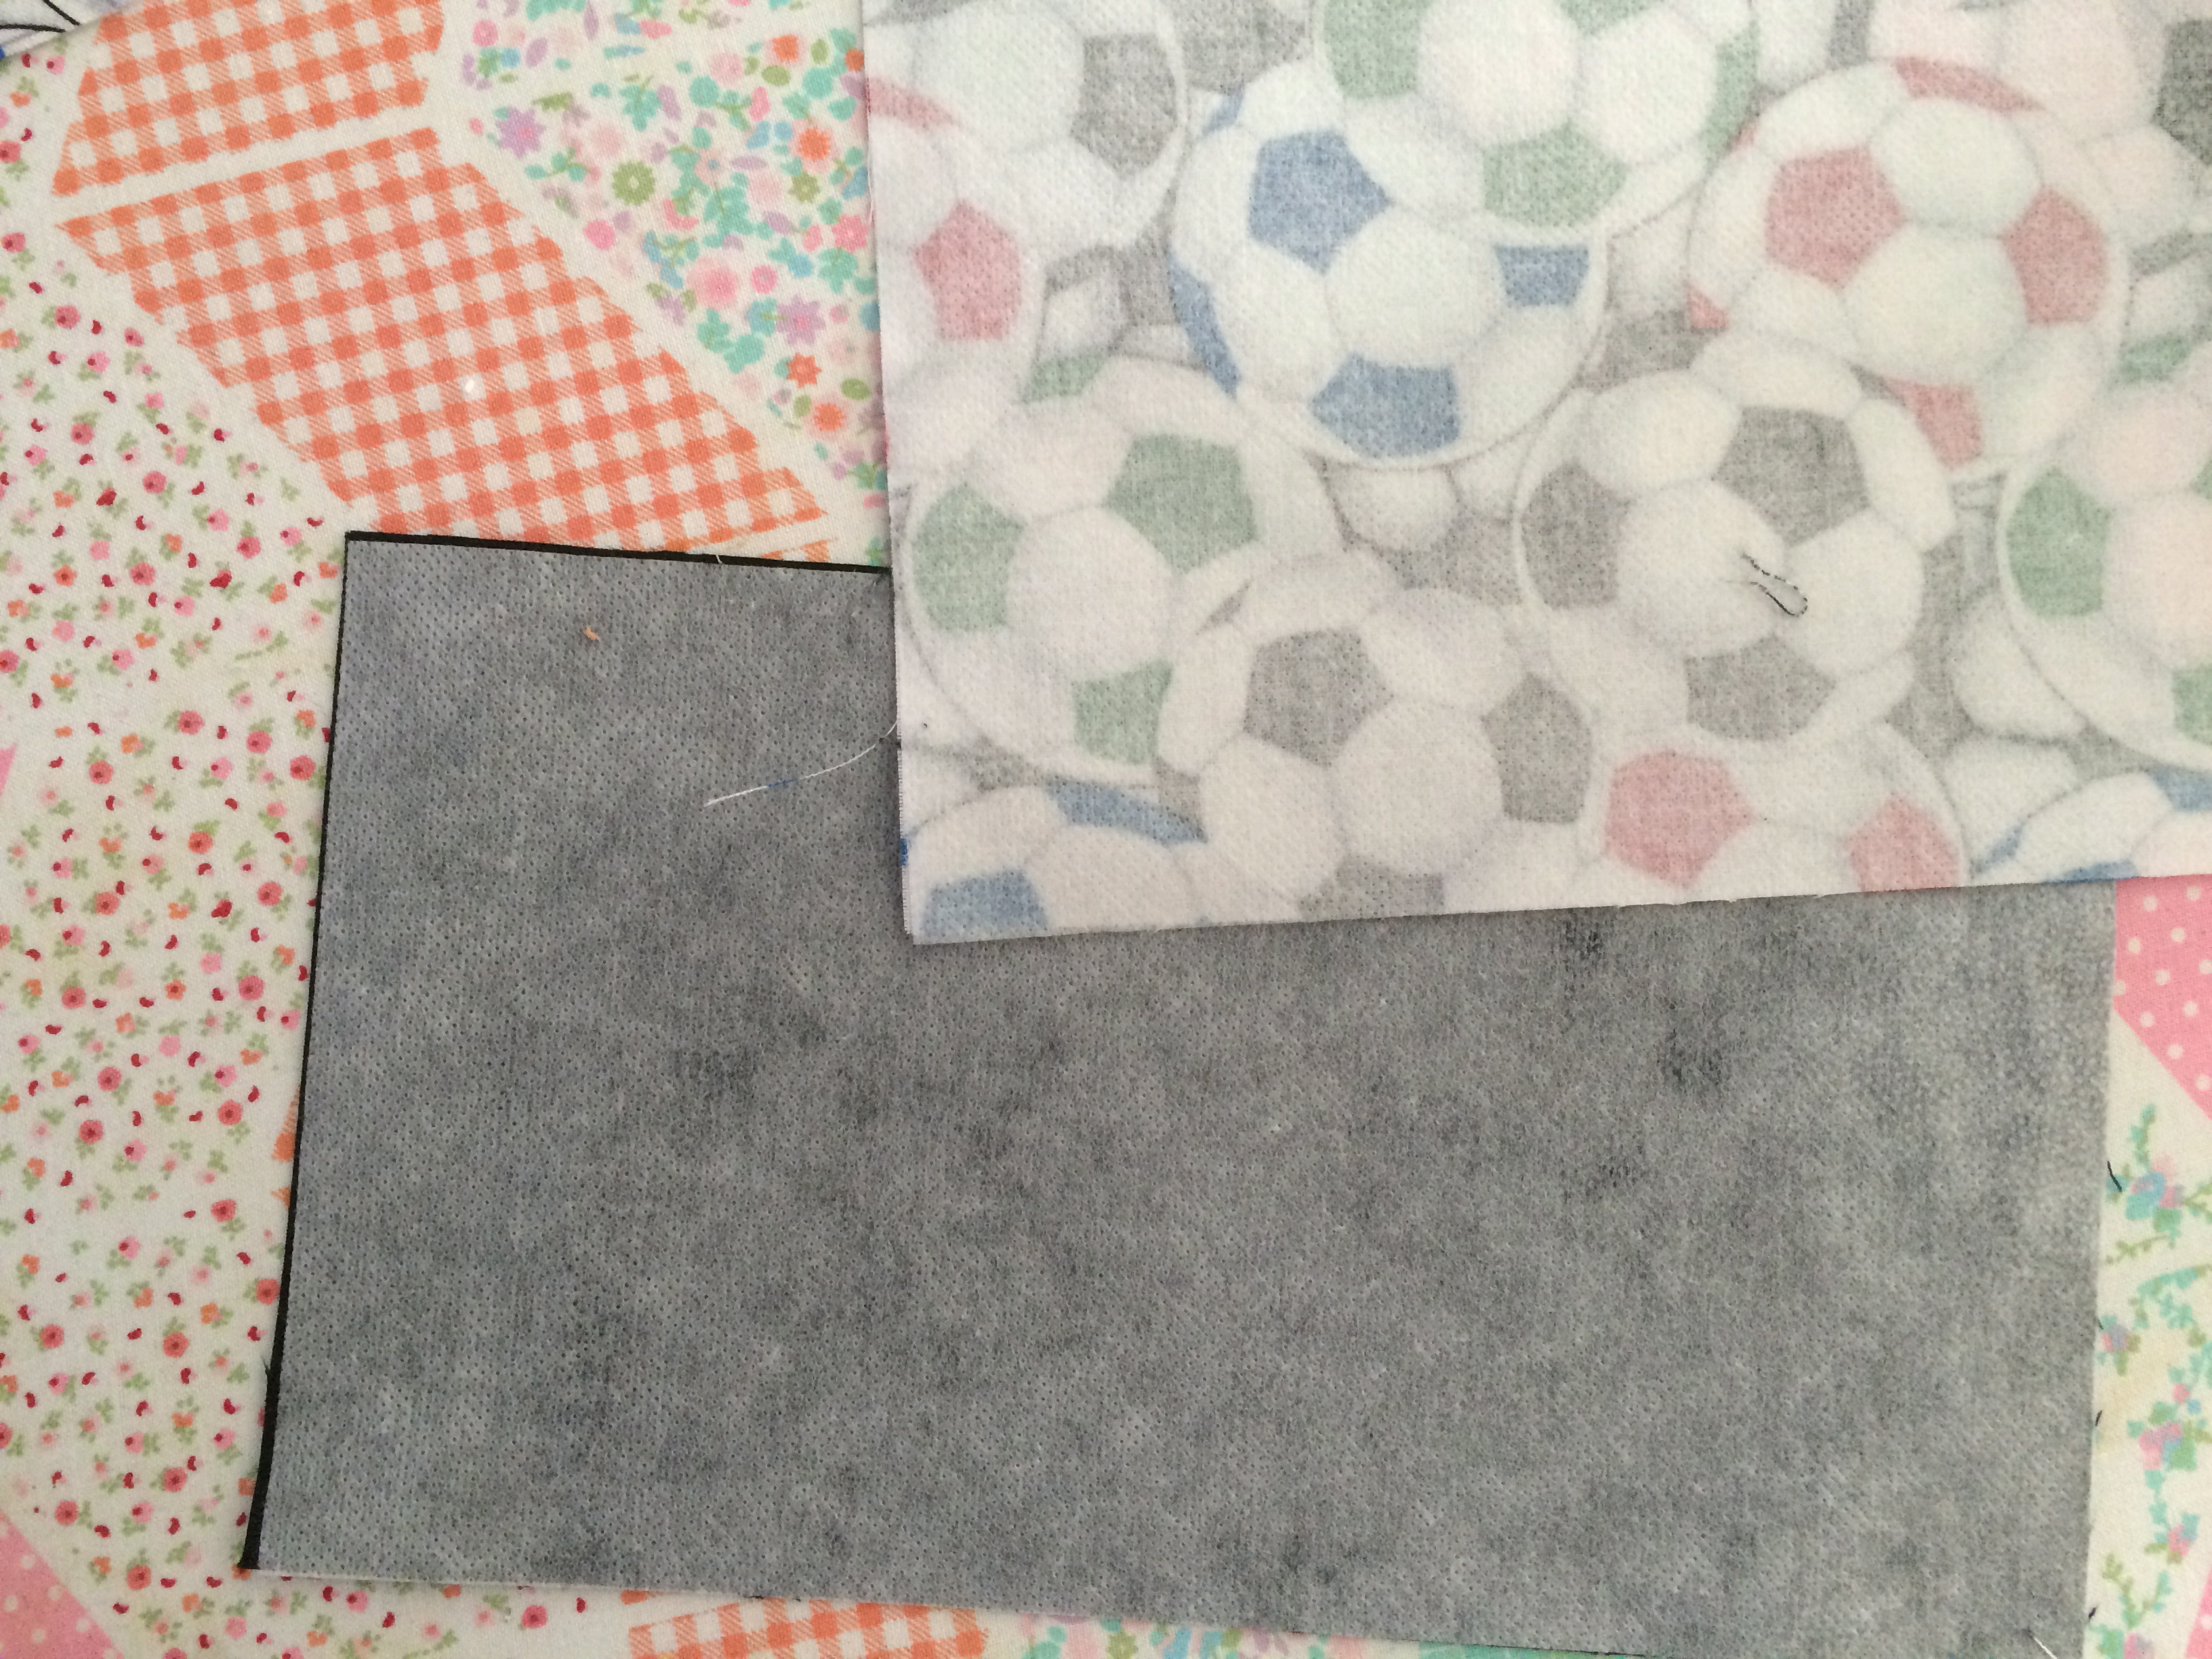
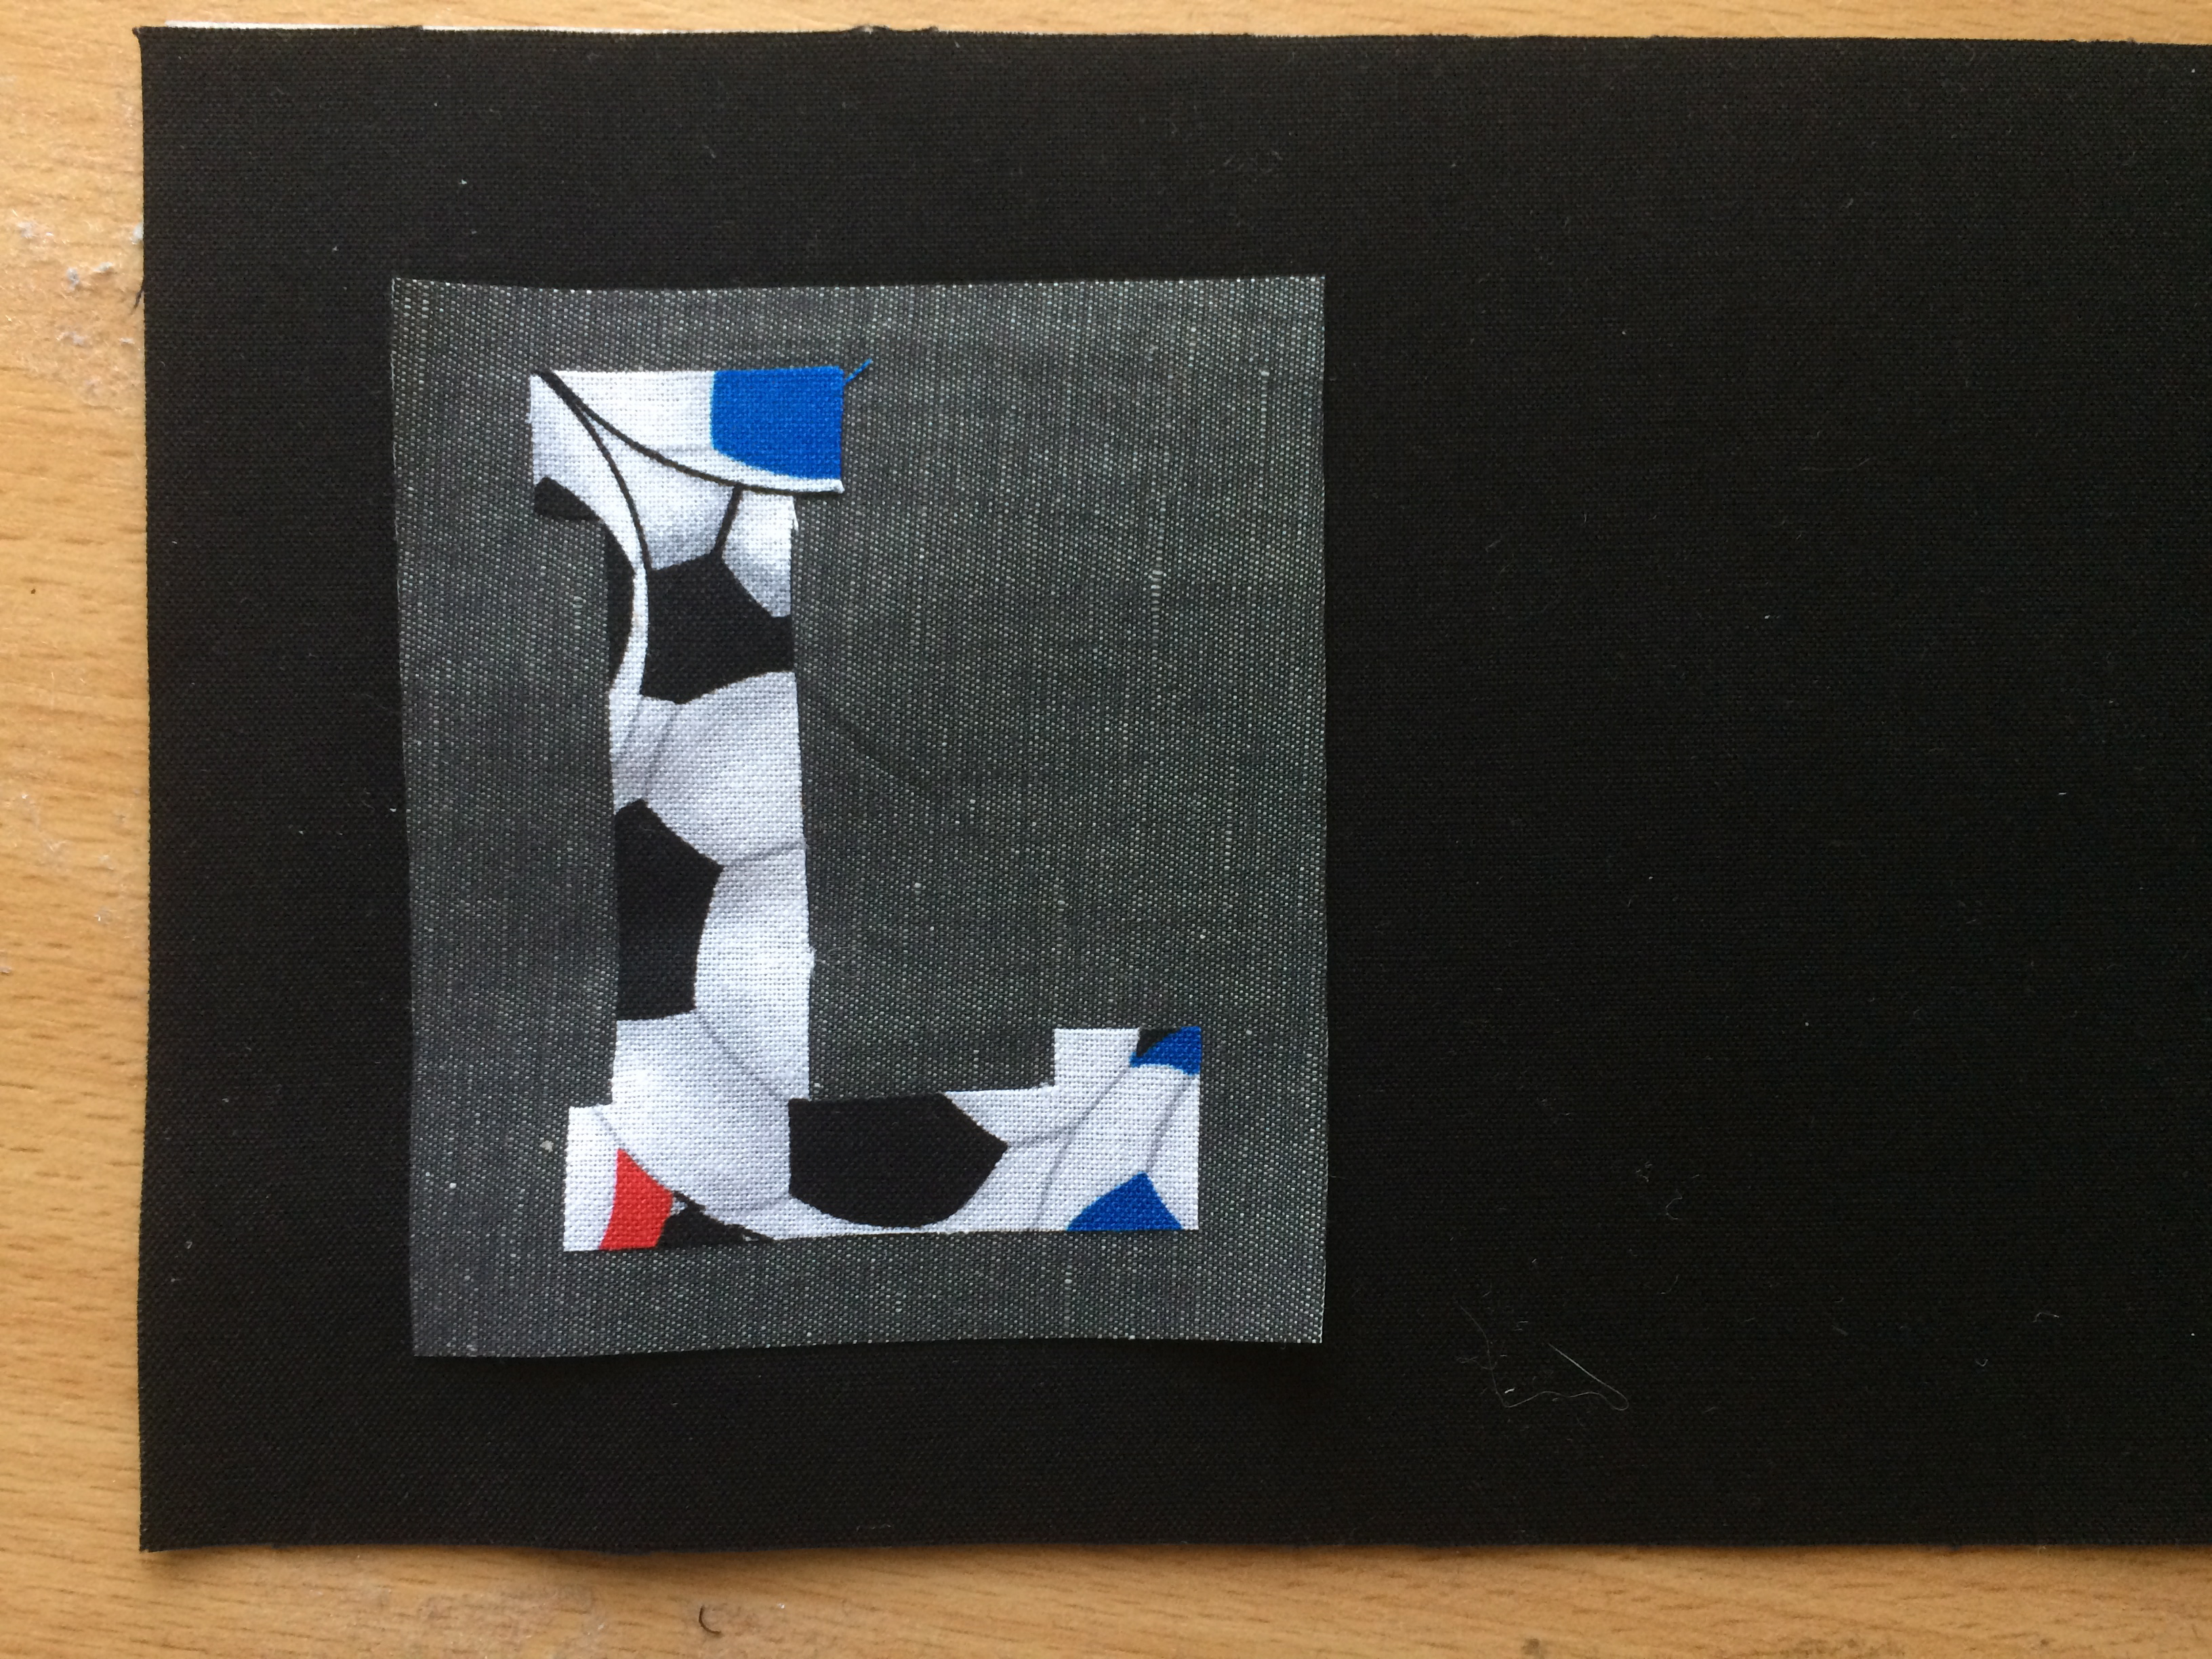
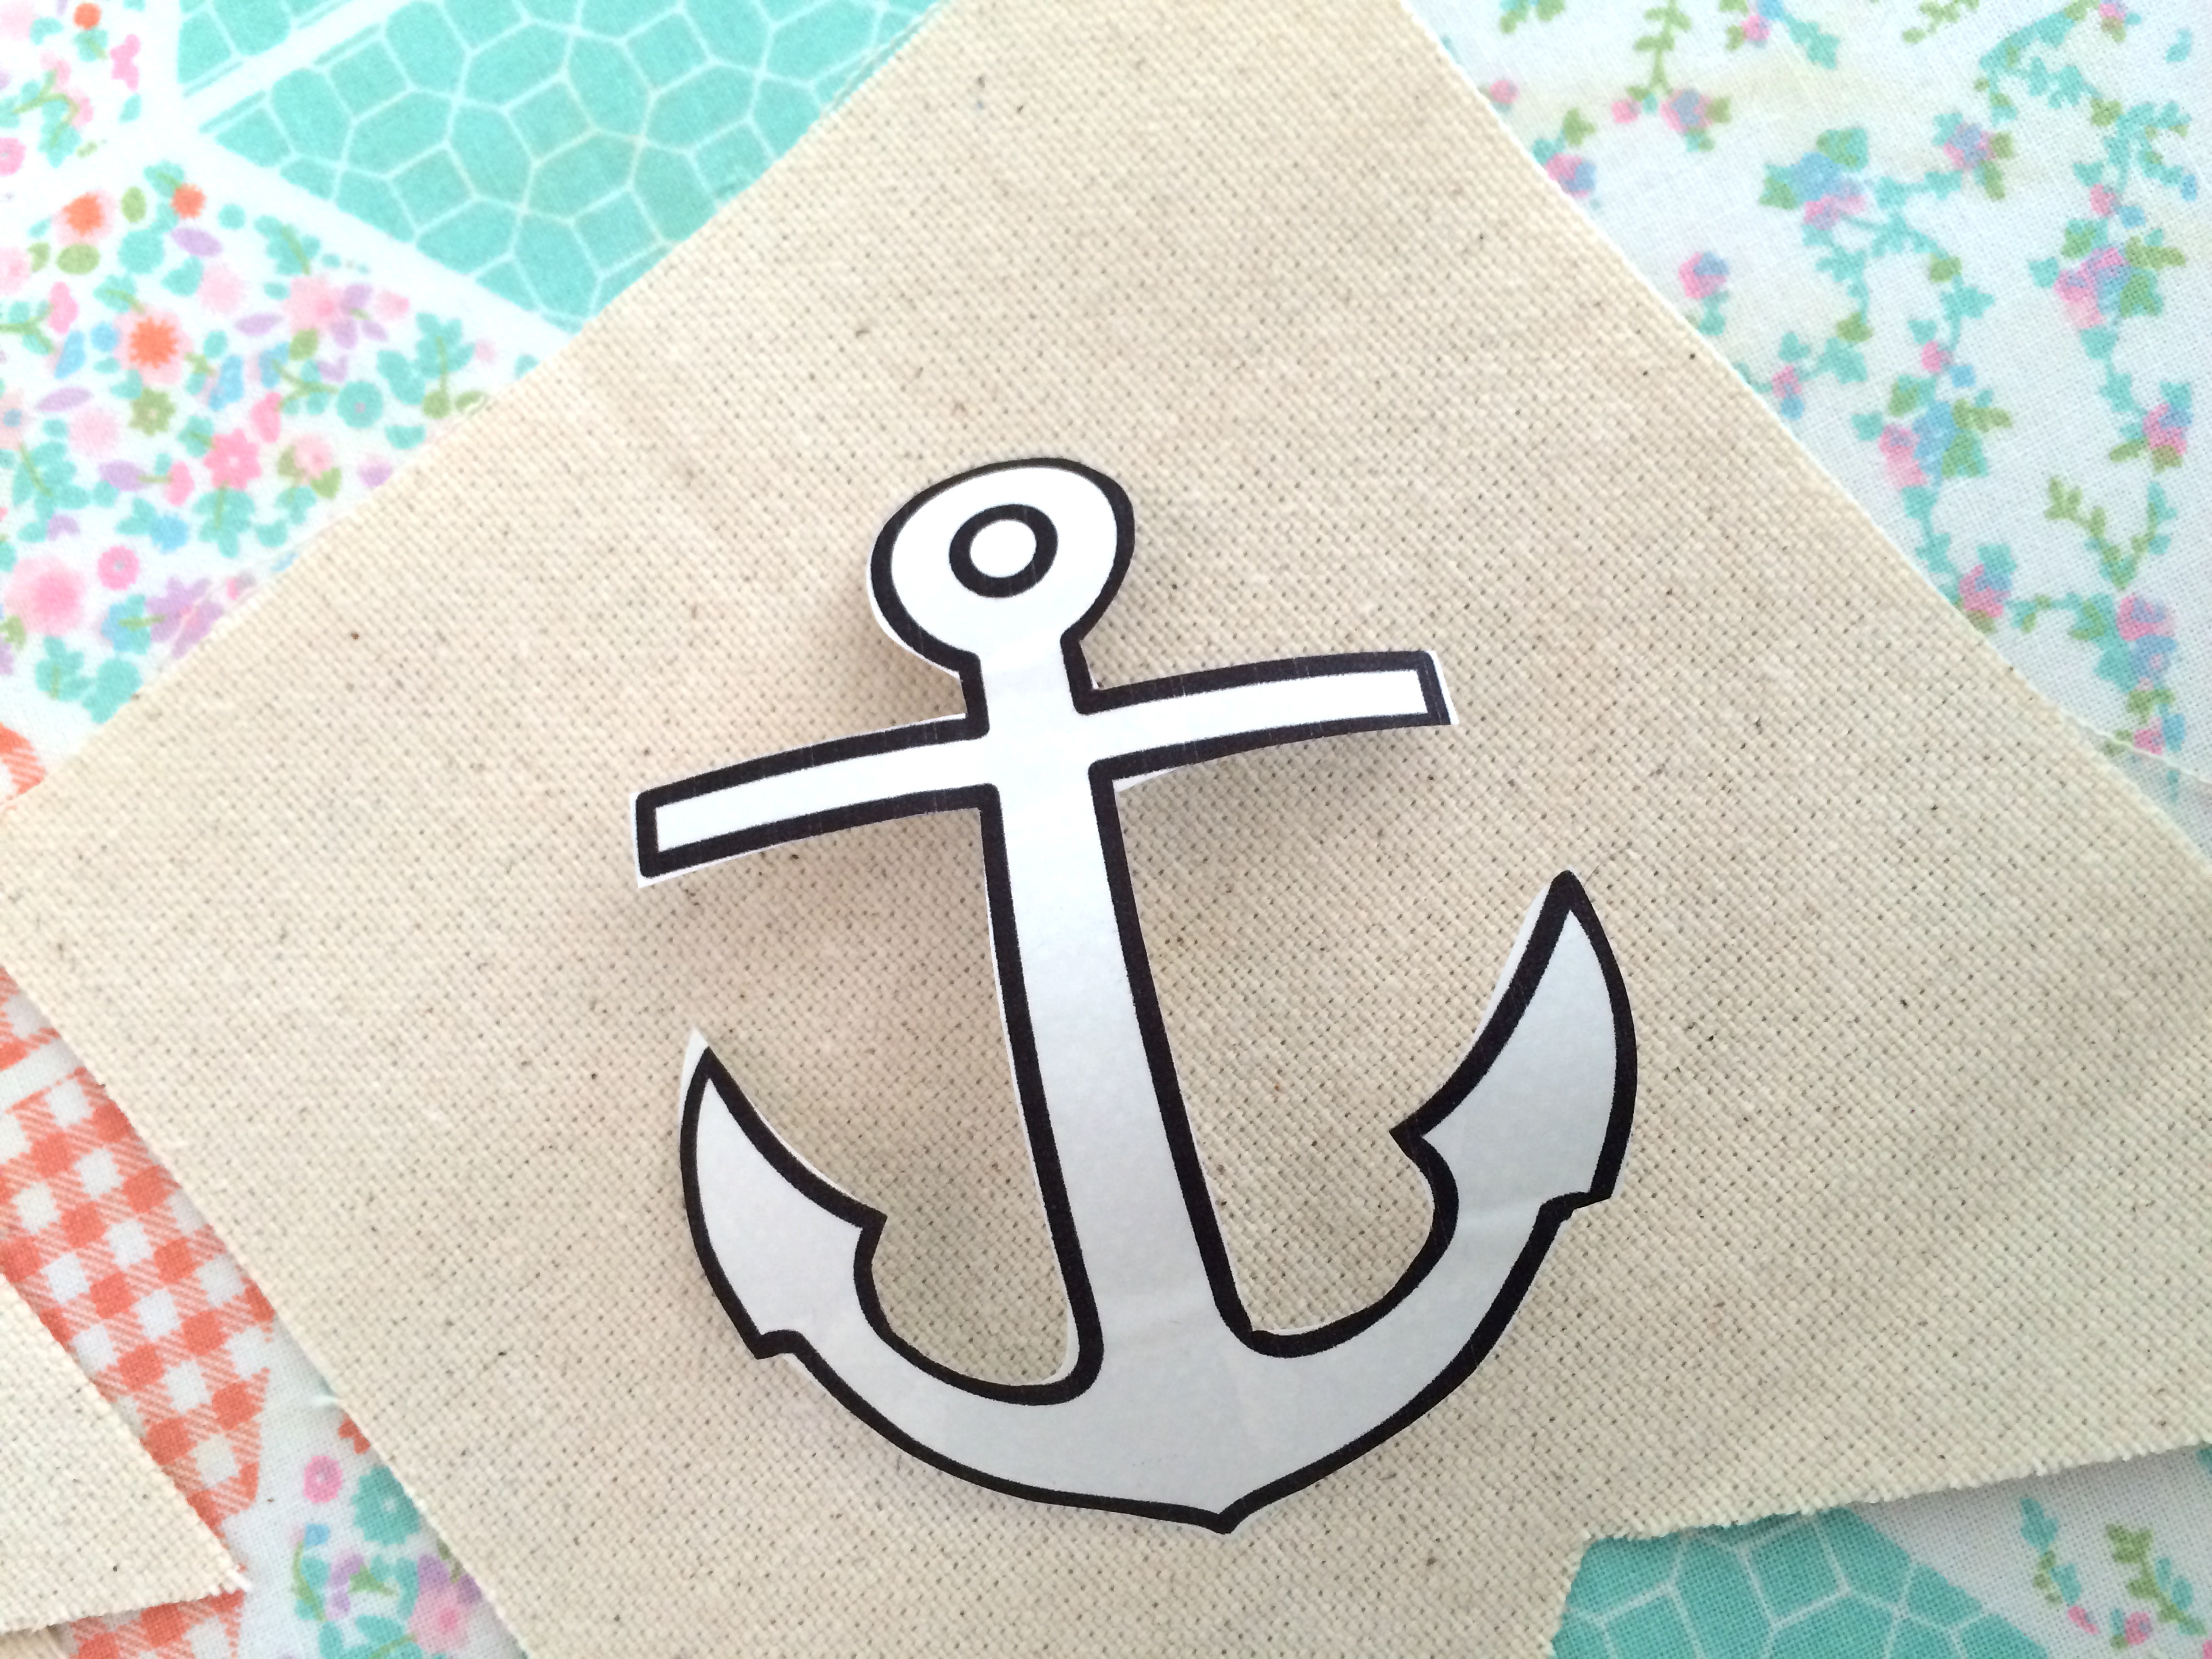
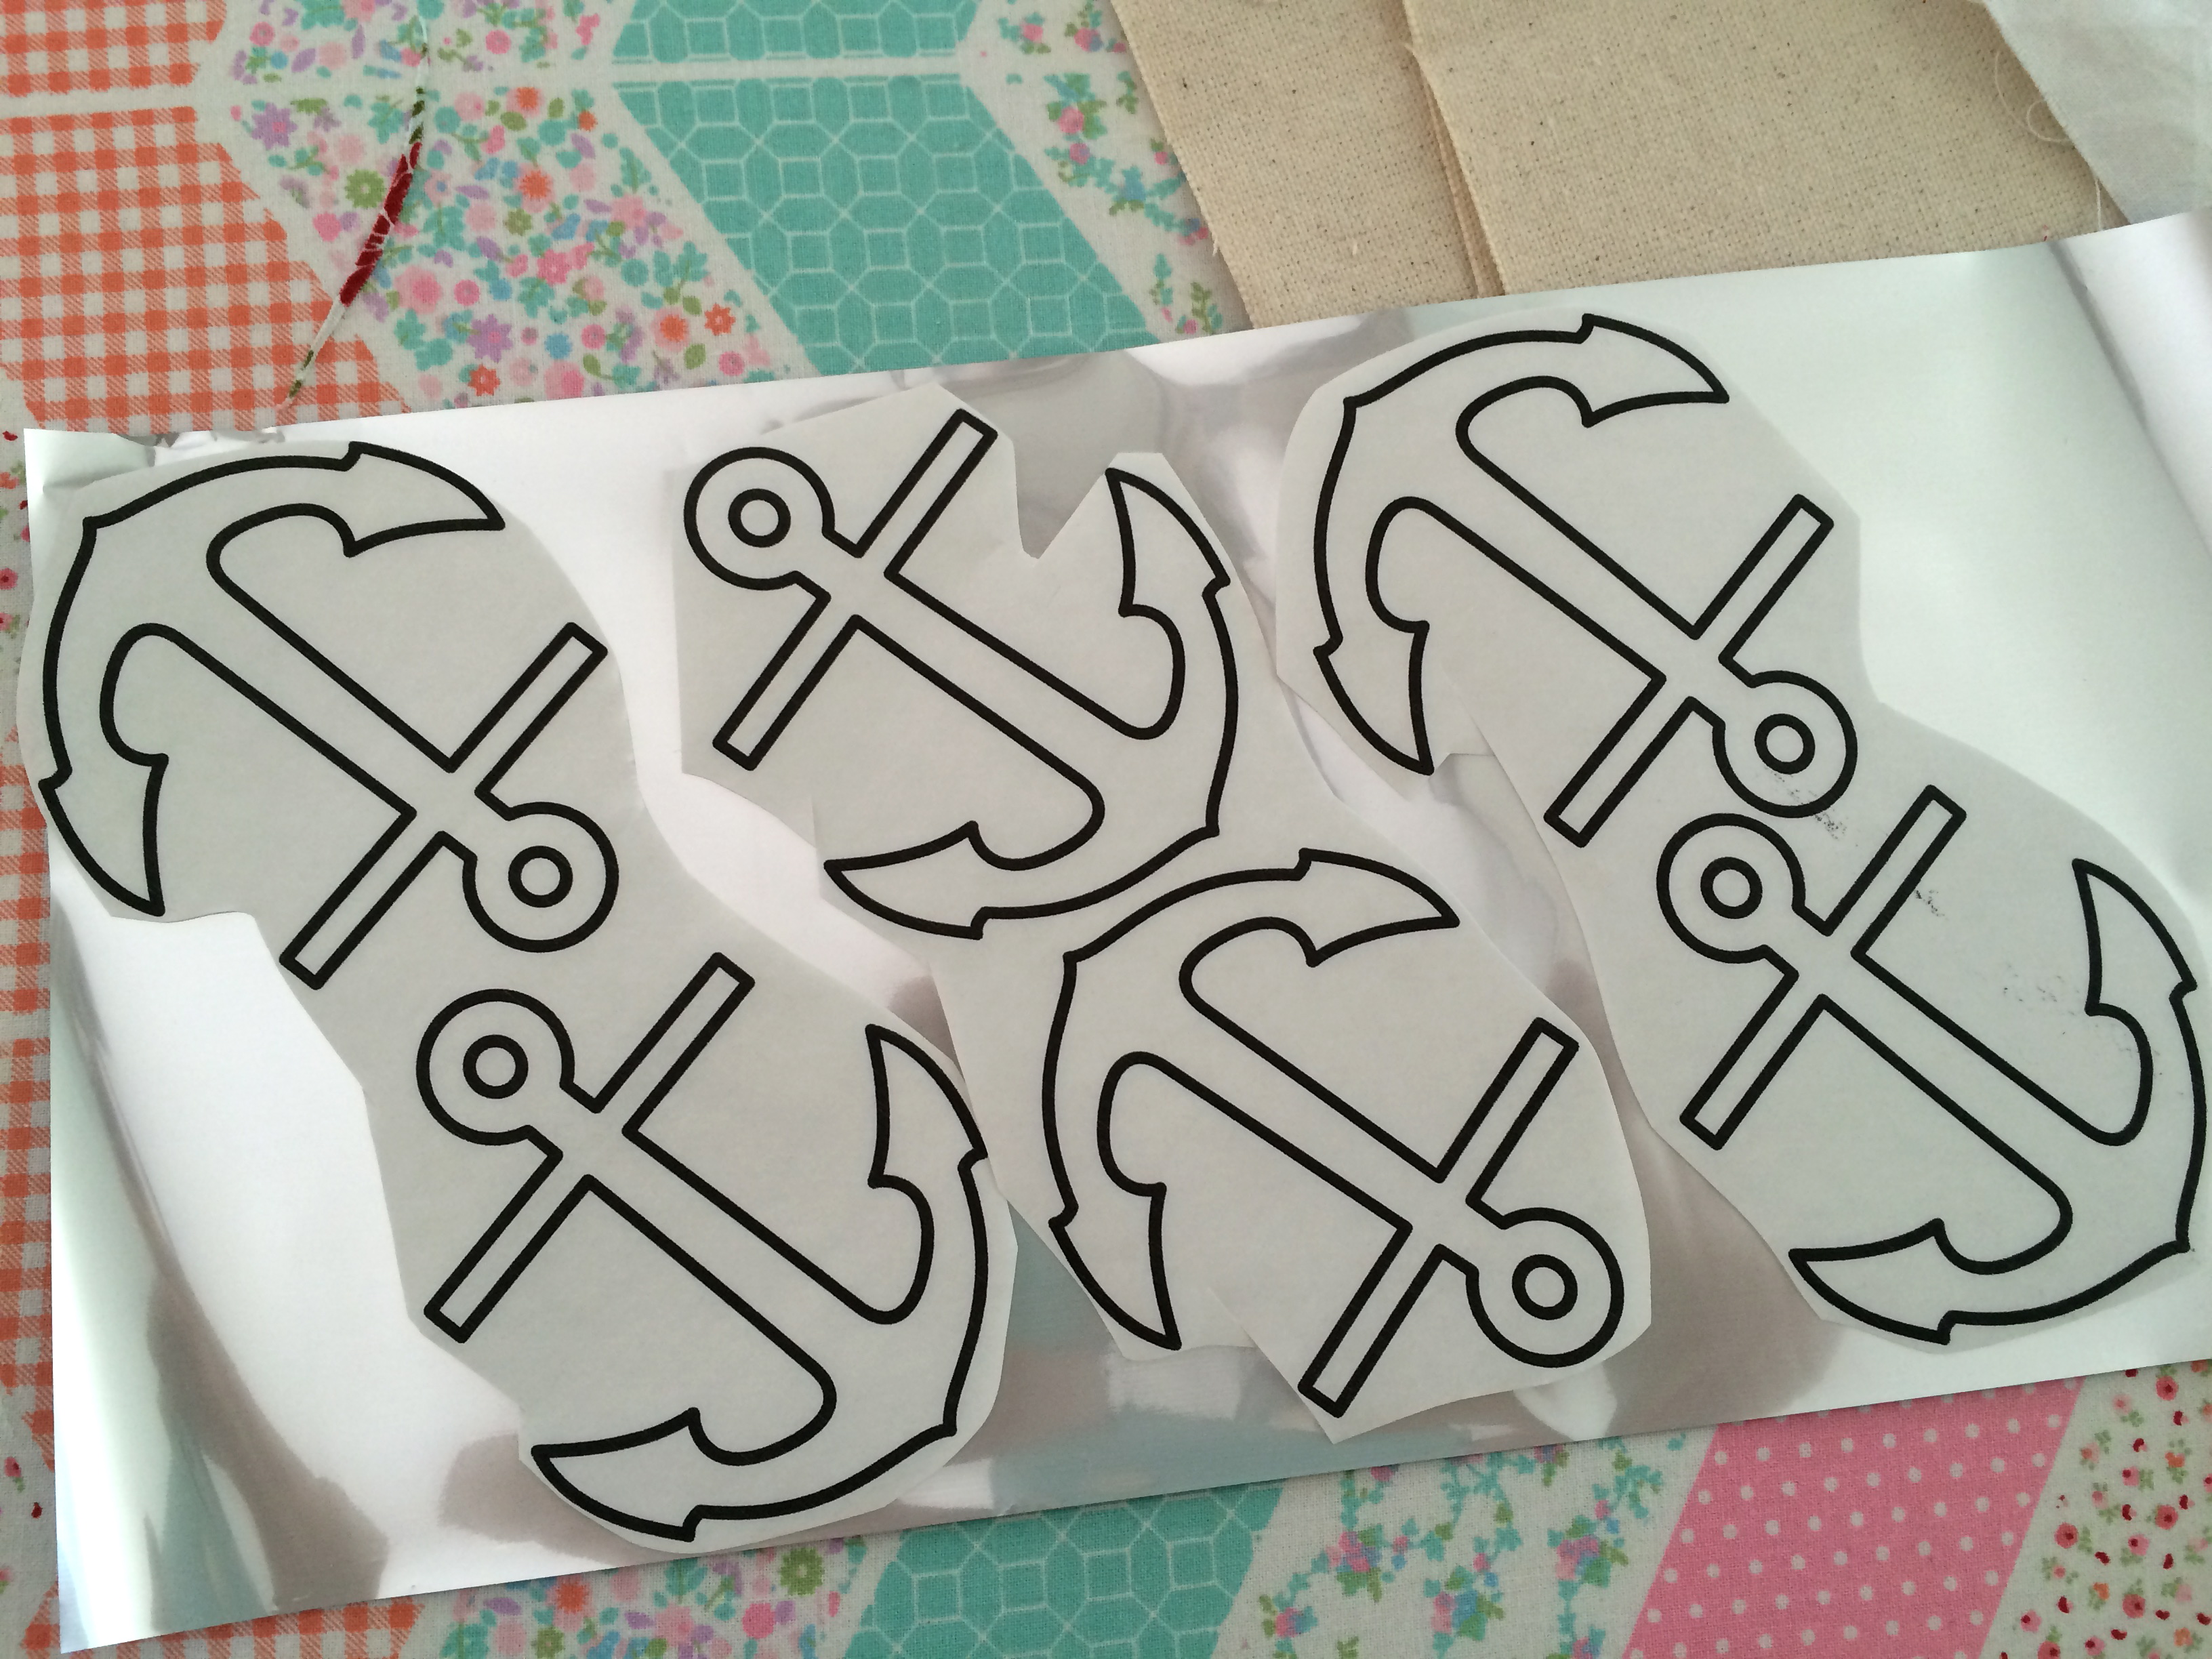
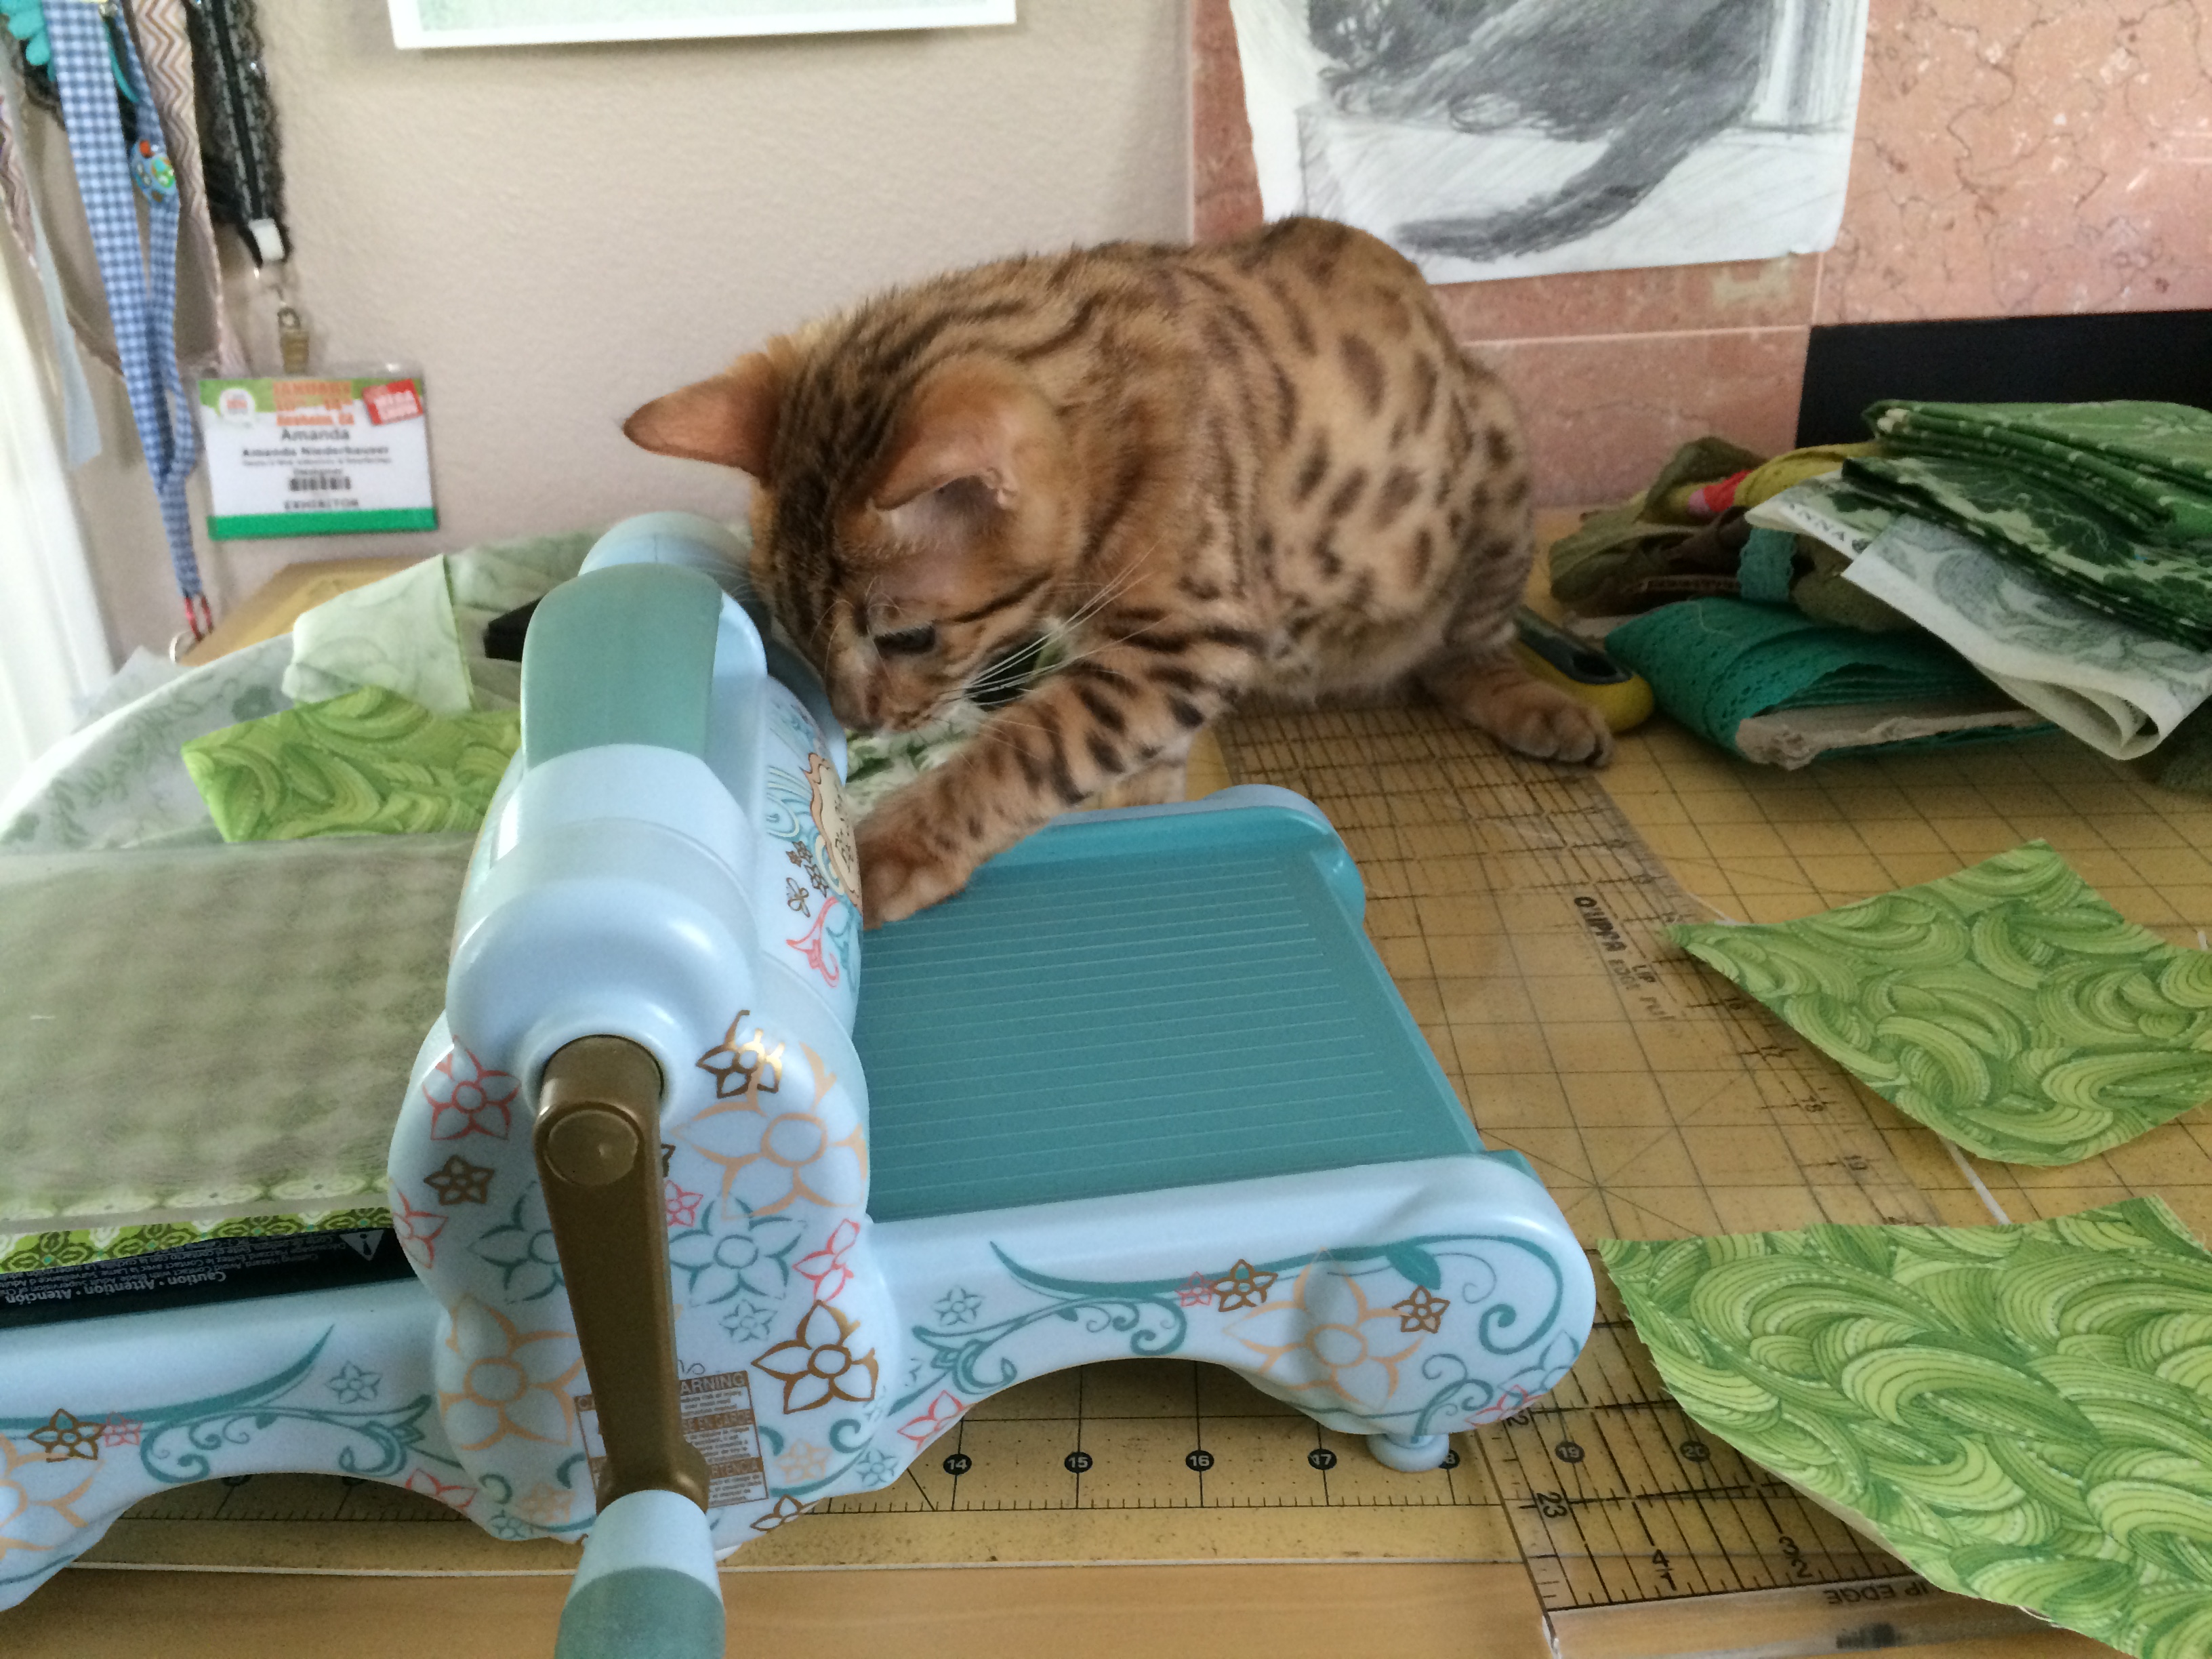
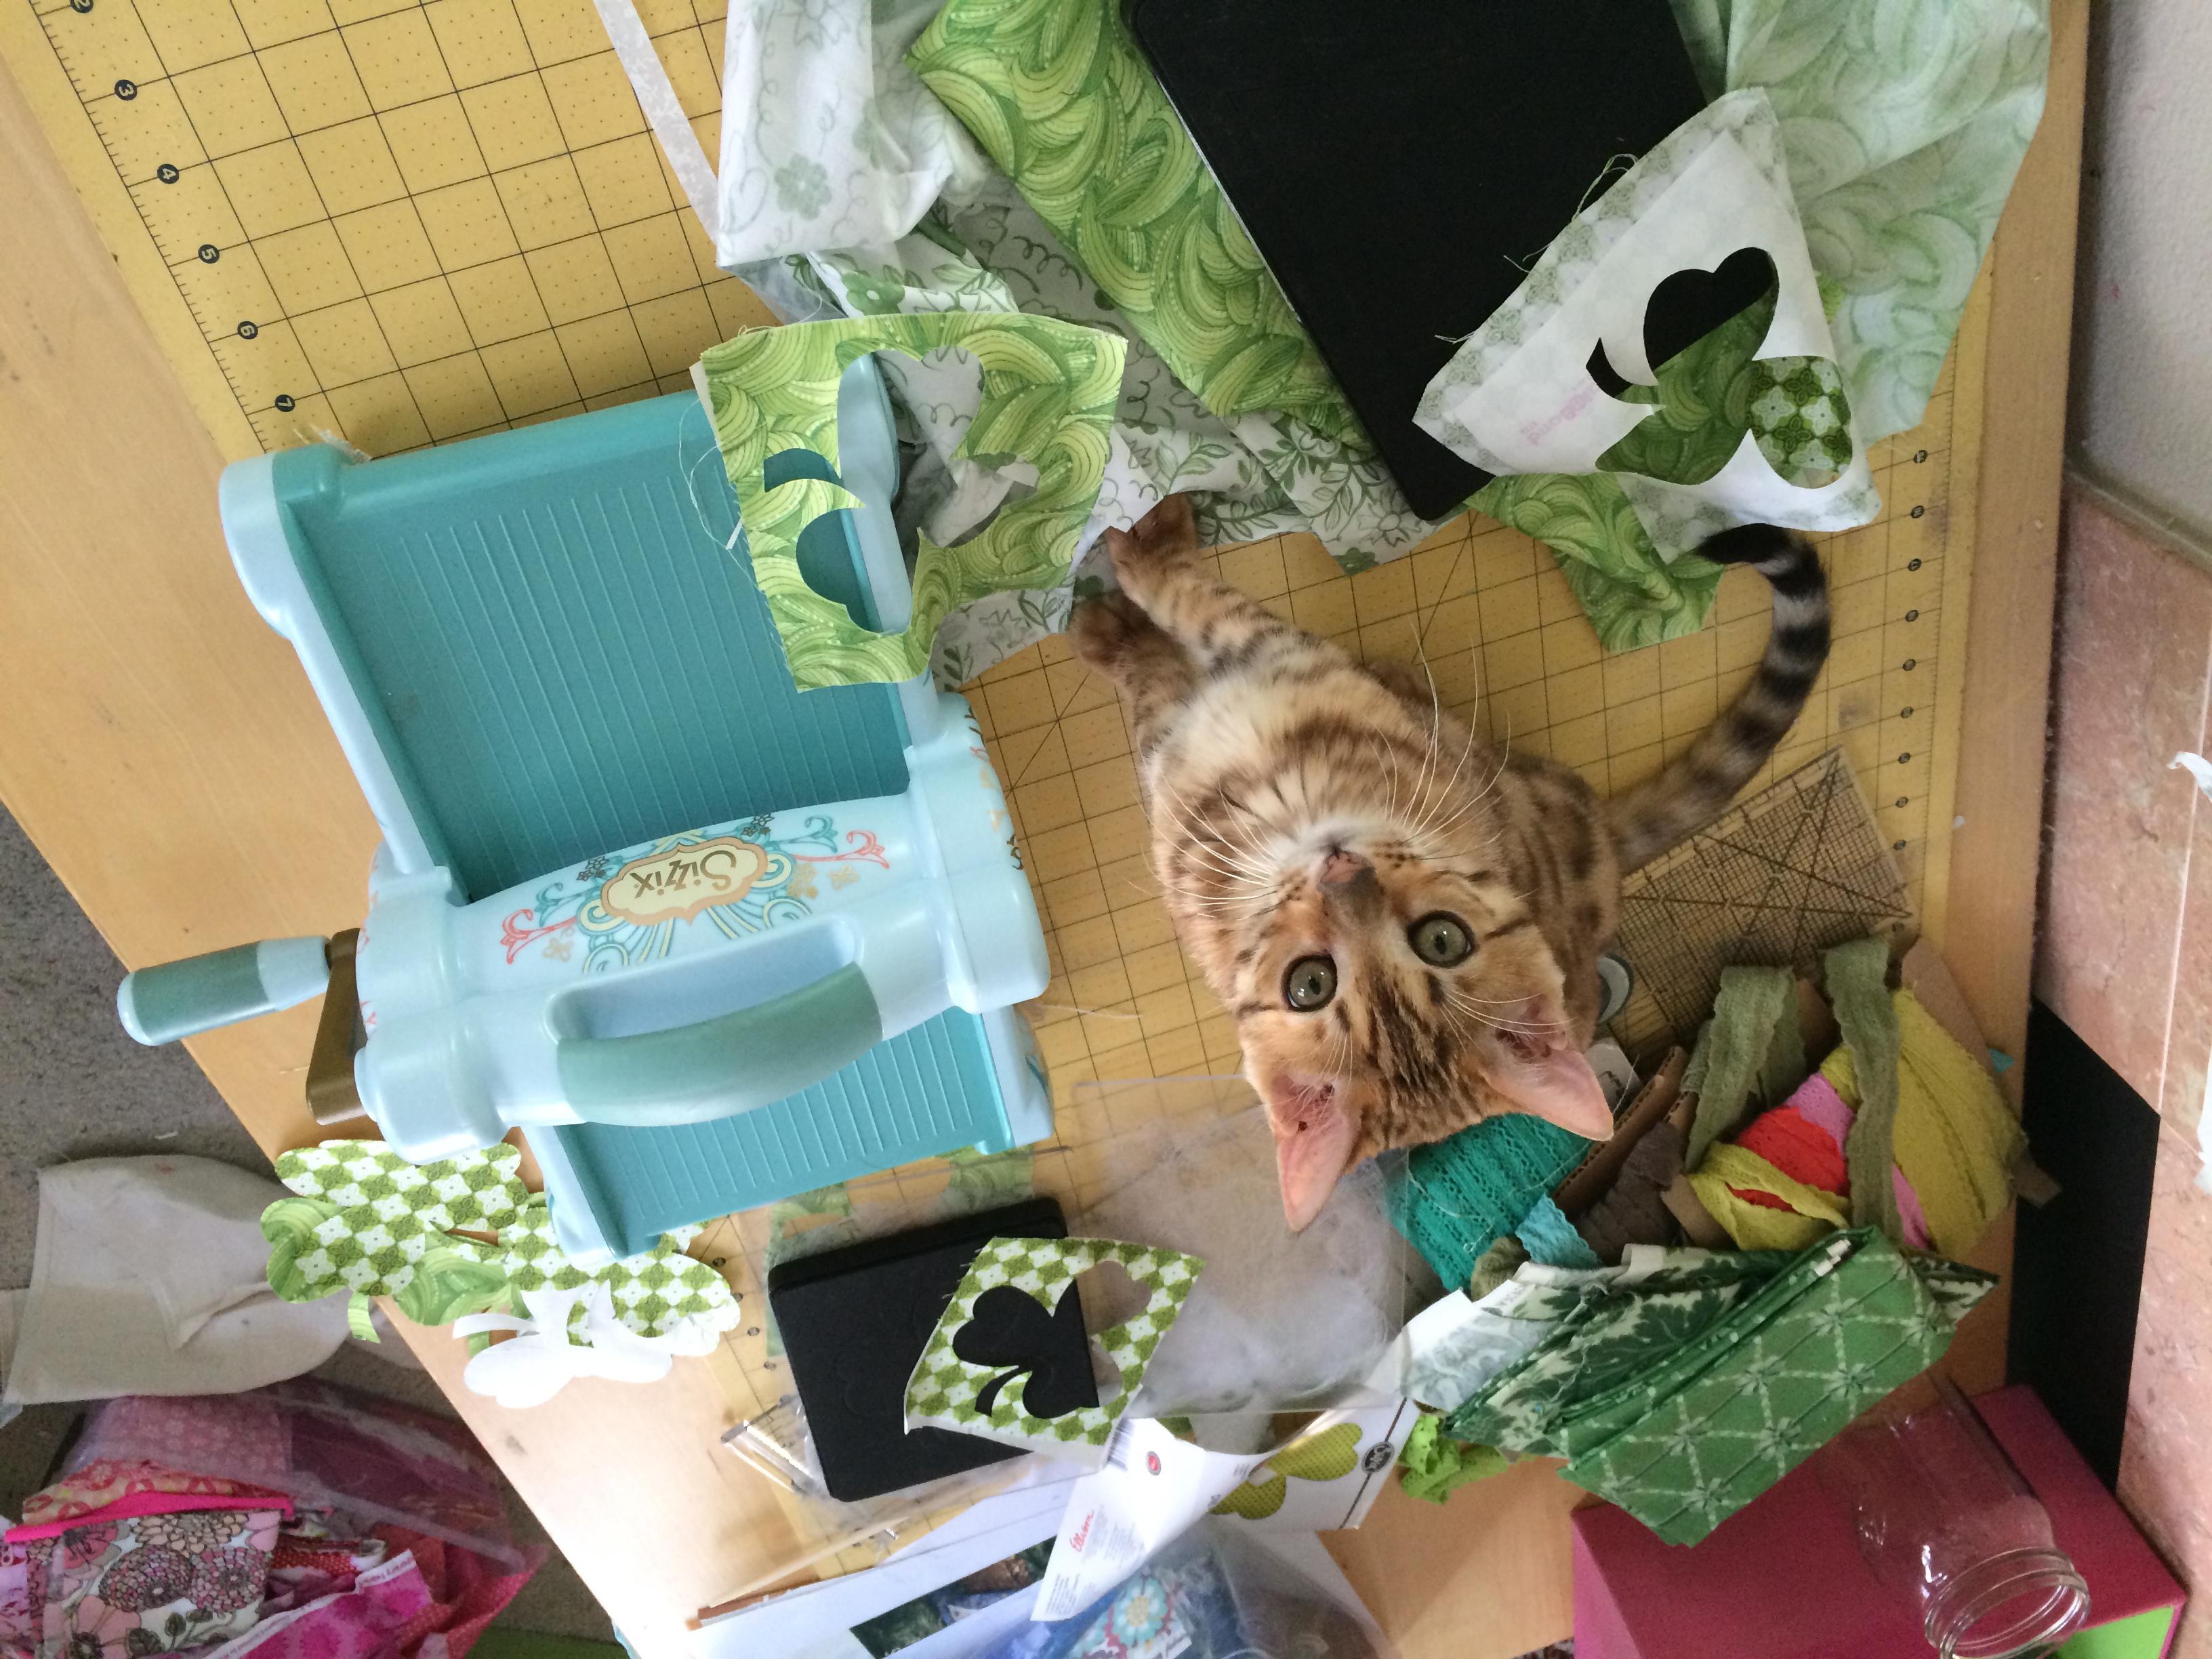
Of course my #kittyquilter Mufasa had to get his paws on the project 🙂  The letters and flower are appliquéd using Heat n Bond Lite EZ print sheets.  You can print the patterns from the Therm O Web Blog.  I love pinwheels and I thought they were perfect to use with this fabric!  The center quilting is “pebbles” and the main part of the quilt is loop-de-loos.choose happy quilt 24

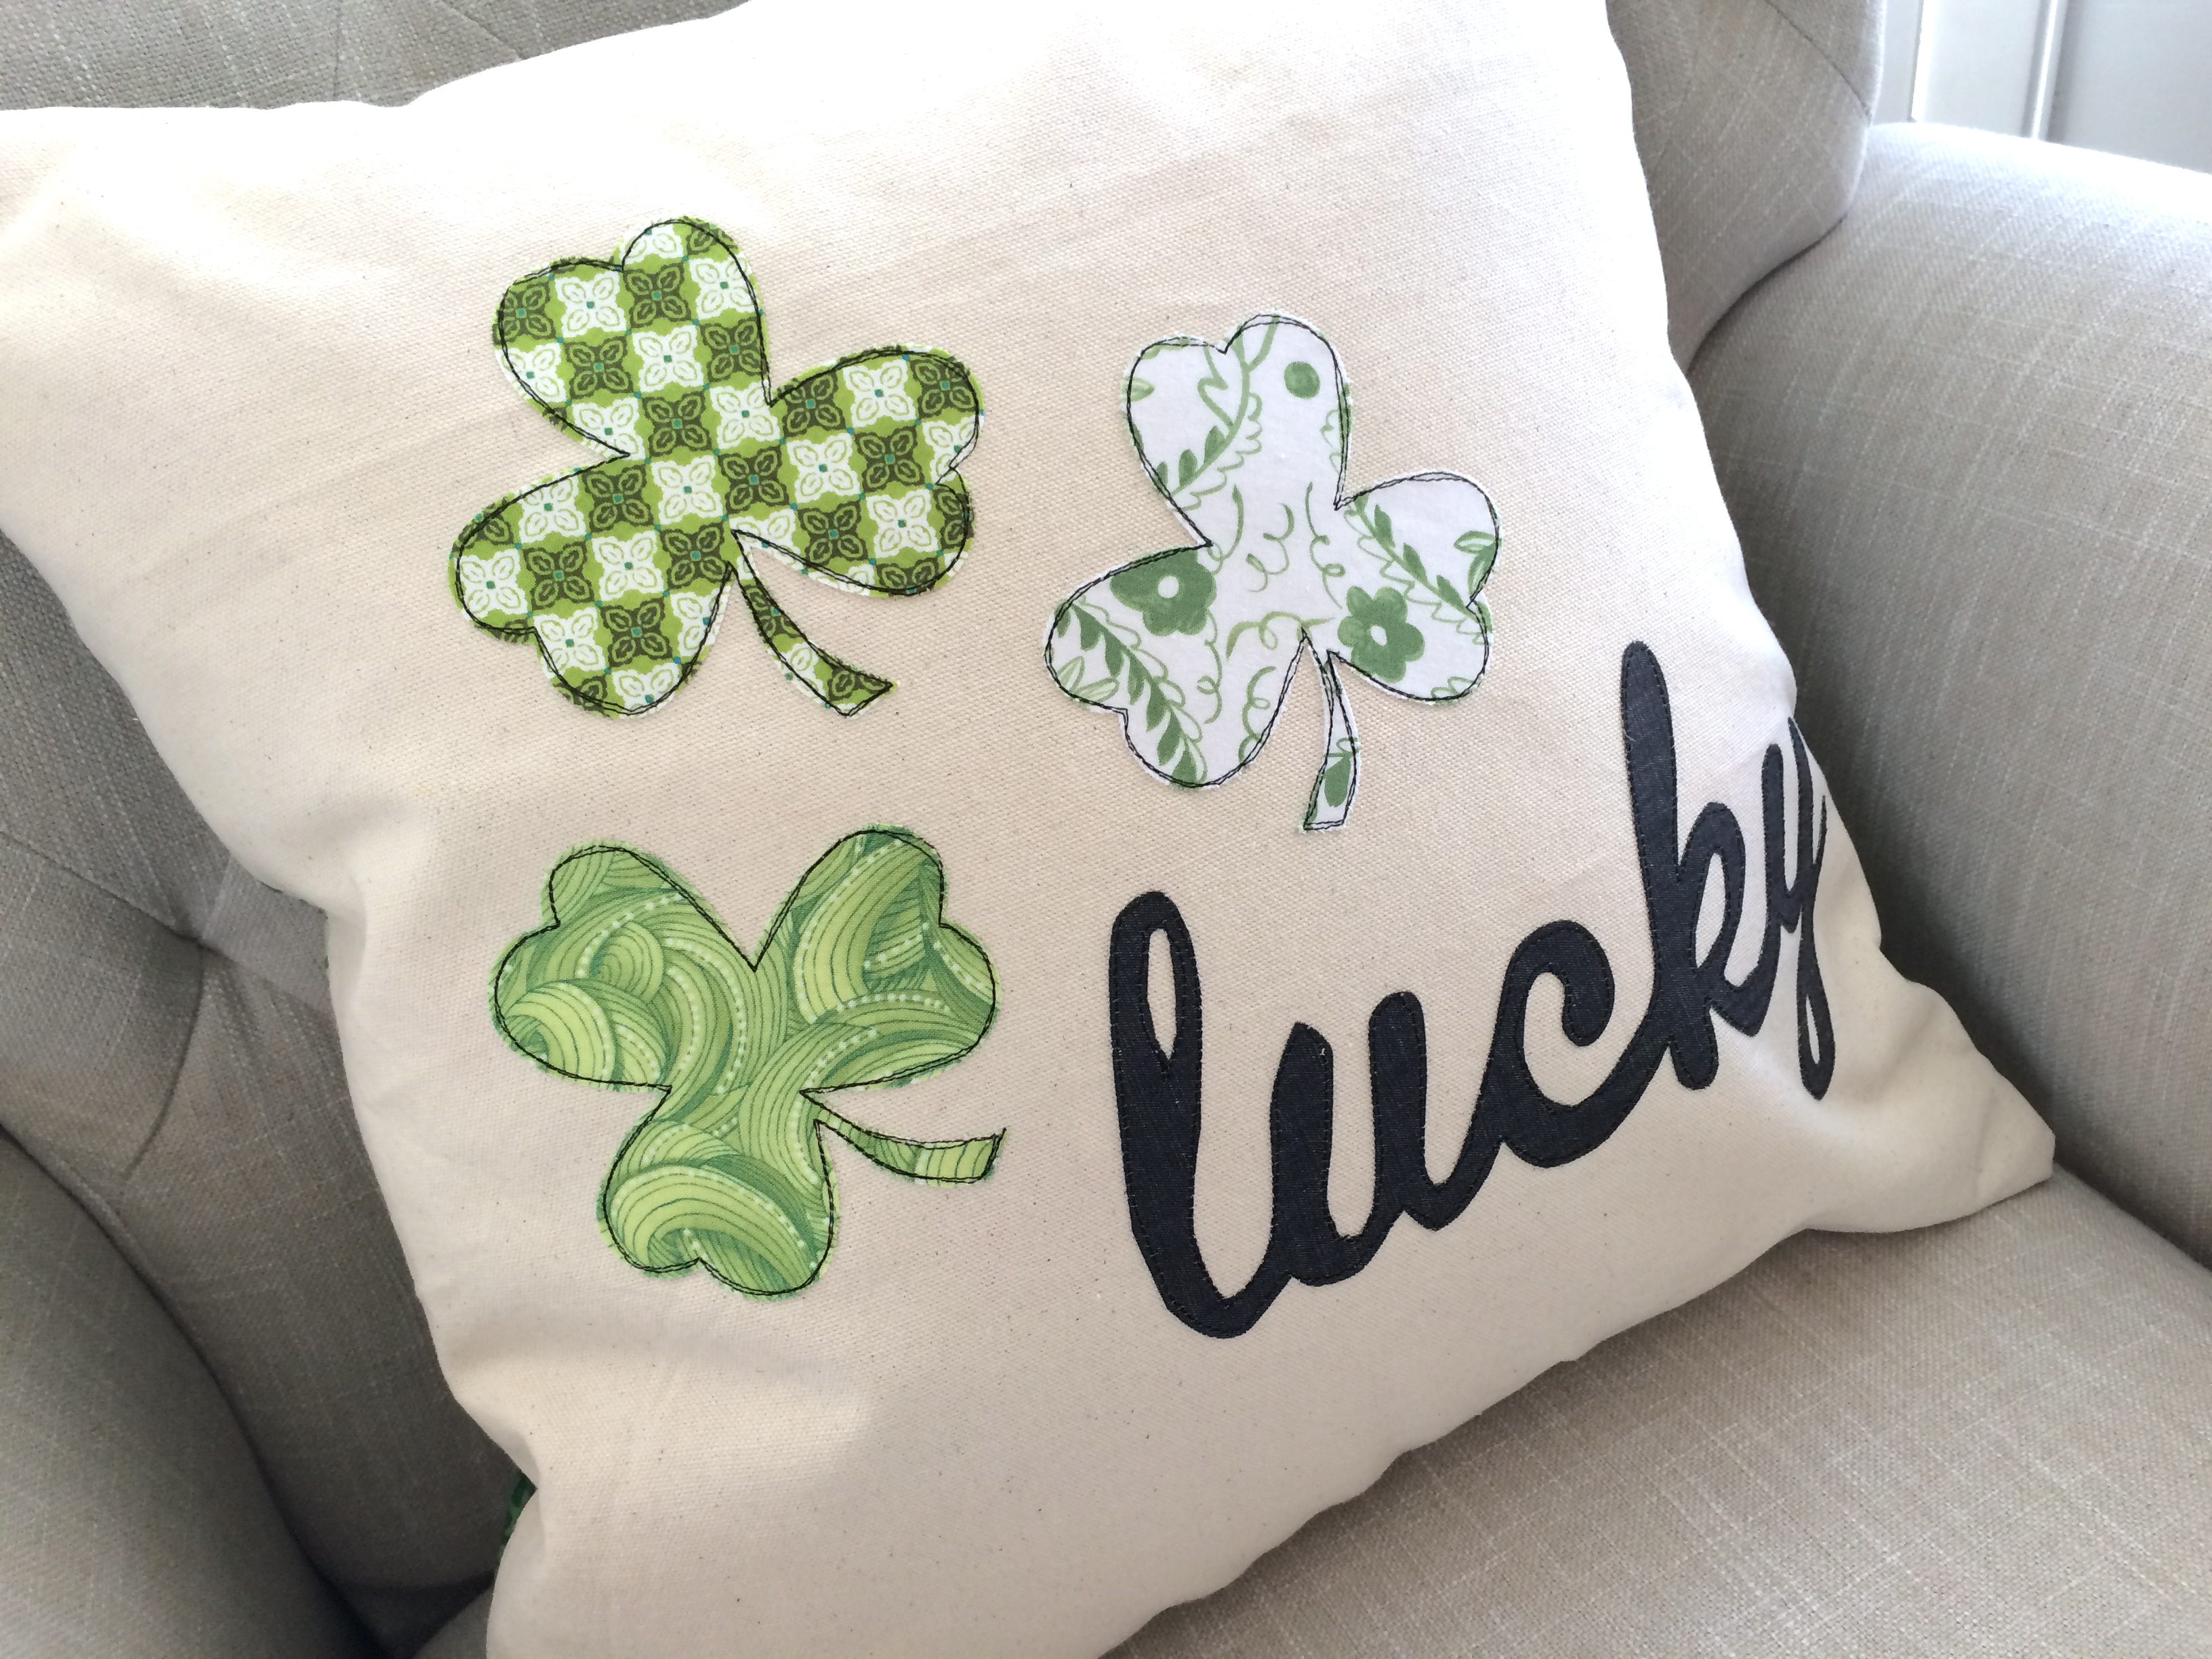
This would quilt would be darling on your sewing room wall or as a sweet gift for a friend.  I’m going to sew up another one soon!!!
choose happy quilt 26

5 Minute Kitchen Towel Tutorial

kitchen towel

I love to give handmade gifts!!!!!  Sometimes you just need a cult little somthin’ to give a friend.  This is the perfect project!!  Literally, 5 minutes!

Supplies:

Kitchen/Tea towel yardage, or purchased tea/kitchen towel

Scrap of fabric for the bunny, mine is from Riley Blake Designs

Piece of ric rac & lace slightly longer than the width of the towel

Piece of Heat n Bond Lite

Sizzix Big Shot (or you can hand cut any shape you want)

I love this towel yardage – it’s hemmed along the sides.  All you have to do is cut the desired length and add hems to the ends.  It comes in many colors and patterns.  You could totally use a white tea towel, or other kitchen towel!  I cut mine at about 3/4 yard long,

kitchen towel tutorial


Iron the Heat n Bond Lite to the back of the fabric.  Run it through the Big Shot – or hand cut the shape.  Peel off the backing paper.  Using spray n bond (or pins) position the lace and the ric rac.  I run the edges of my ric rac through a flame to seal the edges.  Tuck the ends in or around the back of the towel.  Stitch in place.  Iron the bunny into place and top stitch 2 times around it.sizzix bunny towel
And it’s done!  I want to make a stack of them!  Wouldn’t they make cute Easter gifts!  I better get sewing!!

IMG_4972

Little Love Bunny Pattern by Jennifer Jangles

It’s officially spring!  Bunnies are popping up all over the place!  
love bunny 5

I LOVE spring bunny projects.  I have had so much fun making these cute little critters!

love bunny 1

The pattern is from the very talented Jennifer Jangles.  Her pattern is available to download from her website.  The instructions are very clear and it’s an easy project to put together.  All the fabrics are from Blend Fabrics.  With so many fun patterns to choose from, I mixed and matched their fabric lines to come up with some fun combinations.

bunnypdf

I went a little crazy and made 10 of them!!

love bunny 6

Instead of hand stitching the nose and mouth, I used the sewing machine.   The nose, heart, and inner ears are all appliquéd with Heat n Bond Lite.  I used black thread and outlined stitched the appliqué pieces 2 to 3 times each.  The black really helps the fabrics pop.

love bunny 22

Baby Mufasa is always helping with the sewing projects.  I was thinking I might fill one of the bunnies with some catnip 🙂

love bunny 24

Once you make one, I bet you have to make more and more!  They each have unique personalities!

bunny collage

bunny Collage 2
love bunny 21

Nautical Key Fob Tutorial

nautical key fobsI like to make a statement with my key chains.  For Christmas I enjoyed jingling everywhere I went with this keychain.  Now that it’s spring, I definitely need to be saying “I love everything Nautcial” with my keychain.  These make great gifts and you can sew one in about 20 minutes.  I used Riley Blake’s Anchor print for the fabric on the key fob.  The gray cotton twill tape I ordered from Everything Ribbons on Etsy.  The twill tape and hardware are 1.25″ wide and are available at that shop in a wide variety of colors.

Follow my tutorial here to complete the key fob portion.

To make the anchor tag, you need a few scraps of fabric, cotton batting, and some Therm O Web Heat n Bond Lite EZ print sheets.  I used an antique metal grommet to attach it to the key ring.
Cut a piece of navy dot fabric 2.5″ x 3″.  Fold in half and cut off an angle like this:

anchor keychainDownload the anchor pattern here and print it on the EZ print sheets.  Cut out around the anchor, iron it to the wrong side of the anchor fabric.  Cut out the anchor and peel off the backing paper.

Cut another piece of navy dot fabric 2.5″ x 3″ but don’t cut the angles.  Layer them together like a quilt and sew all the way around the tag shape.  Then sew around the anchor.

anchor keychain 2Cut the excess off around the tag.anchor keychain 3Attach the grommet and put a split ring on.anchor keychain 4Attach it to the key fob.
anchor keychain 6Let me know if you like this project!  I love to give handmade gifts and this is a great one to whip up in a short amount of time.

Ahoy! Nautical Composition Book Tutorial

nautical anchor composition book tutorial

I am having so much fun with my nautical projects – I hope you are enjoying them.  I ready to buy a sailboat!!! (haha)  I take a covered composition book with me everywhere I go.  I have one in my purse for daily notes, lists, etc.  I have one I take to church and keep inspirational thoughts in.  I have one as a gratitude journal.  I have one for my sewing journal where I write down everything I sew, measurements, etc.  I know it’s totally old school – but I love notebooks!!!  You can see my other composition book tutorials here, here, and here.  I change them up each time I make one.  This one has lace, an appliqué anchor and writing that I foiled with Deco Foil!

Here’s how you can make one:

Supplies:

1/3 yard fabric for outside cover

1/3 yard for lining

piece of cotton batting

scrap for applique

11″ piece of navy lace trim

Deco Foil in Red

Deco Foil Transfer Adhesive

Heat n Bond Lite EZ Print Sheets

Anchor pattern, click here

Hair Elastic

Button

cutting instruct

cover batting

You can pin to hold in place, or add a little Spray n Bond basting spray.  (You can see my I cut my batting with scissors, I will square it up in a minute.)  Fold the cover in half and position the lace as pictured.  Use the basting spray or pin to secure.  Sew in matching thread along both sides of the lace.

nautical composition book applique 3

For the anchor, print it on the EZ print sheets, or trace to fusible appliqué paper.  Cut out the anchor and iron in place.

nautical composition book applique

Top stitch around the anchor.  Cut off any excess batting.  Find the center of the left side of the cover.  Mark and baste the hair elastic in place:

nautical composition book applique 4

flaps

Lay the flaps on the lining fabric, lining up raw edges.  The fold of the flaps should be toward the center.

nautical composition book applique 2

Place the cover on top of the lining/flap piece, right sides together.  Pin all the way around.  Sew, using 1/4″ seams all the way around.  Leave a 3″ opening at the bottom center.  Turn right side out and press.  Tuck the opening in, press, and top stitch to secure.

nautical composition book applique 5

Mark where the button should go and sew the button by hand, careful not to catch the flap.  Mufasa was trying his hardest to bite off the button!!

anchor composition book applique 2

Take the Deco Foil Transfer Adhesive and write Ahoy (or any word you want).  This totally brought back memories of cheerleading days in the 90’s – we rocked the puffy paint!!!  I was bad at writing with it then, and I’m still not that great at it!  Let the adhesive dry until completely clear.  I let mine sit for a few hours.

anchor composition book applique 6
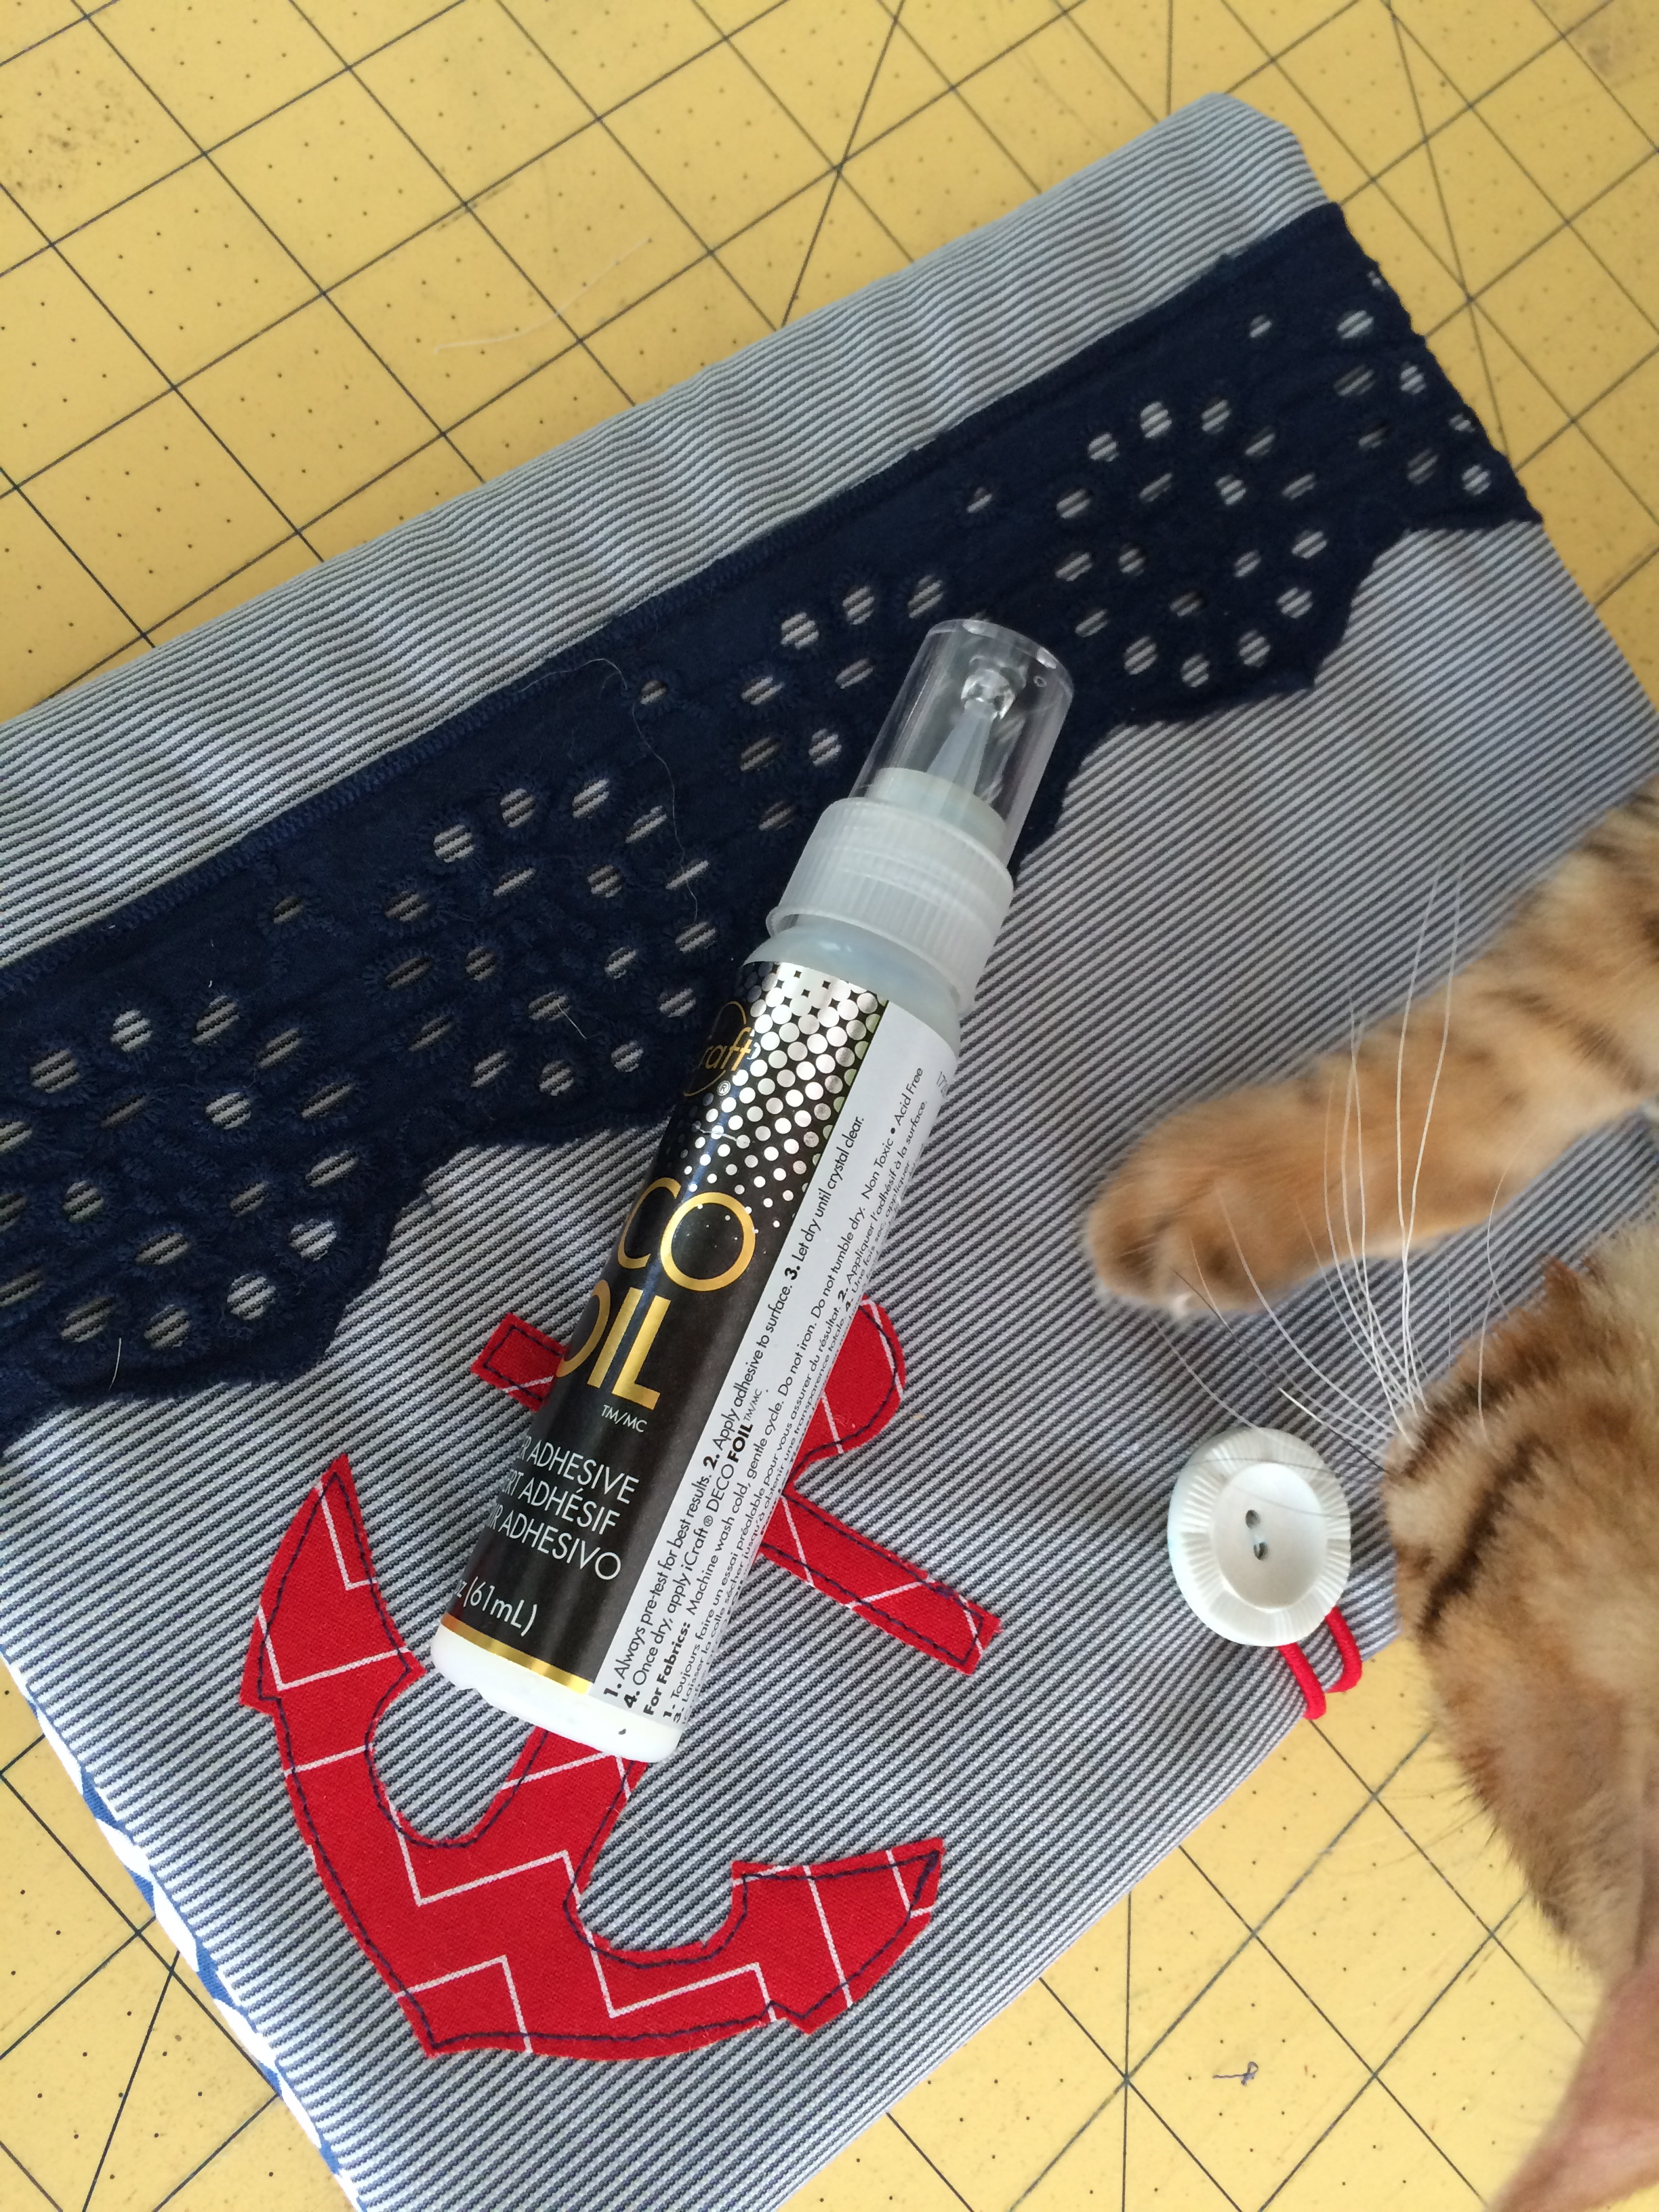
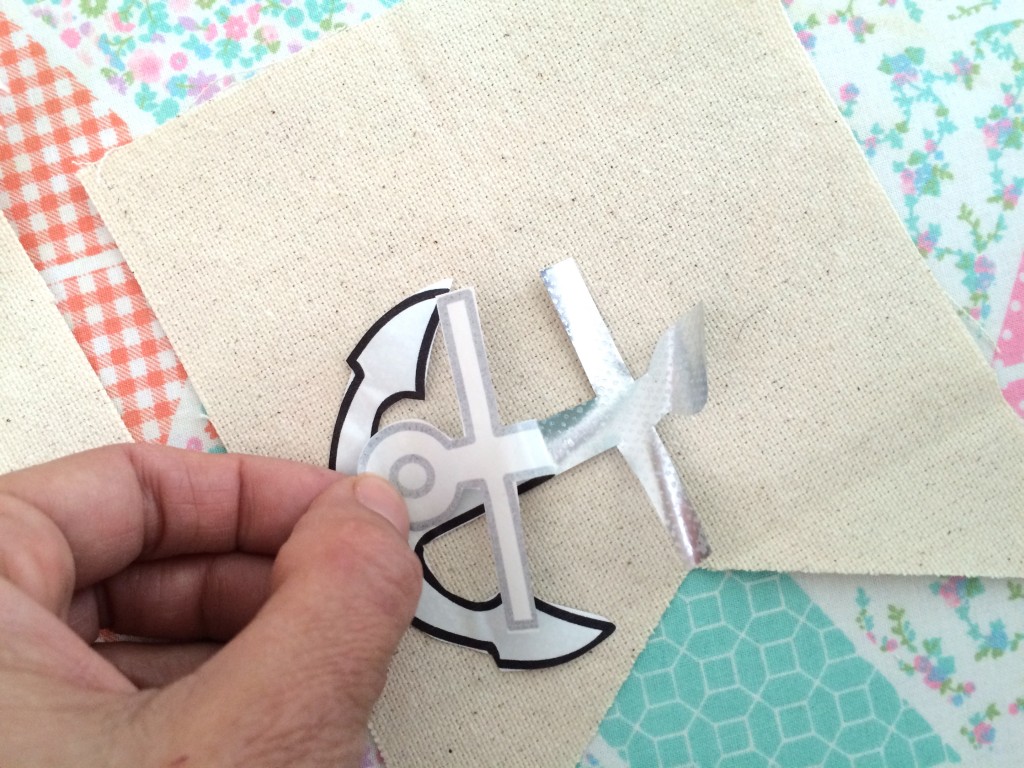
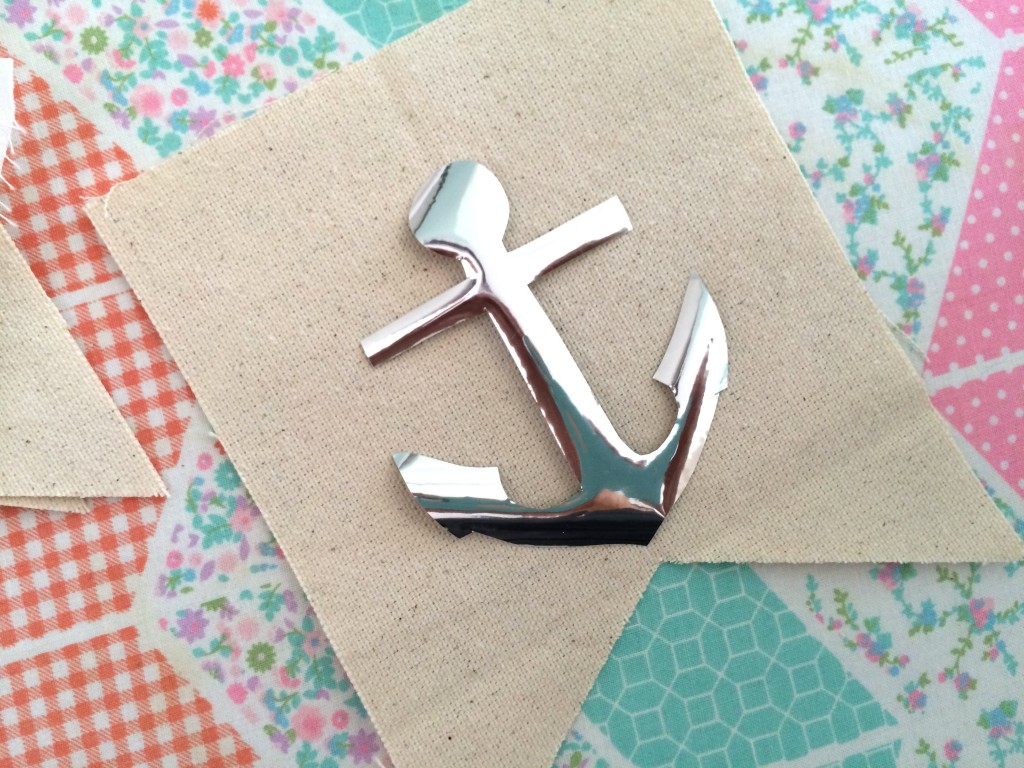
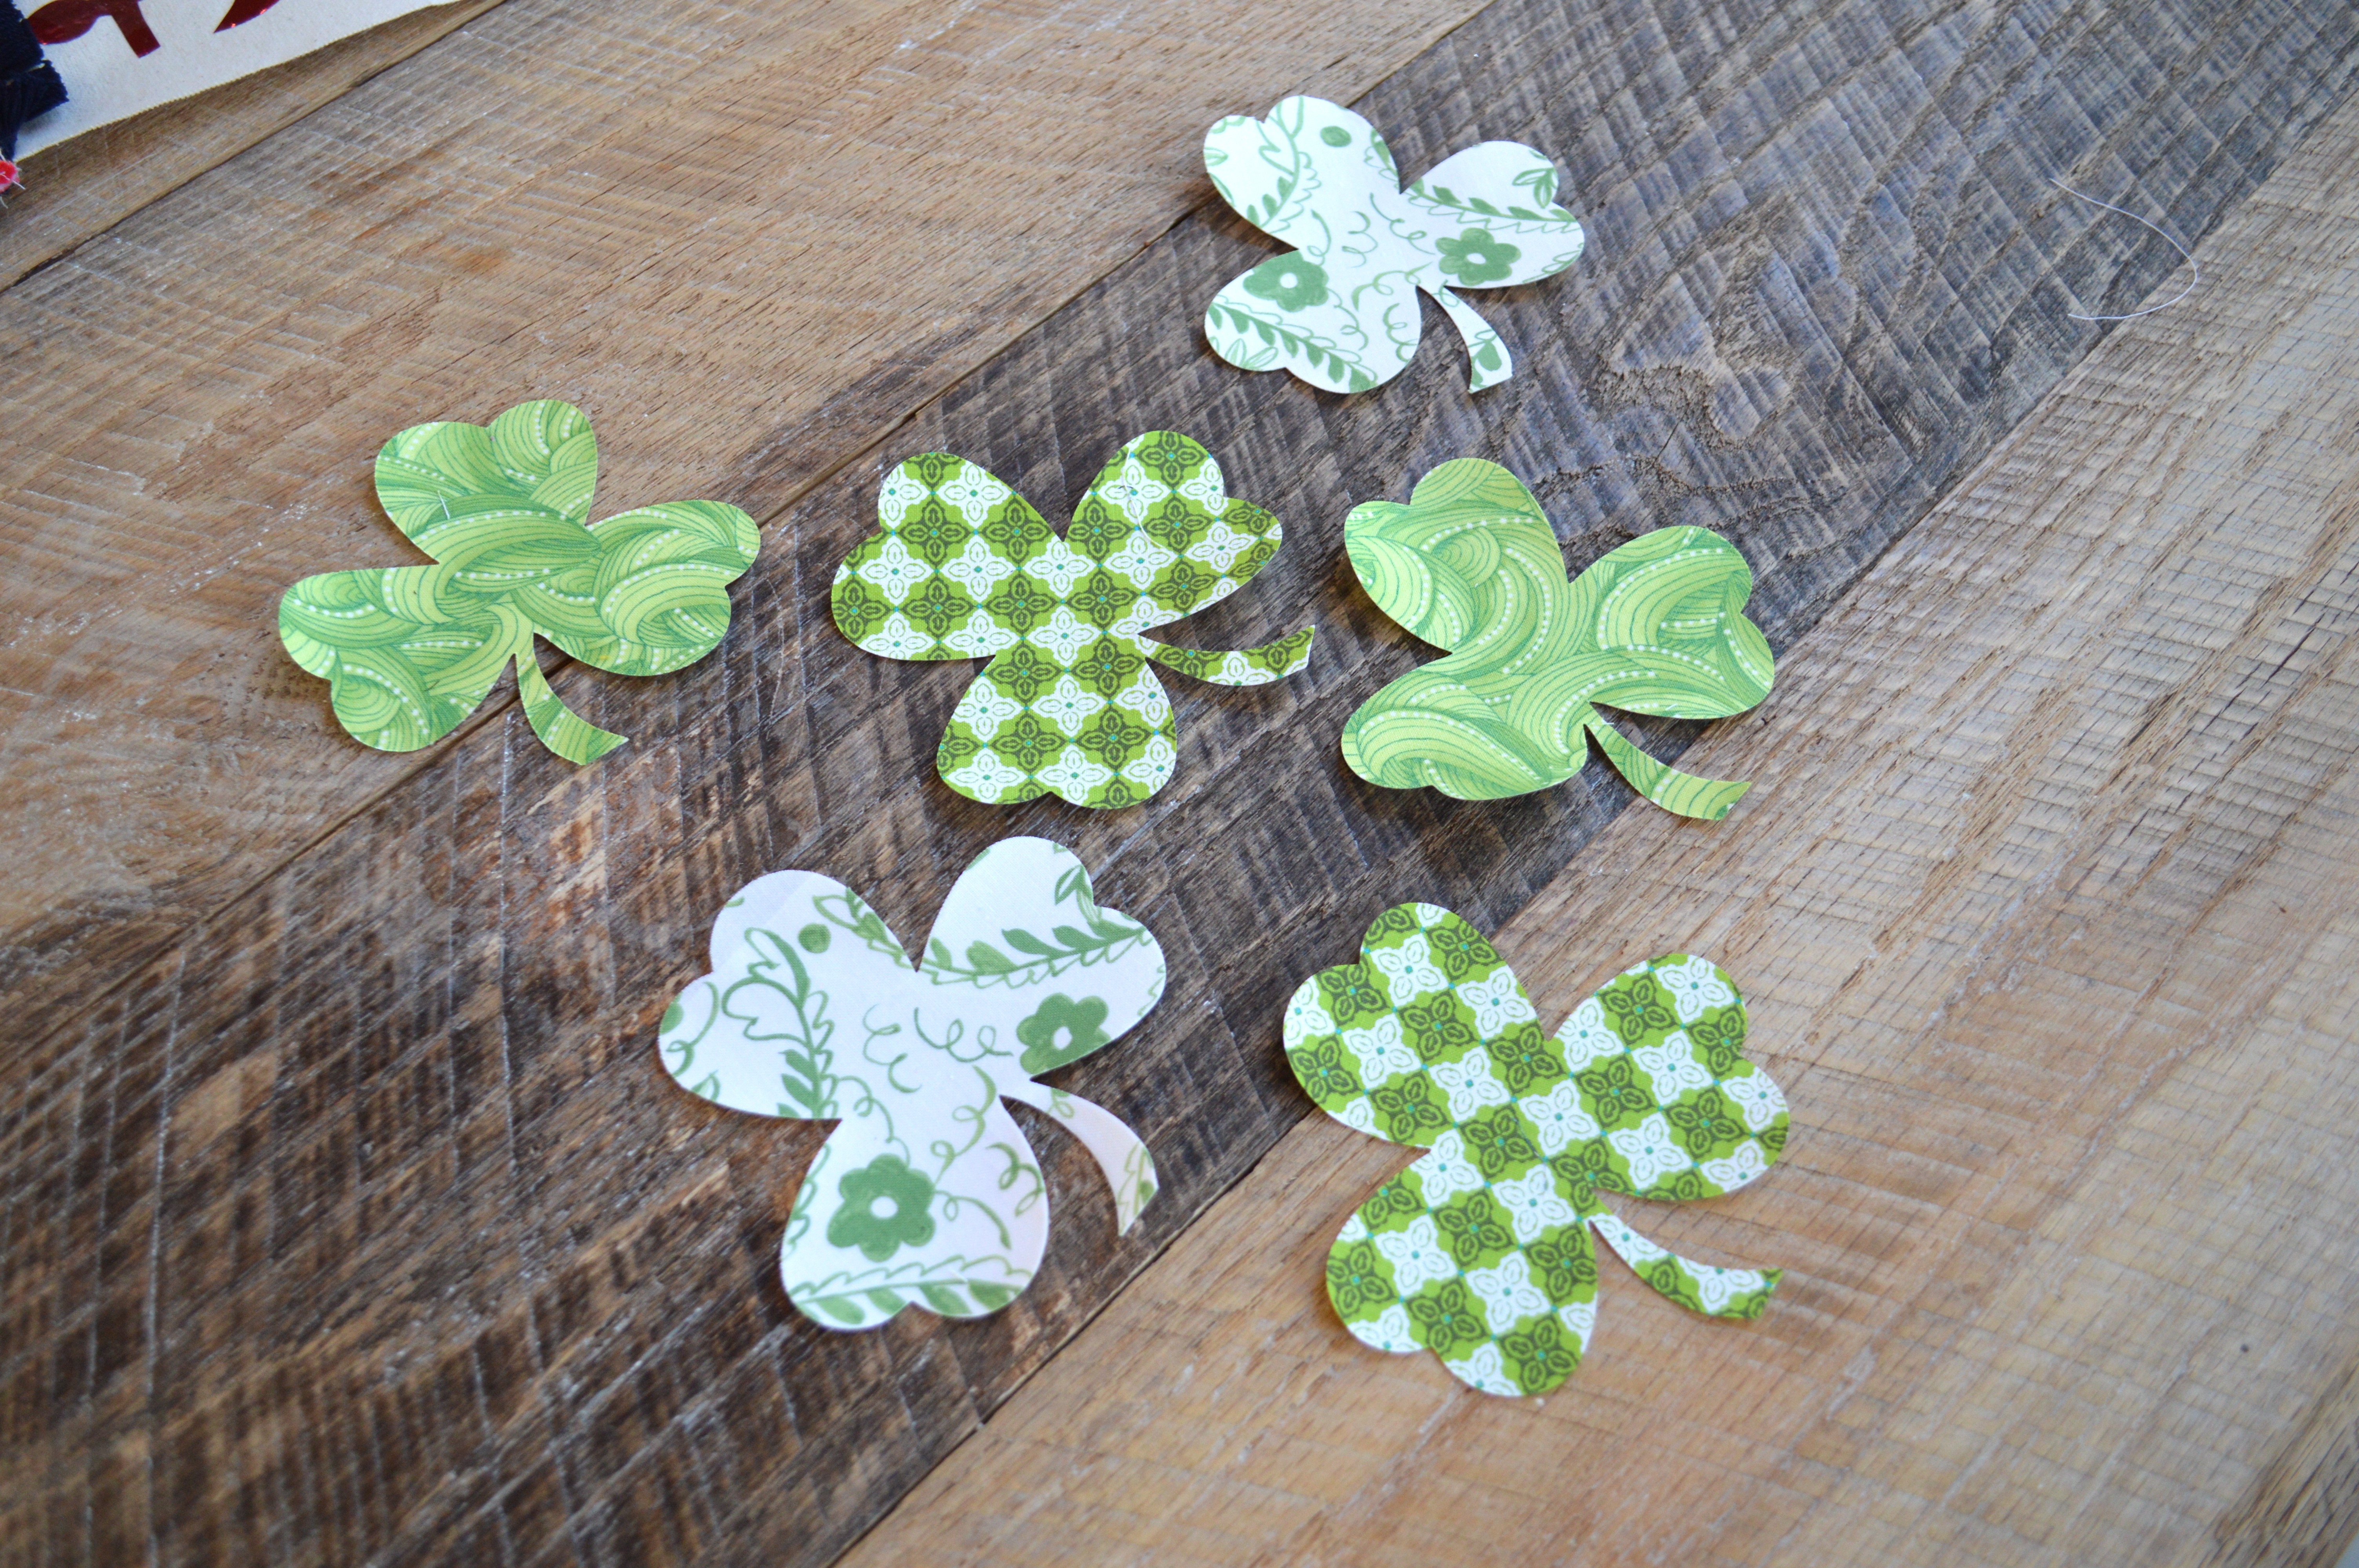
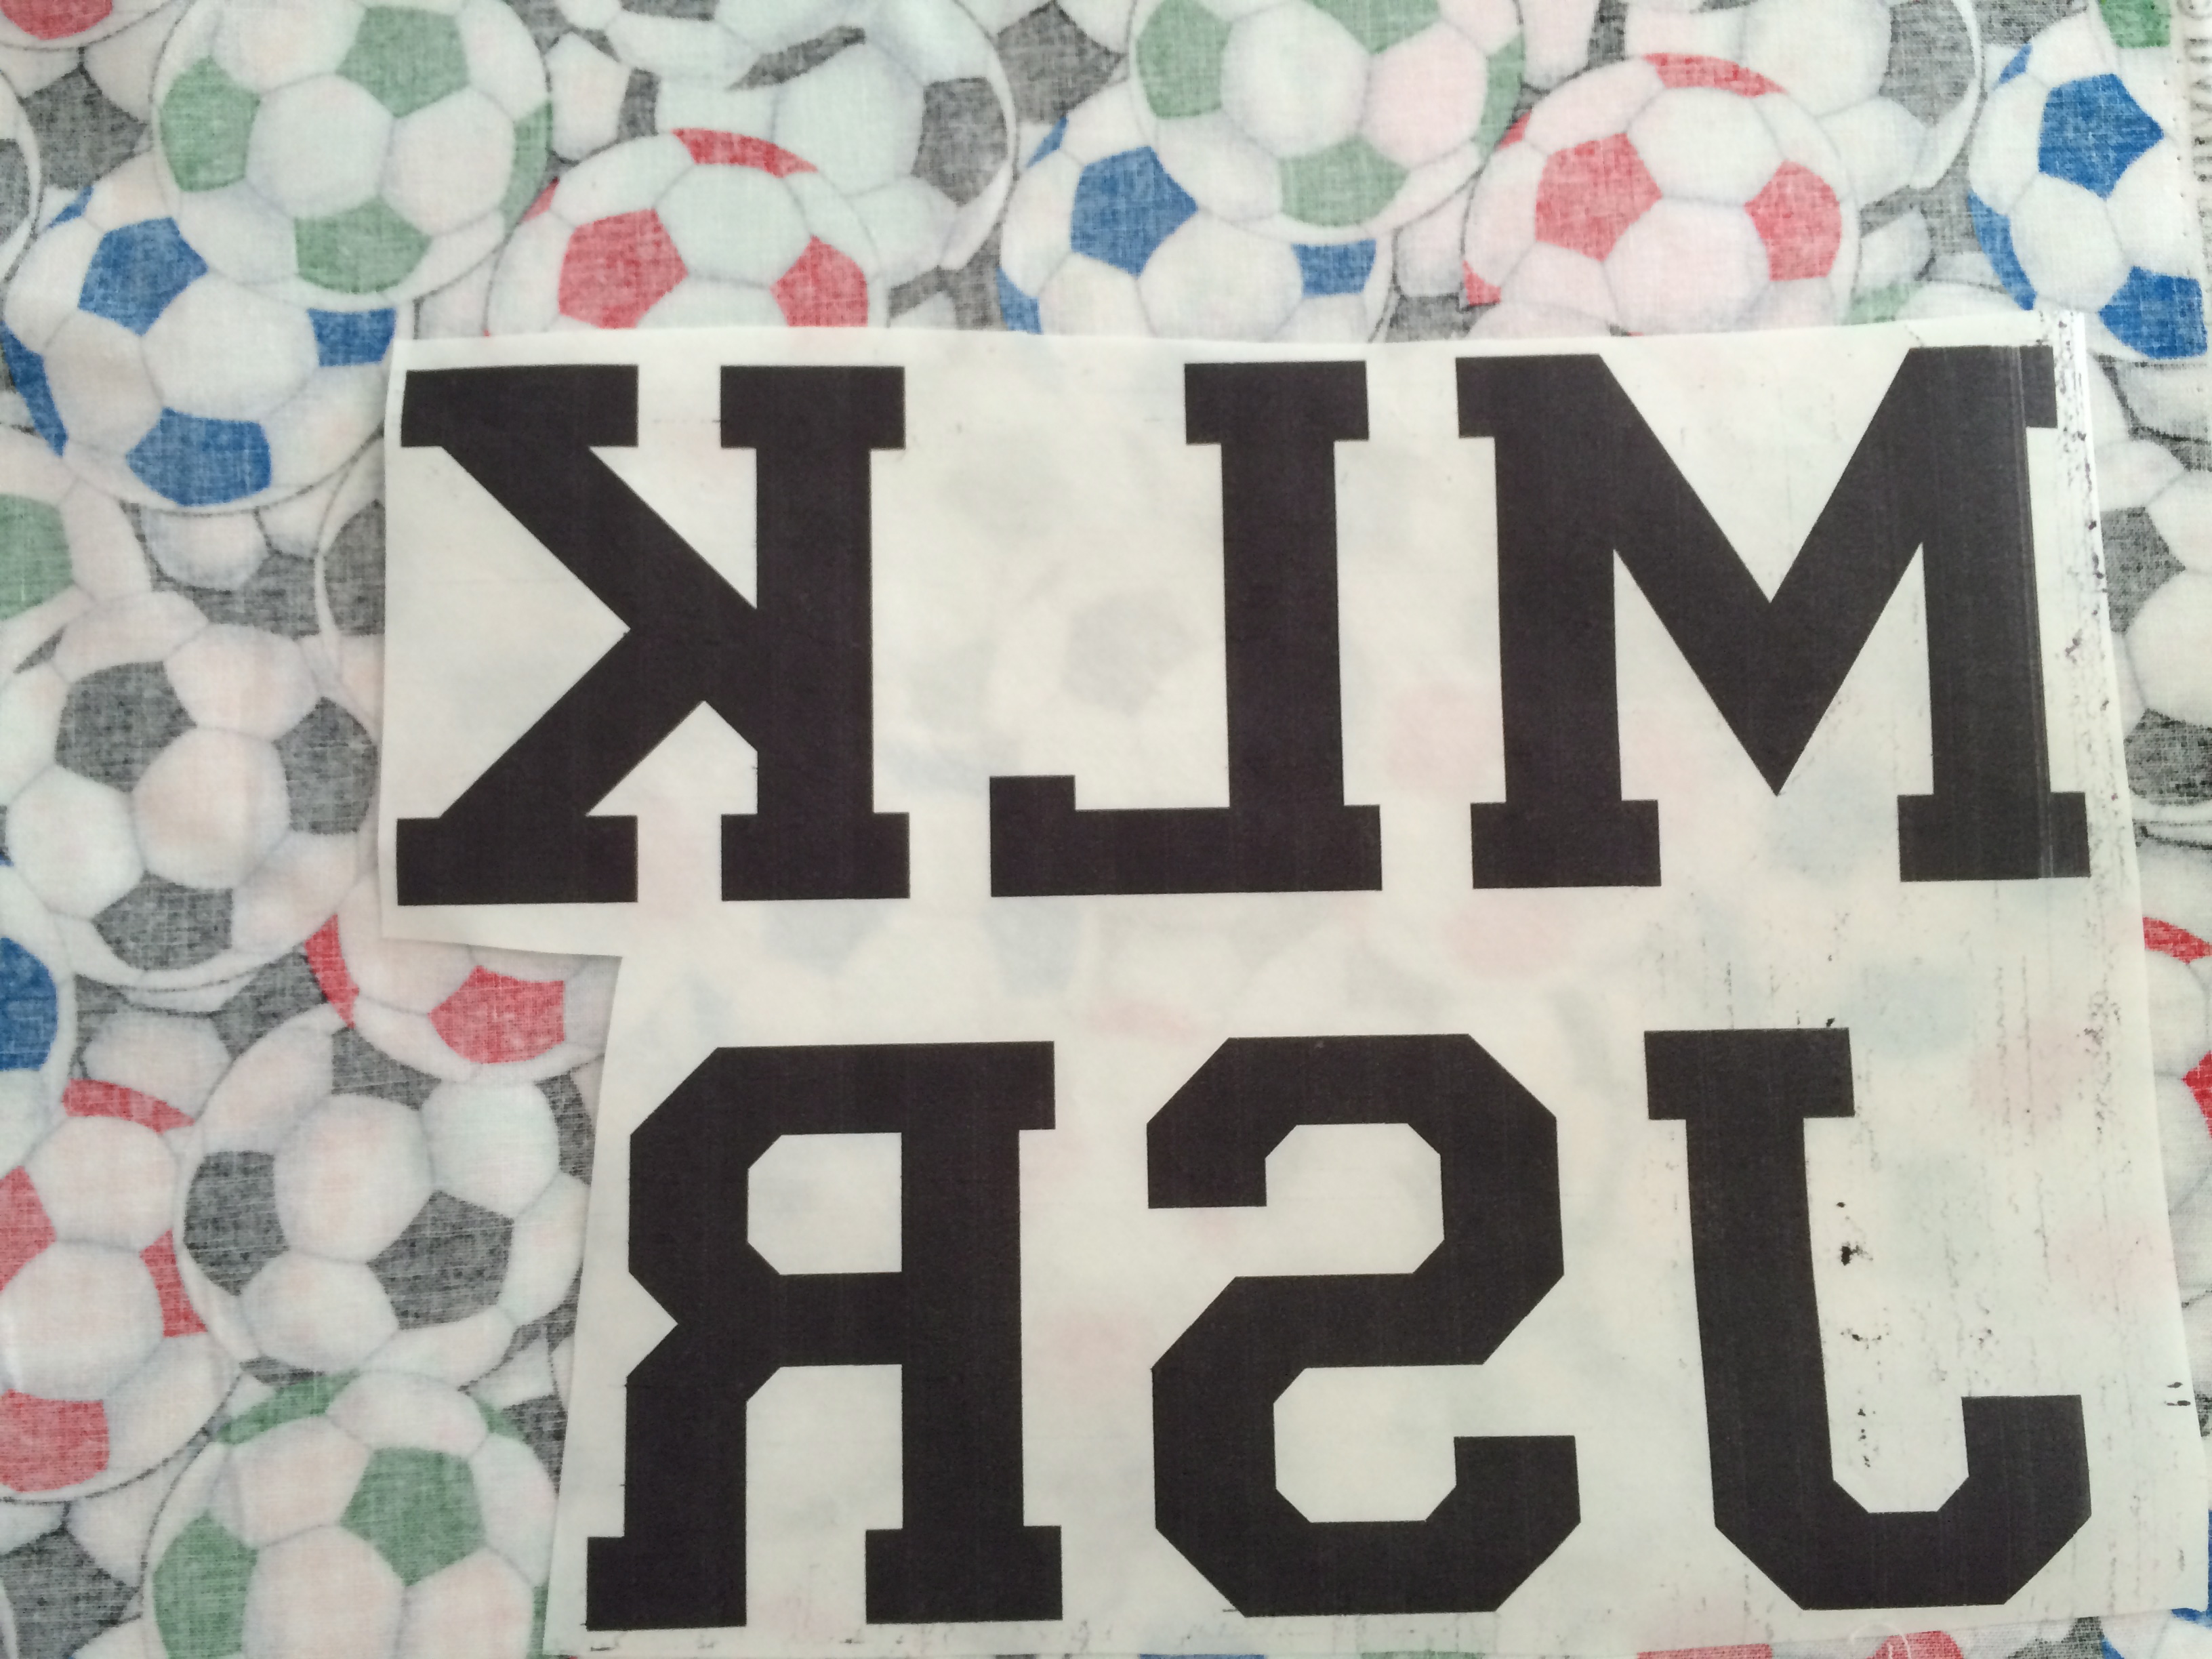
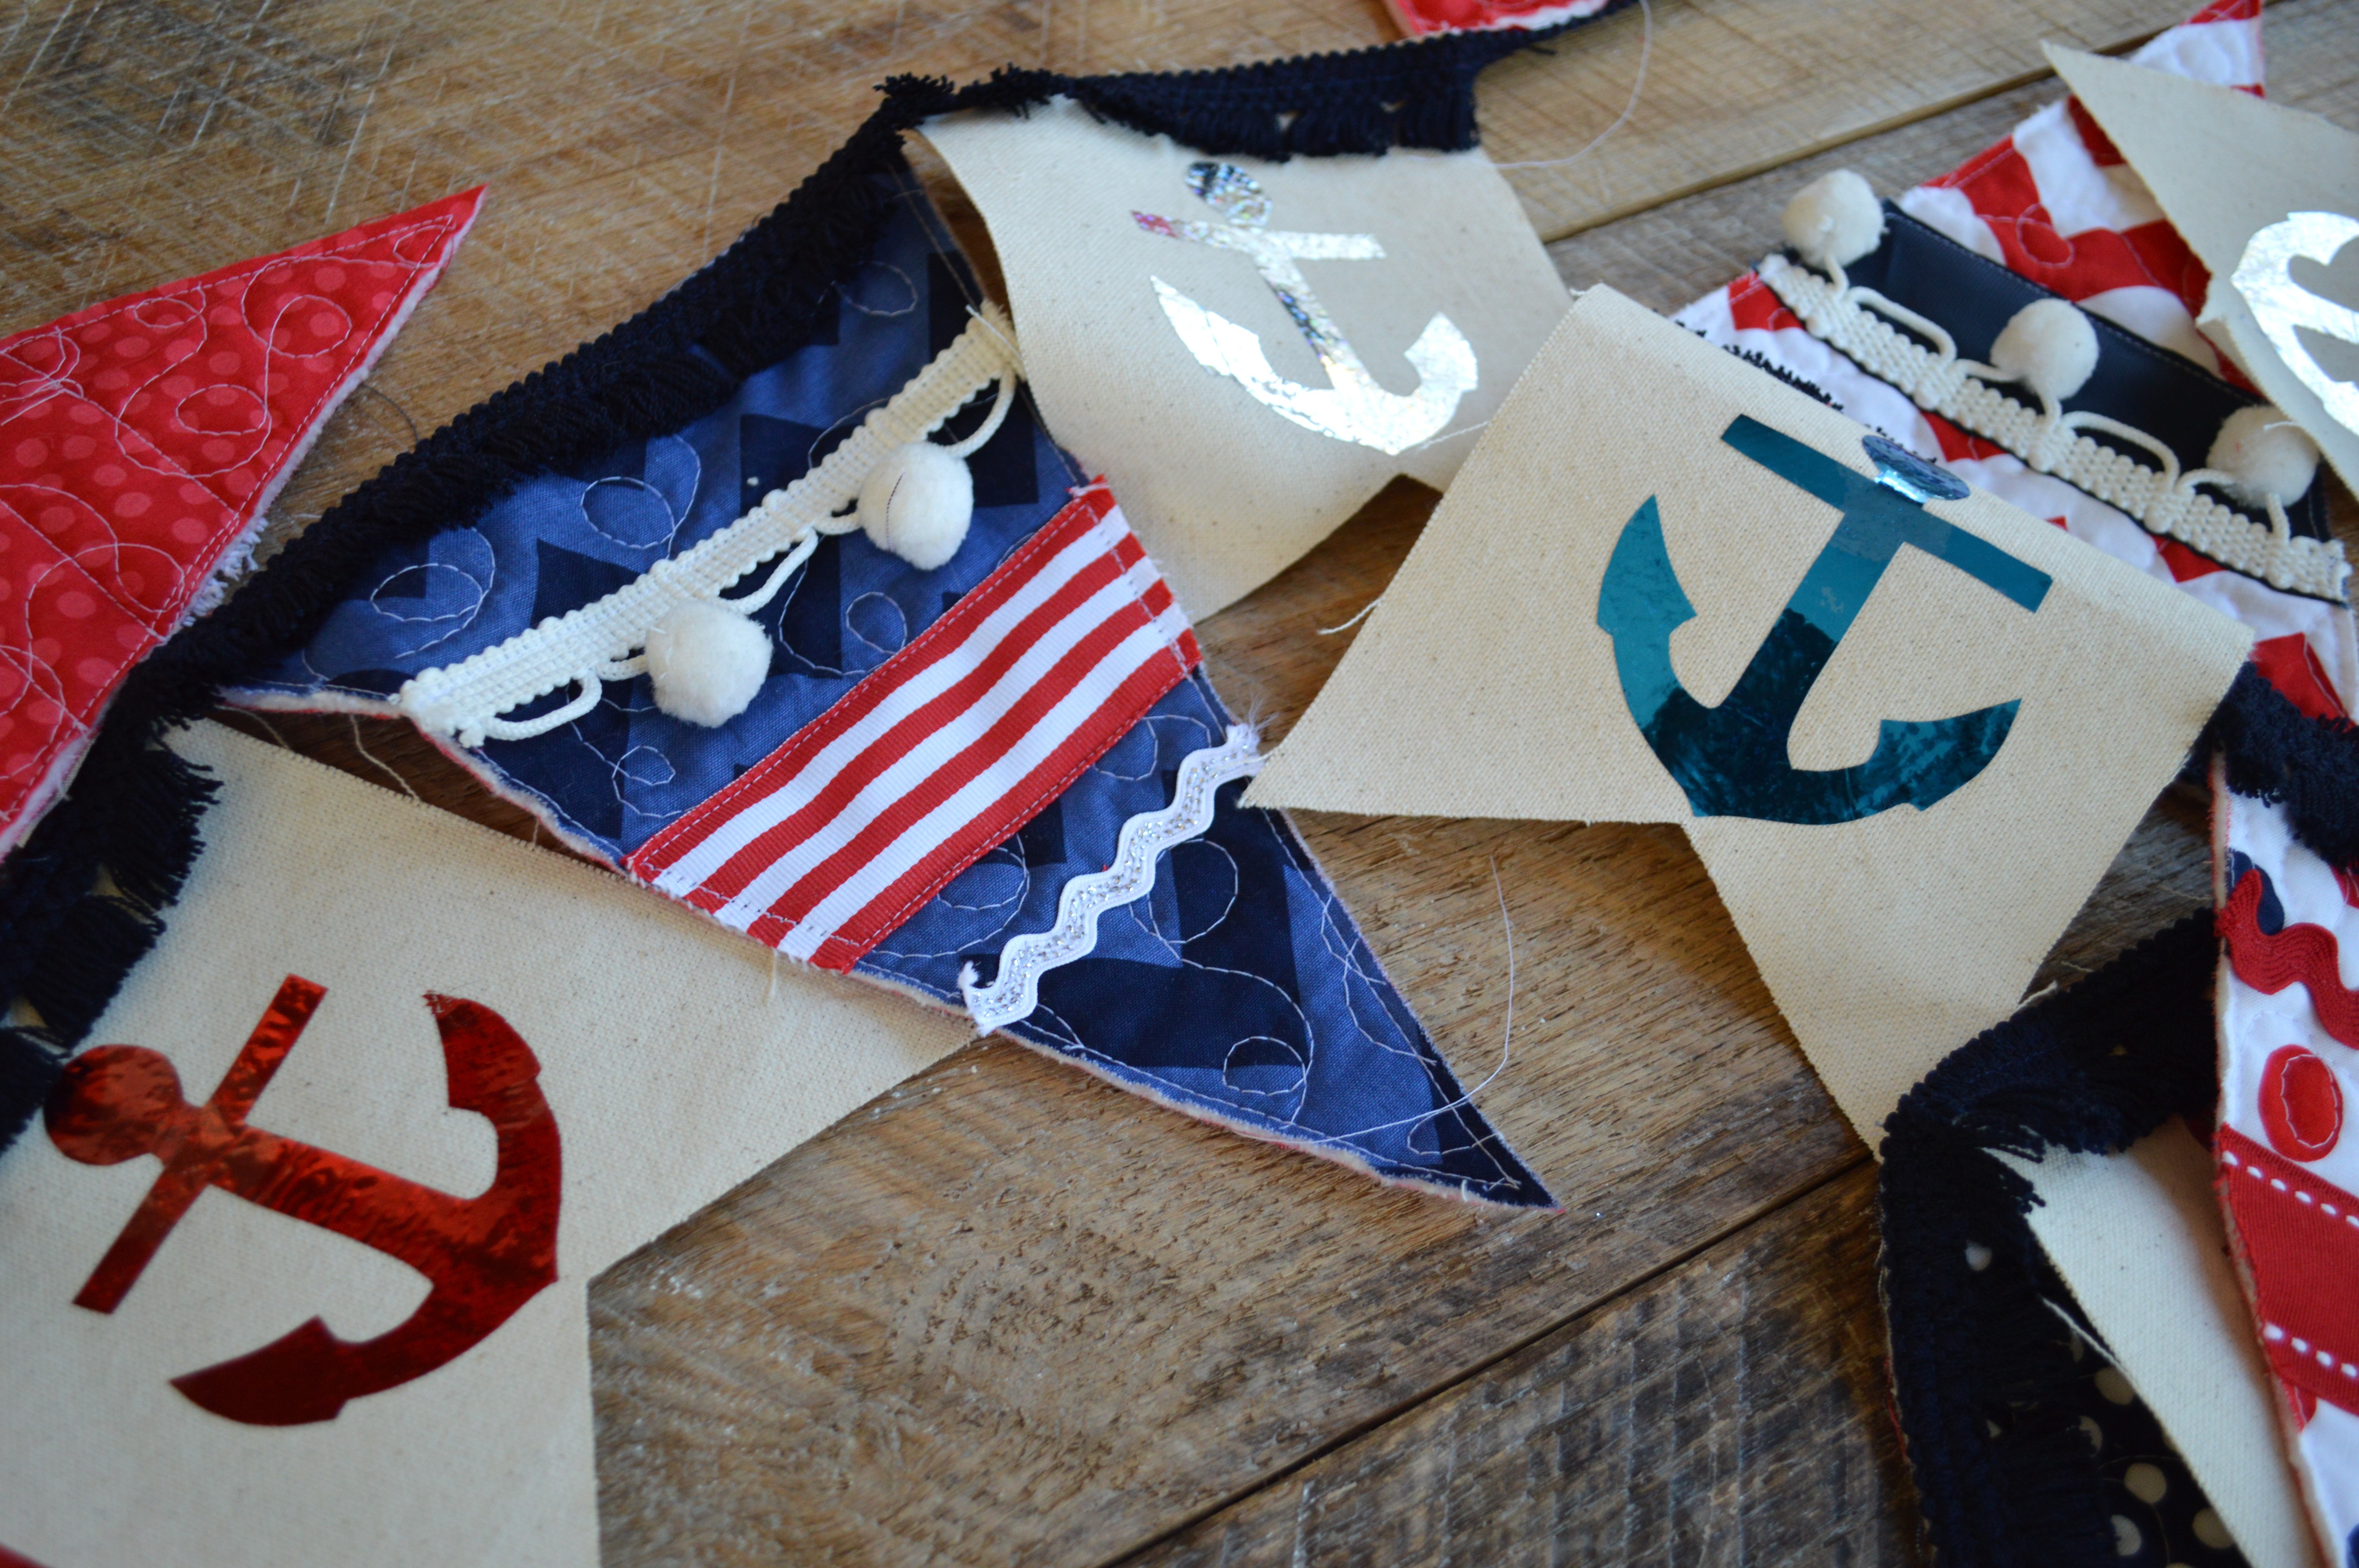
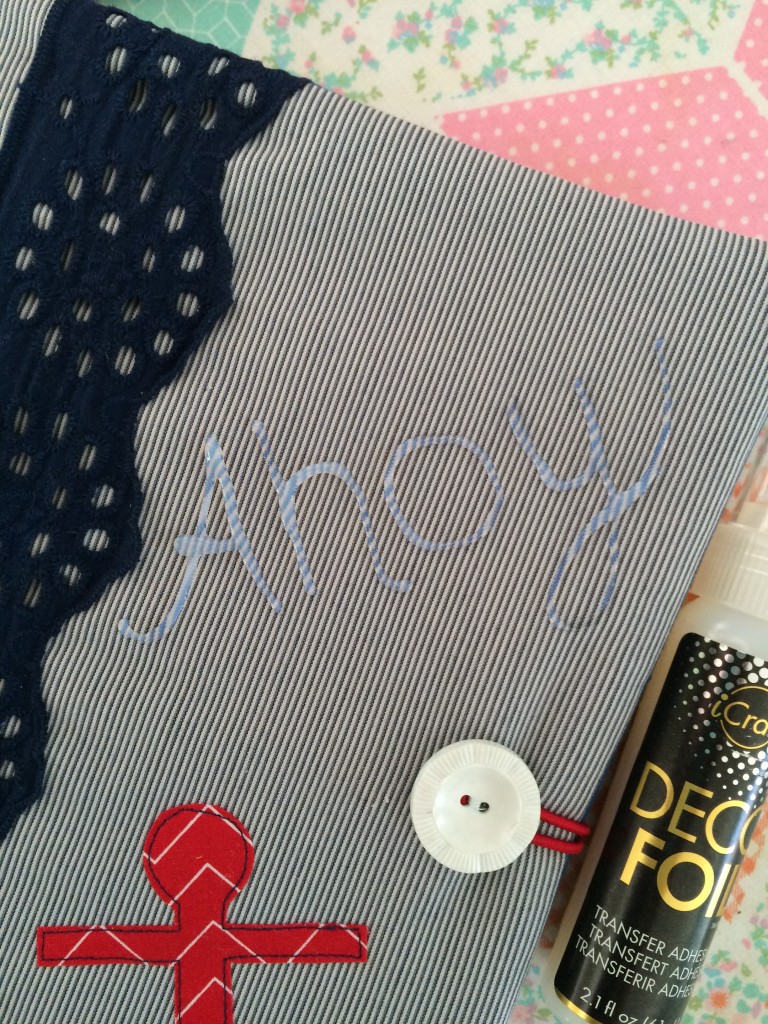
Once the adhesive is dry, rub the wrong side of the foil on the letters.  This part feels super magical!!  The foil sticks to the adhesive only!  This stuff is awesome!!!

anchor composition book applique 7Now I am left with shiny foil letters!!

nautical composition book applique 9

nautical composition book applique 10

Make more than one and give them to your friends!!  I will be giving one away on Instagram later in the week 🙂nautical composition book applique 11

Nautical Banner Tutorial

nautical week 2nautical banner

It wouldn’t be Nautical Week without a banner!  I LOVE Riley Blake Designs.  They have come up with the brilliant idea of printing banner triangles on a panel of fabric.  For one panel you get 18 triangles – each one a totally different print!  You can cut them up and sew them together or you can embellish them.  I added a canvas flag with Therm O Web Deco Foil anchors in-between each triangle.

riley blake nautical banner deco foils 2

riley blake nautical banner deco foils 01

Here’s how you can make one:

Supplies:

Riley Blake Designs banner panal or red white and blue patterned fabric
3/4 yard backing fabric
cotton batting
iCraft® Deco Foil™  – Silver, Red, Silver Star and Blue
Natural canvas
Navy fringe trim
Anchor pattern, click HERE
Spray n Bond®
Scraps of ribbon, lace, ric rac, pom poms and any trim you can round up!


Begin by quilting the banner panel – I quilted mine with loop-de loos.

riley blake nautical banner deco foils 02

After quilting the pane, cut the triangles out on the line and top stitch 1/8″ from the edge to prevent the quilting from unraveling.

riley blake nautical banner deco foils 001

Now comes the fun part.  Run around your house and gather every bit of ribbon, trim, lace, etc. in red, white, blue, gray, and silver.  I even ruffled a few pieces of fabric. Use Spray n Bond® to position the trim in place and top stitch on the triangles.  This takes a while – I didn’t want any of mine to be the same.

riley blake nautical banner deco foils 09

riley blake nautical banner deco foils 004

Once the triangles are completed, move on to the flag portion of the banner.

Begin by cutting (16) canvas rectangles in 5.5″ x 6″.  Fold the rectangles in half and cut a diagonal line by angling the ruler from the corner to the 1.5″ mark:

riley blake nautical banner deco foils 08

riley blake nautical banner deco foils 06

Print out the anchors on the EZ print sheets.

riley blake nautical banner deco foils 006

Then cut around the anchors and position them on the back of the Deco Foil.  Six fit on one piece of foil.  Cover with a piece of cotton fabric and press to set.  It only takes seconds.

riley blake nautical banner deco foils 103

Cut around the anchor and peel off the backing paper.

riley blake nautical banner deco foils 100

Position the foil side up, cover with a piece of cotton and press.

riley blake nautical banner deco foils 101

Lay out the banner and use navy blue fringe trim to sew the flags together.  This mades a long banner – I divided it in half and made two separate ones.  It helps if your kitty assists in this process 🙂

riley blake nautical banner deco foils 13

Hang around your home and enjoy!!
riley blake nautical banner deco foils 4

riley blake nautical banner deco foils 7

riley blake nautical banner deco foils 8
Here are a few photos of different segments to give you an idea of the different trims and fabrics.  It was too long to photograph all together.
riley blake nautical banner deco foils 10

riley blake nautical banner deco foils 11
riley blake nautical banner deco foils 15

riley blake nautical banner deco foils 16
I am the Young Women Camp Director at my church and our theme is Anchored in Christ.  The banner was a perfect addition to my table scape for our leader meeting!
riley blake nautical banner deco foils 104
riley blake nautical banner deco foils 105

Nautical Mini Quilt Pattern & Giveaway

nautical week 2

When I told my daughter I was hosting Nautical Week she said, “Isn’t every week Nautical Week for you?”  I had to laugh because it’s totally true!!  

I am so excited to announce that I will be teaching a nautical themed modern quilt aboard the Made Modern Quilt Cruise next year in March!

As much as I love to wear sporty nautical wear, I’ve never actually been on a cruise….gasp!!!  I am happy to be joining two AMAZING quilters: Allison Harris of Cluck Cluck Sew and Amy Ellis of Amy’s Creative Side.  You can read all about the details of the cruise at Stitchin’ Heaven Travel.

stitchinheaven-footer-logoEscape to the Caribbean, make new friends, learn a new technique, & sew all you want! How can it get any better?  Join us for a 7-night Western Caribbean Cruise!  Isn’t this concept brilliant?  Quilting & vacationing at the same time!!!

Modern2016_header-2I will be teaching a throw-size version of my Nautical Baby Quilt.  Did I mention I love anchors?

nautical_quilt_tutorial_baby_shower

_MG_0559copy
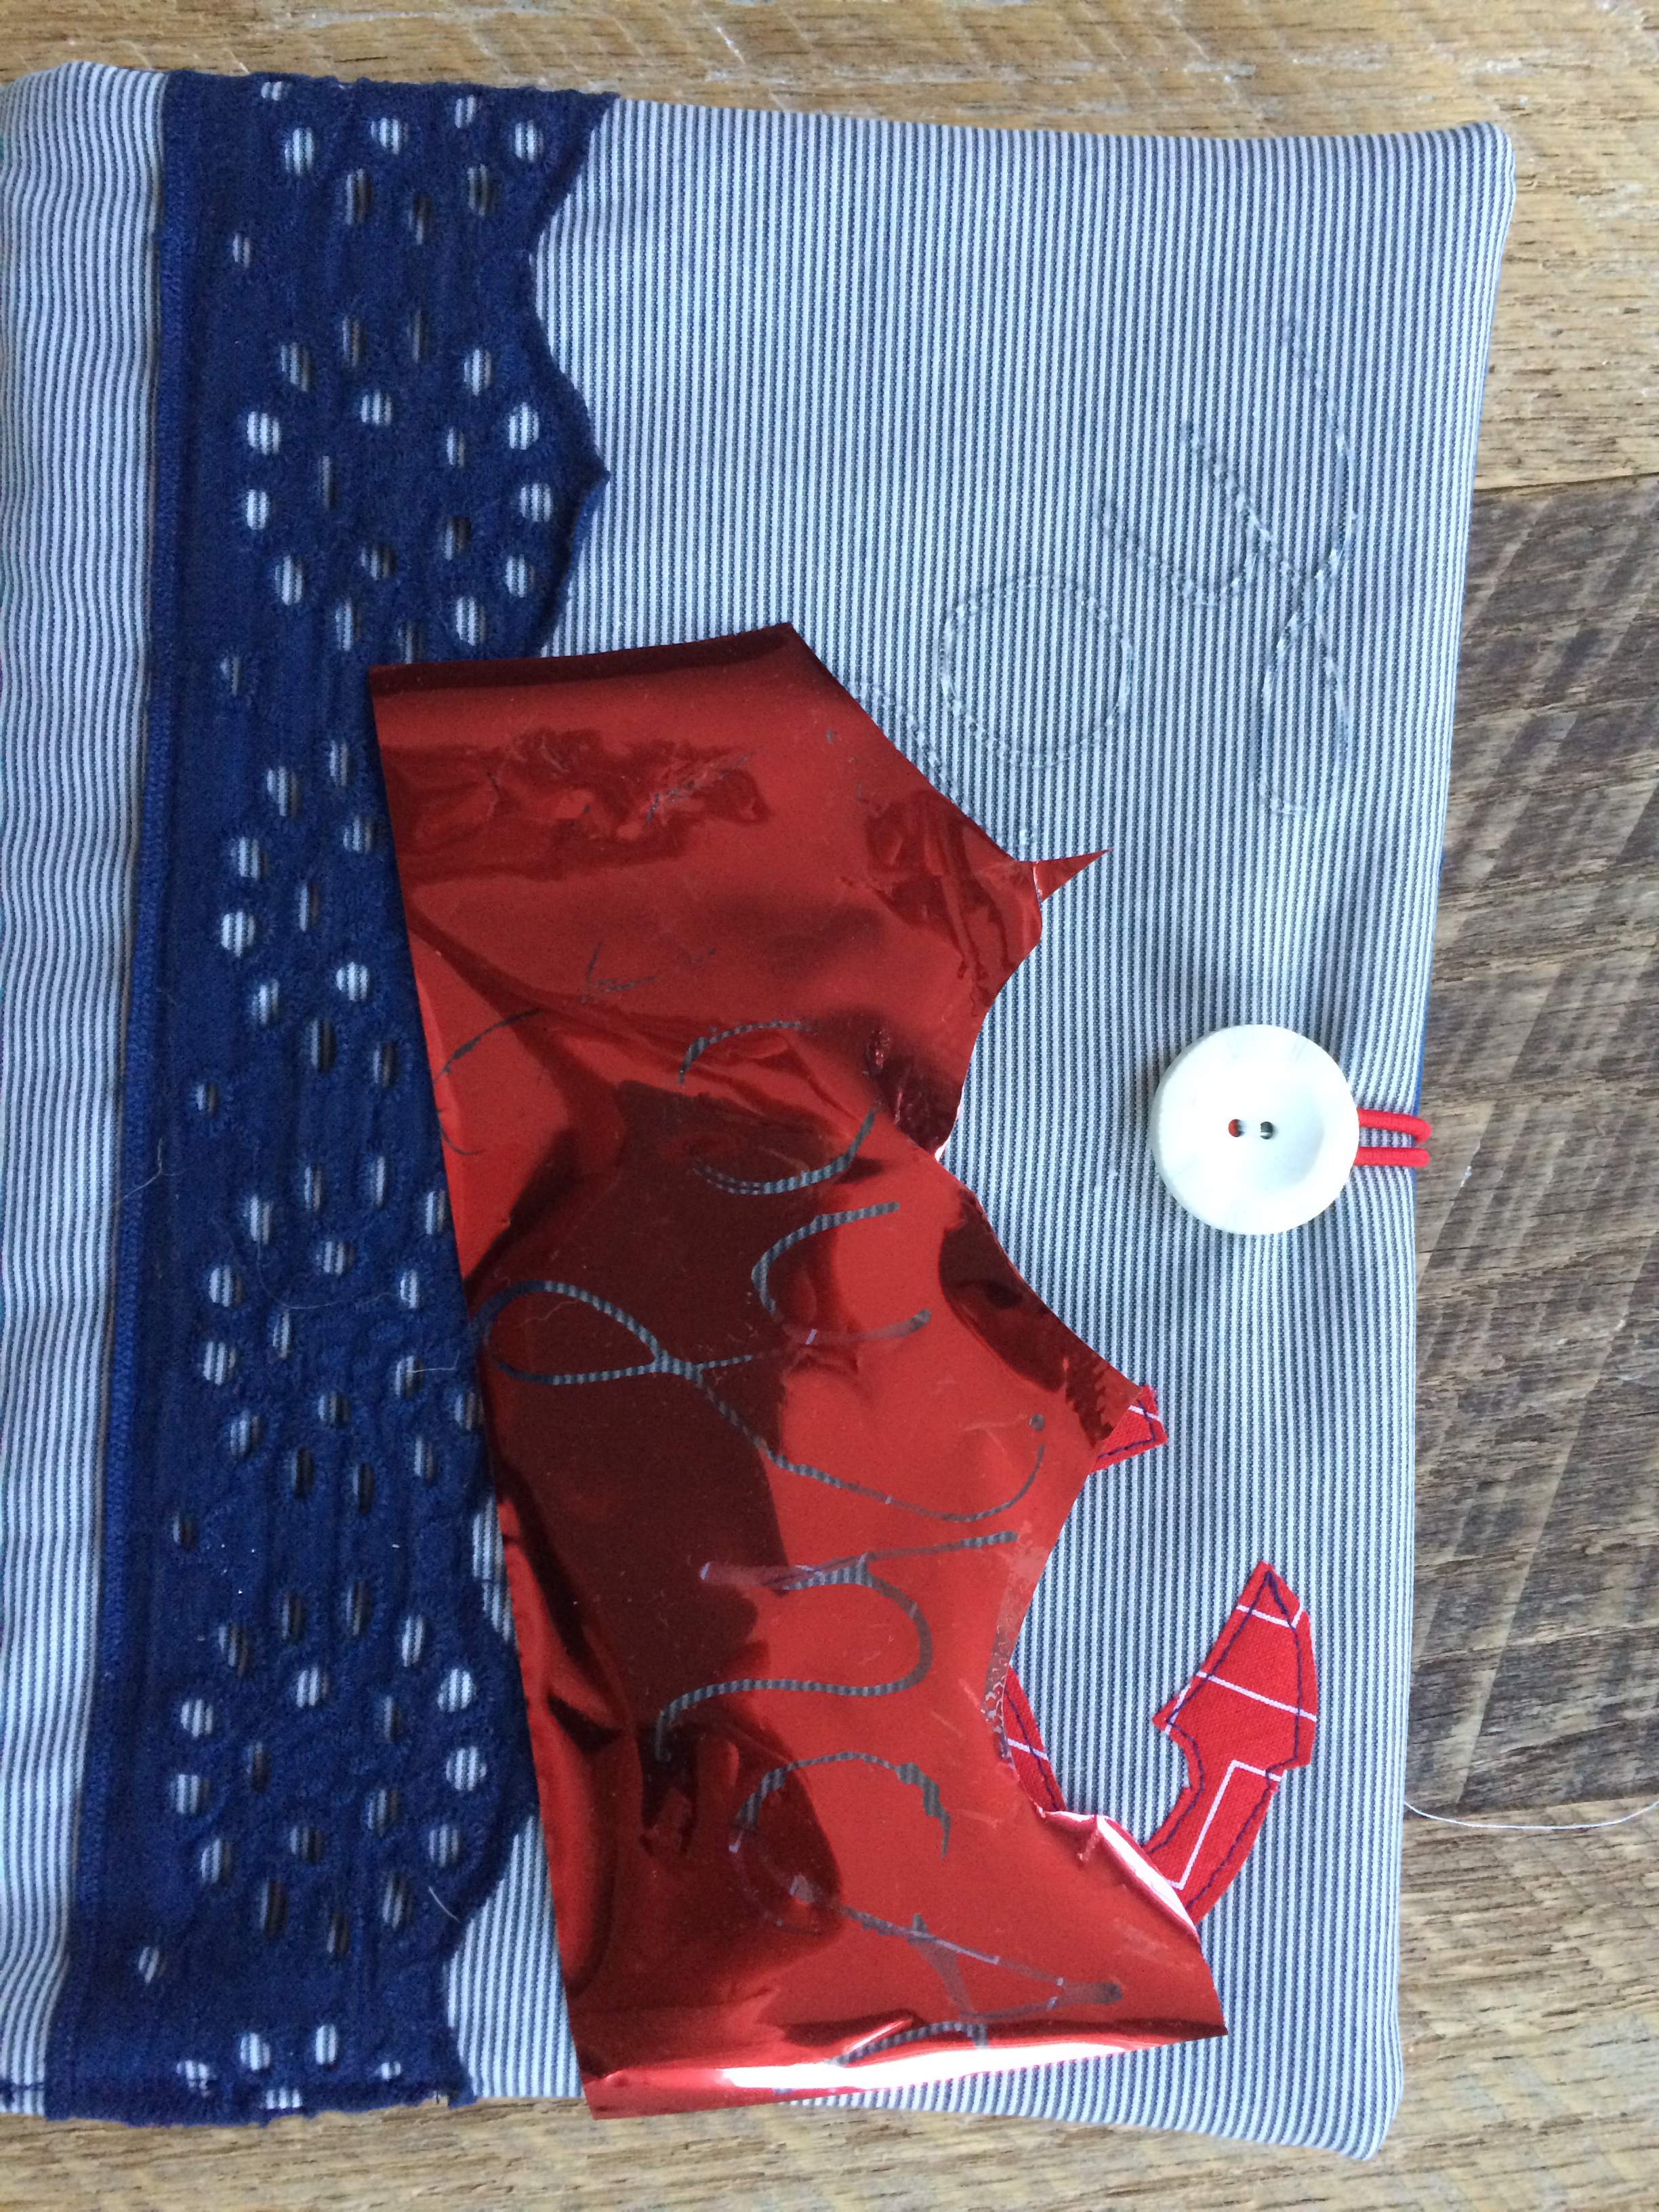
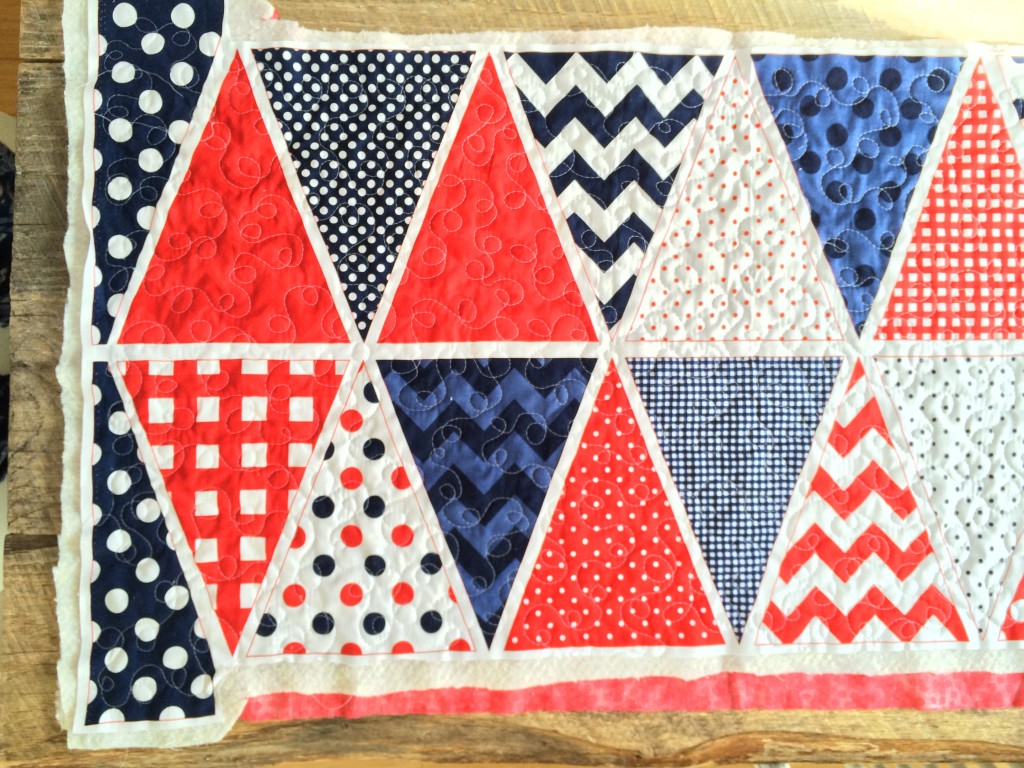
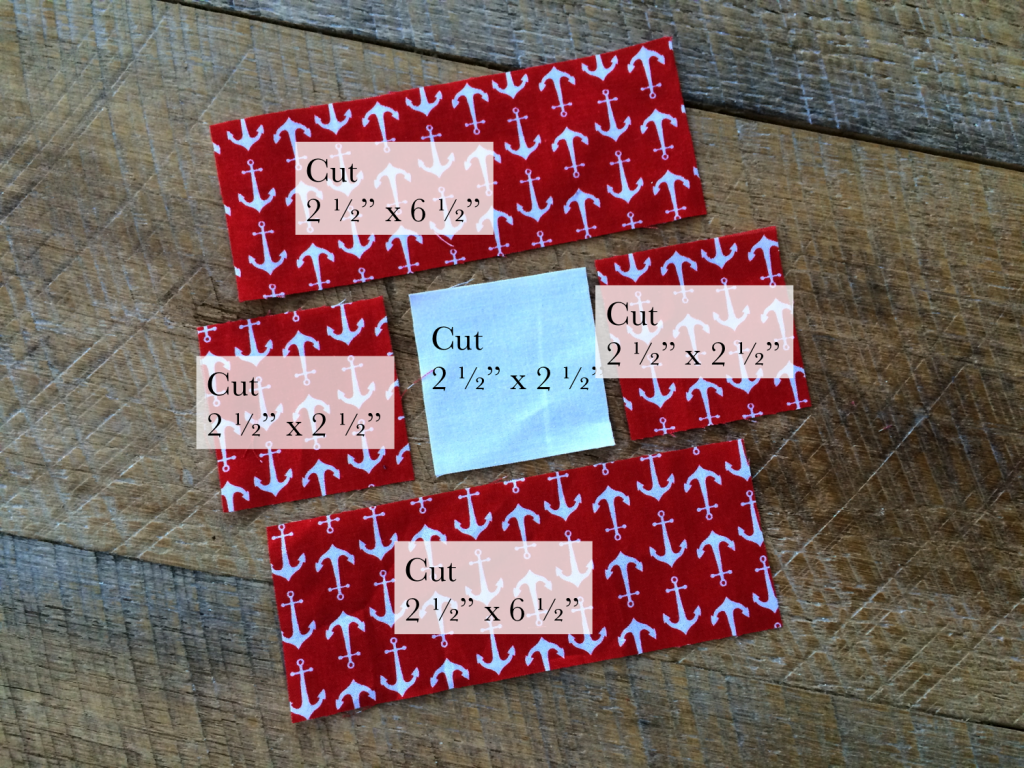
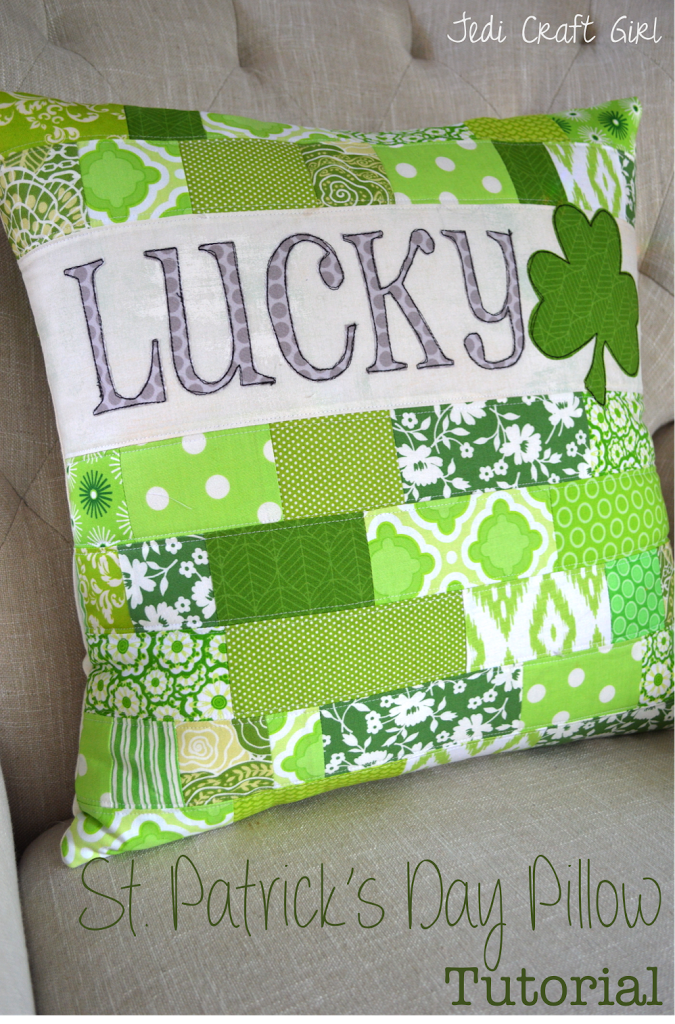
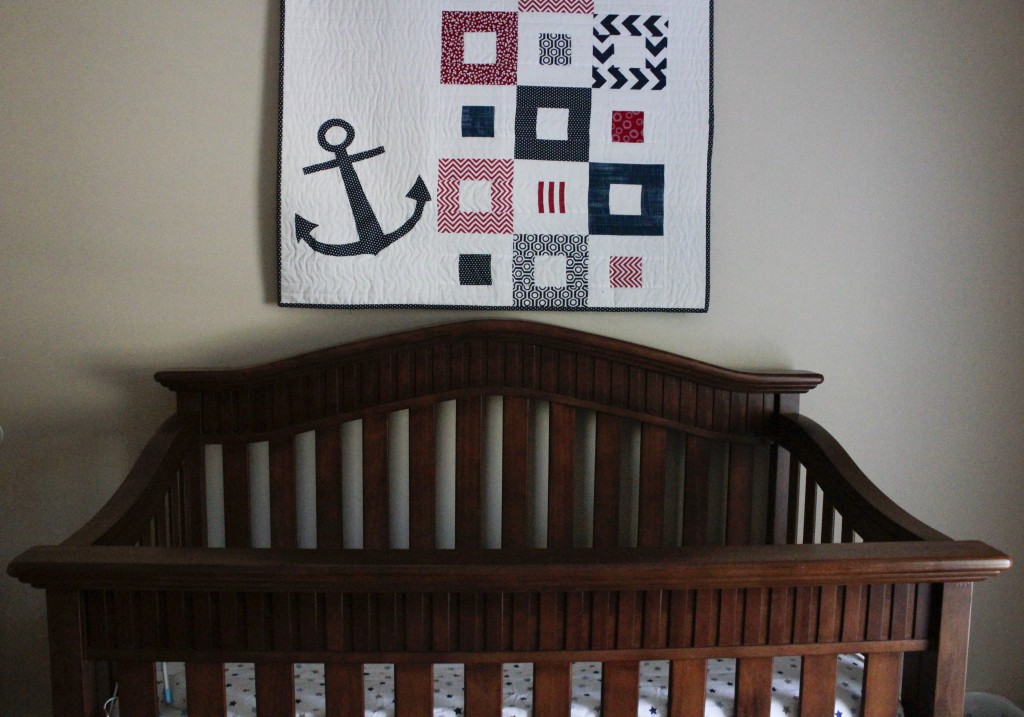
Today I am sharing with you a mini version of this quilt – something you can make in an afternoon!  It measures 30.5″ square.  And even better – you can go to my Instagram and enter to WIN this mini quilt!!

mini quilt giveaway

nautical mini quilt 7

Here’s how you can make one:

Block size 6″ quilt size 30.5″

Supplies:

8 or more 2.5″ x WOF strips of Navy print and Red Print.  I used Riley Blake’s Basics.

Fat quarter of navy dot for anchor

1 yard white solid fabric

1 yard backing fabric

Anchor pattern

Heat n Bond EZ Print sheets

1/3 yard binding

cotton batting

nautical mini quilt

Cut the 2.5″ strips in the following dimensions for each block (12 blocks total)

block insturctions

Sew (1/4″ seams throughout) the (3) 2.5″ squares together in a row, pressing toward the dark.  Then sew the 6.5″ strips to the top and bottom, pressing toward the dark.

Once you have 6 dark blocks and 6 light blocks completed, have your kitty help you lay them out.

nautical mini quilt 3

Sew these together in rows.

Cut a 9.5″ x 30.5″ strip from the solid white

Cut a 3.5″ x 30.5″ strip from the solid white

Attach these to the sides:

nautical mini quilt 2
I added the anchor last, after I quilted it.  I didn’t want to quilt over the anchor.  I wouldn’t recommend this normally.

nautical mini quilt 4

After quilting, print the anchor pattern on the Heat n Bond EZ print sheets (or trace it to appliqué paper) and it to the wrong side of the navy dot fabric.  Cut out around the anchor.  Press the anchor into place and top stitch to secure.  Add binding.
nautical mini quilt 6Head over to my Instagram and enter to win this quilt!!!

Lucky Pillow – Version 2.0

lucky pillow tutorial

Since I was already in the St. Patrick’s Day sewing mode after sewing a banner, I thought I would whip up a throw pillow!  I’m sure you know by now that I love throw pillows!  Last year I also made a “Lucky” patchwork pillow, so I am calling this one version 2.0.

St-Patrick-s-Day-Pillow-Tutorial1Here’s how you can make one!

Supplies

Scraps of green fabric – I used fabric from Blend: Tea Garden, Turkish Delight, and the Makers

blackish/grayish denim or other fabric for lettering

Heat n bond Lite

Heat n bond EZ print sheets

Sizzix Shamrock Die

Lucky words, click HERE – print in reverse

20″ square natural canvas

20″ square green print for back, I used Yuletide Greetings by Anna Griffin

22″ zipper

20″ pillow form

Begin by ironing the Heat n Bond Lite to the wrong side of the green fabrics and the “lucky” fabrics.  Run the green fabrics through the Sizzix Big Shot.  If you don’t have a Big Shot machine, you can hand cut the shamrocks.

lucky pillowPrint off the “lucky” letters and iron them to the wrong side of the fabric.  Cut with scissors.  This takes a little bit of patience 🙂 IMG_4173Peel off the backing paper and position the word and shamrocks as desired.  Outline stitch around each shamrock 2 times in black thread.  There was no way I was sewing around the cursive letters more than once!!

lucky pillow 2 3Prepare the back of the pillow by cutting a 20″ square.  Make a cut at the 2″ mark for the zipper.  You can put the zipper where ever you like, or you can insert an invisible zipper.

lucky pillow 2Sew the zipper in just like you were piecing a strip of fabric in between the two pieces – only use a zipper foot.lucky pillow 4
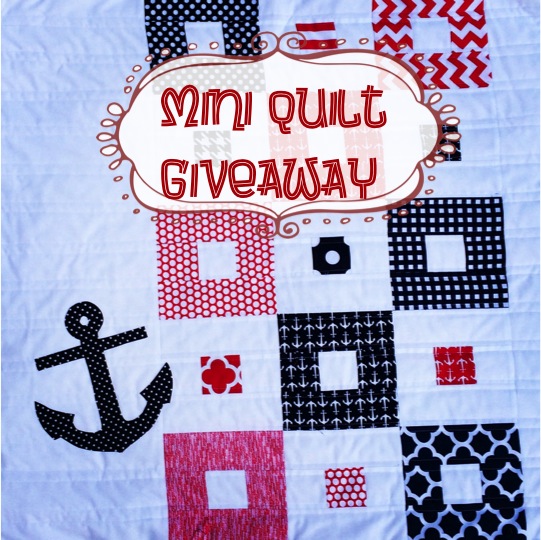
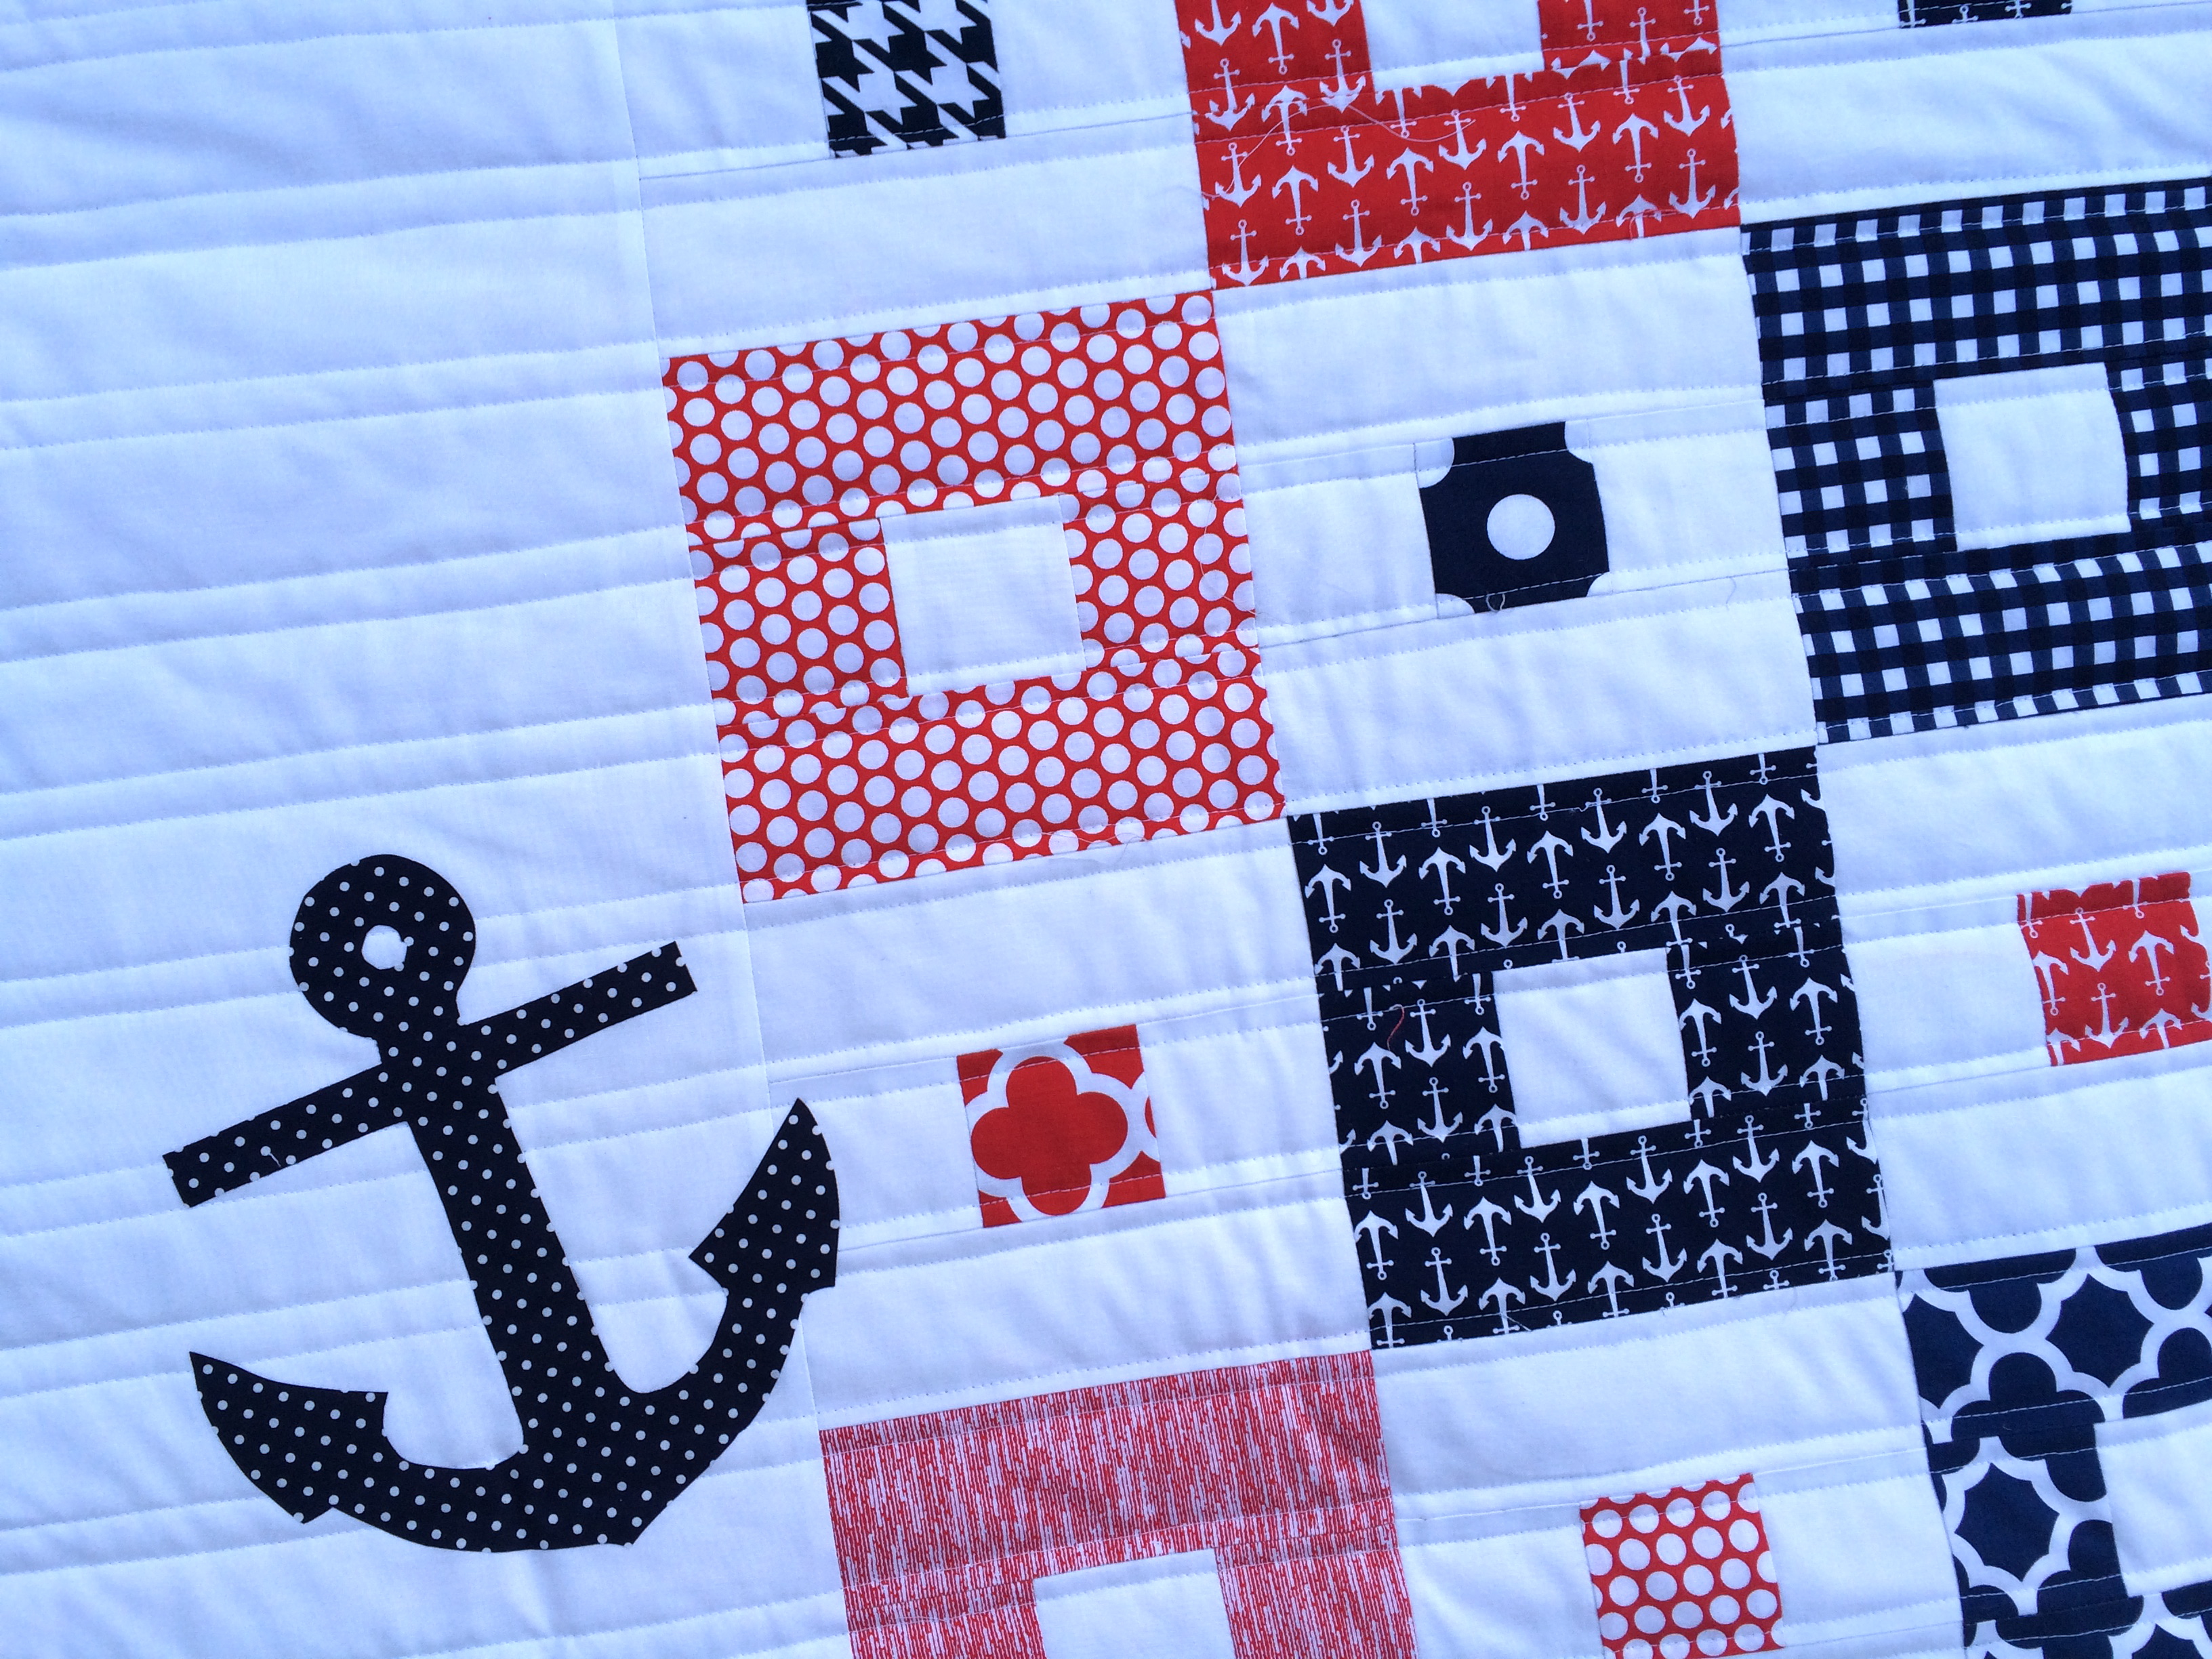
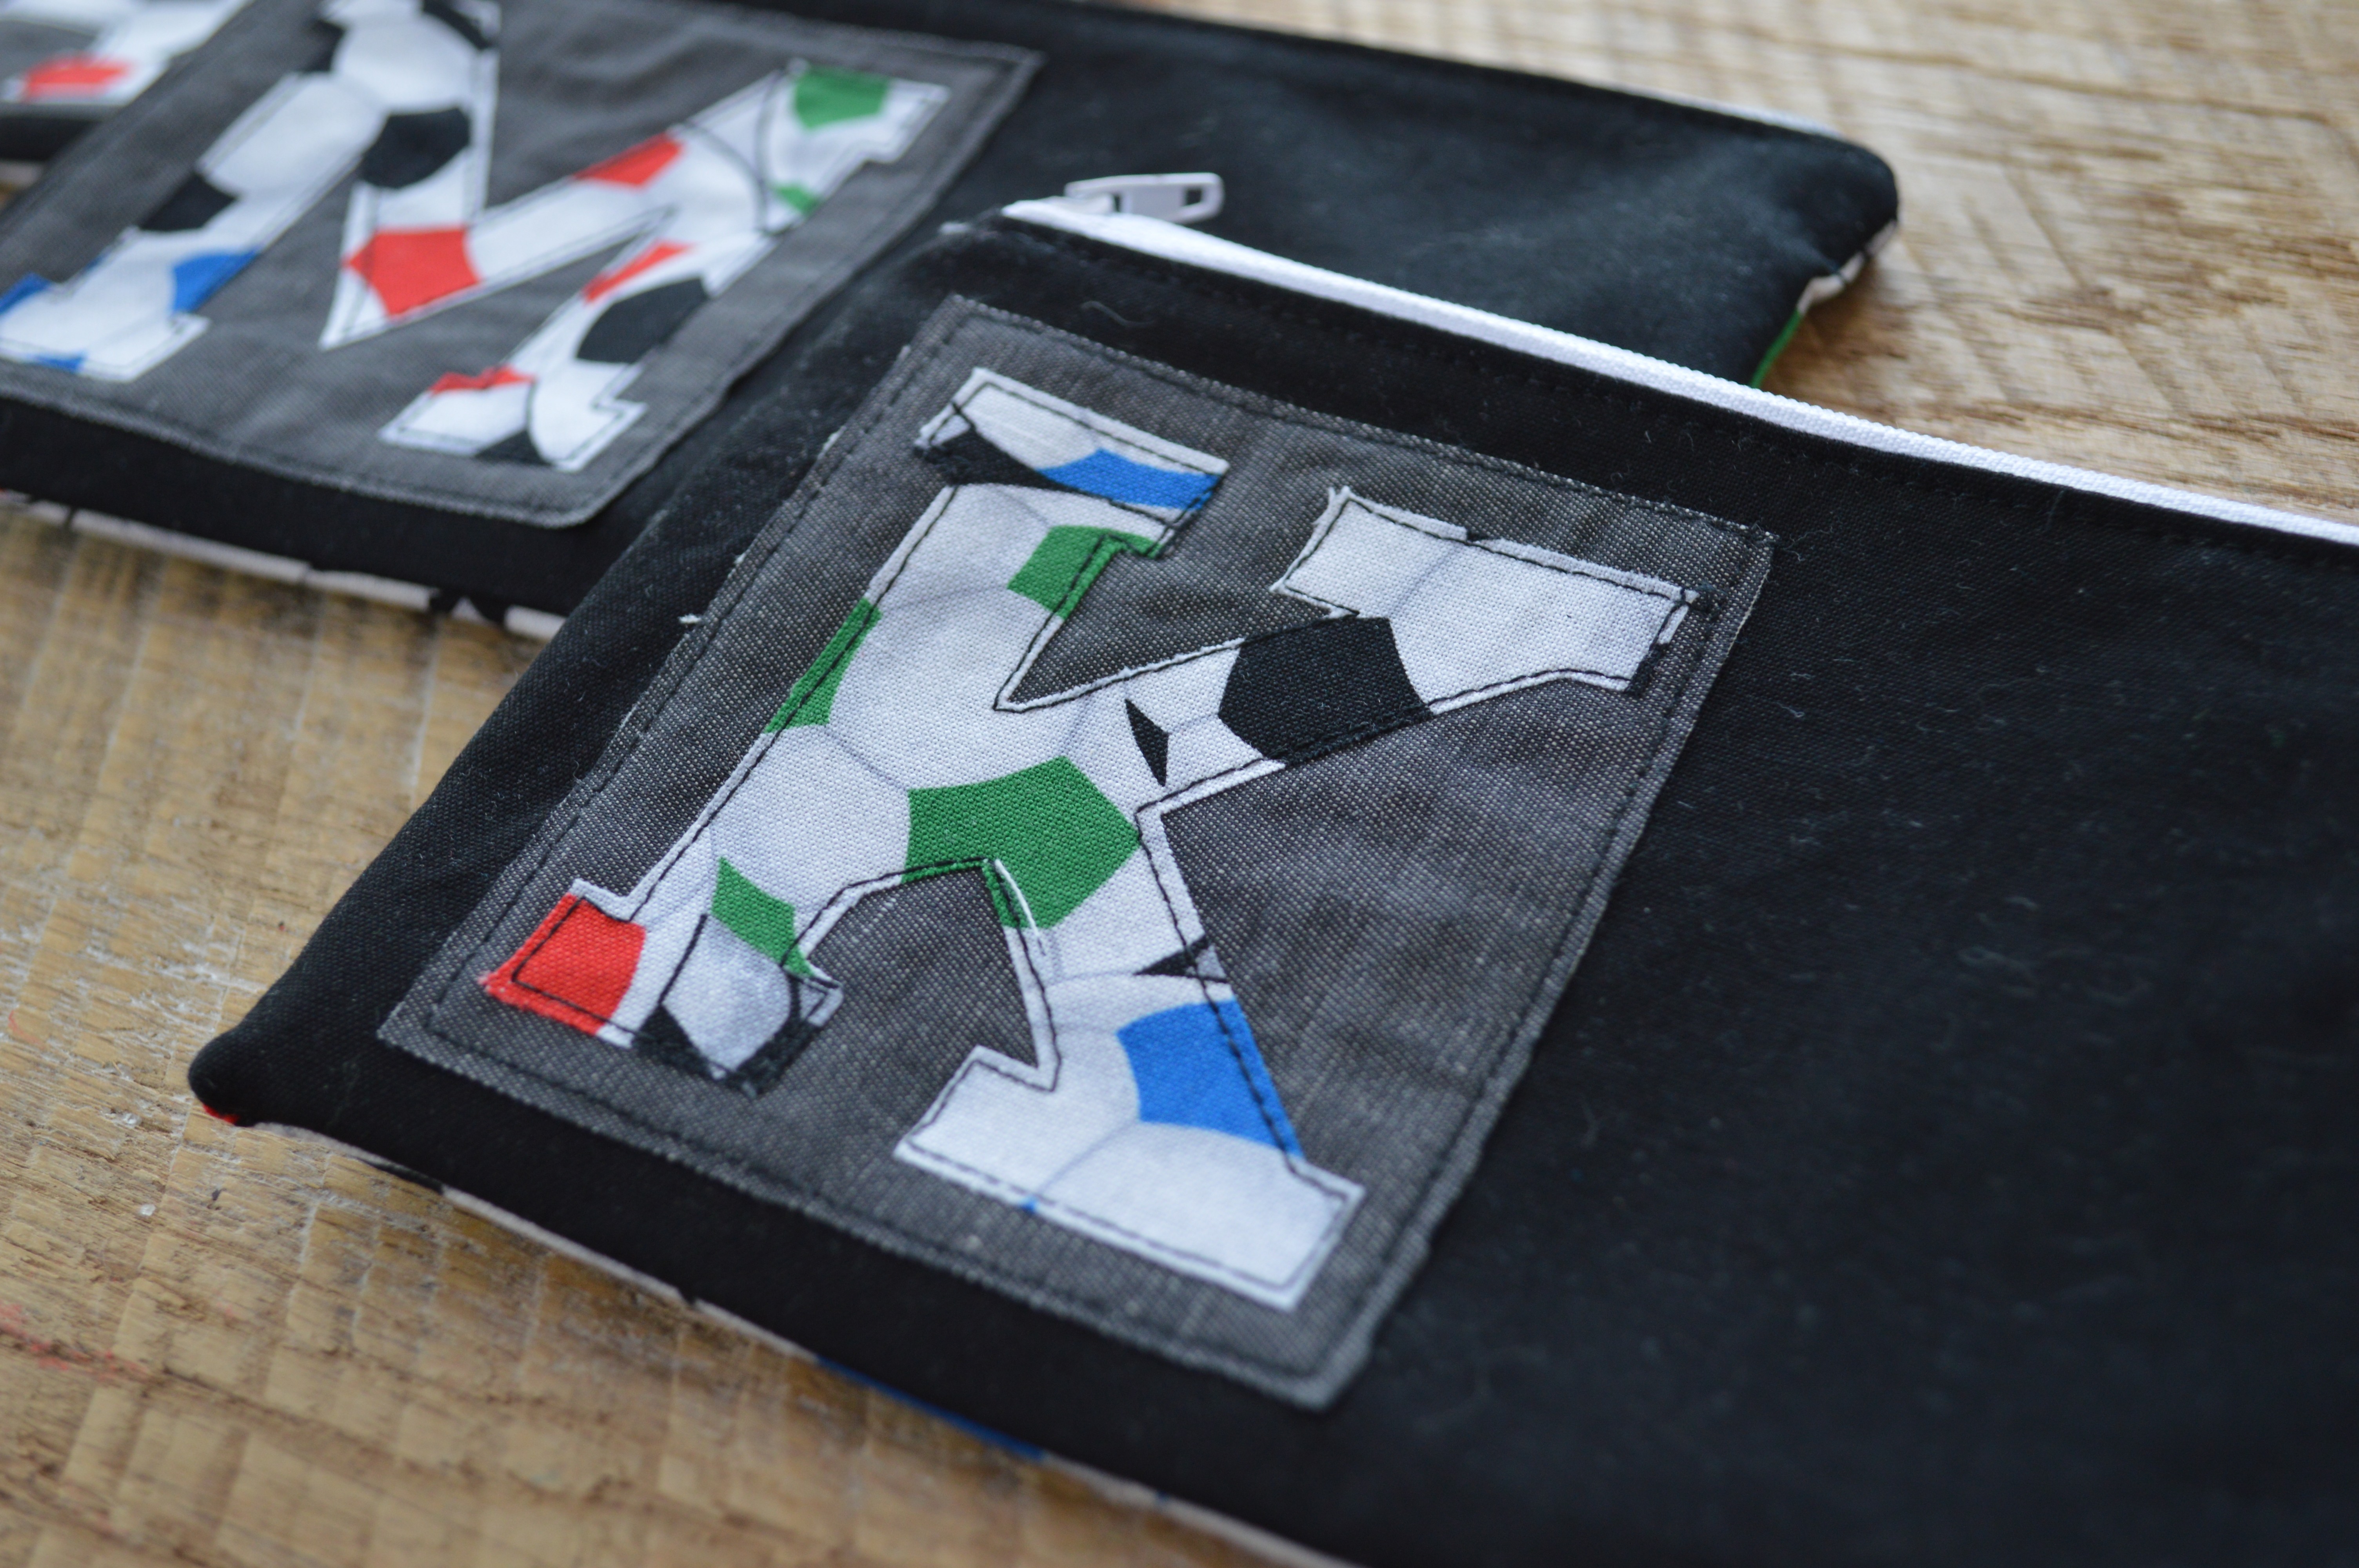
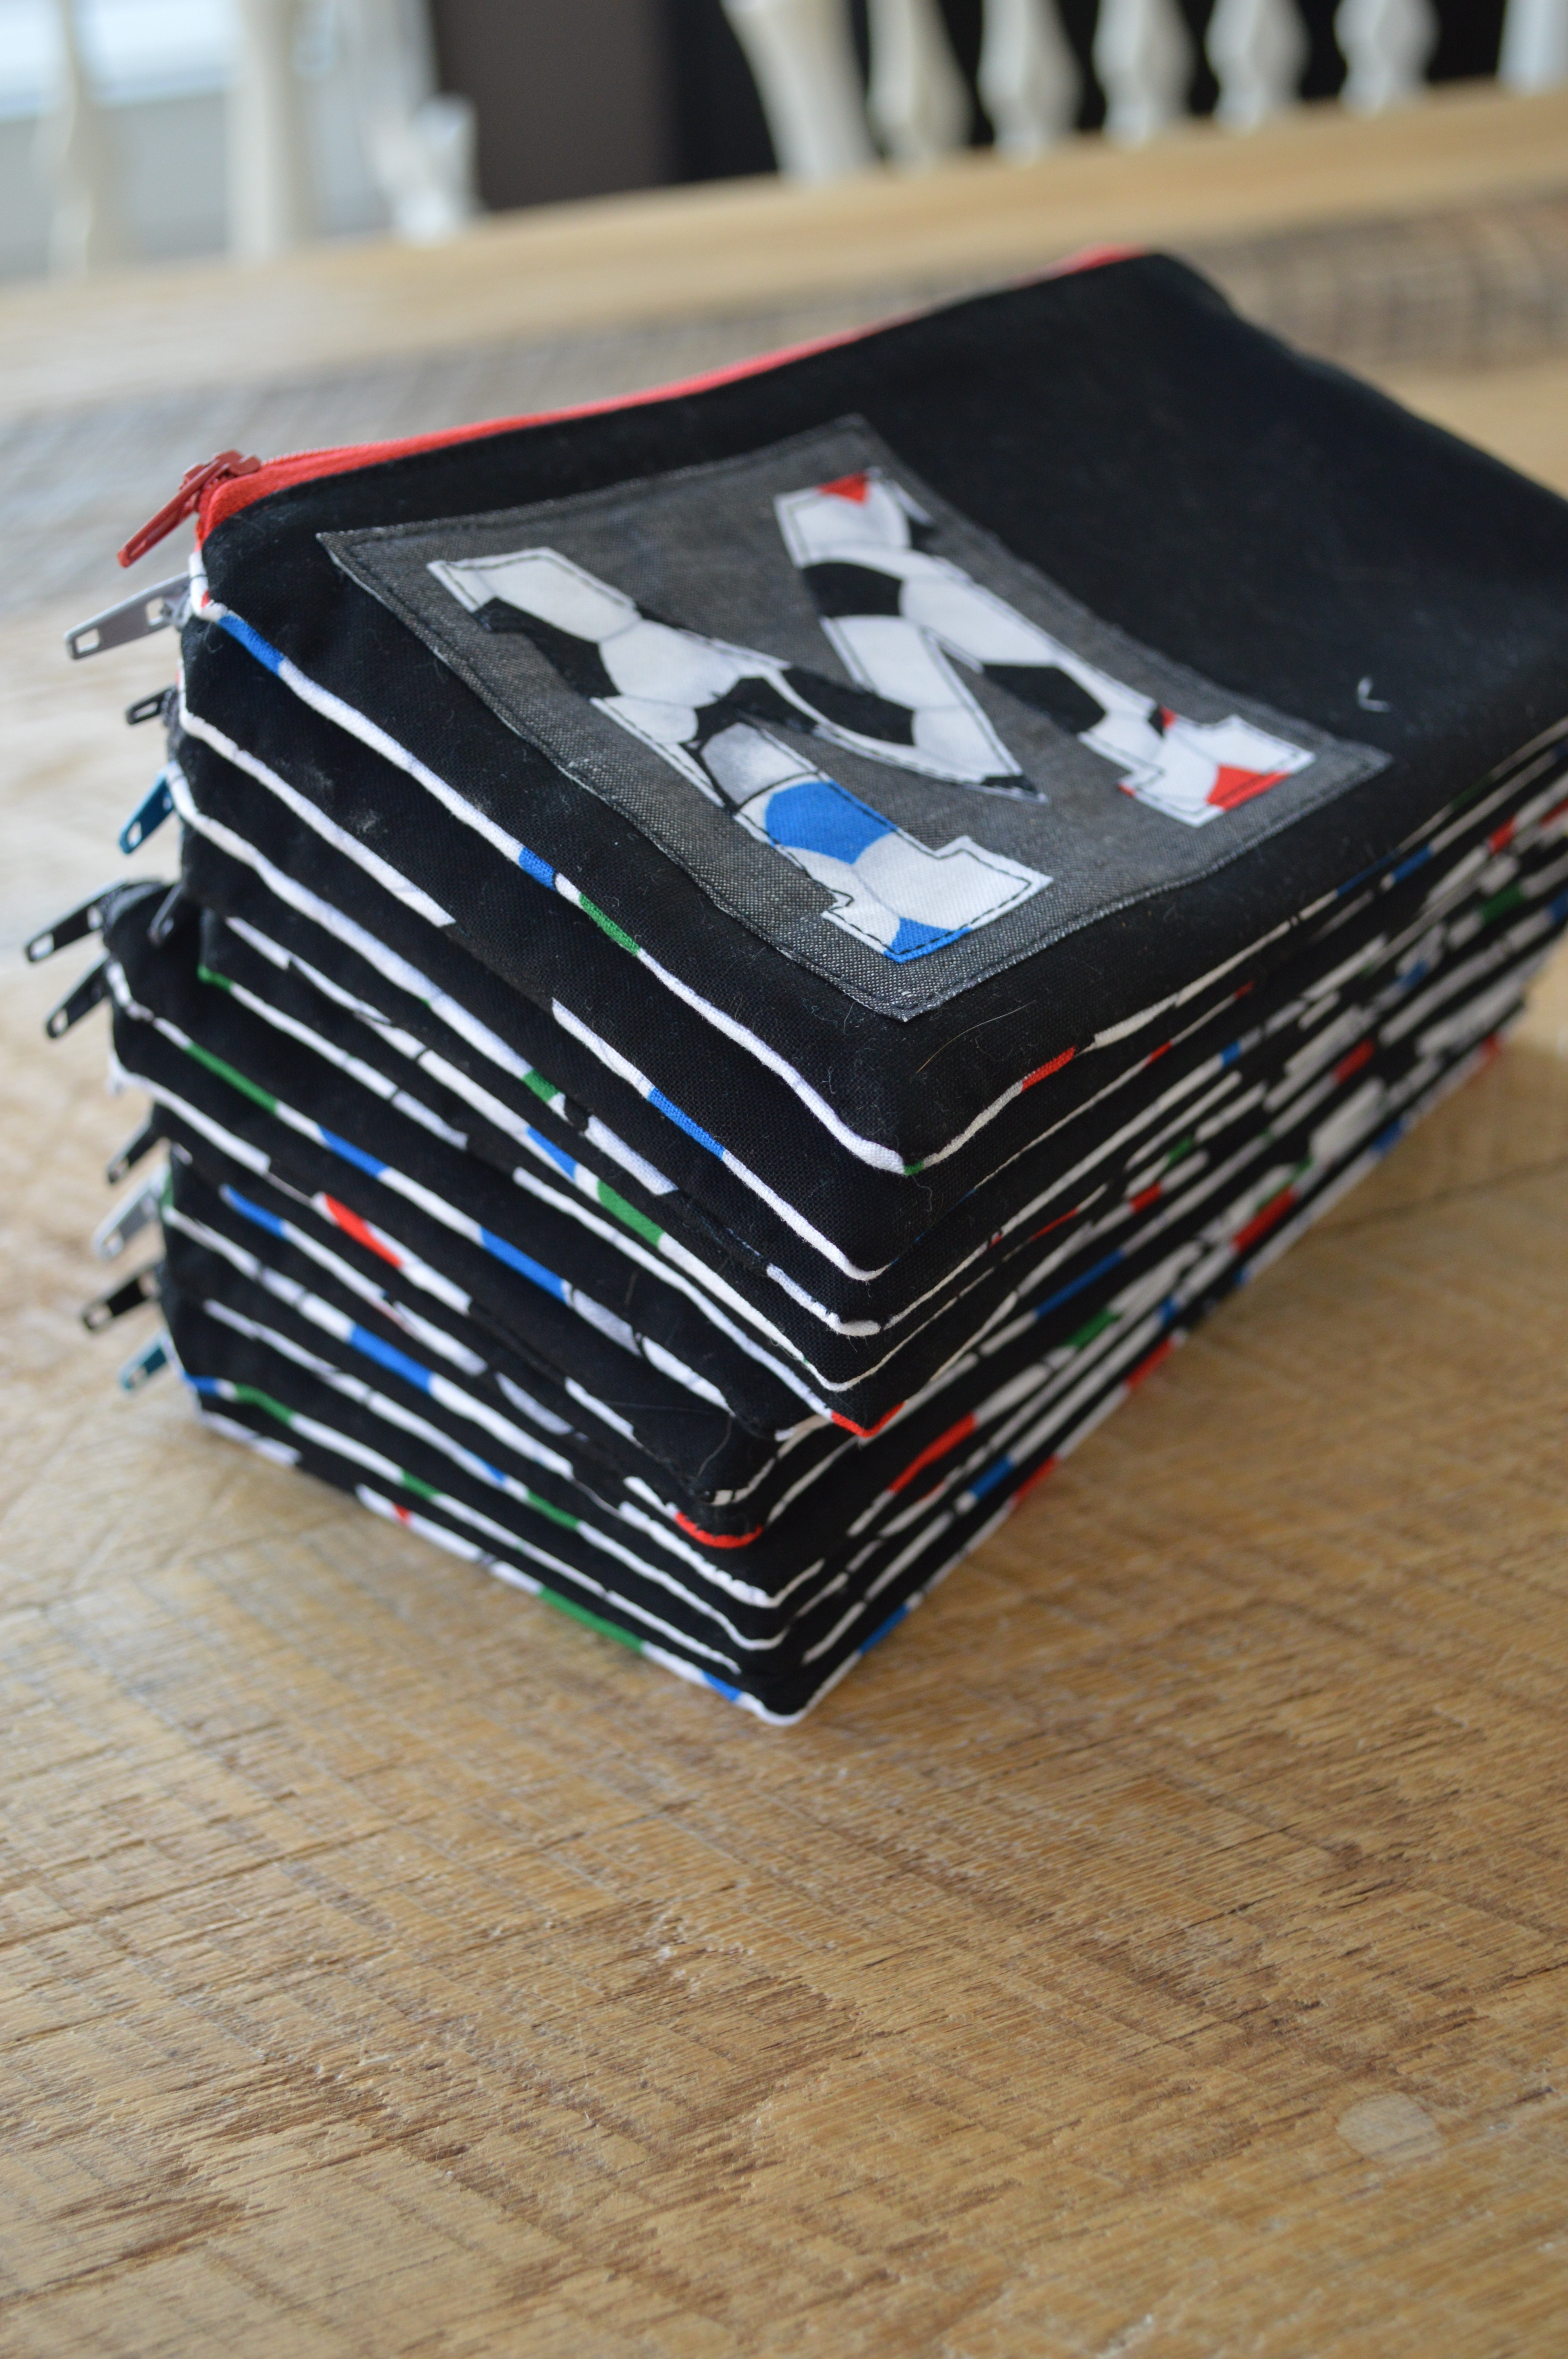
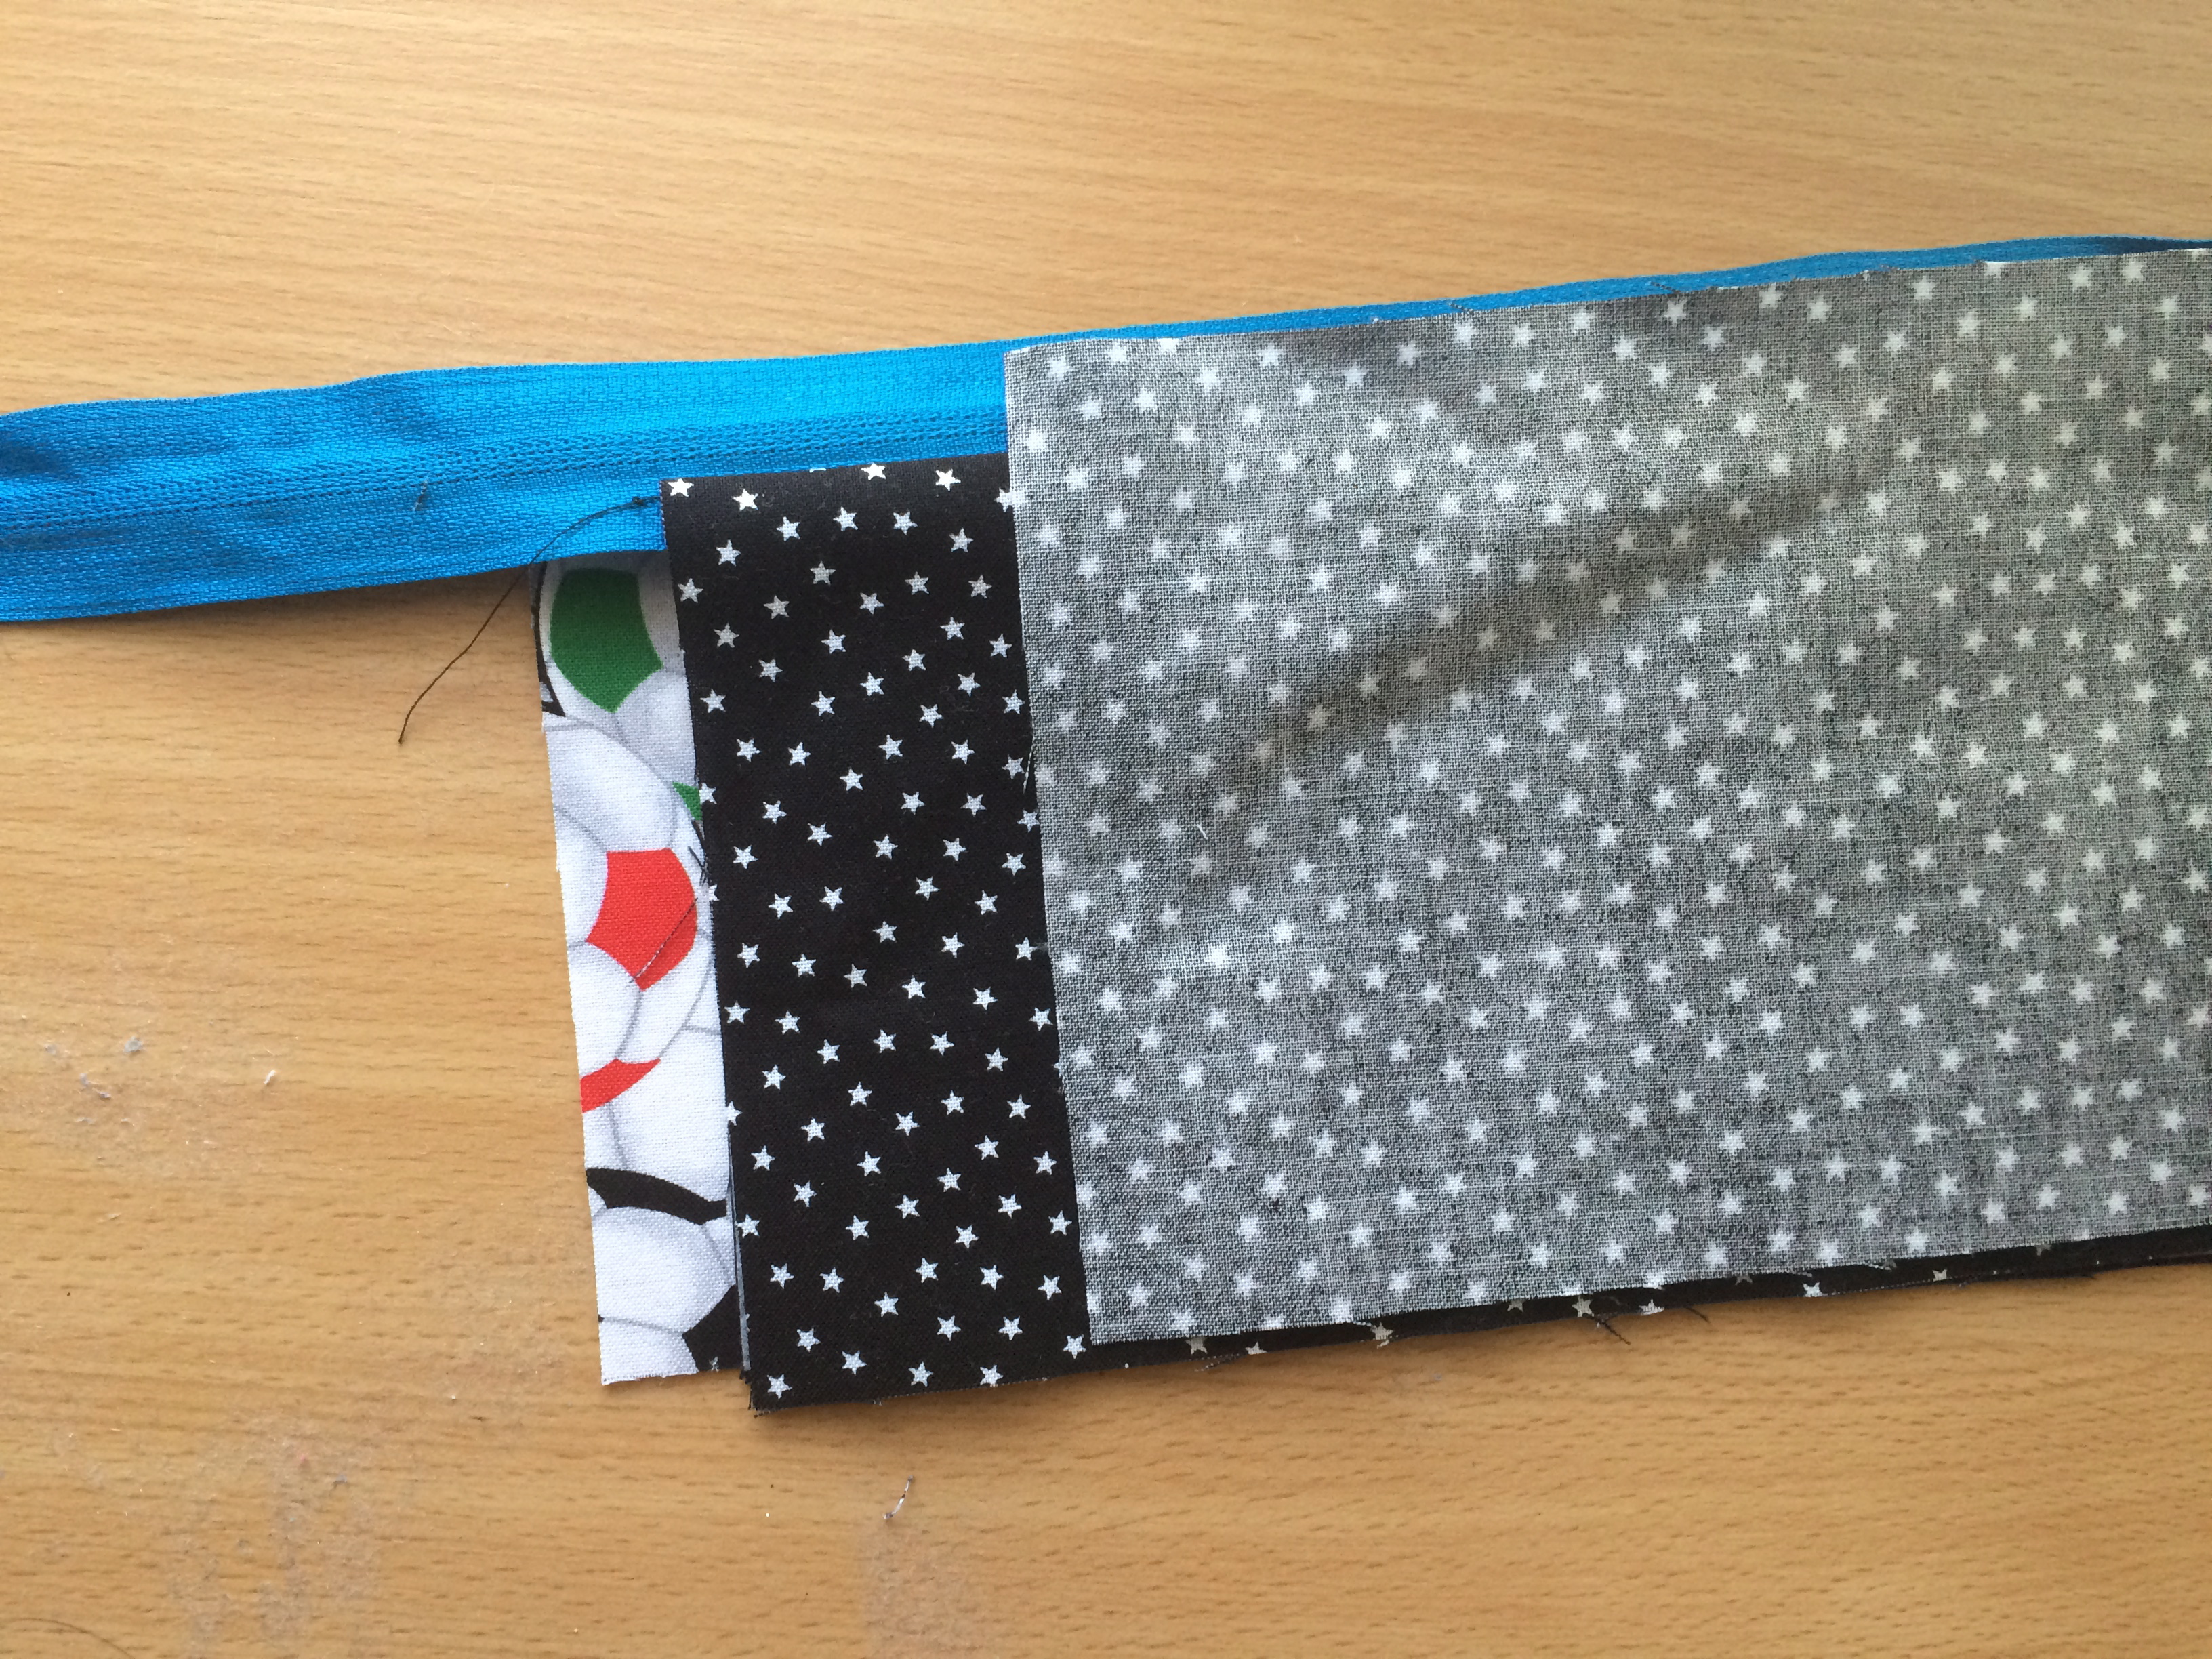
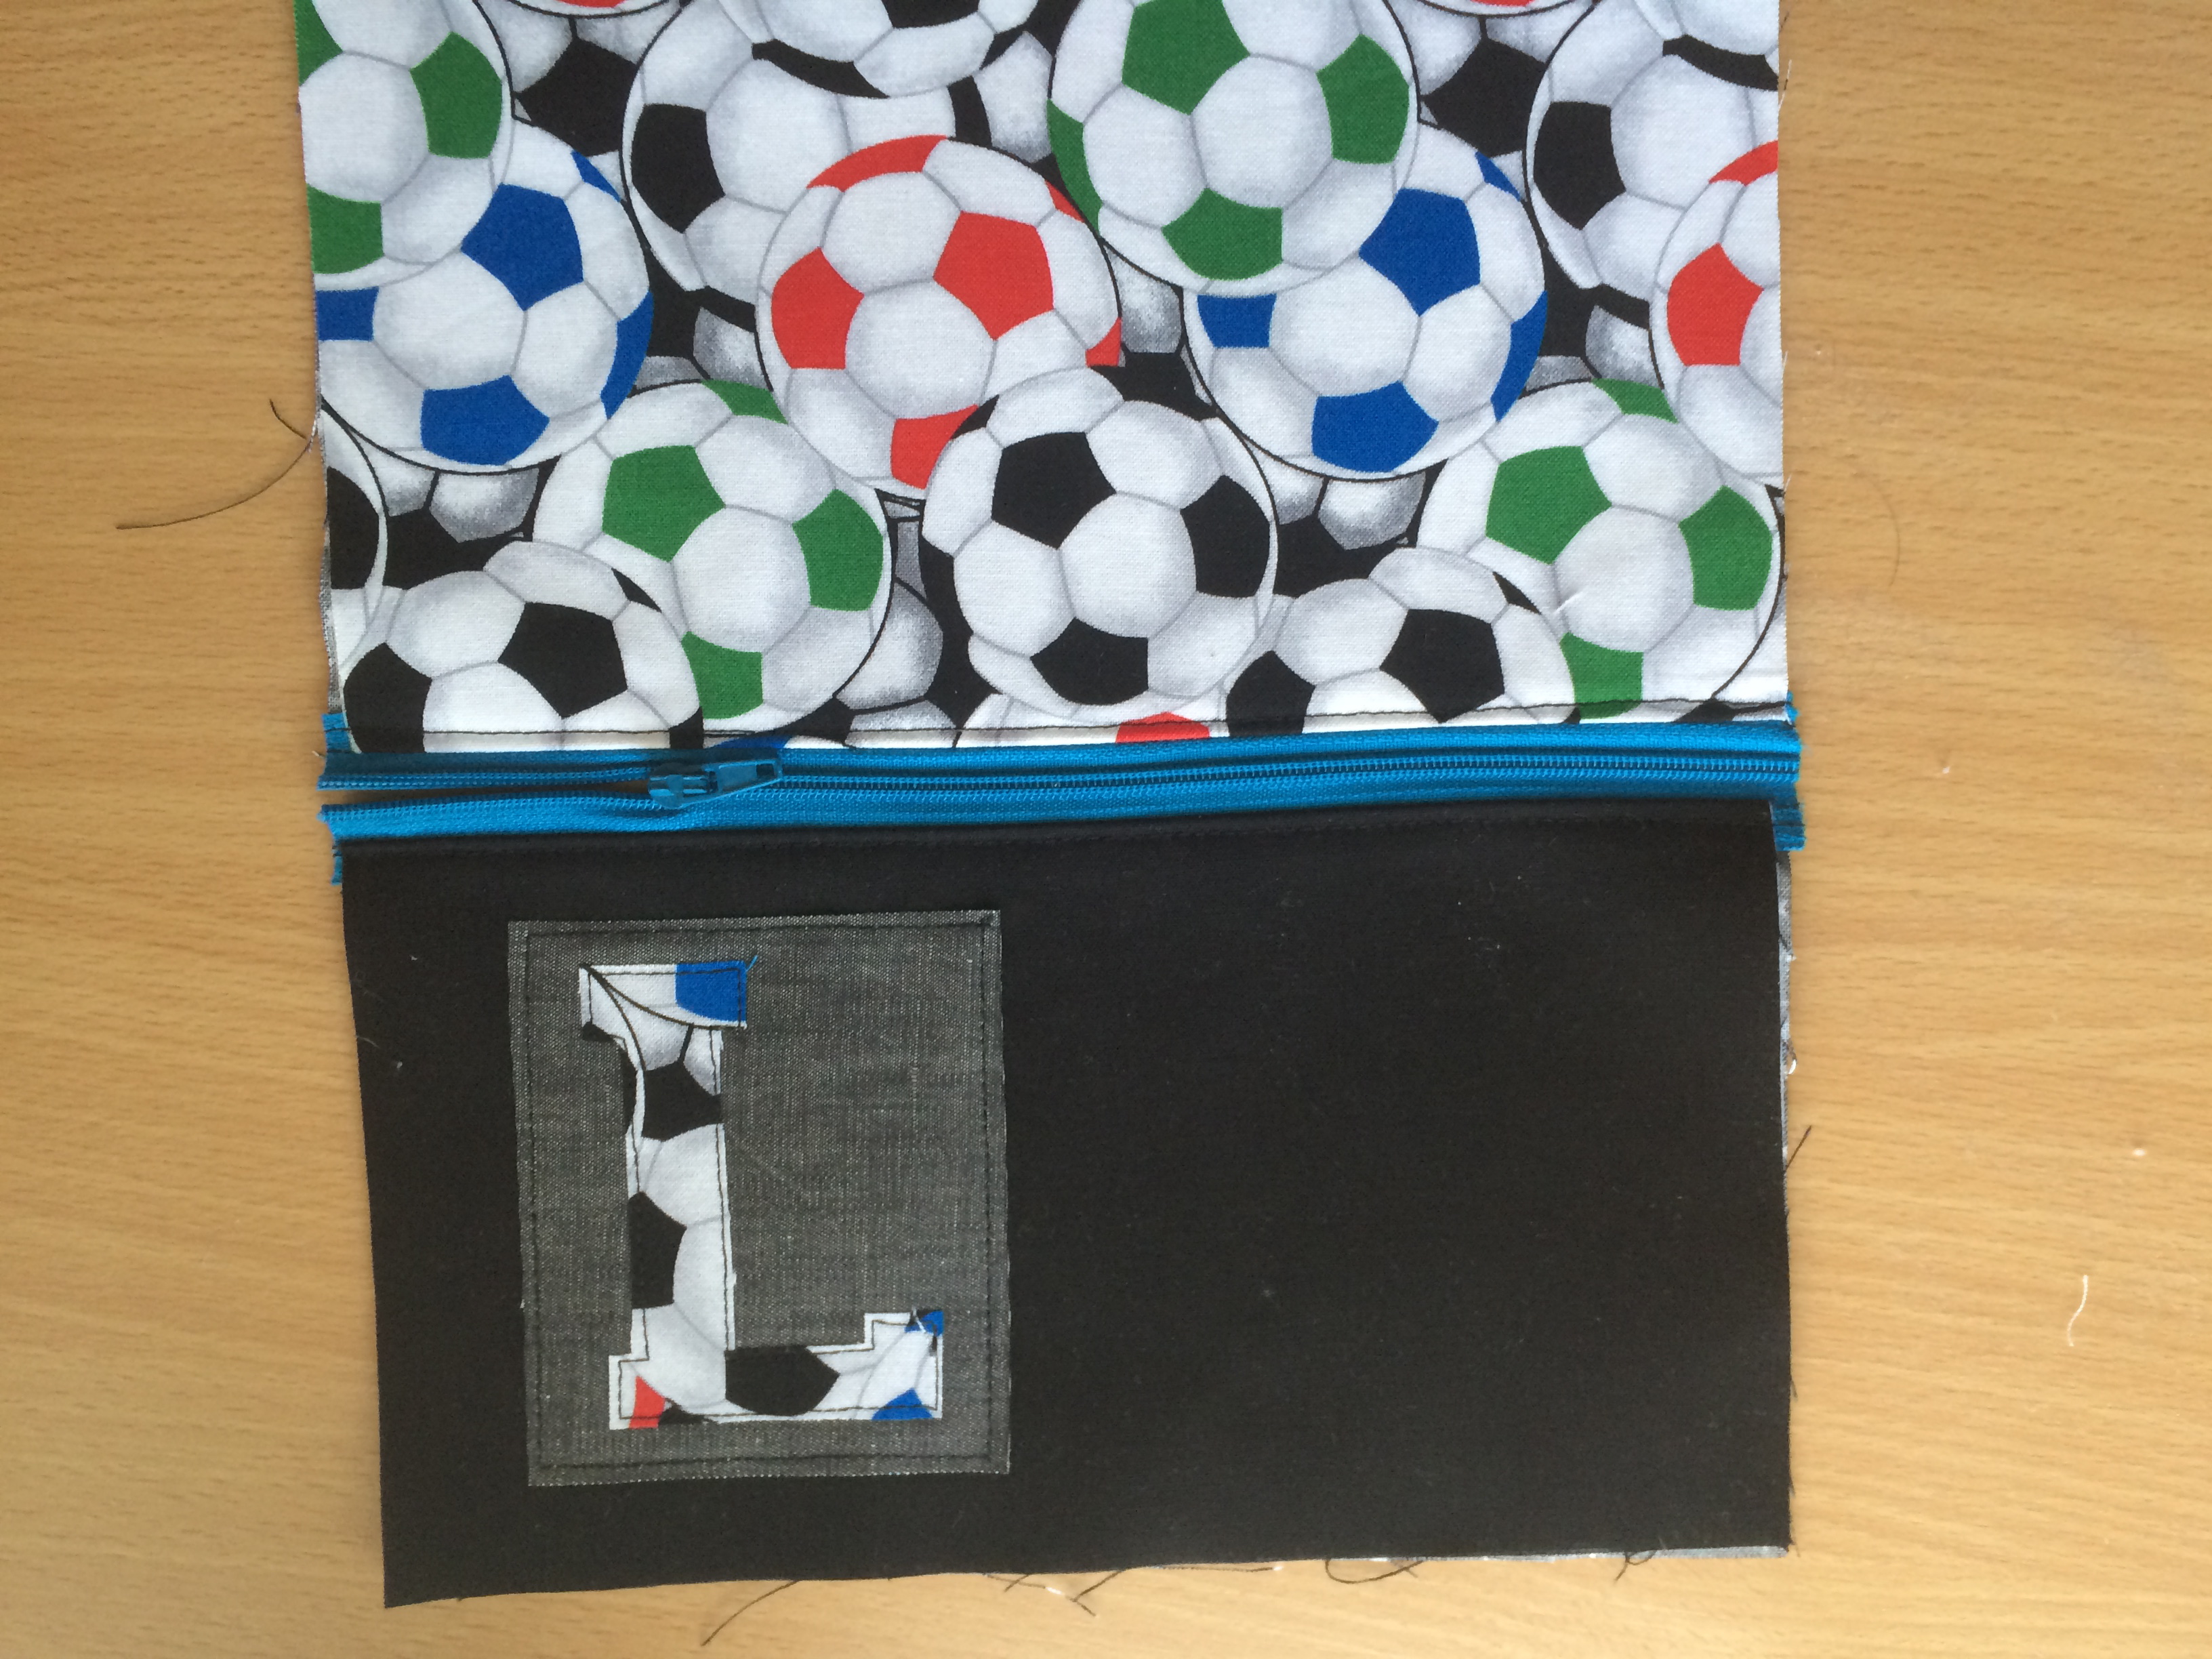
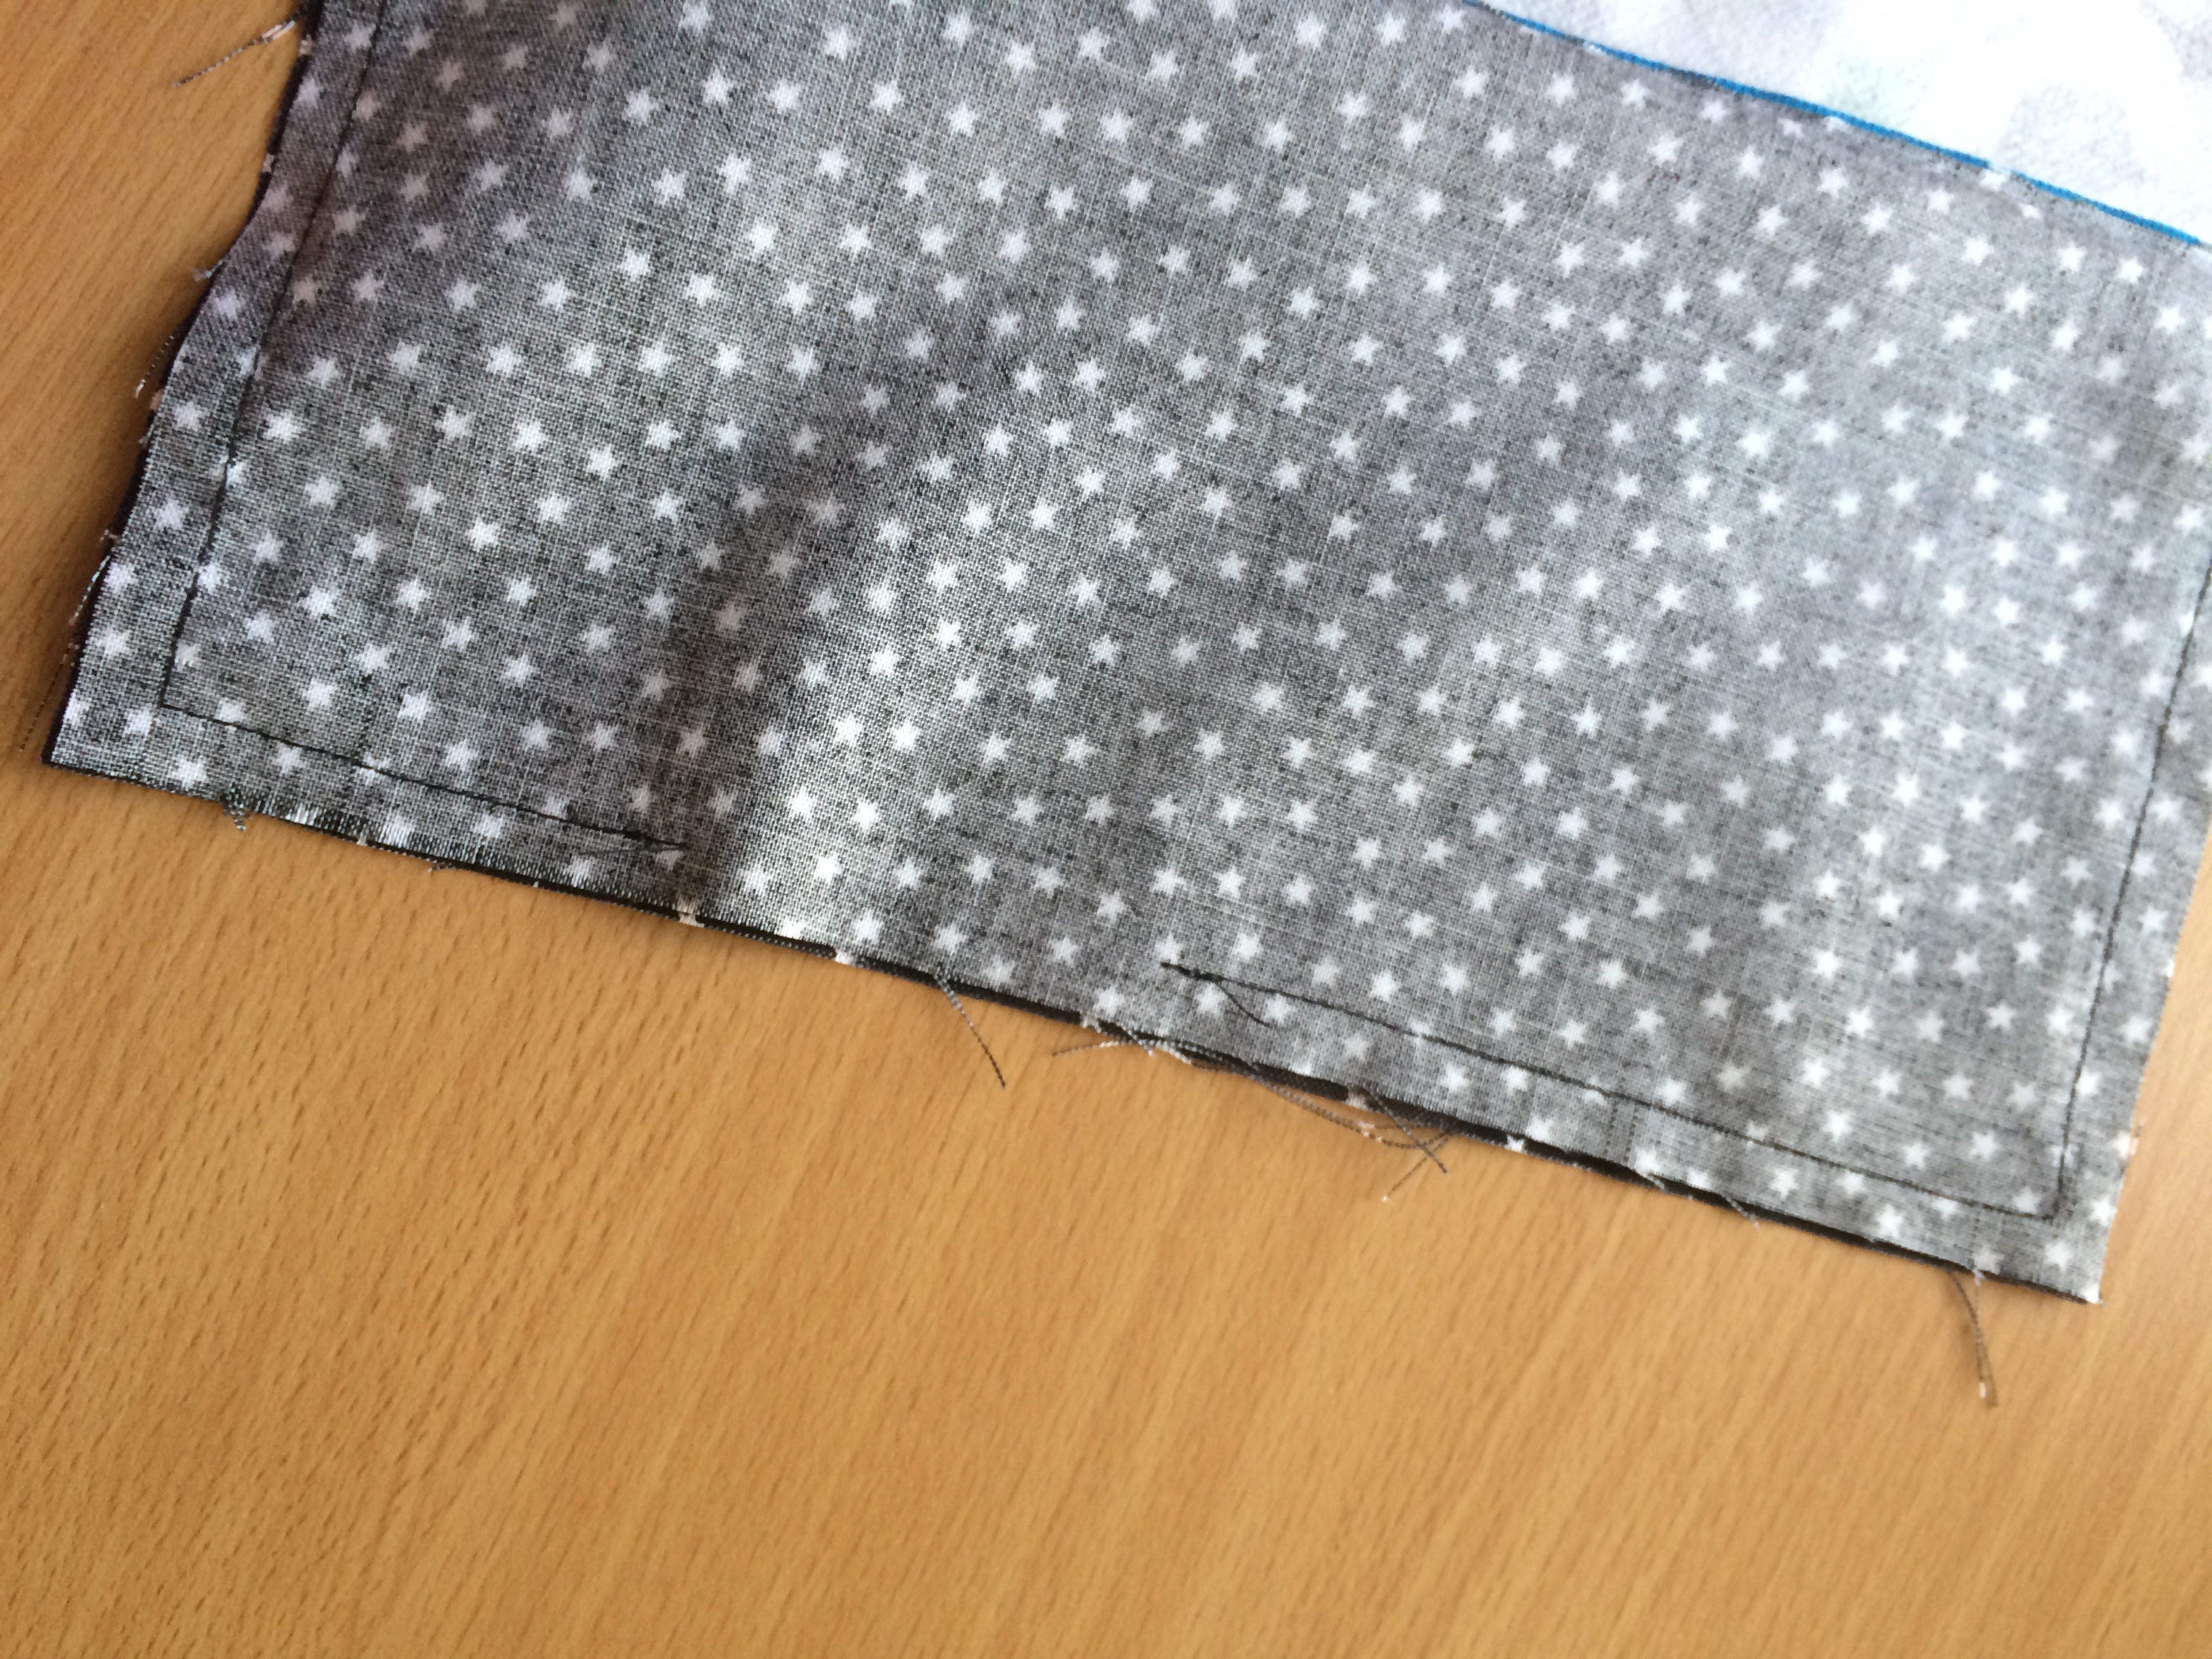
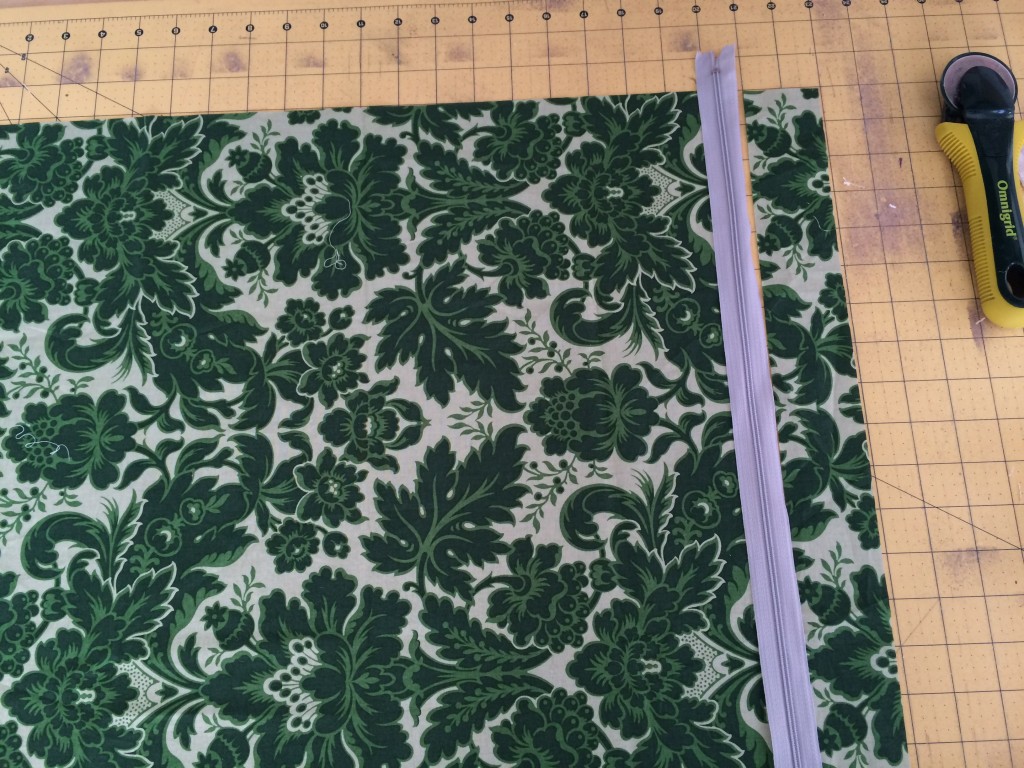
Cut off the excess zipper ends.  Partially open the zipper and place the pillow top and the pillow back, right sides together. matching and pinning all edges.  Sew 1/4″ all the way around the pillow.

lucky pillow 5

Turn the pillow right side out and insert the pillow form.lucky pillow 9
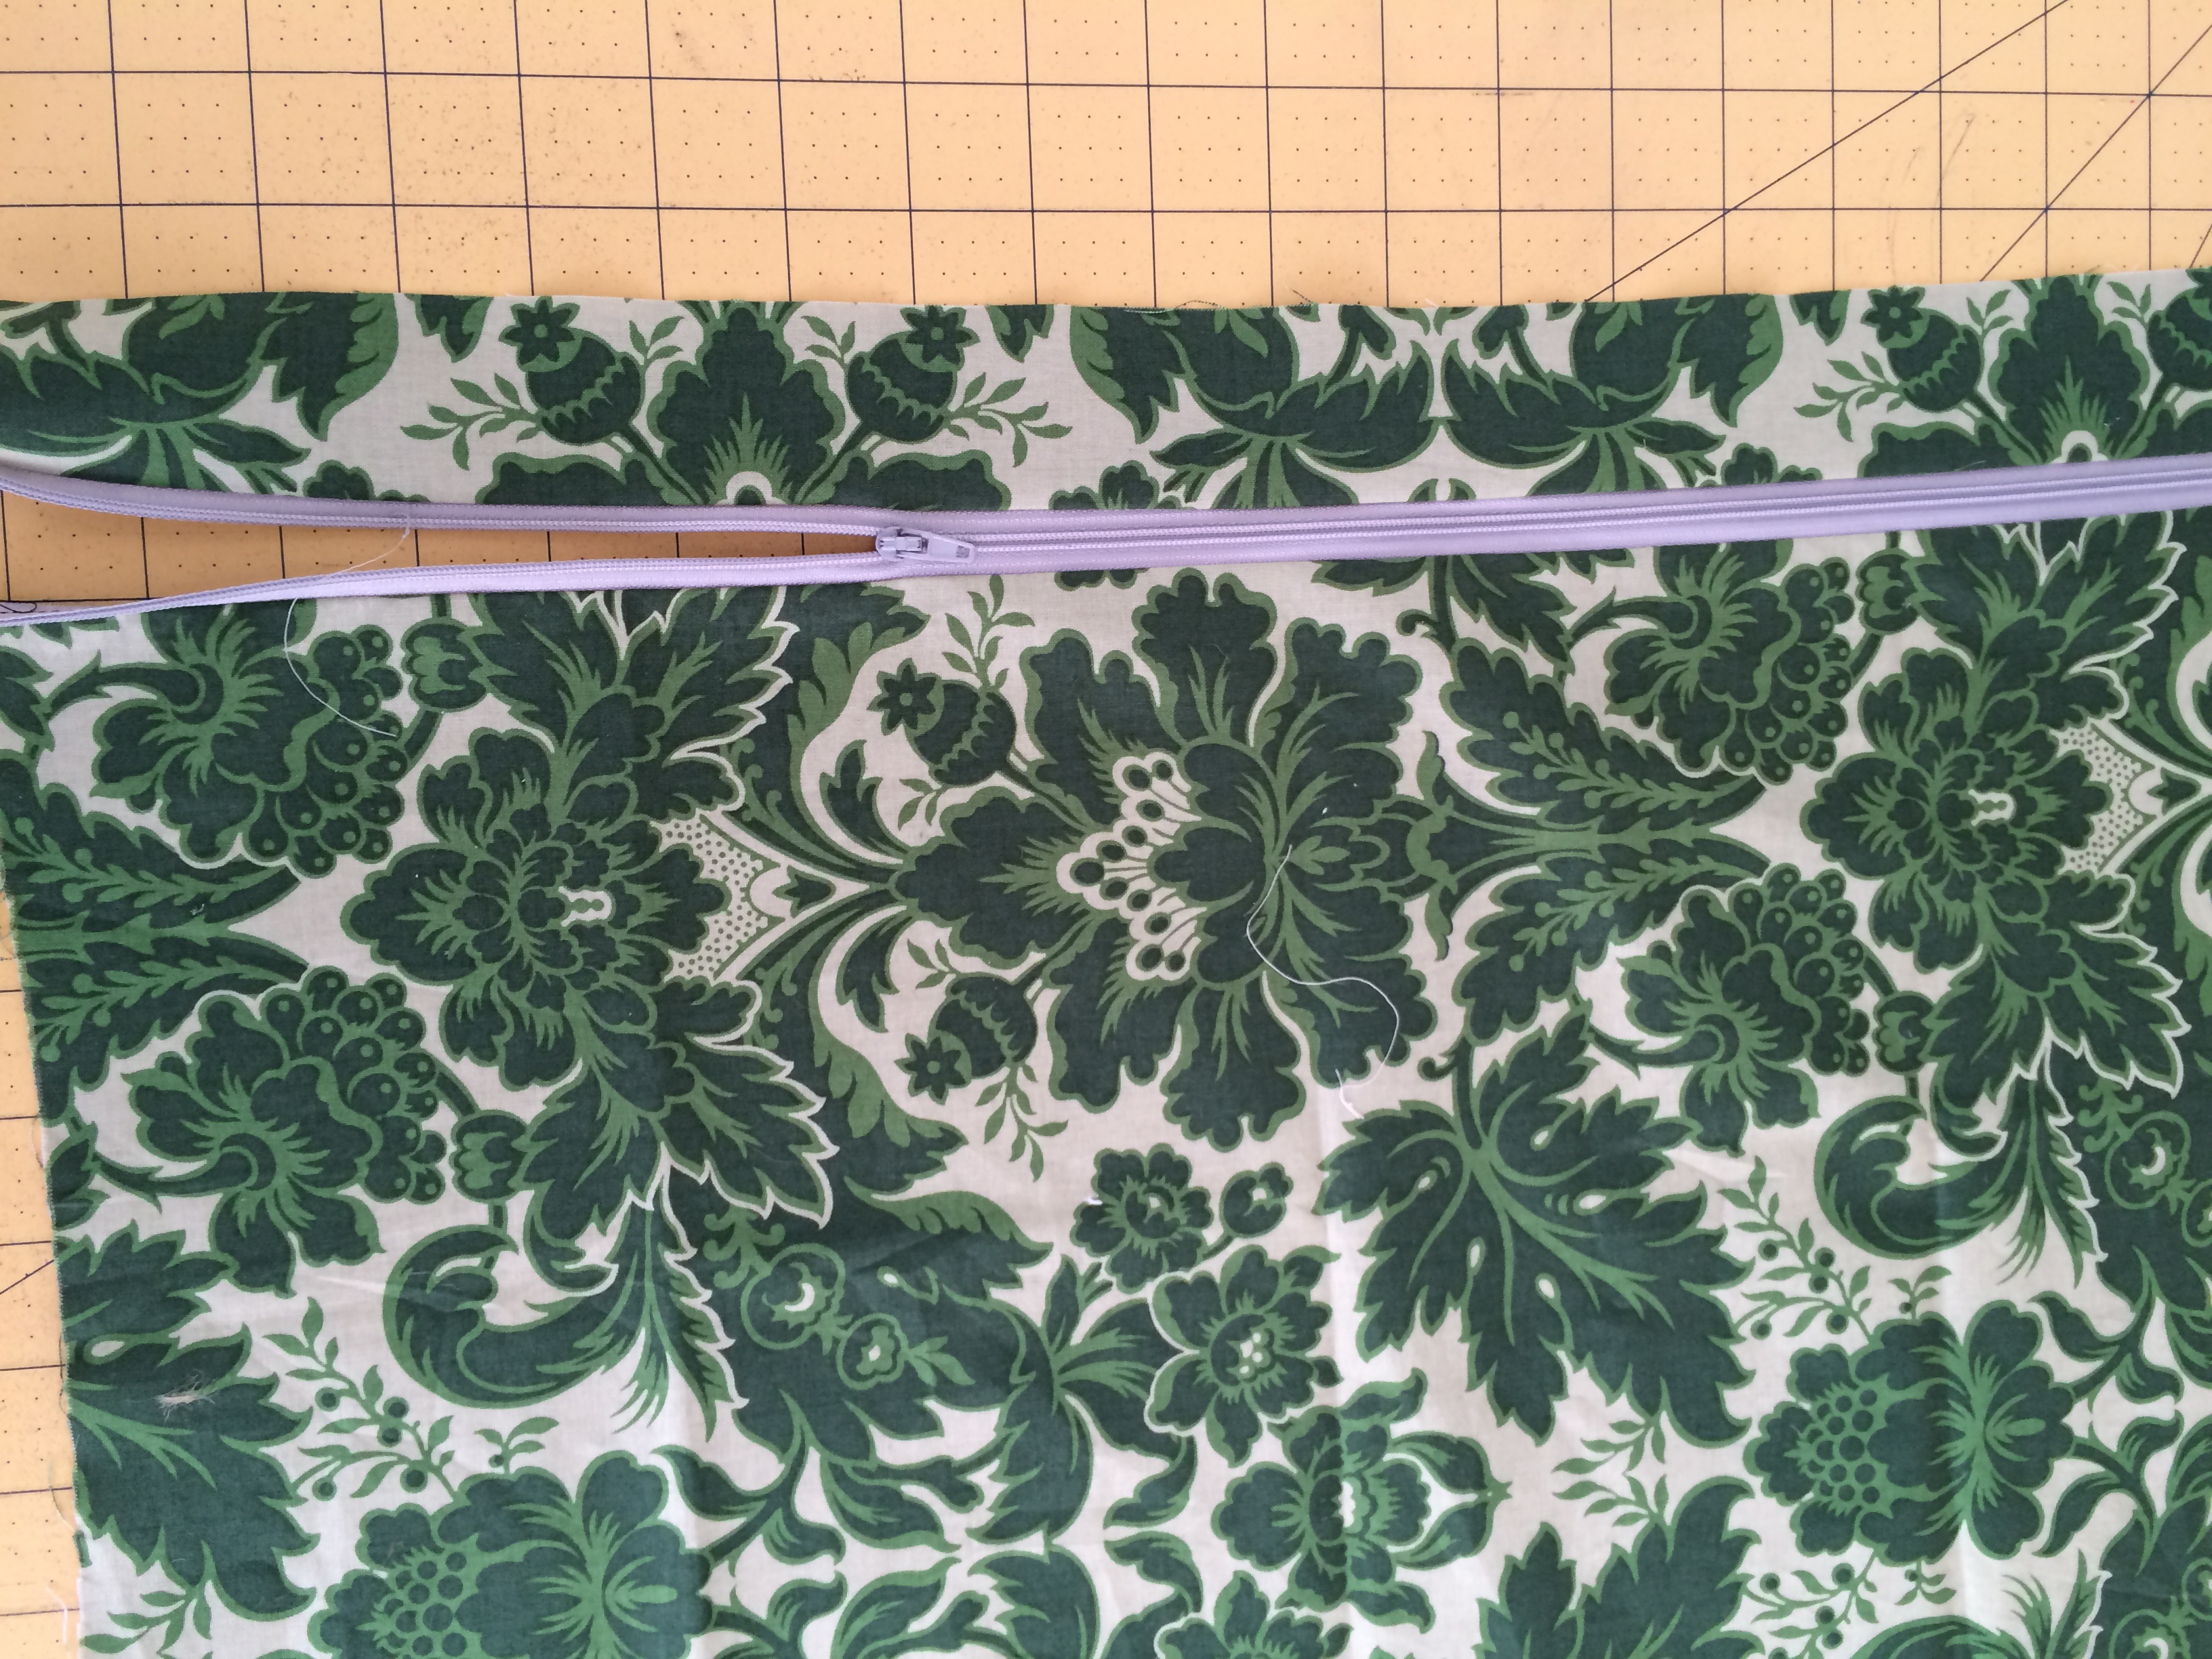
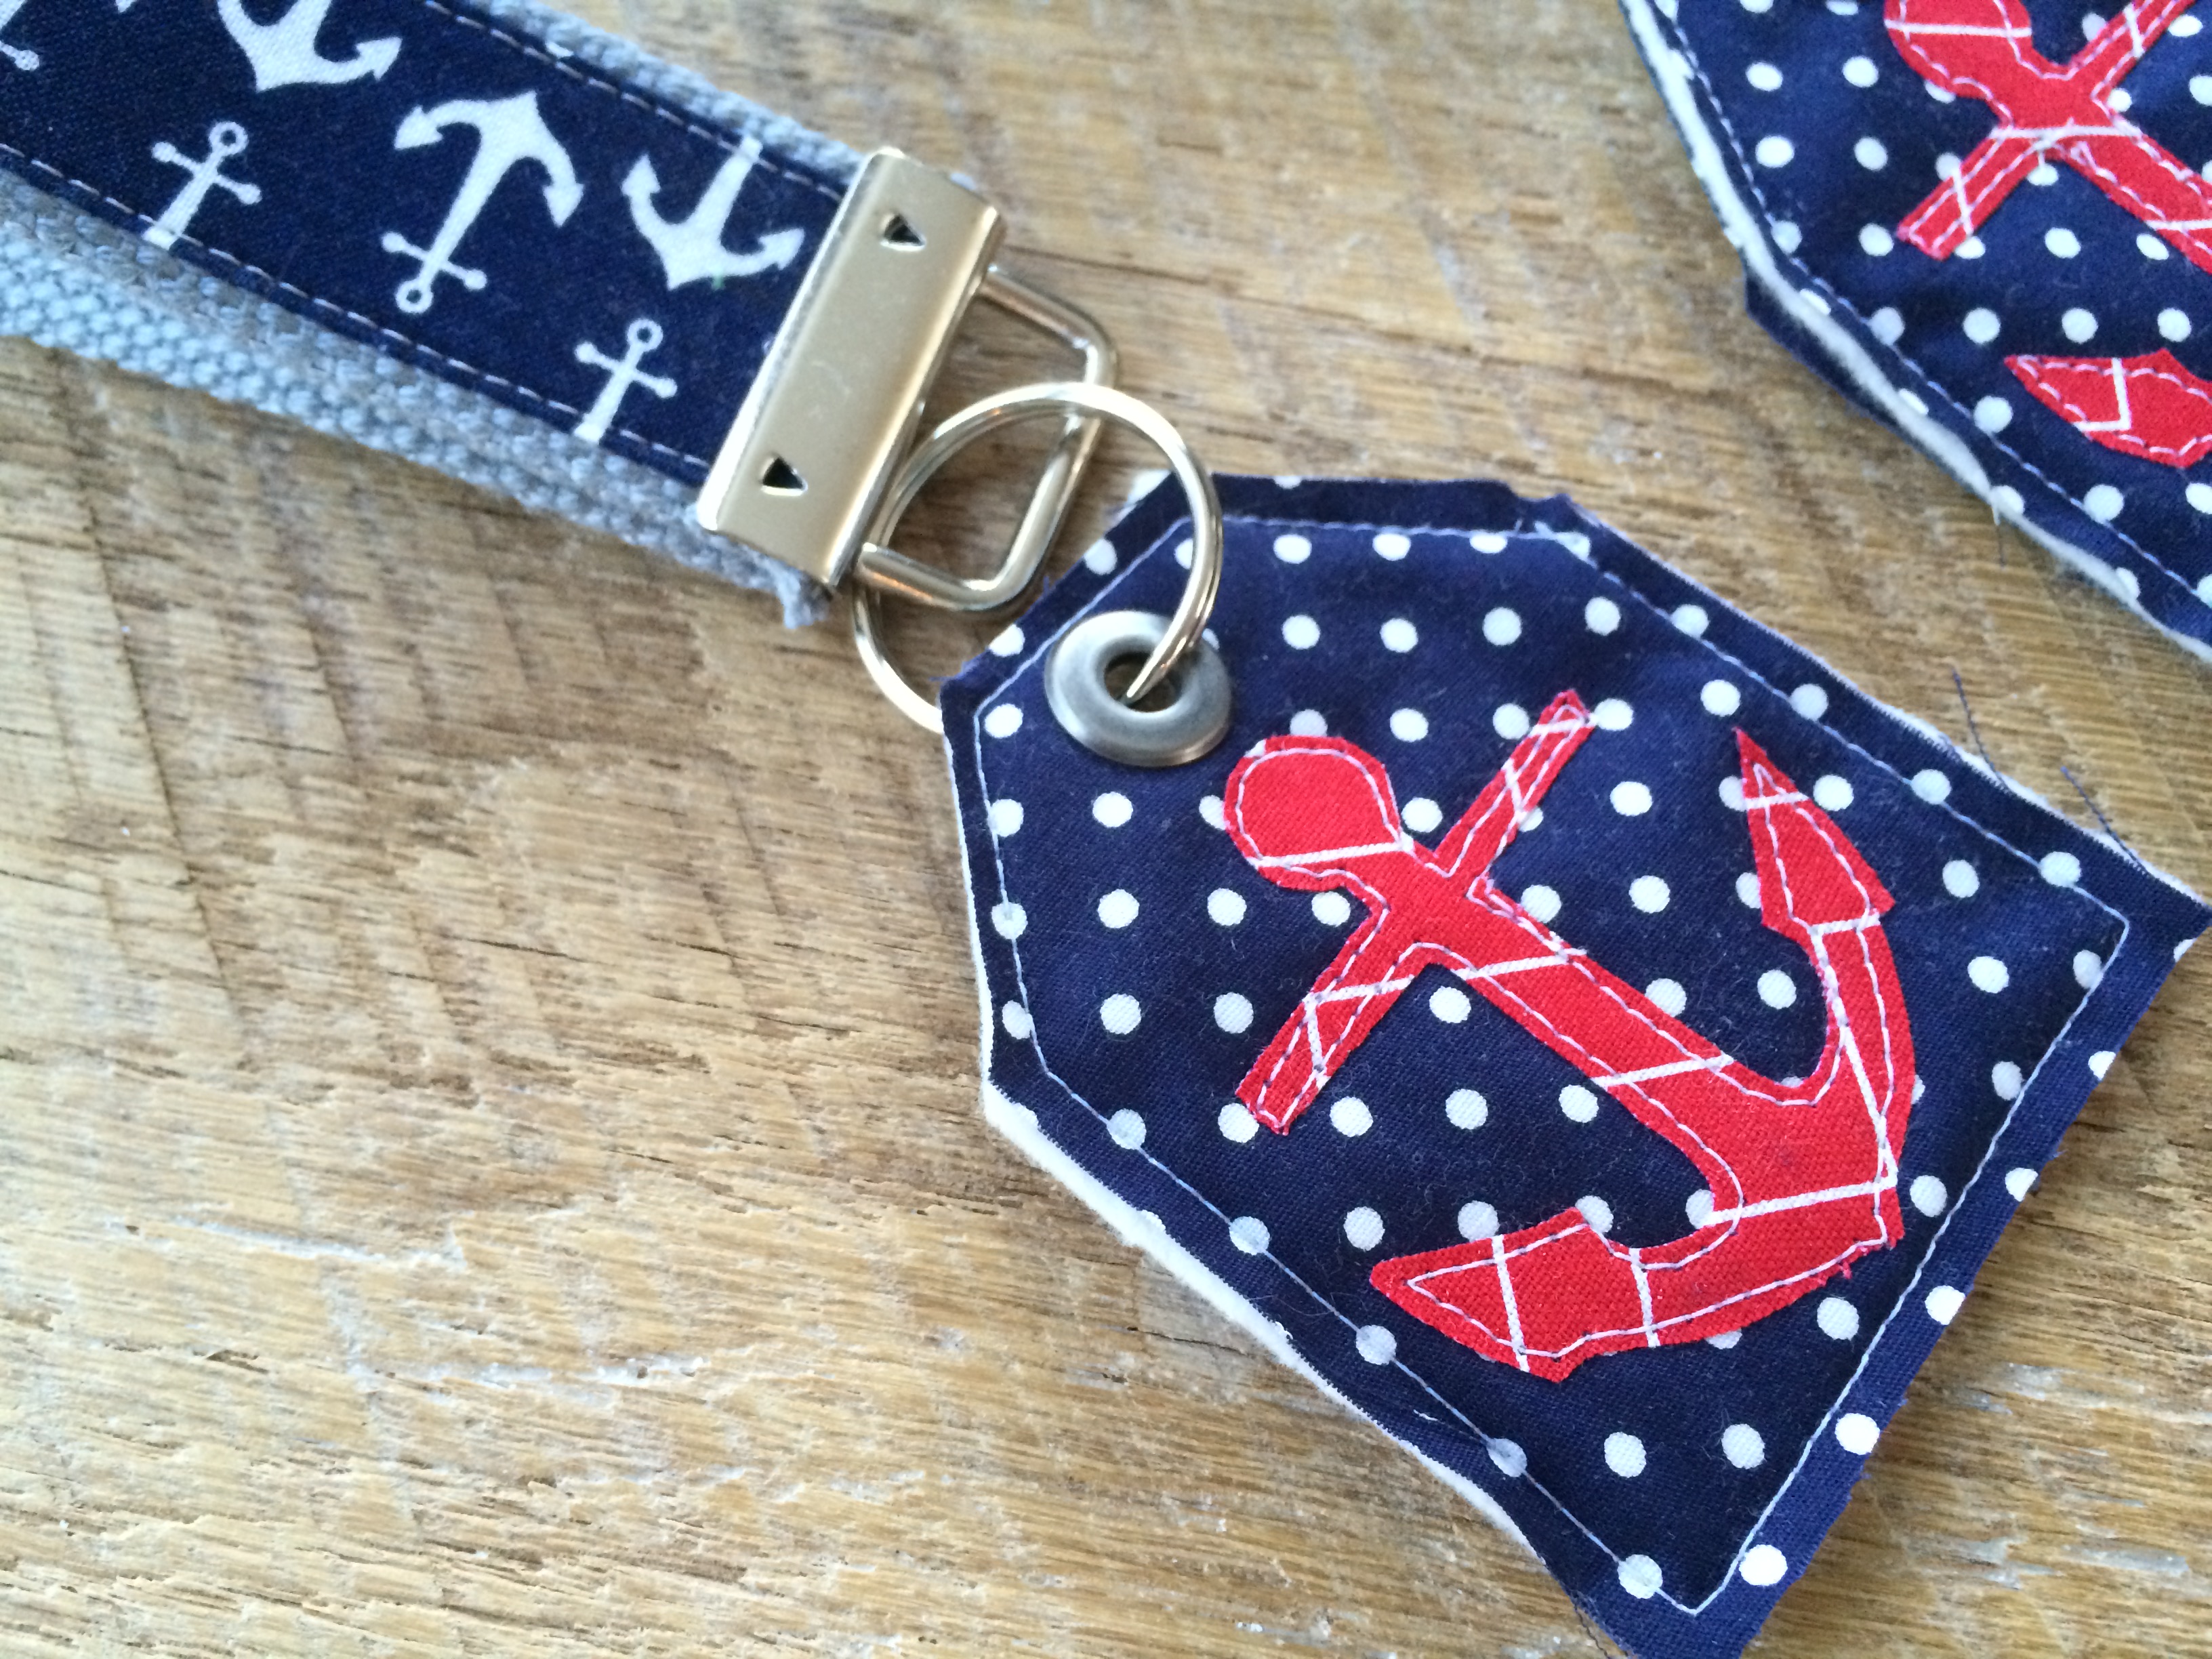
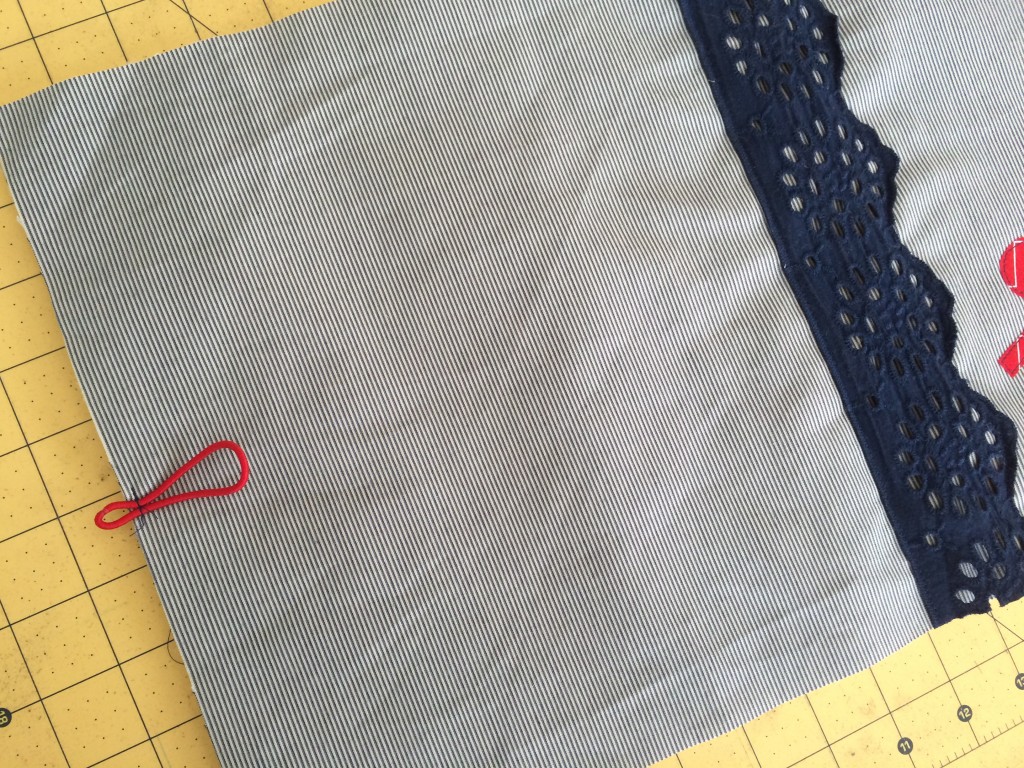
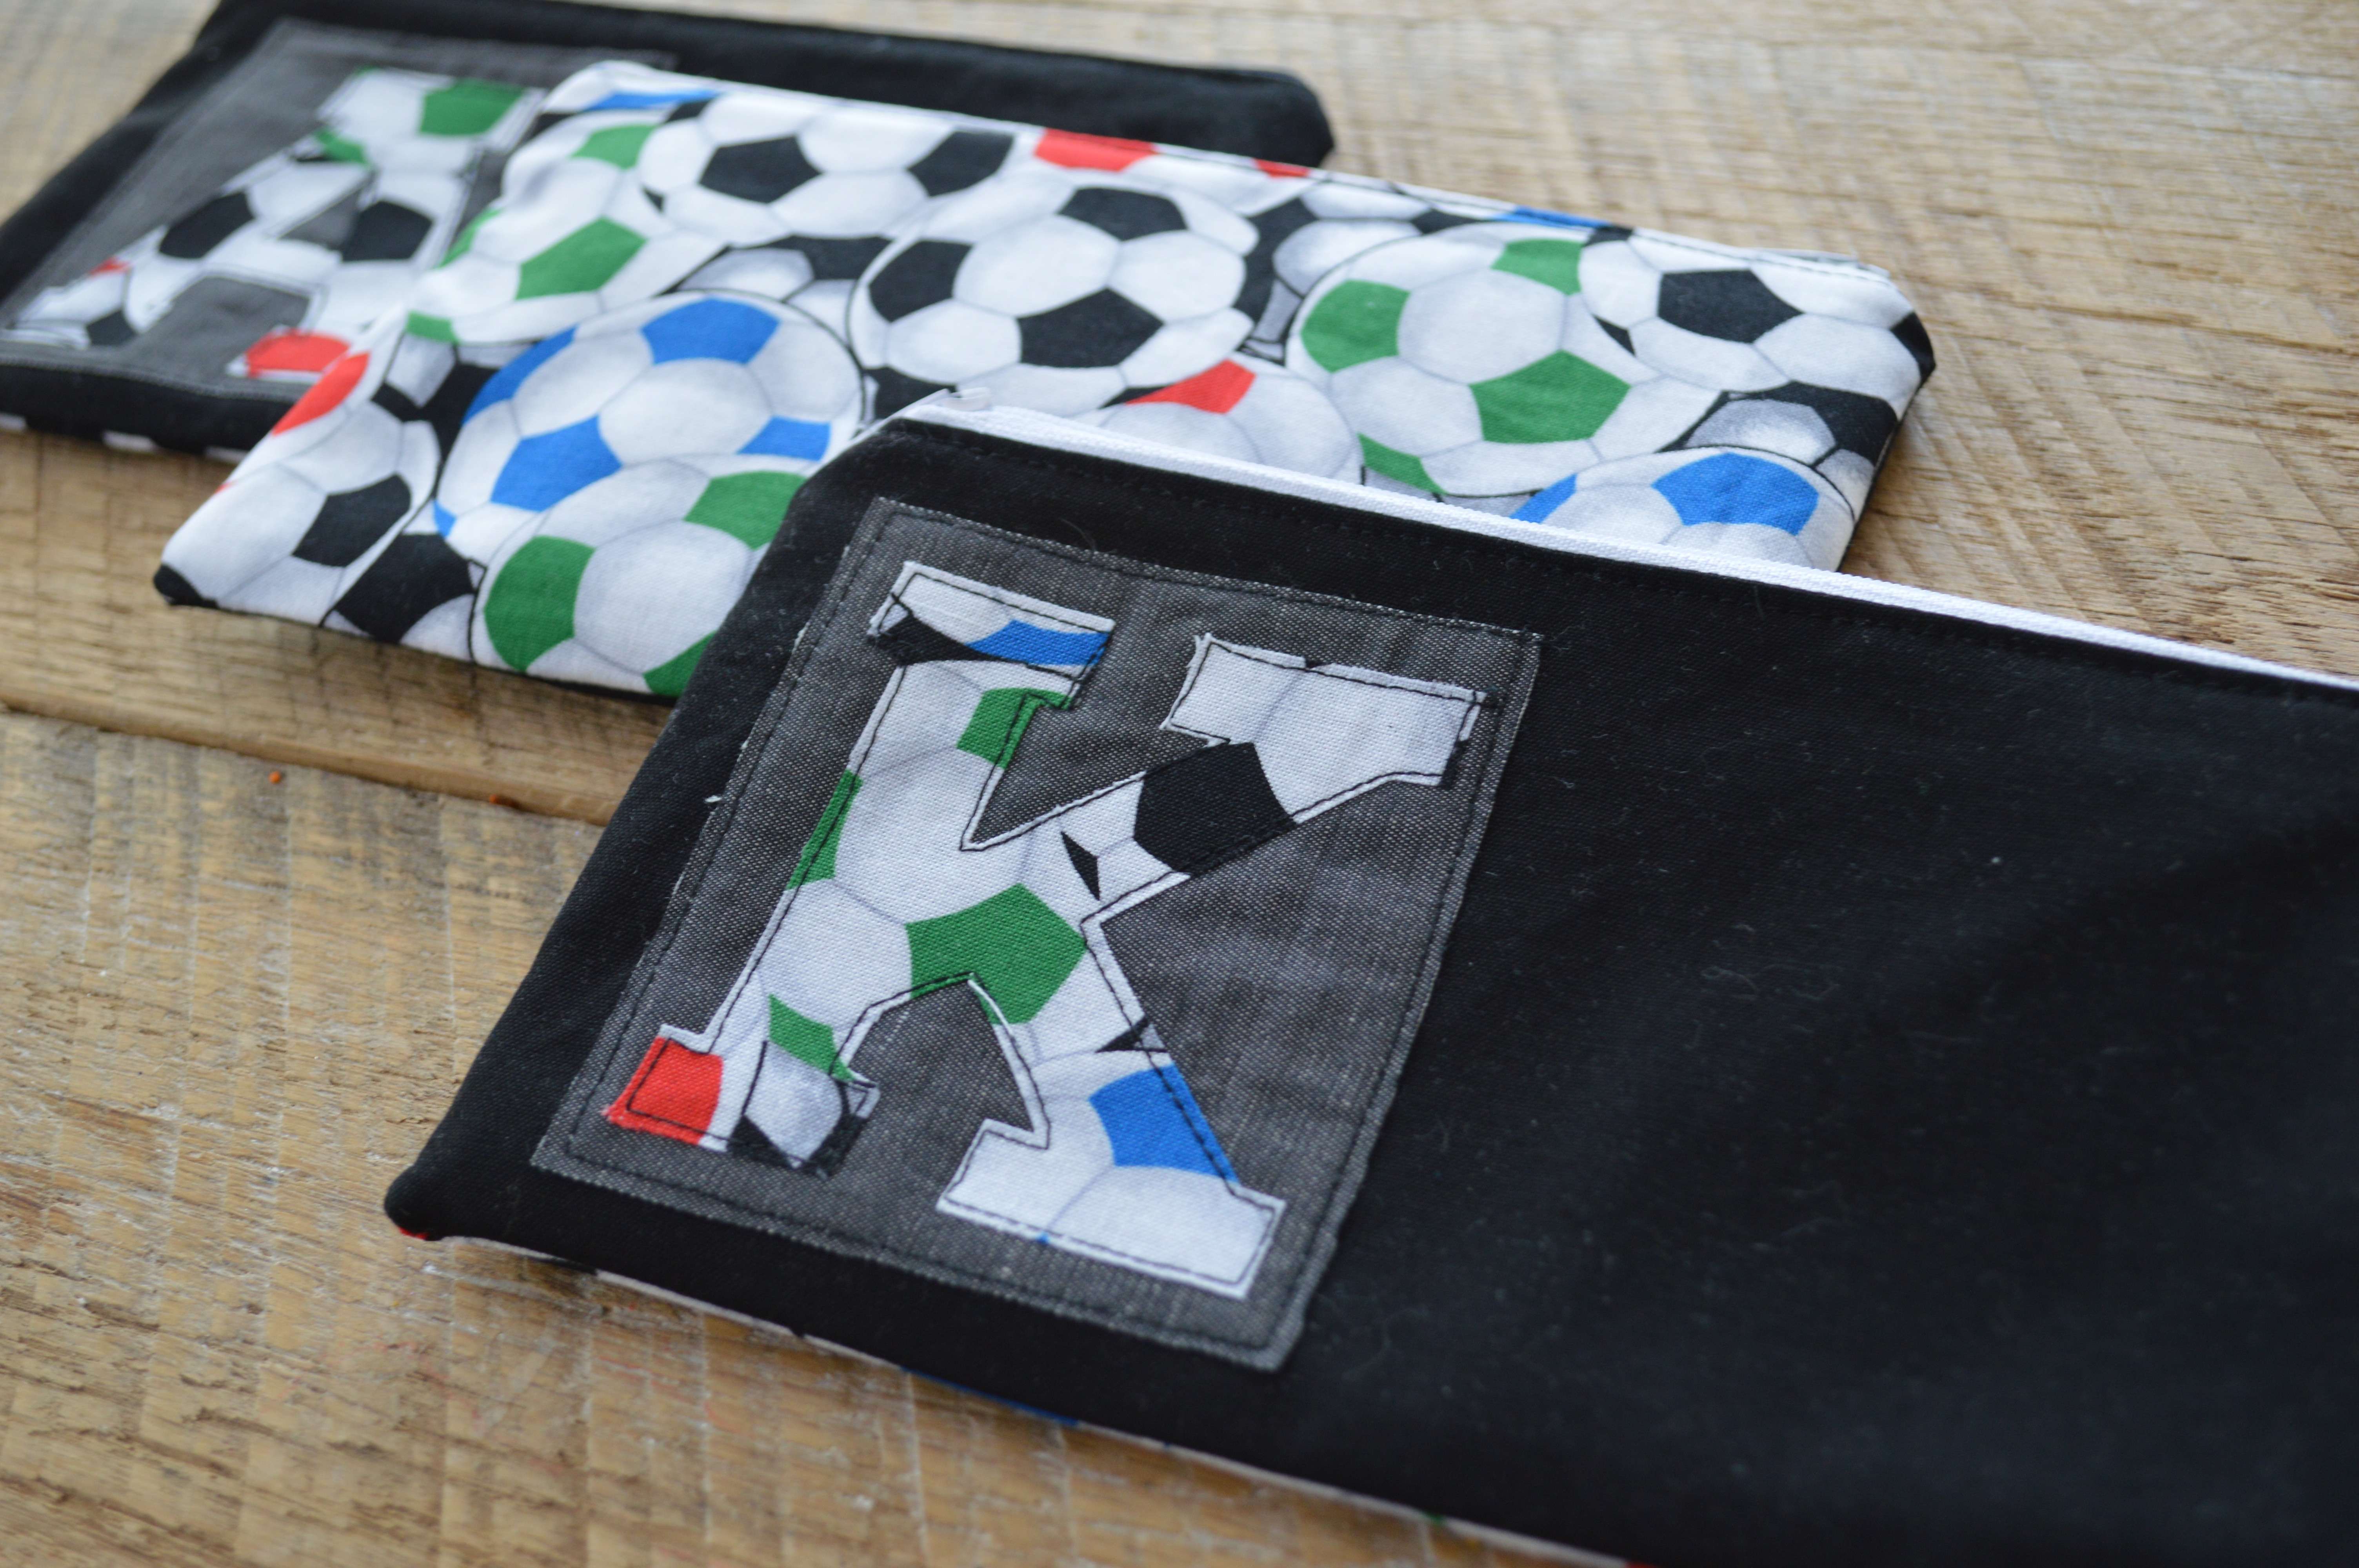
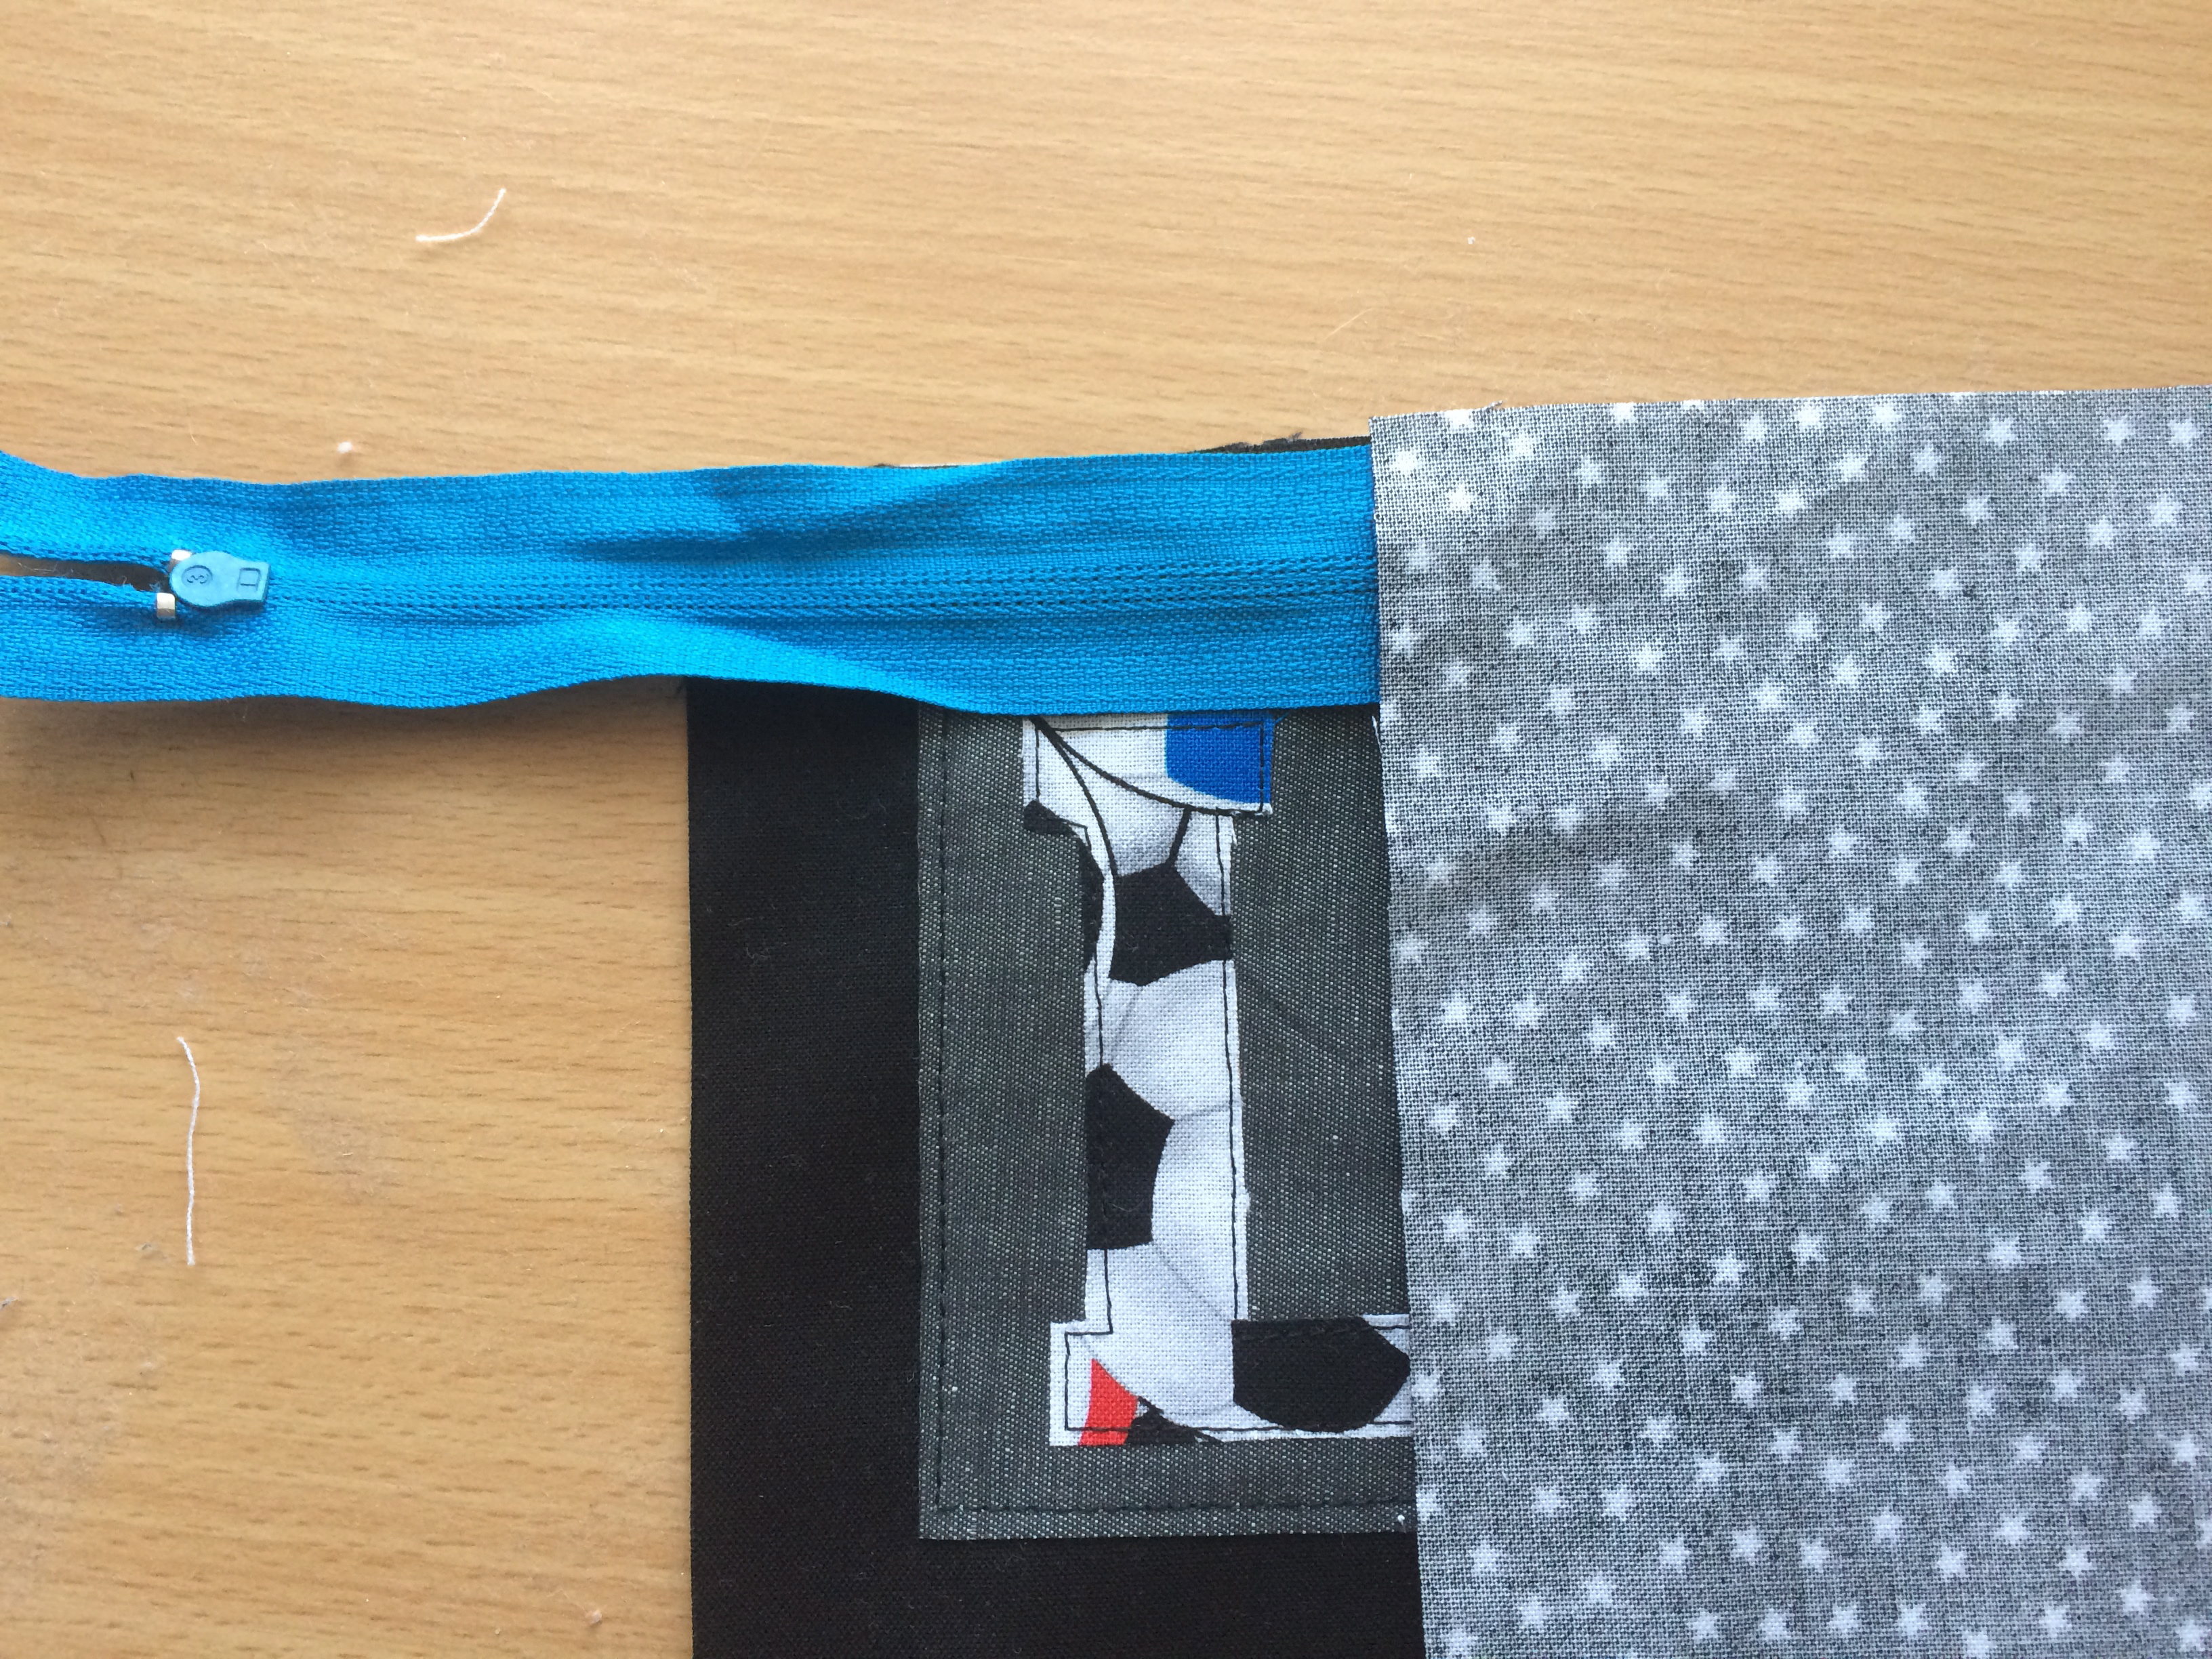
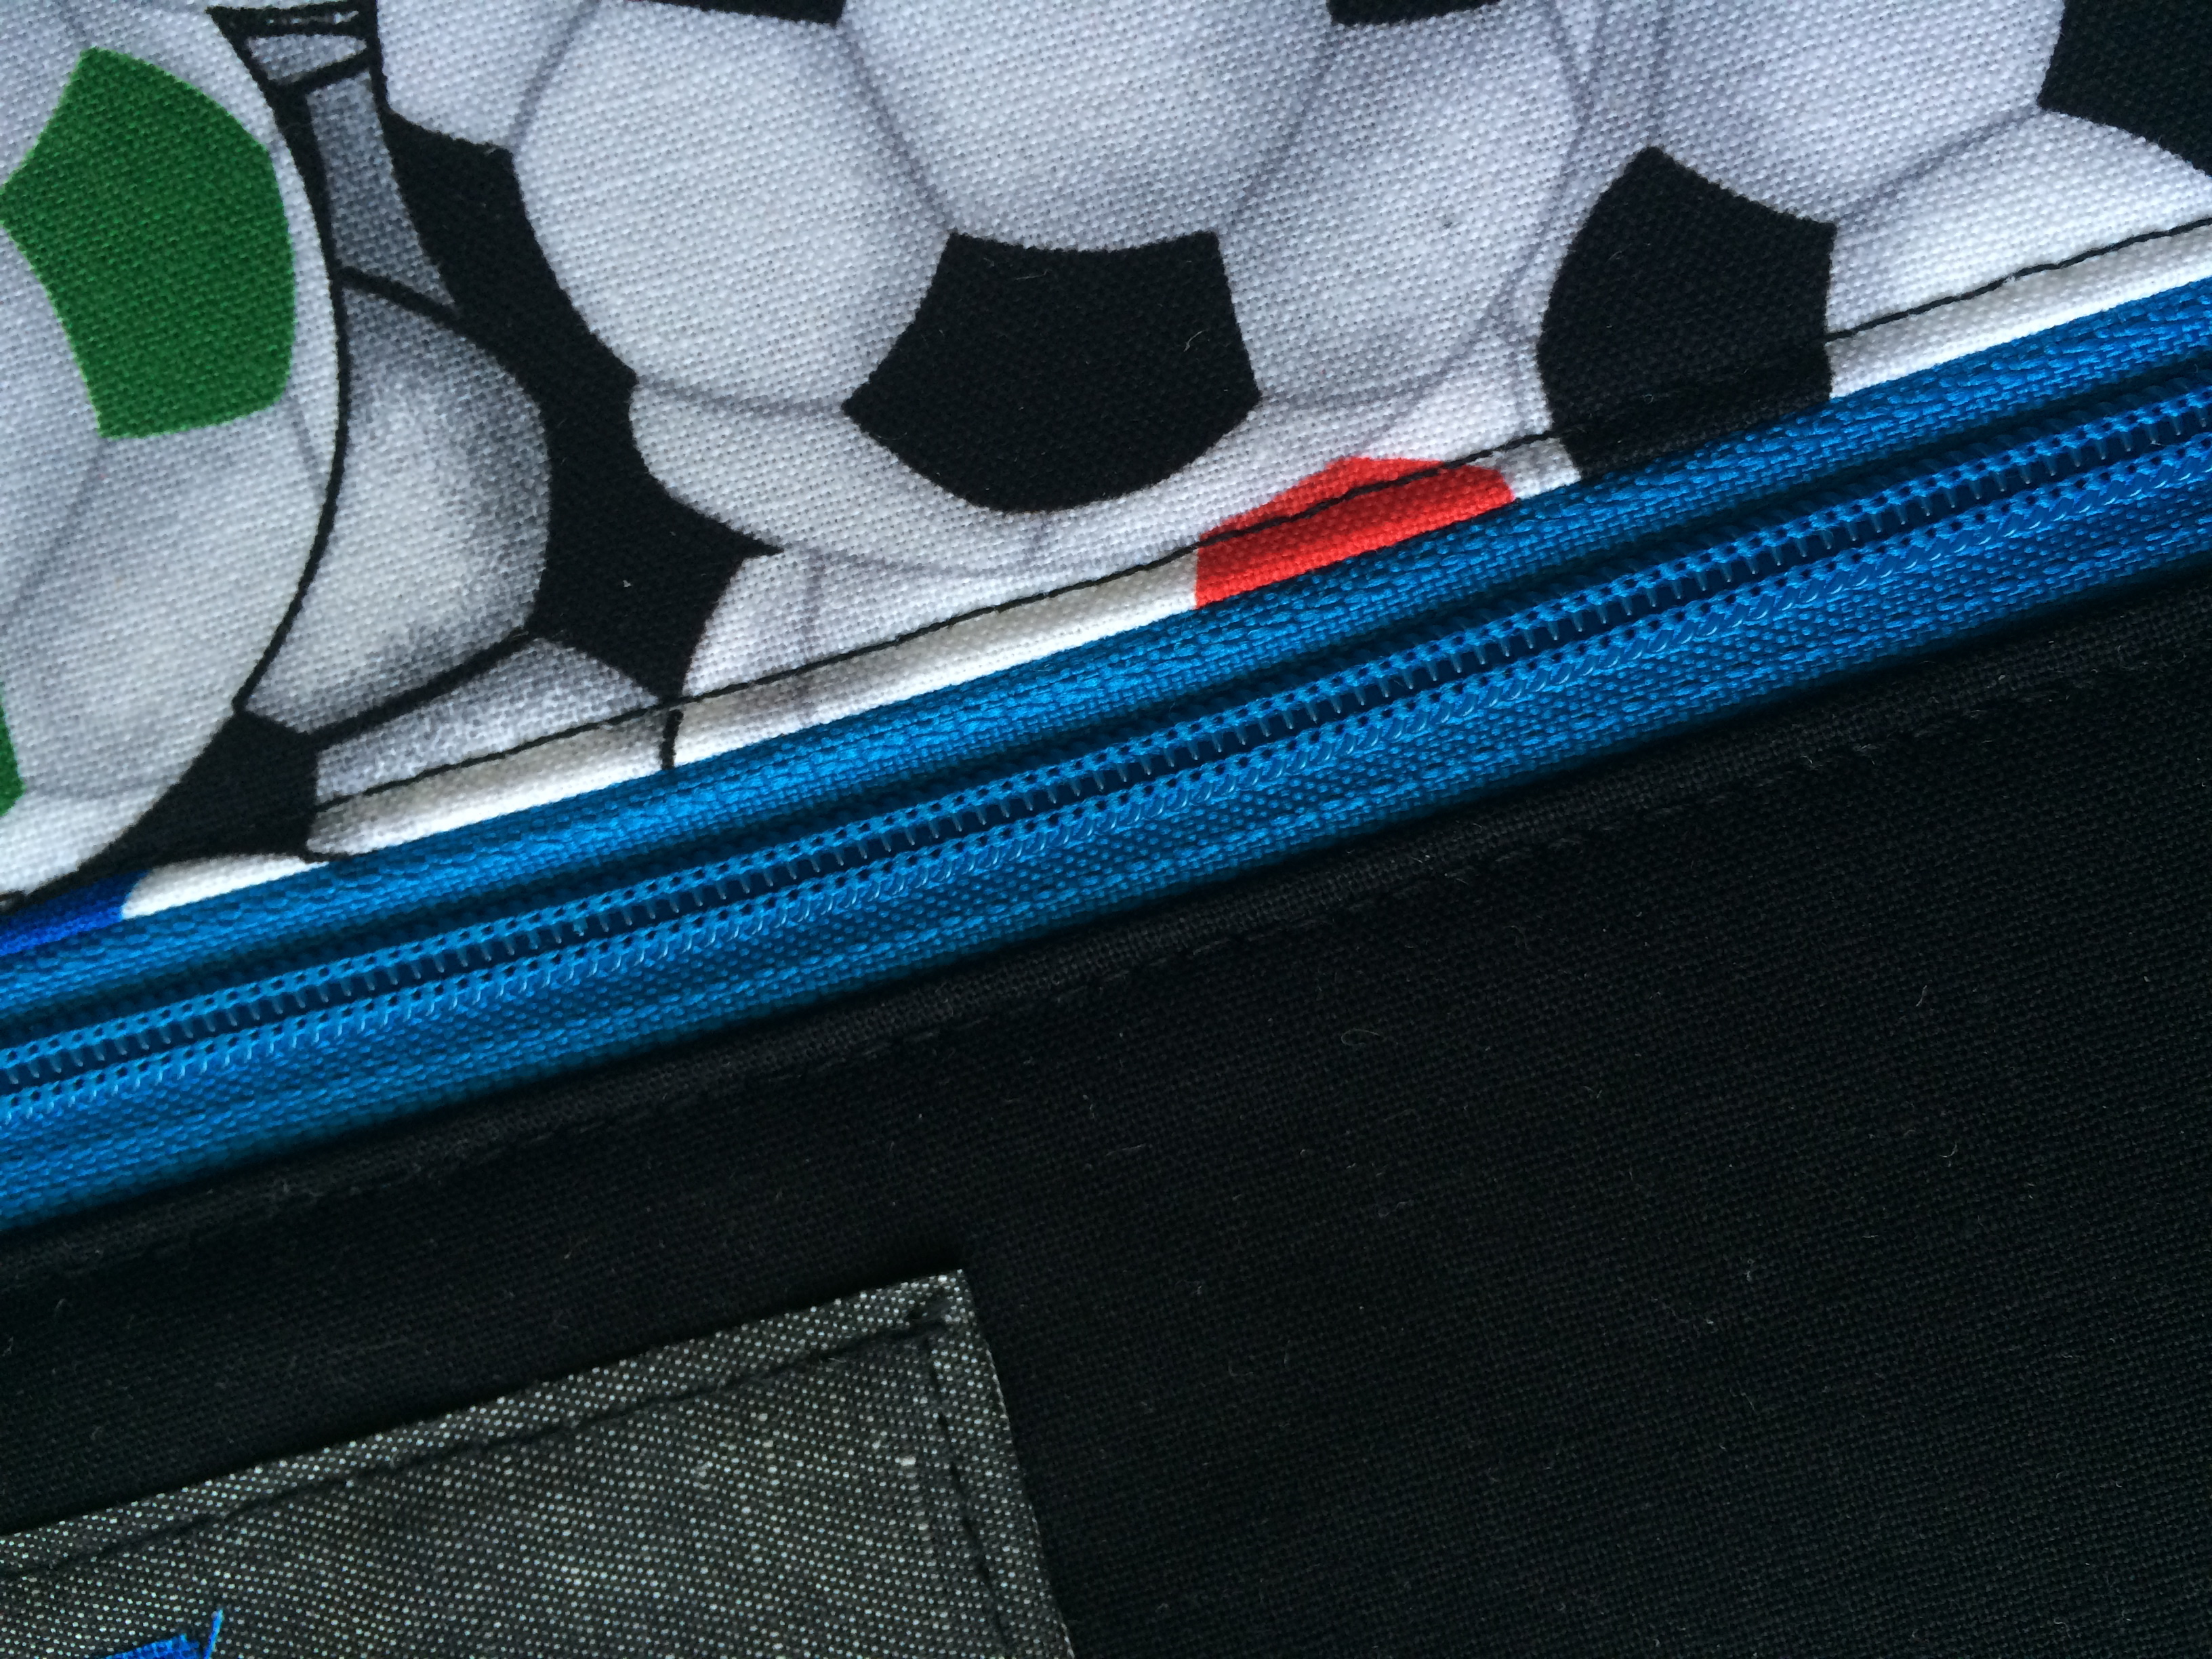
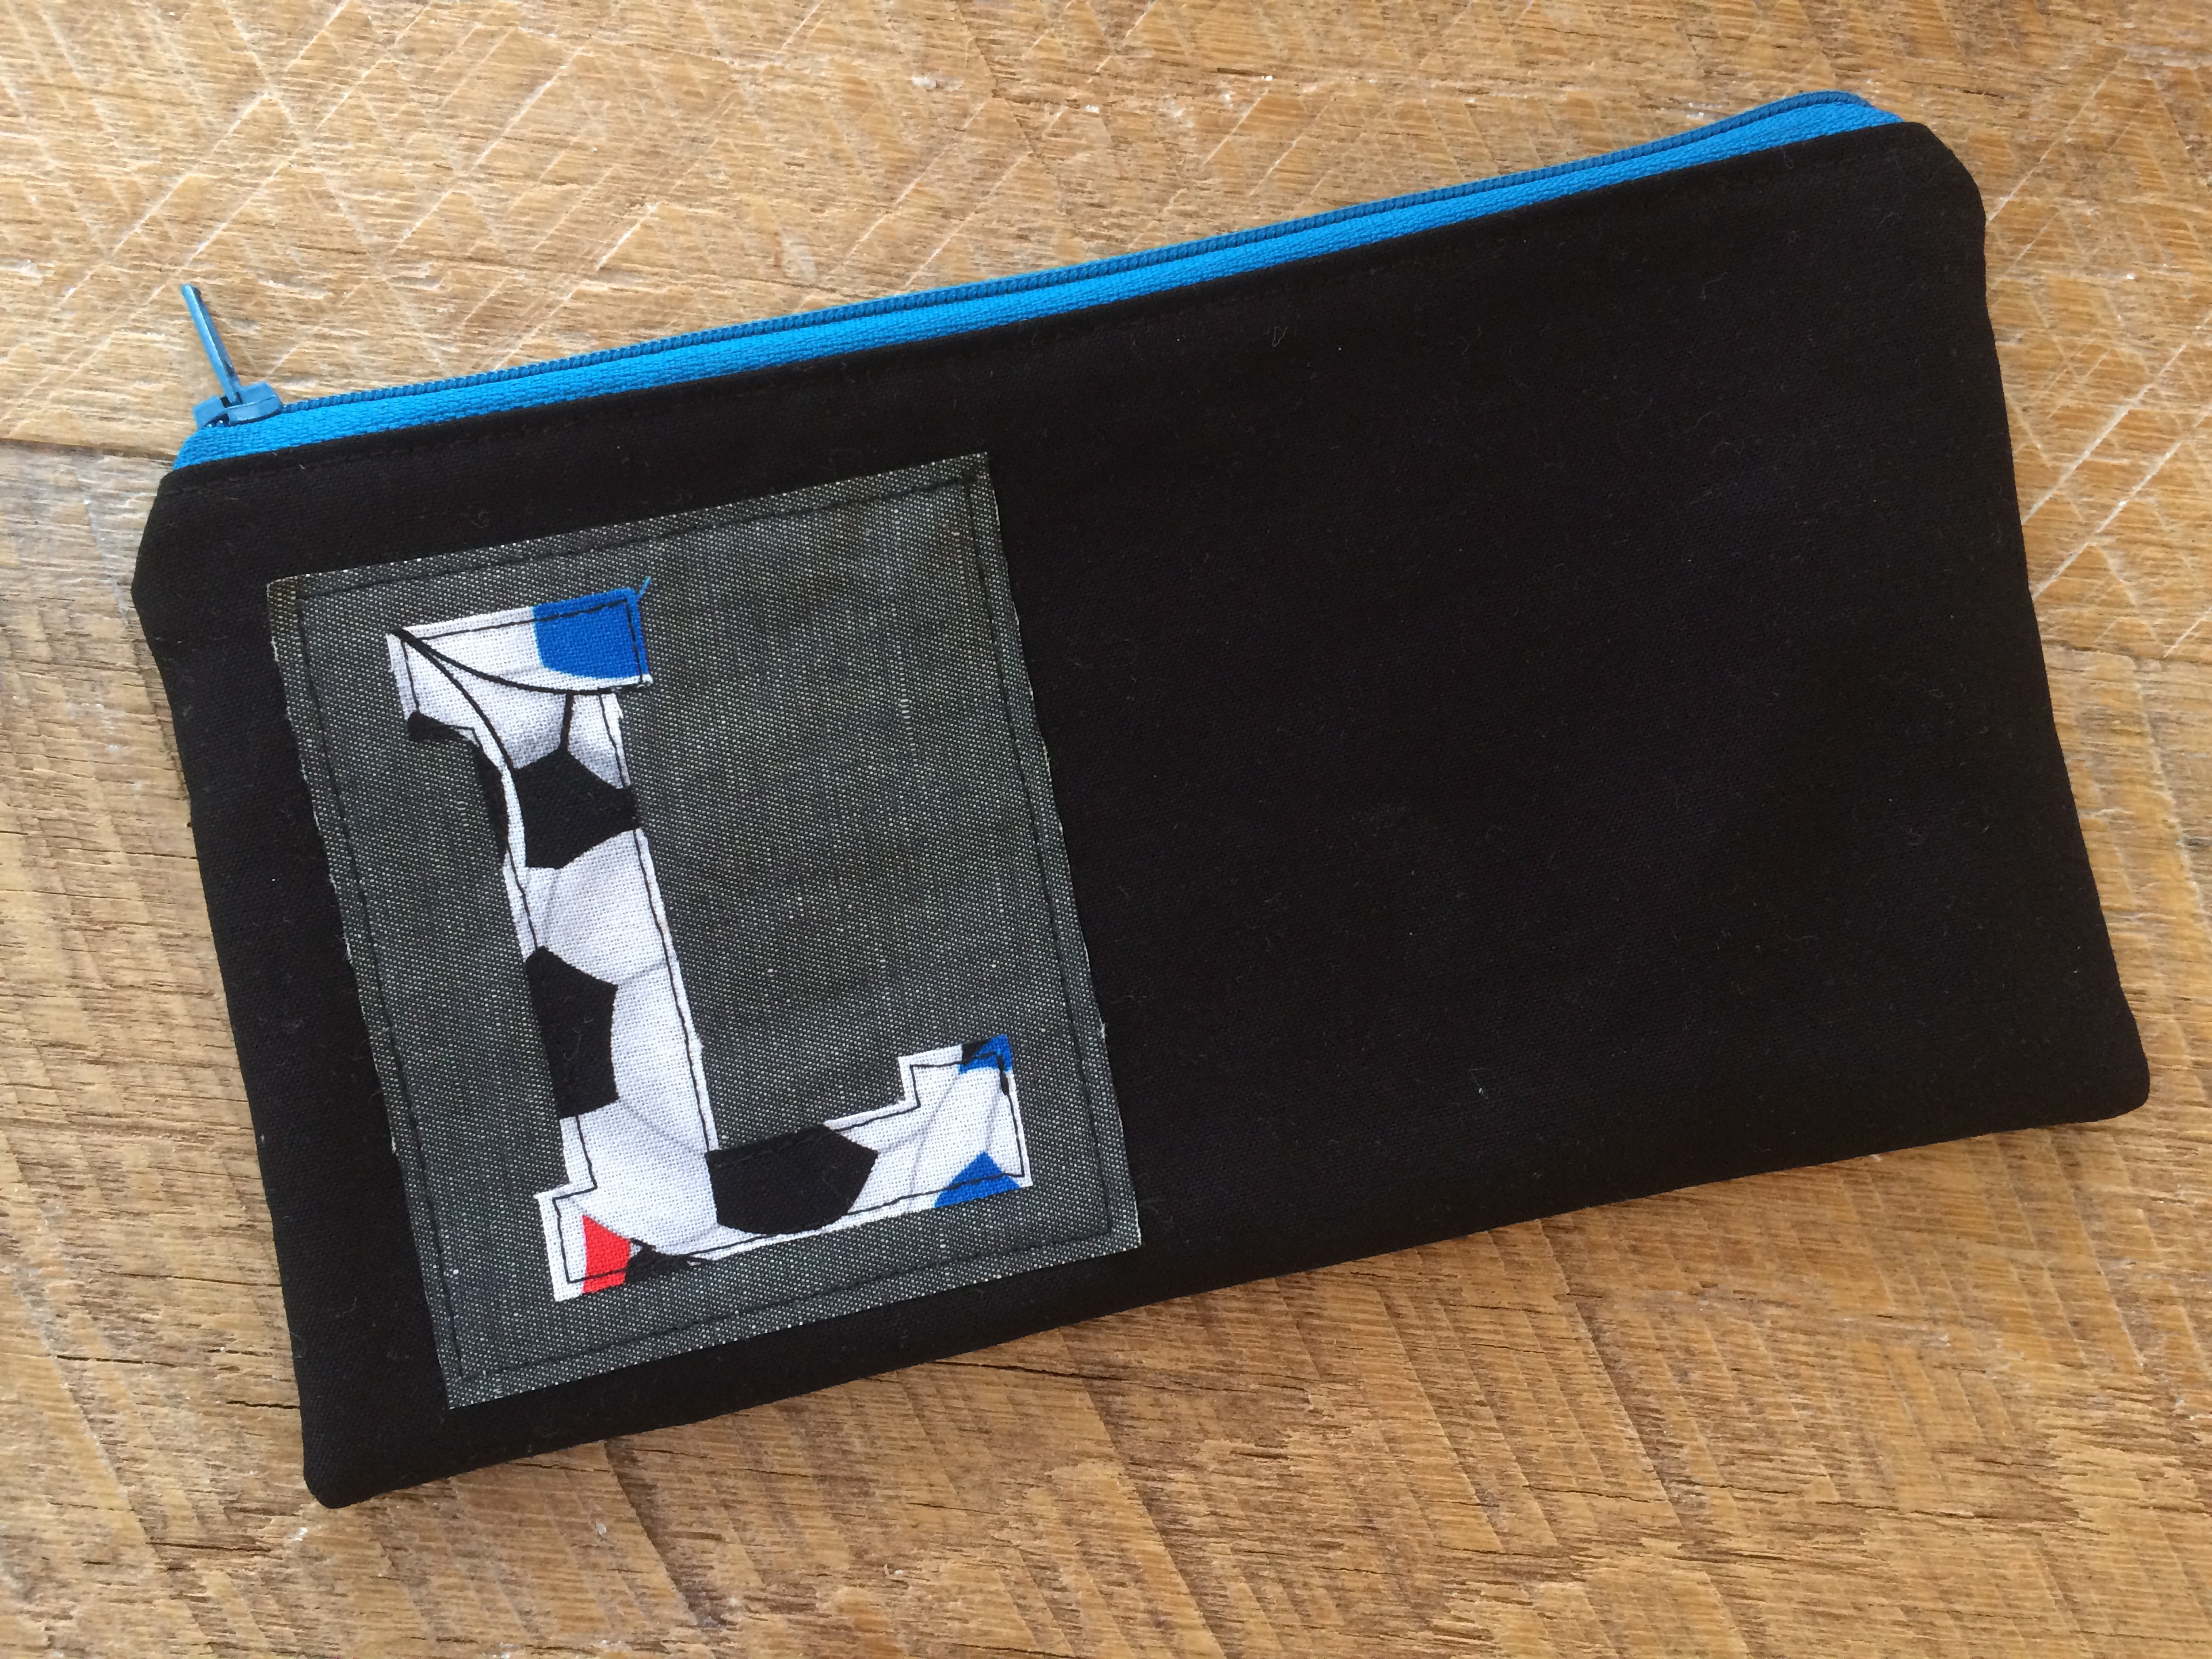
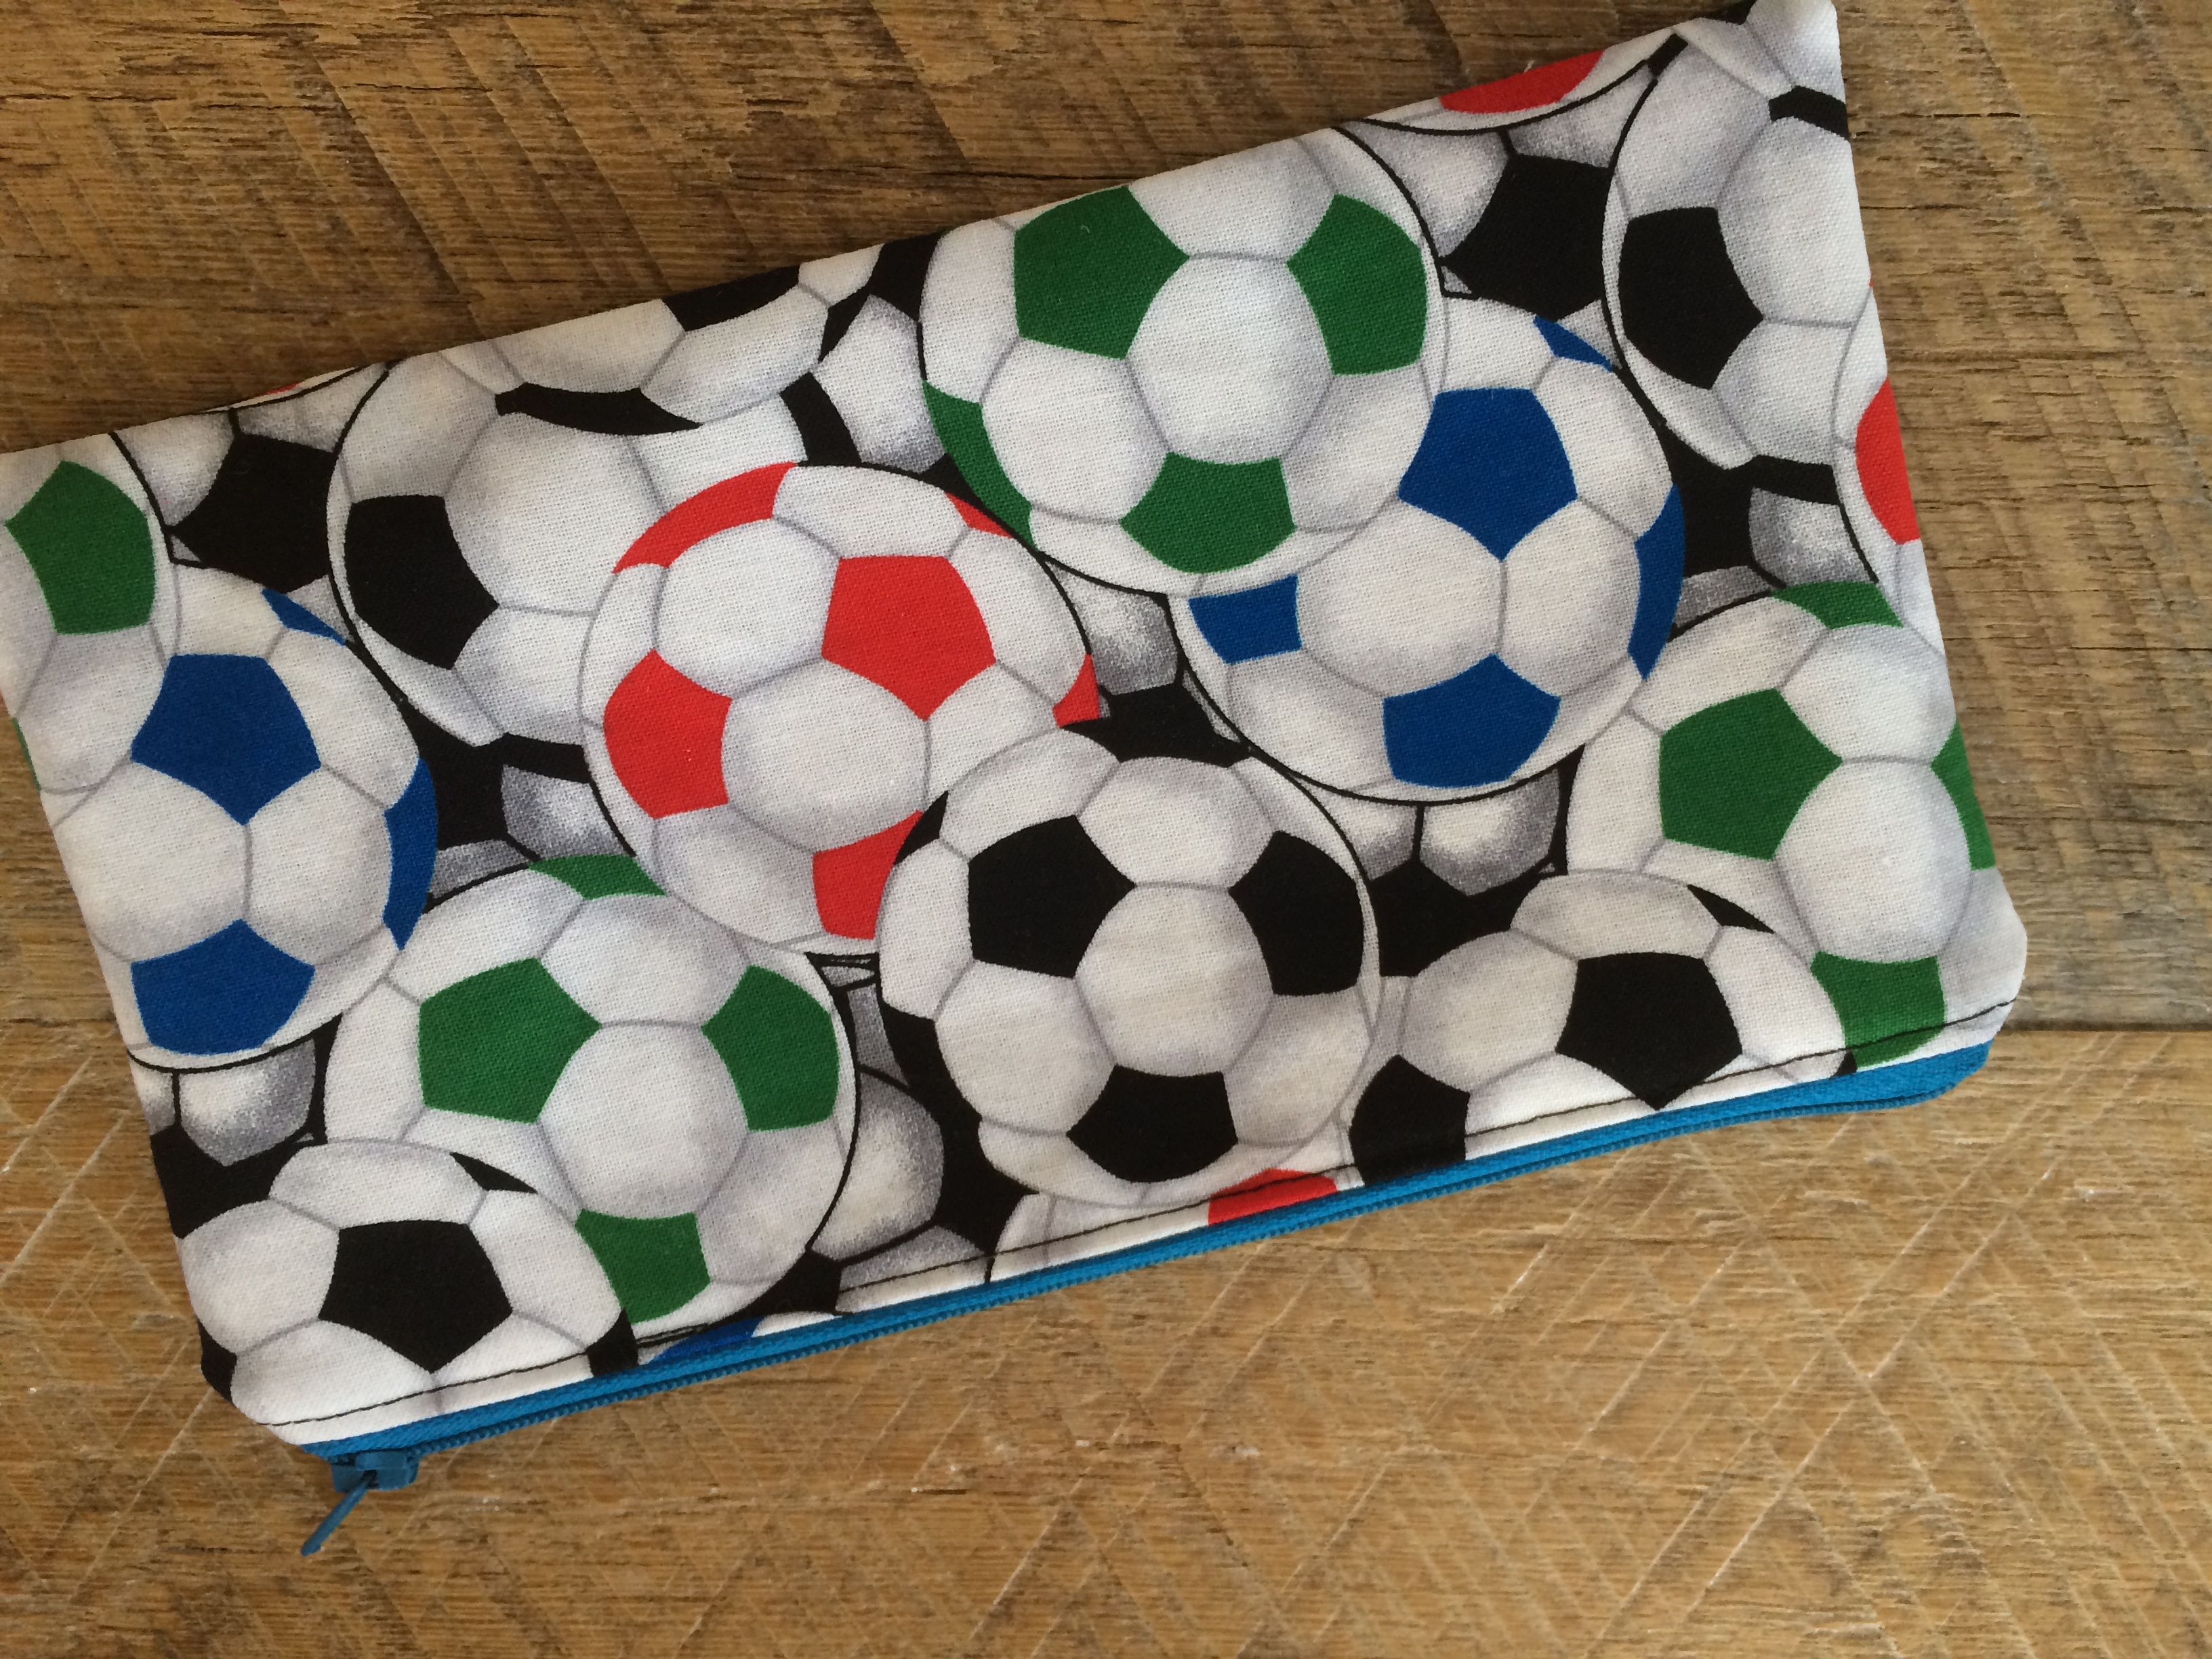
I put the zipper in the bottom portion of the pillow.  I like that you can see the zipper.

lucky pillow 10

You’re done!  Aren’t you LUCKY!!!!!lucky pillow 6

St. Patrick’s Day Banner

st. patricks day bannerI love sewing quick little banners!  This one can be made in 1 hour, or less if you’re speedy!  It’s the perfect size to hang in a window, on a frame, or a chalkboard.  I rummaged through my stash of fabrics and found these darling green prints from 3 different lines of Blend Fabric: Turkish DelightTea Garden, and The Makers.  I ironed Heat n Bond Lite to the back of the fabric and used my Sizzix Big Shot to cut out the shapes. Here’s how you can make one:

Supplies

1/3 yard burlap

1.5 yards green lace

scraps of green fabric for shamrocks

scraps of lace & white/yellow fabric for flowers.

Heat n Bond Lite

Sizzix Shamrock Die , flower die, and Flower Layers Die
shamrock banner st. patricks day


Cut (5) burlap rectangles 8″ x 5.5″shamrock banner st. patricks day 5

Fold the rectangles in half lengthwise and cut a 1.5″ angle off the bottom. 

shamrock banner st. patricks day 6

Iron the Heat n Bond Lite to the back of the appliqué fabric.  Then have your cat run it through the Sizzix Big Shot.

IMG_4084

IMG_4071

Peel off the backing fabric of the shapes and press it to the burlap flags.
shamrock banner st. patricks day 9
Cut the lace out with the flower die cut.  Don’t put Heat n Bond on the lace.  Put the Heat n Bond on the center flower instead.  I was going to put buttons in the center of the flowers but totally forgot!

shamrock banner st. patricks day 8


Sew around each image using a straight stitch.  Then line them up and sew the lace to the tops.shamrock banner st. patricks day 14

shamrock banner st. patricks day 15
It’s done!  Go hang it somewhere fun!!!

shamrock banner st. patricks day 12


Mine is on my front porch 🙂shamrock banner st. patricks day 11


Soccer Zipper Pouch Tutorial

soccer team gift

It’s the day before my son’s school soccer party and I decided I should make each of the 12 boys a gift.  Now what to make?  I know – a zipper pouch of course!  Why do I do this to myself?  Really, 12 zipper pouches in 24 hours?  It’s a good thing I buy my zippers in bulk 🙂
IMG_3934

I was so happy I decided to make these little pouches because the boys (age 11-13) LOVED them.  soccer zipper pouch

Each pouch has their initial appliquéd on it.  soccer zipper pouch 1
The back of the zipper pouch is soccer ball fabric.  This is a great size because it can be a pen/pencil pouch, or hold other items like phone, keys, or in my sons case an inhaler and kleenex 🙂soccer zipper pouch 3

The inside of the pouches are all different black and white prints.  I just used up what I had.soccer zipper pouch 5

These are great for any type of party favor – just change up the fabric!
soccer zipper pouch 7

Heres how you can make one!

Supplies:

Fabric for outer bag and lining and scraps for appliqué square

12″ or longer zipper

Heat n Bond fusibile stabilizer

Heat n Bond EZ print sheets

Begin by printing the desired initial in reverse on the Heat n Bond EZ print sheets.  If you don’t have the printable sheets, print the letters in reverse on paper and then trace them to a fusible appliqué paper.

soccer zipper pouch 9

Iron the letters to the wrong side of the soccer ball fabric.  Cut out each letter.  Or, have your daughter cut them out for you while you sew the bags because the clock is ticking!!

Cut (2) outer bag pieces 8.75″ x 5″

cut (2) lining pieces 8.75″ x 5″

cut (2) fusible stabilizer pieces 8.75″ x 5″

soccer zipper pouch 11

Iron the stabilizer to the wrong side of the outer bag pieces.soccer zipper pouch 10

Cut a 3.5″ or so square (it just needs to frame the letter) of grey denim fabric.  Layer it as pictured below.  Peel the backing paper off the letter and heat set it into place.

soccer zipper pouch 13


Stitch around the square and the letter.soccer zipper pouch 15

To insert the zipper…..lay the zipper face down on the front of the bag.  Then place a lining piece right side down on top of the zipper, like this: (note, position the front and the lining piece so they line up perfectly.  I moved the lining piece over for the picture so you can tell how they are layered.

soccer zipper pouch 14

Pin the pieces into place.  Notice the zipper ends are hanging out – totaly ok.  In my other zipper pouch tutorials I have made zipper tabs.  I skipped this step to save time.
soccer zipper pouch 16

Sew using a zipper foot along the edge like this:soccer zipper pouch 17


Now do the same thing to the other side.  This is how it is layered: the backing fabric (soccer balls) face up, the letter piece face down then add the second lining piece so the right sides are together.  Line everything up and sew.soccer zipper pouch 18

It should look like this before you sew:soccer zipper pouch 19

Once the zipper is in, press the sides like this:  
soccer zipper pouch 22

Top stitch next to the zipper.soccer zipper pouch 23


Trim off the excess zipper making sure not to trim the zipper pull.soccer zipper pouch 24


I spy a kitty paw 🙂

soccer zipper pouch 30
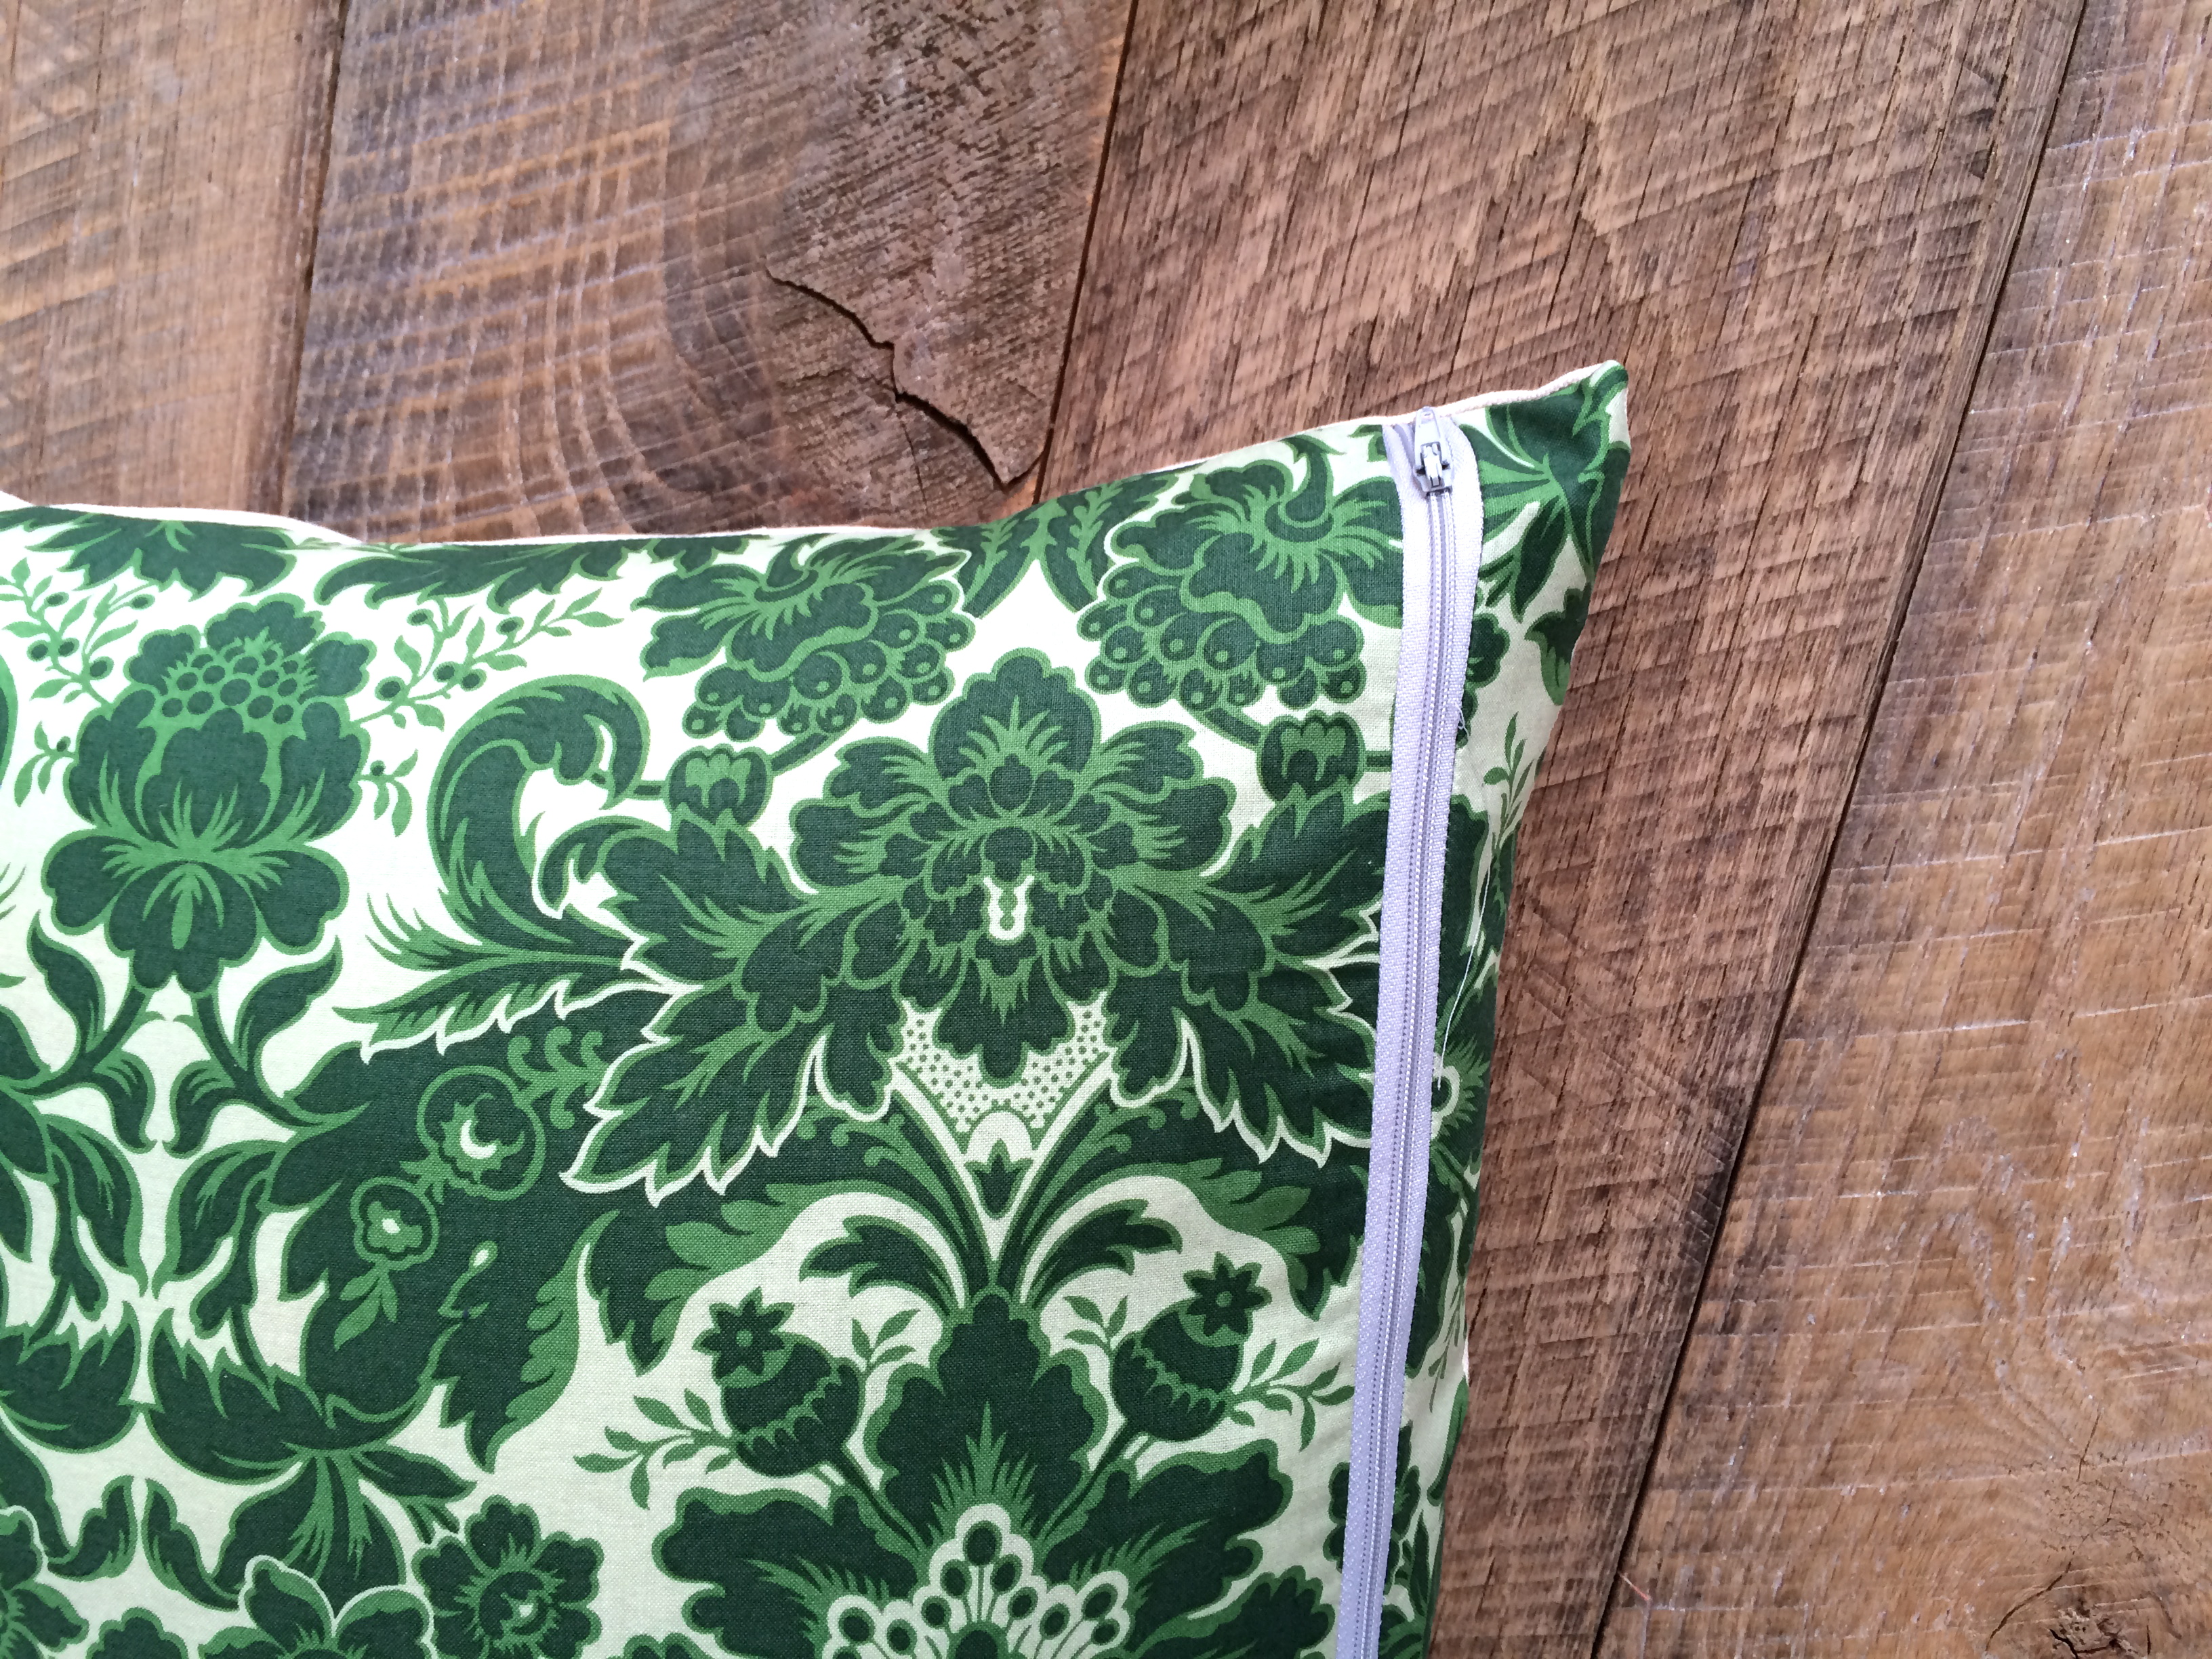
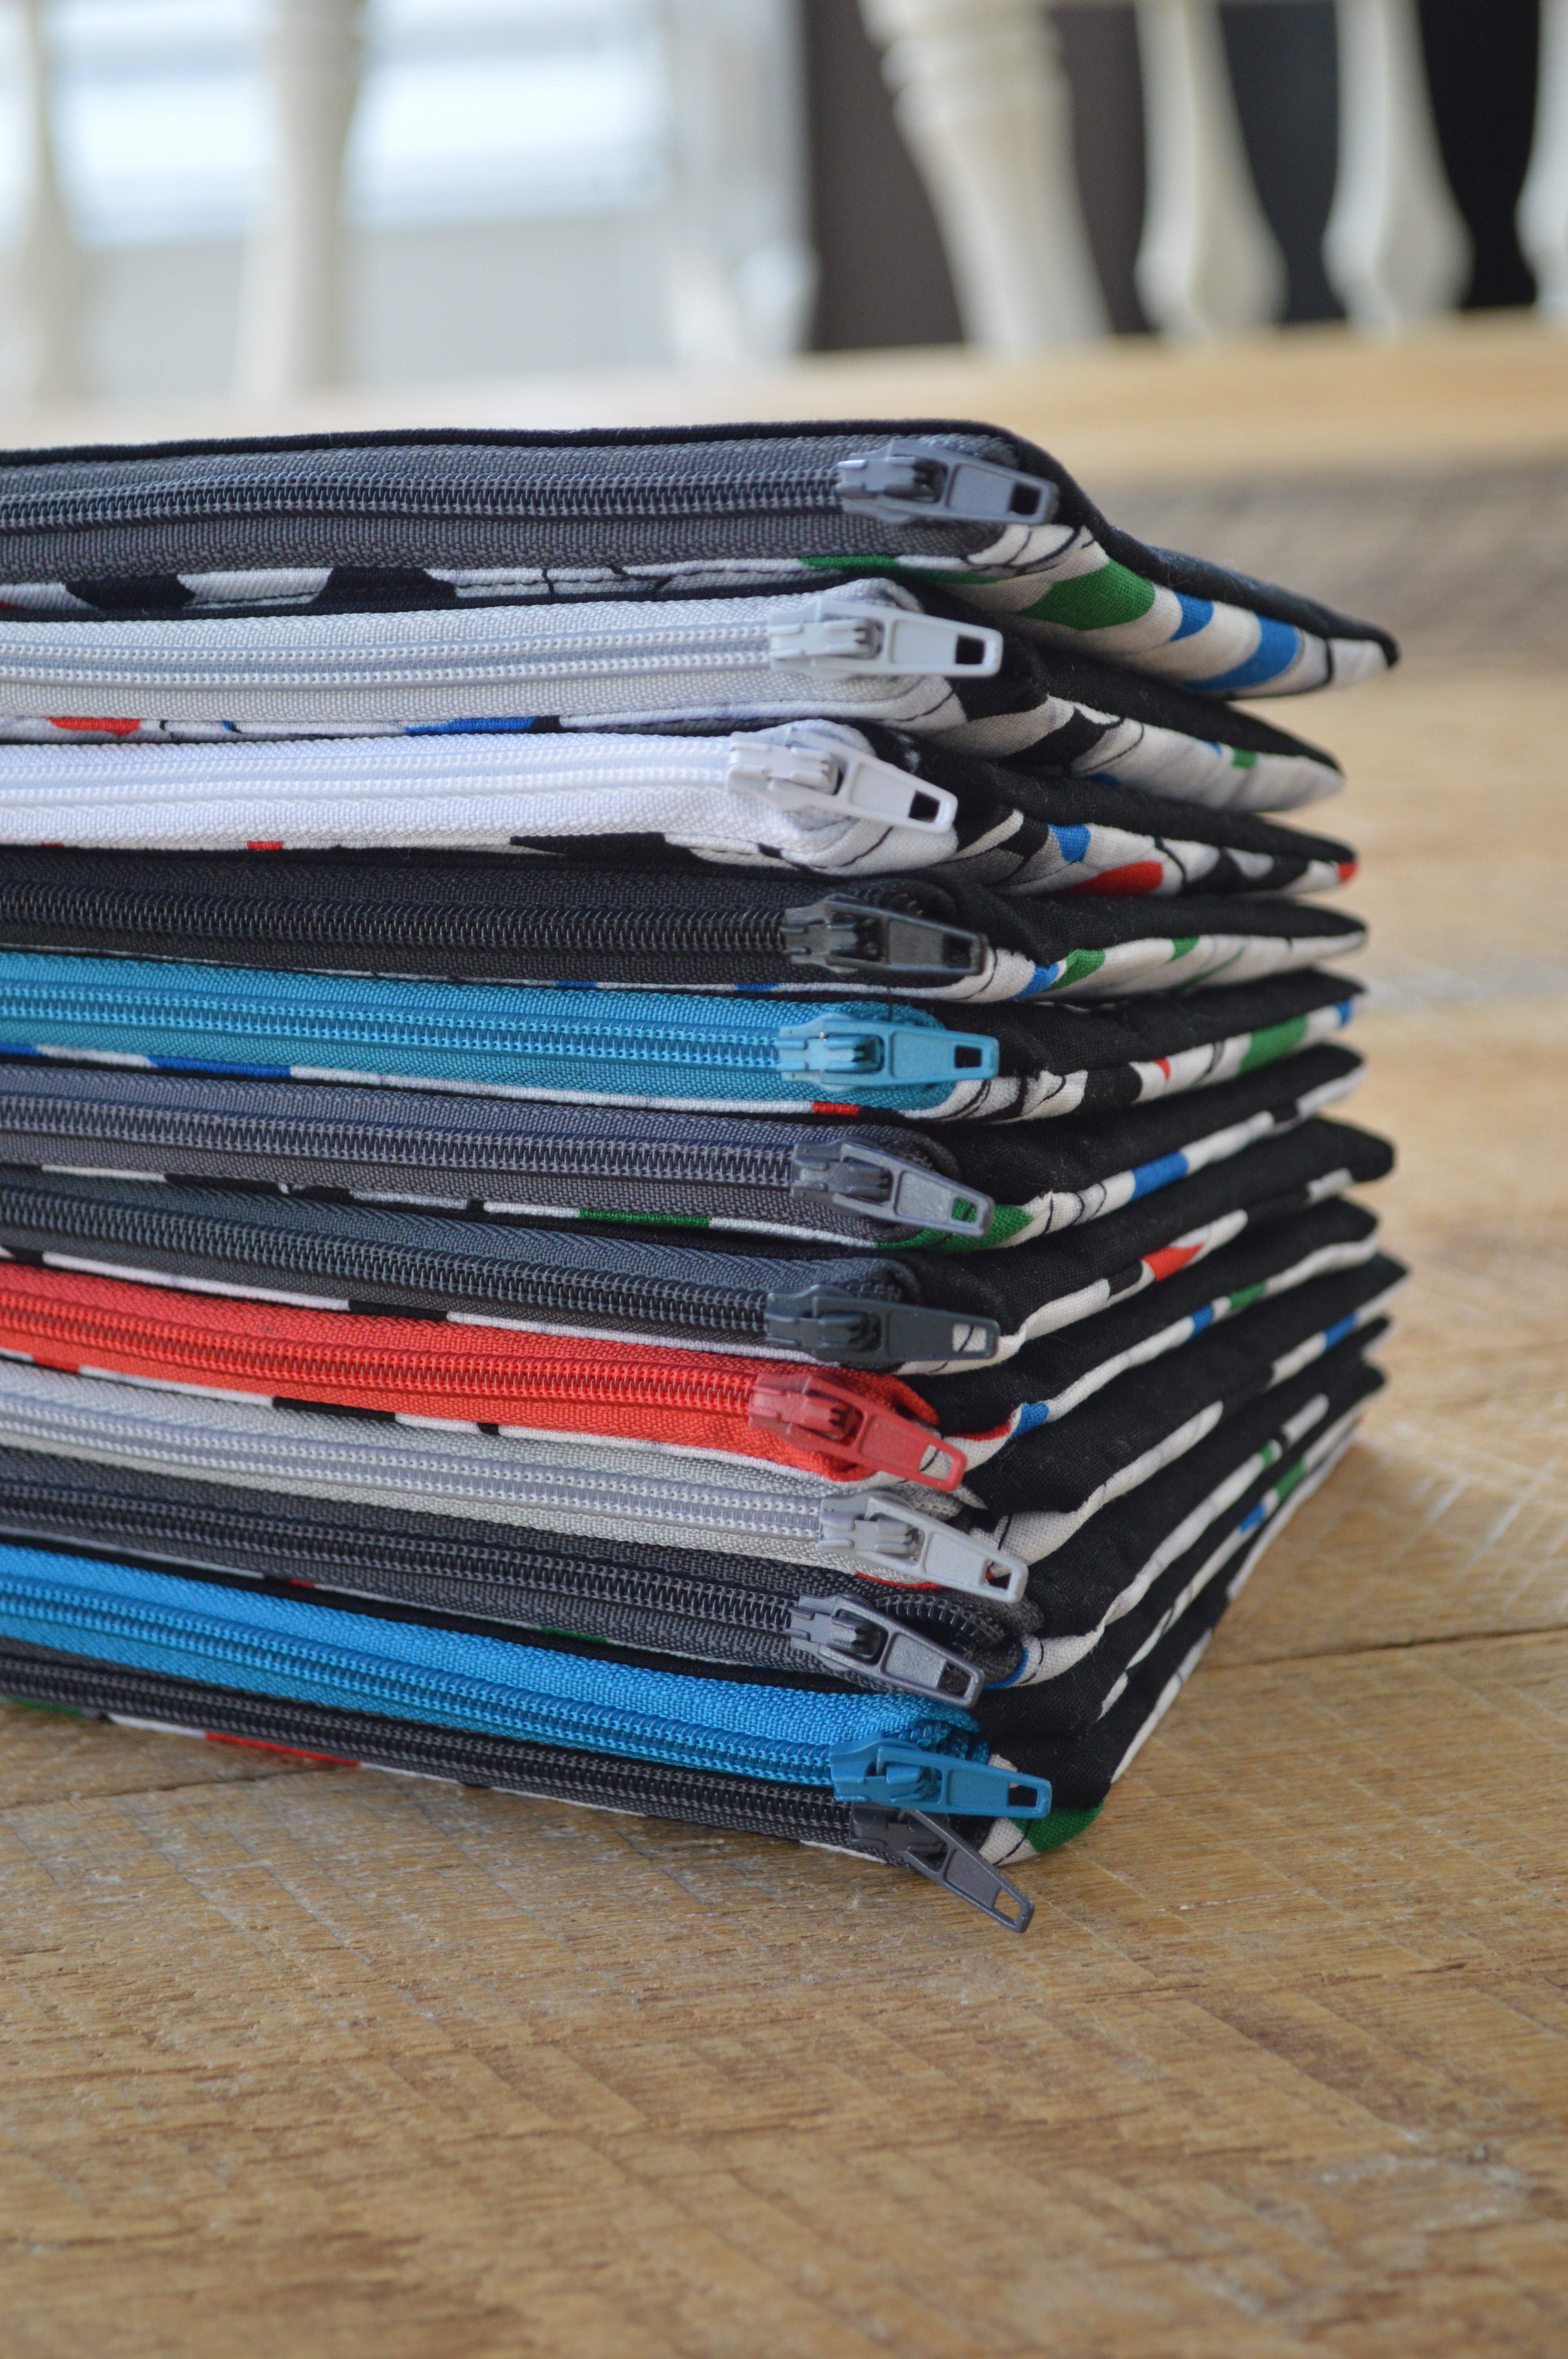
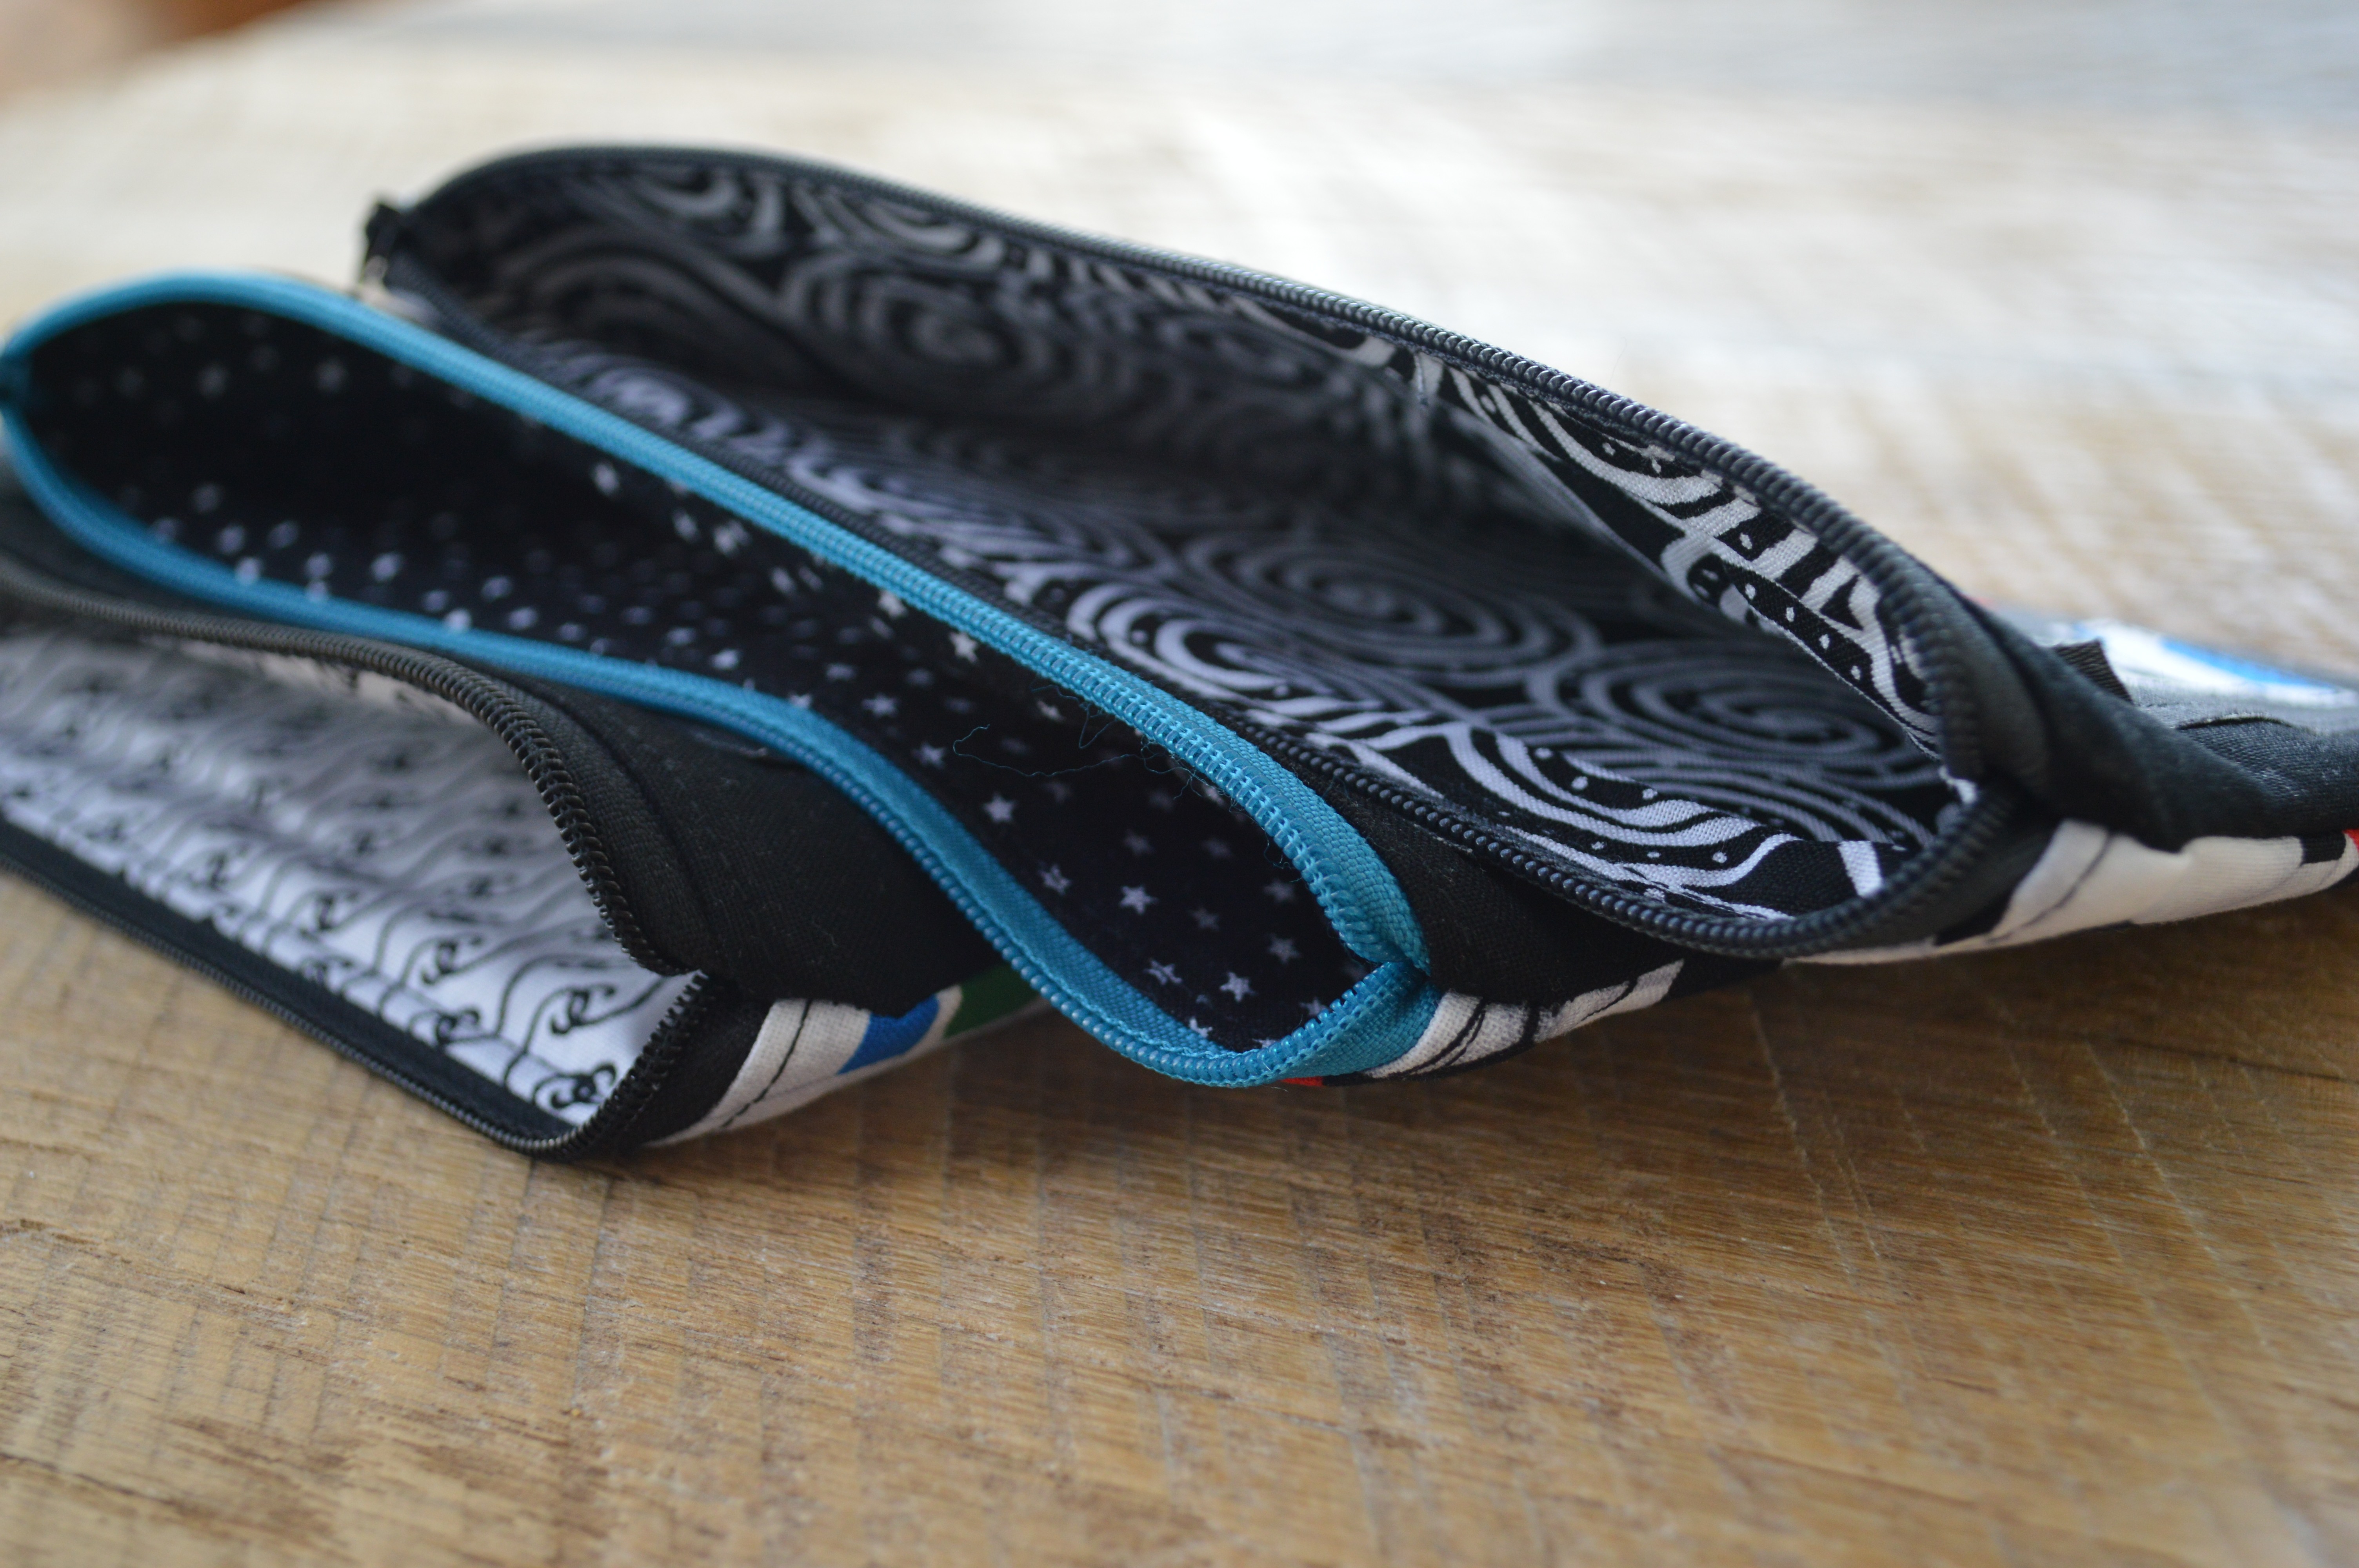
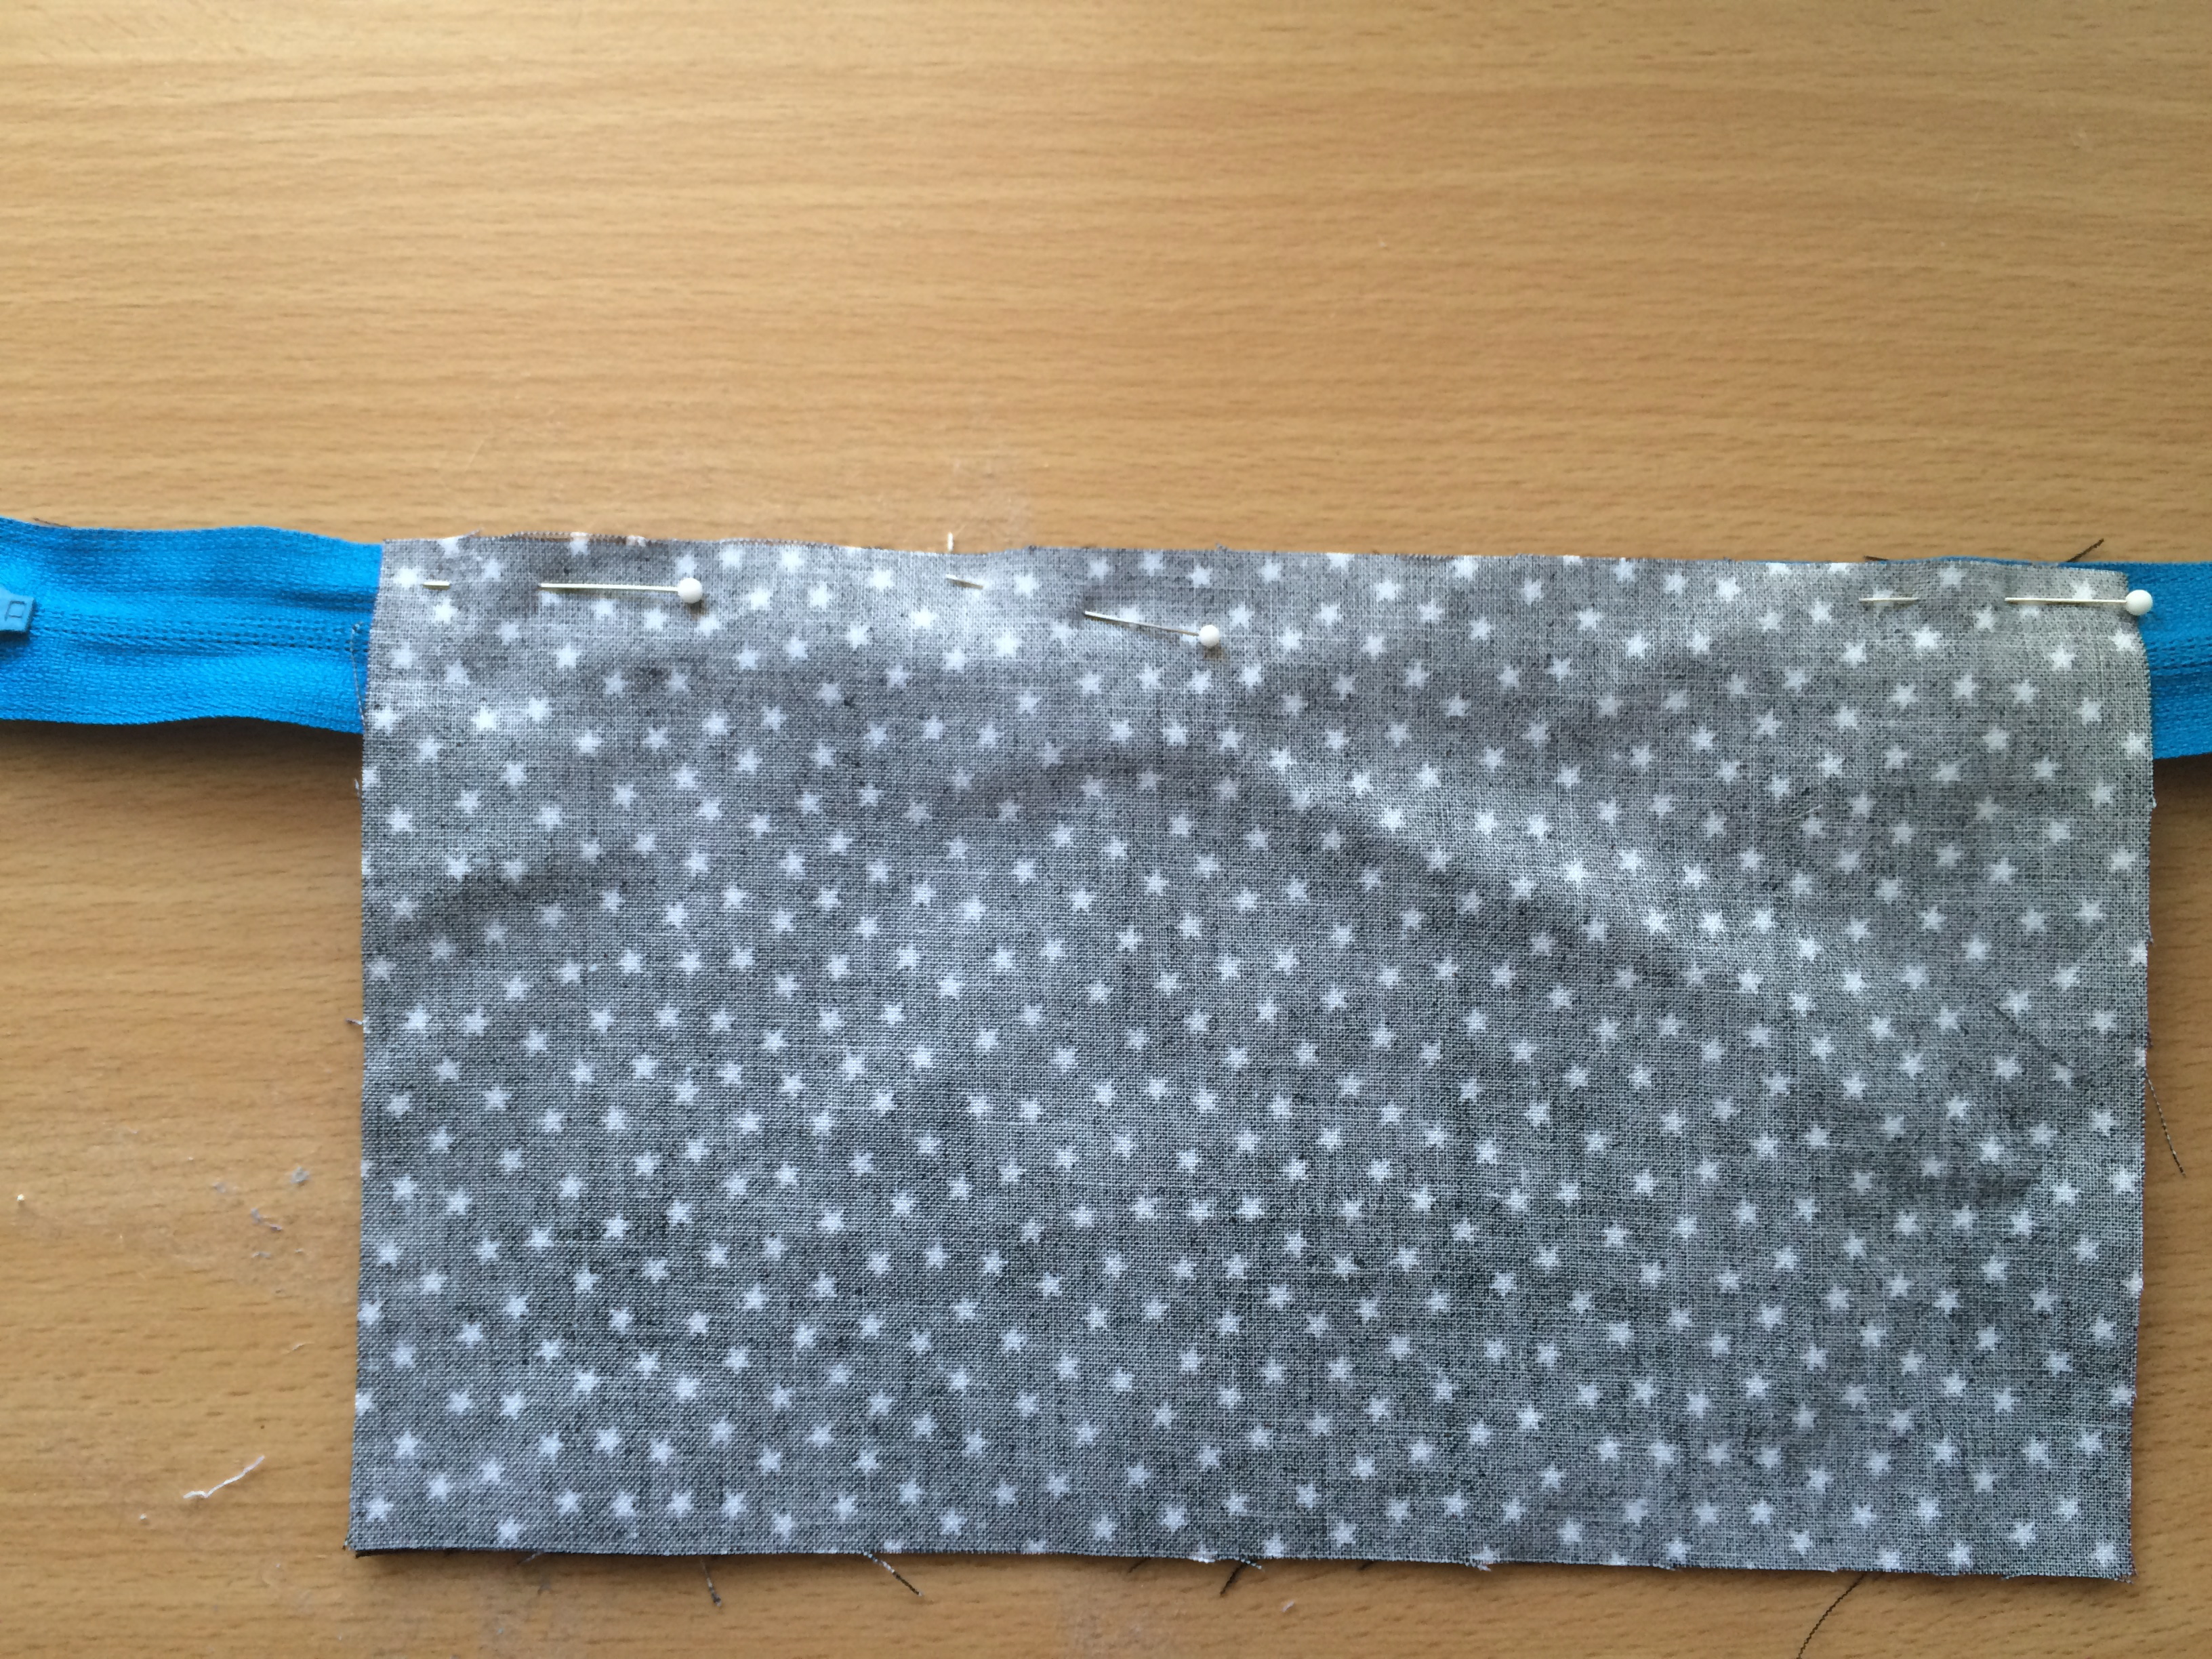
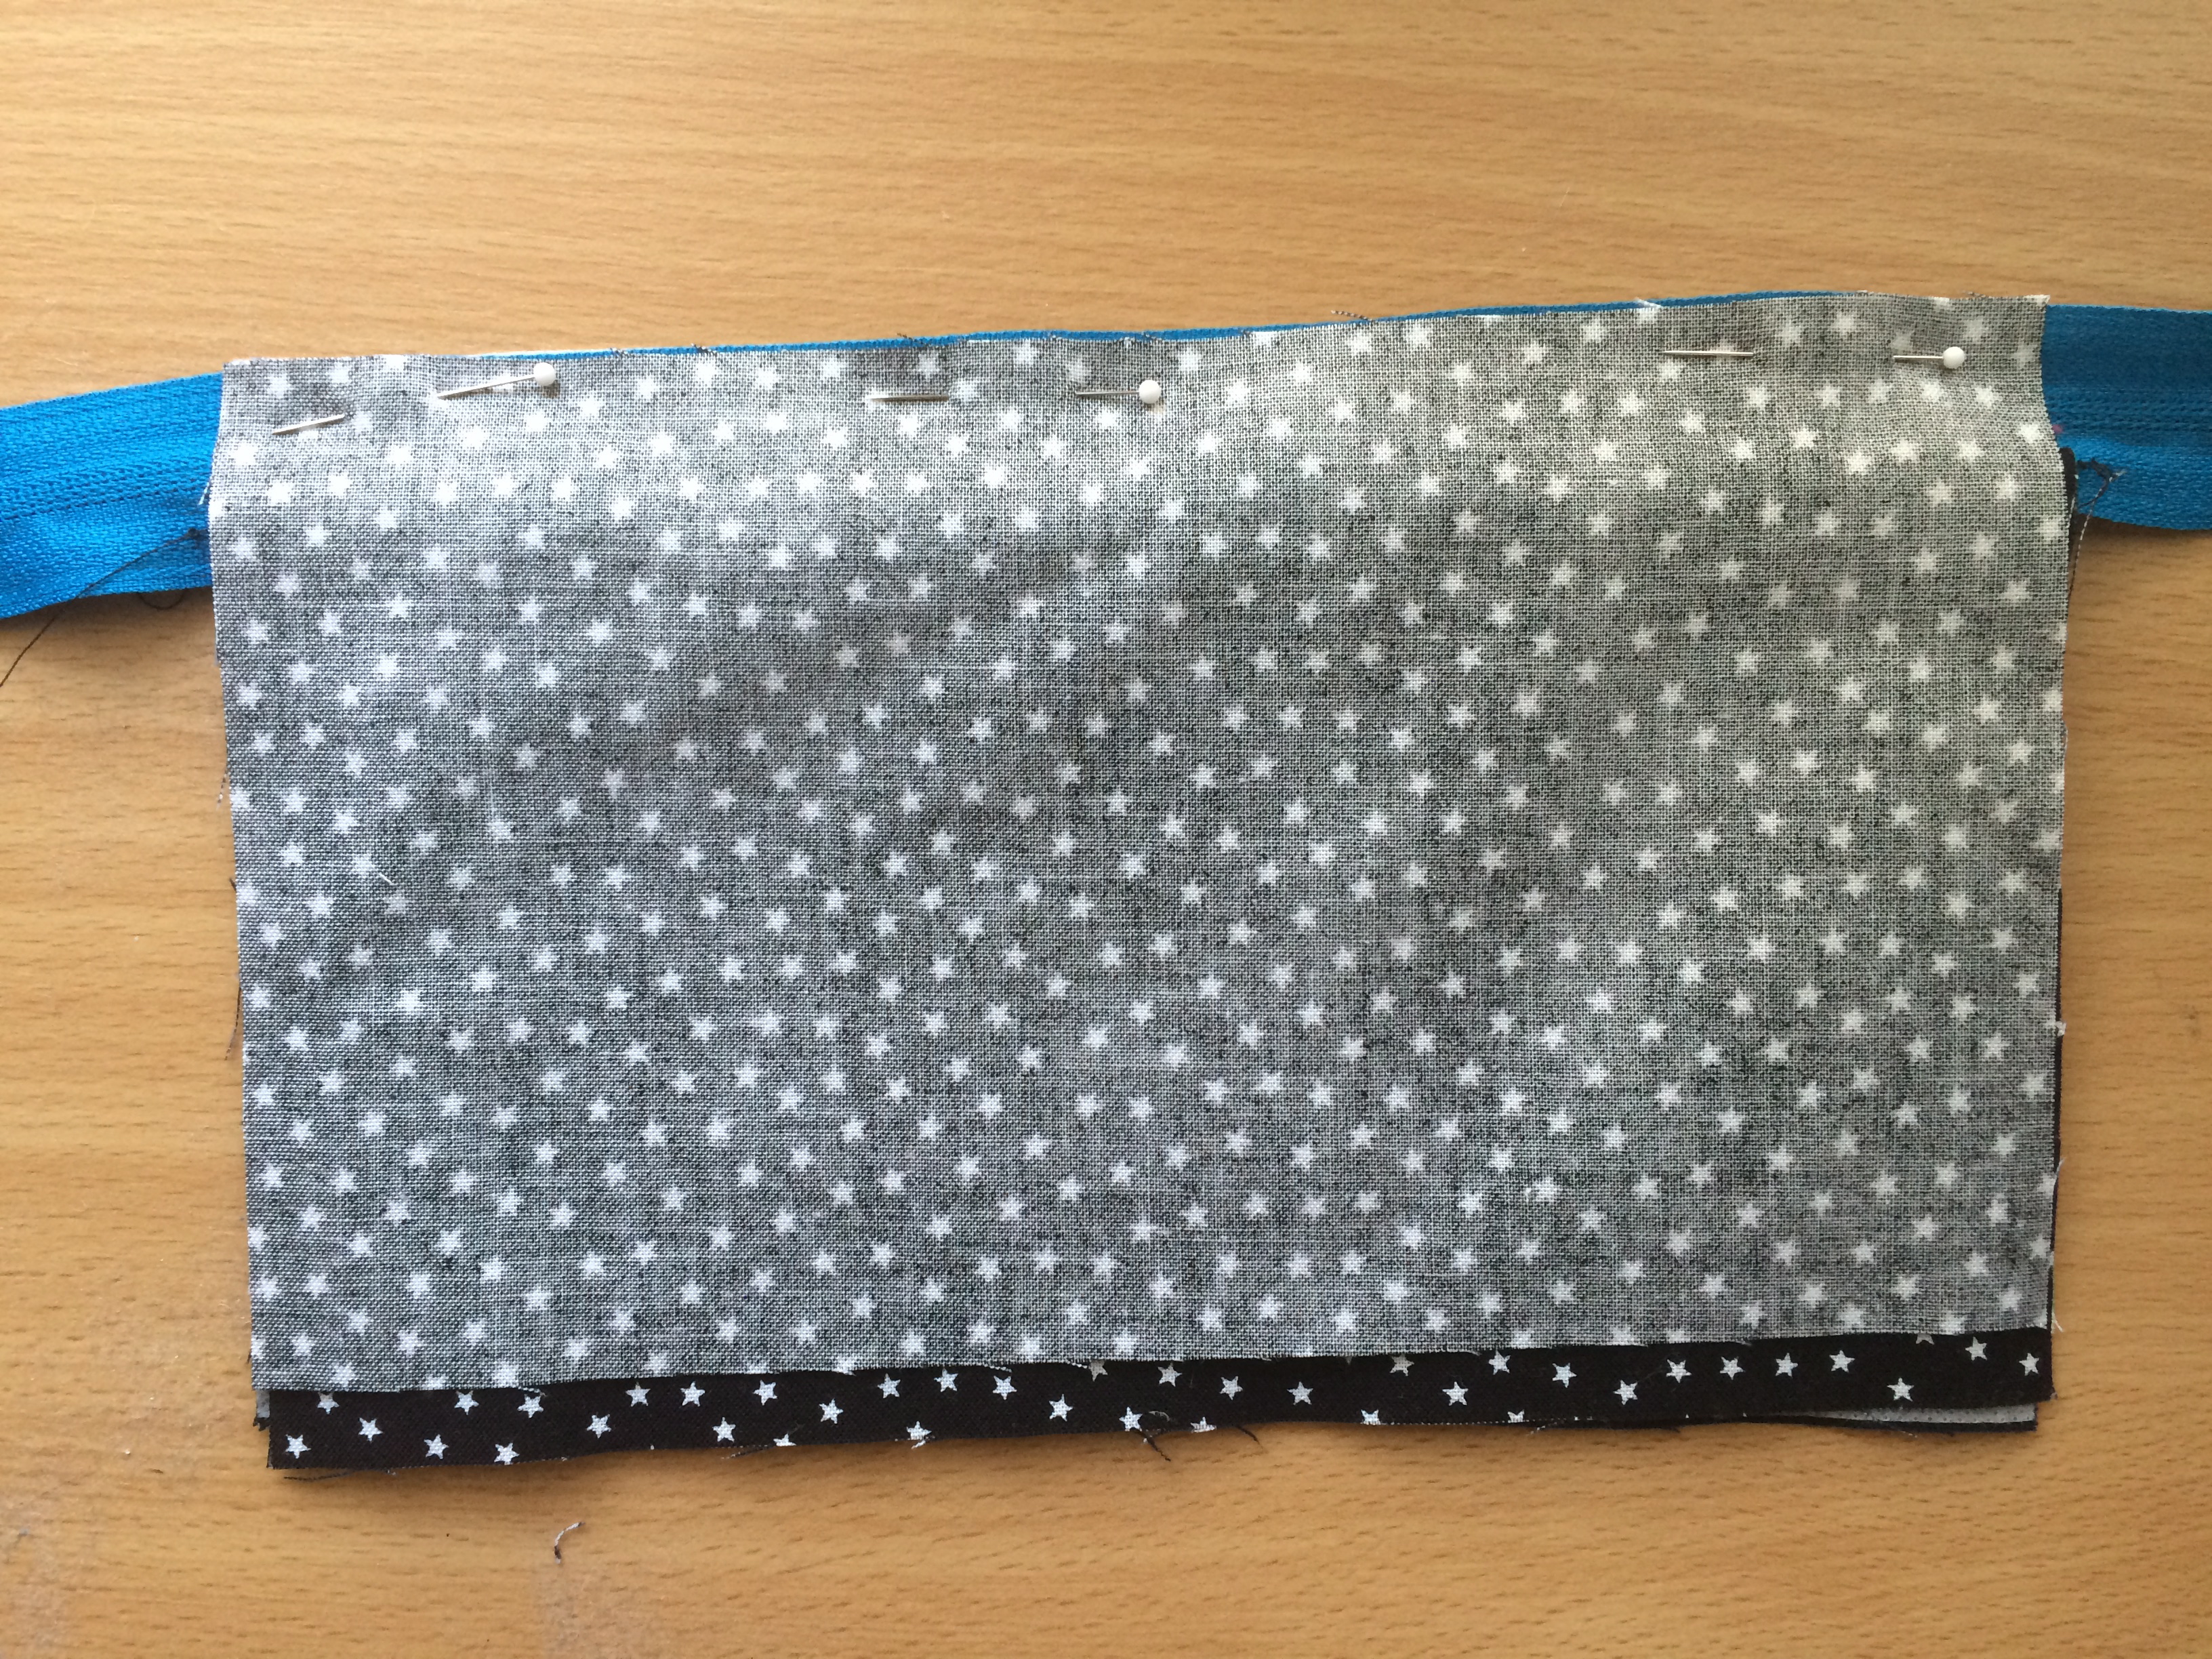
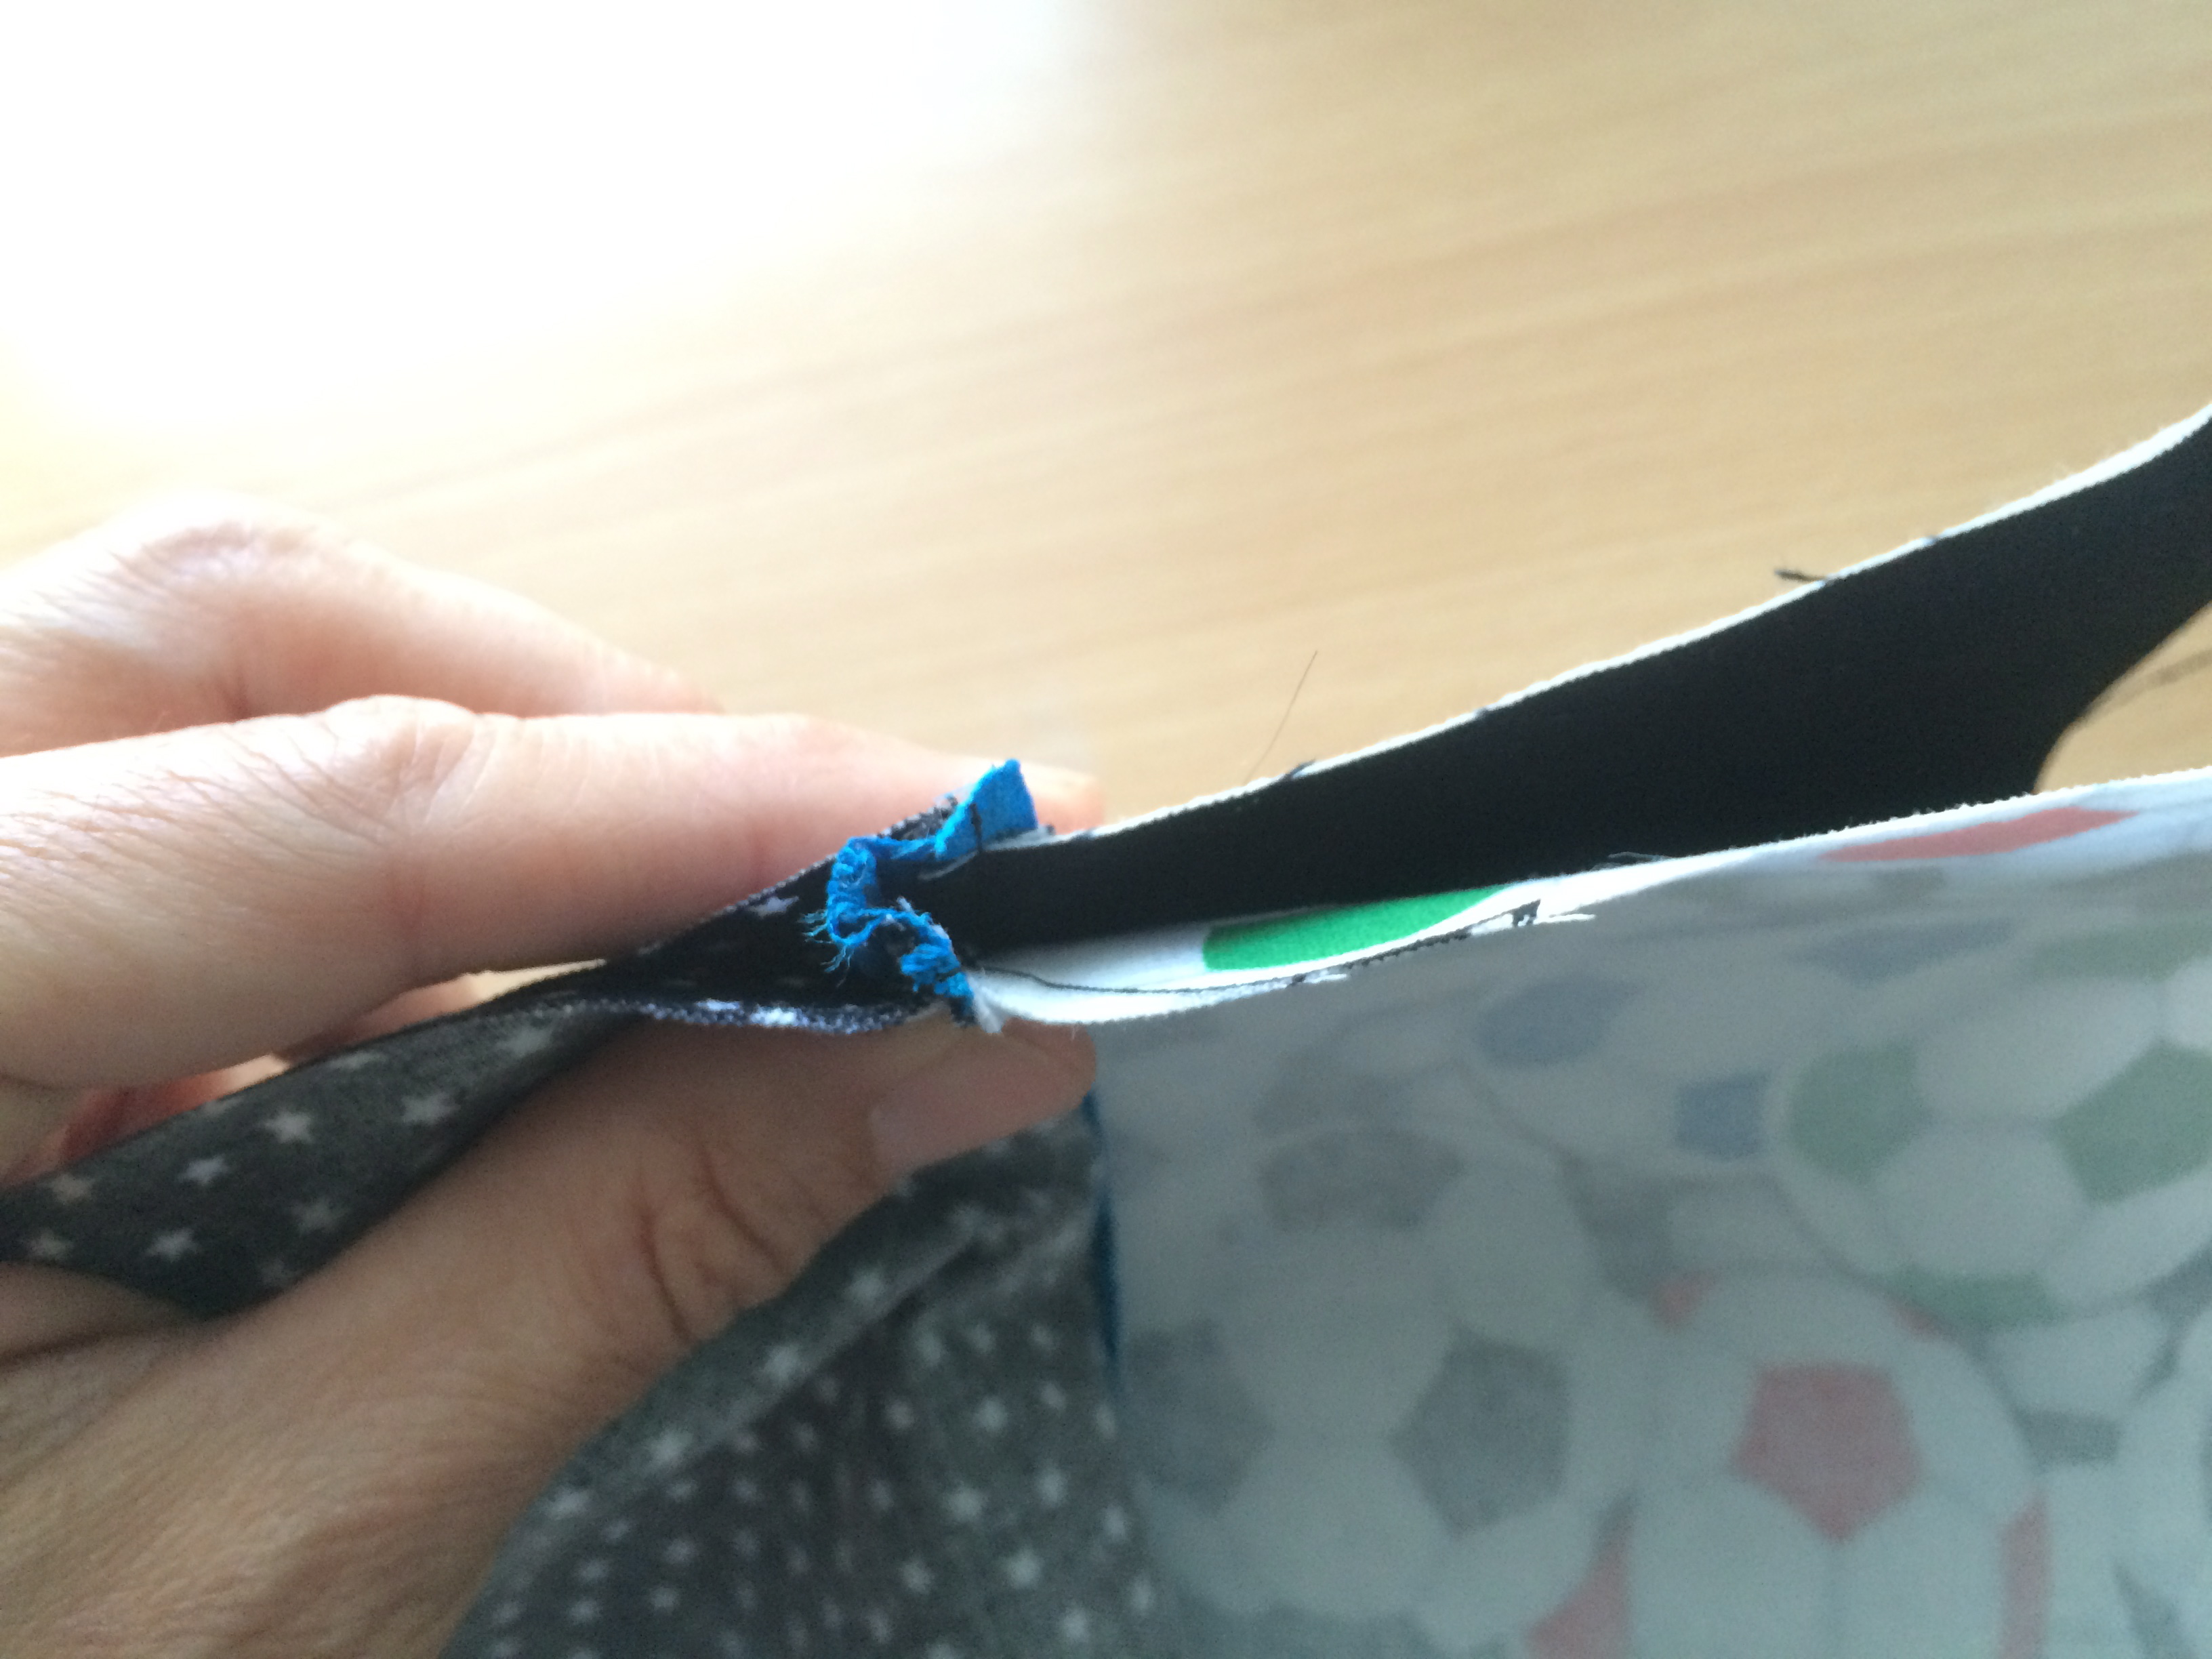
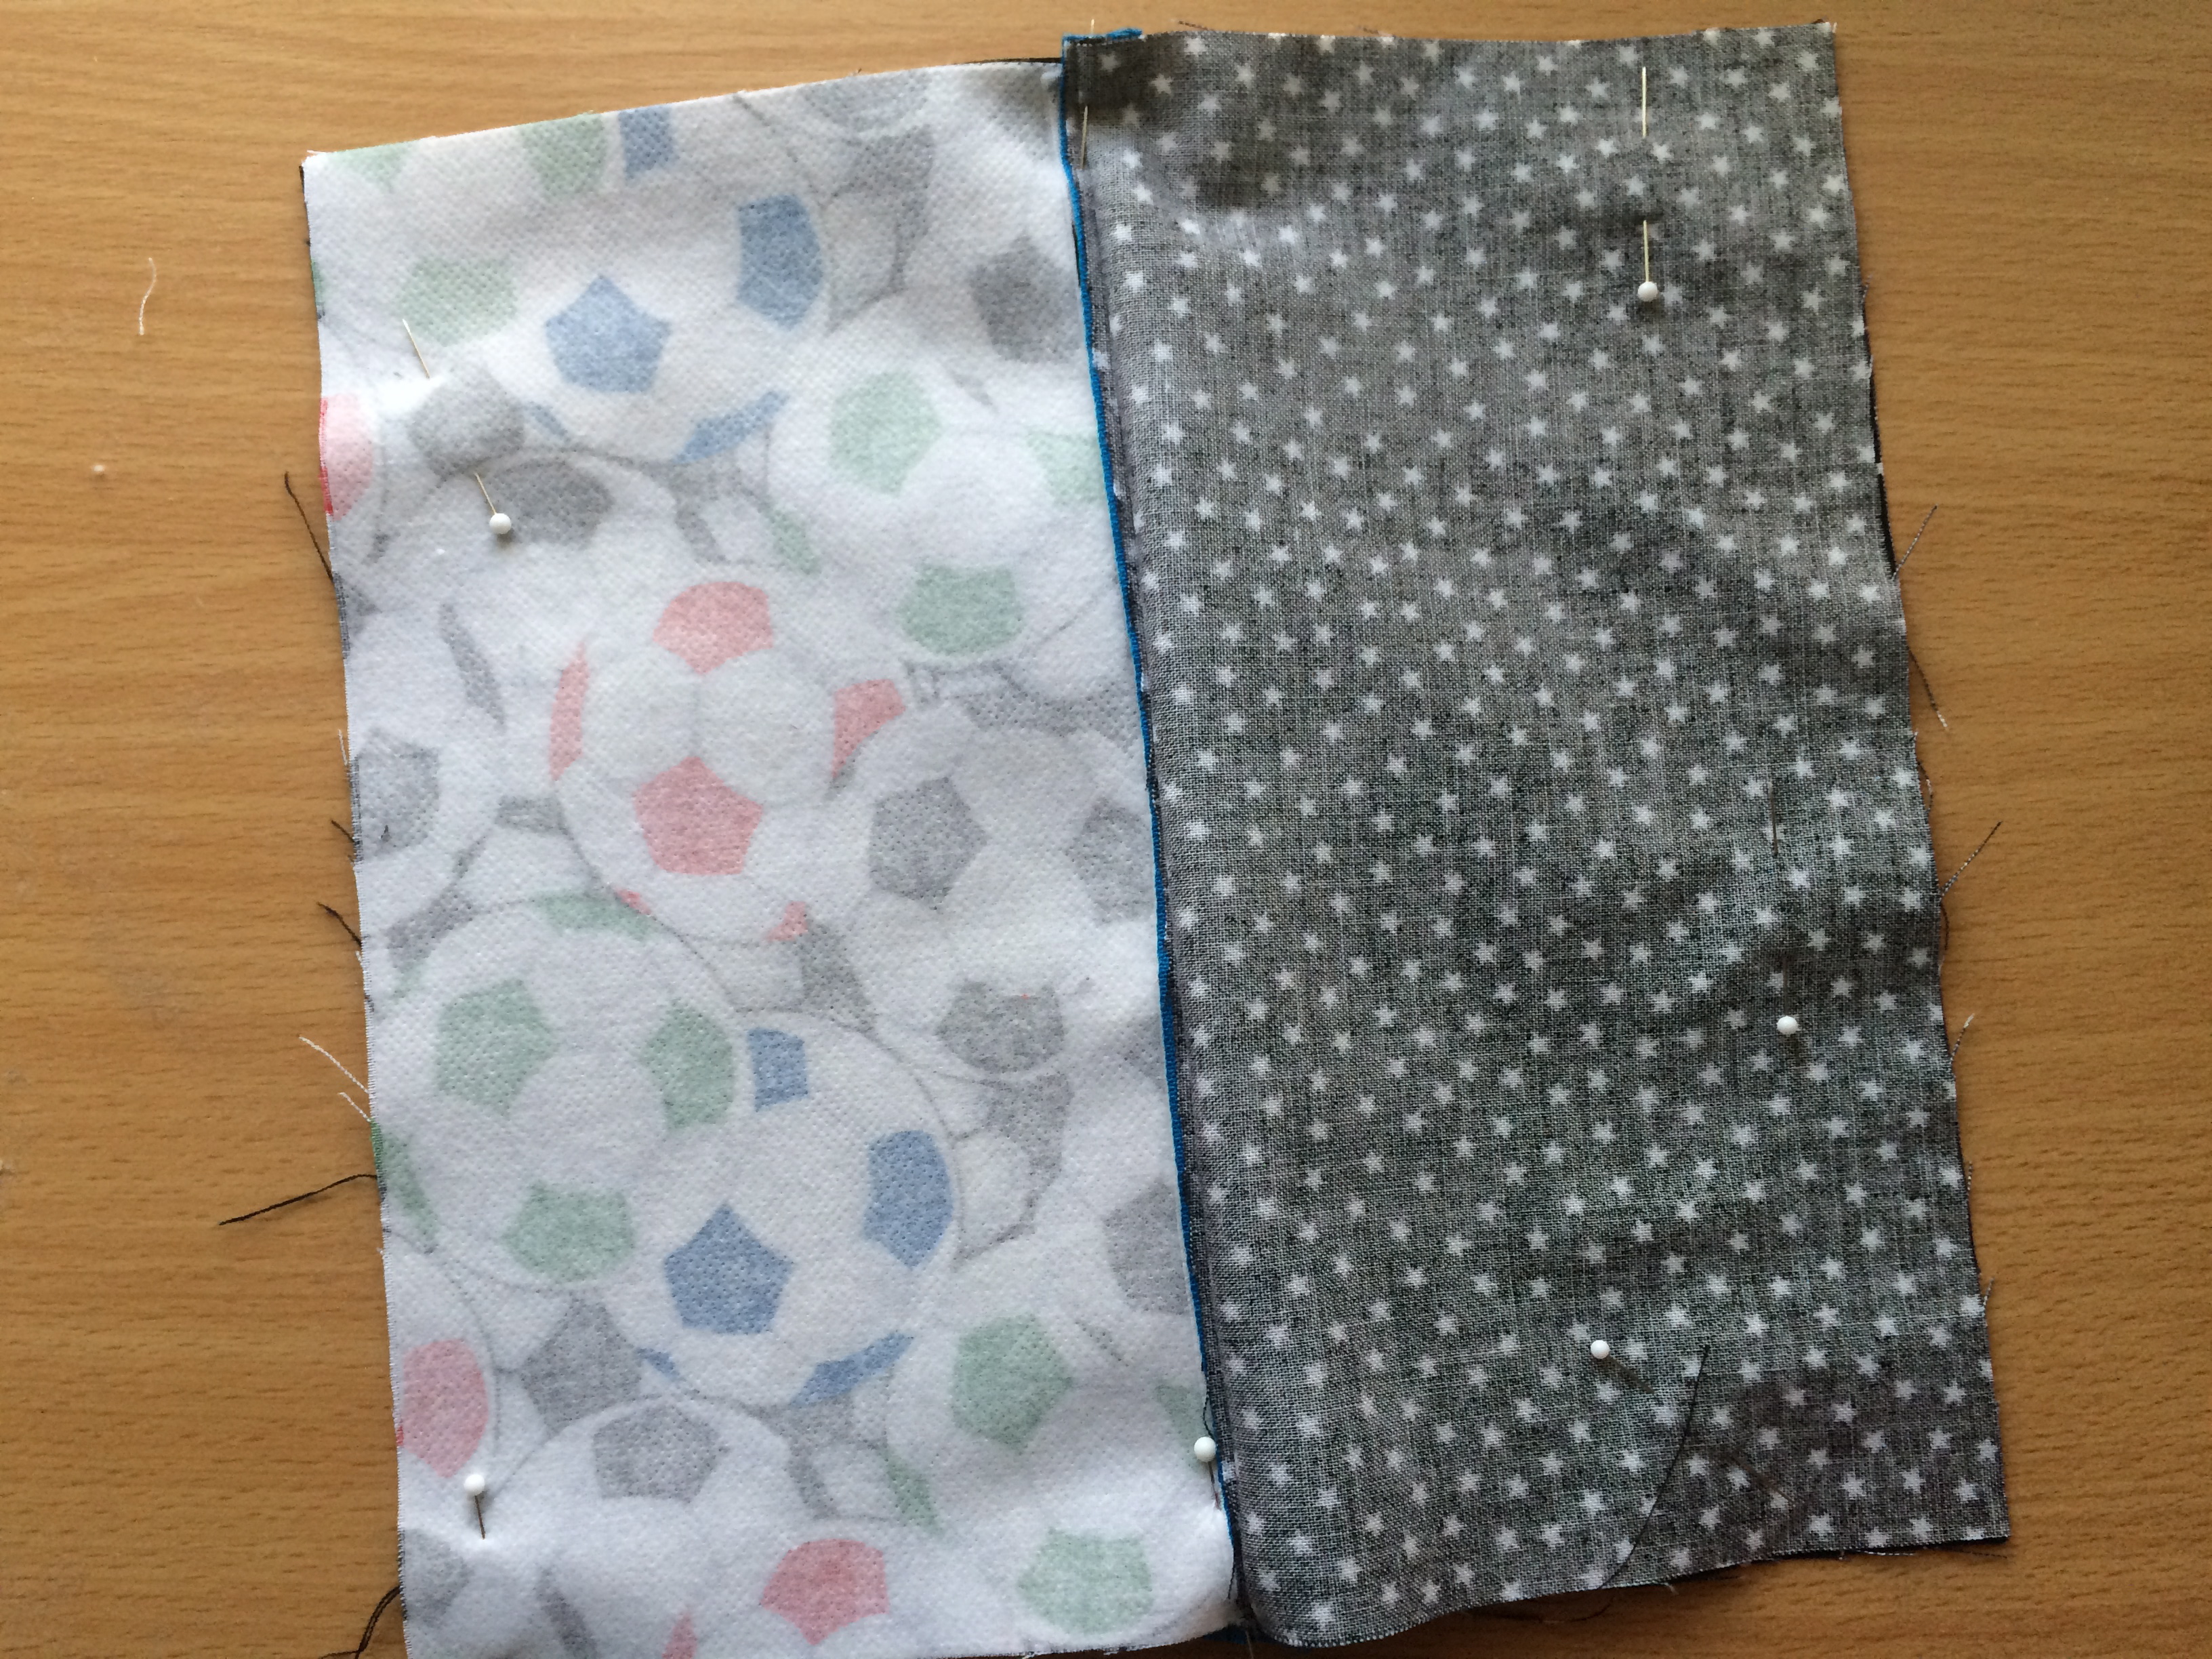
Making sure the zipper is open, place right sides of the outer bag together and right sides of the lining together and pin all the way around.
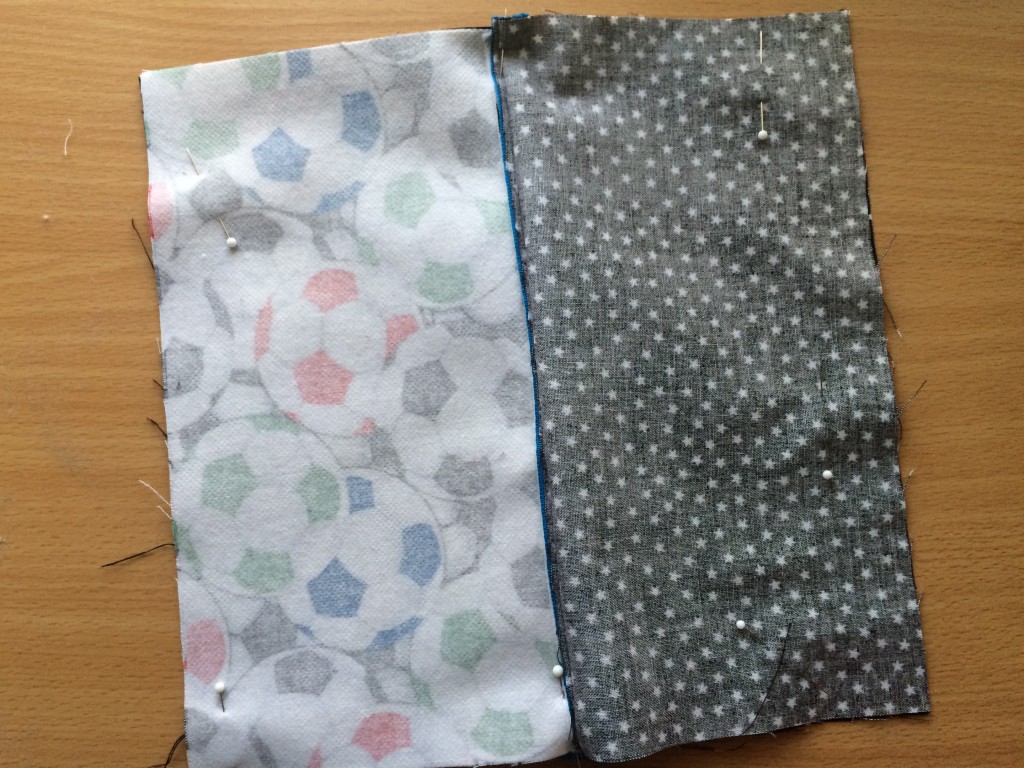
soccer zipper pouch 26

When you get to the zipper, match the seams and push the zipper toward the lining:soccer zipper pouch 25

Leave a 3″ opening at the bottom
soccer zipper pouch 27

Sew all the way around using a 1/4″ seam.  Turn right side out and top stitch the opining closed.  Use a turn stick or chopstick to push out the corners and the zipper.soccer zipper pouch 28


Now make 32 cupcakes with cupcake toppers and dash to the soccer party!!!