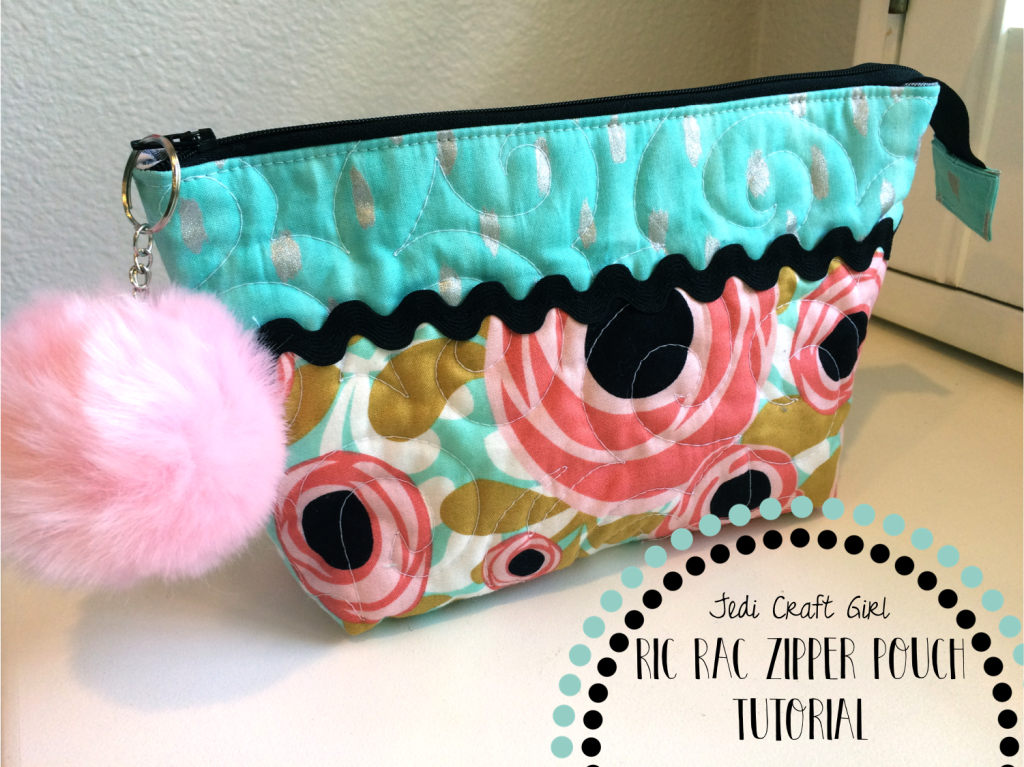
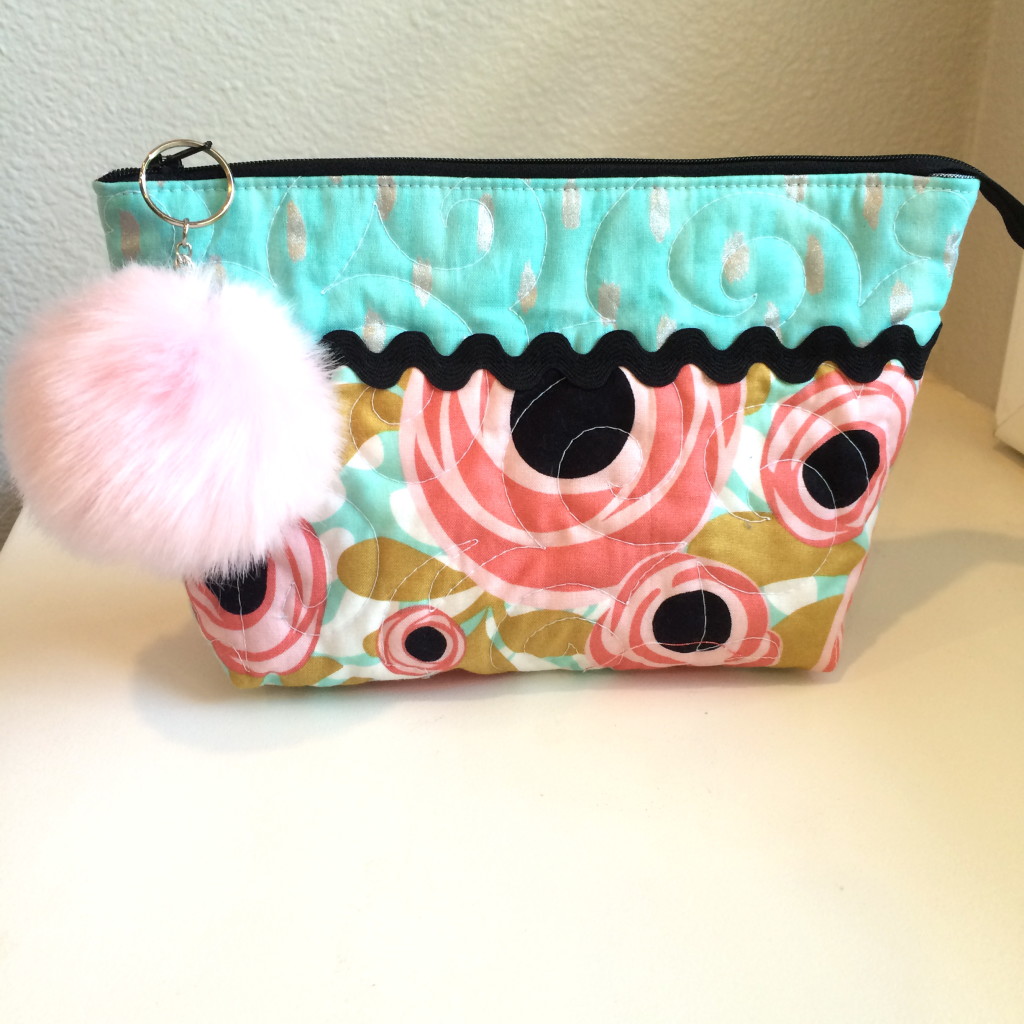
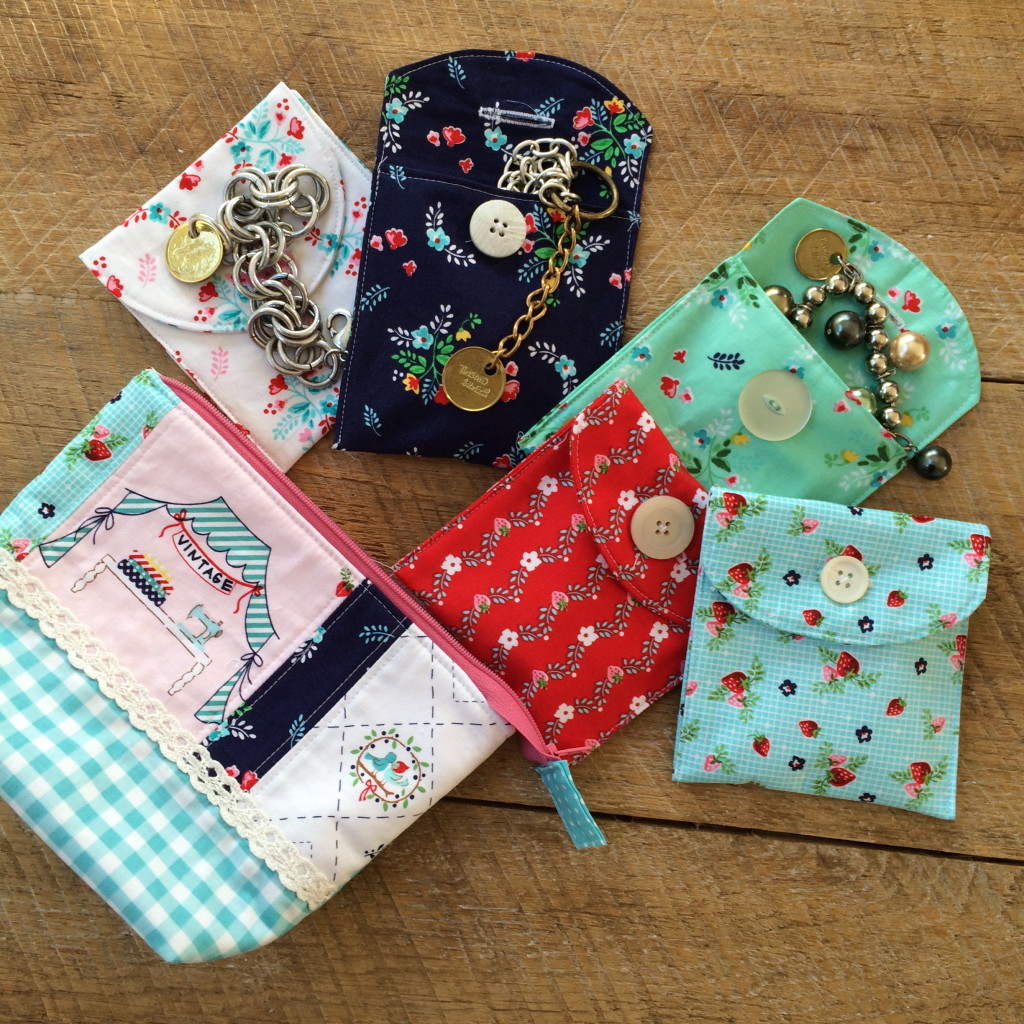
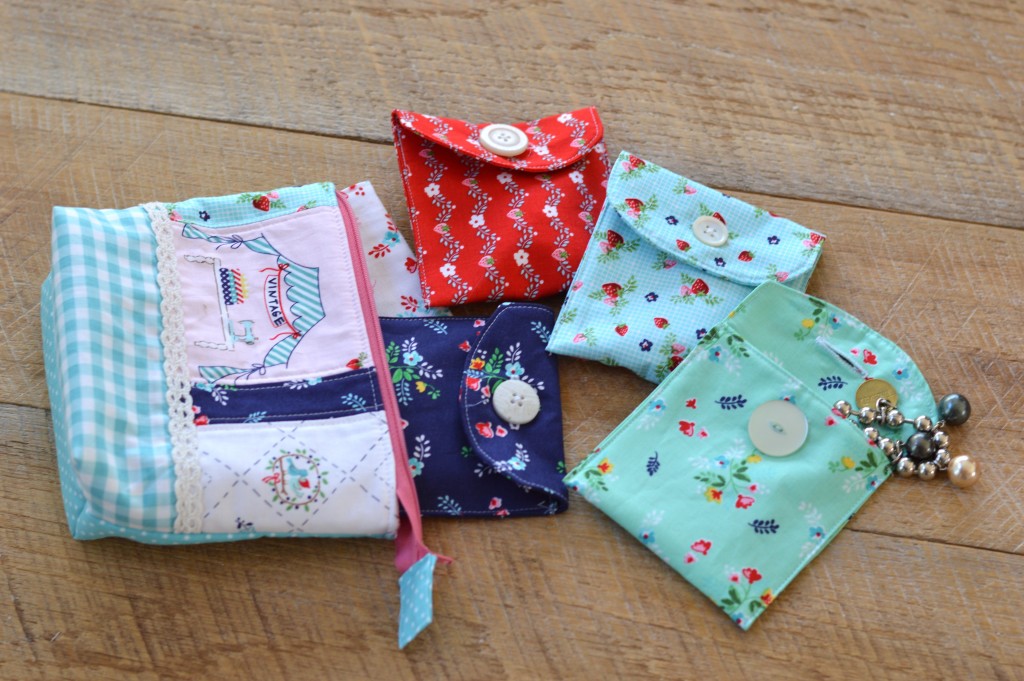
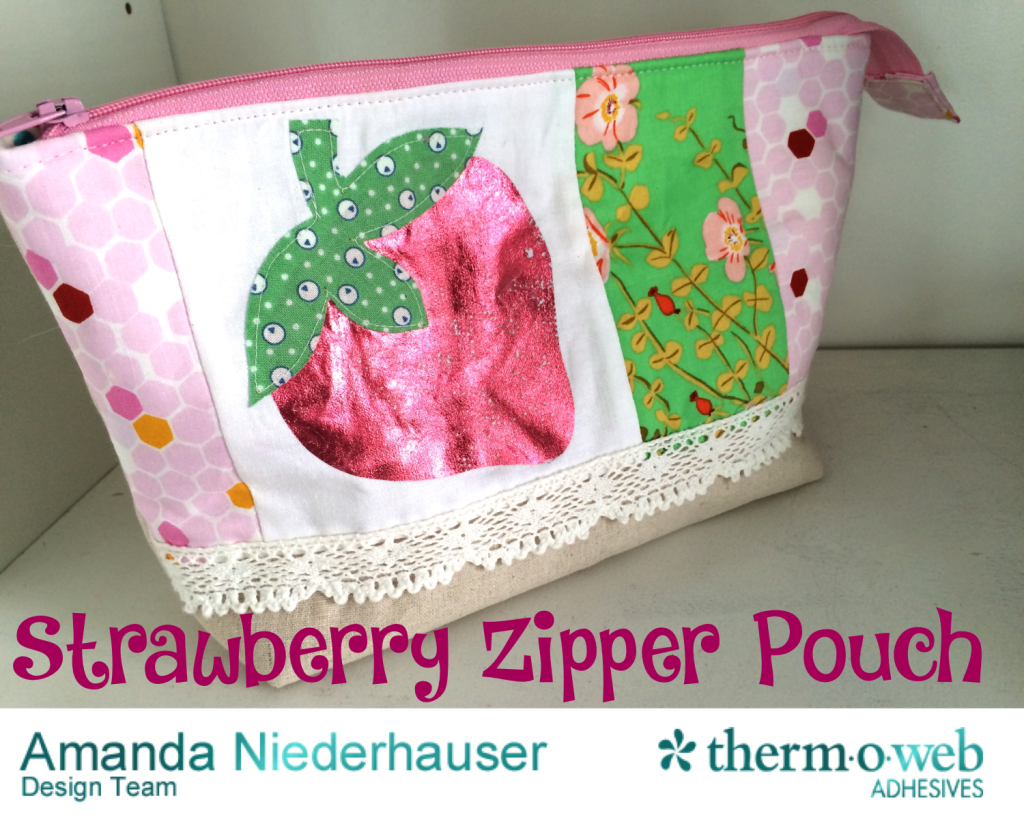
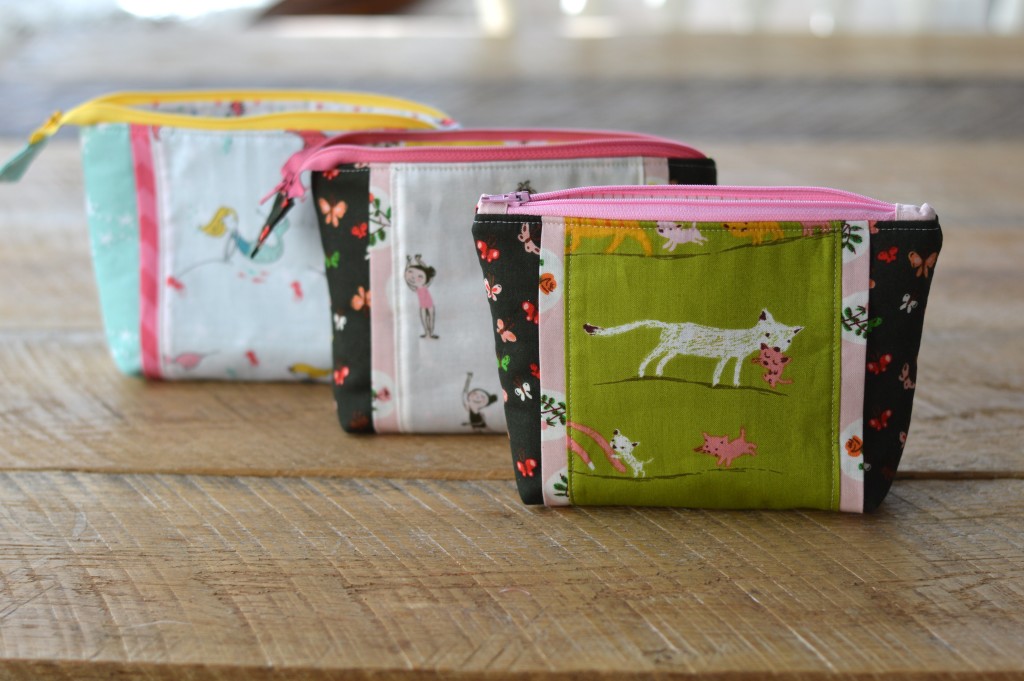
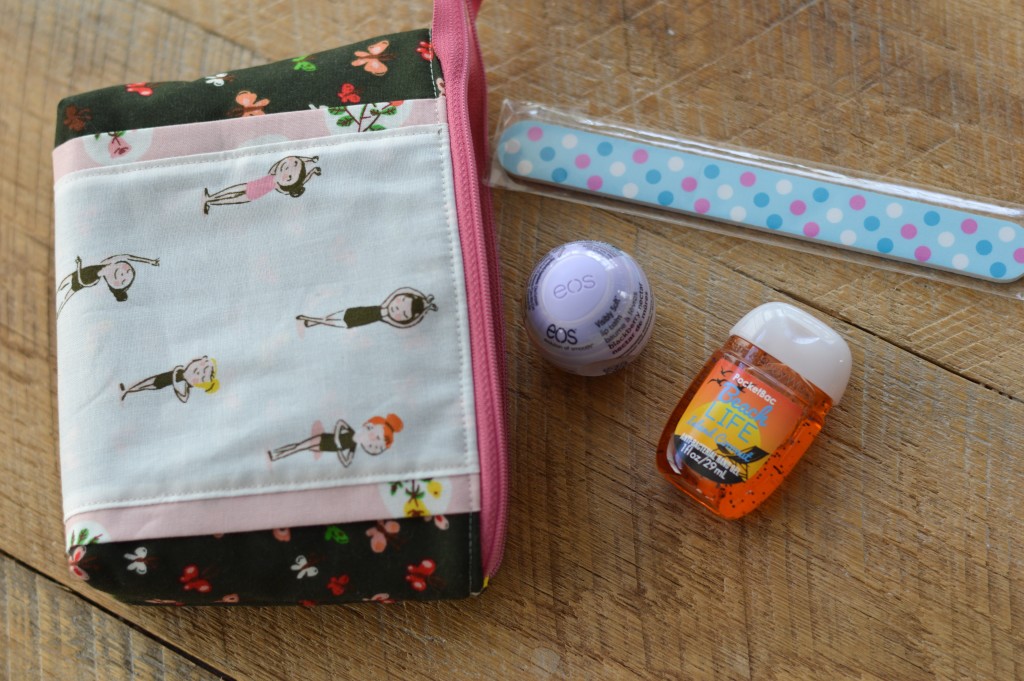
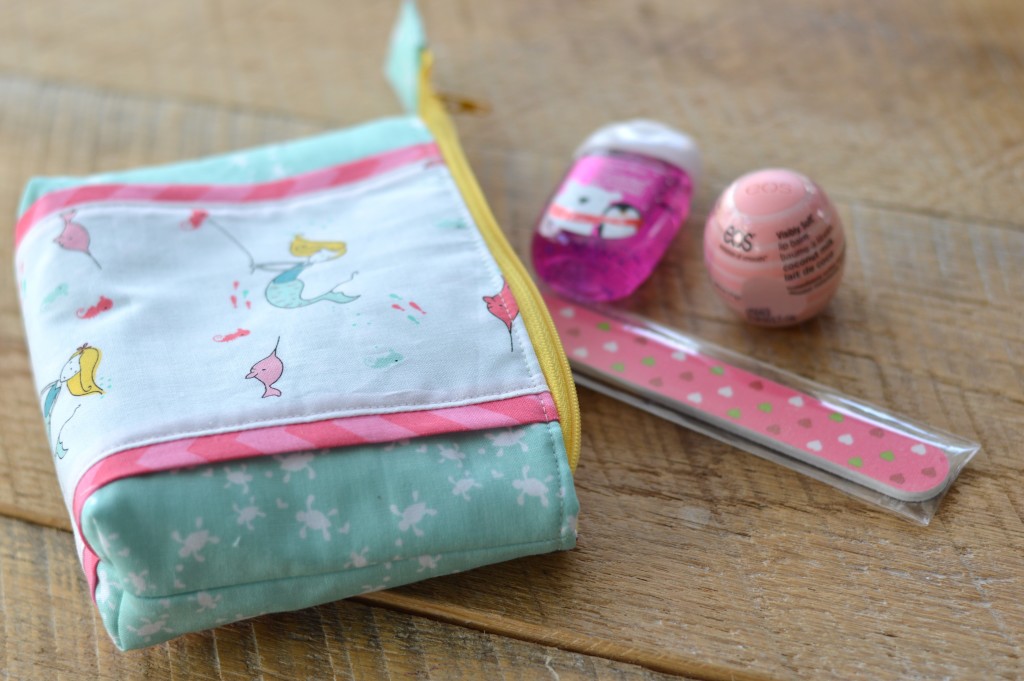
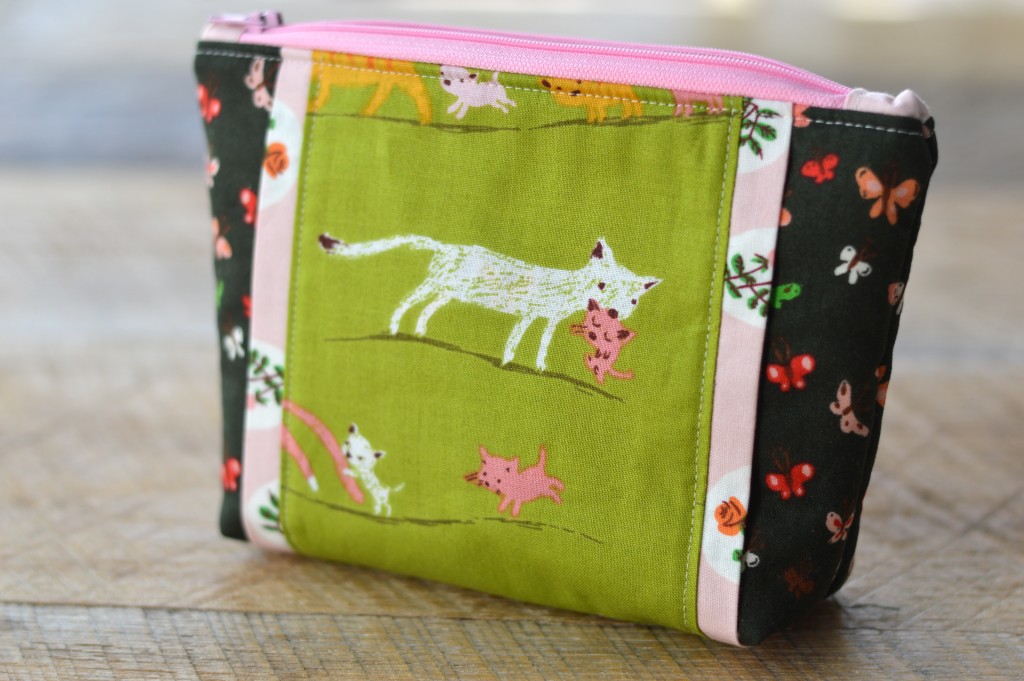
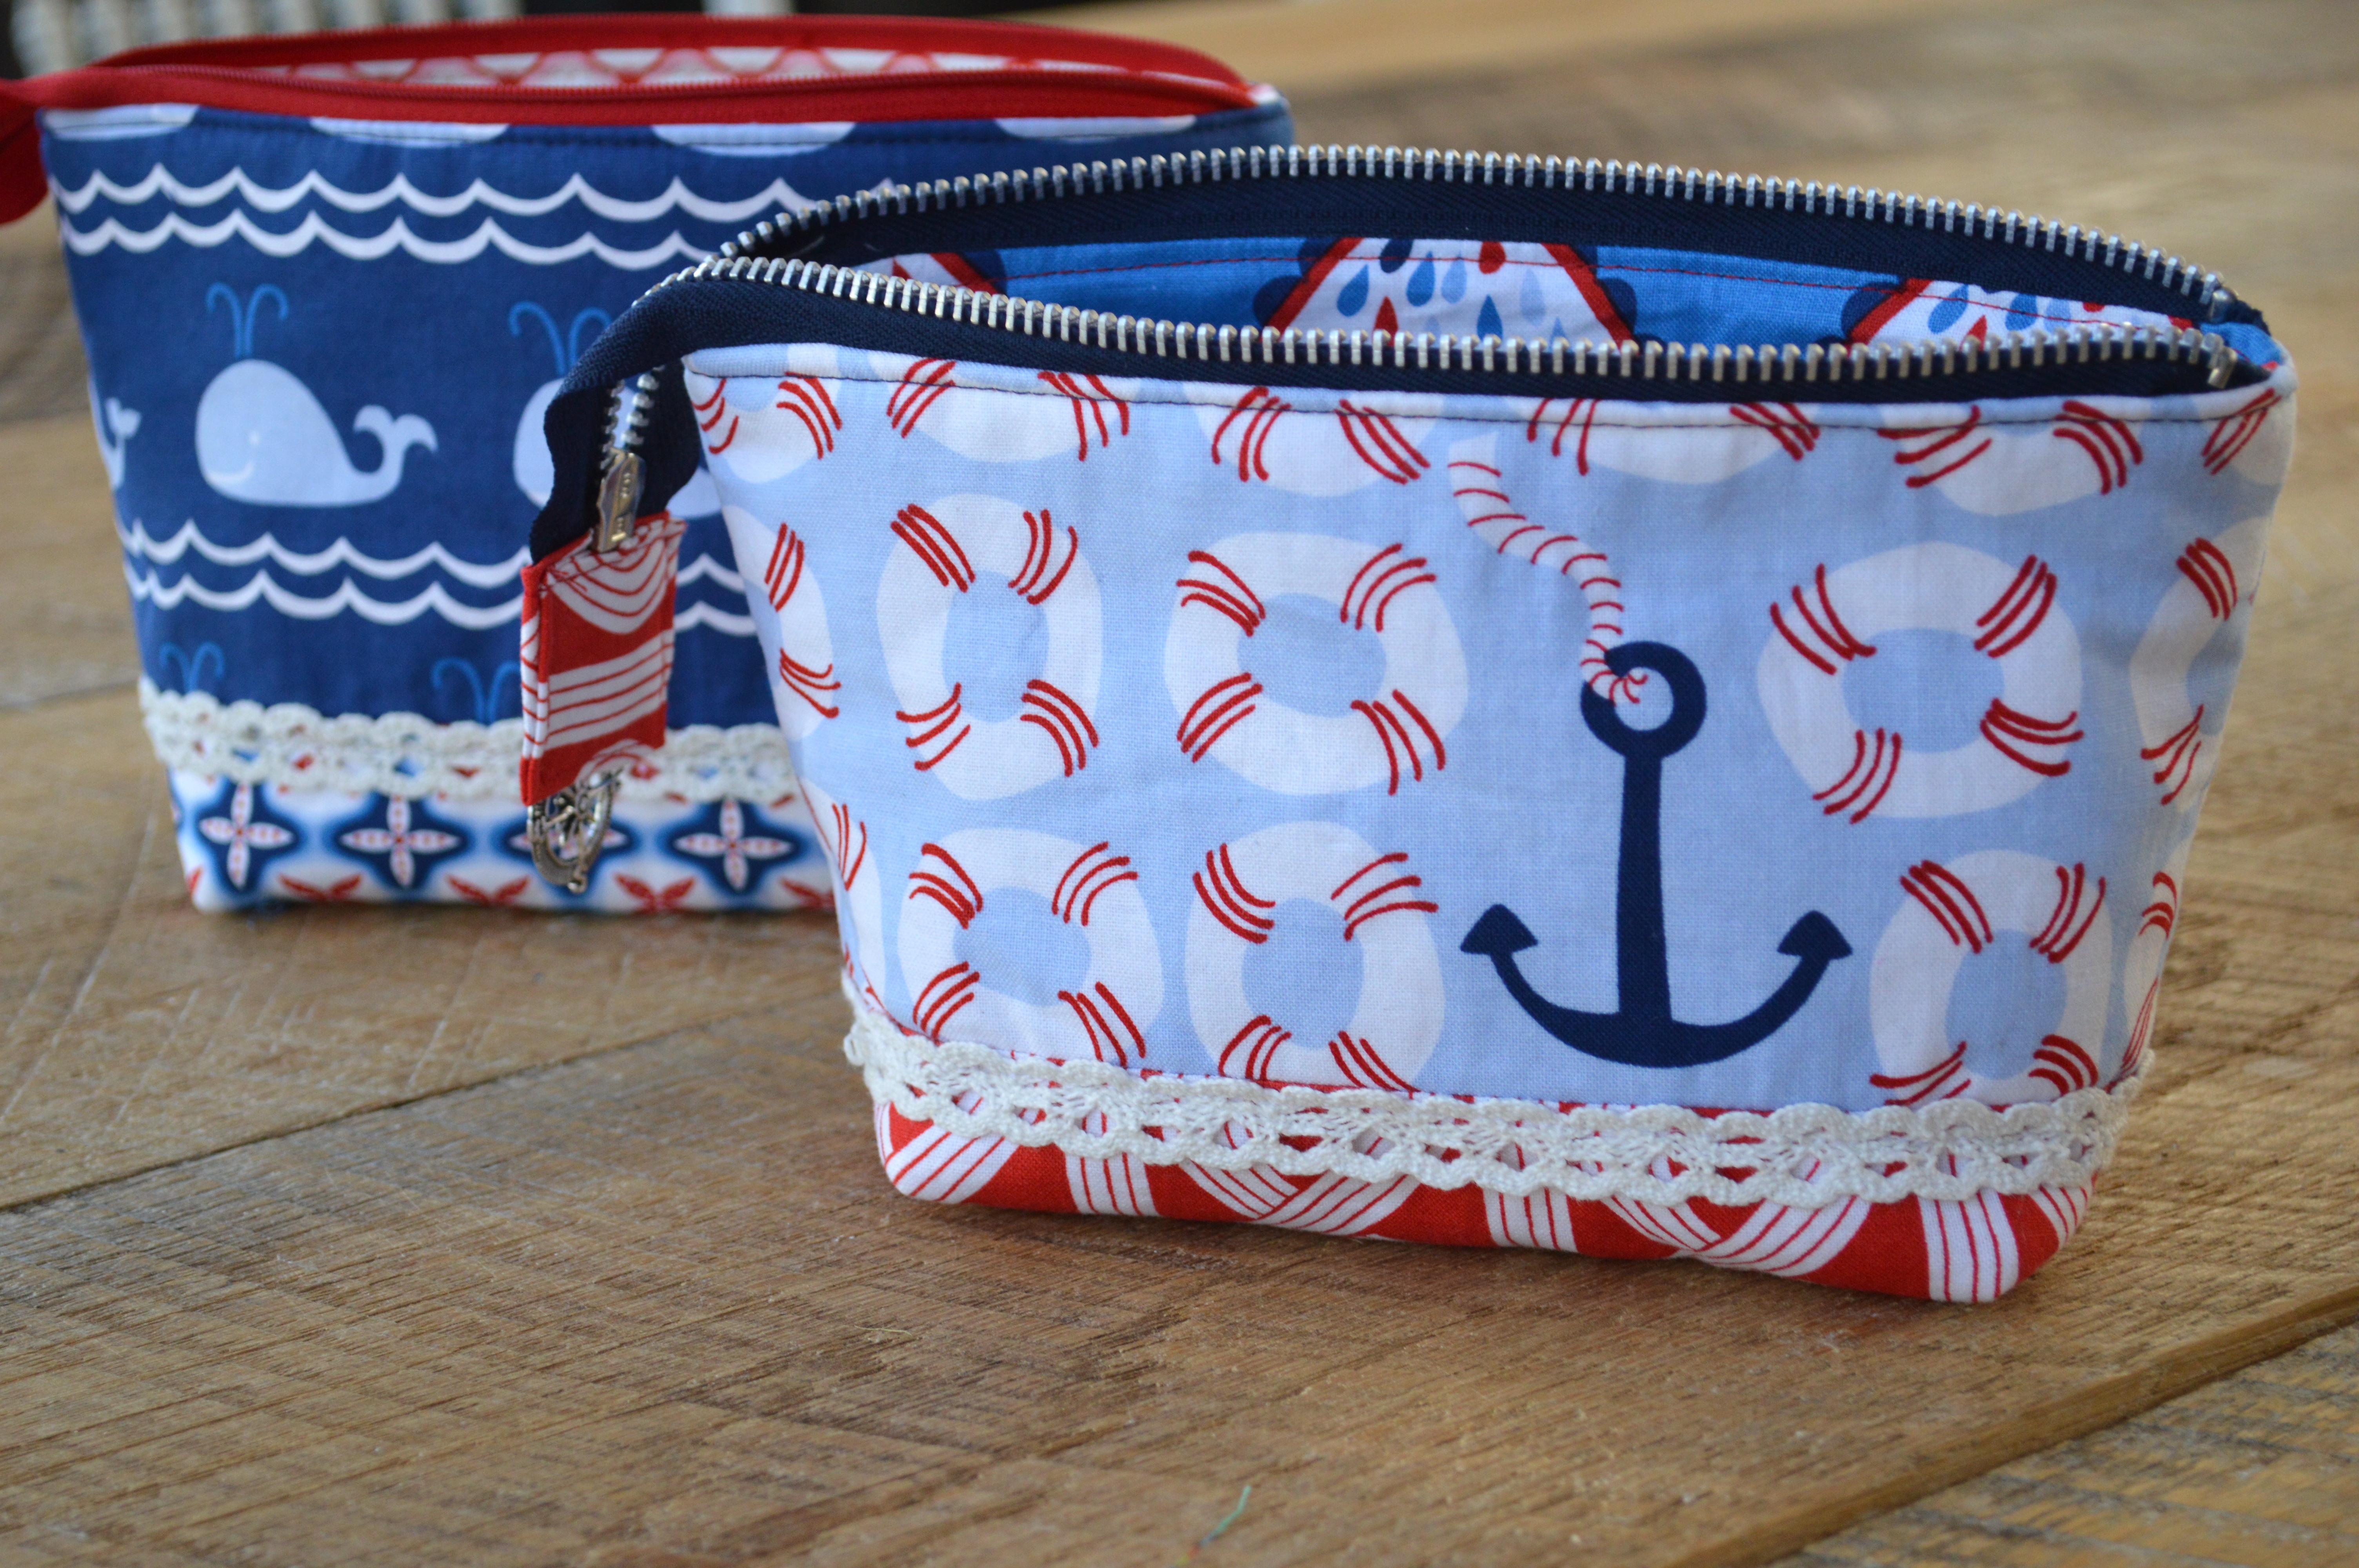
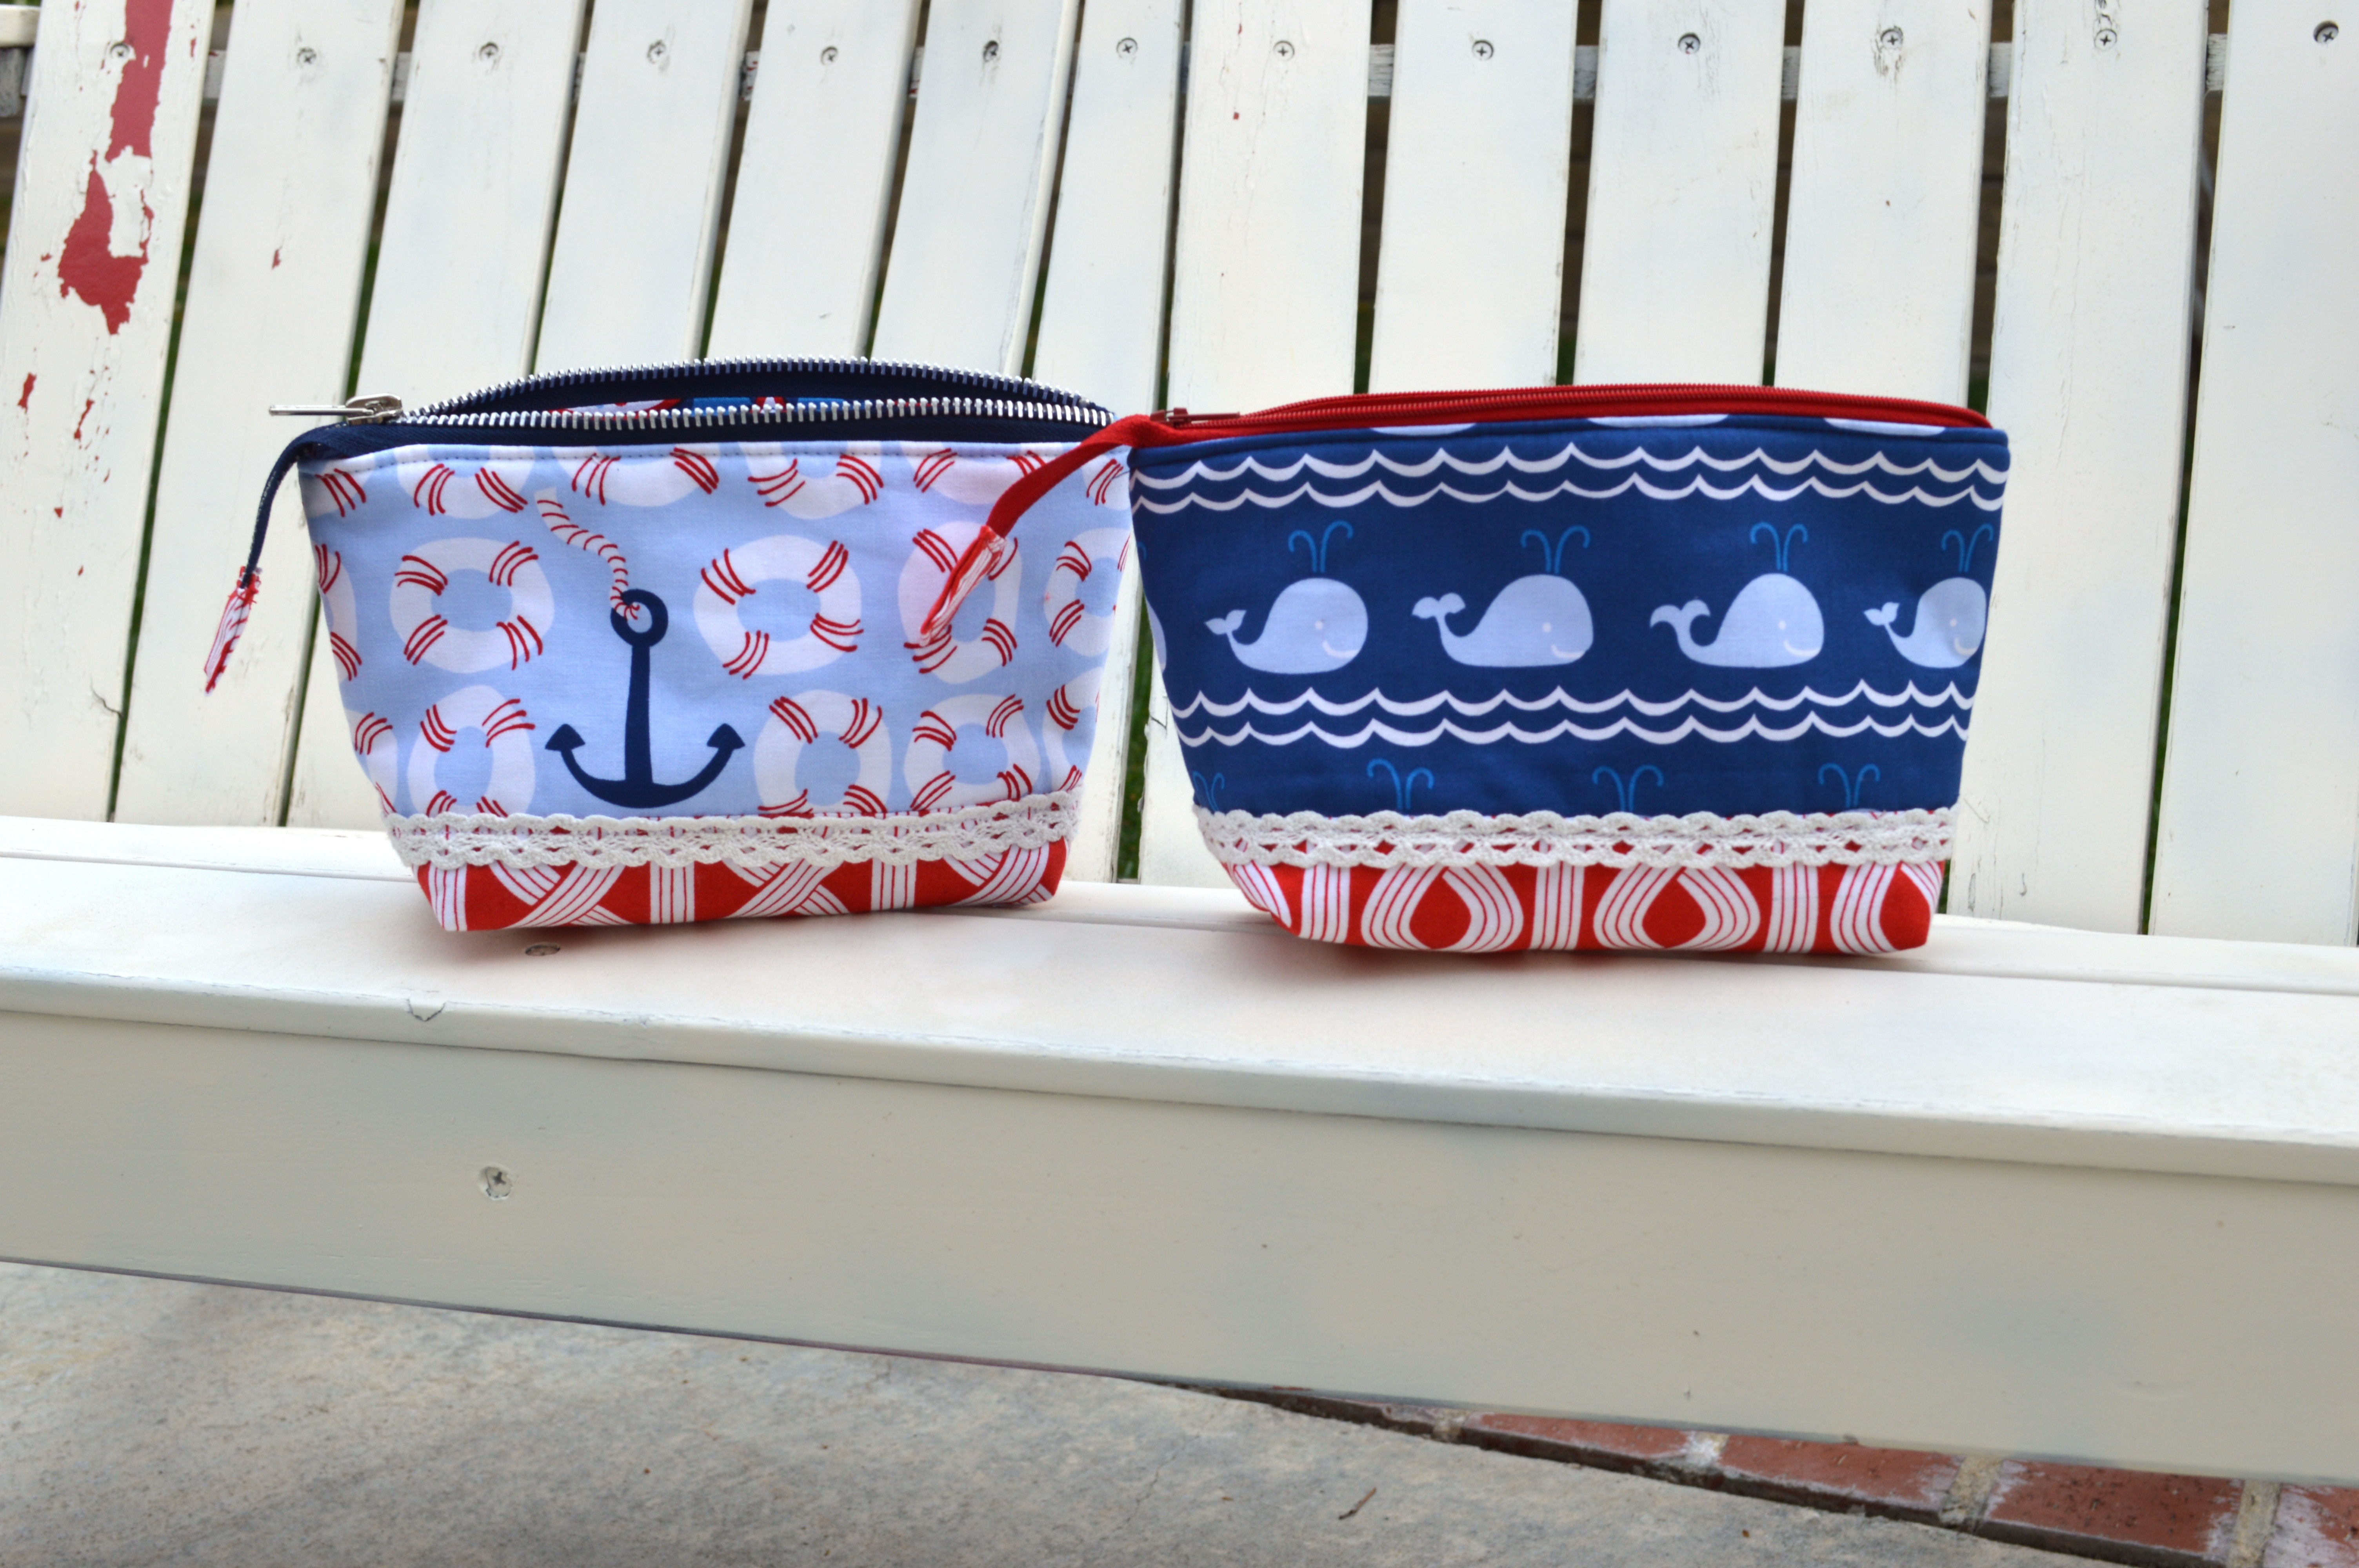
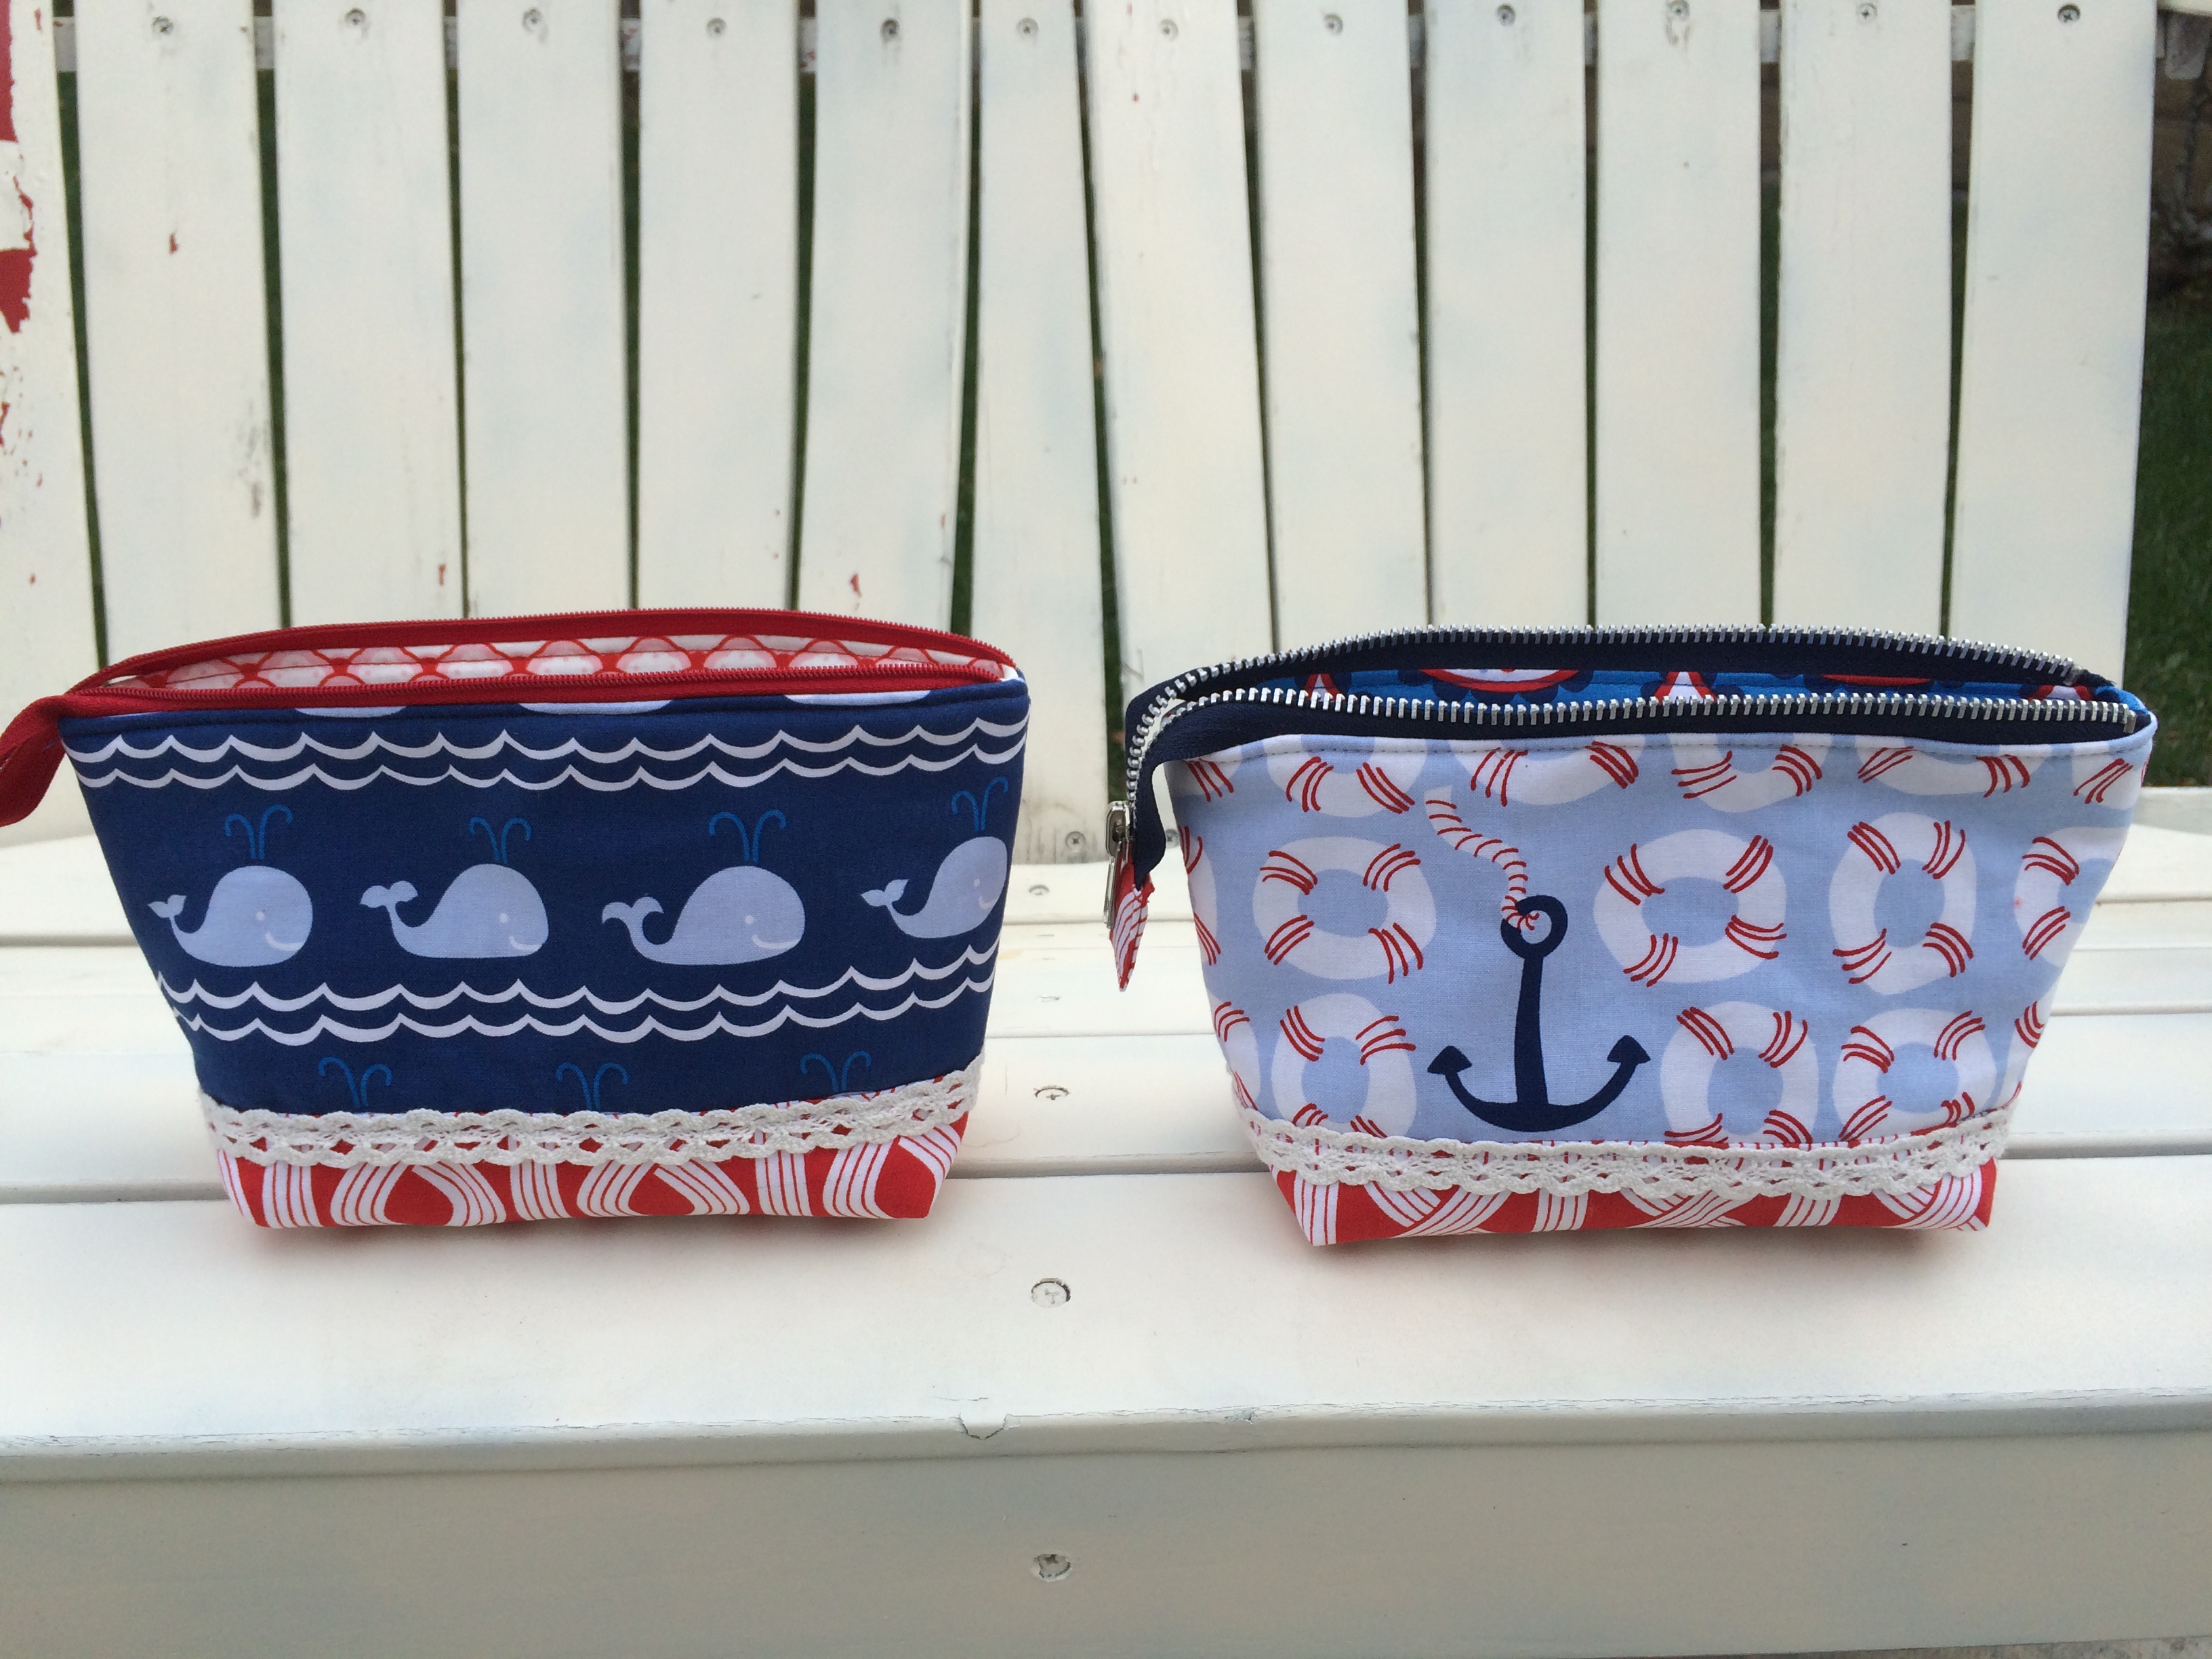
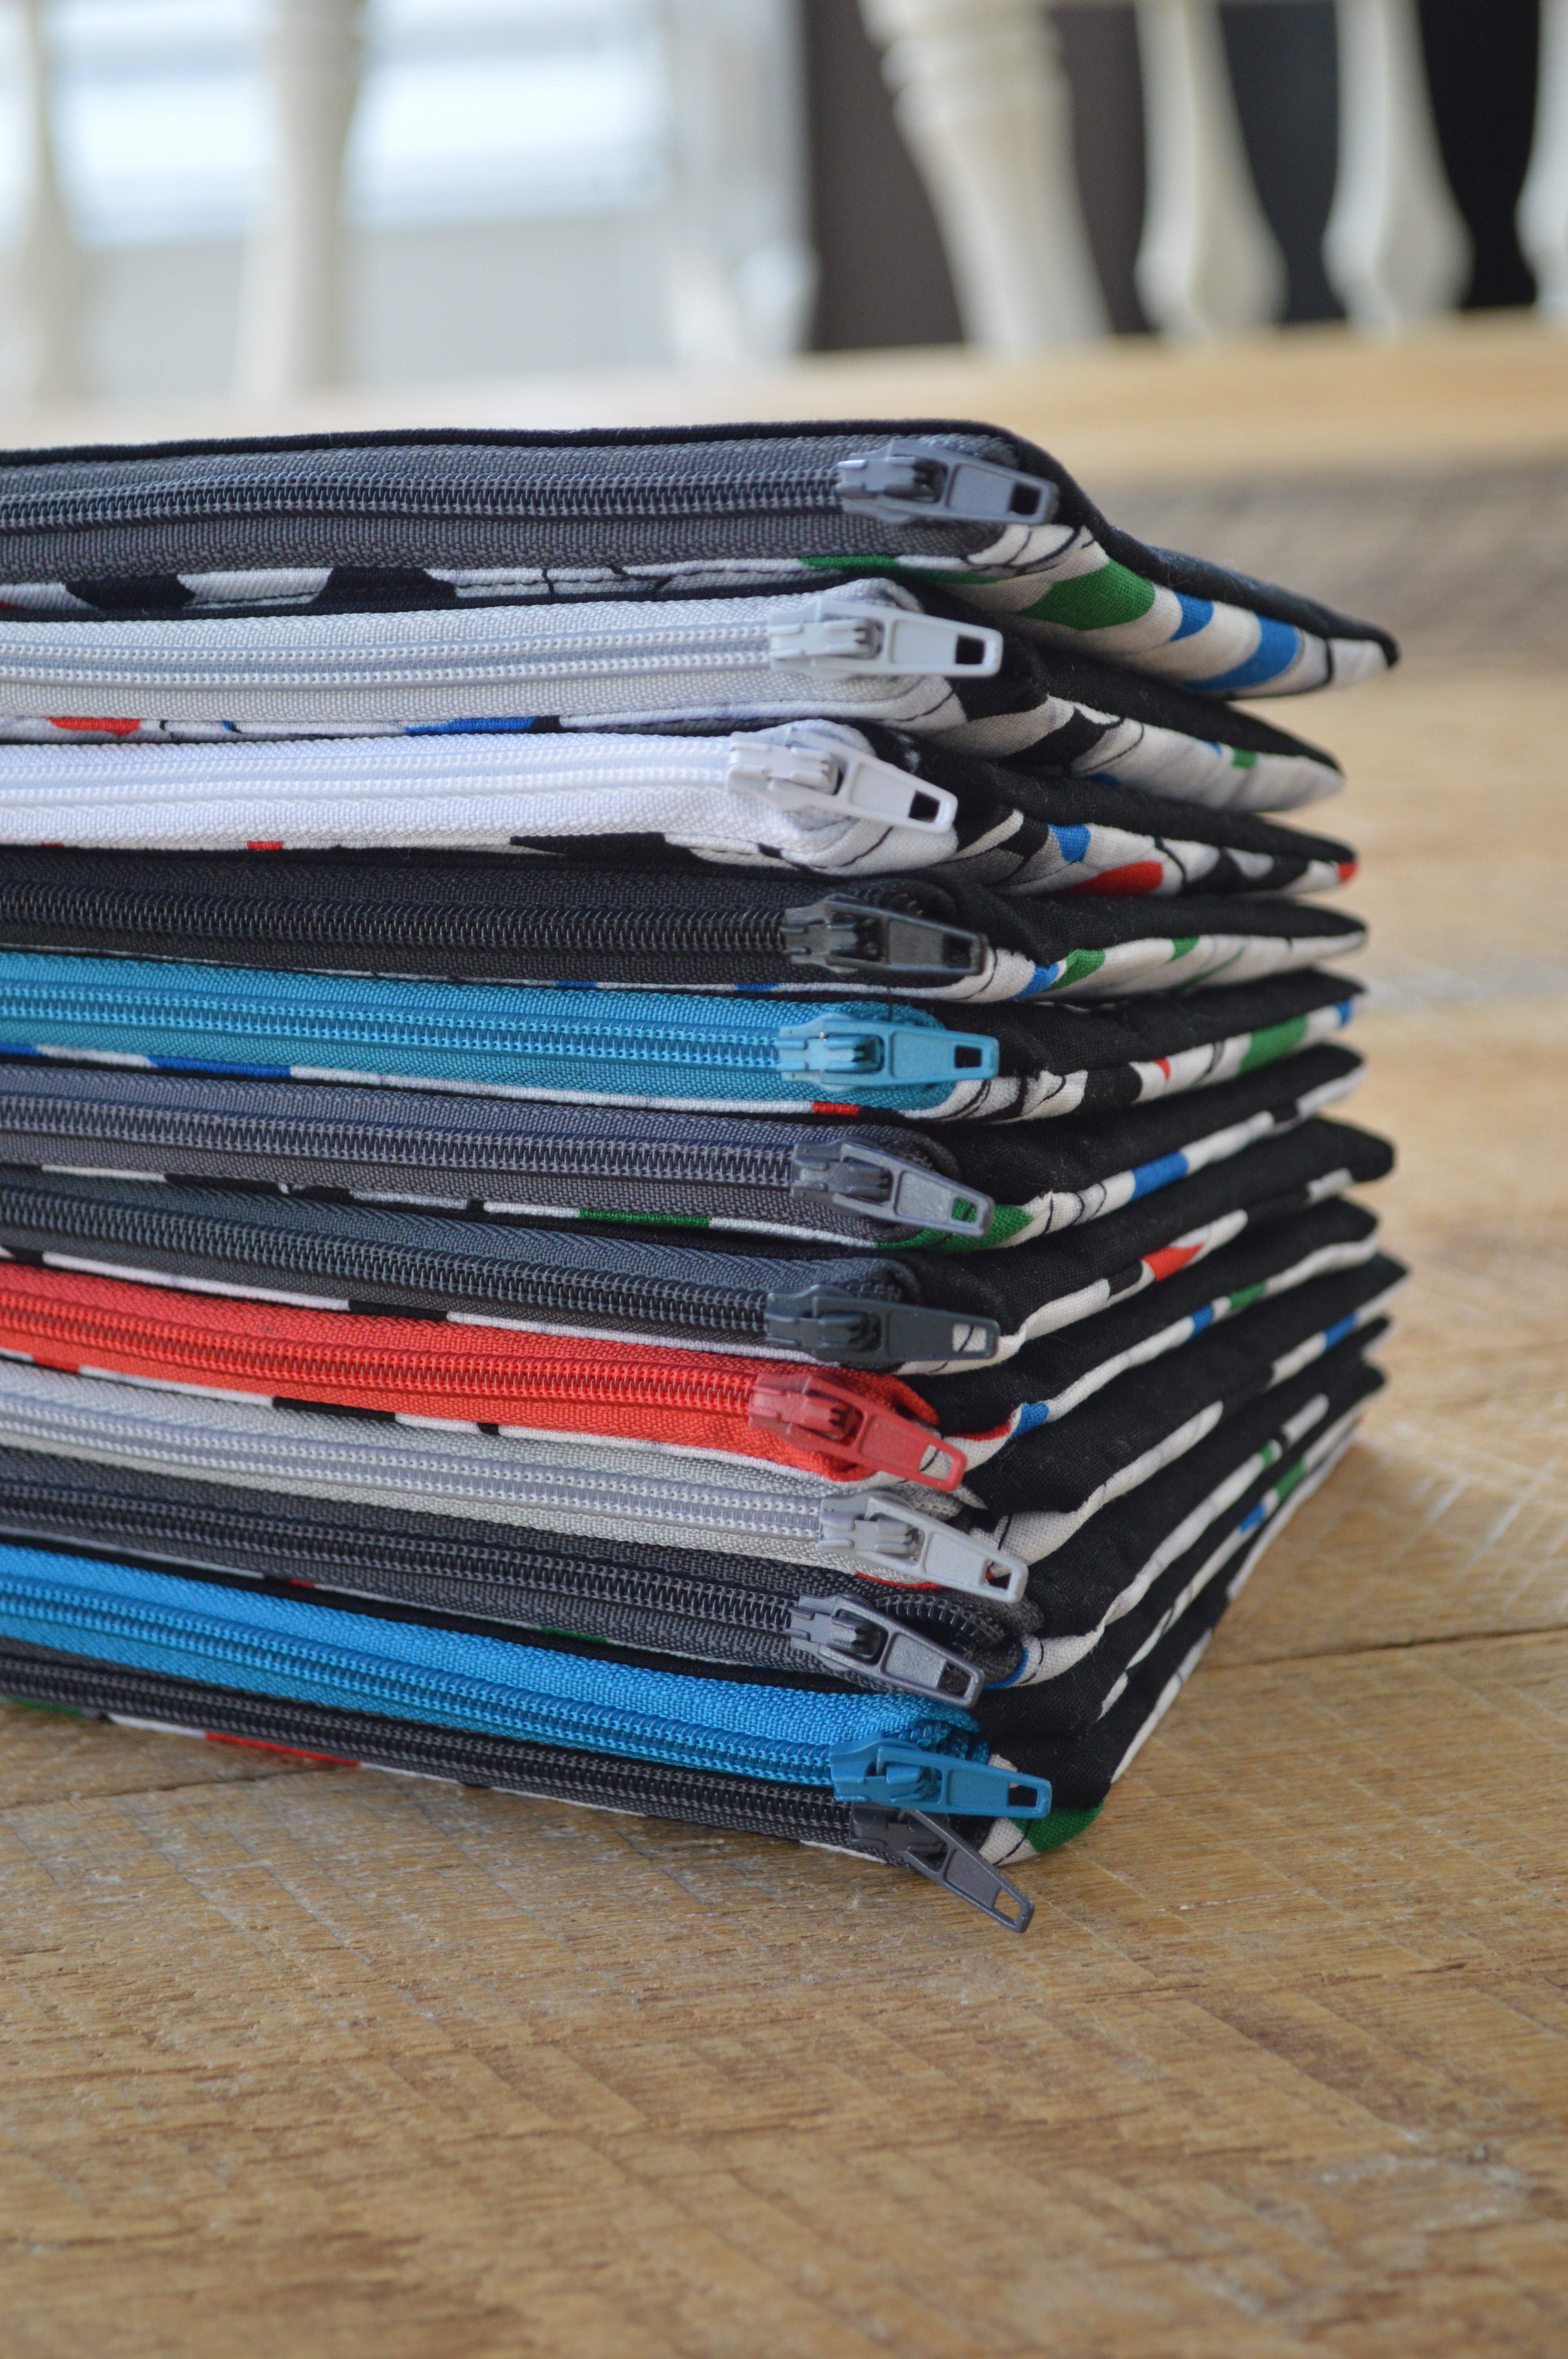
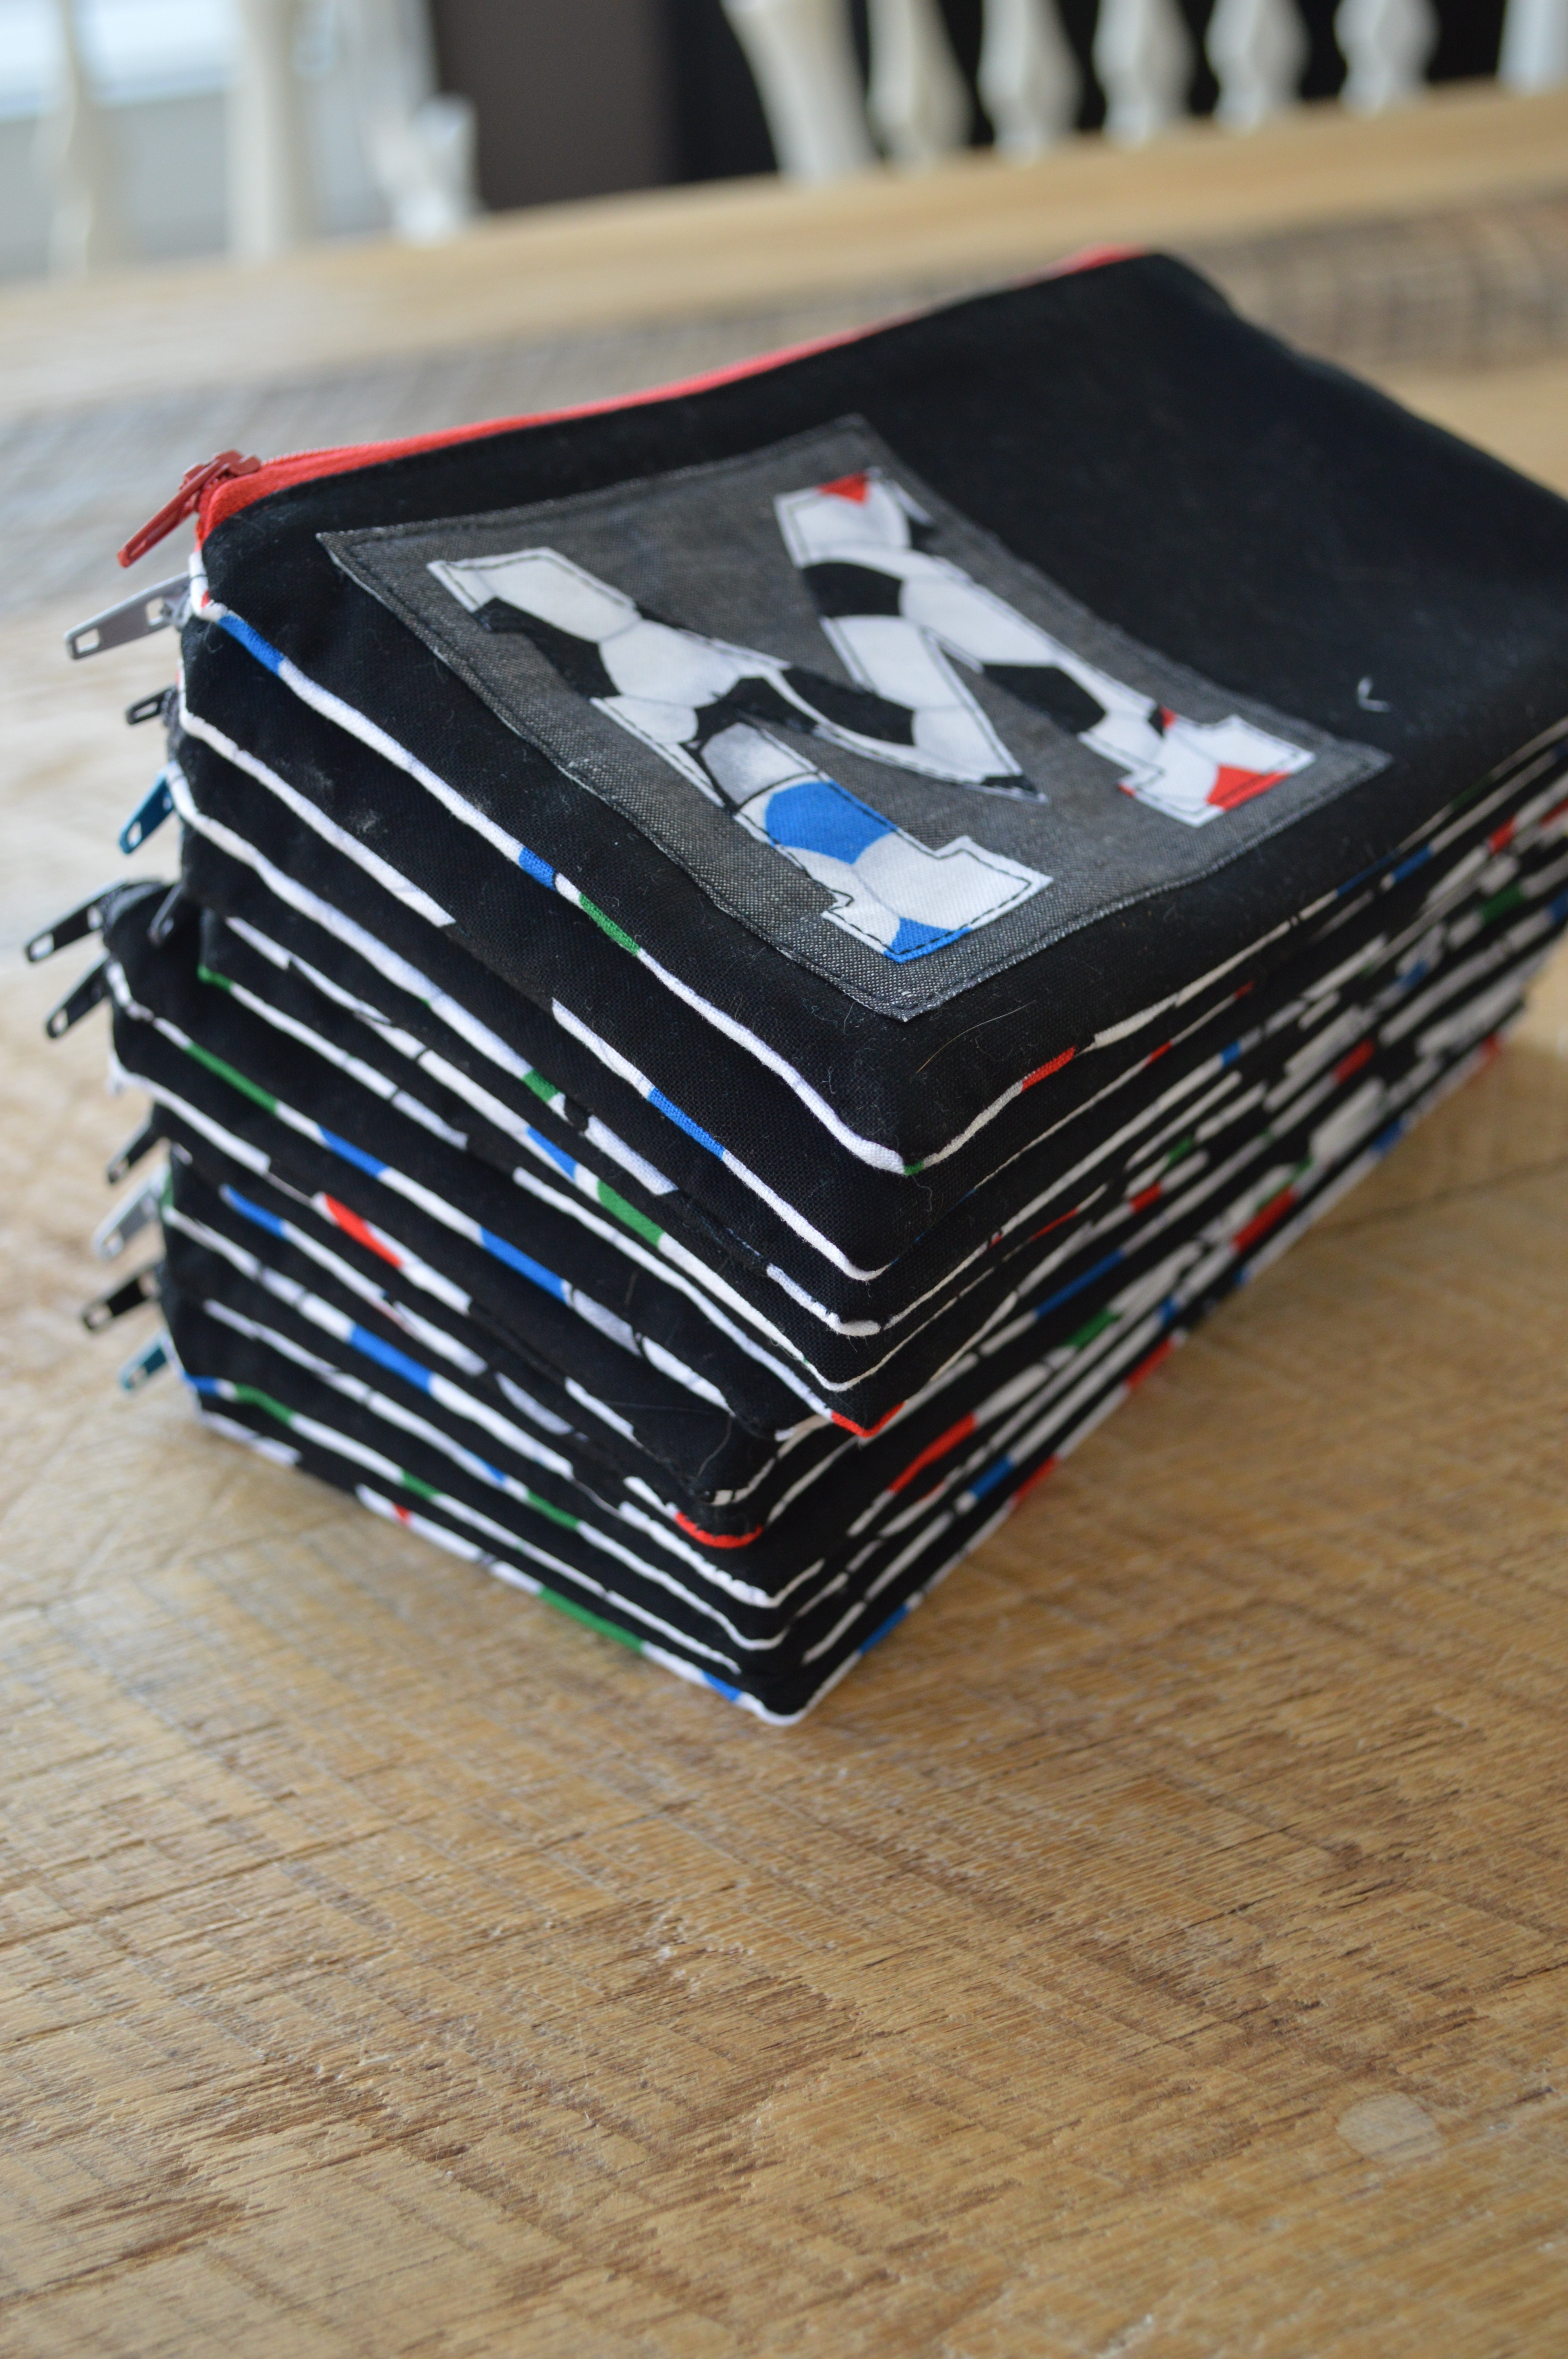
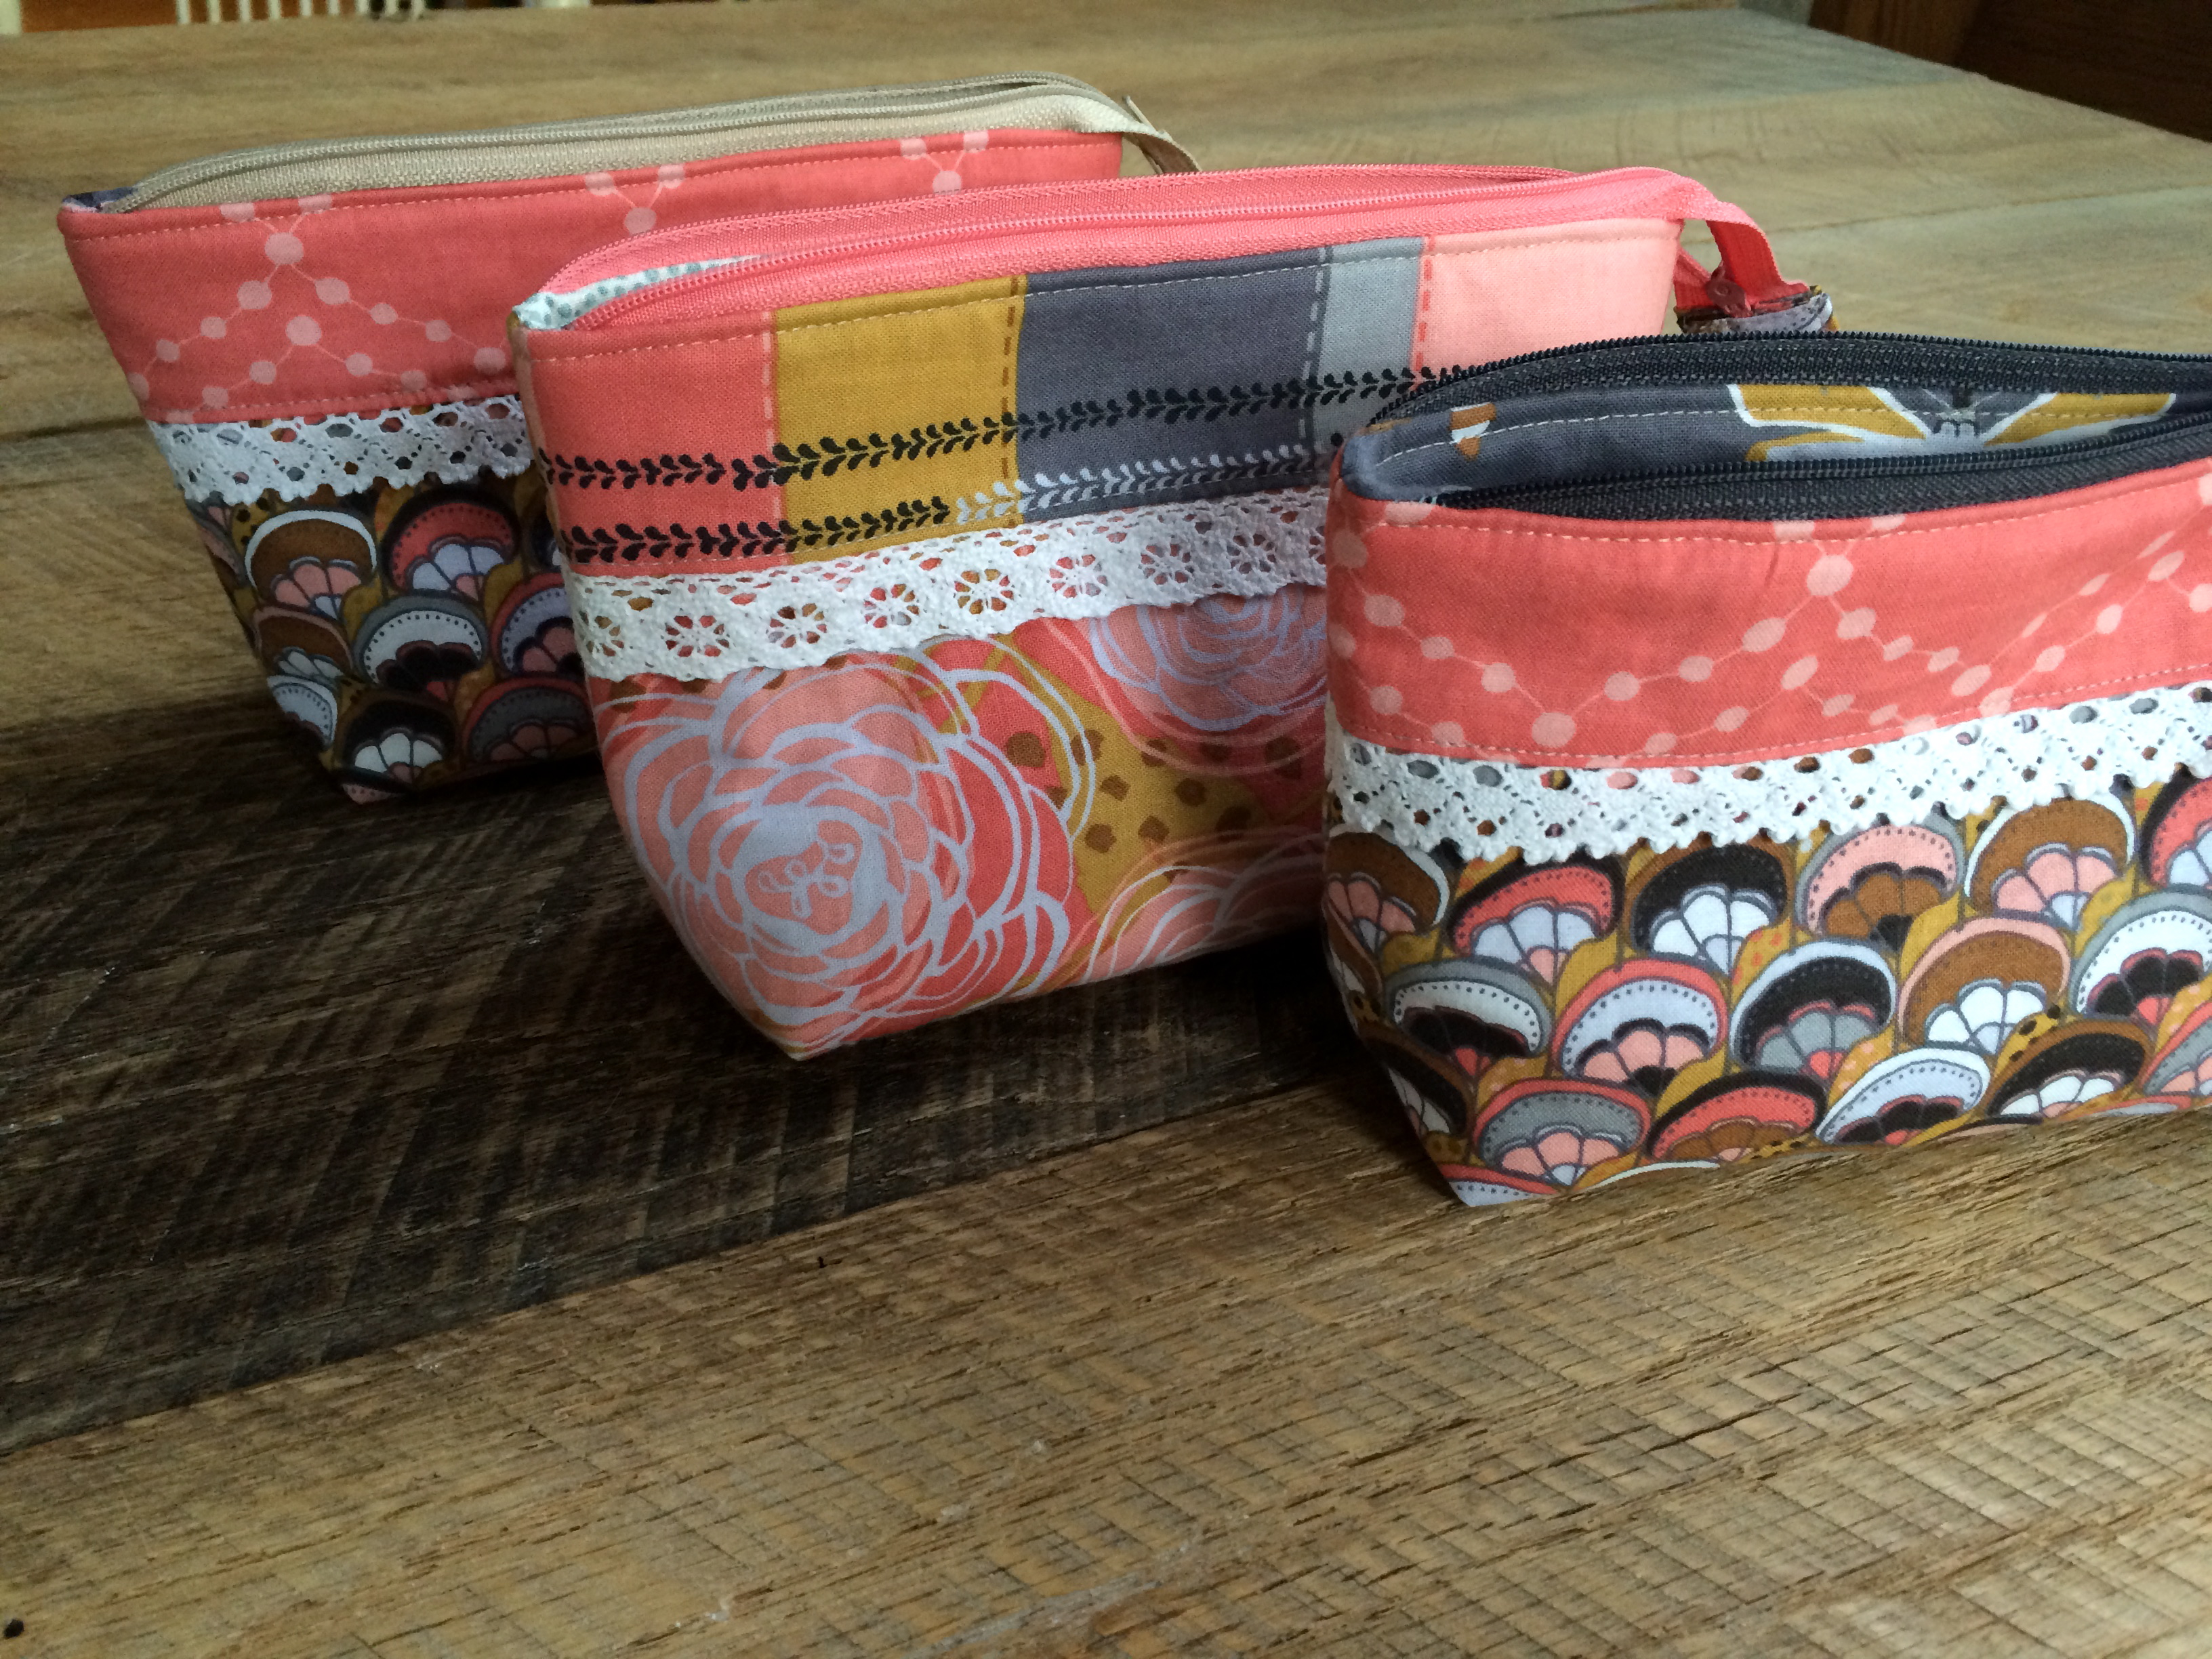
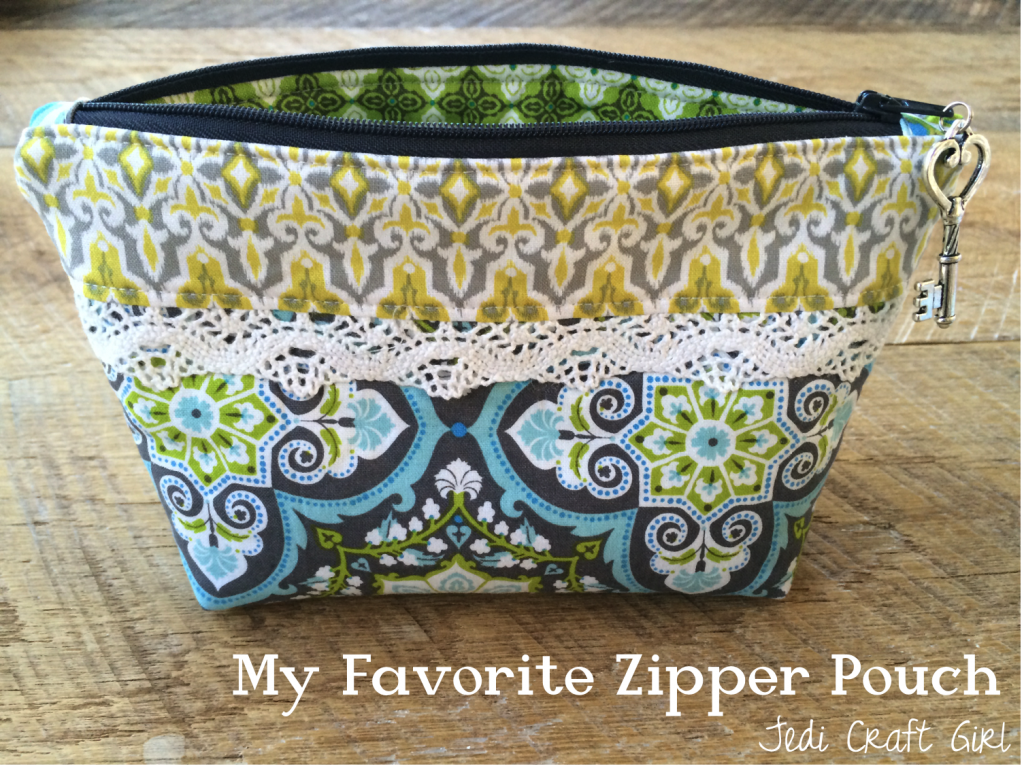
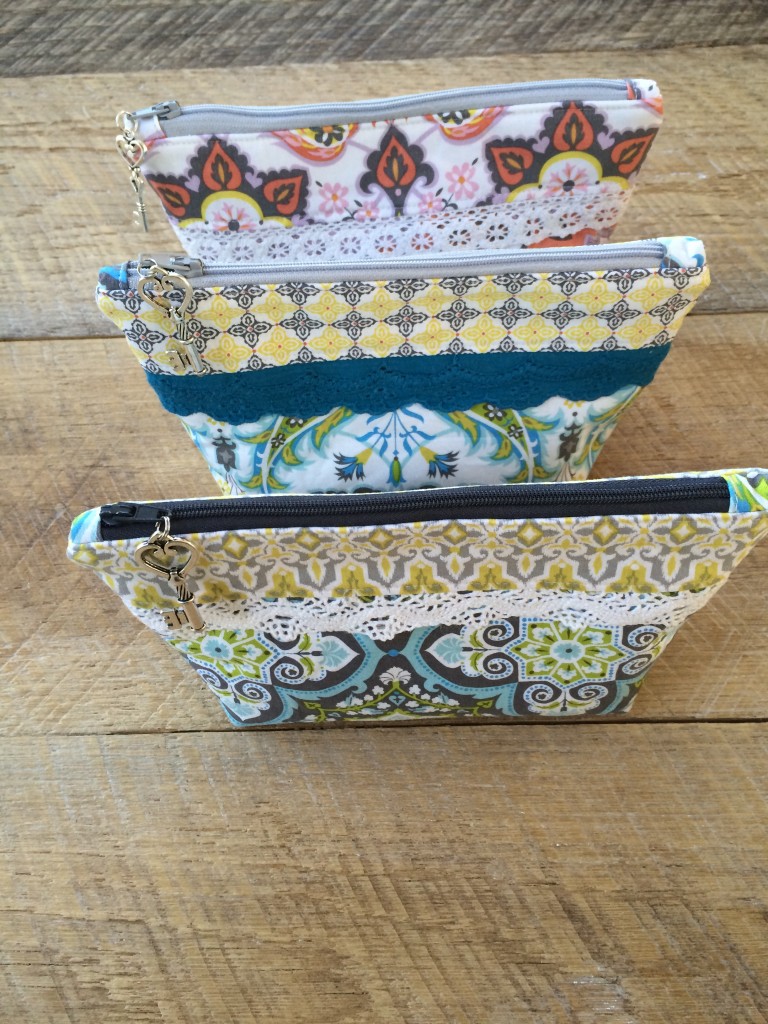
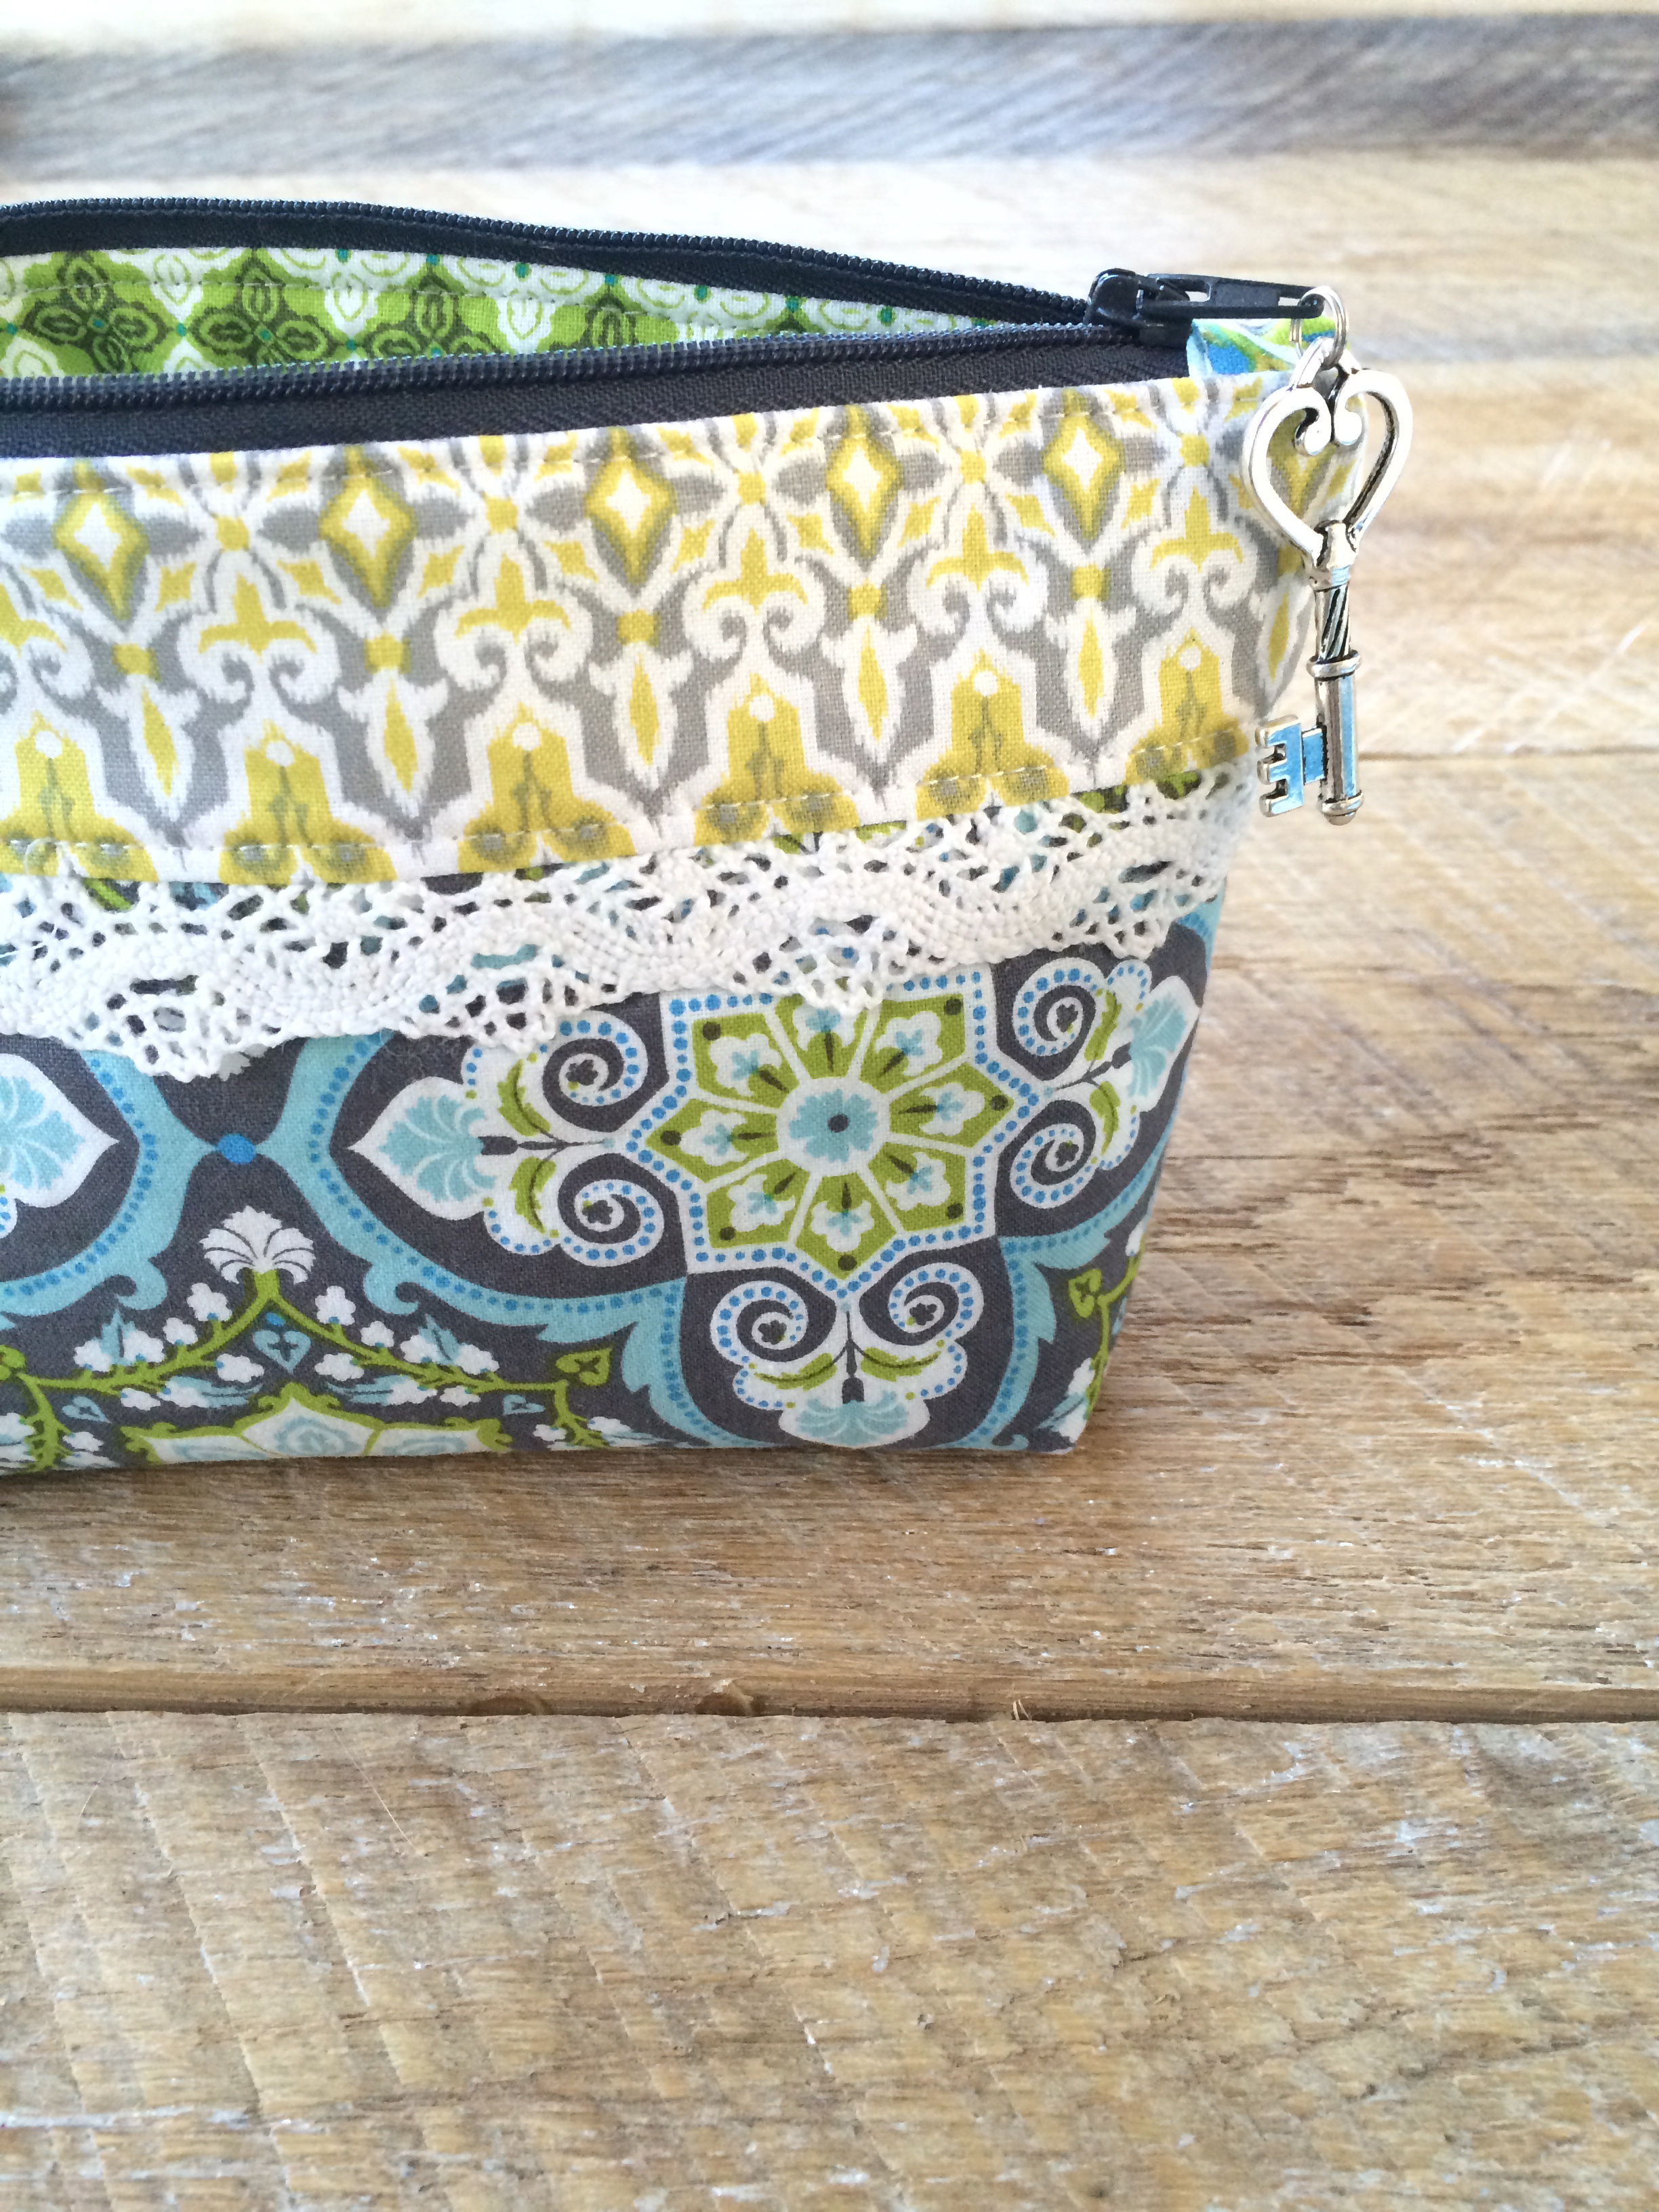
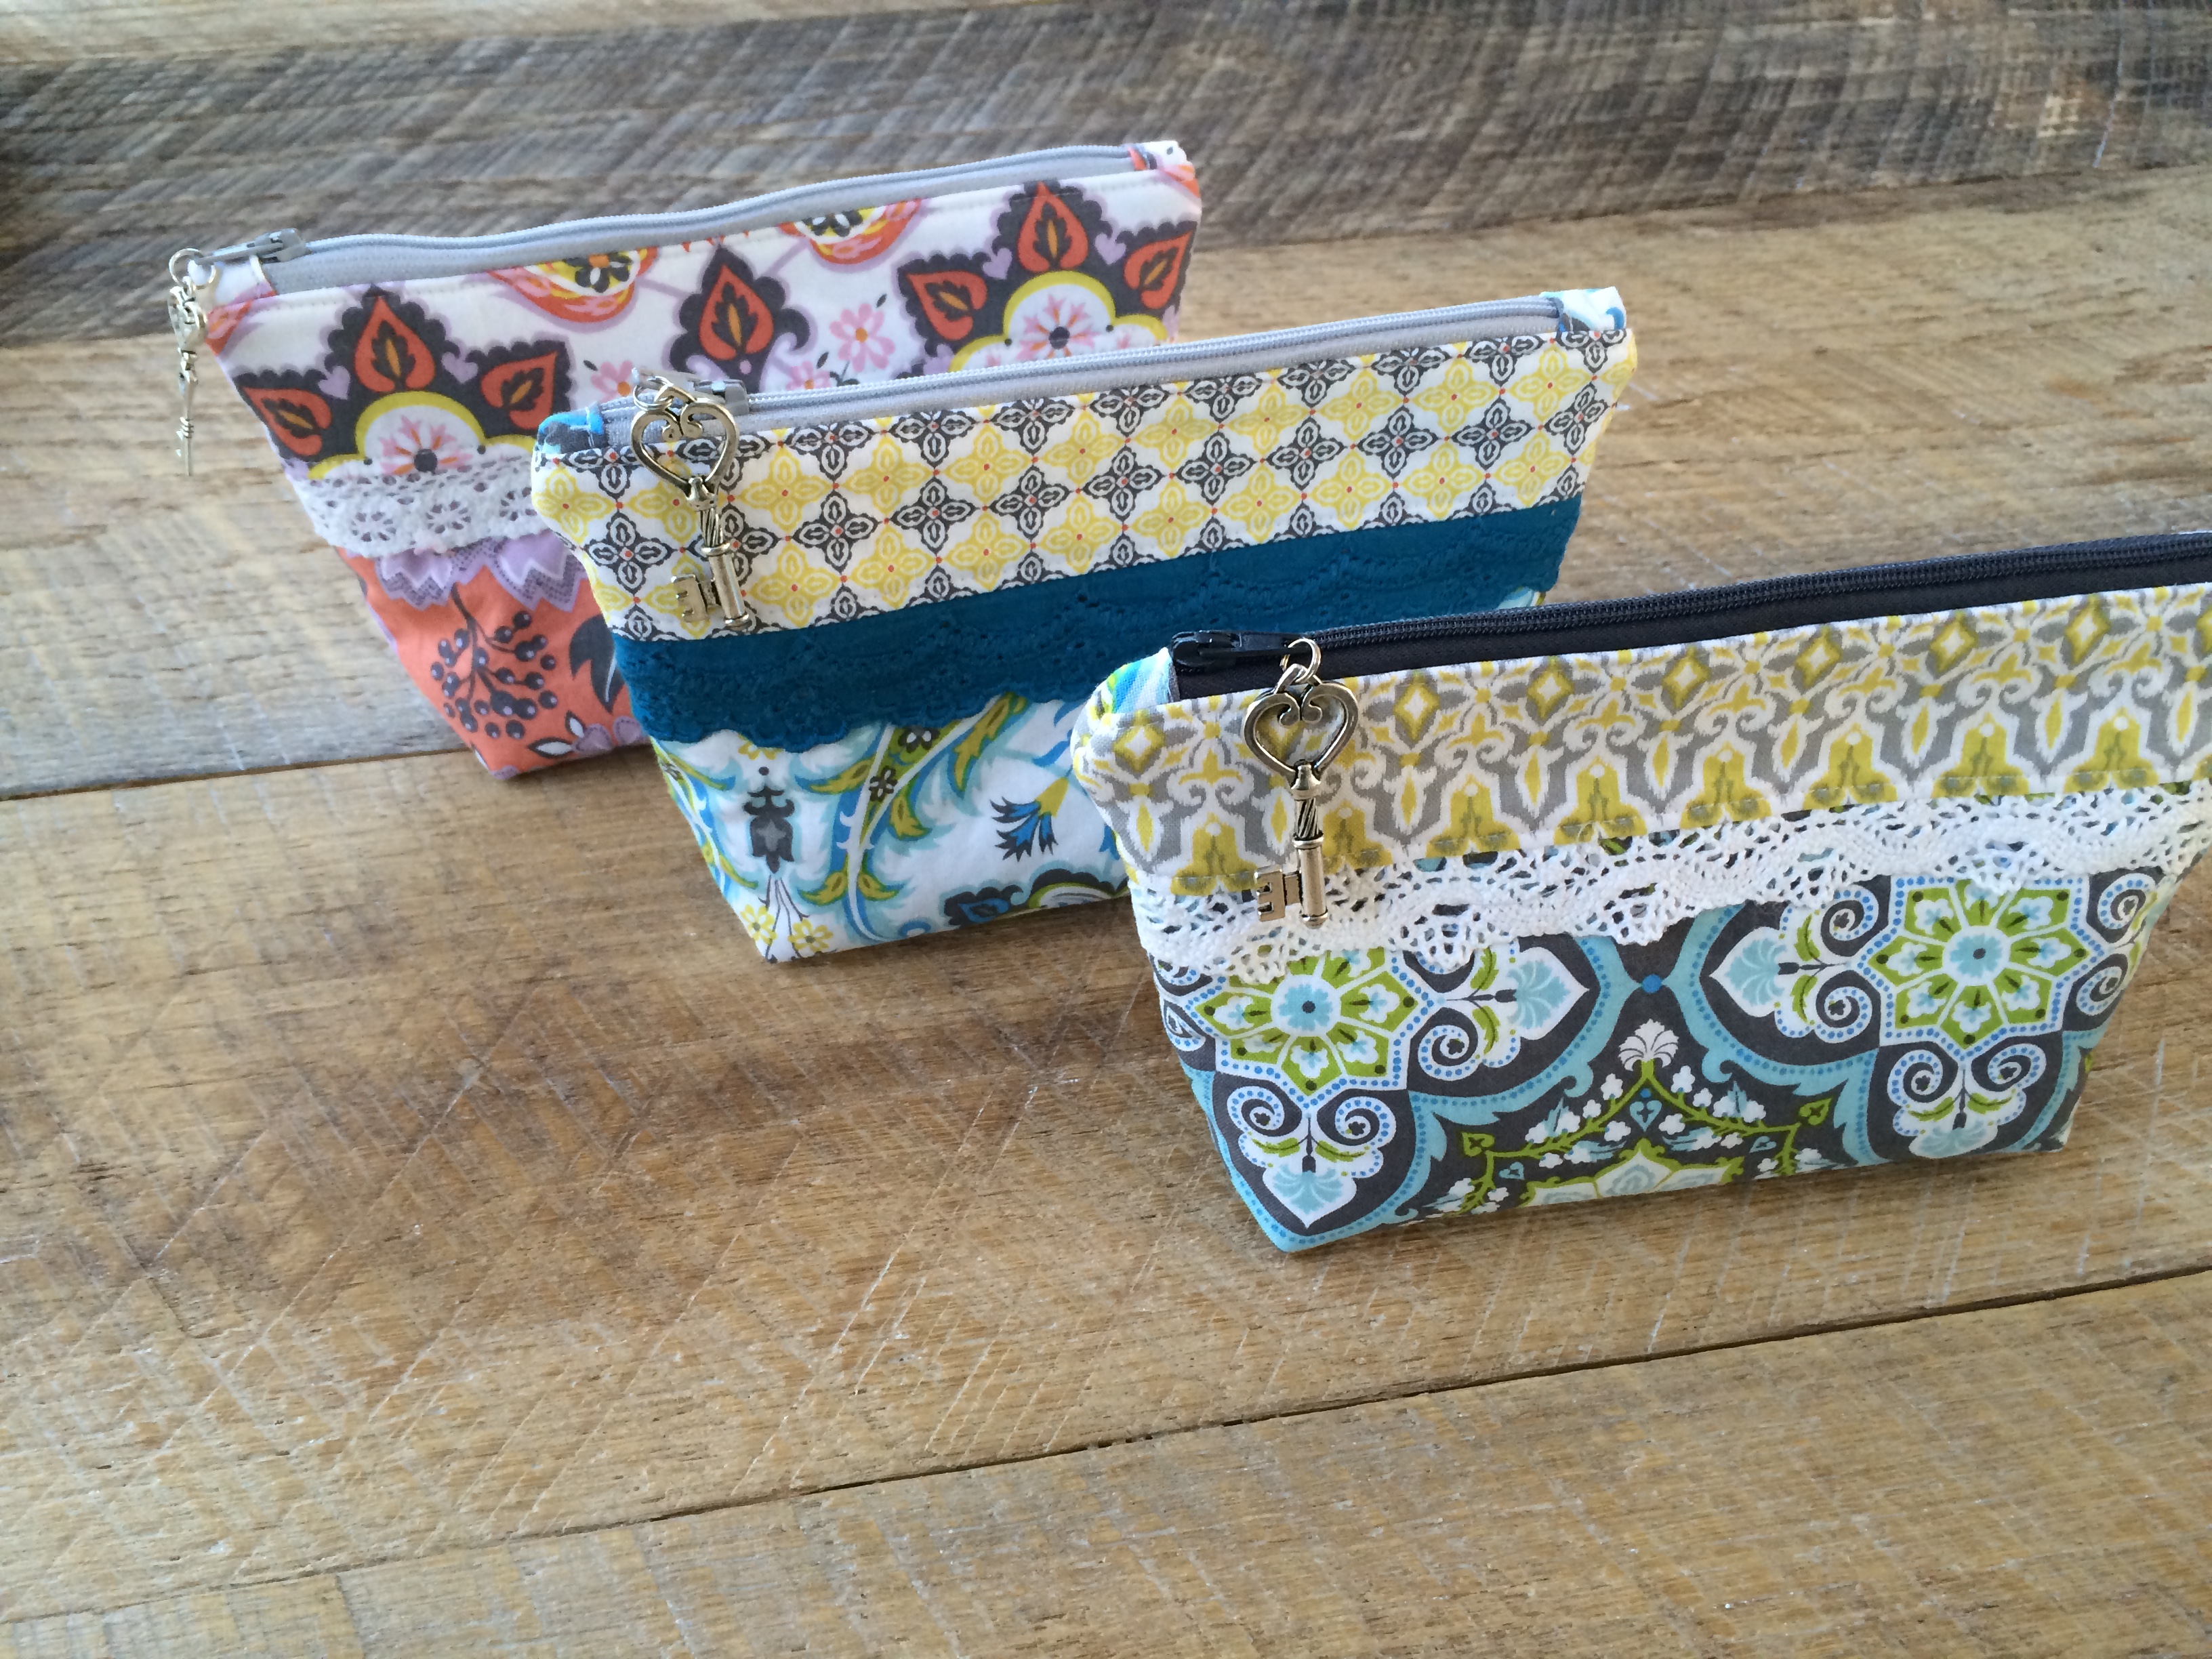
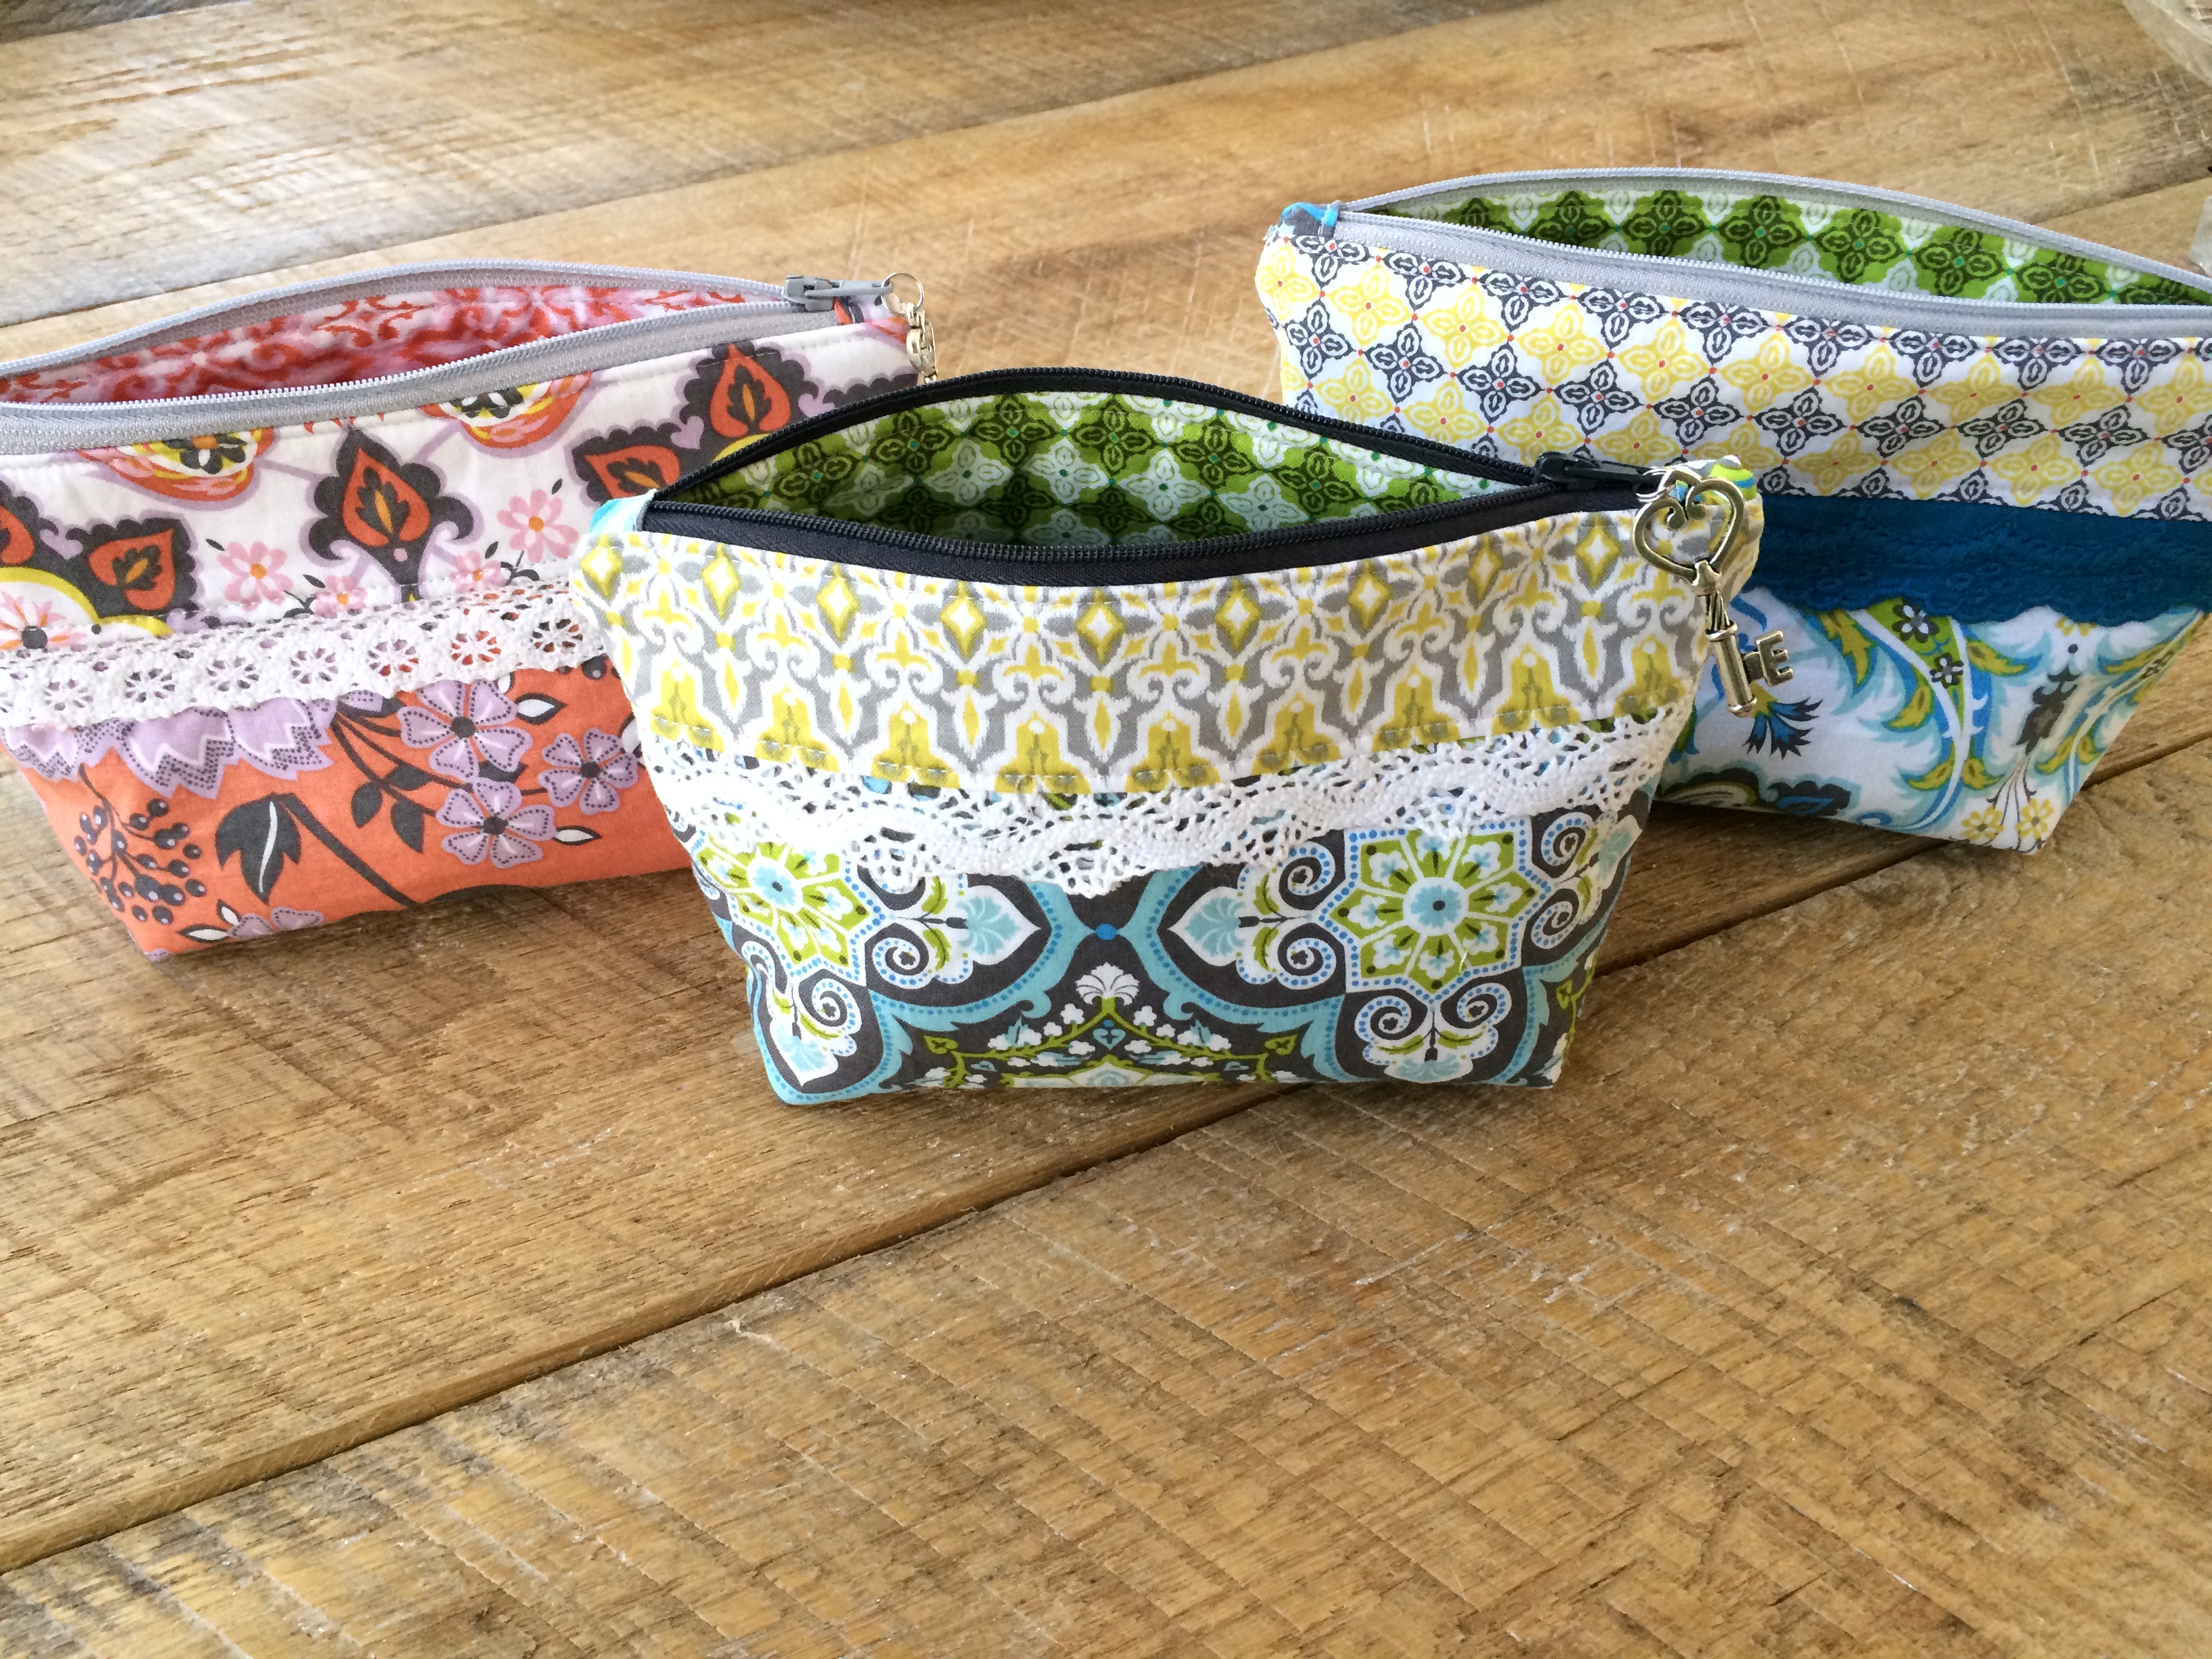
I love coming up with different versions of my favorite zipper pouch. I made this one for a friend and thought I would share the details with you! They really make the perfect gift! I hope to make one for myself to keep some day!!
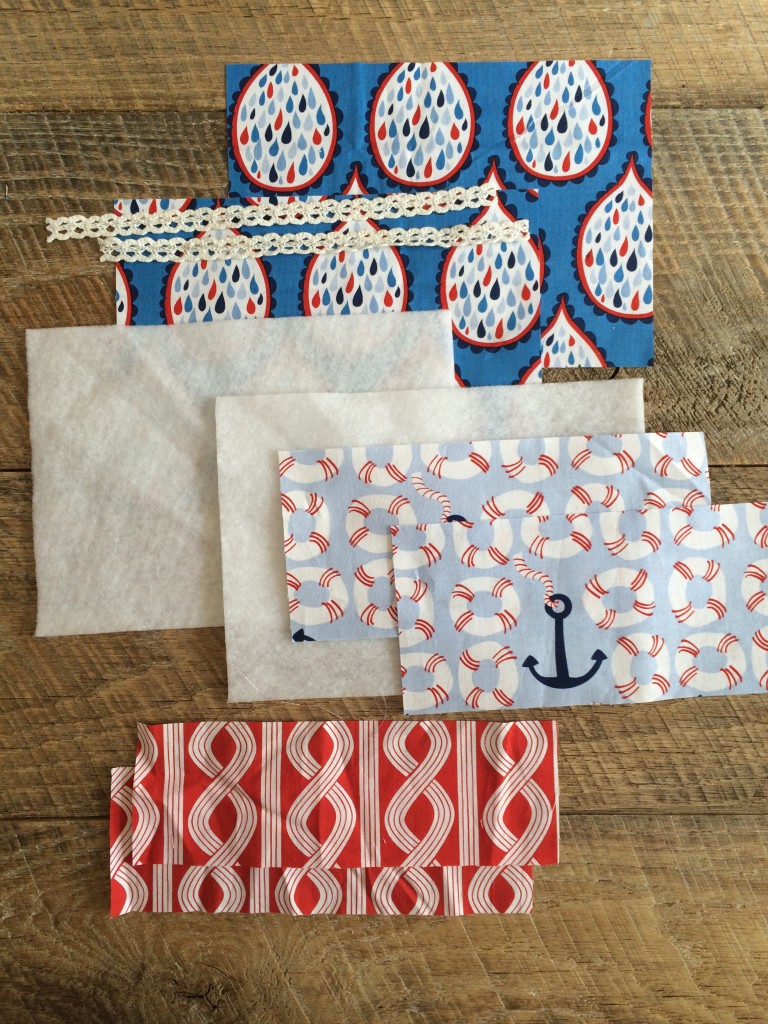
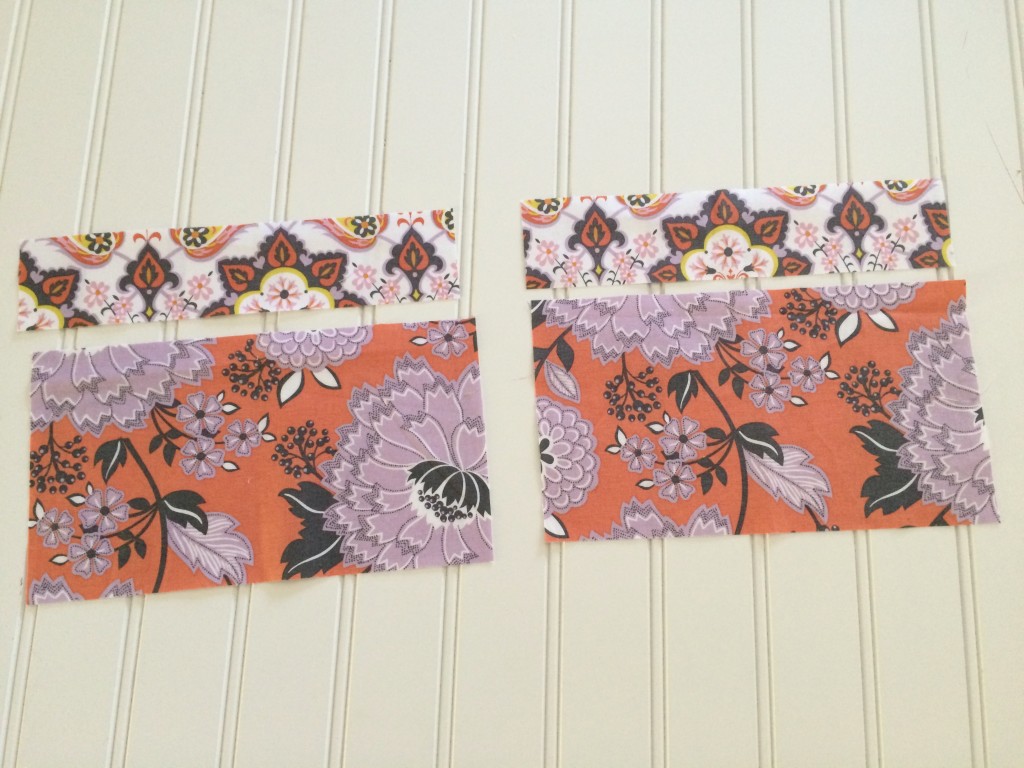
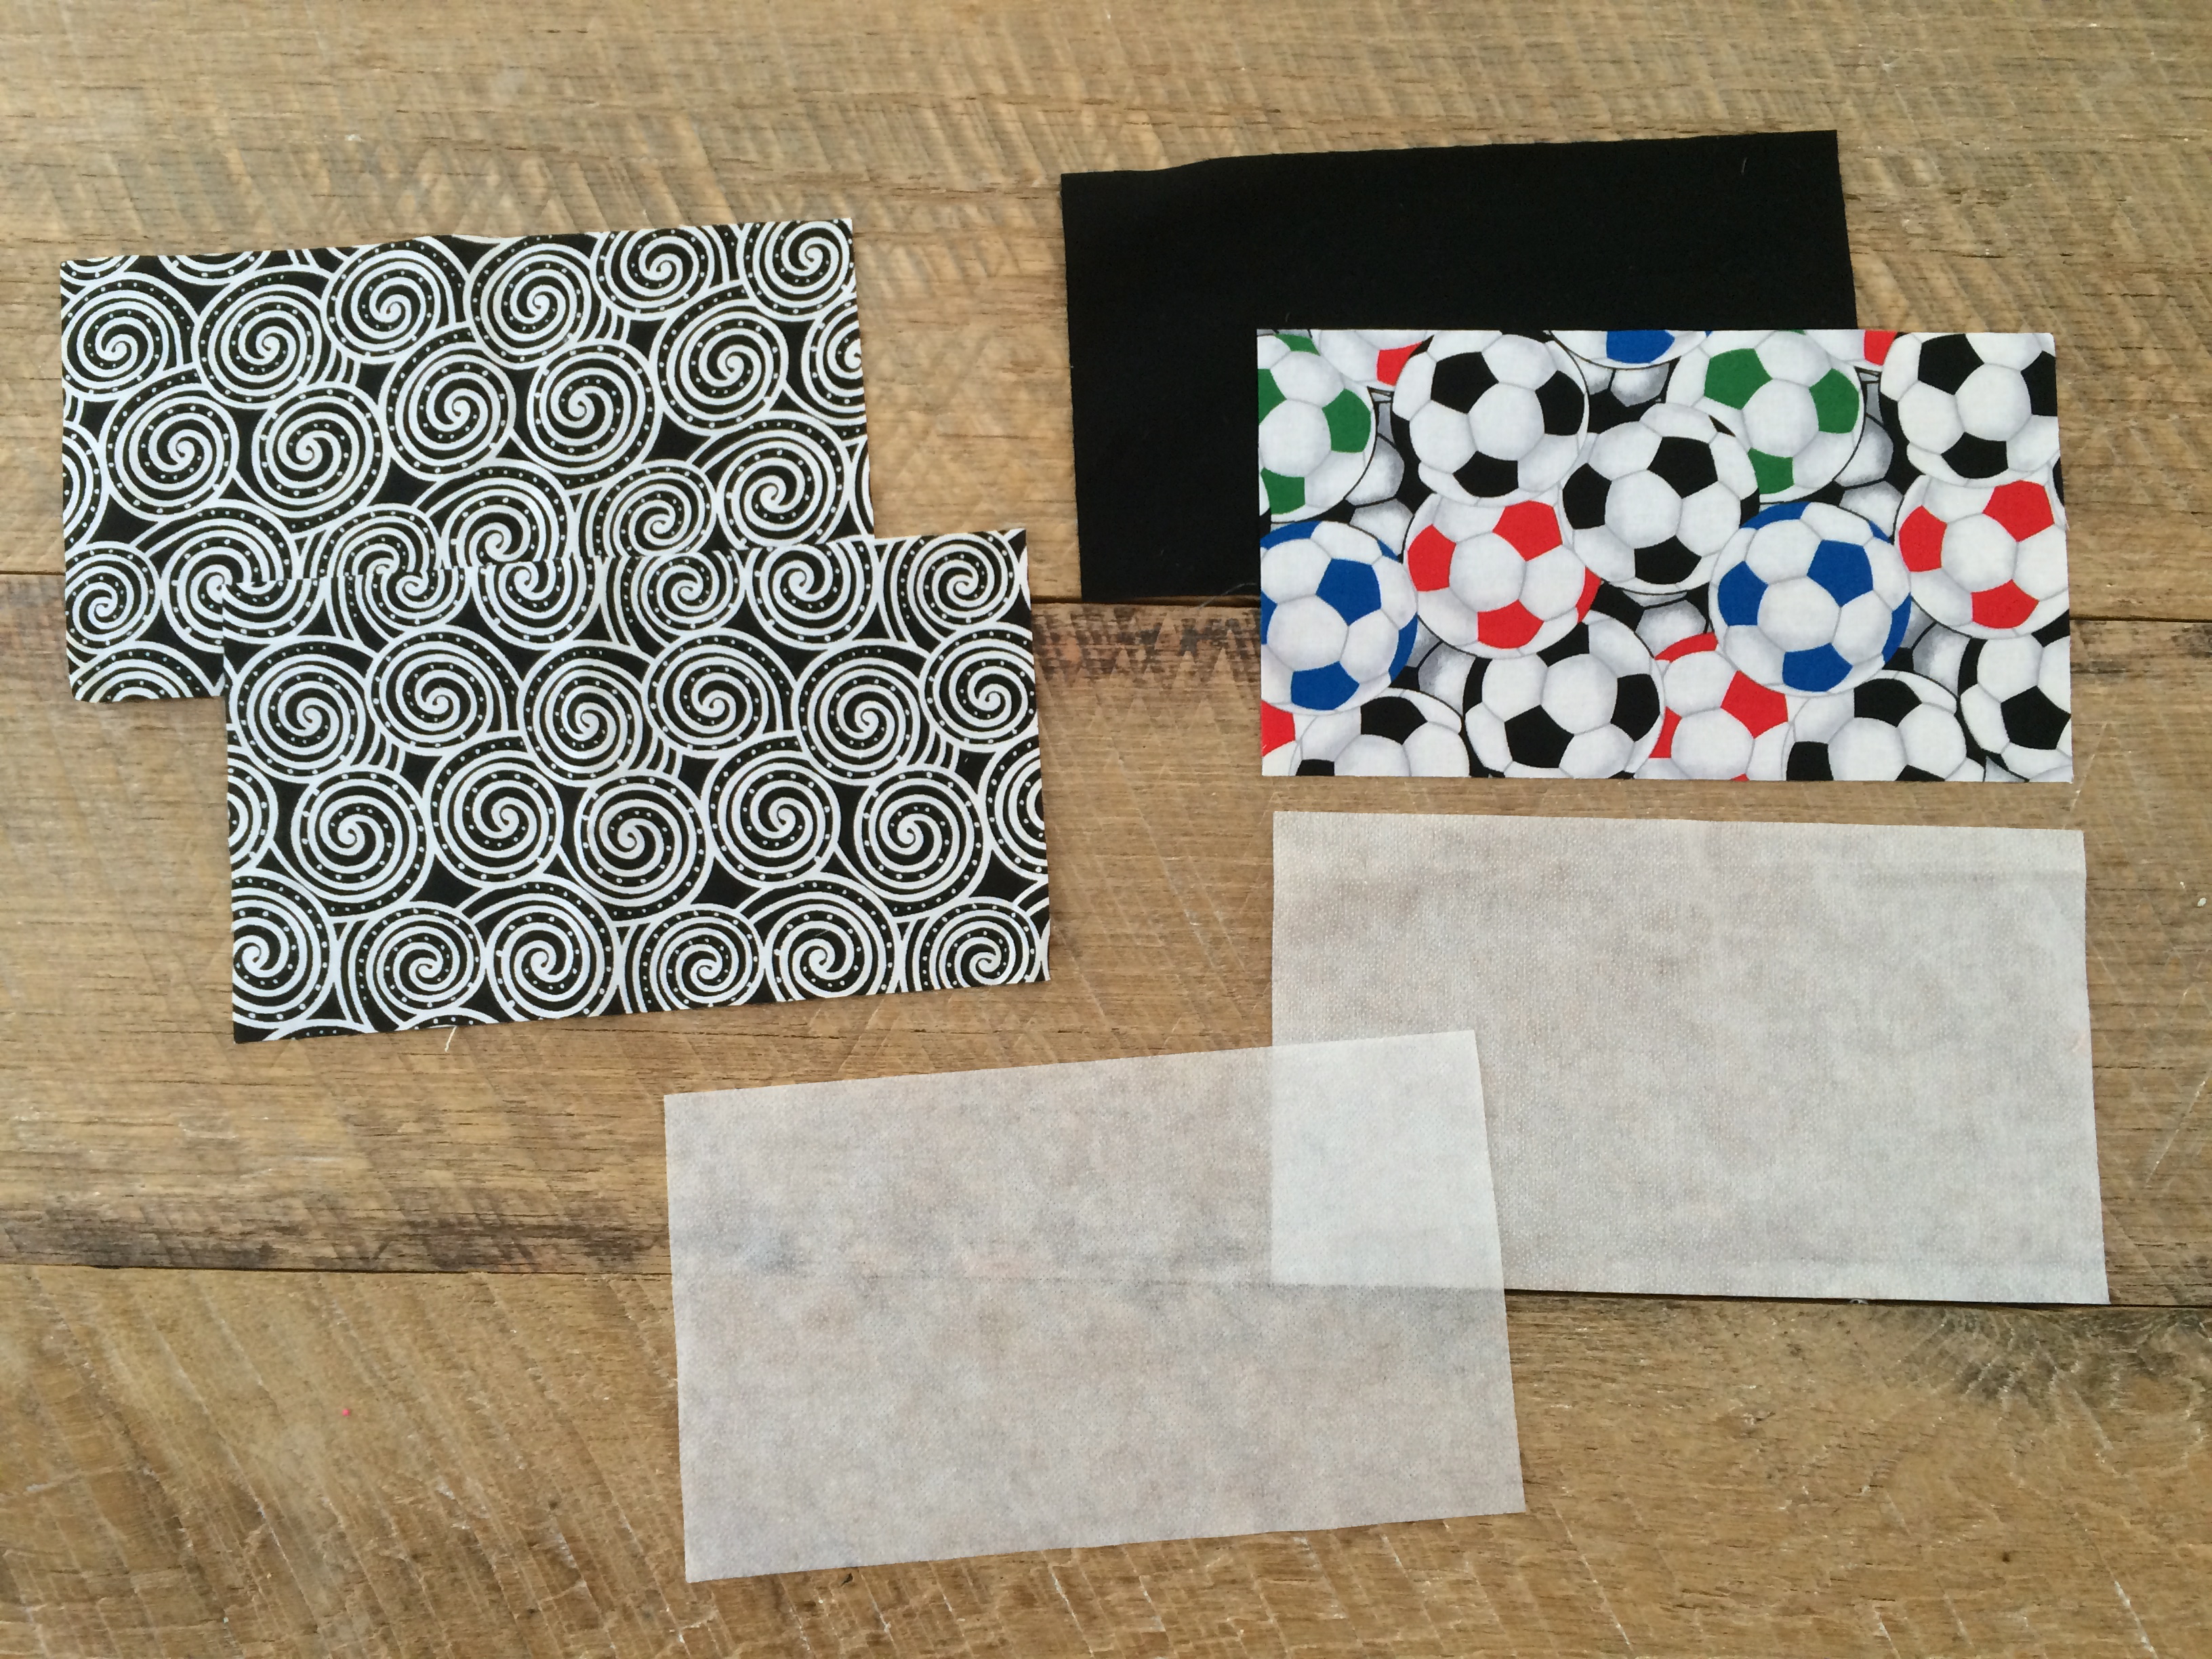
Begin by cutting
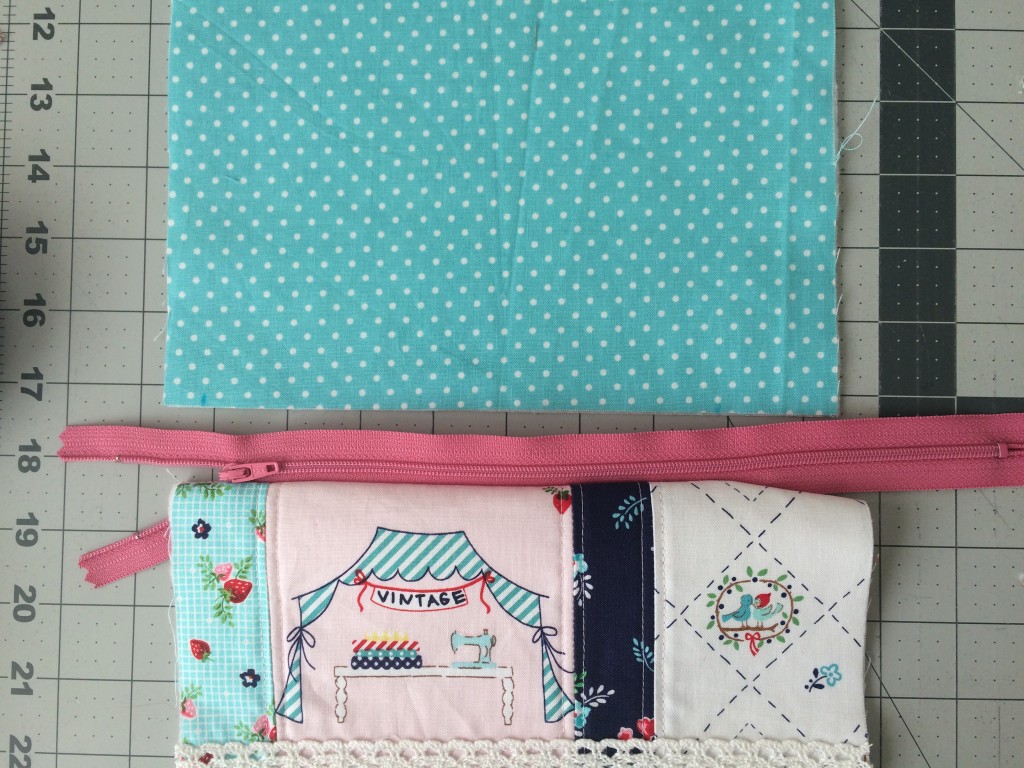
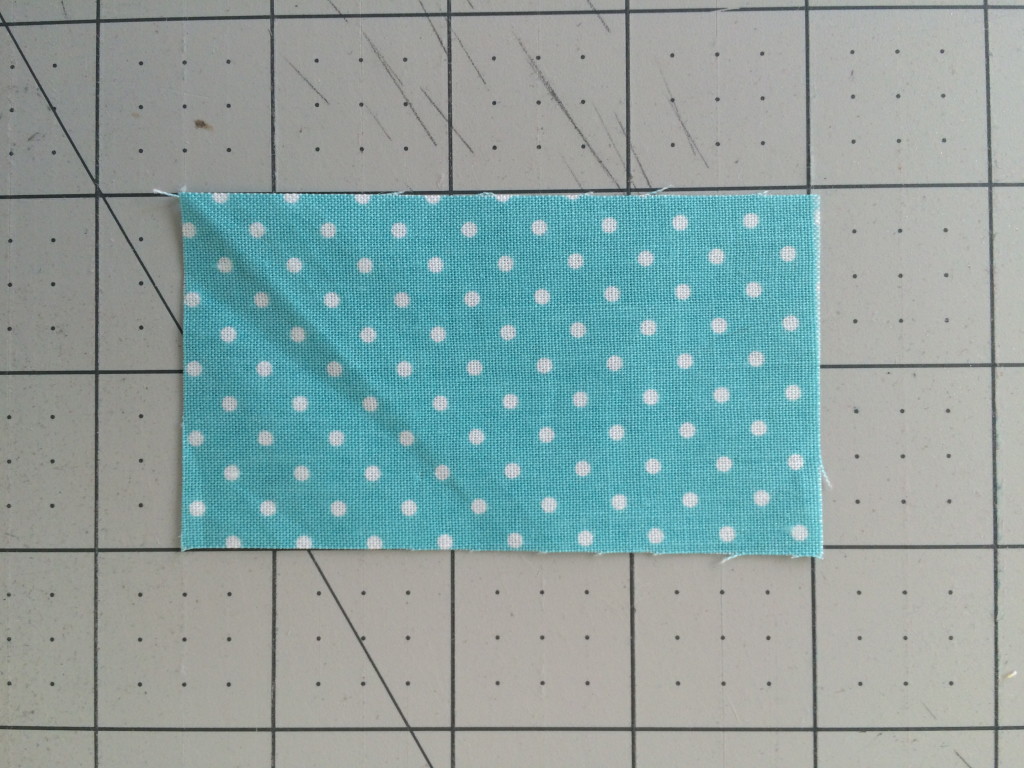
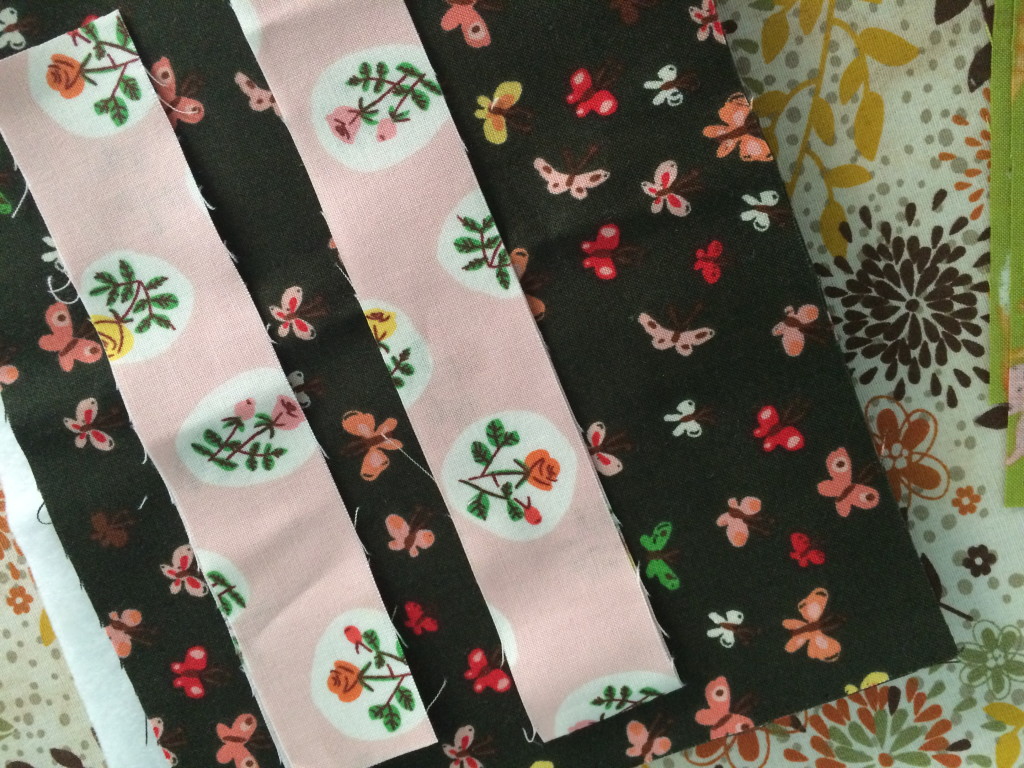
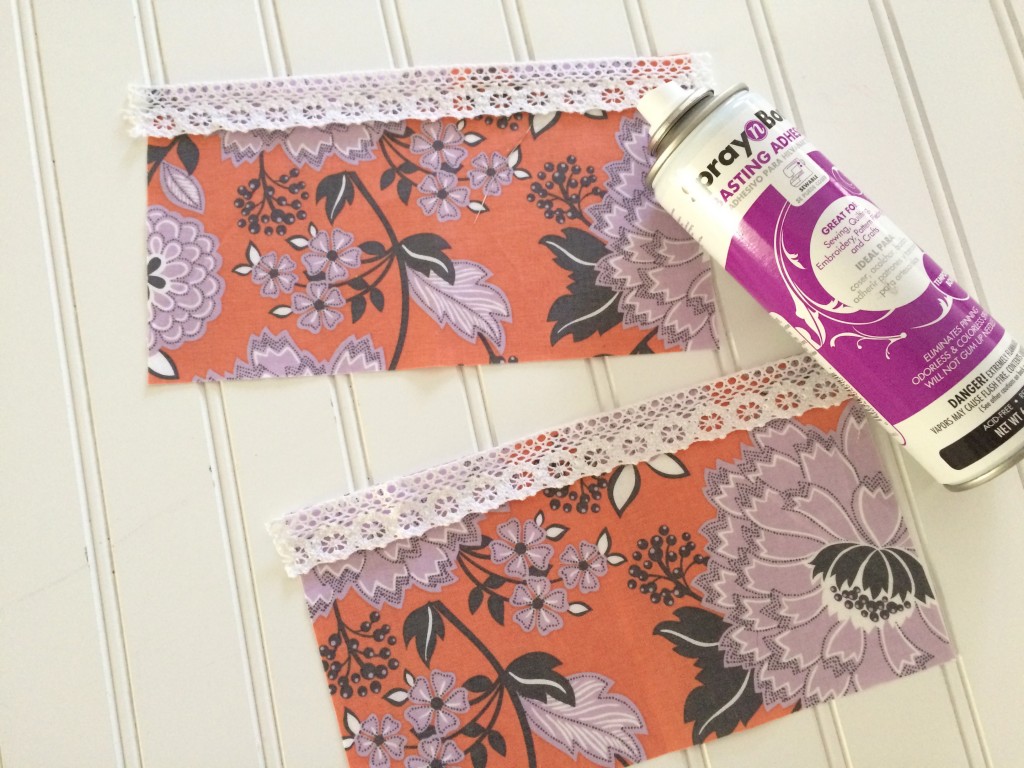
(2) 2.5″ x 11″ accent strips
(2) 6″ x 11″ main strips
(2) 8″x11″ pieces for the lining
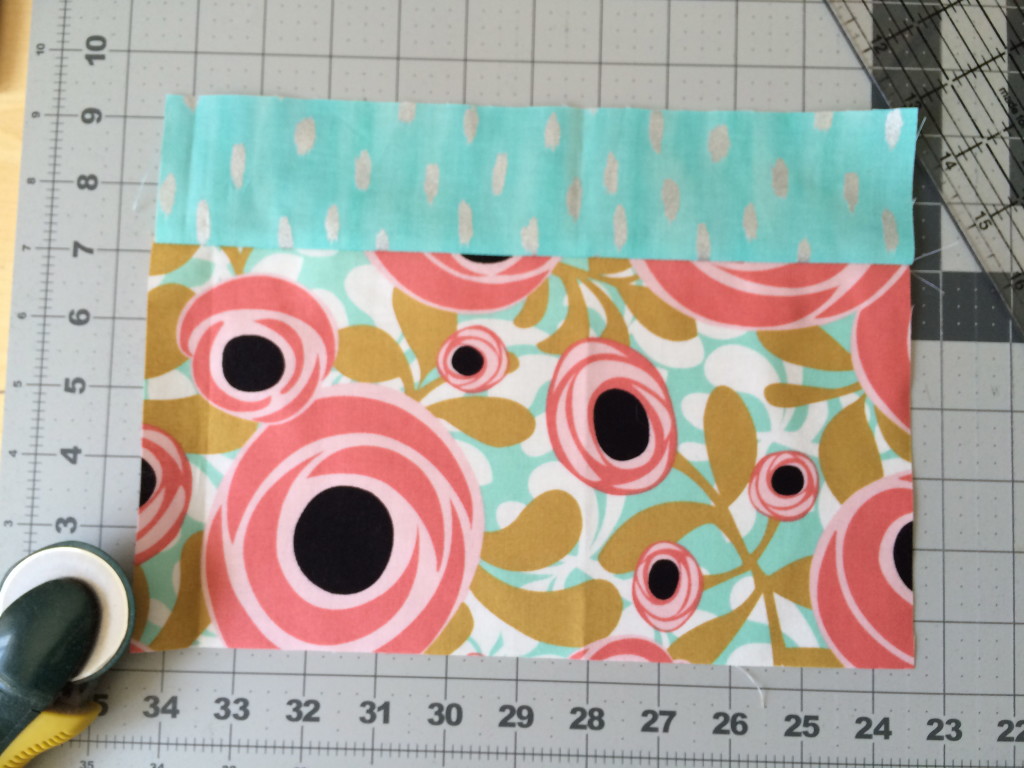
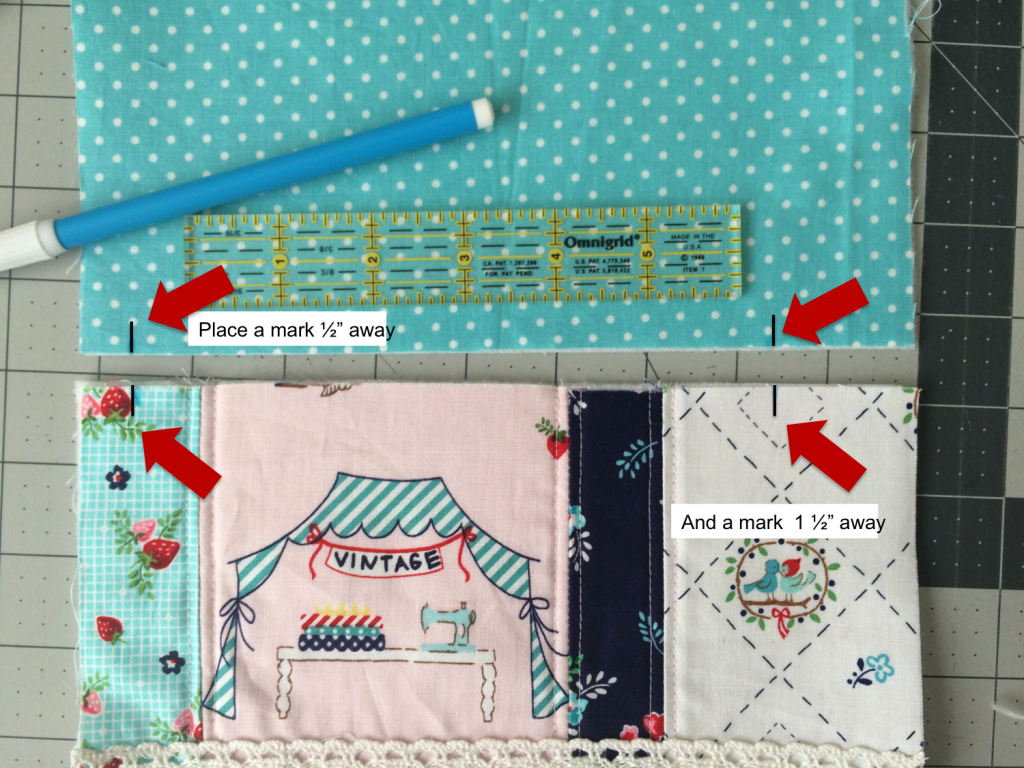
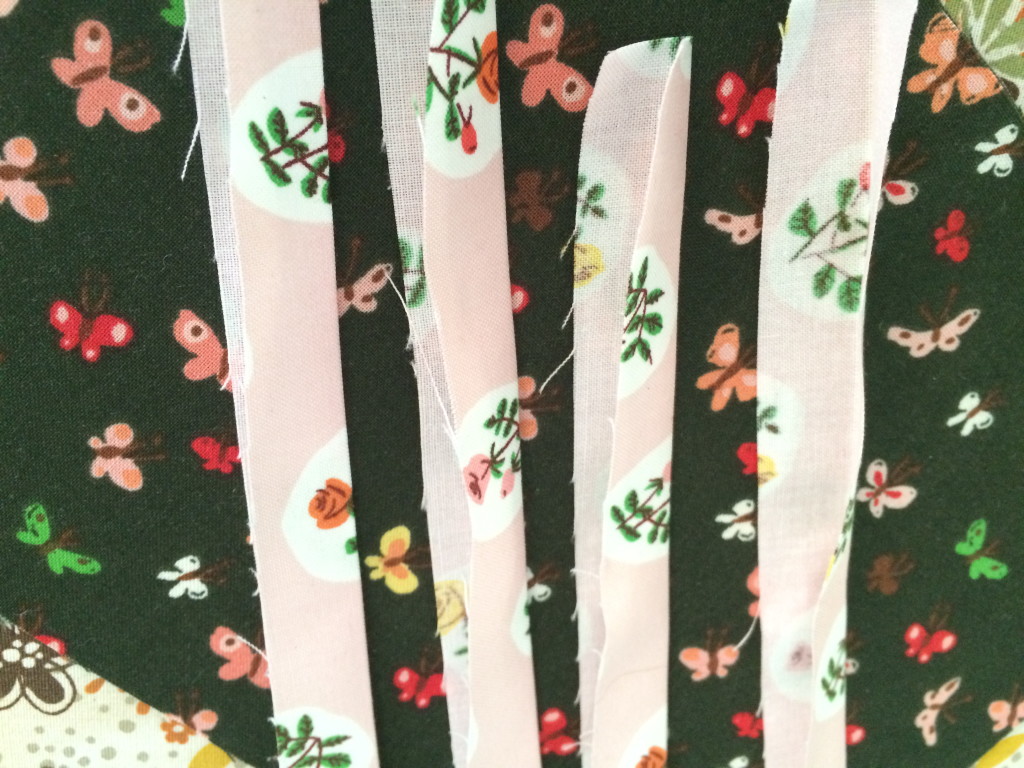
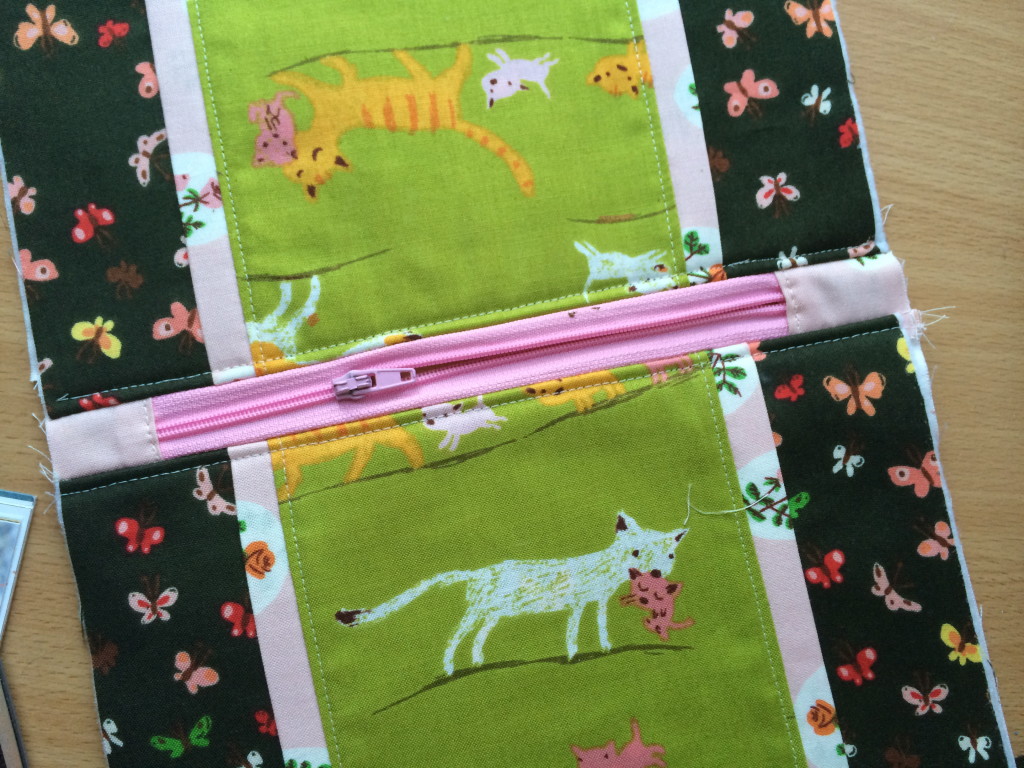
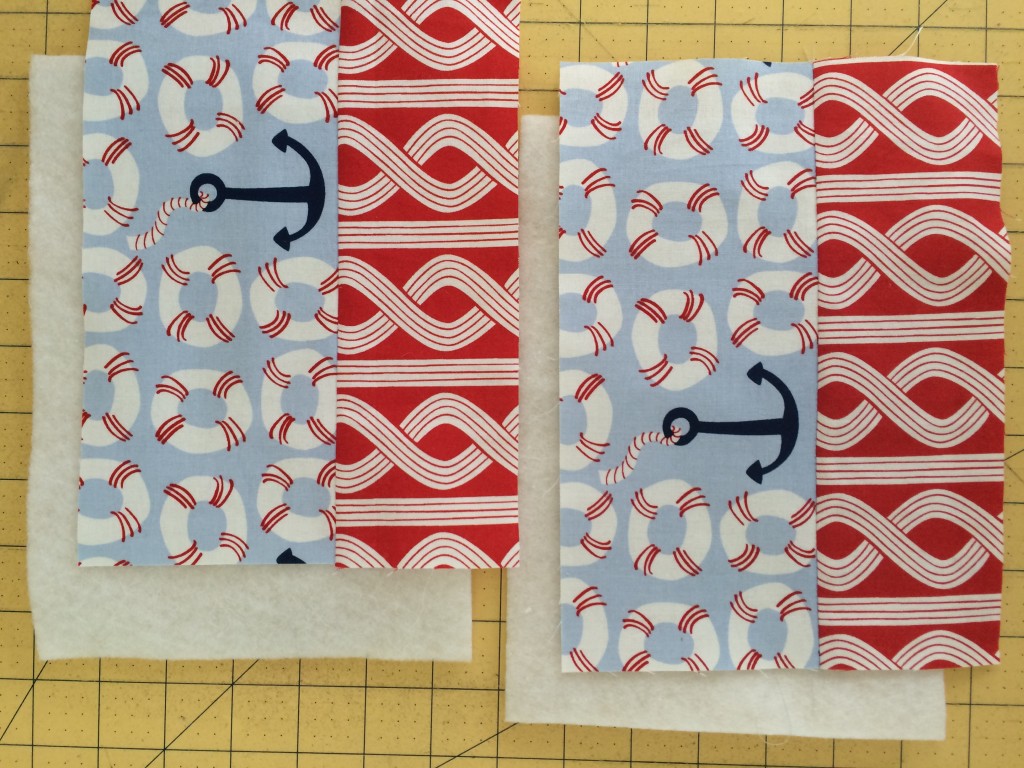
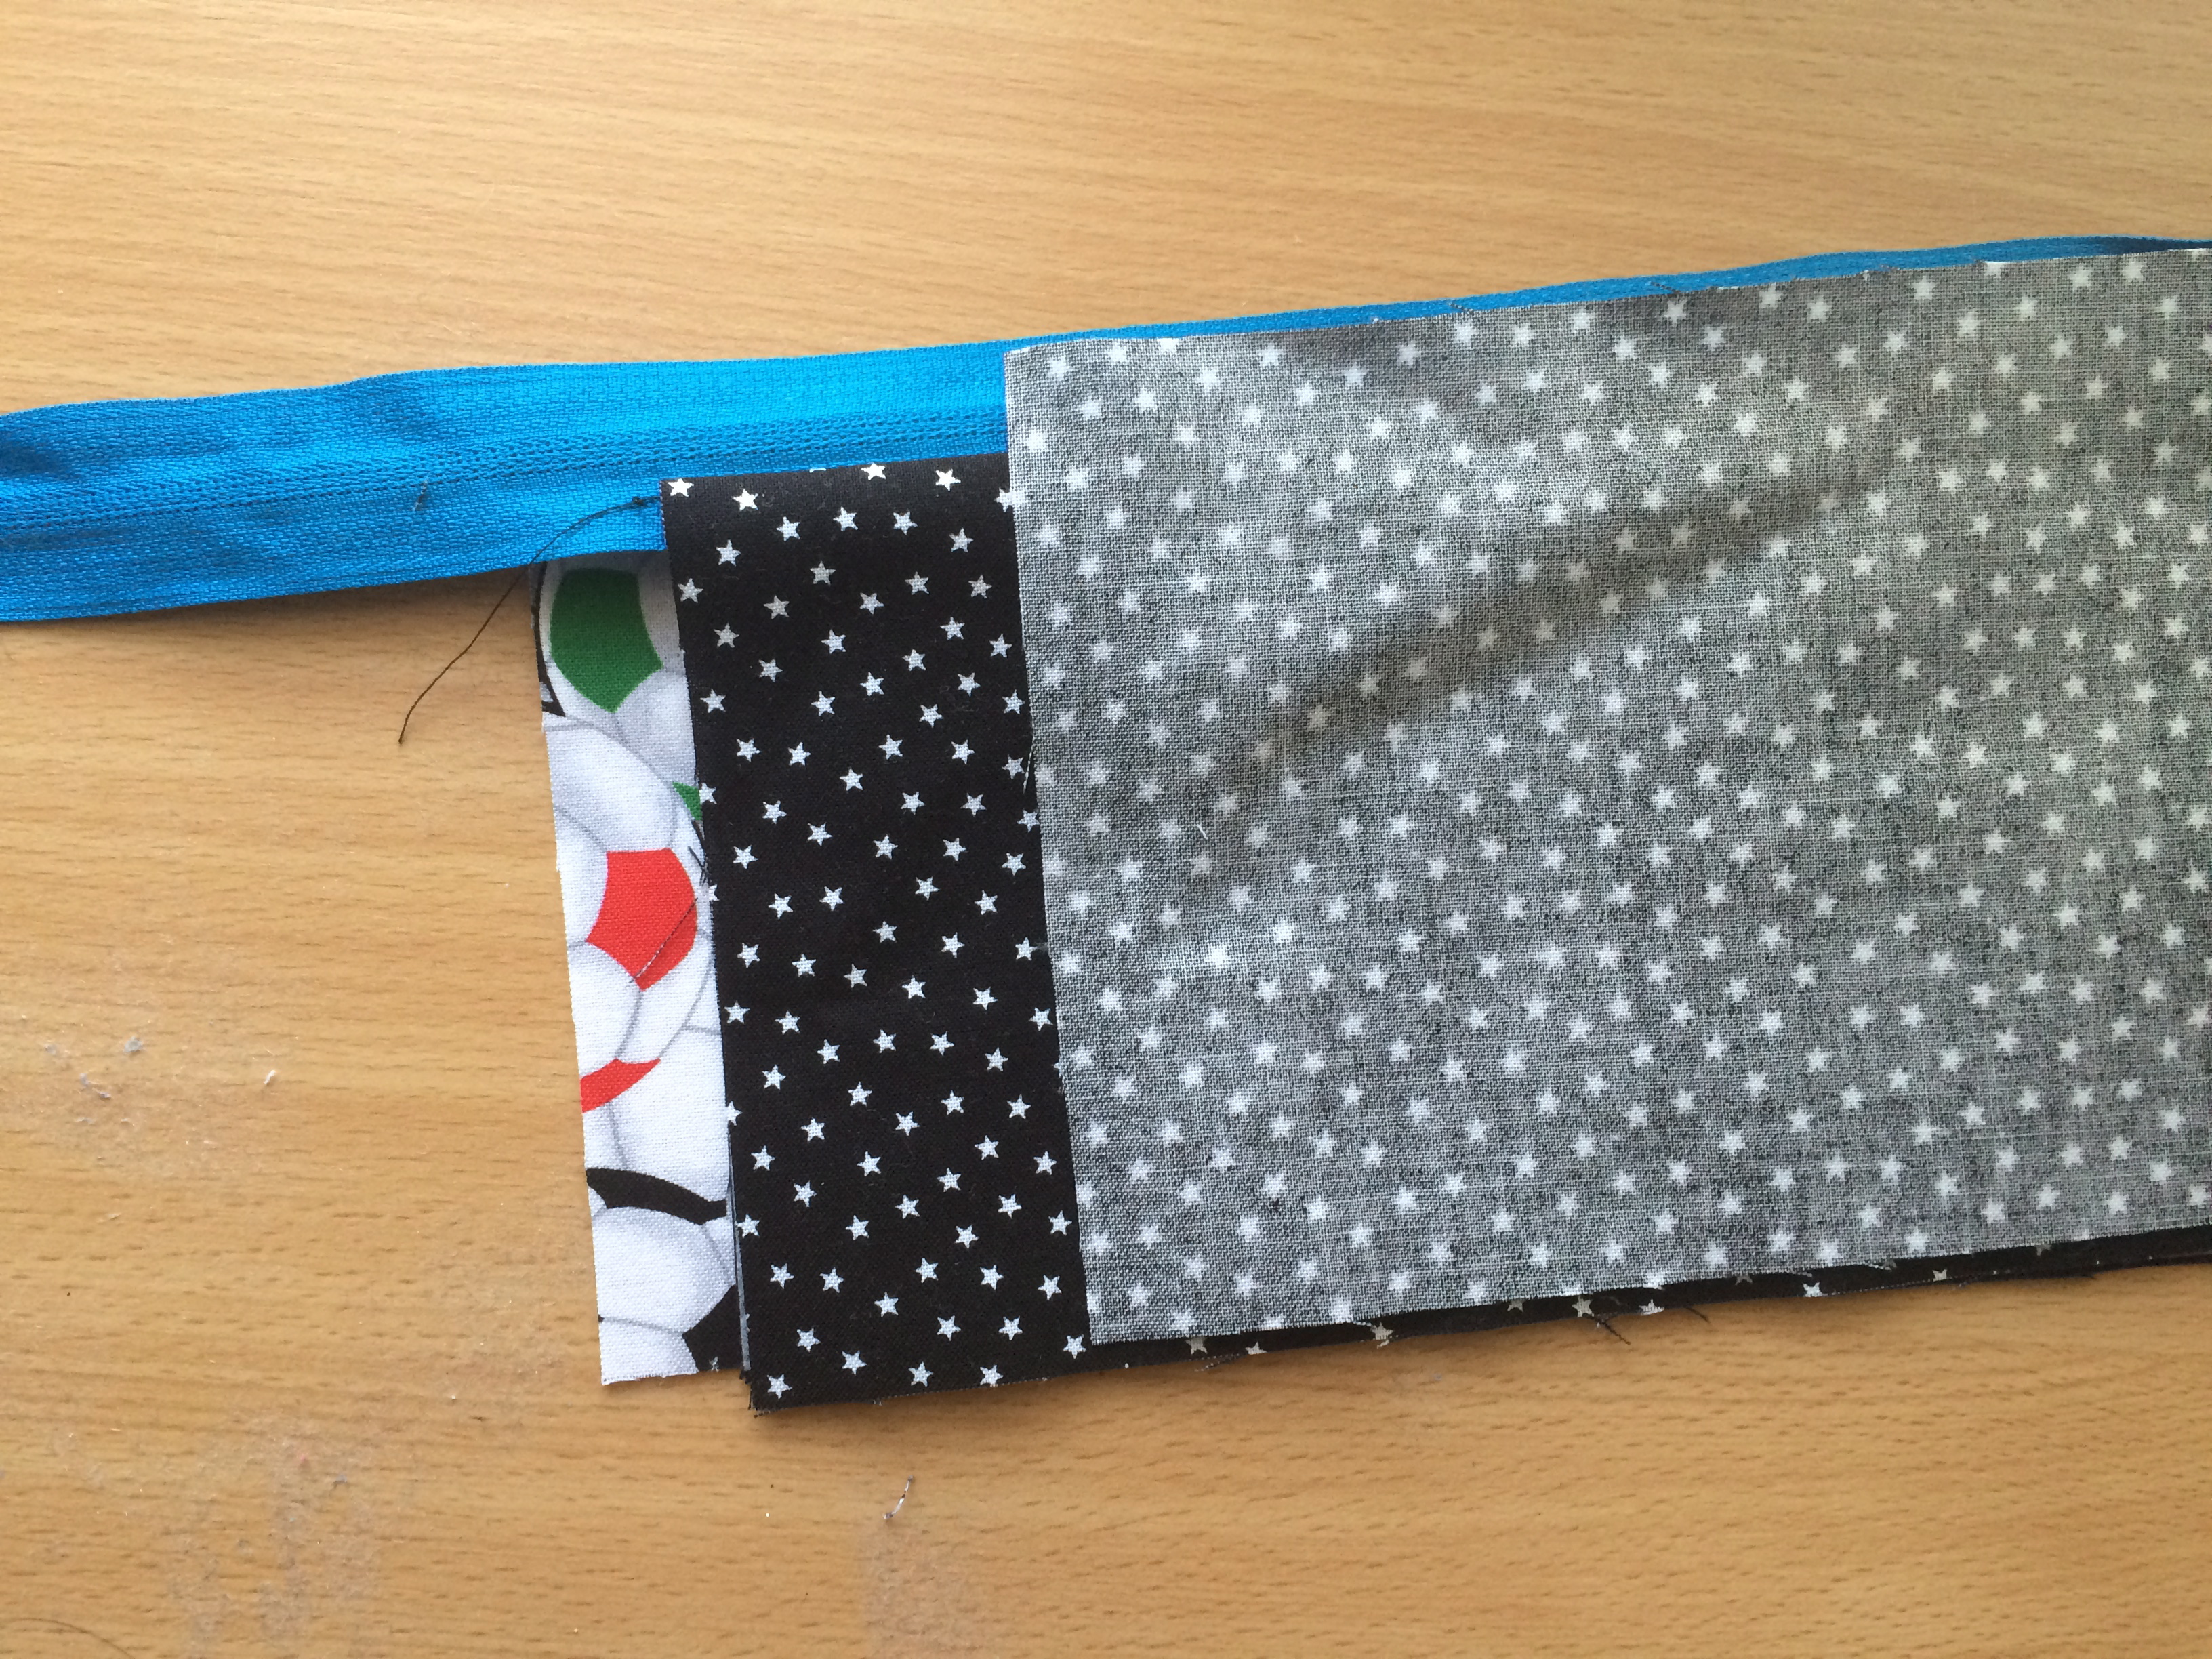
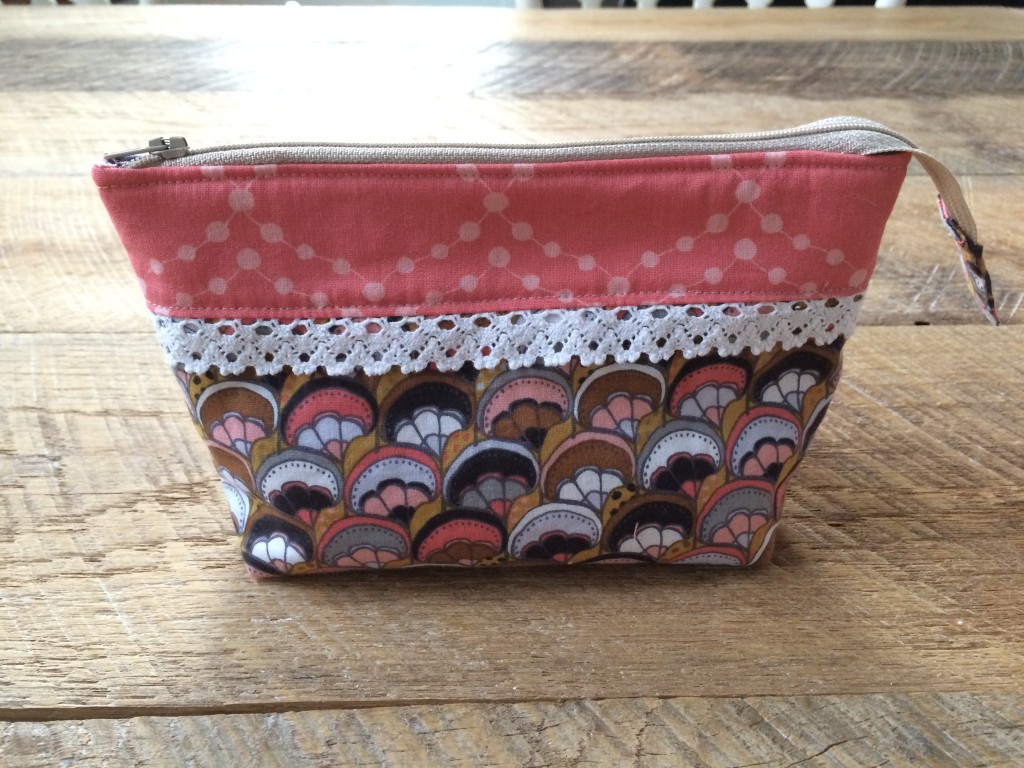
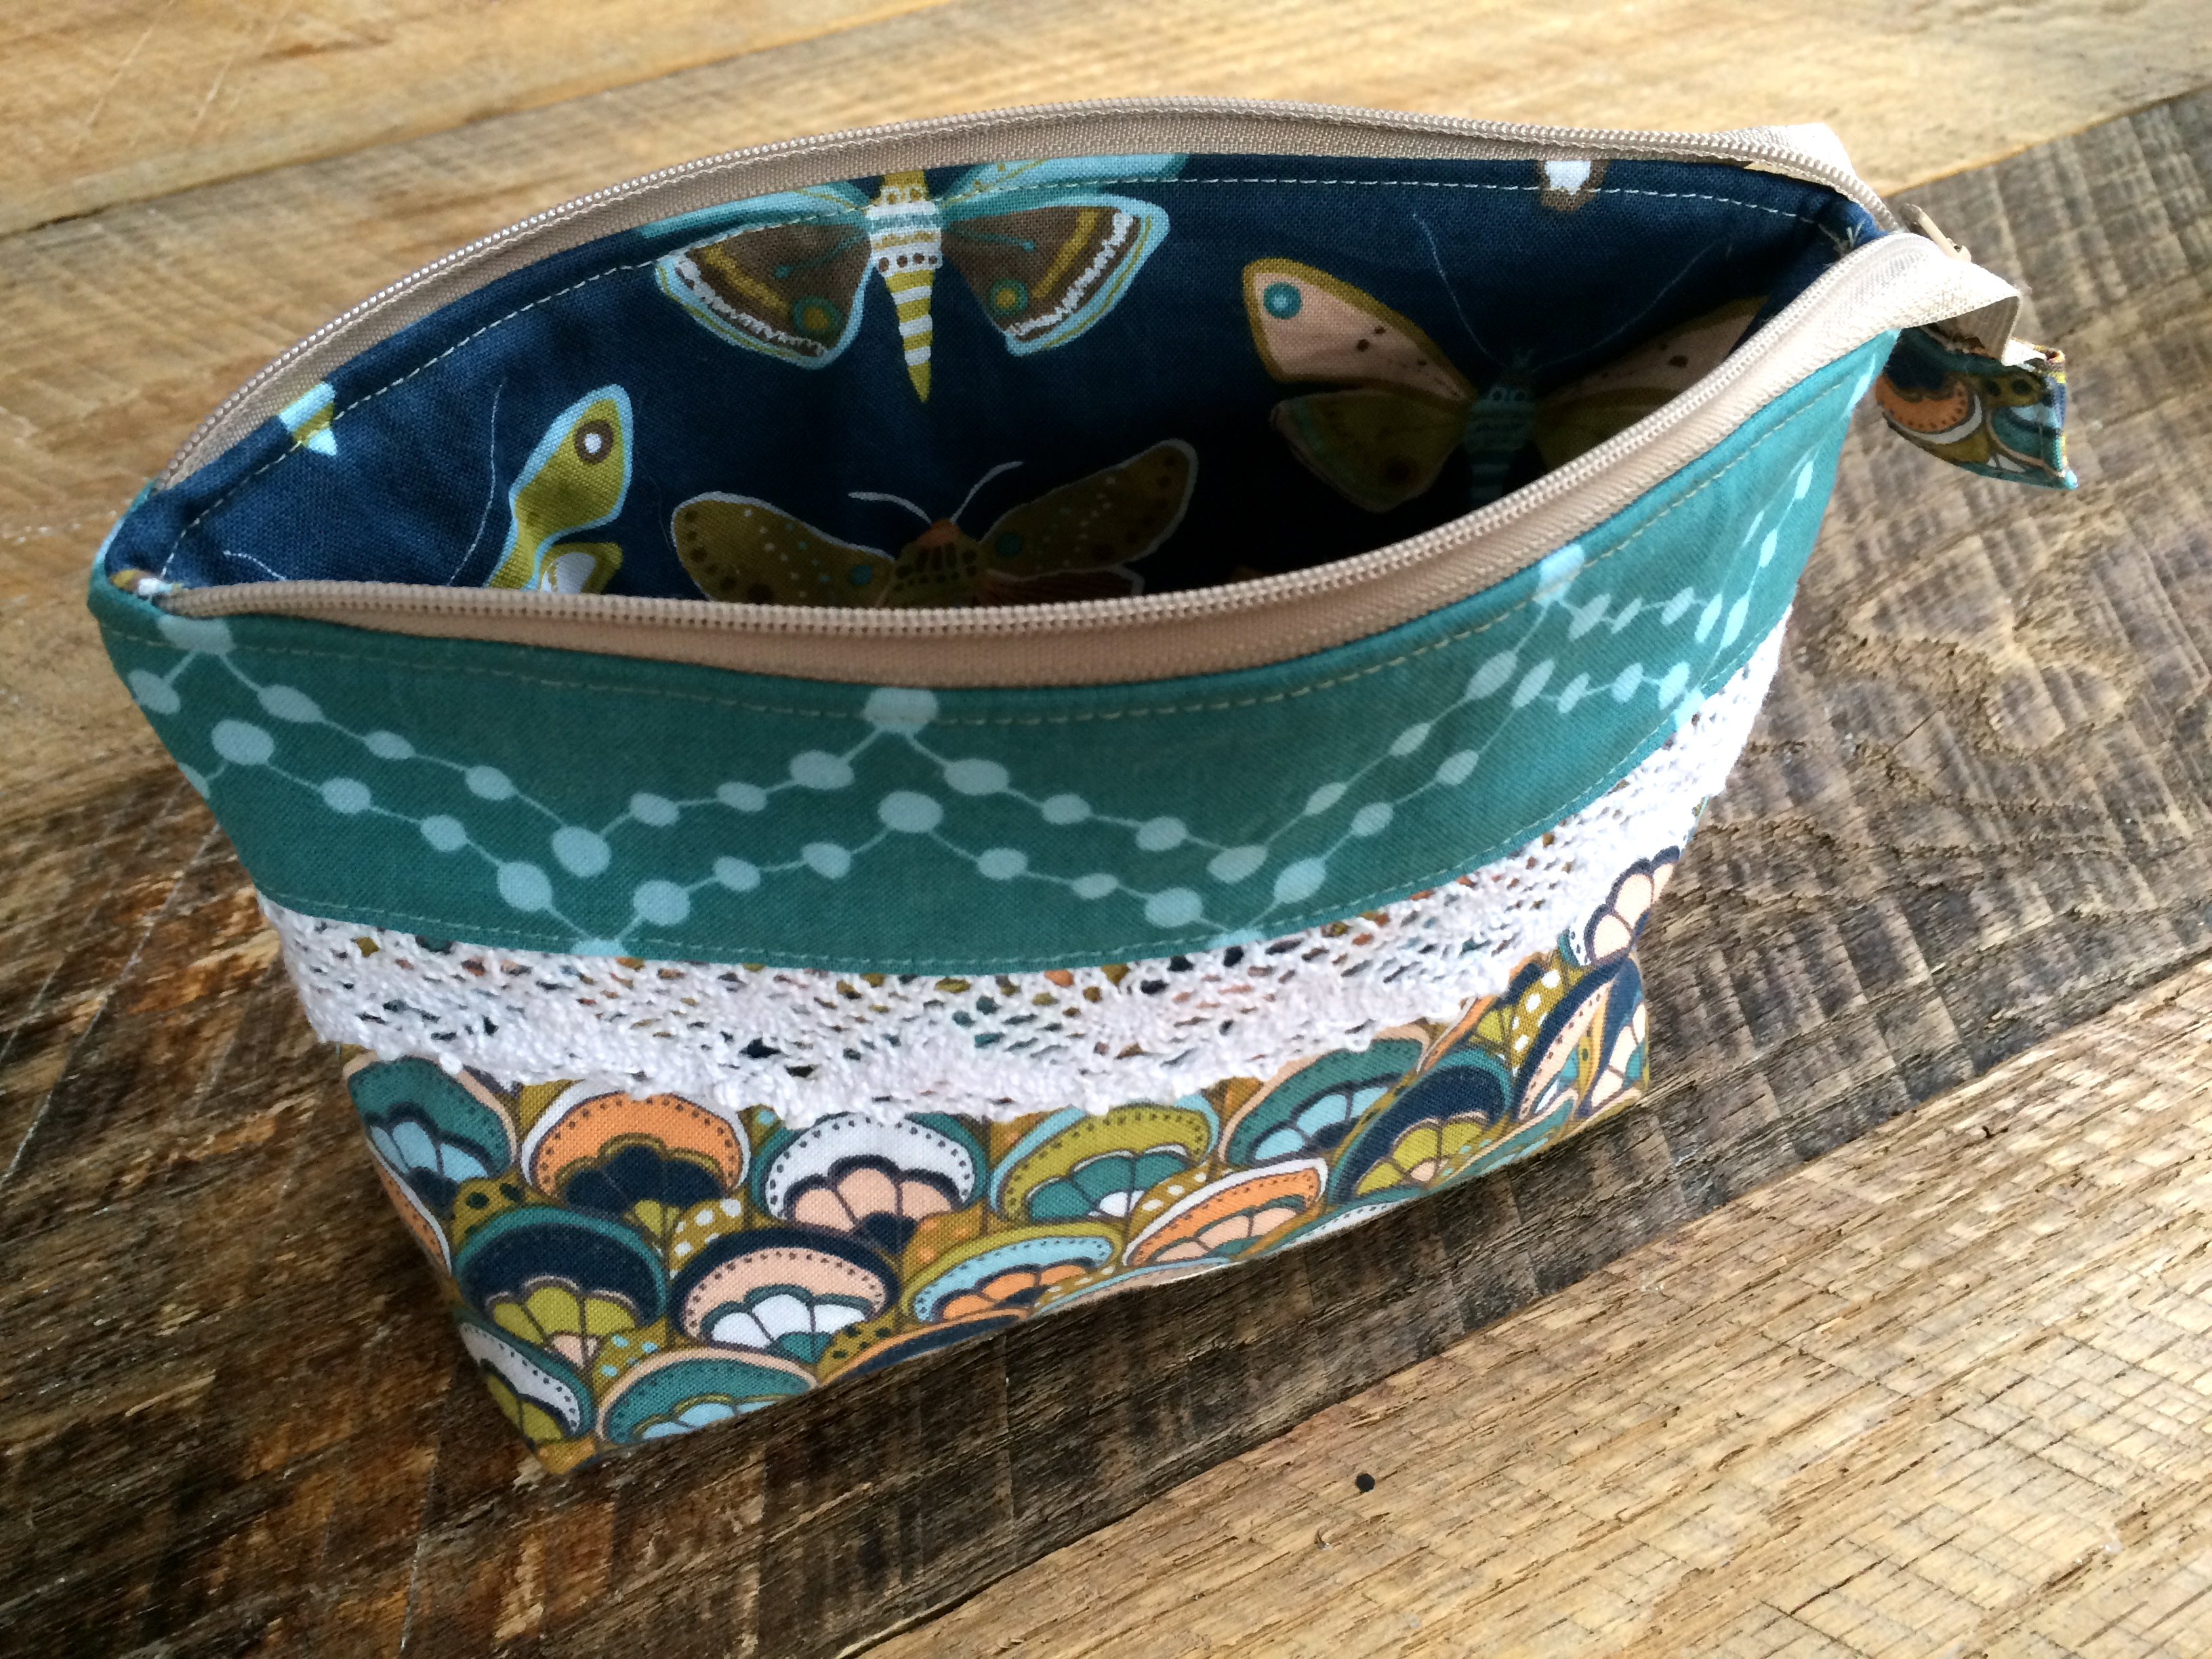
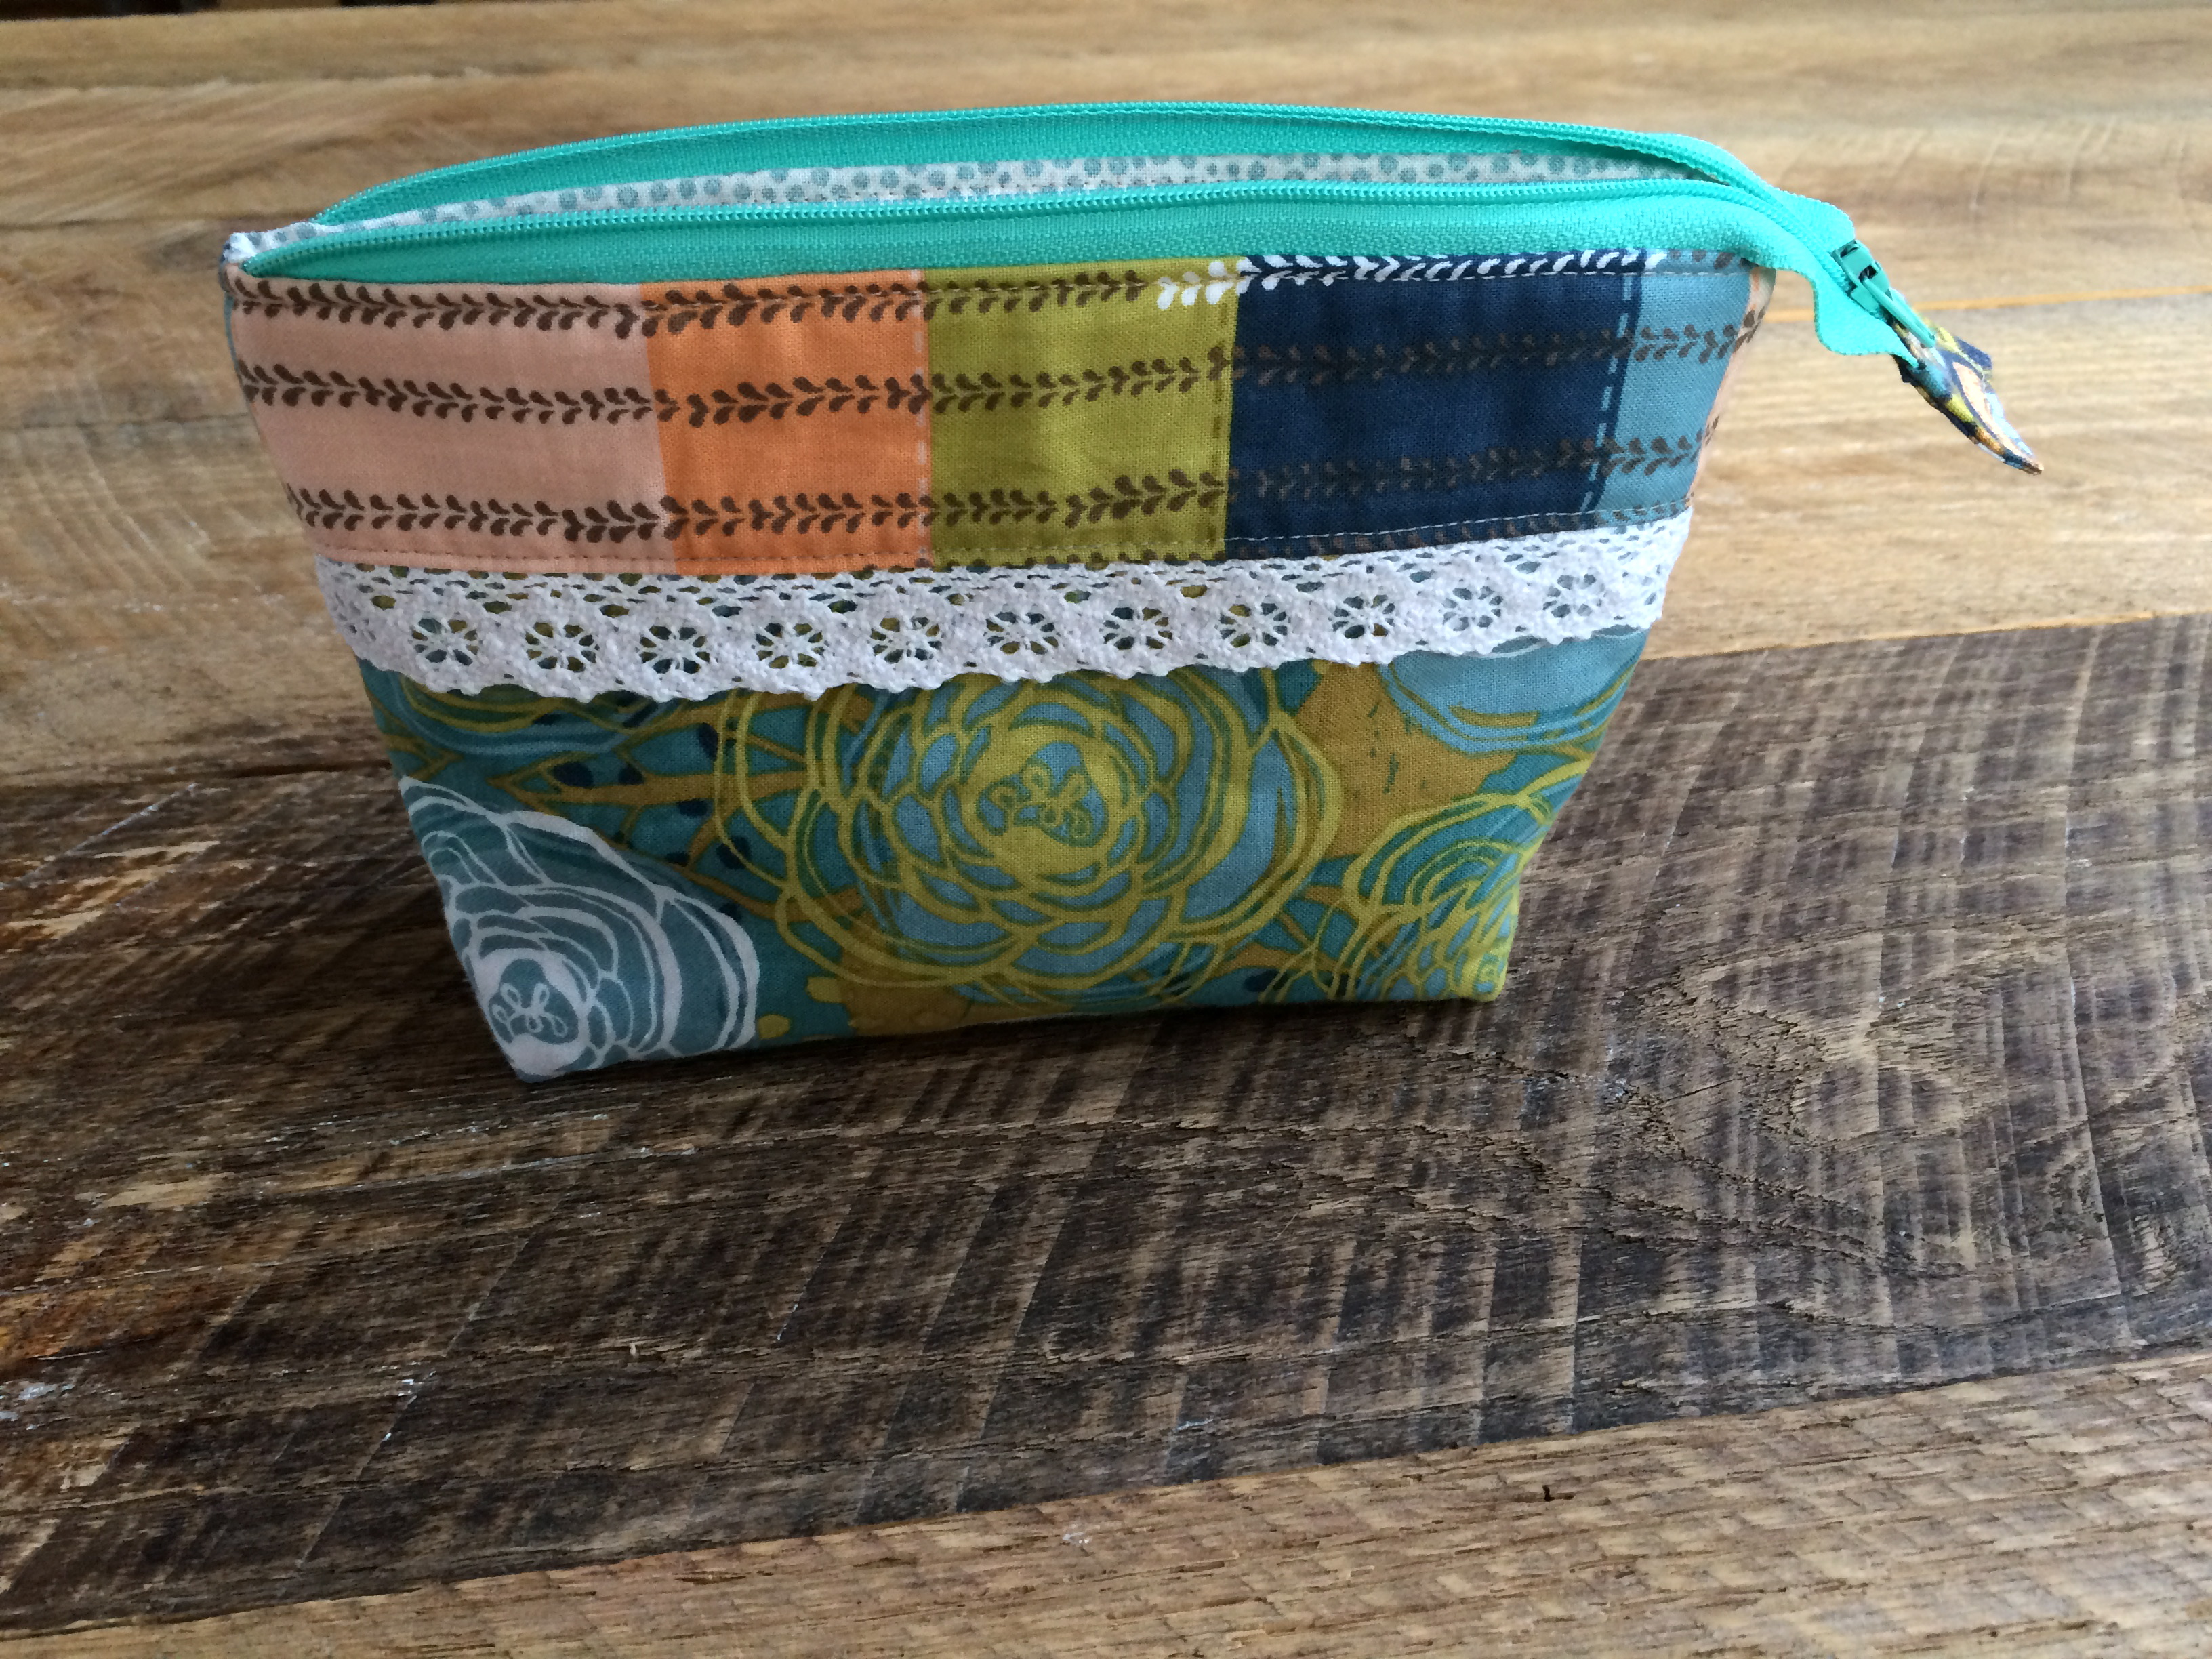
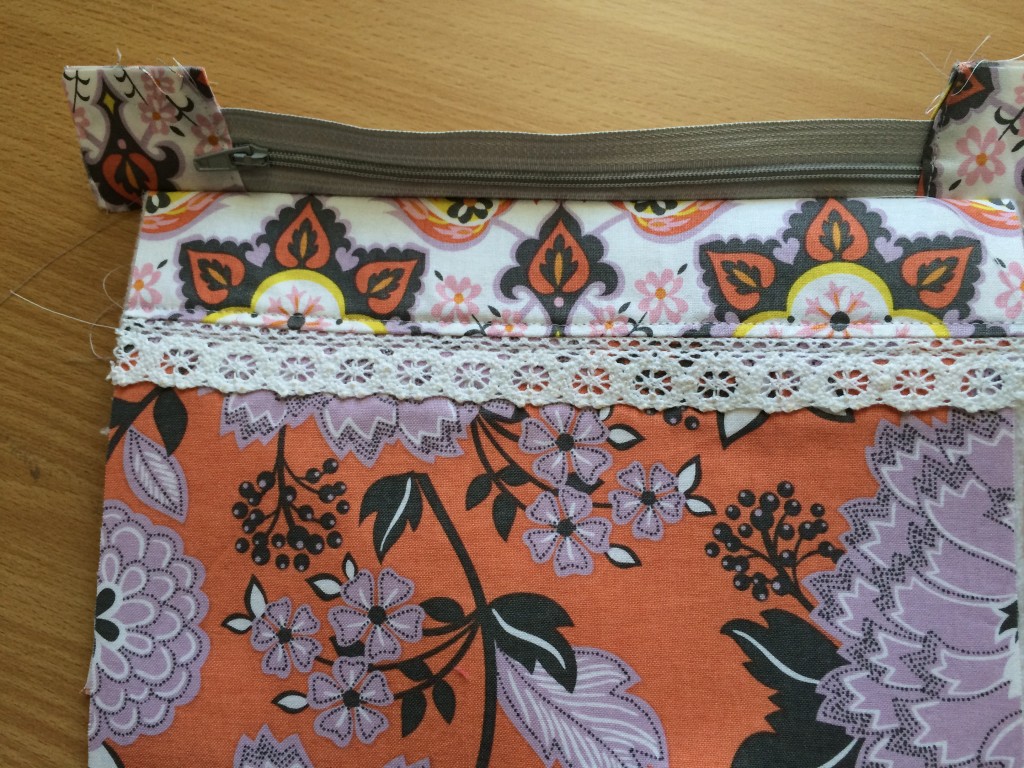
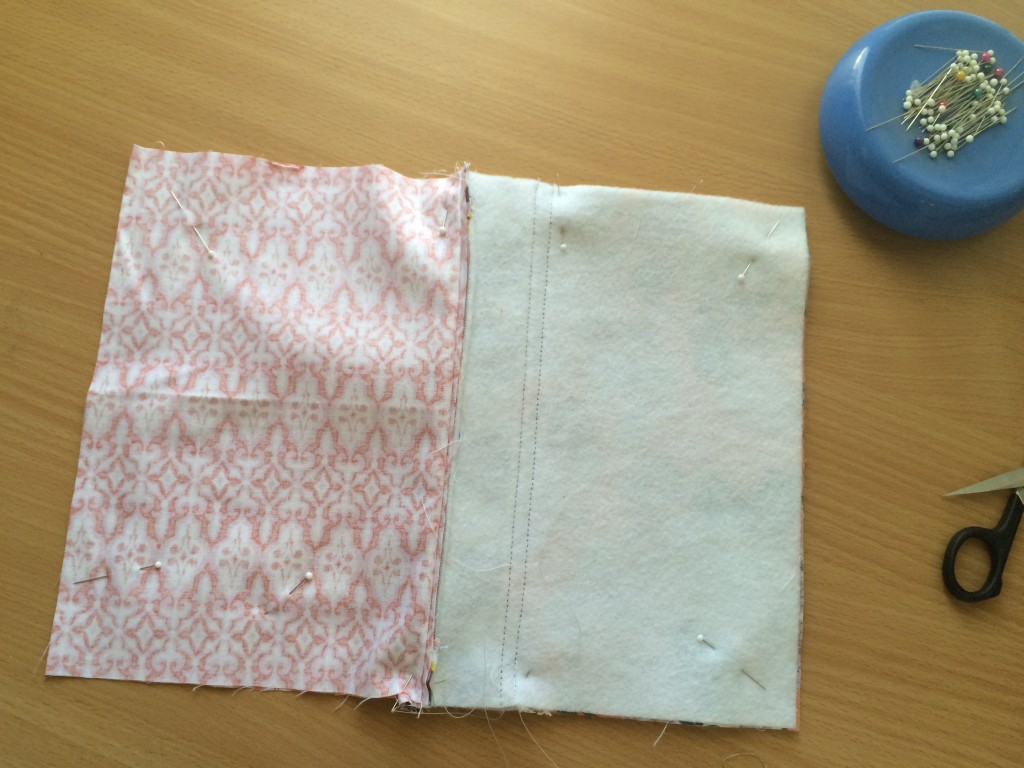
Sew the accent strip to the main strip as pictured above. Use 1/4″ seams and make 2 of these. Press.
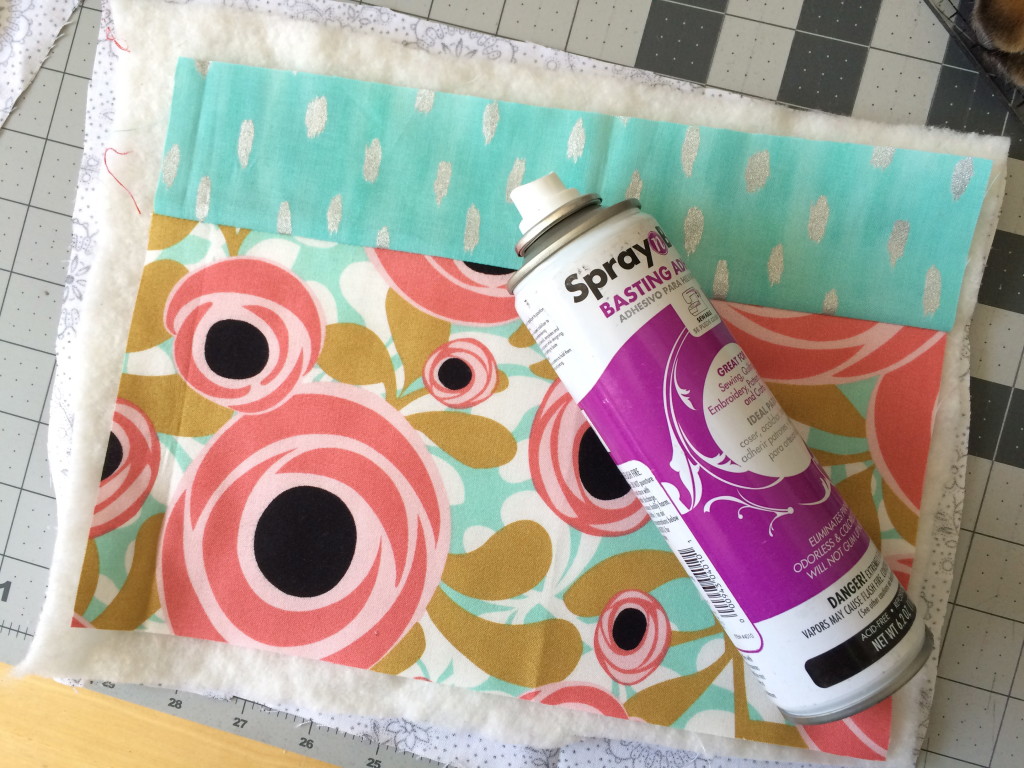
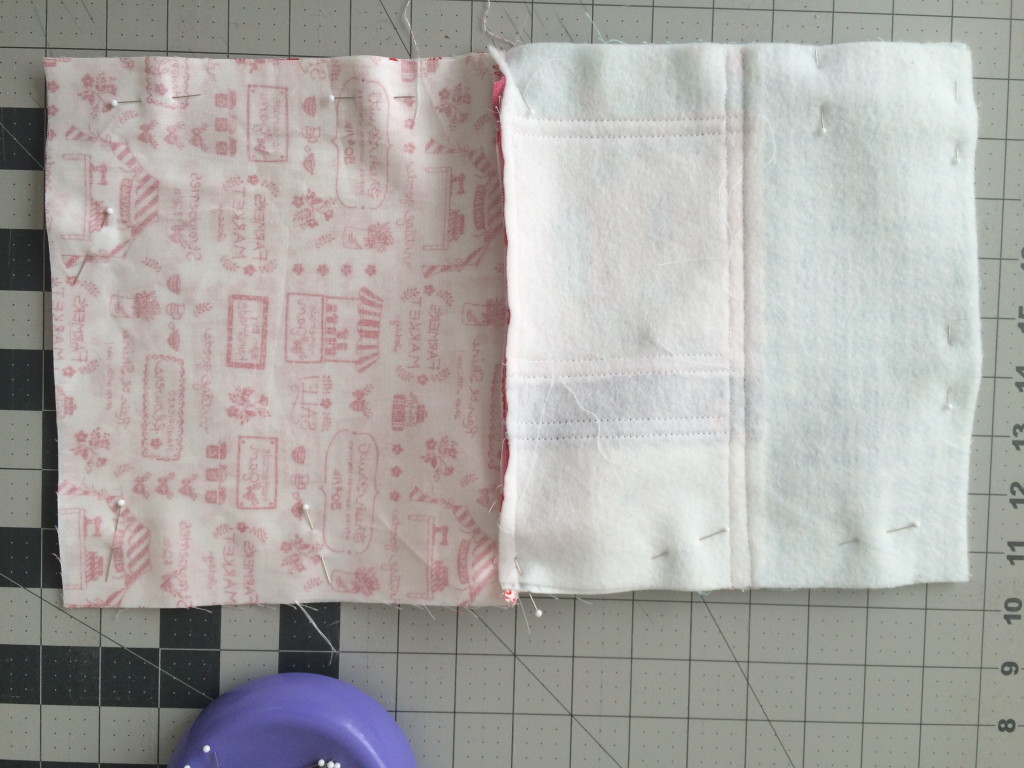
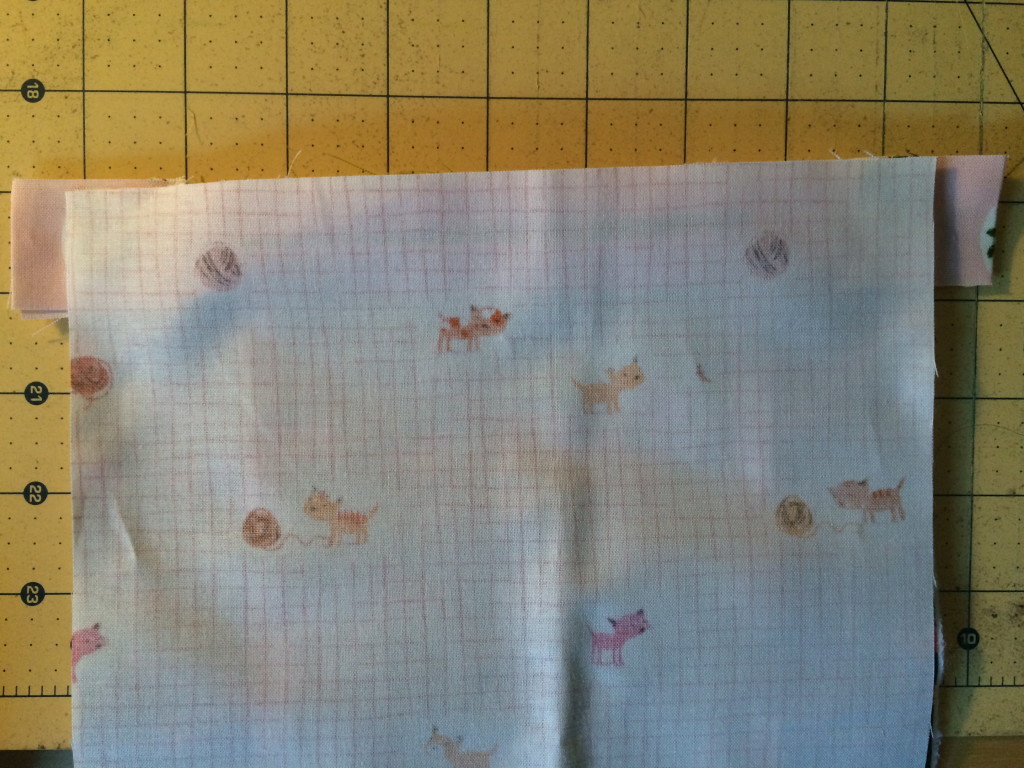
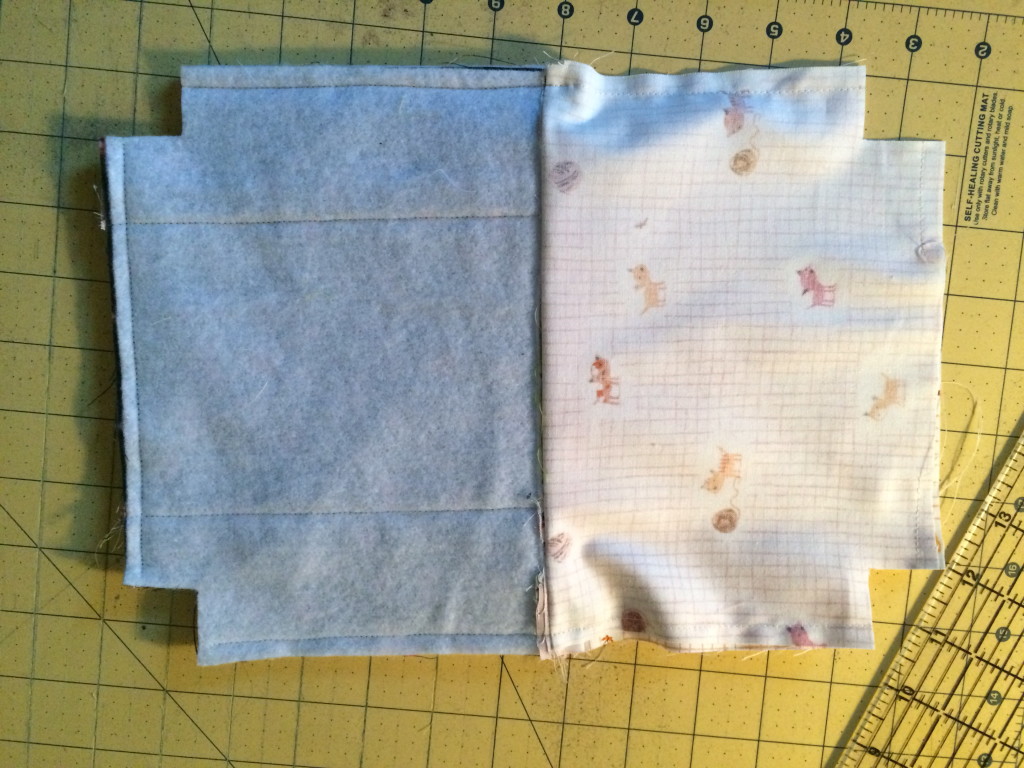
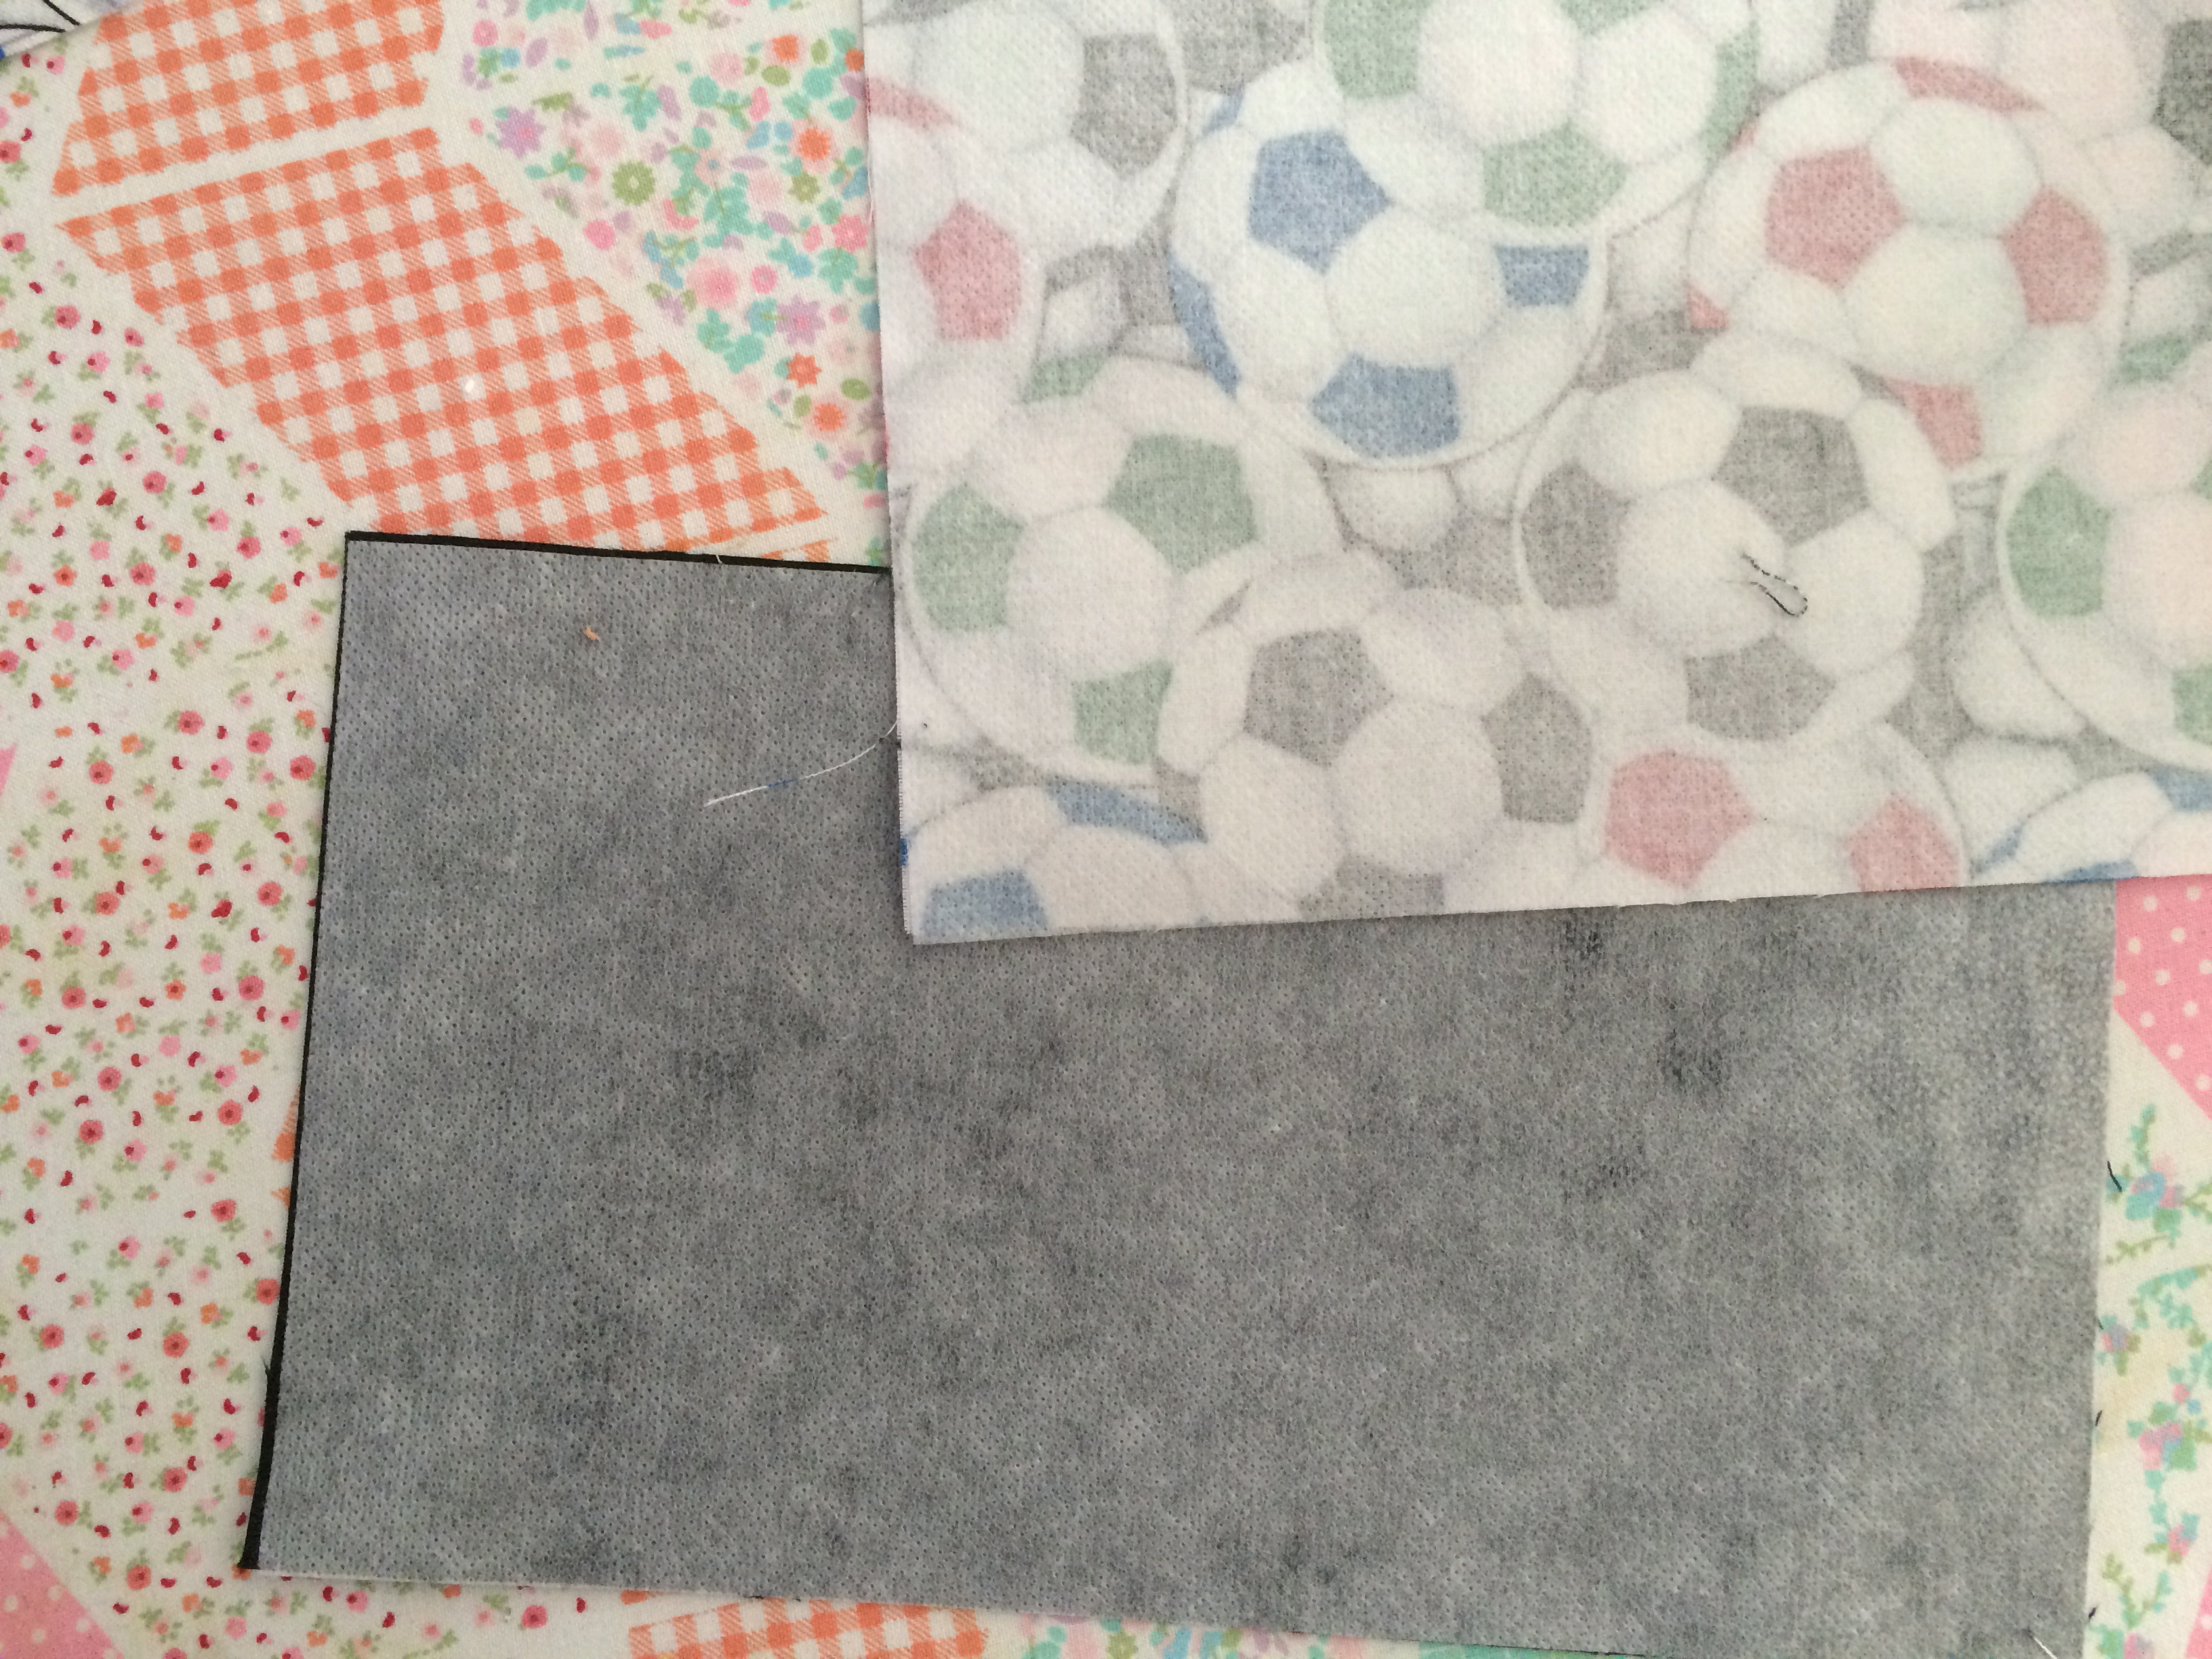
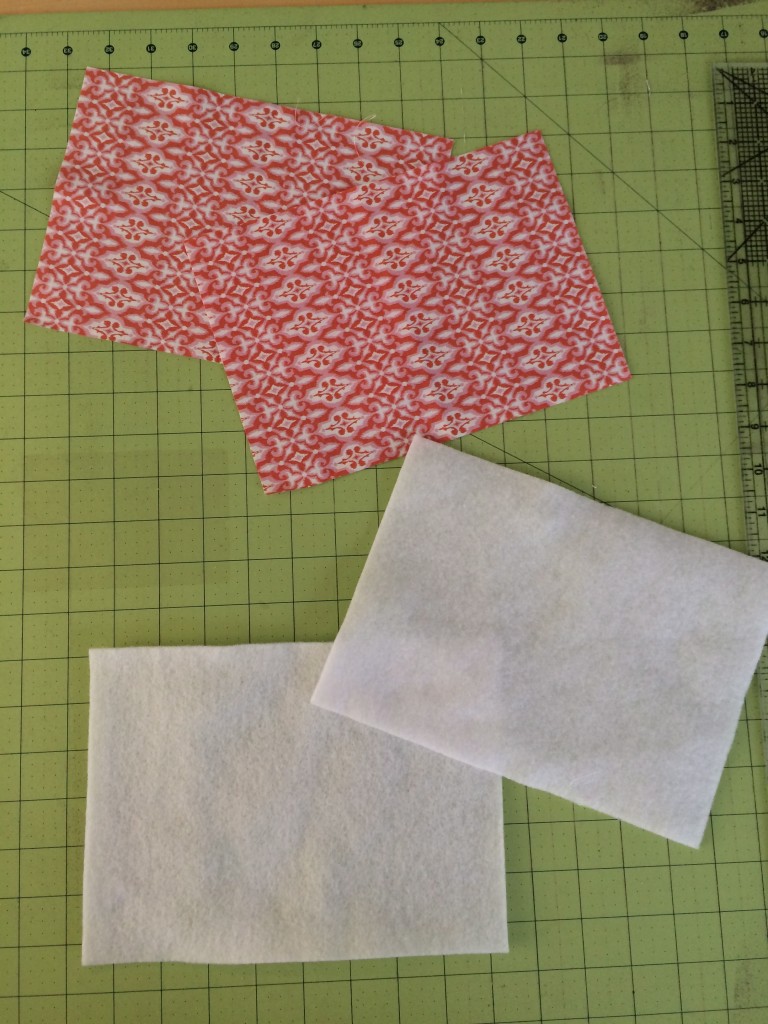
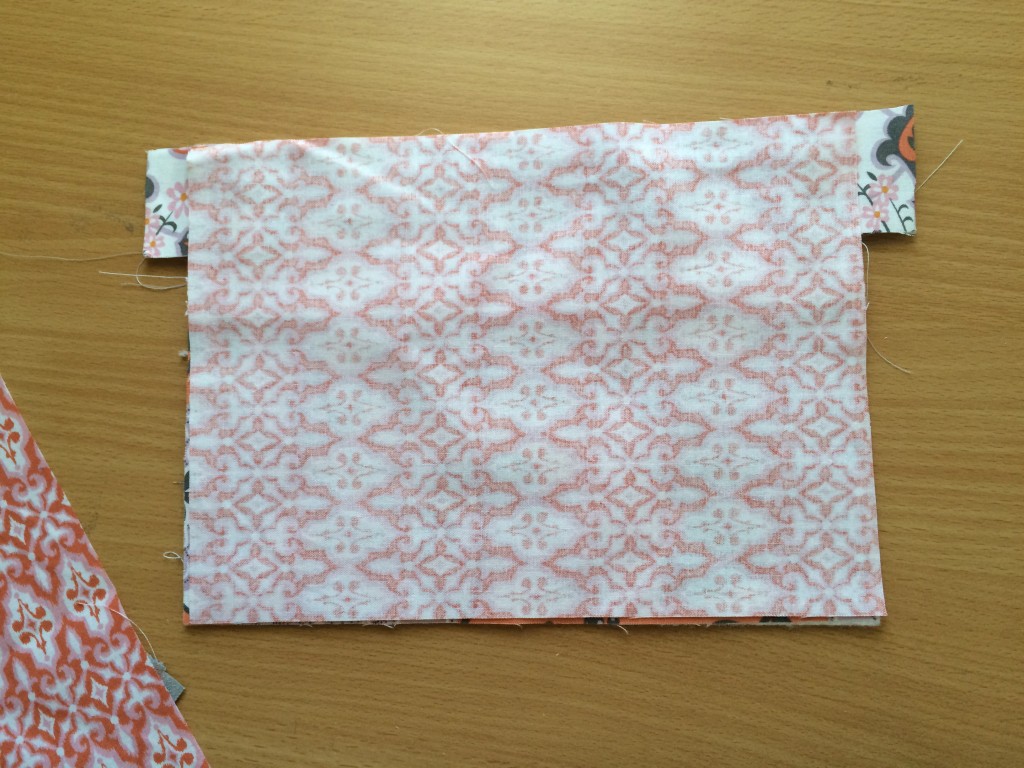
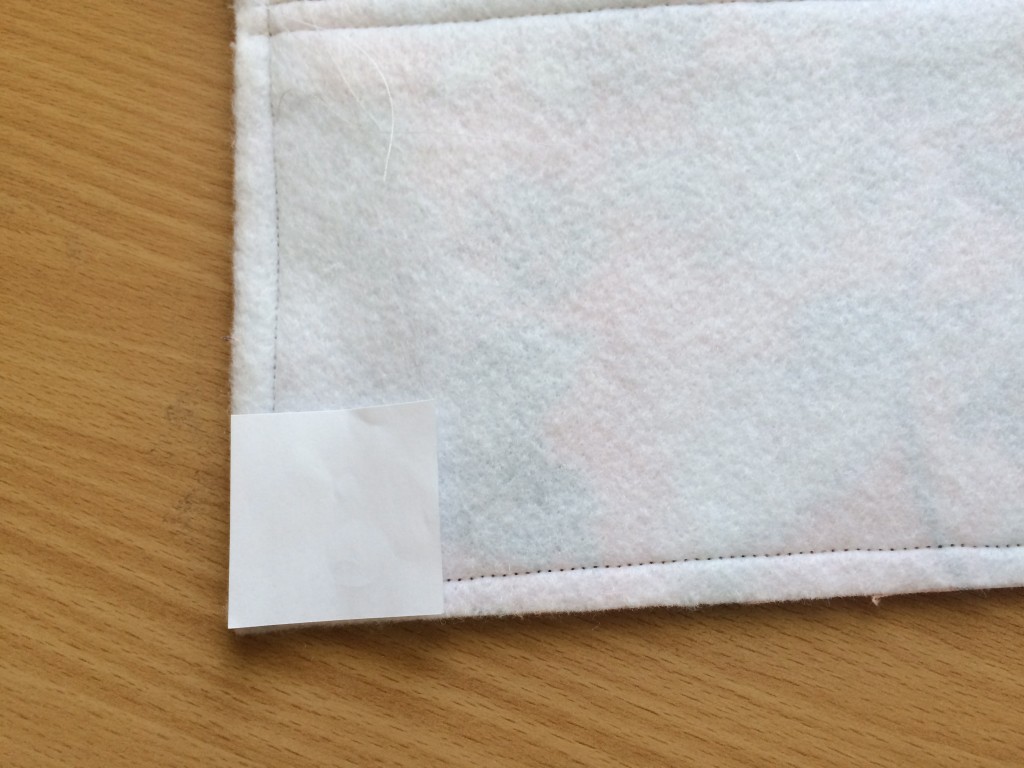
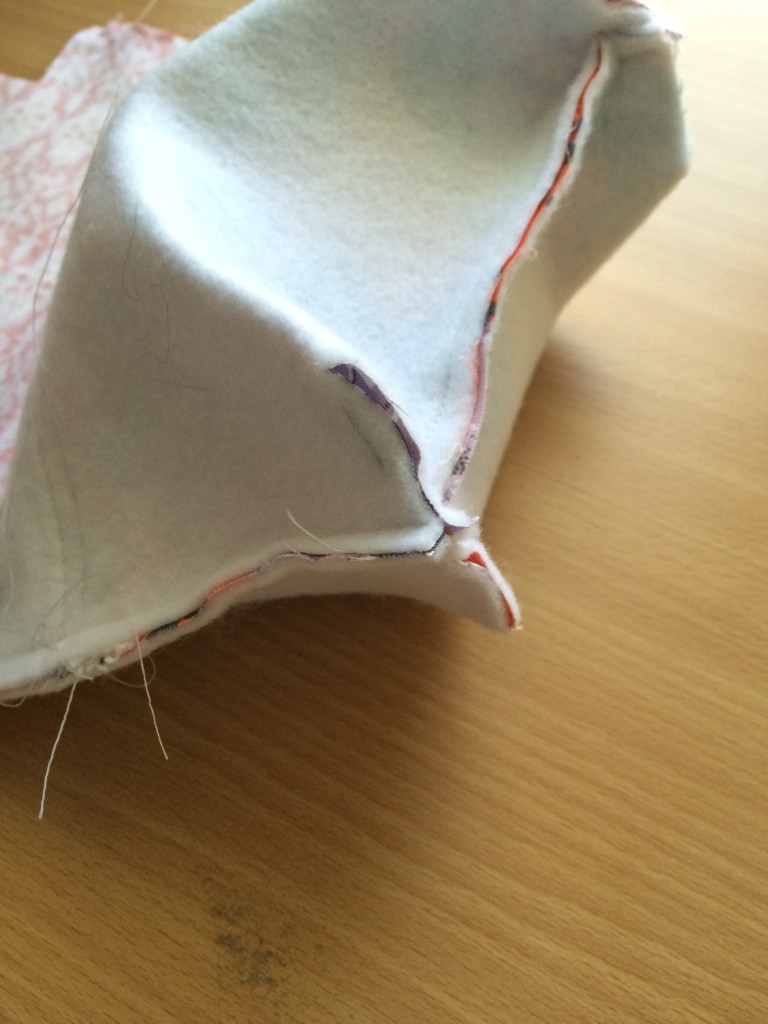
I tried something new on this one which I really like. Grab some old fabric and base the top, batting and the old fabric (backing) just like you would a quilt. I ALWAYS use Spray n Bond. It’s super fast! I normally just quilt the outer bag piece and the batting. By adding this extra piece of backing fabric (that won’t be seen) it makes the bag stiffer but still soft. I will always do this from now on!!
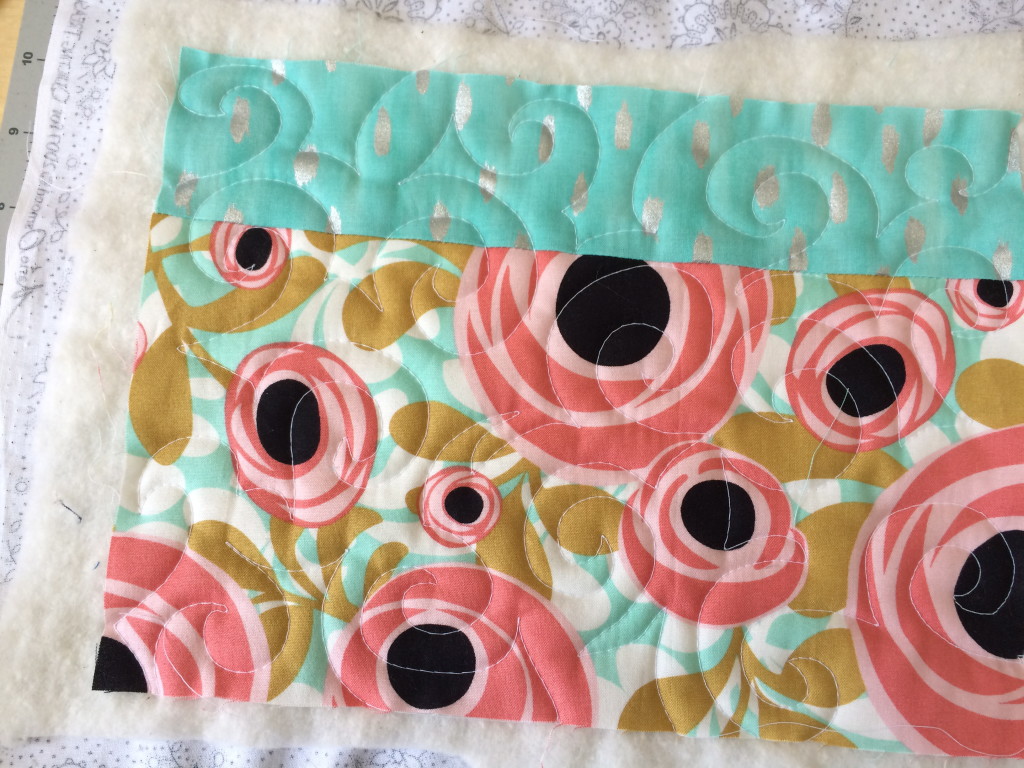
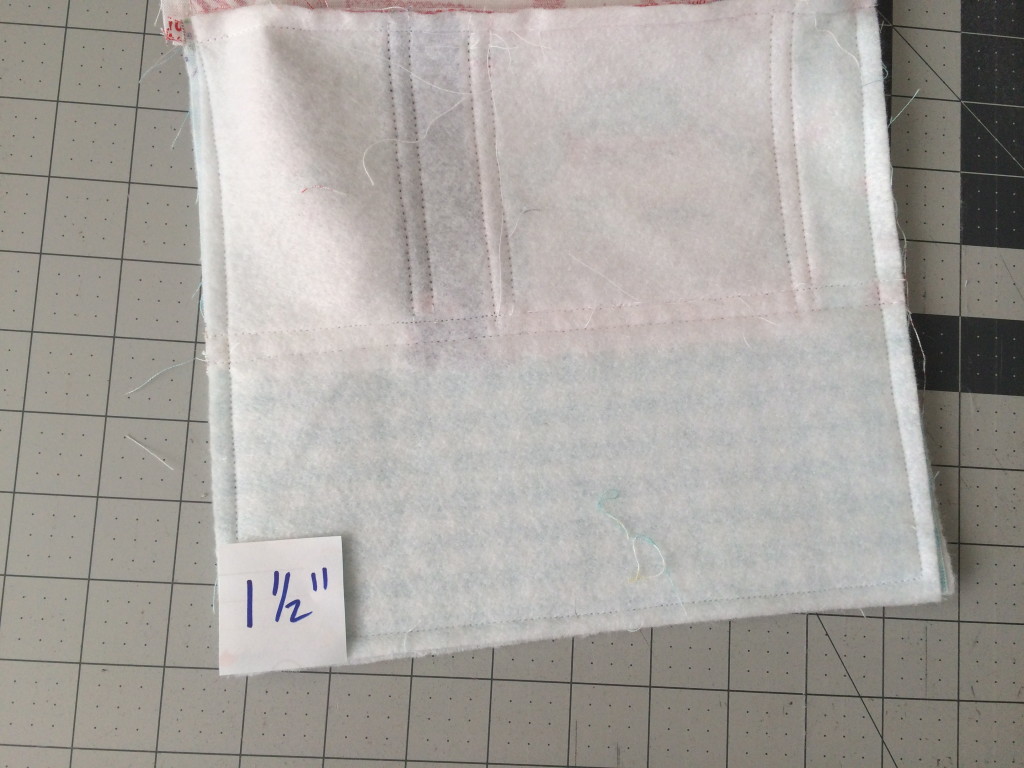
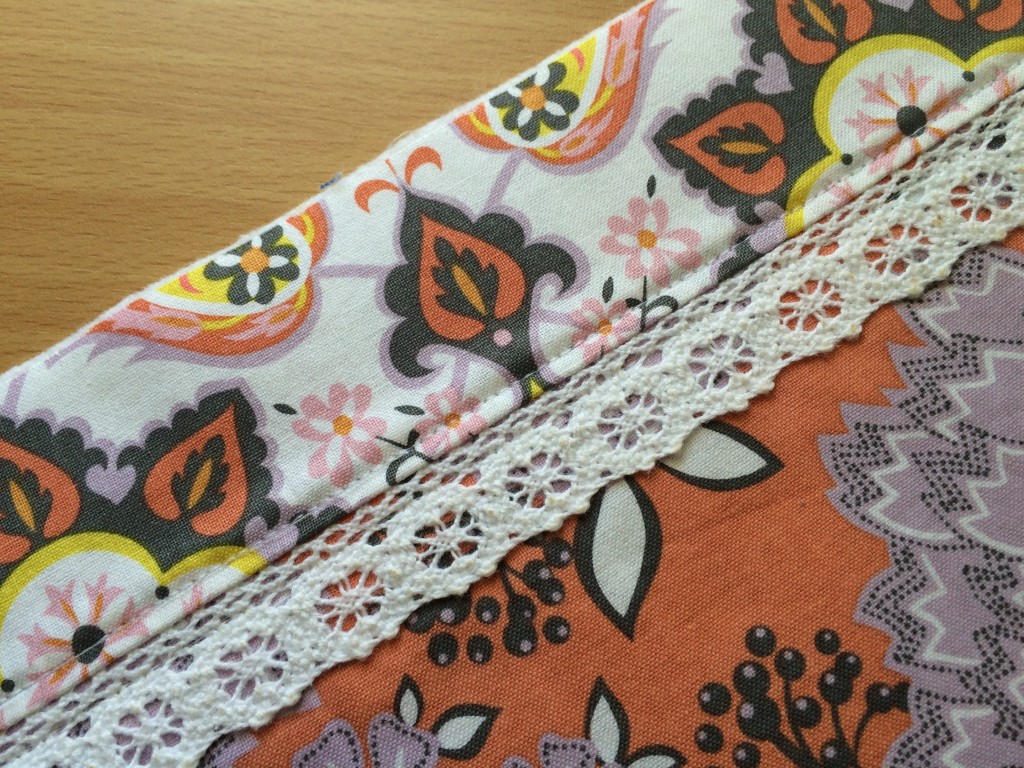
Once it is basted quilt the 2 pieces just like you would a quilt.
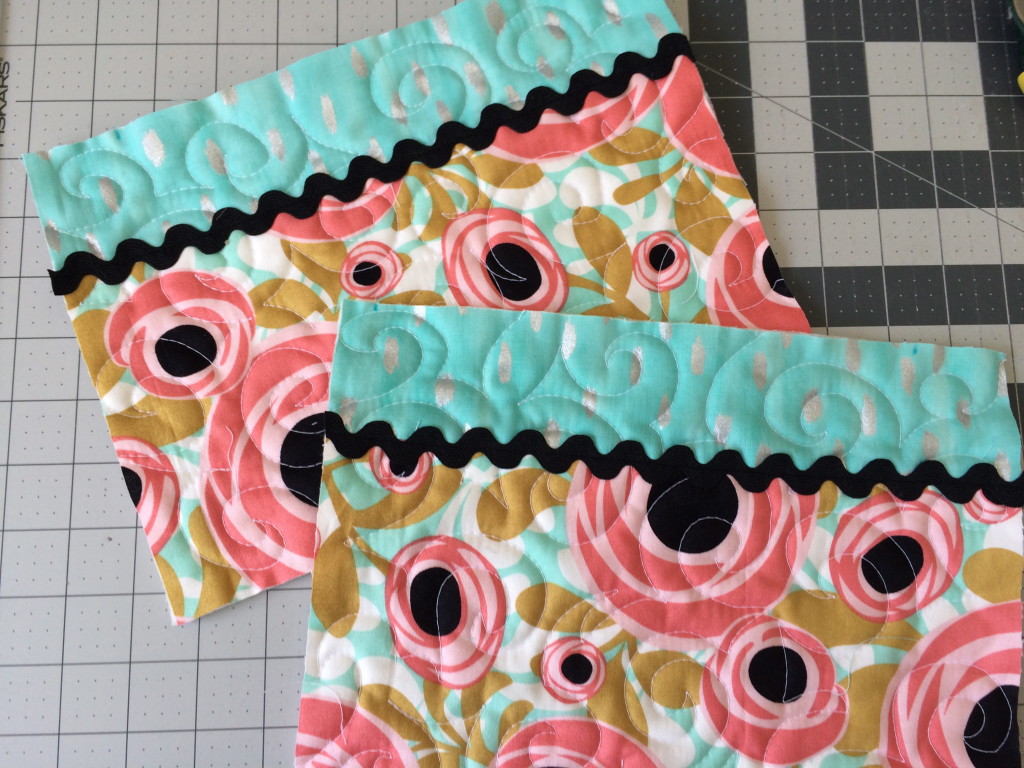
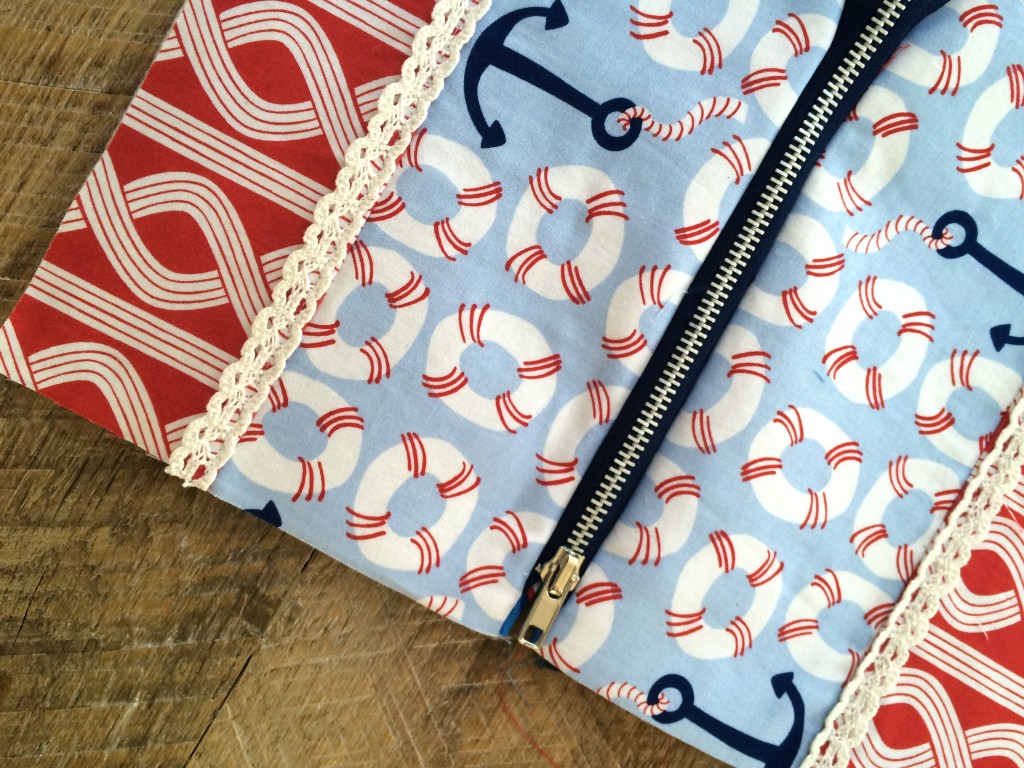
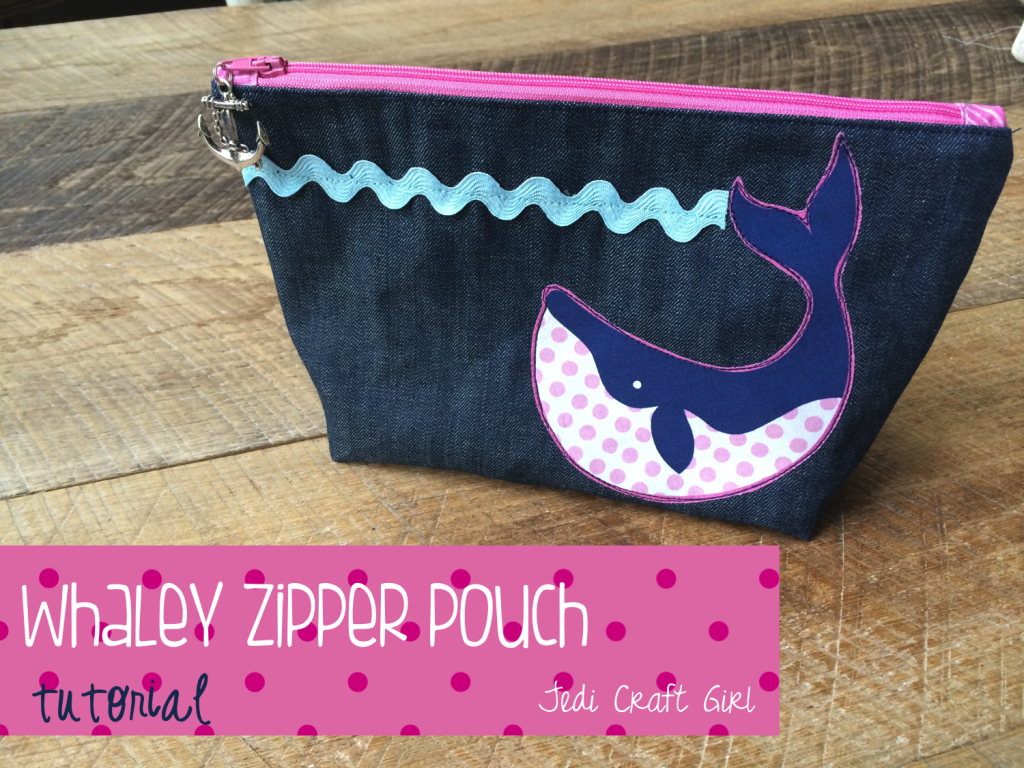
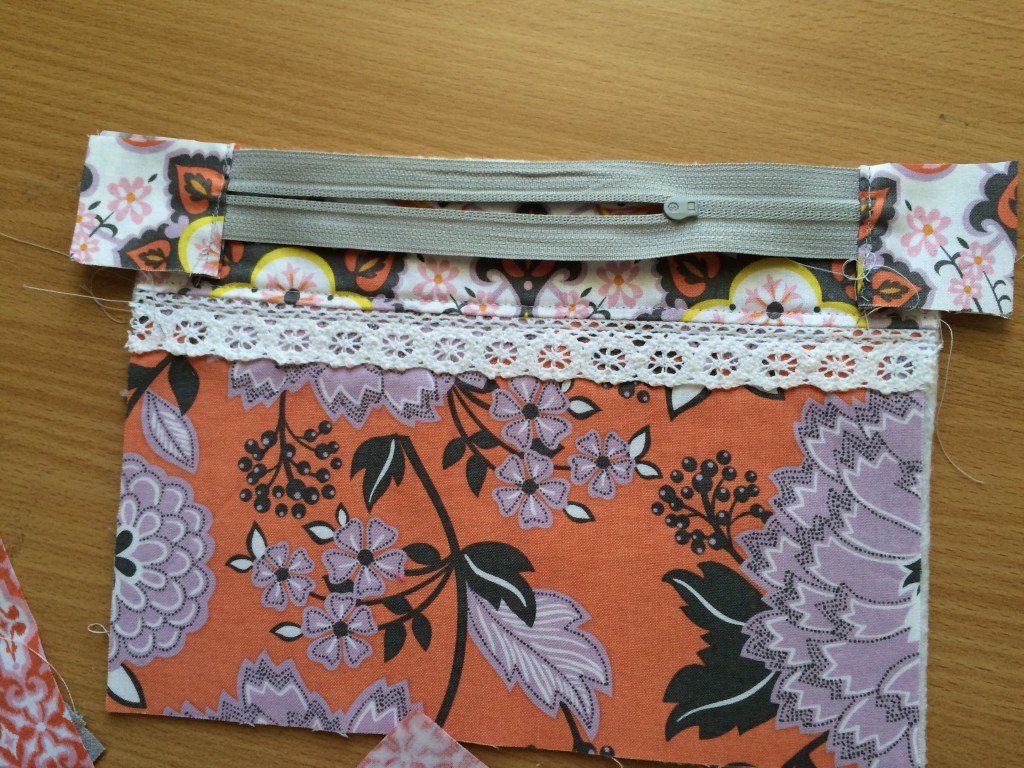
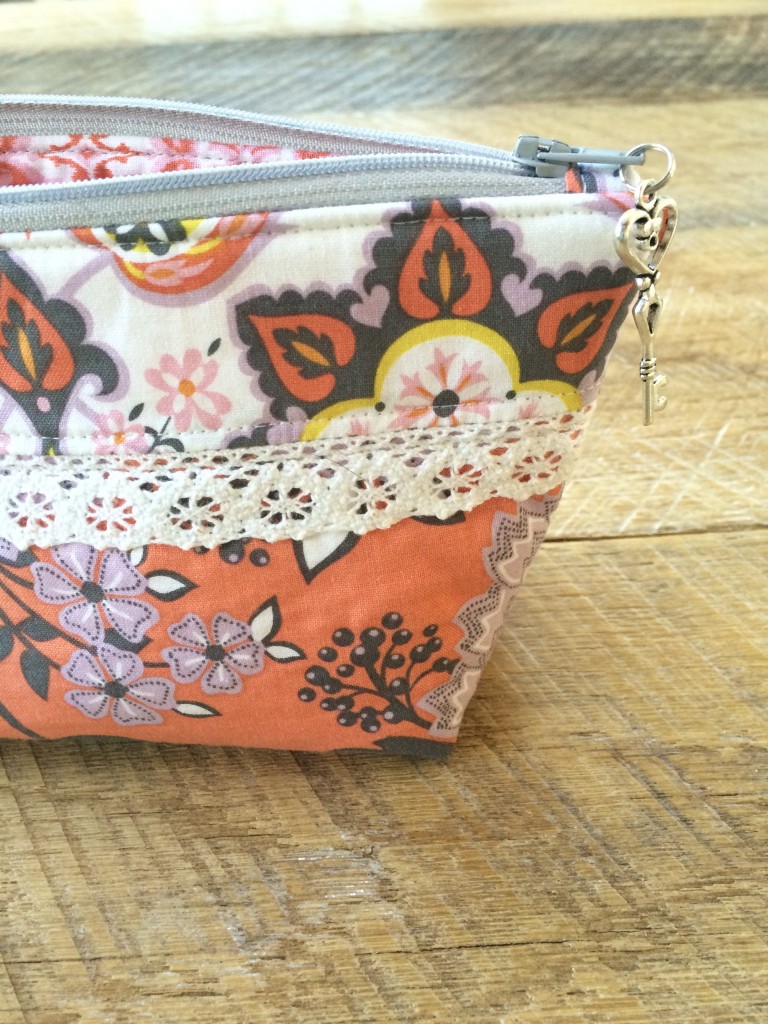
Sew the ric rac on with matching thread.
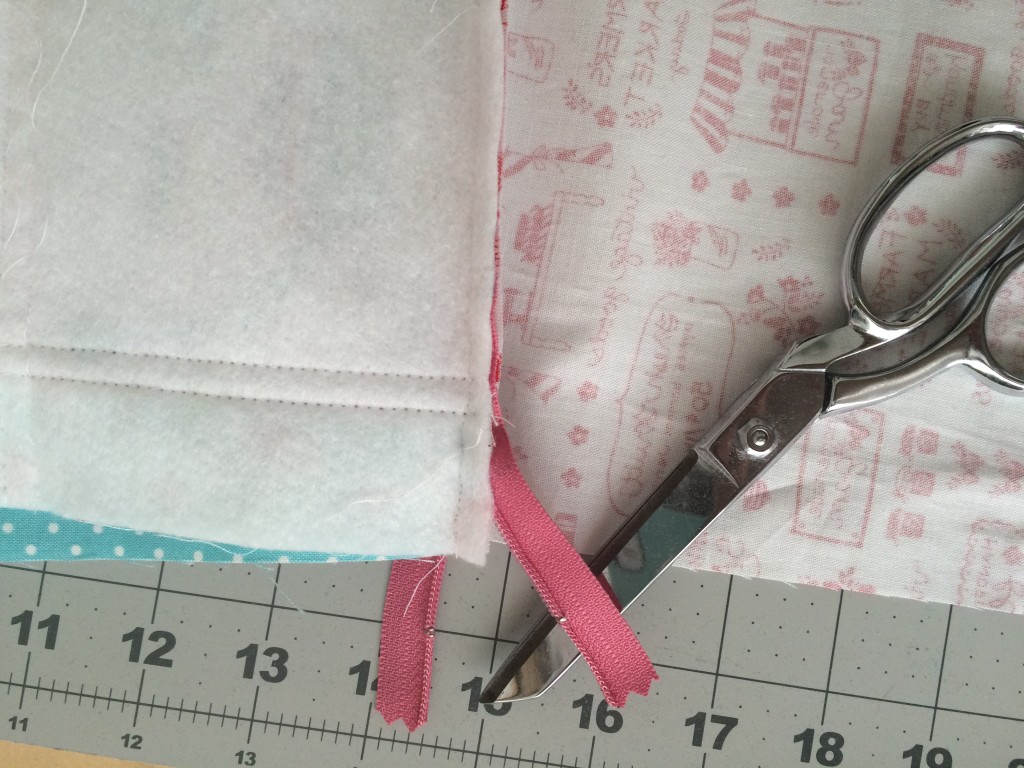
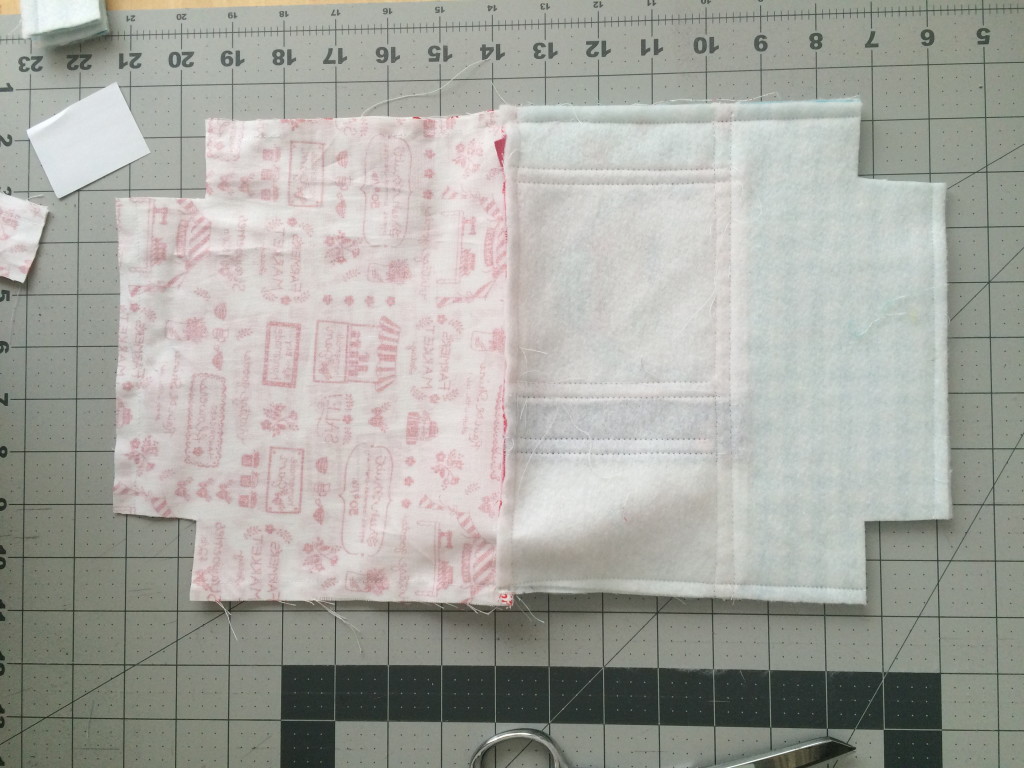
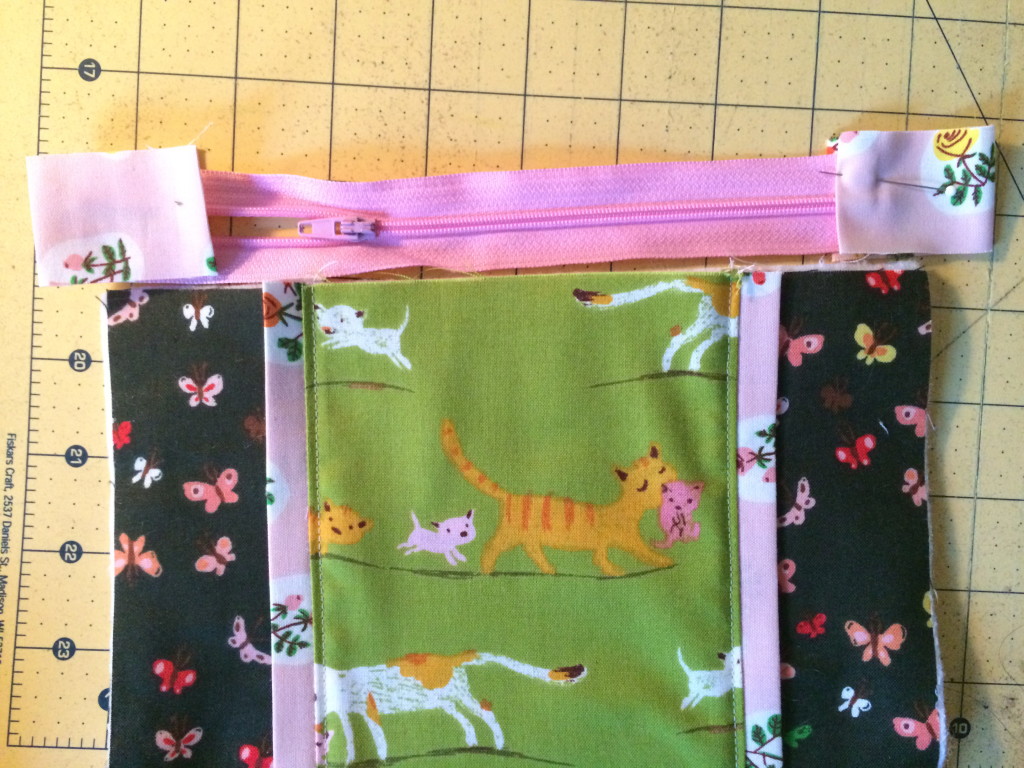
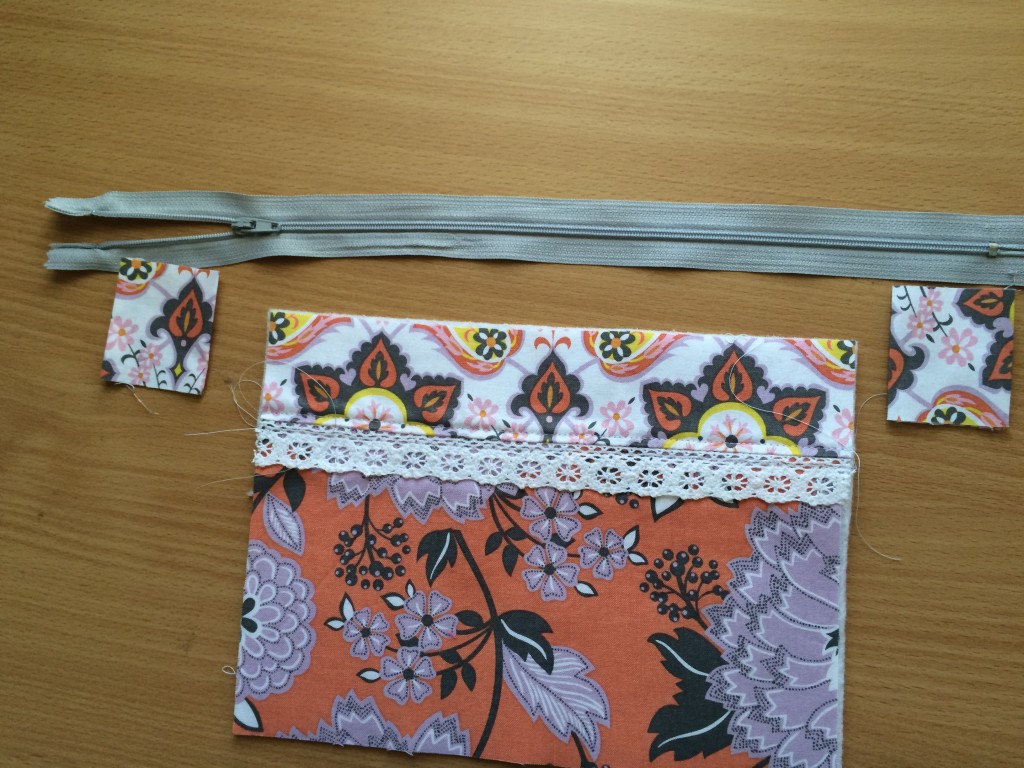
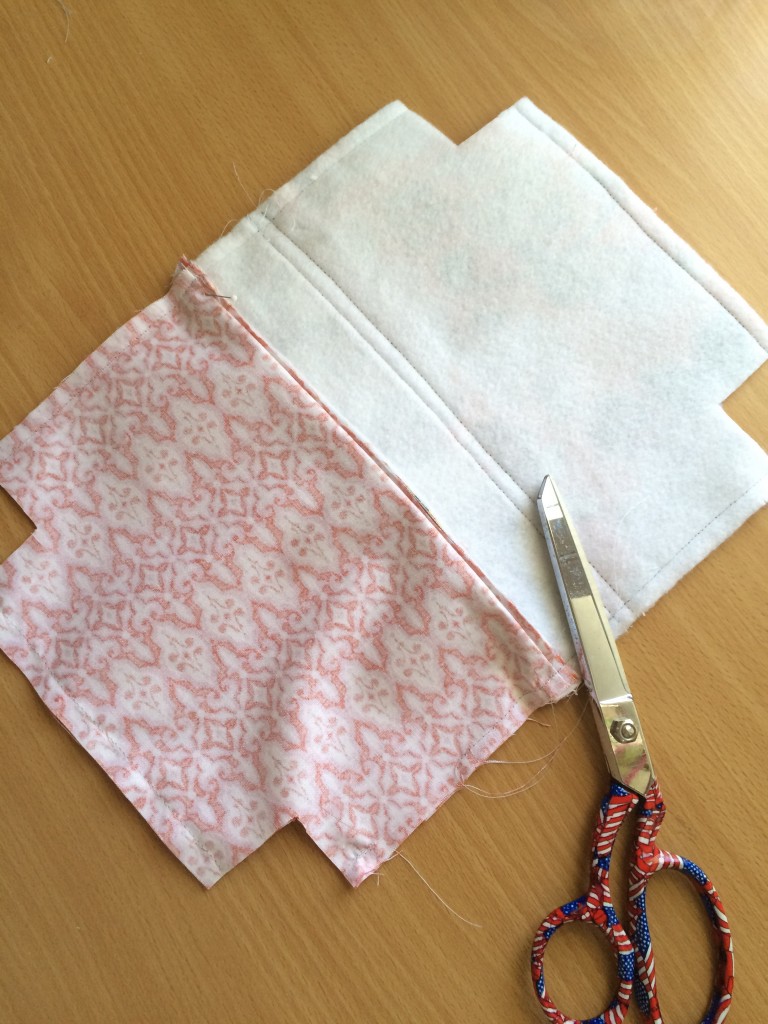
Square up each side. Measure the pieces again, they will shrink slightly with the quilting. Make sure to adjust the lining measurements so they are the same.
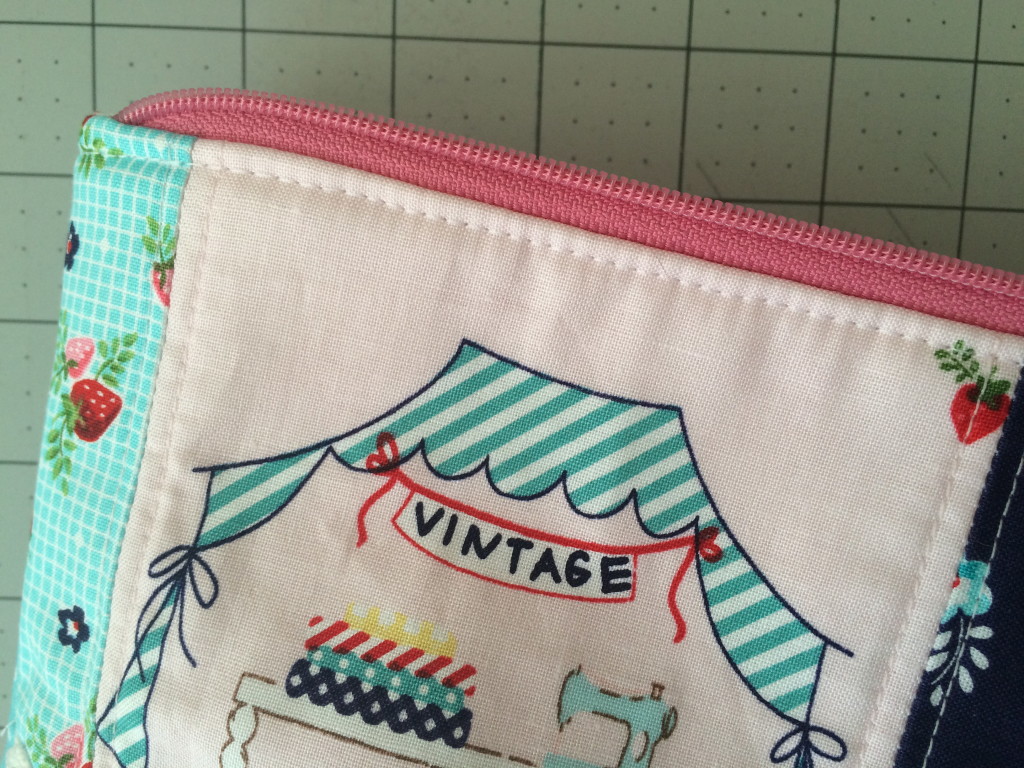
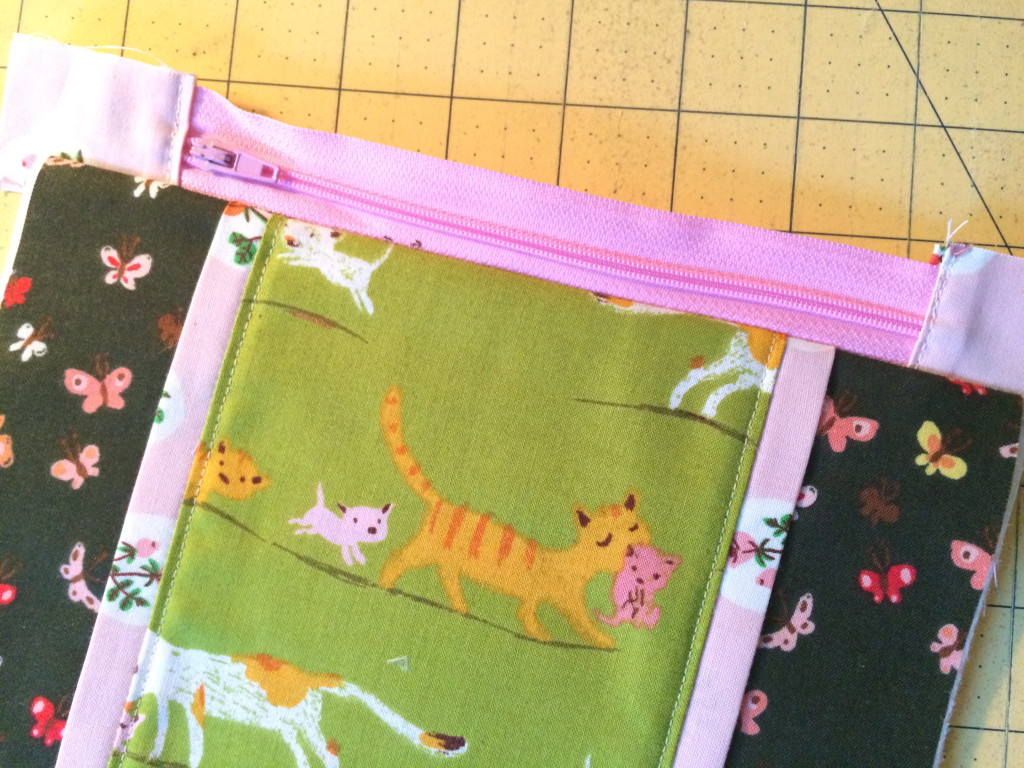
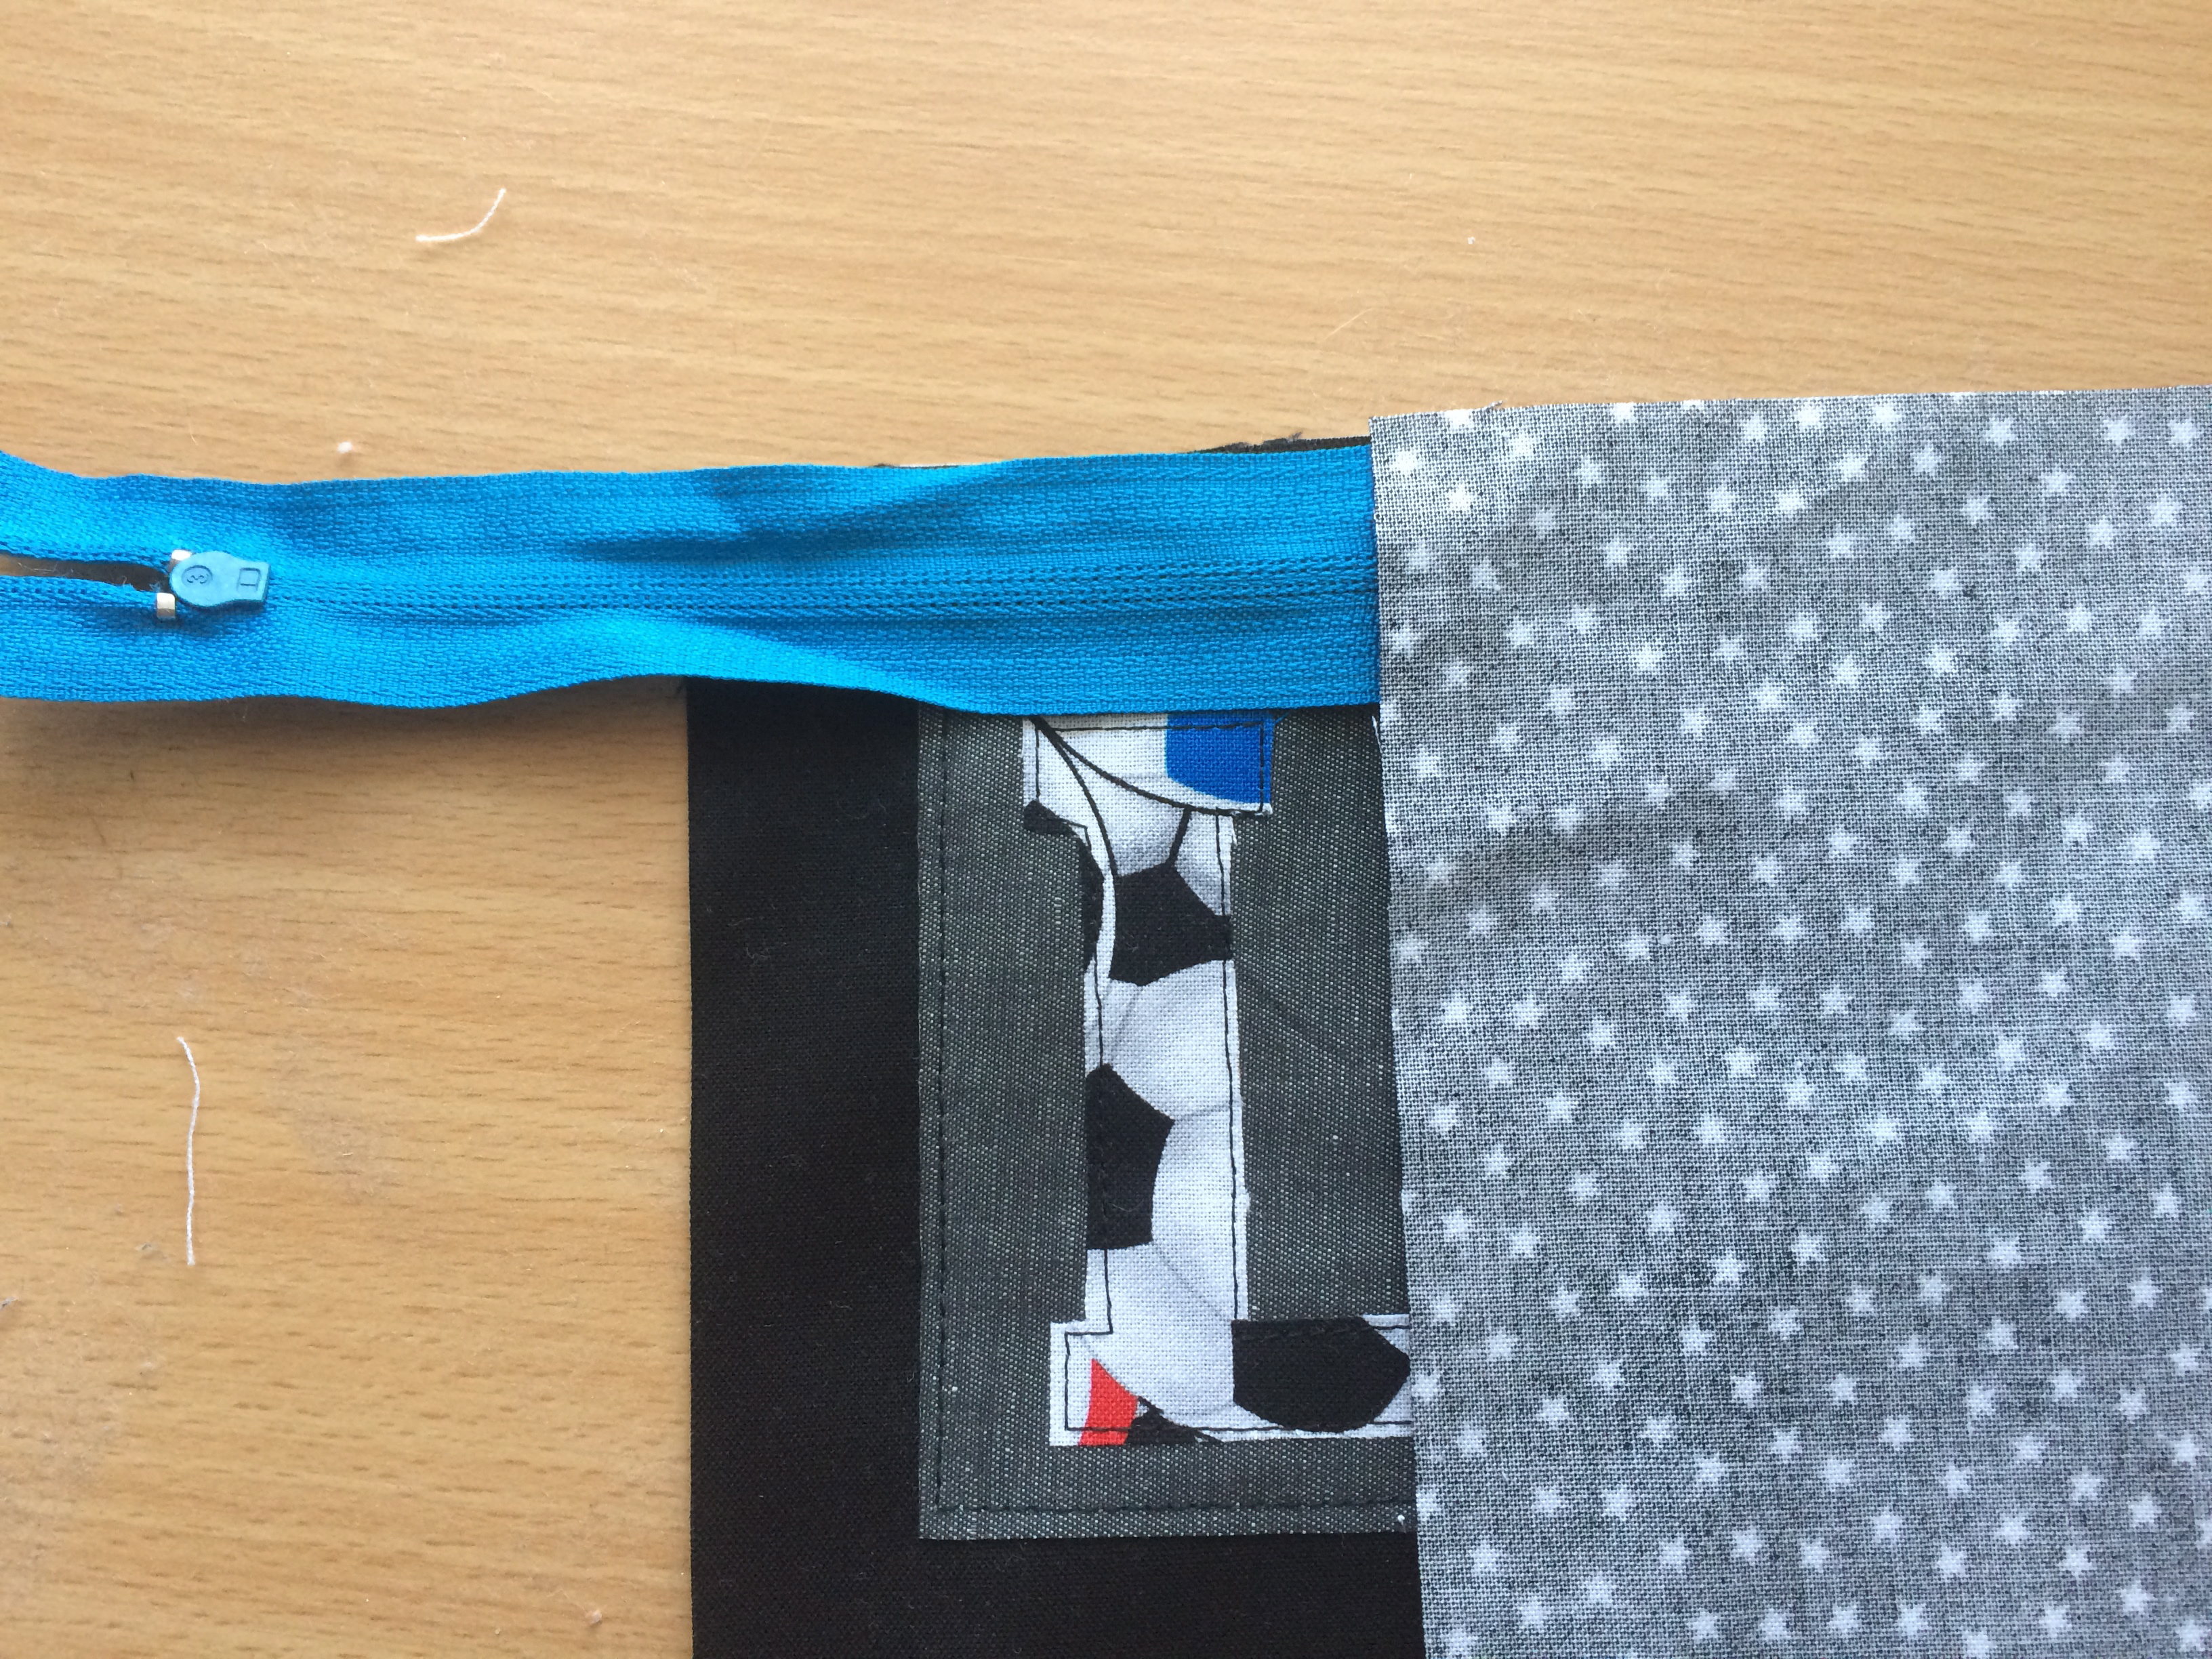
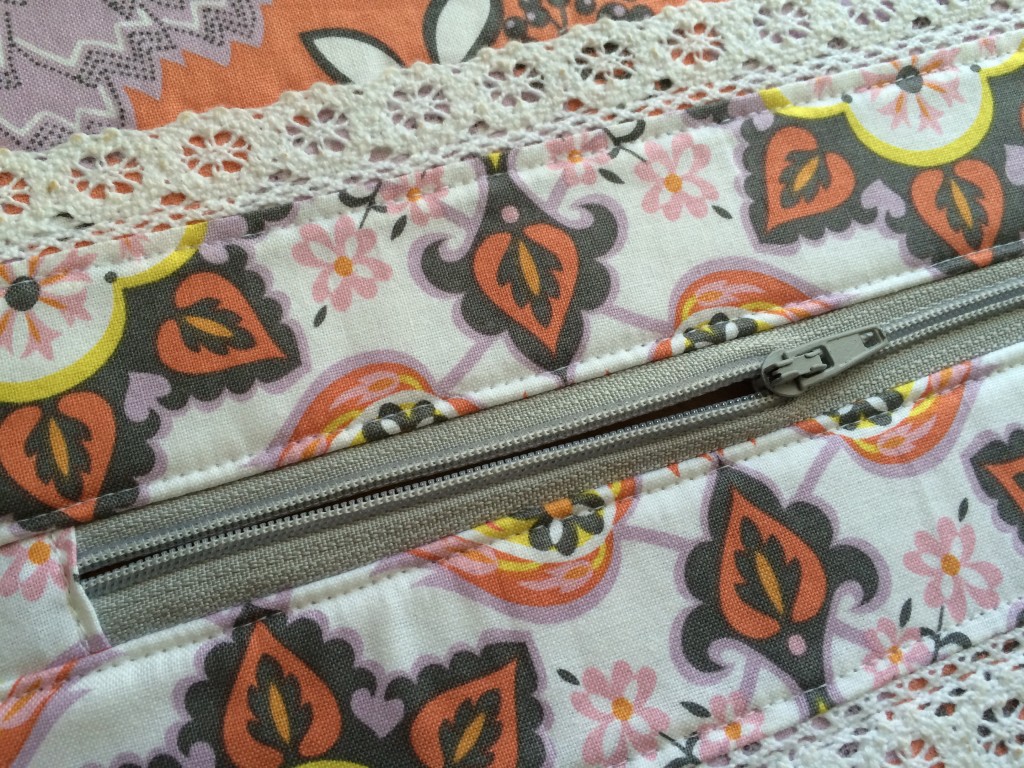
Follow THIS tutorial to insert the zipper and to complete the bag.
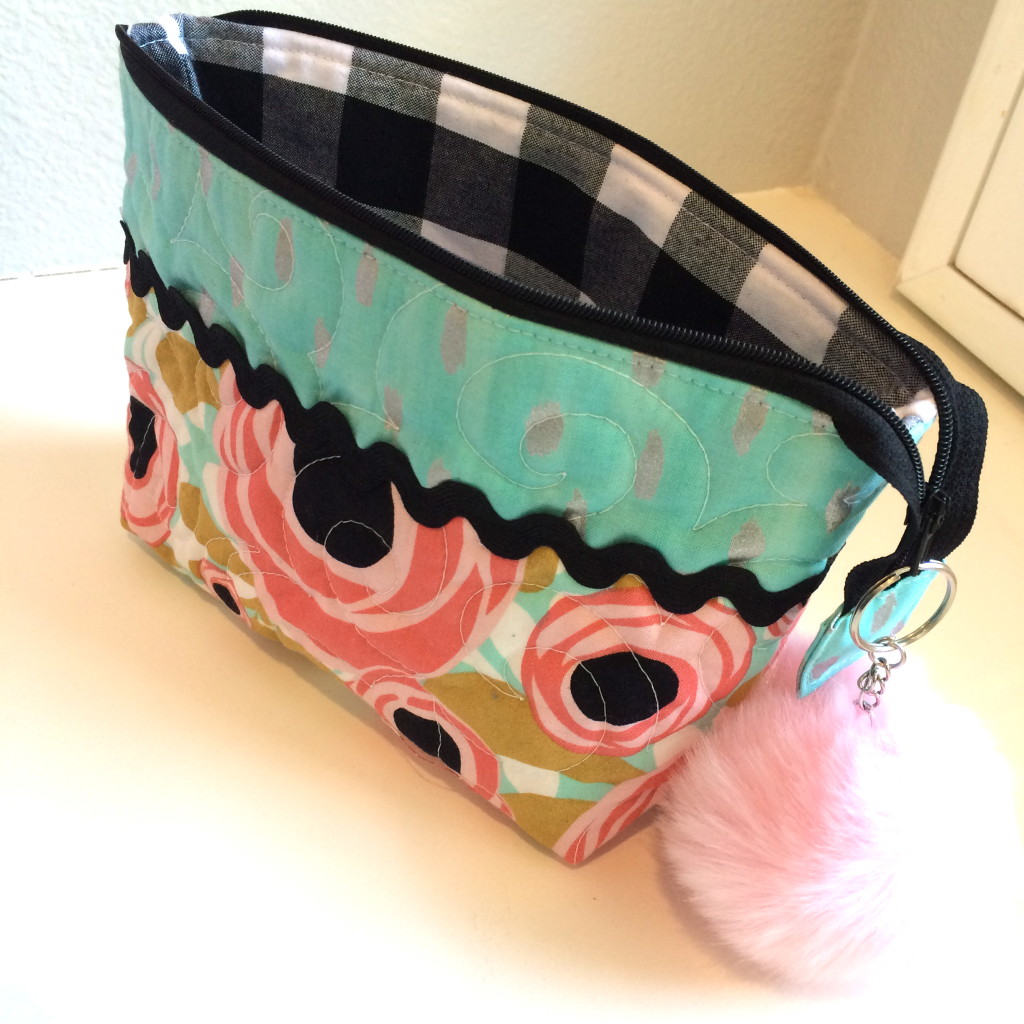
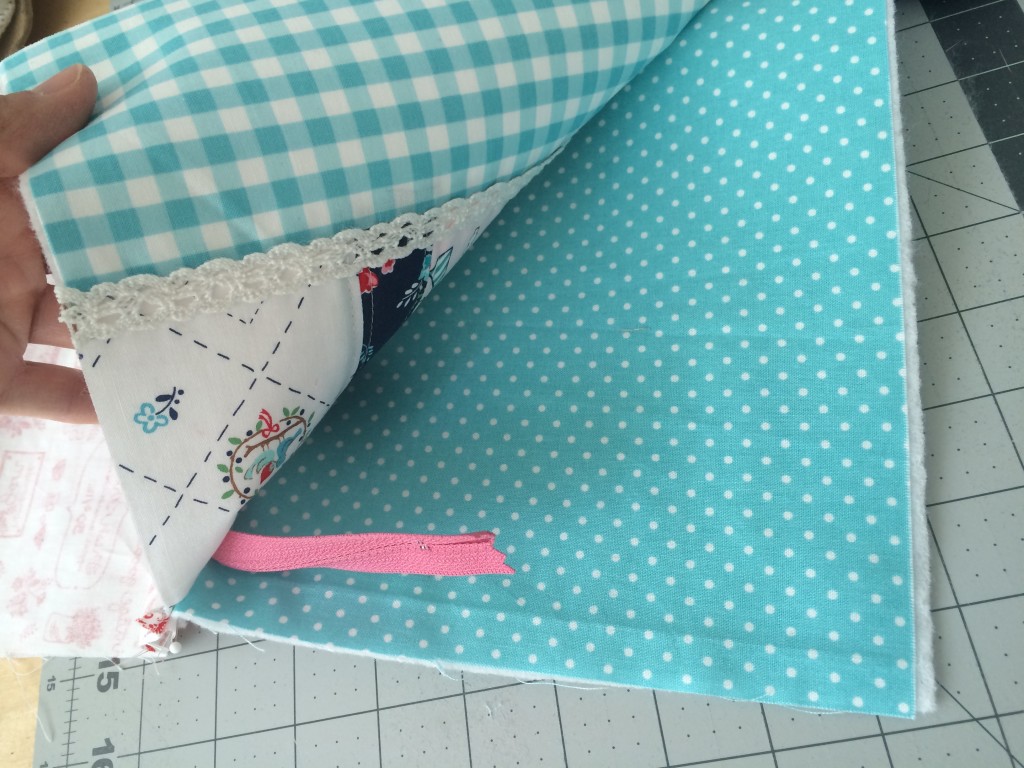
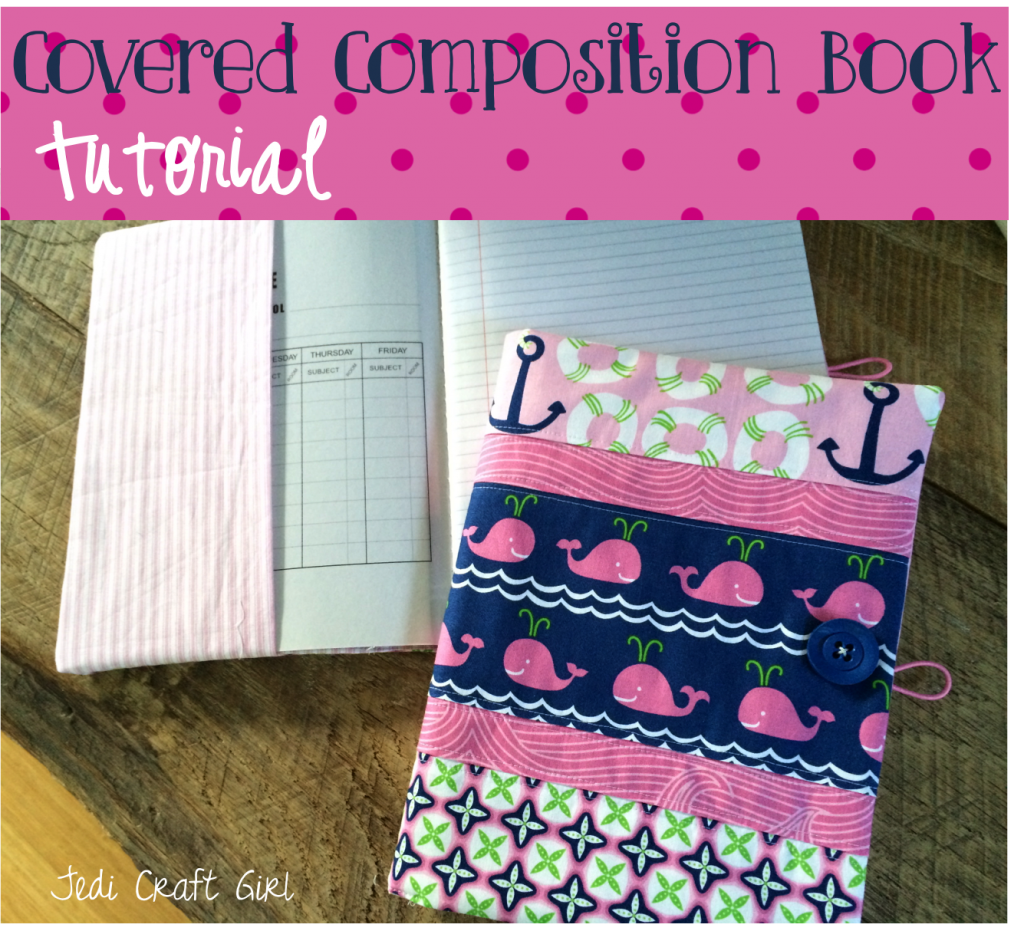
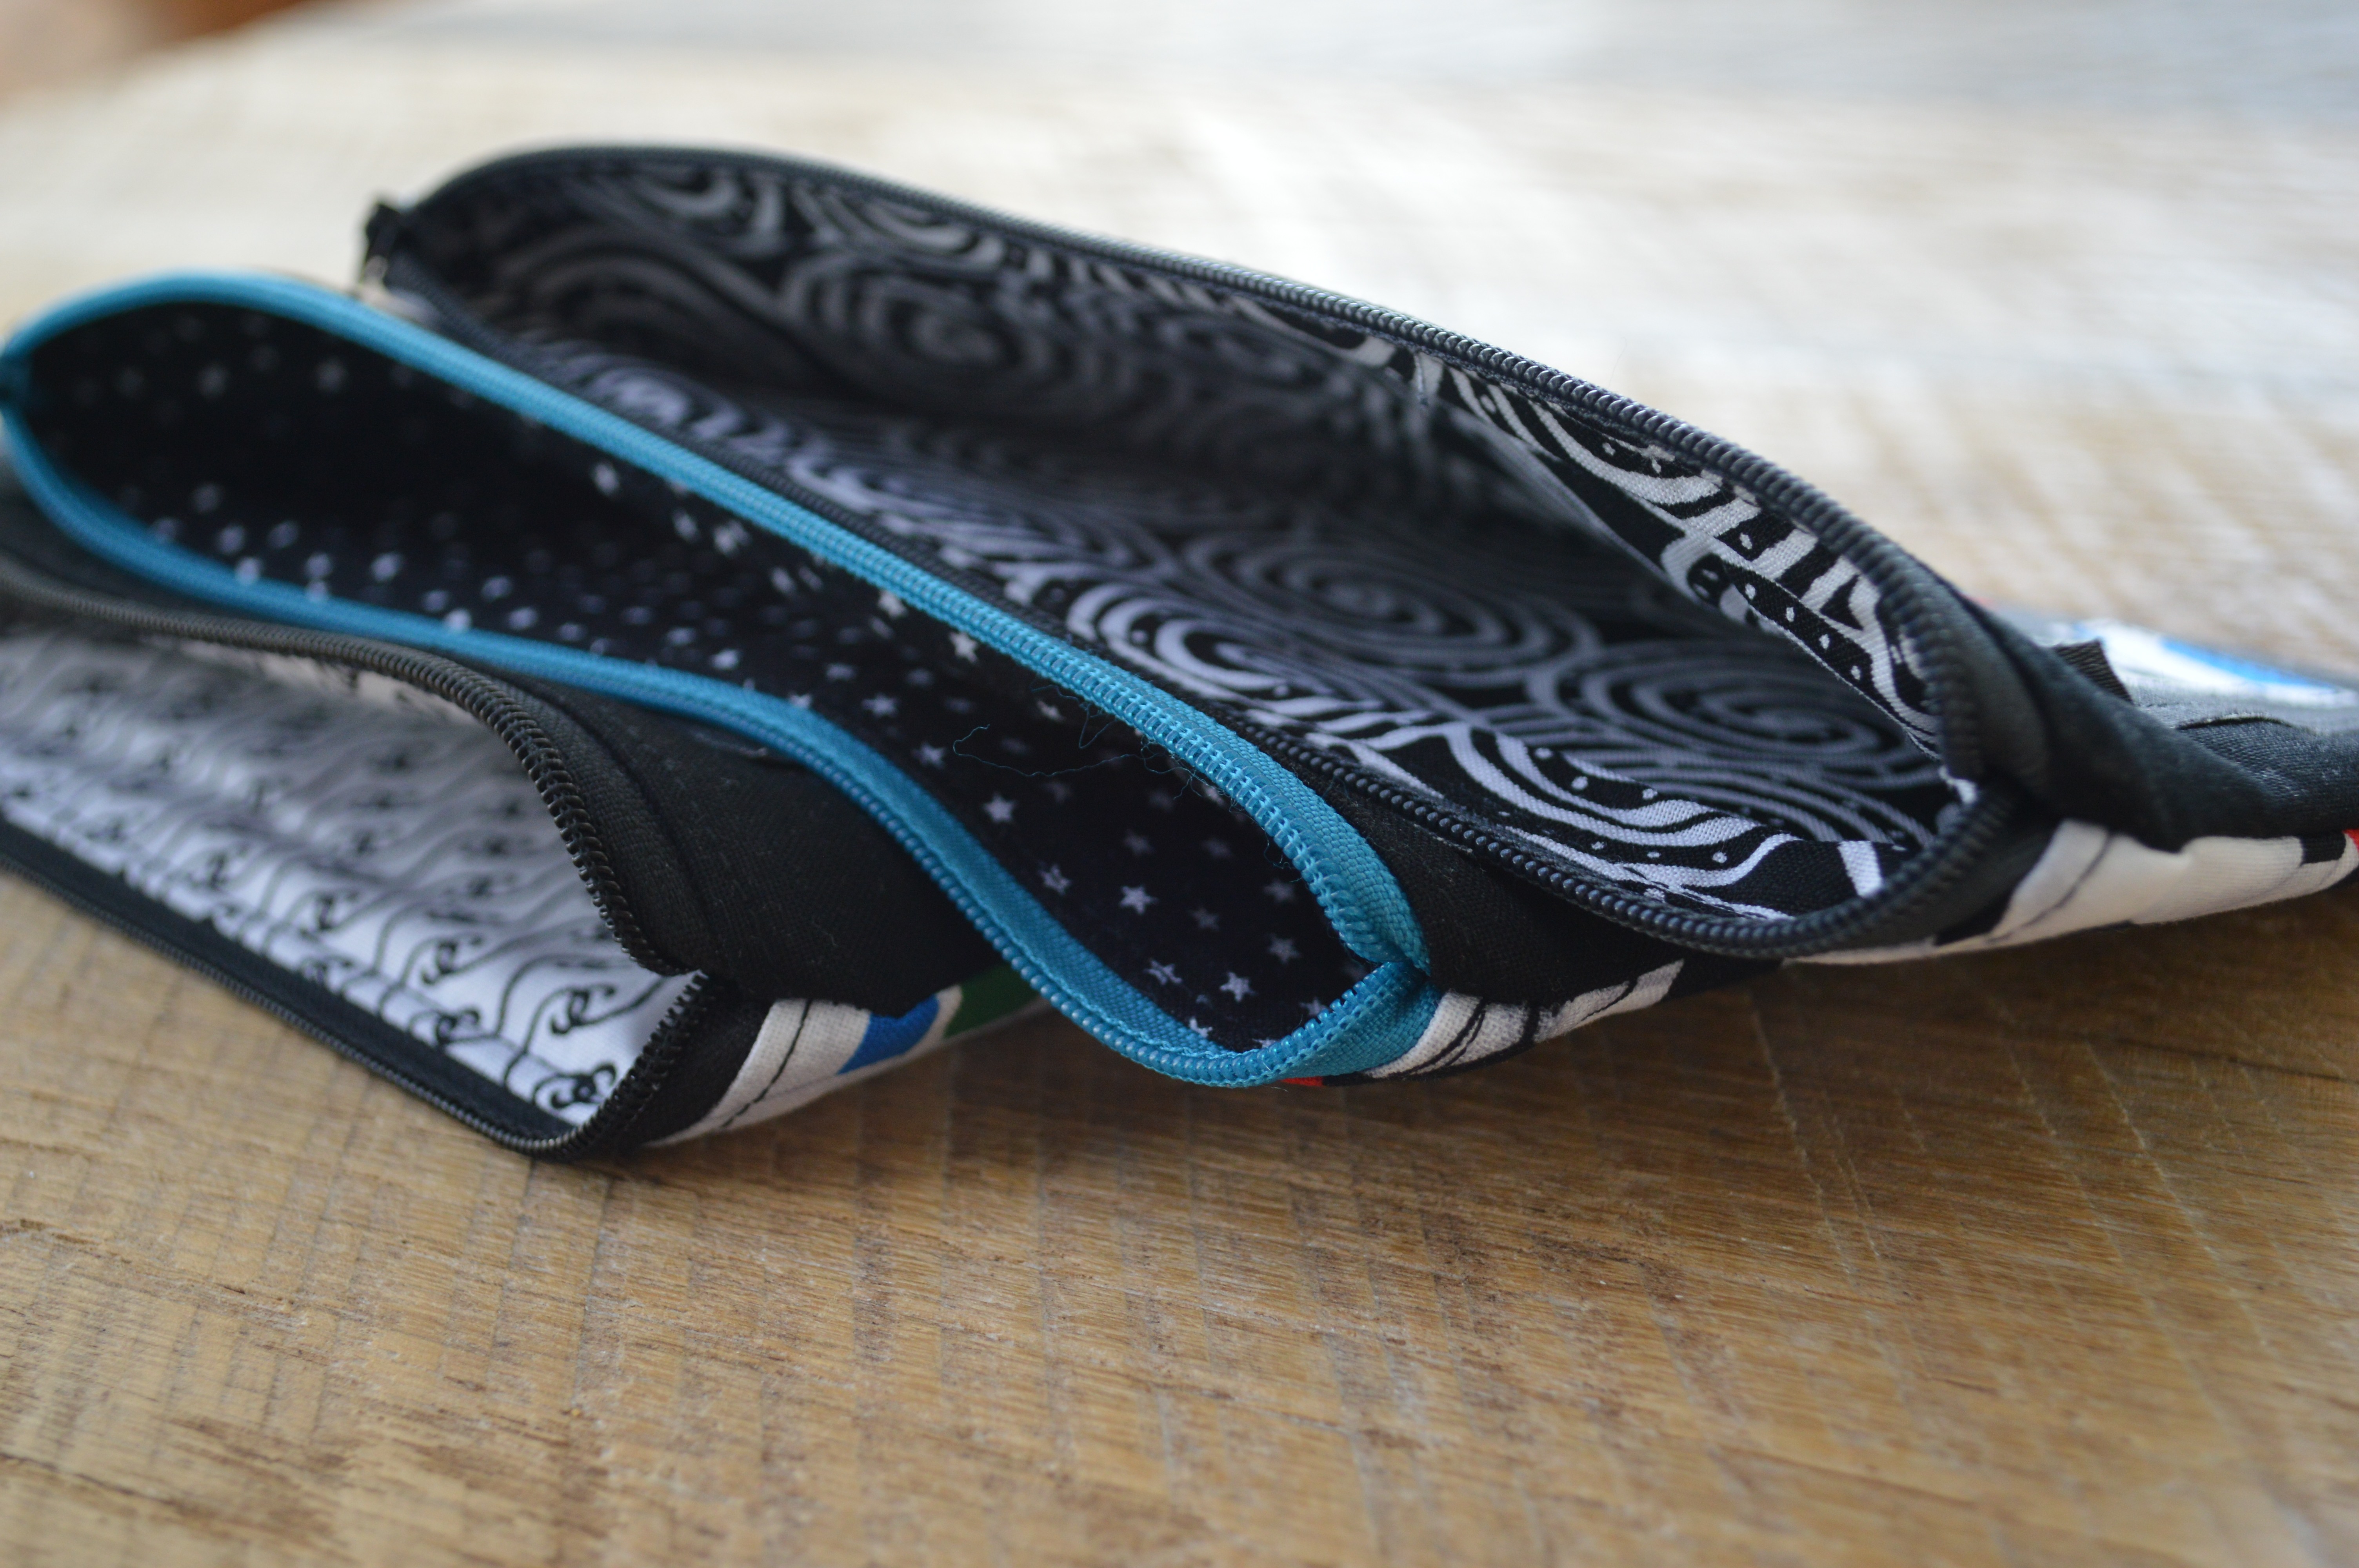
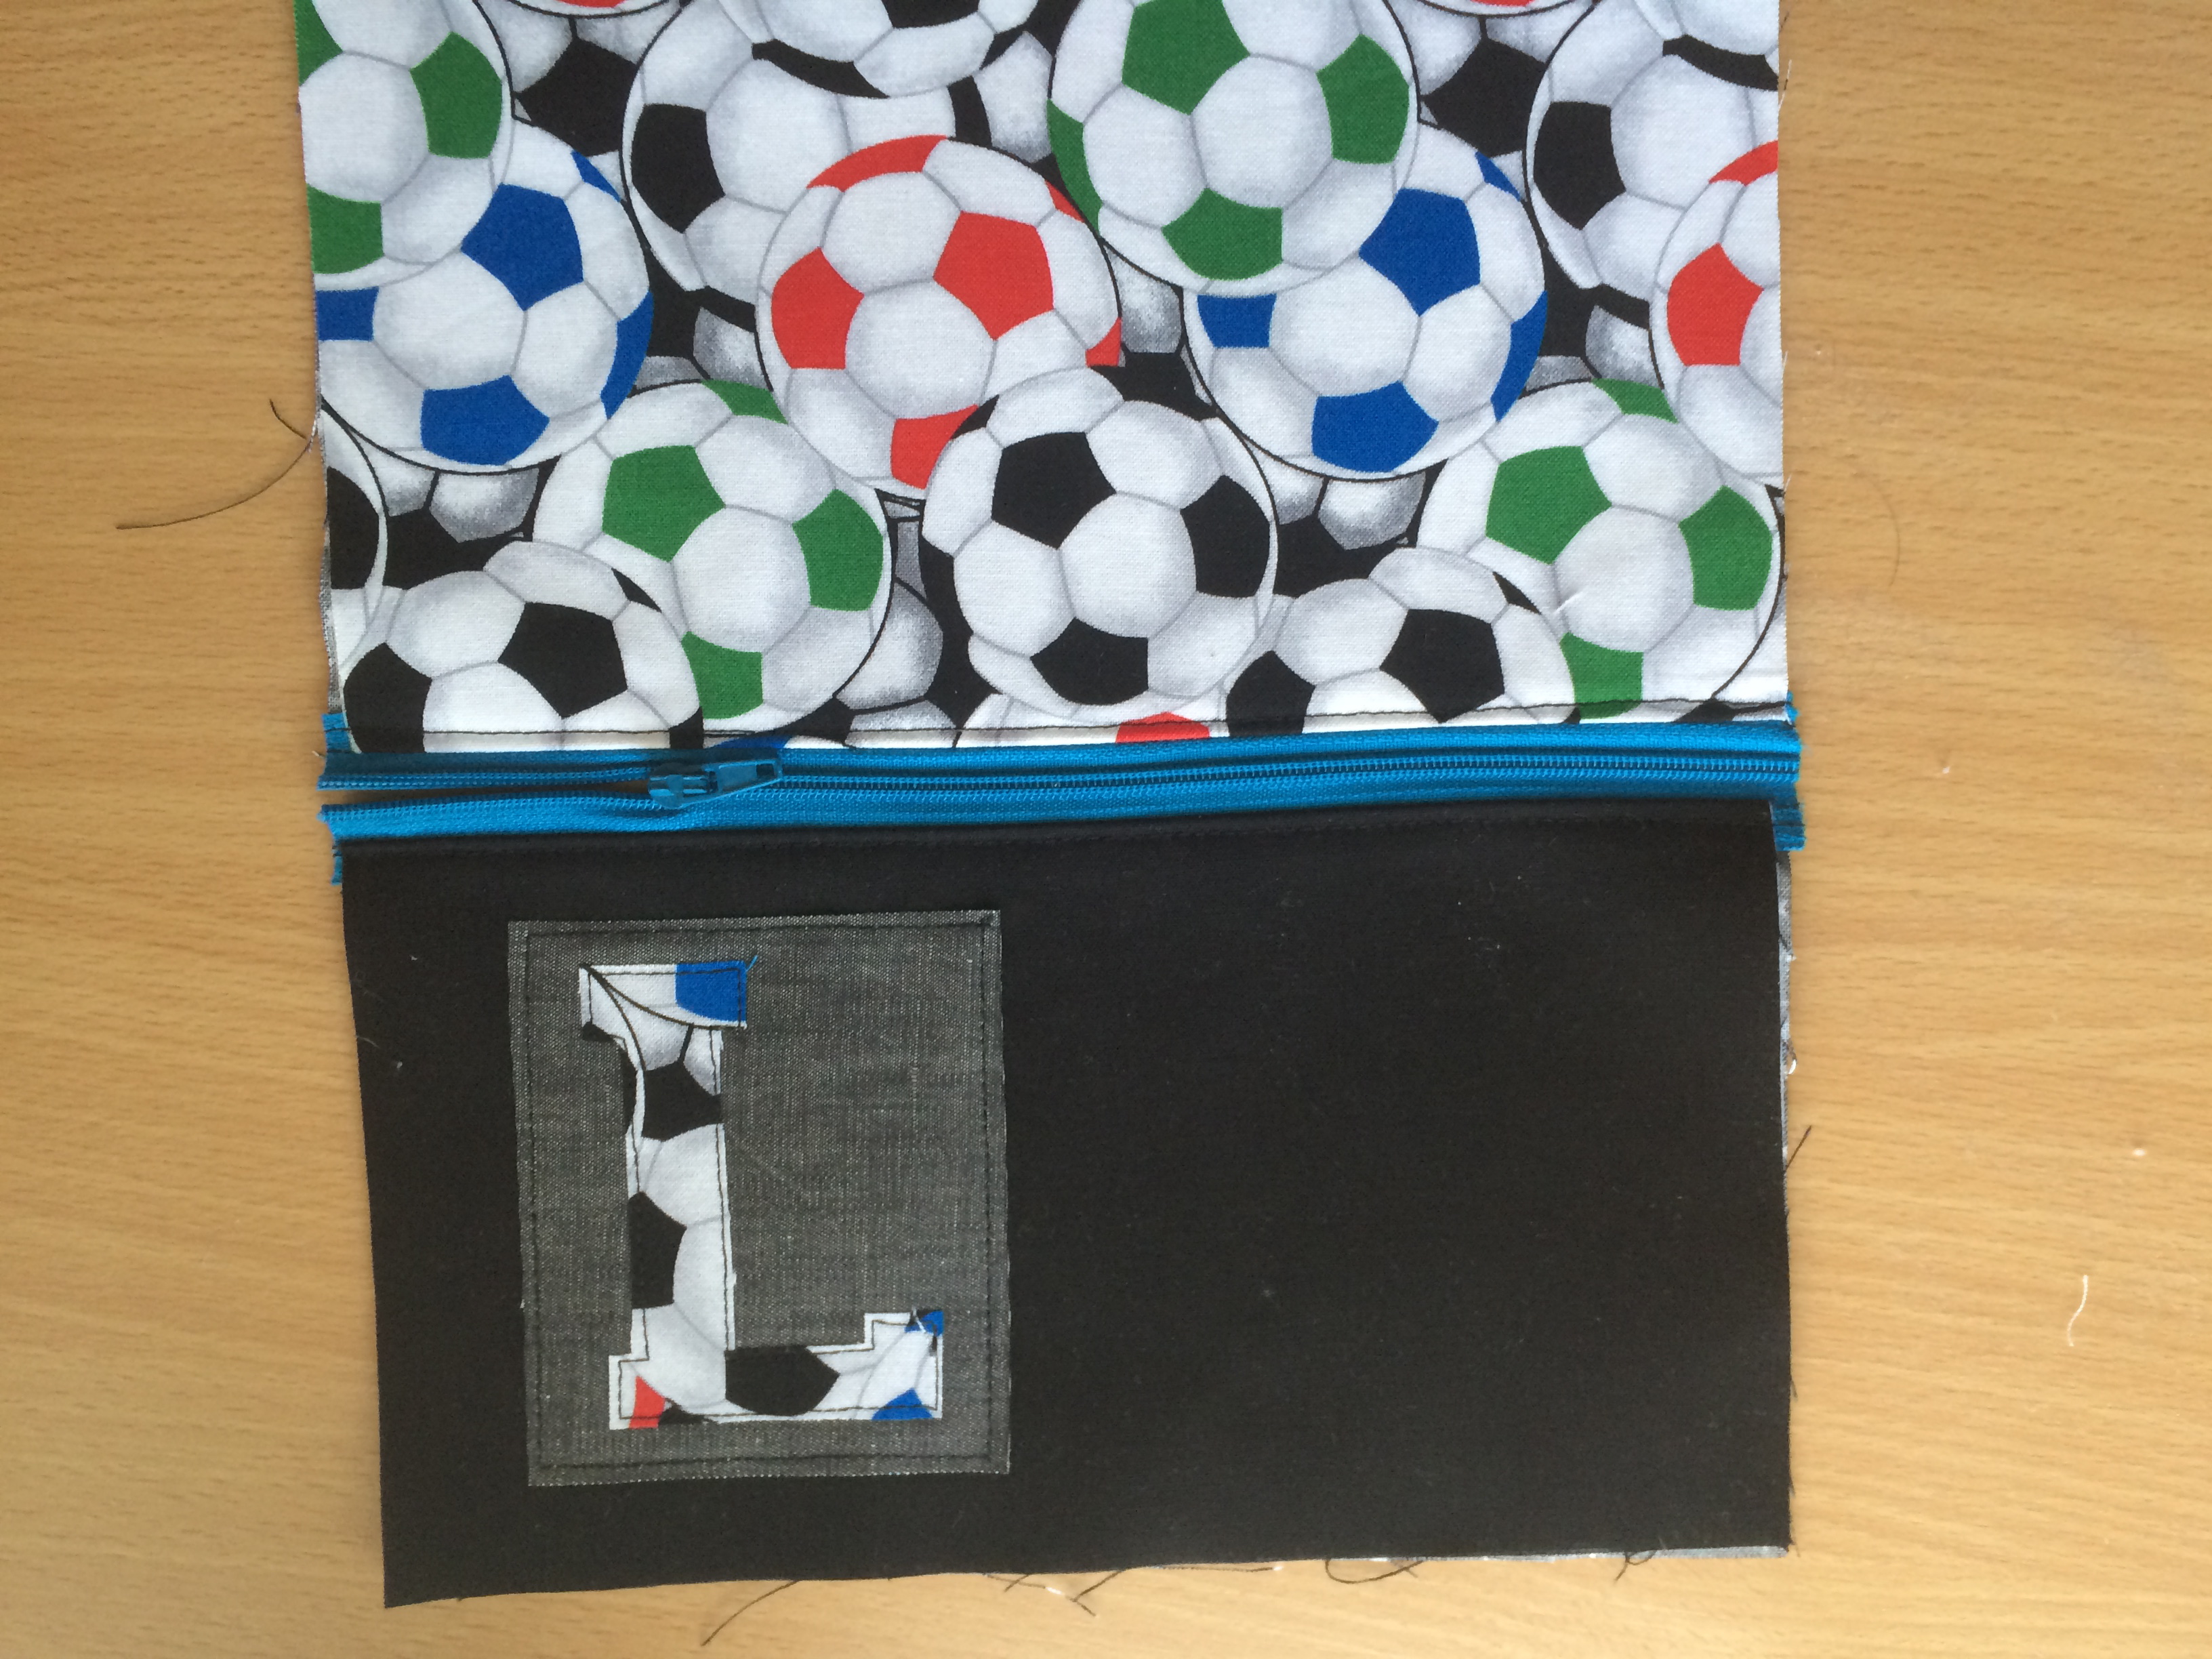
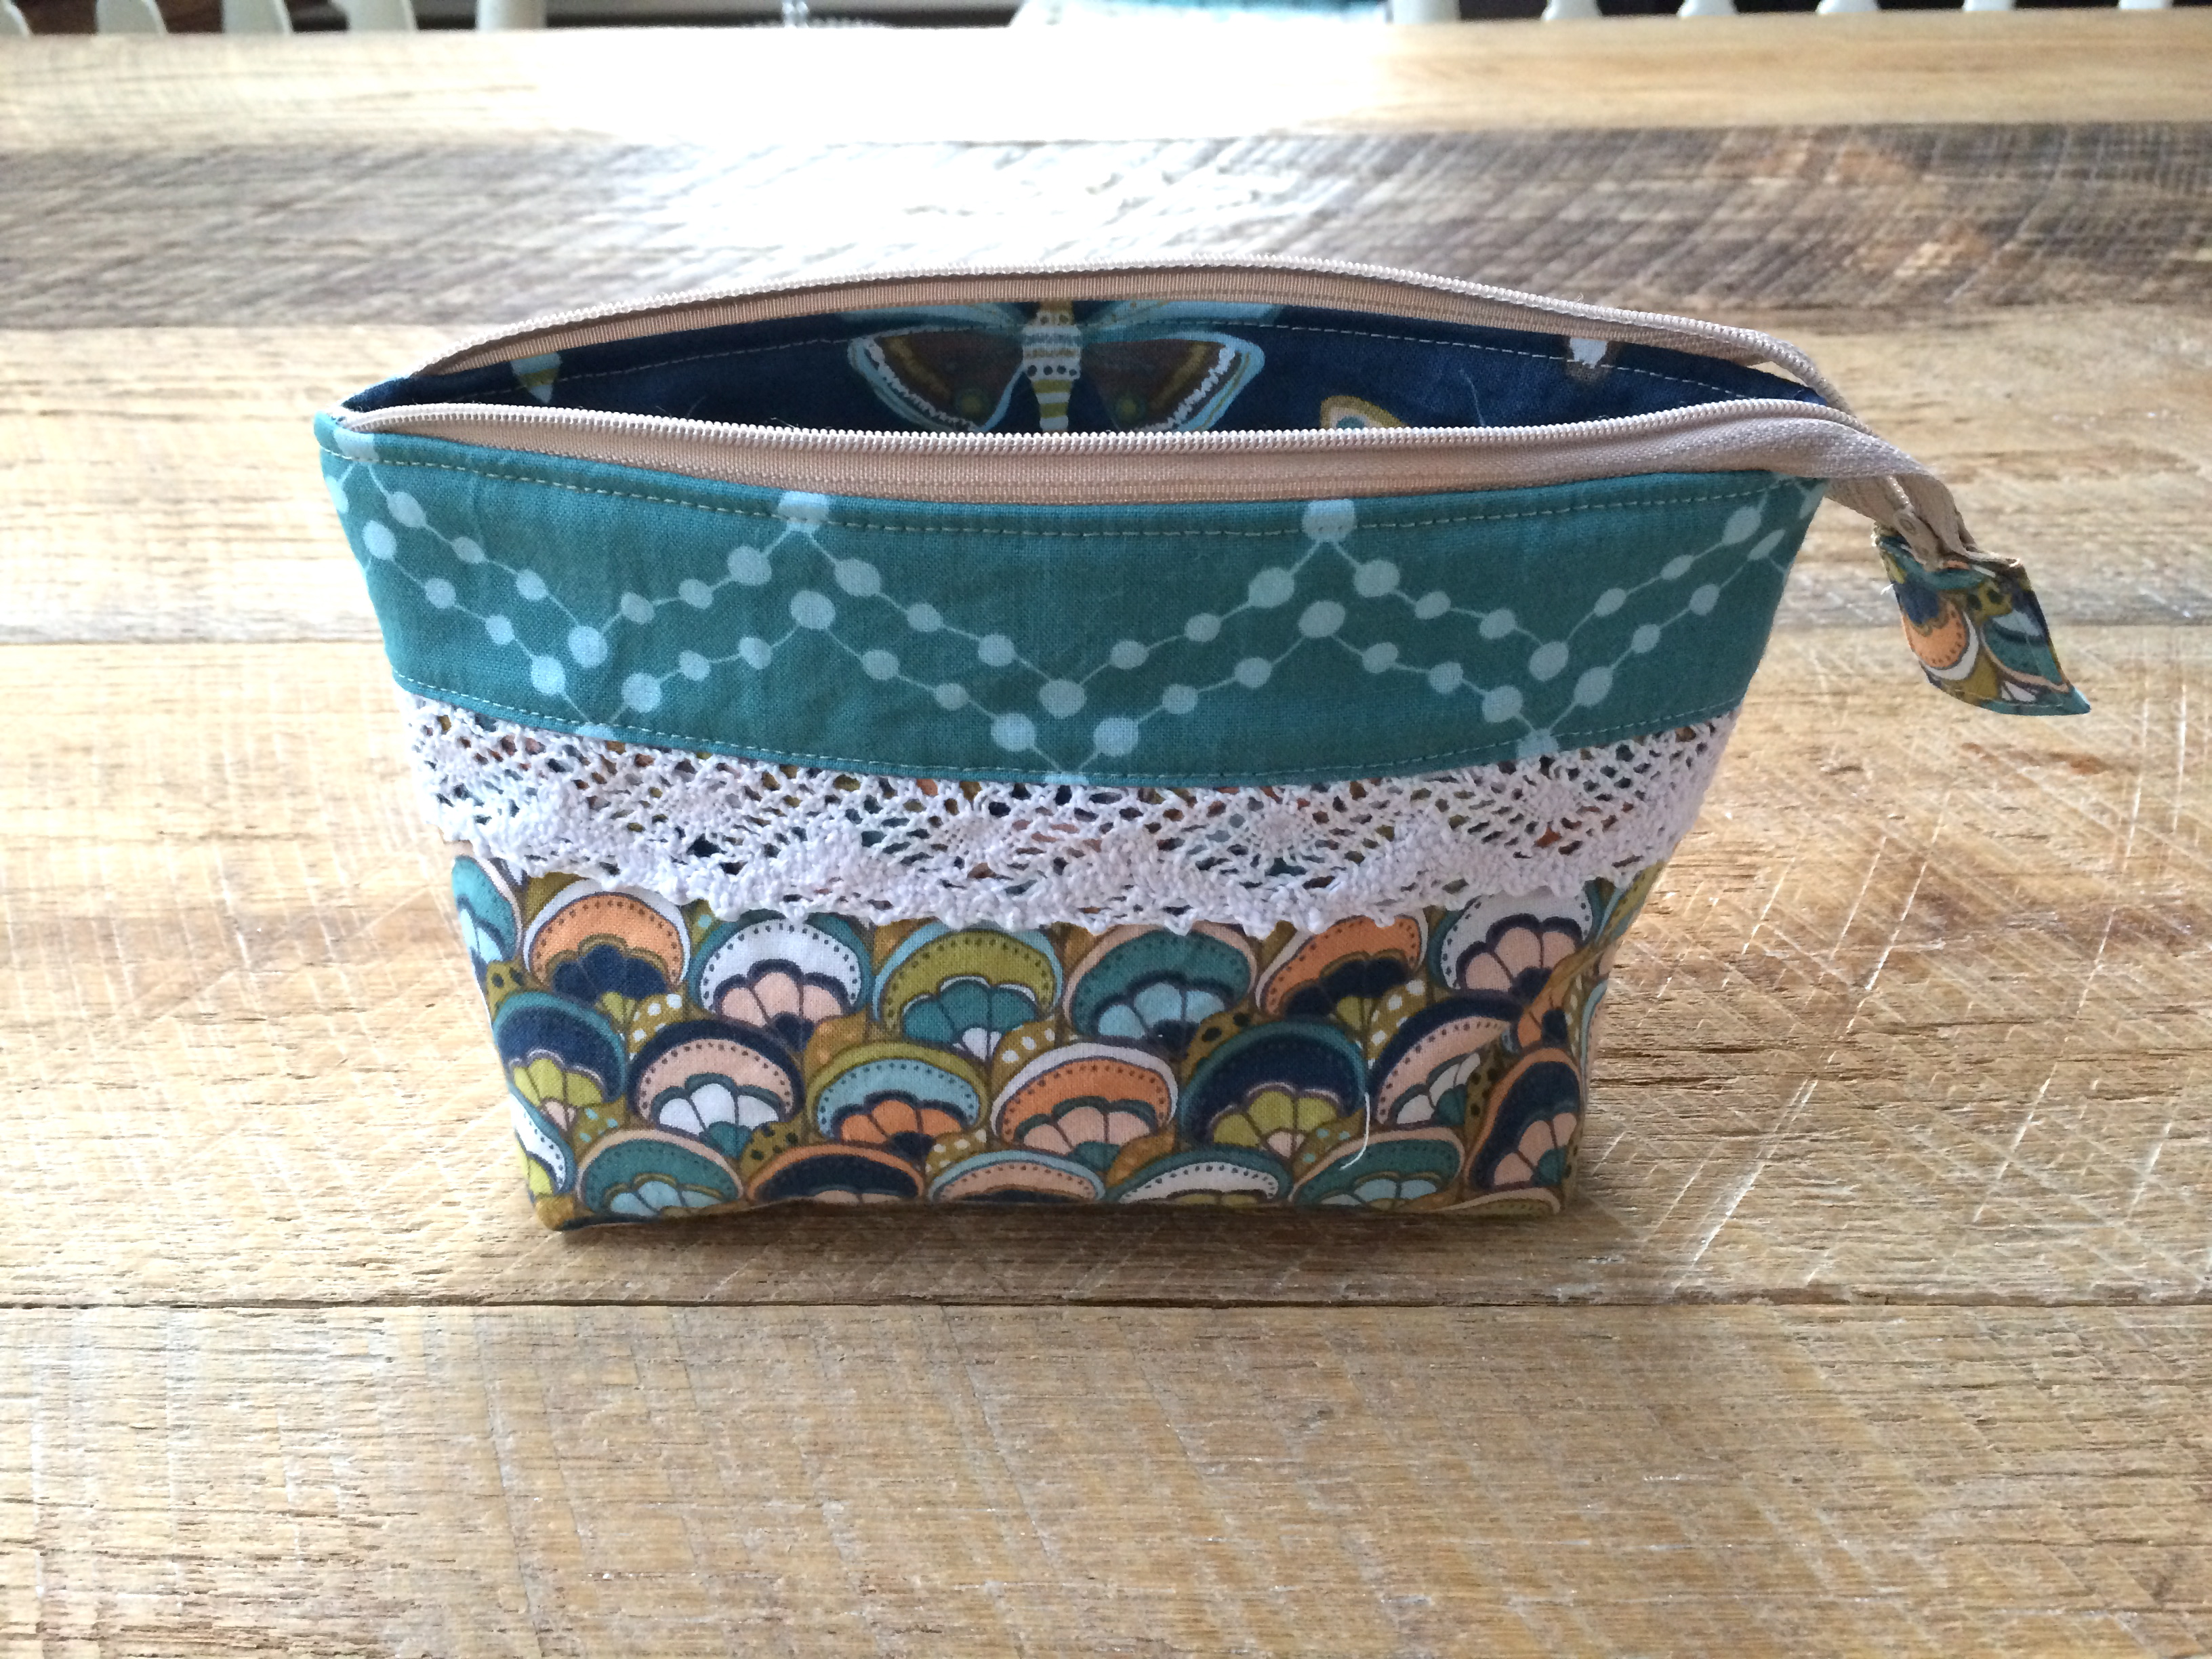
I love the big black and white gingham for the lining!

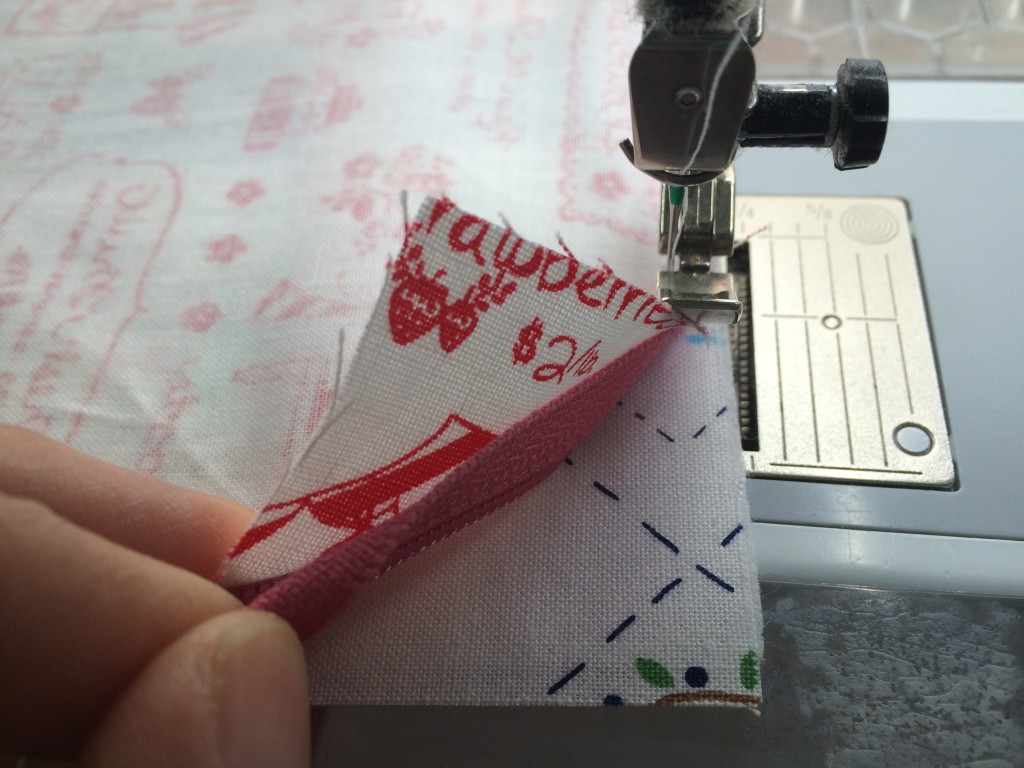
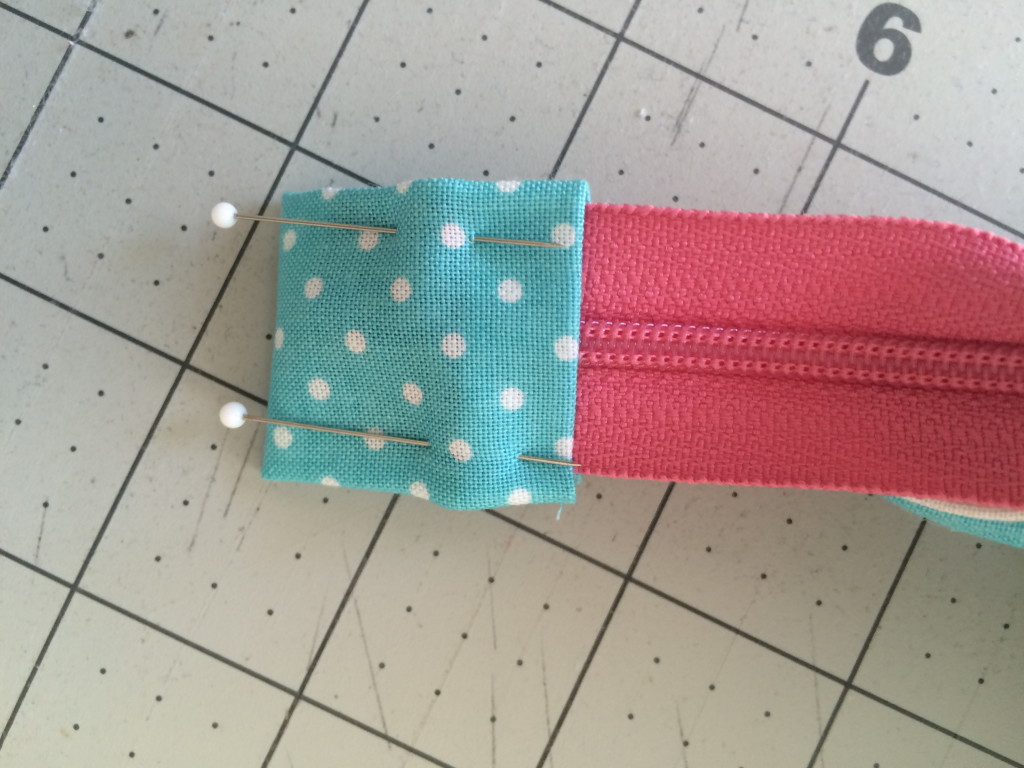
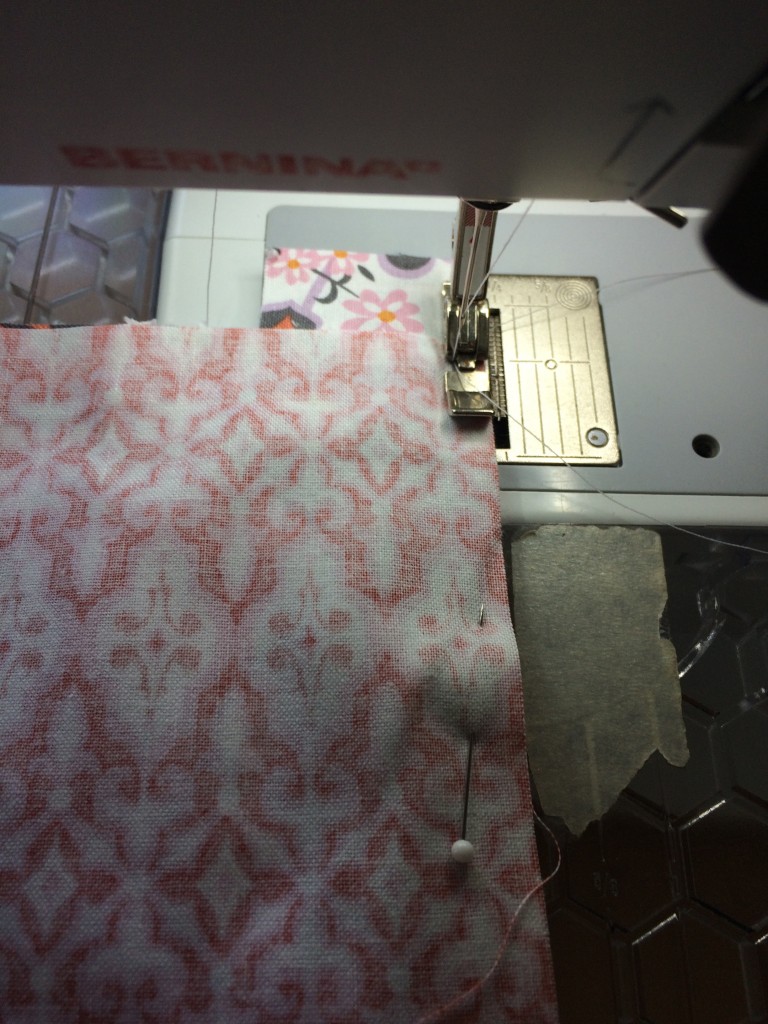
 You will need to sew this portion “opposite” with the needle moved all the way over to the opposite side and the bulk of the zipper pouch next to the throat of the sewing machine.
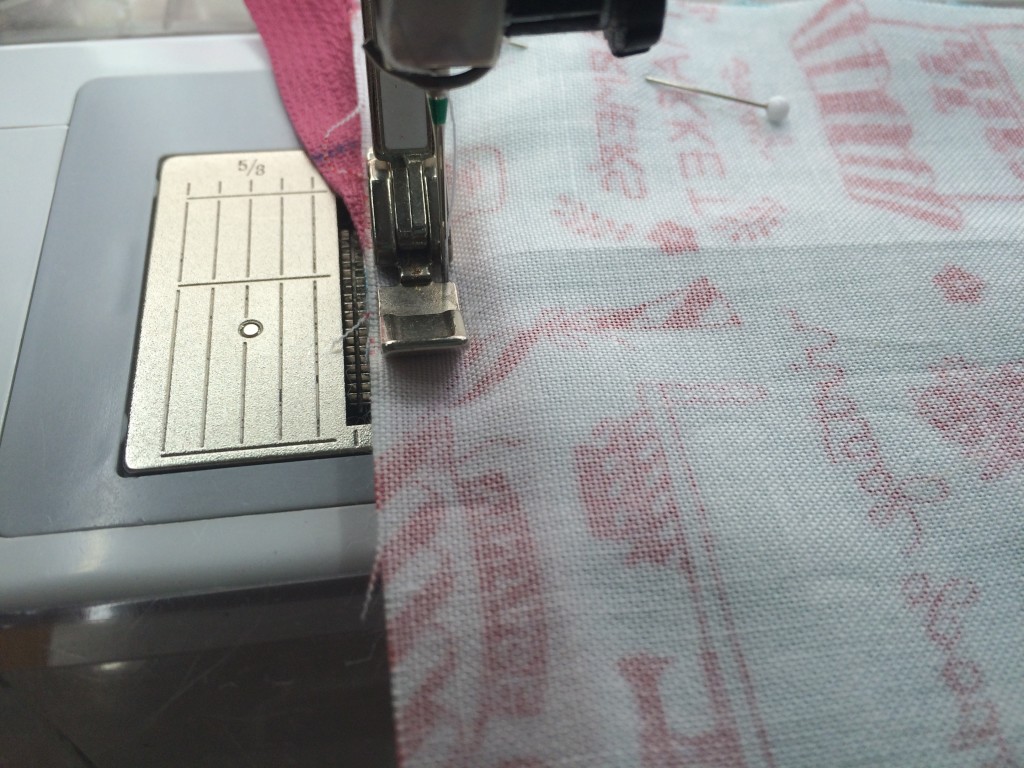
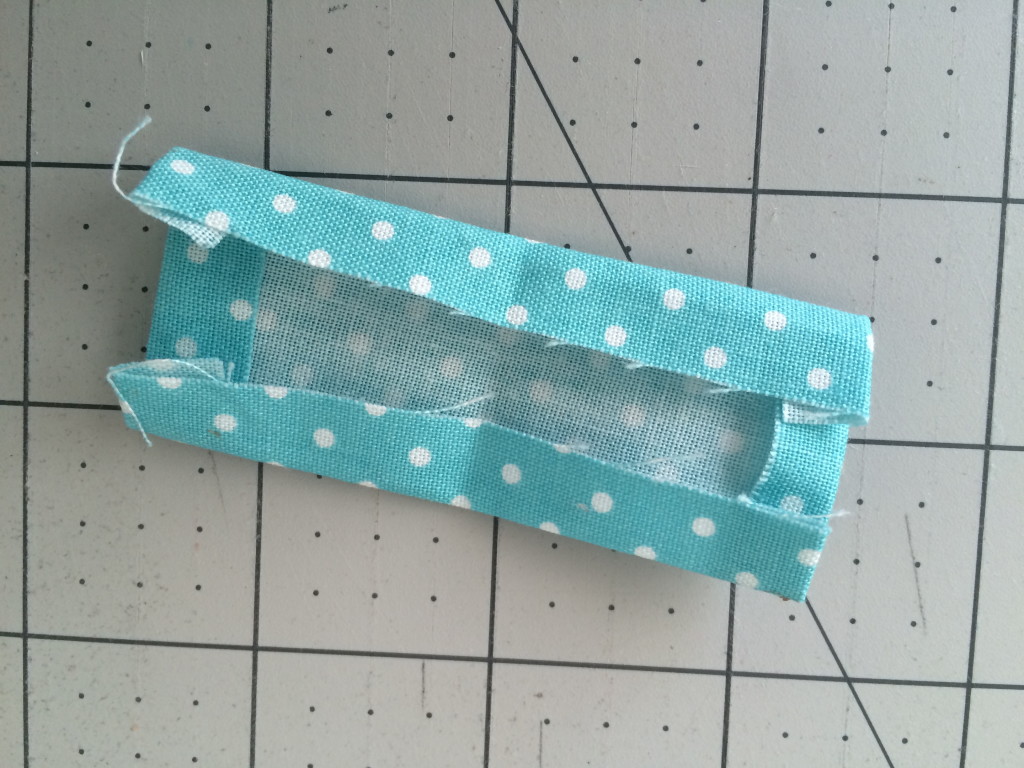
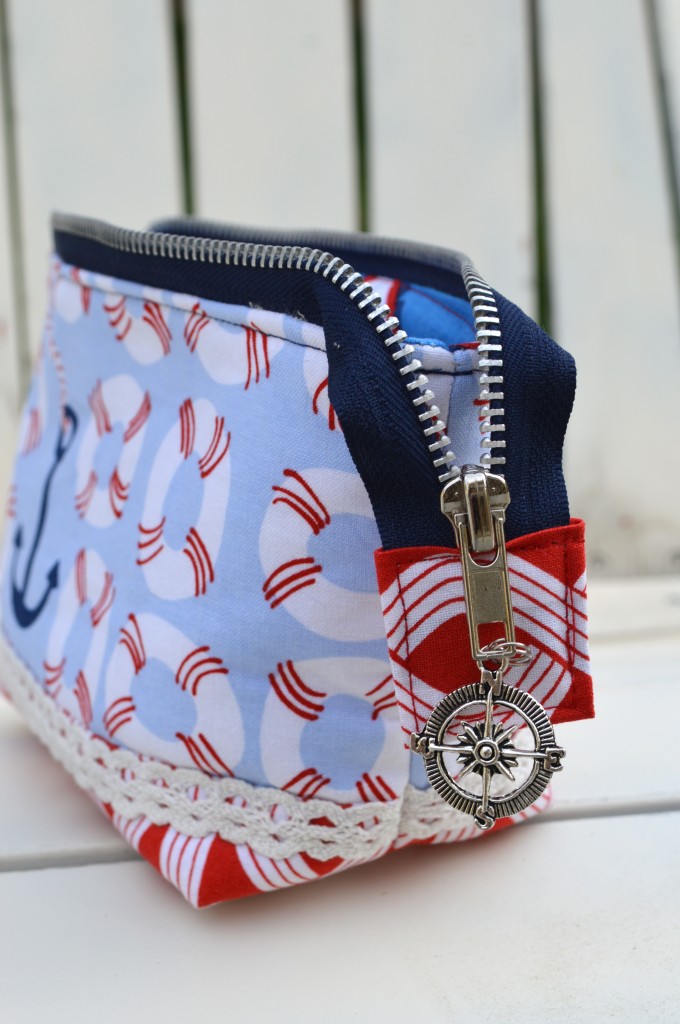
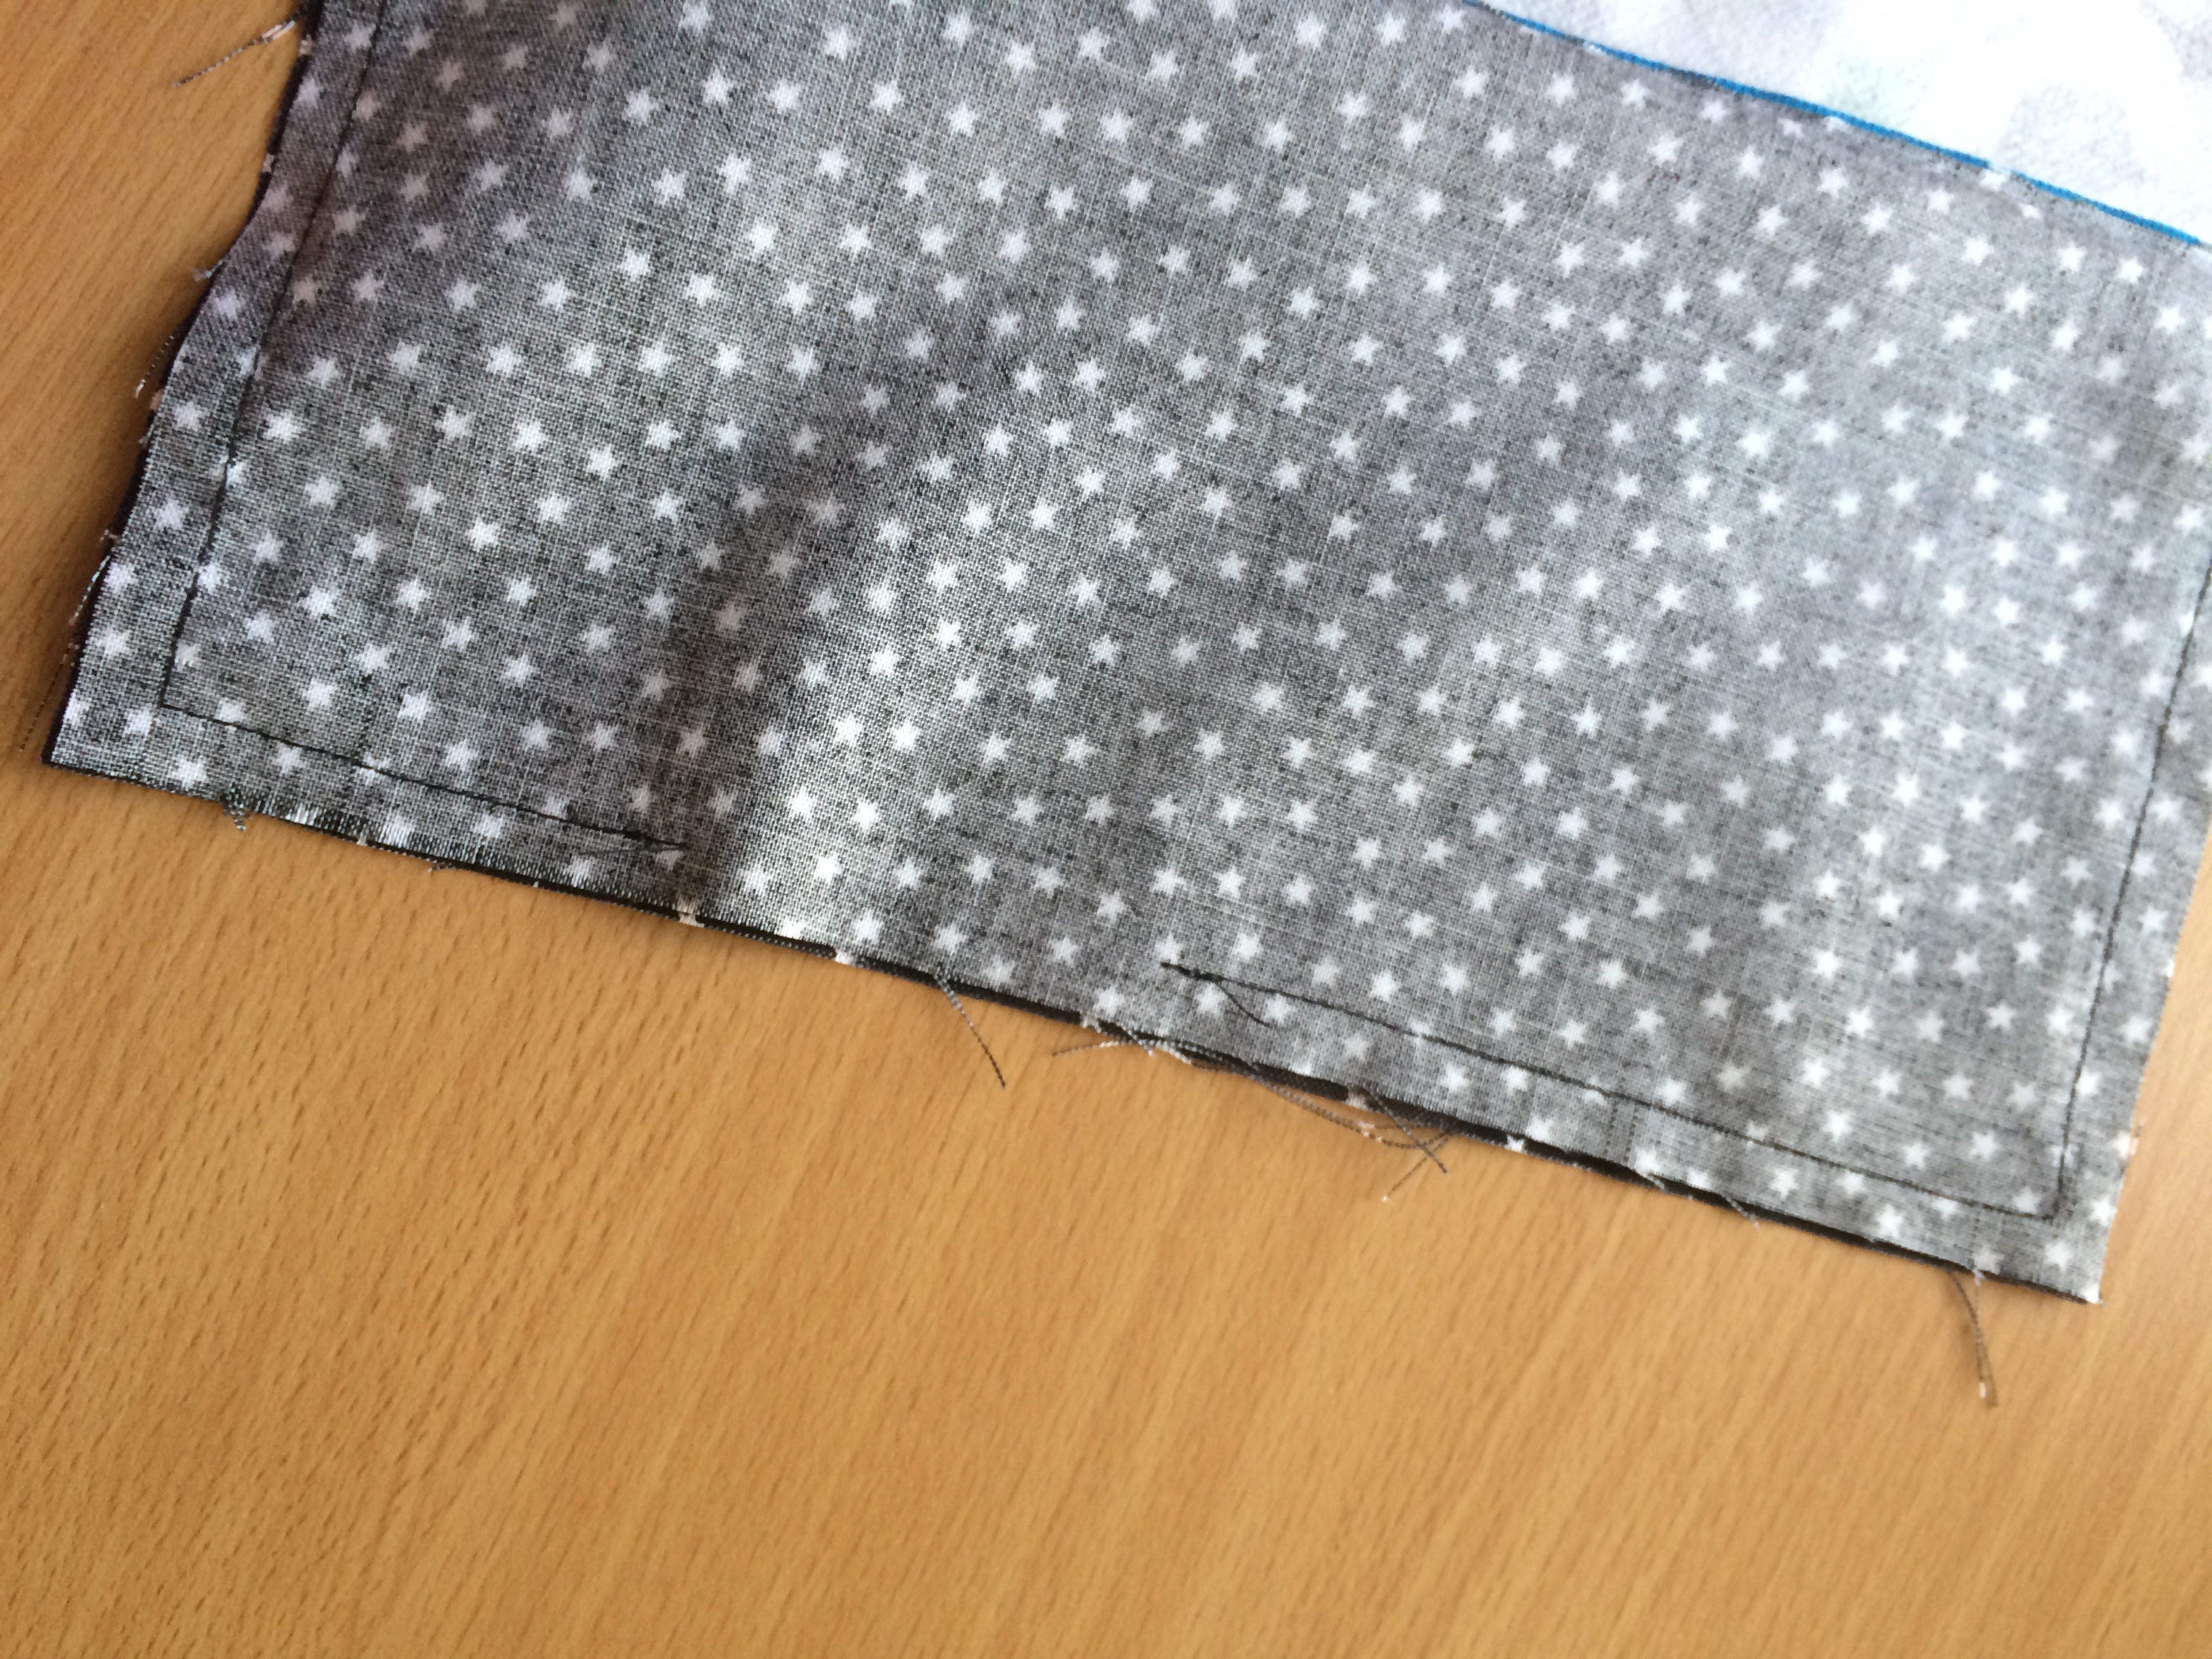
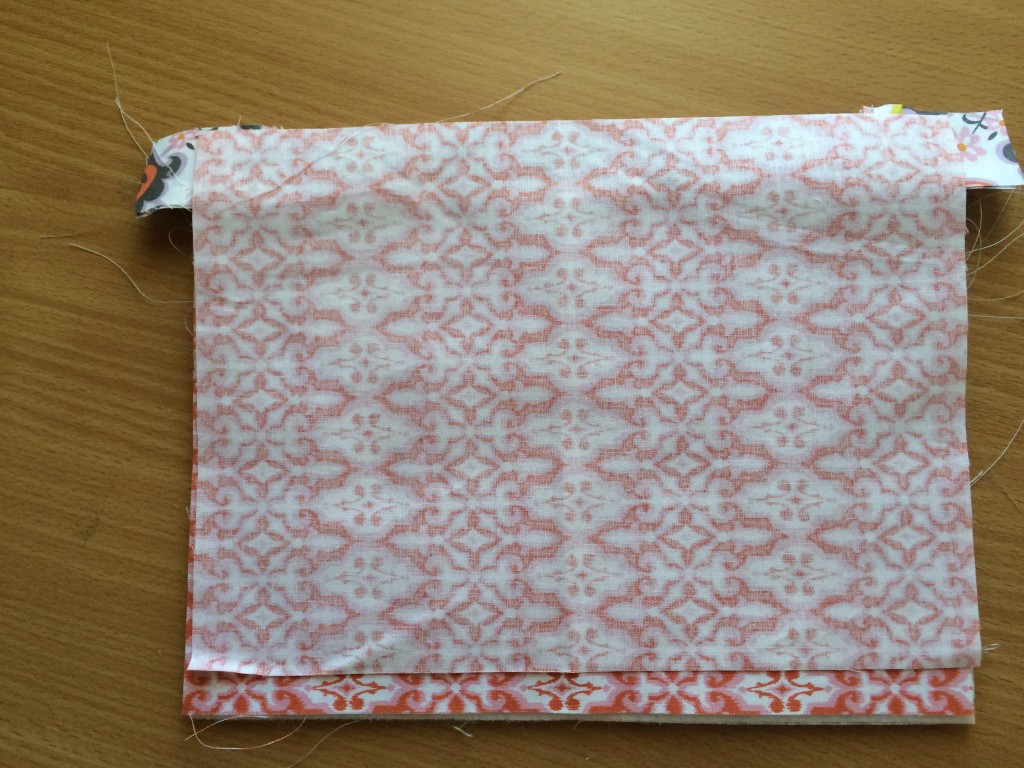
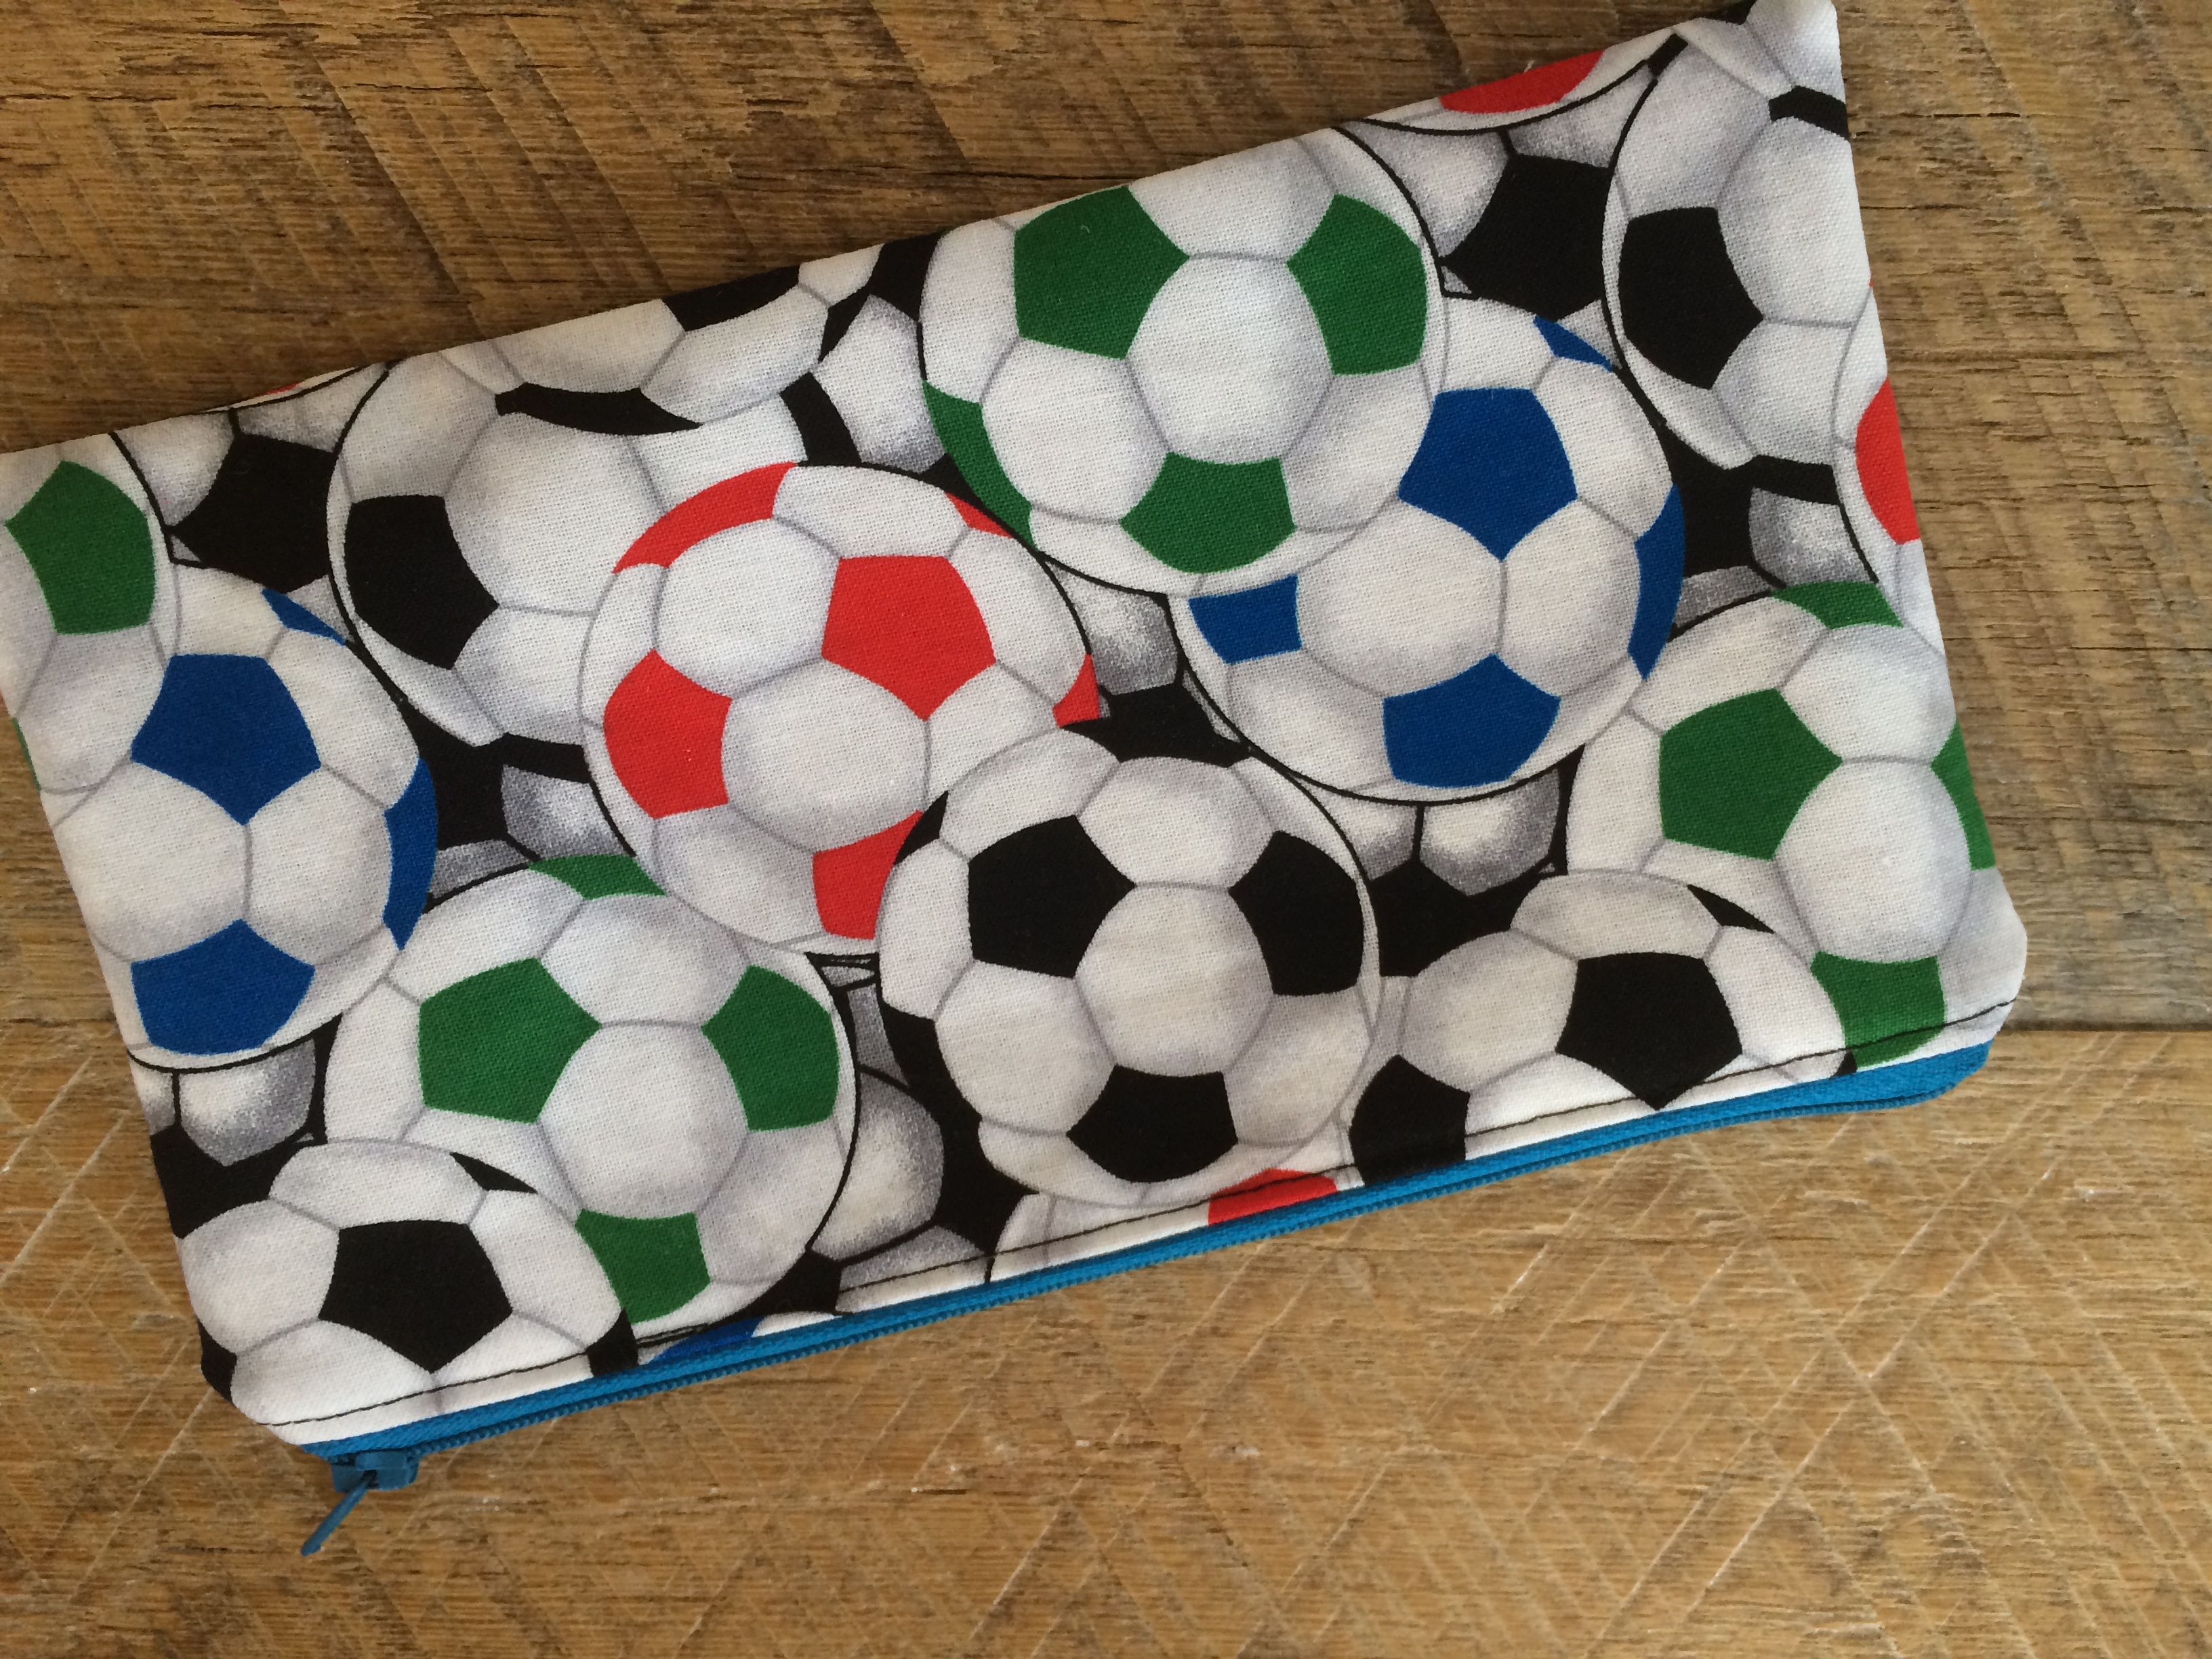
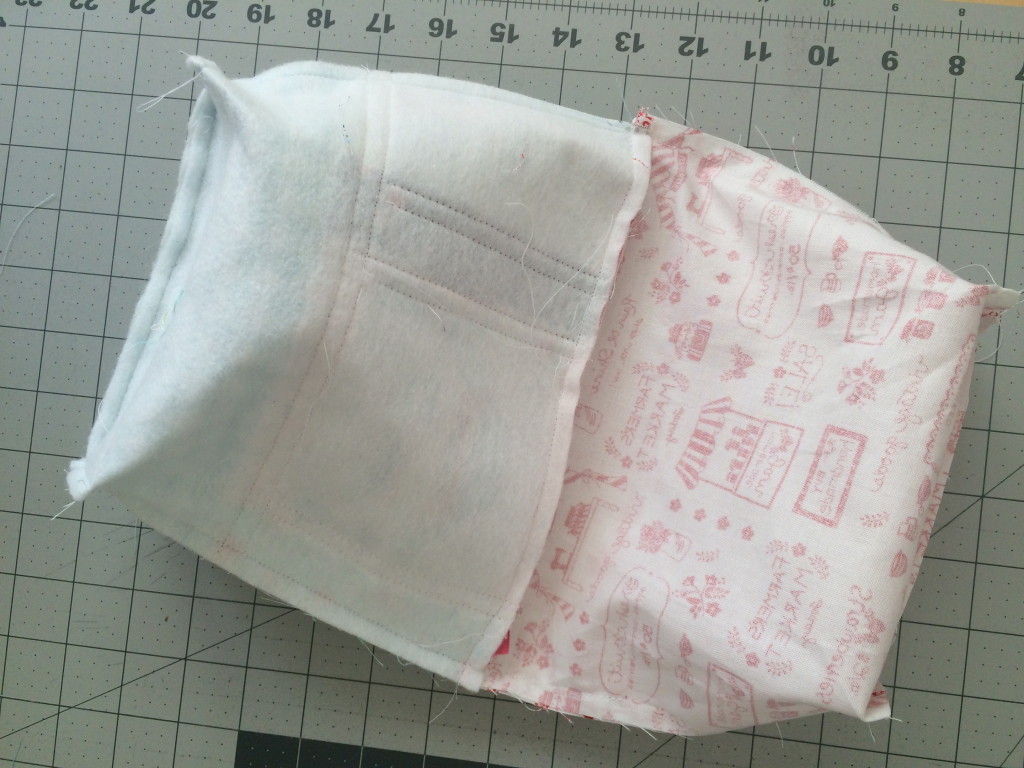 This is how the bag should look now (above). Turn the bag right side out and top stitch the opening closed.
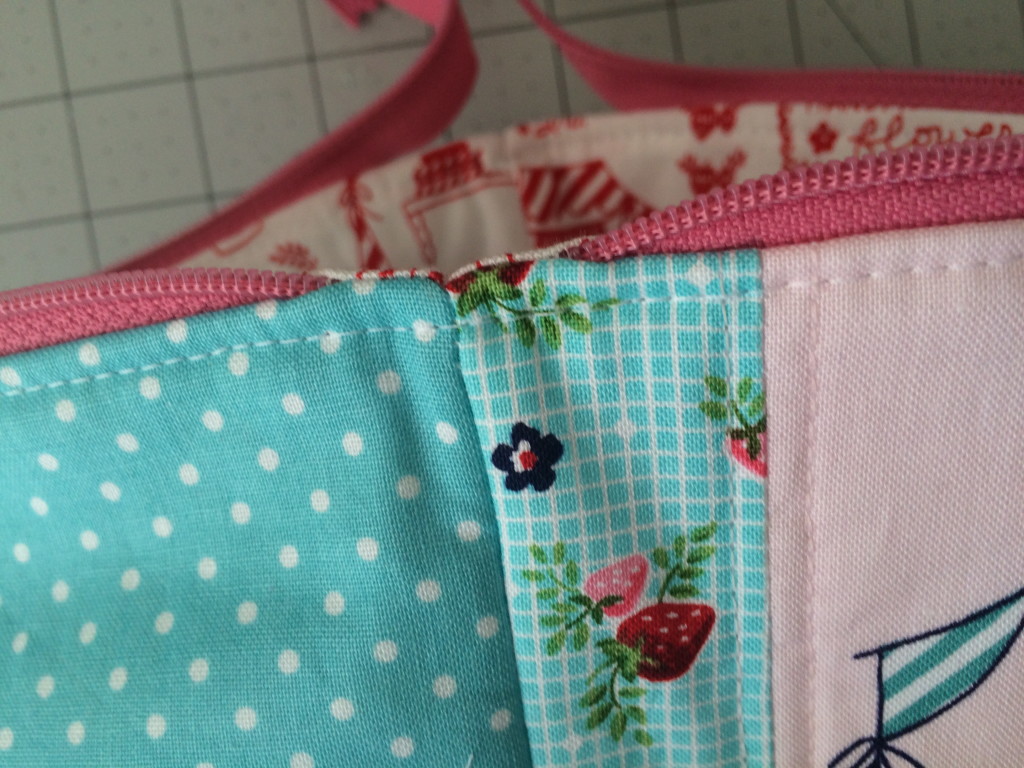
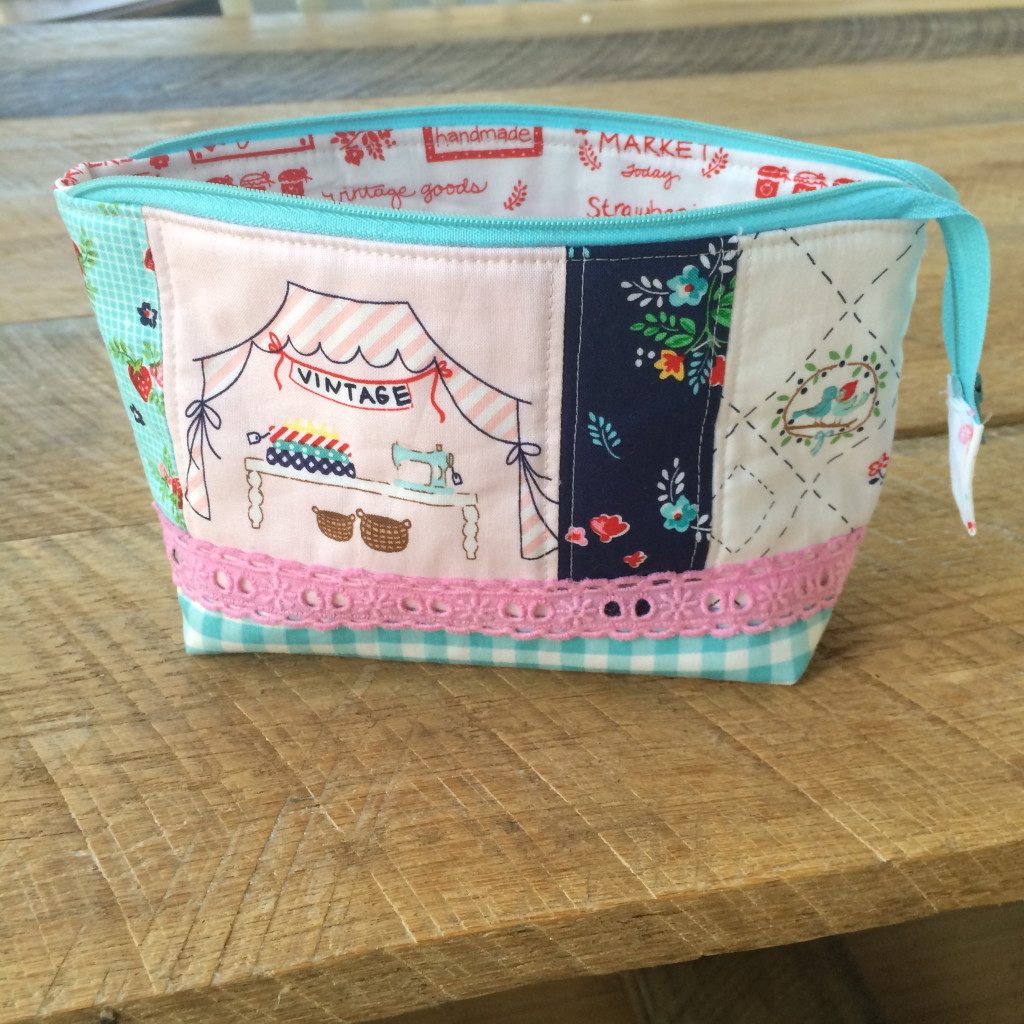
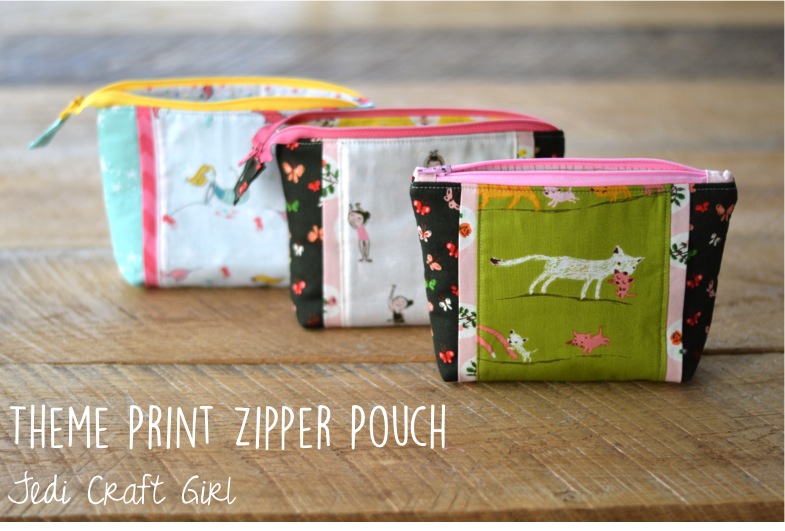


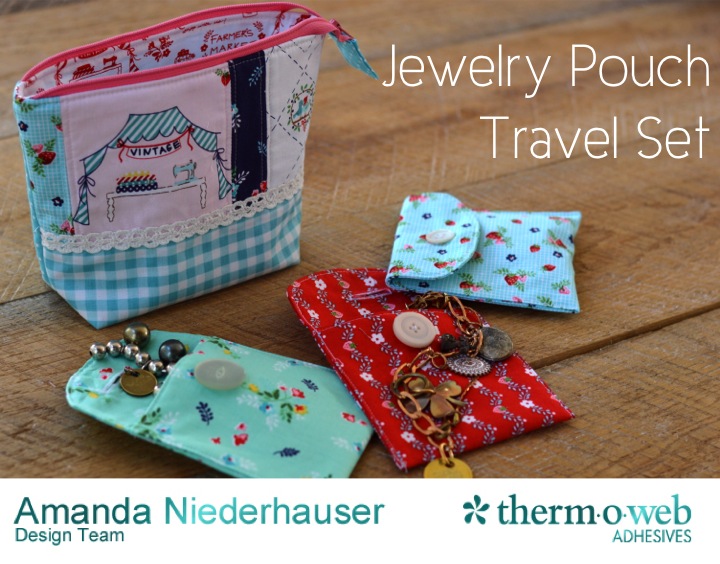
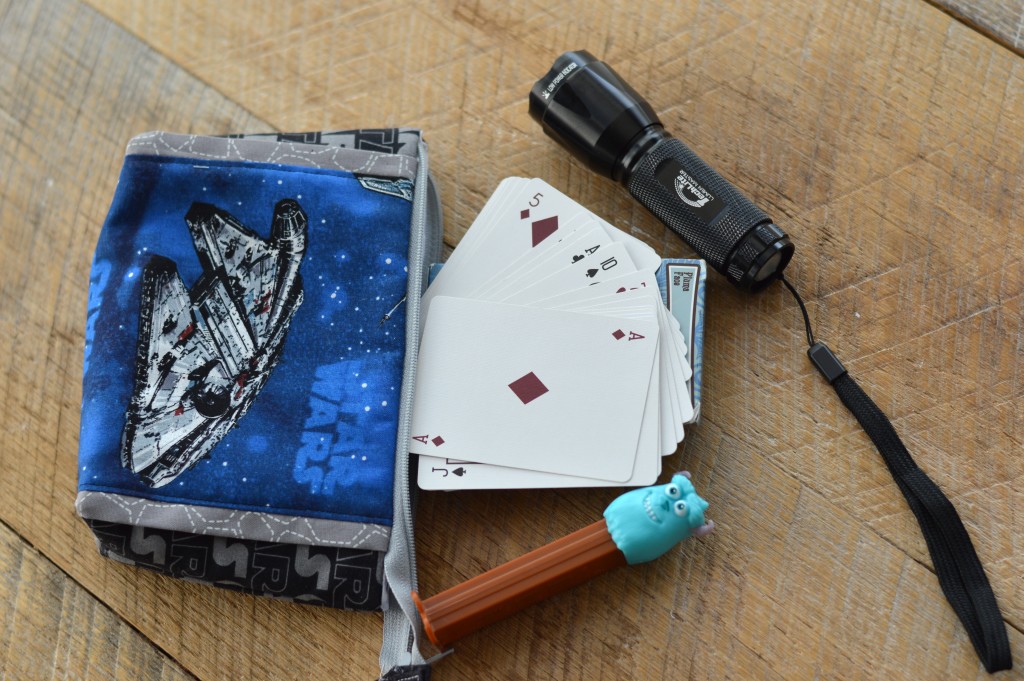
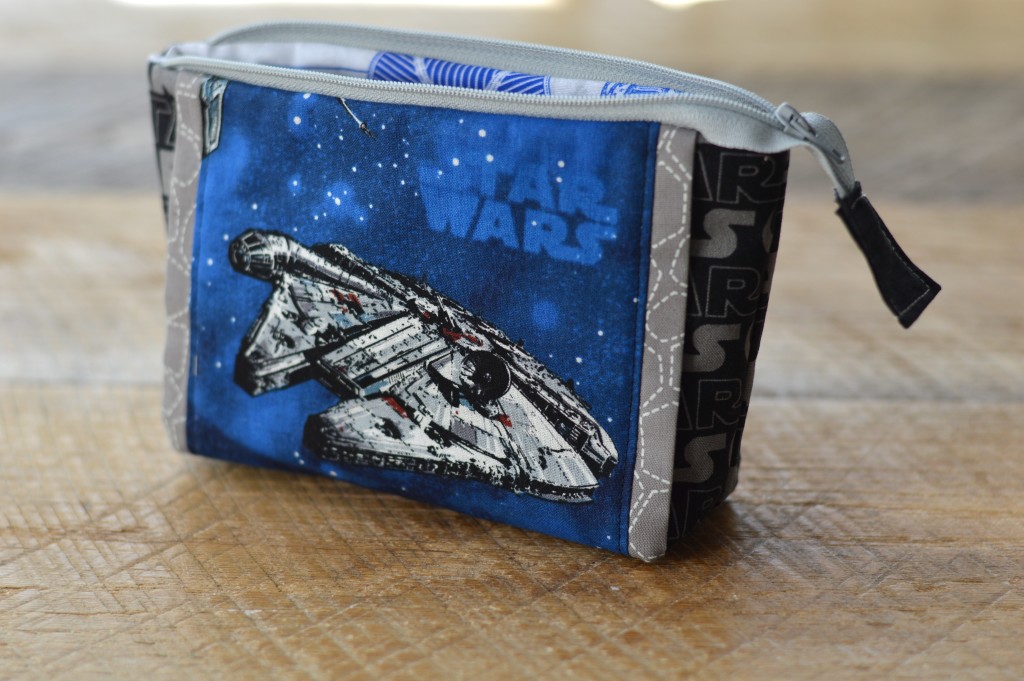
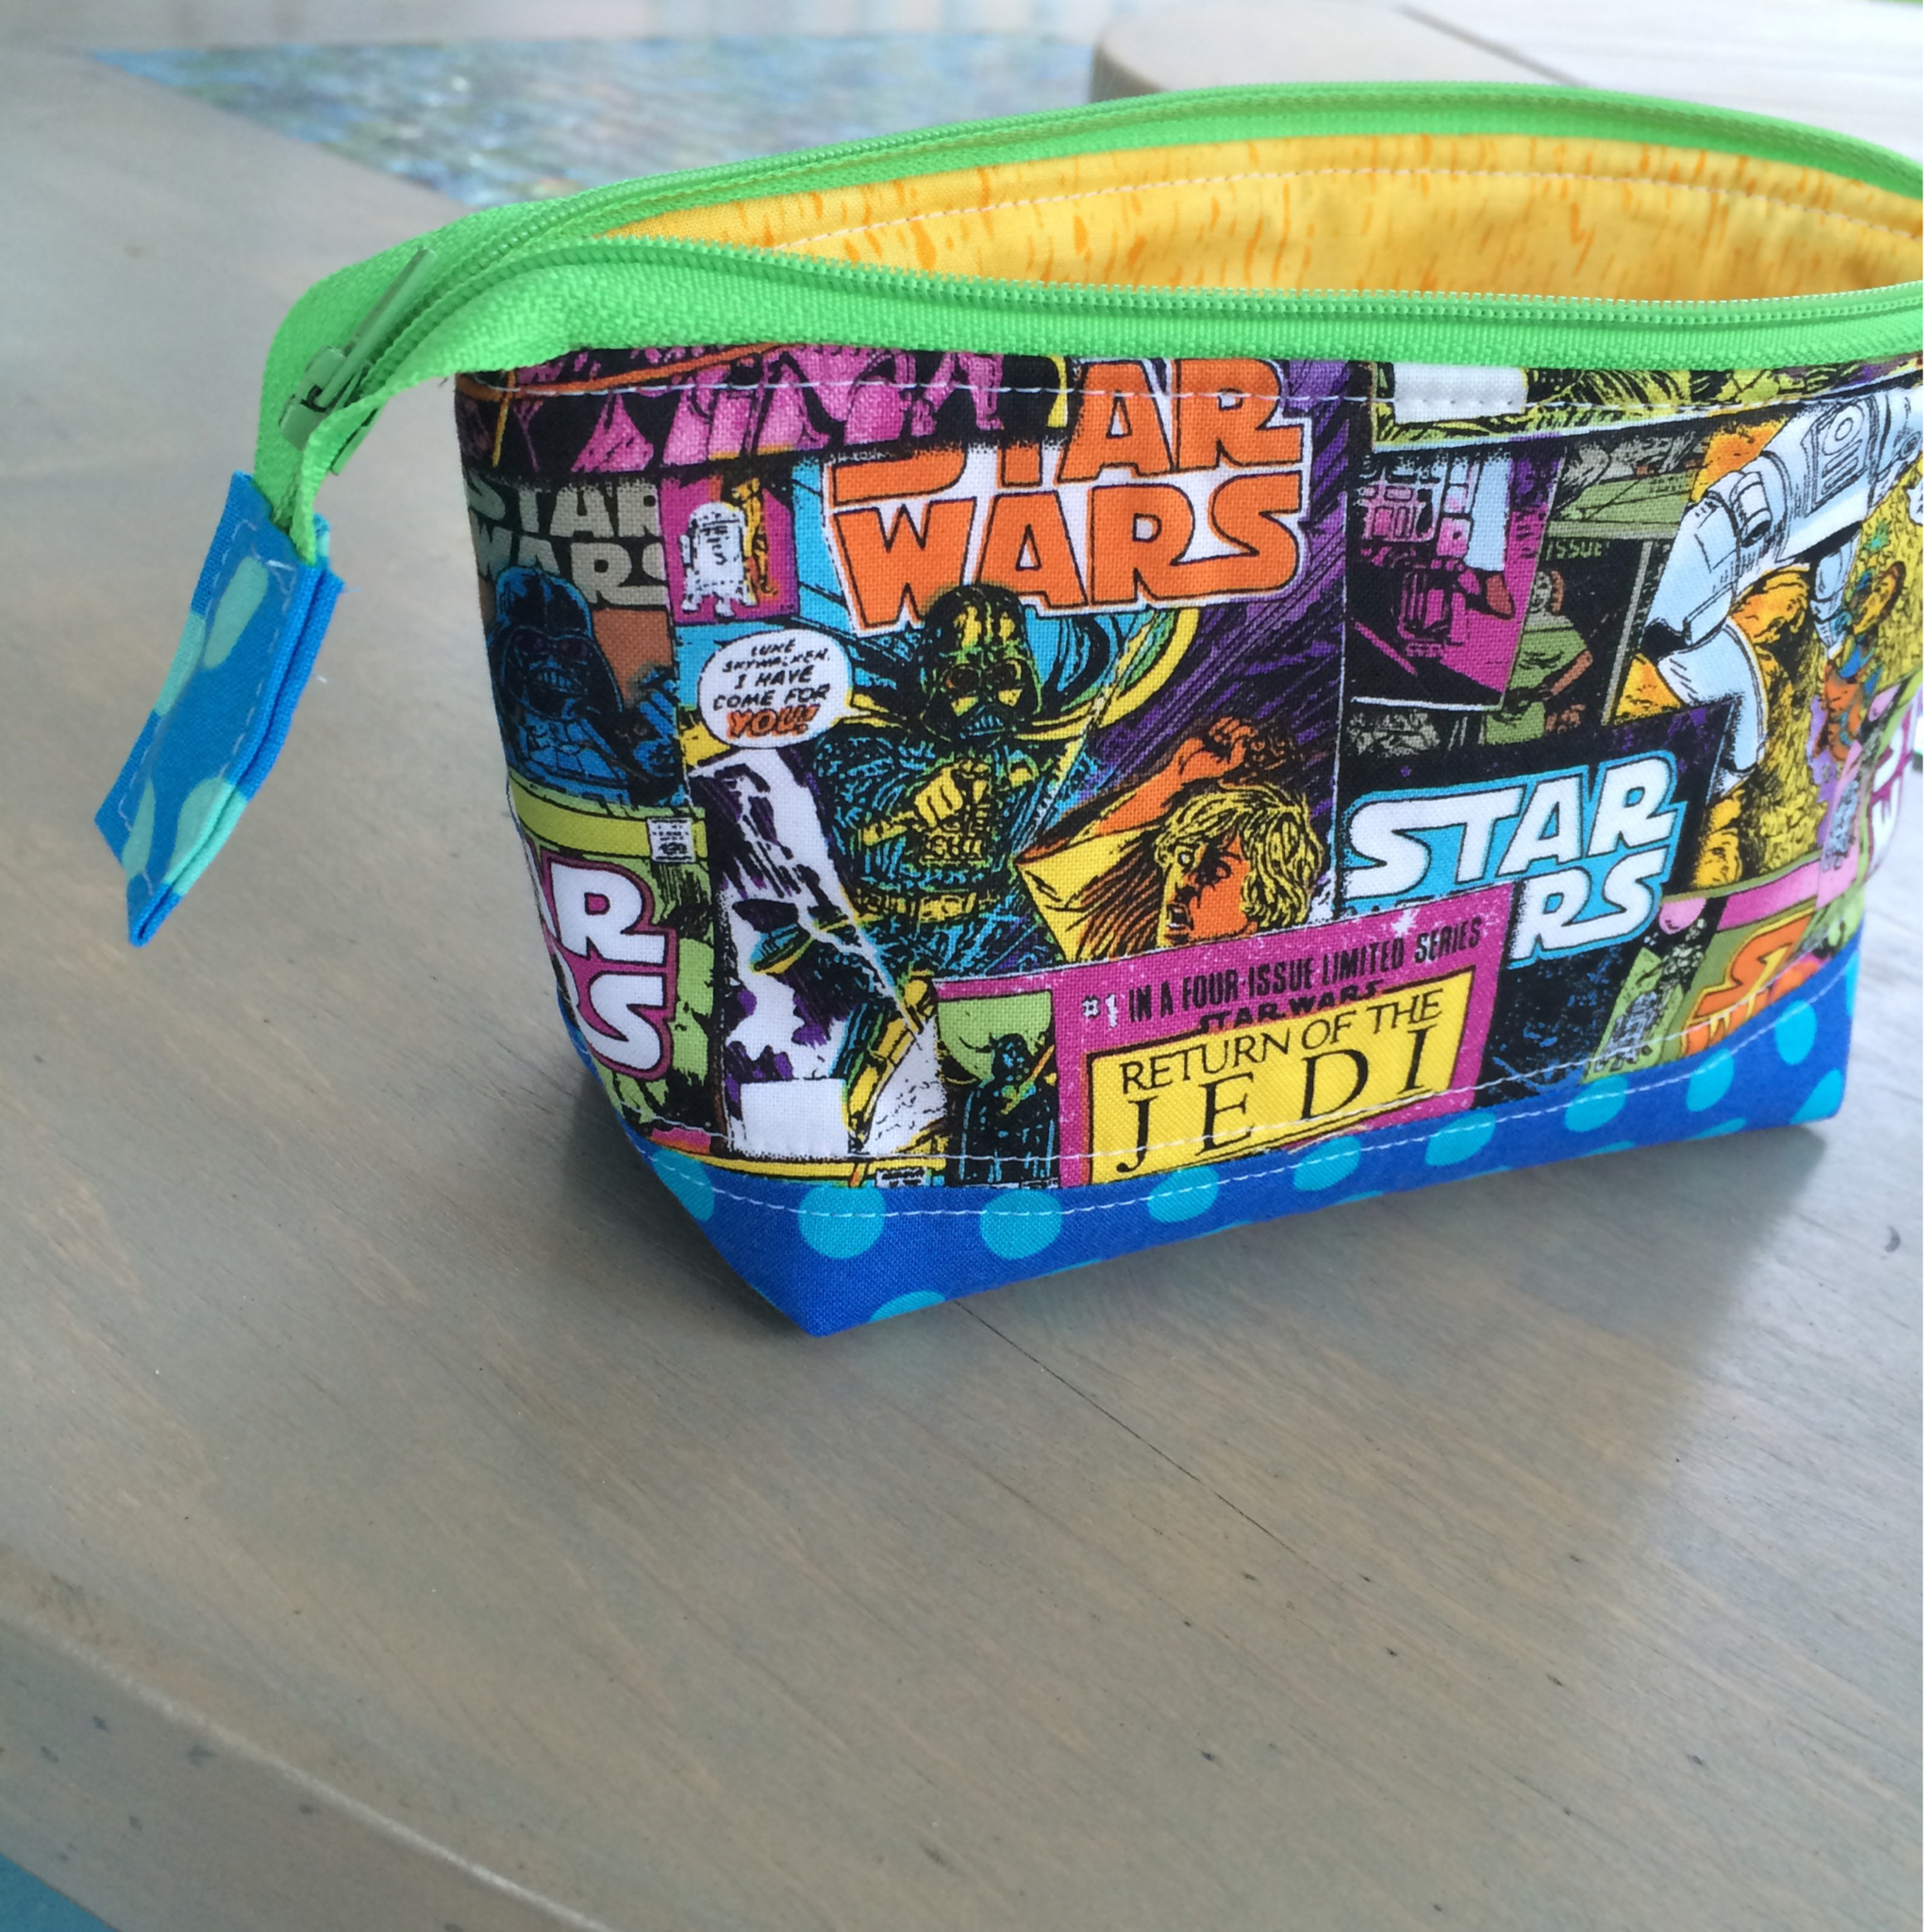
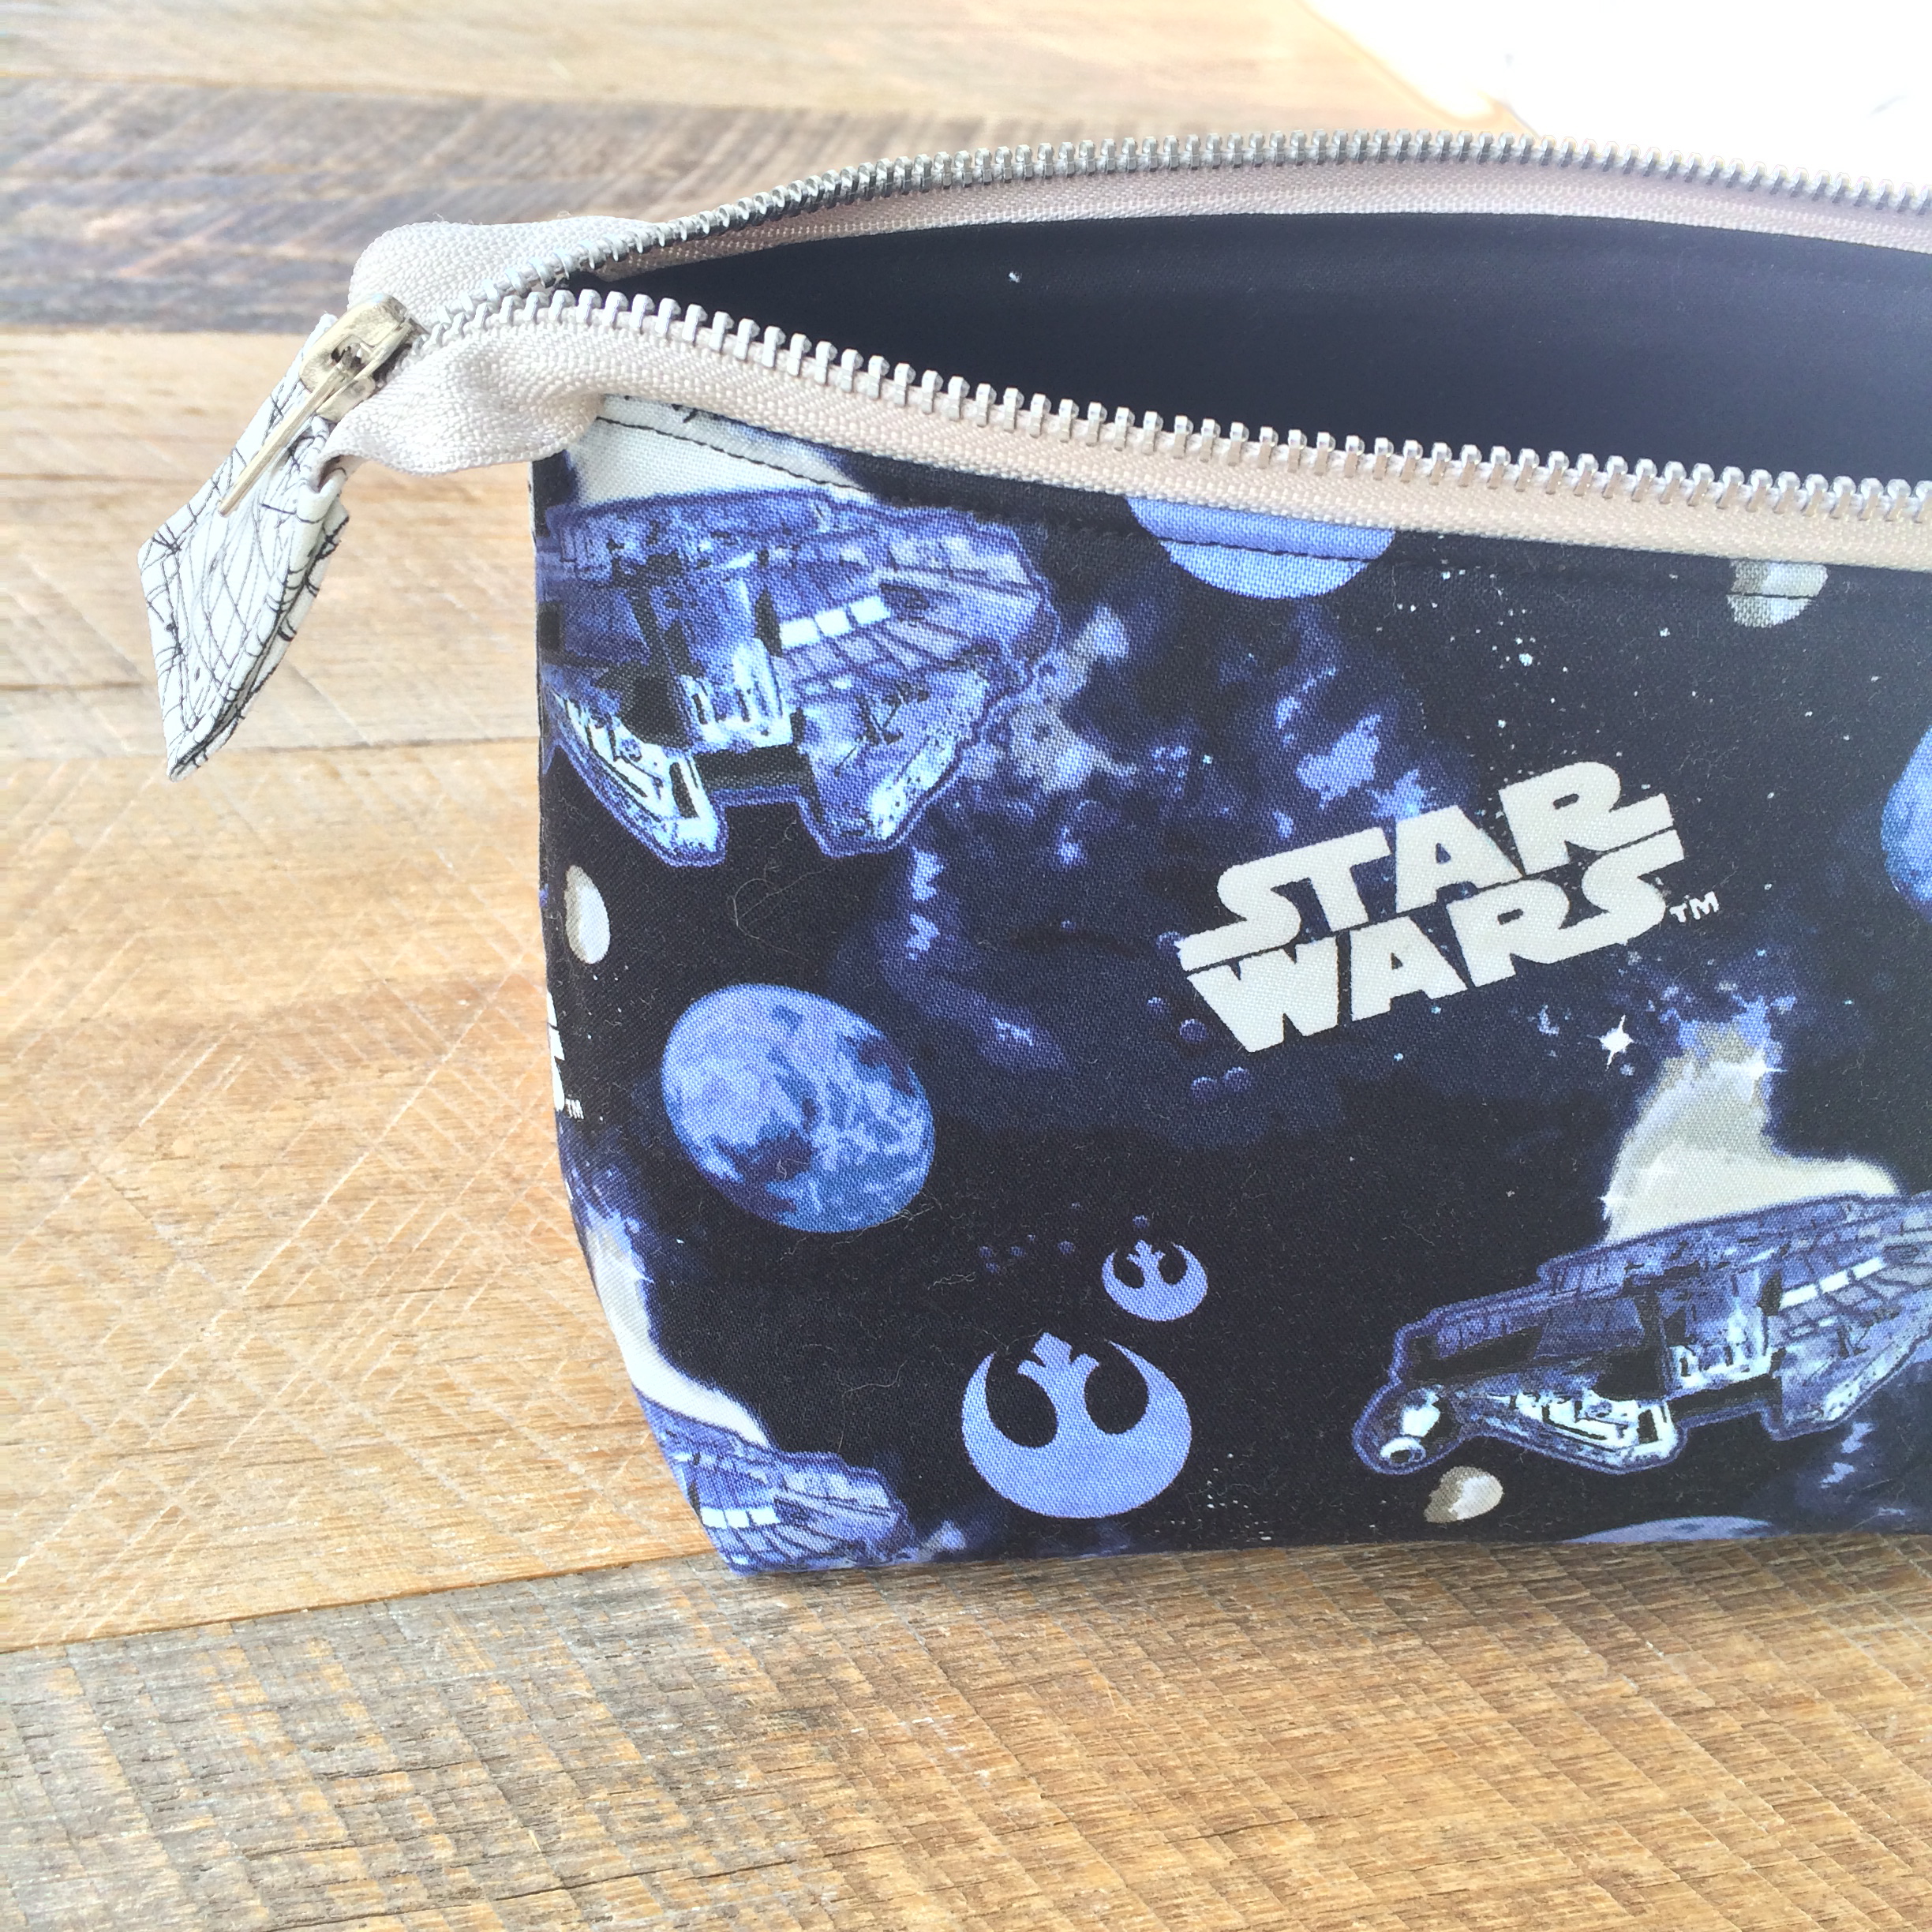
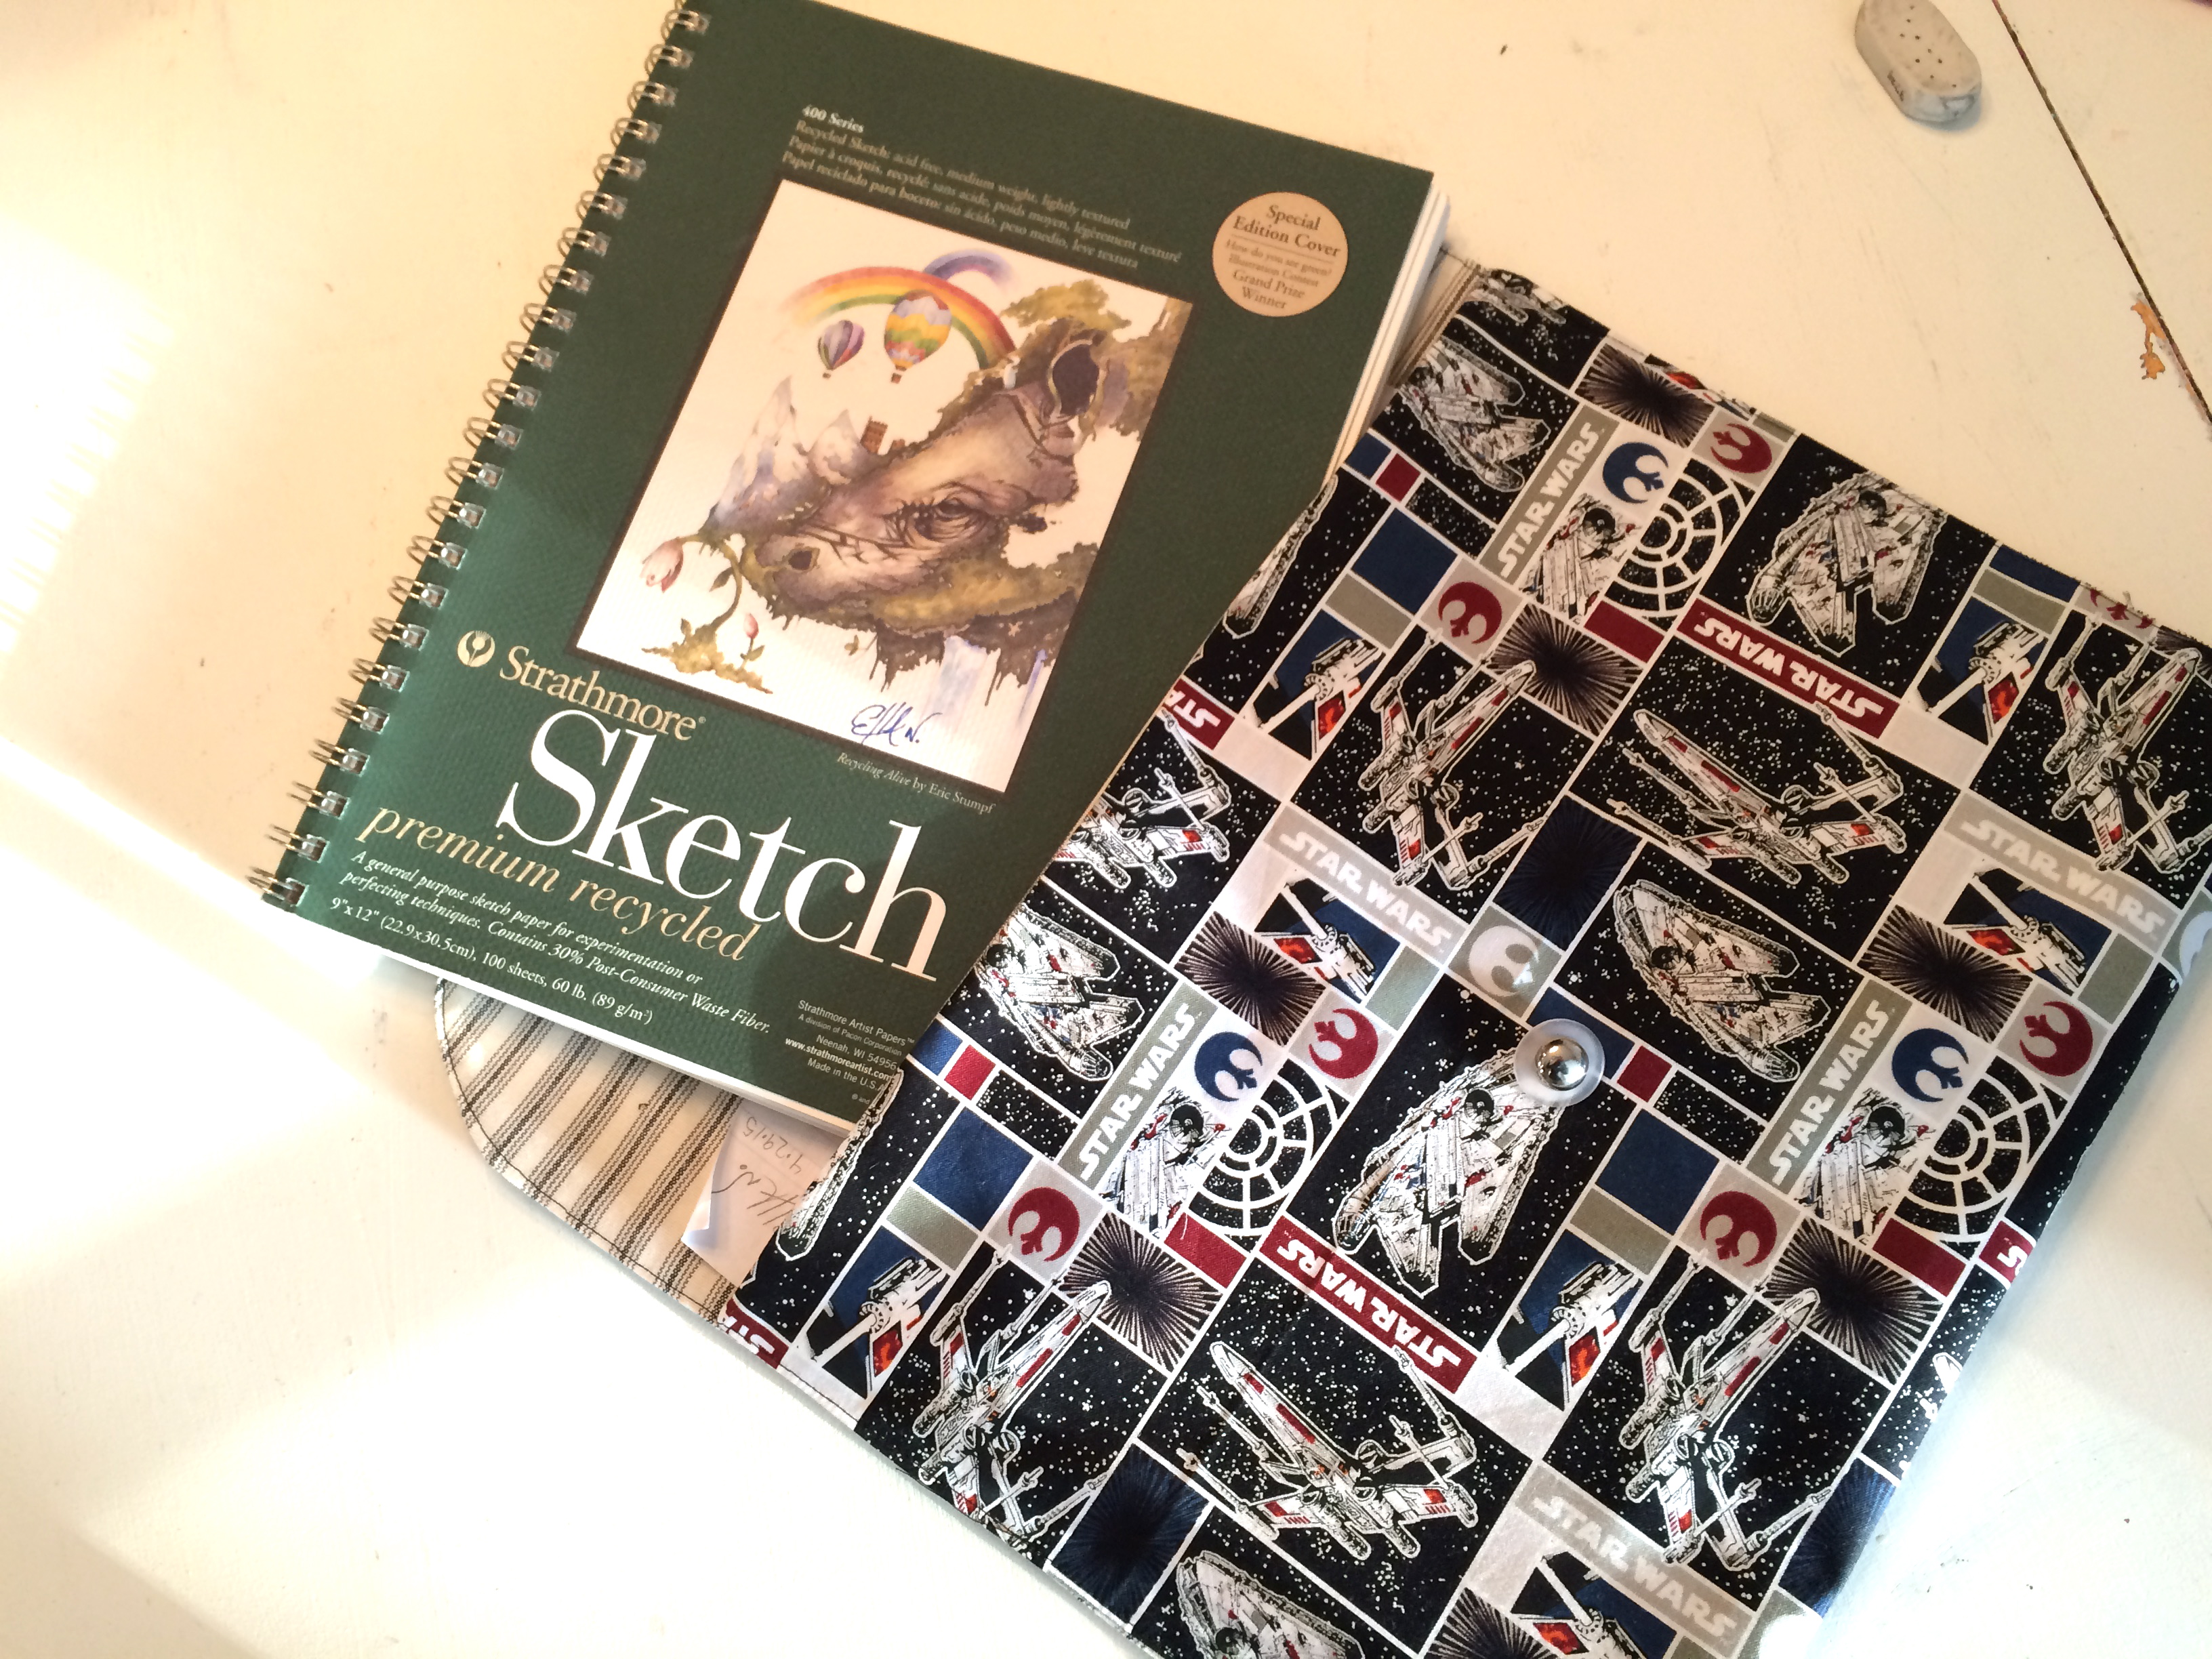
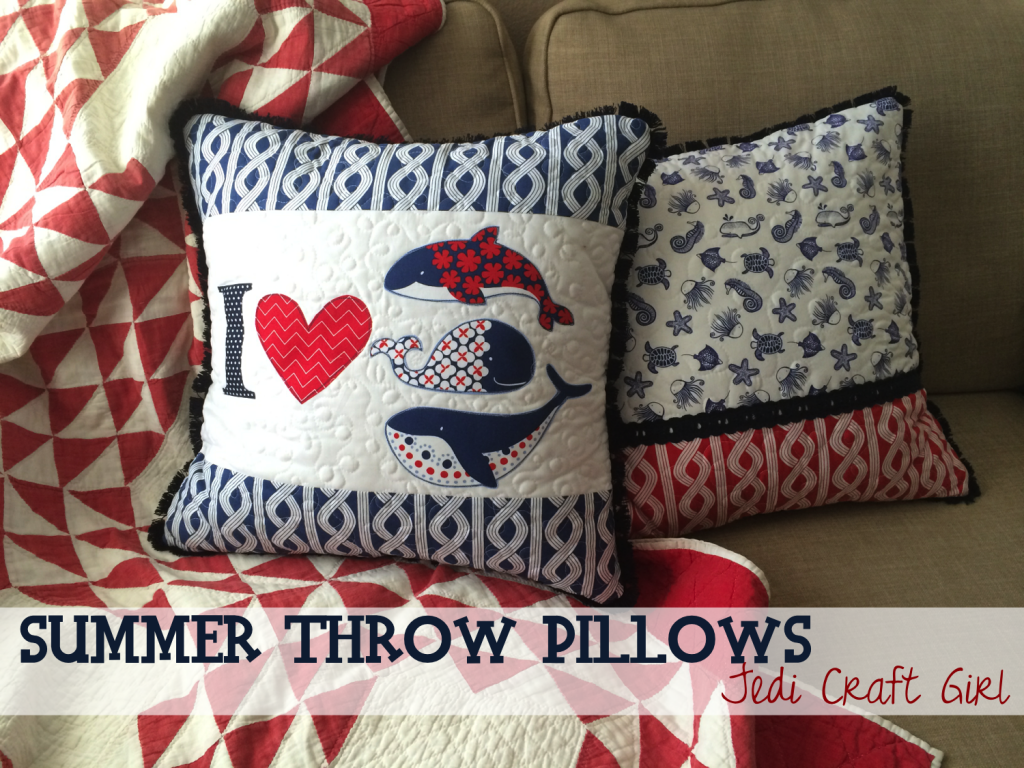
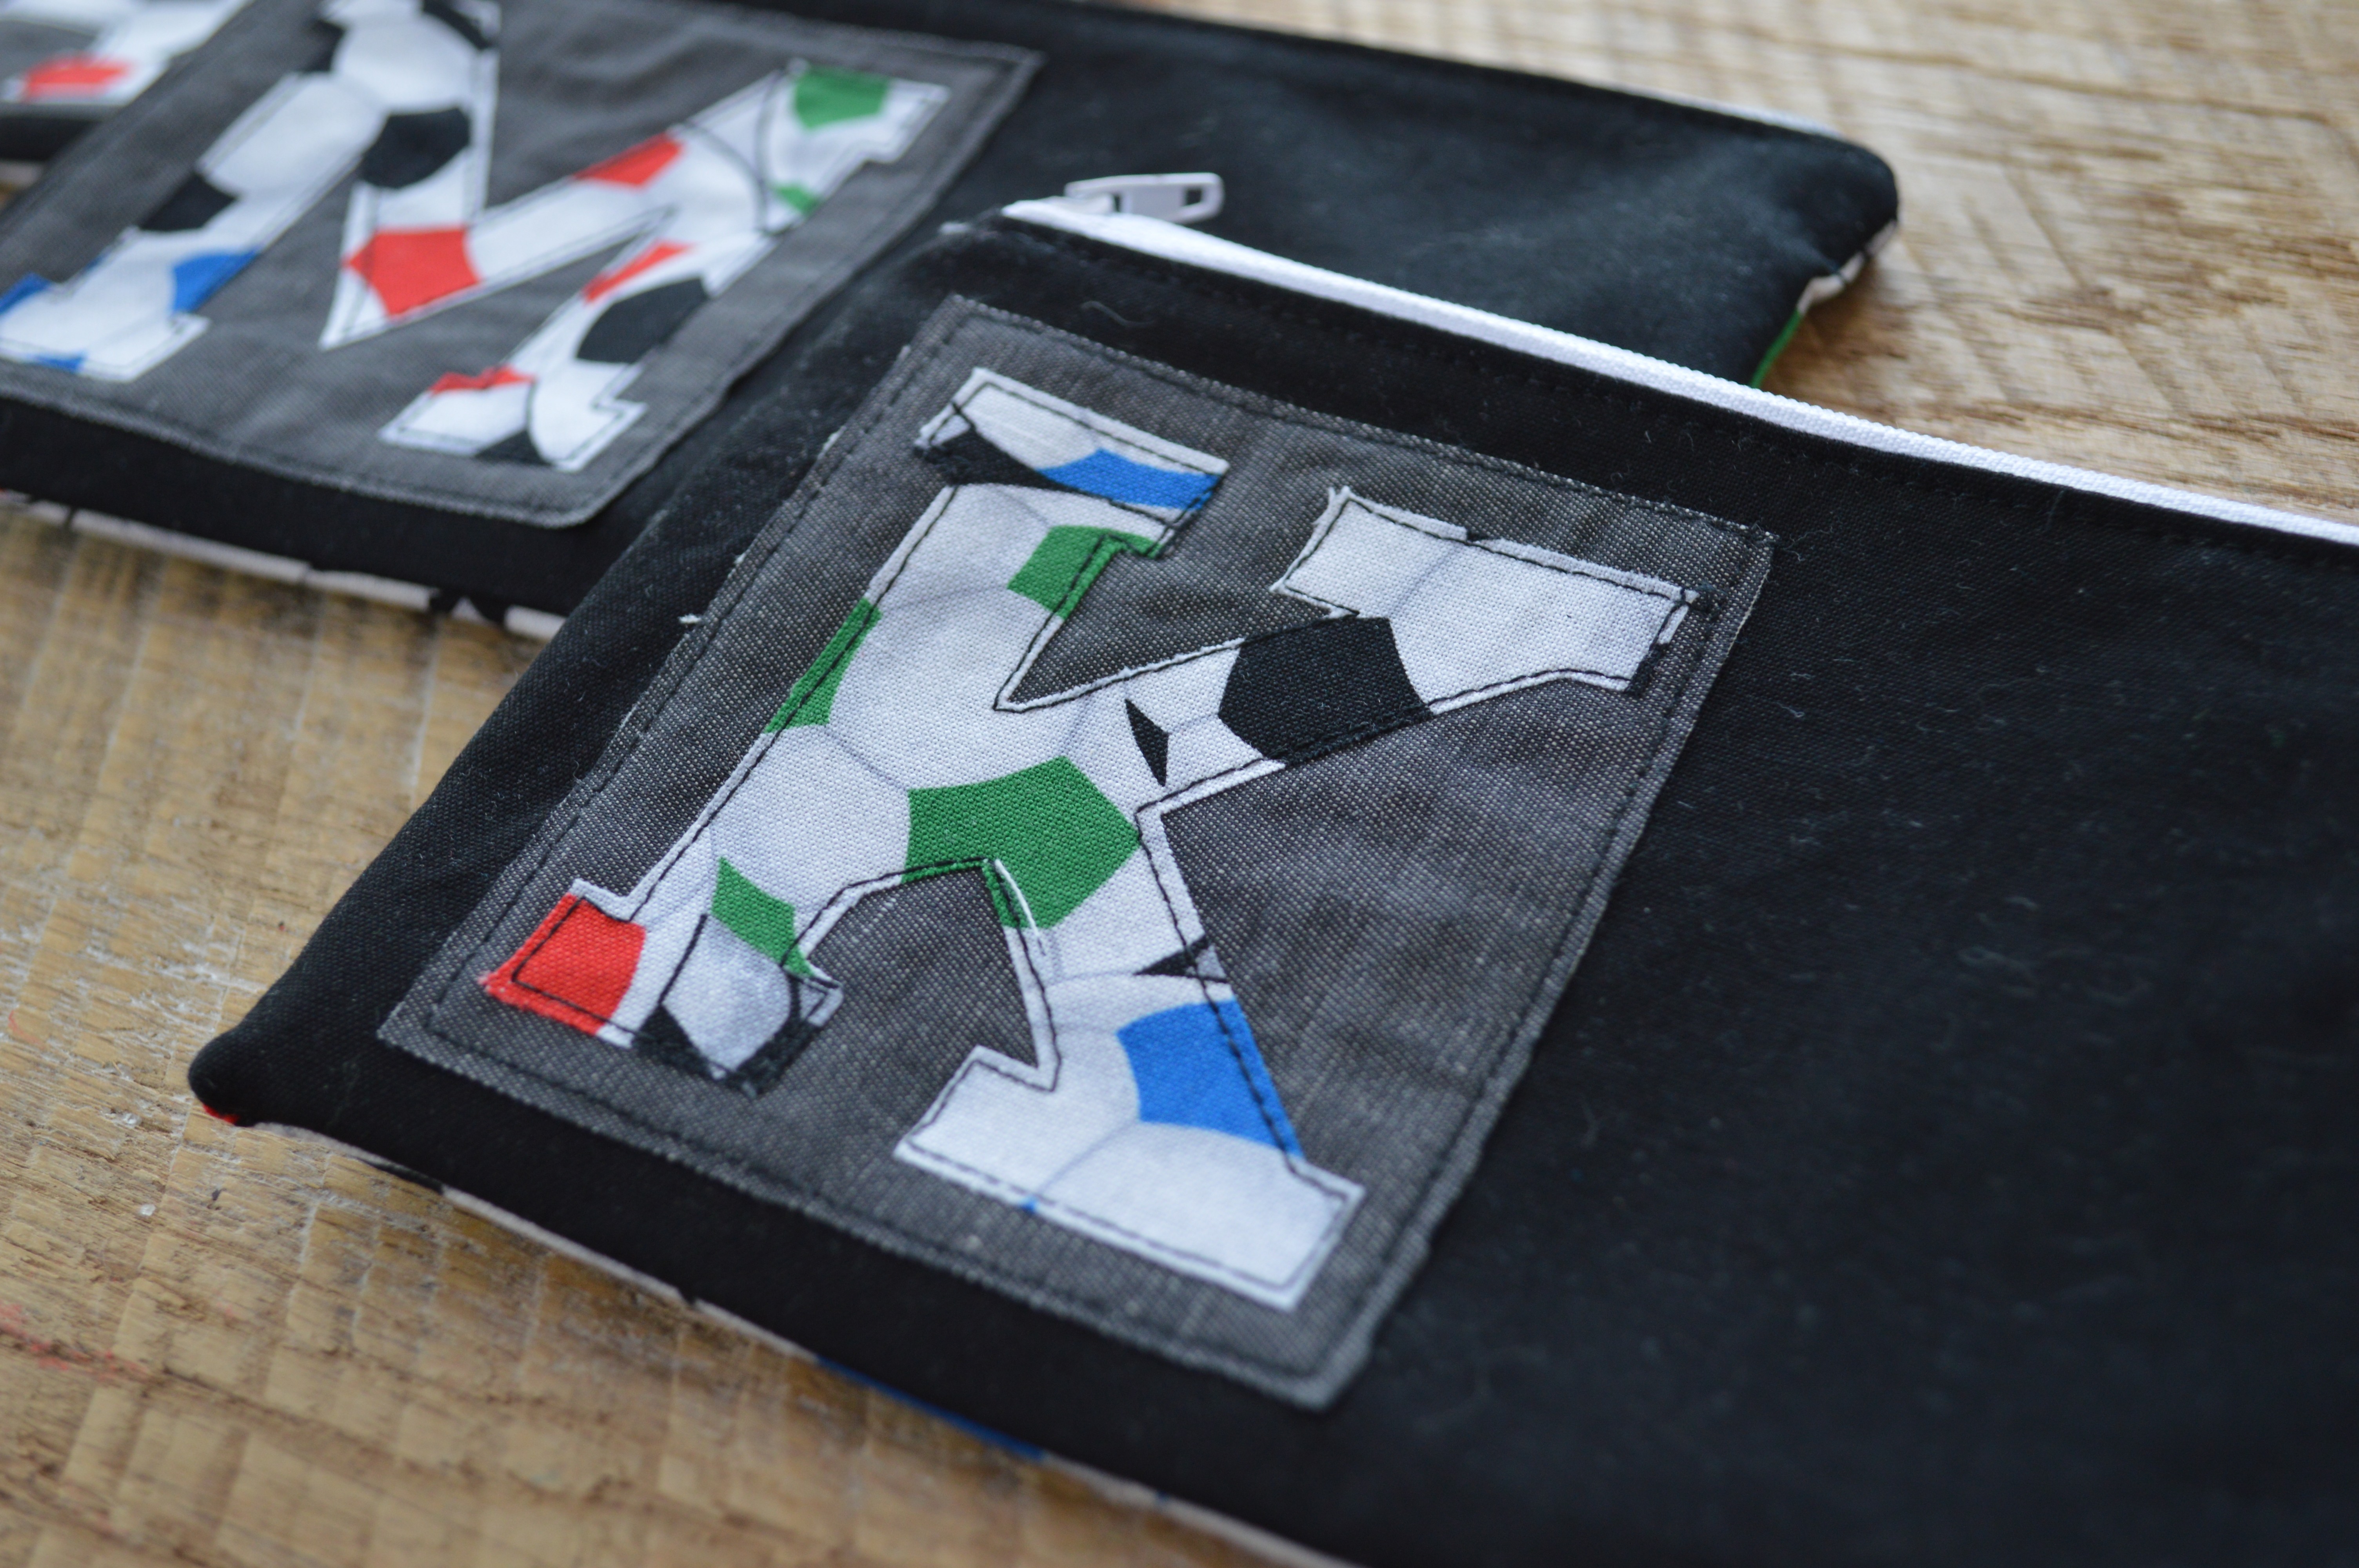
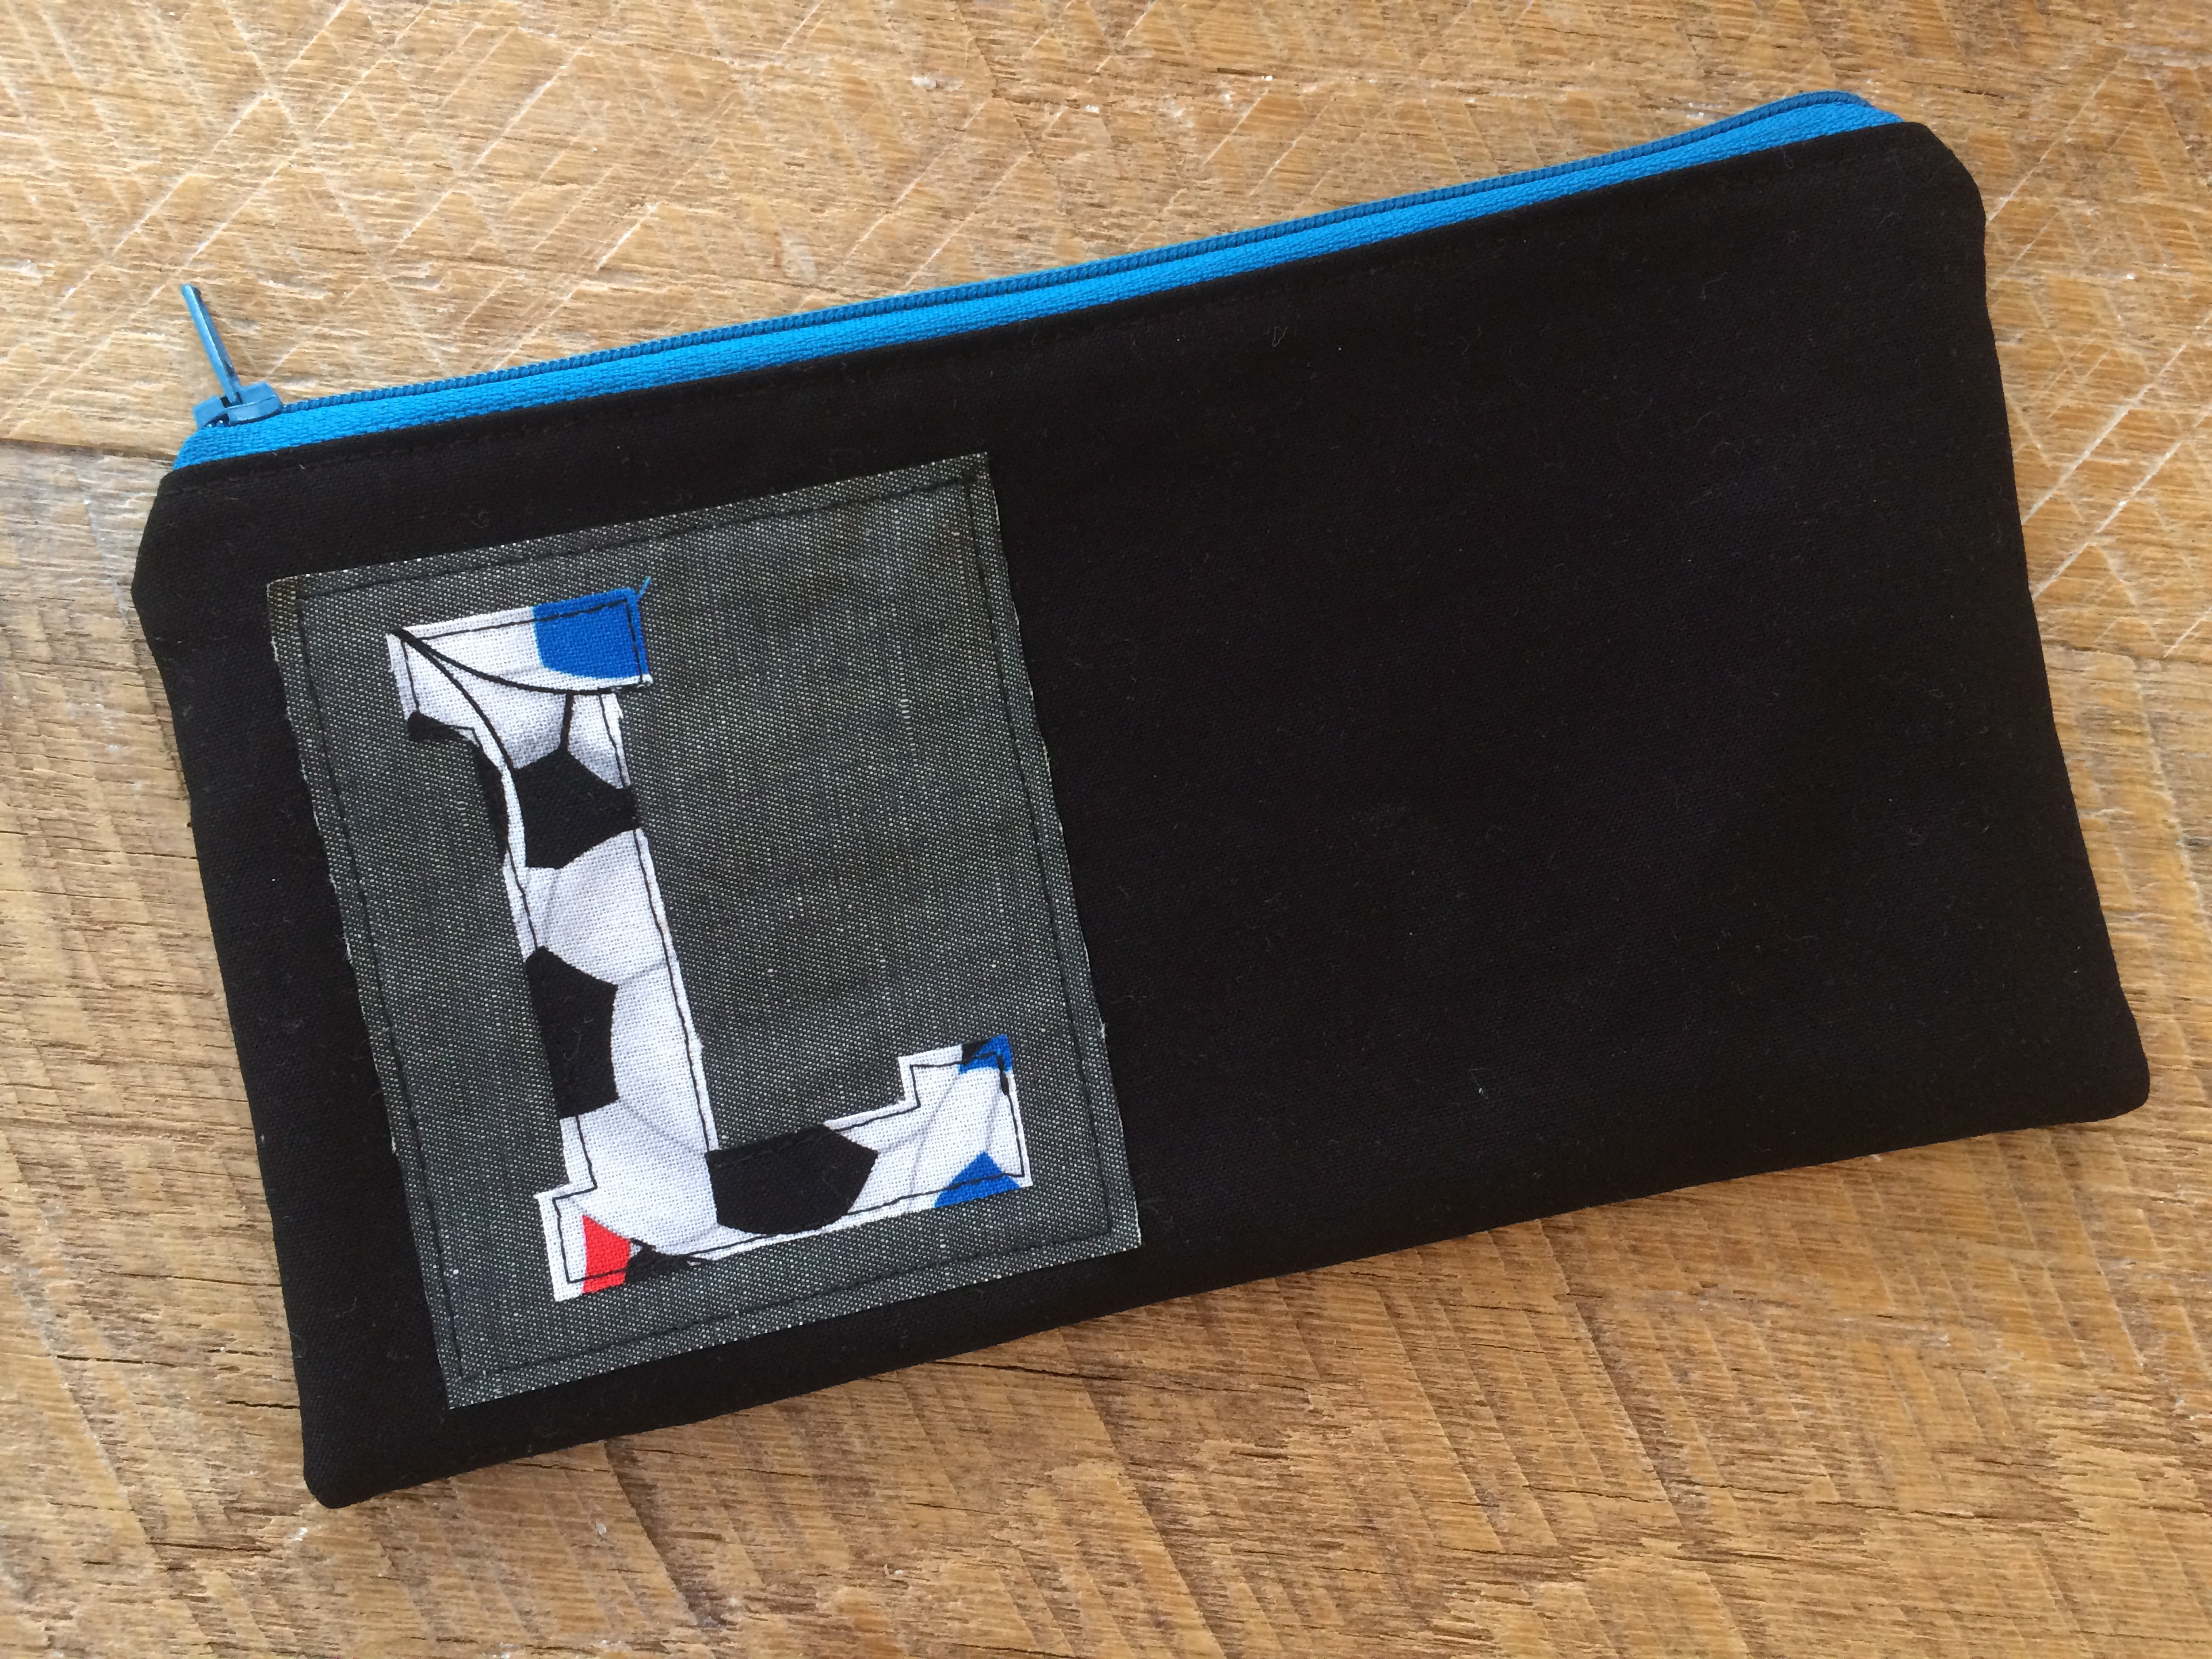
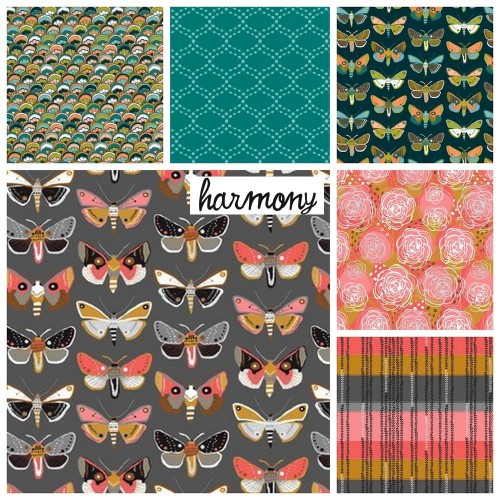
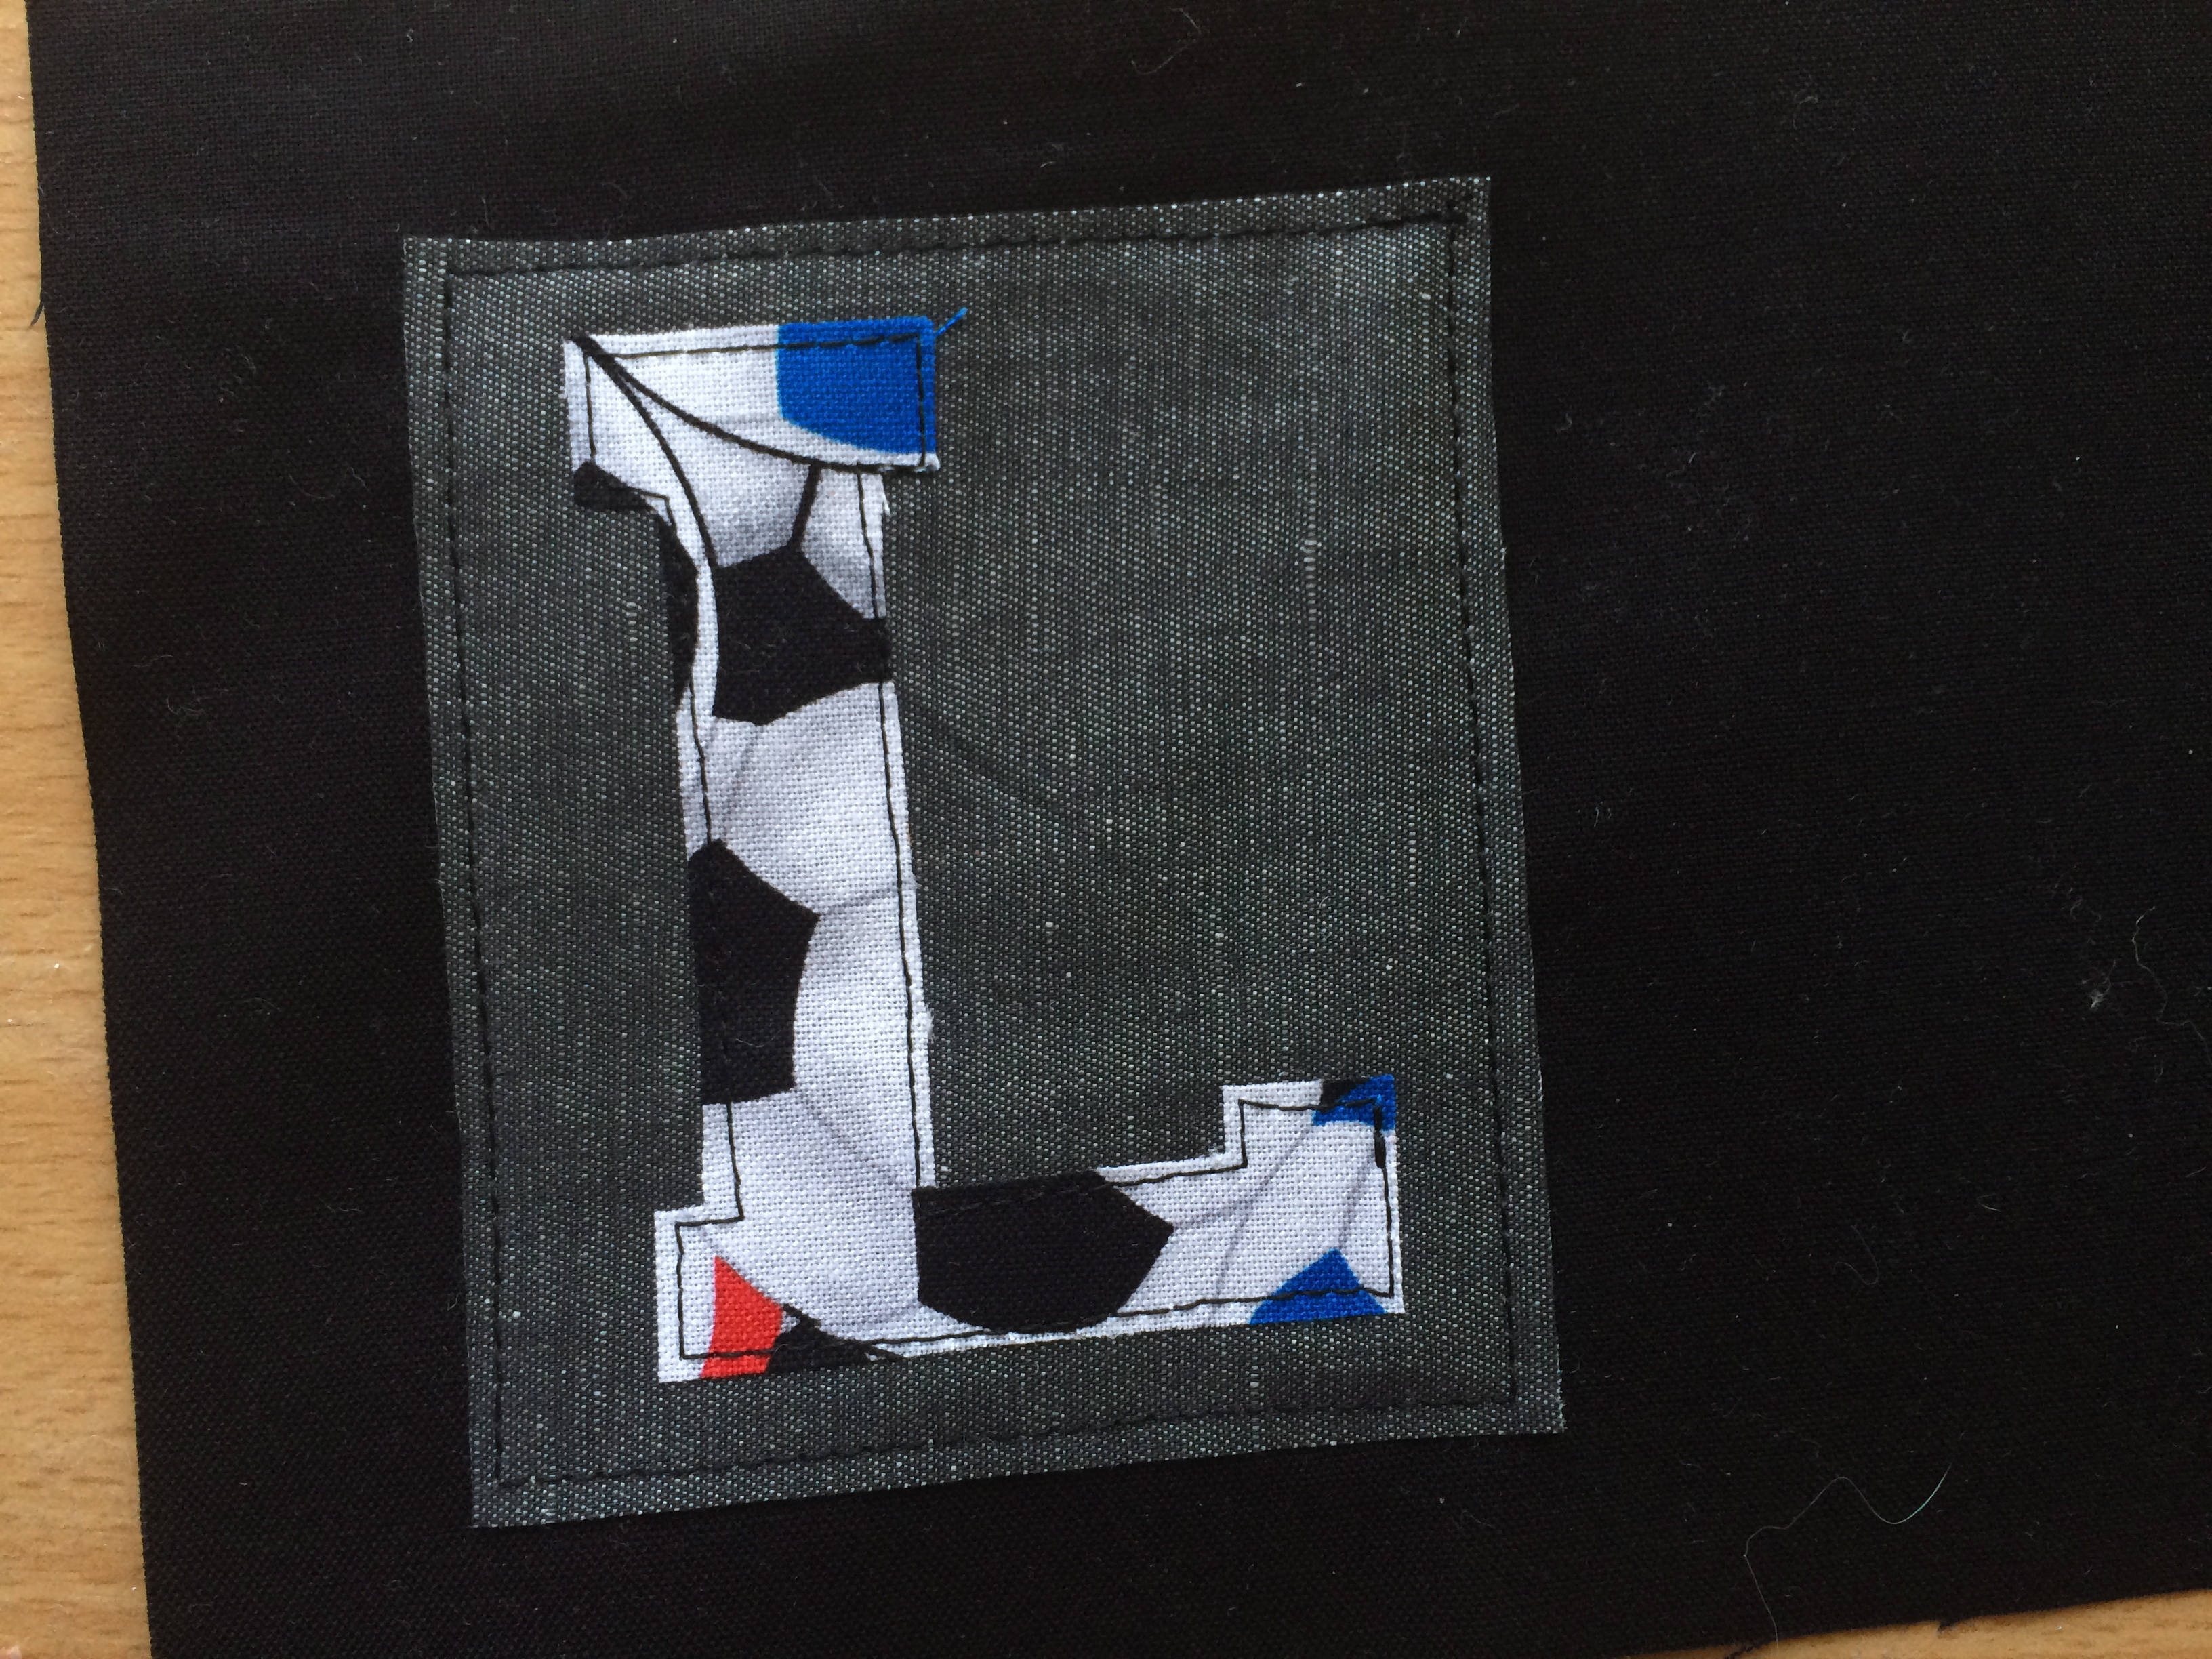
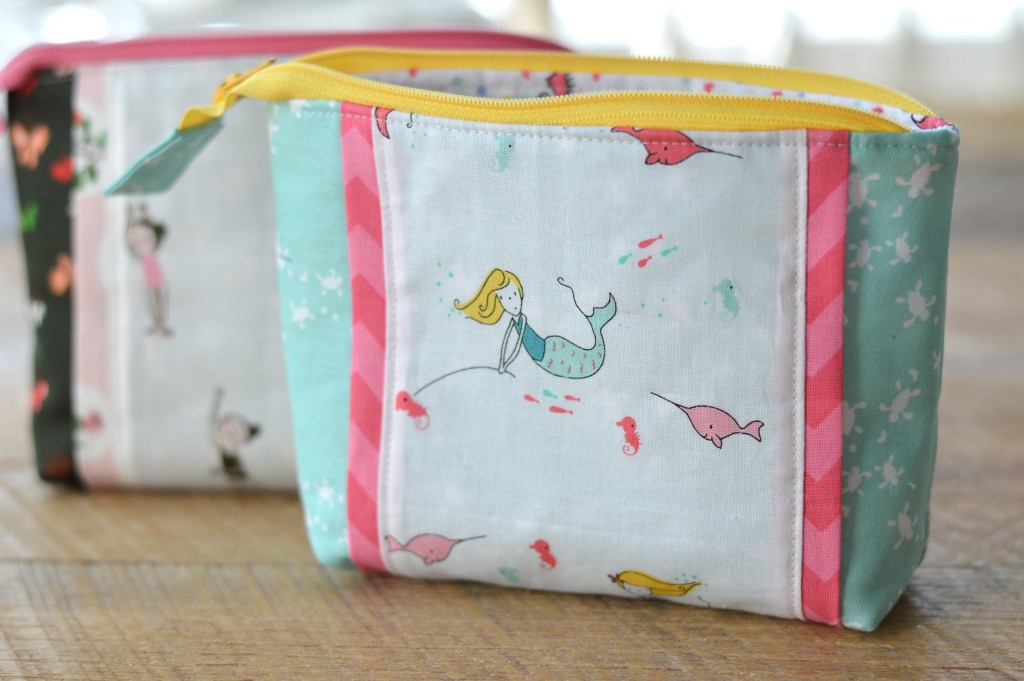 I have created this pattern so you can use your favorite theme print fabric and tailor it to who you are giving it to. I even have Star Wars version!! Let’s get started!!
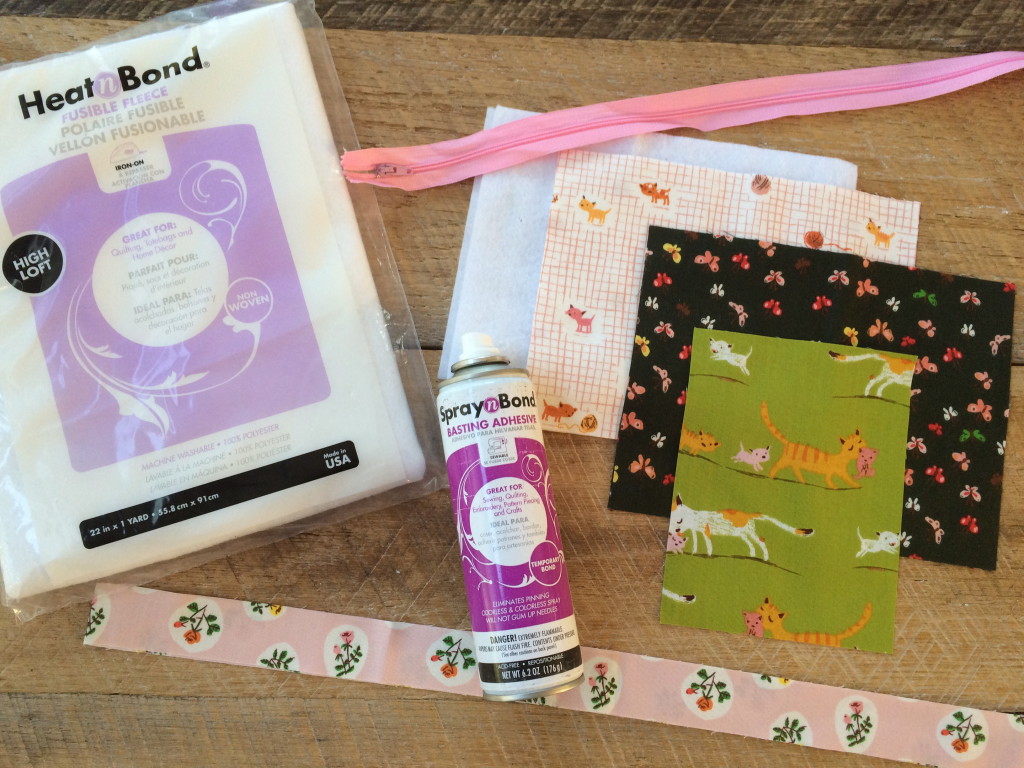
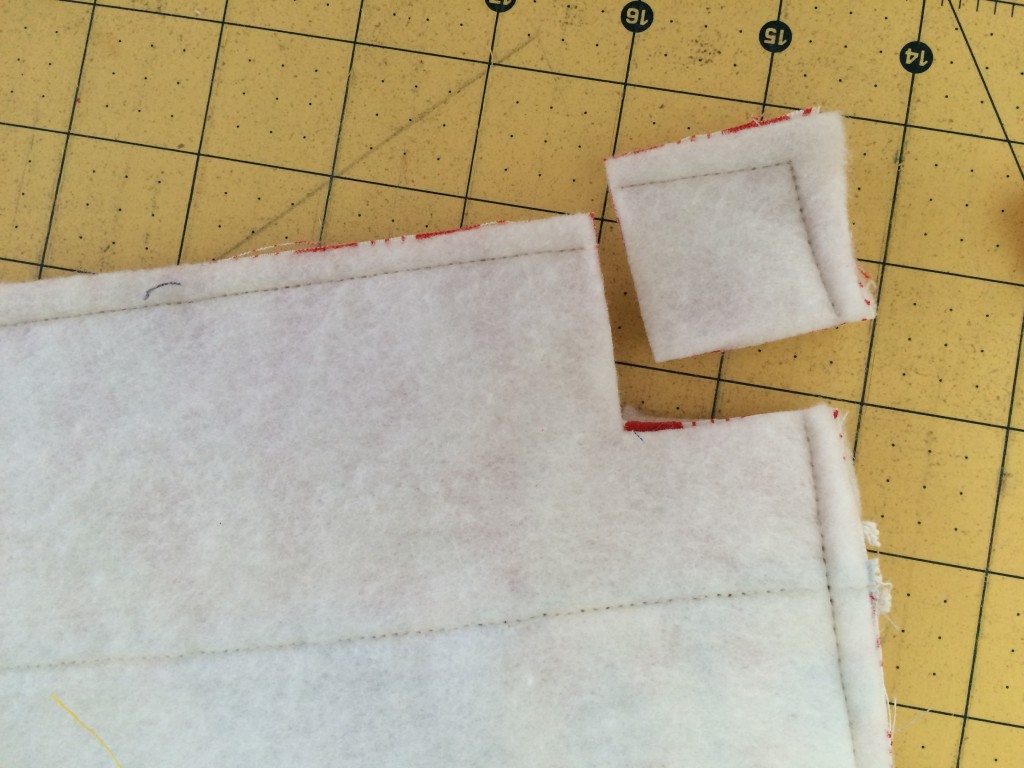
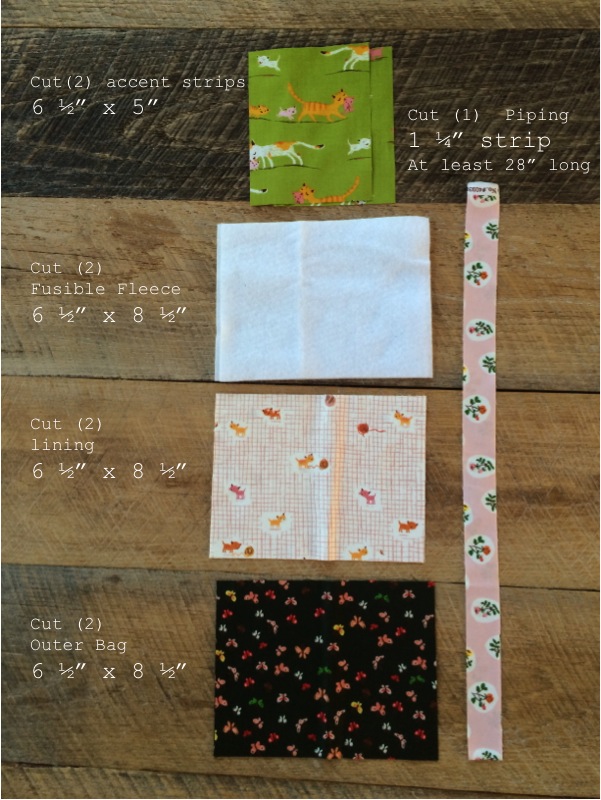 Cut the pieces according to the above cutting guide.
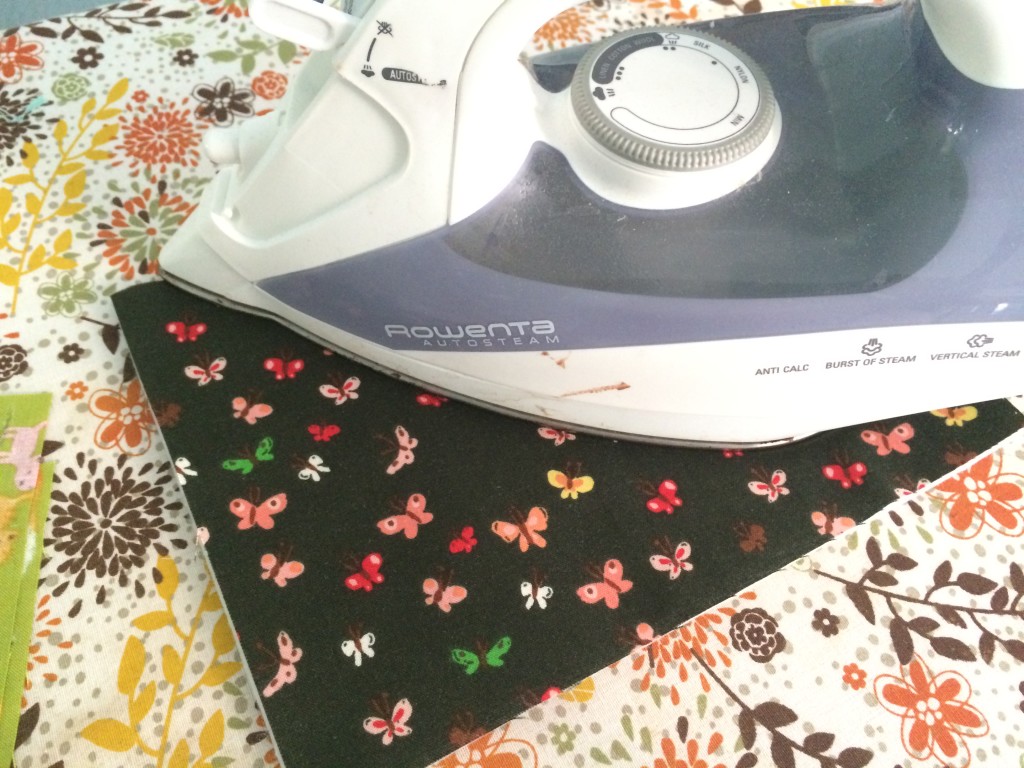
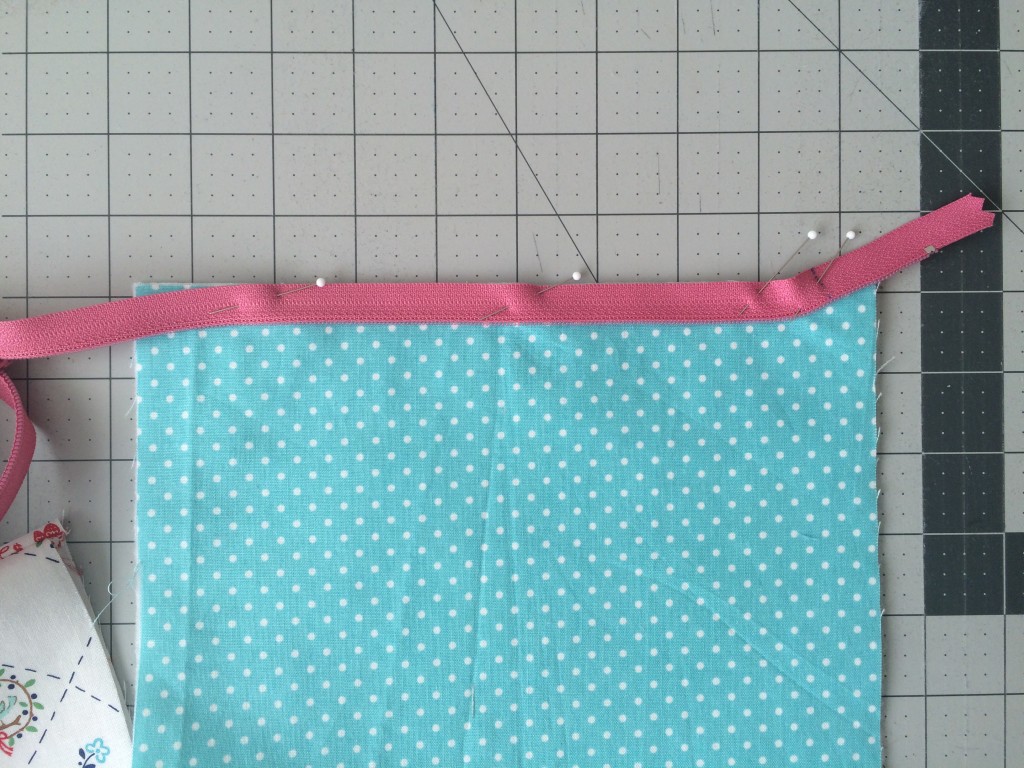
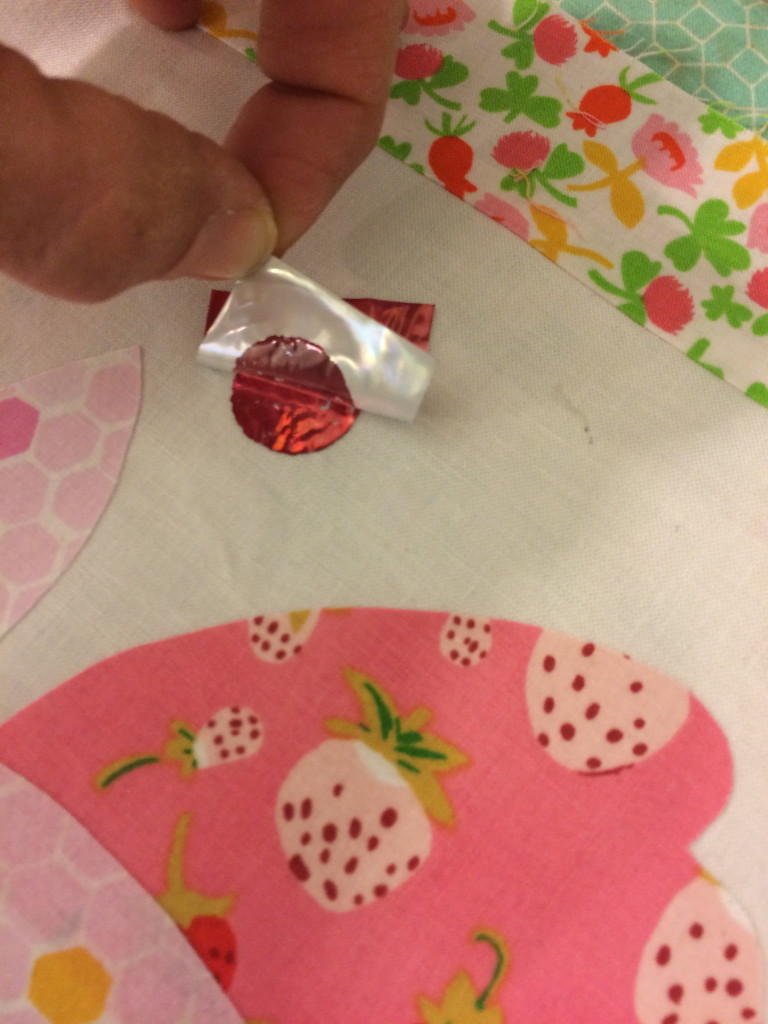
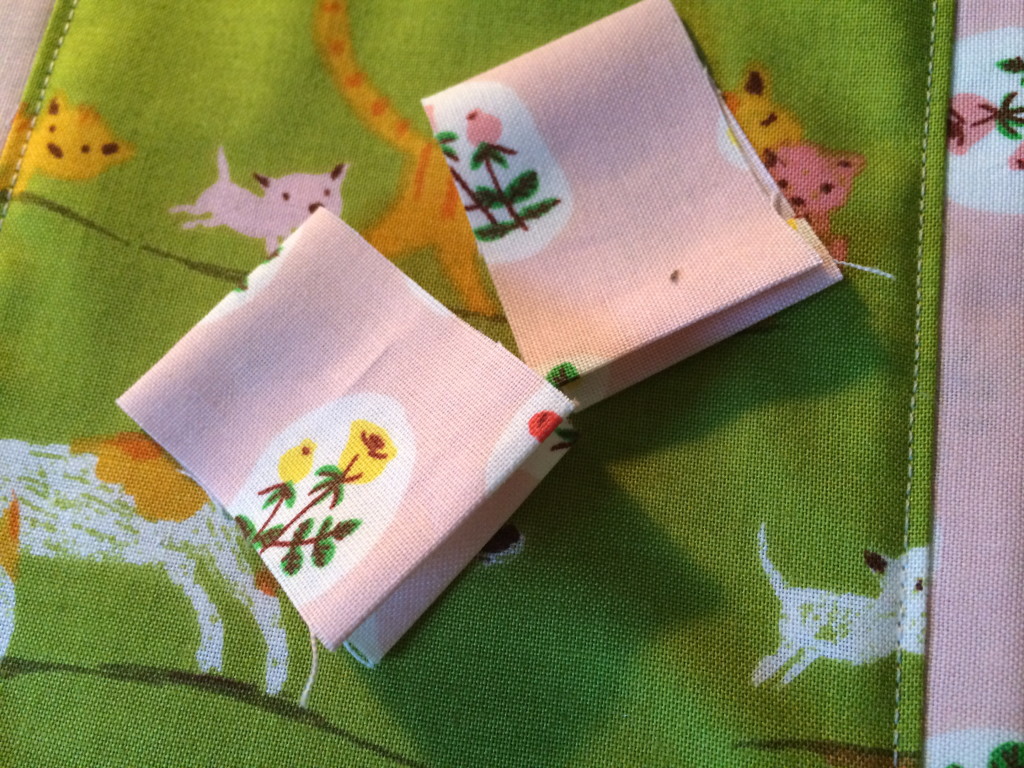
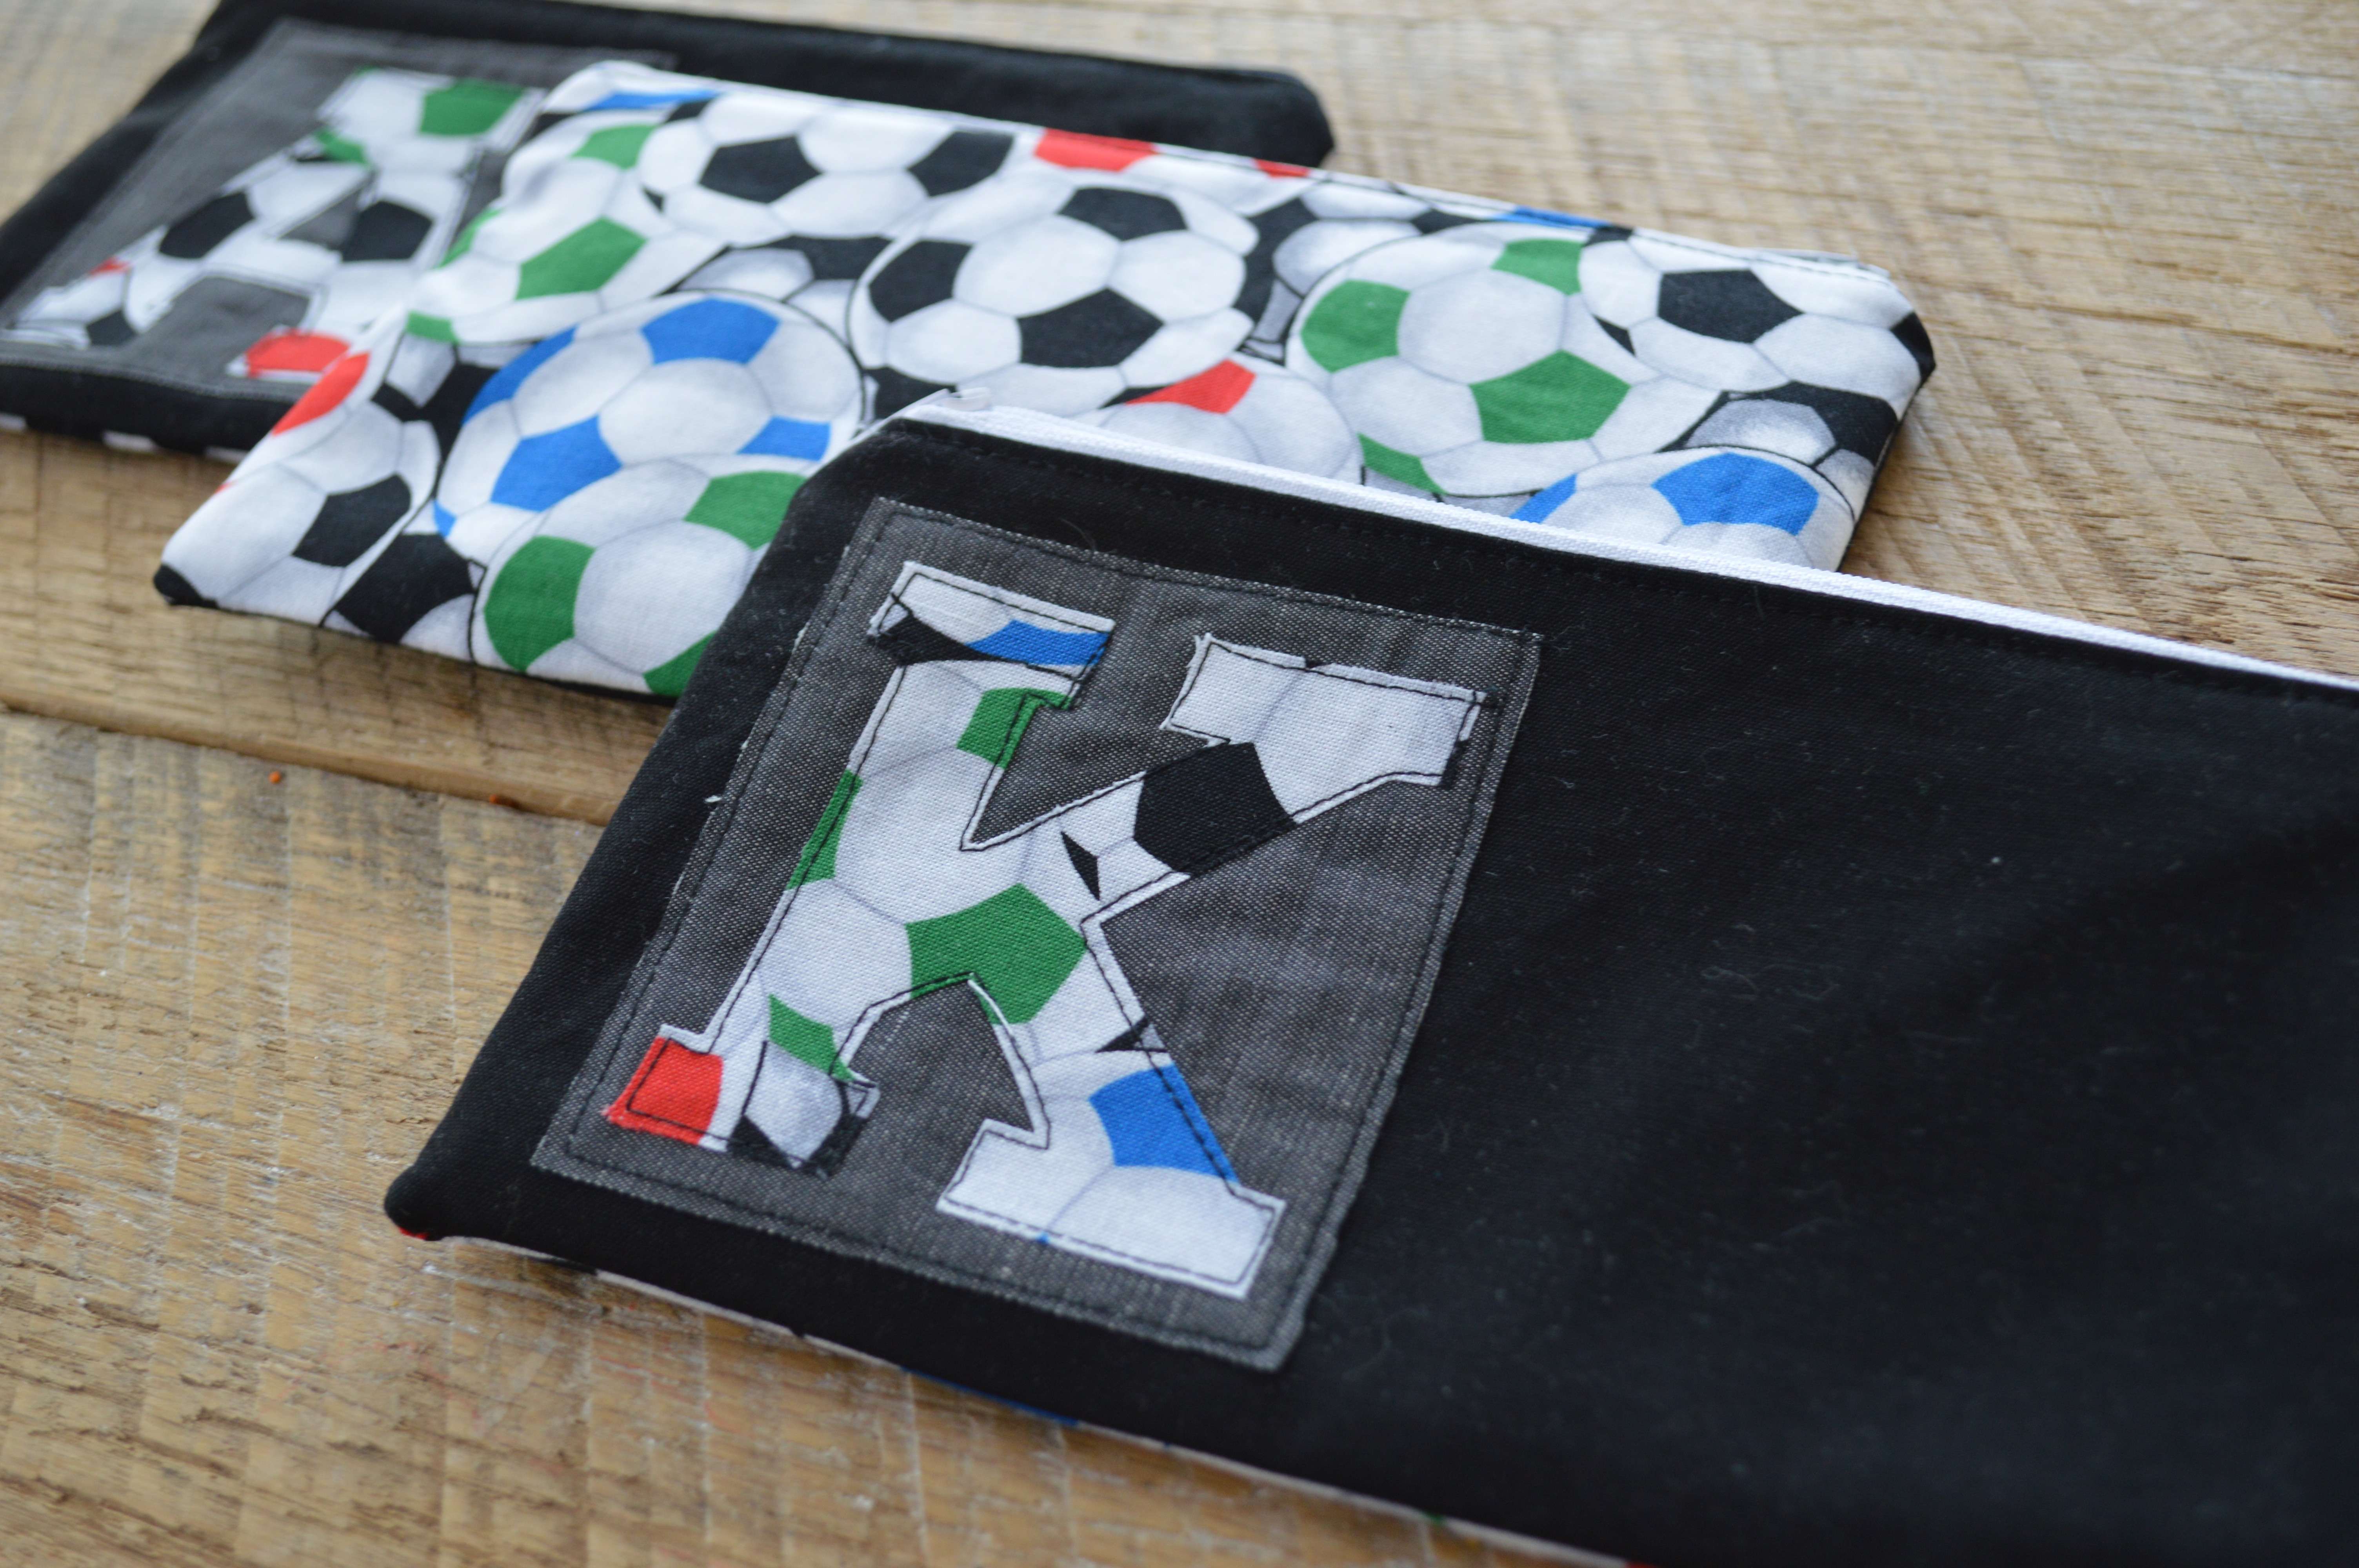
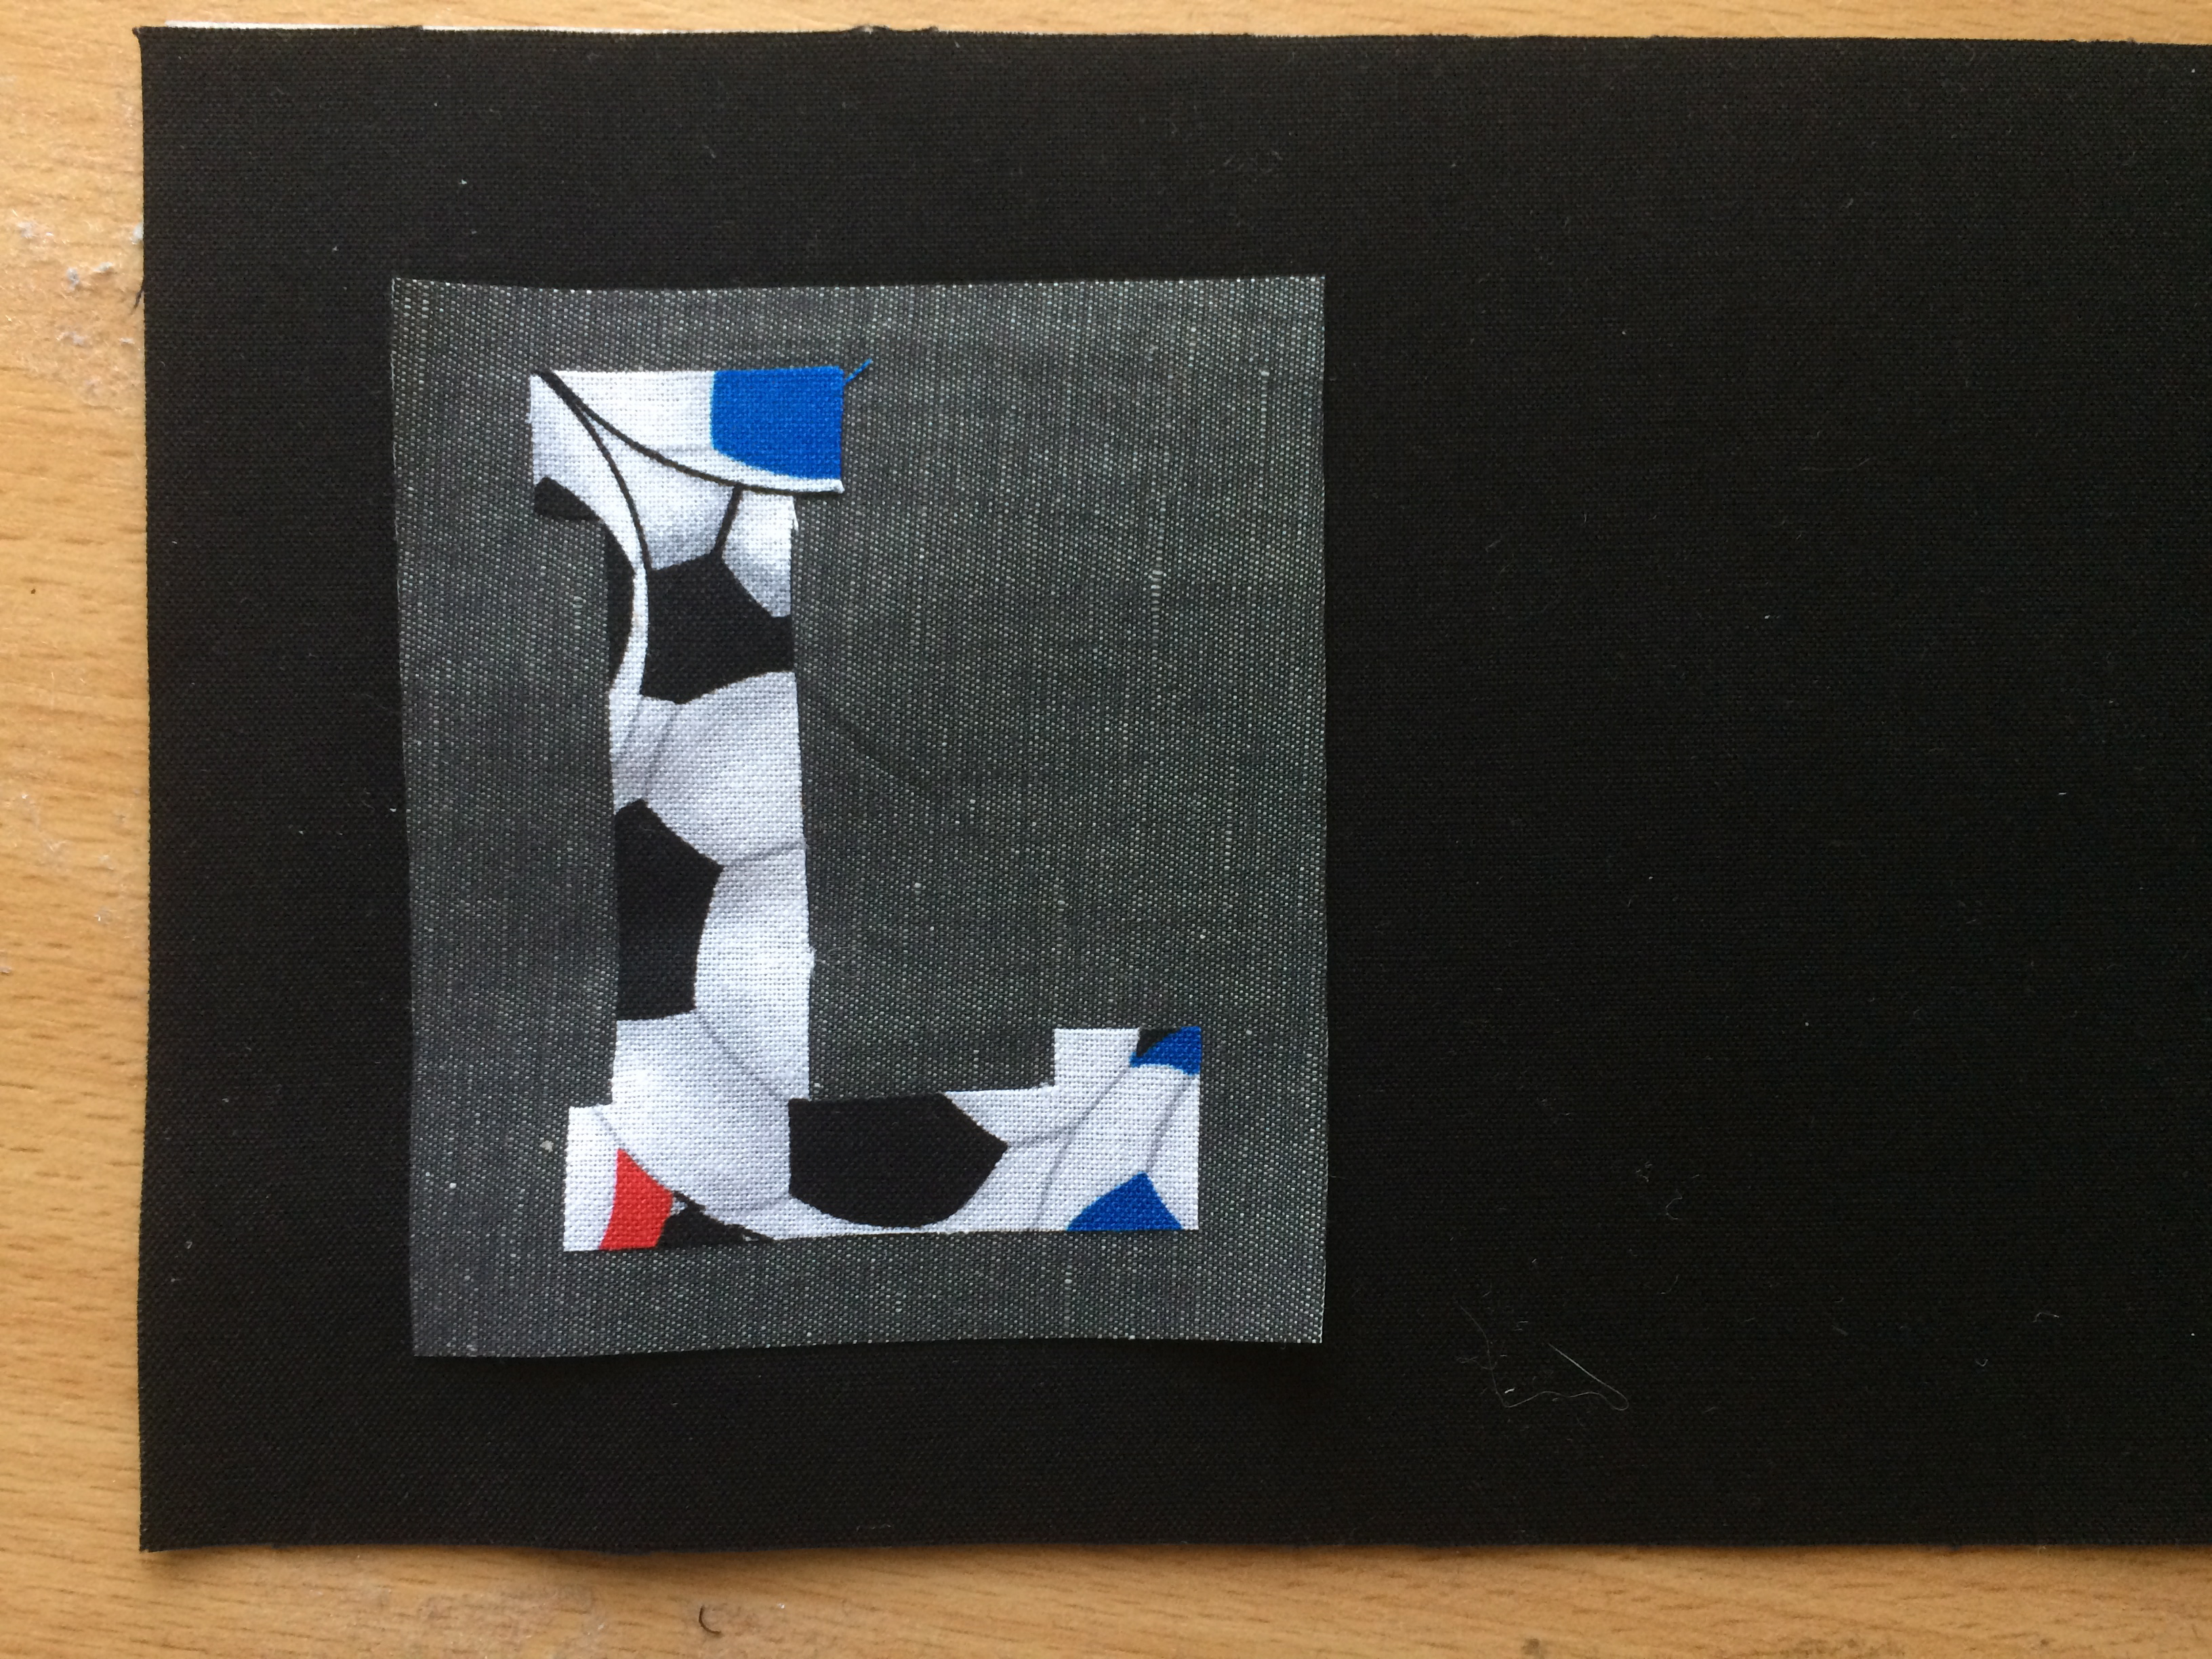
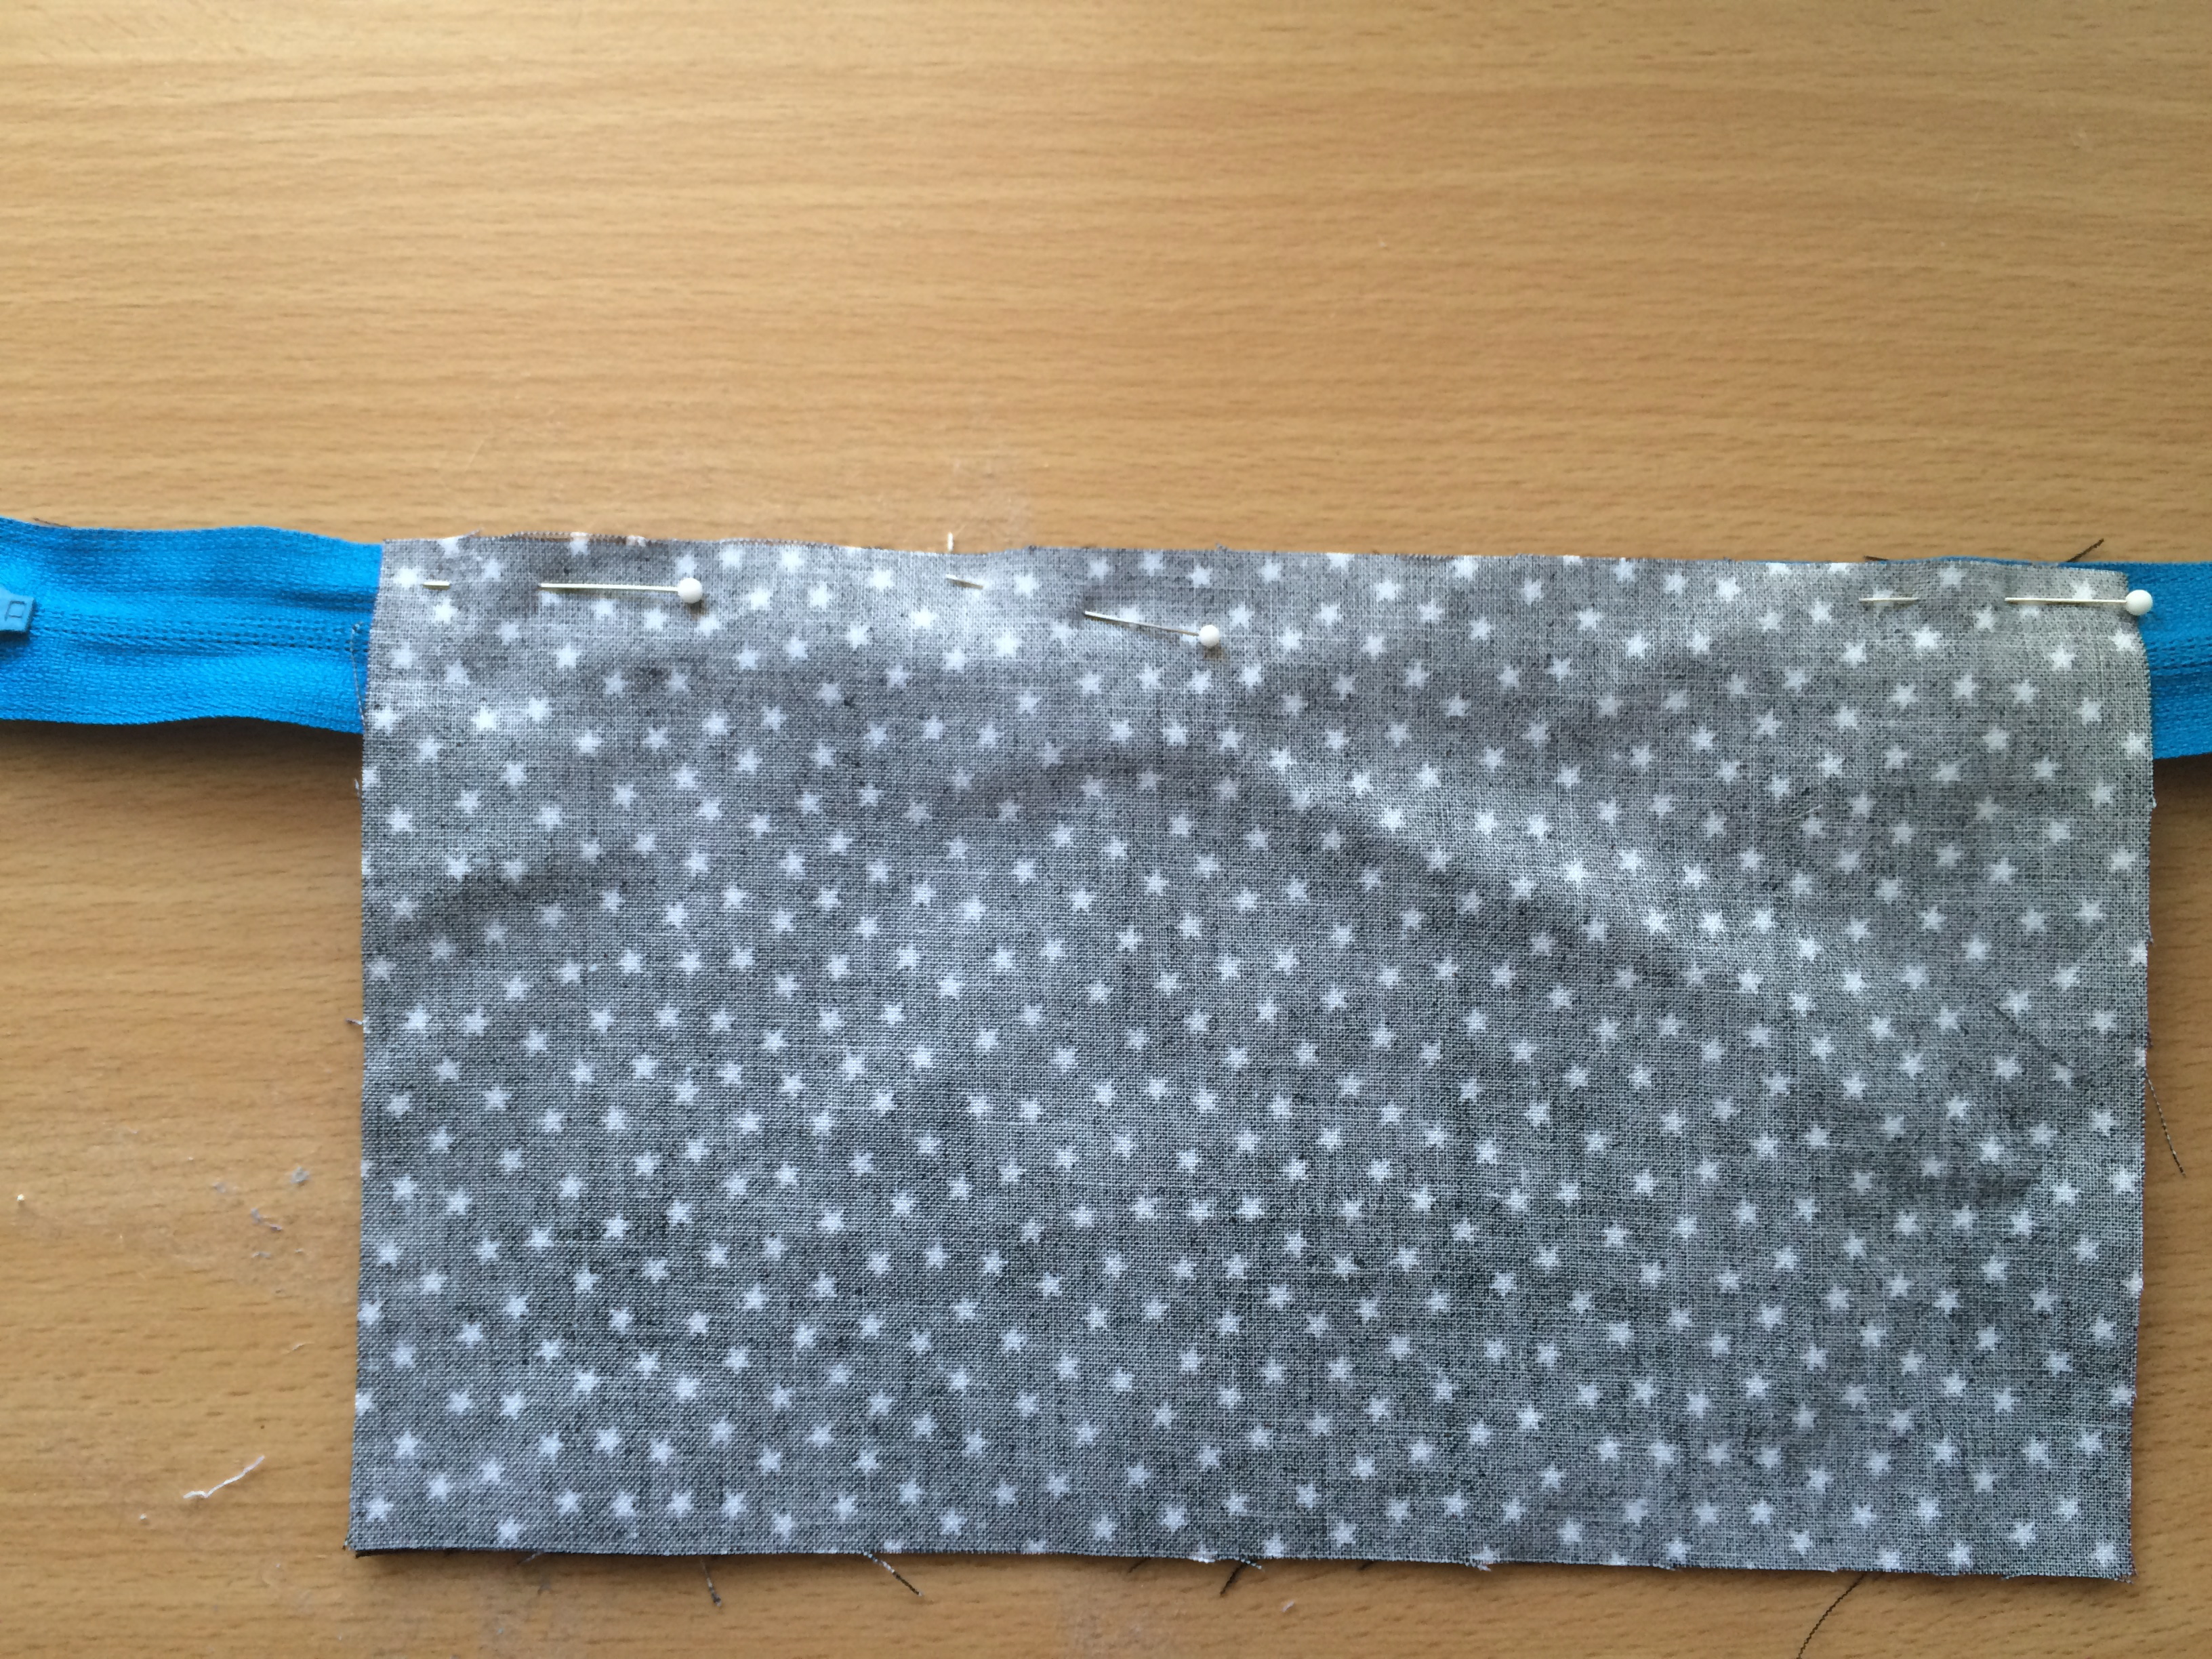
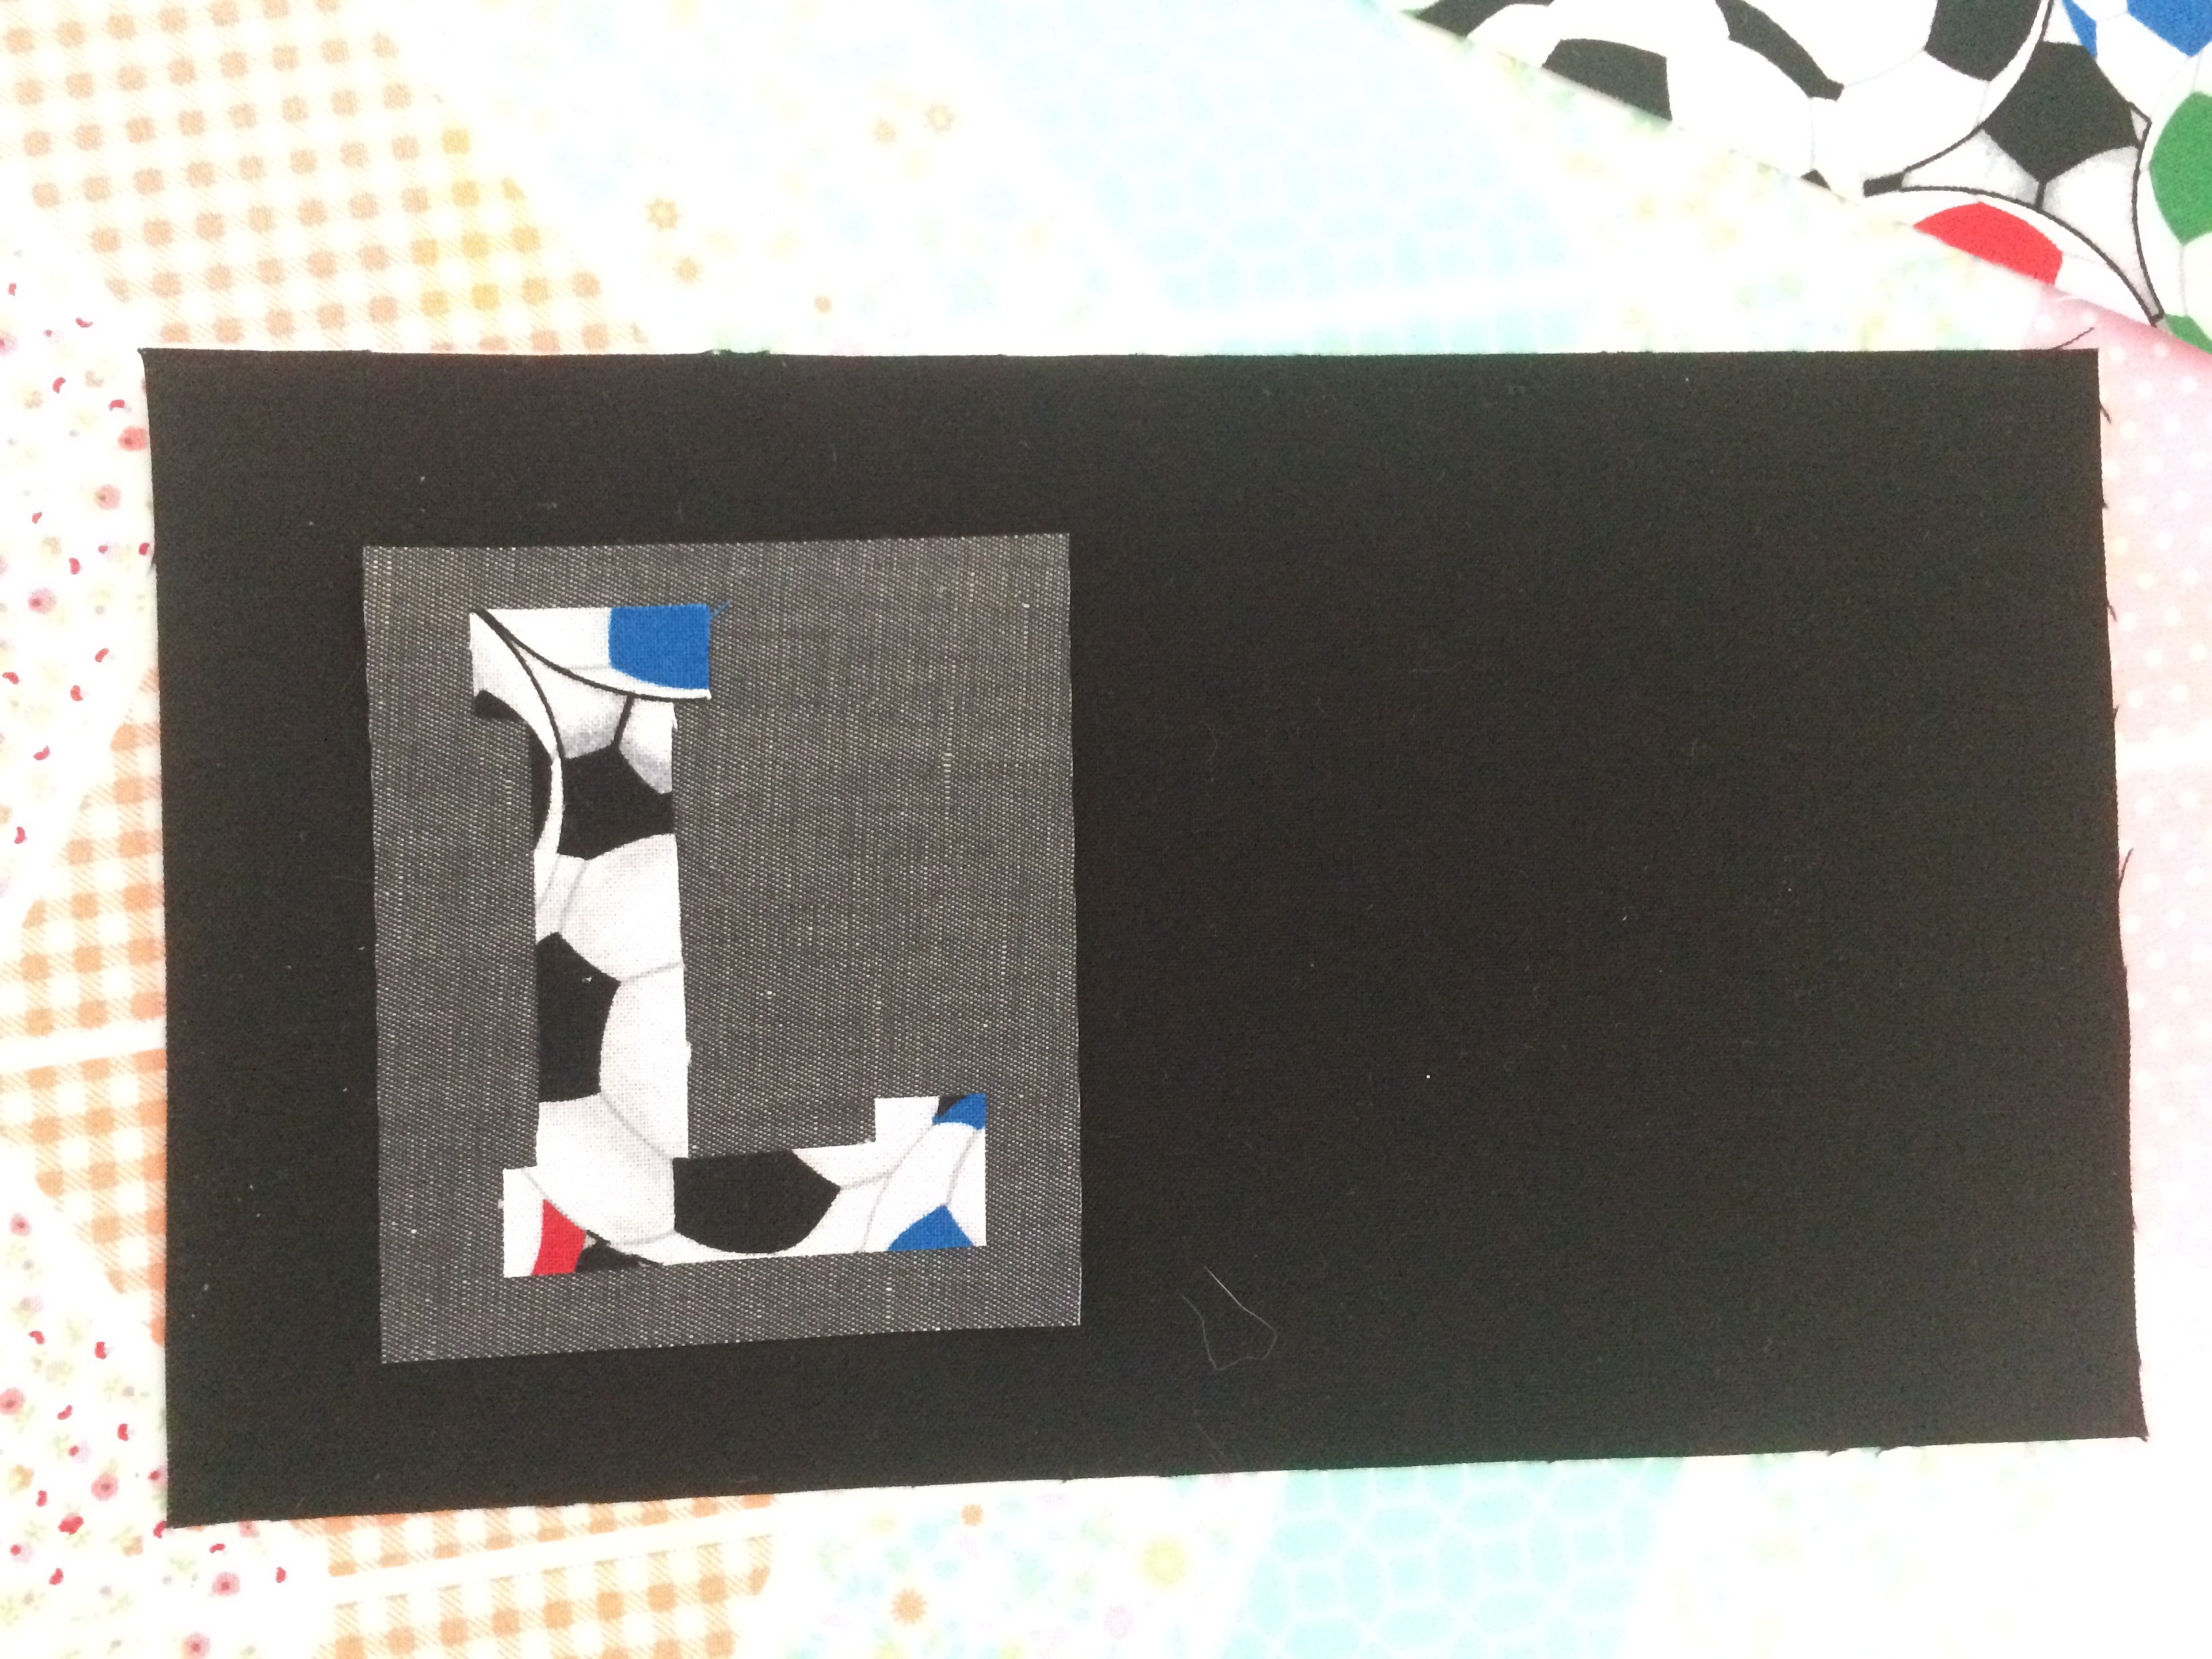
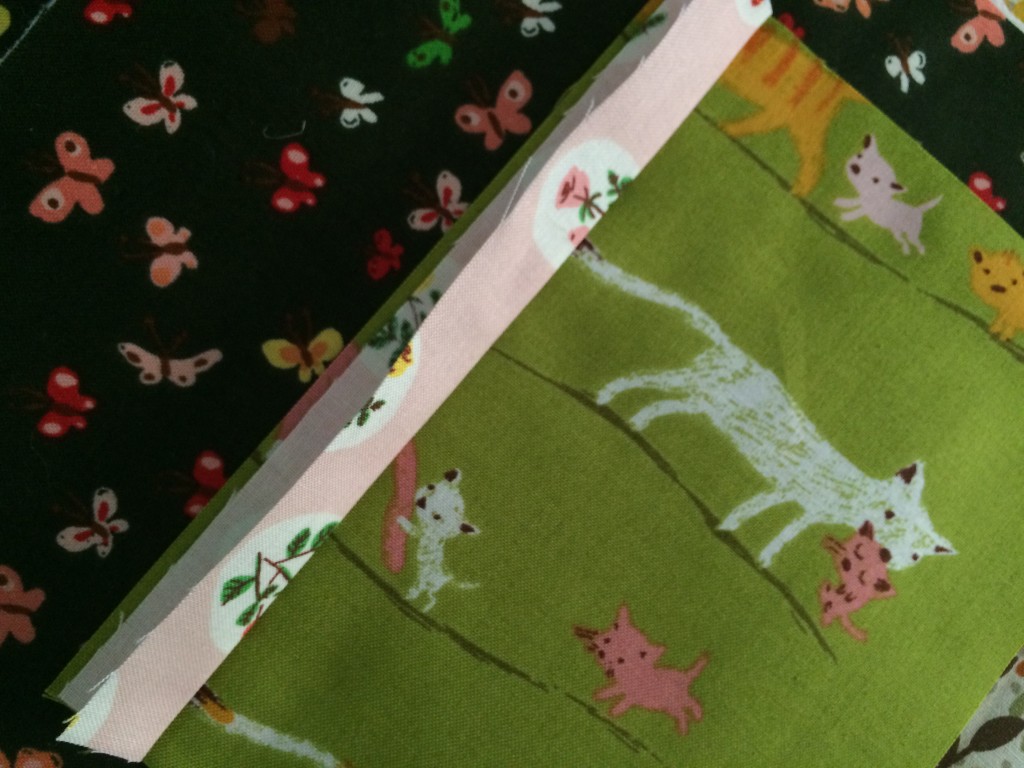 Align the raw edges with the edge of the theme print fabric and sew a 1/4″ seam. Do this to all (4) sides of the (2) theme print pieces.
 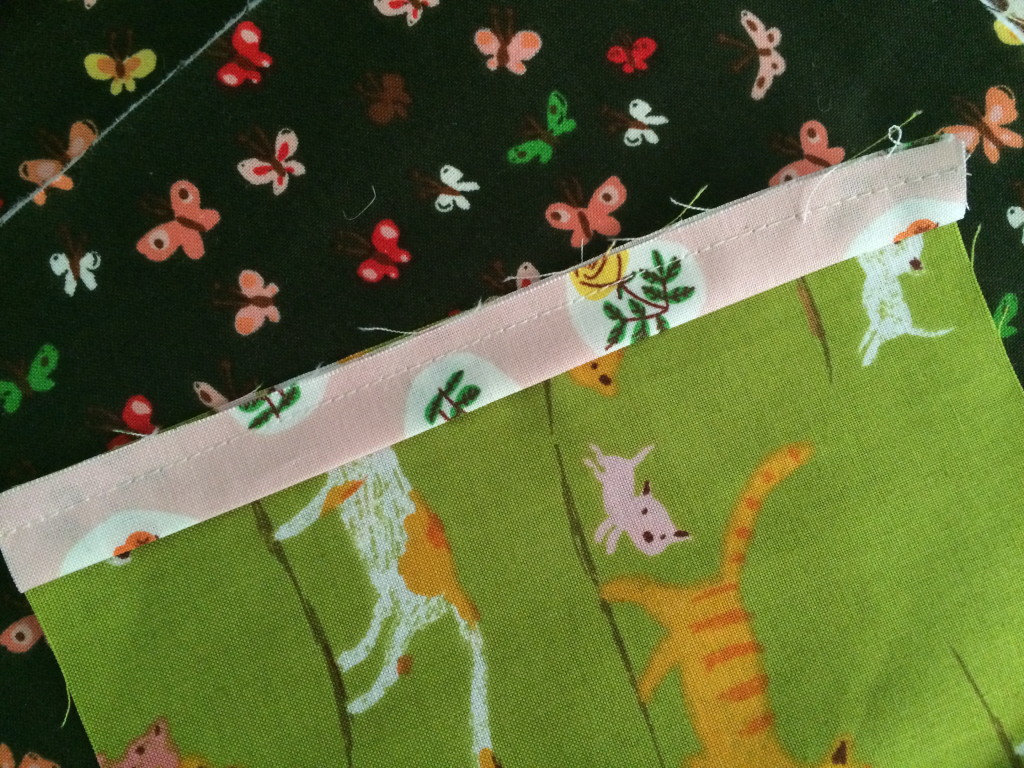 Press the accent strips so the seam allowance is toward the theme print.
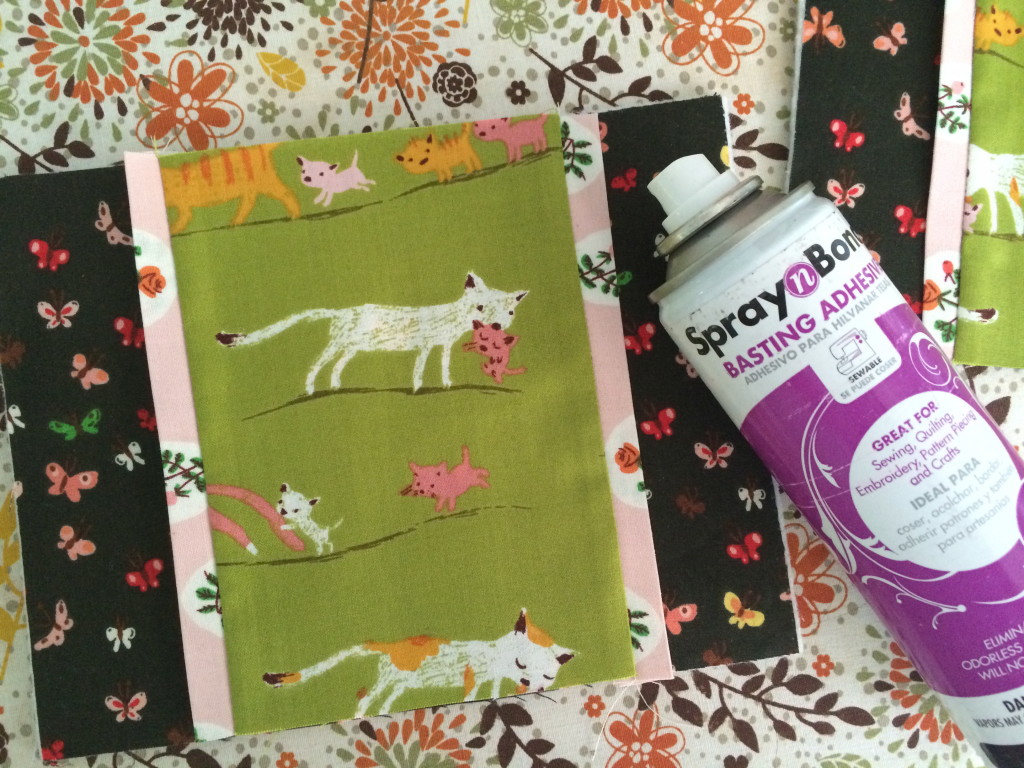
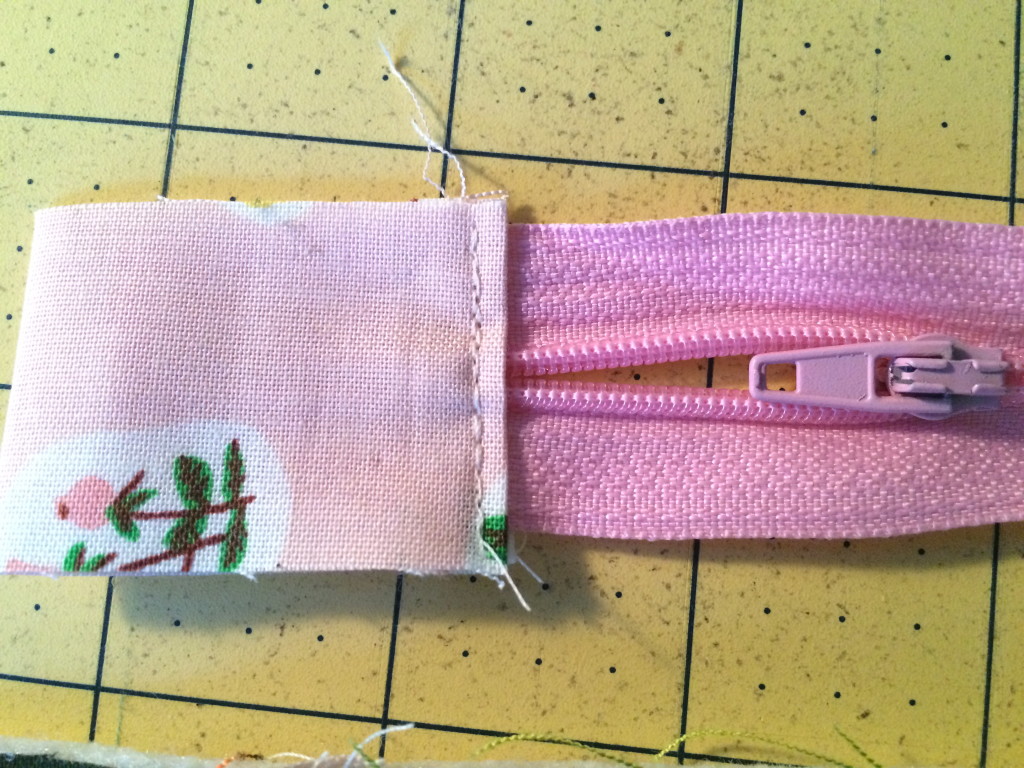
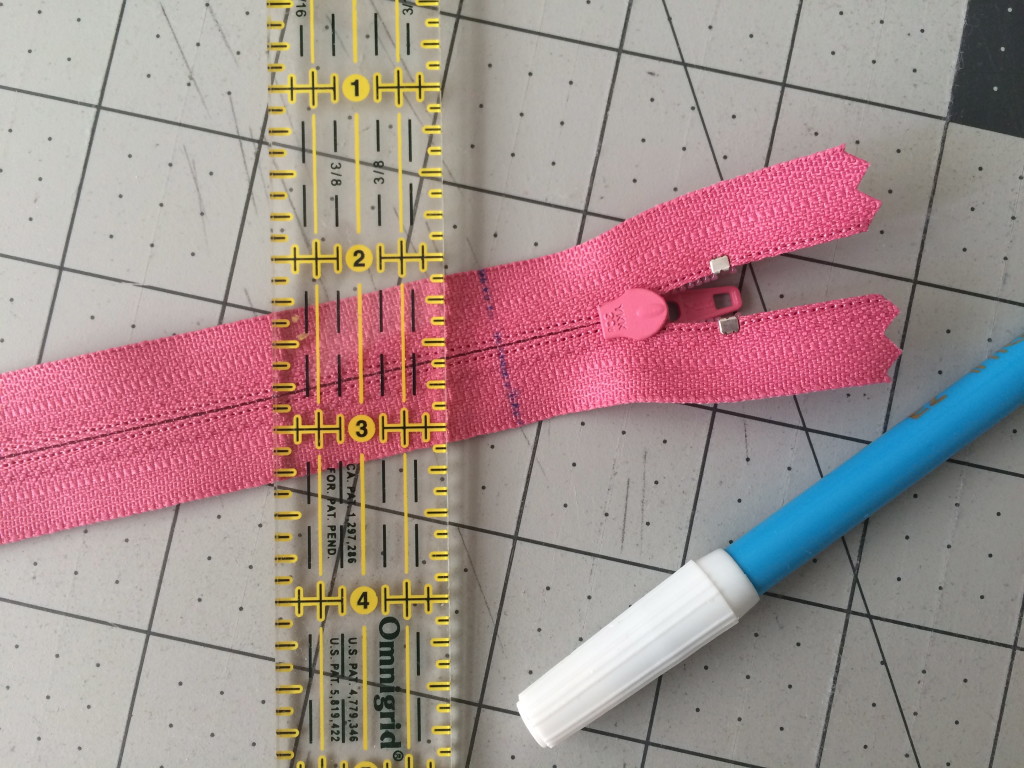
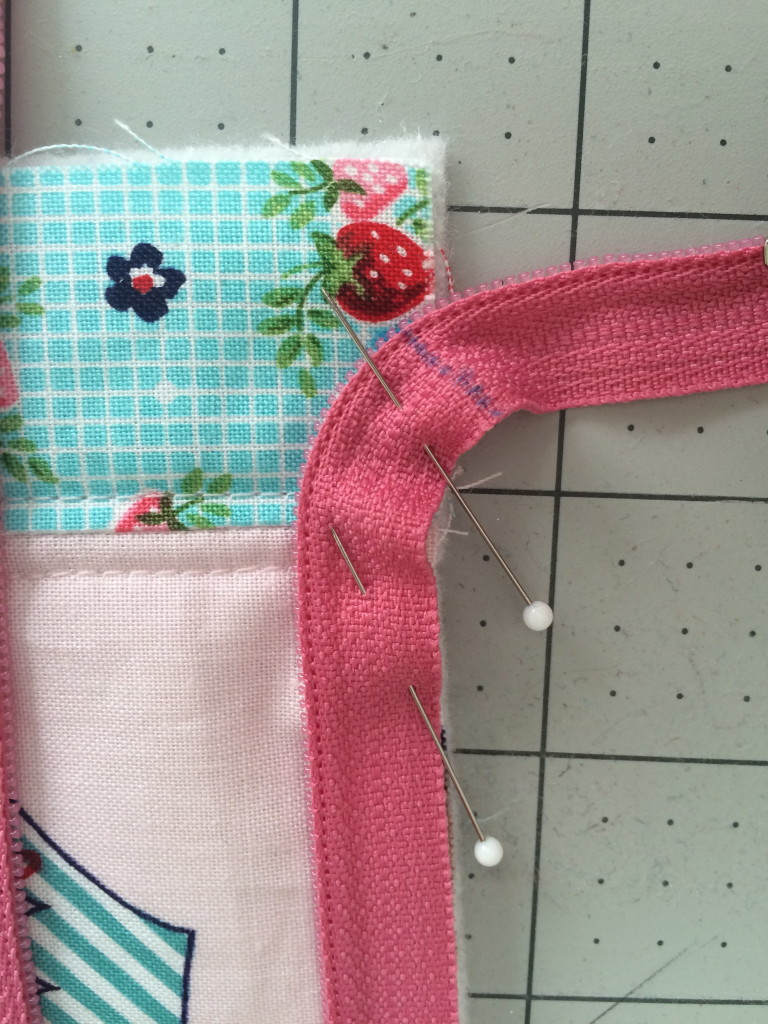
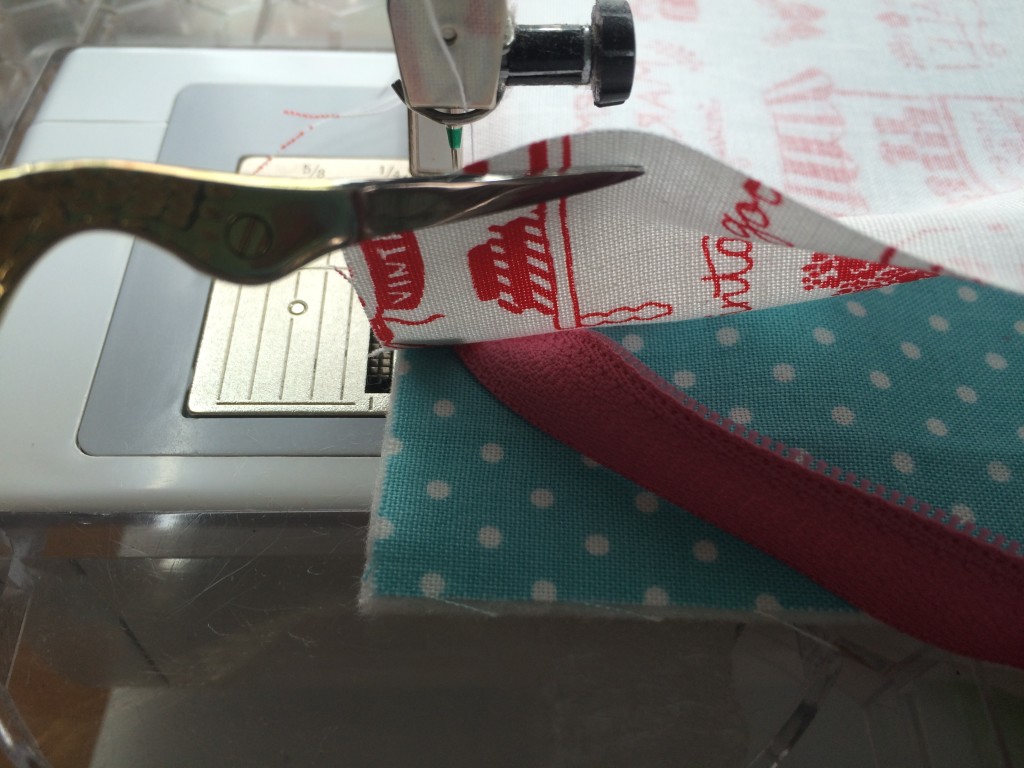
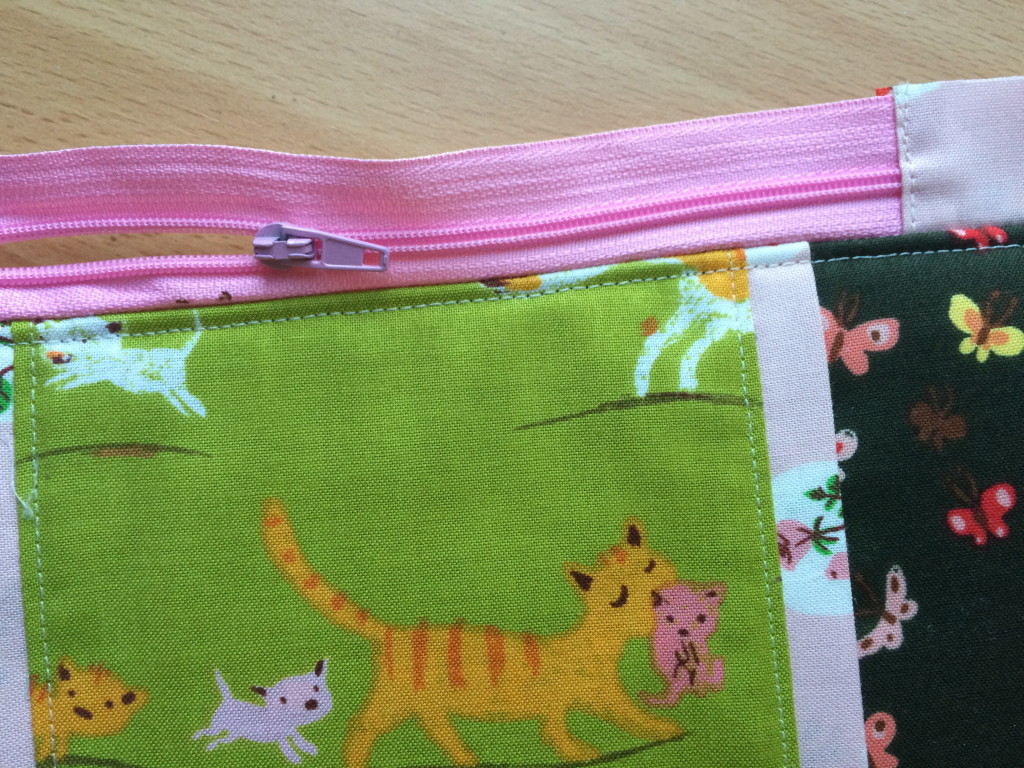
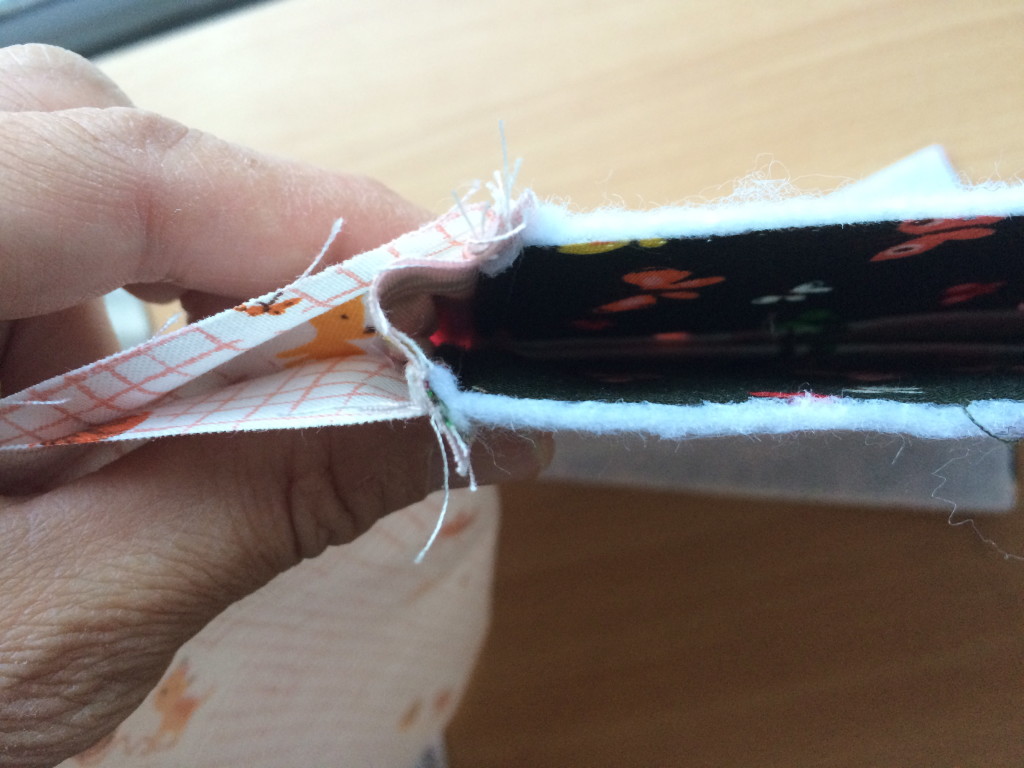
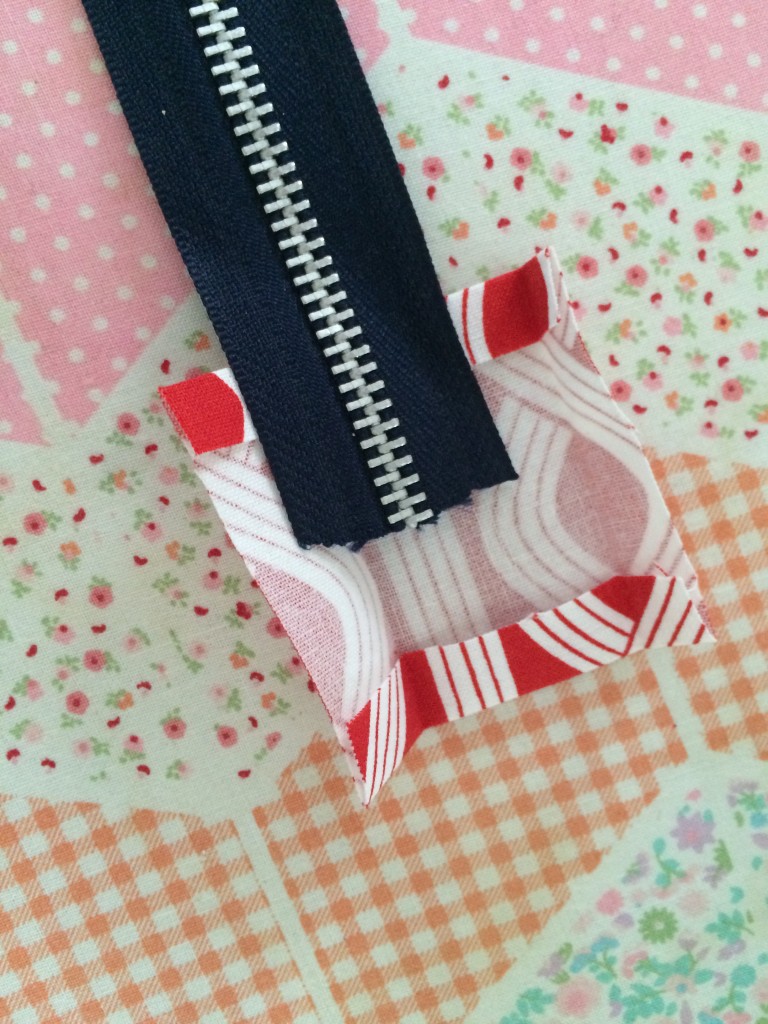
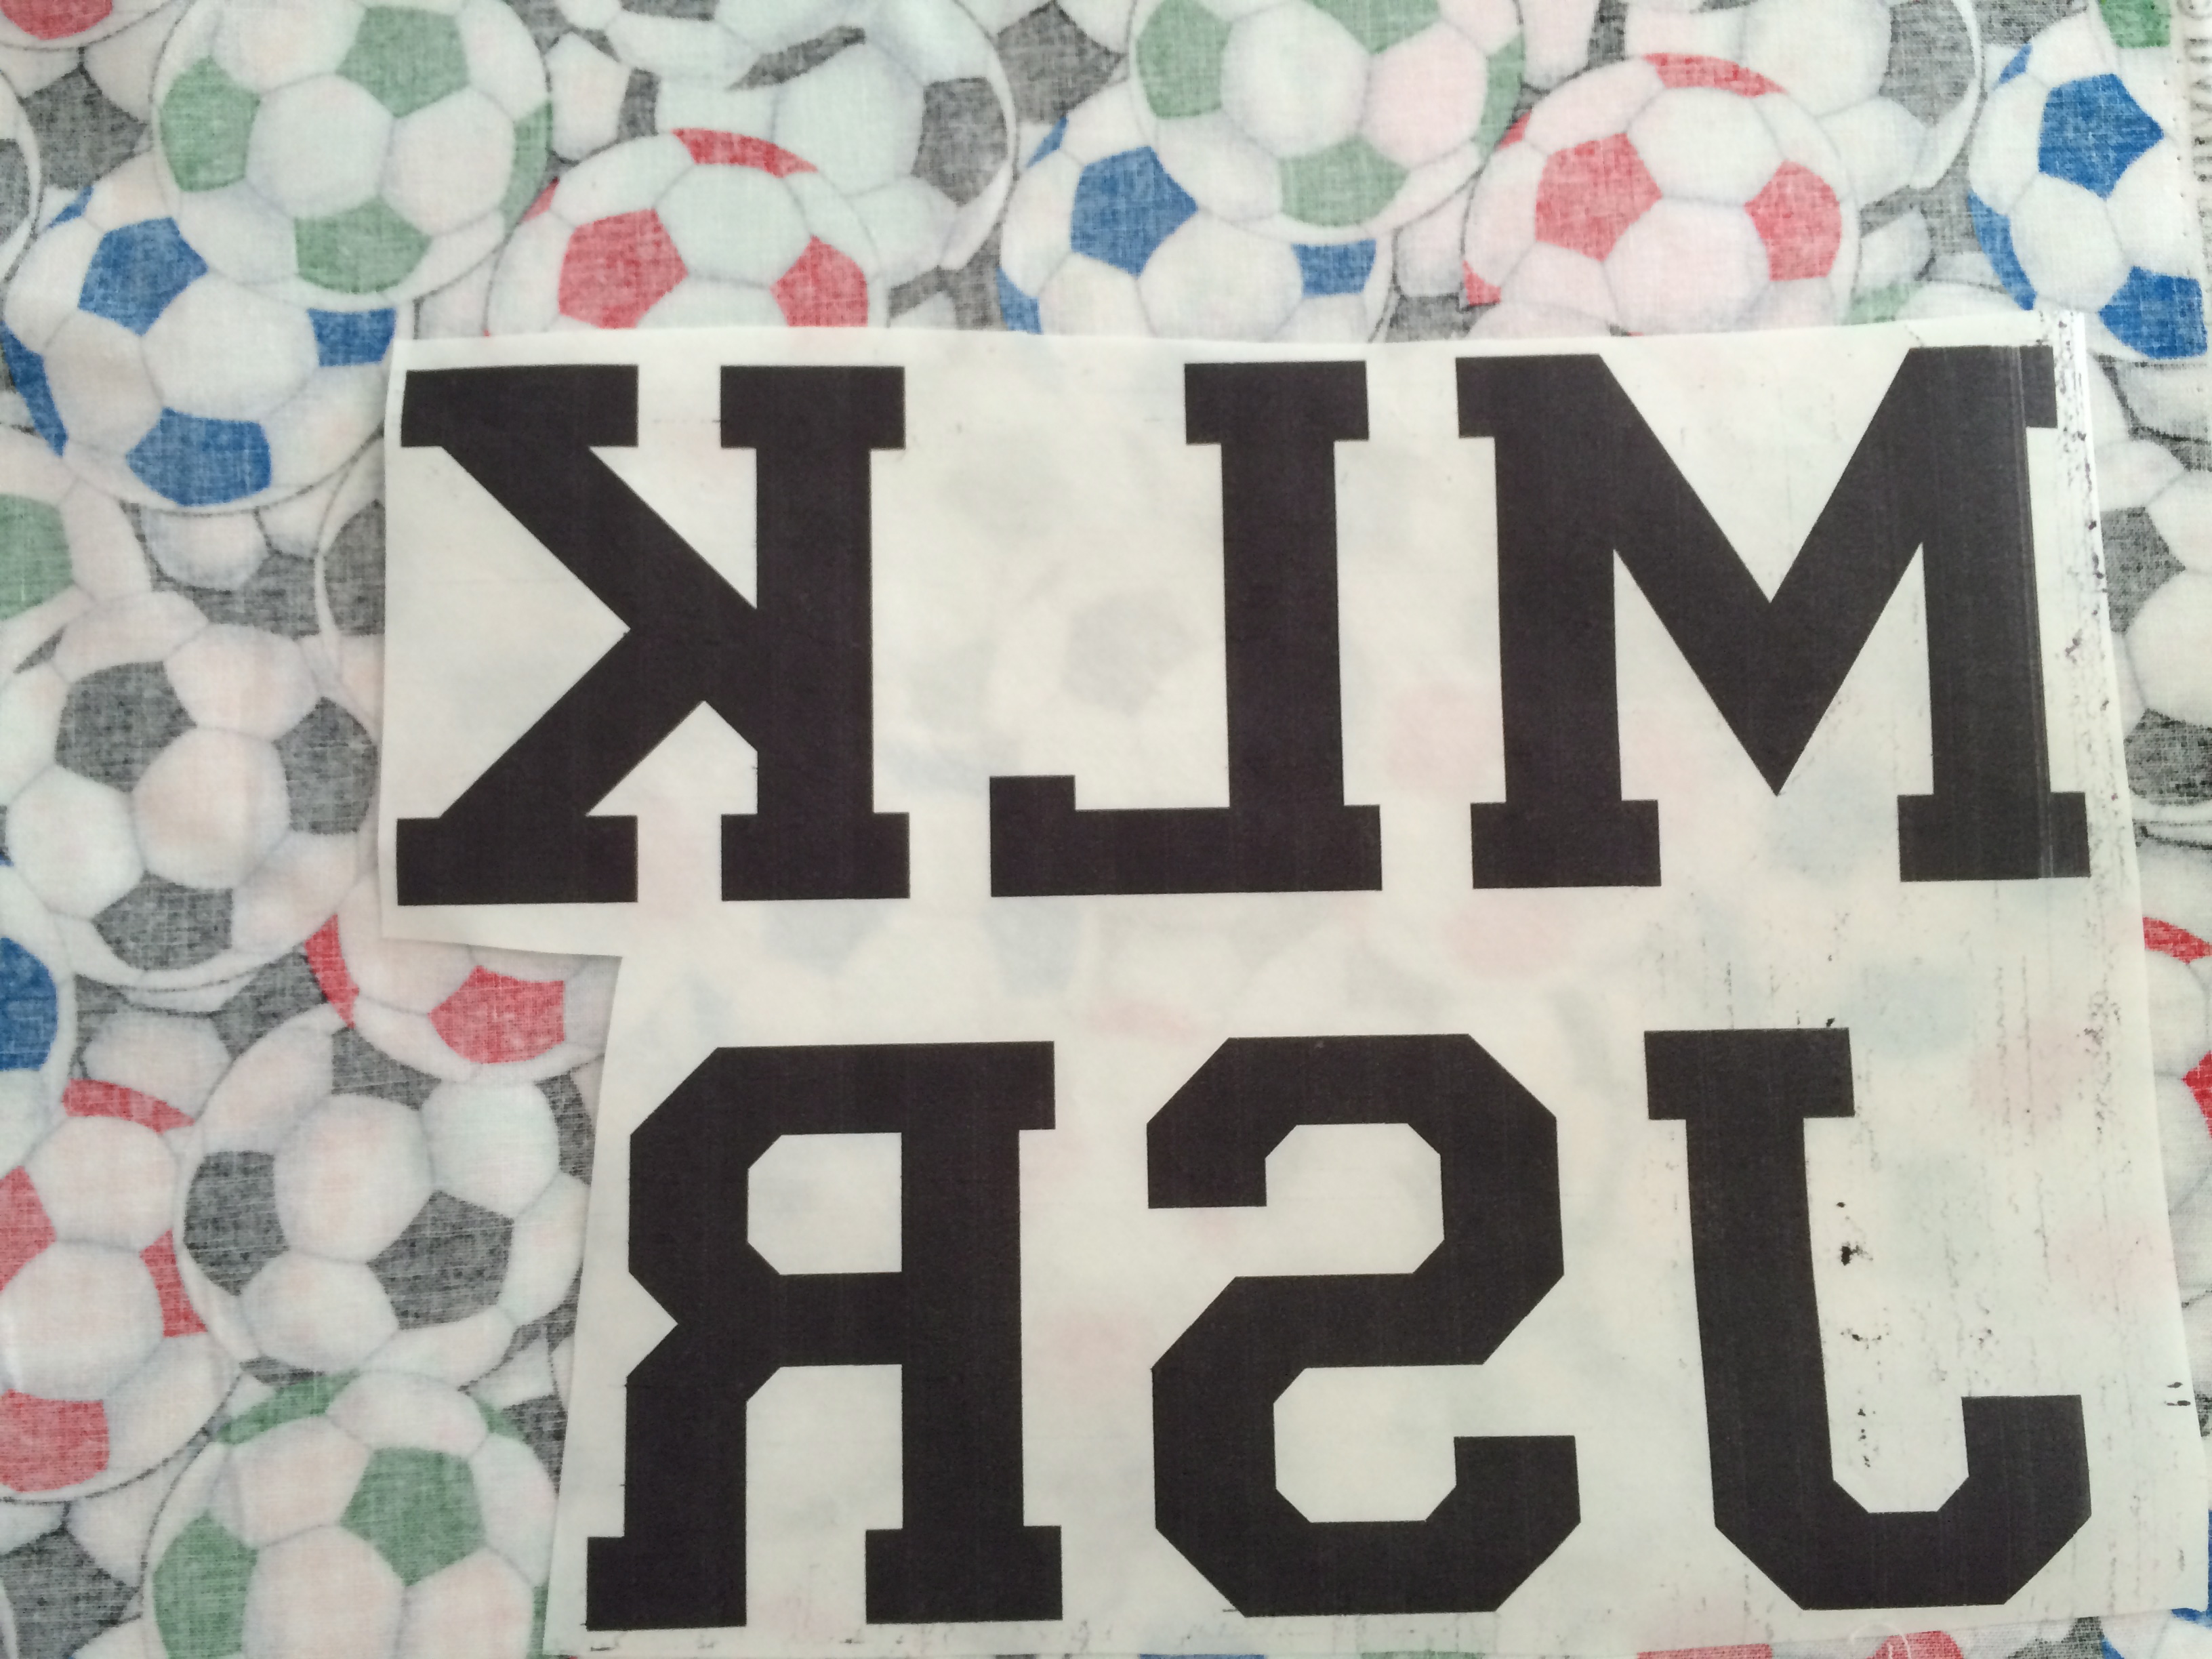
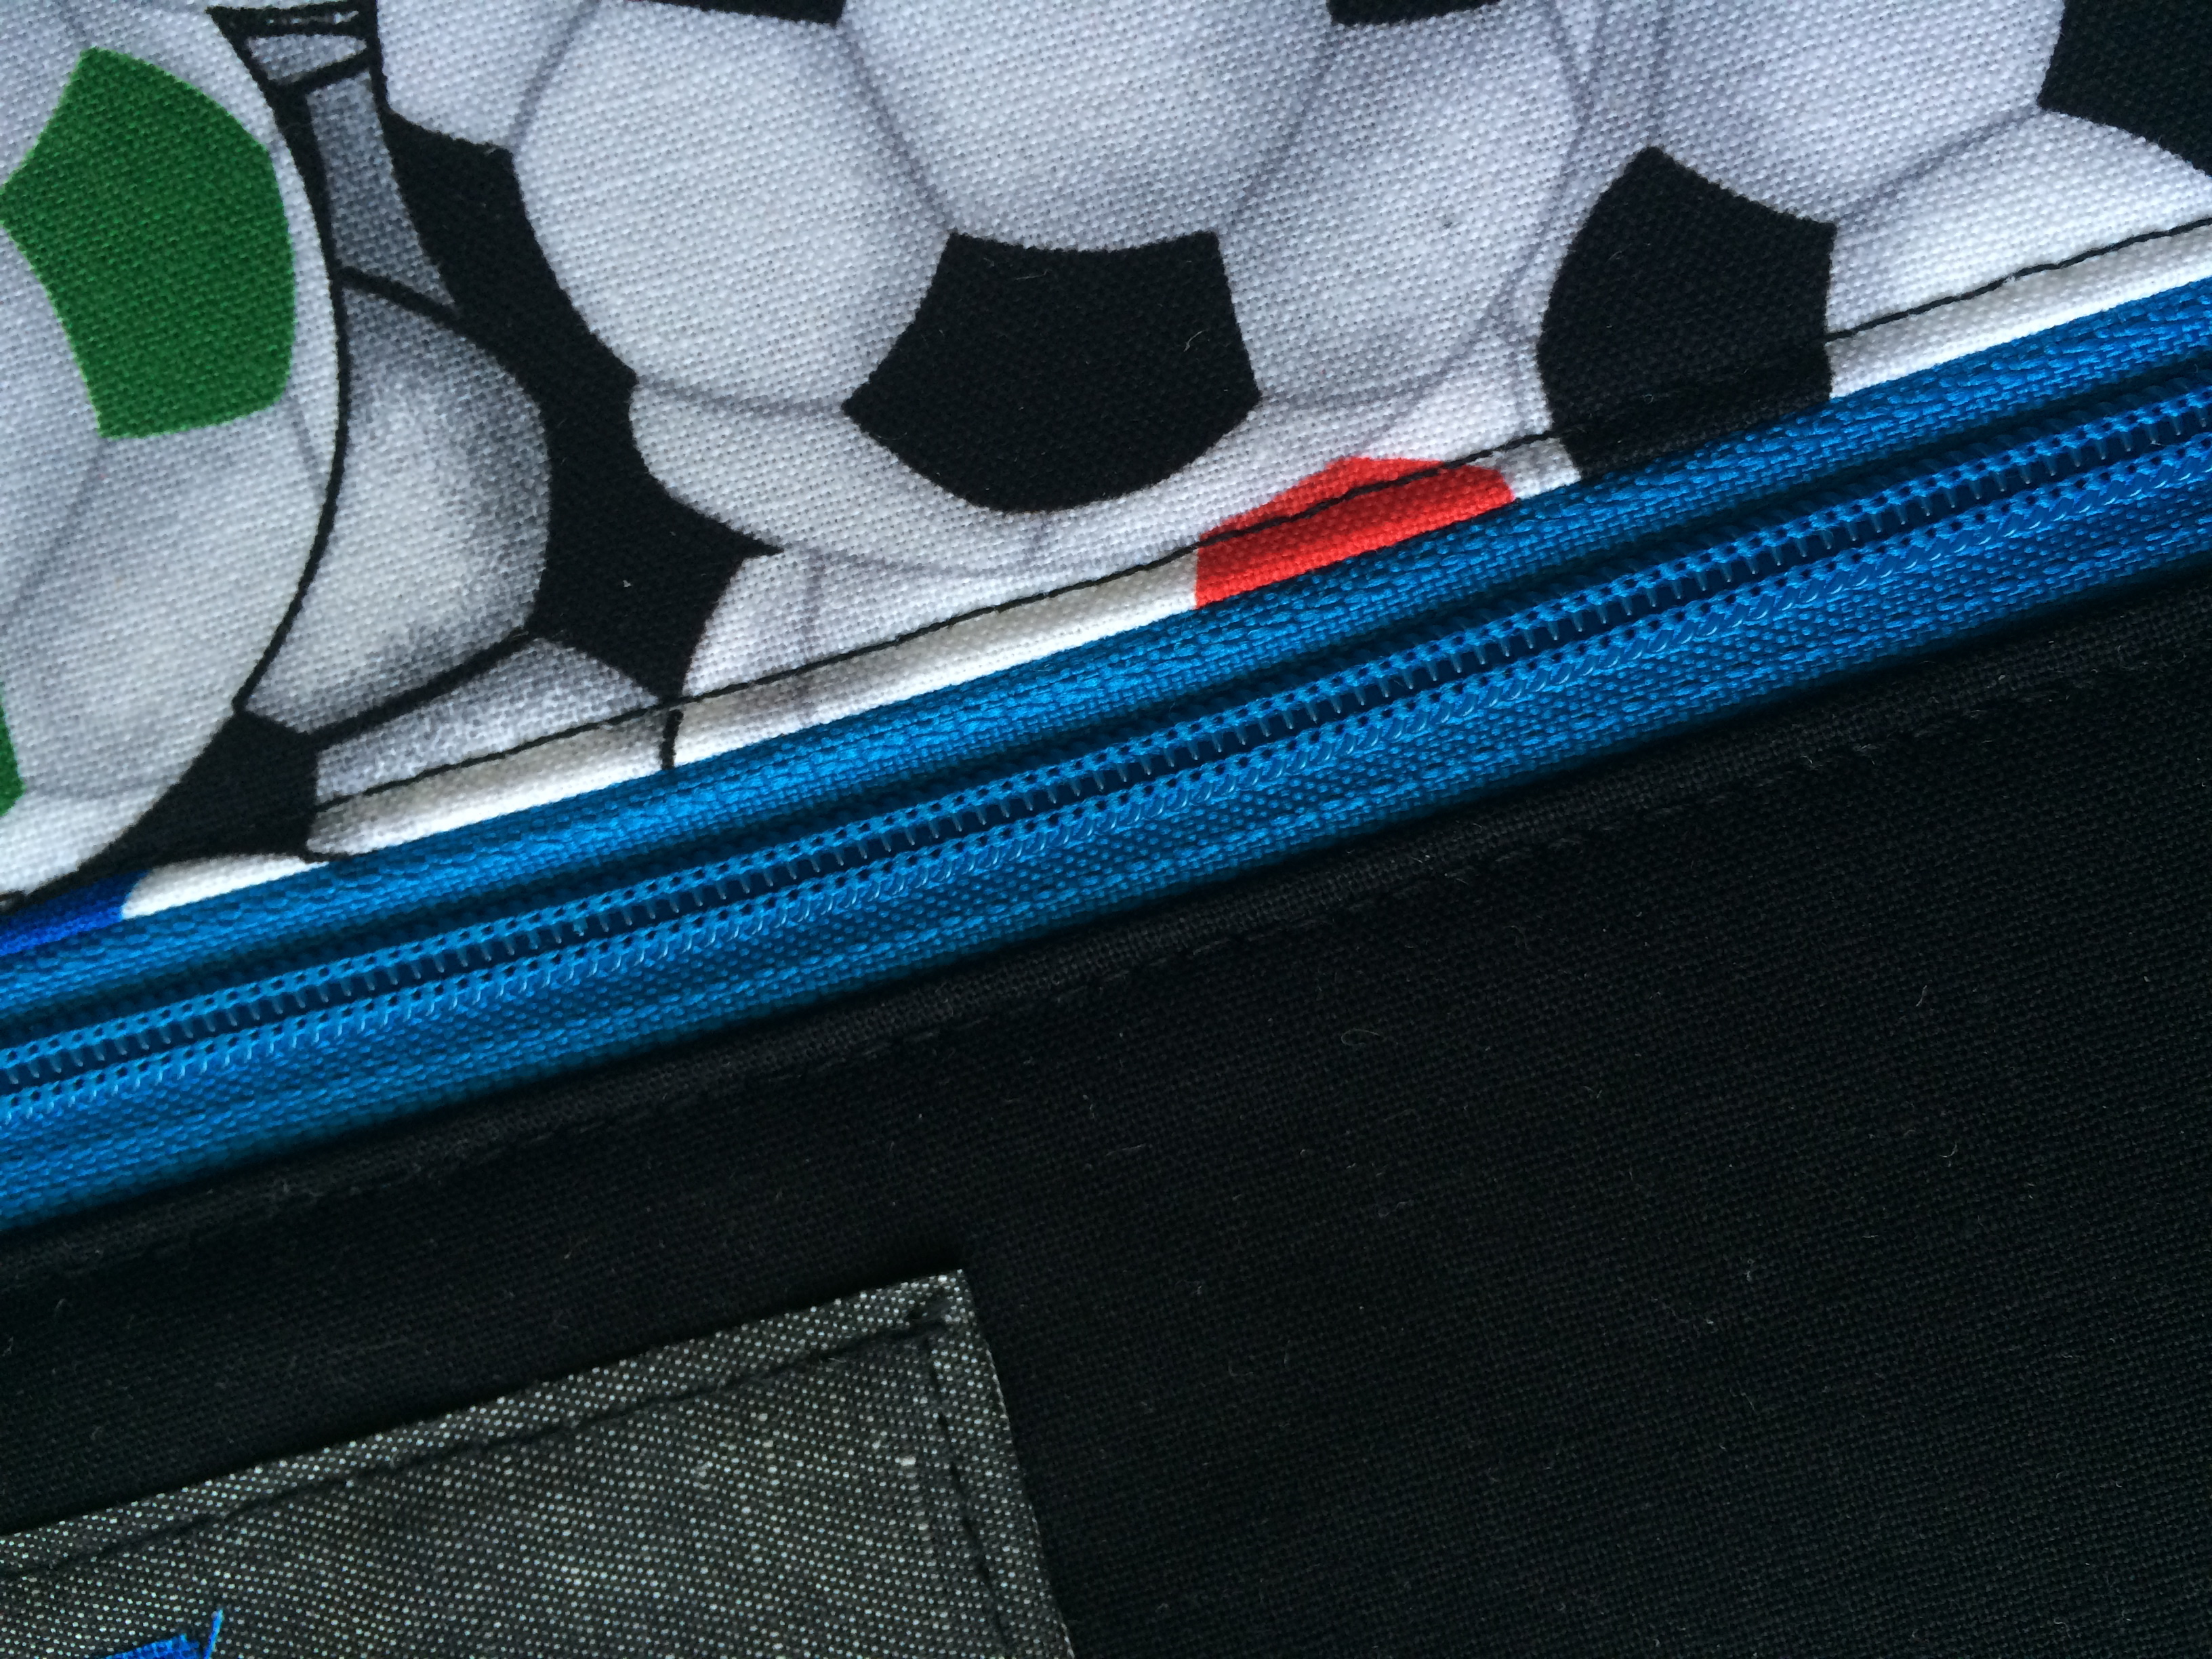
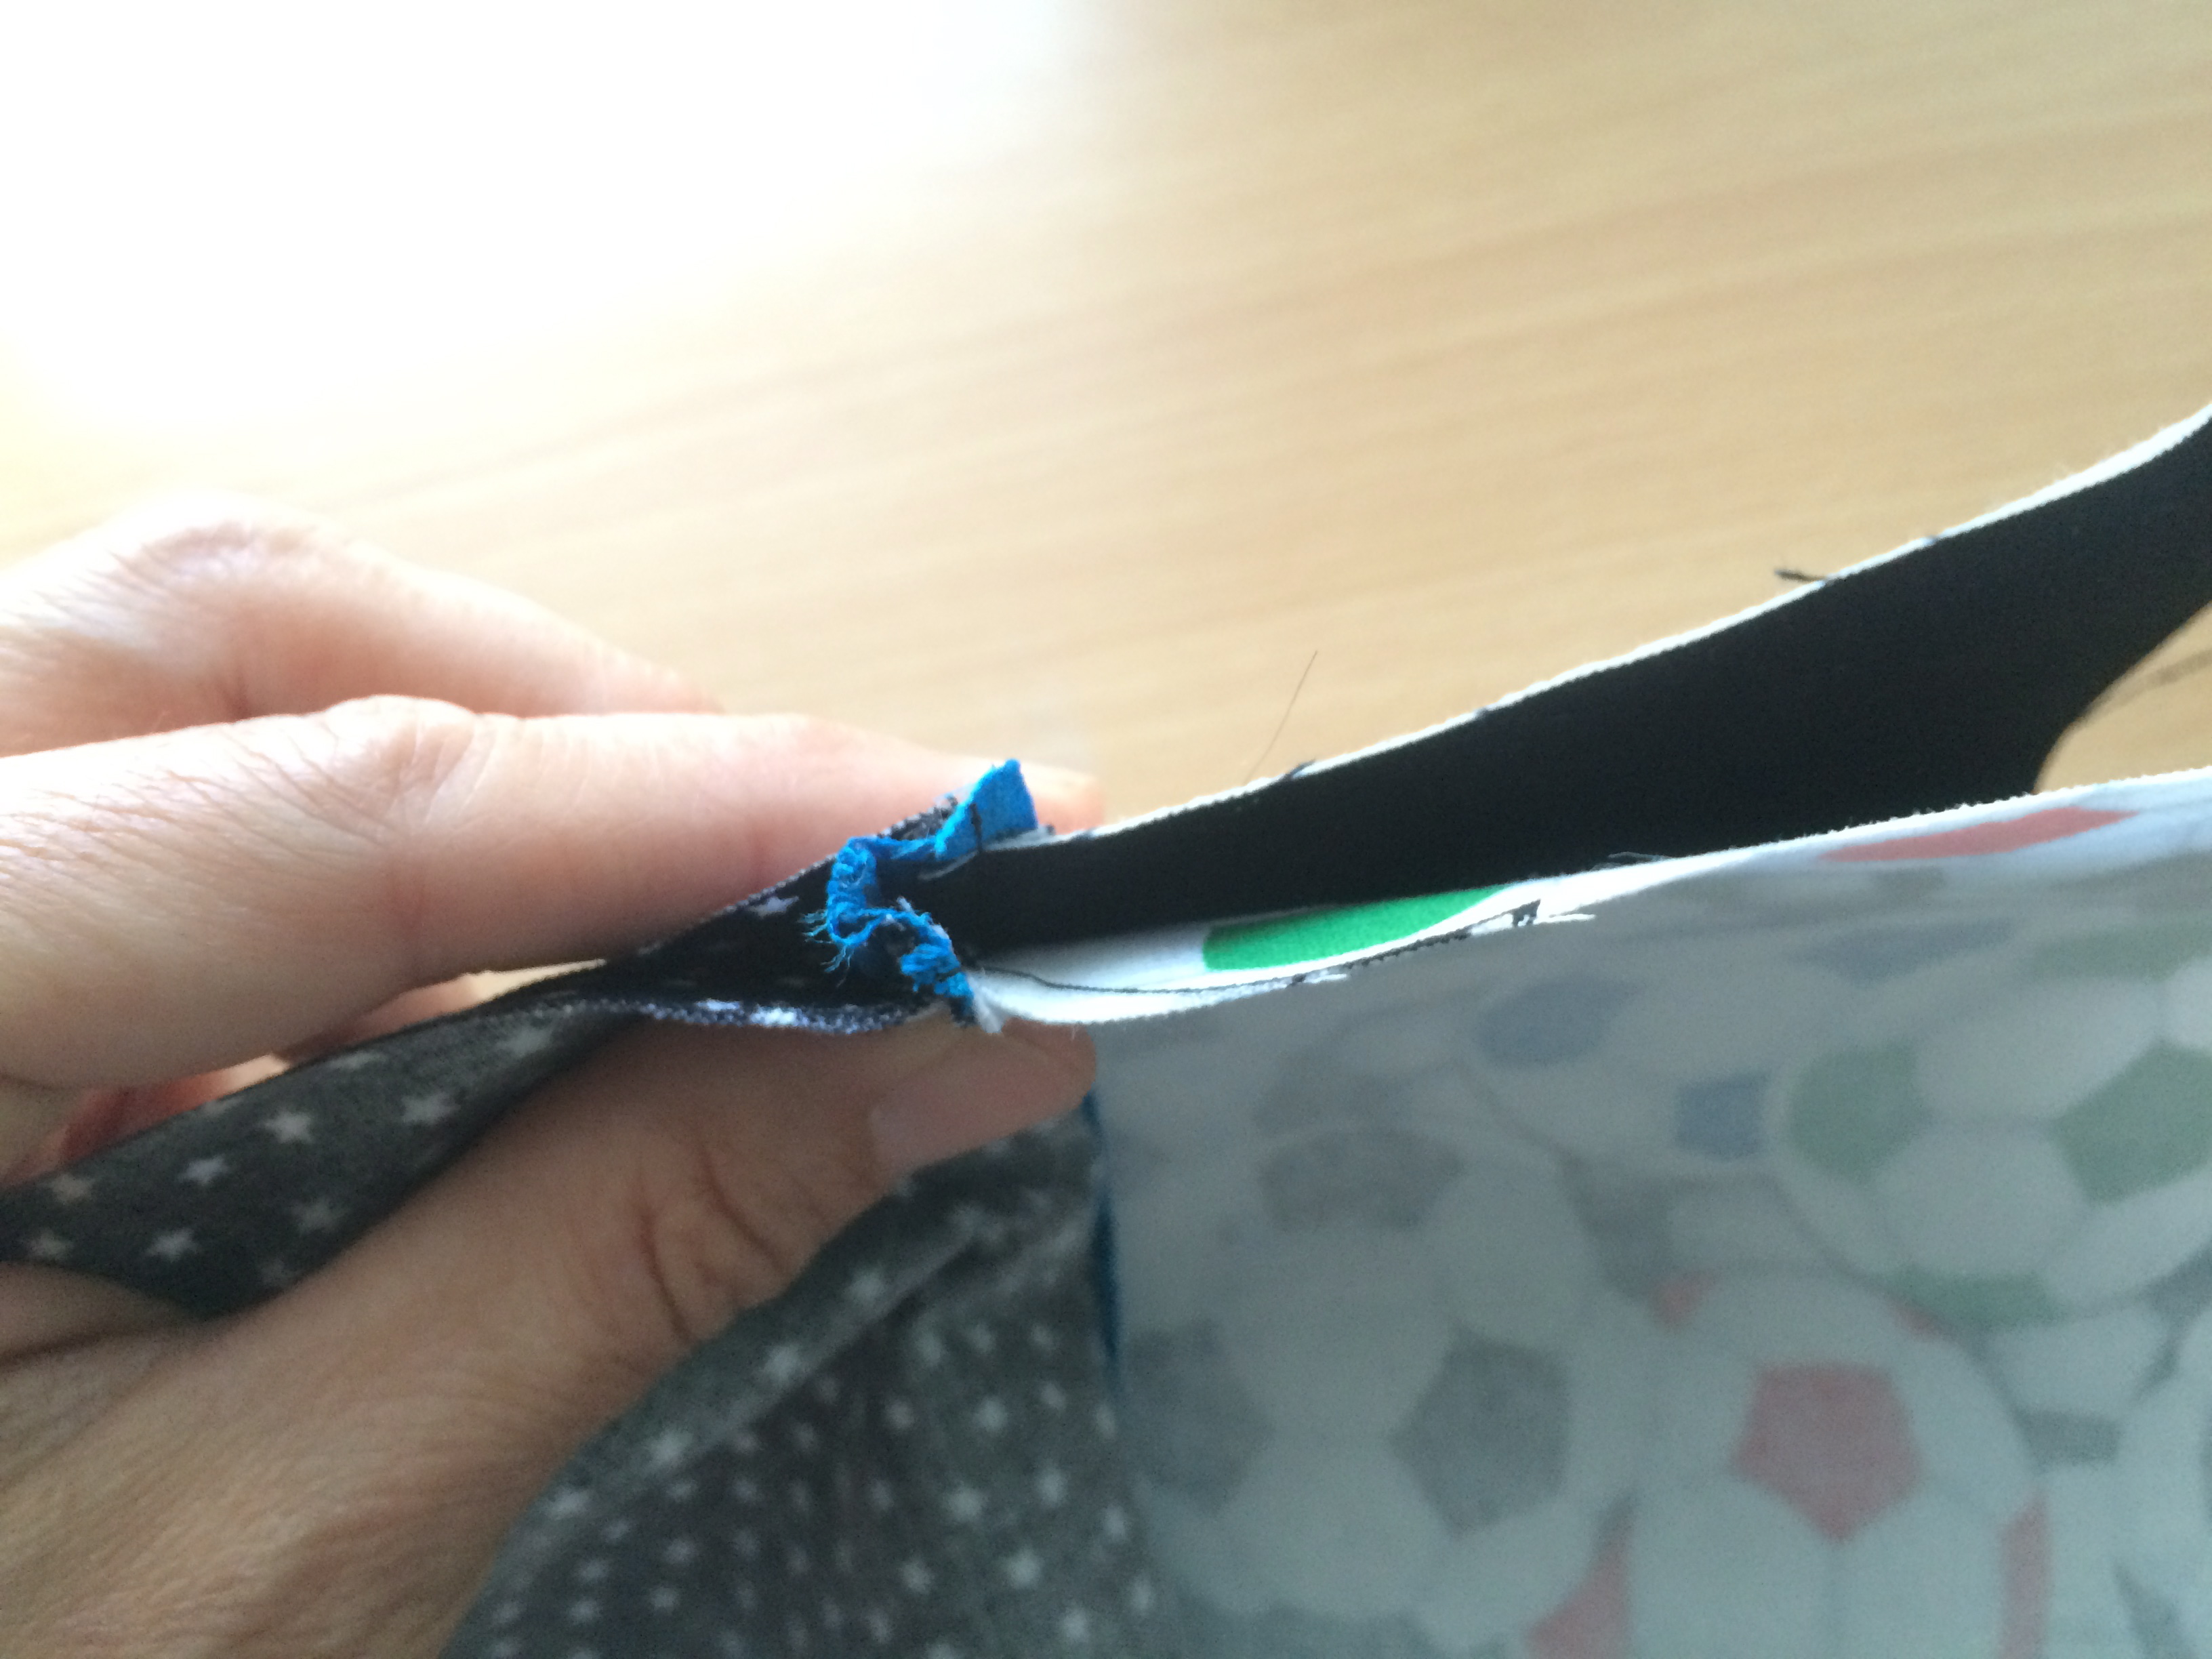
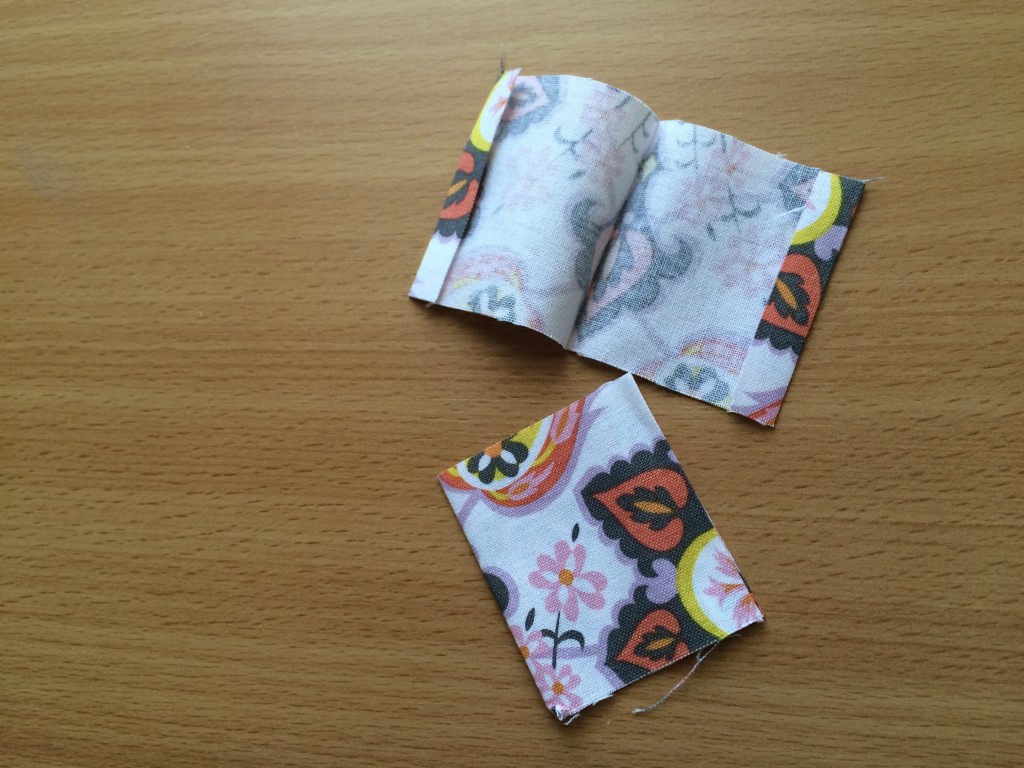
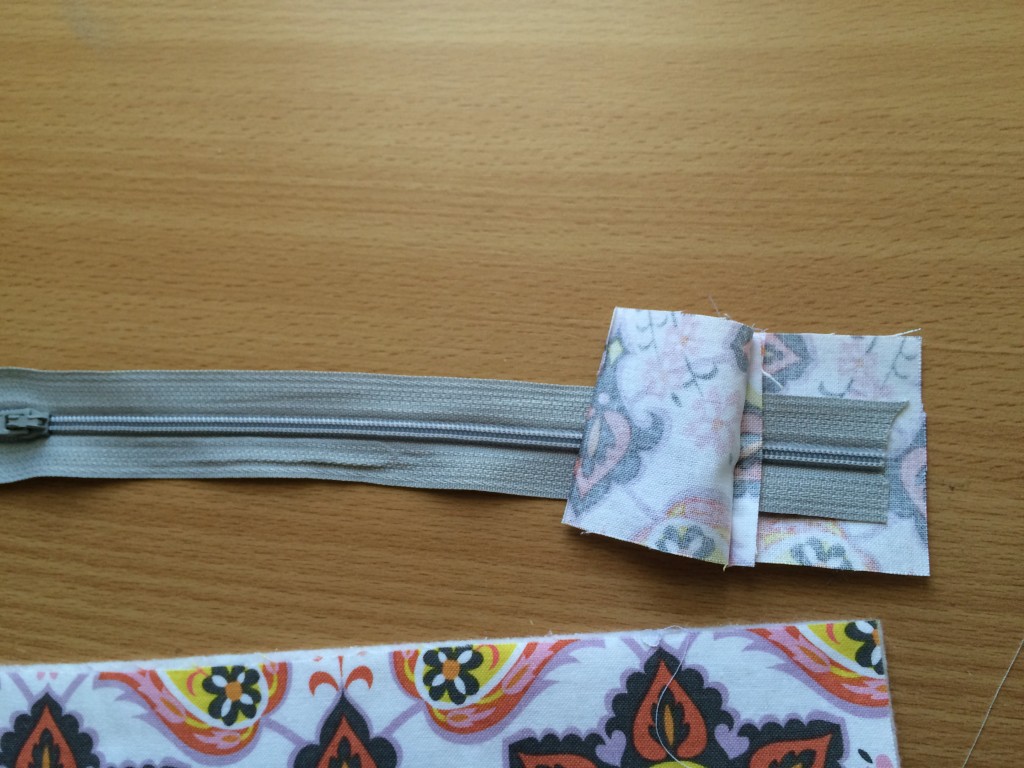
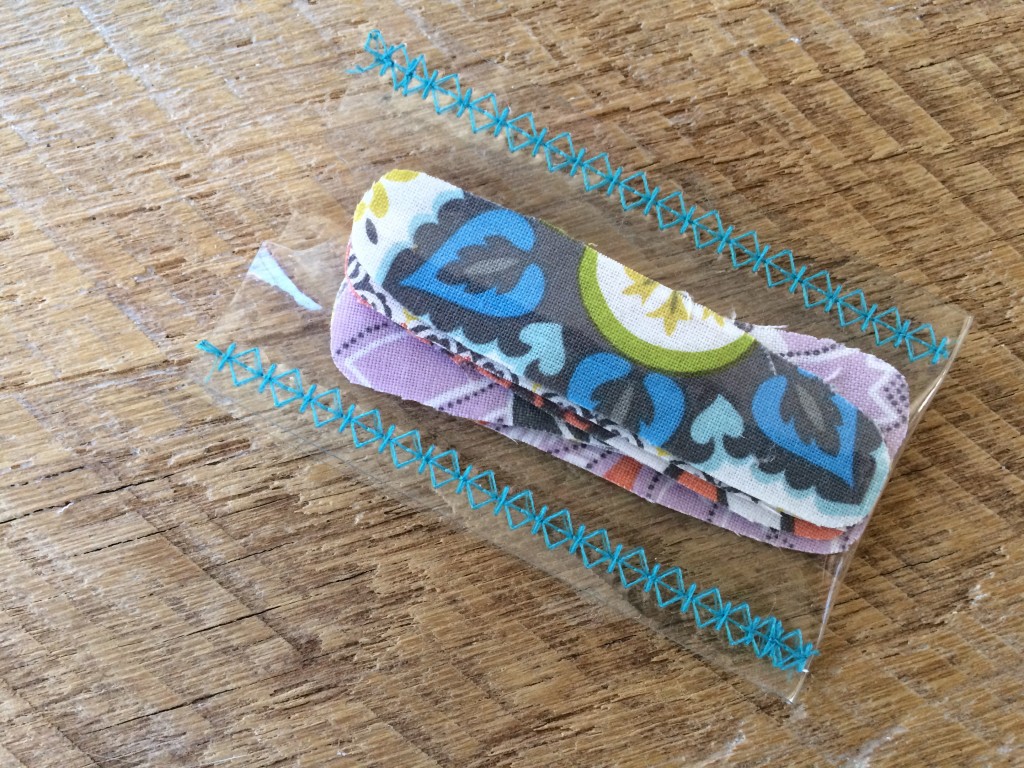
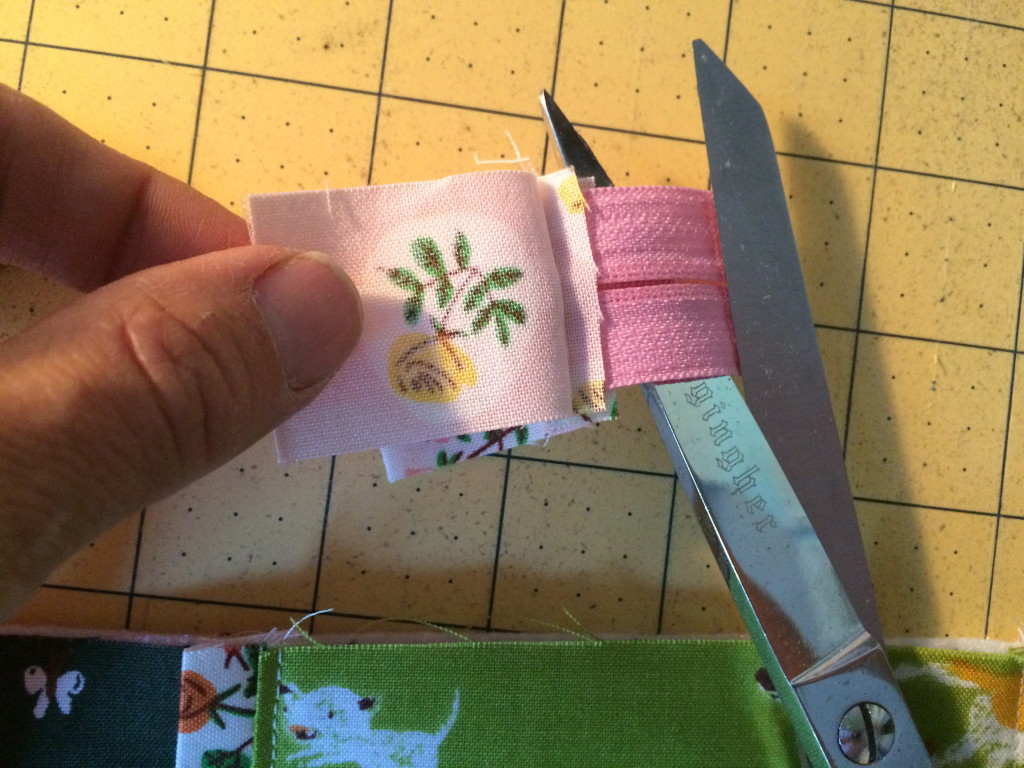 http://www.jedicraftgirl.com/wp-admin/post-new.phpCut along the fold of the zipper tab and cut away the excess zipper, leaving about 1/8″ of zipper. This makes it so there is no bulky zipper in the side seam of the zipper pouch.
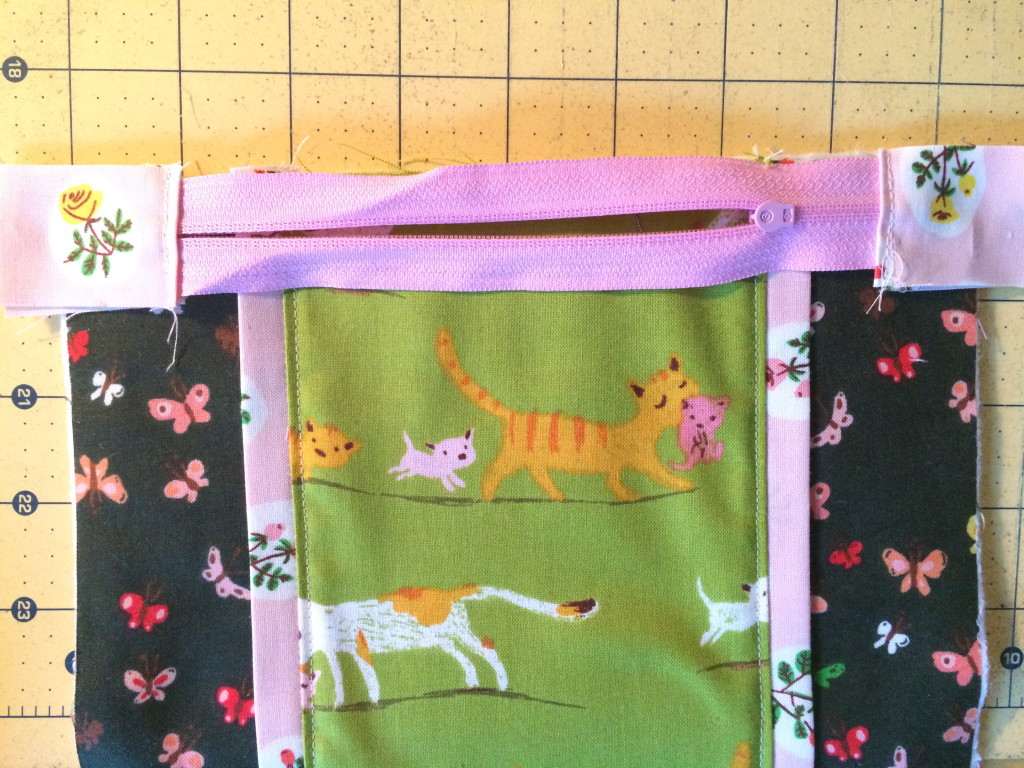
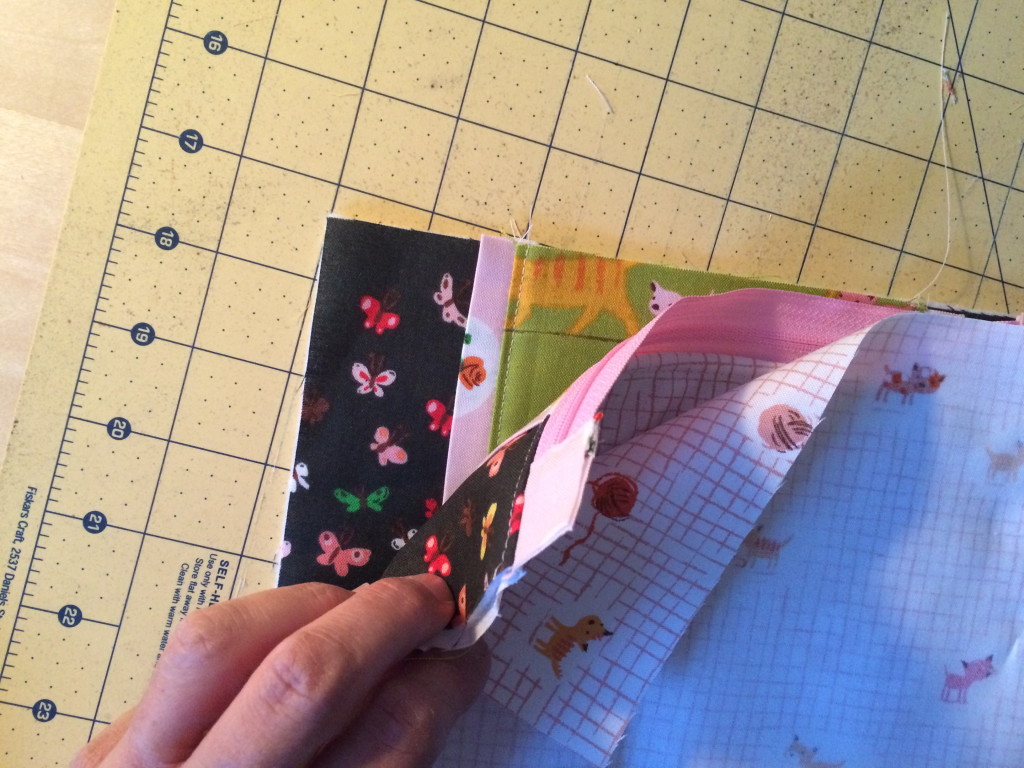
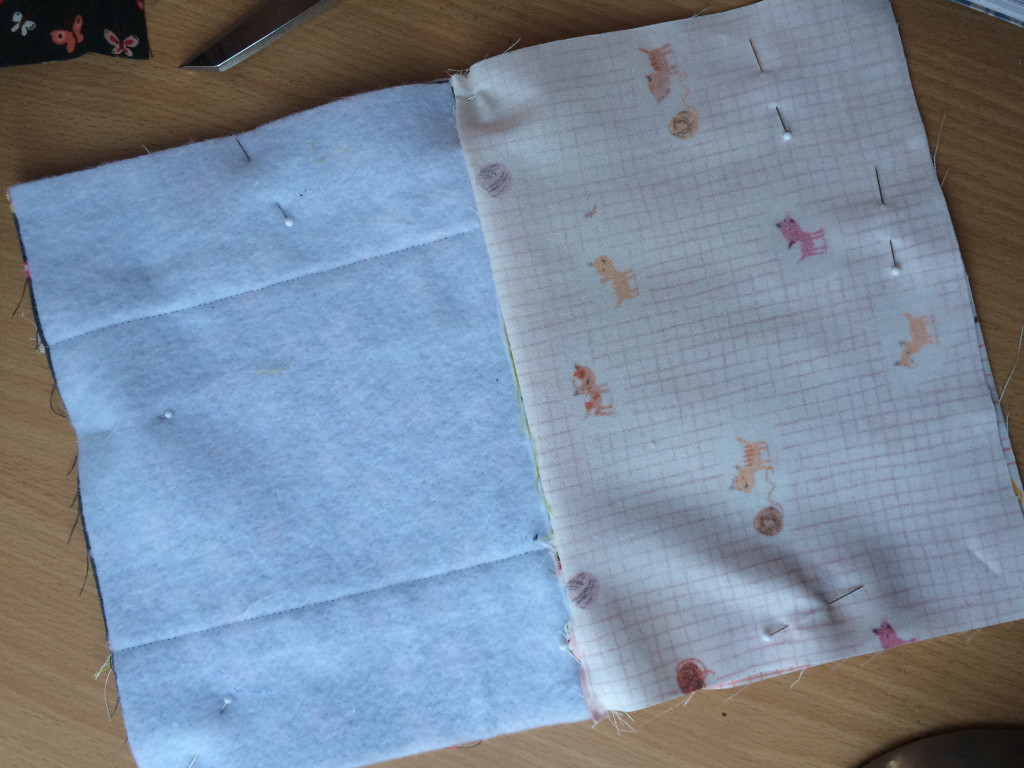
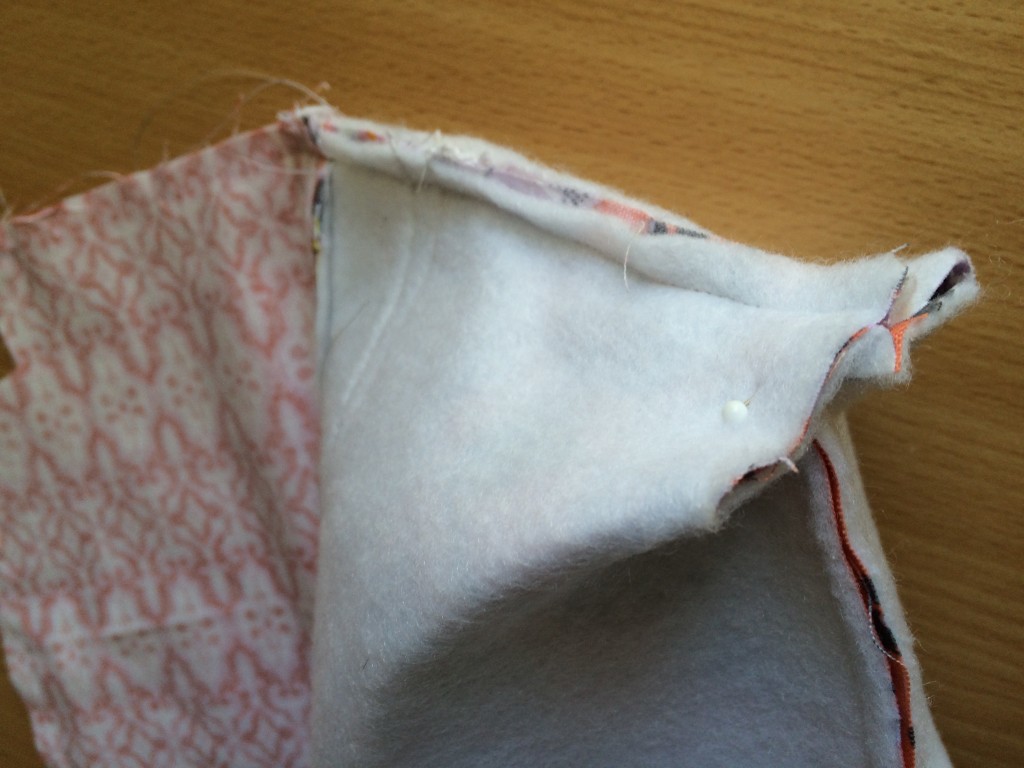


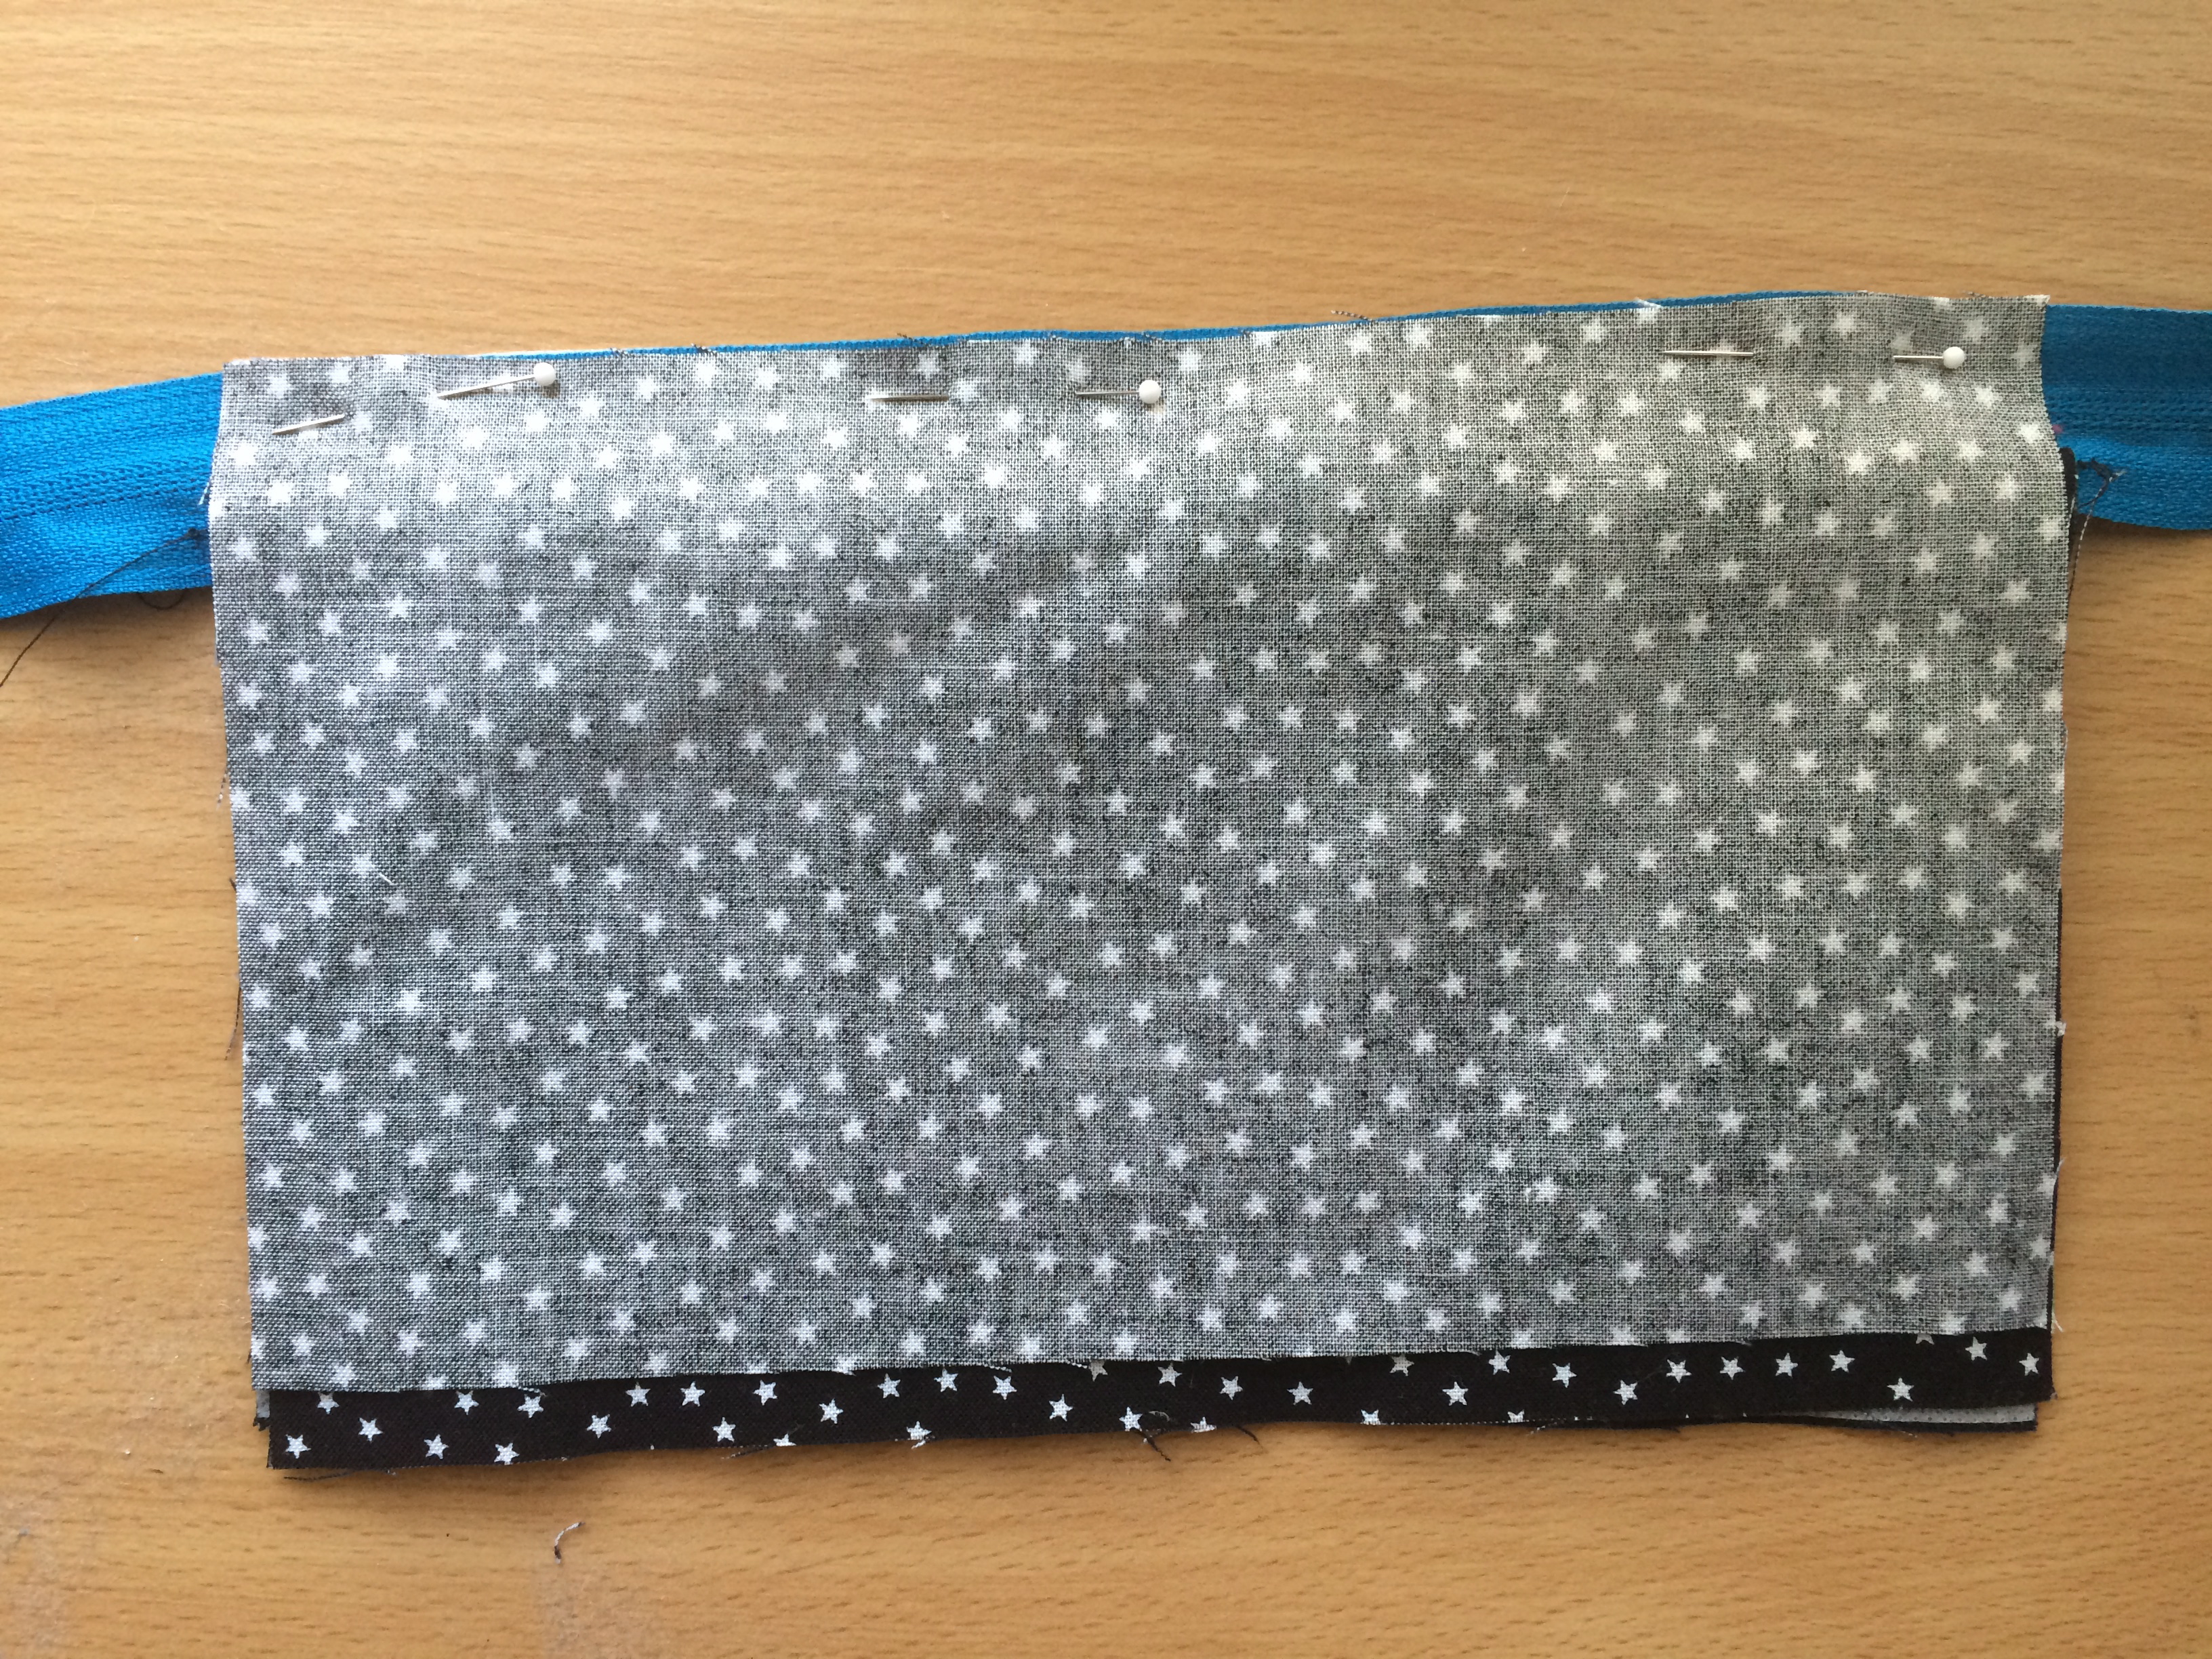

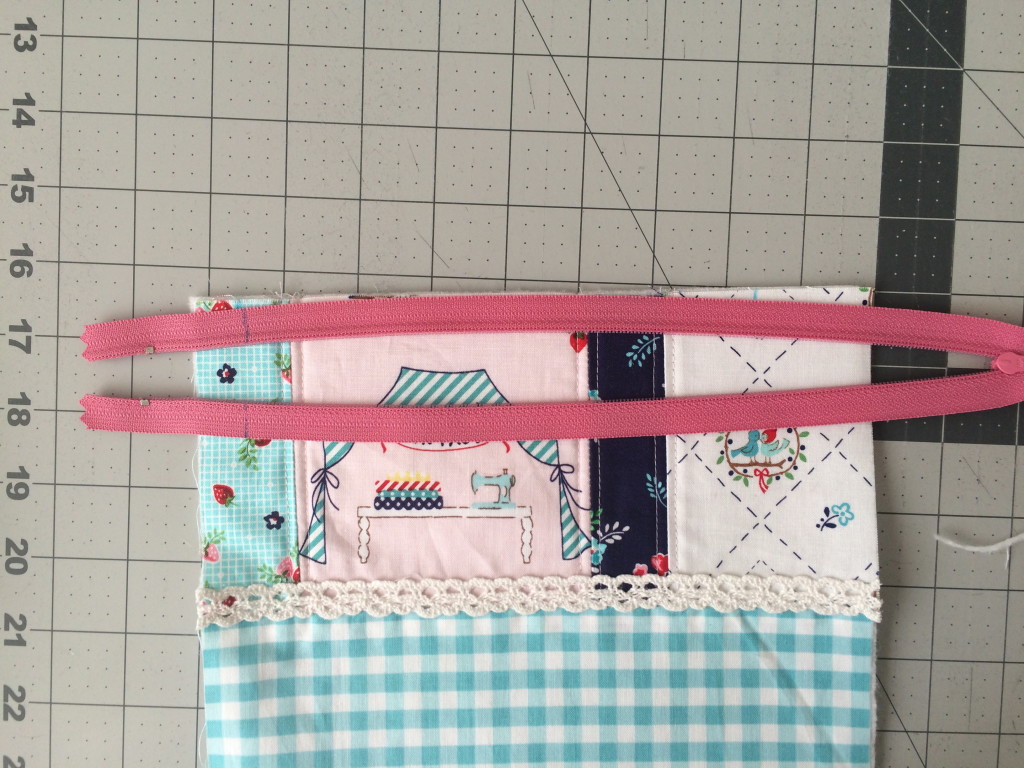
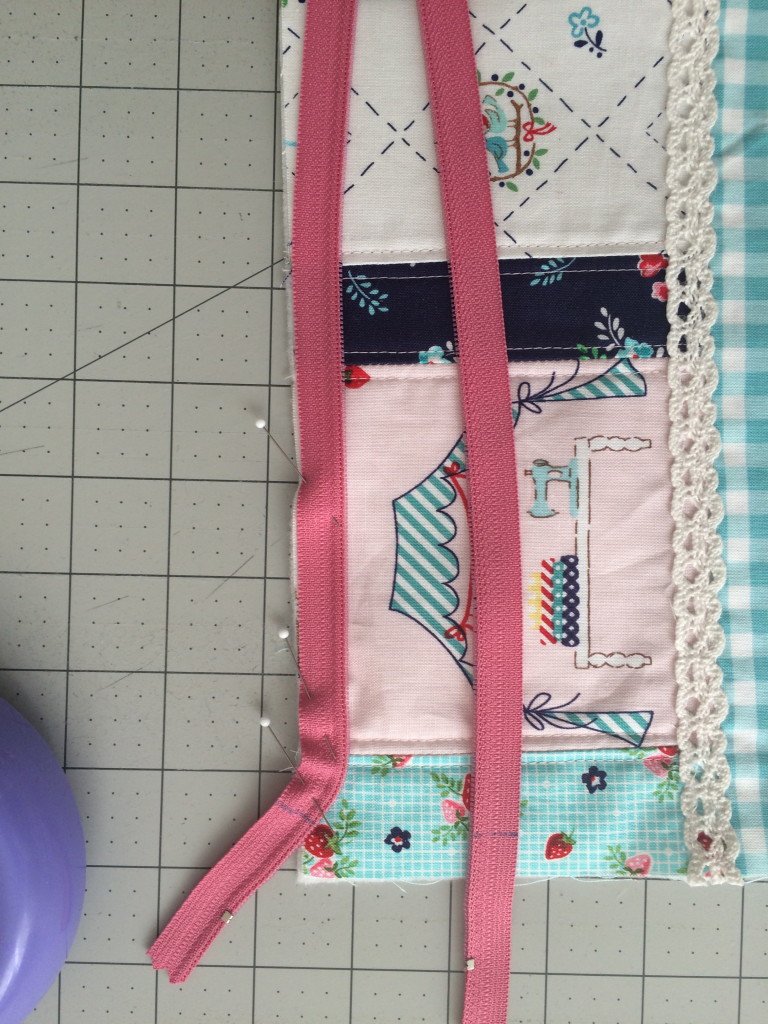
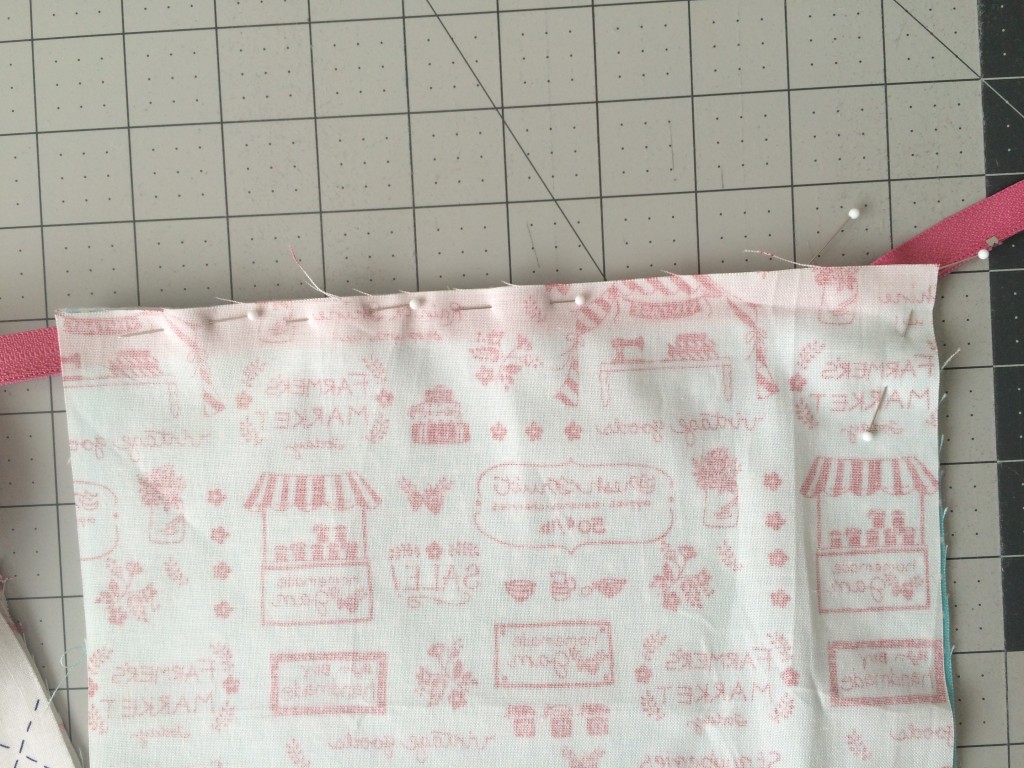
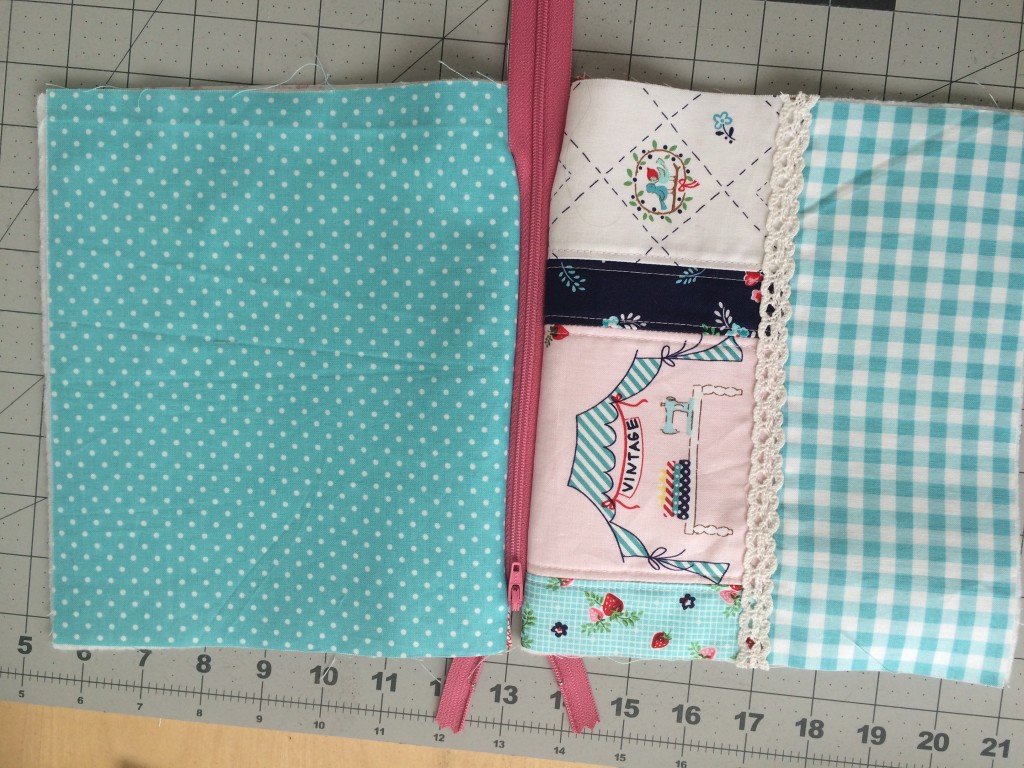
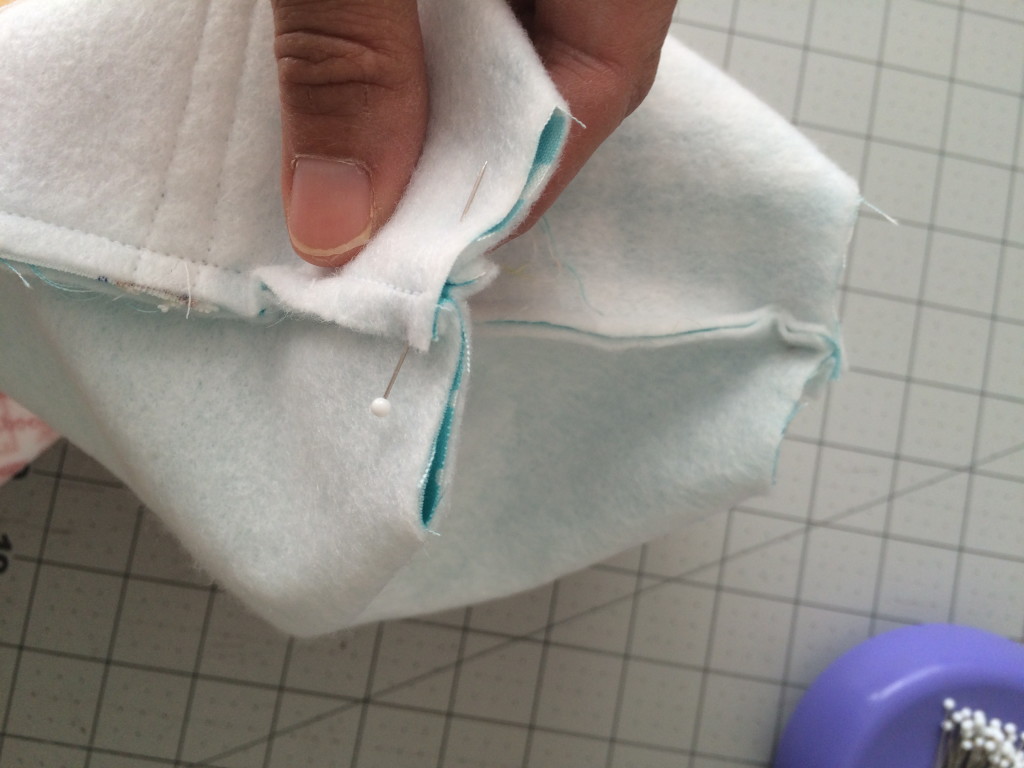
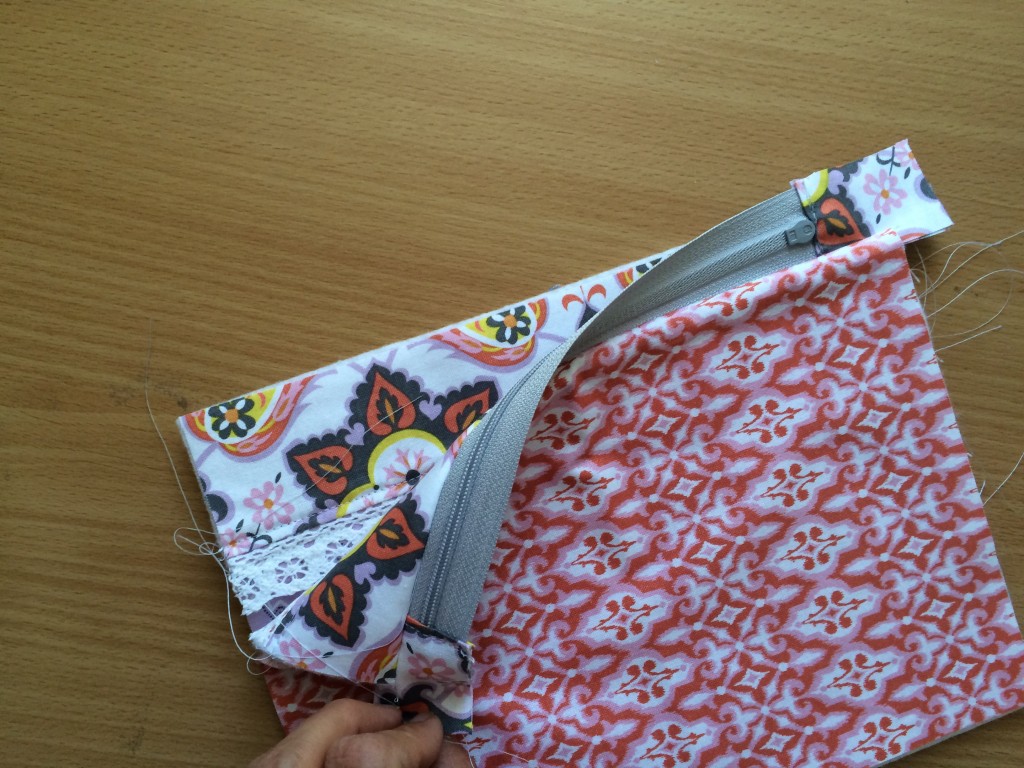
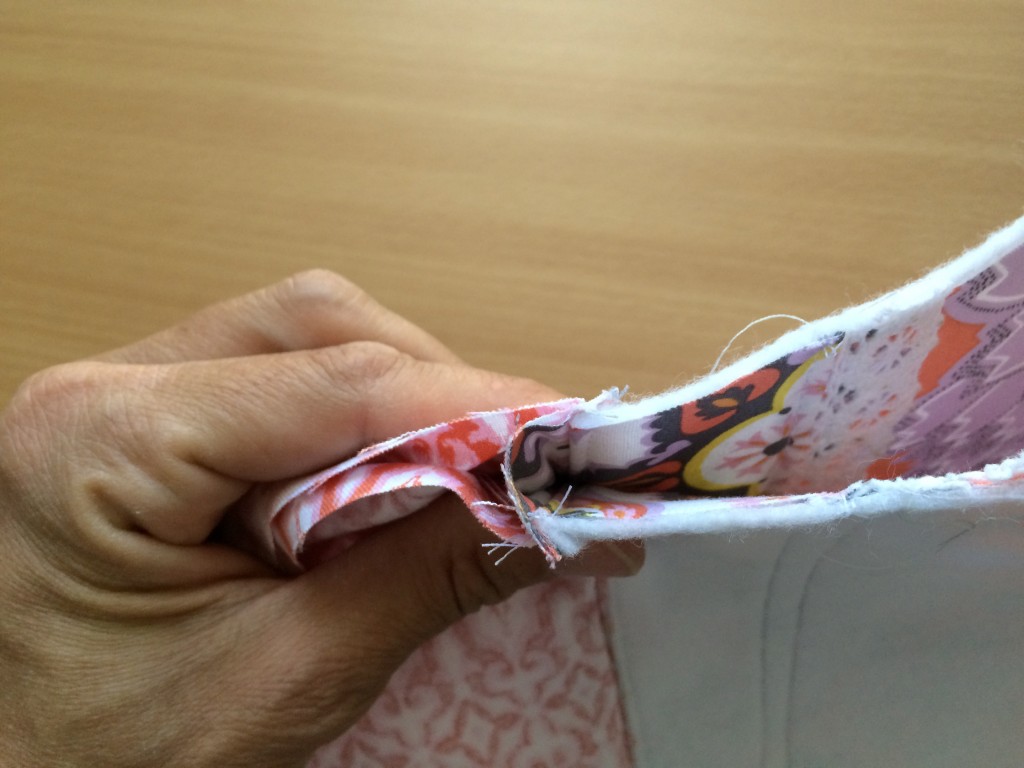
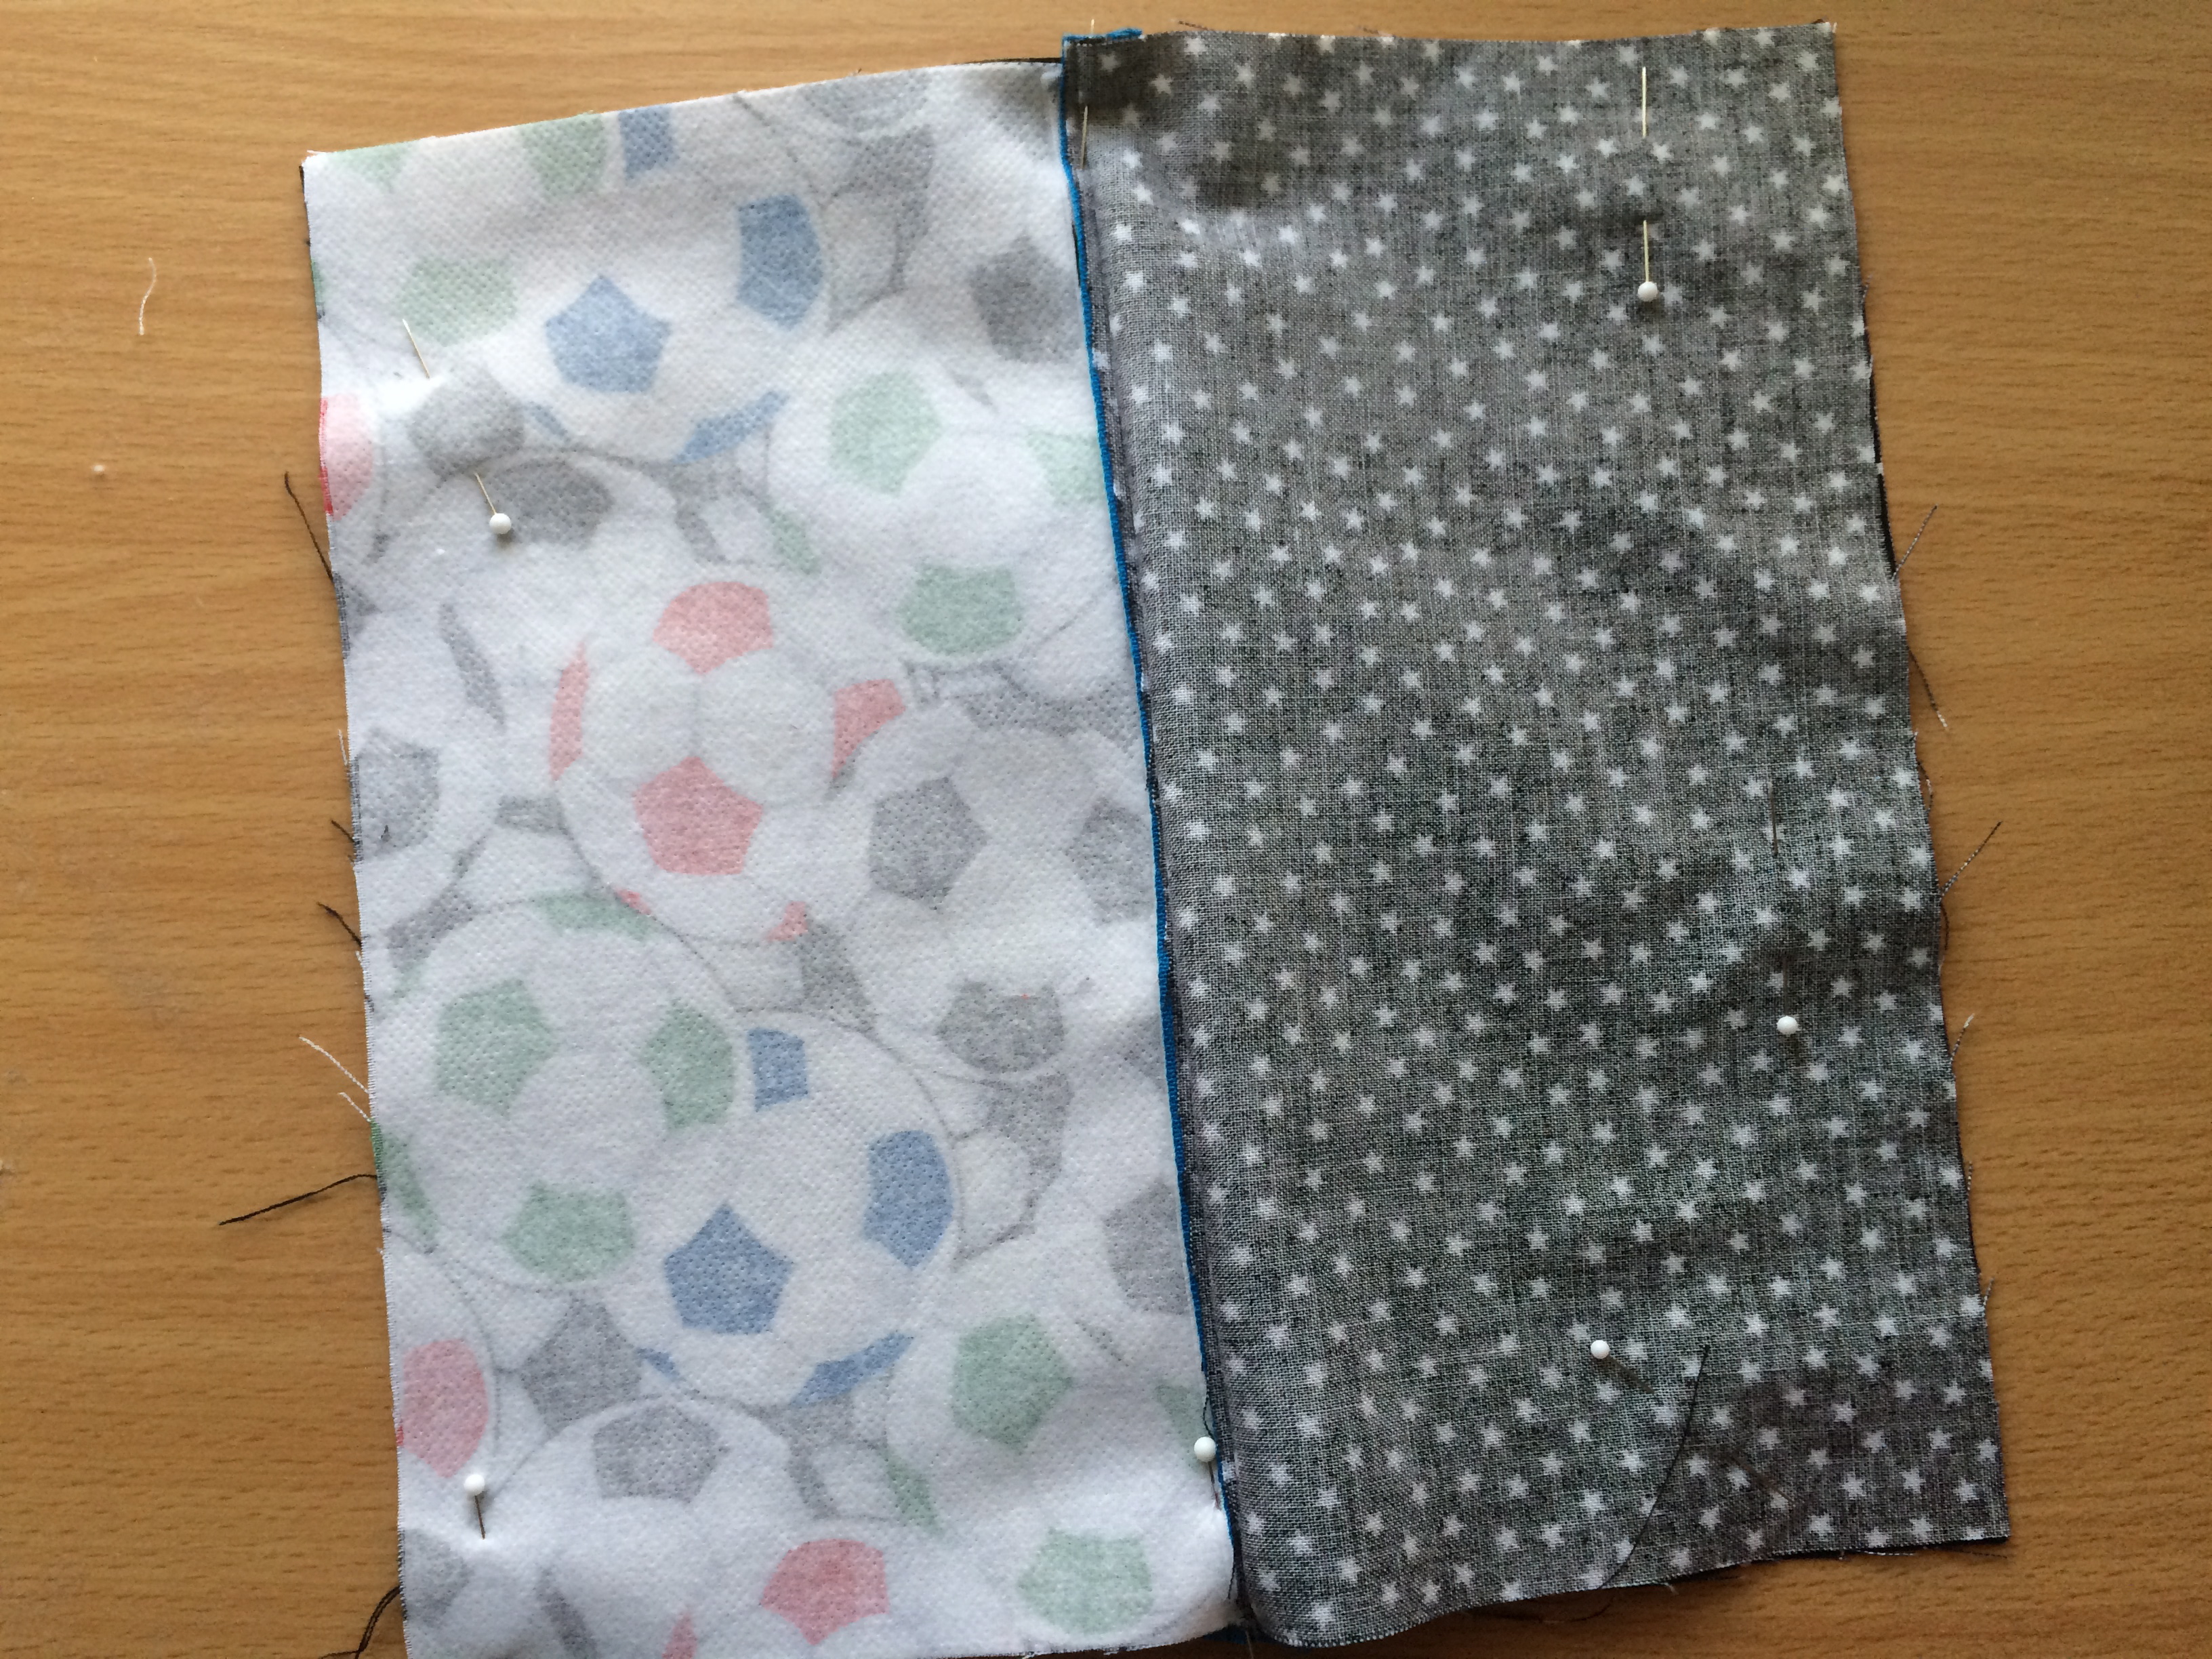
 Making sure the zipper is open, place right sides of the outer bag together and right sides of the lining together and pin all the way around.
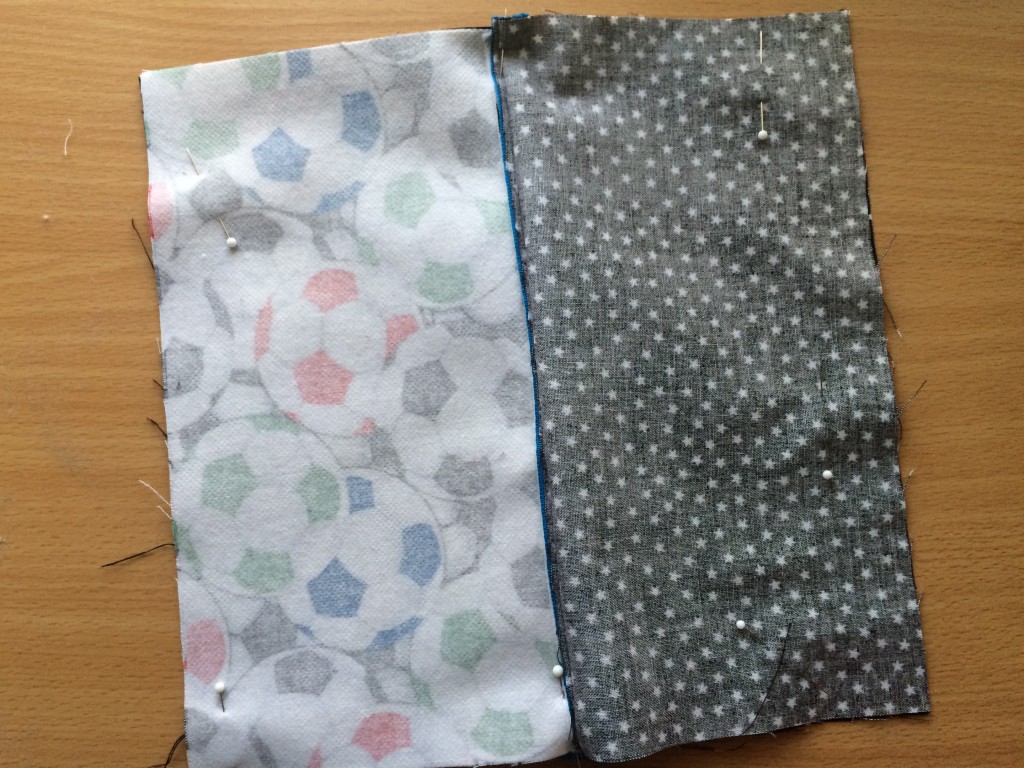
 What do you get when you cross “
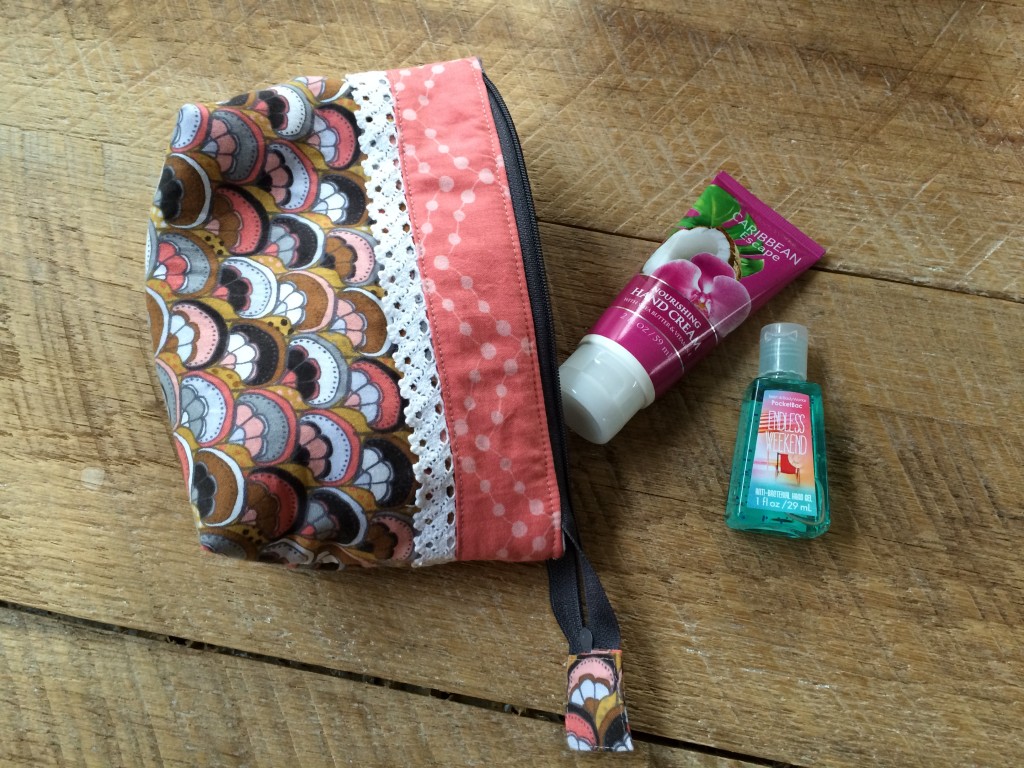


