Search Results for: kitchen towel

Sizzix Bunny Kitchen Towel

bunny towel

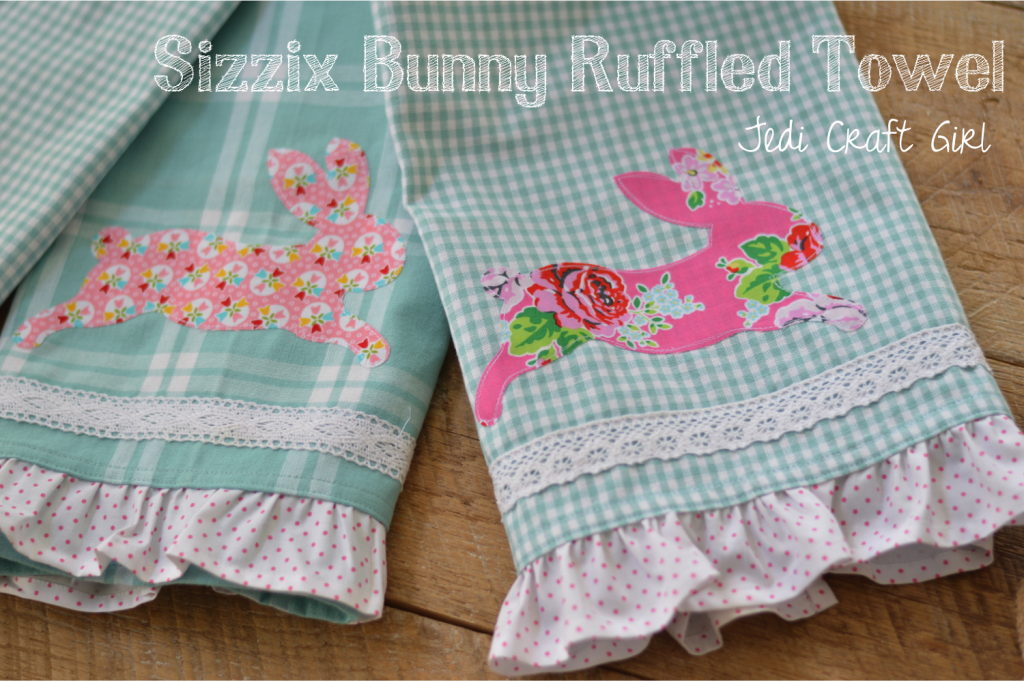
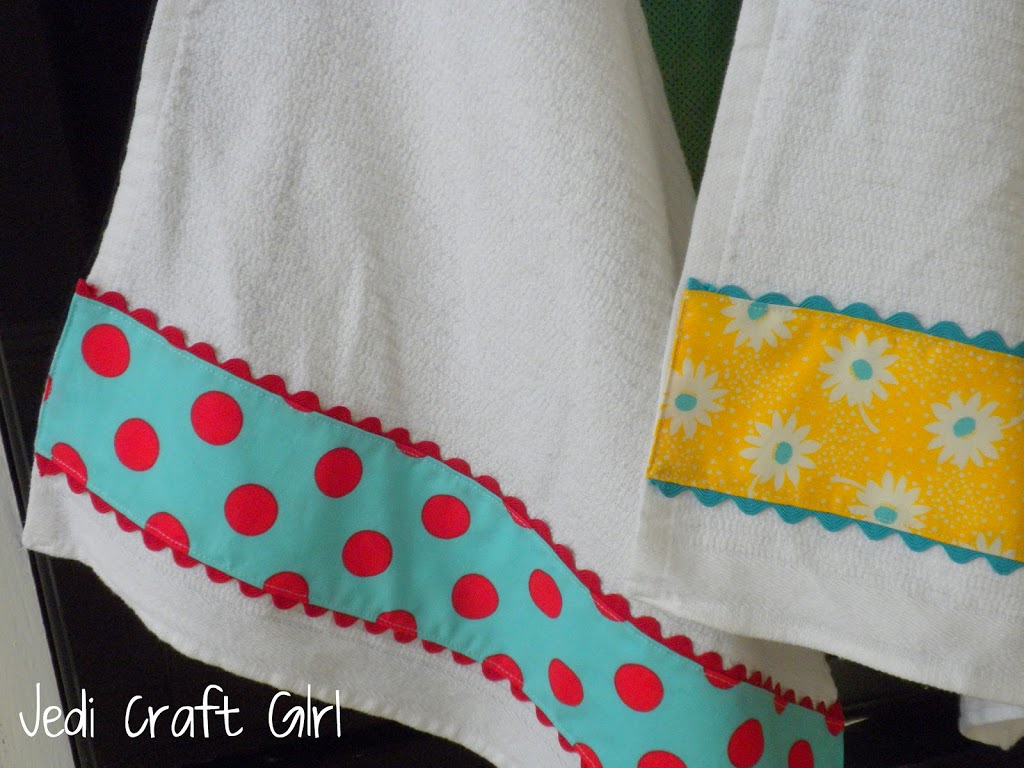
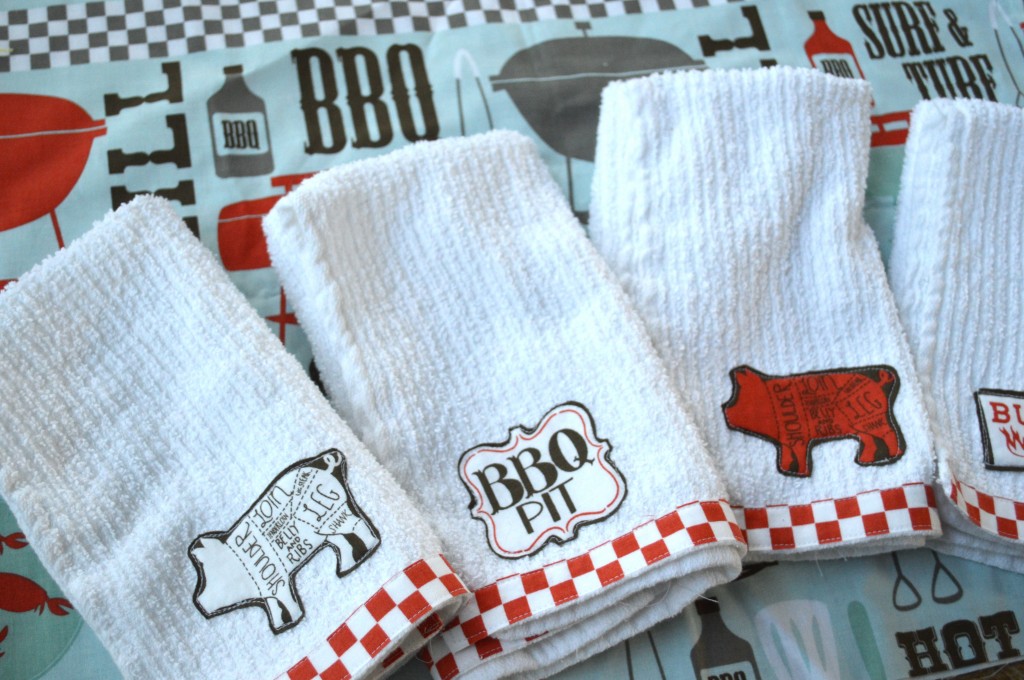
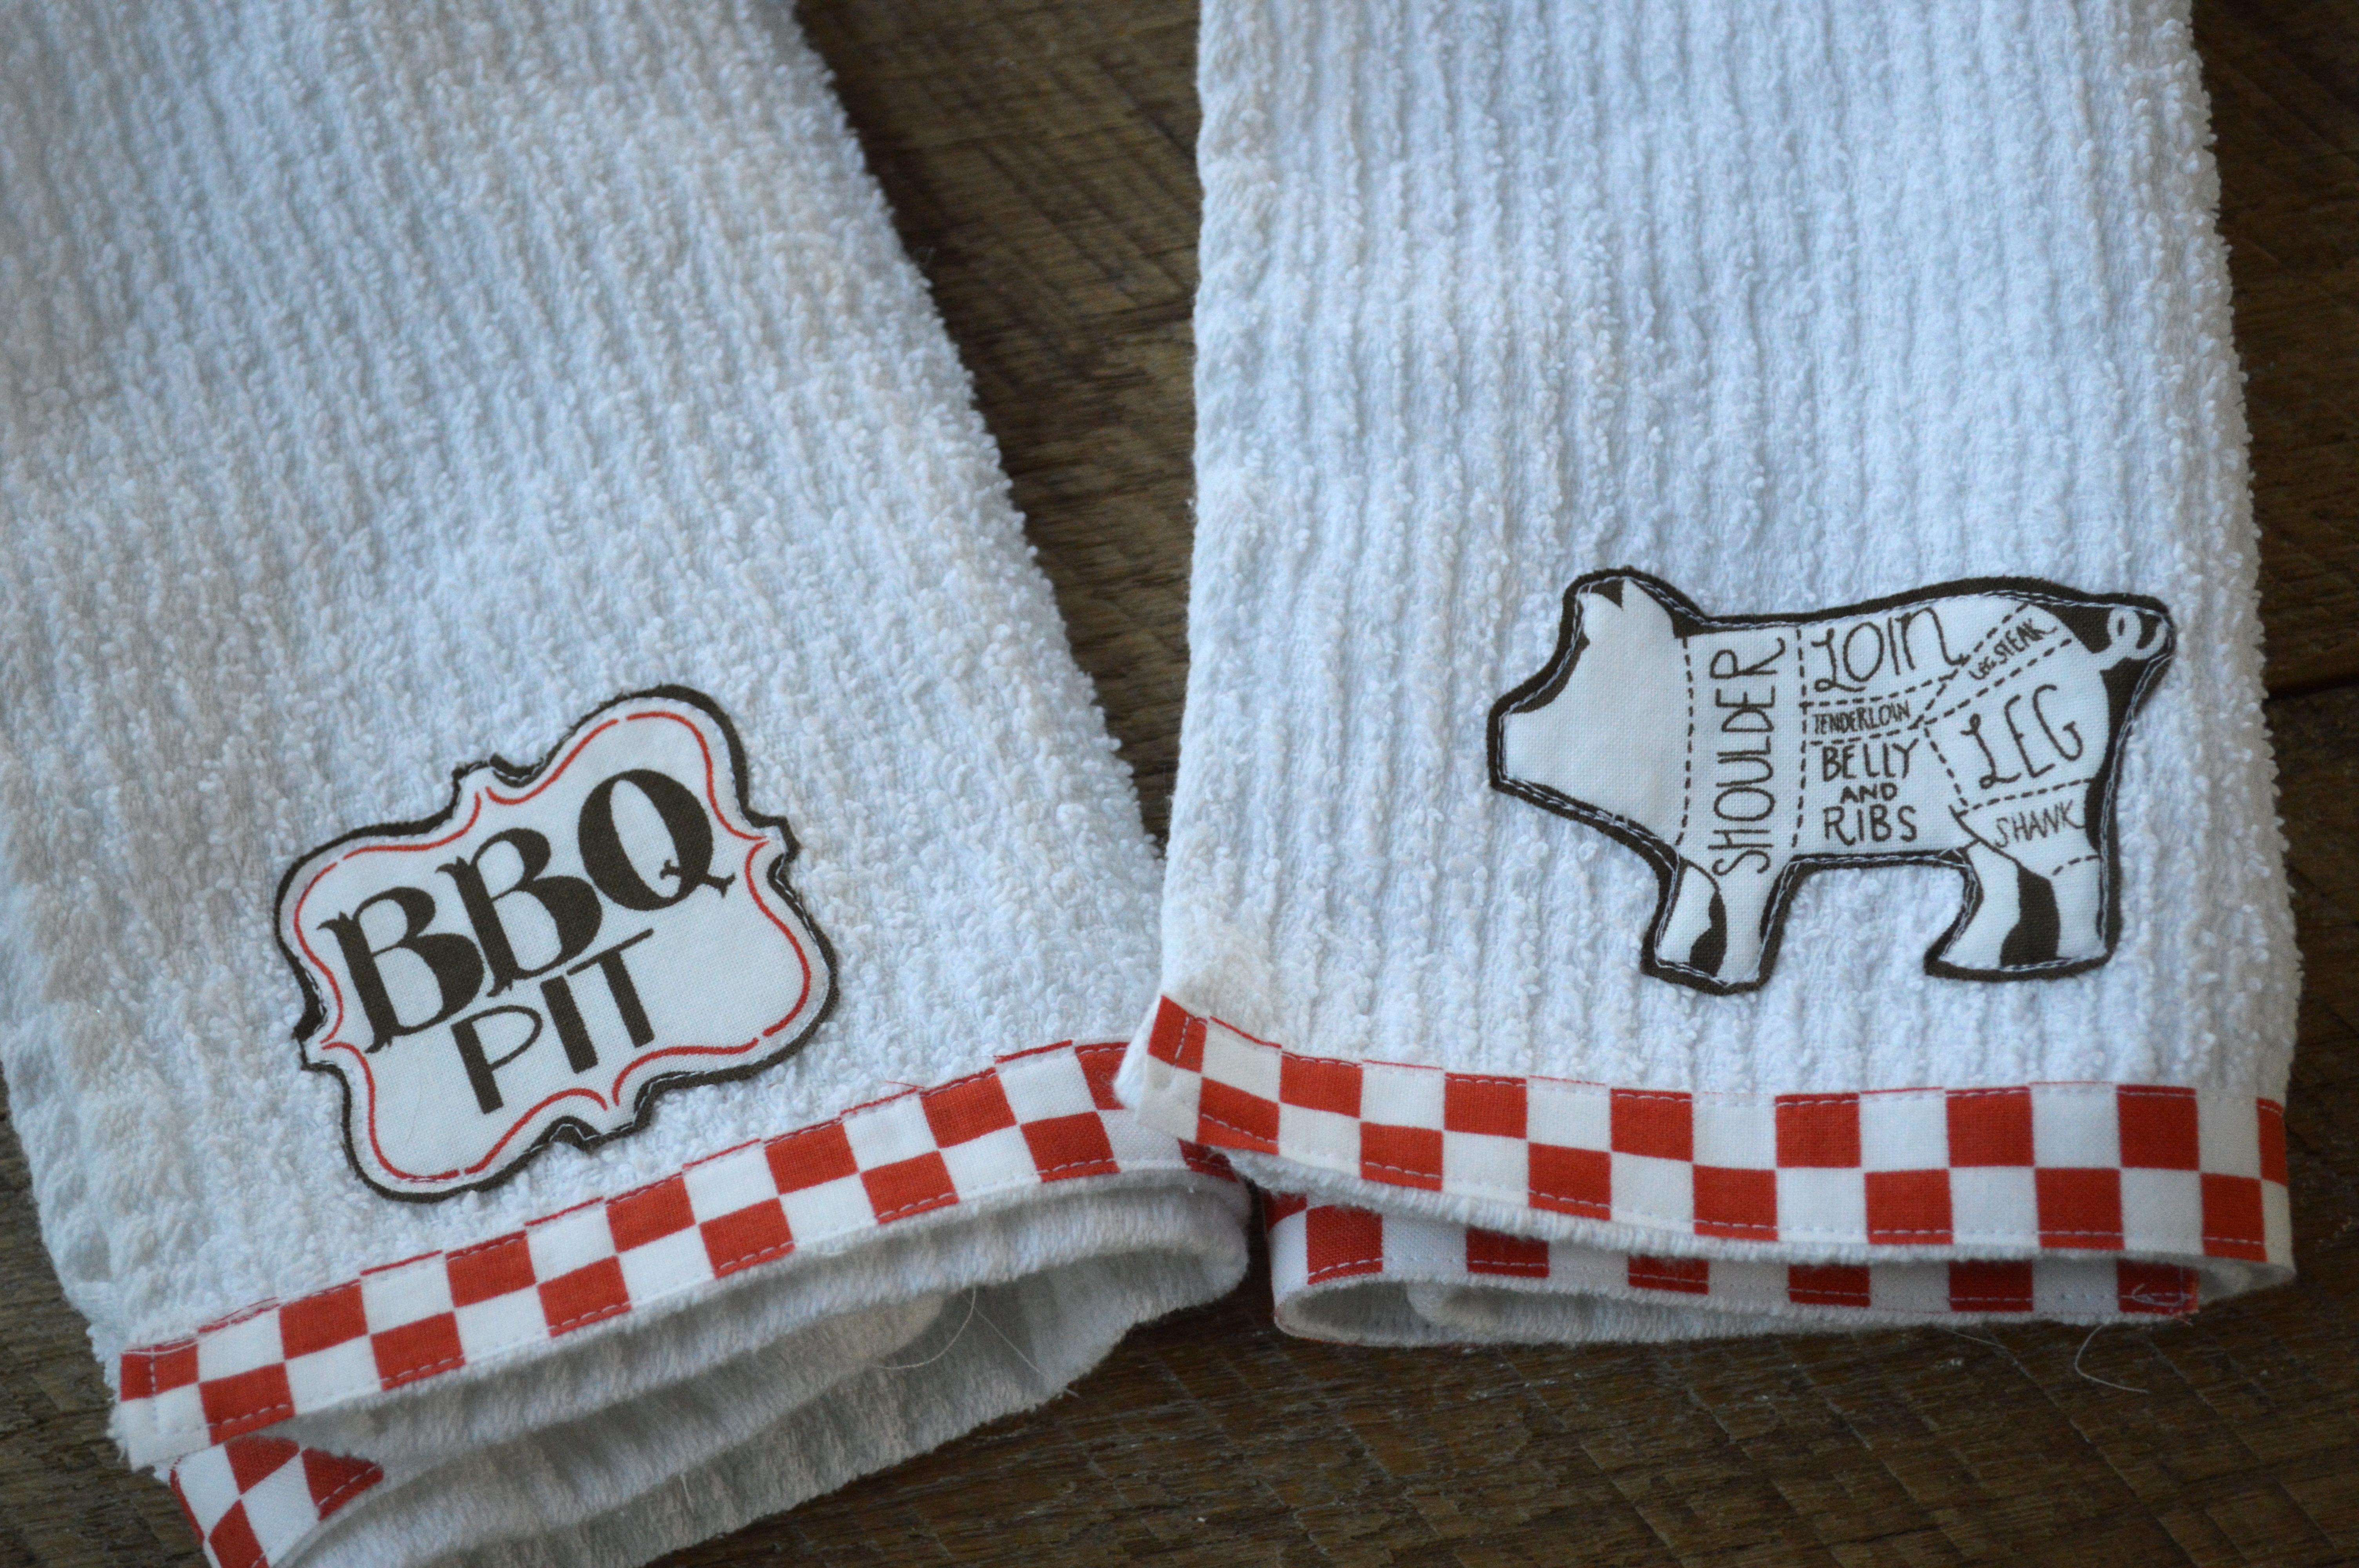
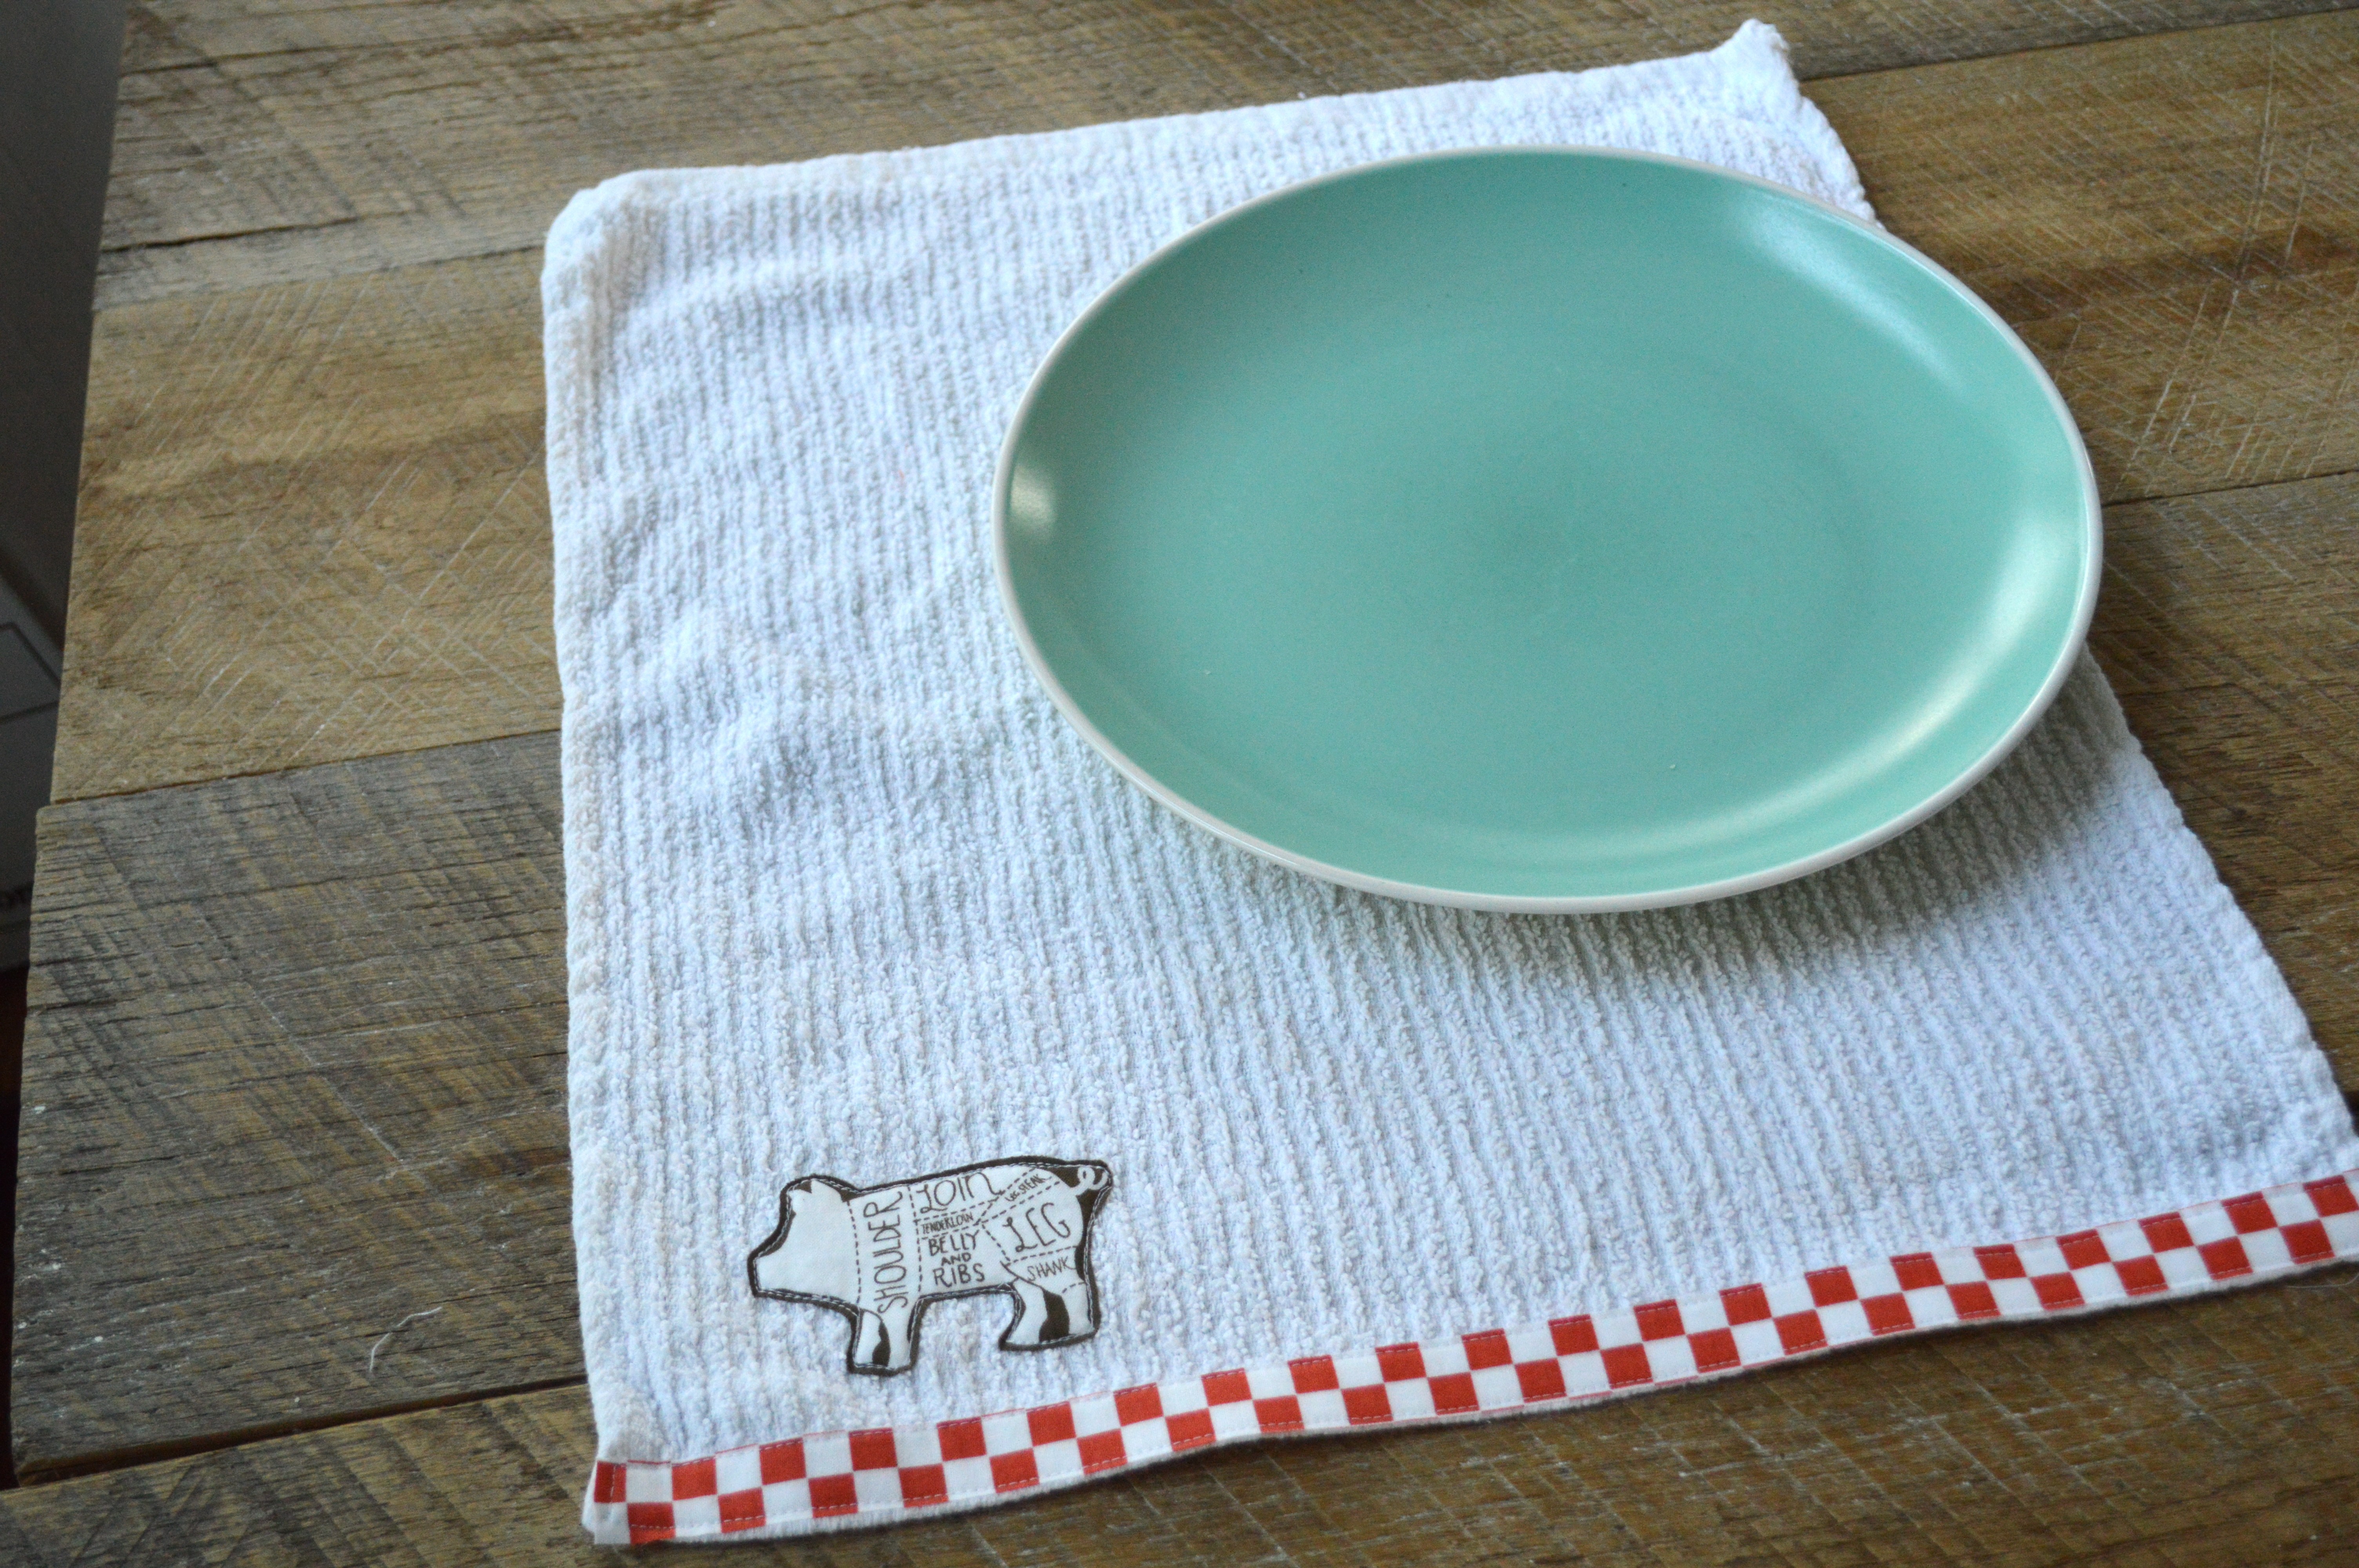
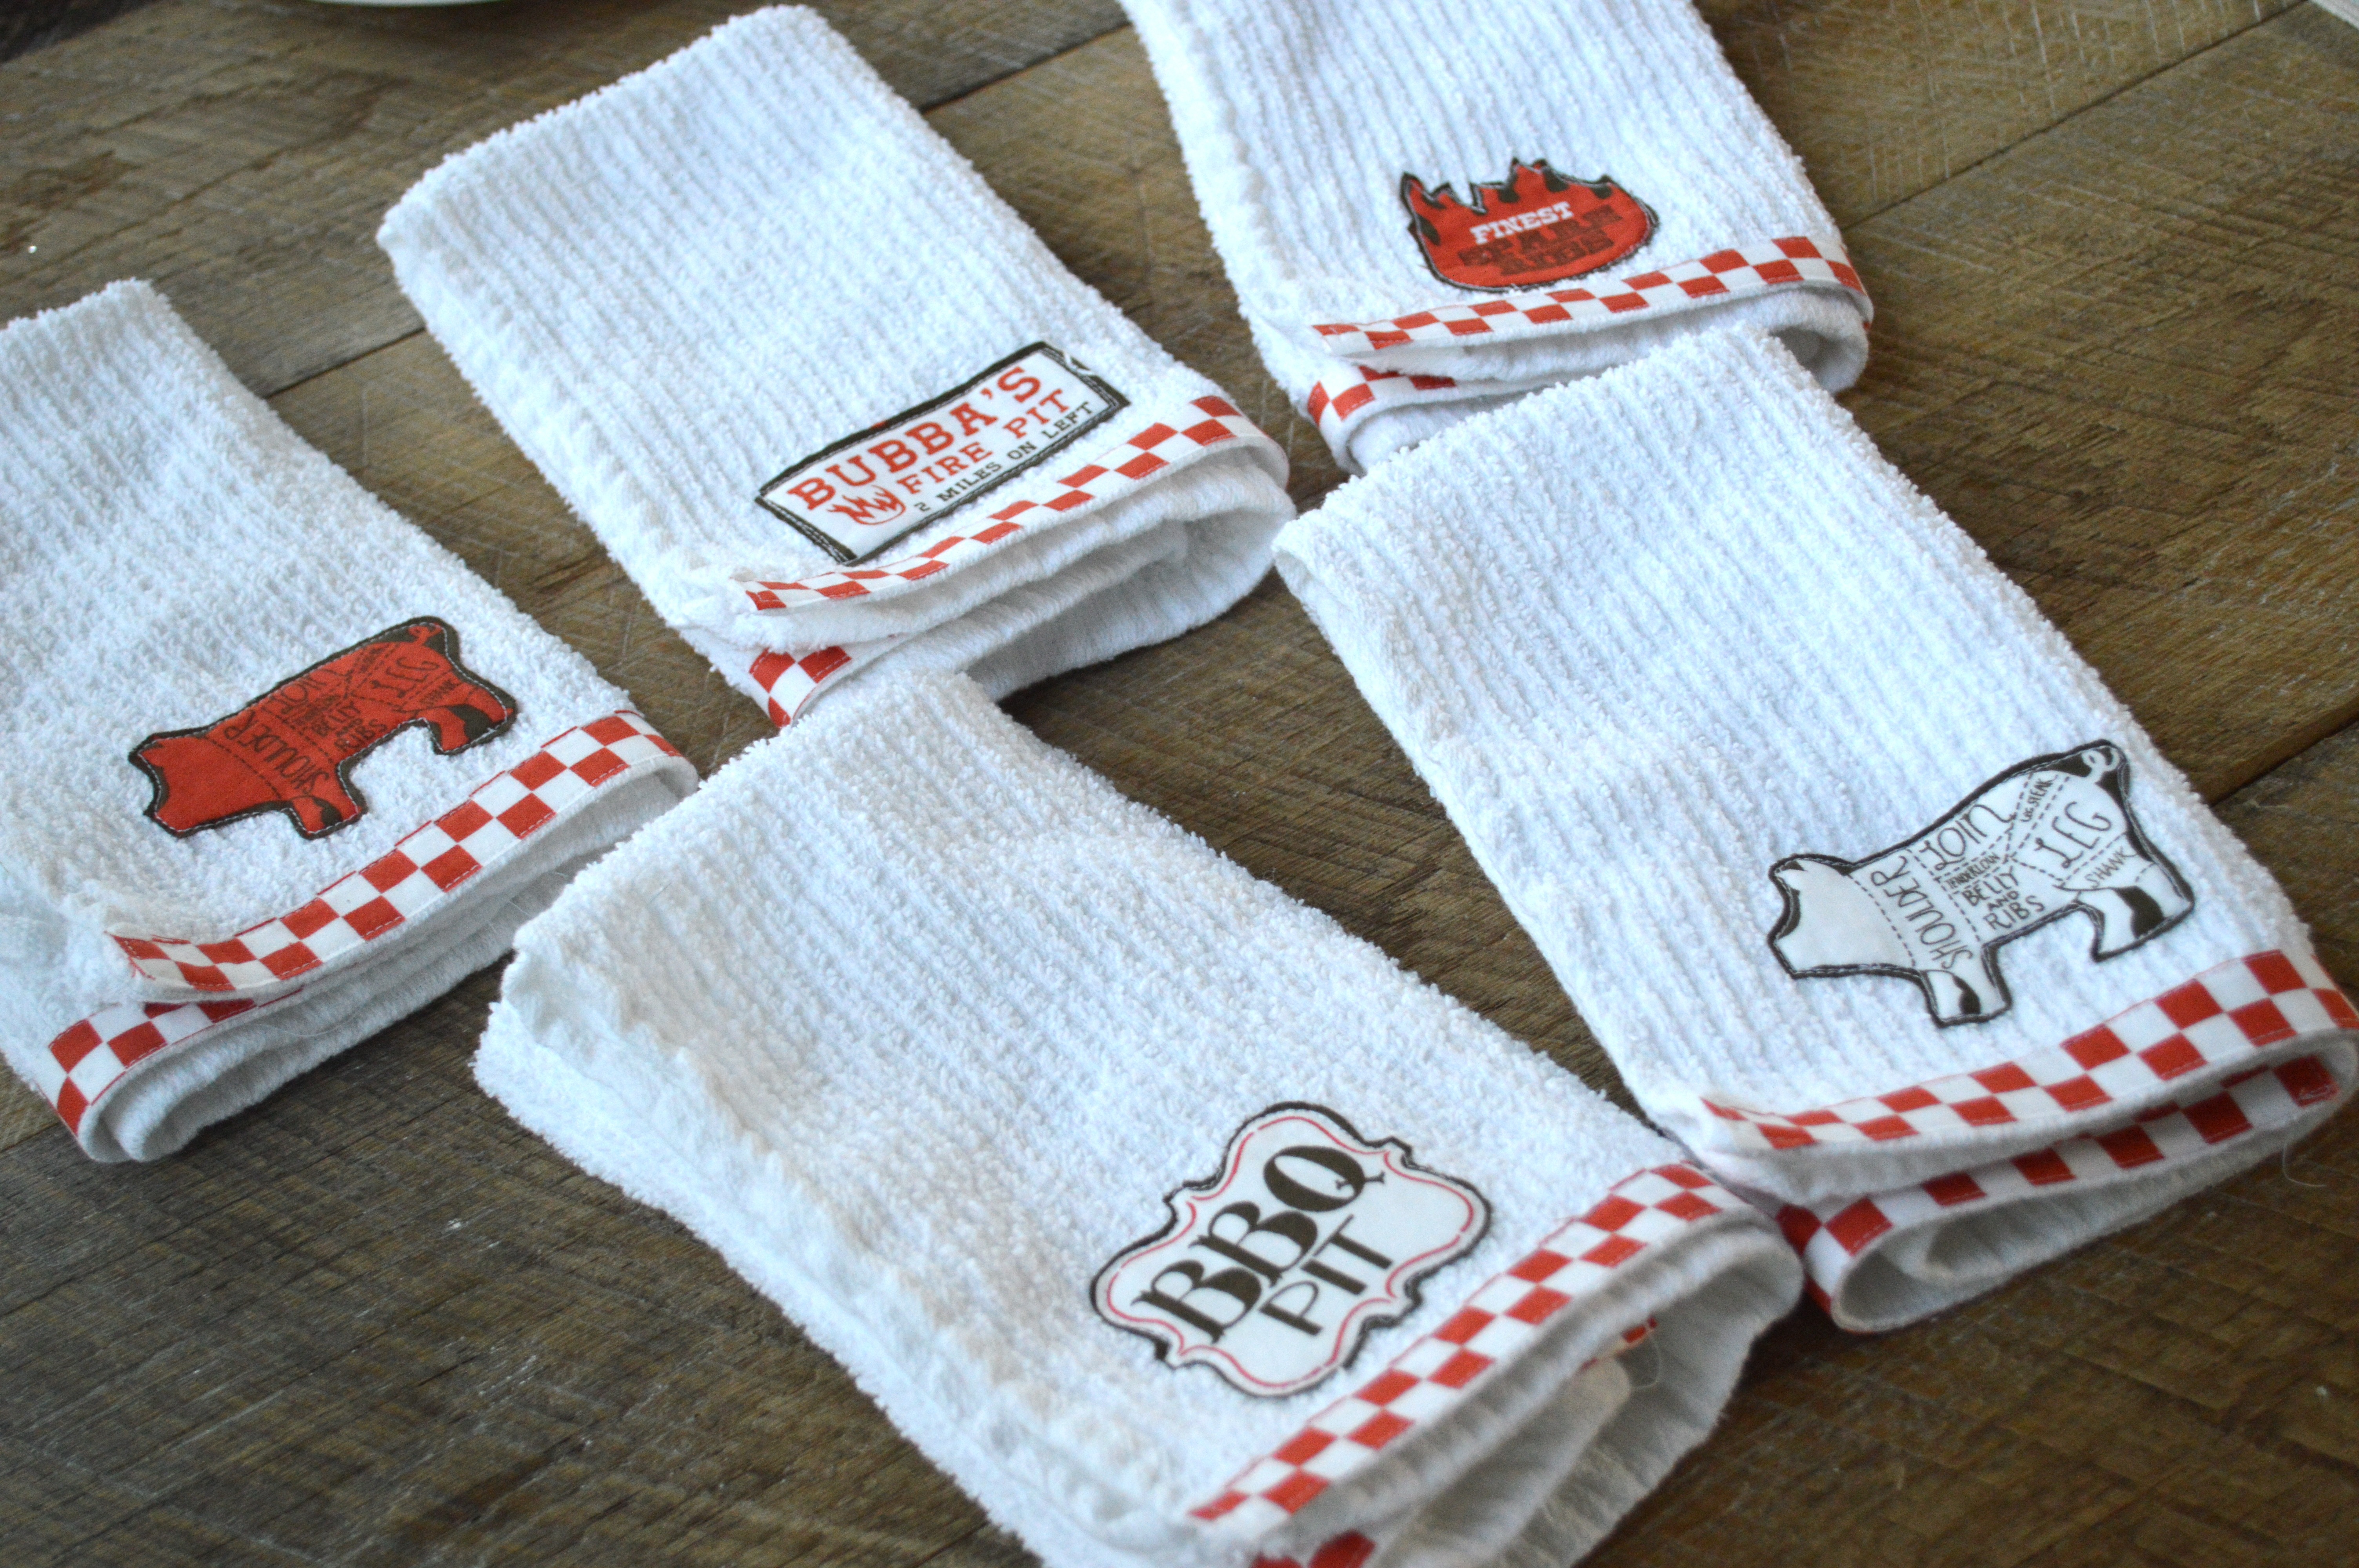
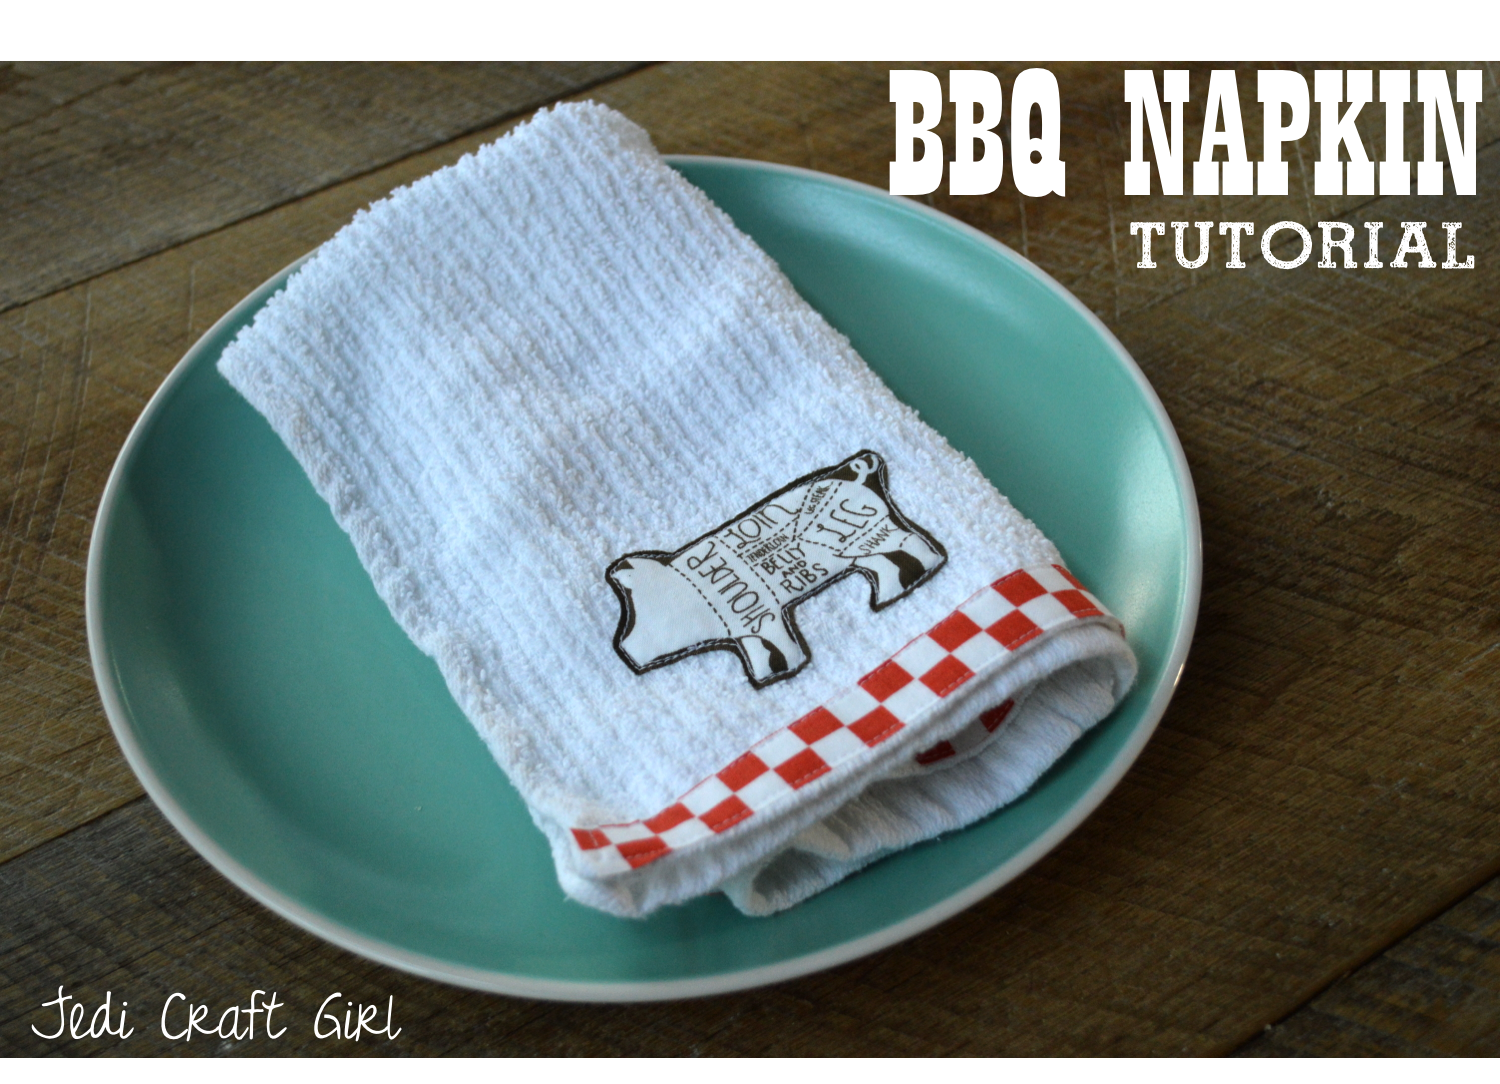
Today, on the Sizzix blog, I am sharing one of my favorite little projects to sew: Kitchen Towels!  Hop on over there for the full tutorial!

sizzix bunny towel 5 
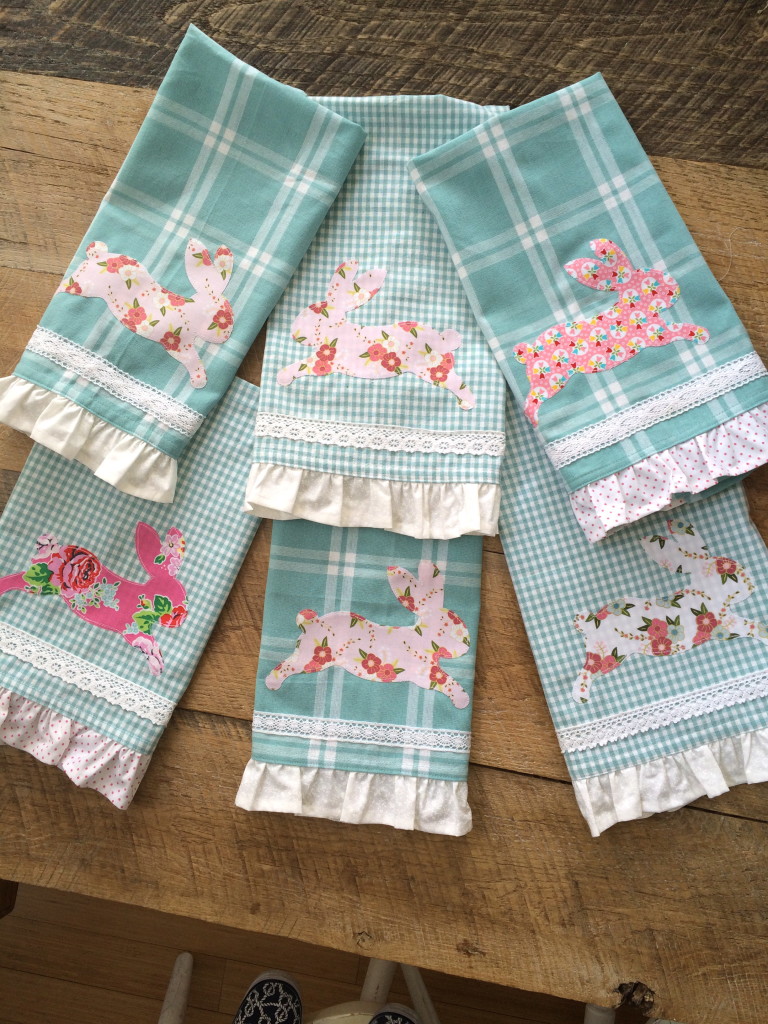
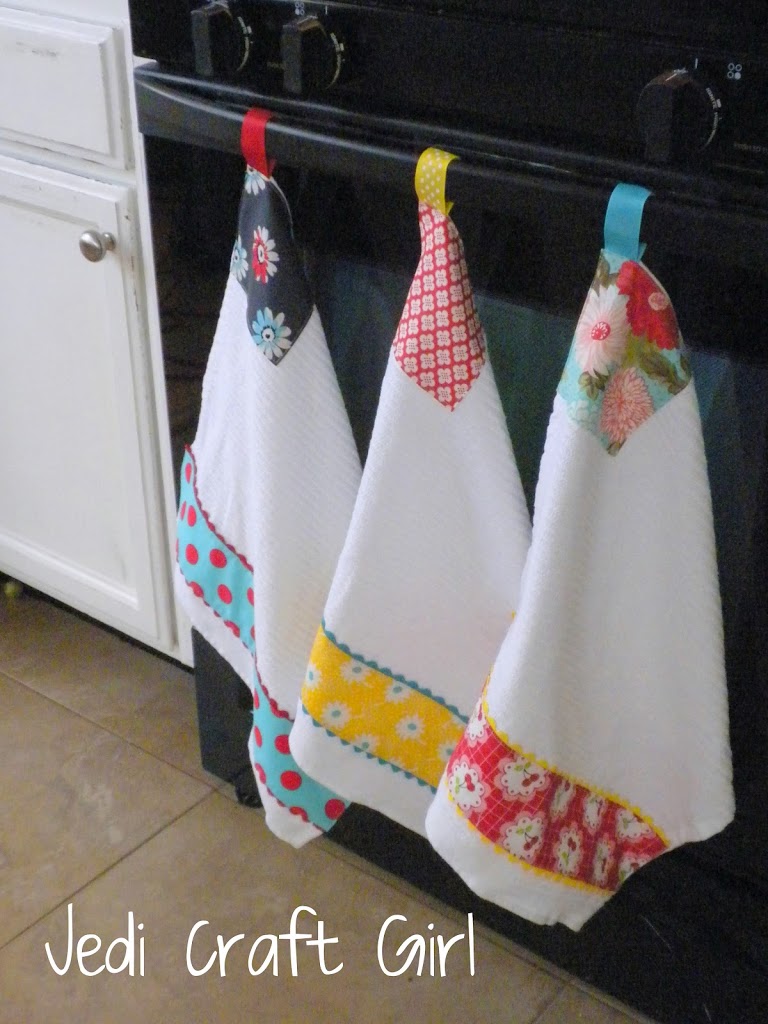
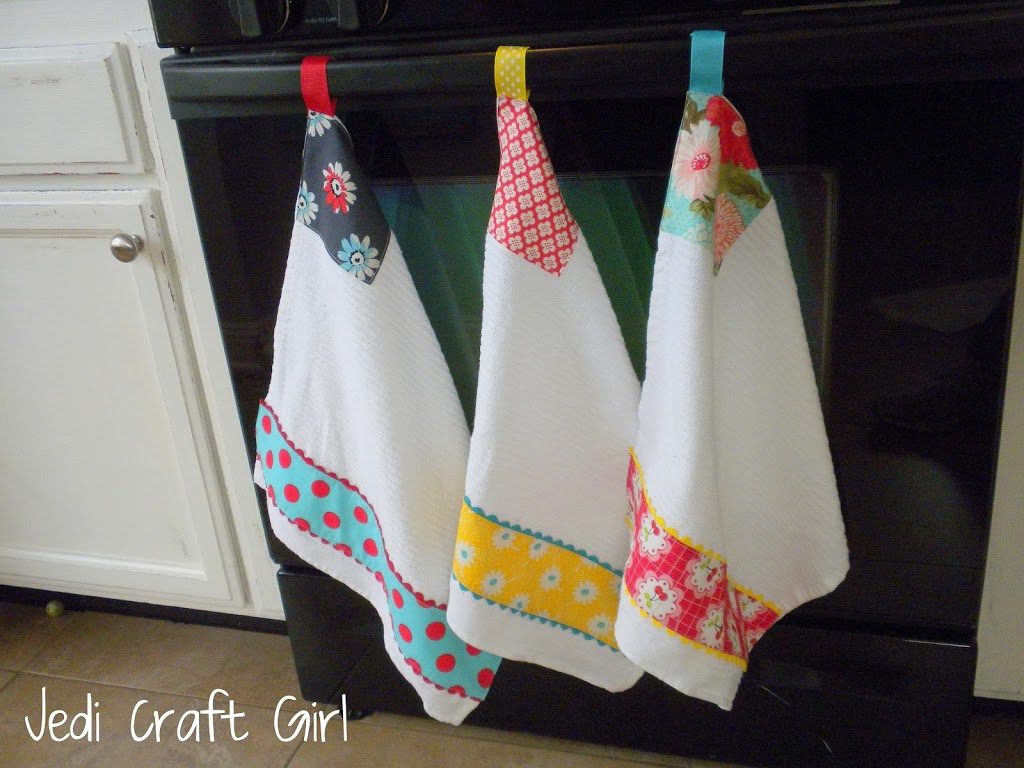
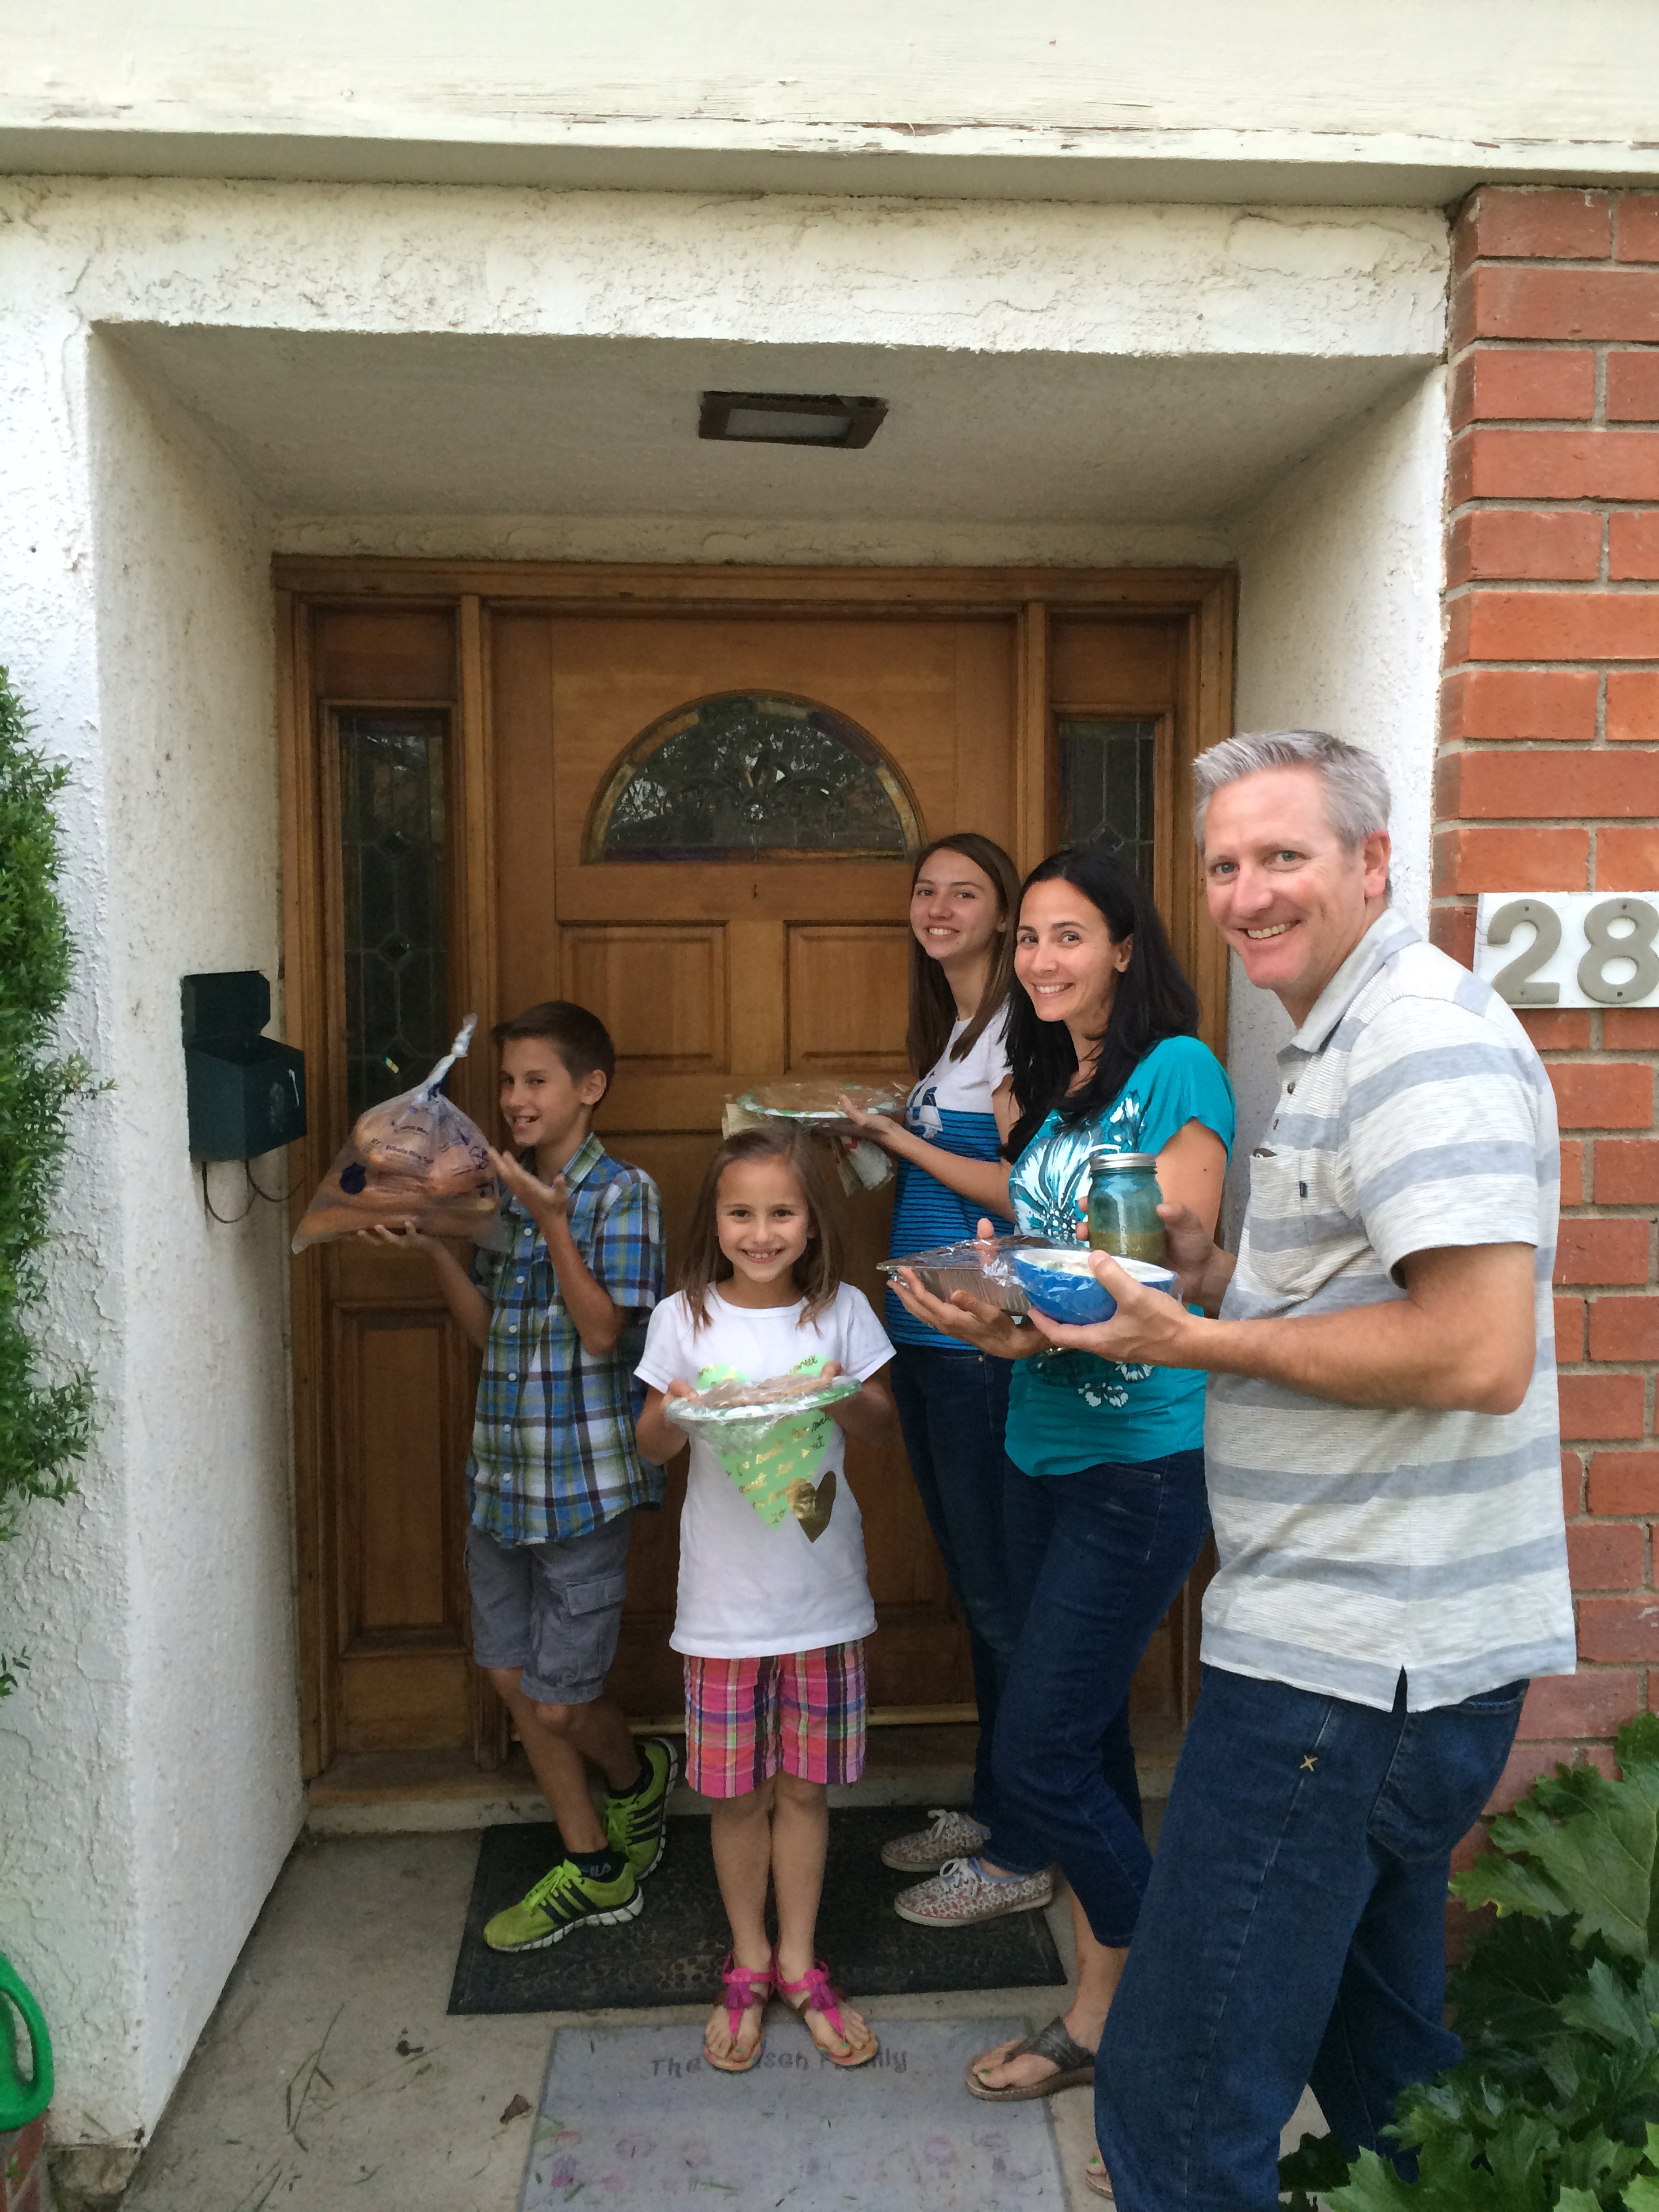
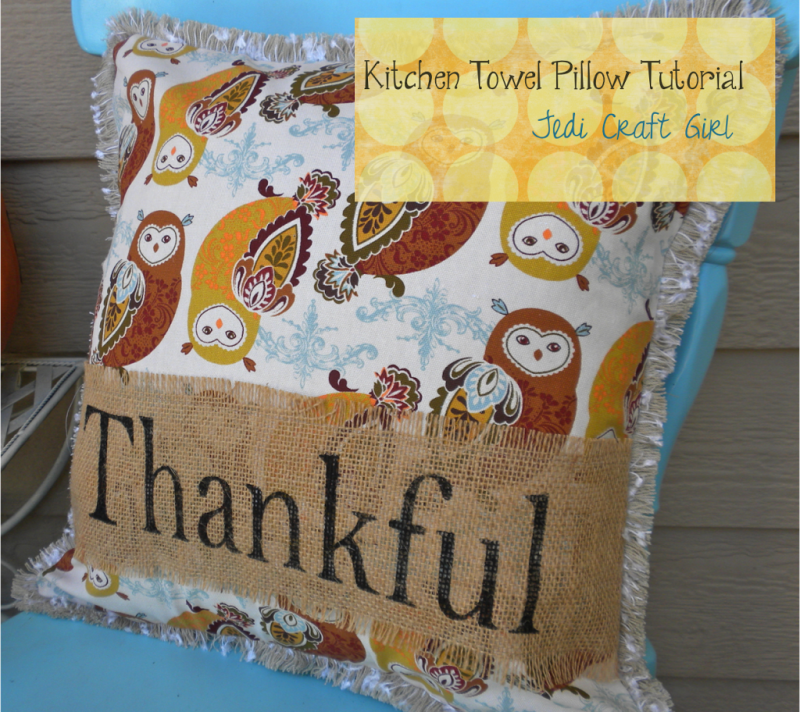
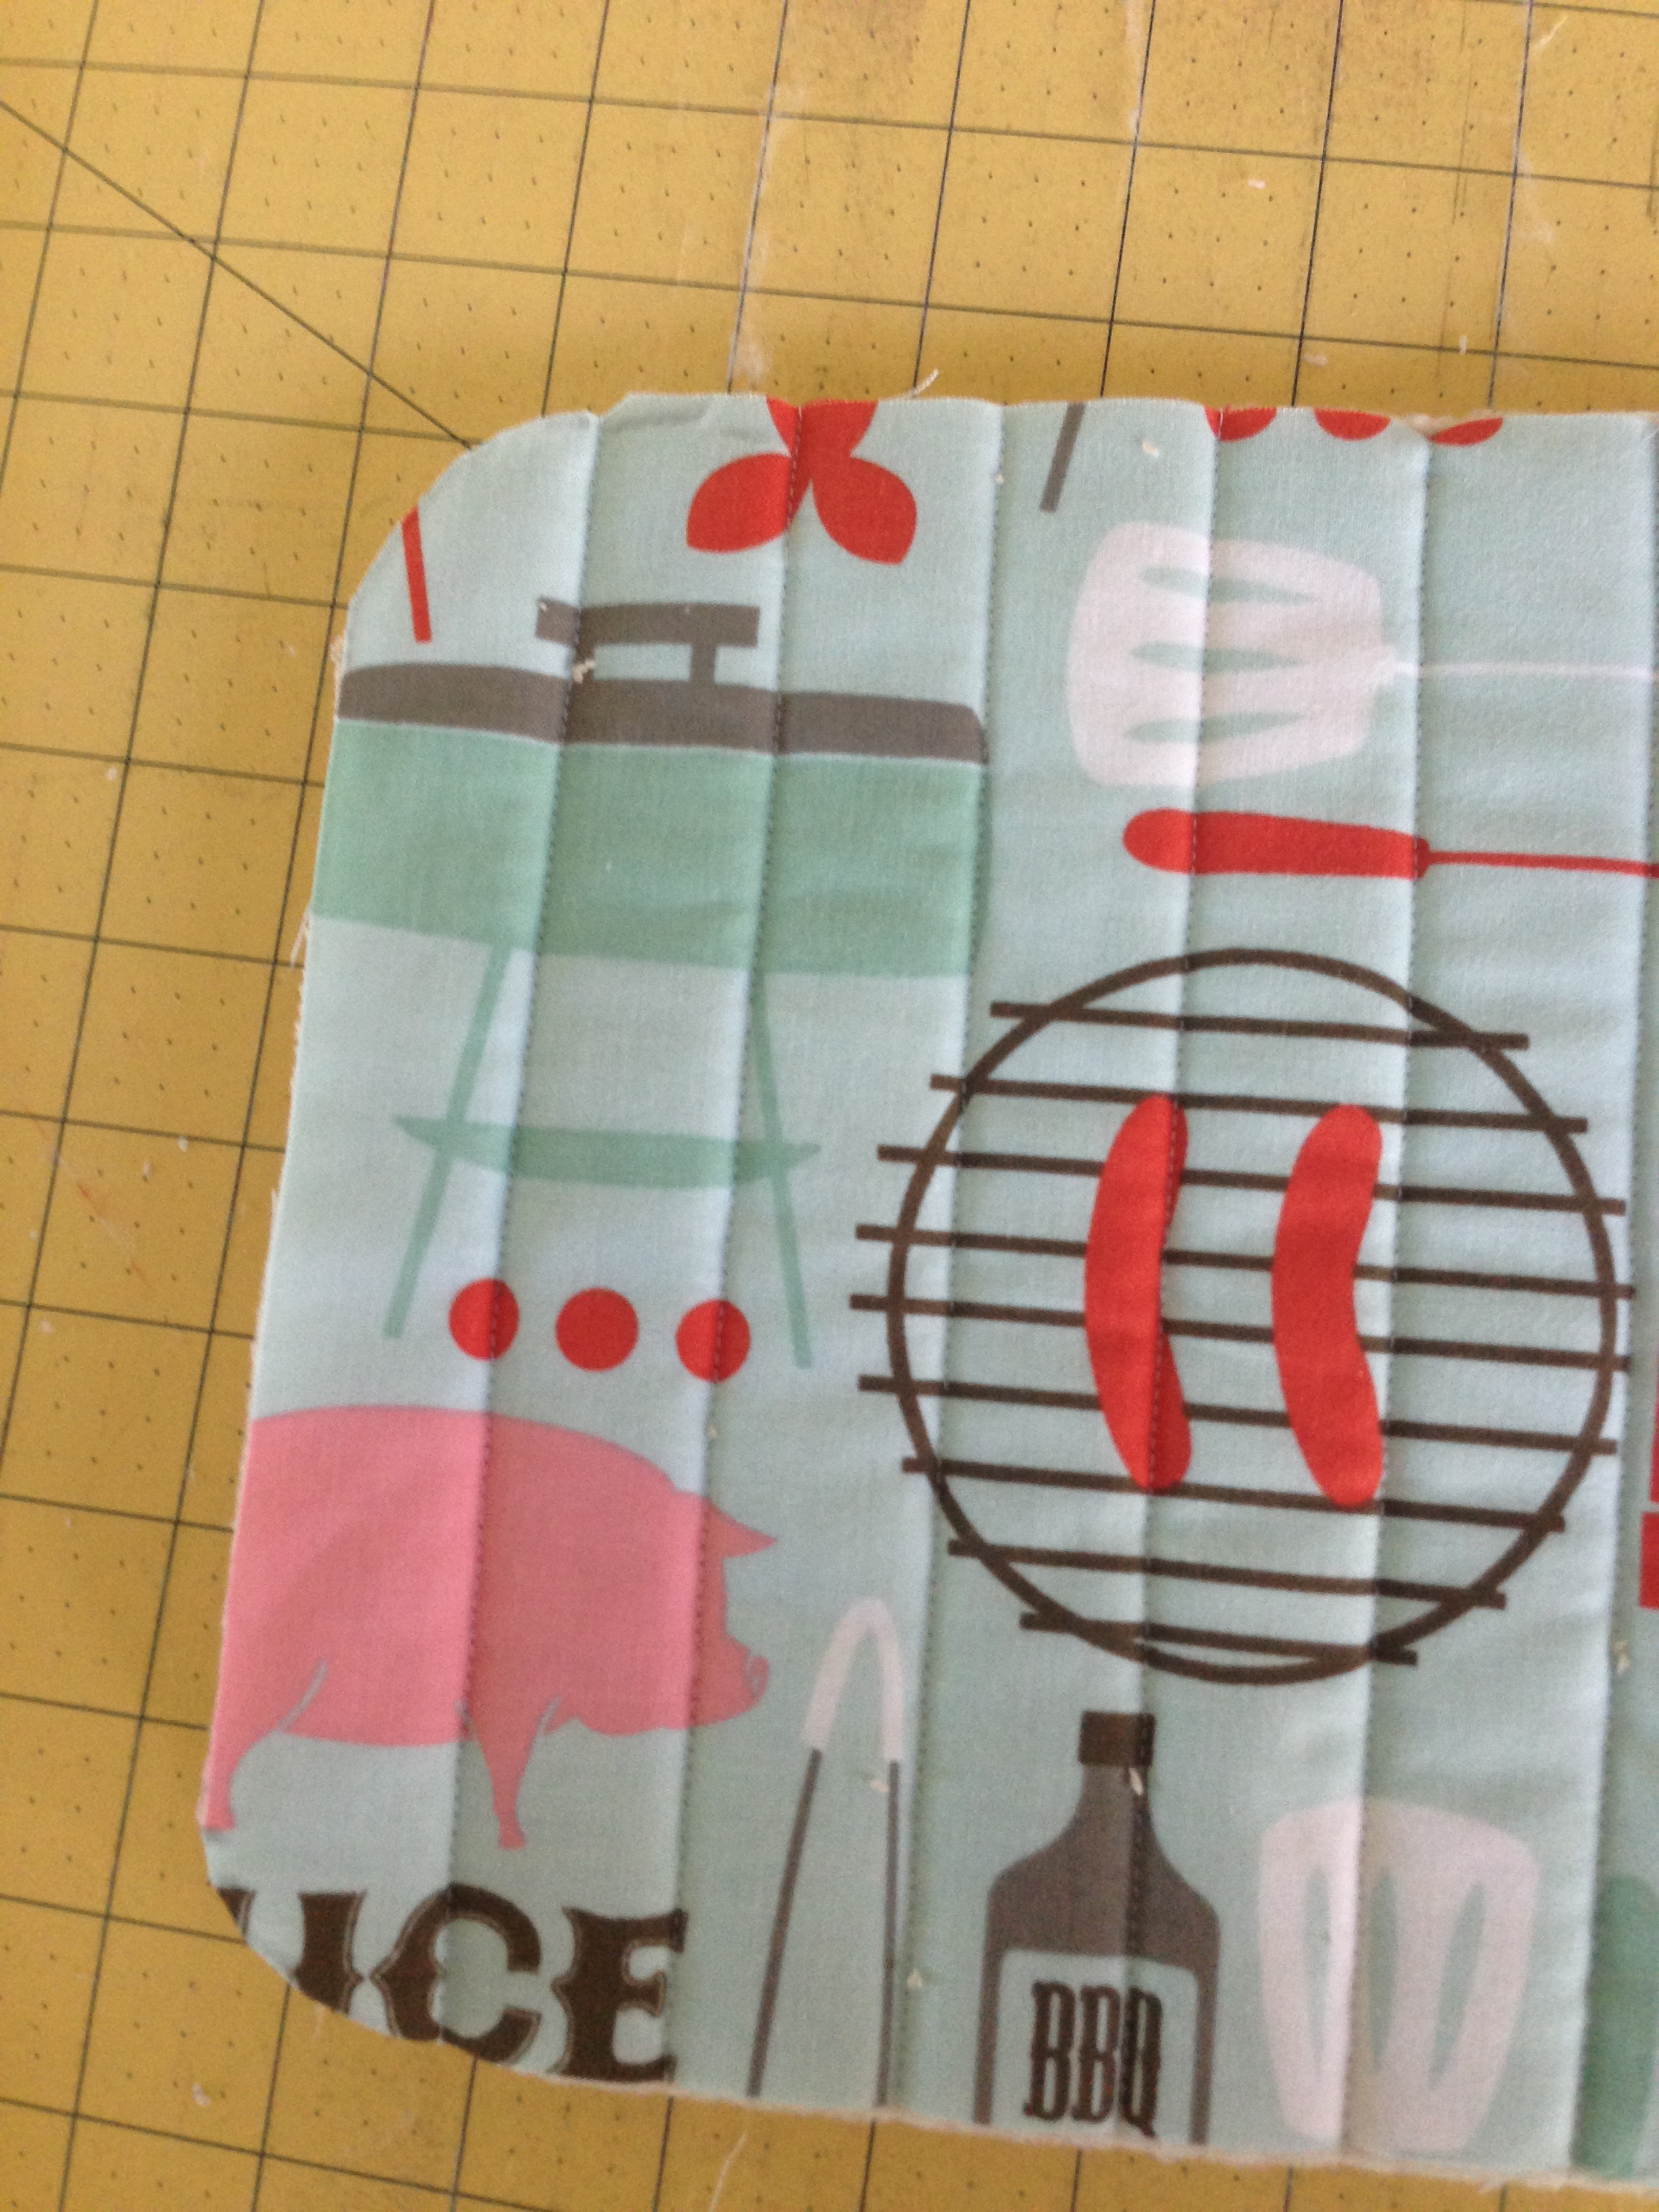
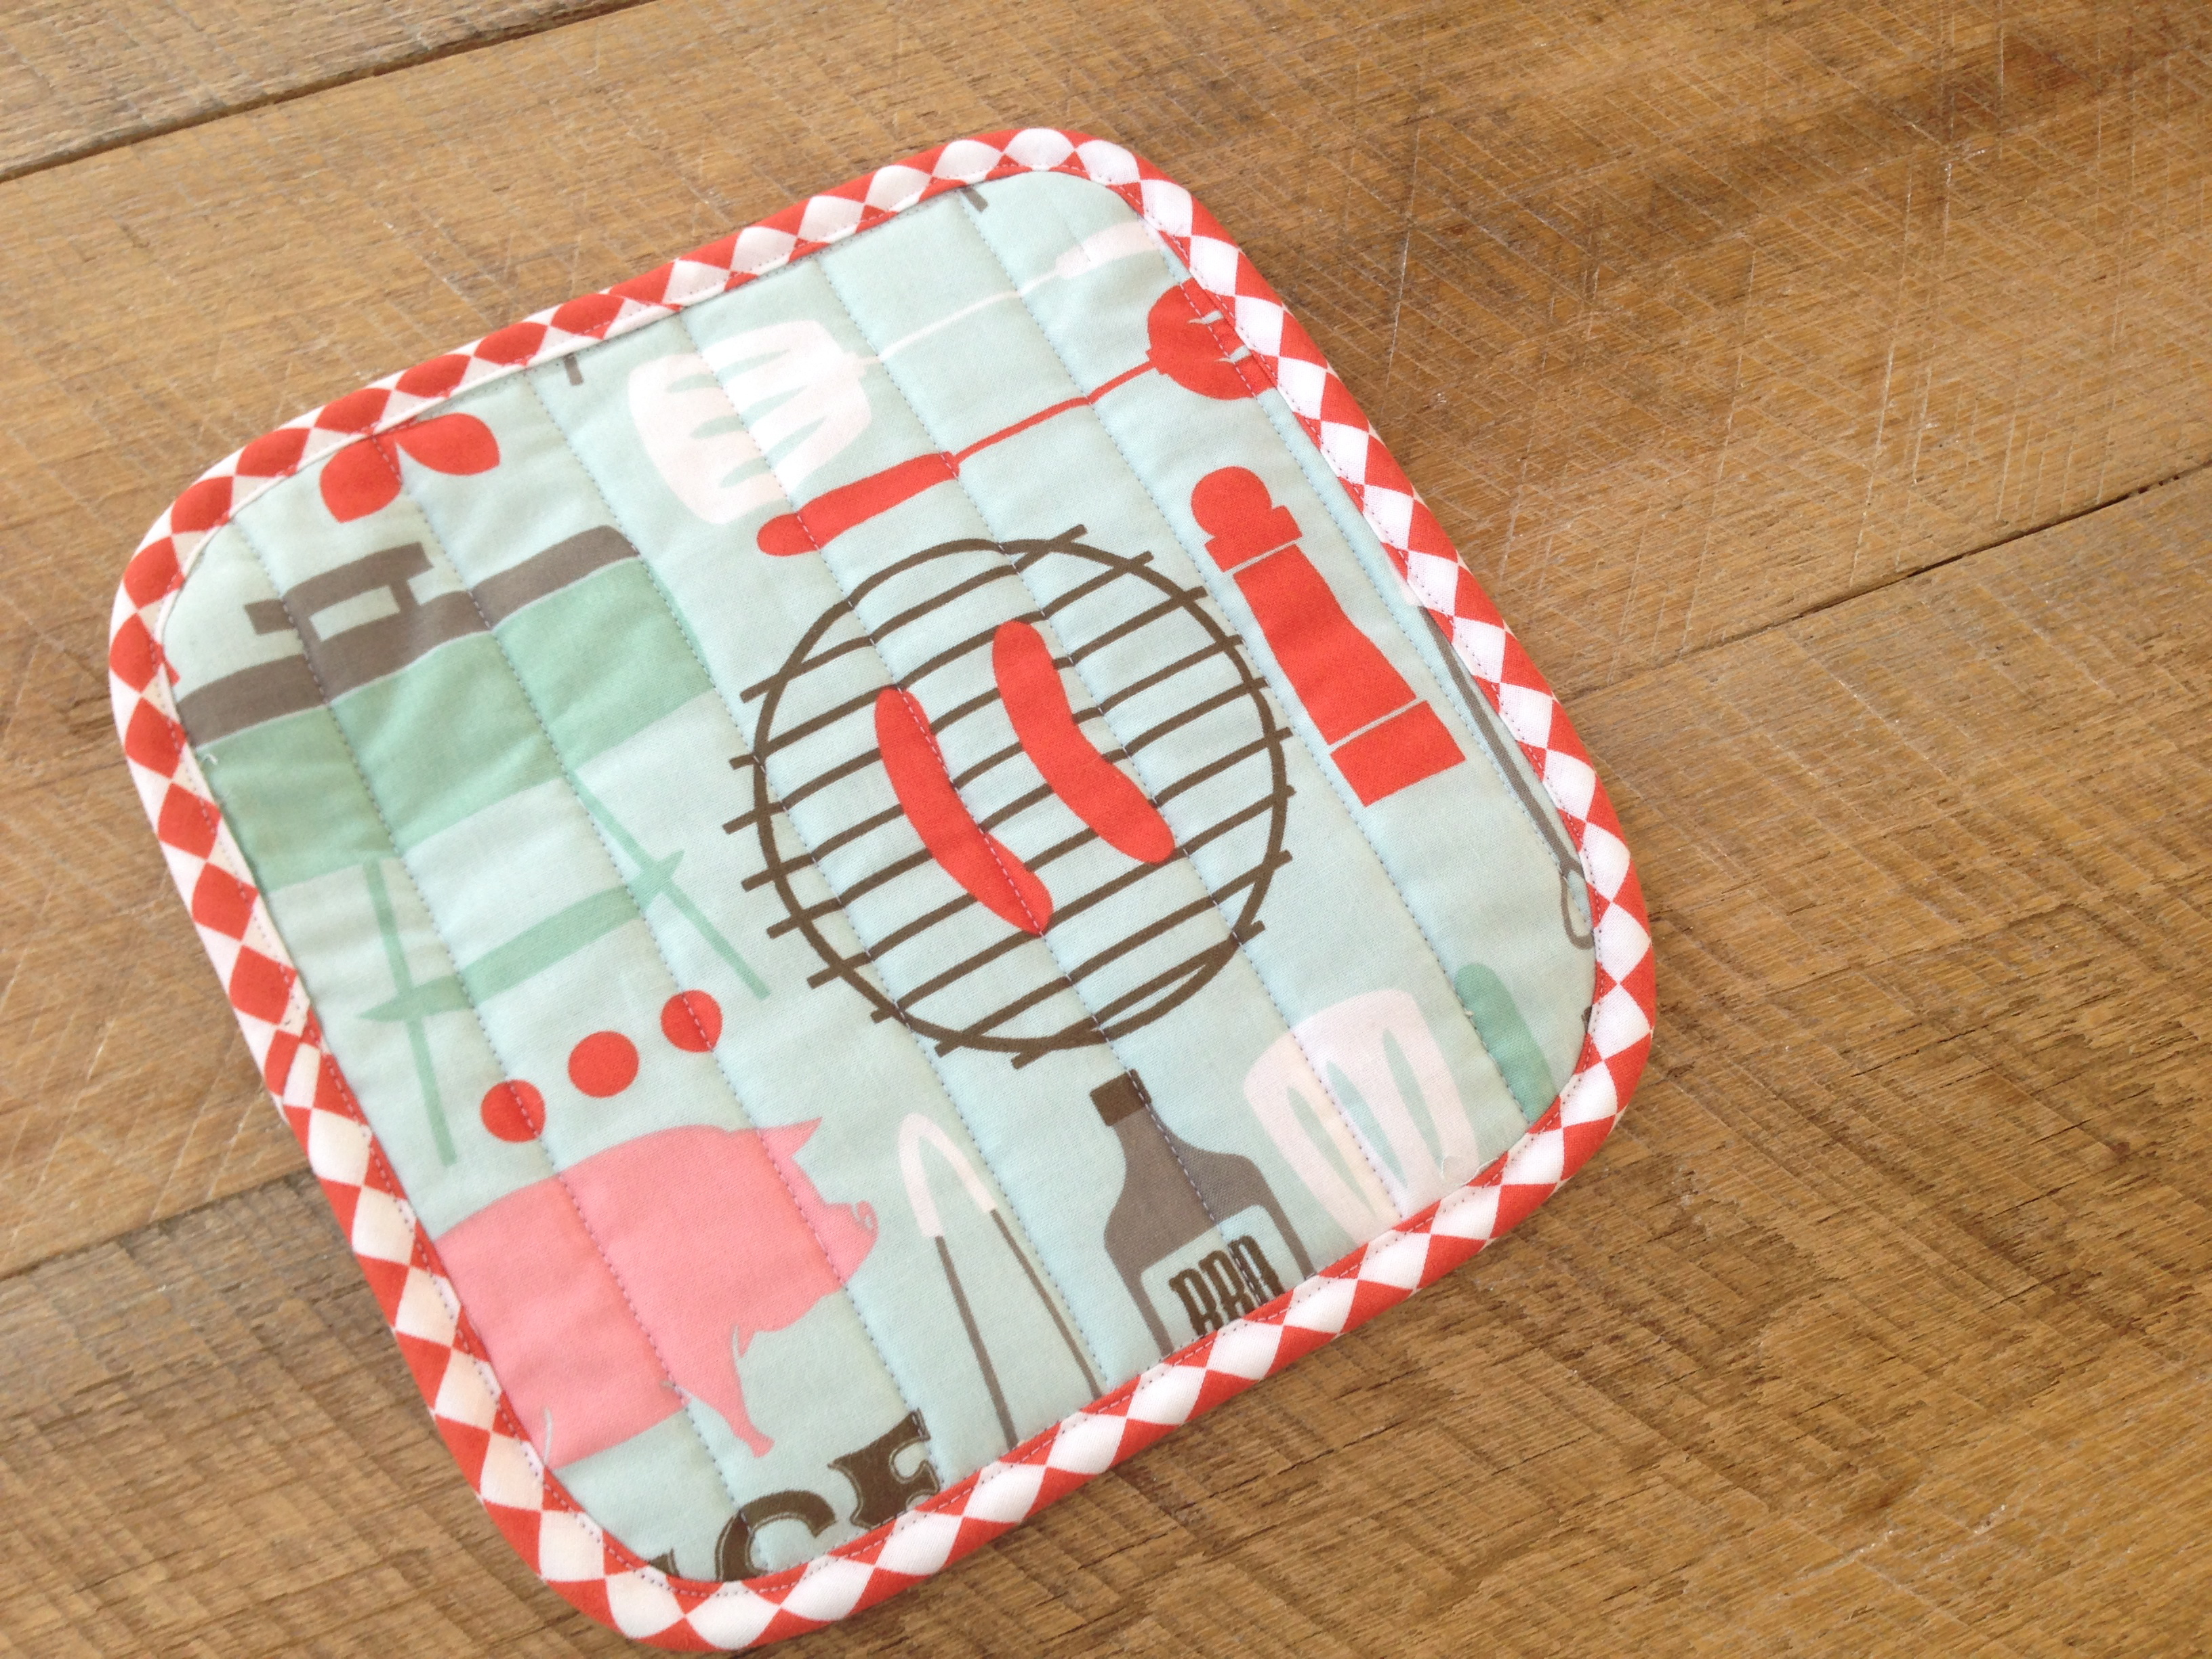
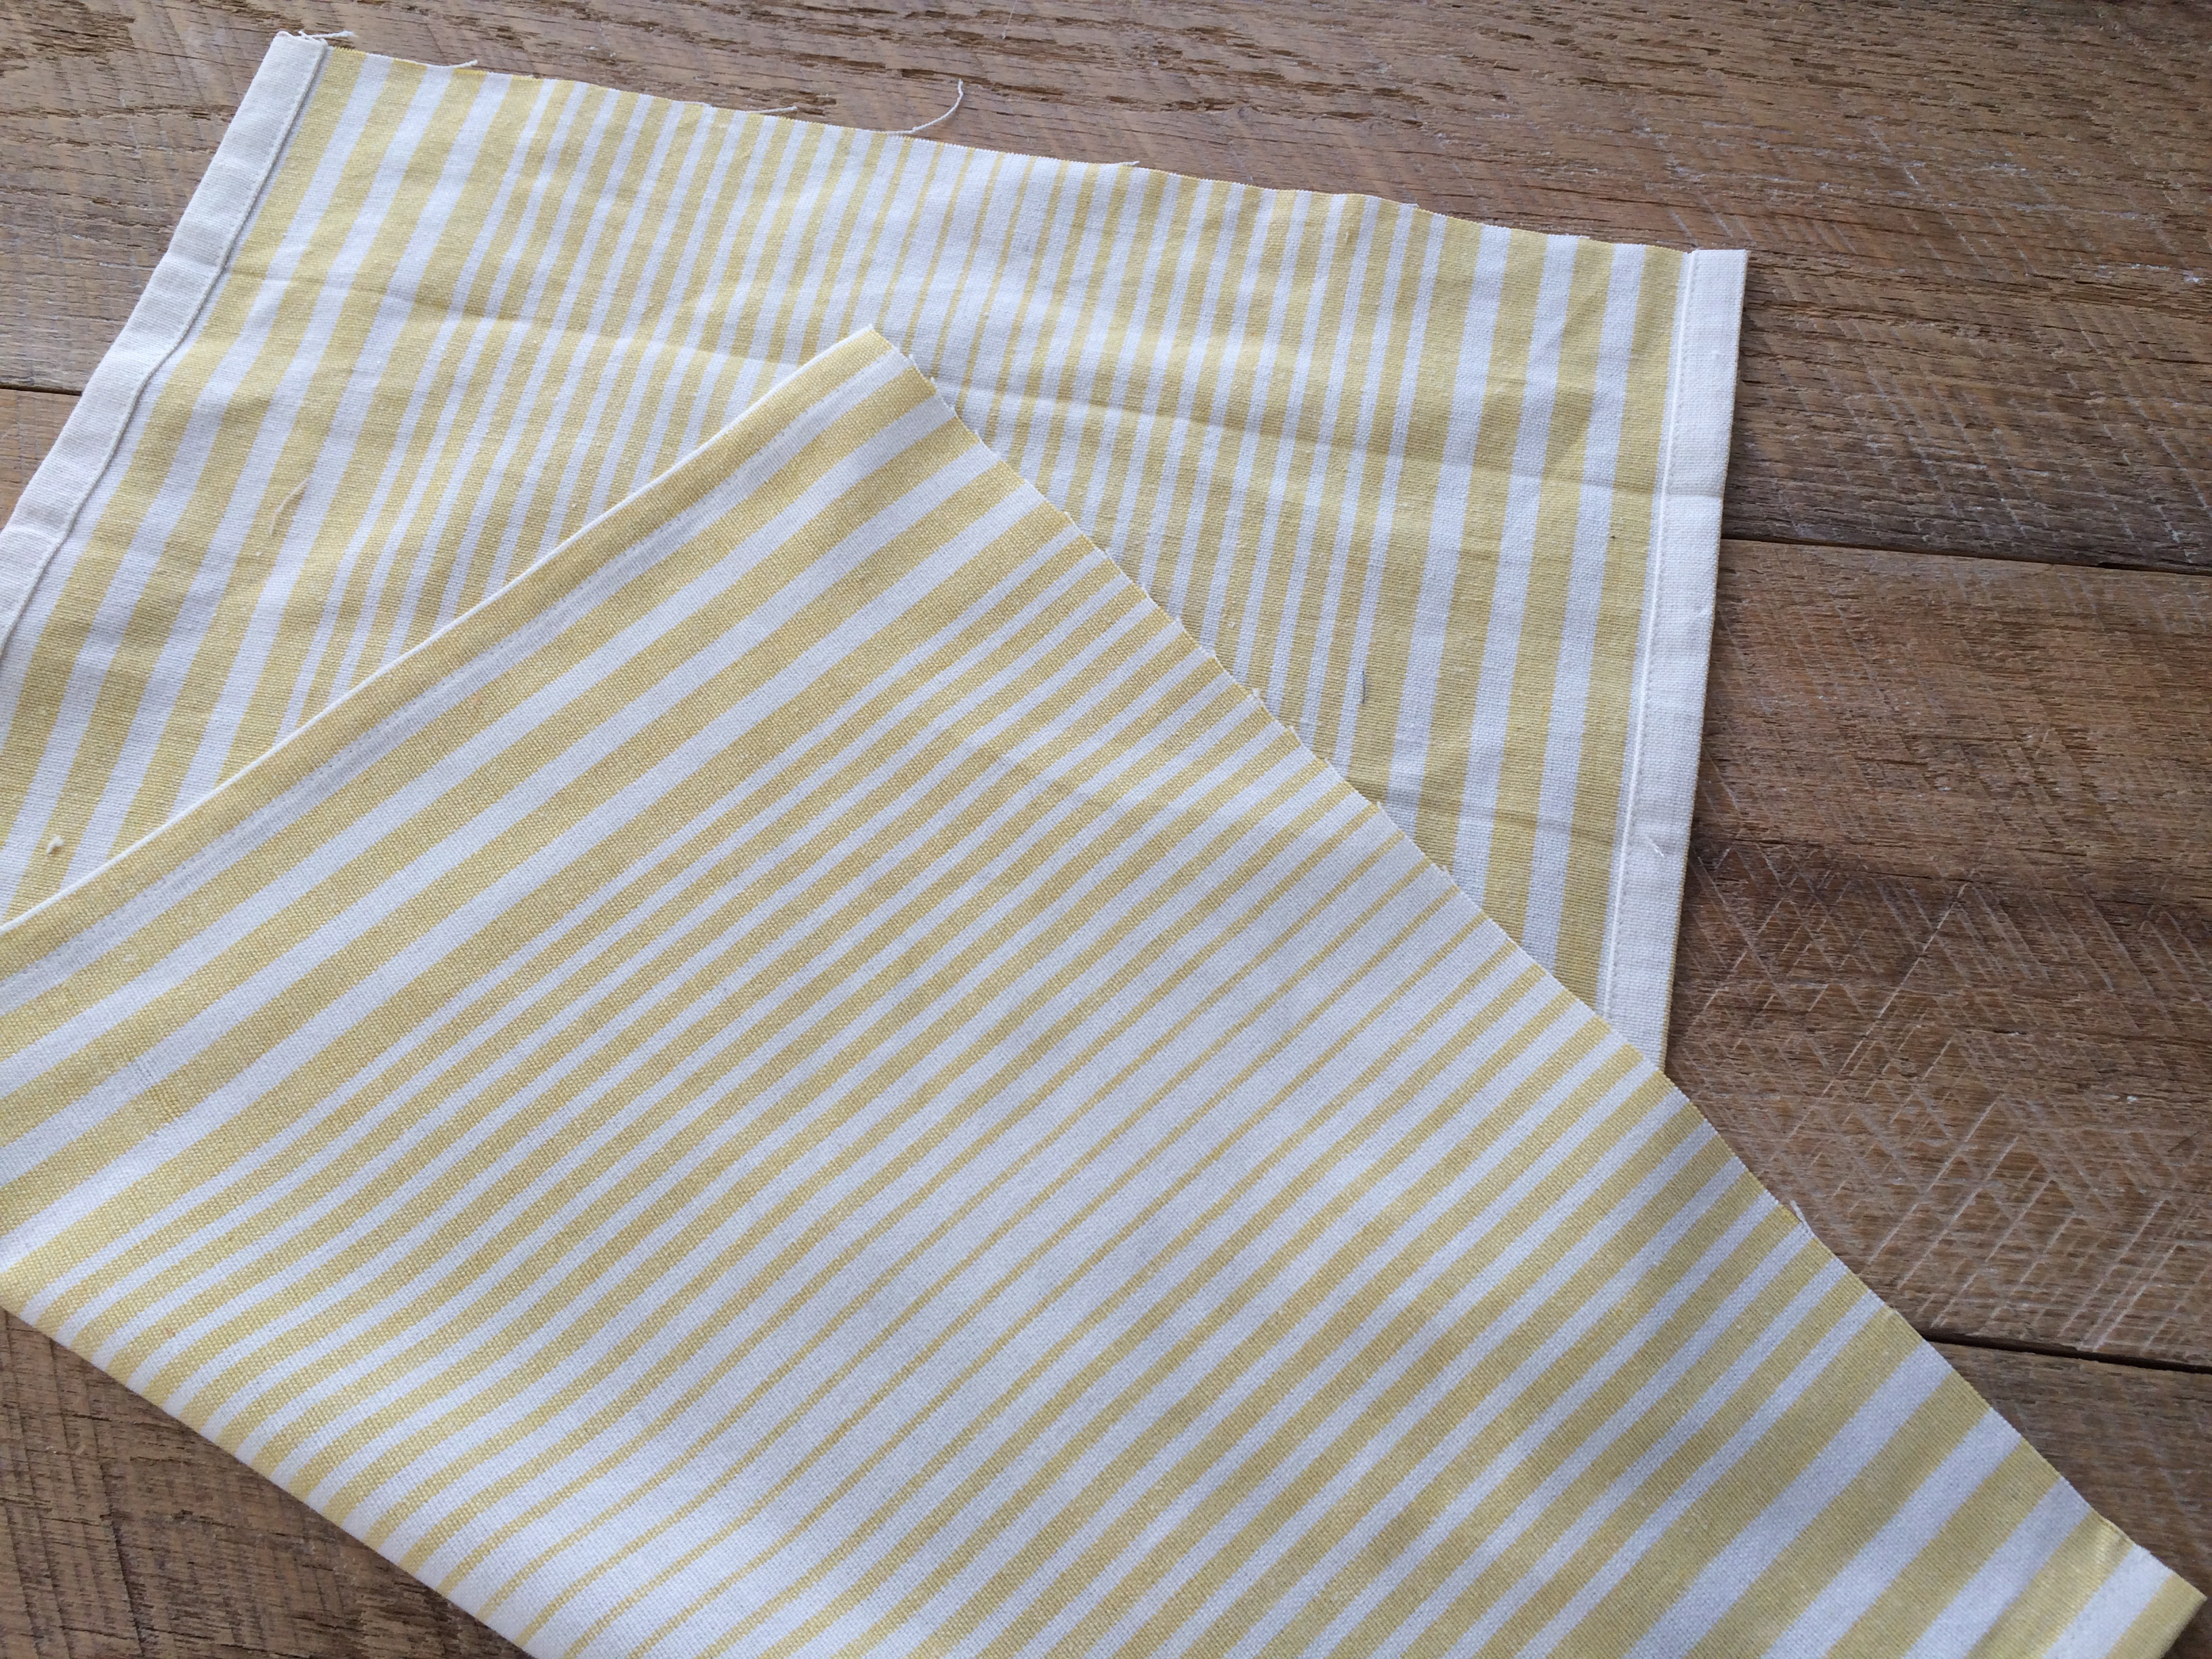
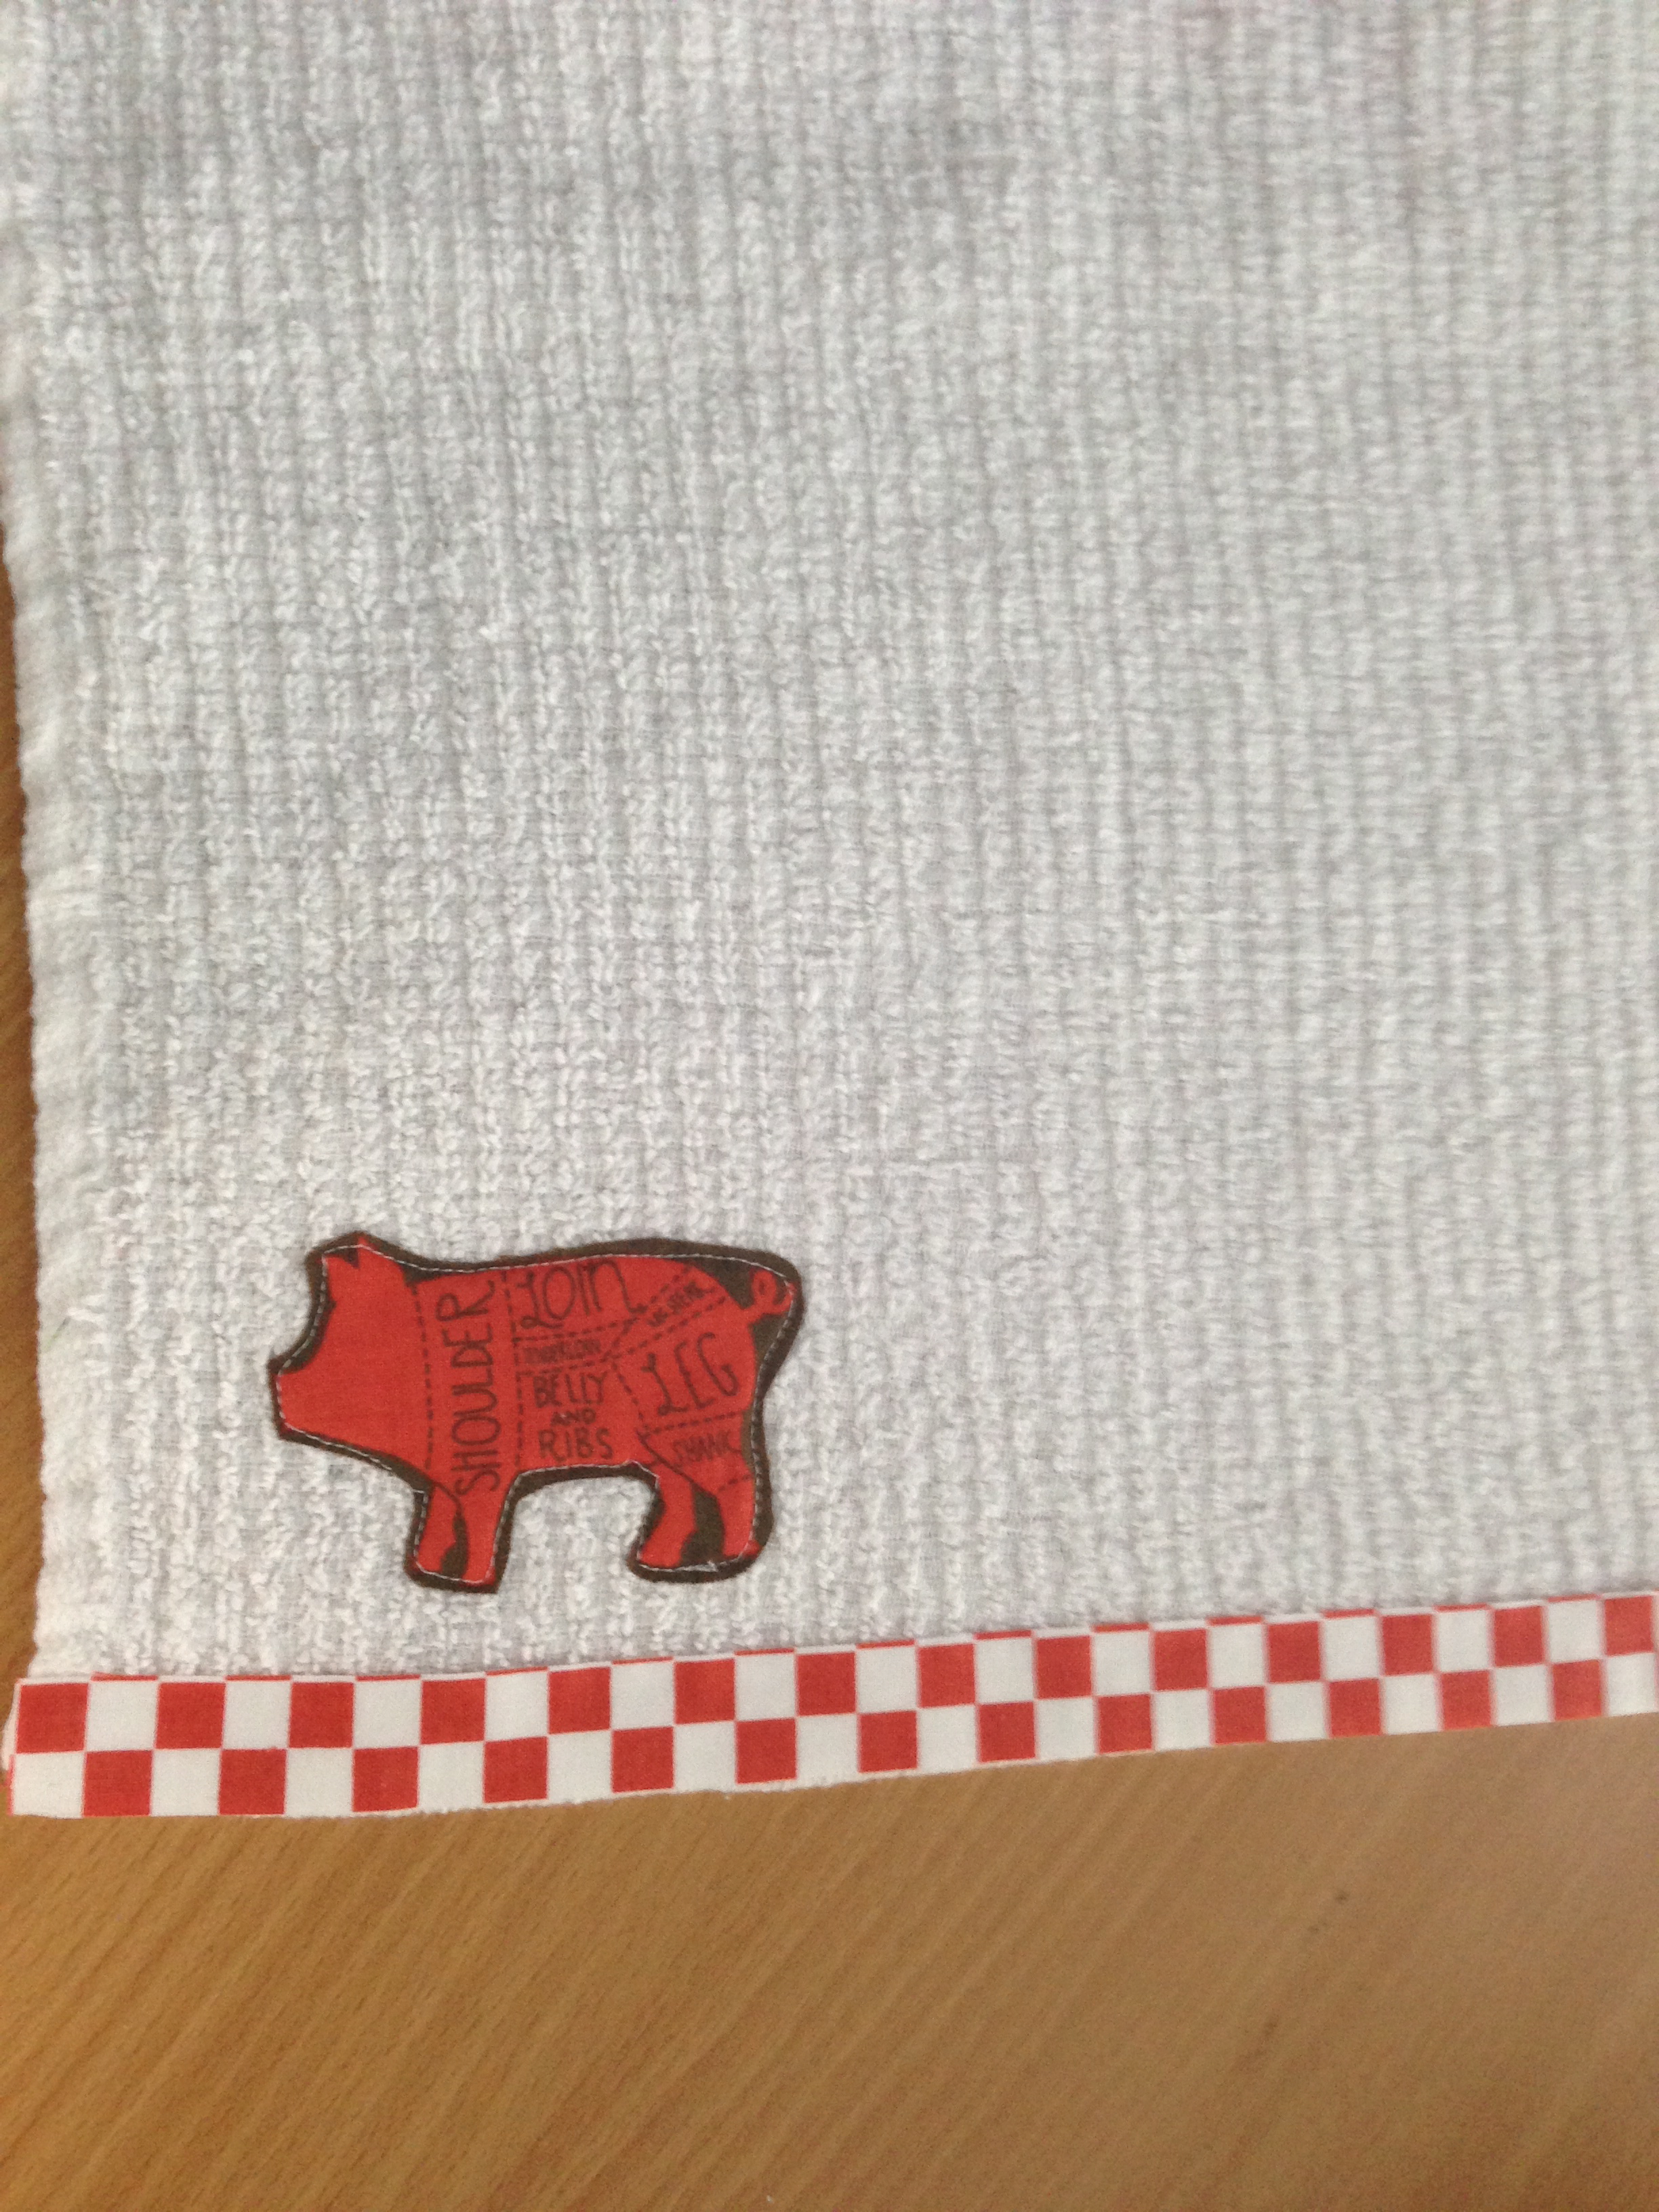
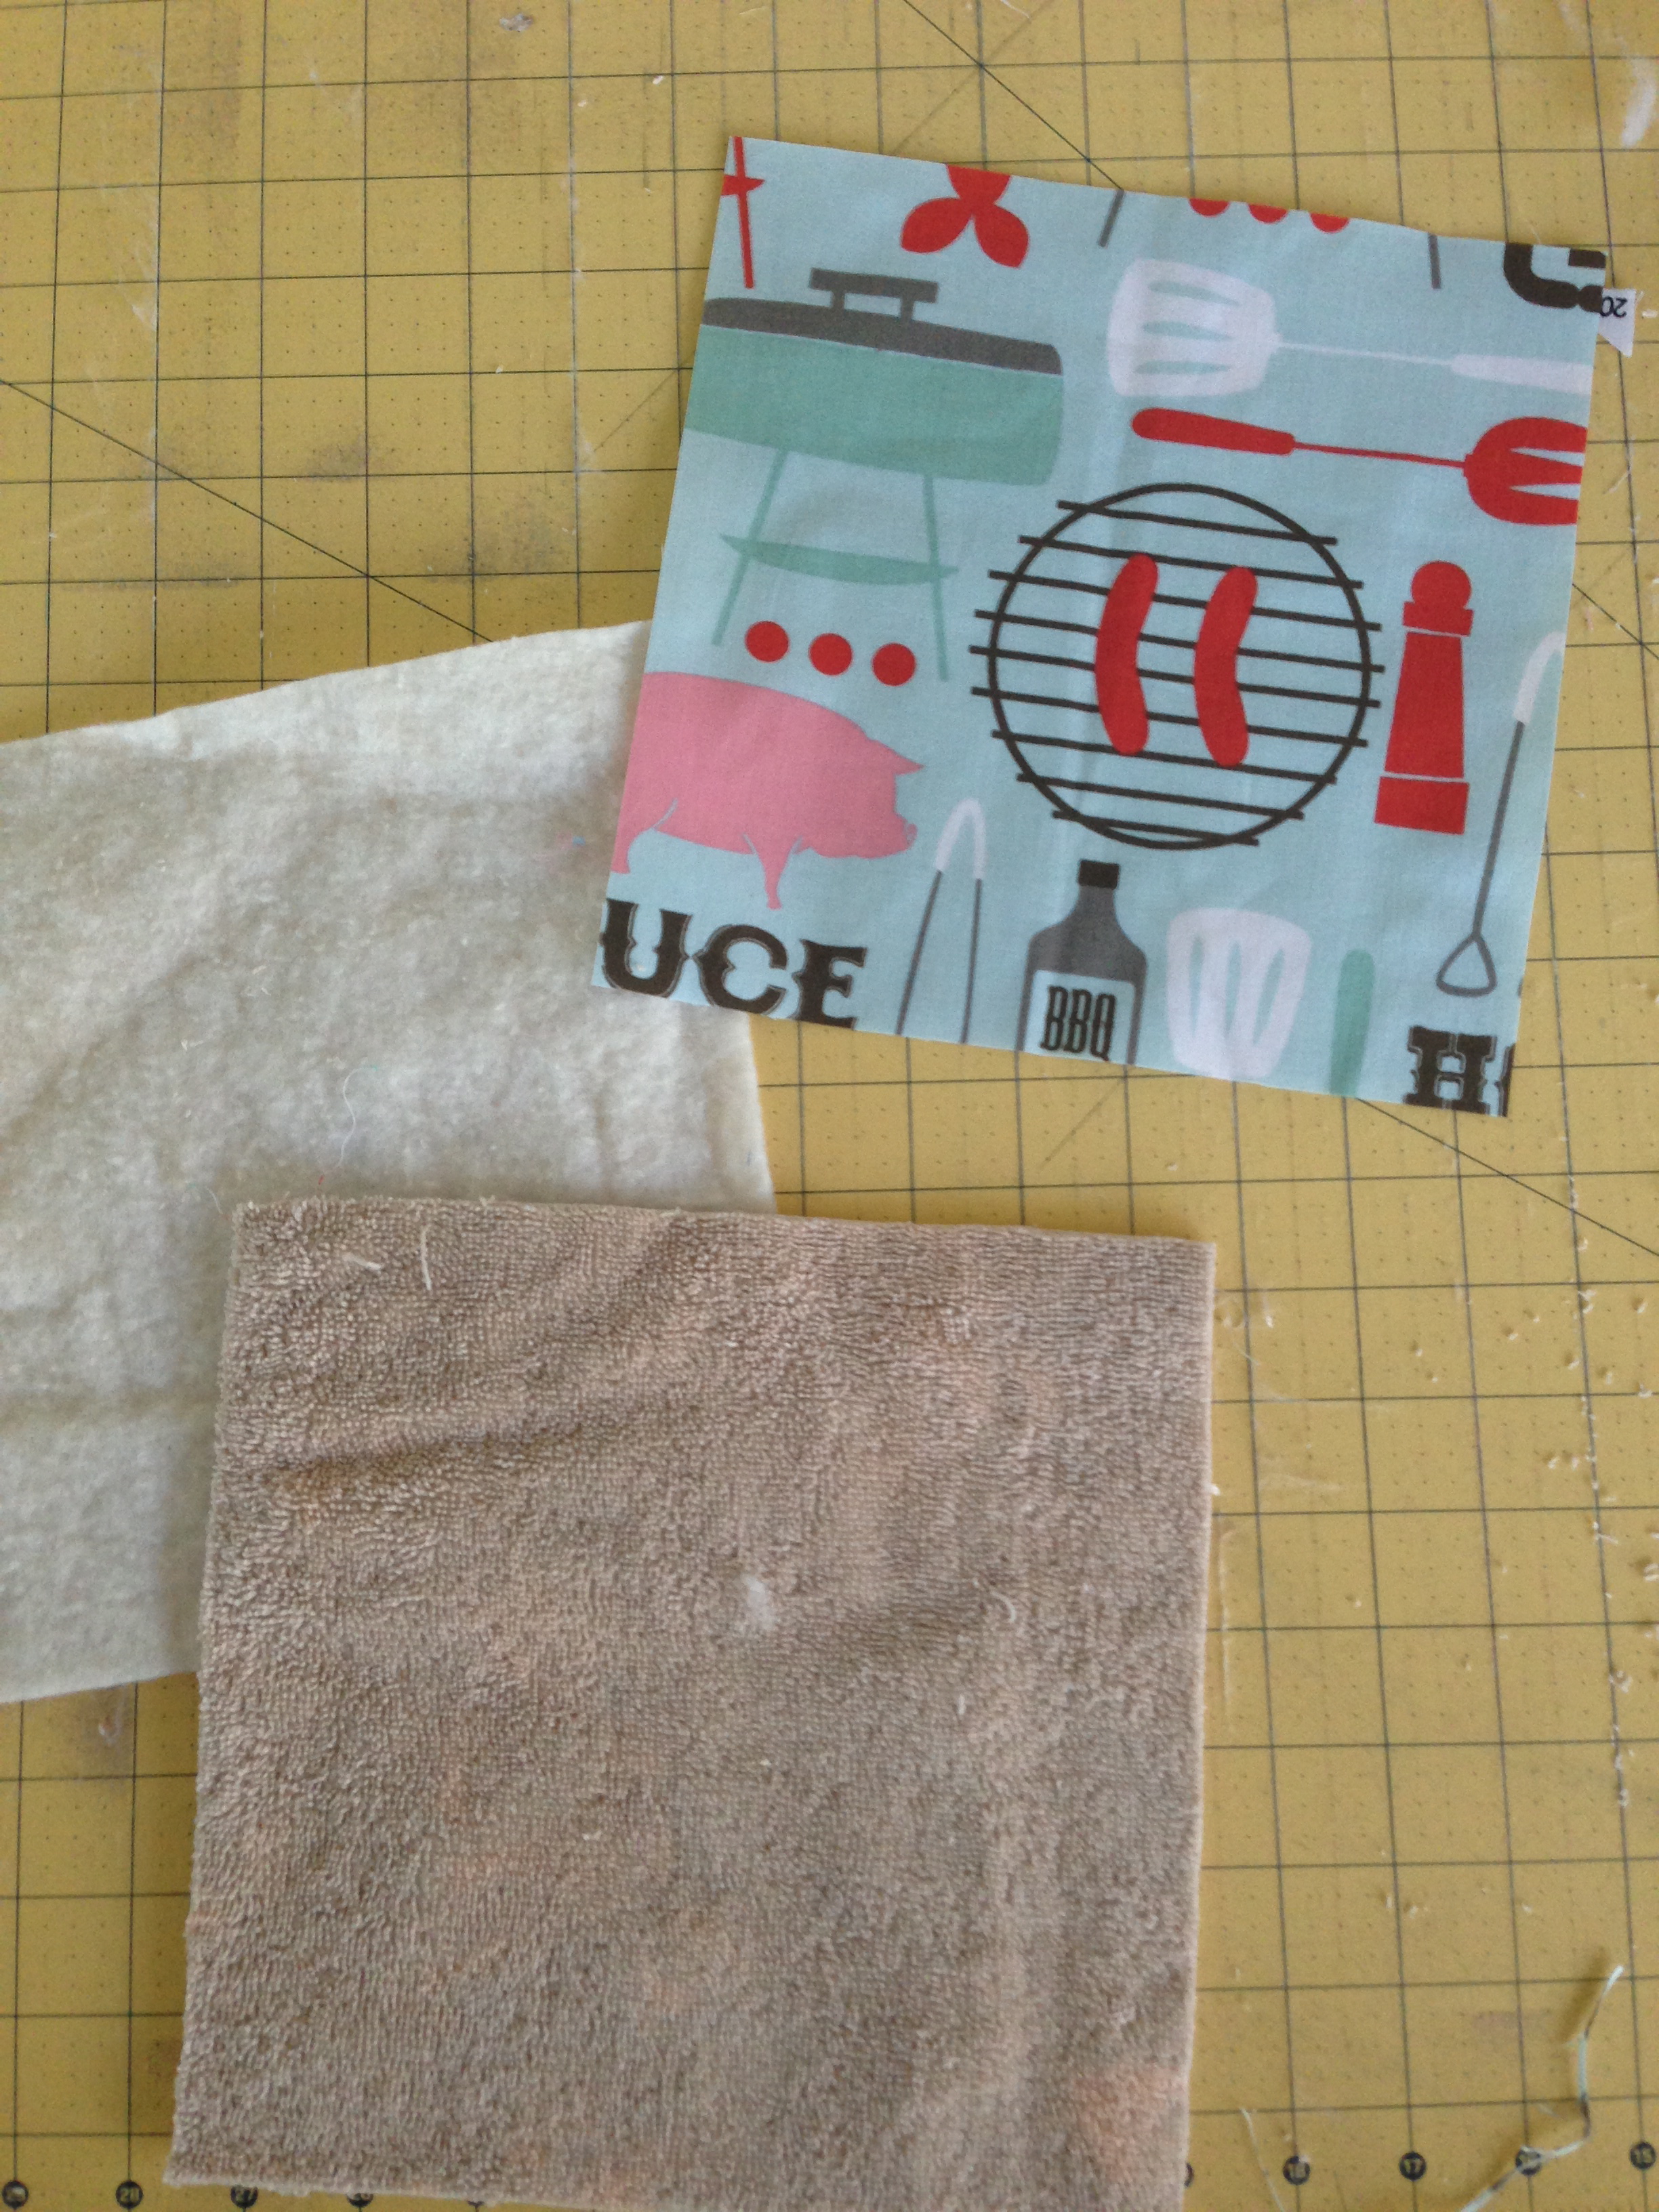
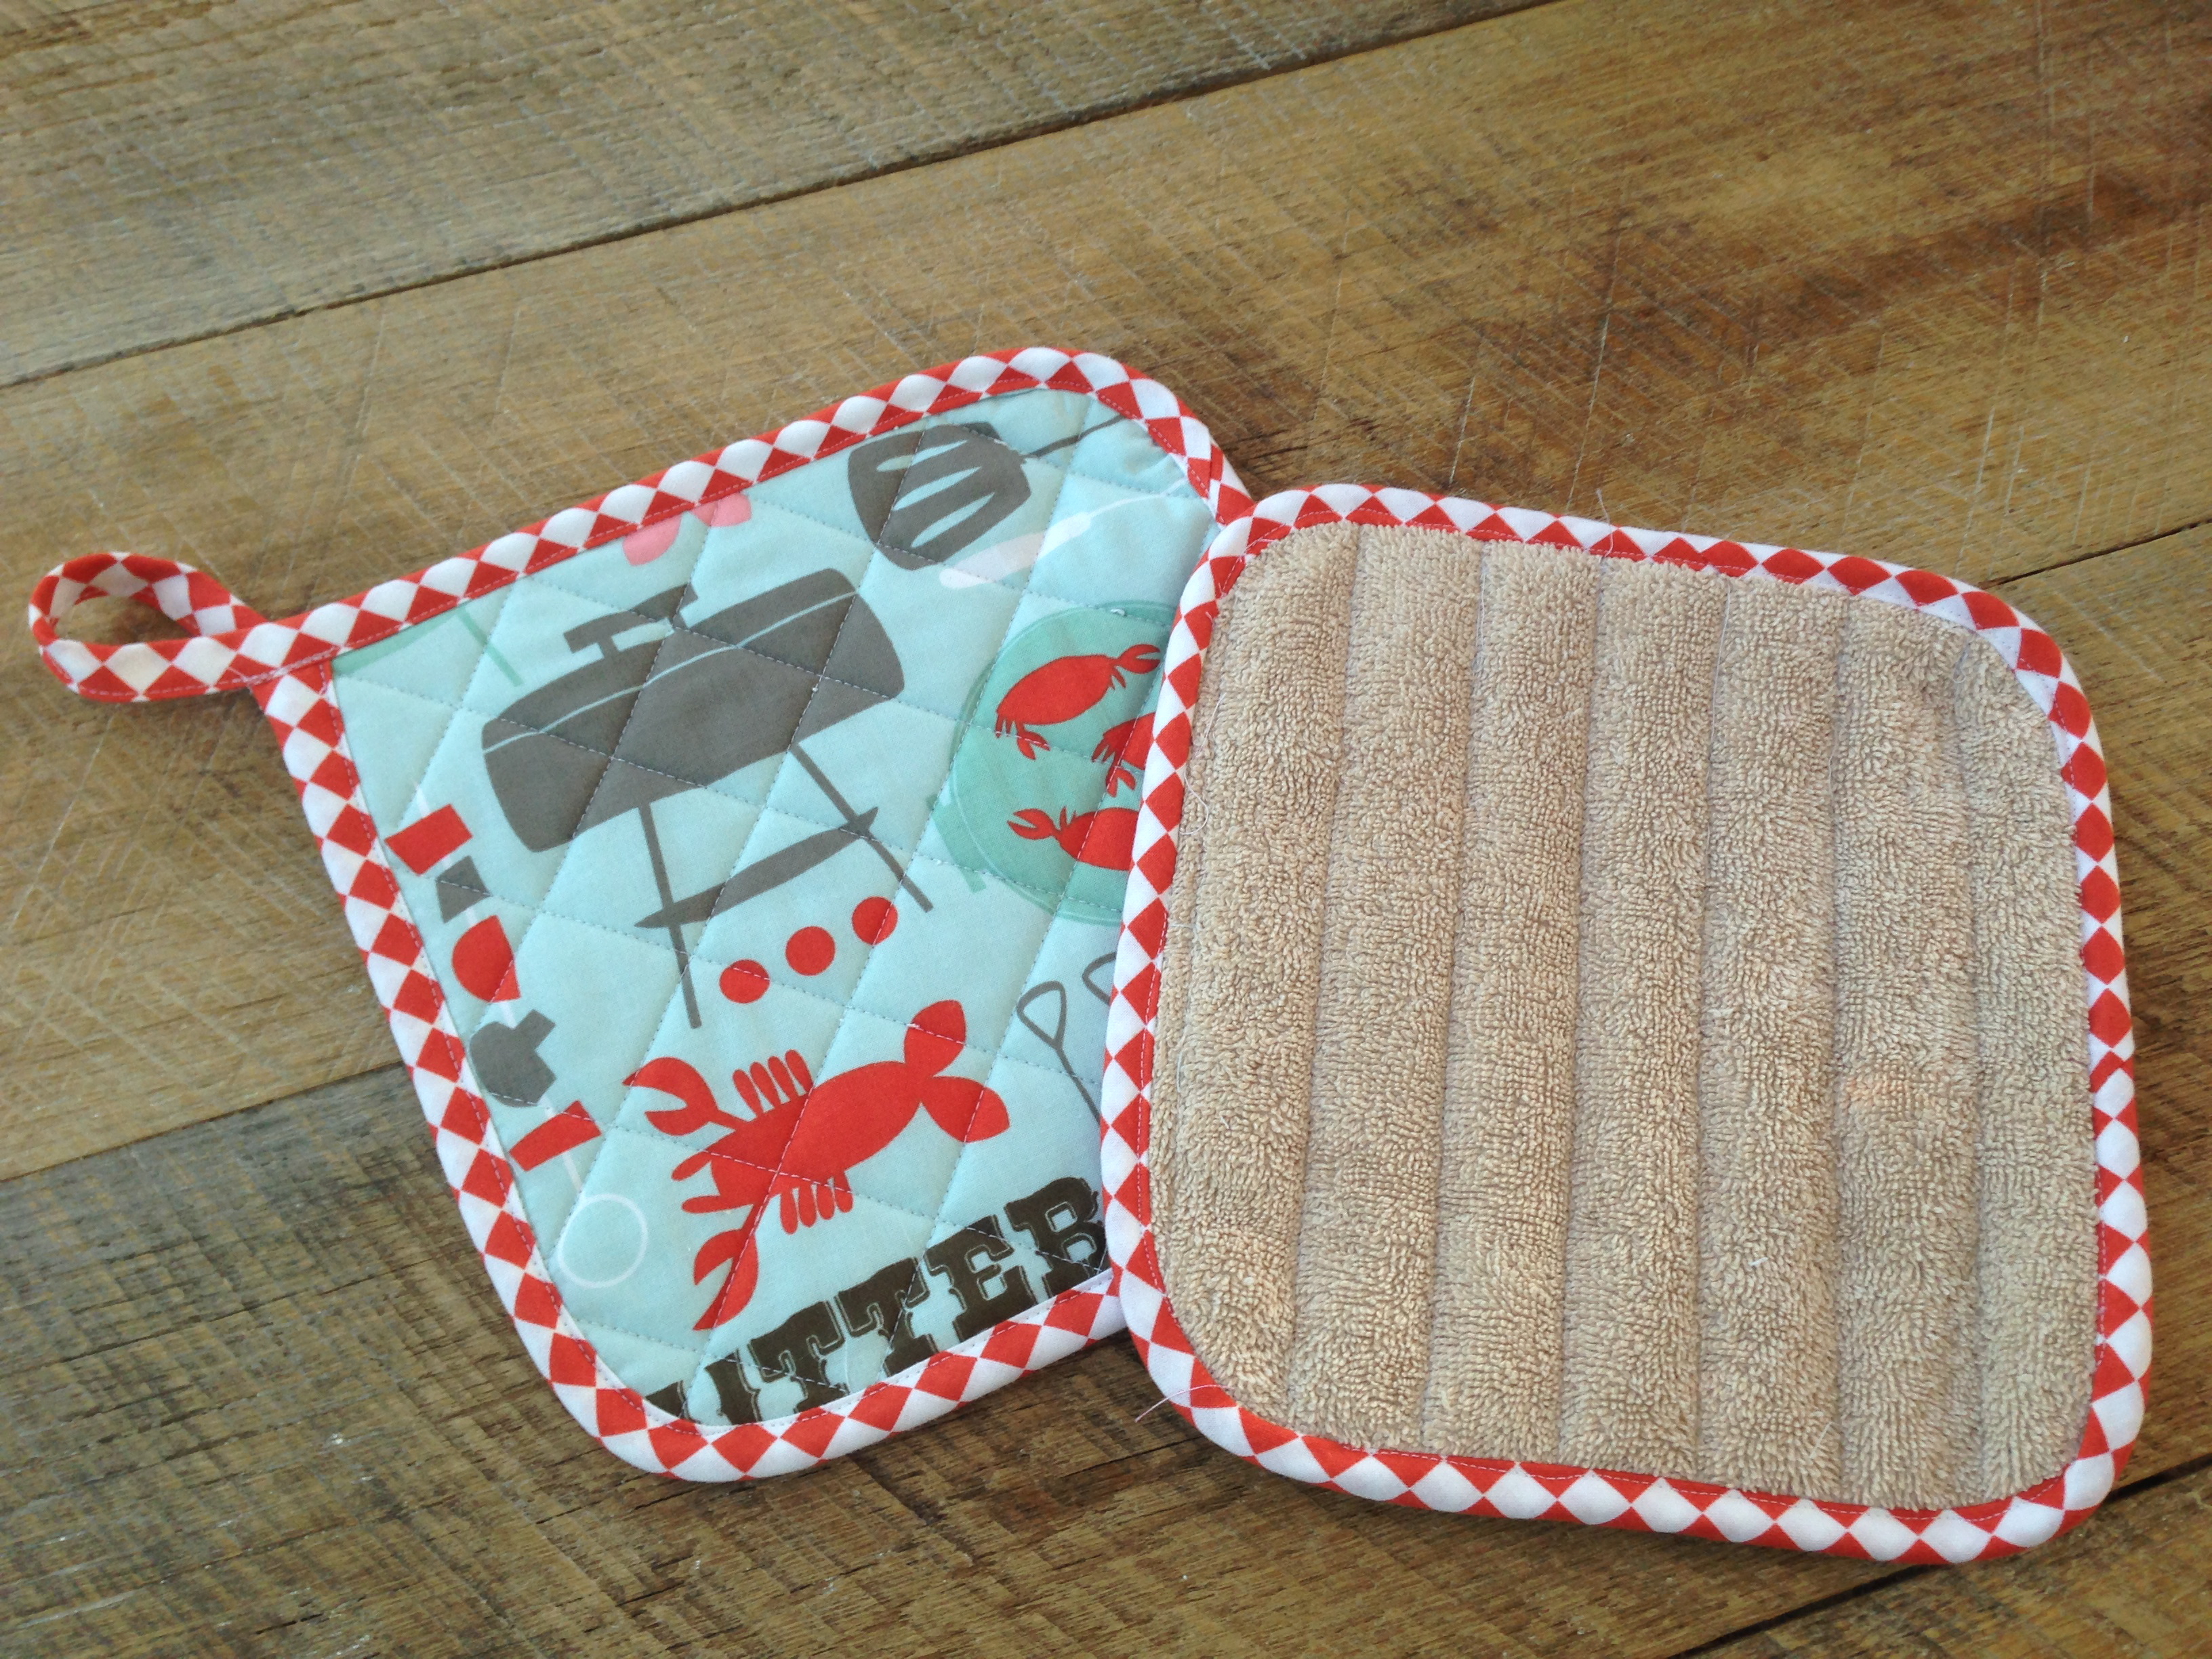
Kitchens usually don’t have a lot of wall space or places to hang quilts or cute crafty projects.  I love hanging home made towels on my oven, it gives the kitchen that cozy feeling!  Theses sweet towels also make the perfect gift!  Who wouldn’t want one of these!  I choose some of my favorite Riley Blake Fabric Prints from some of my favorite designers.  sizzix bunny towel 10

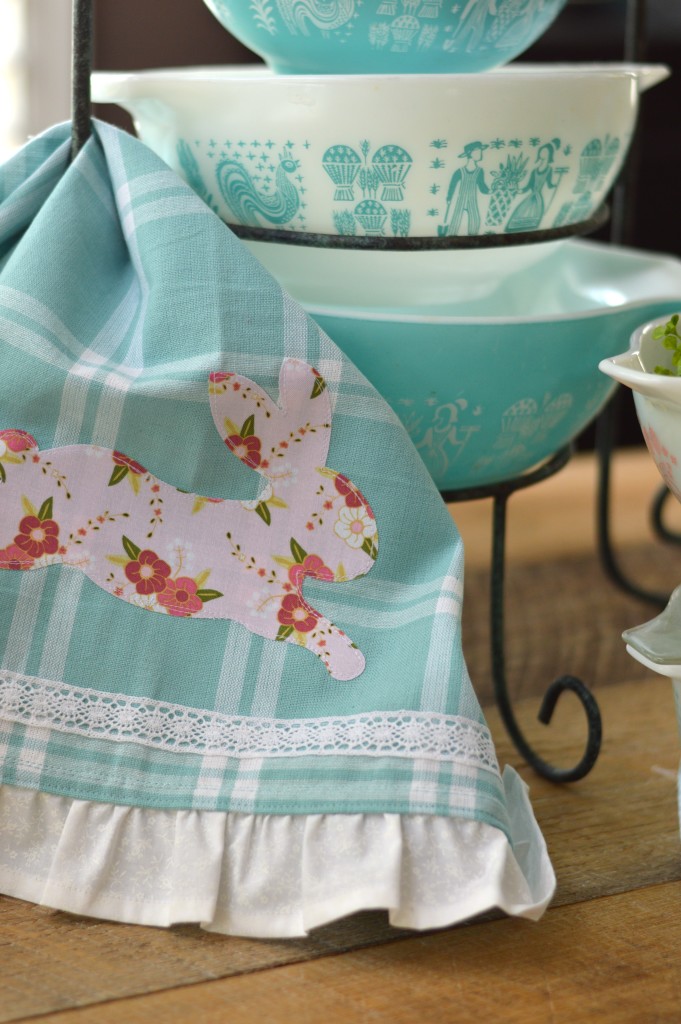
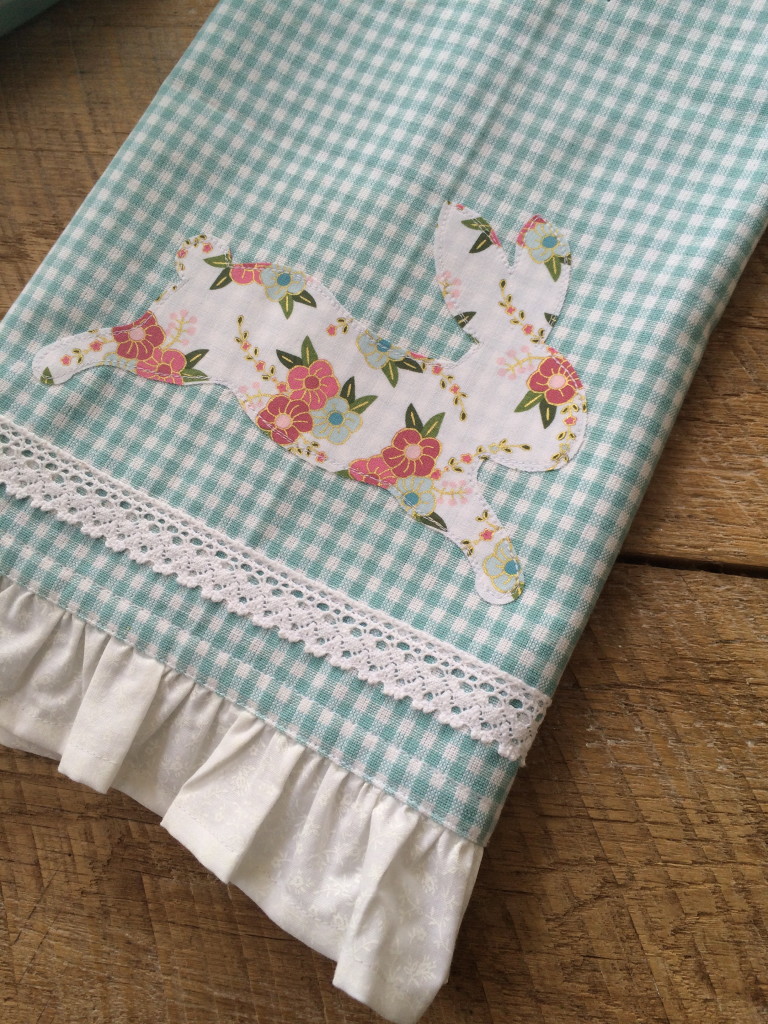
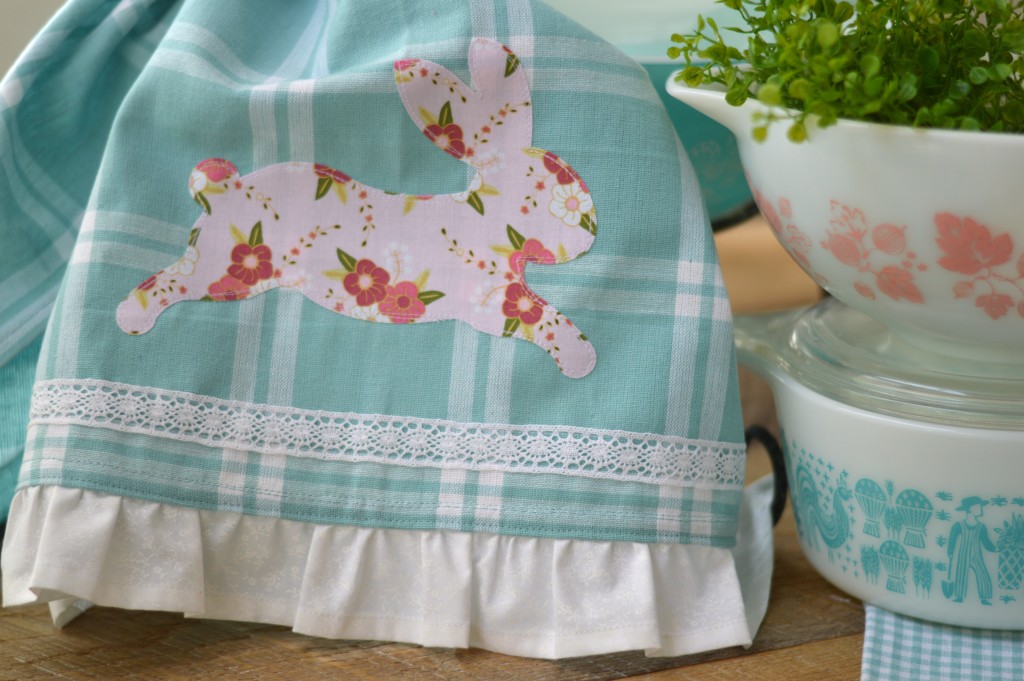
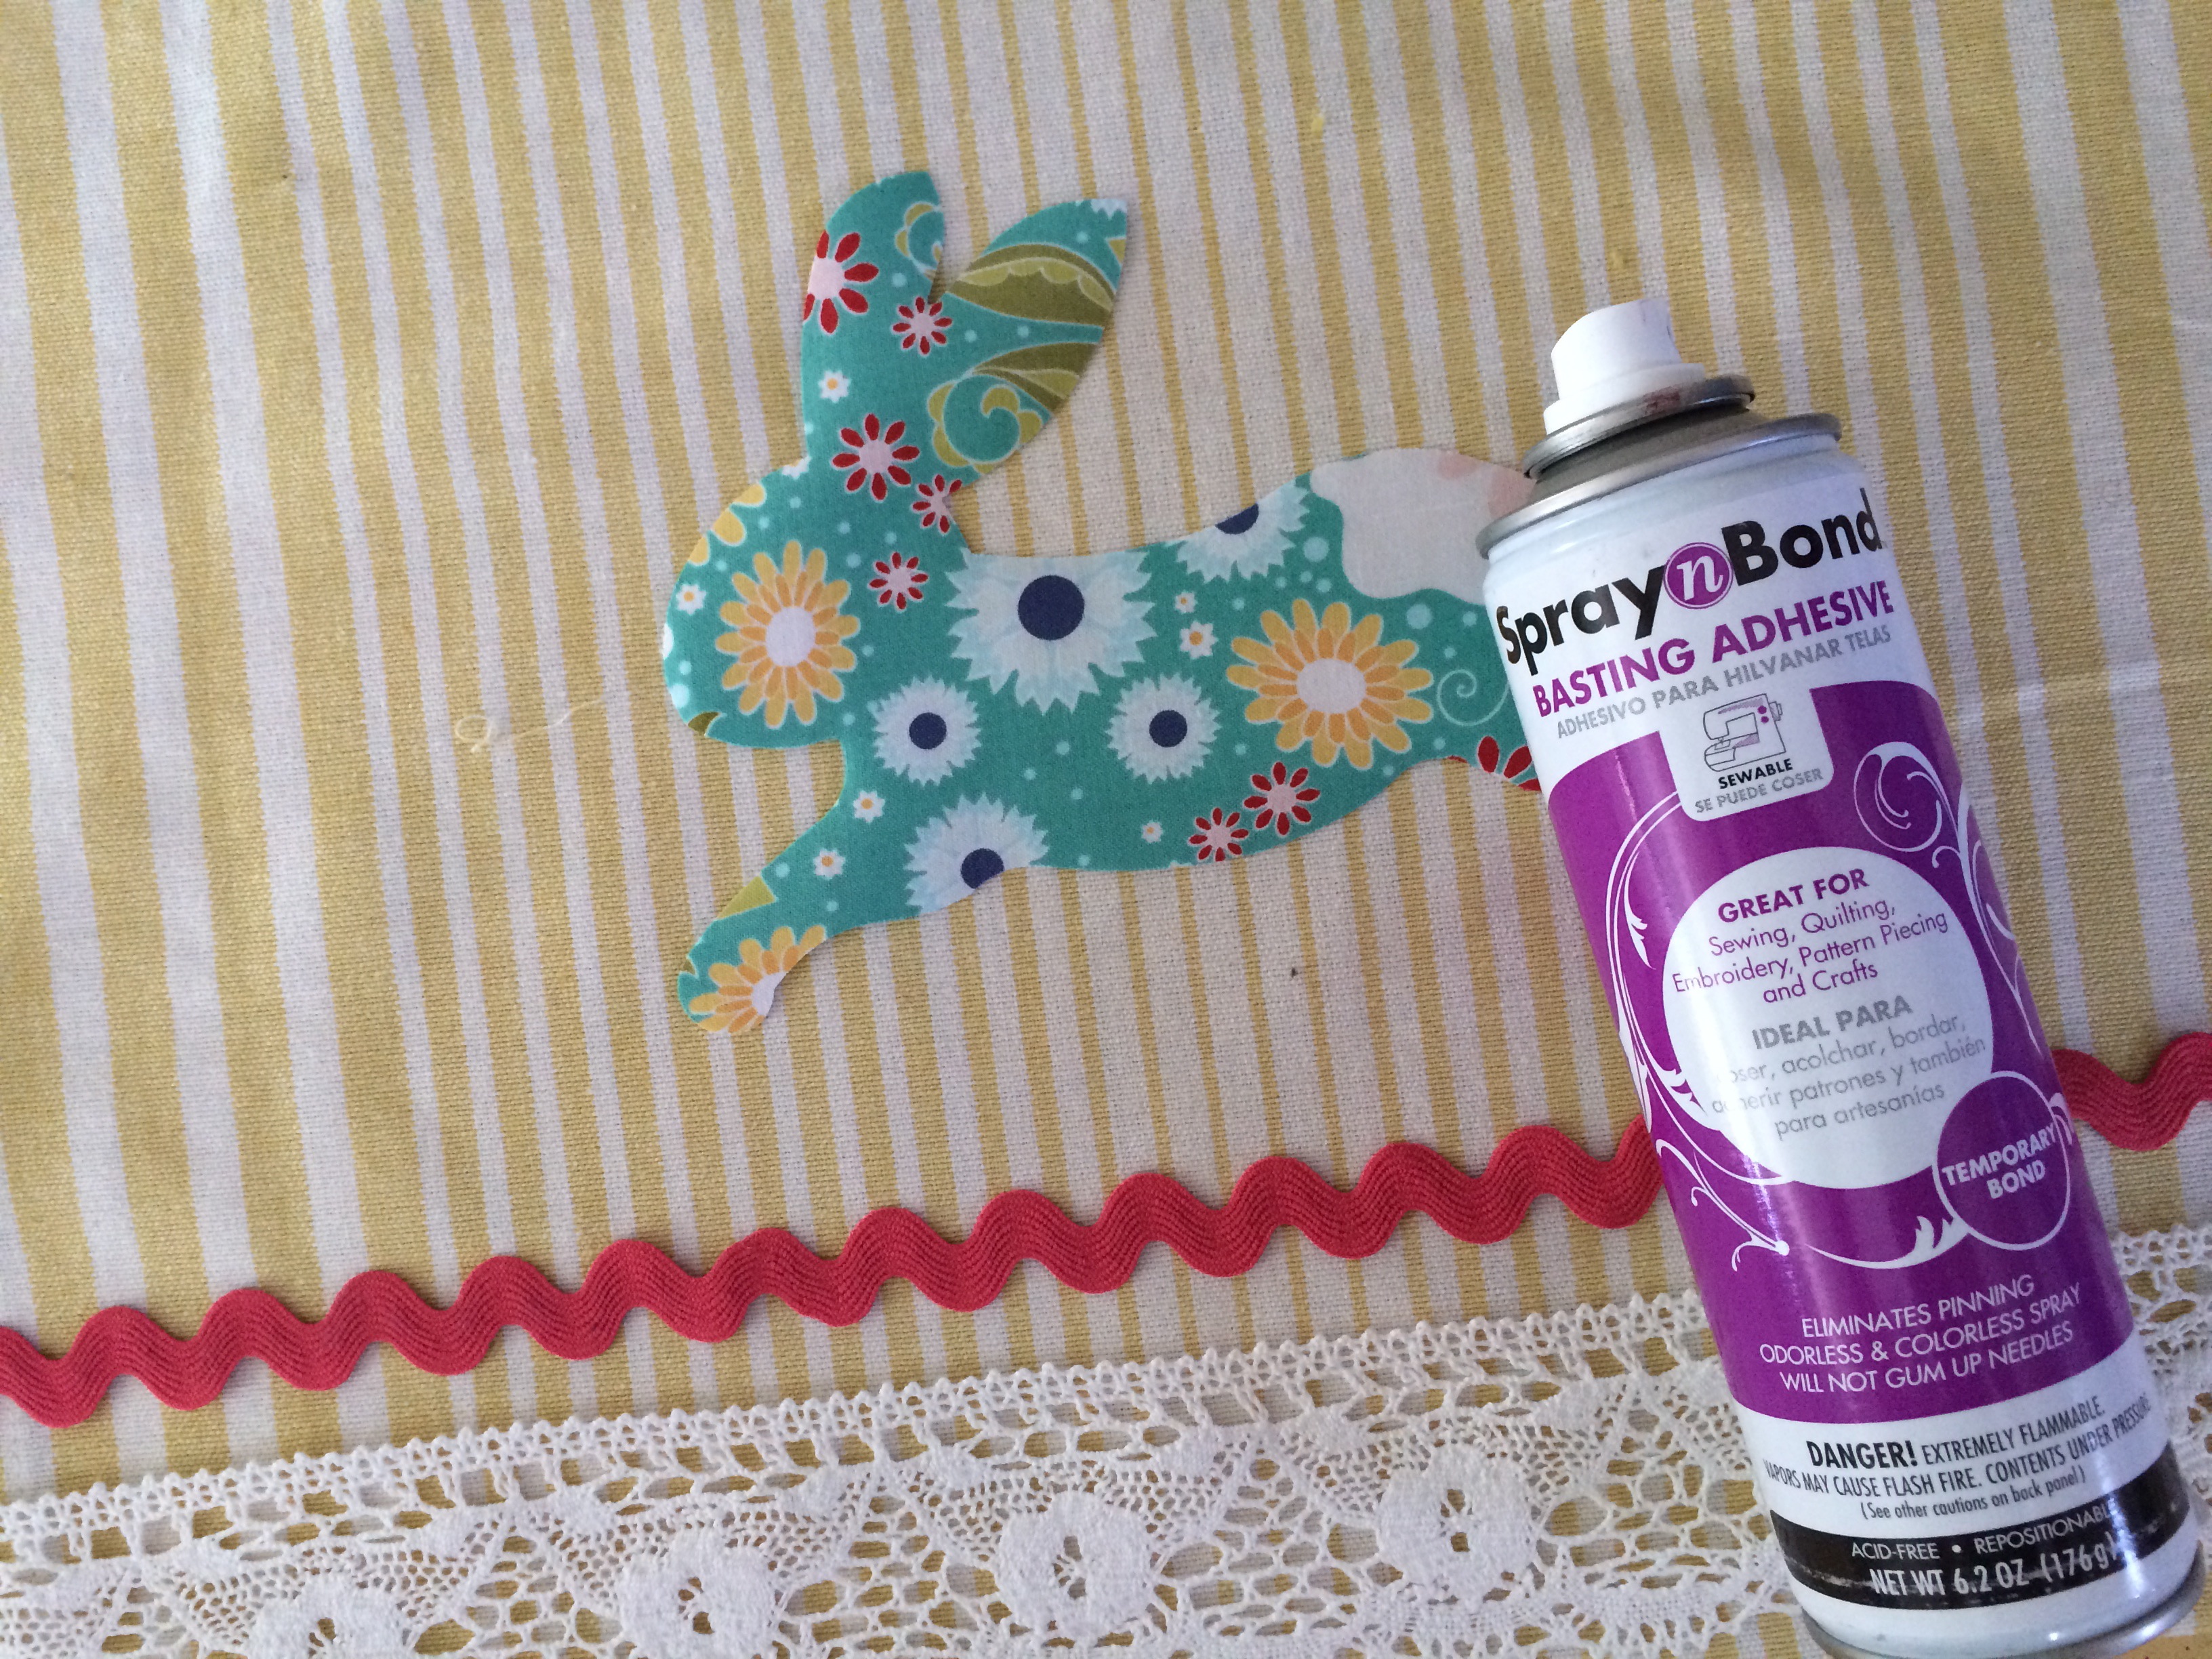
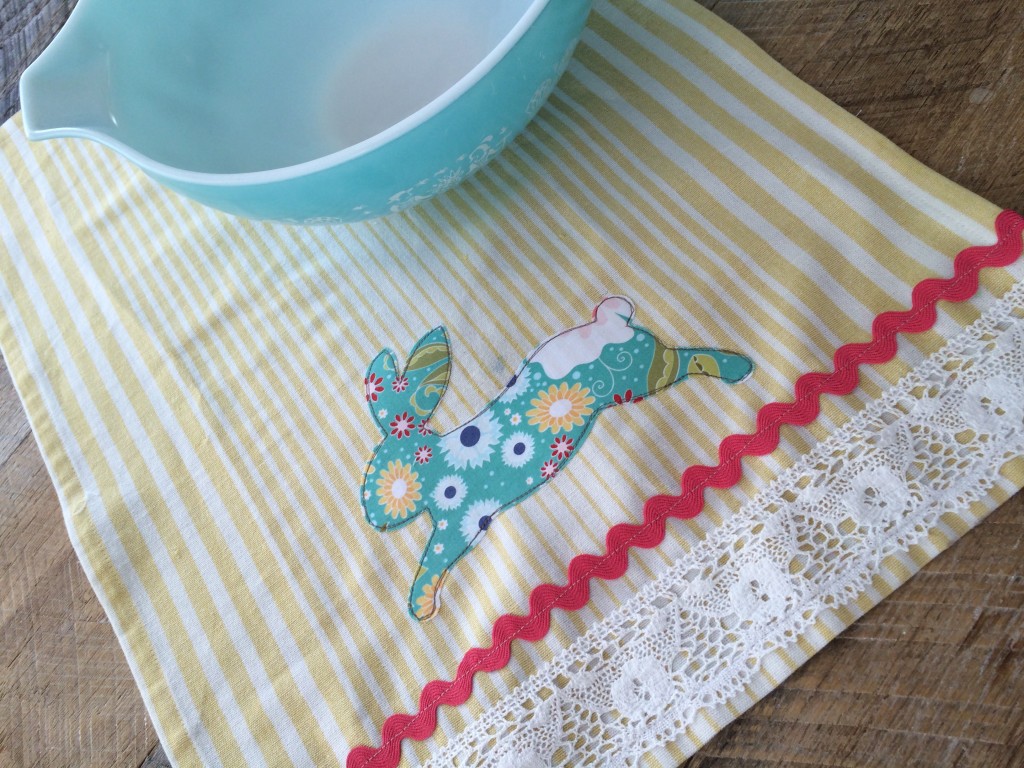
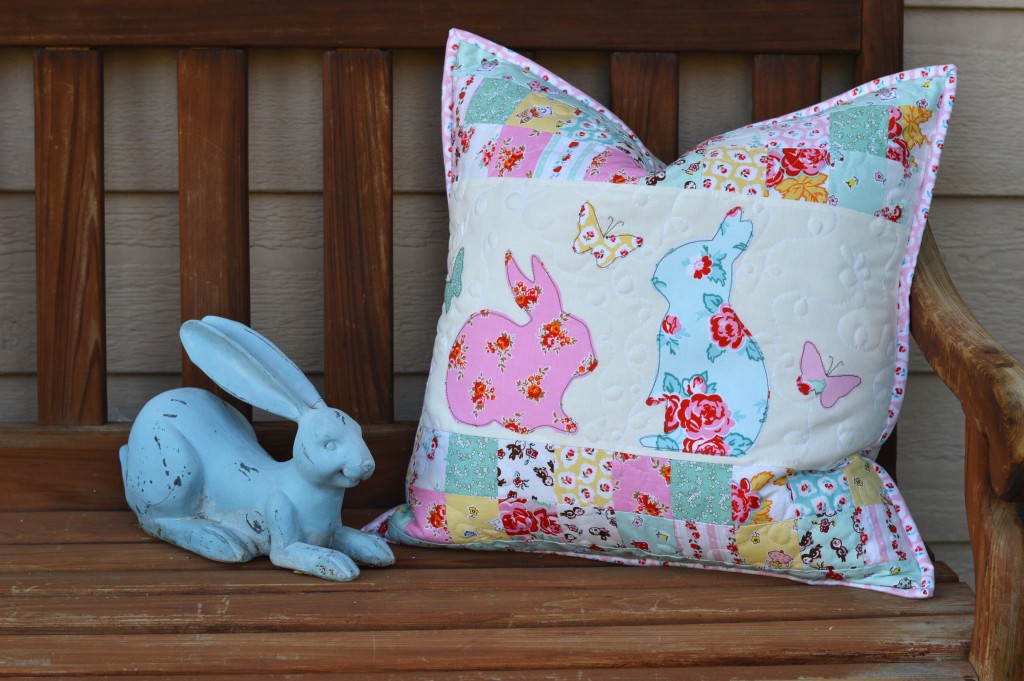
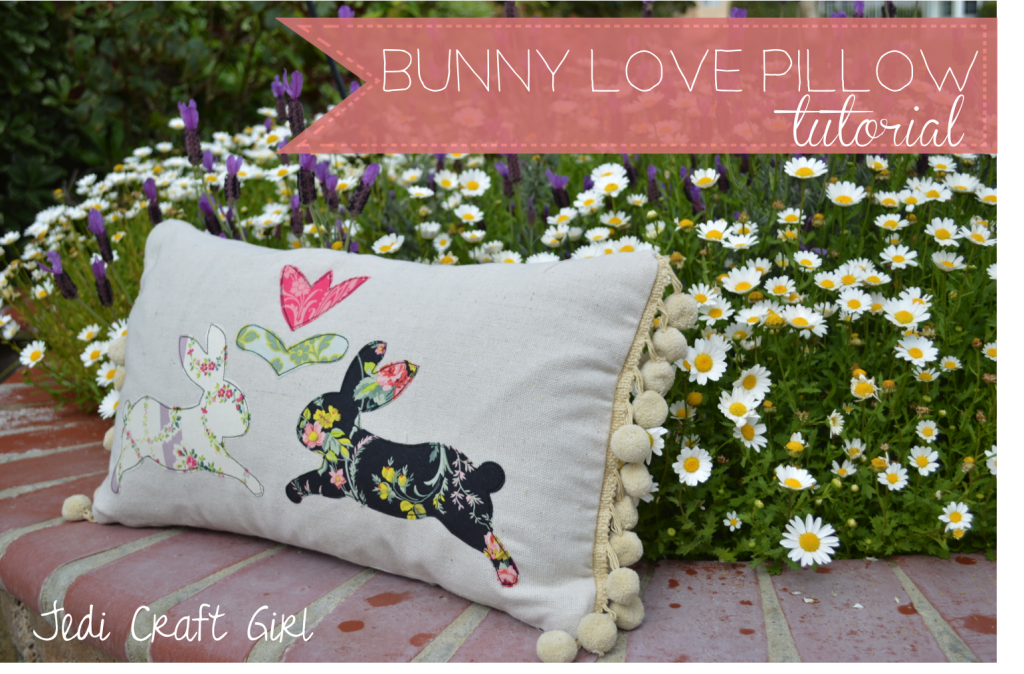
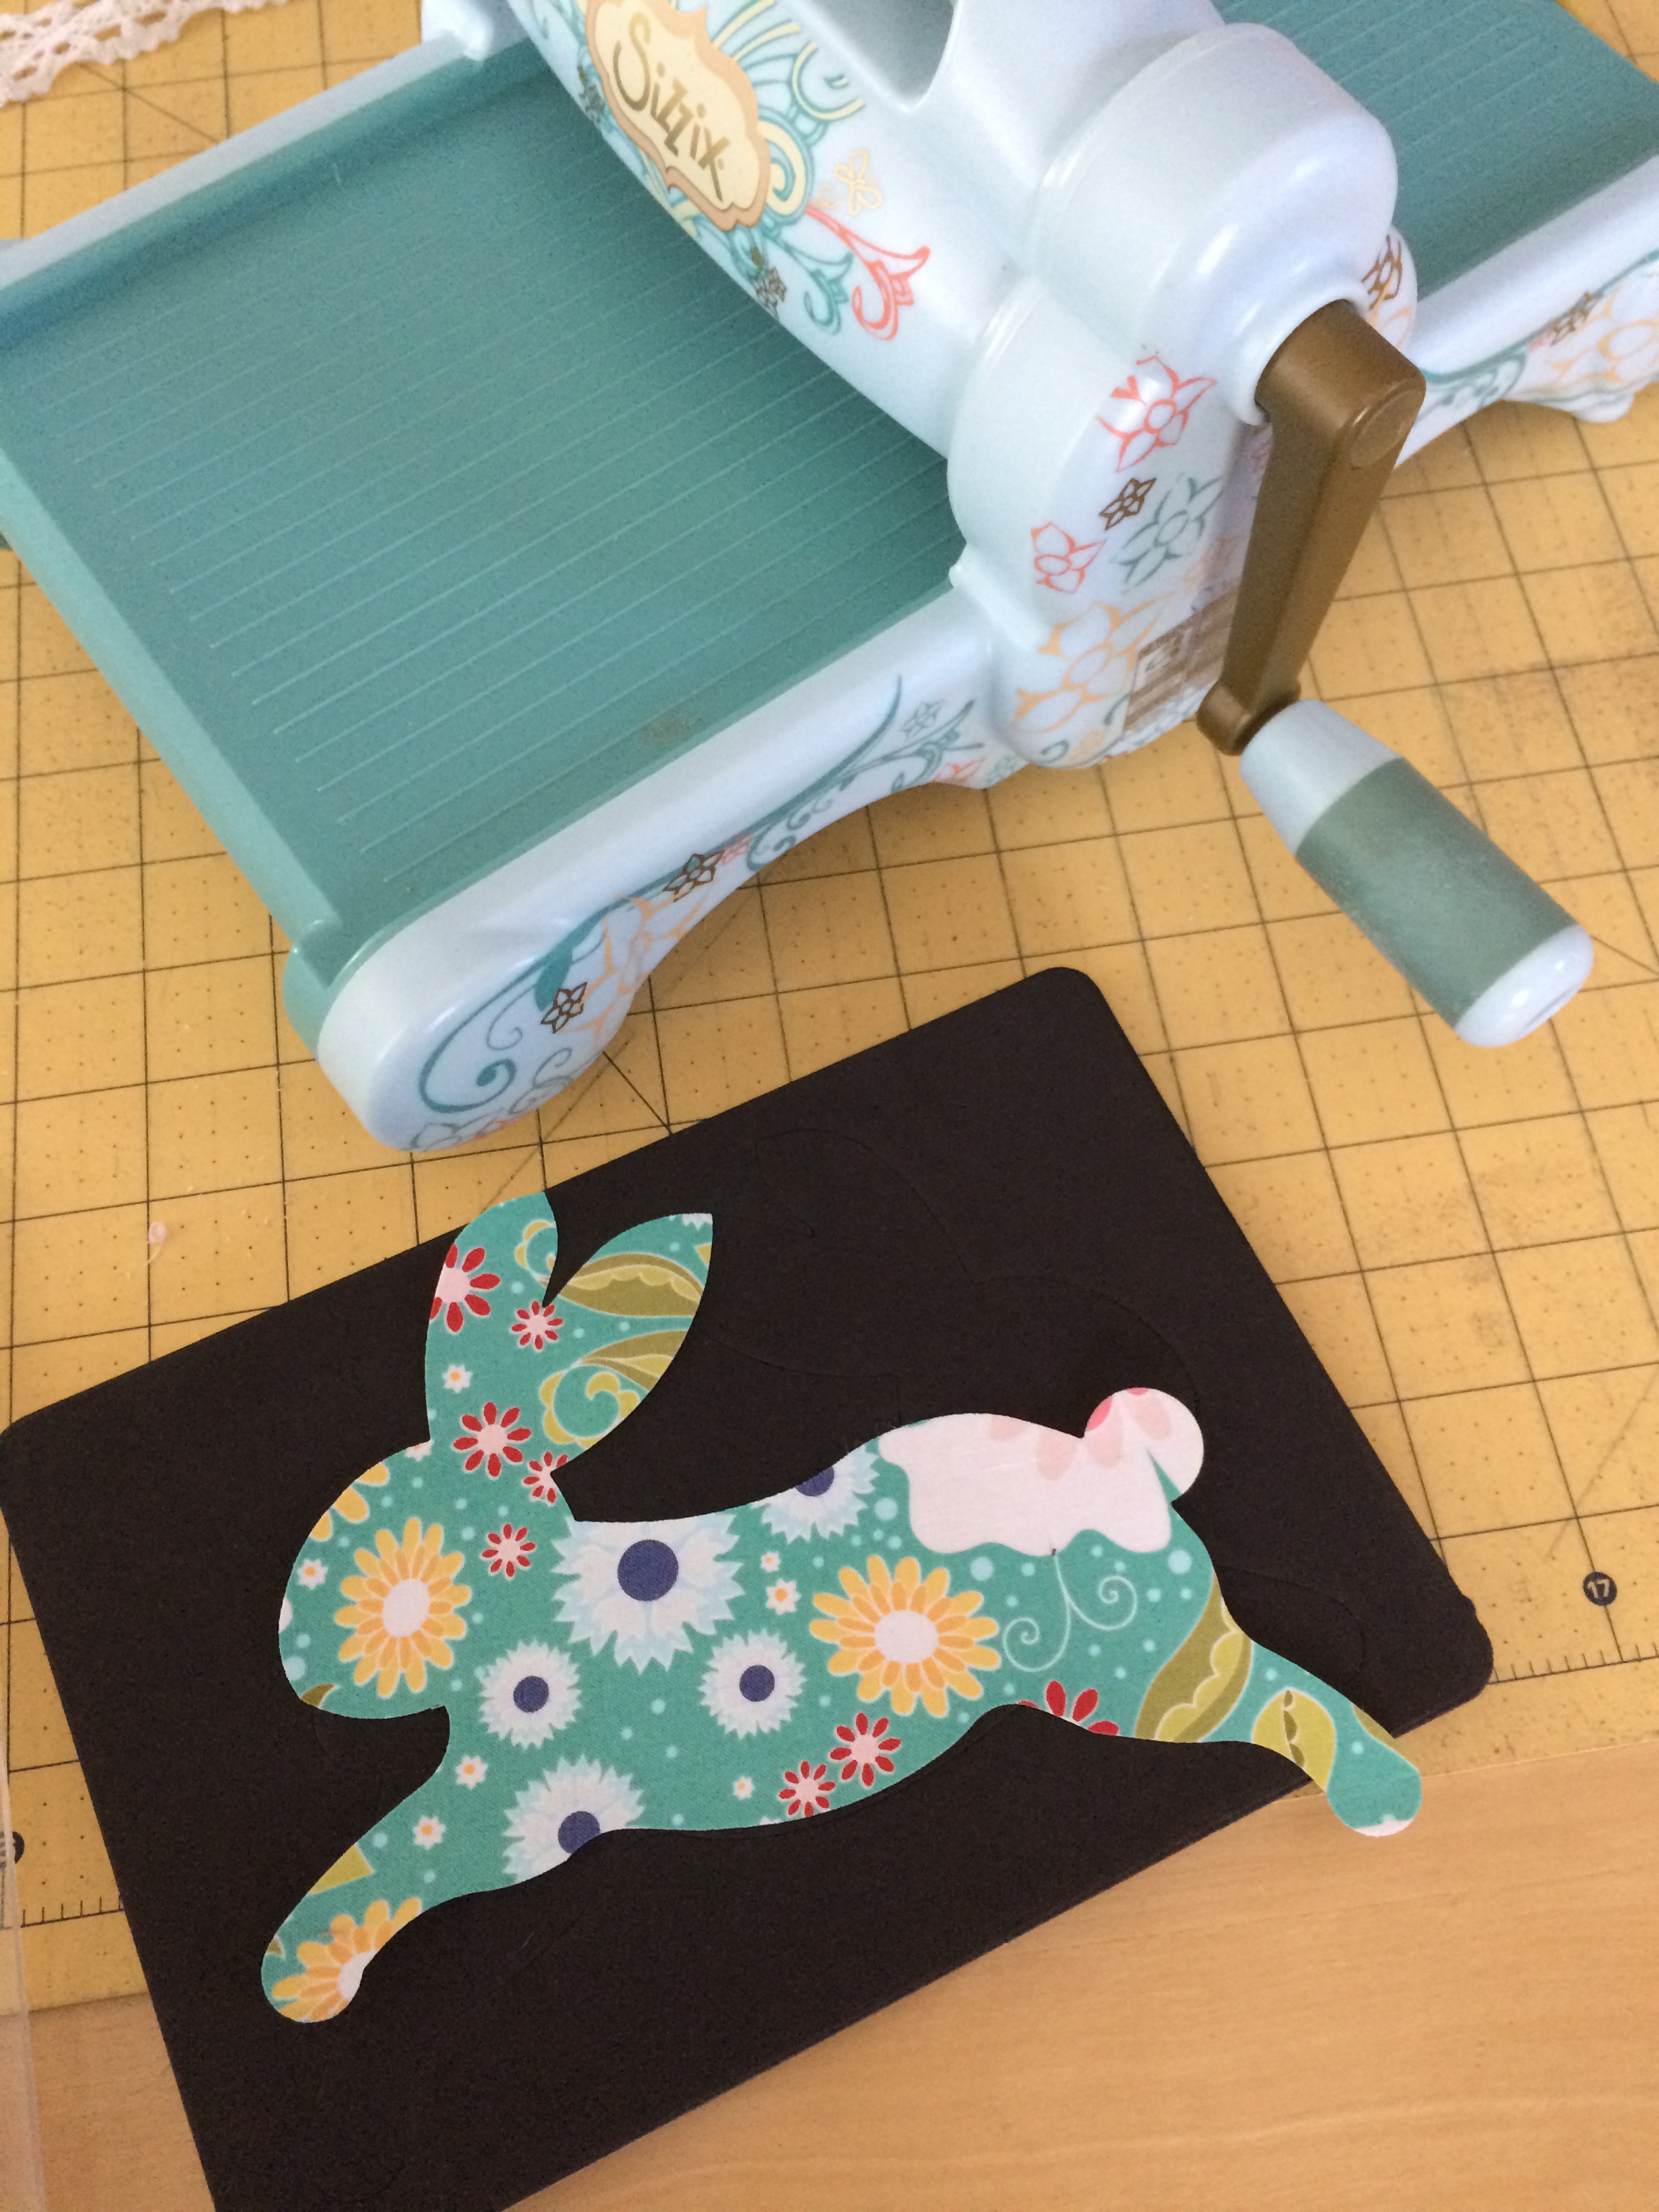
I am also using my most favorite Sizzix Bunny Die (I’m sure I’ve said that many times!!)  I love using my Sizzix Fabi to cut these bunnies!  It’s so fast and easy!

IMG_4954

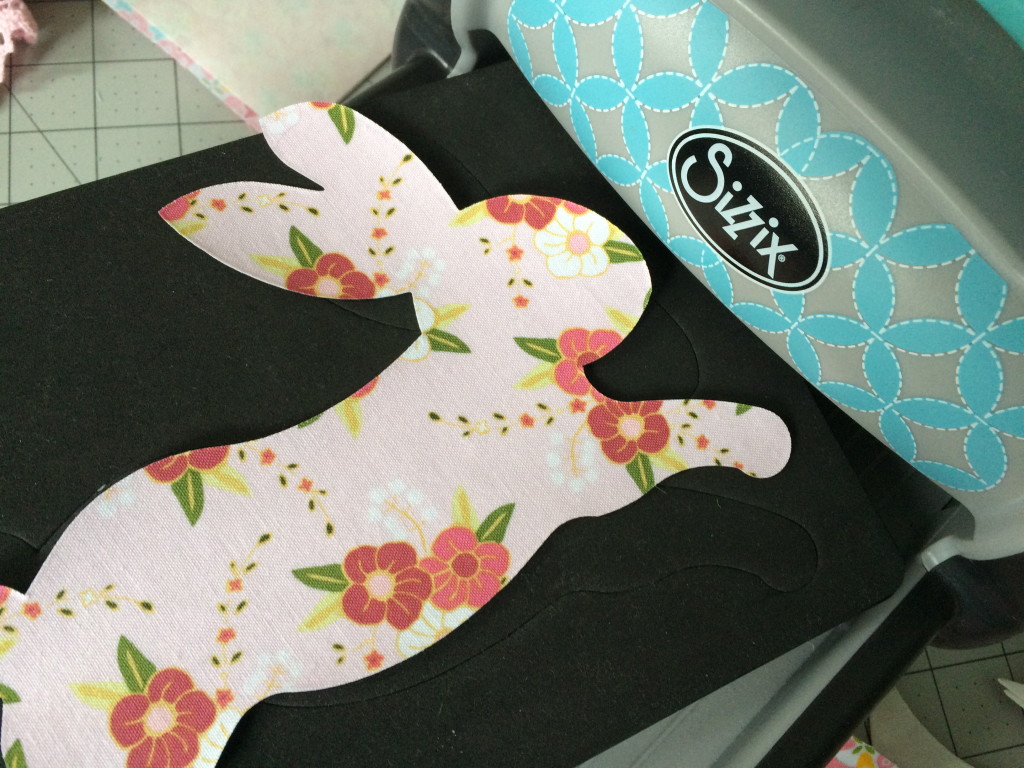
And you can die cut several at one time!

IMG_4969

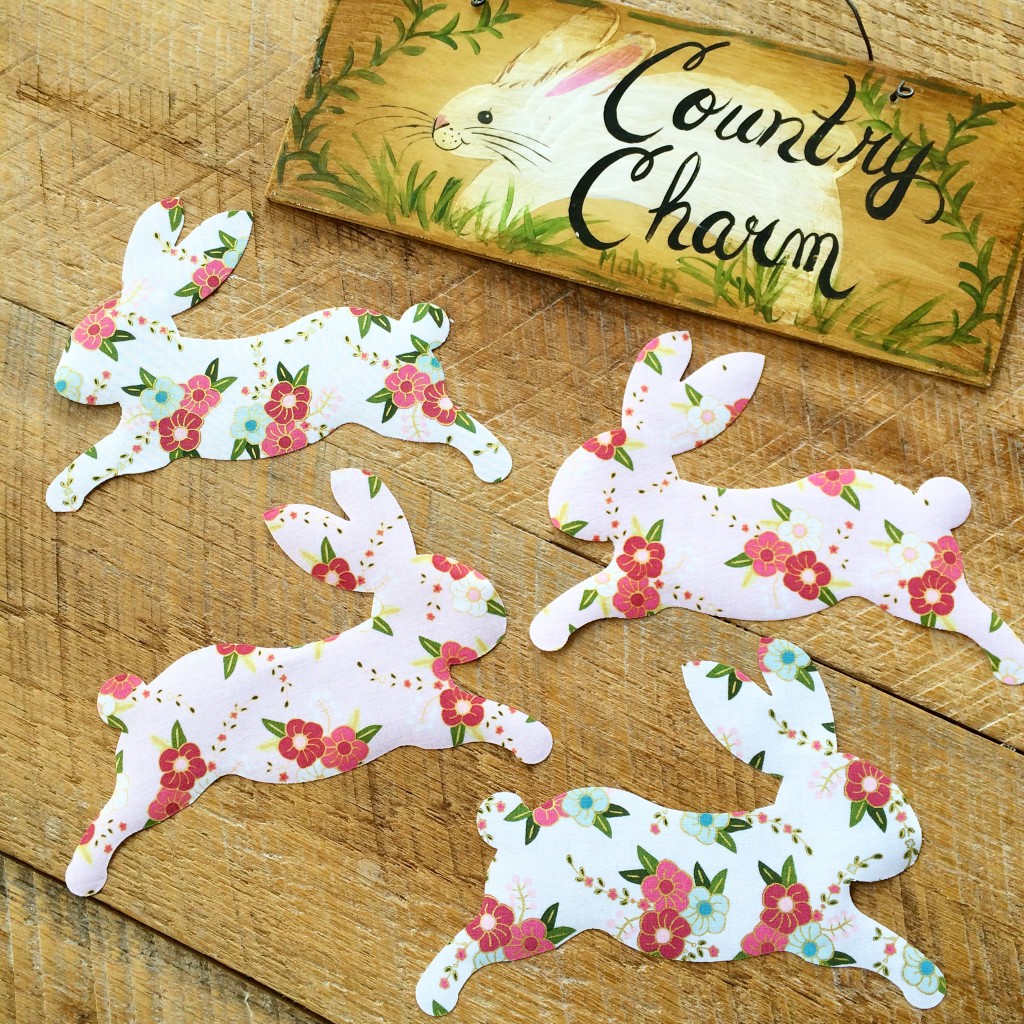
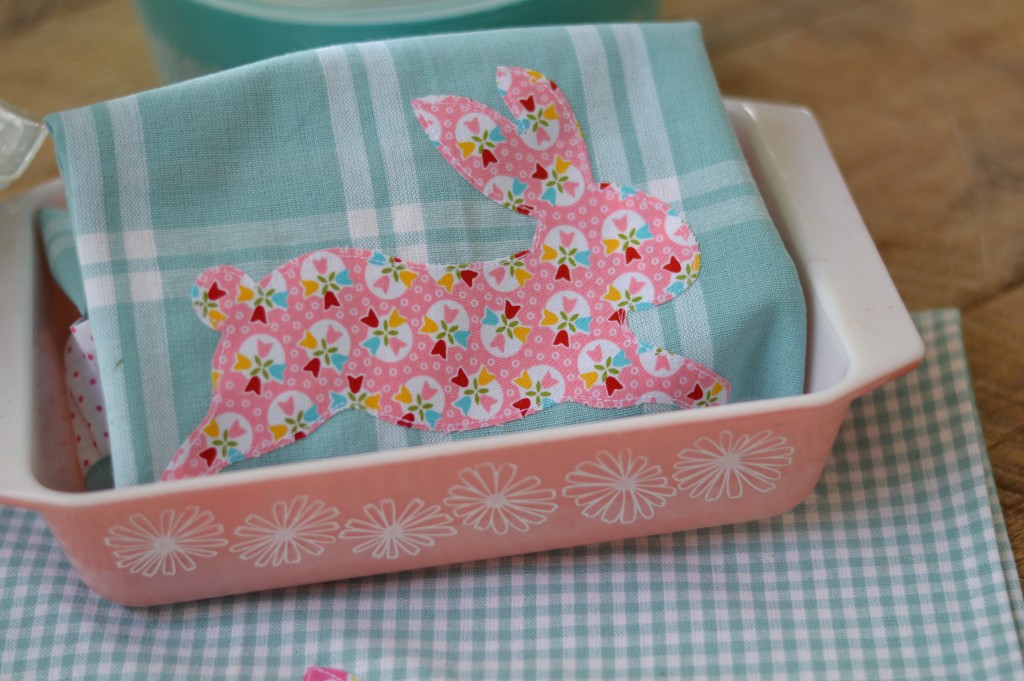
I could cut these bunnies out all day long!  They are so much fun and oh so cute when they are leaping all over!

IMG_4958

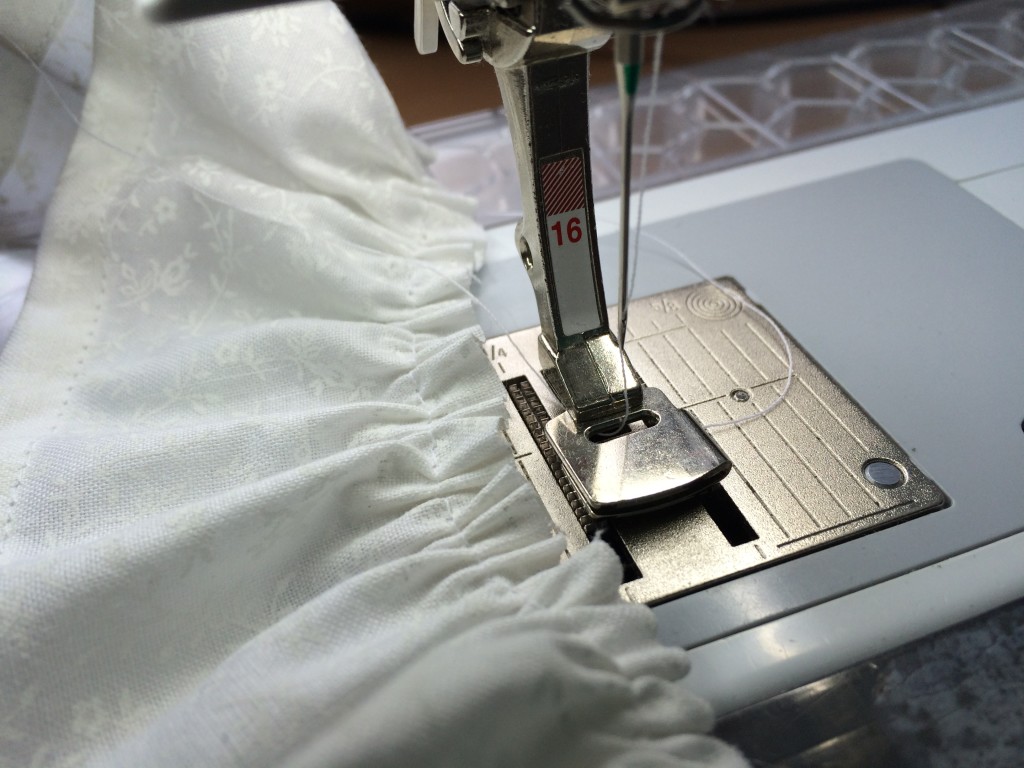
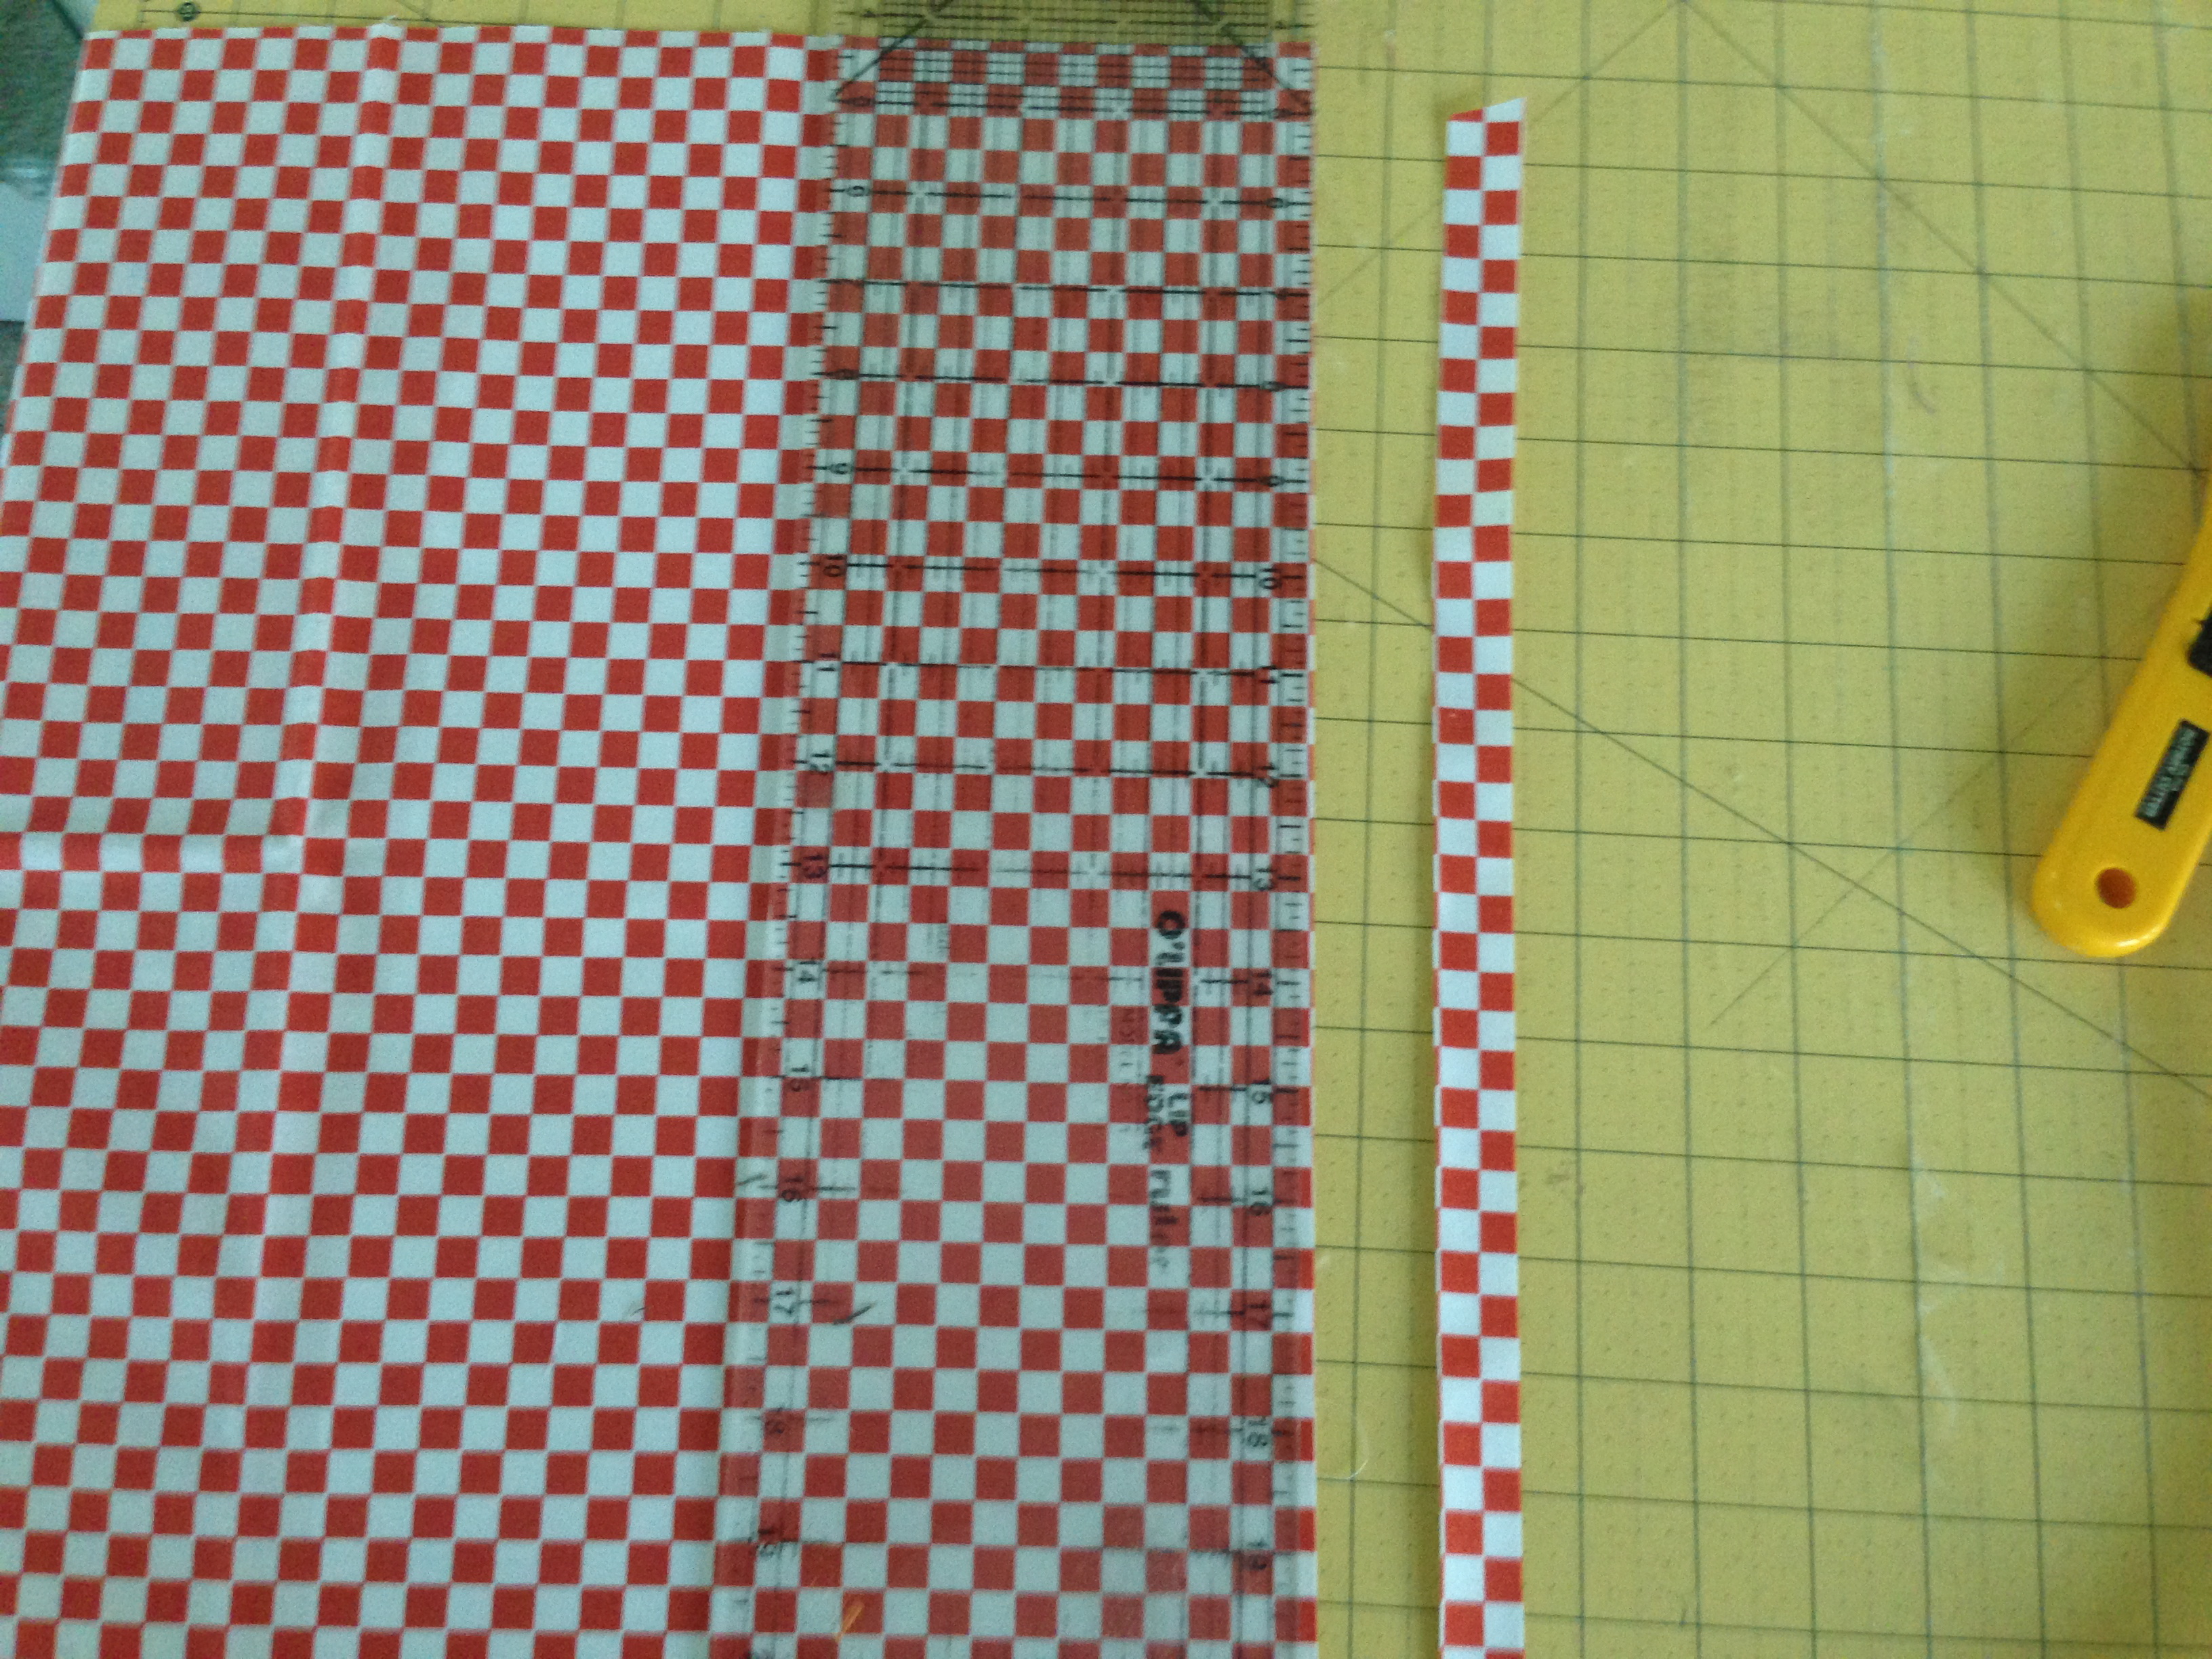
I used my ruffling foot to sew the ruffle – this is also a time saver!

IMG_4980

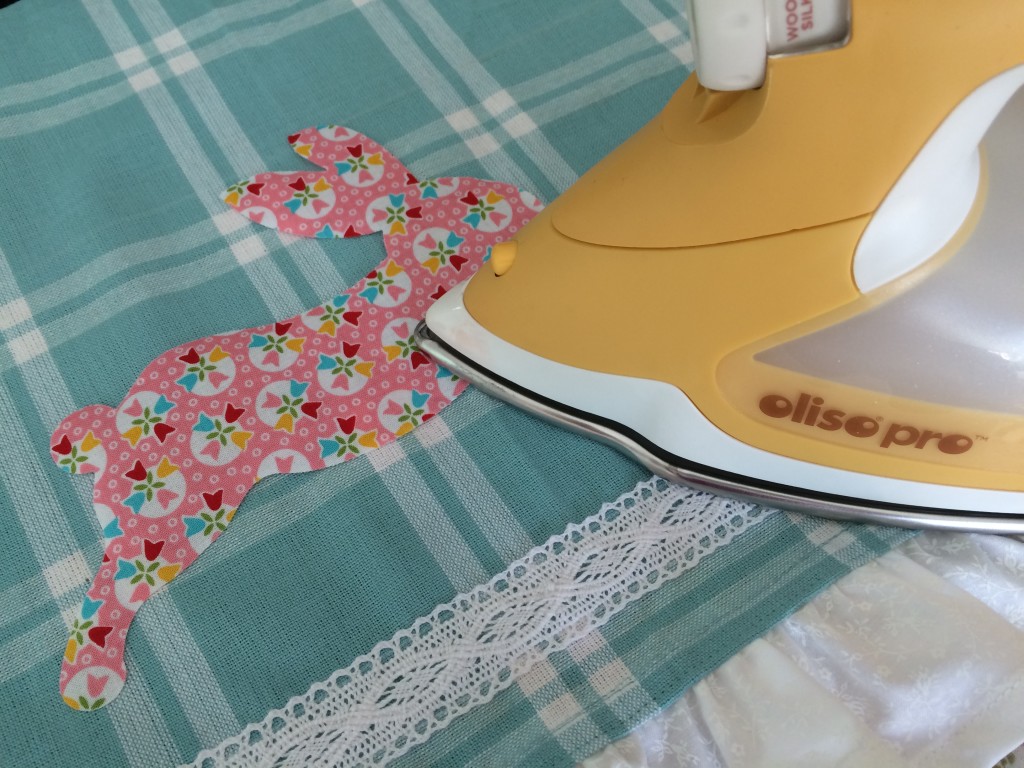
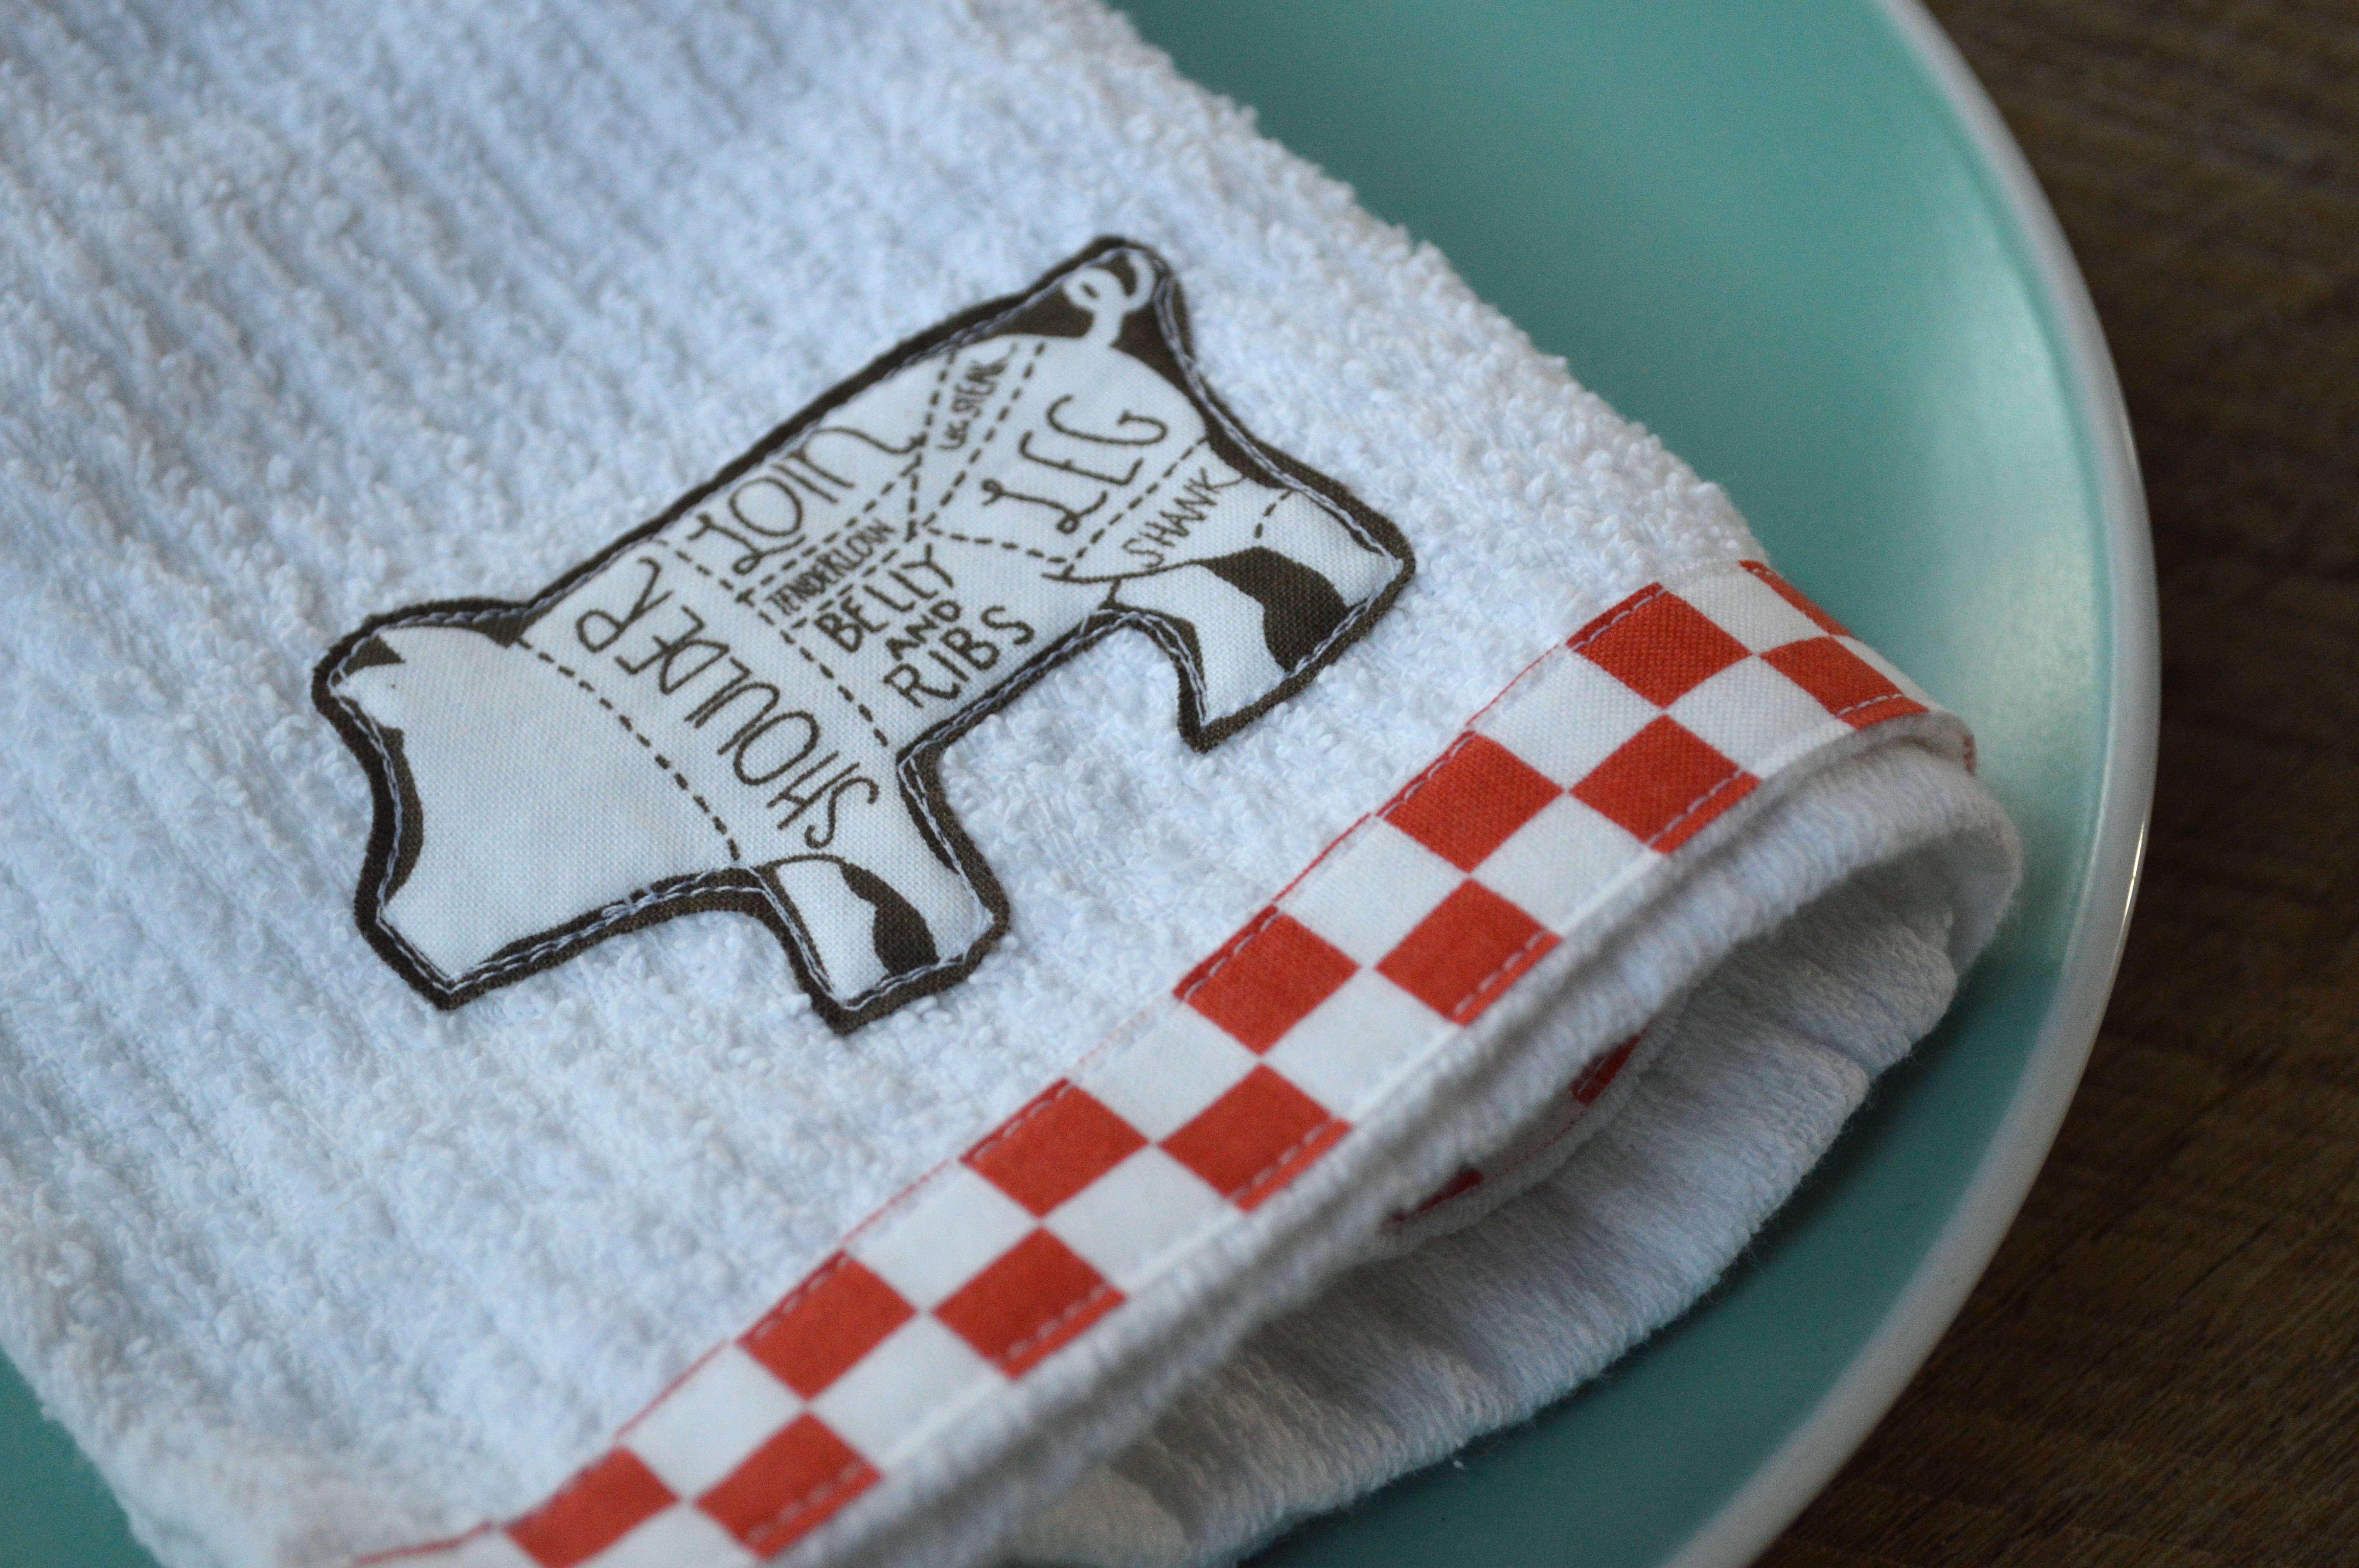
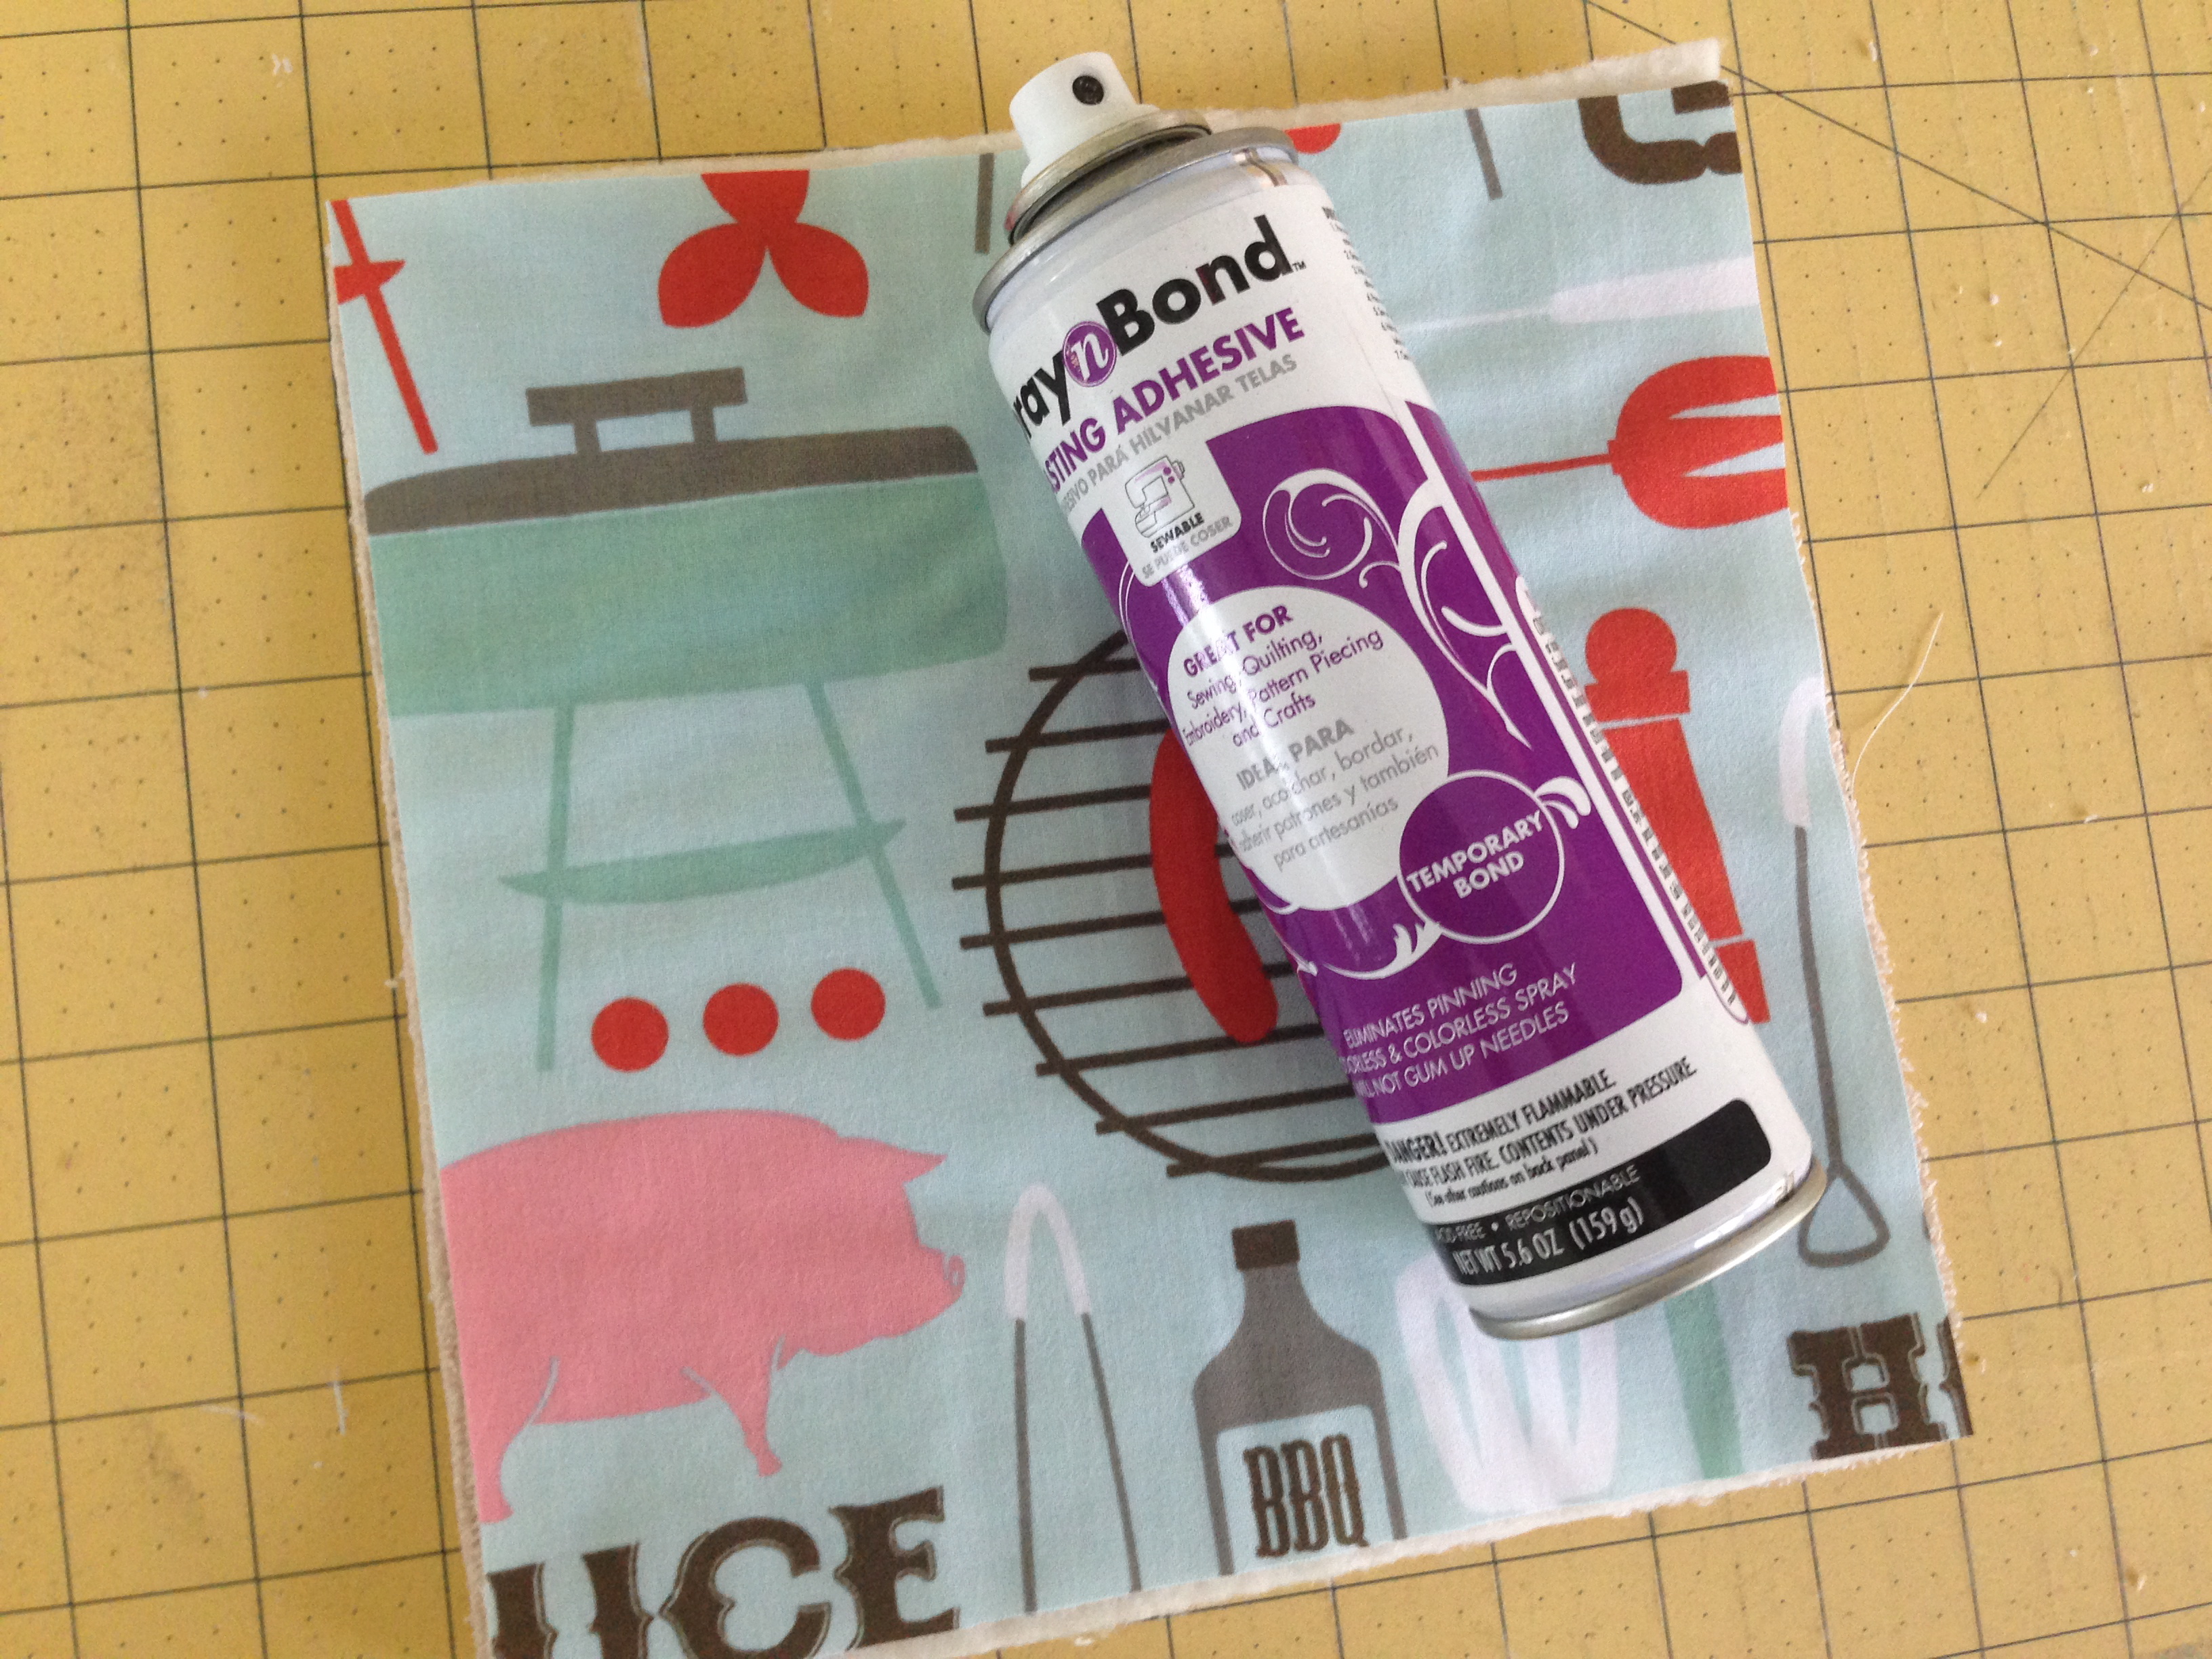
I used Heat n Bond Lite to fuse the bunny.  I also used my new Oliso Pro iron.  It’s a dream!!!

IMG_5041

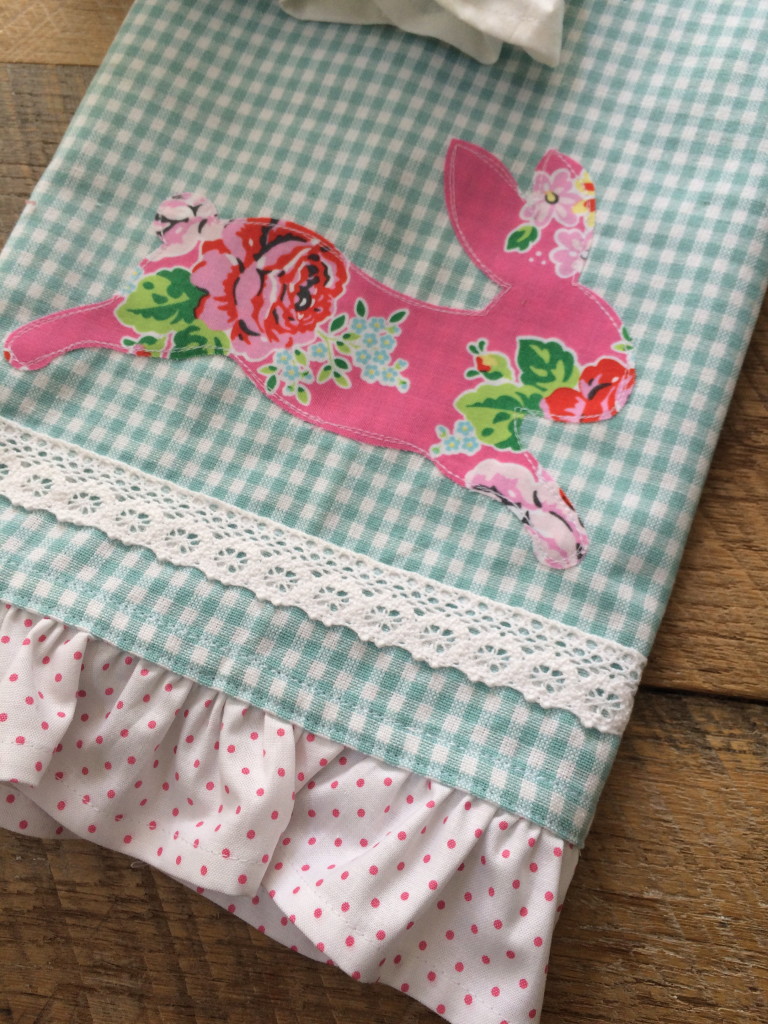
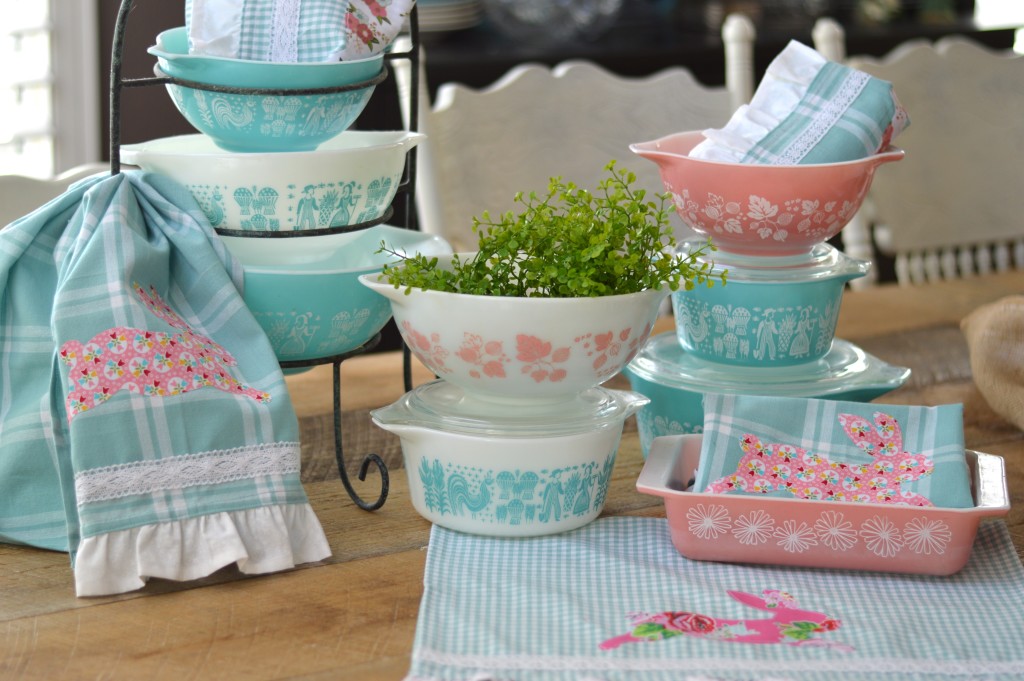
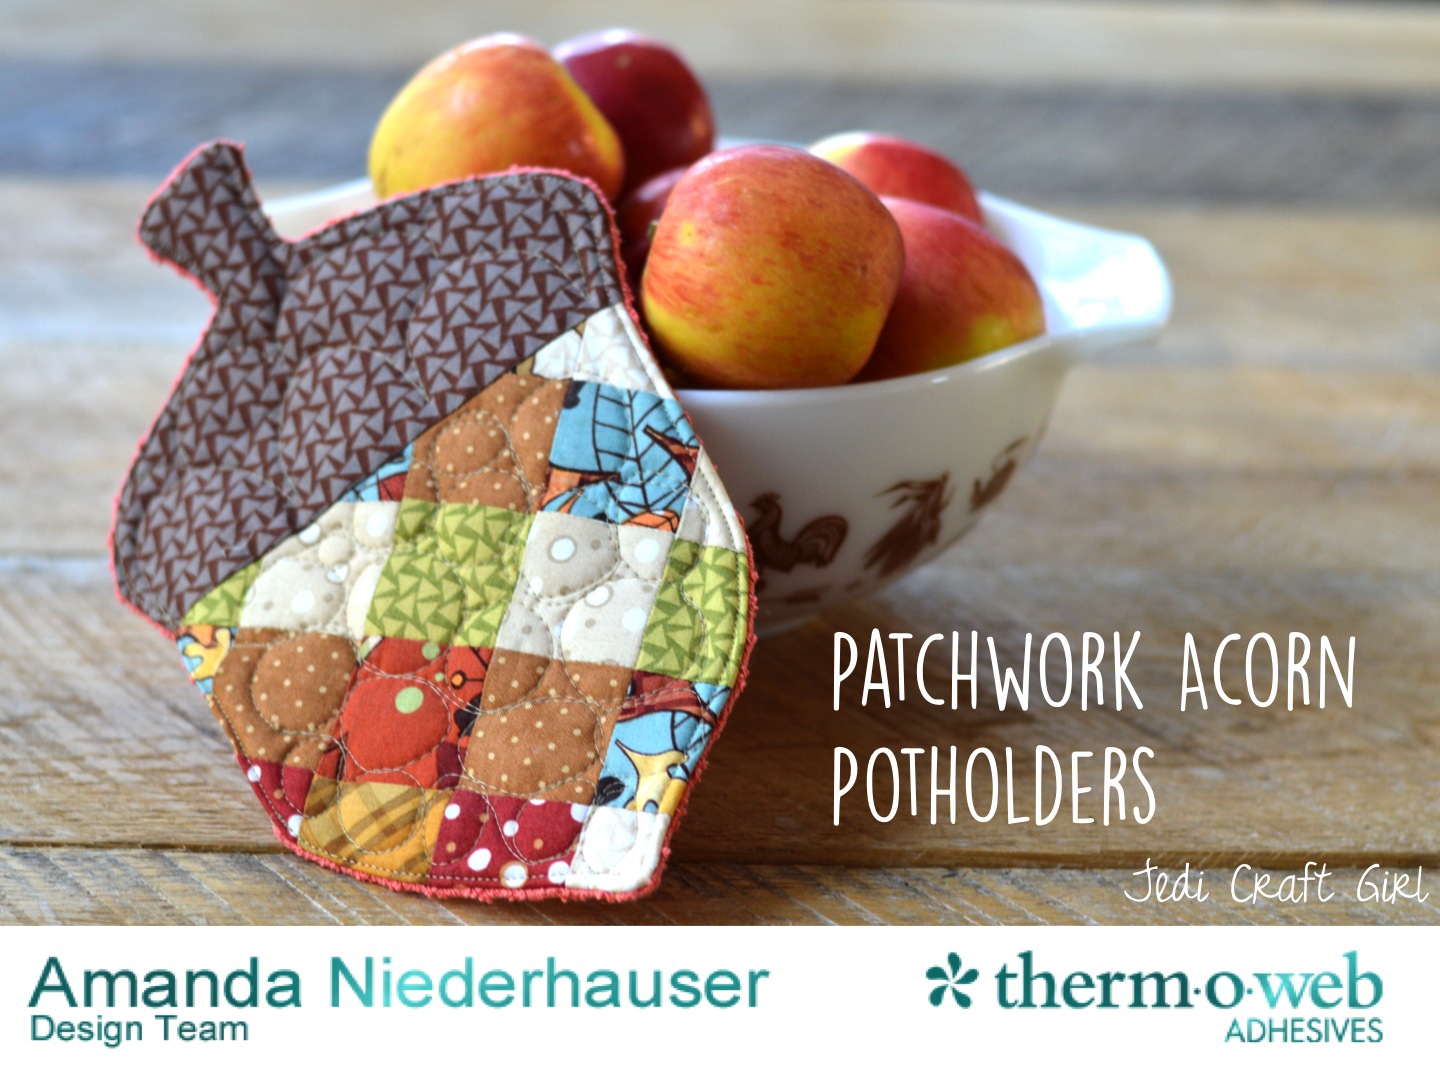
I love how sweet they are with the soft colors!

IMG_5042

IMG_5039

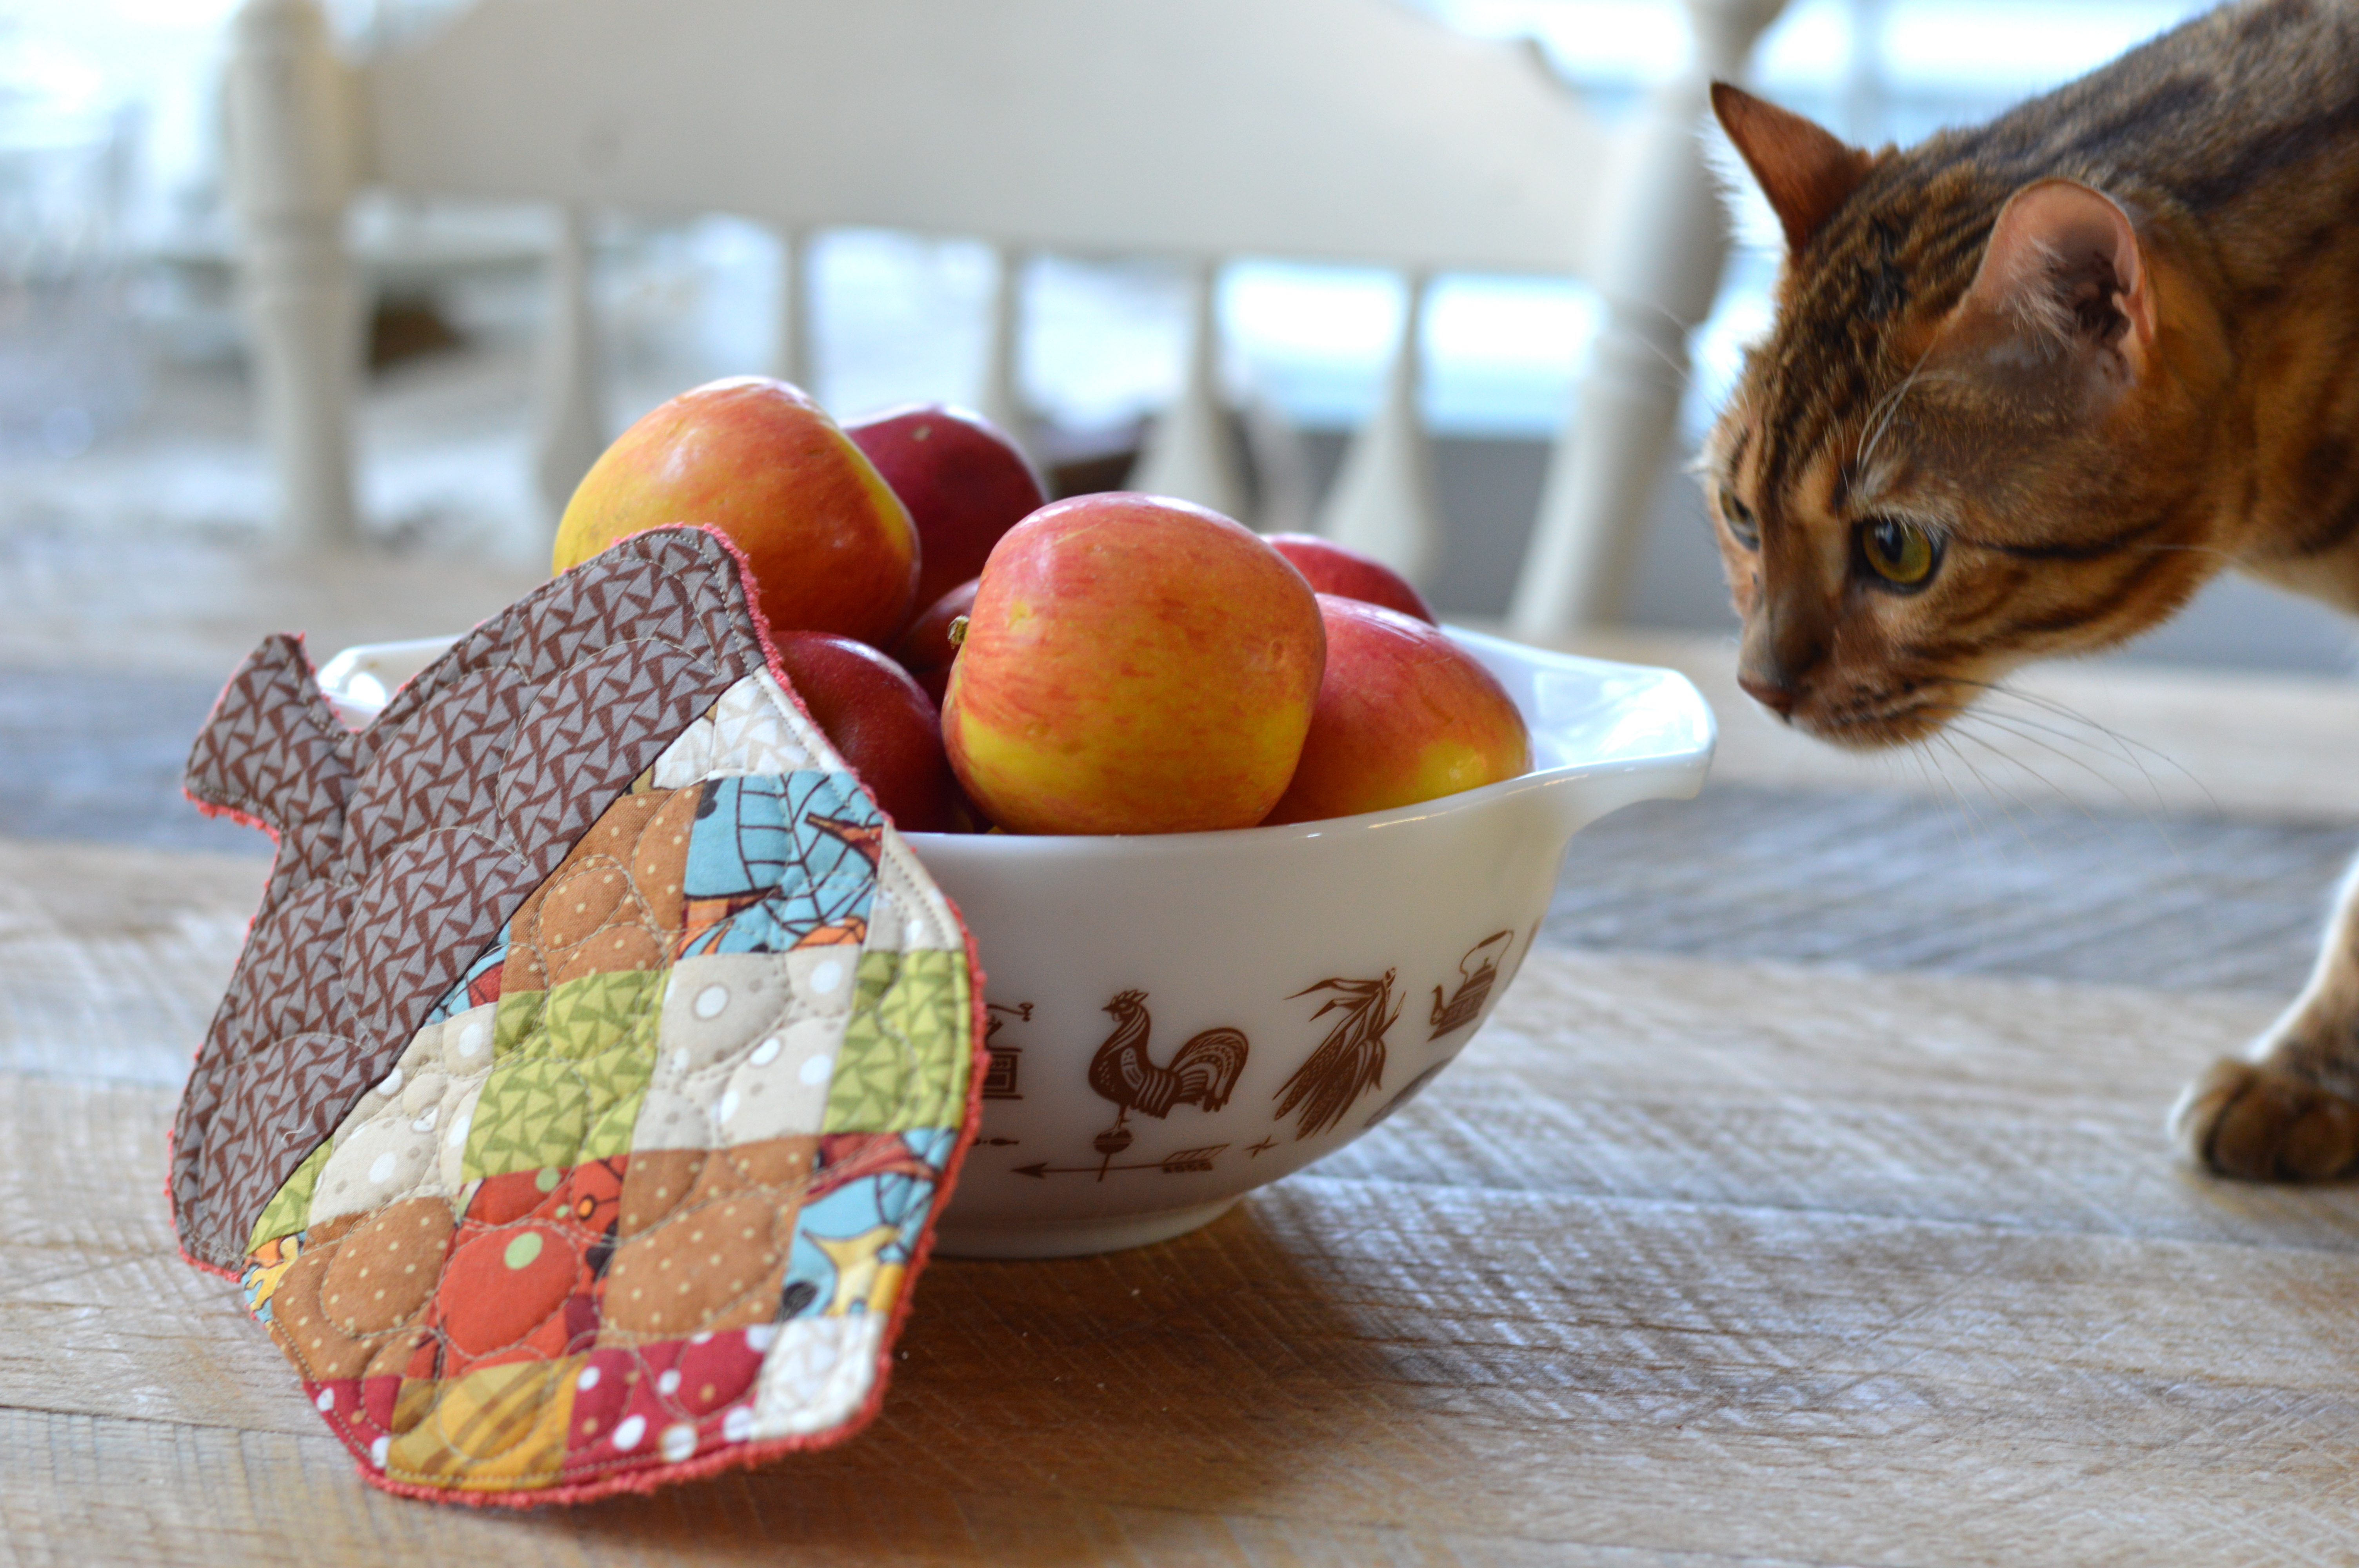
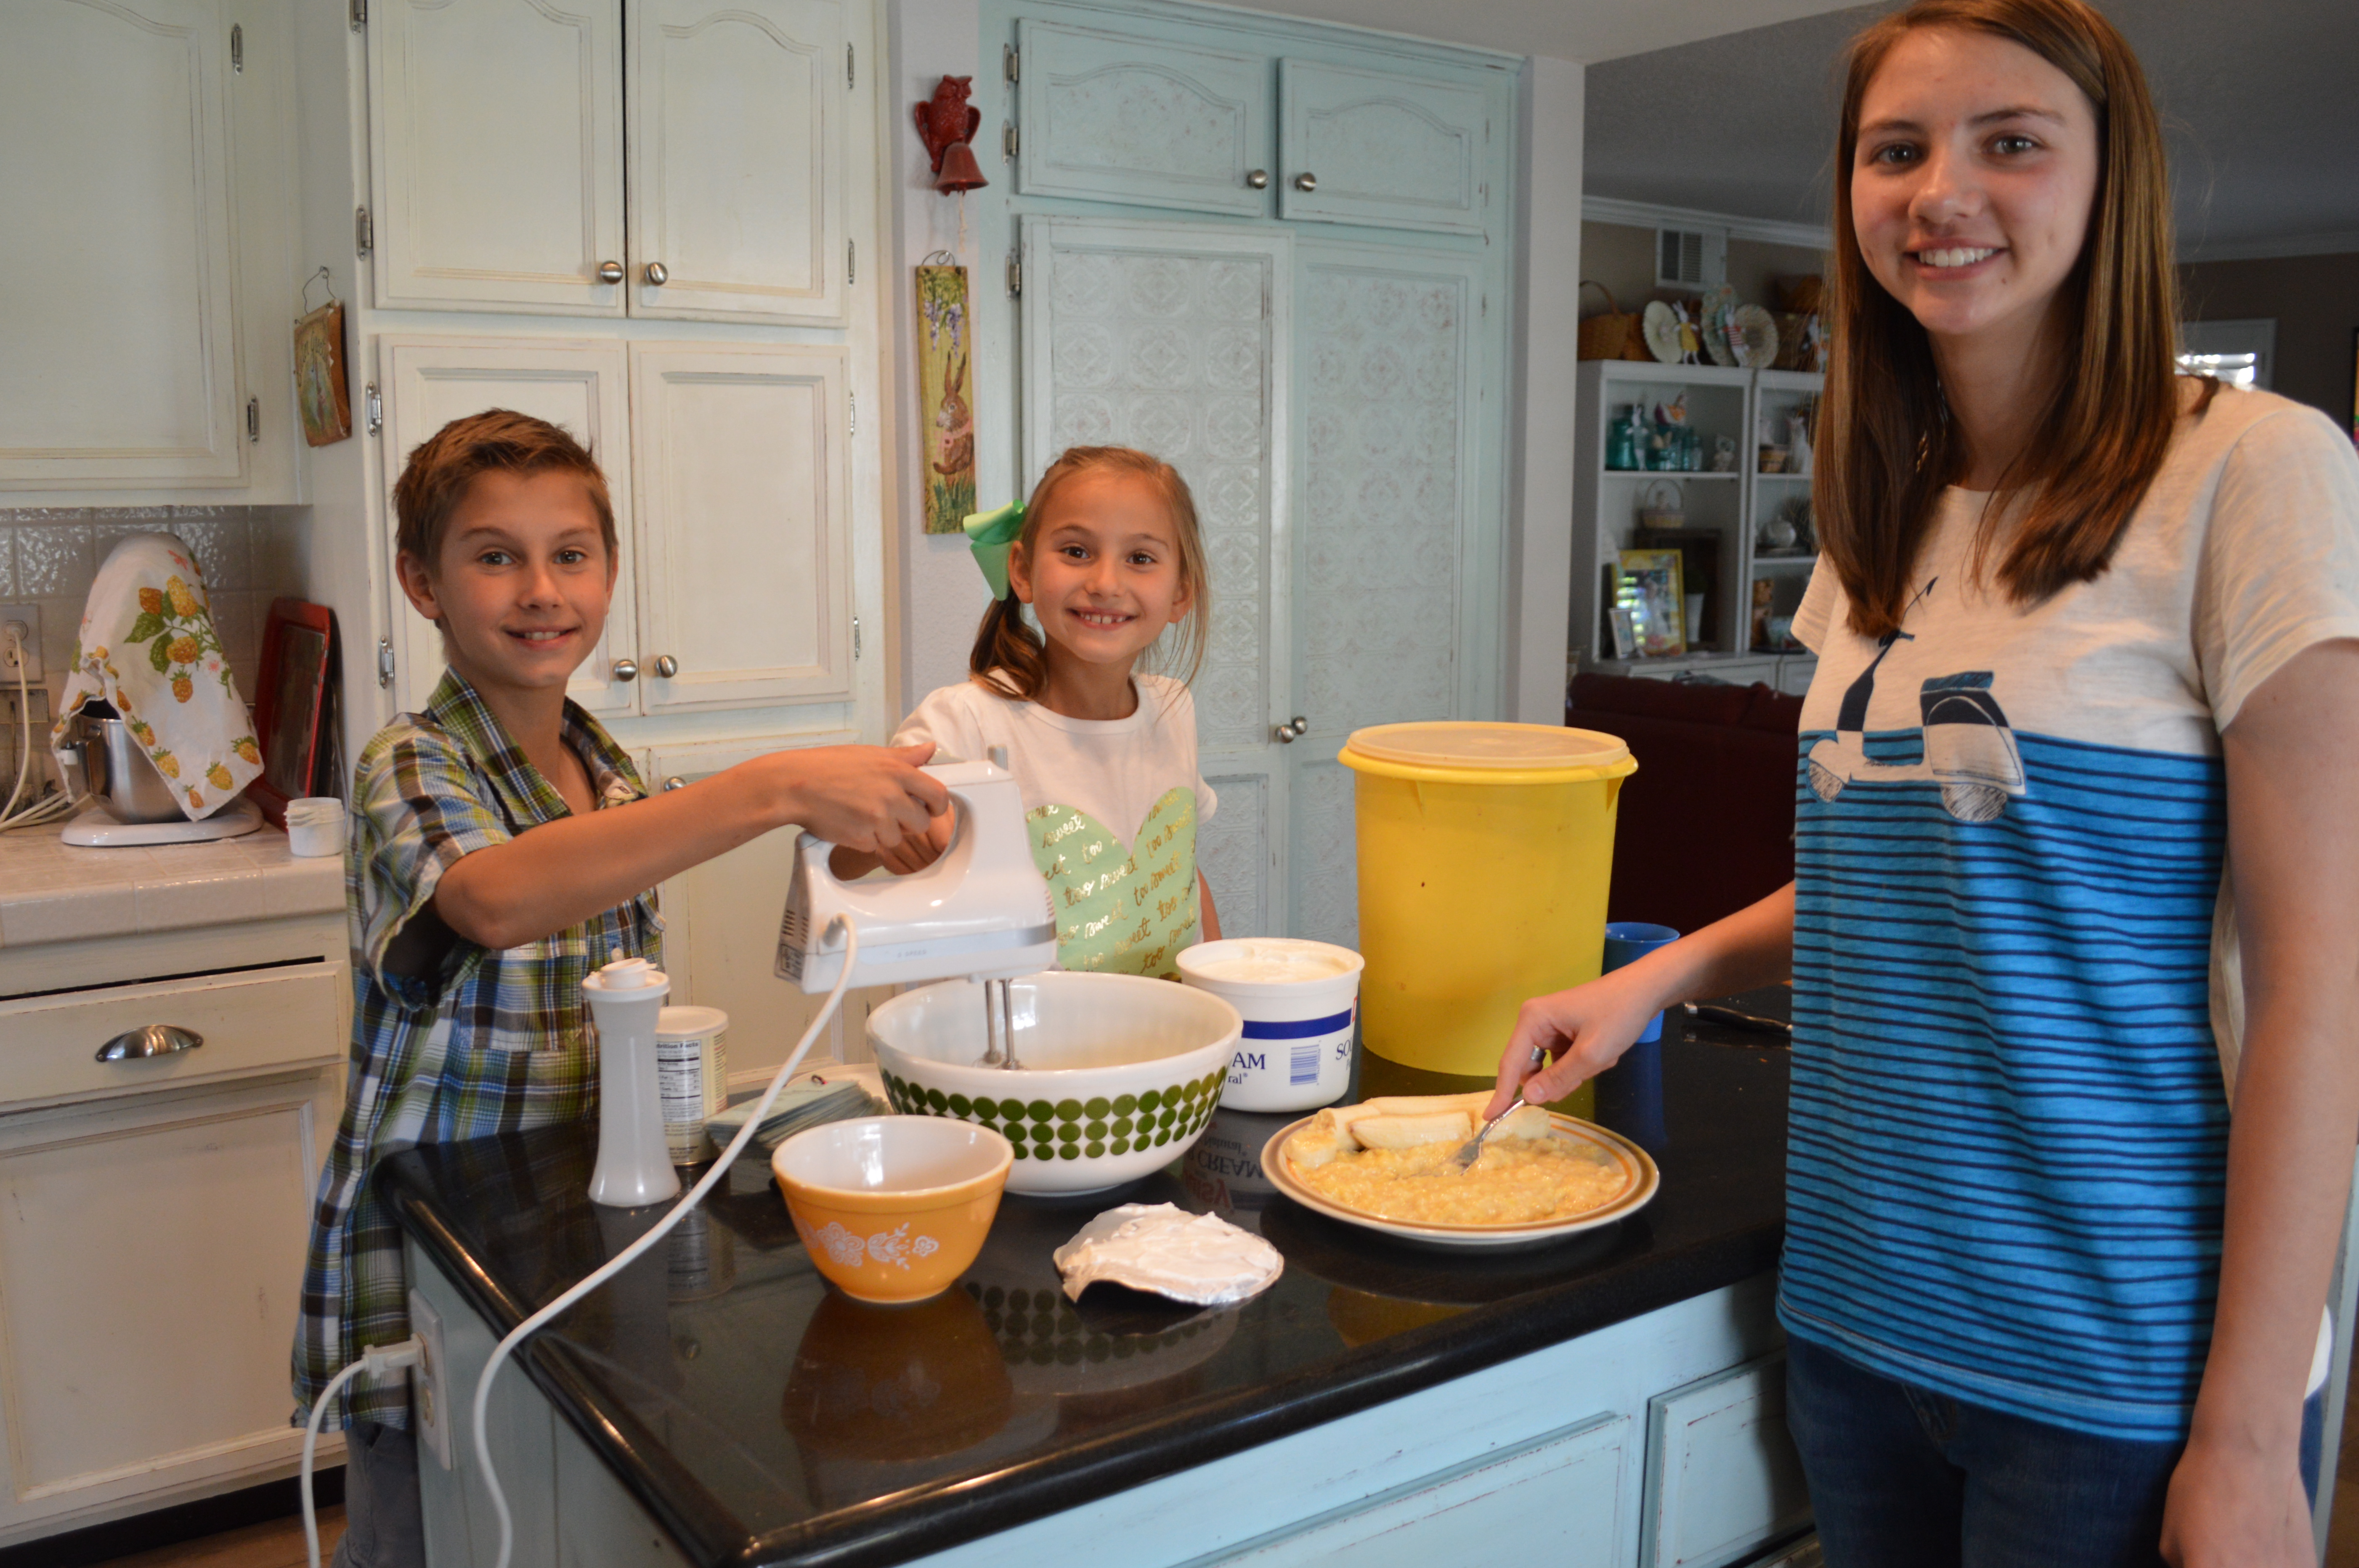
I want to keep them all for myself!!     I love that these colors are perfect Pyrex colors!  I might just have a slight Pyrex obsession!!sizzix bunny towel 3

sizzix bunny towel 7

sizzix bunny towel 6        sizzix bunny towel 4

5 Minute Kitchen Towel Tutorial

kitchen towel

I love to give handmade gifts!!!!!  Sometimes you just need a cult little somthin’ to give a friend.  This is the perfect project!!  Literally, 5 minutes!

Supplies:

Kitchen/Tea towel yardage, or purchased tea/kitchen towel

Scrap of fabric for the bunny, mine is from Riley Blake Designs

Piece of ric rac & lace slightly longer than the width of the towel

Piece of Heat n Bond Lite

Sizzix Big Shot (or you can hand cut any shape you want)

I love this towel yardage – it’s hemmed along the sides.  All you have to do is cut the desired length and add hems to the ends.  It comes in many colors and patterns.  You could totally use a white tea towel, or other kitchen towel!  I cut mine at about 3/4 yard long,

kitchen towel tutorial


Iron the Heat n Bond Lite to the back of the fabric.  Run it through the Big Shot – or hand cut the shape.  Peel off the backing paper.  Using spray n bond (or pins) position the lace and the ric rac.  I run the edges of my ric rac through a flame to seal the edges.  Tuck the ends in or around the back of the towel.  Stitch in place.  Iron the bunny into place and top stitch 2 times around it.sizzix bunny towel
And it’s done!  I want to make a stack of them!  Wouldn’t they make cute Easter gifts!  I better get sewing!!

IMG_4972

Kitchen Towel Makeover


 I made these kitchen towels to go in my newly updated kitchen.  They are so much fun to make.  I love quick sewing projects like this because I get a “fabric fix” without a lot of mess!

I made these towels using “bar mop” towels from Target – they are $4 for a set of 4.  I recommend washing them – they turn all different kinds of shapes in the dryer!


I sewed a band of fabric with Ric Rac edges to the bottom.  I folded the raw edge in at the sides of the towel and top stitched the whole thing.  The top loop I made with ribbon and Velcro – that way I can get them on and off the handle of the oven.   I sewed an accent square out of a charm square (5″) in the corner to hide the ribbon ends.  Easy Peasy!!


Patchwork Acorns

patchwork acorn potholdersI’m sharing my Patchwork Acorn Potholder tutorial over on the Therm O Web Blog.  You can download the pattern and read the instructions!!patchwork acorn potholder

These are cute to use as potholders or as decorations in the kitchen!  I used a kitchen towel for the backing and the inside is fusible fleece.

patchwork acorn potholder 22

I also used the same pattern for the acorn and appliqued it onto burlap for a quick fall pillow!IMG_1846

To make the pillow, use spray an bond basting spray to hold the acorn in place.  Top stitch a few times around the acorn.  Then sew a 1″ seam all the way around the pillow leaving an opening for stuffing.  Stuff, then sew closed.  Fray the edges of the burlap as desired.IMG_1836

Day #6 Make Dinner For Someone

Nothing says family unity like cooking in the kitchen!  Today’s service project is making dinner for someone.  Think of someone you know that could use a little break from the dinner-time routine.  It could be new mother, someone who was recently sick or in the hospital, or it could just be a family with young children and you know the mom would love a night off!  Who ever it is – get ready for some fun in the kitchen!DSC_1771

DSC_1774

For our meal we smoked pulled pork, made coleslaw and then baked our famous banana cake.  I am sharing the recipe with you!!!  I literally get requests for it!  Even if you don’t have time to make and entire dinner, you could make the cake or other baked items.
banana cake


I also included this little kitchen towel I made.  You can read how to make it here.

IMG_4972  
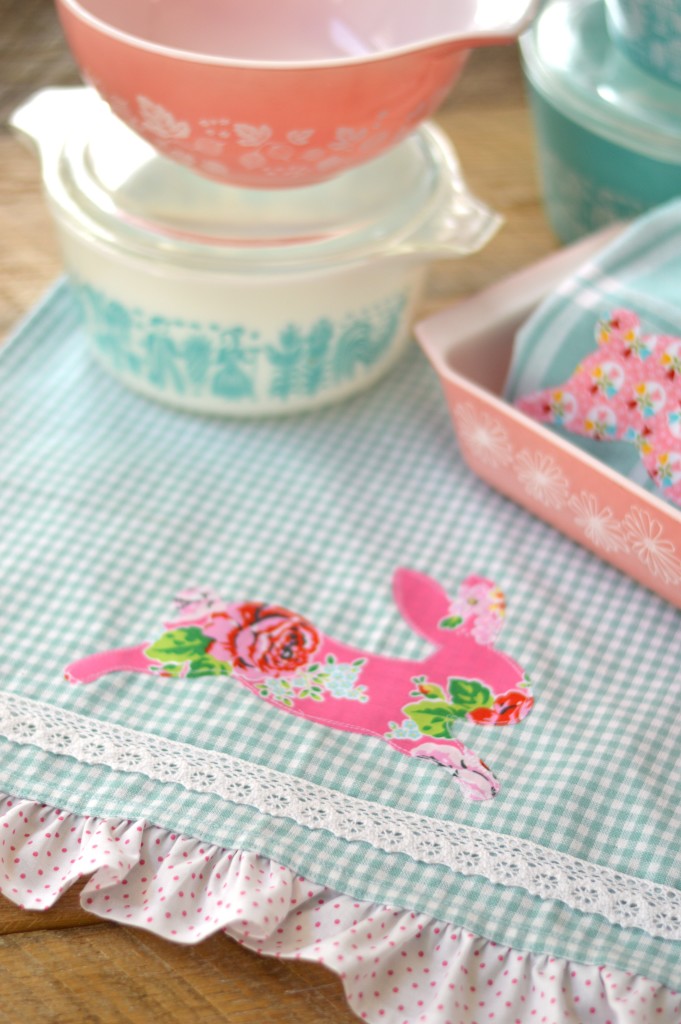
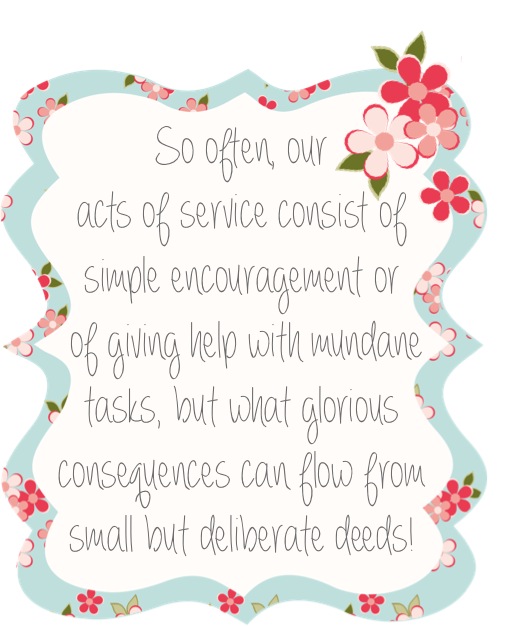
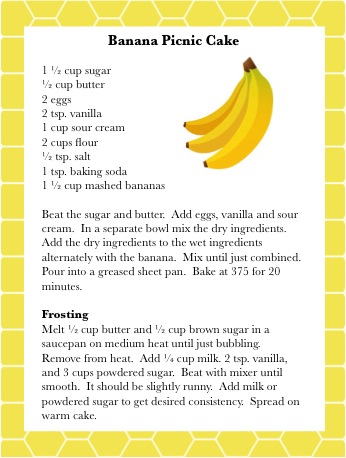
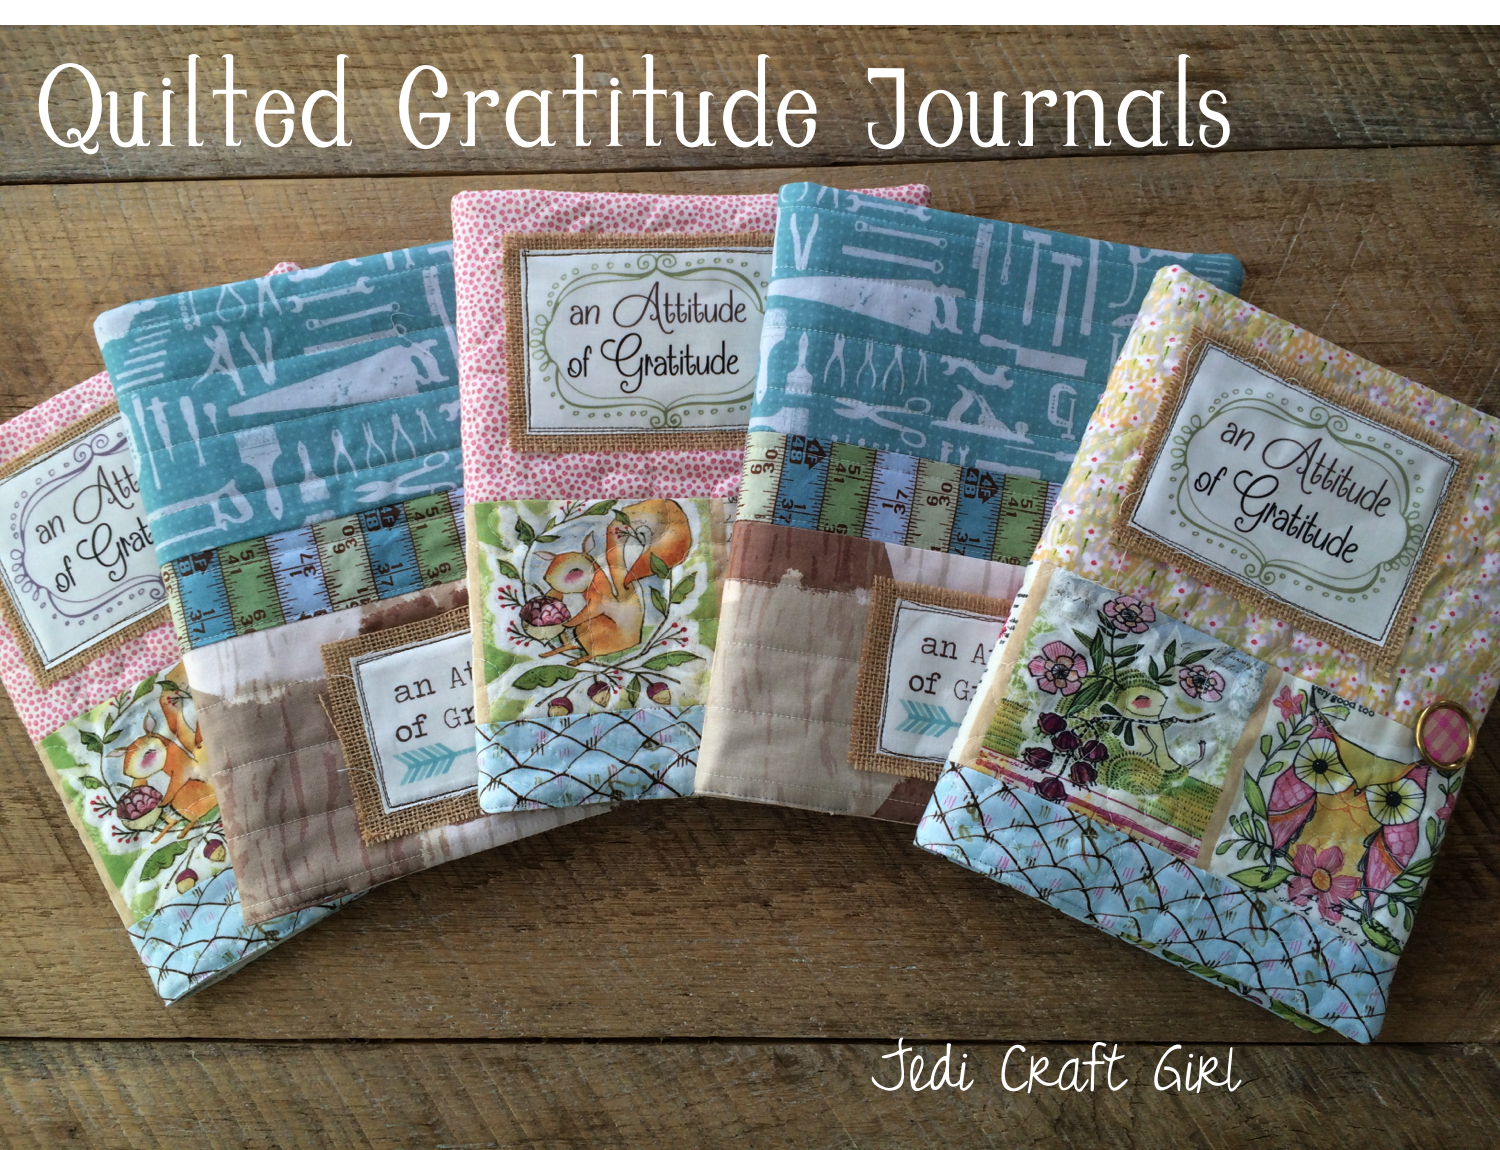
I made these little printable tags you can download and print.  One is for if someone is not feeling well, the other is for a general Happy Easter message 🙂Screen Shot 2015-03-25 at 3.16.11 PM Screen Shot 2015-03-25 at 3.16.04 PM


Instead of just having mom or dad go drop the meal off, we all went together.  Aren’t we cute!  IMG_5011I love this quote from President Spencer W. Kimball:service

BBQ Napkins {Father’s Day Sewing Tutorial}

father's day sewing tutorials 2
BBQ napkin tutorial
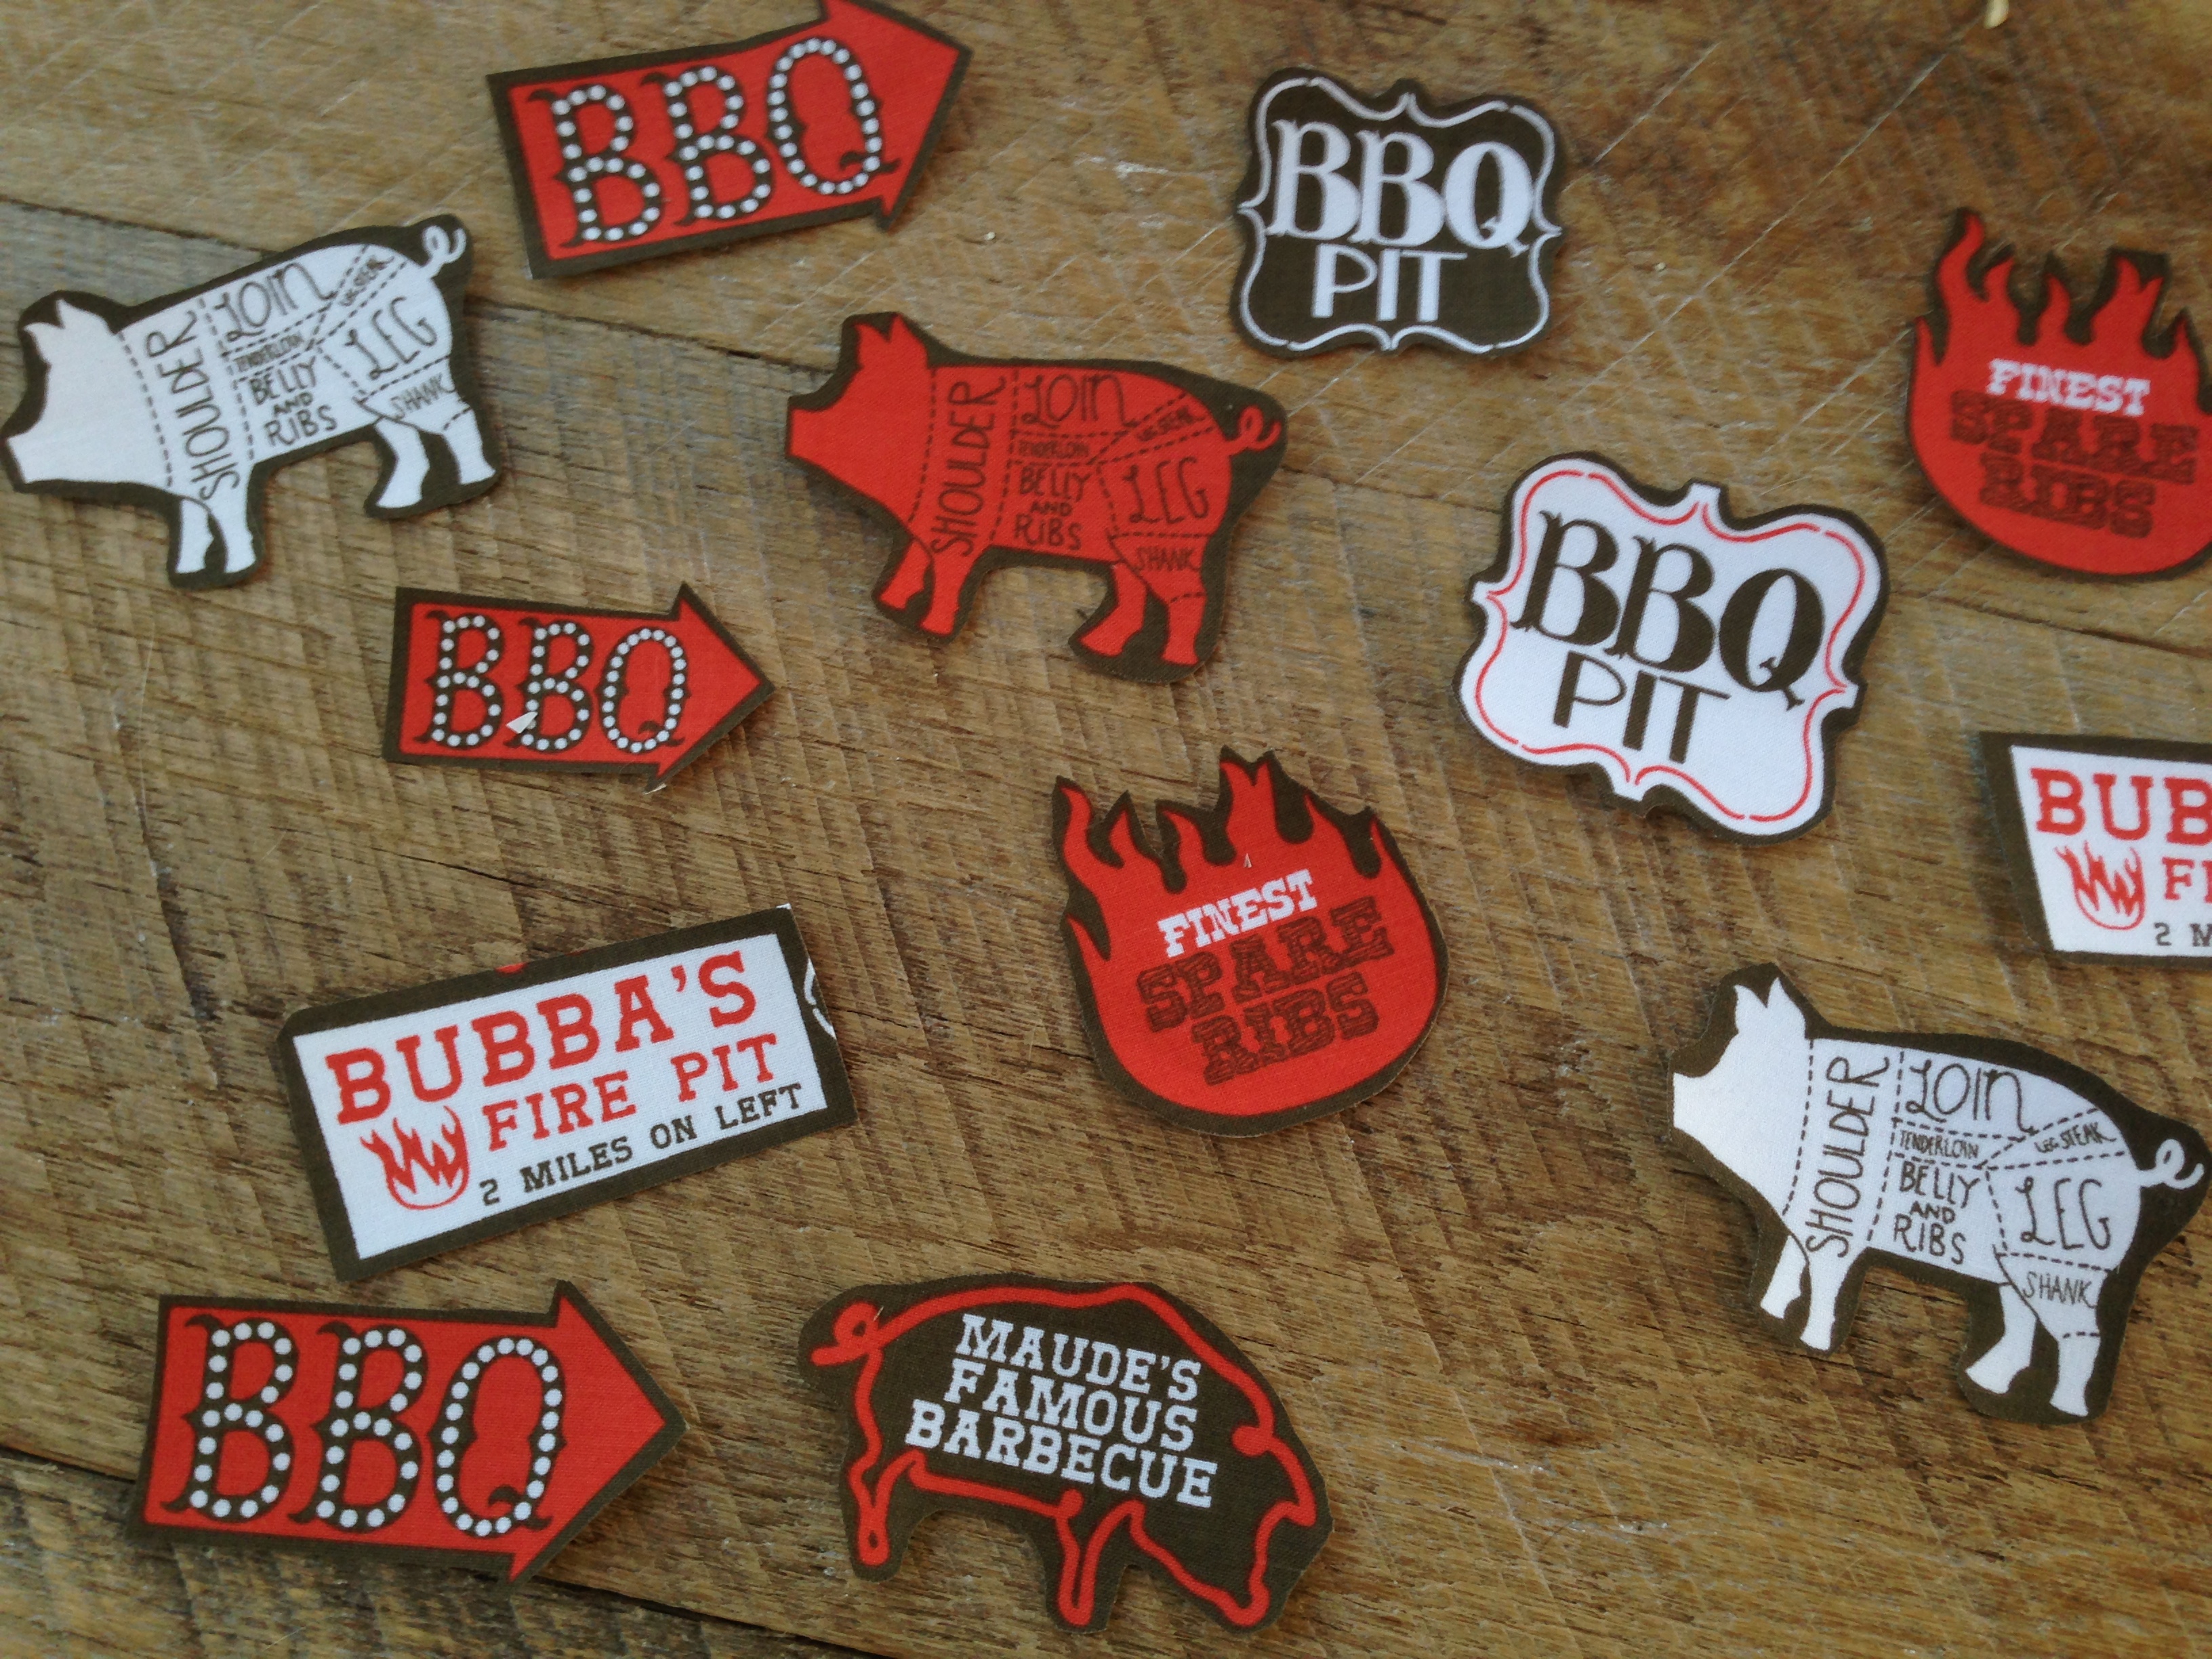
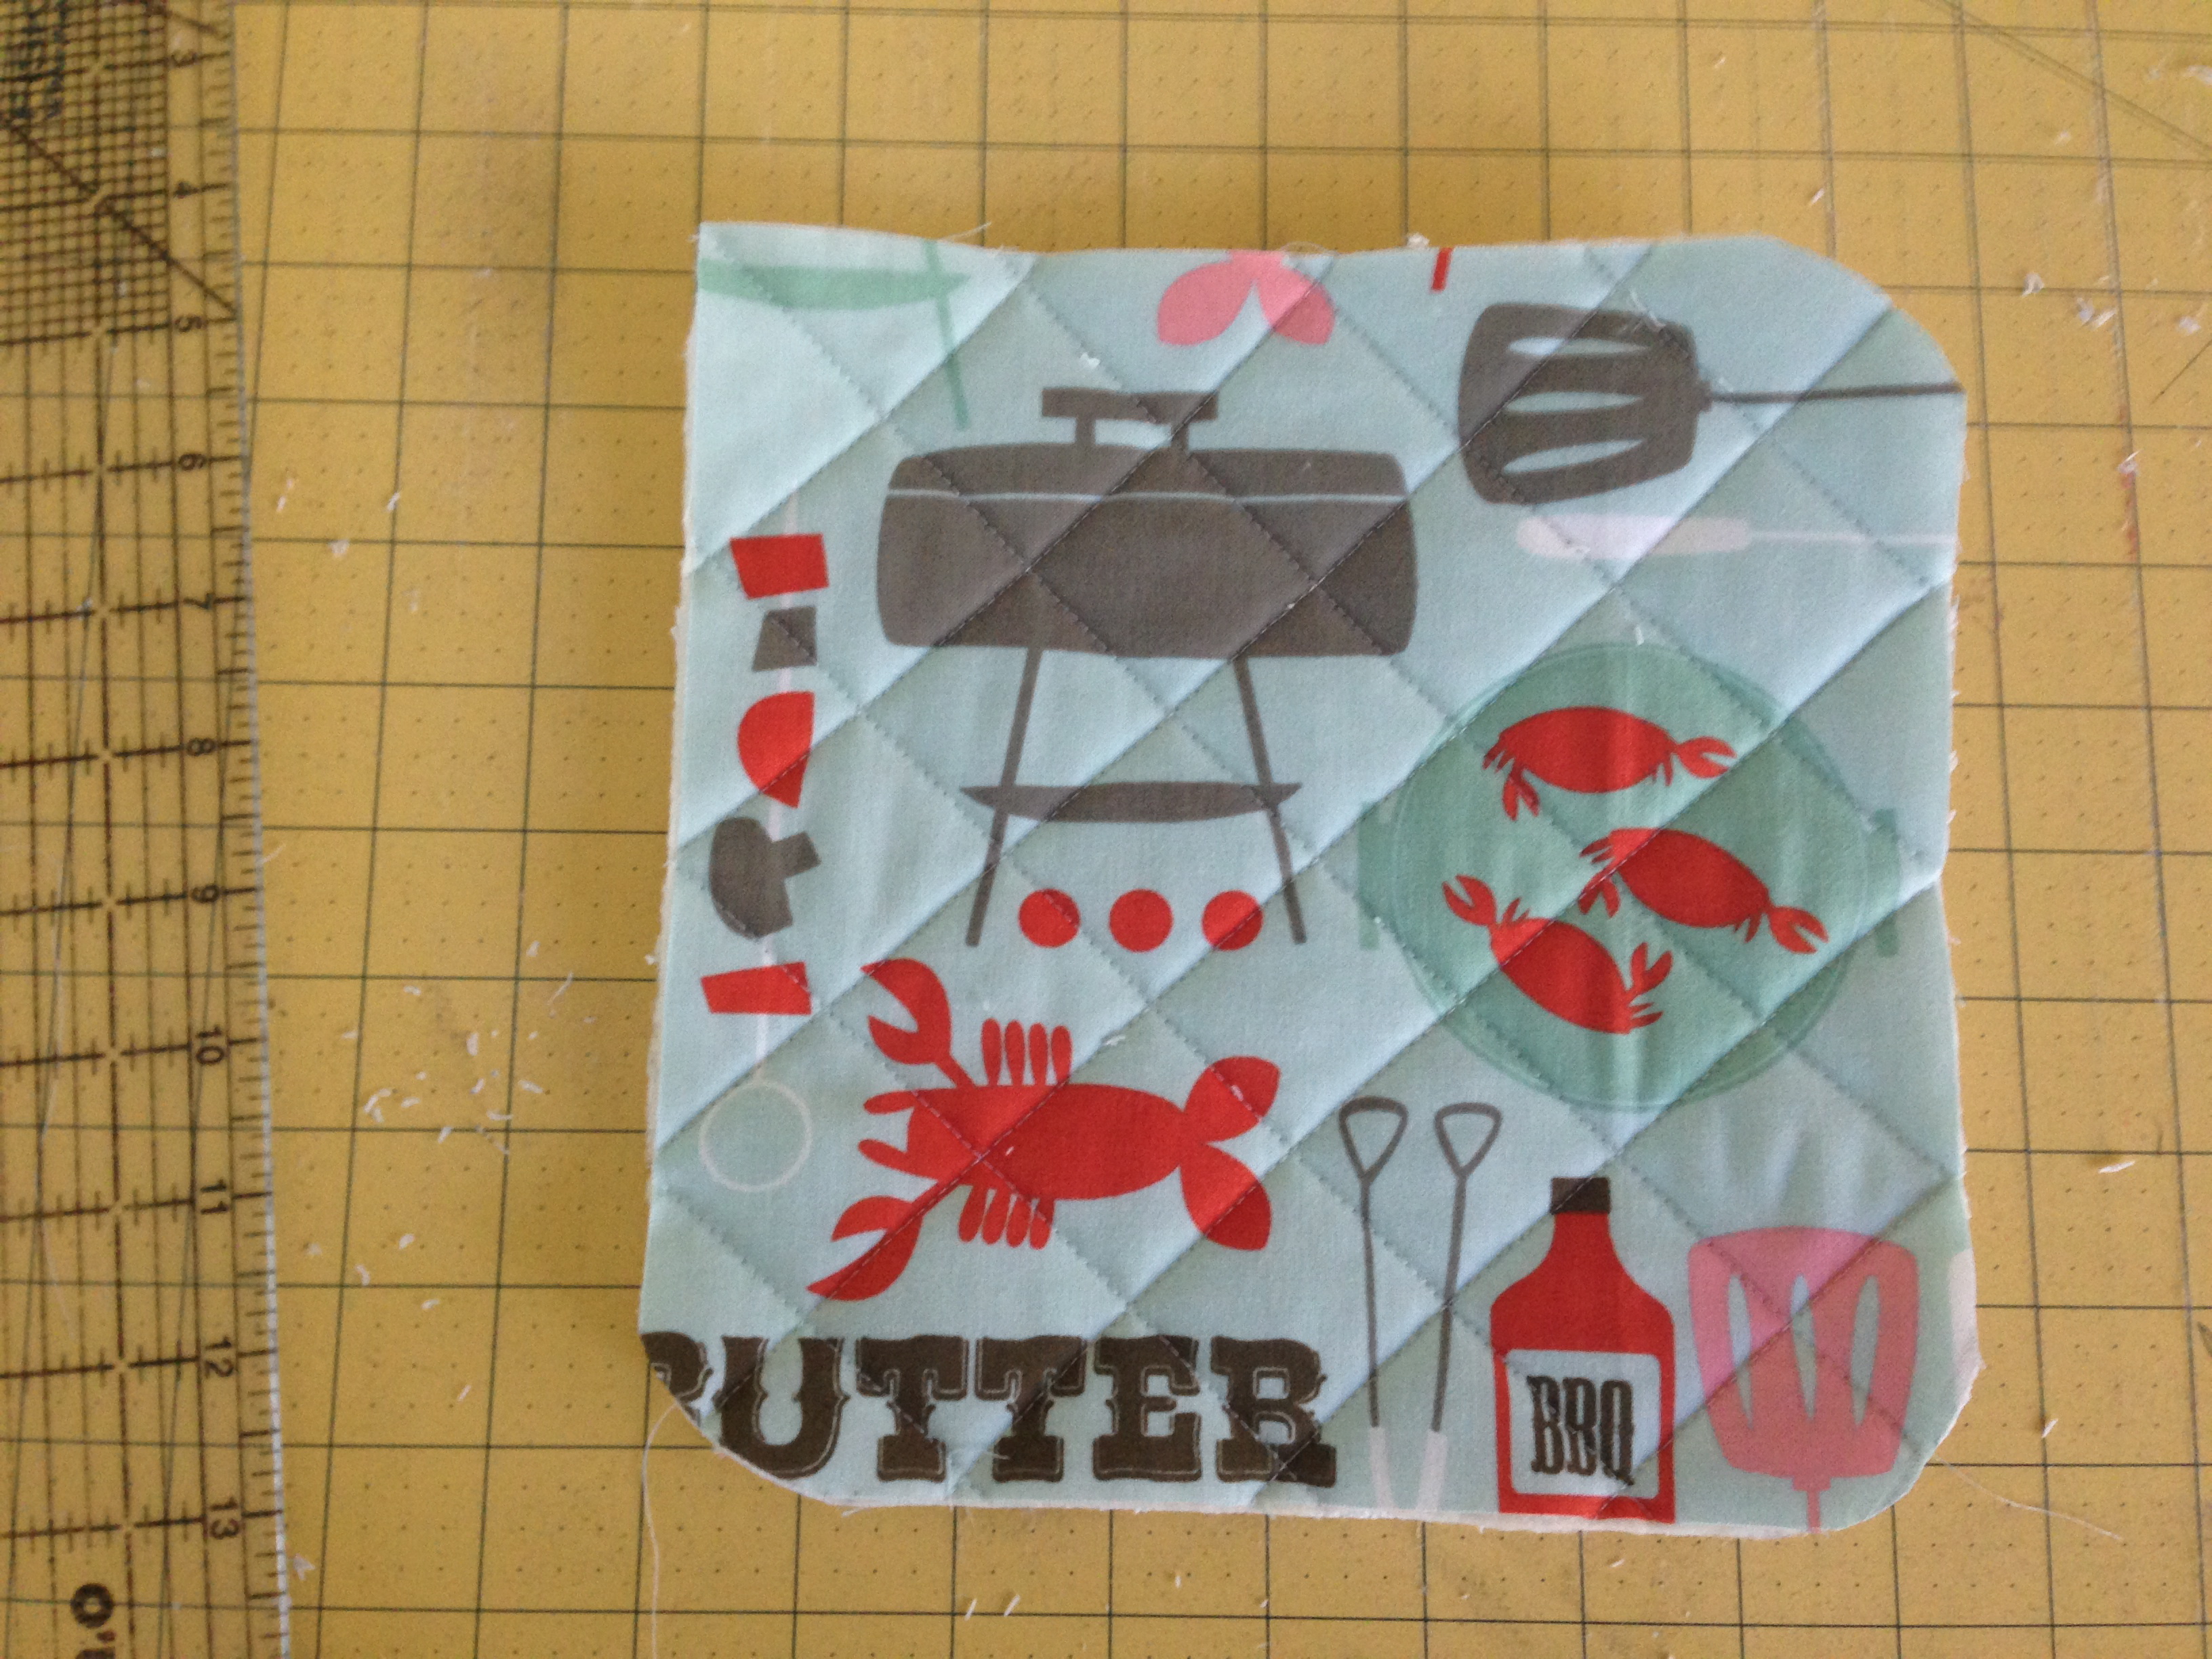
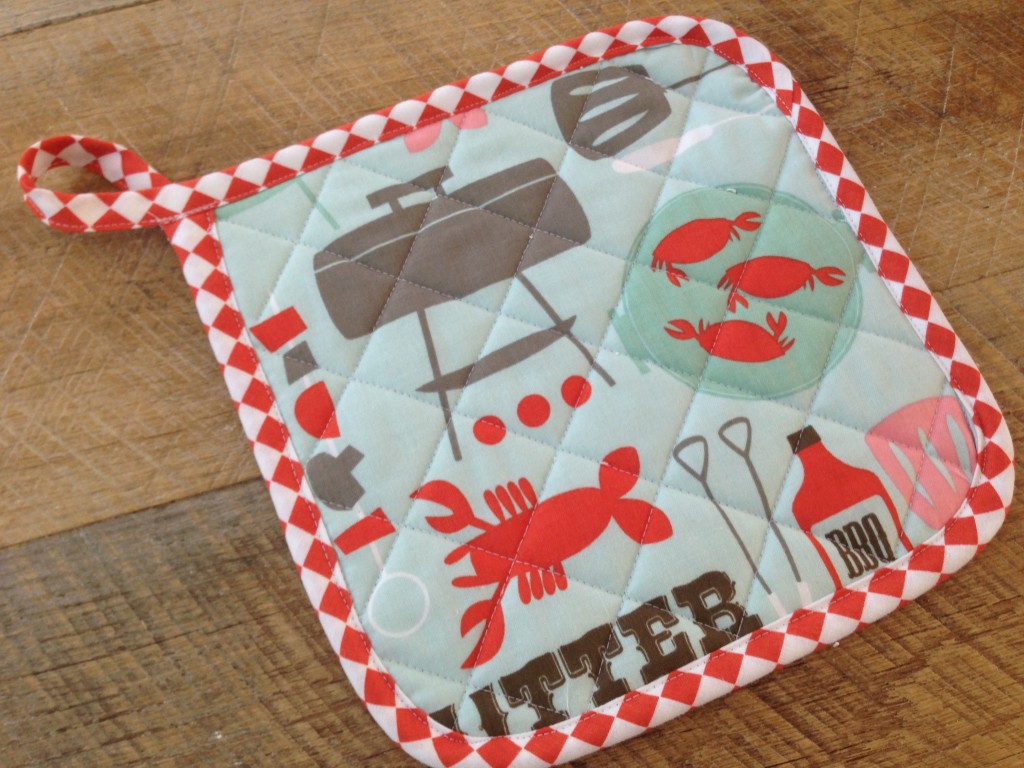
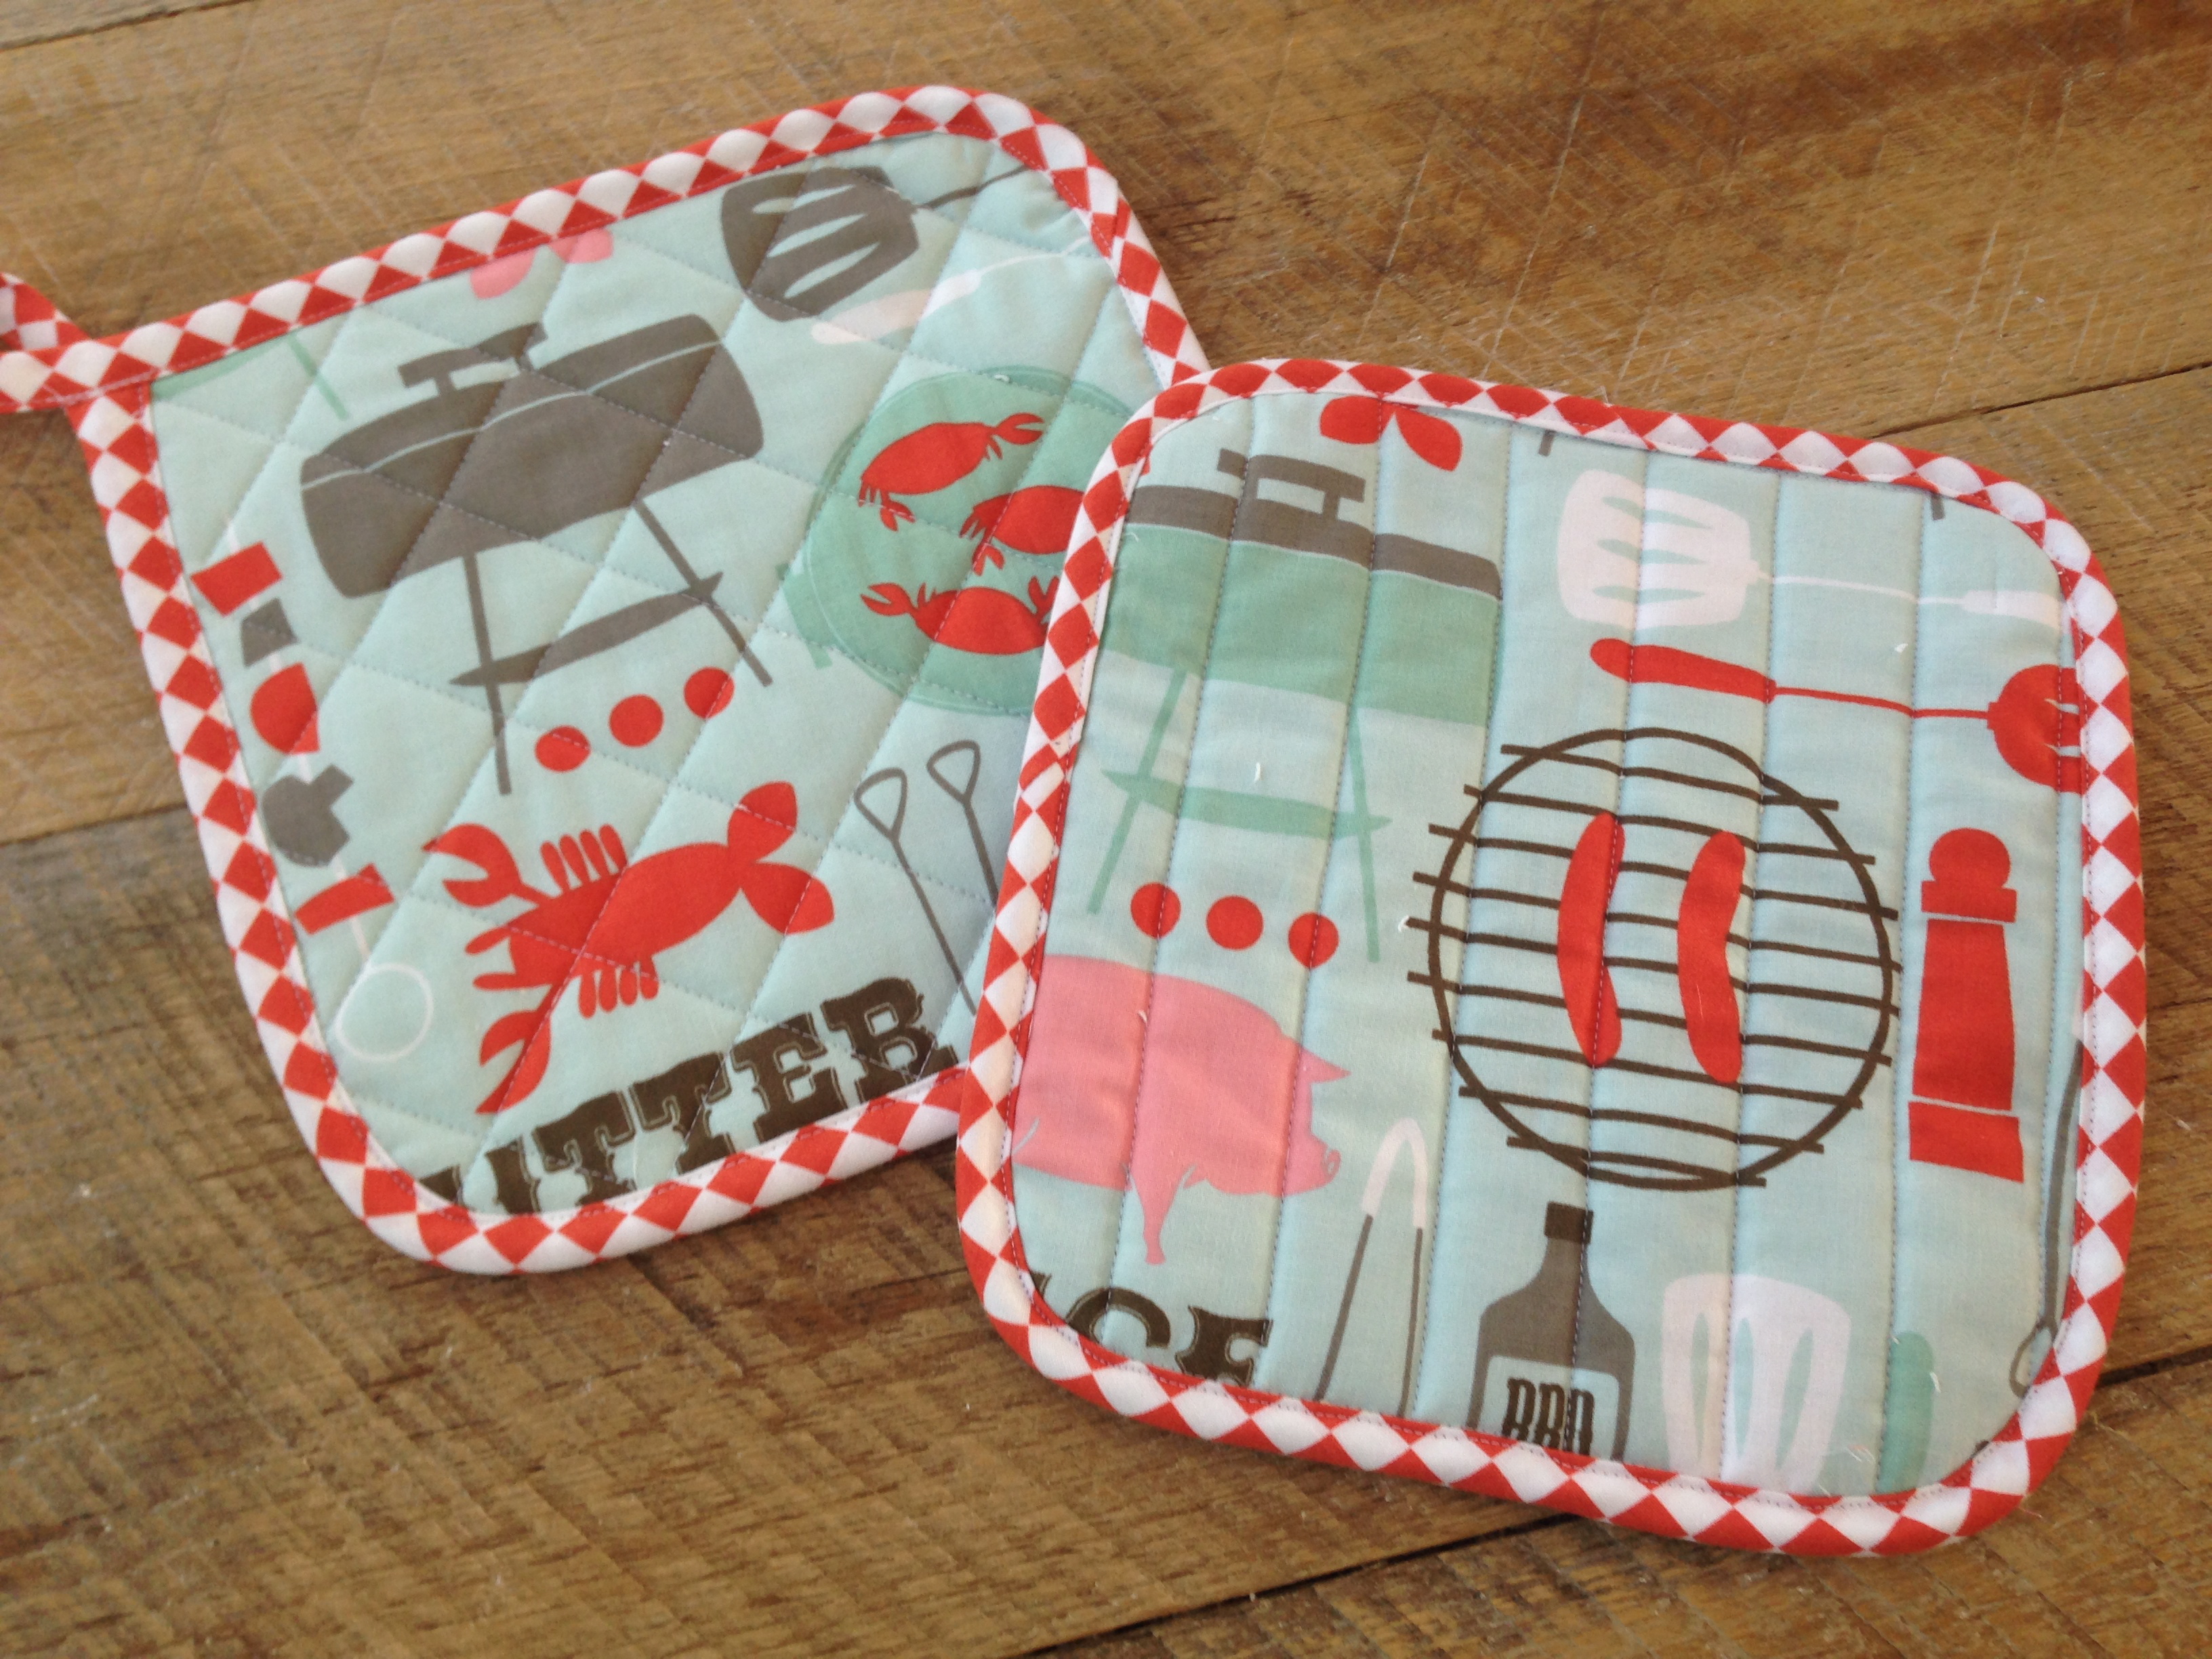
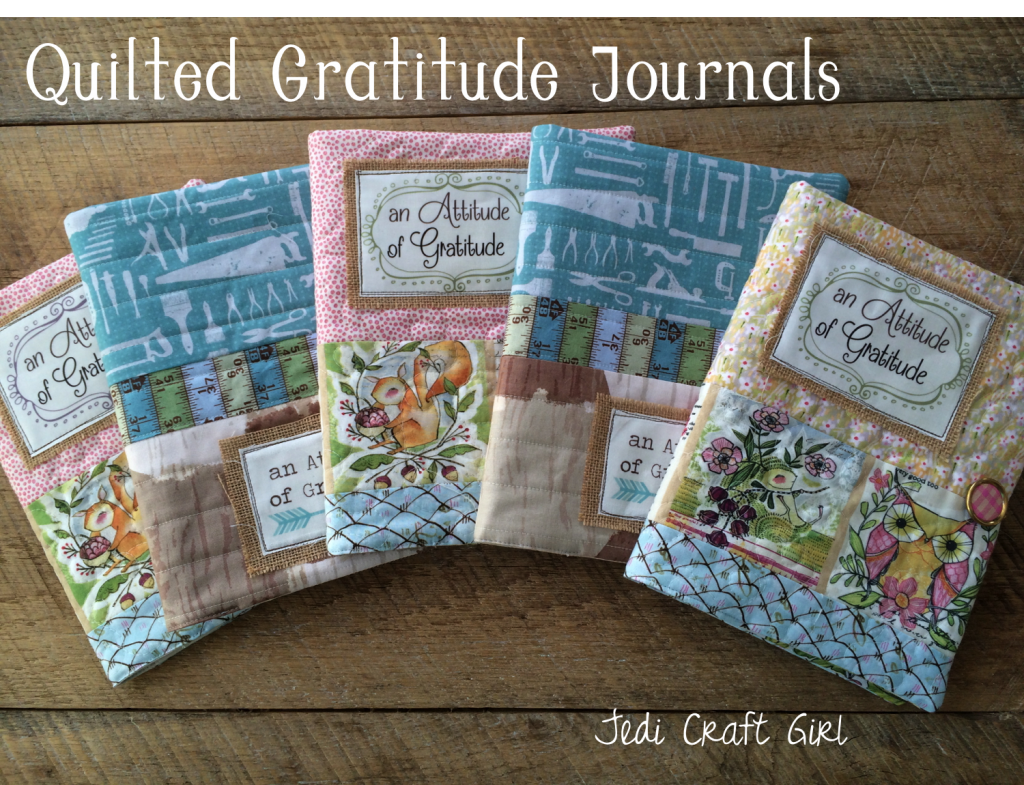
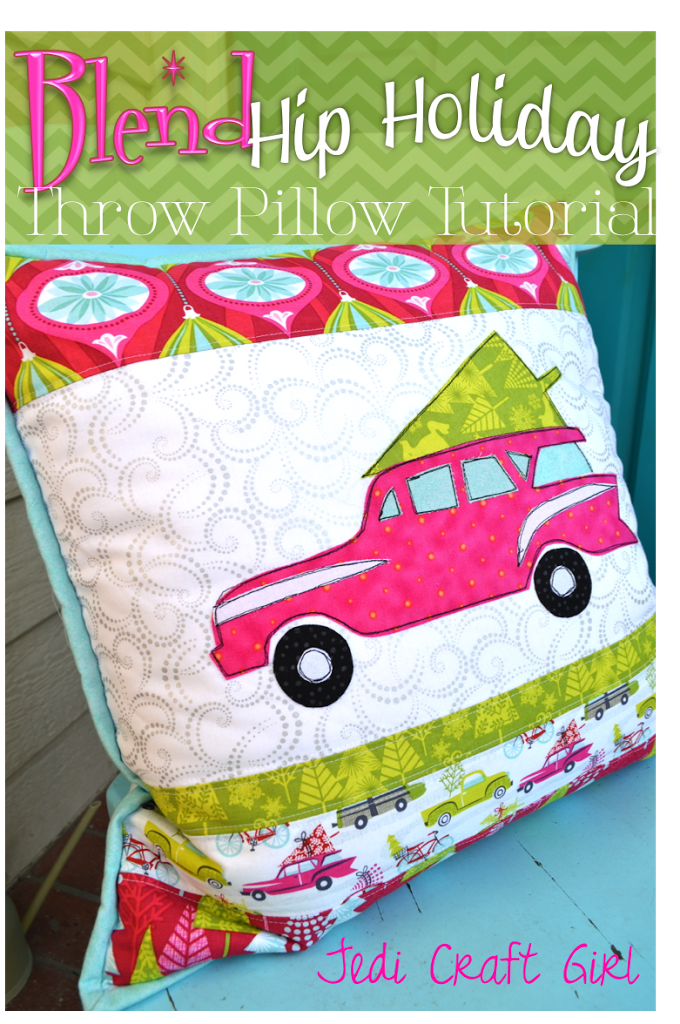
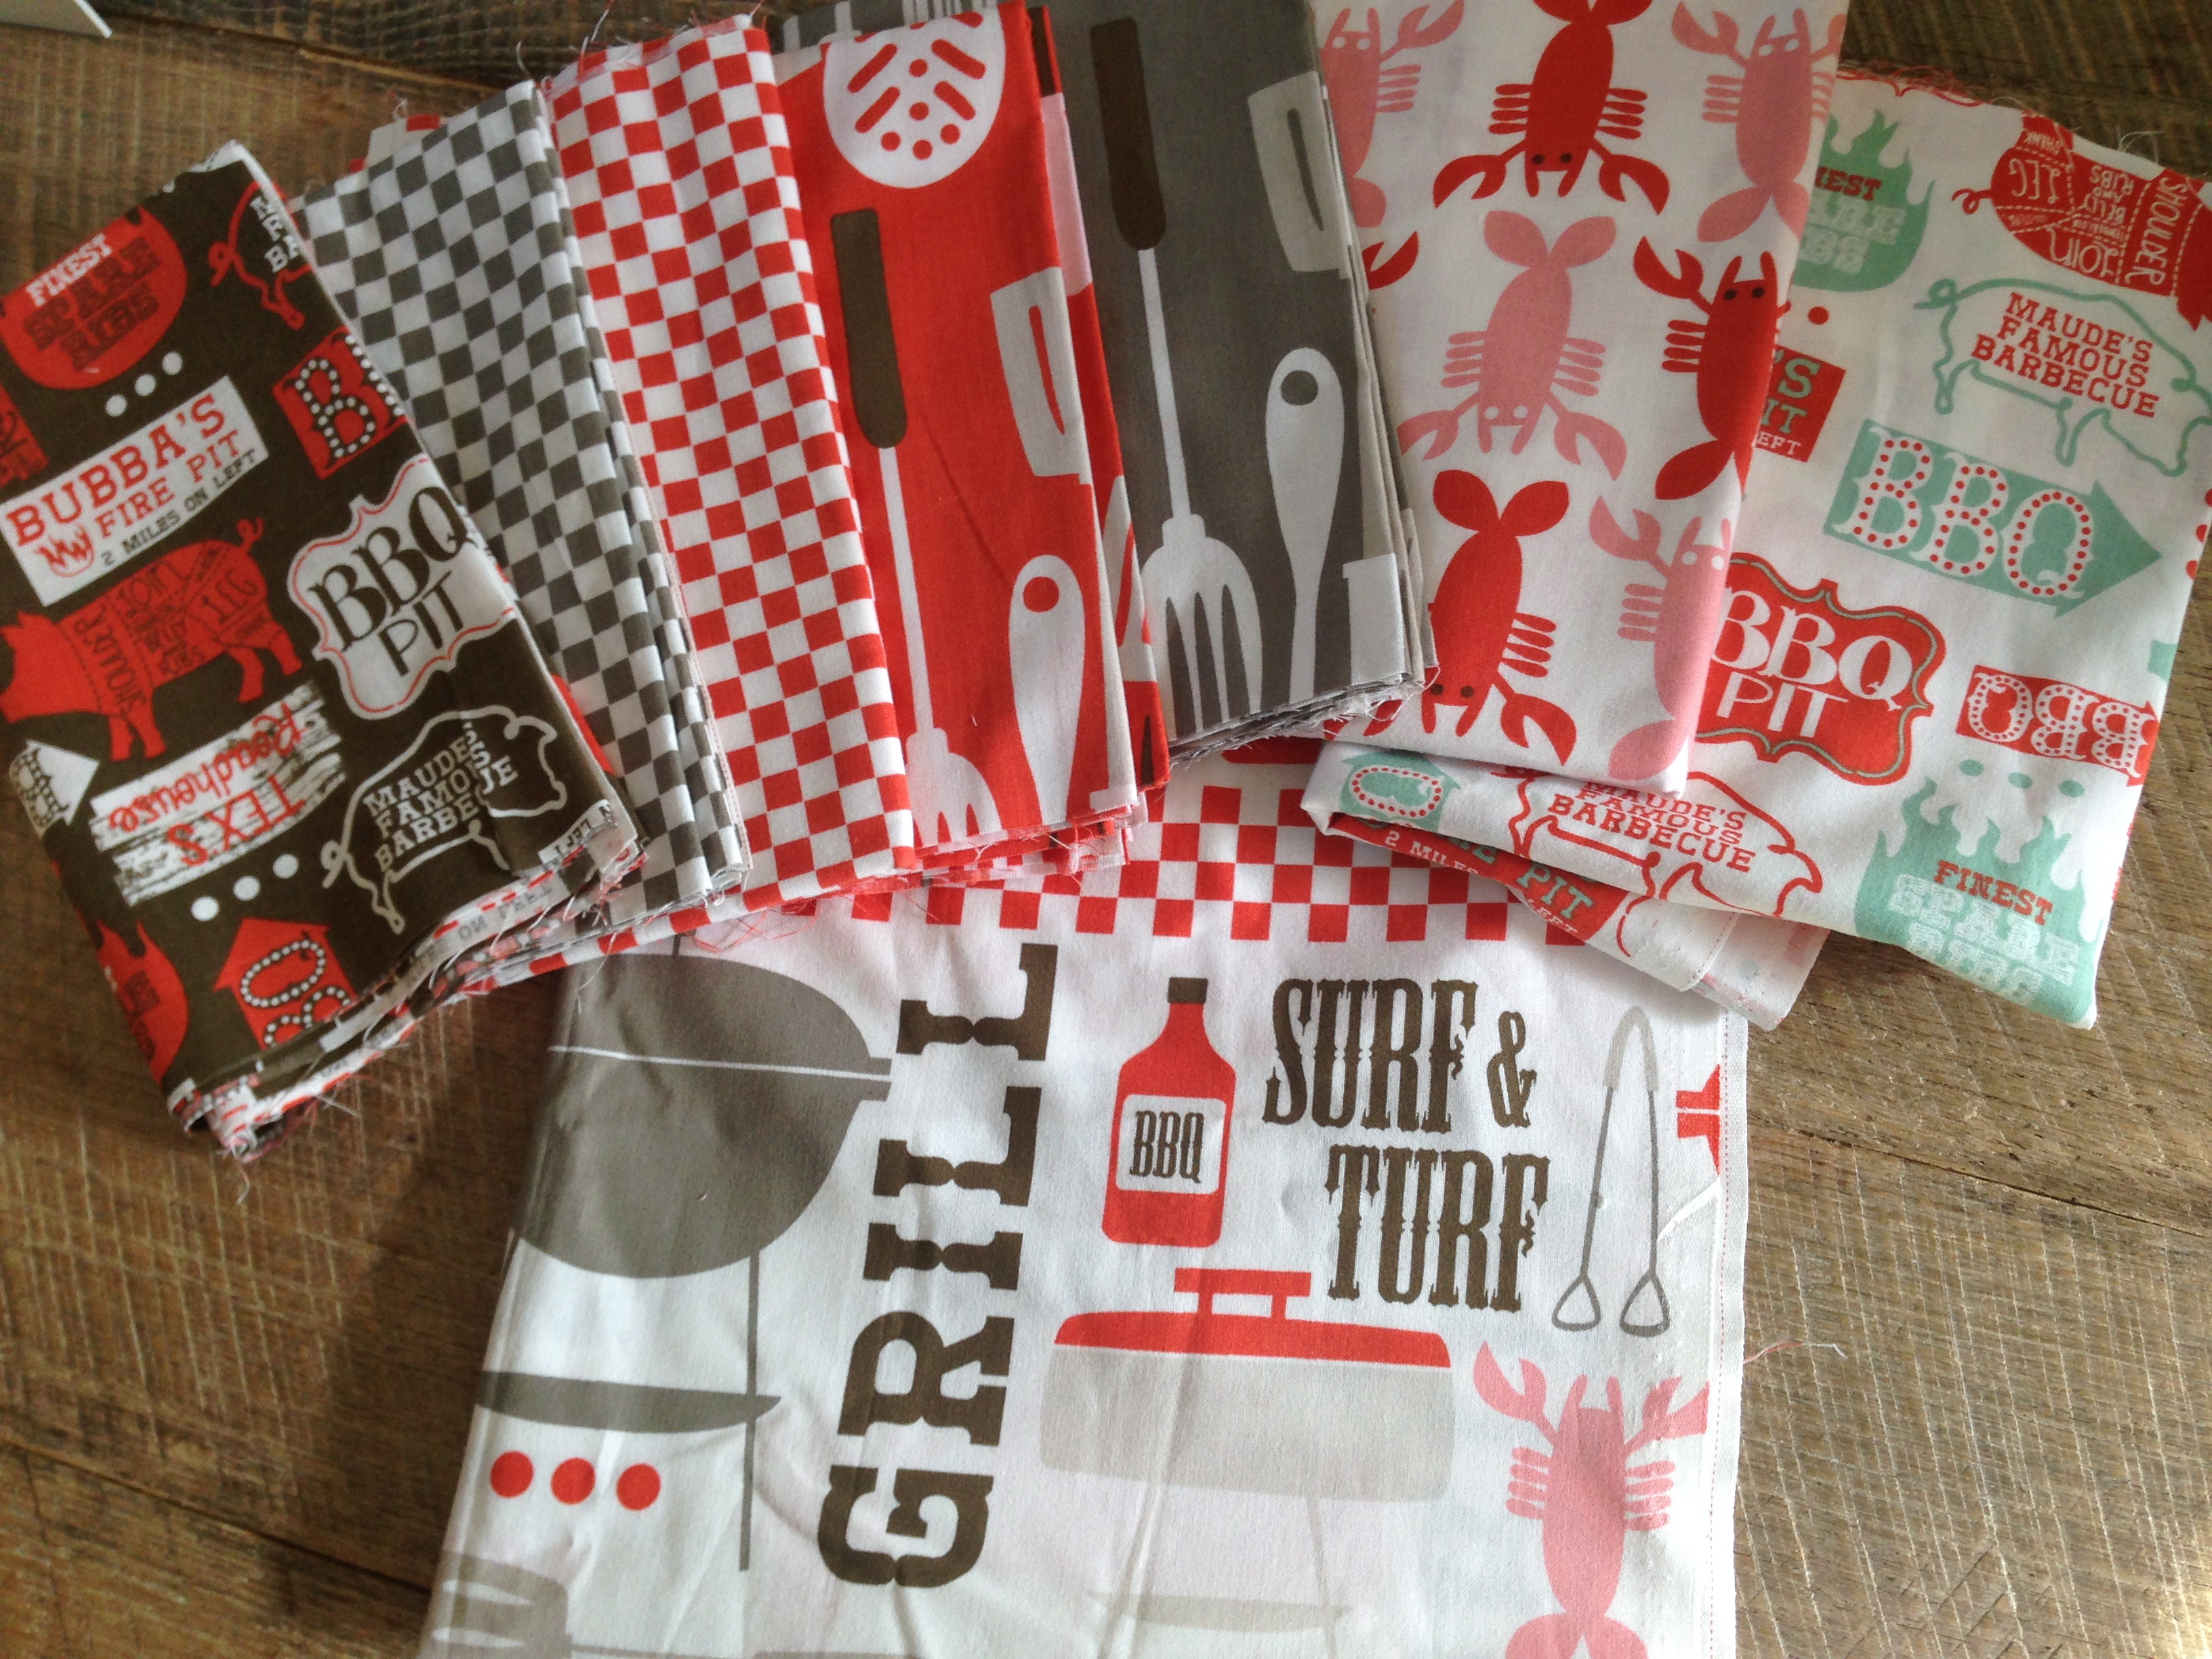
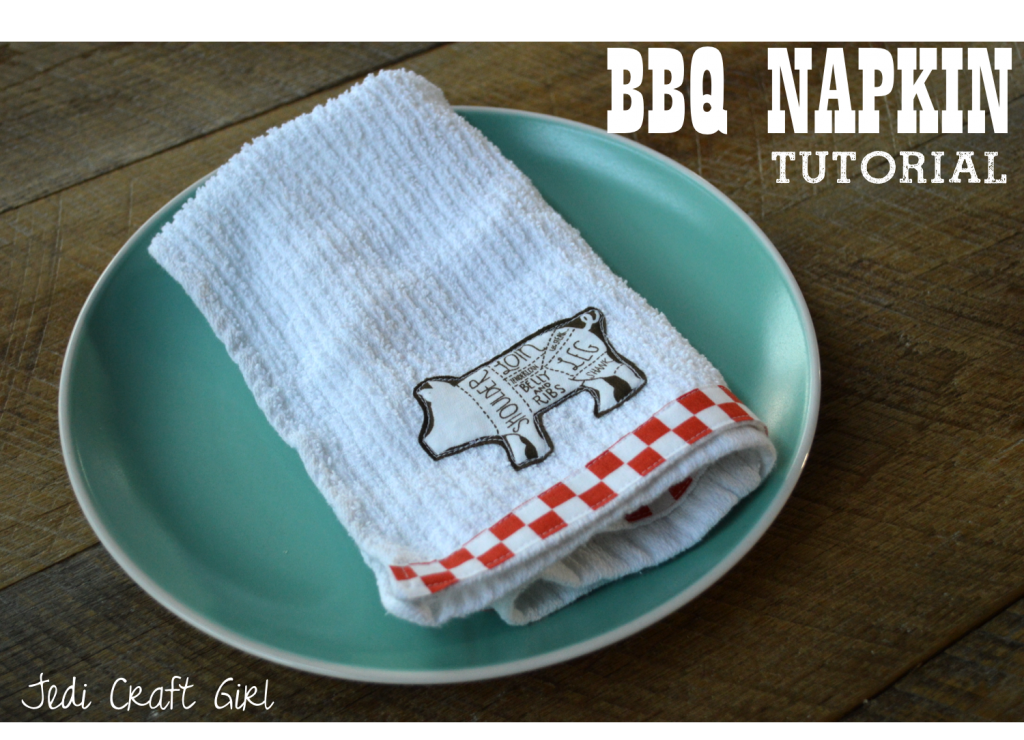
I am so in love with this fabric line from Blend designed by Maude Asbury called
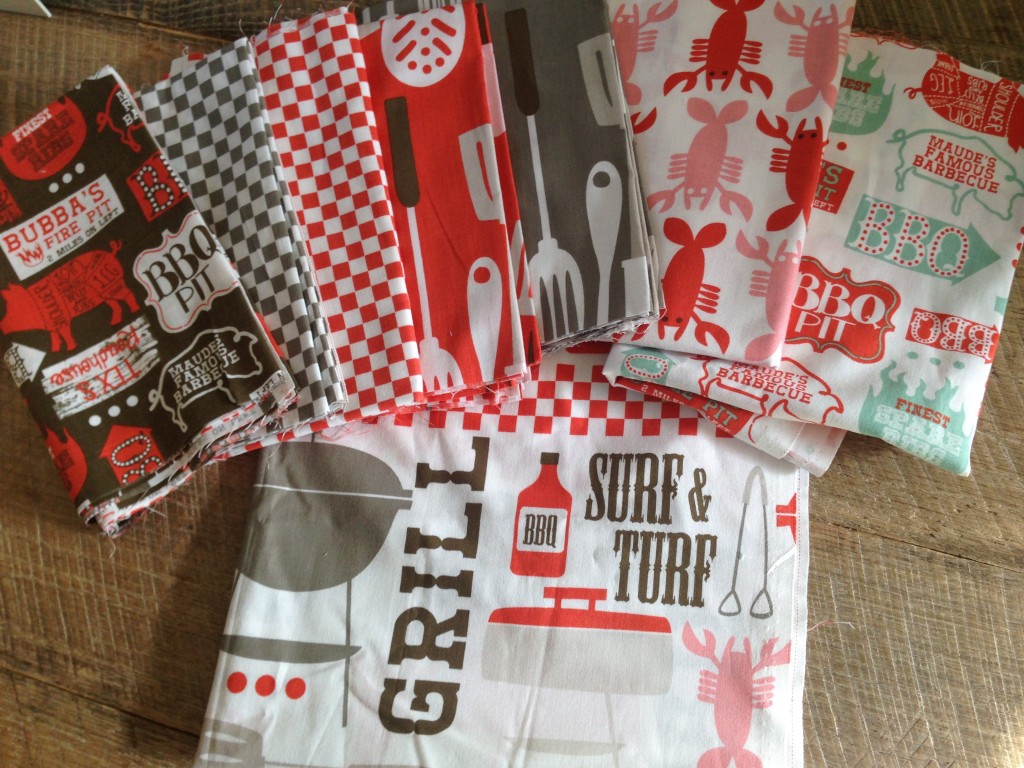
 Ribs and Bibs.  It screams Father’s Day.  I normally don’t sew for the men in my life but this year is totally different because of all the inspiration this fabric has given me!  Don’t you just love it!!  I wish I had yards and yards to make table cloths with!  Every day this week I am sharing a tutorial using this fabric line.

father's day sewing tutorial napkin_1

Of course Father’s Day is in June – during one of the busiest months of the year.  The holiday has to compete with end of the year final projects, class parties, class field trips, graduations, and the list goes on.  The tutorials I am sharing are projects that can be sewn quickly – because who has time in June for anything extra?


I am the world’s messiest eater – I really mean it.  When I go out to dinner with my husband, I have a pile of napkins at the end of the dinner and my husband doesn’t even have one (because I used it for myself).  At home I eat with a kitchen towel on my lap – it just saves paper 🙂  When our family gets together to eat ribs or BBQ paper napkins just are not enough – and even cloth napkins leave something to be desired.  That’s when I decided to purchase “Bar Mop” towels and turn them into BBQ napkins.  Bar Mop towels are available at any home store in the kitchen towel department.  They are slightly smaller than  normal kitchen towels, and not a traditional washcloth.  They provide the right amount of absorbency for BBQ sauced fingers!

IMG_8513


Let’s get started….

Supplies:

Bar Mop Towels – pre wash & dry

fat quarter Ribs & Bibs “Open Pit” in brown fabric

fat quarter Ribs & Bibs “Checker Board” in red

Therm O Web Heat n Bond Lite


Begin by cutting a piece of the Heat n Bond and ironing it to the back of the Open Pit fabric.
father's day sewing tutorial napkin_2

Cut around each image leaving a little bit of brown boarder.

father's day sewing tutorial napkin_3


Peel off the backing paper and iron it to the corner of the bar mop towel.  Keep in mind the heat n bond won’t permanently adhere to the fuzzy towel so it needs to be sewn on.  The Heat n Bond will hold the image in place temporarily and it will prevent fraying.father's day sewing tutorial napkin_4

Sew around each image with a straight stitch.father's day sewing tutorial napkin_5

Iron another piece of Heat n Bond to the wrong side of the checker board fabric.  (This is a little bit of a “cheater” way to add an accent strip to the towel.)

father's day sewing tutorial napkin_6

Cut strips of the checkerboard 2 squares wide.  Peel off the backing fabric.

father's day sewing tutorial napkin_7


Iron it to the bottom of the towel and top stitch around the strip.  Now make enough for everyone coming to your Father’s Day BBQ!!father's day sewing tutorial napkin

father's day sewing tutorial napkin_12


father's day sewing tutorial napkin_9

father's day sewing tutorial napkin_14

Throw Pillow Throw Down Begins Today!

 I am so excited for this week!  I have been working on lots of fun pillows and working with lots of fun people to get this throw down started!  This will not be a “Throw Down” in the sense that there are winners and looser, I hate to see people cry 🙂  Just fun tutorials every day.  “Who can’t use a few more pillows around the house”….(said no husband ever!)

Here are today’s three features – its all about fast & easy and sewing with kitchen linens: napkins, placemats, and towels!

 Napkin Pillow Tutorial

 Placemat Pillow

Amanda

The Perfect Potholder {Father’s Day Tutorial}

the perfect potholder

I know the claim “The Perfect Potholder” is pretty bold!!  I am a bit of a potholder snob.  I can’t stand silicone ones, I don’t like them if they are too stiff or puffy, I also don’t like them if they are too thin.  I love the cute quilty ones, but I am always afraid to use them.  So I resort to my trusty terrycloth potholders…..behold:

hot pad tutorial

Aren’t they beautiful!  haha!!  They’ve been used and washed at least a million times and I can never give them up…..until TODAY when I came up with a homemade version that is just as functional yet much more stylish.  The trick is that I cut up a hand towel (or bath towel), layered with batting and quilted it.  Are you ready for the tutorial?  Here we go:

Supplies:

1 bath or hand towel (not kitchen) the thicker the better!

Fat Quarter Bibs and Ribs fabric – still loving it!!

Scraps of cotton batting

fabric for the binding

Therm O Web Spray n Bond

Begin by cutting the towel 8.5″ square

hot pad tutorial_3


also cut the batting and fabric the same size, 8.5″ square.

hot pad tutorial_4

Use the basting spray to baste all the lawyer together with the batting in the middle.

hot pad tutorial_2_5
Quilt as desired.  I made 4 of these and did vertical lines, diagonal lines and then criss cross.  Using a cup, draw a rounded corner on each of the corners and trim along the line.

hot pad tutorial_6


hot pad tutorial_7

Cut the binding on the bias 2.5″ x WOF, or enough to sew around the potholder.  Sew the binding to the back of the  potholder then pull the binding around and machine sew the top of the binding down.hot pad tutorial_8

Seriously, tears of joy were shed over this project.  I cannot contain my excitement!!  It actually feels just like my old trusty potholders – YIPPEE!!!hot pad tutorial_9

Now that I knew they were a success, I got a little creative.  Try rounding all the corners but the top left corner like this:

hot pad tutorial_10


Then sew the binding like this:hot pad tutorial_11


Take the little tail and give it a twirl to make a loop to hang or to just be decorative or to just finish the binding nicely.

hot pad tutorial_14

They are the perfect addition to my collection of Father’s Day Gifts!!
hot pad tutorial_12

Crafts & Gifts


Click on the photo to be taken to the tutorial.

fabric letters 15Fabric Covered Letters

bunny towel

foil snoflake burlap ornament 12Burlap Ornament

christmas cat softie 8Cat Softie

catnip pillow toy

vintage kitty sizzix ornament

sizzix anchor ornaments

patchwork acorn potholders

valentine kitty

valentine bookmark and sachet

quilted gratitude journal tutorial

riley_blake_flannel_baby_quilt_21

Old School Baby Burpers

covered composition book tutorial whales
surf and turf bbq towels tutorial
BBQ apron tutorial BBQ napkin tutorial

the perfect potholder
composition-book-800x537 quilted placemat bread_blankets_tutorial

burlap_heart_garland_tutorial

burlap_bunny_pillow1

lost_and_found_placemat_tutorial

mommy_and_me_apron_tutorialBurlap Heart

Pillow Tutorials

I am a little Throw Pillow Crazy! I guess the fastest way to brighten up your day is with a new pillow 🙂 Click on the photo to be taken to the tutorial.

pennant pillow

bunny applique pillow and quilt 4

wonderland bunny pillow tutorialanchor pillow tutorial

fish bubbles intro

sizzix snowflake pillow

sizzix pumpkin pillow deco foil 2

spooktacular halloween pillow 5

lucky pillow tutorial

riley blake lobster pillows

valentine pillow tic tac toespooky halloween pillow

halloween_pillow_tutorial modern_halloween_pillow_tutorialchristmas deer pillowtreelicious applique pillow tutorial

summer throw pillow tutorial

i love whales pillow tutorial

throw-pillow-throw-down

lost_and_found_two_pillow_tutorial_

burlap_bunny_pillow

Quilted-Pillowbunny love pillow

tea-towel-pillow
iron-onpillow1


placemat-pillow1

vintage-cat-pillow

napkin-pillow1


halloween_pillow_tutorial


spooky_potion_blend_fabric_throw_pillow_tutorial_halloween

modern_pumpkin_throw_pillow_tutorial


vintage-sheet-pillow-case-tutorial

kitchen-towel-pillow

Blend_Hip_Holiday_Throw_Pillow_Christmas_Tutorial

deer_pillows_tutorial_2


valentine_pillow_tutorial1

St-Patrick-s-Day-Pillow-Tutorial